Blog by Steve Laug
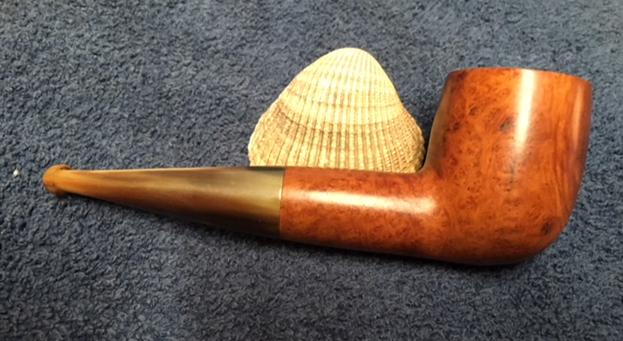
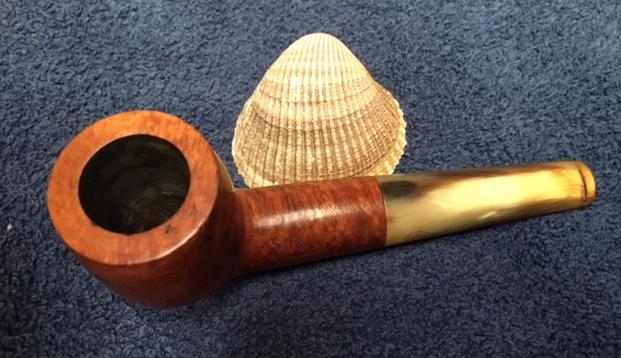
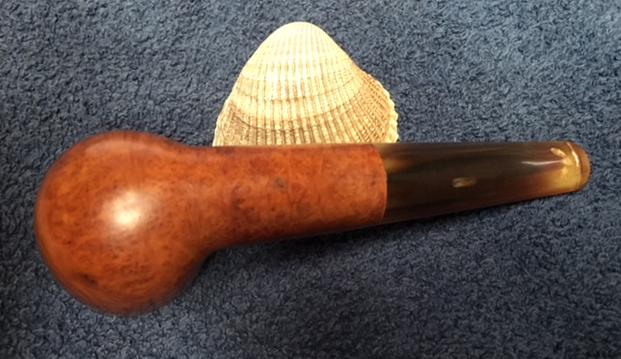
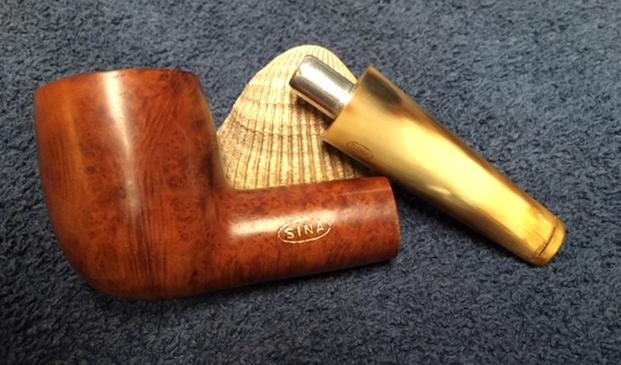
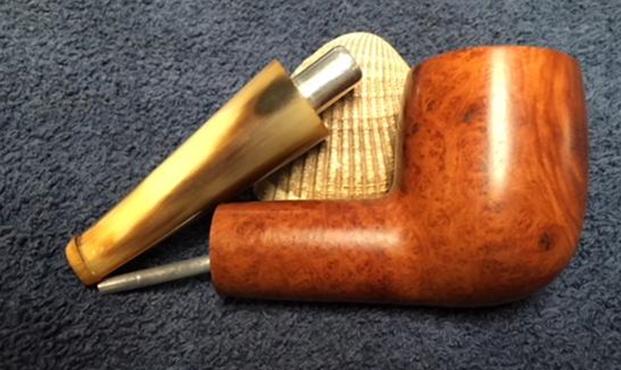
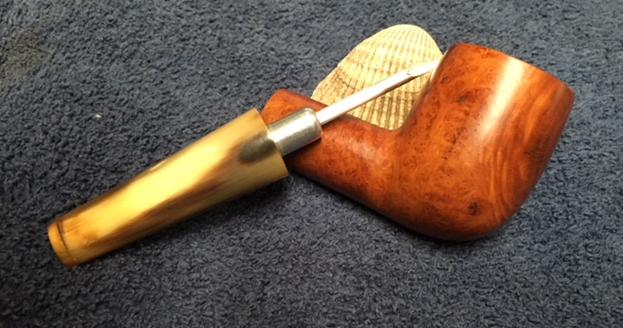
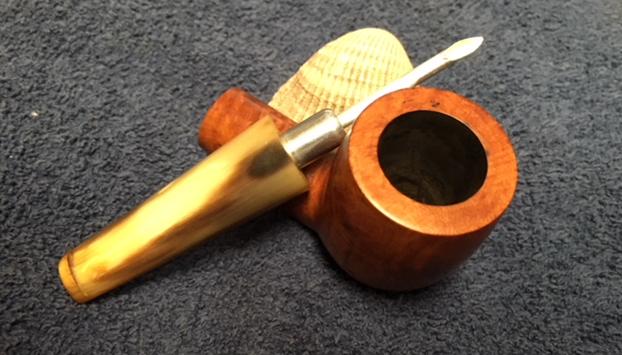
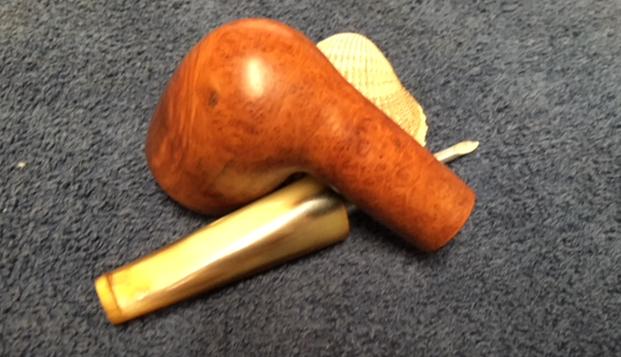
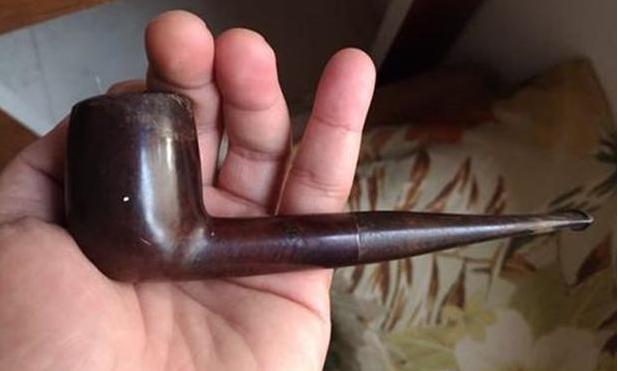
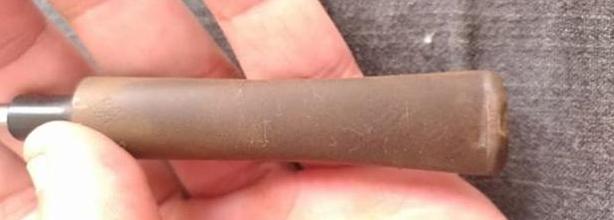
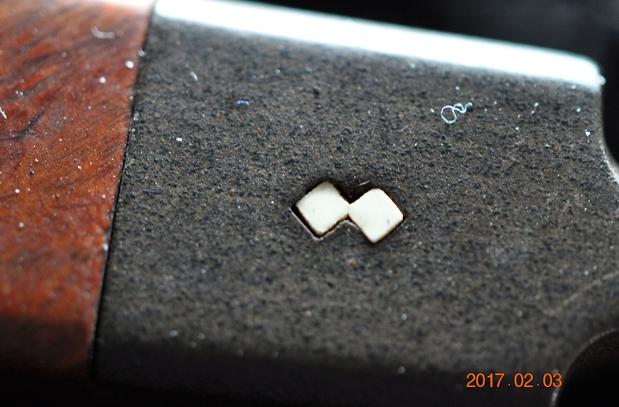
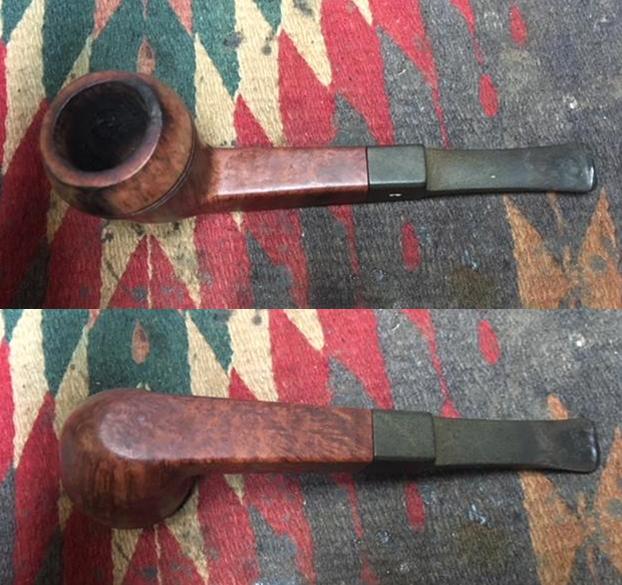
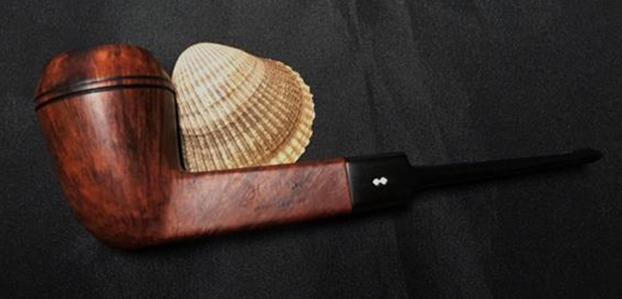
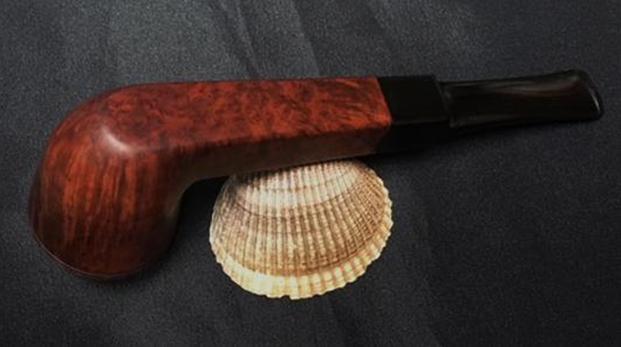
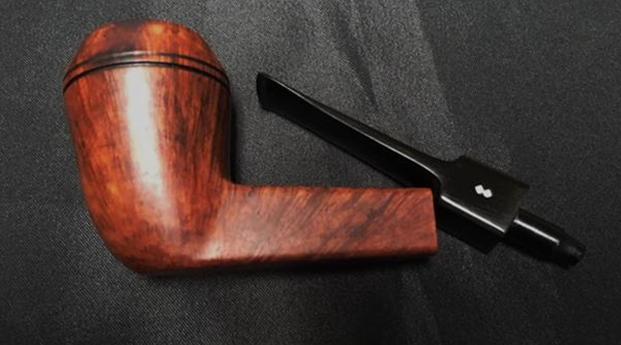
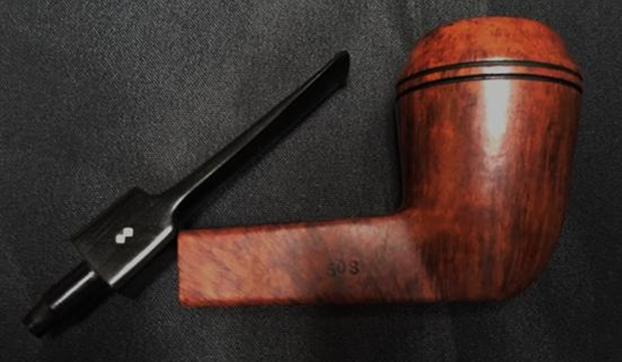
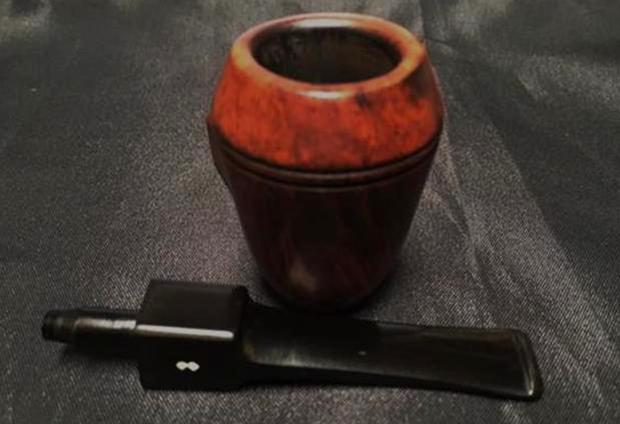
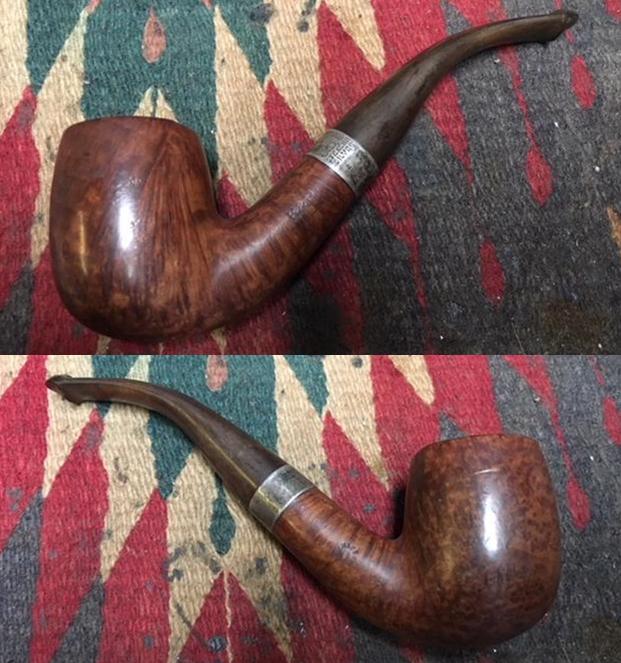
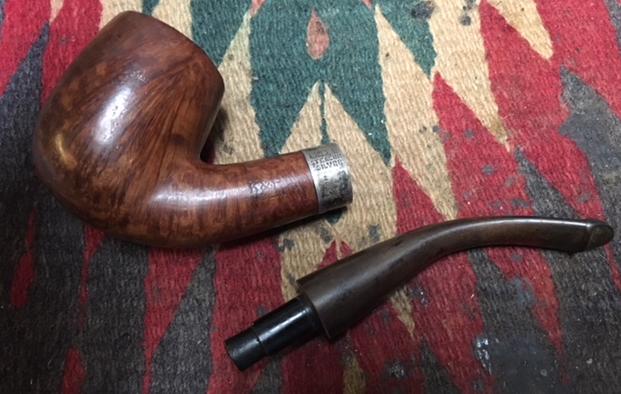
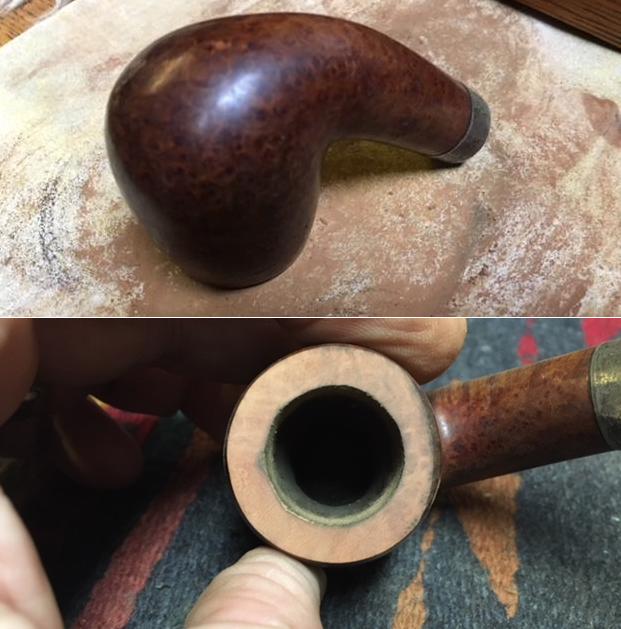
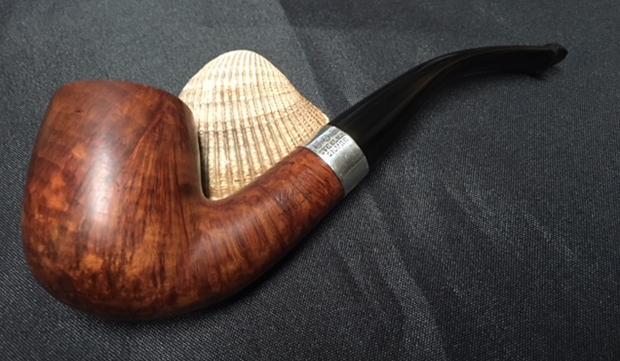
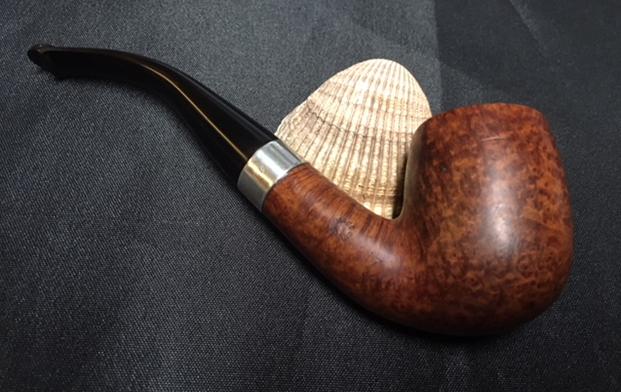
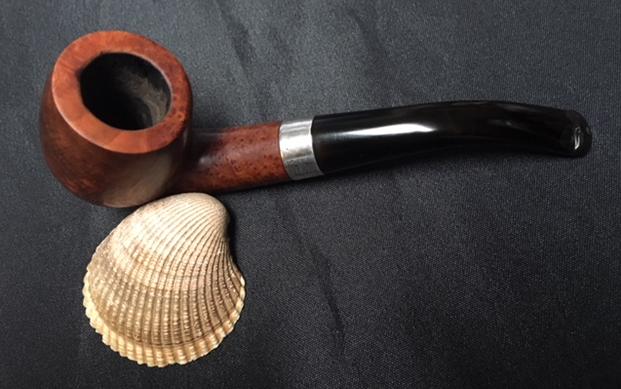
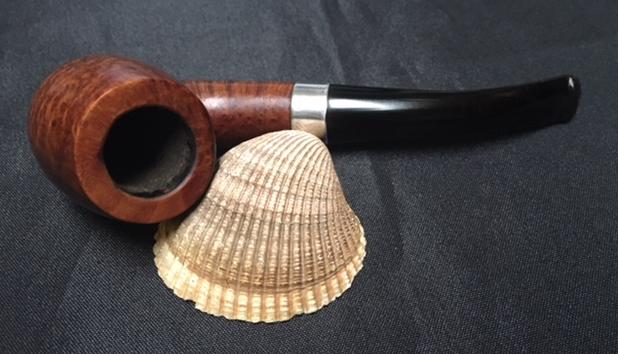
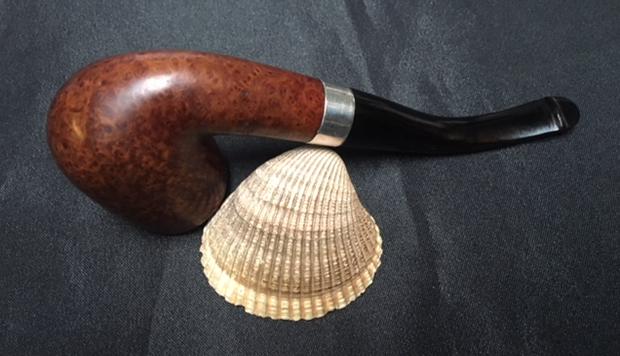
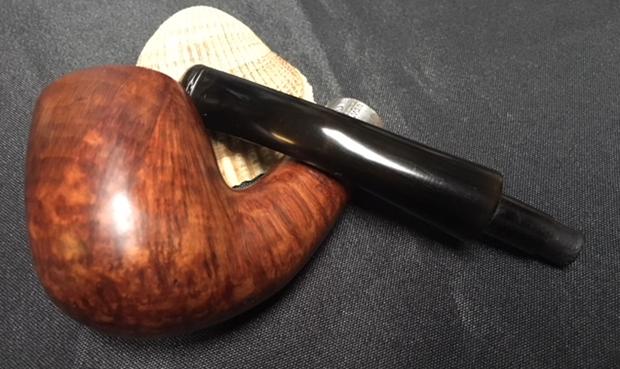
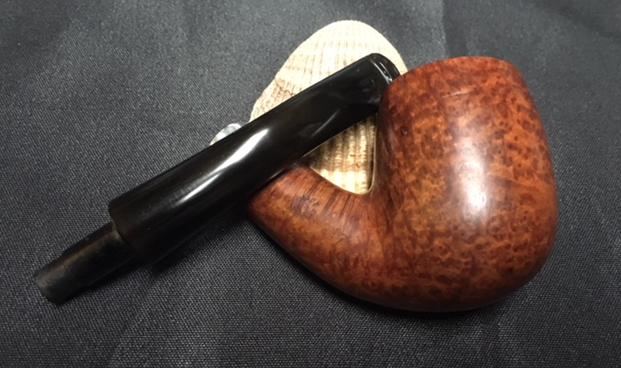
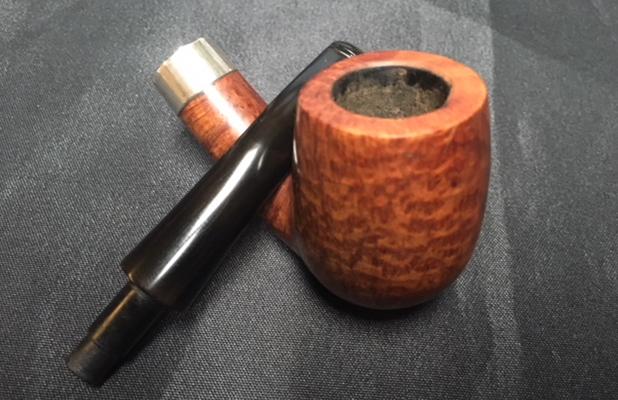
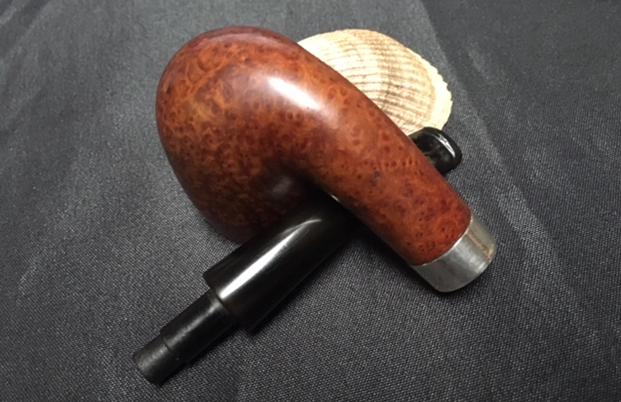
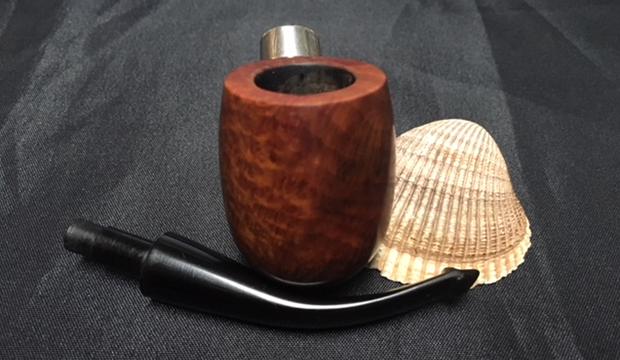
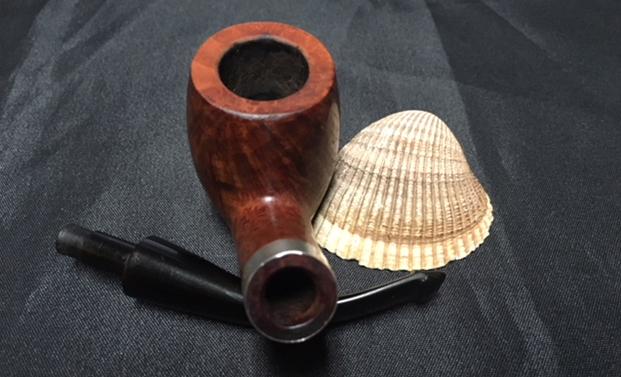
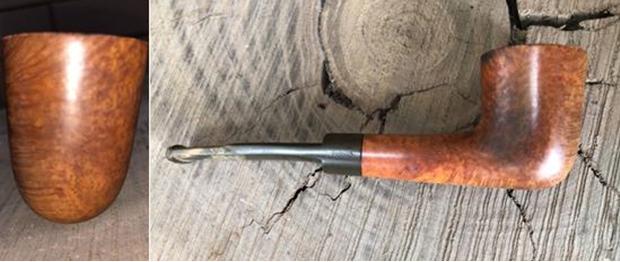
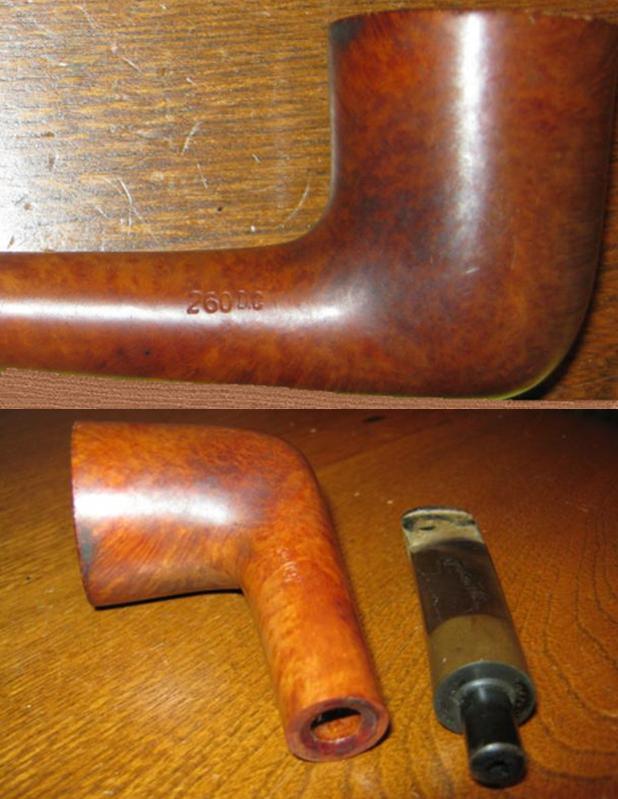
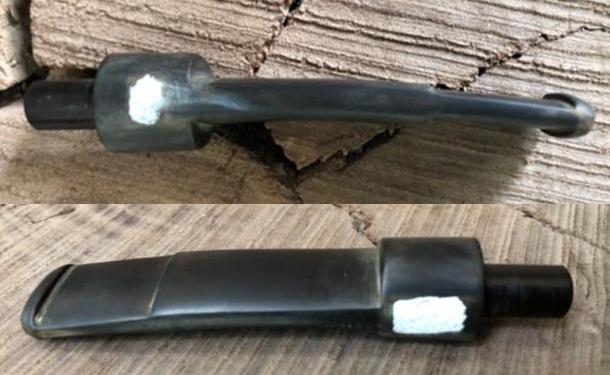
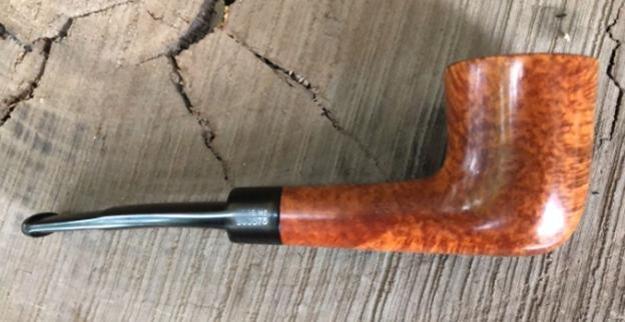
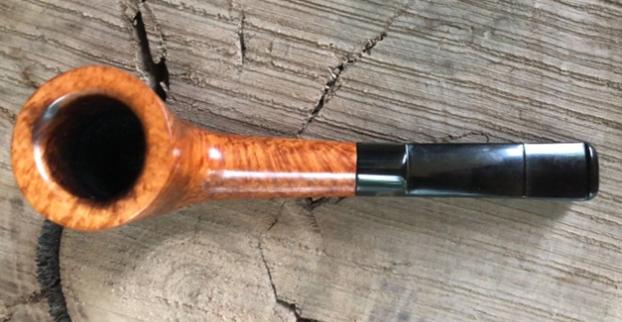
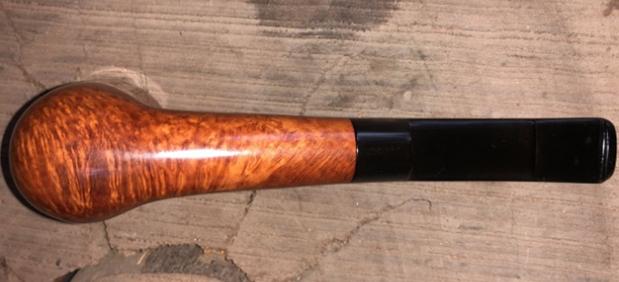
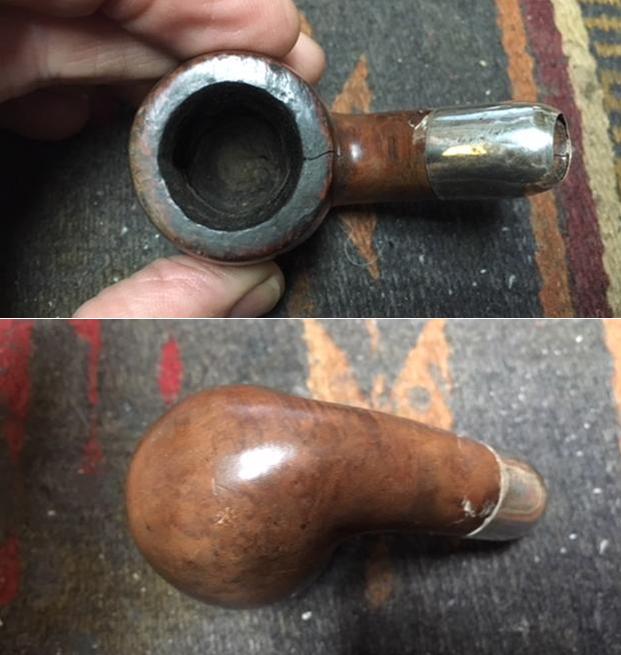
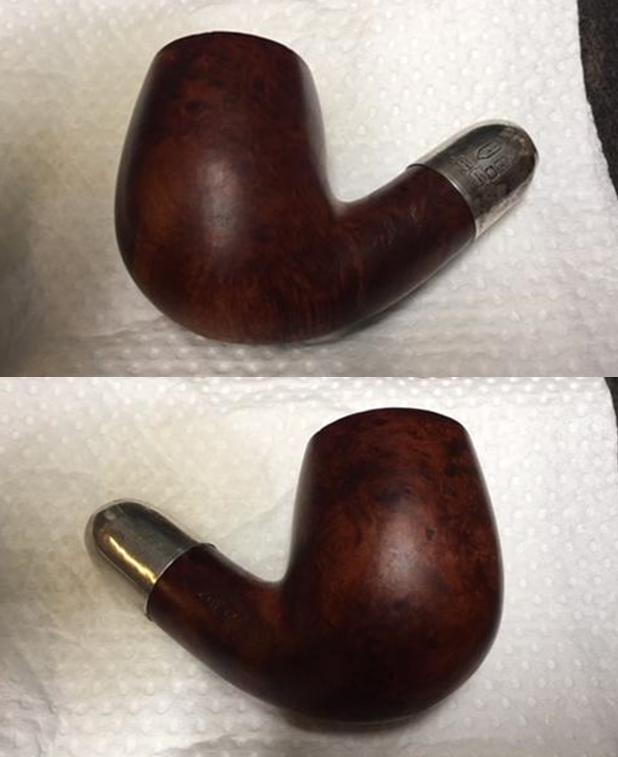
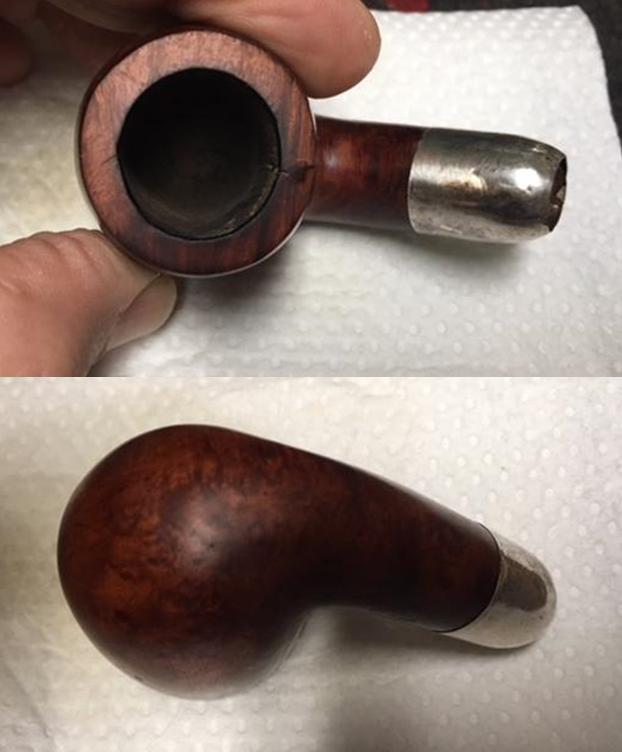
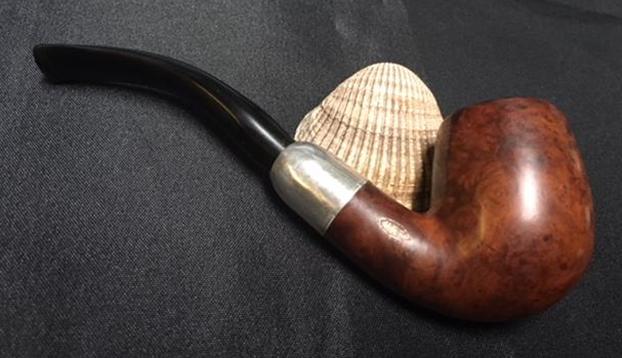
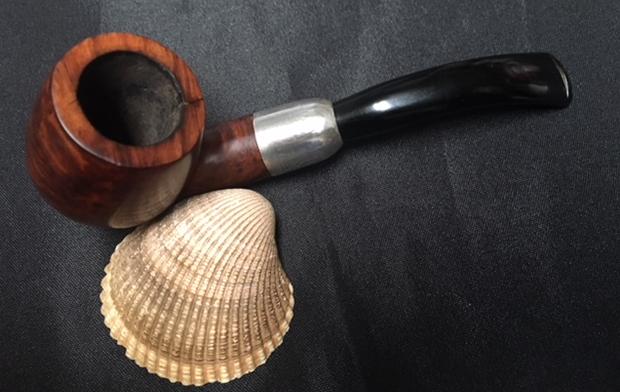
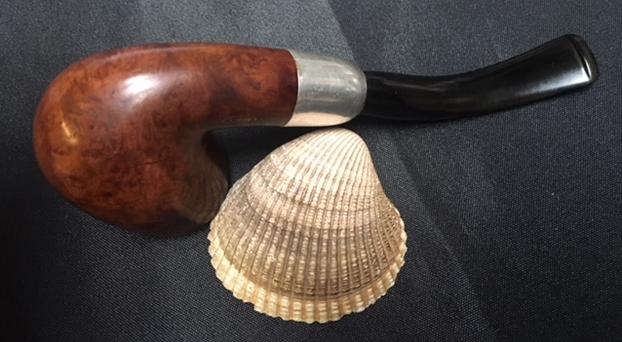
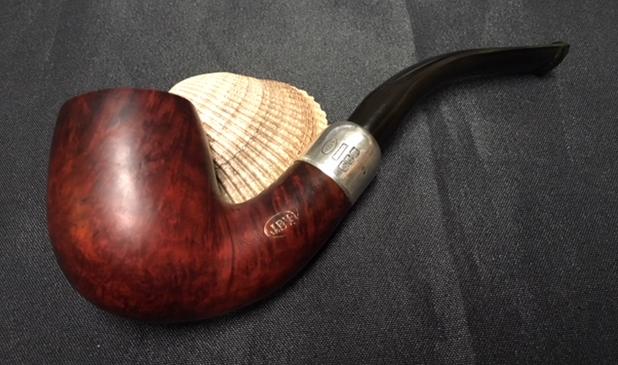
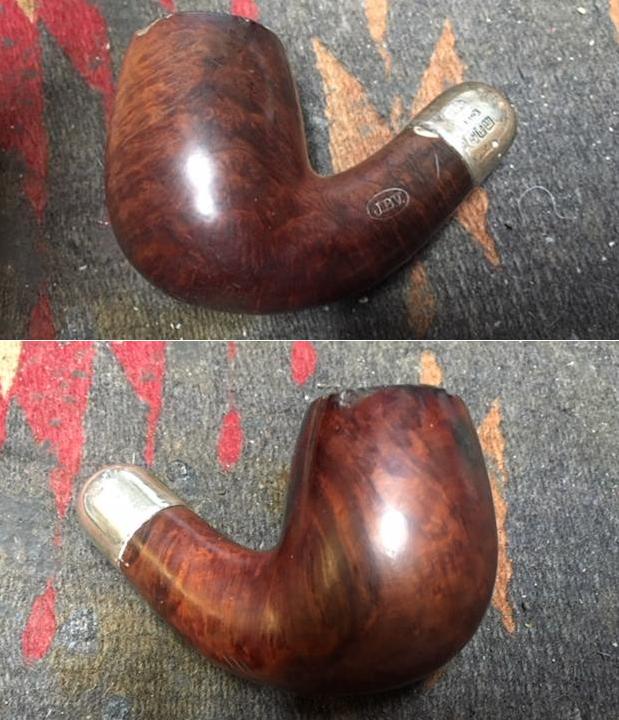
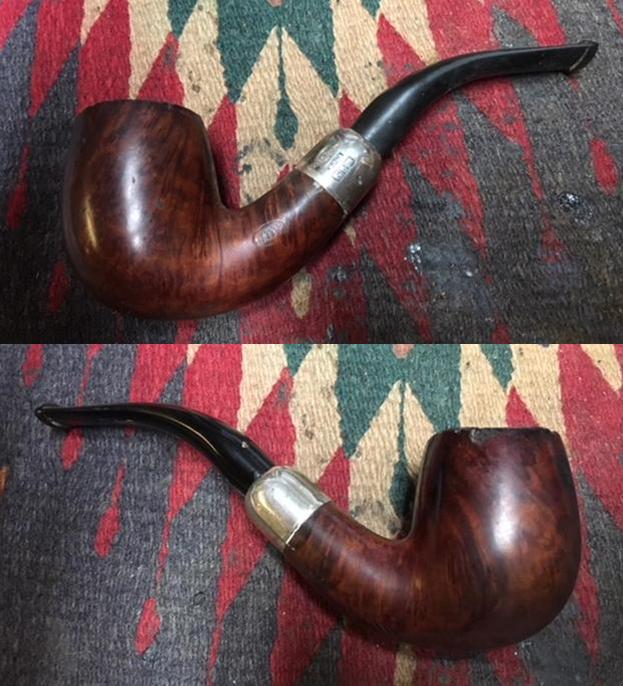
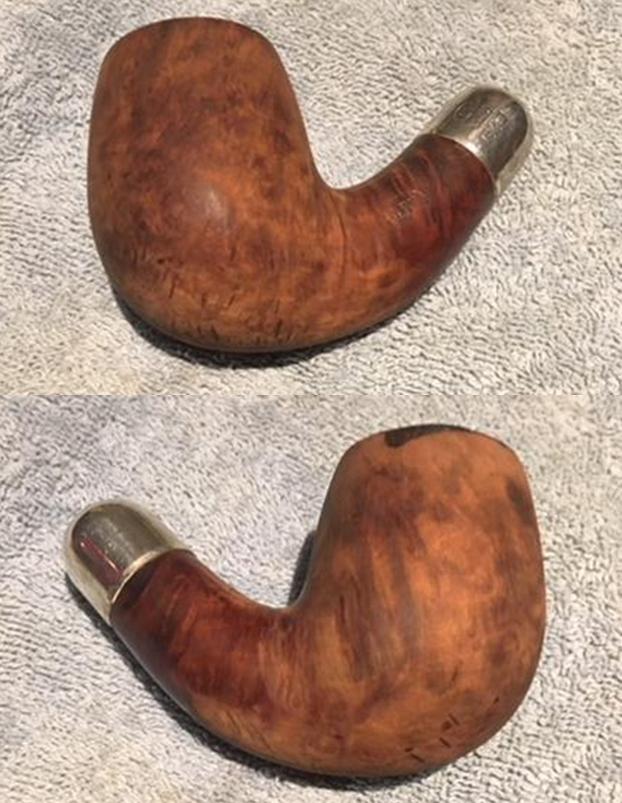
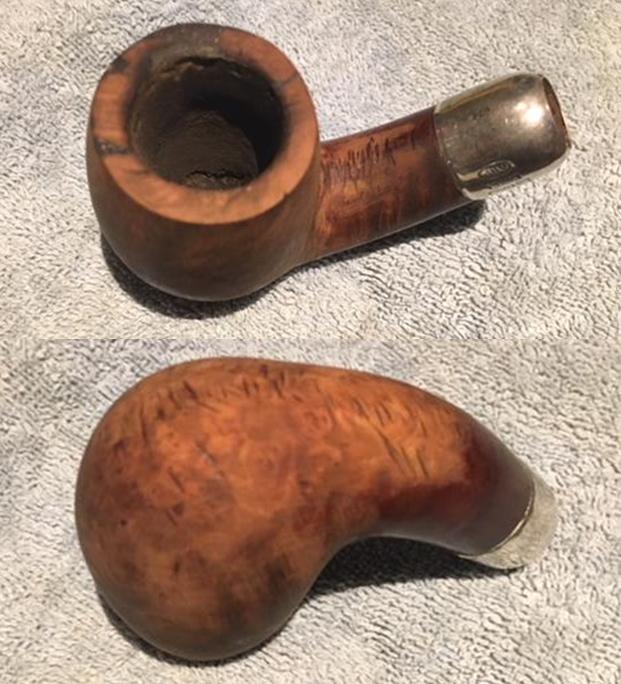
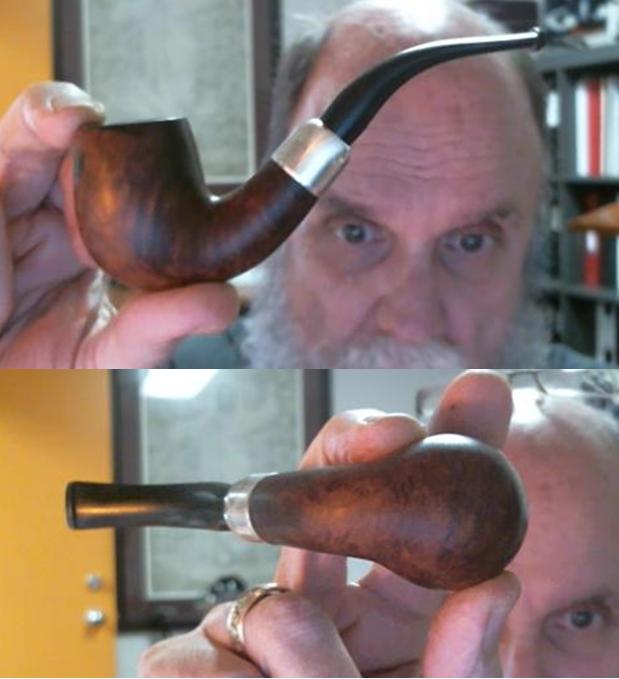
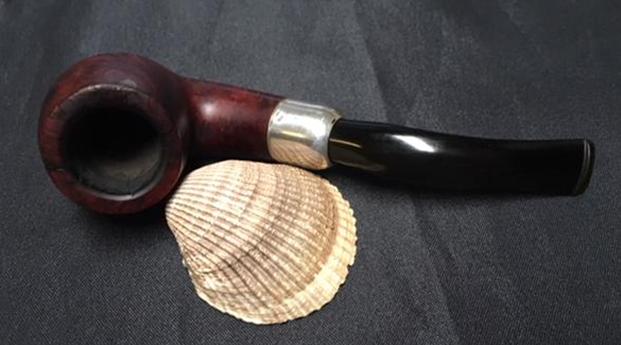
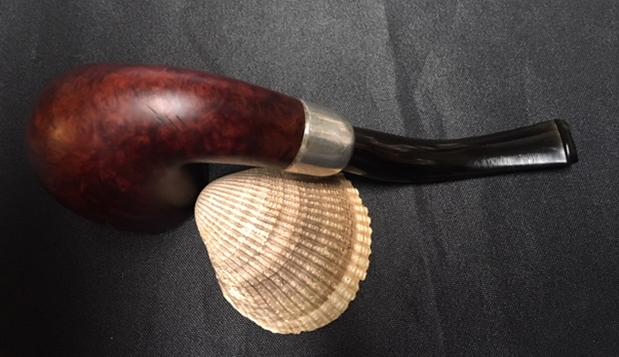
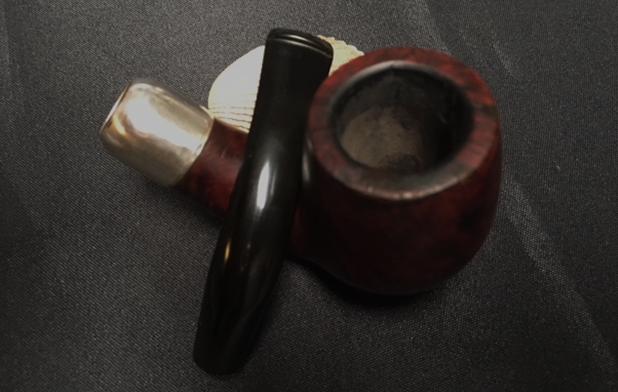
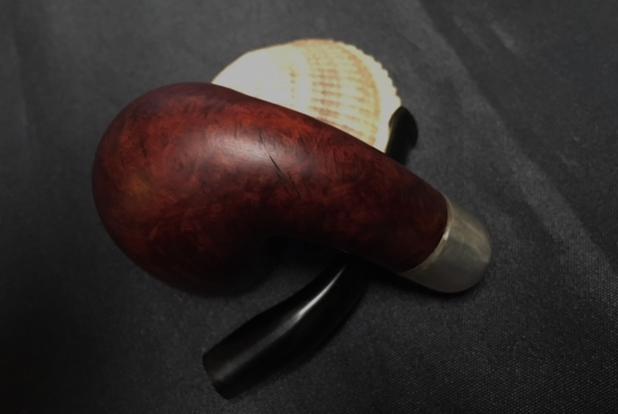
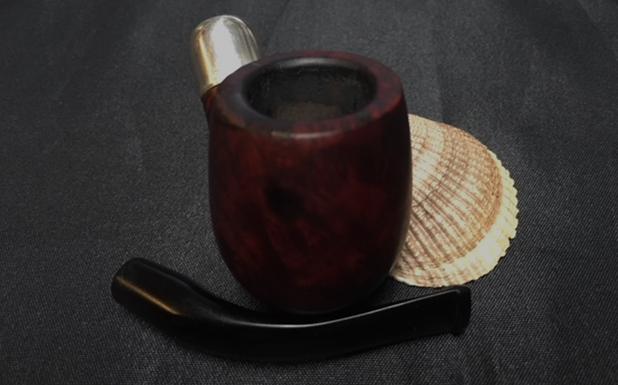
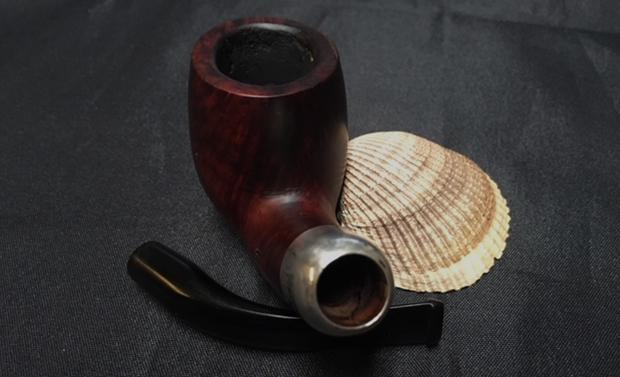
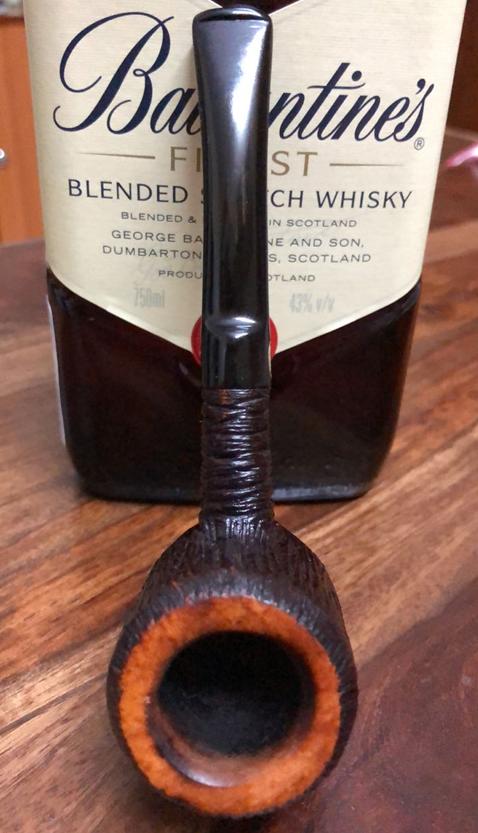
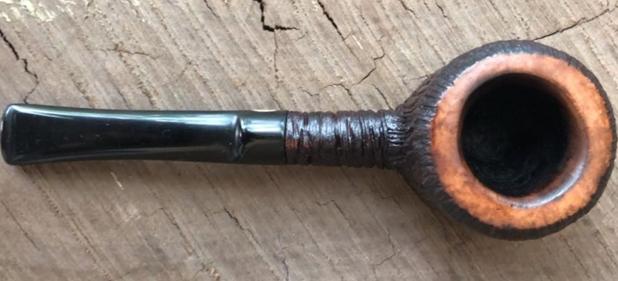
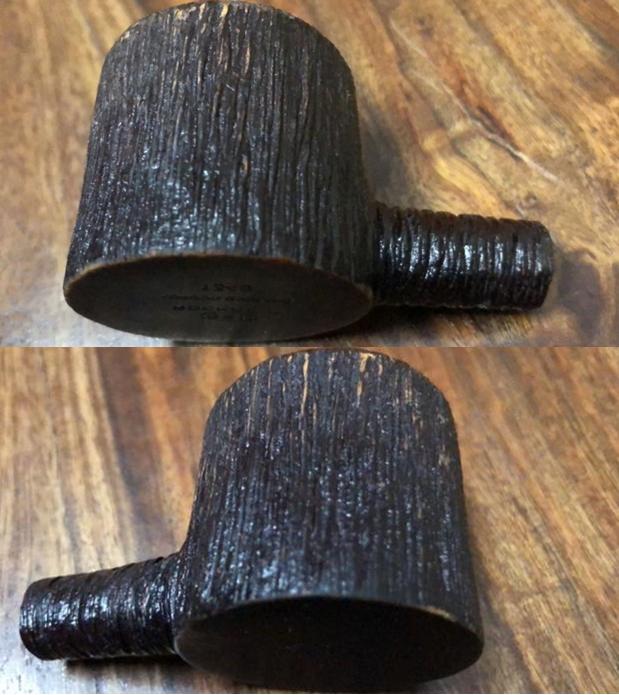
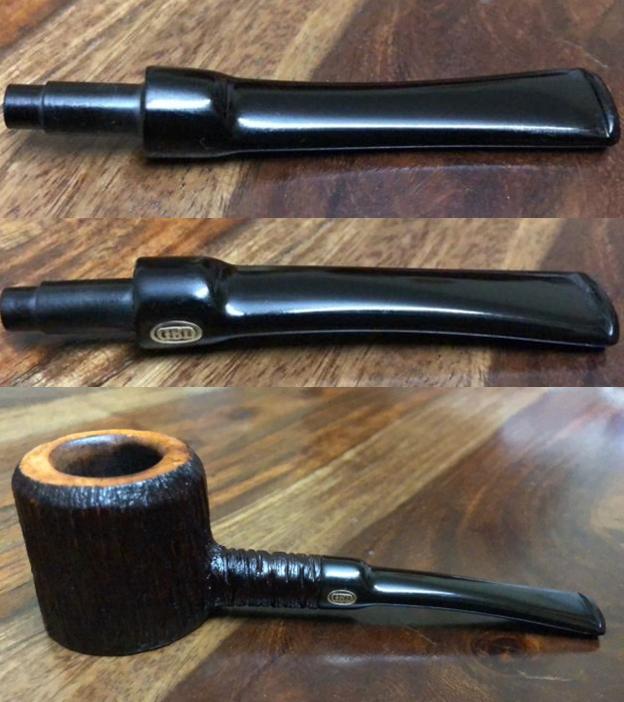
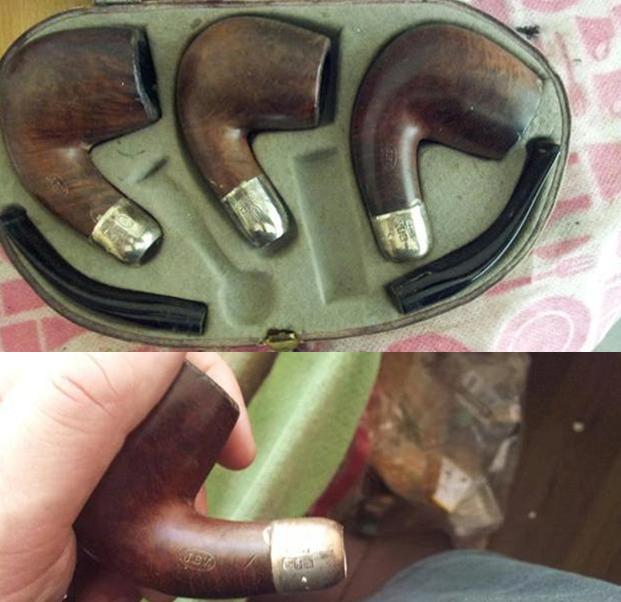
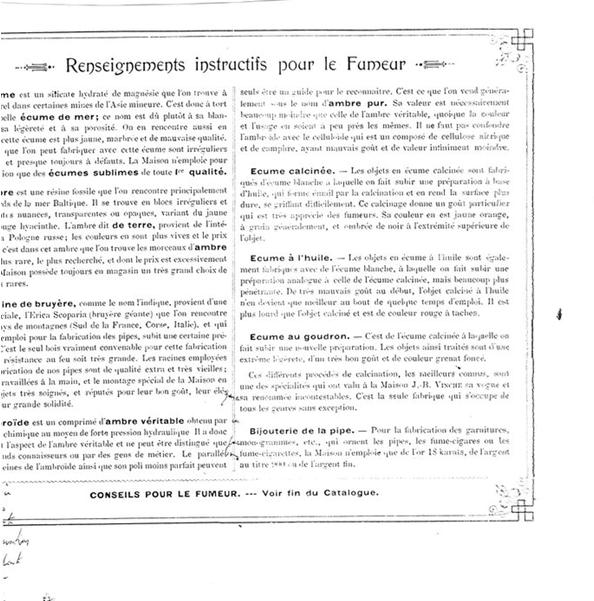
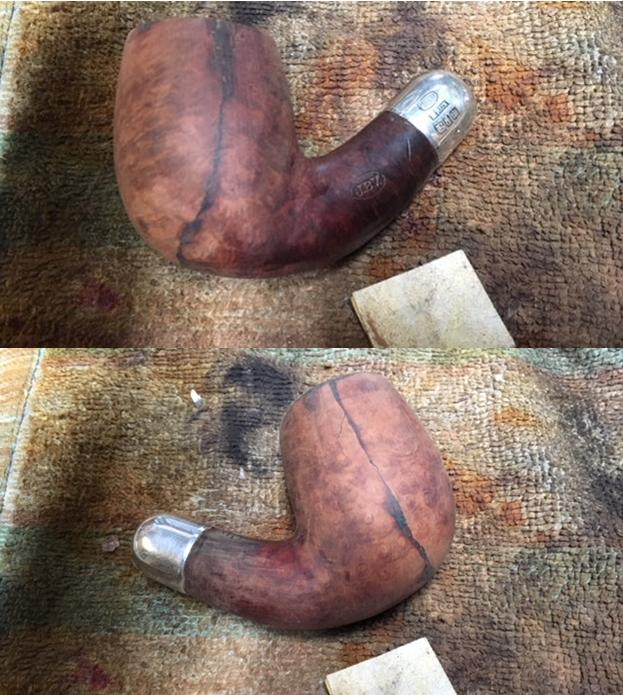
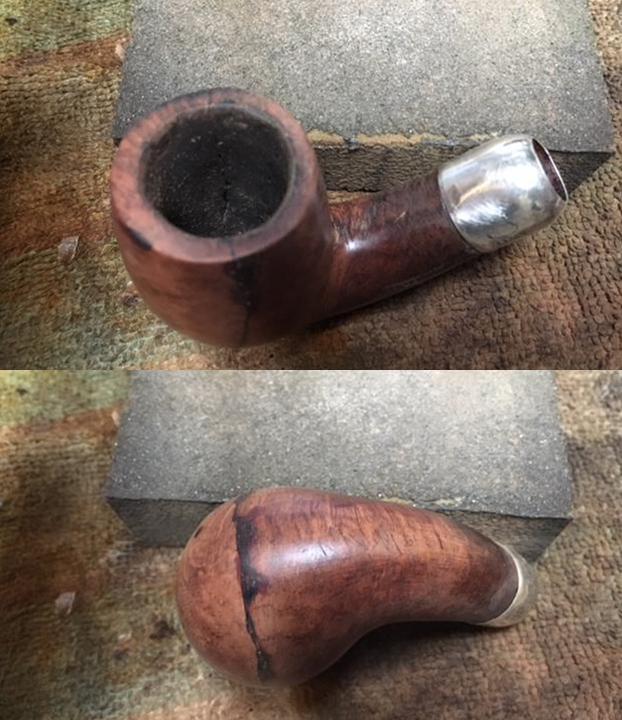
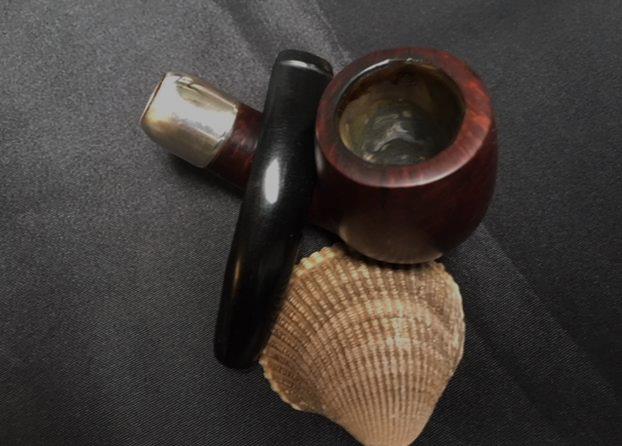
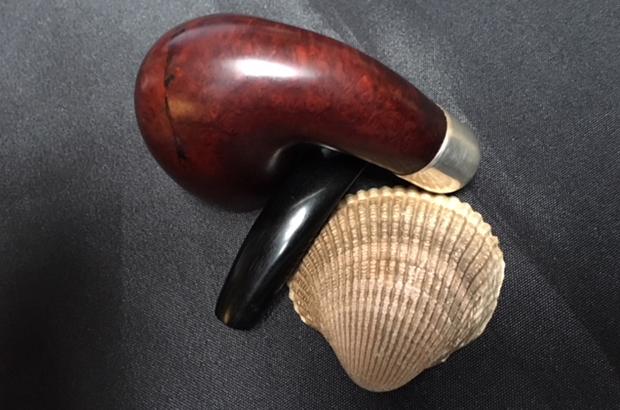
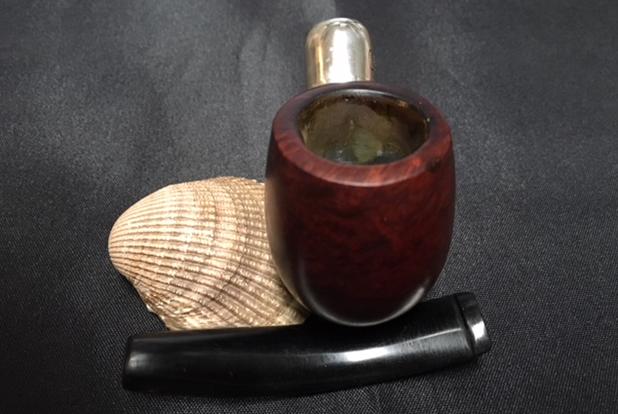
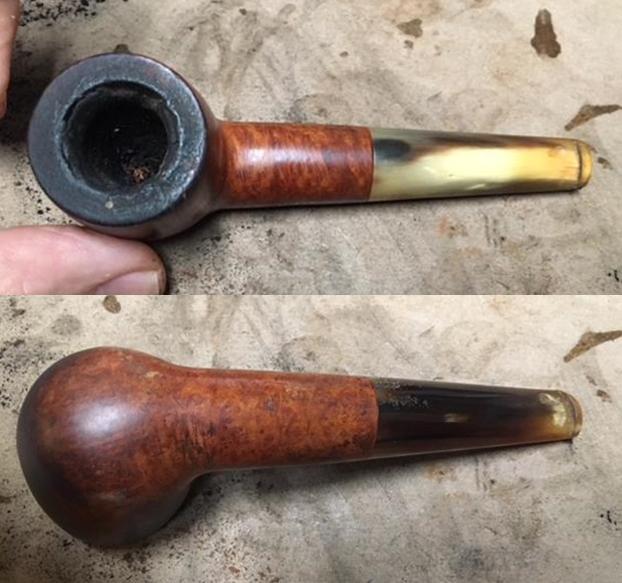
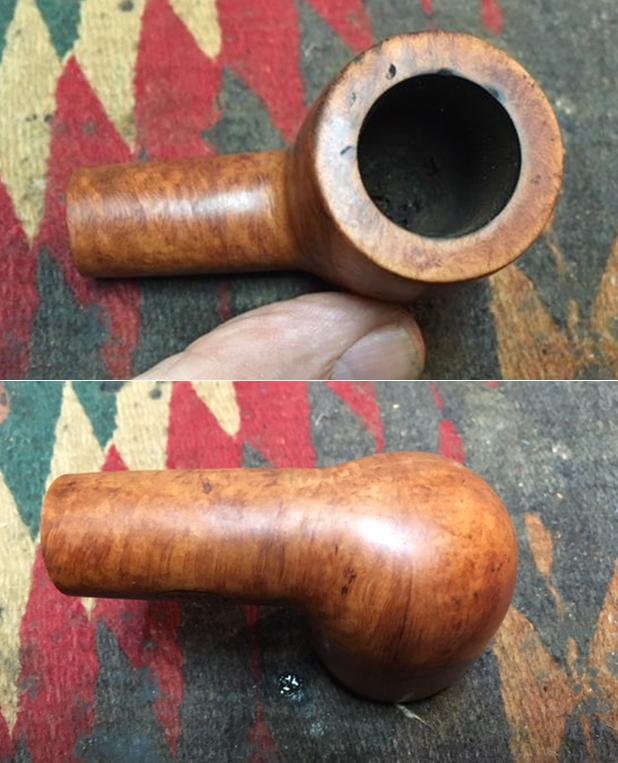
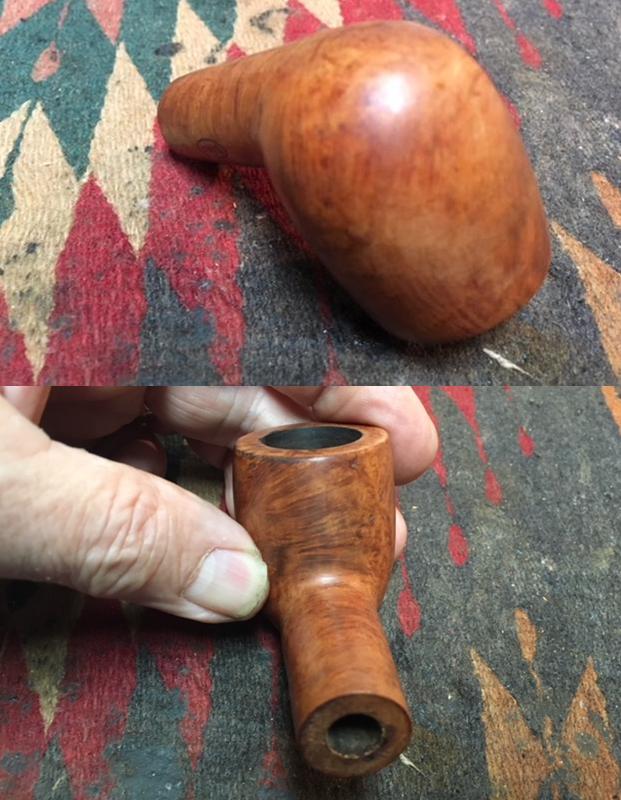
A couple of weeks ago I received an email from Jean Paul in France asking if I was interested in purchasing an old pipe he had. It was stamped SINA on the left side of the shank and on the stem. I asked him to send me some photos of the pipe to show me what he was offering. He sent me the following photos – a left side view, a top view and a photo of the pipe taken apart. The pipe was definitely an old one. The stamping on the left side of the thick shank and on the horn stem had remnants of gold stamping and reads SINA. The rim top was dirty and had a thick looking overflow but it was hard to see what the cake looked like. The inner and outer edges of the bowl looked to be in good condition. The horn stem was in excellent condition with some light tooth chatter on both sides of the stem at the button. There was an inner tube that ran from the tenon end into the bowl. It was heavily lacquered with tobacco oils and tars but otherwise in good condition. I sent another email and a payment via Paypal and the pipe was mine. The pipe was soon on its way across the Atlantic.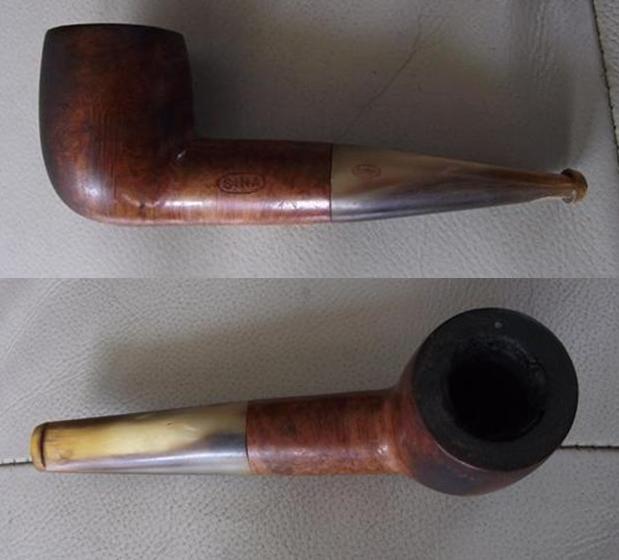
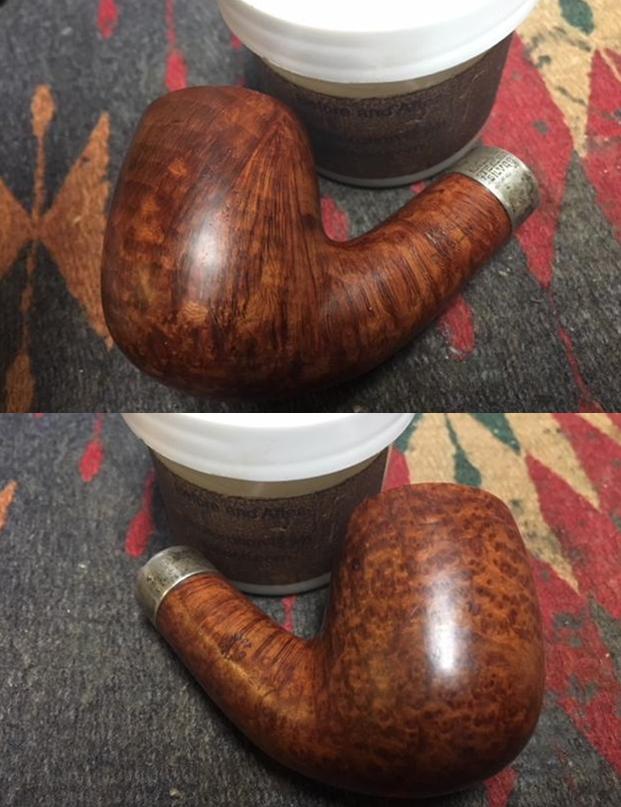
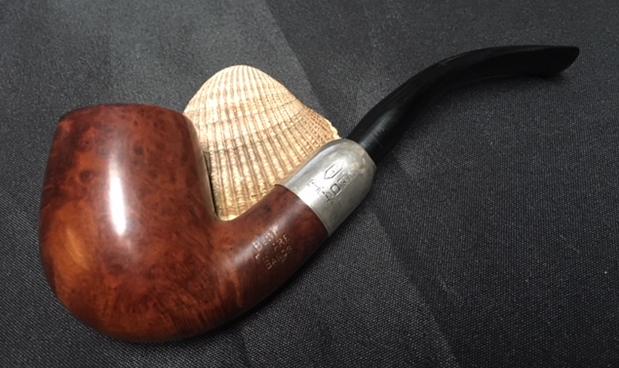
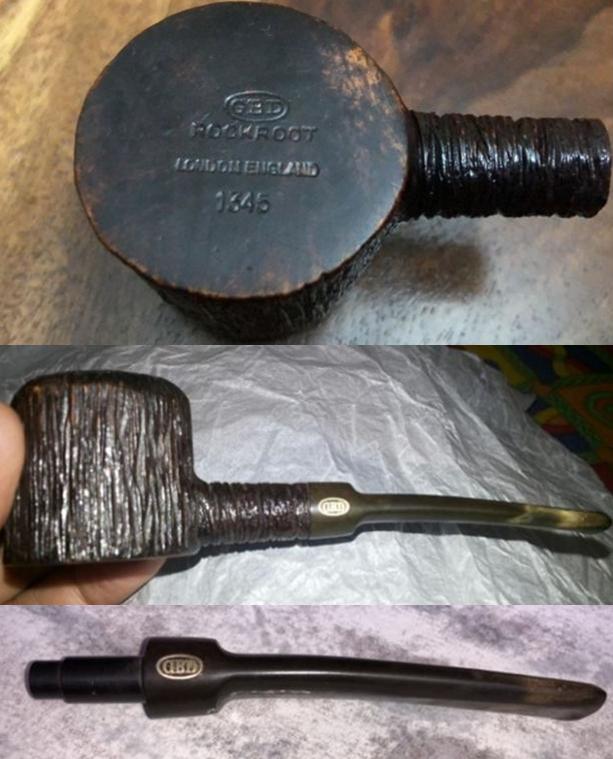
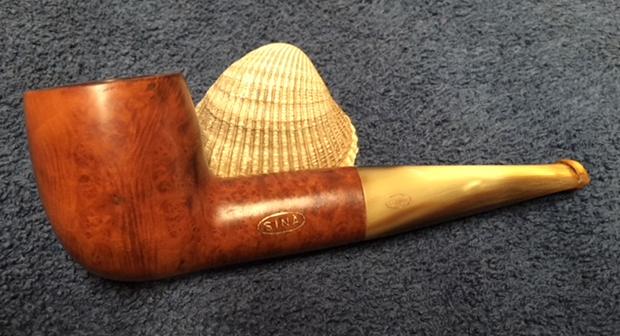
 The SINA brand was not uncommon to me as I have previously worked on another older SINA – a Rhodesian with a hard rubber stem. If you are interested in reading about the restoration of that old pipe the link will take you to the blog (https://rebornpipes.com/2014/08/28/giving-new-life-to-a-sina-rhodesian/). I have included two photos of the other SINA pipe in my collection. It is also an old timer from the same time period.
 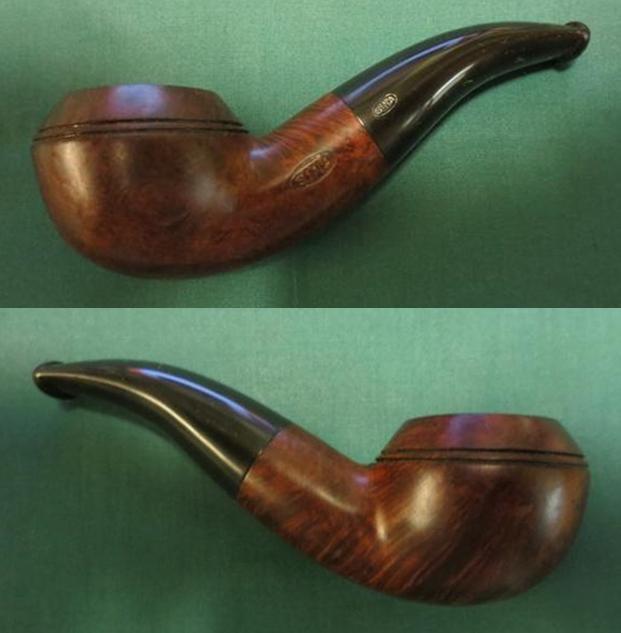 When I worked on that pipe I did a bit of research to find out about the maker of the SINA pipe. I have included the information I found for that blog below. I figured it would be good to have it here as well as in the earlier blog. I quote:
I looked on Pipephil’s site and was able to find out that there was indeed a connection to GBD. The connection was with the French branch of GBD. From the screen capture above you can see the two links under the photo on the left. The first connects the pipe to the Marechal Ruchon & Co. factory that made GBD pipes. They eventually sold out to the Oppenheimer group. The French brand was also connected to C.J. Verguet Freres and to Sina & Cie which were sold to Oppenheimer in 1903-1904. In 1905-1906 Oppenheimer merged the two companies. The accompanying chart gives an overview of the twisted trail of the GBD brand and its mergers and sales. The chart also comes from the Pipephil site and was the second link under the above photo.
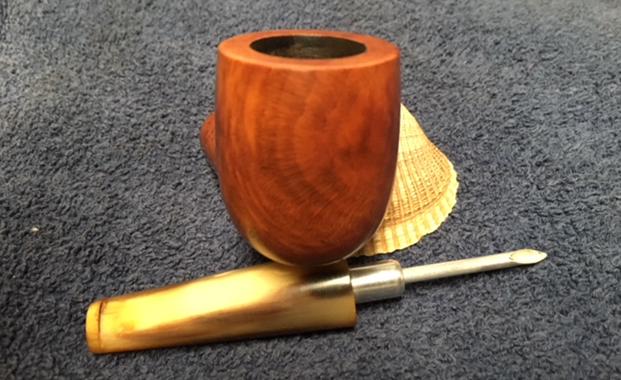
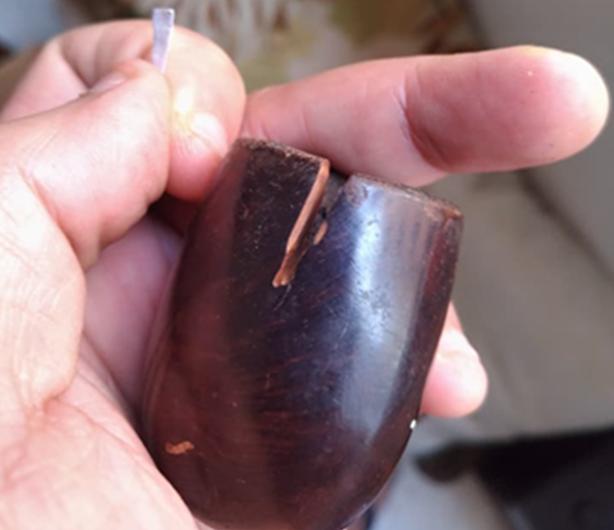
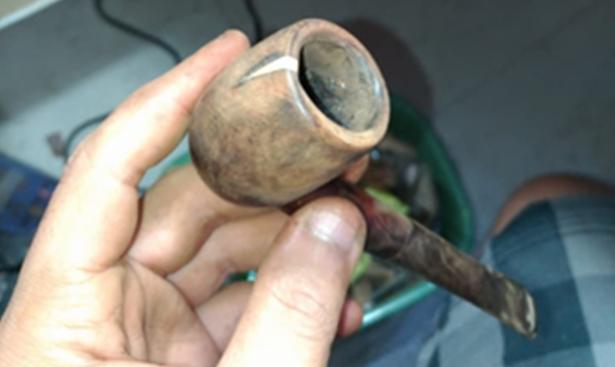
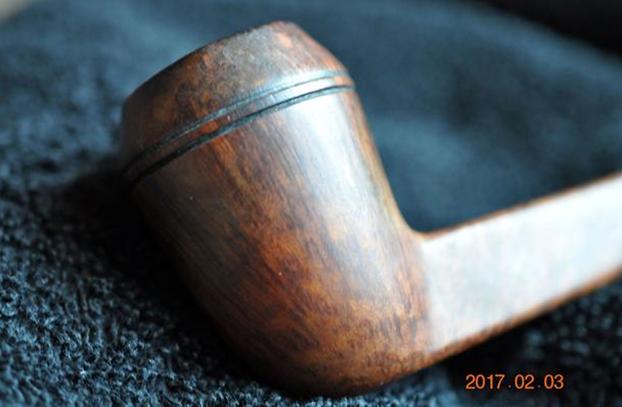
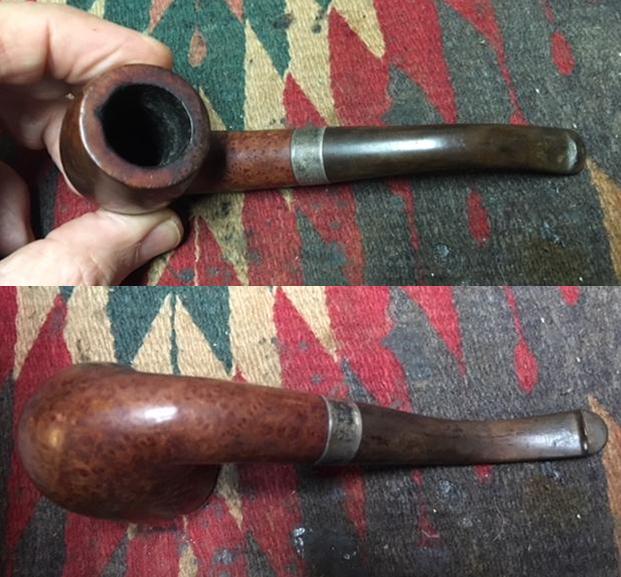
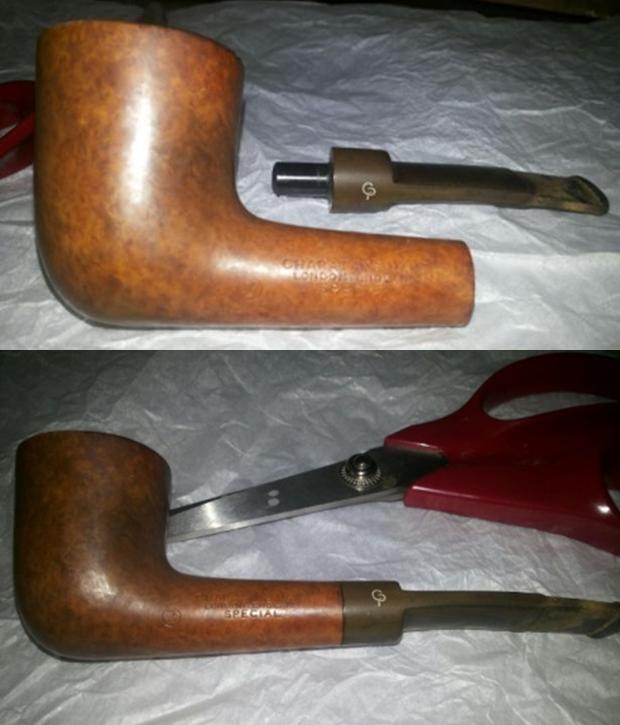
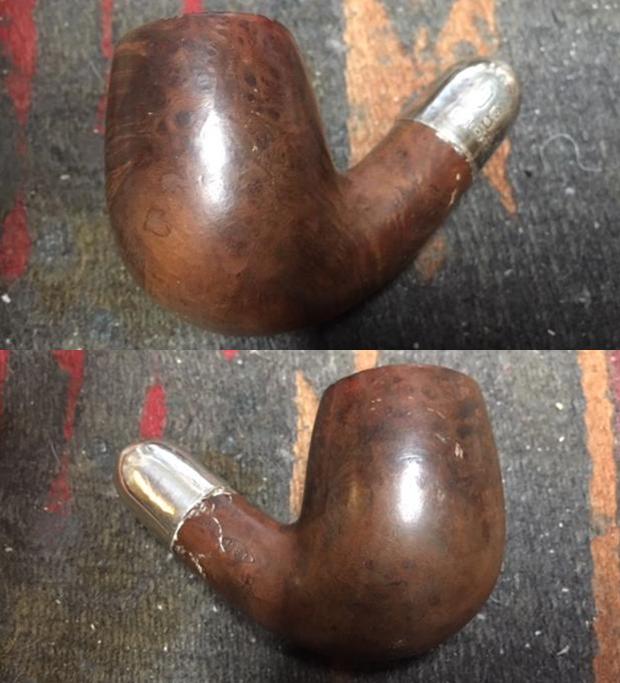
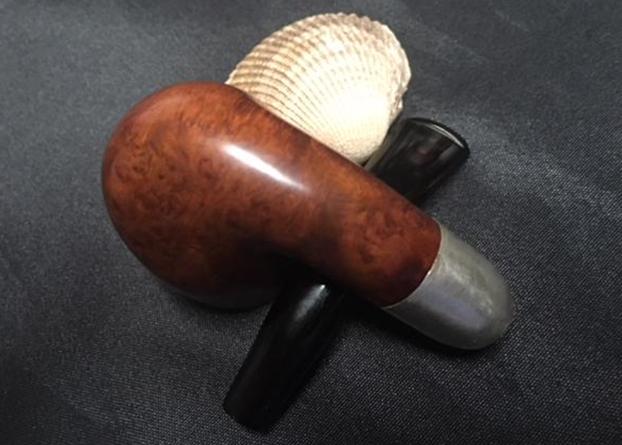
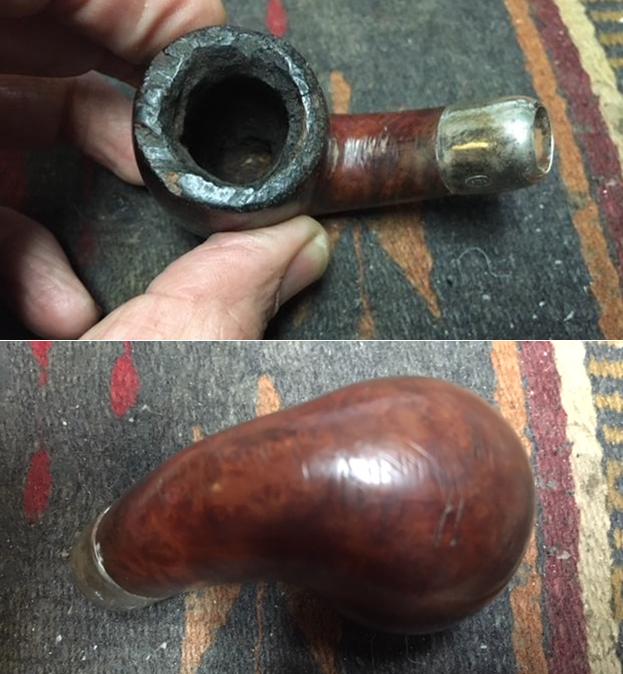
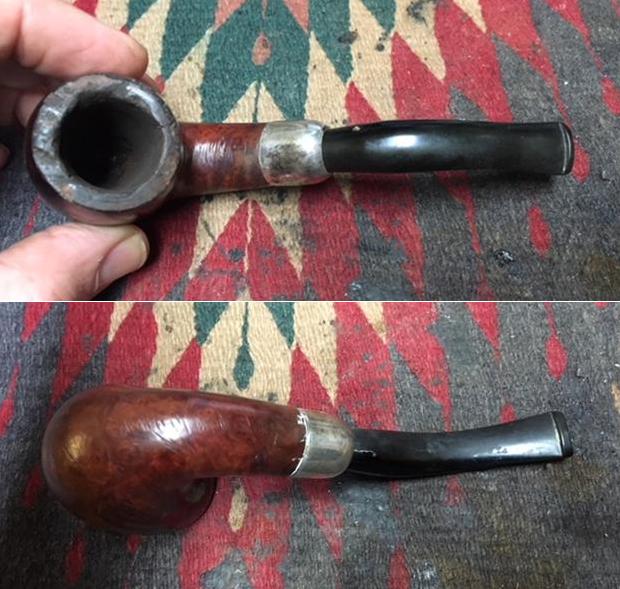
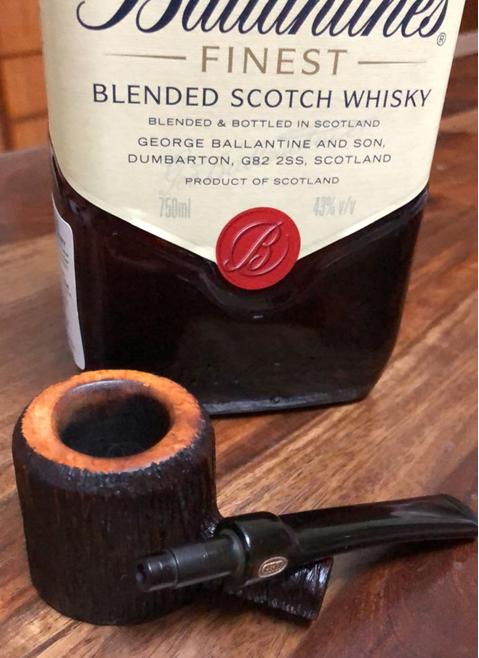
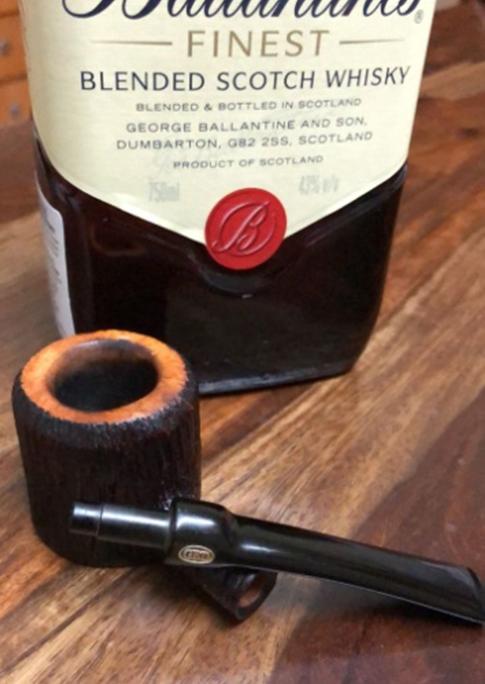
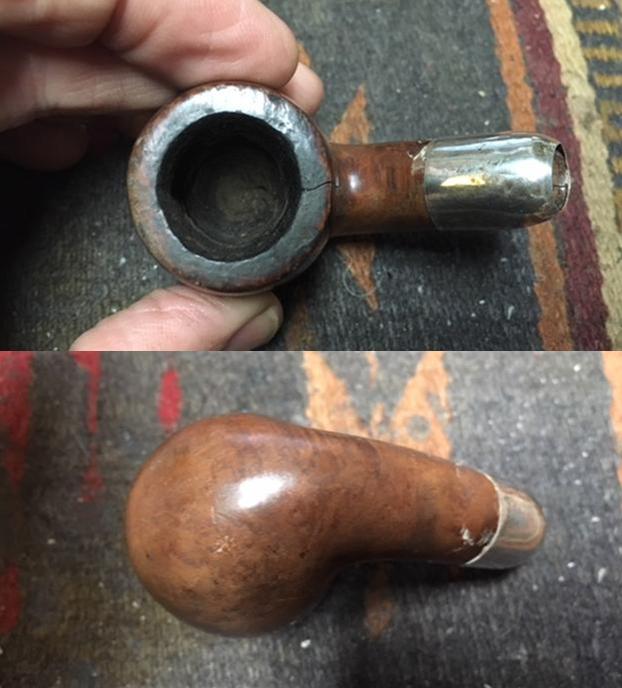
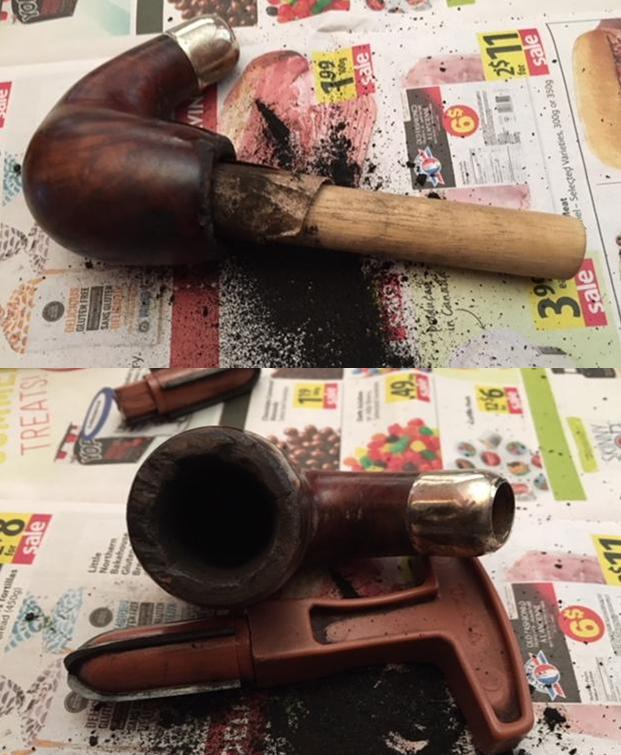
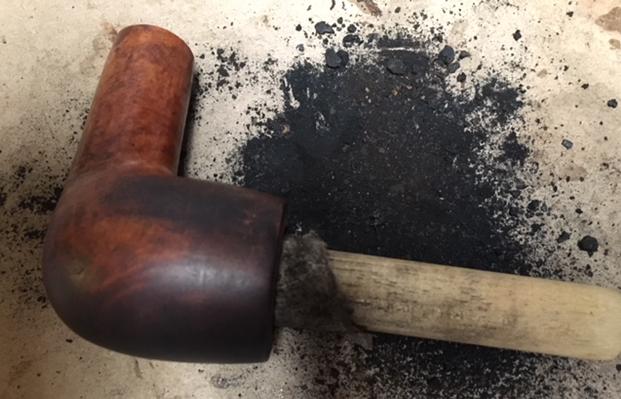
 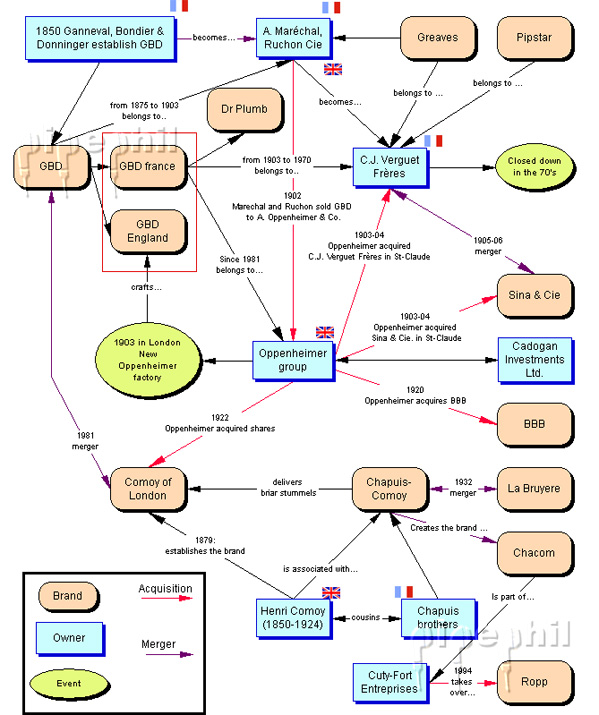 Once I had refreshed my memory on the SINA brand I knew that this second pipe was made before the 1905-1906 mergers as well. It fits well with the thick horn stem and the shape of the button and narrow slot opening. The thick shank also fits well with the period. I really like the shape and style of this era of pipe history so this one would be a pleasure to clean up. I took the following photos of the pipe when I took it out of the box. It was really dirty as I had guessed from the presale photos. It was in good condition underneath it looked like but it was a mess. The outside of the bowl was very dirty grime and tars covering the front and right side of the bowl. The rim top had a thick coat of lava and tars and there was a thick cake in the bowl. The stem looked pretty decent other than tooth marks on the top and underside near the button.
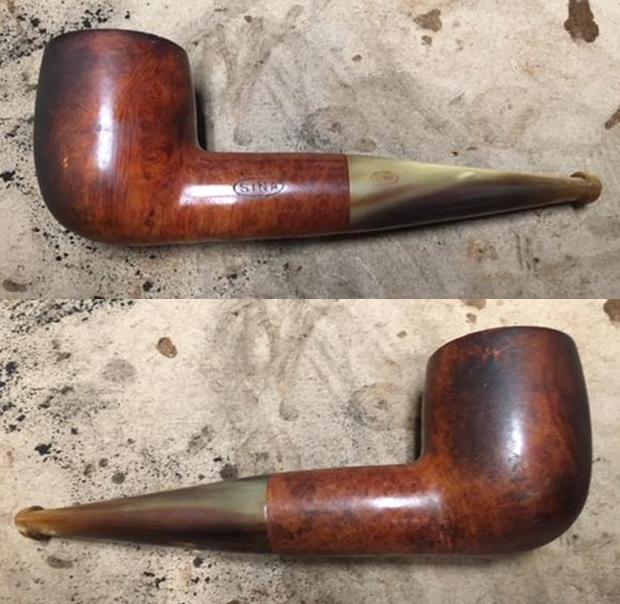
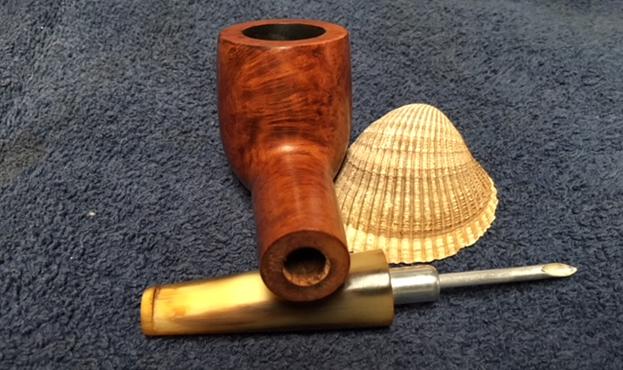
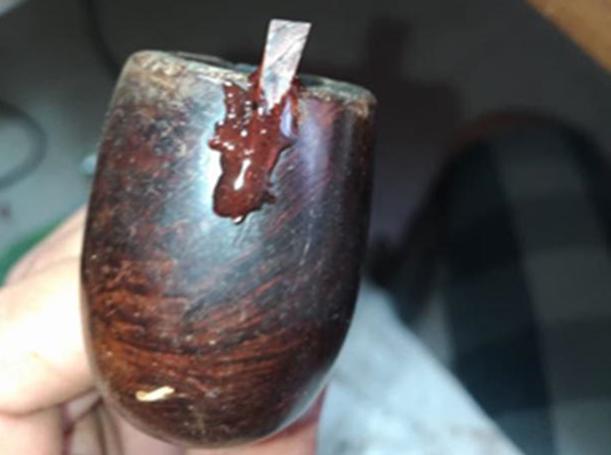
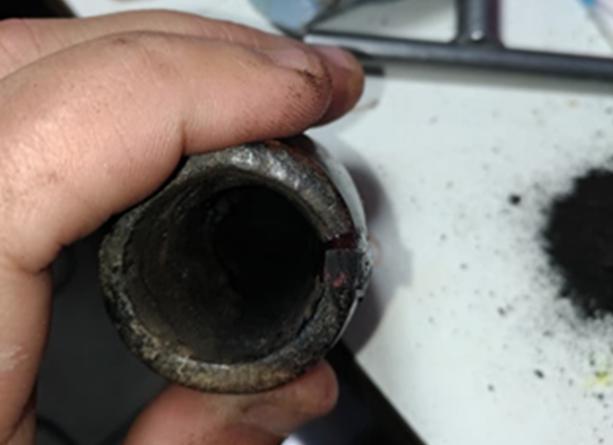
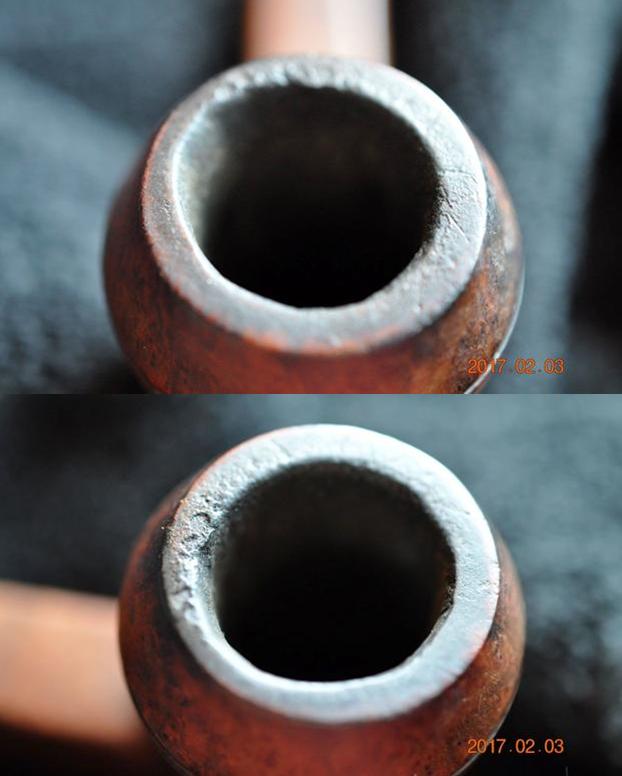
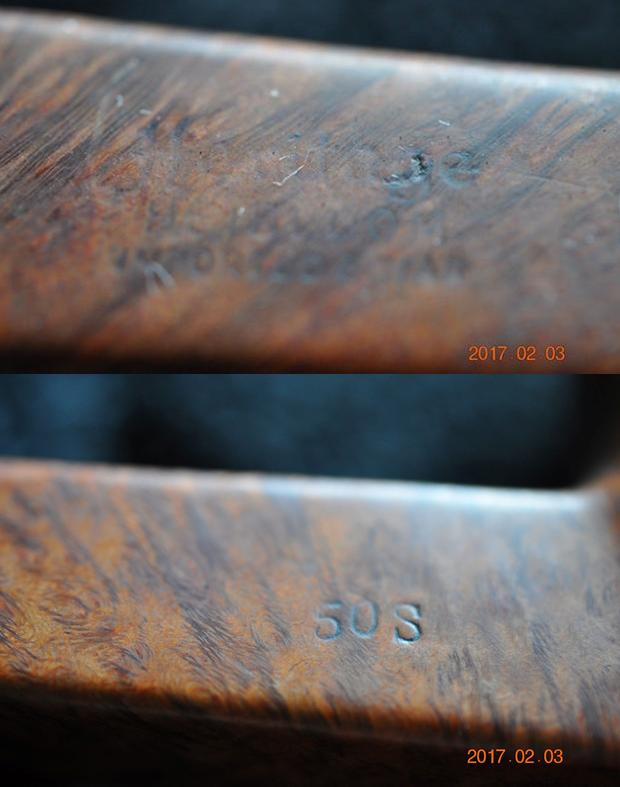
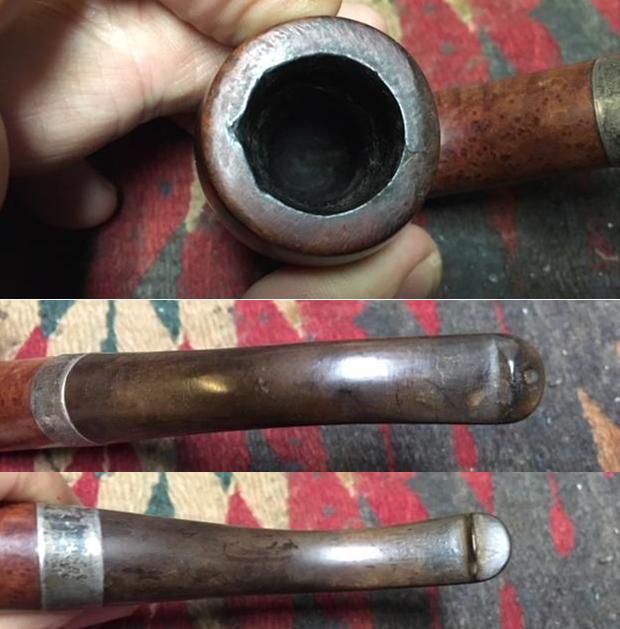
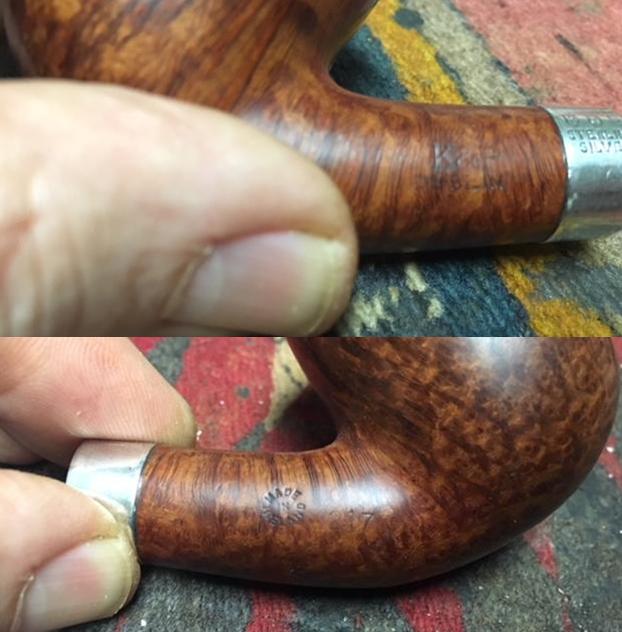
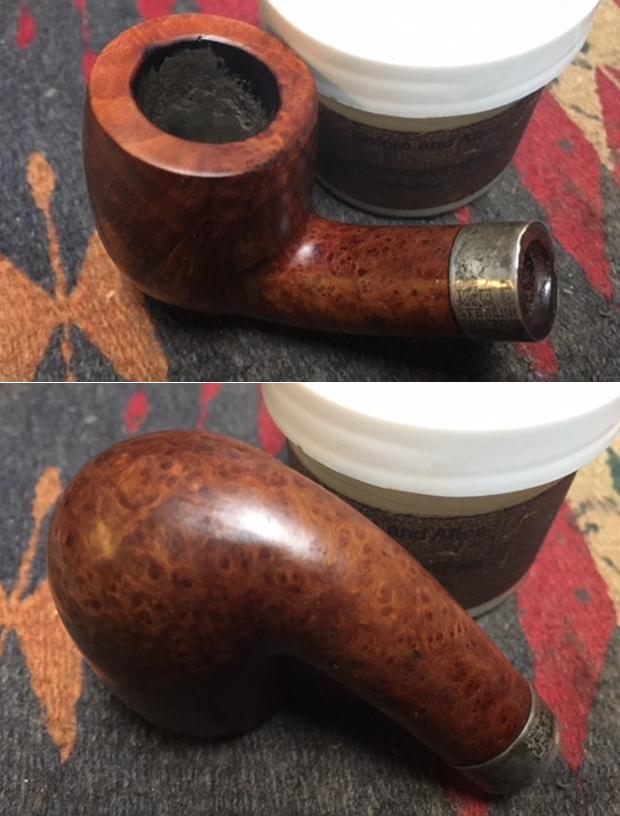
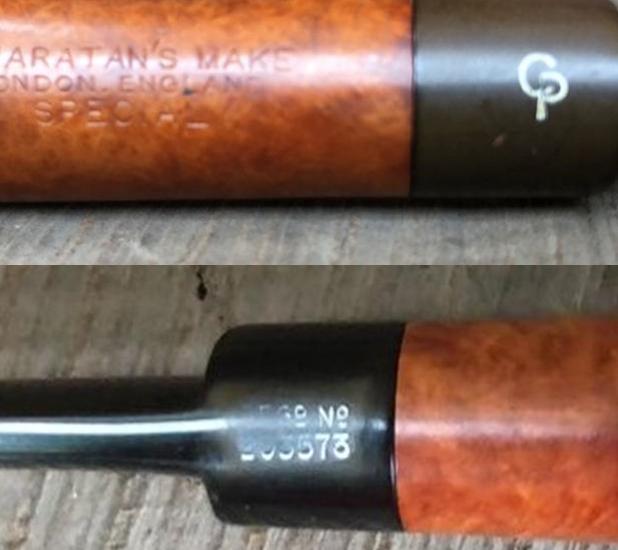
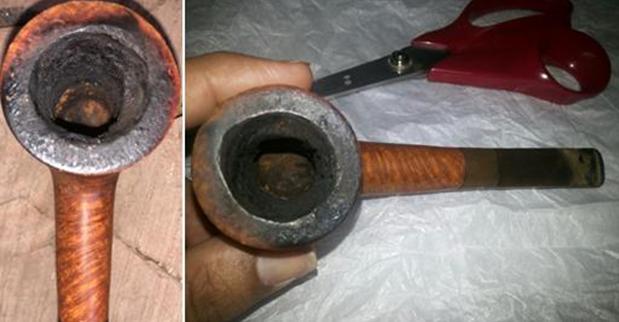
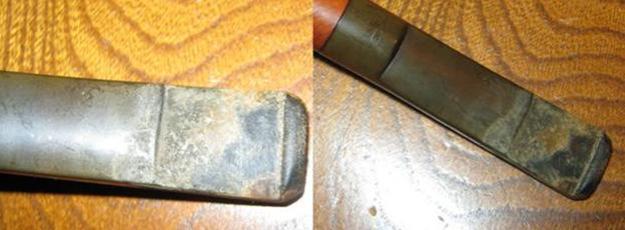
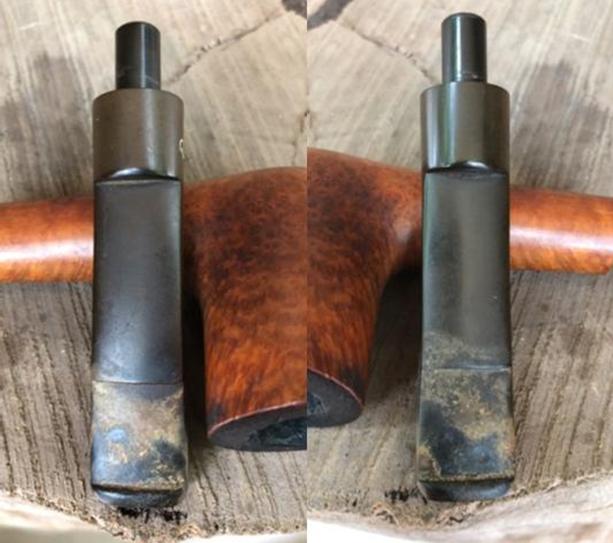
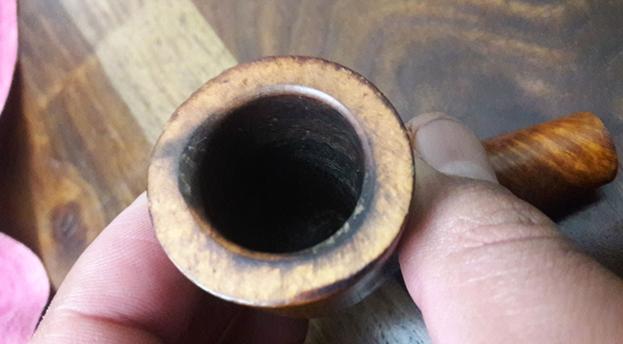
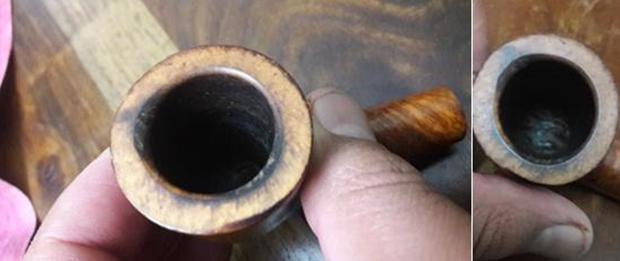
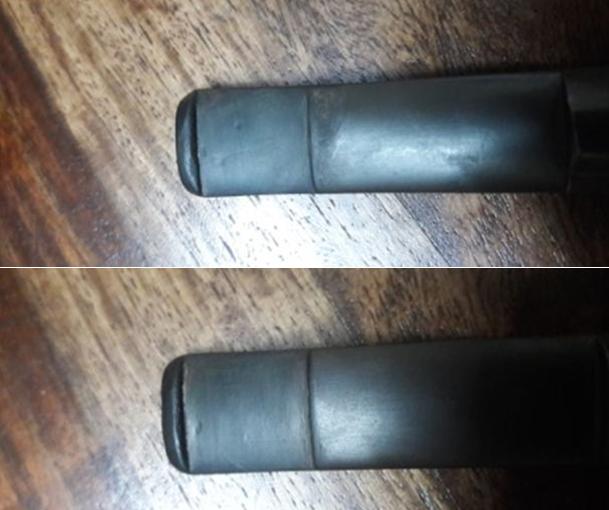
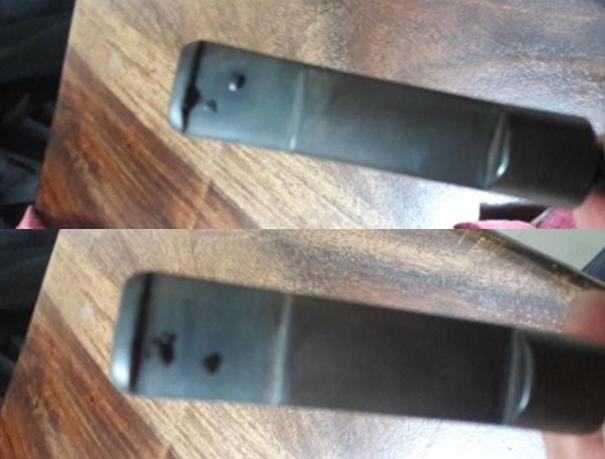
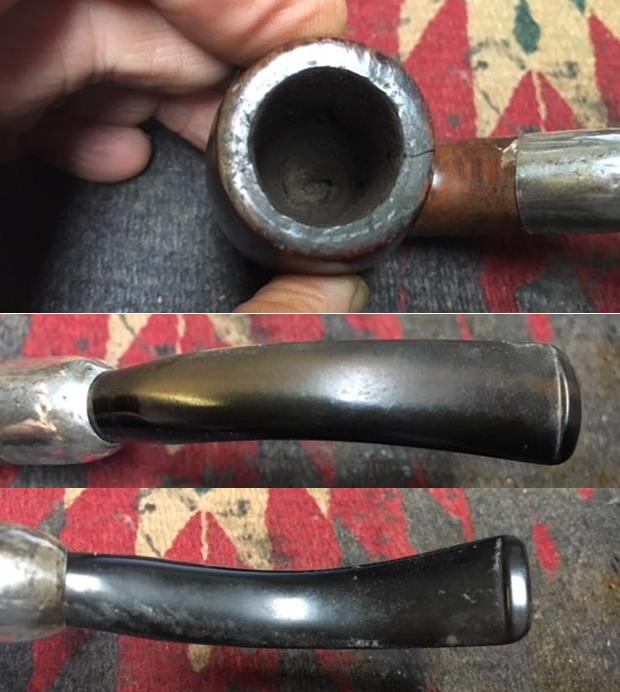
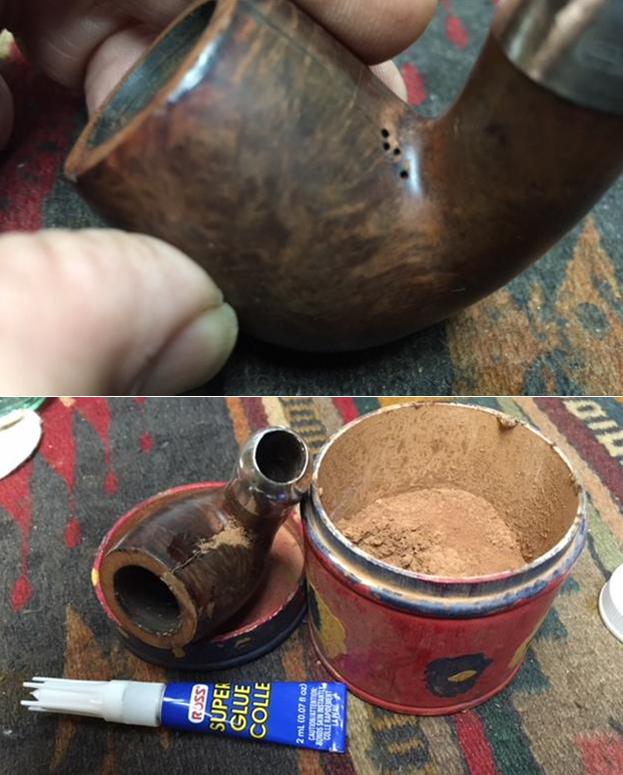
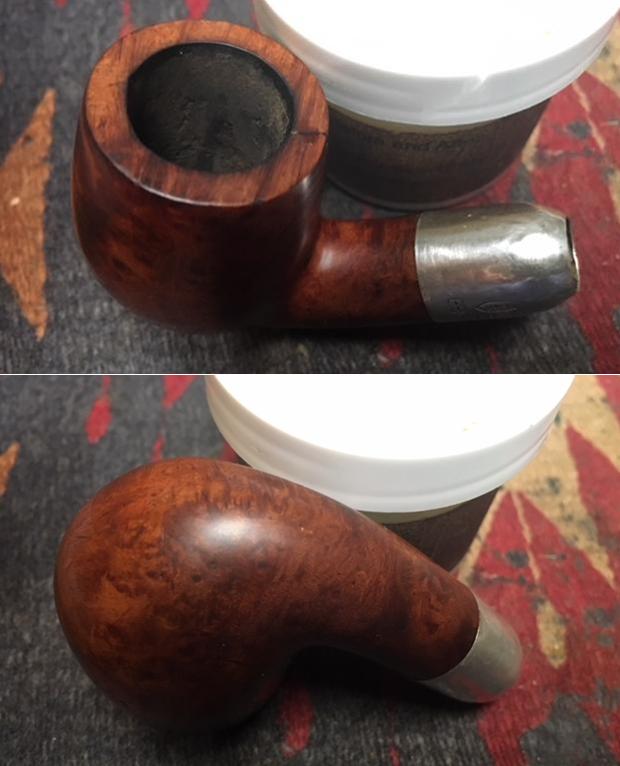
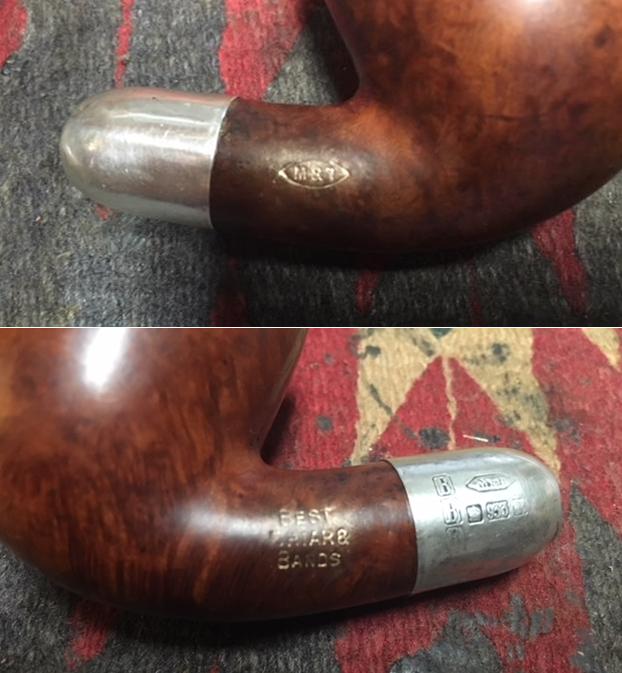
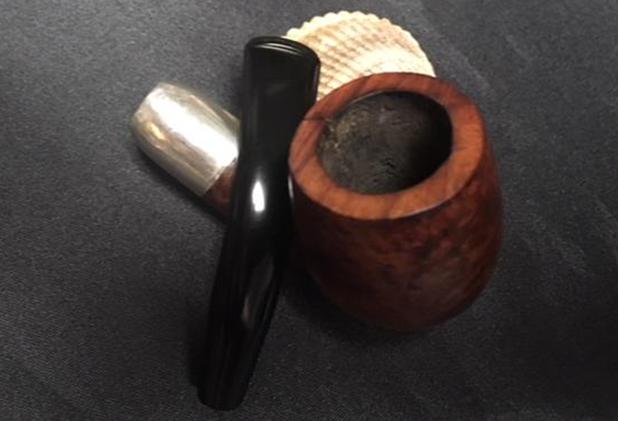
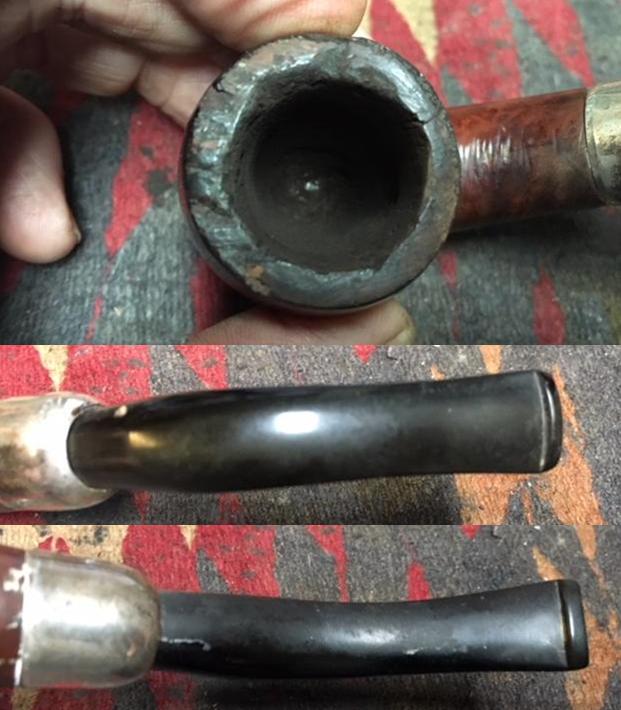
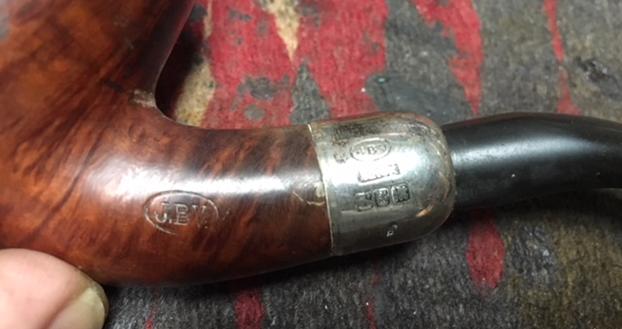
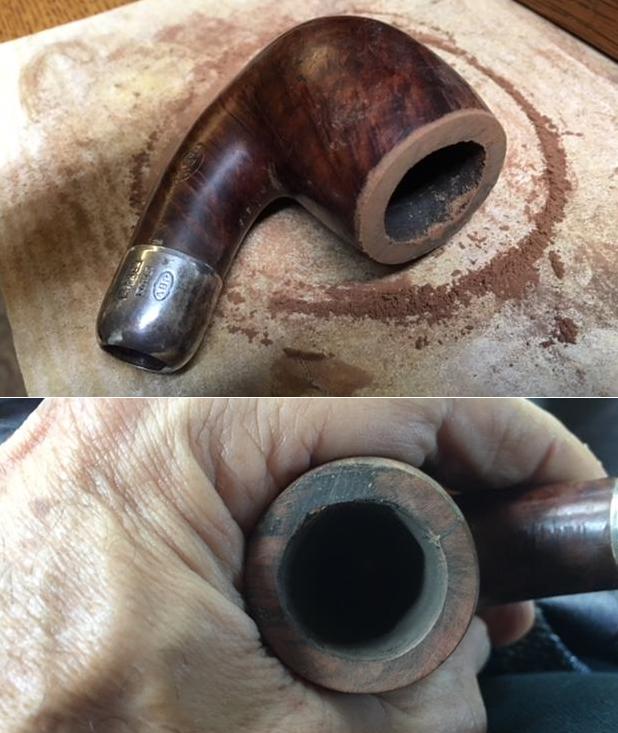
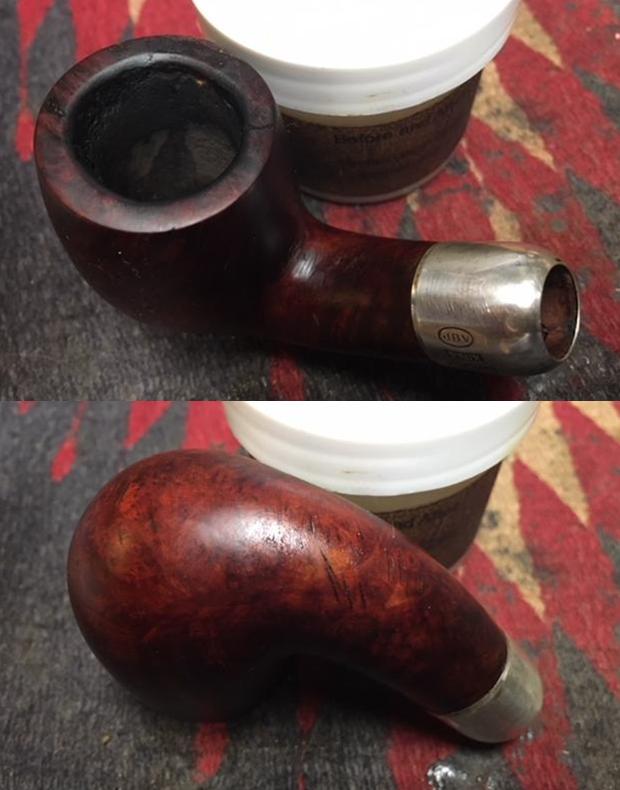
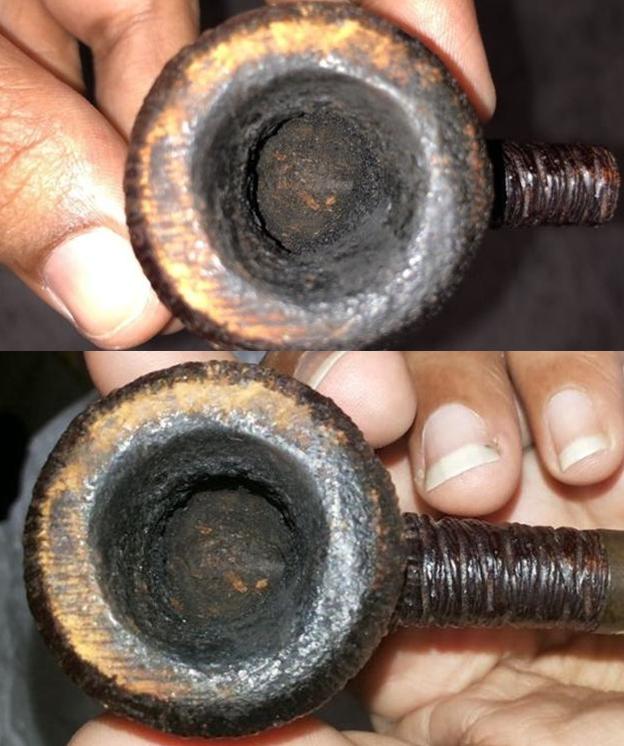
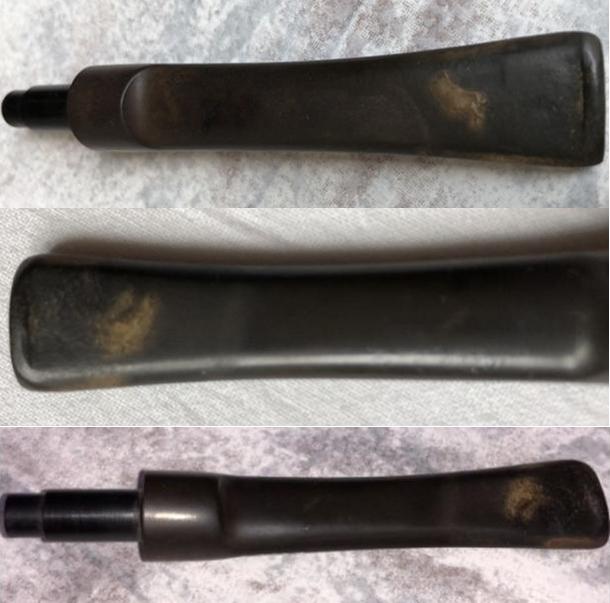
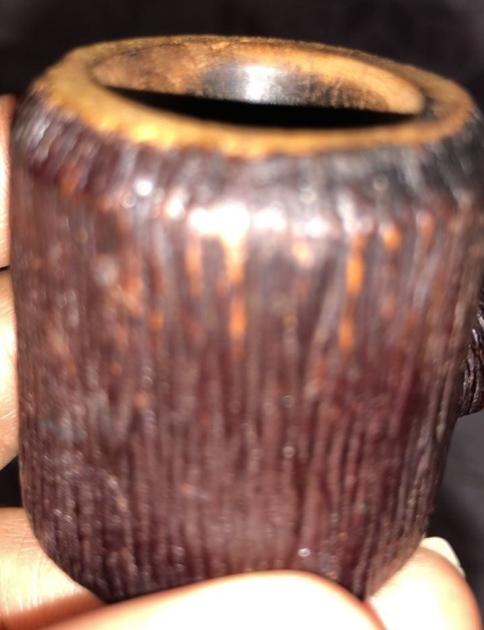
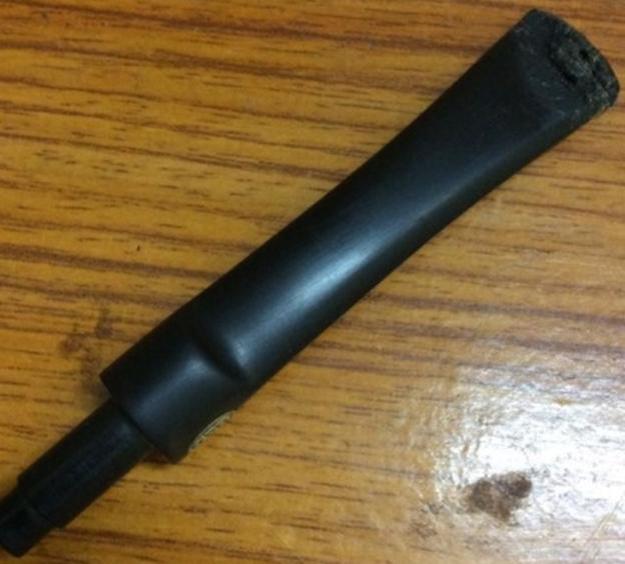
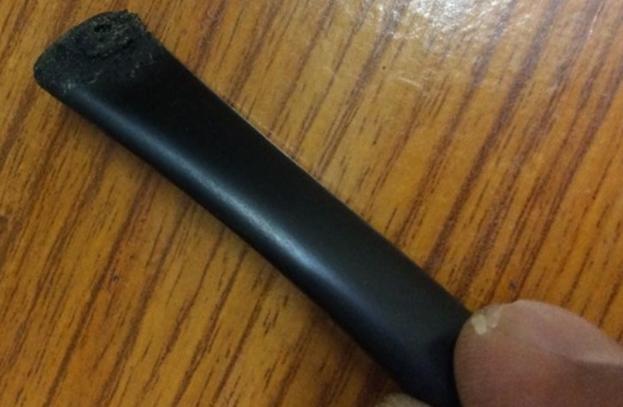
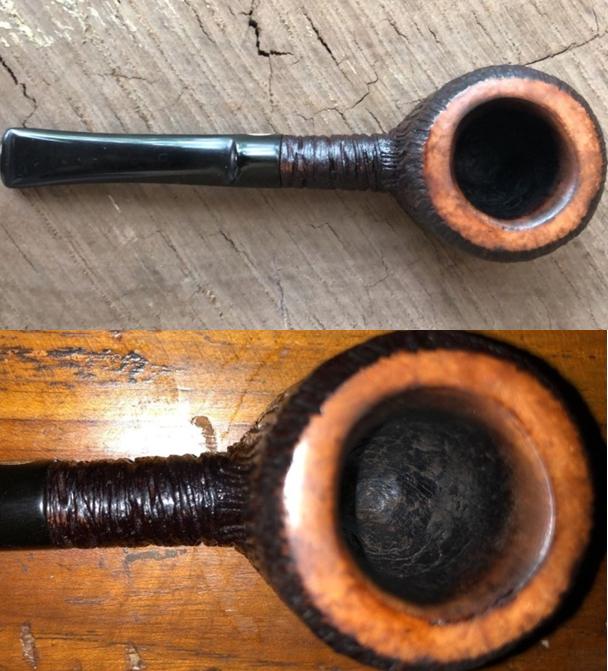
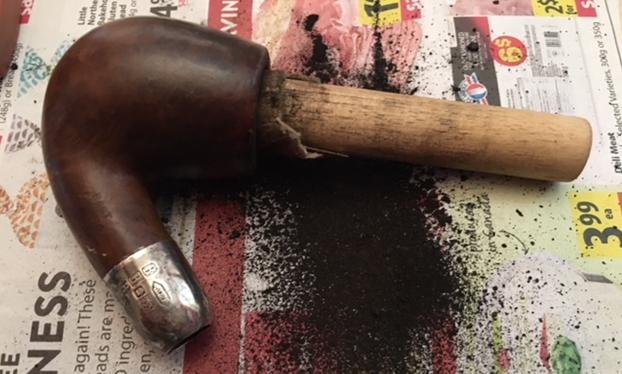
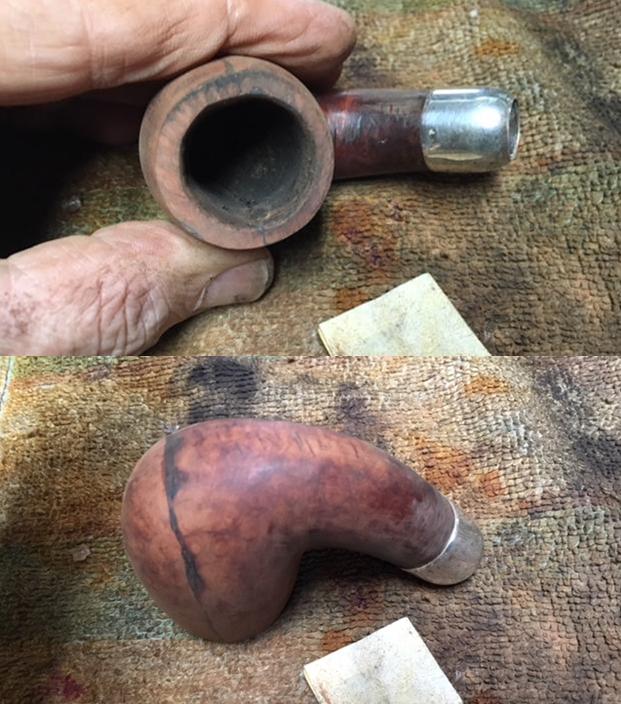
 I took close up photos of the rim top and both sides of the stem to show its condition. You can see from the photo the thick cake in the bowl and the overflow on the rim top. The second and third photos show the tooth marks chatter on both sides of the stem at the button. The final photo shows the SINA in a logo stamped on the left side of the shank.
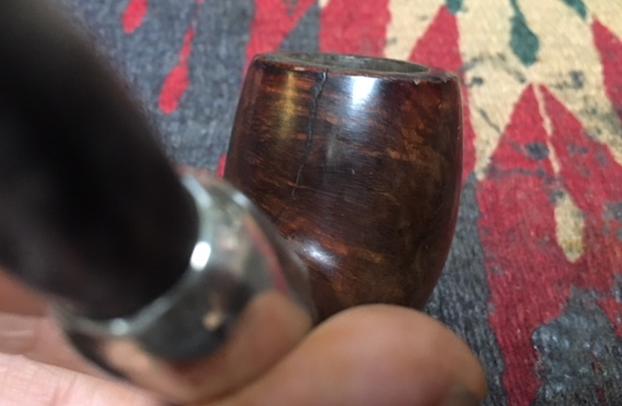
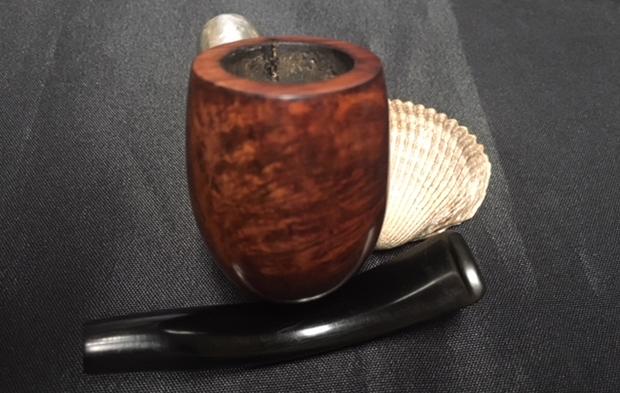
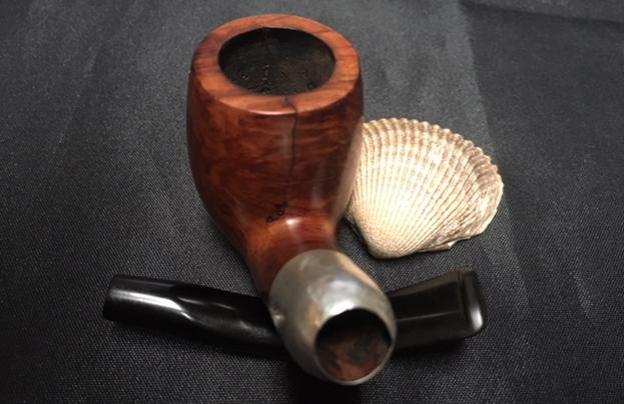
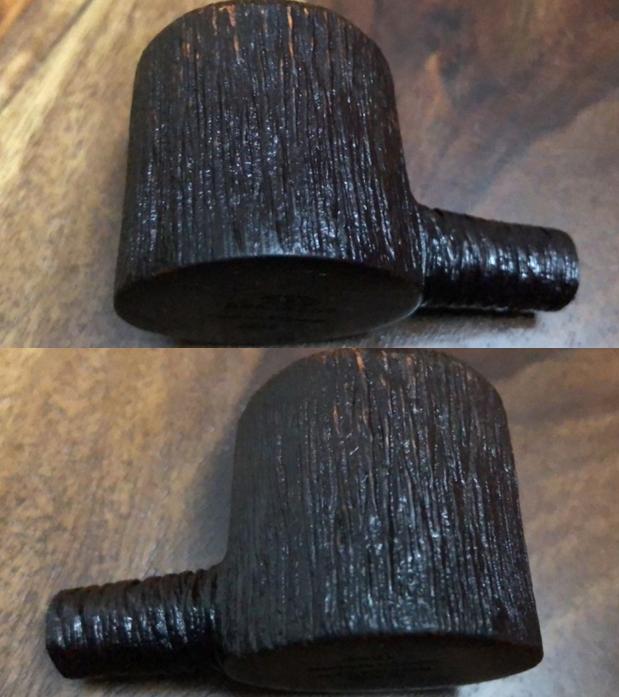
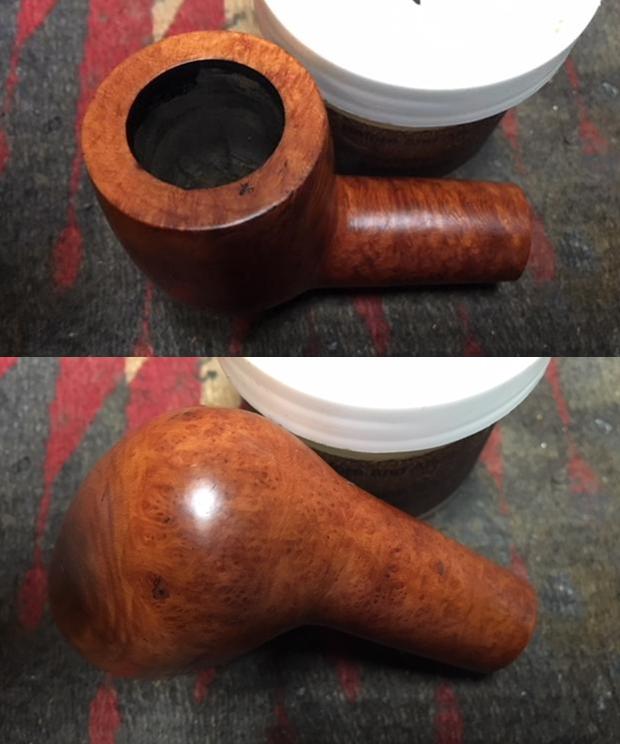
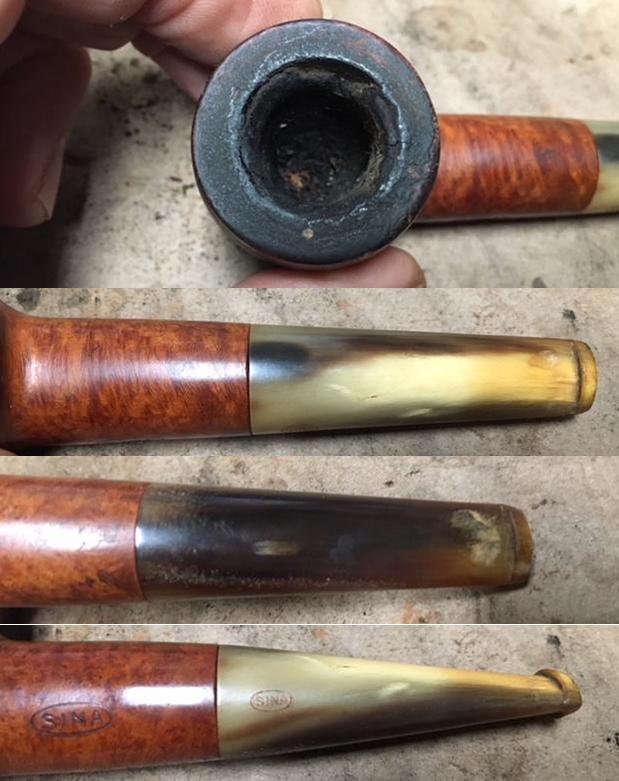 I took photos of the bowl from a variety of angles to show the ground in grime and dirt in the briar on the exterior.
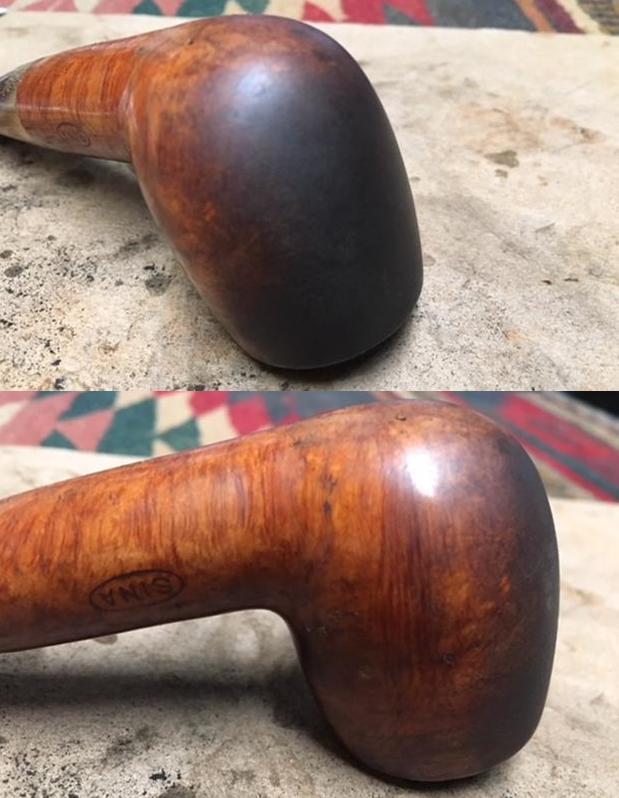
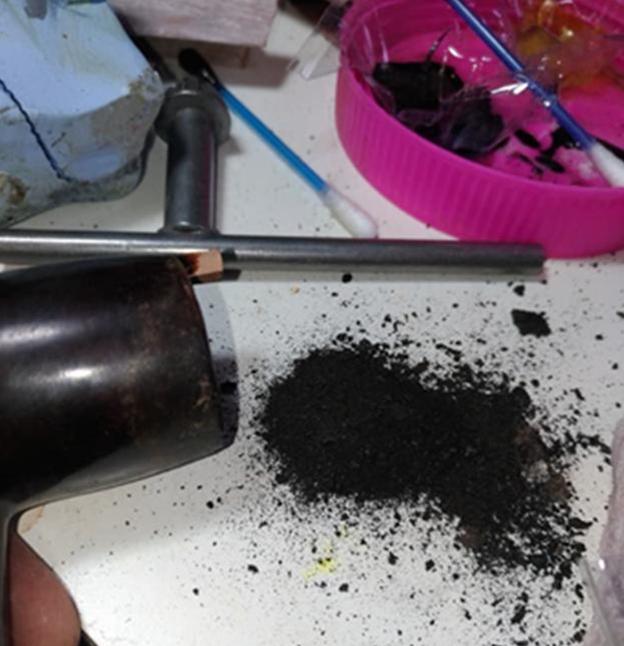
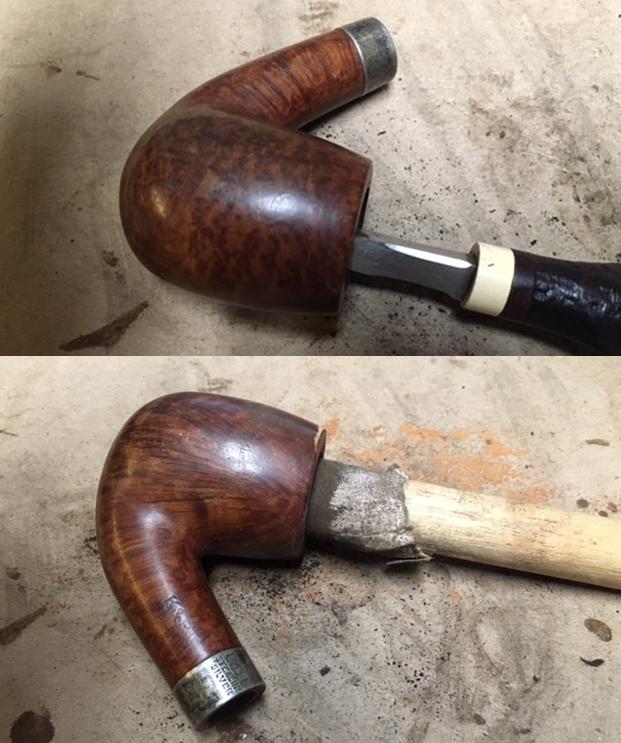
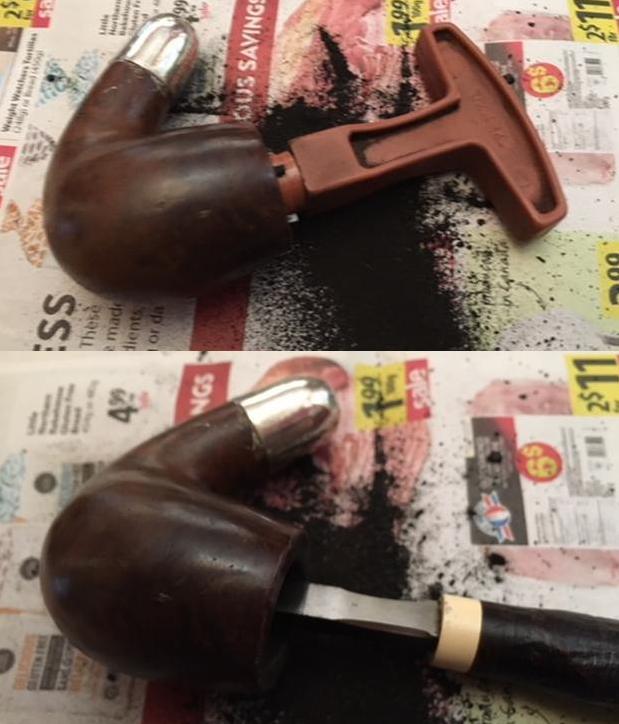
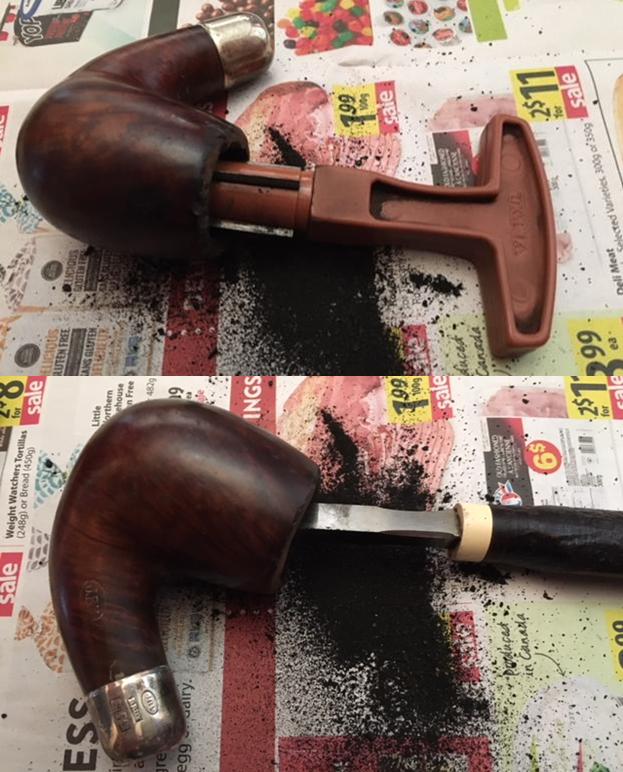
 I reamed the bowl with a PipNet pipe reamer starting with the smallest cutting head and working up to the third cutting head. I took the cake back to the walls of the bowl. I cleaned it up with a Savinelli Fitsall Pipe Knife to remove the cake that remained behind on the walls and on the bottom of the bowl. I sanded the inside of the bowl smooth with 180 grit sandpaper wrapped around a piece of dowel.
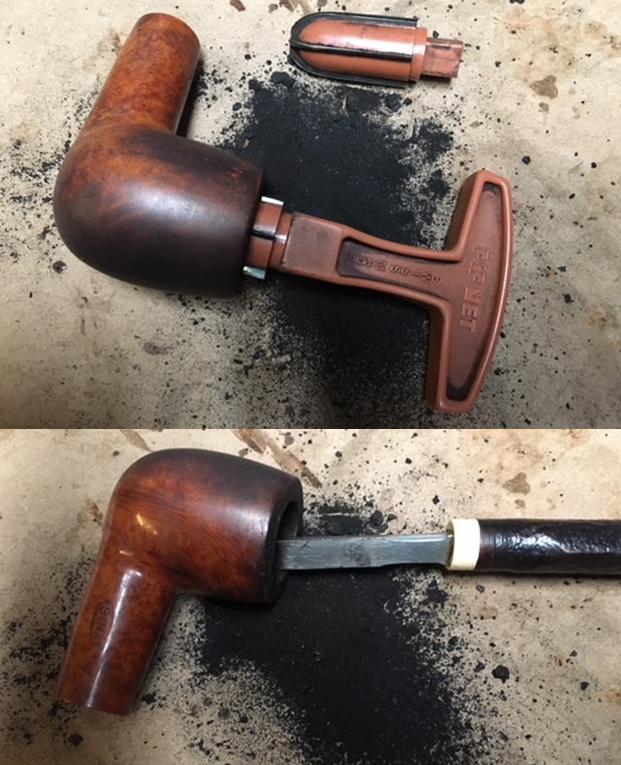
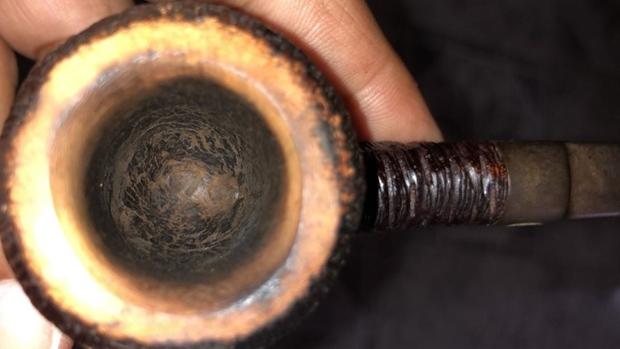
 I scraped the rim top with the Savinelli Fitsall Knife to remove the thick lava that had overflowed onto the rim. I wiped it down with acetone on cotton pads to remove the residual grime on the rim and around the bowl and shank.
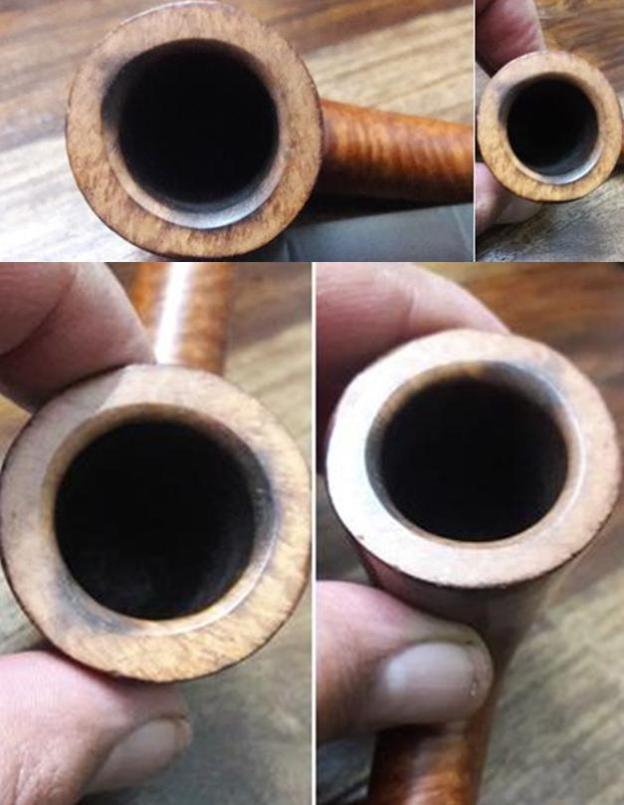
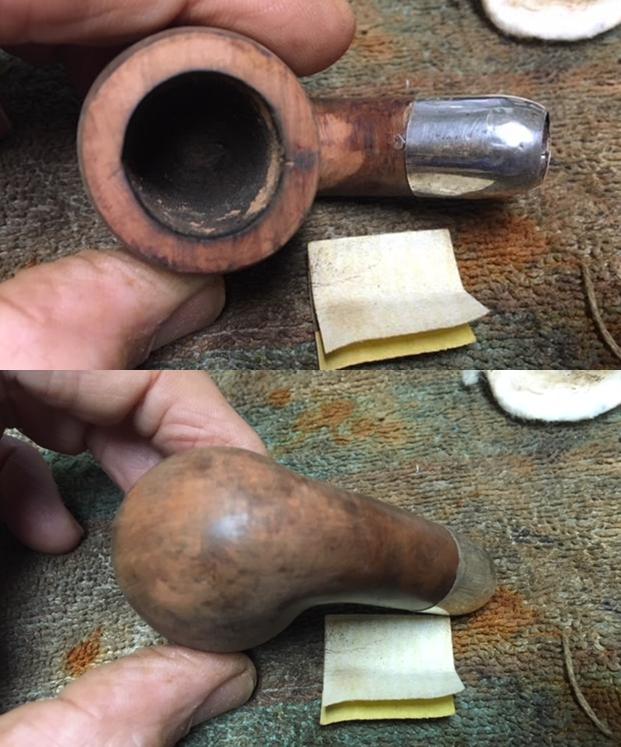
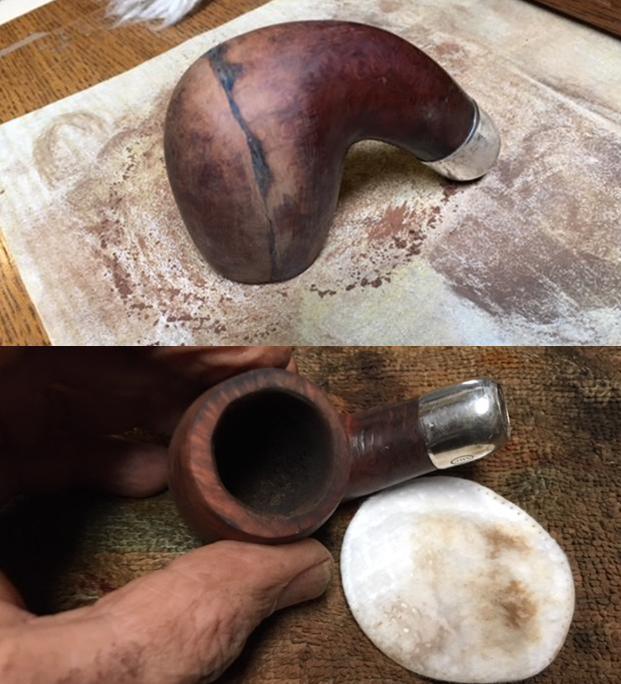
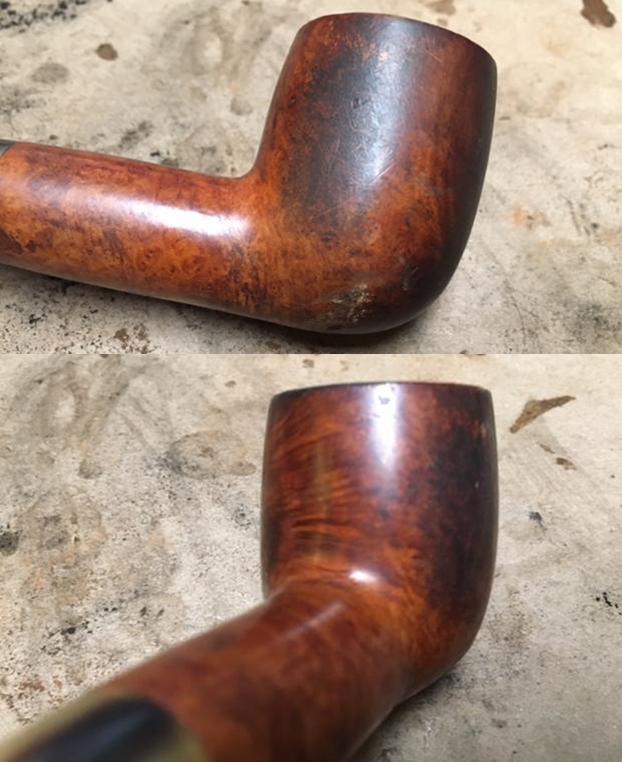
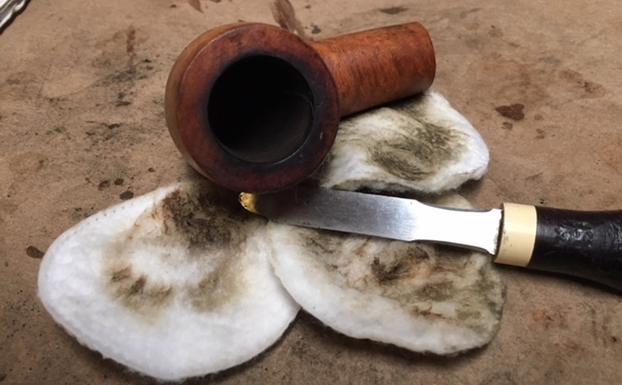 I took photos of the bowl after I had wiped it down with the acetone. The bowl looked quite good. There was some deep pits and nicks on the rim top and bowl edges as well as some burn marks toward the front of the bowl.
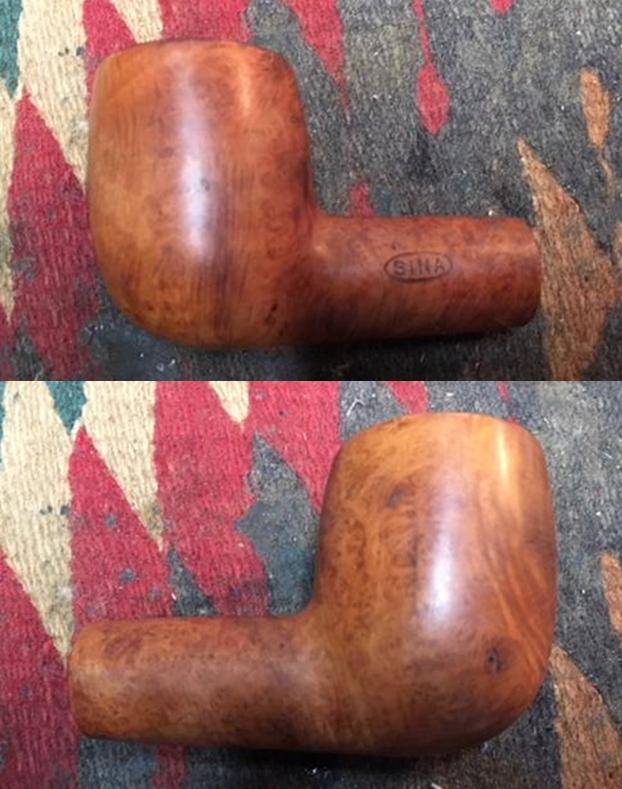
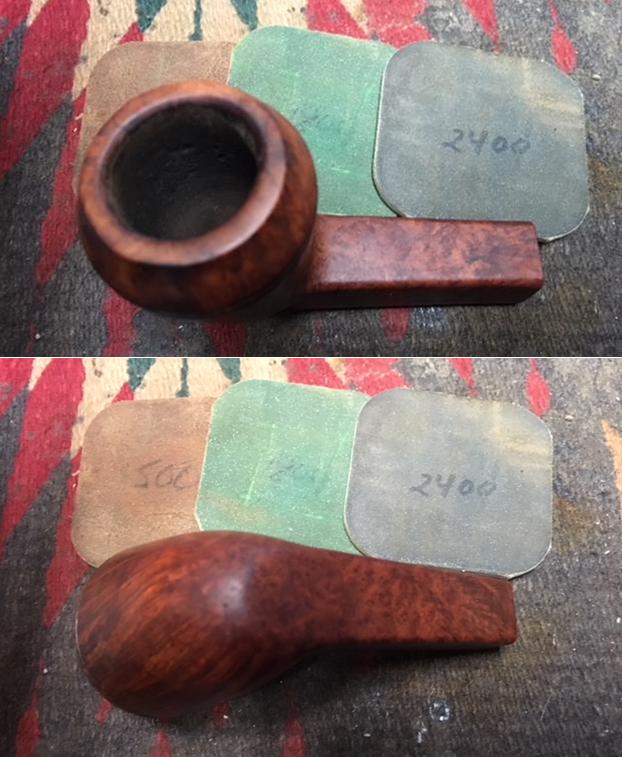
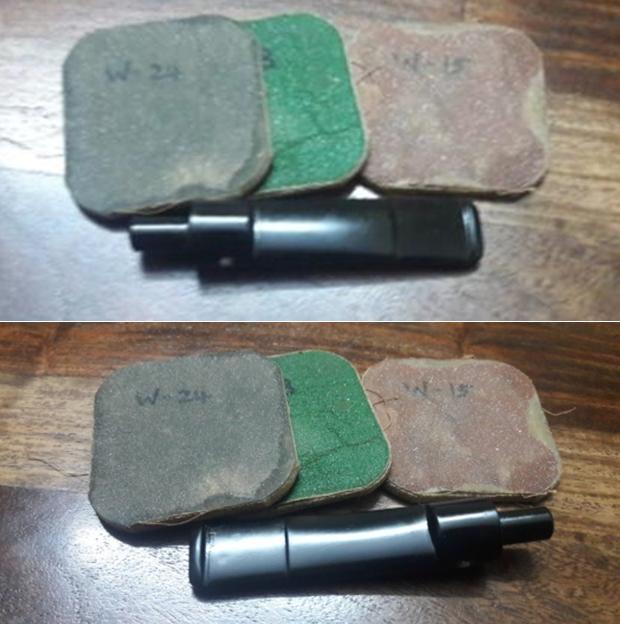
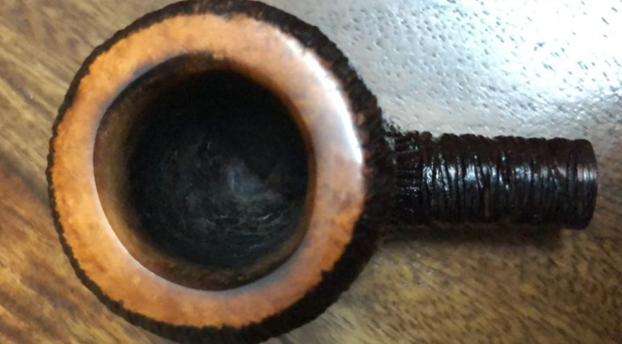
 I lightly topped the bowl with 220 grit sandpaper on a topping board. I worked over the inner edge of the bowl with a folded piece of 220 grit sandpaper.
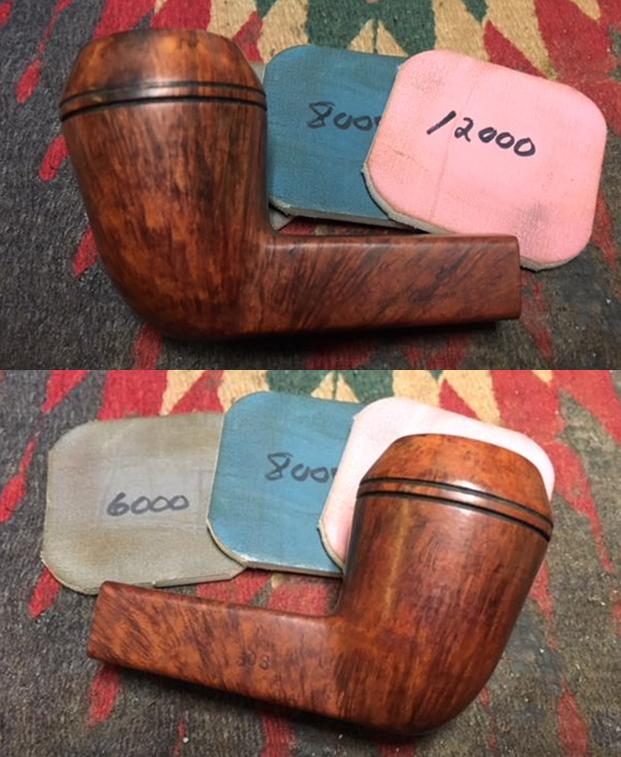
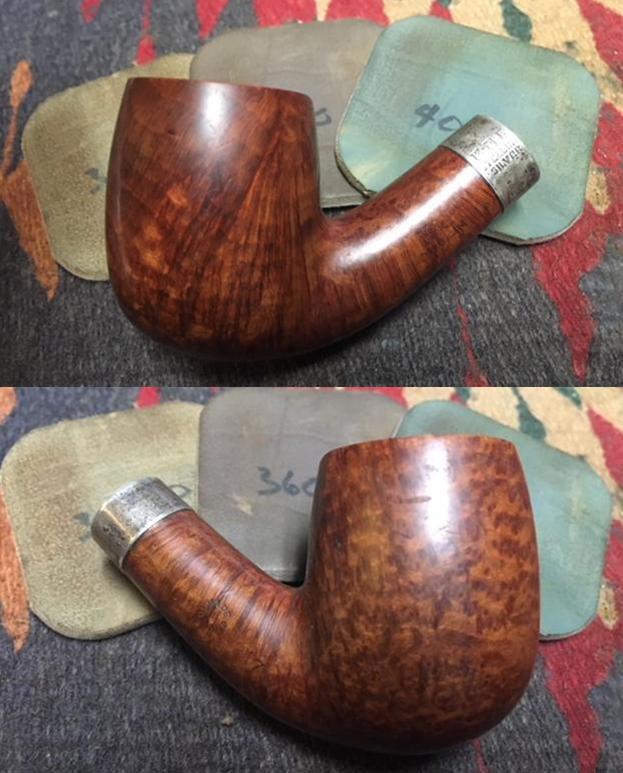
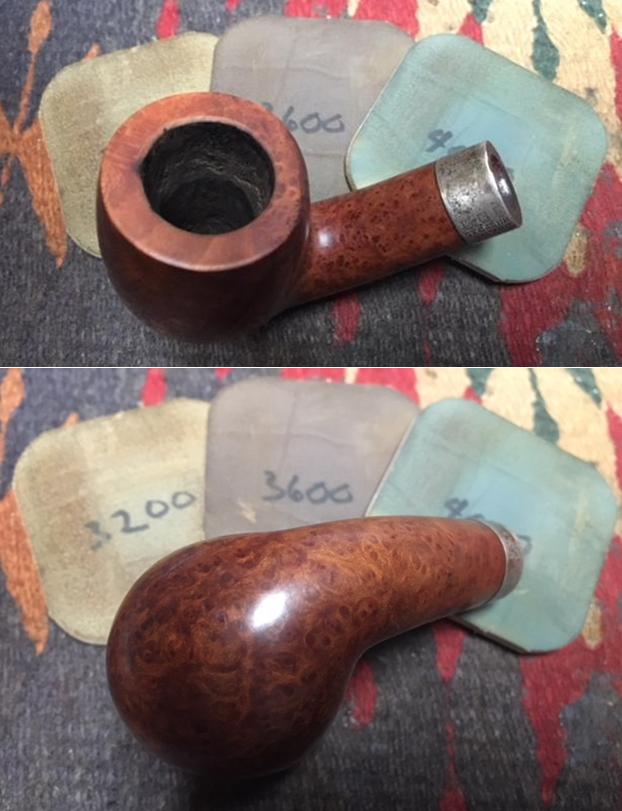
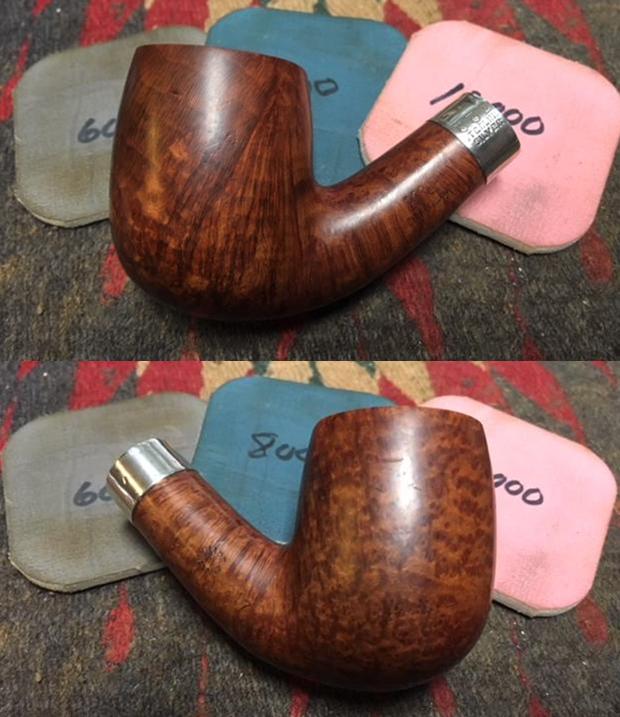
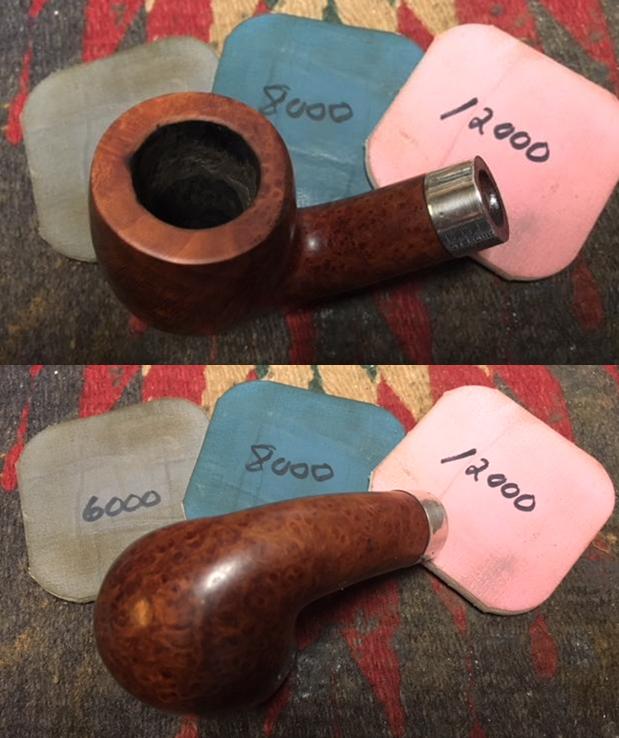
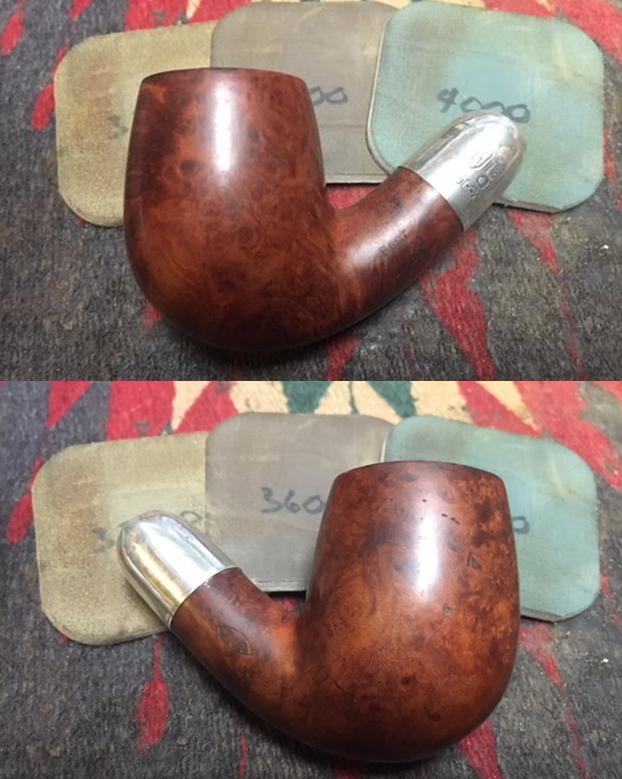
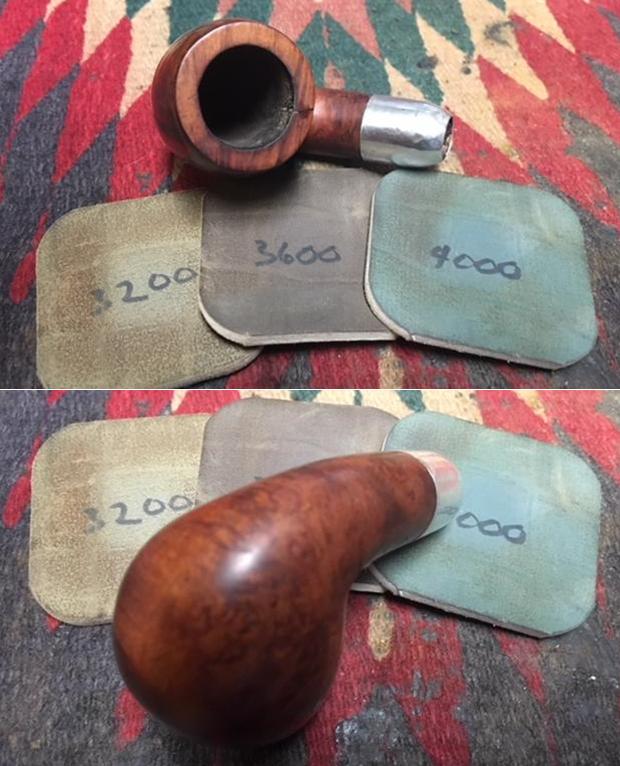
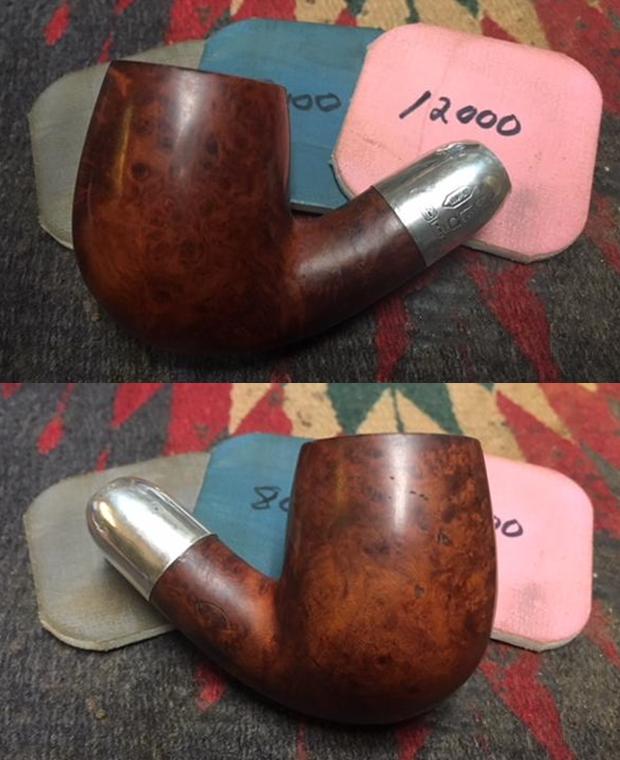
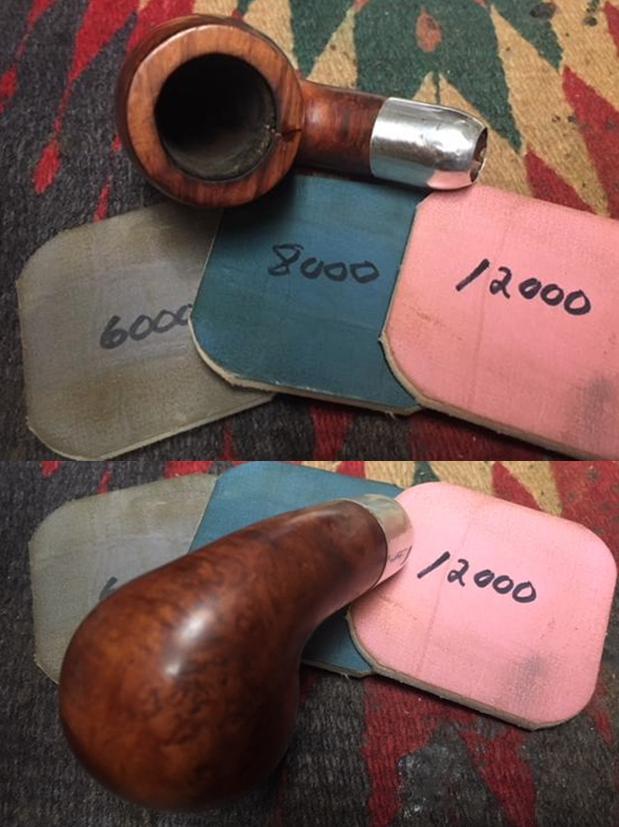
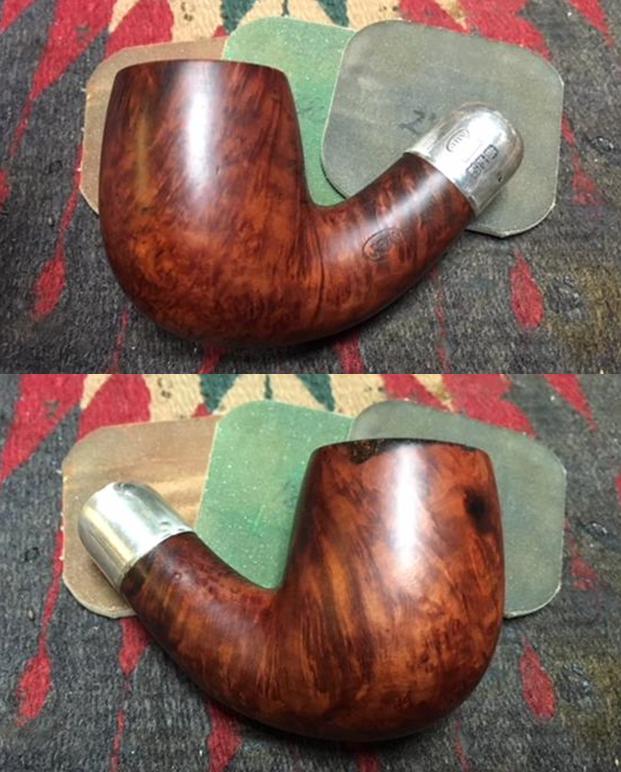
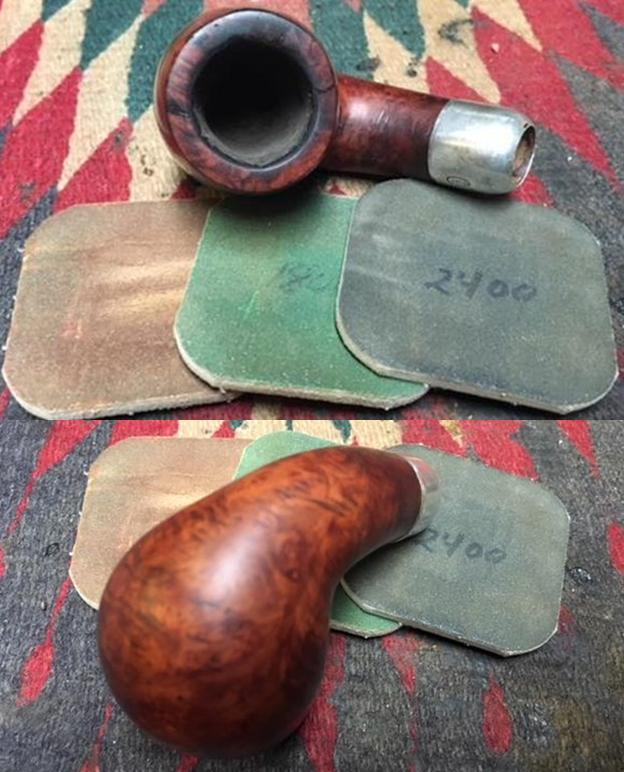
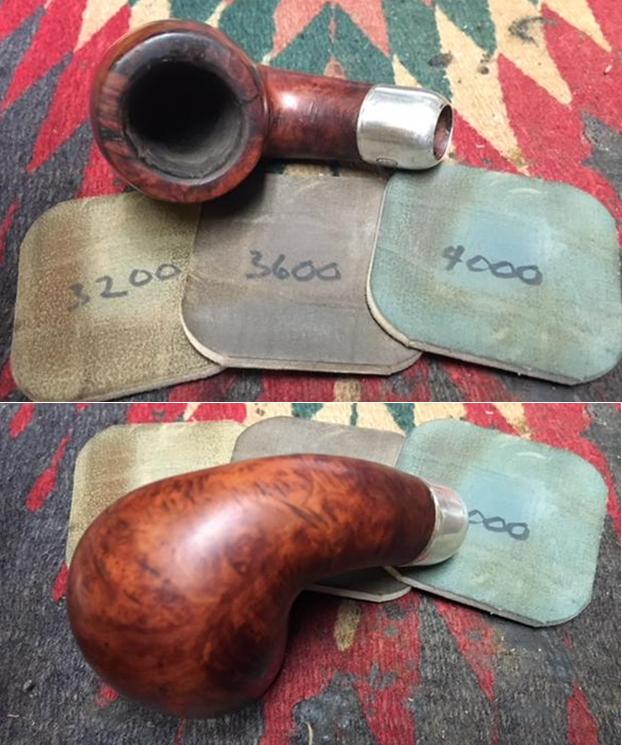
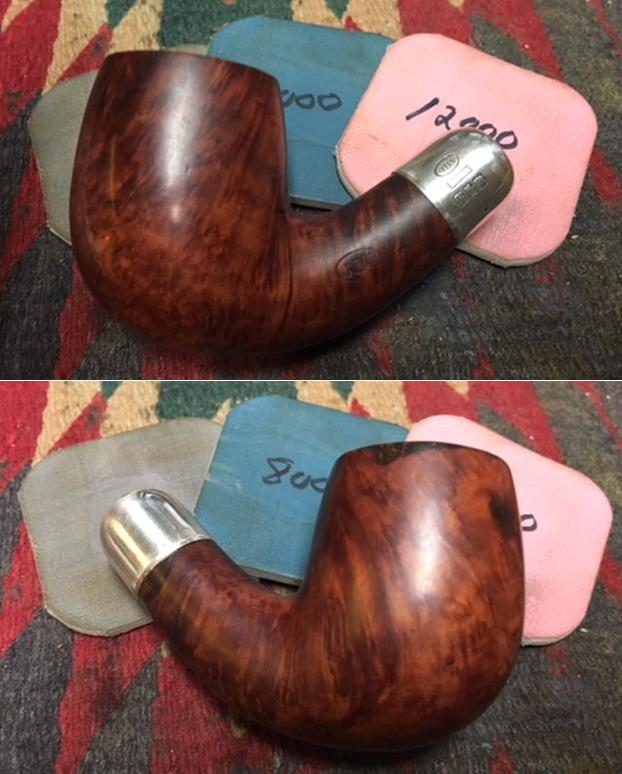
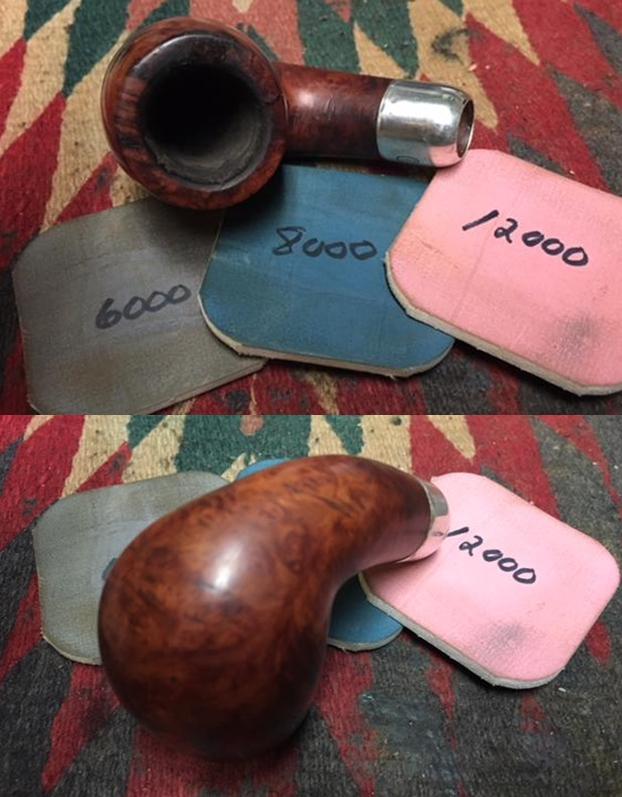
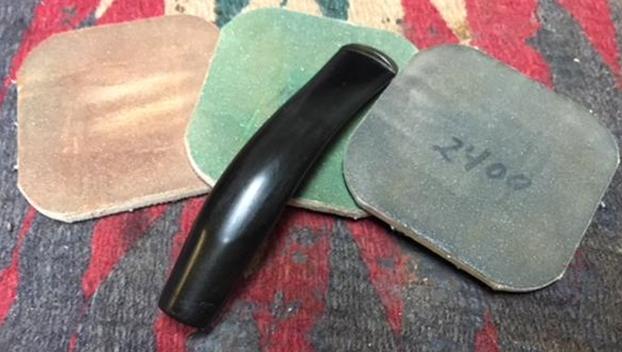
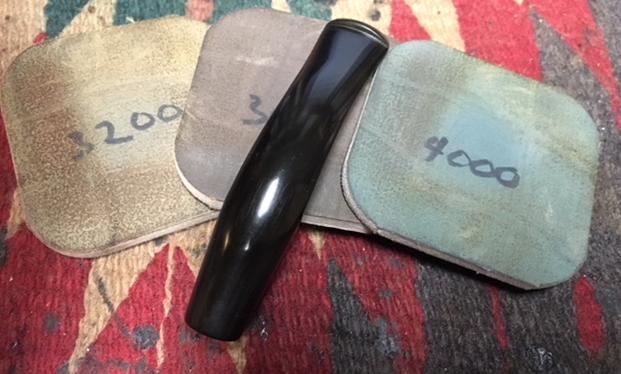
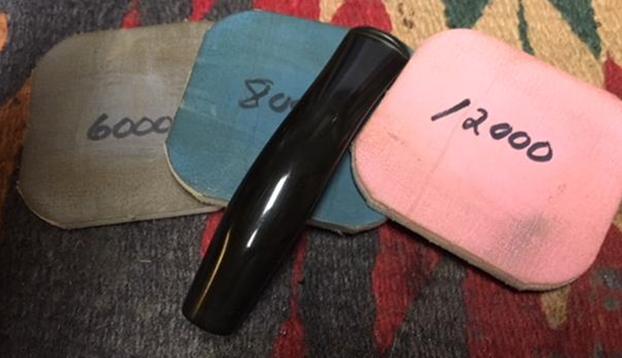
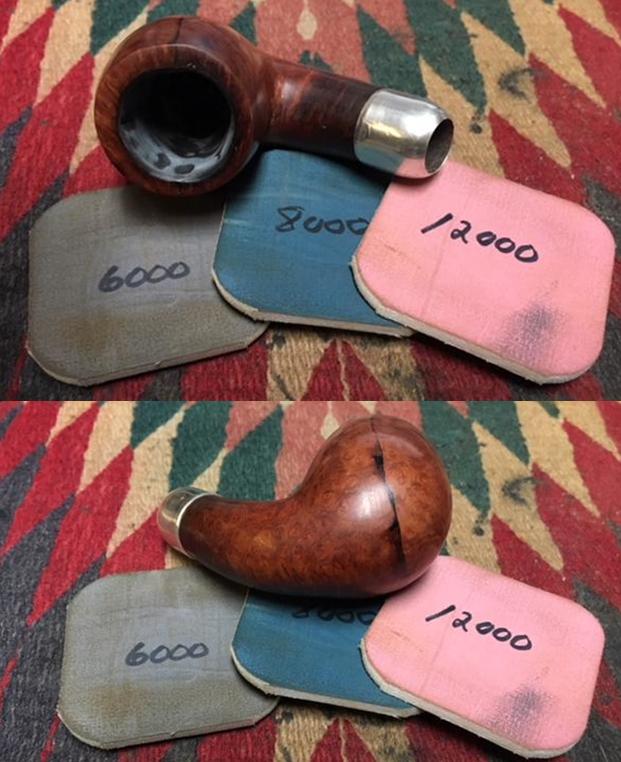
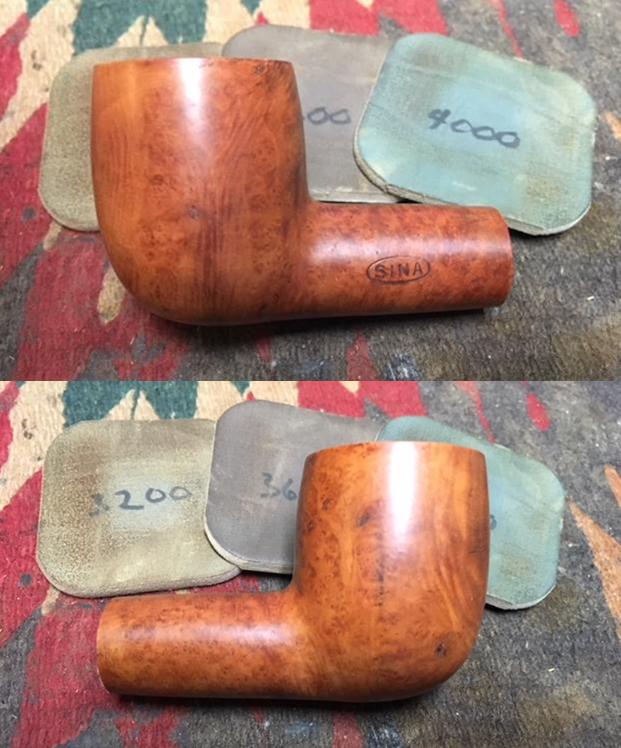
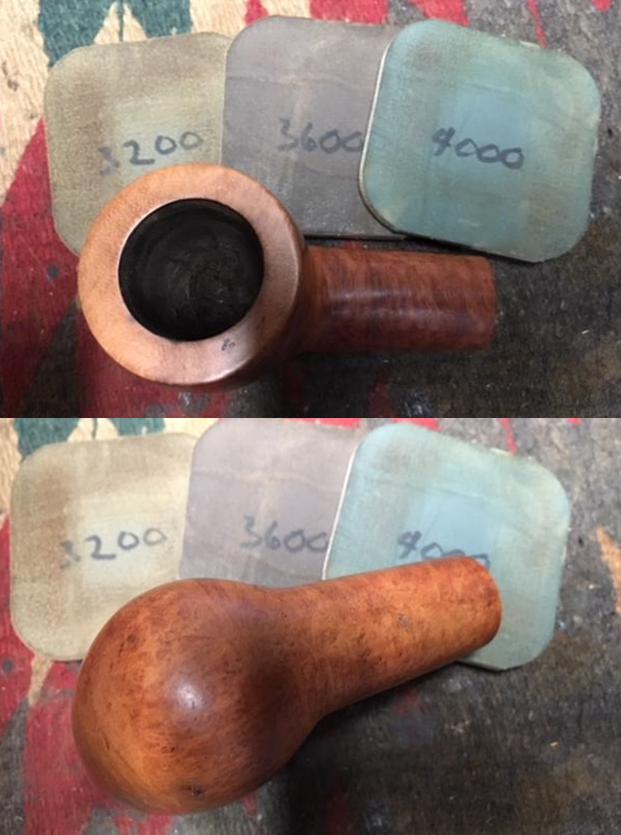
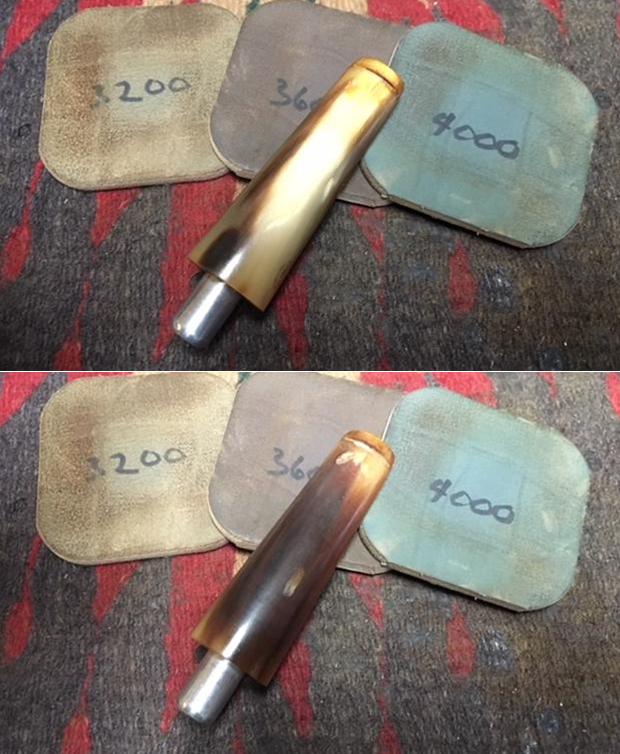
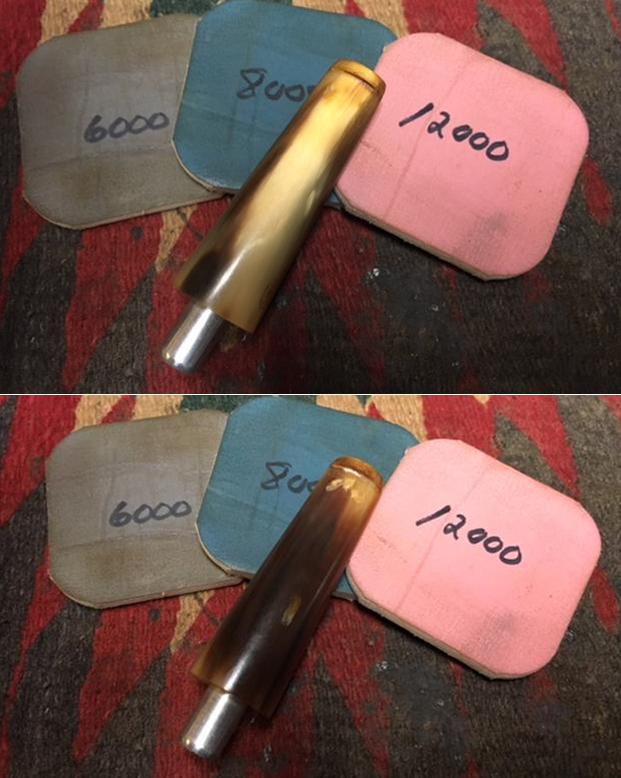
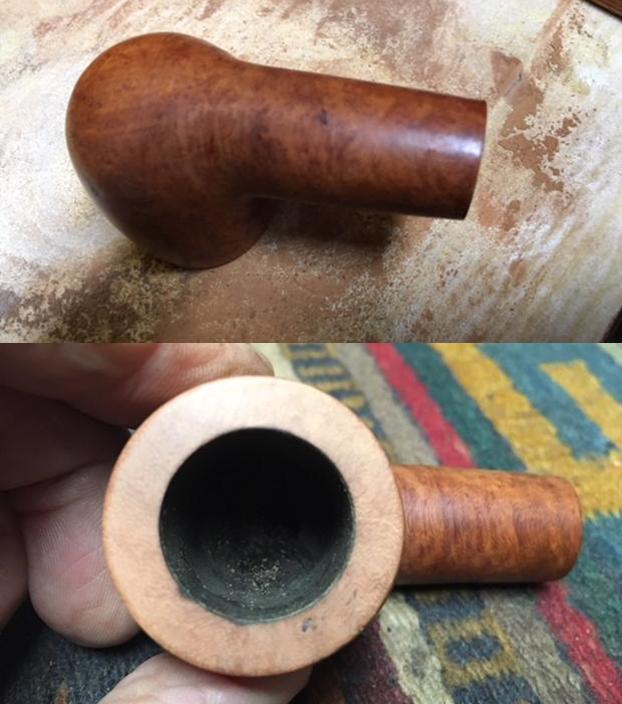 I polished the rim top and the rest of the bowl with micromesh sanding pads – wet sanding with 1500-2400 grit pads and dry sanding with 3200-12000 grit pads. I wiped the bowl down after each sanding pad with a damp cloth.
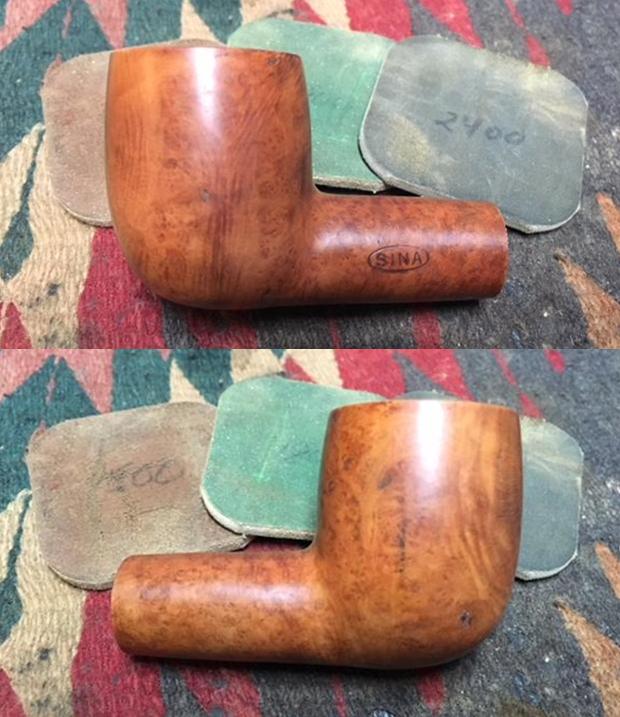

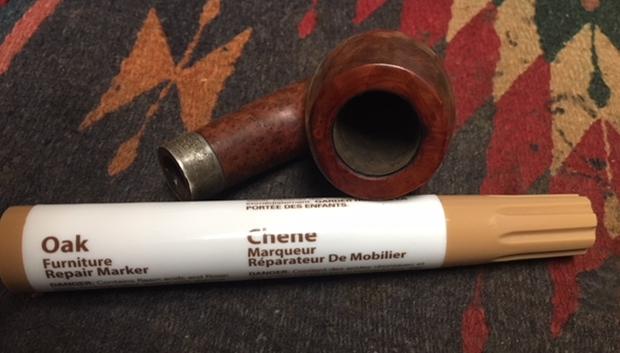
 I touched up the stain on the rim top with an Oak coloured stain pen to match the rest of the bowl. I would blend in the stain later in the process.
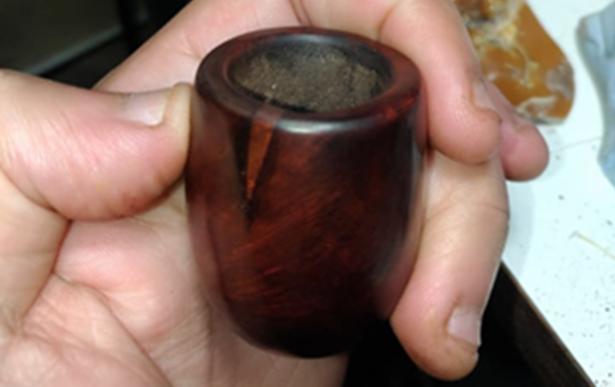
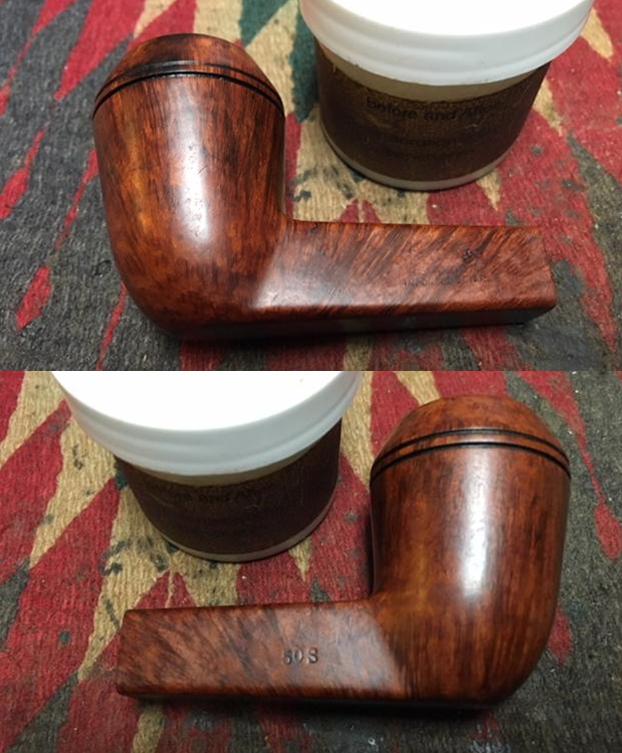
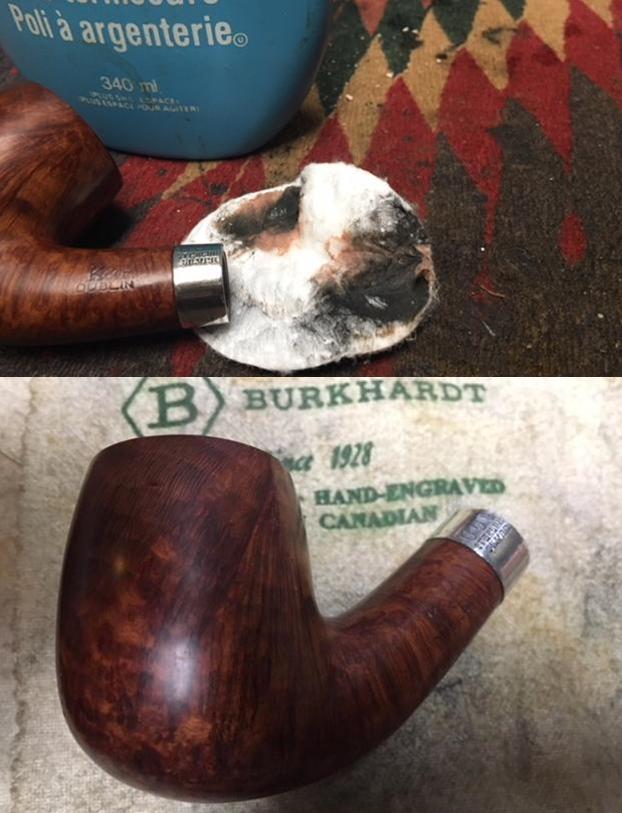
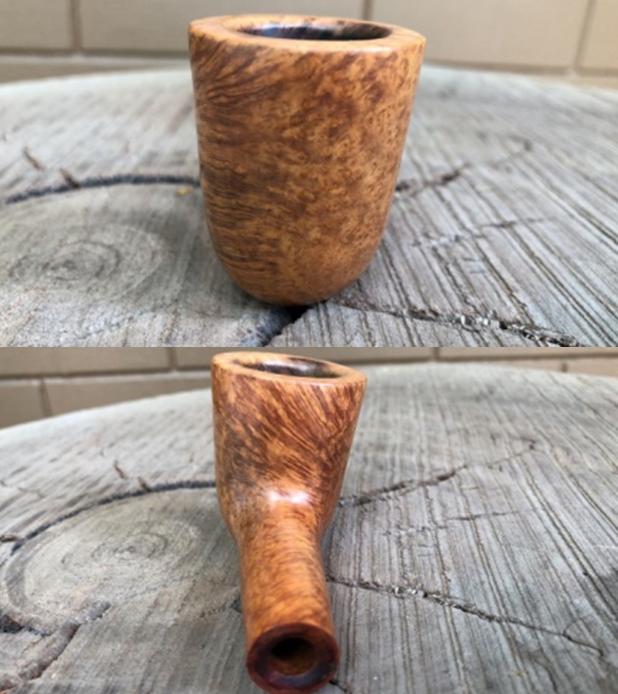
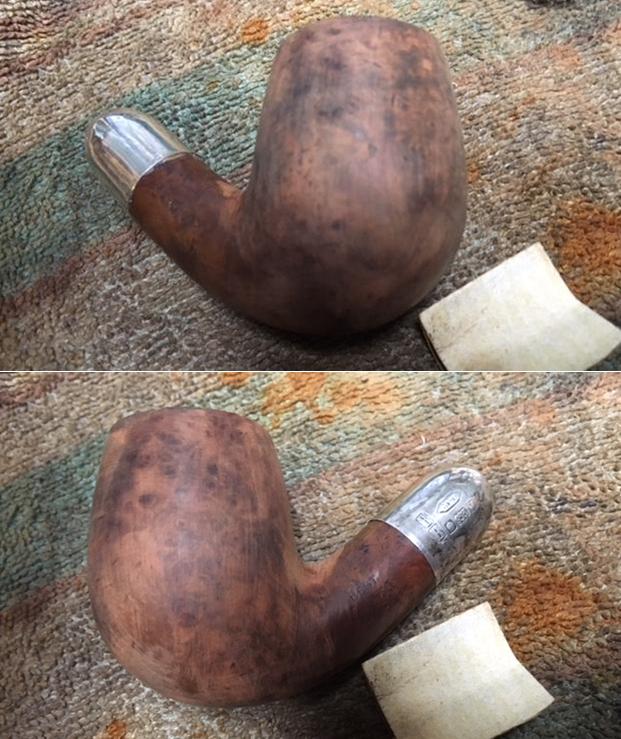
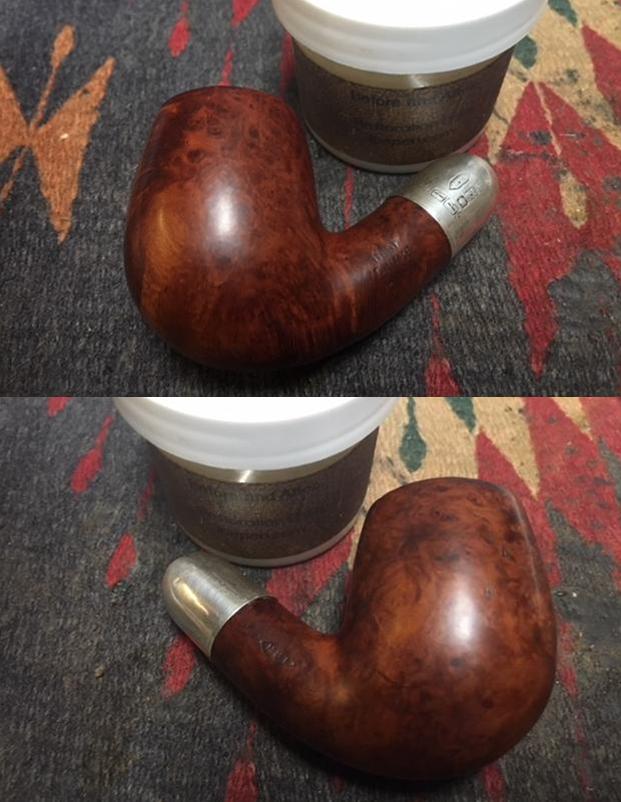
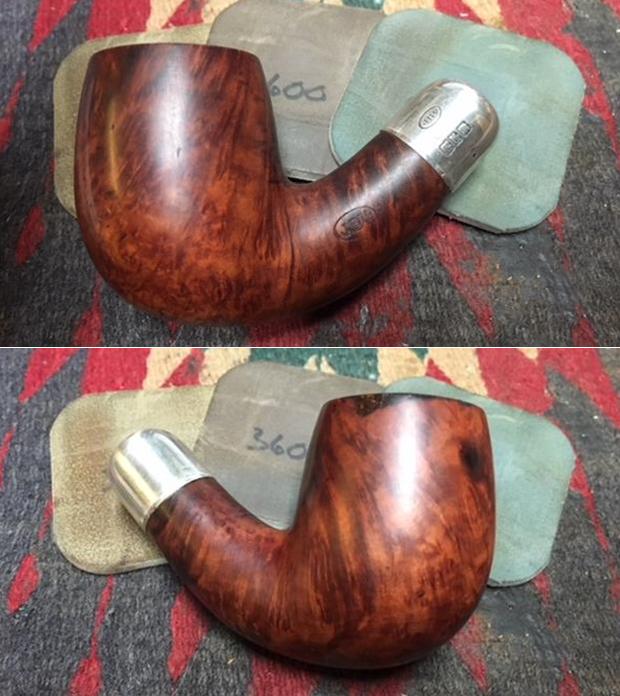
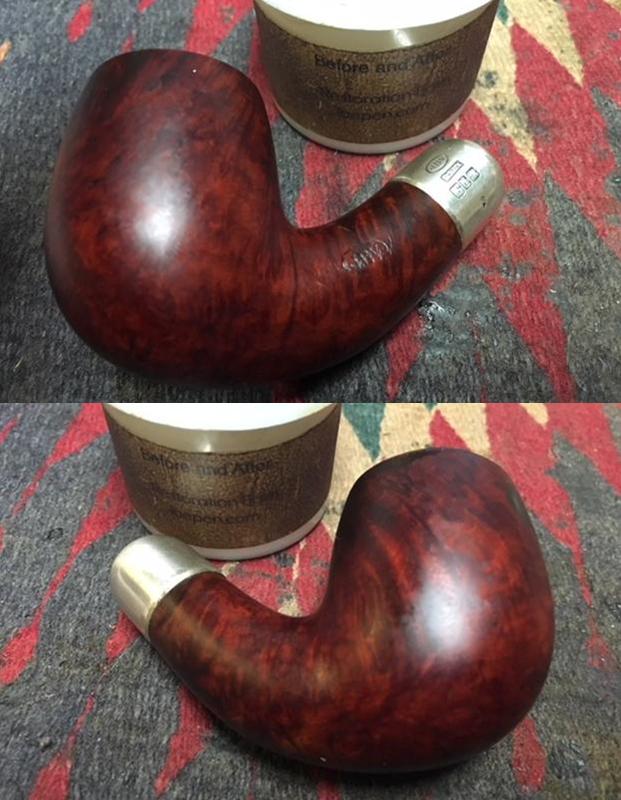
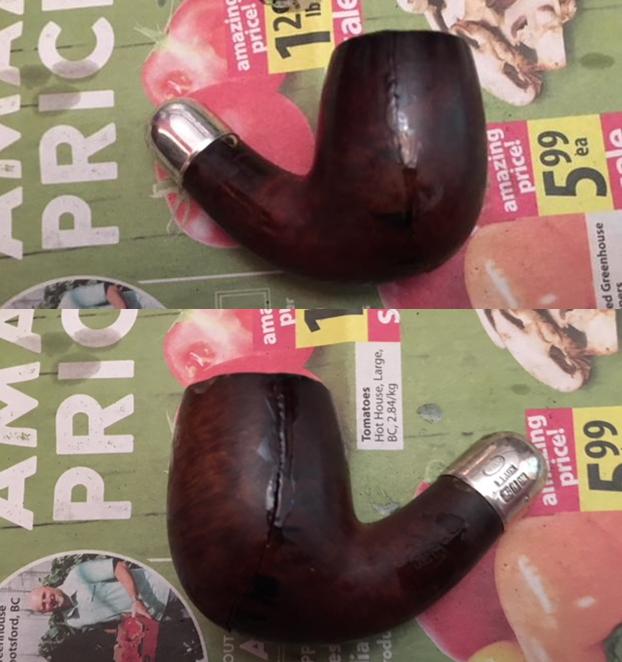
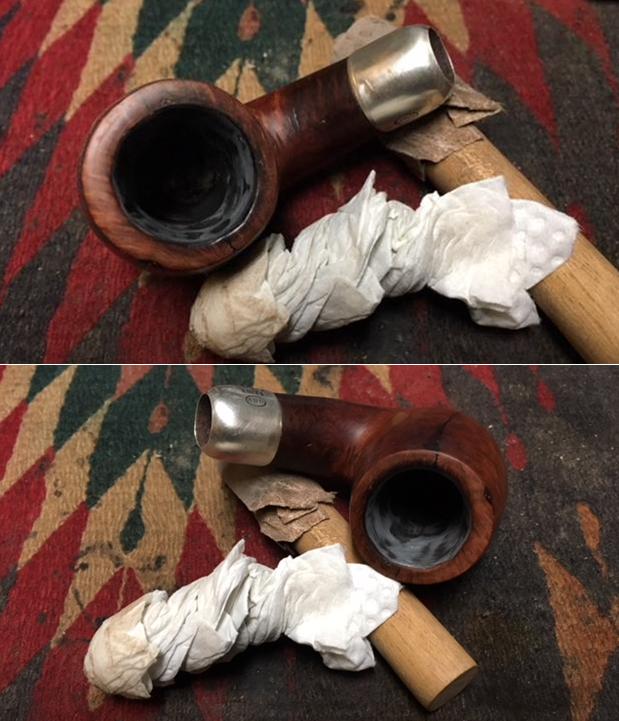
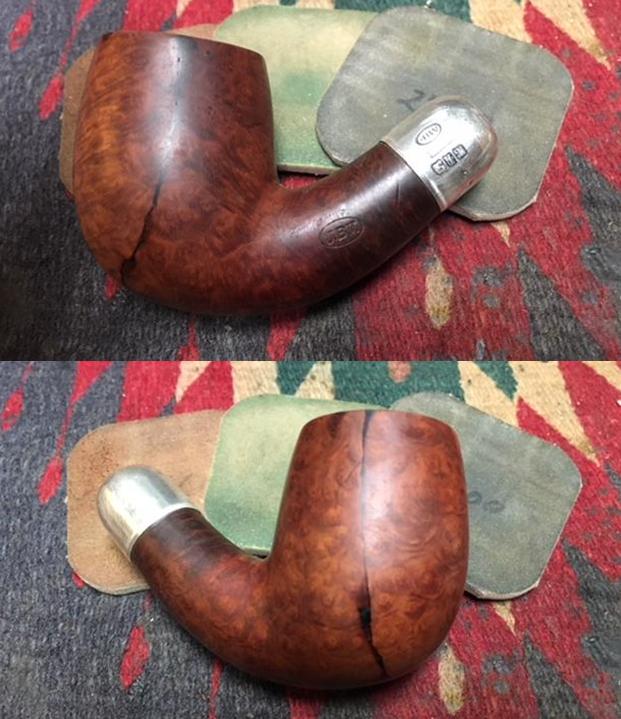
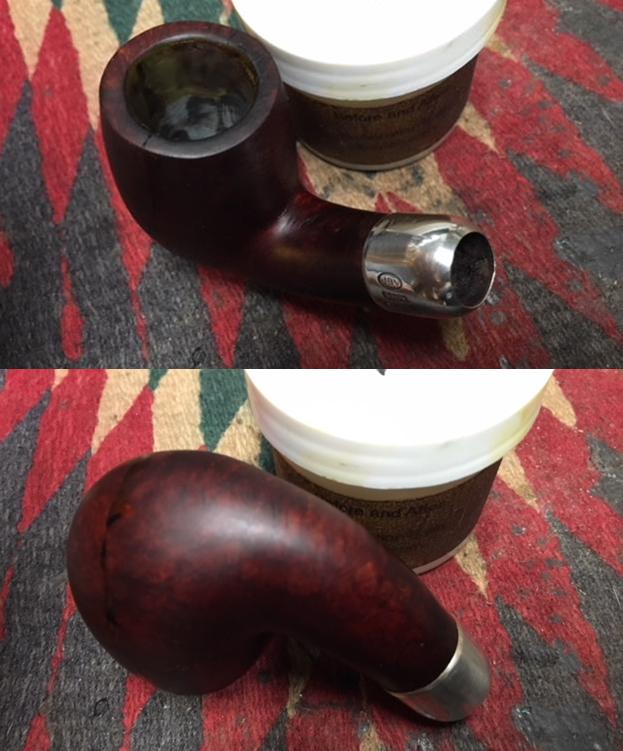
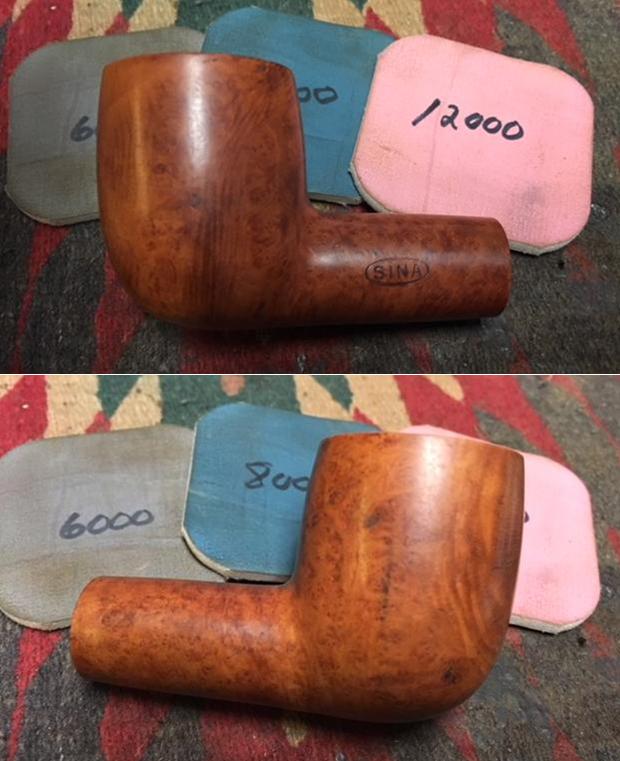
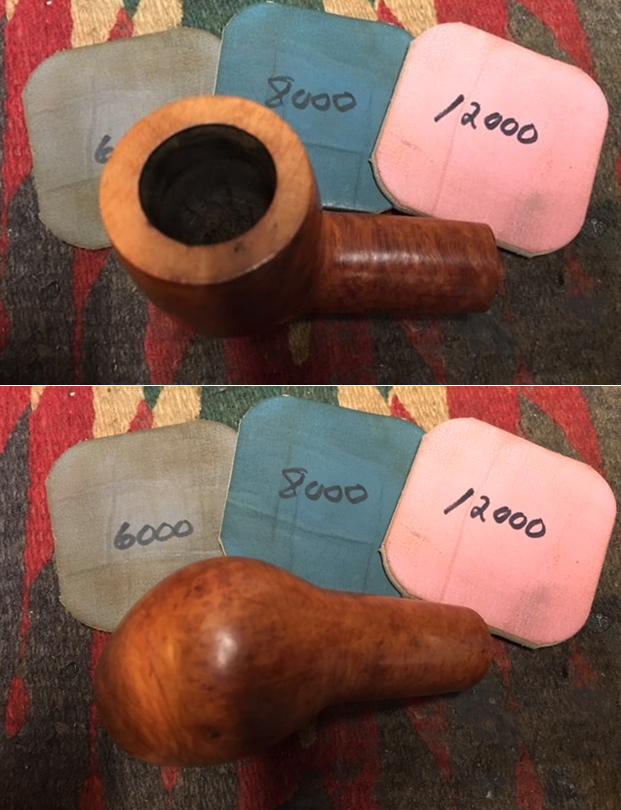
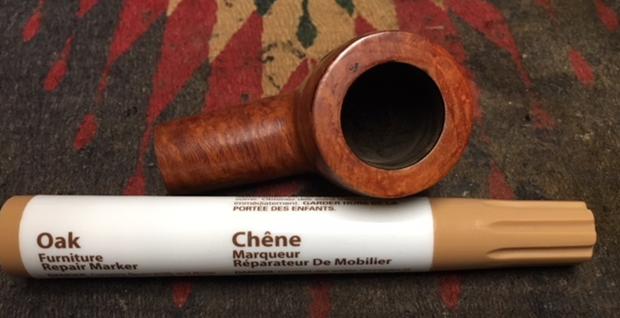 I rubbed some Before & After Restoration Balm into the surface of the briar to enliven, clean and preserve it. I rubbed it in with my fingertips working it into the briar. I set it aside for a little while to let the balm do its work. I buffed it off with a cotton cloth and then buffed it with a microfiber cloth. The photos below show the pipe at this point in the restoration process.
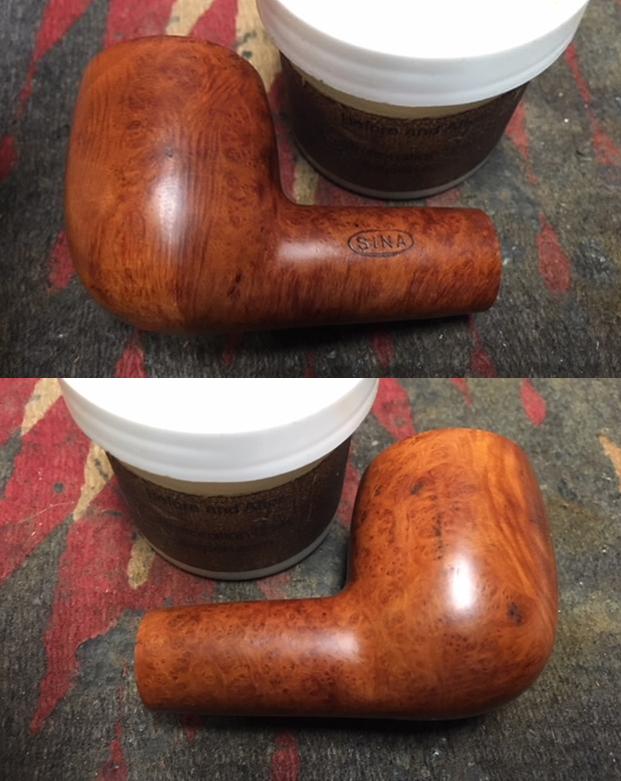
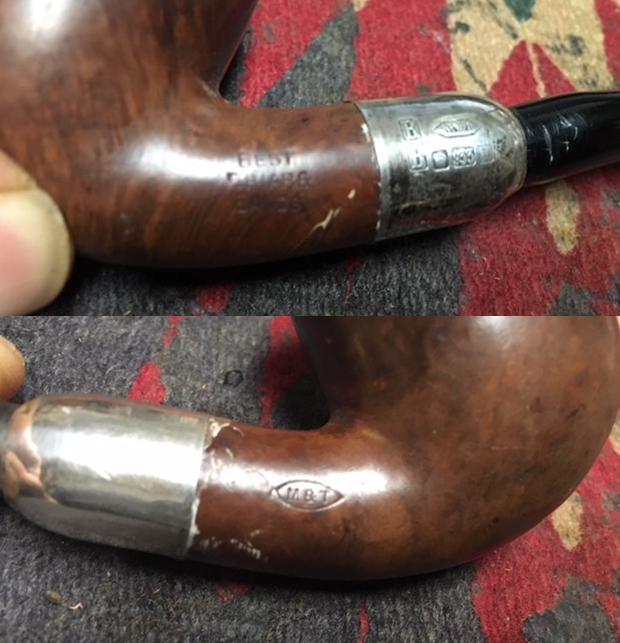
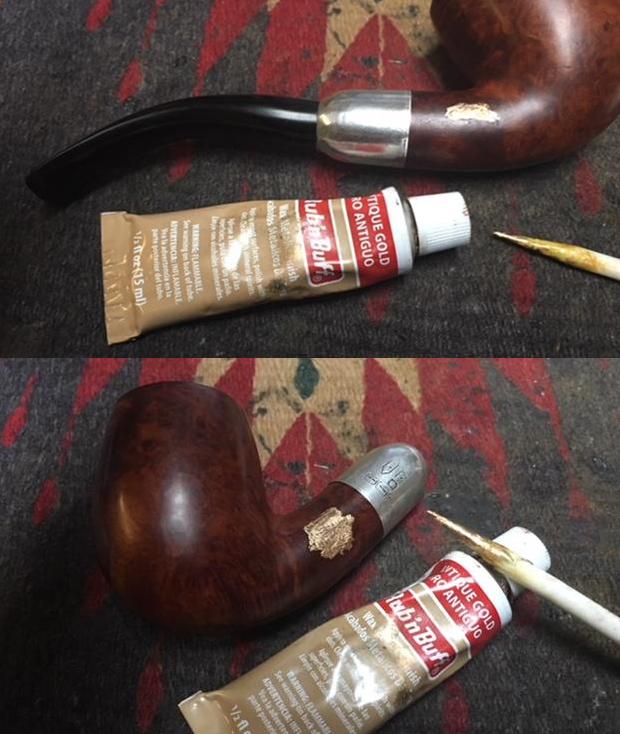
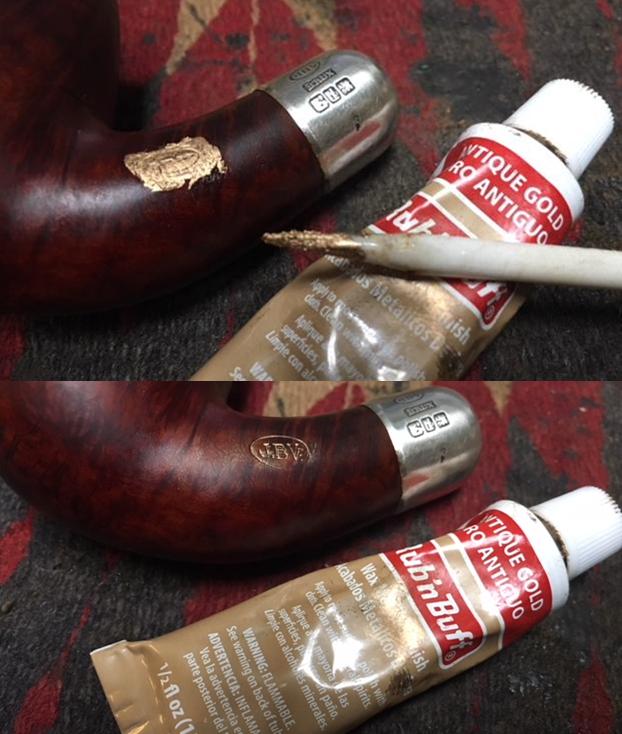
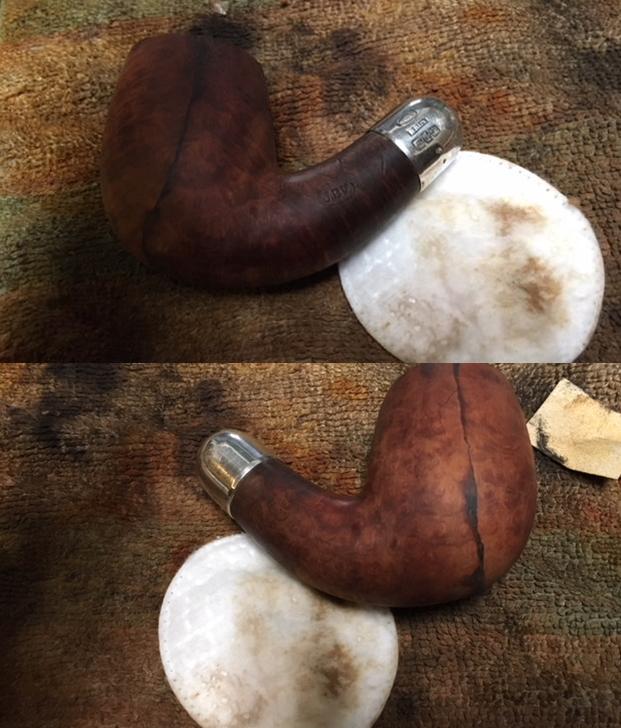
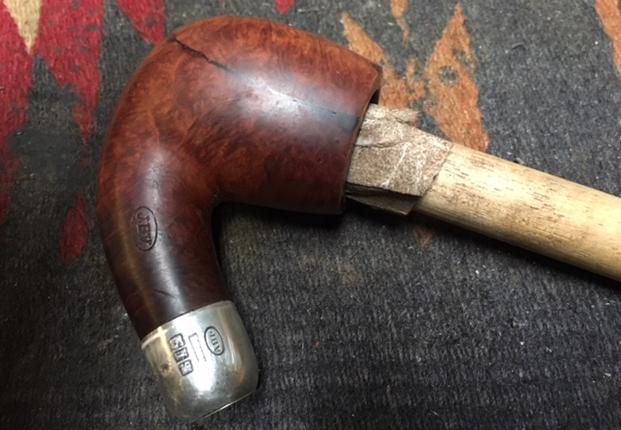
 I touched up the gold leaf in the oval SINA logo on the left side of the shank using Rub’n Buff Antique Gold. I rubbed it into the stamping on the shank side and pressed it into the stamp with the sharp point of a sanding stick. Once the gold had dried I buffed it off with a cotton cloth. The second photo shows the stamp after the touch up. It does not look too bad for a pipe made before 1905-06.
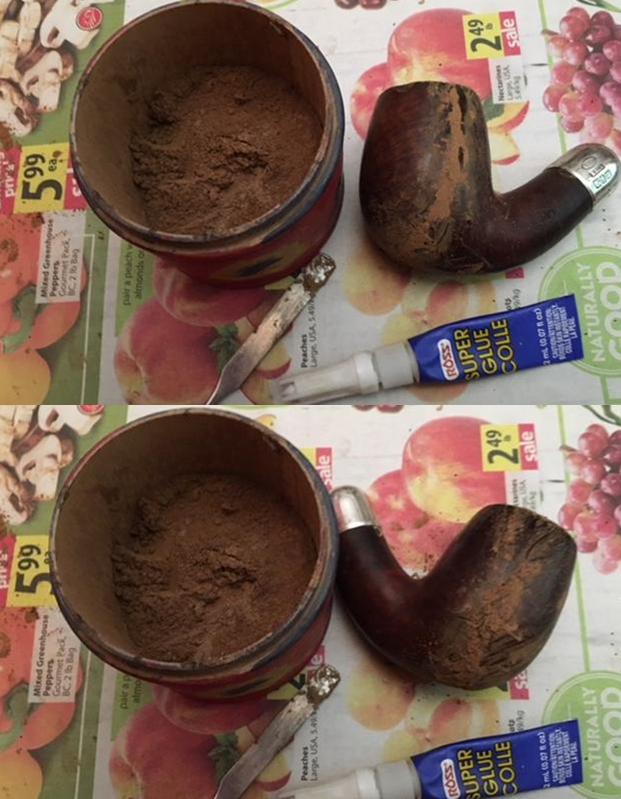
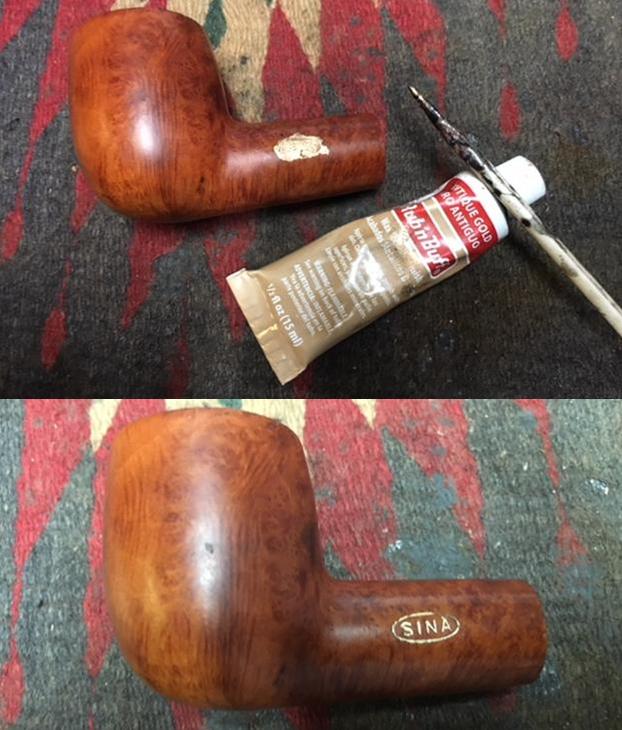 I scraped out the inside of the shank with a dental spatula to remove the lacquered tars and oils that had hardened in the mortise. I don’t think this pipe had been cleaned since it was first smoked in the early 1900’s.
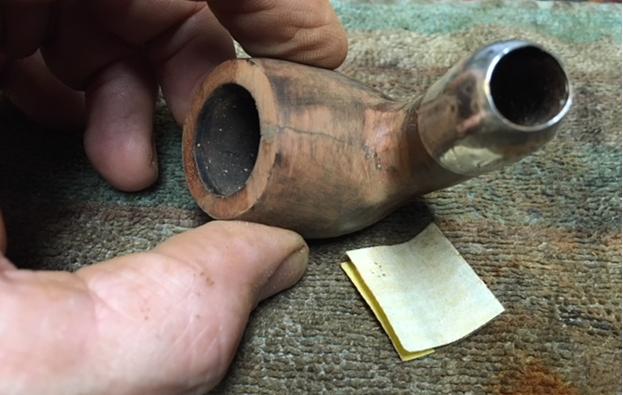
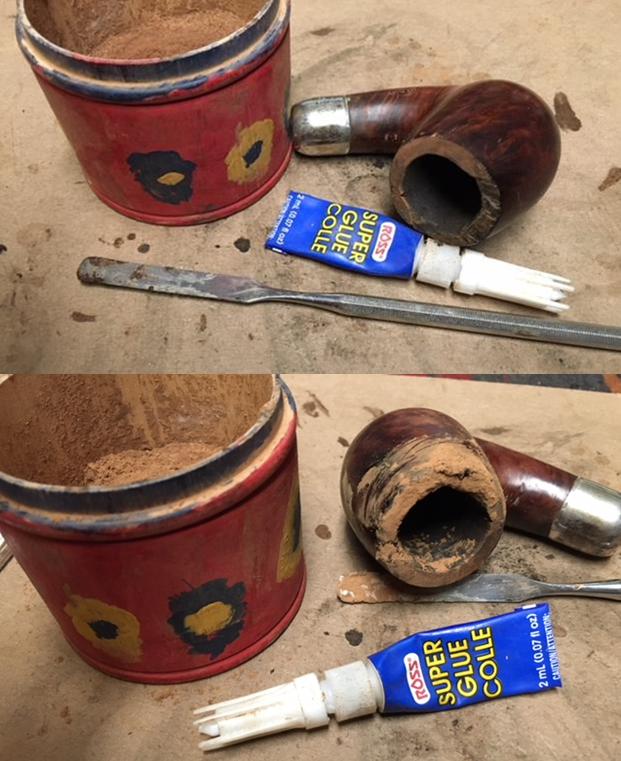
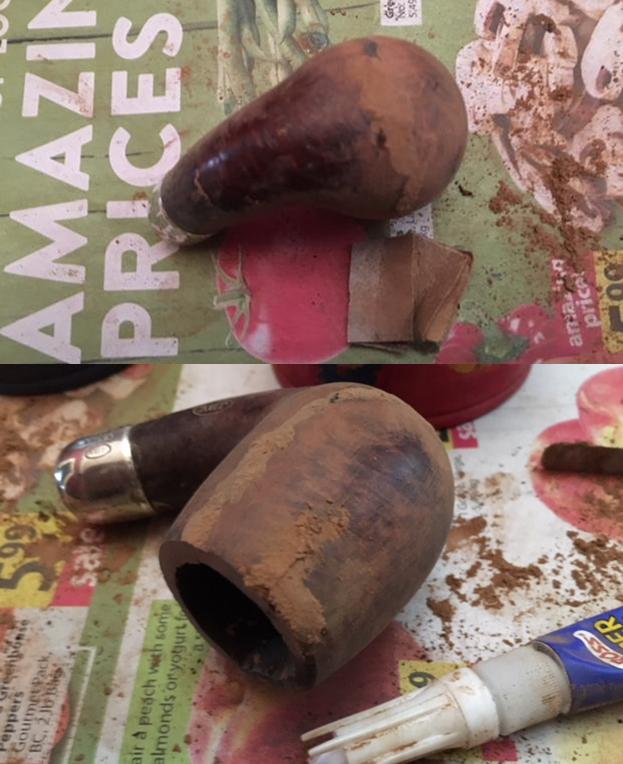
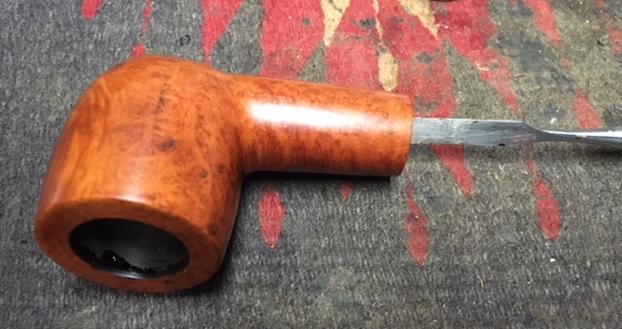 I turned the inner tube in the metal tenon in the stem to remove it. It was pressure fit and the tars and oils had it held tightly in place. With it removed and the shank scraped clean the pipe was ready to be cleaned up.
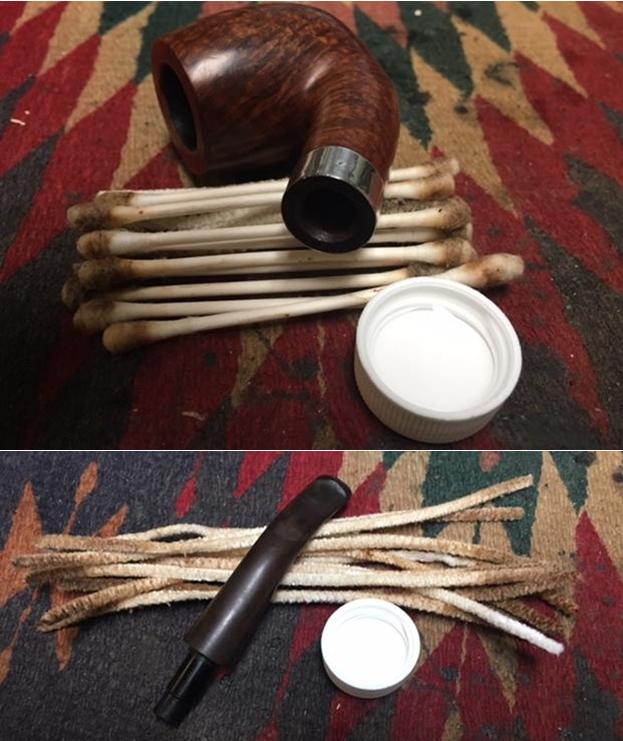
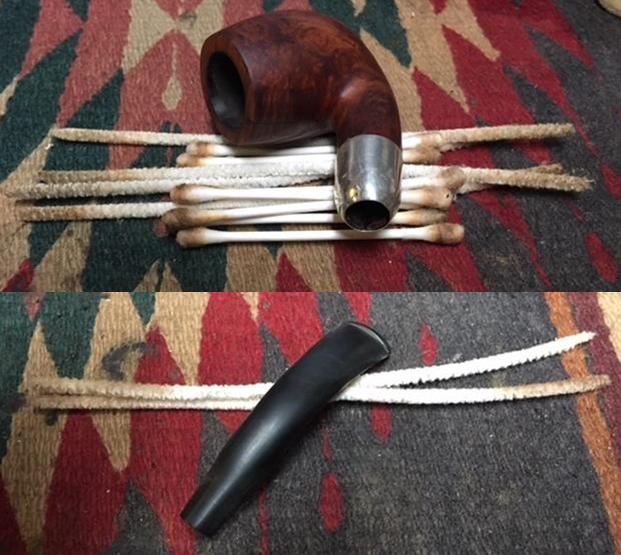
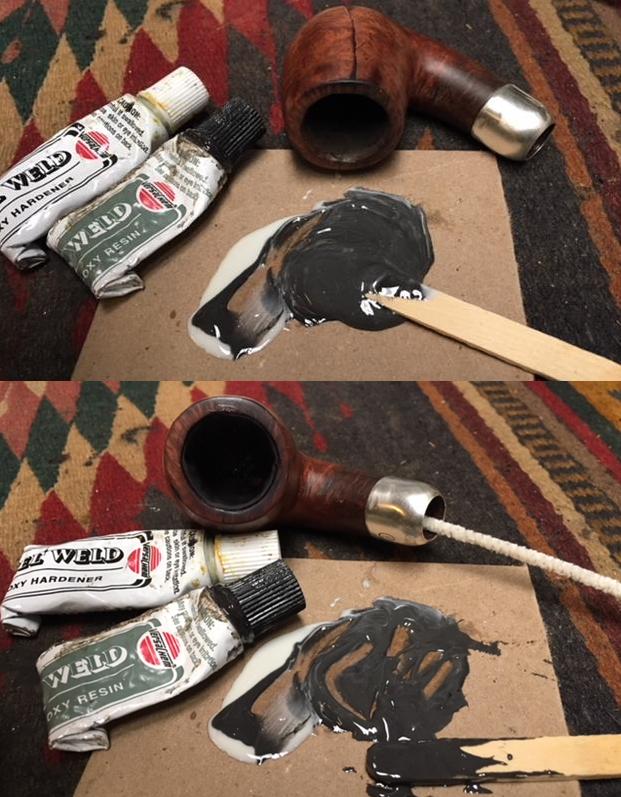
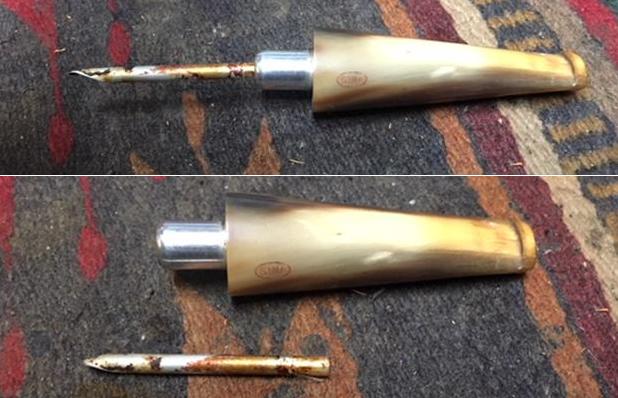 I cleaned out the inside of the mortise and the airway in the shank and stem with pipe cleaners, cotton swabs and alcohol.
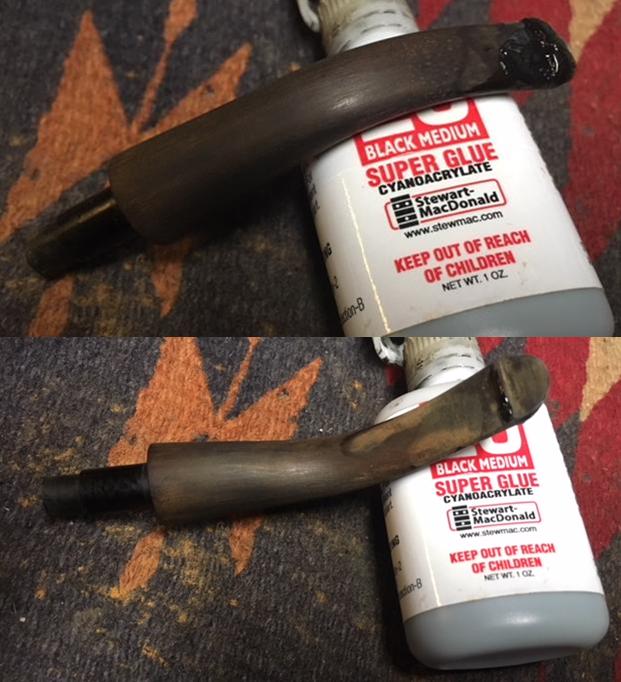
 I used clear super glue to repair the tooth marks on the stem. I sanded the stem surface with 220 grit sandpaper to smooth out the chatter and wiped it down with alcohol on a cotton swab. I filled in the tooth marks with clear glue and set it aside to cure.
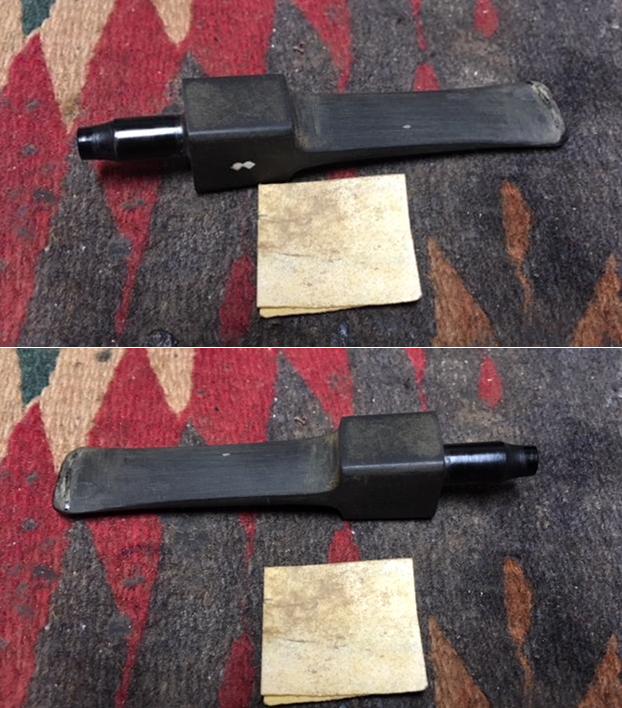
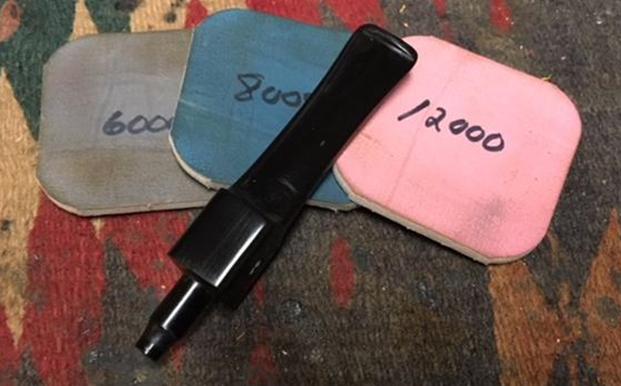
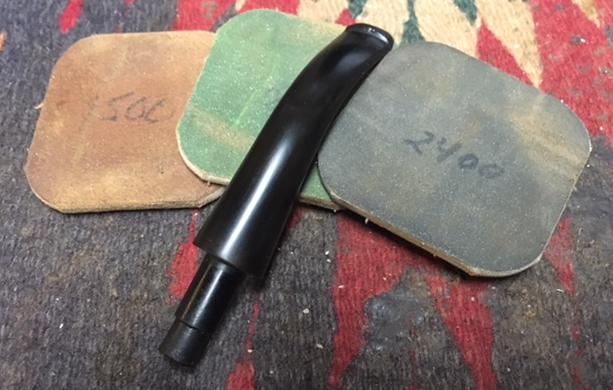
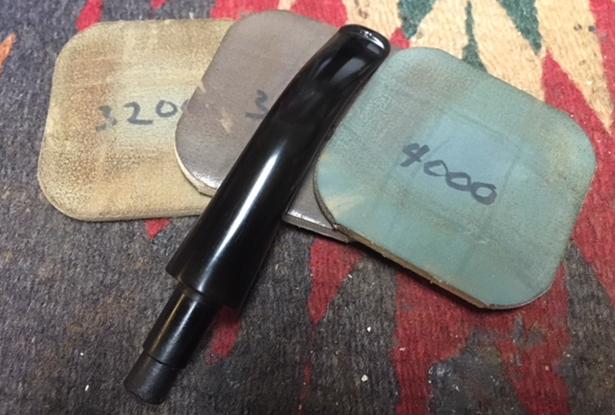
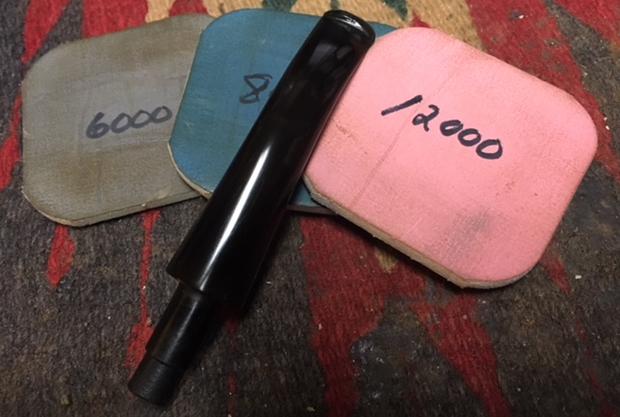
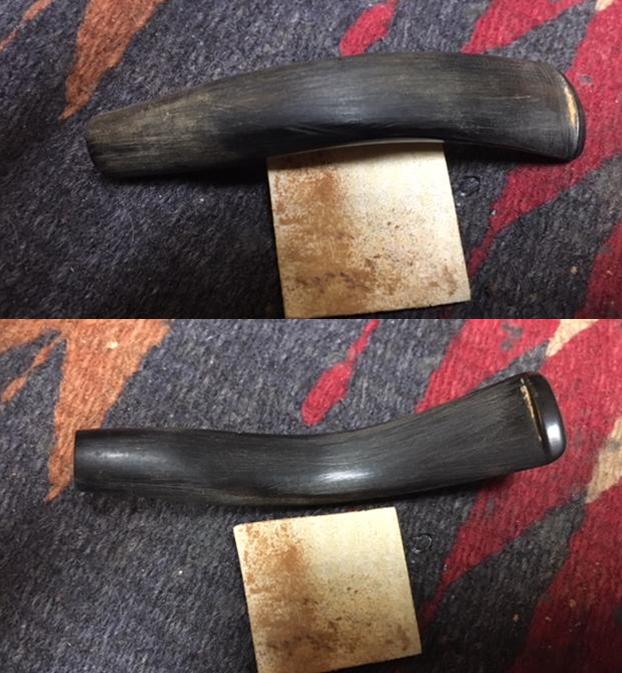
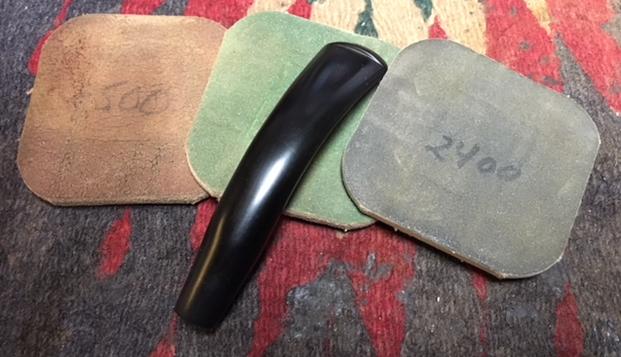
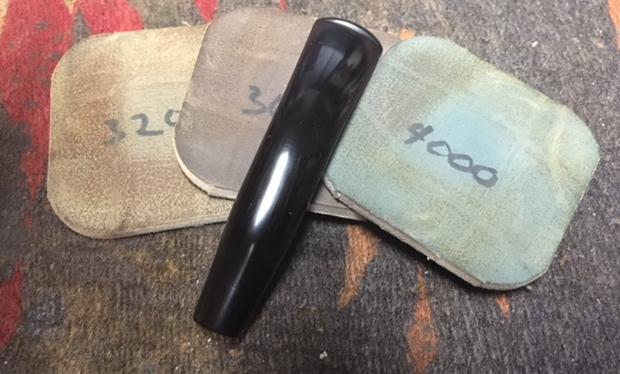
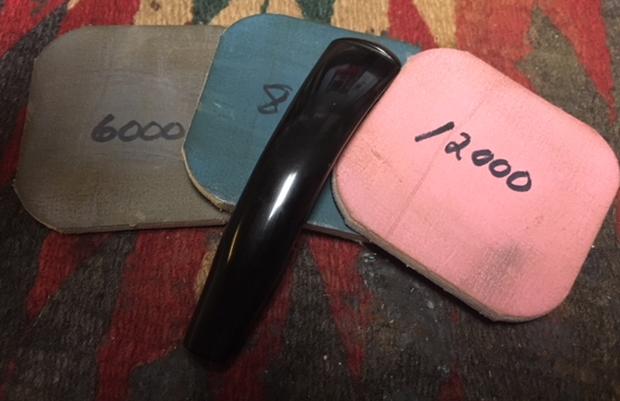
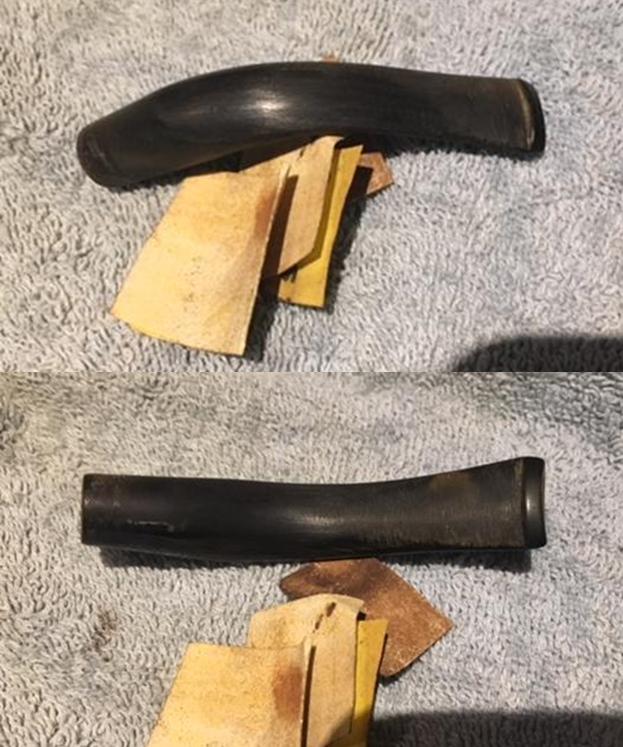
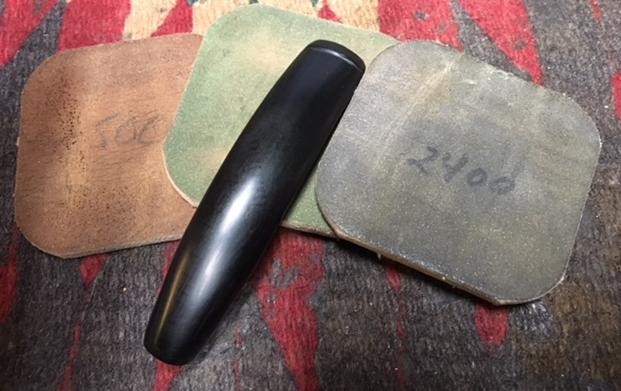
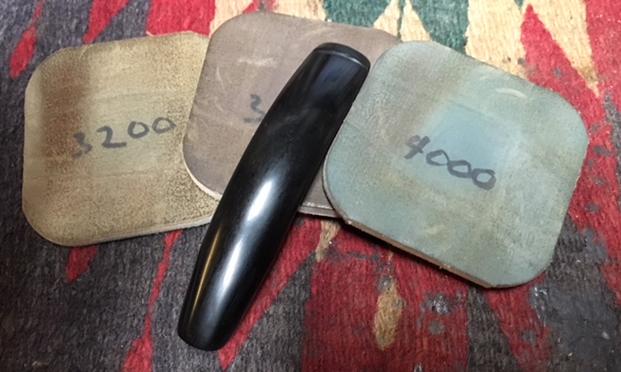
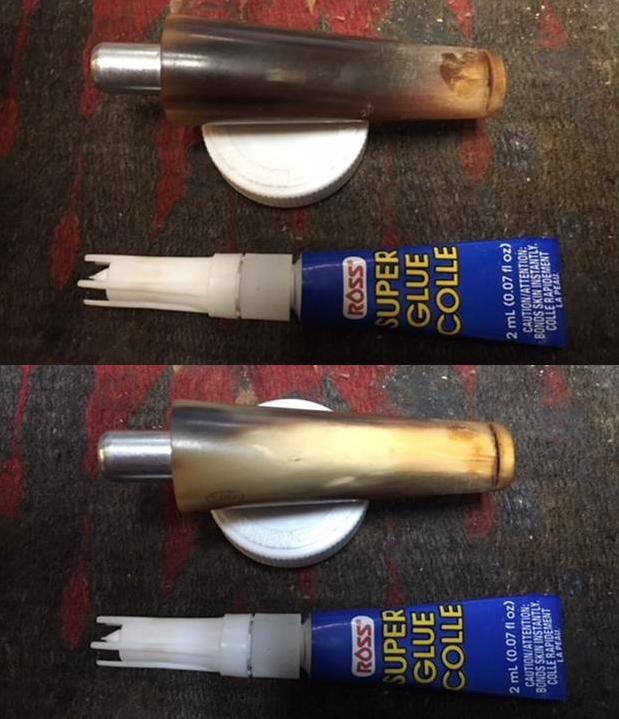 When the repair had cured, I sanded the surface of the repairs on the stem with 220 grit sandpaper to smooth out the repairs and blend them into the surface of the horn stem. I forgot to take photos of this part of the process as I was anxious to see what the stem looked like polished. I quickly move on to polish the stem with micromesh sanding pads – wet sanding with 1500-2400 grit pads and dry sanding with 3200-12000 grit pads. I wiped the stem down after each sanding pad with Obsidian Oil and after the final sanding pad I gave it a final coat of oil and set it aside to dry. The horn stem was beginning to look really good for a pipe of this age.
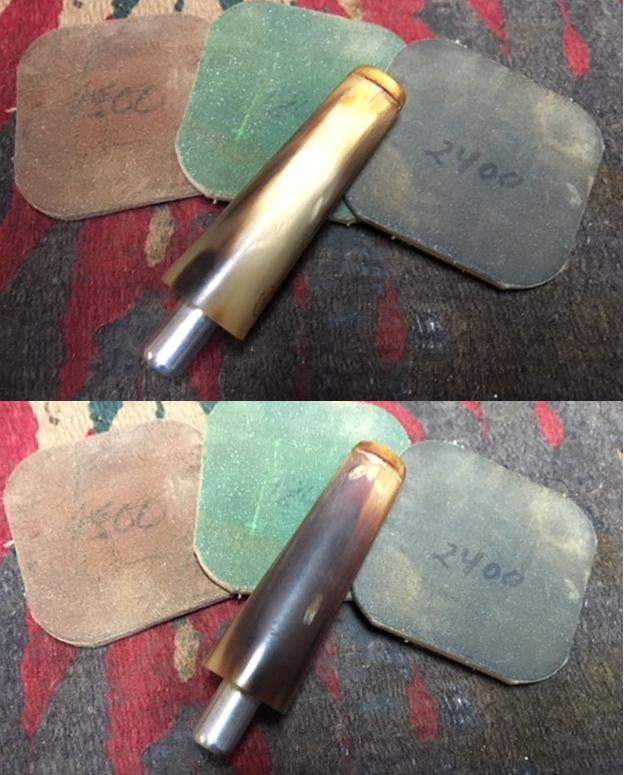
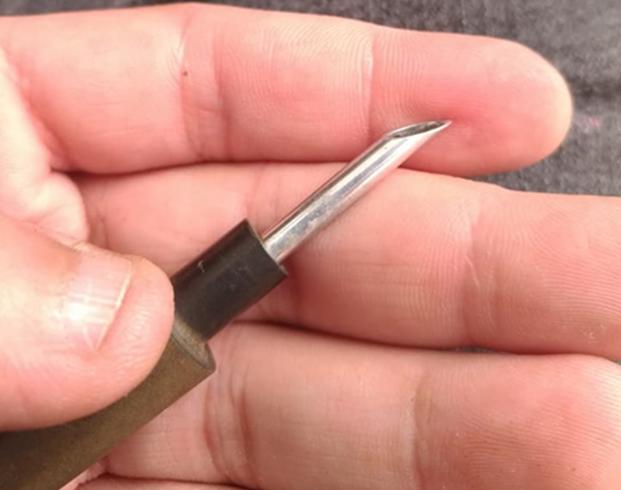
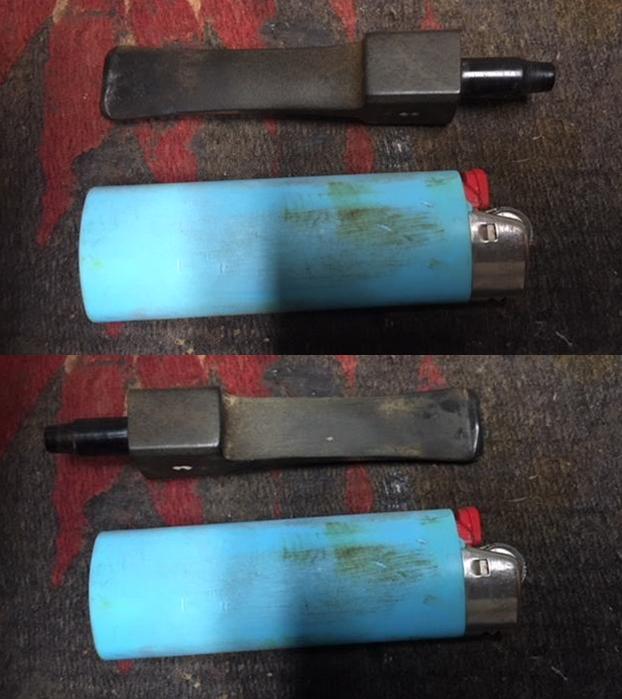
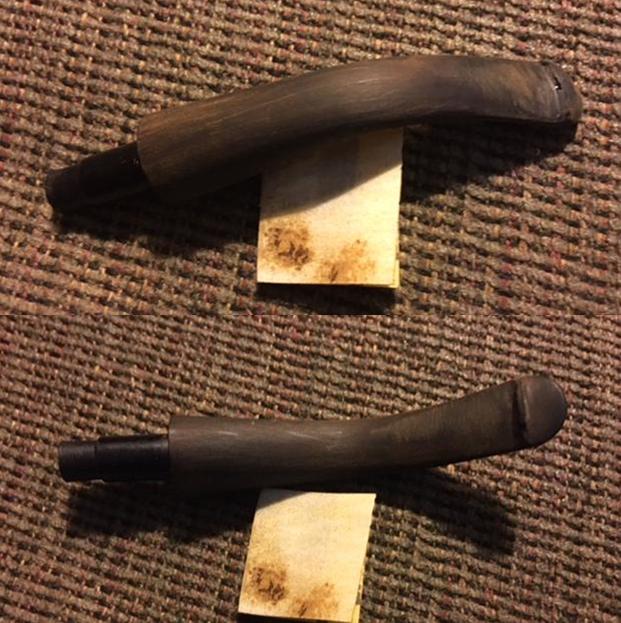
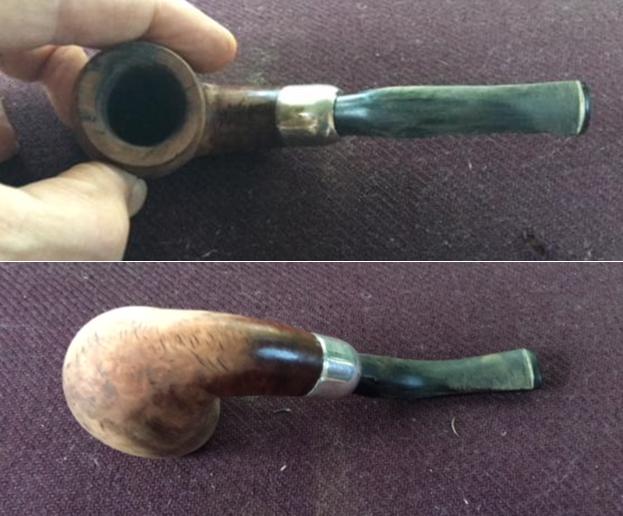
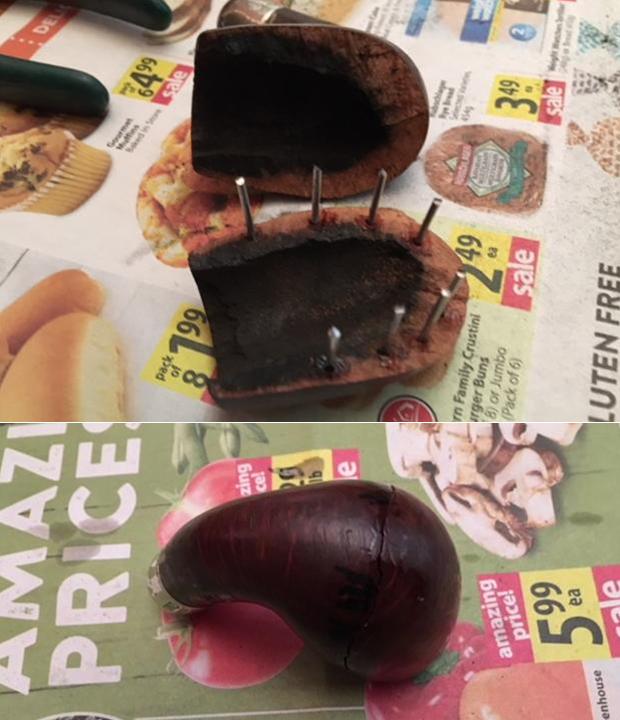
 I put the cleaned inner tube in the tenon and aligned the angle of the spear end so that it would sit on the bottom of the bowl when inserted in the shank. I took photos of stem at this point to show the inner tube.
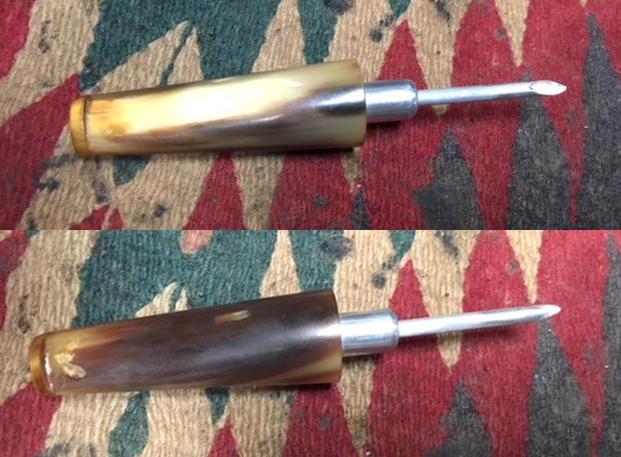 I used the sharp point of a sanding stick to apply Rub’n Buff Antique Gold to the stamping on the left side of the stem. I worked it into the grooves. I let the gold dry and then buffed it off with a soft cloth.
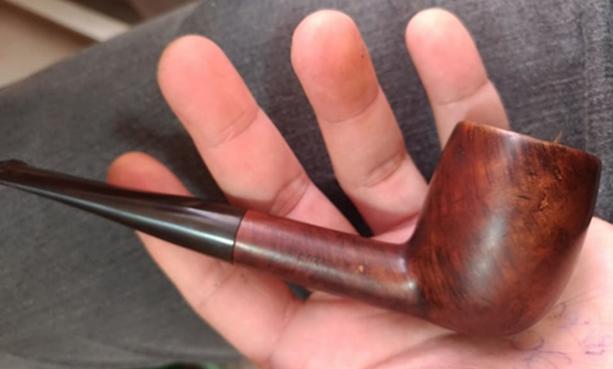
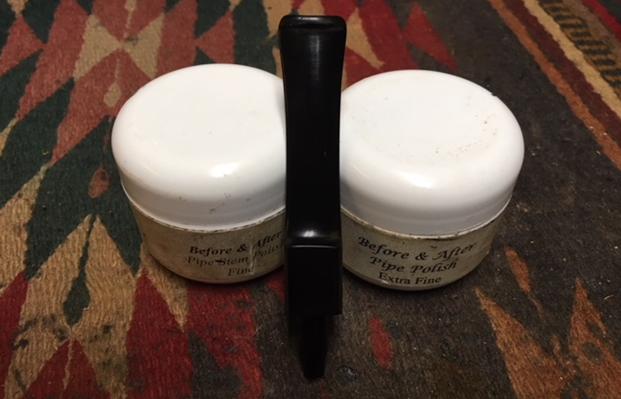
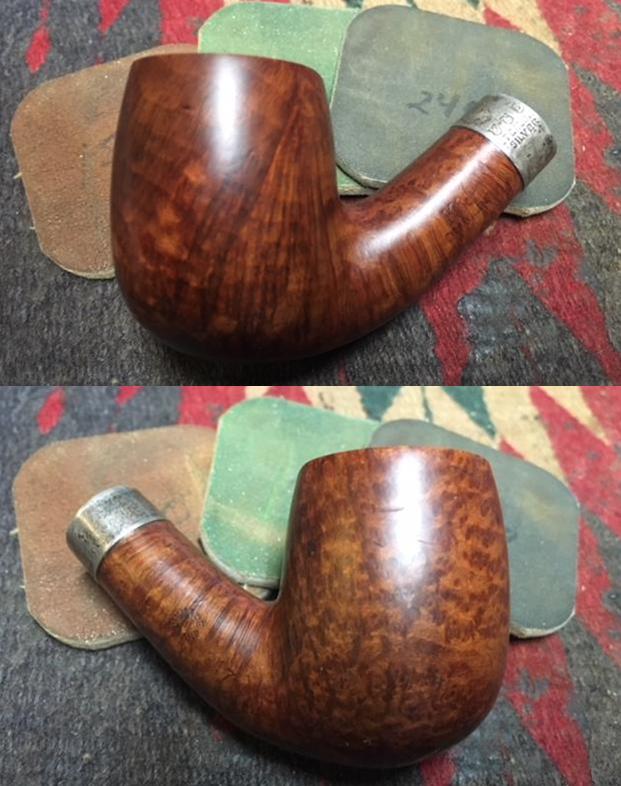
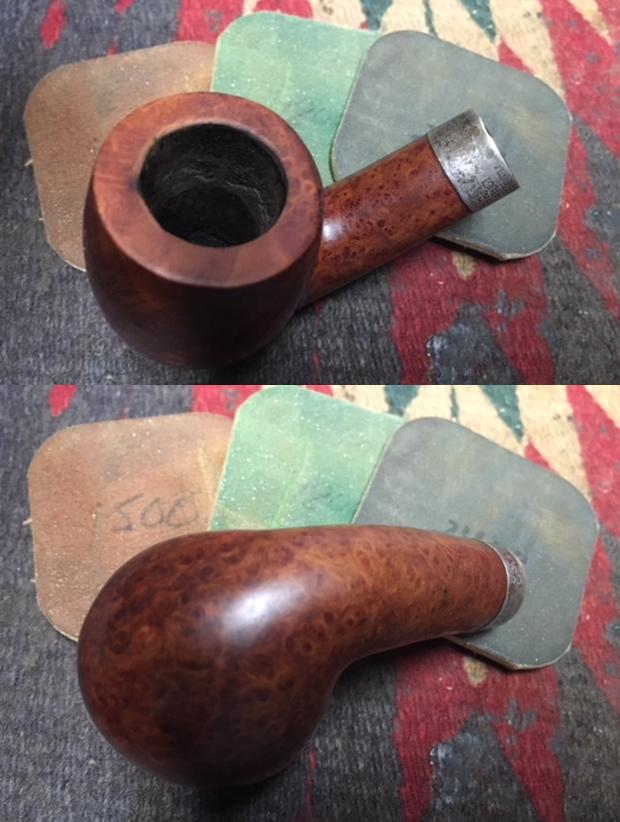
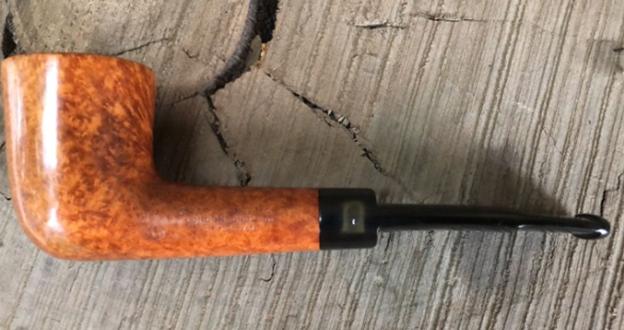
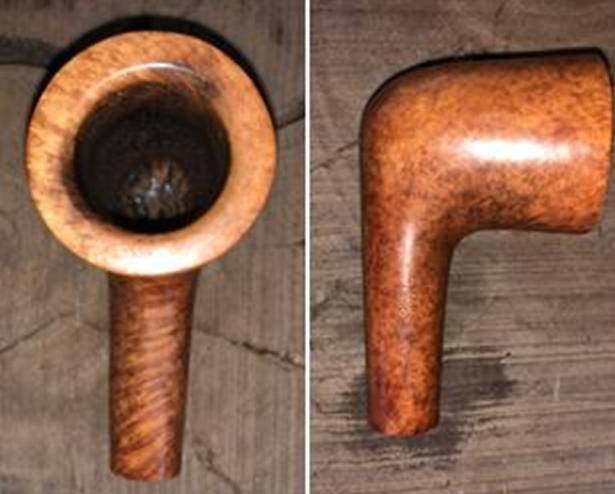
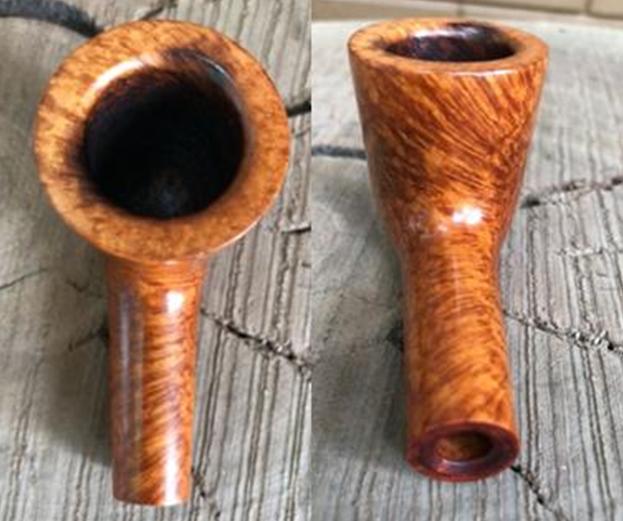
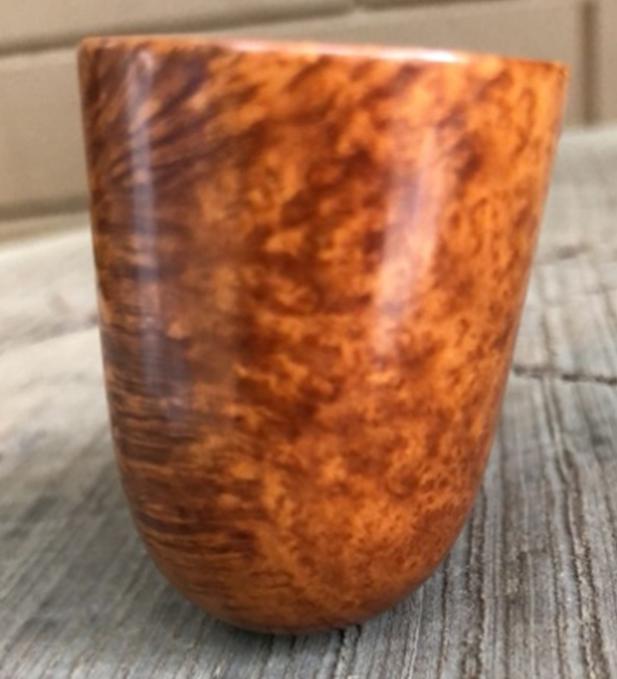
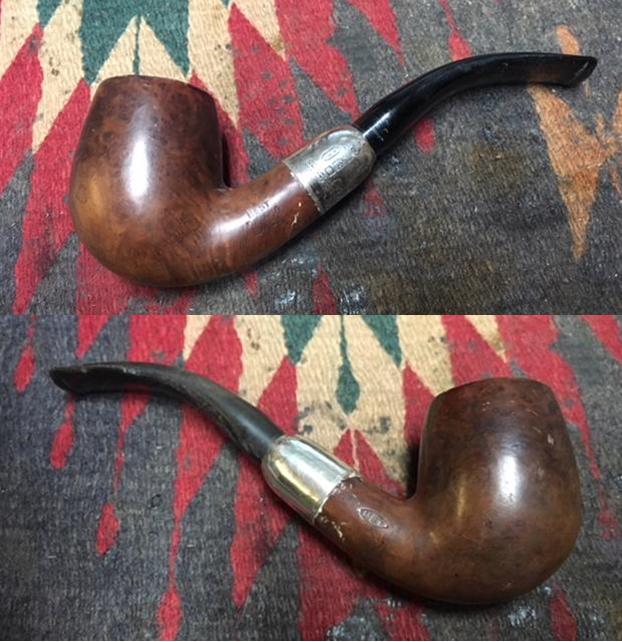
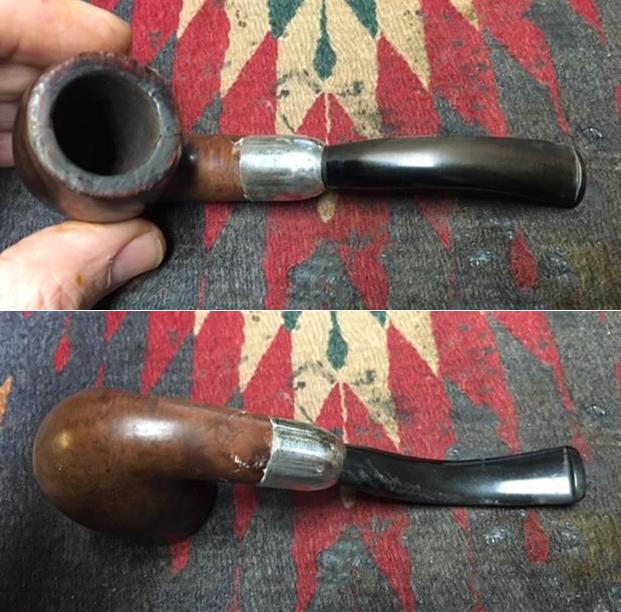
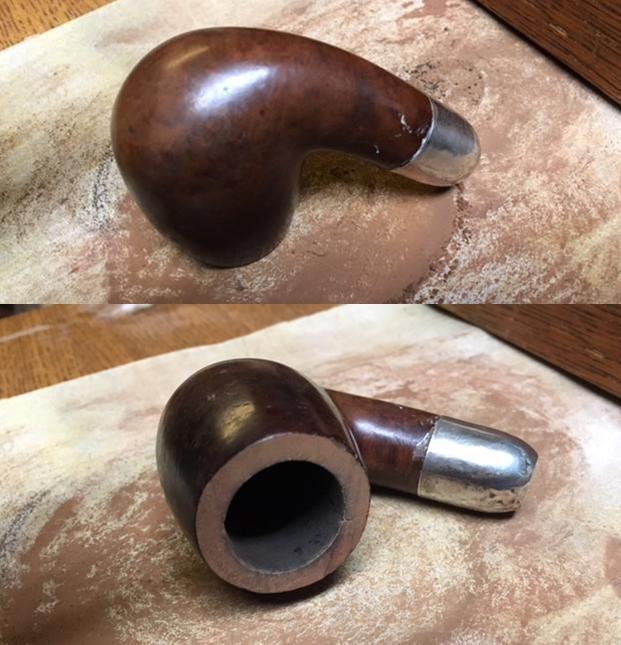
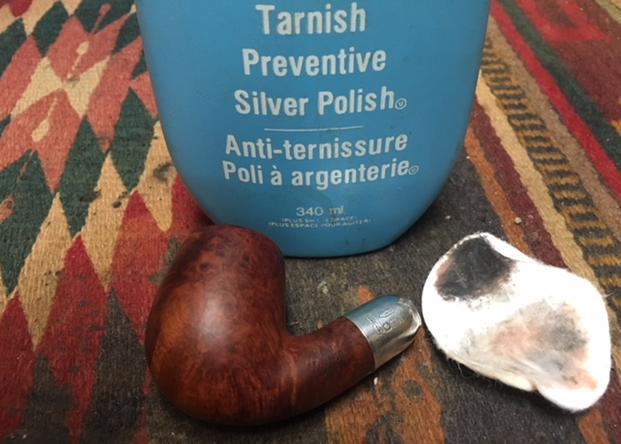
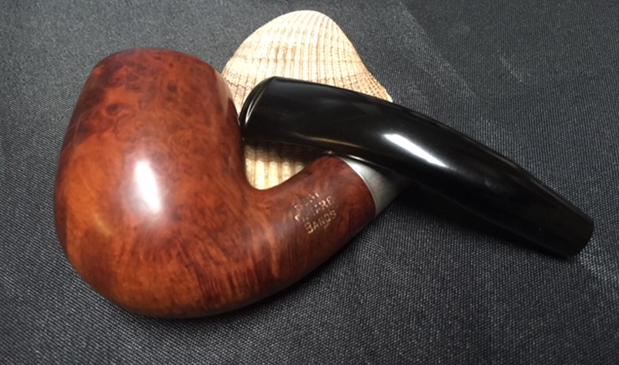
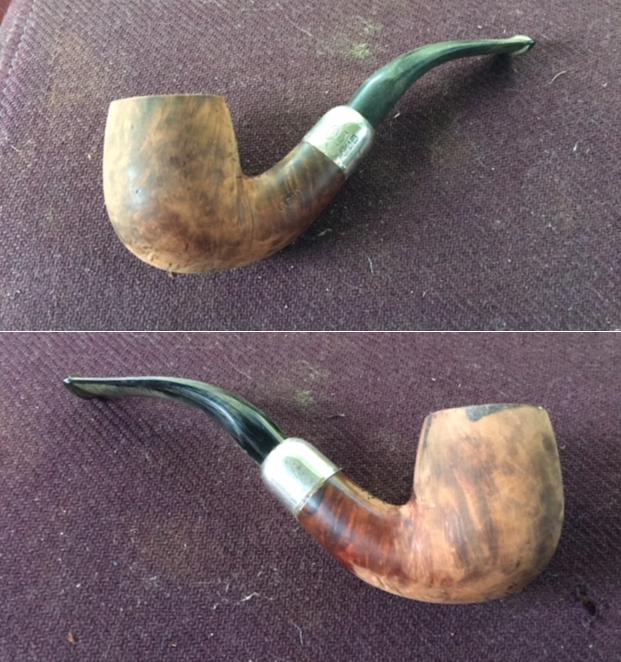
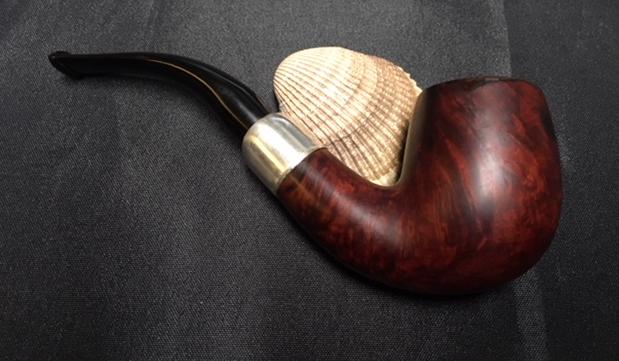
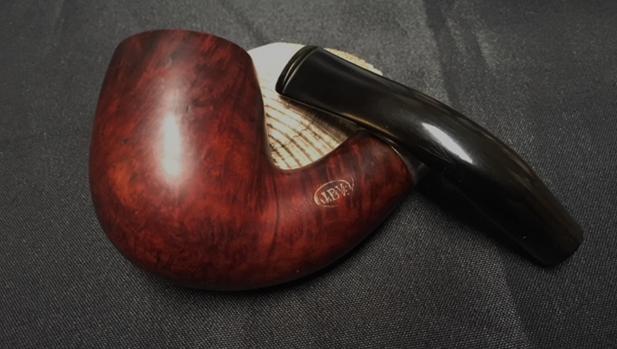
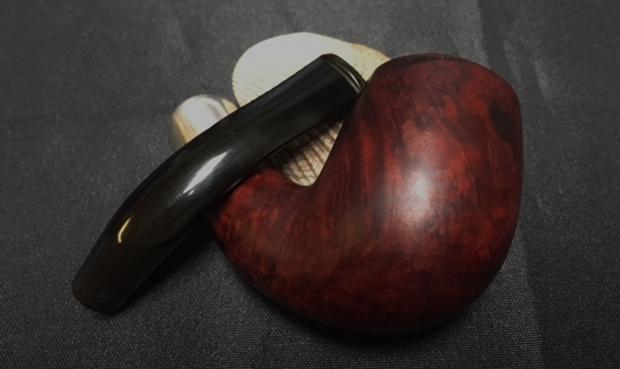
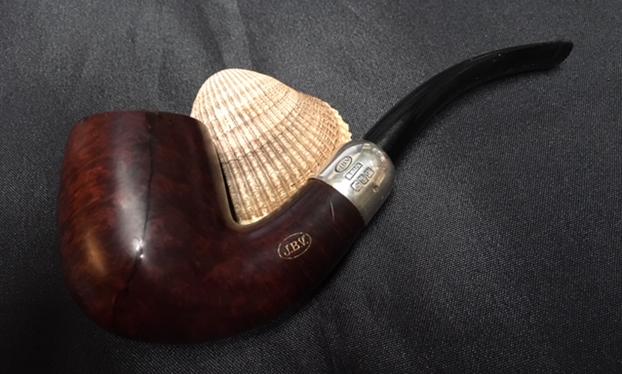
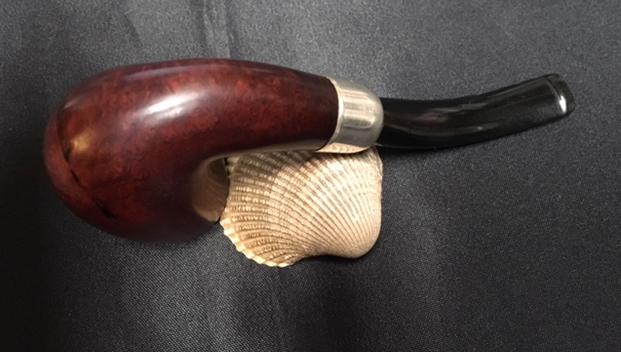
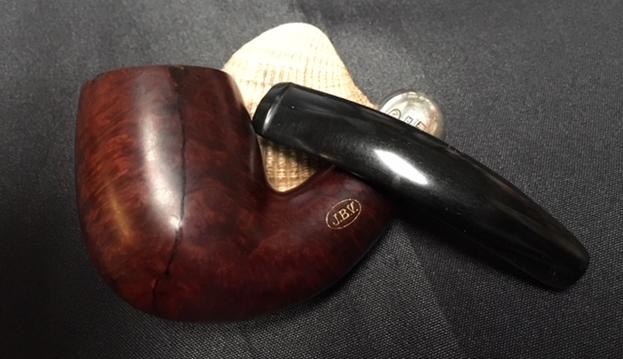
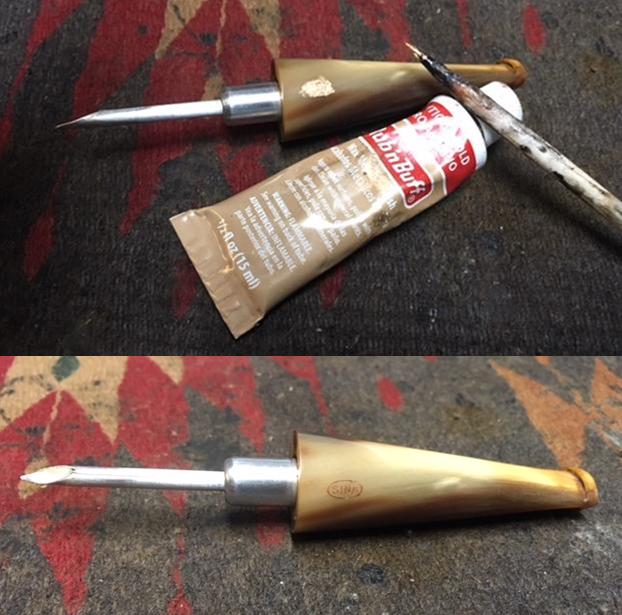 This SINA, GBD predecessor is a beautiful pipe with mixed grain all around the bowl sides, top and bottom. The grain really is quite stunning. The rim top looks much better. The horn stem repaired easily and shined up well. I buffed the bowl and the stem with Blue Diamond polish to raise the shine on the briar and the vulcanite. I was careful to not buff the stamping and damage it. I gave the bowl and stem multiple coats of carnauba wax. I buffed the entire pipe with a clean buffing pad to raise the shine. I hand buffed it with a microfiber cloth to deepen the shine. The finished pipe is shown in the photos below. The rich patina of the original finish allows the grain to really stand out on this pipe and it works well with the rich lustre of the polished horn stem. The dimensions of the pipe are: Length: 5 1/4 inches, Height: 2 inches, Outside Diameter: 1 3/8 inches, Diameter of the chamber: 3/4 of an inch. This old and beautiful SINA Chubby Billiard will sit next to the other SINA pipe in my personal collection. I am looking forward to enjoying my first bowl in it soon. Thanks for walking through the restoration with me.