Blog by Steve Laug
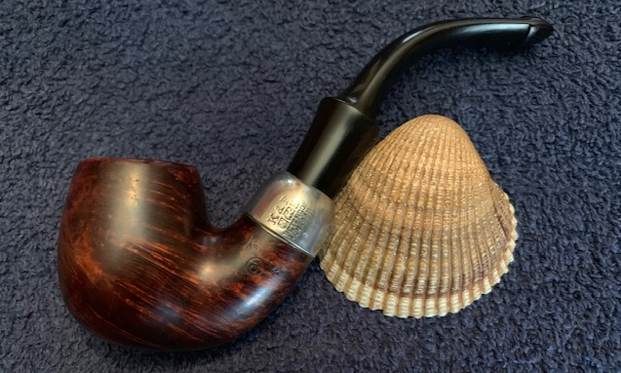
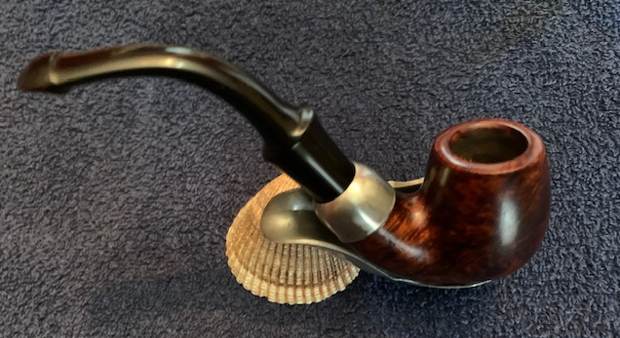
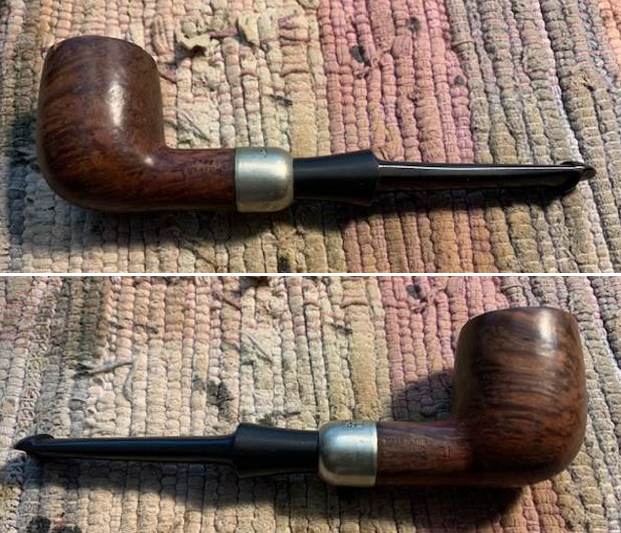
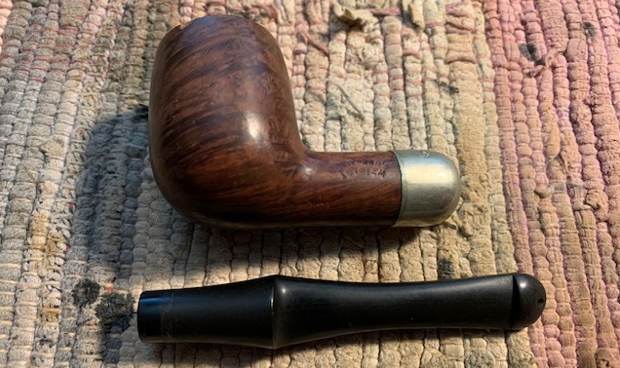
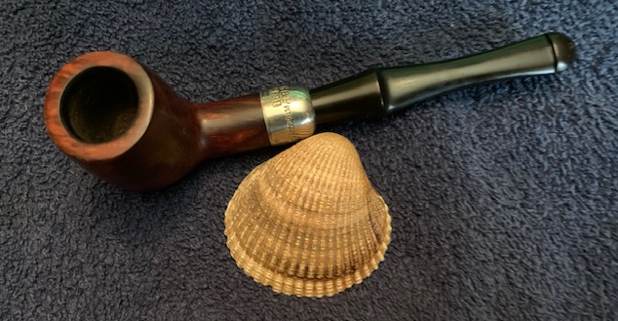
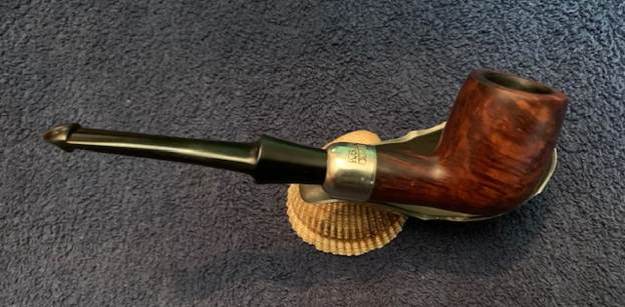
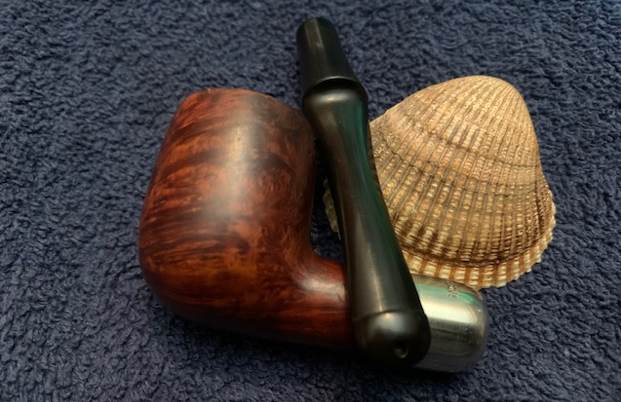
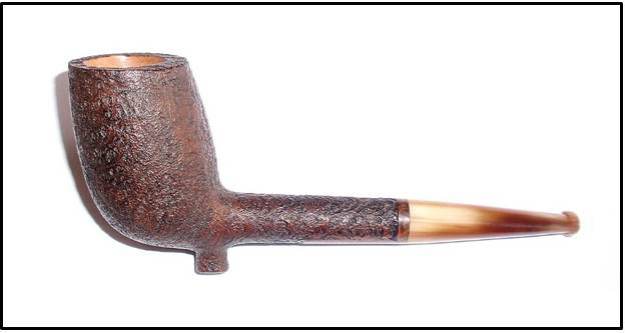
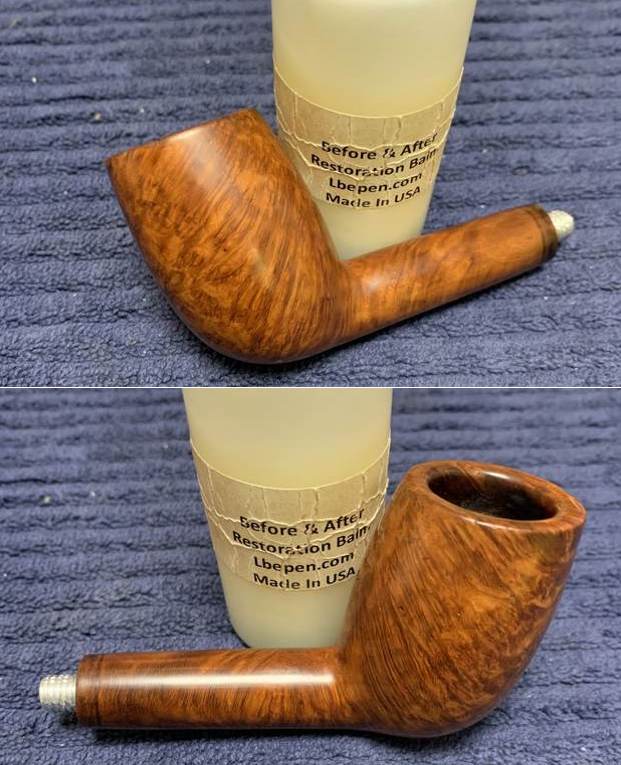
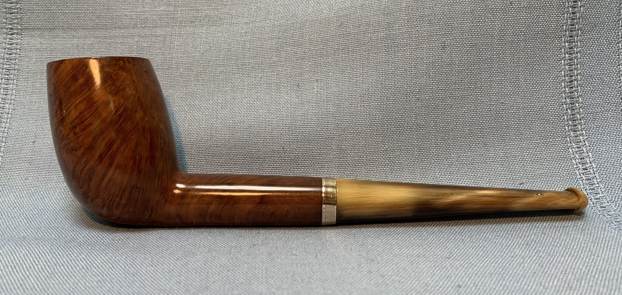
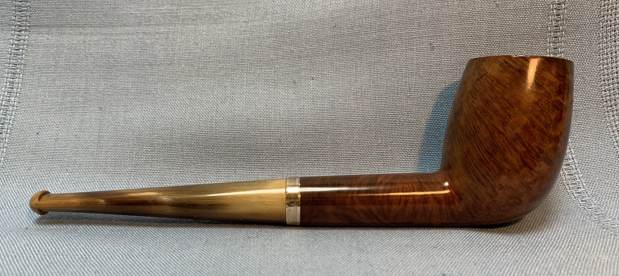
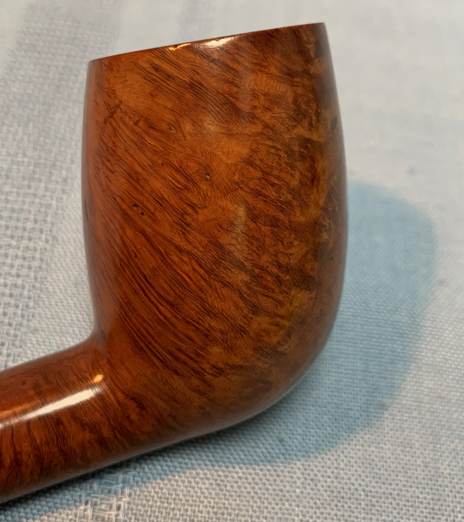
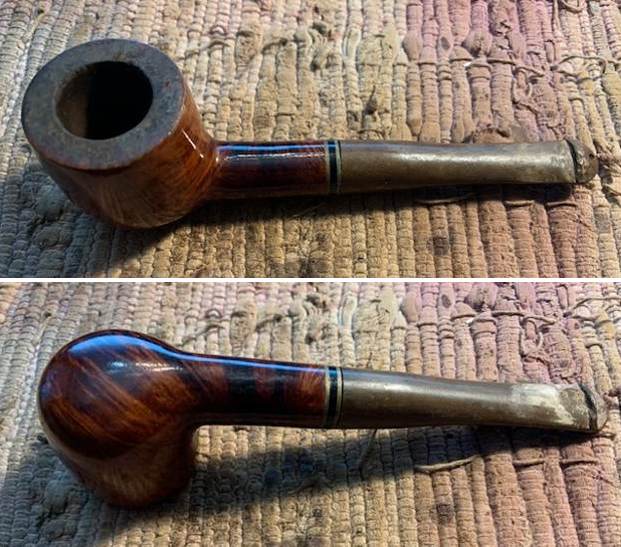
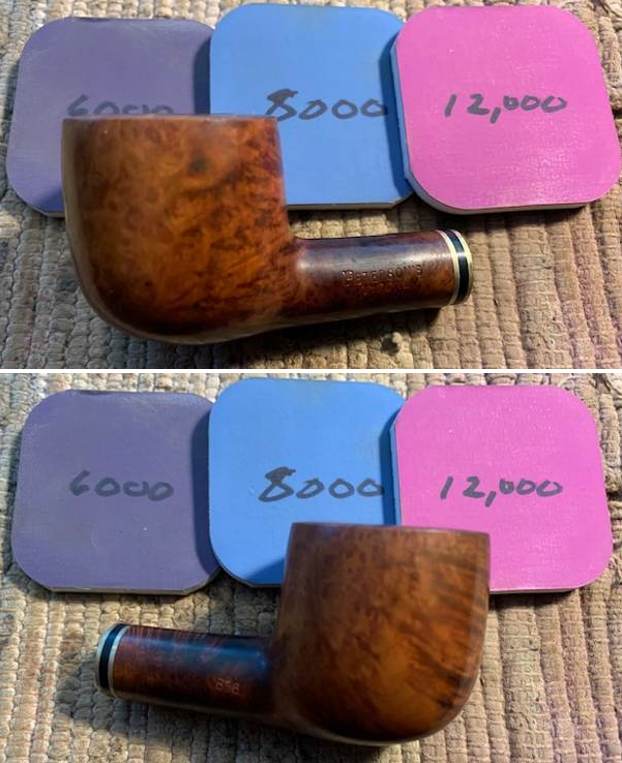
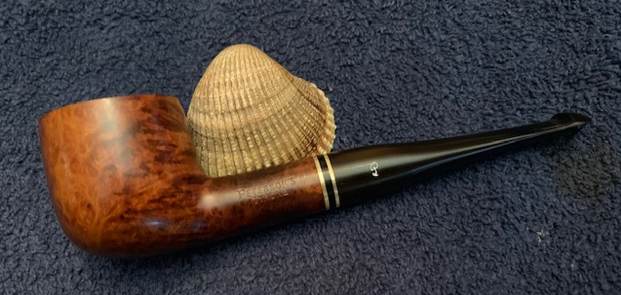
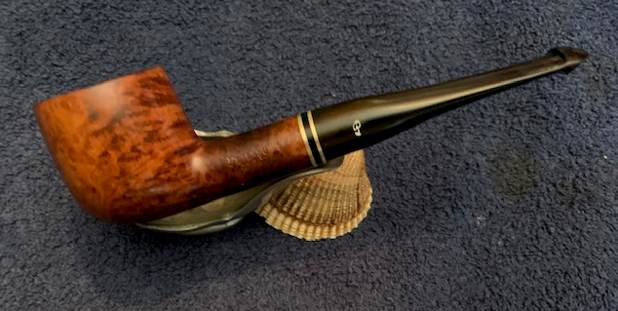
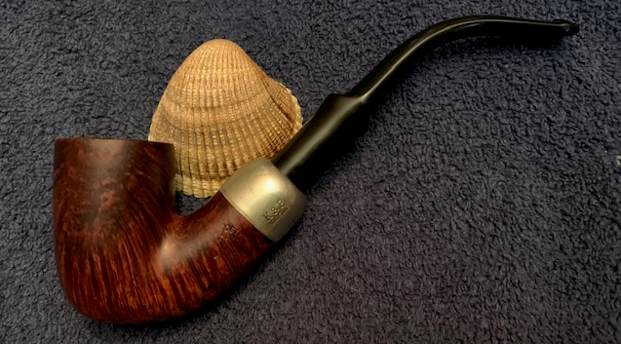
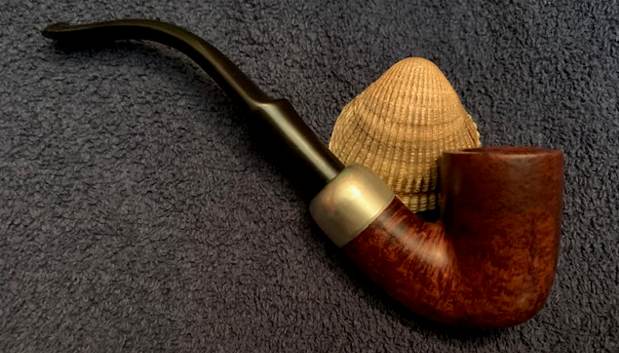
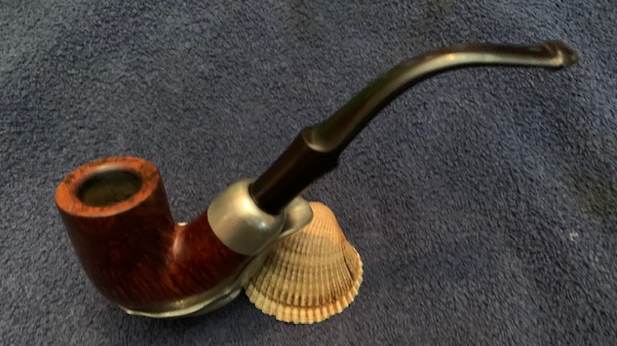
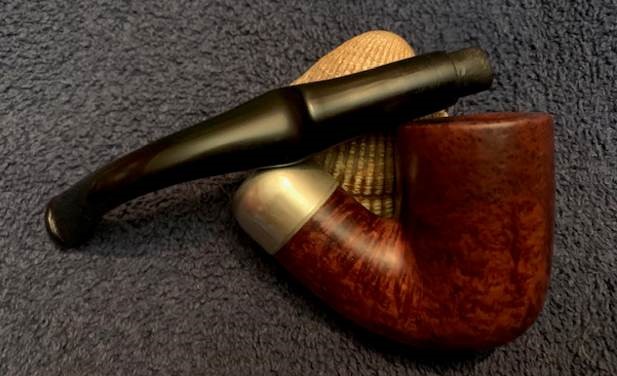
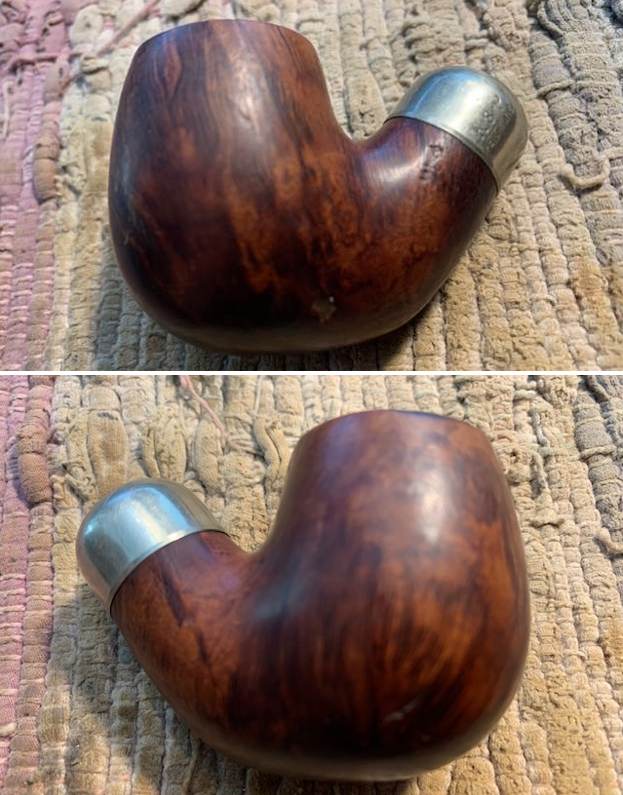
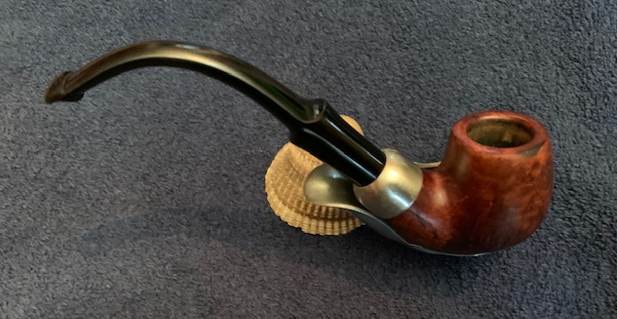
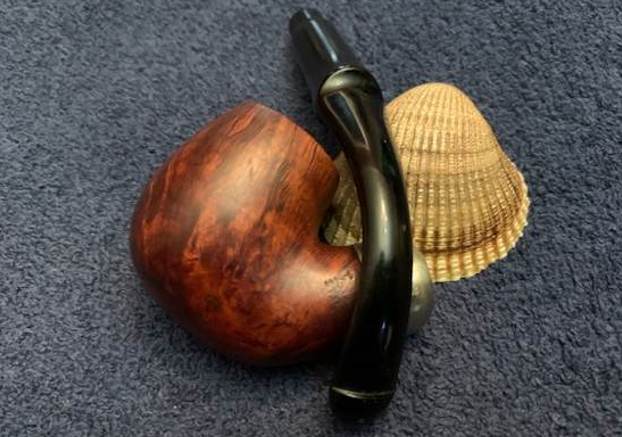
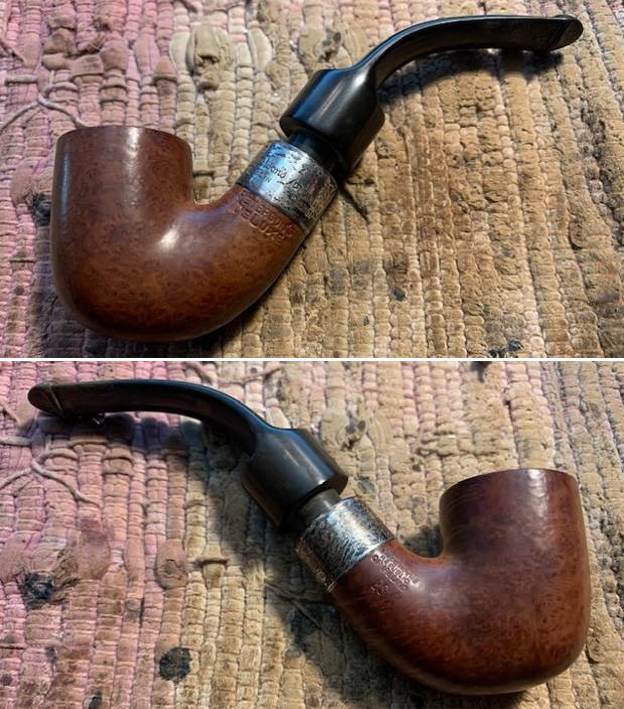
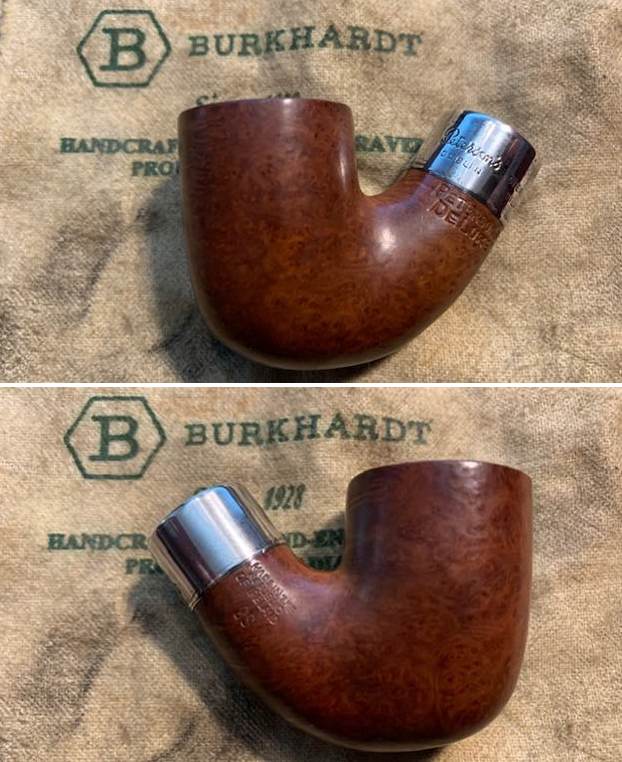
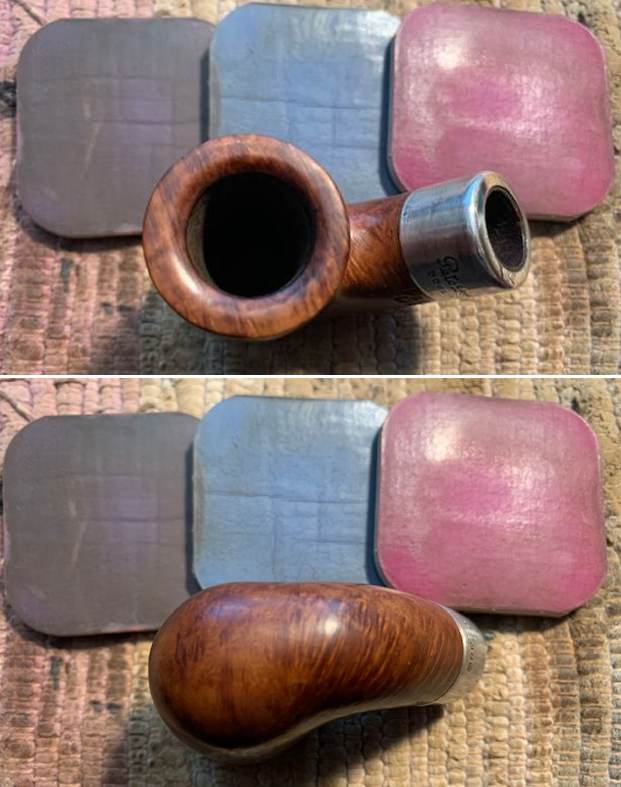
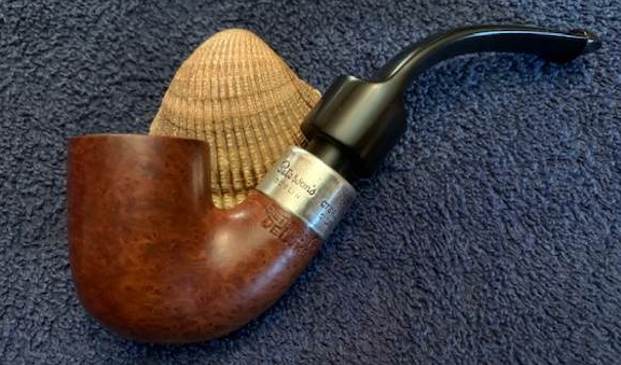
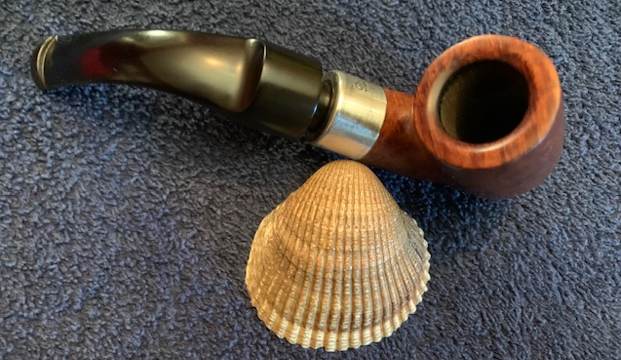
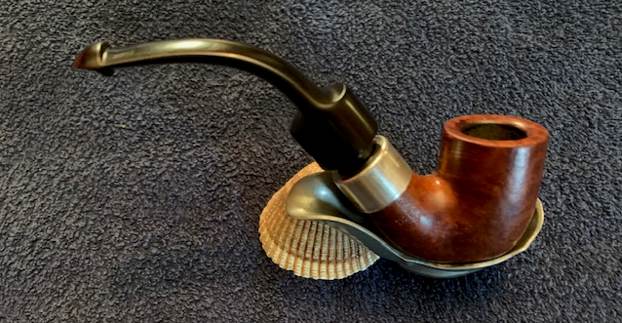
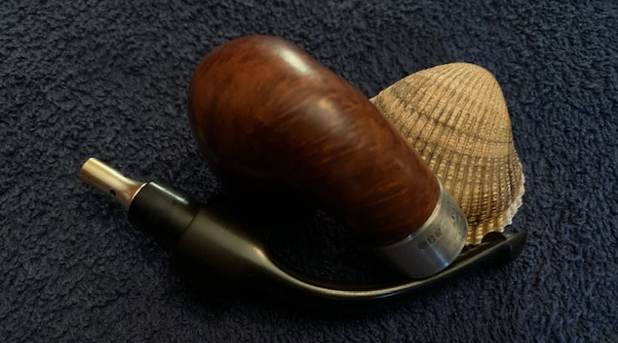
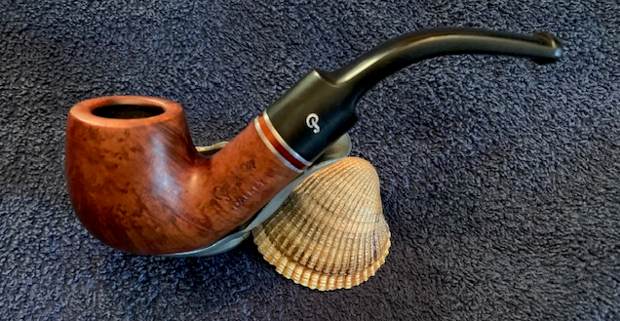
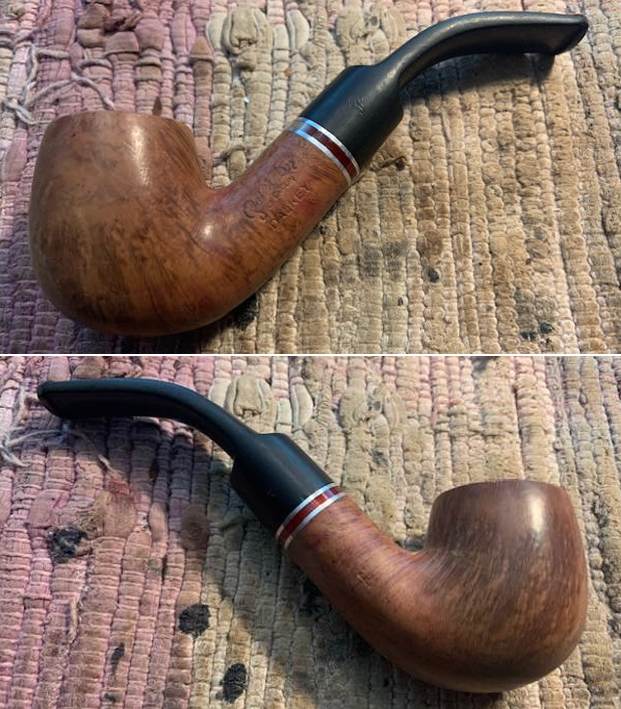
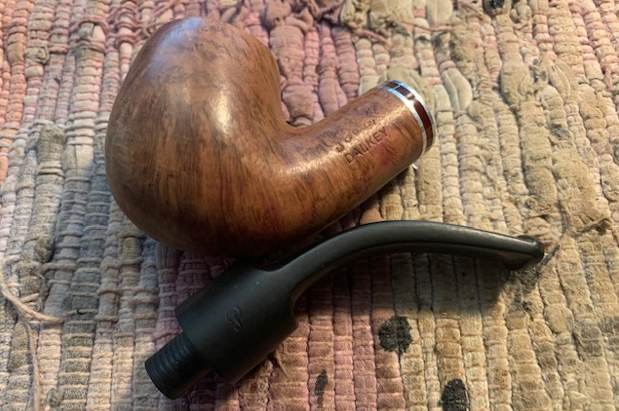
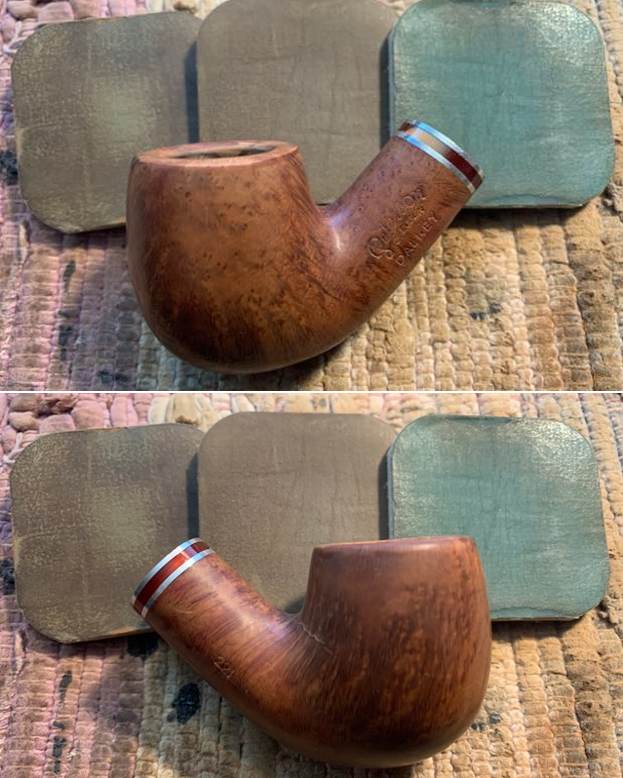
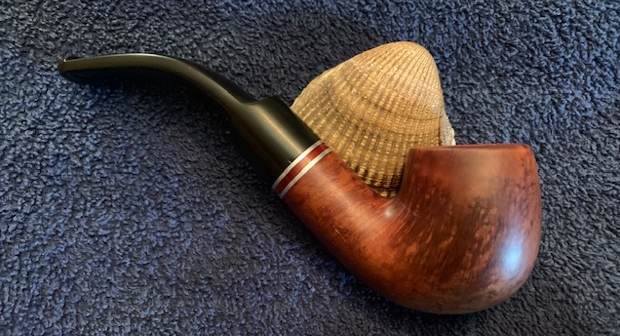
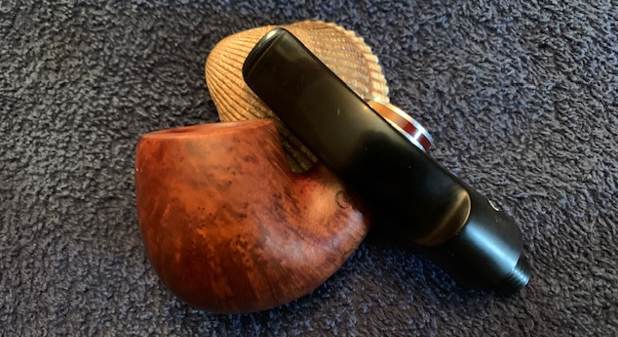
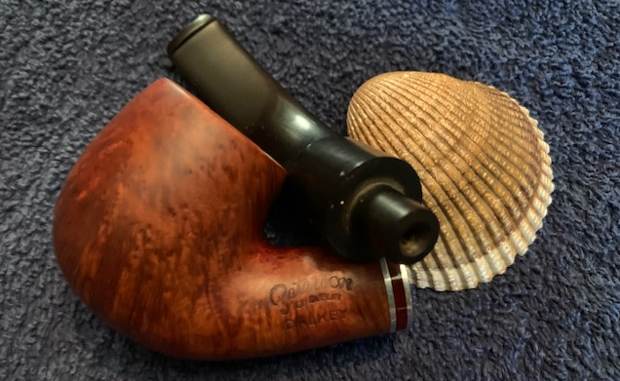
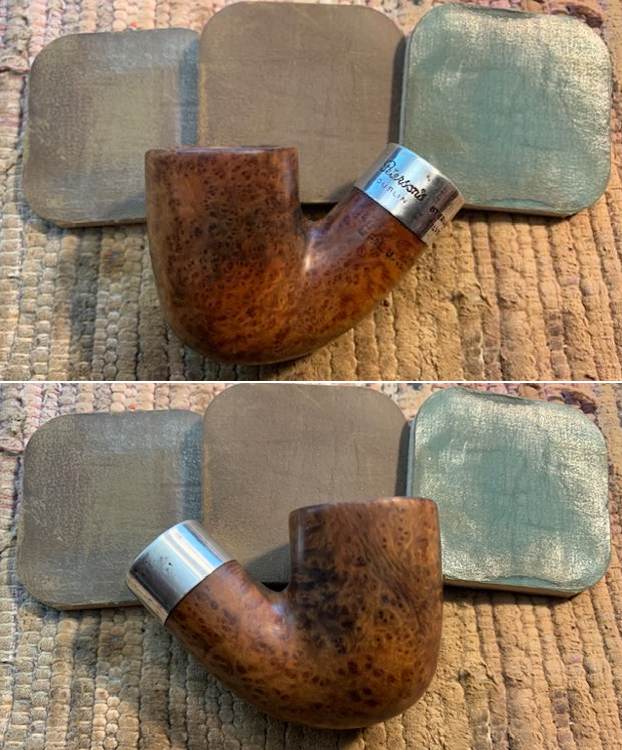
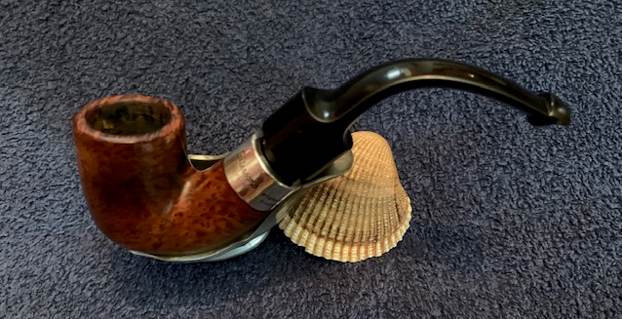
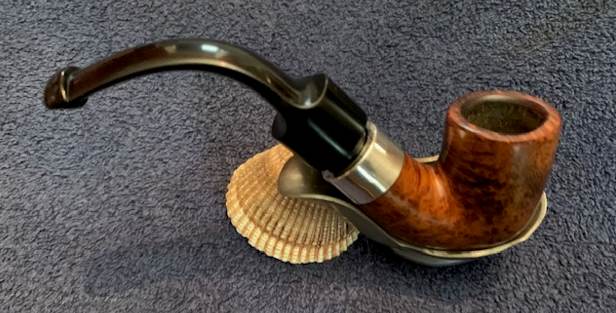
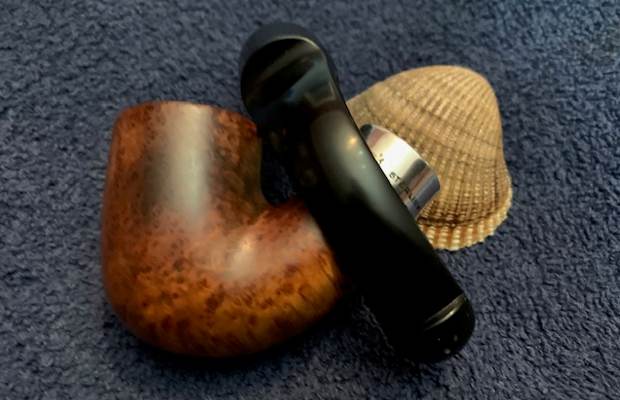
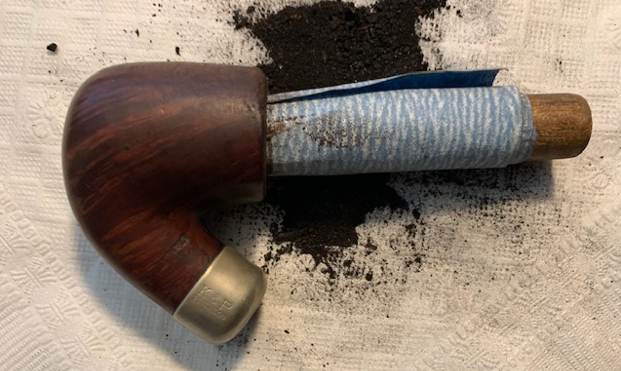
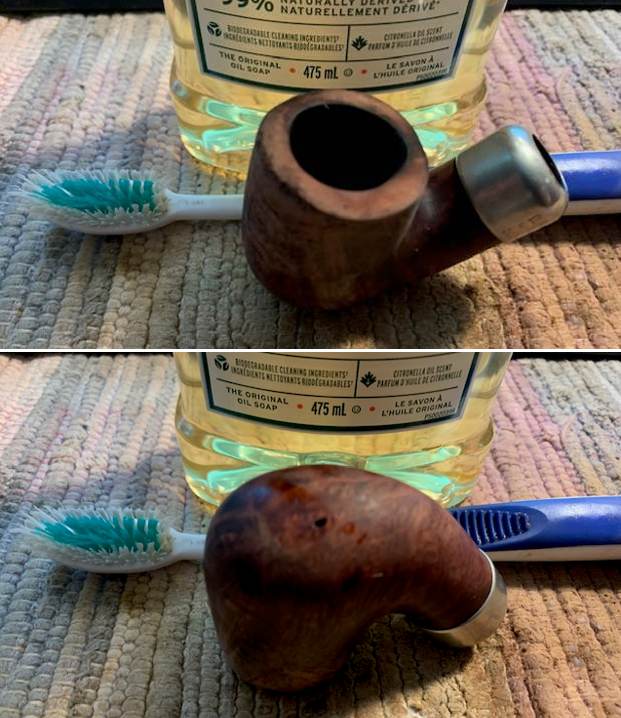
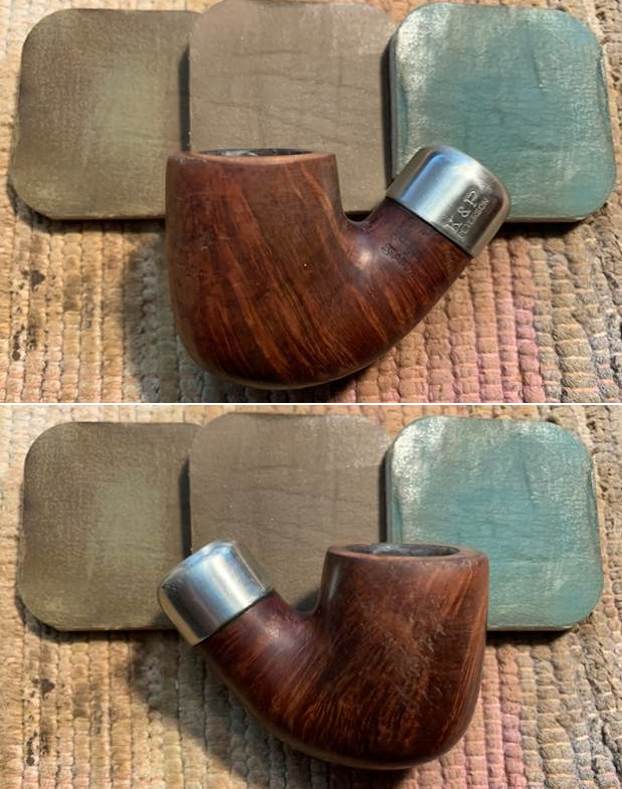
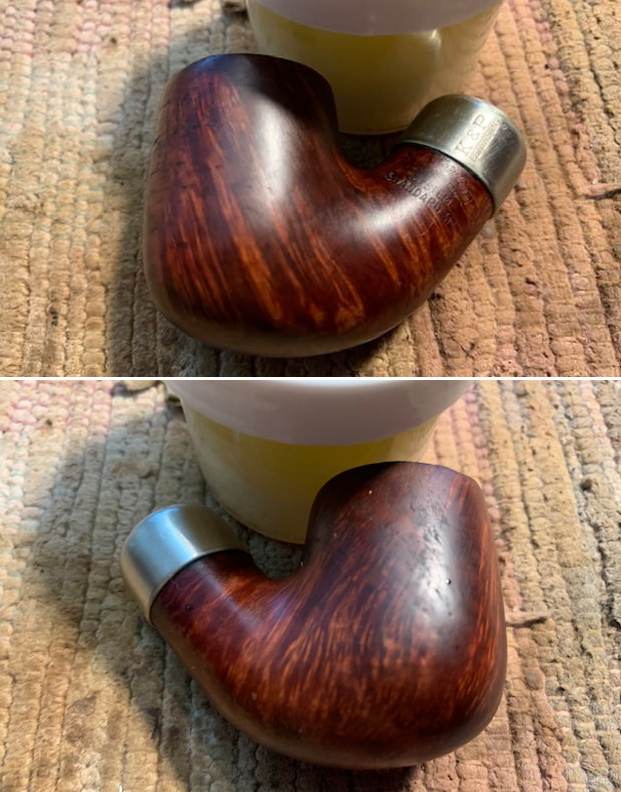
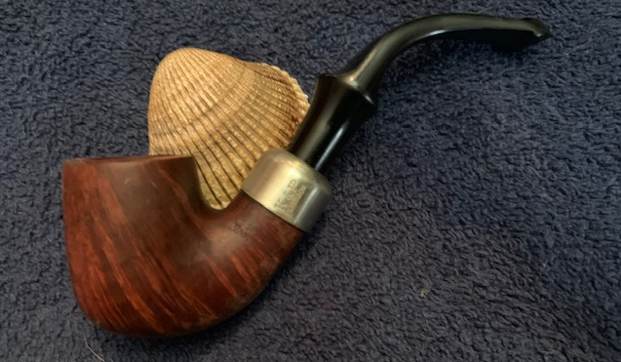
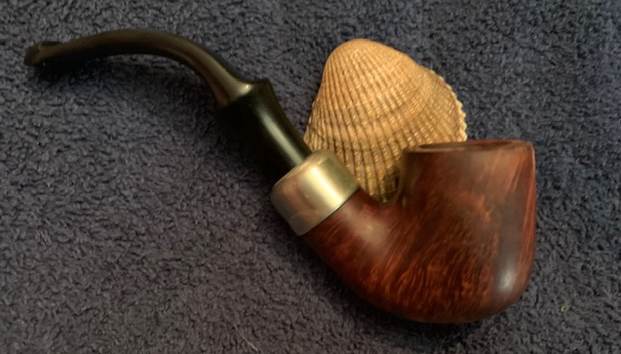
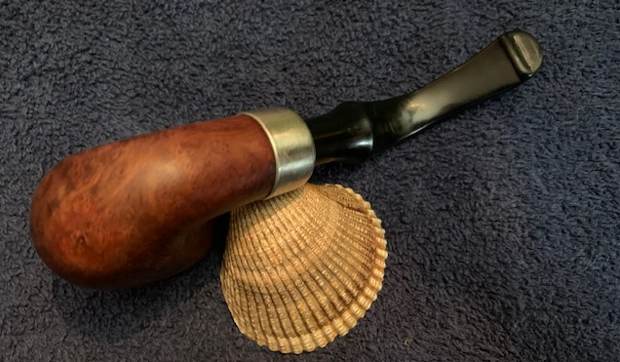
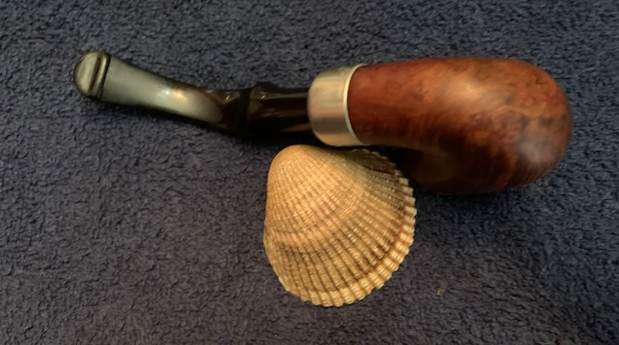
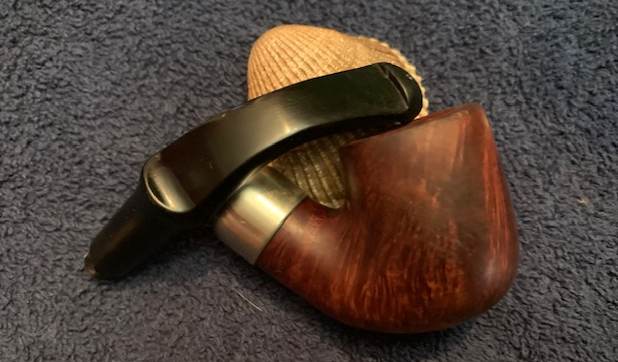
This is a pipe that I have taken out of my personal collection as I just do not use it too much. It is a classic Peterson’s System Bent Billiard shaped pipe with some nice grain around the bowl and a nickel ferrule. It is another pipe that I smoked solely Virginia tobaccos in so it is very clean. The inside of the shank, the system sump and the shank was quite clean. The smooth rim top has some damage on the inside edge of the bowl and is out of round. The smooth finish was very clean but dull and quite lifeless. The grain is mixed but still quite nice around the bowl and shank. The stamping on the shank is clear and readable. The left side is stamped Peterson’s [arched over] System [over] the number 3 in a circle. On the right side it was stamped with the shape number 3170. The nickel ferrule is dull but stamped K&P [over] three faux hallmarks [over] Peterson [over] Dublin. The stem was quite clean with no oxidation or tooth marks. I took some photos of the pipe before I started my work on it.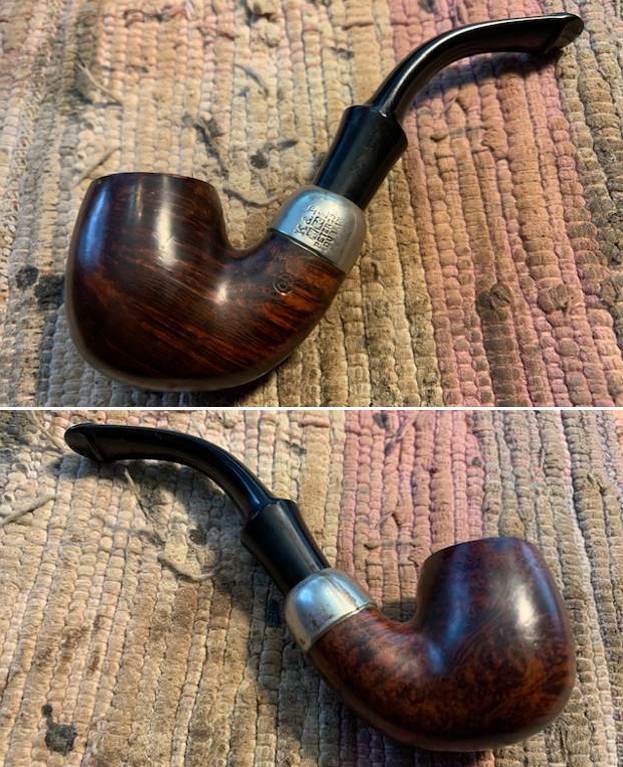
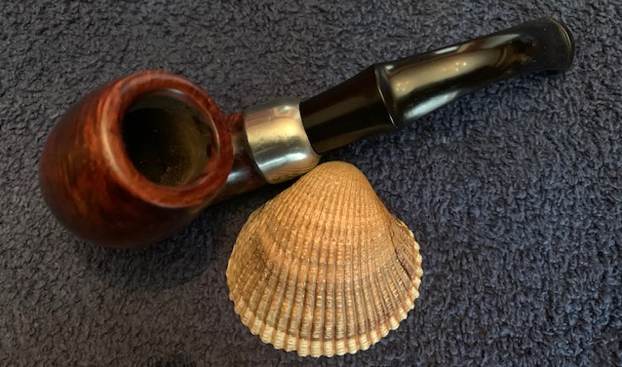
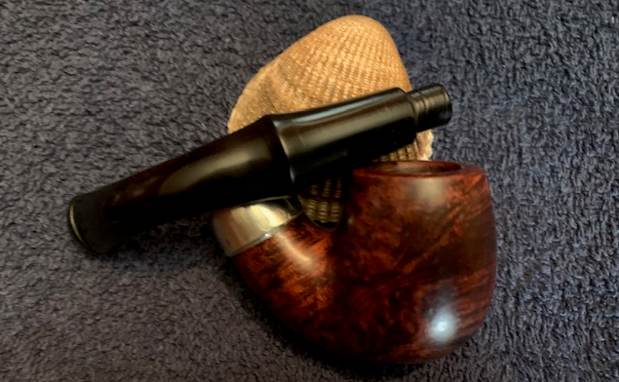
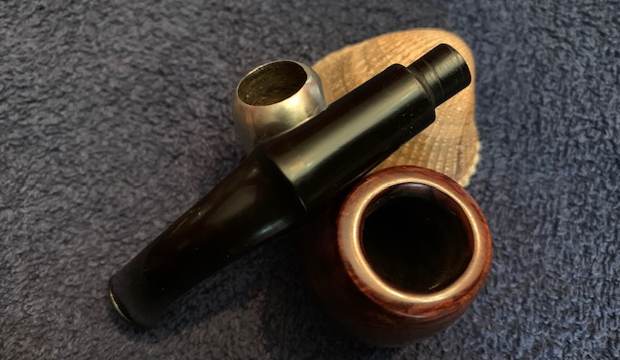
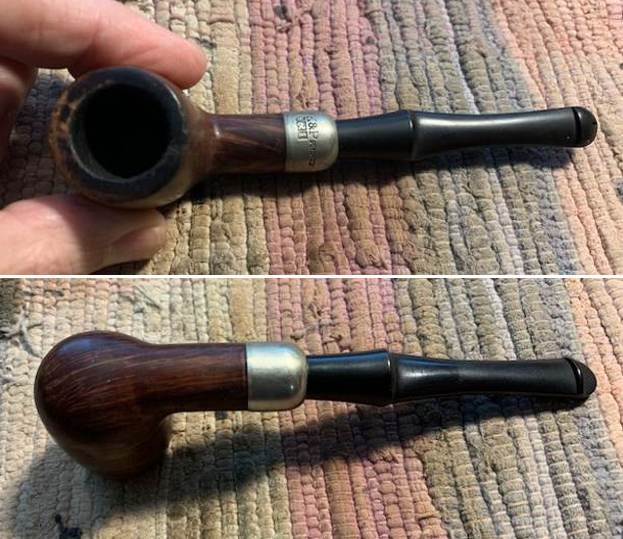
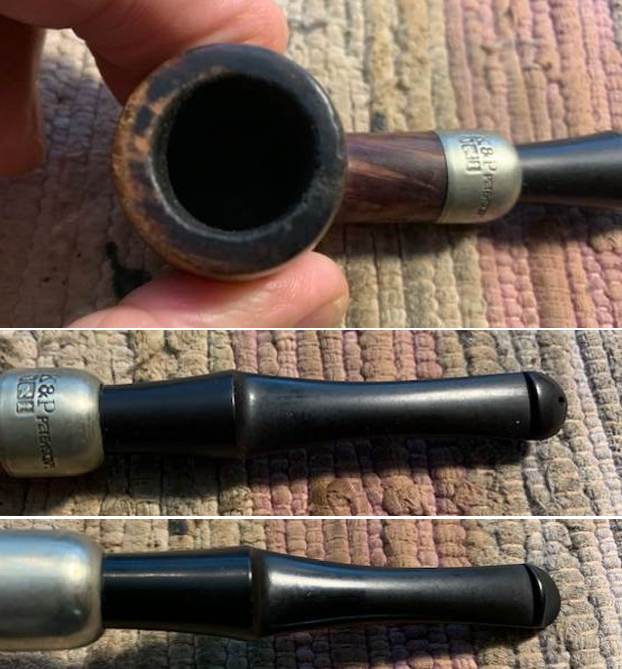
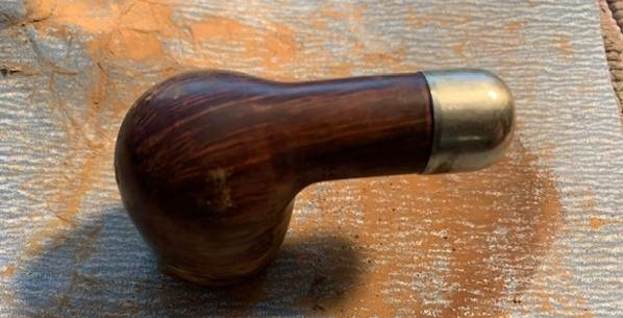
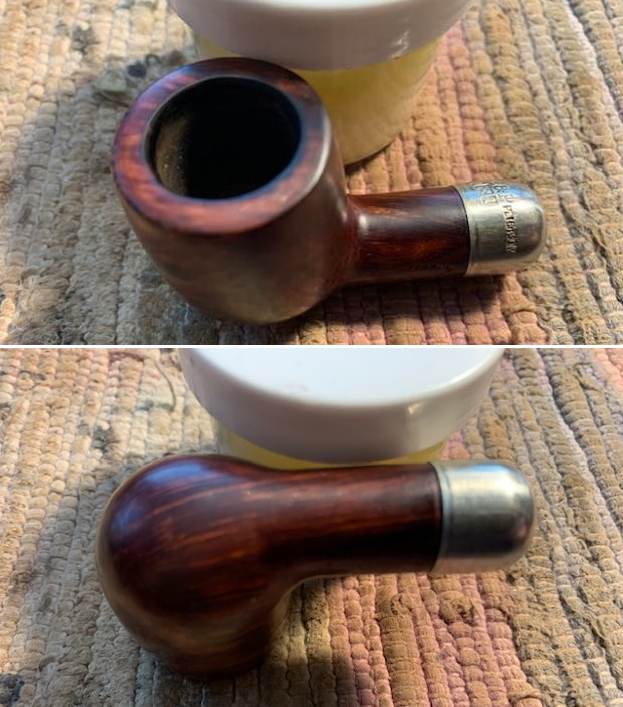
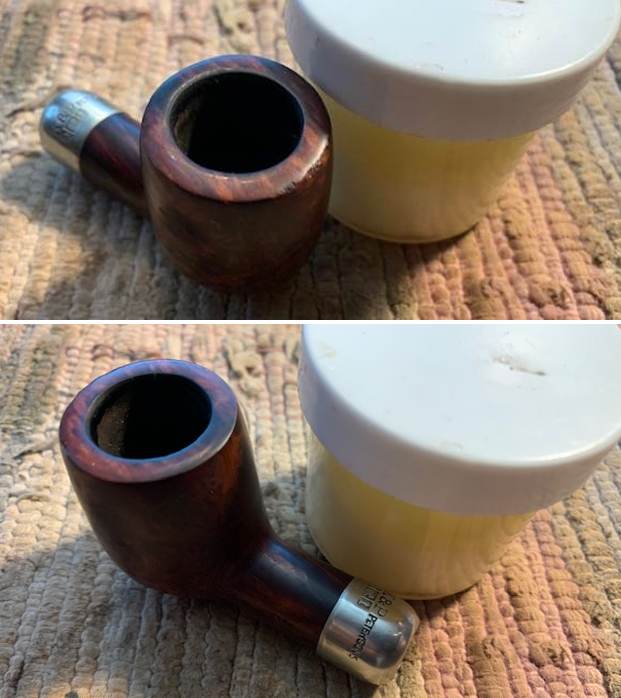
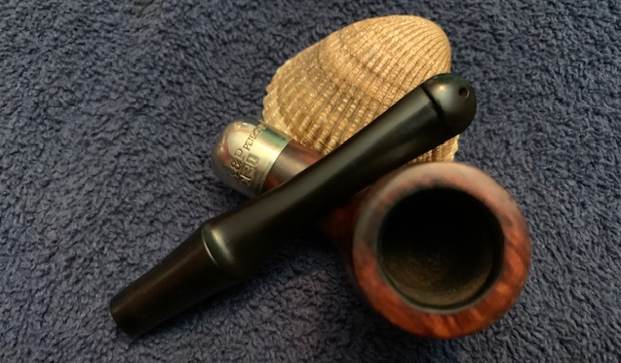
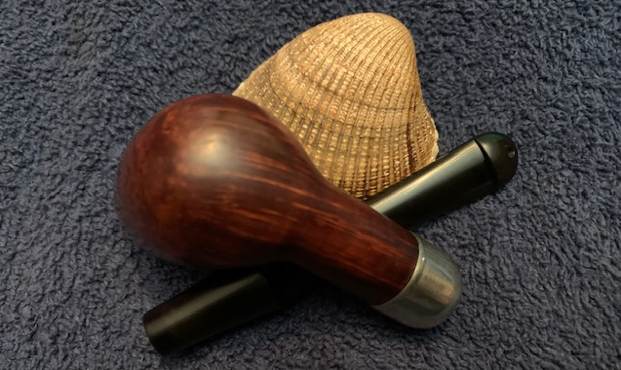
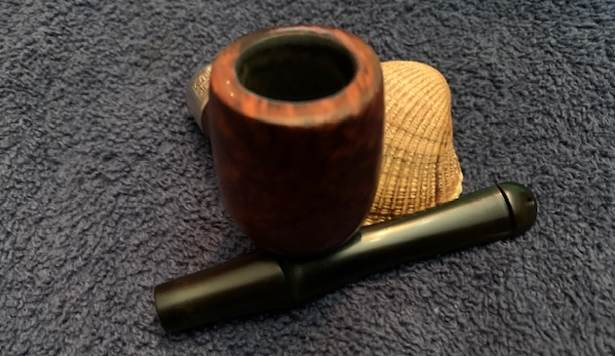
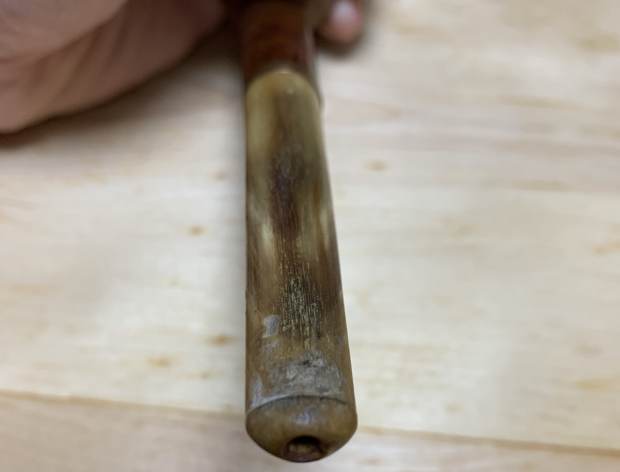
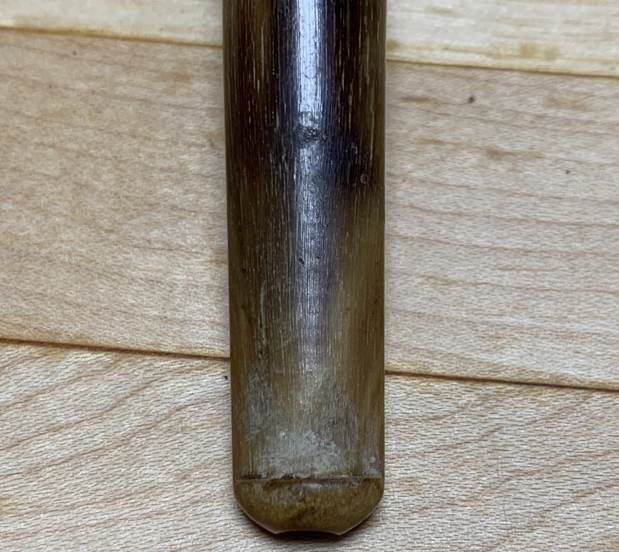
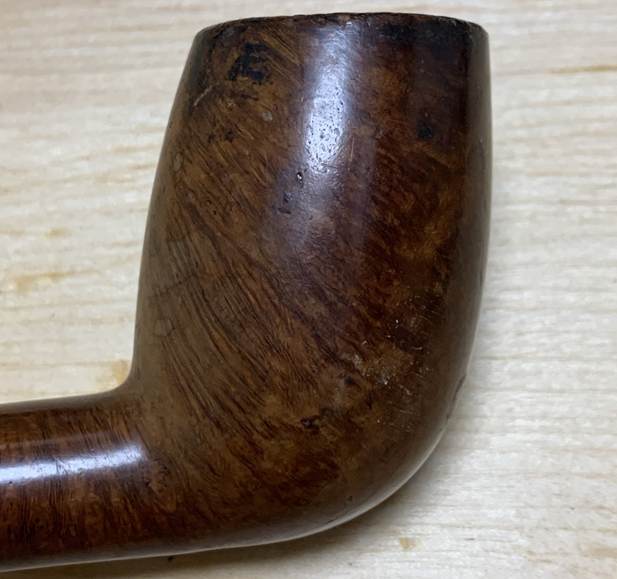
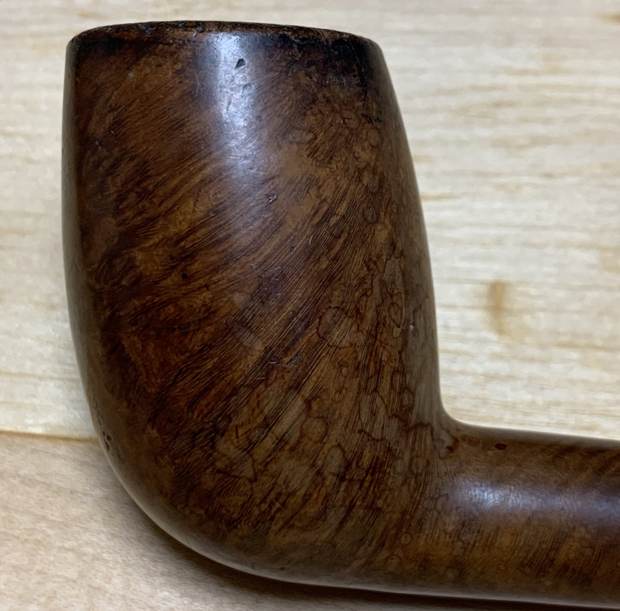
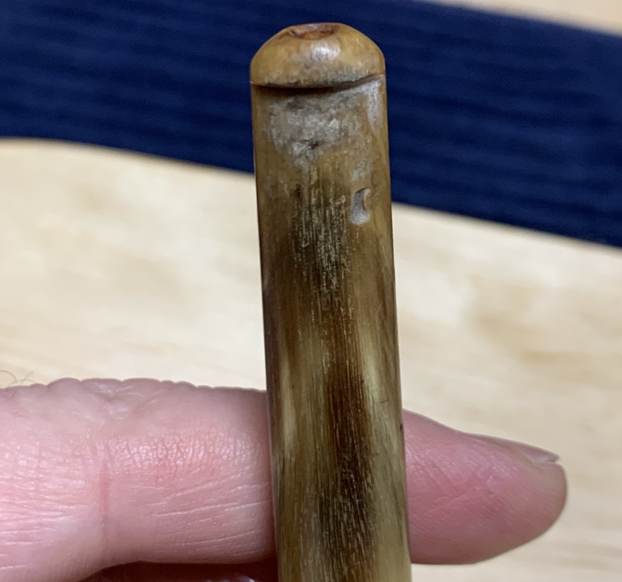
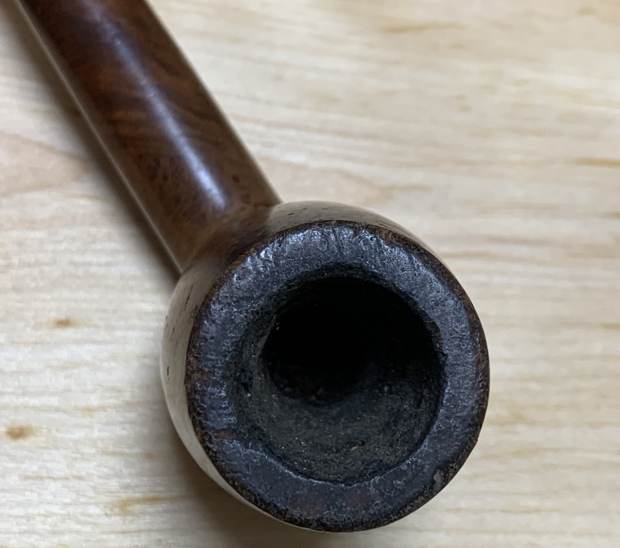
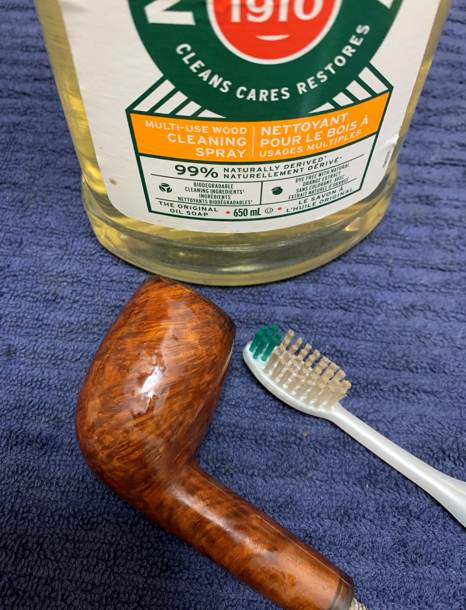
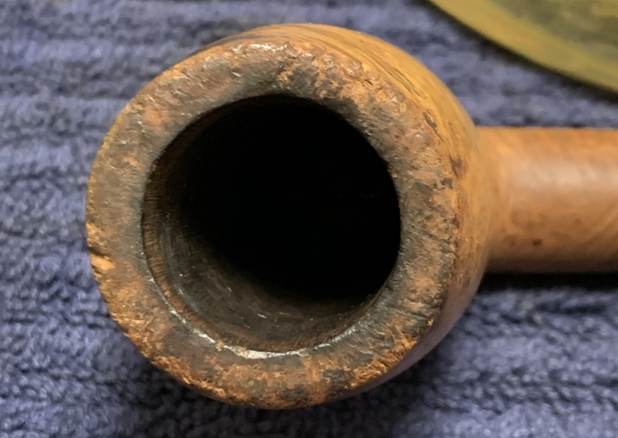
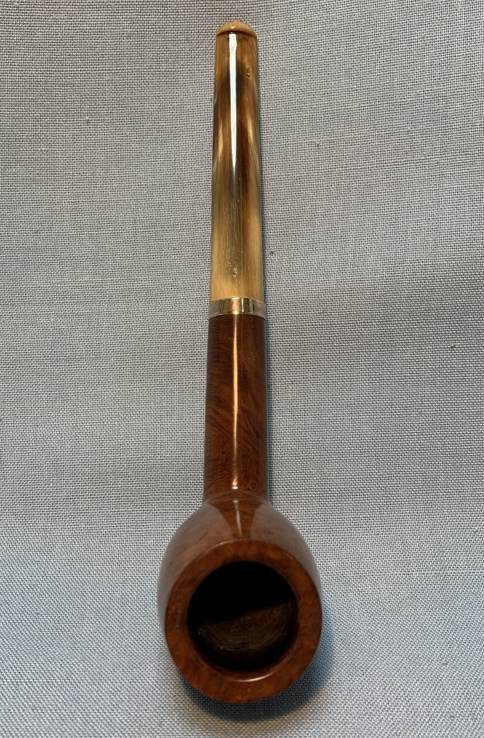
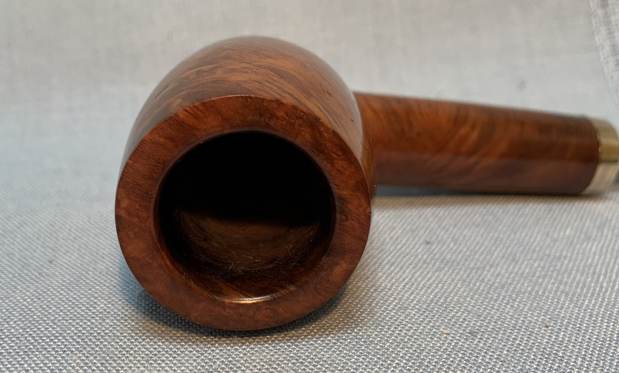
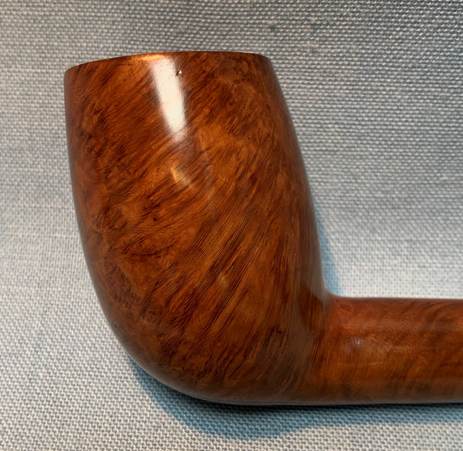
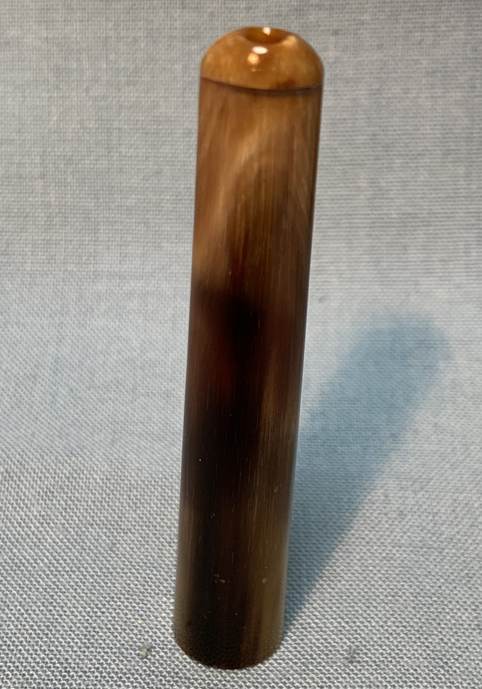
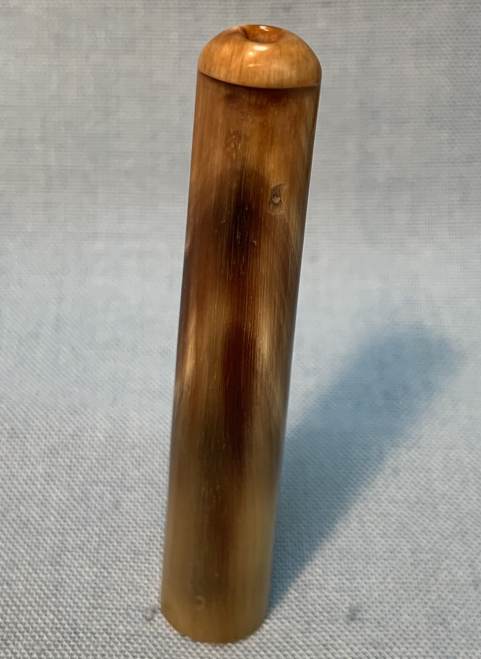
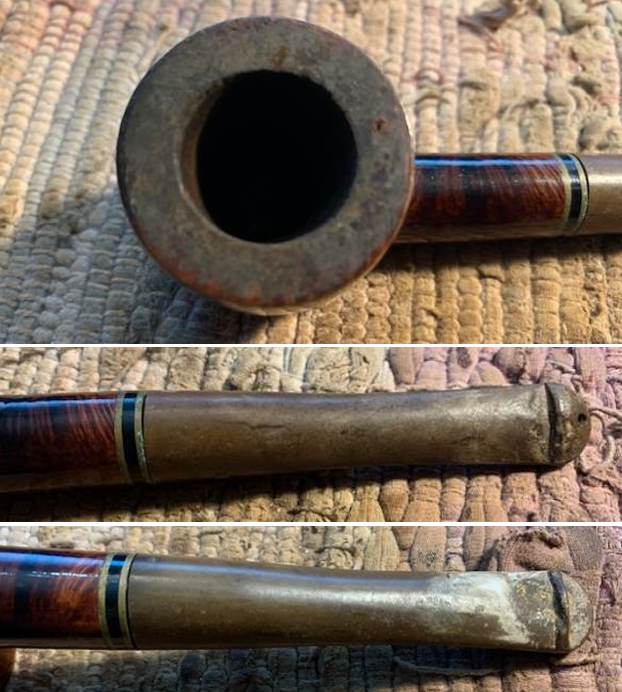
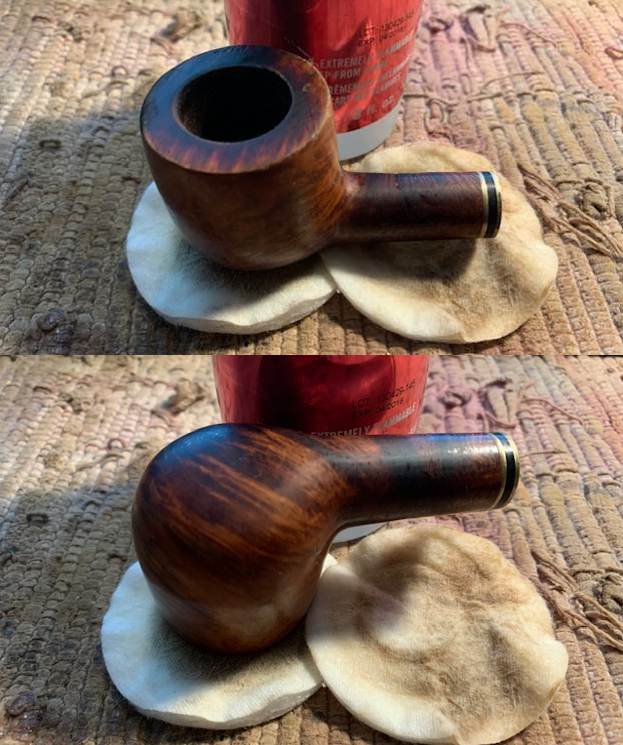
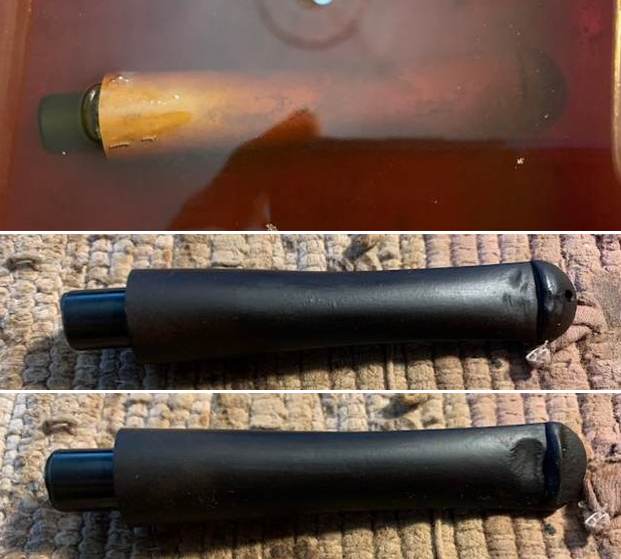
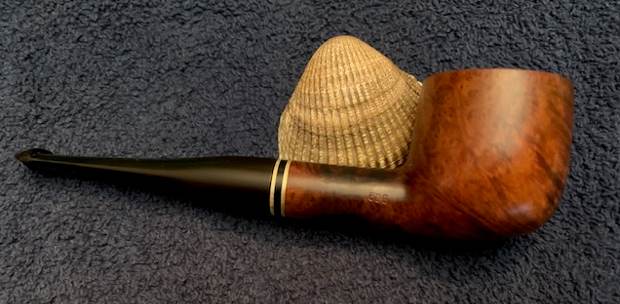
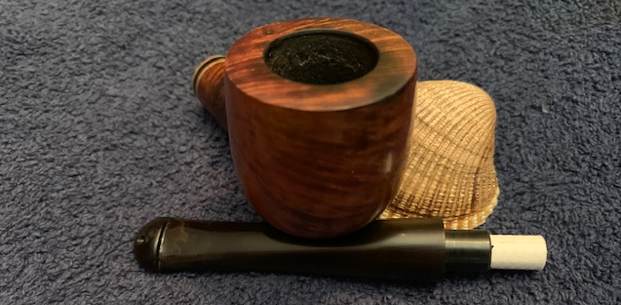
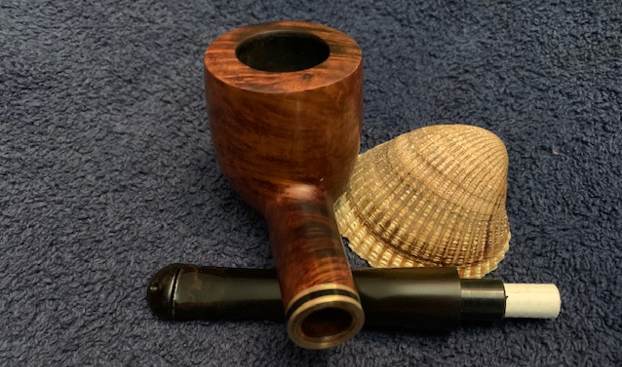
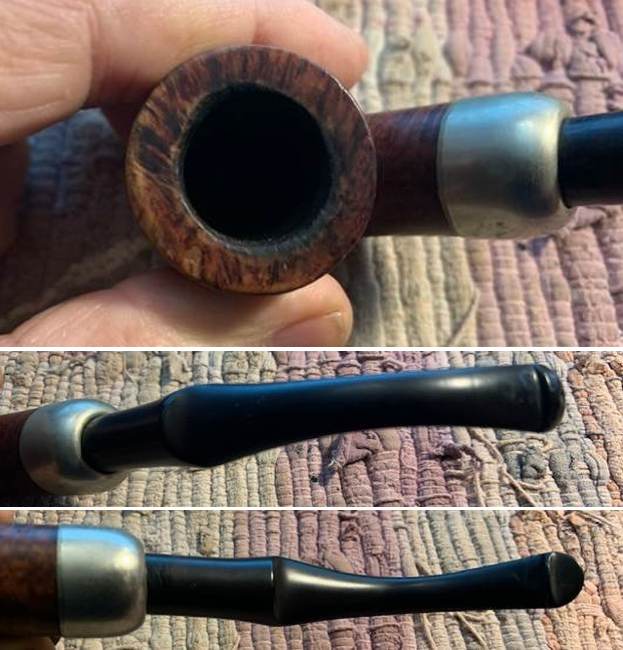
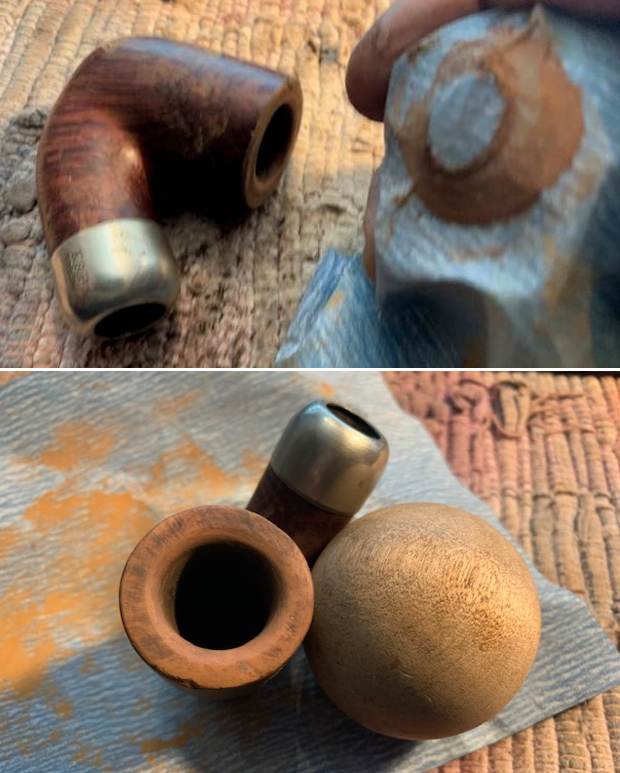
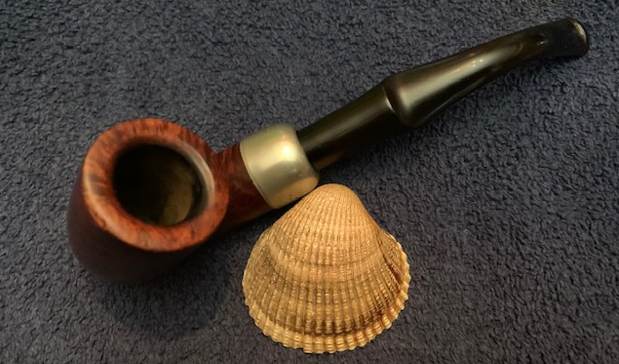
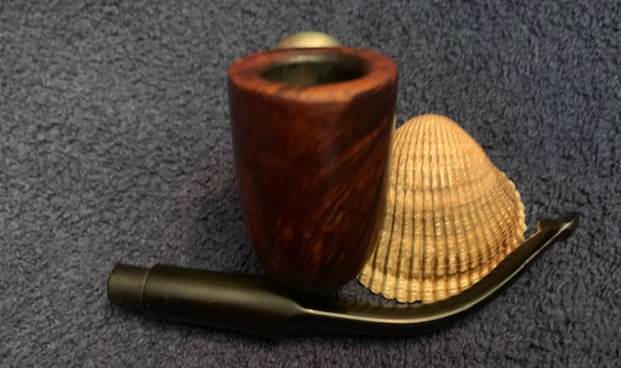
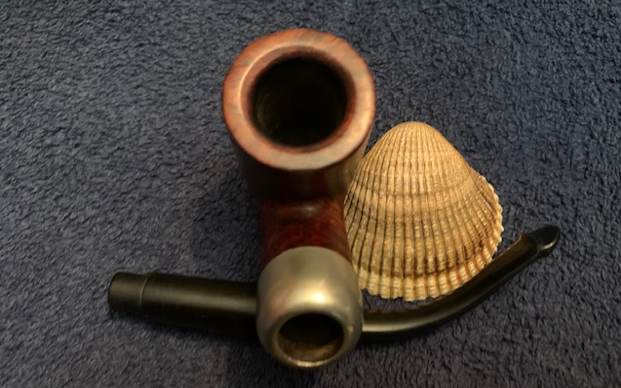
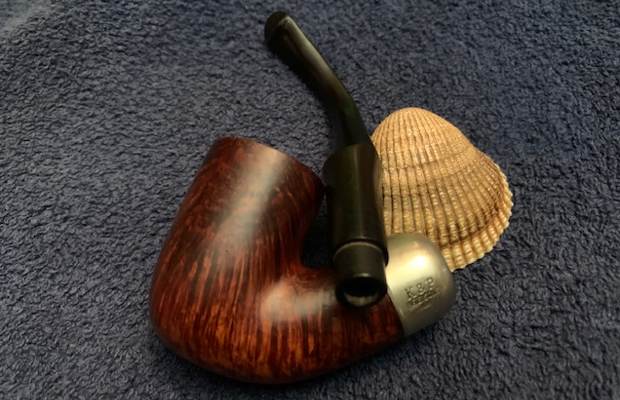
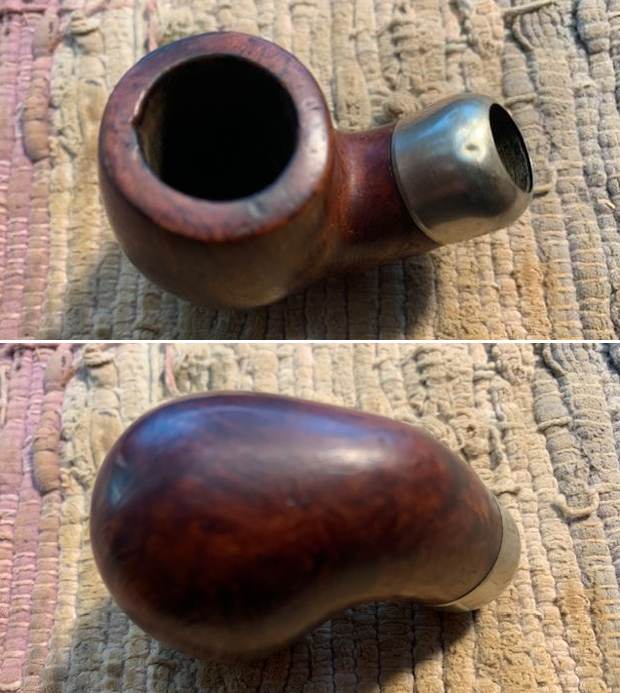
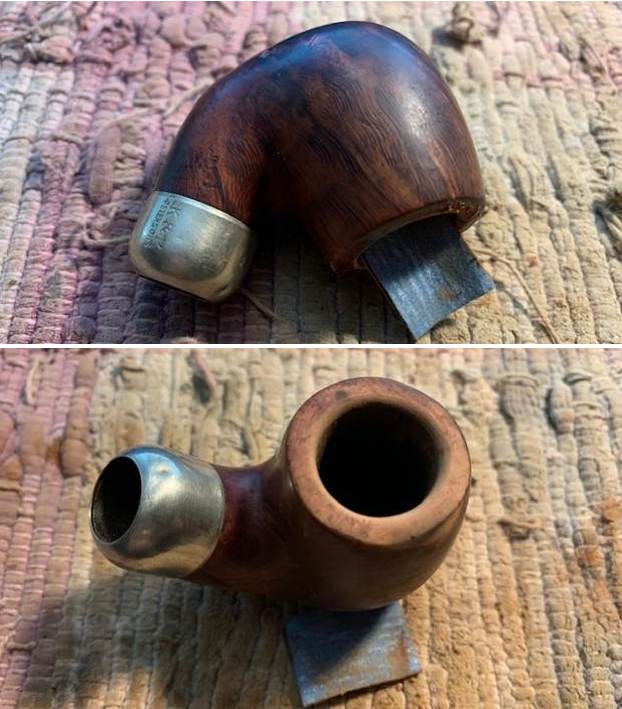
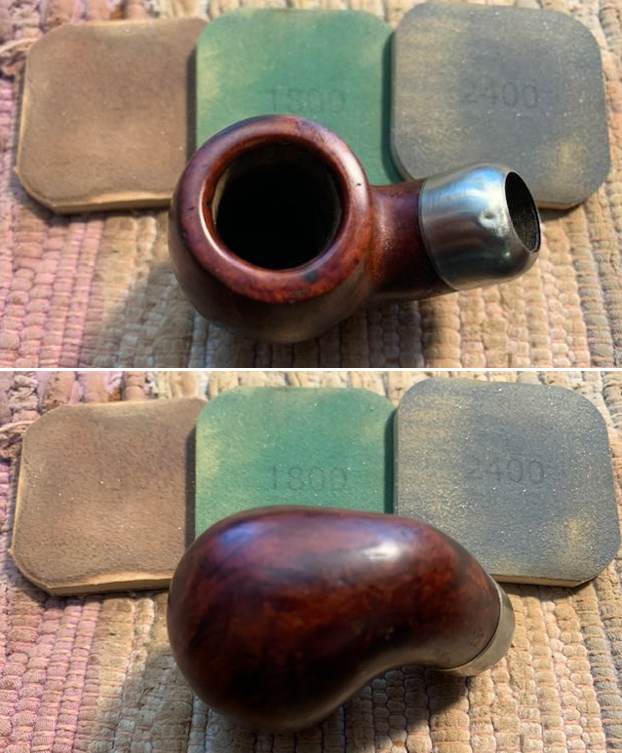
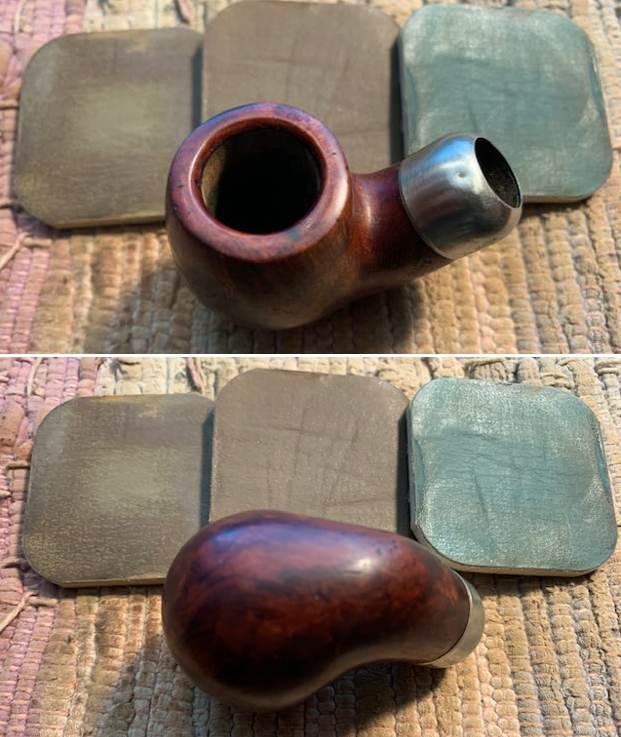
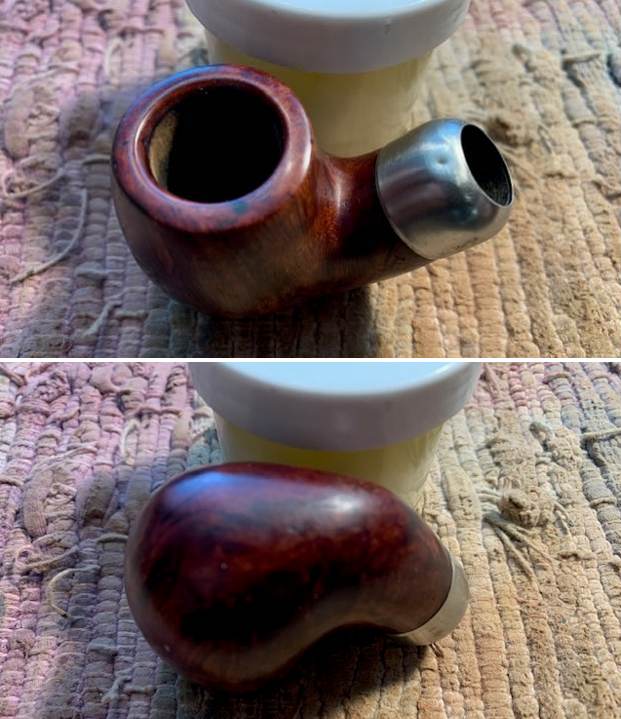
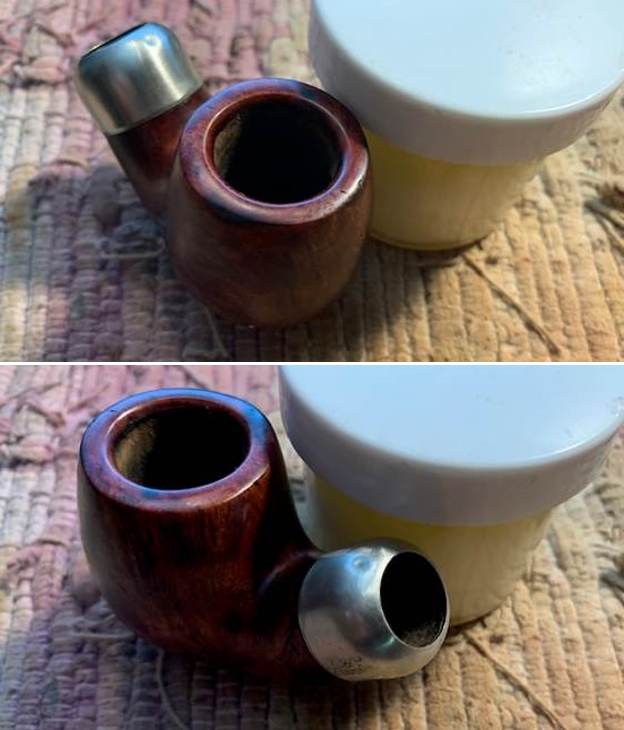
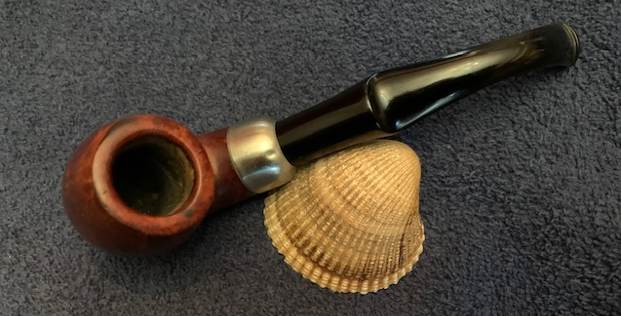
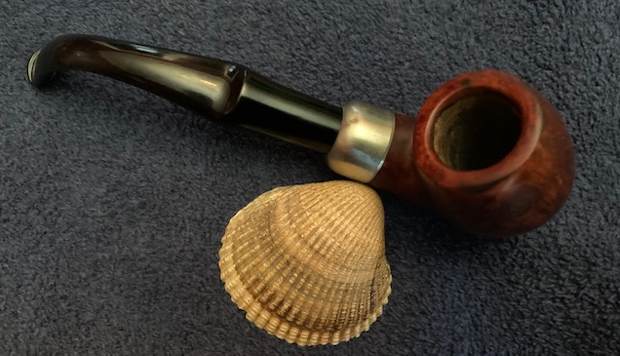
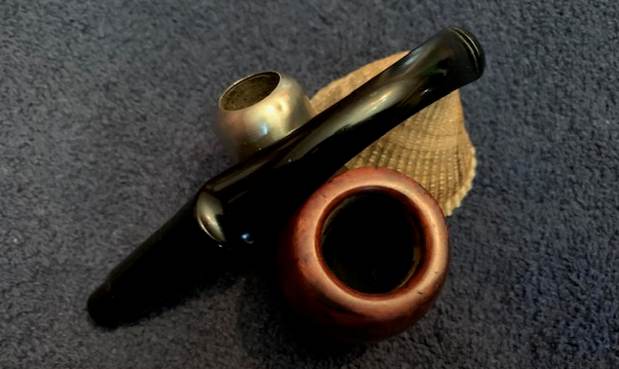
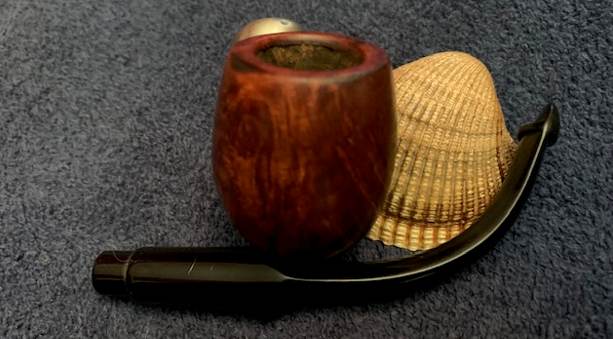
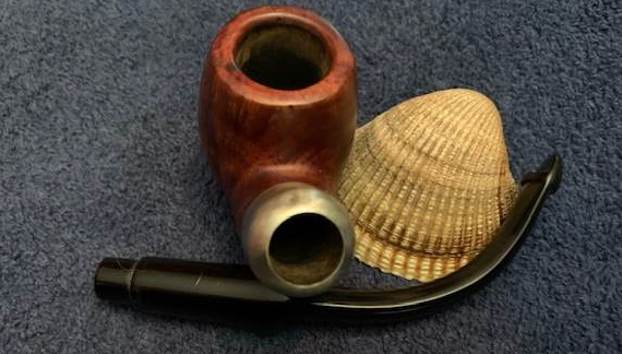
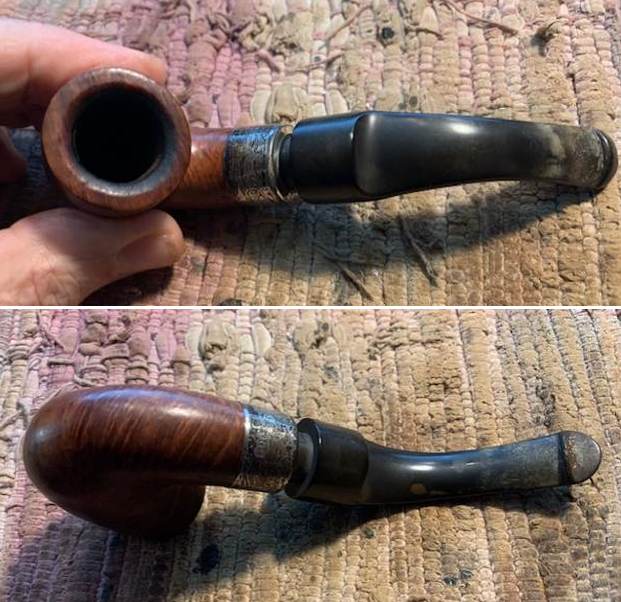
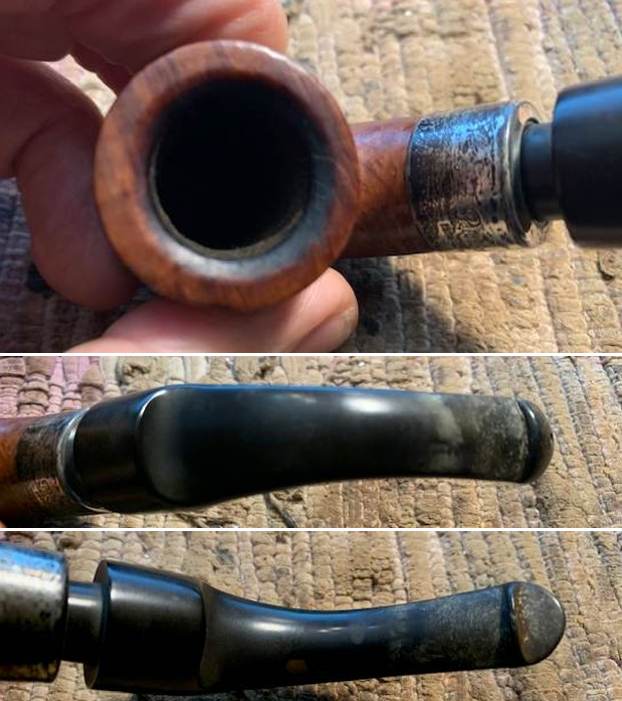
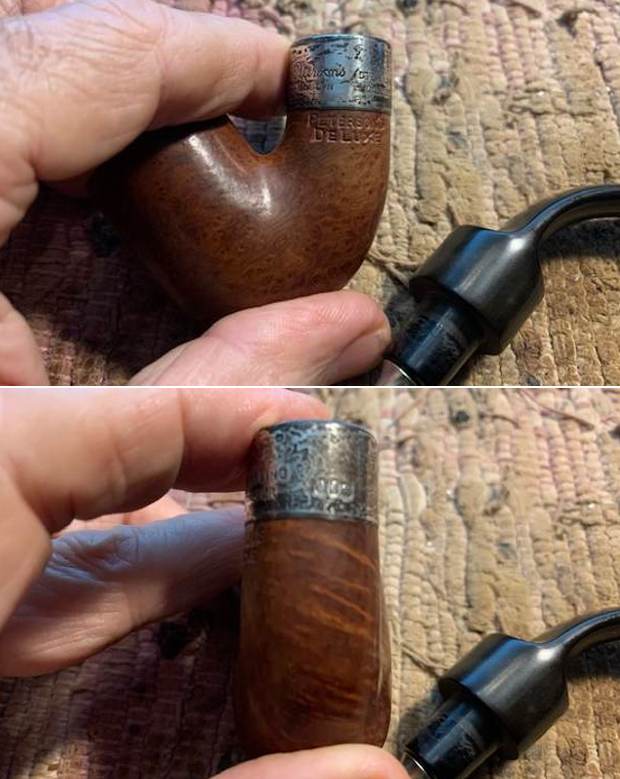
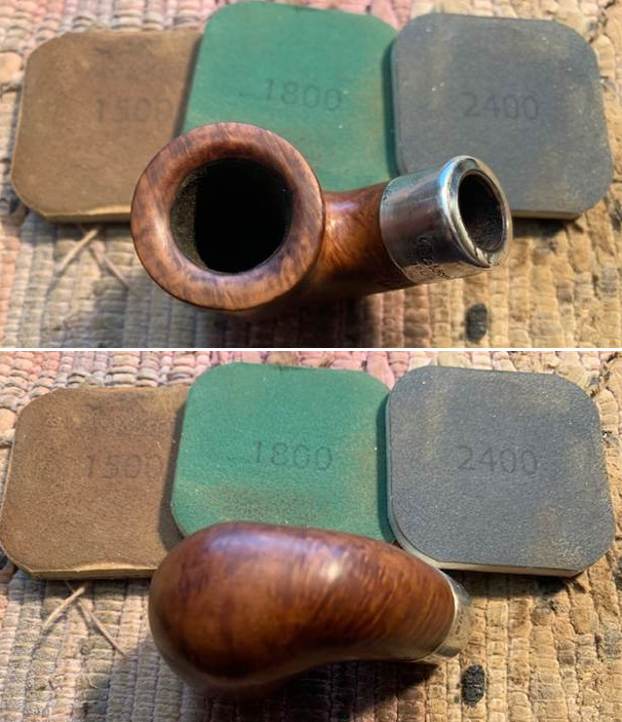
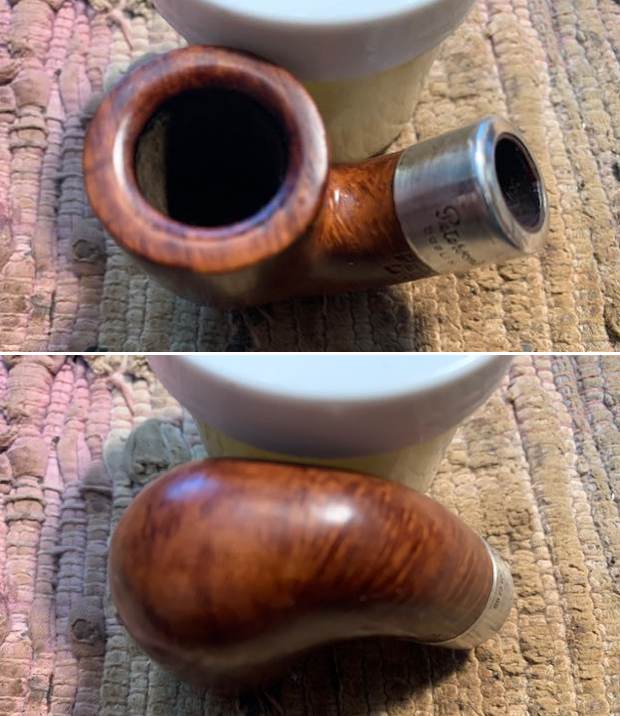
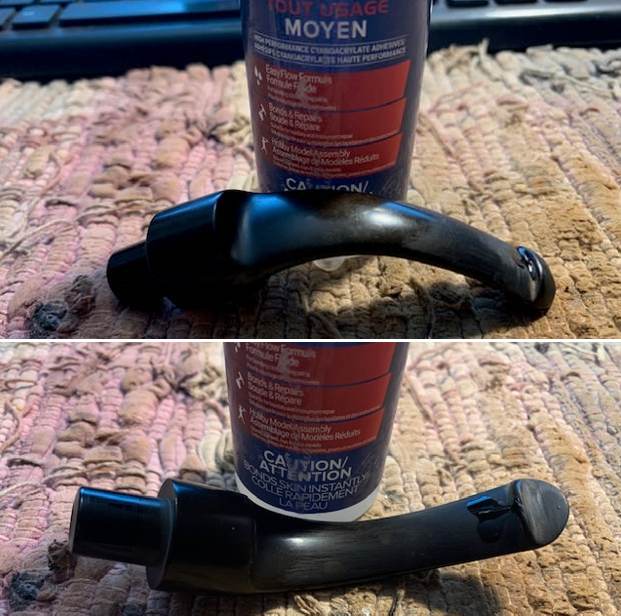
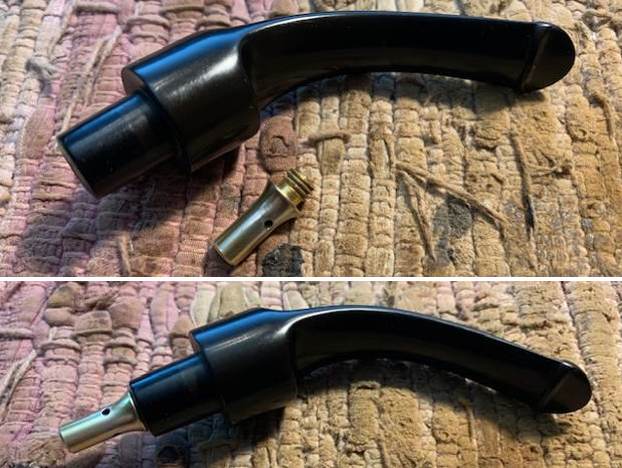
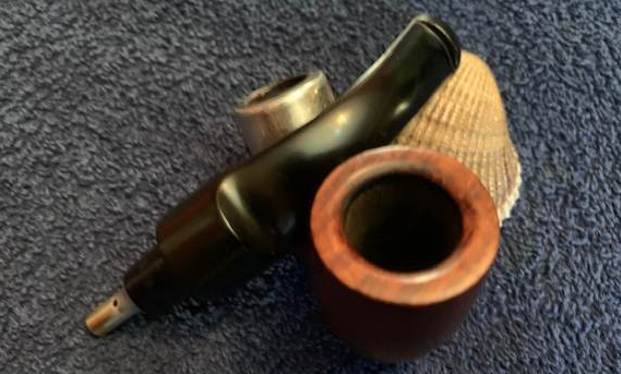
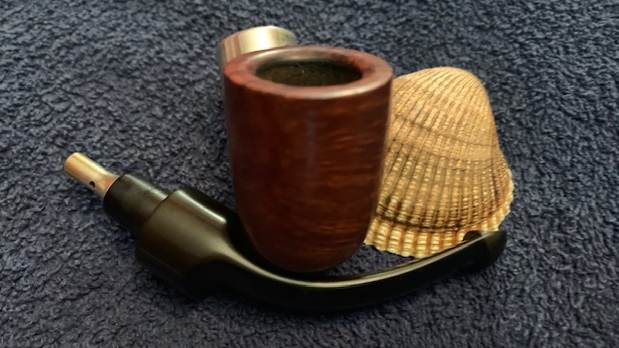
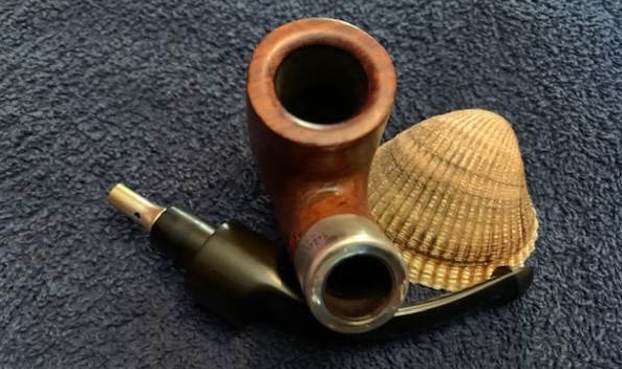
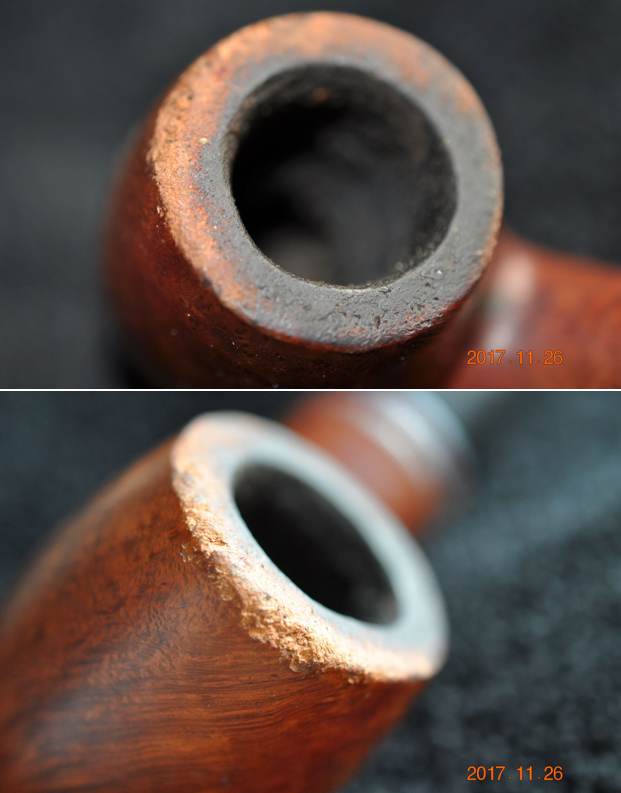
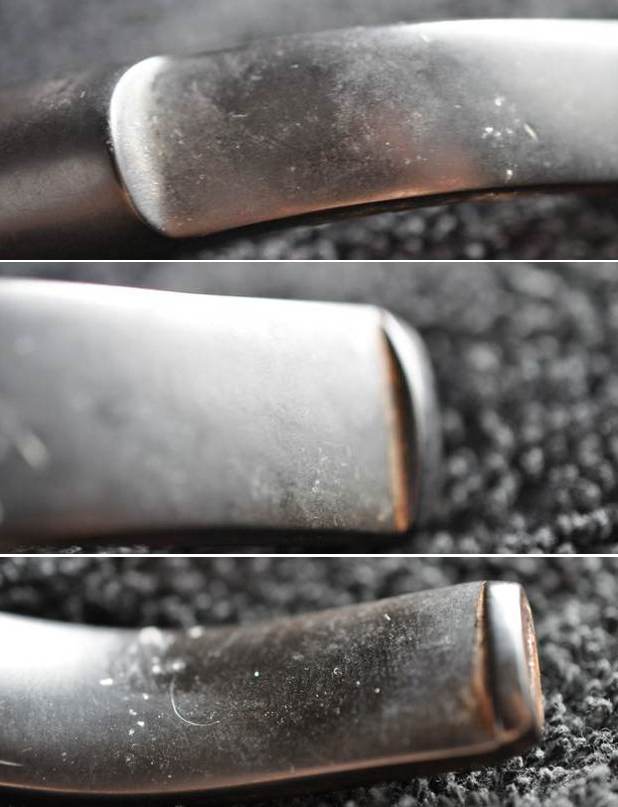
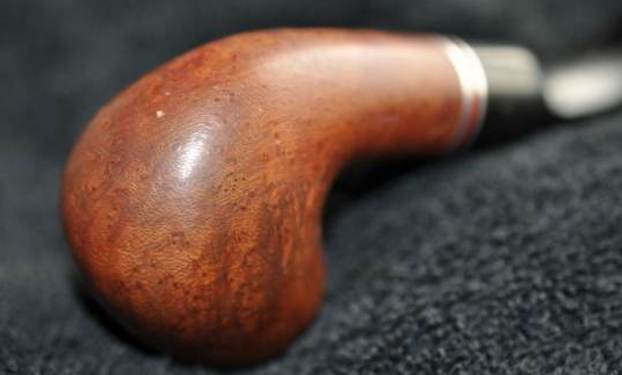
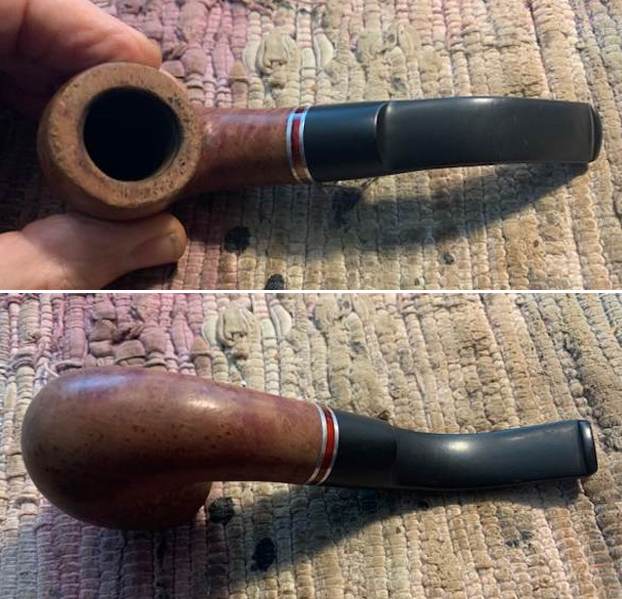
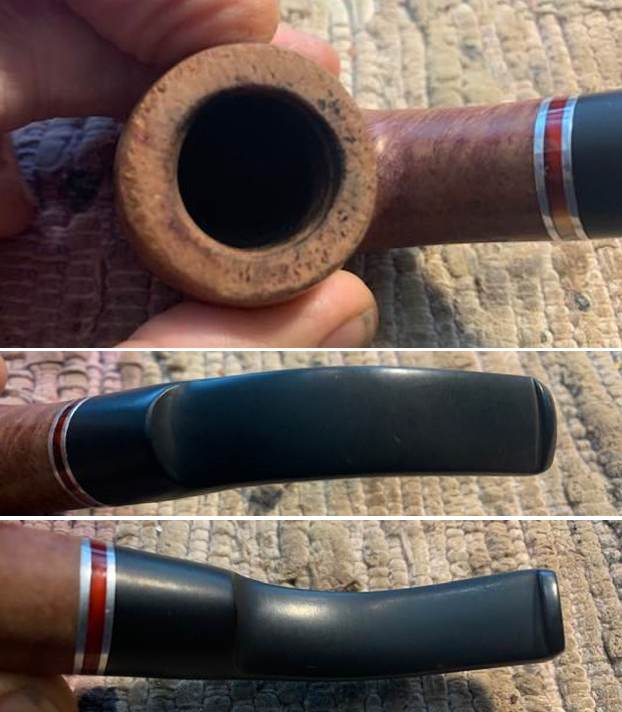
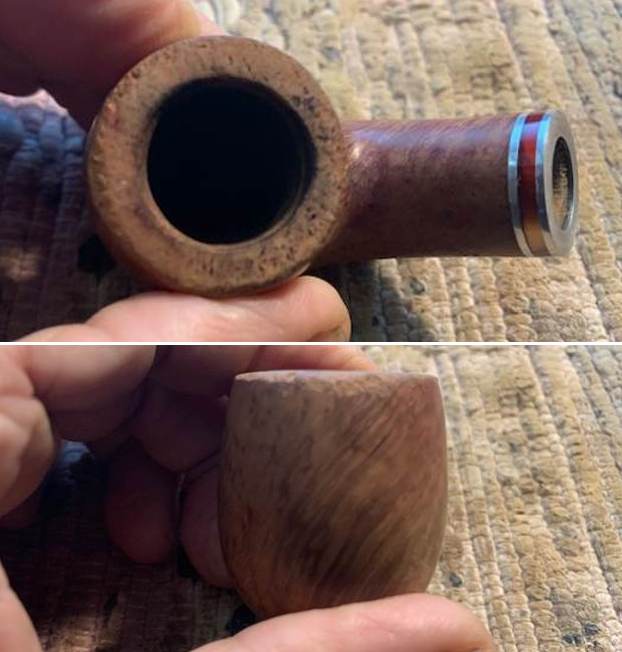
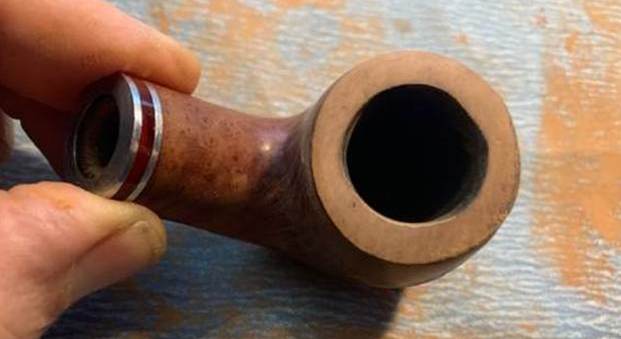
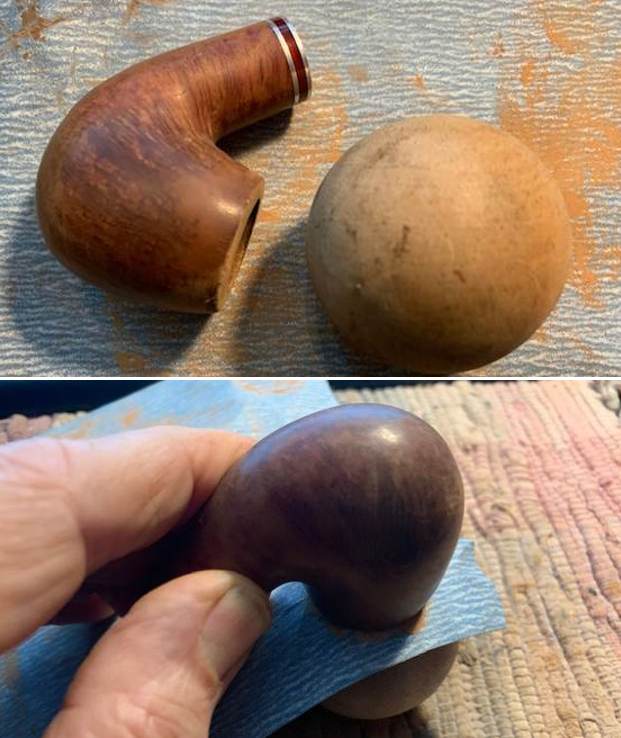
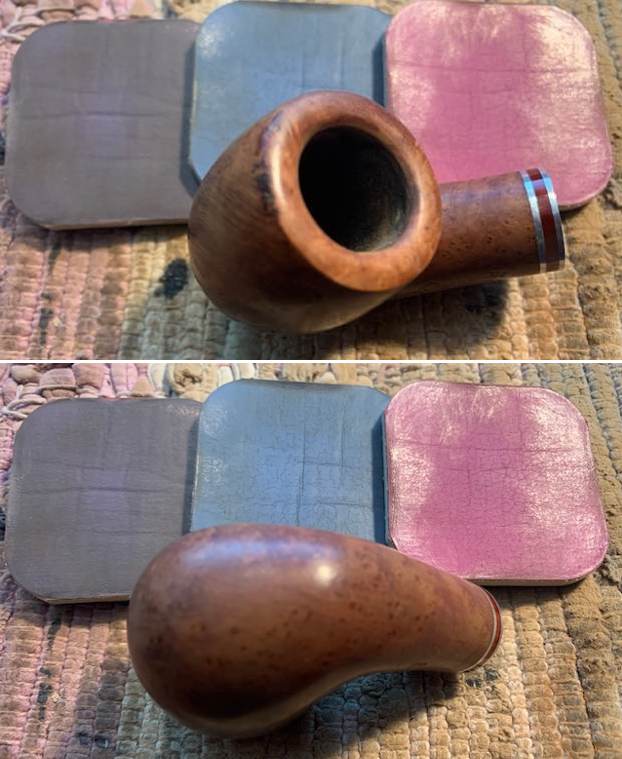
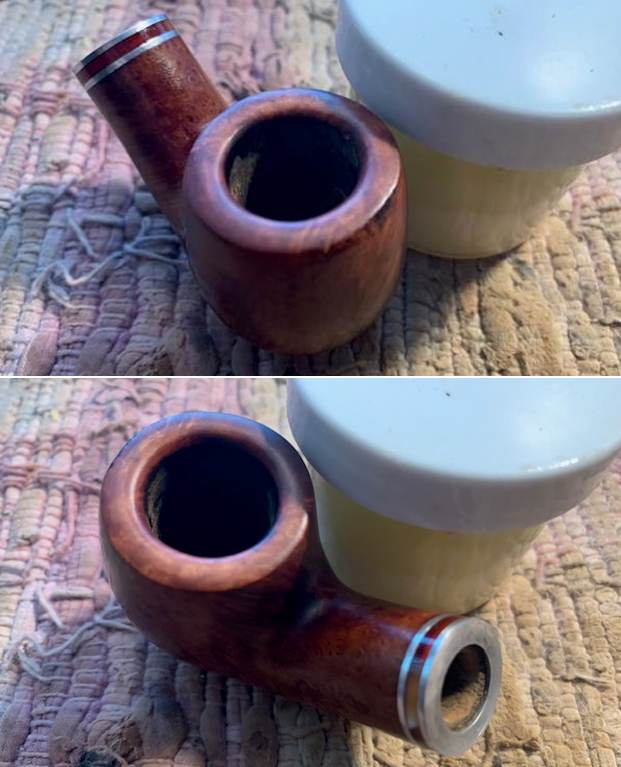
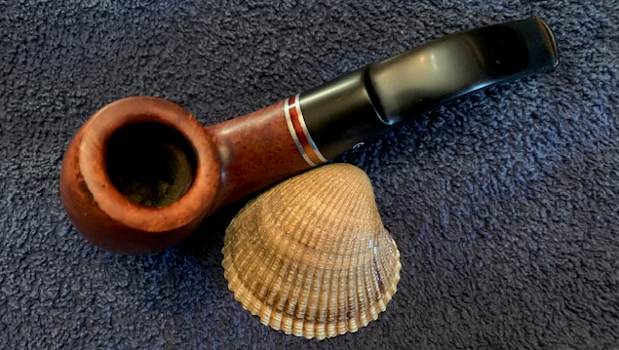
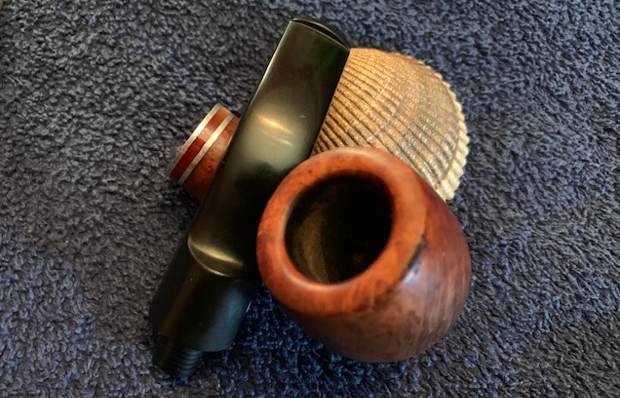
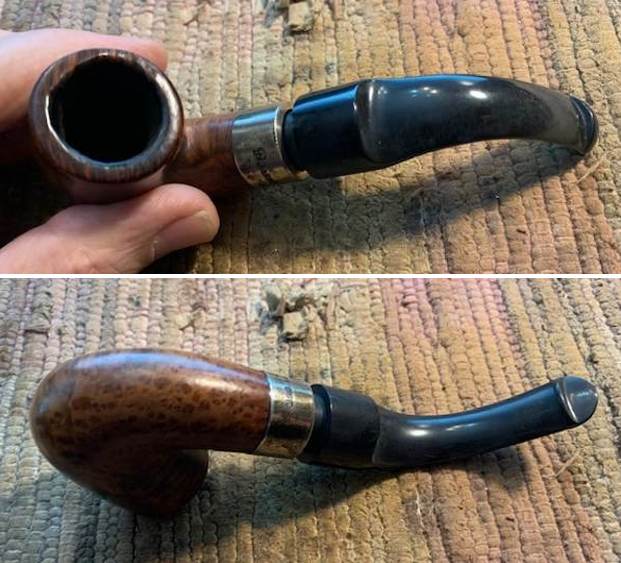
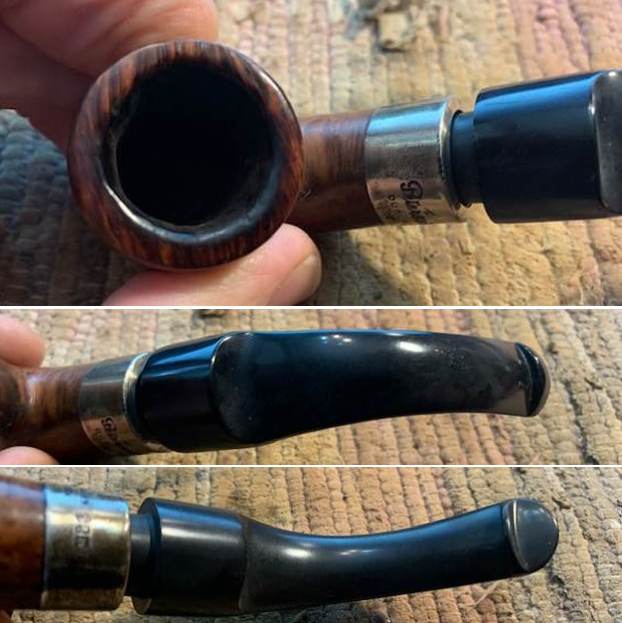
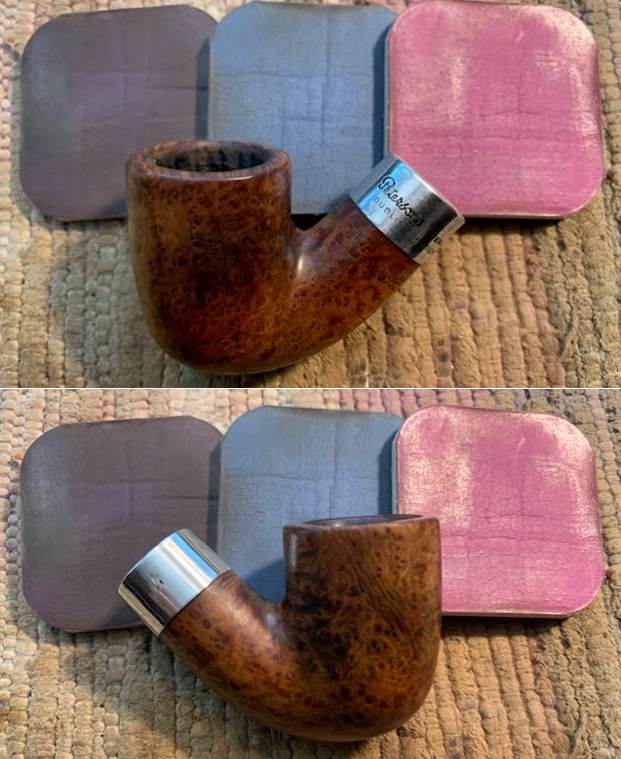
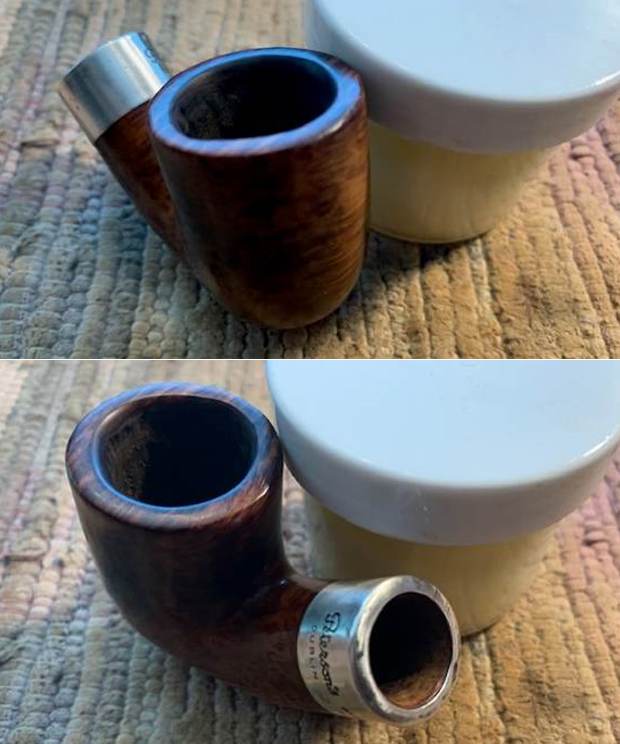
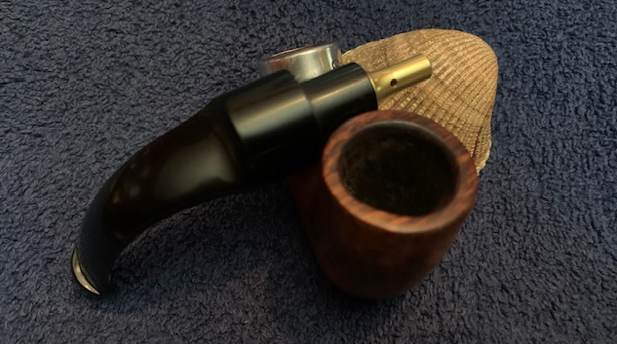
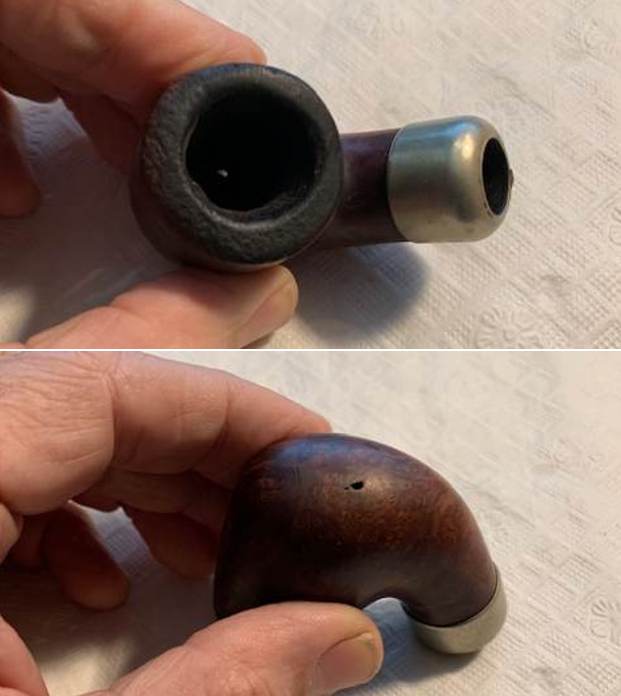
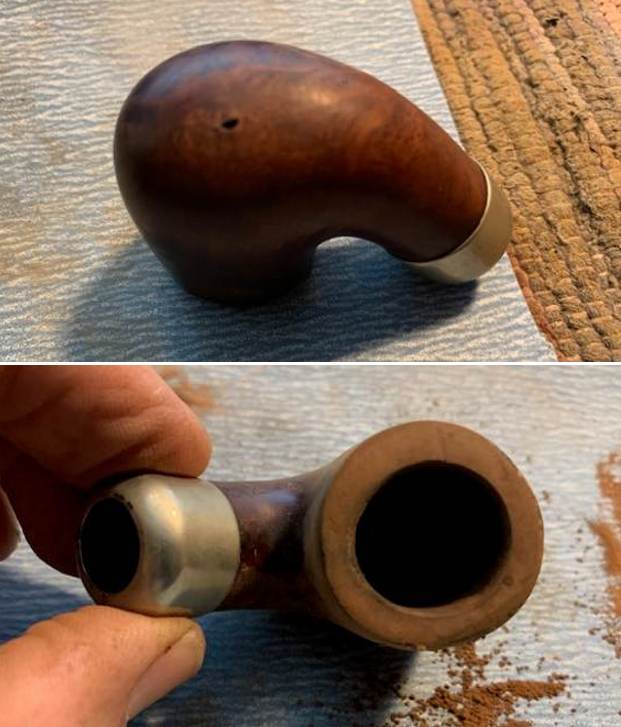
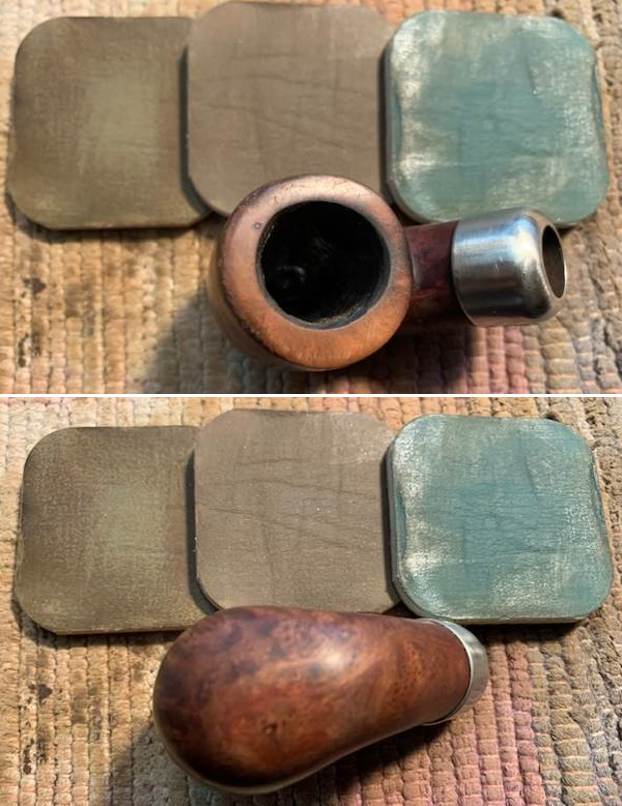
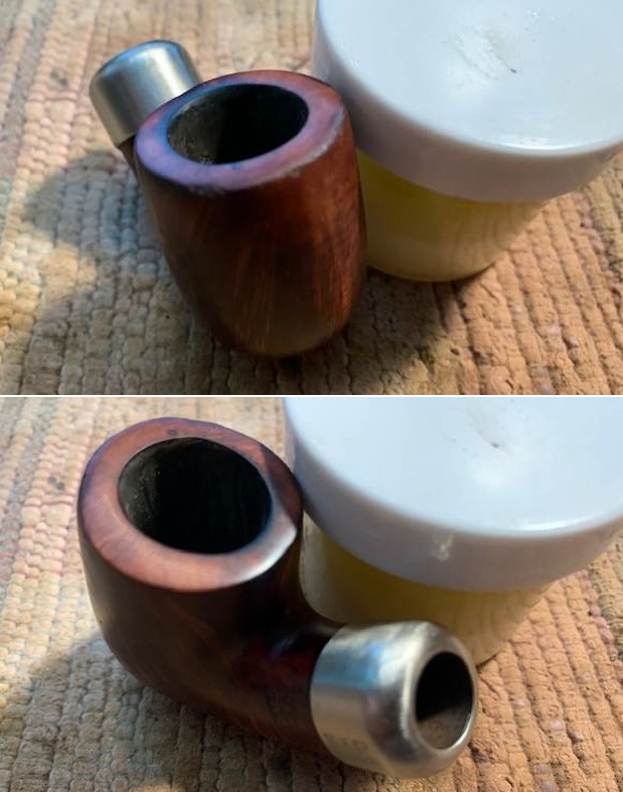
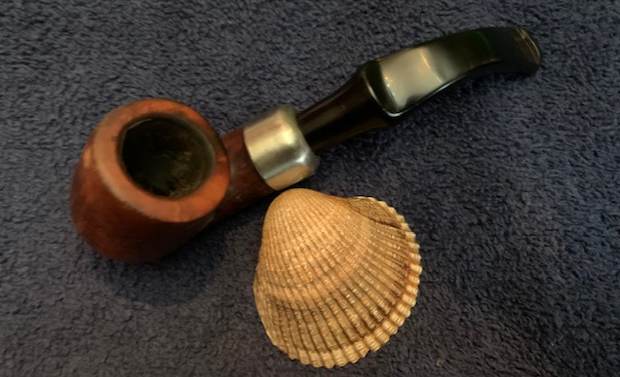
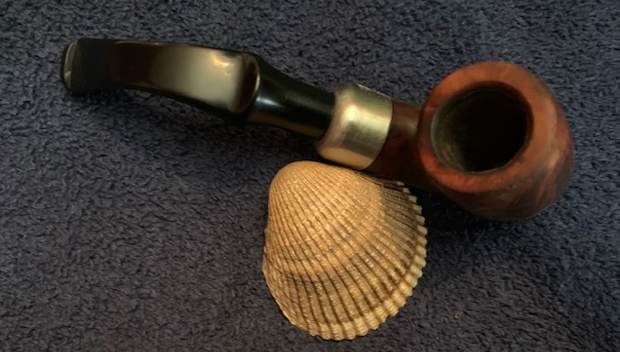
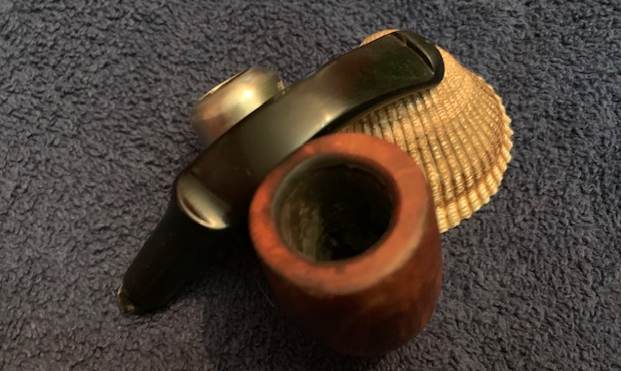
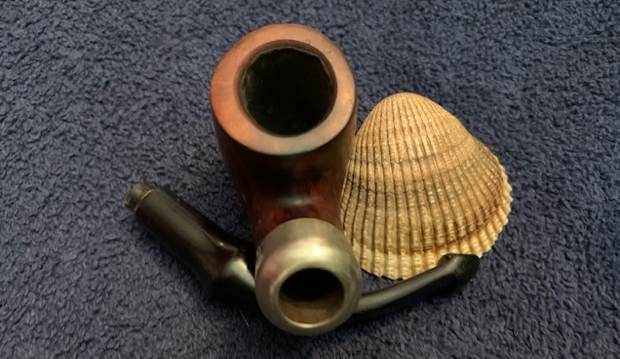
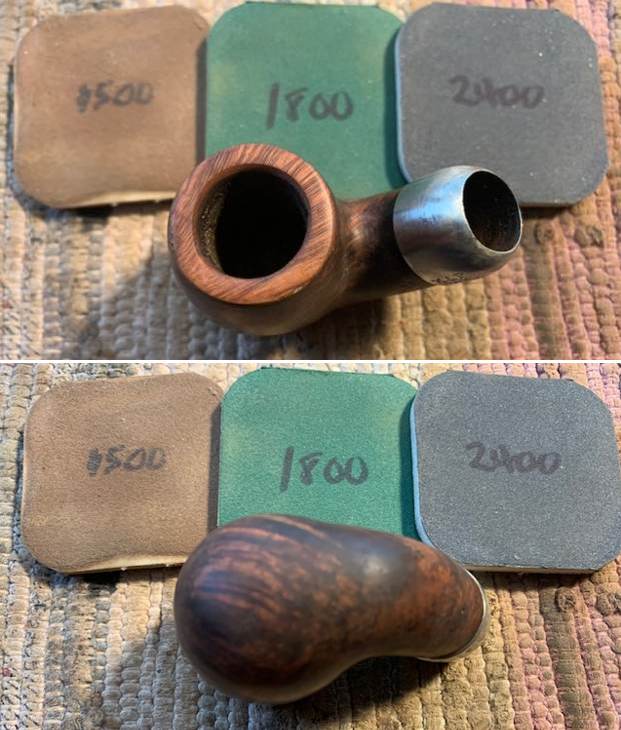
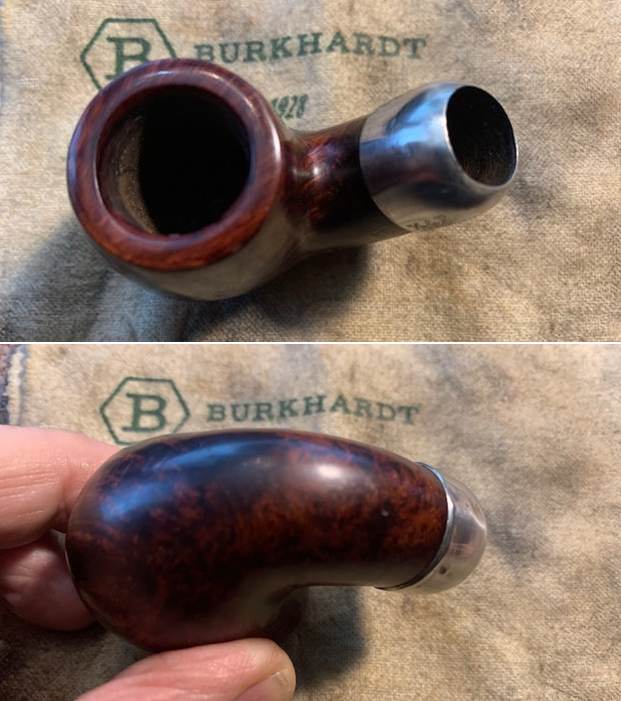
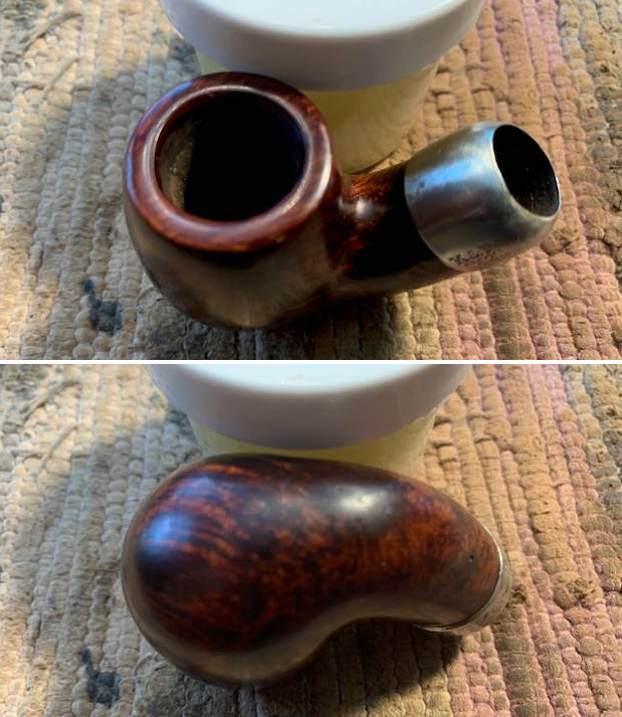
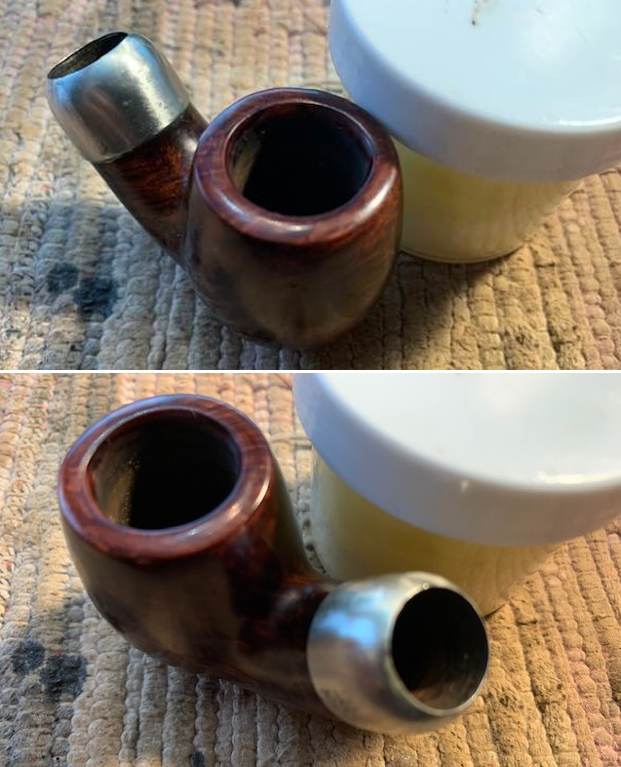
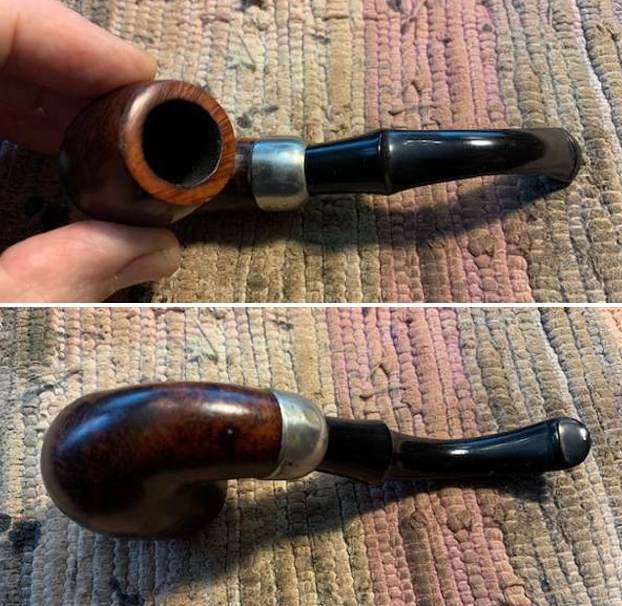 I took close up photos of the bowl and the stem. You can see the light cake in the bowl and the darkening and damage on the inner edge of the rim top. The stem surface was clean and free of tooth marks or chatter on both sides.
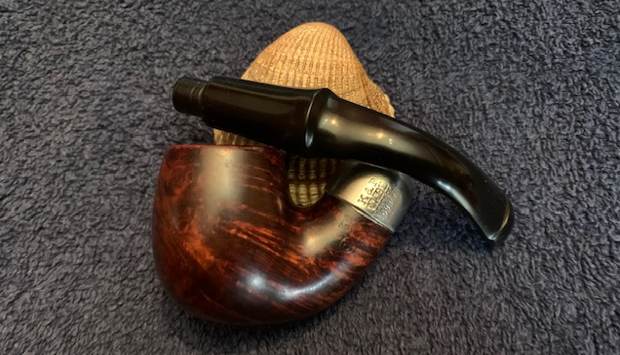
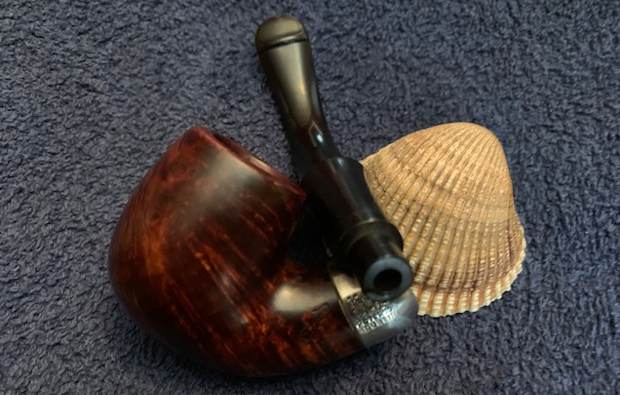
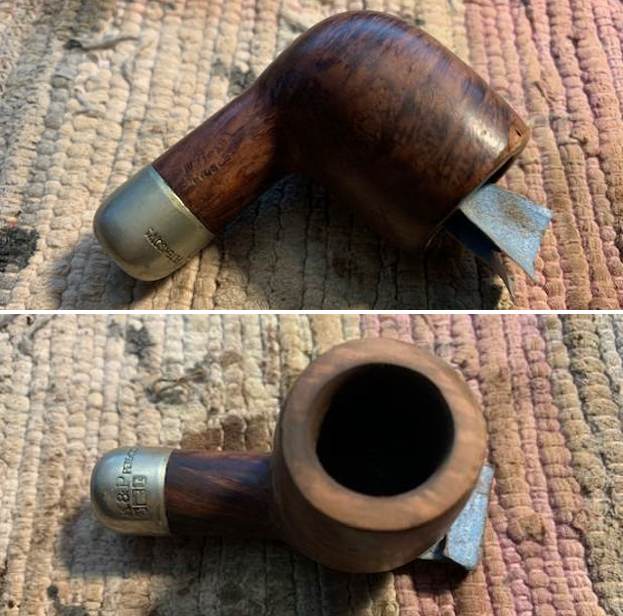
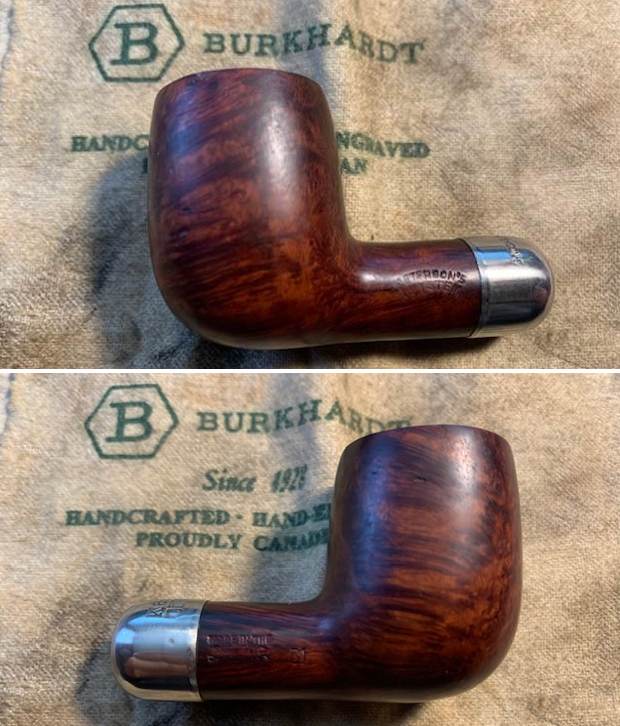
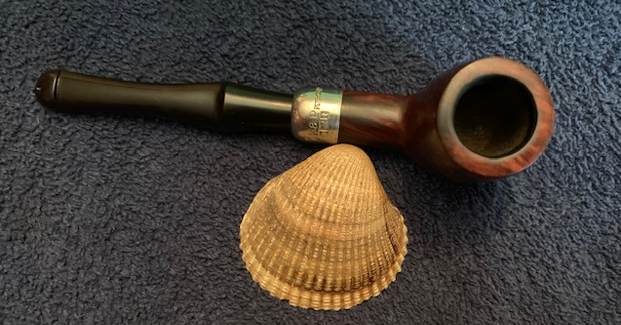
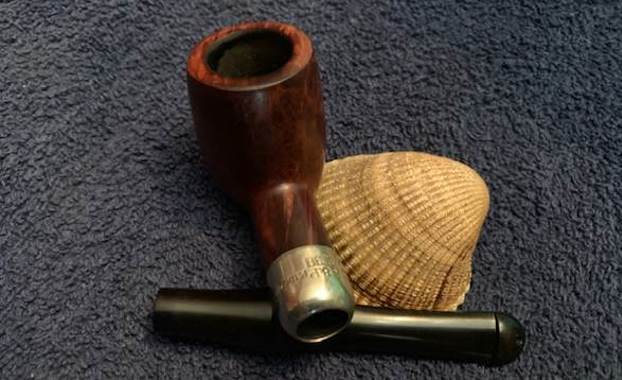
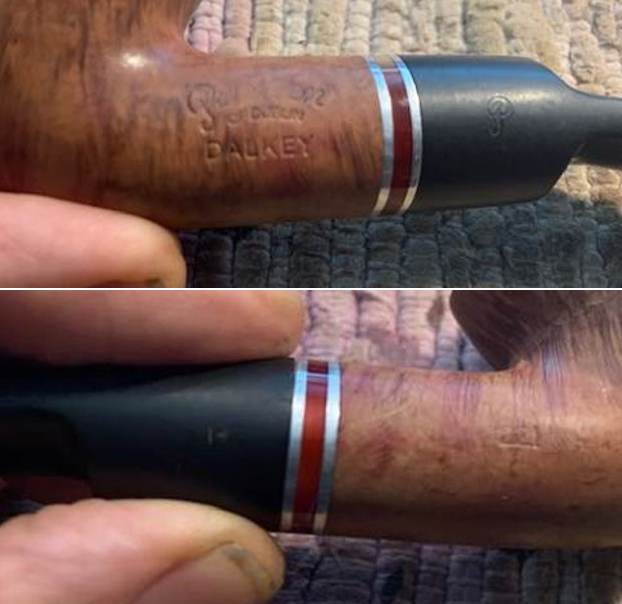
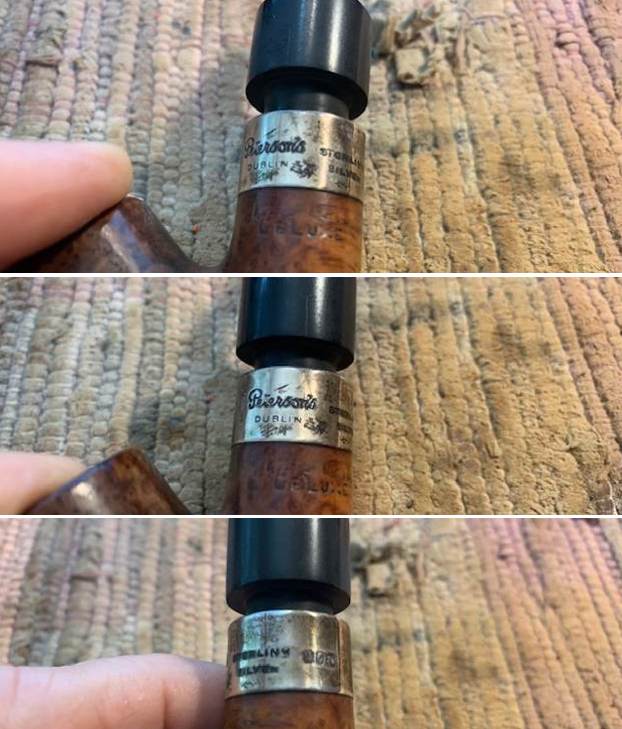
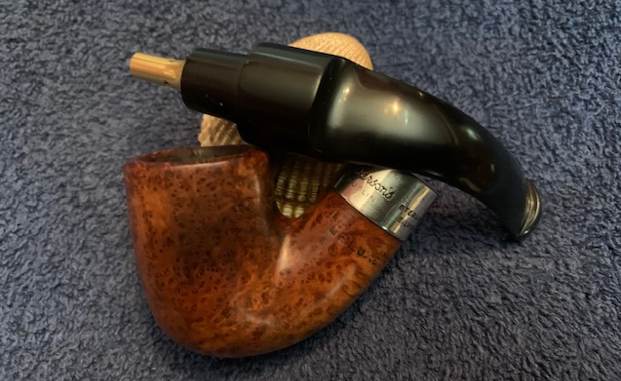
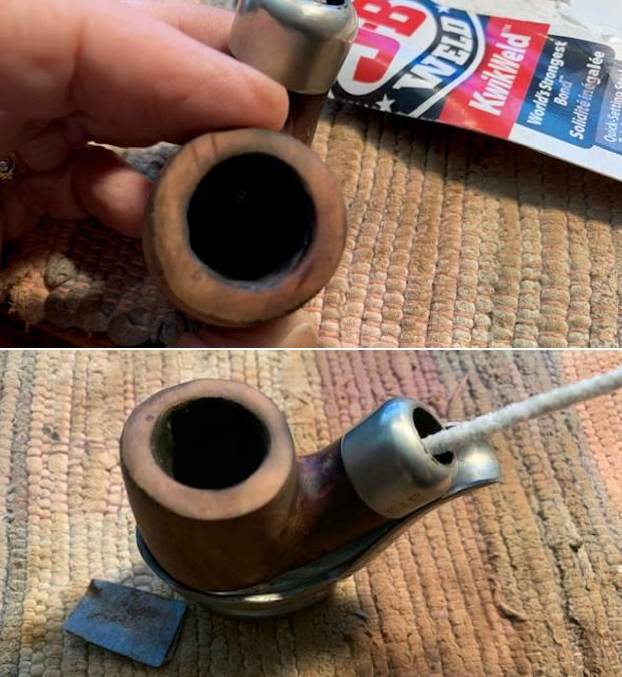
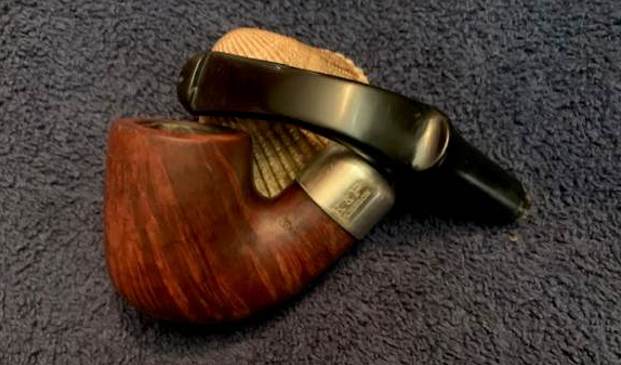
 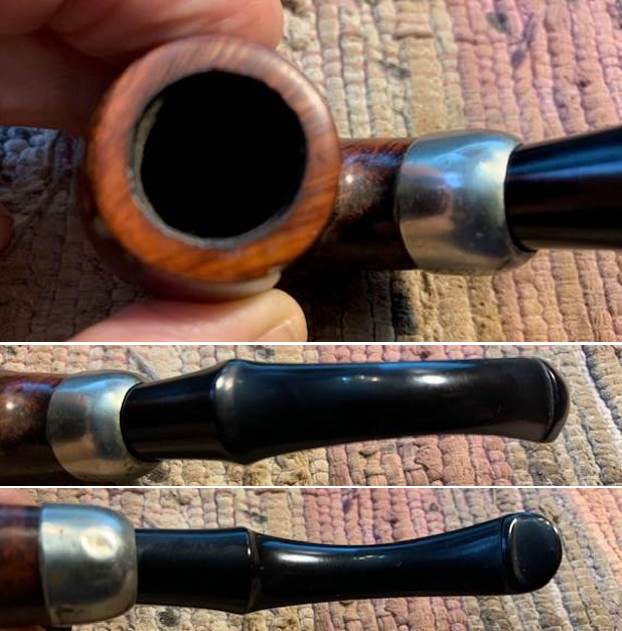 I took a photo of the stamping on the sides of the bowl and shank. It is clear and readable as noted above.
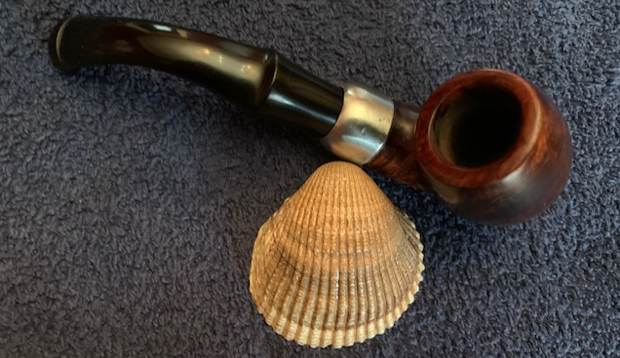
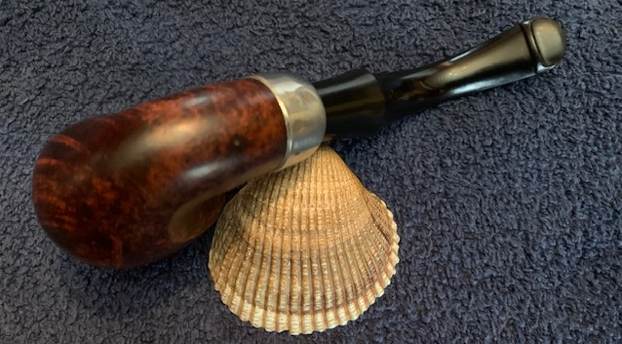
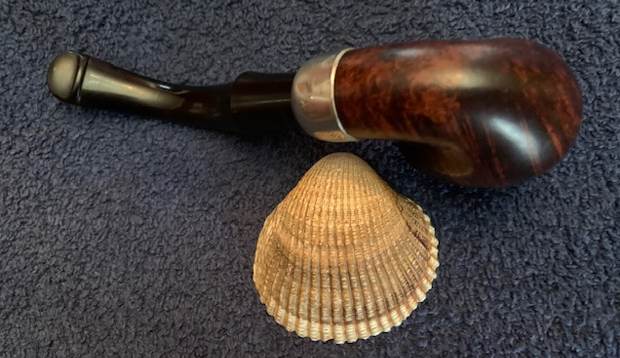
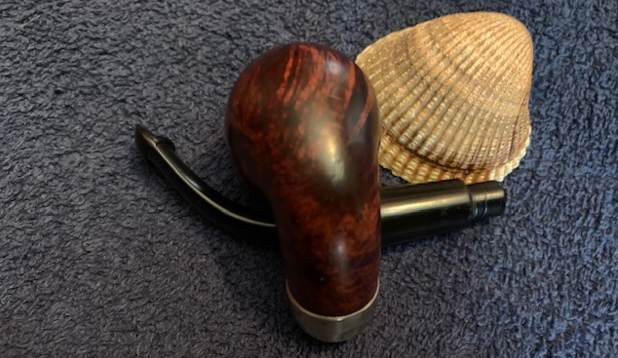
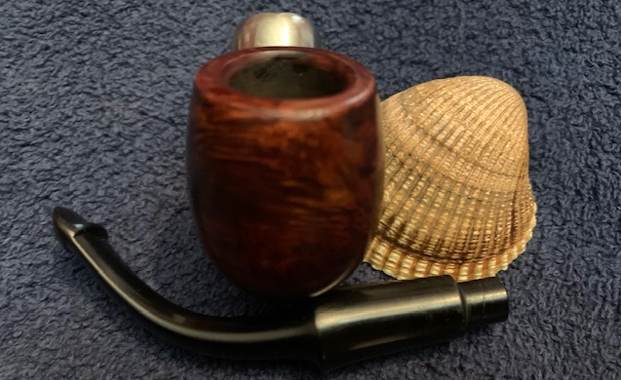
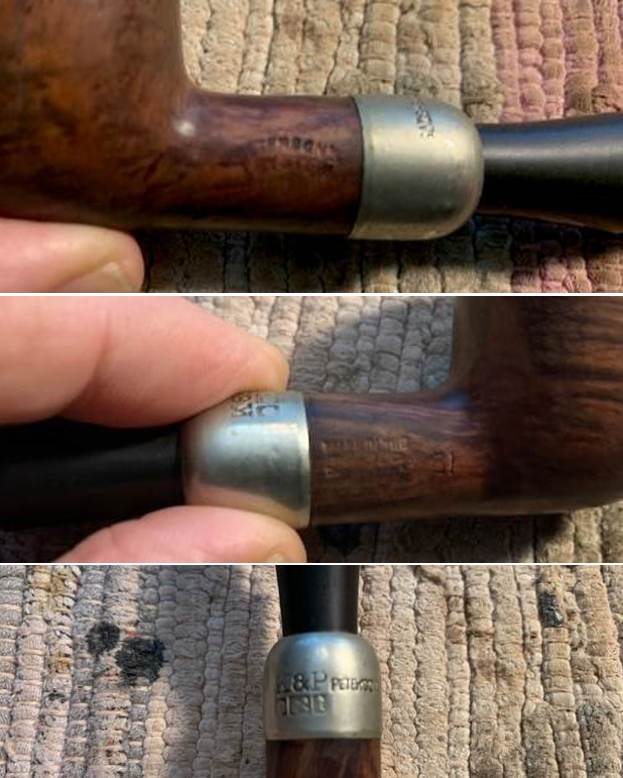
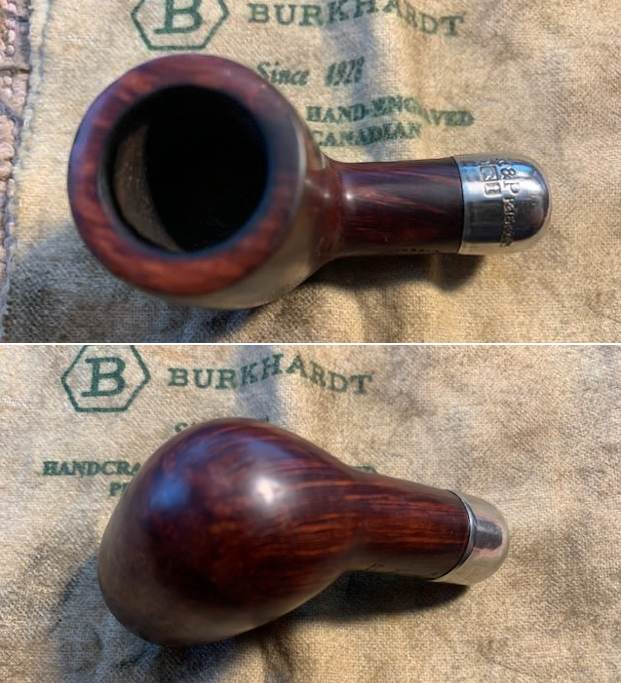
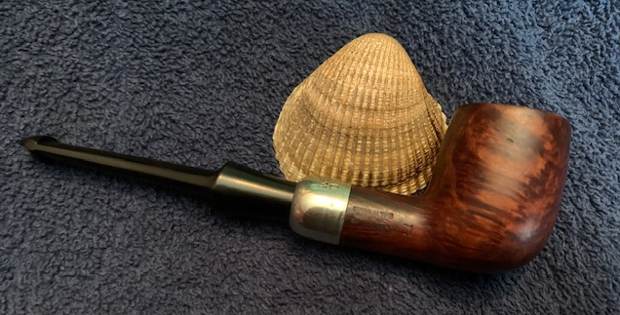
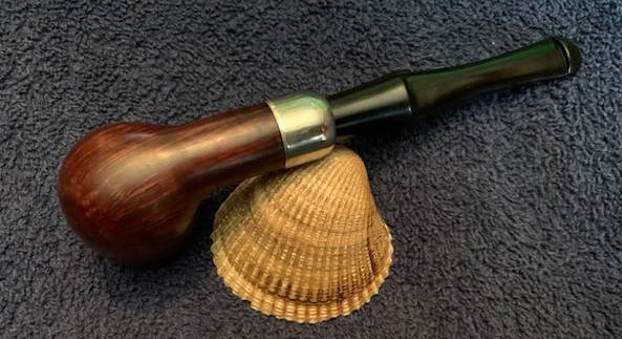
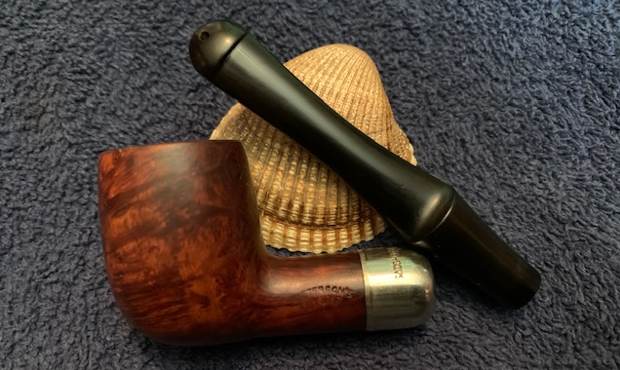
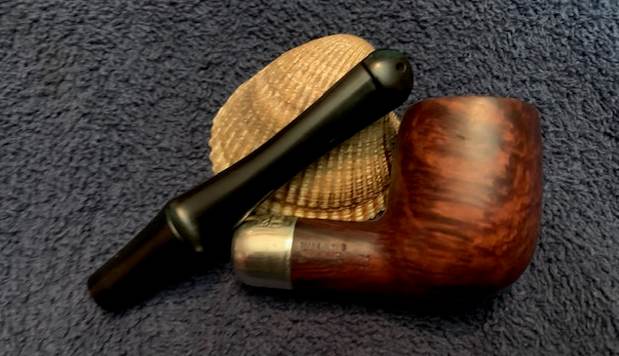
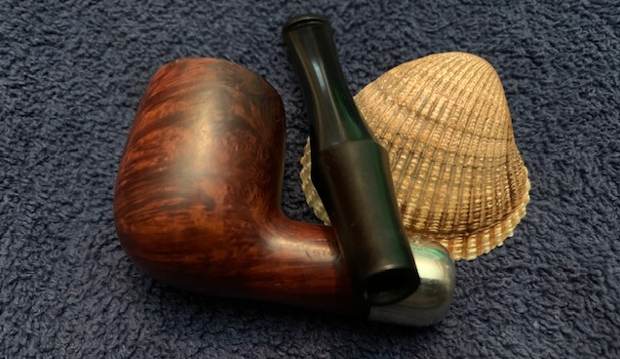
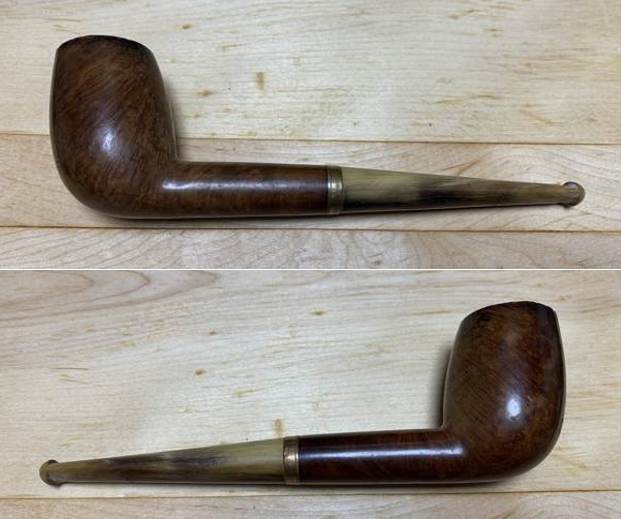
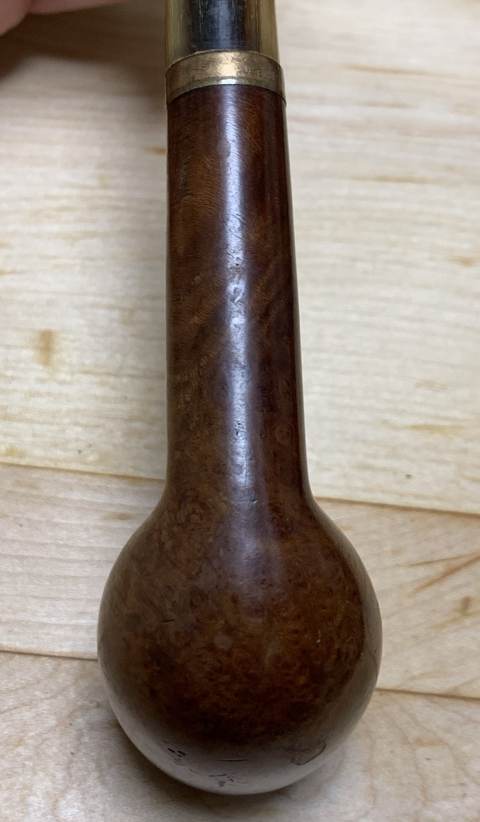
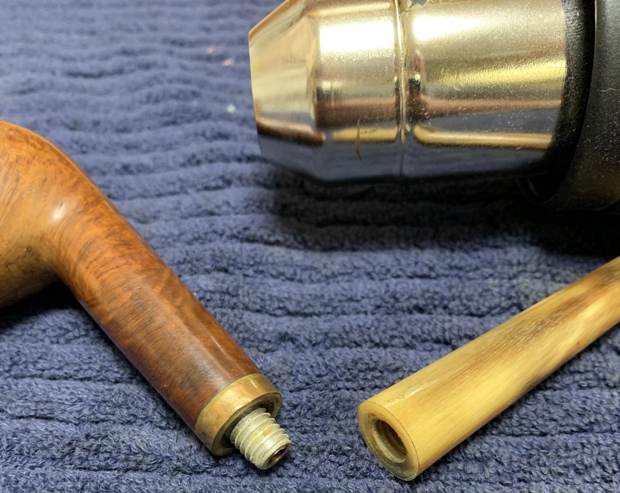
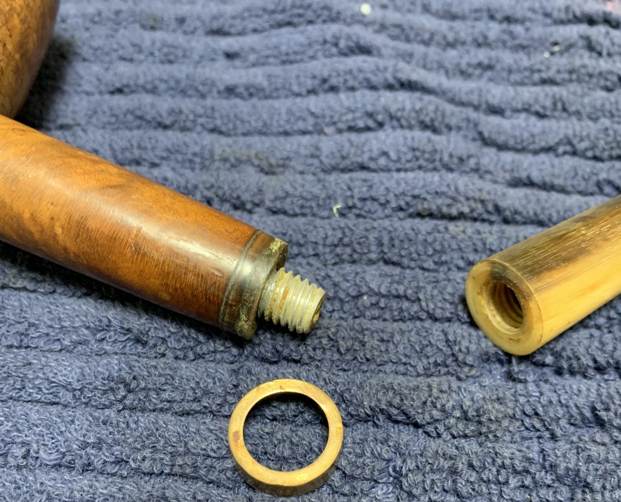
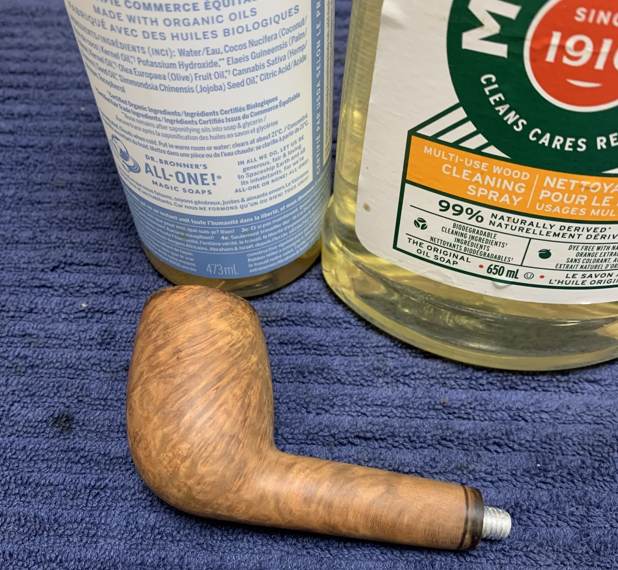
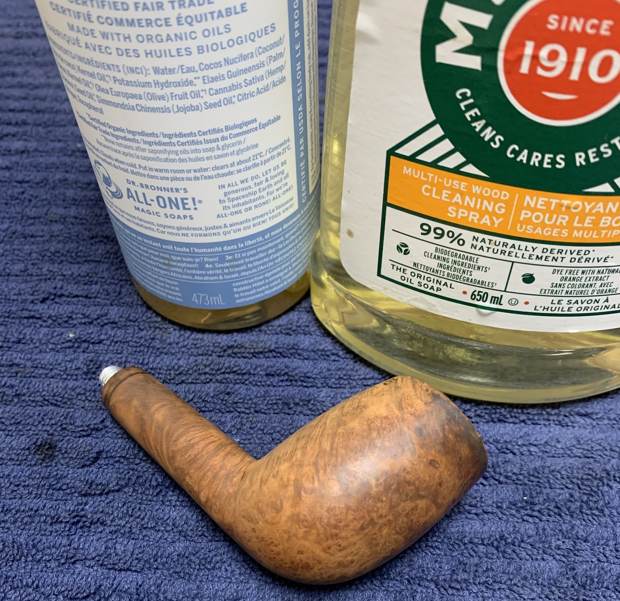
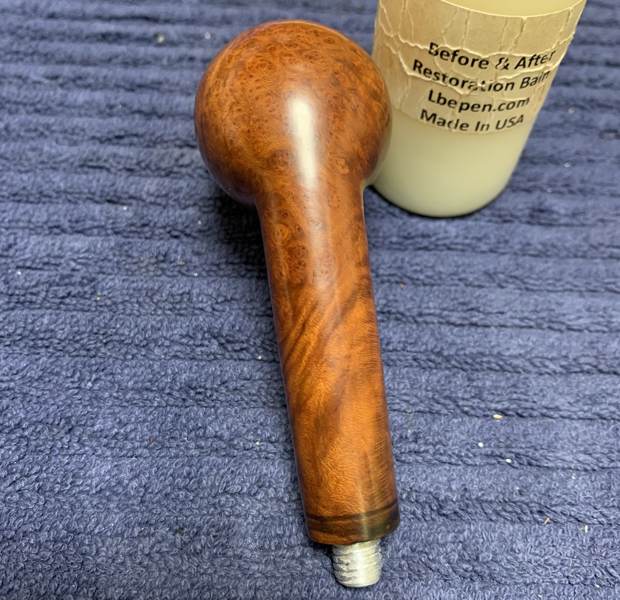
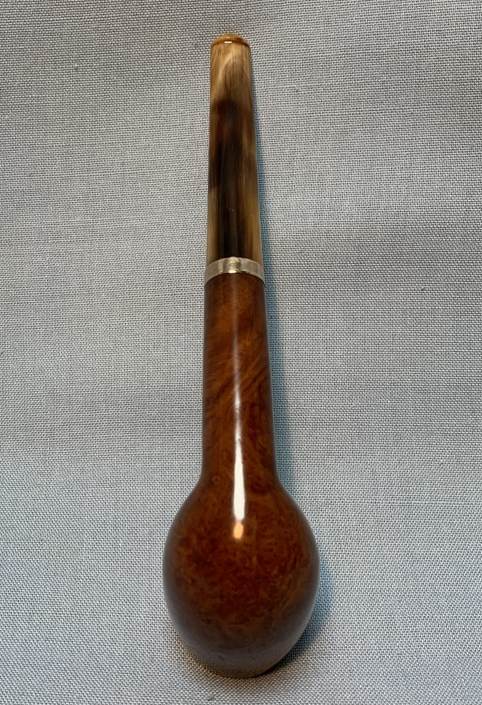
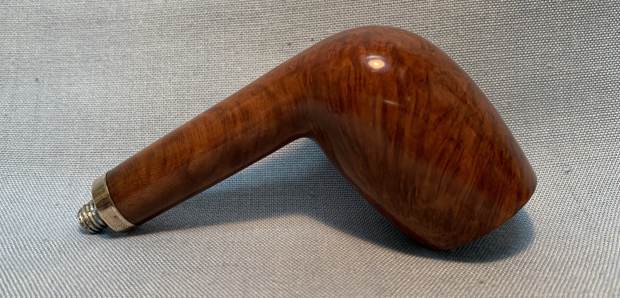
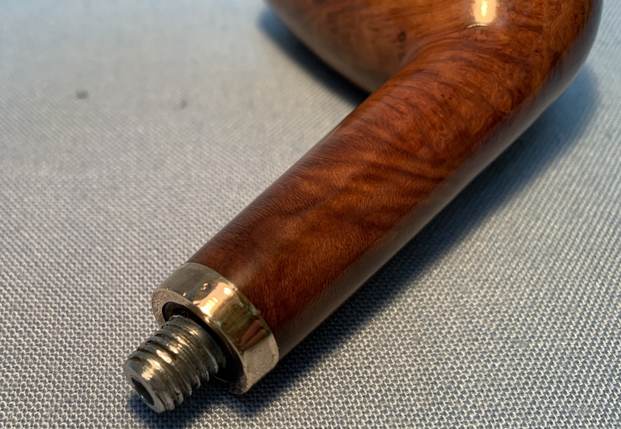
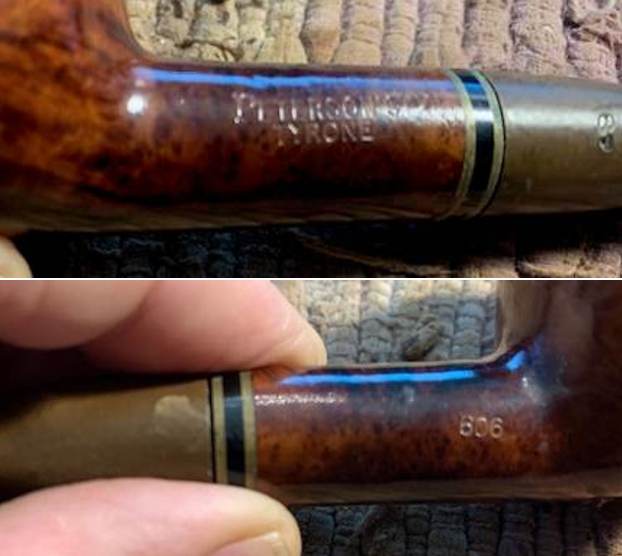
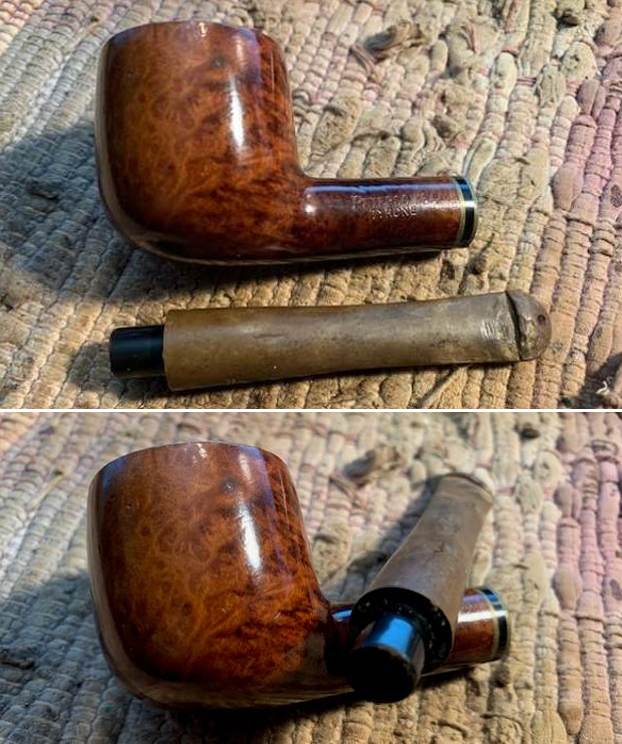
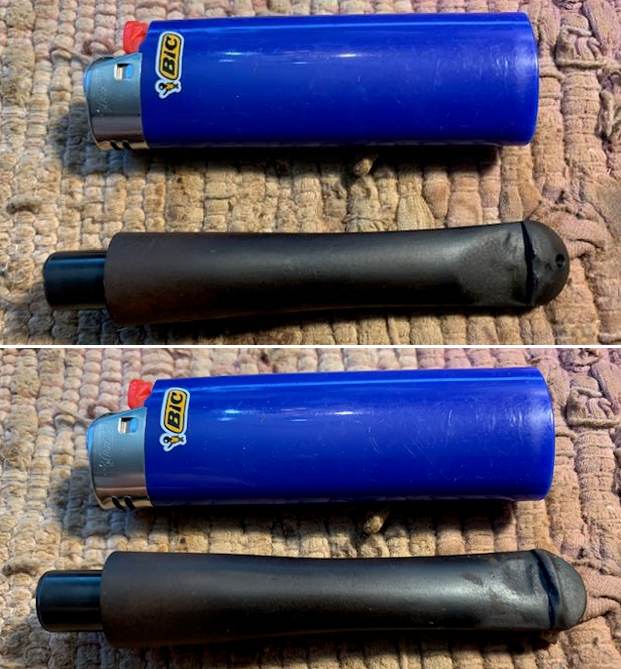
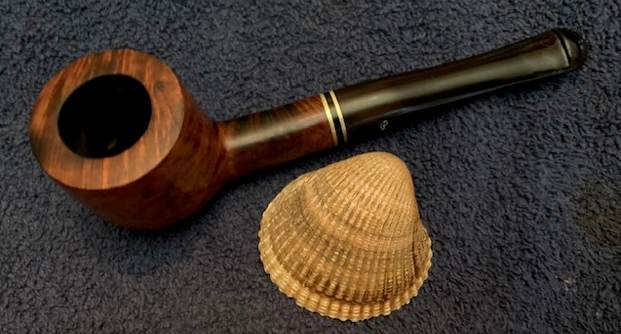
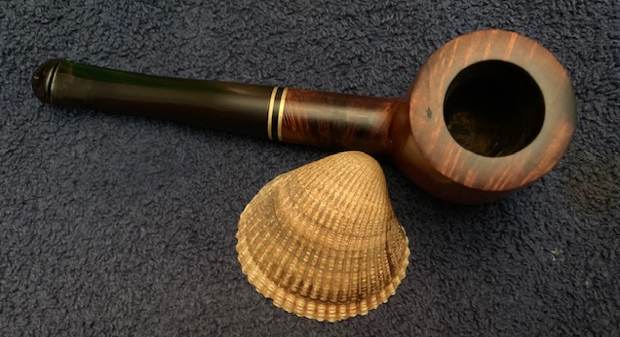
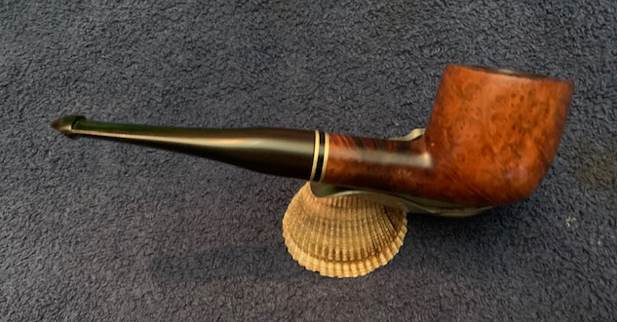
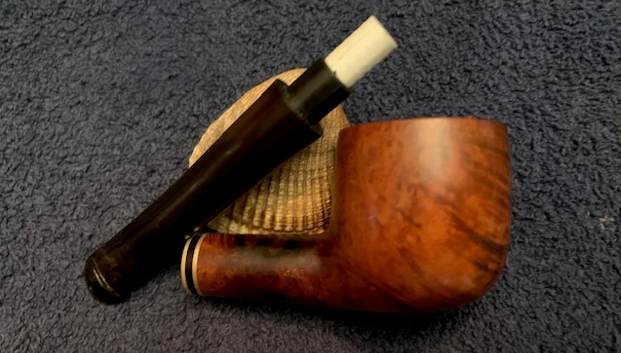
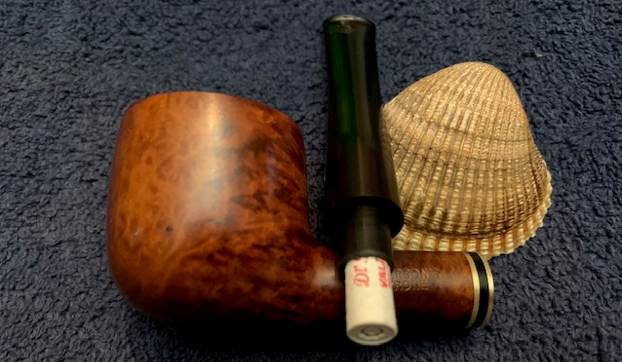
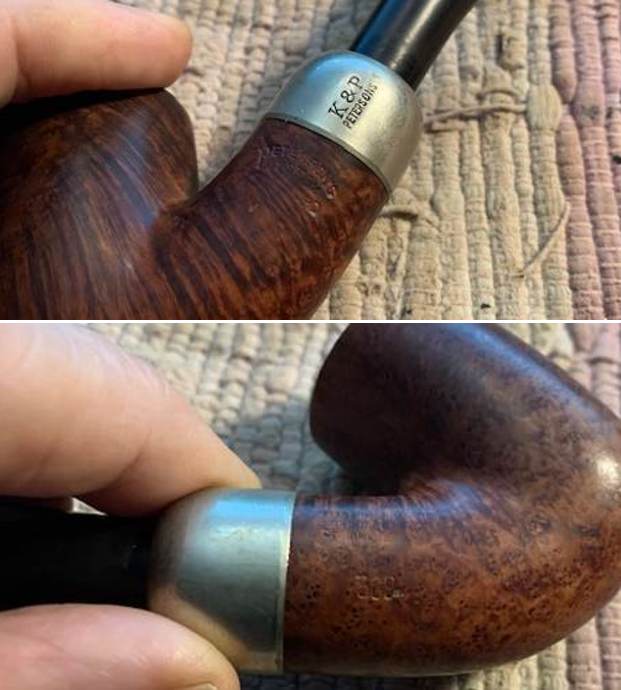
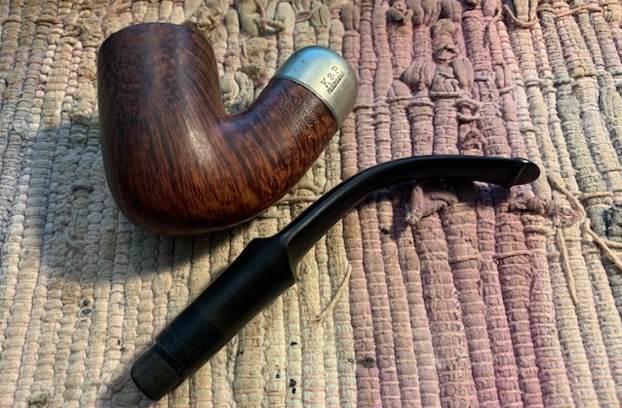
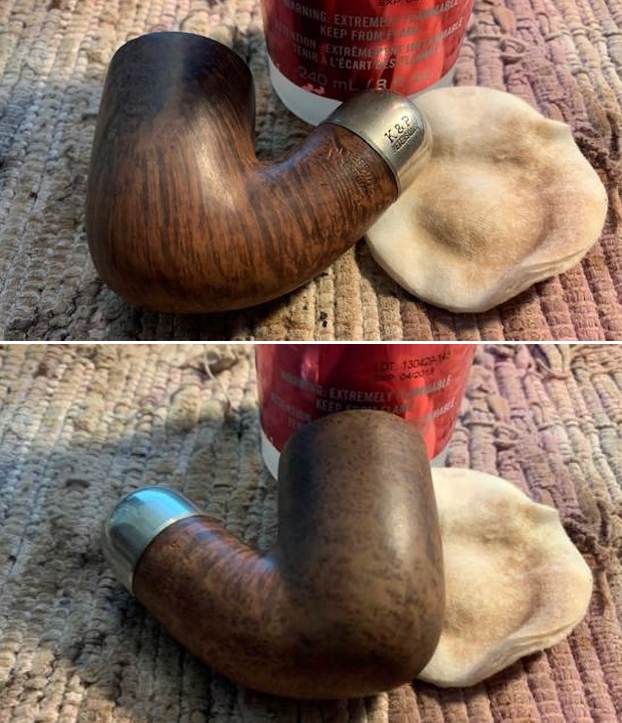
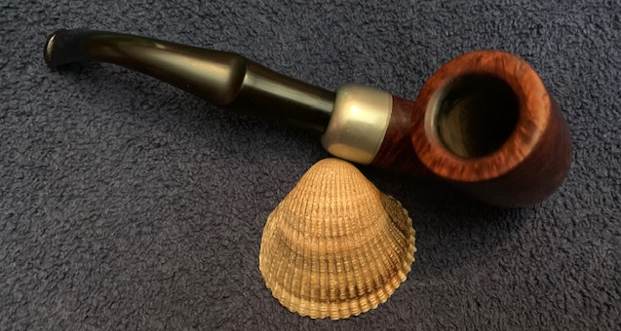
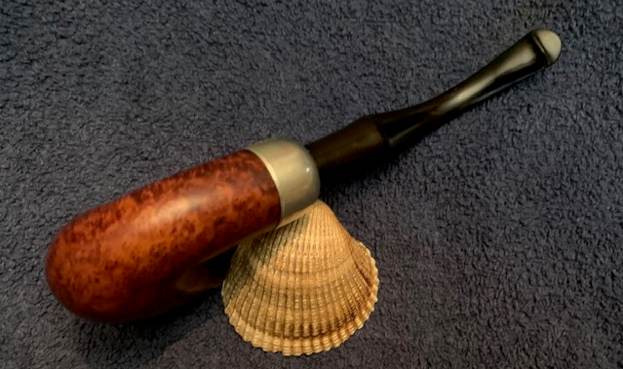
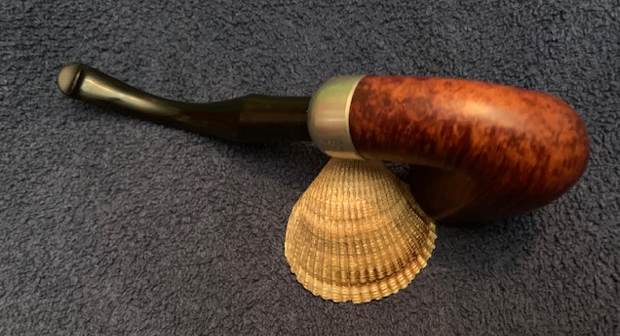
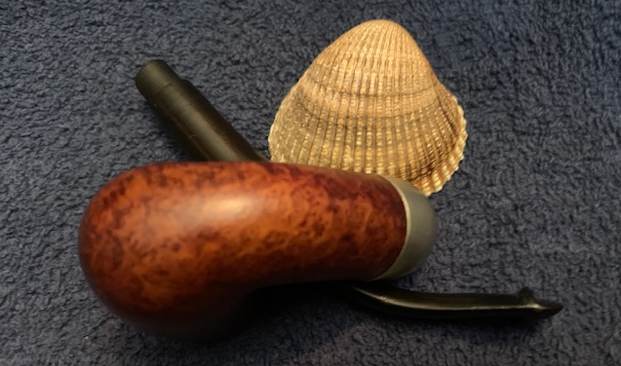
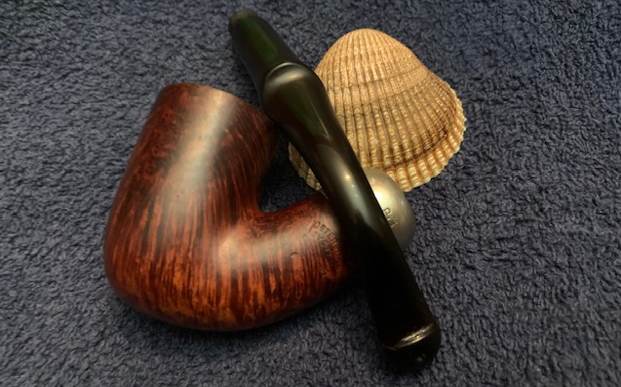
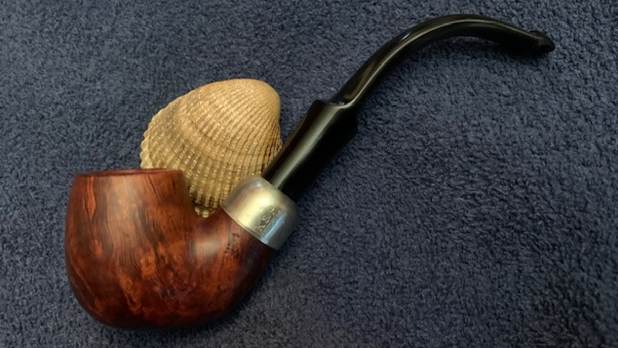
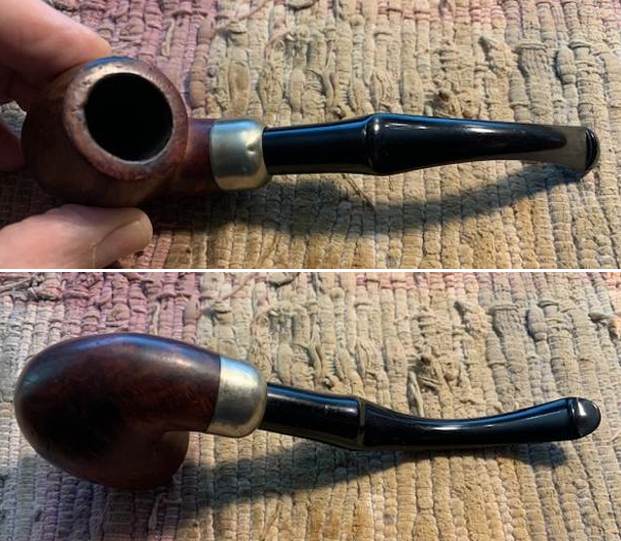
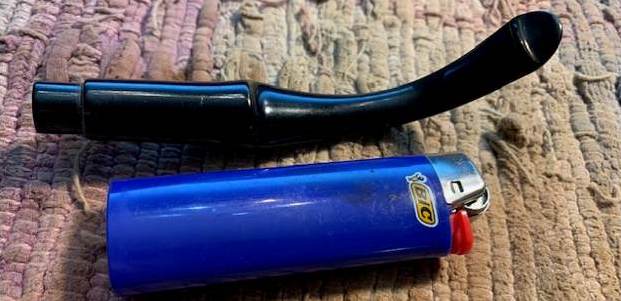
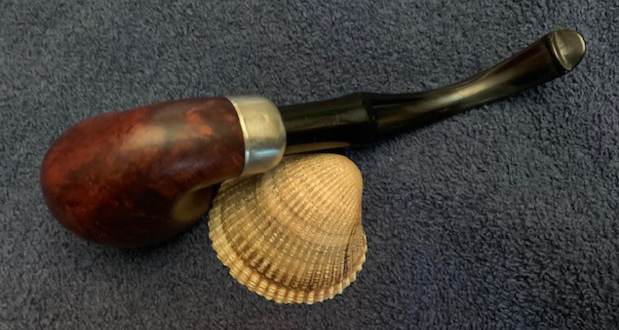
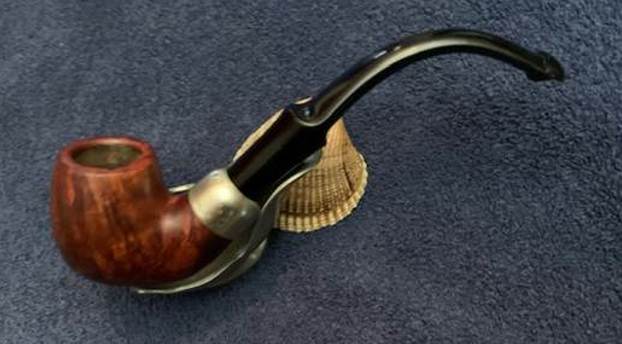
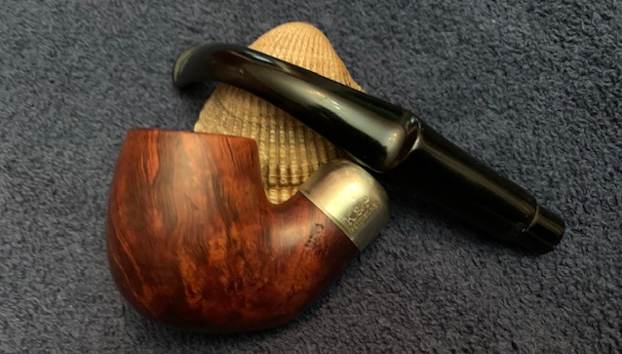
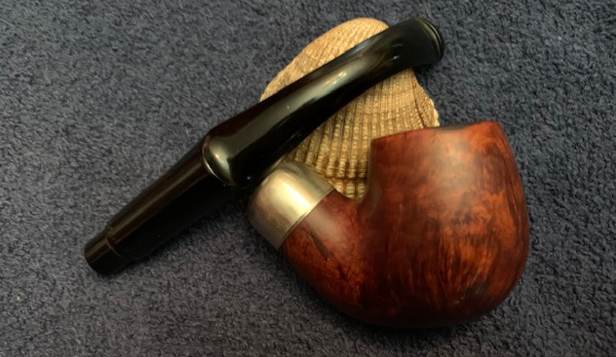
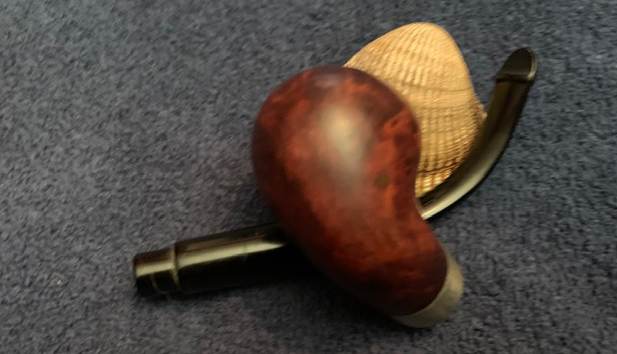
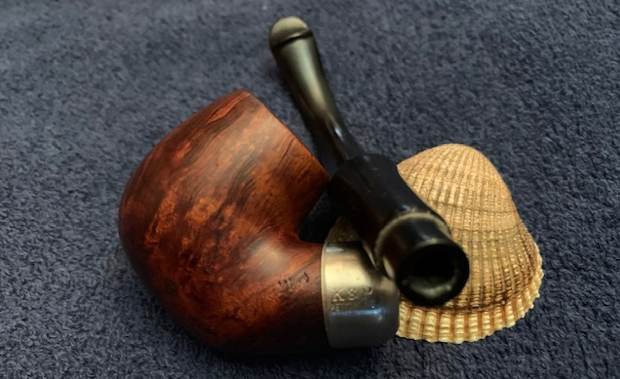
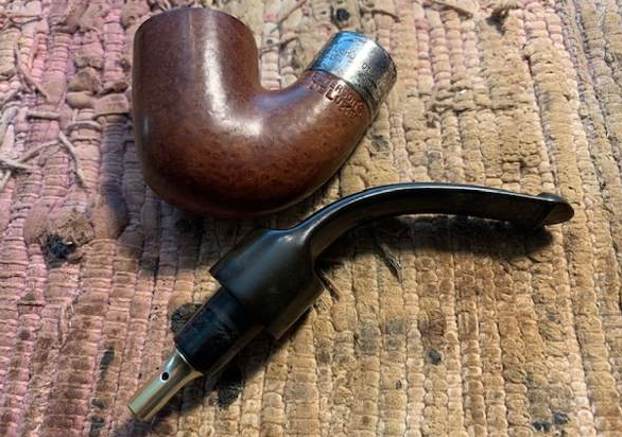
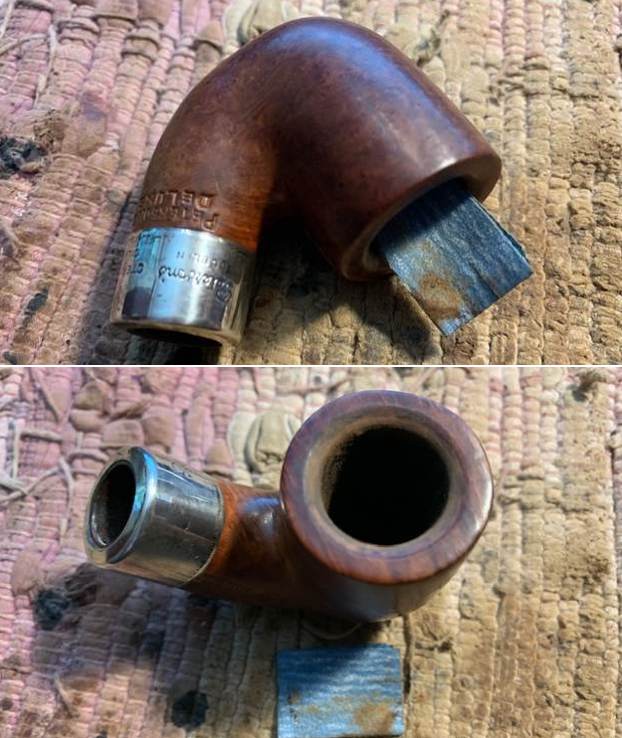
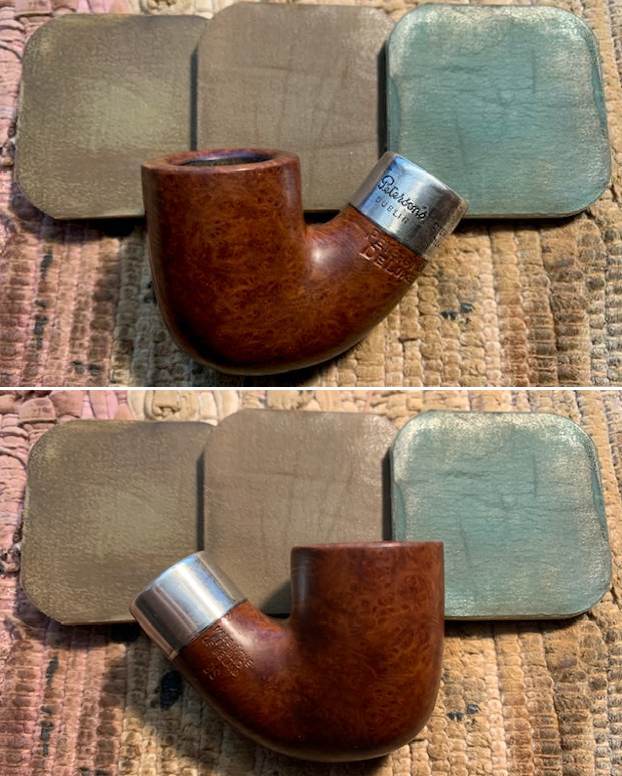
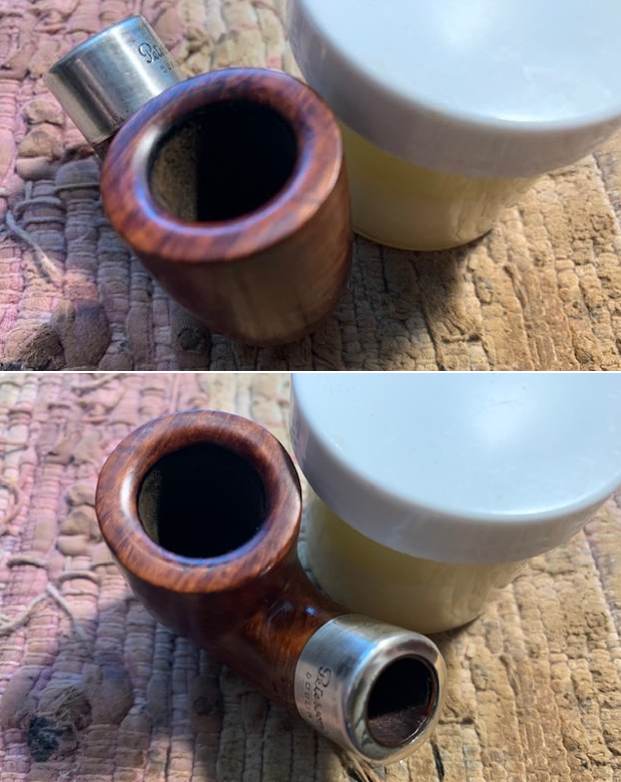
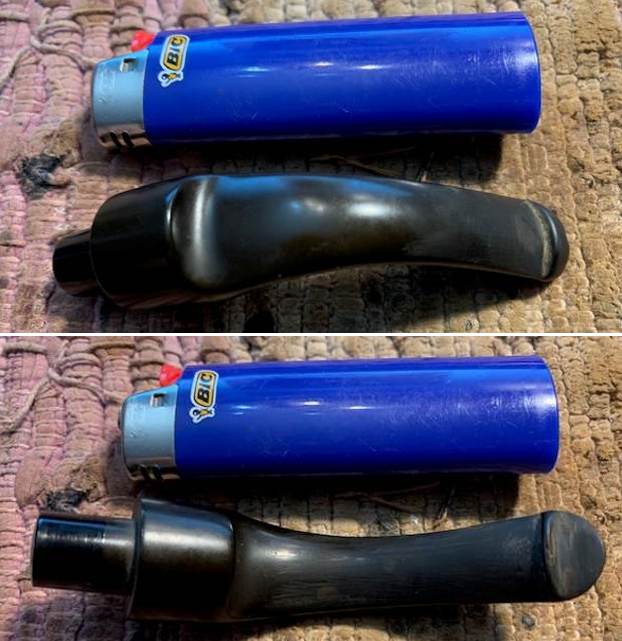
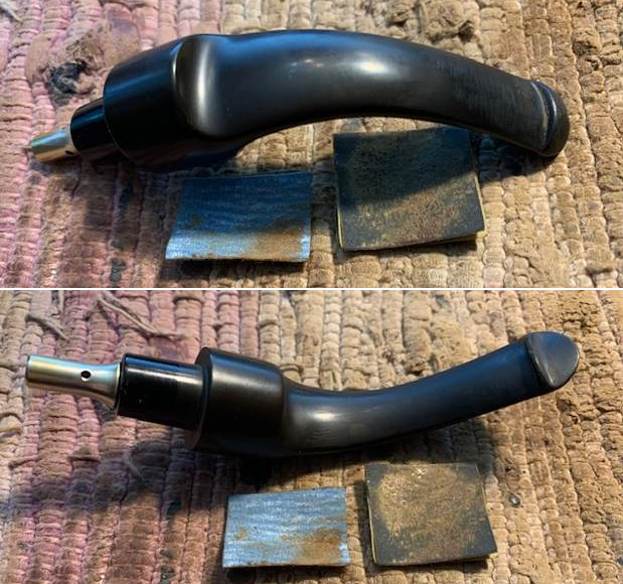
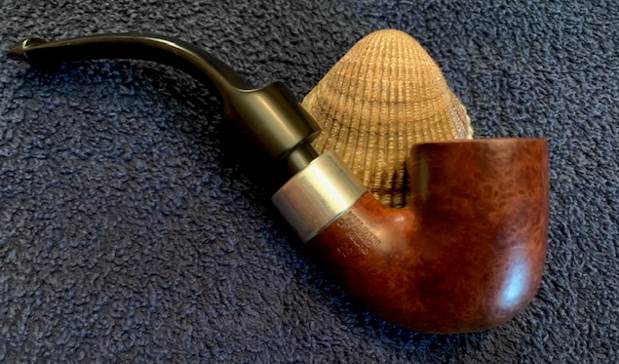
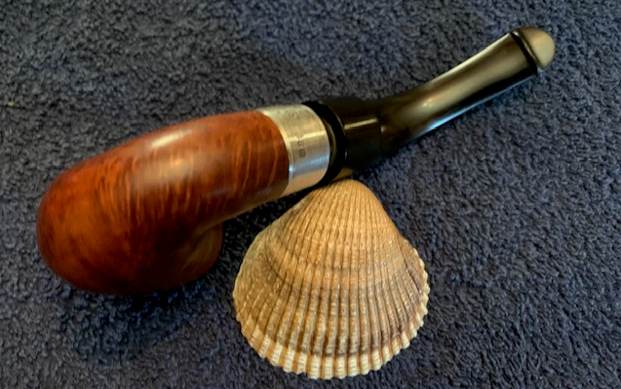
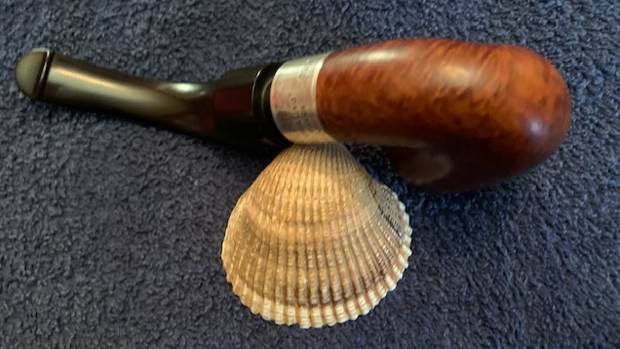
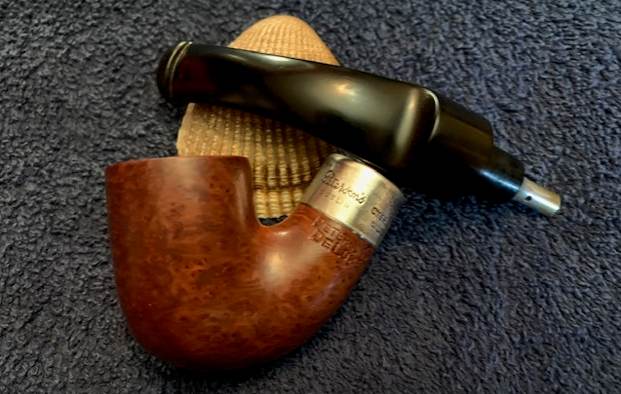
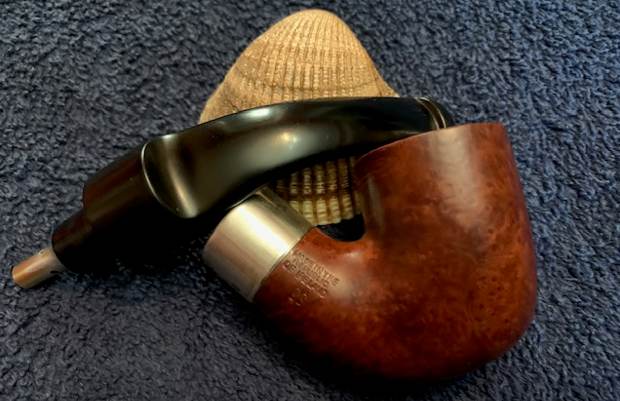
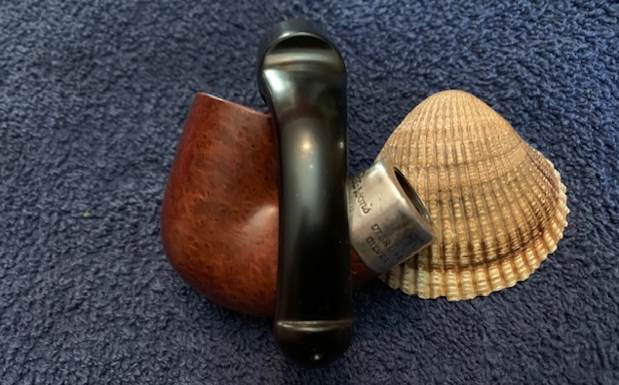
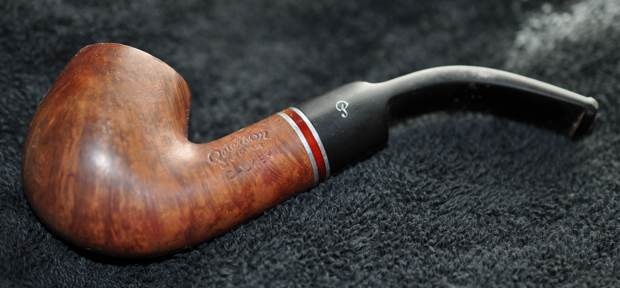
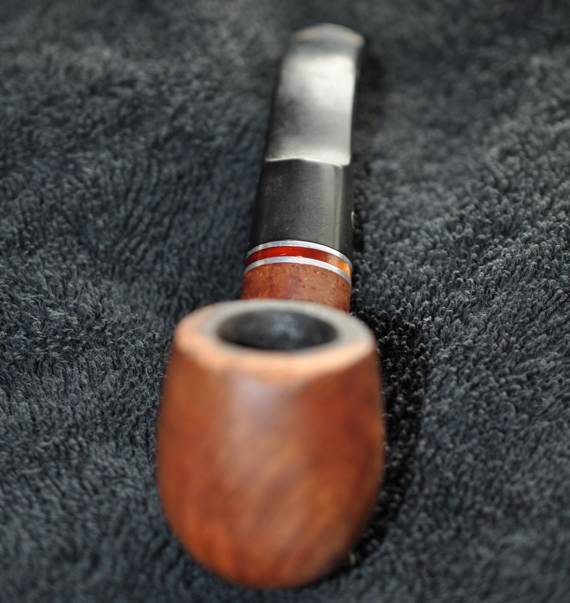
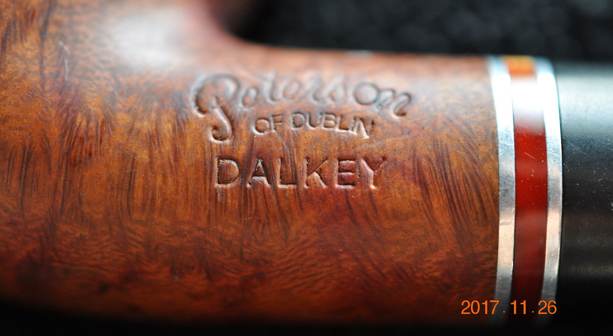
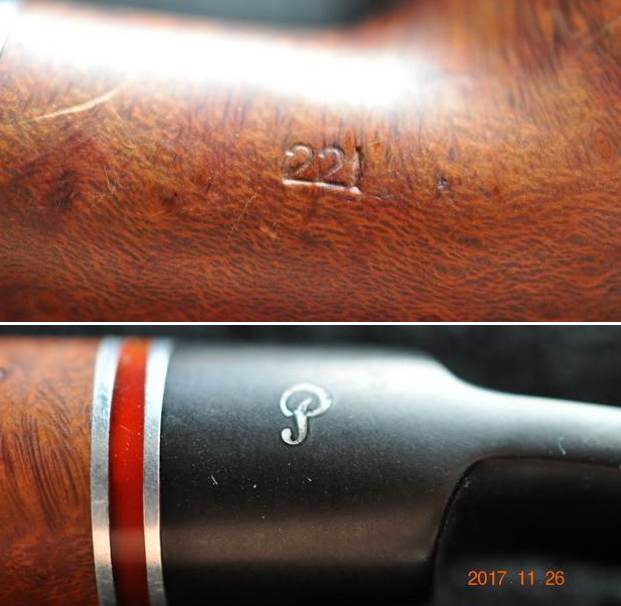
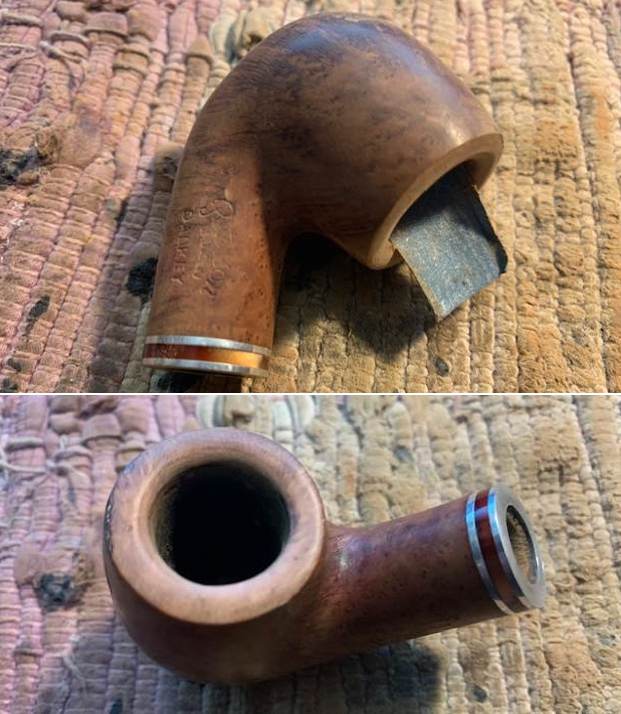
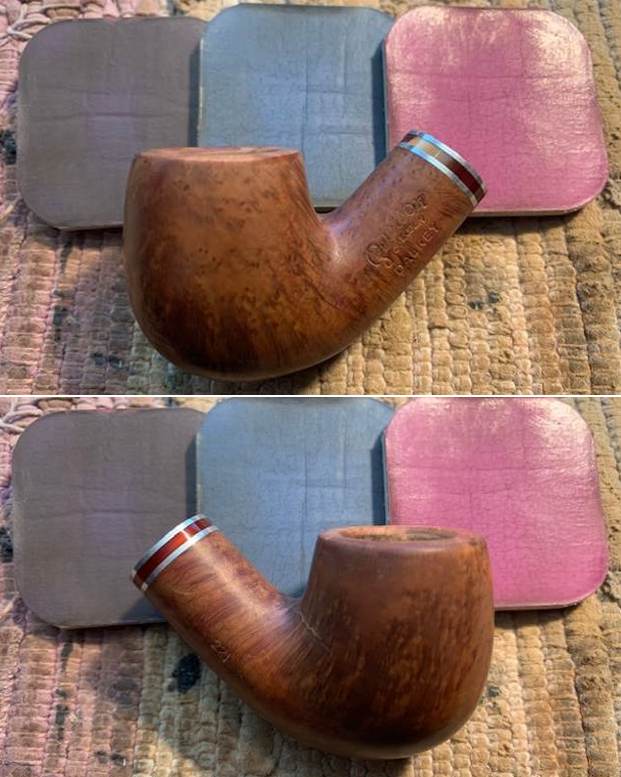
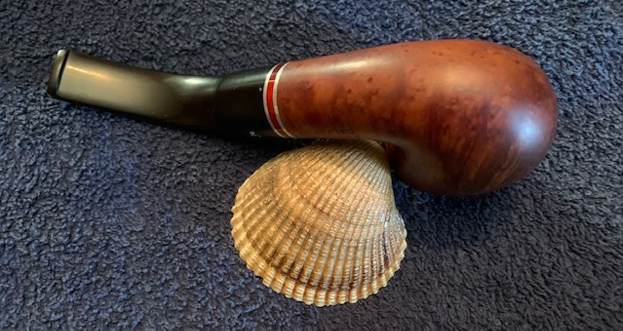
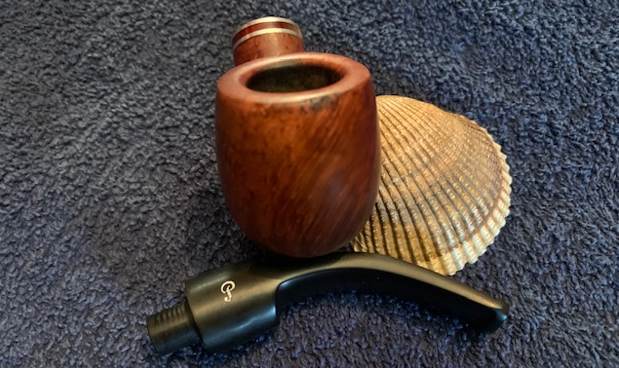
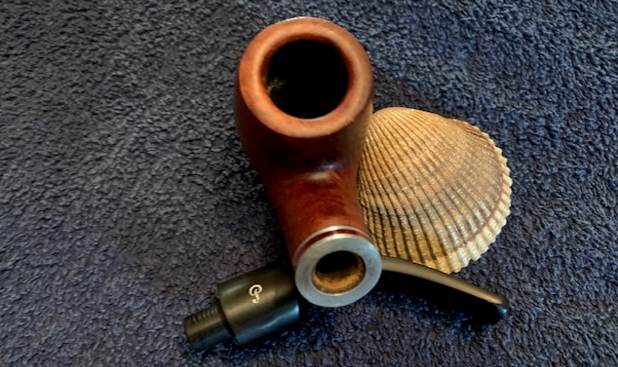
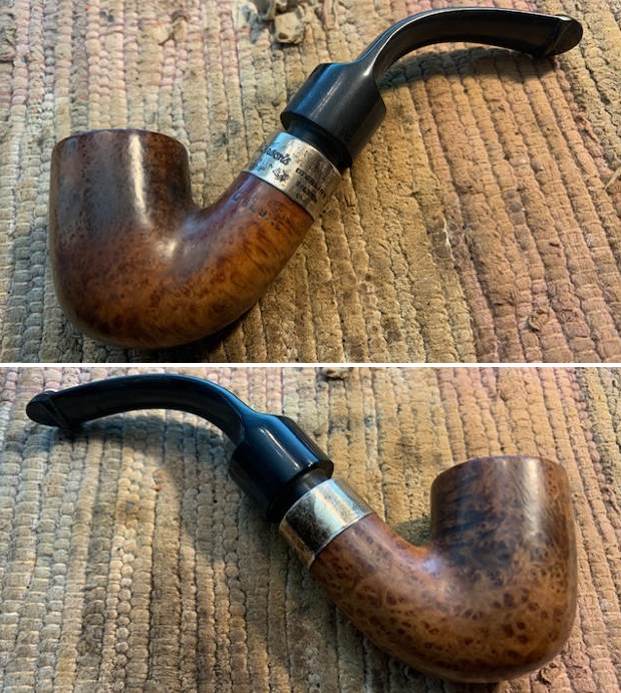
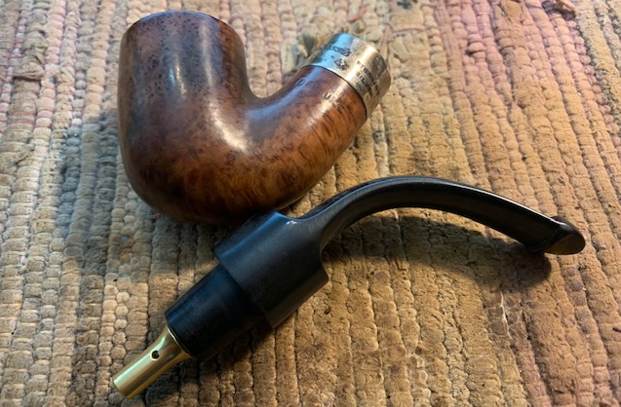
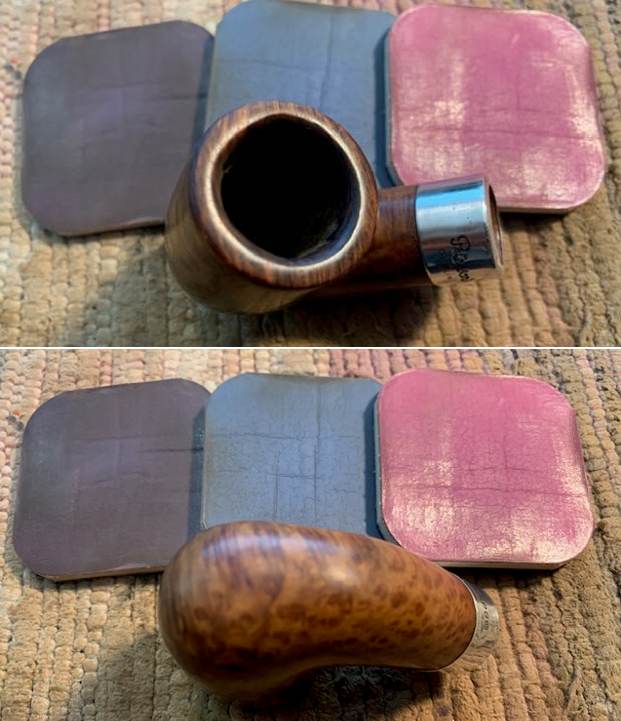
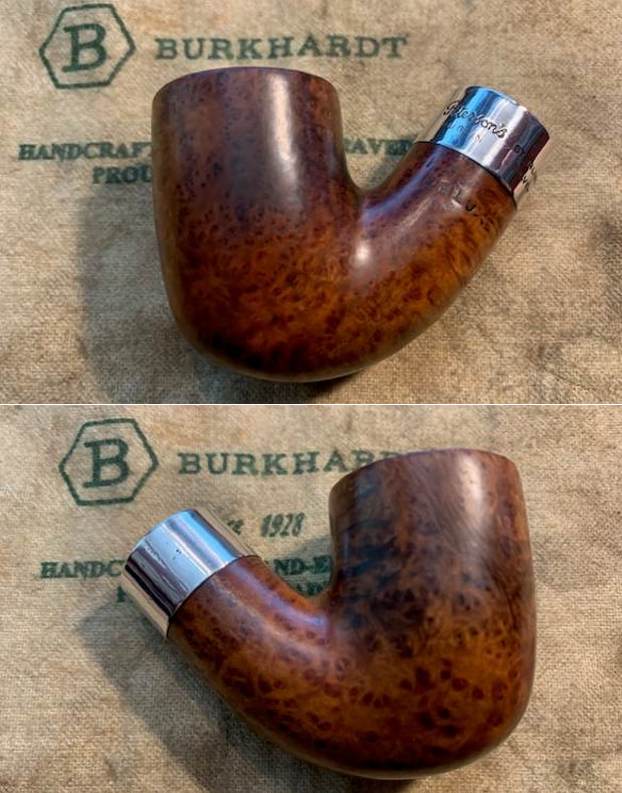
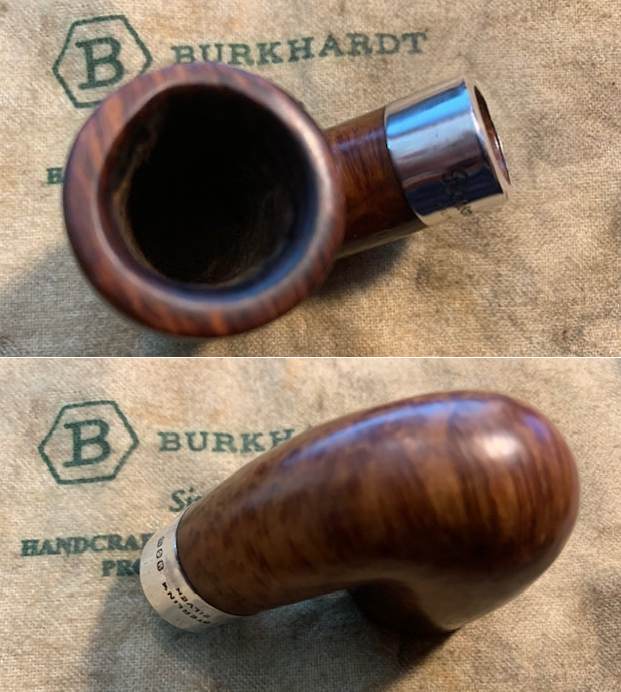
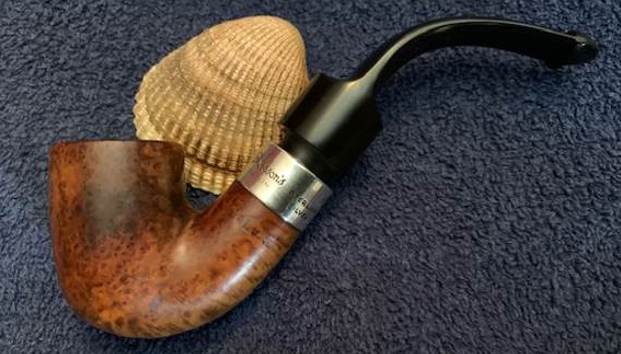
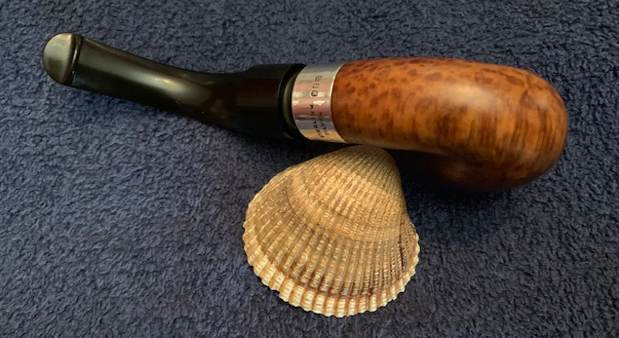
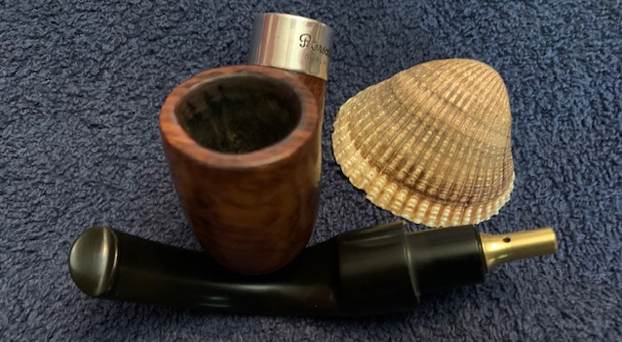
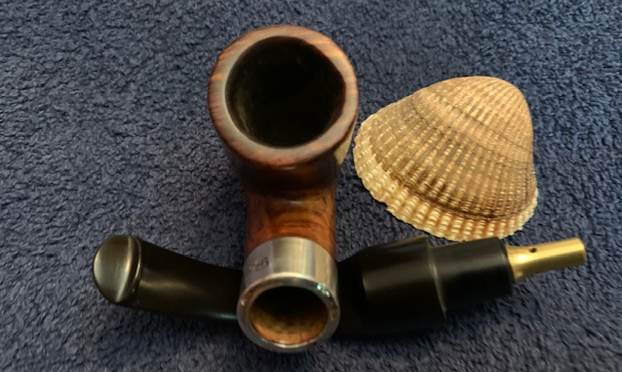
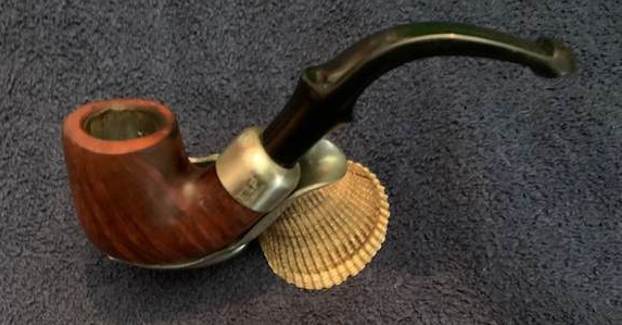
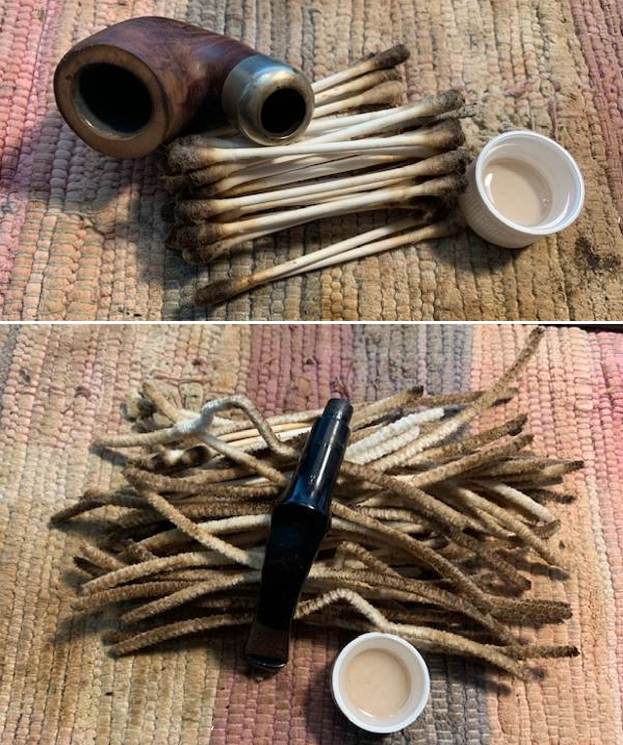
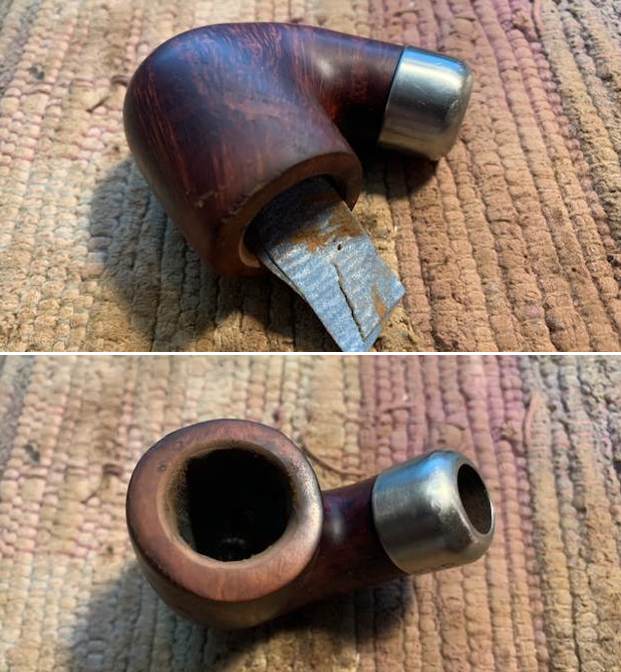
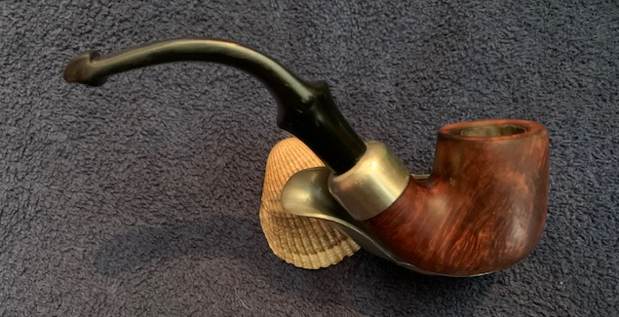
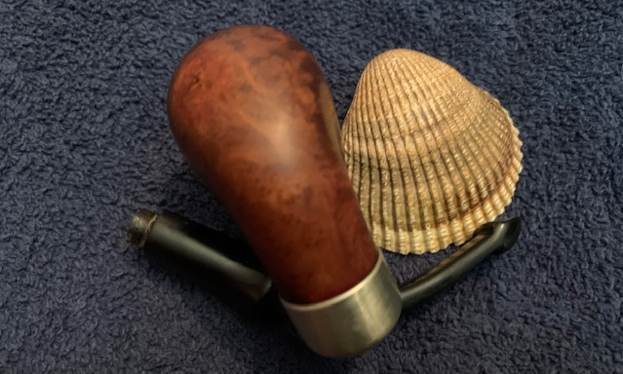
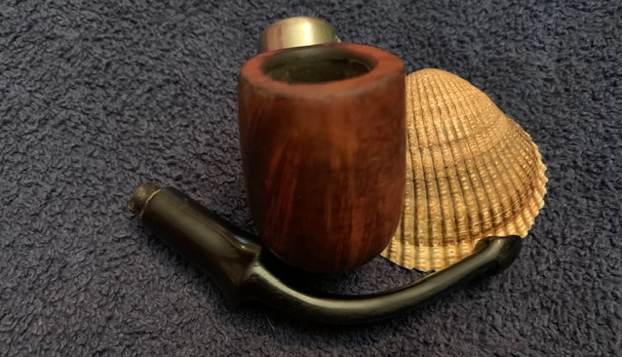
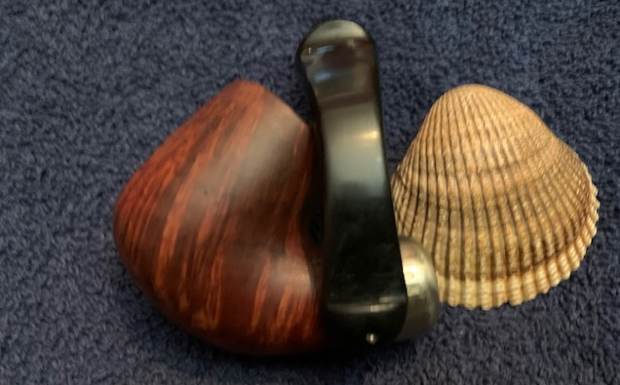
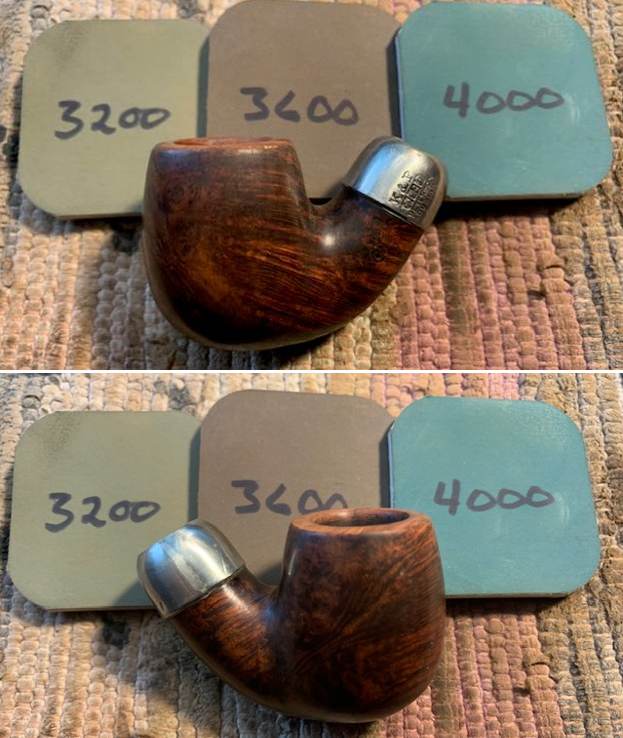
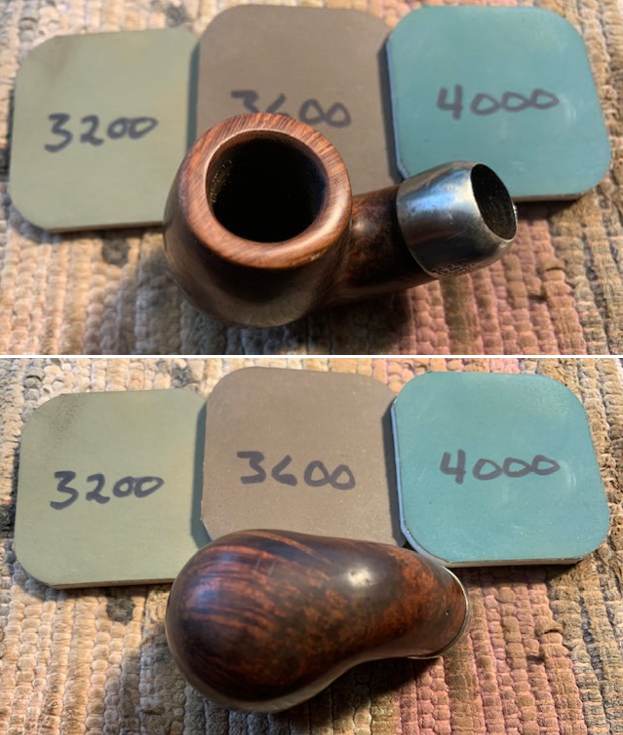
  I removed the stem from the shank and took a photo to give a sense of the proportions of the pipe. It is really quite nice looking.
 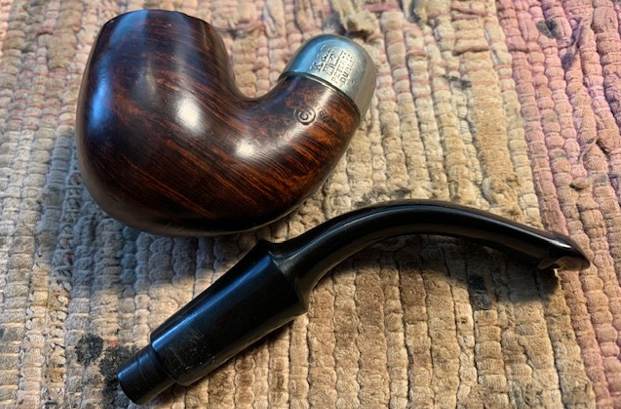 I turned to Pipedia (https://pipedia.org/wiki/Peterson) and read through the article there. It was a great reminder of the history of the brand.
I turned to “The Peterson Pipe” by Mark Irwin and Gary Malmberg to get some background on the Peterson’s System 0 Made in Ireland stamp. On page 301 of the book I found a listing on System pipes that referred to the 0-3 stamps. I quote:
System Pipes (1937-59) The 1937 catalog only slightly changed the grading hierarchy for System pipes. The De Luxe model, described as “the finished possible quality obtainable” would be assigned no grading subscript, but neither would the First Quality. Below these were 0 Grade, 2nd Grade and 3rd Grade, all stamped with numbers and PETERSON’S over SYSTEM or PETERSON’S over DUBLIN. Grades 0 and 2nd were fitted with sterling mounts, 3rd grade with nickel. Each of these grades were sometimes stamped below and sometimes to the right of the model name. Sometimes these numbers were circled, sometimes not. The location of the number and whether it was circled or not was rather random from the onset of its use until discontinued in 1959, and by itself only indicates that a given pipe was made between ’37 and ’59.
On page 302 there was a listing on the nickel mounted markings. I quote:
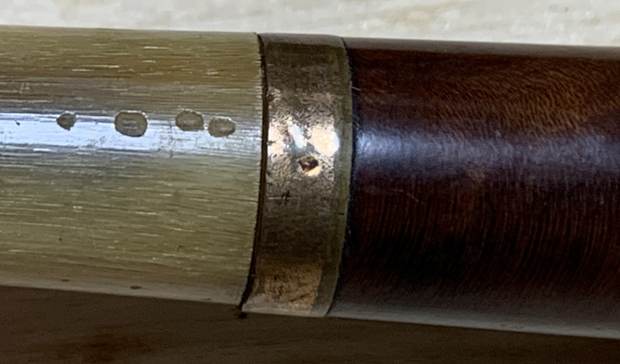
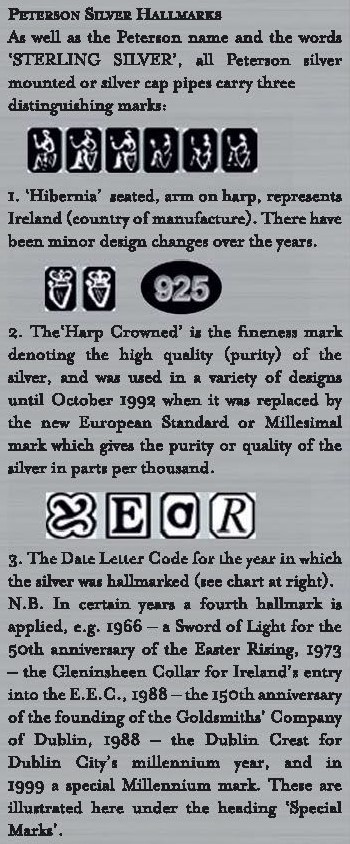
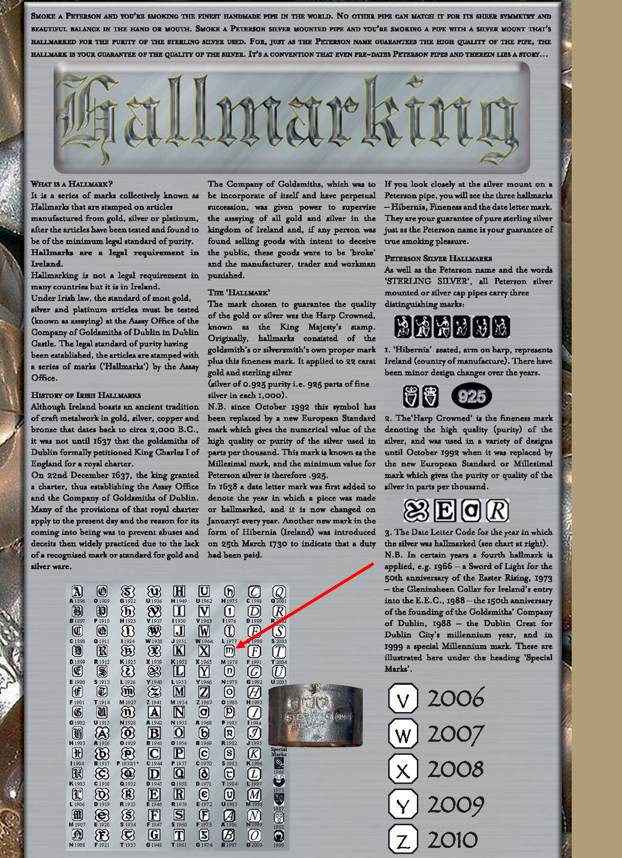
Nickel-Mount Markings. Often called faux hallmarks or faux marks by Peterson collectors, this set of three little images of a shamrock, an Irish wolfhound and a round tower appear within rectangular shapes as decorations on nickel mountings. Very early nickel mounts (1891-c. 1920) had no such decorations, only the same stamps used on sterling but without the hallmarks. As a stamp, the set of decorations began to appear at the beginning of the Irish Free State era, sometimes alone but often under K&P and over block lettered PETERSON over DUBLIN, although the three emblems appeared on K&P’s Irish Carving Shamrocks pipes since 1896. The stamp was used until about 1963, when hand soldered nickel bands and ferrules were replaced by pressed ferrules and premade bands…The shamrock is the emblem of Ireland; the Irish wolfhound has long been used for both hunting and protection, and is an emblem of strength; the round tower a symbol of Ireland’s early religious power. These decorations were stamped at the factory on non-sterling mounts only, and the assay office has nothing to do with…
The information was very helpful. I have highlighted the pertinent reference to regarding the stamping, the circle 3 number and the faux hallmarks above. I knew that I was dealing with a pipe made between 1937 and 1959.
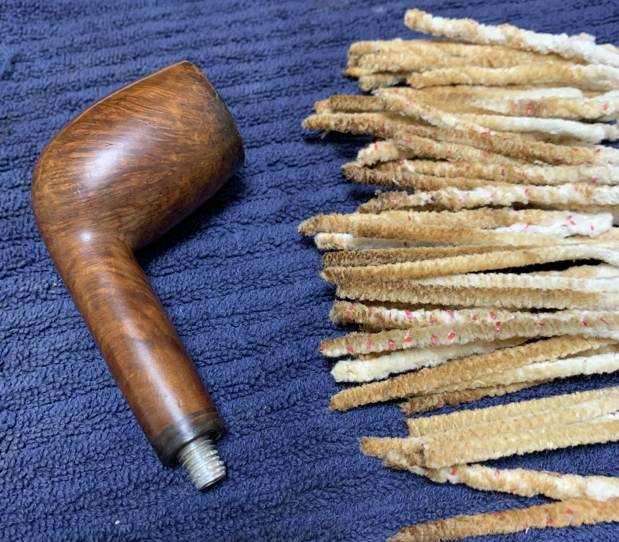
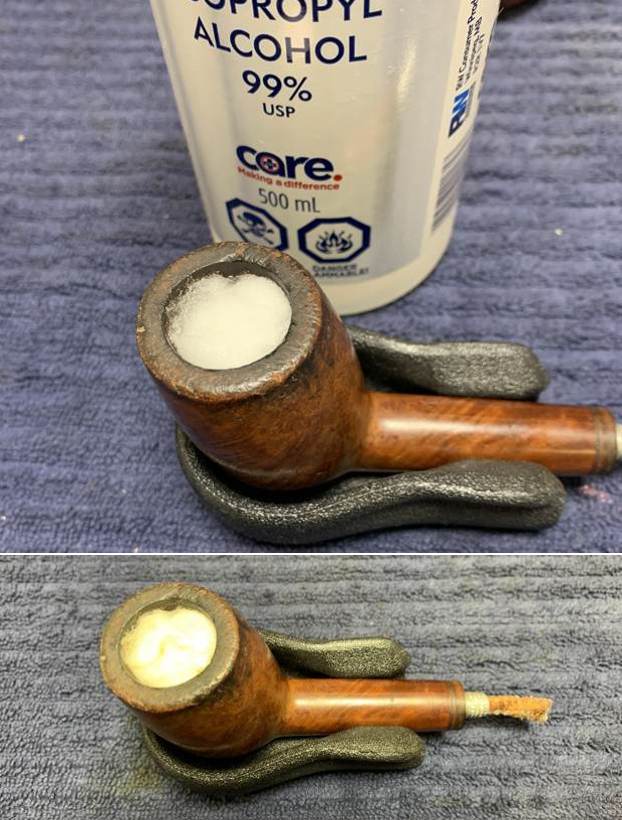
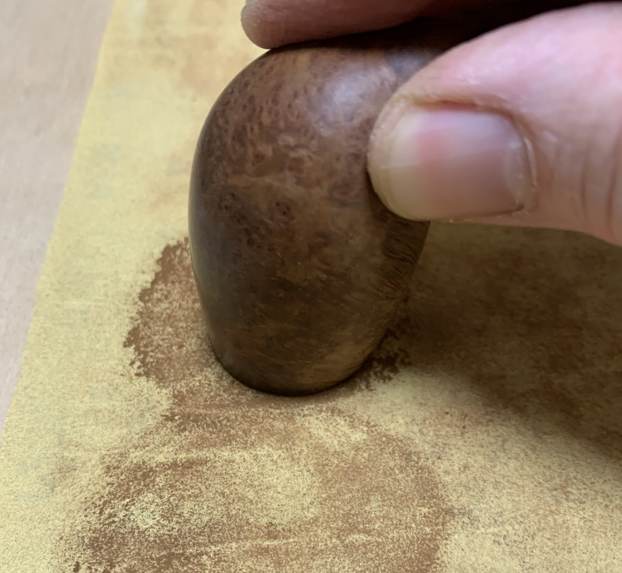
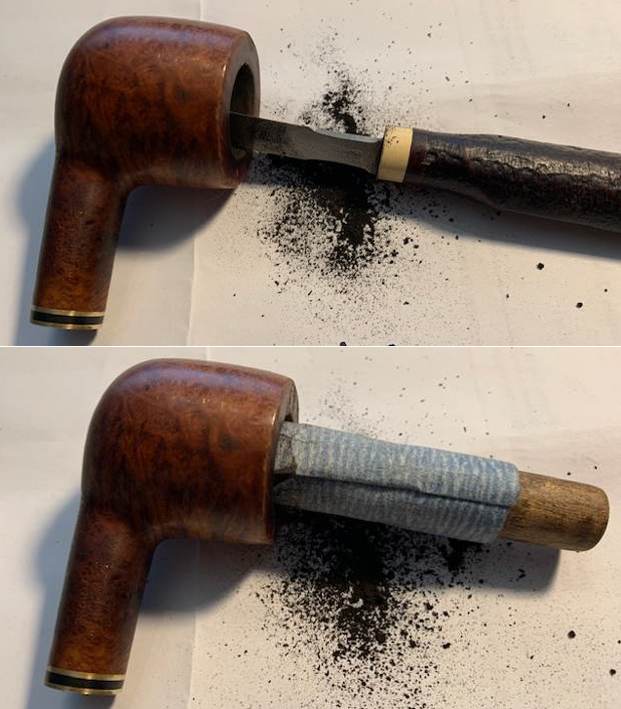
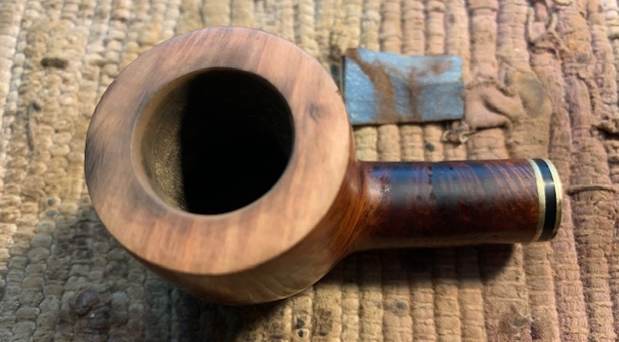
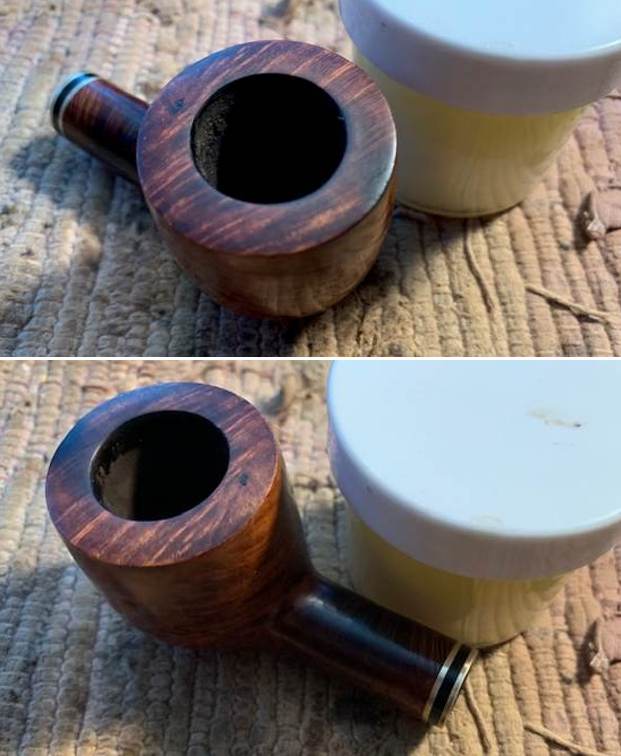
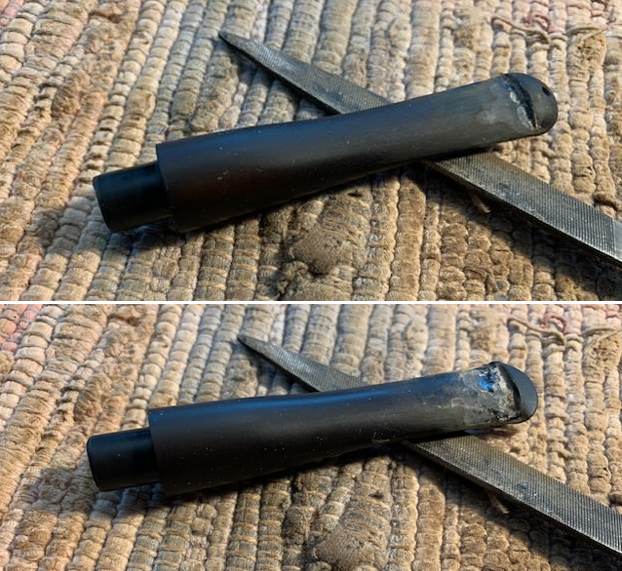
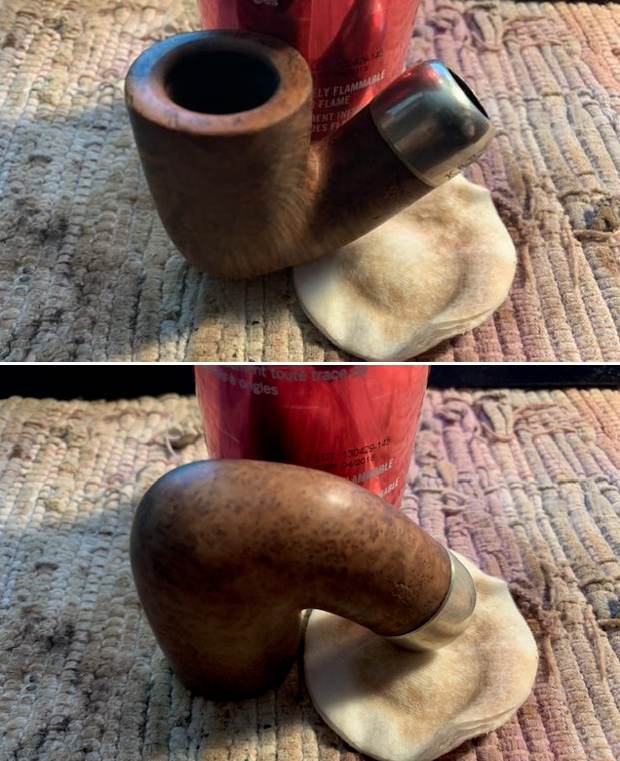
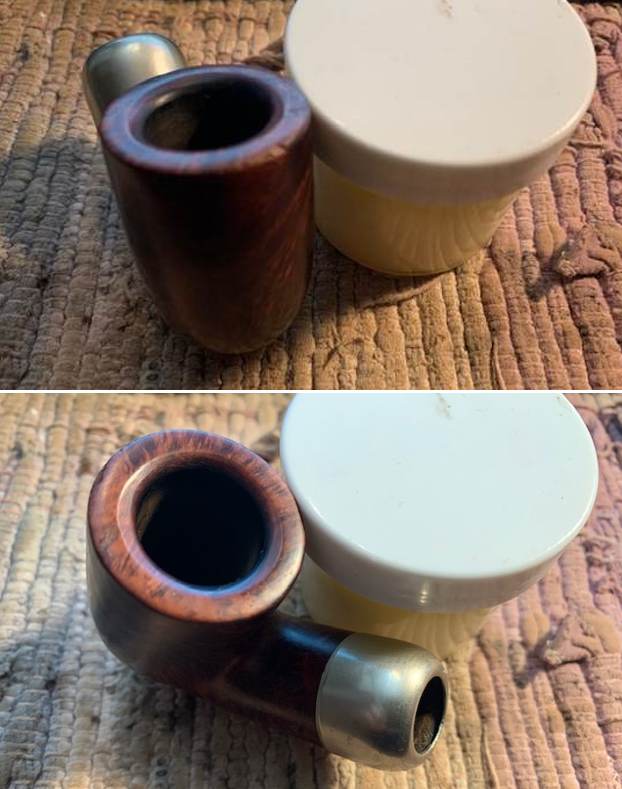
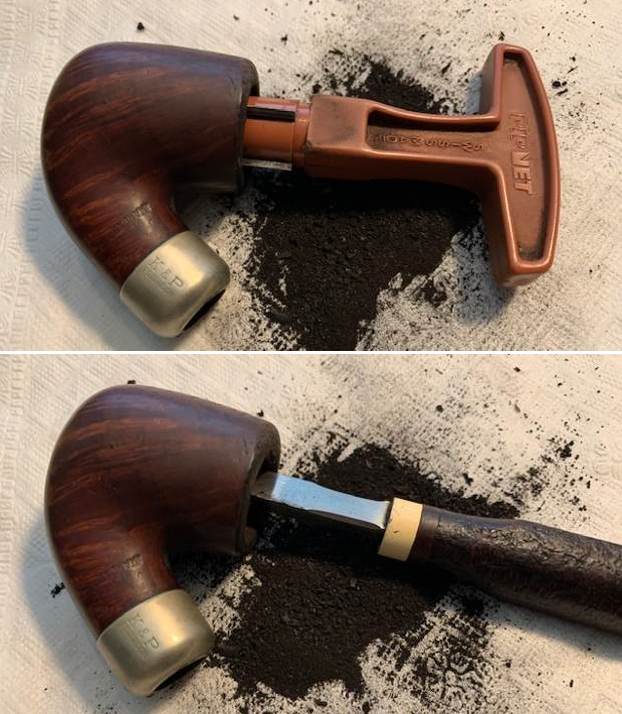
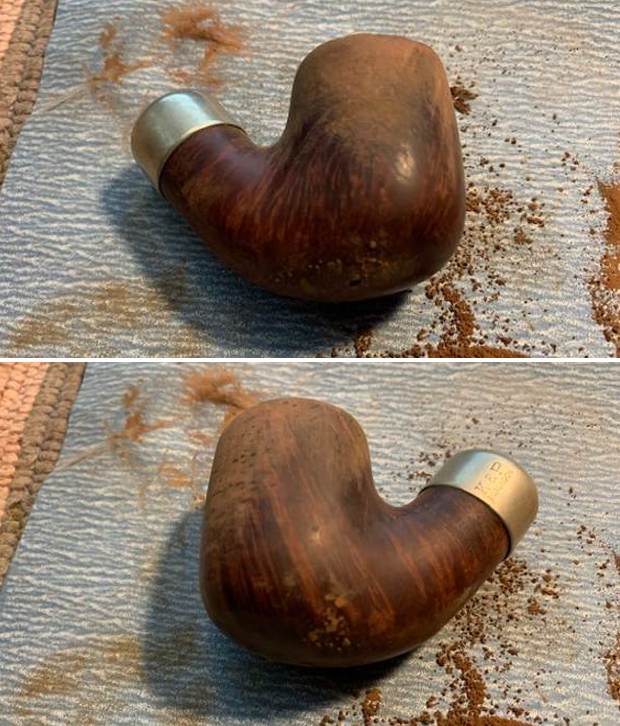
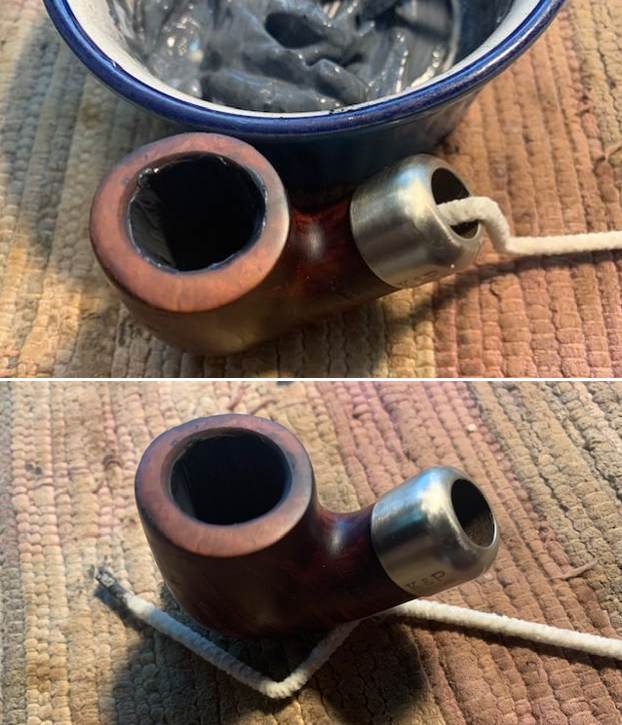
I reamed the bowl with a Savinelli Fitsall Pipe Knife. I sanded the walls on the bowl with a piece of 220 grit sandpaper wrapped around a piece of dowel to take the walls back to smooth once again.  I worked on the pipe with a folded piece of 220 grit sandpaper to remove the damage on the rim top and edges of the bowl. It looked better but would need a bit more work.
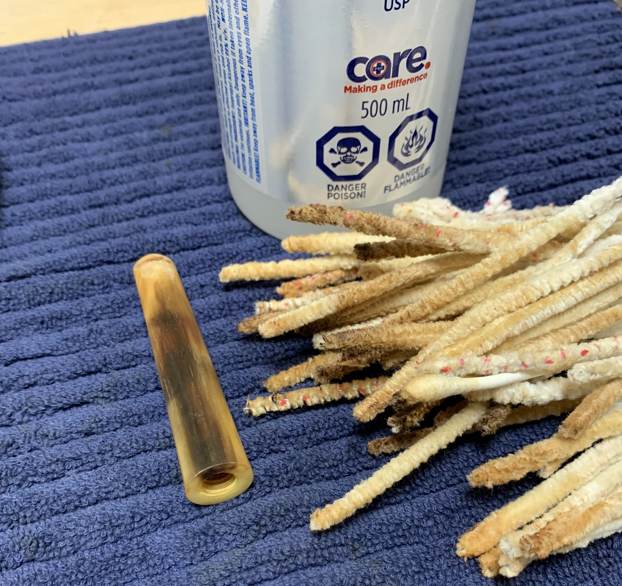
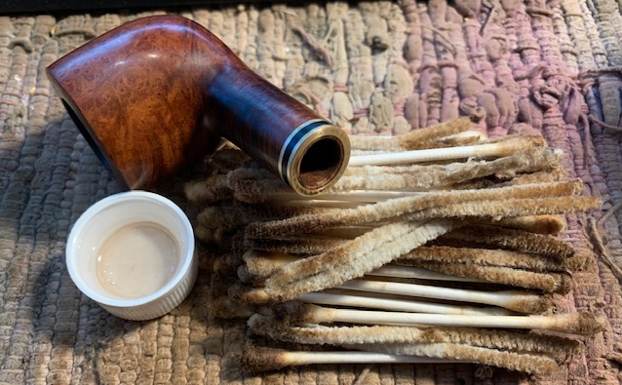
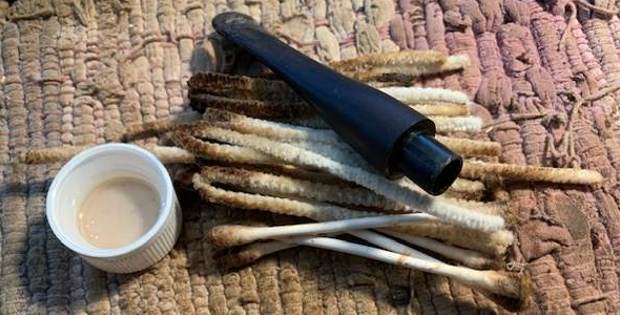
 I cleaned out the sump, the shank and the airway in the stem and shank with pipe cleaners, cotton swabs and isopropyl alcohol. The pipe was clean and it smelled significantly better.
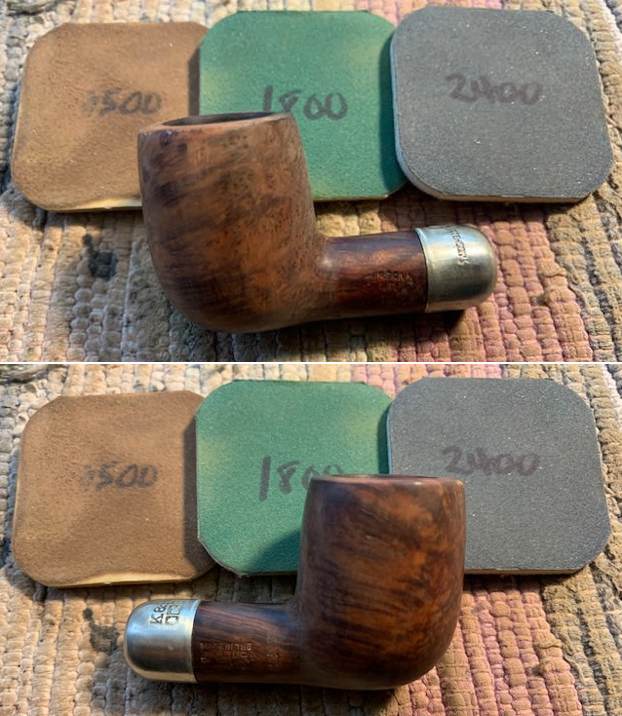
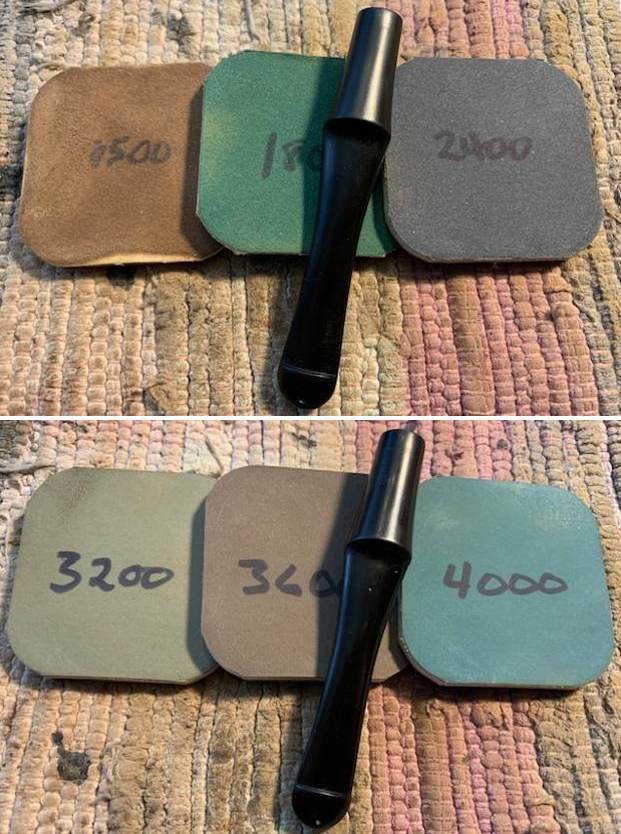
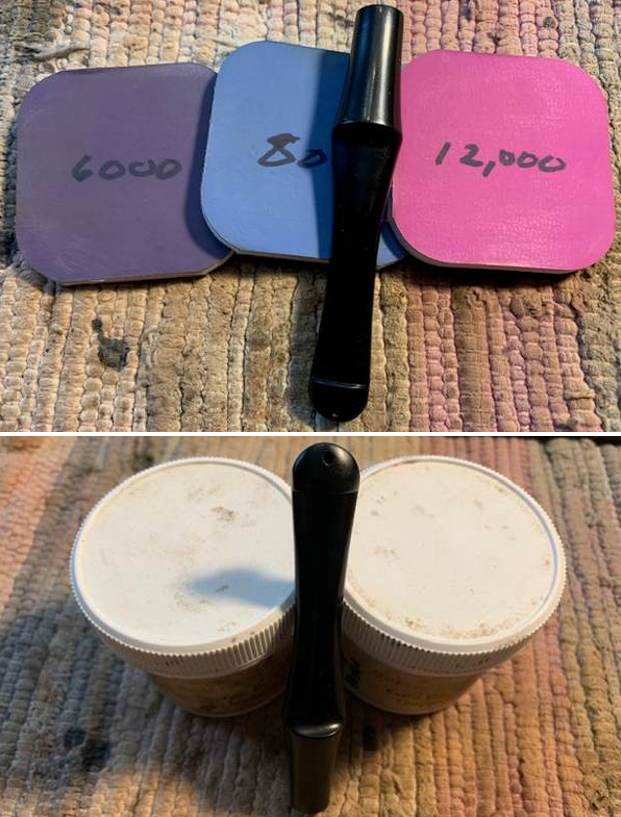
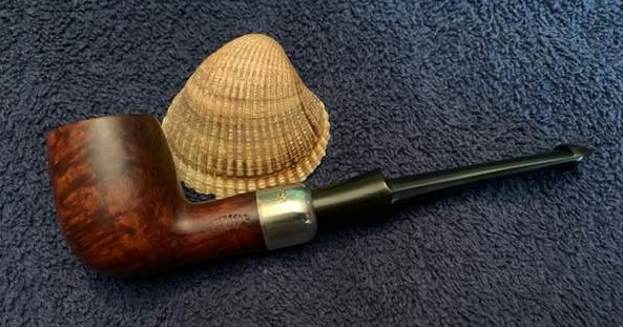
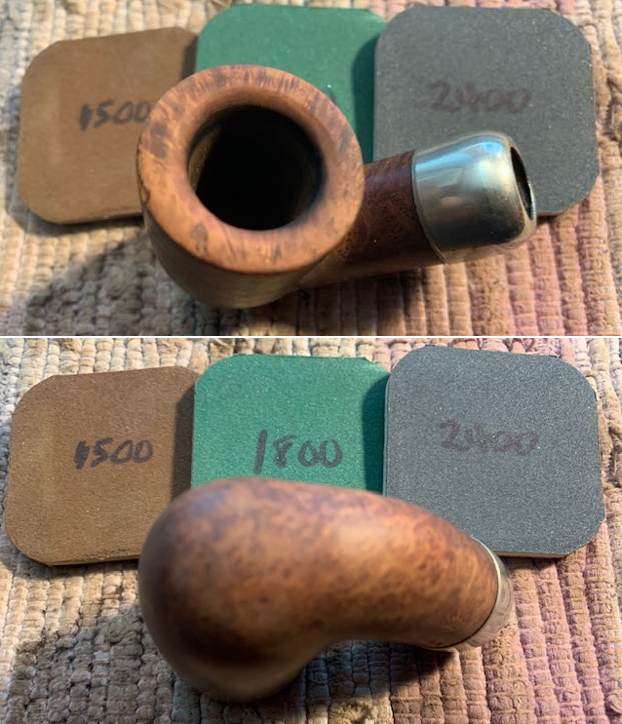
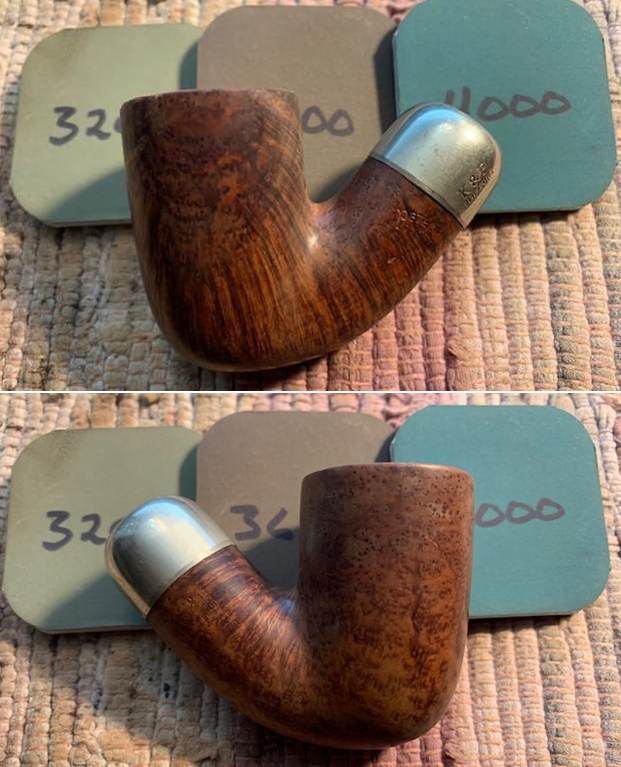
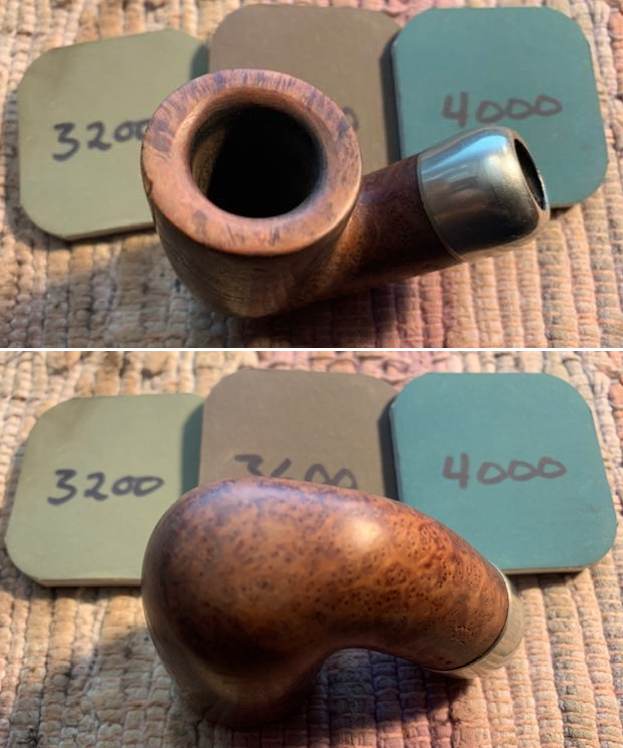
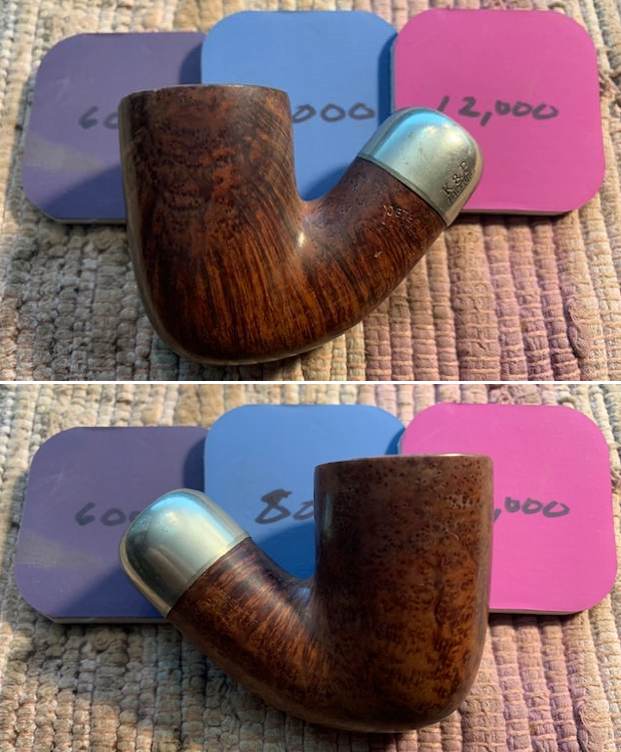
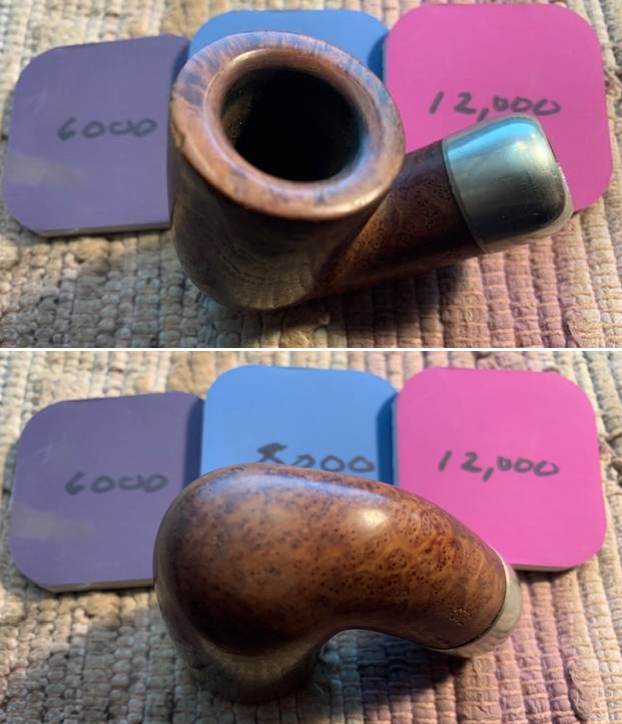
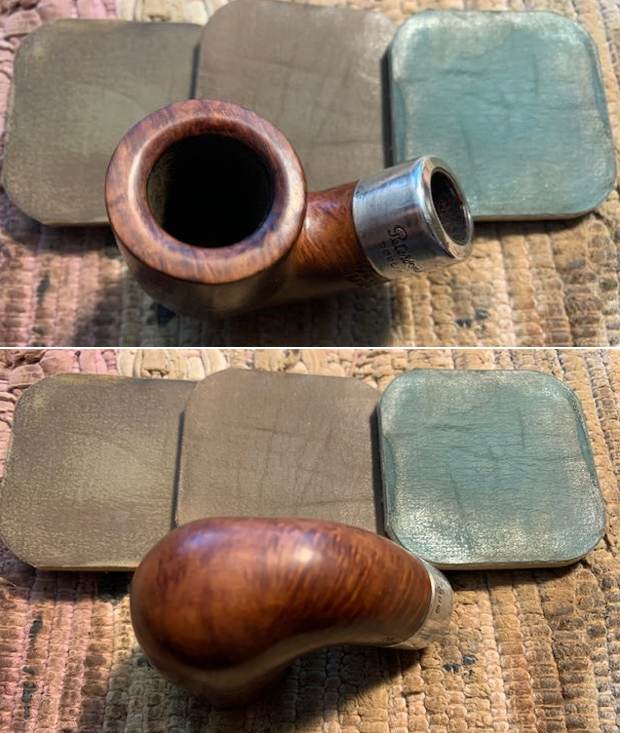
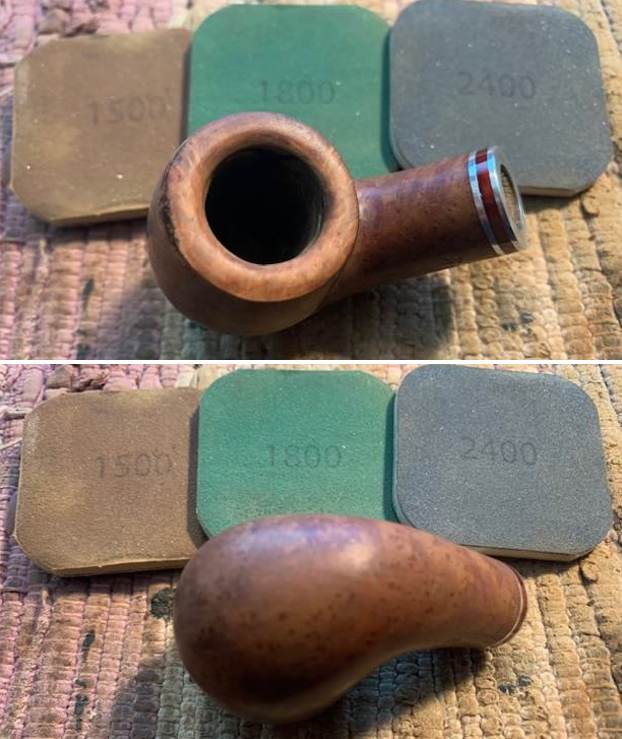
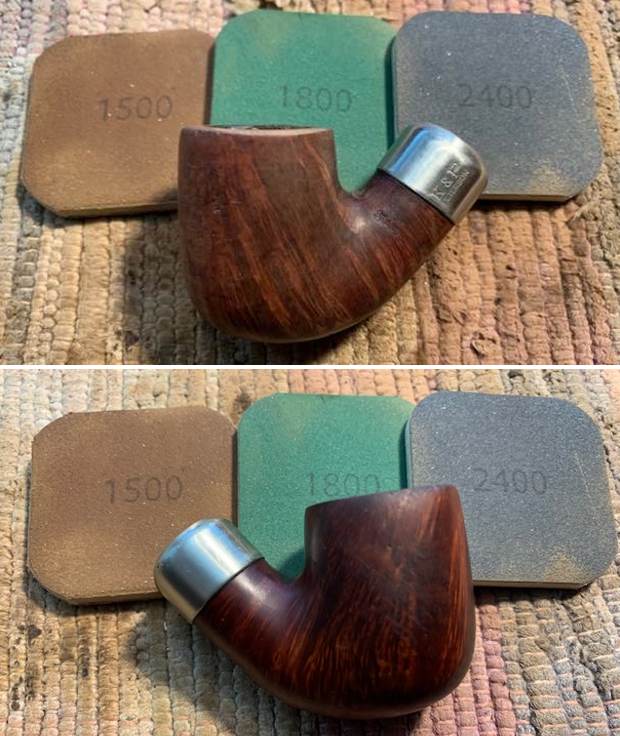
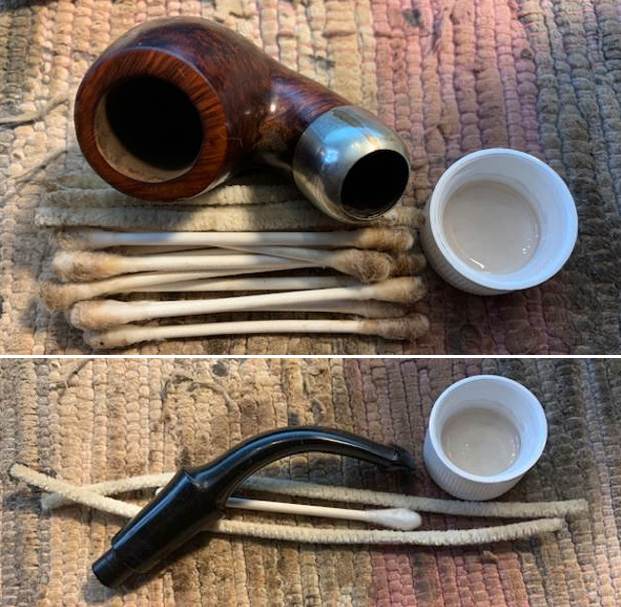 I polished the rim top and edges with micromesh sanding pads – dry sanding with 1500-12000 grit pads to raise a shine. I wiped it down with a damp cotton pad to wipe off the debris after each sanding pad.
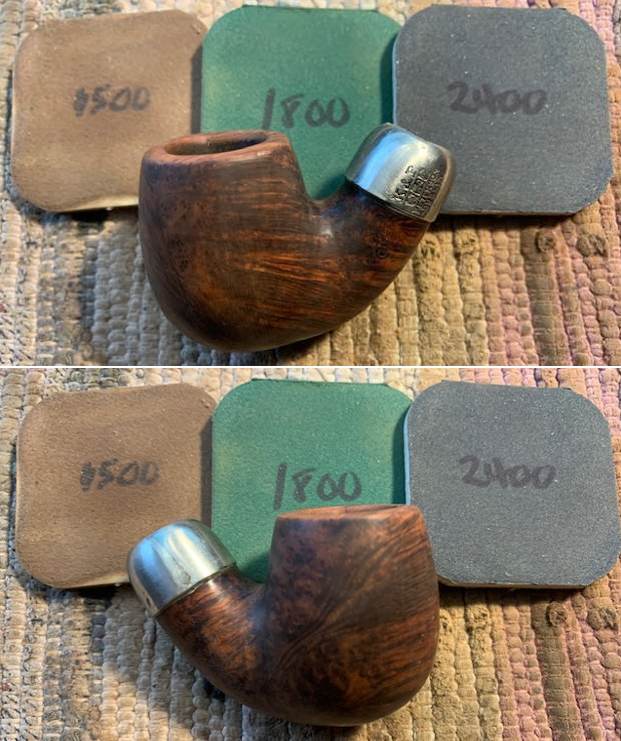

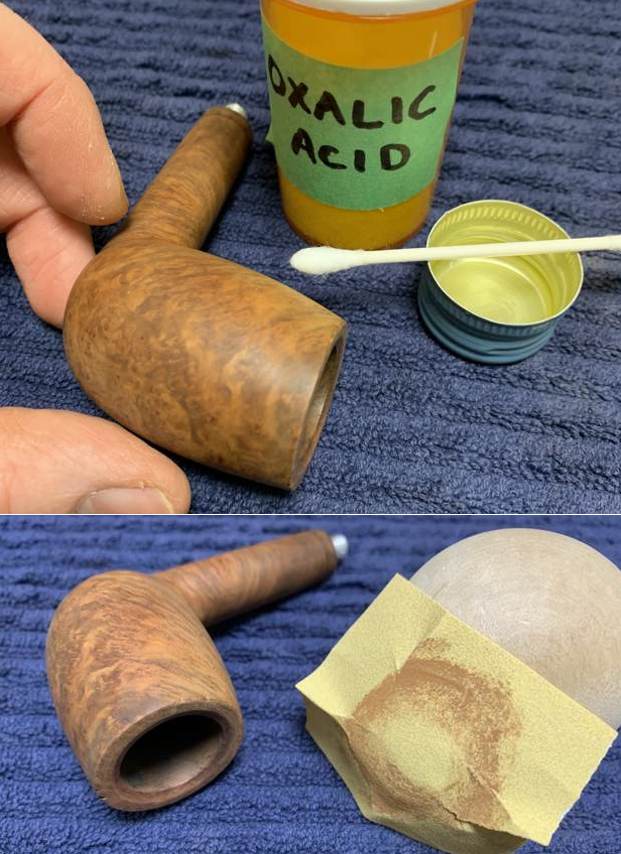
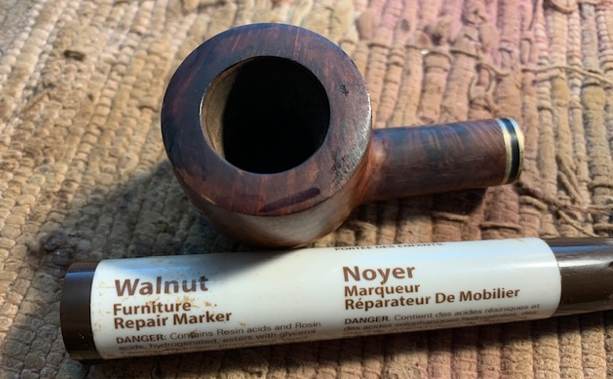
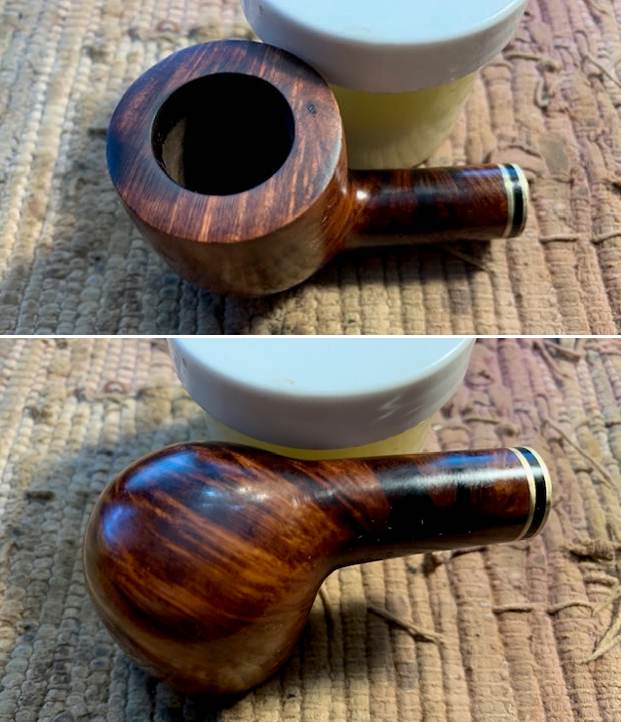
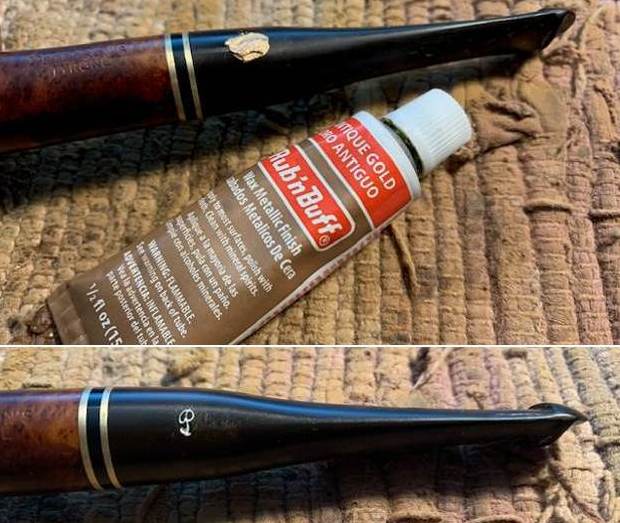
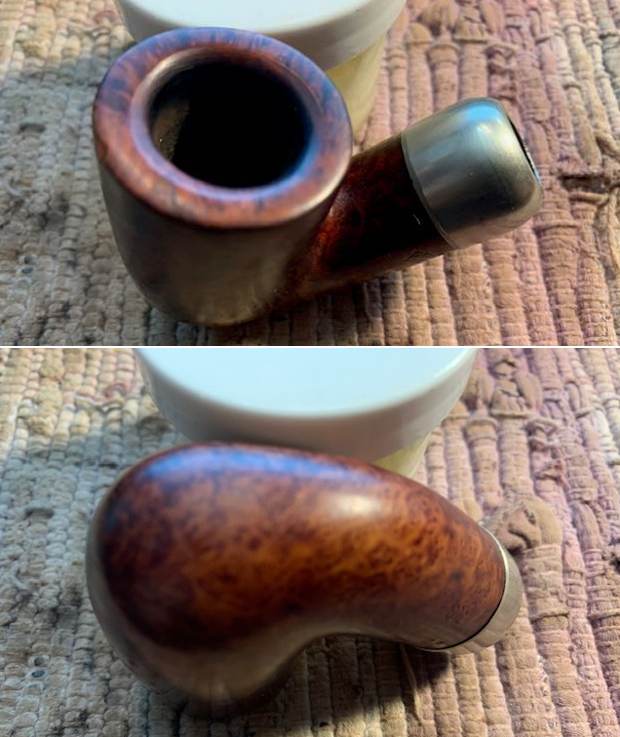
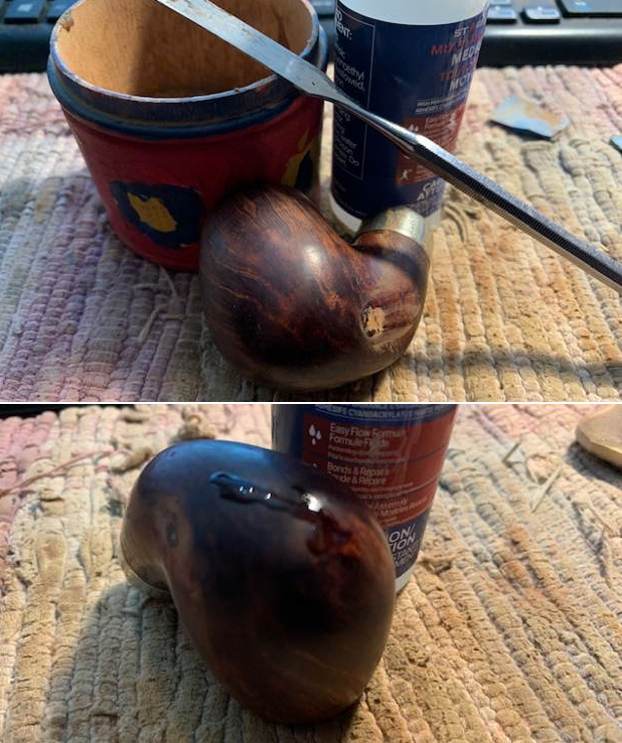
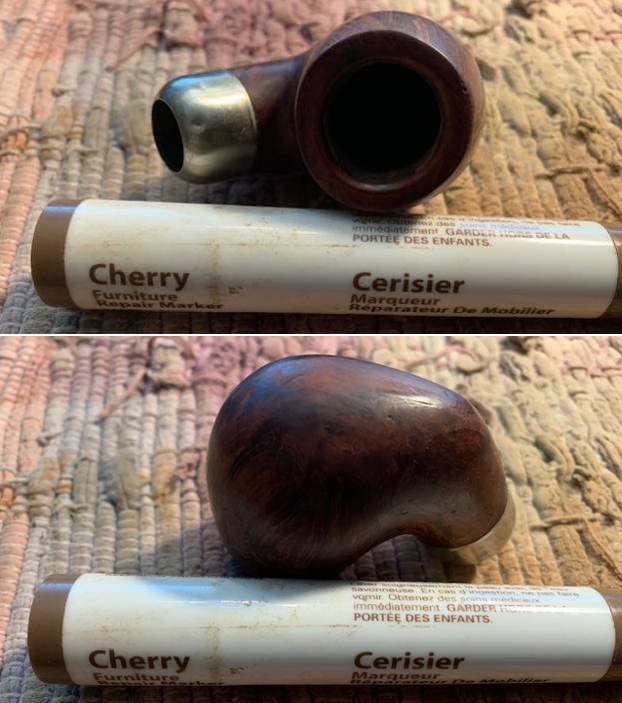
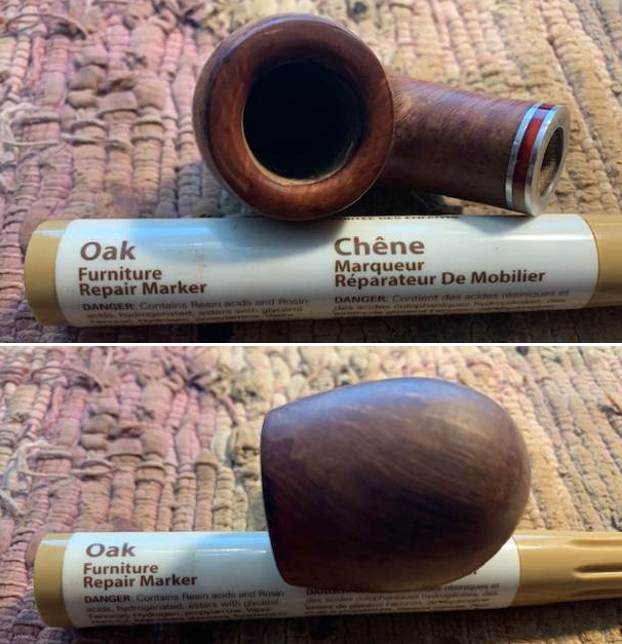
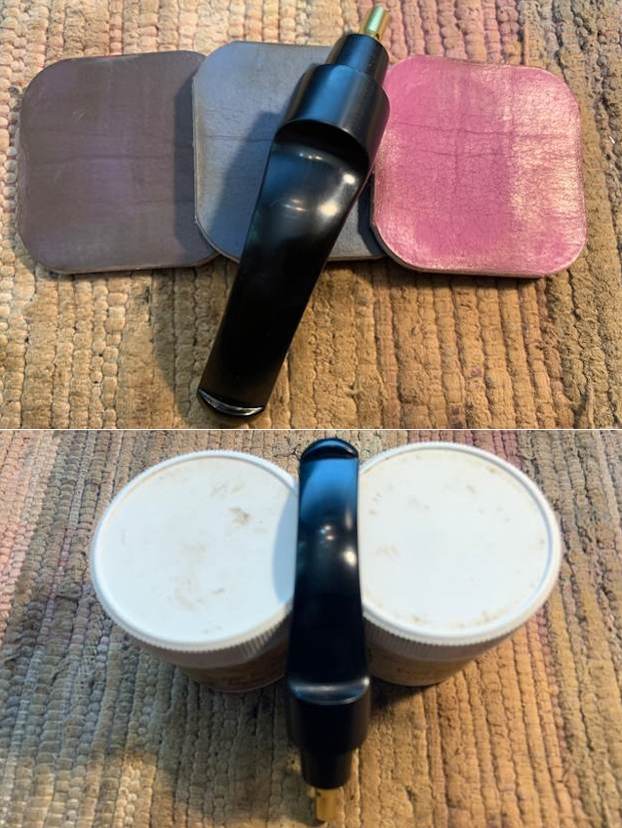
 I touched up the rim top and inner edge of the bowl with a Walnut stain pen to match it to the rest of the of the bowl. It blends in very well.
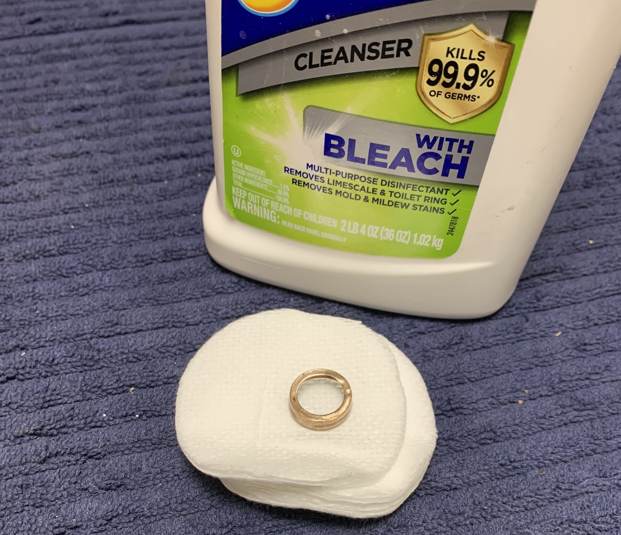
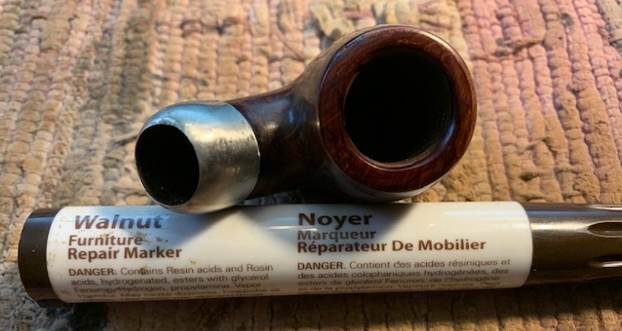 I polished the nickel ferrule with a jeweler’s cloth. The cloth is impregnated with polish that not only raises a shine but protects the metal.
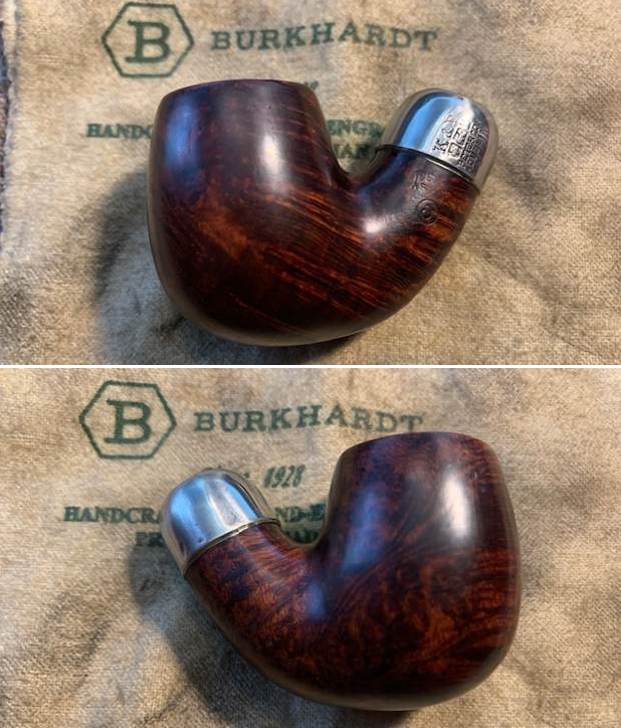
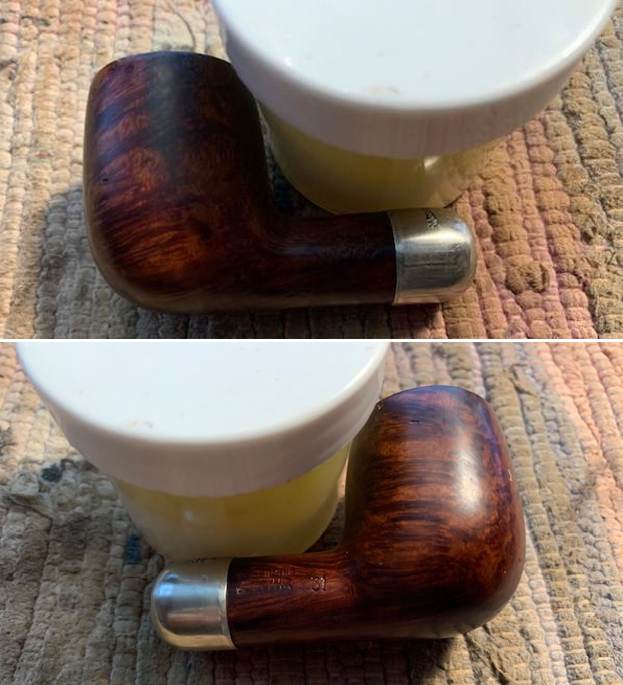
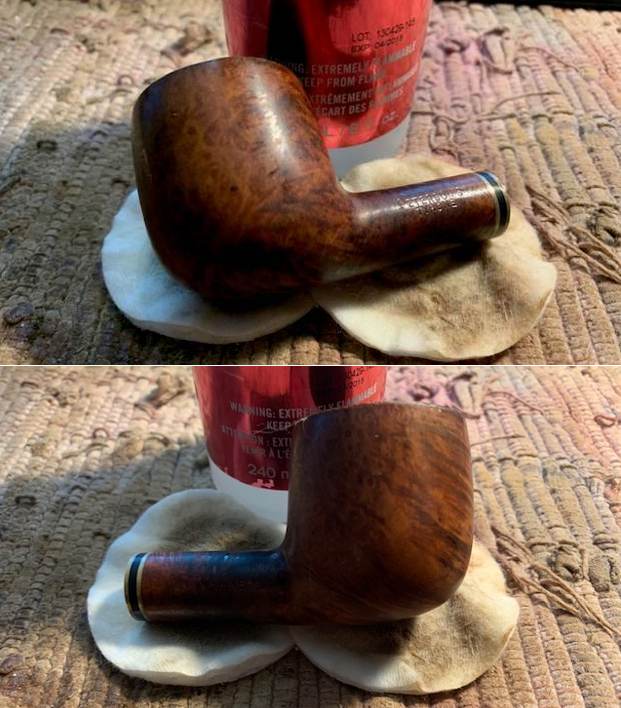
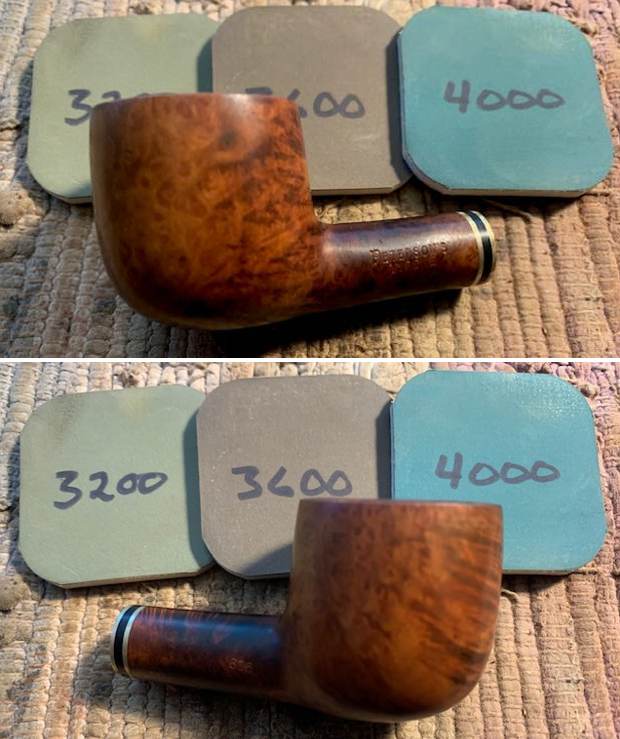
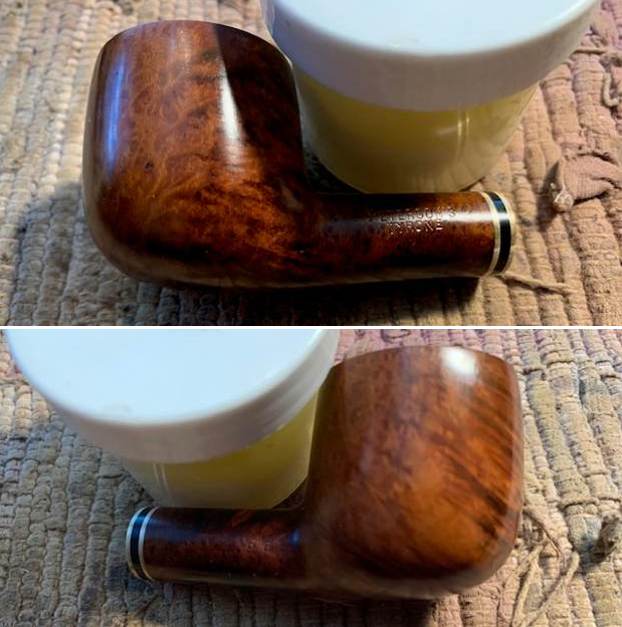
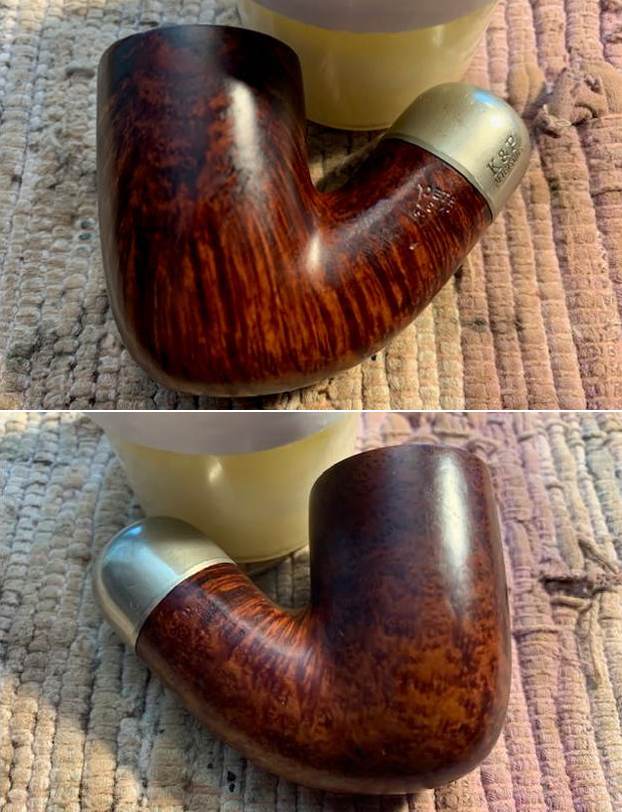
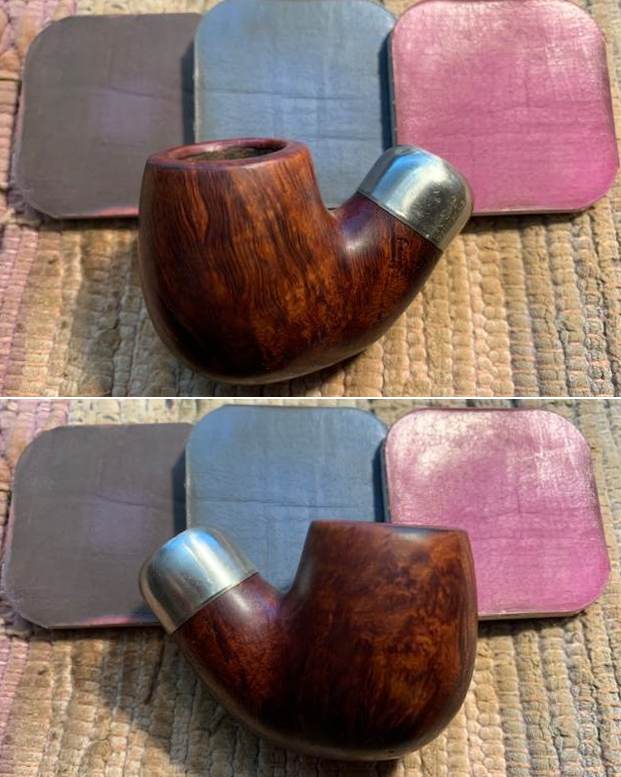
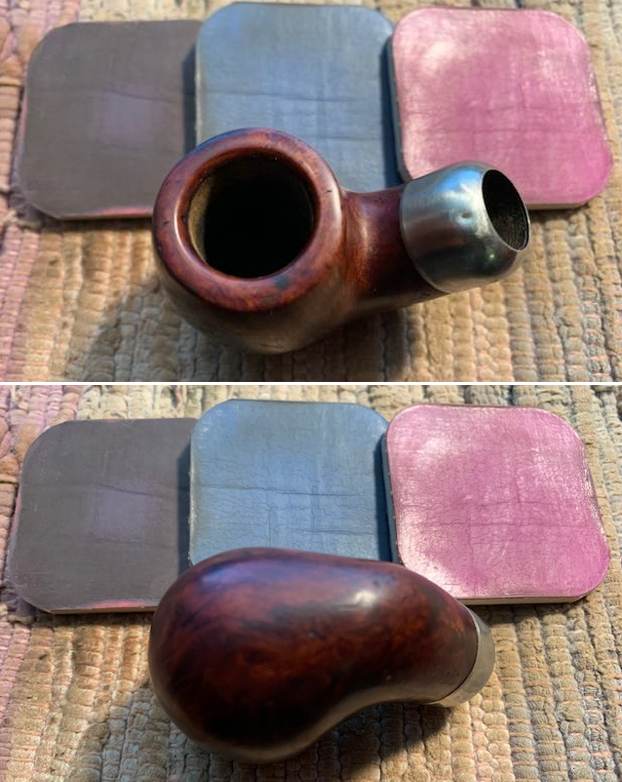
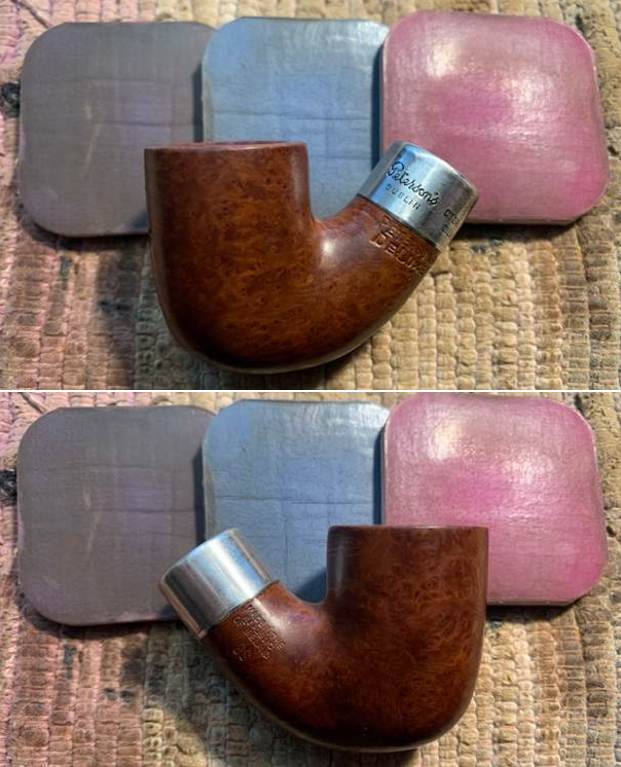
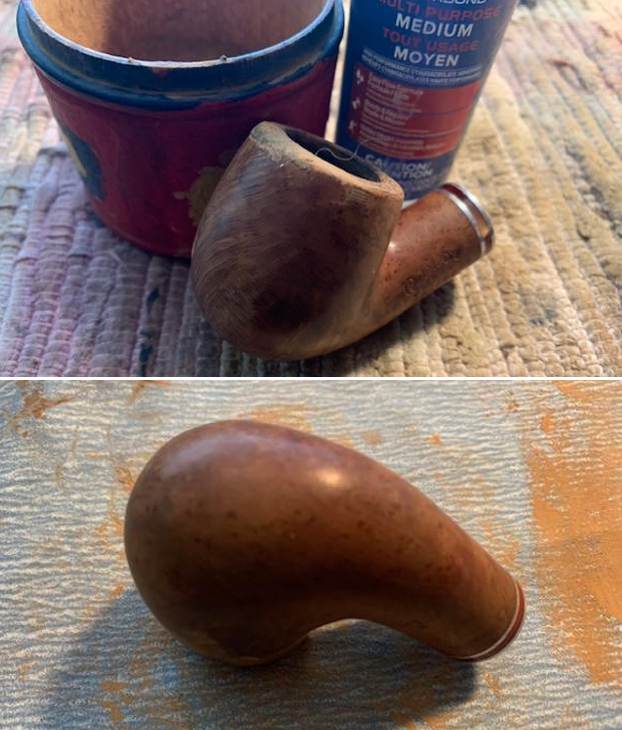
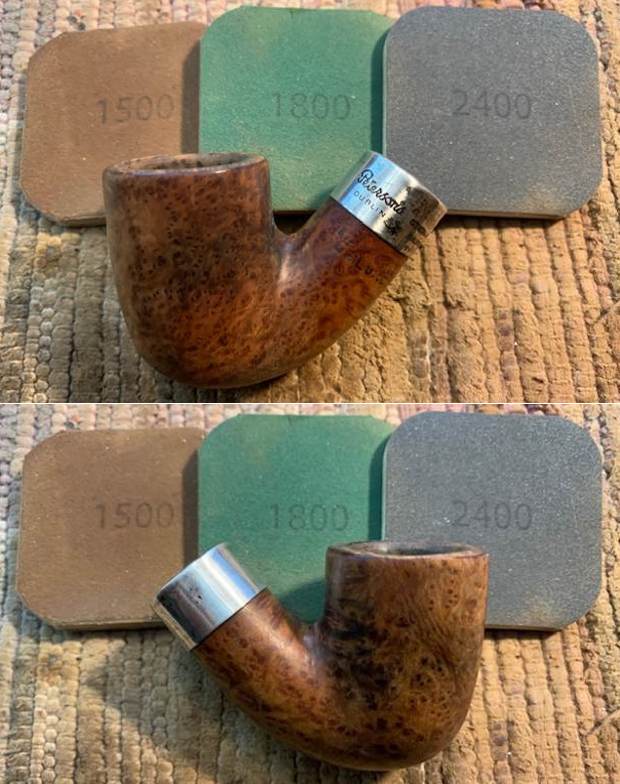
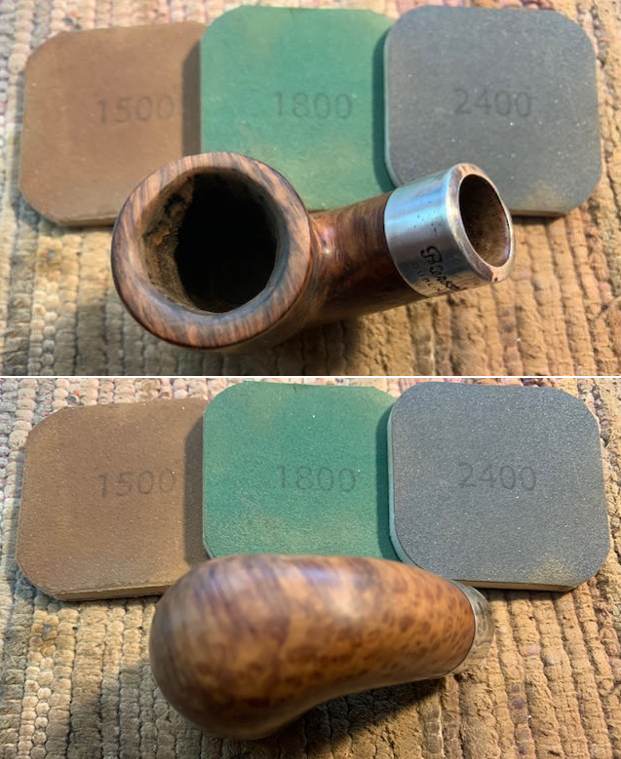
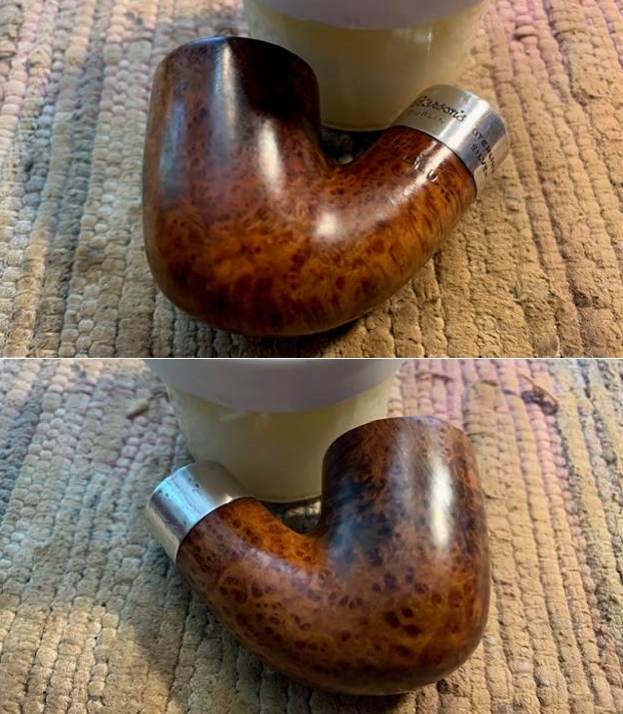
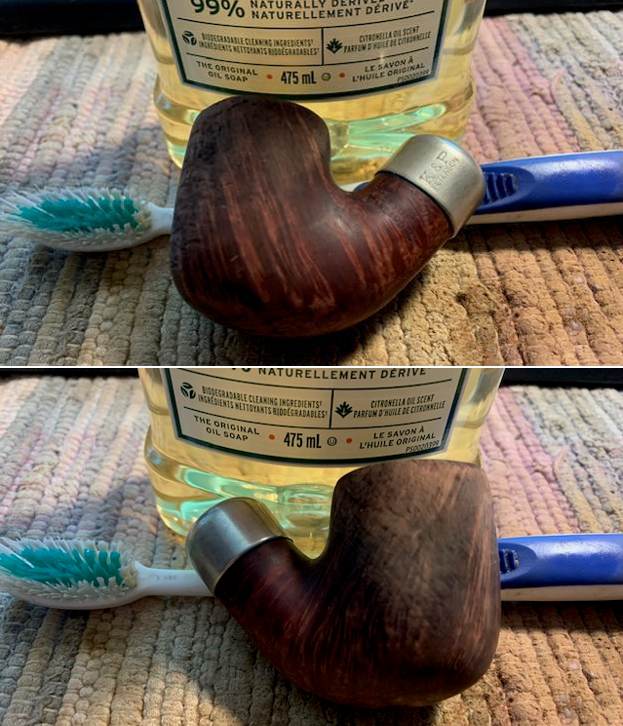
 I worked some Before & After Restoration Balm into the surface of the briar with my fingertips. It works to clean, enliven and protect the briar. I let it sit for 15 minutes then buffed it off with a soft cloth and raised the shine. The bowl looks great at this point.
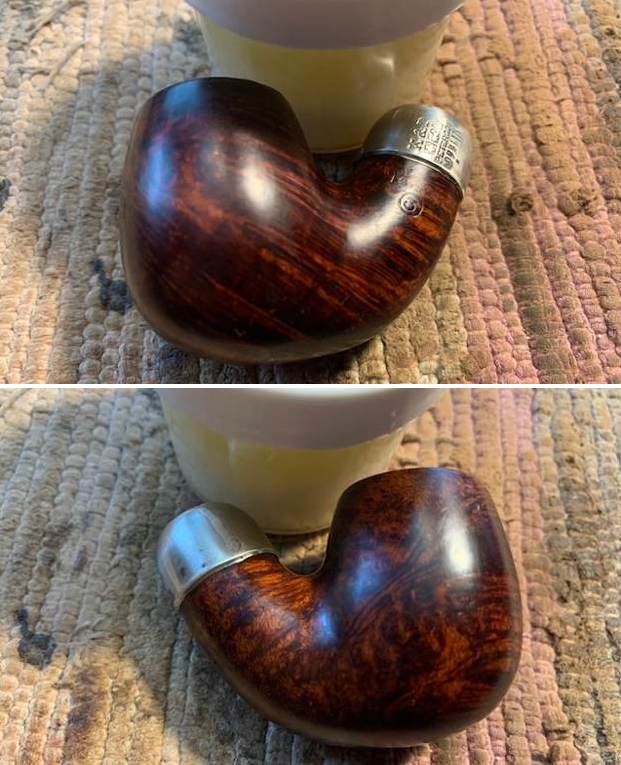
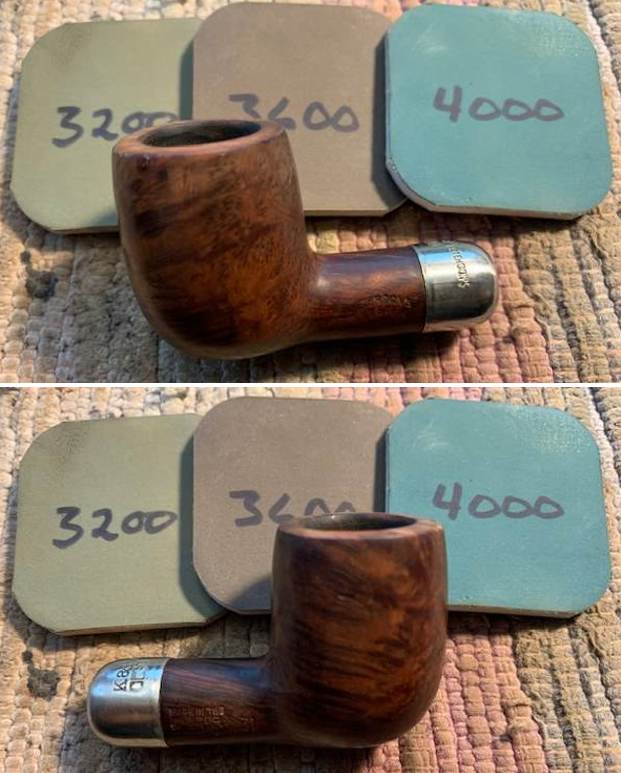
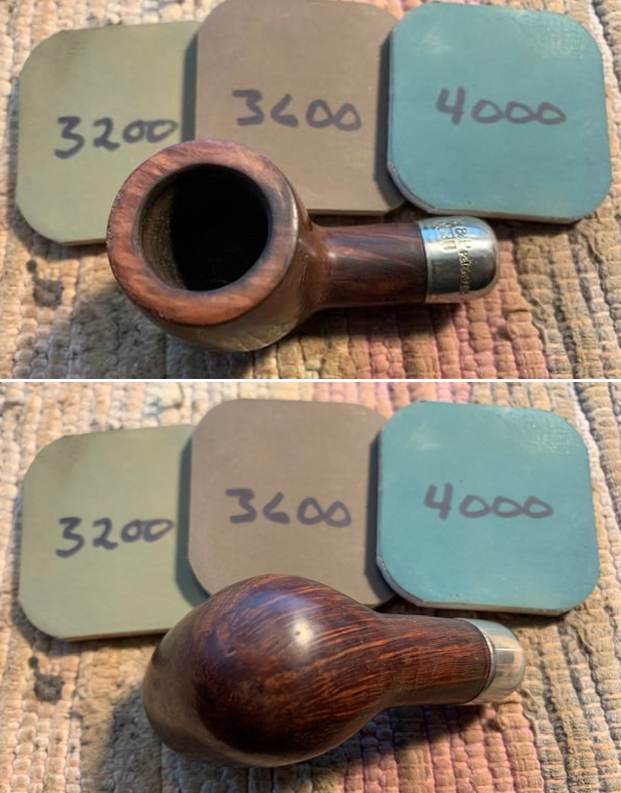
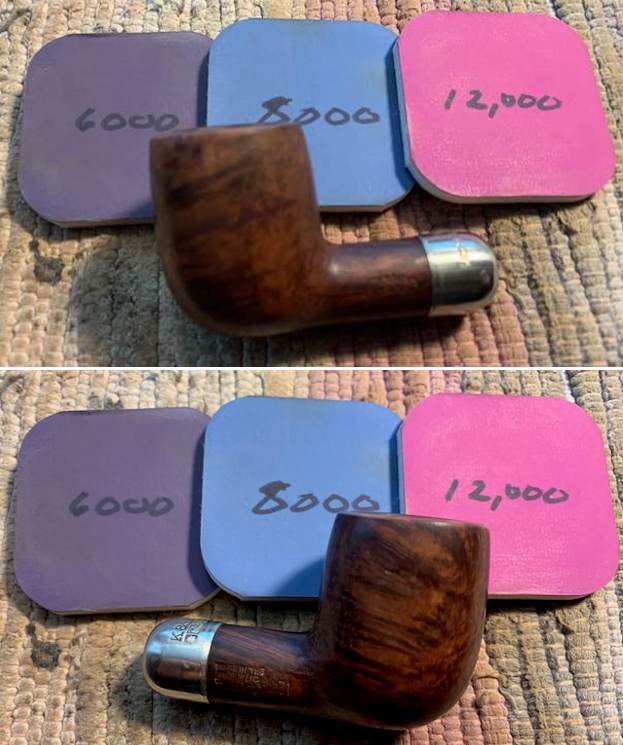
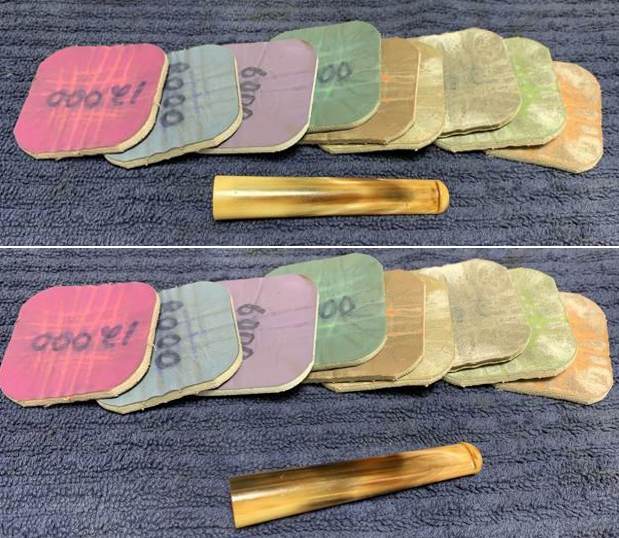
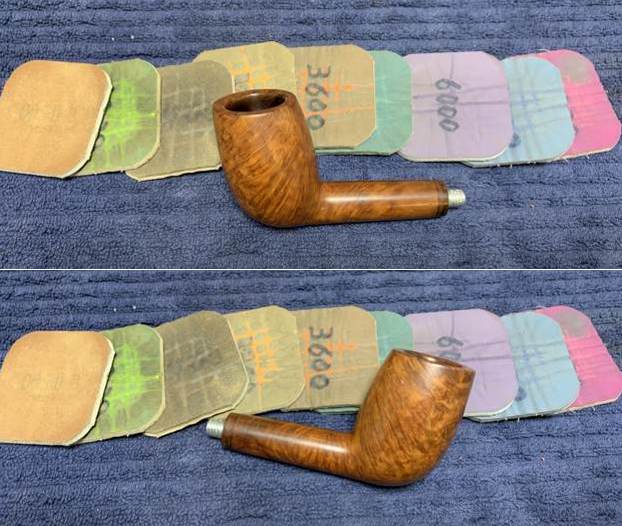
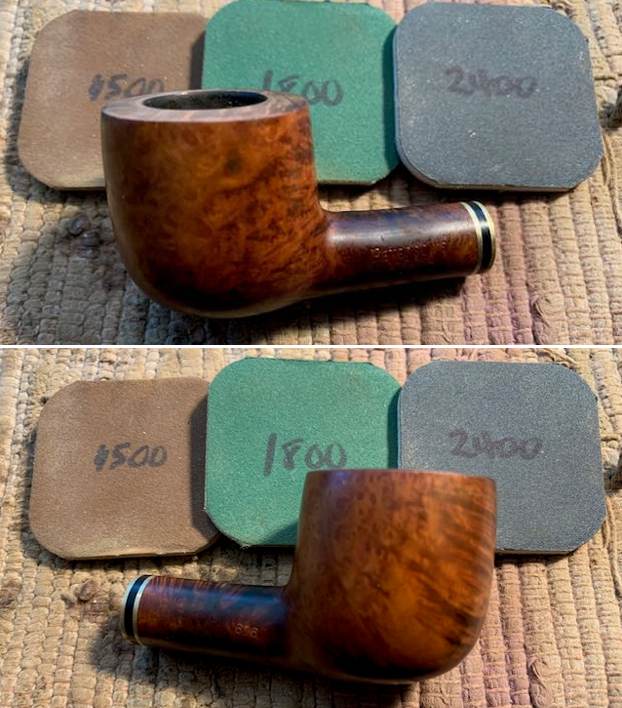
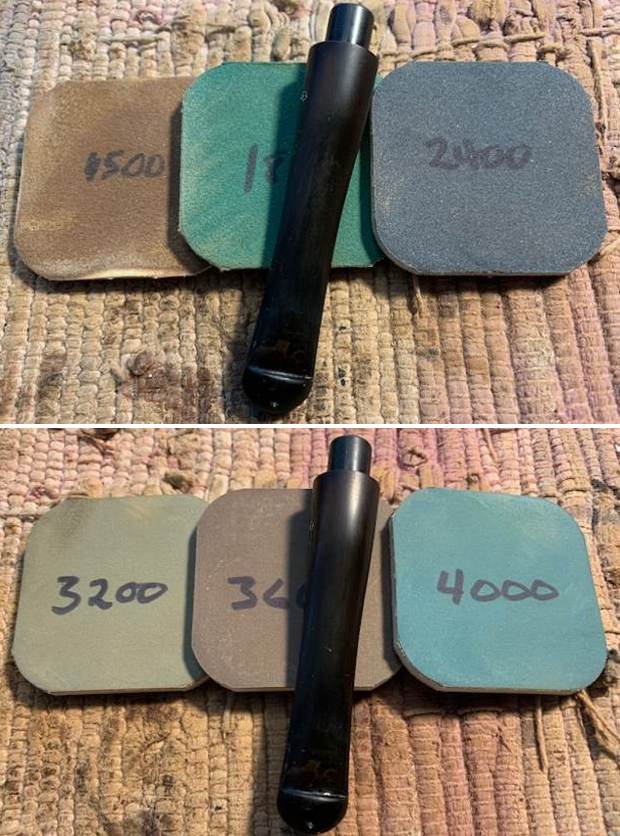
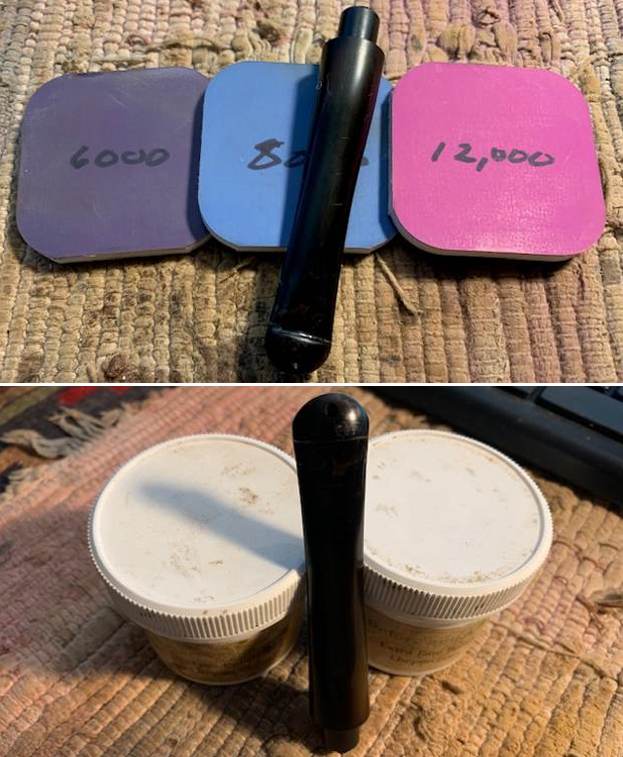
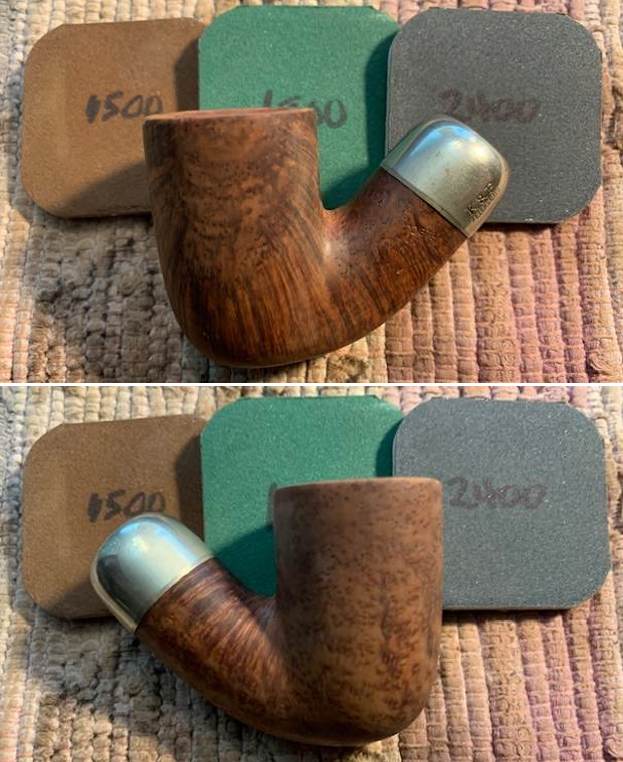
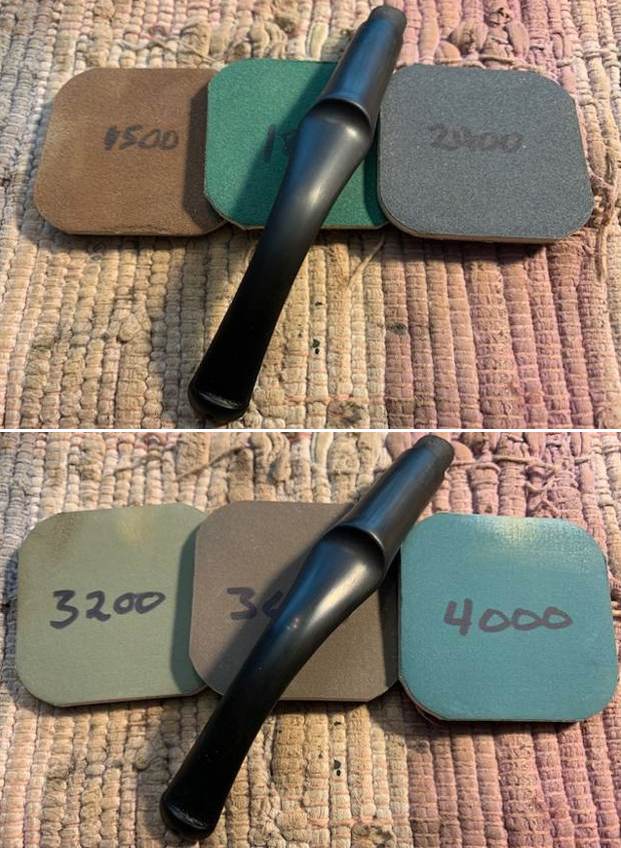
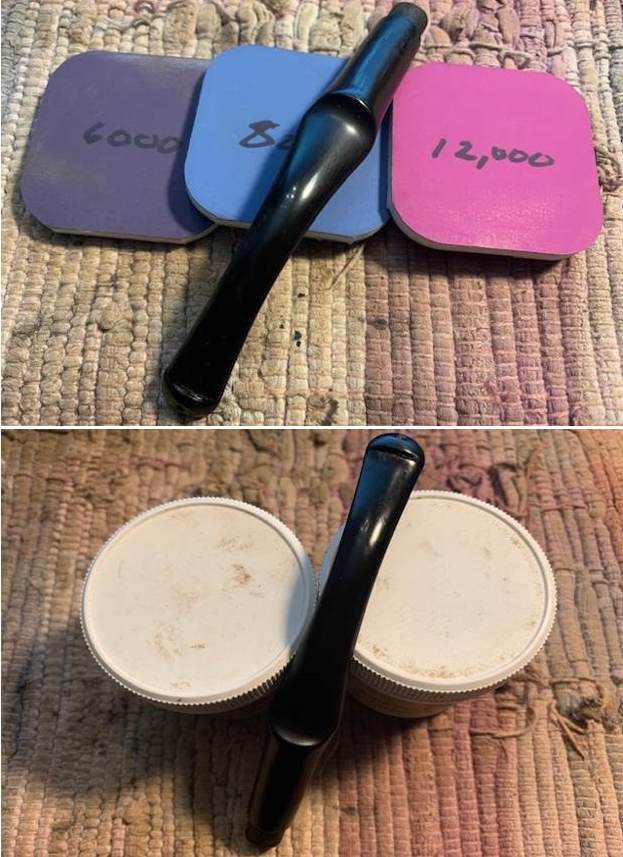
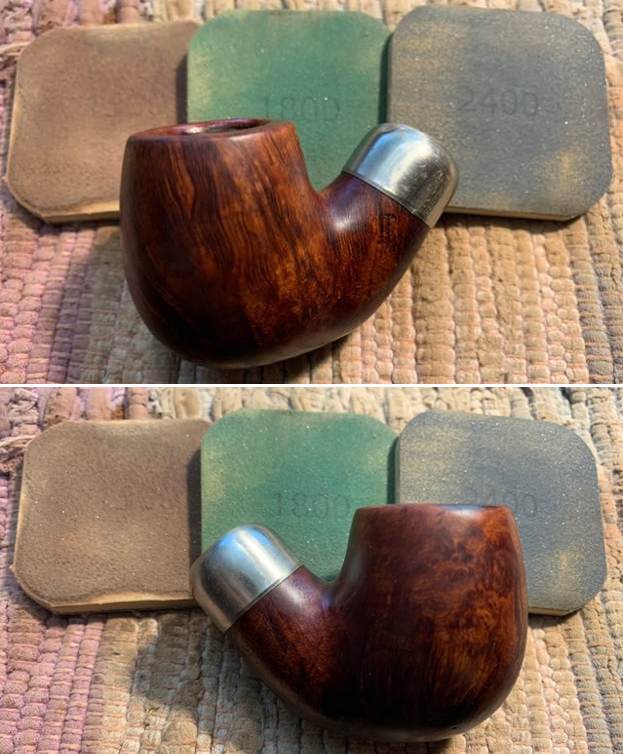
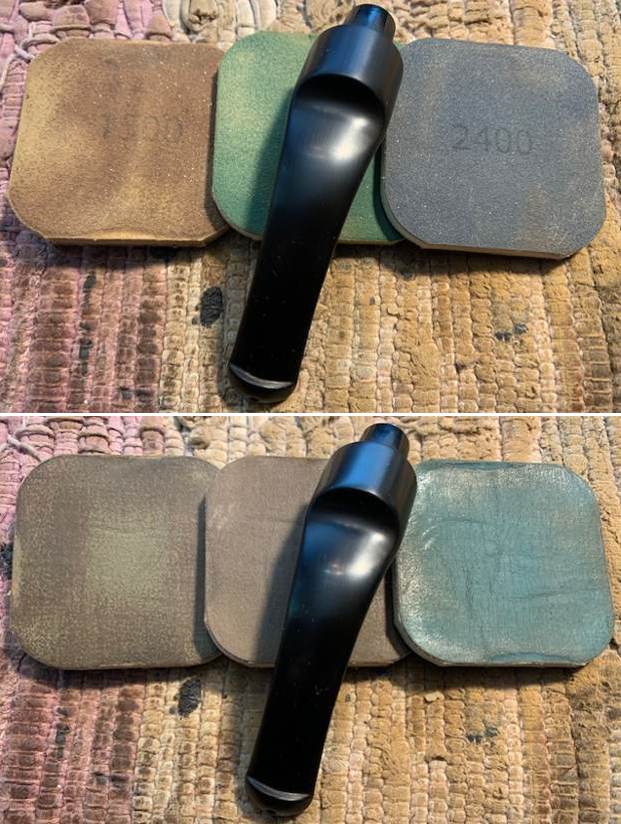
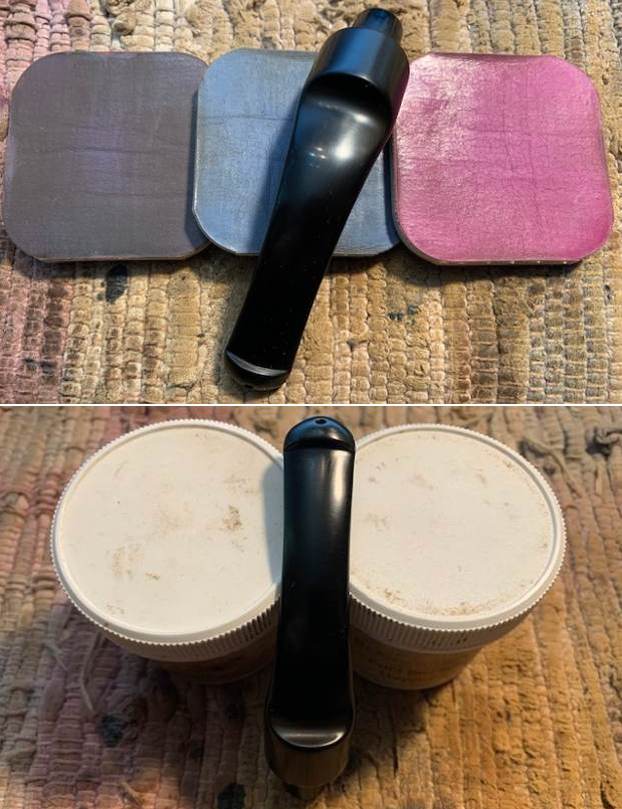
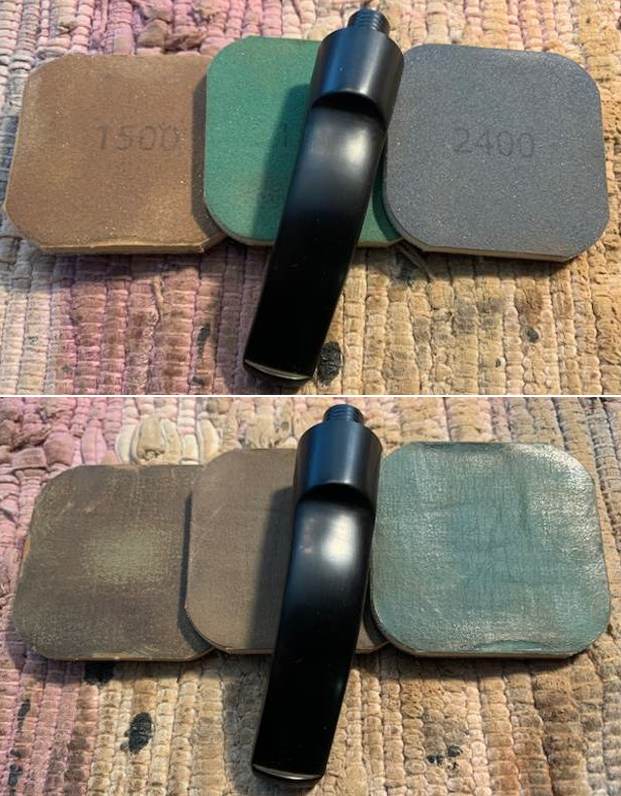
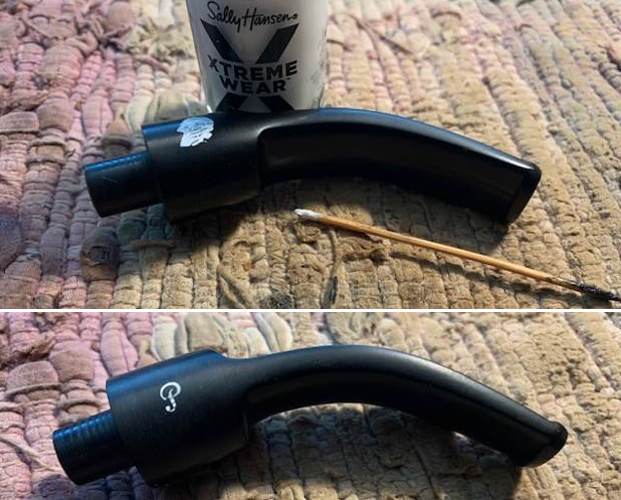
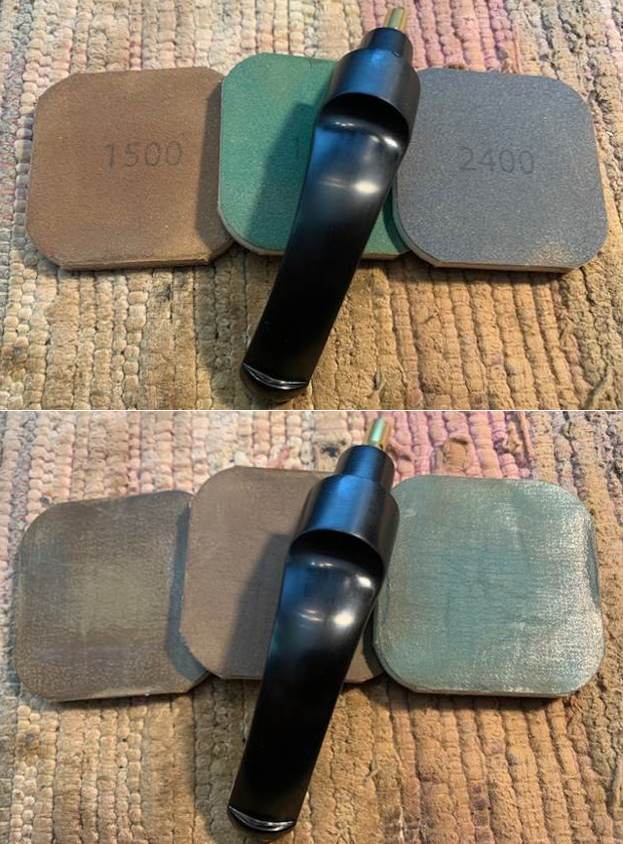
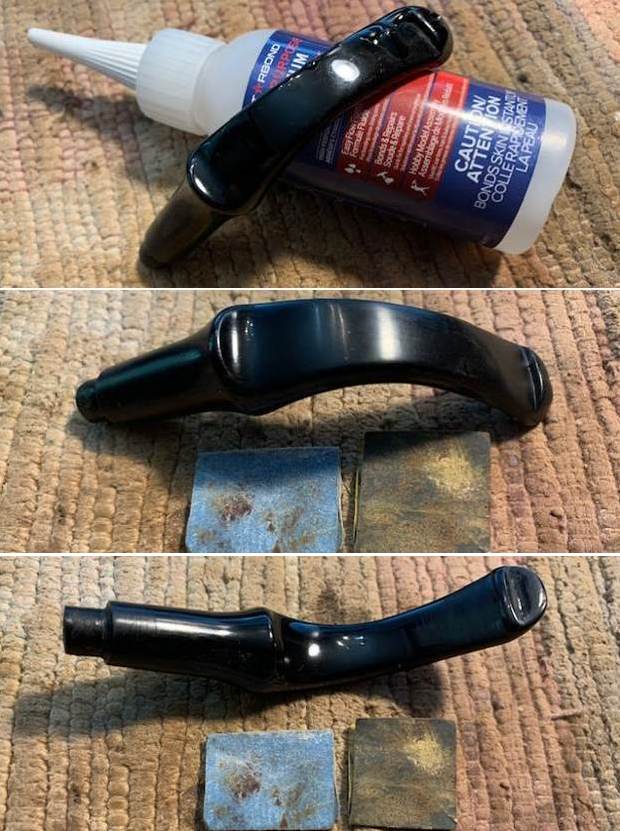
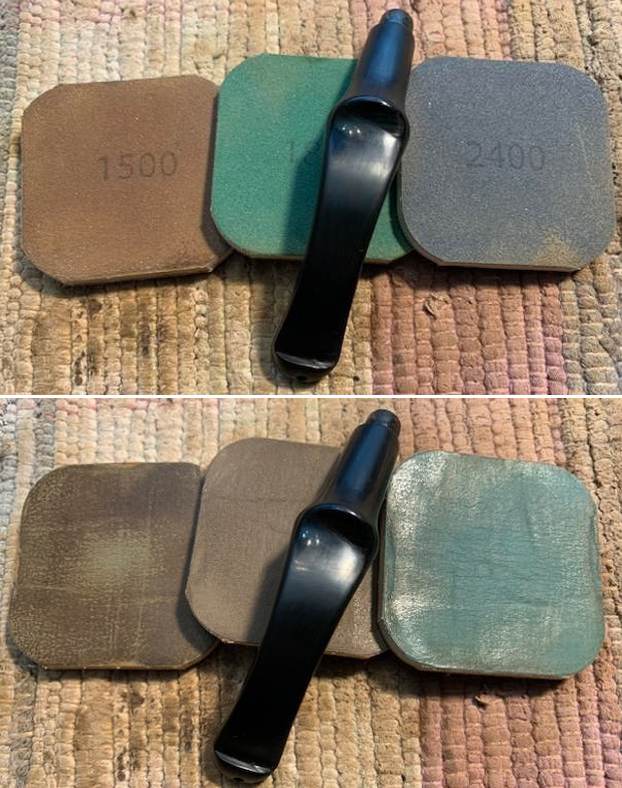
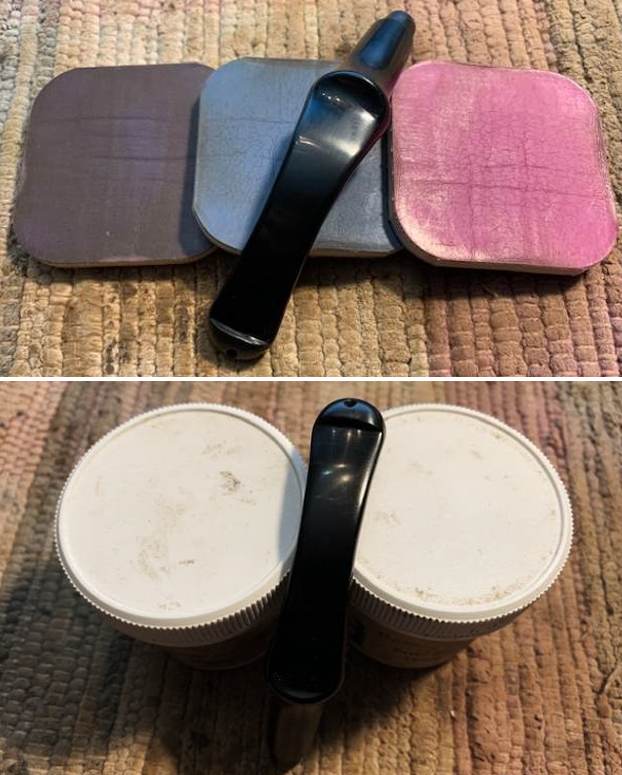
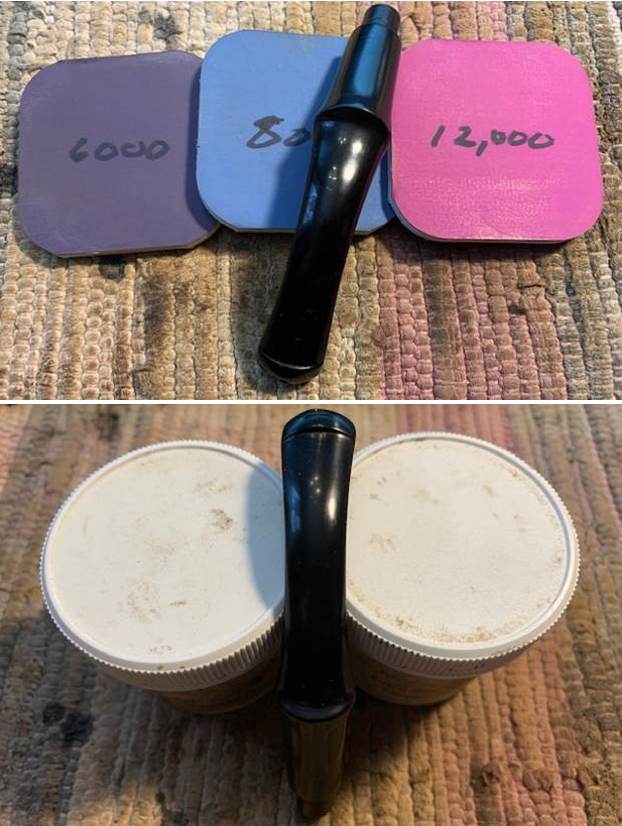
 I polished the stem with micromesh sanding pads – dry sanding it with 1500-12000 grit pads. I wiped the stem down with Obsidian Oil after each pad. I polished it with Before & After Pipe Polish – both Fine and Extra Fine and gave it a final coat and set it aside to dry.
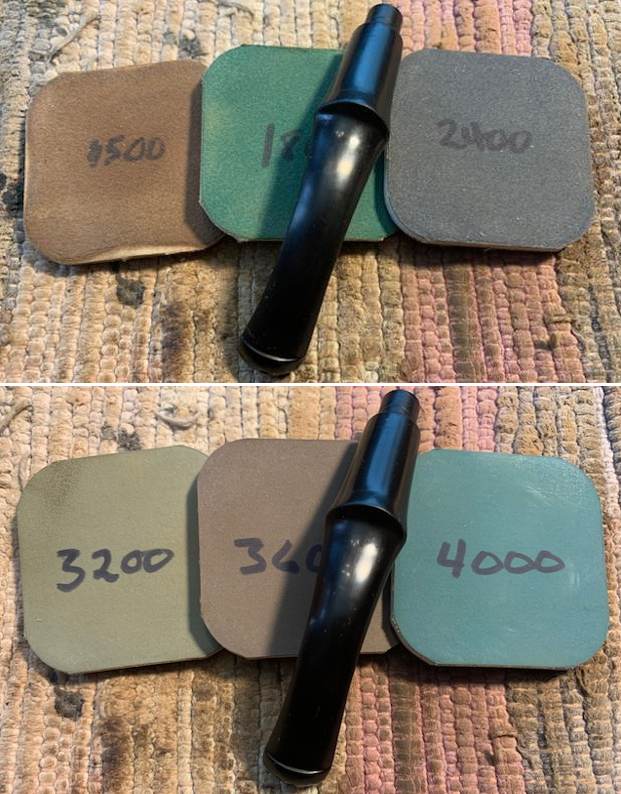
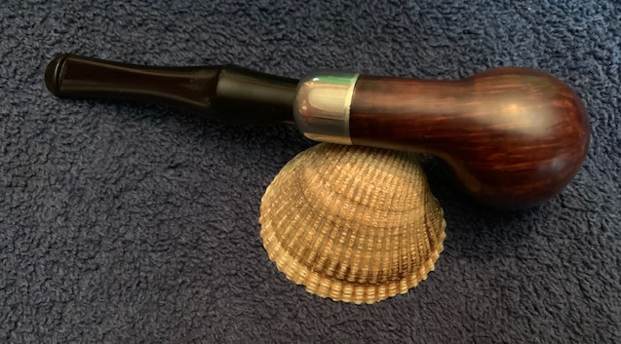
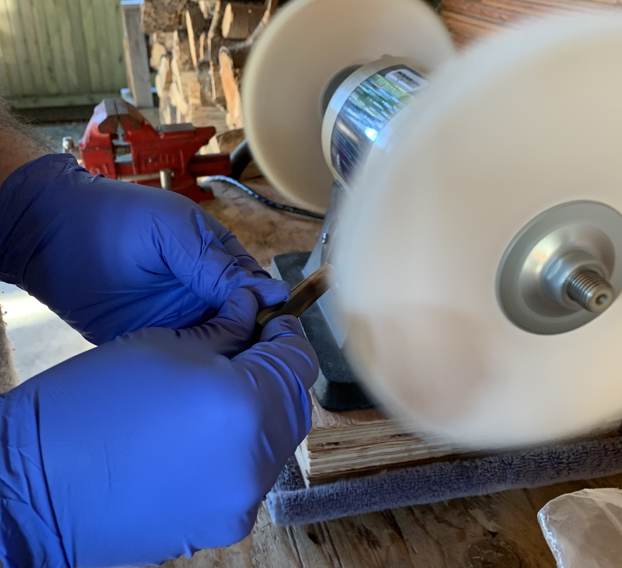
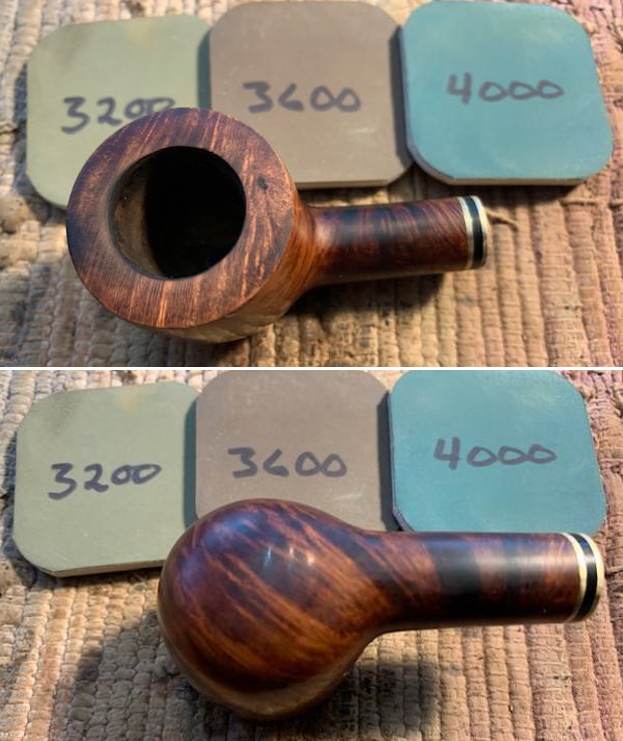
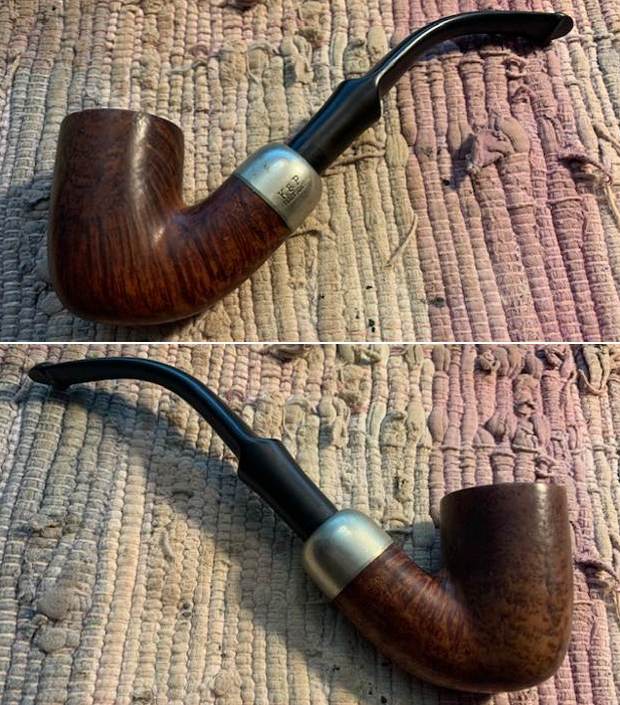
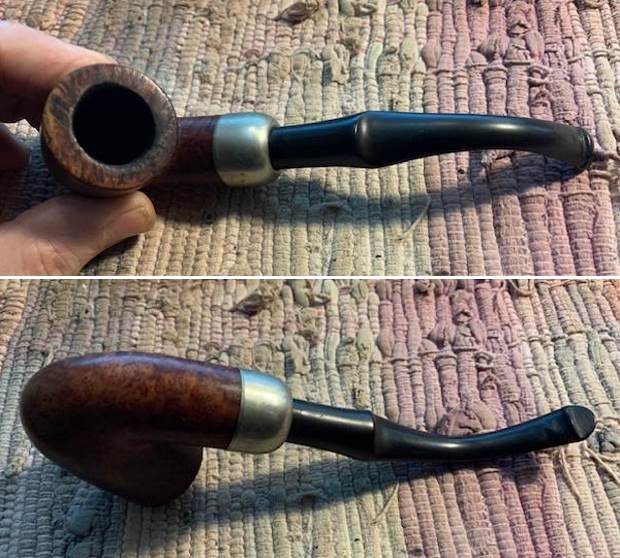
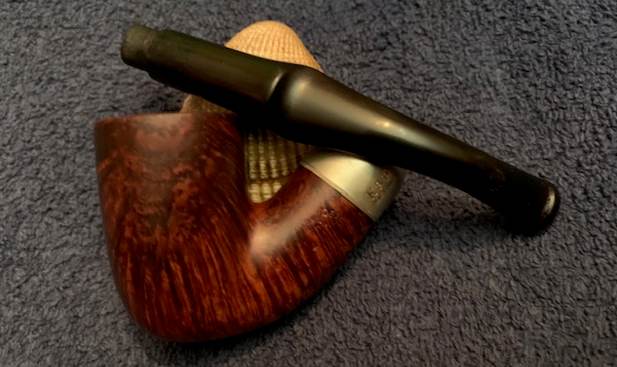
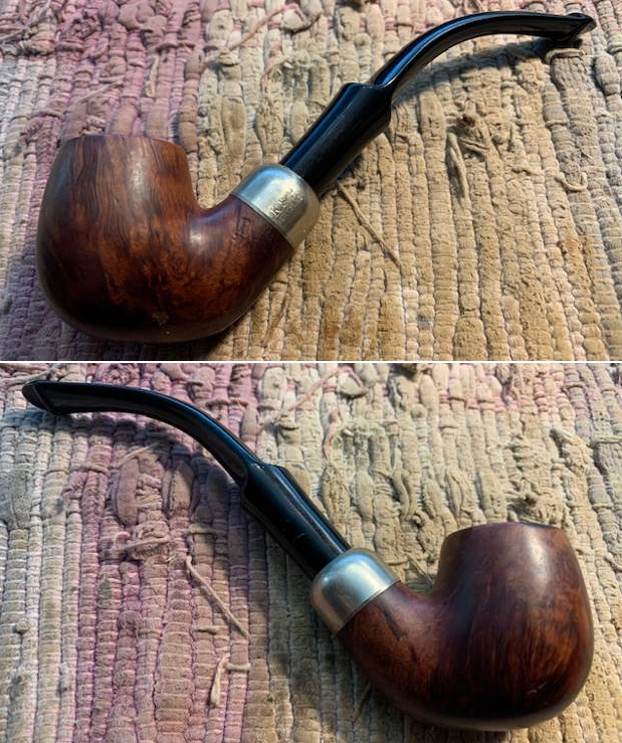
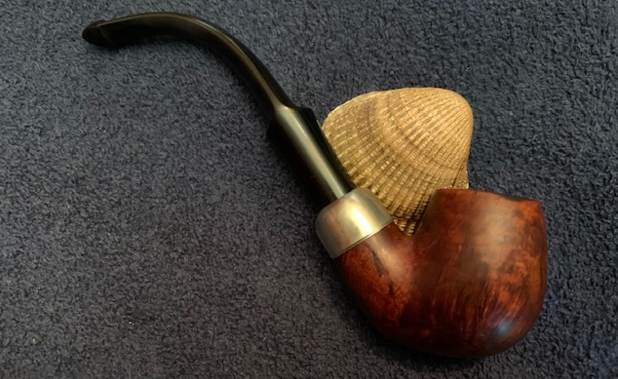
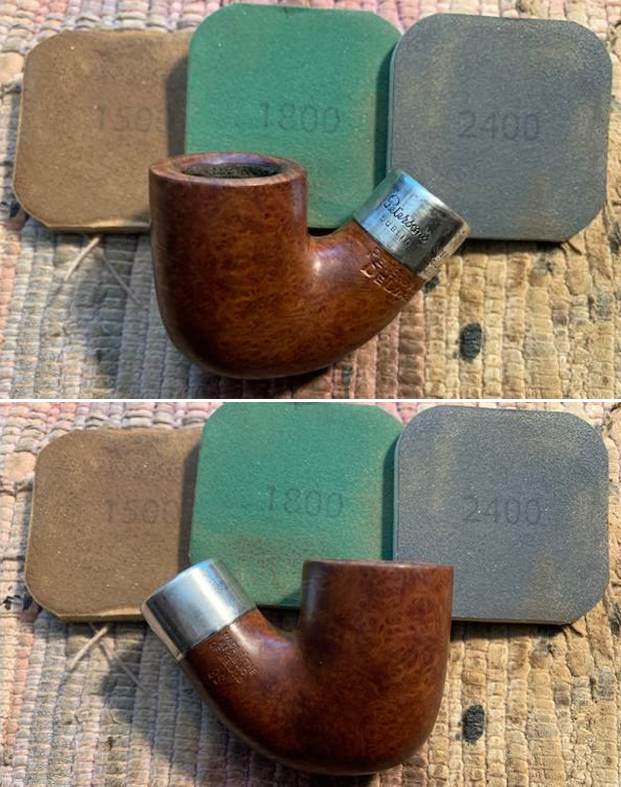
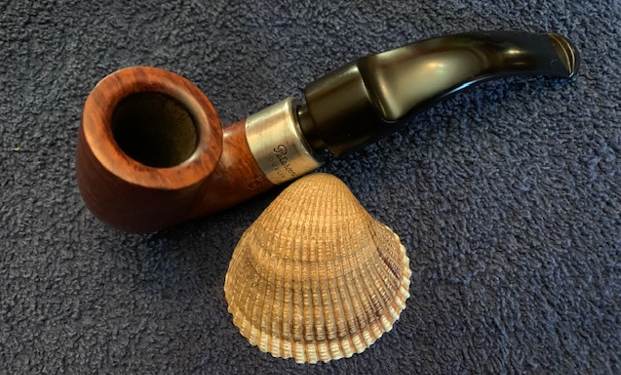
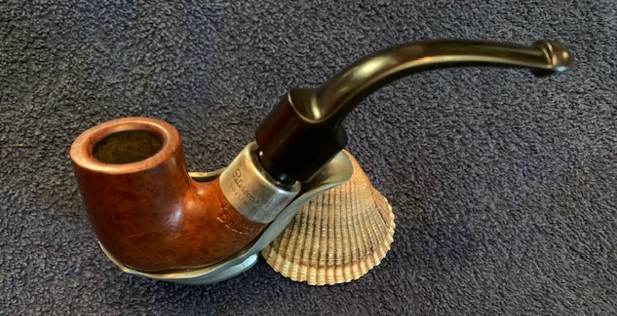
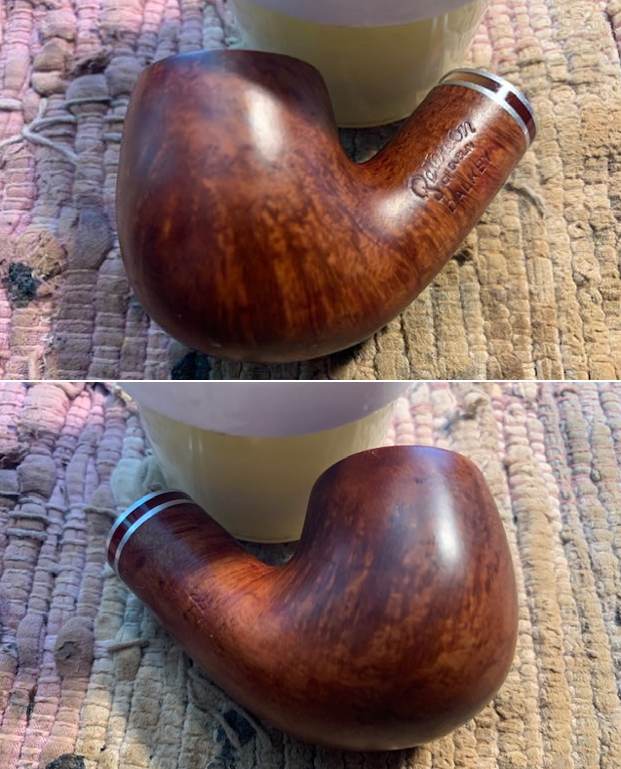
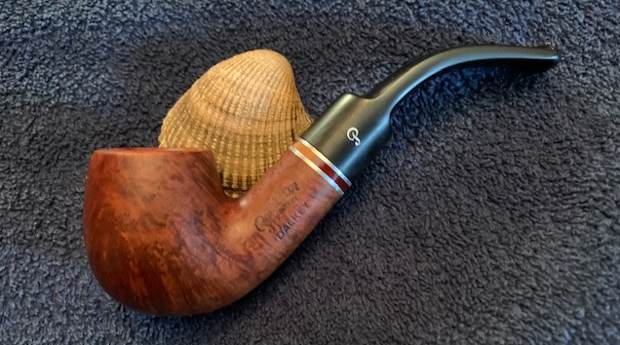
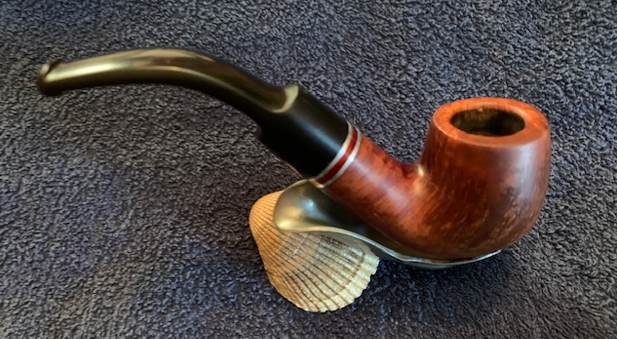
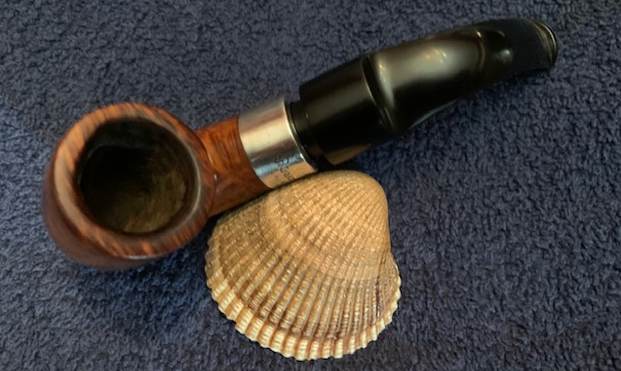
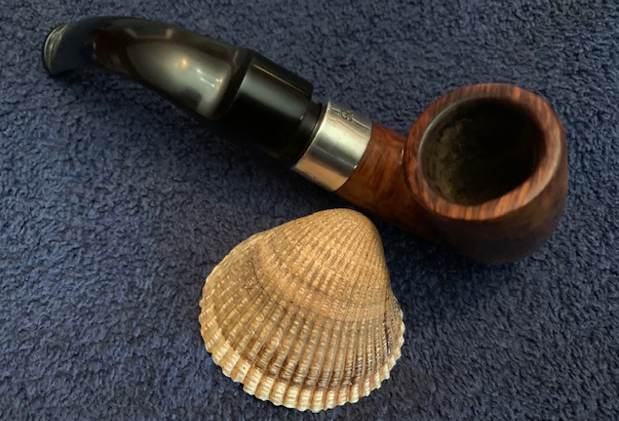
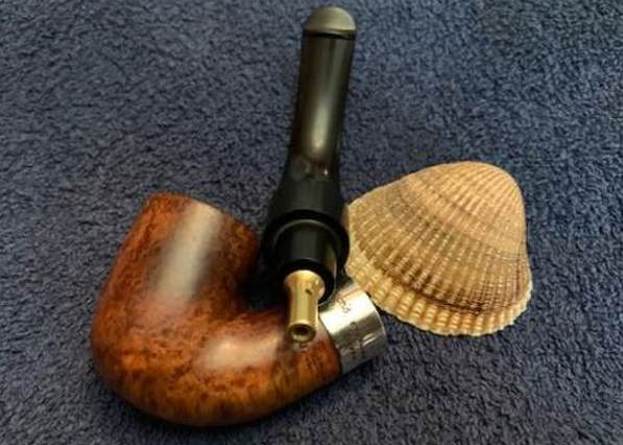
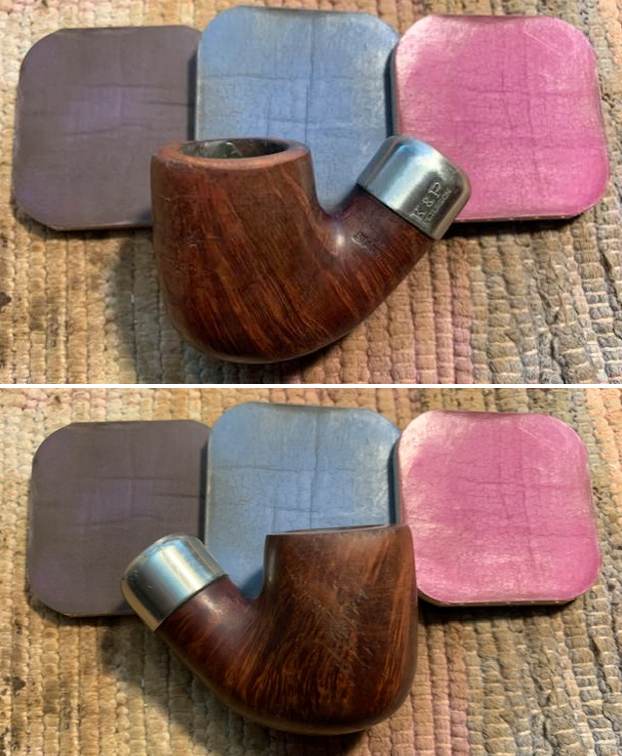
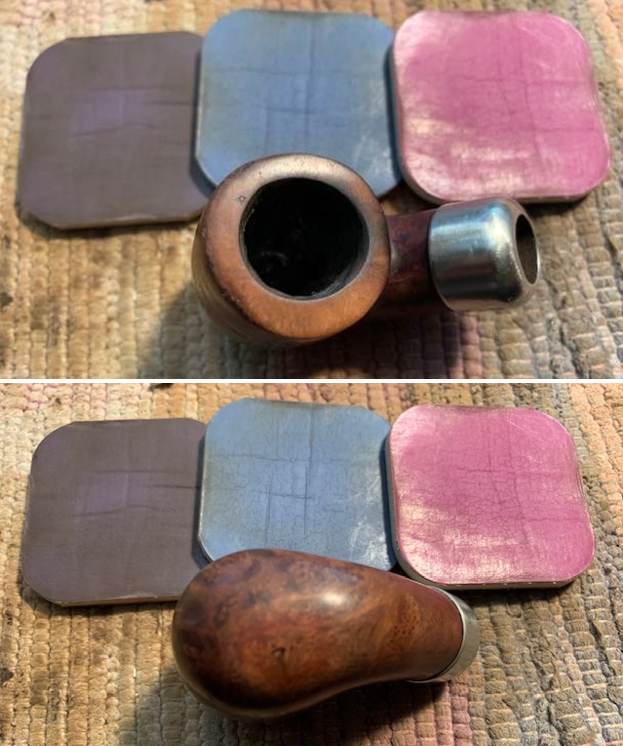
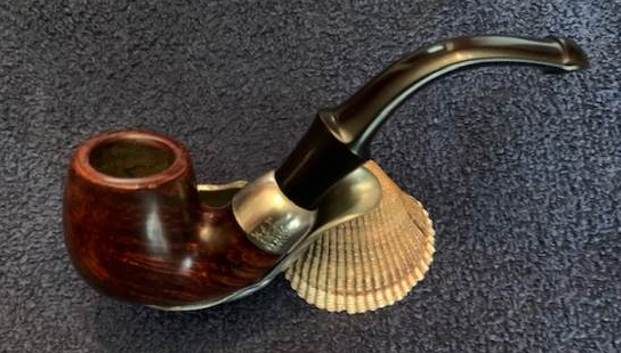
 I put the stem back on the Peterson’s System 3 Bent Billiard 3170 and buffed the pipe with Blue Diamond on the buffing wheel. I polished the briar and the vulcanite of the stem until there was a rich shine. This classic Peterson’s shape and finish really highlights a proportionally well carved pipe. Once I buffed the pipe the briar came alive and popped with polishing. The black vulcanite stem has a rich glow. This Peterson’s System 3 Bent Billiard fits well in the hand and sits right in the mouth. Have a look at it with the photos below. The dimensions are Length: 5 inches, Height: 1 ½ inches, Outside diameter of the bowl: 1 inch, Chamber diameter: ¾ of and inch. The weight of the pipe is 1.48 ounces/42 grams. It was one I chose for my own collection and enjoyed, but I am happy to pass it on to the next pipe man or woman. This beauty will be going on the rebornpipes online store in the Irish Pipemakers Section. If you are interested let me know. Thanks for walking through the restoration with me as it was a pleasure to work on.