Blog by Steve Laug
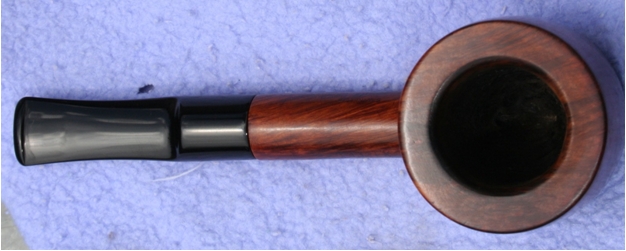
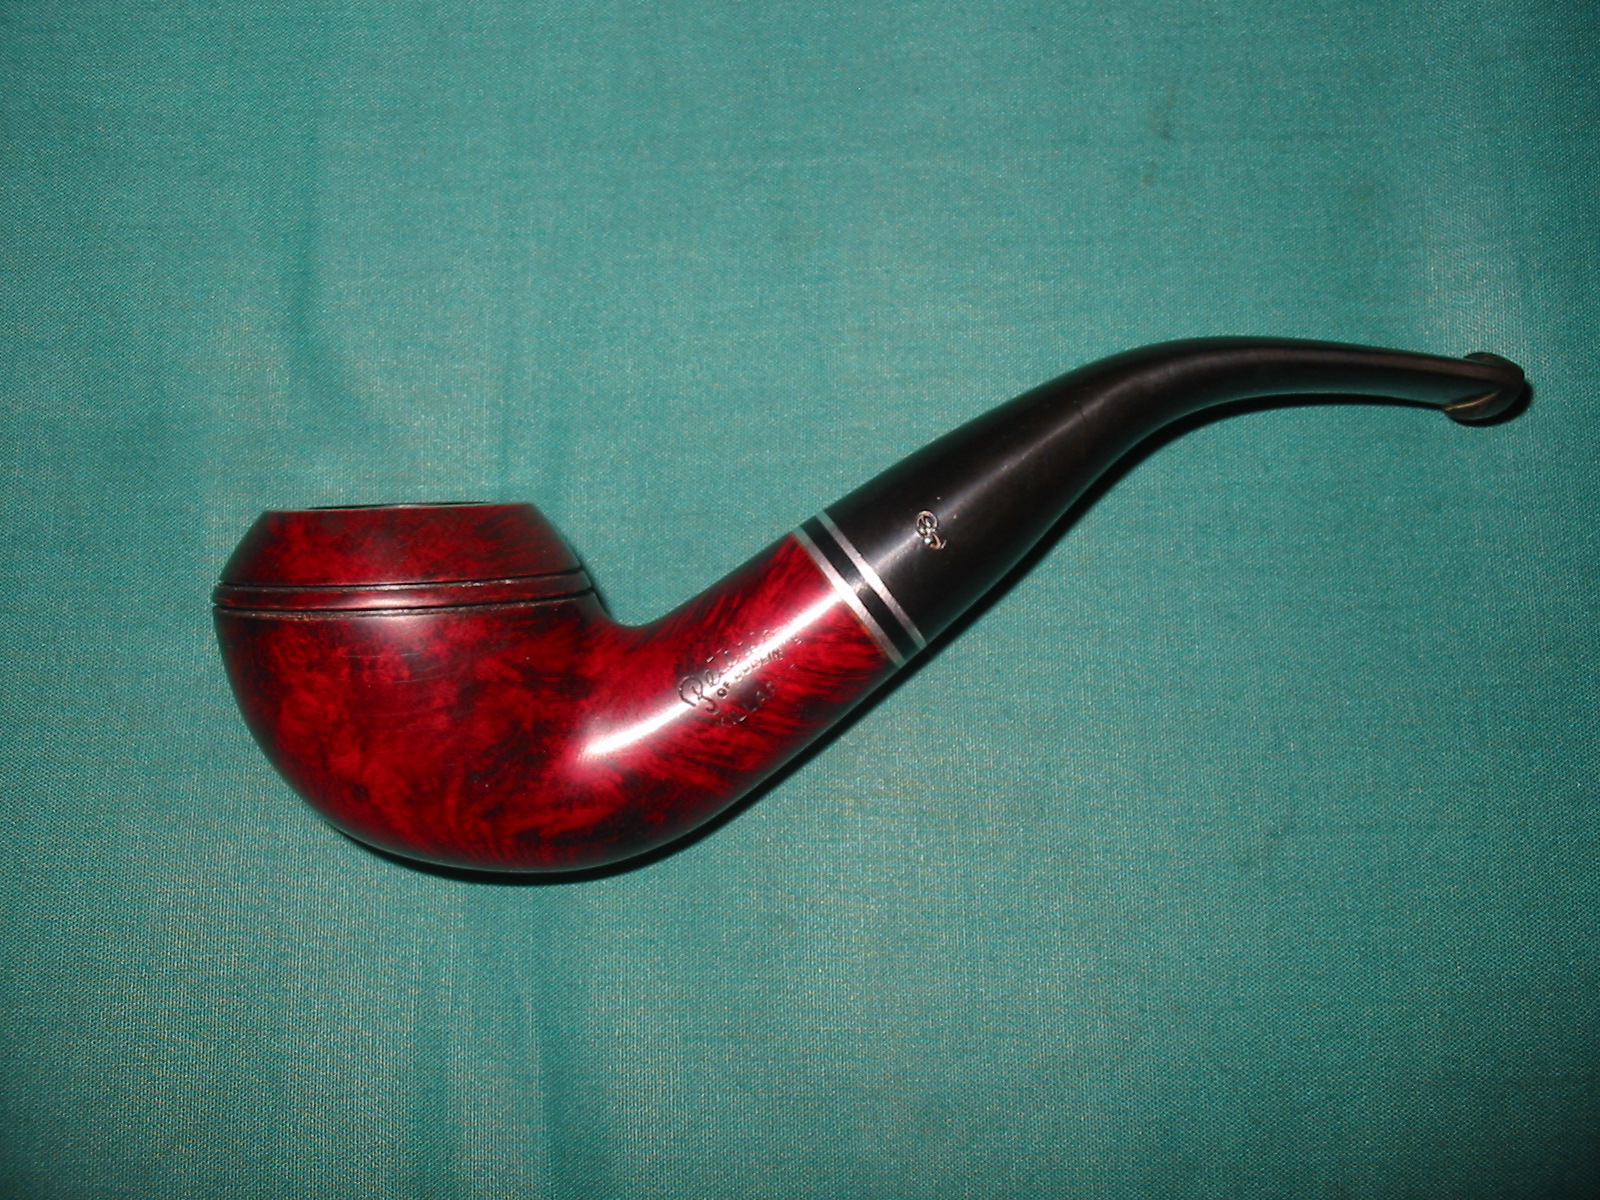
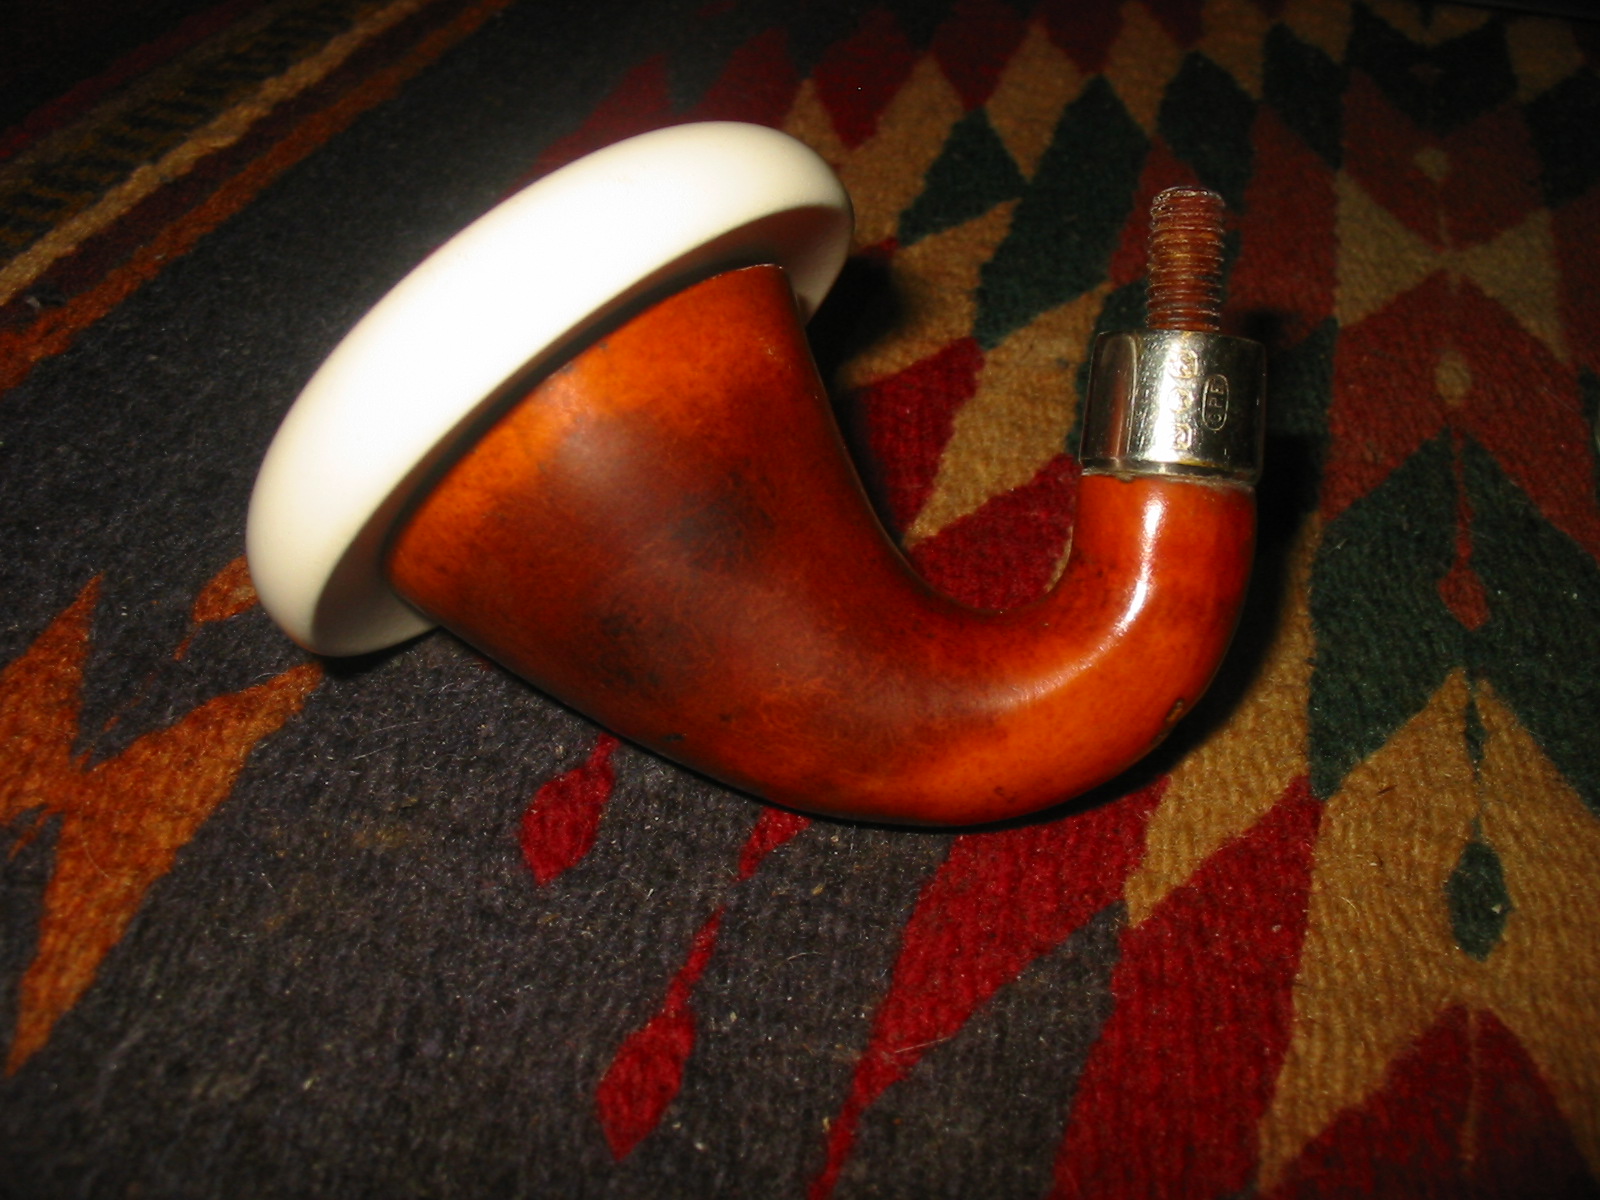
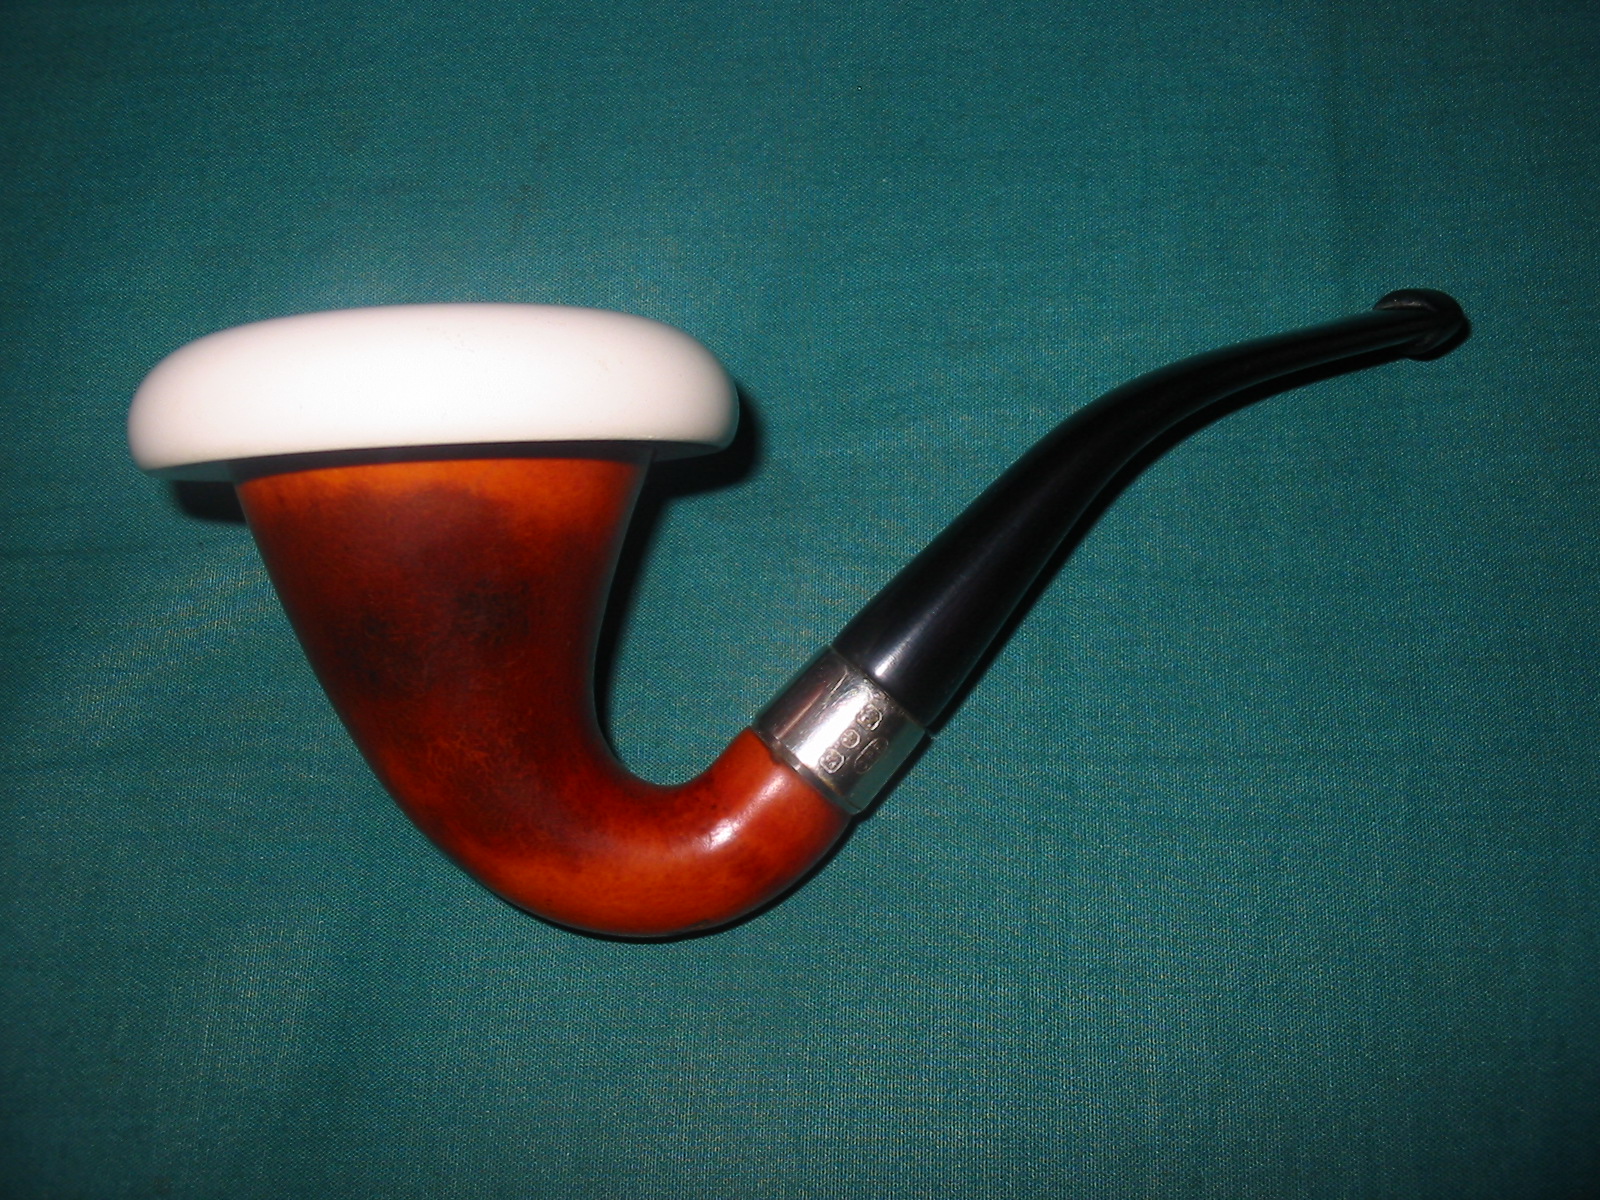
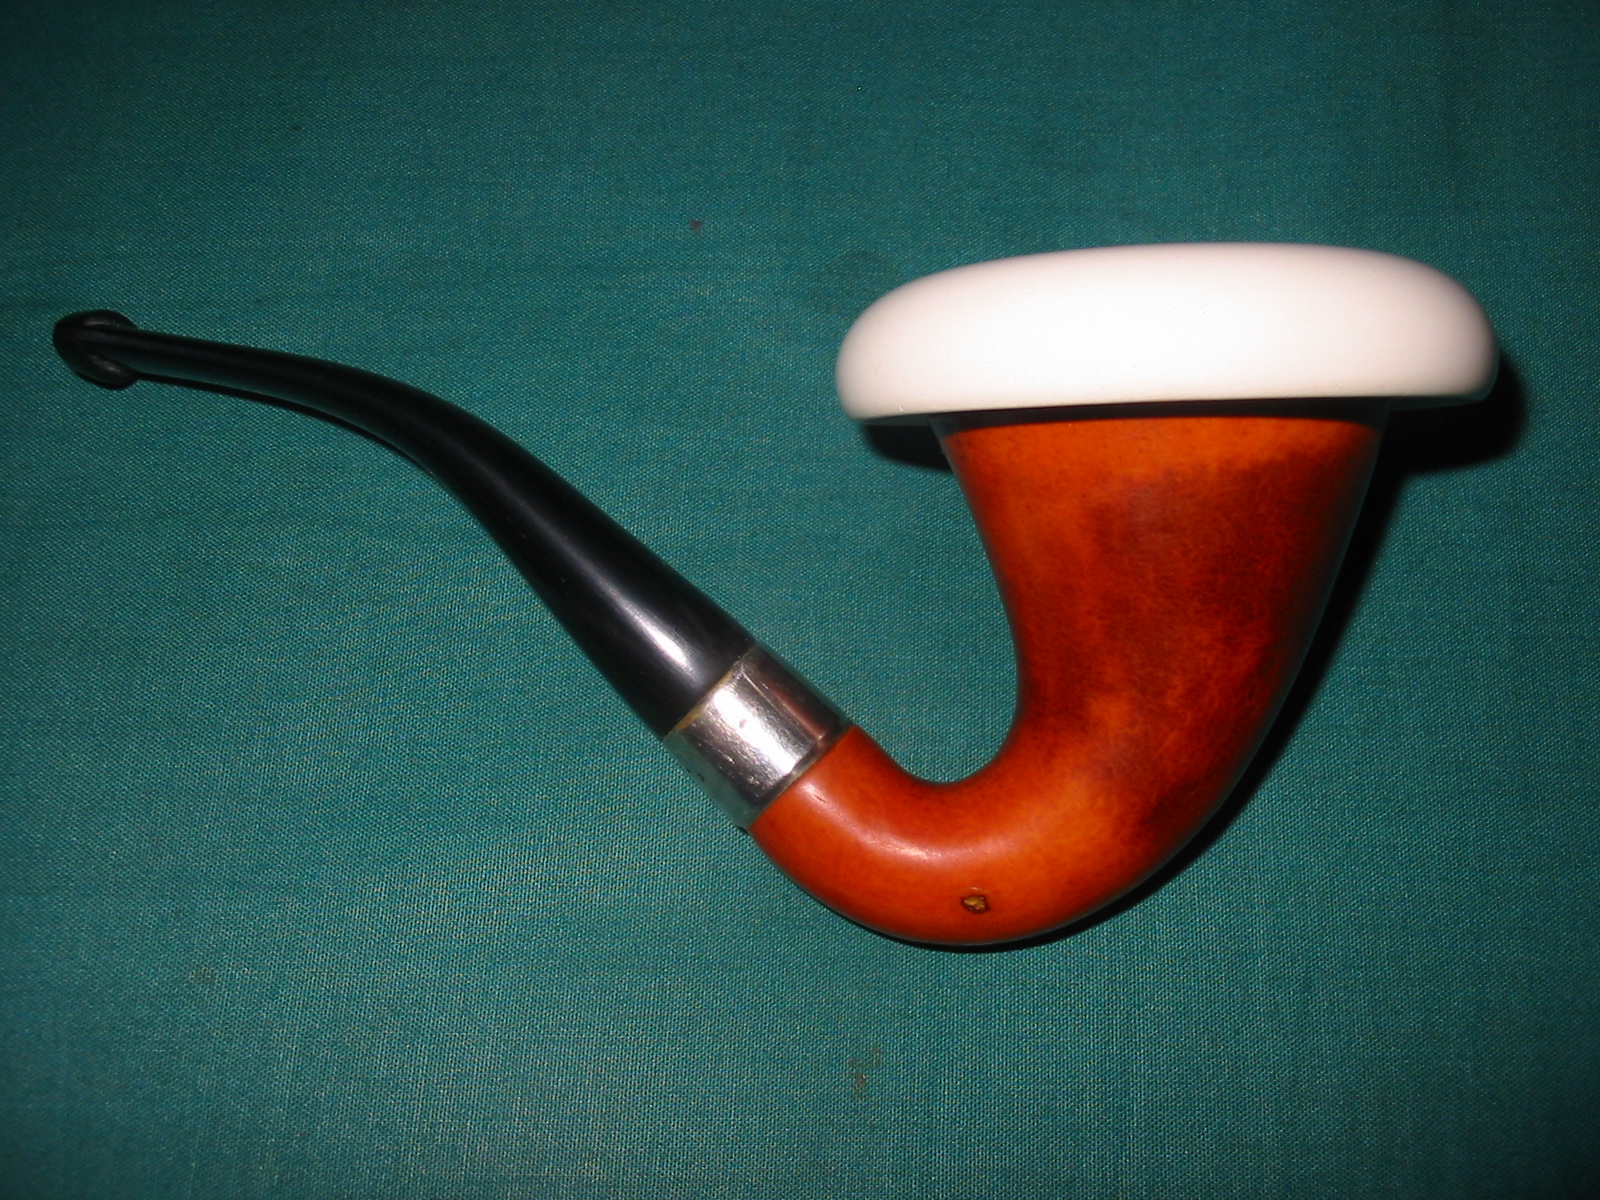
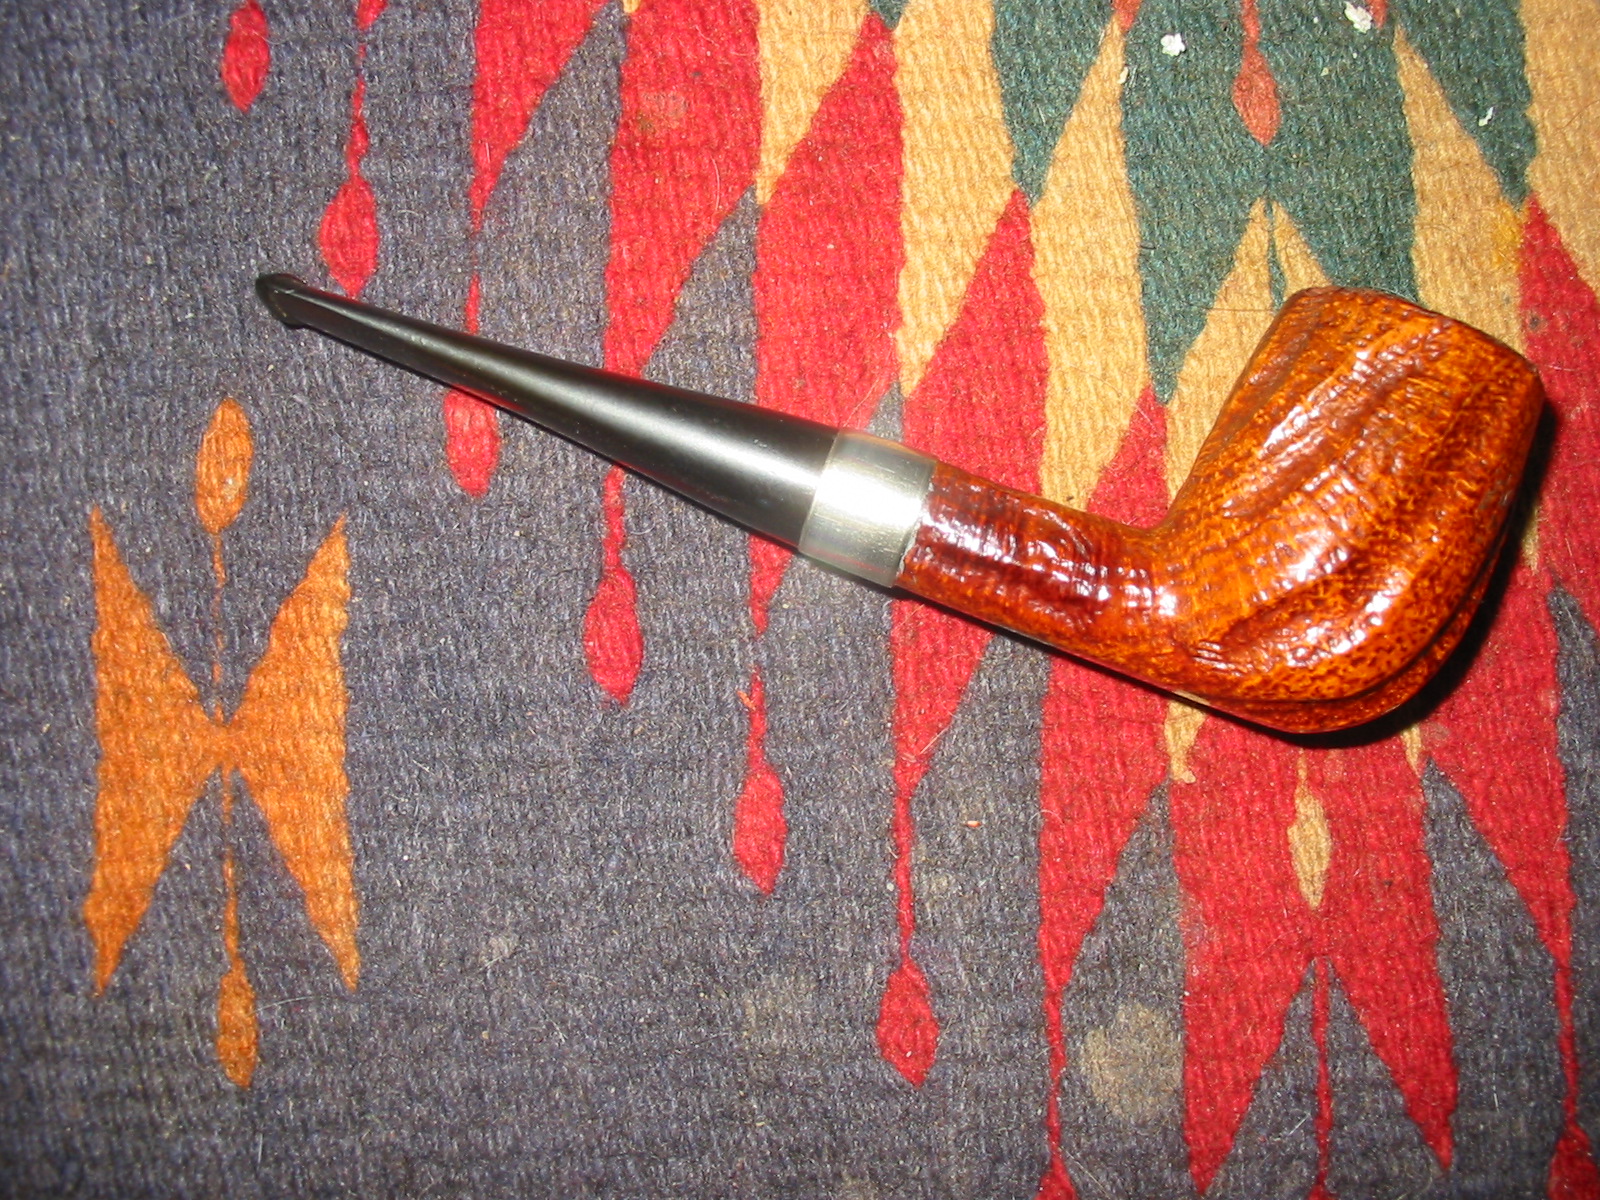
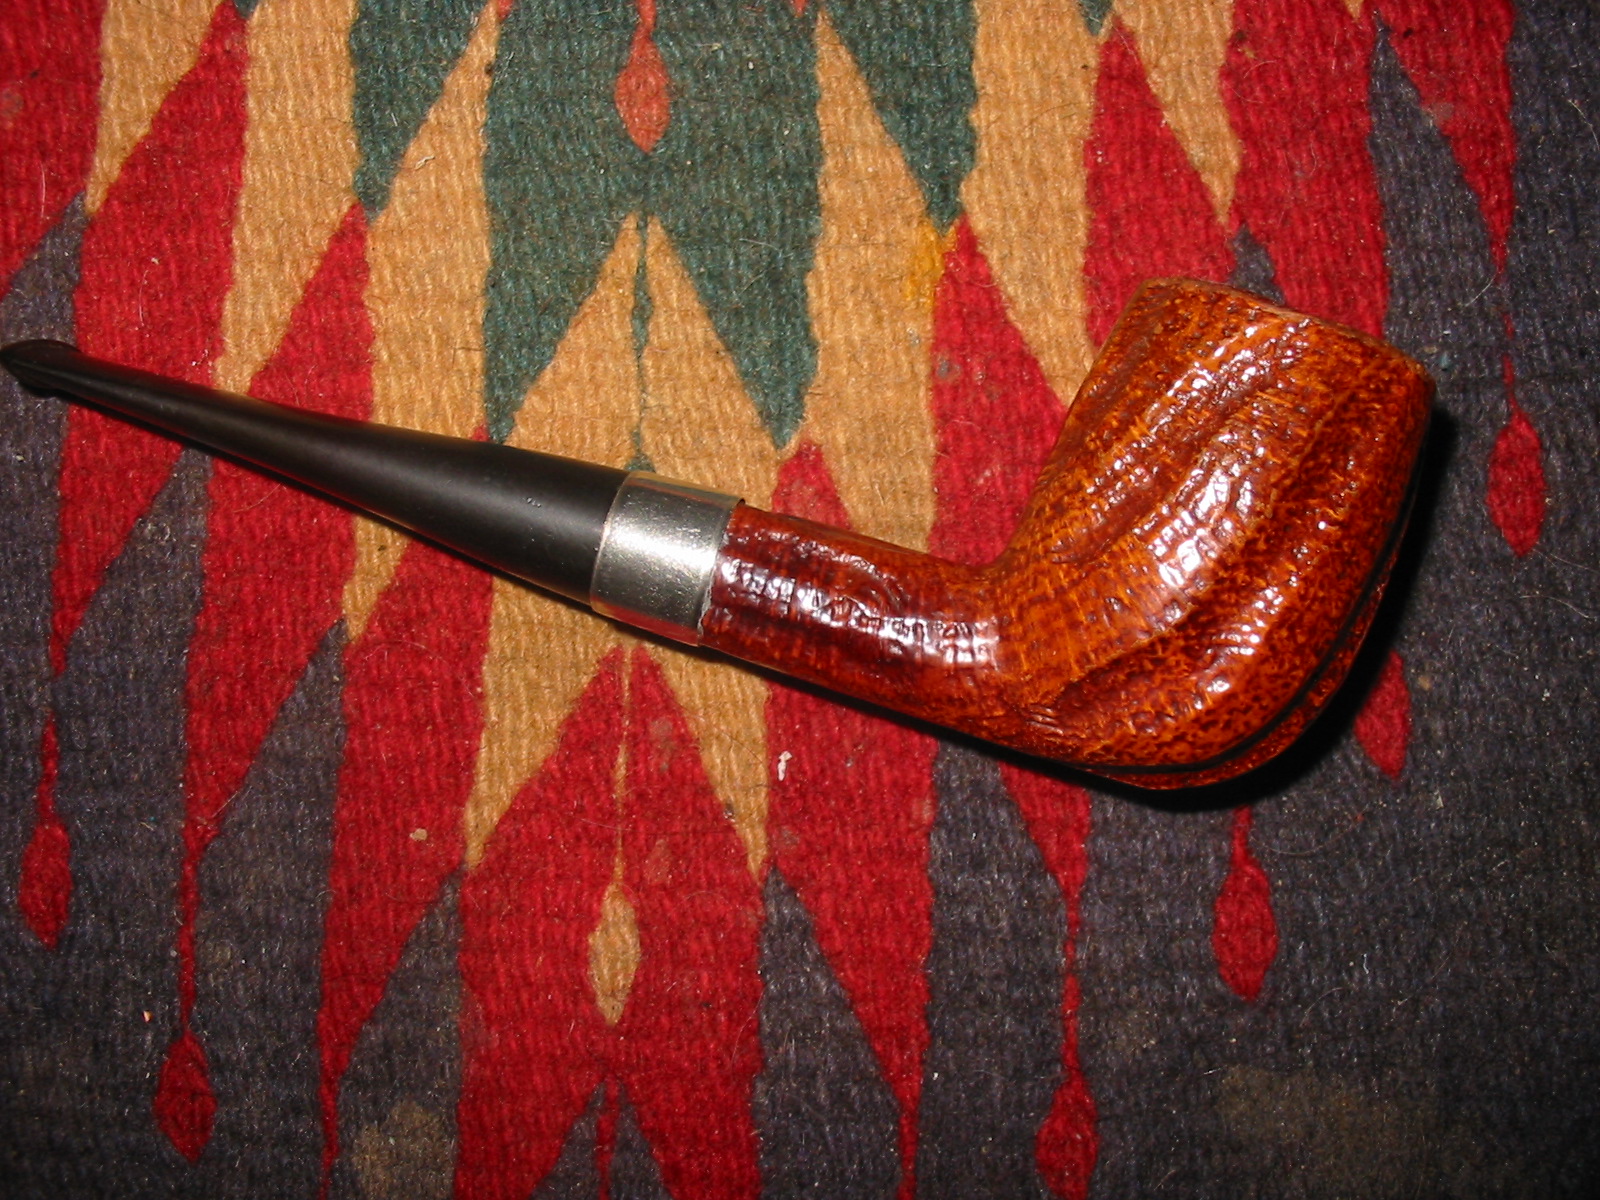
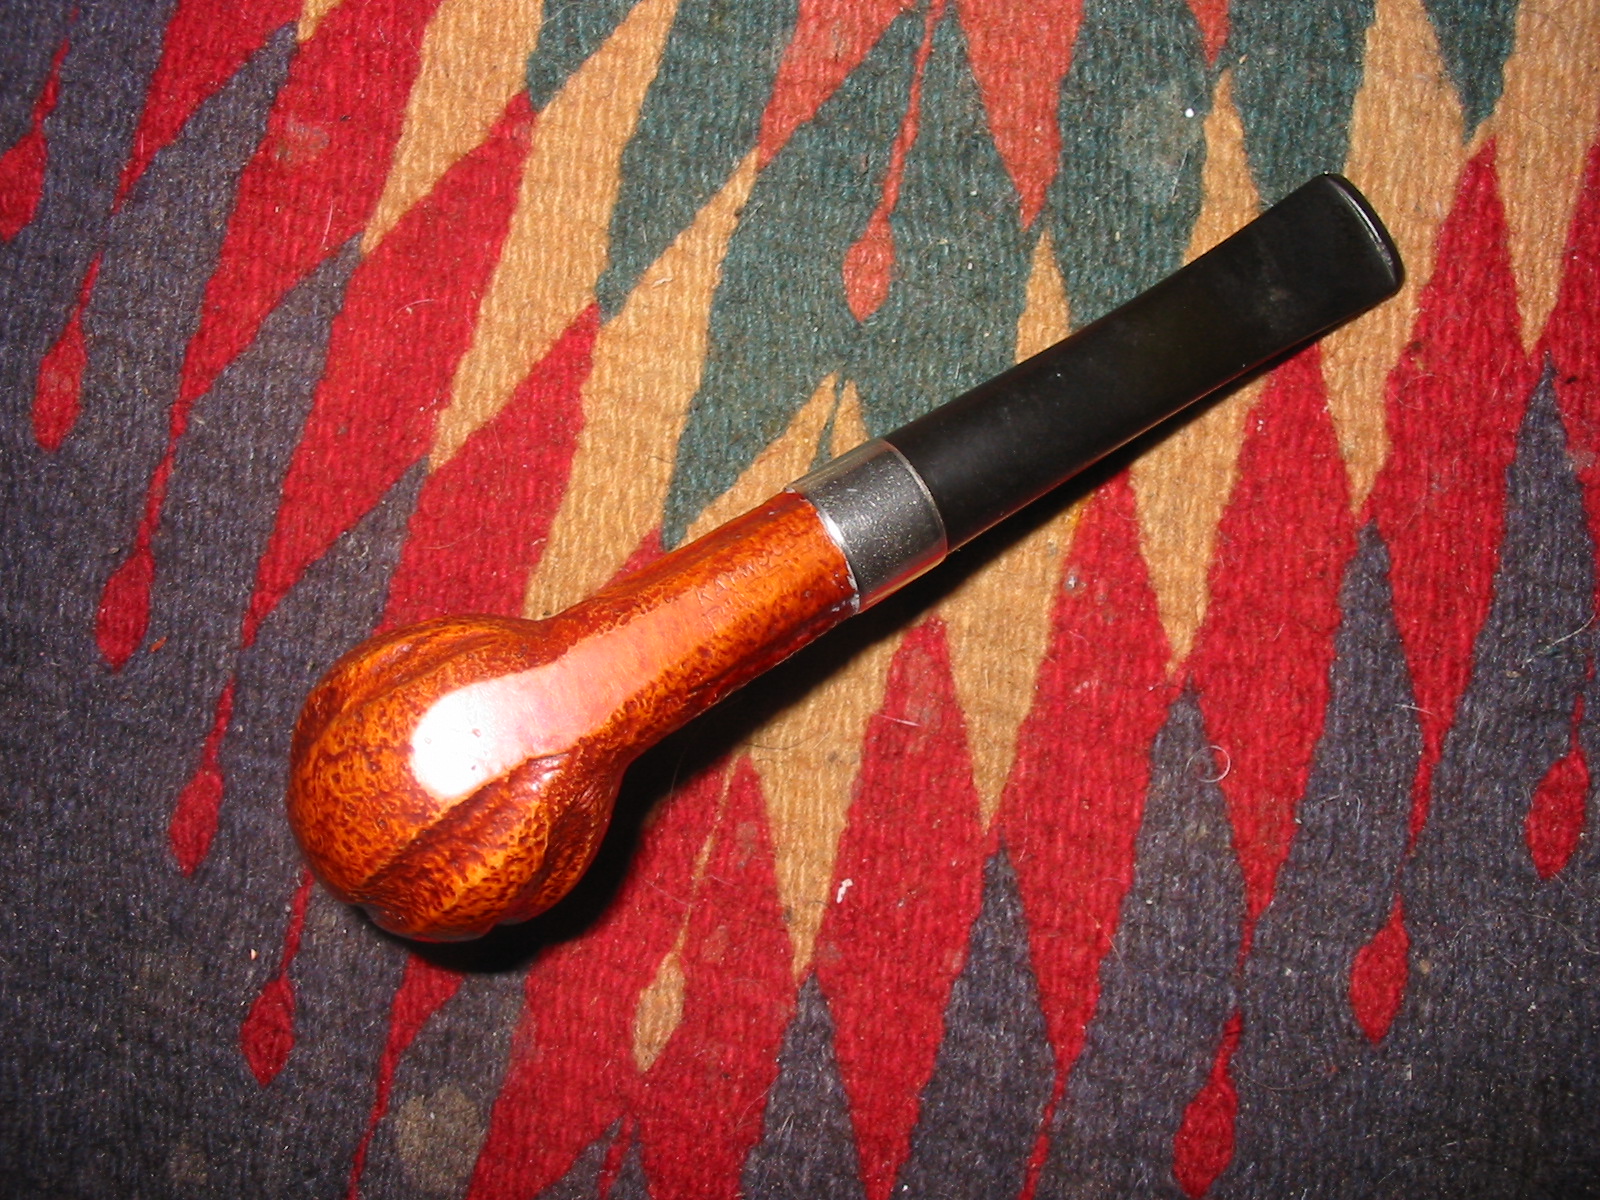
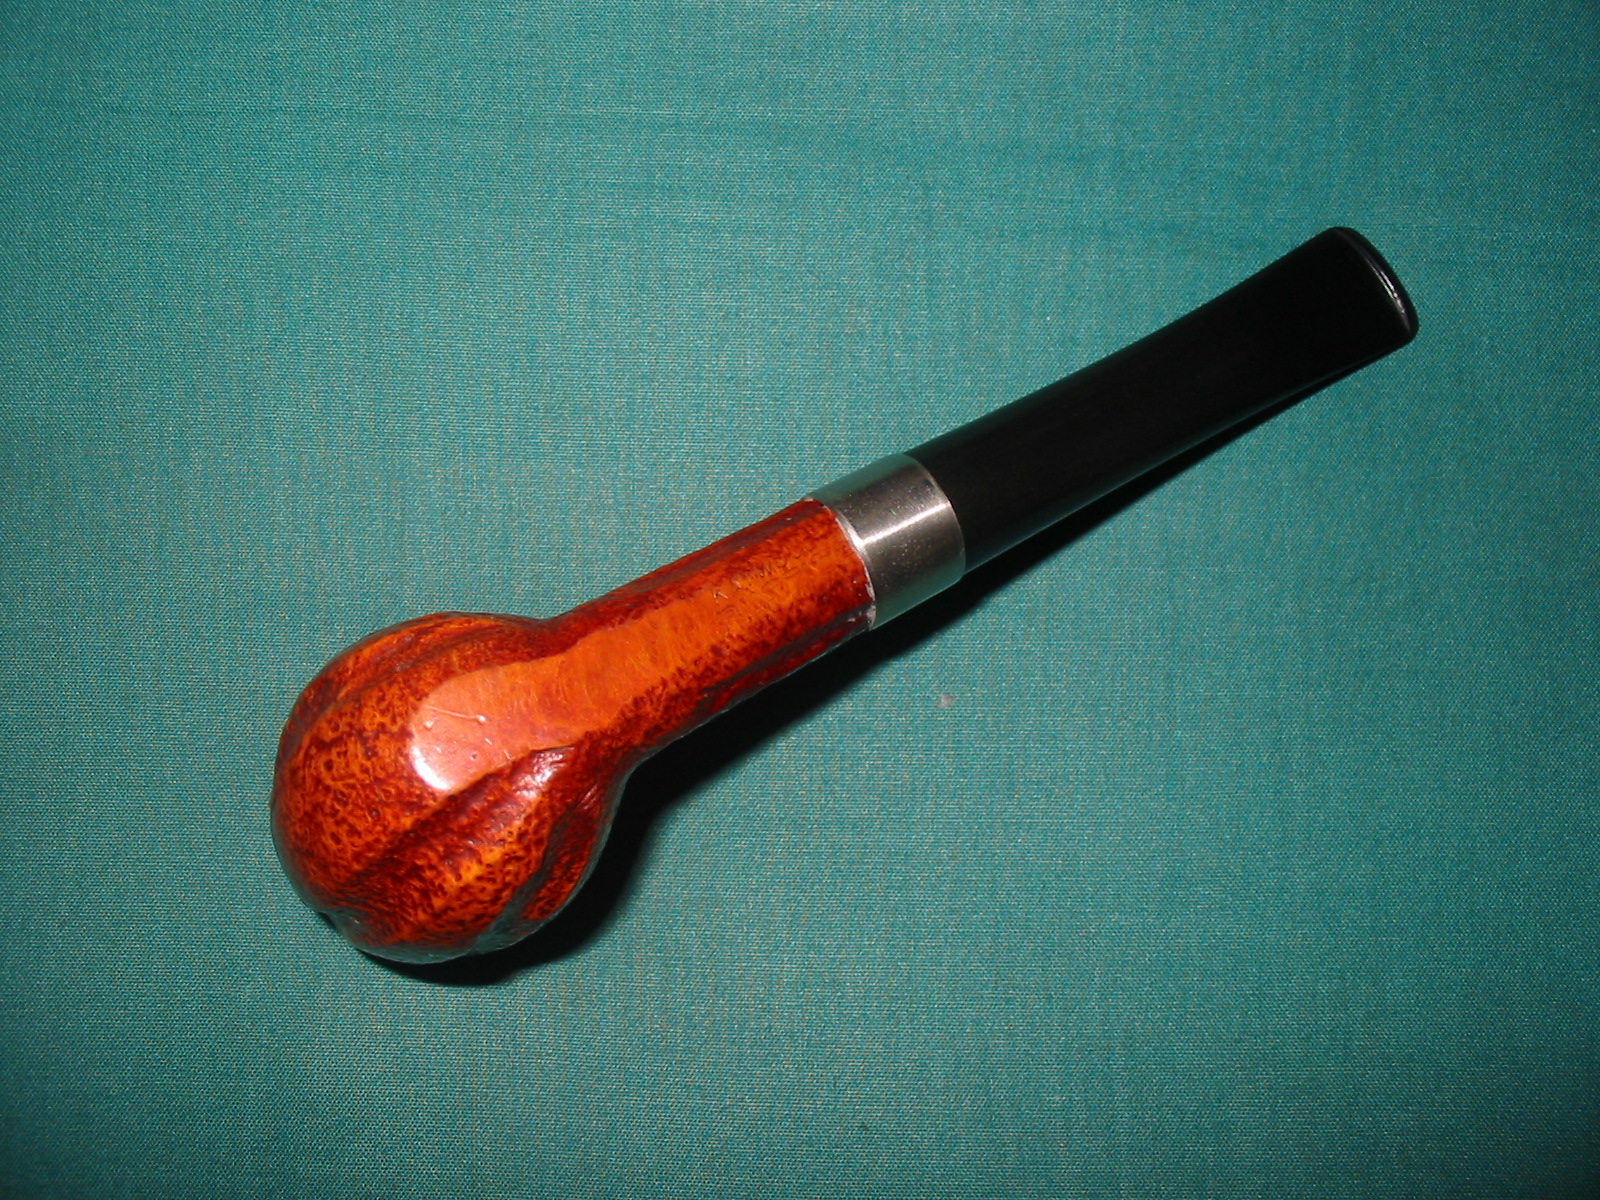
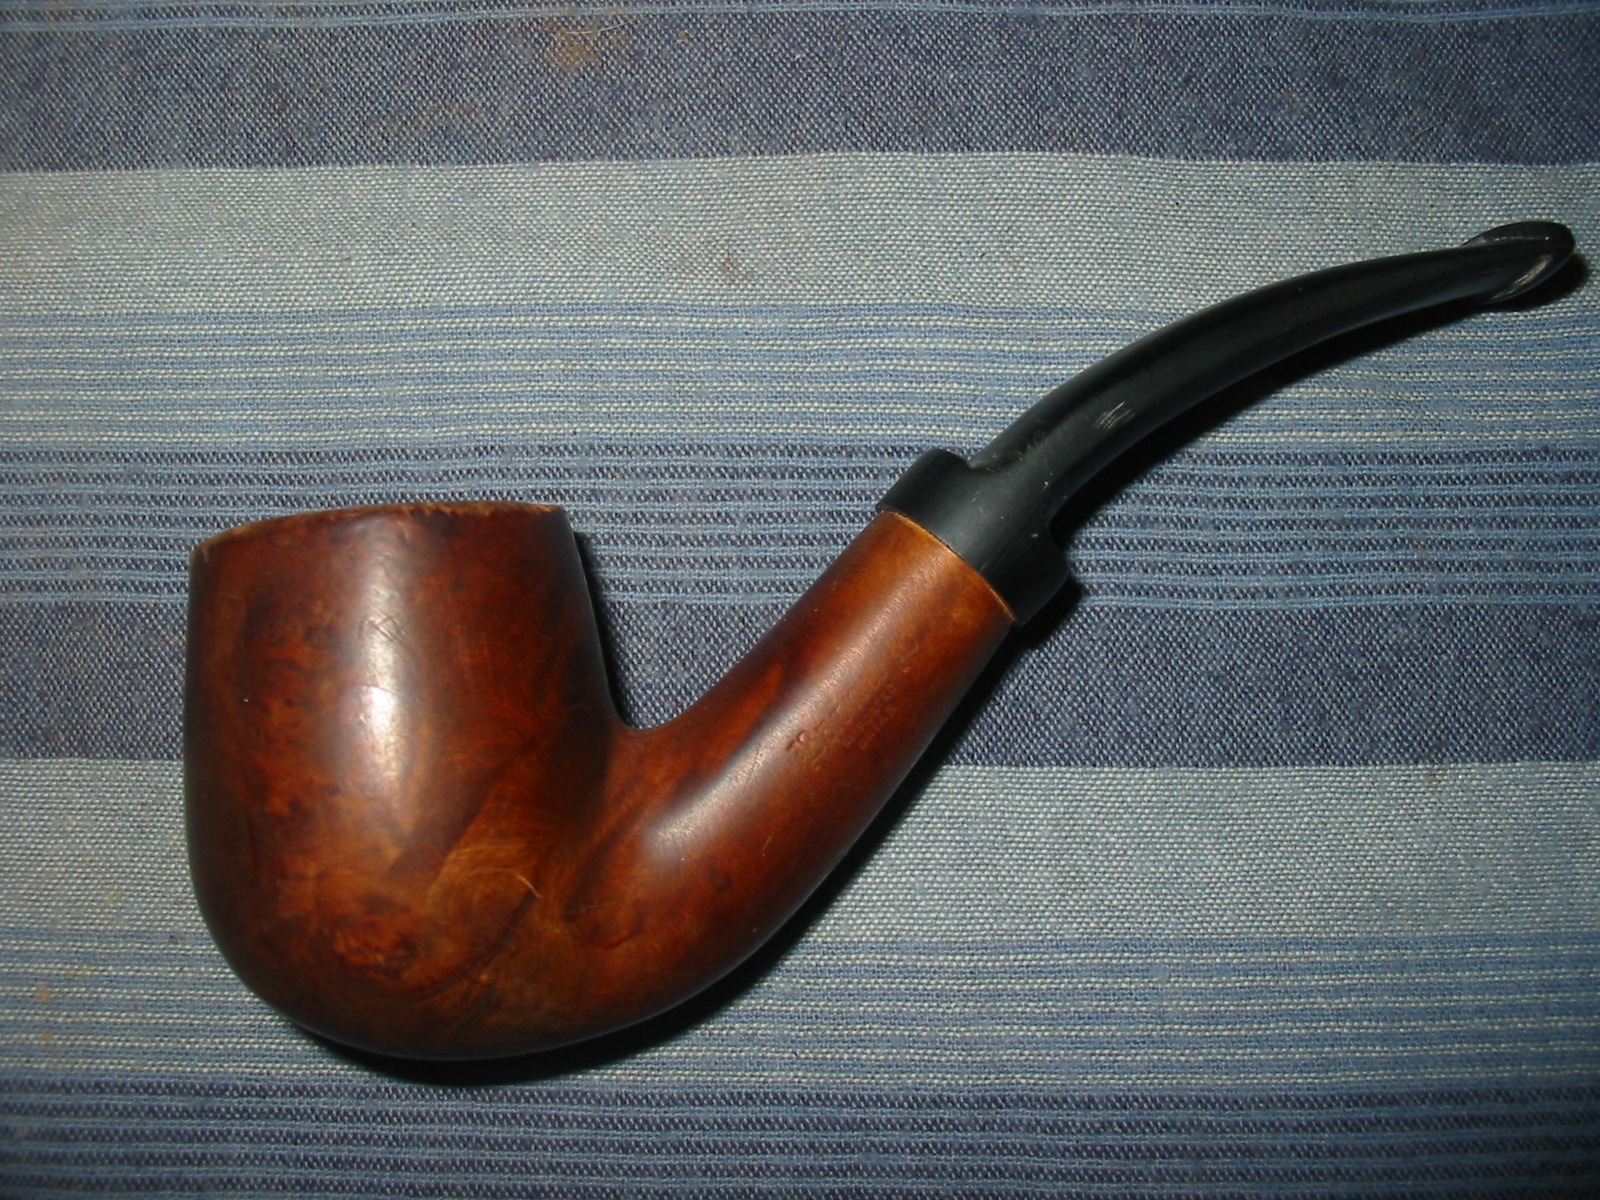
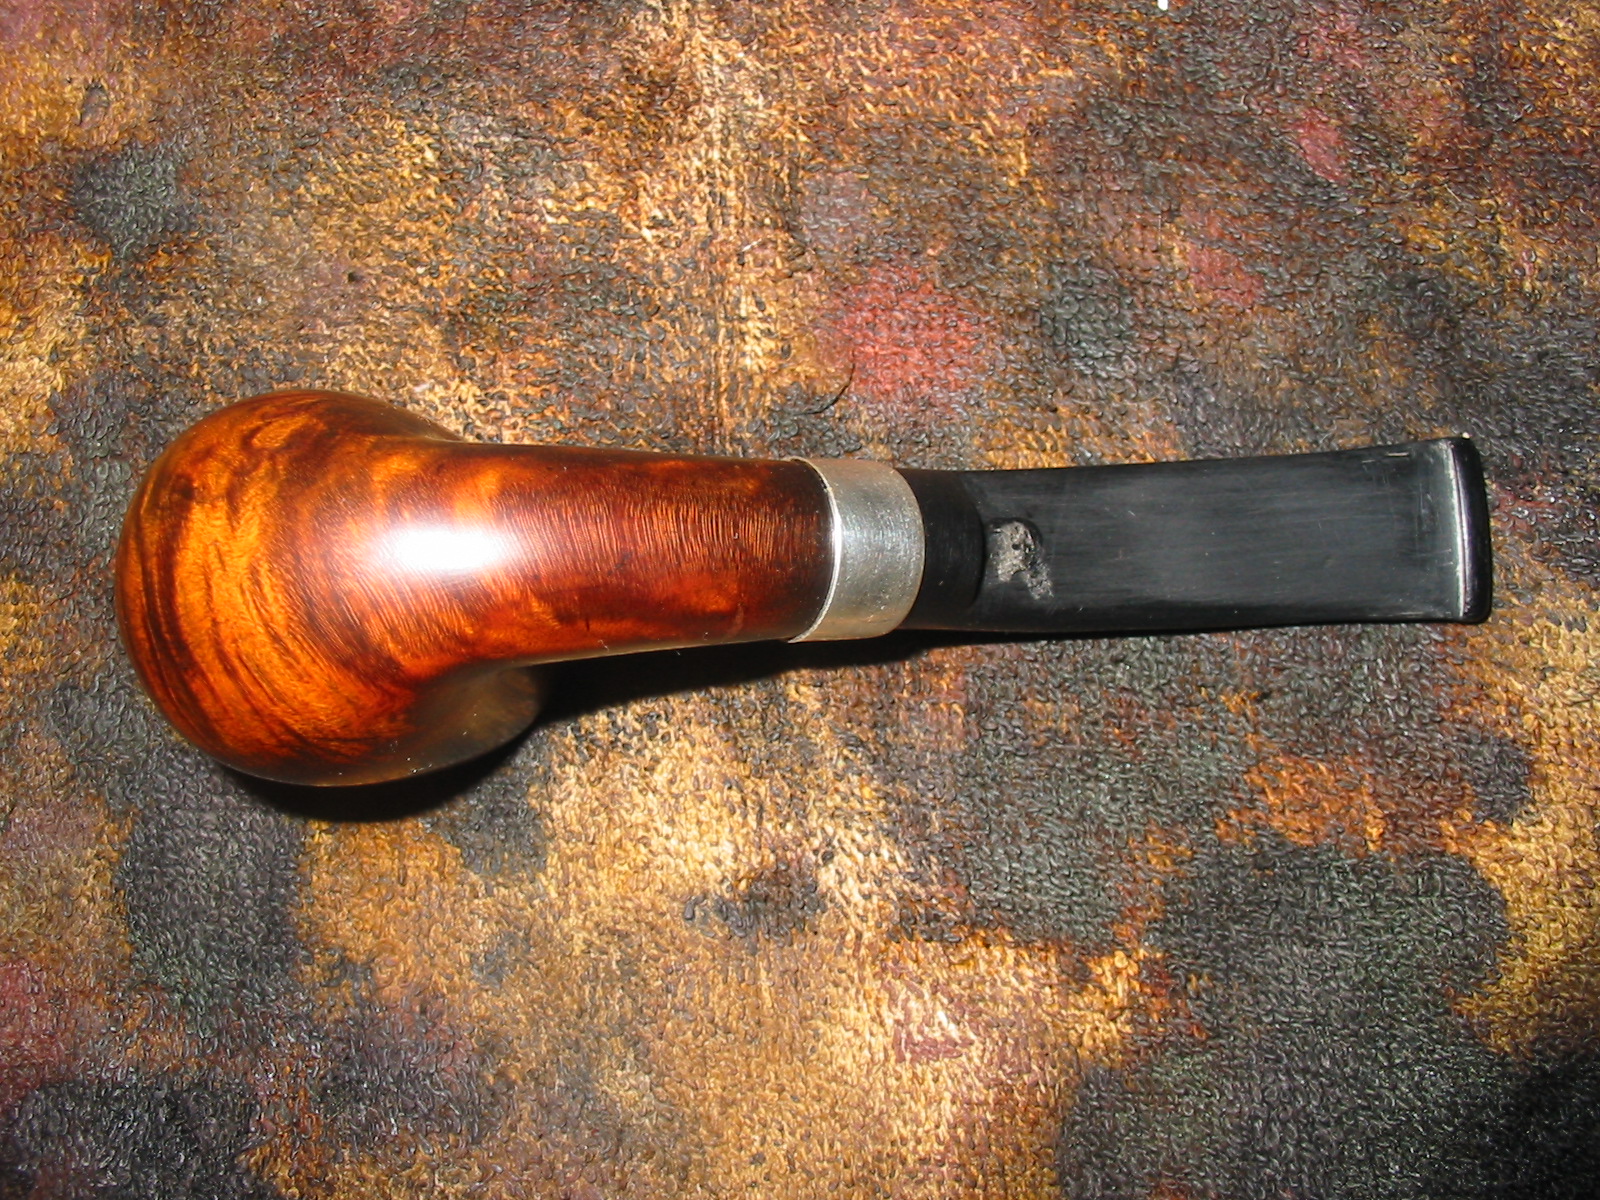
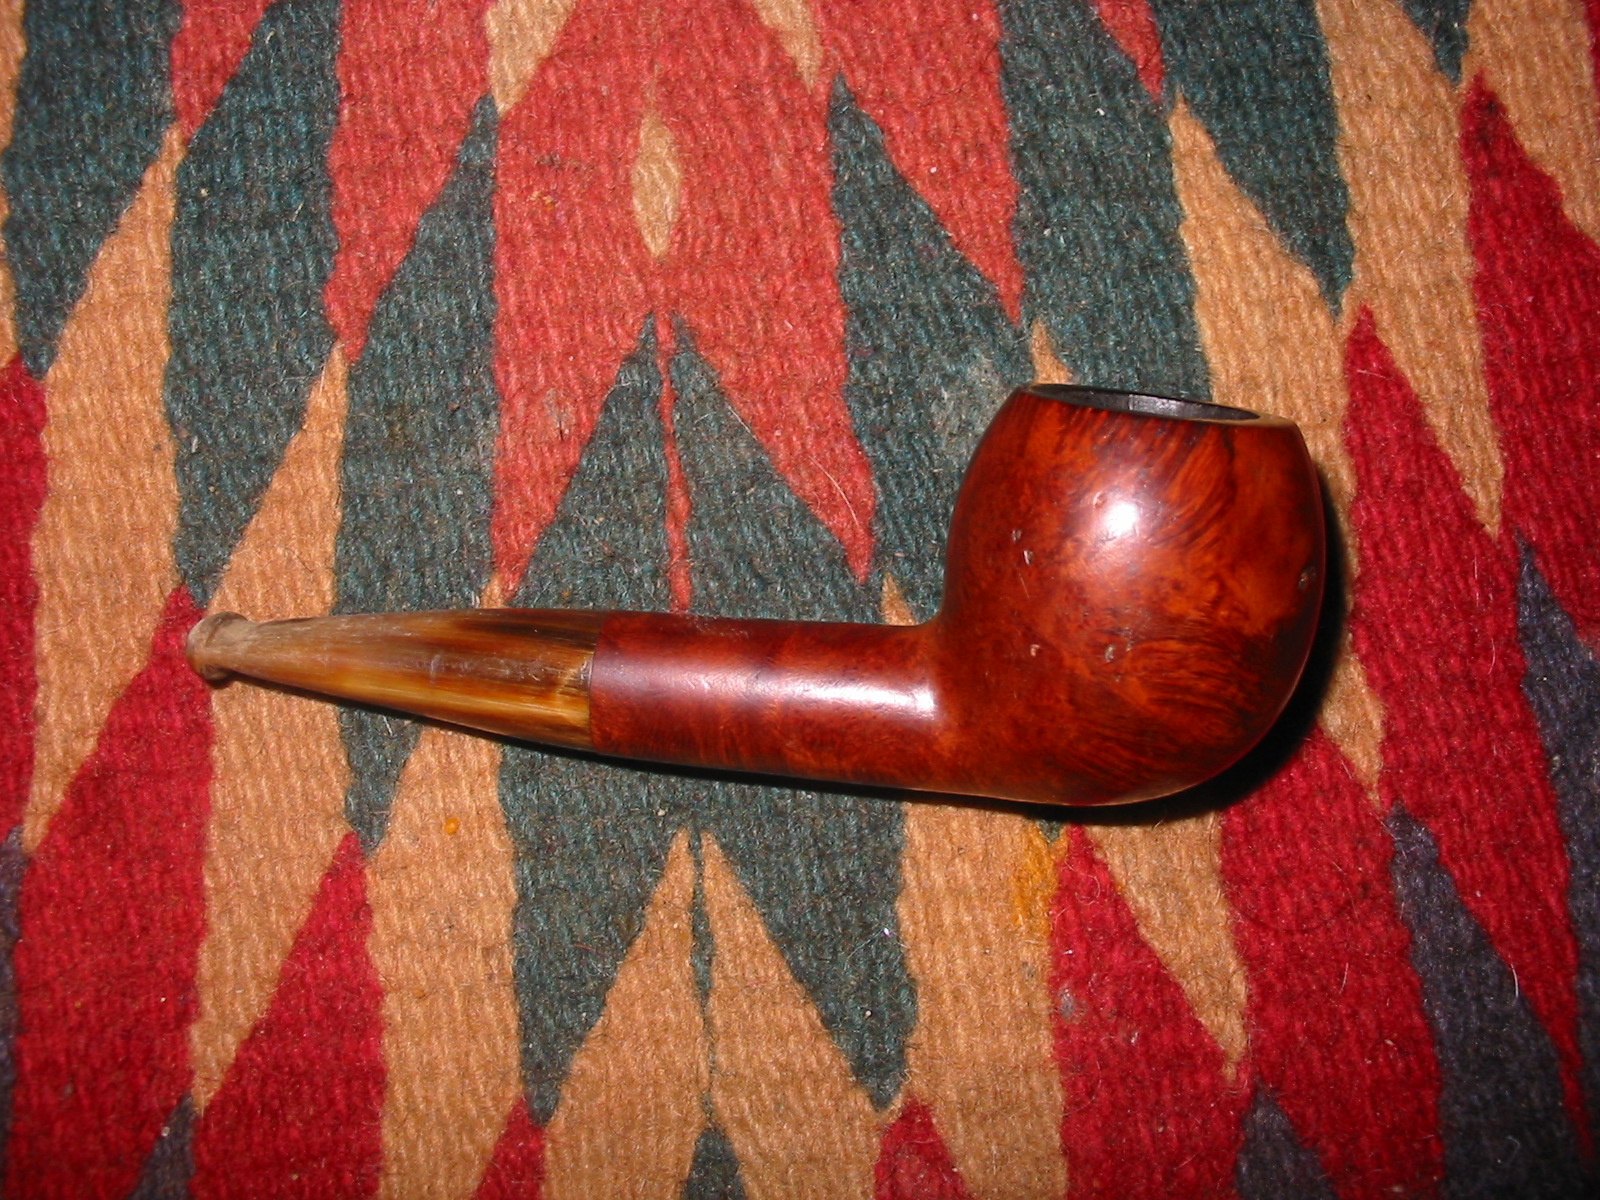
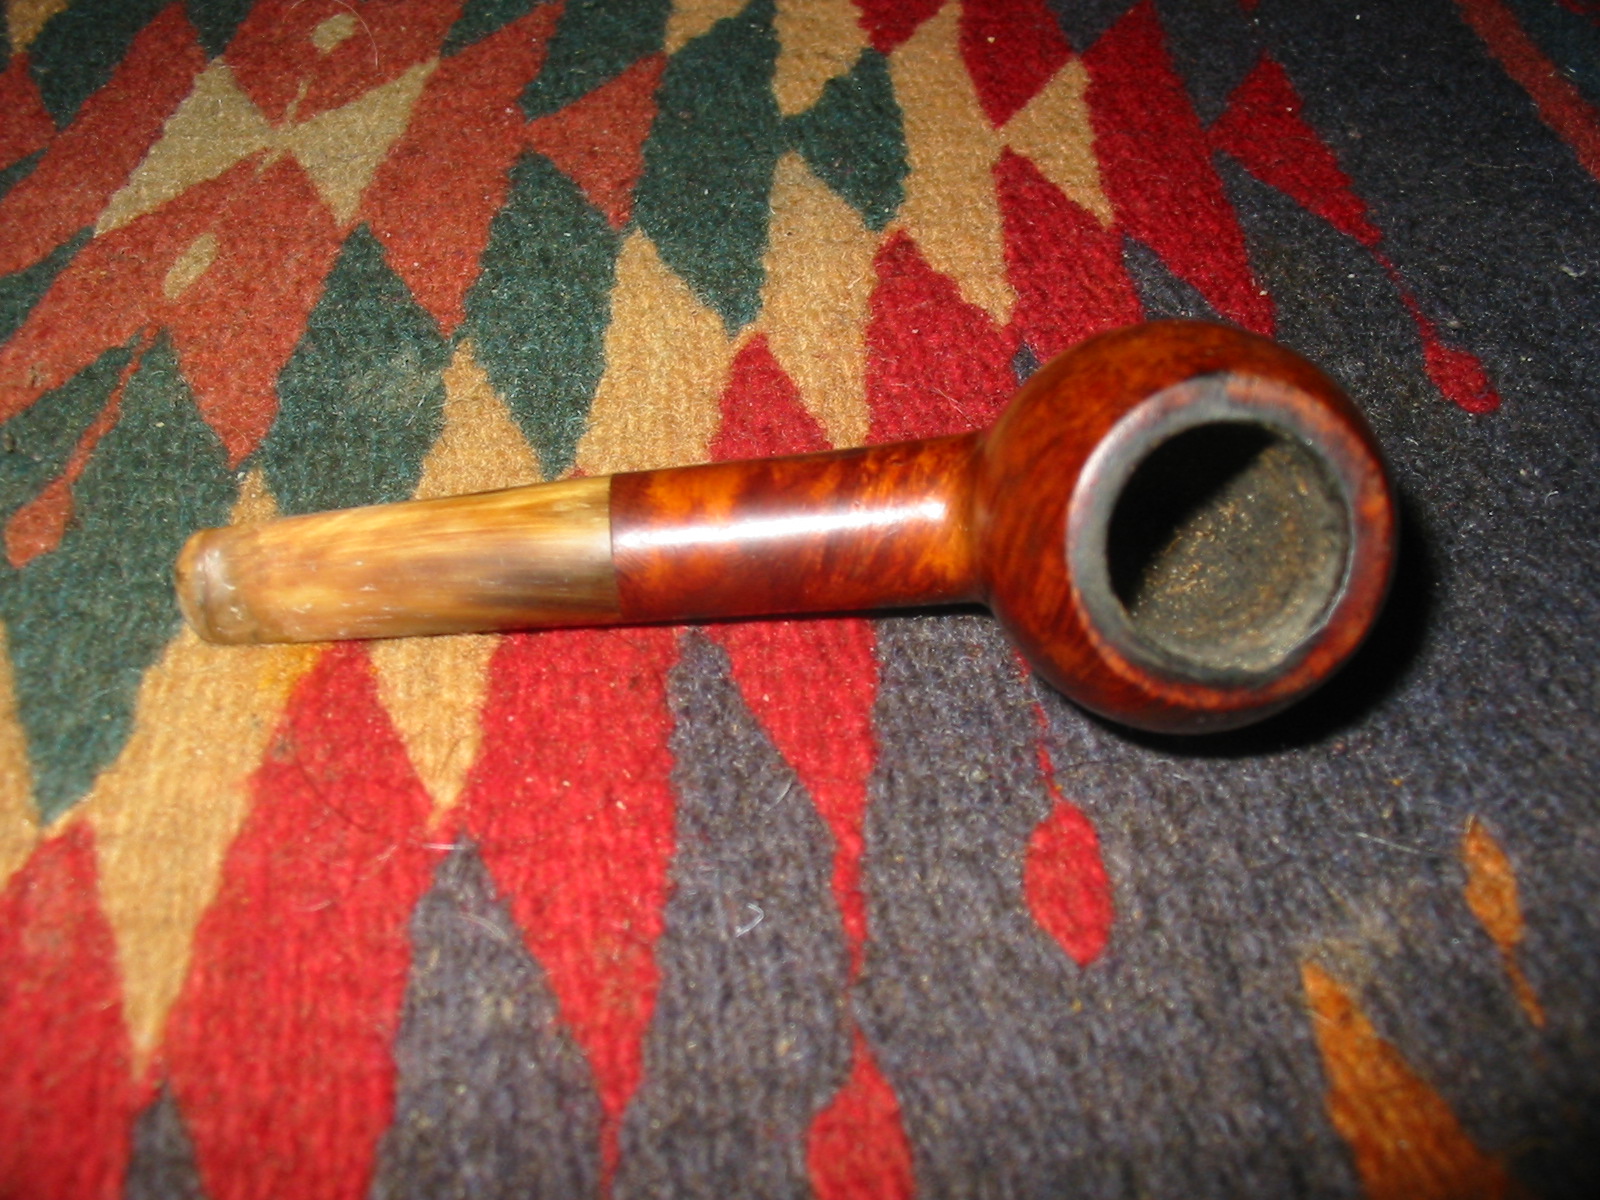
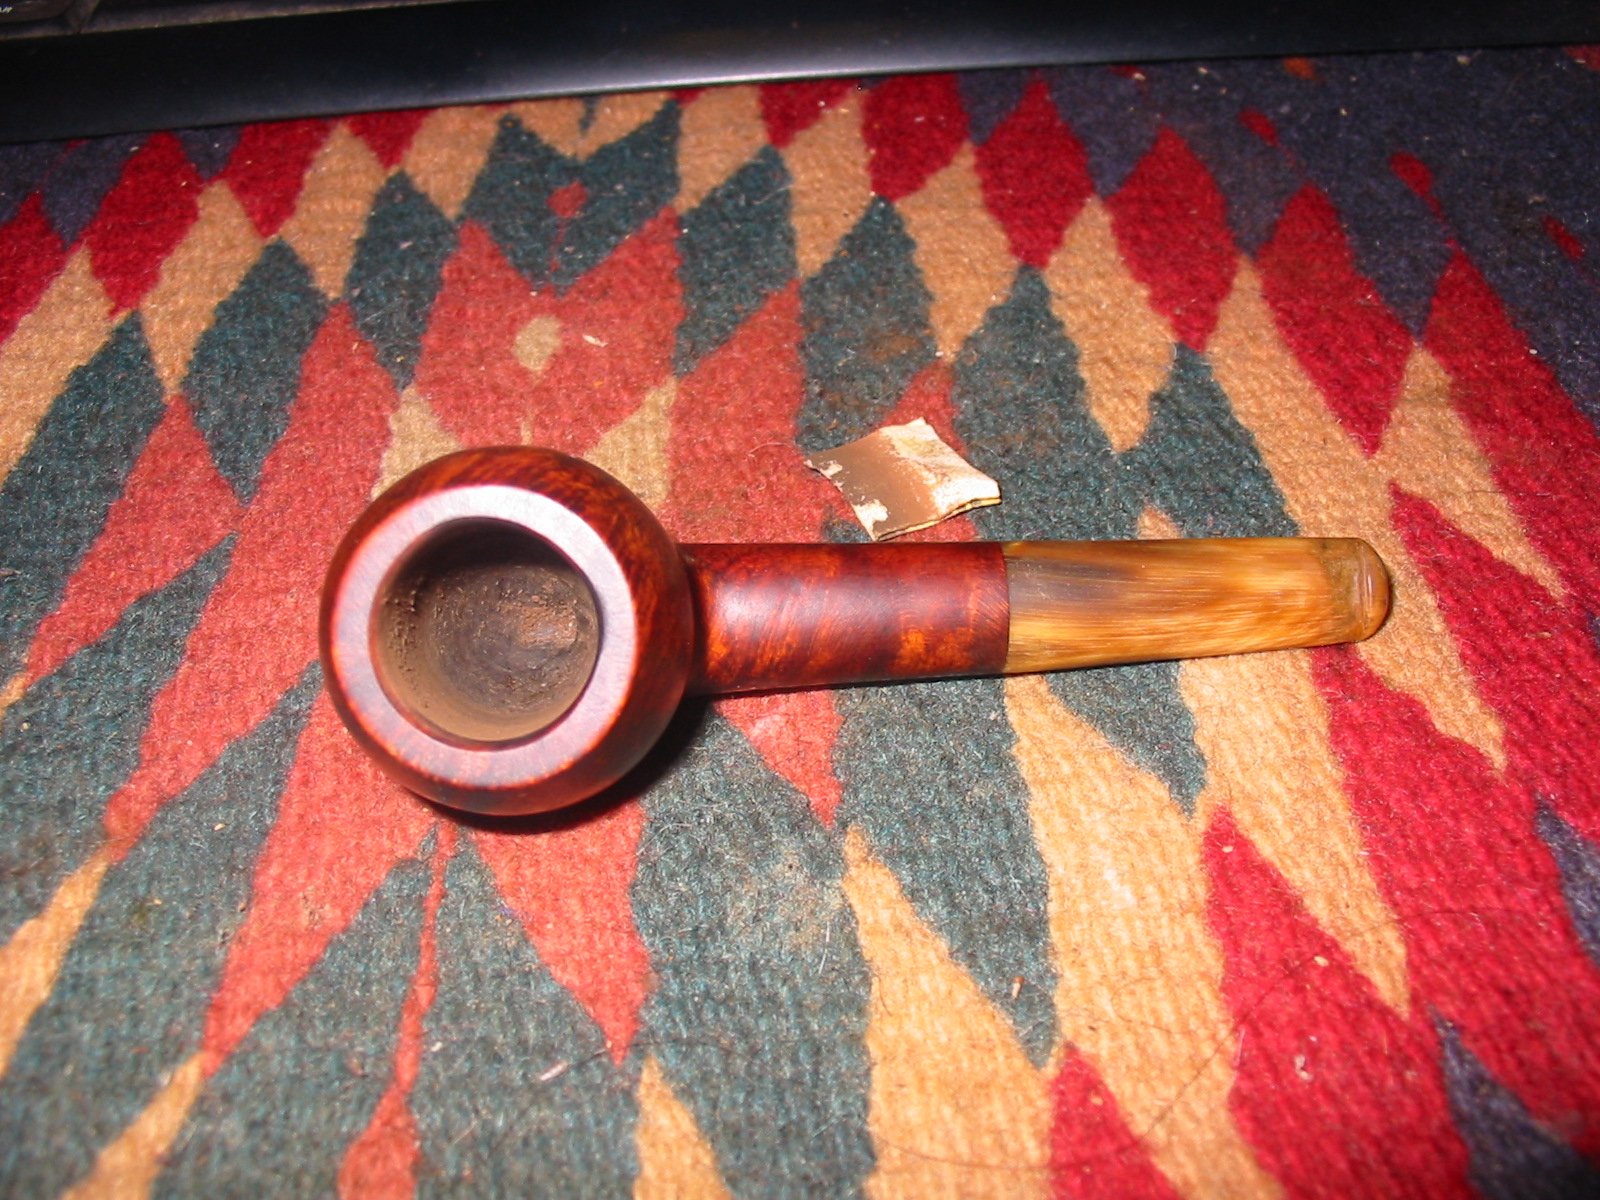
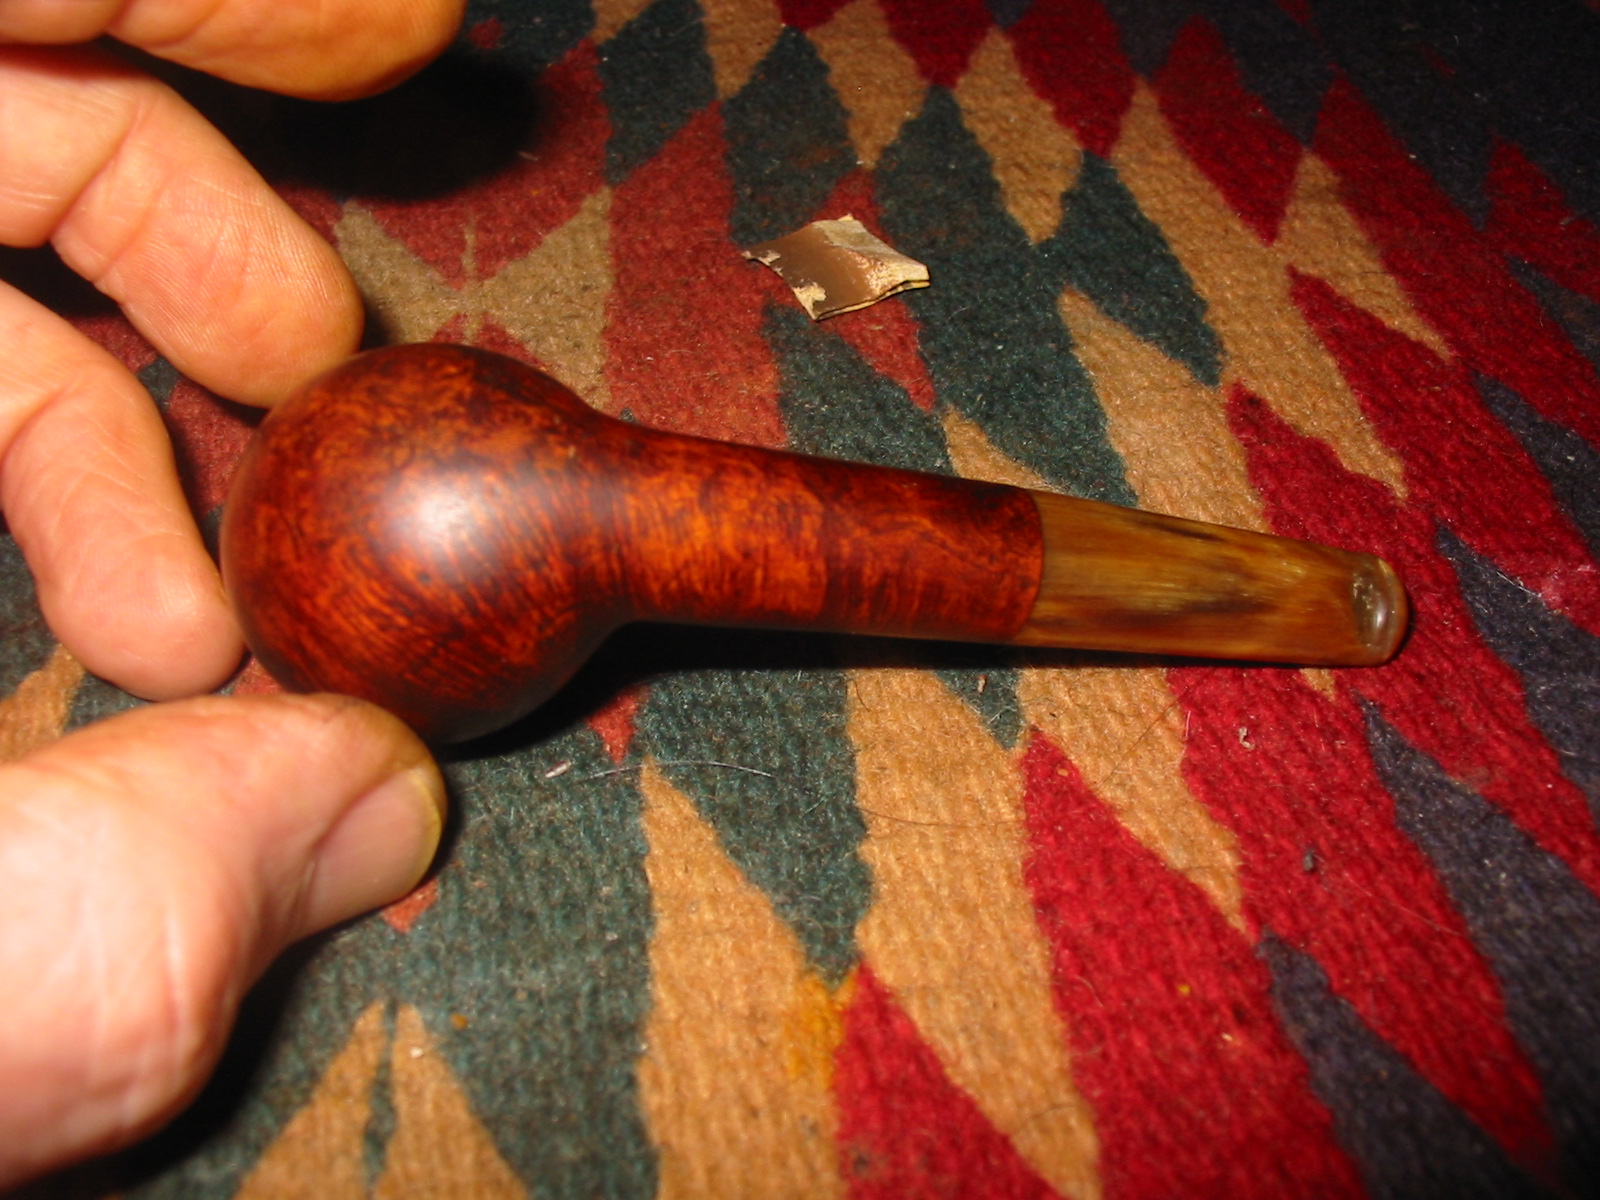
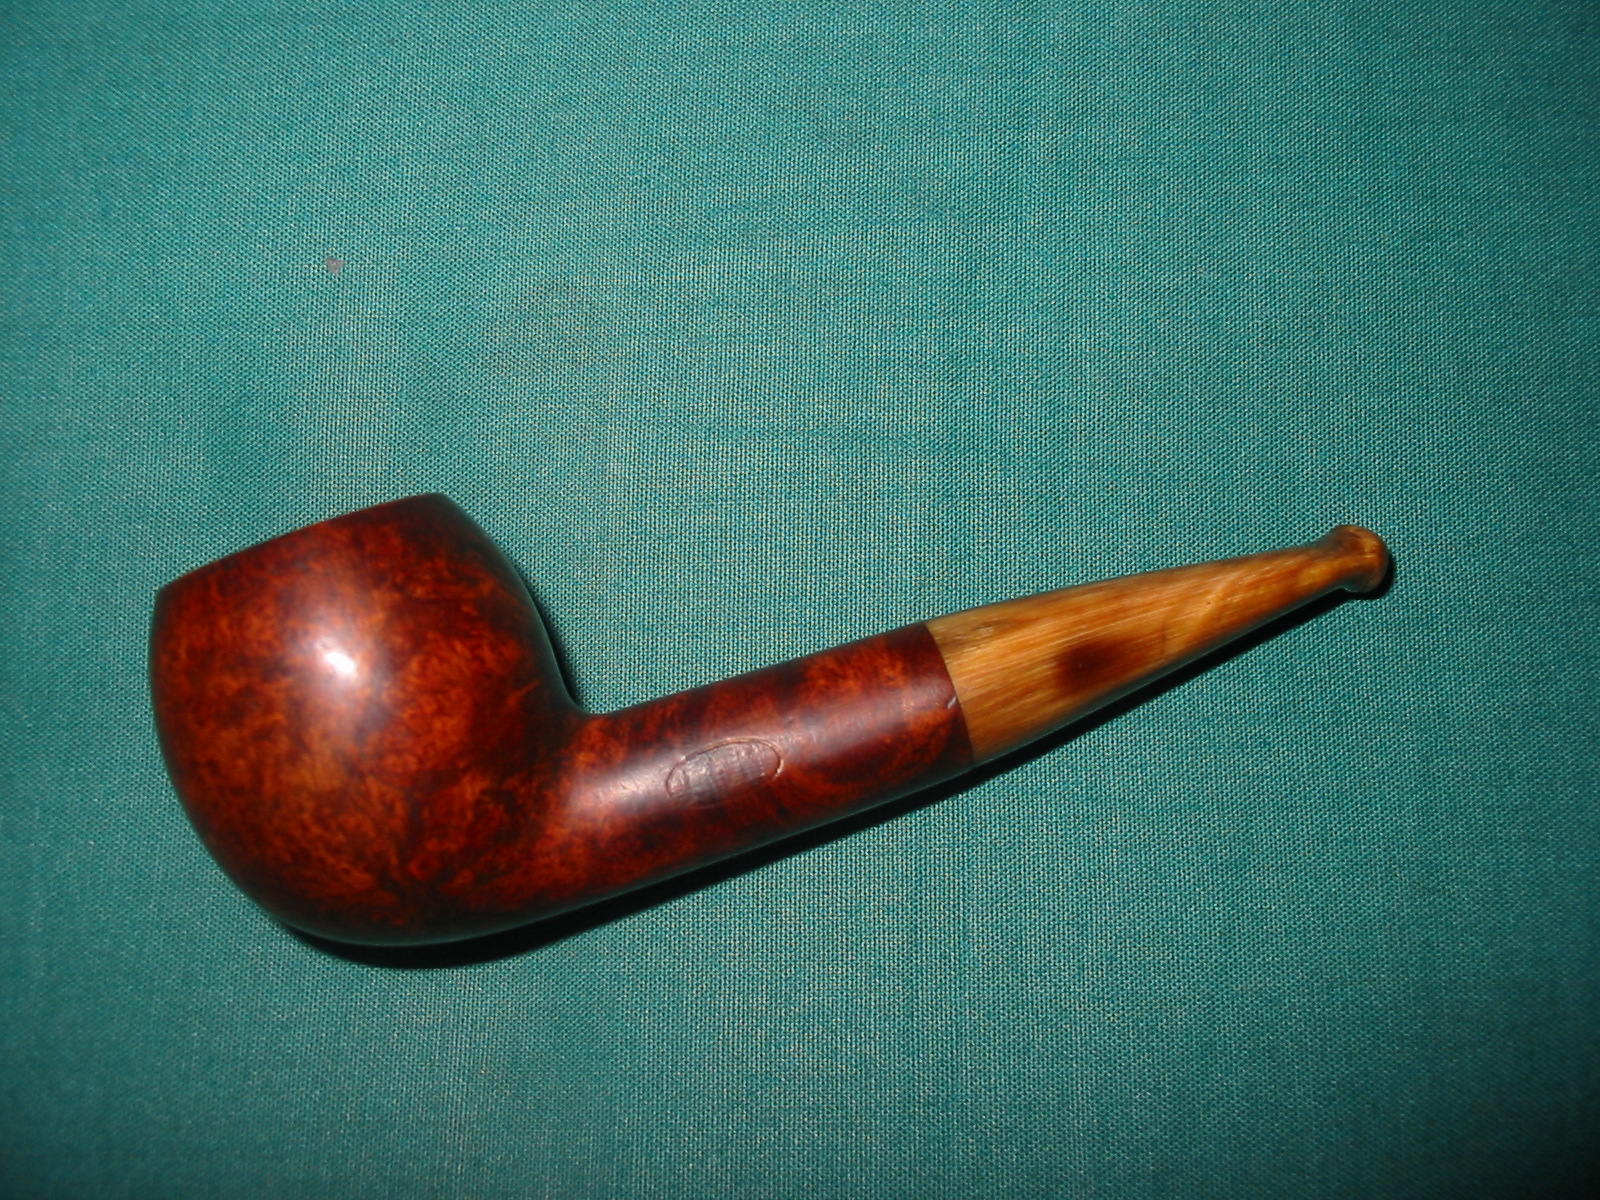
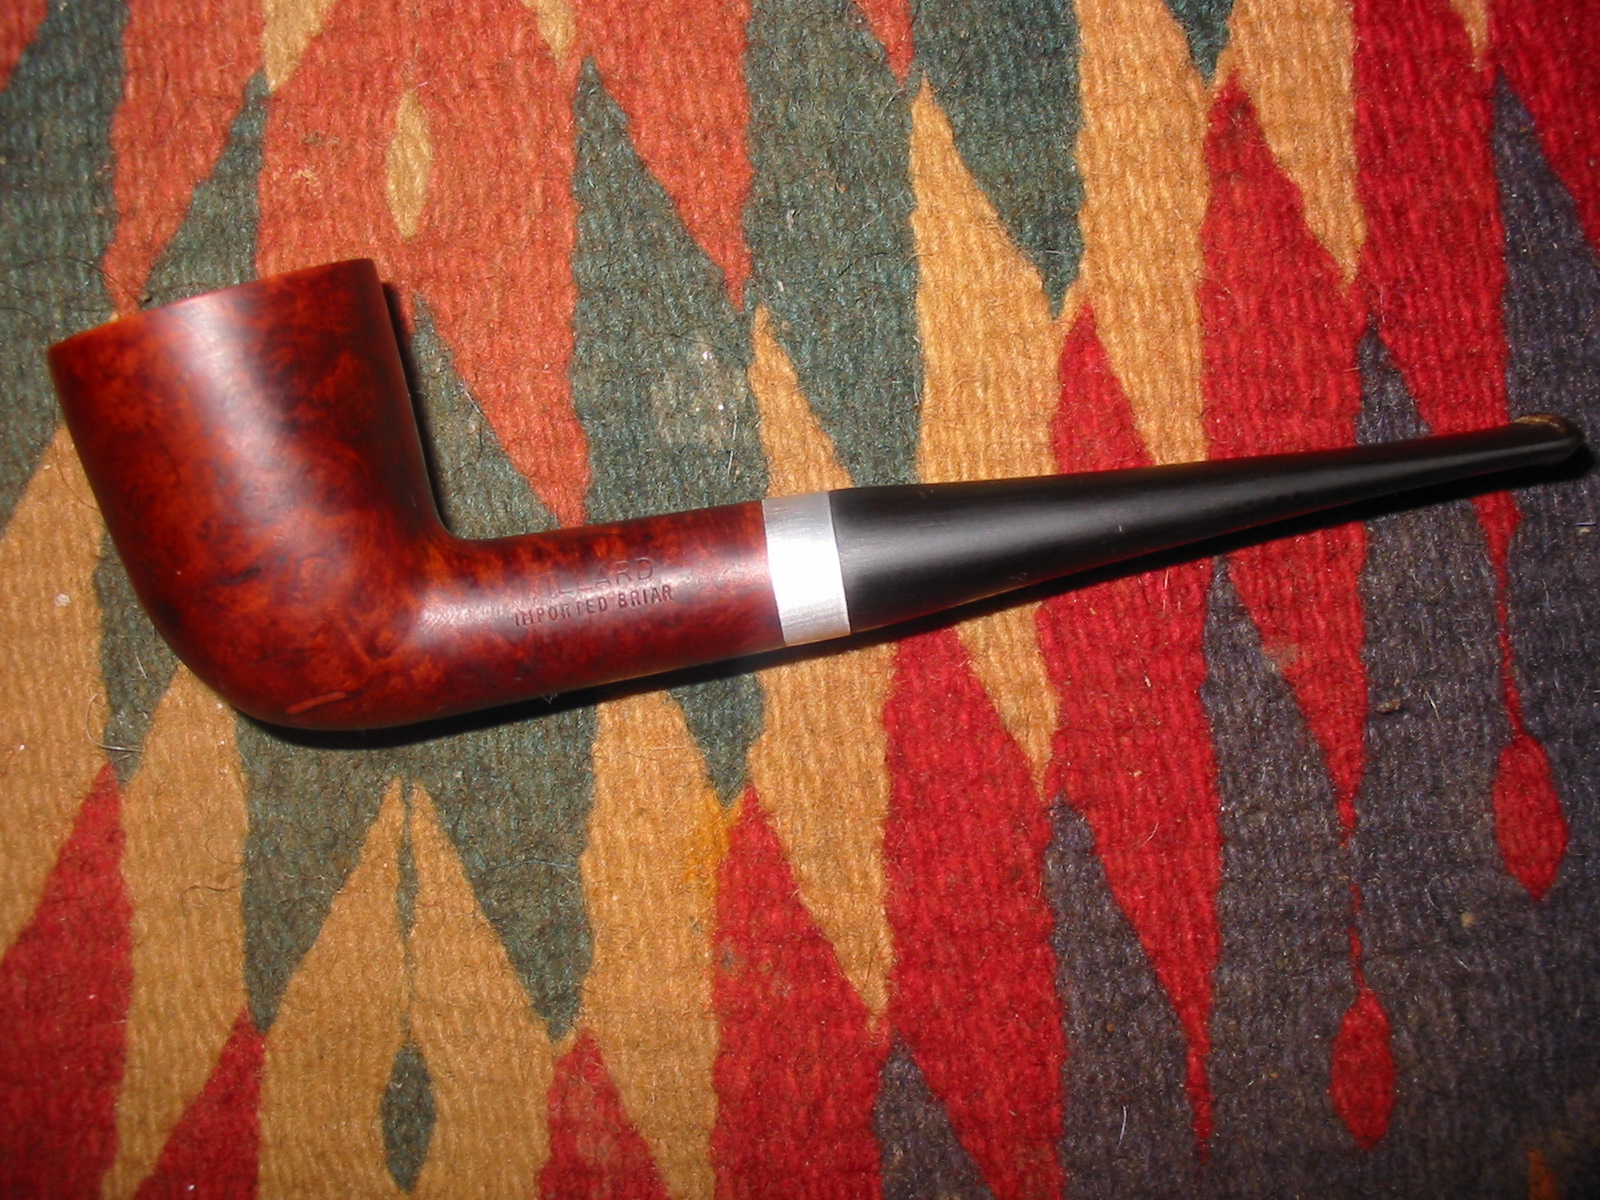
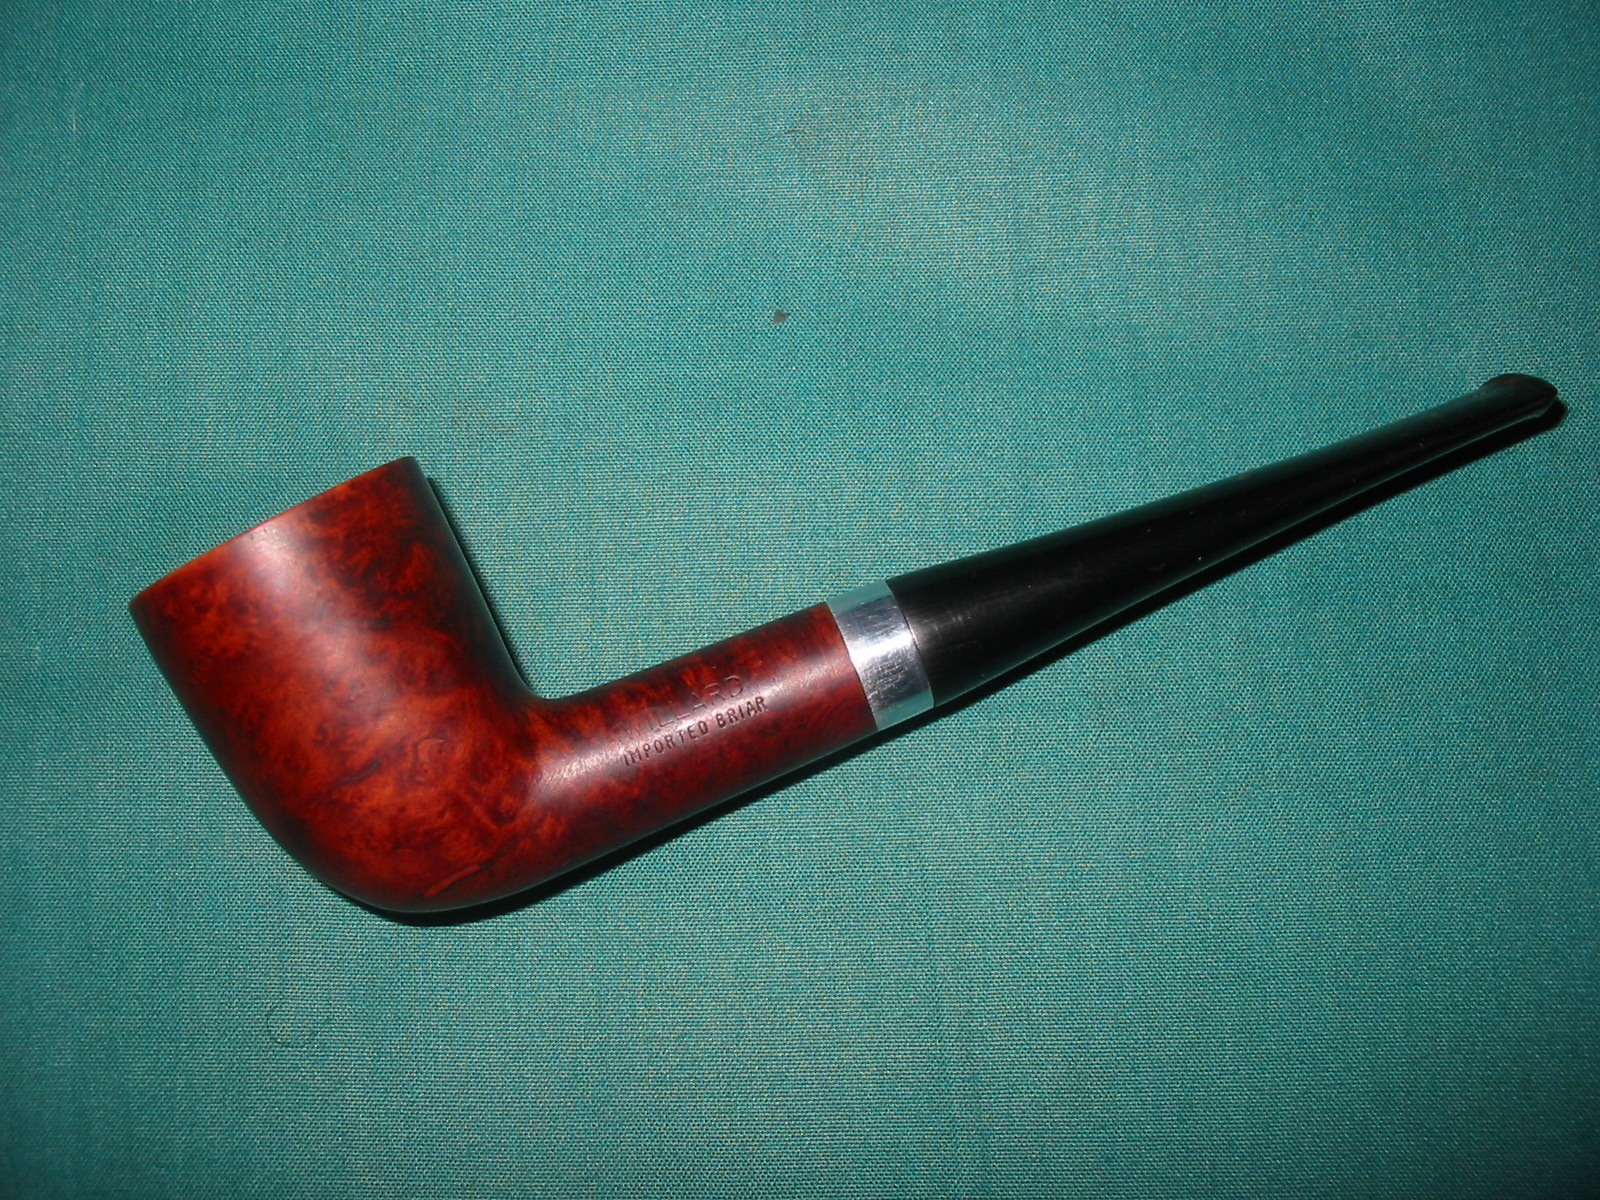
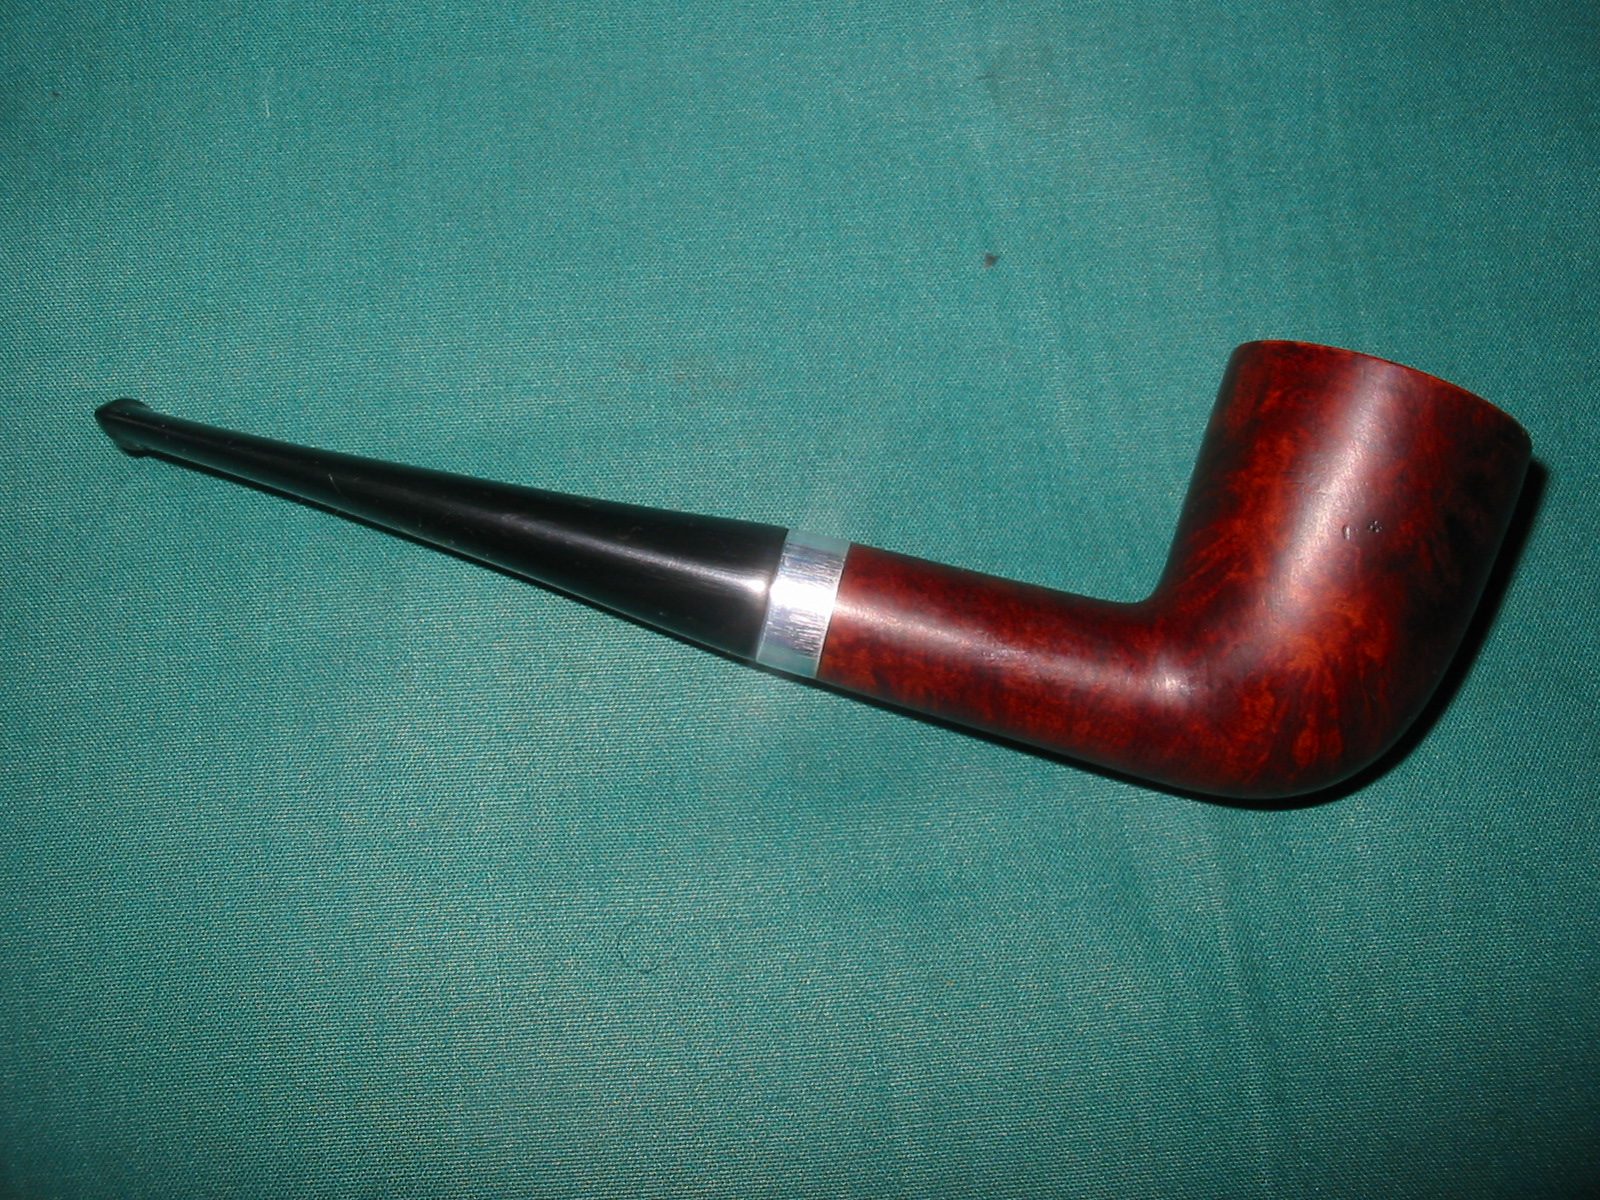
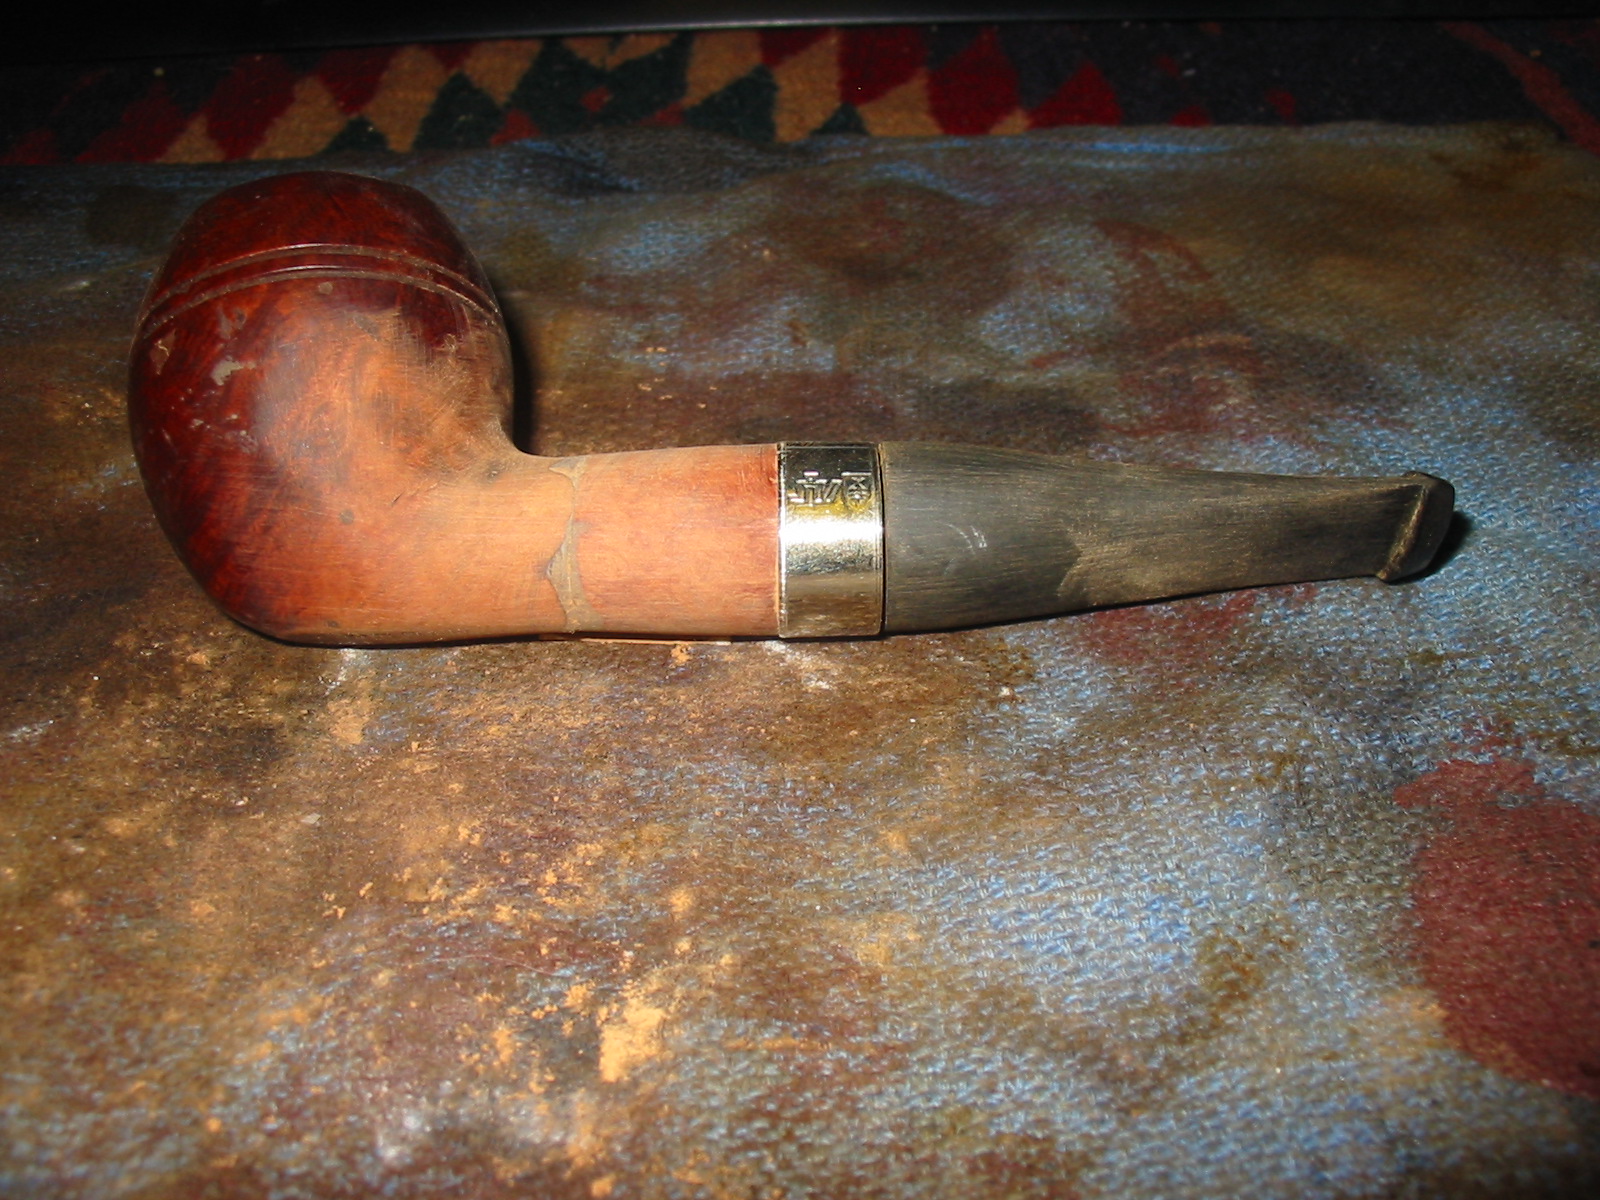
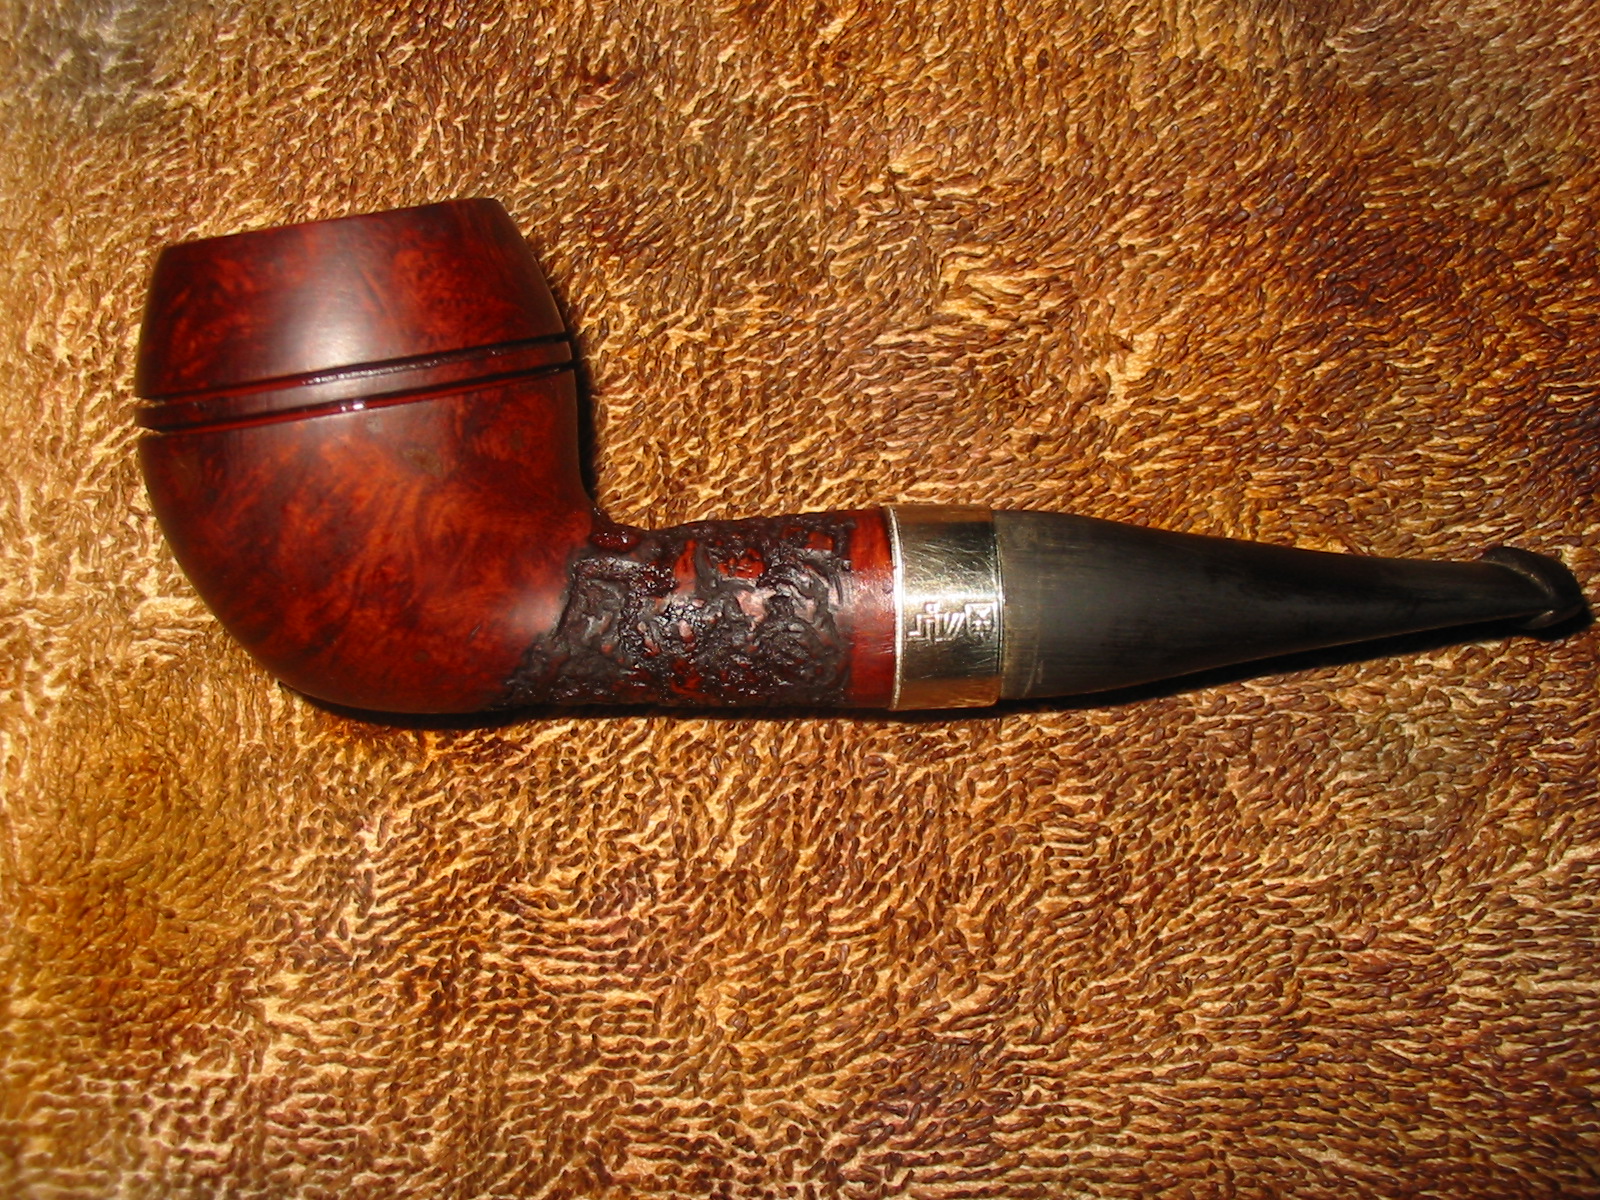
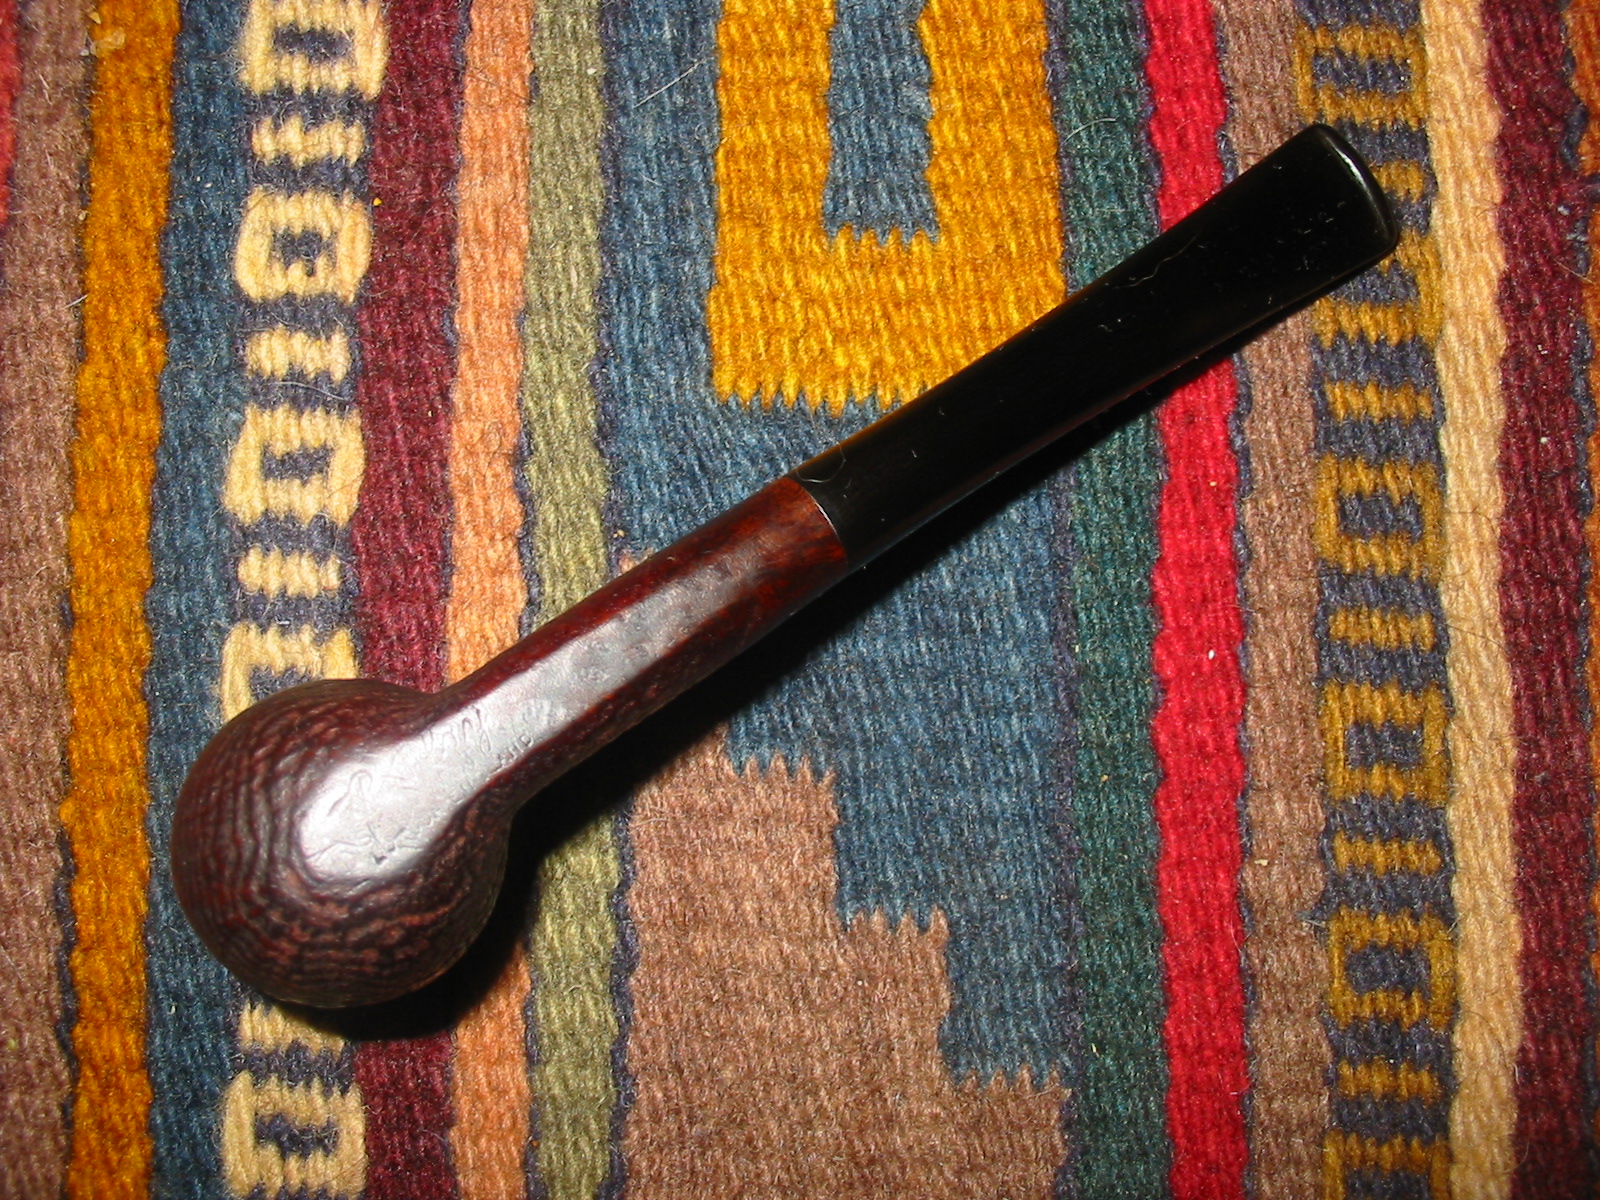
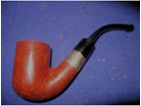
When I saw this old-timer on EBay I decided it had my name on it. The combination of shape and stem material are something that I love. It looked to be in pretty fair shape, just a bit of darkening at the rim, some nicks in the briar which is to be expected in a pipe this age. The stem looked all right – a few tooth marks on the surface but the horn material did not appear to have any splintering or cracks. The threaded tenon looked like it was a bone tenon and it too appeared to be in good shape. I put in my bid and was the only bidder. I have included the photos that the seller included in the sale. The pipe is delicate – a mere 4 inches.


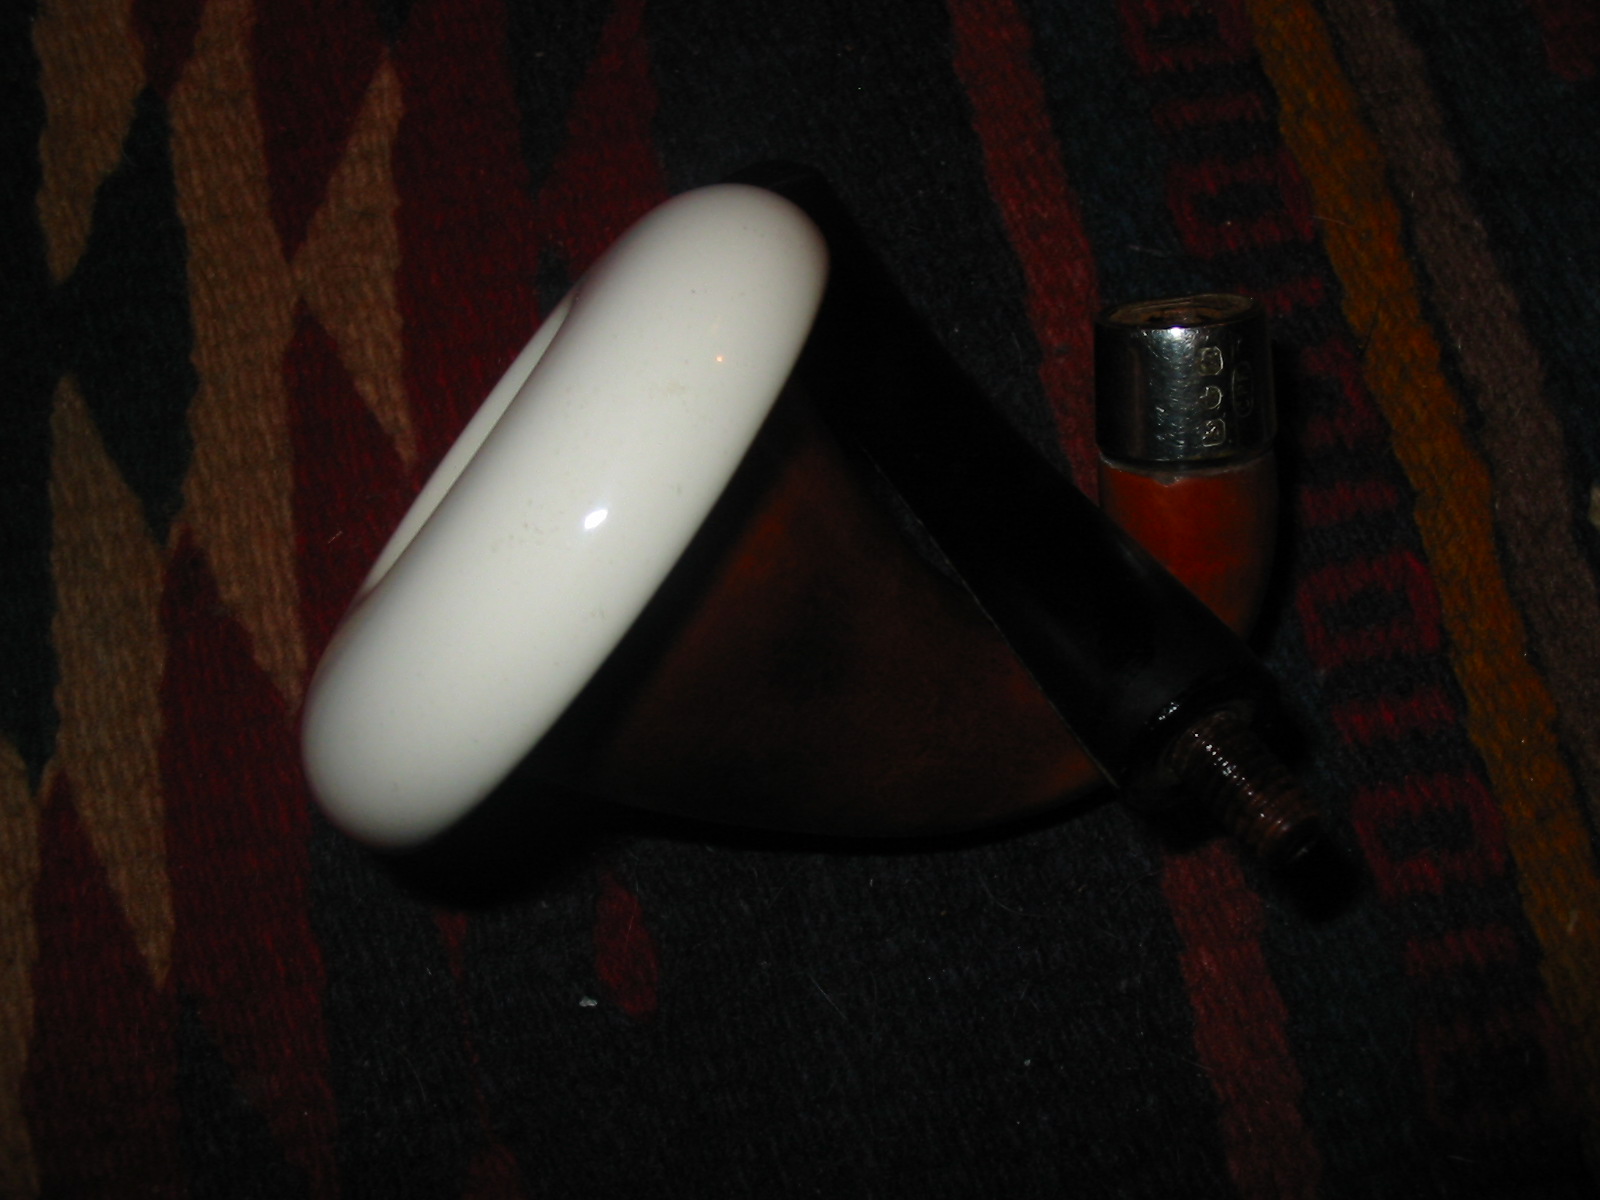
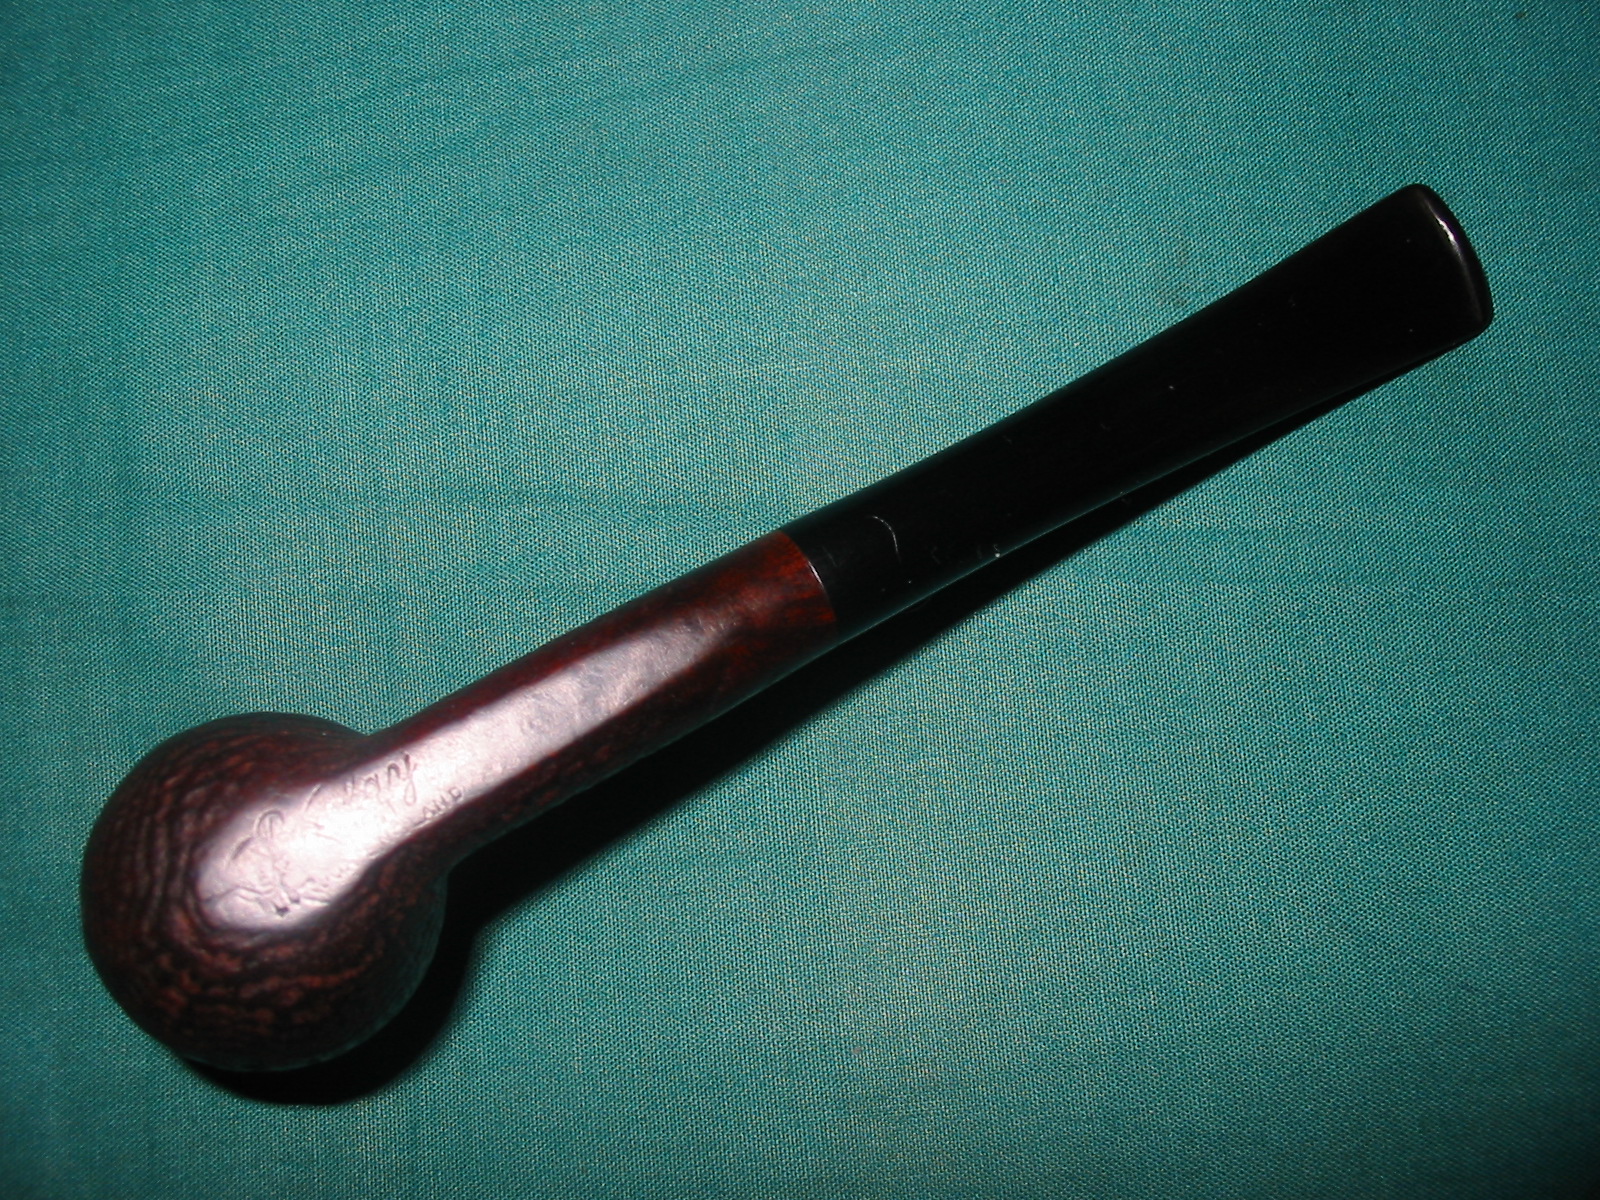
The seller did not include any information on the stamping on the pipe. I wrote and they responded that it was not readable but that there was an oval on the left side of the shank. When it arrived I took it to my work table and did a cursory clean up and tried to read the stamping on the shank. I could see that the oval had remnants of gold in the marks. Under a bright light and using a jeweler’s loupe I could see that there was a letter visible on the right side of the oval that was readable – “N”. I wetted the stamping and looked more closely and could see what appeared to be the long straight leg of another letter on the left of the oval. It could easily have been a “K”, “R” or an “L”. On closer examination it seems to have a base on the bottom of the left leg. That would make it an “L”. So armed with that I did some digging in “Who Made That Pipe” and found several possibilities. The most likely was “LMN” and through continued observation of the logo I think that is what it is stamped. For me, a good part of the enjoyment of the hobby of refurbishing is the pipe mysteries that come along with the pipes I work on. So this pipe was going to be fun to work on and to research.

I used the information in WMTP to research more into the maker of the pipe (at least according to the book). The pipe seems to have been made by a company called Jacobs, Hart & Co. England. I searched the various online directories of business in London at the time and found the following information on the hallmark site. It simply says that in 1889 in London there was a tobacco merchant named Joshua Michael Jacobs. I found his hallmark which interestingly is an oval as well with the JMJ letters stamped on the silver. I also found that members of the Jacobs family were gold and silver smiths as well as involved in the tobacco industry.

At this point the trail went cold and I could find nothing else regarding the firm in the records. I knew that the family was involved in the industry but I could not find any information on the pipe brand itself. The only connection at this point was the listing in WMTP.
I searched the web for information on the second name in the company – Hart, and found that the name was held by an Australian who was a tobacco merchant as well. I have no idea about the migration from England to Australia but the link is certainly possible. I have included some information from the records I read through on the Hart family to show at least the tobacco connection.
The first document I found was a birth announcement for an Alfred David Hart. The birth announcement reads in part: “Born at Franklin Cottage, West-terrace, Adelaide. Birth certificate held – Father, general merchant, Franklin St., Adelaide, number Vol 3, pg 140 Adelaide.”
Further information found in the Biographical Register of Australia shows that he is included. Quoting in part: “Partner Feldheim, (I), Jacobs (qv) & Co (later Jacobs Hart & Co) tobacco merchants (emphasis is mine), managing director at William Cameron Bros & Co, tobacco manufacturers 1895; director of British Australian Tobacco Co from inception, chairman to 1925; dir Foster’s Beer Co: left estate of at least Pounds 183,252. The references given are: British Australian (Lond) 5 Apr 1928 cover p ii, 14 June 1928 p 21; Brisb Courier 12 Apr 1928 p 6; Argus 18 Feb1928 p 31; Vic LA PP 1894 2 no 37, p 417, Vic LA, V & P 1895 6 1 no D4 p 52, 62, 1895/6 2 no 3 p 8 ? 34.” http://metastudies.net/genealogy/PS04/PS04_230.HTM
The last bit of information on this partner in the company I found was his obituary. It too links him to the tobacco company that is associated with this pipe.
Hart, Alfred David (1851–1928)
http://oa.anu.edu.au/obituary/hart-alfred-david-13552
Mr. Alfred David Hart, who died on Thursday night at his residence in St. Kilda road, in his 78th year, was one of the founders of the modern tobacco trade in Australia. Mr. Hart was born in Adelaide in November, 1850, and he came to Melbourne in youth. His long association with the tobacco trade began at that time. For some years he was with Feldheim Jacobs and Co., and afterwards the firm became Jacobs Hart and Co., with establishments in Melbourne and Adelaide. At a later time Mr. Hart retired from the firm and became chairman and manager of Cameron Brothers and Co. Pty. Ltd. When the tobacco companies of Australia amalgamated he became chairman of directors in Melbourne of the British Australian Tobacco Company Pty. Ltd. From that position he retired in 1925, though he still held large interests. At one period Mr. Hart was chairman of directors of the Foster Brewing Company, and to the time of his death he was one of the directors of the Swan Brewery Company and chairman of directors of the United Insurance Company Ltd. Mr. Hart had many other business interests. He was the proprietor of Elizabeth House, the large building at the corner of Elizabeth and little Collins streets.
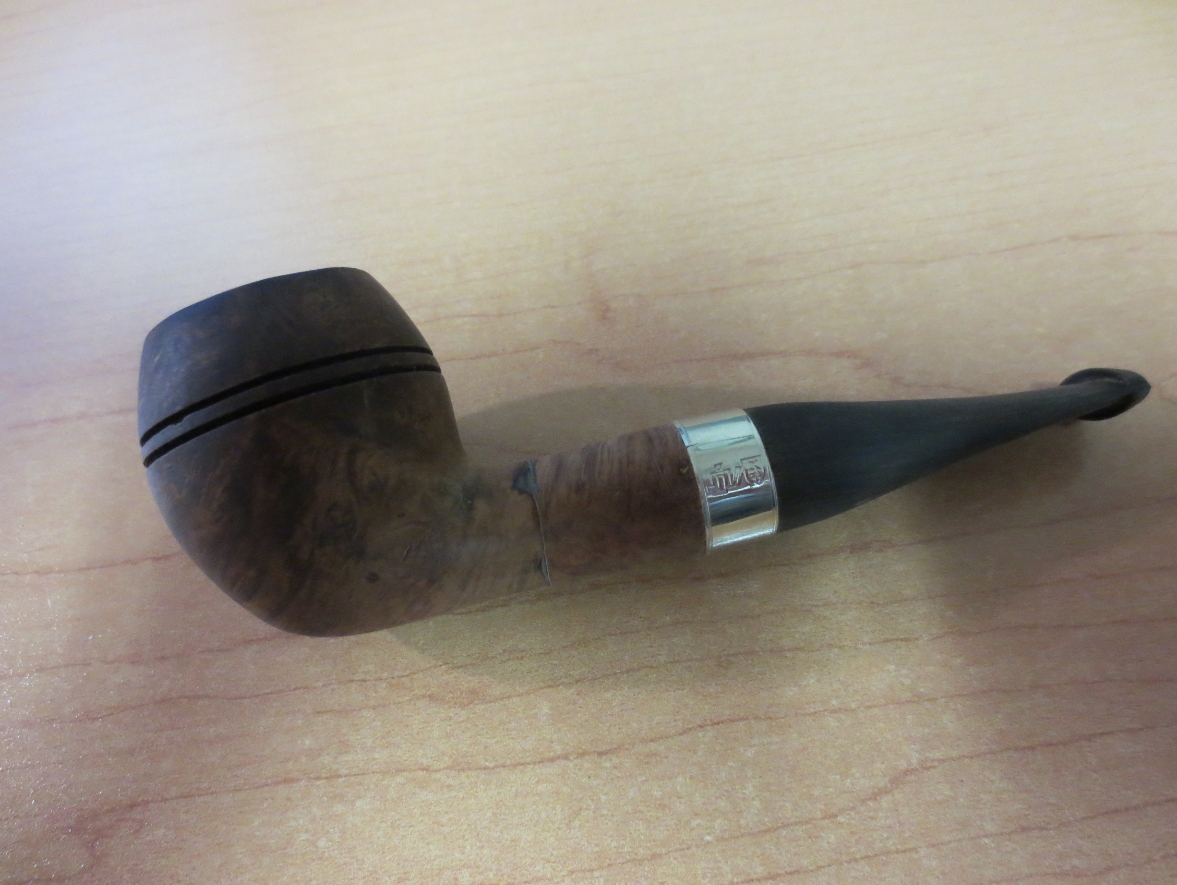
 That is the extent of that information as well. Once again there is no written link to the information noted in WMTP. I did some more research on the LMN brand and came across several pipes with that stamping for sale on various sites. Once of those was found on Worthpoint. It is pictured below. I have also included the link to the site. http://www.worthpoint.com/worthopedia/vintage-lmn-hallmarked-bent-chimney-169605160 I did find that LMN was registered as a trademark in Australia and belonged to WD & HO Wills Australia LTD. Here is the trademark information:
Trademark number 4727 was lodged on 30/07/1907 and has a status of Removed – Not Renewed. The applicant/owner of the trademark is registered as W D & H O Wills (Aust) Limited Business names for this company include AMERICAN PALL MALL, AMERICAN PALL MALL CO, BROWN & WILLIAMSON TOBACCO CO, BROWN & WILLIAMSON TOBACCO CO., BROWN & WILLIAMSON TOBACCO COMPANY, BROWN AND WILLIAMSON TOBACCO COMPANY, CIGARETTE DISTRIBUTORS, CUSTOMPHONE, GENERAL CIGAR CO, GEORGE TICKLE & CO, LAMBERT & BUTLER, OGDENS TOBACCO CO, THE NATIONAL TOBACCO COMPANY OF AUSTRALIA, THE STATESMAN CIGAR CO, TICKLES TOBACCO SERVICE, W.A. AND A.C. CHURCHMAN, WILLIAM BUTLER TOBACCO COMPANY
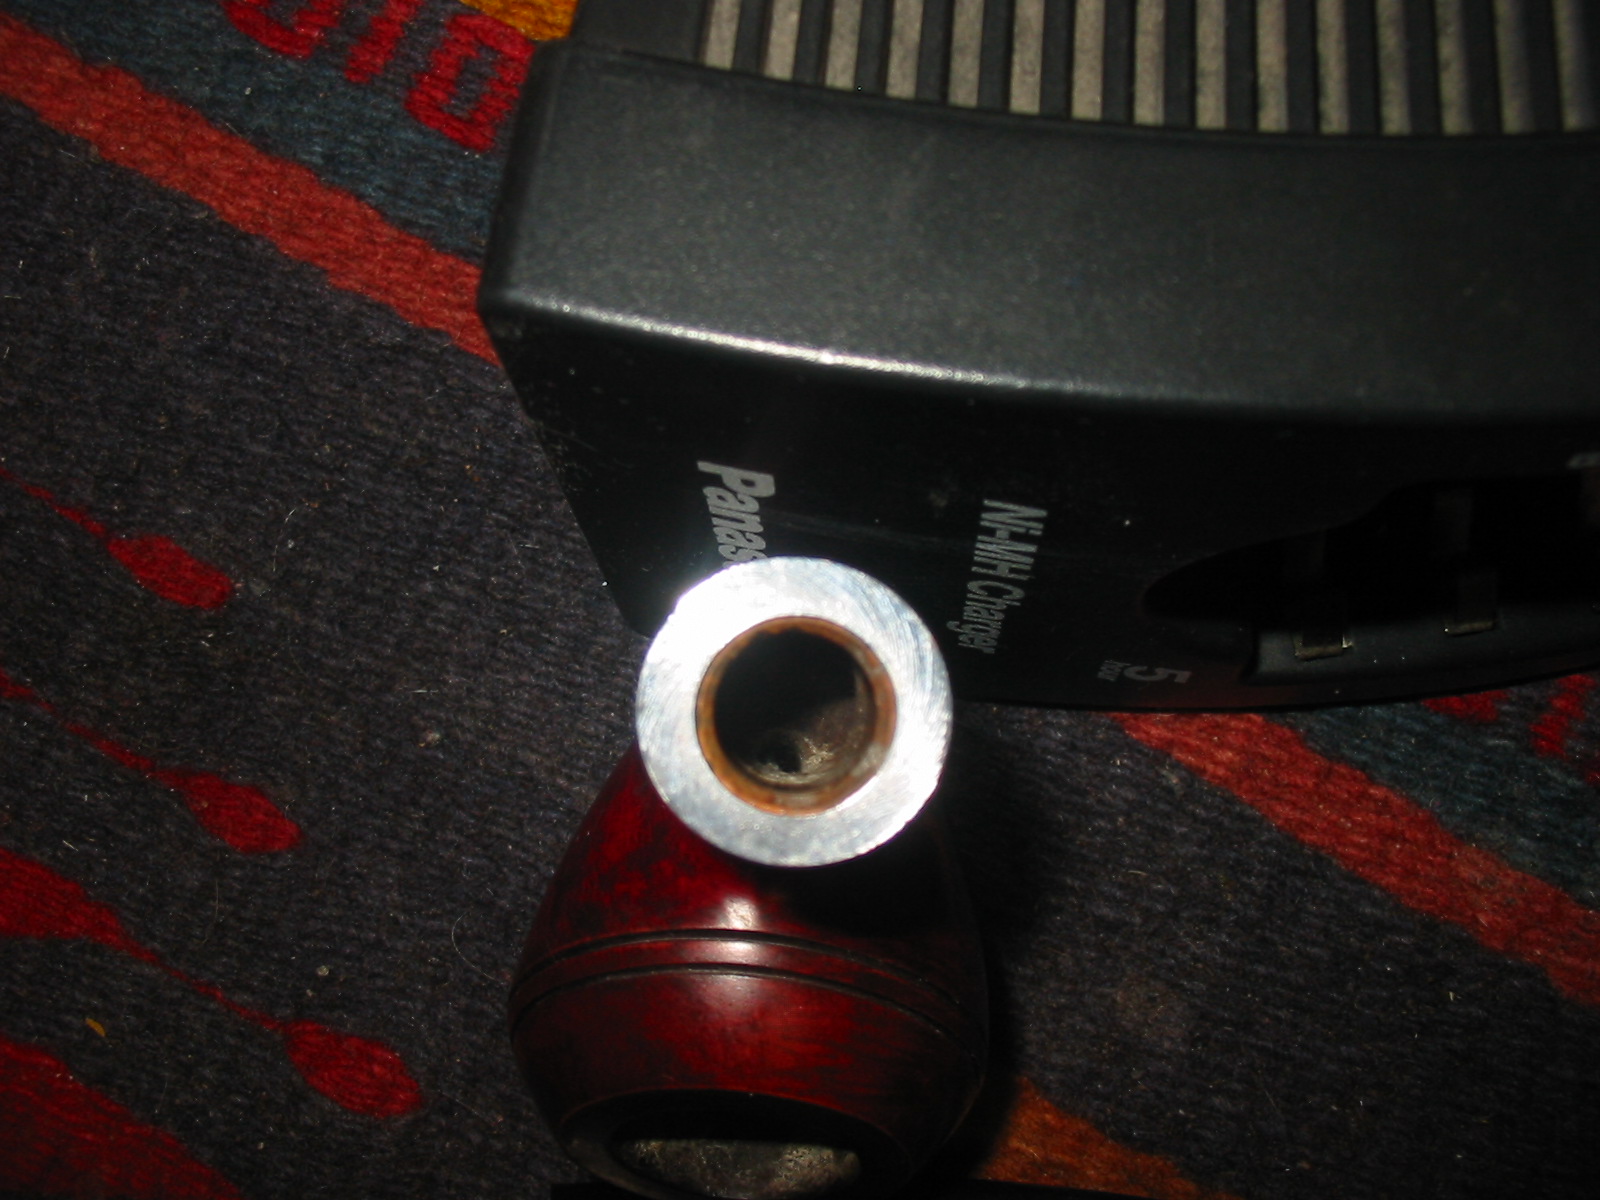
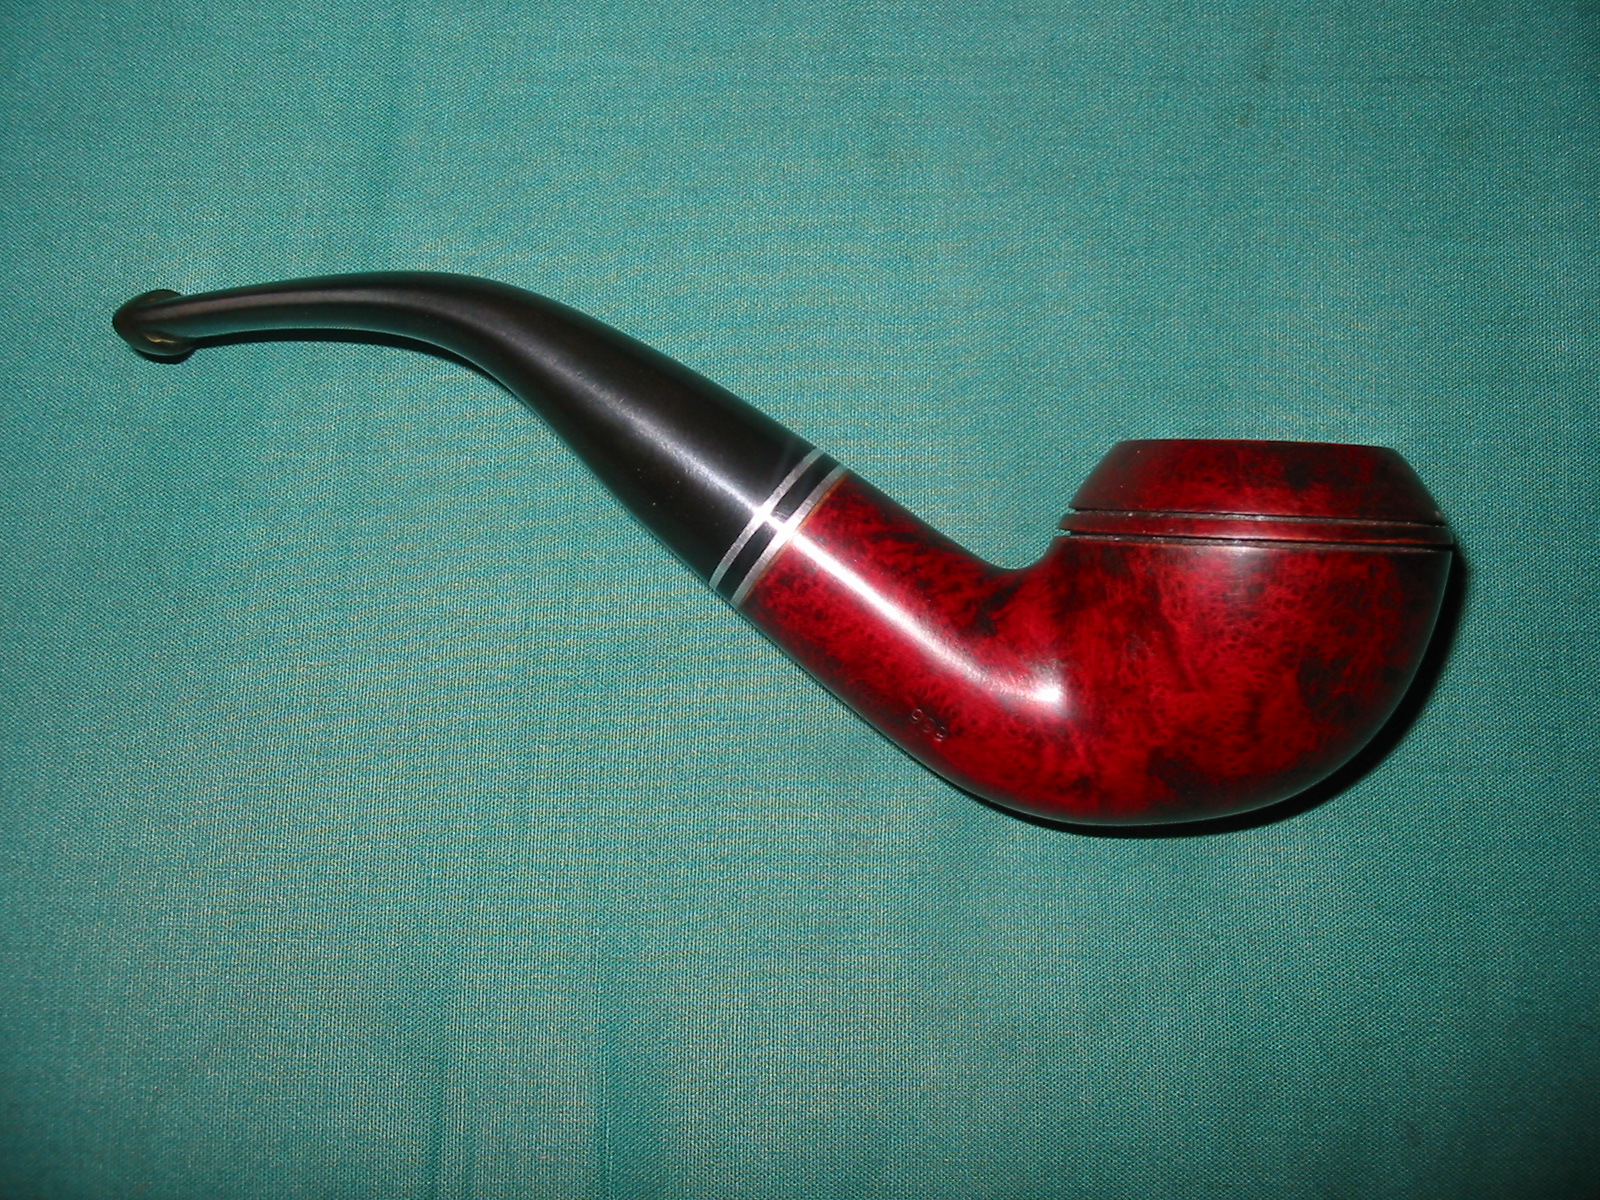
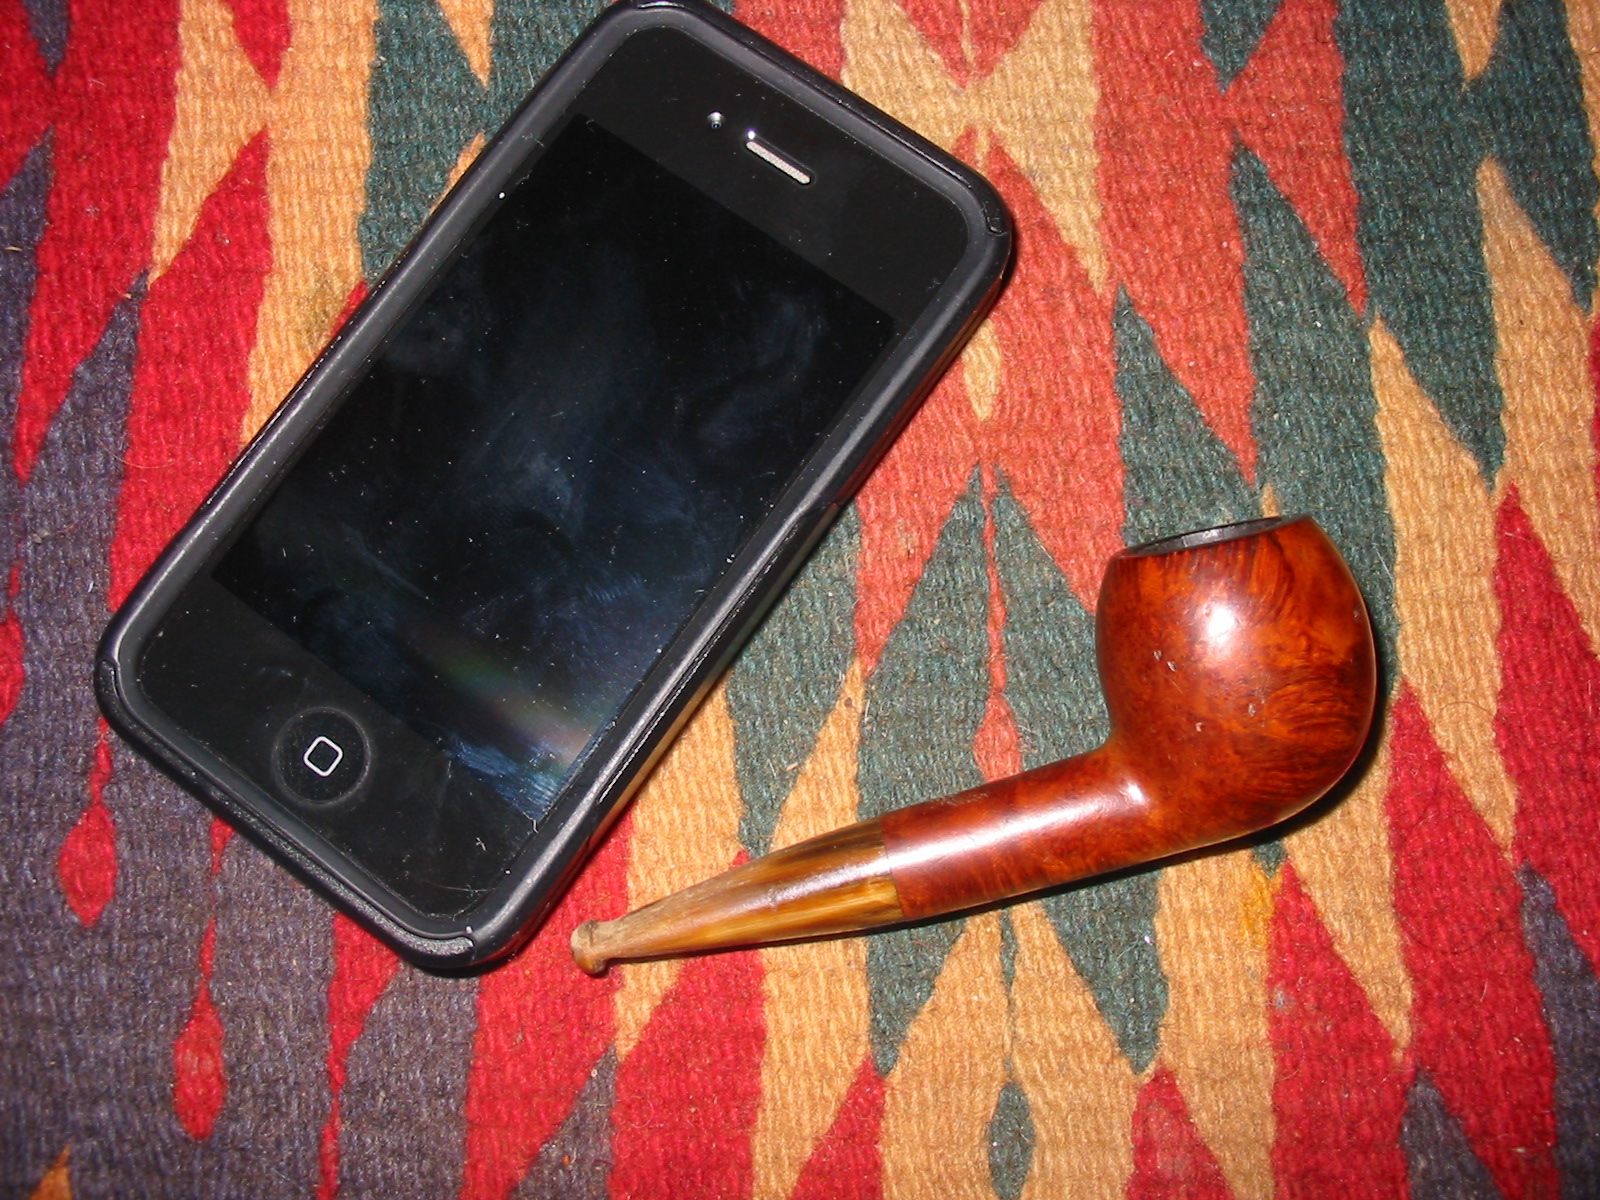
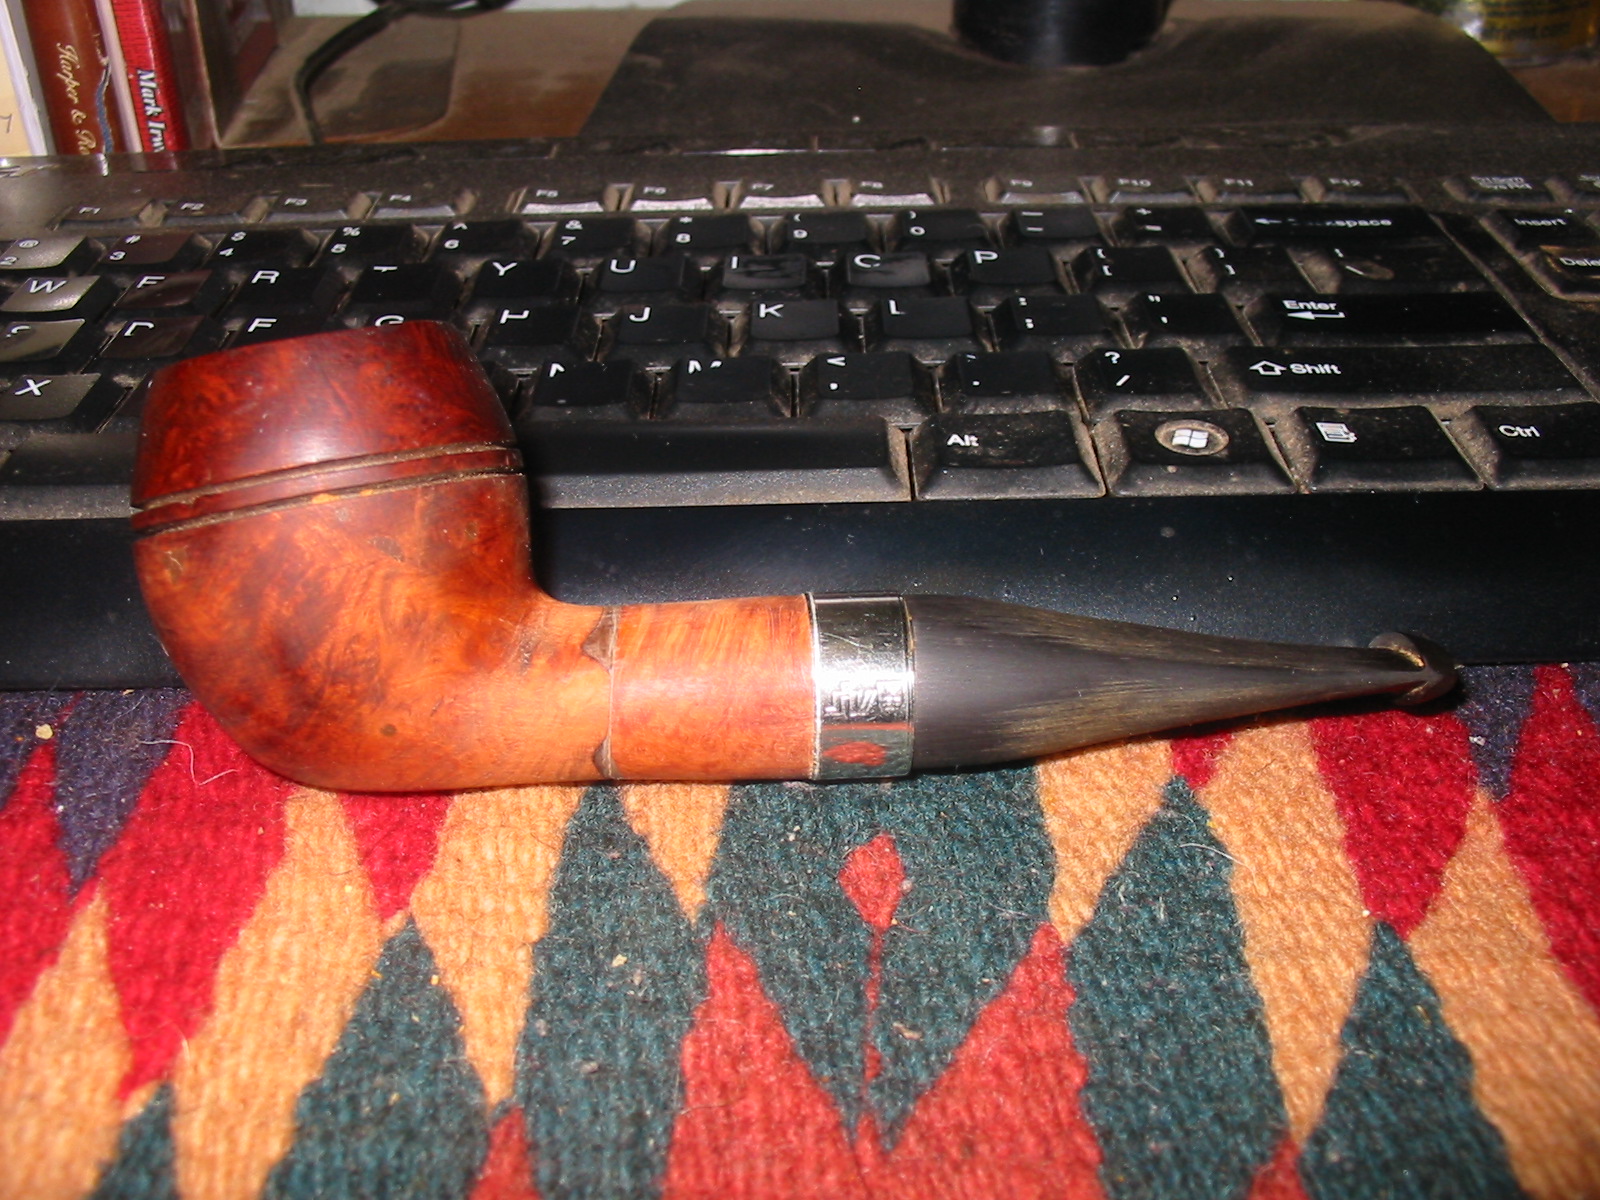
With that I decided to put my research to rest for a while and went to work on the pipe. The next photo gives a clear picture of the size of the pipe. I have it resting next to my iPhone 4 for comparison sake.

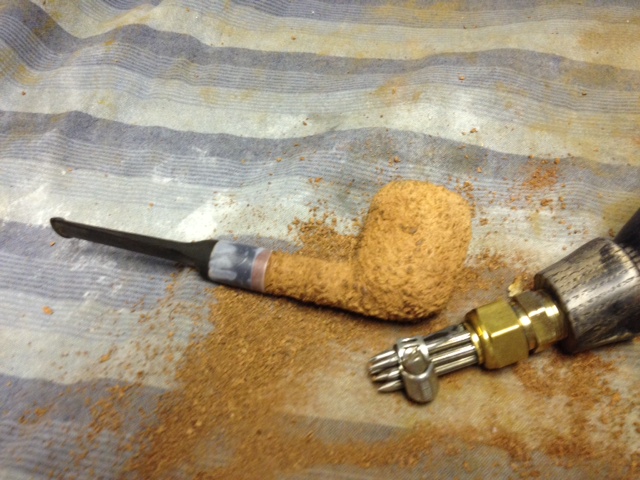
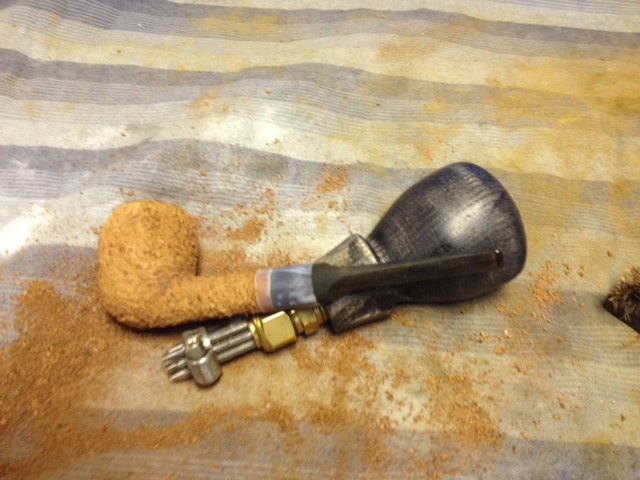
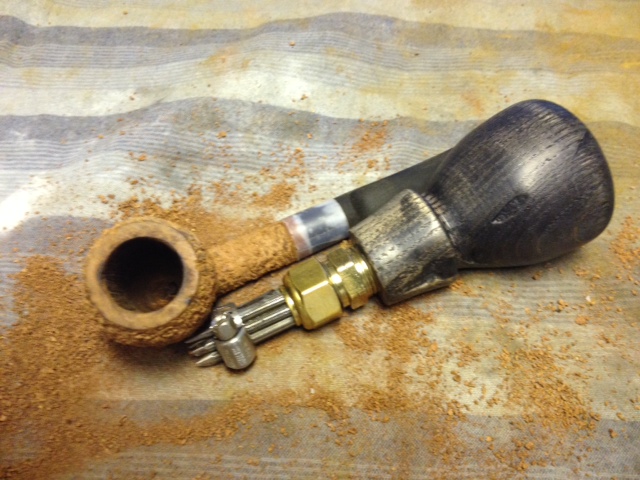
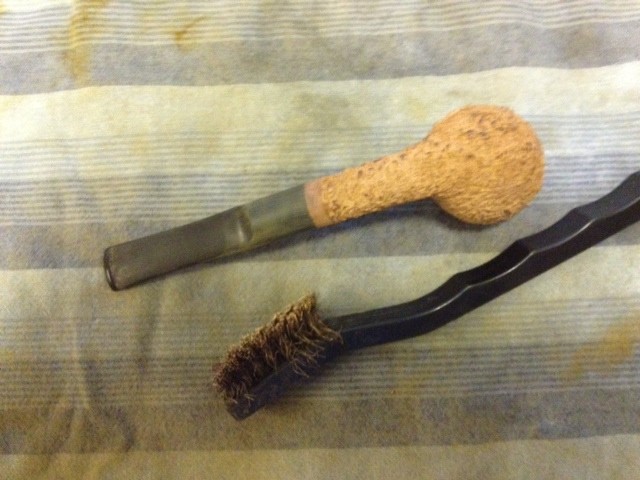
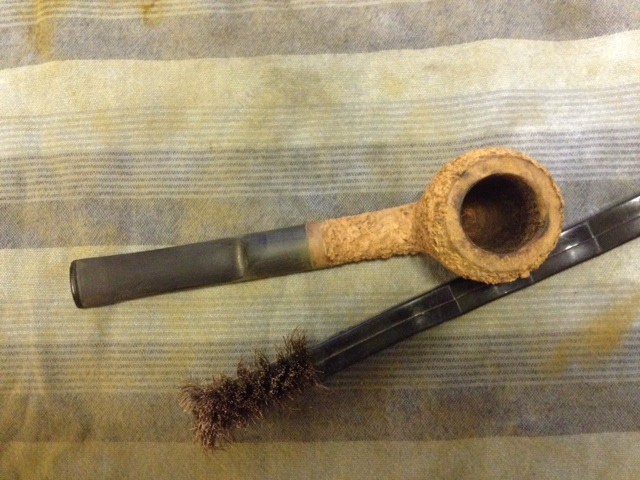
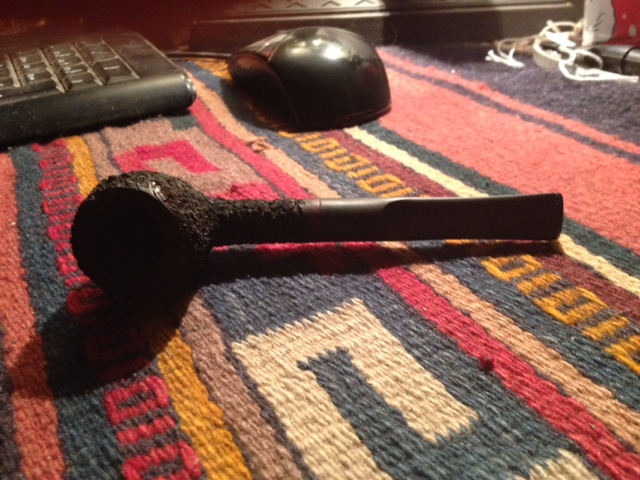
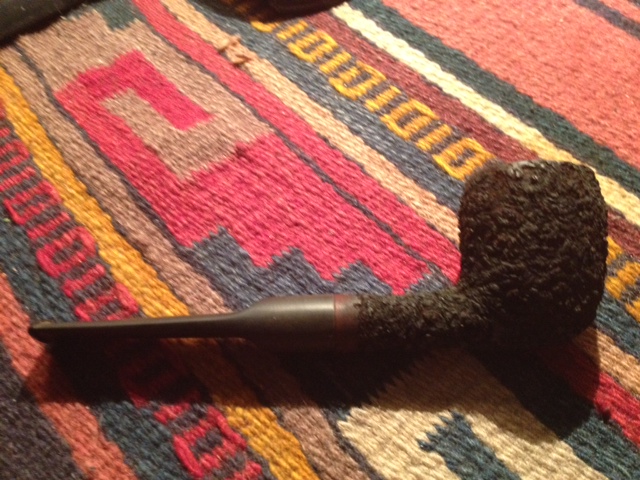
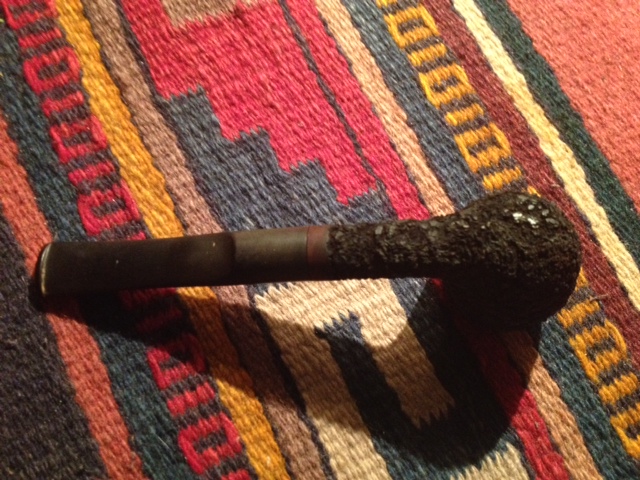
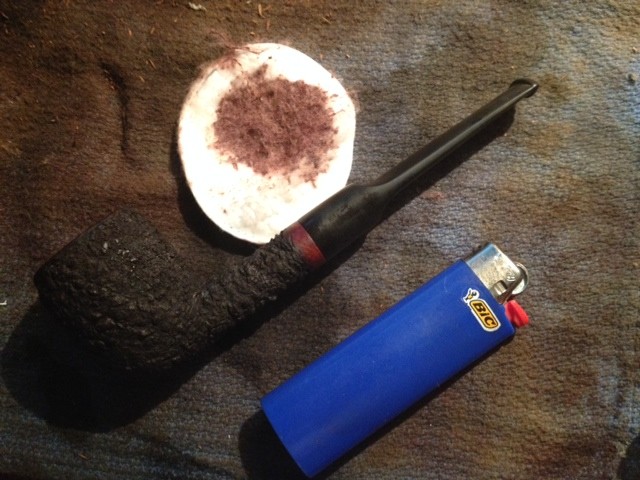
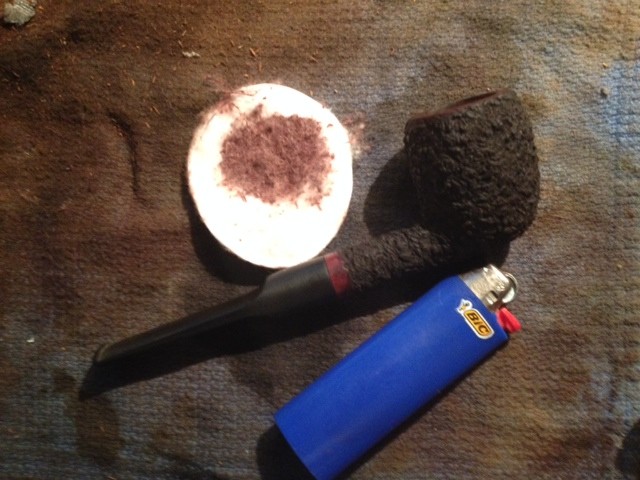
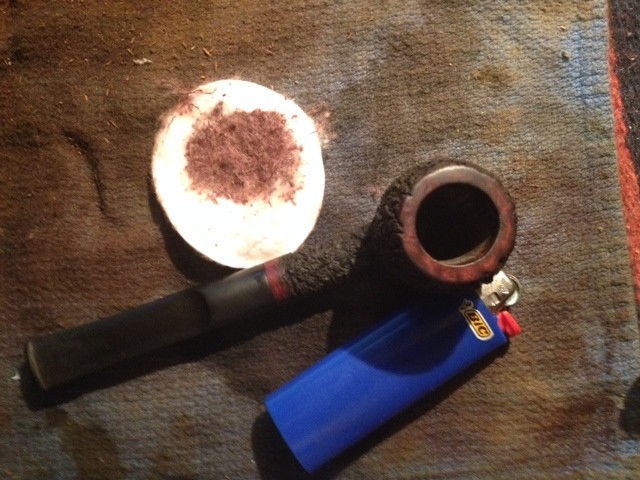
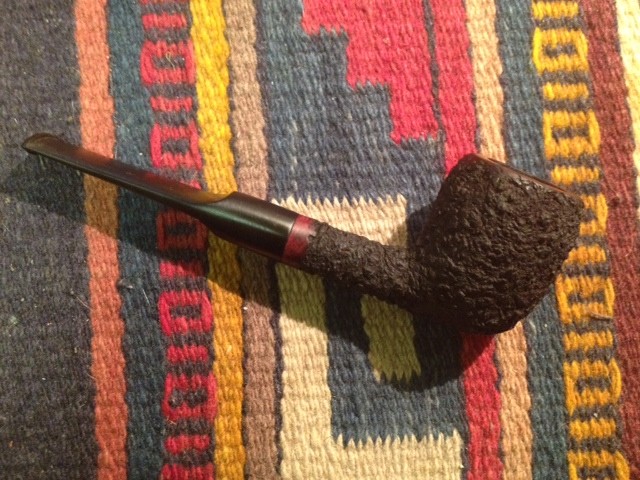
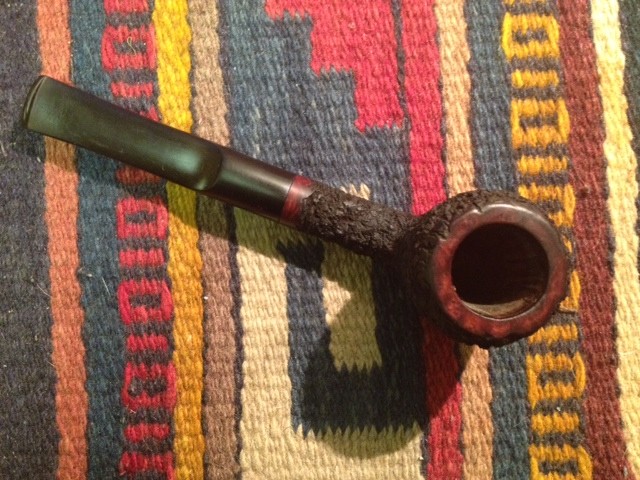
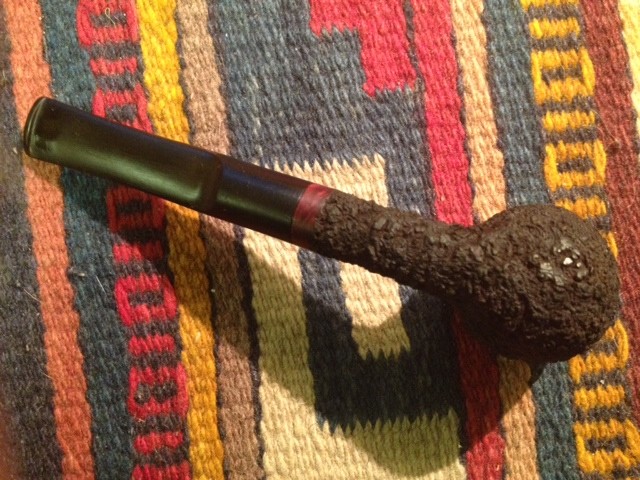
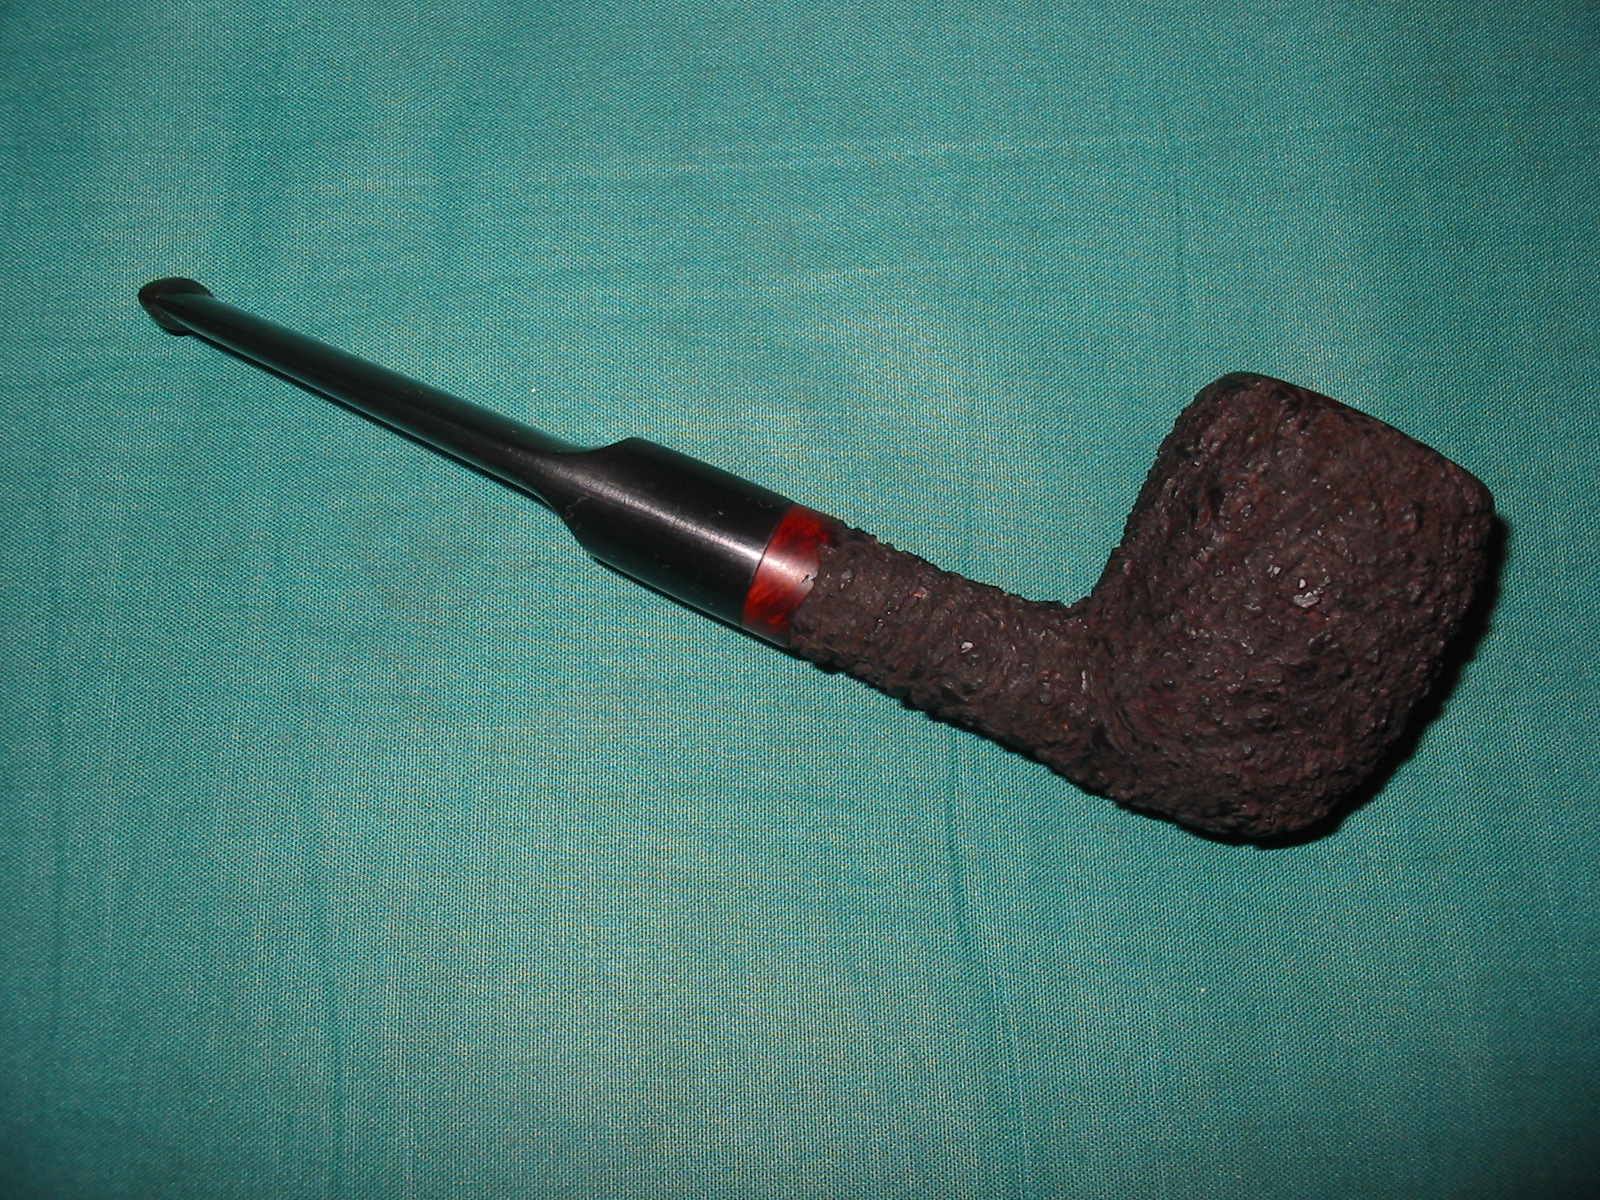
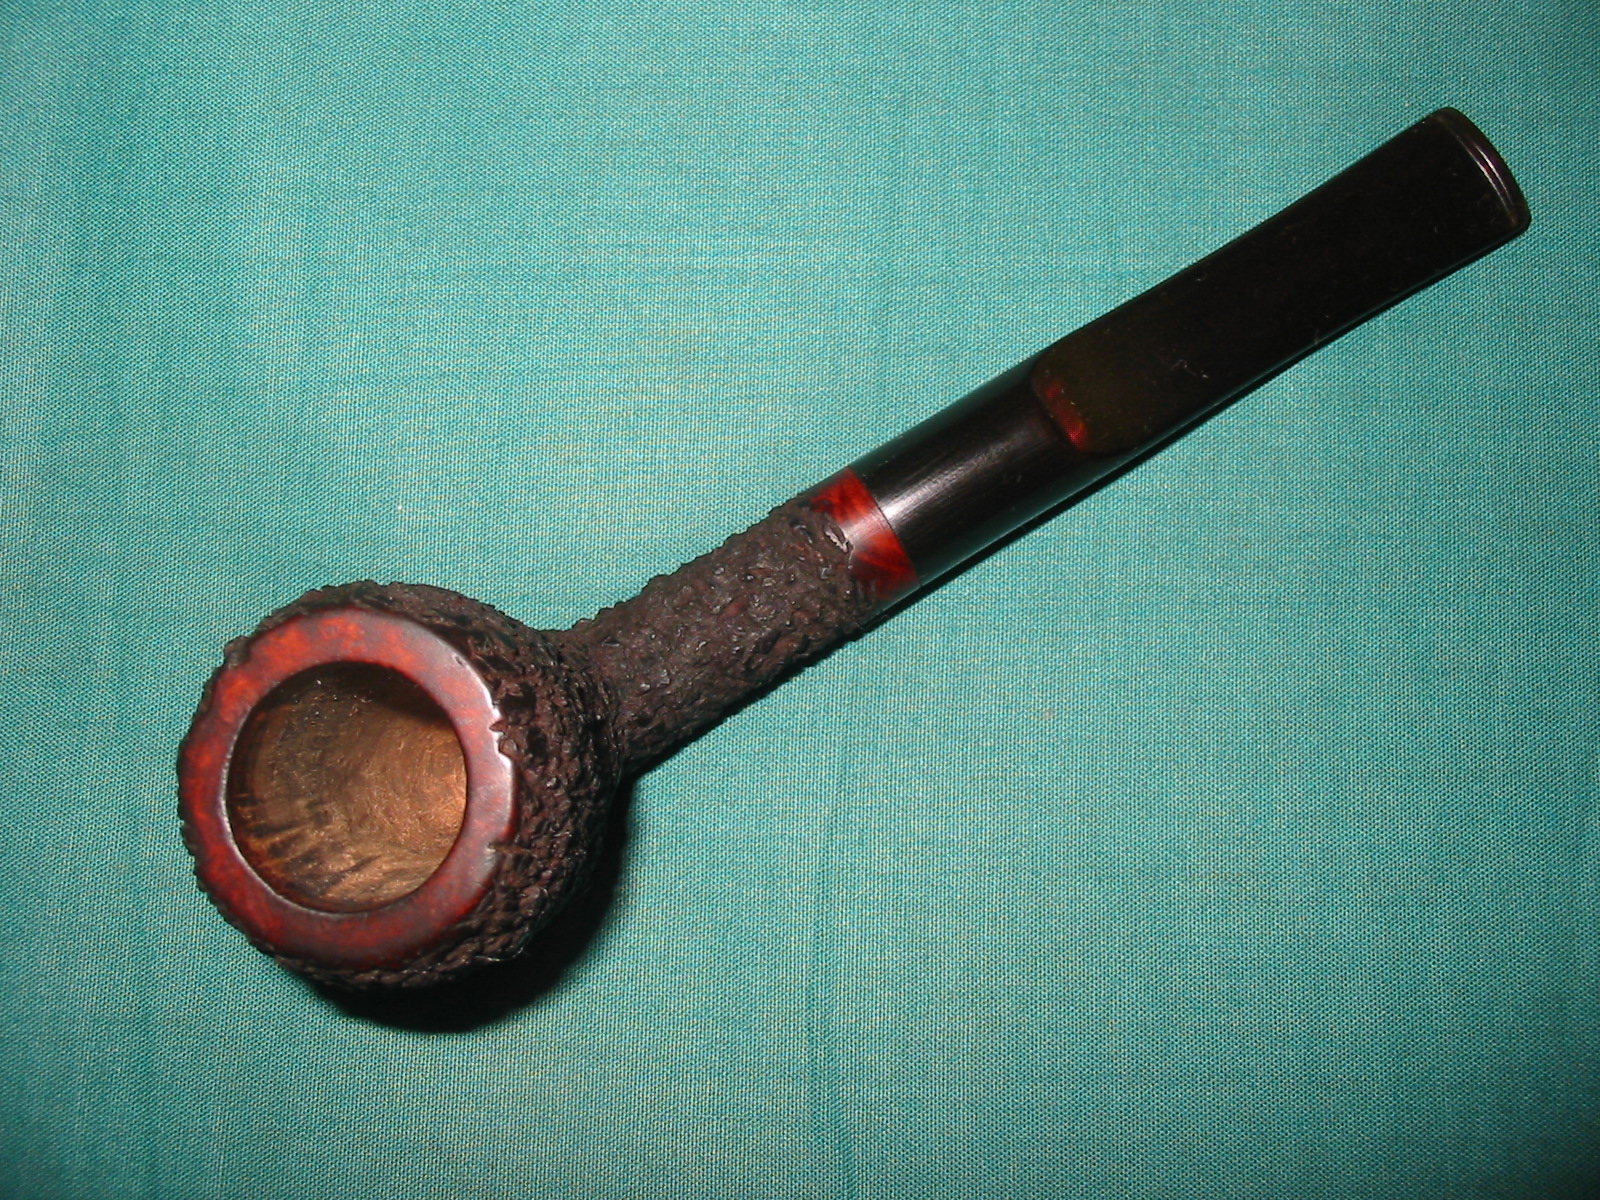
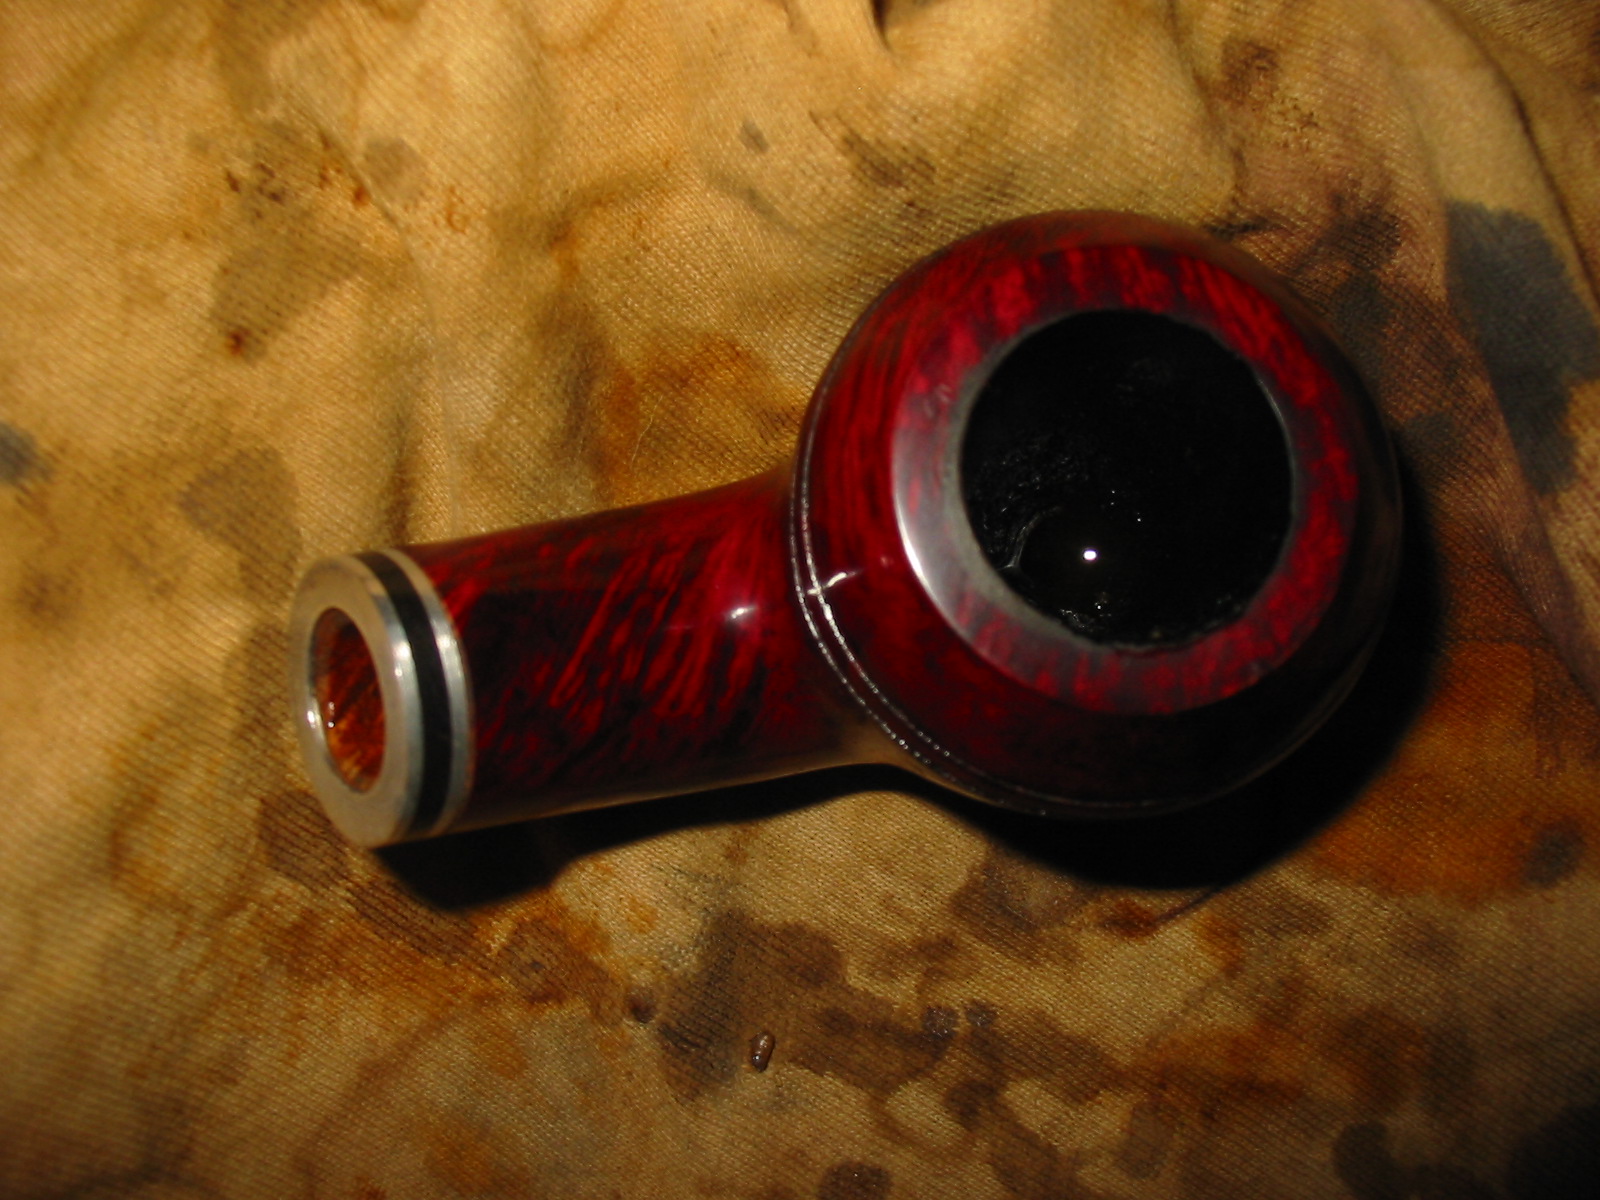
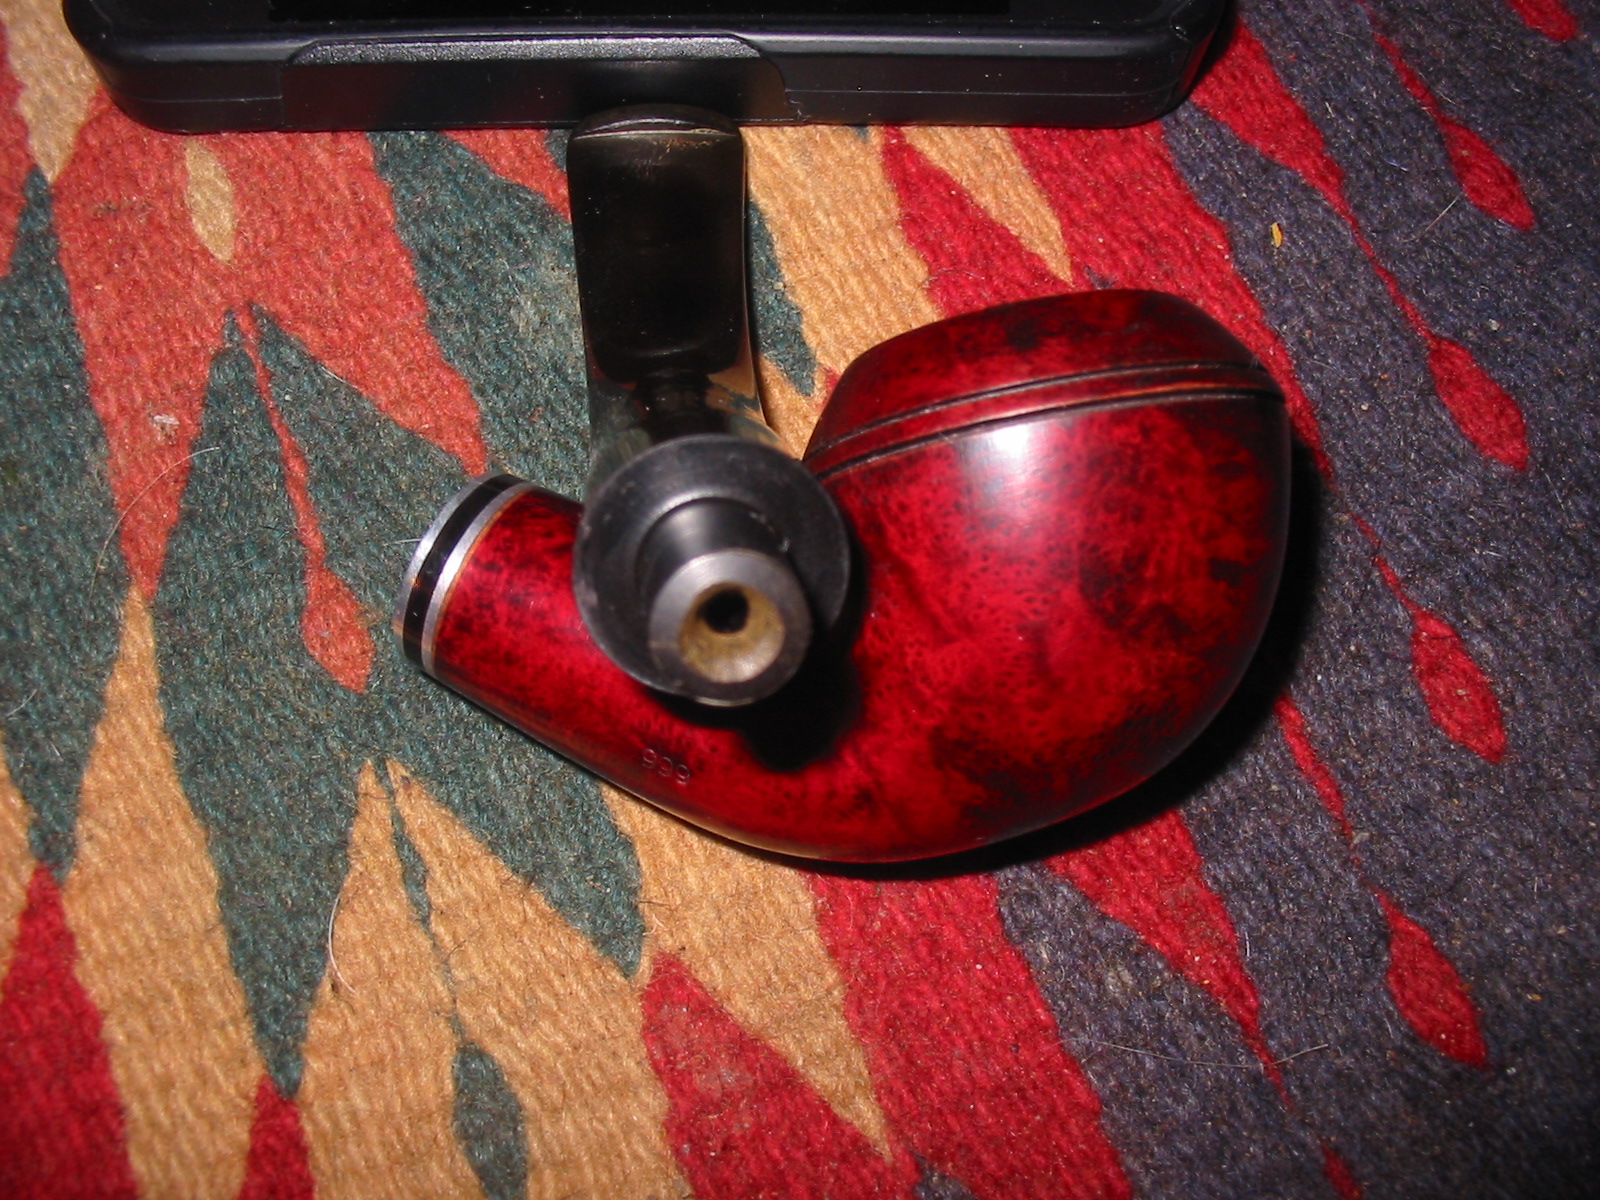
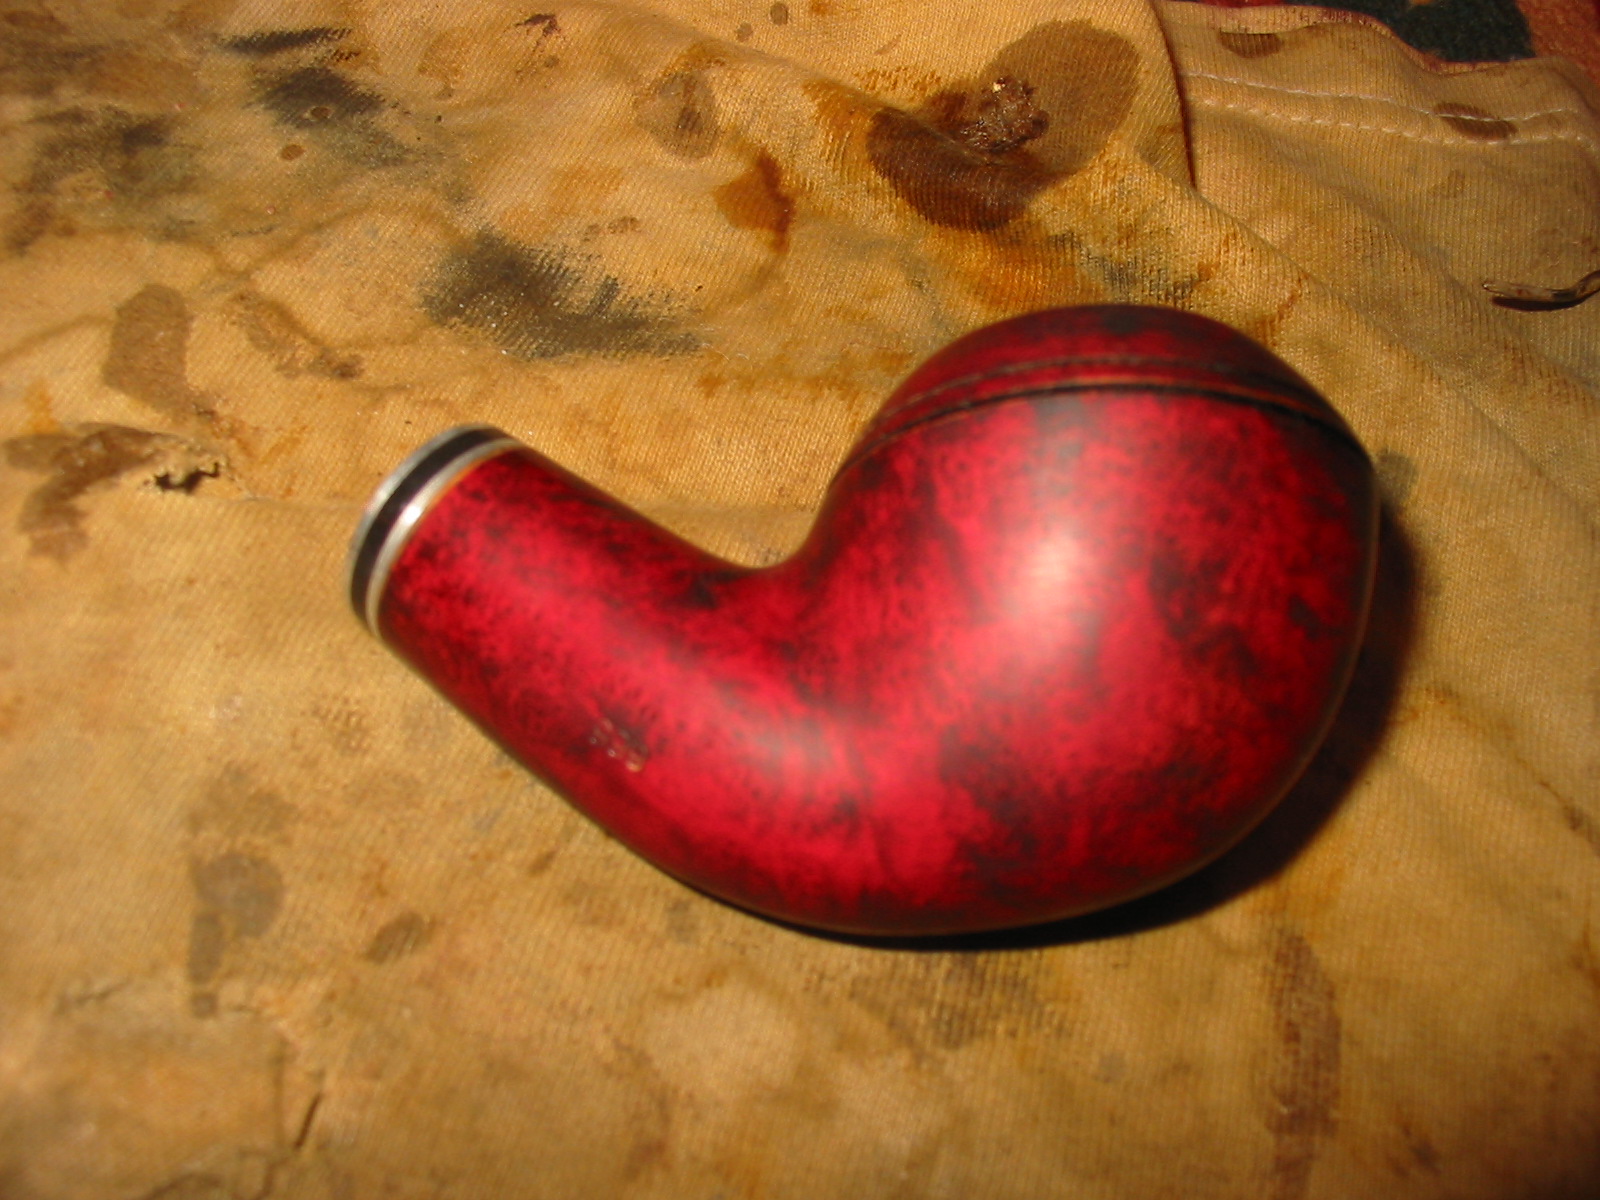
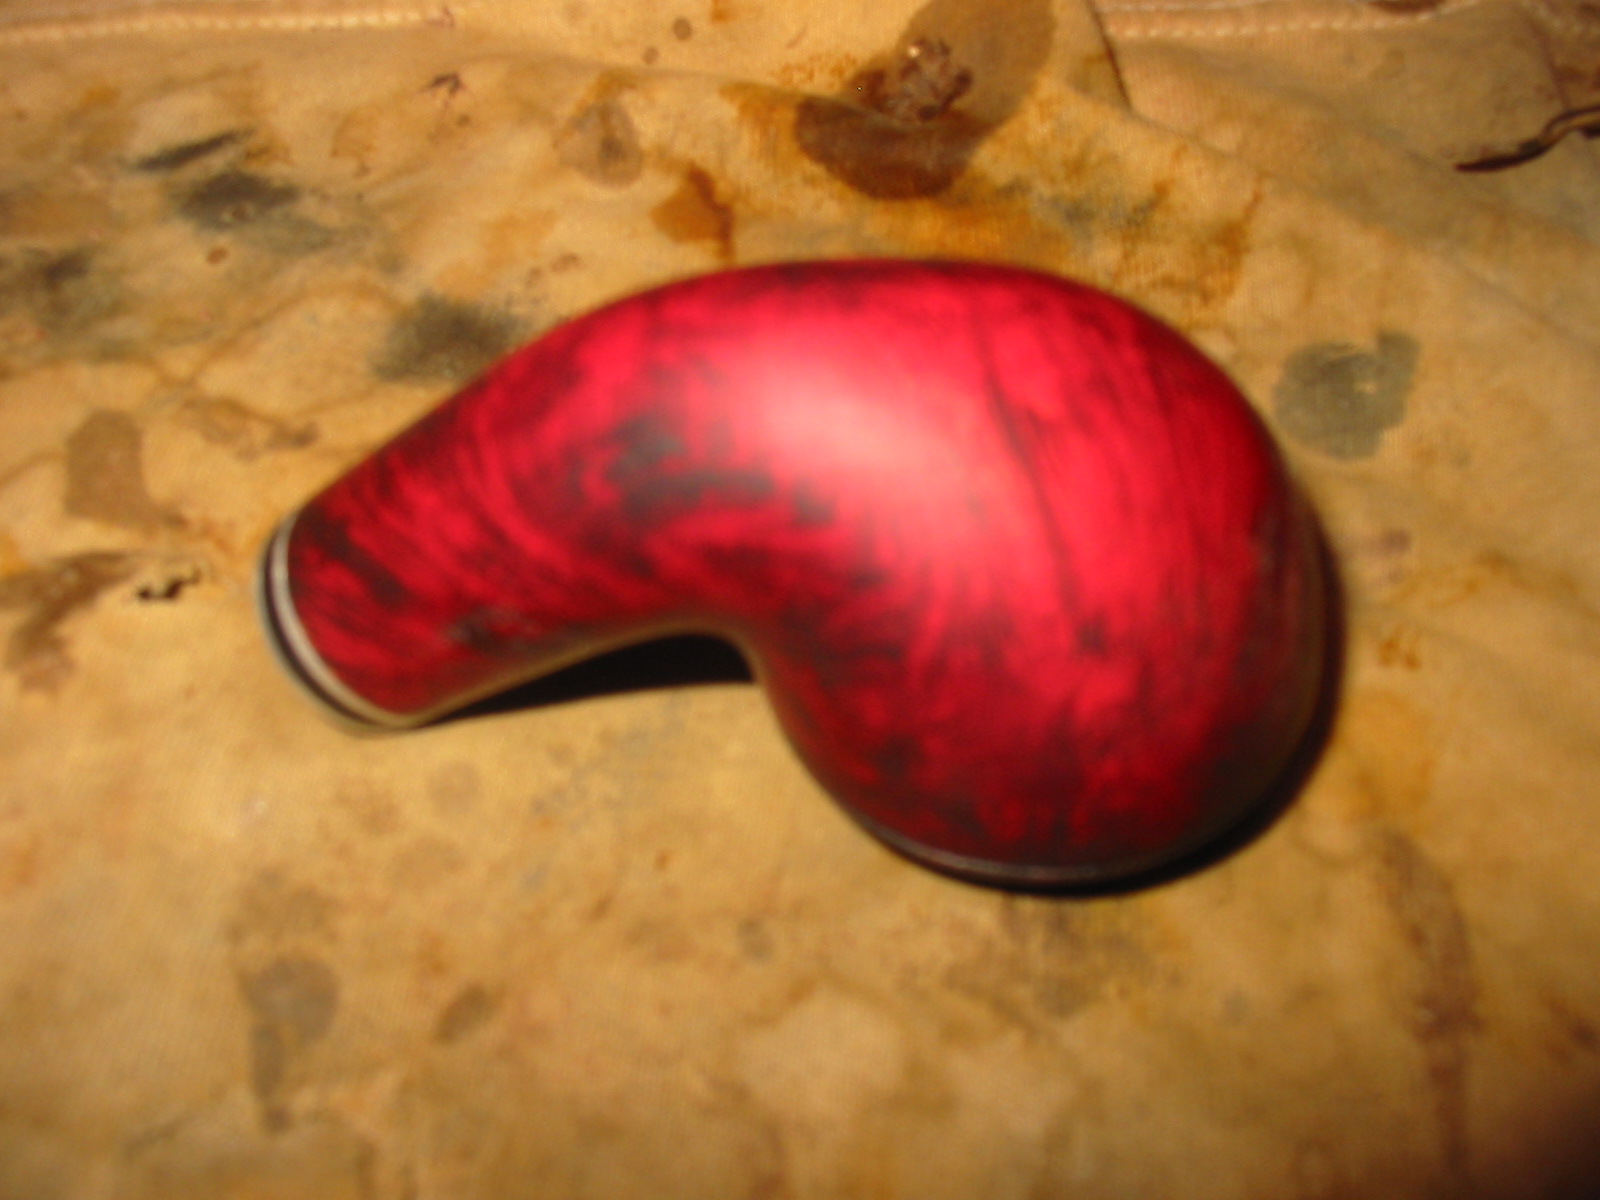
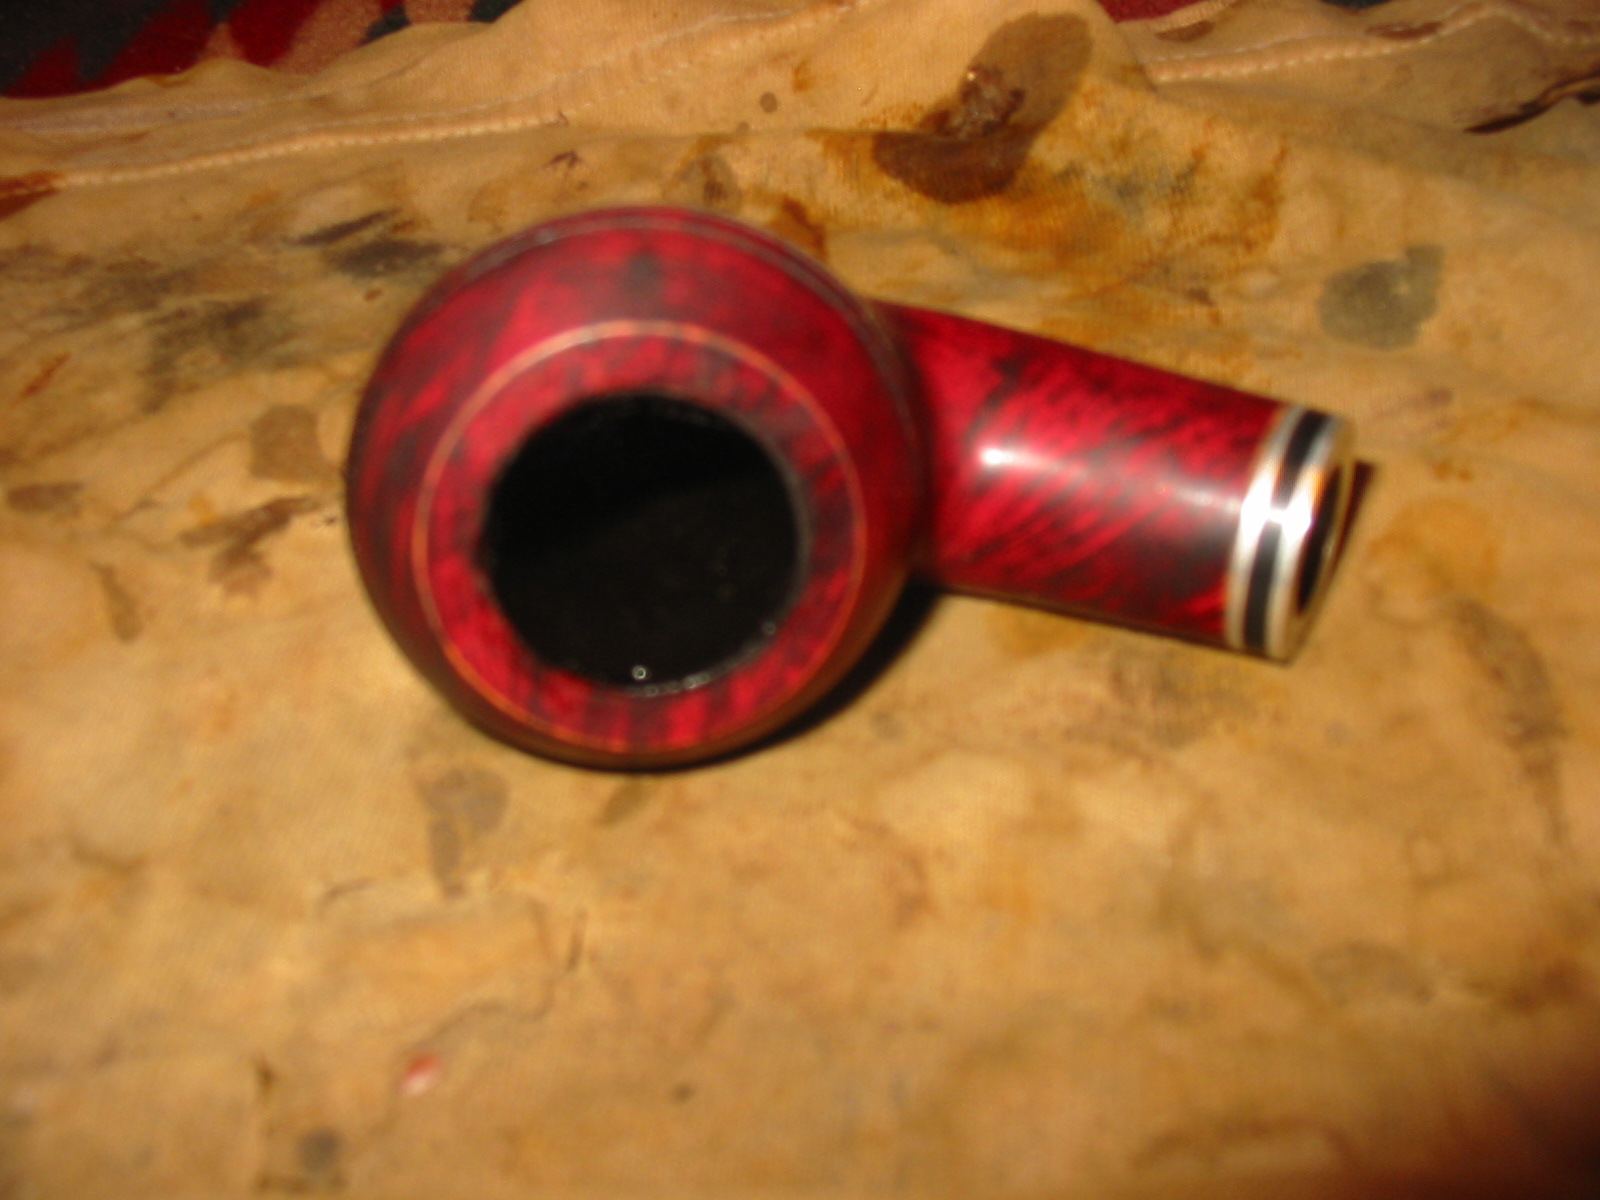
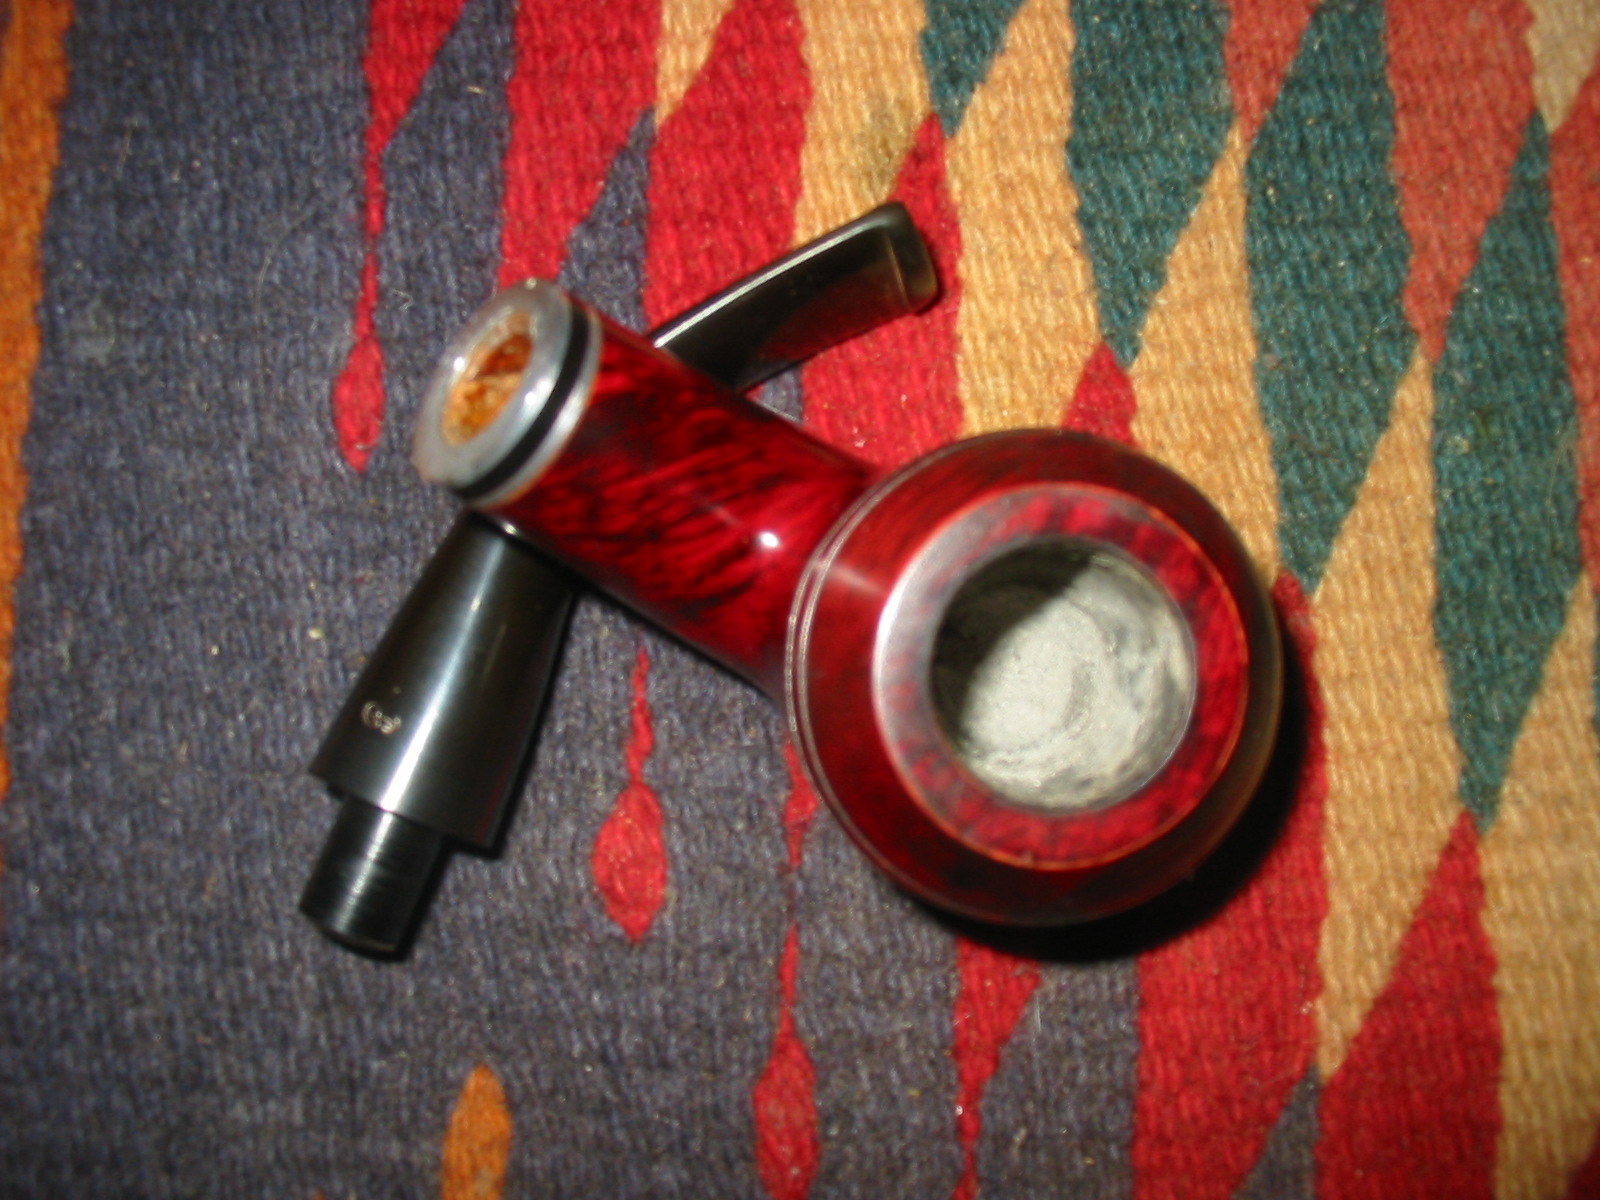
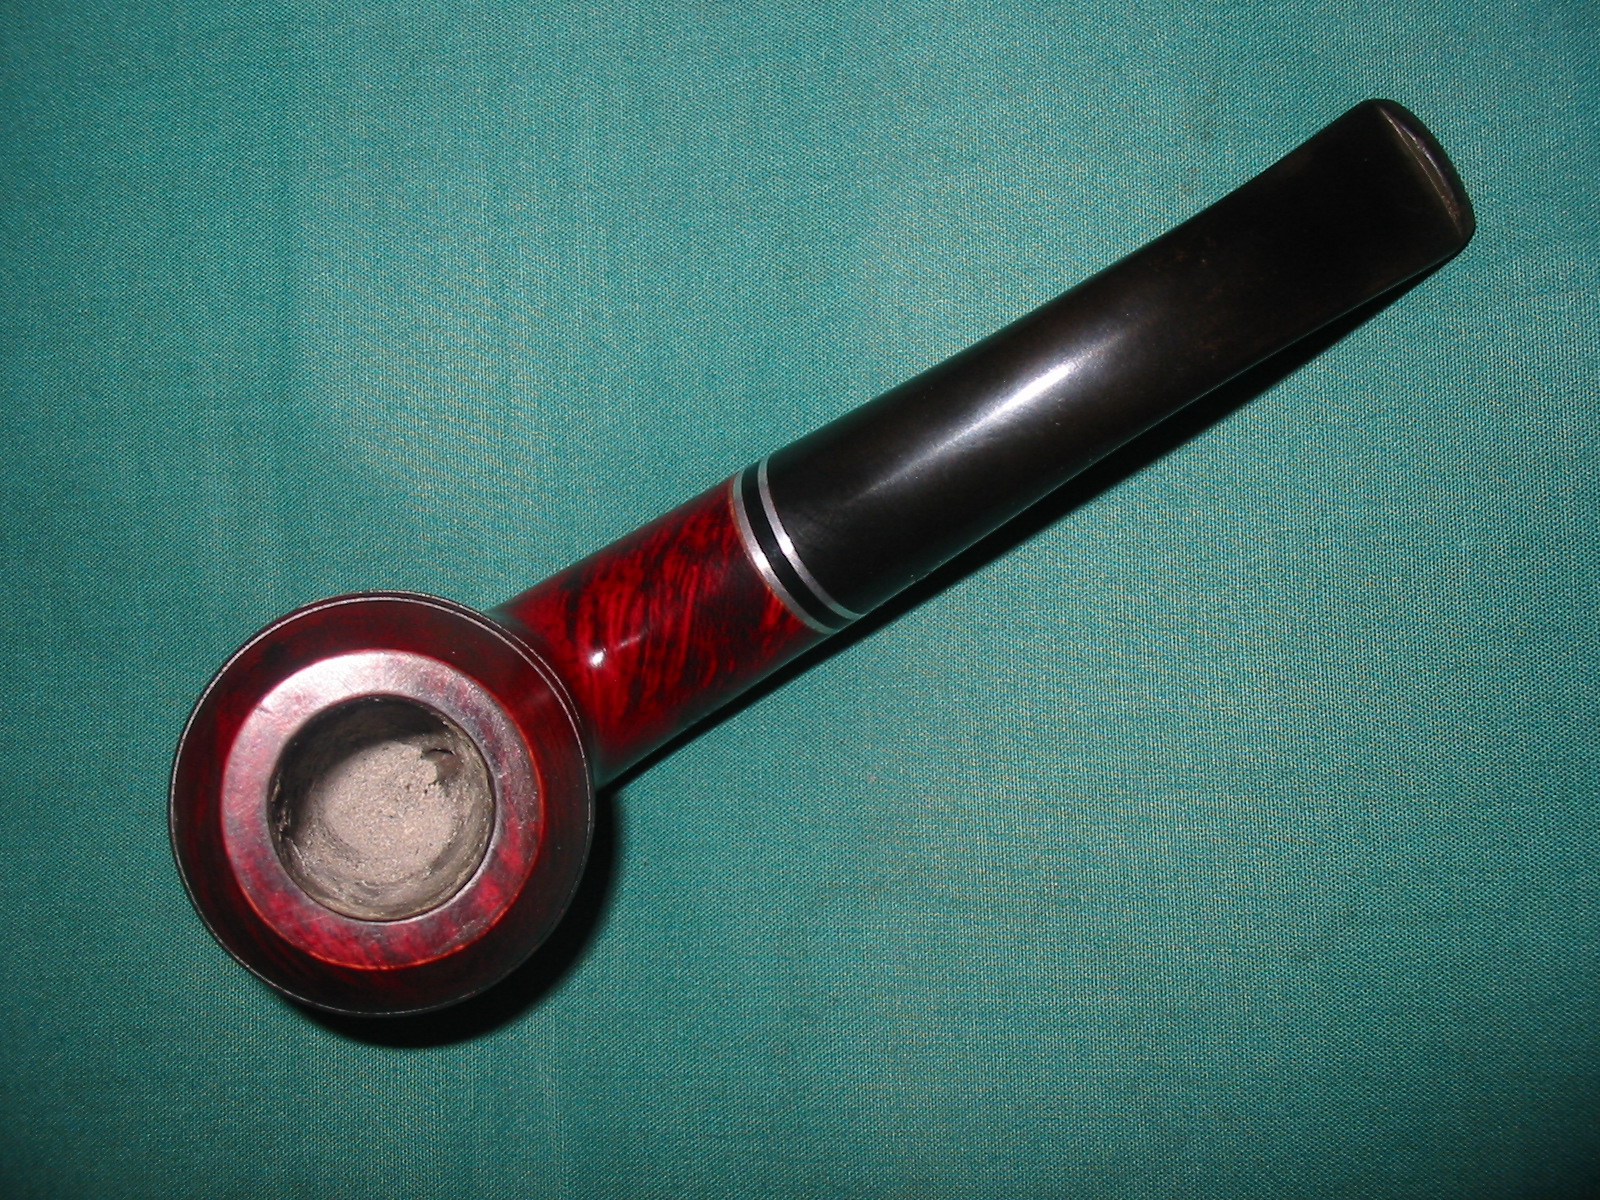
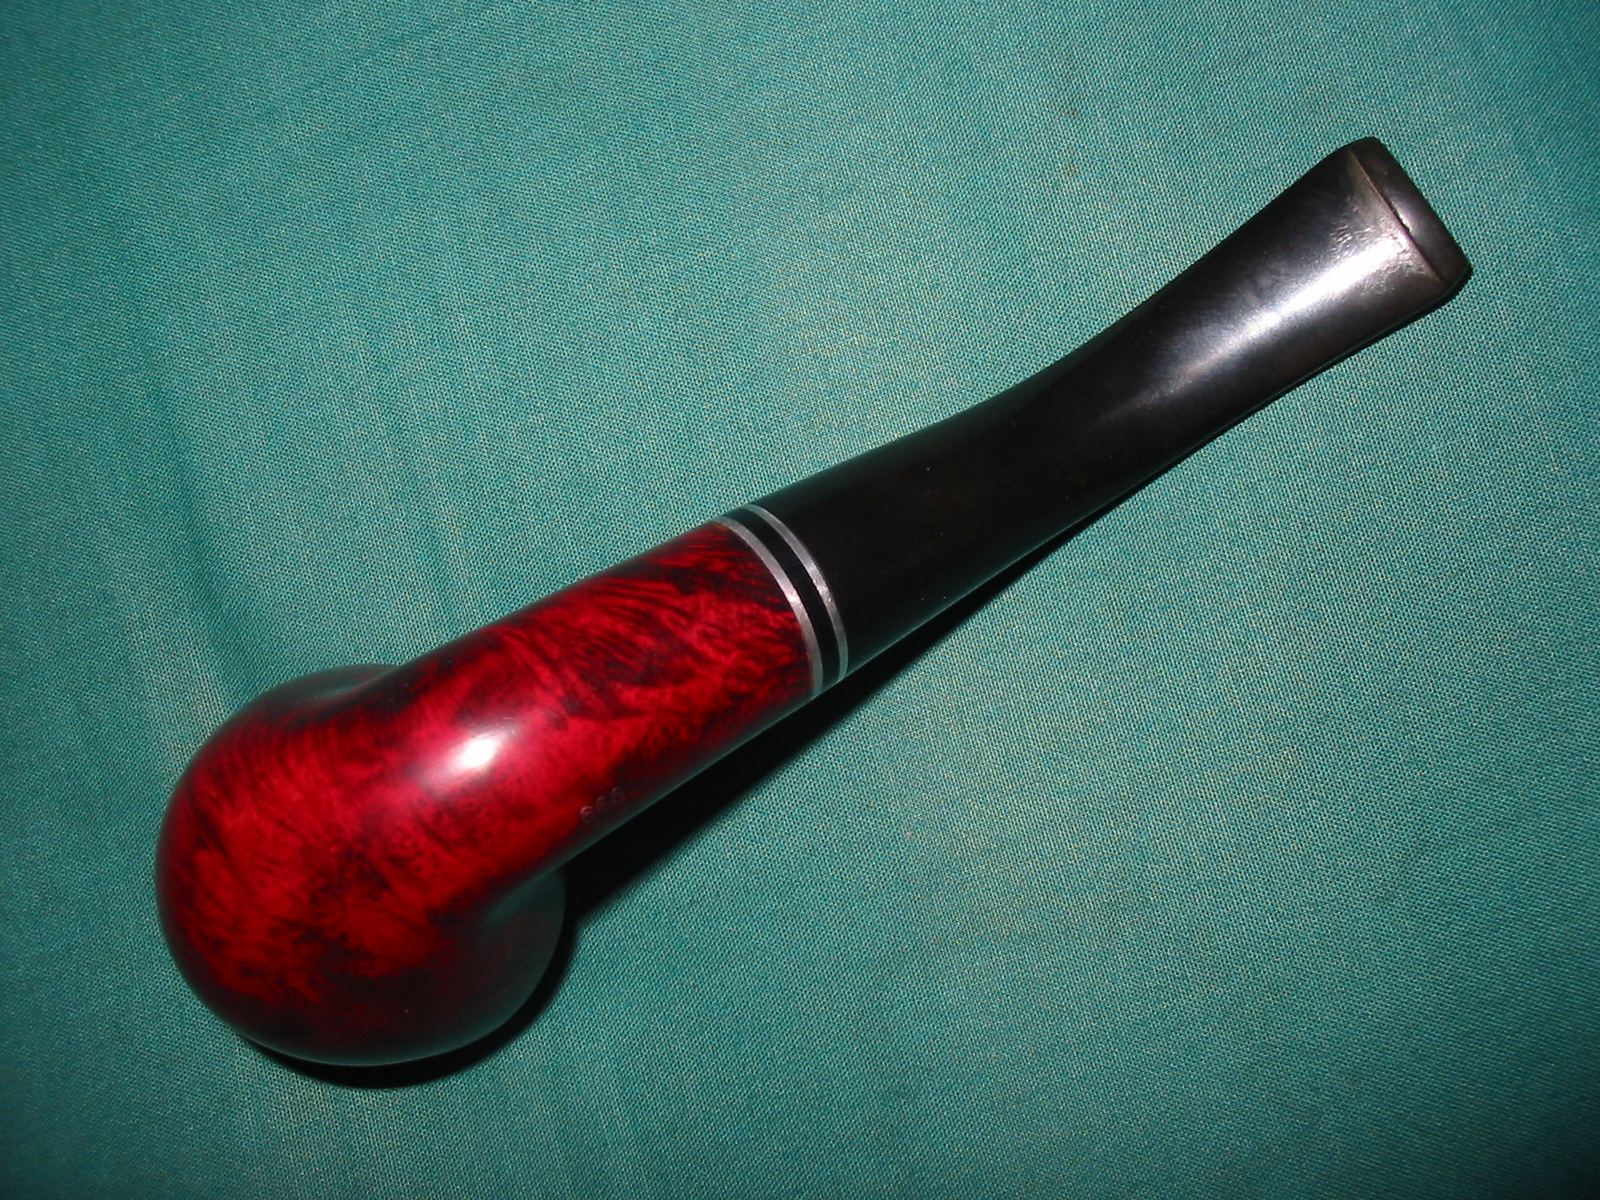
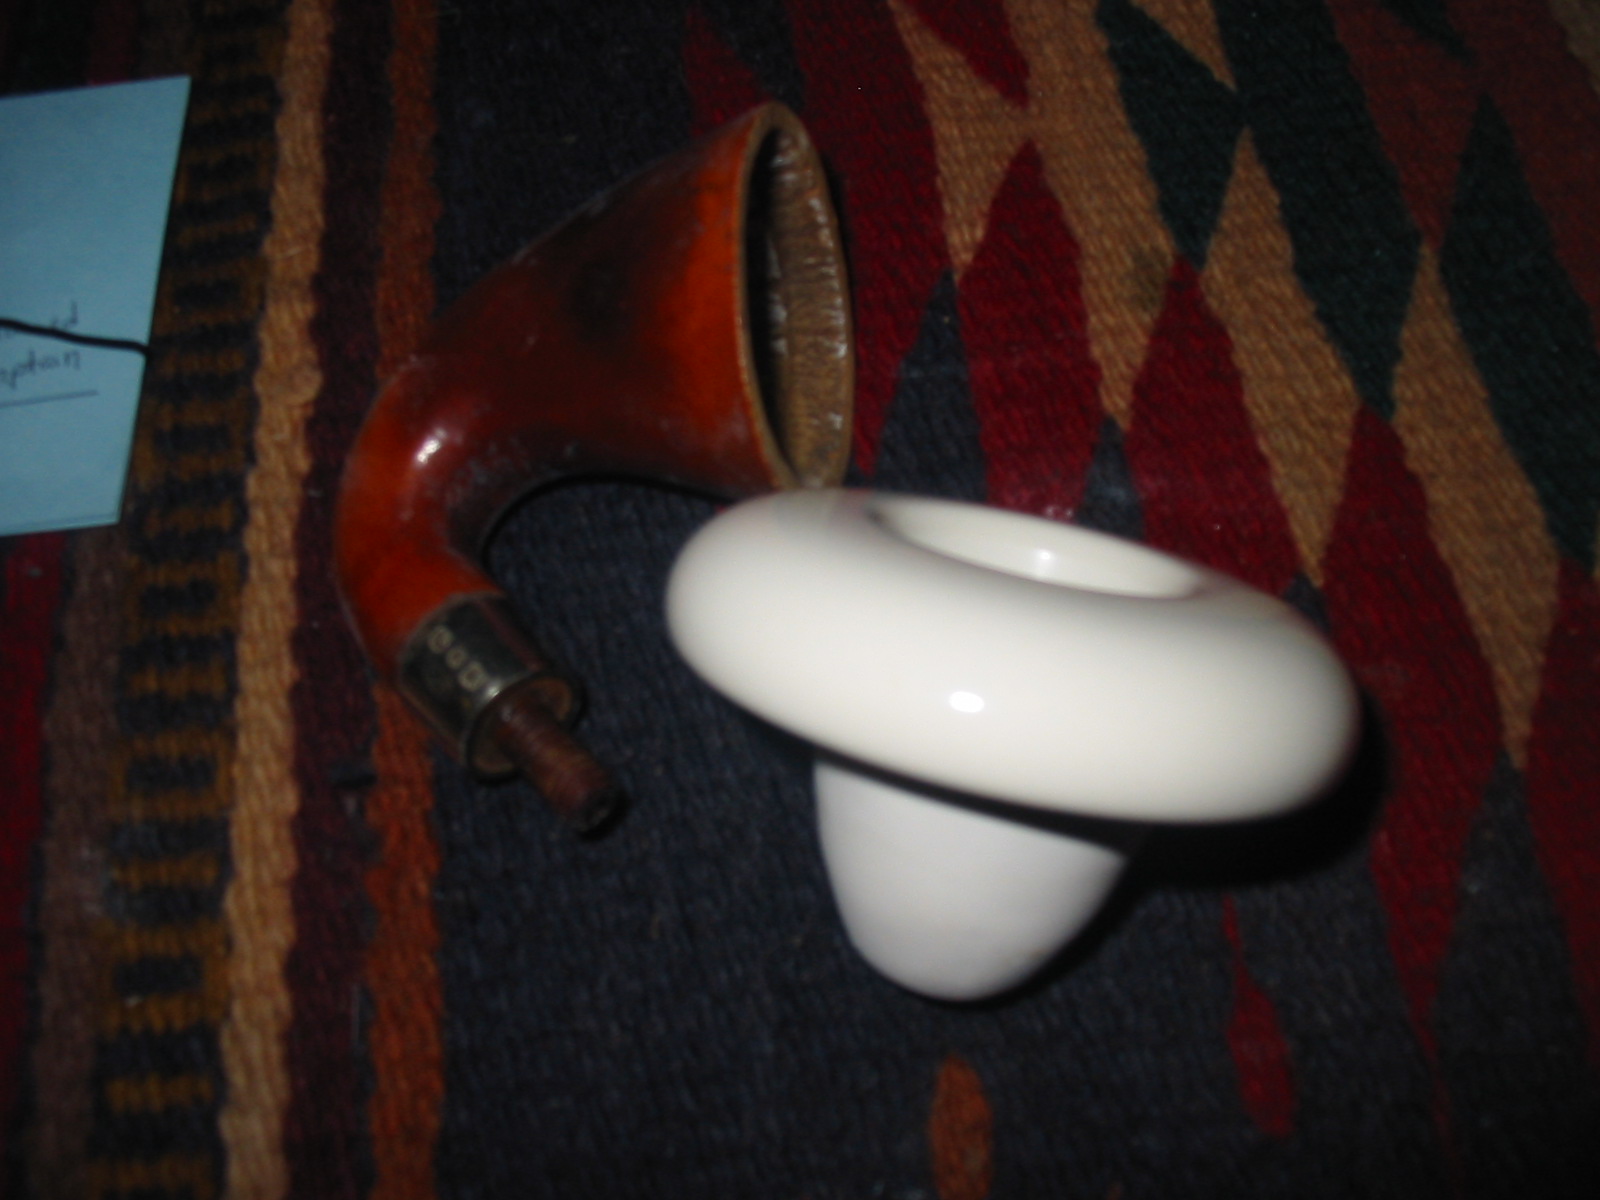
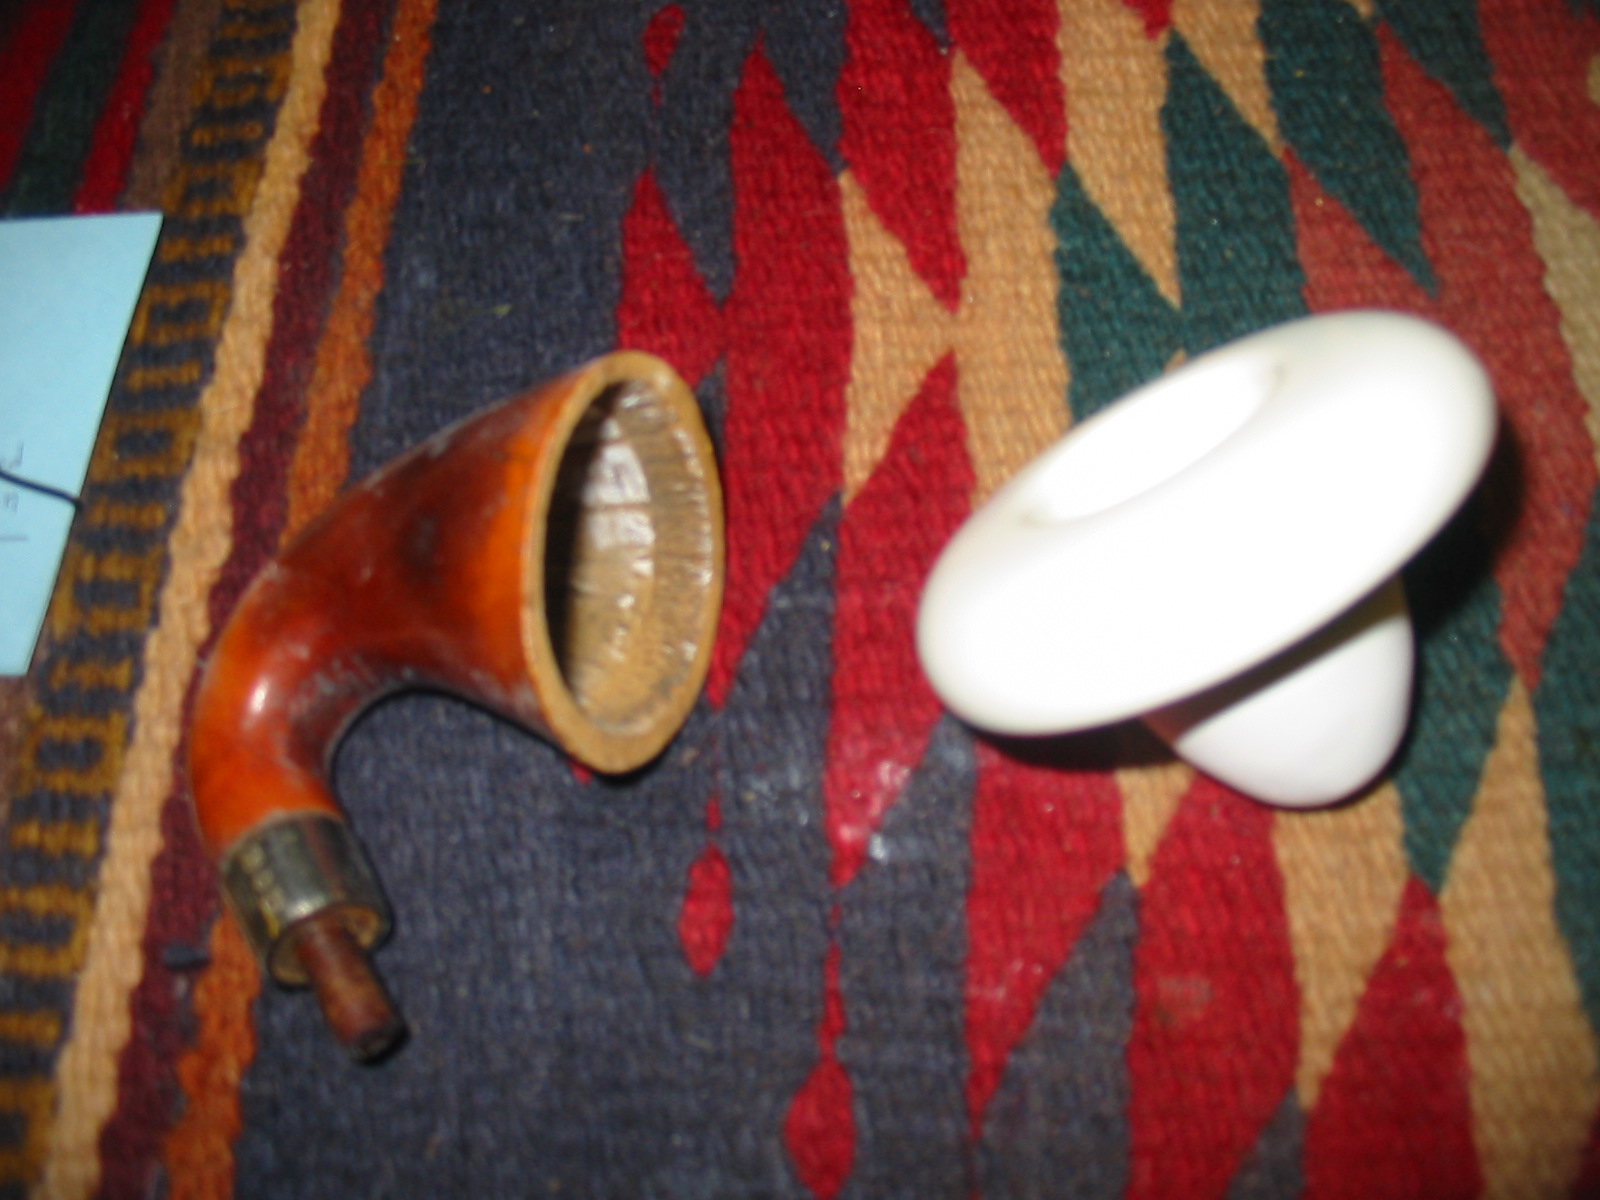
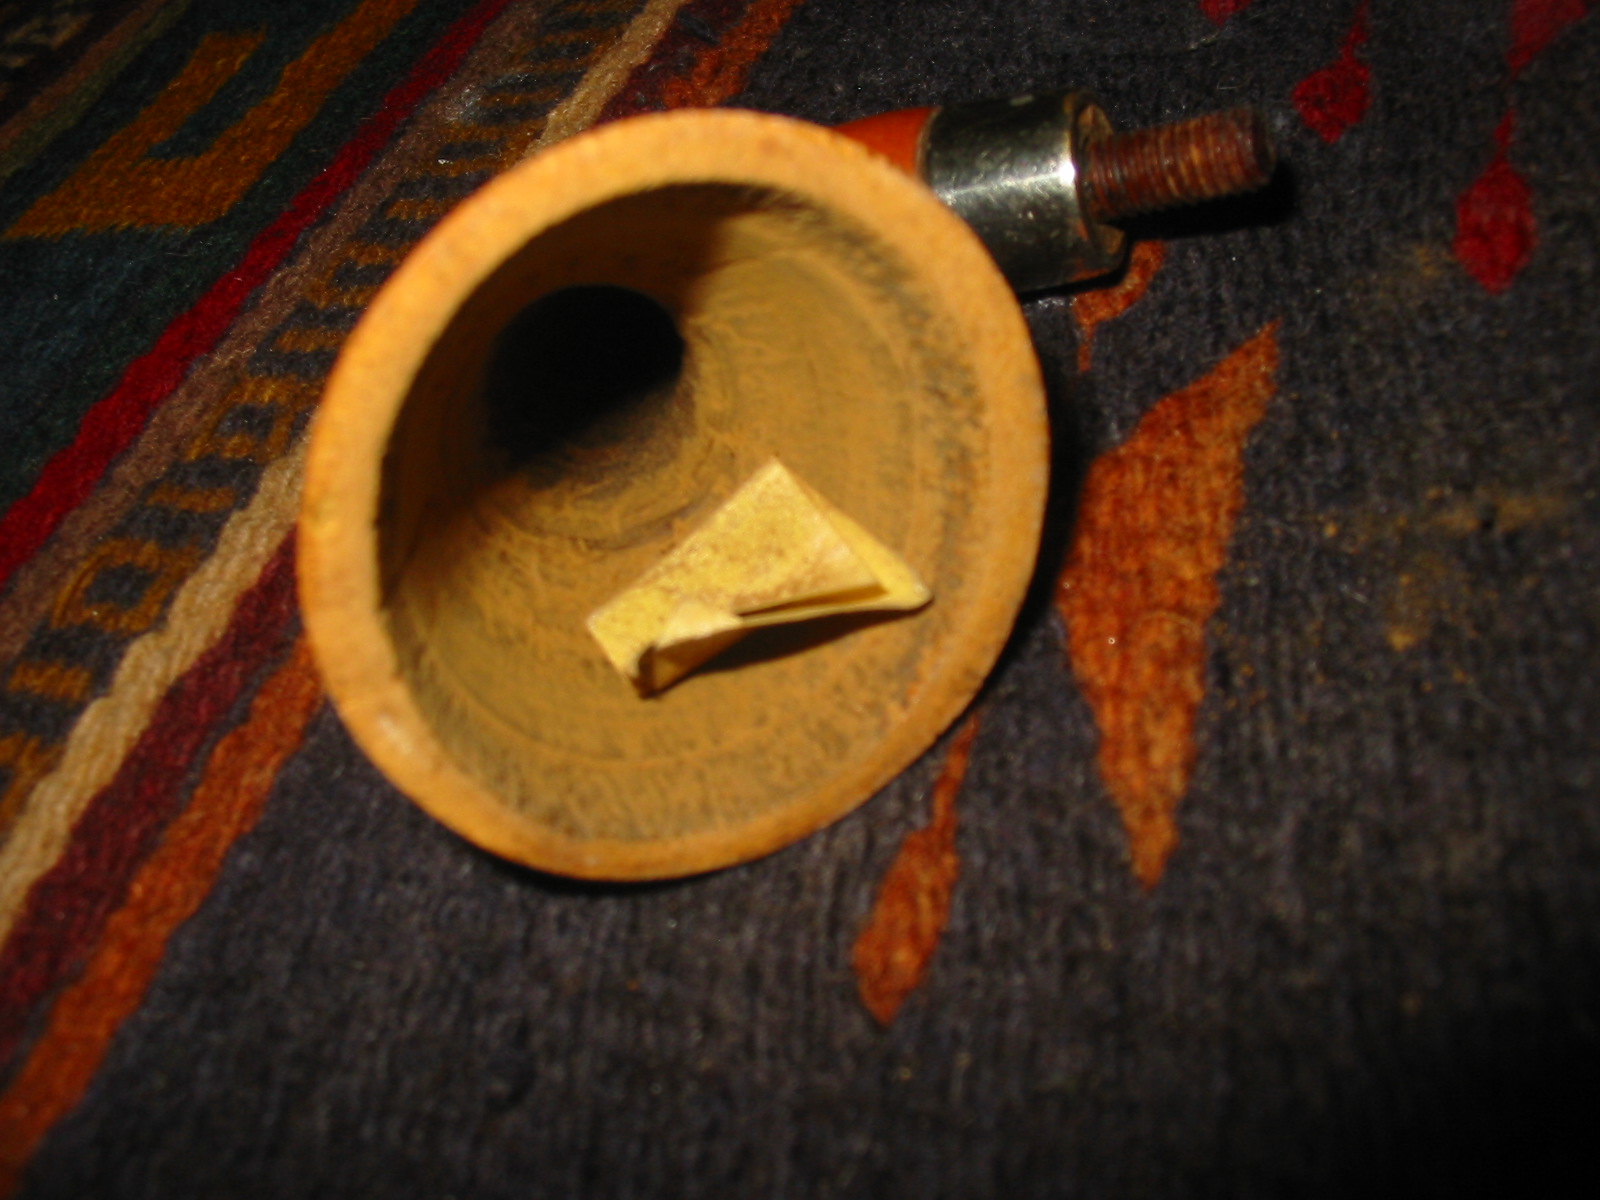
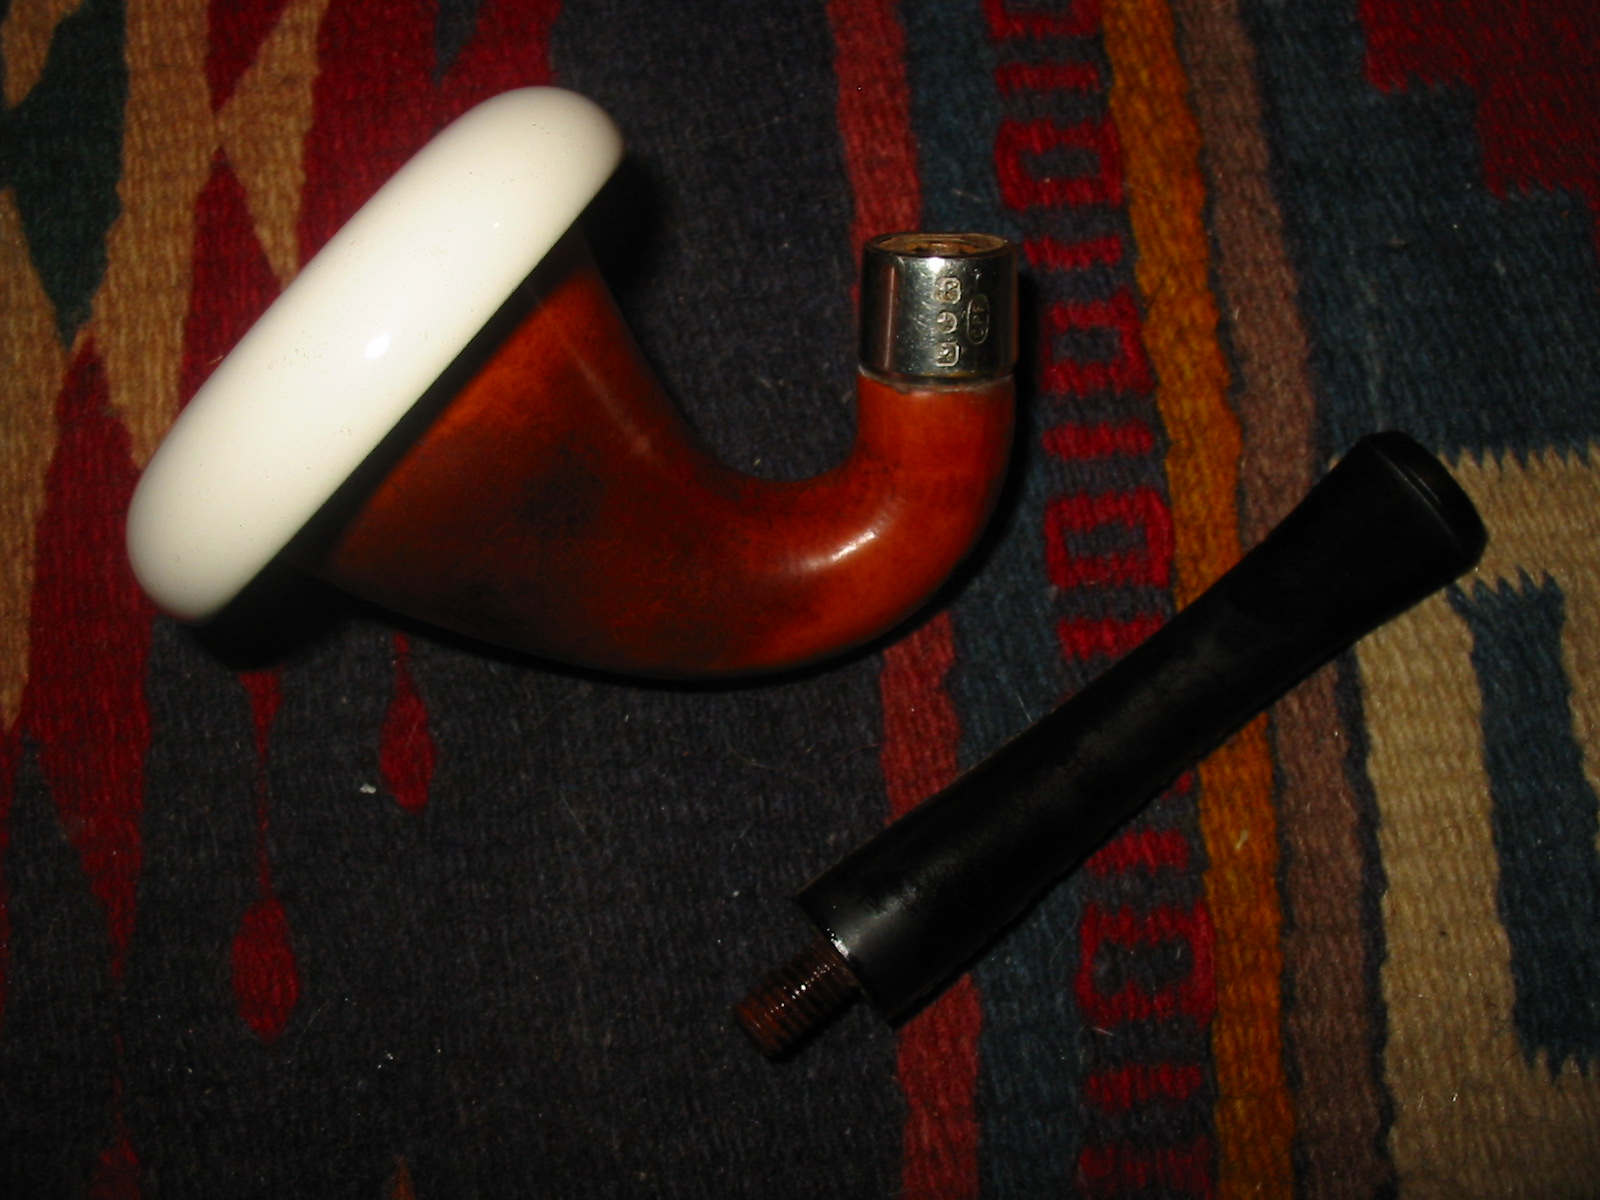
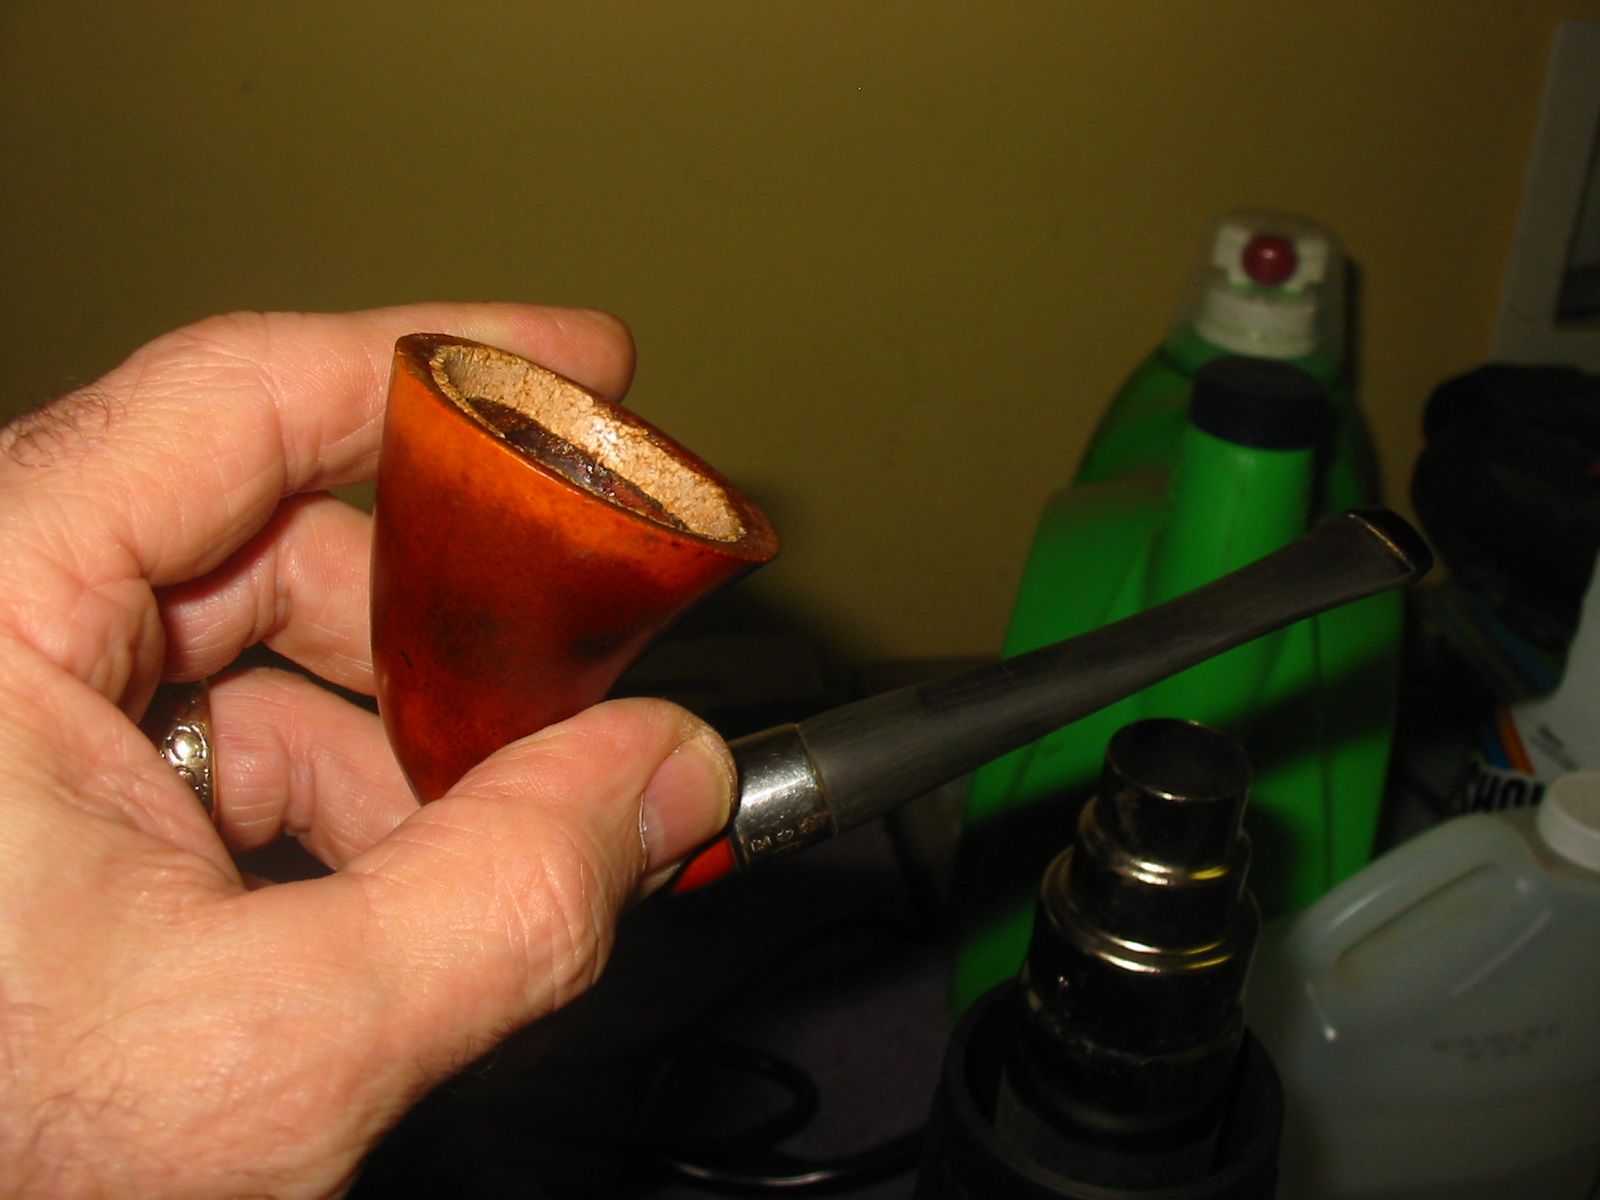
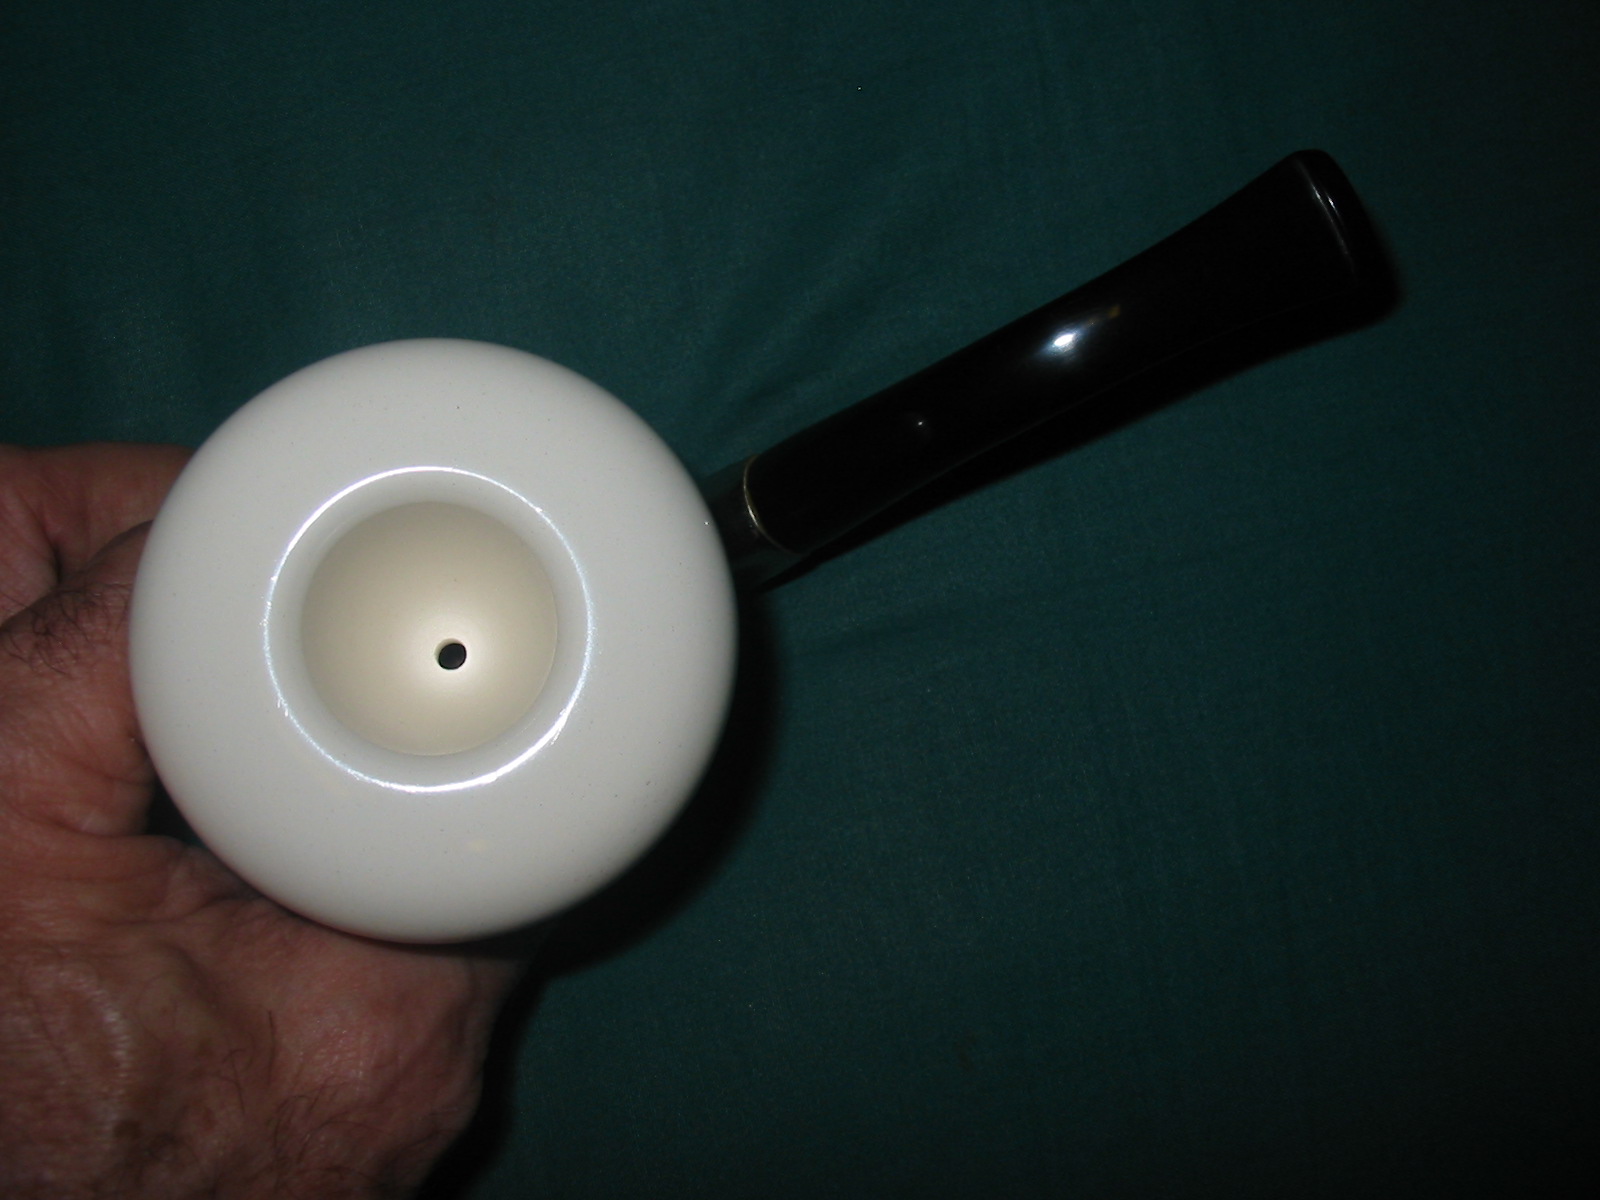
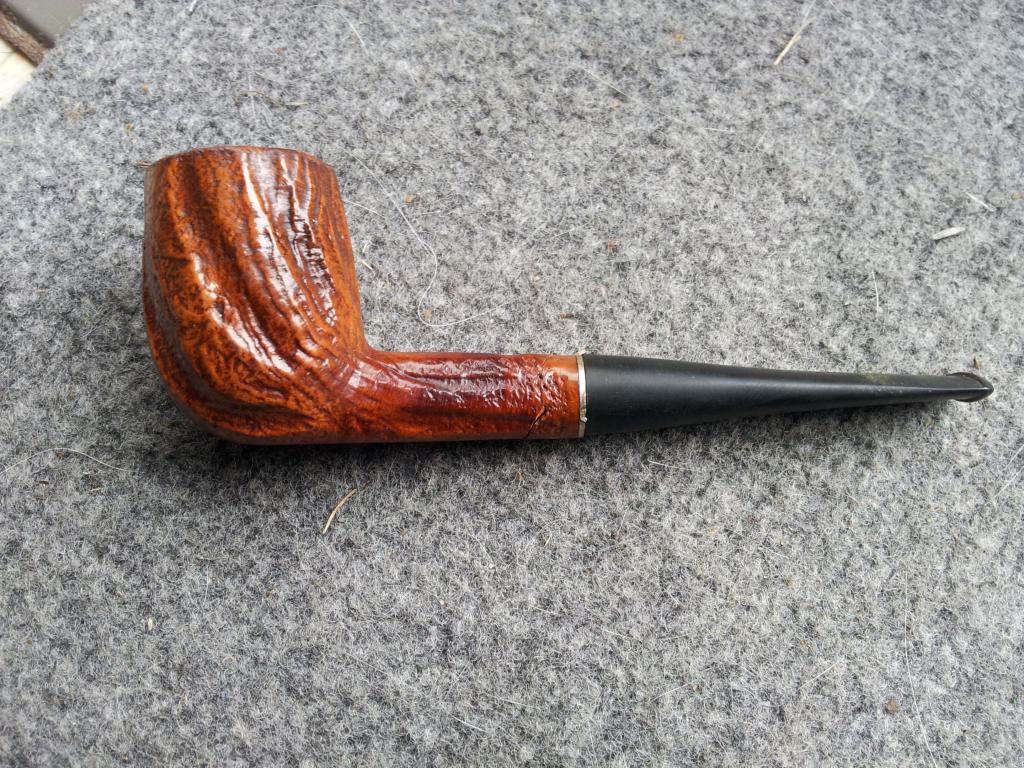
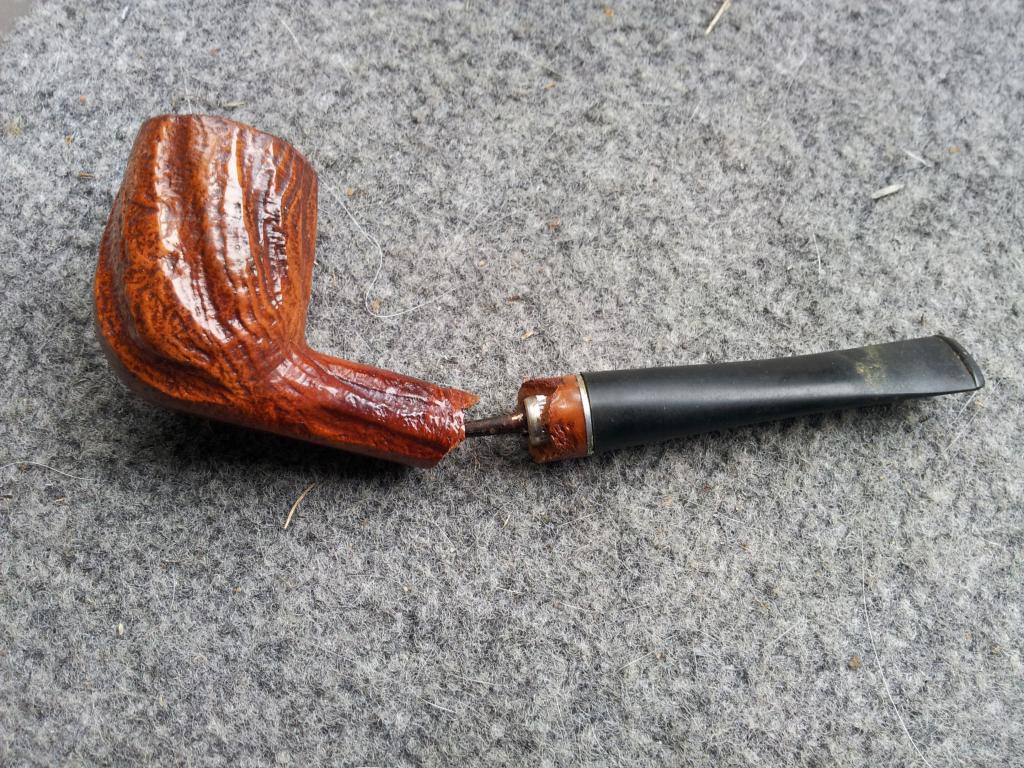
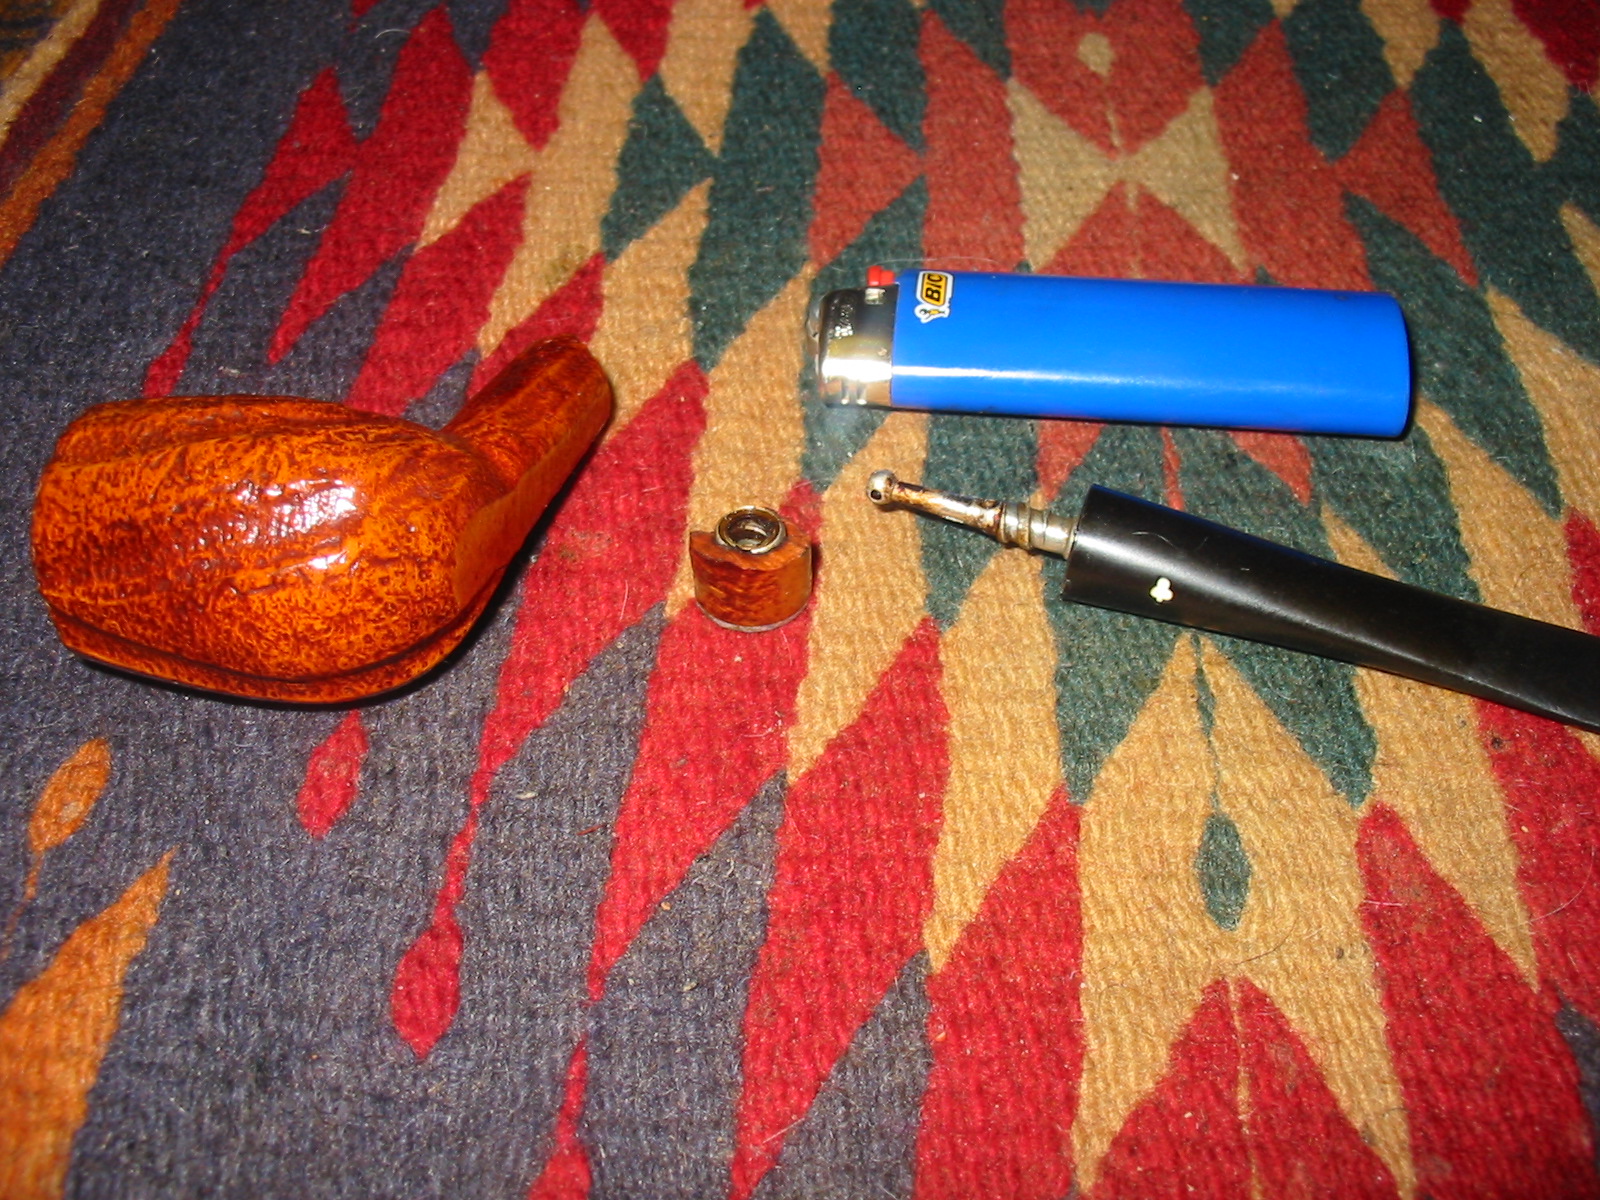
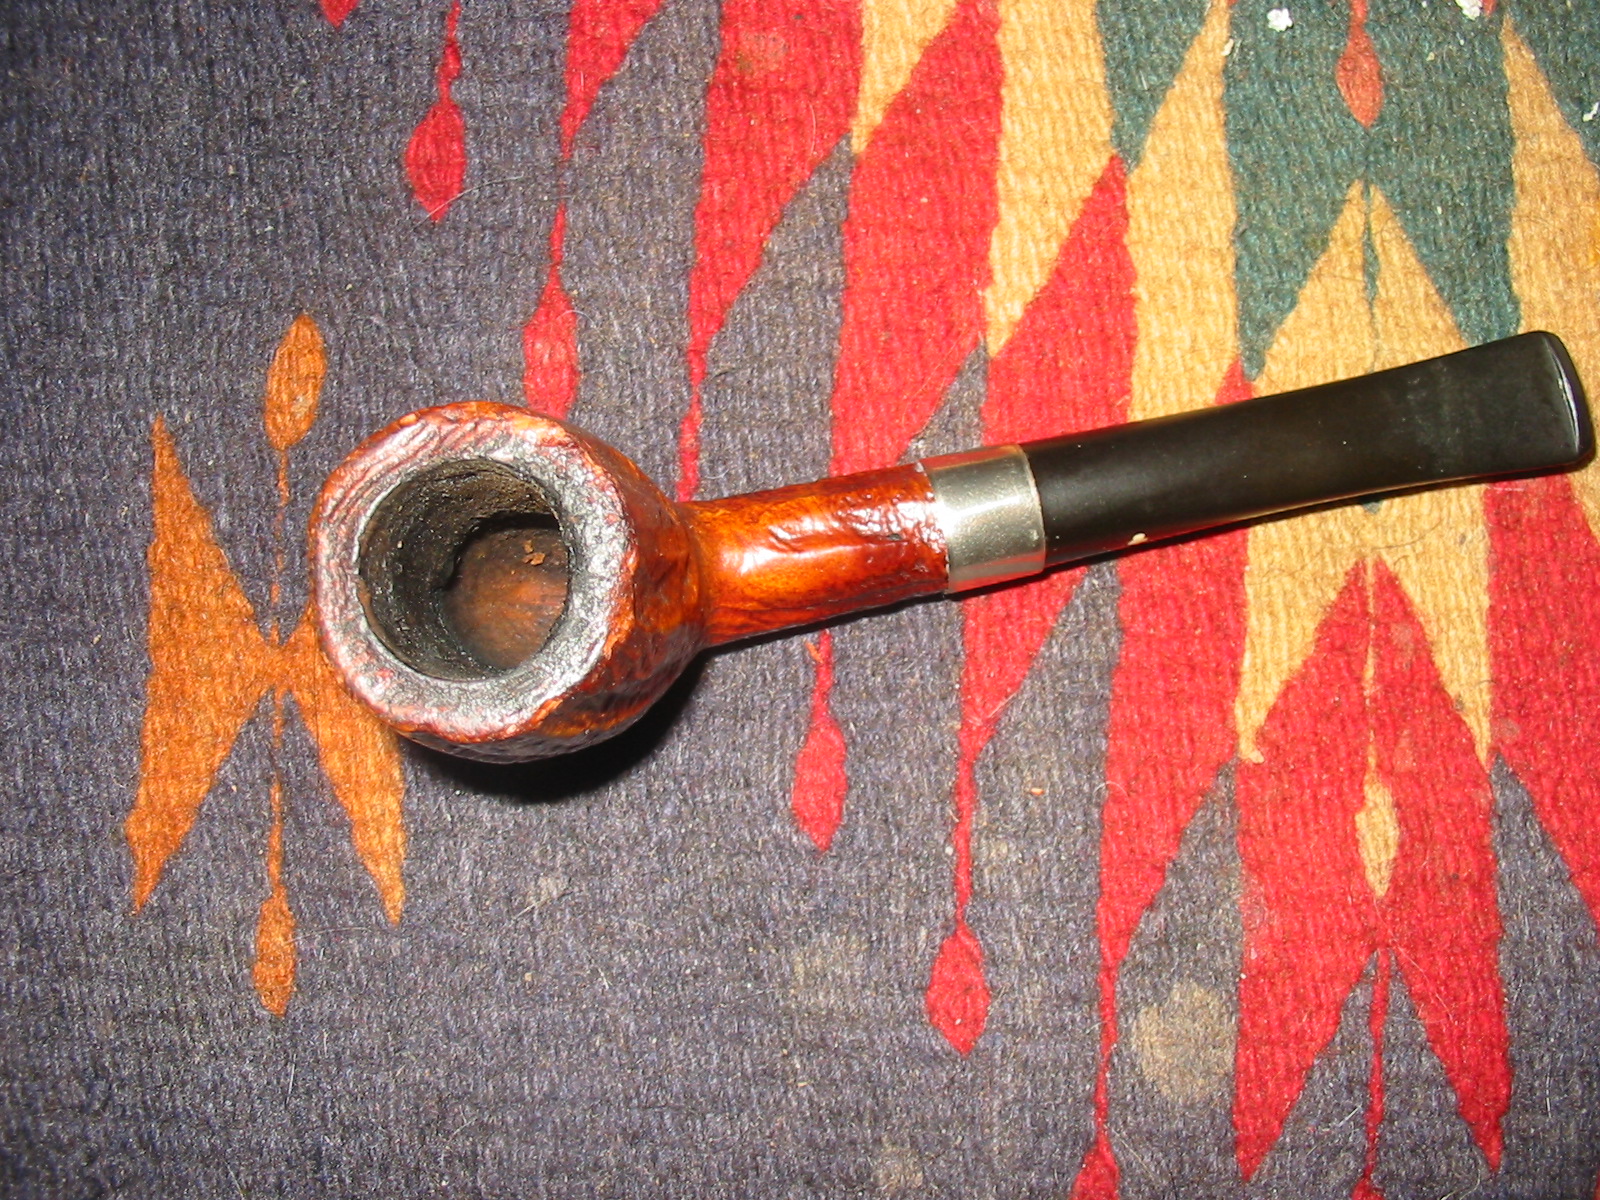
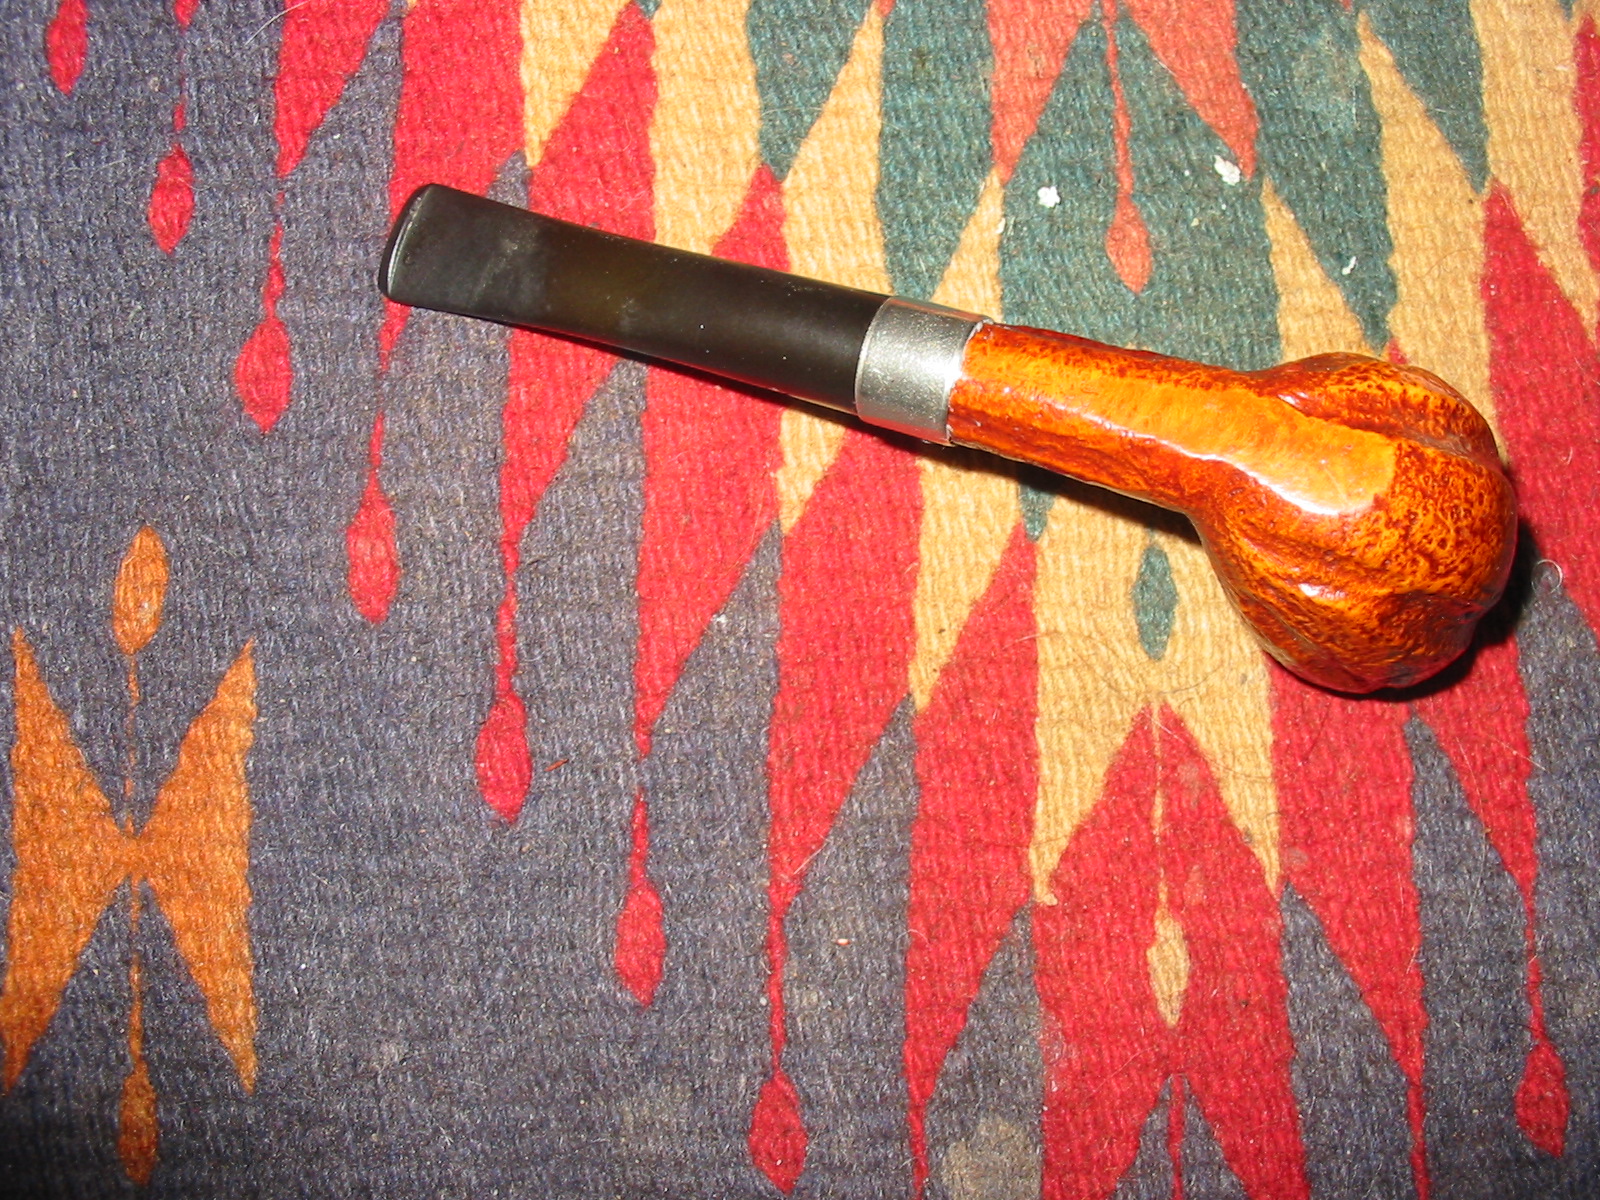
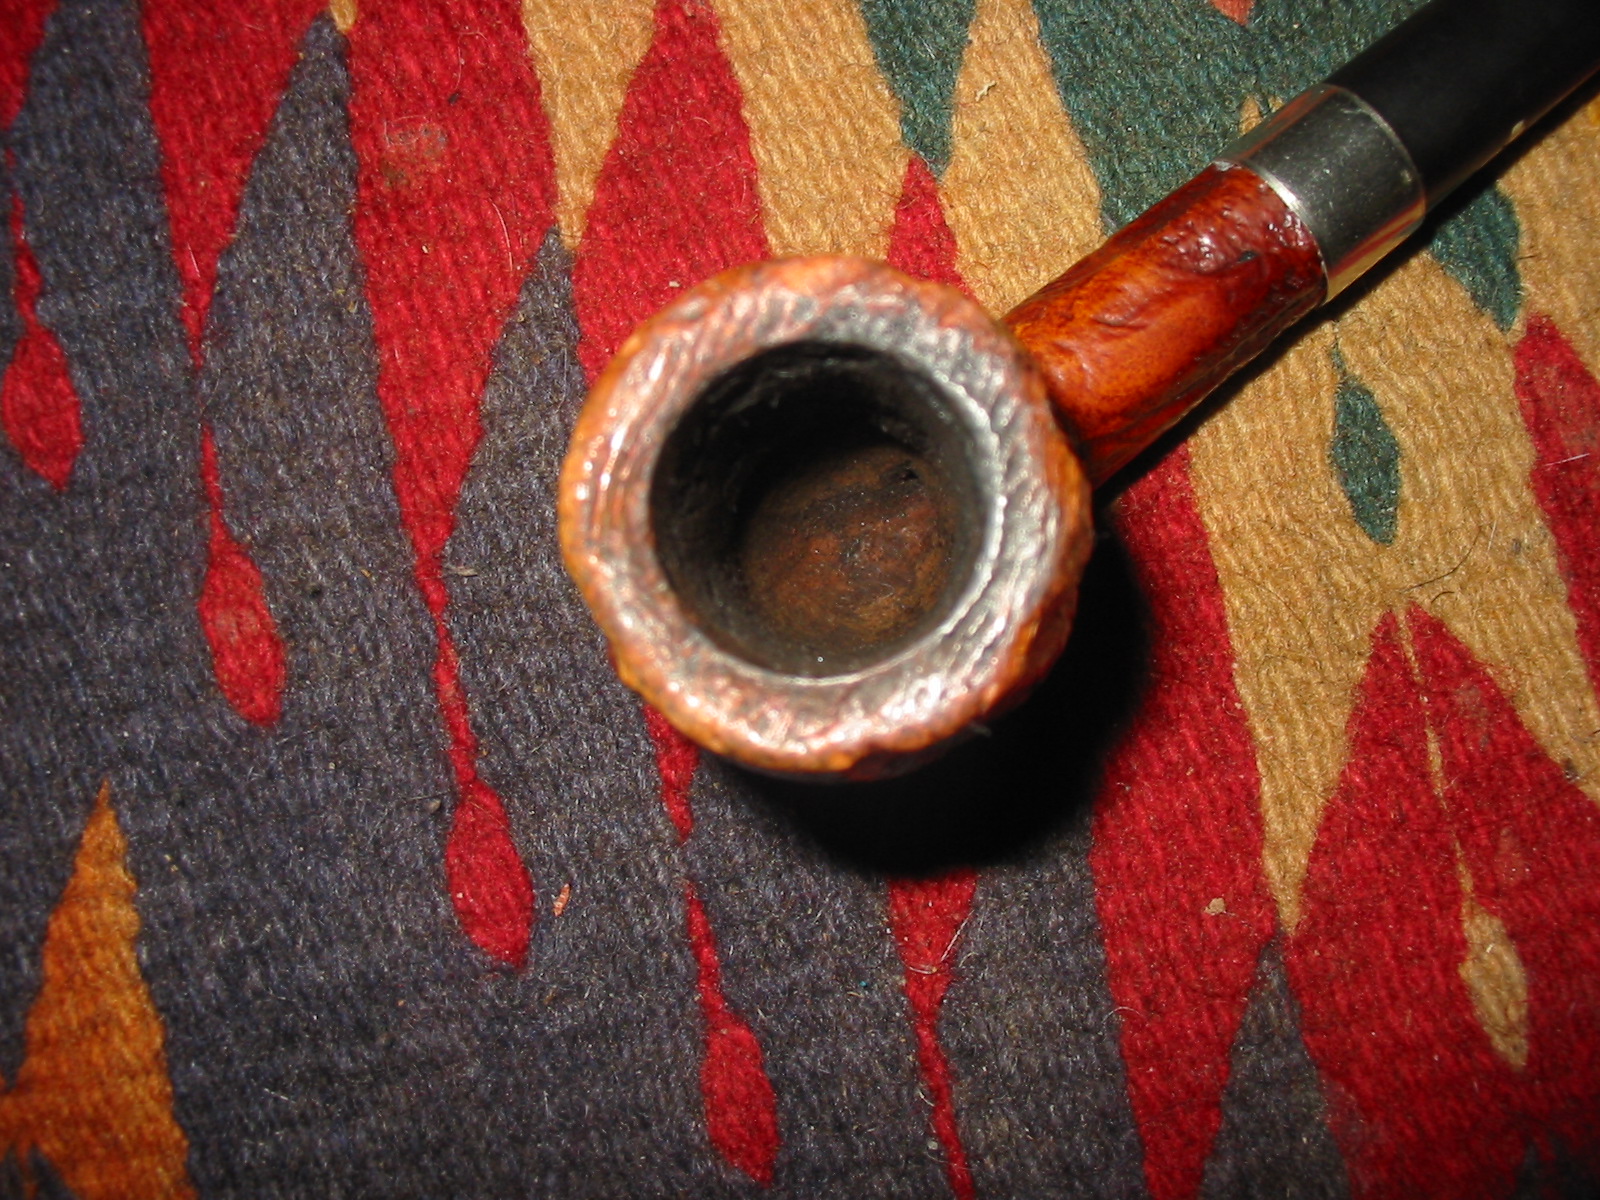
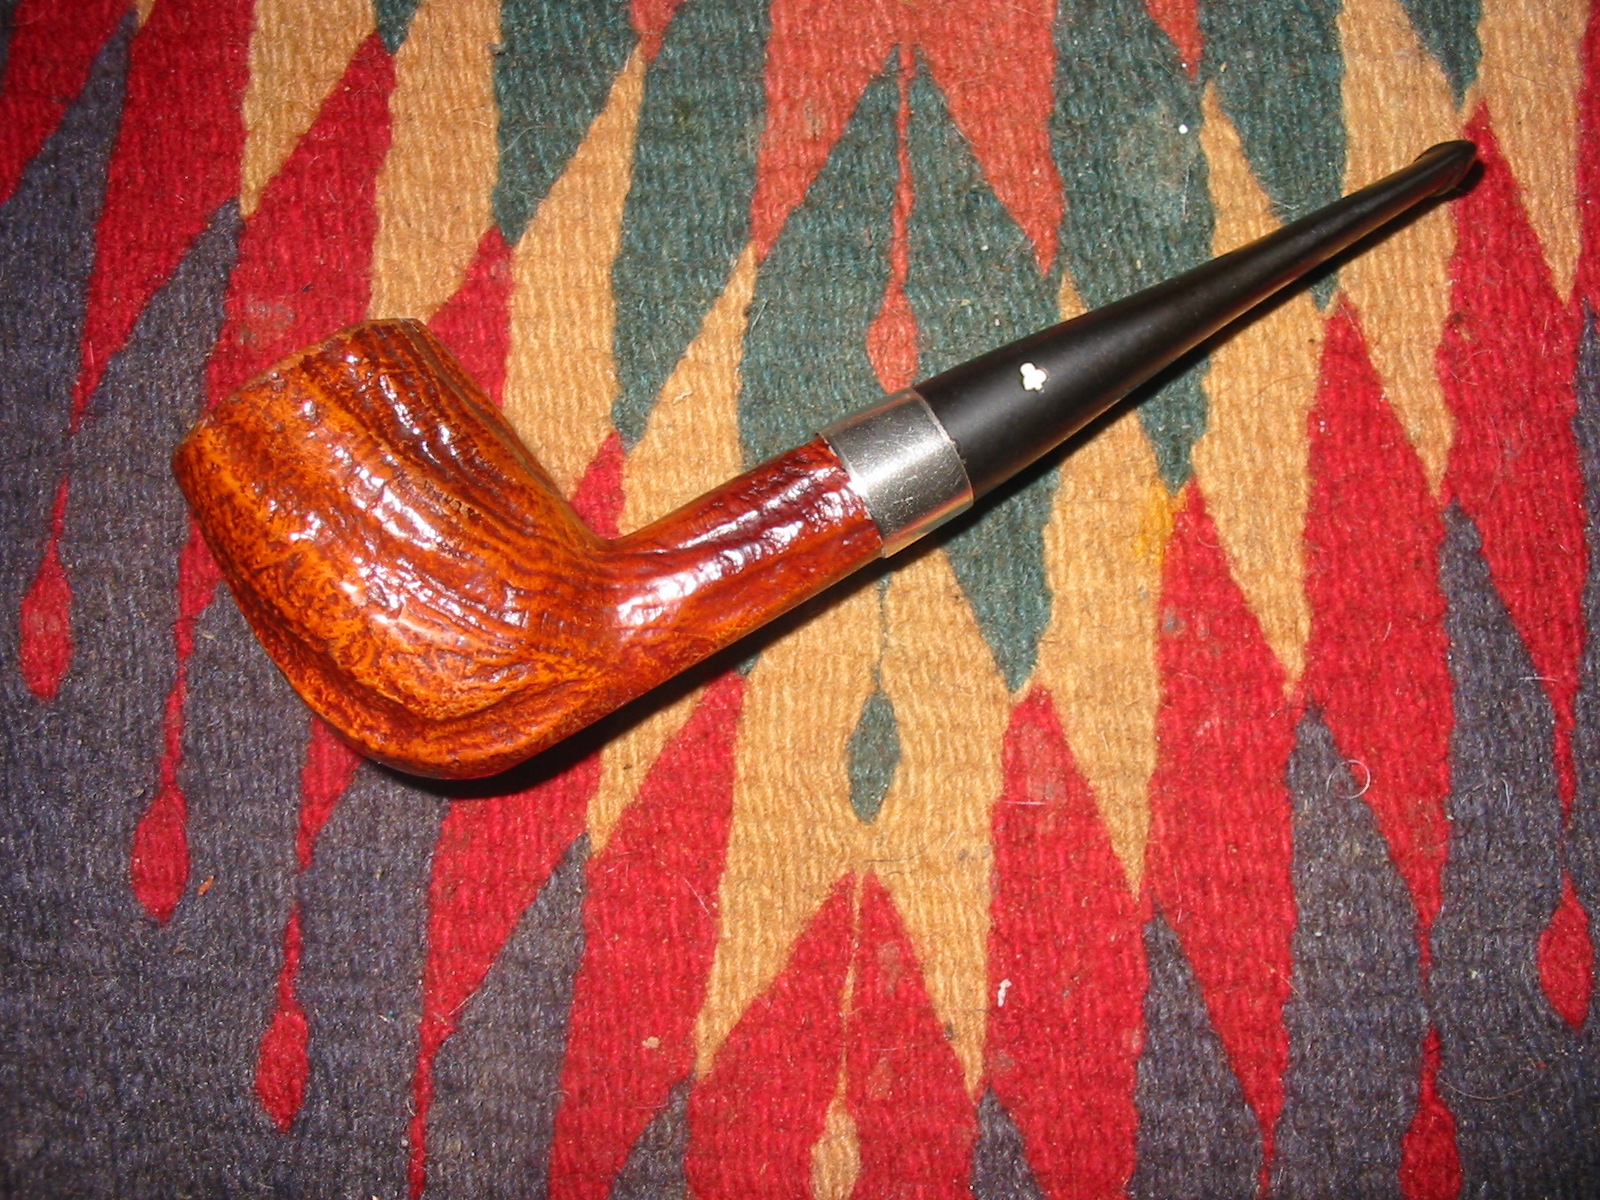
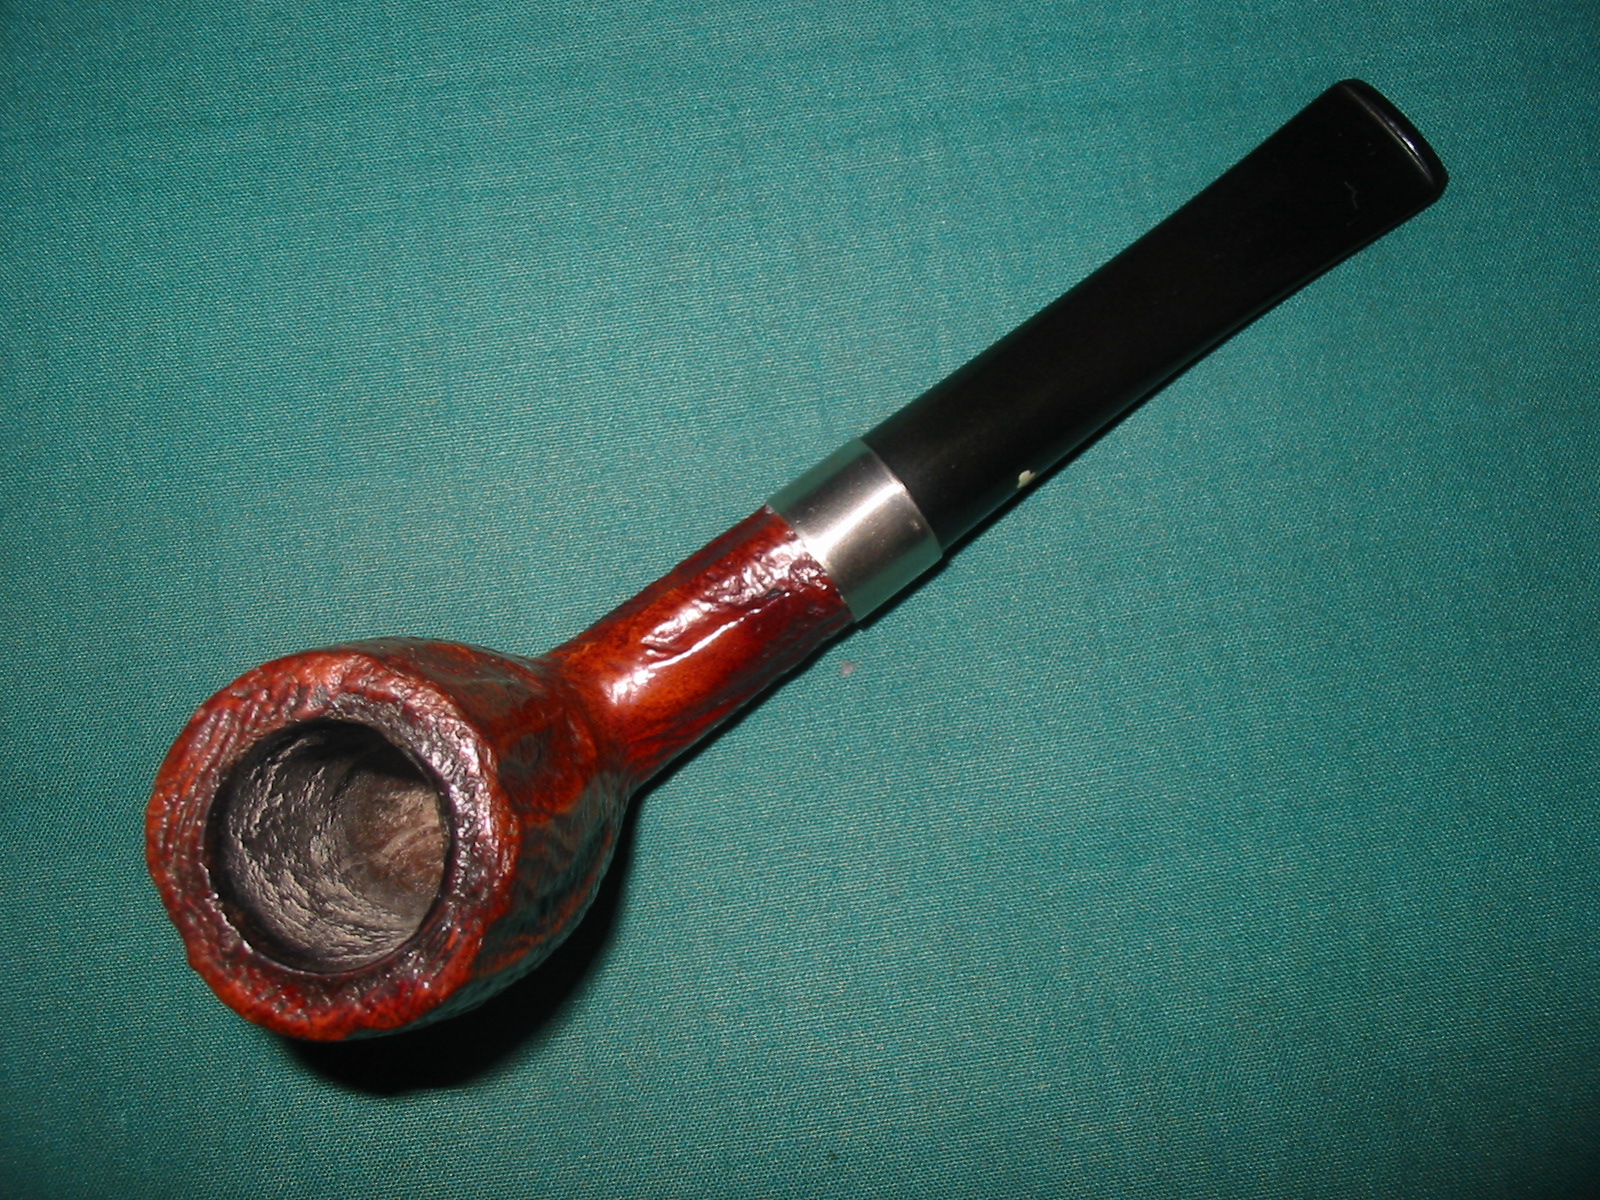
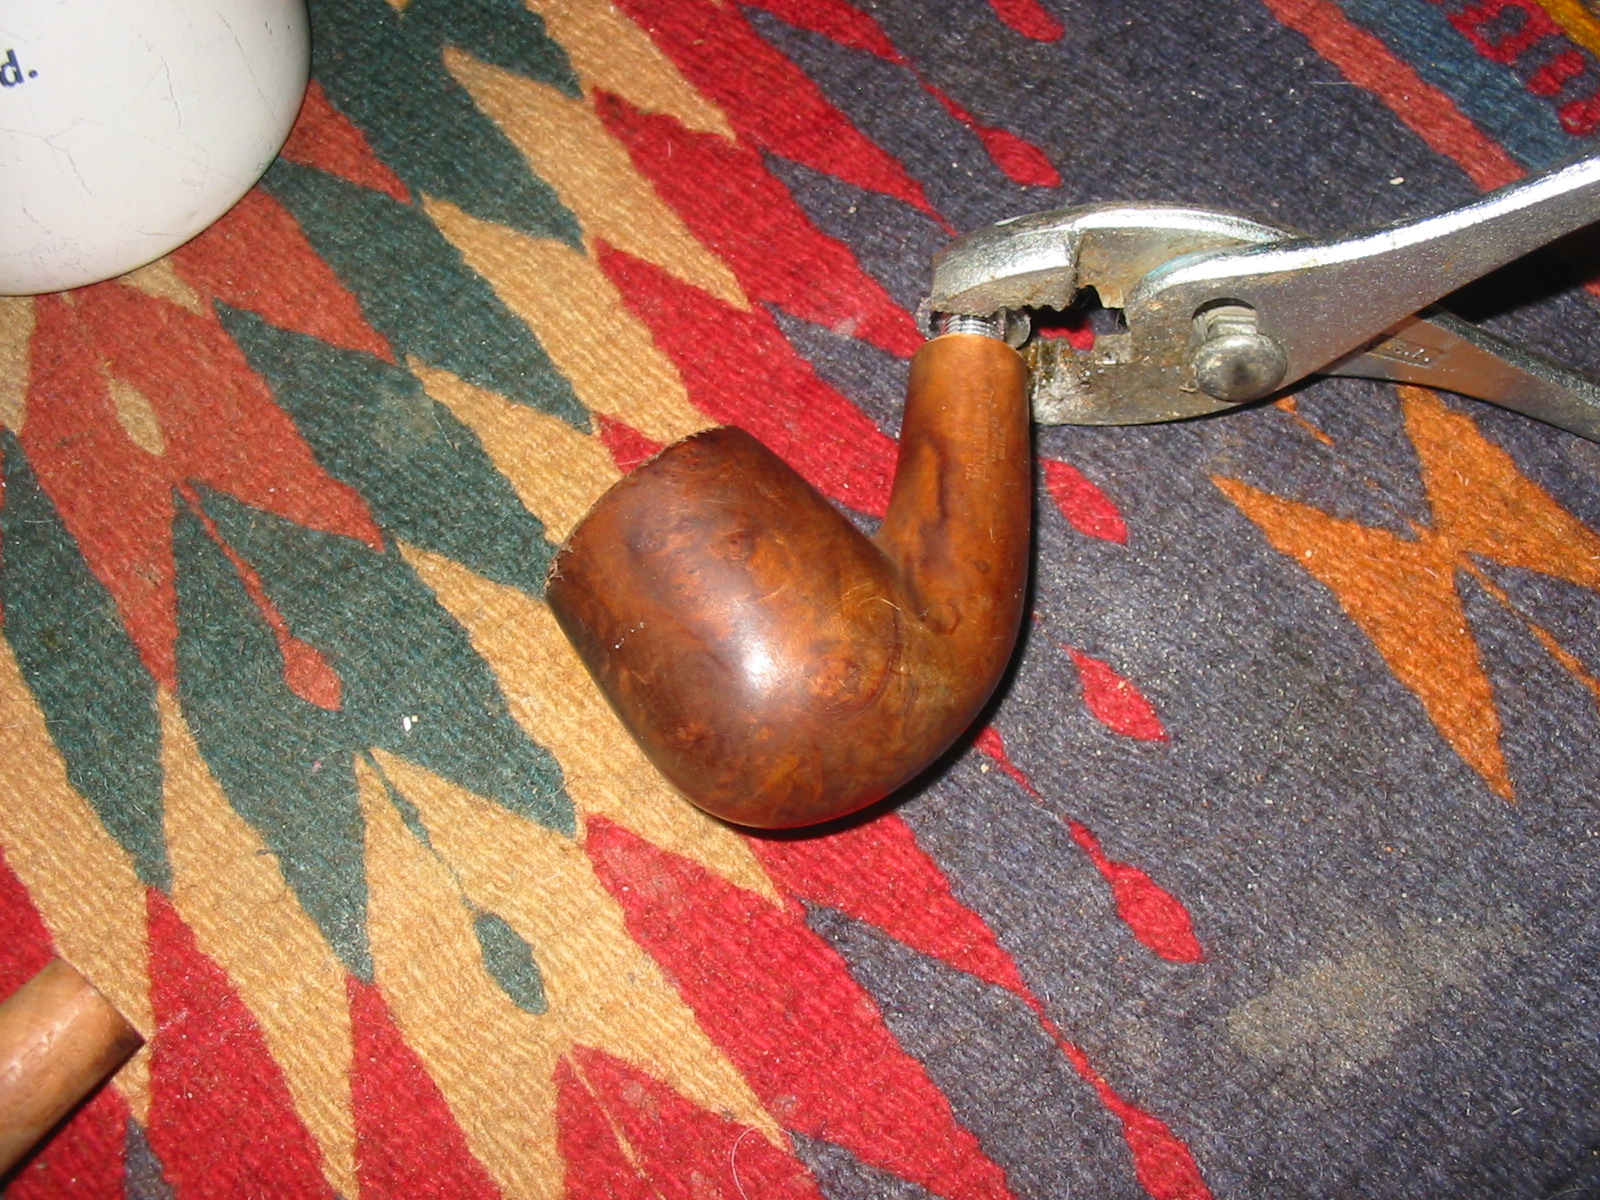
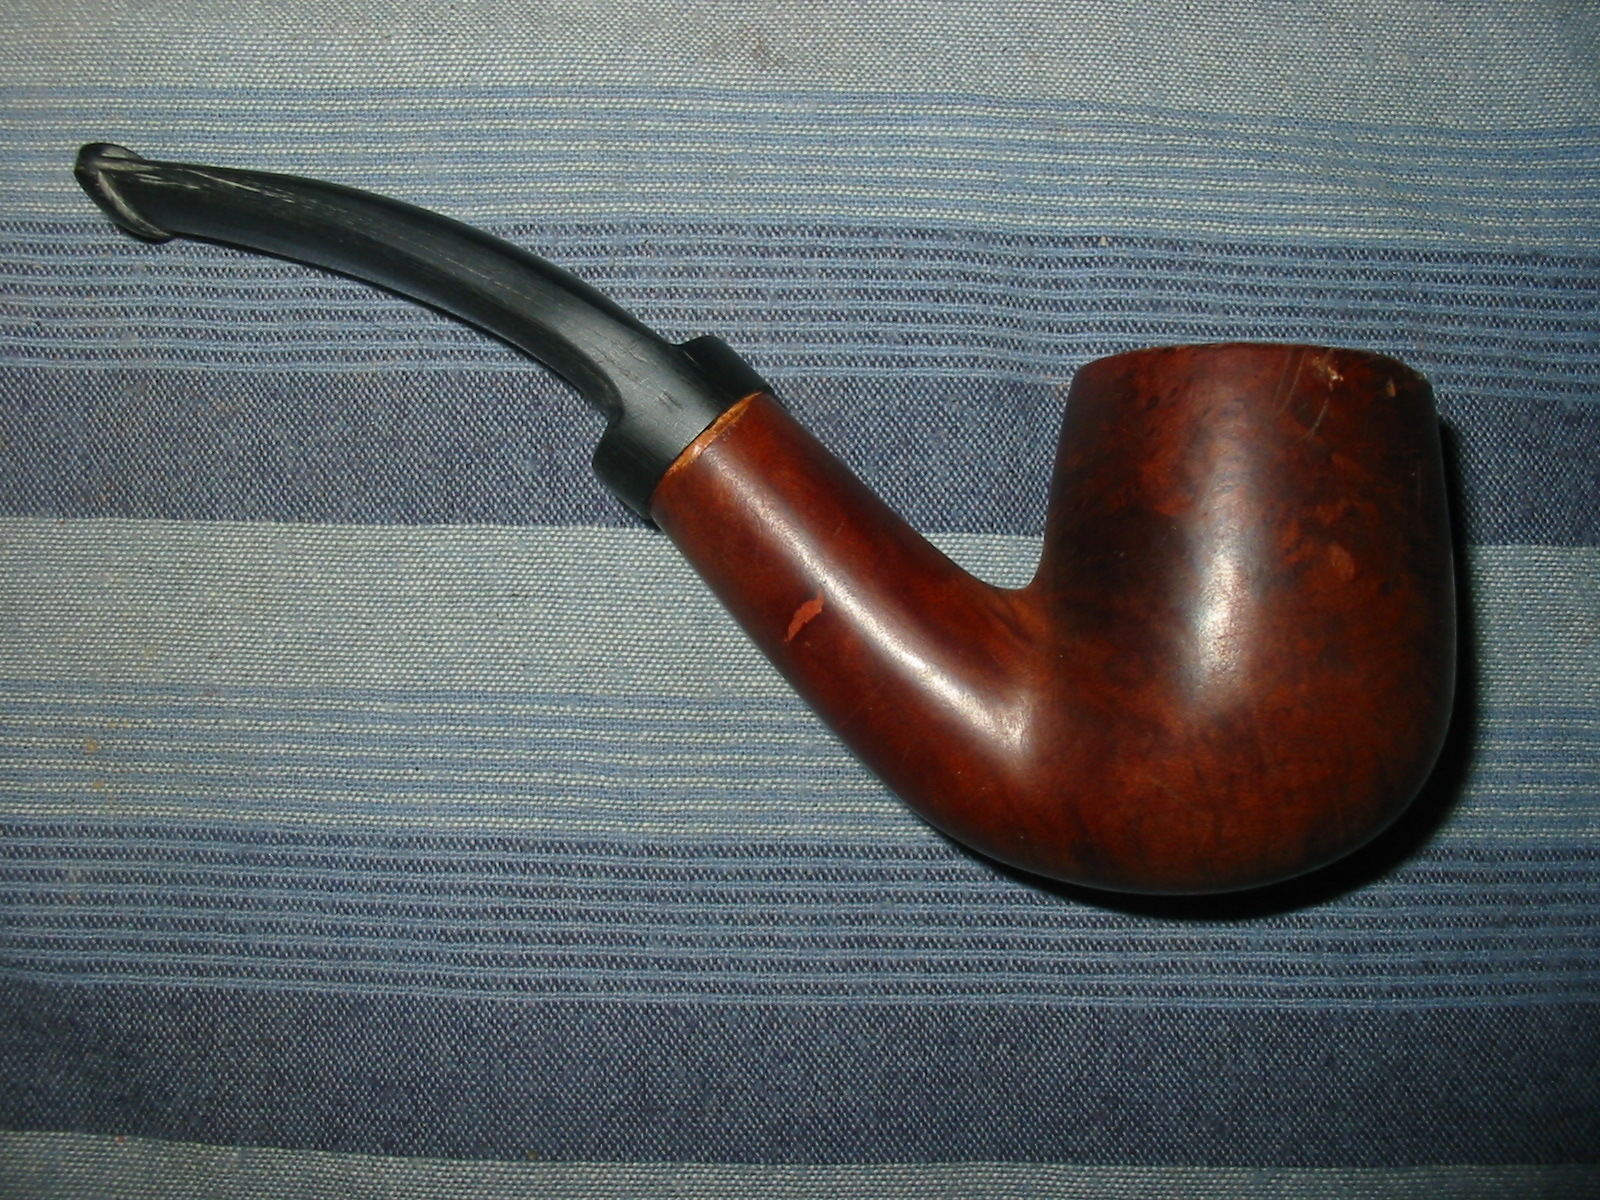
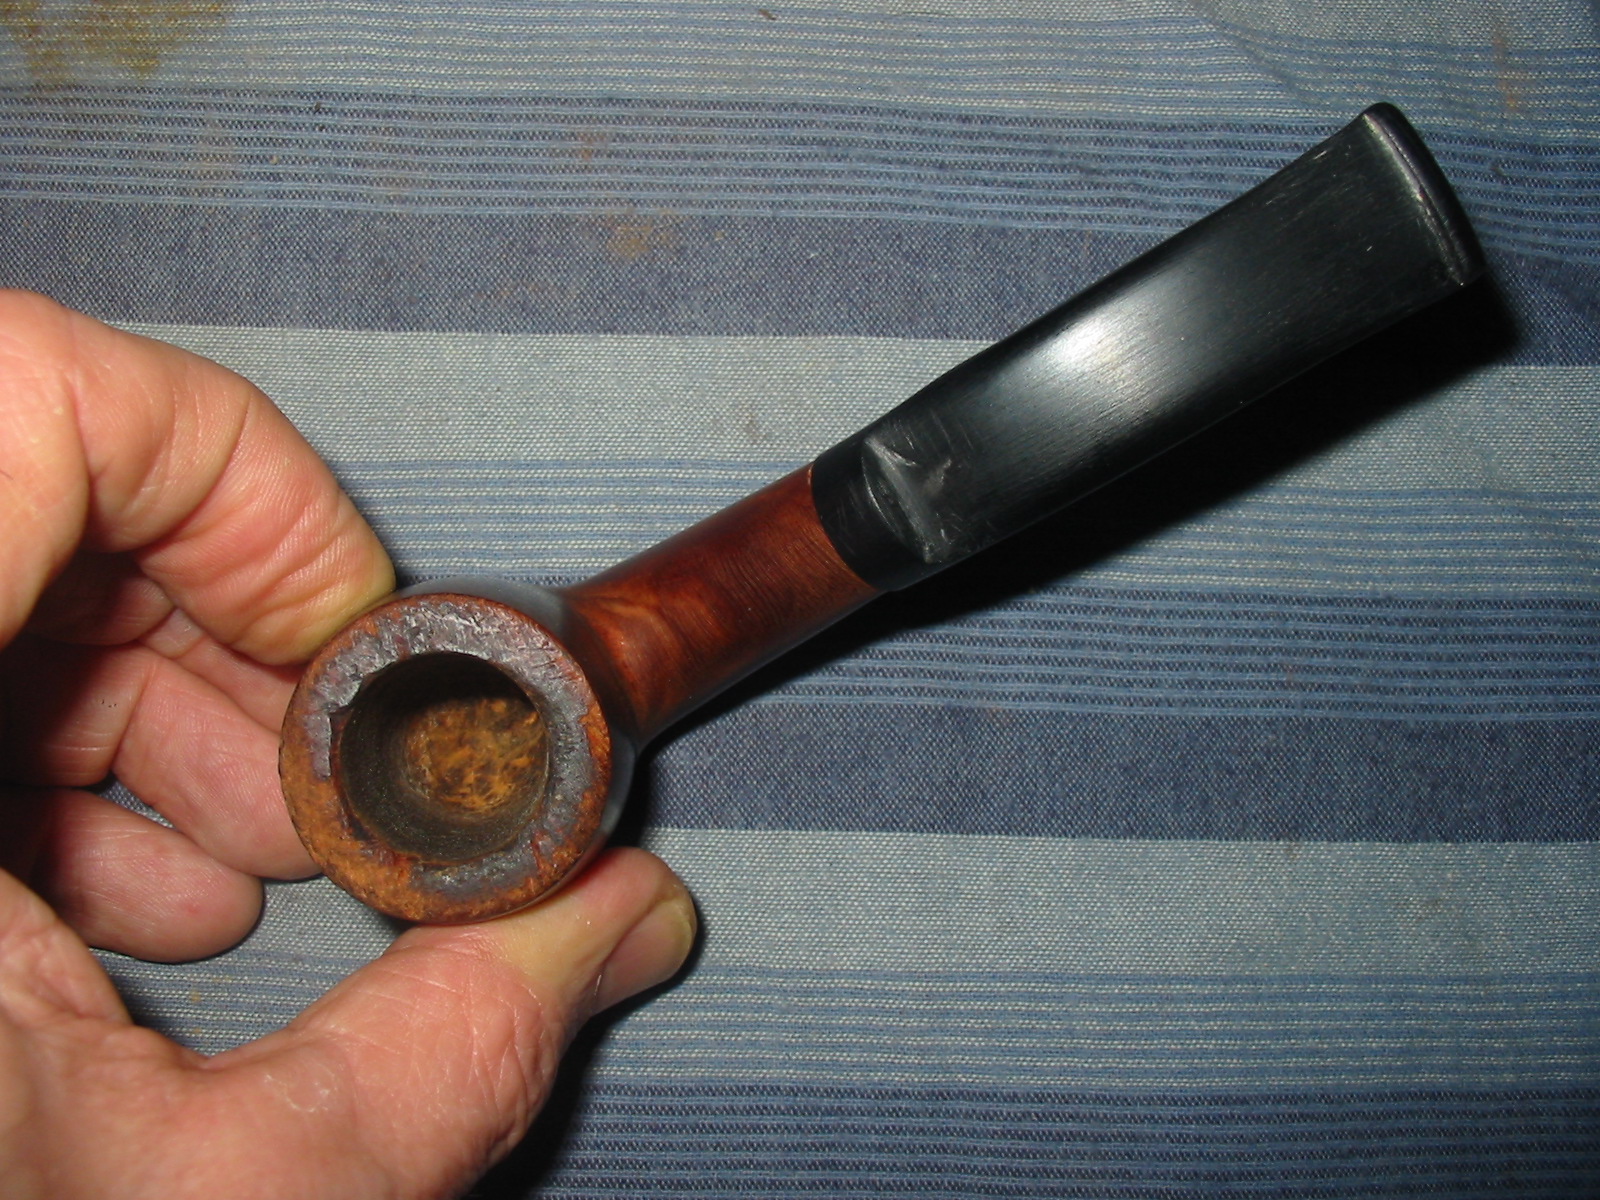
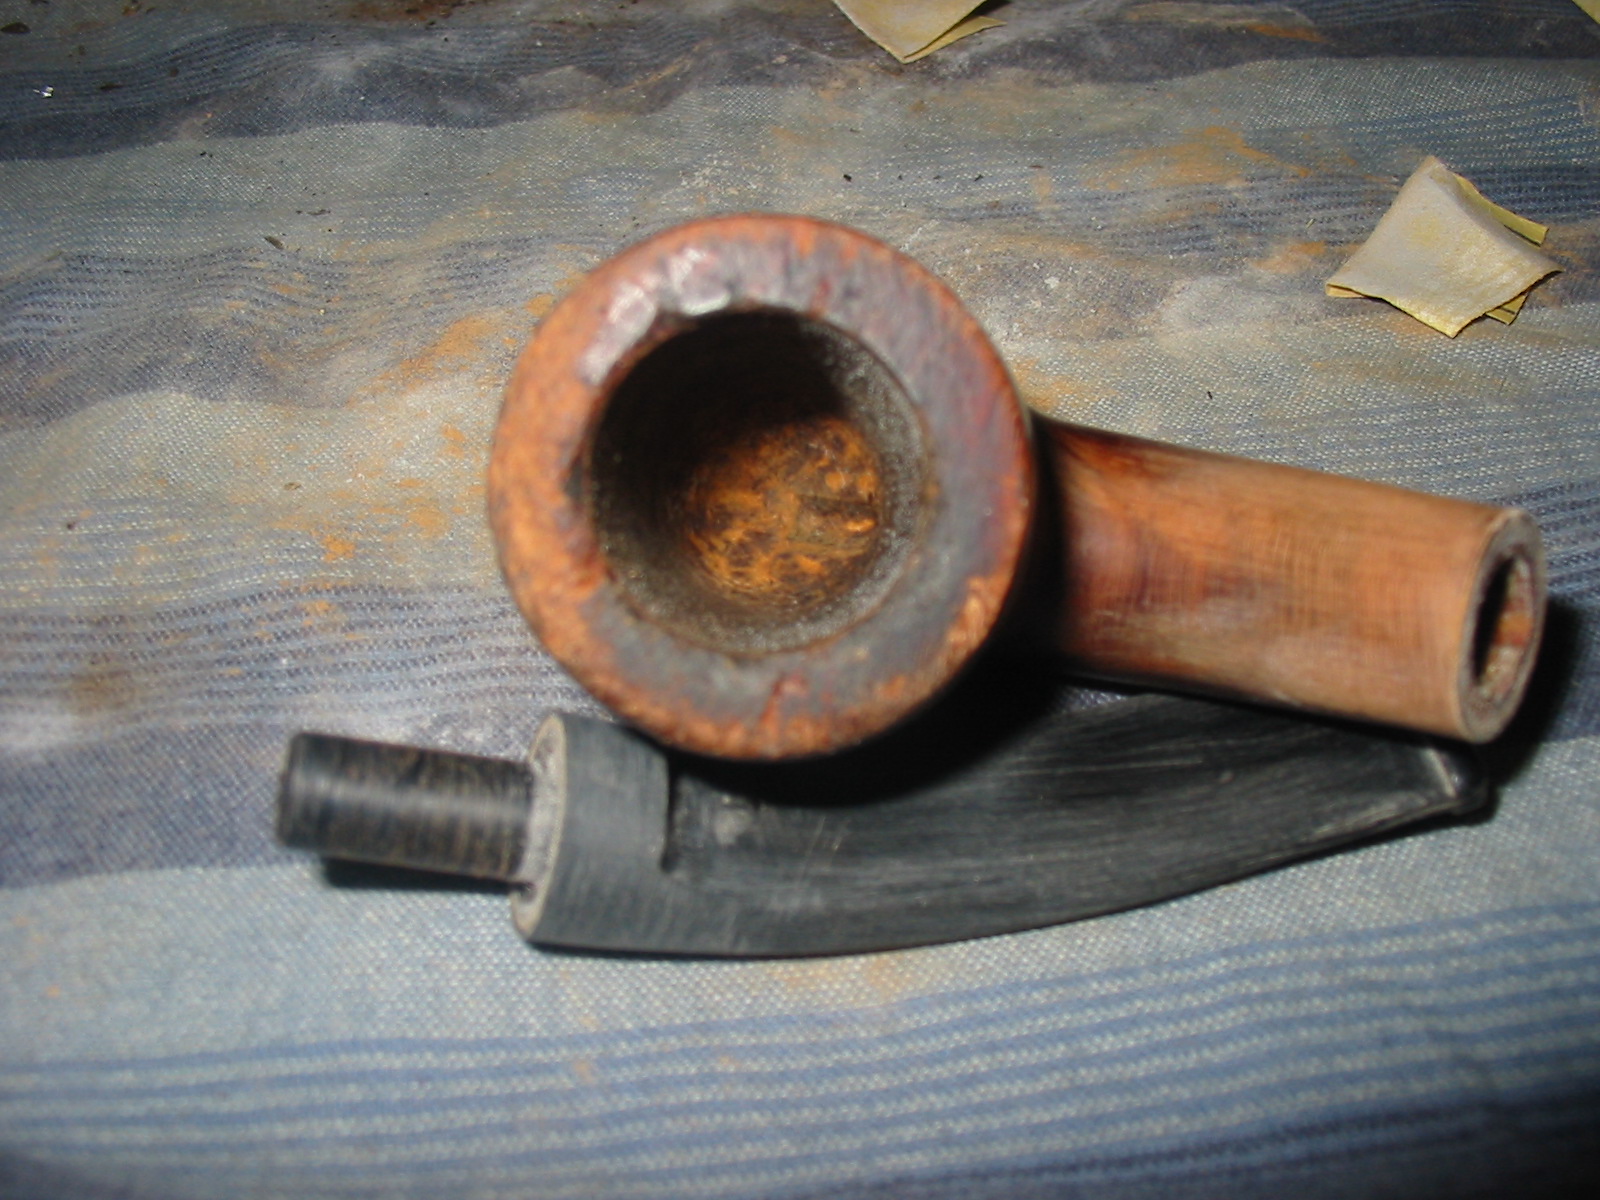
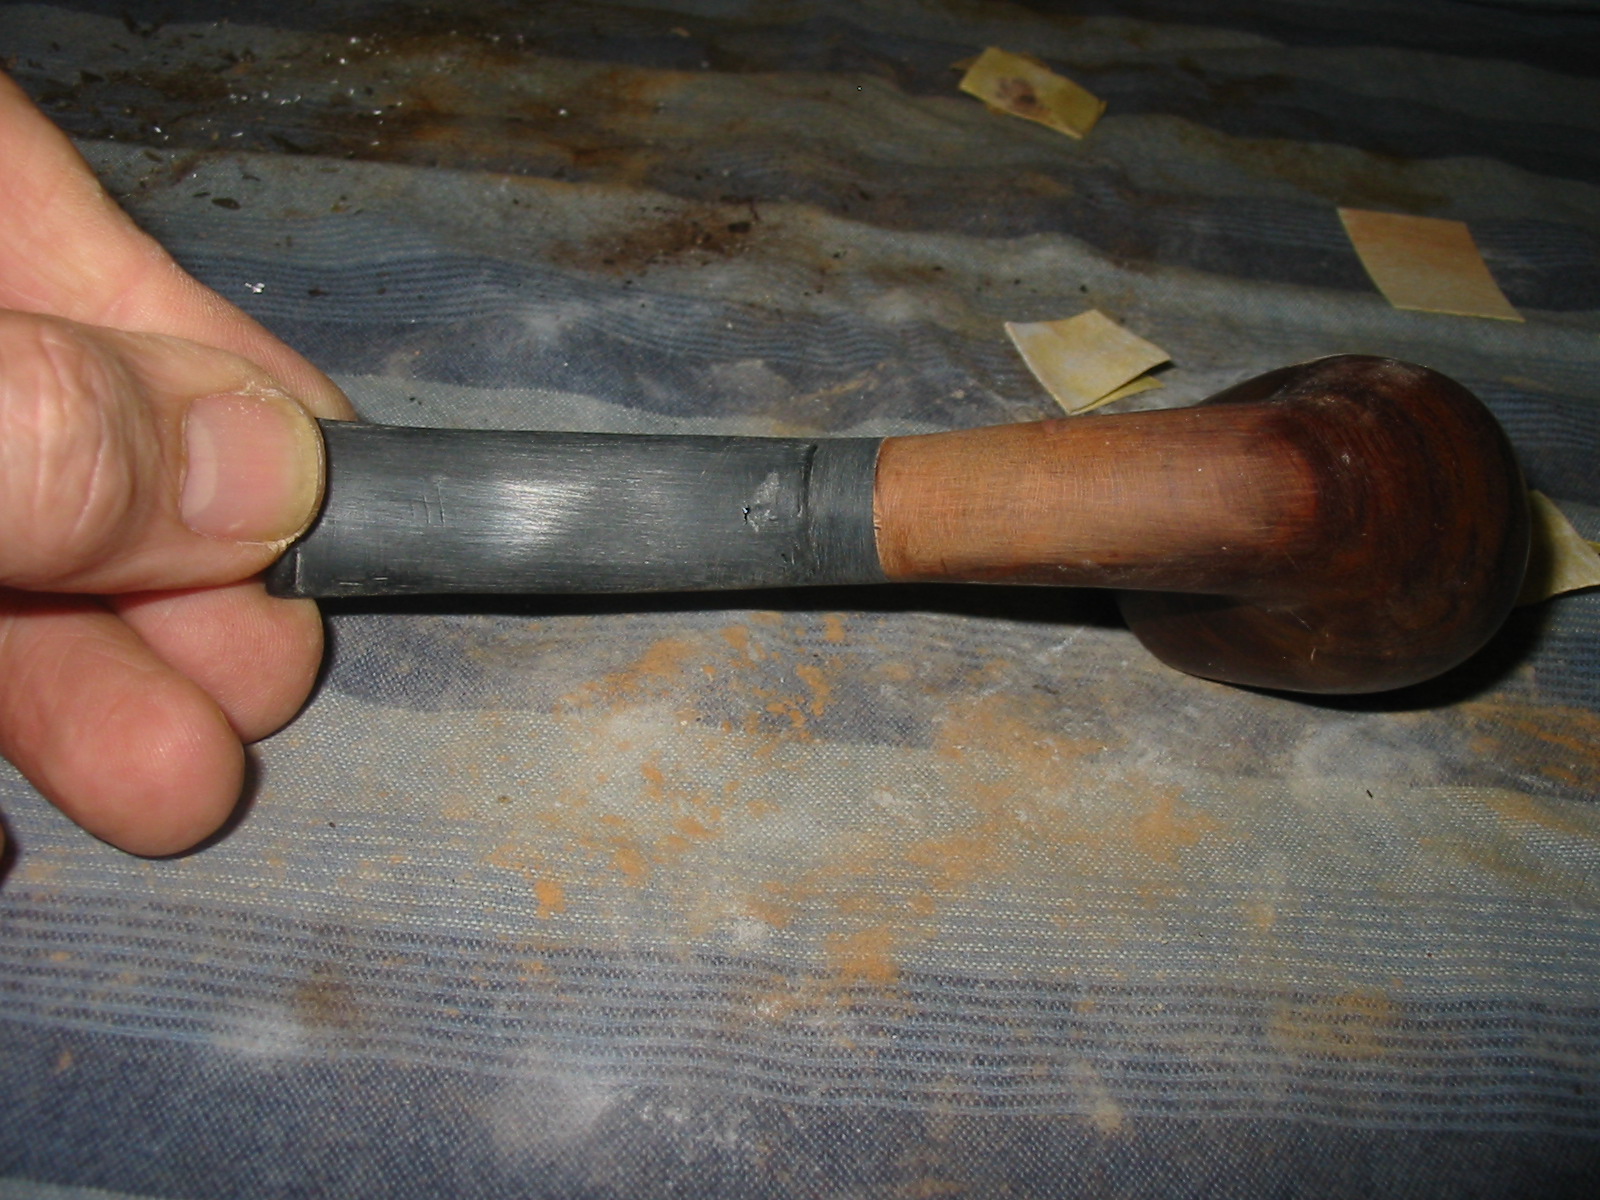
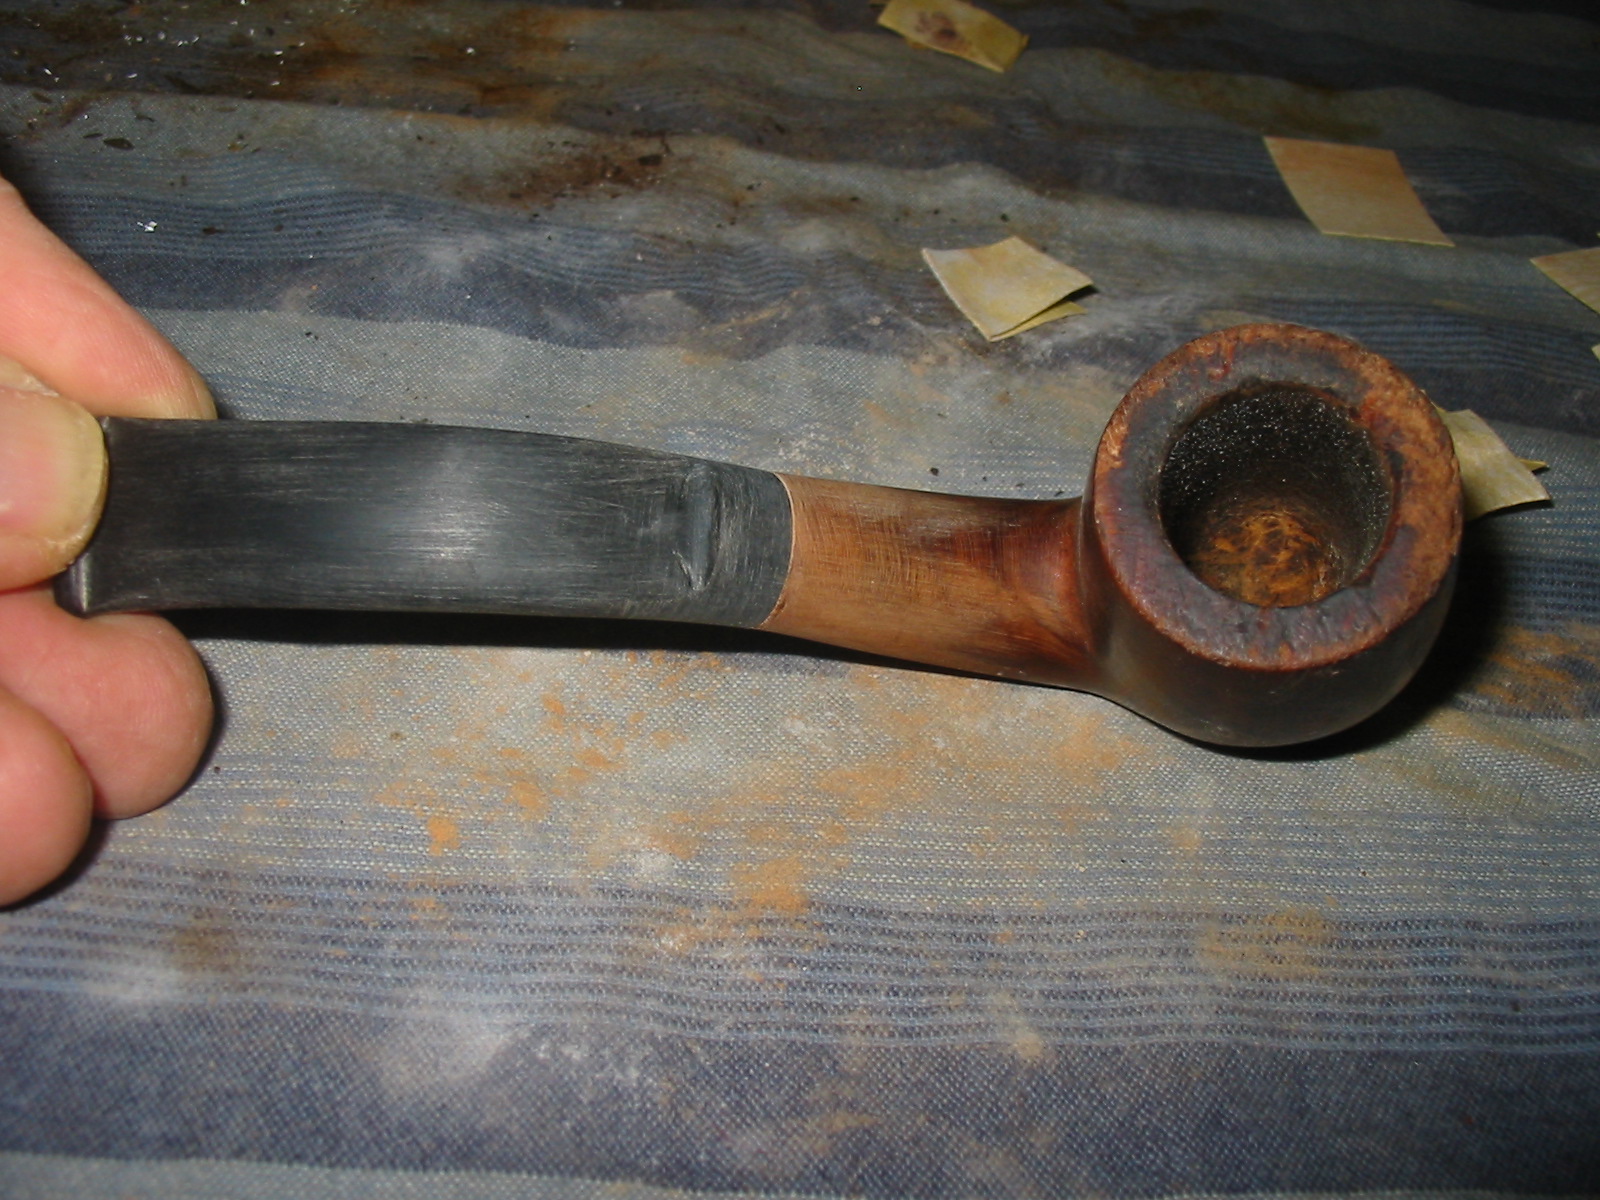
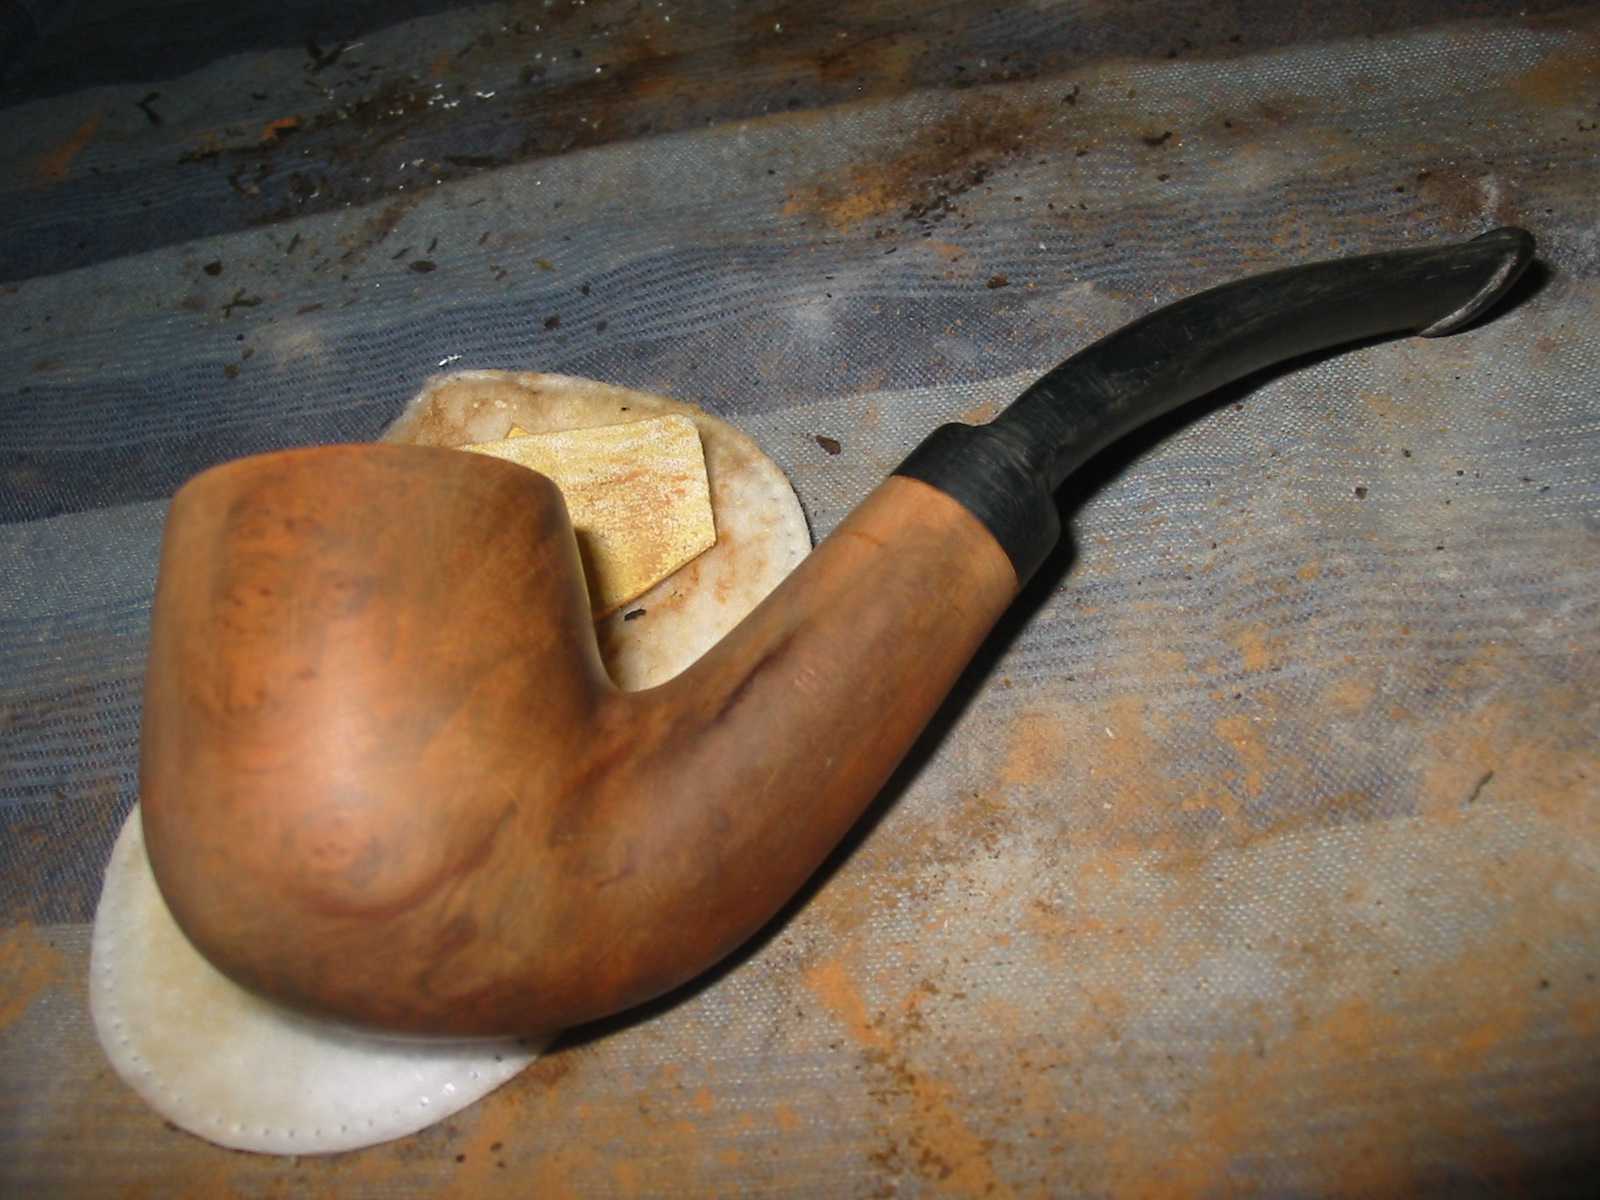
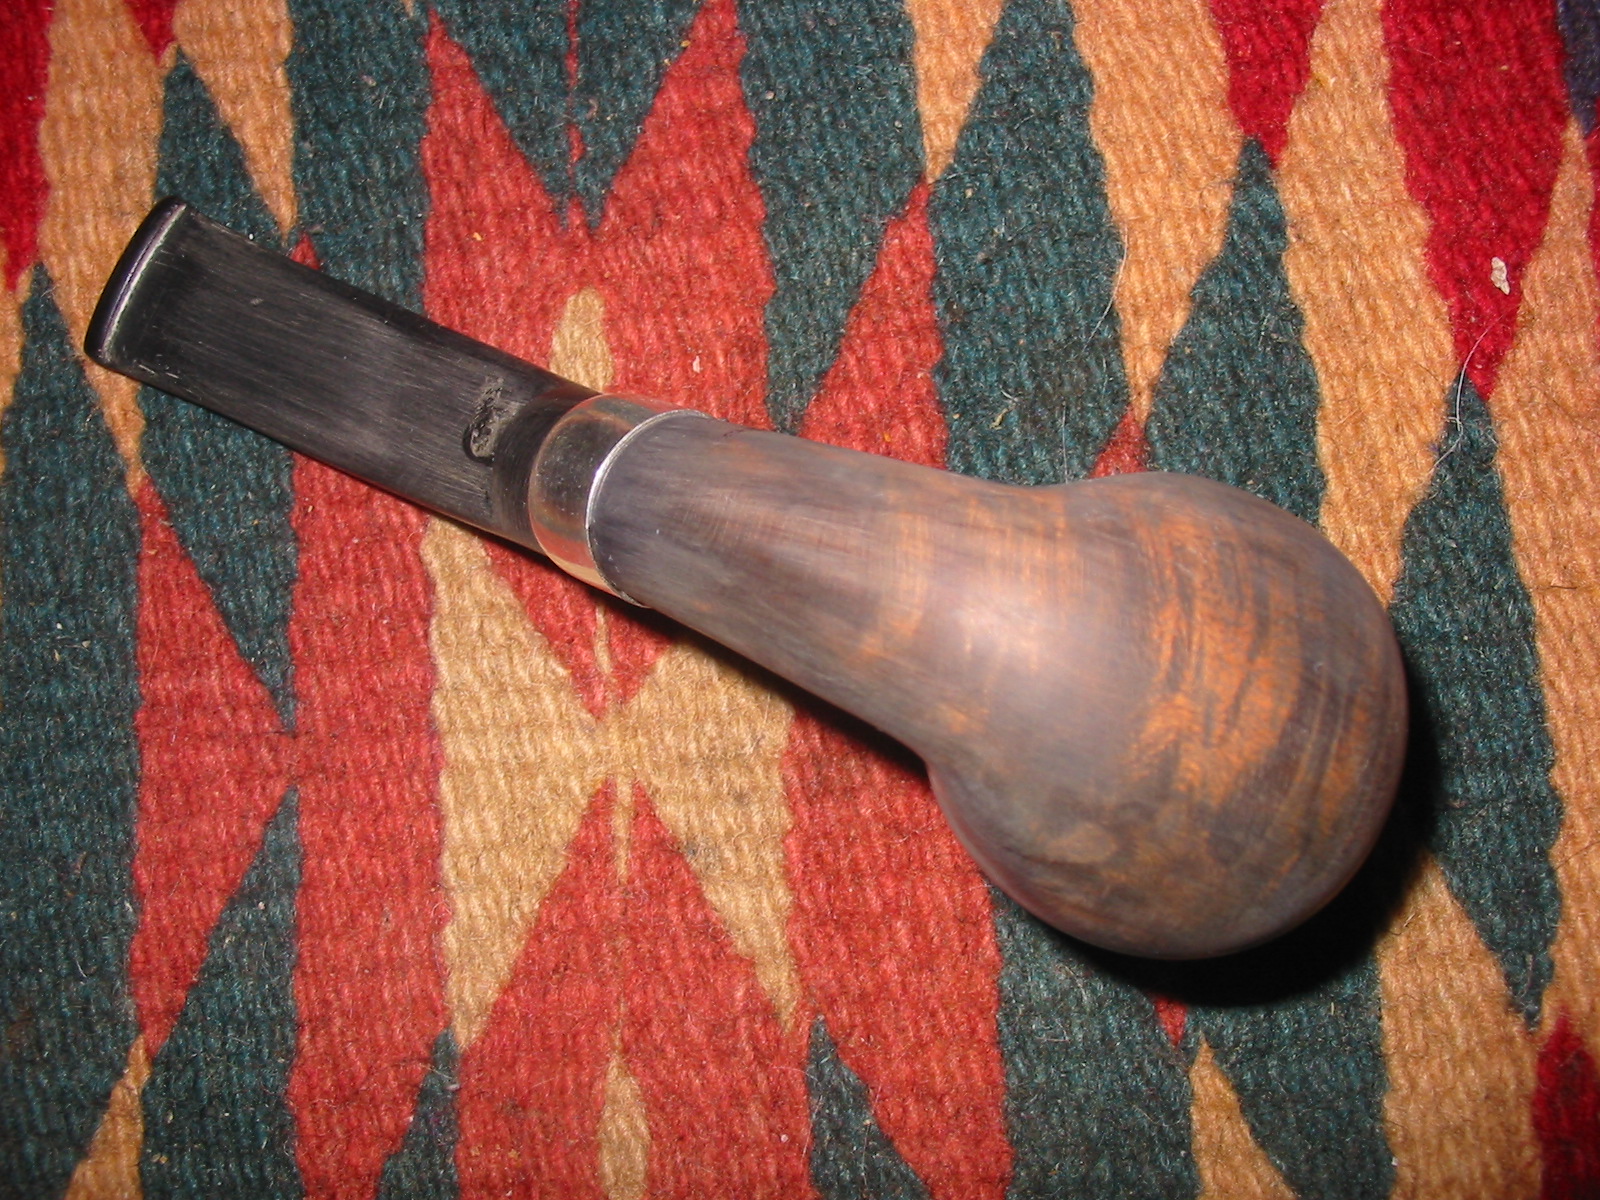
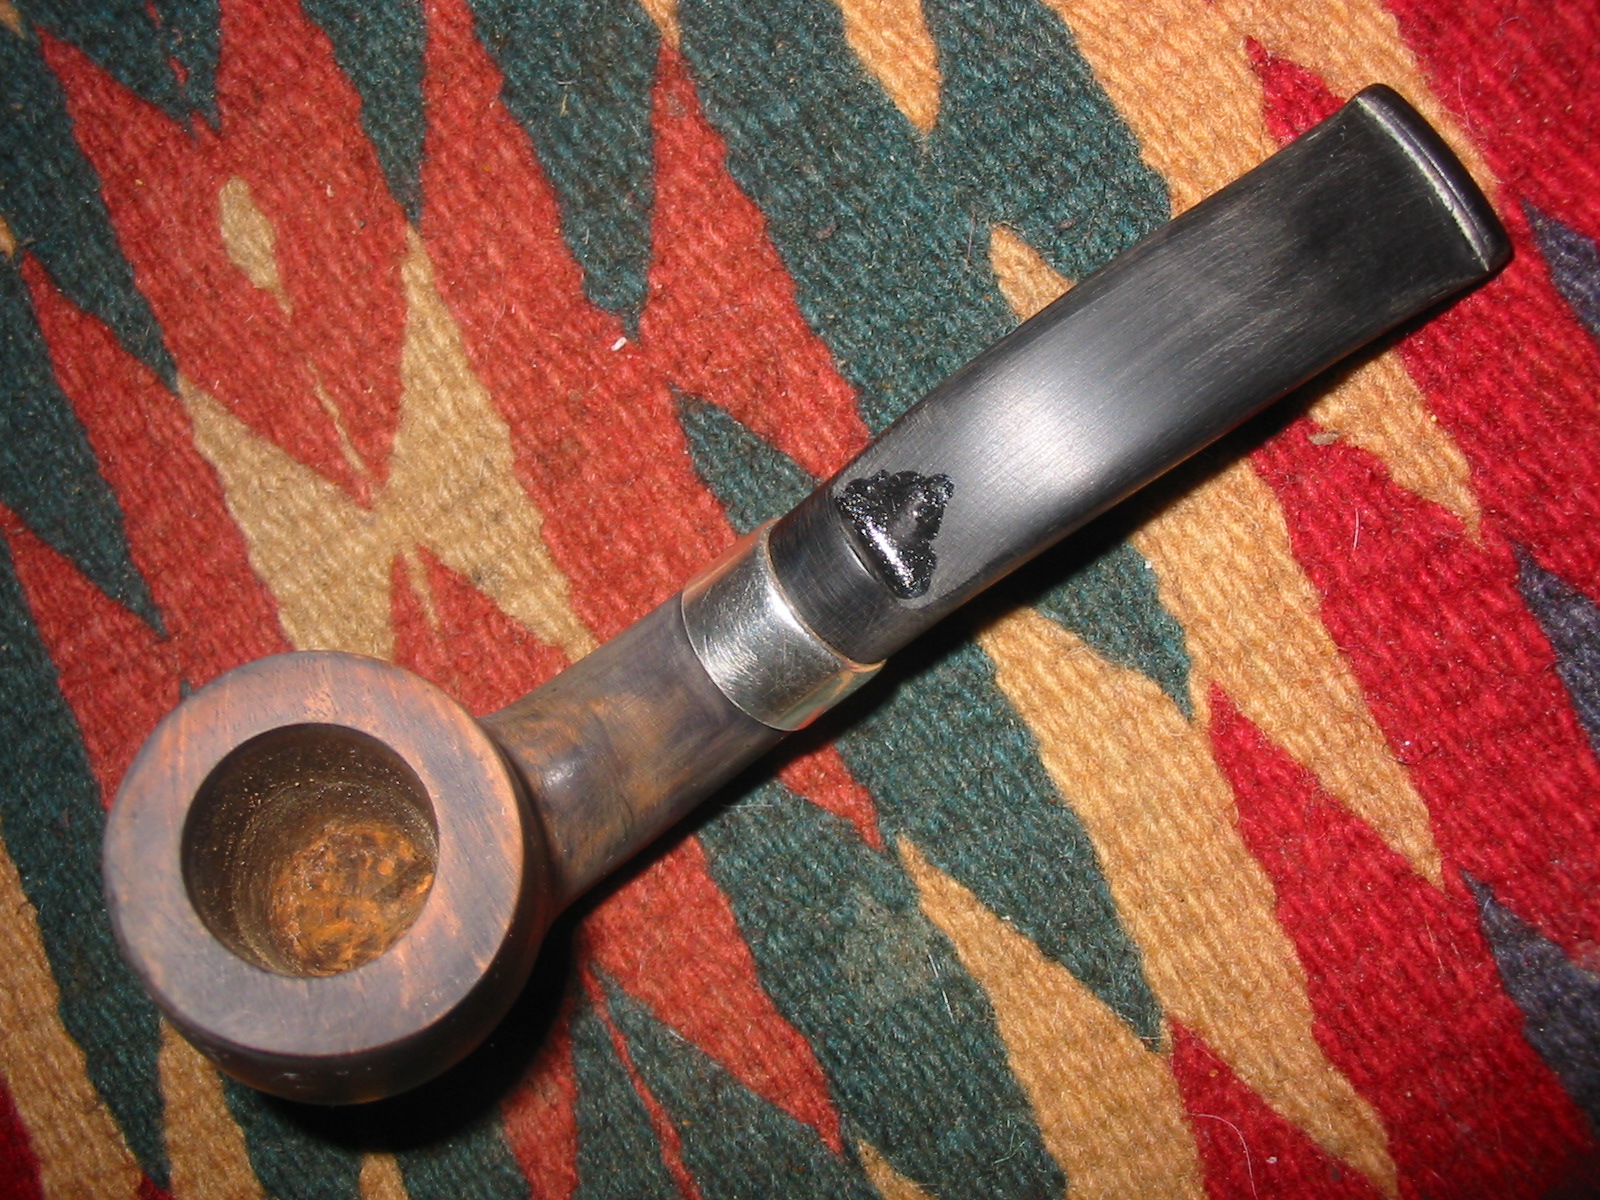
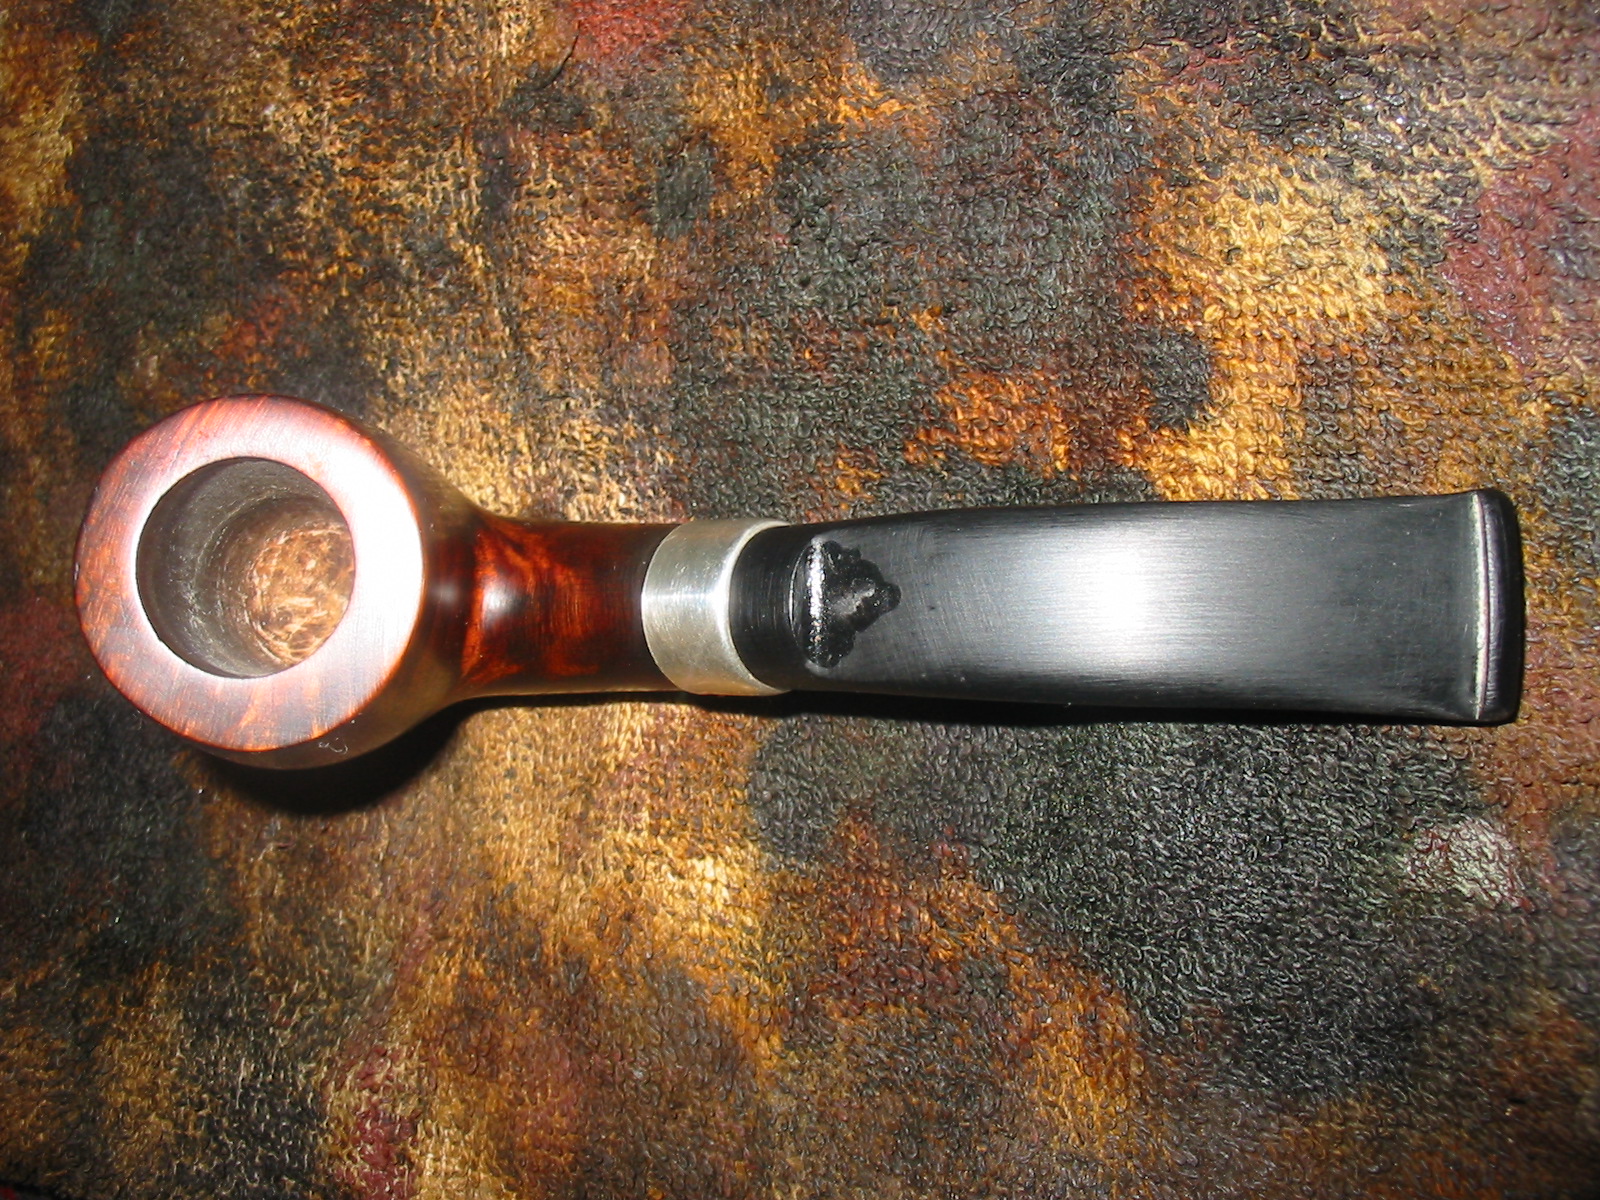
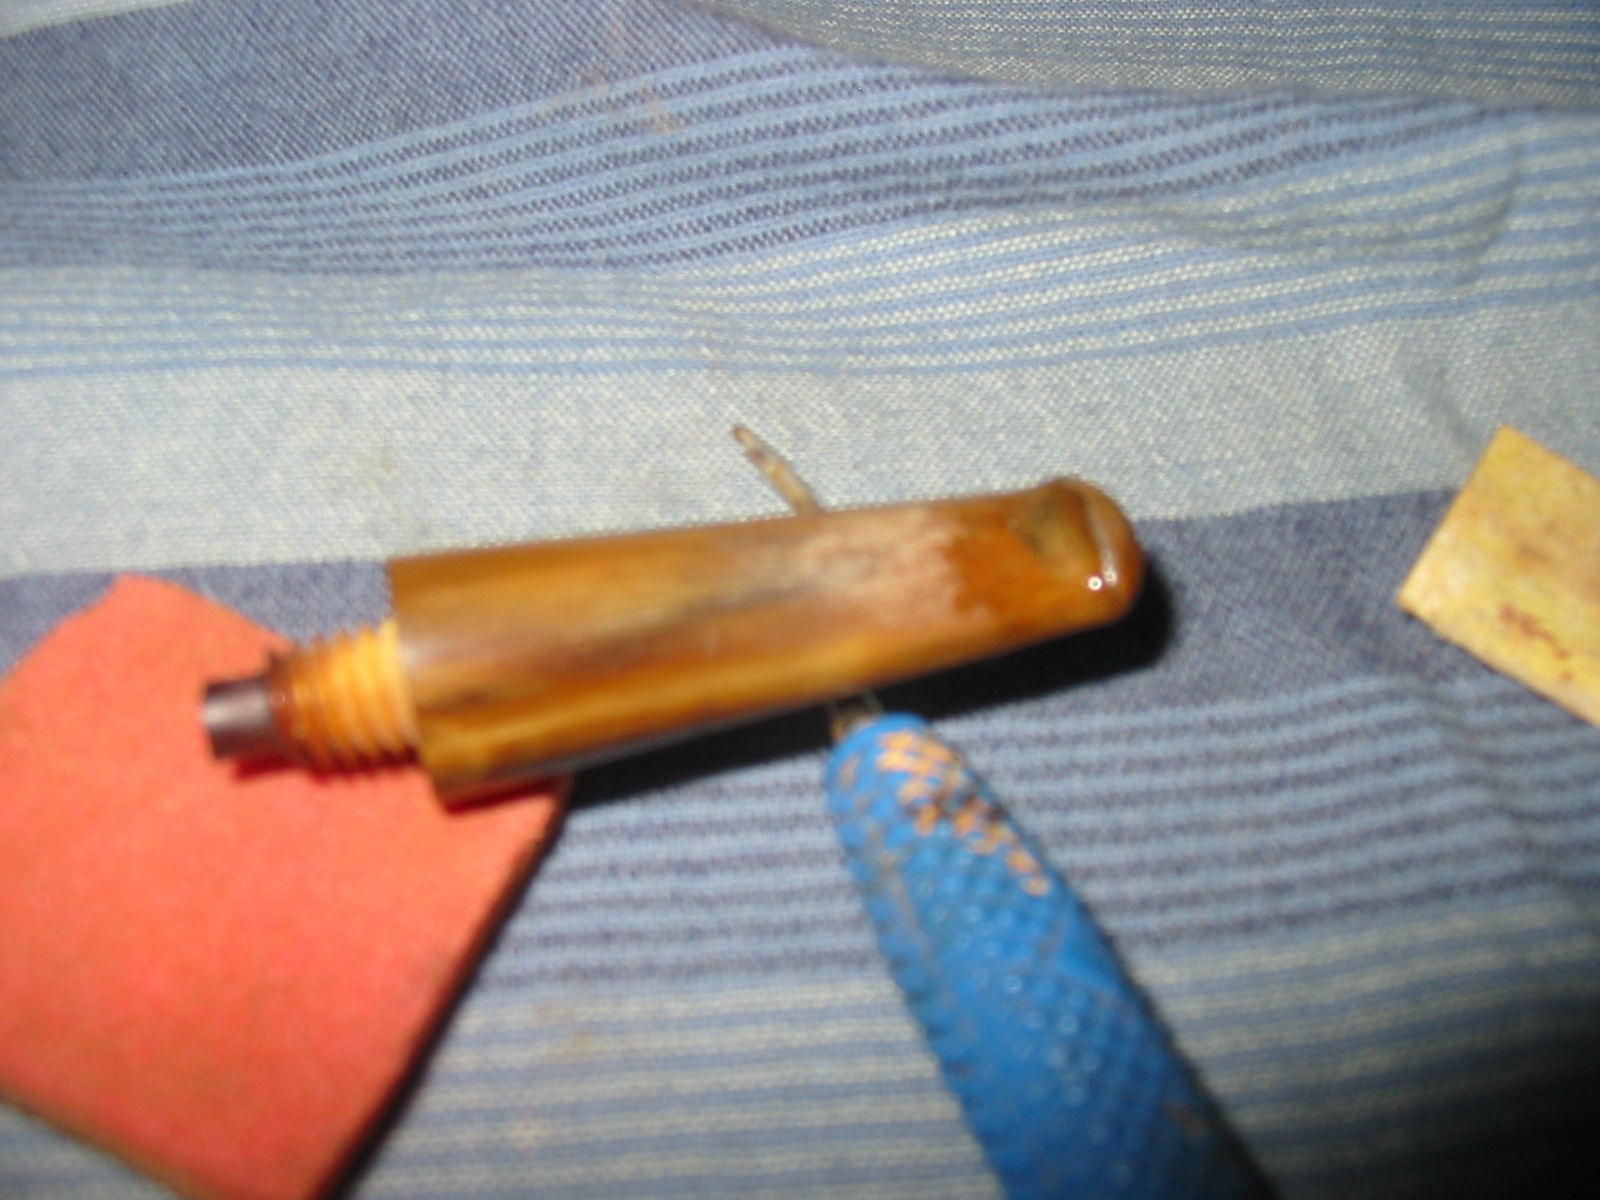
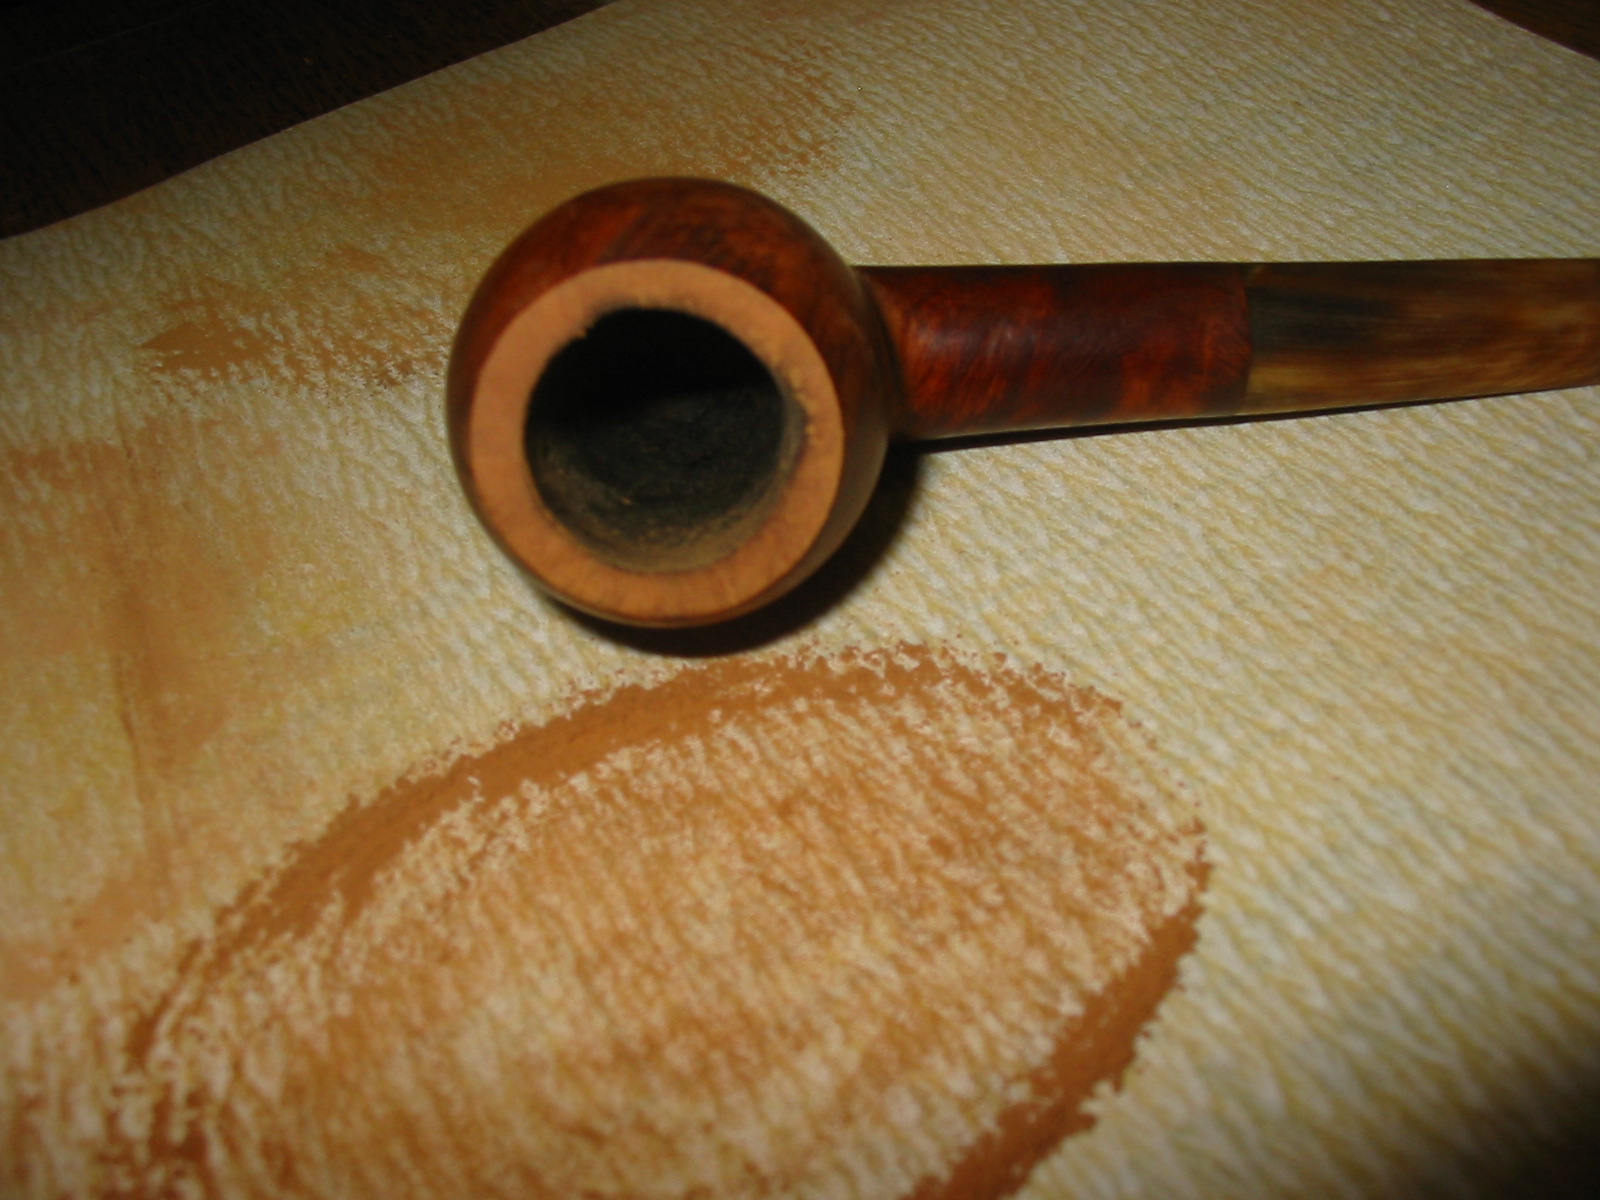
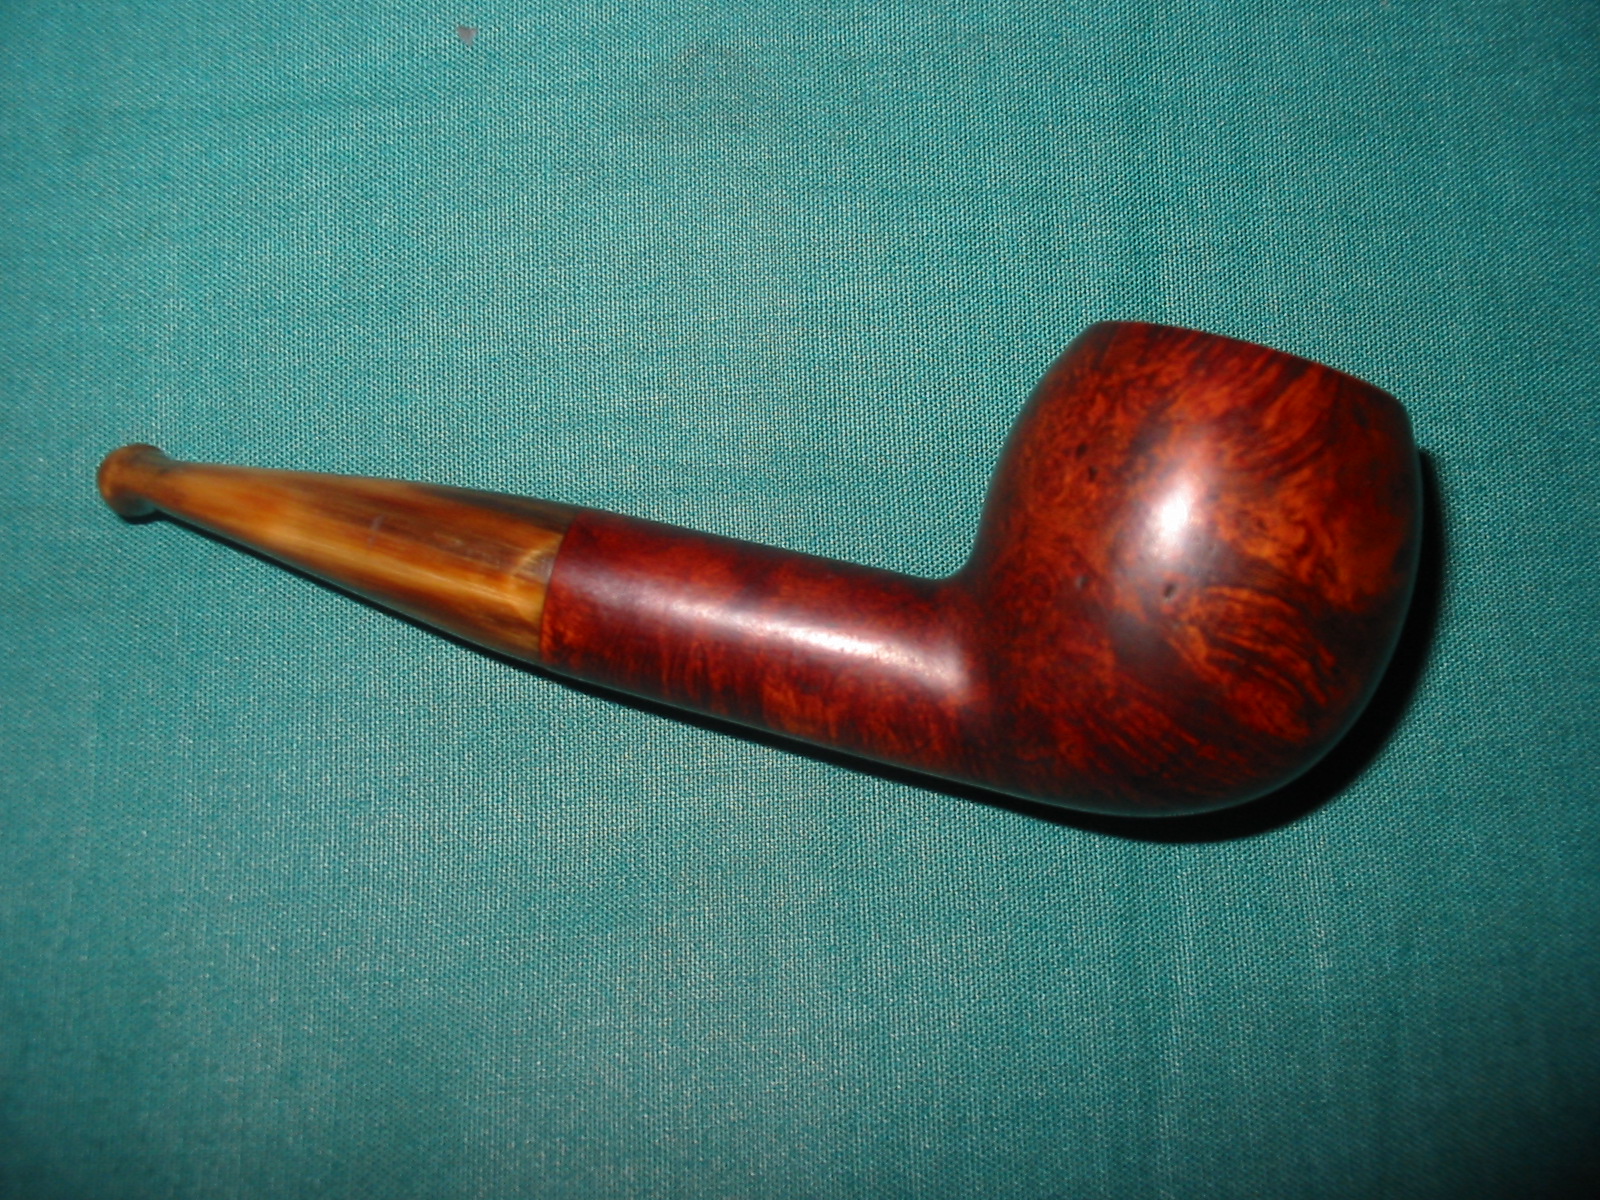
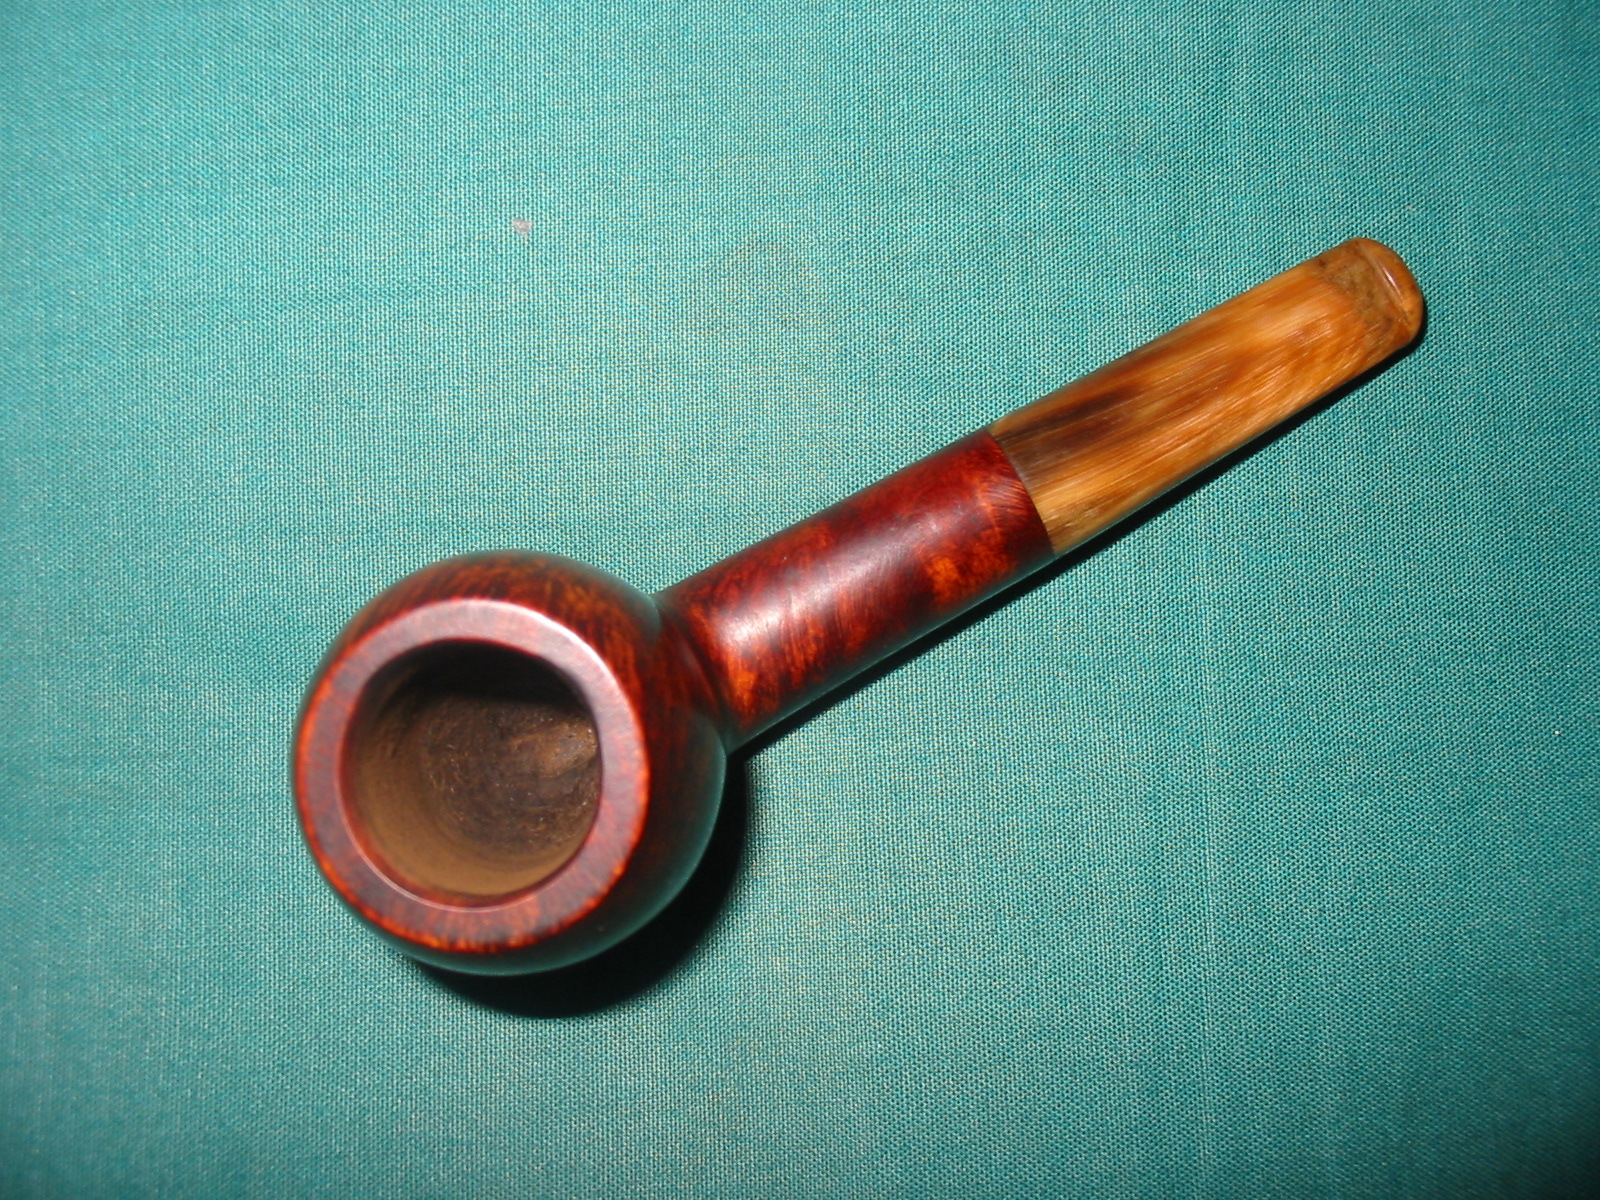
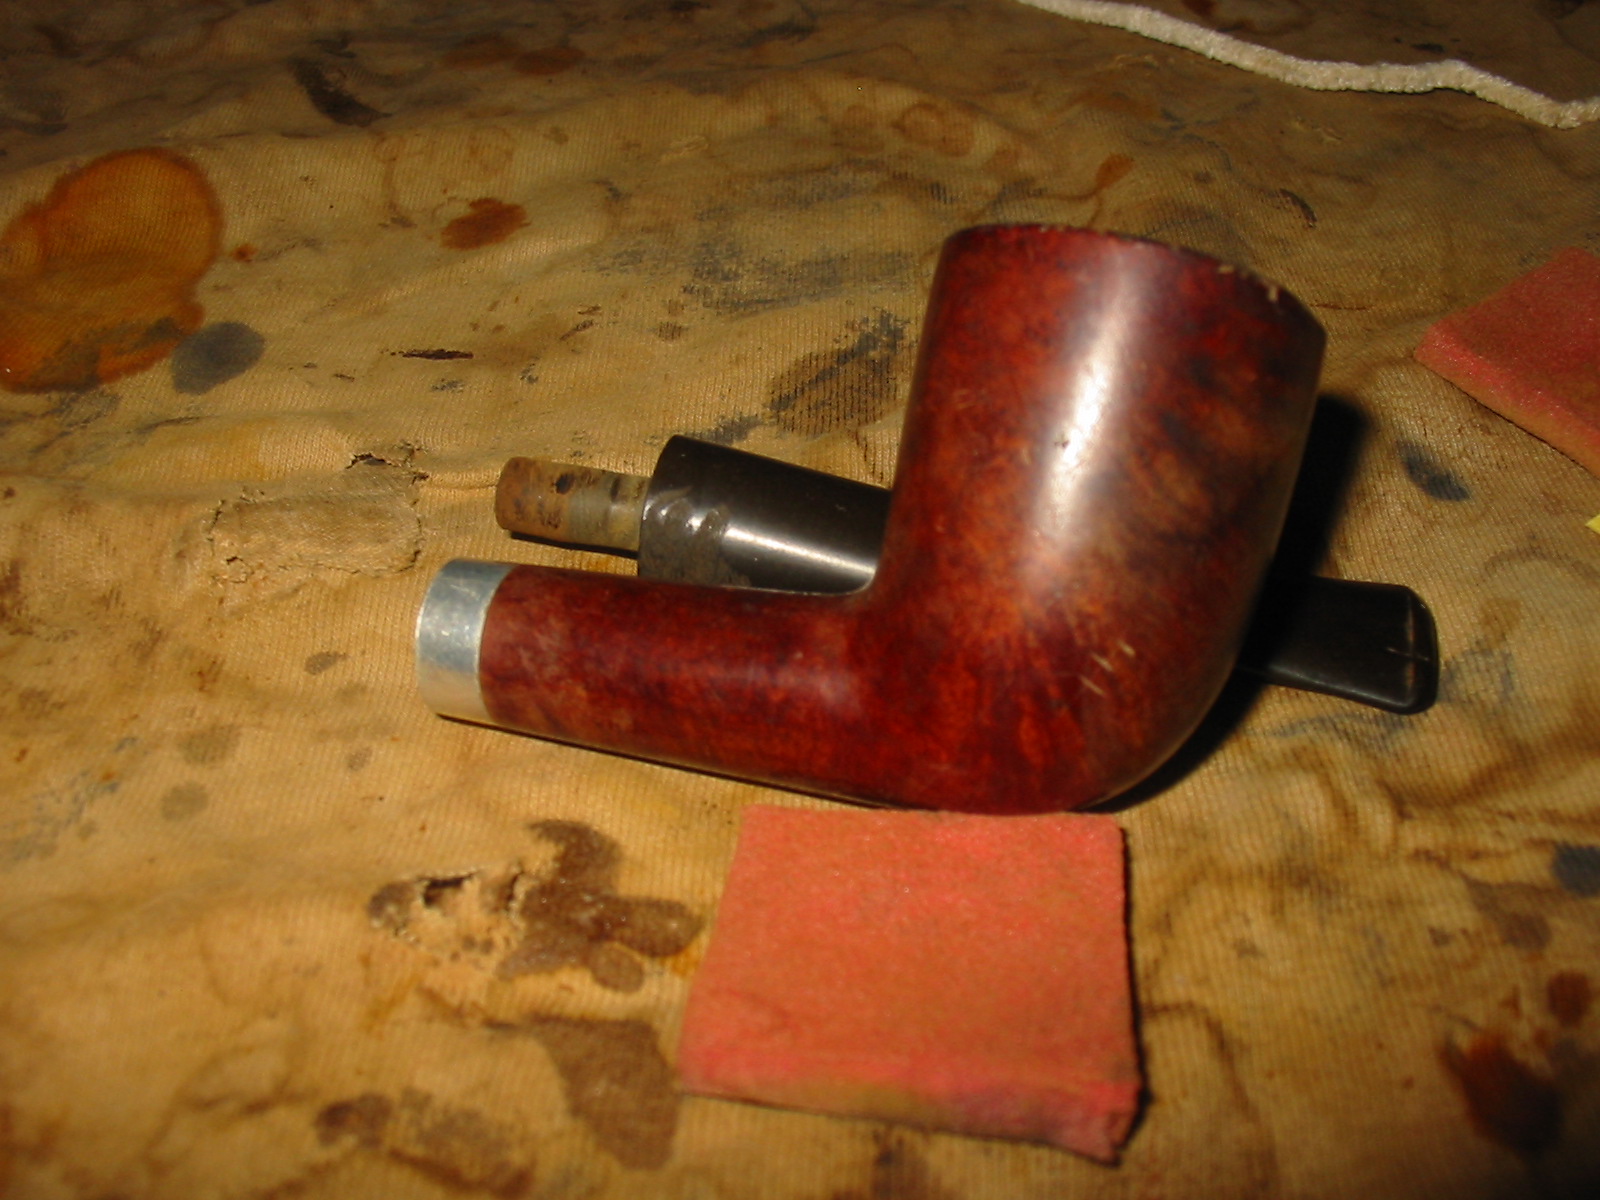
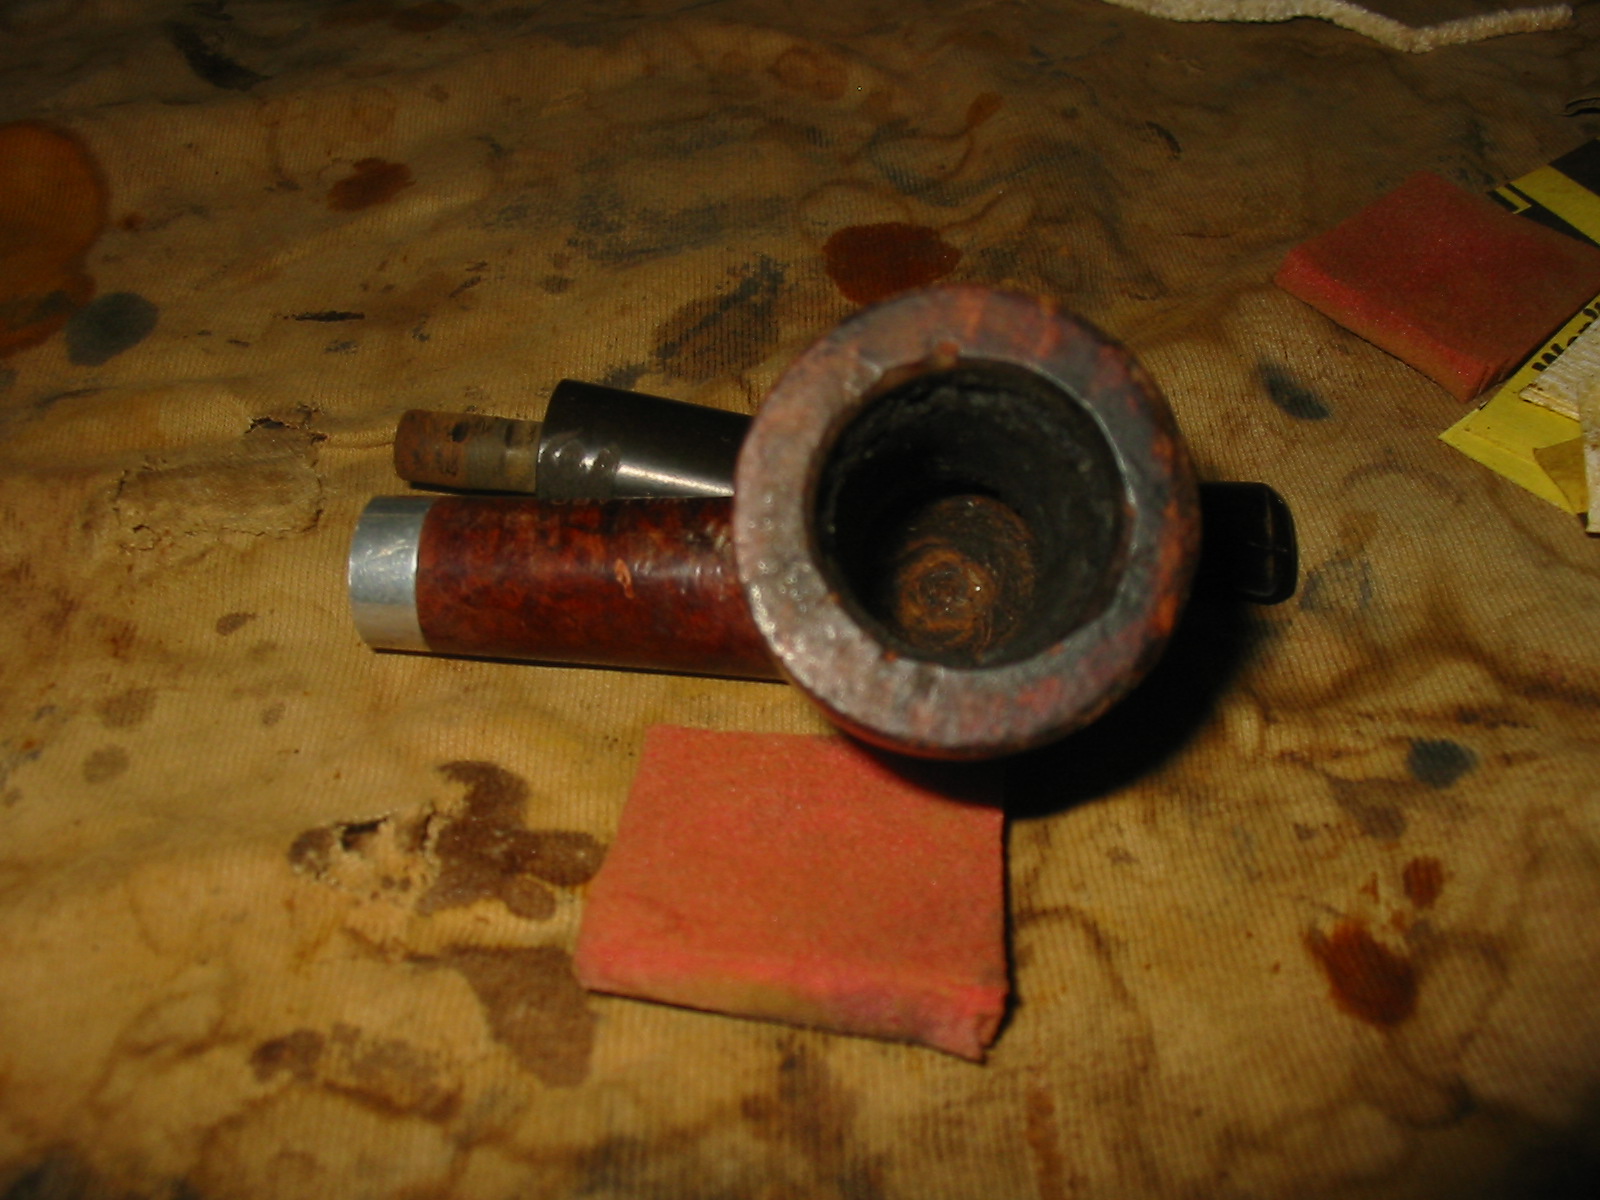
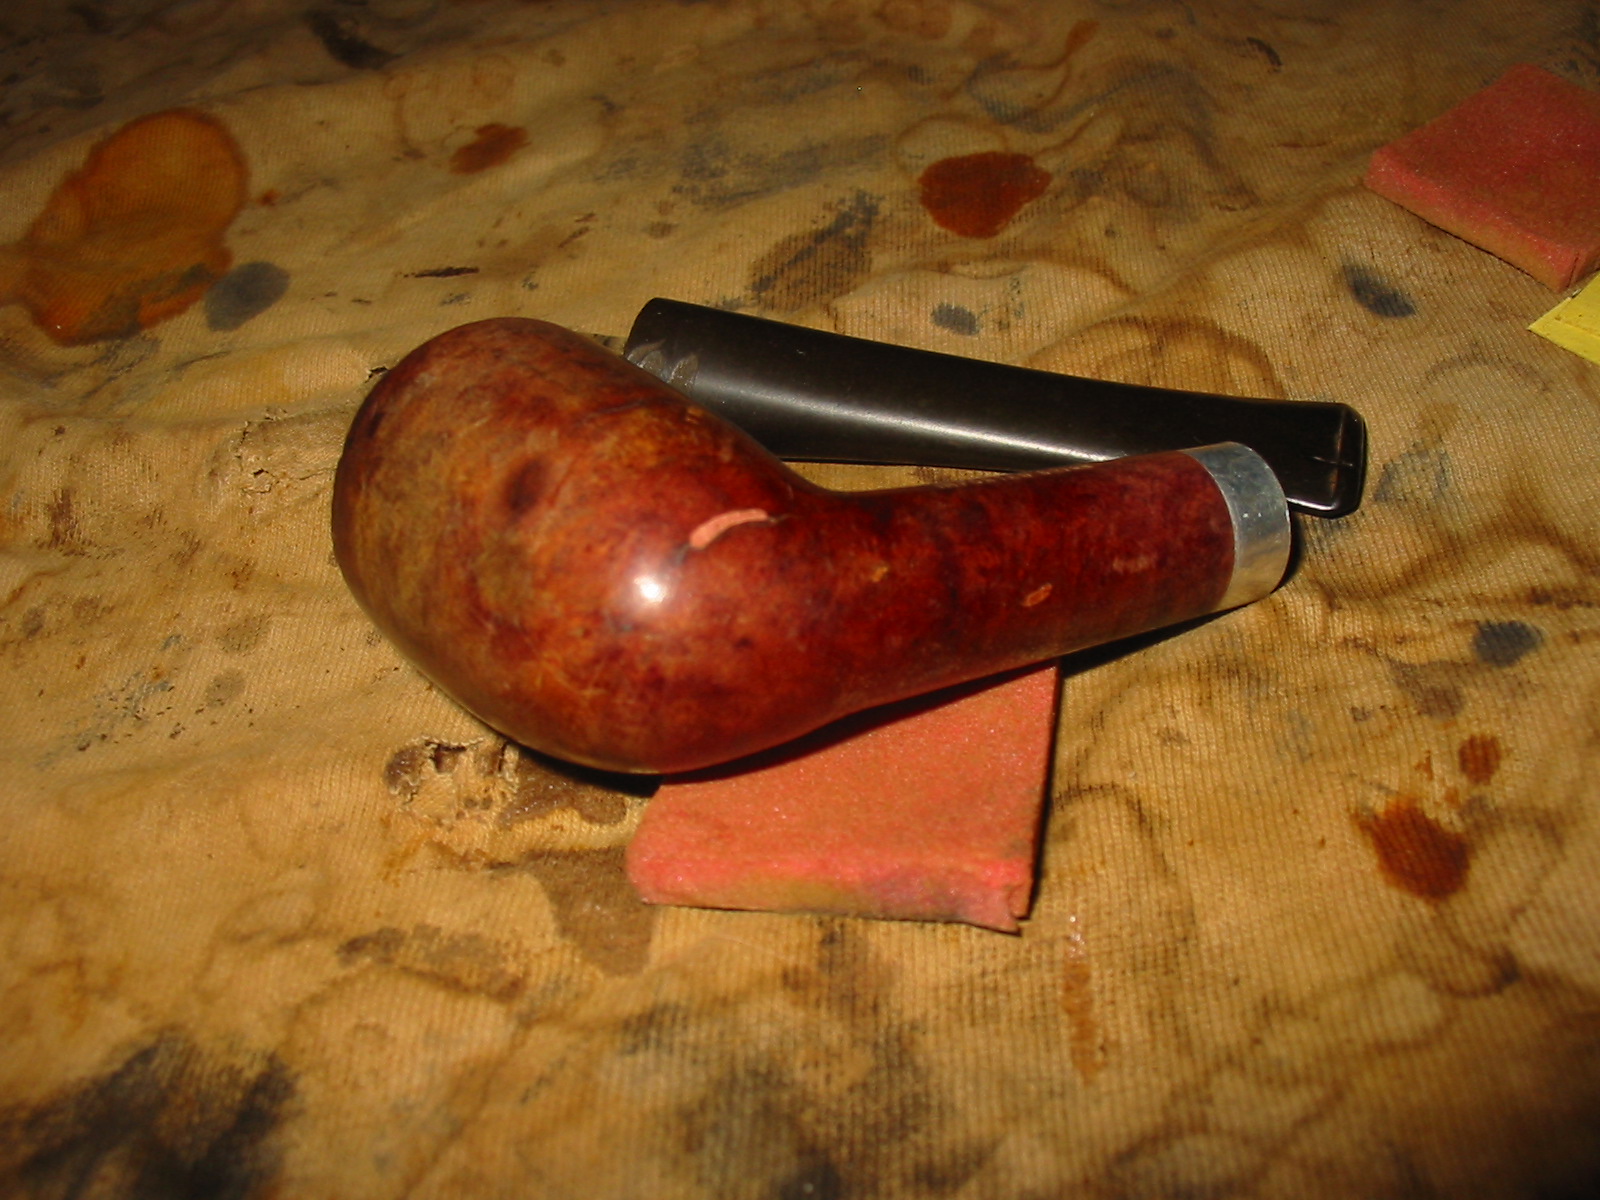
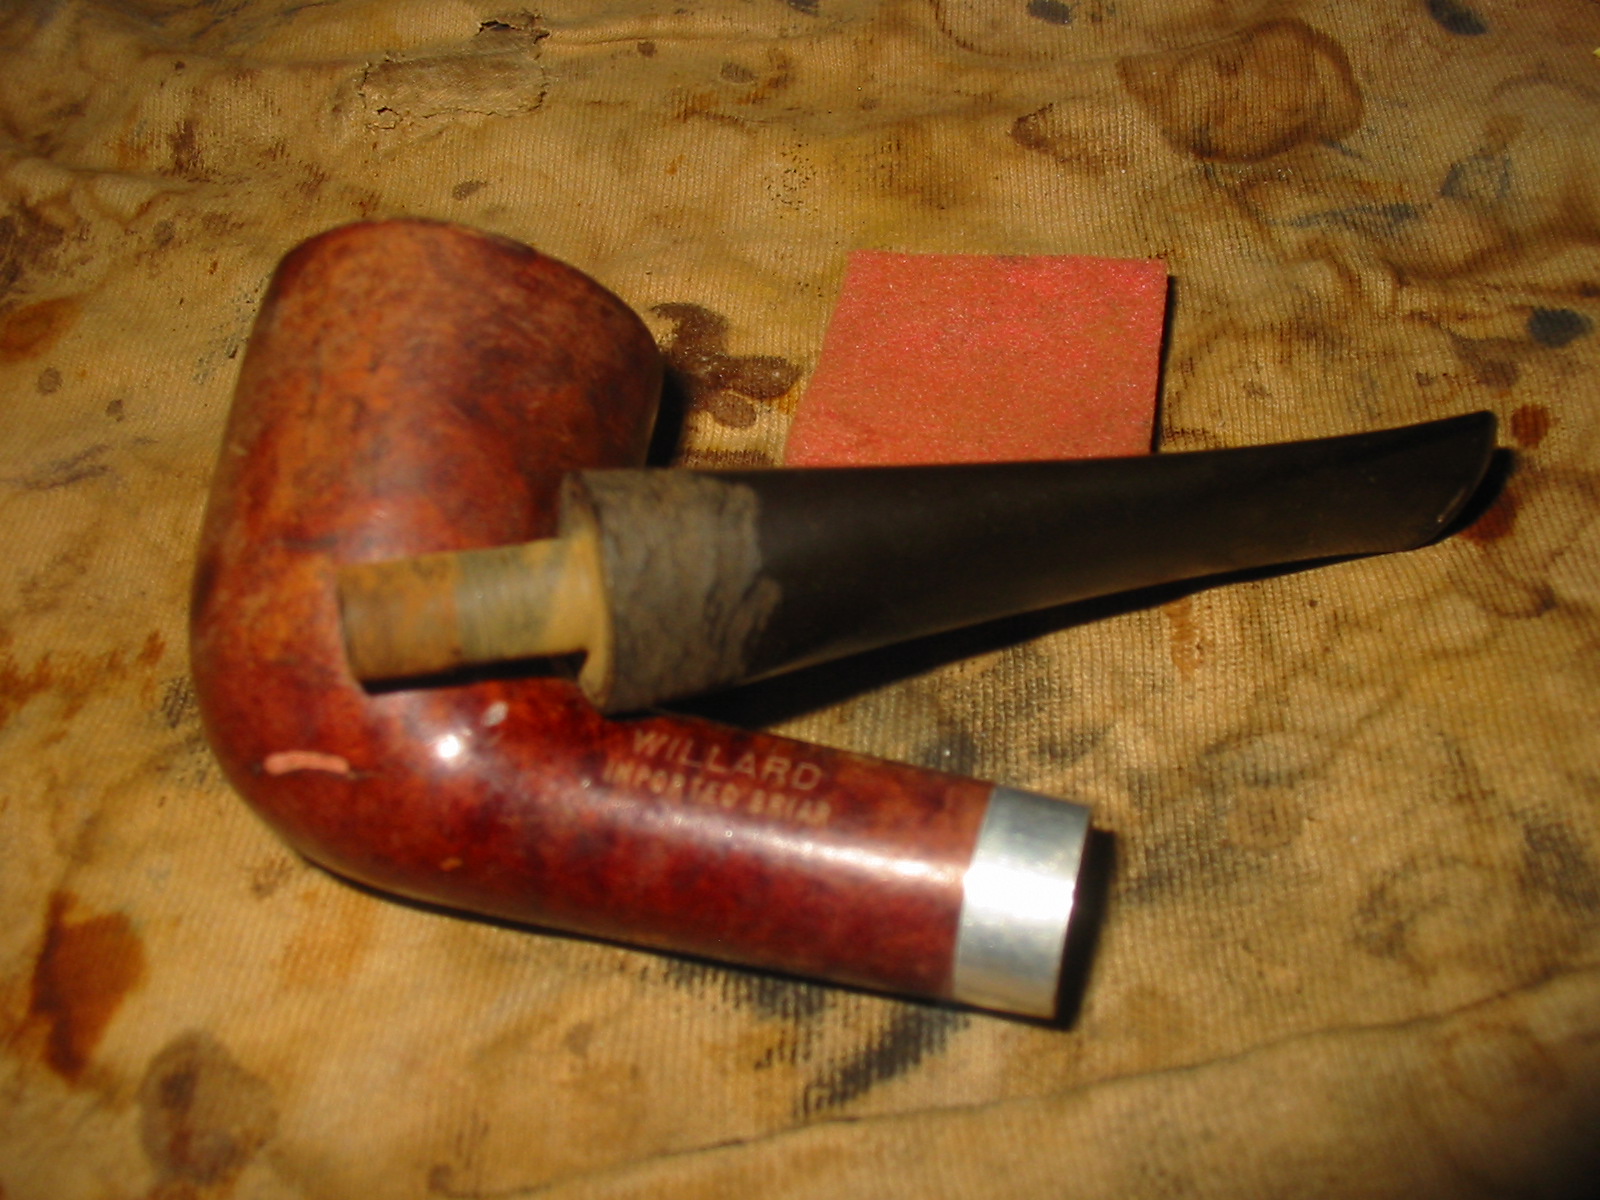
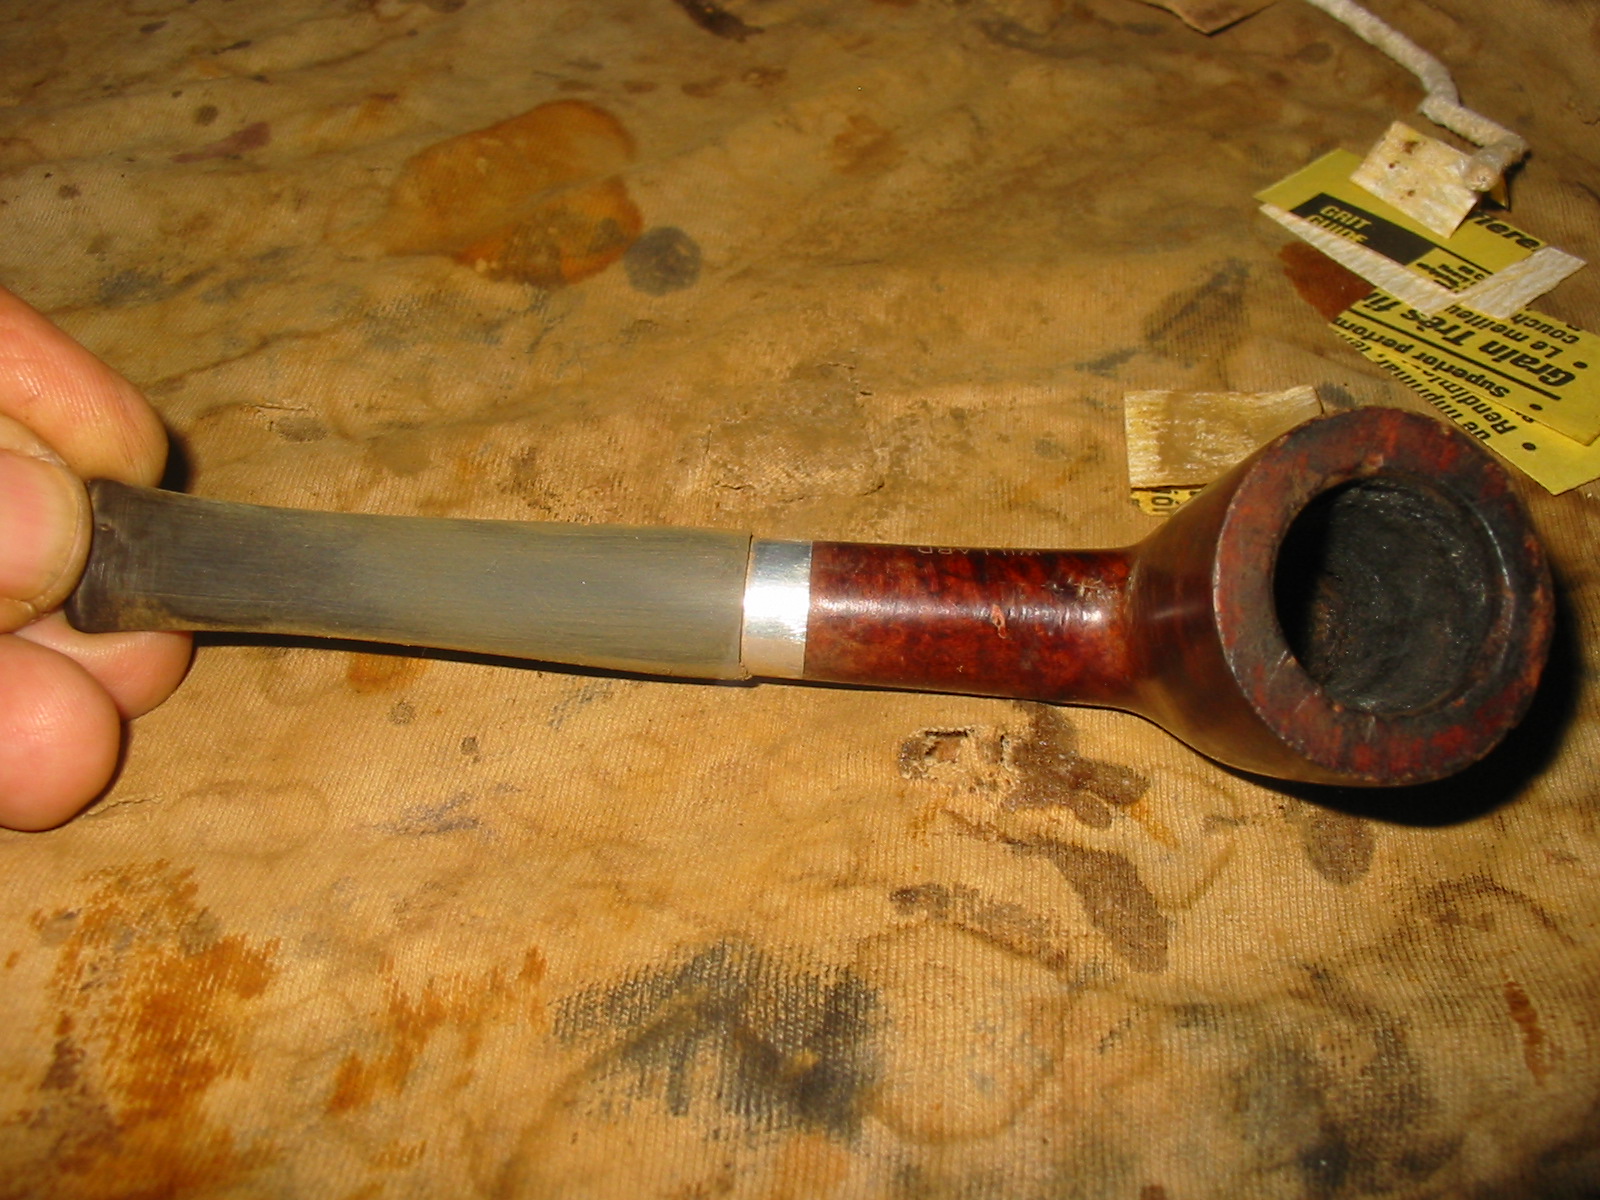
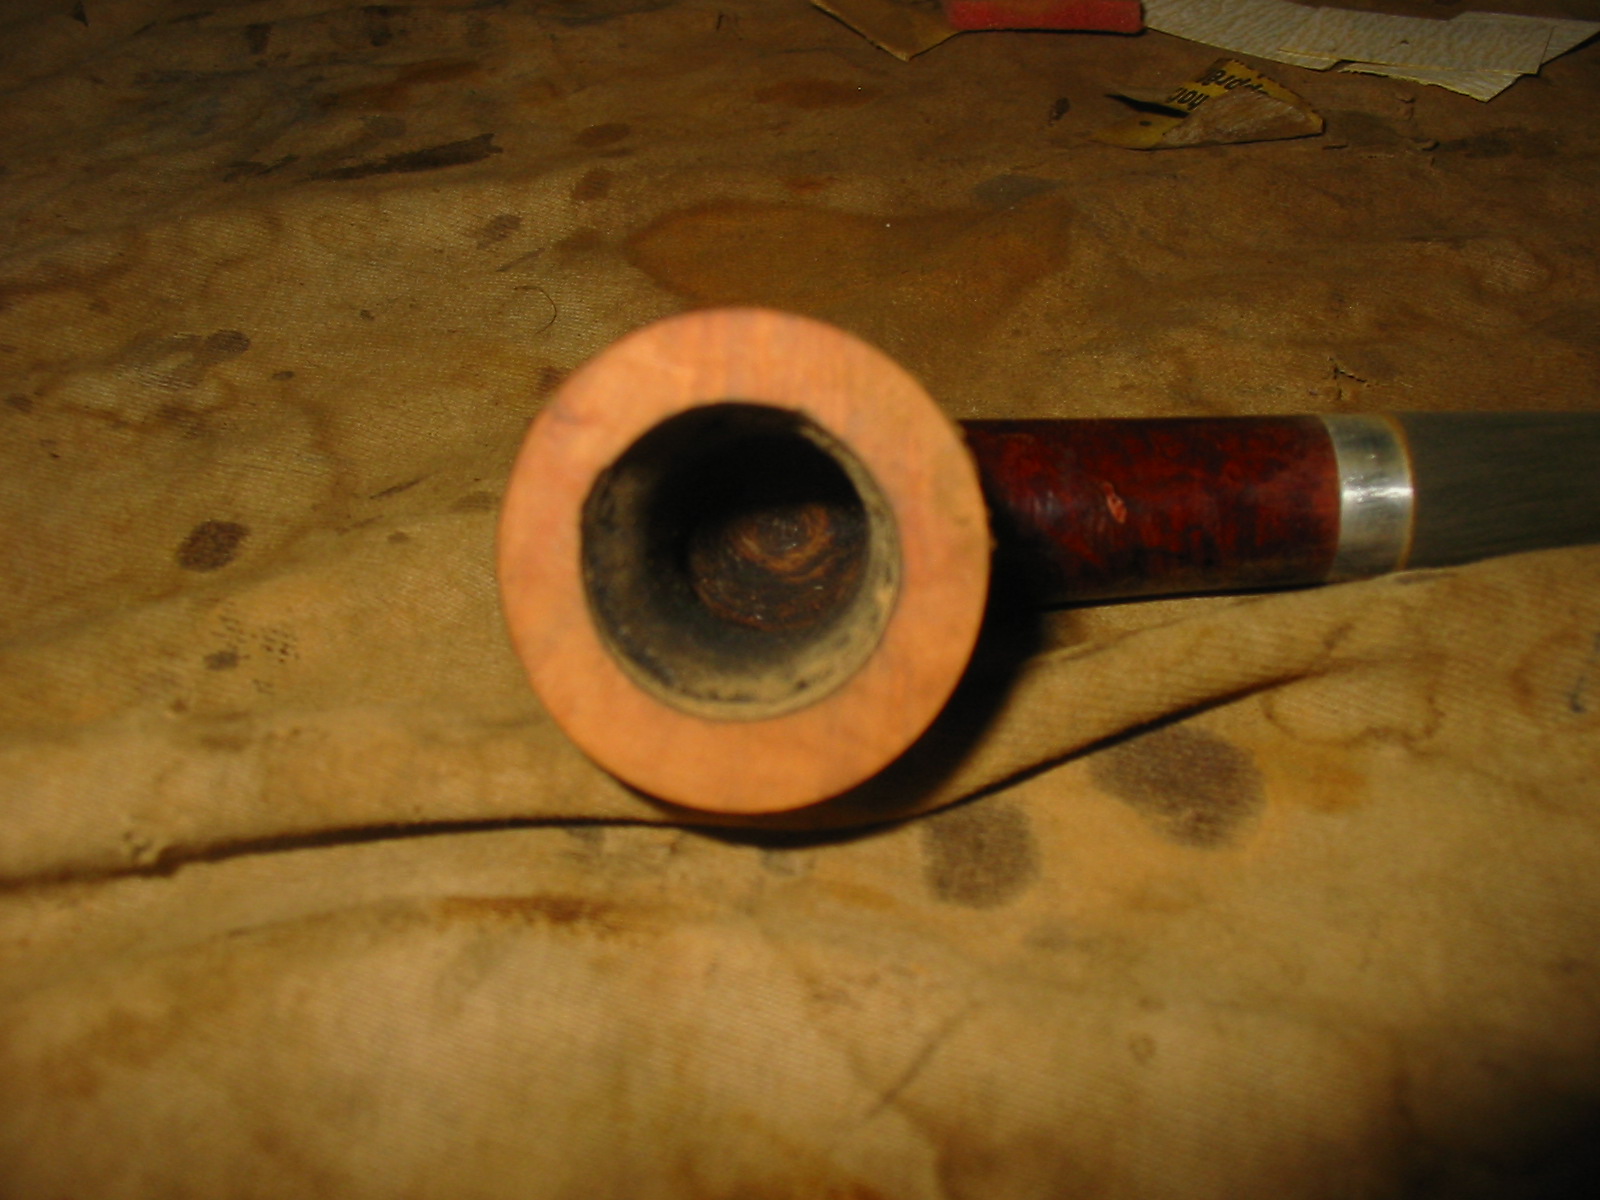
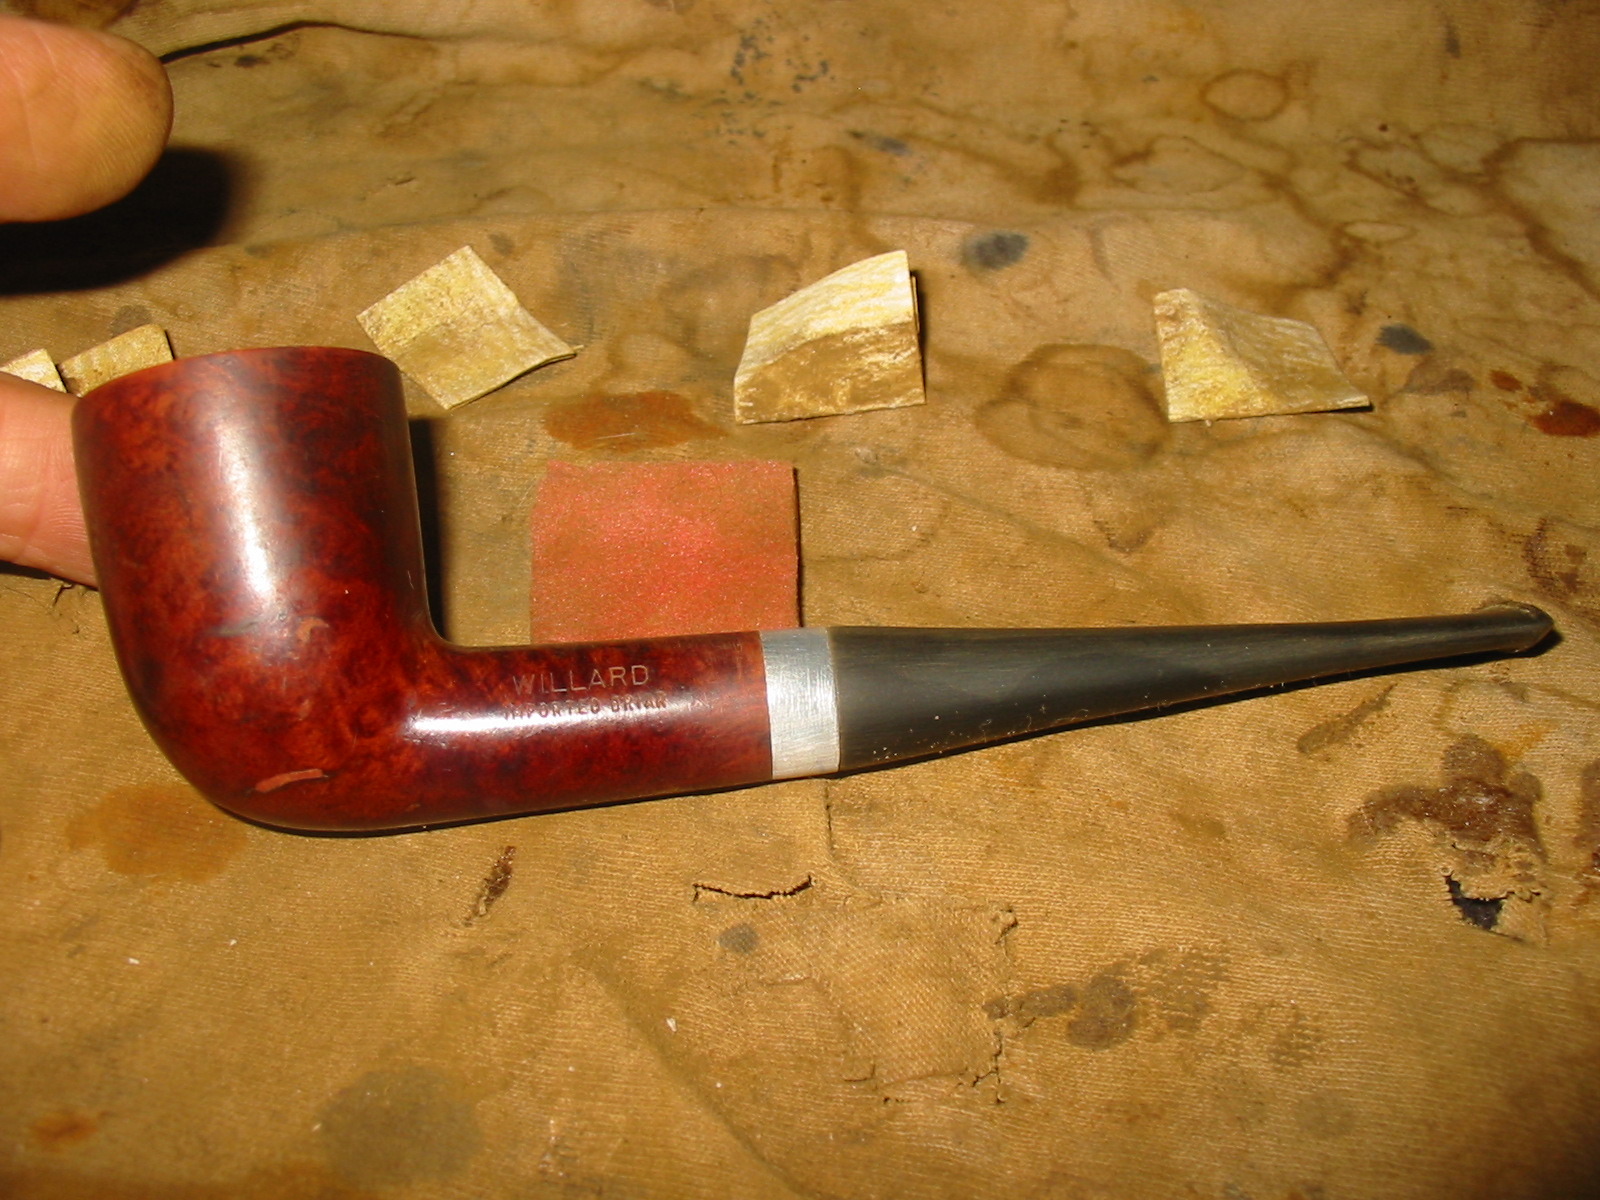
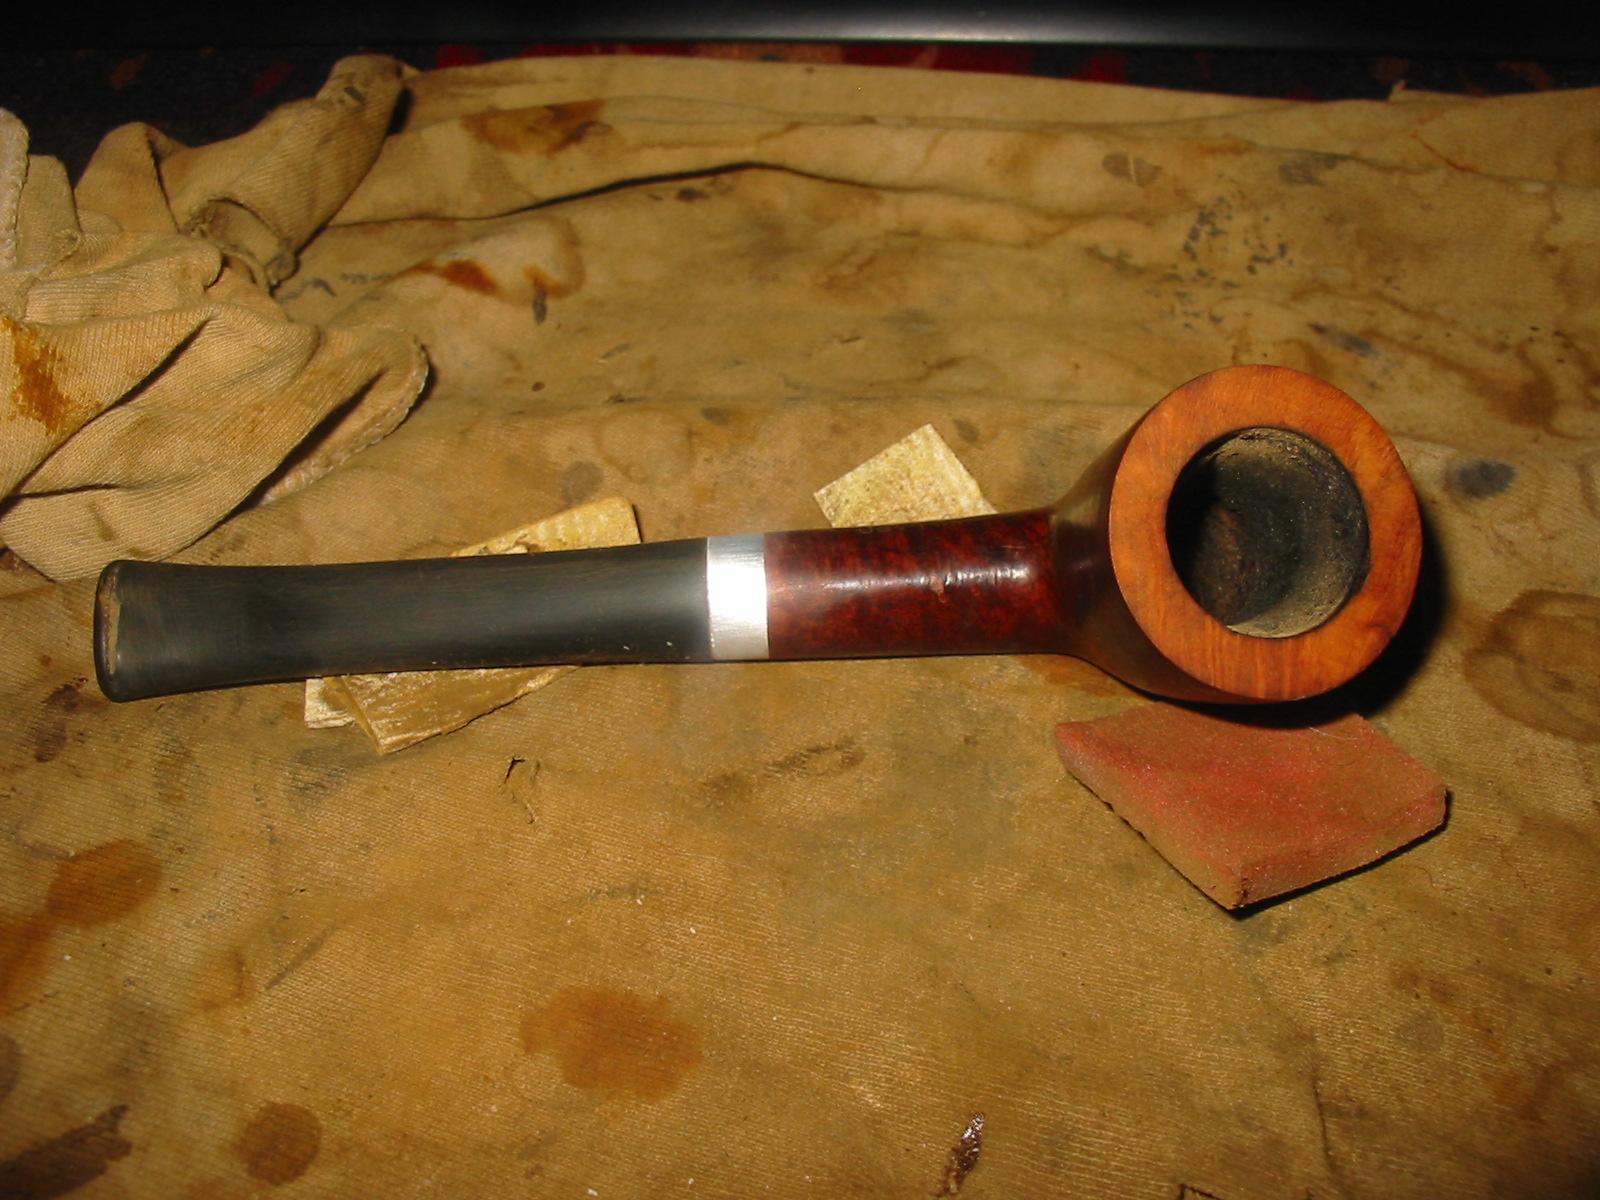
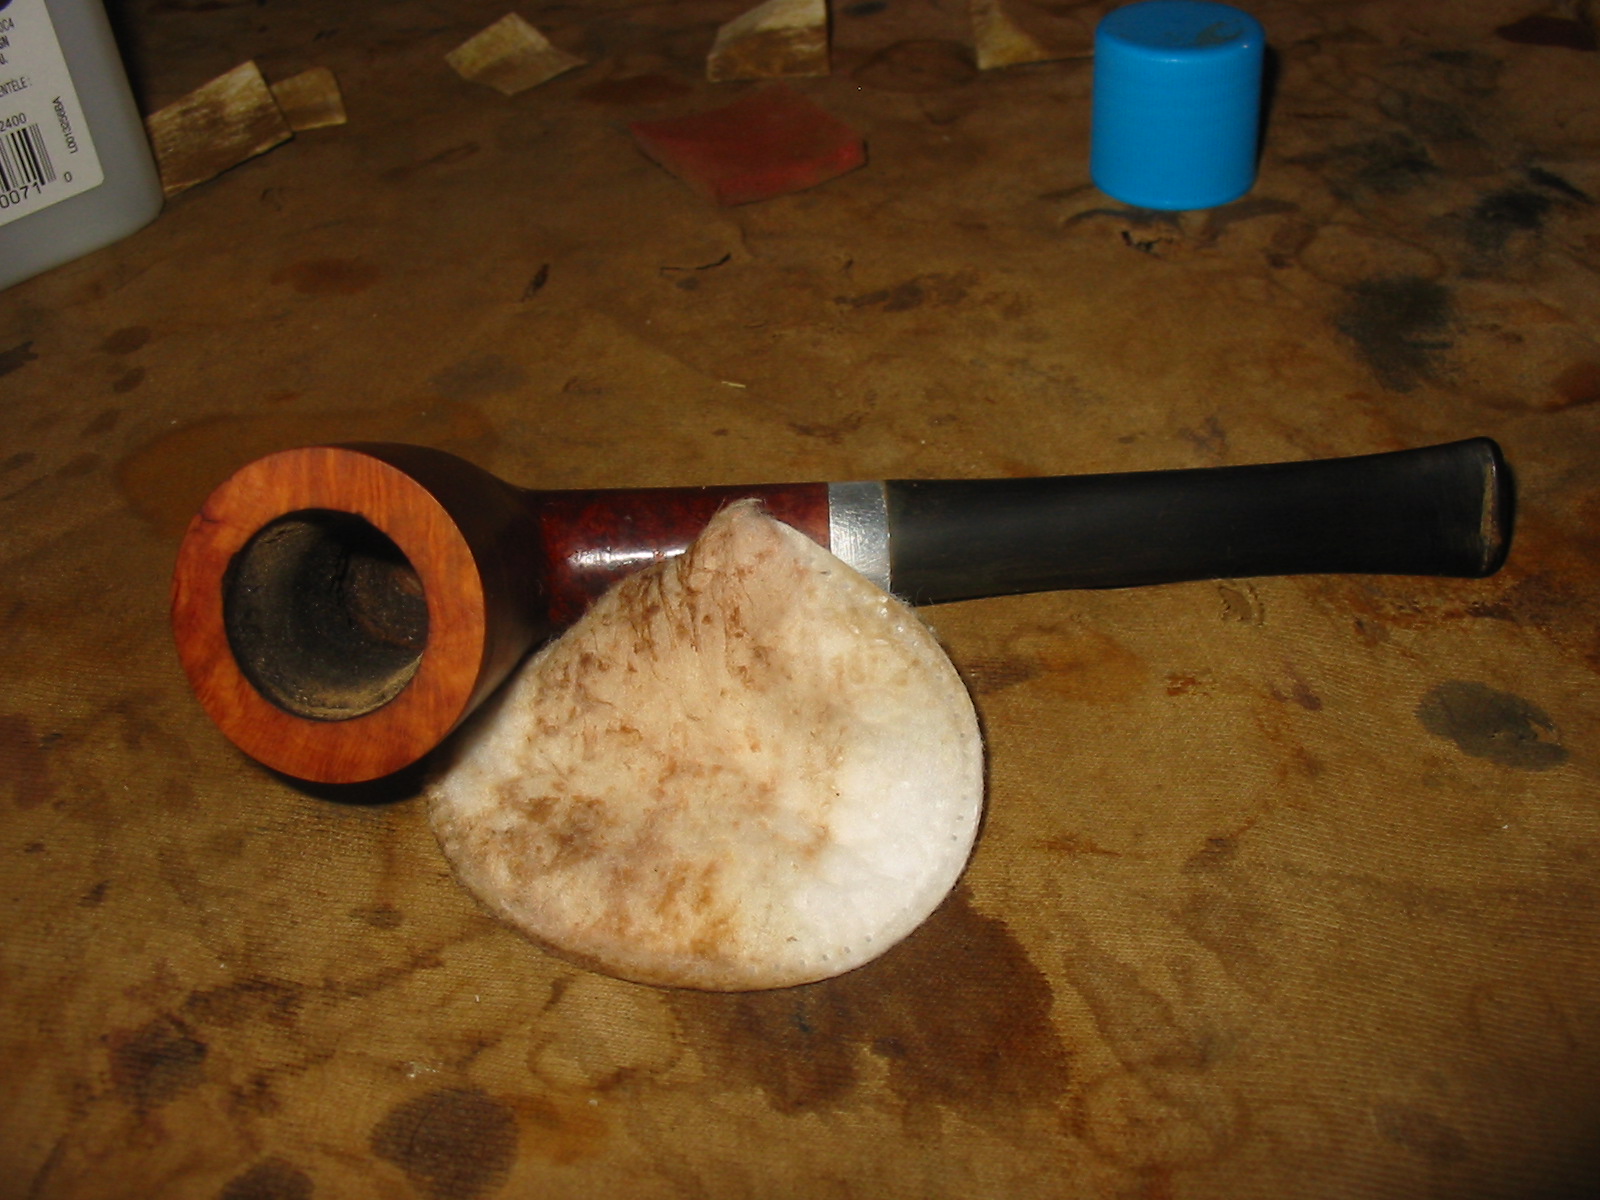
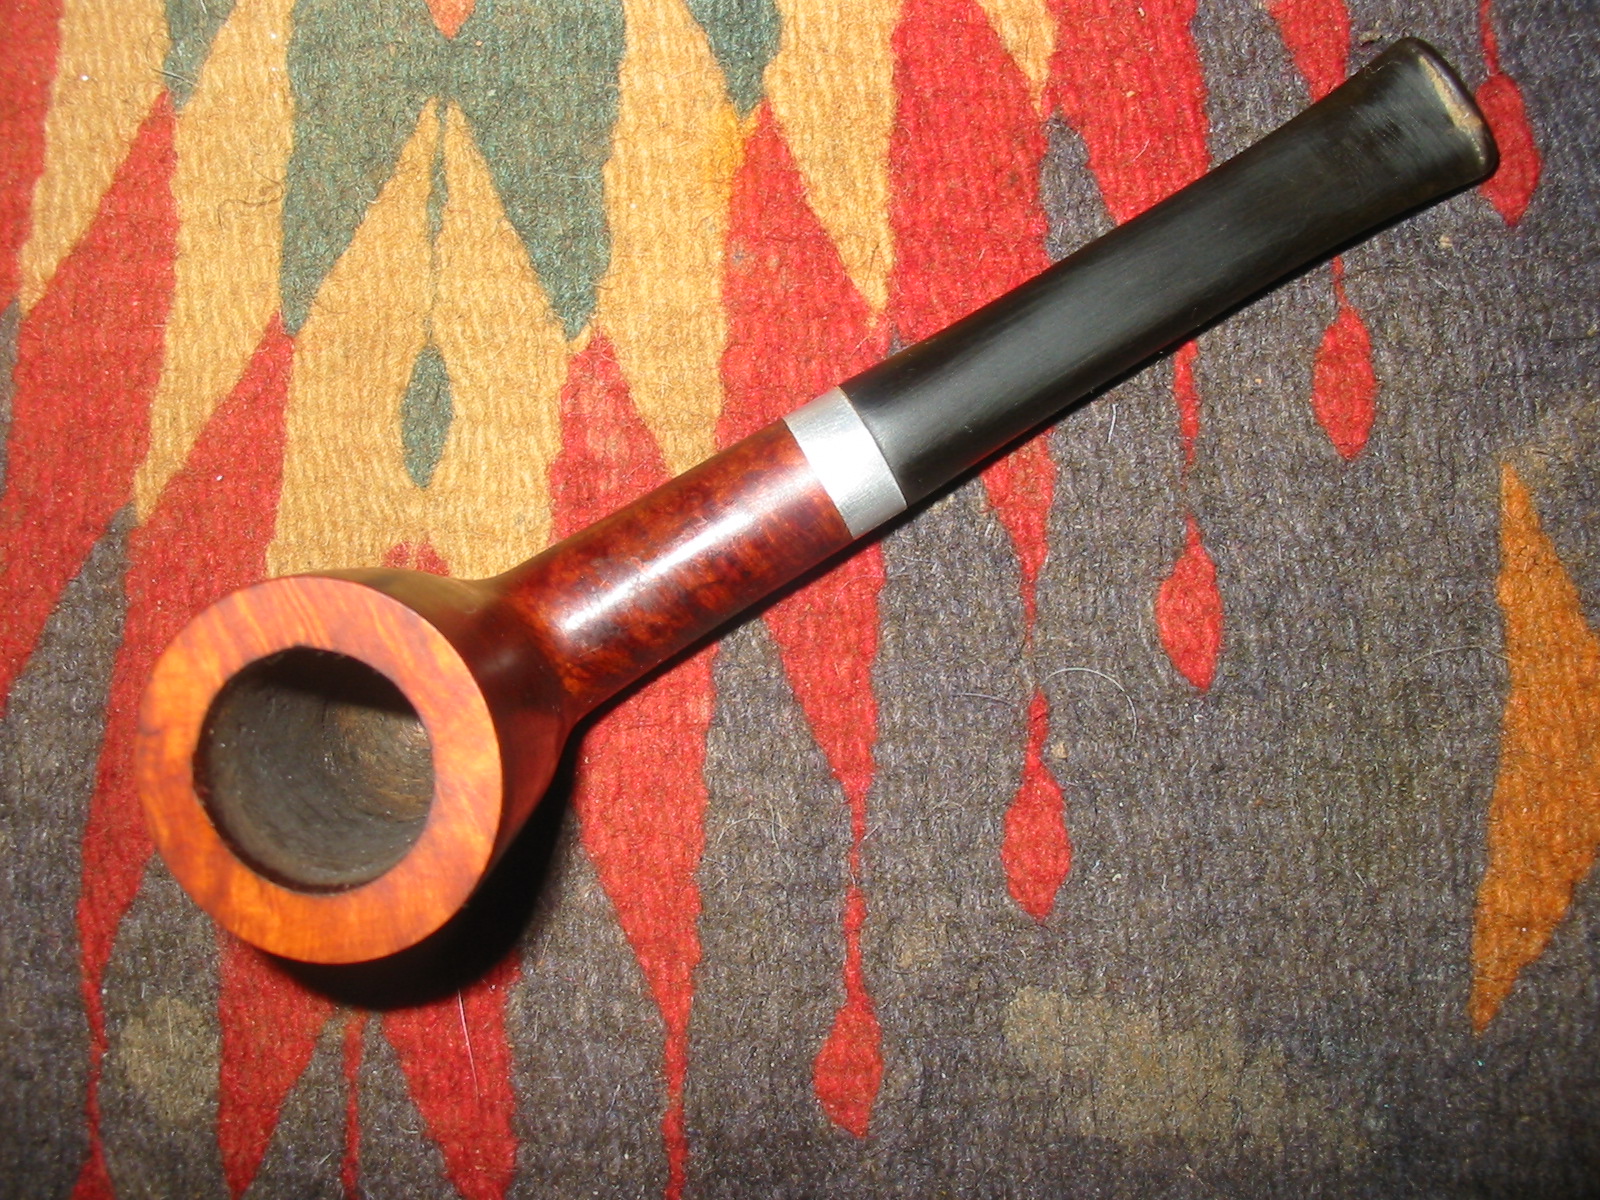
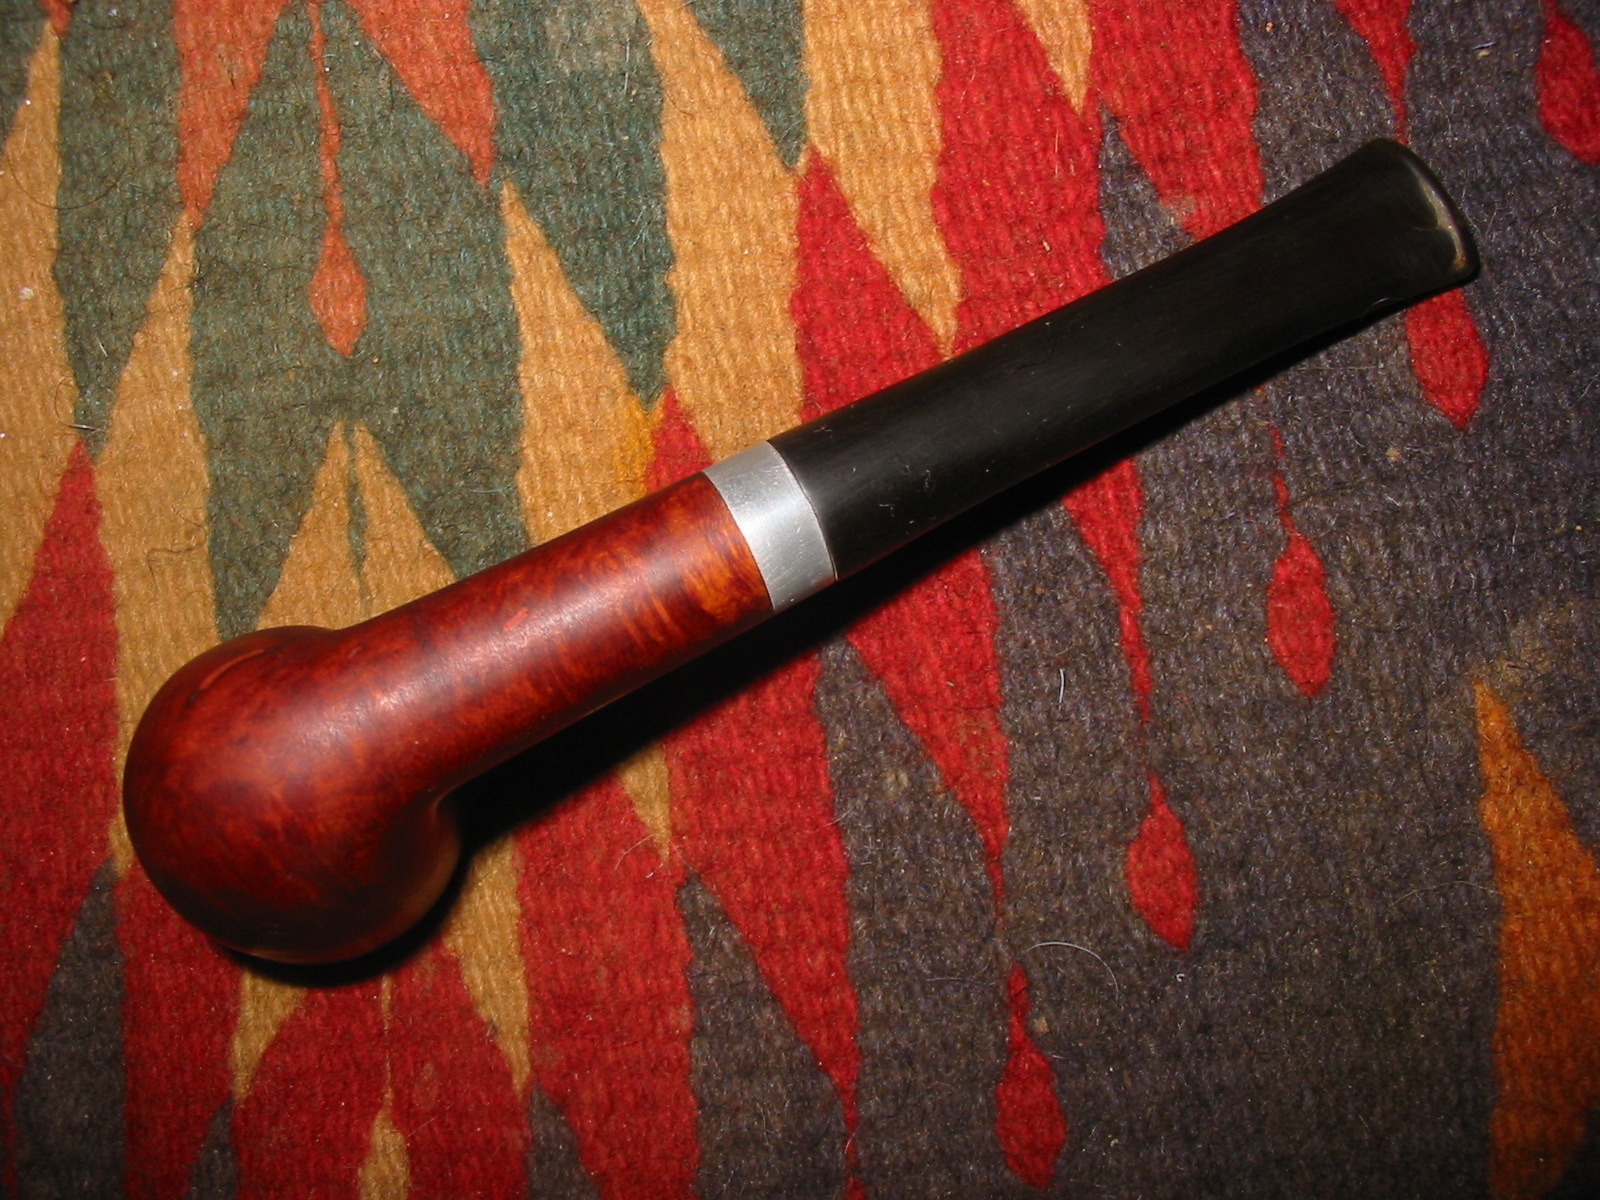
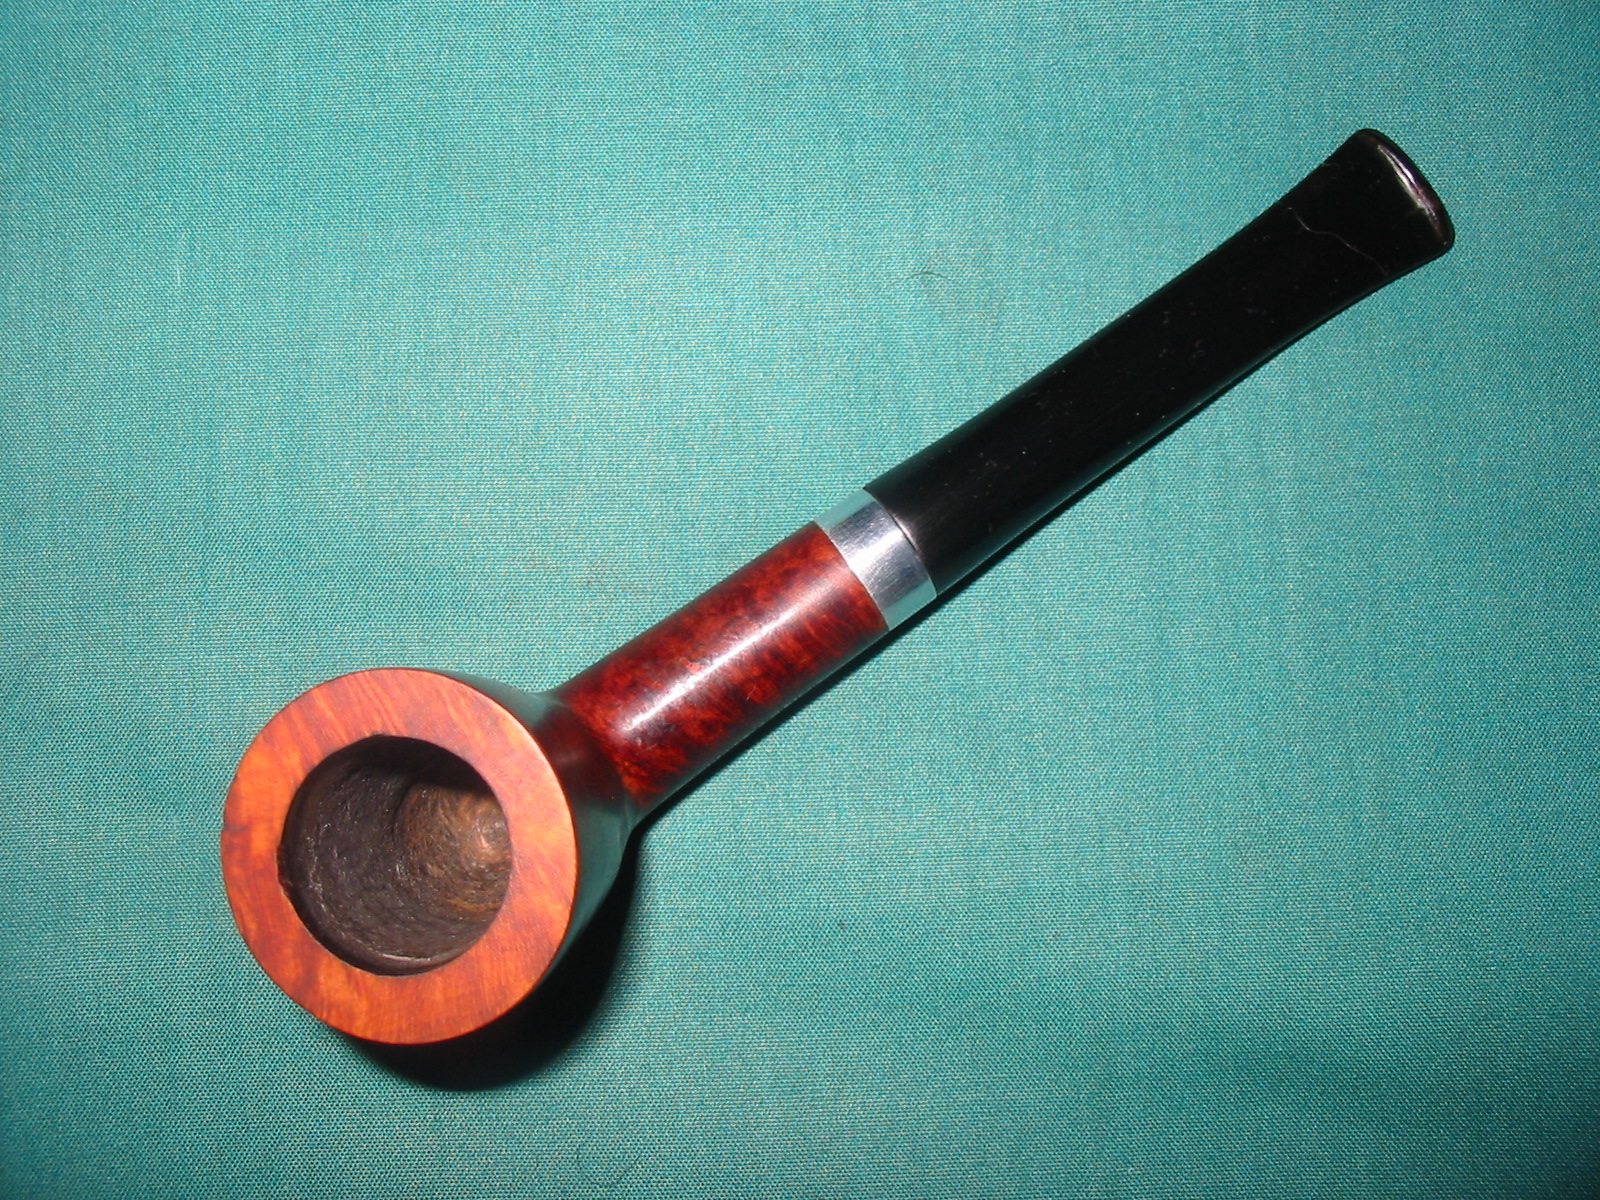
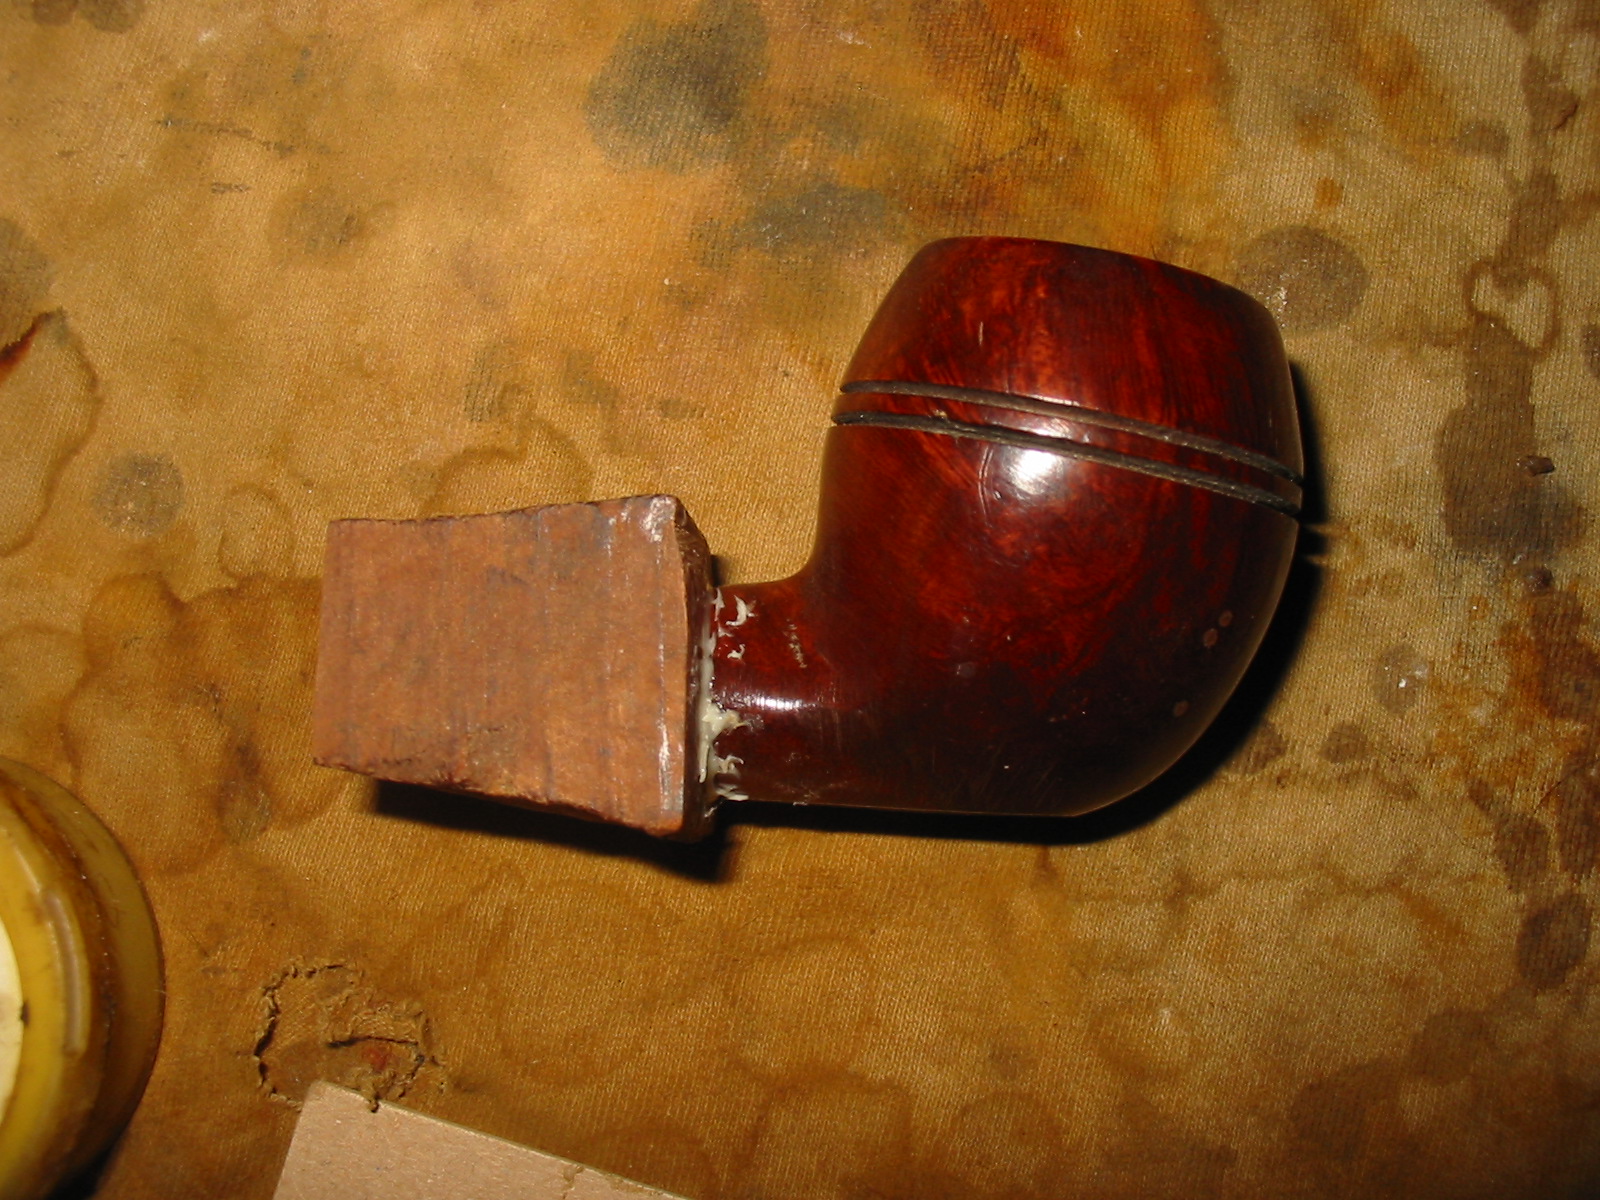
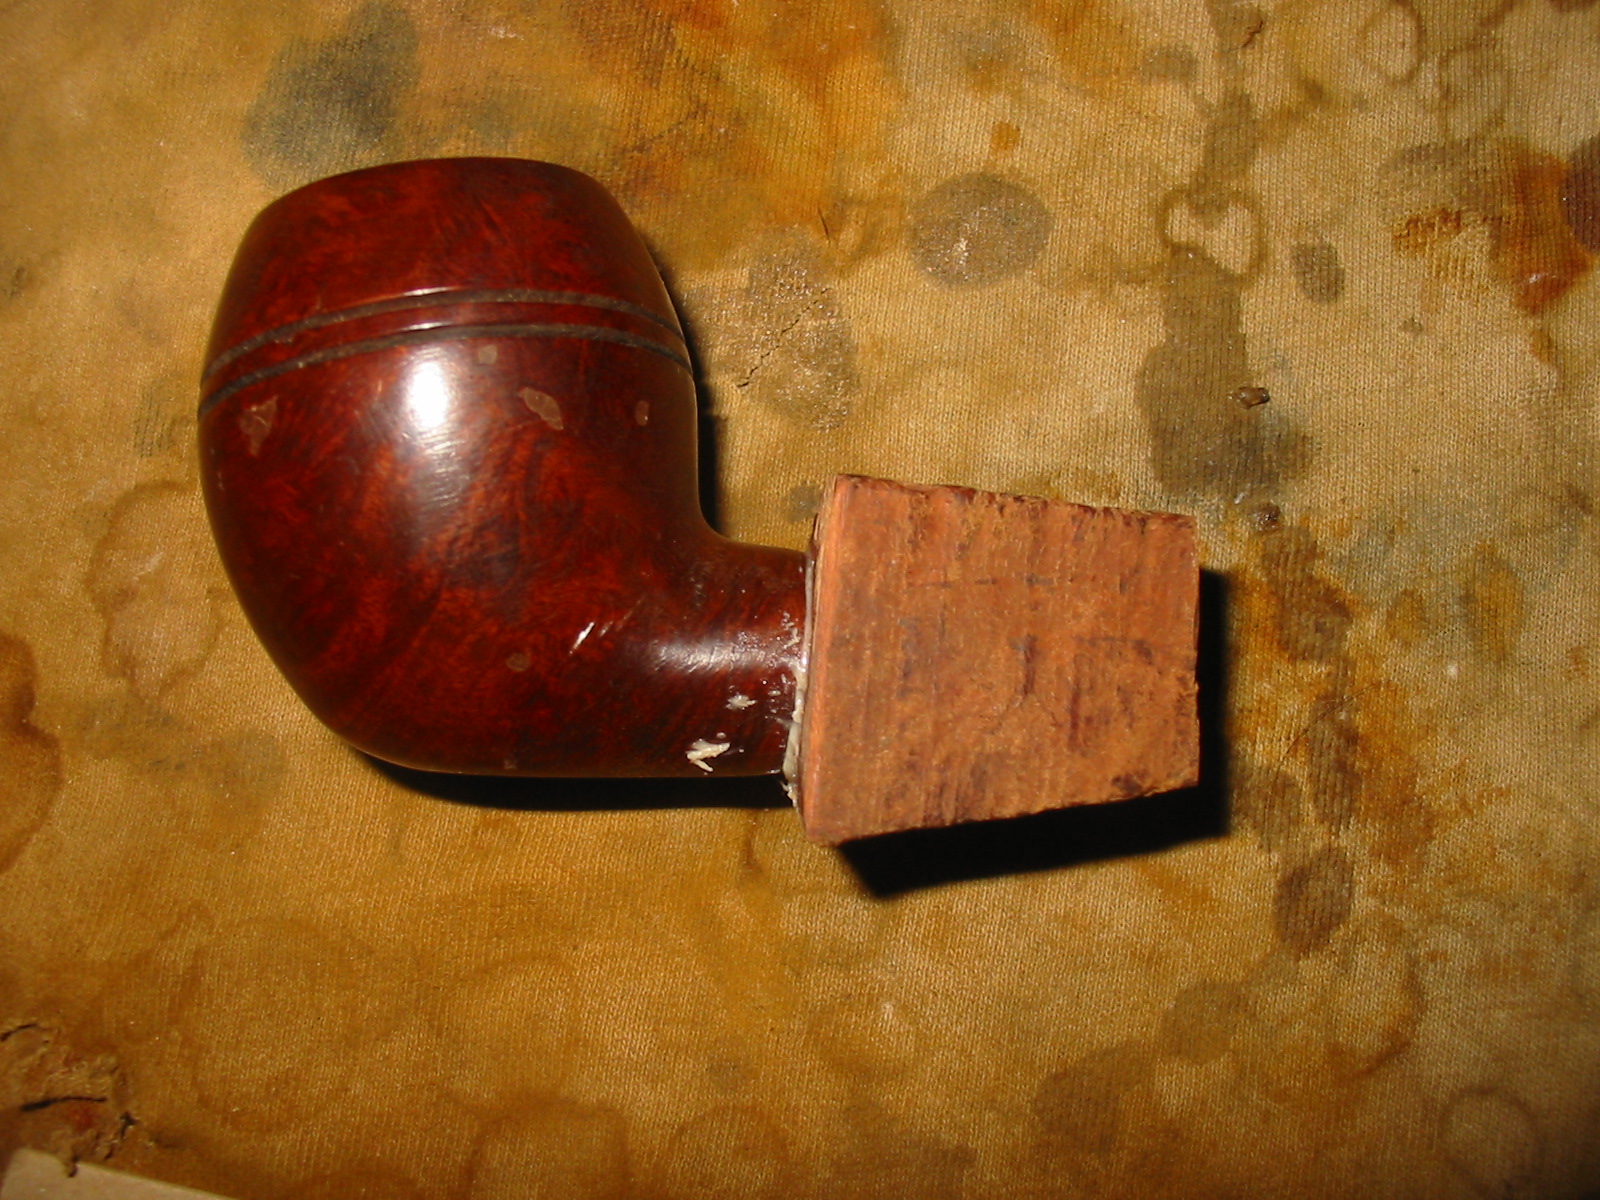
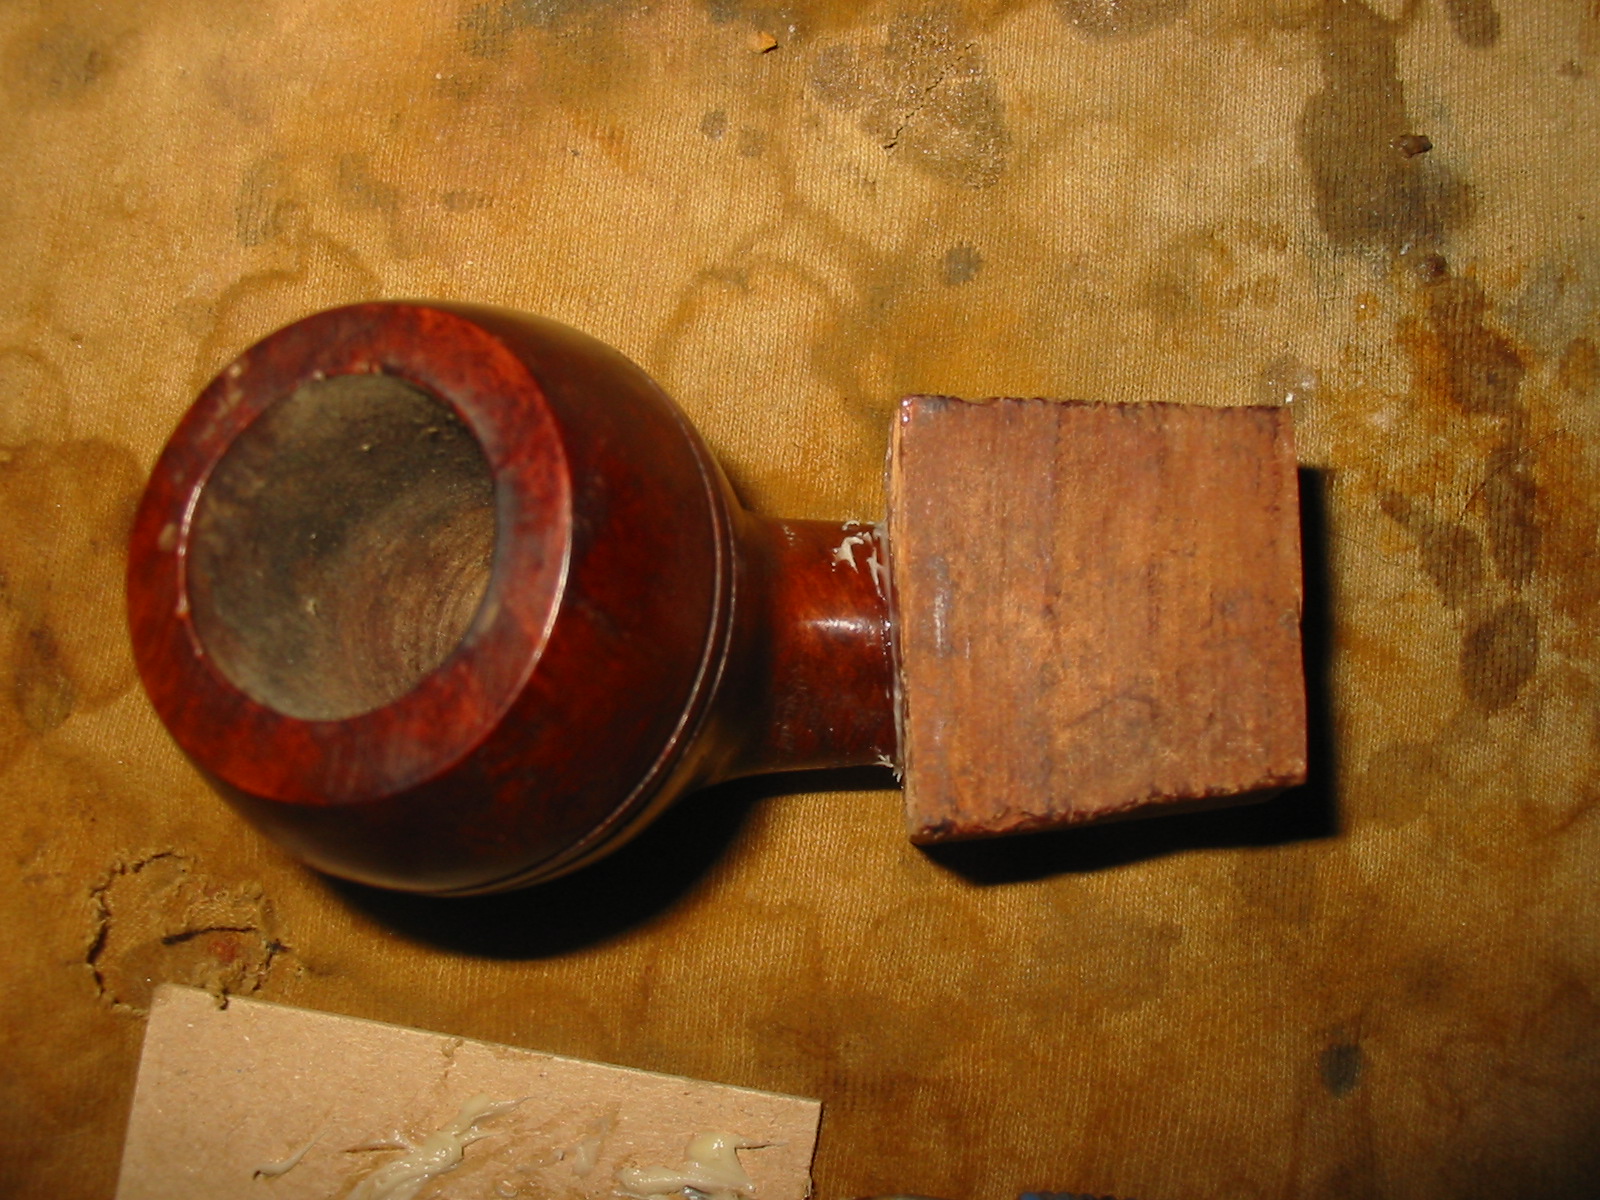
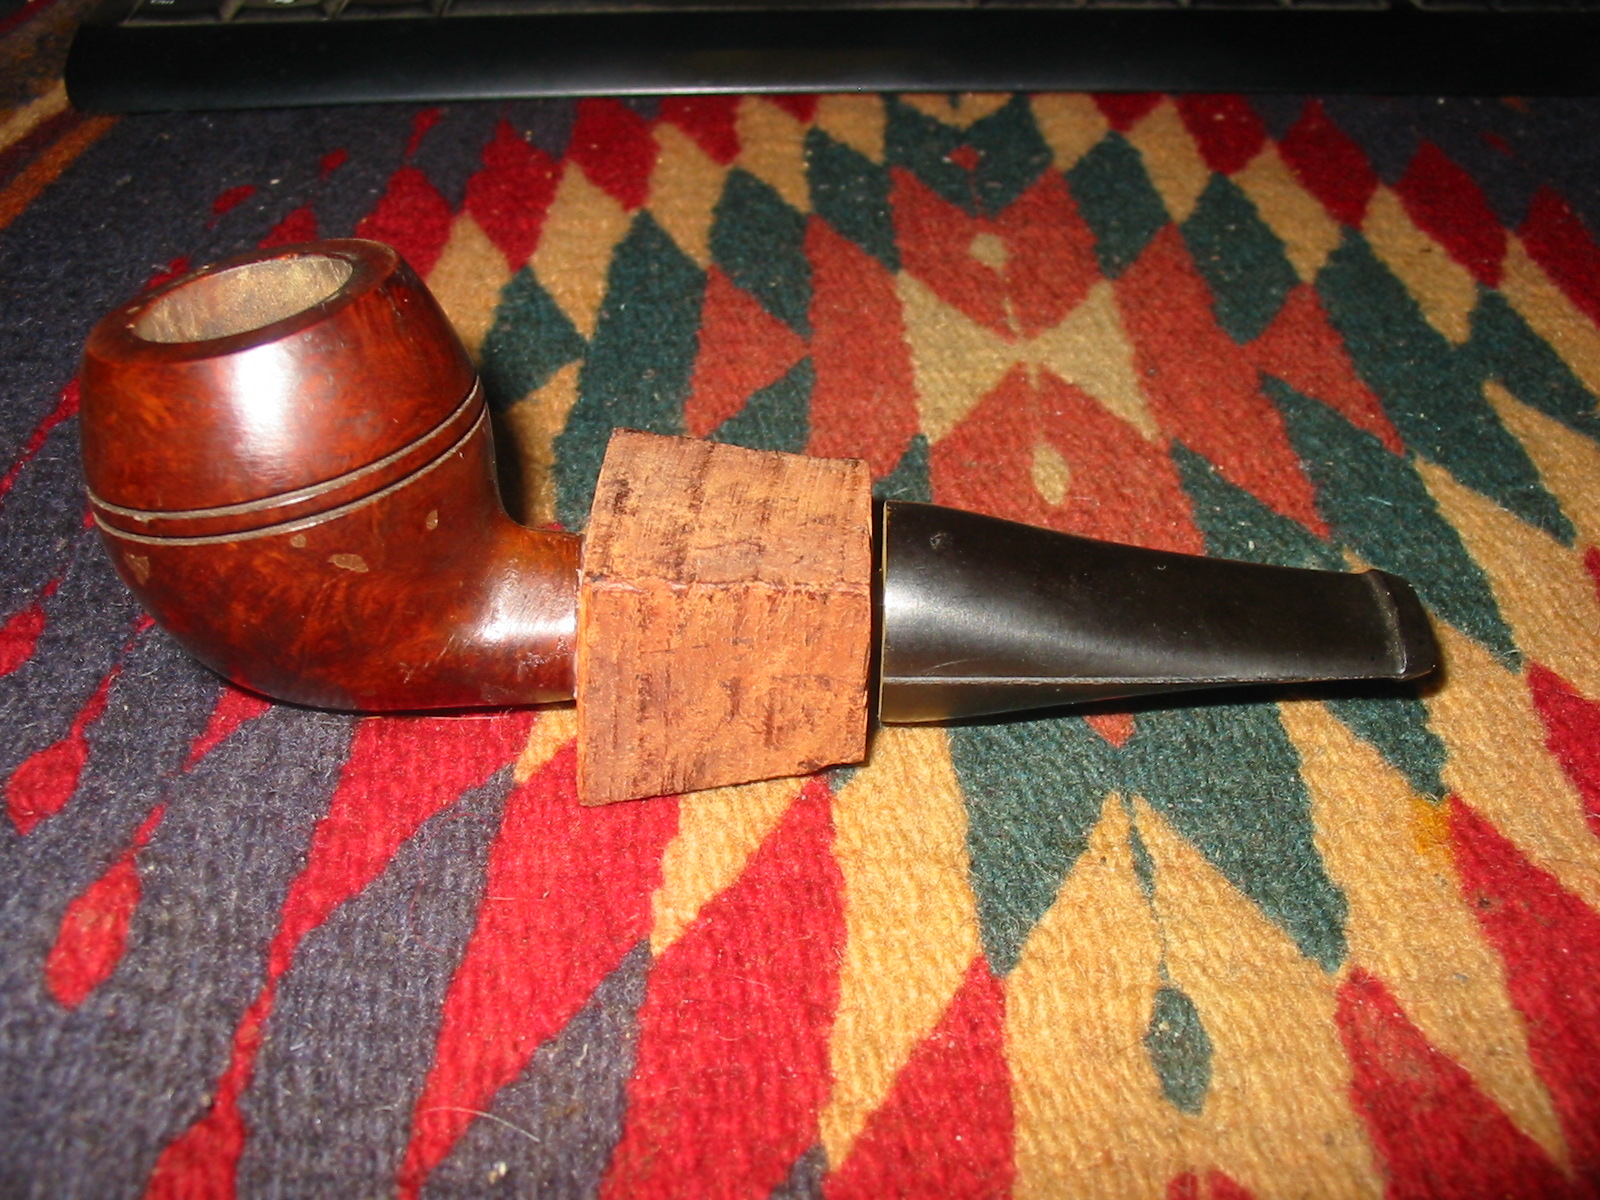
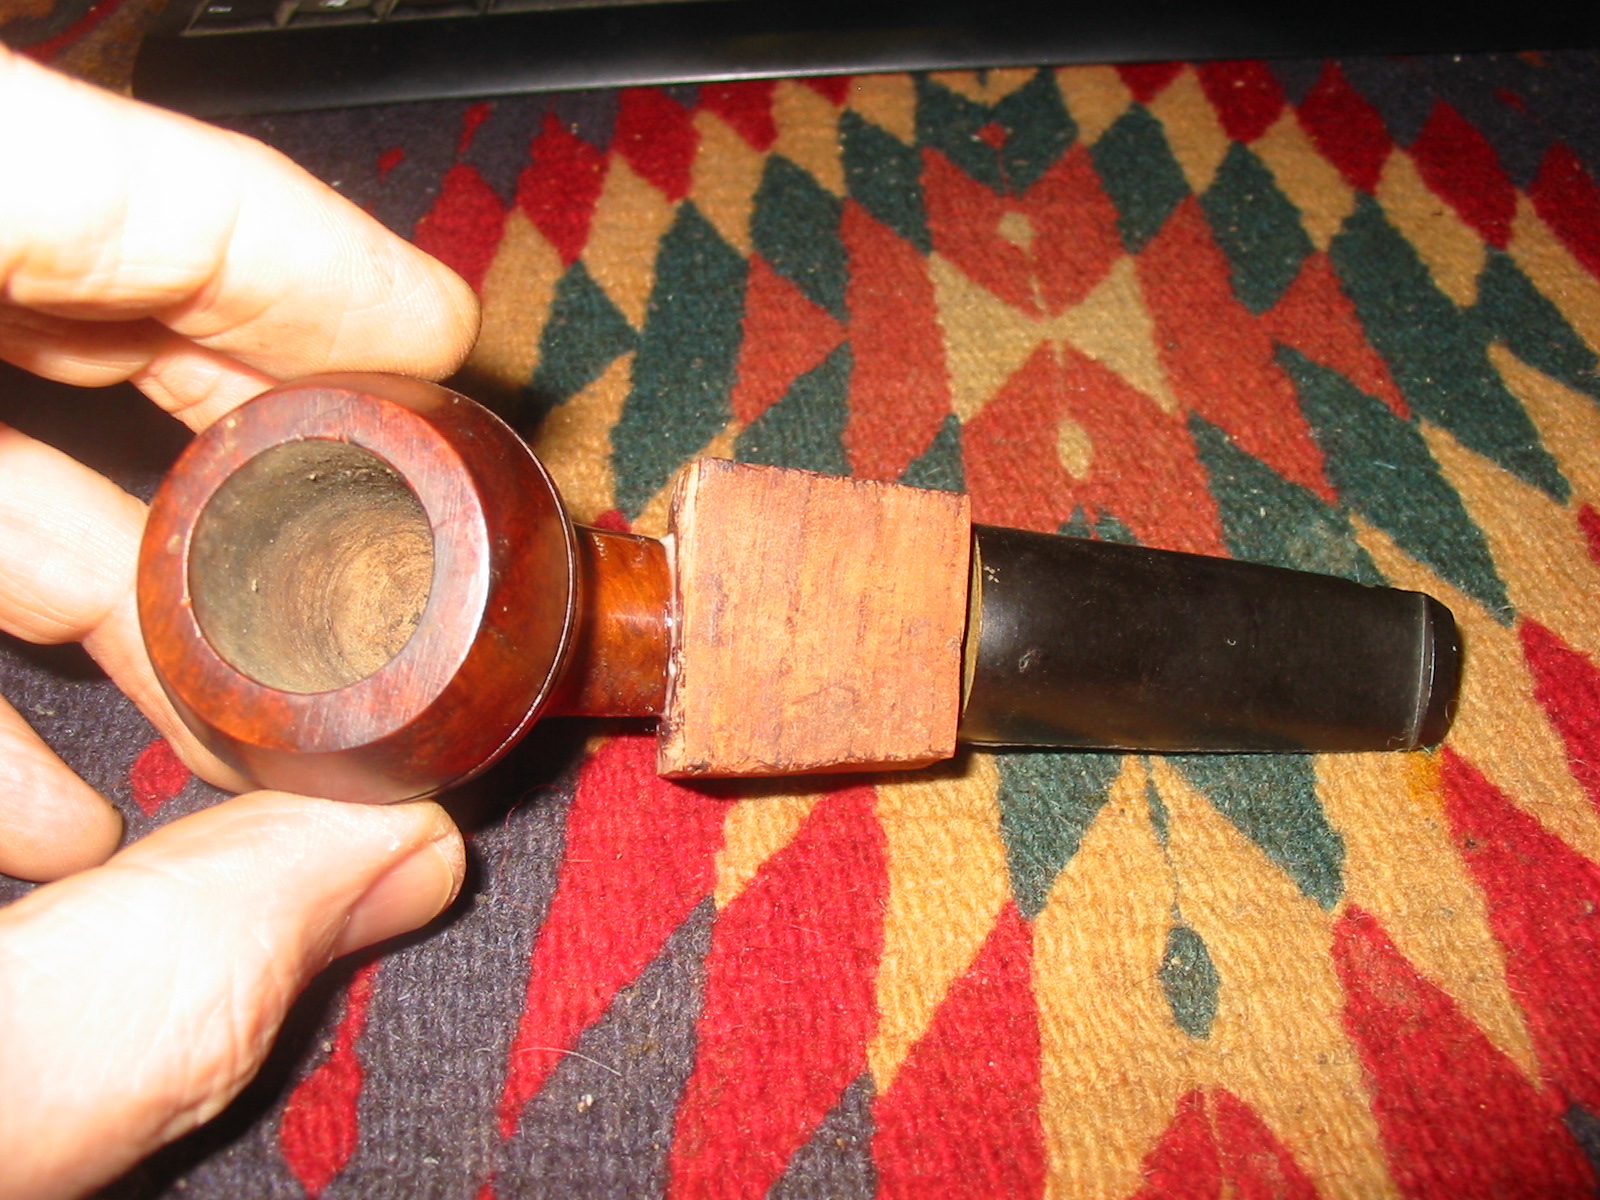
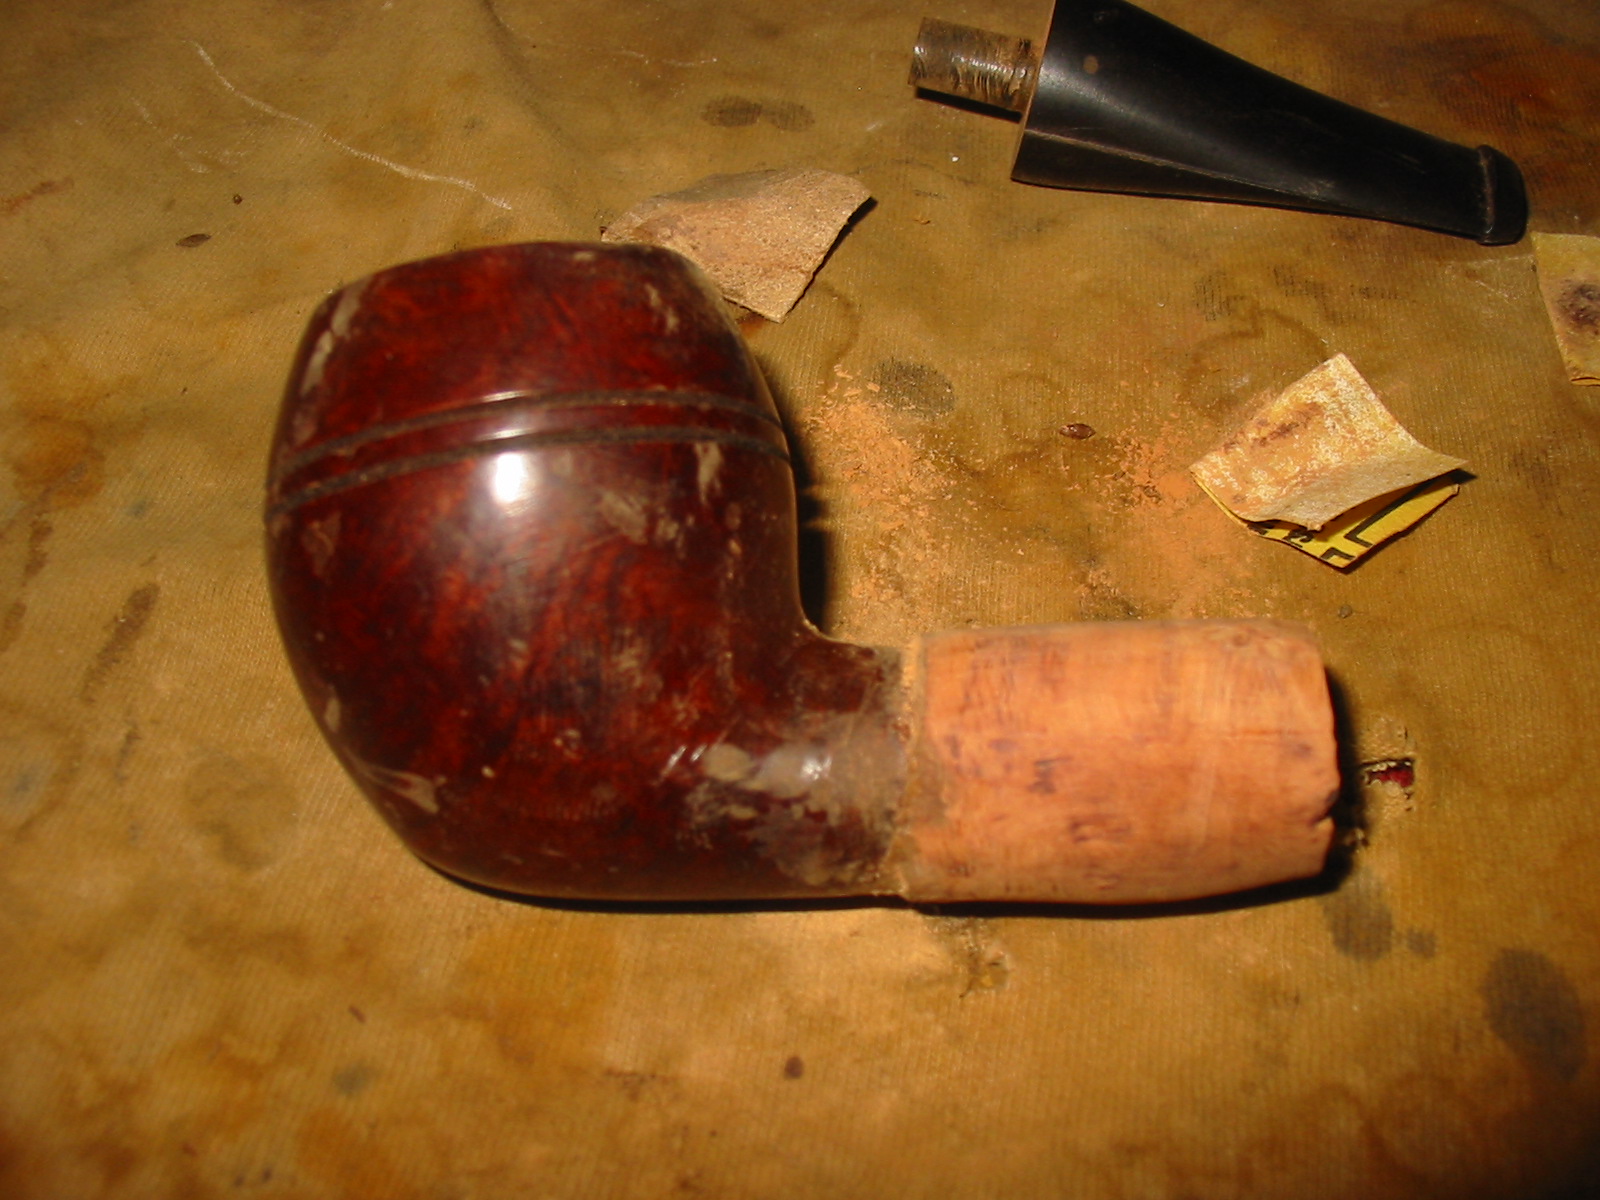
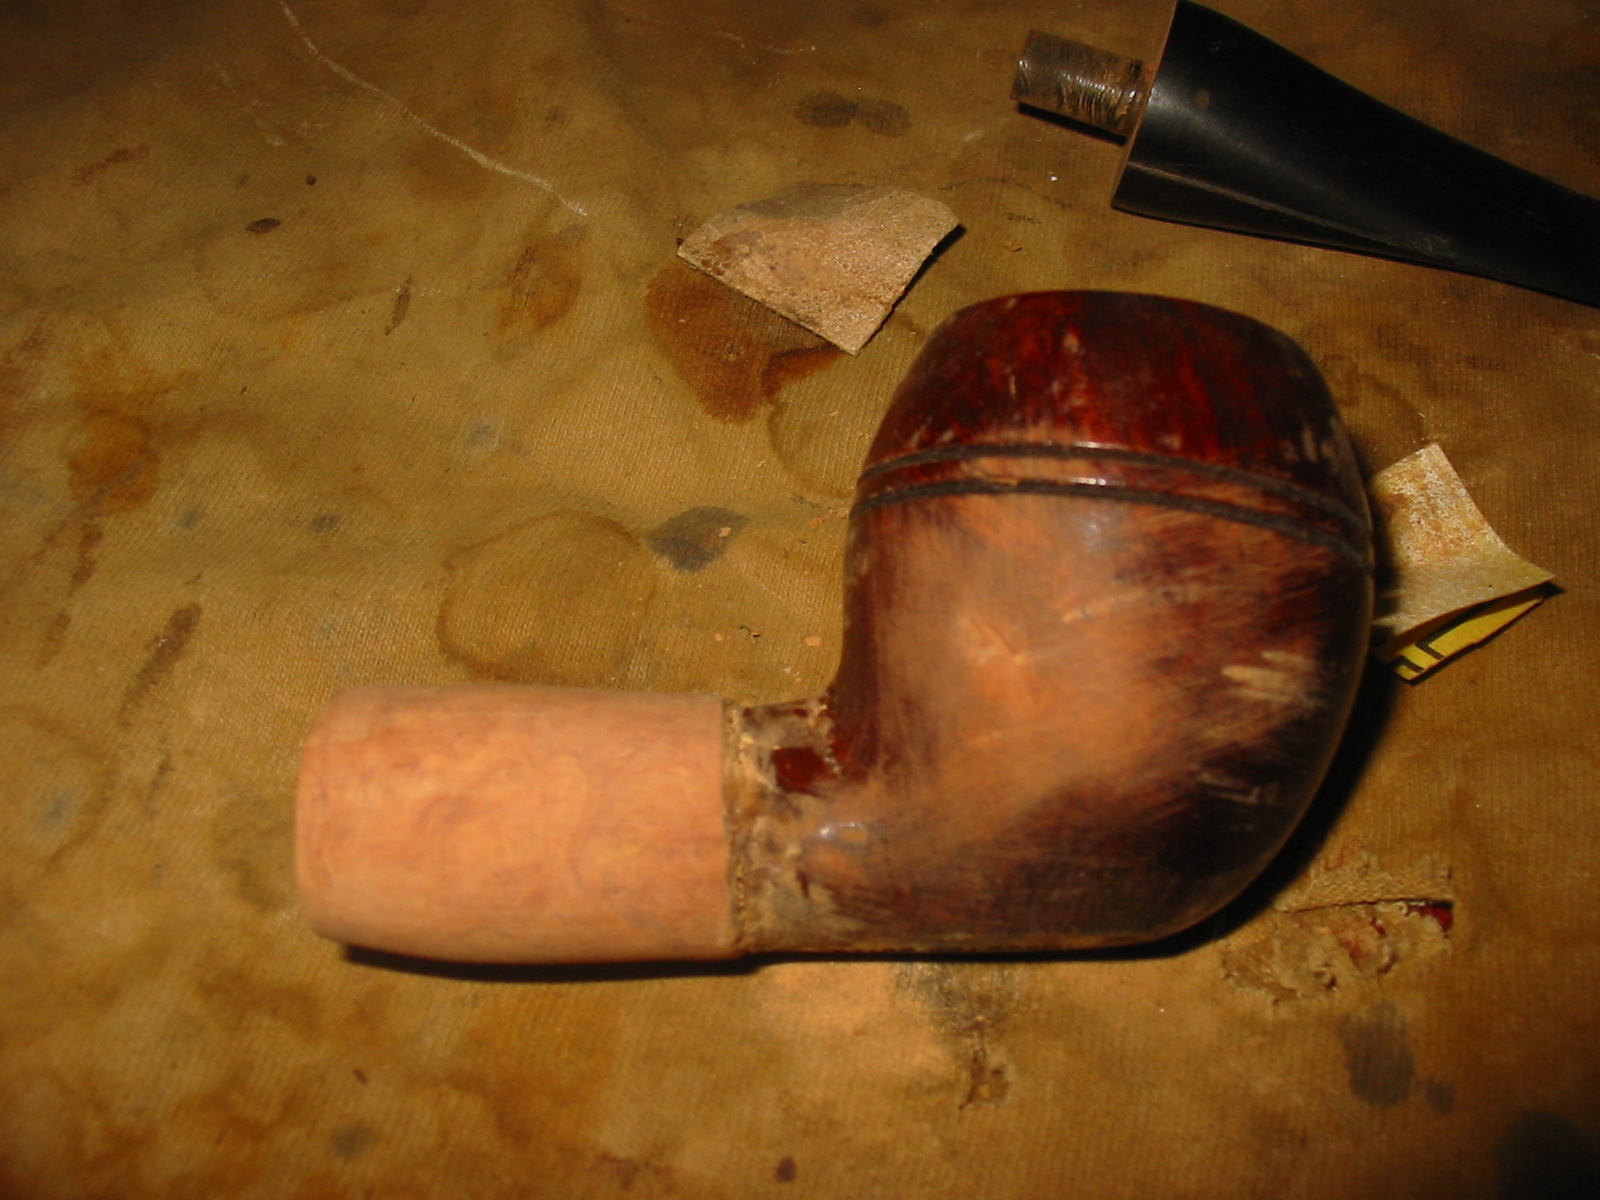
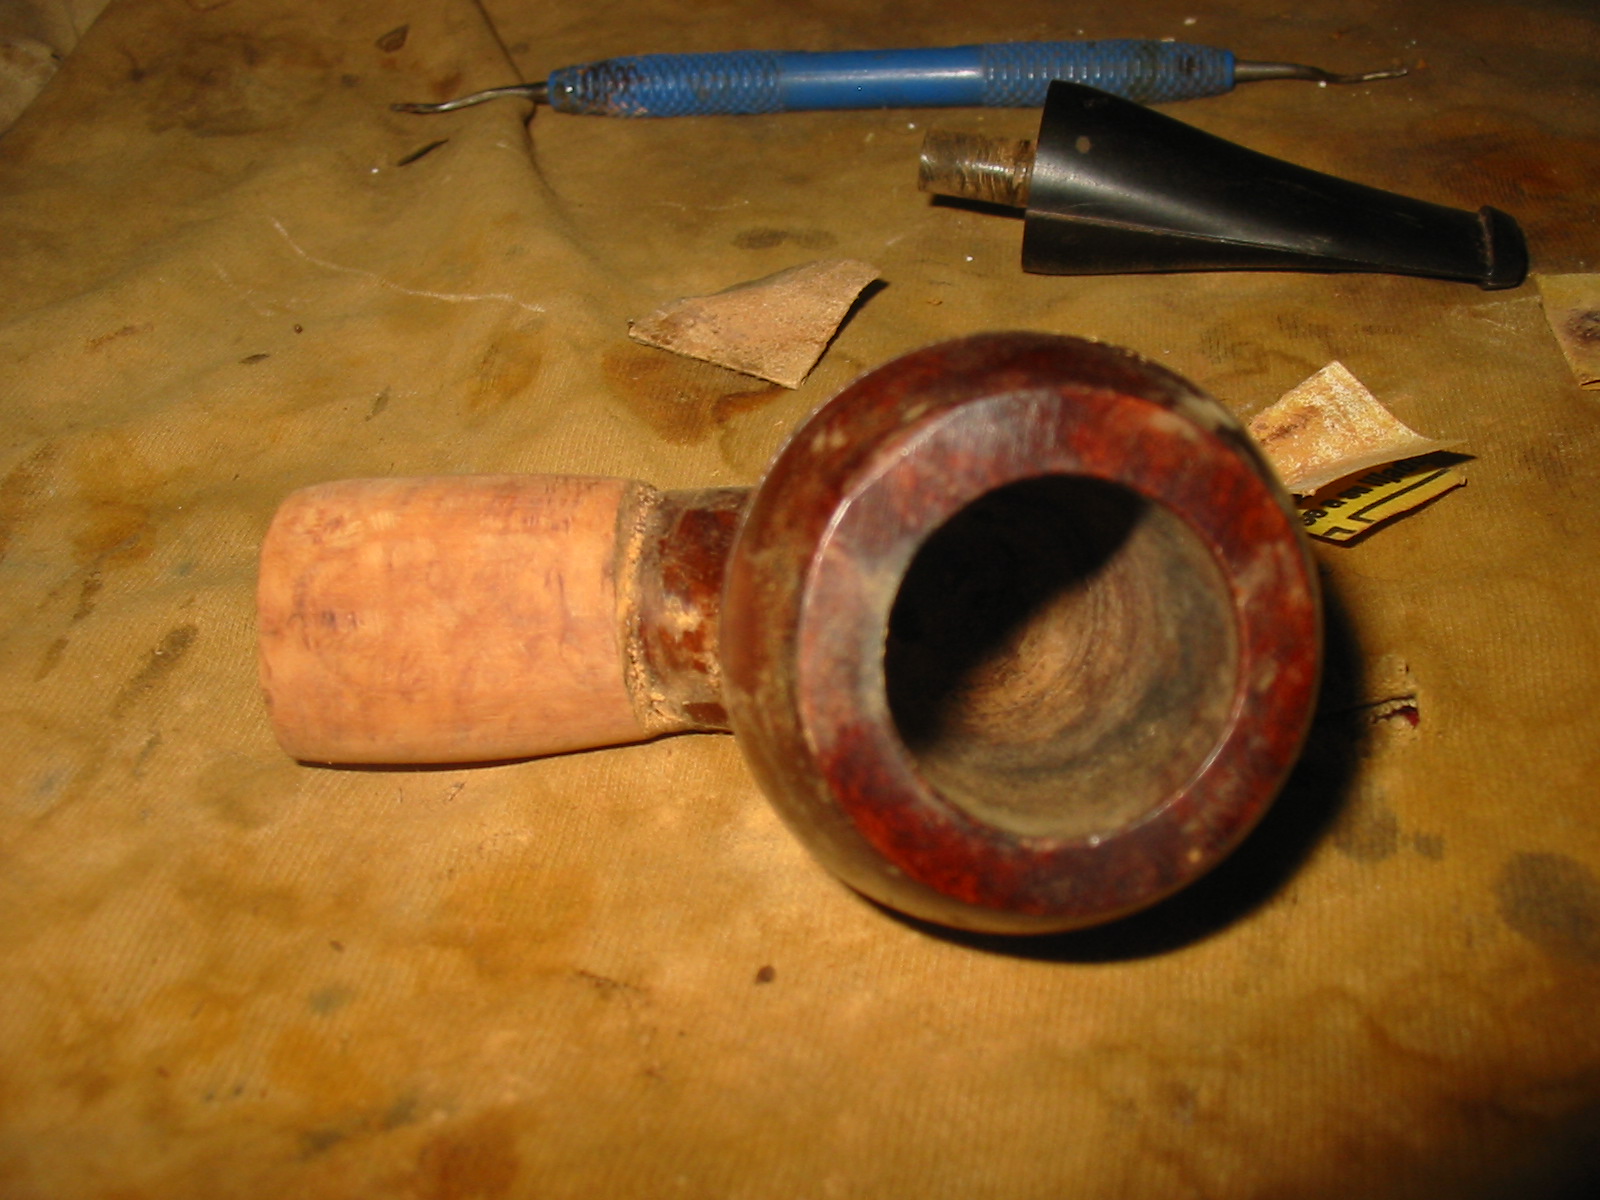
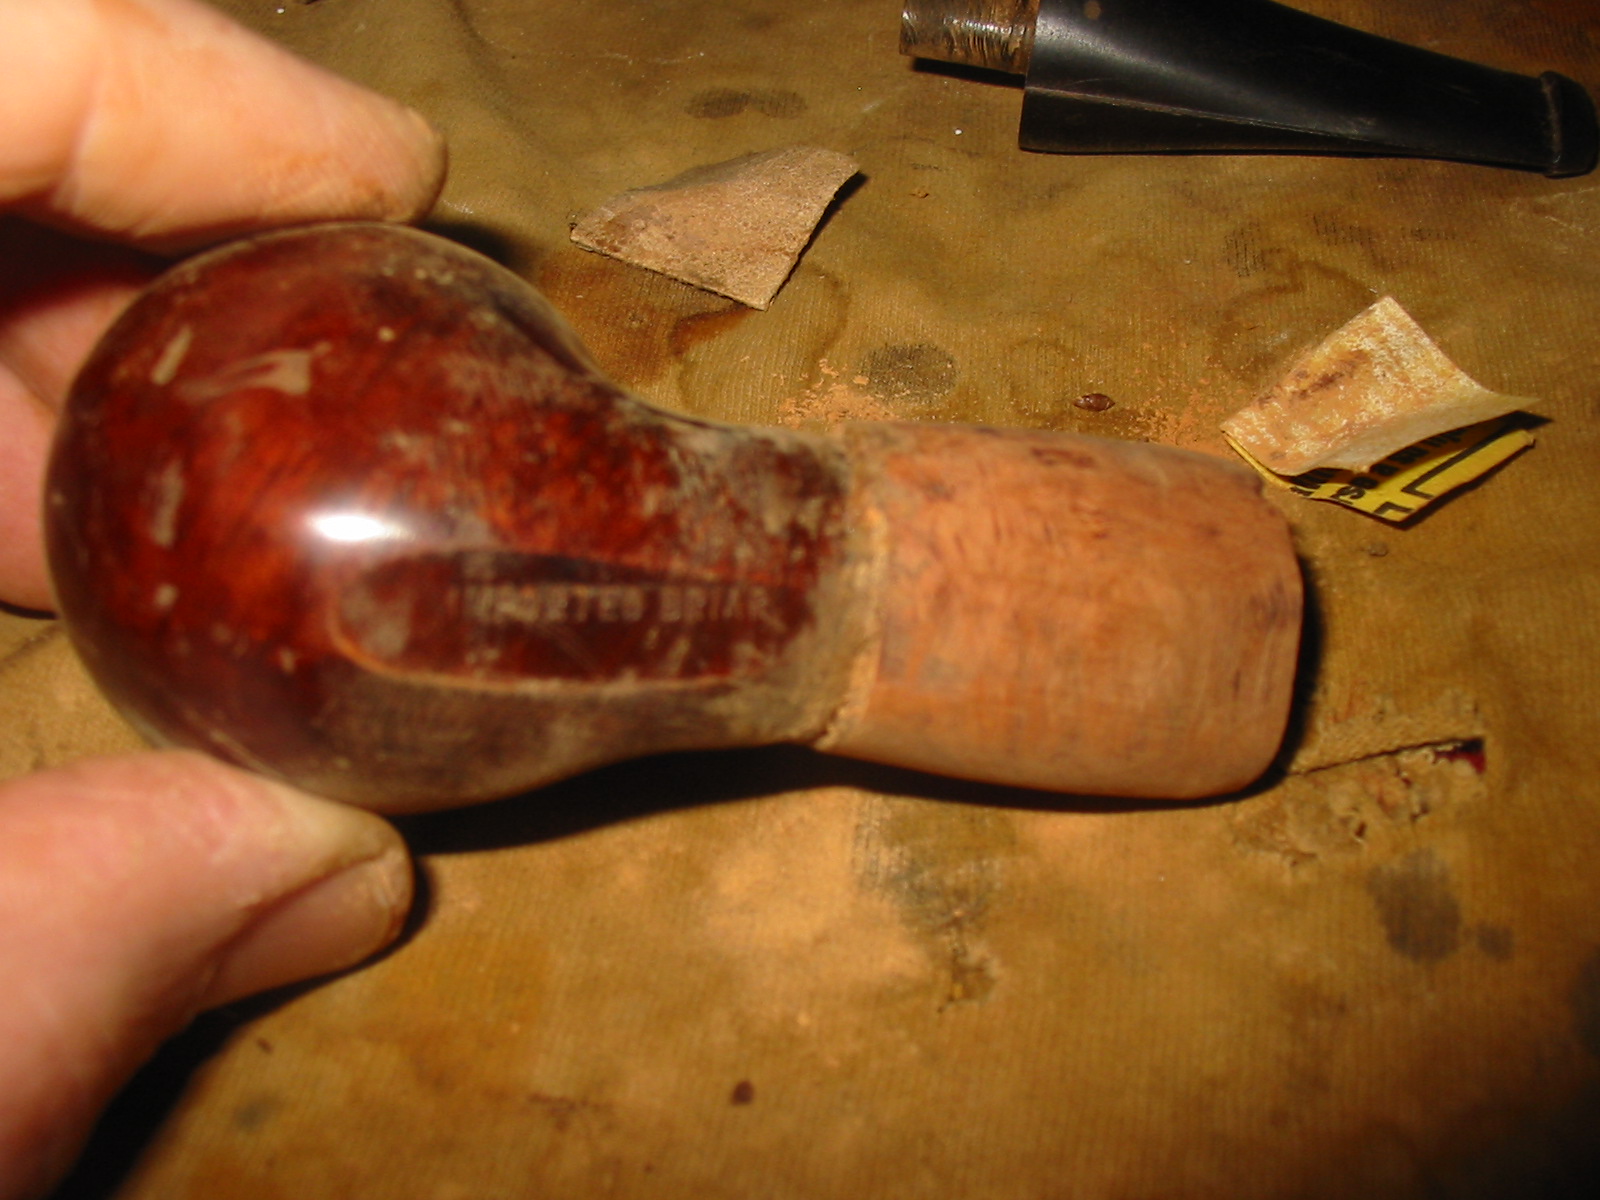
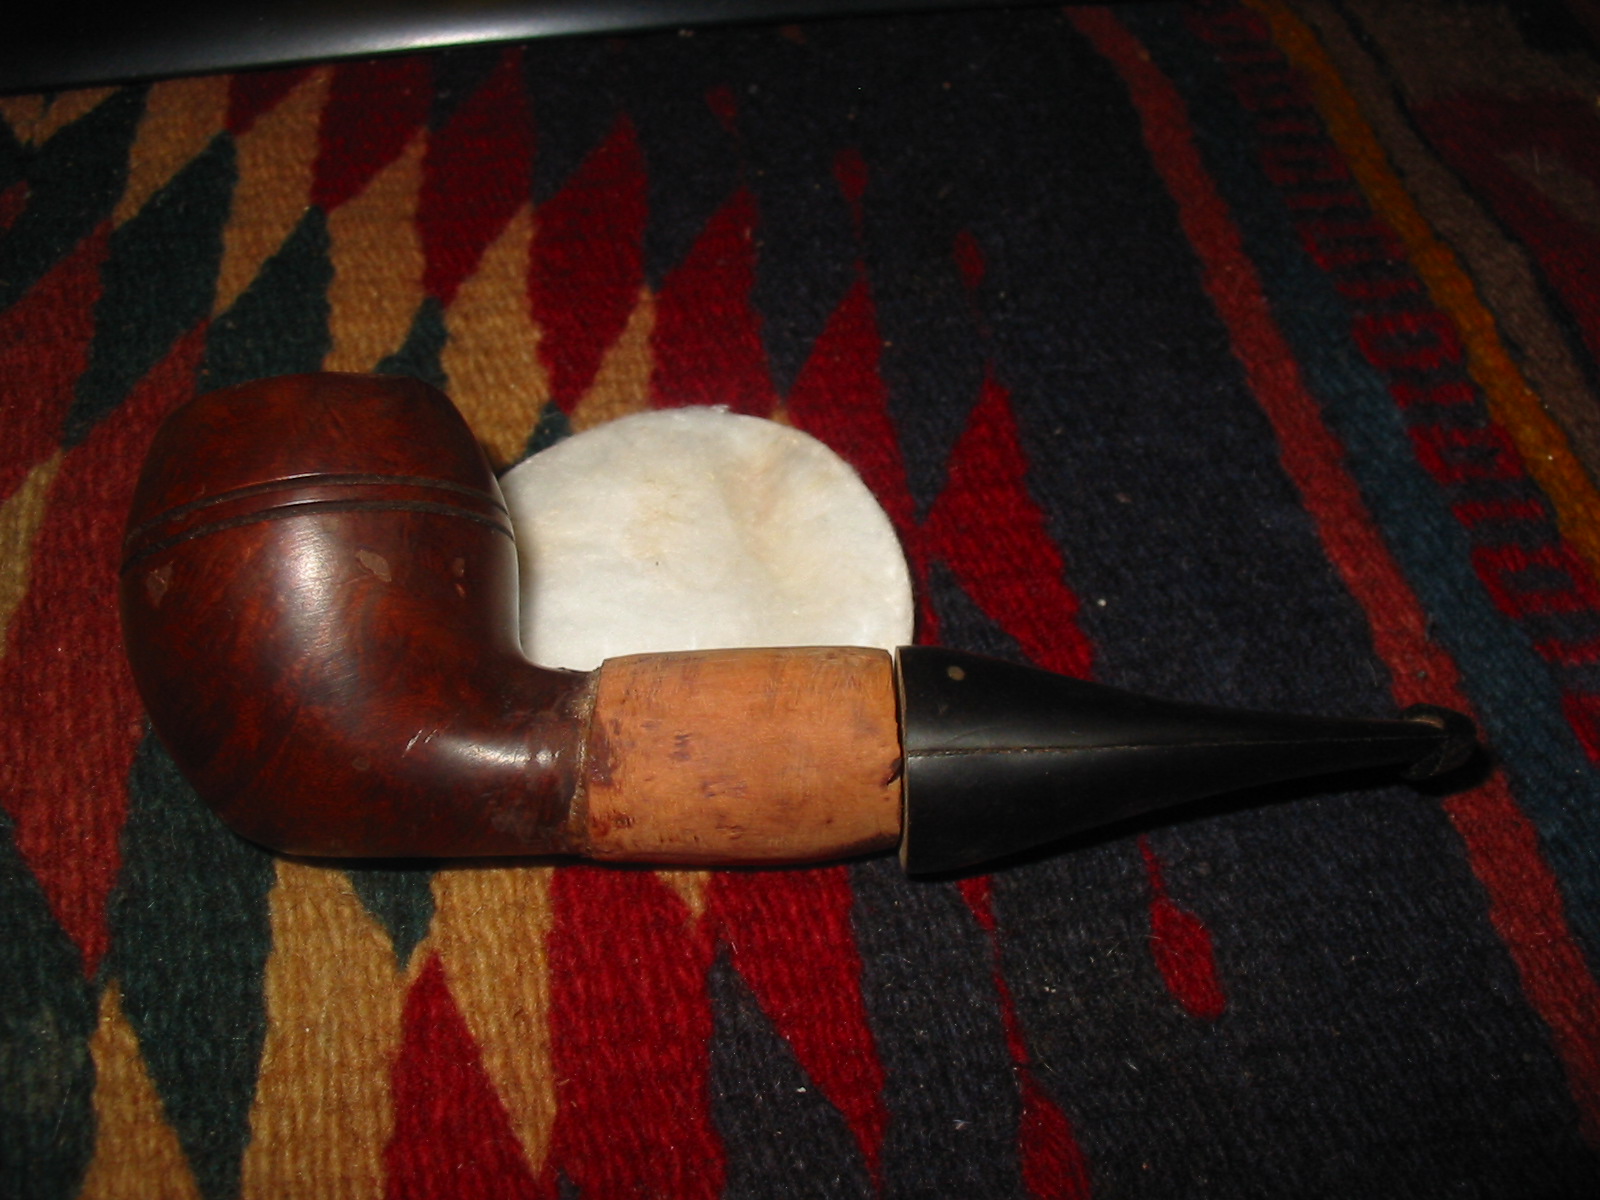
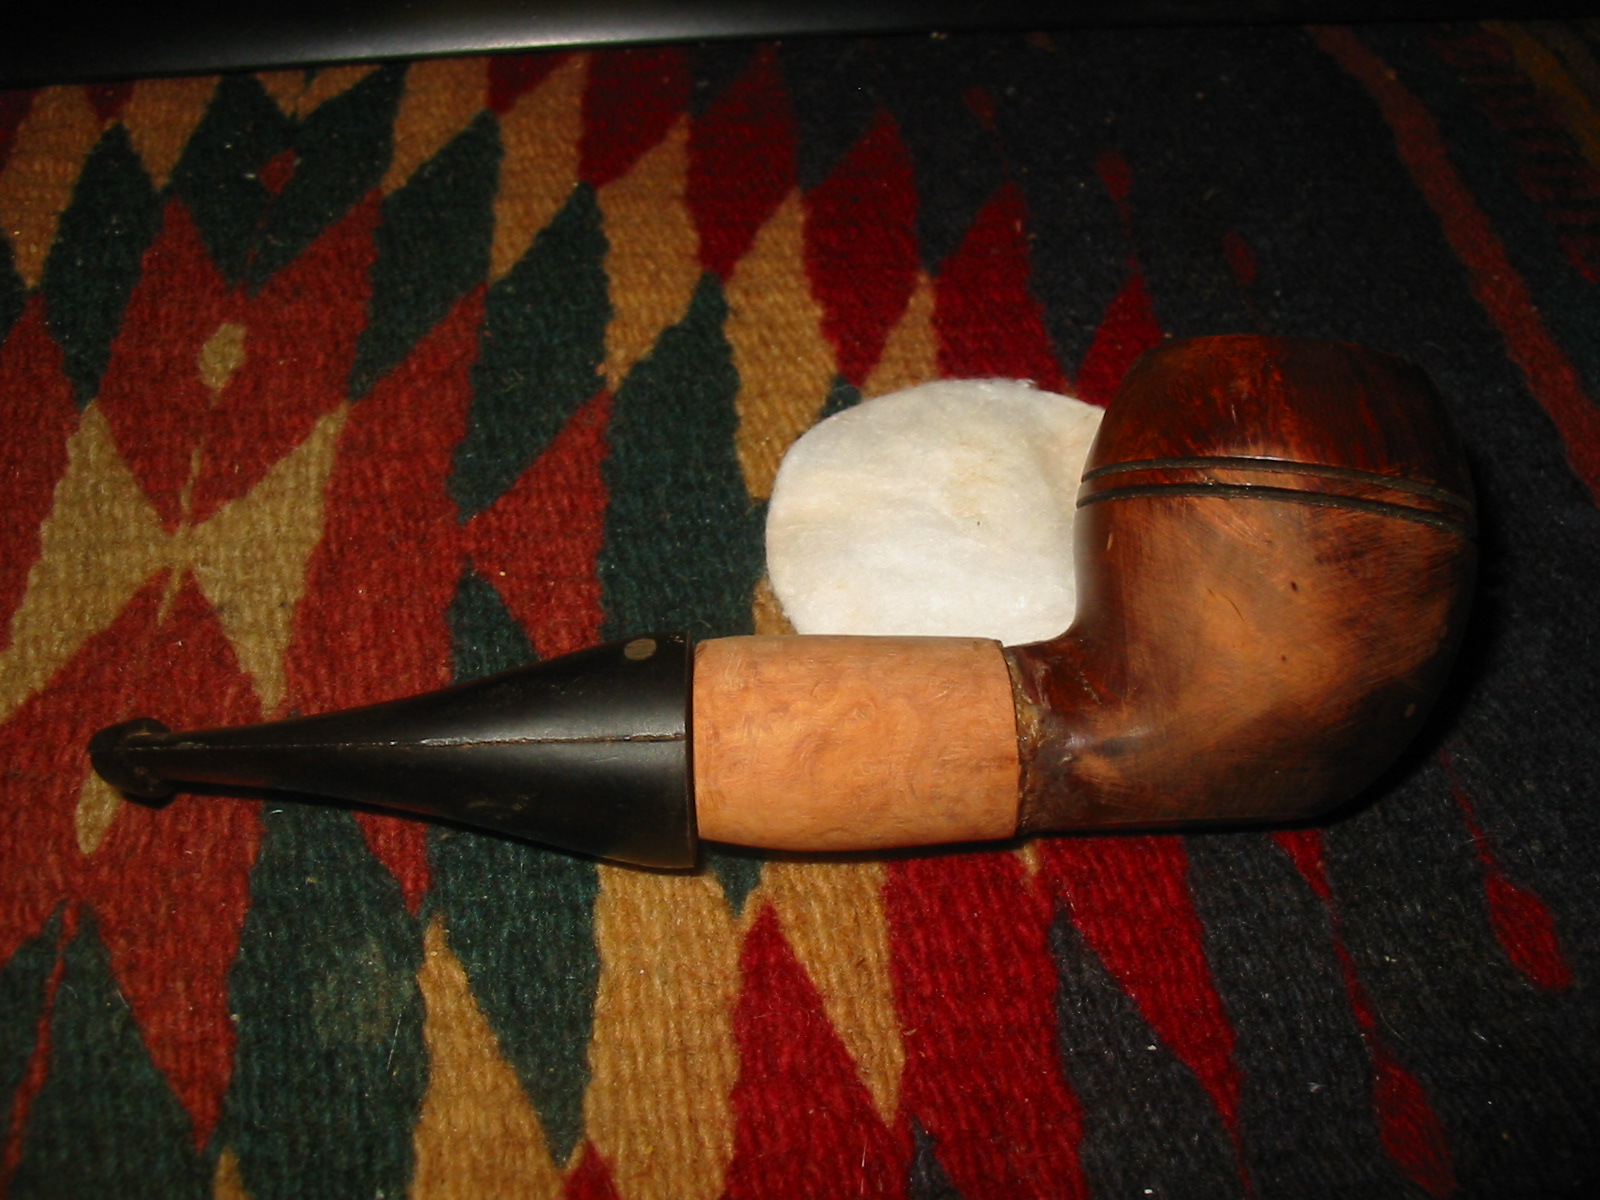
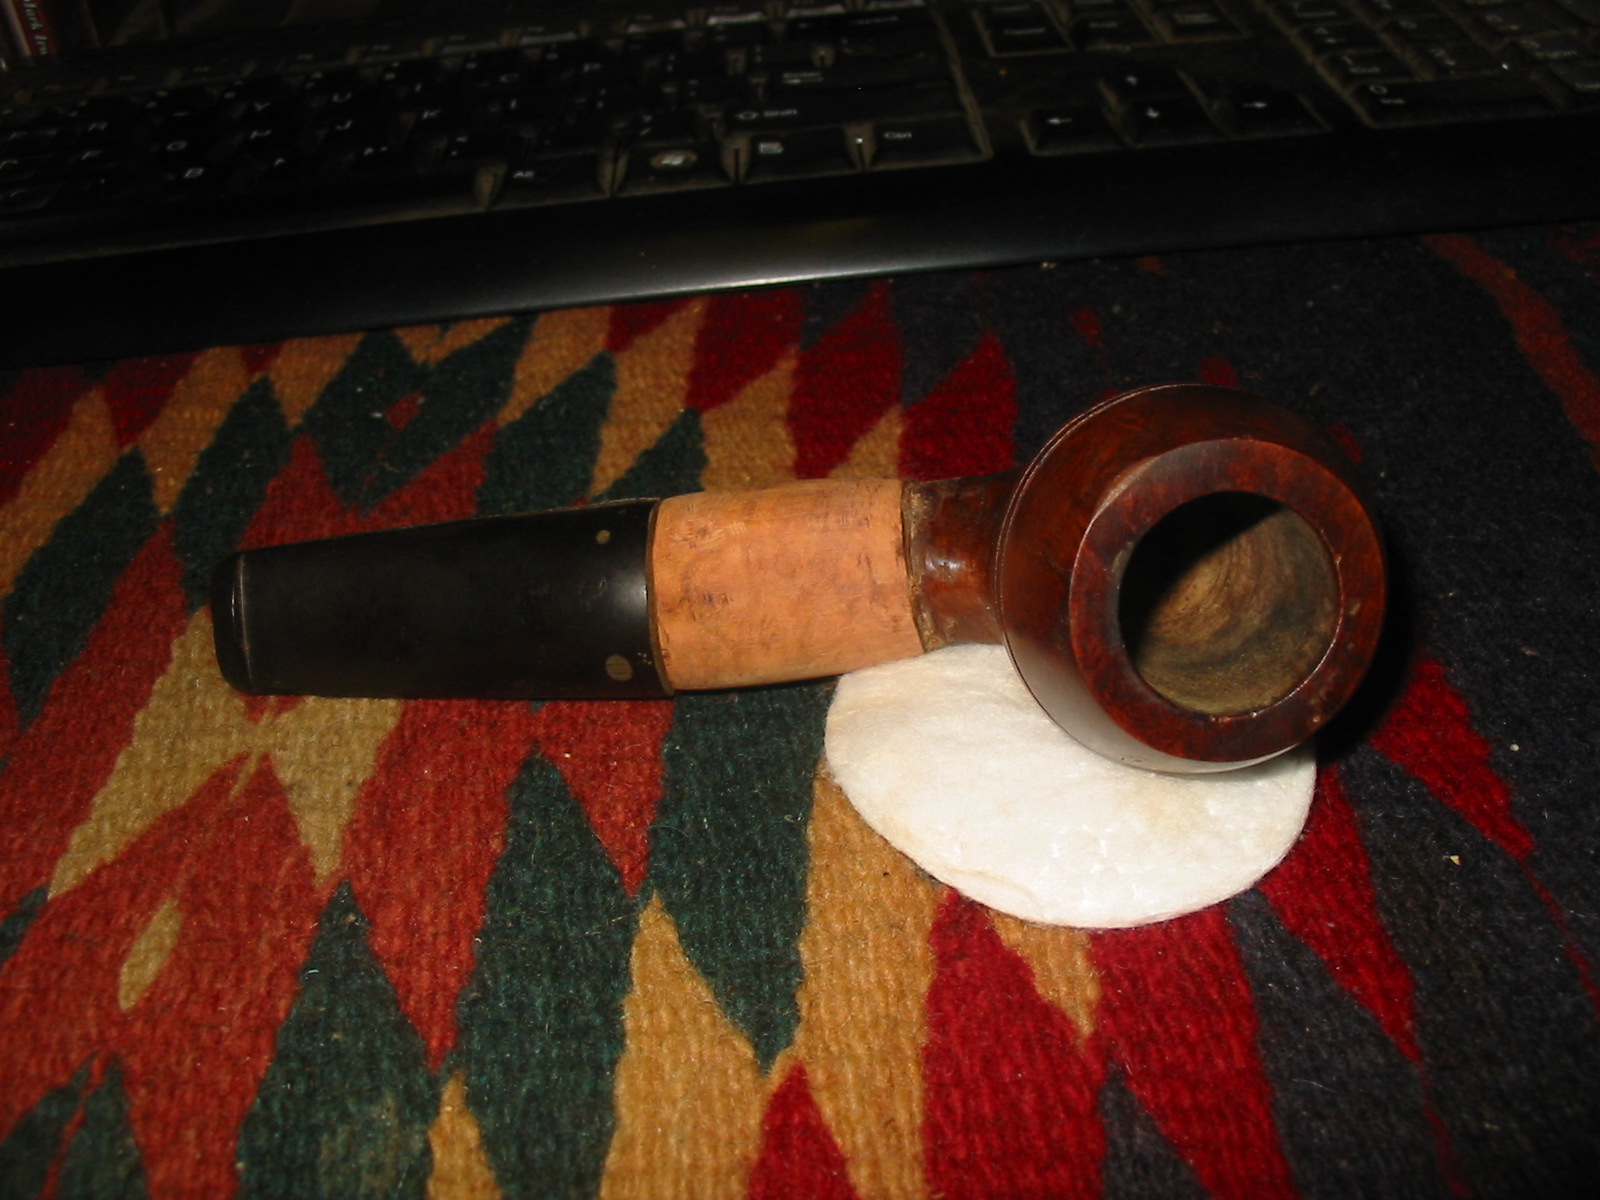
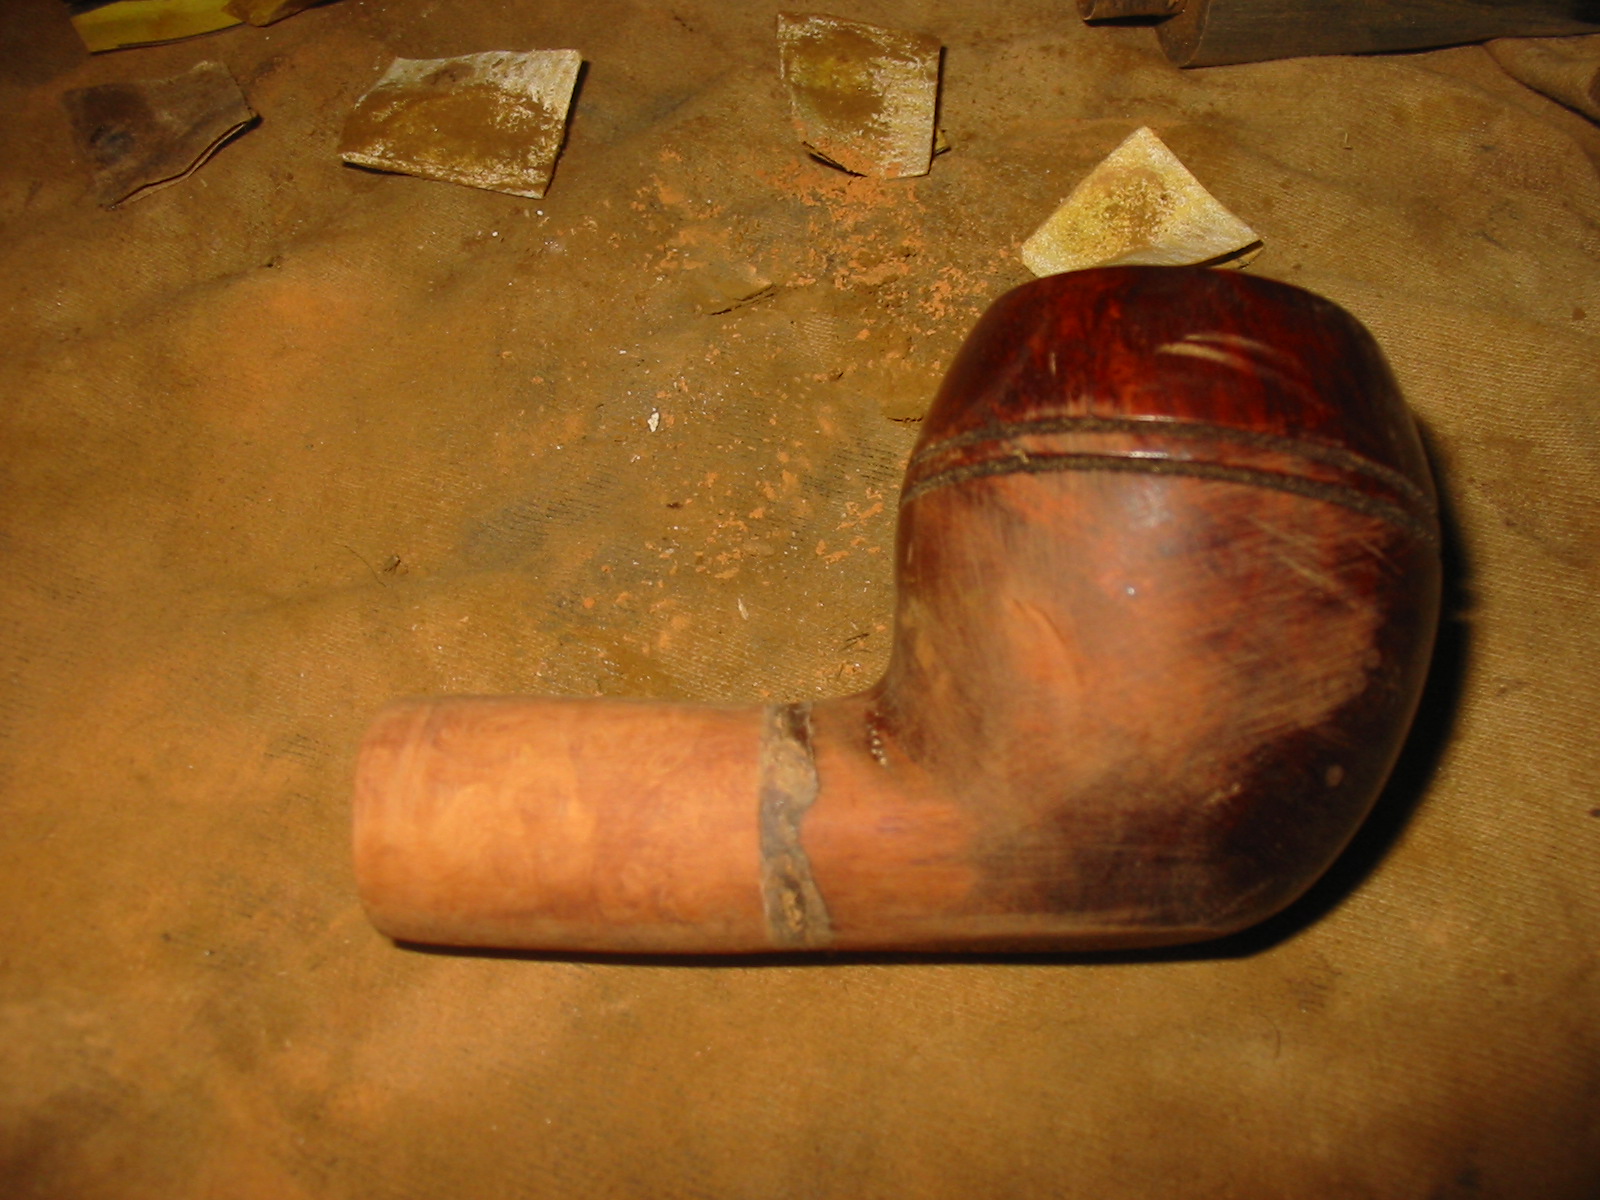
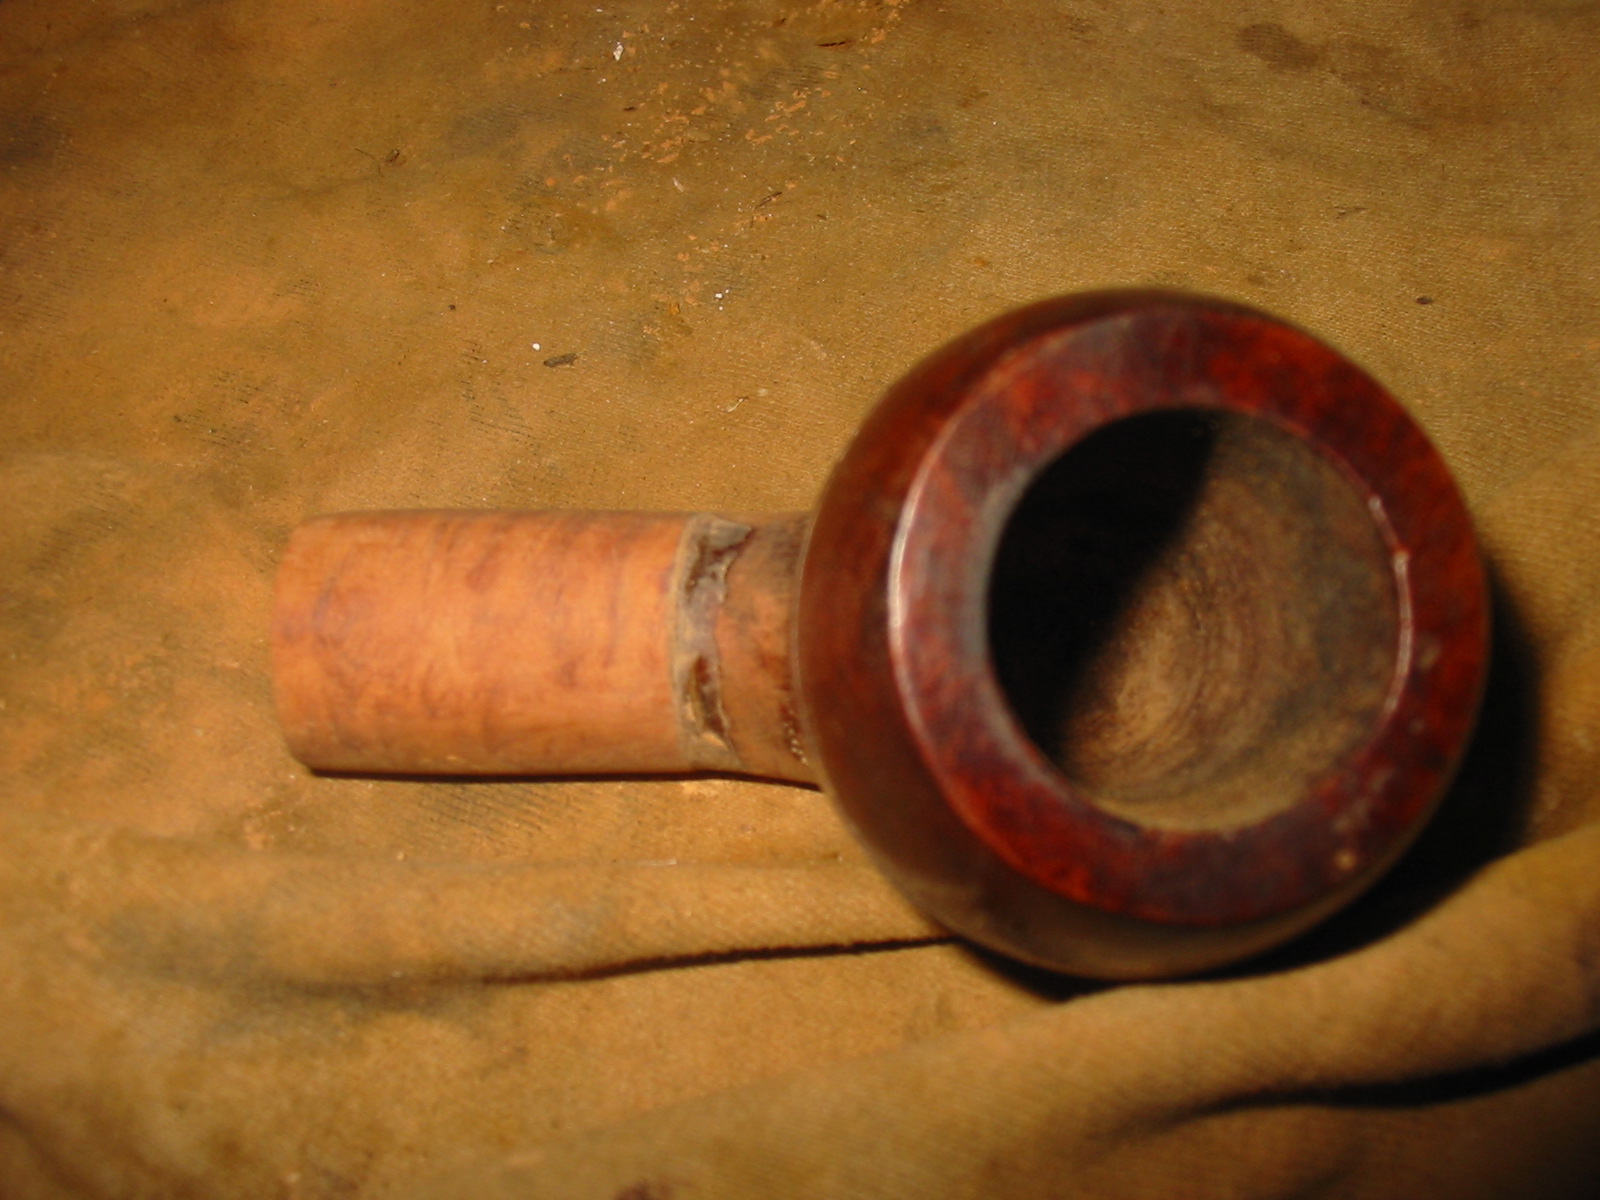
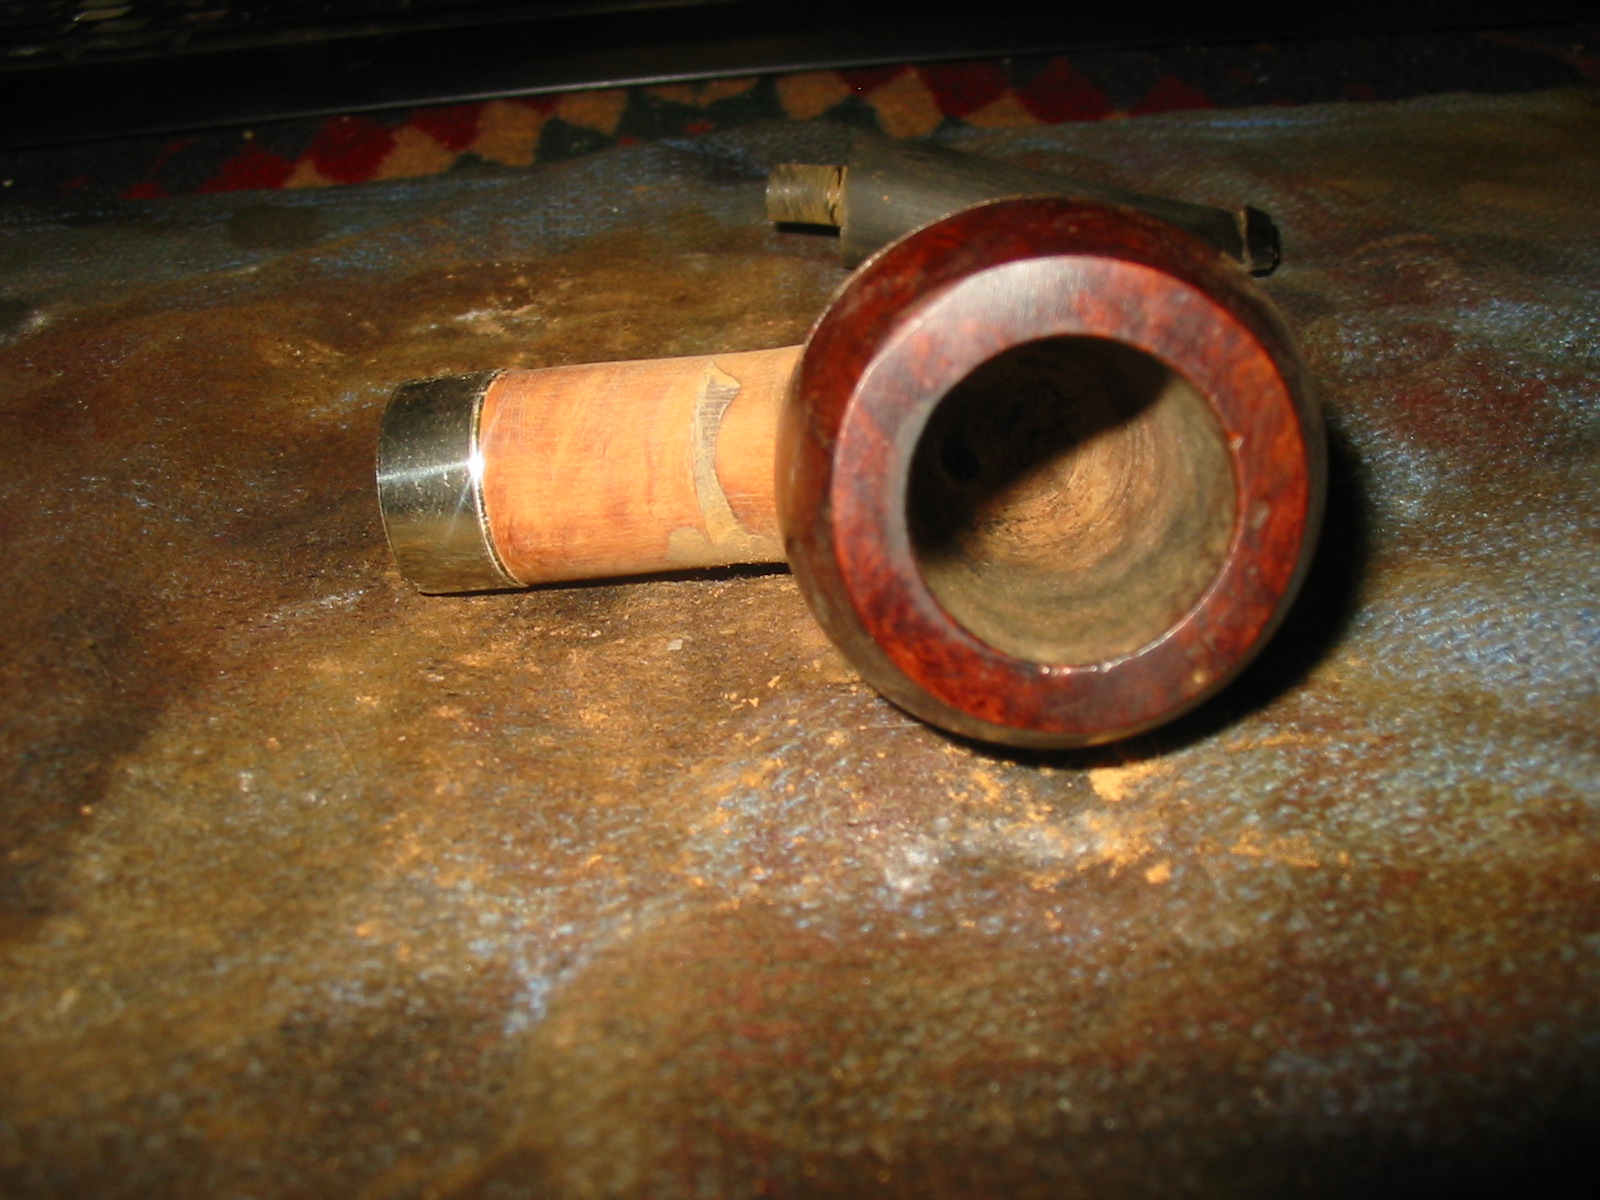
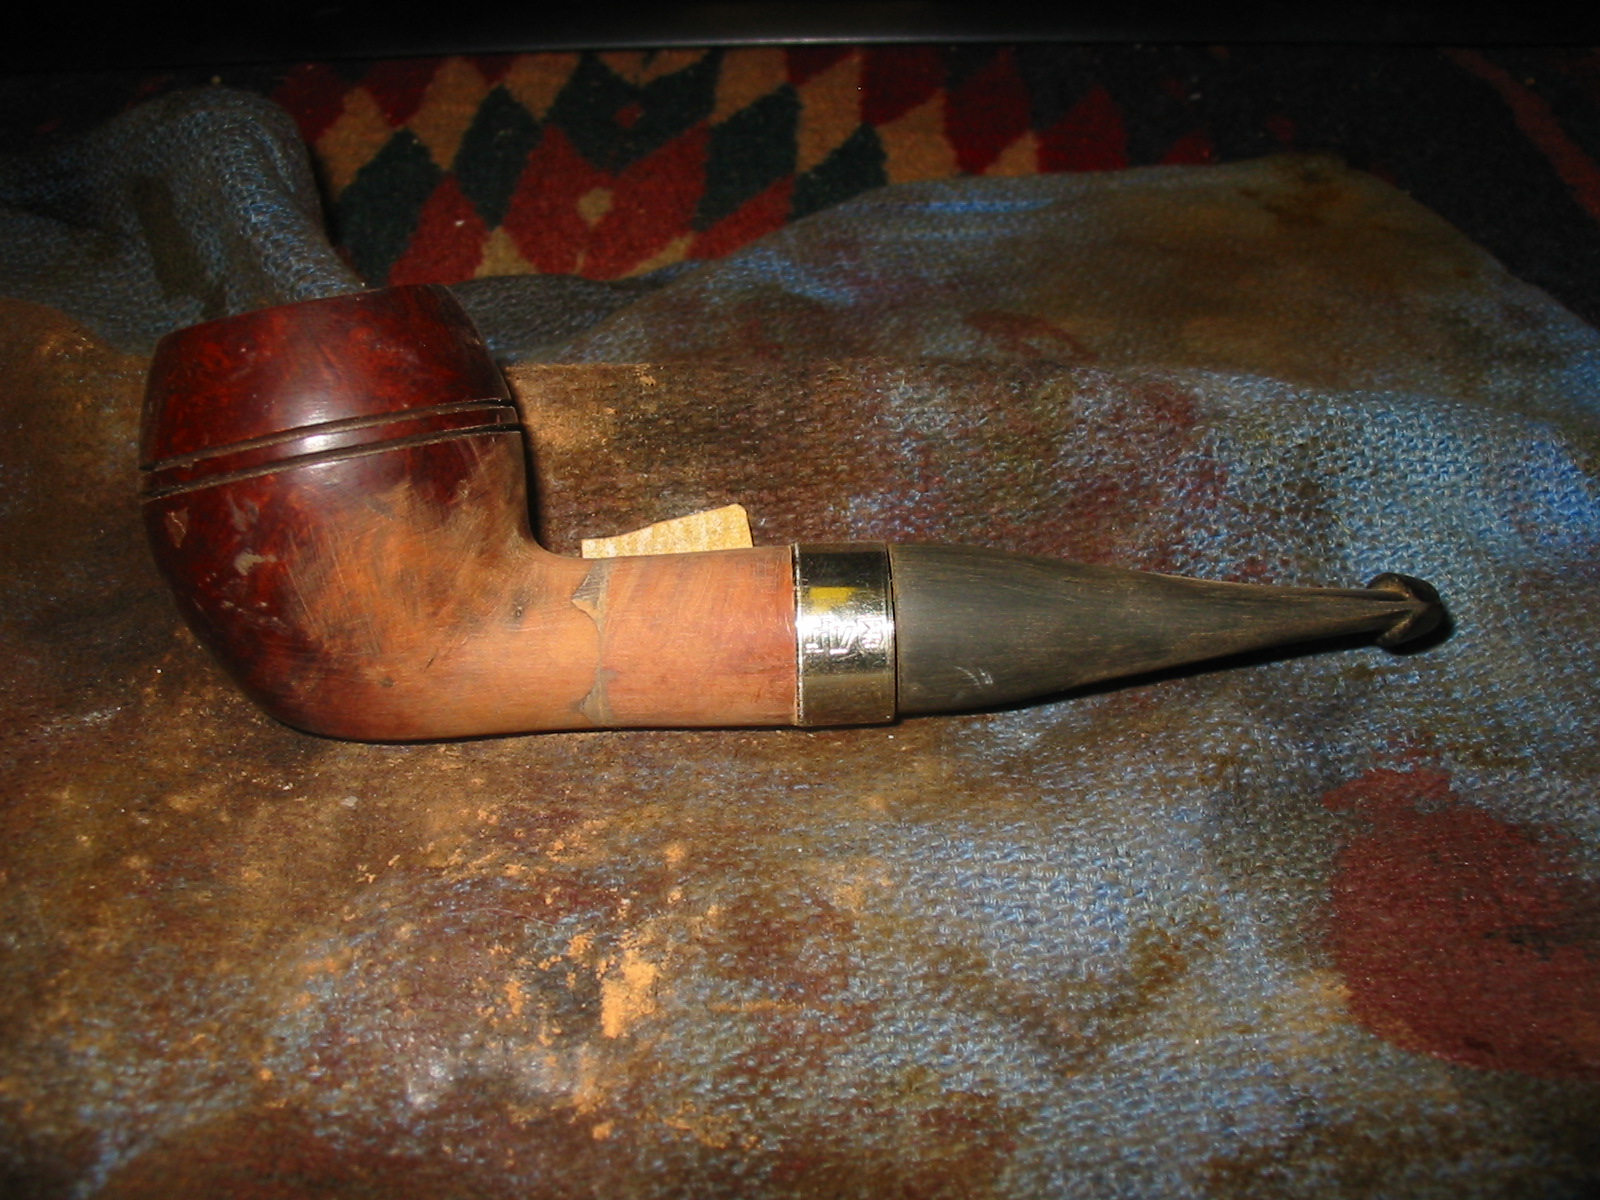
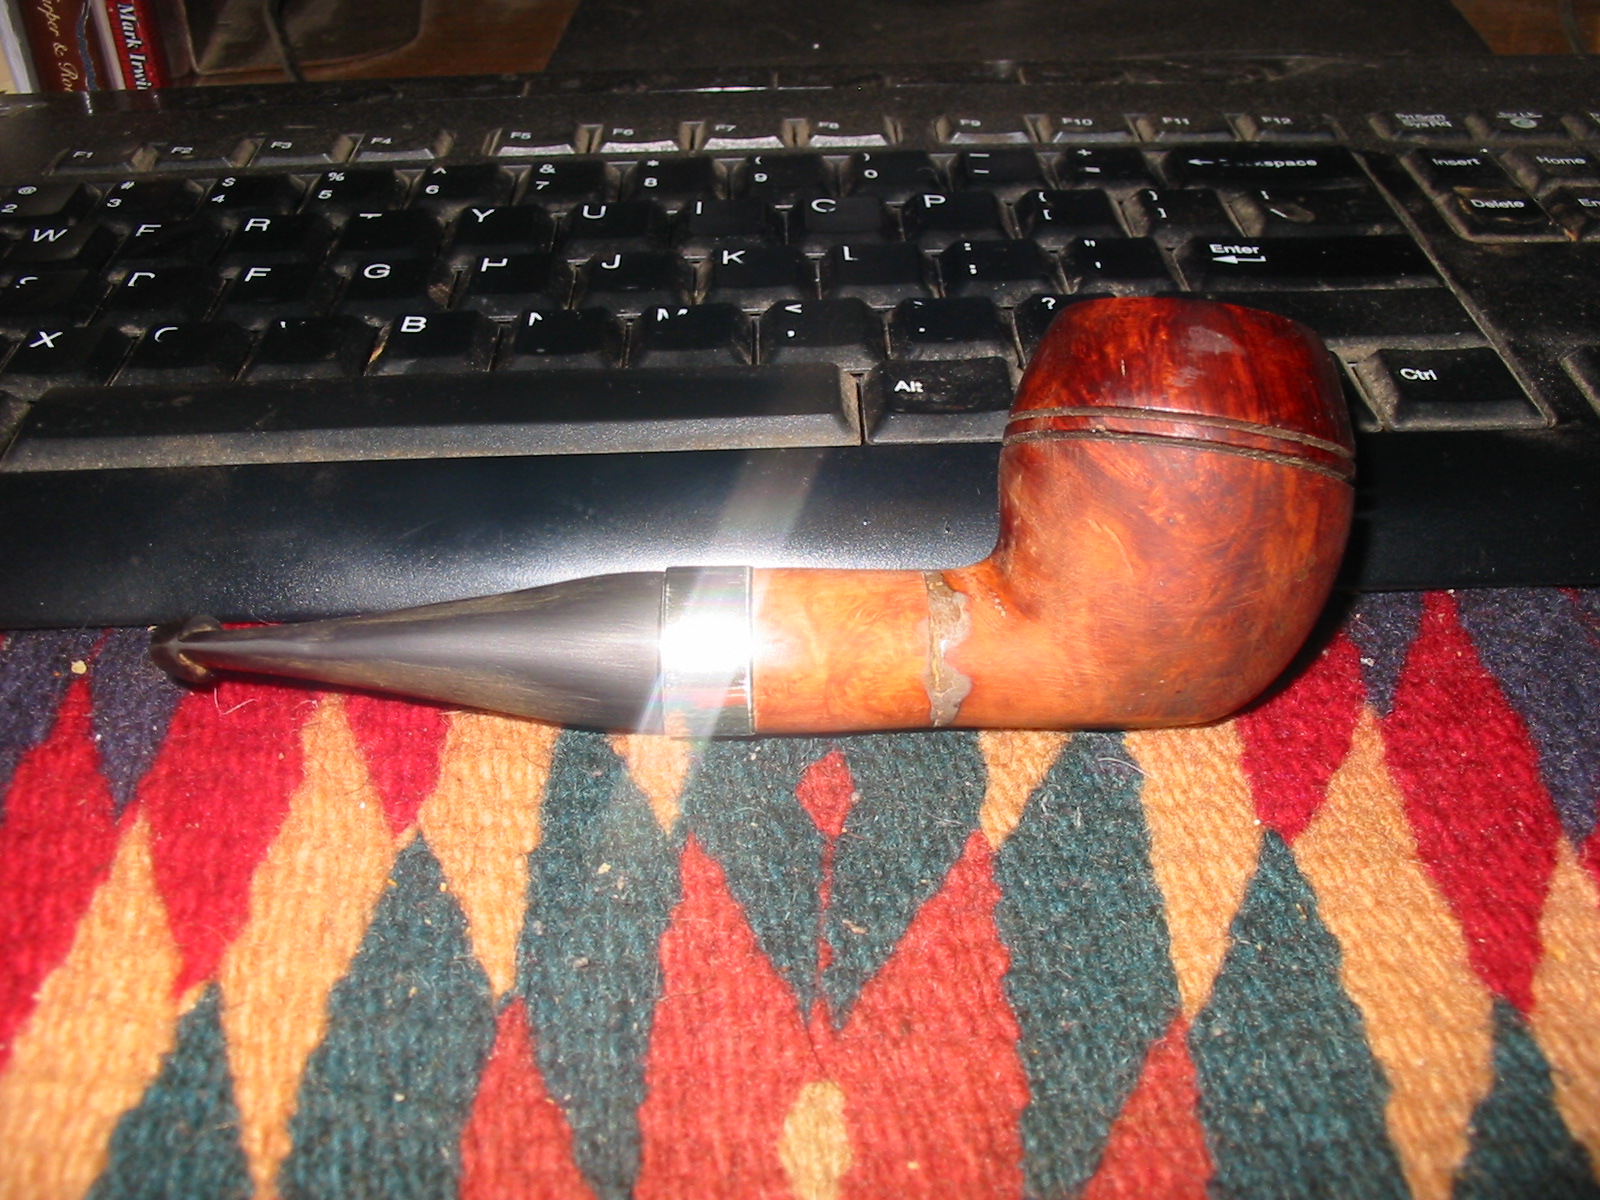
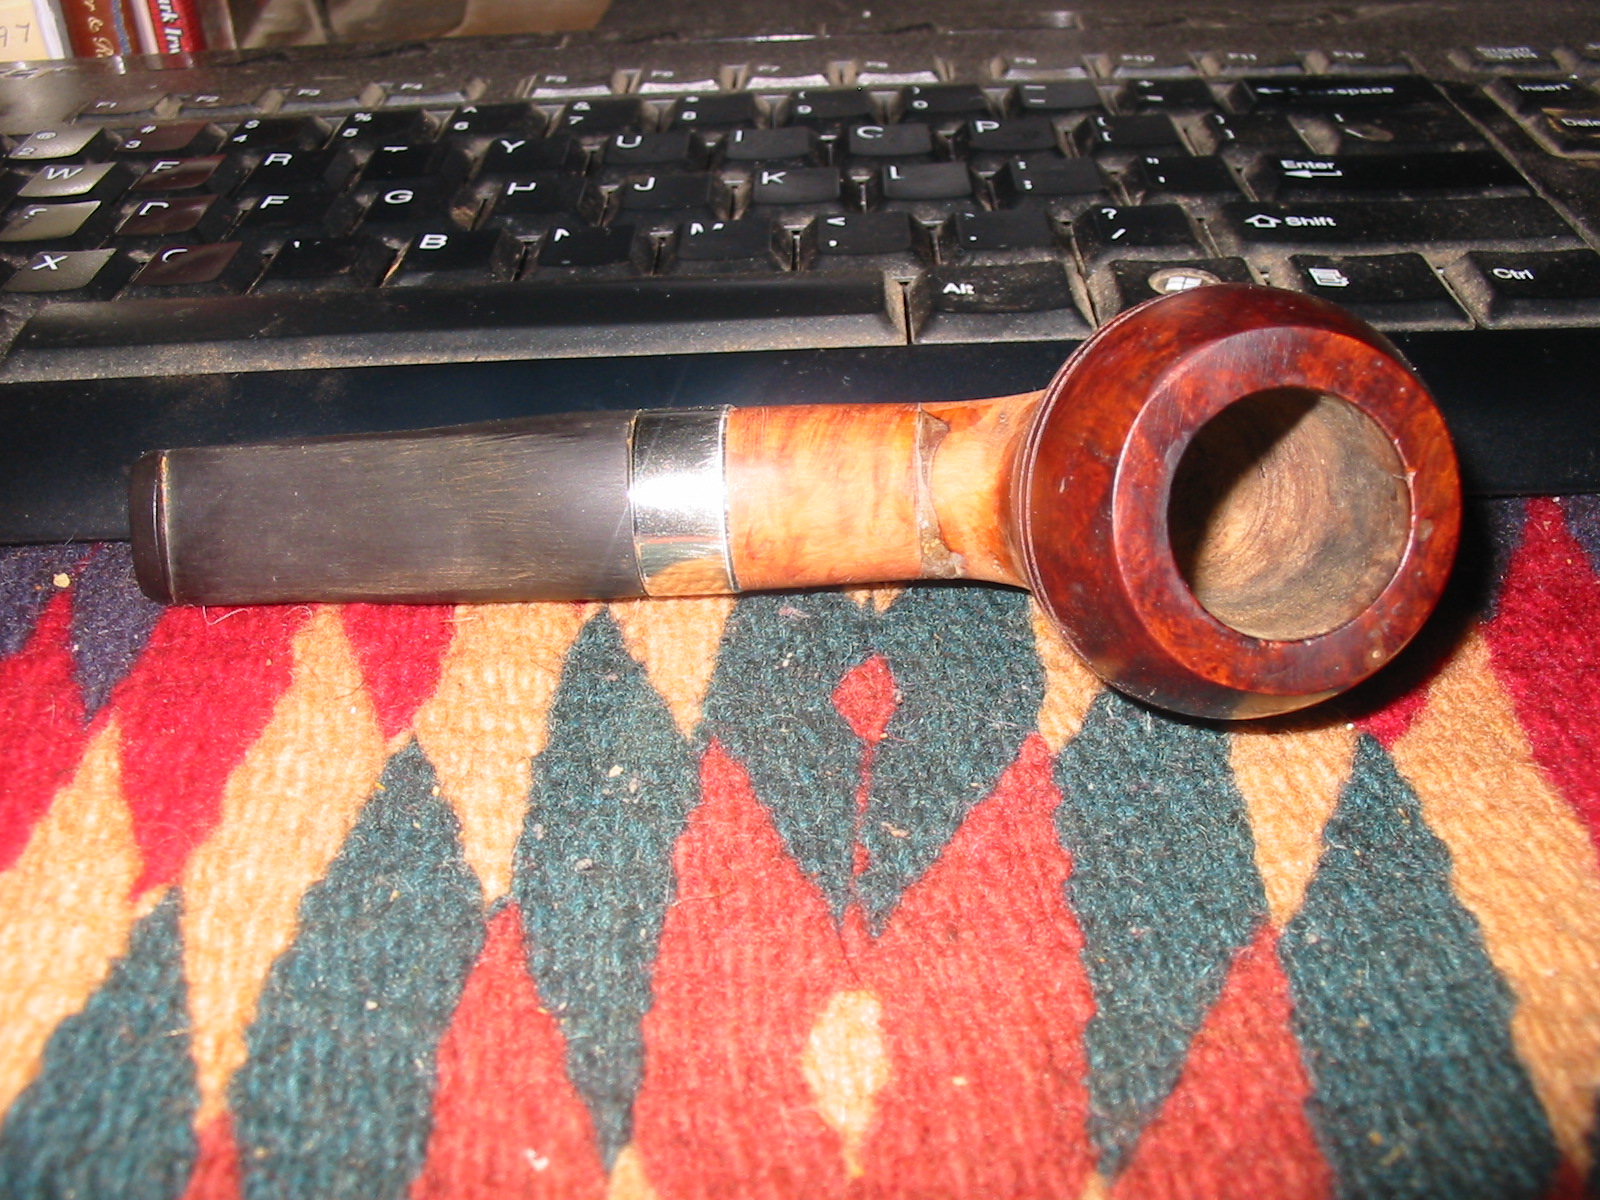
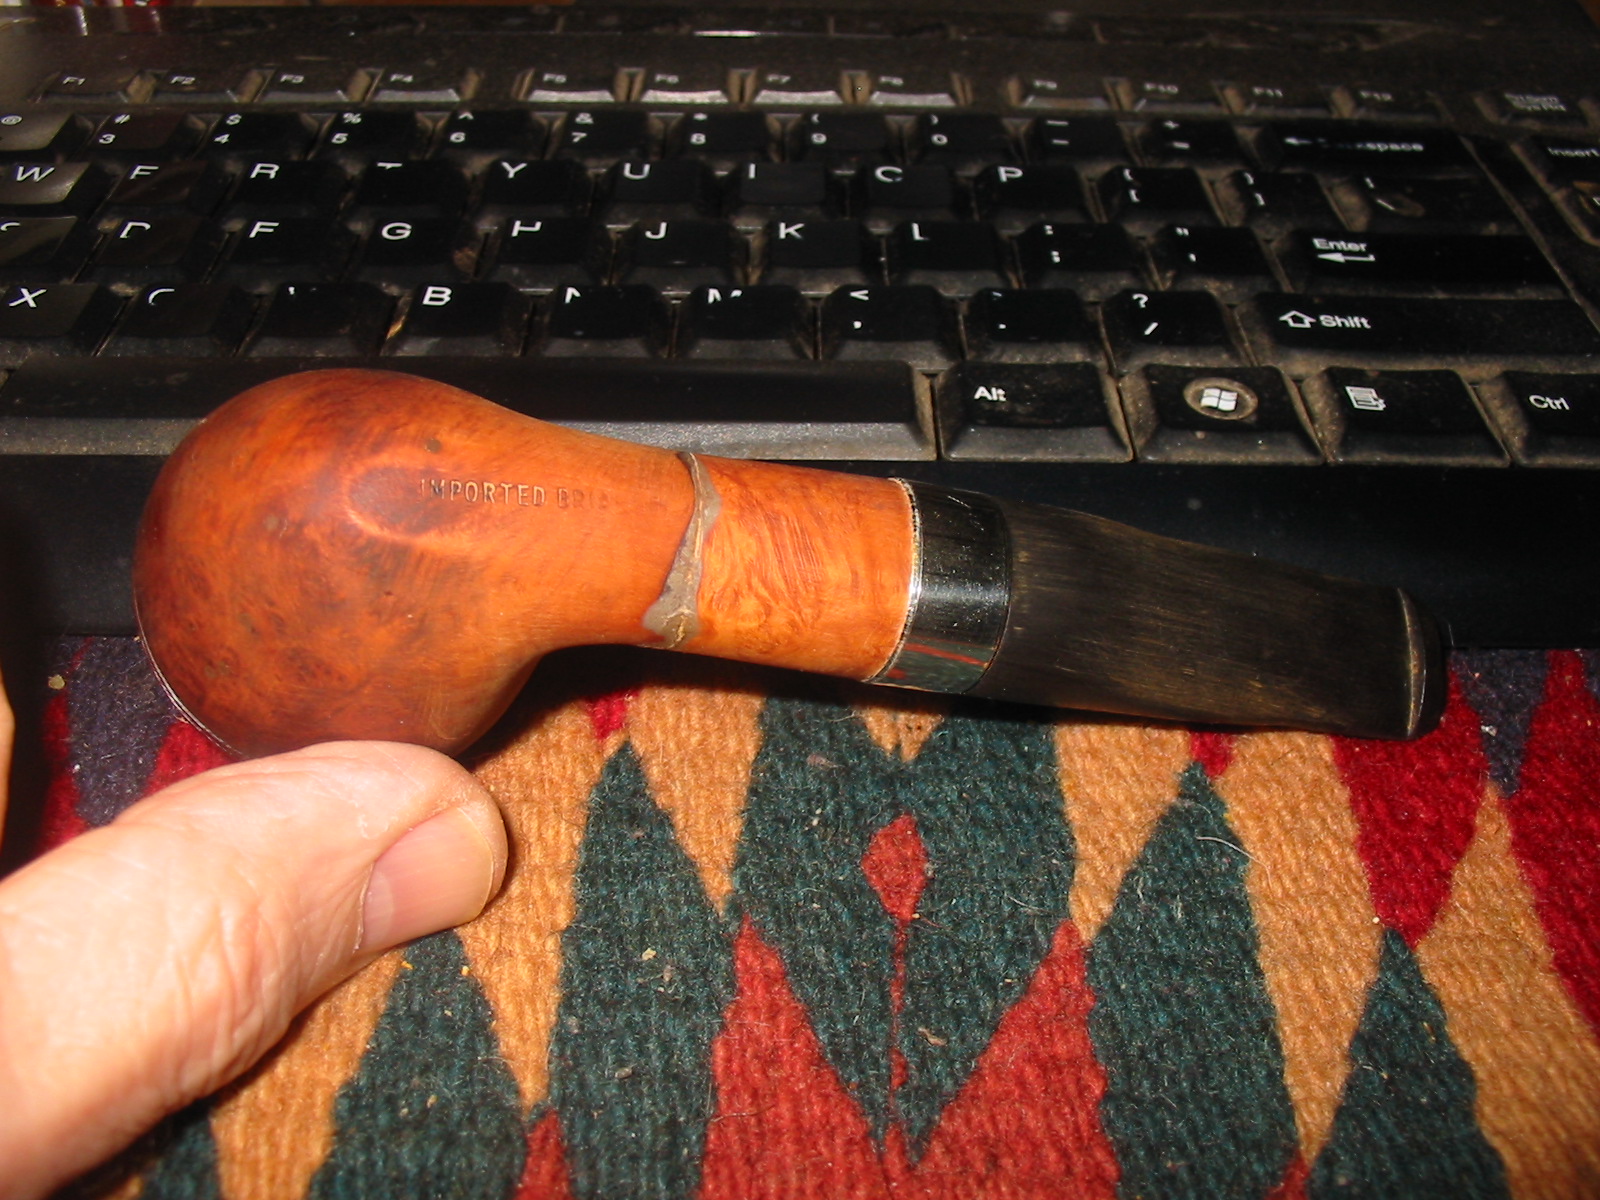
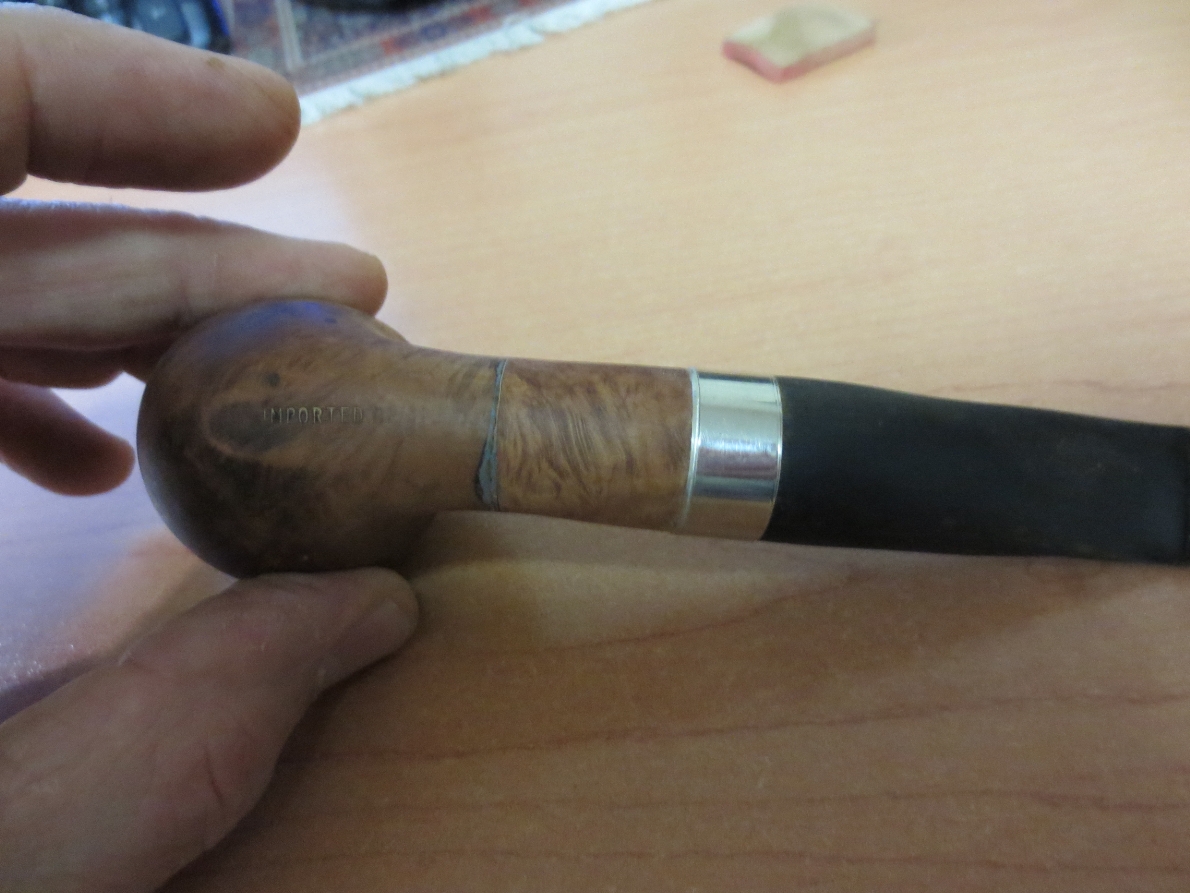
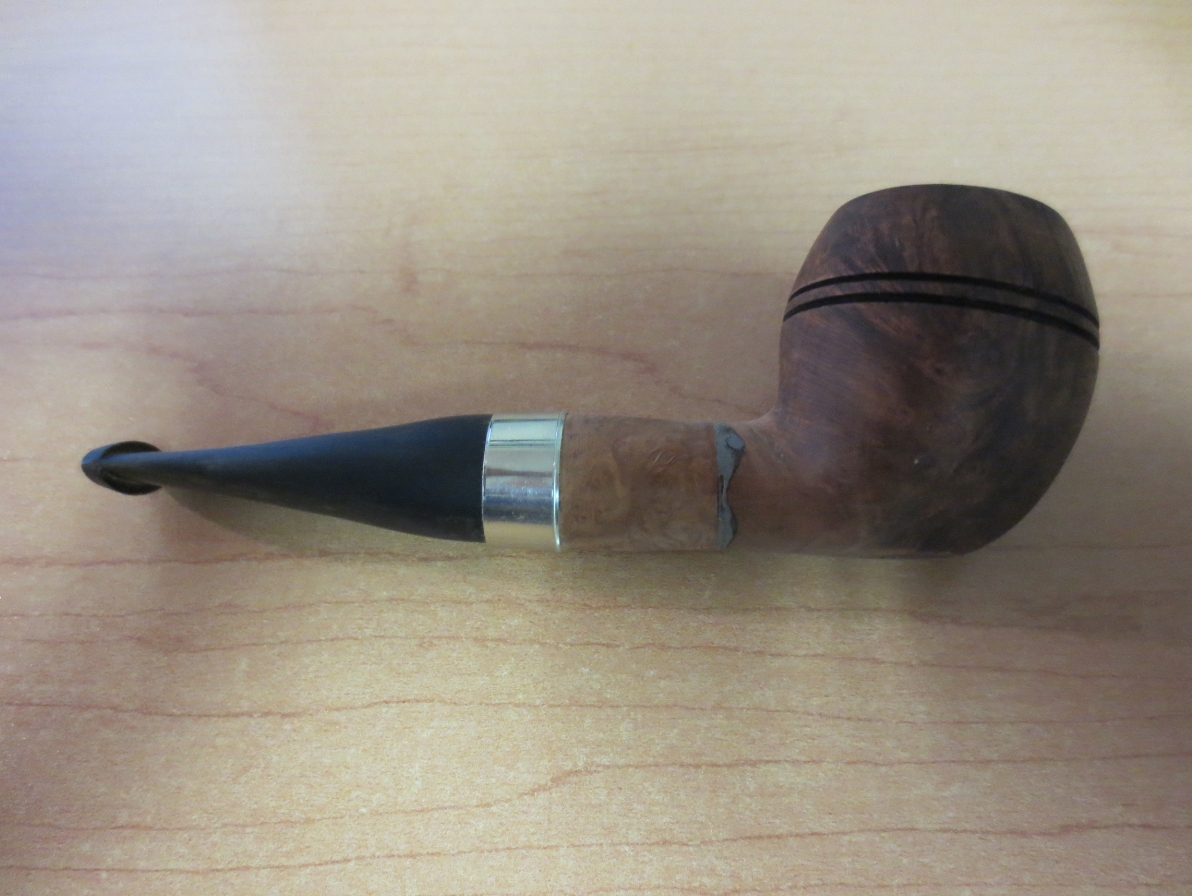
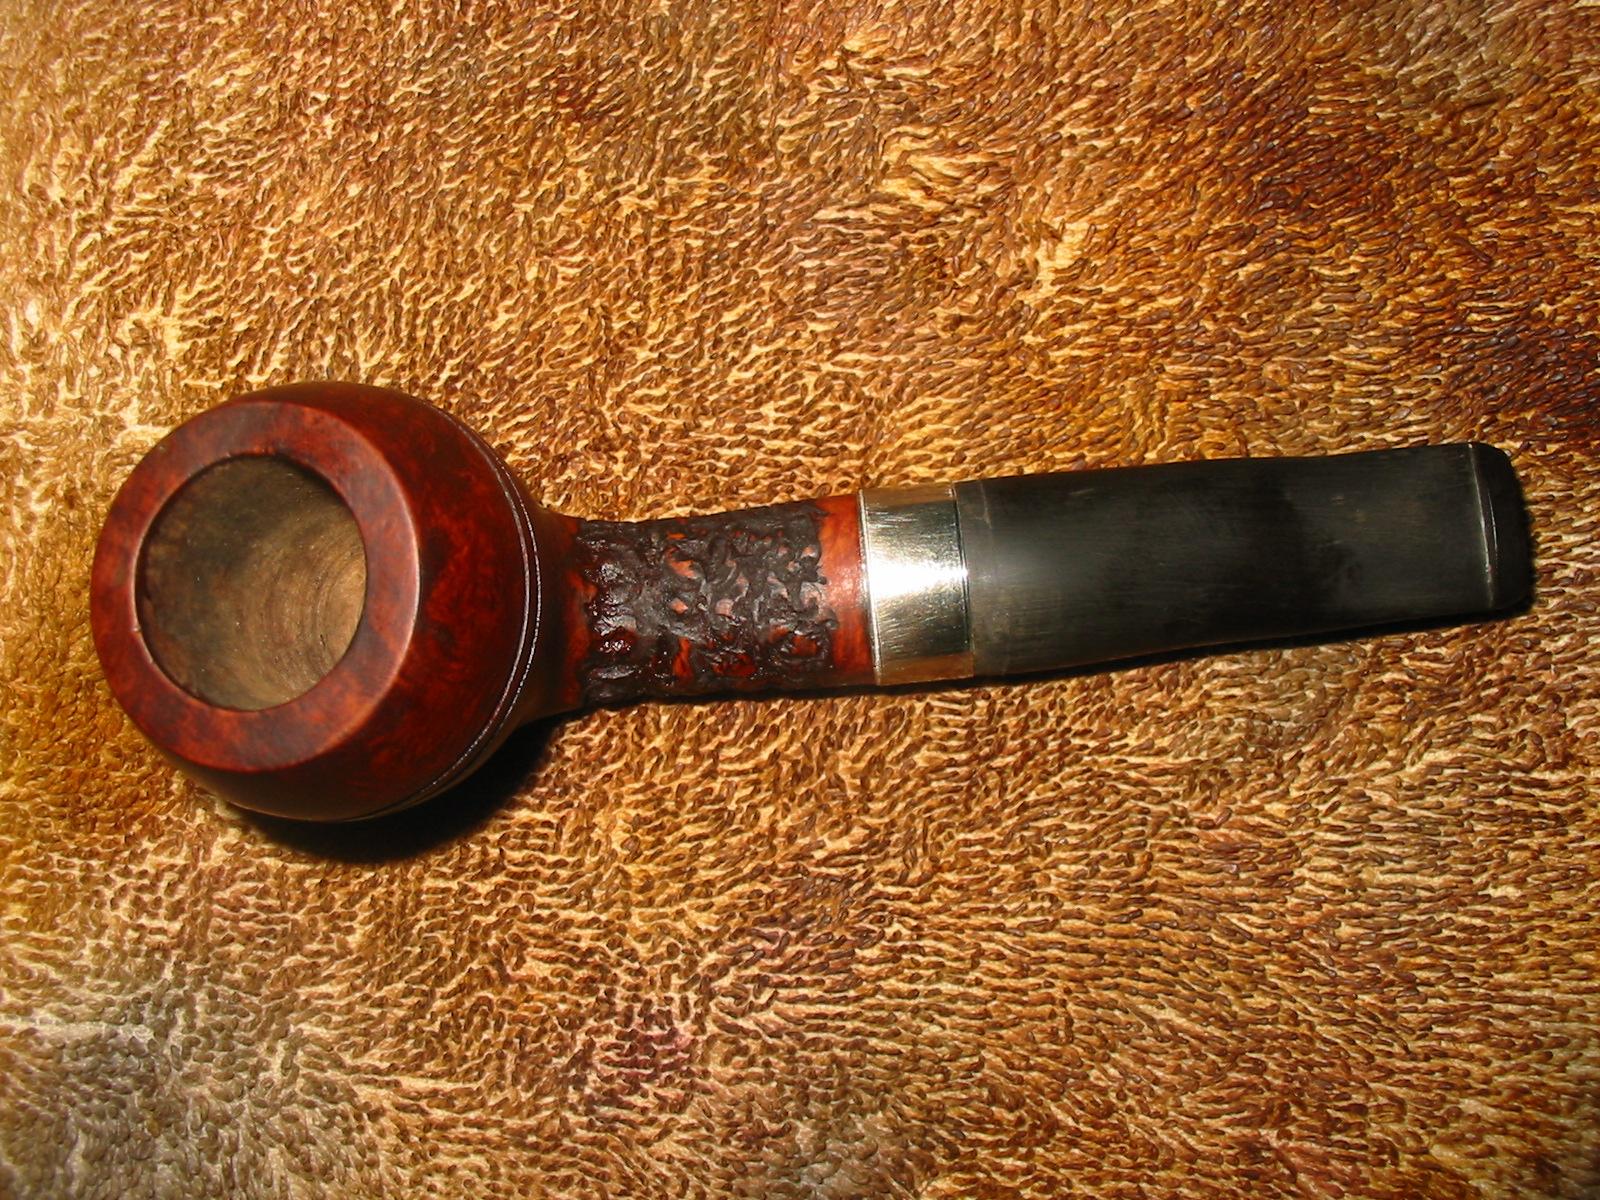
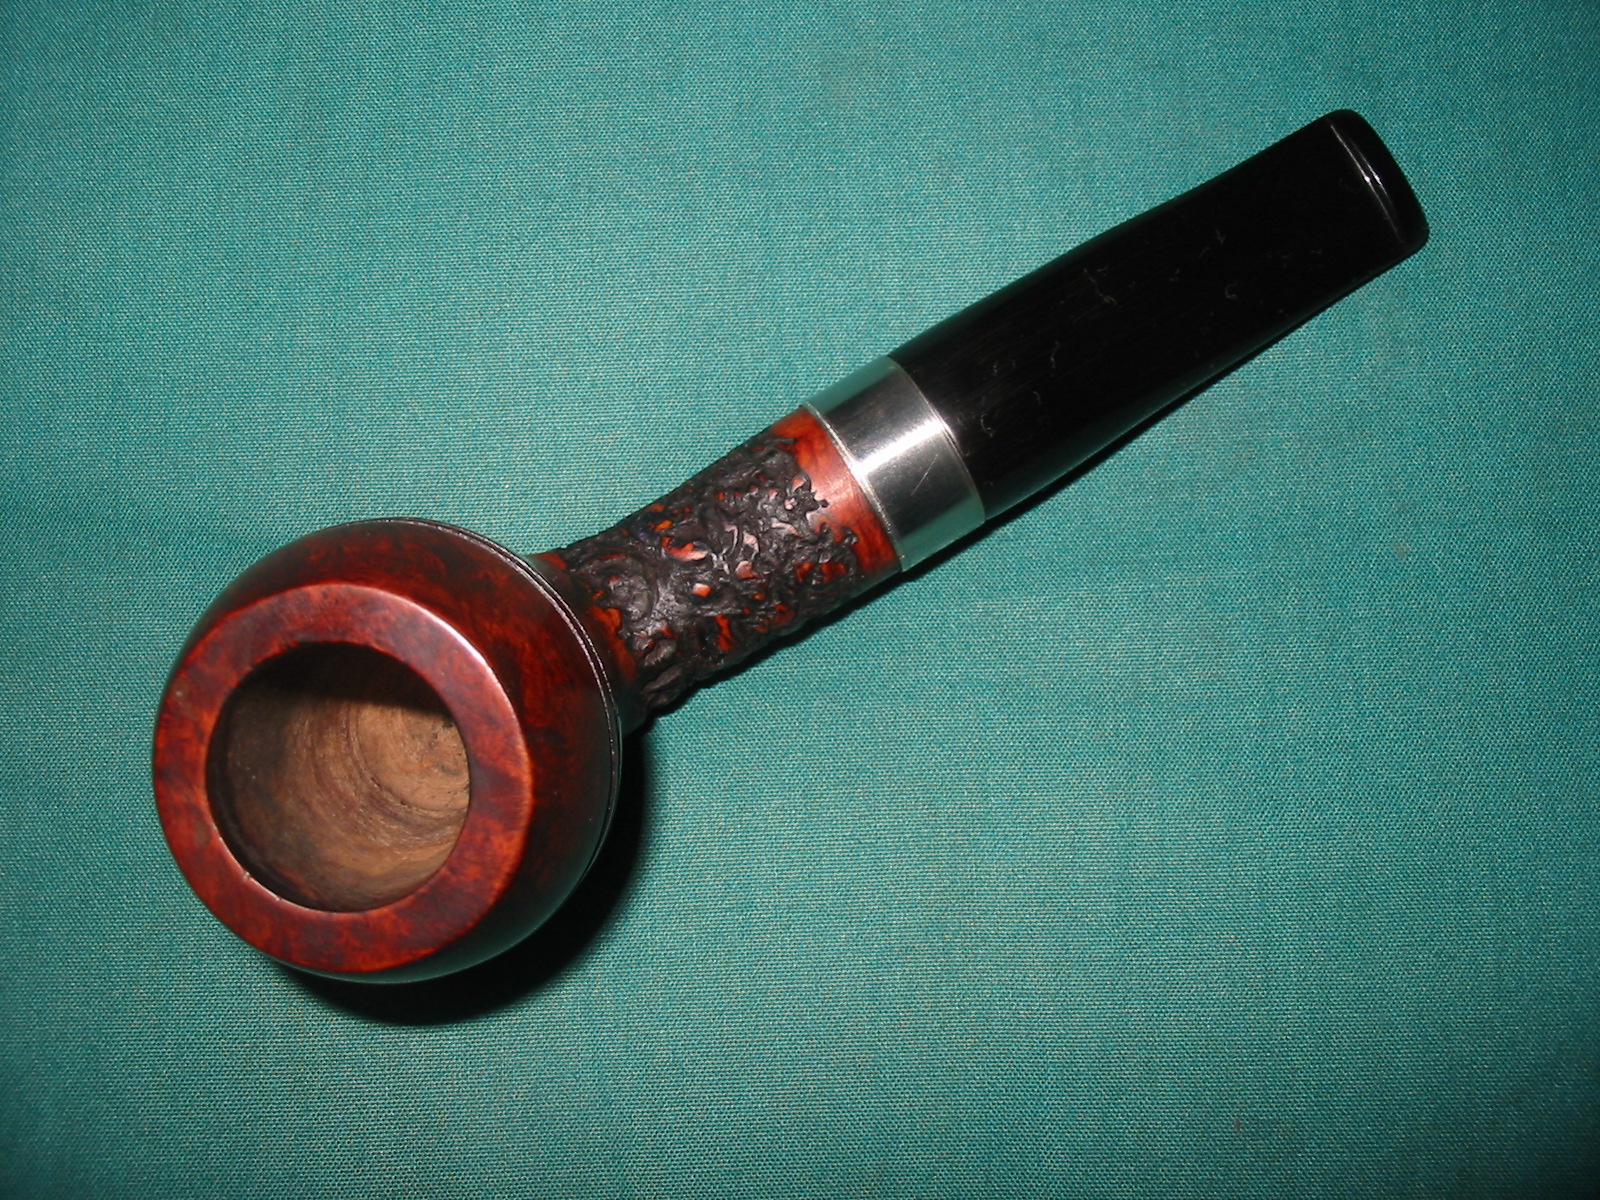
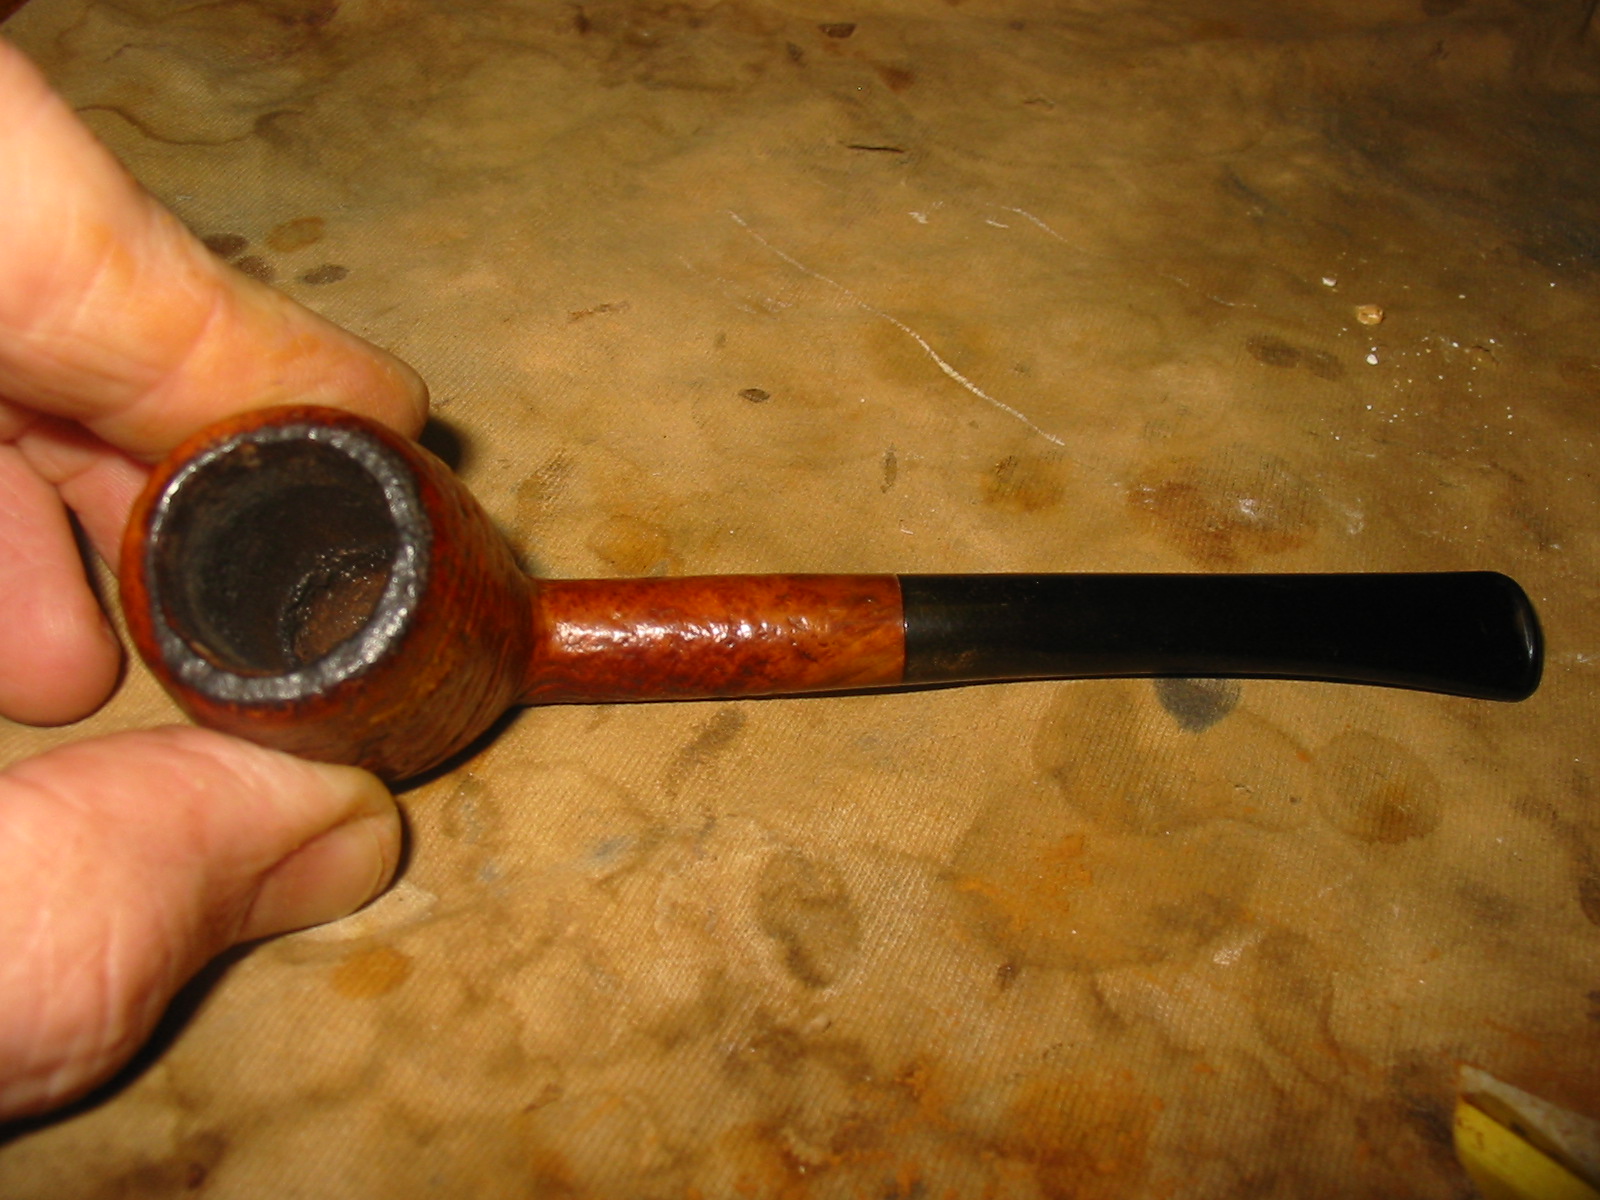
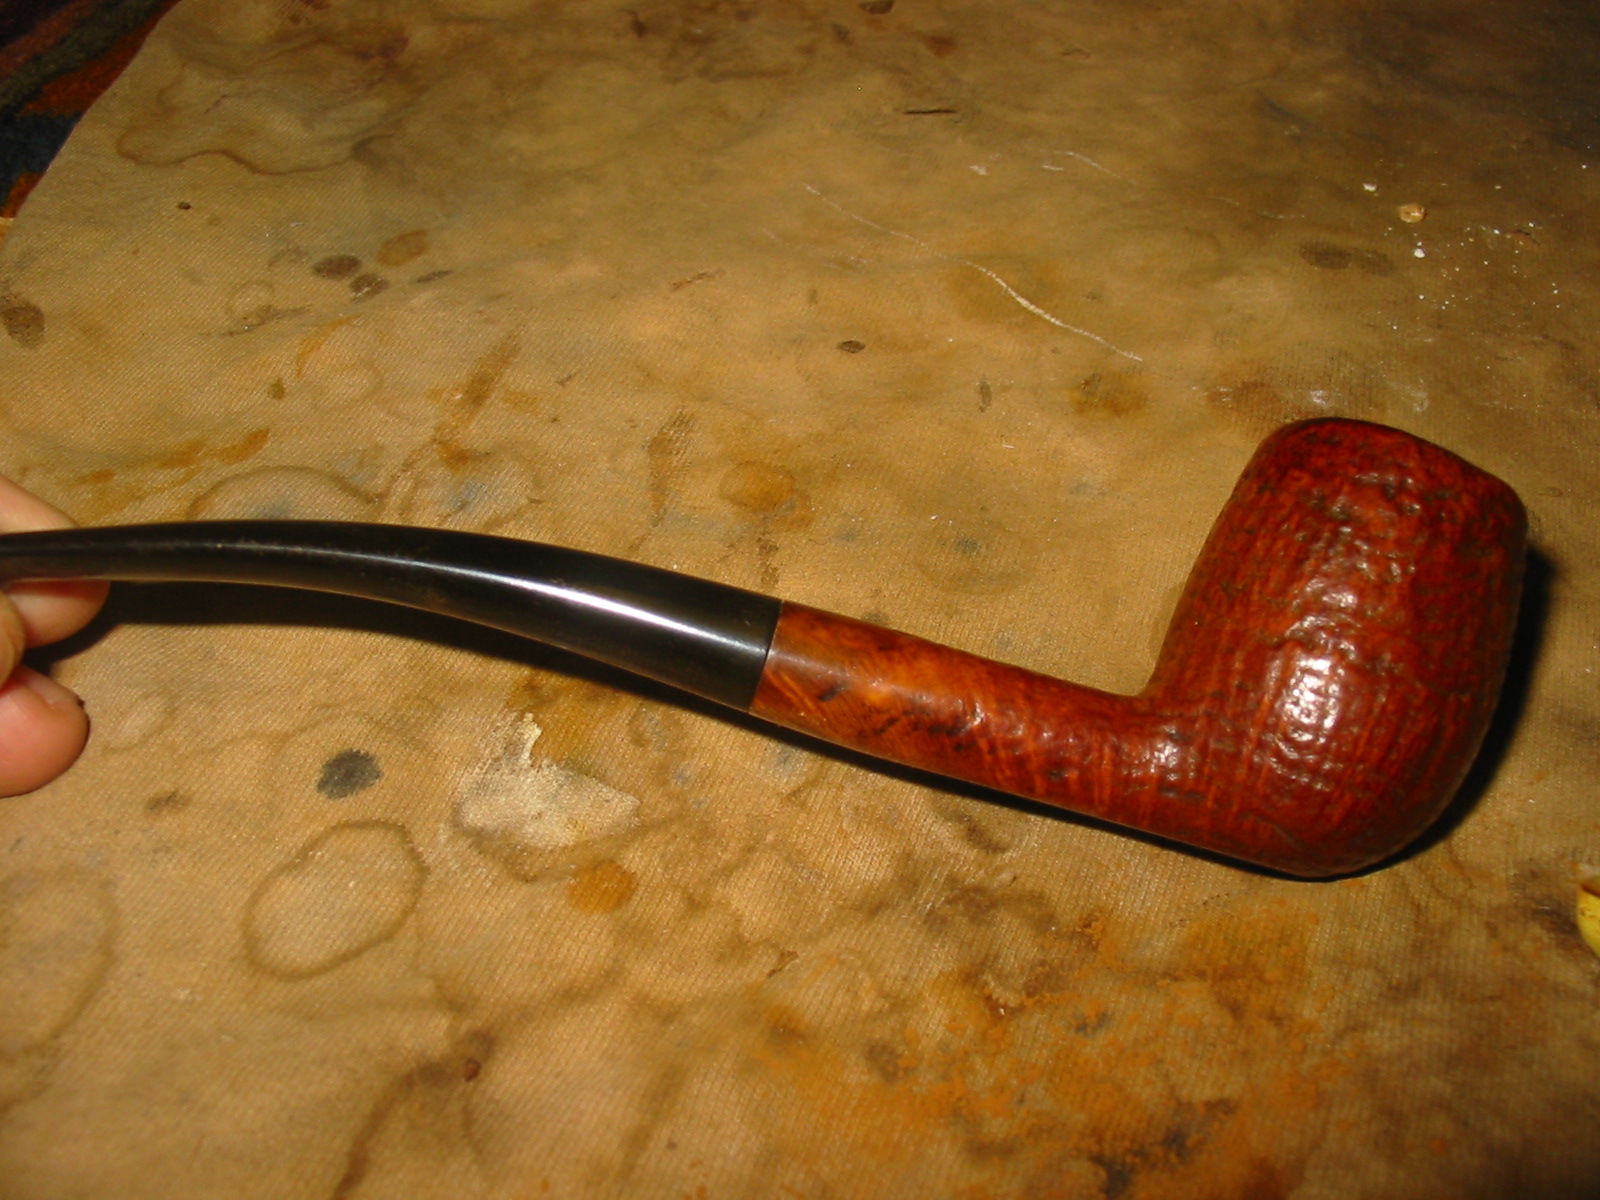
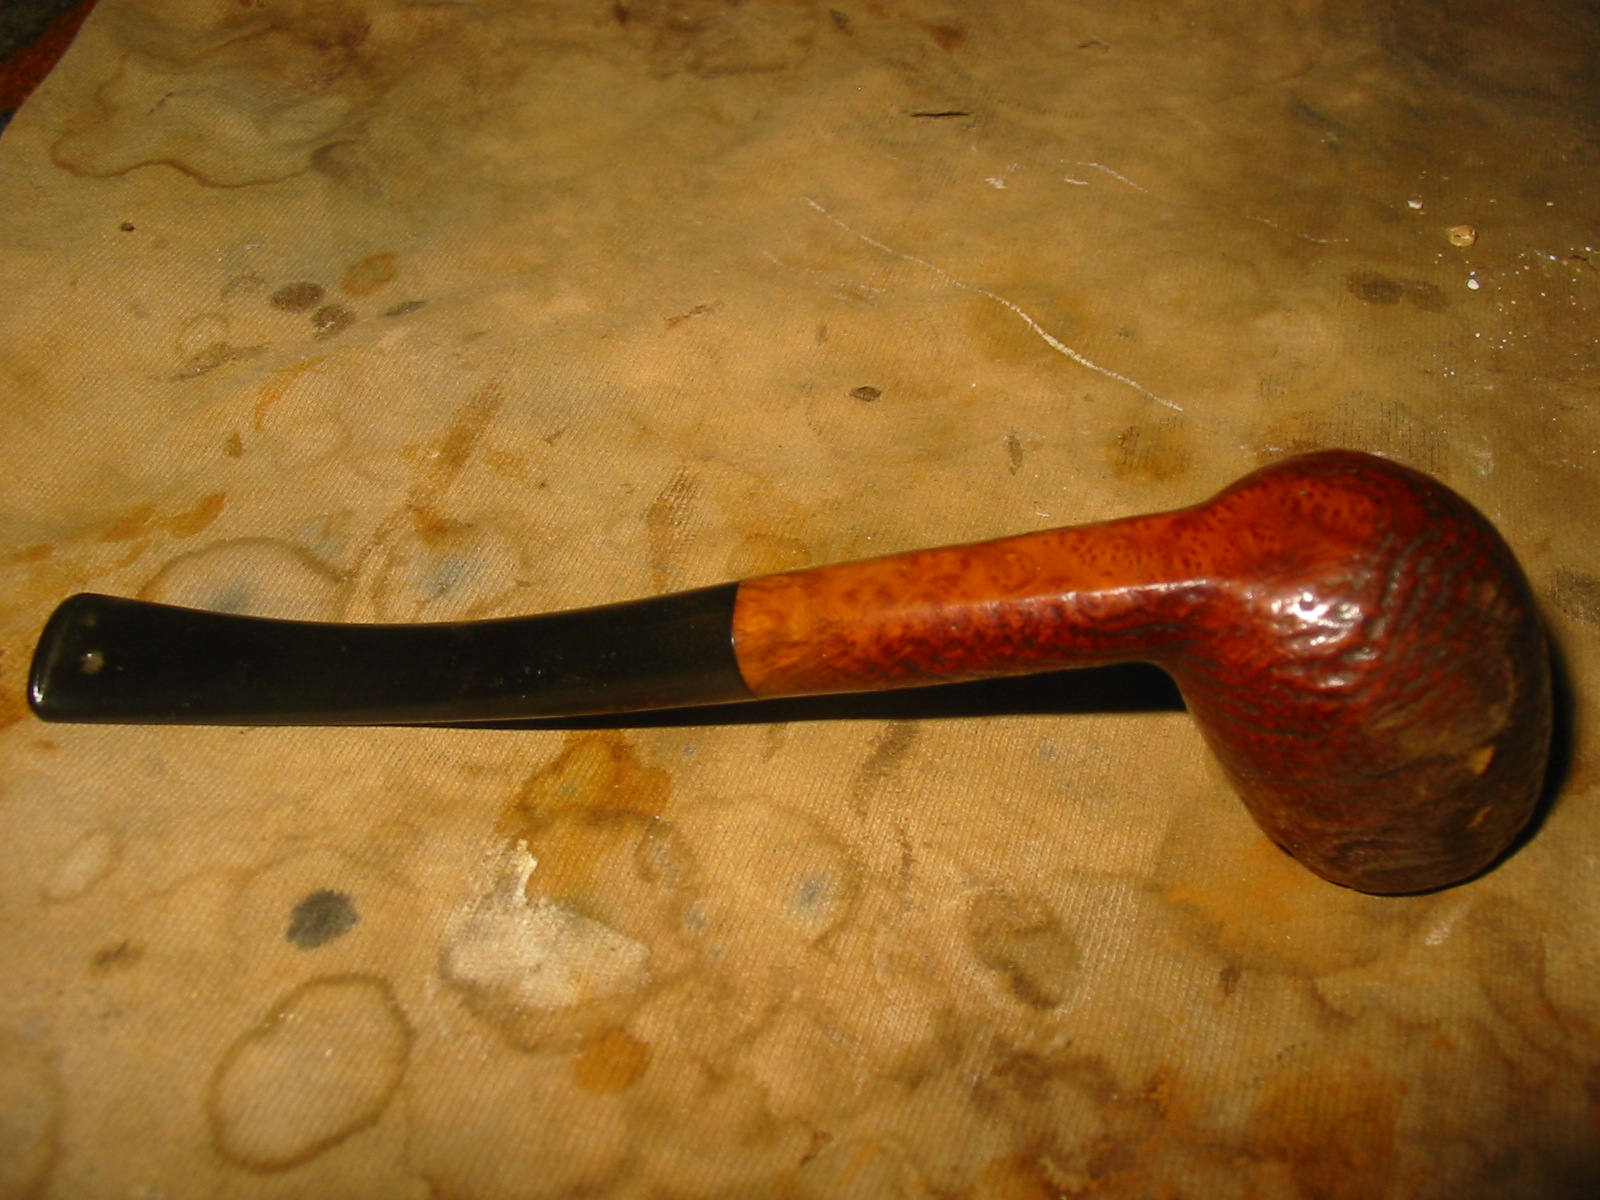
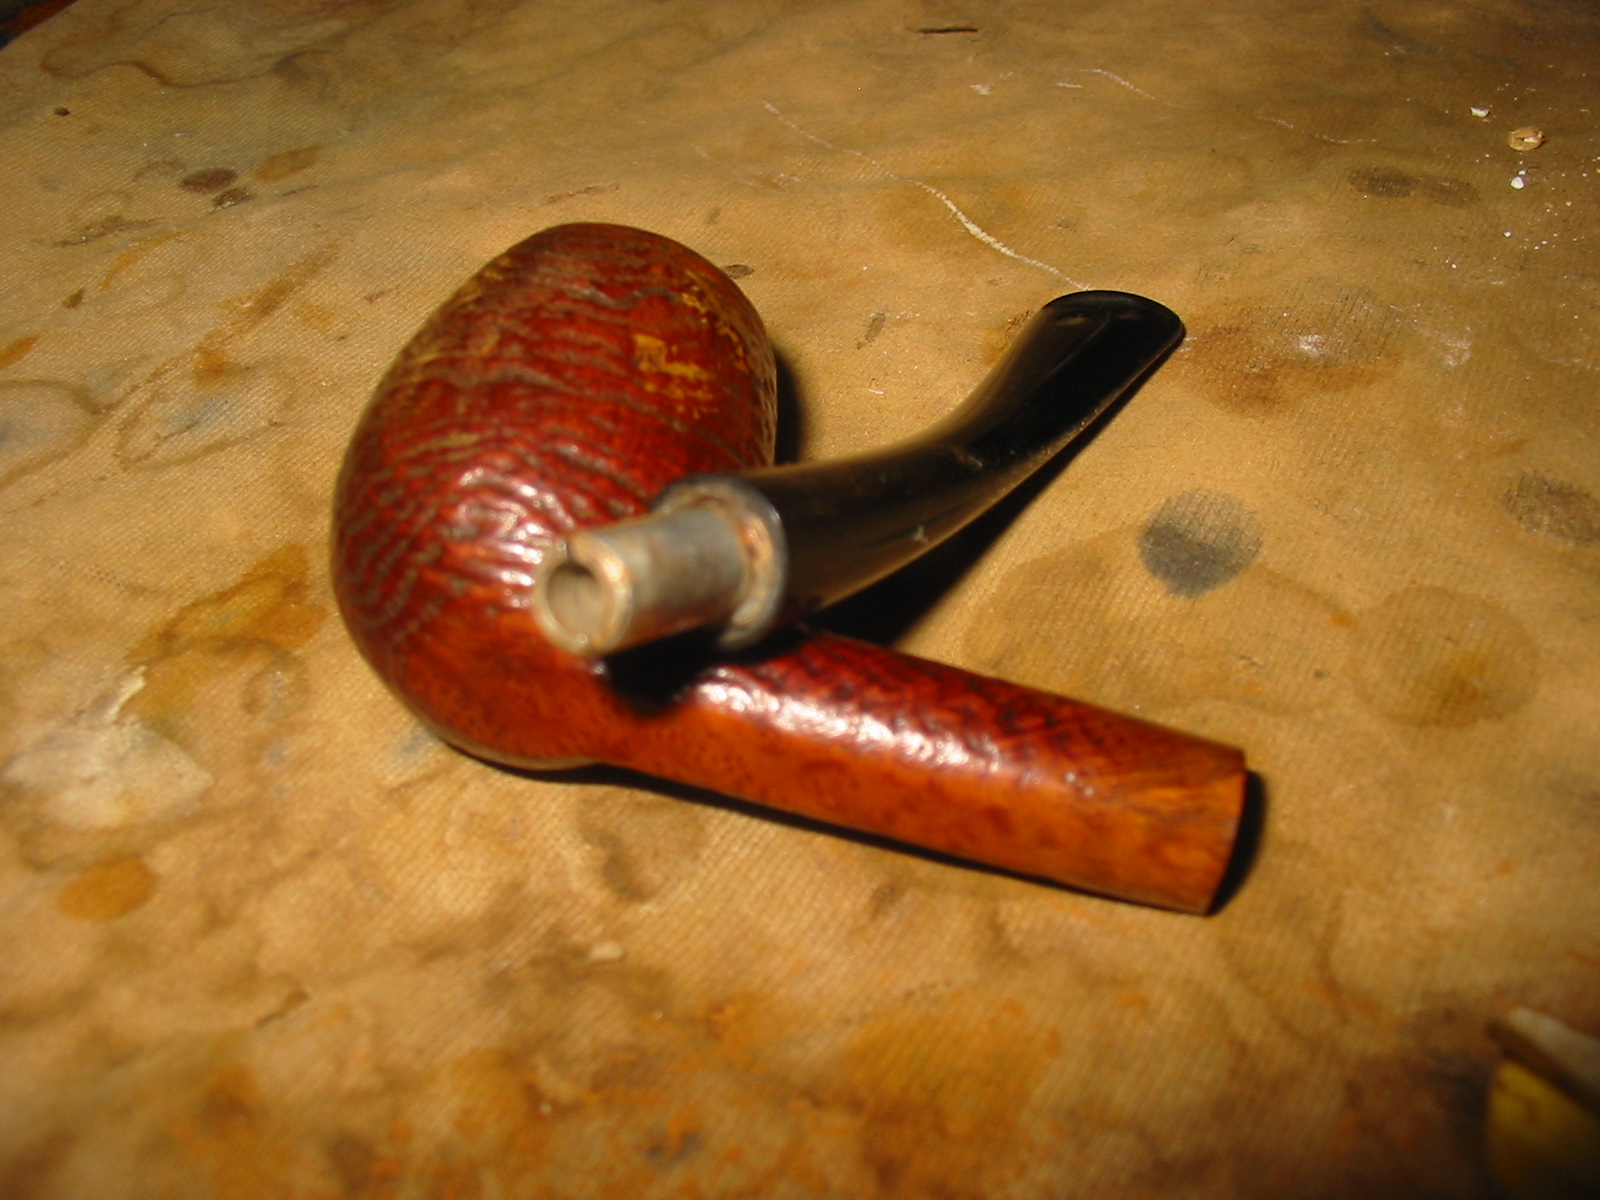
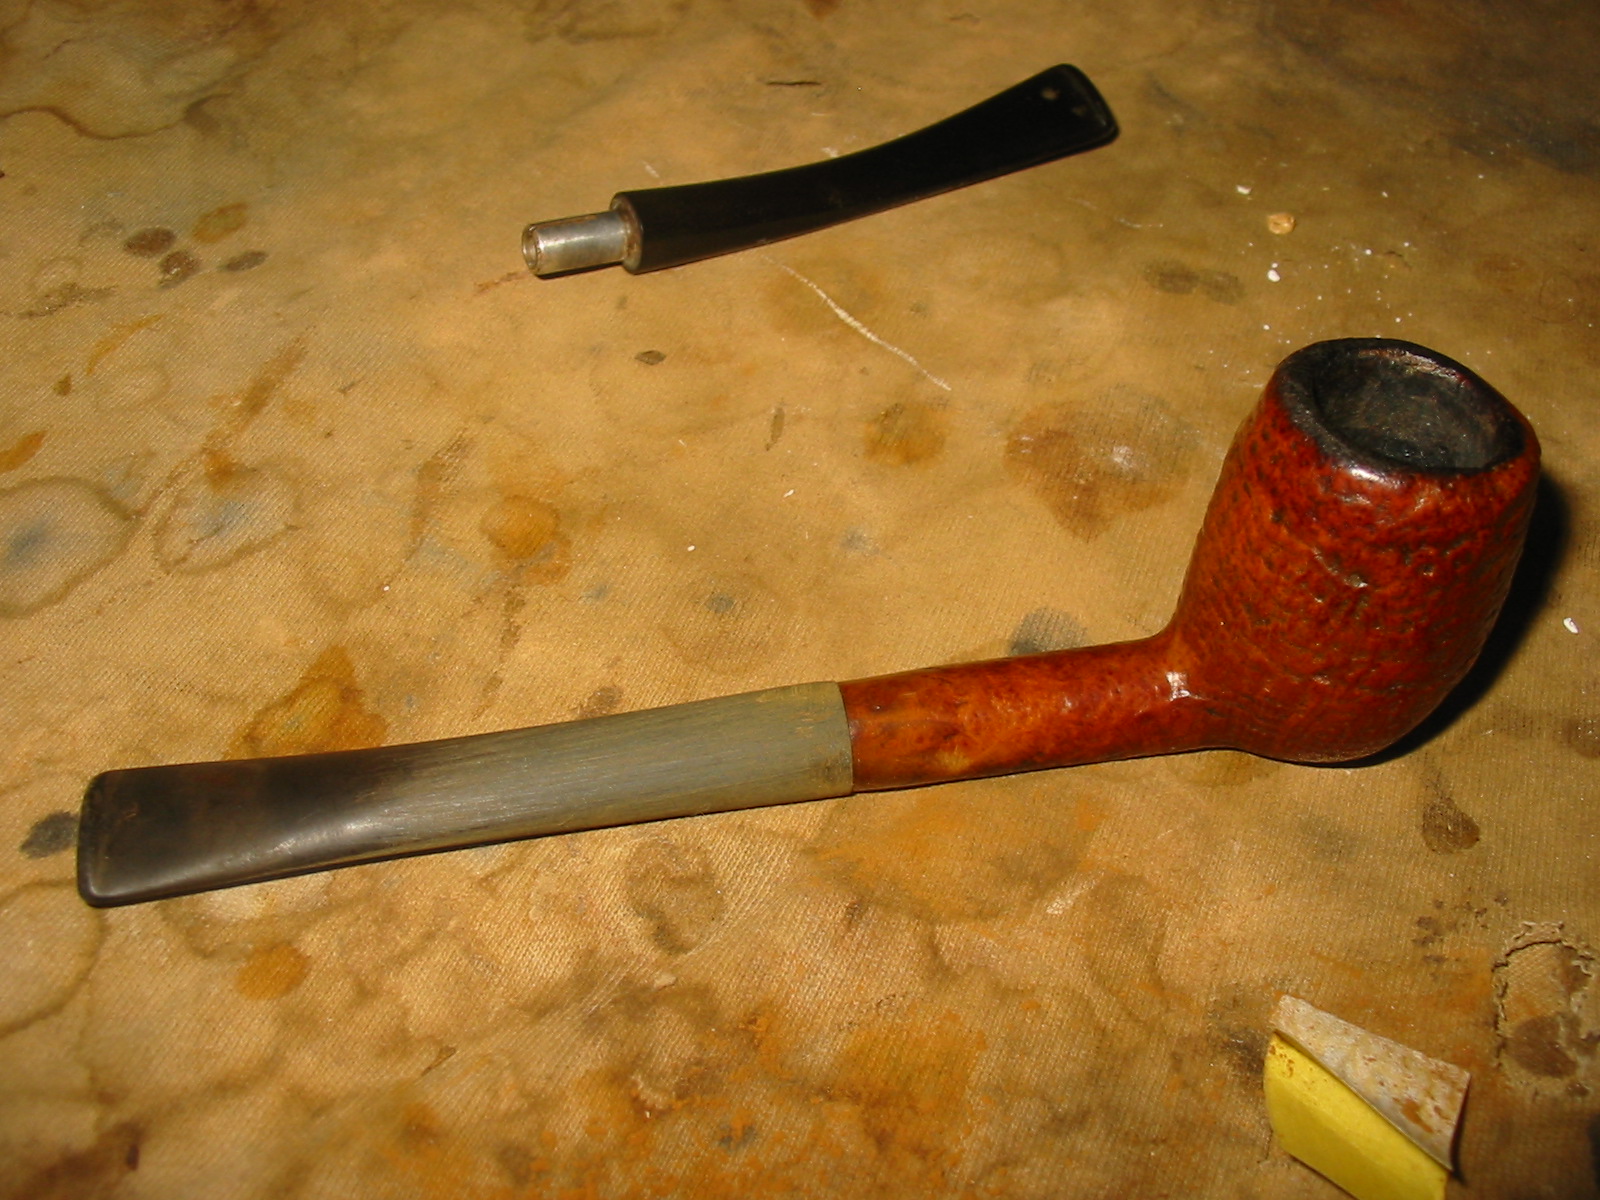
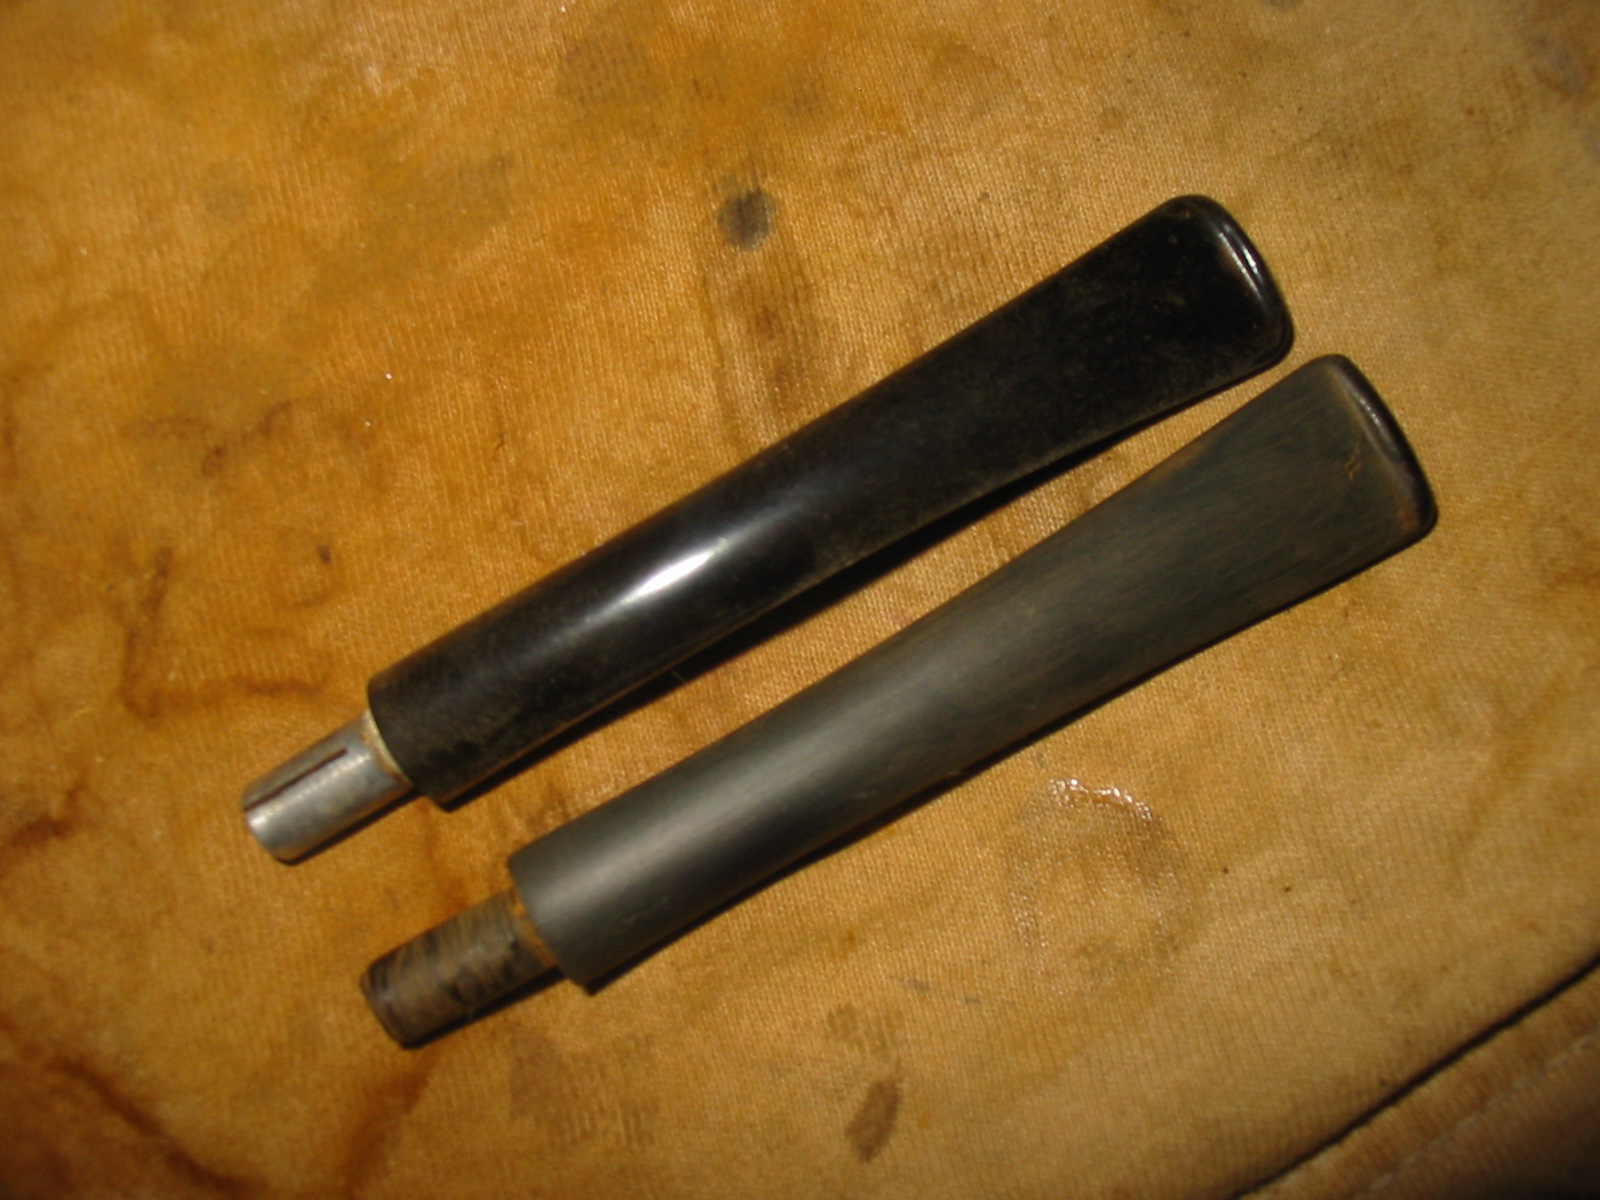
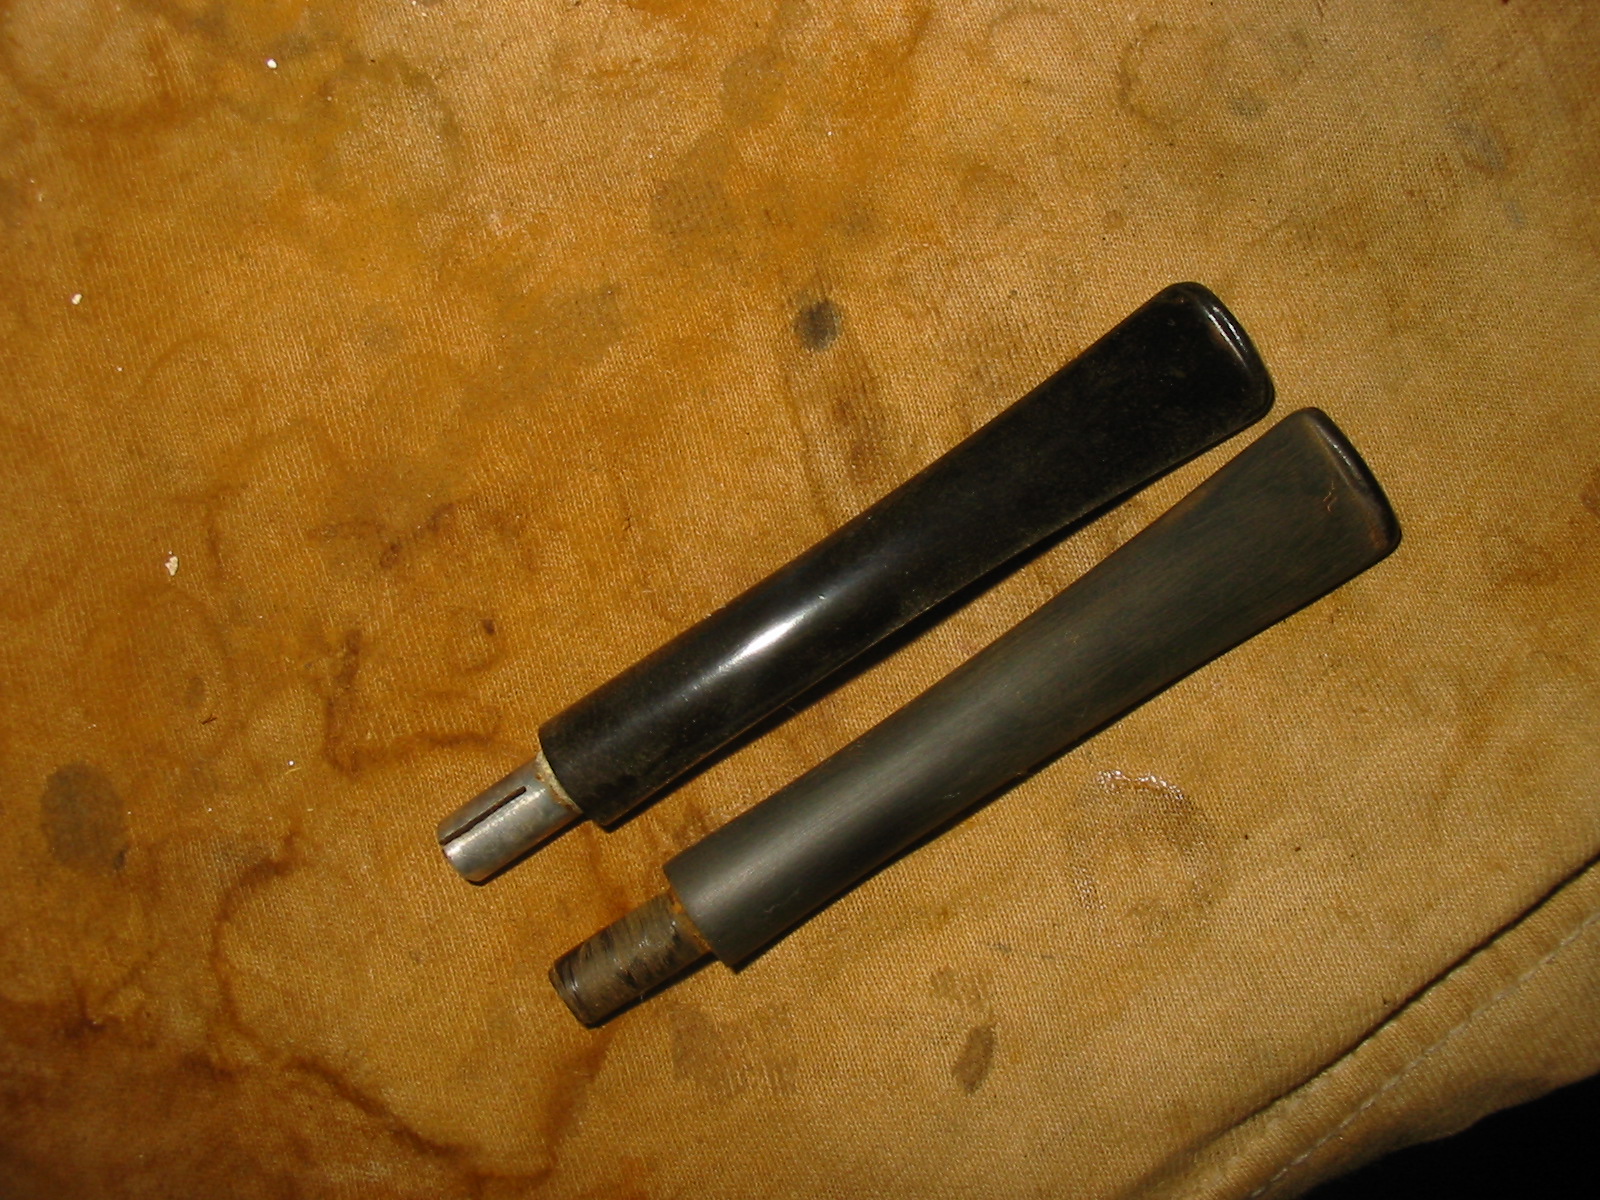
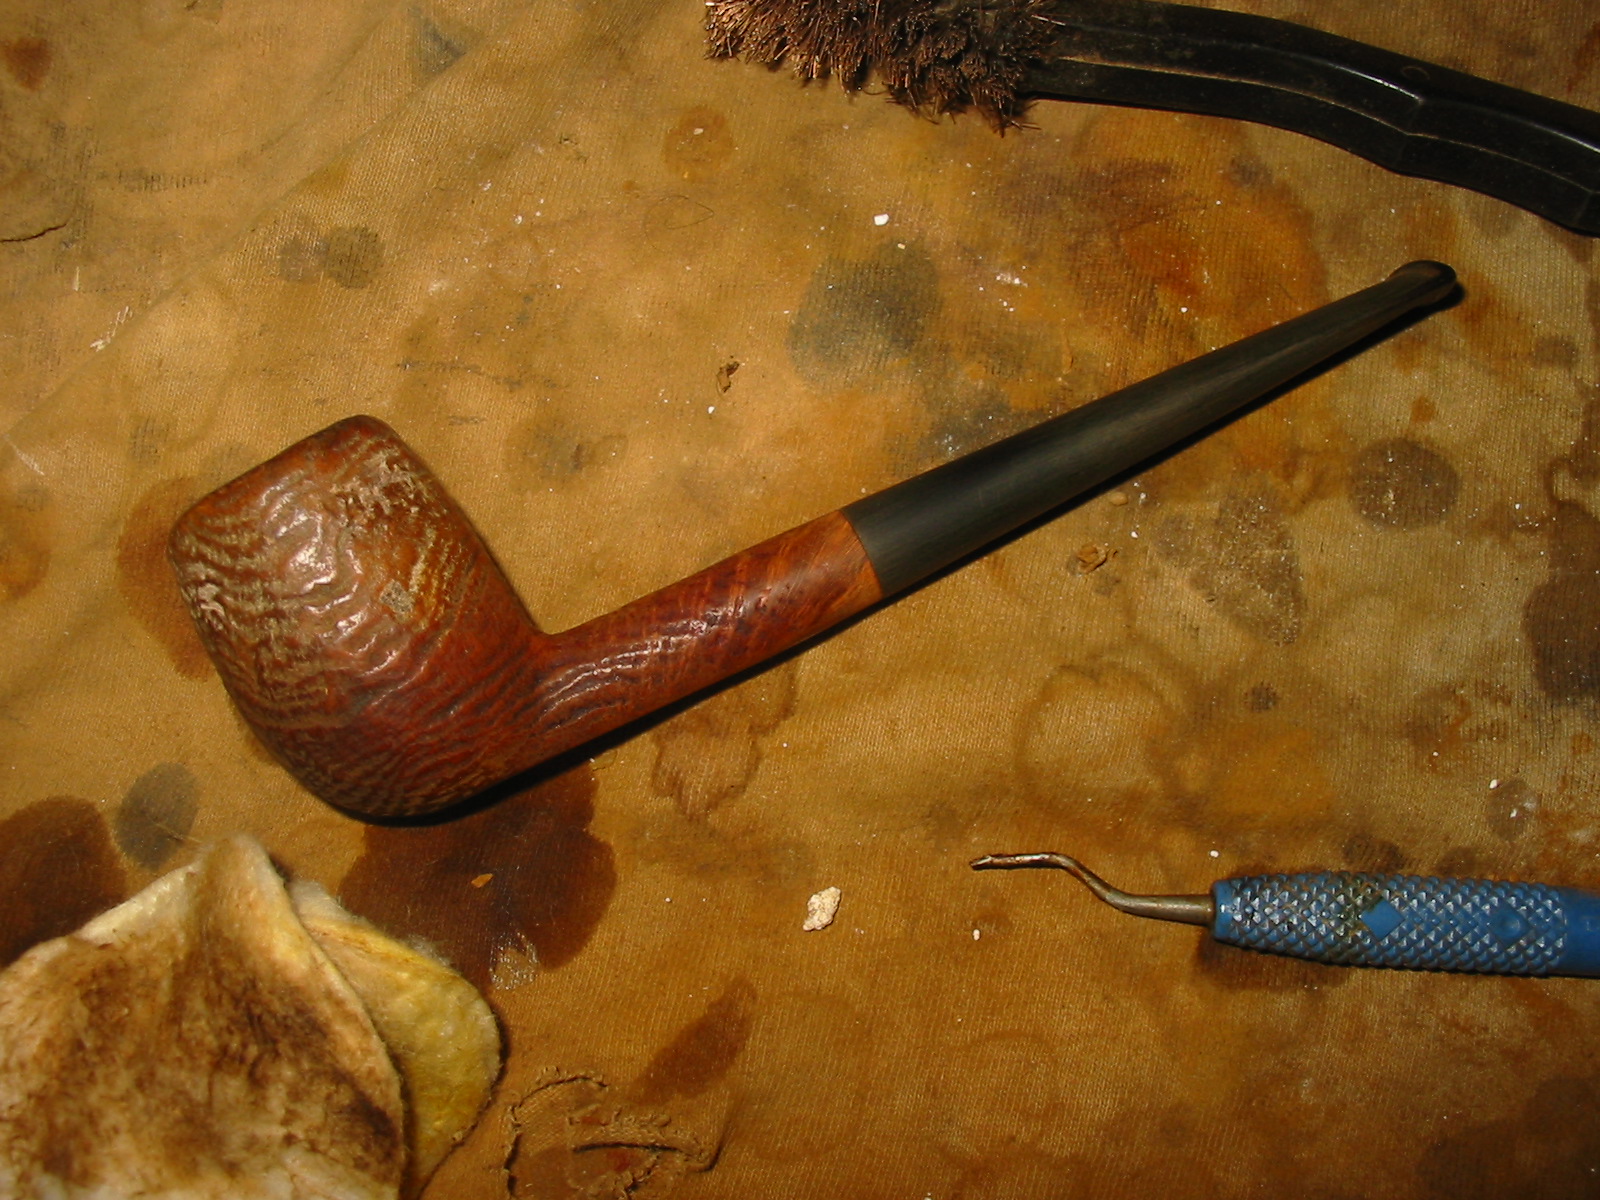
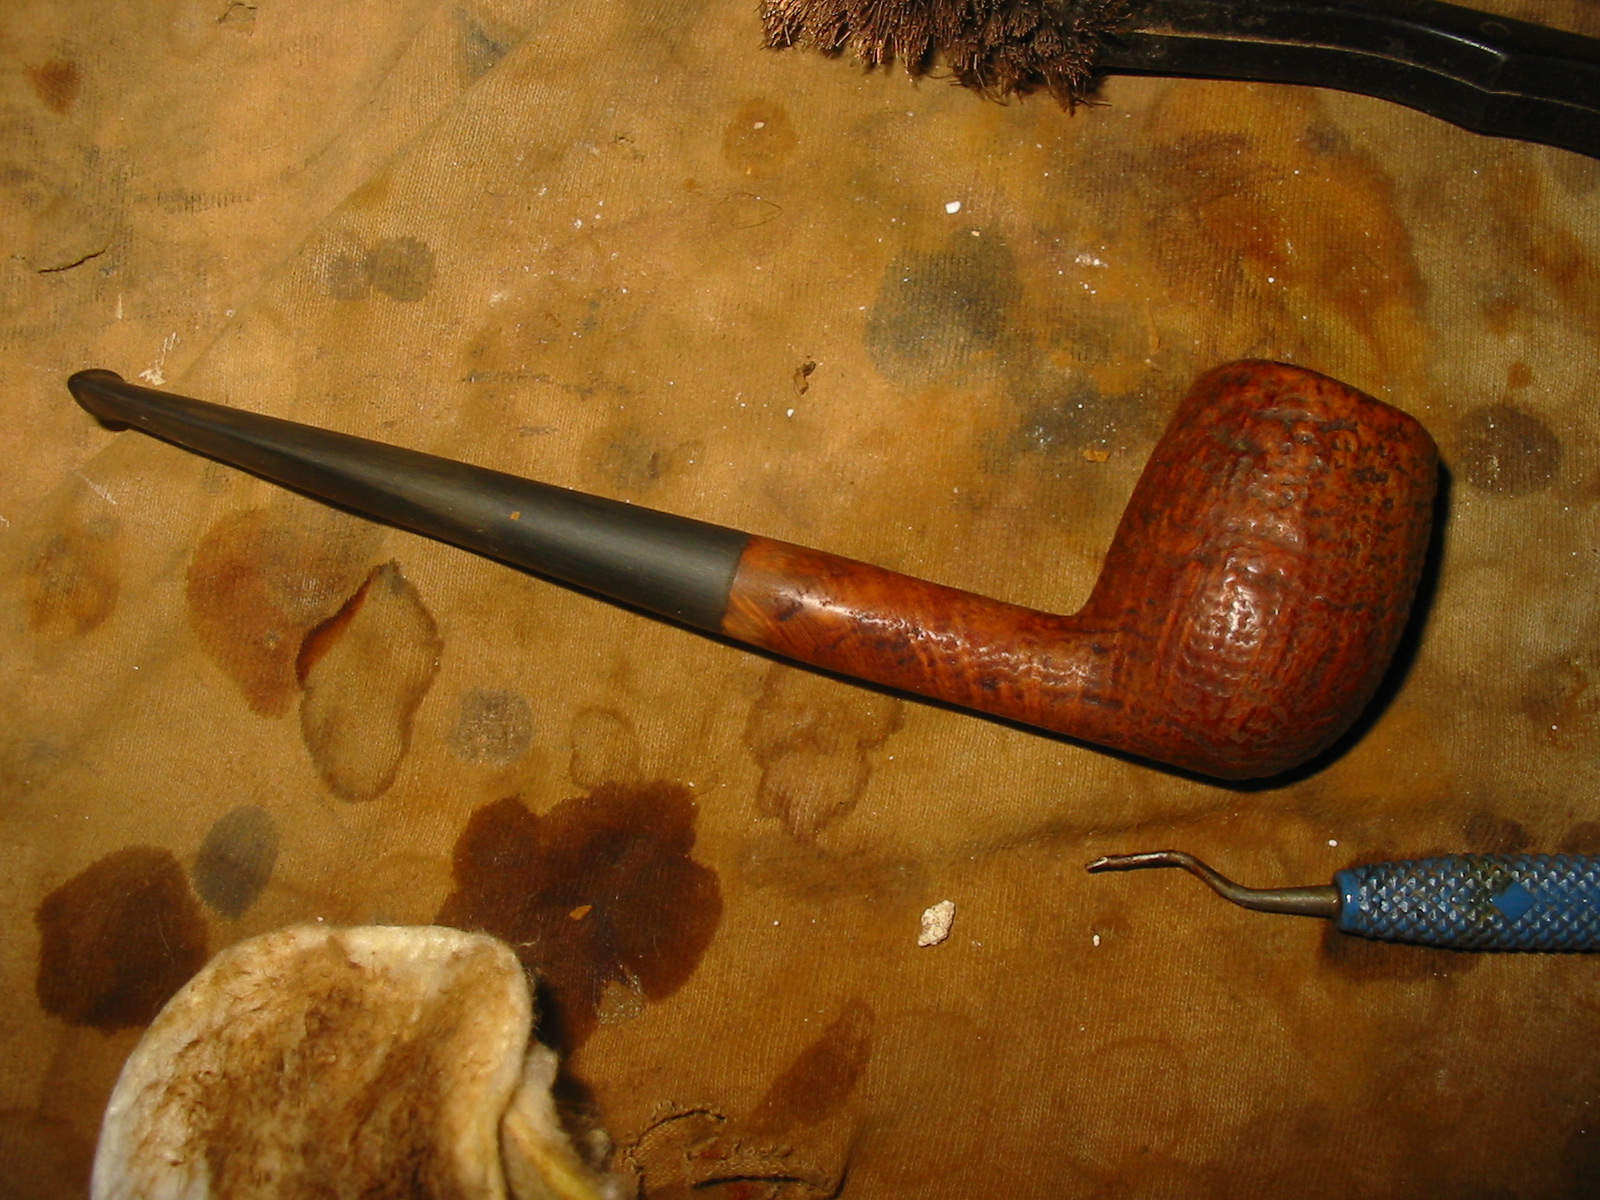
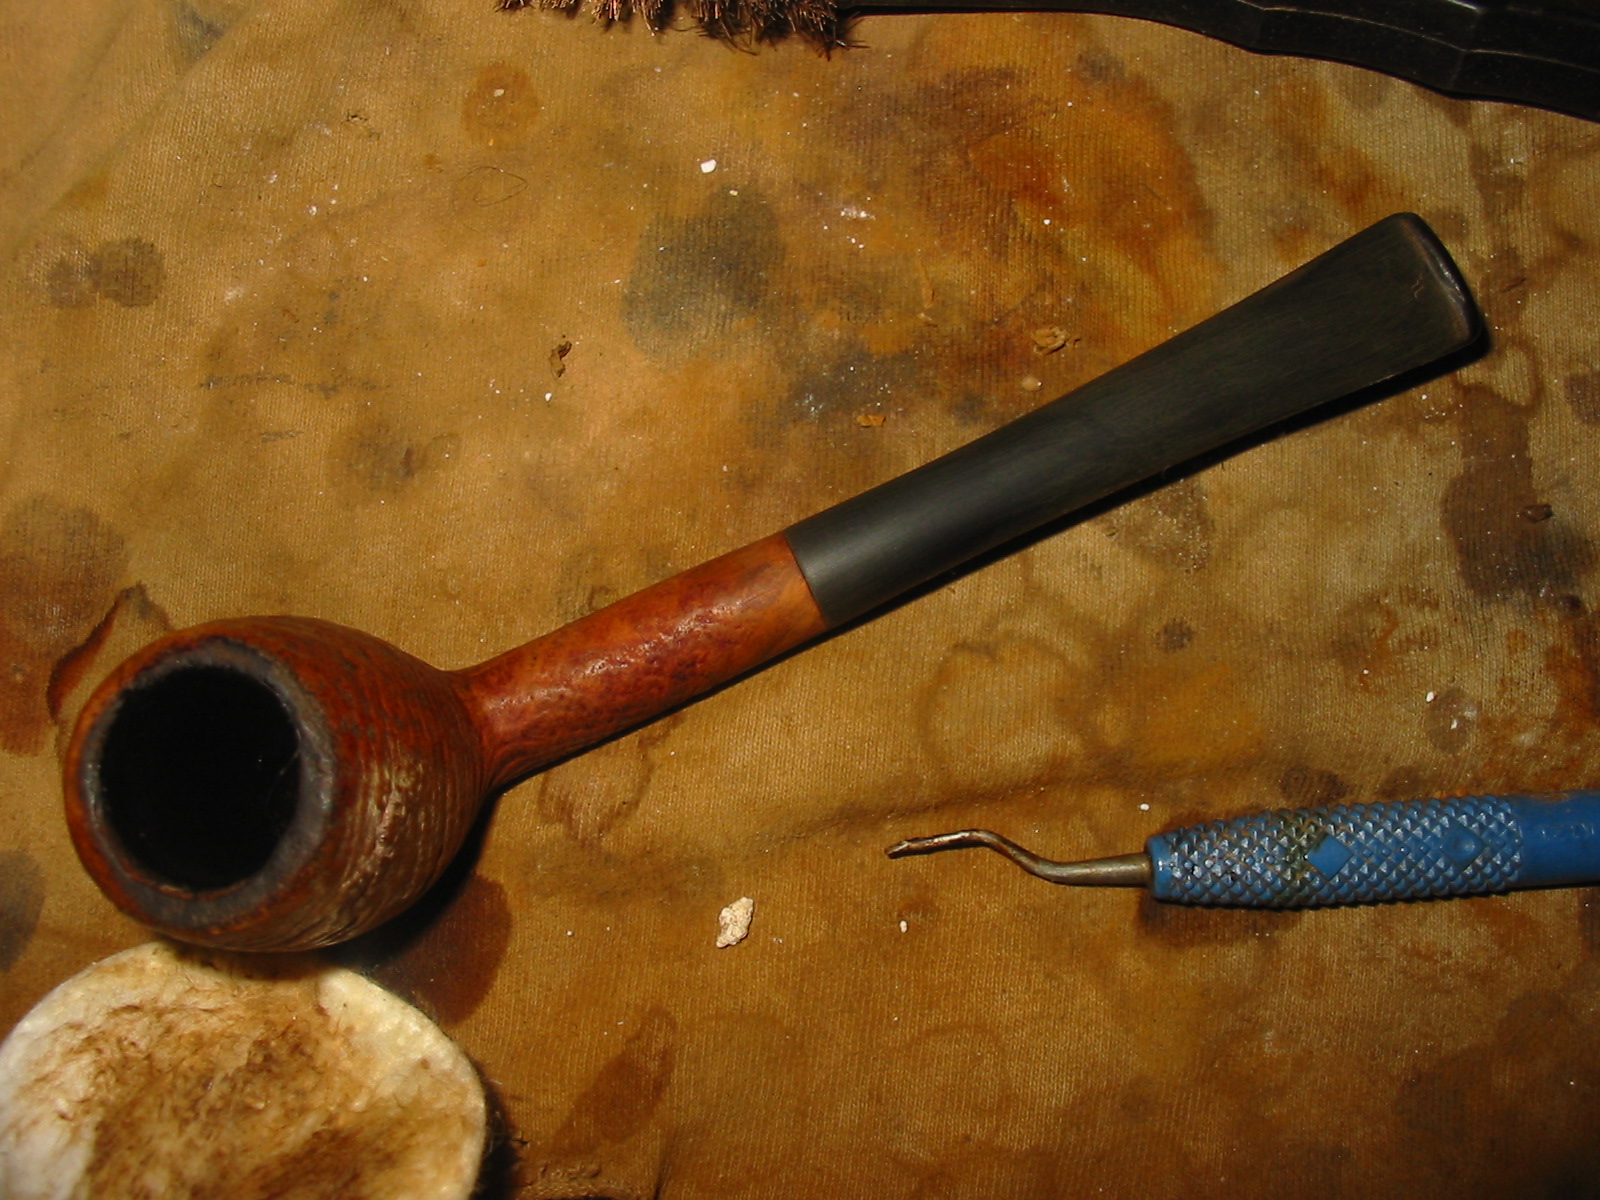
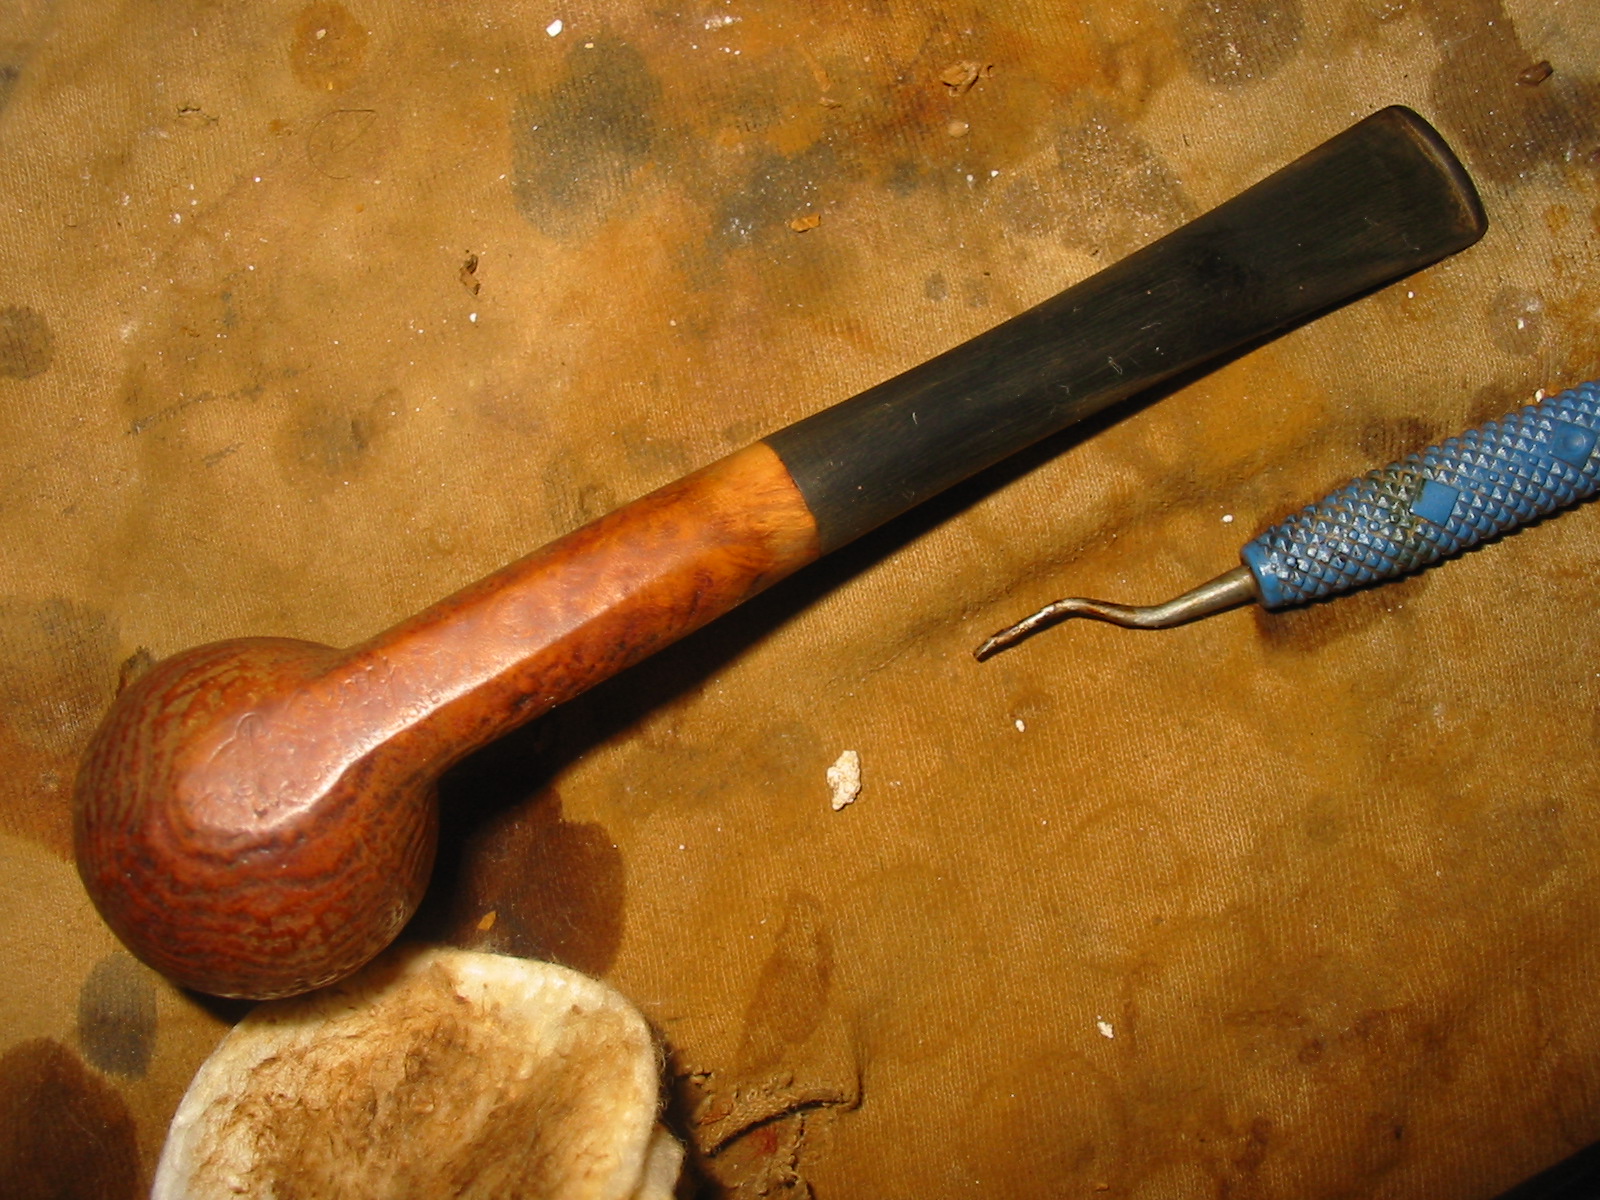
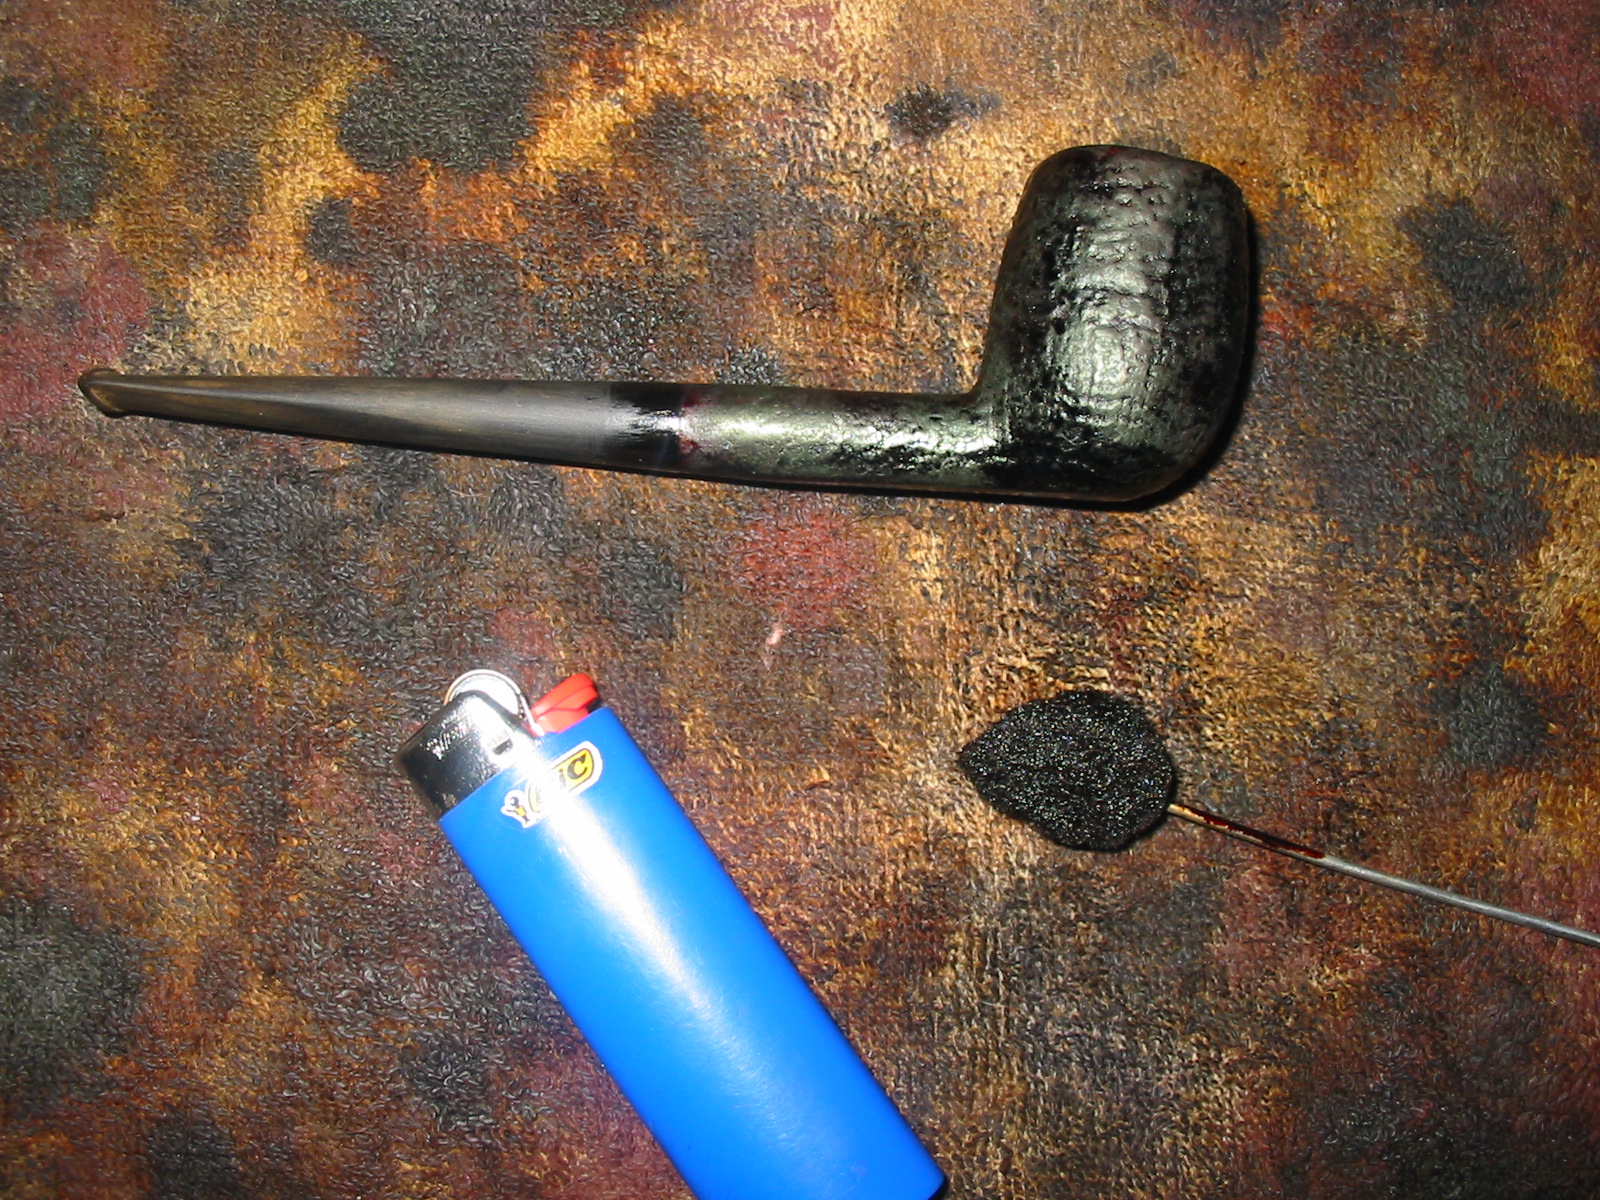
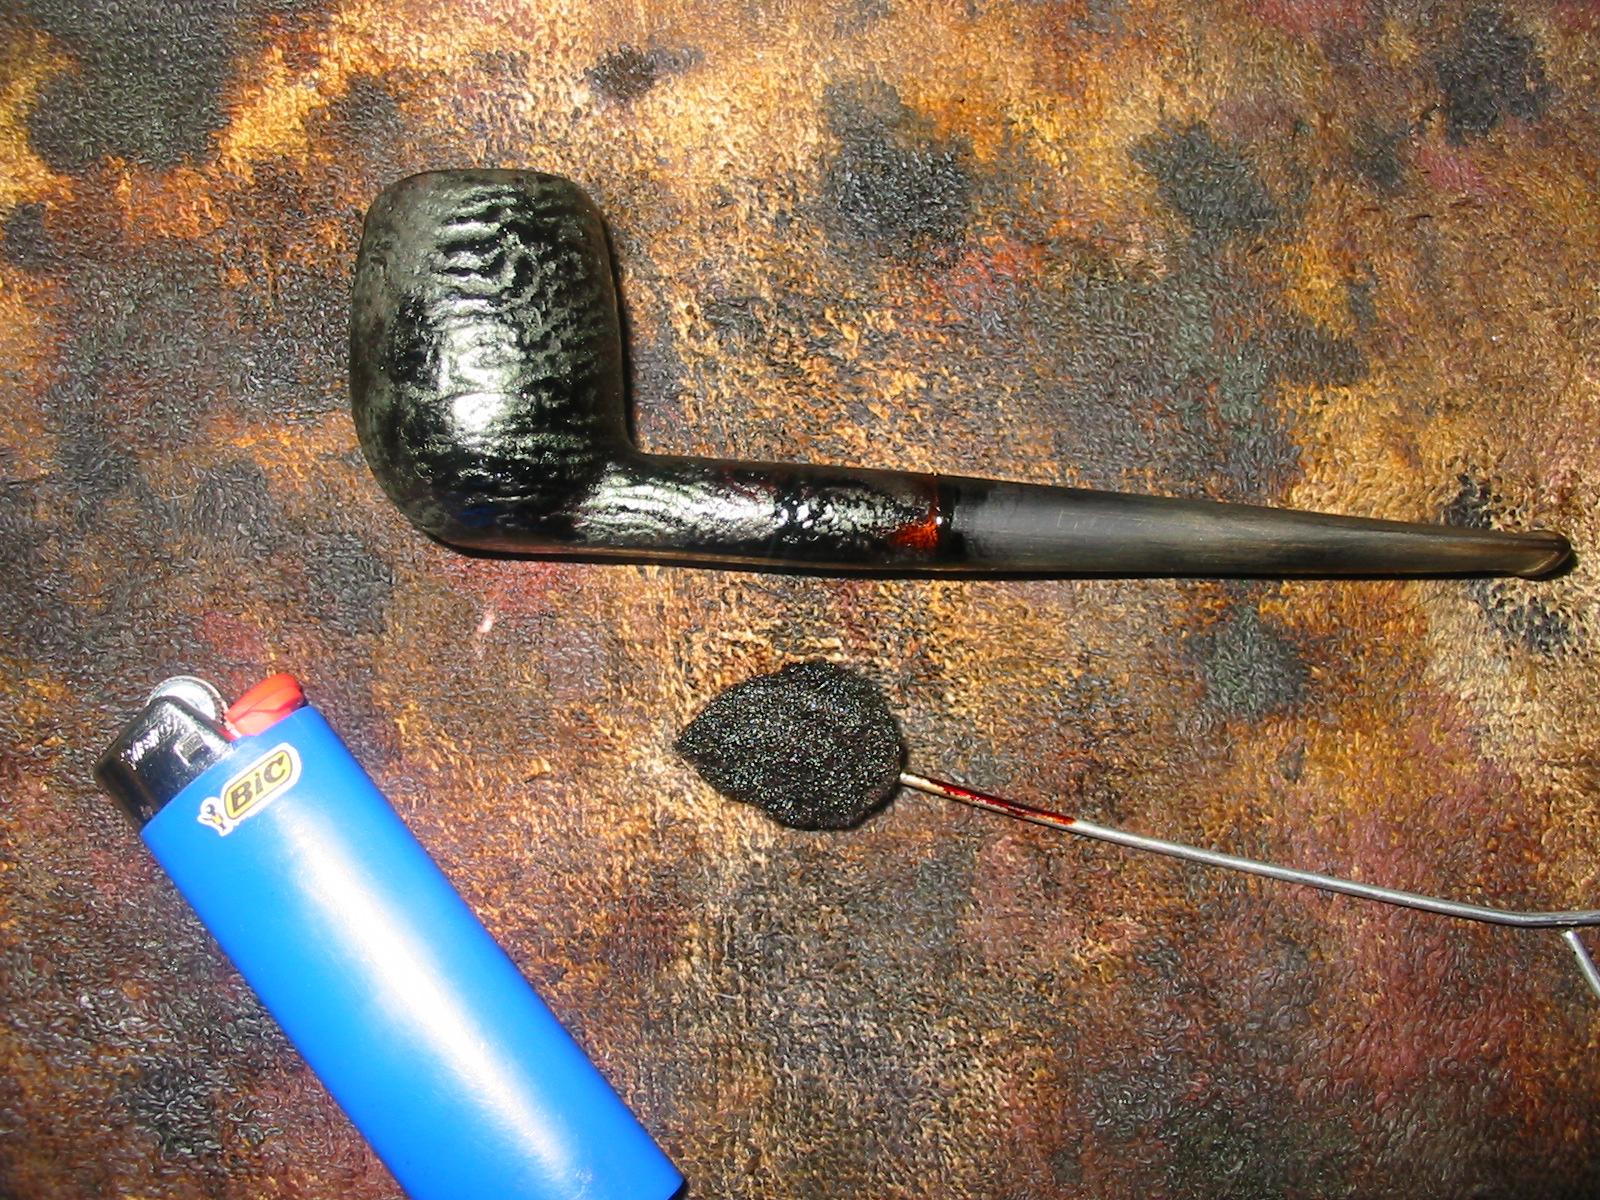
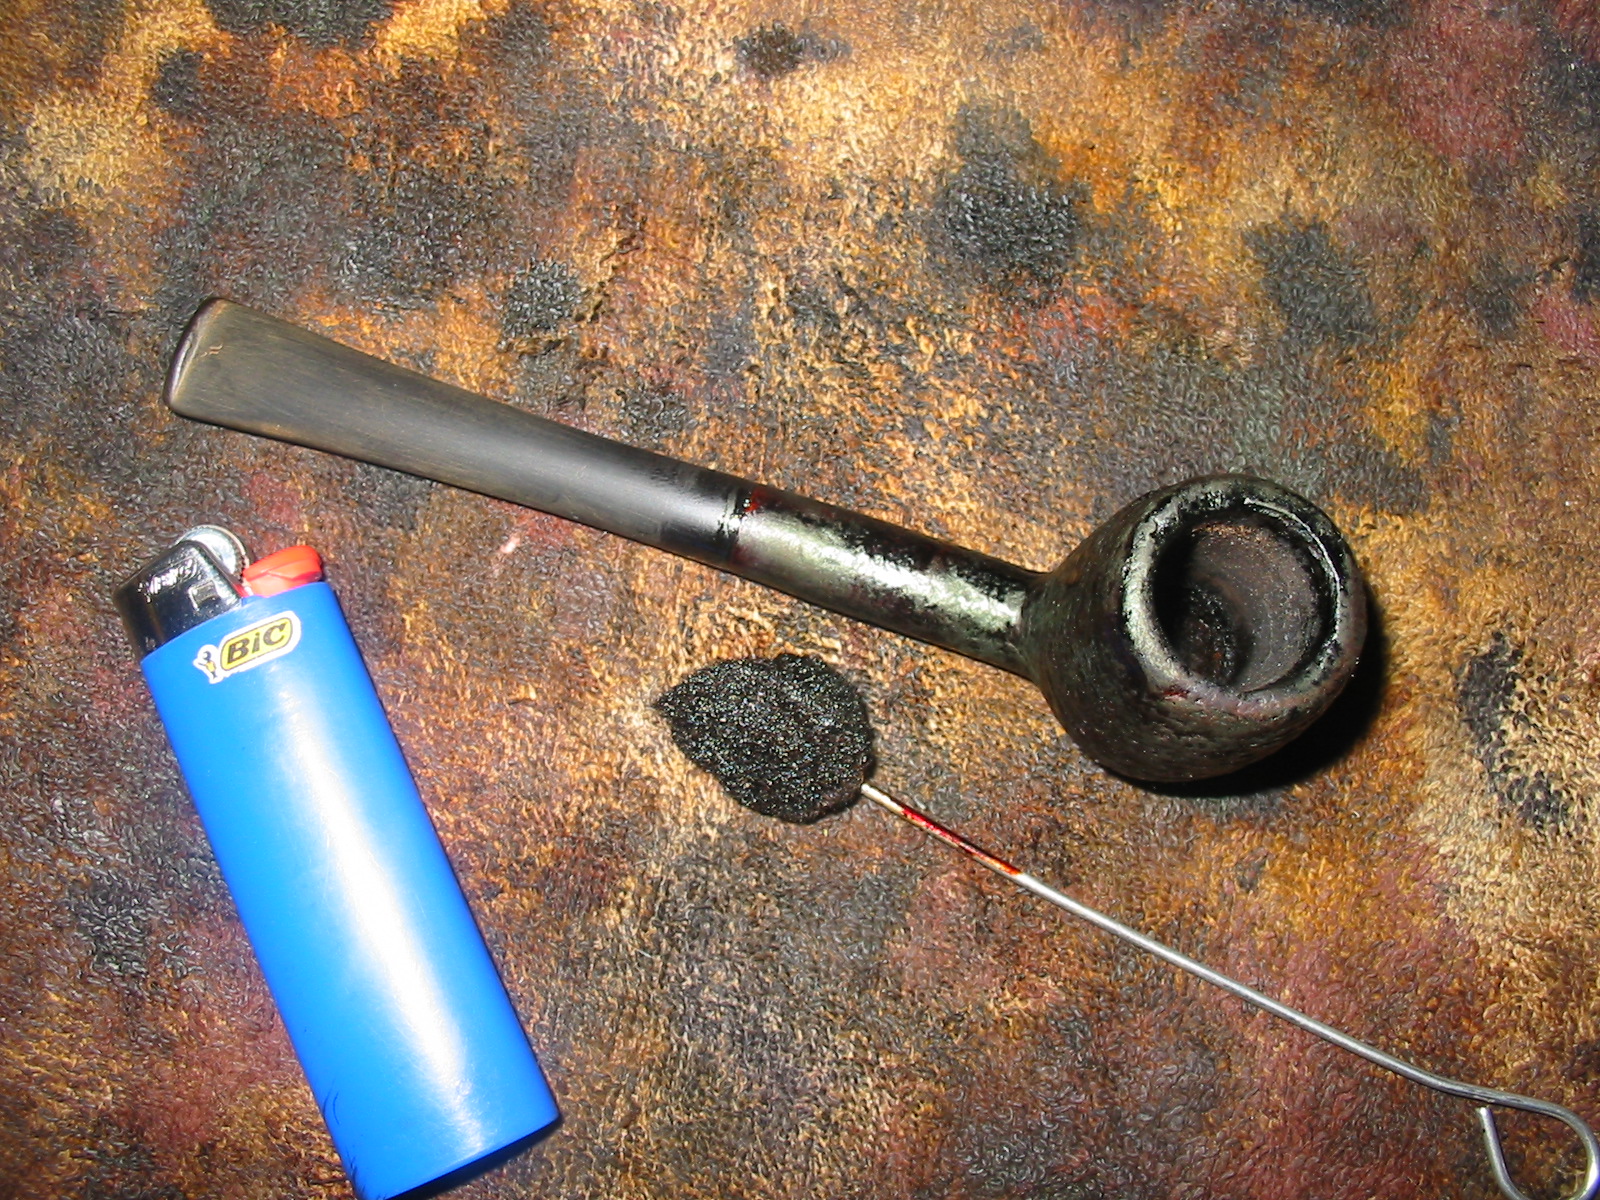
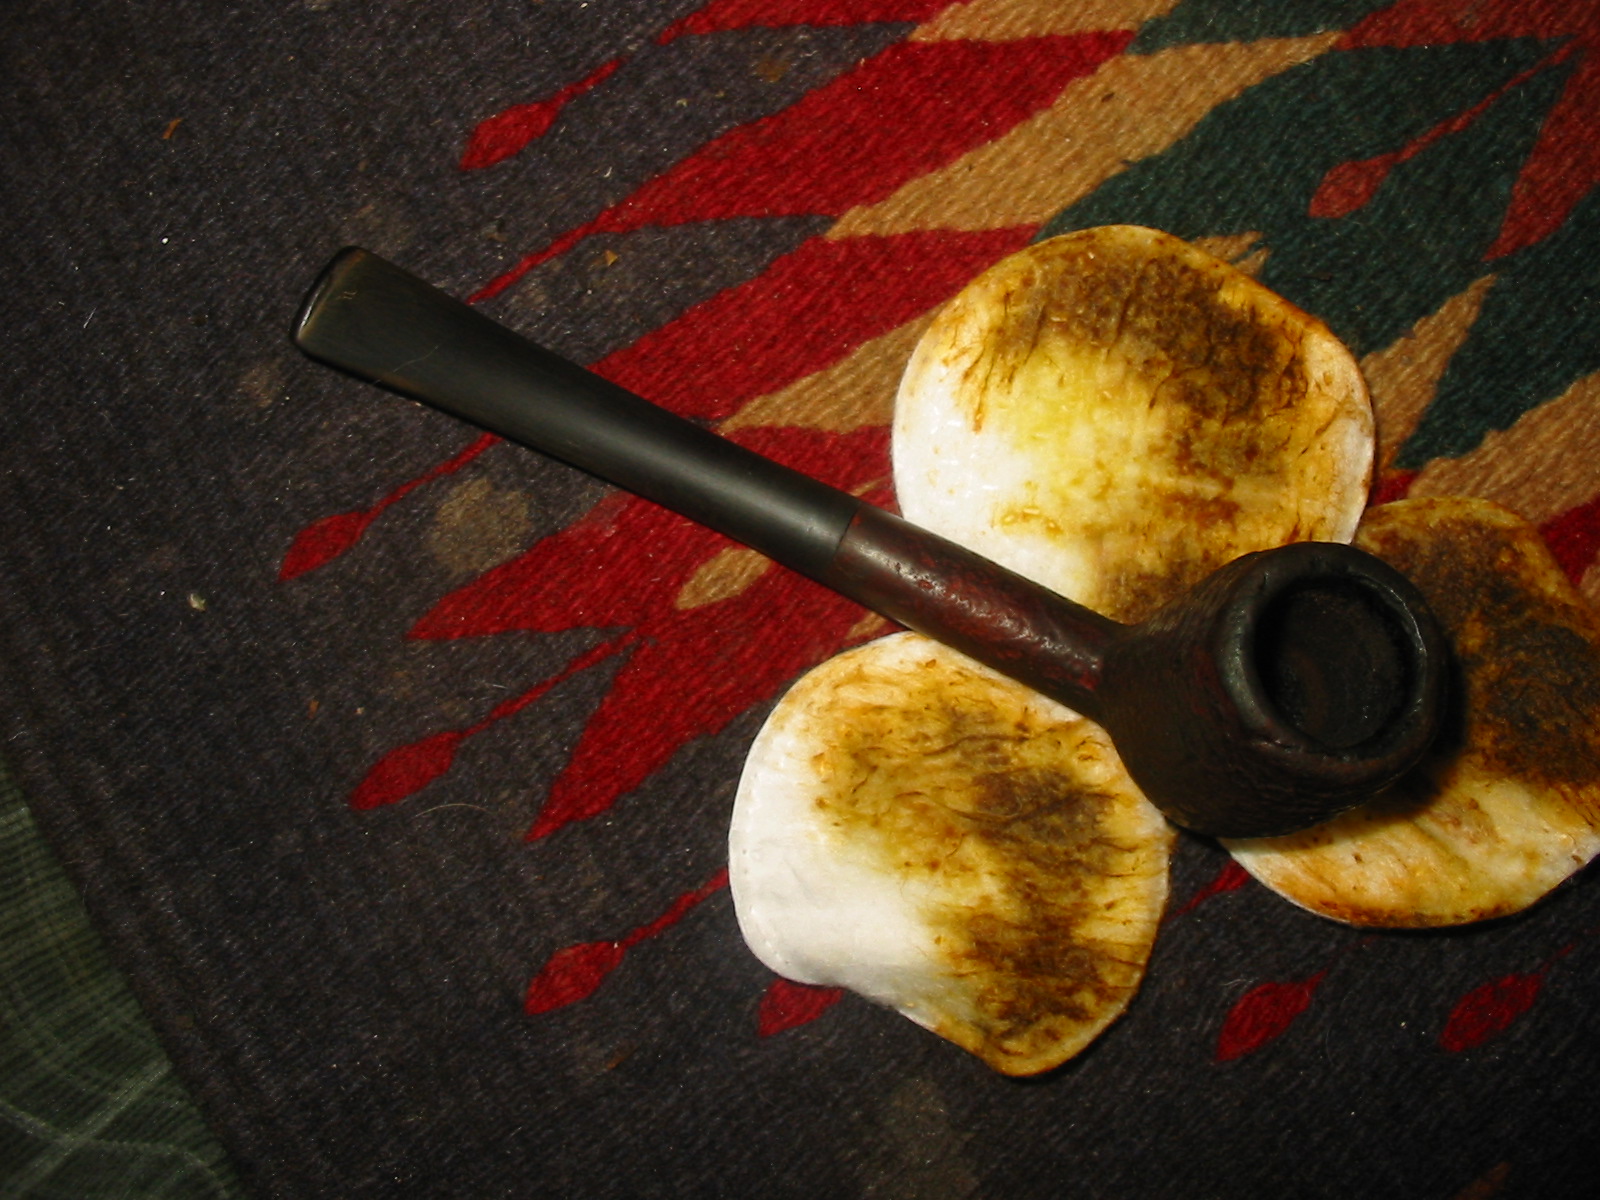
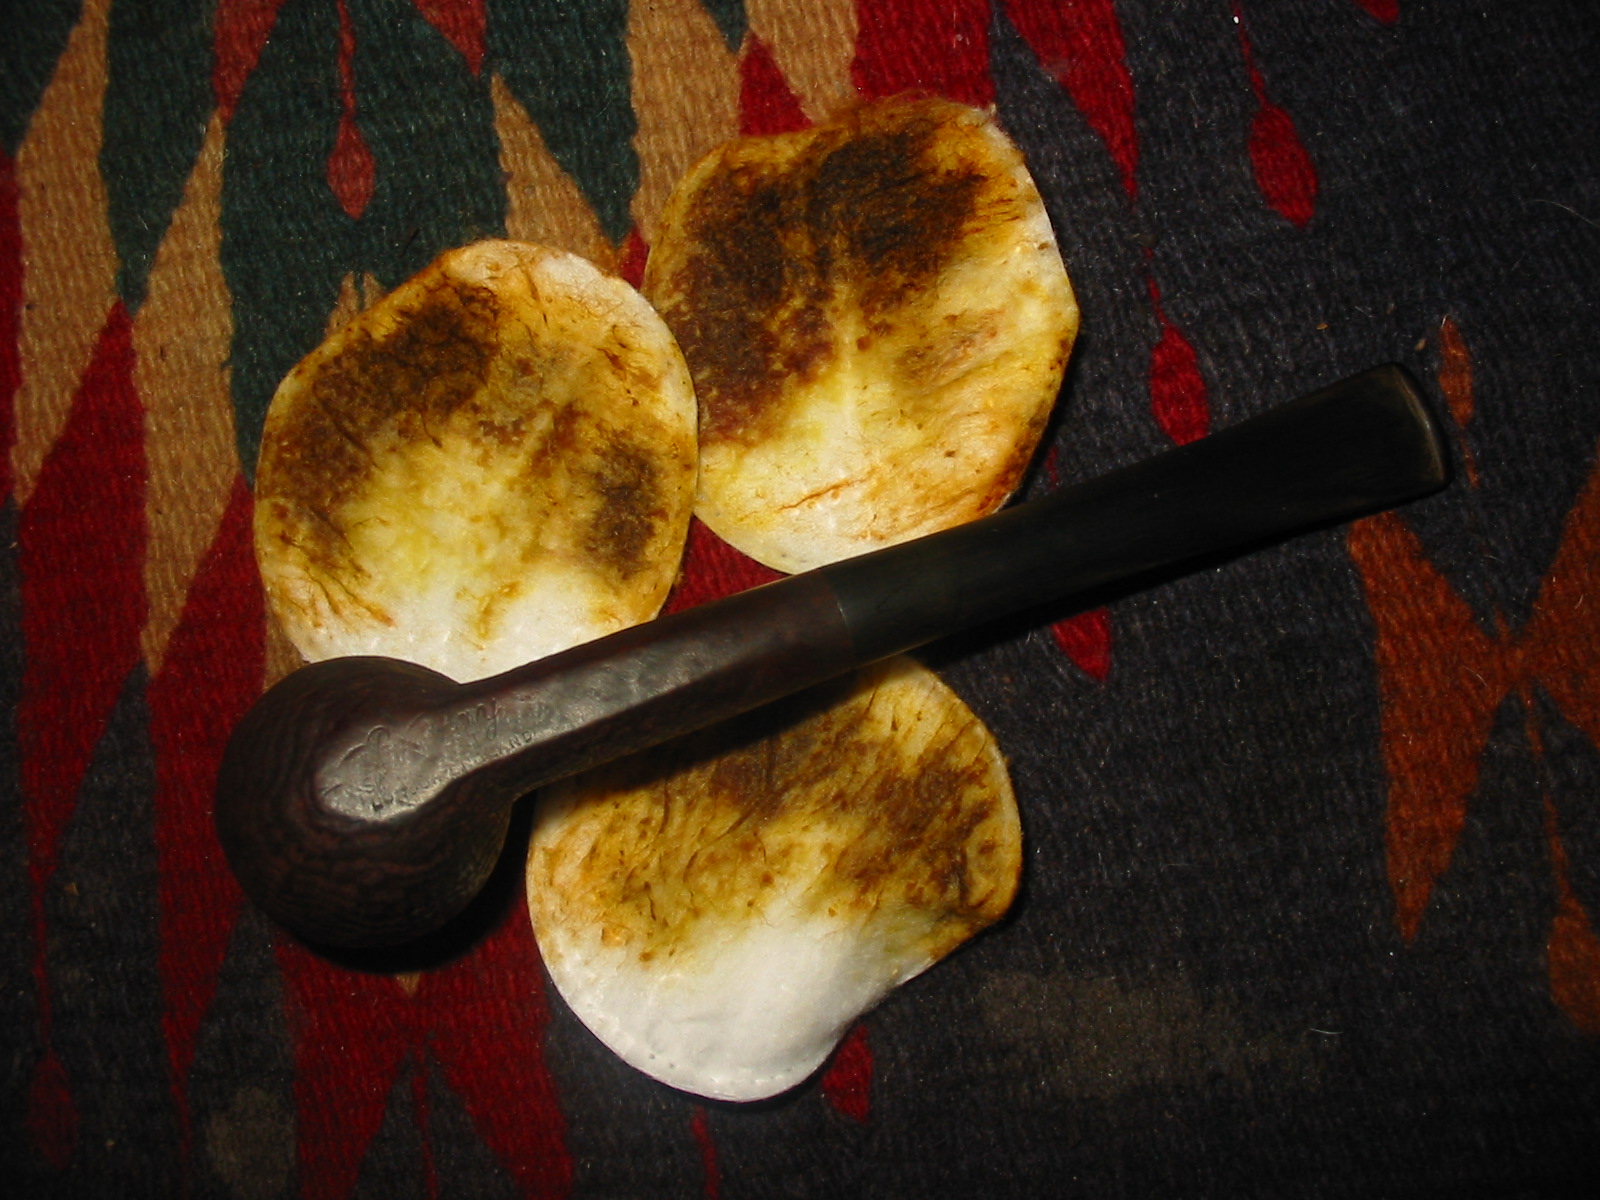
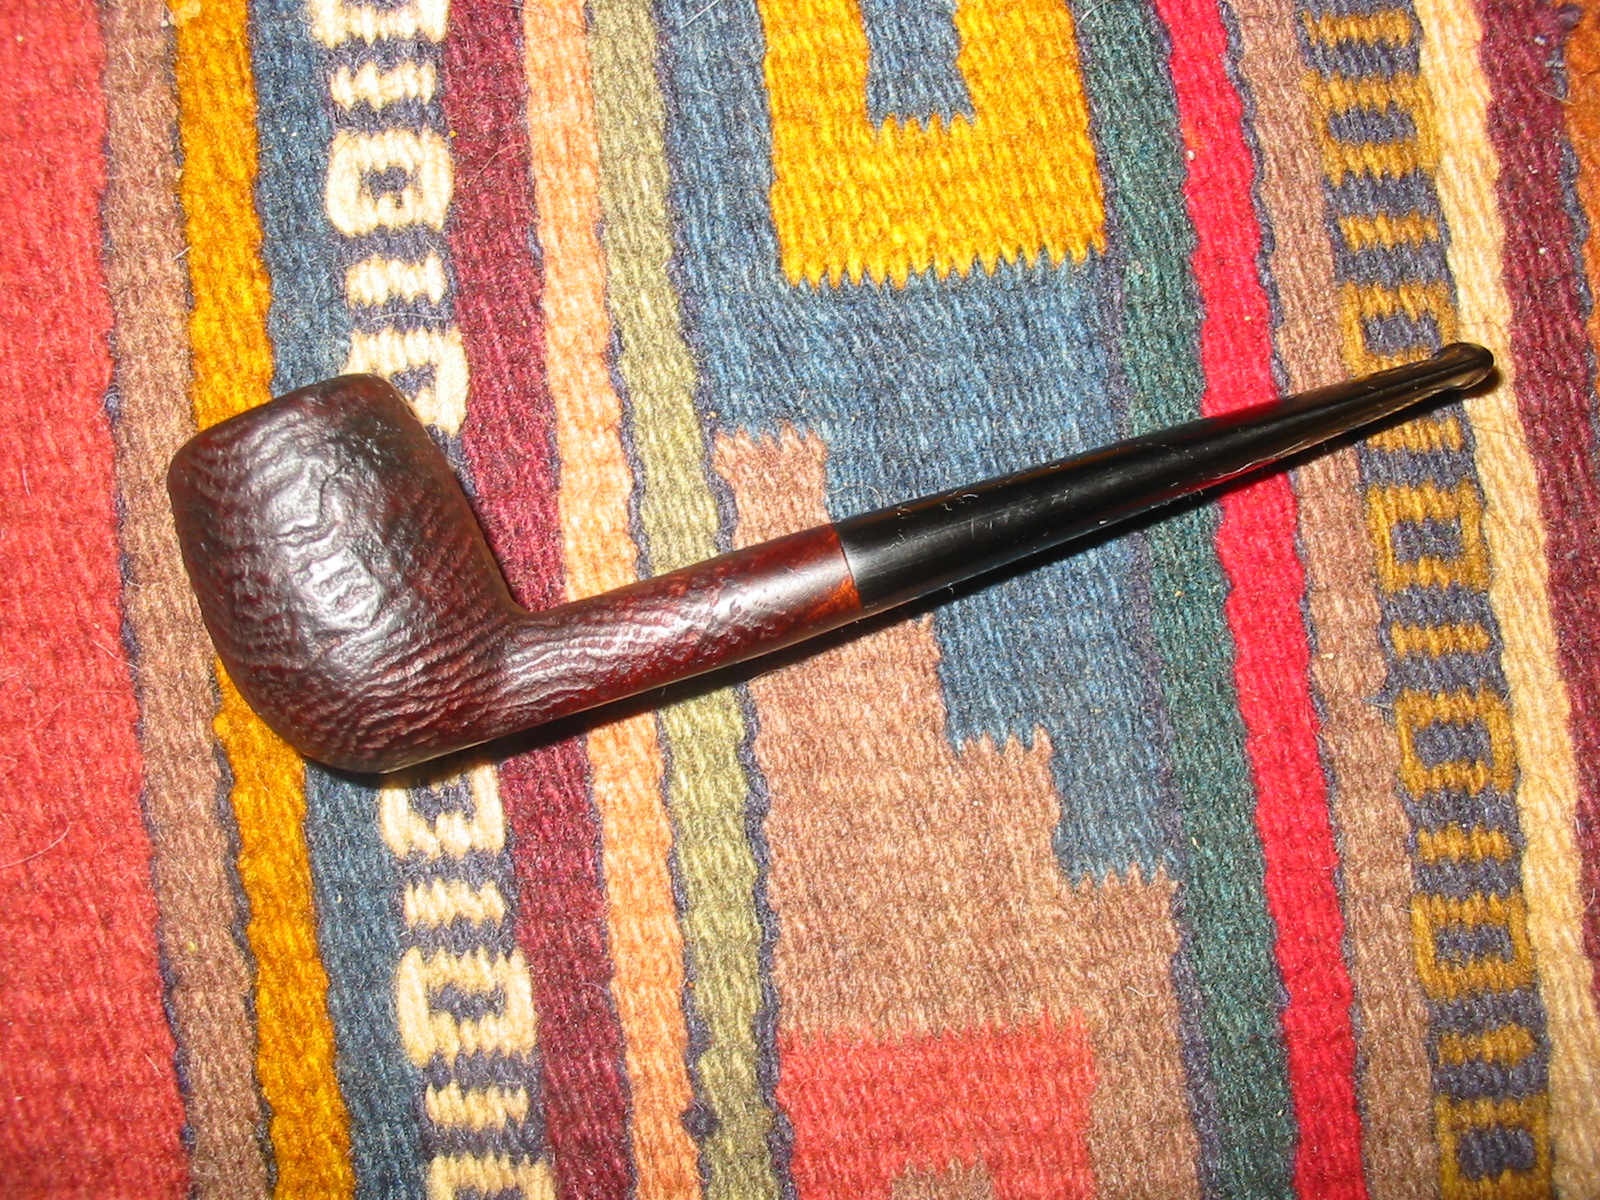
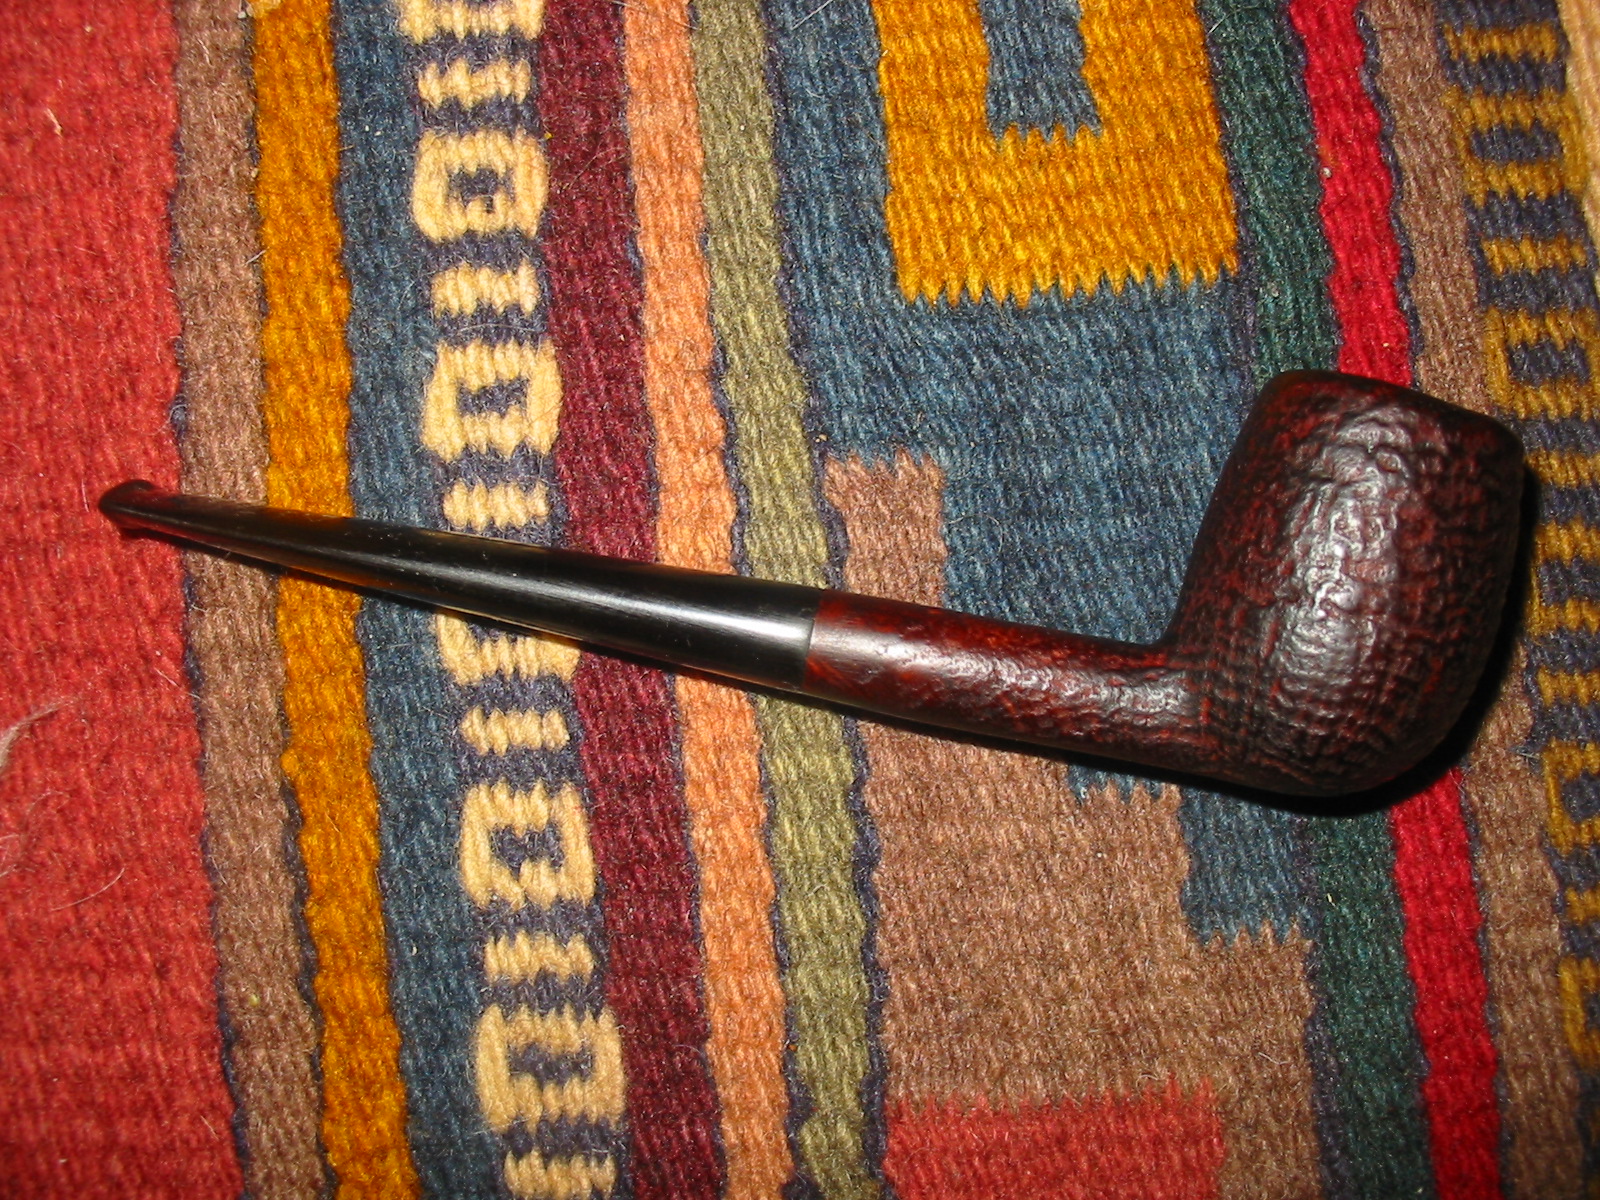
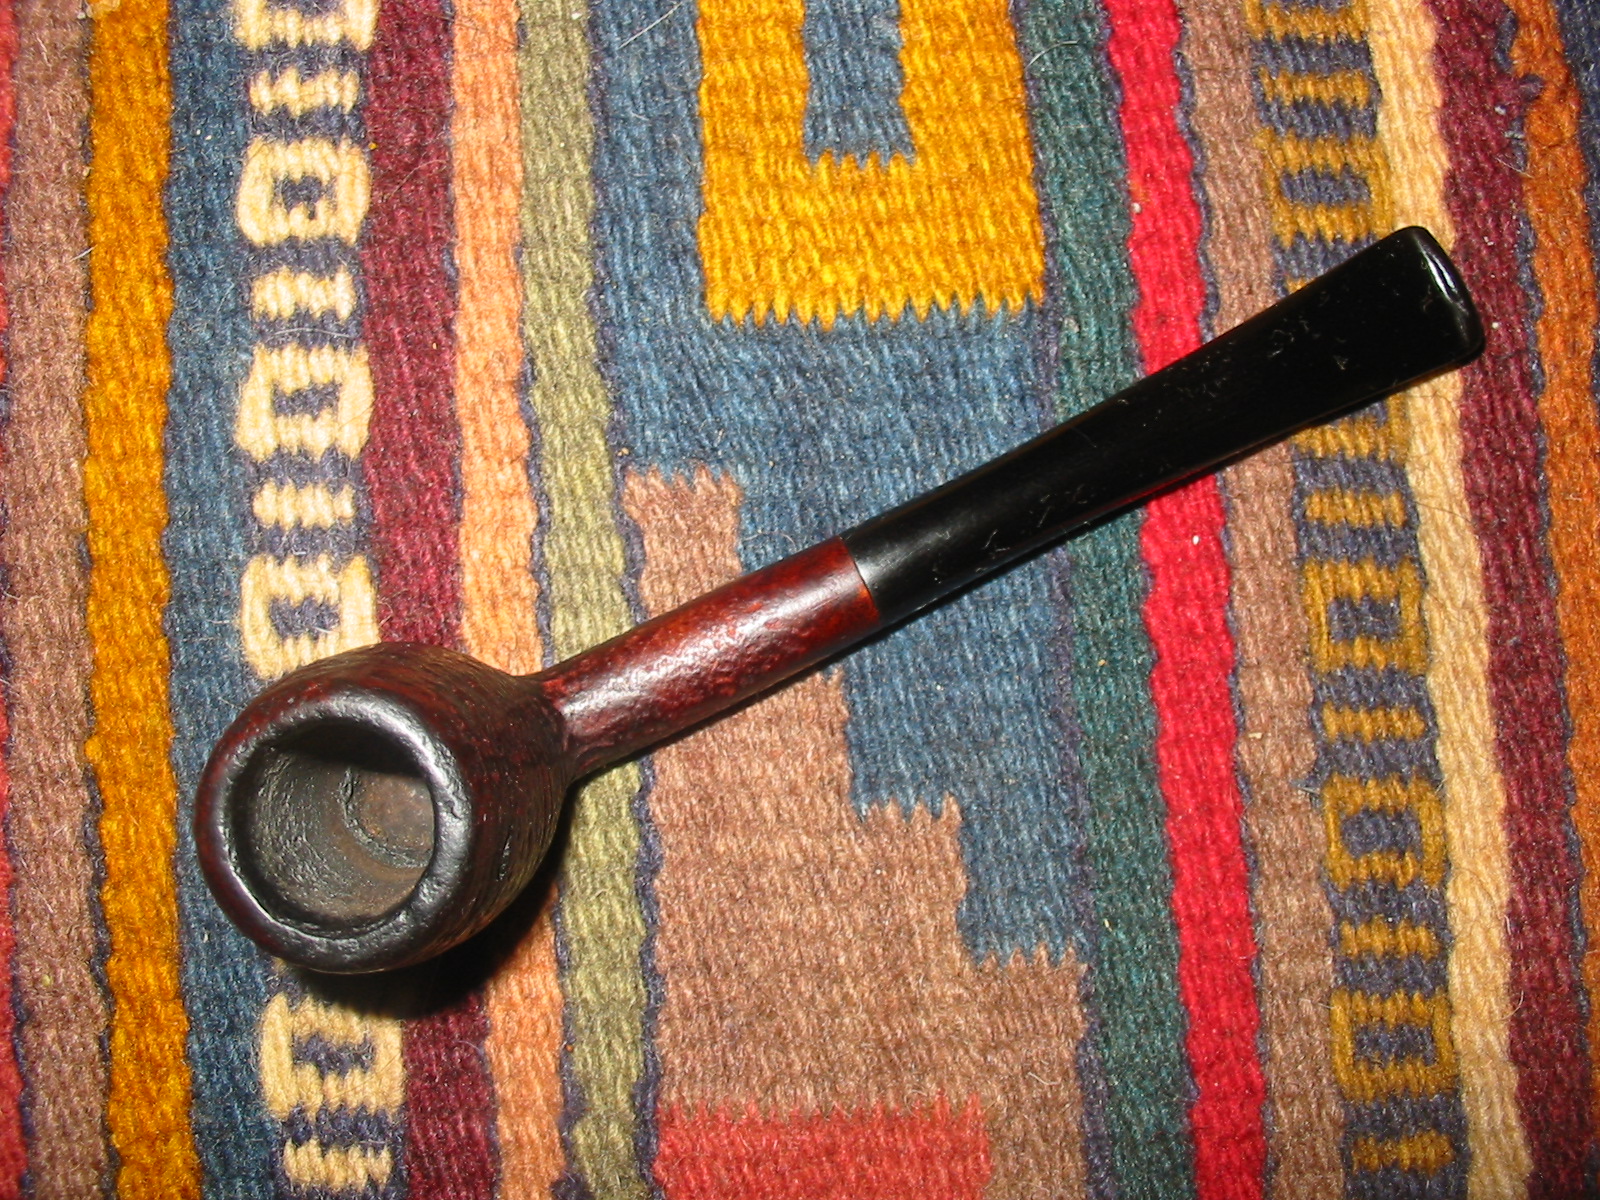
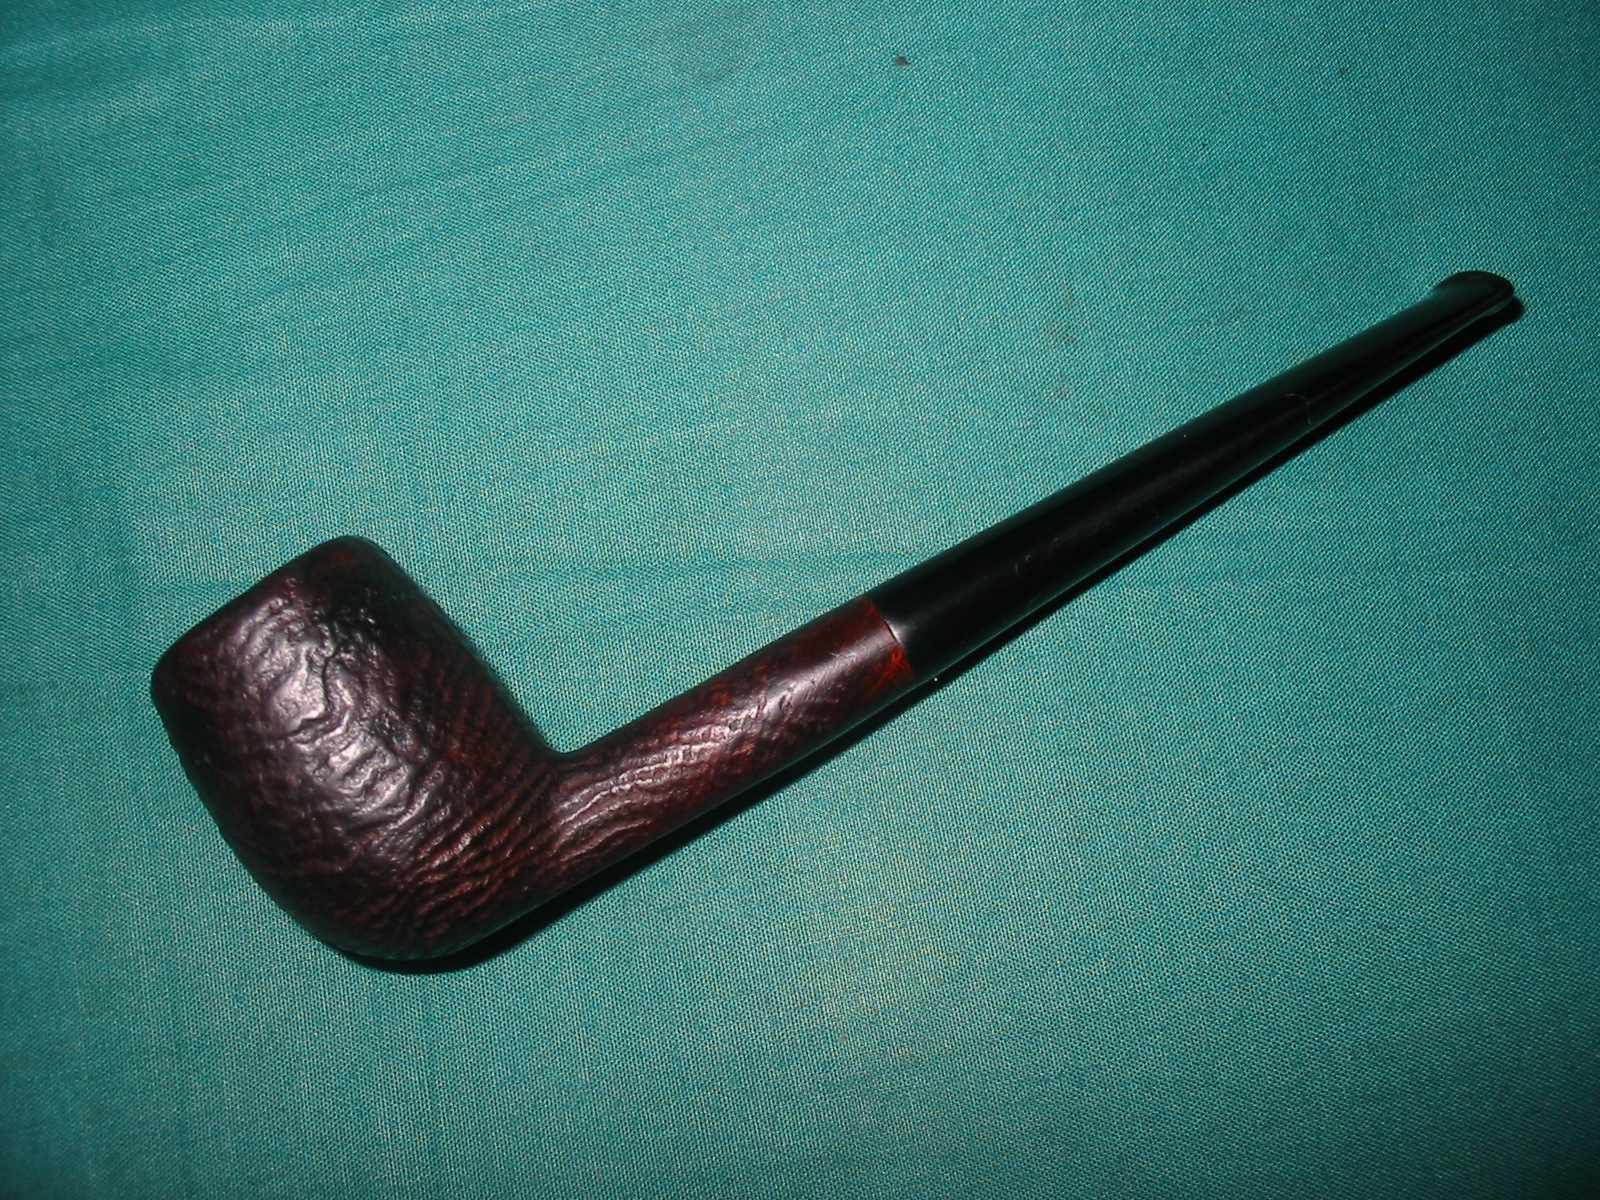
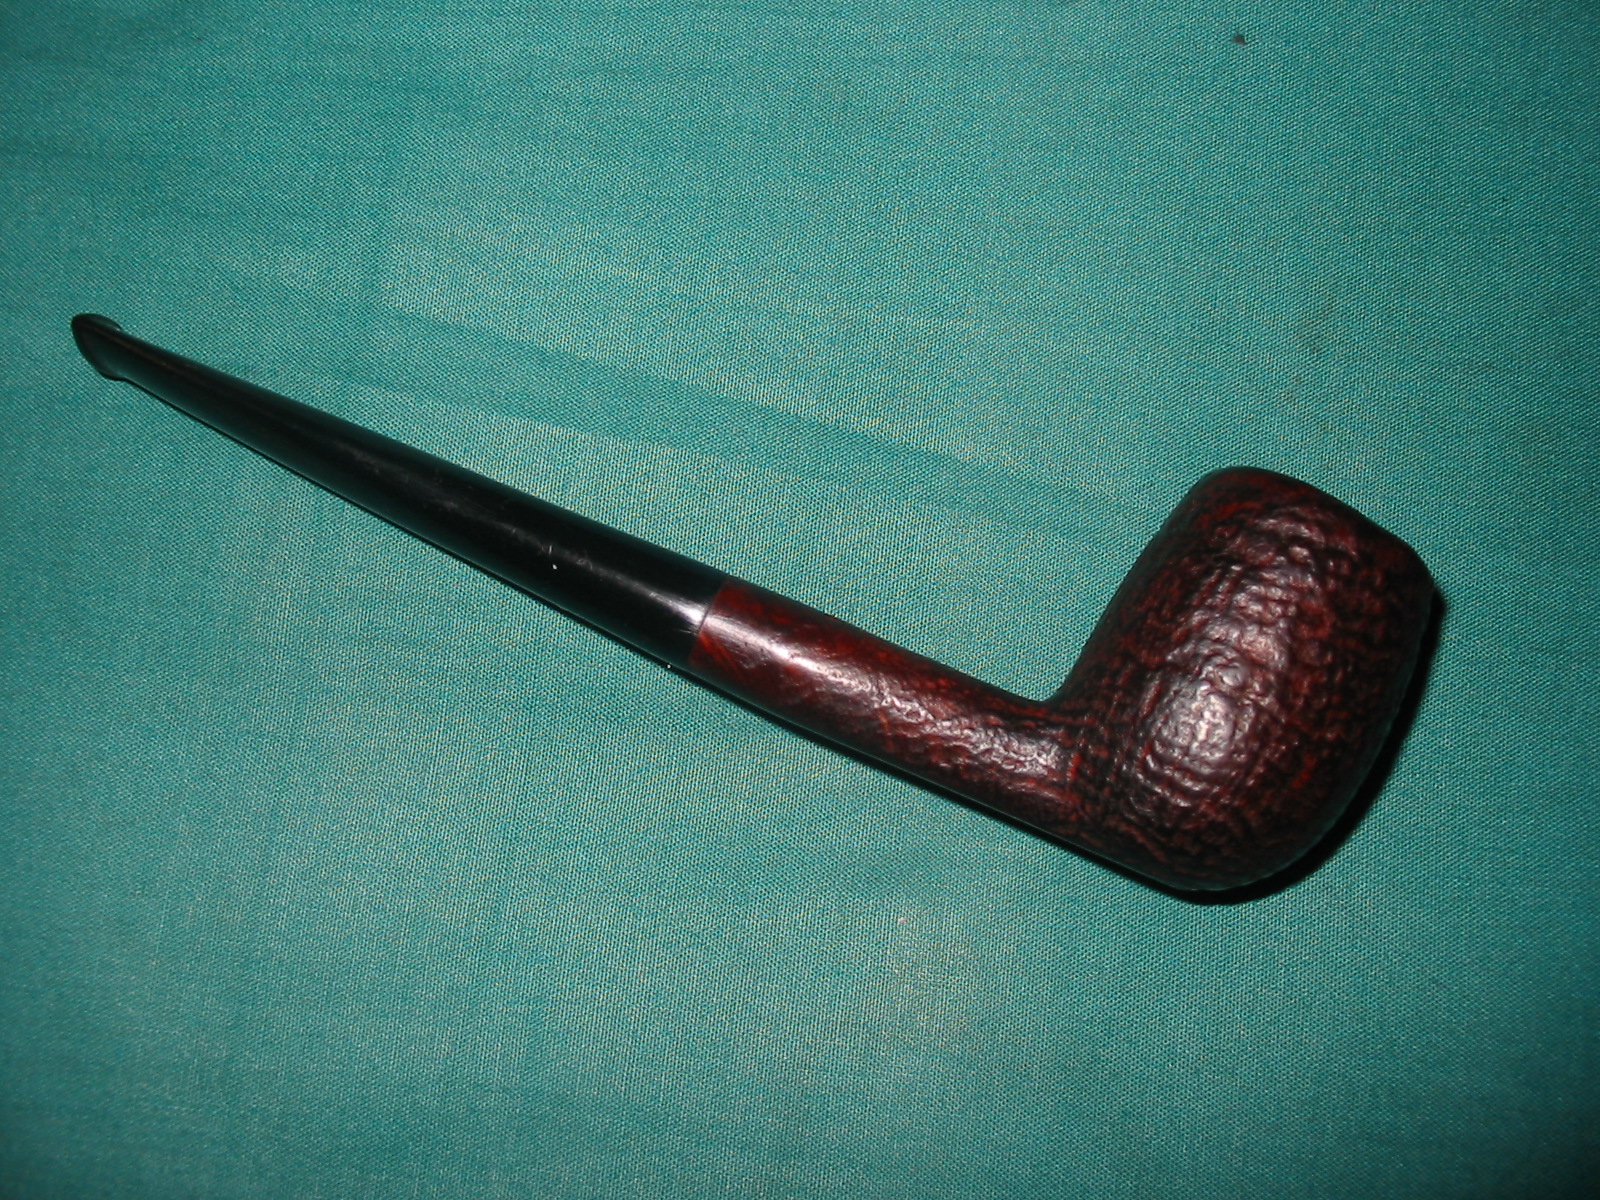
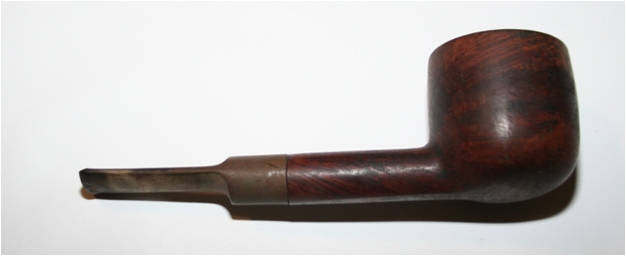
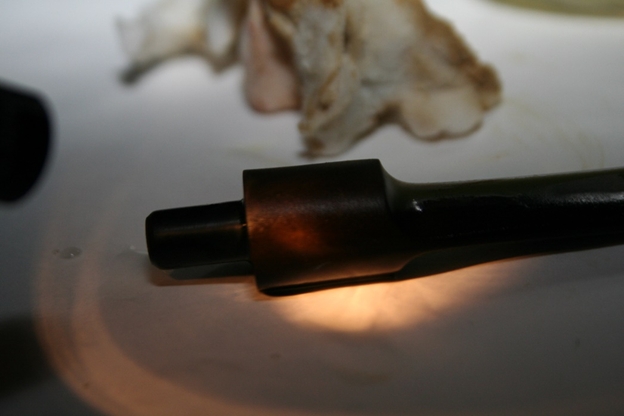
The next four photos show the pipe as it was when I started the refurbishing. The bowl itself was in good shape. There were nicks and marks all around the bowl. On the bowl front there was an area where a fill had fallen out and left a deep hole in the briar. The bowl interior was fairly clean with a light cake and some remnants of tobacco left in the bowl. The inner edge of the rim had two areas that were burned. The burned area extended to the top of the rim in those two spots. The stem was quite clean. There was no evidence of the horn delaminating which was good news. Next to the button on both sides of the stem there were troughs left behind from tooth marks. There was tooth chatter over the surface, both top and bottom a 1/3 of the way up the short stem. The bone tenon was in excellent shape with no damage or broken threads. There was some staining on the end but other than that it was flawless.


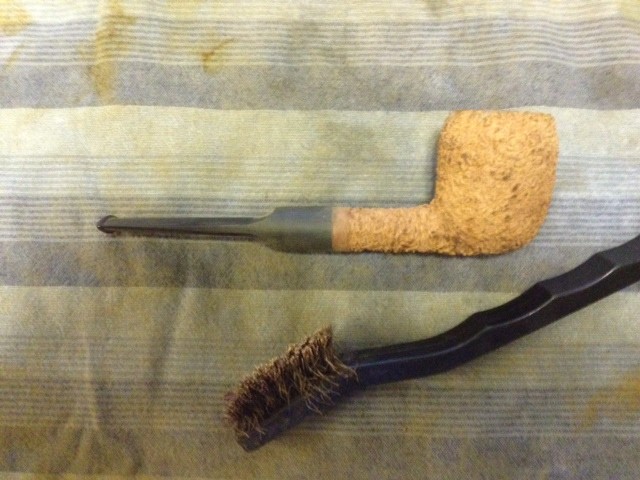
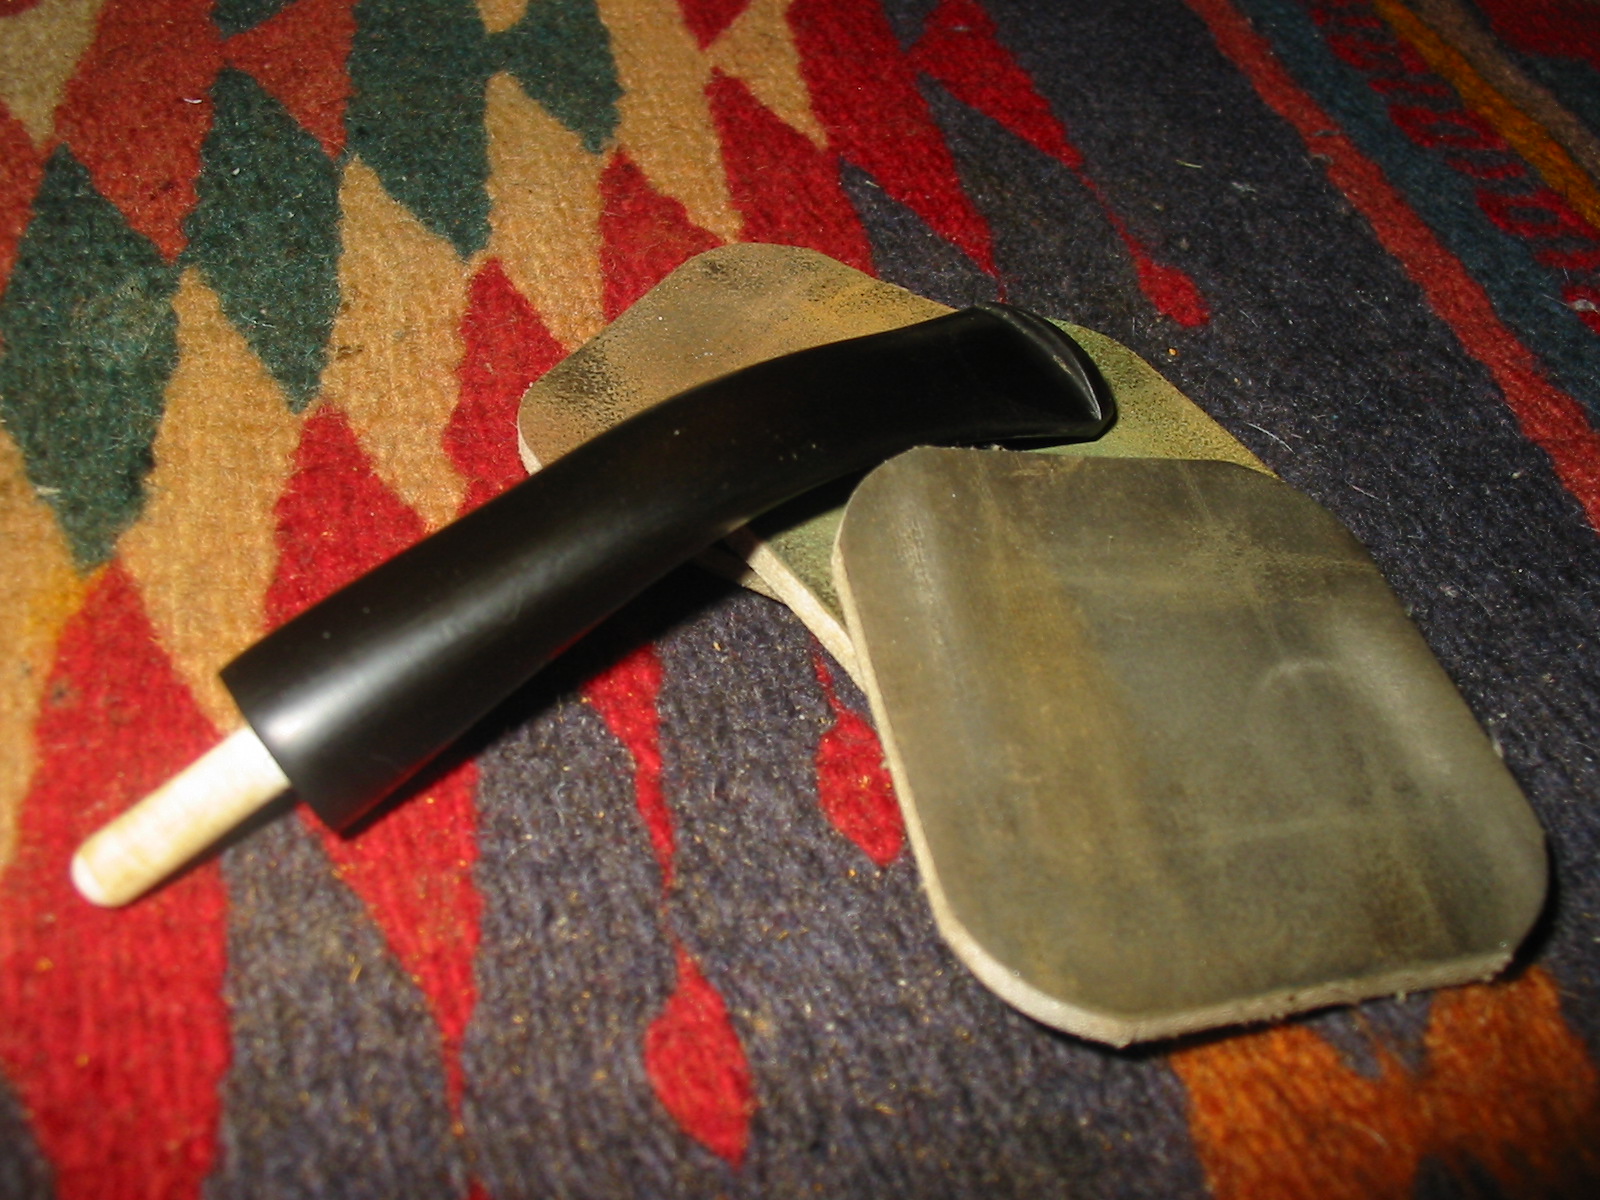
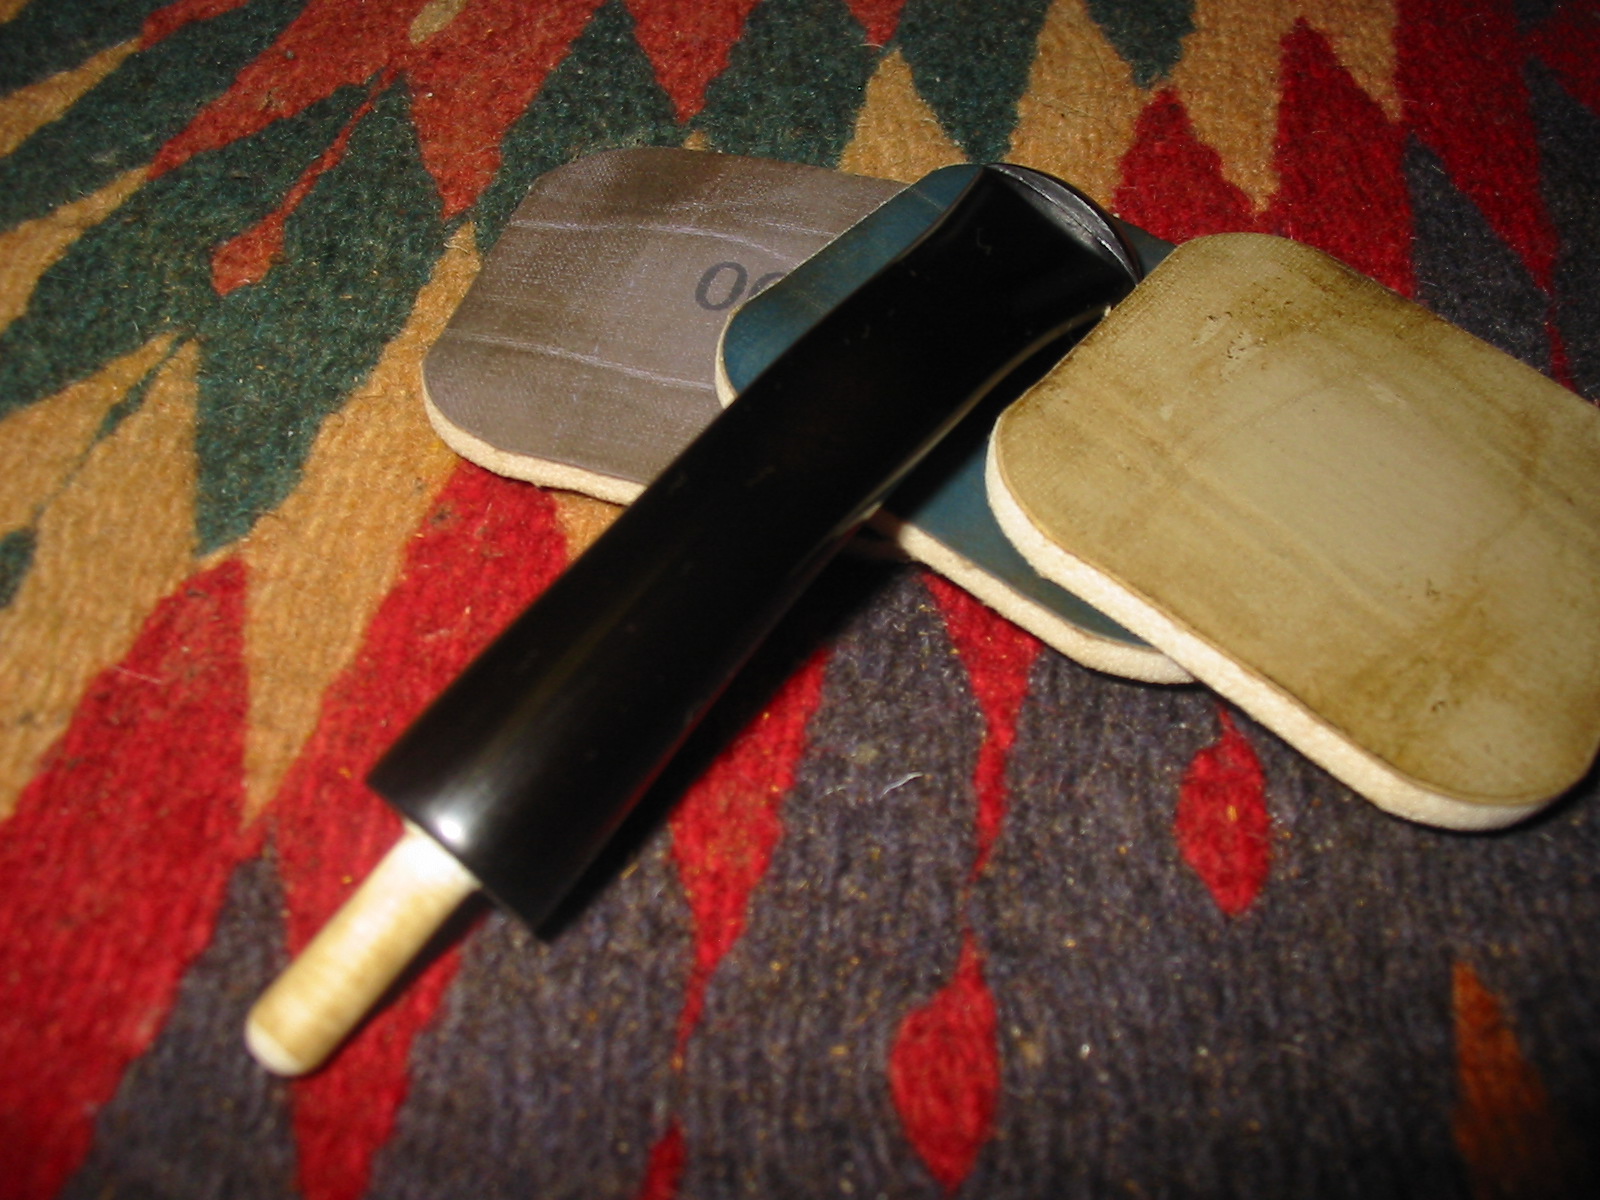
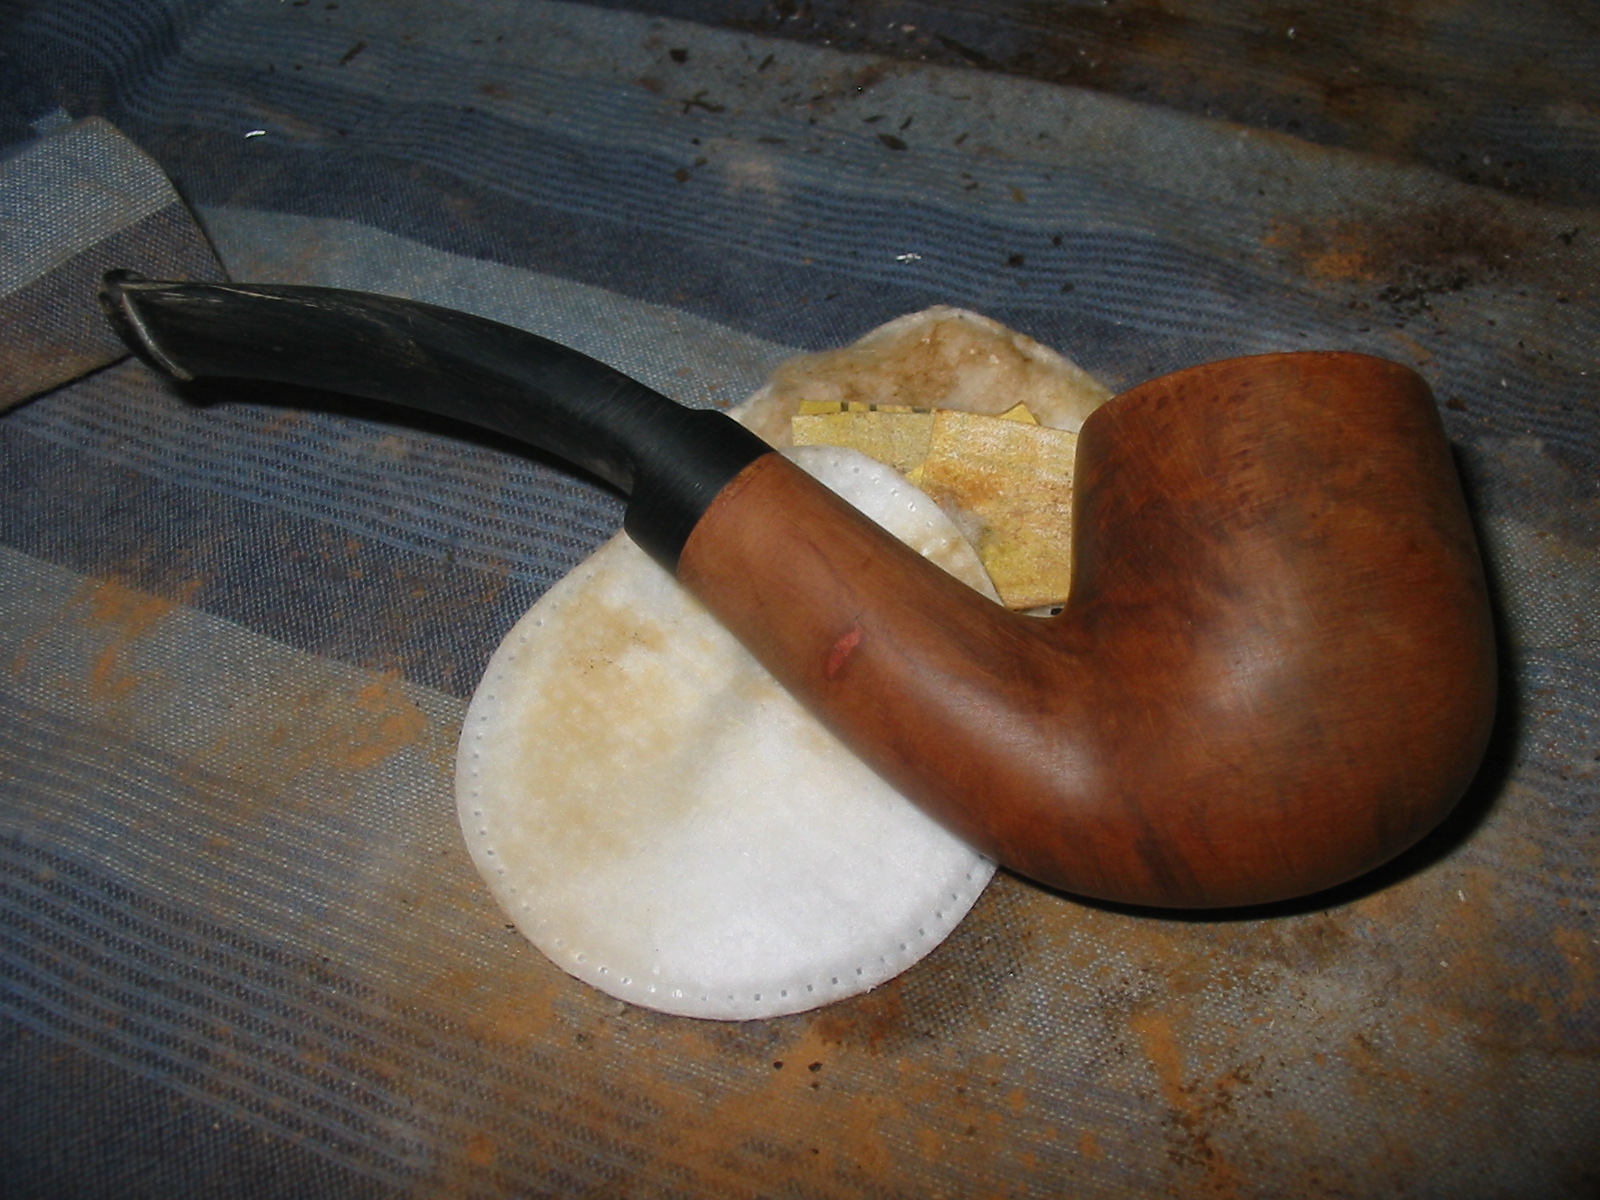
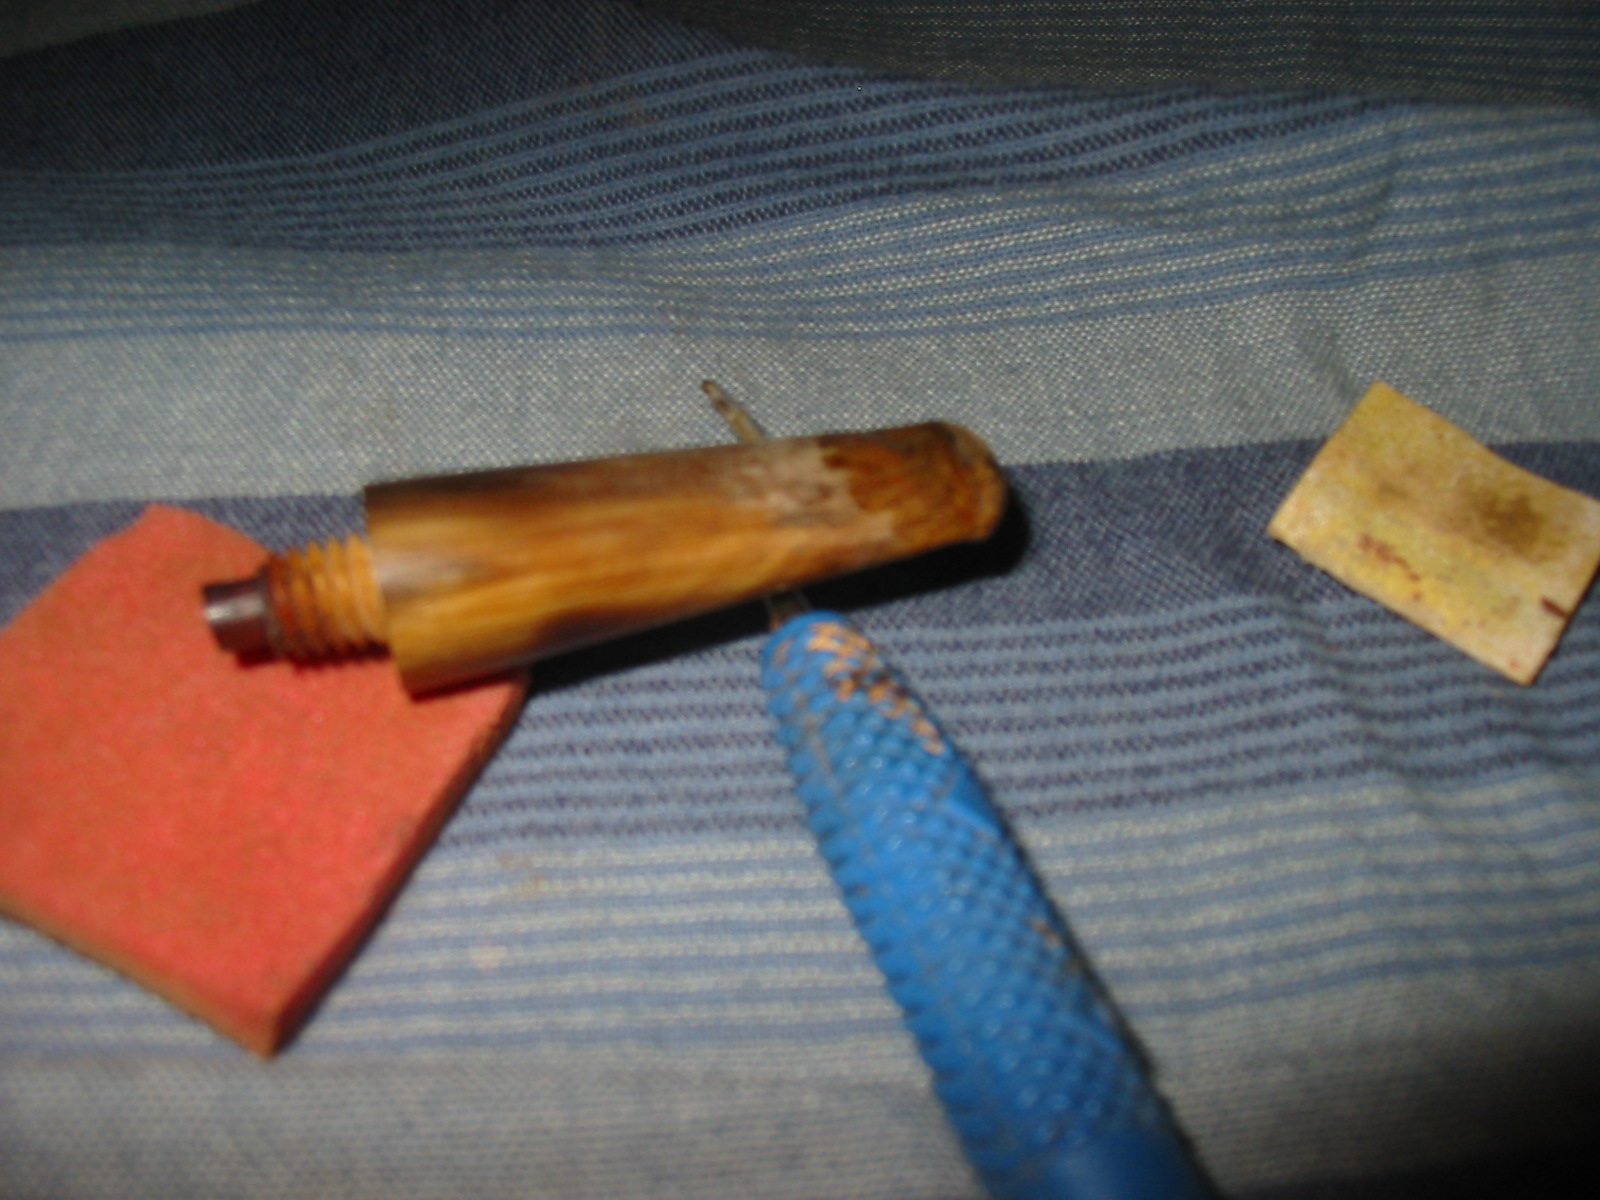
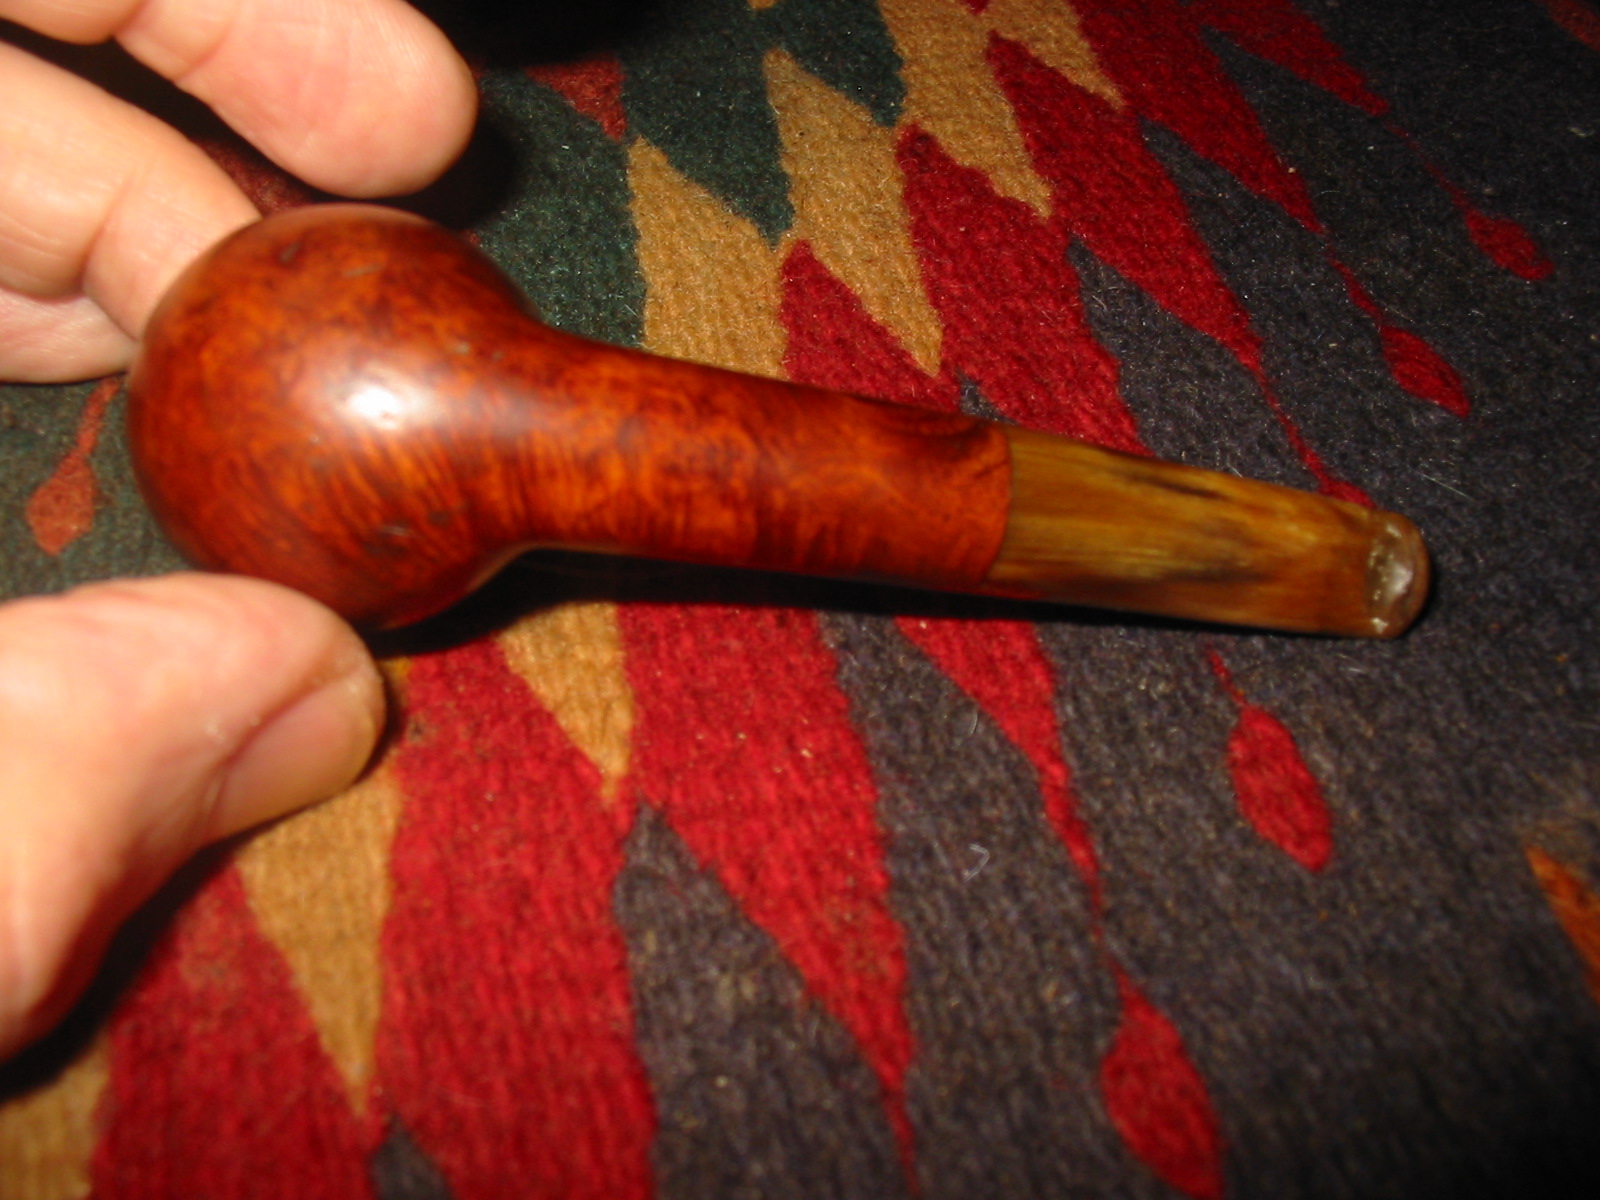
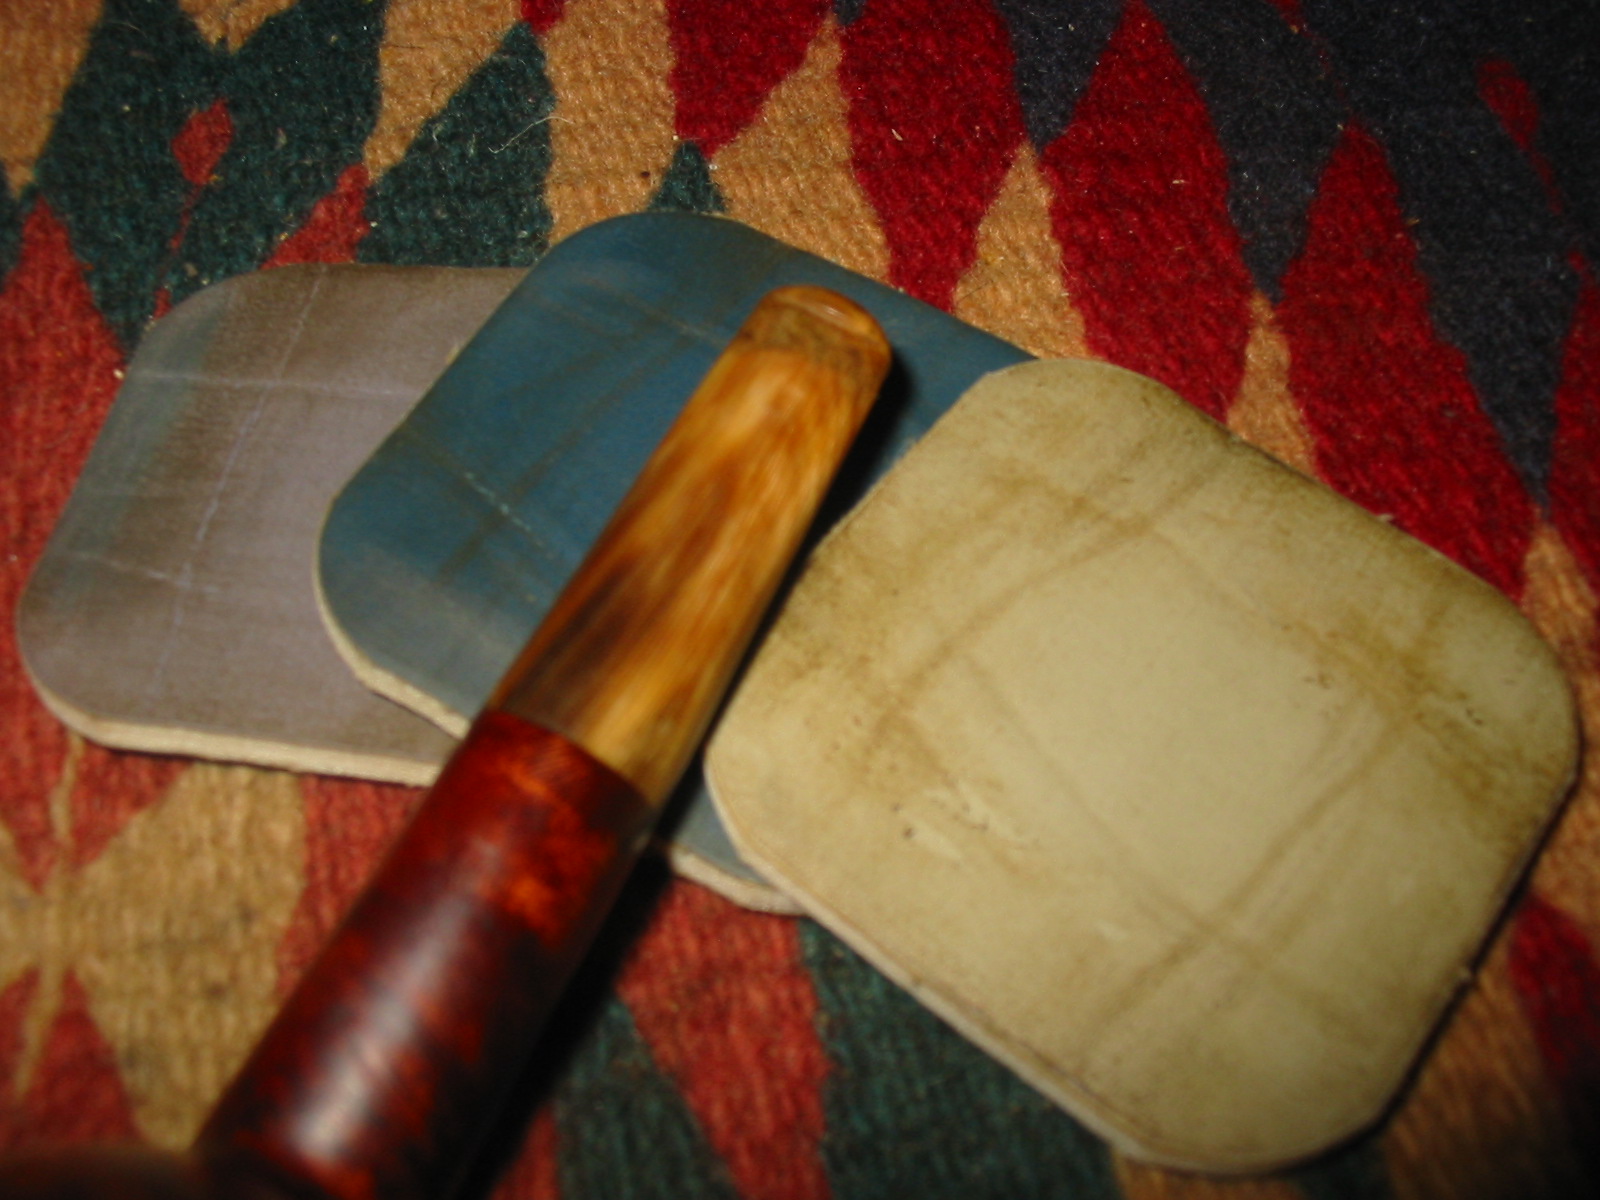
Because I love the finished look of horn I worked on the horn stem first. I sanded the surface of the stem with 220 grit sandpaper to smooth out the tooth chatter and the deep troughs around the edges of the button. As I worked on them I realized that the horn material was thin in those spots. I roughened the surface and built it up with clear super glue. My goal was to level out the troughs and give a clean flow to the taper of the stem to the button. This took several applications of super glue. After each application dried I sanded it with 200 grit sandpaper and a medium grit sanding sponge to make sure that the surface was level before adding a new layer.


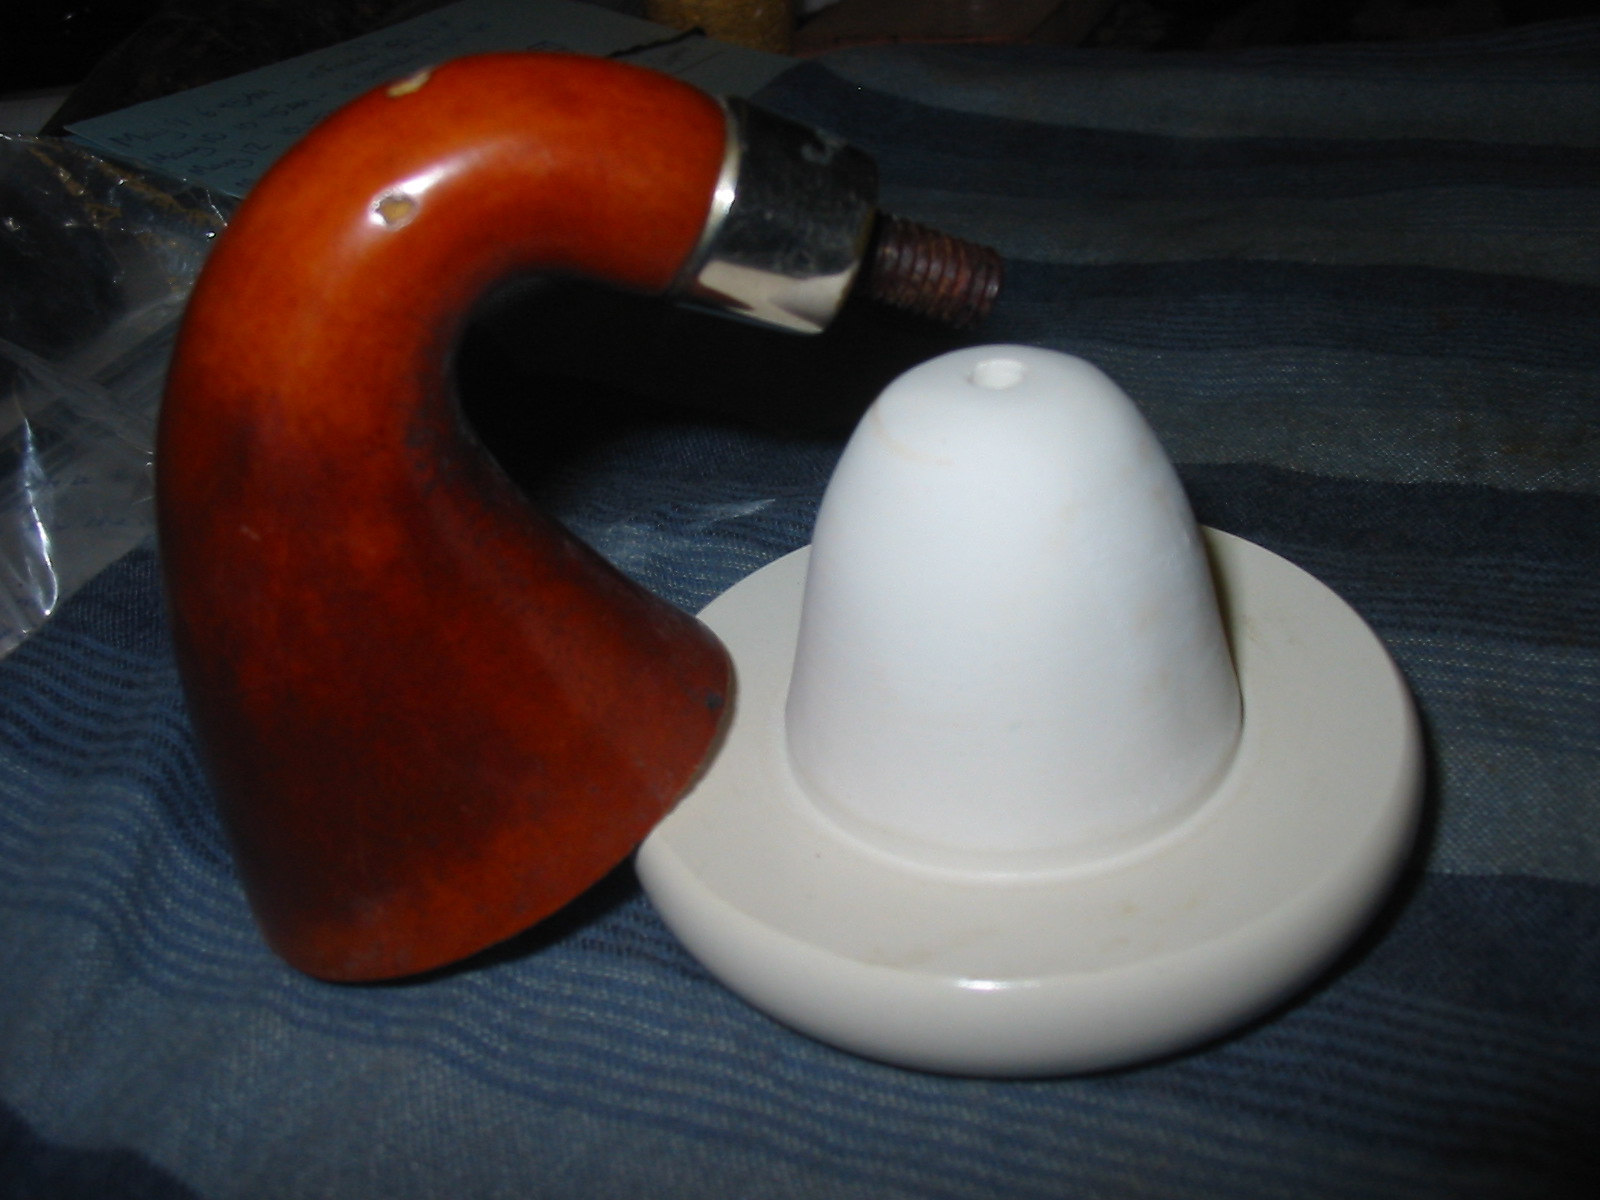
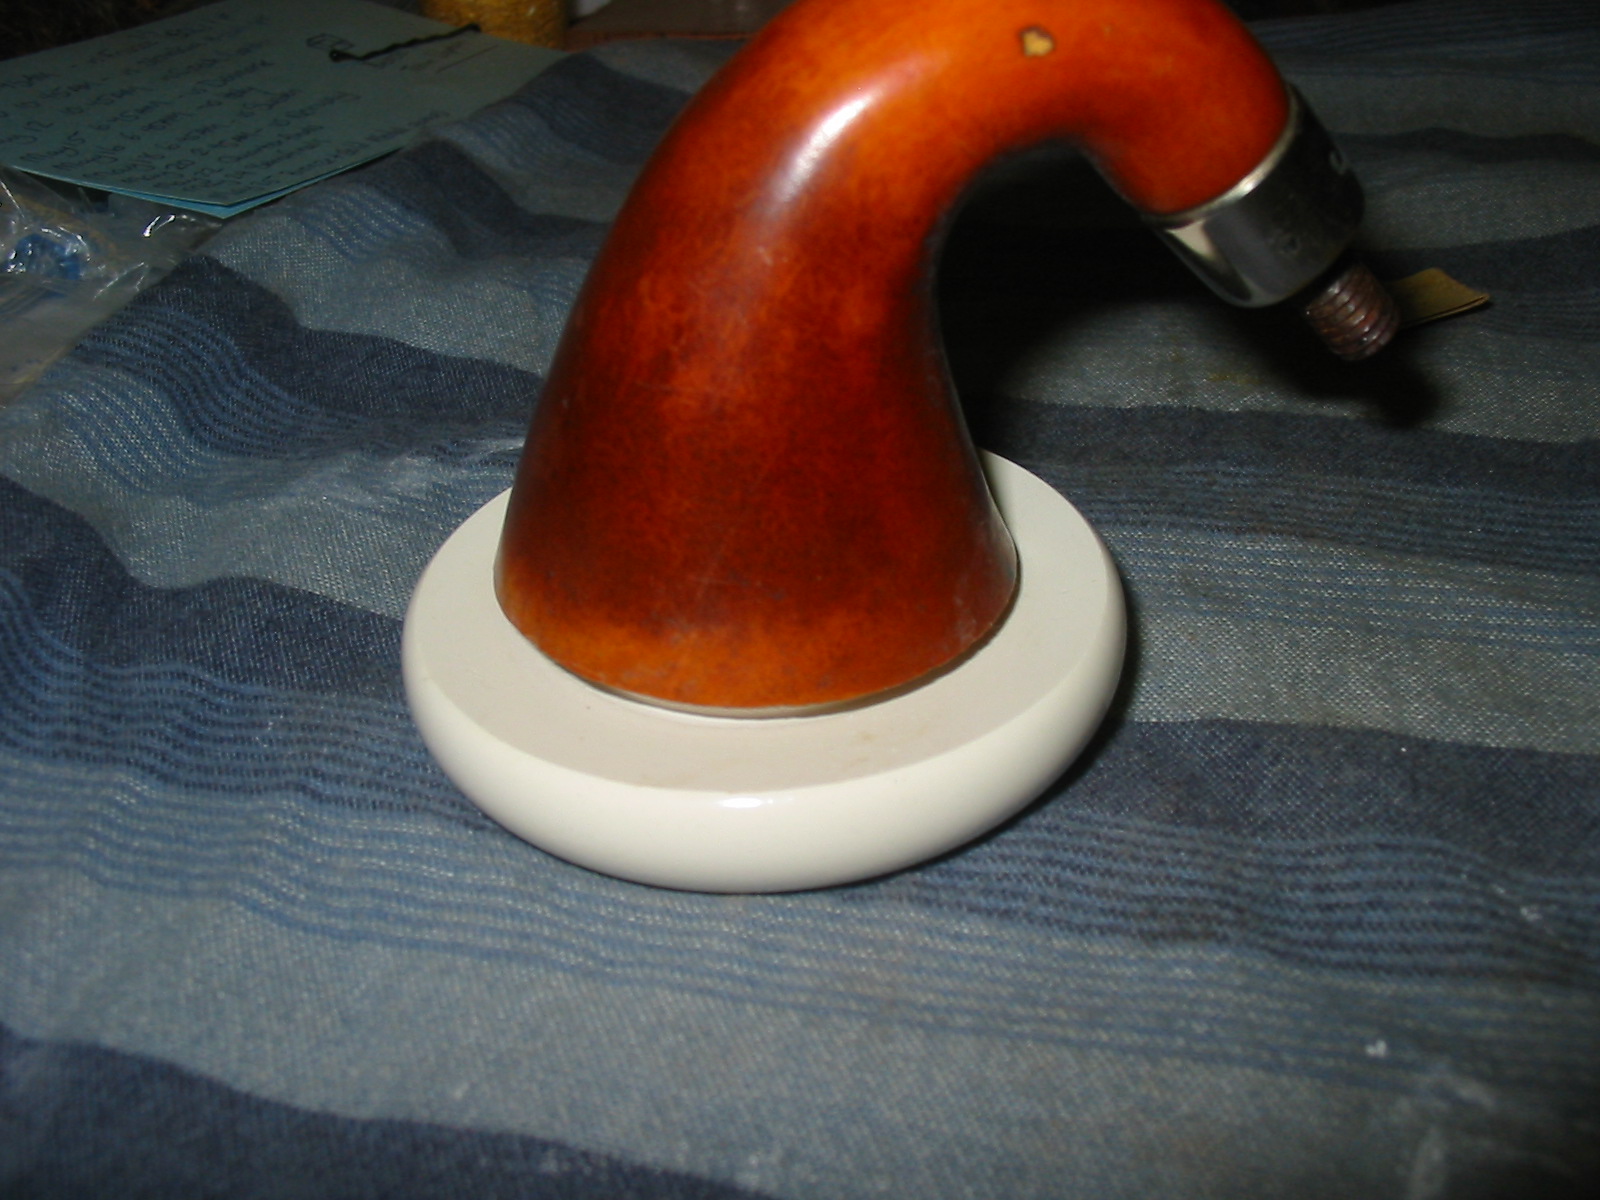
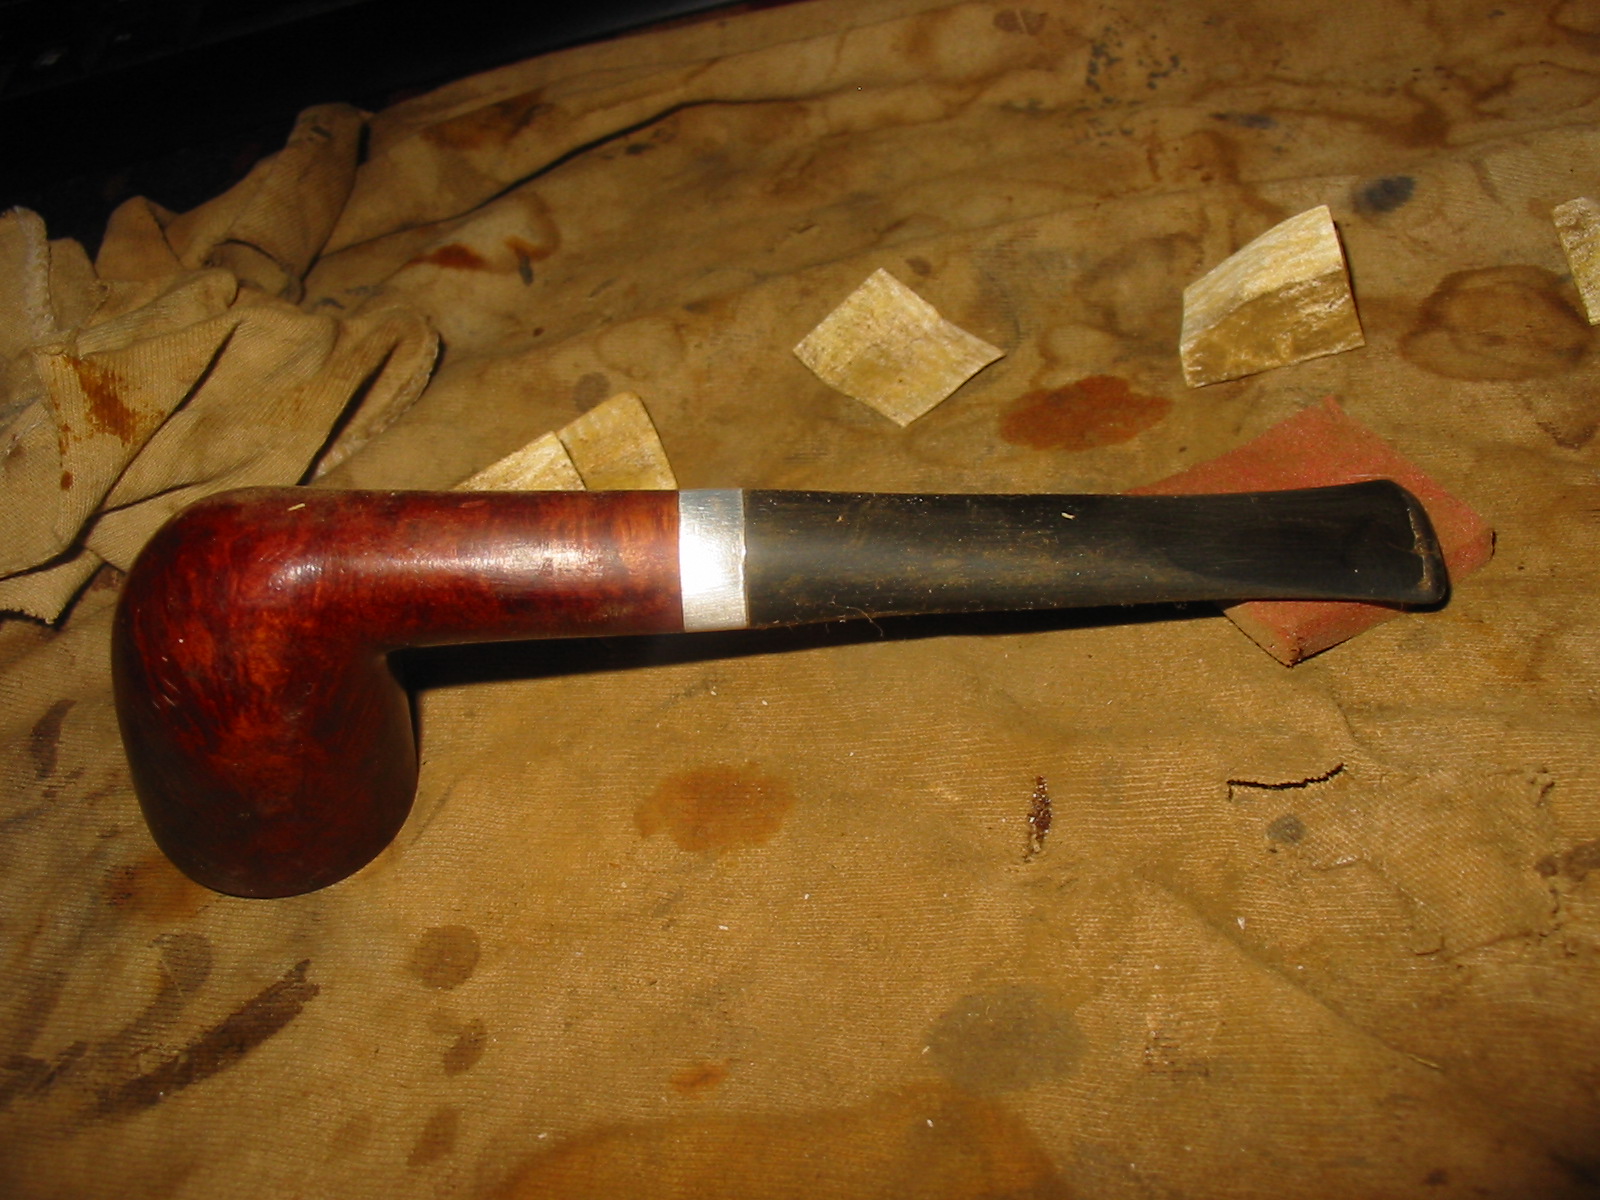
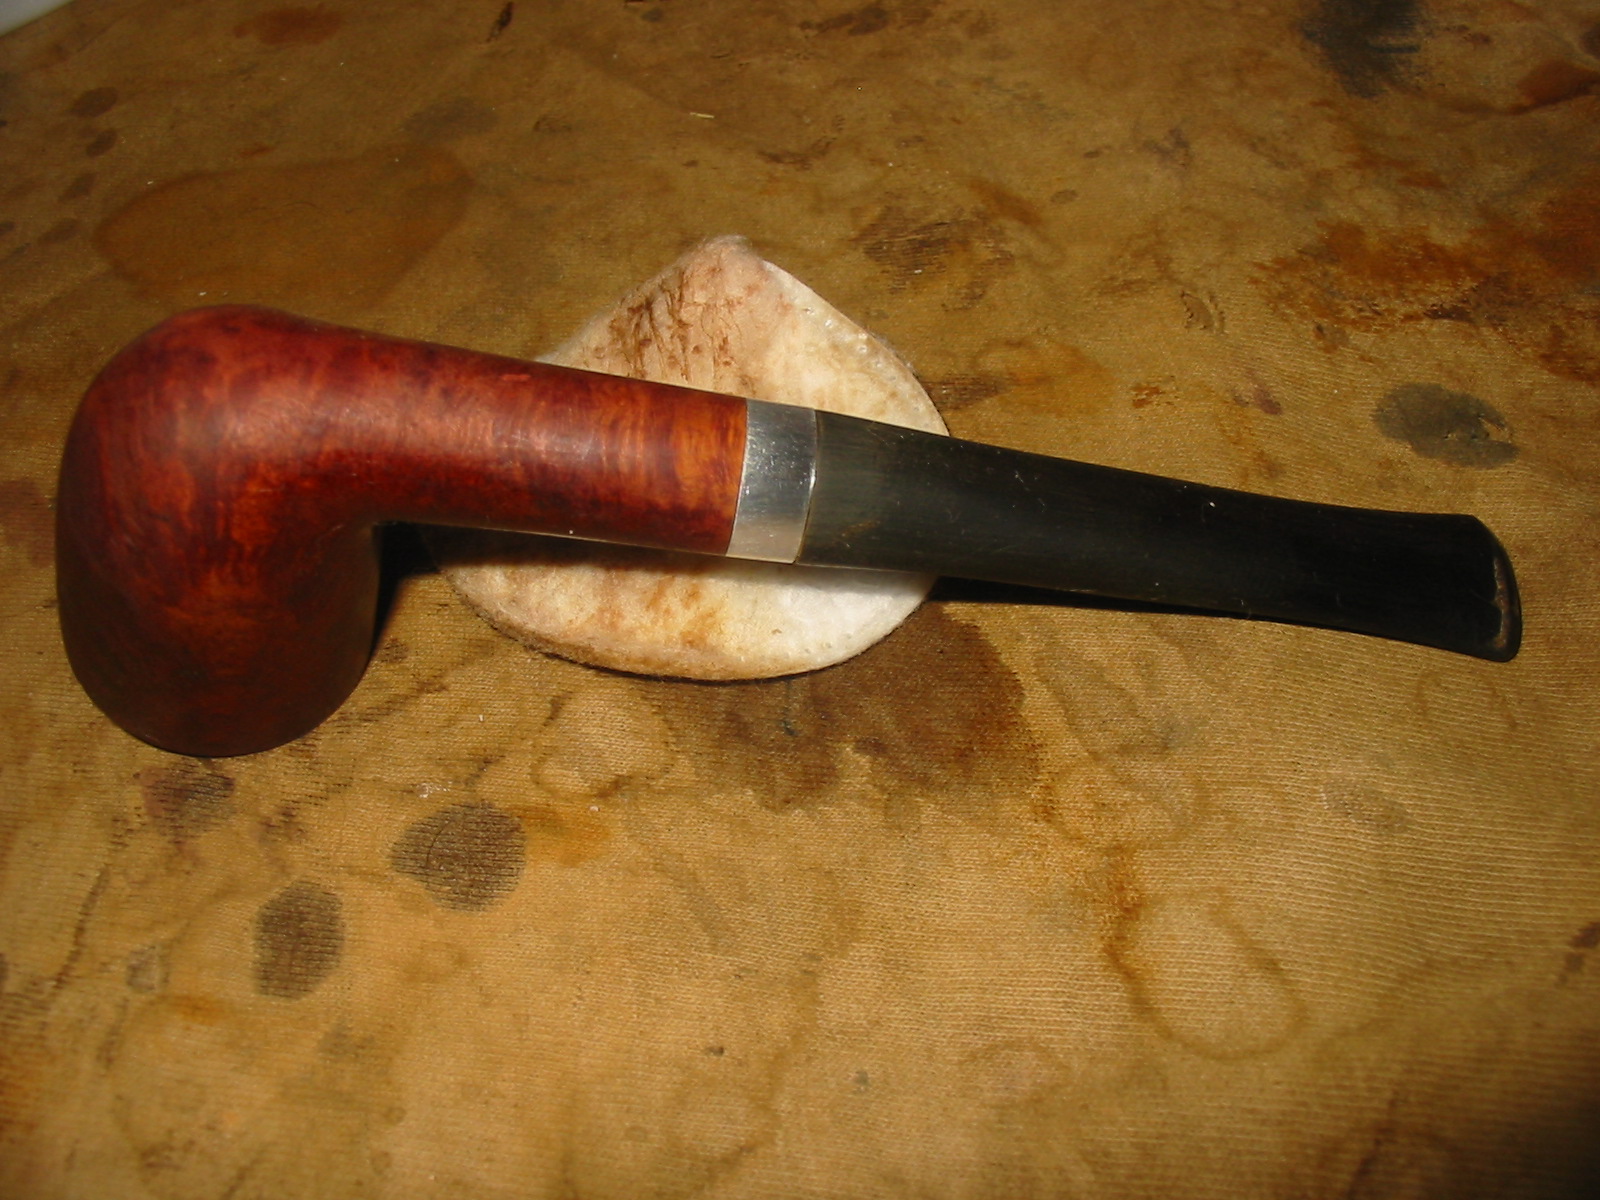
When the troughs were filled and level I screwed the stem back into the bowl and took some photos to check out the taper of the stem to the button. I wanted to make sure that the taper was smooth and the flow correct. I find that taking a photo gives me some distance from the pipe and I can examine it more critically than in real life at this point. I would need to work on the button area but the taper was correct.


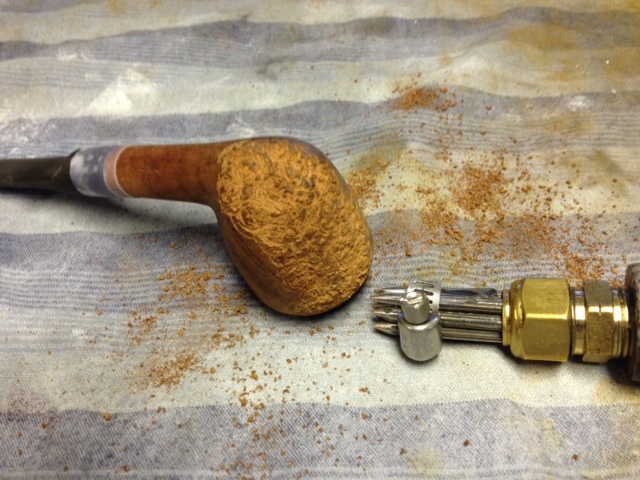
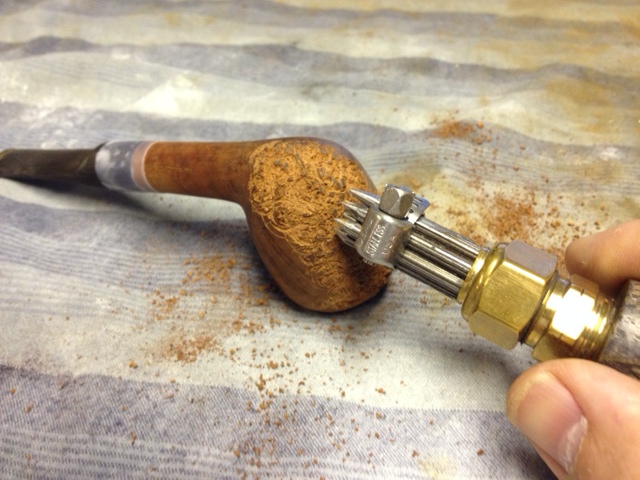
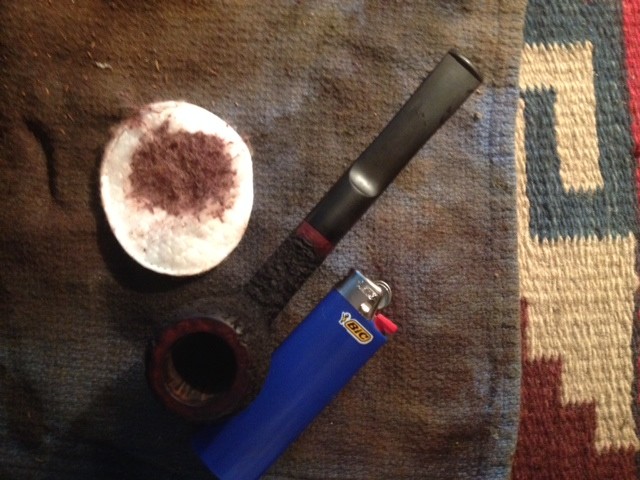
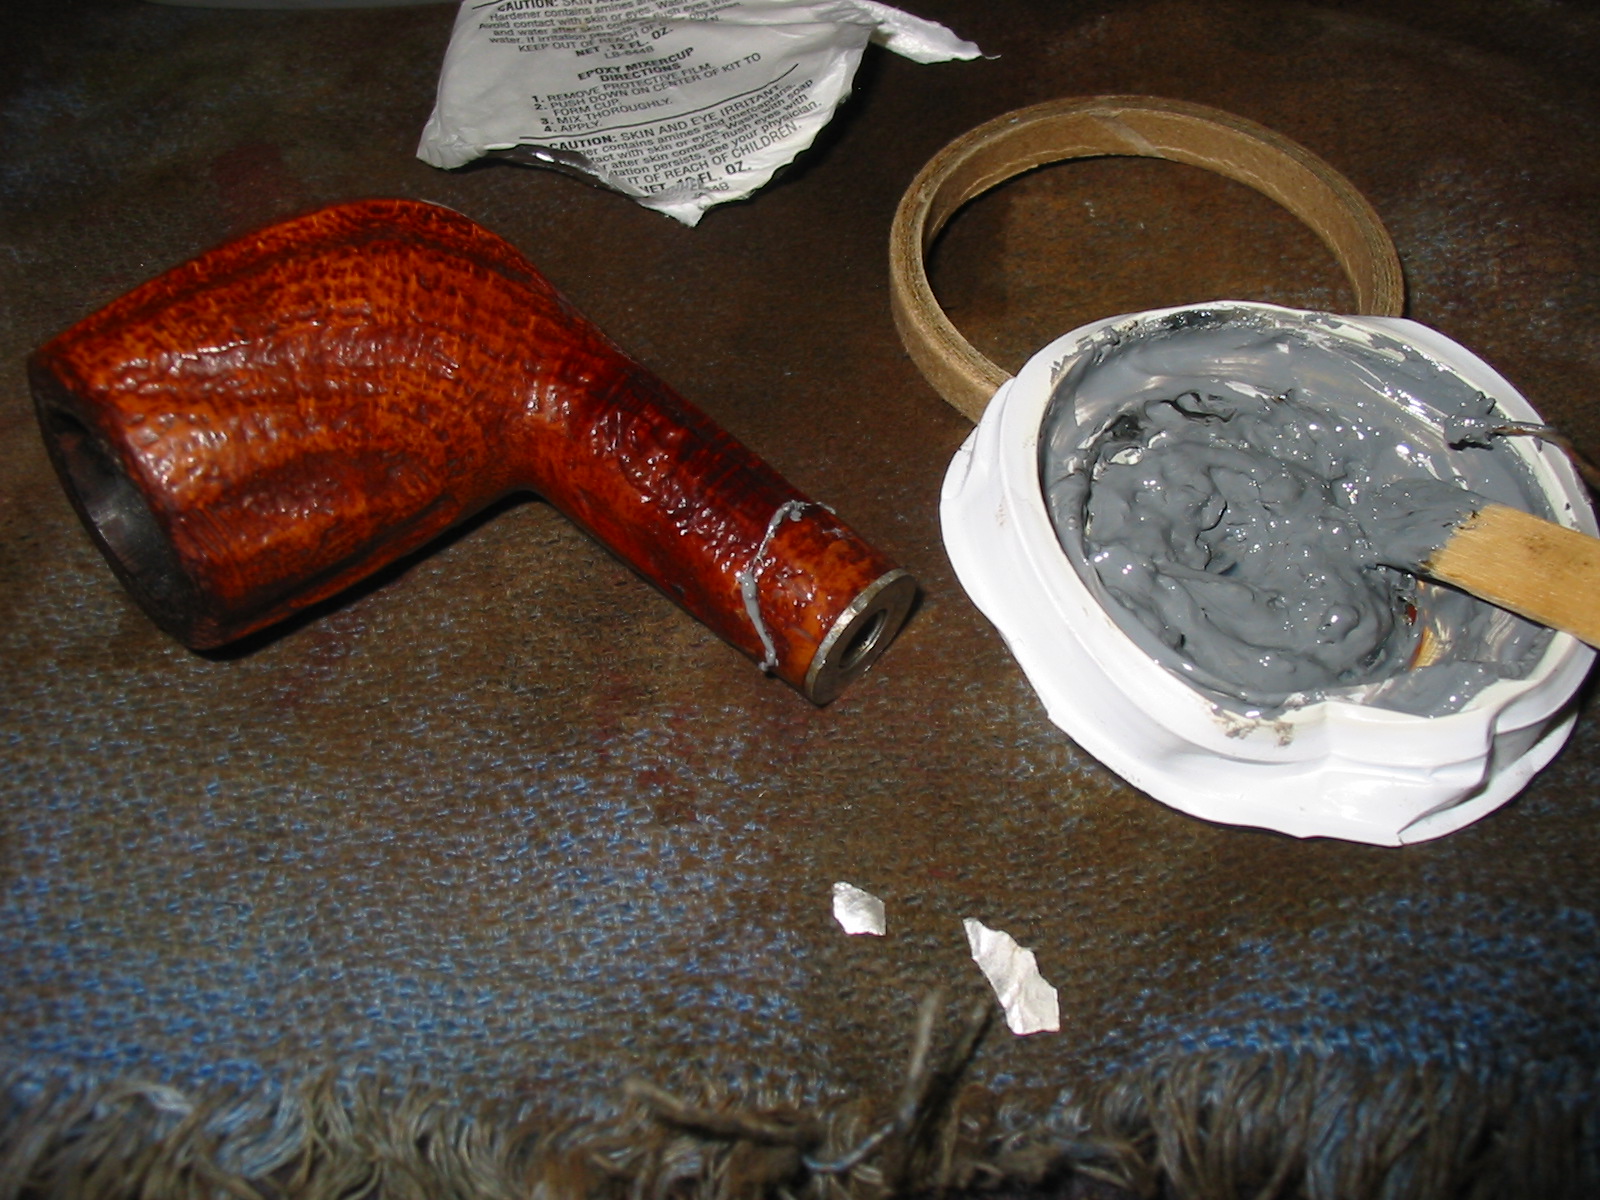
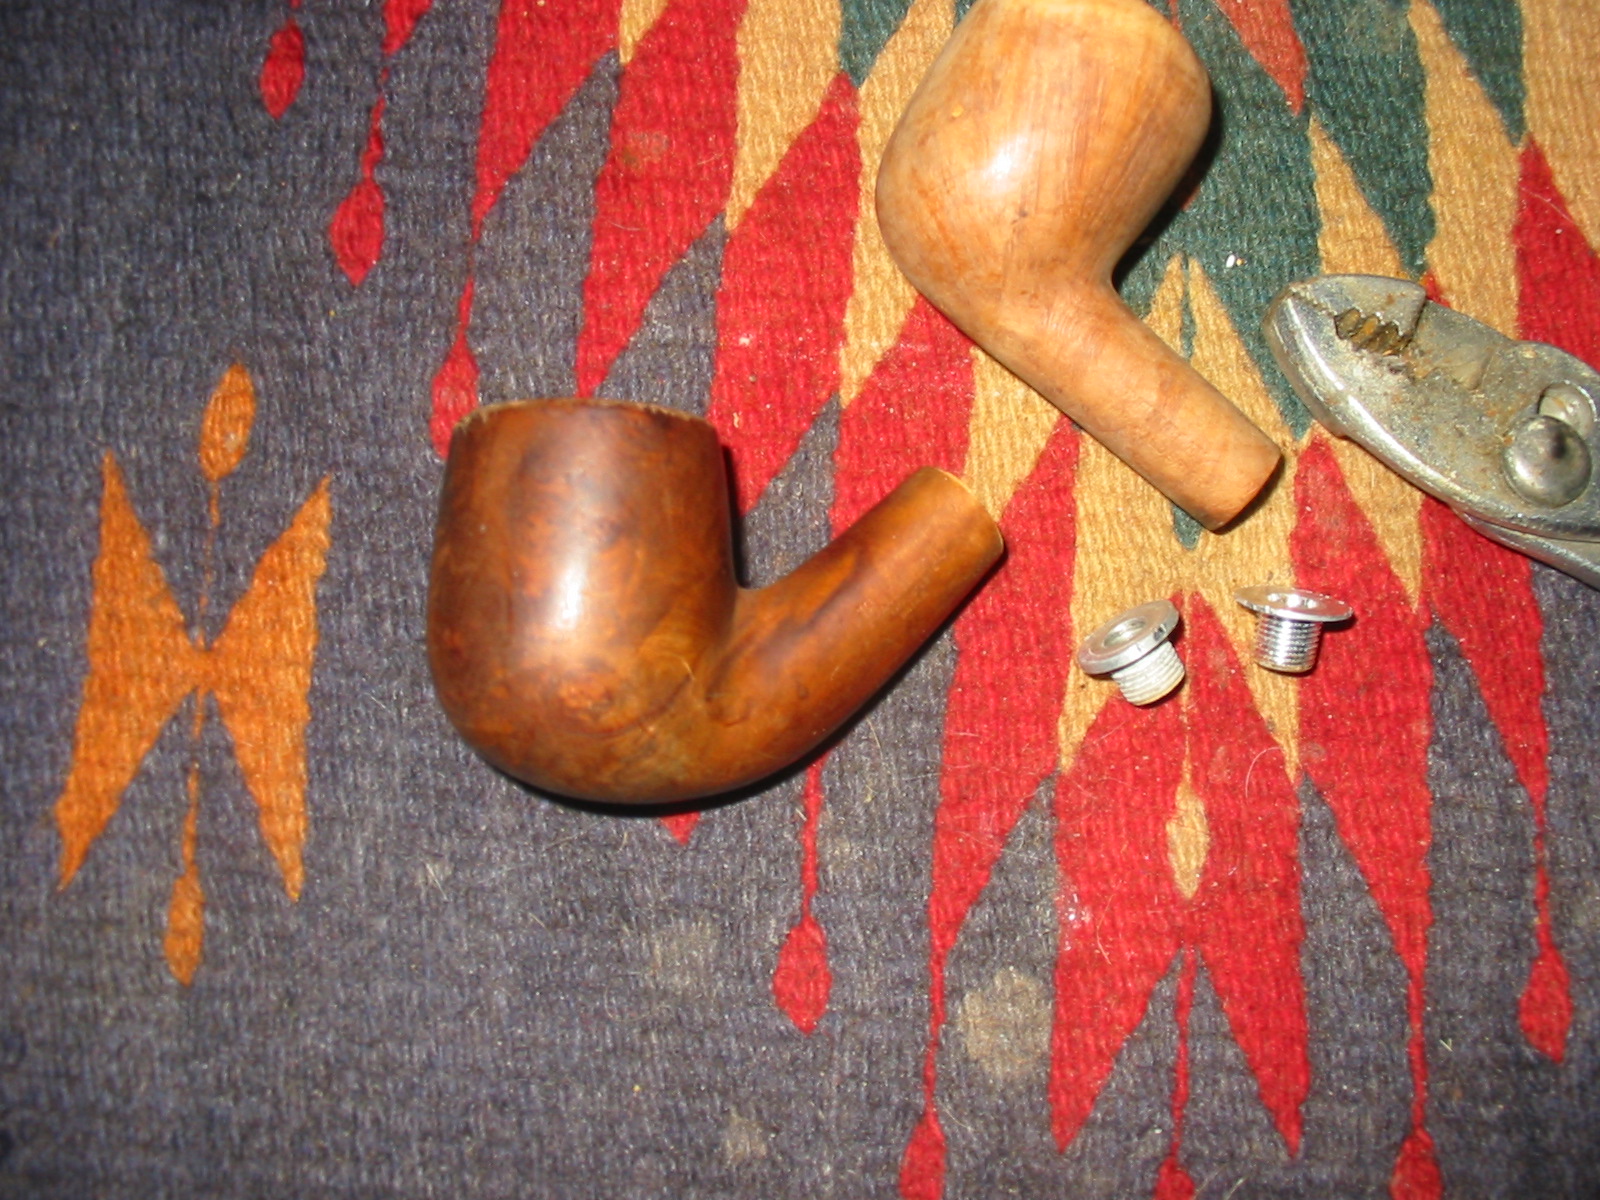
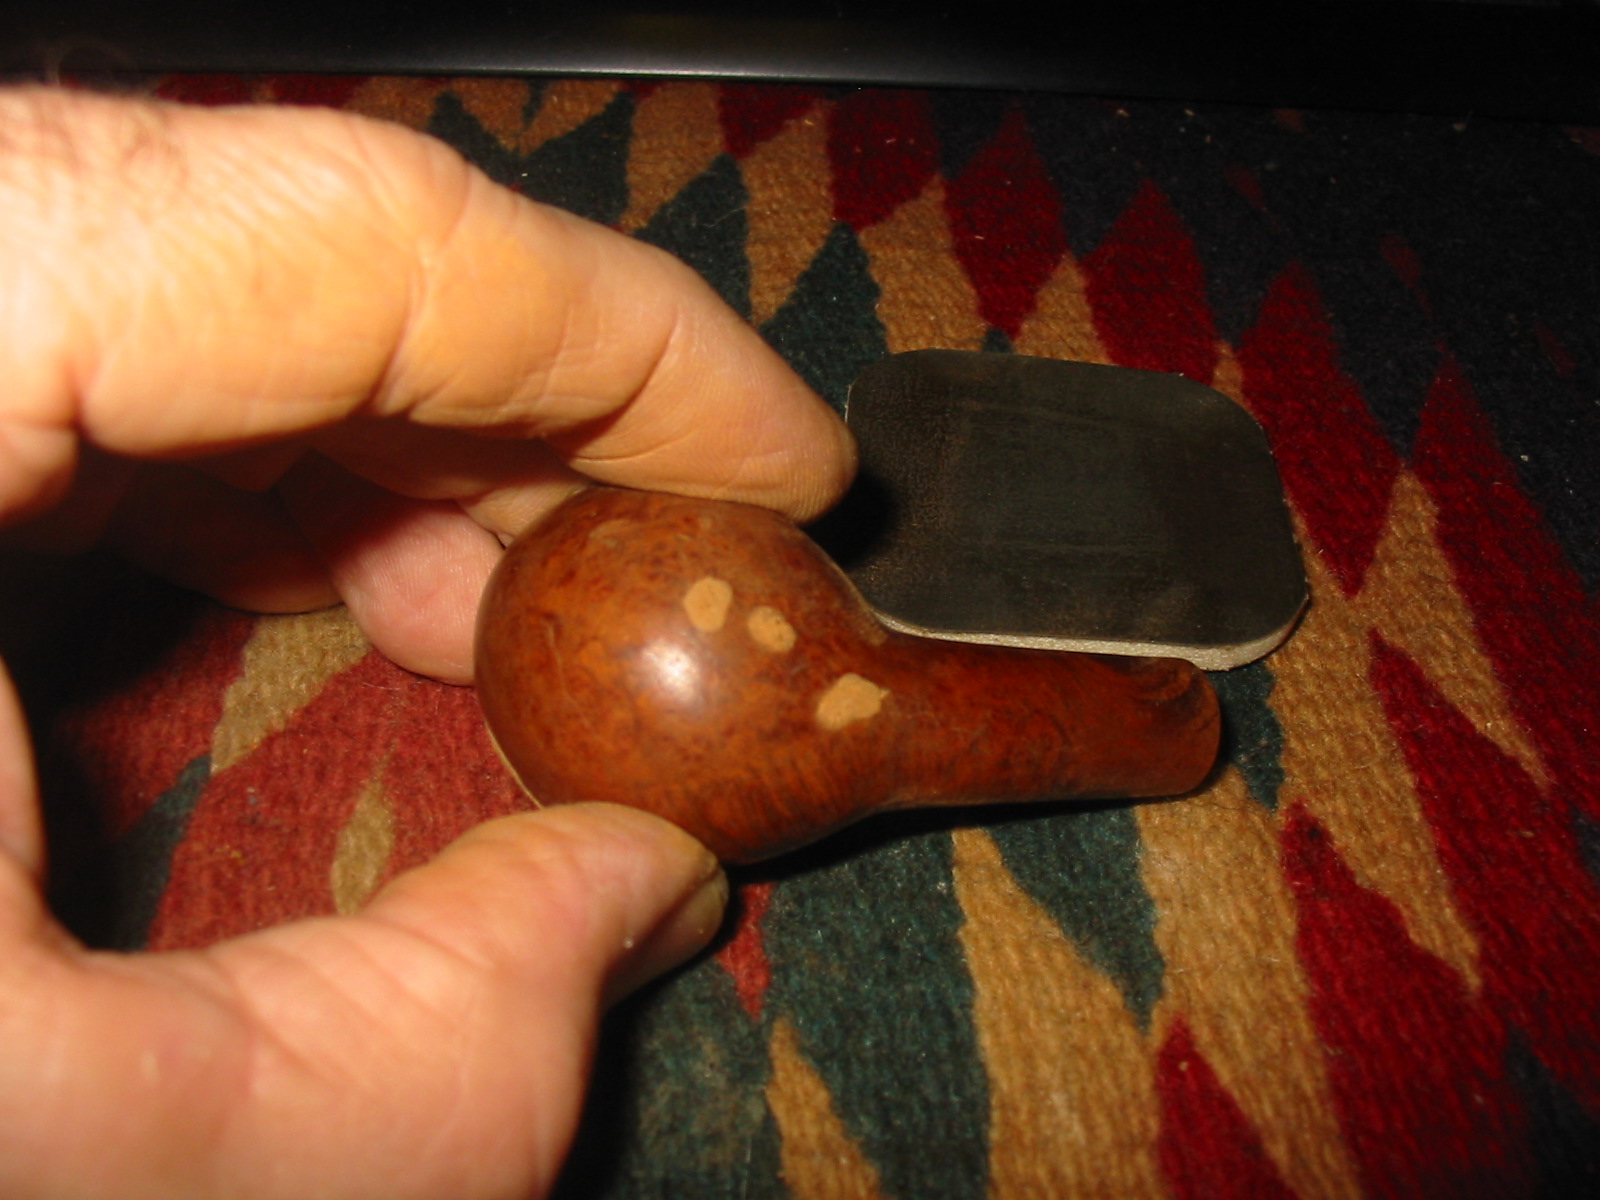
I gave the bowl a light reaming with a PipNet reamer. I decided address the deeper nicks and crevices on the bowl with briar dust and superglue. Before doing that I wiped down the bowl with acetone on a cotton pad to remove the finish and clean the bowl.

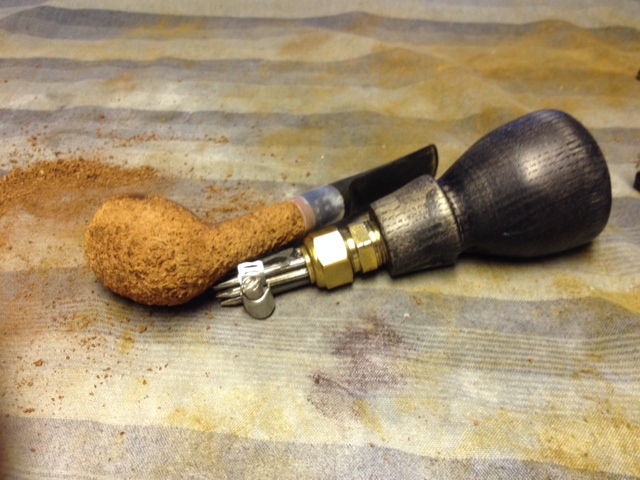
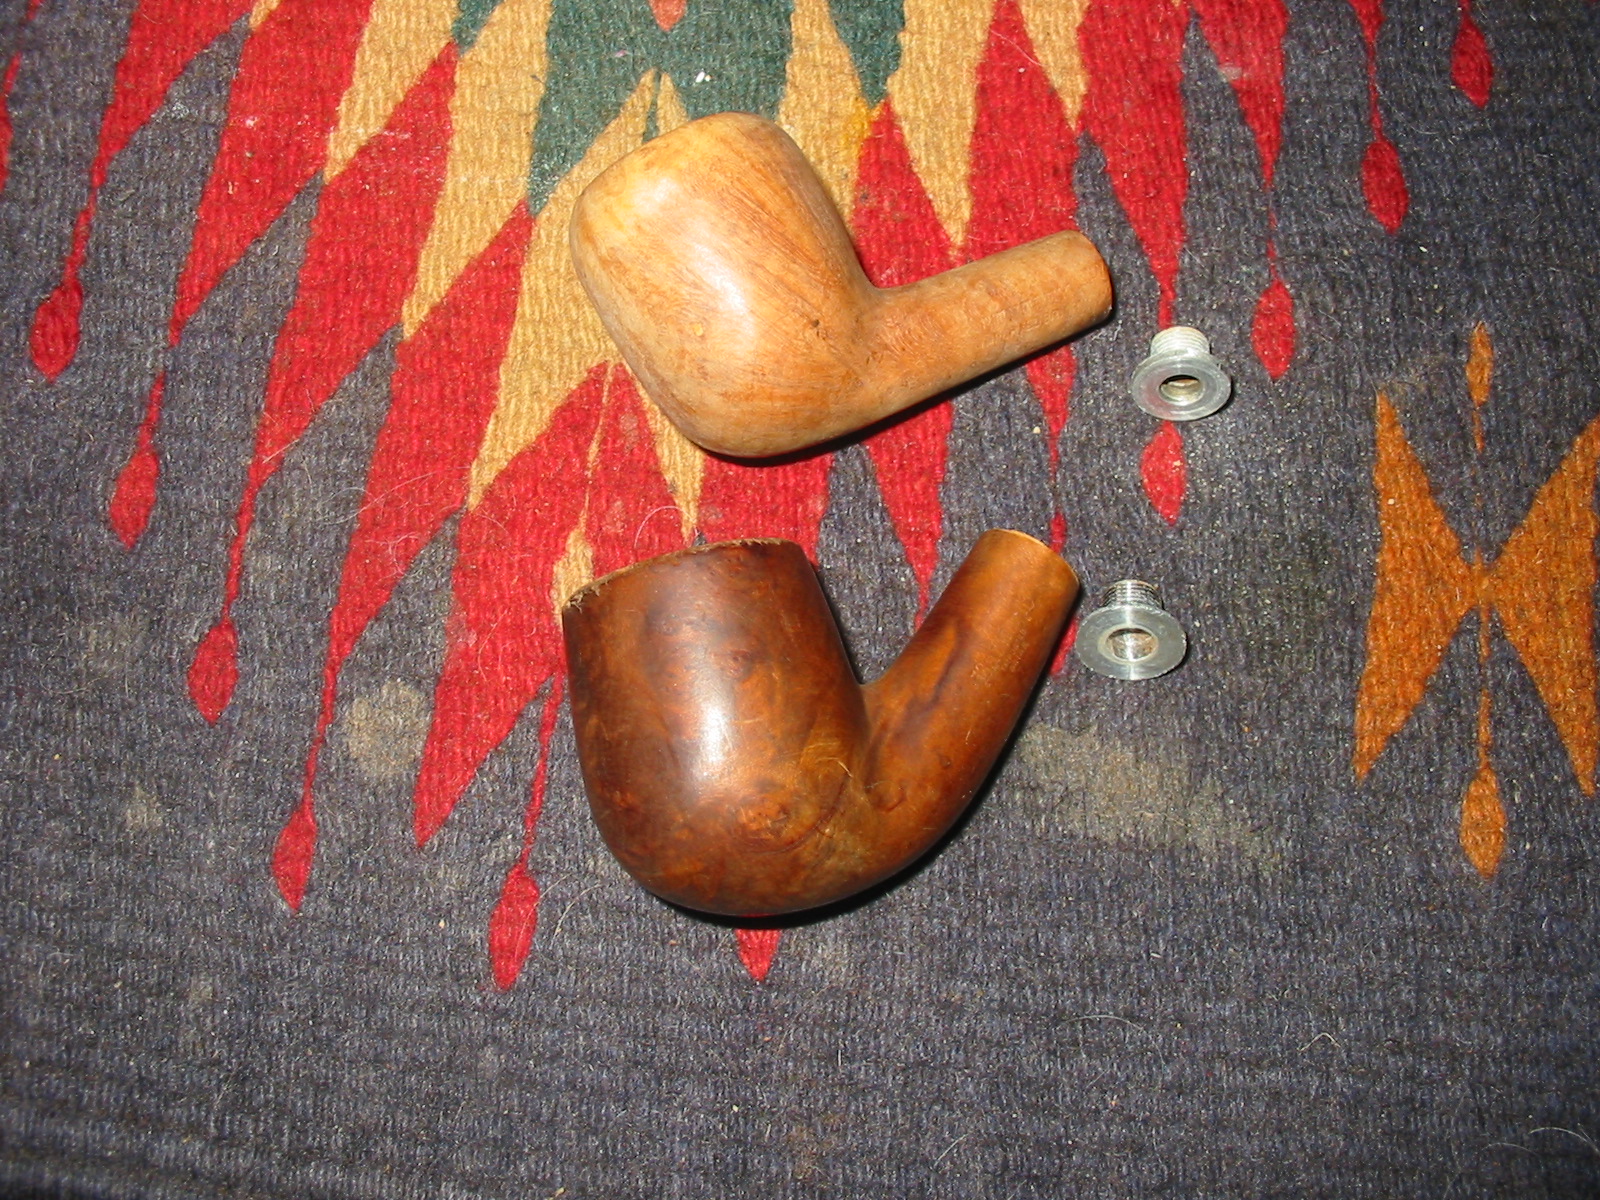
I packed briar dust into the nicks and holes in the briar and then added drops of super glue followed by more briar dust. I always over fill the patches as it is easier to sand the patches than to continue to fill them as they shrink. The next two photos show the patches.


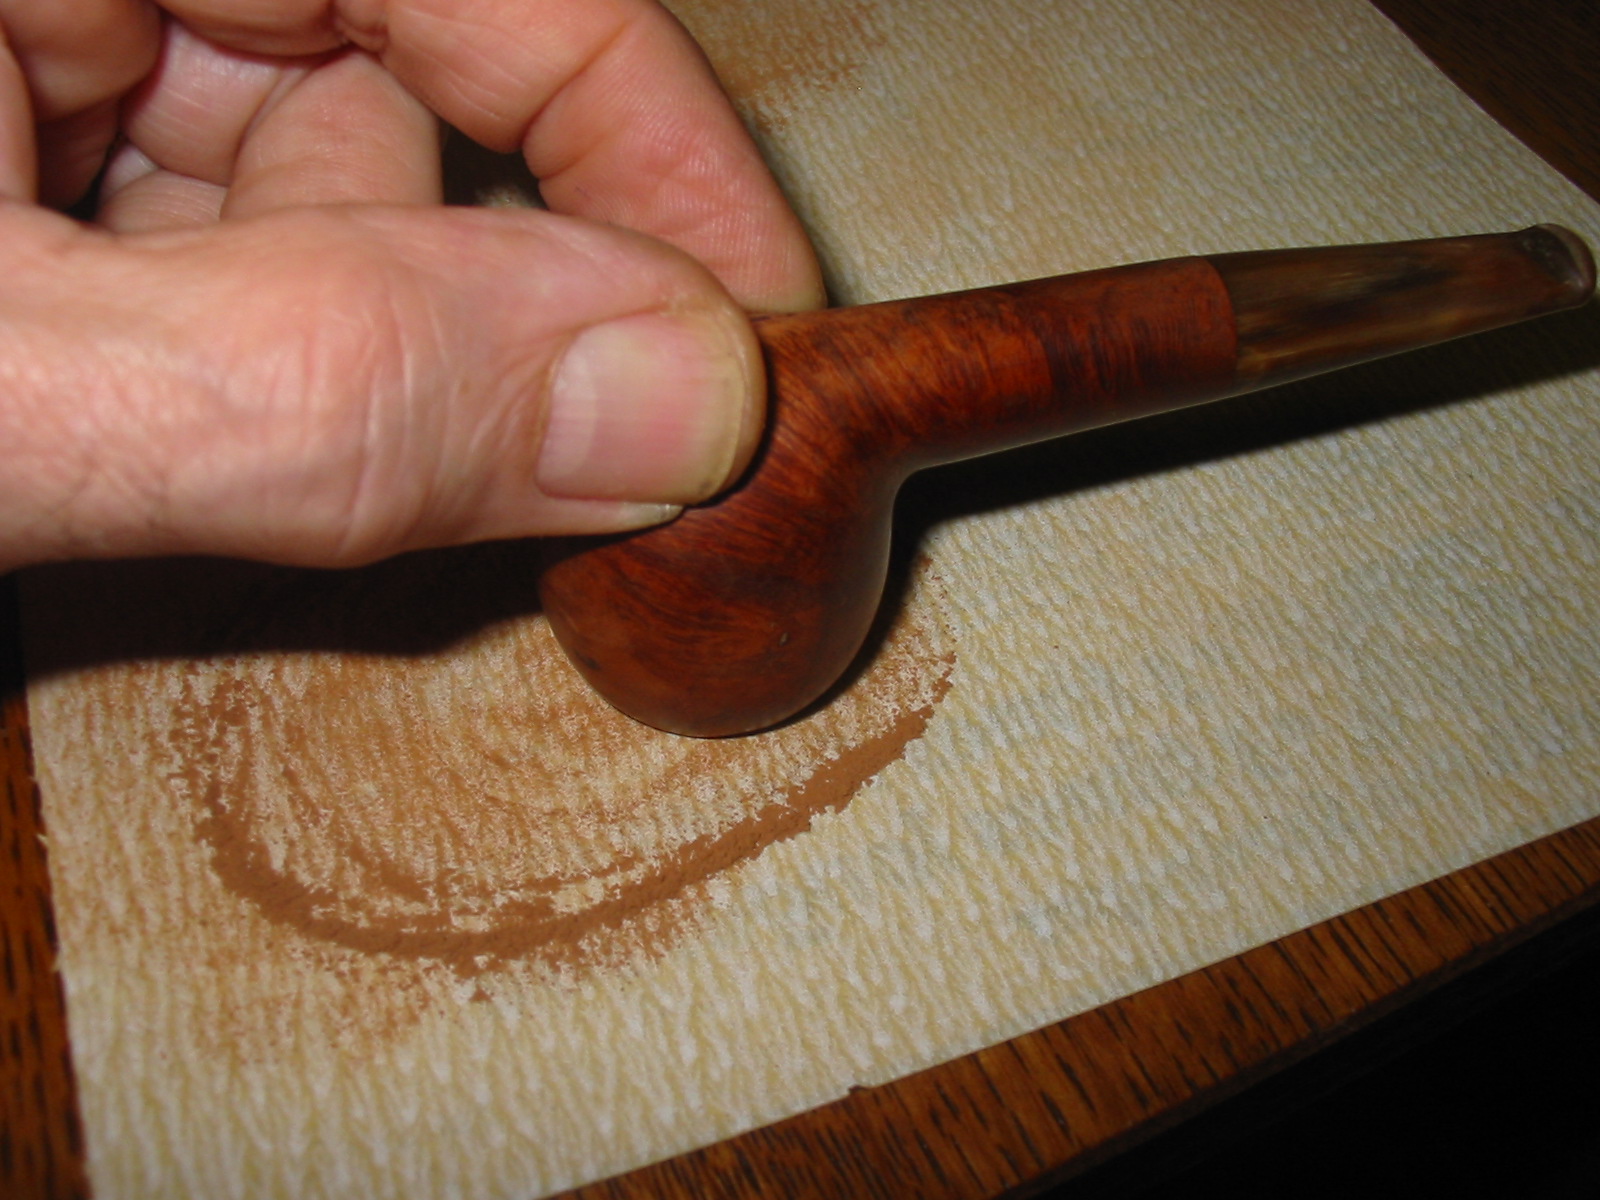
I sanded the patches with 220 grit sandpaper to remove the thicker portion of the repairs and then followed up with a medium and a fine grit sanding sponge. The repairs are smooth and match the surrounding briar. They are dark spots but I have found that I don’t mind those as much as putty fills. I also have found that they can be blended into the briar more easily when stained with a dark brown or black aniline stain. They are still present but do not stand out.


To remove the burned areas on the inner edge and top of the rim I topped the bowl using a topping board and 220 grit sandpaper. I move the bowl across the sandpaper in a clockwise circular pattern – more out of habit than anything else though I find that it minimizes the scratches left behind and is easier to smooth out with later sanding.


I took the top of the rim down until the burn marks were minimized and the top of the bowl was smooth to the touch. I sanded the bowl top with a fine grit sanding sponge to remove scratches. I did not go on to sand with higher grit paper as I would be sanding after I stained the bowl. I wiped the bowl down with isopropyl alcohol and then applied and flamed the dark brown aniline stain. I repeated the process until I had good coverage on the bowl and rim. The stain was very dark and hid the grain. It was also very opaque and not what I wanted as the final stain on the bowl. I wiped the bowl down with isopropyl alcohol to remove much of the stain. Doing this removes the surface coat but leaves the stain deep in the grain of the briar.


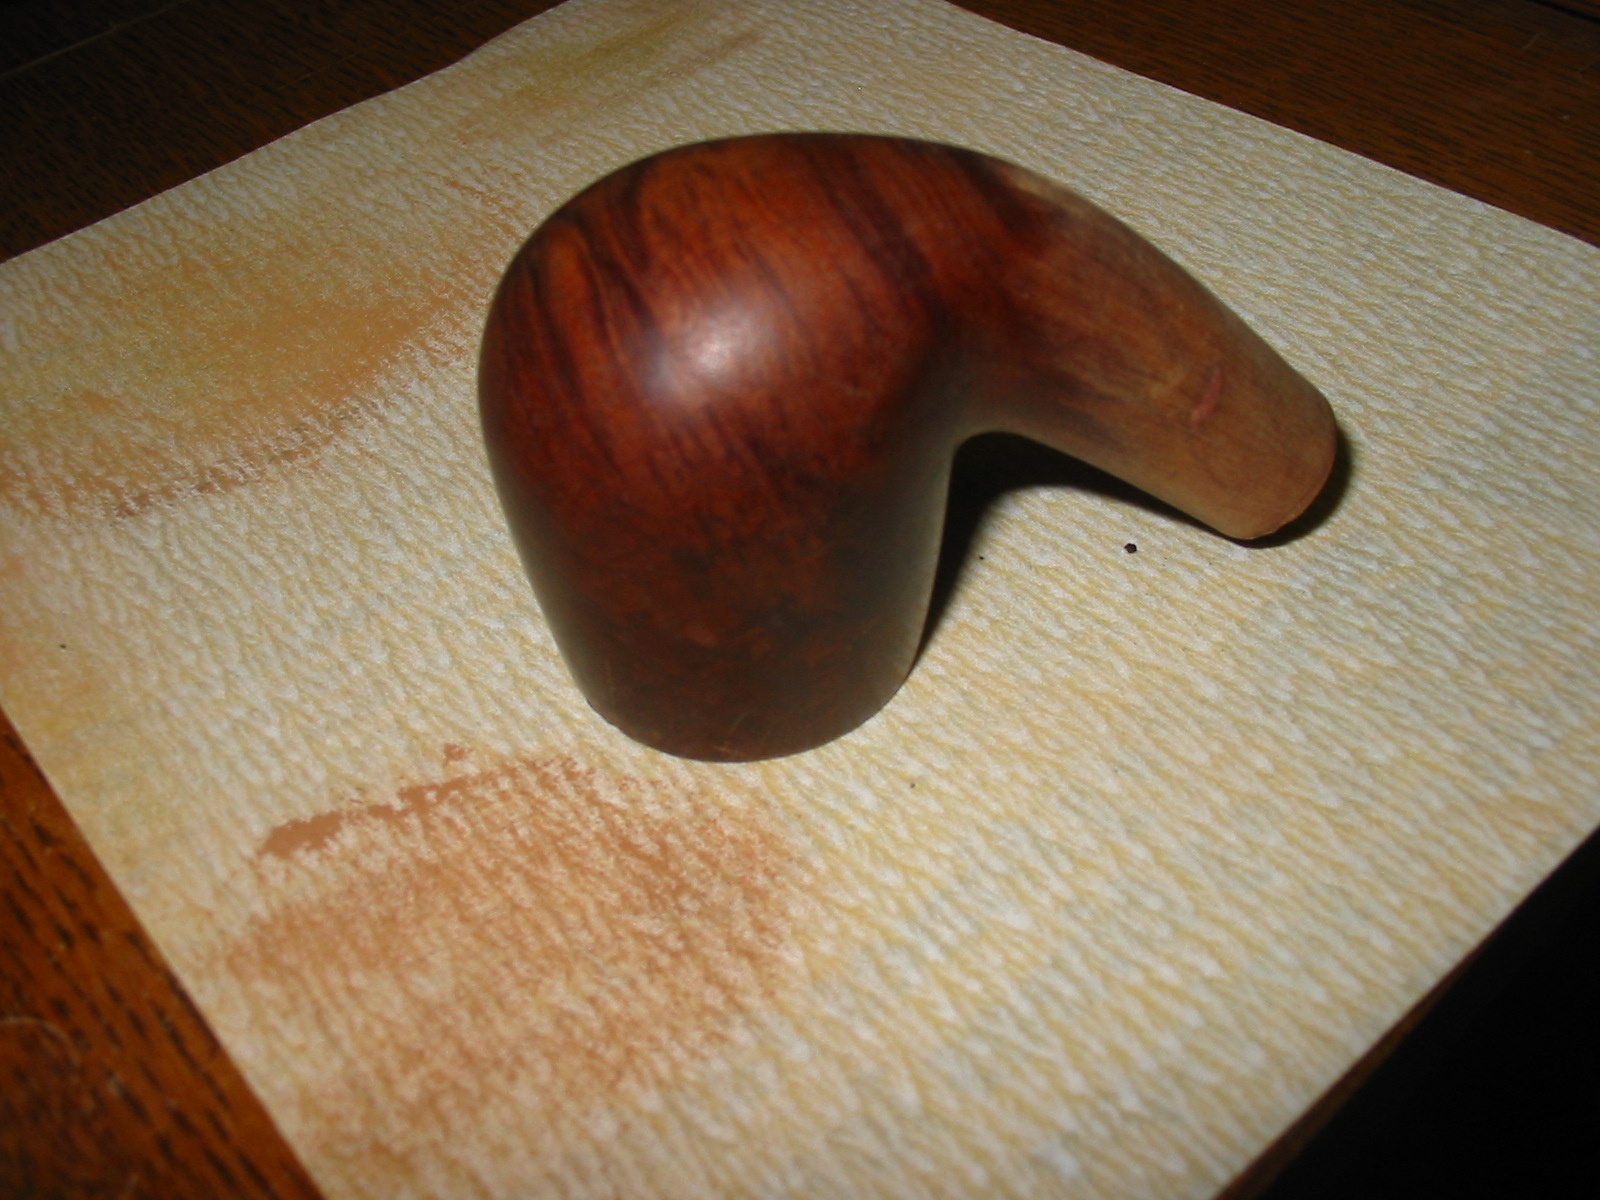
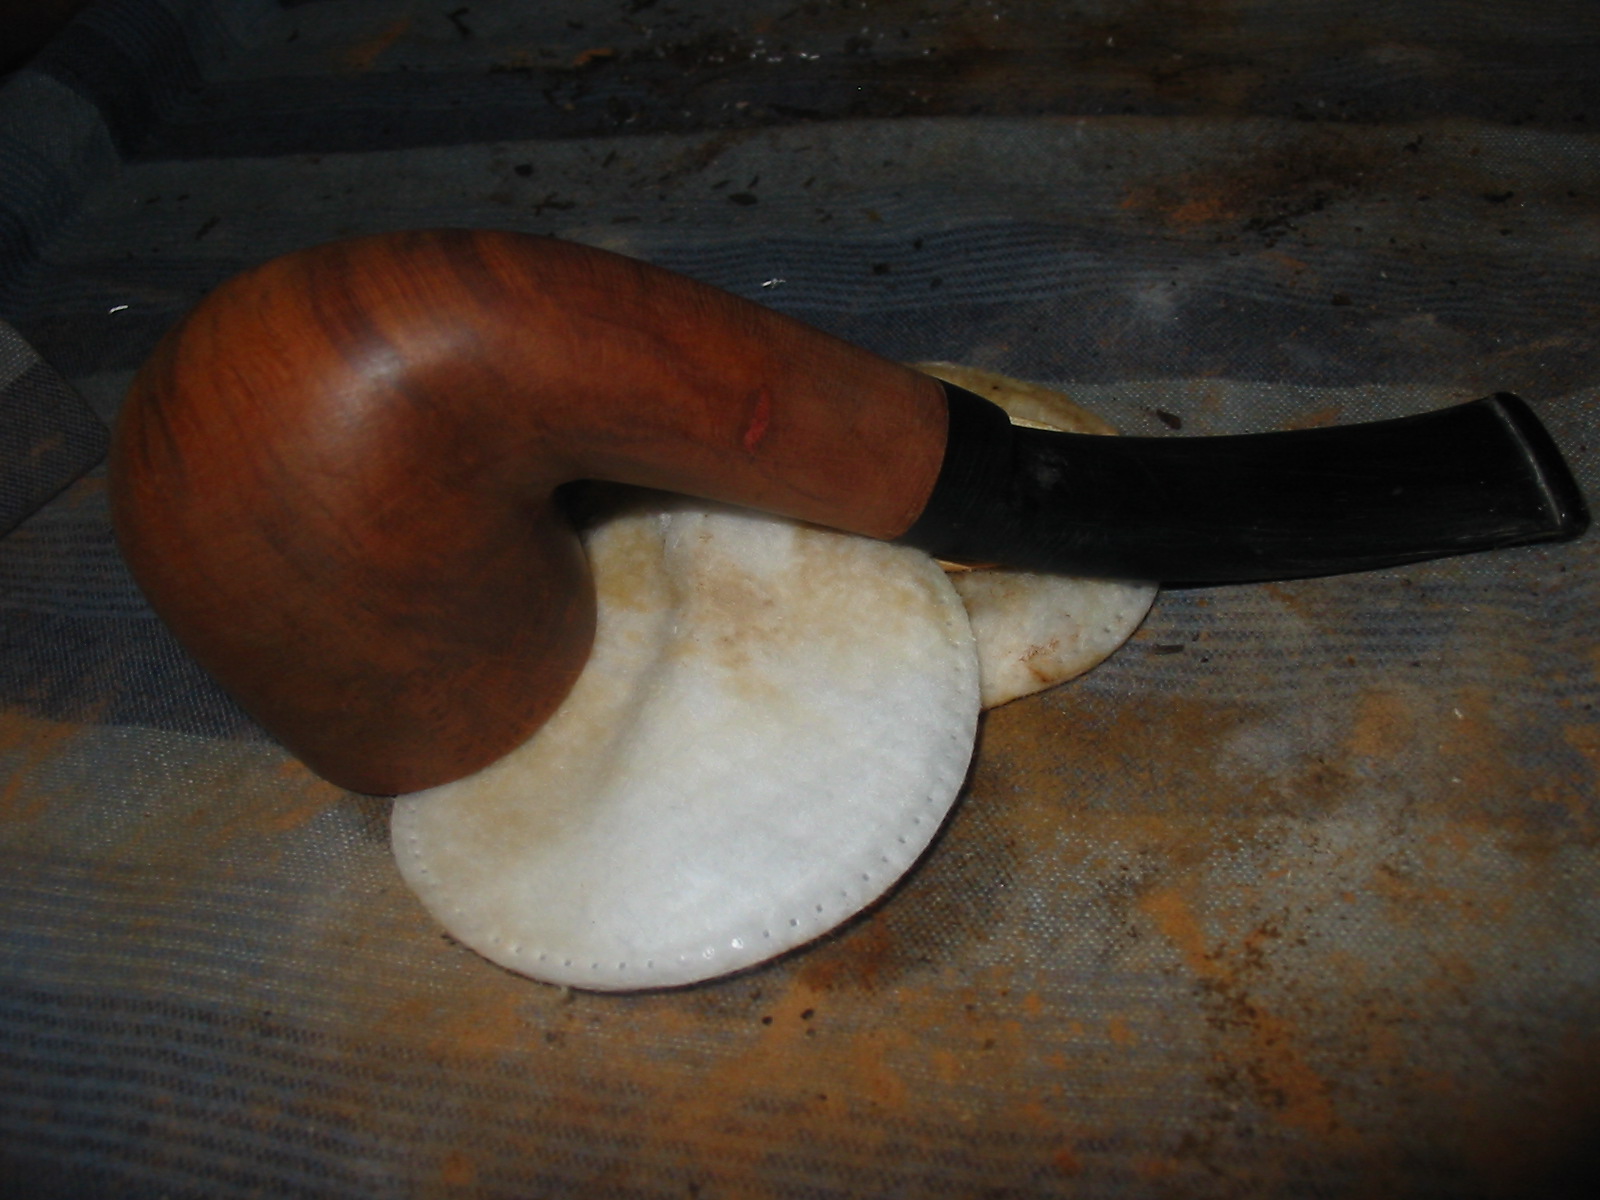
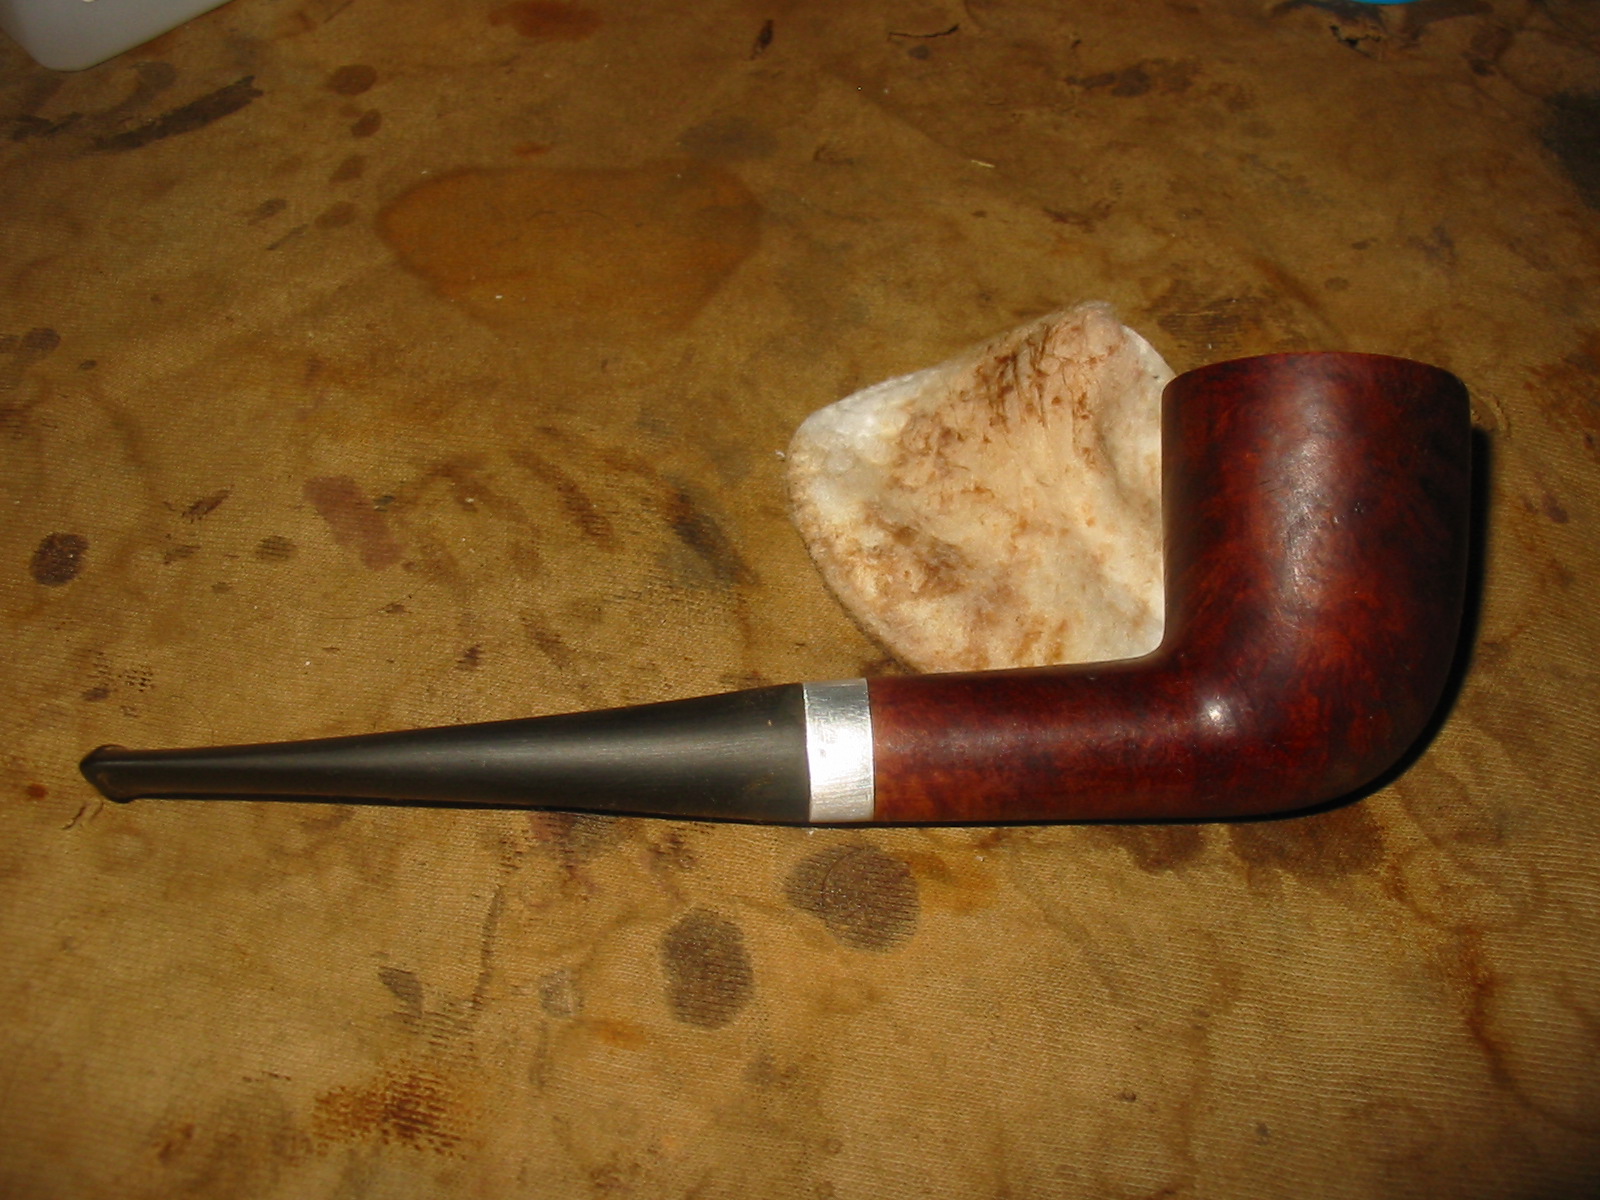
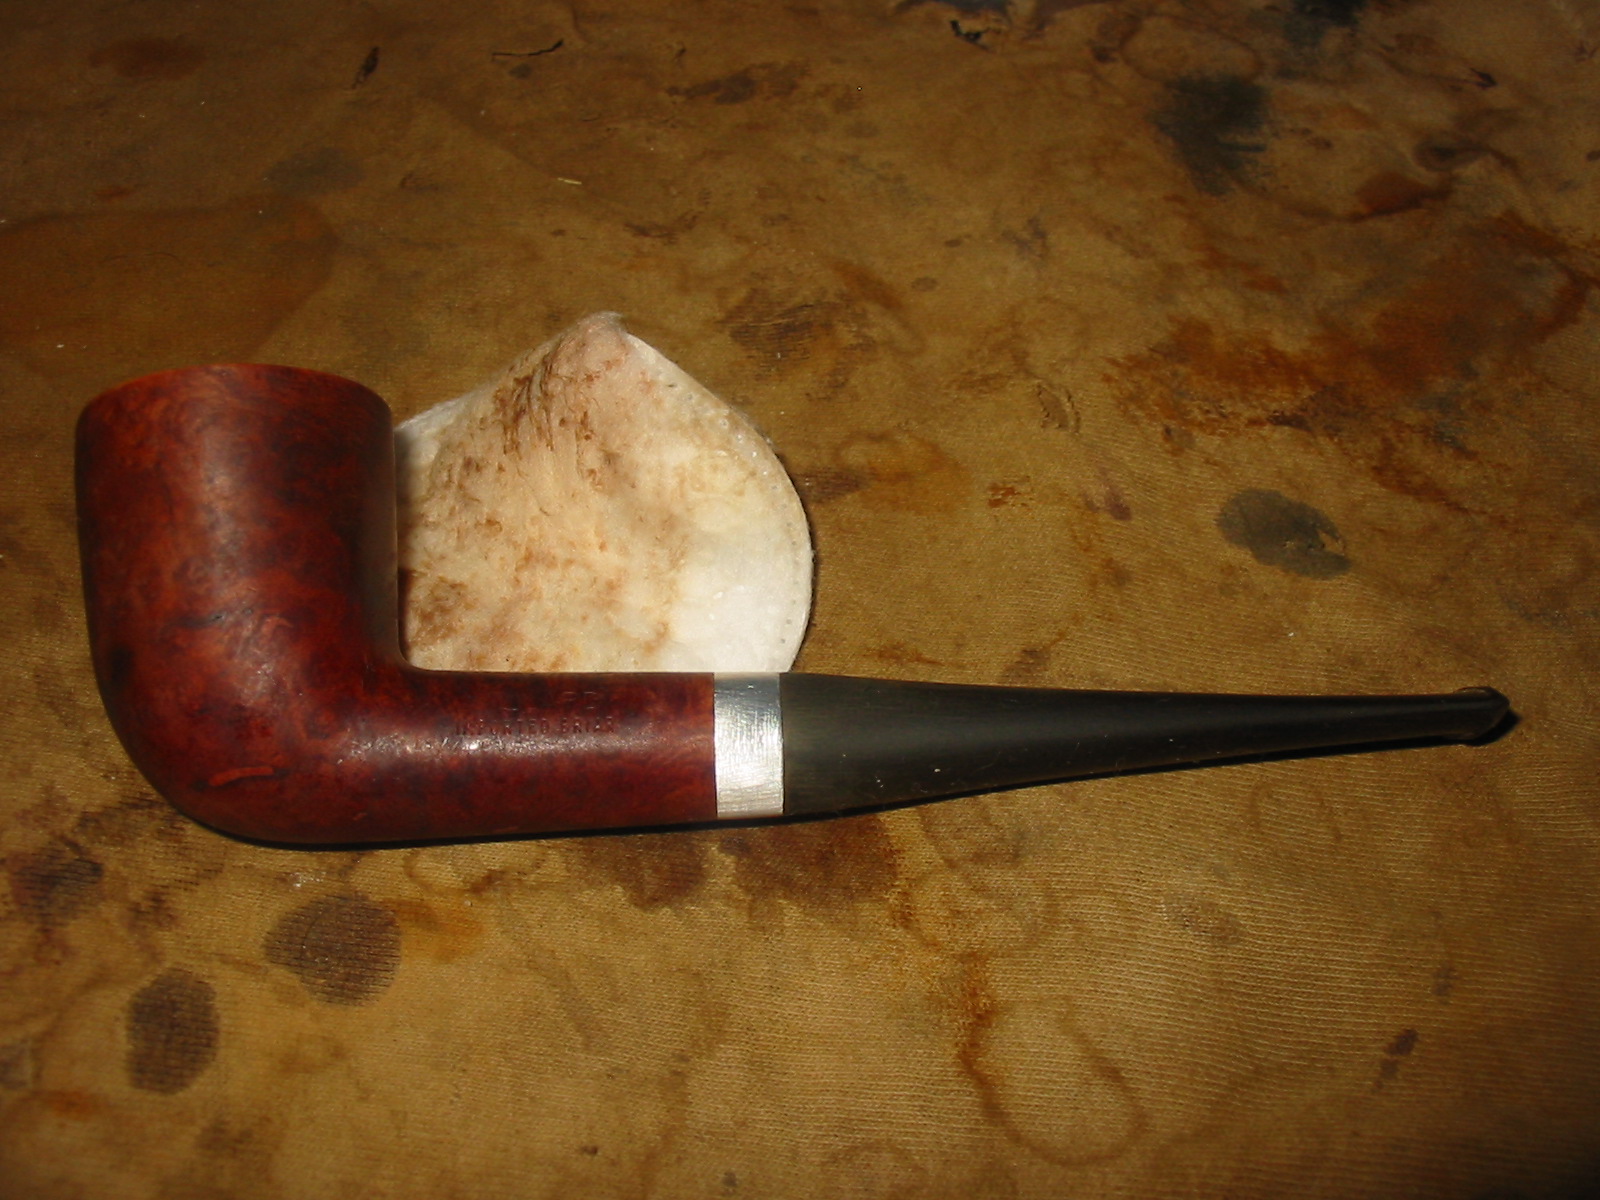
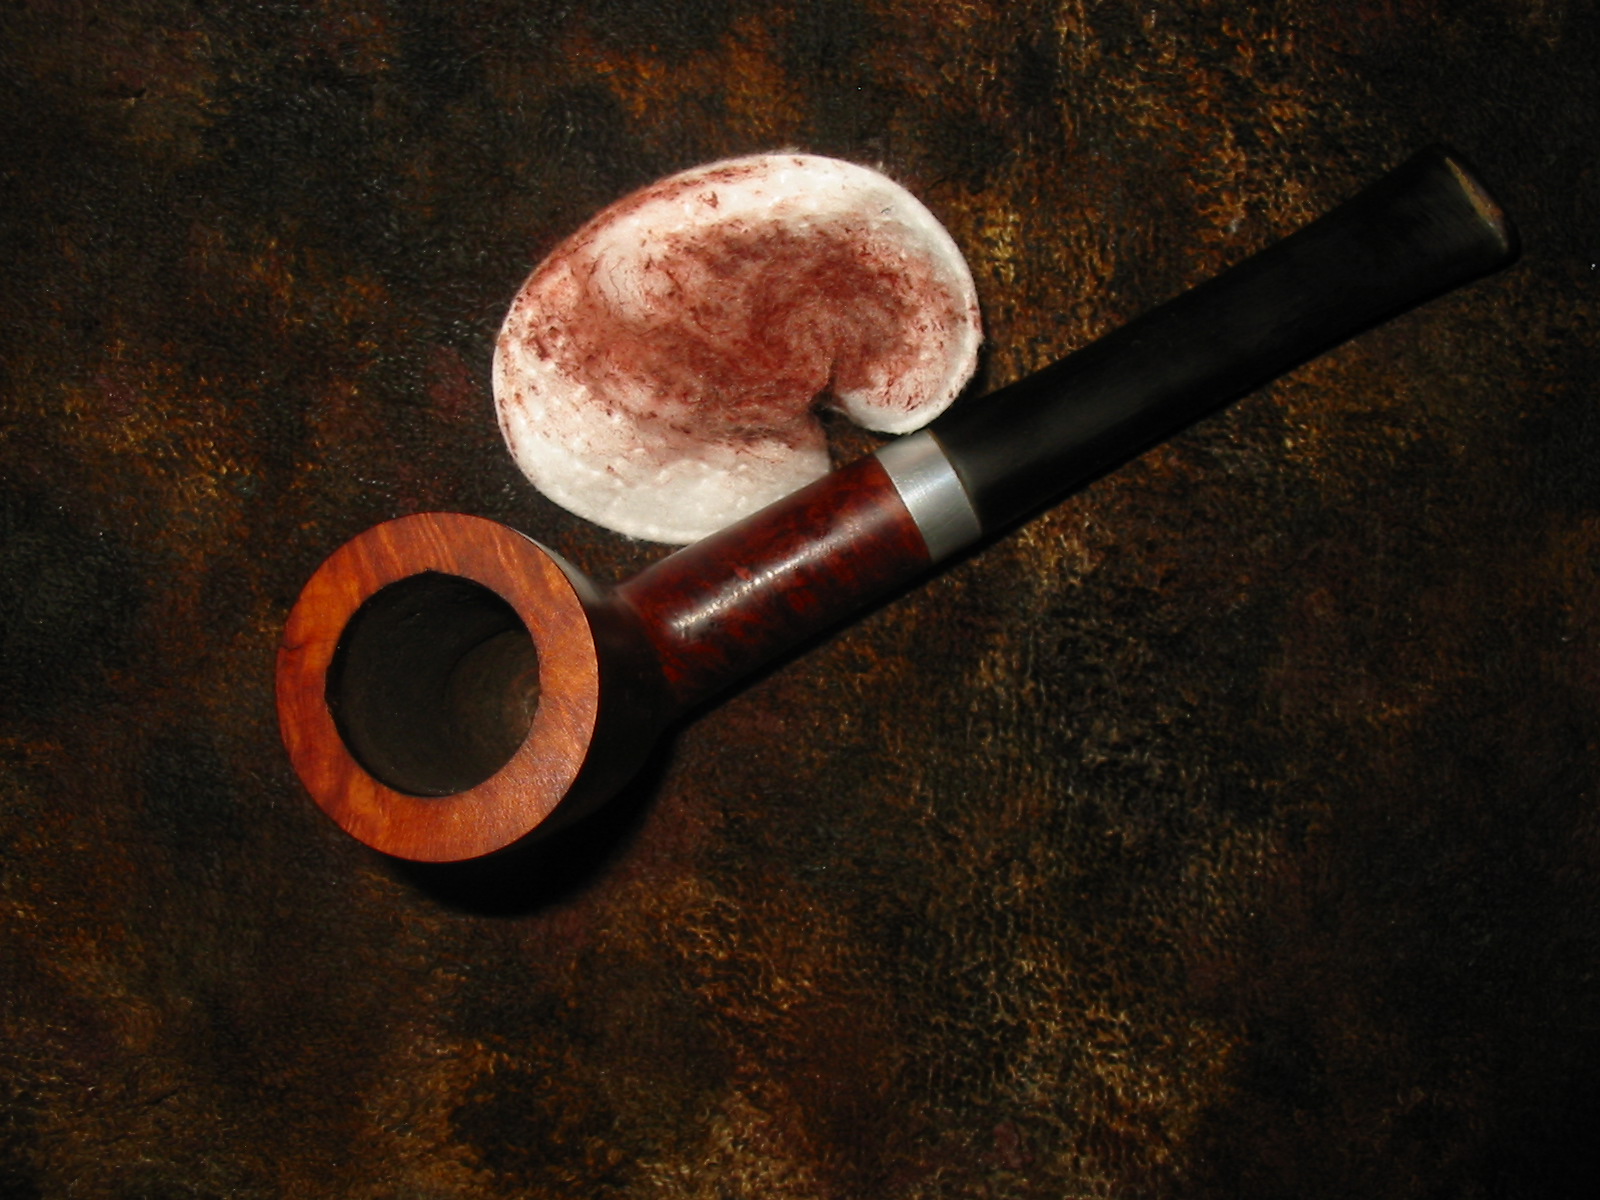
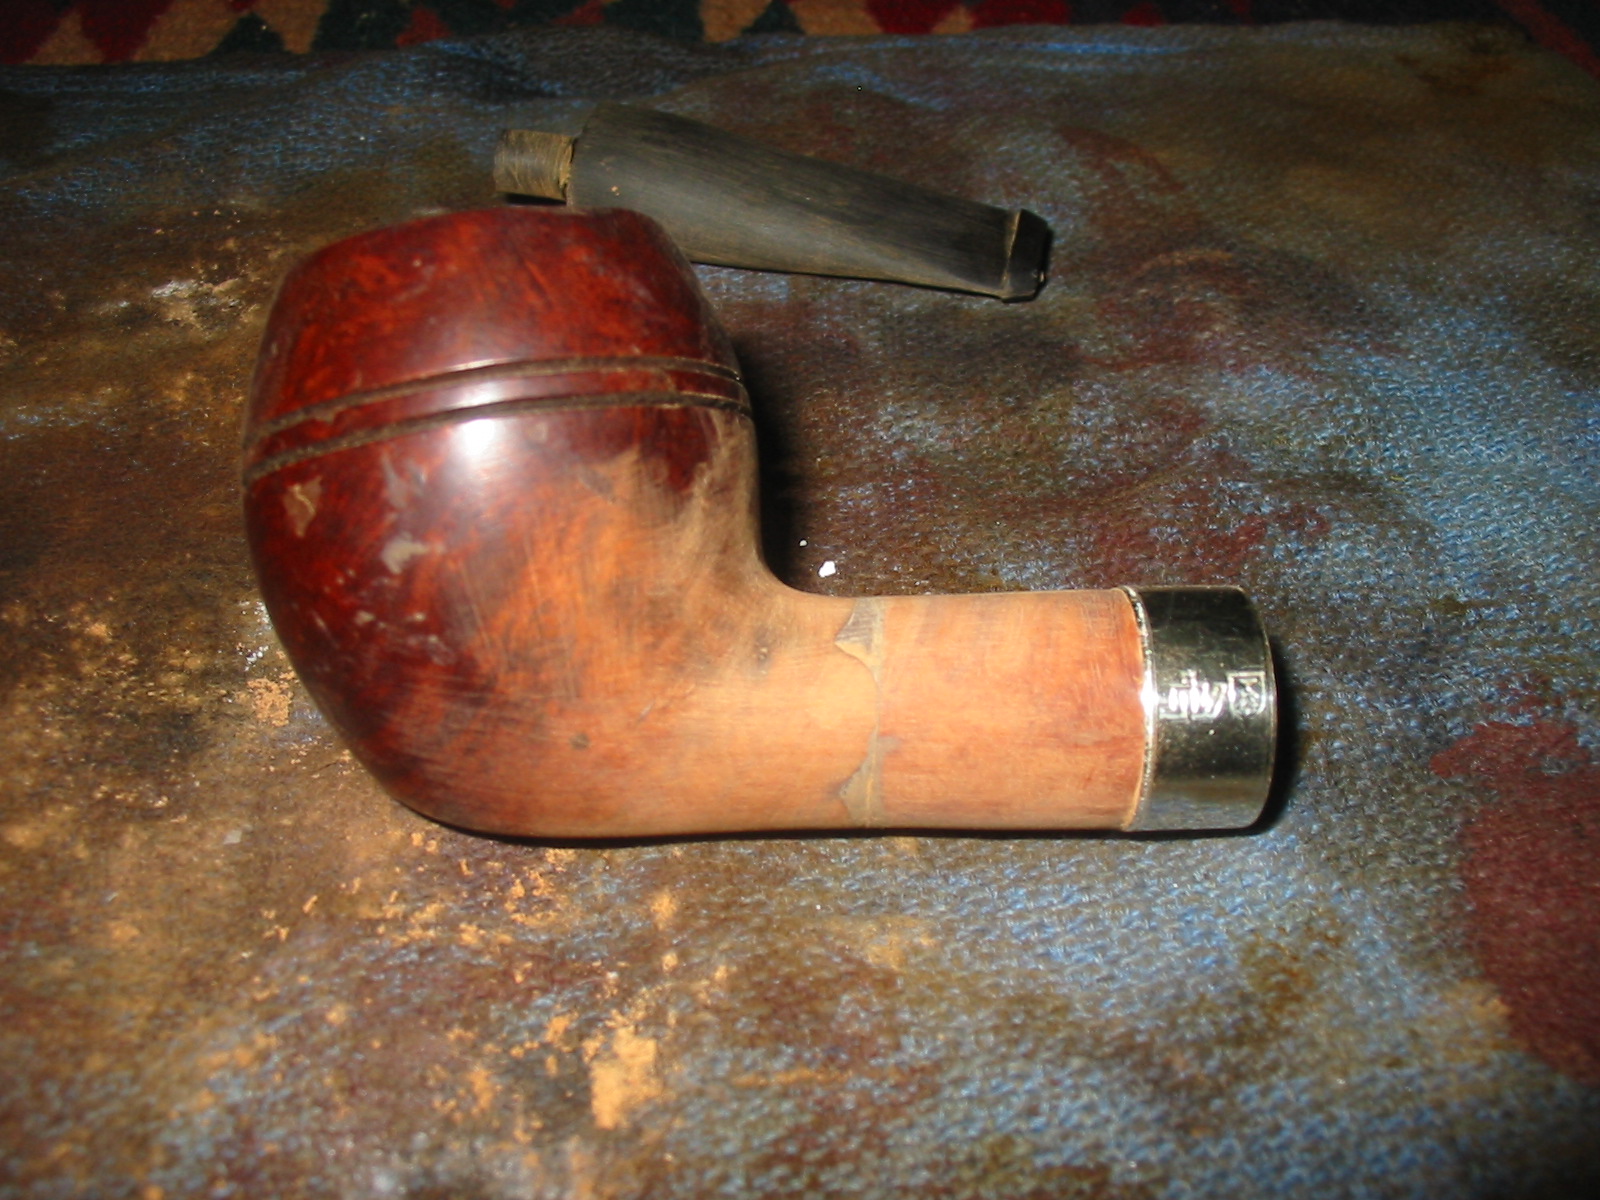
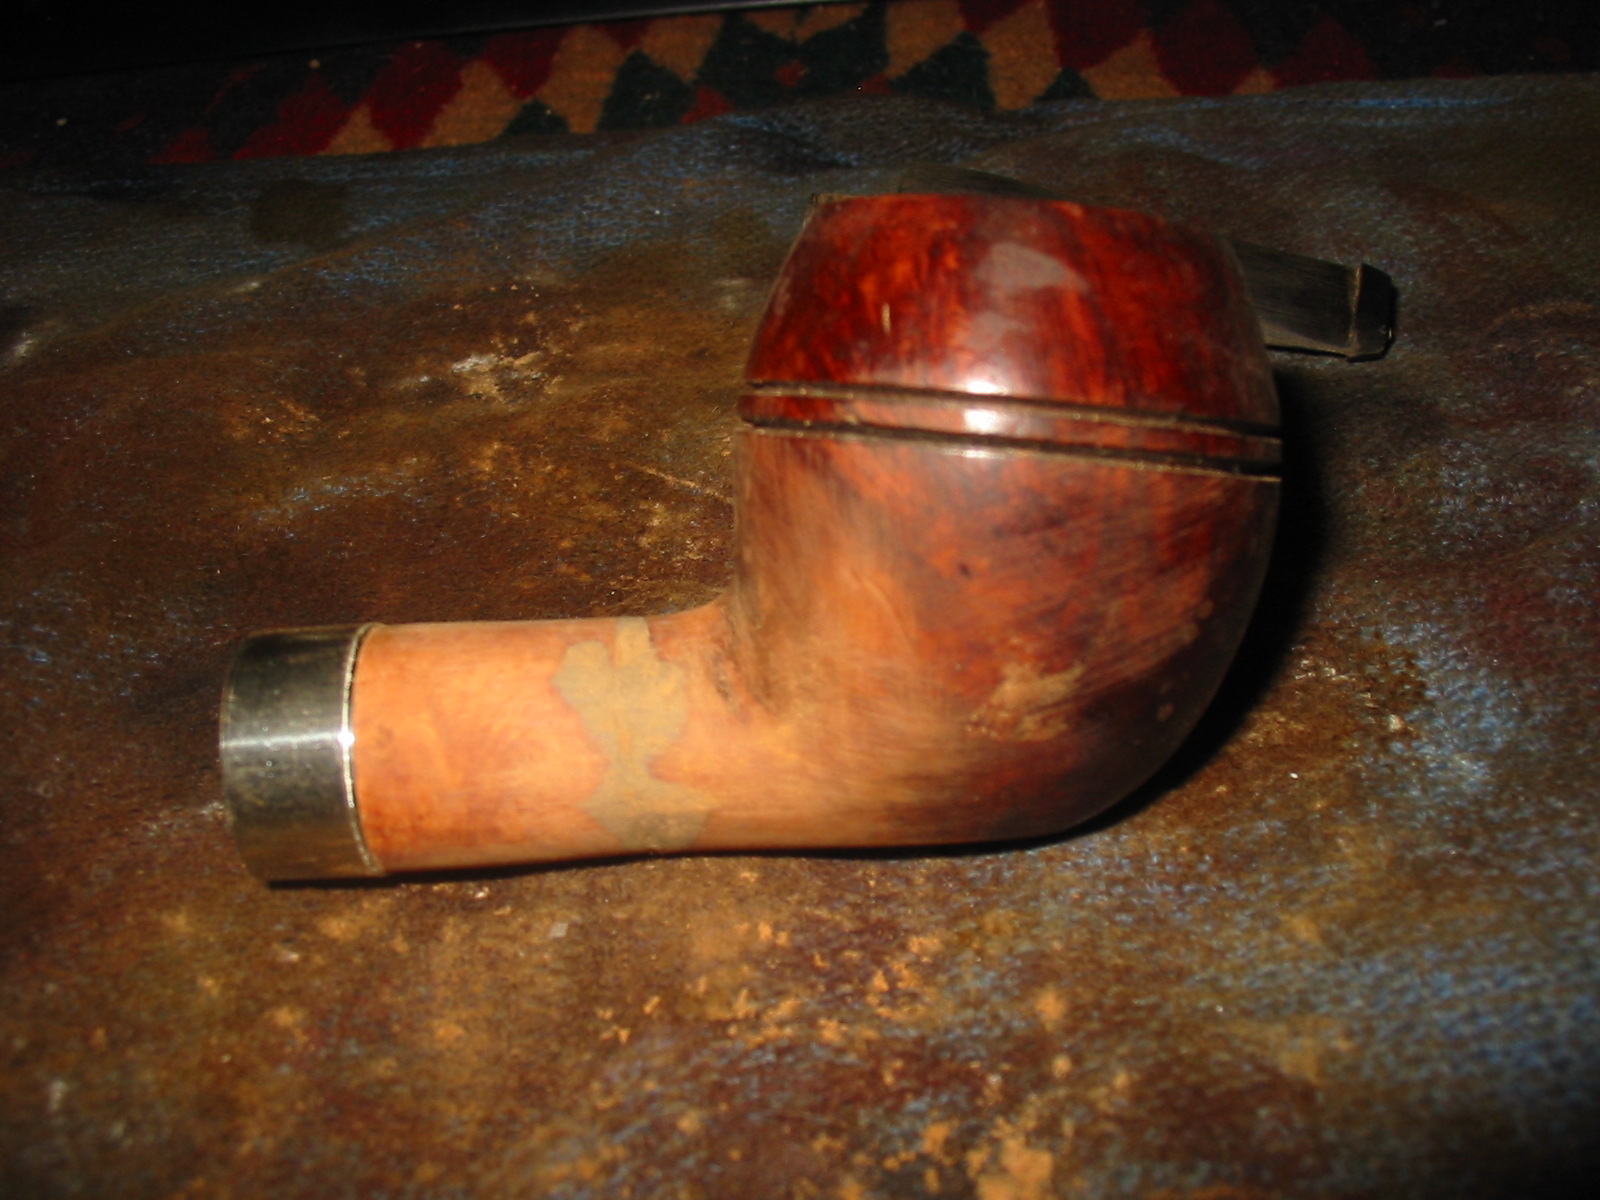
I buffed the bowl with White Diamond on the wheel to further remove some of the stain and smooth out the surface of the briar. I avoided the area of the stamping so as not to further damage the already faint stamping. I then folded a piece of sandpaper and worked on the inner edge of the rim to remove the damage and work the bowl back into round afterwards. I have included the photos below to give an idea of what the stain looked like at this point as well as the way the repairs were hidden by the stain. There is some great grain on this old pipe.


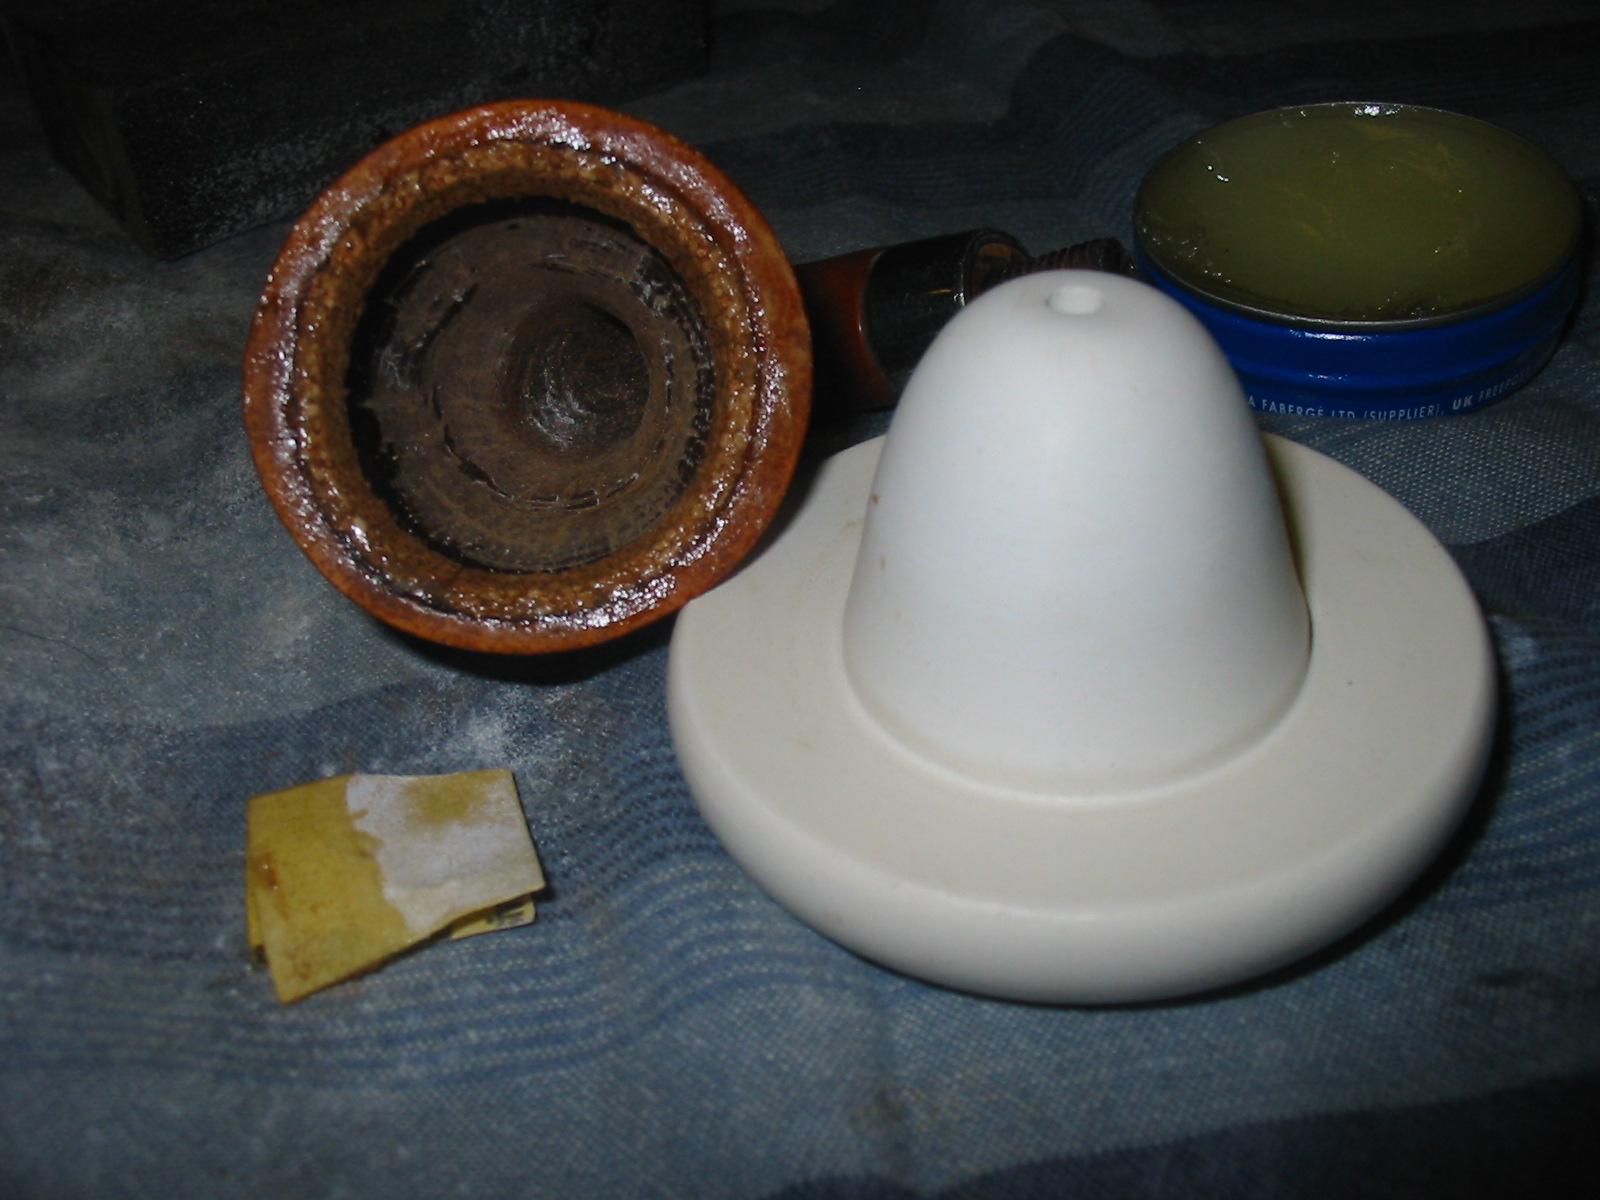
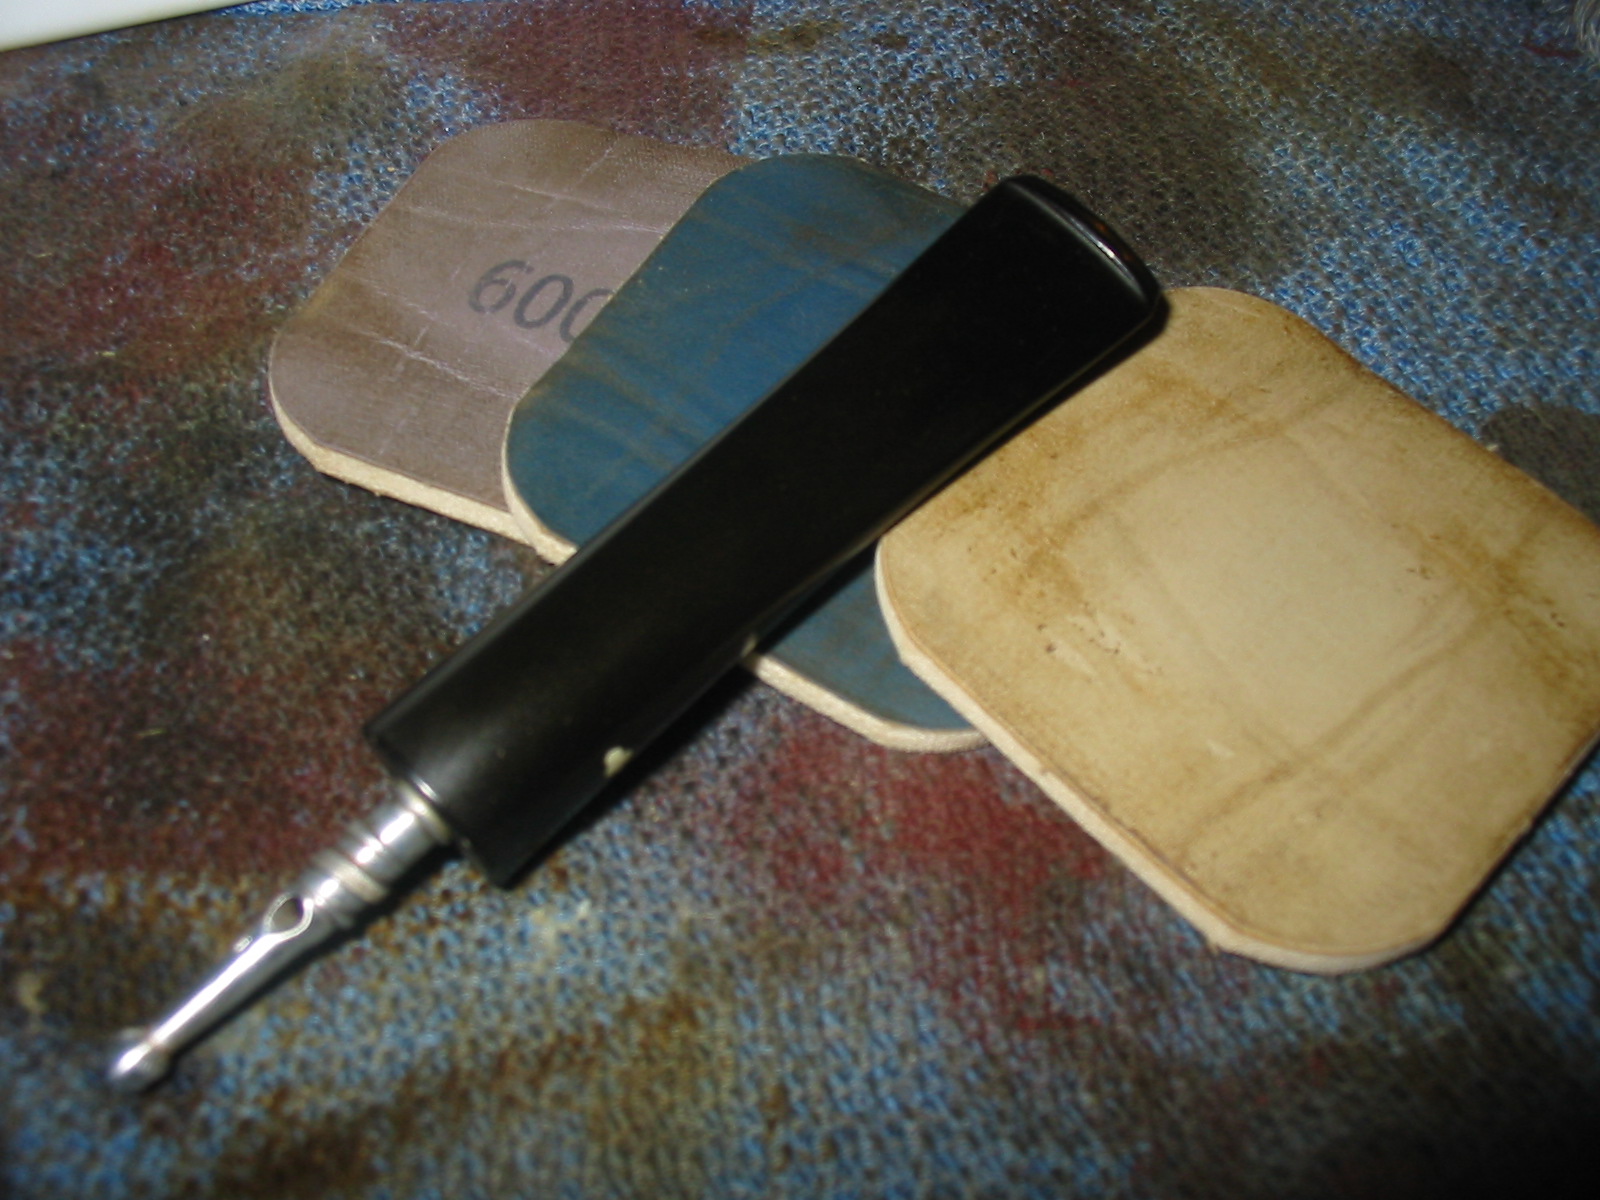
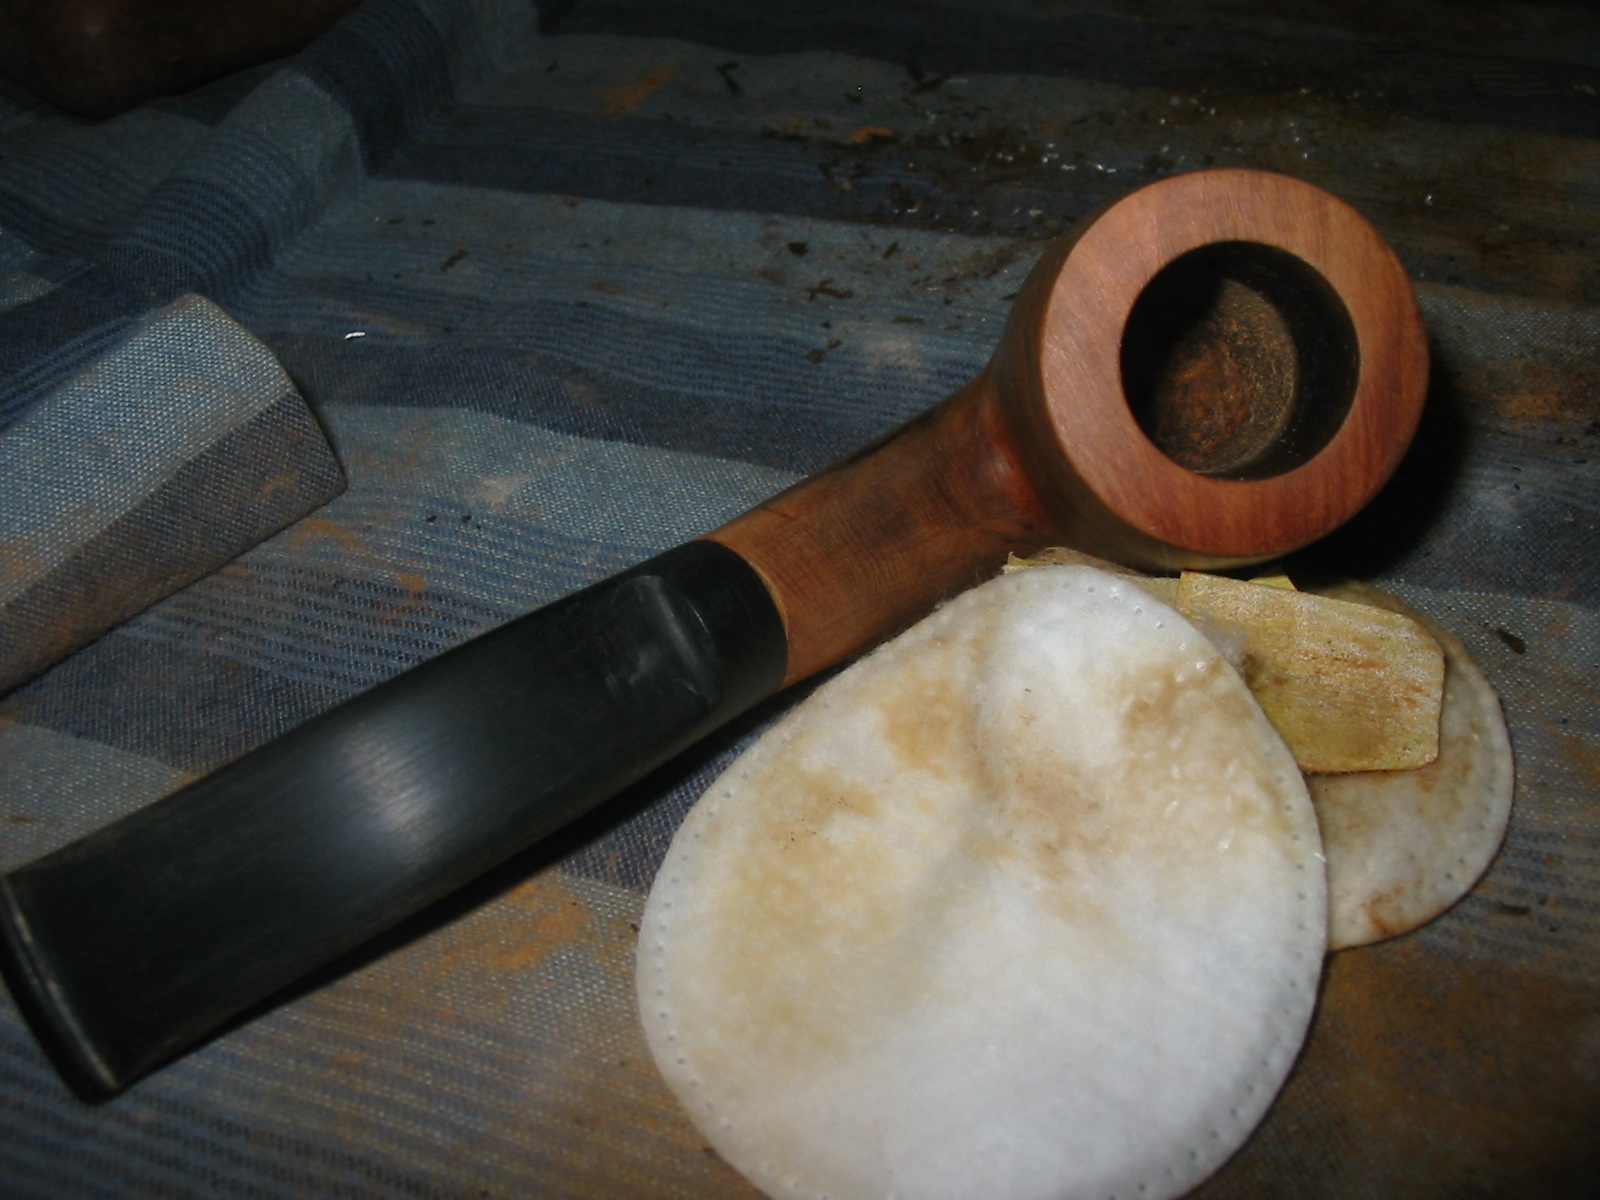
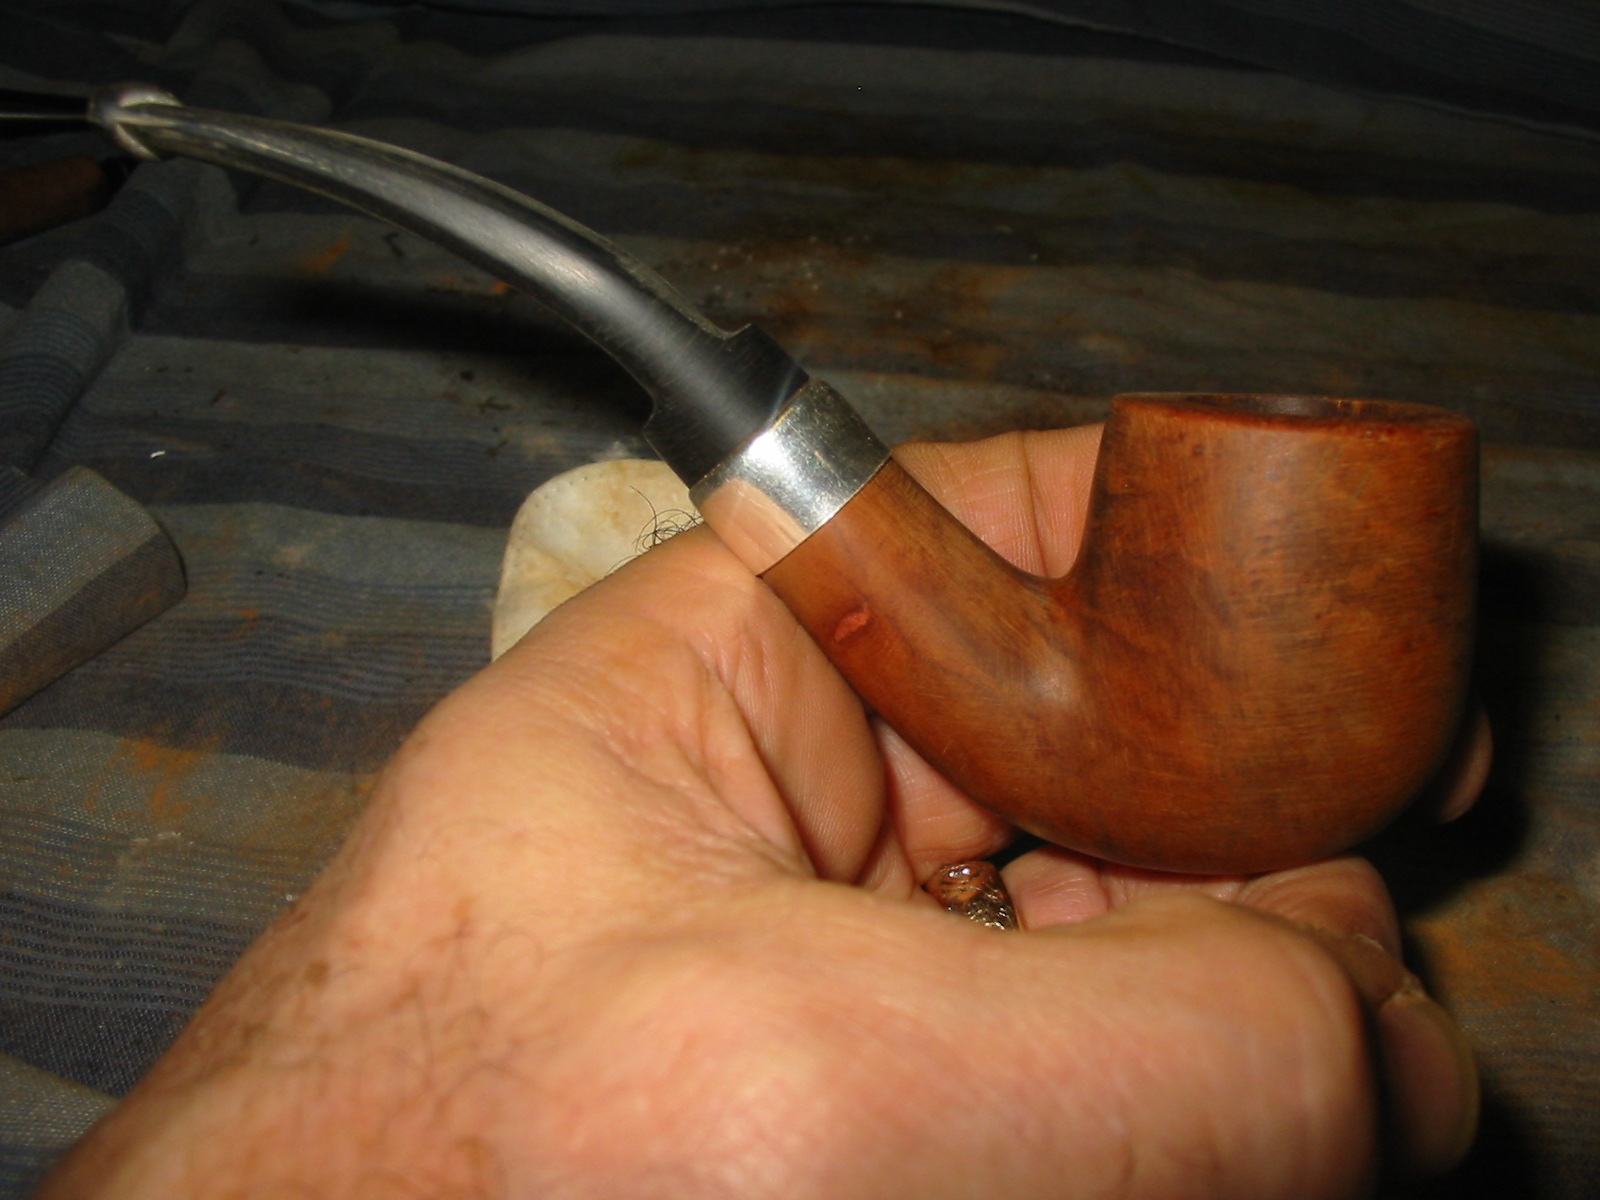
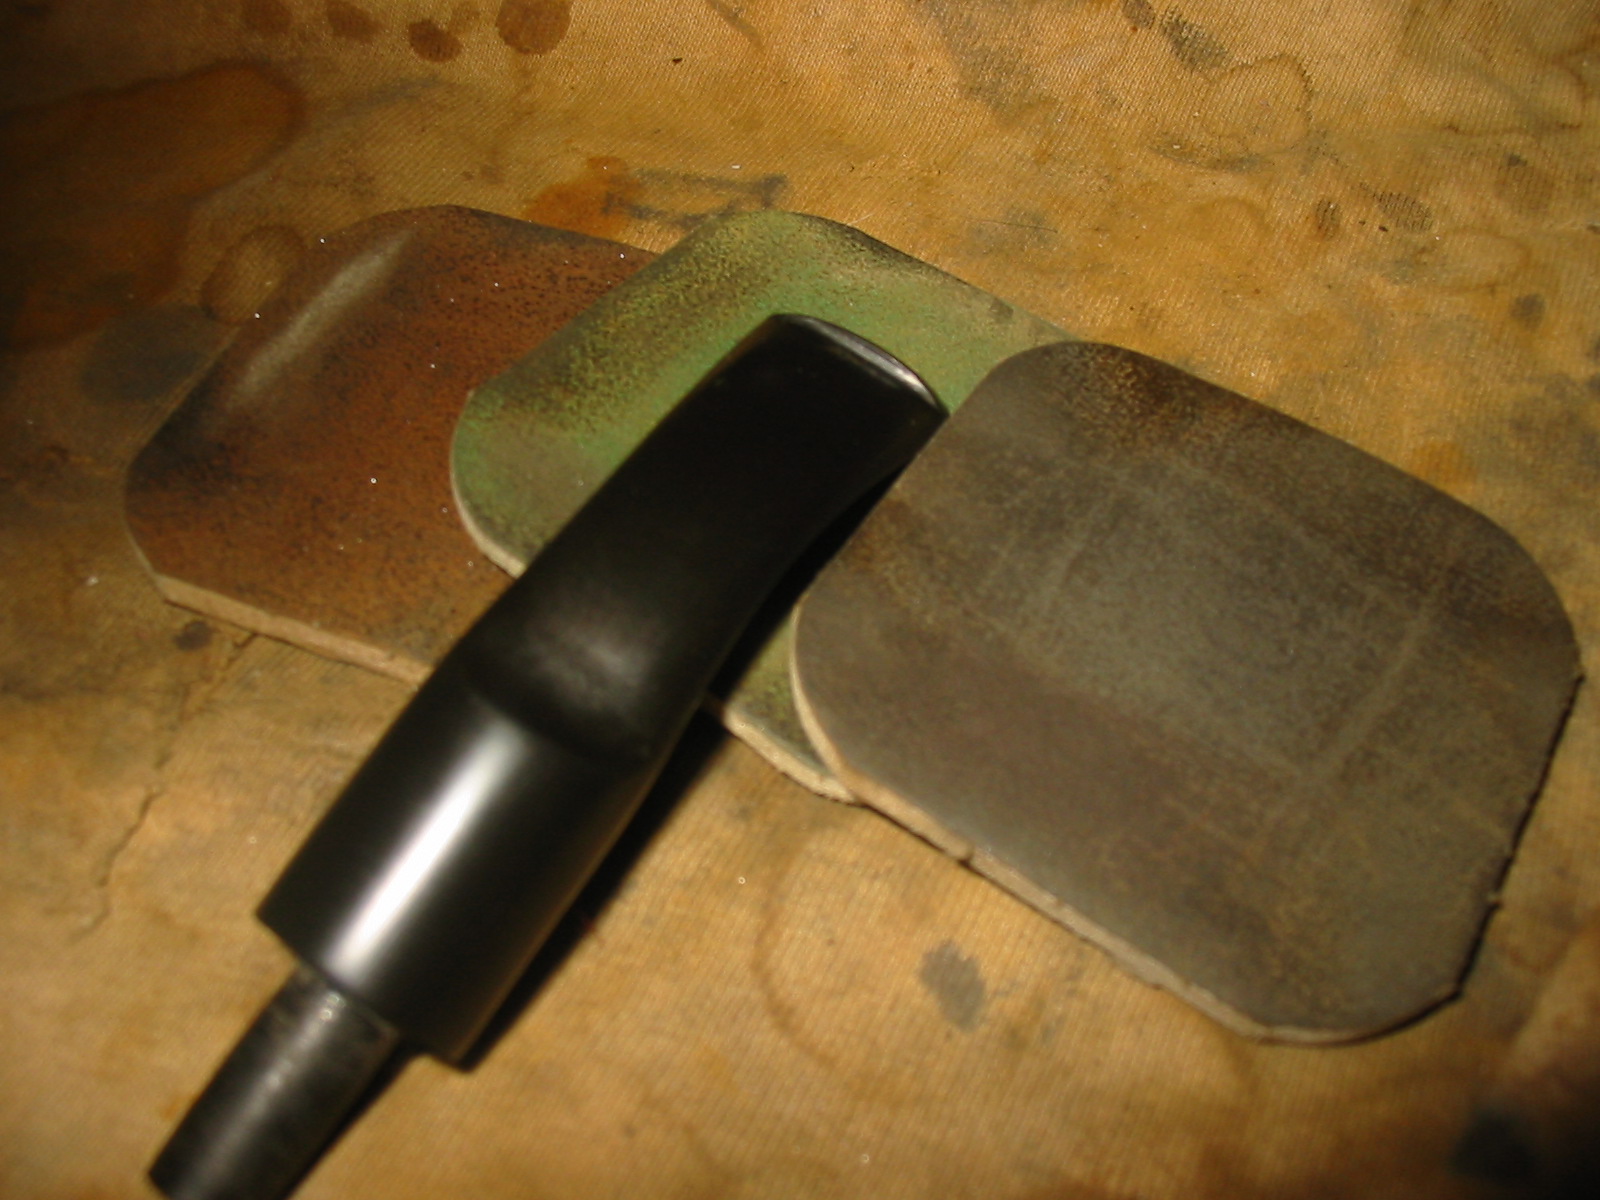
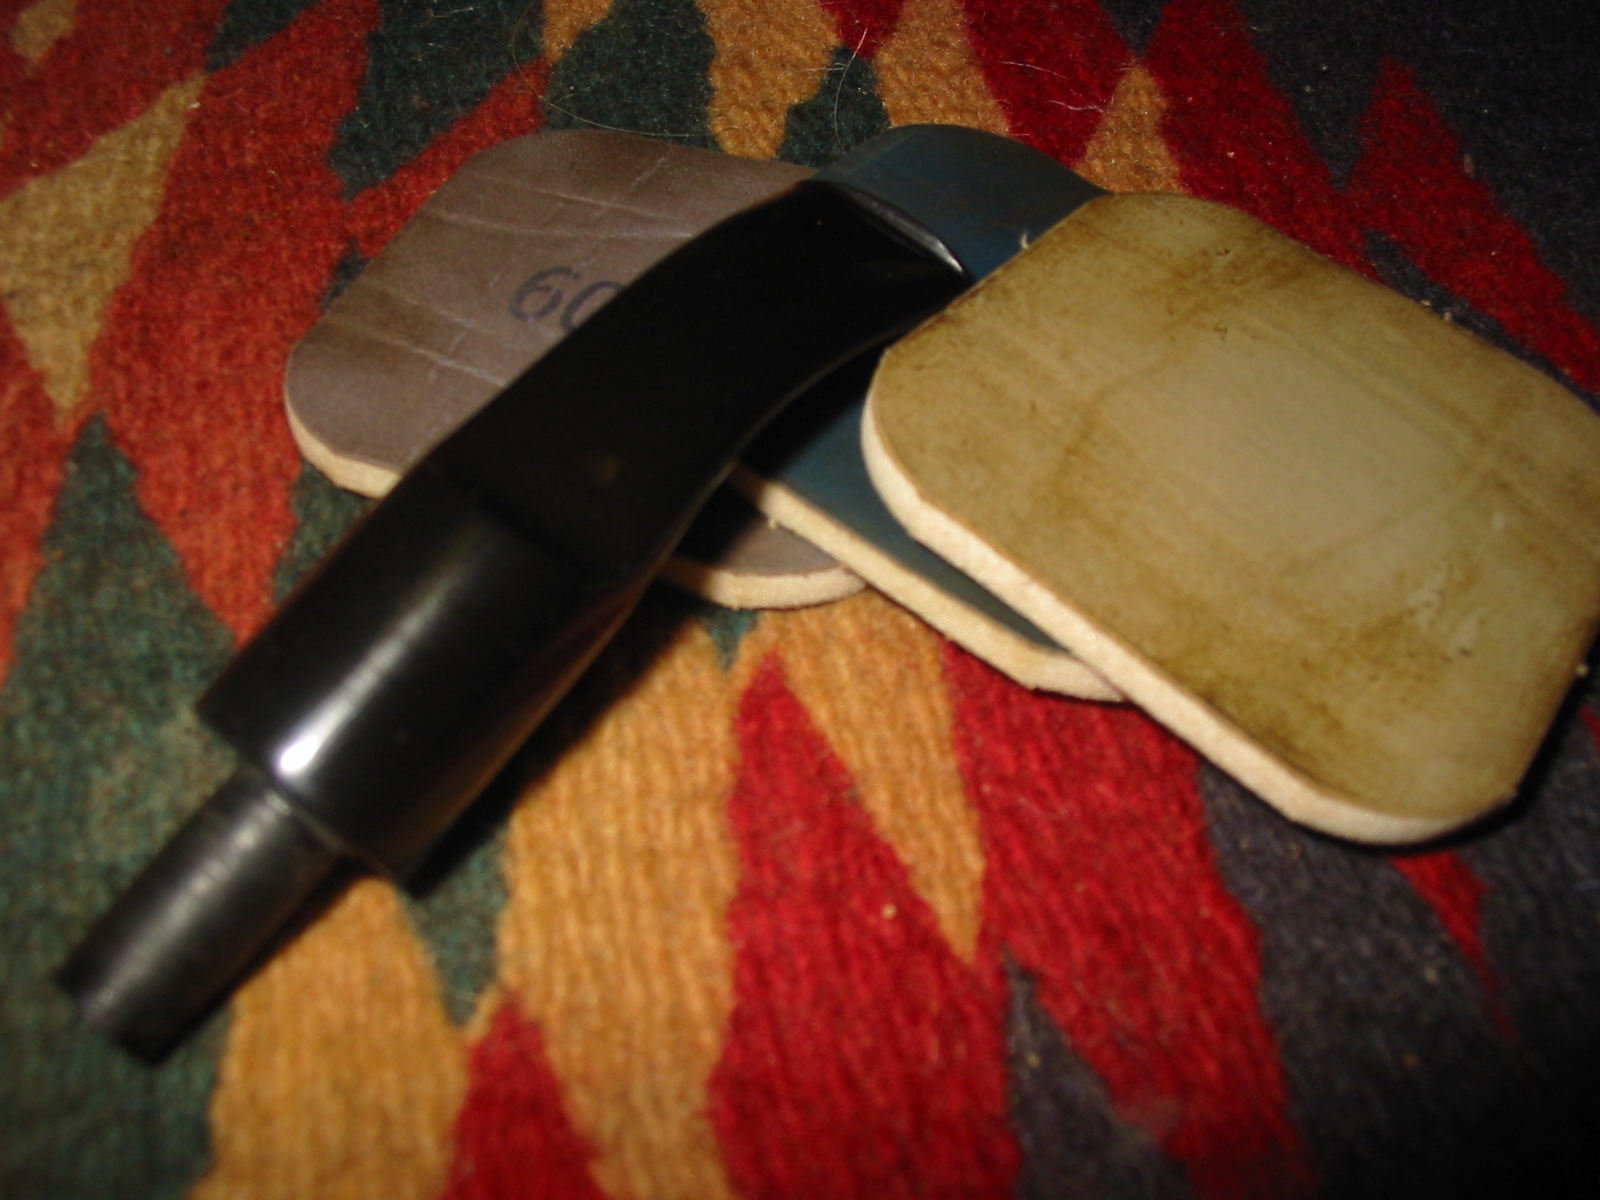
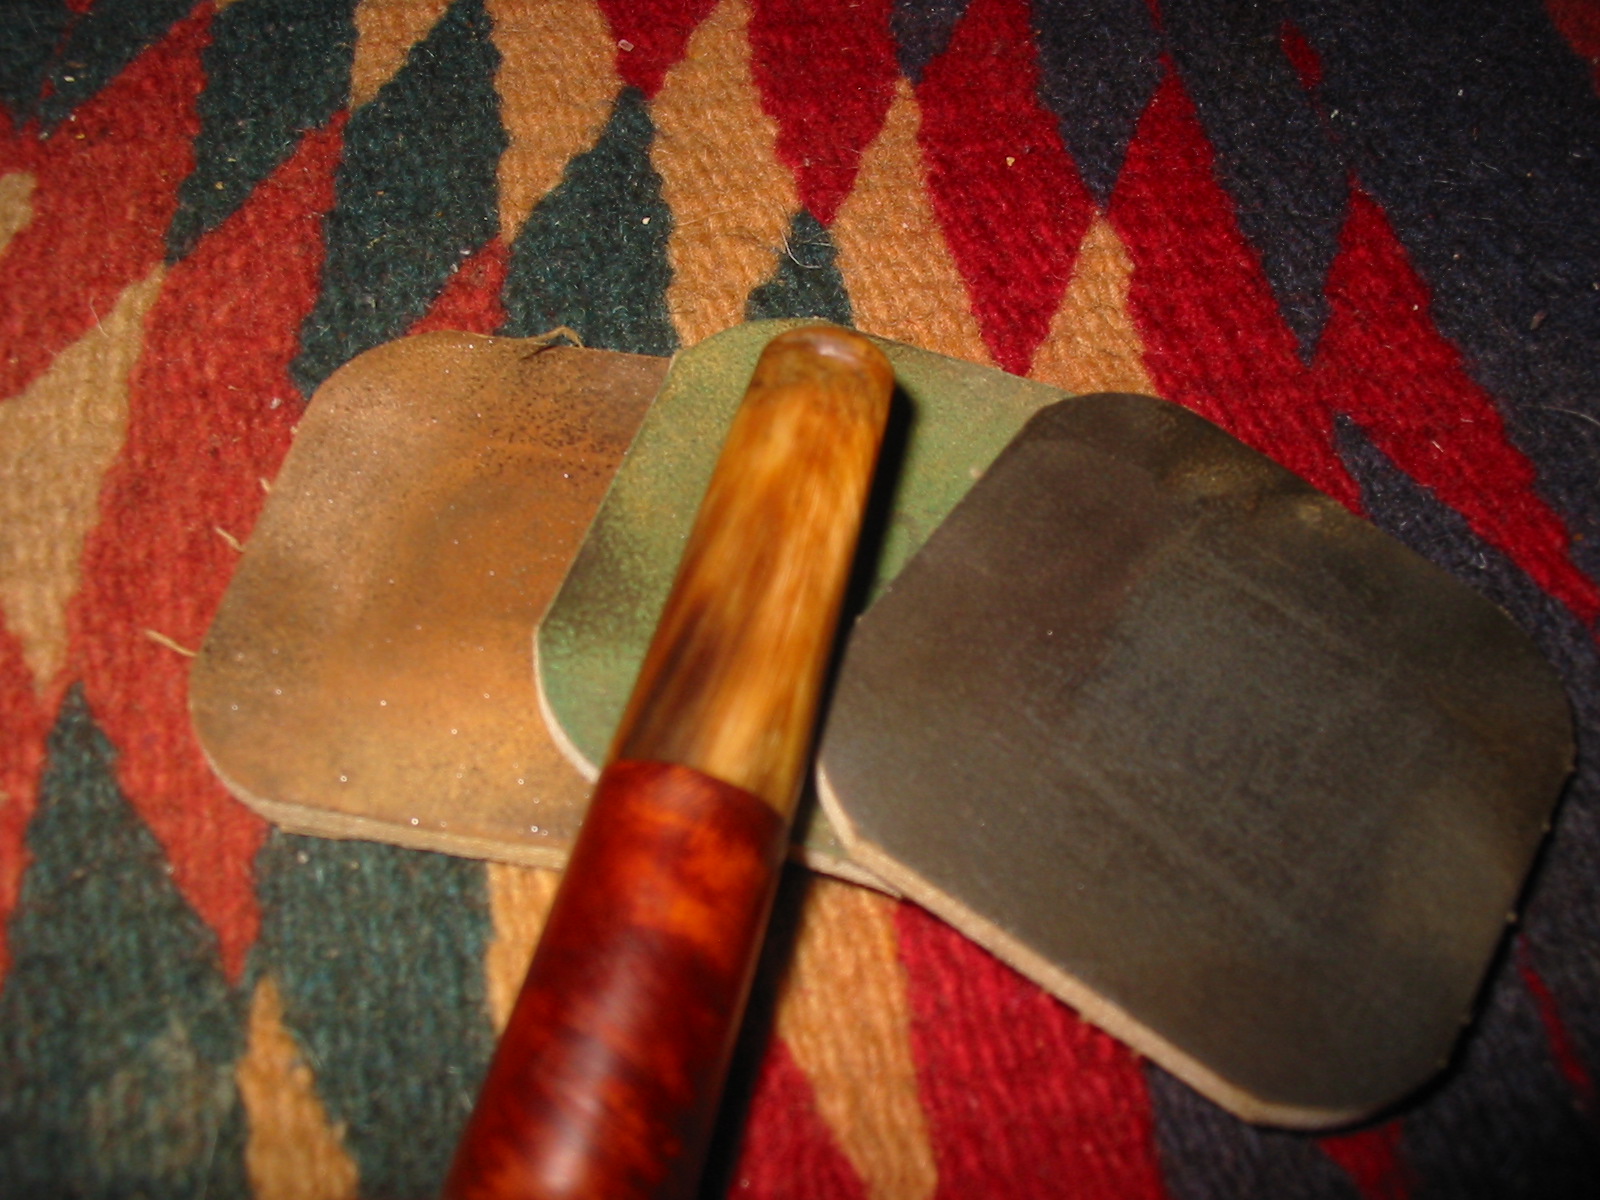
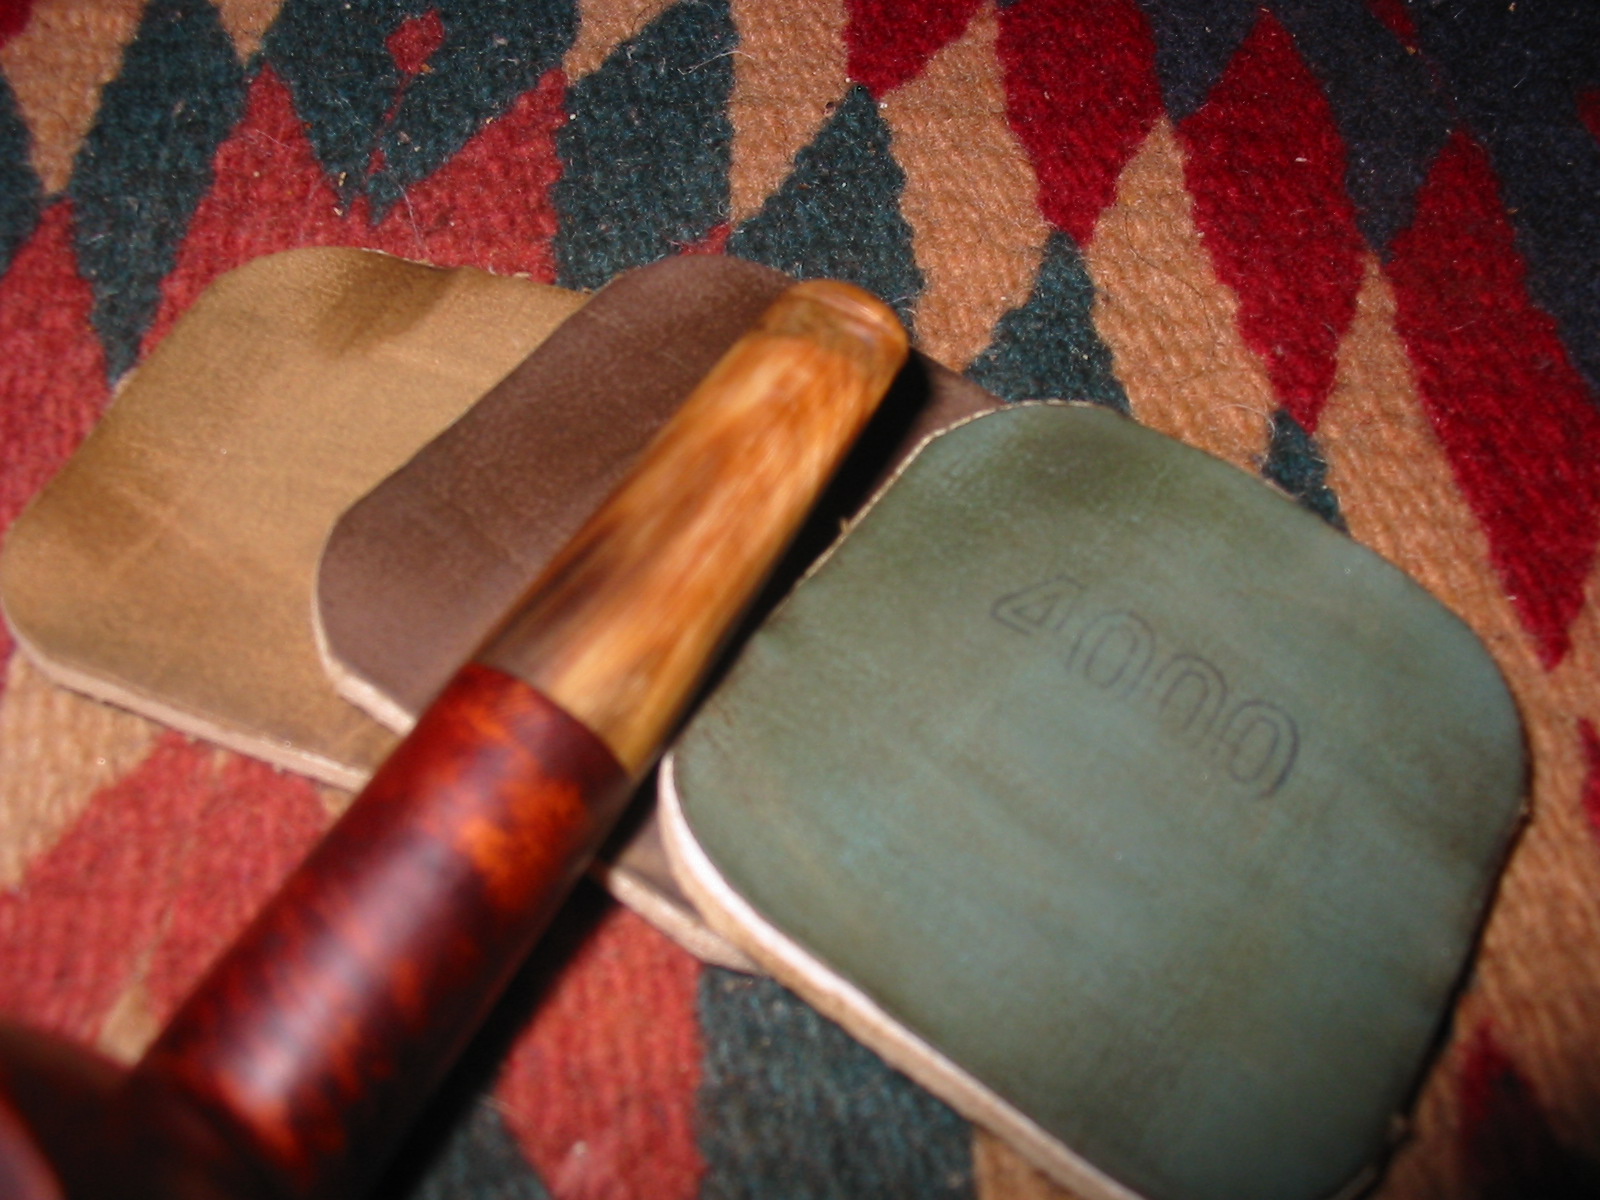
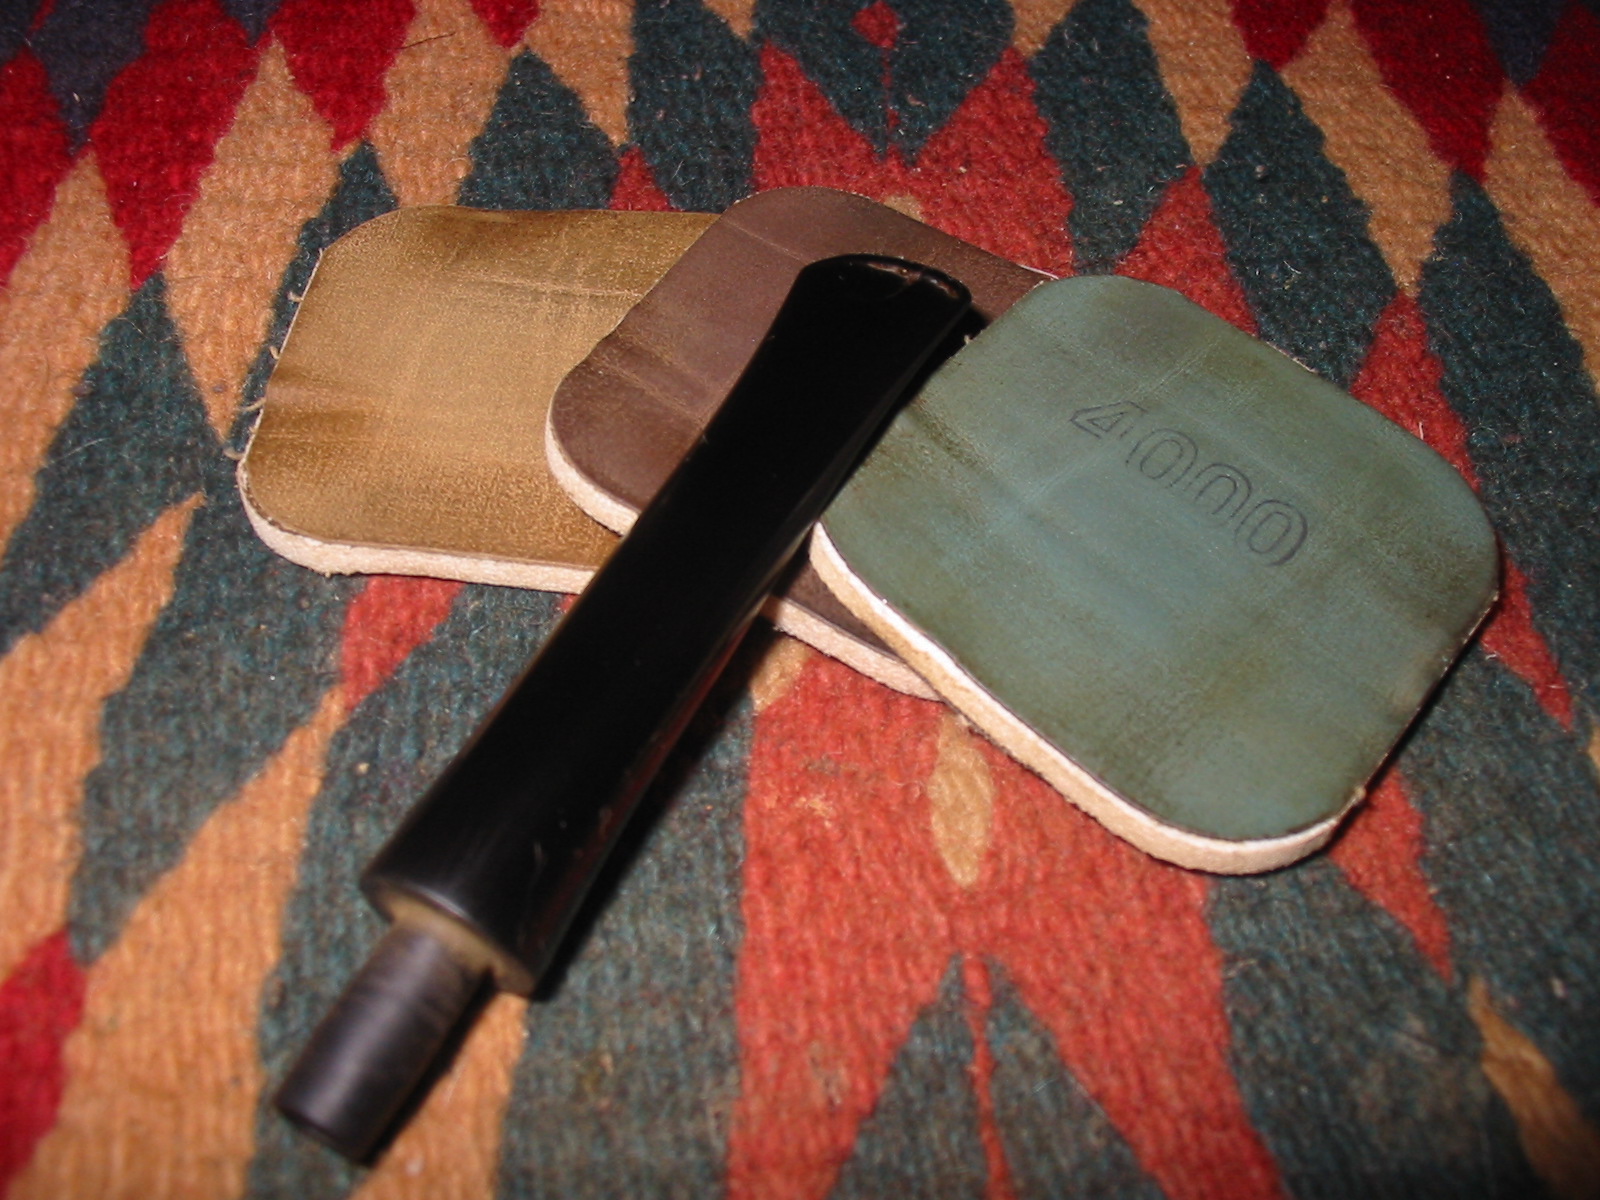
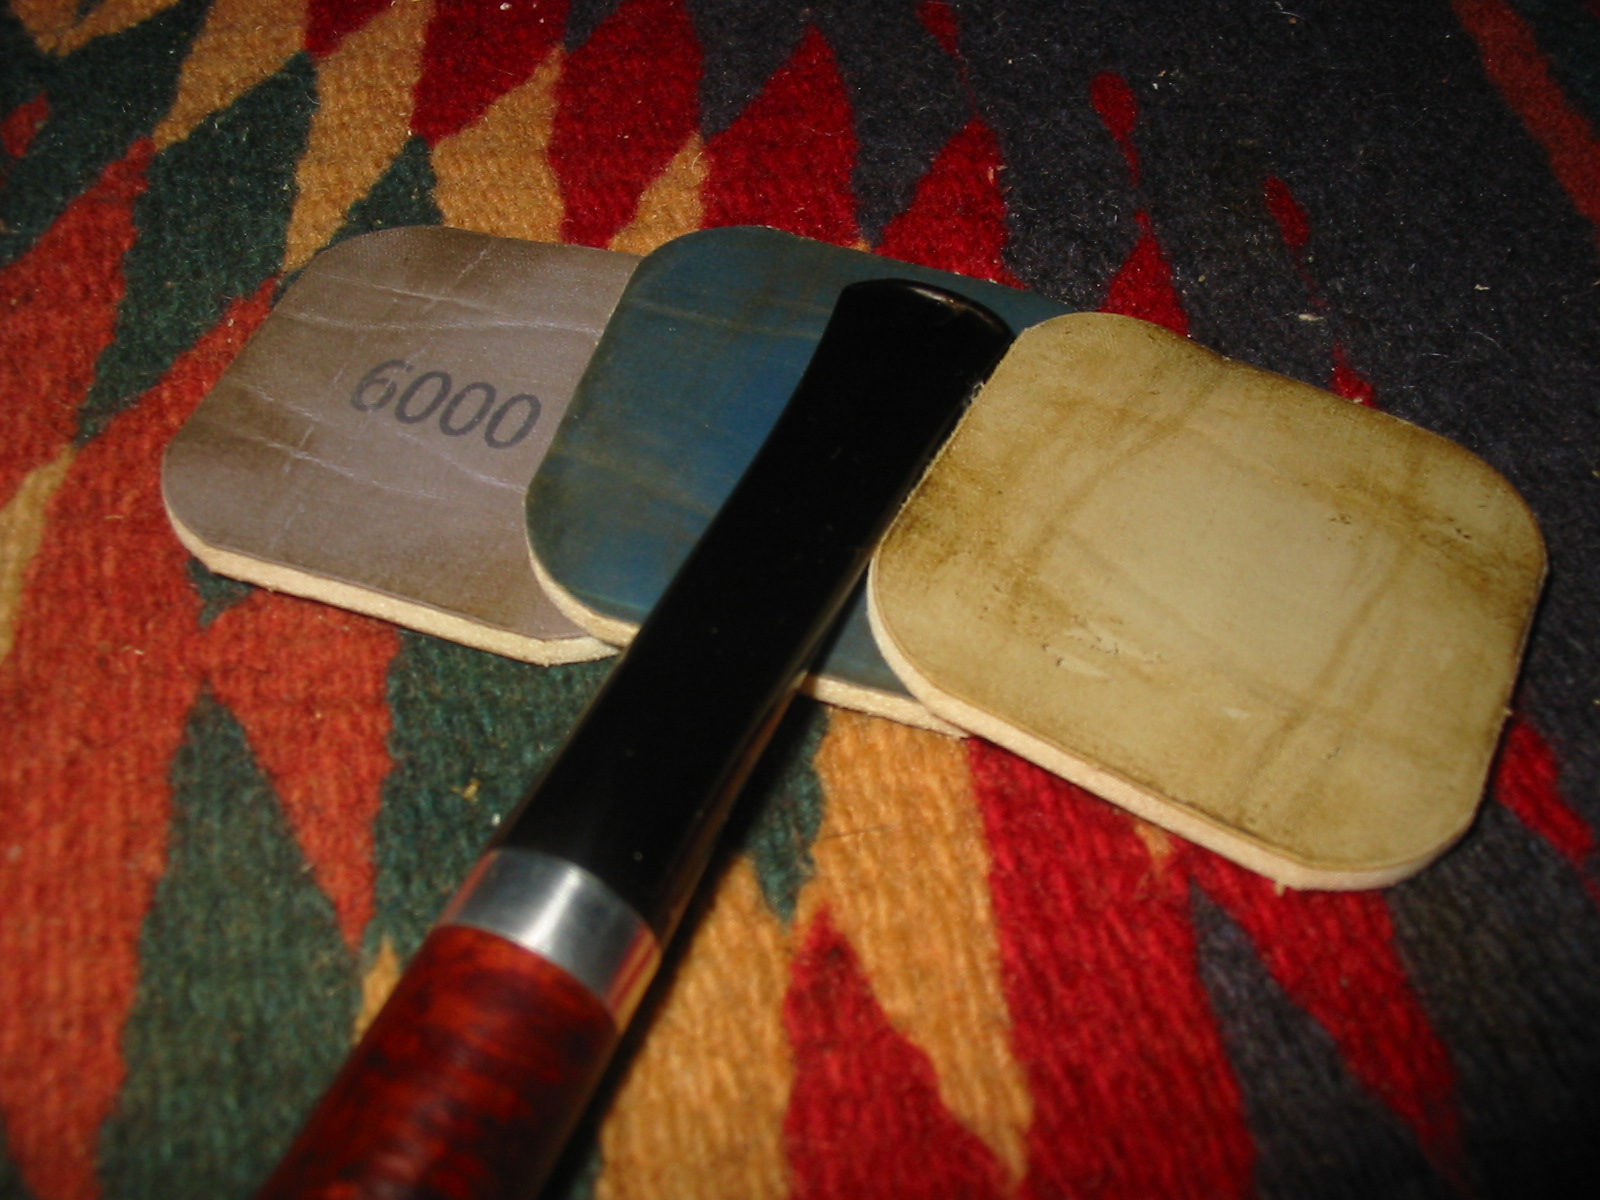
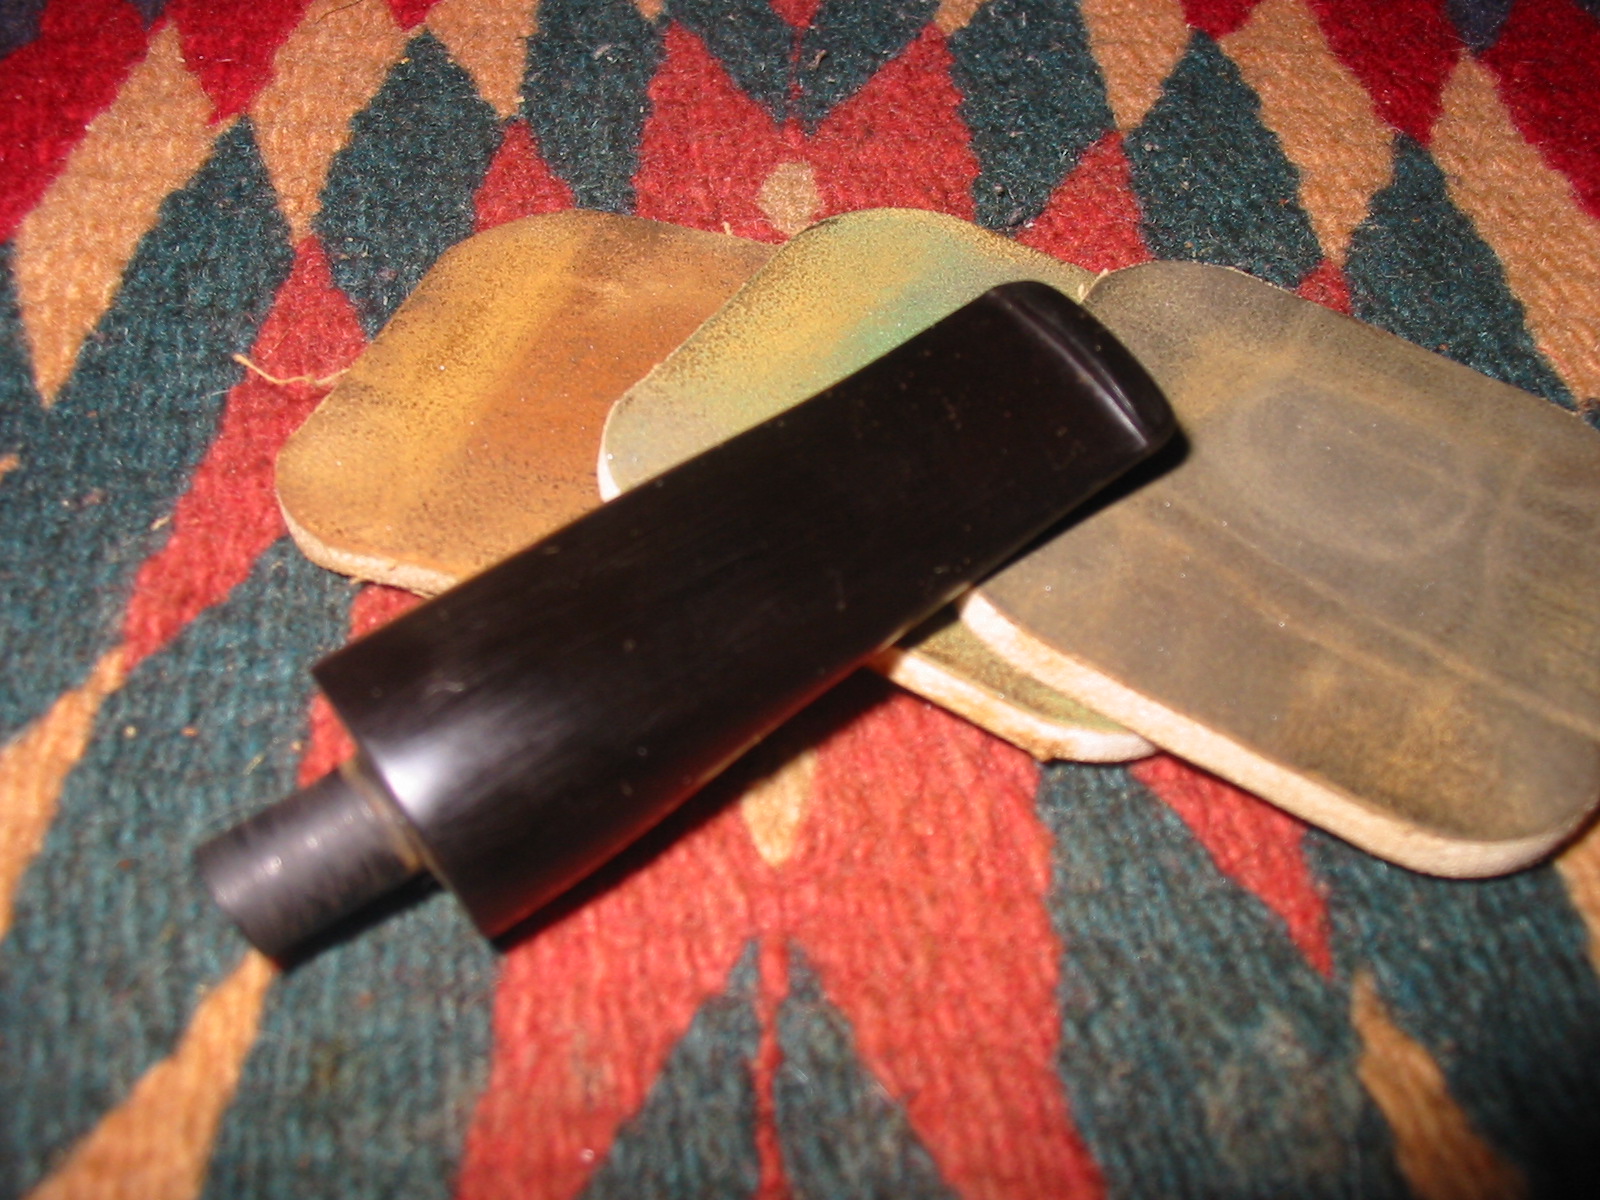
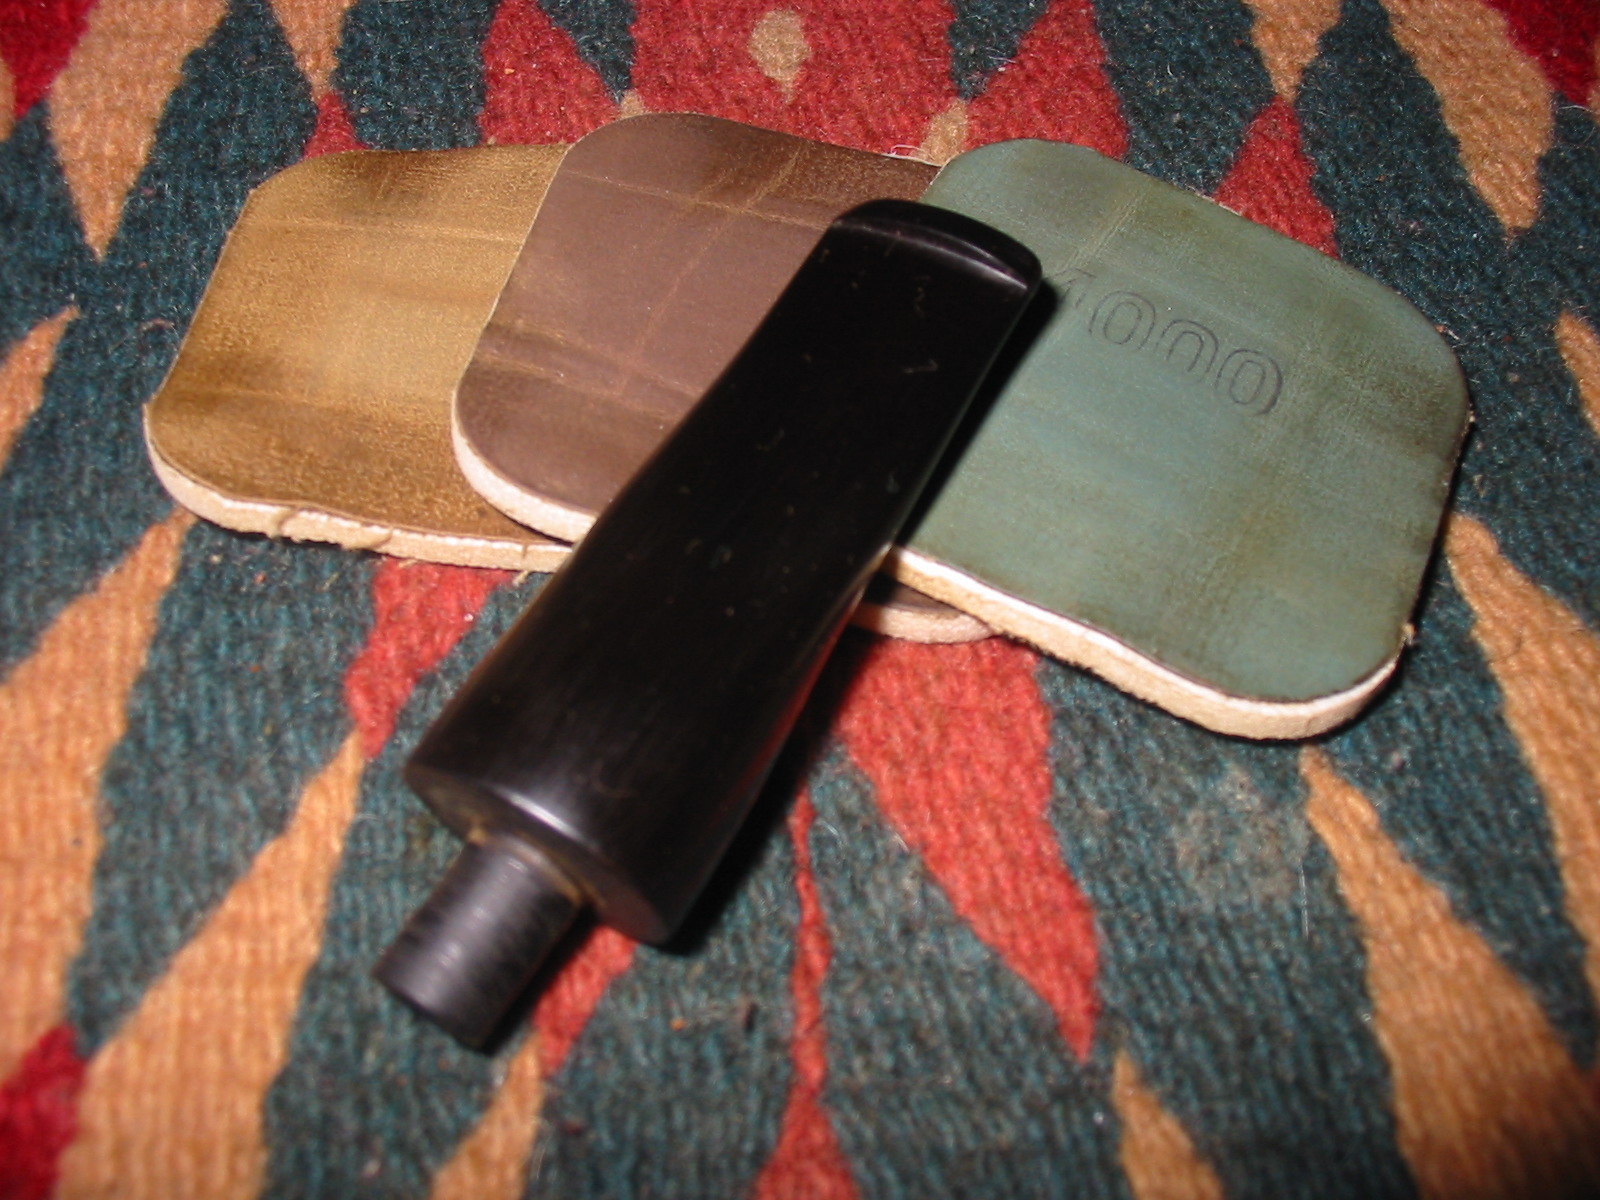
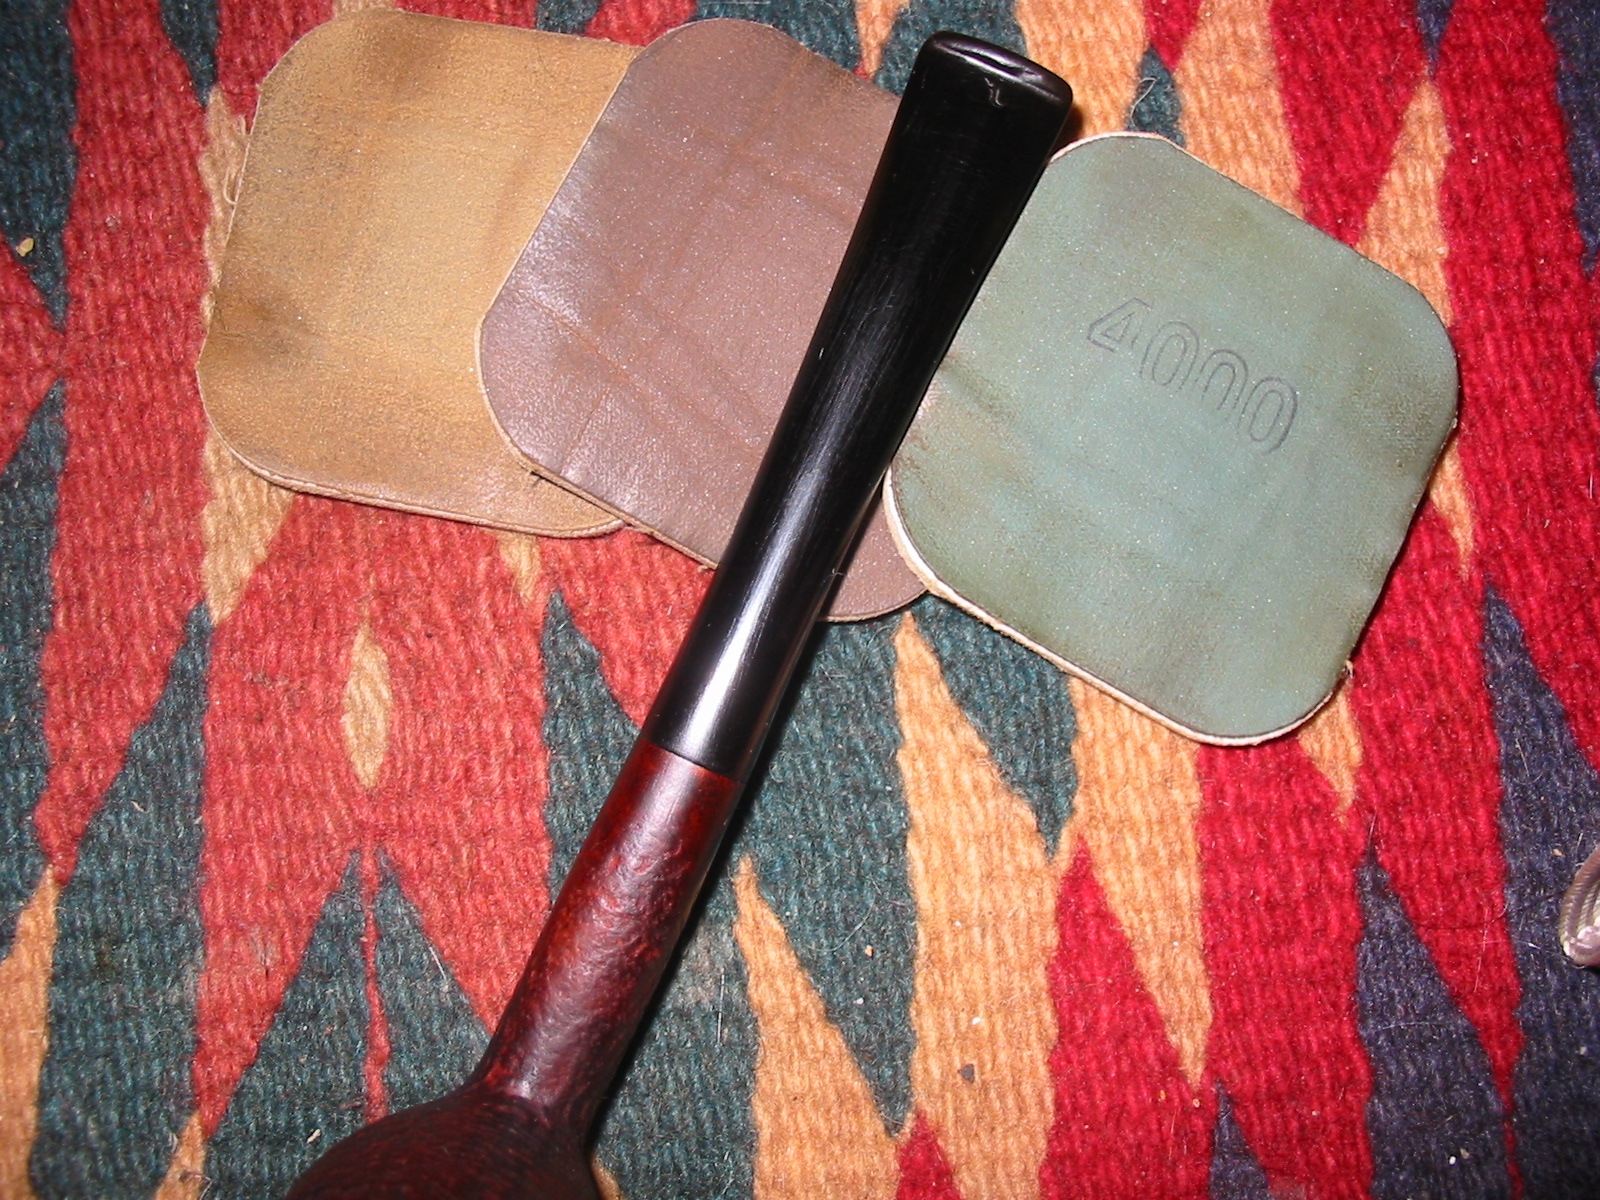
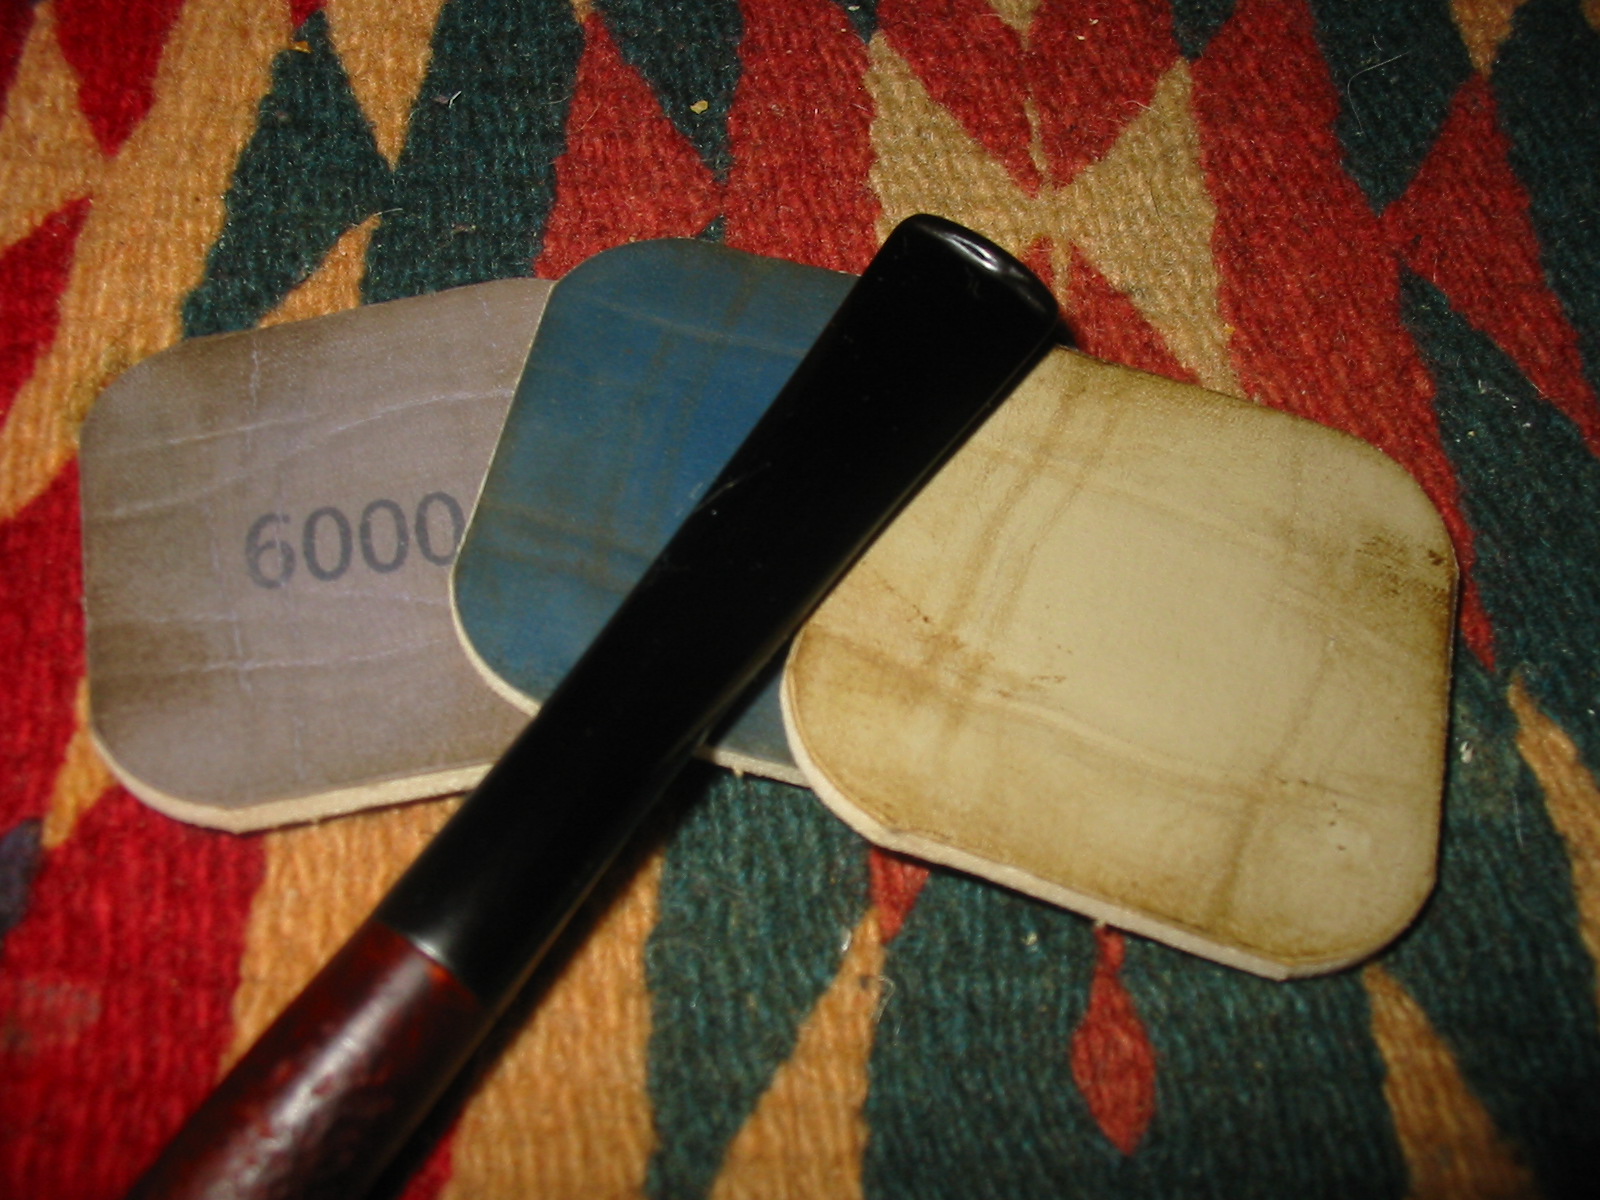
I sanded the bowl and stem with micromesh sanding pads. I wet sanded with 1500-2400 grit pads and dry sanded with 3200-12000 grit pads. I rubbed the stem down with Obsidian Oil to preserve the horn and renew it.


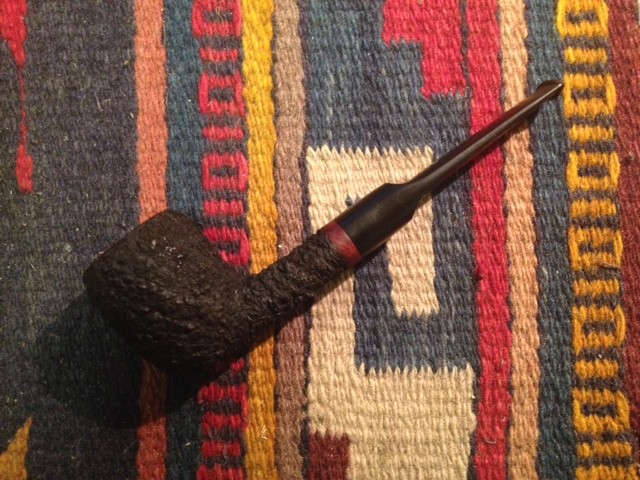
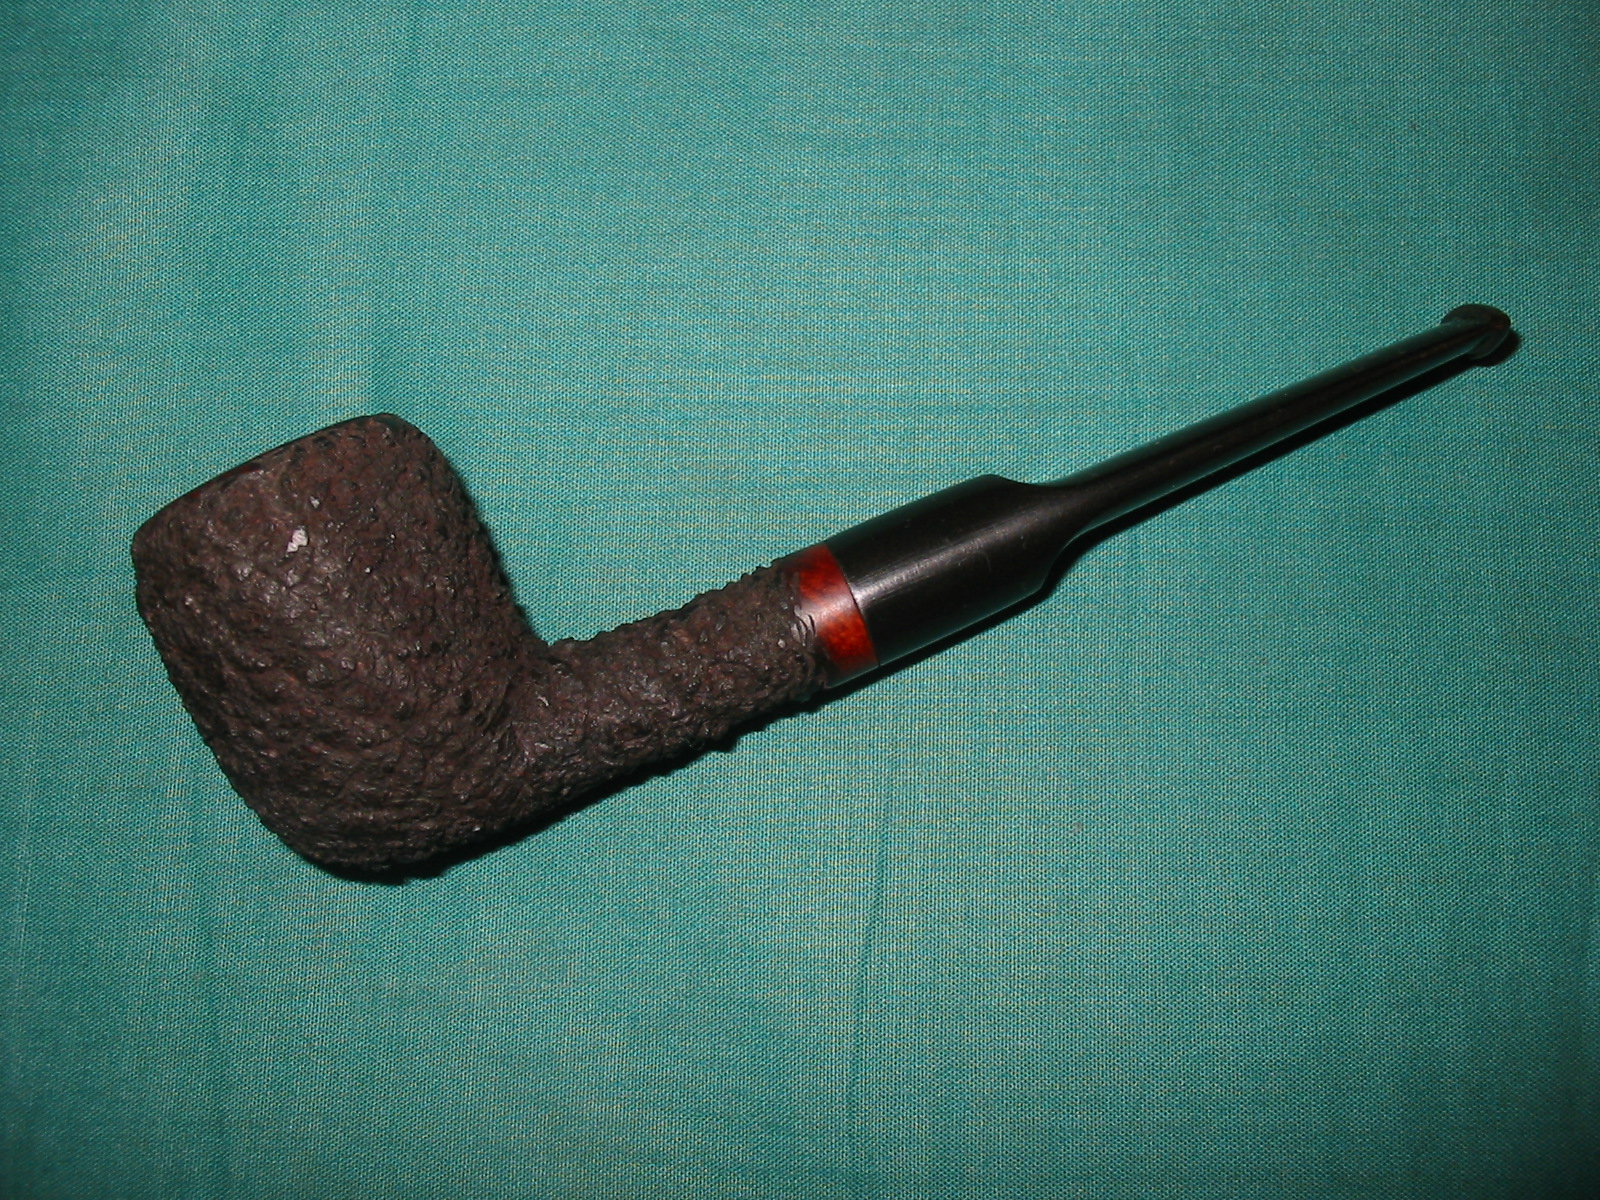
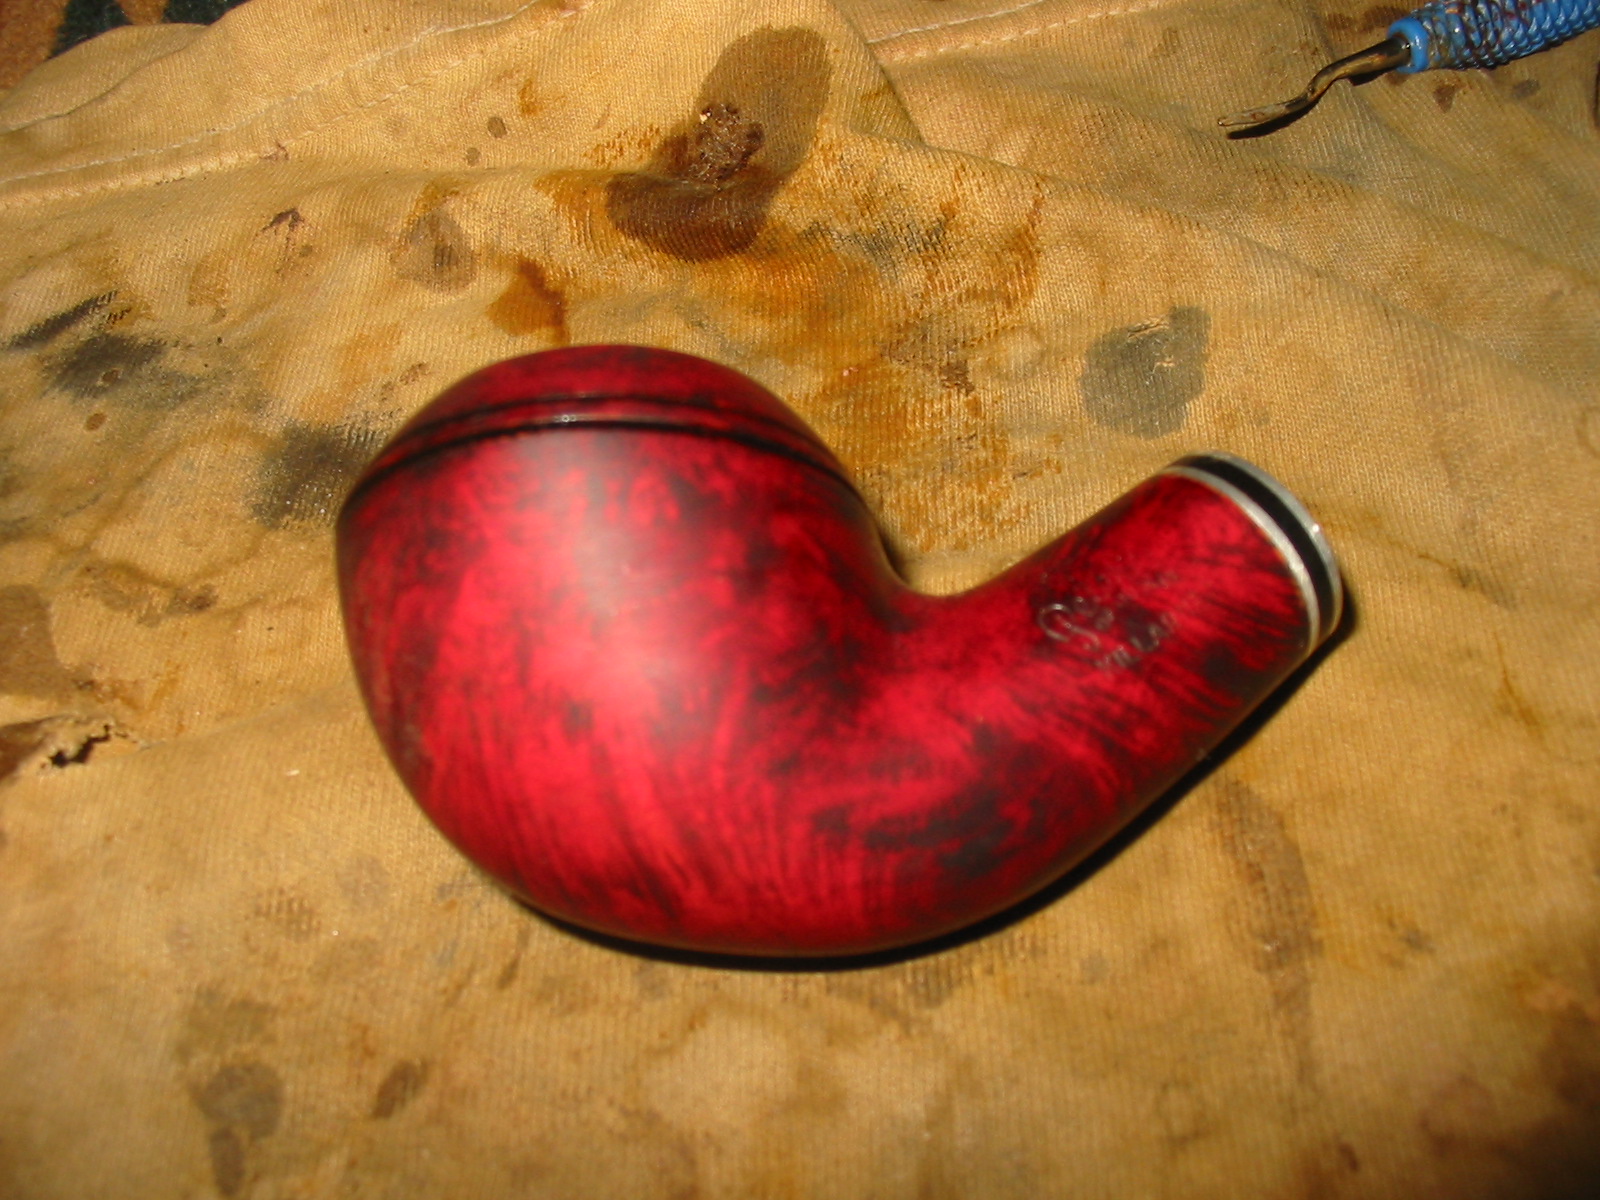
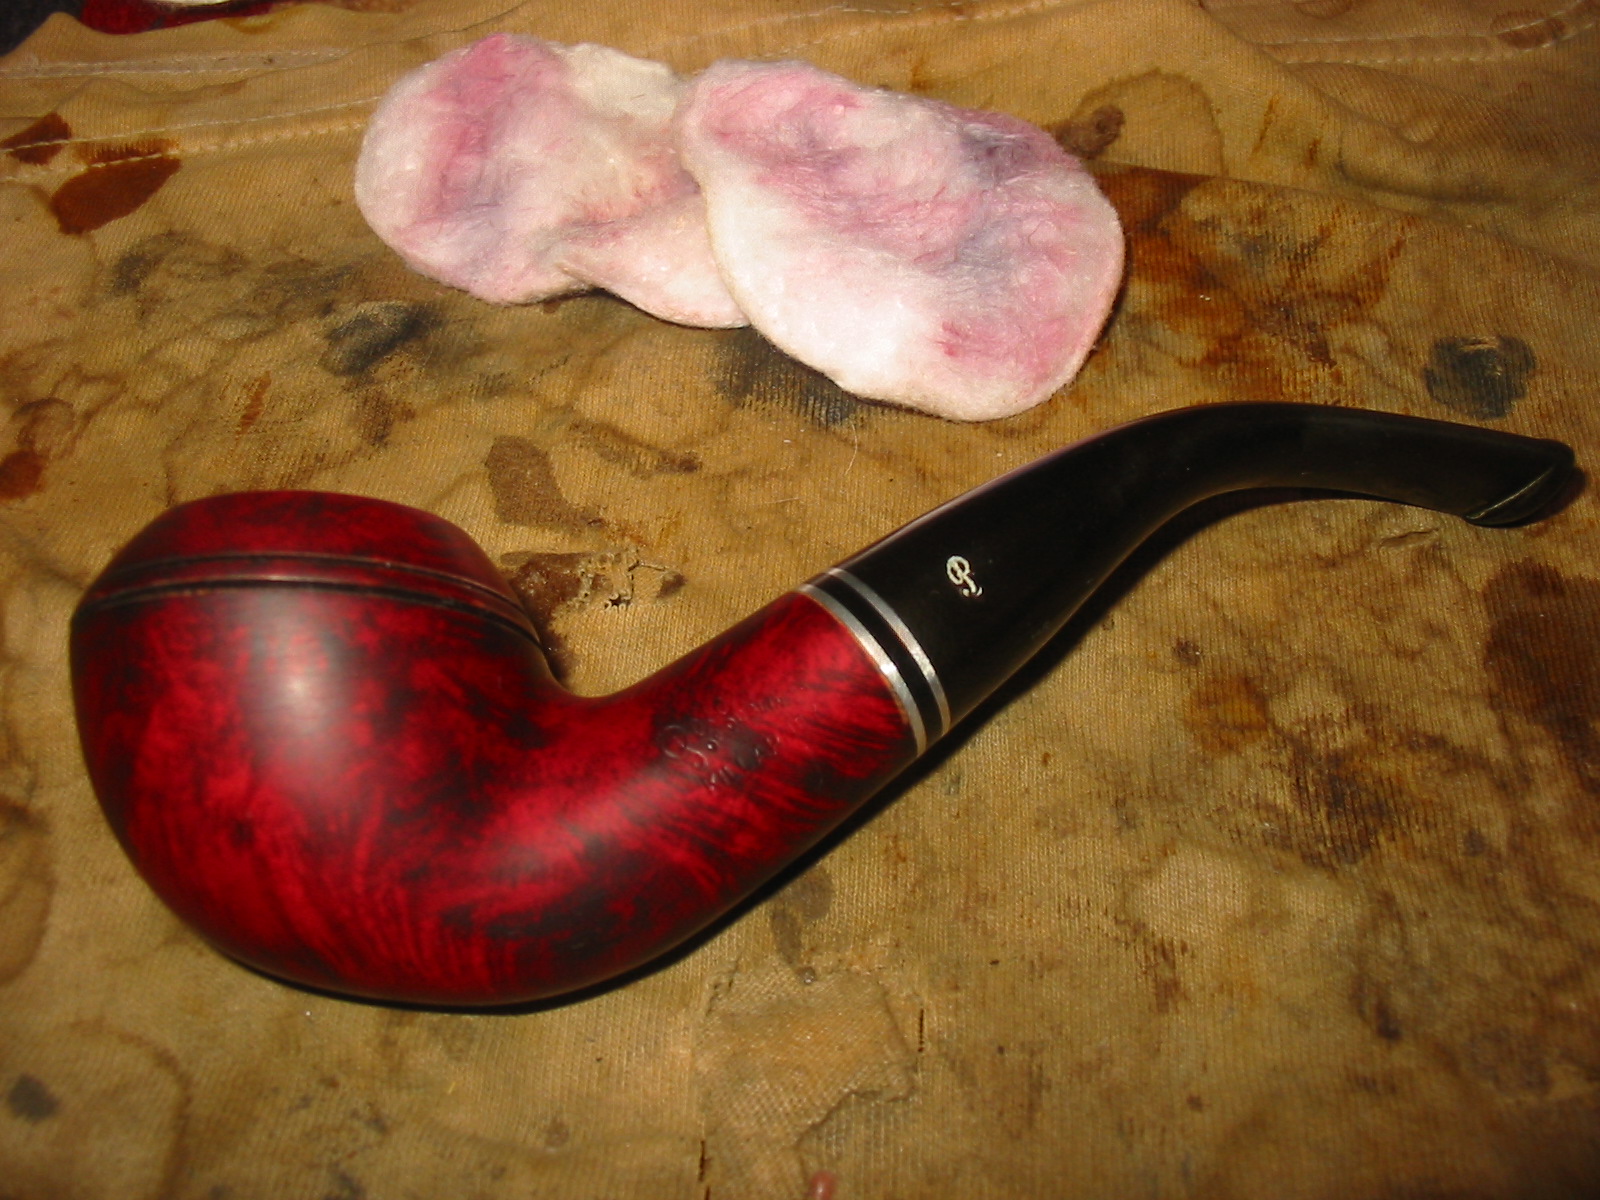
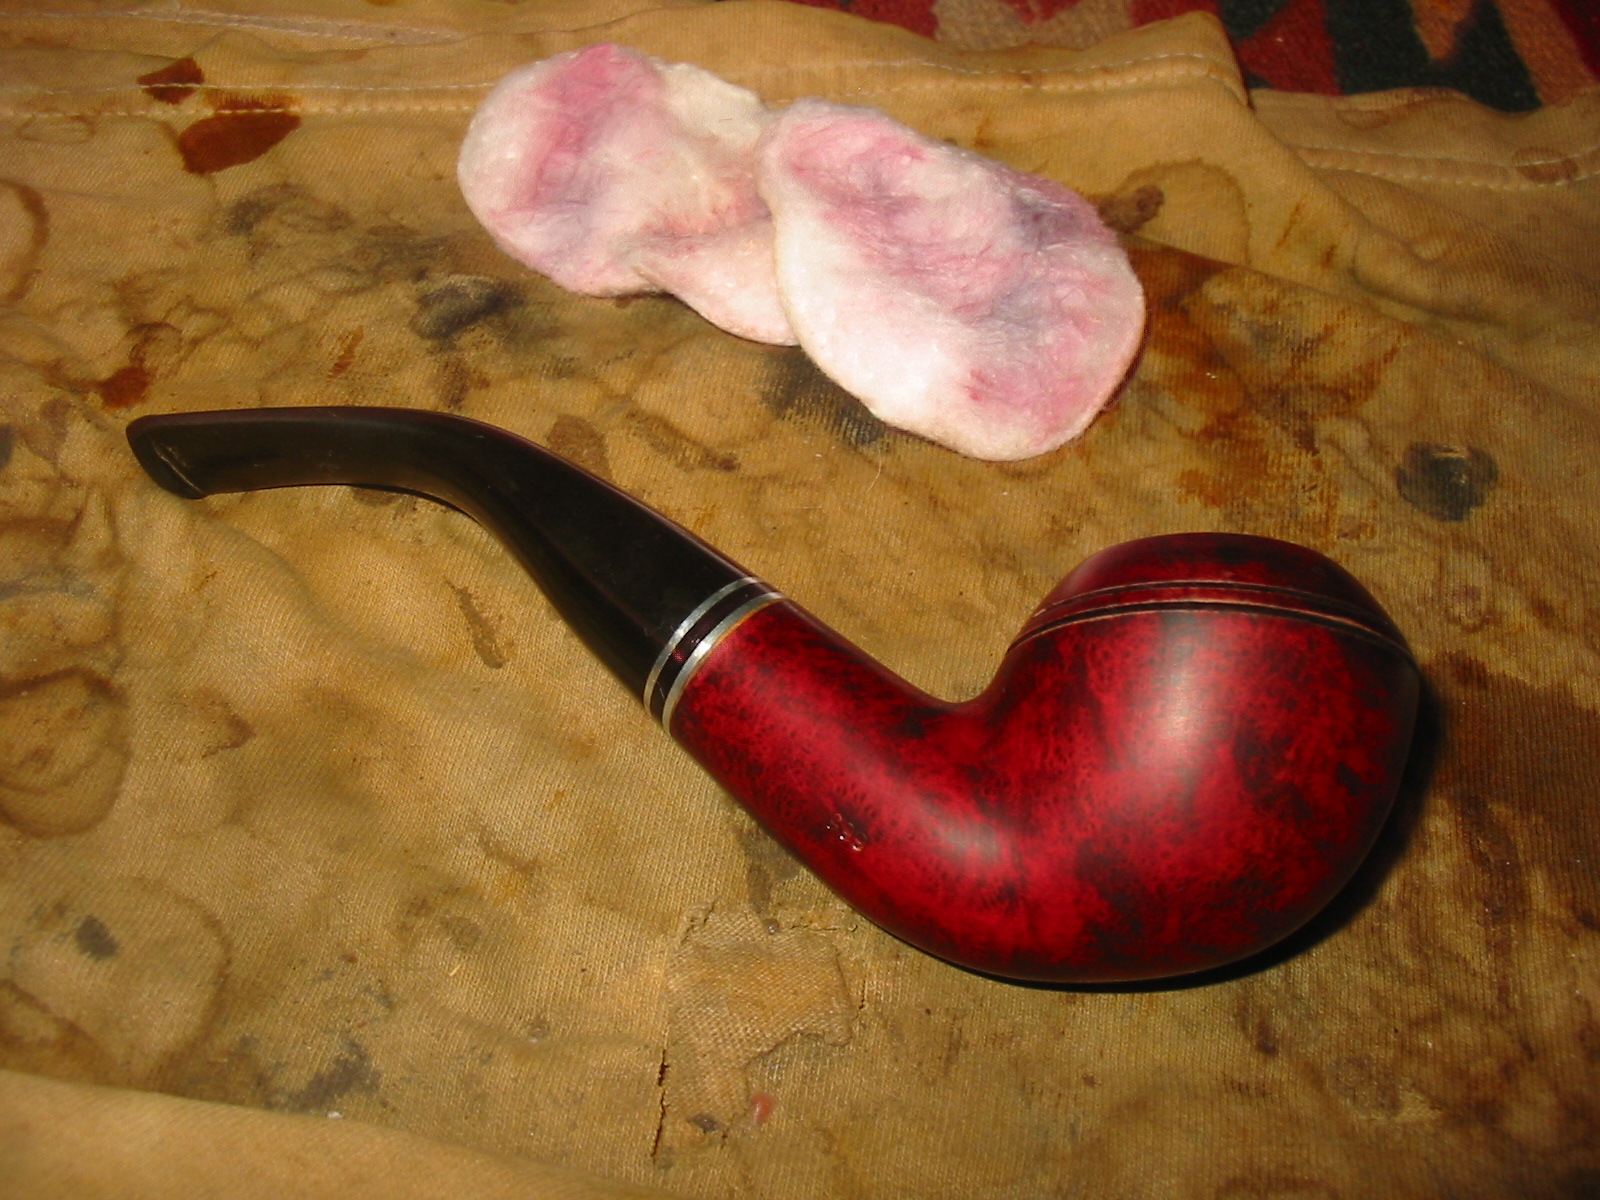
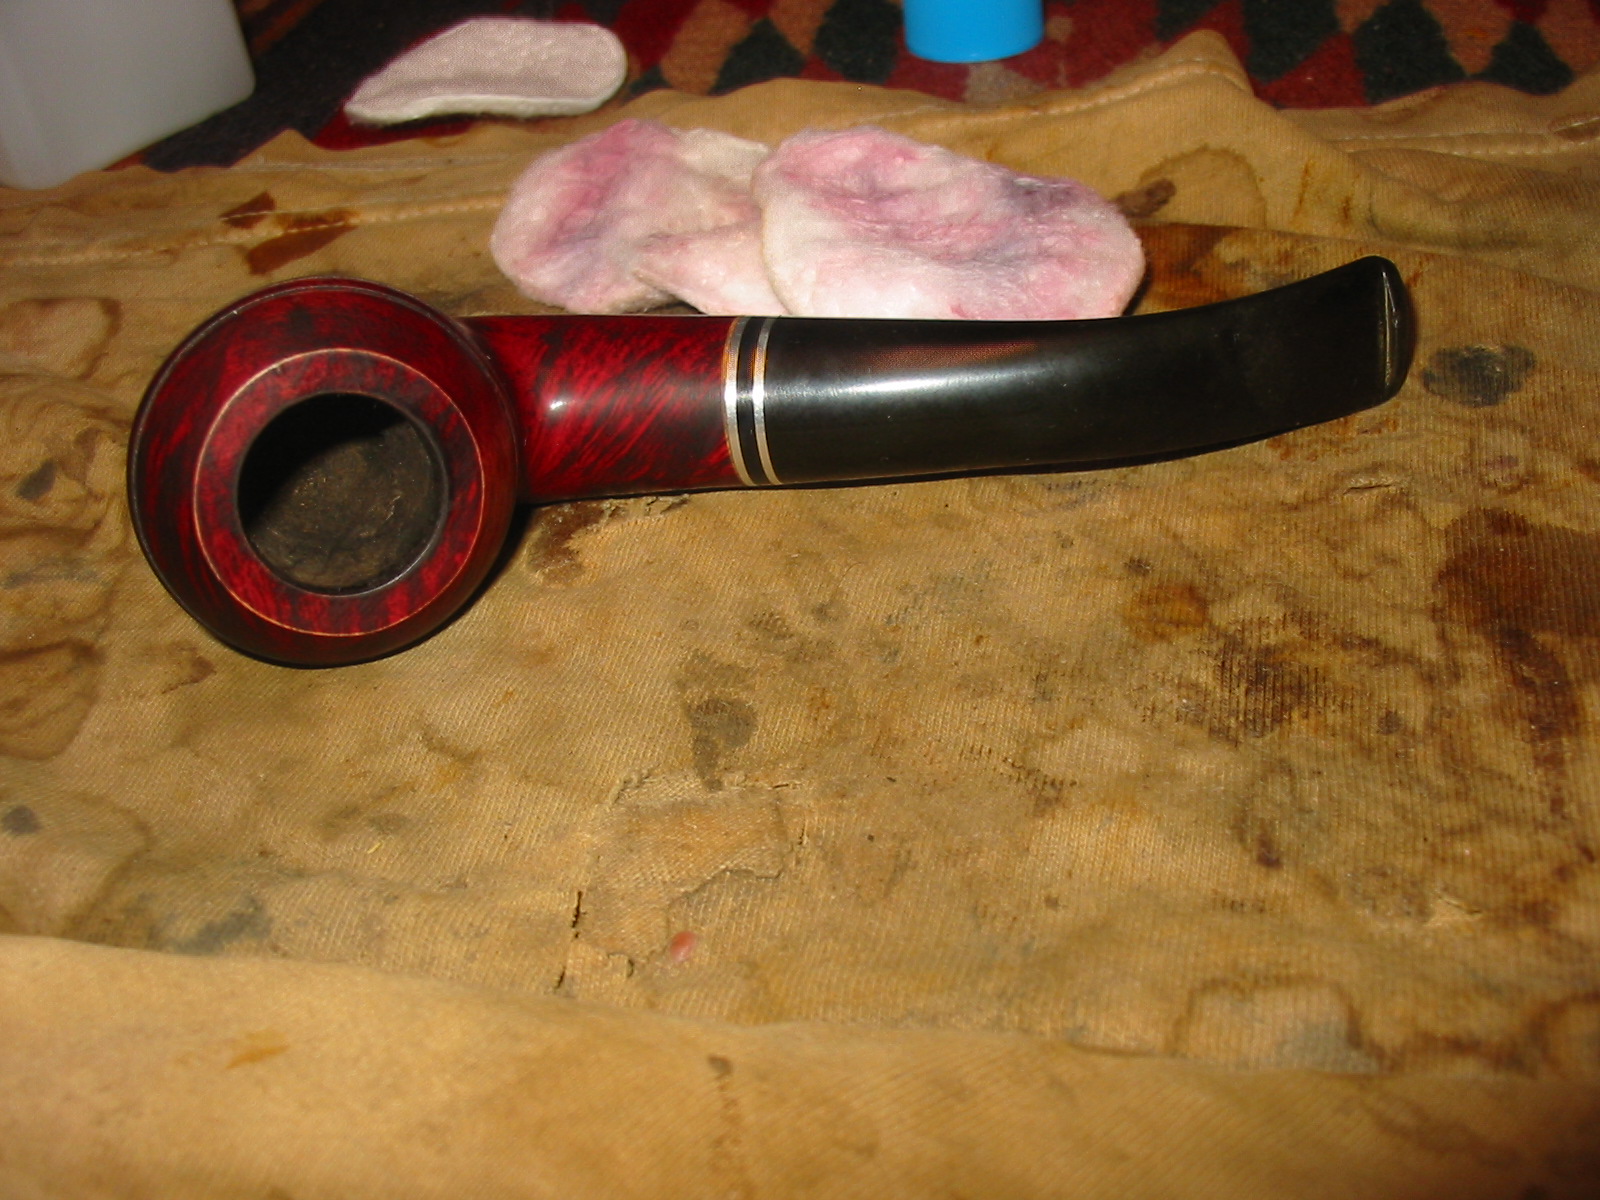
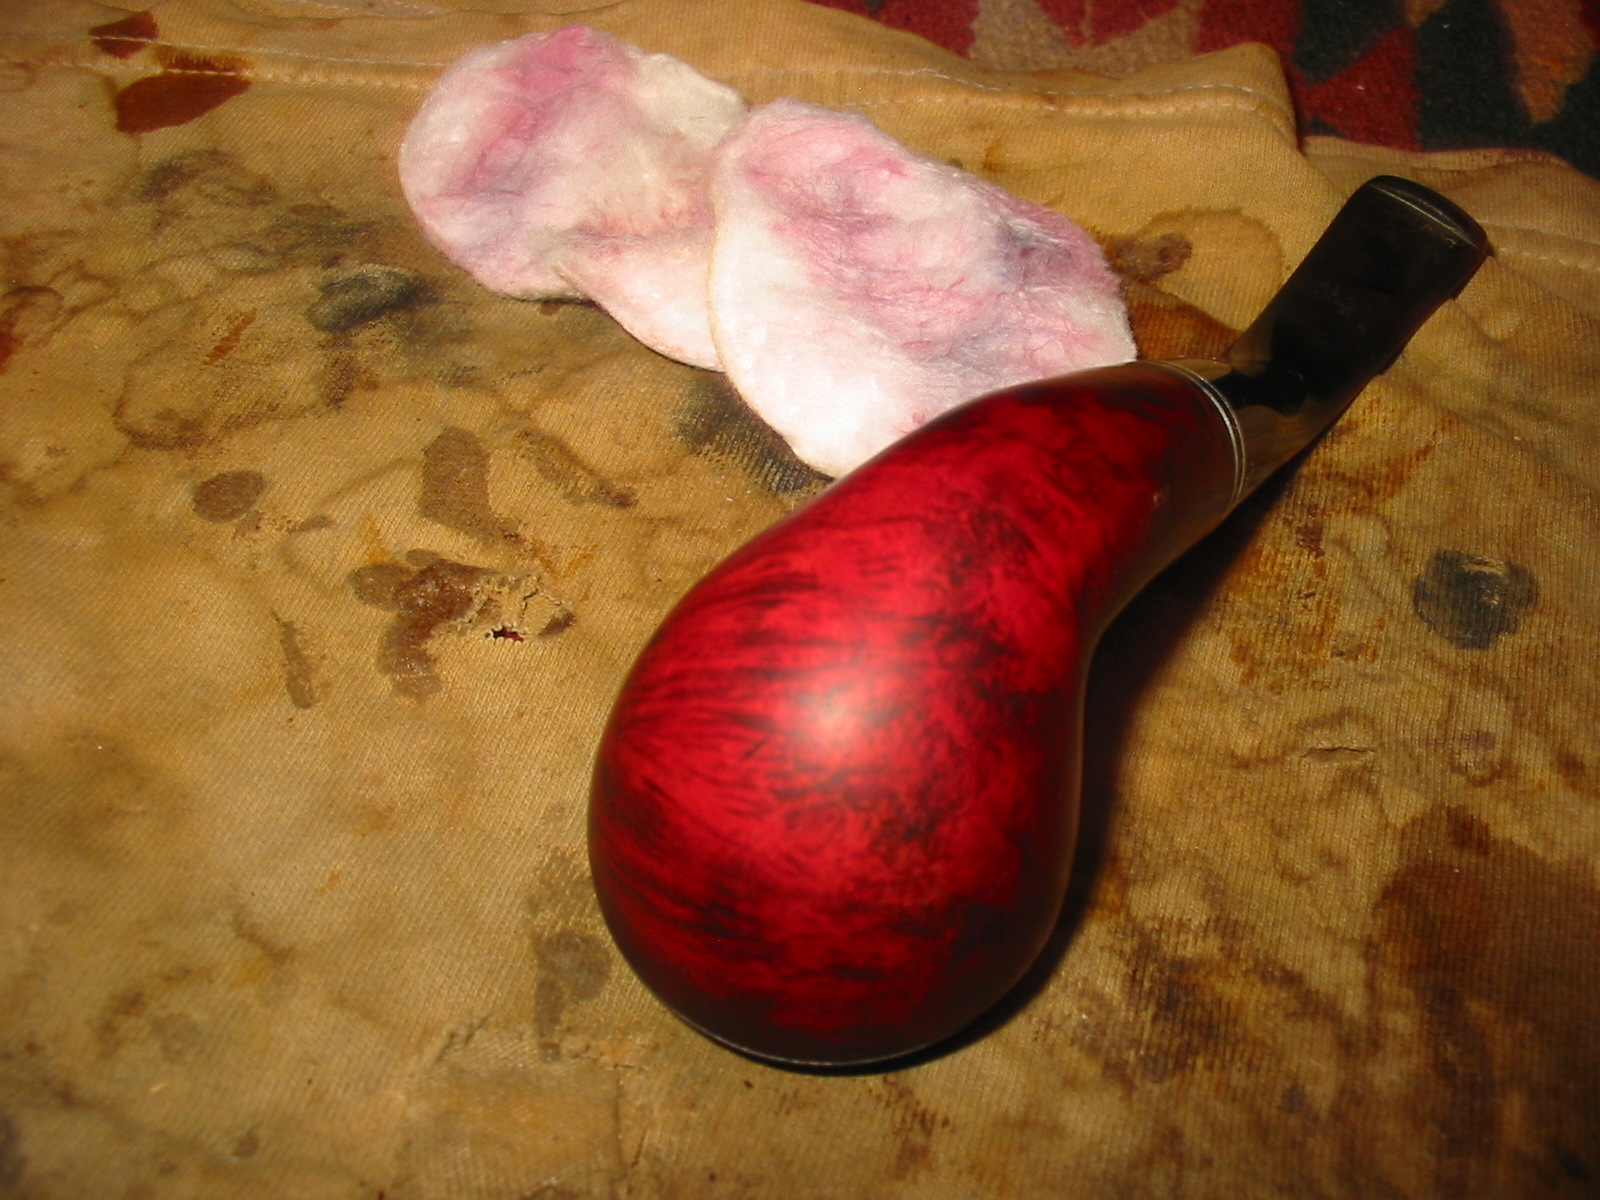
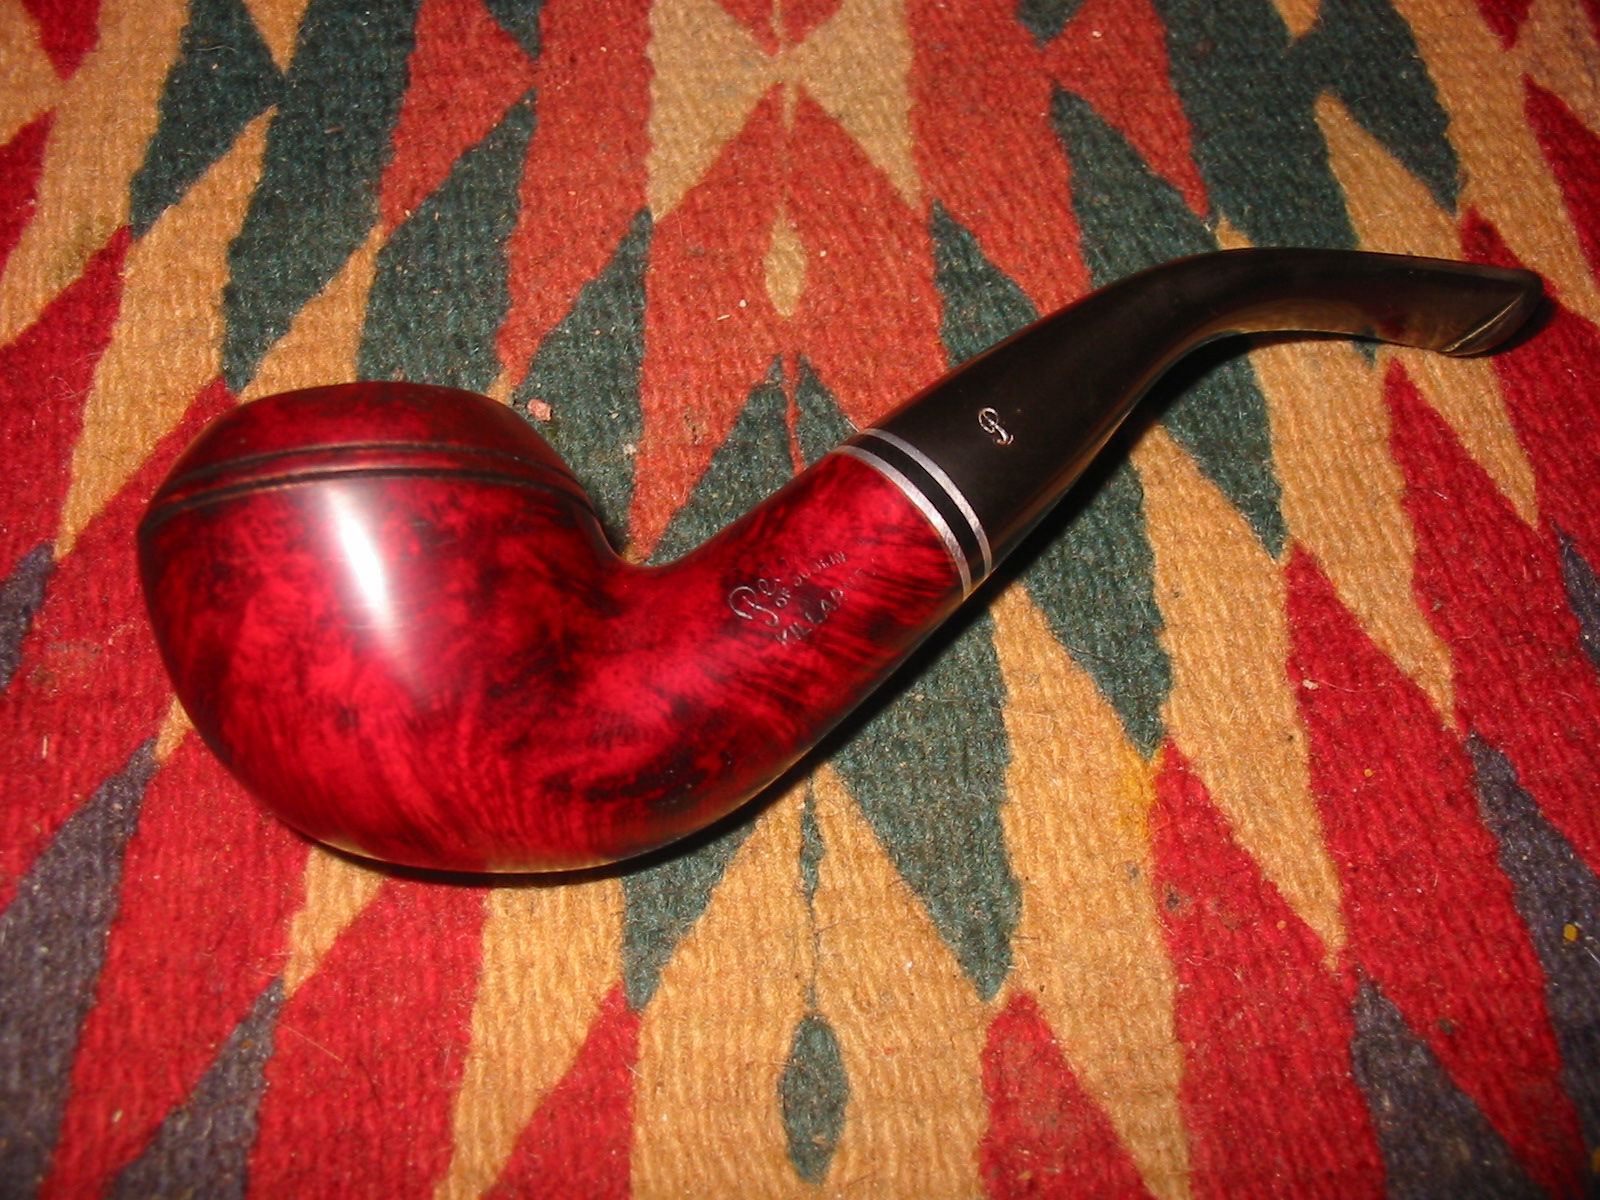
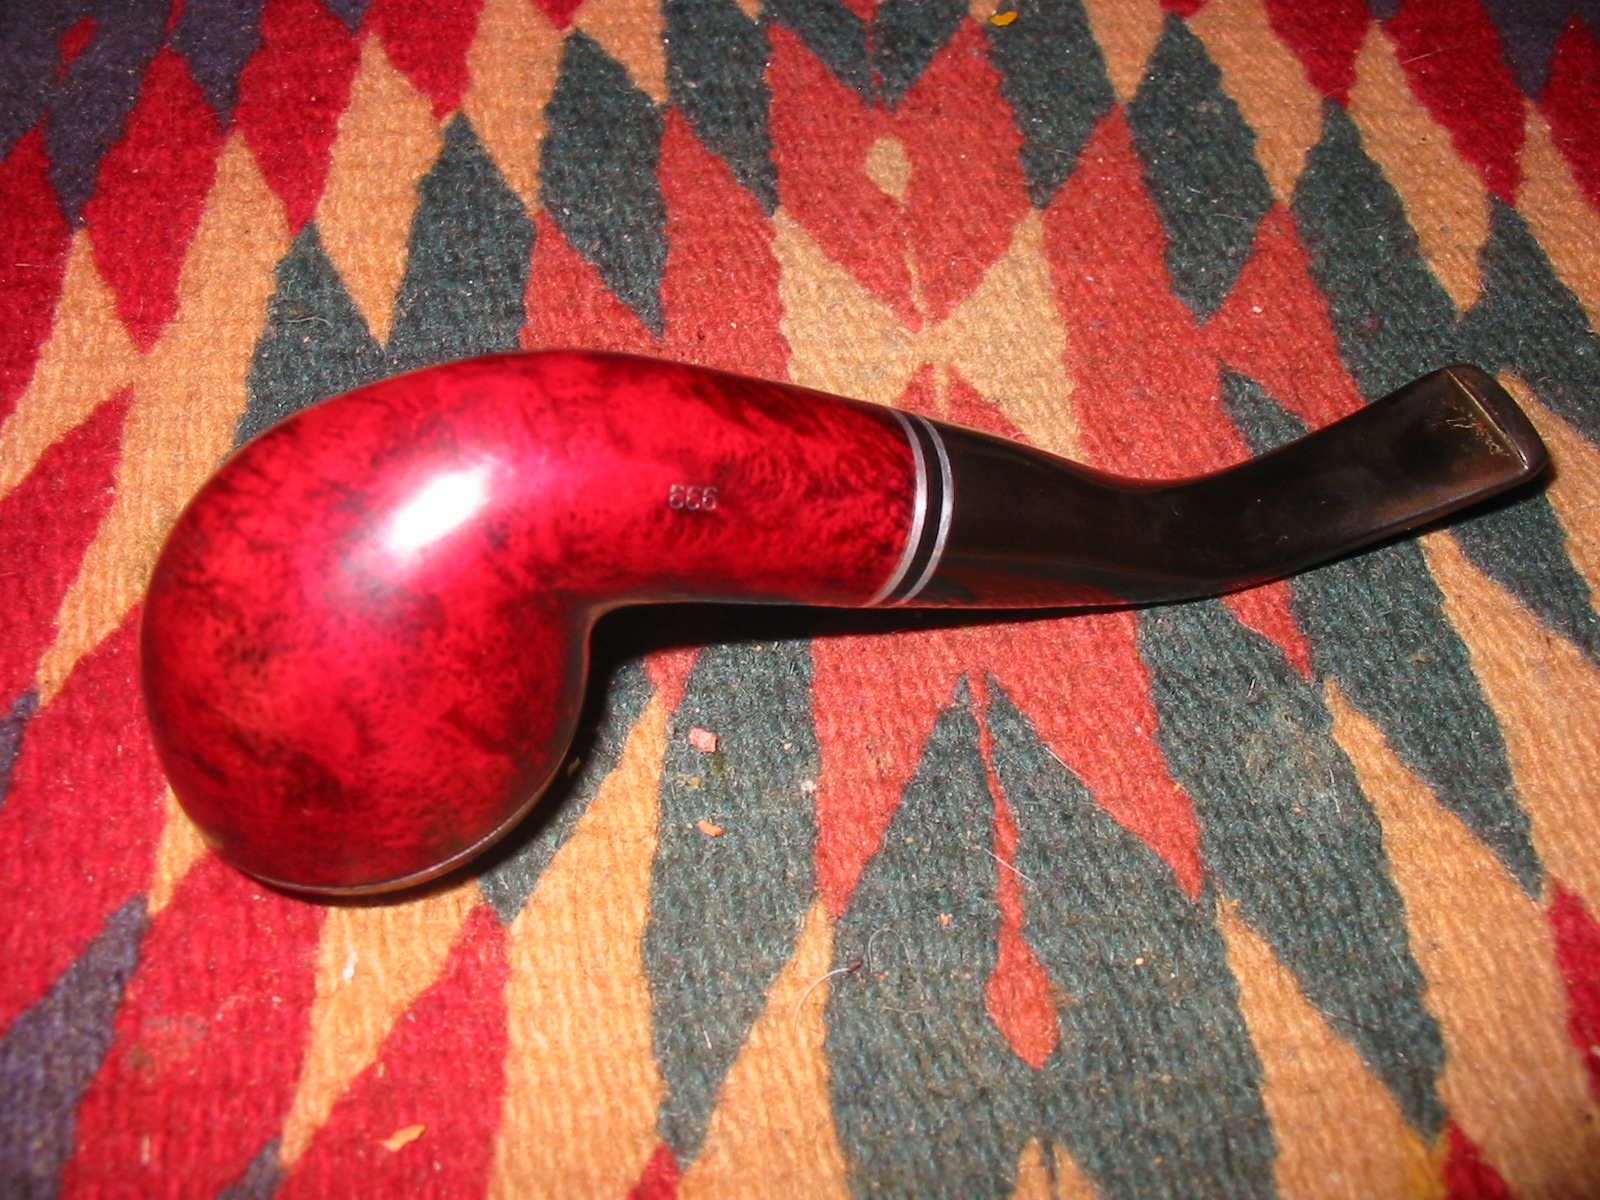
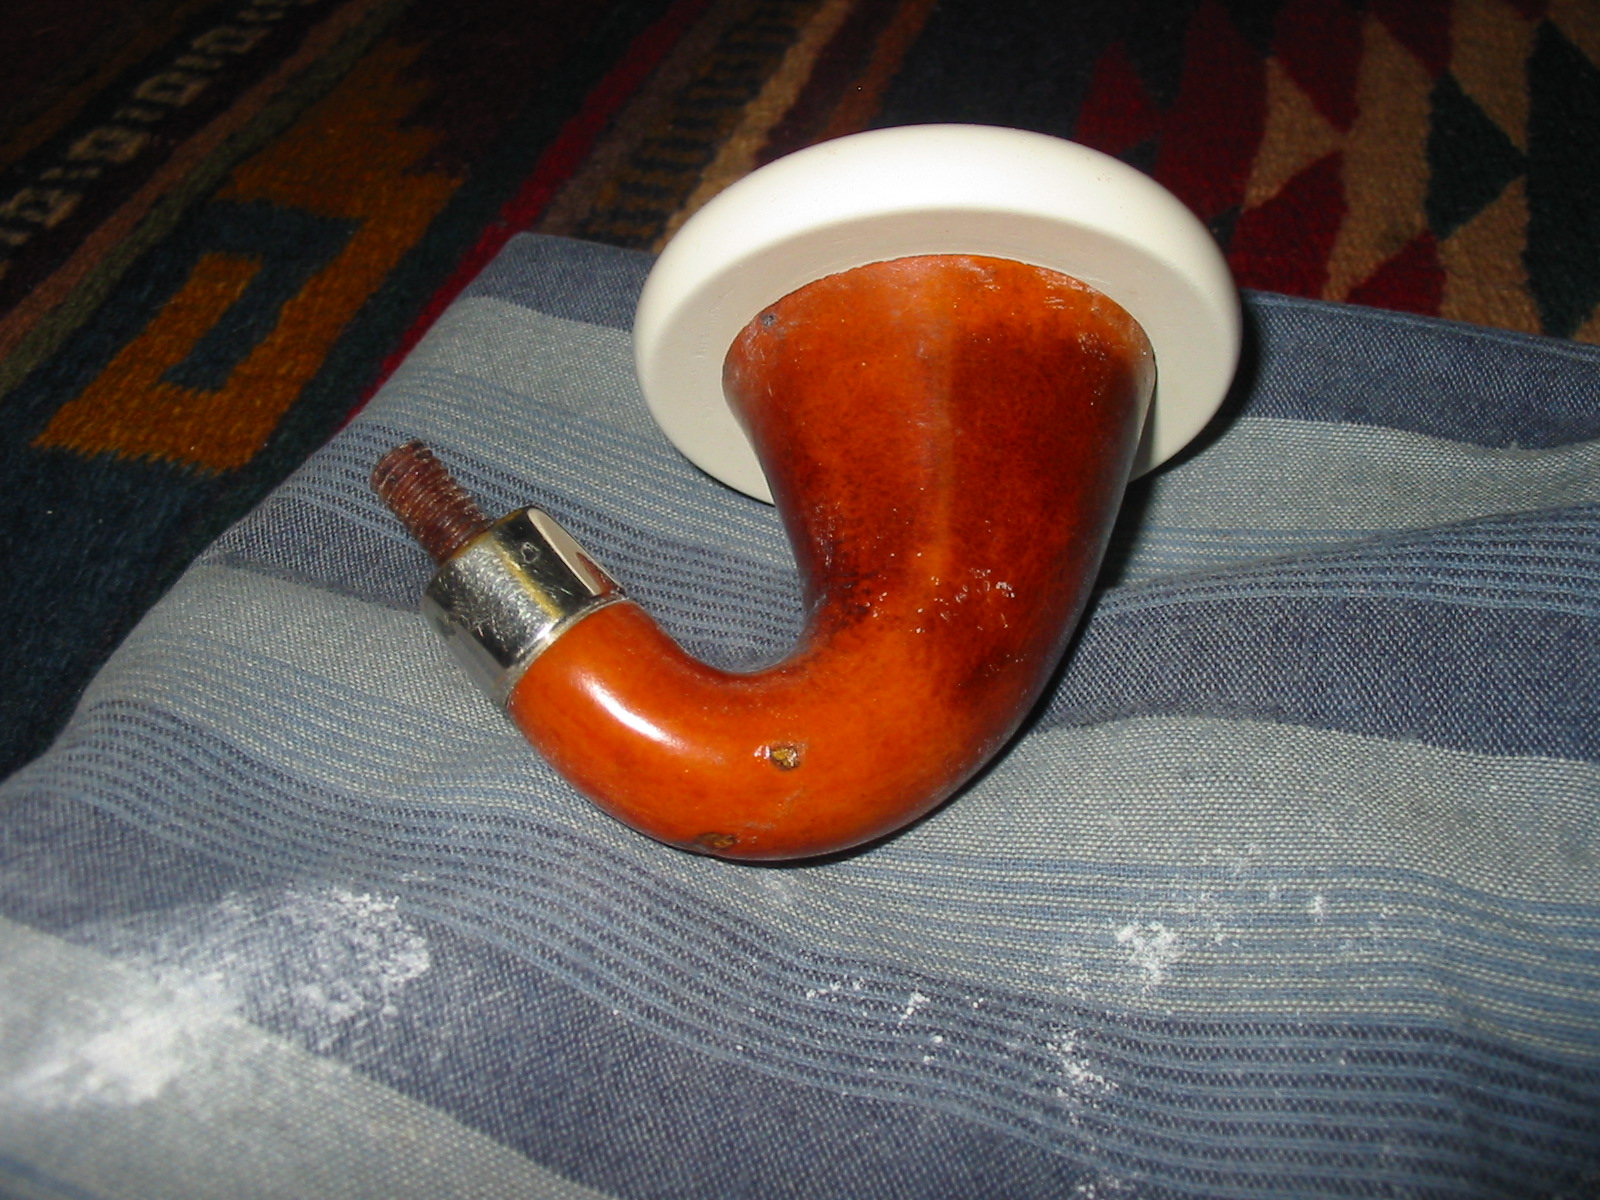
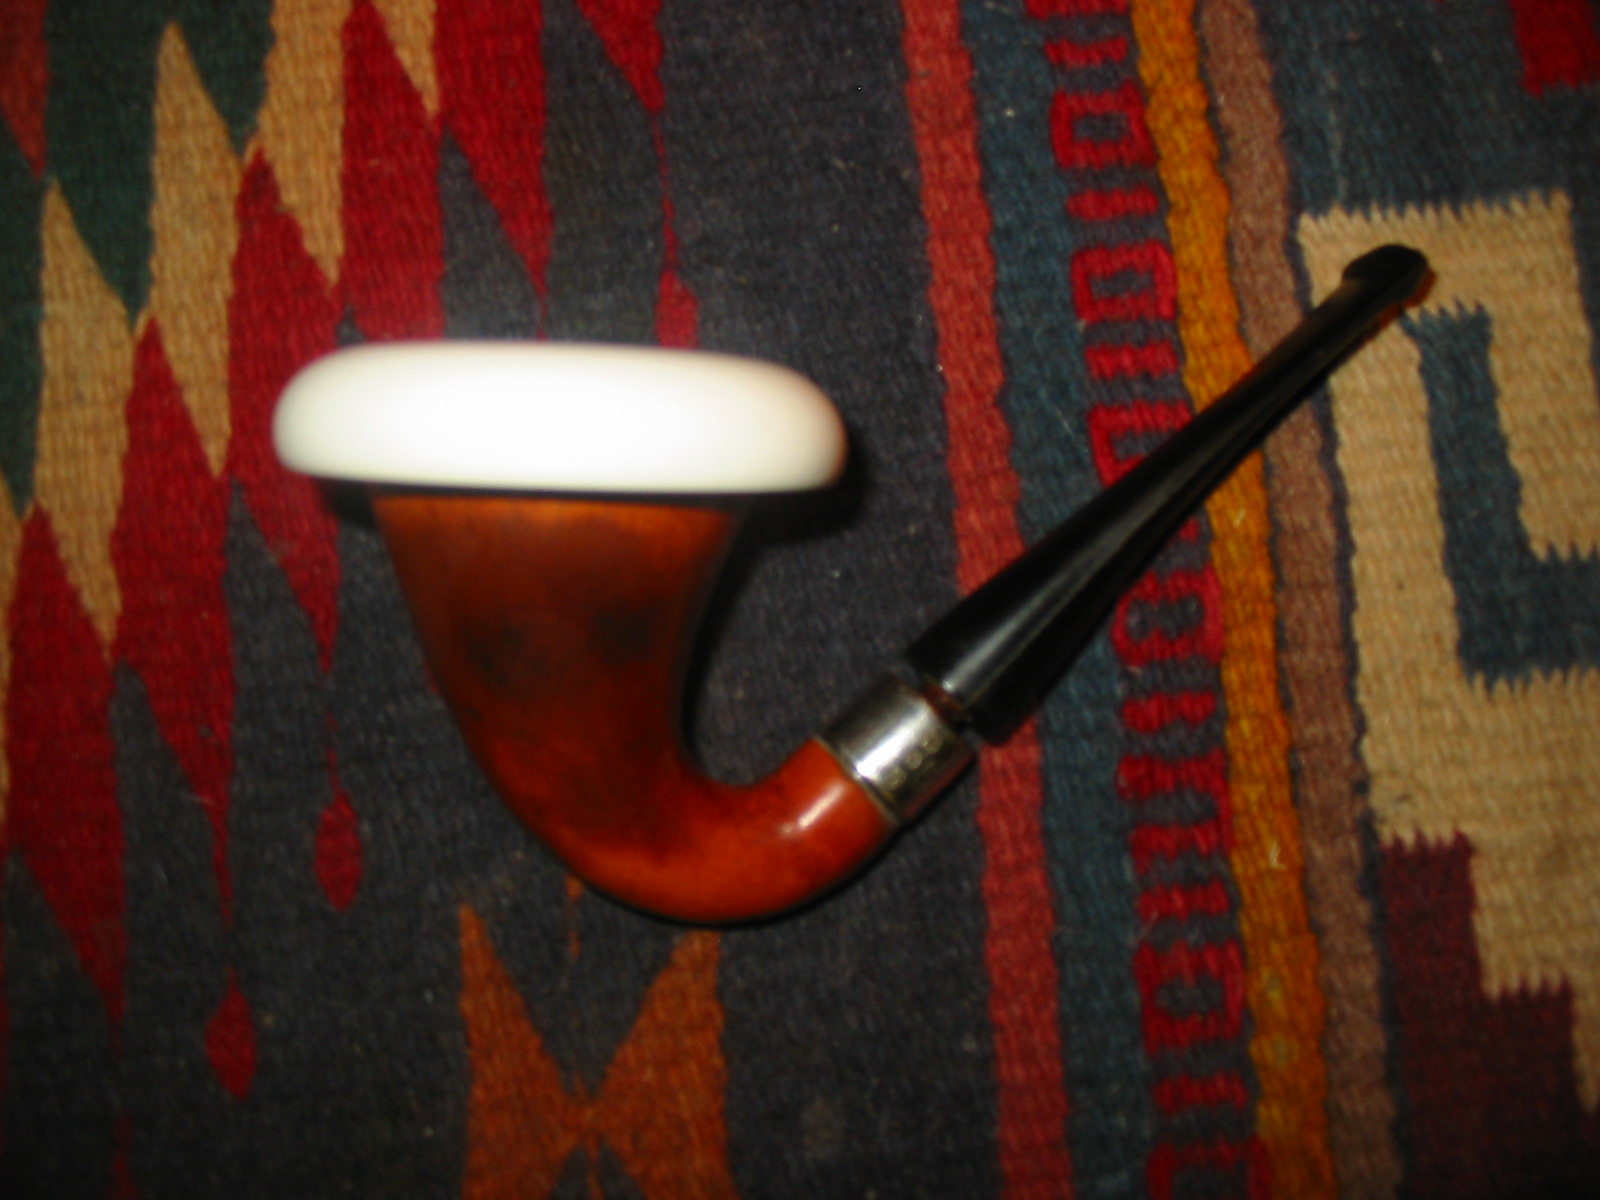
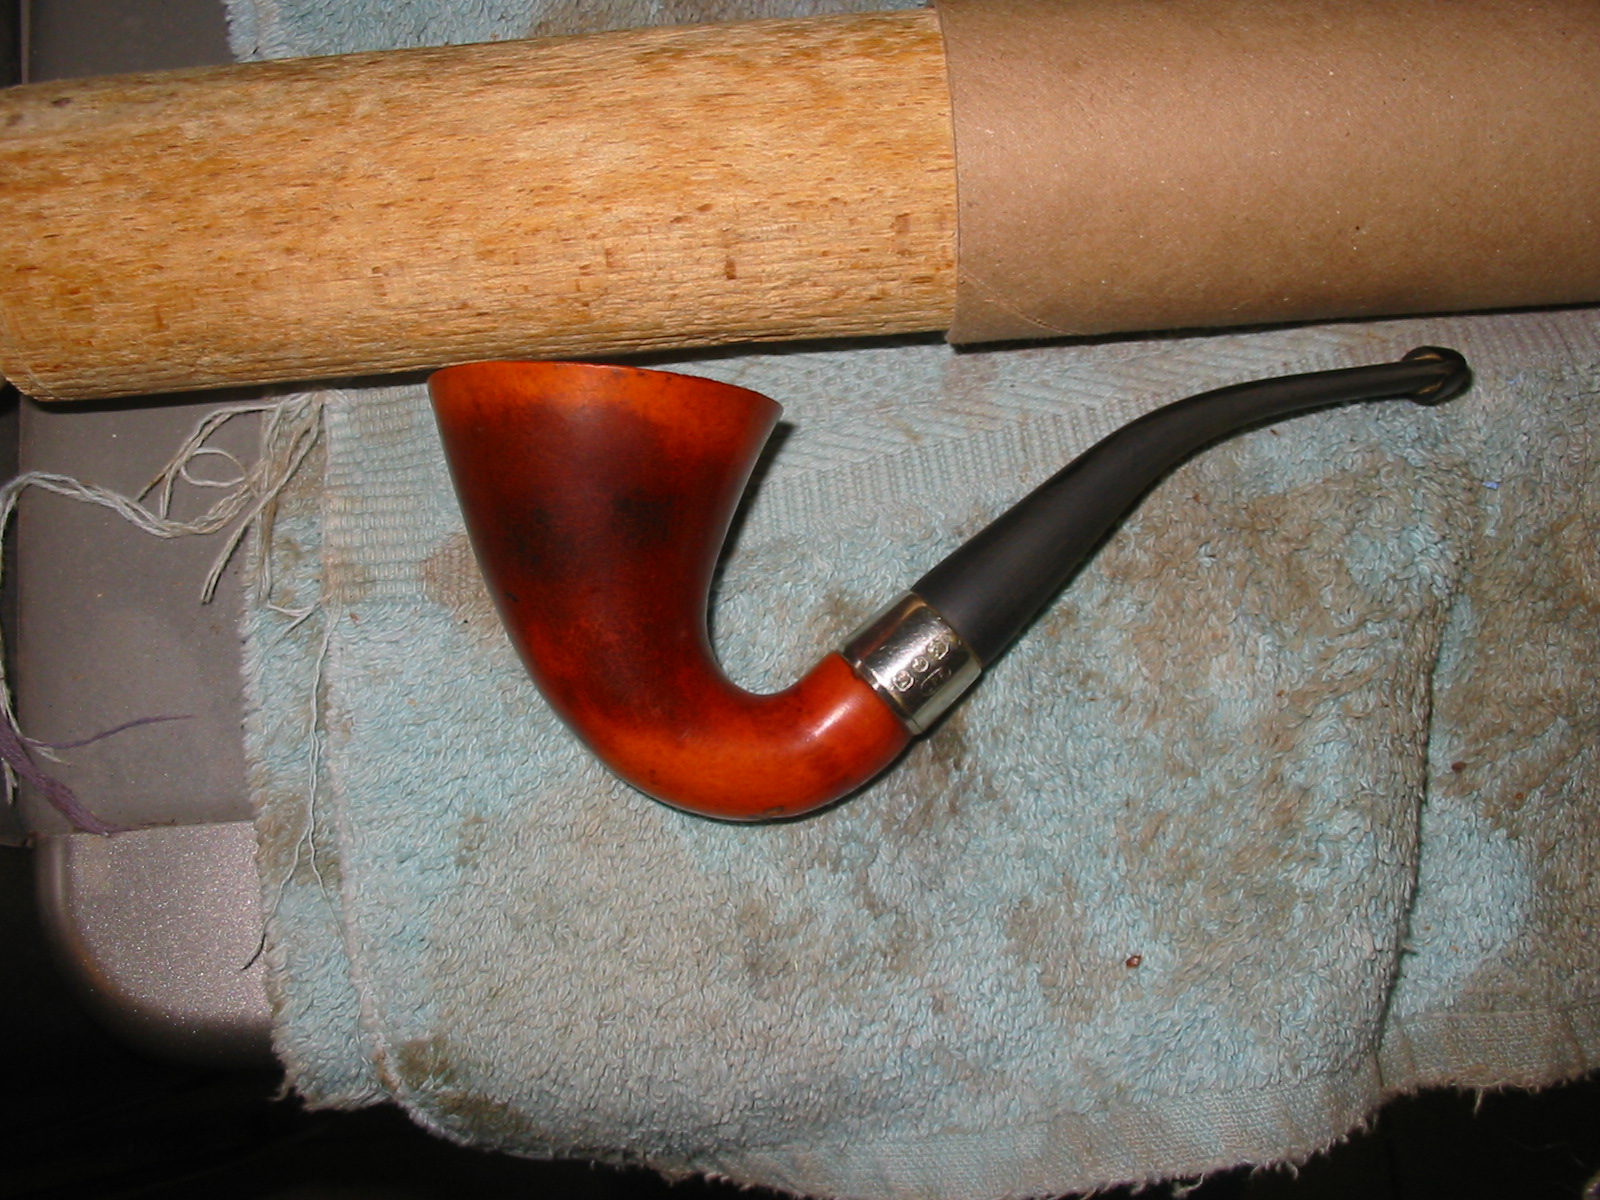
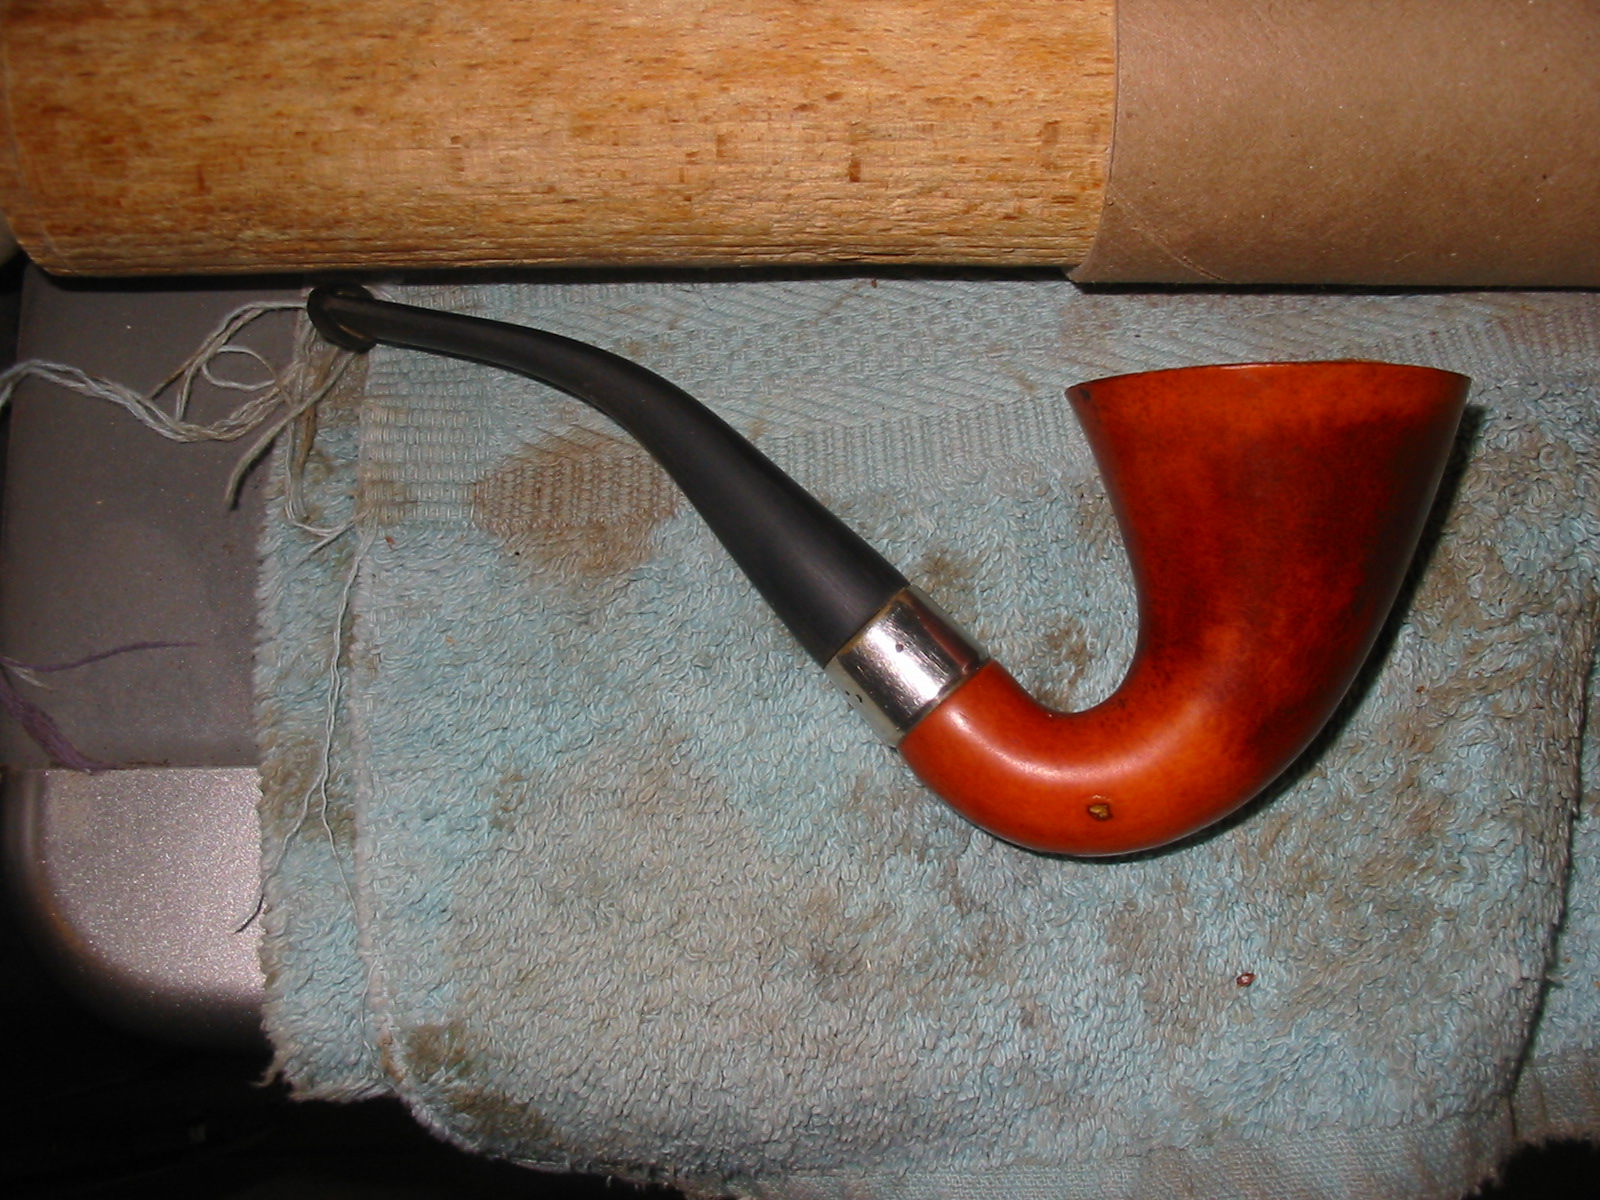
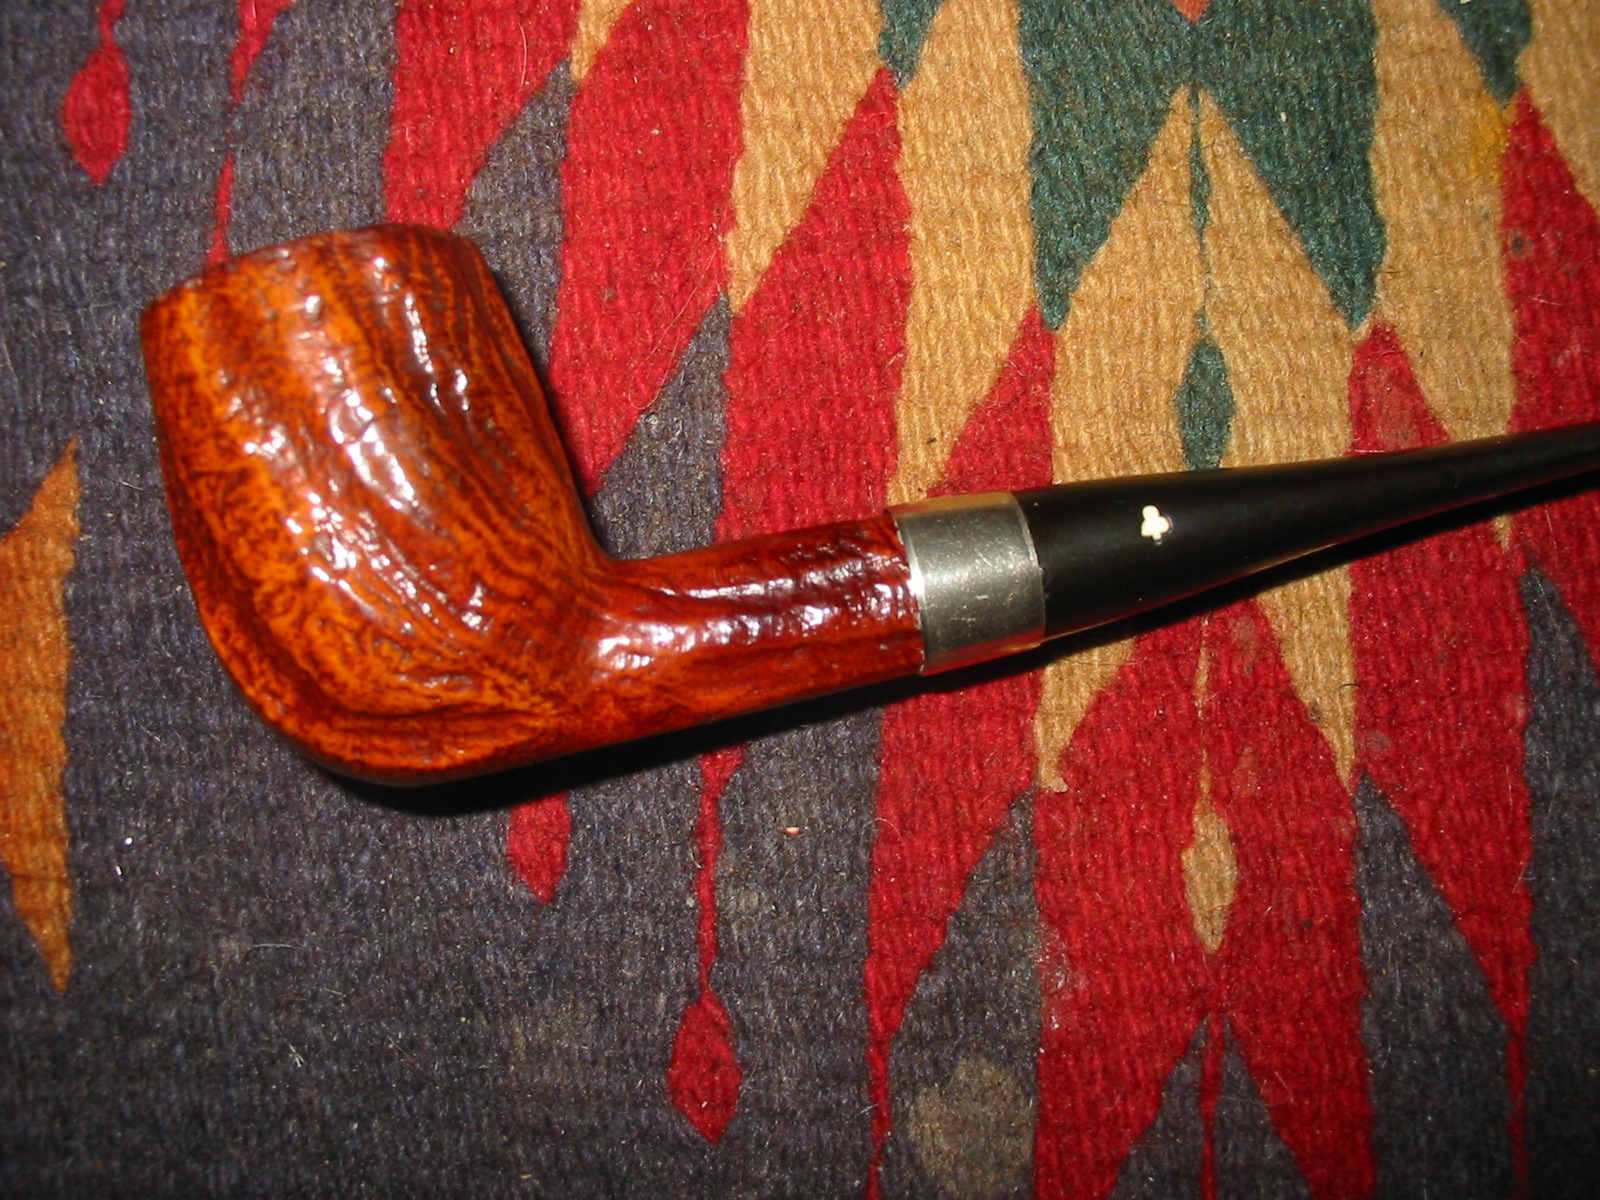
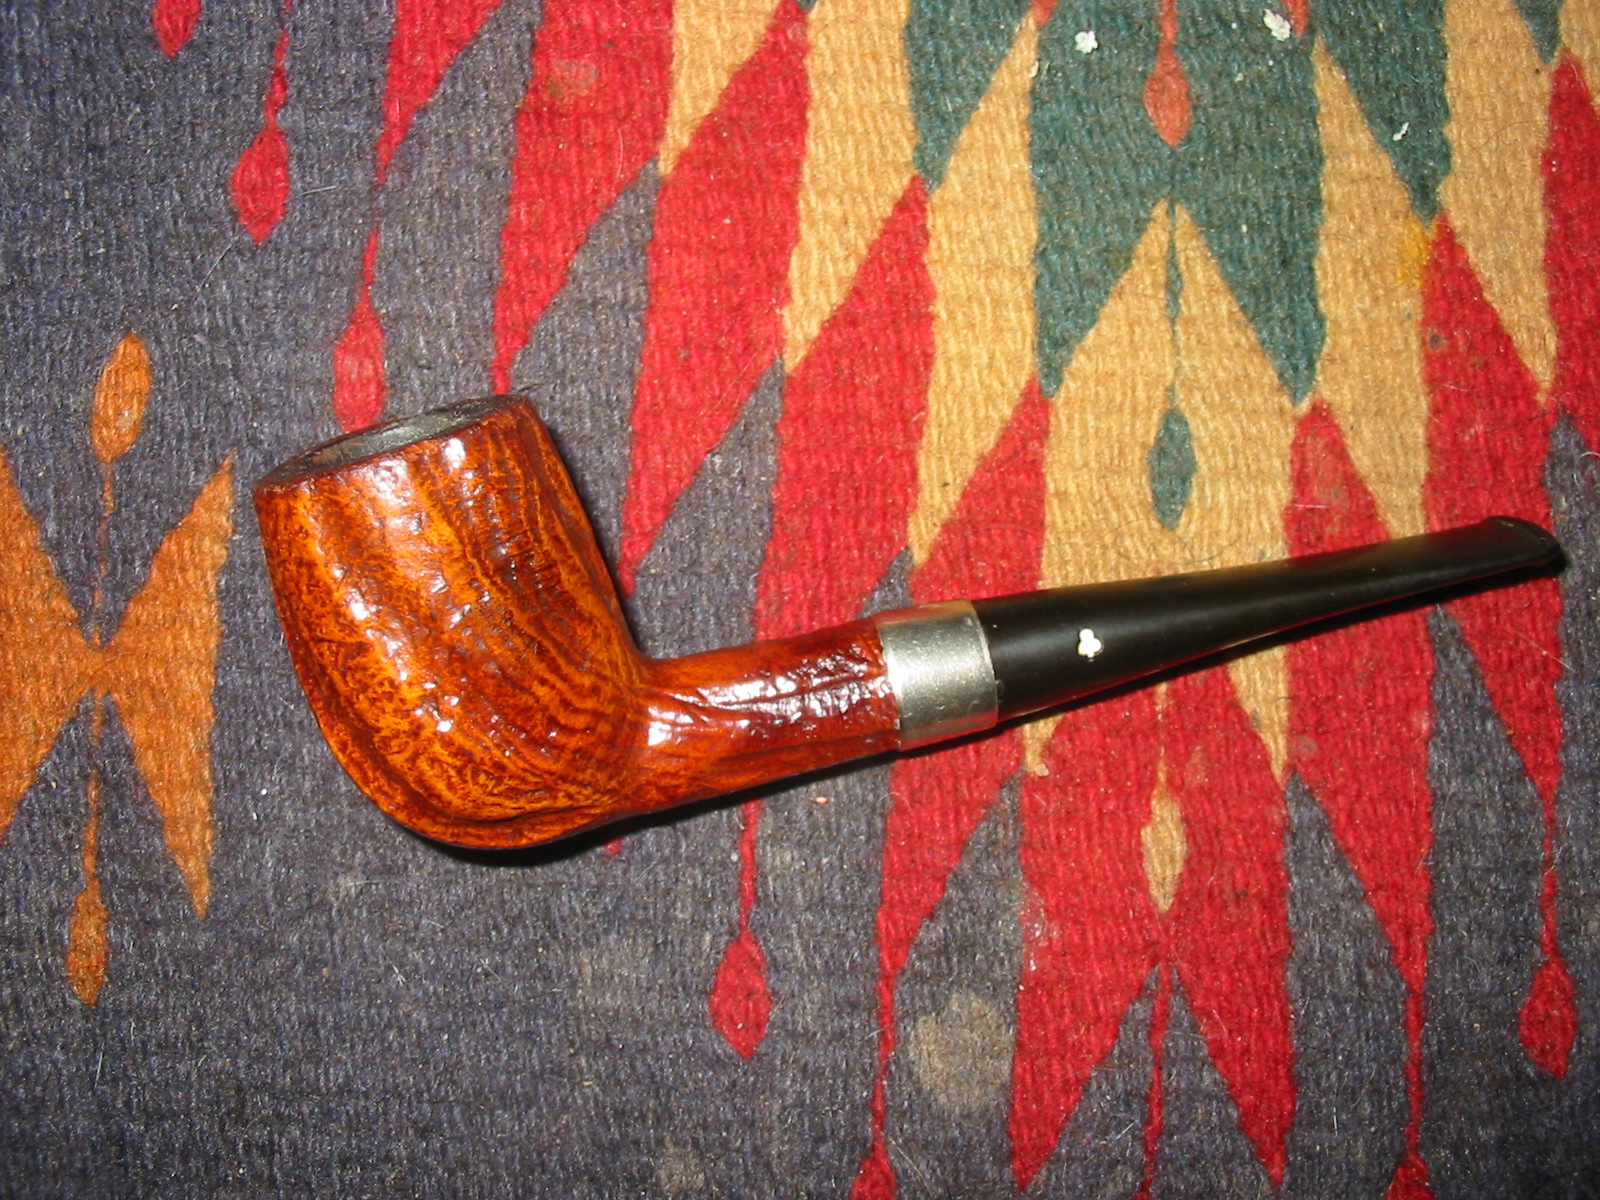
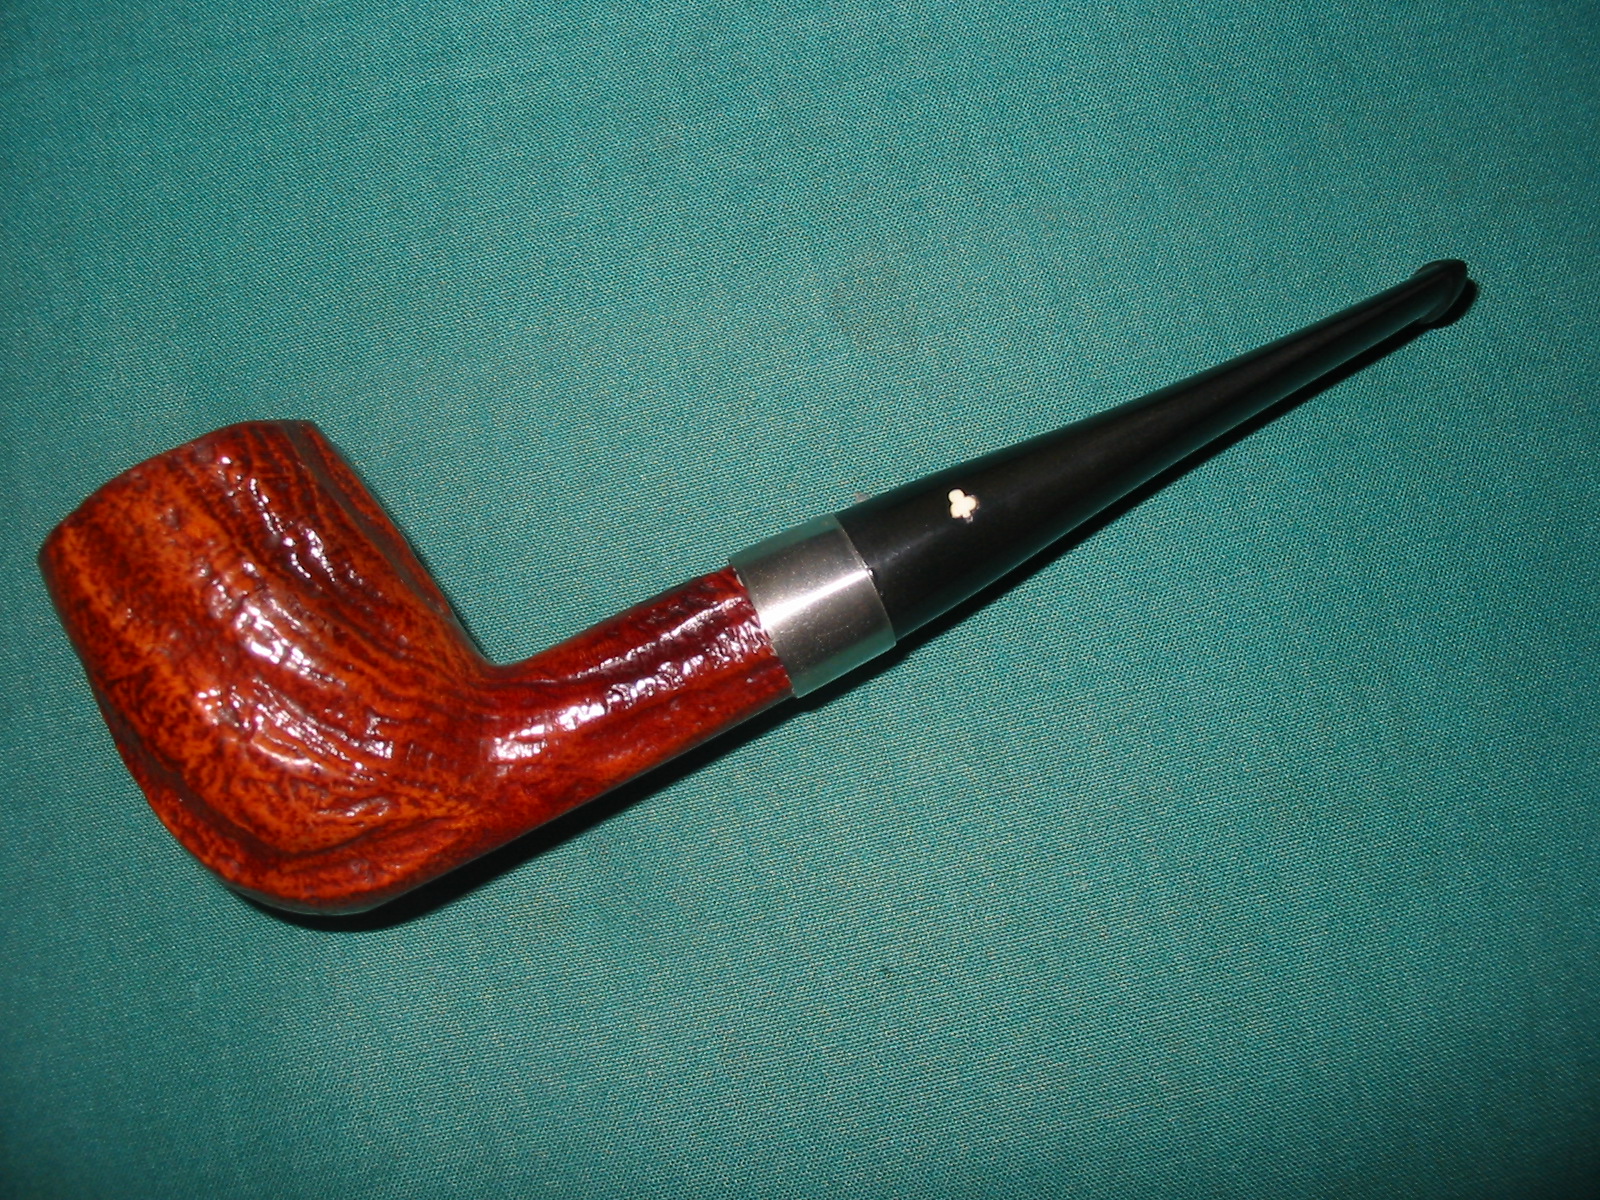
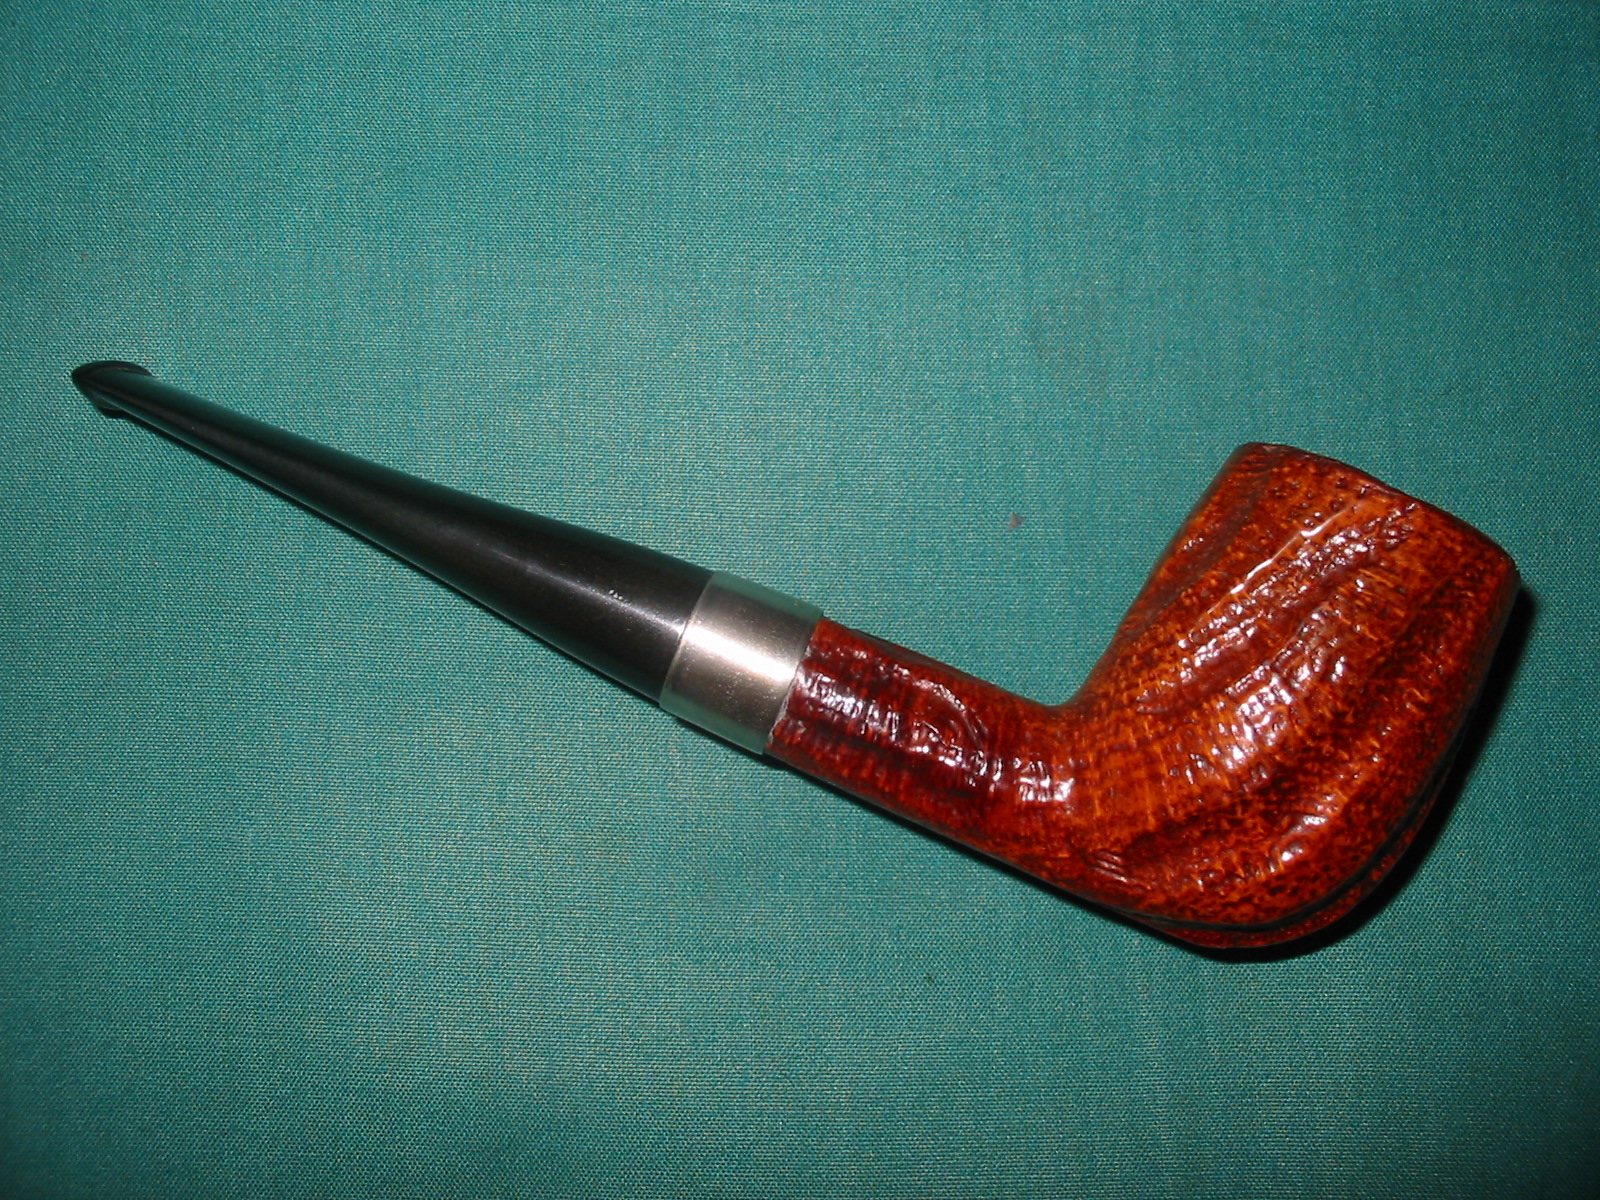
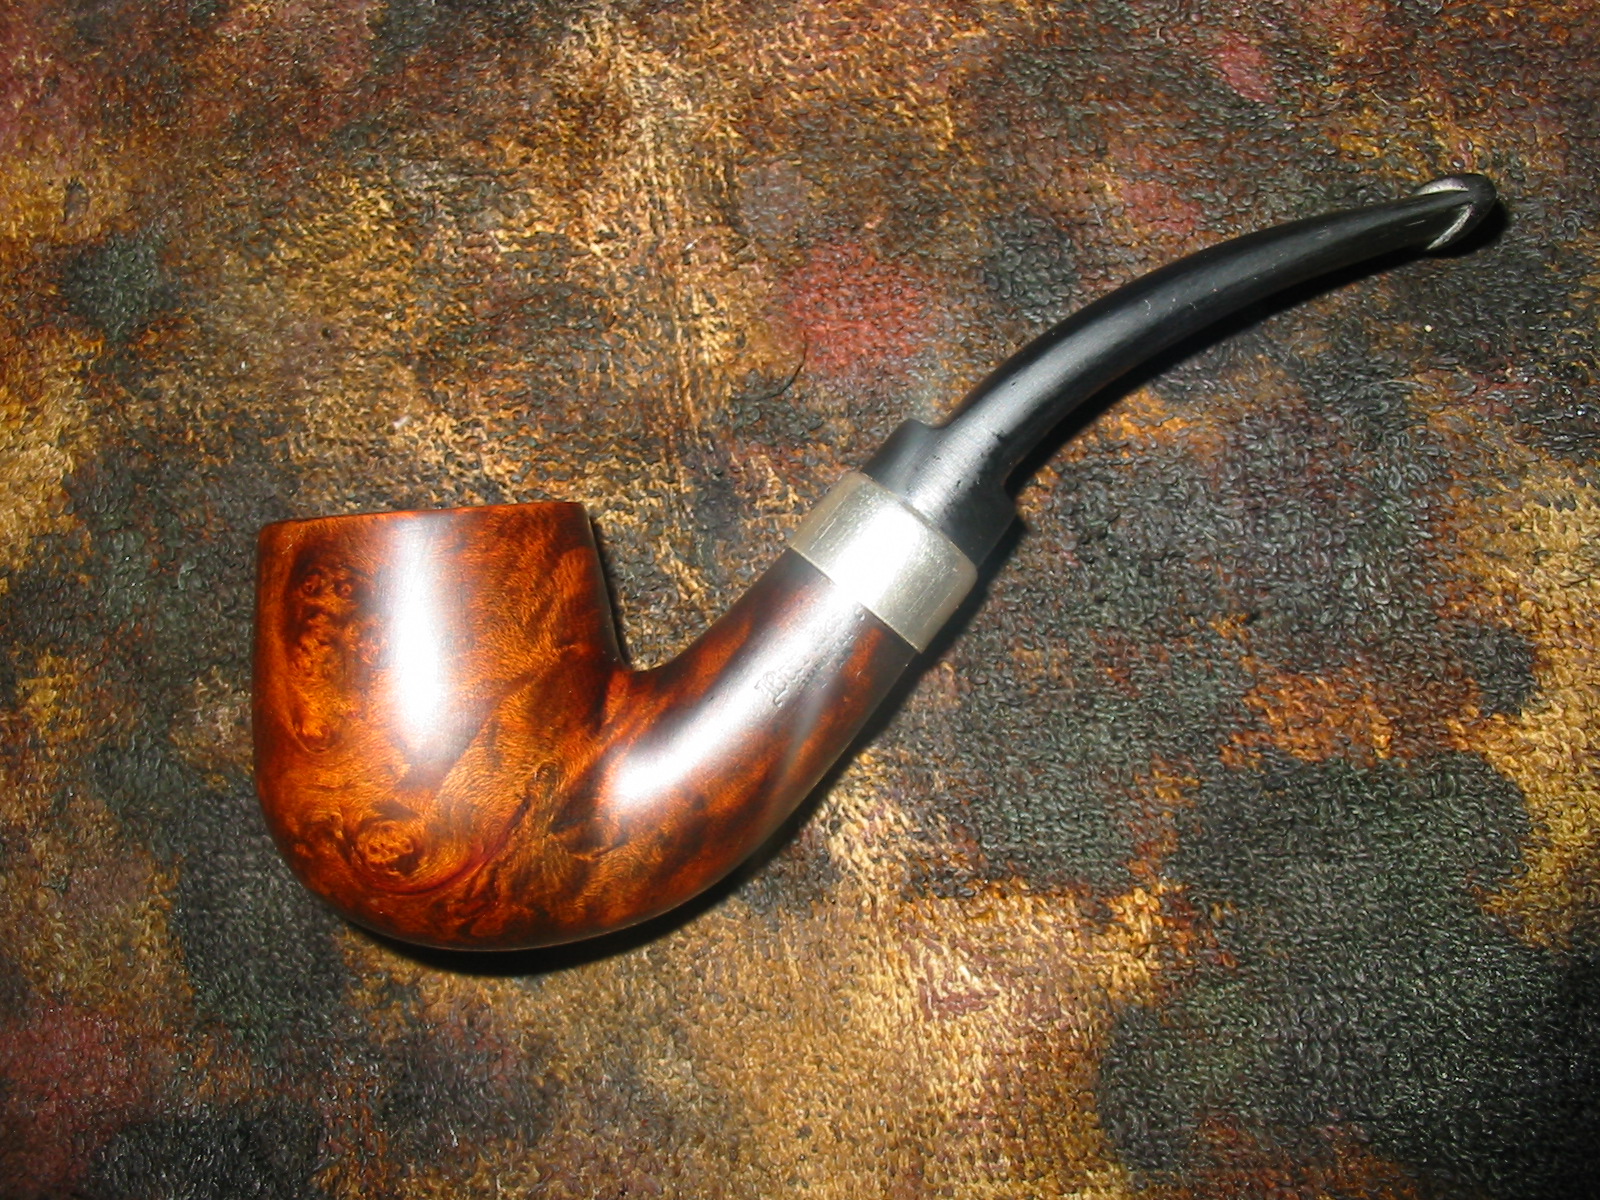
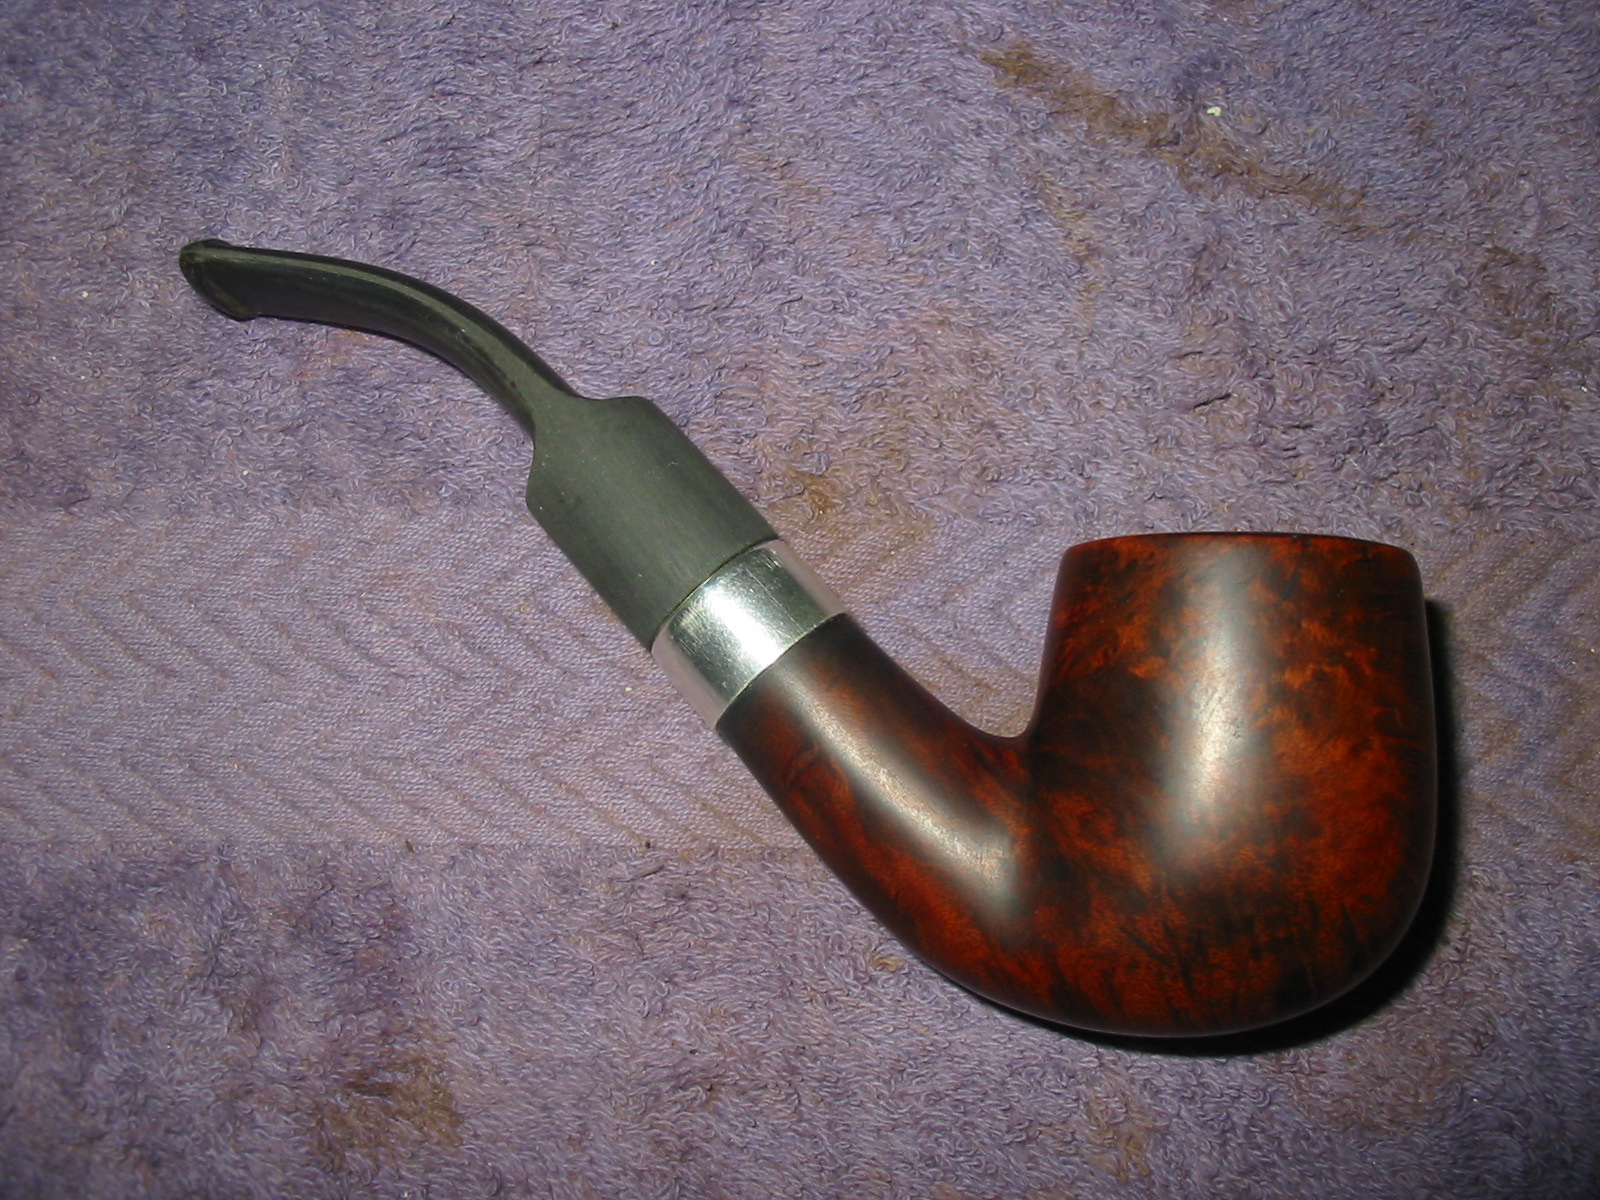
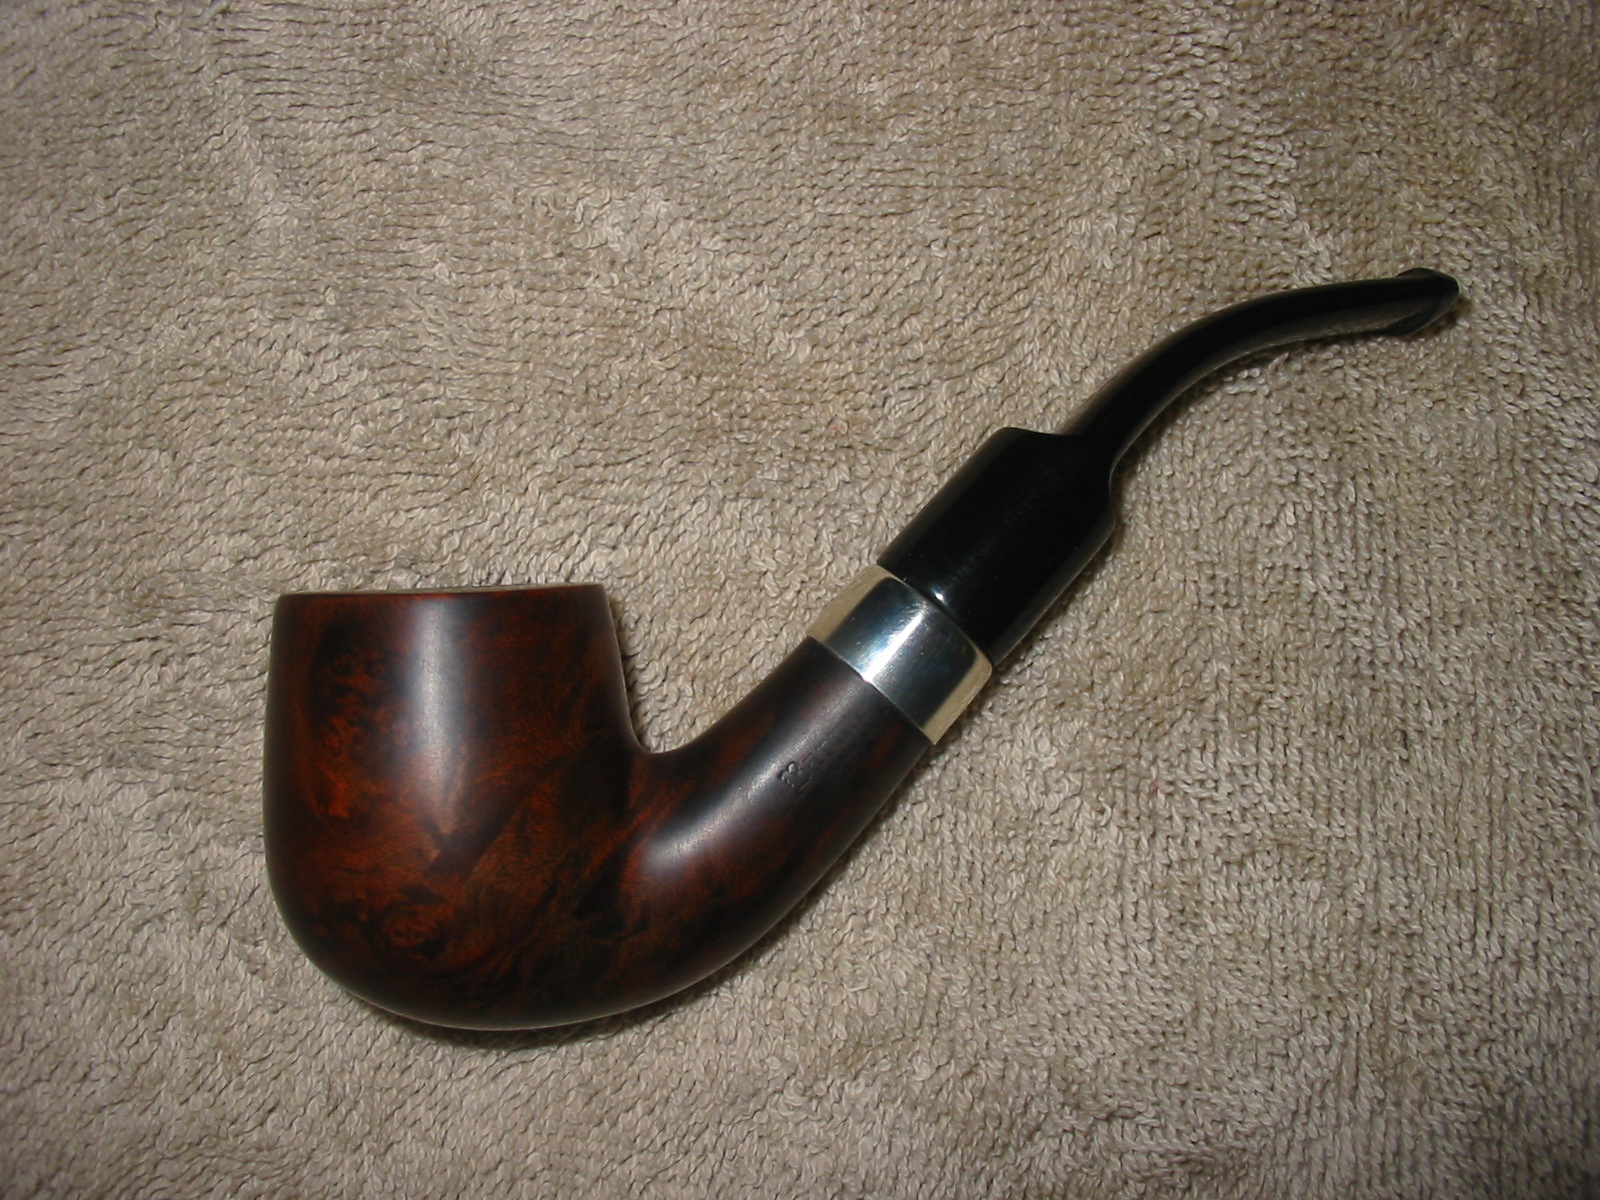
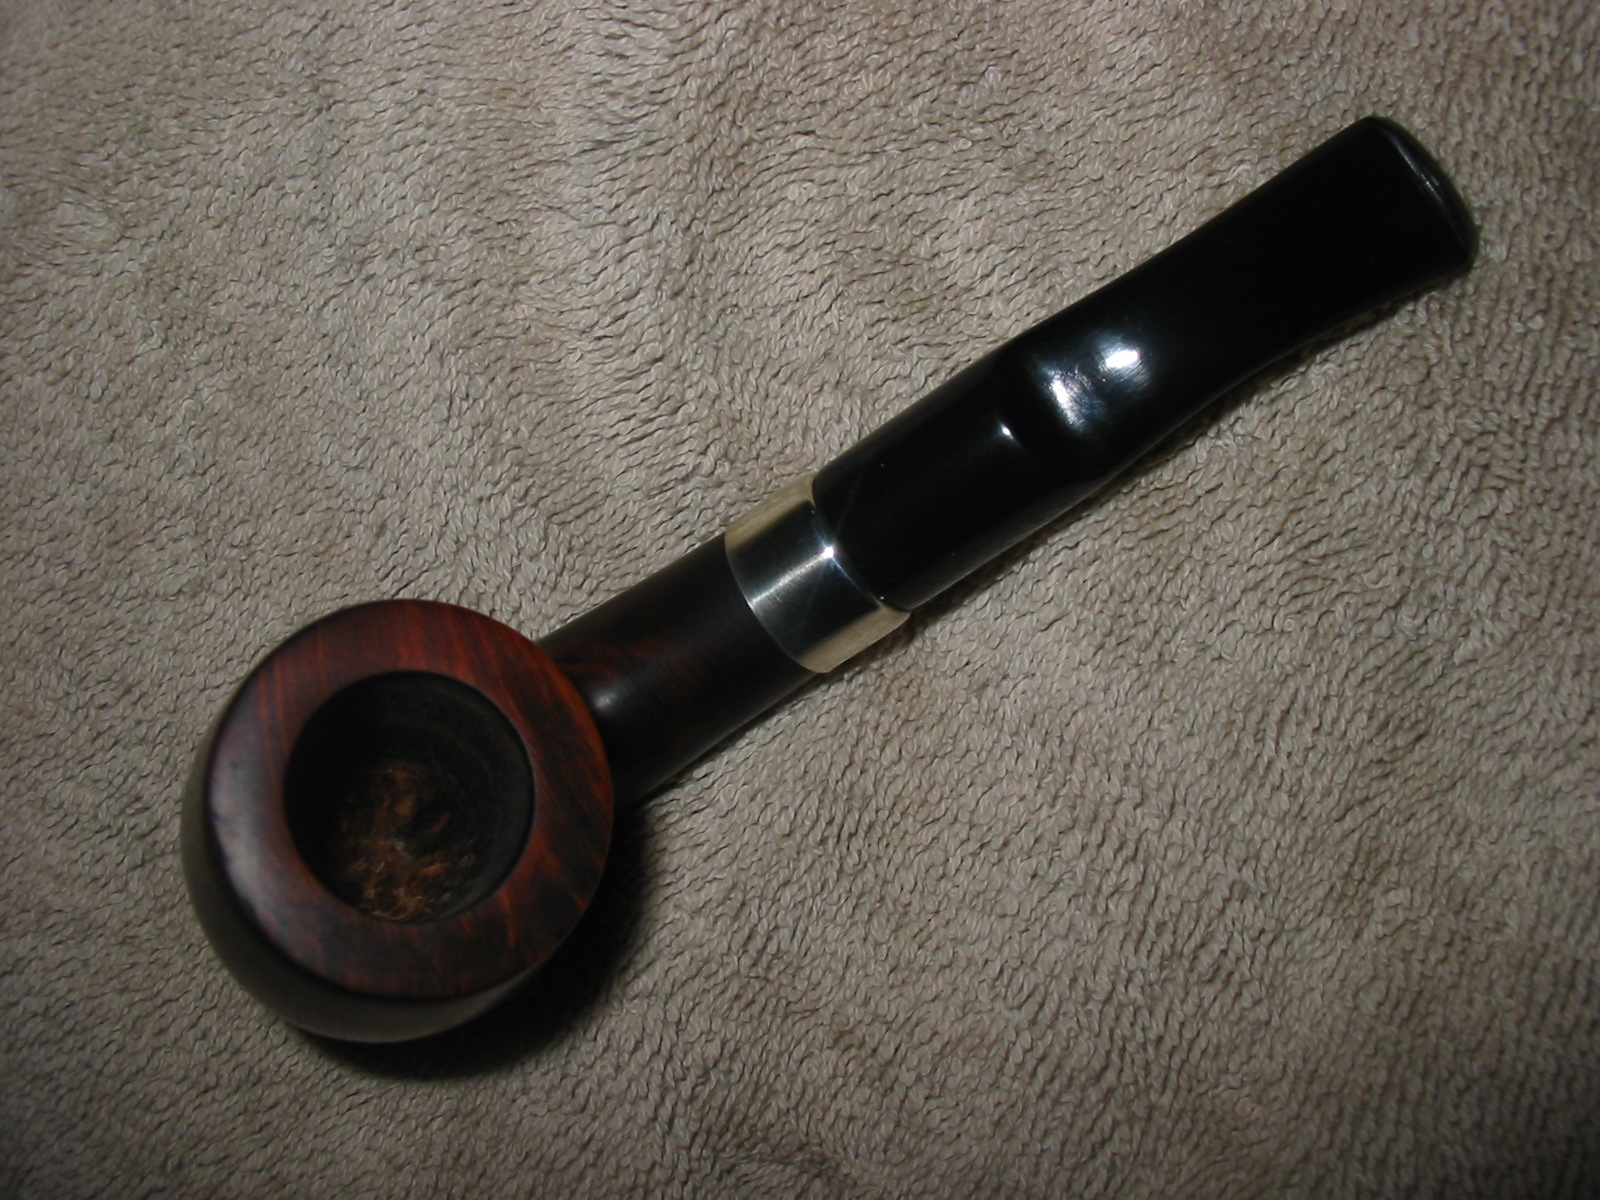
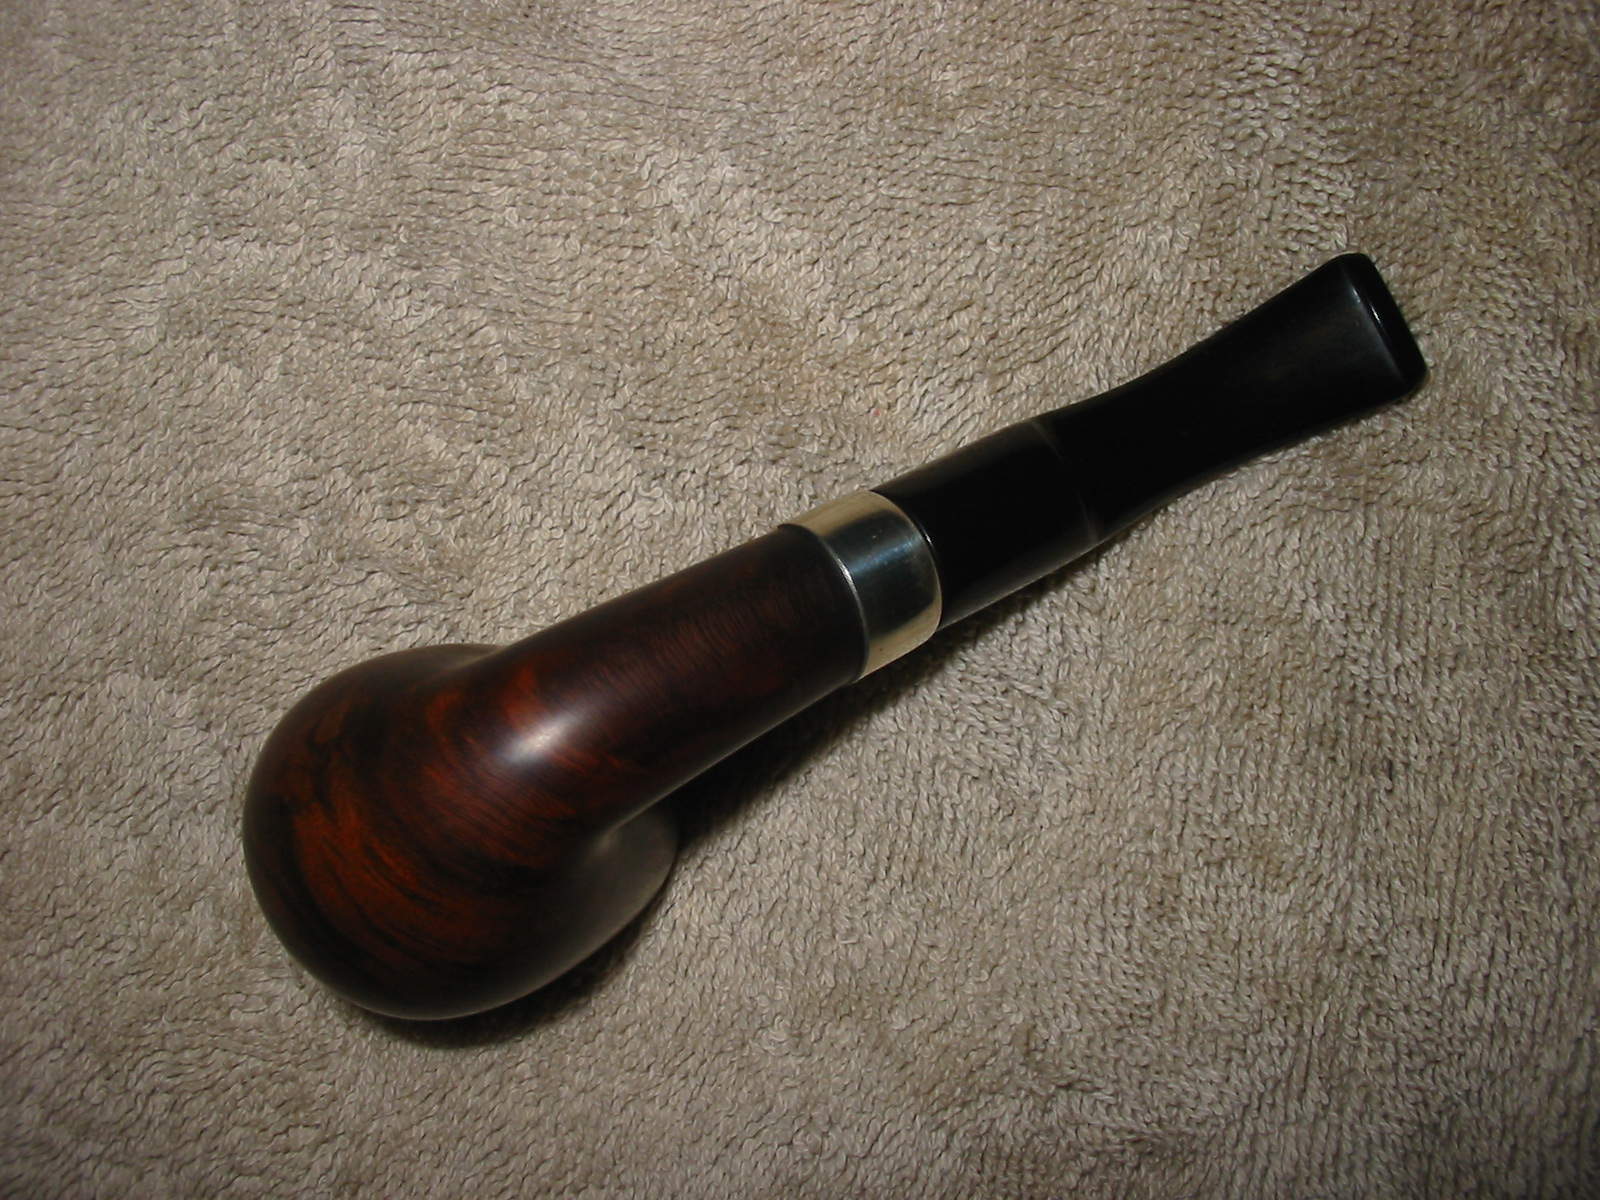
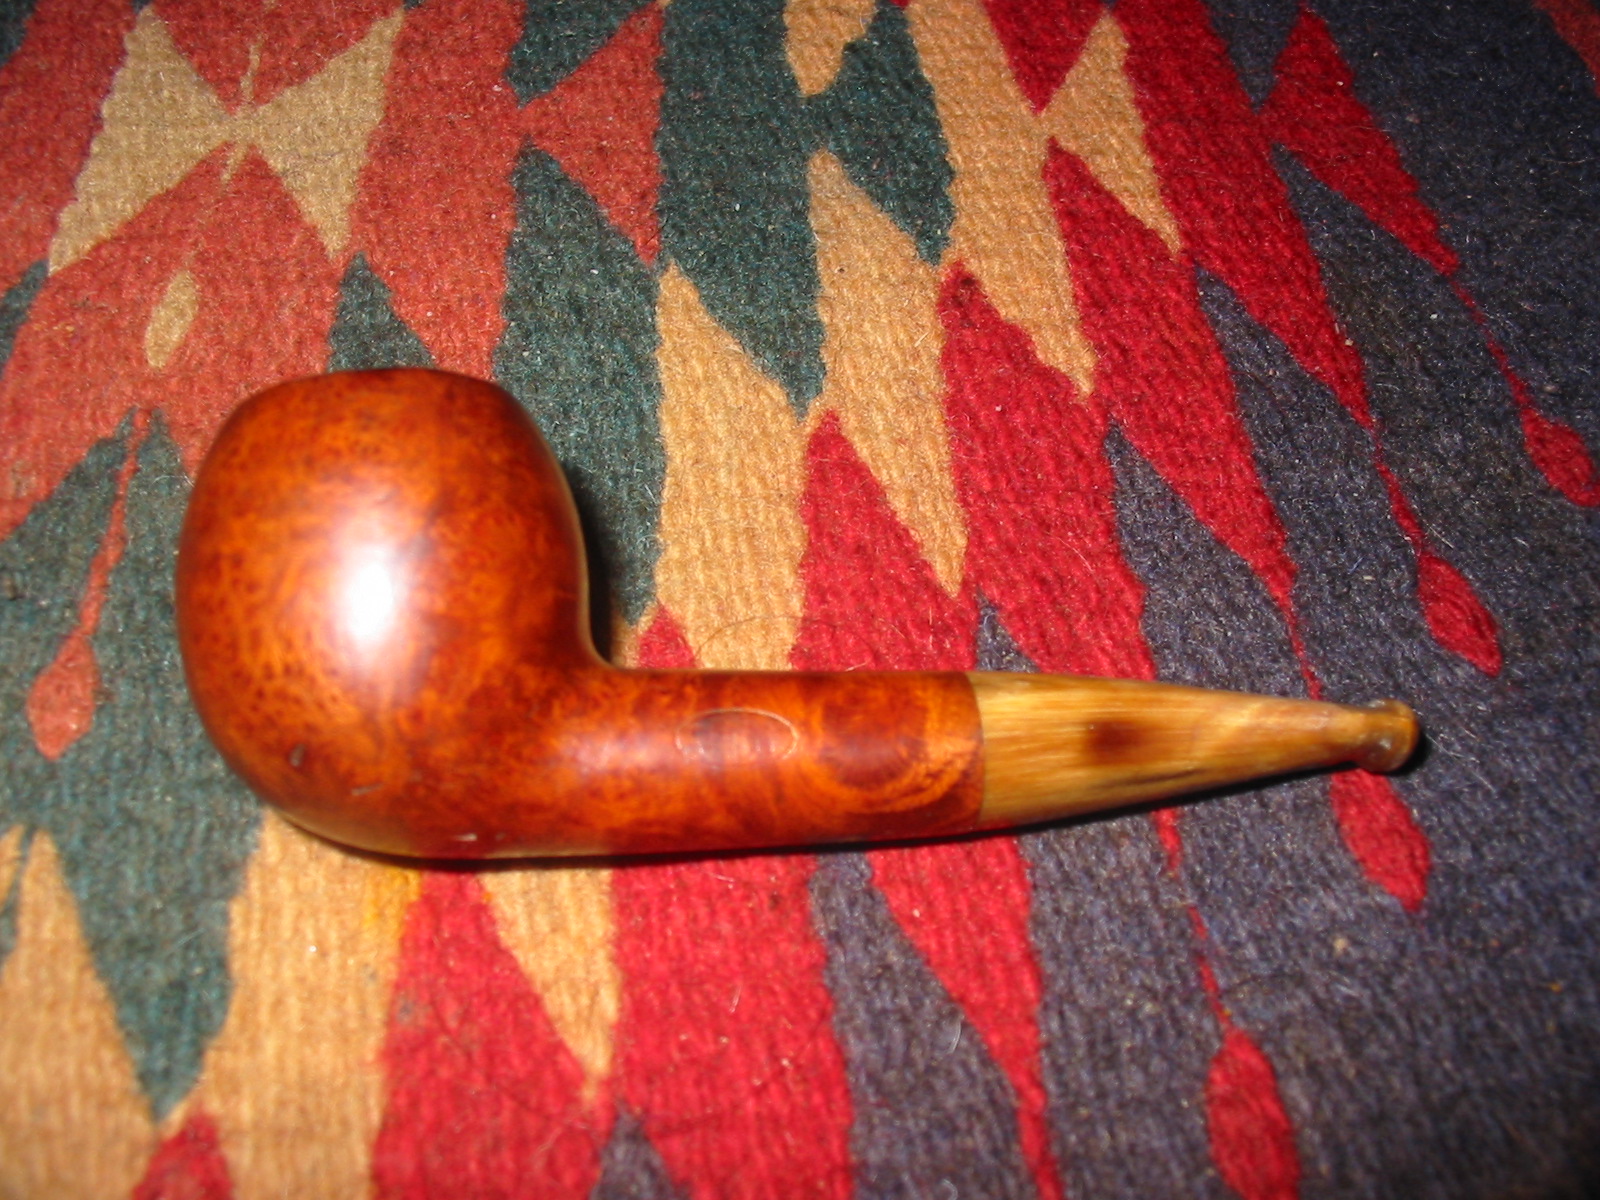
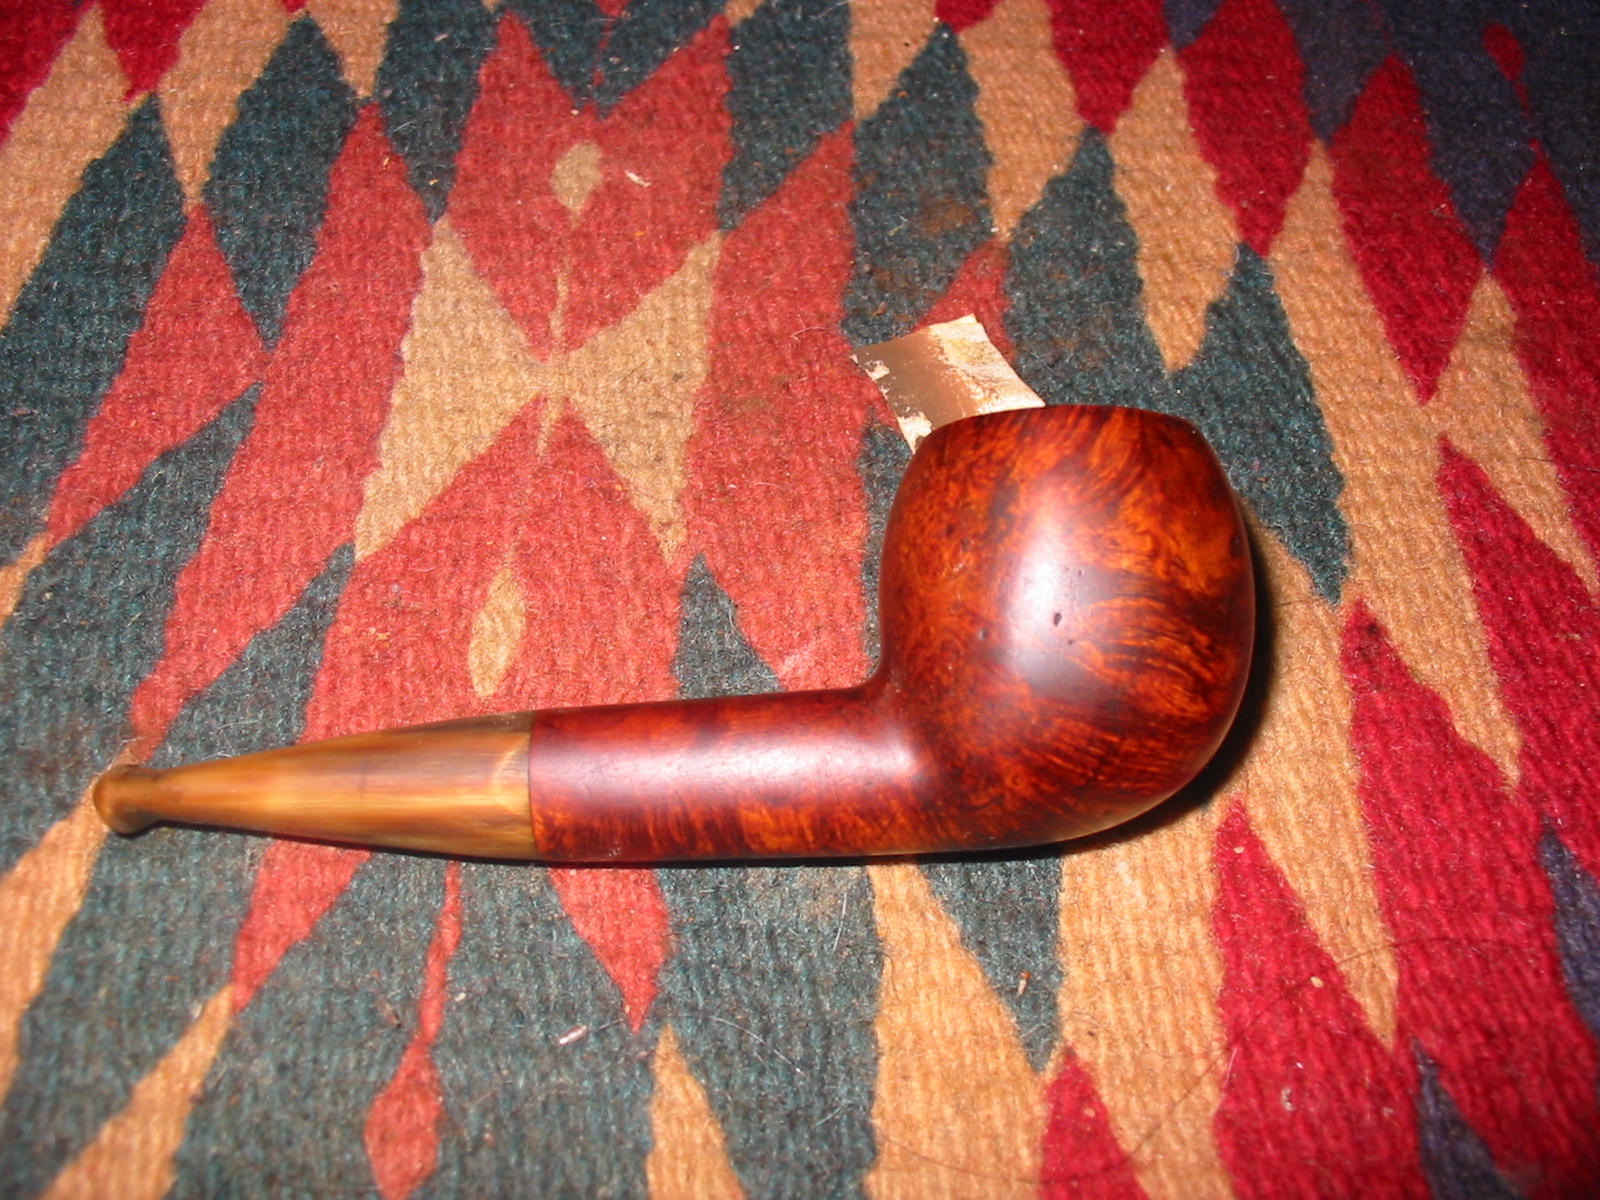
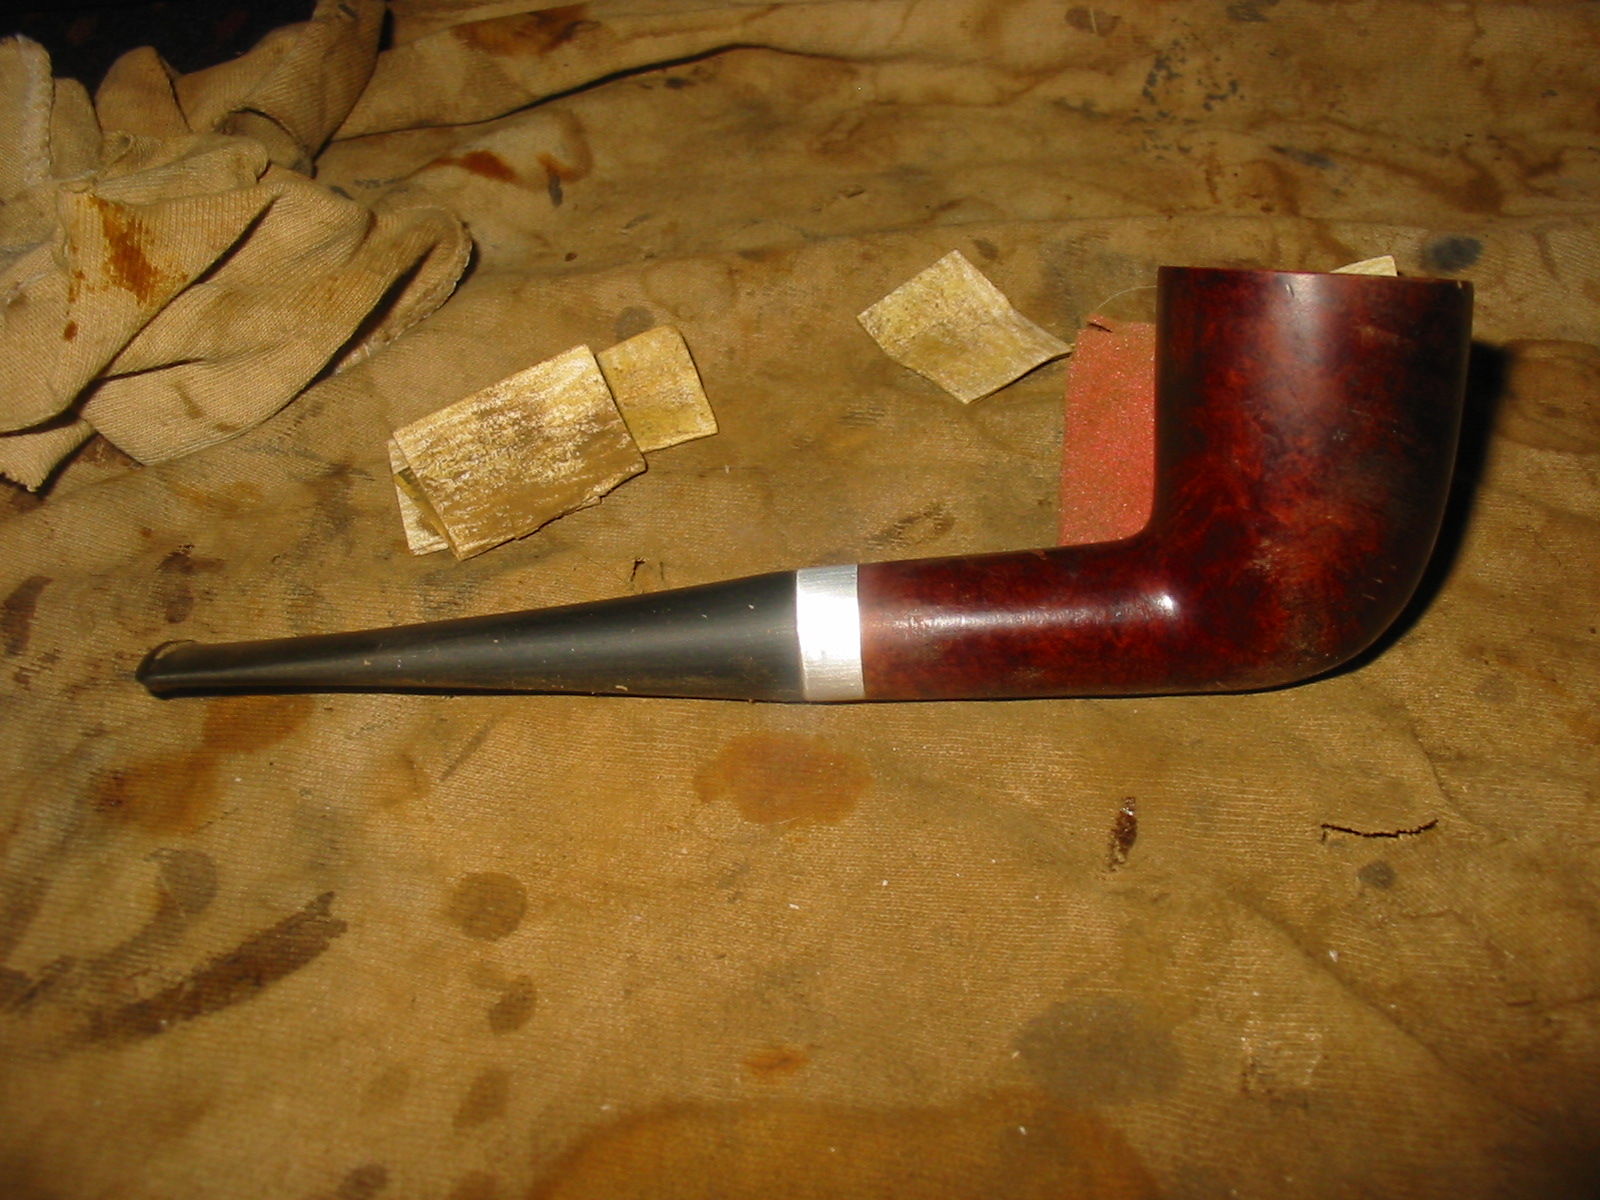
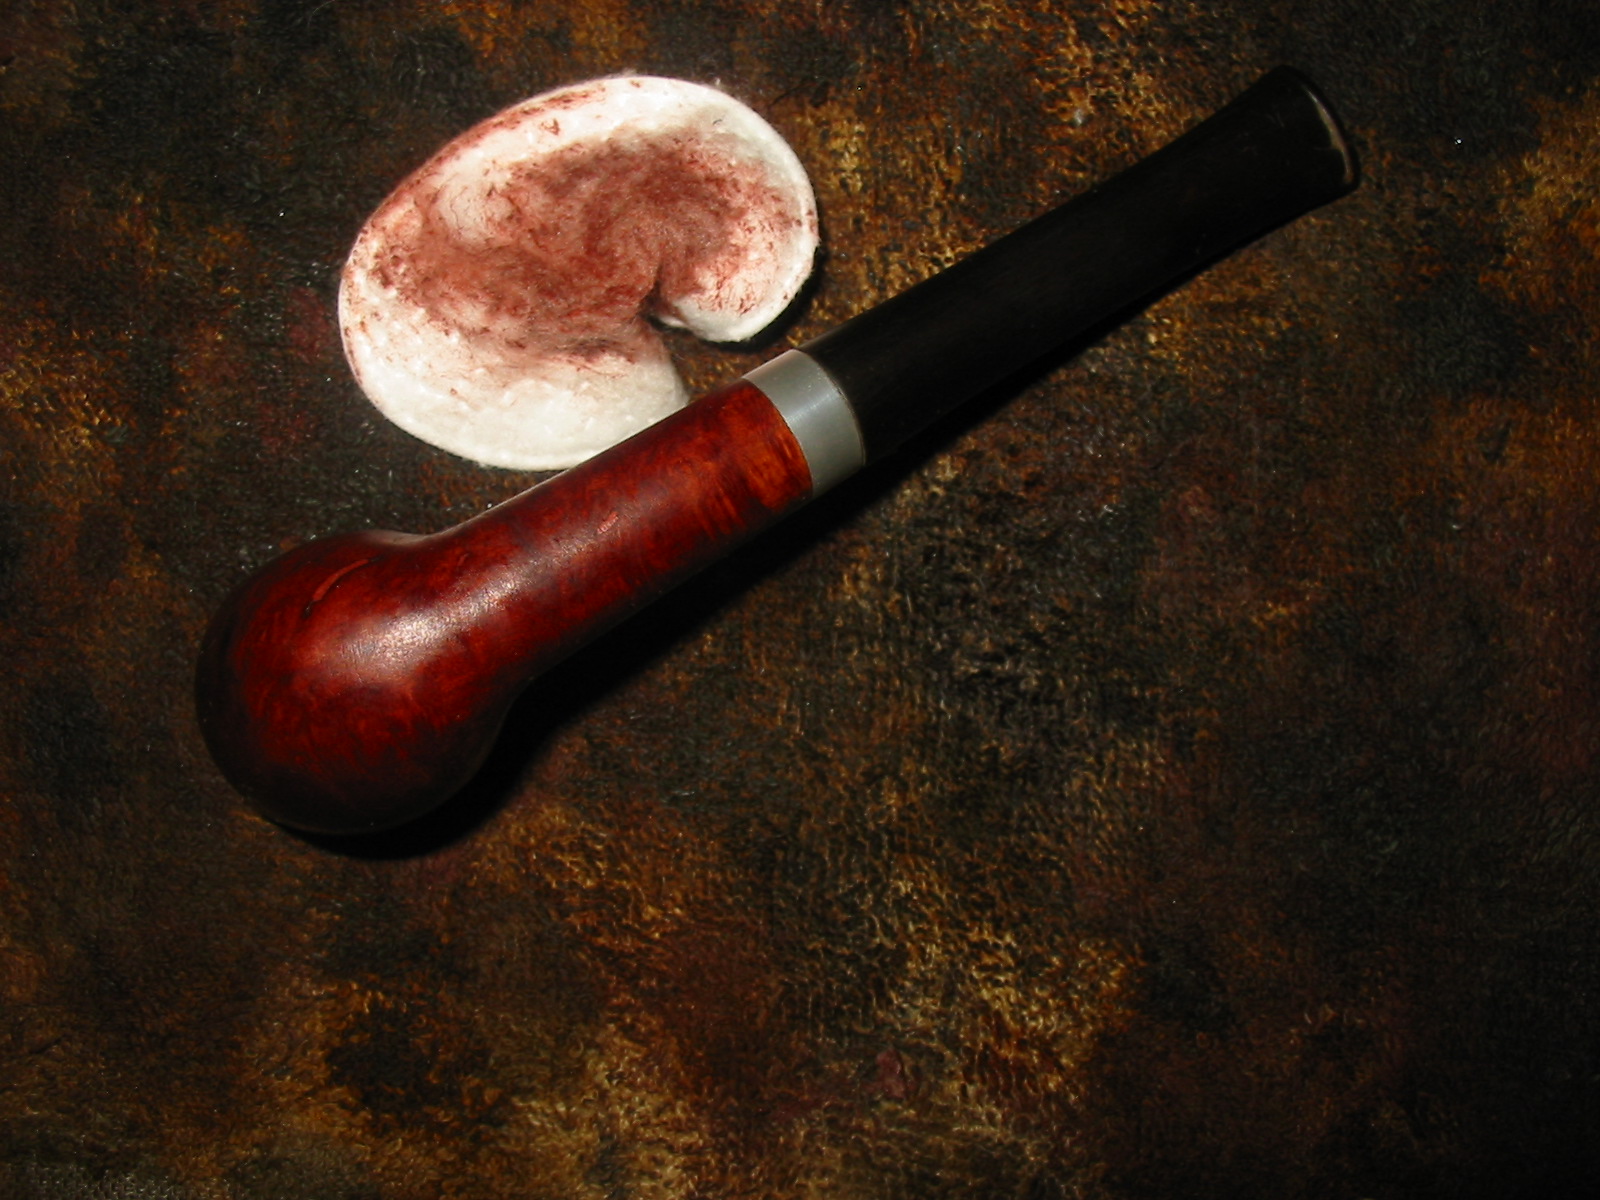
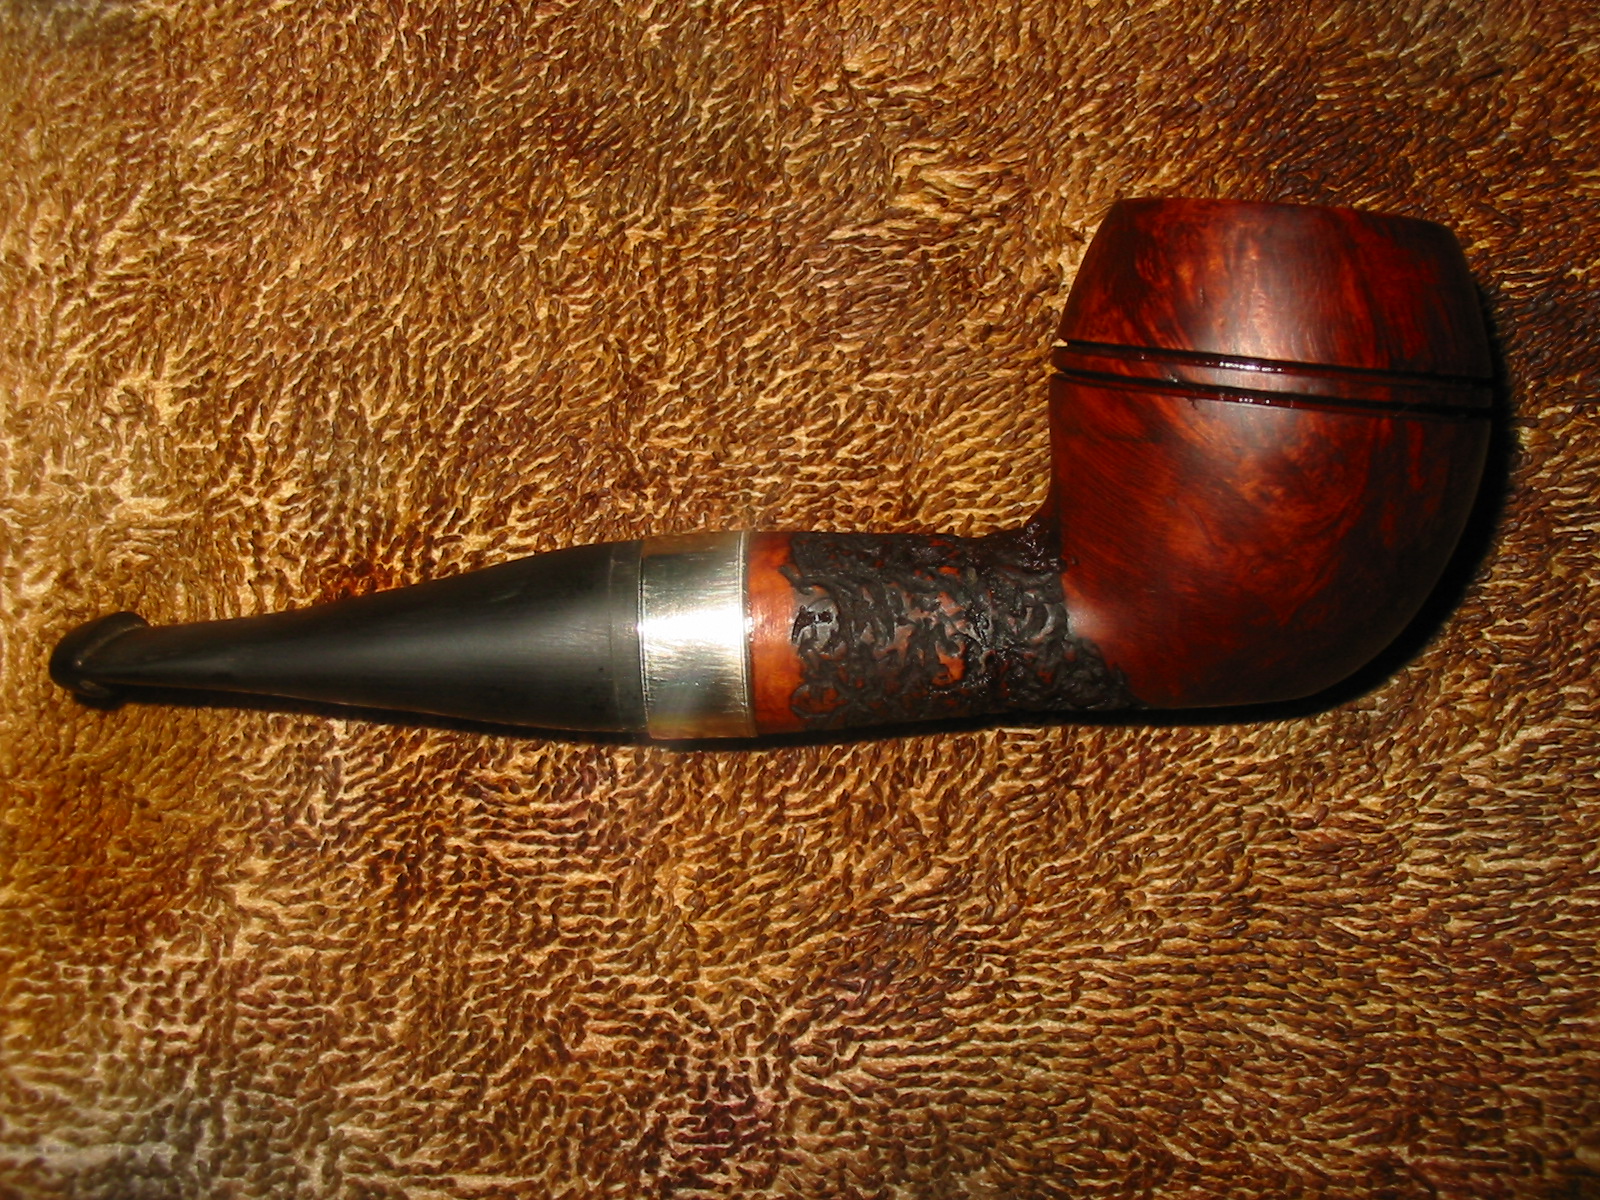
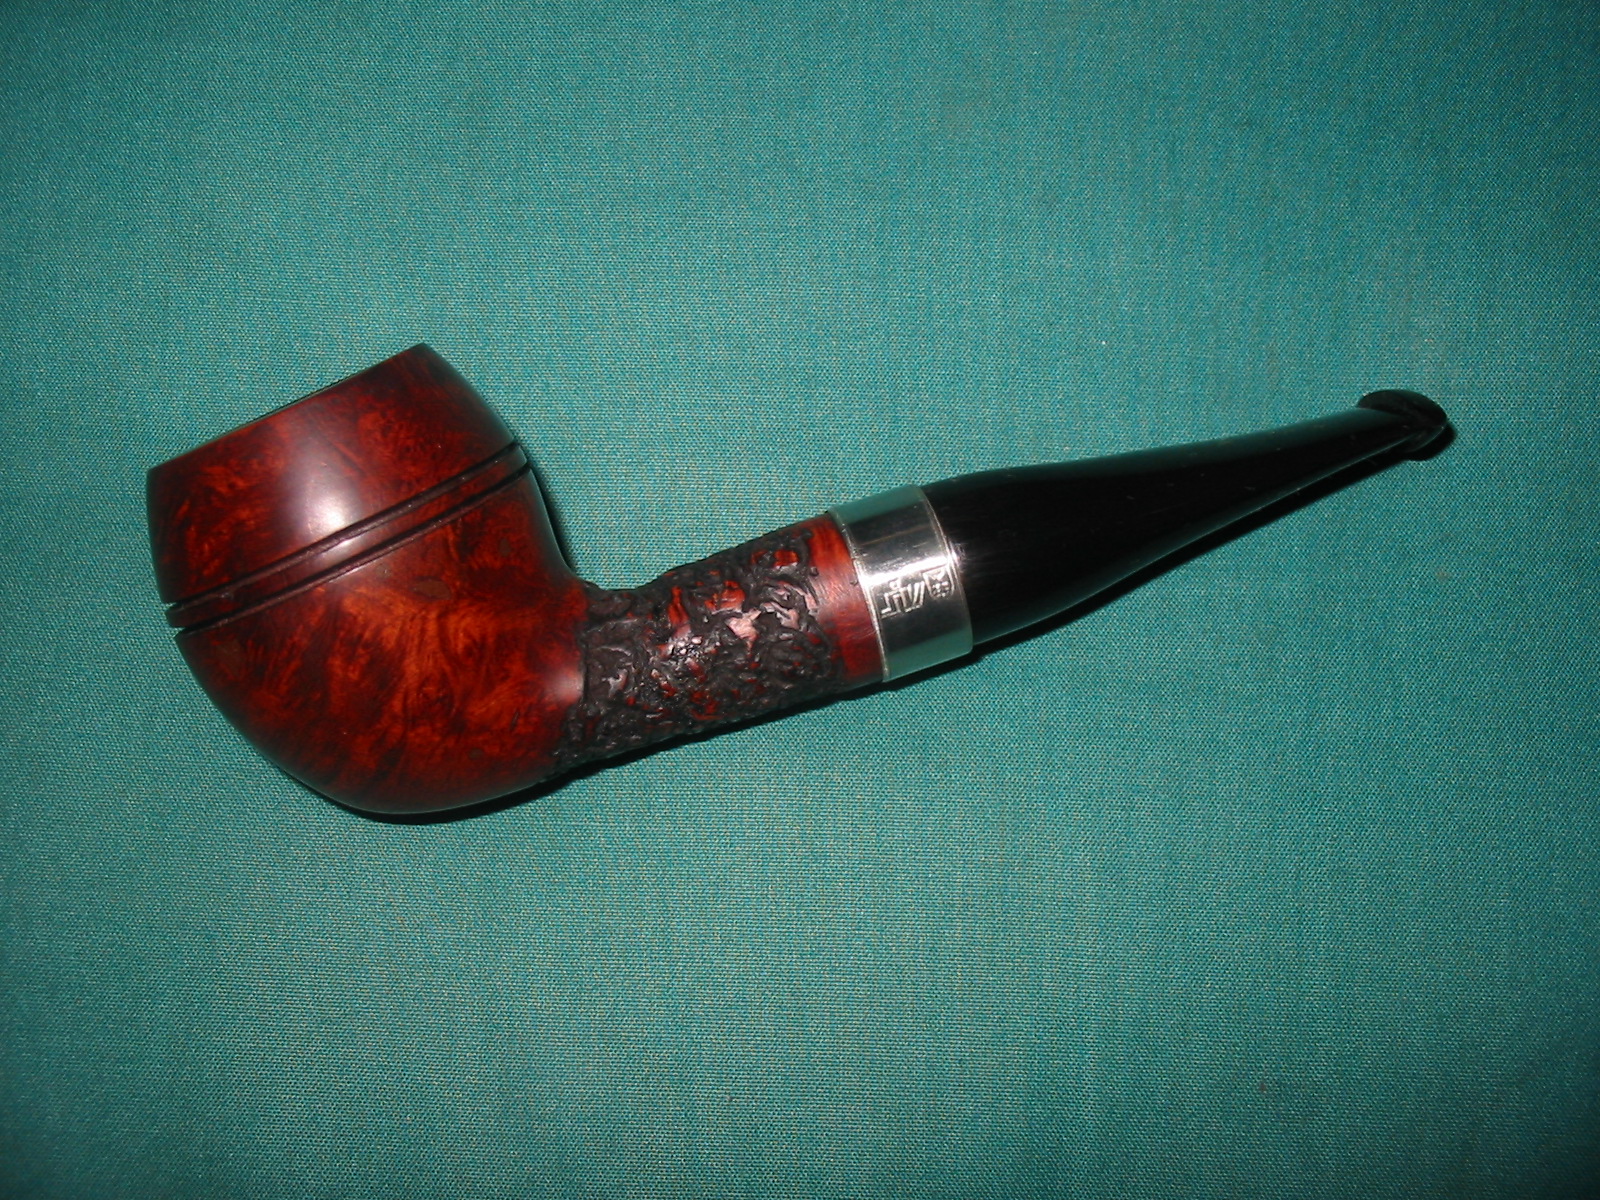
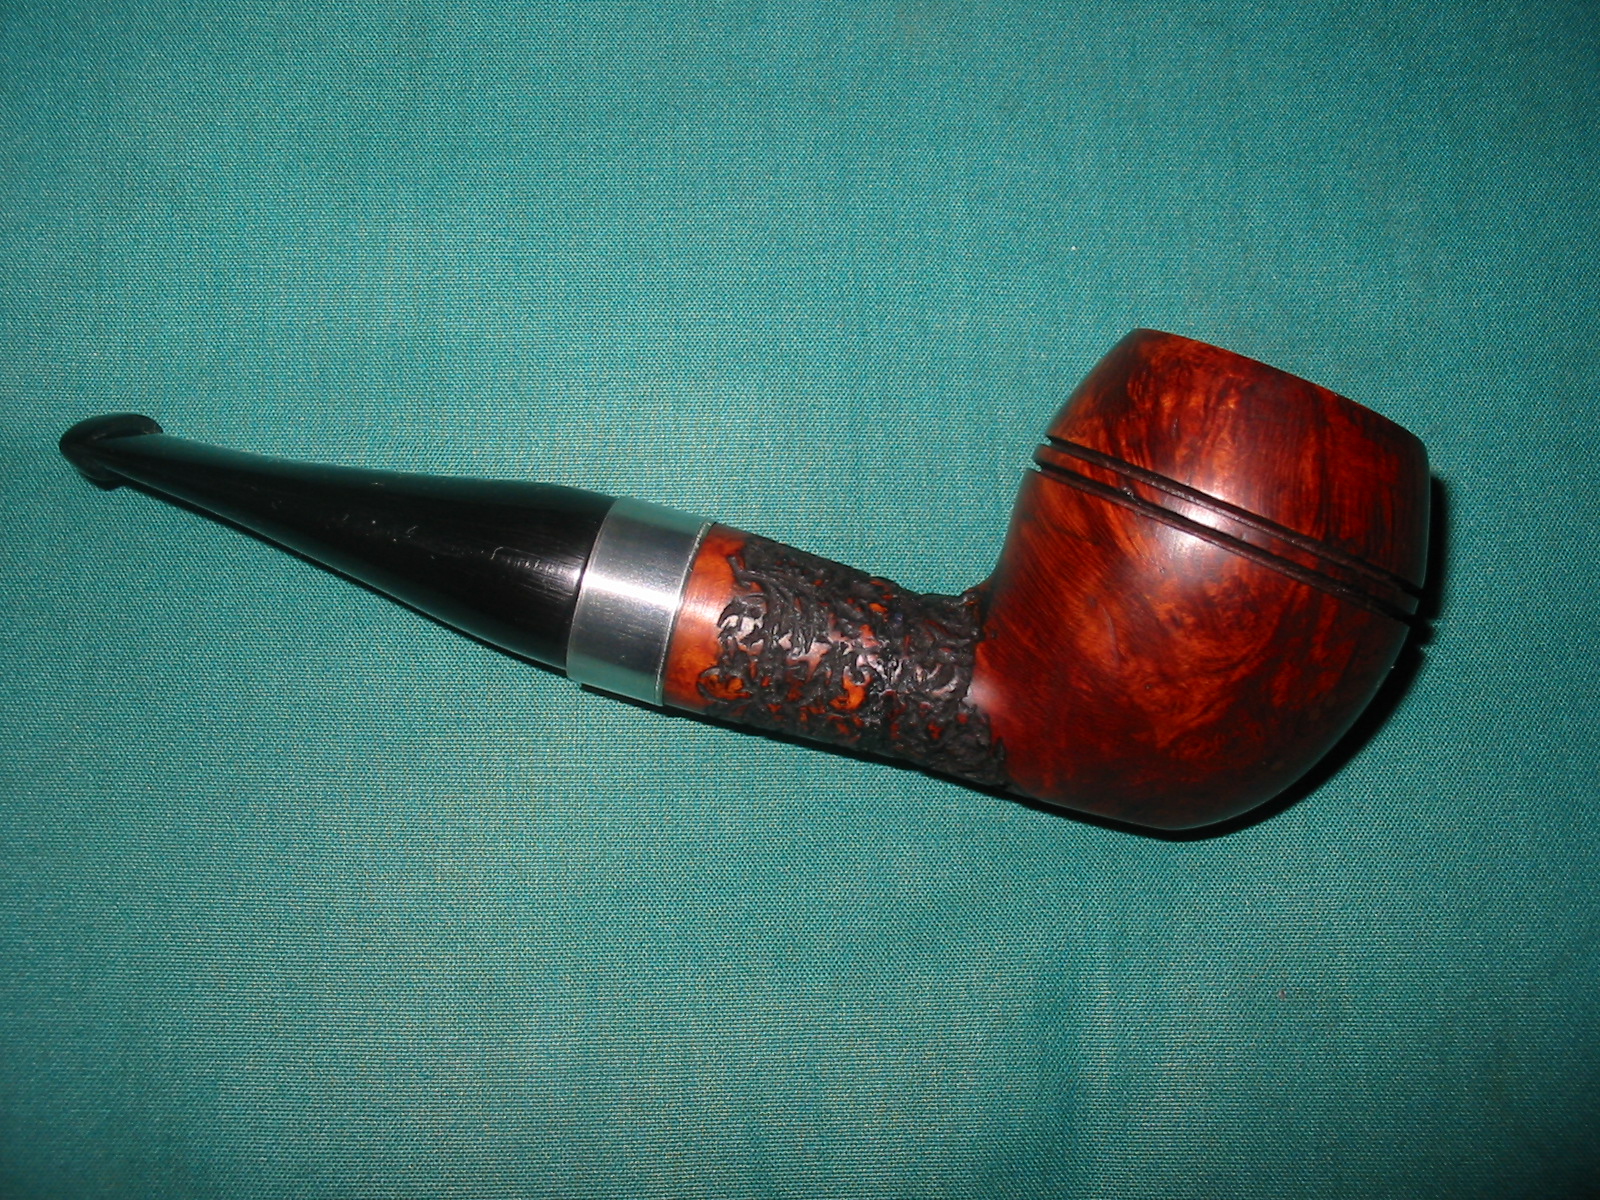
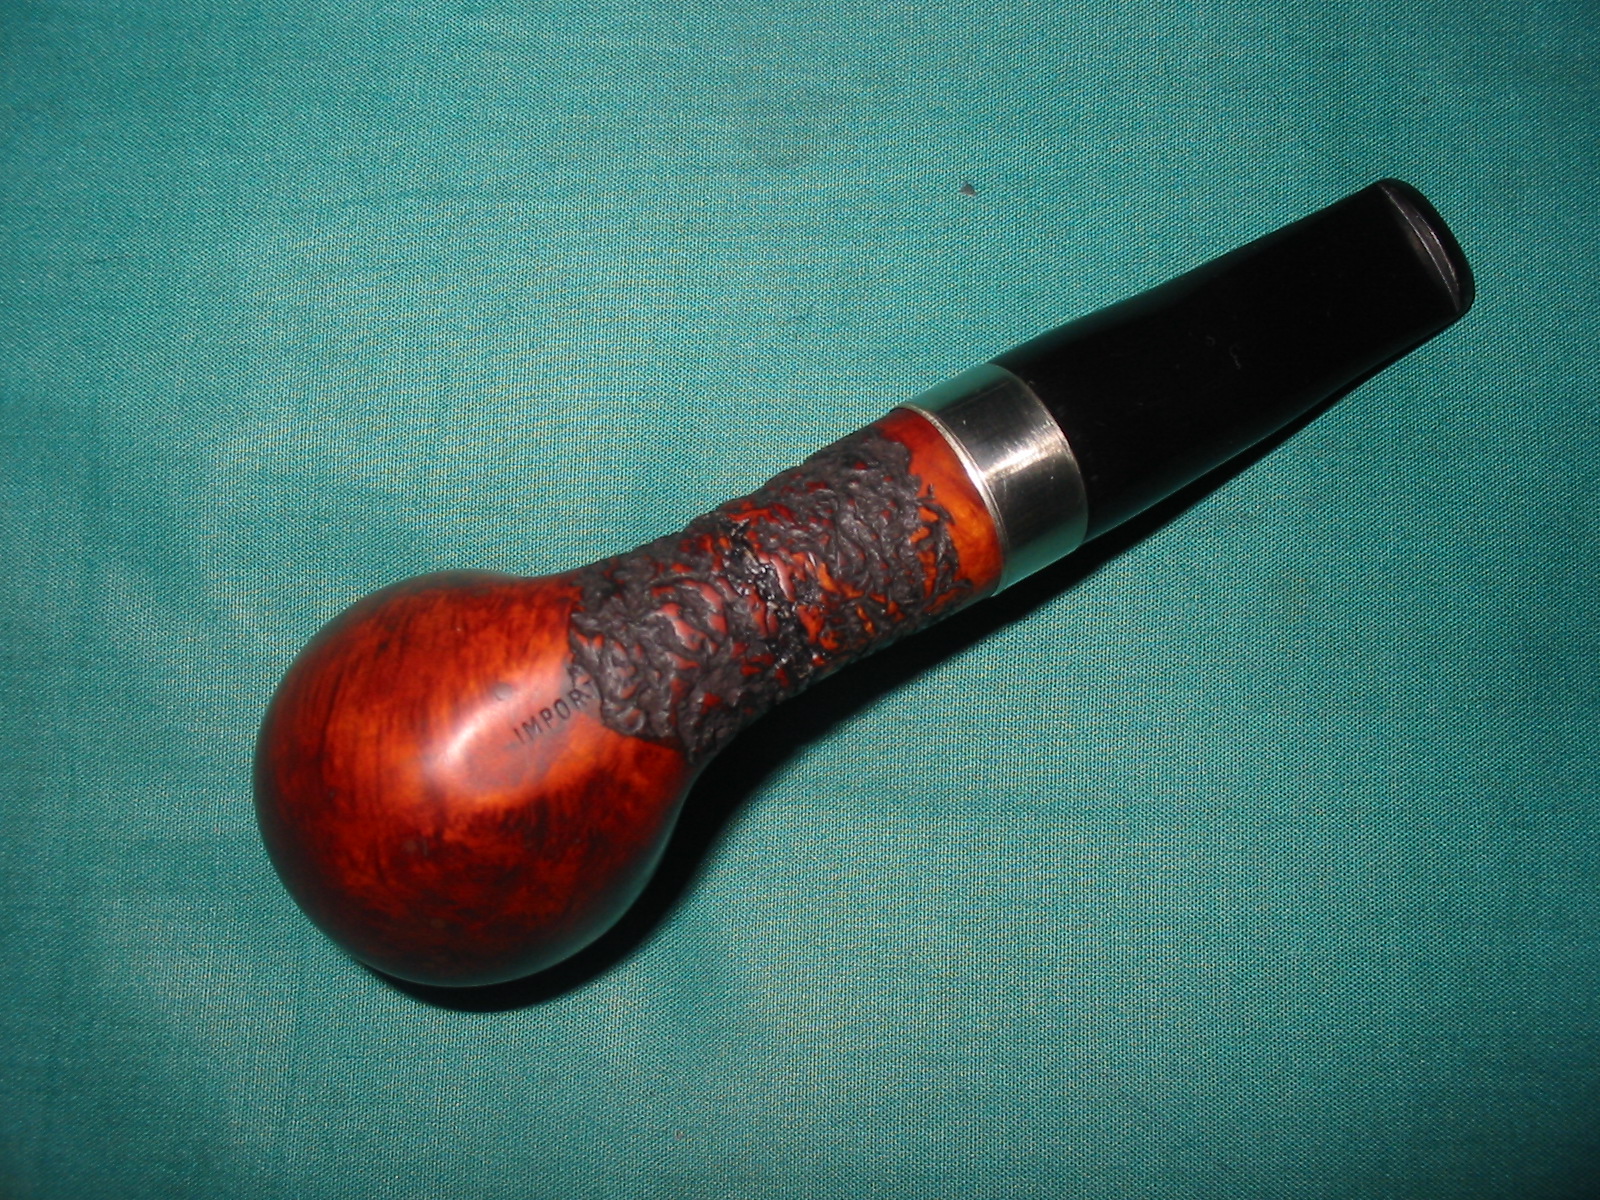
I buffed the bowl and stem lightly with White Diamond and then gave the pipe multiple coats of carnauba wax. I buffed it lightly with a soft flannel buff and then hand buffed the area around the stamping. The finished pipe is shown in the photos below. The horn has a rich shine to it now and the briar looks very good. The contrast between the rich brown stain and the striations of colour in the horn stem give the pipe a distinctive look. There are still some battle scars that add character to the pipe in my opinion. Overall the pipe looks almost new. It is cleaned and ready for a smoke.


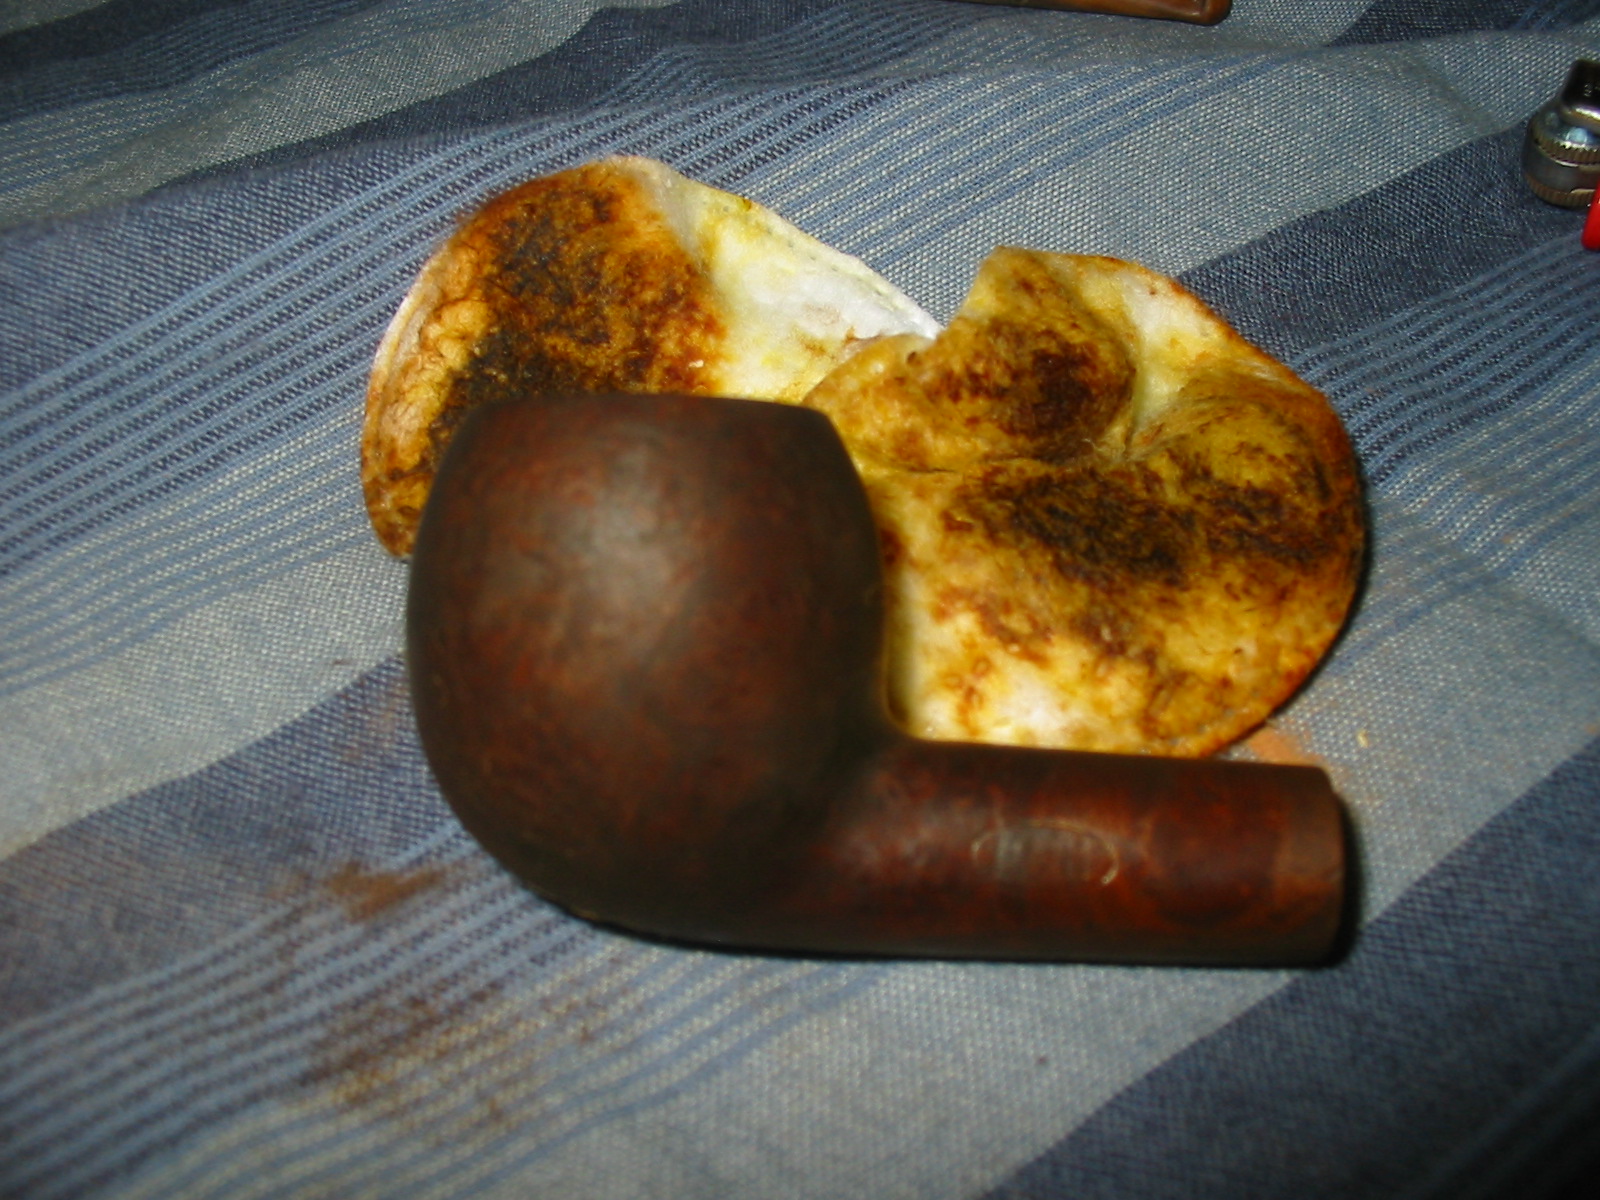
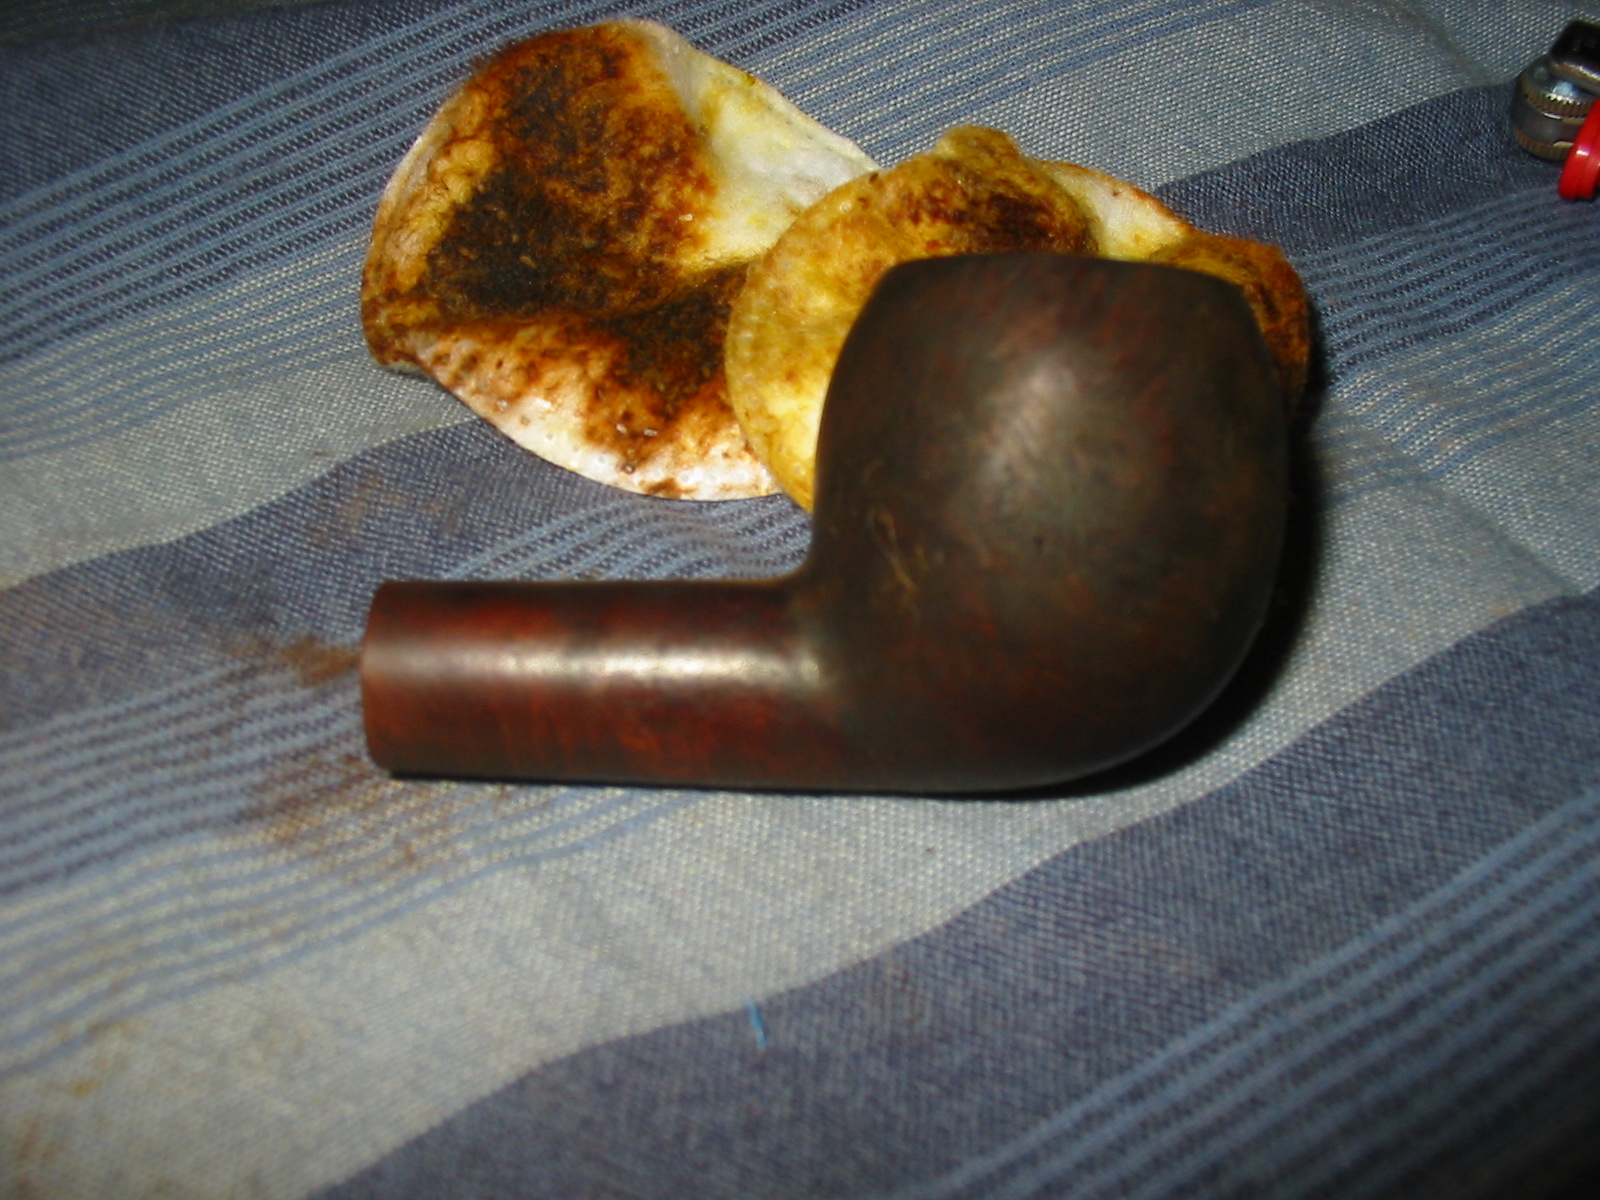
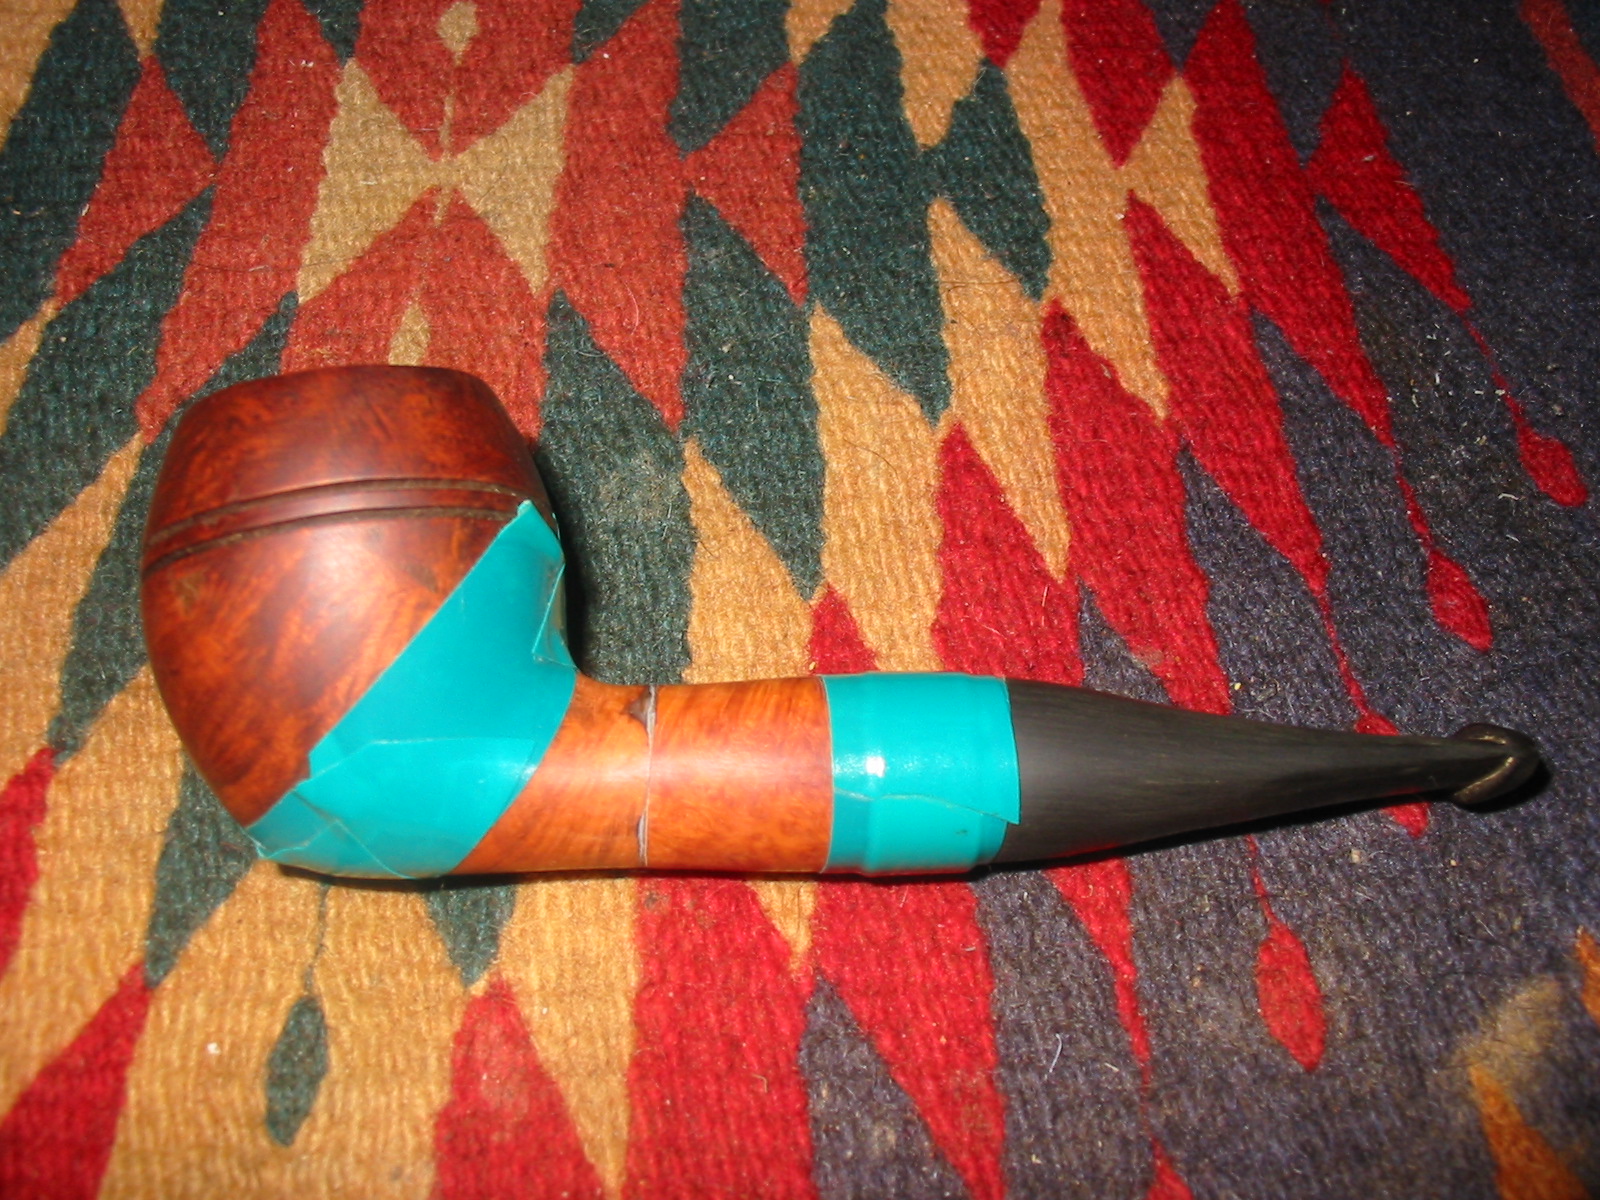
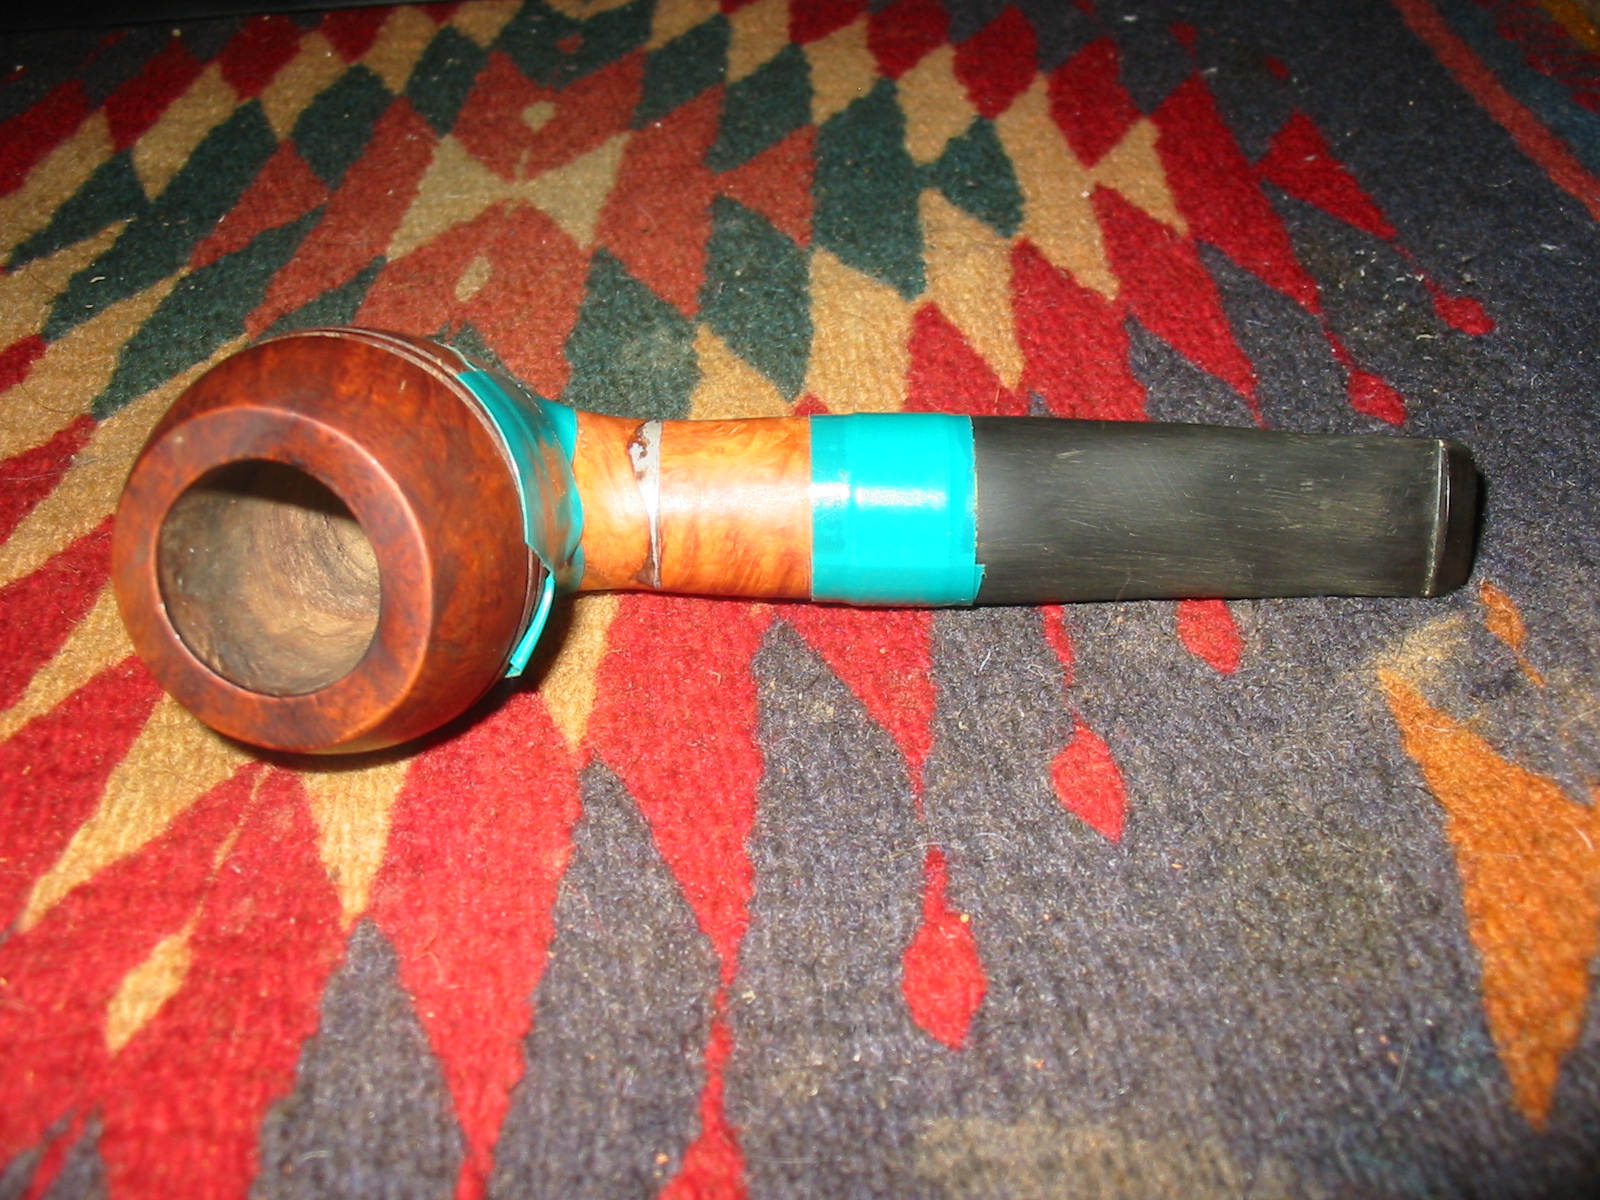
 As you can see, the oxidation was extremely heavy, enough to hide the significant tooth damage to the button and bite zone. The pipe itself was grimy in the extreme, and while a touch of murphy’s oil soap took enough grime off to assure me this wasn’t heat damage, it wouldn’t touch the majority of the blackening on the pipe. First step, then, was to put the pipe in my alcohol bath, a technique I first read about in Steve’s post here. So I reamed the excess cake, and dropped it in the bath. The stem got a quick scrub with some pipe cleaners, and was already pretty clean, so into the Oxyclean it went for 2.5 hours.
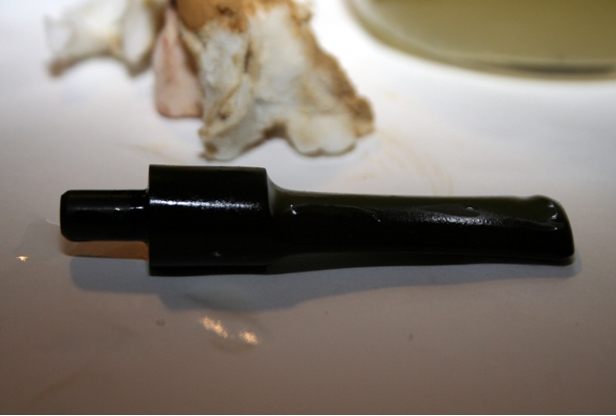
 Oxidation was everywhere, and under an angled flashlight I could see it through the length of the stem. Ok, then I knew I had to sand. But first to address the bite marks. Step one was to try the heat gun, as I learned first here.
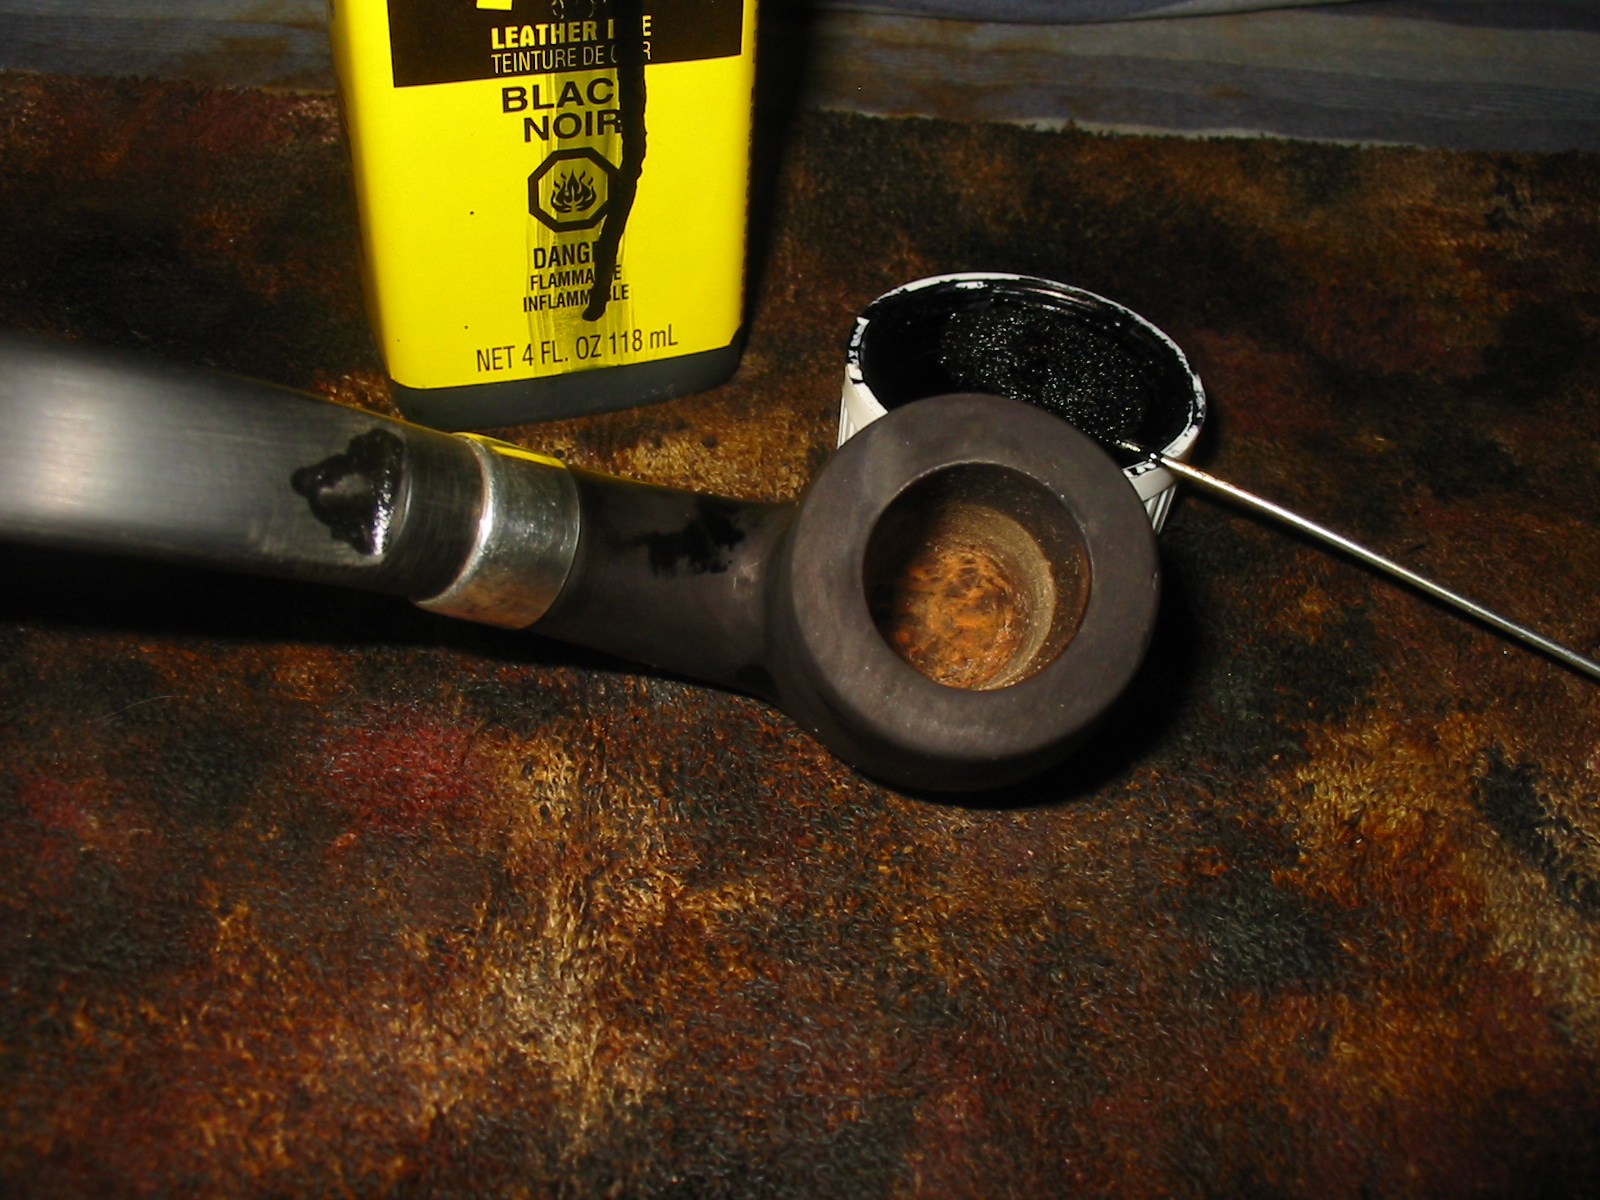
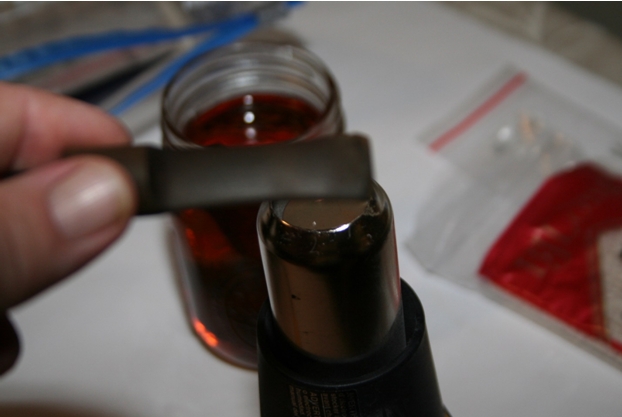 Unfortunately the marks were too deep to come out completely from the heat, so I filled them with black superglue, a technique I found an in-depth explanation of, among other places on the site, here. In the meantime I turned to the stummel itself while the glue was drying.
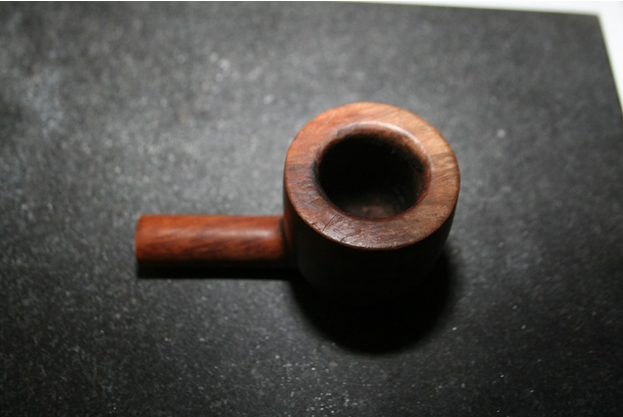 The bowl top was scratched pretty badly, and had some definite darkening to contend with. I knew I’d have to top it like Steve showed me in many posts like this one. I grabbed my topping board, actually a granite surface plate I bought from woodcraft years ago for lapping wood plane soles, and now use almost exclusively for pipes.
 At 320 grit, my preferred poison for this procedure, the rim cleaned up quickly, but I soon enough decided that to eliminate all of the darkening I’d have to top the bowl lower than I liked. I came close, but left some of the color rather than lose the original shape. As you can see, the bowl was also a bit out of round (and still is, to a degree), which I went after with folder sandpaper to smooth out the curve without reshaping the bowl. The pipe had 2-3 fills, but I was confident they’d blend into the stain.
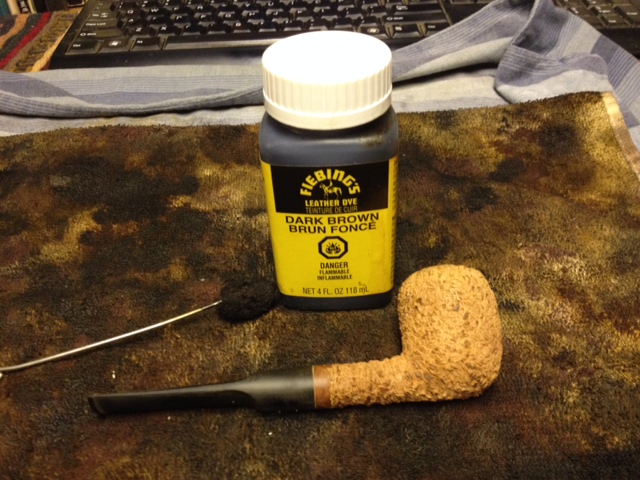
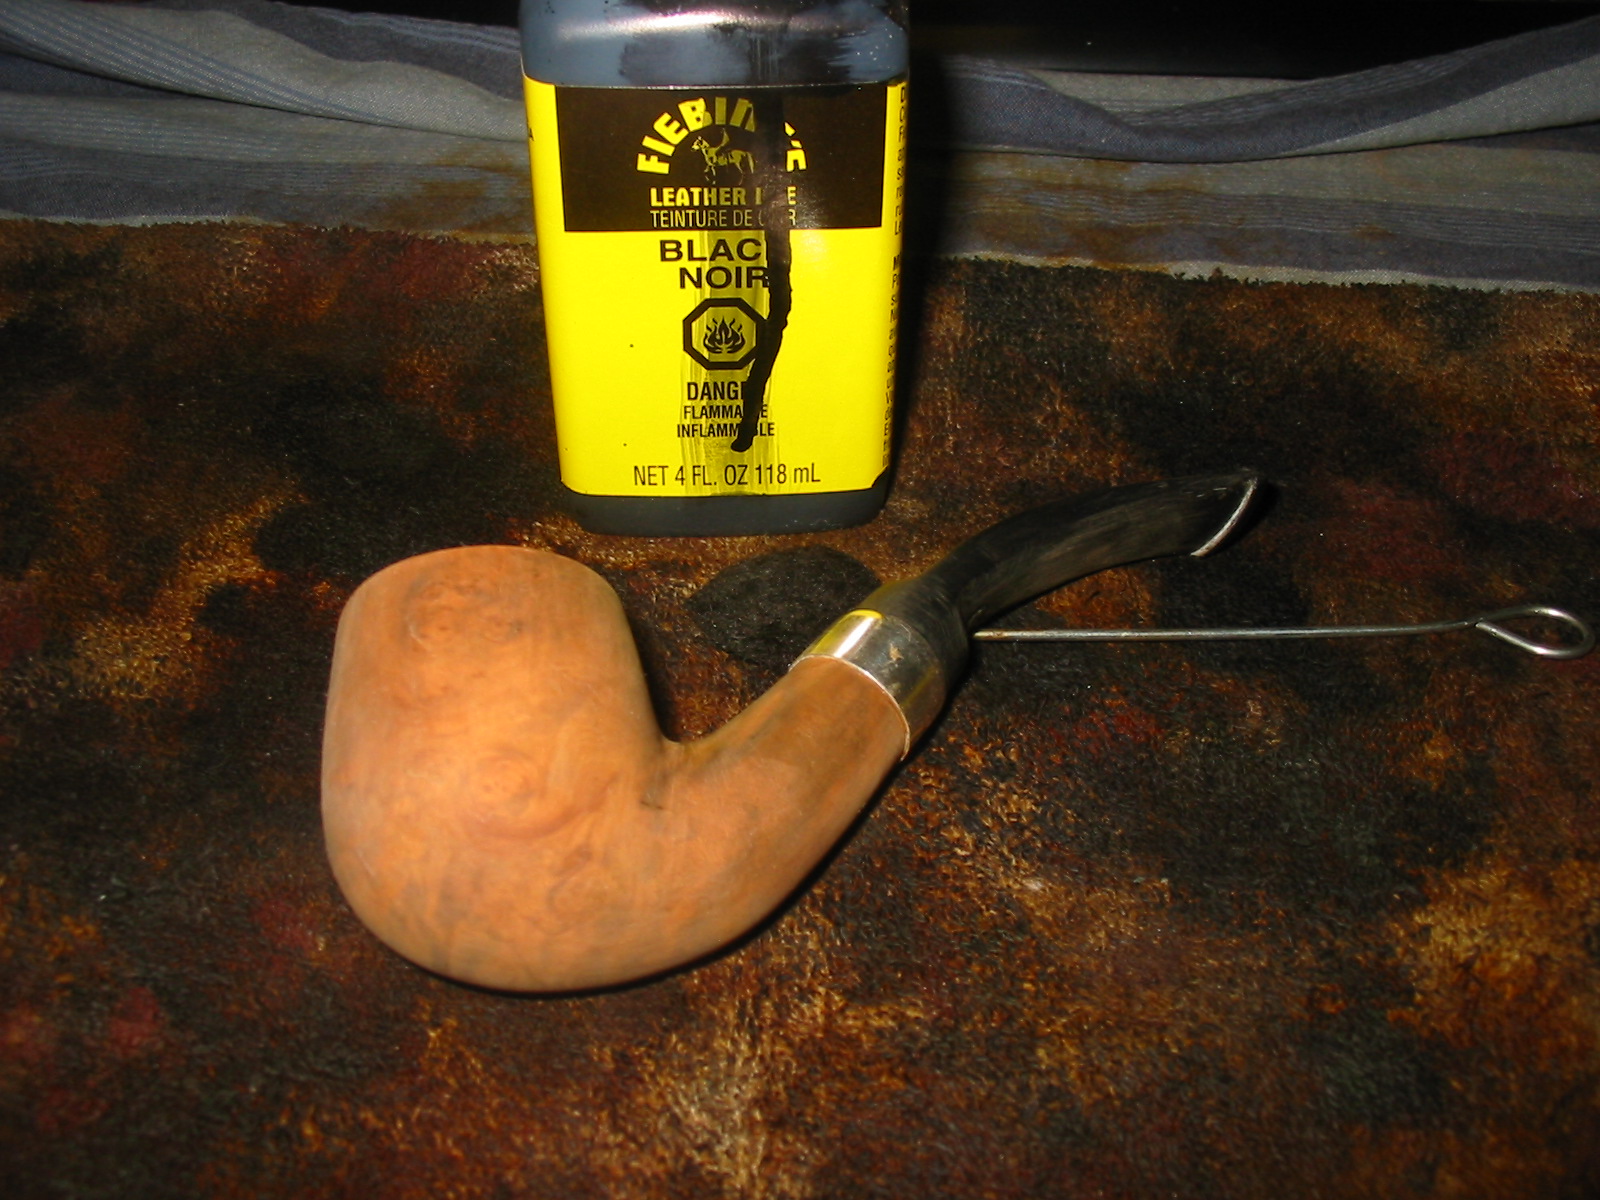
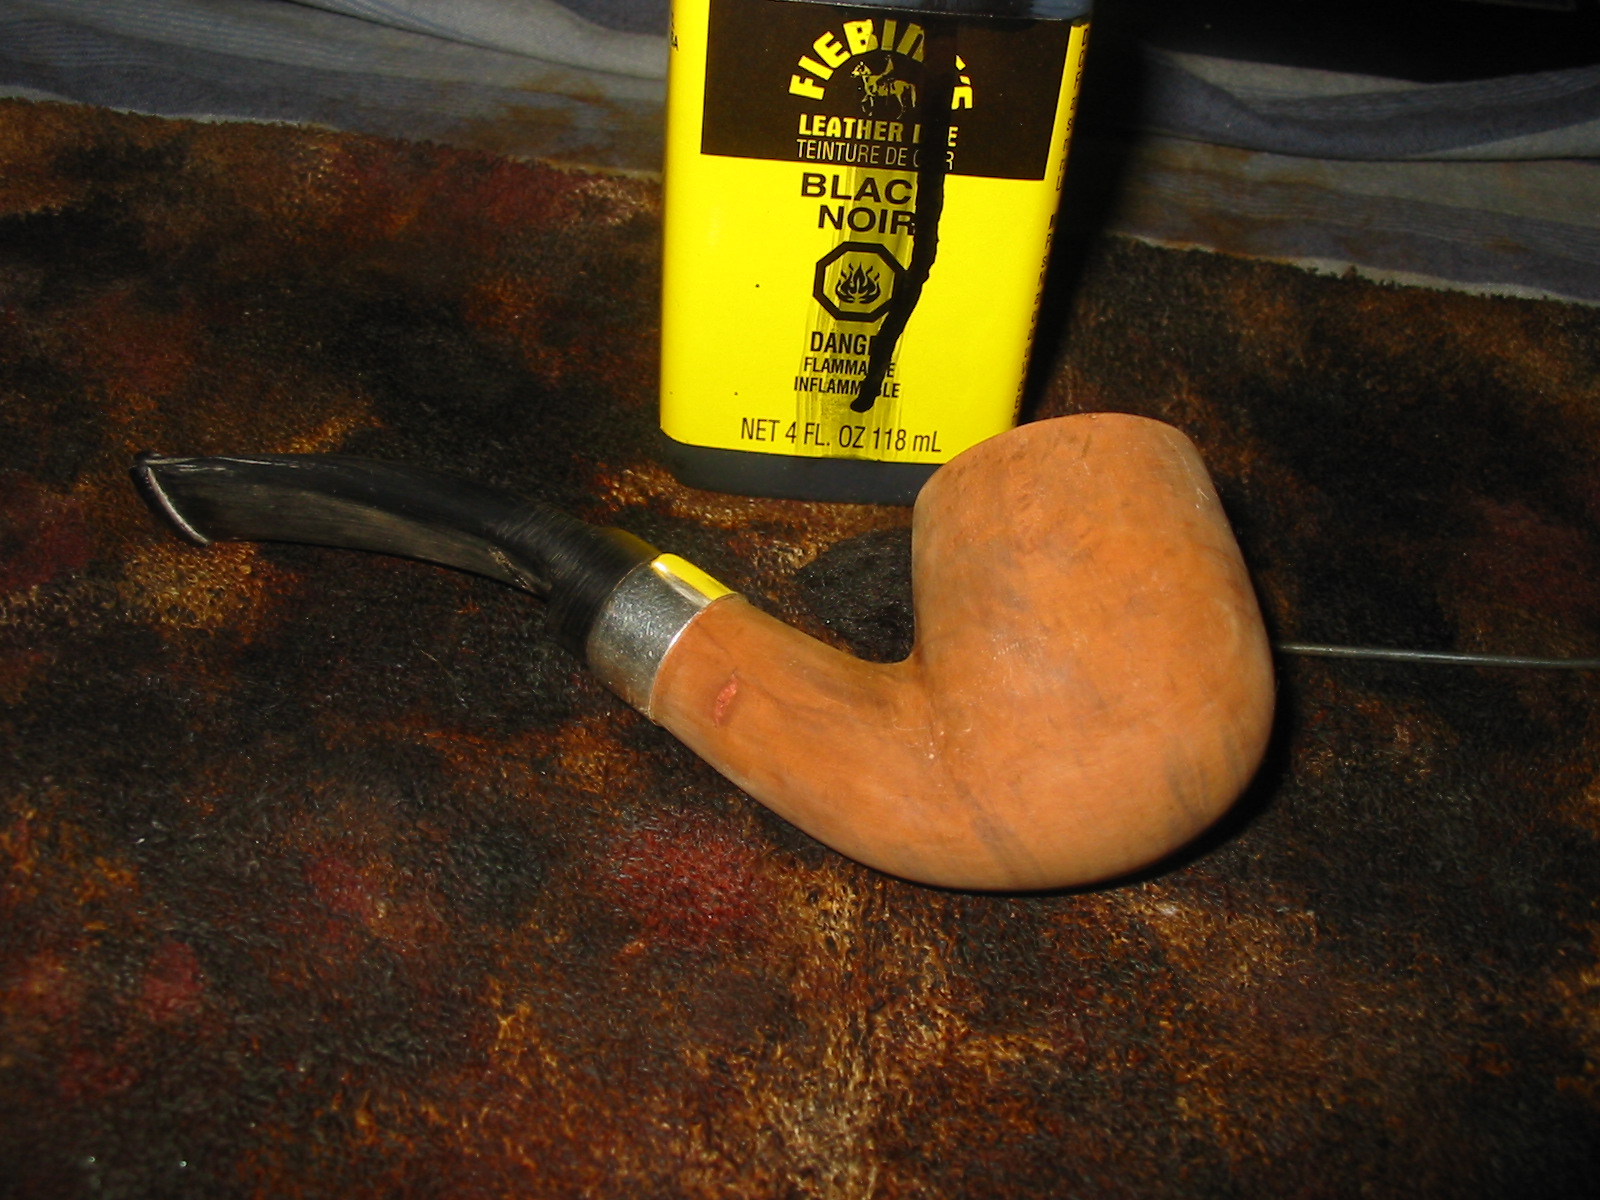
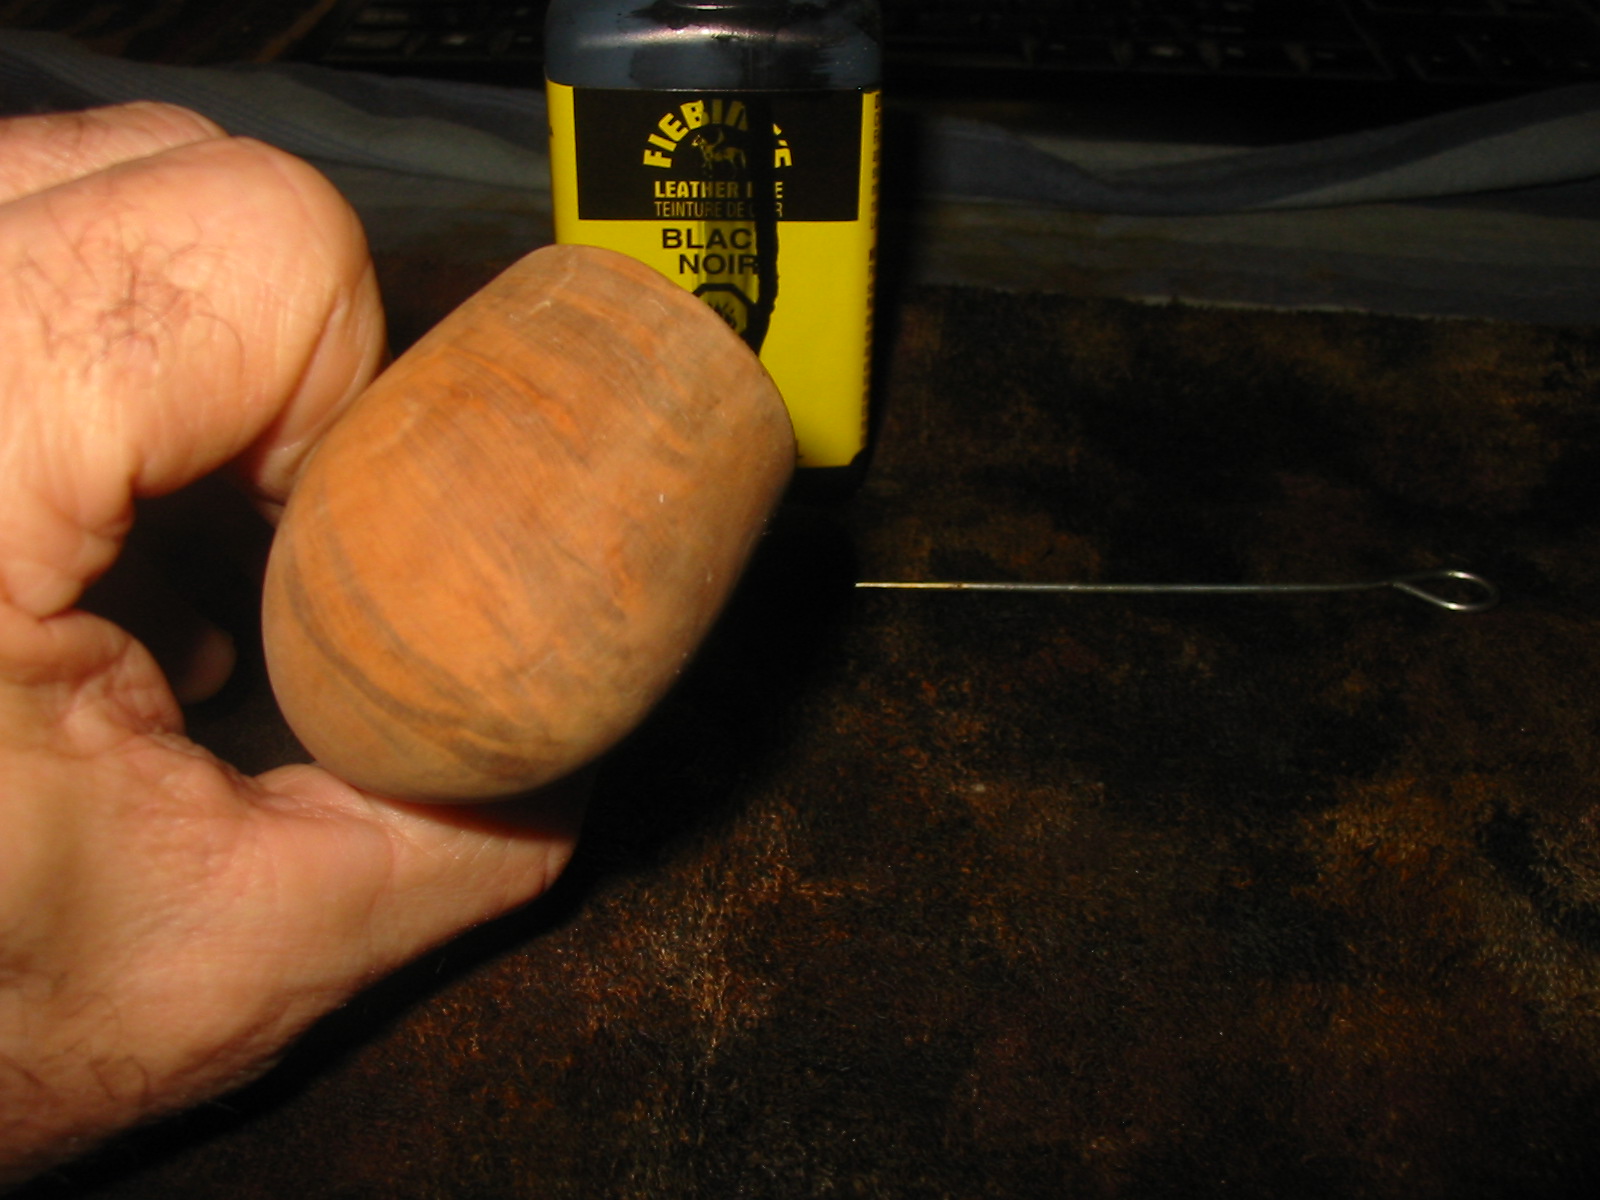
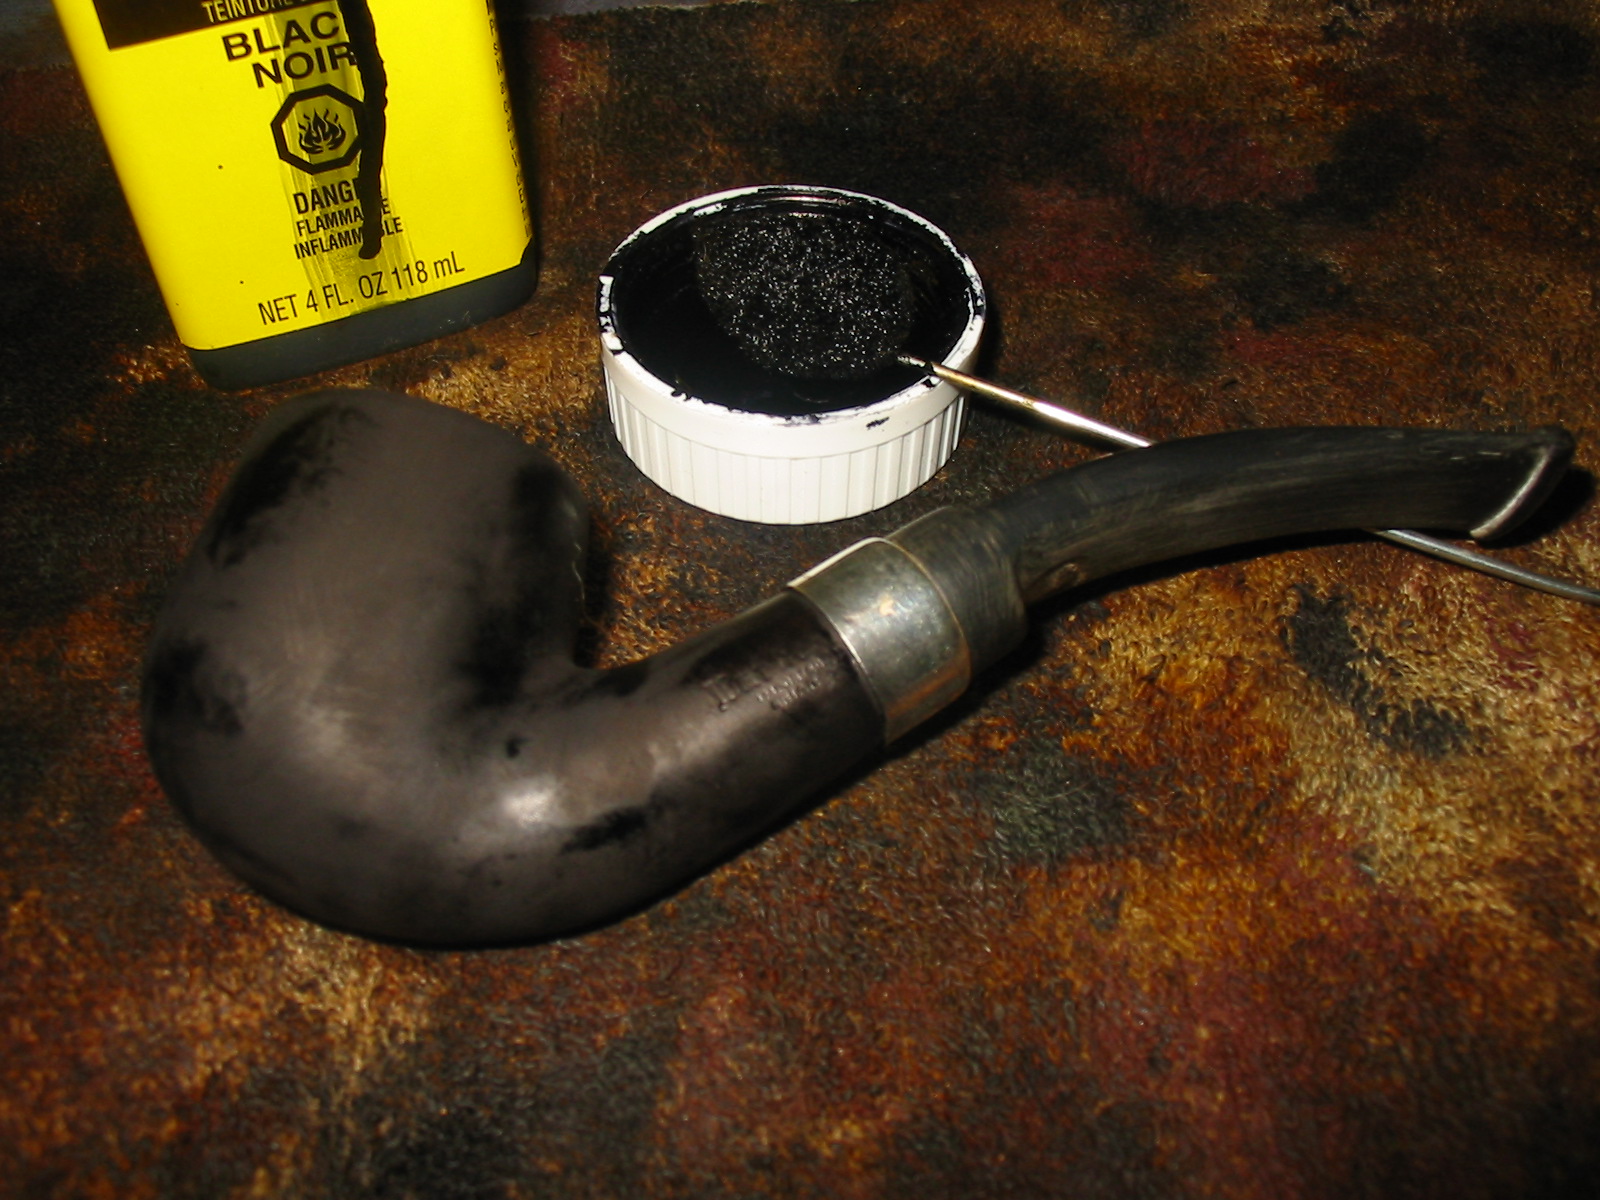
 After this was done I gave the bowl one coat, applied twice with flame, of a medium brown Fiebing’s Dye, diluted to about 75/25 with isopropyl alcohol and set it to dry while I turned back to the stem.
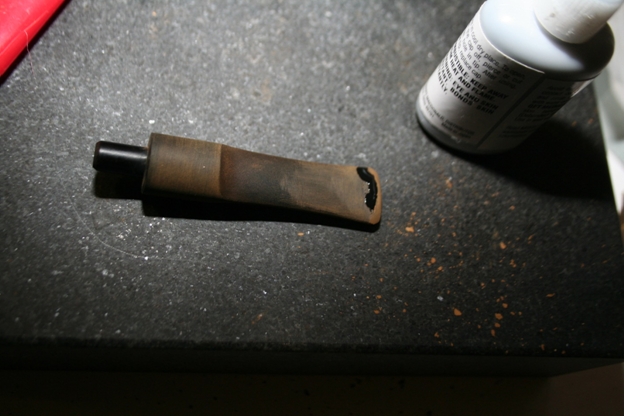 Once it had, I began sanding at 320 again, at this level with an eye towards shaping more than polishing. This is definitely a weak spot for me, so I’m glad for the practice, but I need more!
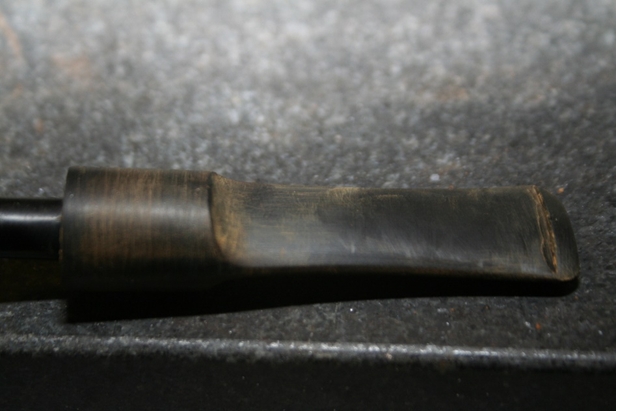 After a lot of trial and error (mostly error) I finally had the stem shaped properly and sanded through 320, 600, 800, 1000 grit in sandpaper and the full range of micromesh pads from 1500 to 12000. It was looking nice and shiny, so I gave it a thick rubbing with obsidian oil and set it out to dry for about a half hour.
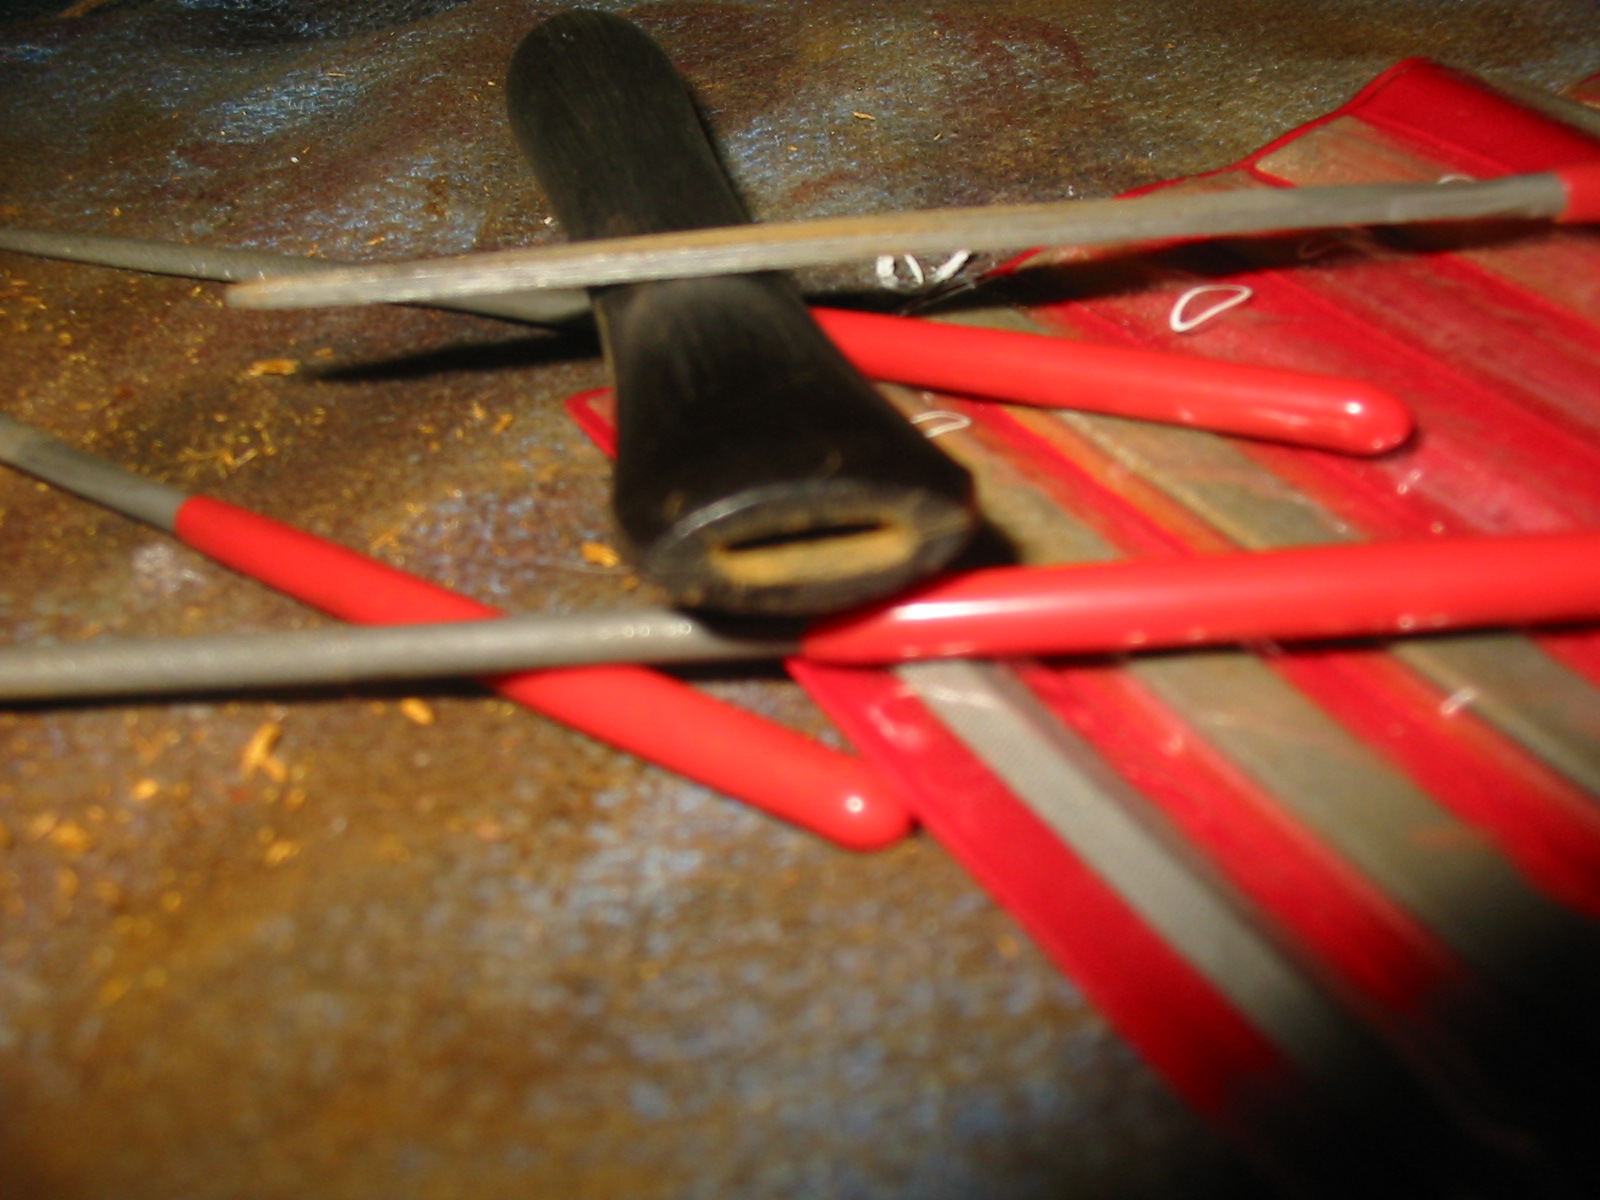
 At this point it was time to hit the buffing wheels. As you can see, I buff on the lathe, with a three wheel mandrel not made by Beall but suspiciously similar, and with tripoli, white diamond, and carnauba wax. One thing I’ll point out is that odd tool in the foreground, which is a wheel rake. You can get the job done with a hacksaw blade, but if you want clean buffing wheels, these are hard to beat.
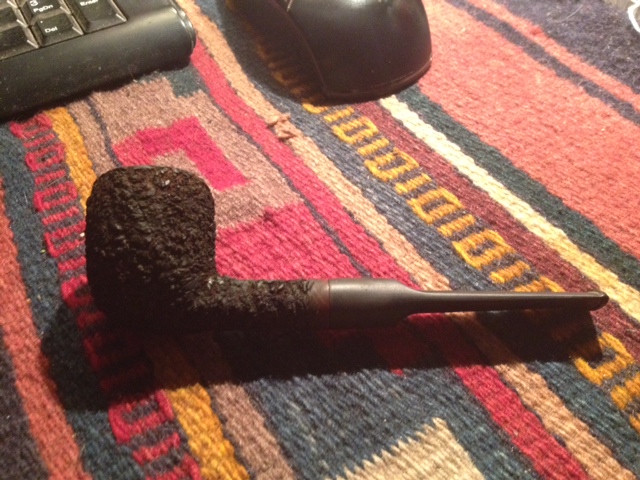
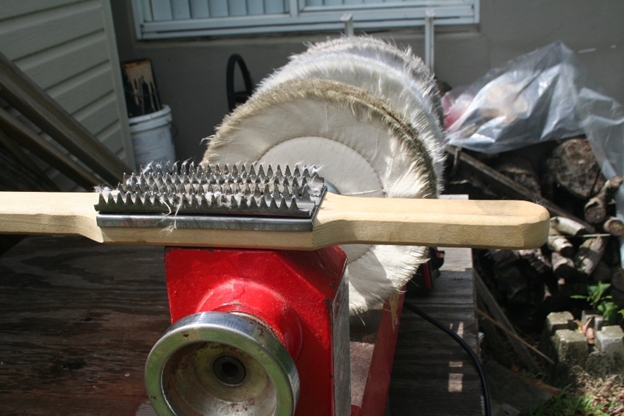 After the three-part buffing, I chucked a 4” flannel wheel into my cordless drill for a final polish by hand. For a rank amateur, I must say myself, this turned out to be a very beautiful pipe.