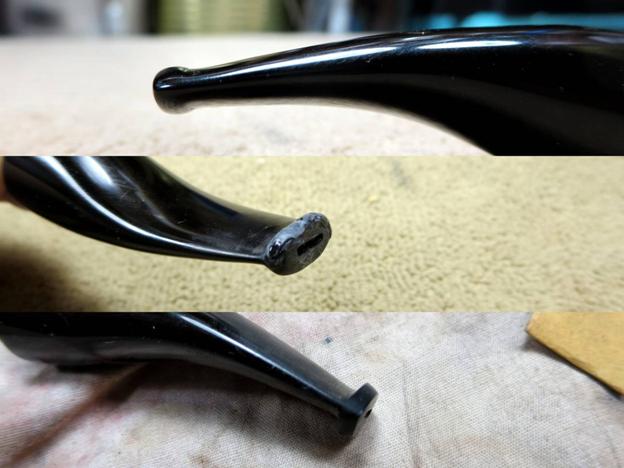
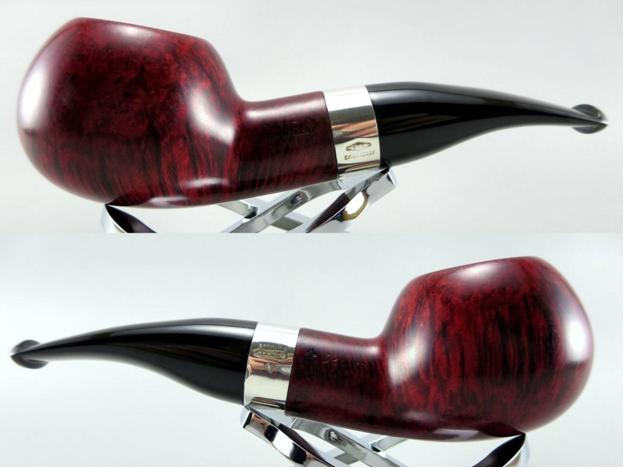
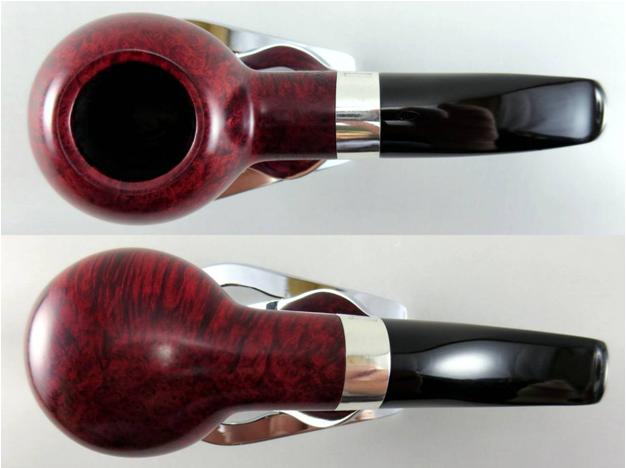
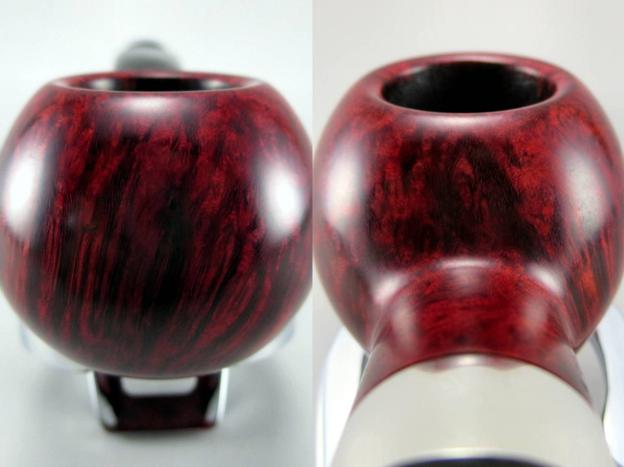
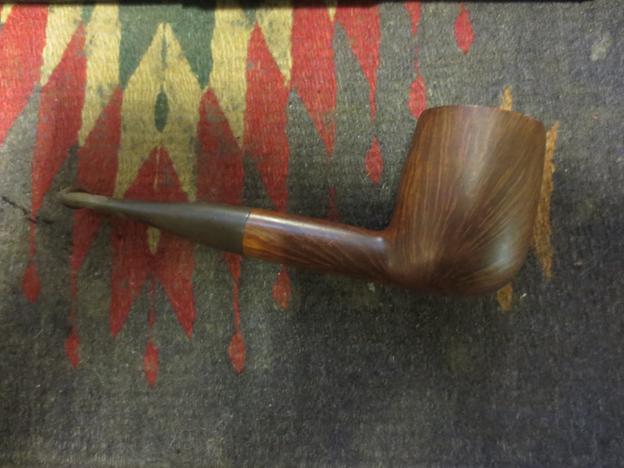
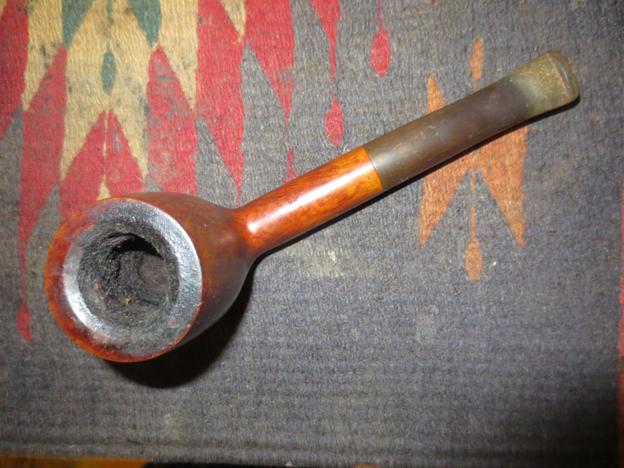
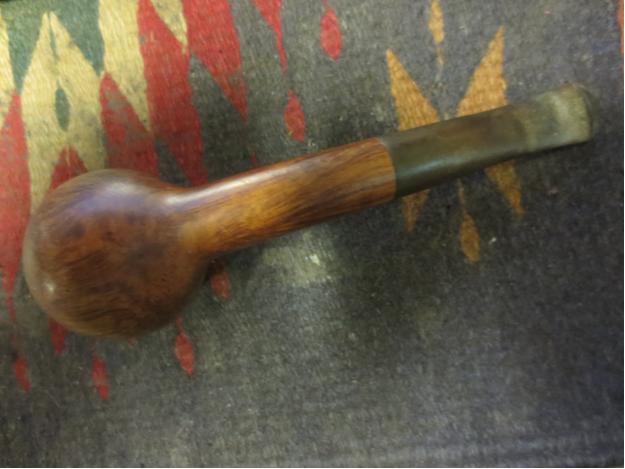
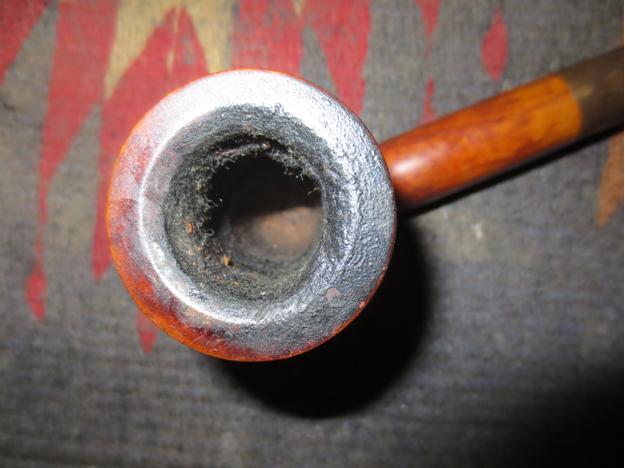
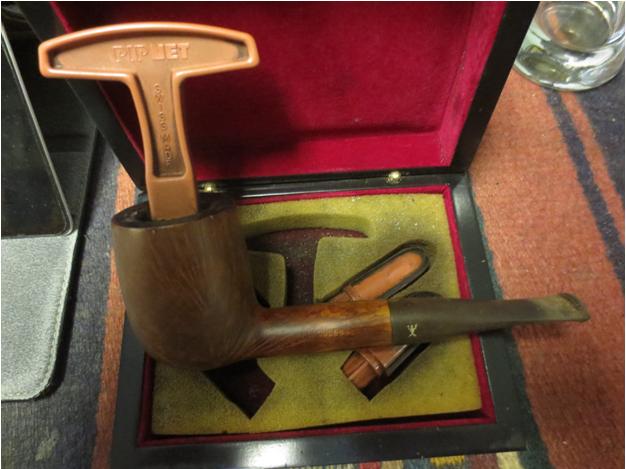
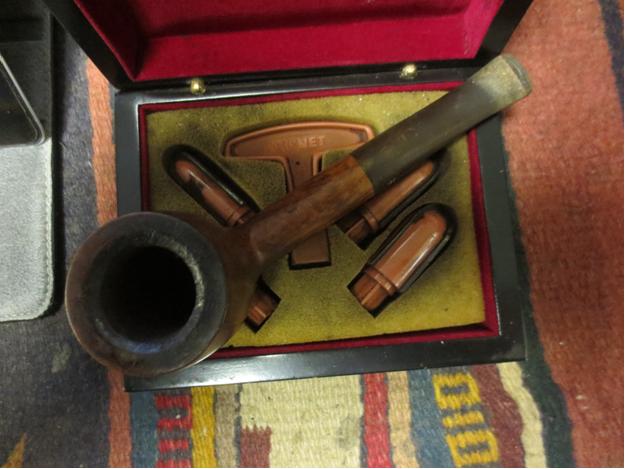
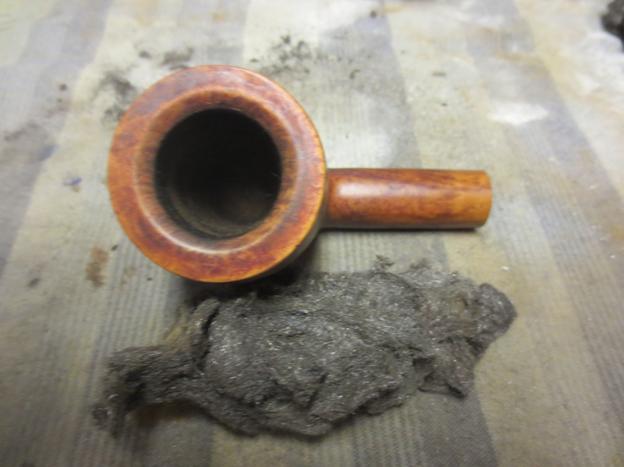
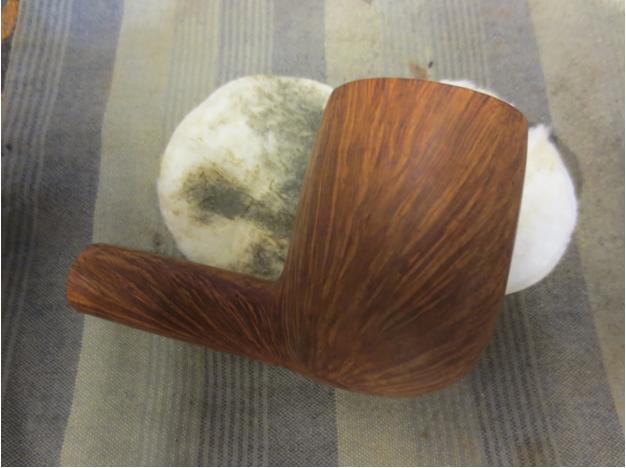
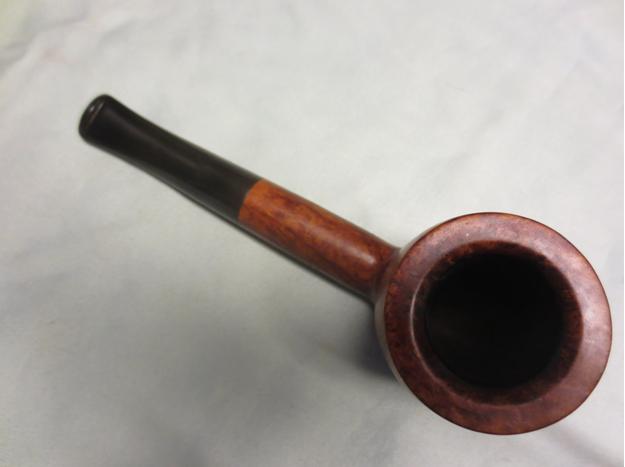
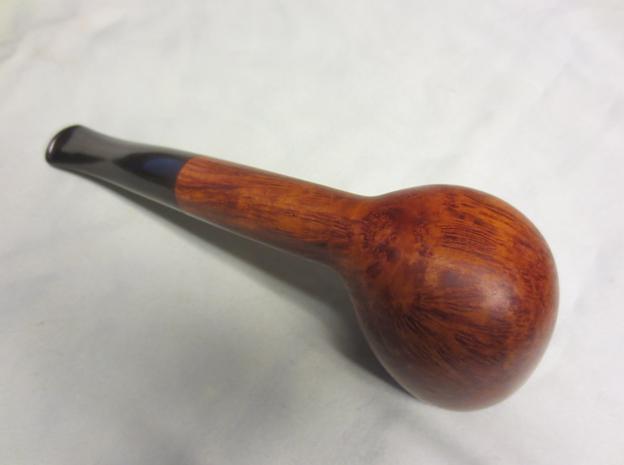
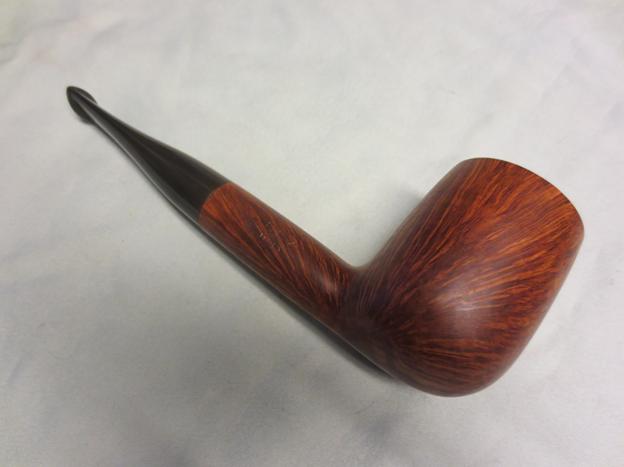
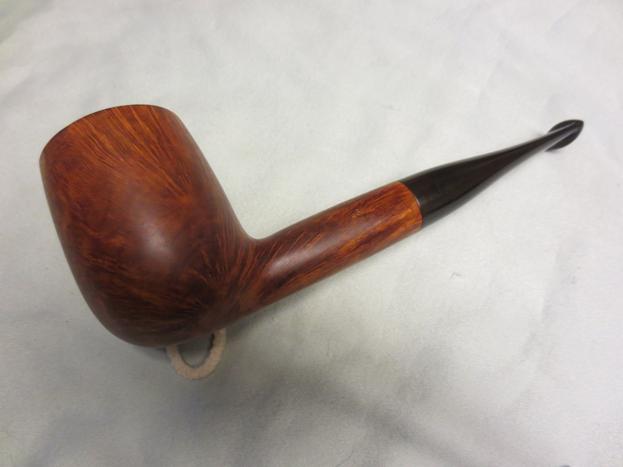
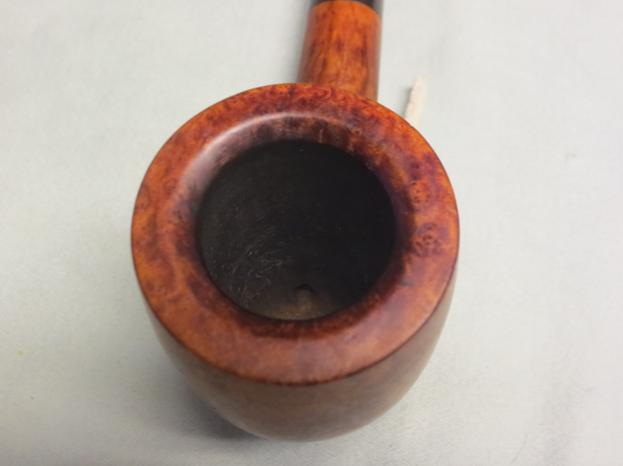
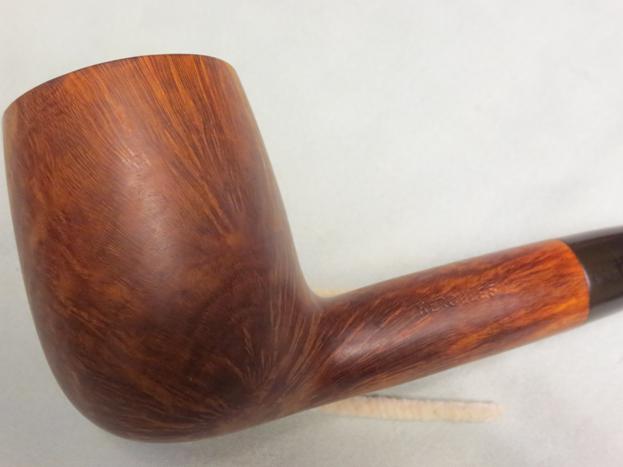
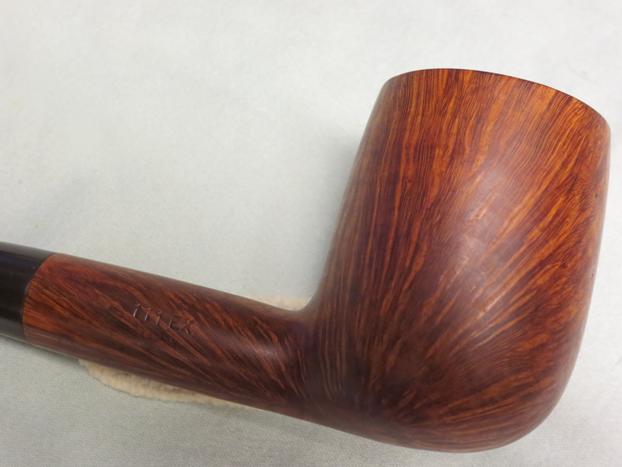
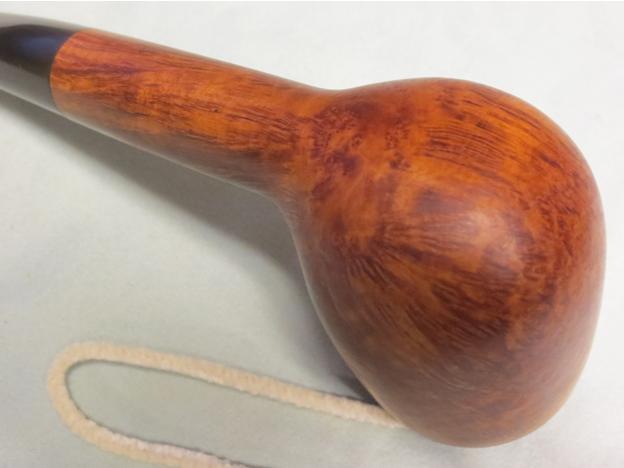
Tag Archives: bowl – refinishing

Ship-Shape: Refurbishing a Mokin Corsaire 7087


Blog by Anthony Cook

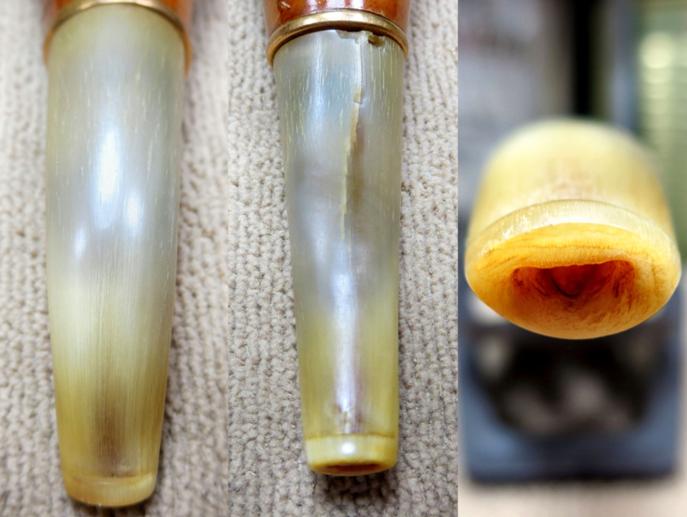
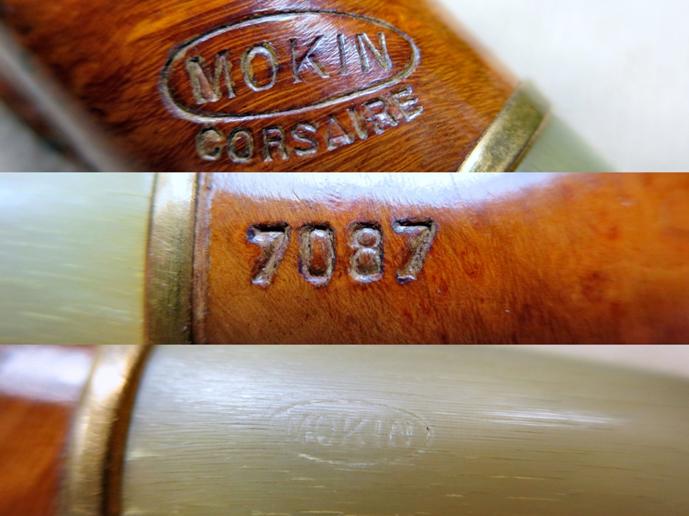
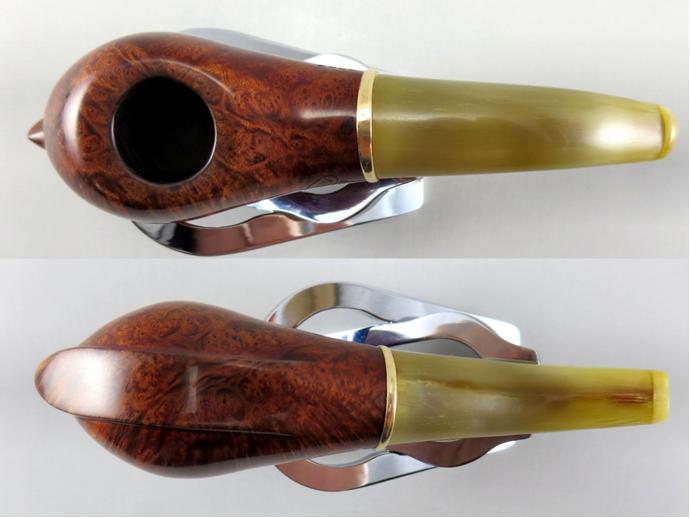
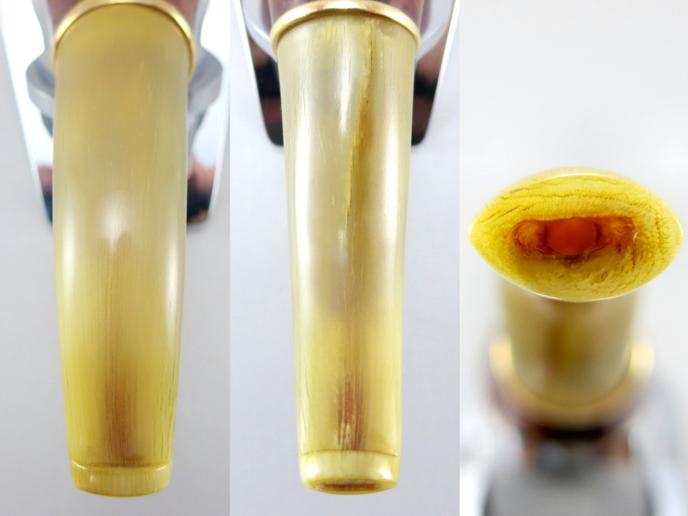
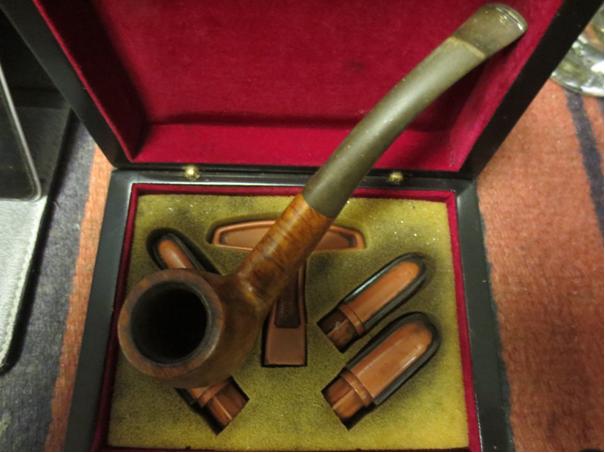
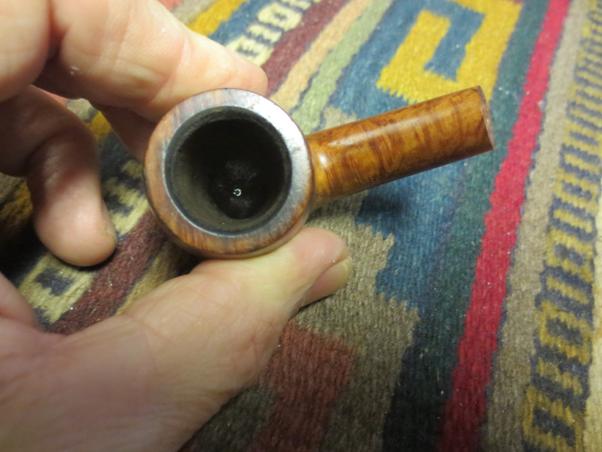
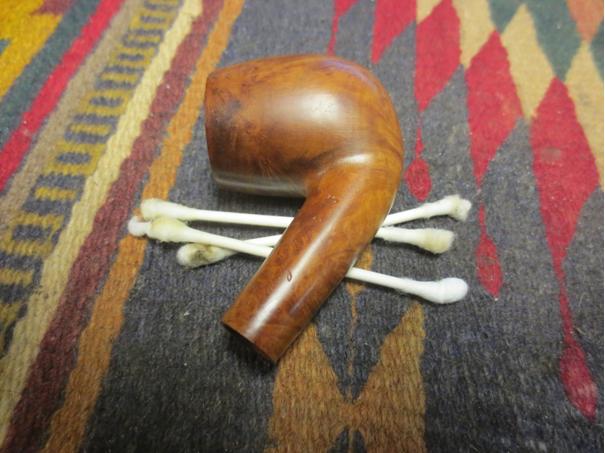
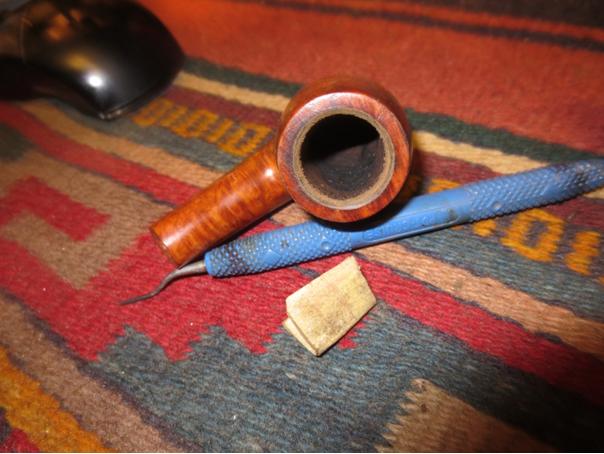
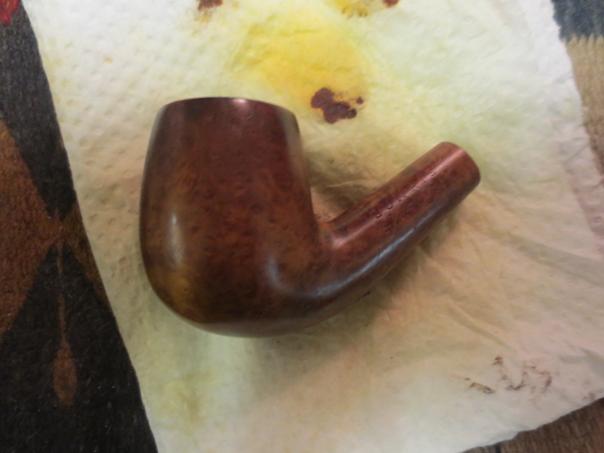
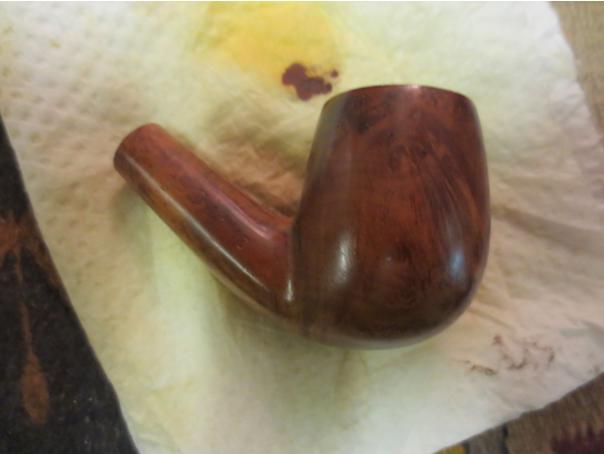
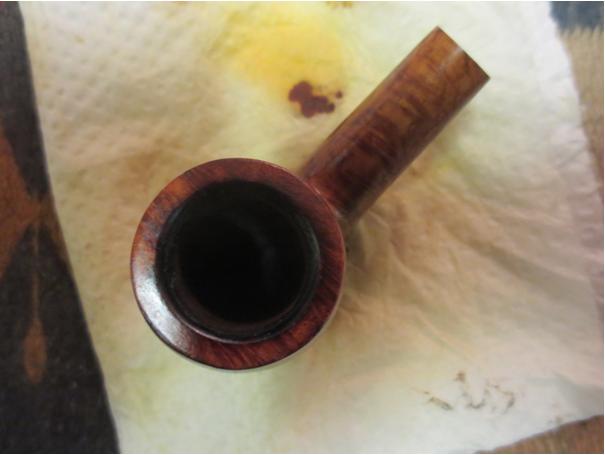
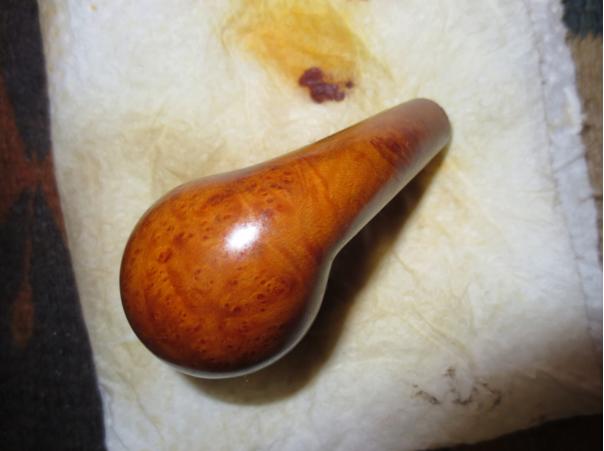
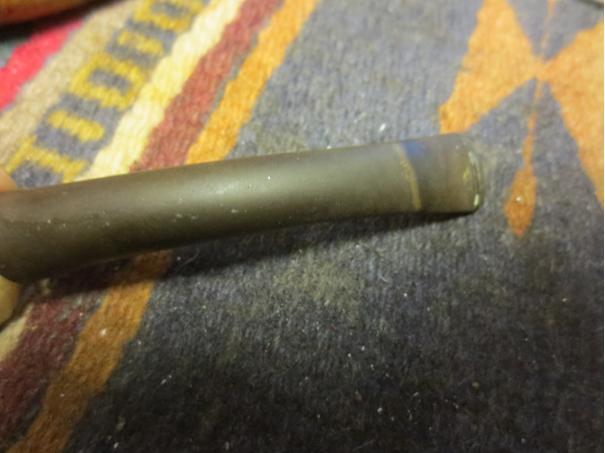
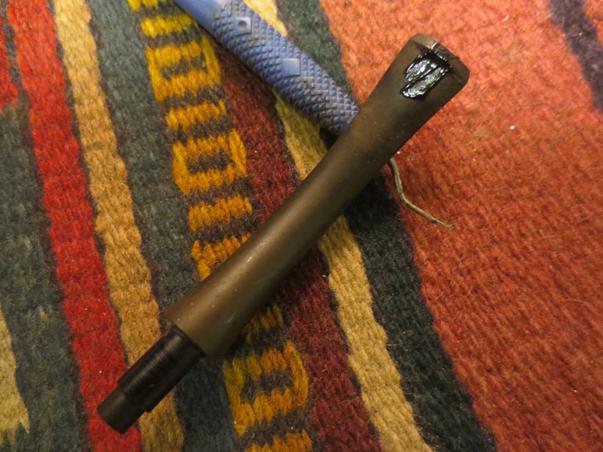
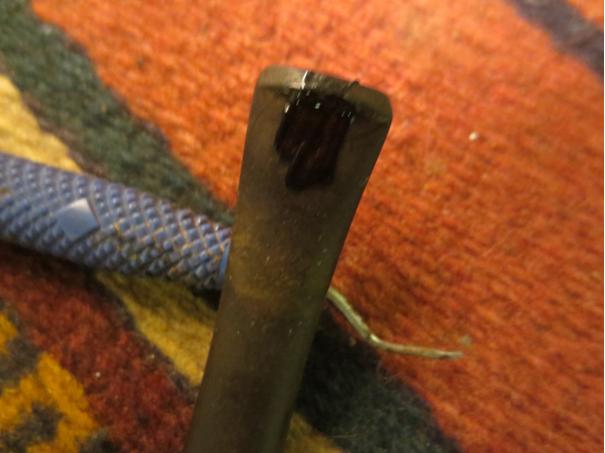
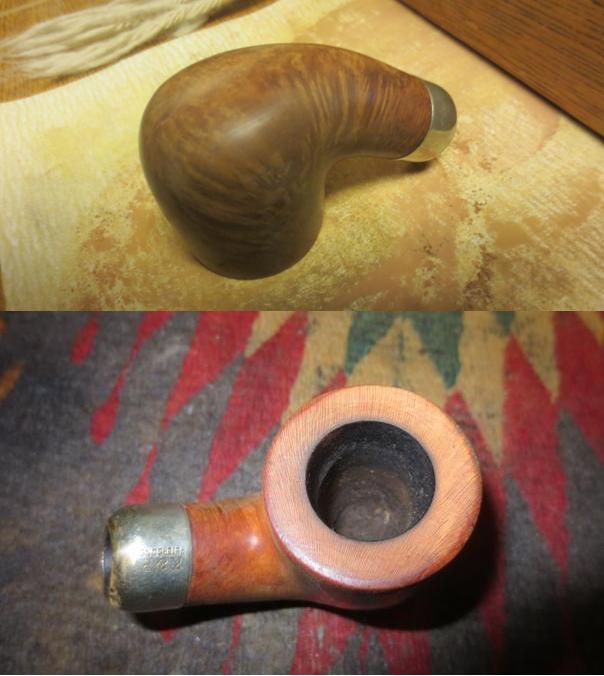
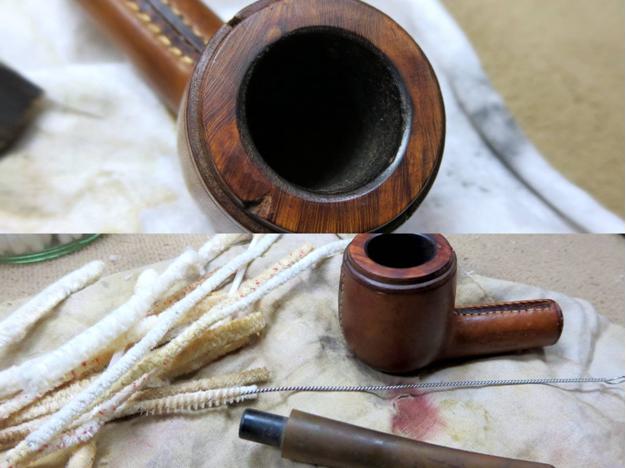
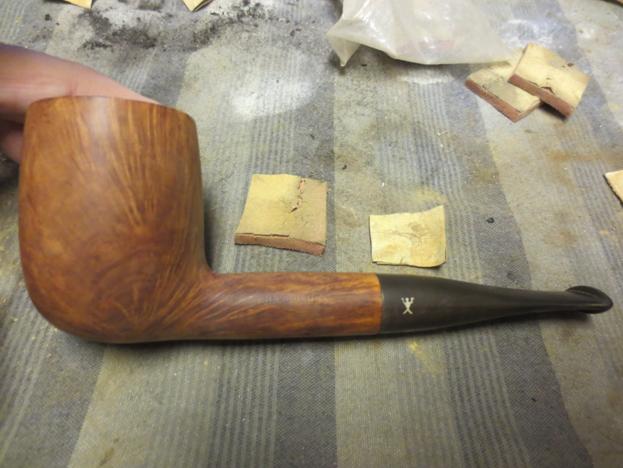
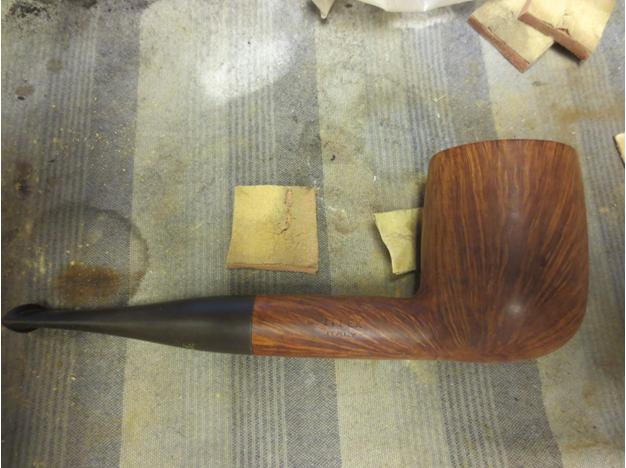
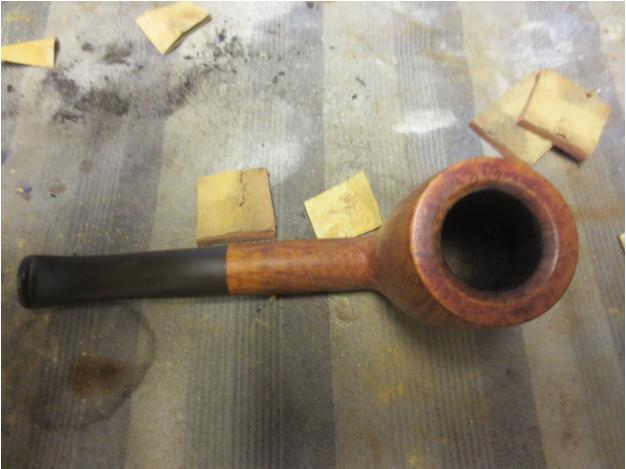
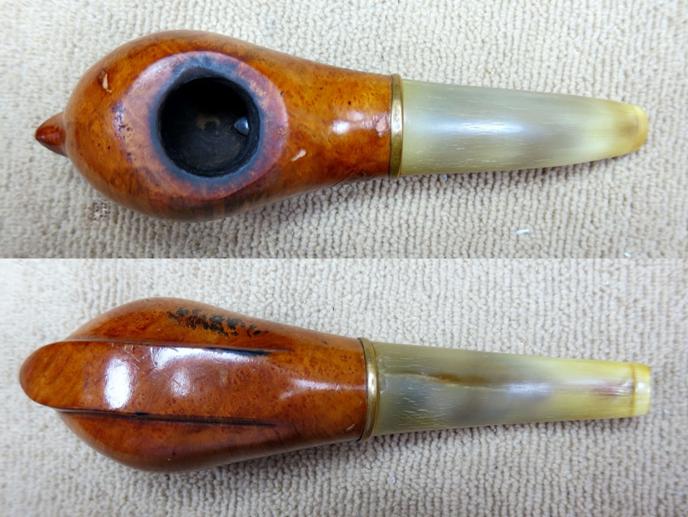
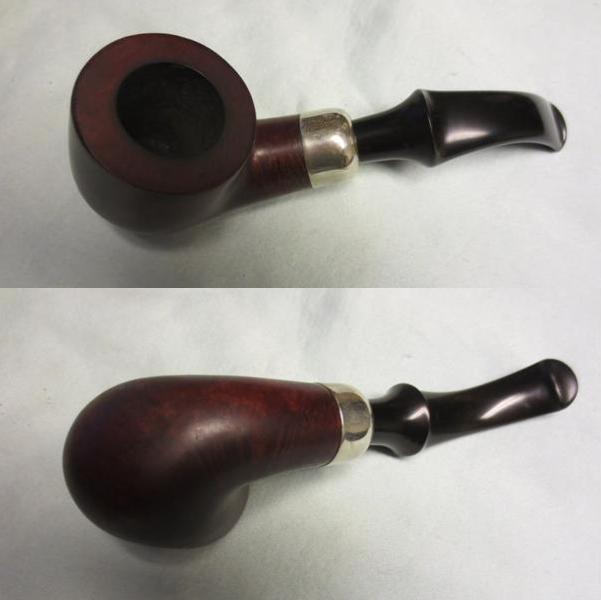
The second pipe sent to me by my PSU friend for some work is a unique one. Let me introduce you to the Mokin Corsaire 7087. It’s a small pipe, just shy of five inches in length and about one and a quarter inches tall at the bowl. It has an author-ish shape, except that there is a spine that runs along the bottom like the keel on a ship. I suppose that’s where the “Corsaire” comes from, but despite the masculinity in that name, to my eye there is something distinctly feminine in the shape.Mokin1 The condition of this one was rough to put it mildly. The stummel had some fairly heavy scratches and dents. The rim was scorched and there was a divot on one side where the wood had been burned away. The briar was unstained but covered in a thick, tinted lacquer coating. I suppose this was done to help hide the many fills, but the lacquer wasn’t thick enough to prevent the black stain on the bottom from seeping through into the grain. Oh, did I mention the beautiful horn stem with the busted face and a crack that ran along half the length on the underside? Yeah, like I said, rough.

Here are some more triage photos:Mokin2
Mokin3

Mokin4

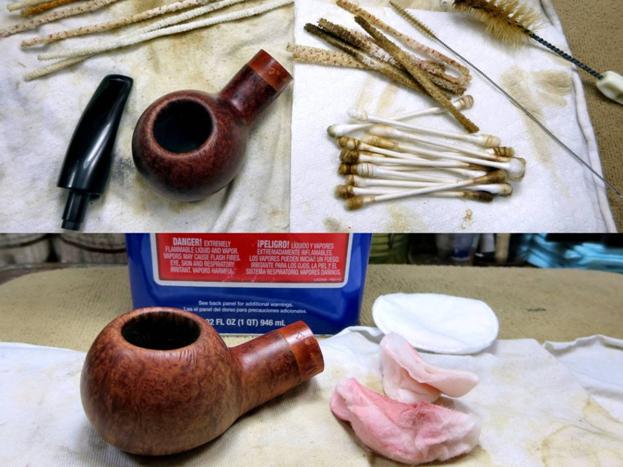
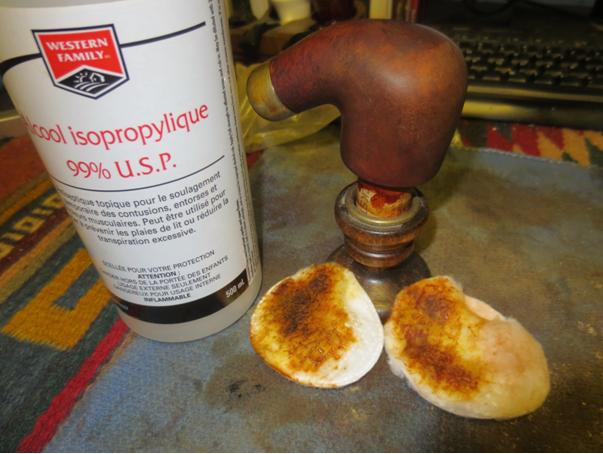
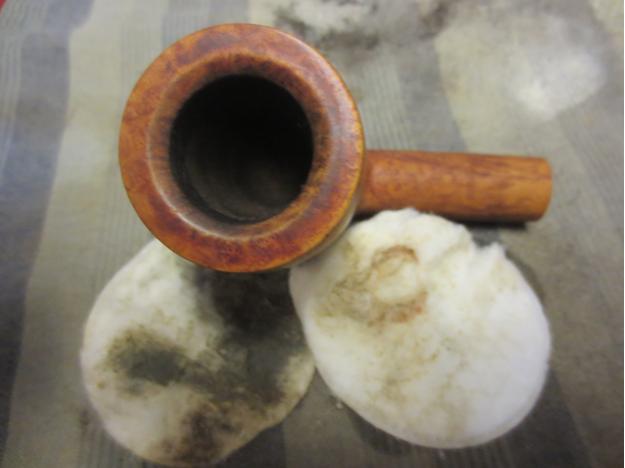
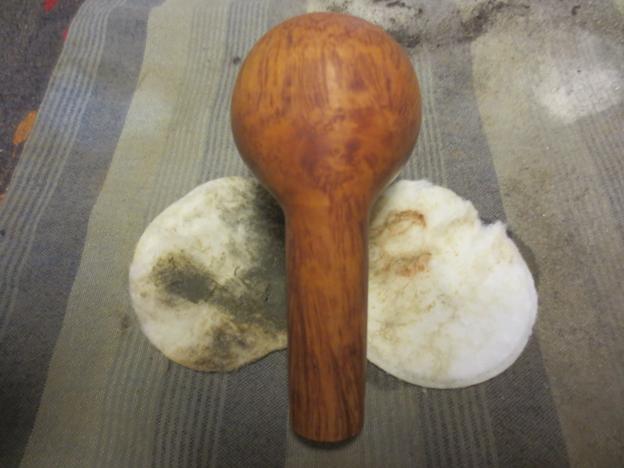
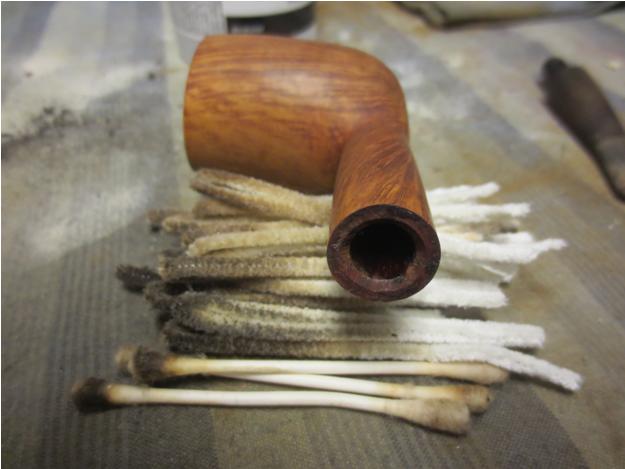
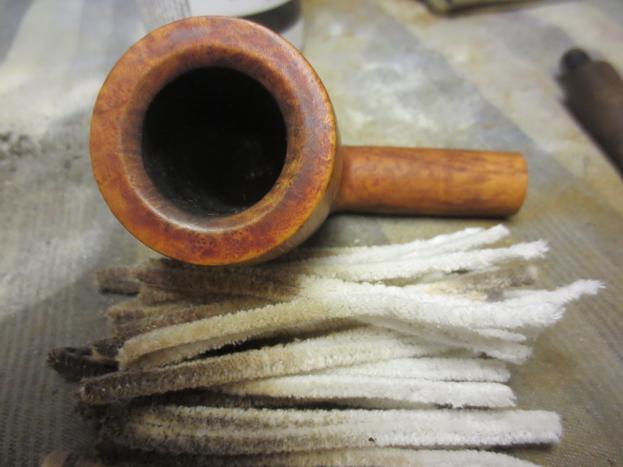
Mokin5 Stamping detail:Mokin6 I gave the pipe a thorough internal cleaning, and then stripped off the lacquer finish with acetone and cotton pads. The lacquer lifted easily but it was a mess. It turned into a thick, sticky residue when it came into contact with the acetone. Once the stummel was clean, the grain became more apparent and it was stunning! I’m a bit of a grain-hound. So, I already knew that I was going to have to work that up as best I could.

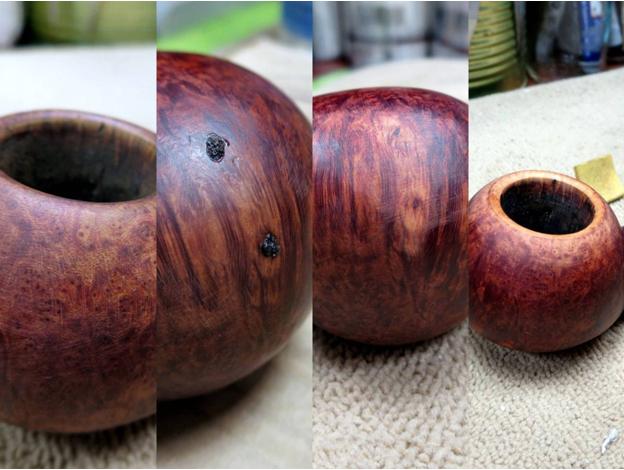
I scrubbed at the dark stain on the bottom with the same acetone dampened pads to try to lift it or at least lighten it, but the attempt was in vain. The acetone didn’t even put a dent in it. I was fresh out of ideas and thought that I would probably have to sand them out, but before I did that, I shot Steve an email explaining the problem. He suggested that I try lemon juice. It seemed counterintuitive to me. What could lemon juice do to a stain that acetone couldn’t touch? Anything is worth a shot when you’re desperate though. So, I gave it a try and it worked amazingly well! The only stain that remained was what had set into the softest grain and that was something that I could work with.Mokin7 With the tinted lacquer removed, the fills were more evident than ever. There were seven of them in all and a couple of them were quite large. That’s a lot for any pipe, but especially so for a stummel this small. I picked each of them out and patched the pits with CA and a mix of fine briar dust and course briar file shavings. I find that the course shavings take the stain better, but the fine dust is a better mix with the CA. When mixed together, the resulting patch is still dark but it is mottled with lighter areas that will accept stain well.

I sanded out each of the patches with 220-grit and 320-grit paper and topped the bowl with the same grits until the majority of the burned wood around the rim was removed. Then, I gave a slight chamfer to the inner rim to soften the edge and lightly sanded the entire stummel with 320-grit paper to remove most of the scratches.

It was while I was sanding the stummel that I noticed that the carving was a little sloppy. The left side of the stummel was noticeably less rounded than the right, which made the stummel appear a little lopsided. It was obvious that it wasn’t intentional, but I debated with myself whether to try to correct it or preserve it as part of the personality of the pipe. In the end, I chose to split the difference and round off the upper and lower areas of the left side for a better match with the right.Mokin8 The stummel was ready for finishing. So, I moved on to address the damage to the stem. Usually, I would drill a small hole at the end of the crack to stop the run. In this case, however, that wasn’t really an option. The main crack that extended up from the stem face fractured into several short, stair-step cracks at the end. I decided that it would be best to just seal and stabilize them and hope for the best.

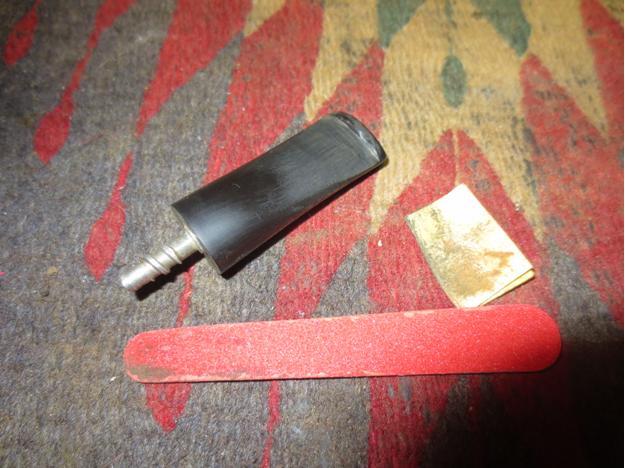
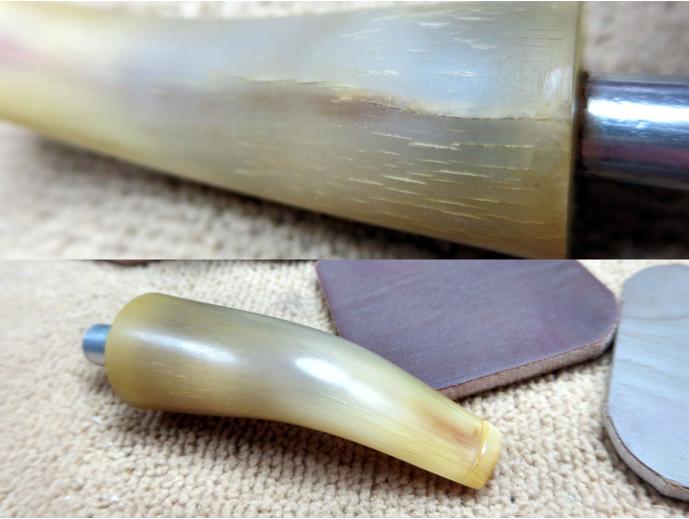
I wrapped clear tape around a thin bit of cardboard and cut a hole for the tenon to push through. This little contraption would serve a dual purpose as both a method for keeping the patched area of the stem face relatively flat and even, and also as stand to support the stem while the patches dried. I patched the cracks and holes with baking soda and CA in the same manner that I would apply a briar dust and CA patch on the stummel. I use super-thin CA for patches. It has about the same viscosity as milk and I think that it penetrates better into the dust than standard CA. It can be tricky to work with until you get used to it. Even though I’ve kind of gotten a handle on it by now, you can see in the photo below that it still got away from me a bit in the bend of the stem.Mokin9 I also filled a couple of bite marks on either side of the stem and when all the patches were fully dry, I sanded them out with 220-grit and 320-grit paper. The cracks were fairly tight. So, I didn’t get as much baking soda worked into them as I would have liked and they appear dark in the photo below. They are sealed and smooth to the touch though.

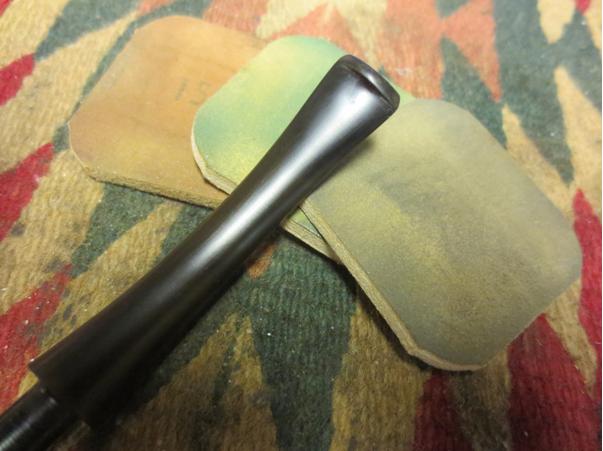
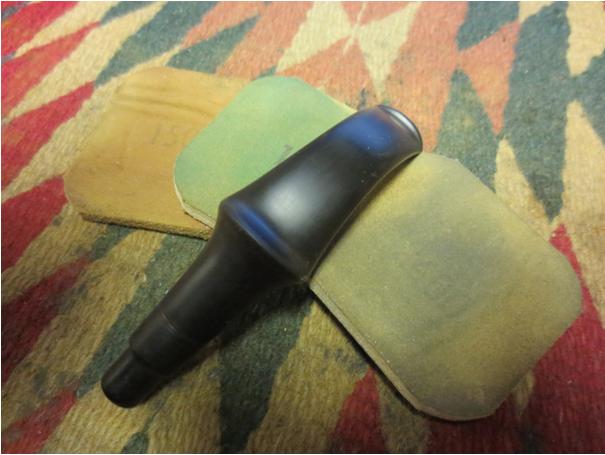
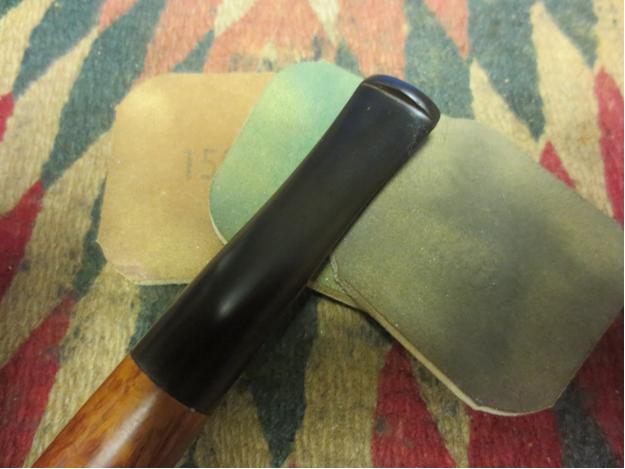
I continued to sand with 400, 600, and 1200-grit paper to smooth the surface. I used a drop of mineral oil between each grit. The oil allows the sanding dust to collect as slurry on the stem rather than build up on the paper. It also moisturizes the horn, which keeps the ends of the fine fibers from raising and splintering. A good polish with the full range of Micro-Mesh pads finished up the work on the stem.Mokin10 I knew from the beginning that I couldn’t leave the finish natural. There were just too many fills for that. I also knew that I couldn’t completely hide them. So, I hoped that I could give the grain enough “pop” with a bit of stain to draw the eyes away from them.
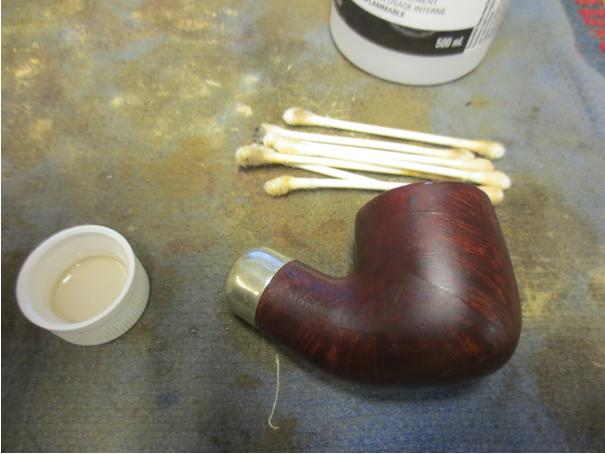
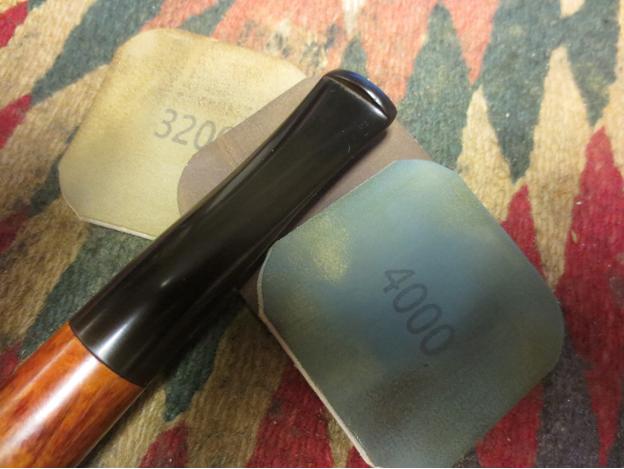
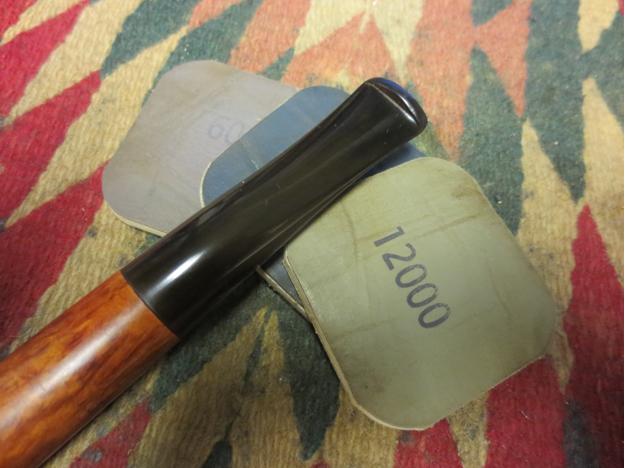
I applied four stains in all; dark brown, medium brown, light brown, and British tan. The first three were thinned with three parts isopropyl alcohol to one part stain. The last stain was thinned by eye until it was just a light wash. I applied the first stain, and then sanded with 400-grit paper. The second stain was applied before sanding with 600 and 1200-grit paper. After the third stain, I polished the stummel with 1500 through 4000-grit Micro-Mesh pads and gave the stummel a Tripoli buff on the buffing wheel. Then, I applied the stain wash and finished up the work on the stummel with the remaining Micro-Mesh grits. All sanding up to 3600-grit Micro-Mesh was wet sanded and the stummel was hand-buffed with a soft cloth after each stain to remove any excess.

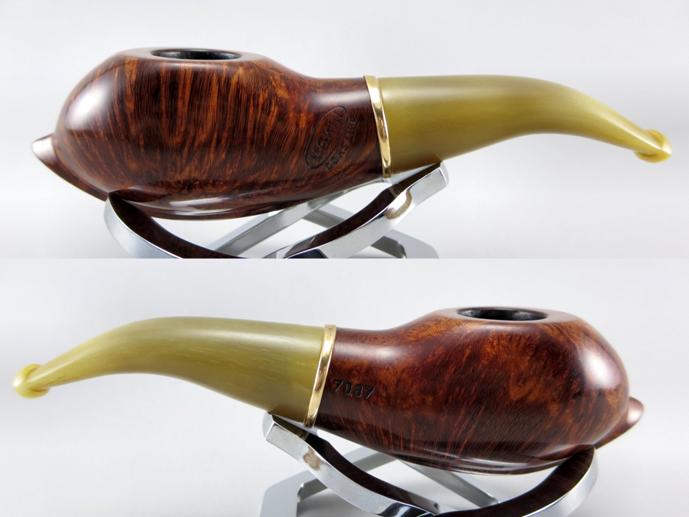
Finally, I polished up the brass ferrule with Semichrome polish and used a bit of epoxy to affix it to the stummel. All that remained after that was to buff the pipe with White Diamond and apply several coats of carnauba wax before it was time for some photos.Mokin11
Mokin12

Mokin13

Mokin14 I know that many may regard this one as just a novelty pipe, but despite the rough edges, it may be my favorite refurbishment work to date. The photos barely do justice to the color or the grain on this pipe. The credit for the transformation is not really mine though. This was one of the most cooperative pipes that I’ve ever worked with. It set on the bench and said, “Make me a star.” I was charmed and did the best that I could.
Refreshing a Delicate Comoy’s Made Sunrise Amber Grain Bent Billiard


Blog by Steve Laug

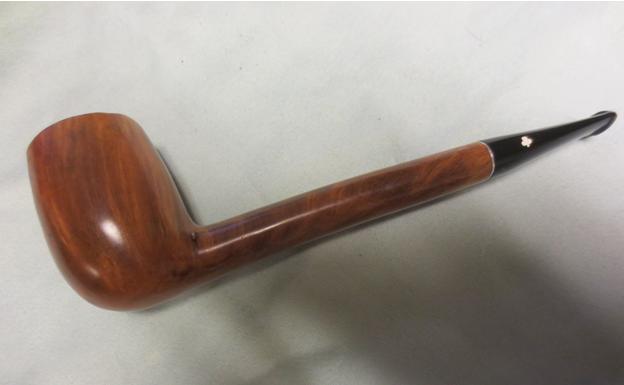
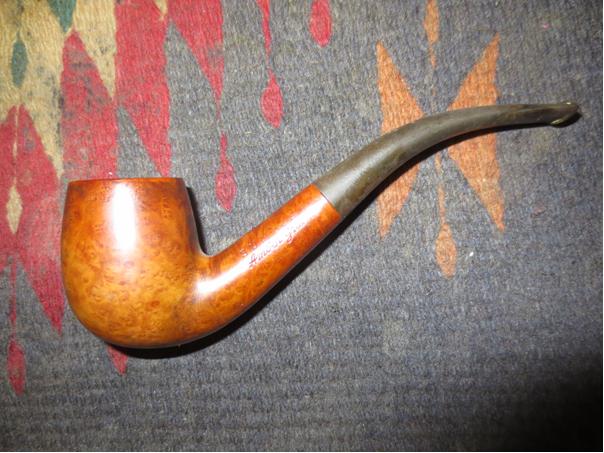
The last pipe that came to me in the Smokers Forum Donation Sale was a beautifully shaped little Sunrise Amber Grain Bent Billiard. The shape and the feel of this little pipe are very delicate. It is almost a bent pencil shank – in fact I am not sure how much thinner it would have to be to actually be called a pencil shank. The pipe is 5.5 inches long, 1.75 inches tall with a small bowl with a chamber diameter of .75 inches. It is stamped Sunrise over Amber Grain on the left side of the shank. On the right it is stamped Vintage Briar and shaped number 13. On the underside of the shank next to the stem junction it is stamped France. The Sunrise line was made by Comoy’s as is identified also by the shape number. As it was made in France it does not have the familiar Com stamp that appears on British made Comoy’s.

This pipe was in decent shape in terms of the exterior finish. There were no dents or dings in the surface of the bowl or shank. The stamping was light on the right side of the shank and the Sunrise stamp was lighter than the Amber Grain stamp. I would have to be careful in the clean up not to damage these already light stamps. The stem was oxidized and there was a small bite through with a crack going toward the button on the underside of the stem.Comoy1

Comoy2

Comoy3

Comoy4 The rim was in great shape with some light scratching. The inner bevel was still present and darkened but there was no damage to it. The bowl was still in round. There was a rough cake in the bowl that was uneven and would need to be removed.Comoy5 I reamed the bowl with the PipNet reamer to take the cake back to the bare wood.Comoy6

Comoy7

Comoy8 I cleaned out the shank with pipe cleaners, cotton swabs and alcohol. It was amazingly clean. I am guessing that the previous owner cleaned this one up before setting it aside.Comoy9 I cleaned out the bowl and lightly sanded the bevel on the inner edge of the rim to remove the light build-up that was present there.Comoy10 I wiped the bowl down with a cotton pad and some alcohol and then gave it a light coat of olive oil. I buffed it on the buffer to give it a shine. It has some great grain on the bottom of the bowl and the left side. The grain on the front of the bowl and the right side is mixed with a few bald areas. The sides of the shank are full of birdseye grain and the top and bottom are cross grained.Comoy11

Comoy12

Comoy13

Comoy14 The stem was oxidized and the underside bite through and small crack needed to be addressed.Comoy15

Comoy16

Comoy17 I picked the debris out of the crack and bite through and examined it with a lens. It was clear that the bite through was very small and that the crack ended at the bite through and went back to the button. The bite through effectively stopped the crack from spreading forward along the stem. I wiped the stem down with acetone on a cotton pad to clean it up. I then spread some black super glue on the crack and bite through with the tip of a dental pick. I set the stem aside to cure for about an hour.Comoy18

Comoy19 Once the super glue had cured I sanded the repair and the rest of the stem with 220 grit sandpaper to both remove the oxidation and to blend the patch into the surface of the stem. I sanded with a medium and fine grit sanding sponge to further remove the scratches and oxidation.Comoy20 I wet sanded the stem with 1500-2400 grit micromesh pads and rubbed stem down with Obsidian Oil. I dry sanded with 3200-4000 grit pads and then buffed it with White Diamond on the buffing wheel. I gave it another coat of oil and then sanded with 6000-12000 grit pads. I gave it a final coat of Obsidian Oil and let it dry.Comoy20

Comoy21

Comoy22

Comoy23 I buffed the pipe with Blue Diamond polish on the wheel and then gave the bowl and stem multiple coats of carnauba wax. I polished it with a clean flannel buff and then hand buffed it with a microfibre cloth. The finished pipe is shown in the photos below. Thanks for looking.Comoy24

Comoy25

Comoy26

Comoy27

Comoy28

Silver Linings: Restoring a Savinelli Silver 320KS


Blog by Anthony Cook

A friend from the Pipe Smoker Unlimited forum recently gifted me a batch of pipes that need a little TLC. In exchange, I offered to do some repair and restoration work on a couple of their own pipes. Believe me when I say that I received the better end of that deal. So, I wanted to go the extra mile on these if I could.
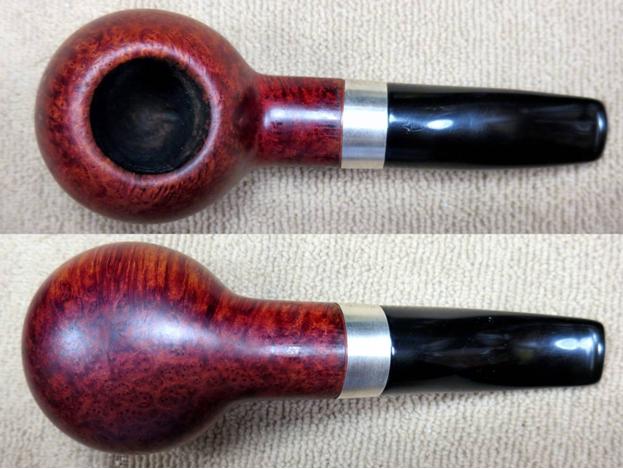
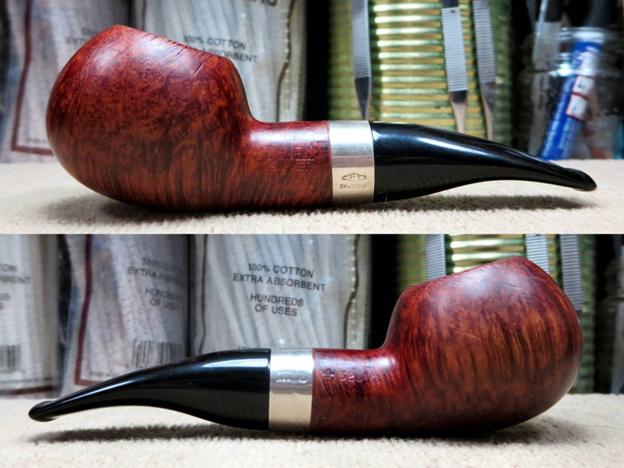
The first of my friend’s pipes that I chose to work on was this Savinelli Silver 320KS. I love the shape of the 320. When I hear “Savinelli,” this is the shape that I think of. Unfortunately, somebody had gotten to this one before me and it wasn’t better for it.

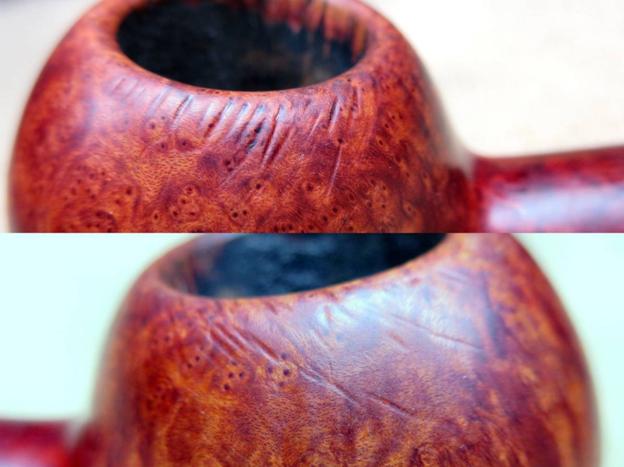
The initial request was just to repair the deep scratches that ran all the way around the rim. However, as I looked the pipe over, I could see that it had a few additional issues. The bowl rim was uneven and looked like it had been heavily buffed. The pipe should have had a deep, cherry red stain from the factory, but this one appeared to have been partially stripped and the stain was uneven and closer to the color of red clay. The silver shank band was loose and it had a couple of small dents on the right side. Finally, the shoulders of the stem face had been rounded with a buffer, which created a thin trench all the way around the stem where it met the band.
Oh, there was one more thing, but for reasons that I can’t explain, I hadn’t noticed it yet. I’m sure that you’ll see it in these photos of the pipe as it was on arrival.Astrid1
Astrid2

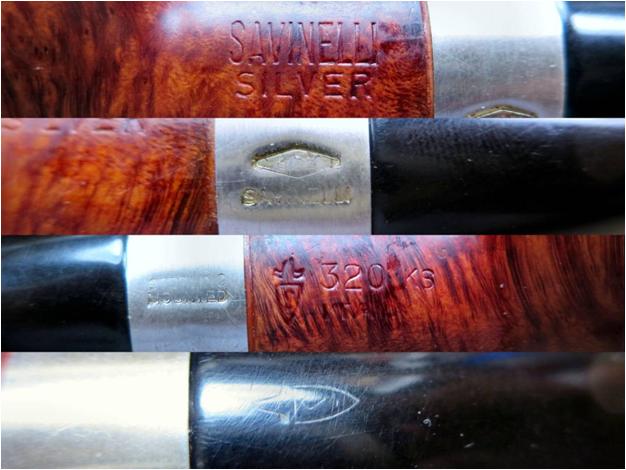
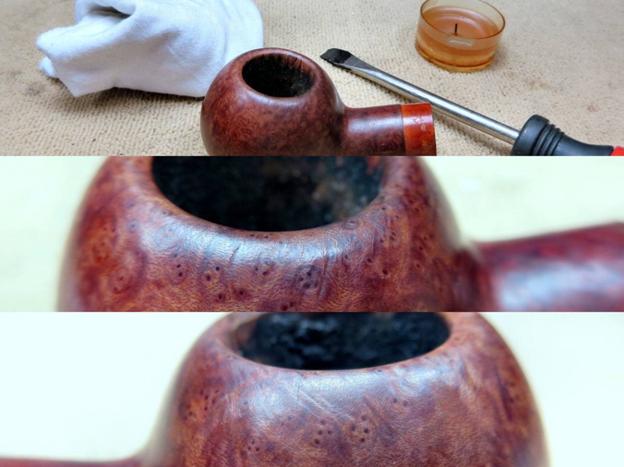
Astrid3 Nomenclature and logo details (notice the “trench” on the stem next to the band):Astrid4 This 320 appeared to be pretty clean, but there’s no such thing as a pipe that’s too clean. So, I gave the internals of the stem and stummel a bit of a scrub with isopropyl alcohol, pipe cleaners, cotton swabs, a shank brush, and a percolator cleaner (the fat brush in the upper right). I’m glad that I did. As you can see below, there was still grime to be removed. After that, I gave the surface of the stummel a scrub with acetone on cotton pads to remove the old, spotty finish.Astrid5 I took a few photos of the rim damage, and after seeing them enlarged a few hundred times on the big screen, I noticed that the edges of the marks were rounded. That seemed to indicate that they were more like dents than scratches.Astrid6 So, I decided to see what a little bit of steam would do for them. I used a tea candle to heat the end of a flat-head screwdriver. Then, I placed a wet cloth over the dents and pressed it into the cloth. The steam worked well on the marks, although I had to repeat the process several times to lift the deeper ones. After I had worked my way all the way around the bowl, the rim was in much better shape. It would still need some sanding, but not nearly as much as it would have taken before to get it smooth.Astrid7 I sanded out the remaining dents with 220-grit paper before addressing a couple of small pits that were possibly missing fills on the bottom front of the stummel. I refilled them with a mixture of briar dust and CA, and then sanded them out with 220-grit as well. Three more fills were present on the front of the bowl, but they looked like they were in good shape and I had confidence that they would blend in with the final stain.
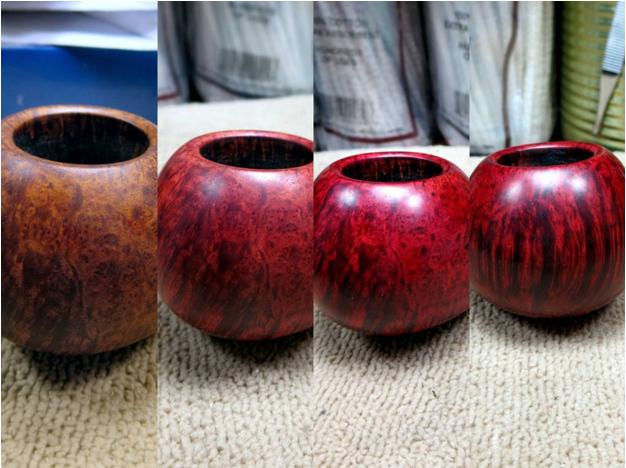
Next, I topped the bowl to level it out and chamfered the inner rim to match the original, factory shape with 220-grit paper. Then, I started cleaning up some of the light scratches and blemishes on the stummel with 320-grit.Astrid8 I then heated the stummel to open the grain and prep it for the first stain. I applied a mahogany stain thinned 3:1 with isopropyl alcohol. Mahogany is a nice dark color that gives contrast to the grain and it would play well with the red tones that would come later. After flaming the stain, I hand-buffed it with a soft cloth to remove the excess, and then wet sanded the stummel with 400-grit to remove most of the stain except for what had set into the soft grain.

To start bringing in those red tones I mentioned, I applied a 50/50 oxblood and medium brown stain thinned to the same ratio as the previous application. I again flamed and hand-buffed before lightly wet sanding with 600-grit and 1200-grit paper, and then polishing with Micro-Mesh pads 1500-2400.

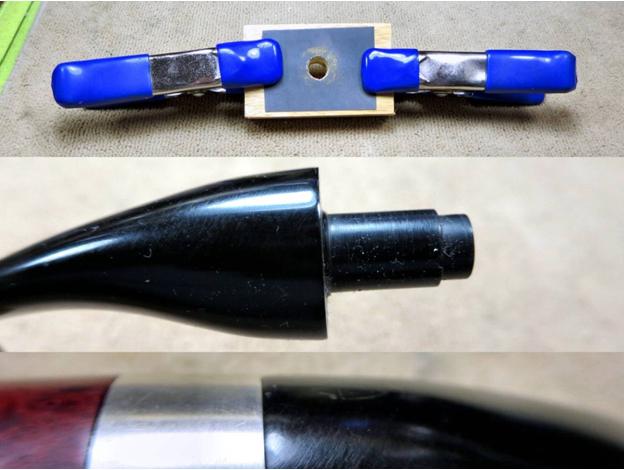
I applied a third stain, red this time, and hand-buffed before giving the pipe a Tripoli buff on the buffing wheel. Then, I polished with Micro-Mesh pads 3200-4000. At that point, I didn’t like how bright the red was. So, I decided to darken it up with a thin stain wash. I can’t tell you the exact mix, because I just eyeballed it until it was what I wanted. I can say that it was at least 50% red mixed with a small amount of oxblood for richness and an even smaller amount of dark brown to darken it. I thinned it until it was about the same color density as Kool-Aid and applied it with cotton swab. After that, I hand-buffed the excess off and continued polishing with the remaining grits of Micro-Mesh pads.Astrid9 That finished up the work on the stummel. So, I thought I’d try to do something about those rounded shoulders on the stem face. In a scrap piece of wood, I drilled a hole large enough to easily accommodate the tenon. Then, I clamped a strip of sandpaper over the block and cut a matching hole with an X-Acto knife. I inserted the tenon into the hole and rotated it while applying firm but gentle pressure to keep the plane level. I started removing material with 220-grit and worked up to 600-grit. All in all, I probably removed 1/16 of an inch or less from the end of the stem. It wasn’t enough to completely correct the problem, but it did make it a great deal less obvious. The shoulders were nice and sharp again and I didn’t compromise the flow of the joint by creating a “step” down to a smaller diameter stem. You can see for yourself in the photos below.Astrid10 To be honest, I thought I was done at that point. It wasn’t until the pipe was reassembled and I was preparing to give it the final buff and wax that I noticed the glaring damage that I’m sure you’ve already seen. For the life of me I can’t figure out how it had escaped my attention, especially since I had just done work on the stem, but the button had been severely worn away by overbuffing. There was barely a button left at all. Of course, that wouldn’t do at all. So, after getting permission from the pipe’s owner to do some extra work, I began to create a new button.

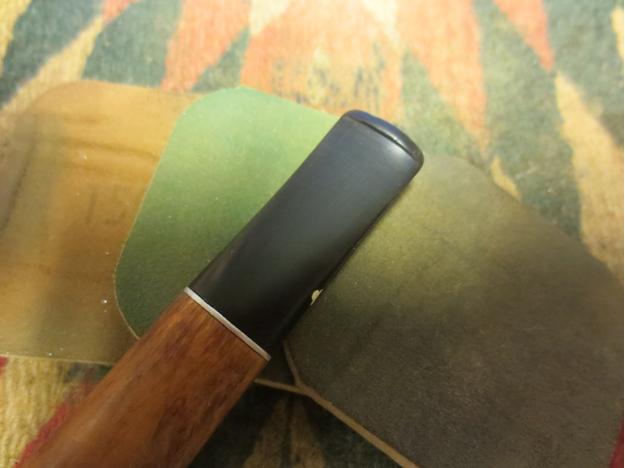
I used 220-grit paper to rough up the surface of the damaged button and also a bit of the surrounding area. Next, I applied thin layers of black CA glue to the button to build it up. I lightly sanded between each layer with 220-grit to roughen them and ensure that the next layer had a good surface to cling to. Once the mound of CA was slightly higher than I wanted the button to be, I used 220-grit paper to start shaping the button, needle files and sanding files to carve a sharp edge at the back, and 320-grit paper to refine the shape.Astrid11 I continued to refine the shape and smooth the surface through 400, 600, and 1200-grit paper. Then I polished the button and the rest of the stem with the full range of Micro-Mesh pads and applied a drop of Obsidian oil to wrap up the stem work.

Before reassembling the pipe, I tried to lift the dents in the silver band by placing it over a wooden dowel, pressing firmly, and rotating it from side to side. My attempt was mostly in vain though. I was able to lift them slightly, mostly the one at the edge, but stopped when I began to worry about raising the stamping or tearing the band. I polished the band with Semichrome polish and placed it back on the shank with a small drop of CA to fix the looseness.

Finally, I put the pipe back together and buffed it with White Diamond on the buffing wheel. After buffing again with a clean wheel to remove any excess compound, I gave the pipe several coats of carnauba wax to complete the work on the pipe. The end results can be seen in the photos below.Astrid12

Astrid13

Astrid14

Astrid15 I think the lines of a 320 are iconic and it is a fine example of the author shape. I’m glad that I was able to restore this one to at least a bit of its former glory and get it back into rotation. Thanks for looking!

A Tale of an Ugly Duckling & His Virtually Invisible Swandom


Blog by Steve Laug

All of you are probably familiar with the tale of the ugly duckling. The poor bird hatched from a clutch of duck eggs that came out gangling and very unducklike. His appearance left much to be desired when he walked beside his siblings toward the pond following his “mom’. He was always laughed at and misunderstood. He sat with his head down in shame at how much he did not fit. Each day passed and the down of the ducklings was replaced by feathers. This went on until one day the duckling looked at his reflection in the pond and found that he was not a duck at all but a regal and majestic swan. He had always been a swan inside but the fact of his swandom was not visible to any who beheld him. Instead they saw what they wanted in the misfit duckling and wrote him off as ugly. They never once saw the swan inside until it came out in all of its glory. This tale really captures the pipe that I worked on next.

I have had a really rough older Canadian pipe sitting in the refurb box for a long time now. I have taken it out of the box and looked it over time and again but never took the step of cleaning it up. I have no idea who the maker of this old pipe is but it is a rough piece of wood. I say wood because it is clearly not briar. It is lighter and the grain pattern is quite different from briar. It has a Kaywoodie mortise insert and a Kaywoodie stem that has the stinger clipped off. I don’t know if it came that way or some creative soul made it happen. The wood was roughened and not sanded smooth. It looked as if it was rough shaped with a file or wood rasp and then just smoked. Somewhere along the way someone had put a coat of shiny urethane over the entire pipe. The shine hid none of the flaws but actually accentuated them. It had a significant fissure near the shank bowl joint on the left side that needed attention. The roughened finish had file marks going in every direction. The effect was a mess for a finish. The stem had some cardboard or thread pushed on to the threaded tenon that allowed the stem to line up correctly. I cut off the cardboard or thread washer and the stem was seriously overclocked. The bowl had a cake in it that was crumbly and uneven. The interior edge of the rim was not too badly out of round. The outer edges would need some work to smooth out before I could see if they were in round.Canada1

Canada2

Canada3

Canada4 I took some close-up photos of the bowl and the shank to give more of an idea of the kind of finish that the pipe had when I started. You can see the file marks and lines going in every which direction that were left behind in the initial shaping of the pipe. The overall look was very rustic and actually quite ugly. It was truly an ugly pipe. The beautiful Canadian that resided below the ugly exterior was virtually invisible. It would easily been put up there with “folk art” in terms of the rustic and rough finish to the pipe. Yet there was something about that seemed like raw charm that shone through the mess that sat on my table. This evening when I took it out I took more time to sit and look at it for a while before beginning to work on it. The more I looked at it the more I have to tell you that the second thoughts I was having almost caused me to put off working this old timer and just burying it in the box. I really was unsure whether I could do anything with it or that it would even be worth doing the work. I was not convinced that what I had when I was finished would be worth the time and energy that would go into reworking it.Canada5

Canada6

Canada7

Canada8

Canada9 I cleaned off the debris (cardboard or thread) that was on the tenon and then heated the tenon with a lighter to reclock the stem. I heated the metal carefully keeping the flame away from the vulcanite stem. It did not take long before the heat softened the glue that held the tenon in the stem and I was able to turn the stem back into the shank and twist it until it lined up correctly.Canada10

Canada11 I lightly sanded the bowl surface and then stopped to ream it with a PipNet reamer. I decided to take the cake completely out of the bowl so that I could check for cracks in the walls of the bowl.Canada12

Canada13 With the bowl reamed out I turned my attention to the finish on the exterior. I sanded the bowl and shank with emery paper and with 180 grit sandpaper to remove the roughness of the finish and to sand out the file marks. I wanted to sand the bowl and shank smooth to address the generally poor appearance of the pipe. It took quite a bit of sanding to even start to make a difference in the surface of the pipe. I also sanded it with a rough sanding block to smooth out more of the scratches. I filled the flaw at the union of the shank and bowl on the left side with clear super glue and briar dust. I sanded that repair smooth with 220 grit sandpaper to blend it into the surface of the pipe. There was a dark spot on the outer right edge of the rim that did not seem like a burn. I had the appearance of a stain. It was hard and did not affect the shape of the bowl edge so I left it. I lightly topped the bowl to clean up and flatten out the rim surface.

The more I sanded the grain began to come through the smoother finish of the pipe. It was clearly not briar. My guess is that it is Mountain Laurel or Manzanita. Once I get it sanded smooth and get a better look at the grain and colour I will be able to give a better assessment. The good thing was that a nicely shaped Canadian was emerging from the rough cut pipe that I started with. The shape was well executed and once I finished sanding and smoothing things out this alternative wood Canadian would look really good. My initial reticence gave way to curiosity to see what would emerge when the sanding was finished. You can see for yourself in the next set of photos below what is coming out as it is sanded.Canada14

Canada15

Canada16

Canada17 I continued sanding with 220 grit sandpaper and worked on the shank bowl junction. There were some deep cuts and file marks there that needed to be addressed. I sanded until the surface was smooth to touch. There were still a lot of scratches in the wood but the surface was getting smoother. I sanded it with a coarse and a medium grit sanding block to flatten out the shank and to smooth out the bowl sides, bottom and rim. I used a black permanent mark to cover the fill and line it up with the grain at that point. Once I sanded it more and blended it into the grain of the shank it would become less visible than it is in the photos below. I sanded more with the sanding blocks and then gave the pipe a light coat of olive oil to see what the grain would look like when I was finished. The wood had a red hue to it and some nice looking grain. There is a lot more sanding that needs to be done at this point but it is progressing.Canada18

Canada19

Canada20

Canada21 I have included a few more close-up photos to show the progress of the sanding on the surface of the bowl and shank. There is some nice looking grain coming through in the photos of the bowl sides and shank.Canada22

Canada23 At this point I sanded the bowl and shank with micromesh sanding pads and the oil to give me some traction while sanding. I find that the oil allows the micromesh to cut more deeply and work more effectively. I sanded with older 1500-2400 grit micromesh pads that I reserve for working with oil sanding. Unfortunately I got into the flow of things and did not take photos of this part of the process.

Once I had finished sanding the bowl to this point I worked on the stem. The same file marks went across and the length of the stem. There were gouges and marks and two deep tooth marks near the crease on both the top and bottom of the stem. The next two photos show the scratches and the tooth marks.Canada24

Canada25 I used an emery board to sand out the scratches and the tooth marks. I was able to remove most of the scratches and gouges with the board and then sanded the stem with 220 grit sandpaper to remove some of the deeper scratches and blend in the board marks. I also used the topping board to even out the end of the clipped stinger so that it was not rough.Canada26 The tooth mark on the top needed to be repaired. I cleaned up the sanded area and then filled the remaining tooth mark with clear super glue.Canada27 When the glue dried I used the emery board and the 220 grit sandpaper to blend in the repair with the surface of the stem.Canada28 Once the scratches and marks were gone and the patch smoothed into the surface I went on to wet sand the stem with 1500-2400 grit micromesh sanding pads. I rubbed the stem down with Obsidian Oil and then dry sanded with 3200-4000 grit pads before giving the stem another coat of oil. I finished with 6000-12000 grit pads and then a final coat of Obsidian Oil. I let it dry before taking the pipe to the buffer.Canada29

Canada30

Canada31 I sanded the bowl and shank down with all of the grits of micromesh sanding pads from 1500-12000 grit. By the time I was finished the scratches were virtually gone. The repair on the shank/bowl junction though showing is smooth to the touch. The ugly duckling had become a swan. The Canadian hidden beneath the file marks and rough finish gave way to the beauty of the alternative wood. The finished pipe was truly a thing of beauty.

I buffed the pipe and stem with Blue Diamond Polish on the wheel. I worked it until the remaining scratches disappeared. I gave the bowl and stem several coats of carnauba wax and then buffed the pipe with a soft flannel buff. I finished by hand buffing it with a microfibre cloth. The finished pipe is shown in the photos below. The change in appearance is significant and the feel in the hand is much better. I am still pretty convinced the pipe is Mountain Laurel but could be convinced otherwise if some of you know. Thanks for looking.Canada32

Canada33

Canada34

Canada35

Canada36

Canada37

A Peterson 301 System Pipe Reborn


Blog by Steve Laug

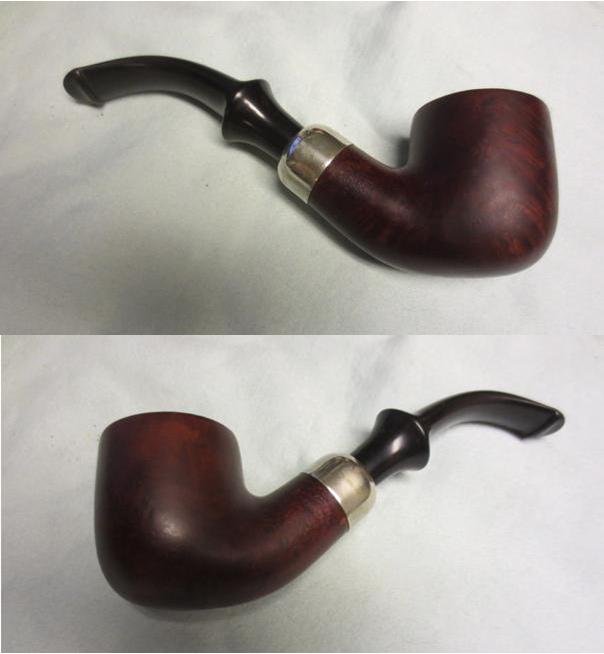
I have this pipe and one other left to clean up of the donated pipes for the benefit of Smokers Forums. This one is a Peterson’s System Standard Bent Pot. It is stamped Peterson’s System Standard on the left side and on the right side it is stamped Made in the Republic of Ireland over 301 which is the shape number. The finish was shot, worn and stained with most of the colour faded out. The nickel ferrule was oxidized and dull. The rim was dirty and nicked on the top surface but undamaged on the inner or outer edge. There were some deep scratches on the underside of the bowl that went across the surface of the briar. They were ragged and I knew that steaming them would not raise them. There was also some road rash on the right side of the bowl where it looked as if the bowl was dropped on concrete. The bowl had a thick cake that was soft and crumbly. The stem was oxidized and dirty with some tooth chatter on the top side and the underside near the p-lip. The interior was also dirty with grit. The inside of the shank/mortise was surprisingly clean with dust and tobacco residue but little tar and oil. The inside of the stem was also dirty. The hole in the end of the button was in great shape.Pete1

Pete2 I took a close up of the rim and bowl to show the thickness of the cake. I reamed the bowl with a PipNet reamer and took the soft cake back to bare briar so that a new hard cake could be developed by the new owner of the pipe.Pete3

Pete4 I sanded out the bowl to remove the ridge that appears in the photo below. You can also see the dents and nicks in the surface of the rim.Pete5 I lightly topped the bowl with a topping board to take out the damaged surface of the rim and clean up the top.Pete6 I wiped down the bowl with acetone on cotton pads to remove the finish and the grime in the grain of the briar.Pete7

Pete8 I filled the deep scratches in the bottom of the bowl with clear super glue and also filled the road rash nicks on the right side of the bowl. I sanded them smooth with 220 grit sandpaper and then sanded them with a medium and a fine grit sanding sponge. I also sanded them with 1500-2400 grit micromesh sanding pads to smooth out the scratches. I stained the bowl with a dark brown aniline stain that I thinned with 3 parts alcohol to 1 part stain. I flamed the stain to set it deep in the grain.Pete9 To make the stain more translucent I scrubbed down the surface with alcohol to lighten the stain and make it more transparent.Pete10 I put a light coat of wax on the bowl to protect it while I cleaned the inside of the pipe. I used pipe cleaners, cotton swabs and alcohol to clean out the shank and mortise area. I polished the nickel ferrule with a silver polishing cloth and was able to remove the oxidation.Pete11

Pete12

Pete13 I let the stem soak in Oxyclean for several hours while I worked on the bowl and then gave it a vigorous rubdown with coarse cloth to remove the loose oxidation. I then sanded it with 220 grit sandpaper and a medium and a fine grit sanding sponge to further remove the oxidation. Once it was gone I buffed it with red Tripoli and then moved on to sand it with the micromesh sanding pads – wet sanding with 1500-2400 grit pads, rubbing it down with Obsidian Oil and then dry sanding with 3200-4000 grit pads and giving it another rub down. I buffed it with White Diamond and then finished with 6000-12000 grit pads before giving it a final coat of oil and letting it absorb into the stem.Pete14

Pete15

Pete16 I finished by buffing the pipe with Blue Diamond on the wheel and then giving the bowl and stem multiple coats of carnauba wax. I buffed it with a clean flannel buff and then hand buffed with microfibre cloth. The finished pipe is shown below.Pete17

Pete18

Pete19

Pete20

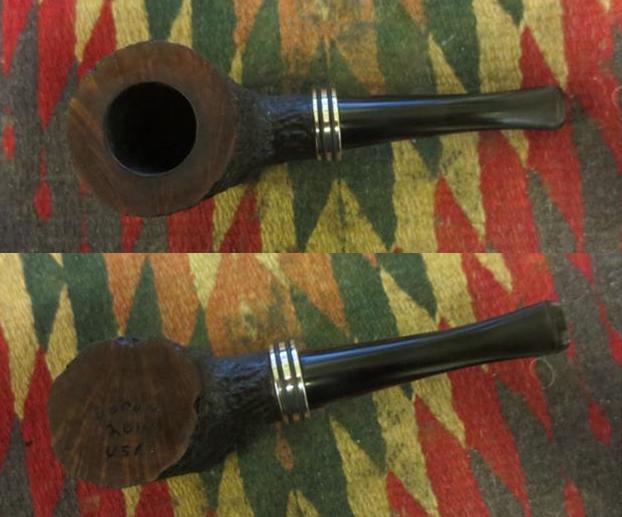
Restemming a Brian Doran Nosewarmer Poker


Blog by Steve Laug

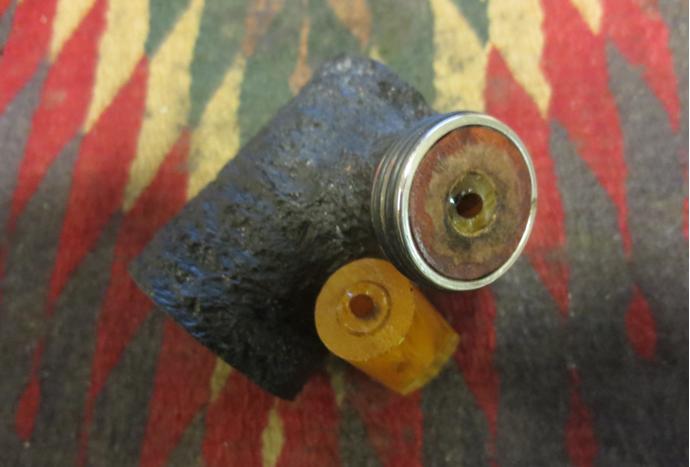
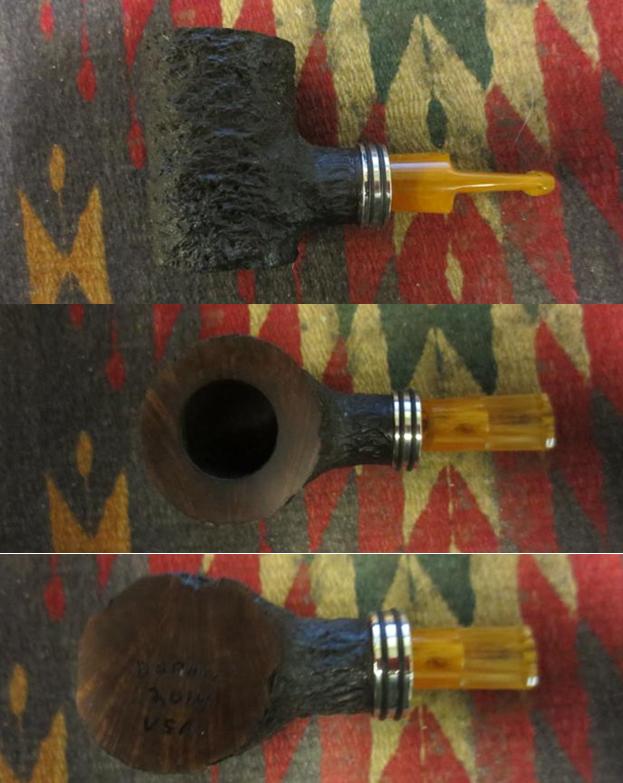
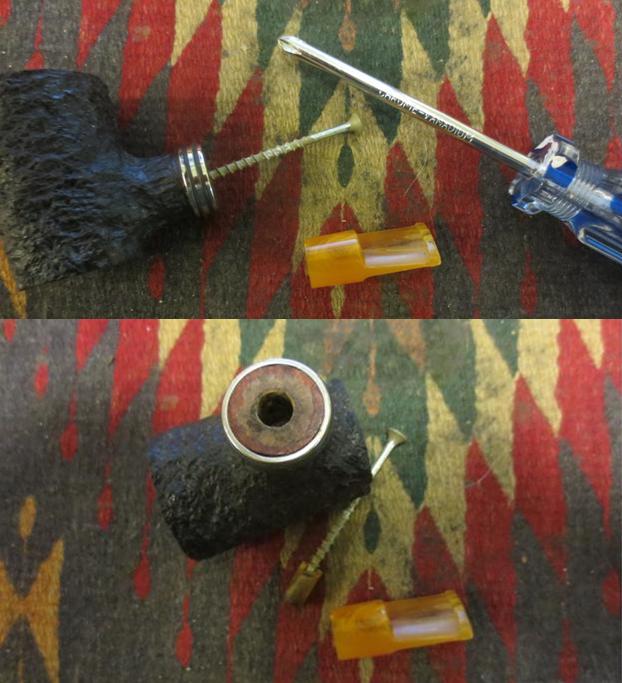
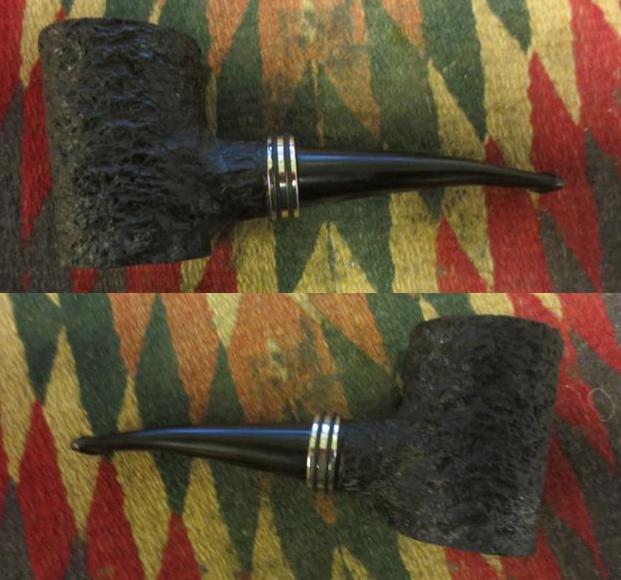
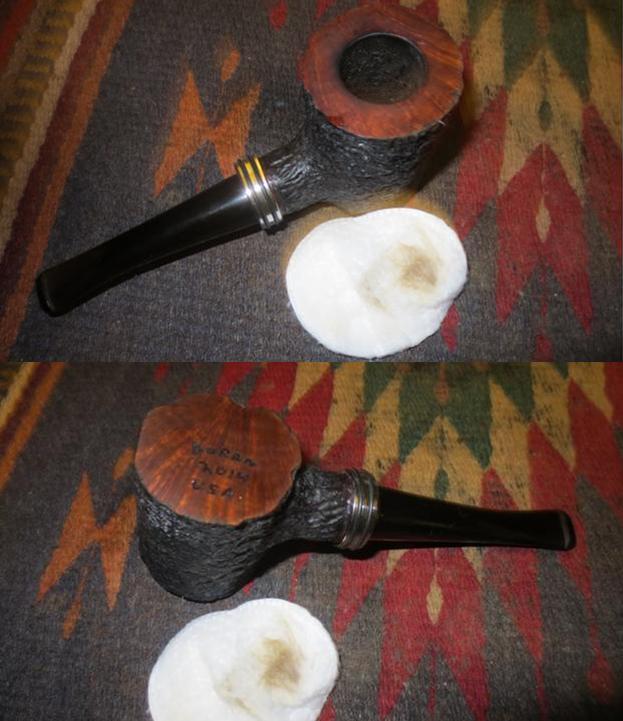
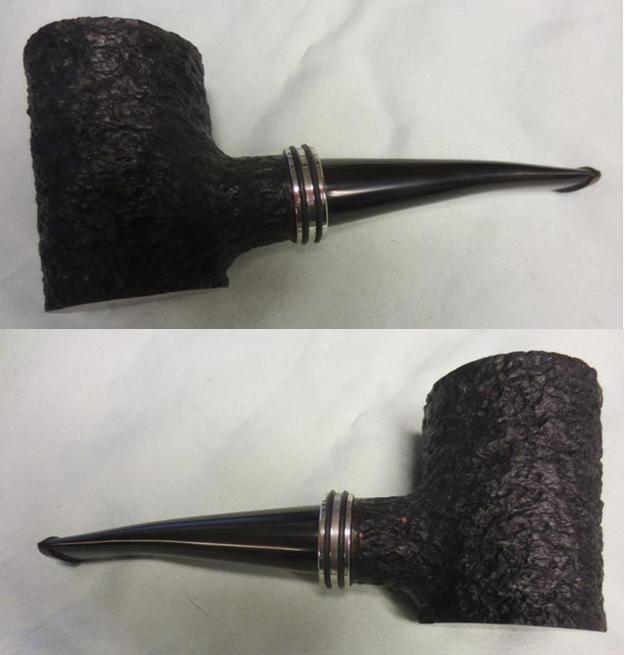
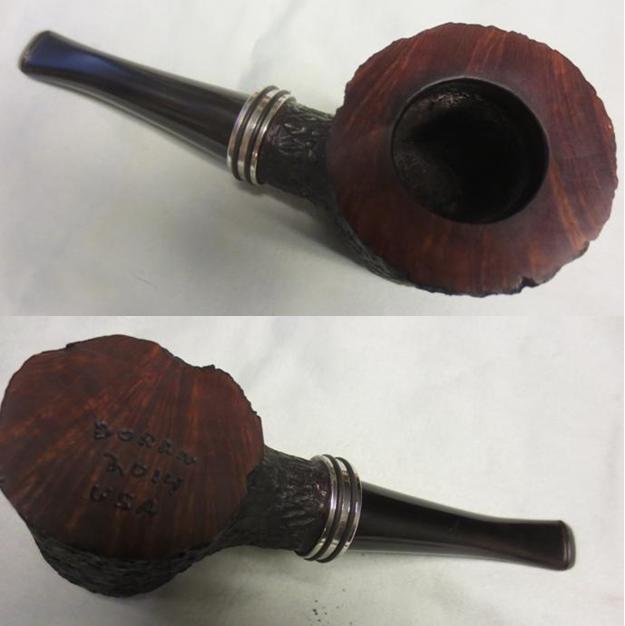
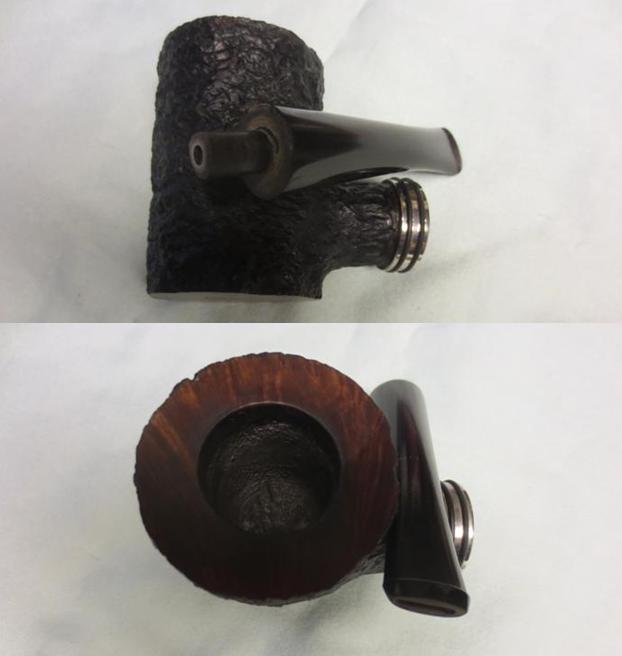
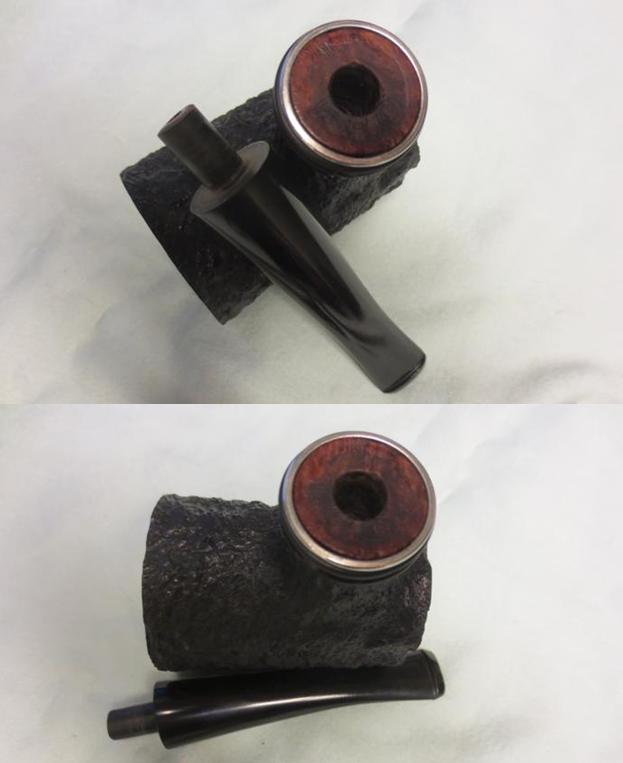
In the gift bag that I received while traveling was a poker made by Brian Doran. I did some reading on Brian’s Facebook page and cannot find out when the pipe was made. I know that this one was originally a nosewarmer poker. I had the pieces of the pipe as it had been dropped by my friend. The tenon broke off in the shank. The tenon would need to be pulled and a new tenon put in the stem or the pipe would need to be restemmed. The bowl was large and the rustication was very nice with a contrasting stain between the rim and bowl. The bowl was a dark brown/black with the smooth rim and bottom stained with a medium brown. The bowl was attractive and the drilling was spot on. There was a large silver band with two black rings around it on the end of the shank that added to the weight of the piece.Doran1 I put the stem up against the bowl to get an idea of how it originally looked before the break. The piece of briar was quite large and heavy and the small mouth piece that had been on it made gripping it a challenge. I could see why my friend had dropped it. The mouth piece itself was smaller in diameter than the shank of the pipe and did not look quite right to me. The button was rough – not sure if it happened during the drop or if it came that way. It had chips out of the edges, top and the face of the button and the inside of the slot was also roughly shaped. The shortness of the blade on the stem did not give much to work with.Doran2 I used a screw to pull the broken tenon out of the shank. I twist it in with a screwdriver until it catches and then wiggle the screw while pulling on it. It generally comes out very easily. I was thankful that this time it came out without a problem. I cleaned up the shank with pipe cleaners, cotton swabs and alcohol.Doran3 With the tenon pulled I needed to make a decision regarding the pipe. After spending some time with the mouth piece I decided that the damage to the button would take more work than I was willing to put into it. I personally did not like the short stem and found that it was uncomfortable in the mouth and the pipe was too heavy to make it practical. That meant that I needed to restem it. I looked at short stems of the same diameter – both saddle and tapered and just did not like the look. I went through my stems and found a saddle stem that was the same diameter as the shank but was not happy with the overall look. Then I found this smaller tapered stem. It was one I had scavenged from somewhere and the tenon was a perfect fit. It sat in the shank just like the little saddle stem had and showed the stained briar ring inside of the silver band. The appearance at the shank was almost the same. It was slightly bent and I would need to straighten it but I kind of liked the look. It would be worth working on. If I should decide otherwise later I can always restem it again. I set up the heat gun and straightened the stem leaving a very slight bend.Doran4 I took the next series of photos to show what the pipe looked like at this point in the process with the longer stem.Doran5

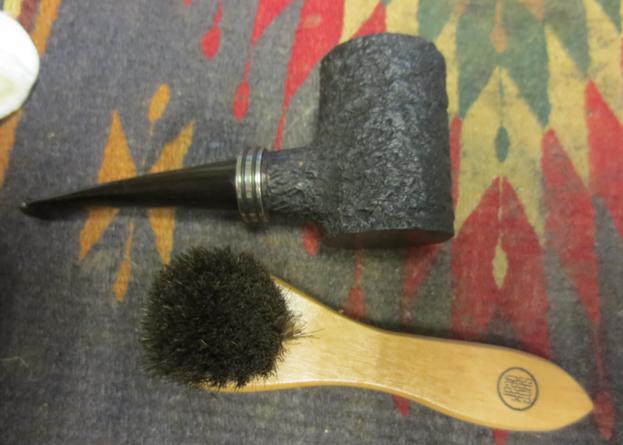
Doran6 I reamed the bowl to take back the uneven cake. I scrubbed the rusticated bowl and the tars on the rim with a tooth brush and Murphy’s Oil Soap. I rinsed the bowl with water and then dried it off with a soft cloth. I further worked on the darkening of the rim with a cotton pad and saliva until I had the majority of it removed. I also scrubbed the bottom of the bowl with the cotton pad and saliva as well.Doran7 I buffed the rustication with a shoe brush to give it a slight shine.Doran8 I gave the bowl a light wipe down with olive oil and hand buffed it with the shoe brush to raise the shine. The stem was in very good shape with no tooth chatter or oxidation so it needed only to be cleaned and polished. I buffed the rim and the base along with the stem with Red Tripoli, White Diamond and Blue Diamond. I then gave the rim, base and stem several coats of carnauba wax and buffed them with a soft flannel buff. I finished by hand buffing with a microfibre cloth. The finished pipe is shown below. I like the new look with the longer stem. The pipe now works as a sitter and balances on the desk with no issues. What do you think?Doran9

Doran10

Doran11

Doran12

Get Me to the Church on Time: Restoring a Longchamp Billiard


Blog by Anthony Cook

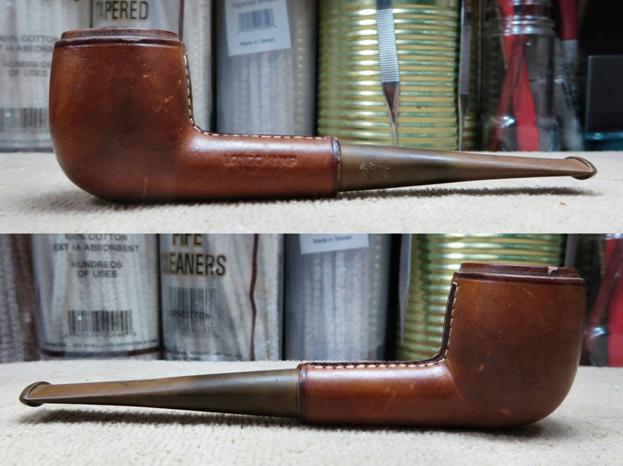
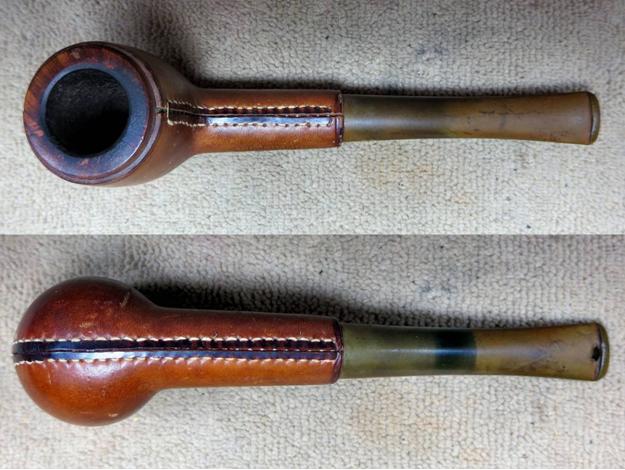
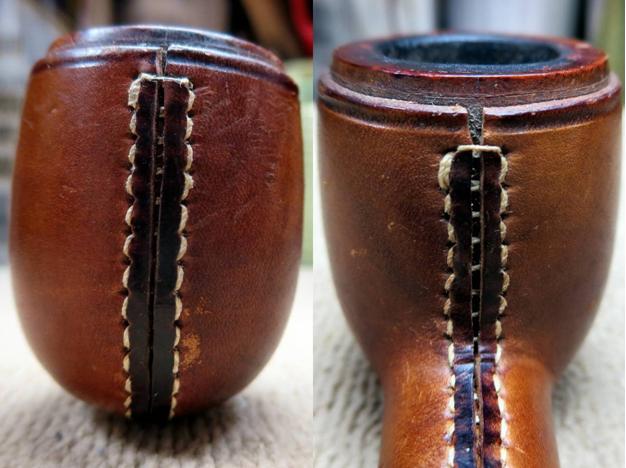
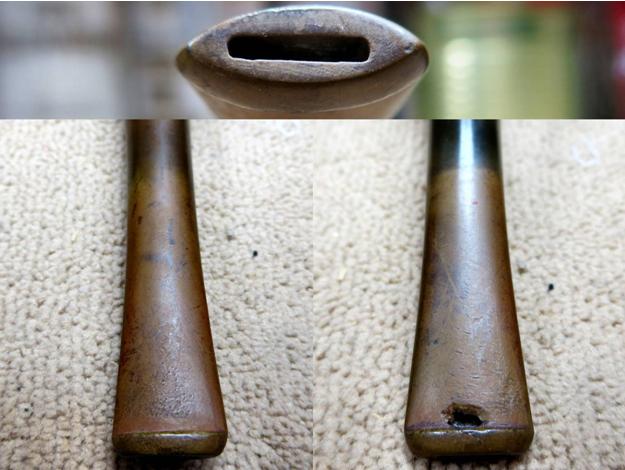
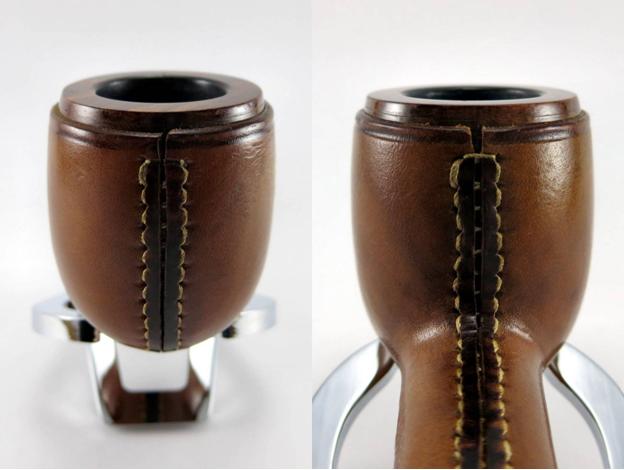
I was browsing through Reddit’s /r/PipeTobacco sub-forum when I saw a post from a member looking for someone who could restore an old, leather-wrapped Longchamp pipe. He wanted it in time for his wedding day, which was a couple of weeks away. I could see in the accompanying photos that the pipe had a chip out of the rim and a bite through on the stem, but otherwise it appeared to be in good condition and both the leather and stitching looked solid. So, I contacted him and offered to take care of it.
The pipe arrived at my door a while later. I was happy to see that there were no hidden “gotchas” and the condition of the pipe was pretty much as it had appeared in the photos.

Here are a few photos of the pipe on arrival:Bride1

Bride2

Bride3

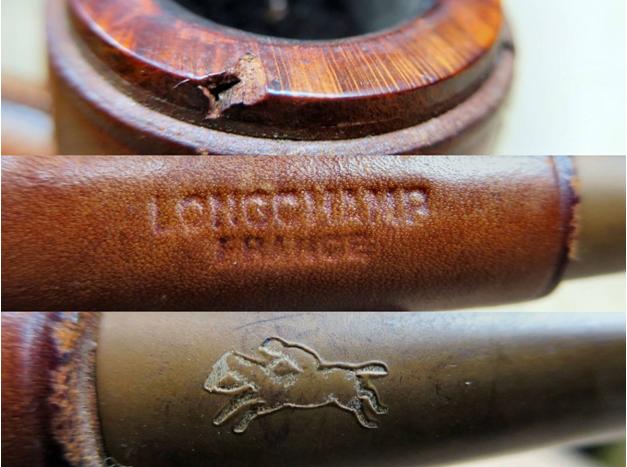
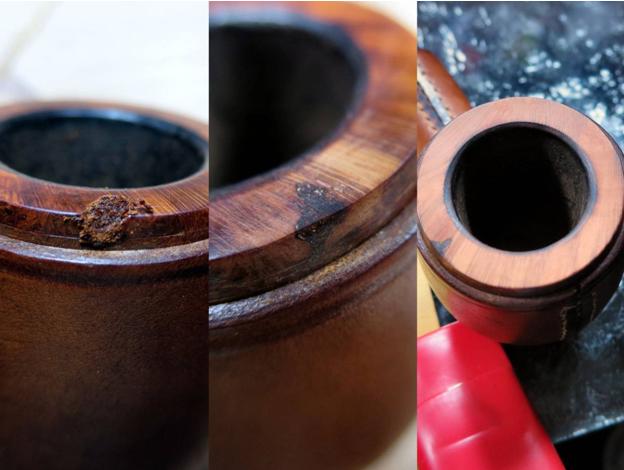
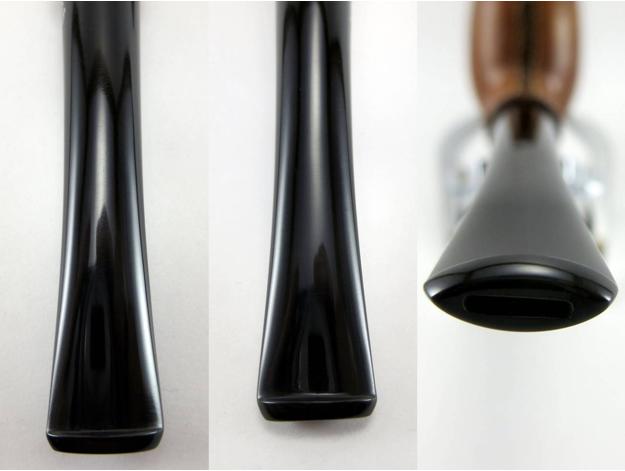
Bride4 Notice in the image below that the stem has almost no tooth chatter despite the massive bite through. What’s up with that? Weird.Bride5 The next image shows some detail photos of the stamping and the rim damage on the pipe.Bride6 The pipe needed to be cleaned up before I tackled any of the damage. This is my “getting to know you” time with the pipes that I work on. I learn a lot about the pipe as I’m cleaning it and I often discover things that I hadn’t noticed previously.

I used a very lightly damp rag to remove the tar and soot from the rim. It came away easily. You can see some light spots on the rim in the photos above. I had been afraid that they were fills (that would be a nightmare), but they turned out to be… something else. Whatever it was, it came off with the rest of the grime and I could see that the rim was in good condition other than the noted chip.

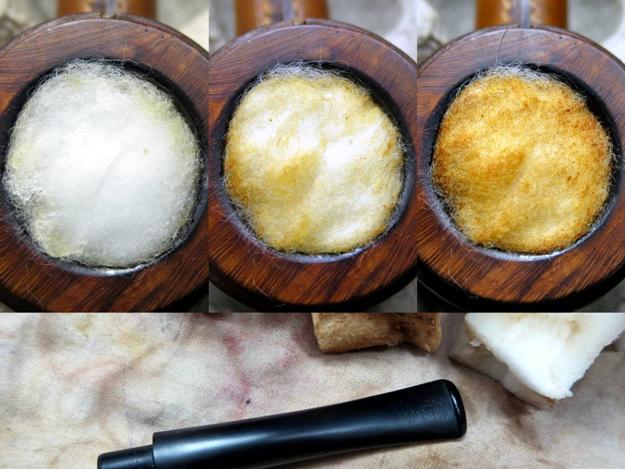
Then, I cleaned out the interior of the stem and stummel with a few cotton swabs, pipe cleaners, a shank brush and some isopropyl alcohol. The pipe was already pretty clean. So, it didn’t take much work.Bride7 I then gave the pipe a retort just to be sure and another quick scrub to remove anything that the retort had left behind.Bride8 To prevent any lingering tobacco ghosts, I stuffed cotton balls into the chamber and used a dropper to drip in alcohol until they were saturated. I then sat the stummel aside overnight to let the cotton balls and alcohol do their job. The image below shows a photo of the bowl just after adding the alcohol, another taken about three hours later, and another at about twelve hours (just before I removed the cotton).

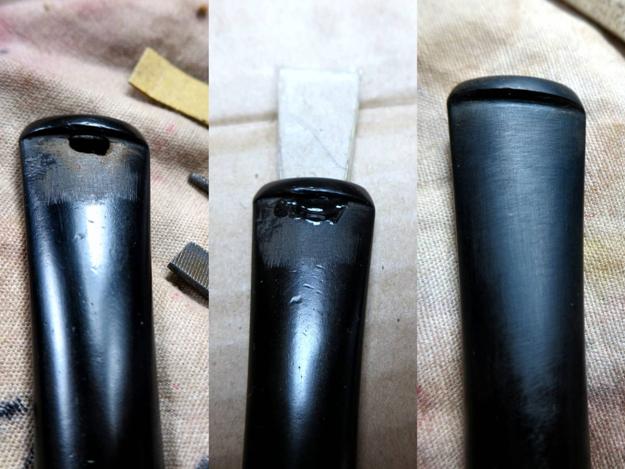
Meanwhile, the stem had been soaking in a bath of Oxyclean and warm water. I removed it from the bath and scrubbed it with cubes cut from a Magic Eraser until all of the yellow-brown oxidation was gone and the stem was restored to a satin-black finish.Bride9 Using needle files, I cleaned up the edges of the bite through hole to remove any loose material and scored the surrounding surface to prep for the patch. Then, I inserted a wedge of thin cardboard wrapped in clear tape through the slot making sure that it completely covered the bottom of the hole. I applied several thin layers of black CA glue over the hole. I allowed each layer to dry and lightly sanded with 220-grit paper between layers to give the next one a good surface to bite into. The patch was ready to be blended in when it was slightly higher than the surrounding surface. I used needle files to carve a sharp transition at the back of the button and sanded back the patch and much of the tooth chatter with 220-grit paper.Bride10 I followed that with 320-grit and 400-grit paper to further smooth the surface, and then I lightly sanded the entire stem (carefully avoiding the logo impression) with 600-grit paper.

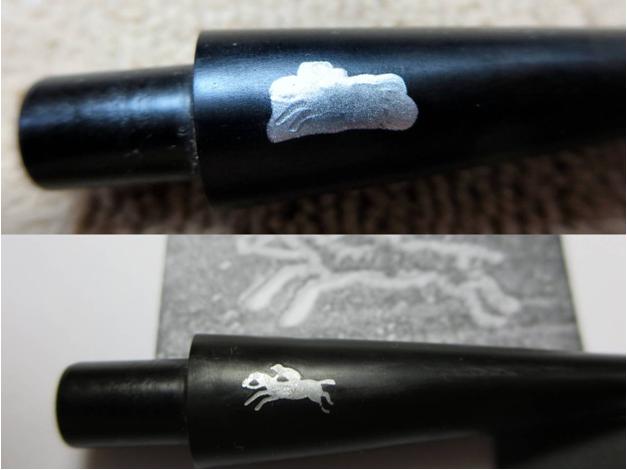
I wanted to repaint the stem logo to give the pipe a more complete look. So, I used a silver leaf paint pen to paint over the logo and fill the impression with paint. Once it was dry, I carefully sanded the paint from the raised surfaces with 1200-grit paper leaving behind only what was left in the impression. Some of the impression had been worn away until it was nearly level with the surrounding surface. So, I had to try to shape those by hand using a printed photo reference of the logo.Bride11 I lightly sanded the rest of the stem with 1200-grit paper, and then polished with Micro-Mesh pads 1500-grit to 12000-grit. Somehow, I forgot to get a shot of the completed stem, but you can see it in the photos of the finished pipe.

The stem was finished. So, it was time to take care of the stummel. I filled the chip in the rim with briar dust and CA glue, let it dry, and then sanded the patch back with 220-grit paper. It’s just about impossible not to sand away some of the surface surrounding a patch. So, there was a very slight depression in the patched area. To even the rim out, I lightly topped the bowl, first with 220-grit, and then with 320-grit paper.Bride12 To bring the color back and blend the patch, I applied Fiebing’s dark brown dye to the rim with a cotton swab, flamed it, and sanded the rim with 400-grit and 600-grit paper. Then I stained with medium brown and sanded with 1200-grit. I polished the rim with Micro-Mesh pads 1500-grit through 2400-grit before giving the rim a final buckskin stain, and then polished with the remaining Micro-Mesh grits. Again, I forgot to get photos of any of this. Sometimes, you just get caught up in the work, you know?

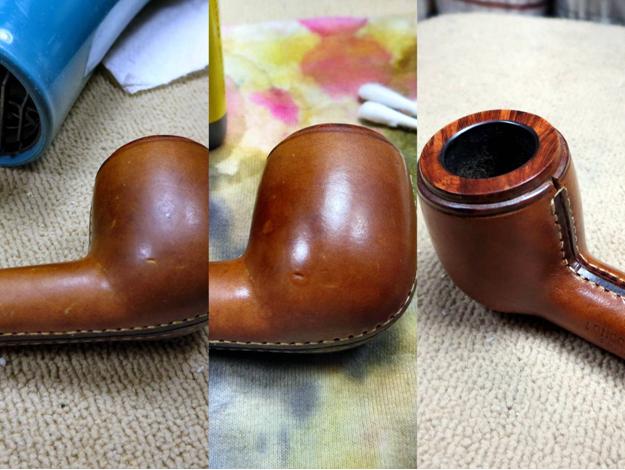
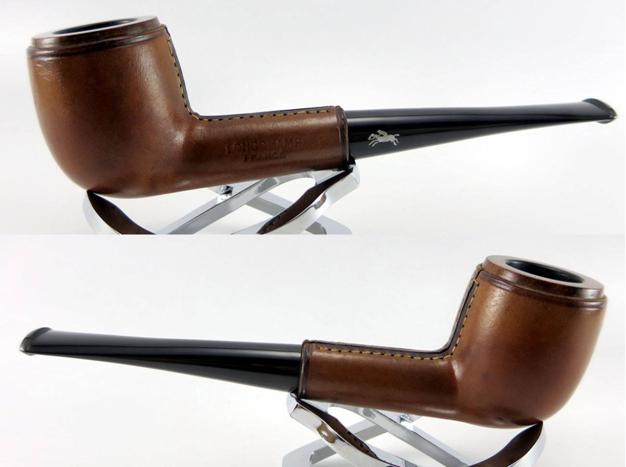
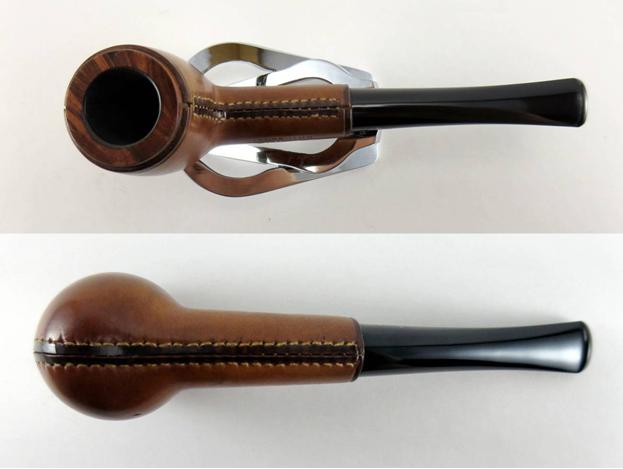
All that was left to do to get this pipe ready for the wedding day was to spiffy up the leather a bit. I used a hairdryer set to high heat and low flow to heat the leather and raise the dents. I used my fingers to knead and stretch the leather around the deeper ones to help lift them. Then, I used Fiebing’s buckskin dye to restain the scratches and a small tear on the right side of the bowl. The tear itself was then patched with a bit of leather glue. Finally, I used Fiebing’s 4 Way Care to clean and condition the leather wrapping before burnishing the ends of the leather and edging the seams.Bride13 The pipe work as finished and it was ready to be sent back for the big day. Here are a few photos of the finished pipe:Bride14

Bride15

Bride16

Bride17 Thanks for looking and CONGRATULATIONS, NATE!!!

A West German Mystery: Refurbishing a Merkur 2000 720


Blog by Anthony Cook

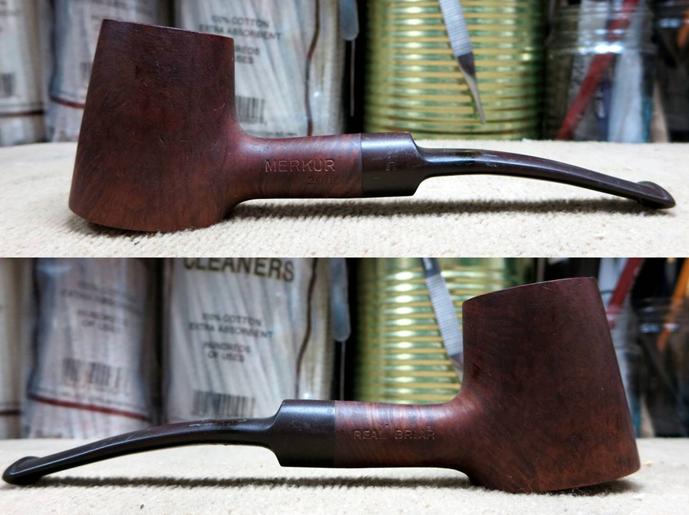
A friend from the Pipe Smoker Unlimited forums recently picked up a volcano-shaped Merkur 2000 pipe as a birthday gift to himself (we all know that those are the best gifts). He was drawn to the shape and the bit of nice grain that he could make out beneath the grime and dark stain. He mentioned in a comment that it was going to need a little cleaning up. So, I offered to take care of that for him and he accepted.

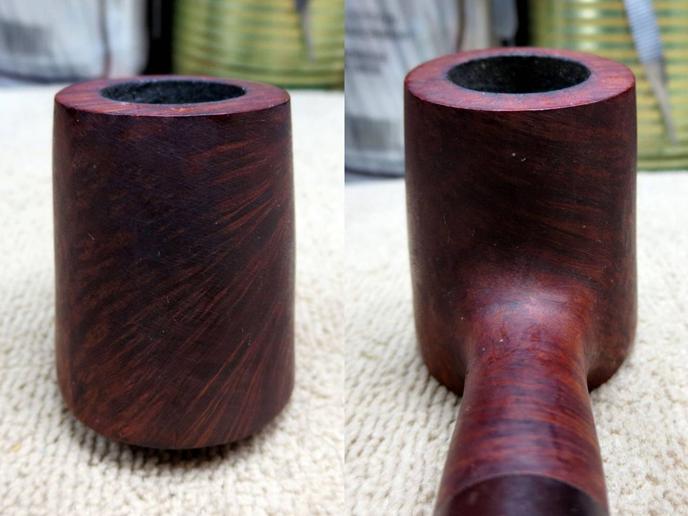
I gave the pipe a good look over when the pipe arrived some time later. I was immediately impressed by how light it was for its size. It appeared to be in good, clean condition too. The stem had barely any tooth chatter, but it had some reddish oxidation that almost matched the stummel stain and there were strange bands of raised vulcanite in some areas. My best guess is that something had lain across the stem for a very long time to cause the warping. The stummel appeared to have a few scratches, including one on the rim that was the most pronounced, but they were small and looked shallow. So, I was confident that they could be easily removed.

Here’s the pipe as it was on arrival:Merk1 In the photo below, I don’t know what that is in the chamber. It’s best not to think about it too much.Merk2

Merk3

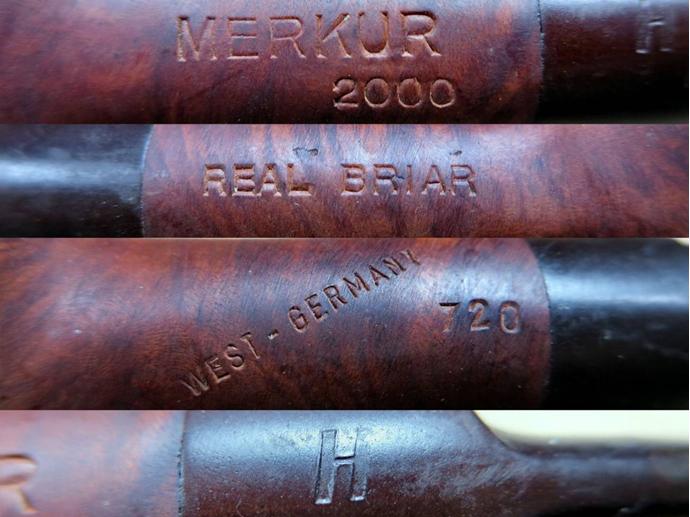
Merk4 The actual manufacturer of this pipe is a bit of a mystery to me. It’s stamped “MERKUR 2000” along the left shank, “REAL BRIAR” along the right, “WEST-GERMANY” and “720” along the bottom, and there is a slanted “H” logo on the stem. Pipephil has a listing for a Blackwood pipe with a matching stem logo and “2000” in the same location and typeface. It’s my guess that neither Merkur nor Blackwood is a manufacturer brand name, but rather they are either model names or shop-branded names. Whatever the case may be, the “WEST-GERMANY” stamping is a clear indication of the country of origin and that the pipe was made sometime before the 1990 German reunification.

Here are a few detail photos of the stamping in question and also the Blackwoods pipe from pipephil:Merk5

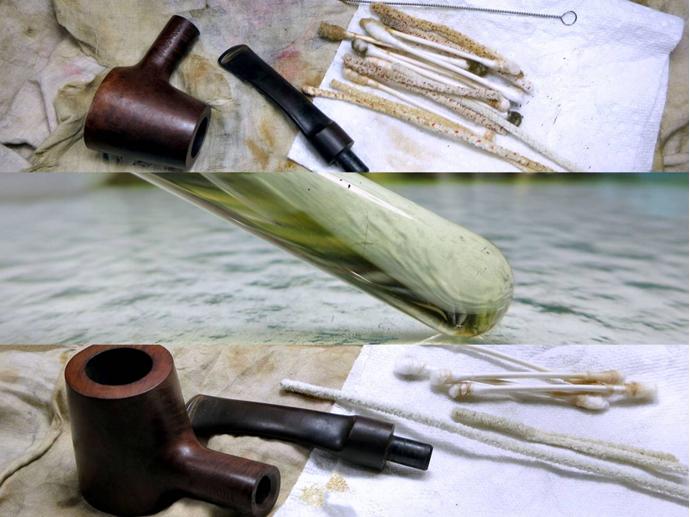
Merk6 When I asked my friend what he wanted done with the pipe, he said that he would like me to lighten the color a bit and make the grain “pop.” So, to begin, I wiped the stummel down with acetone and cotton pads to remove the grime and lift some of the old stain.Merk7 I think a good, internal cleaning is the foundation of any estate pipe work. So, I scrubbed out the stem and stummel with a few pipe cleaners, cotton swabs, and a shank brush. Next, I set up the retort for some deep cleaning (kind of like steam cleaning the carpet). I flushed the stem and shank 10-12 times with the boiling alcohol, let the pipe rest for about 10 minutes, and the flushed it 10-12 times again with fresh alcohol. After the second retort the alcohol in the vial was almost as clear as when it was fresh (the debris seen in the photo is bits of carbon build-up on the outside of vial from the candle flame). So, I gave the pipe a final scrub to remove anything left behind from the retort.Merk8 The stem was dropped into a bath of Oxyclean and warm water for about an hour, and then I removed the softened oxidation by scrubbing with cubes cut from a Magic Eraser pad. I sanded down the tooth chatter and warped bands on the stem with a progression of 220, 320, and 400-grit paper and the entire stem was lightly sanded with 600-grit paper to get rid of the pitting and smooth the surface.

I already knew that I couldn’t completely restore the stem logo; the upper-right portion of the “H” was almost entirely worn away. I thought that it would look better with something there though. So, I painted over the logo with a grout pen, let the paint dry, and then very carefully sanded away the excess with 1200-grit paper to reveal the partially restored logo. Then, I sanded the rest of the stem with 1200-grit and polished with the full range of Micro-Mesh pads to wrap up the stem work.Merk9 The scratch on the rim didn’t seem too deep. I thought that I would be able to remove it with just a light topping. It didn’t take much sanding with 220-grit before I noticed that the “scratch” was widening and realized that it wasn’t a scratch at all, but a small pit. I thought that it might still be shallow enough that I could sand it out, but when the pit was still there after a bit more sanding I decided to cut my losses and patch it with a briar dust and CA glue patch. Then, I topped the bowl with 320-grit to even everything out.

Unfortunately, that pit wasn’t the last one that I encountered while working on this pipe. At least two more revealed themselves along the rim and a few more on the rest of the stummel.Merk10 Now, before I tell you about how I did the rest of the stummel I have to issue an apology. I failed to take any more photos before finishing up the pipe. I’ll lay the blame on the previously mentioned pits that kept cropping up, which caused me to backtrack at almost every stage and redo sections of the work. However, I’m sure that you can follow along with no problems. I won’t detail any of the pits, since they were all addressed in the same way as the one above.

In order to honor the request to make the grain “pop,” I heated the stummel with a heat gun to open the grain and applied a dark brown stain thinned to one part stain to three parts isopropyl alcohol. After flaming the stain to set it into the grain, I hand-buffed with a soft rag to remove the excess, and then sanded the stummel with 400-grit. This removed most of the light scratches as well as much of the surface stain, which gave the grain some nice contrast.

I heated the stummel again before applying a medium brown stain thinned the same as before. I flamed and hand-buffed again before lightly sanding with 600-grit and 1200-grit papers. I also began polishing with Micro-Mesh 1800-grit to 2400-grit.

Next, I applied a light brown stain, flamed, hand-buffed, and reattached the stem to give the stummel a Tripoli buff on the buffing wheel. I don’t buff the stem with Tripoli, but it’s good to have it in place to prevent the buffer from rounding the shoulders of the stem and shank faces. I use a rubber tourniquet tightly wrapped around the end of the stem to protect it from the wheel.

I polished the stummel with 3200-grit through 4000-grit paper before giving it one final stain of British tan thinned by eye until it was just weak wash. Then, I polished with the remaining Micro-Mesh grits before buffing the entire pipe with White Diamond and applying several coats of carnauba wax to finish up the pipe.

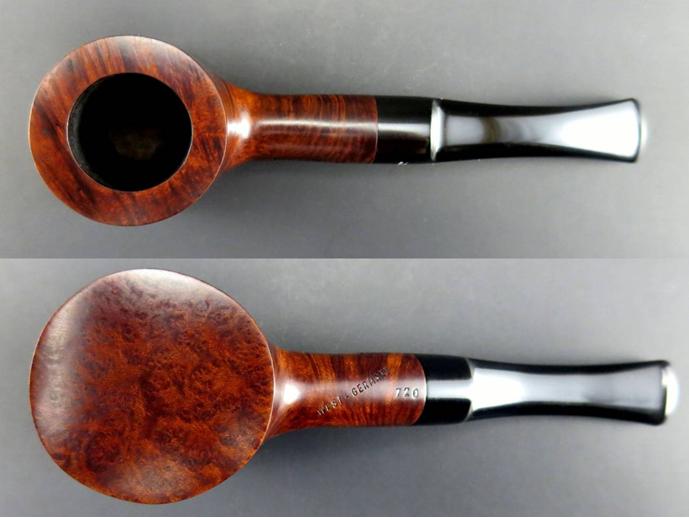
The final results are pictured below.Merk11

Merk12

Merk13

Merk14 I think the pipe will now be a proud addition to my friend’s collection and I’m sure that it will serve him well for many more birthdays to come. Thanks for looking.

Restoring a Savinelli Hercules Billiard


Blog by Steve Laug

This pipe came to me as a fund raising donation for Smokers Forums. The donor wanted this and other pipes he sent cleaned up and restored then sold for the support of Smokers Forums. This pipe is a large Hercules Billiard made by Savinelli. It is stamped Hercules on the left side of the shank and on the right it read 111EX over Italy. This big pipe had some stunning grain. It would clean up very well. The finish is dull and dirty with grime but the briar is in excellent condition with no dents or flaws. There was a thick and uneven cake in the bowl and the overflow of lava on the rim was also heavy. In my experience the thick lava on the rim generally protected the rim from damage. The inner bevel on the rim and the edge was also undamaged. The stem was oxidized. The stamping on the stem shows well in the photo below but it was actually very light and faint. It would be virtually impossible to save it once it soaked and was cleaned up. It was almost like a decal applied to the stem rather than stamping.Herc1

Herc2

Herc3

Herc4 I reamed the bowl back to bare wood to remove the crumbling and uneven cake with a PipNet reamer. I started with the smallest cutting head and worked my way up to the diameter of the bowl.Herc5

Herc6

Herc7 I worked on the buildup on the rim with 0000 steel wool. Working it around the rim I was able to remove all of the tar and lava without damaging the finish.Herc8 I scrubbed the exterior of the bowl with acetone on cotton pads to remove the grime and the wax buildup. I believe these pipes had an oil finish originally and were not stained. The grime came off easily and the grain just popped!Herc9

Herc10

Herc11

Herc12 I cleaned out the interior of the bowl and the shank with pipe cleaners, cotton swabs and alcohol until they came out spotless. I also folded each pipe cleaner and swabbed out the inside of the bowl to remove the dust and particles left behind by the reaming.Herc13

Herc14 I gave the stem a light sanding with 220 grit sandpaper and then with a medium and fine grit sanding sponge to remove the oxidation. I worked carefully around the stamping to see if I could preserve it. So far so good on that point.Herc15

Herc16

Herc17

Herc18 I worked on the stem with micromesh sanding pads to remove the rest of the oxidation and to polish the stem. The first 1500 grit micromesh literally obliterated the stamping. That kind of thing bugs me but I can’t go back and change it. The decal/stamping was gone. I wet sanded the stem with 1500-2400 grit micromesh pads and then rubbed the stem down with Obsidian Oil. I dry sanded with 3200-4000 grit pads and gave it another coat of oil. I finished with 6000-12000 grit pads and gave the stem a final coat of oil and let the oil dry before taking it to the buffer.Herc19

Herc20

Herc21 I gave the bowl a light coat of olive oil and rubbed it in. I let it absorb over night. In the morning I buffed the bowl and stem with Blue Diamond and then gave both multiple coats of carnauba wax to protect. I buffed it with a clean flannel buffing pad to raise the shine then finished by hand buffing with a microfibre cloth. The only flaw in the process was the removal of the stamp/decal on the stem. For that I apologize. Otherwise the pipe is a stunning piece of craftsmanship. The finished pipe is shown in the photos below. I think this pipe will be a great smoker for whoever decides to add it to their rack.Herc22

Herc23

Herc24

Herc25

Herc26

Herc27

Herc28

Herc29

Herc30

Herc31

First in Flight: Refurbishing and Restemming a Falcon #4


Blog by Anthony Cook

I had never smoked a metal pipe before, but I was curious. I liked the idea of interchangeable bowls, especially when dealing with stronger and “ghostlier” blends (I’m looking at you, Lakelands). So, when this Falcon #4 showed up on eBay I put in a low bid that luckily turned out to be the winning one. I knew from the seller’s photos that the pipe was going to need a bit of work to get it into shape, but I was still in for a few surprises.

When it arrived, I could see that the aluminum frame was in good shape. There were several small dents and scratches, but nothing that would affect the smoking qualities of the pipe. The nylon stem (or, “bit” in Falconese), however, must have really suited someone’s taste because had been chewed so badly that it was crushed and the airway was almost completely closed. The larger, pot-shaped bowl was in fair condition with some tar build-up and a few scratches on the rim, but the smaller Dublin/apple-shaped bowl was charred and almost beaten to death around the rim. Luckily, the threads on both bowls were still in good shape and they would screw tightly to the frame.

Here are a few photos of the pipe as it was when it arrived:Falcon1

Falcon2

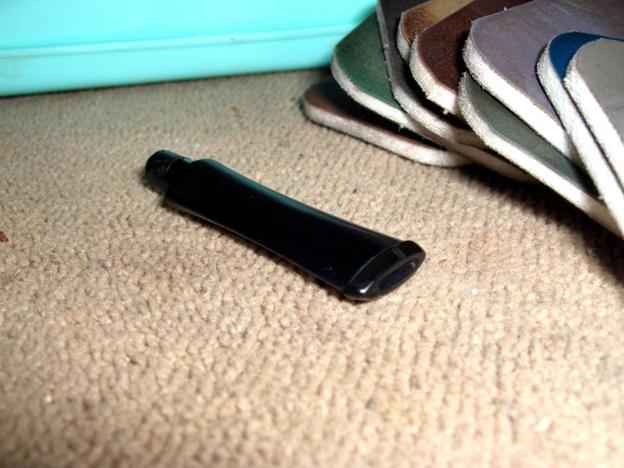
Falcon3 The first order of business was to remove the stem, since there was no way that it would work in its condition. Thankfully, Al (upshallfan) offered to send me another one that was in better shape. Removing a Falcon stem is easier said than done though. They’re intended to be a permanent part of the pipe.

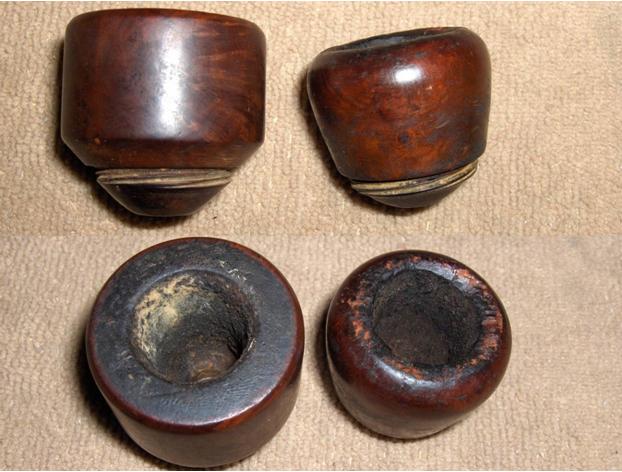
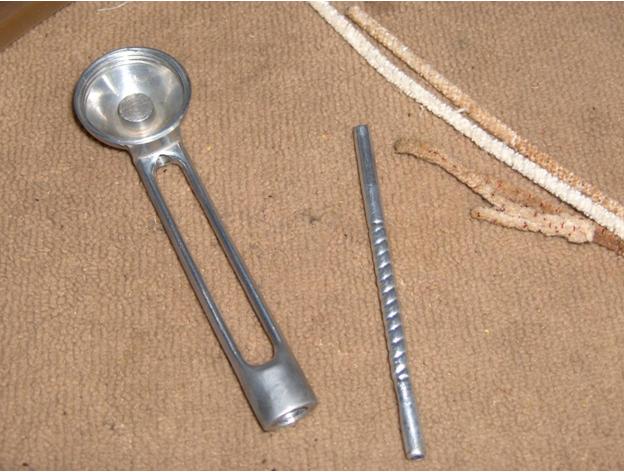
I turned to the forums in the hope of finding someone who had done it before and had developed a reliable removal method. I received several suggestions and tried them all with no luck. In desperation, I decided to try to heat the stem in boiling water. I knew from past experience that nylon would blister and burn all too easily when exposed to high heat, but I thought that this method might heat the stem slowly and gently enough to avoid that risk. Surprisingly, it worked like a charm! After about 20 minutes of submerging the stem in boiling water, not only was I able to remove the stem, but the aluminum smoke tube came out as well. That would make cleaning and polishing the frame much easier.Falcon4 After soaking the frame in alcohol for about 30 minutes, I cleaned out the interior. Without a doubt, this was the easiest cleanup job that I have ever done on a pipe. That’s not to say that it wasn’t dirty. This was obviously a well smoked pipe, but the grime came away easily from the nonporous aluminum. It took only three pipe cleaners (two for the airway and another folded one to scrub the cup) and an old toothbrush (for the threads) to completely clean the frame.Falcon5 The bowls were next on my to-do list. I reamed them both back to bare wood so that I could see what I was dealing with, and then I placed them in a jar of isopropyl alcohol to soften the build up on the rim and strip the finish. An hour or so later, I removed them and used a soft cloth to scrub away the remaining finish and grime.

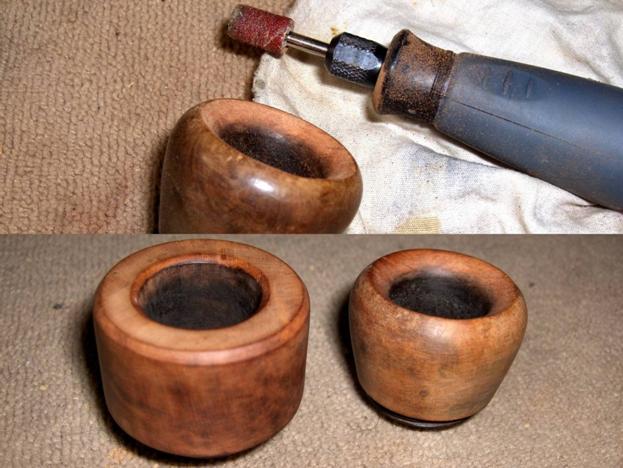
I set up my topping surface to sand out the scratches on the rim of the larger bowl and level the uneven rim of the smaller one. I lightly topped the larger bowl first with 220-grit paper, and then with 320-grit until the scratches were gone. I started to top the smaller on the smaller one, but the condition of the rim was so bad that chunks of it began to fall out as I worked. I could see that was going to be a losing battle and decided that if I couldn’t beat ‘em, I’d join ‘em.

I used a Dremel with a sanding drum to bevel the inner rim of the smaller bowl back as far as the deepest gouge. I was only doing some rough shaping at that point to create the general depth and angle of the bevel. Then, I used 220-grit and 320-grit paper to clean things up and further refine the shape. After that, I lightly sanded the surface of both bowls with 220-grit and 320-grit paper to remove most of the scratches and dings.Falcon6 Once the heavy lifting was complete on the bowl cosmetics, I turned my attention back to the stem. The stem that Al had sent me was in much better shape than the original, but it was still badly chewed. It also wouldn’t pass a cleaner, which seems to be an issue with Falcon pipes in general. They make thinner cleaners specifically for Falcons, but I don’t like the idea of having to buy something else just to overcome a design flaw. So, I decided to try an experiment to see if I couldn’t open up the airway and remove much of the chatter all in one shot.

I had noticed earlier that the boiling water had not only loosened the original stem, but it also appeared to raise the dents to some degree. It wasn’t enough to save it, but I found it surprising all the same since I’d had no luck lifting dents in nylon with heat previously. I thought I’d try it again with the replacement stem. I rigged up a simple suspension mechanism with some string, a hex nut, and a wooden spoon, and then put the stem into a pot of boiling water. After nearly about 40 minutes of being submerged, there was some slight improvement but not enough to make much difference. So, I called an end to the experiment and decided that the method wasn’t worth the effort. I have a suspicion that there was some harm done to the stem with this method however, and I’ll talk more on that later.Falcon7 The constriction in the airway extended about ¼” behind the button. So, I decided to drill the airway out from the slot end. The airway was so tight that I had to start cutting through with a 3/64” bit and work my way up to a 3/32” bit. I tested the draw and it was good, and then I tested with a cleaner and it would pass, but it still needed a bit of force to get through the tight area. The stem wouldn’t take a larger bit, however, and I had to be satisfied with what I had. I finished up the work on the airway by cleaning up the slot and giving it a slight funnel with some sandpaper, needle files, and sanding needles.

In the photo below, you can see one of the drill bits chucked into a Dremel, but I never actually used the motor. That would likely have been a disaster. Instead, I used the Dremel to stabilize the bit while I turned the stem over it.Falcon8 The mechanics of the stem had been addressed and it was time to start working on the cosmetics. I used a course, flat needle file to score the surface of the stem, applied black CA glue to the indentations, and sanded it back with 220-grit paper once it was dry. Then, I began to rebuild the button. I wrapped clear tape around the area behind the button to create a sharp edge and applied more CA to the button to build up the surface. I used 220-grit paper to sand the CA back and start shaping the button after it had completely dried. When the shape was vaguely buttonish, I began to clean the edges and remove more chatter from the stem, first with 320-grit, and then with 400-grit paper.Falcon9 I lightly sanded the entire surface of the stem with 600-grit and 1200-grit paper to smooth it out and remove the seams and molding artifacts from the sides. Then, I polished the stem with Micro-Mesh pads 1500-grit through 12000-grit and used a drop of mineral oil to lubricate the stem between every three grits.

Remember when I mentioned something about the heat of the boiling water doing harm to the stem? This is where that comes into play. I had noticed that the stem felt different under the paper as I was sanding it. The higher the grit, the more noticeable it became. The surface felt normal to the touch, but it kind of grabbed at the sandpaper and pads and gave some resistance as they slid across, almost like it was gummy. It was unlike any nylon stem that I had ever worked with before and I believe that submerging it in boiling water changed the surface in some way. I’m just making a guess, of course, but in the end I wasn’t able to achieve the level of glossy shine that I had with previous nylon stems and I doubt that I’ll be trying the boiling method again. You can see the finished stem in the photo below.Falcon10 The stem was out of the way. So, it was time to get back to the bowls and start wrapping this pipe up. I wanted each bowl to have a slightly different color. So, I used a heat gun to heat the briar and open the grain, and then applied a 3:1 mix of isopropyl alcohol and Fiebing’s dark brown dye to the larger bowl and the same ratio with mahogany dye to the smaller bowl. After hand buffing with a soft cloth and sanding the surface of both bowls with 400-grit and 600-grit paper to remove most of the dye except for what was in the grain, I gave the larger bowl a medium brown stain and the smaller one an oxblood stain using the same ratio of stain to thinner as before. Then, I hand buffed again and sanded each bowl with 1200-grit and gave them both a light Tripoli buff. Both bowls received one final stain; buckskin for the larger one and British tan for the smaller. They were hand buffed again to remove the excess stain, and then polished with Micro-Mesh pads 3200-grit to 12000-grit.

Before reassembling the pipe, I polished the frame with Semichrome polish and buffed the stem and bowls with White Diamond compound on the buffer. I put everything back together (it went easily) and applied several coats of carnauba wax with the buffer. Finally, I applied a bowl coating to both bowls to give them some protection until they could build a little cake. You can see the completed pipe in the photos below.Falcon11

Falcon12

Falcon13

Falcon14 And here are a couple of shots of the other bowl…Falcon15 I’m still not happy with the stem on this one and I’m sure that I’ll be replacing it sometime in the future when there aren’t other pipes that need attention. For now, though, it serves its purpose well. I’ll admit that I was a little skeptical of the metal pipe concept, but this pipe smokes wonderfully and I can see many more Falcon bowls and a few more metal pipes in my future. Thanks for checking it out!