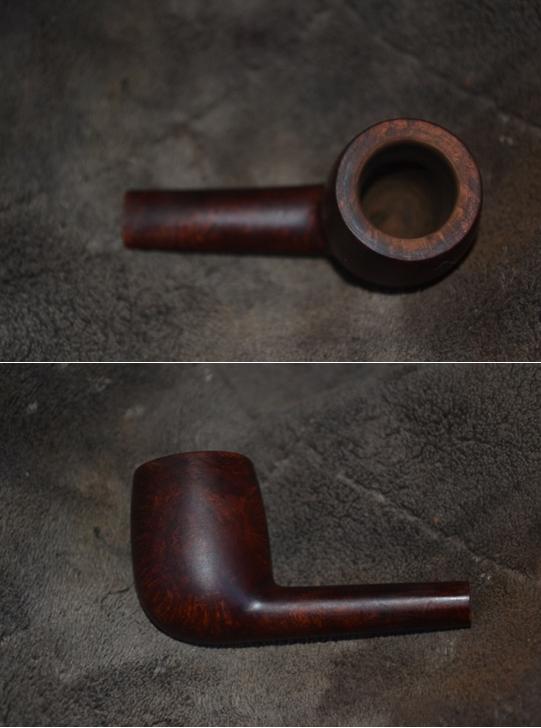
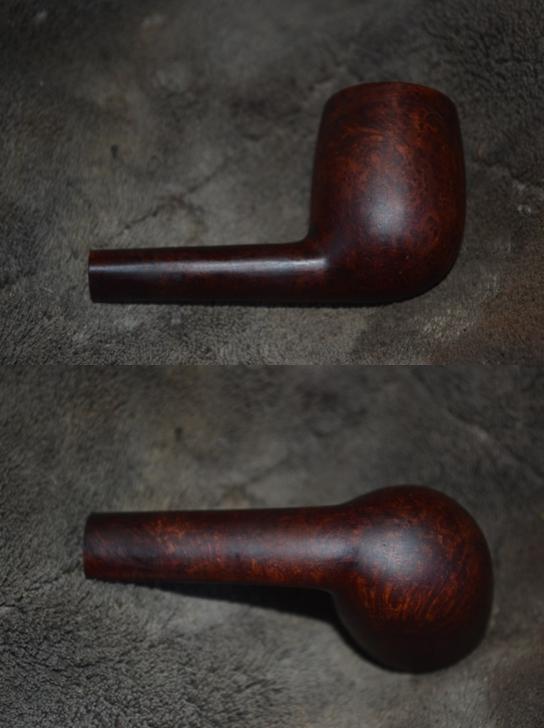
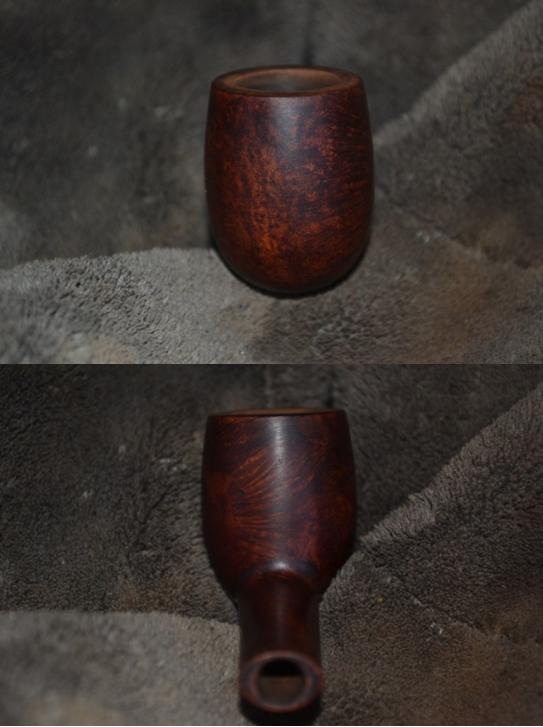
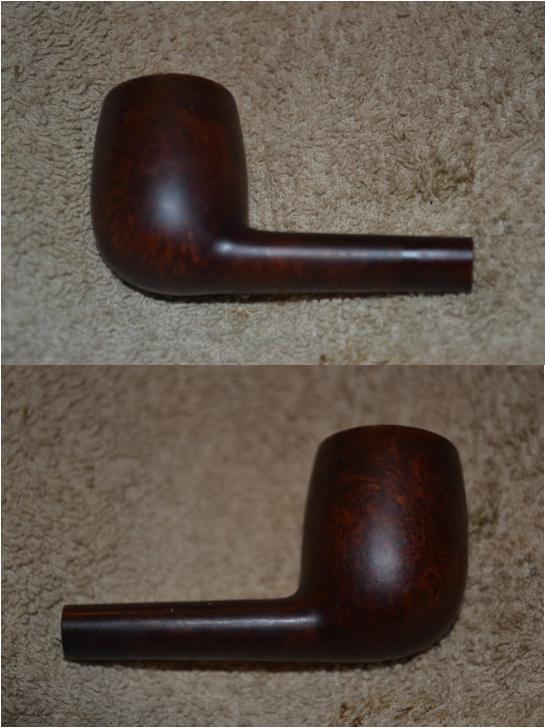
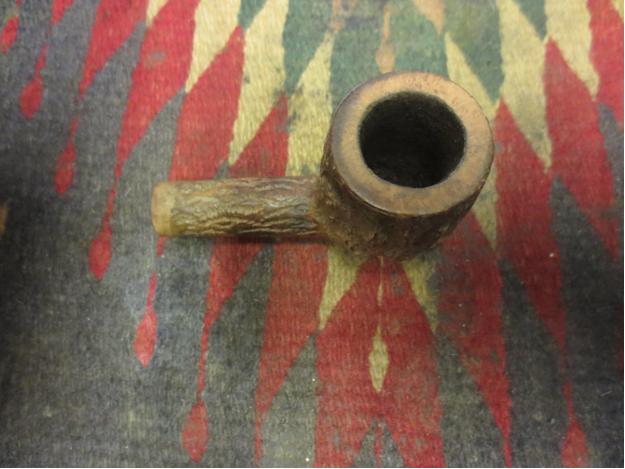
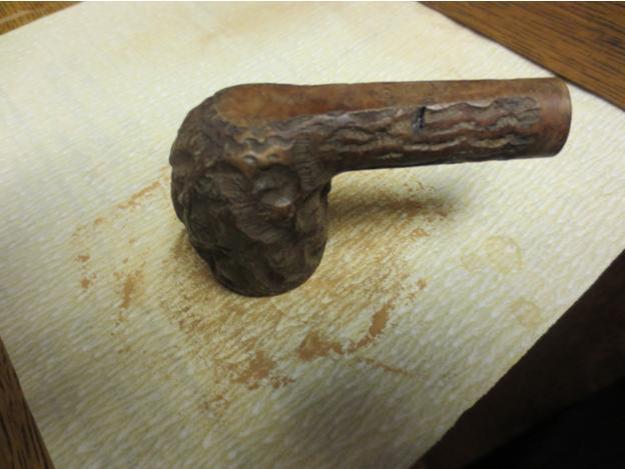
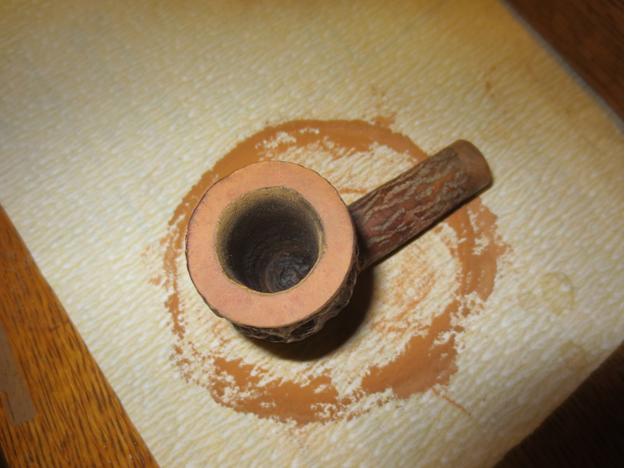
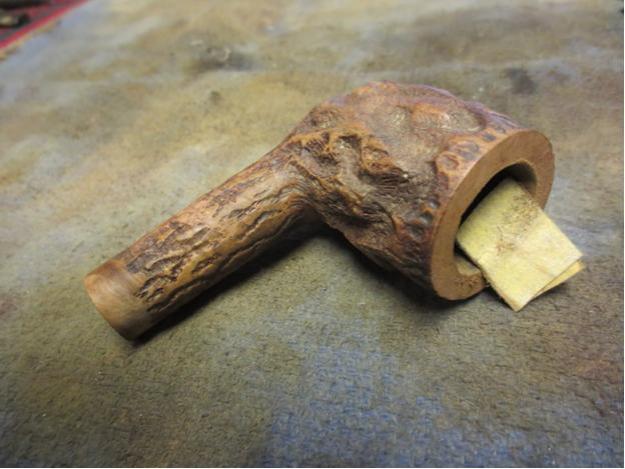
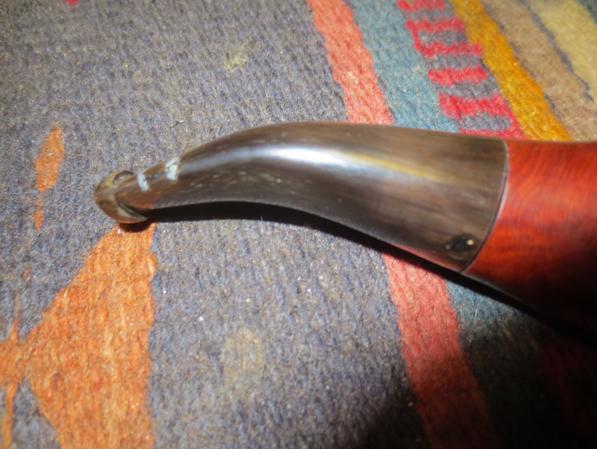
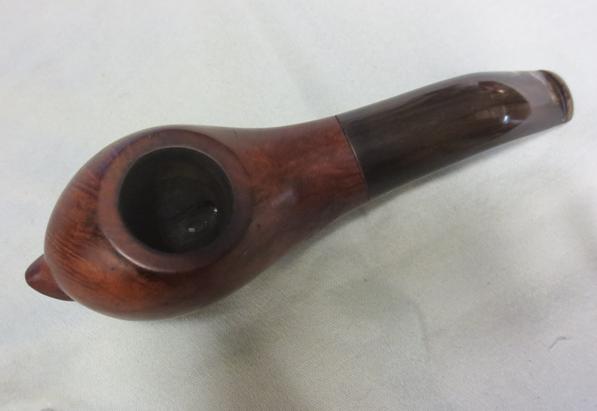
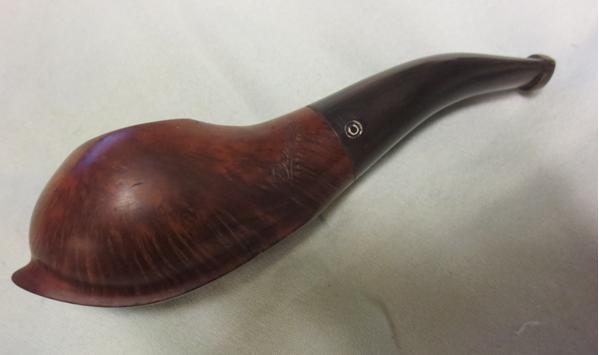
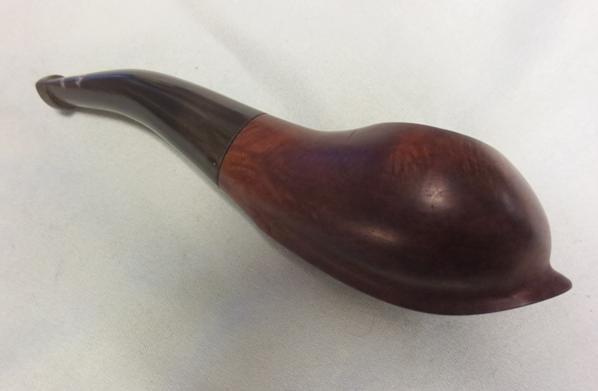
Tag Archives: bowl – refinishing

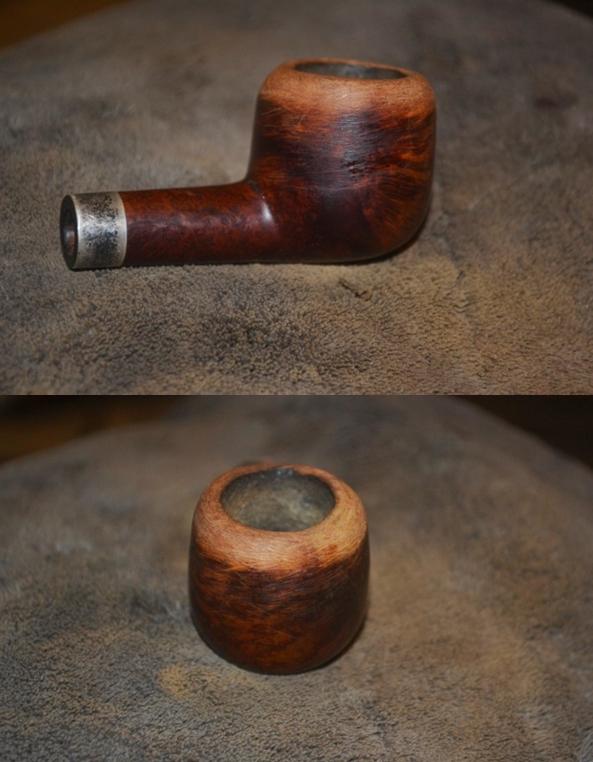
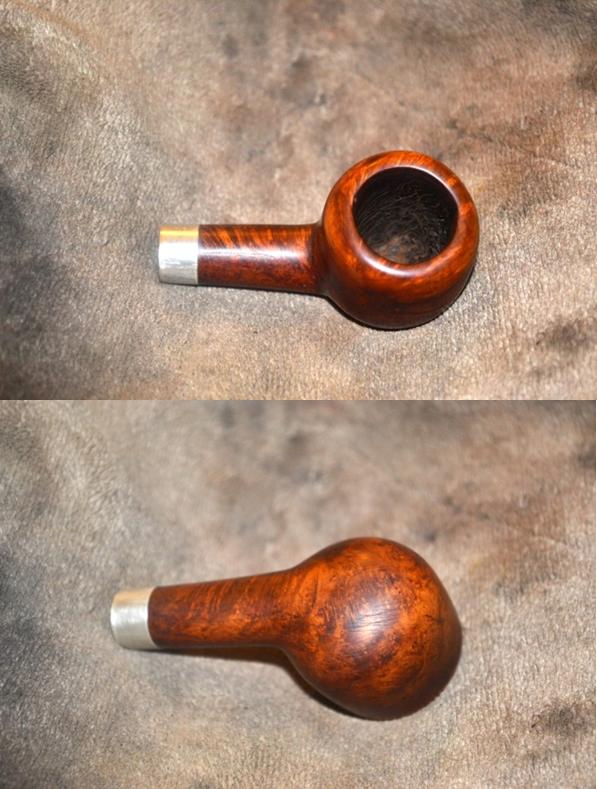
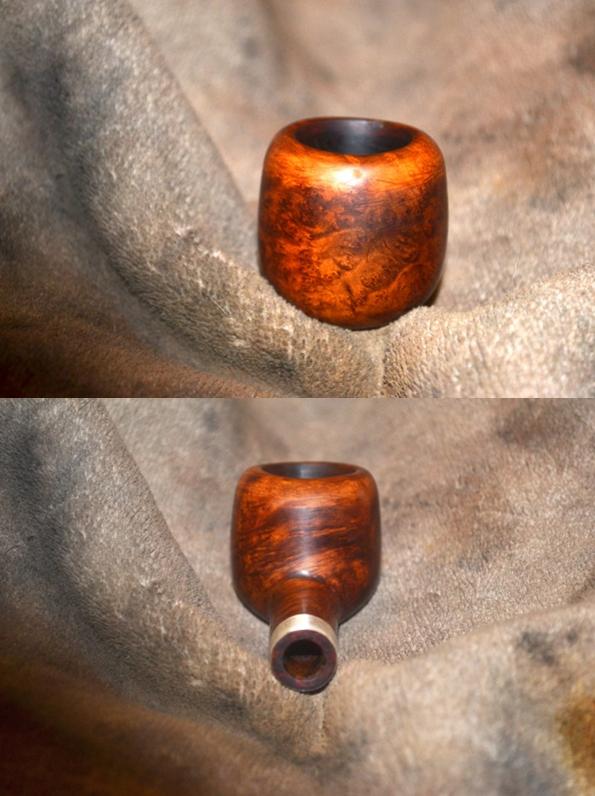
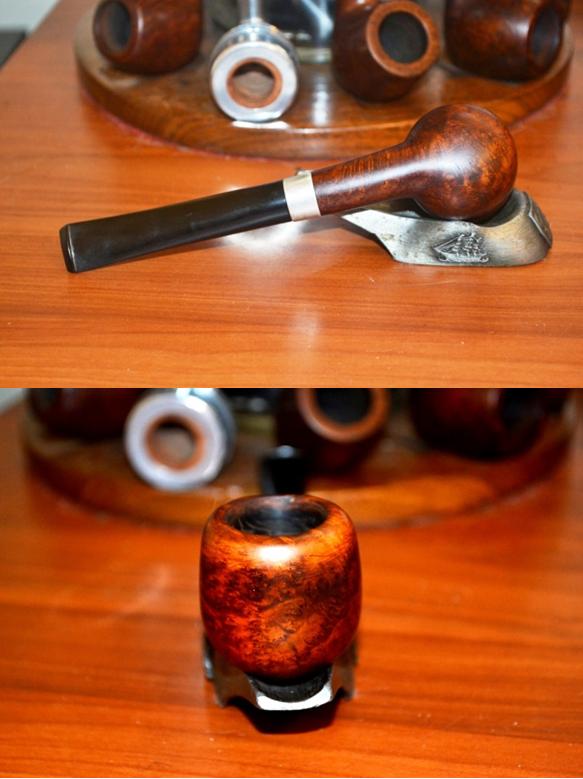
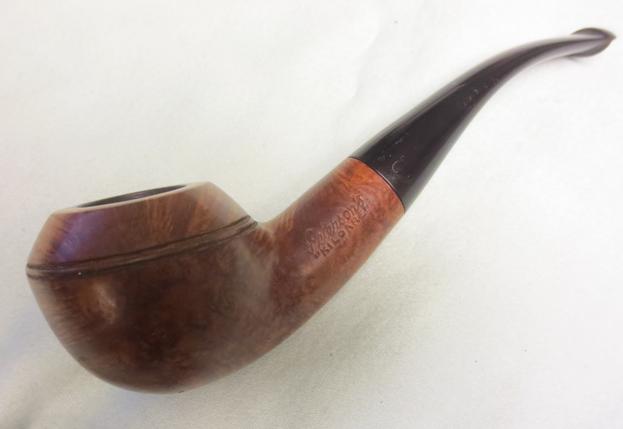
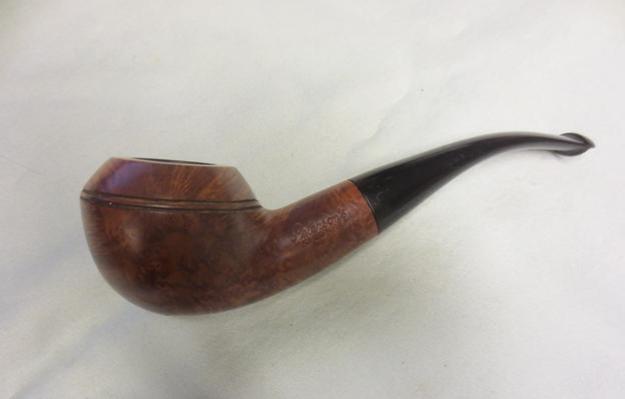
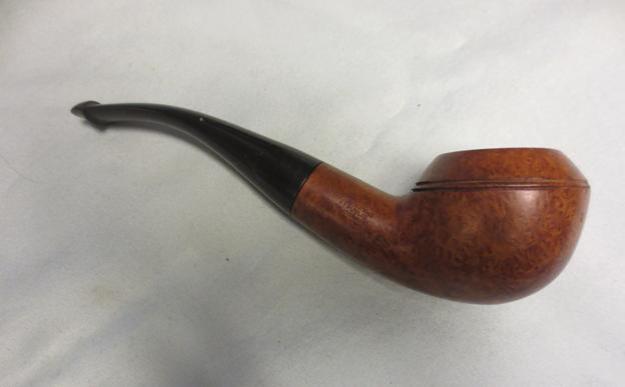
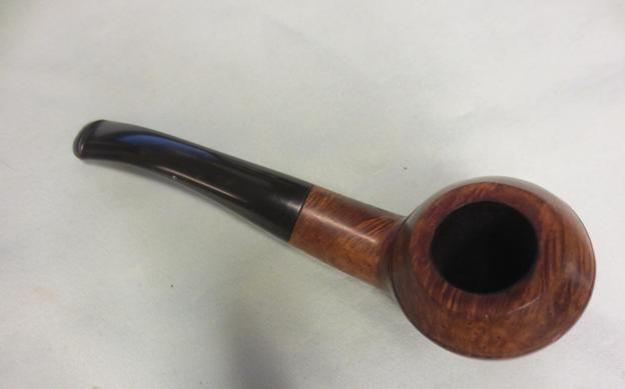
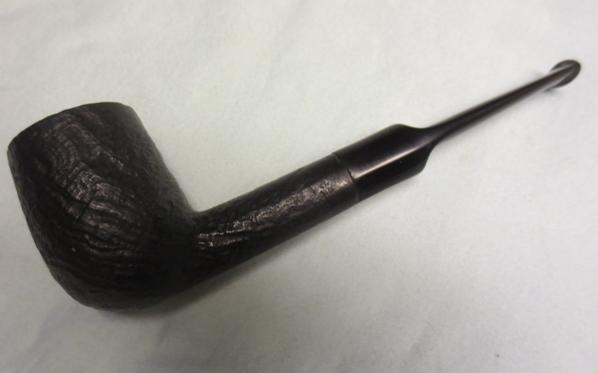
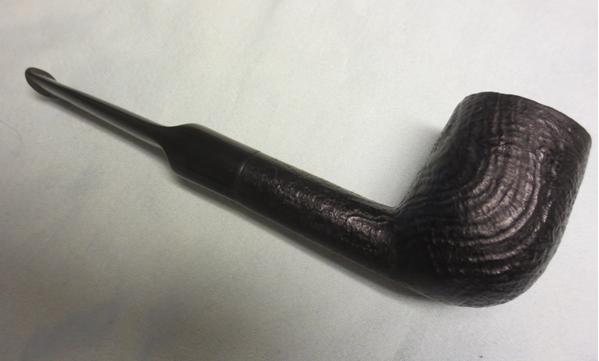
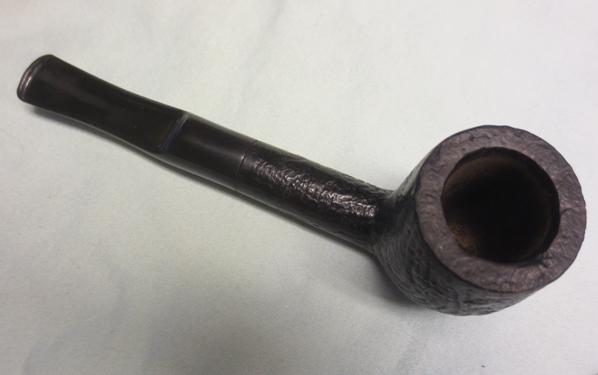
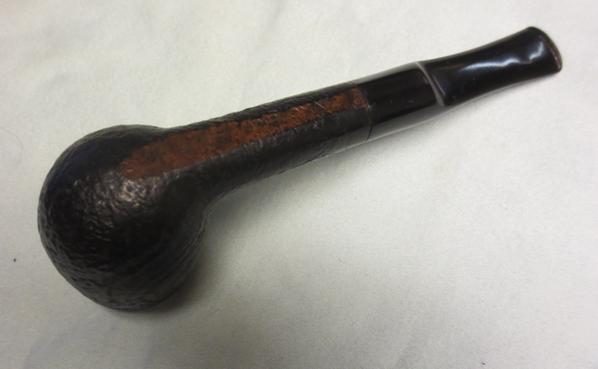
Revival of a Globetrotter: LHS Sterncrest 14K


Blog by Dave Gossett
Dave1

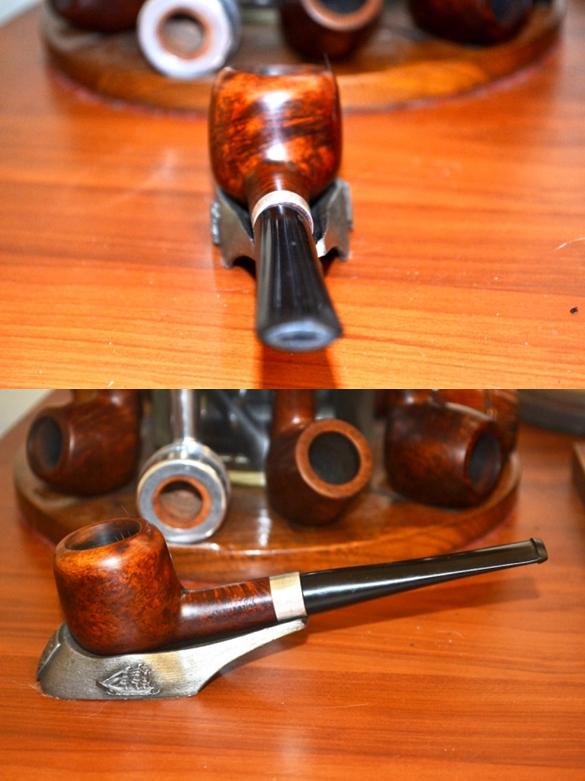
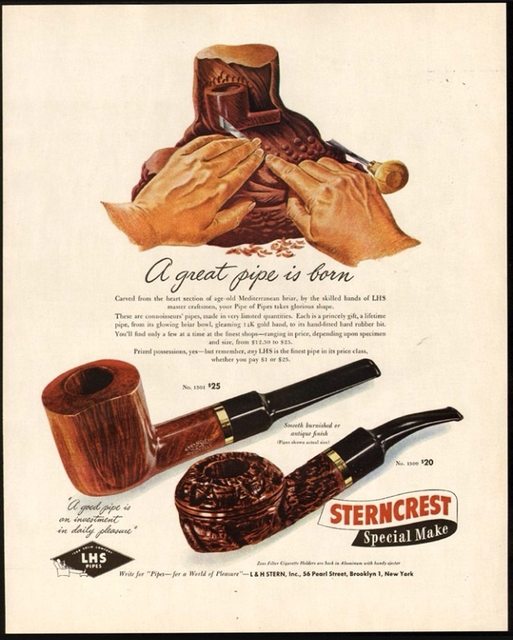
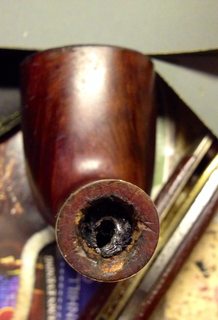
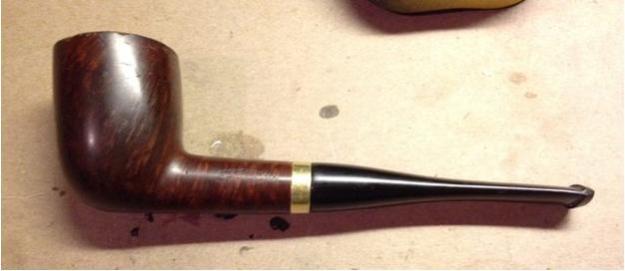
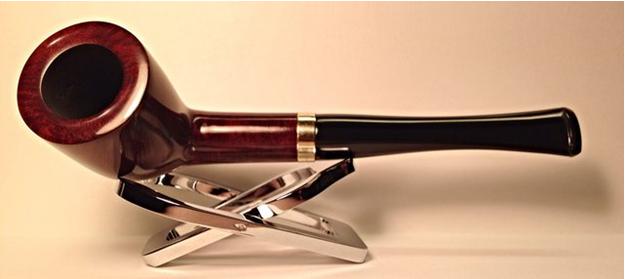
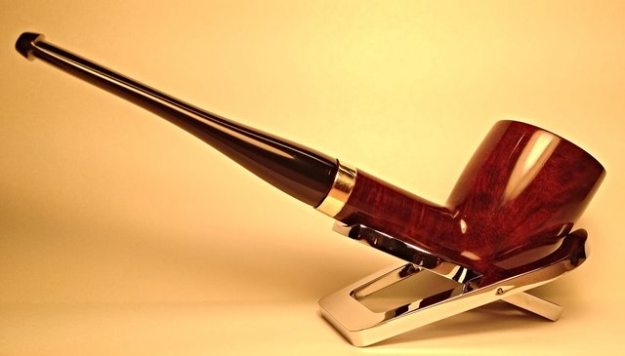
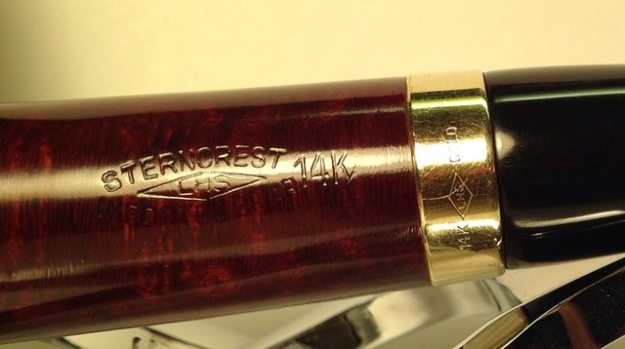
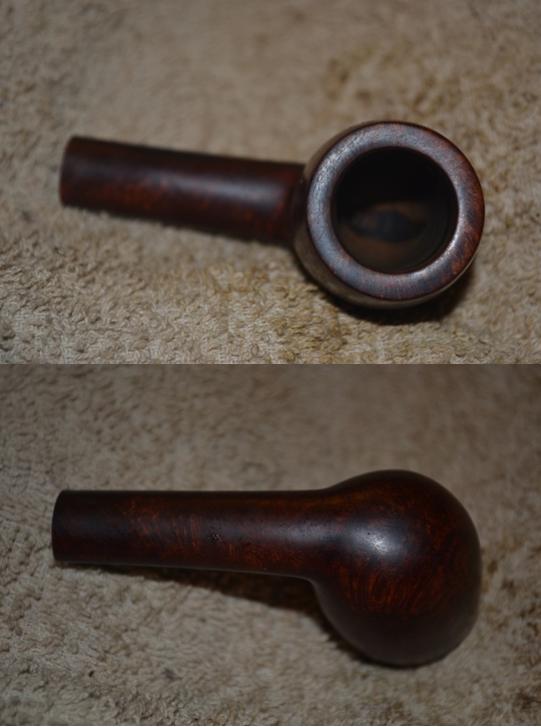
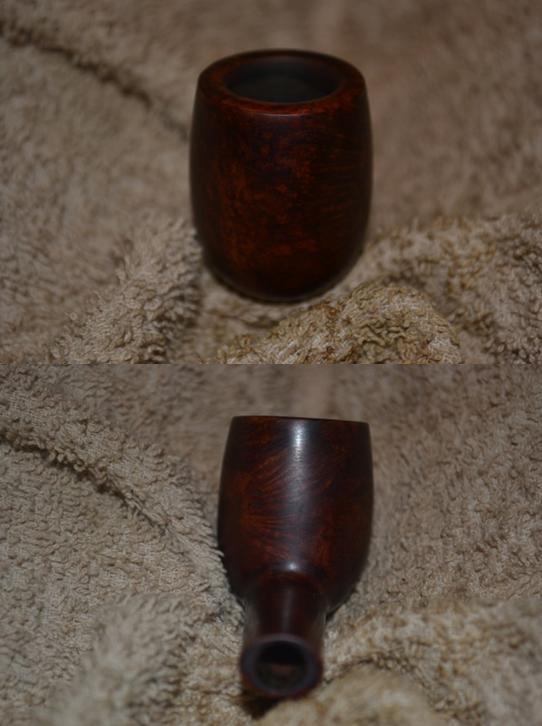
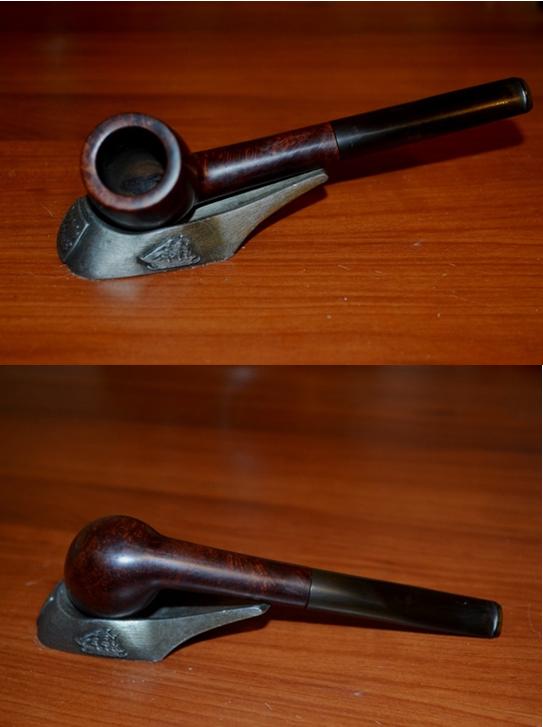
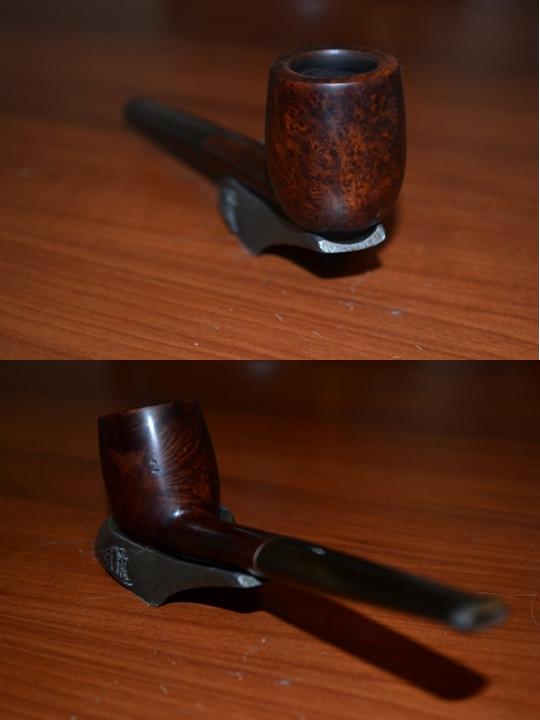
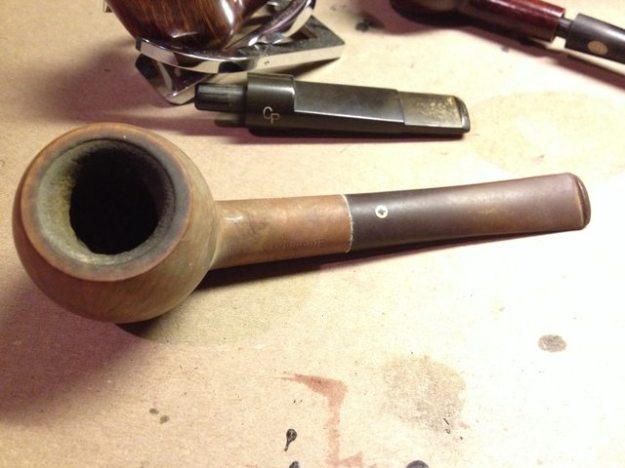
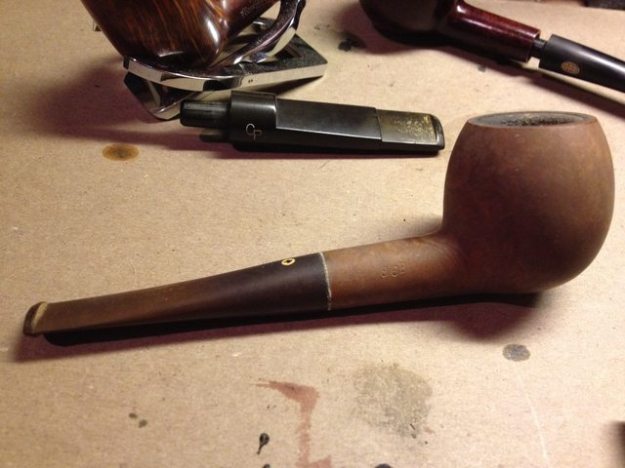
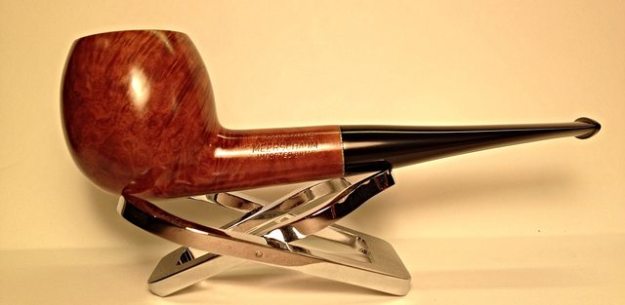
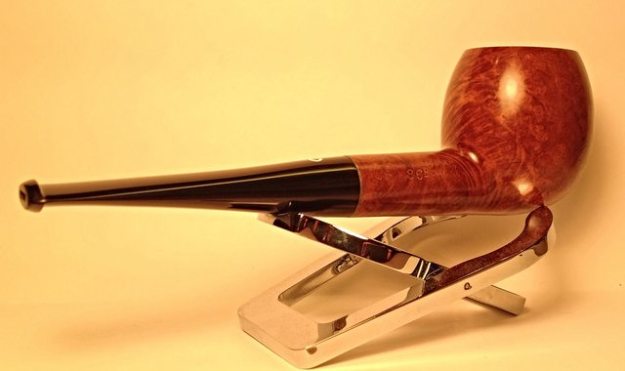
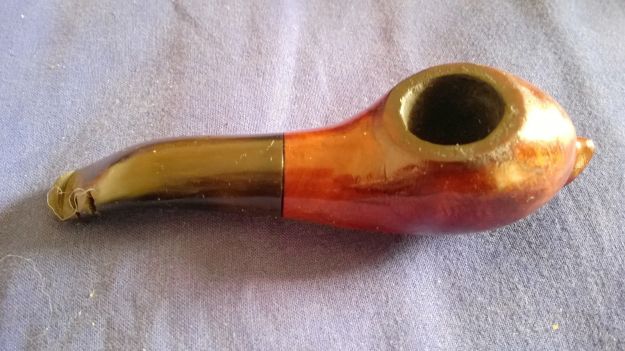
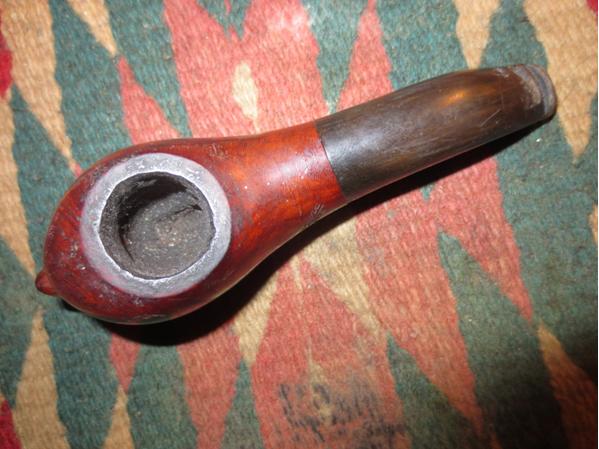
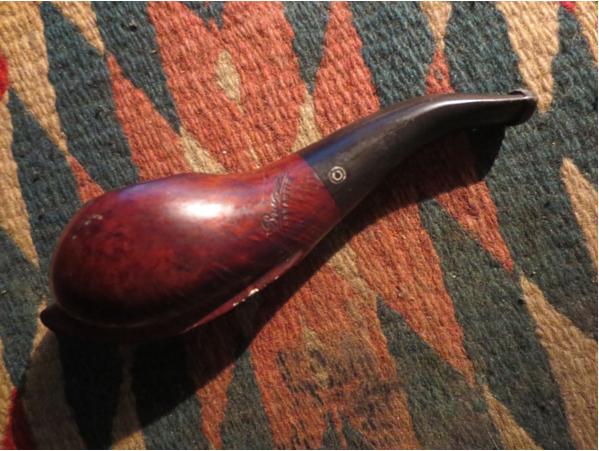
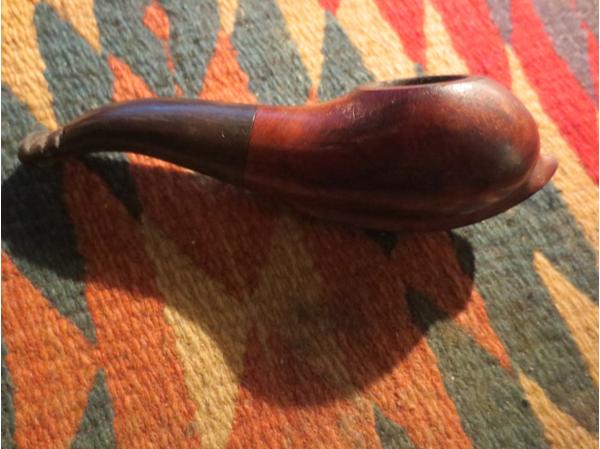
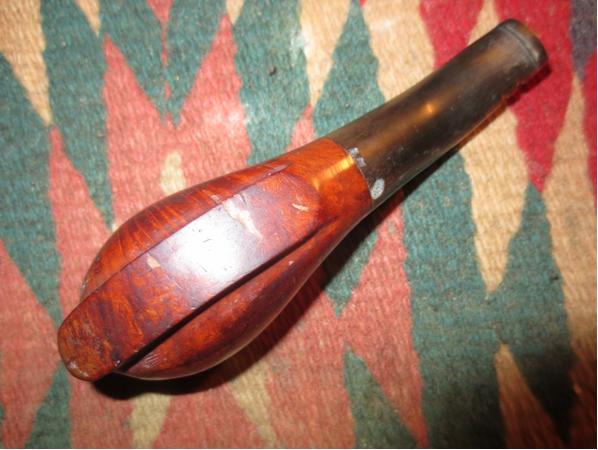
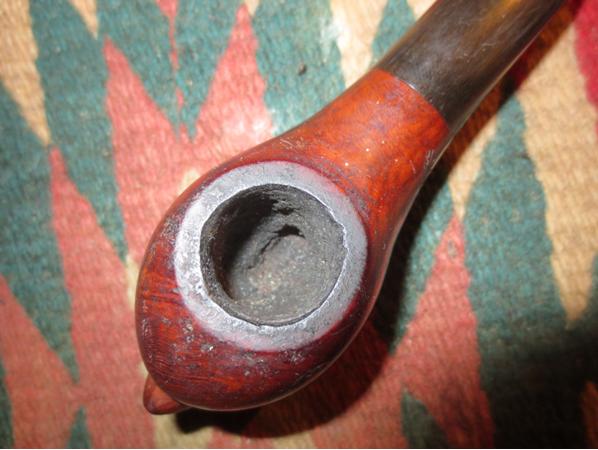
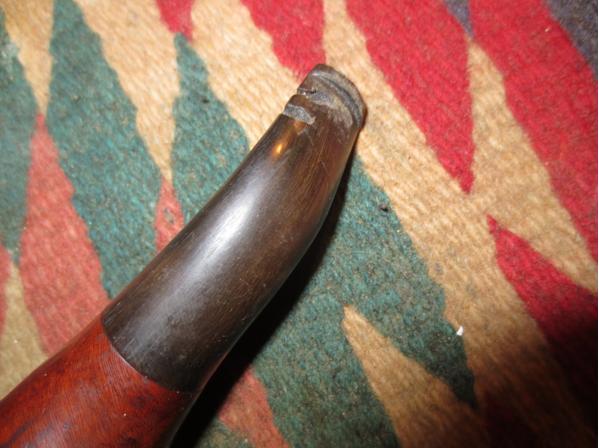
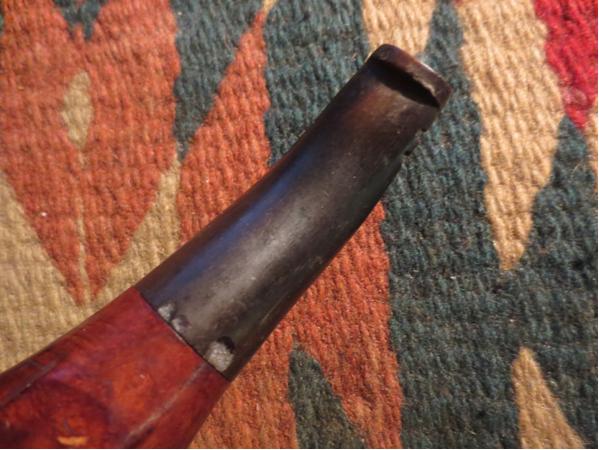
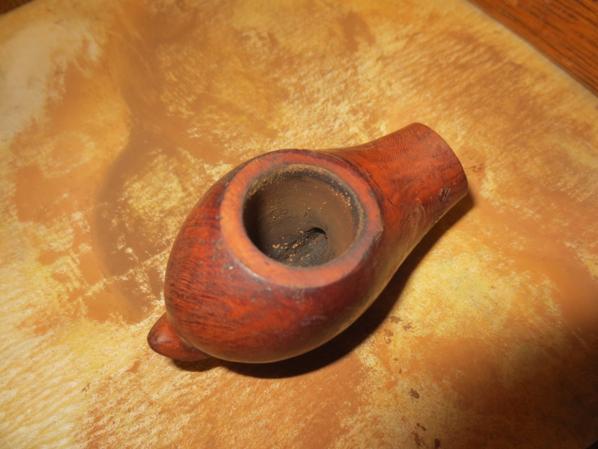
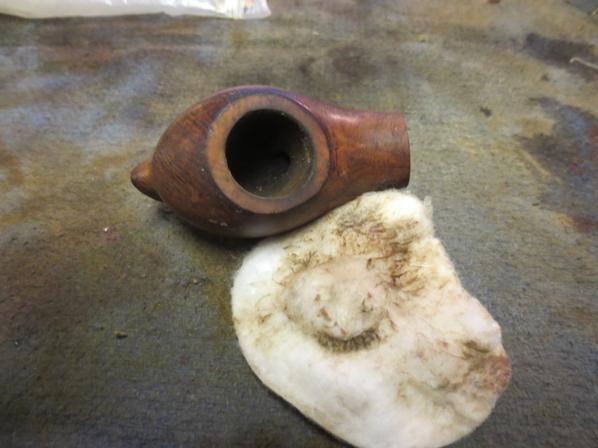
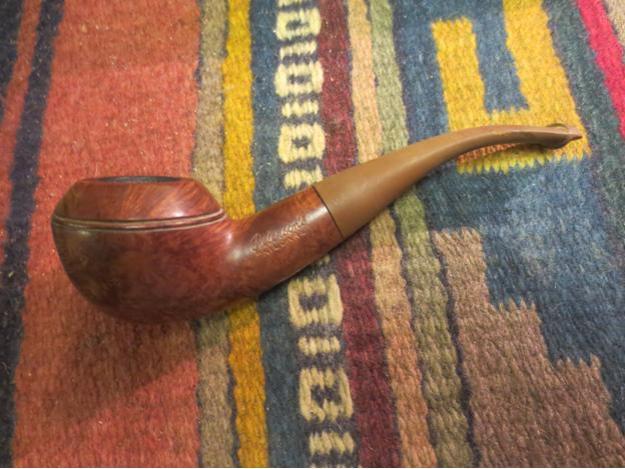
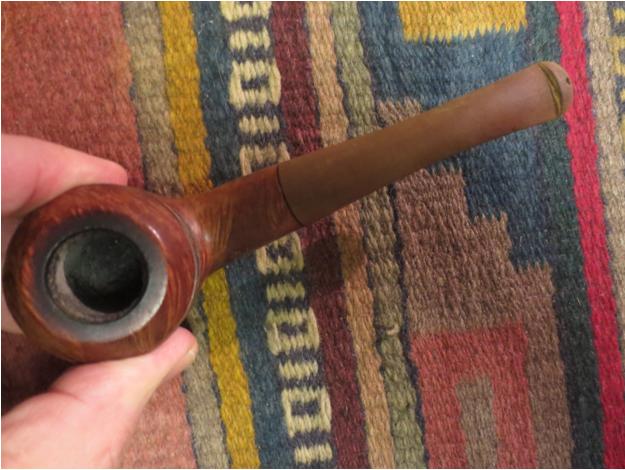
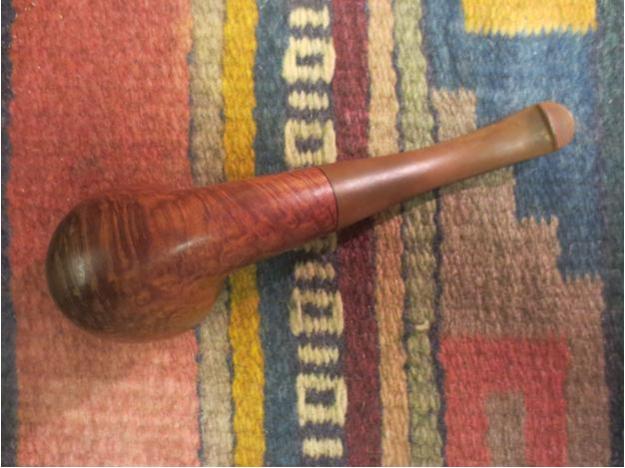
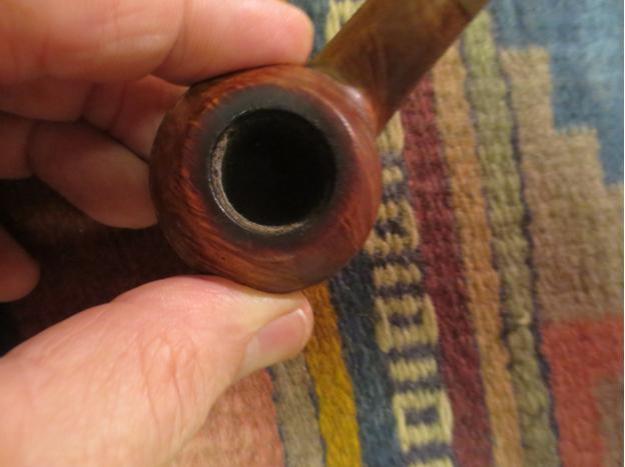
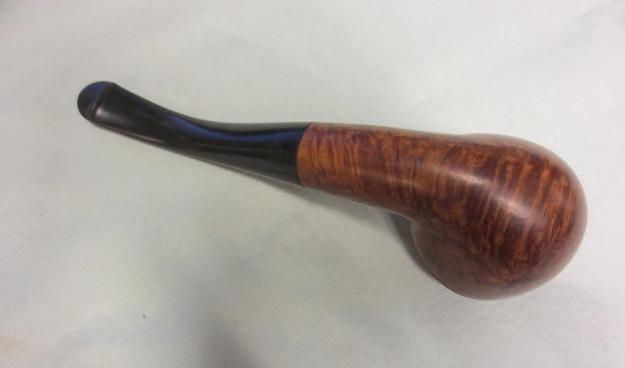
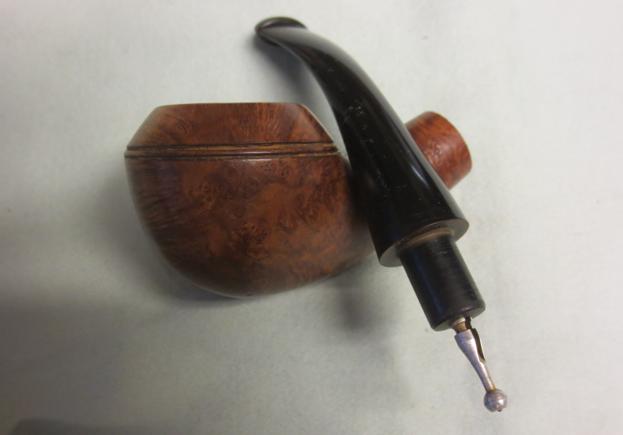
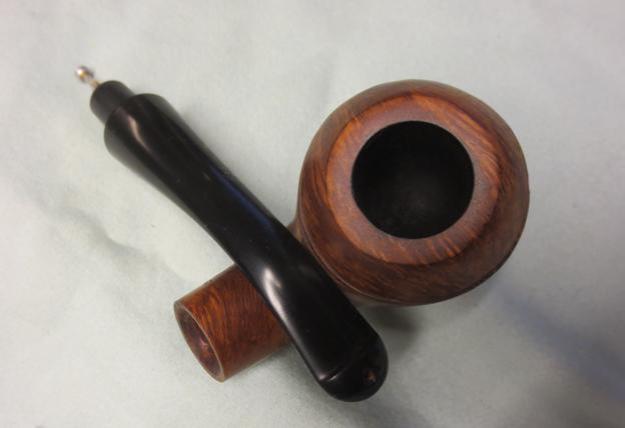
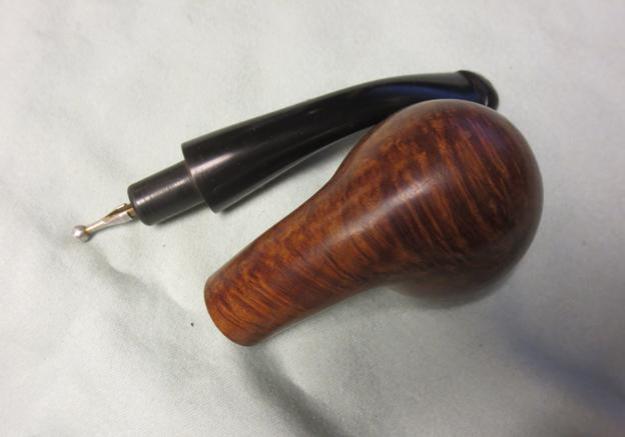
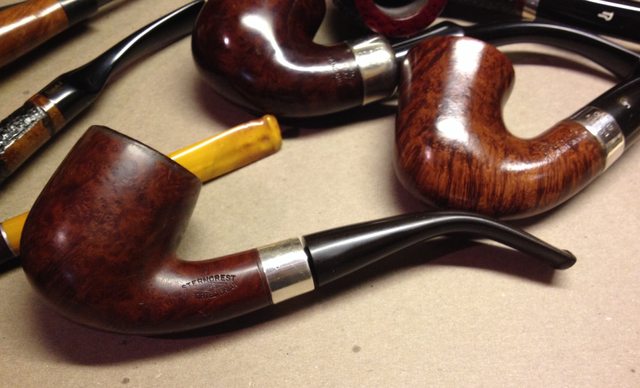
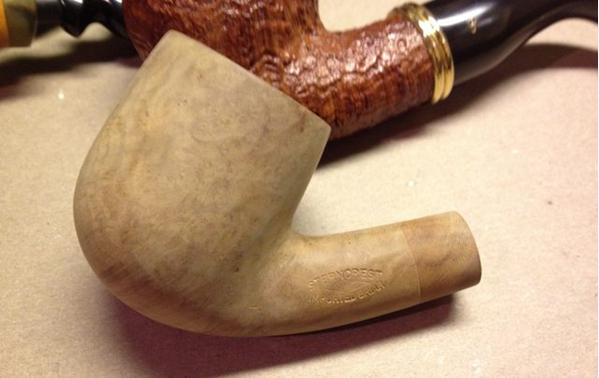
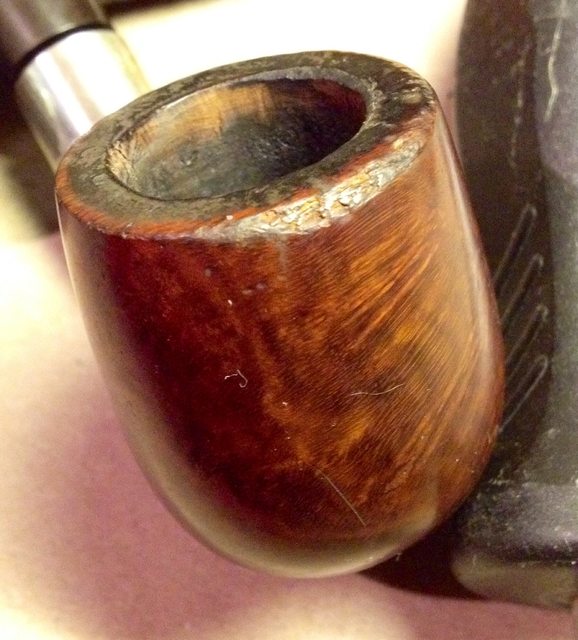
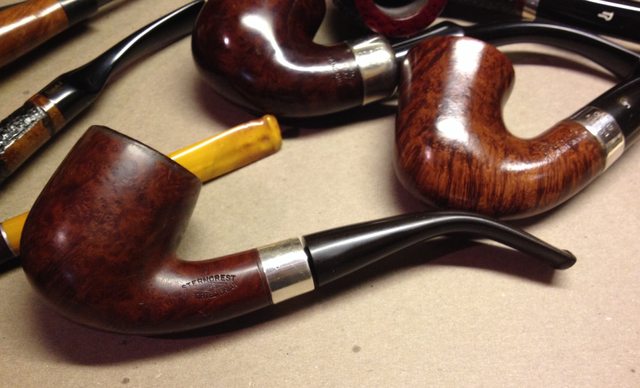
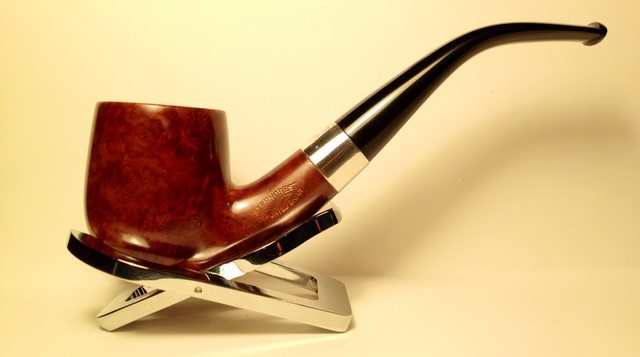
Dave2 A great pipe is reborn, the ad should read. This old LHS has been an extensive traveler throughout its long life. Plucked from the Mediterranean soil and carved in Brooklyn New York, traveling to the west coast, back to the east coast once more. From there it made its way to British Columbia, then again back to the east coast of America where it currently resides.

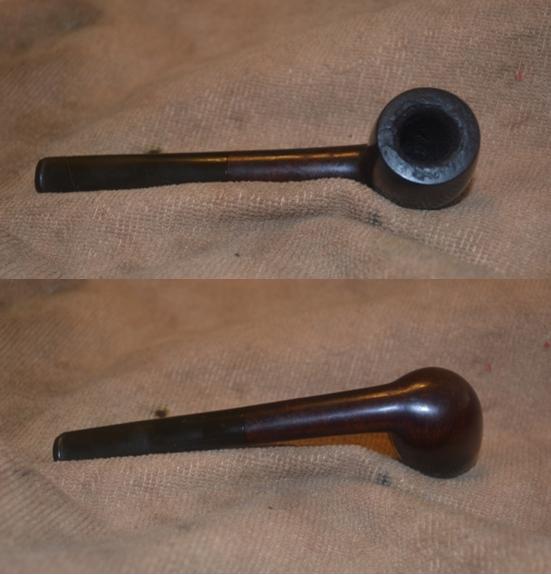
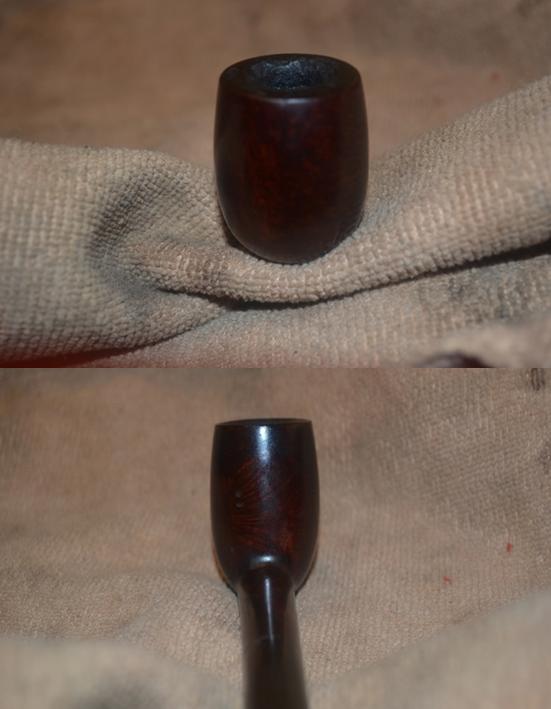
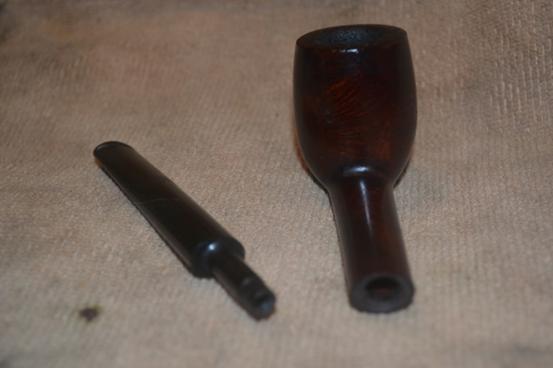
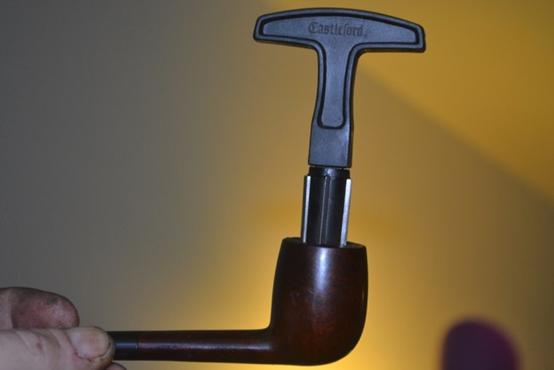
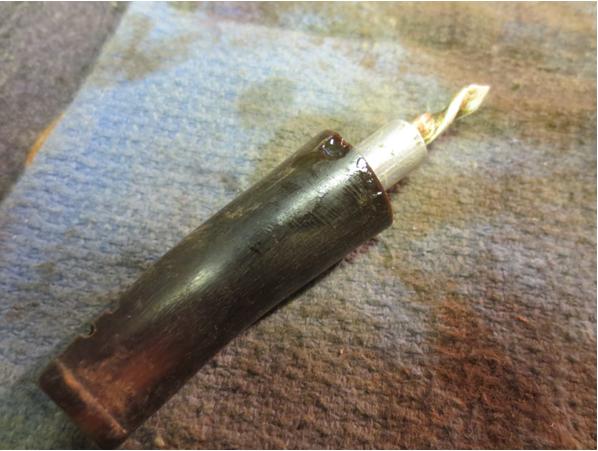
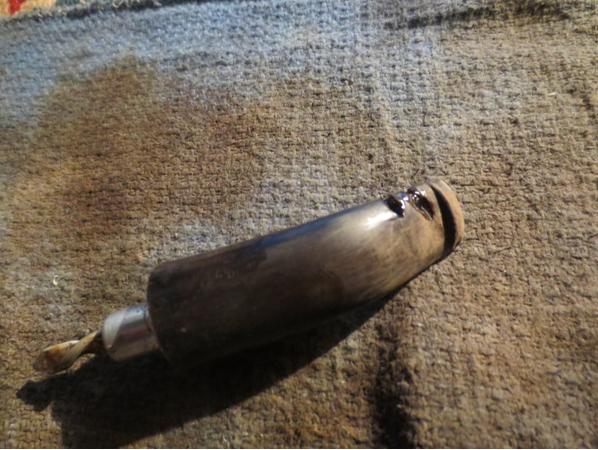
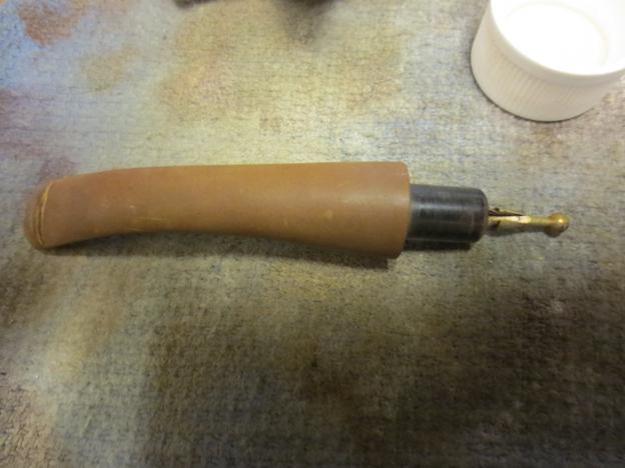
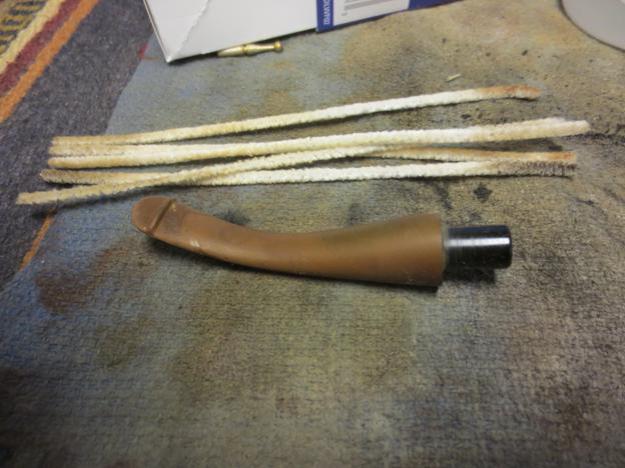
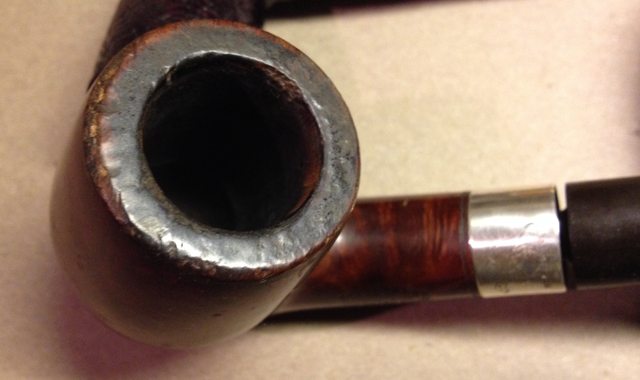
I received this pipe in an estate lot from California with the tenon and stinger broken off in the mortise. Someone had crudely tried to remove the broken tenon without success. I thought the pipe was a lost cause, but with little hope for a remedy I put out the bat signal for help. Steve Laug himself from Reborn Pipes answered the call. Off to British Columbia it went to undergo surgery from the master repairman.Dave3

Dave4 Here is the link to Steve’s great repair/rescue and stem replacement on this pipe.

Removing a Broken Metal Tenon from a LHS Sterncrest 14K

Back from surgery, Steve had sent me a fully functioning usable pipe.Dave5

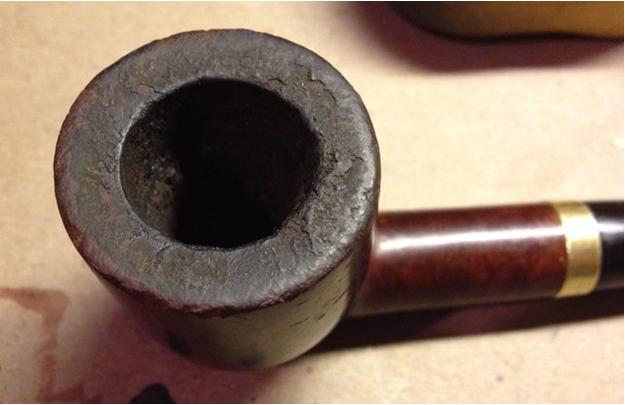
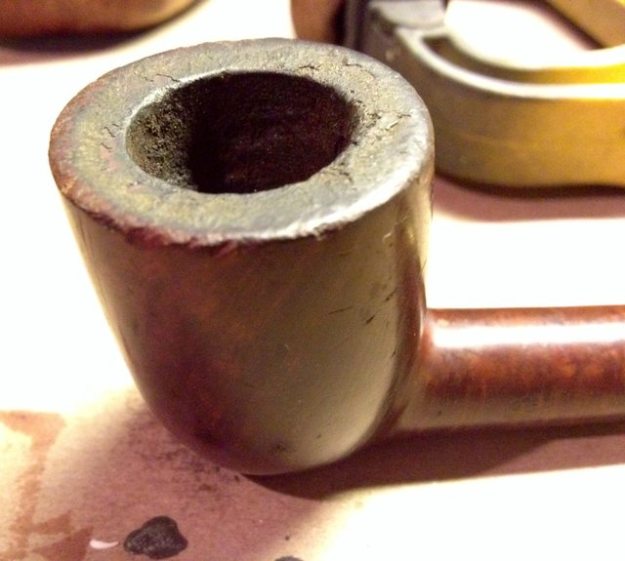
Dave6 I started in on the usual ream and clean. Next I lightly topped the bowl and began working out the dents and scratches.Dave7

Dave8

Dave9

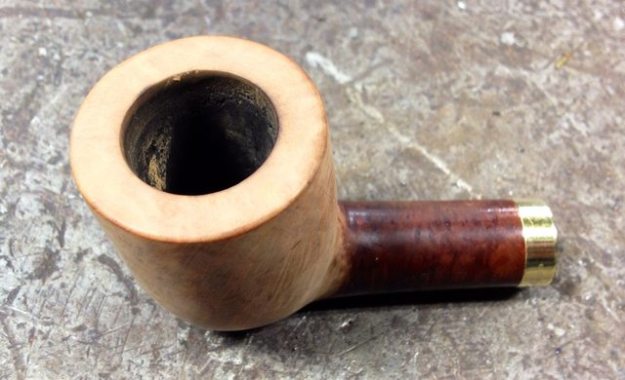
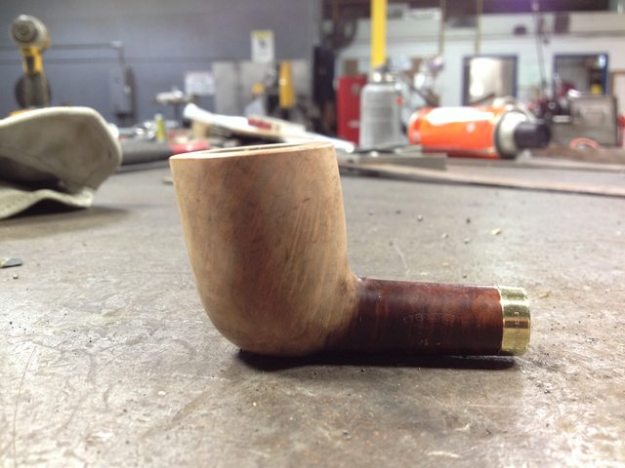
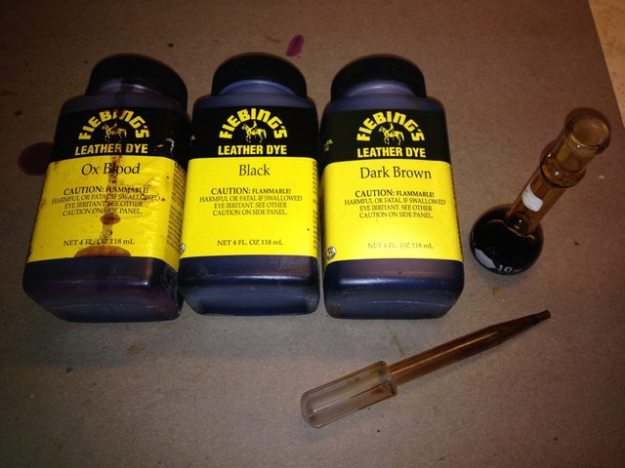
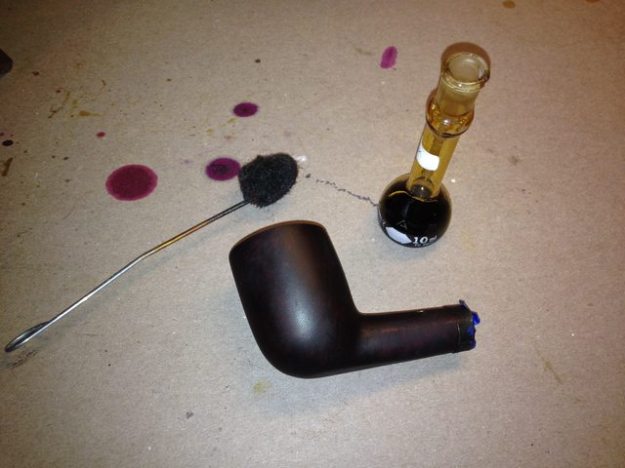
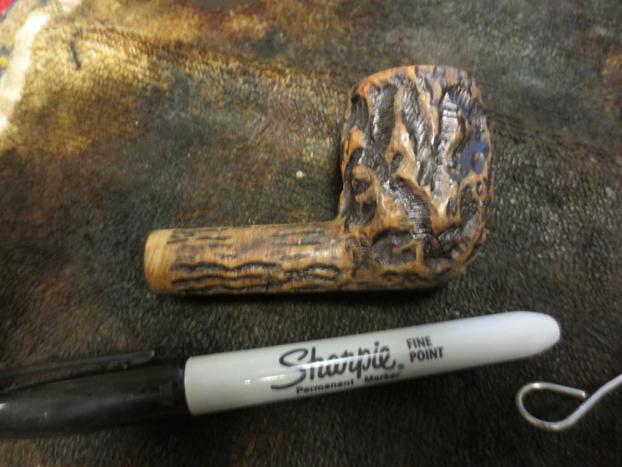
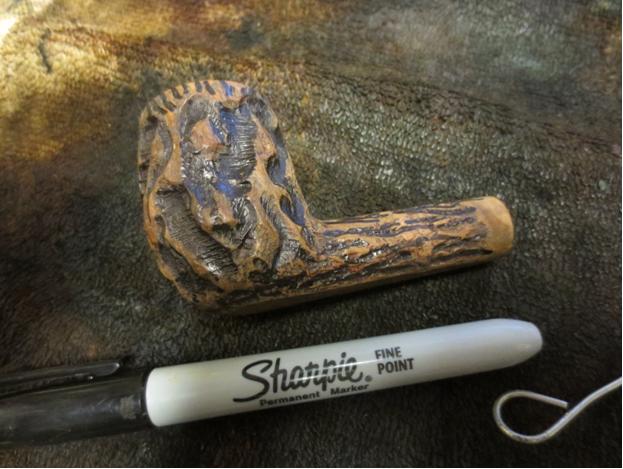
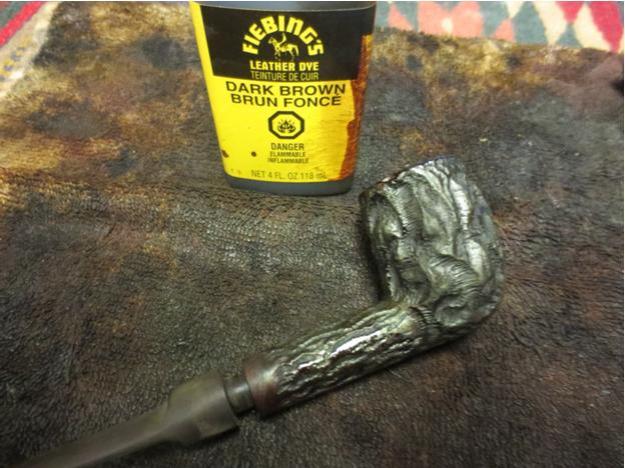
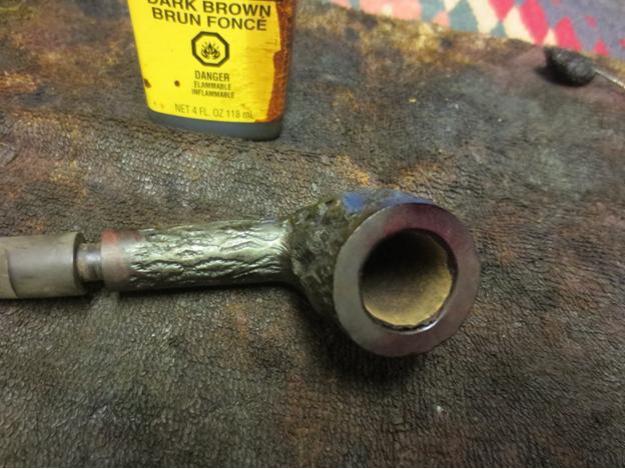
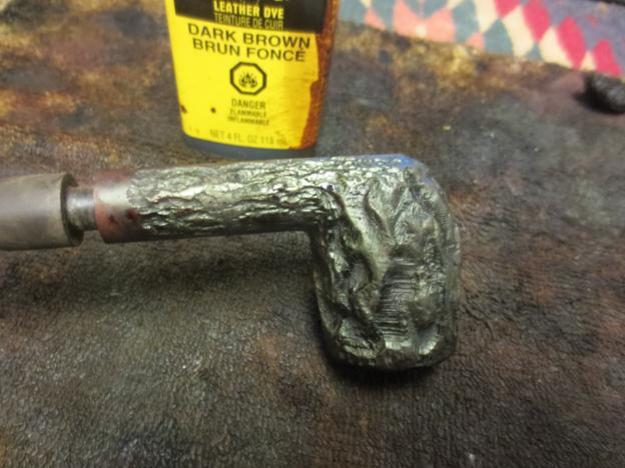
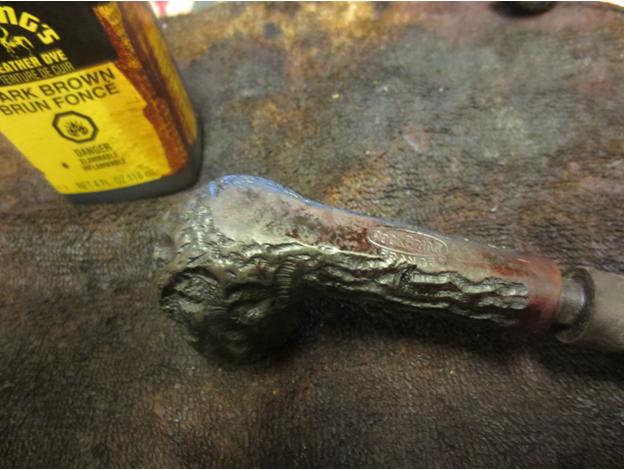
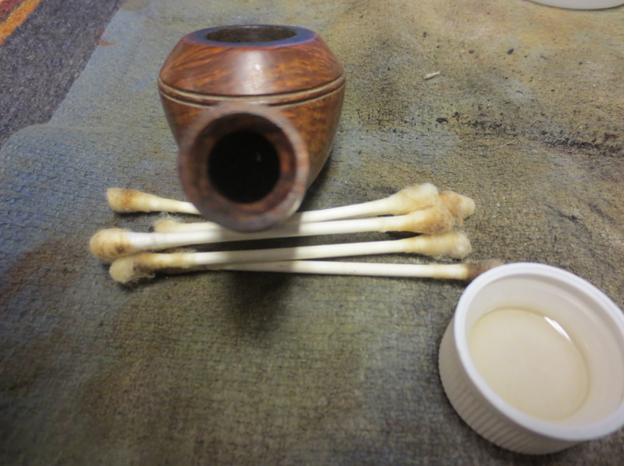
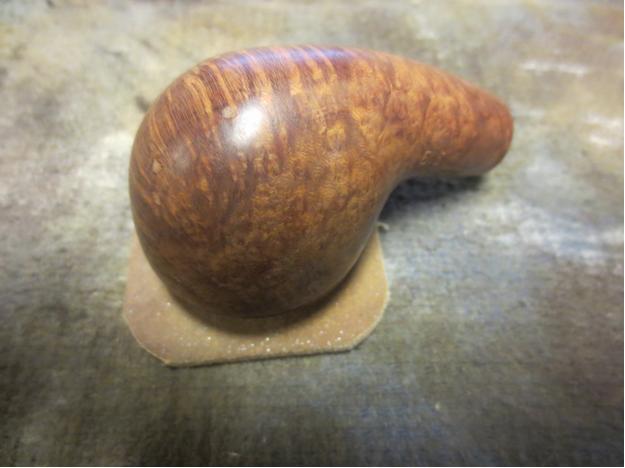
Dave10 Once I had a smooth clean stummel, I mixed up some Fiebings and tried to match the original finish.Dave11

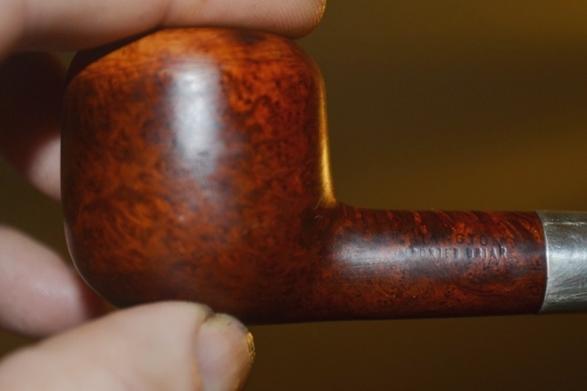
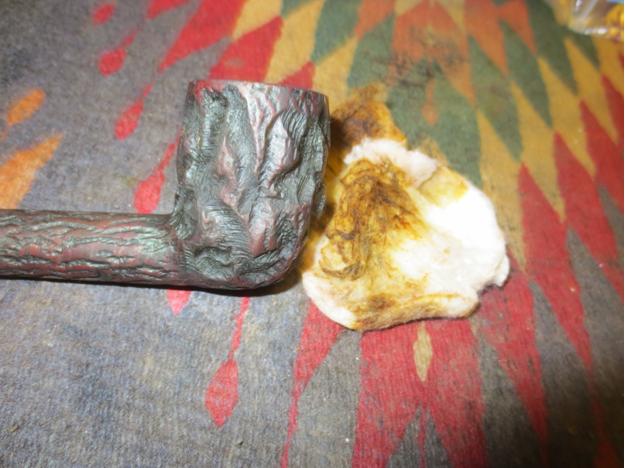
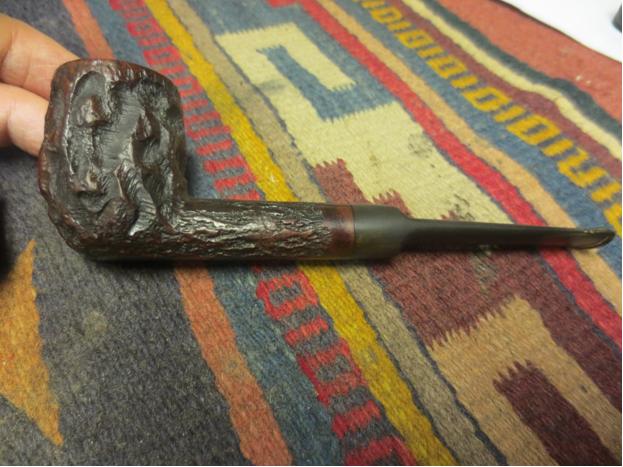
Dave12 Sanding with 2500 grit I lightened the stain until I was close to the shade I wanted. I used a rag dampened with alcohol around the stampings to lighten those areas and blend in with the rest of the stummel.Dave13

Dave14

Dave15

Dave16

Reviving a Reinhard’s Natural Billiard


Guest Blog by Robert M. Boughton
Member, International Society of Codgers
Member, North American Society of Pipe Collectors
http://www.naspc.org
http://www.roadrunnerpipes.com
http://about.me/boughtonrobert
Photos © the Author

Reinhard: Old Germanic male name meaning brave, hardy; fox
― From “Behind the Name”

INTRODUCTION
After searching in every nook and crevice of the Internet I could conceive, in search of a single clue, even, as to the origin of this Reinhard’s natural billiard, I had to concede defeat and turn to my friend and mentor, Chuck, for any suggestions he might have. I was certain this sleek gentleman’s pipe, with its classic form and fine engineering that from the general look and color hinted at a vintage make, must be an established brand, however limited its period of manufacture. The crispness of the nomenclature in particular threw me. Although the possibility that the Reinhard’s could be the creation of an independent pipe shop somewhere had crossed wires somewhere in my mind, I wanted to believe the elegant piece of briar was descended from a higher pedigree. When Chuck came back with a scenario that was not only viable but likely, therefore – that the derivation of my pipe indeed was probably a small shop somewhere, but with the added conjecture that it was likely of mid-western U.S. descent, from a place with a high concentration of German or other Teutonic immigrants – my spirits were somehow bolstered. Maybe the Reinhard’s was something more than the variety of pipe commonly relegated to the classification of “no-name” after all.

The natural, dark brown color of the pipe, reminiscent of staining popular during the 1950s and ’60s and into the ’70s, had grown more pronounced with age and regular use. As with all such pipes I come across, I wanted to bring out more of the natural grain I was sure was hidden beneath a thin layer or two of decades of accreted grime on top of the original finish. The bowl is slightly canted, suggesting a Canadian except for the longer bit. And so I settled on a sweet, alternative billiard. Please correct me if I’m wrong. I still have trouble with the whole Canadian-Lovat-Lumberman-Liverpool mess.

RESTORATIONRein1

Rein2

Rein3

Rein4 First, there was the typical carbon buildup in the chamber and the rim cleaning to confront.Rein5 A 17mm fixed reamer started the process of dispending with the cake, and followed up with sanding, using 150-grit paper to even out the chamber interior after which I smoothed it with 320-grit paper, the result was chamois-smooth. The basic cleaning with Everclear-soaked bristly cleaners and a thorough retort was easier than I feared, but still necessary, of course. I’m always happy when a pipe only needs two or three infusions of strong boiled alcohol through its innards to leach out the buildup of tobacco juices and other elements of regular enjoyment; it shows that the previous owner cared for the pipe.

After a bath with distilled water on small pieces of cotton cloth, wet micromesh paper from 1200-3600 did a nice job on the rim. The soft, brown, more natural exterior of the bowl and shank came out with delicate use of superfine steel wool.Rein6

Rein7

Rein8 Almost done, I used the same wet micromesh progression that cleaned up the rim to smooth the exterior of the pipe.Rein9

Rein10

Rein11 The bit was in exceptional shape, but I still rinsed it in a OxyClean solution and micro-meshed from 1500-3600. Finally, I buffed the bit with red and White Tripoli, with the clean wheel in between, and used white Tripoli, White Diamond and carnauba on the wood.Rein12

Rein13

Rein14 CONCLUSION
I achieved the effect I wanted, without over-removing the darker stain, to maintain the integrity of the maker’s – whoever he might have been, God bless him – plan.

Being somewhat of a known easy touch when it comes to gifting pipes to deserving individuals, I found myself at my tobacconist with a small box of finished pipes, including the Reinhard’s, and some that still needed work. Candice, the lovely young worker on duty, had told me she had her eyes on a golden-orange The Pipe for sale. As it was to be her first foray into the world of pipe enjoyment, in my judgment, that just would not do.

Candice, cropped from a photo with her in the background

Candice, cropped from a photo with her in the background

Perhaps a bit impetuously, I laid out my wares, separated so that Candice could choose from the restored samples. The good lady did protest, of course, citing the old it’s-too-generous excuse and even offering to pay something, but I would have none of it. They weren’t moving on my business website, after all, and Candice (who was named for Candice Bergen by her thoughtful parents) looked them all over and concluded she could not make up her mind, and she would be happier if I chose one. Isn’t that just like a woman? I love it!

And so, with a slight pang, my hand went on its own volition to the Reinhard’s, which I handed to Candice. Something in her reaction told me it was the one she would have chosen, had push come to shove, so to speak.

In my humble opinion, the Reinhard’s fits her always helpful, friendly, sparkling personality to perfection.

Restoring 2 Kaywoodies – a Flame Grain 99B and a Meerschaum Lined 86B


Blog by Dave Gossett
KW1 These two Kaywoodie’s were found at an estate sale. They are great survivor examples from the heyday of Kaywoodie. I could tell the previous owner cared for and loved these pipes. They were well used and dirty, but in near perfect condition. Free of fills, tooth chatter, scratches, nicks, or dents. The stampings are crisp and clear. The lines are sharp and straight. Both are 4 hole Drinkless stinger era KW’s.

Bringing these pipes back to their former glory was pretty simple. I have about an hour of work in each pipe. I gave them a wood soap wash, a light ream, deoxidized the stems, and put on fresh coat of carnauba.

The first is a Kaywoodie Flame Grain 99B KW2

KW3

KW1

KW5 The second is a Kaywoodie Meerschaum Lined 86BKW6

KW7

KW8

KW9

KW10

Bringing a Mastercraft Rock Briar Billiard back to life


Blog by Steve Laug

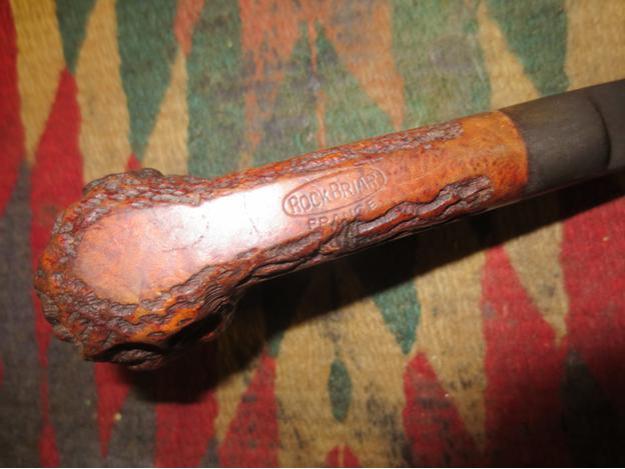
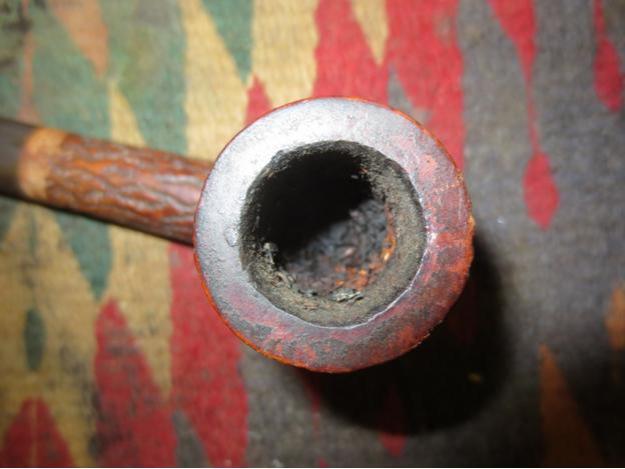
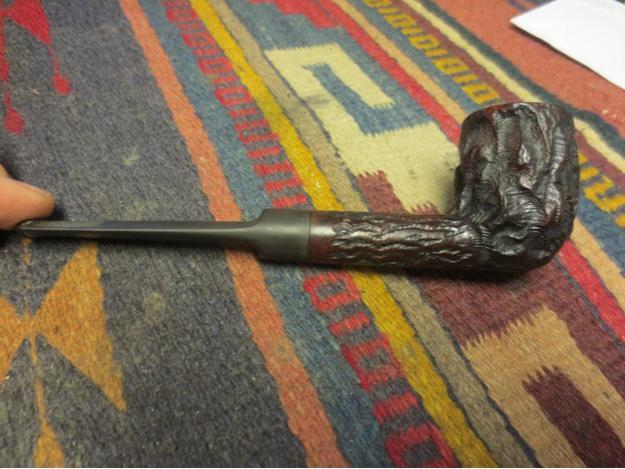
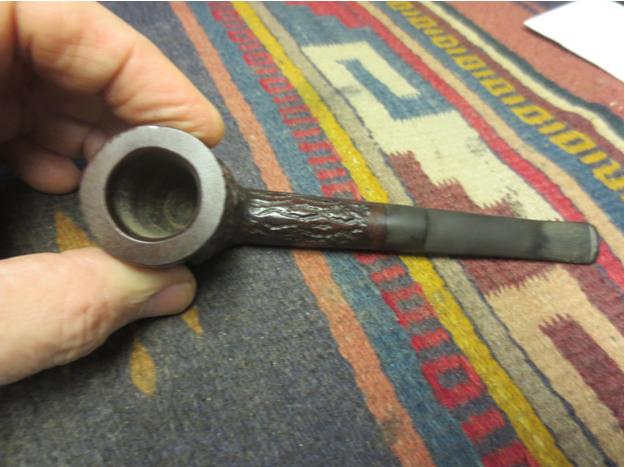
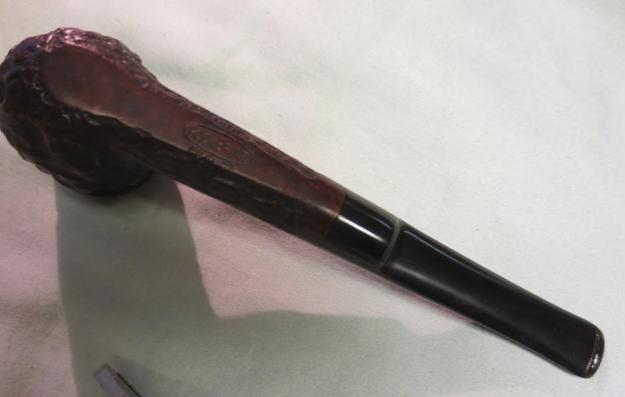
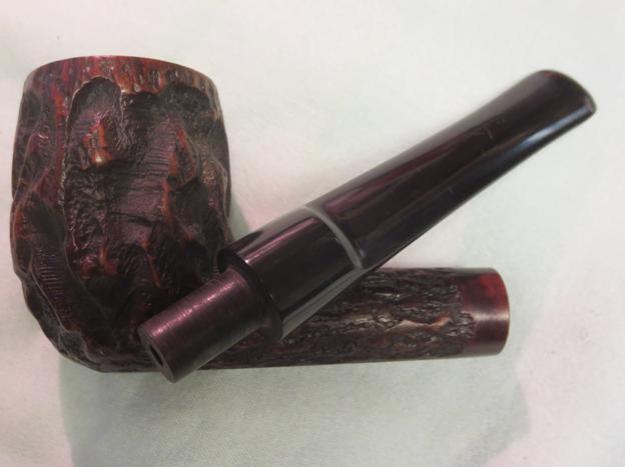
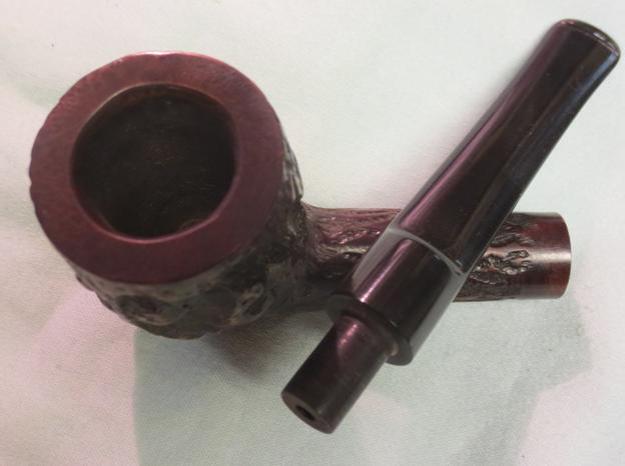
I found this old billiard for sale in an antique mall in Idaho Falls, Idaho. It was there when I visited in July and I bypassed it. It was still there this time so I made a deal with the seller and it came home with me. The bowl was dirty and had a cake and a bunch of tobacco debris and dust in the bottom. The rim had a buildup of tars and lava on the surface. The inner edge had some light damage and was slightly out of round. The finish was a rough rocklike rustication that was worn and dirty. There were white flecks and flecks of what looked like putty fills on the side of the bowl. There were several small sandpits in the bowl sides and on the bottom right side of the shank.RB1

RB2

RB3

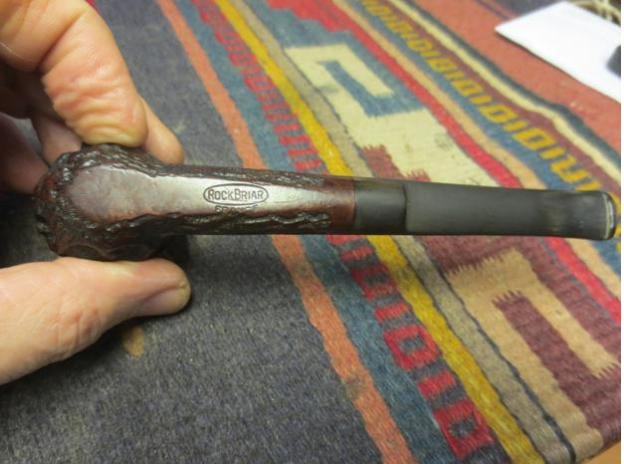
RB4 The stamping on the bowl was on a smooth flattened panel on the bottom of the bowl and shank. It bore the stamping Rock Briar in an oval and underneath France. I found out from Who Made That Pipe that the pipe was made for Mastercraft in France. From my research it doesn’t appear that Mastercraft ever manufactured pipes but rather bought them from multiple factories — mostly French and English. It survived briefly the post war recovery and then was acquired by Grabow.RB5 The next photo is a close-up picture of the rim and the debris in the bowl. The rim and bowl would take some work to clean out.RB6 I reamed the bowl with a PipNet pipe reamer and starting with the smallest cutting head worked my way up to one the same diameter as the bowl. I removed the cake and the clutter in the bottom of the bowl. I also used a pen knife to scrape out the small remnant of cake that the reamer did not take out.RB7

RB8 I scrubbed the bowl with a brass bristle whitewall tire brush to remove the buildup of grime and dust in the grooves of the rustication. Once the grime was loosened I put the bowl in an alcohol bath to soak while I went to work for the day.RB9

RB10 When I got home from work I took the bowl out of the bath and used the brass bristle brush on it once again. When I had finished brushing it I dried it off with a cotton cloth. The following photos show the bowl after the half day soak.RB11

RB12

RB13 I decided to lightly top the bowl to clean up the rim surface. I used a 220 grit topping board followed by a medium and a fine grit sanding sponge.RB14

RB15 I used a folded piece of 220 grit sandpaper to sand and bevel the inner rim. I wanted to minimize the inner edge damage.RB16

RB17 I scrubbed the bowl down with acetone on a cotton pad to remove the dust and remnants of the finish on the bowl and shank. I scrubbed out the shank, mortise and the bowl with alcohol, cotton swabs and pipe cleaners to remove the debris and dust.RB18

RB19

RB20 I decided to do a bit of contrast on the stain. I used a black Sharpie pen to colour in the grooves and rusticated patterns on the bowl and shank. Once I finished that they would add some depth to the colour that I stained the pipe.RB21

RB22 I stained the bowl with a dark brown aniline stain that I had thinned by half to give a bit of translucence to the colour on the bowl. I applied the stain and flamed the bowl to set the stain in the grain.RB23

RB24

RB25

RB26 I wiped the bowl down with isopropyl alcohol on a cotton pad to remove the stain from the high spots on the briar. I wanted a distinct contrast in colour between those and the grooves which I had coloured black.RB27

RB28 I buffed the bowl with red Tripoli and with White Diamond to remove some more of the colour from the high spots and polish them while leaving the grooves dark and unpolished.RB29

RB30

RB31

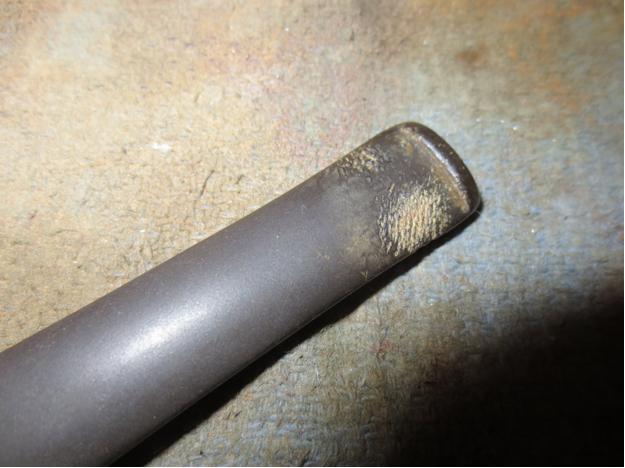
RB32 The stem was in decent shape with some tooth chatter and minor oxidation. I like the overall look and the rustication on the bowl. The stem and shank are long and straight and work well with this pipe.RB33

RB34 I sanded the stem with 220 grit sandpaper on both sides next to the button to remove the tooth chatter. I followed that by sanding it with a medium and fine grit sanding sponge.RB35

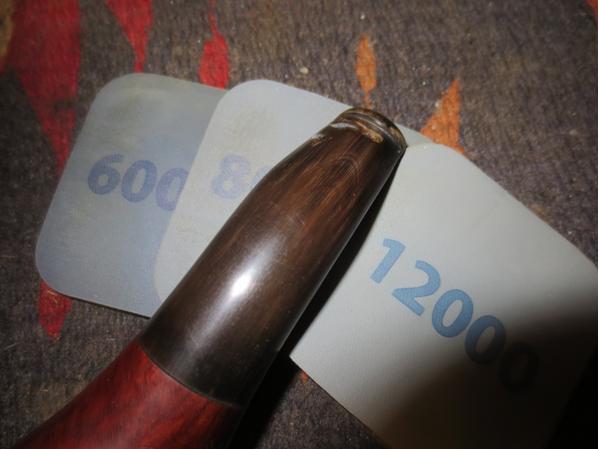
RB36 I worked on the stem with the micromesh sanding pads. I wet sanded with 1500-2400 grit pads and then rubbed the stem down with Obsidian Oil. I dry sanded with 3200-4000 grit pads, gave it another coat of oil and finished with the 6000-12000 grit pads. I gave it a final coat of Obsidian Oil and let it dry.RB37

RB38

RB39 I buffed the pipe with White Diamond and Blue Diamond and then gave it multiple coats of carnauba wax. I buffed it with a clean flannel buff and then hand buffed it with a microfibre cloth. The finished pipe is shown below. The unique finish intrigues me and the rustication feels great in the hand. Thanks for looking.RB40

RB41

RB42

RB43

RB44

RB45

Cleaning up a Bruyere Garantie Pocket Pipe with a Horn Stem


Blog by Steve Laug

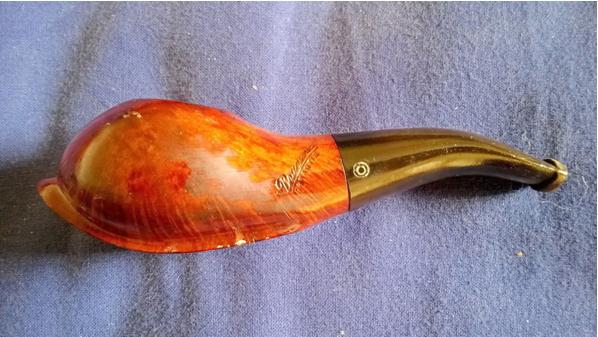
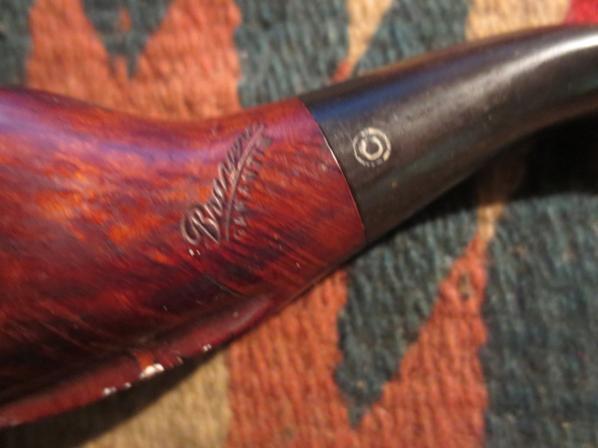
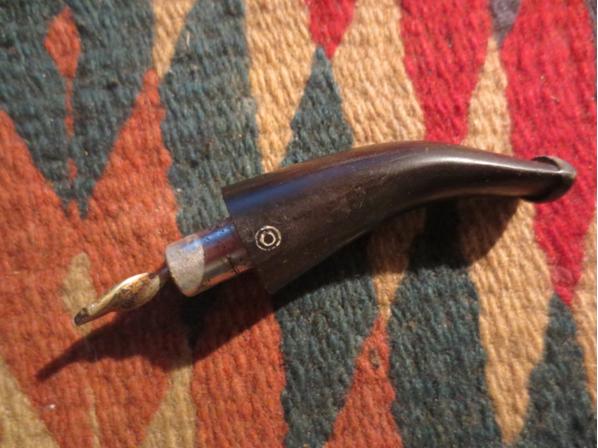
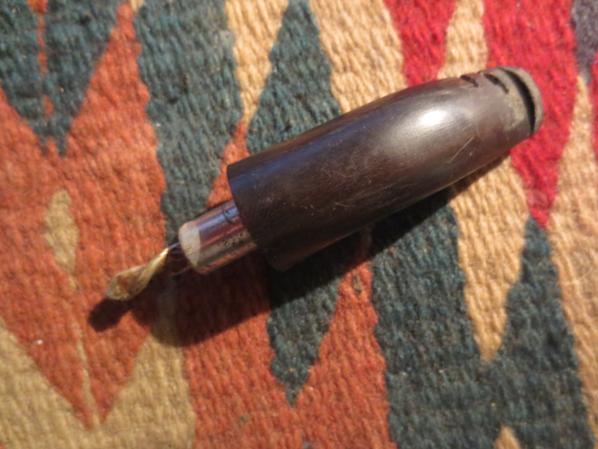
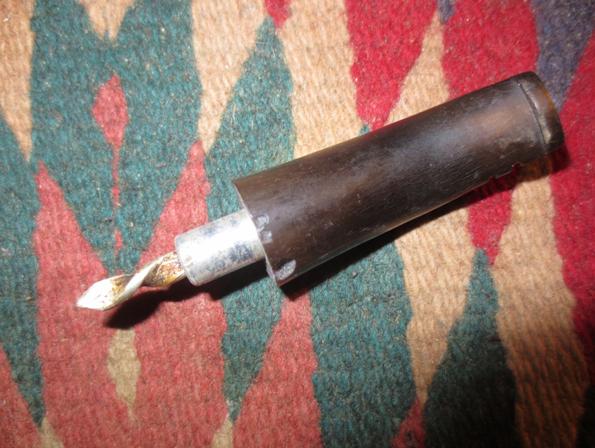
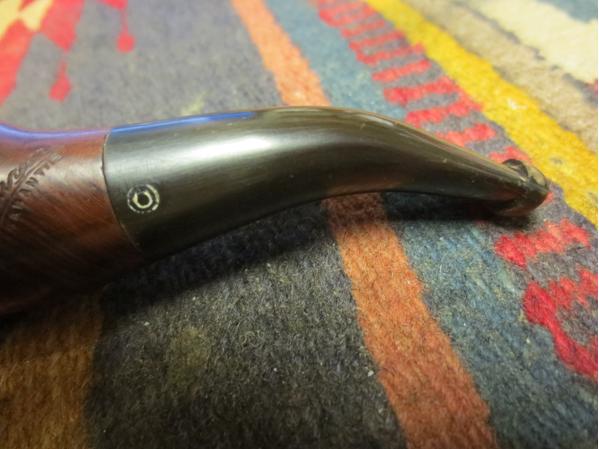
This pipe reminds me of the Mokin Pocket Pipe that Anthony restored and wrote about in an earlier blog. When I saw it on eBay I put a bid in and actually won it. The pipe needed a lot of work. From the photo it looked as if it had a thick coat of varnish or some shiny topping. That would need to go. The finish was spotty and appeared to have some flecks of paint on the top and on the skate at the bottom of the bowl. The rim was darkened and hard to tell whether it was burned or just tarry. The bowl was slightly out of round but it also had a cake that would need to be reamed out before addressing the out of round inner wall of the rim.The stamping was clear and distinct and read Bruyere Garantie on the left side of the shank. The stem had a double circle on the left side. The stem also appeared to be horn. There were two deep cuts on the right side of the stem near the button that would need work and with those marks I was sure there were other issues. The first two photos are the ones included in the seller’s description of the pipe on eBay. I had no idea what the other side or bottom of the bowl or stem looked like or if there would be more issues that would need to be addressed.Bruyere1

Bruyere2 When the pipe arrived I was both encouraged by what I saw and concerned by several other issues that had not been shown in the photos above. The encouraging thing was that there was no shiny coat of varnish or lacquer on the bowl. All that was present was a very dirty, grimy natural finish that seemed to have a reddish-brown colouring to it. The concerns involved the fills on the underside of the bowl. What had appeared to be paint flecks on the skate at the bottom turned out to be part of the fill on the bottom and a missing piece of briar. The bowl was indeed caked and the cake was crumbling and uneven. Looking at it initially I wondered if there would not be burned spots in the walls of the bowl once the cake was removed. The inner edge of the rim was also more damaged than I had expected from the seller’s photo. The cuts in the stem were dangerously close to the airway but fortunately had not broken through. The fact that the airway was unharmed was a small miracle given the depth of the cuts. The fact that they angled probably save the airway from damage. On the underside of the stem there were also large chips missing from the stem at the shank stem union. It appeared that someone had tried to pry the stem away from the shank rather than twisting it off. There was also tooth chatter on the top and underside of the stem near the button. The button however was clean and sharp as was the slot in the in the end of the button. The stem had some beautiful striations of colour that I had not seen in the photos and I looked forward to seeing if I could bring them out.Bruyere3

Bruyere4

Bruyere5

Bruyere6 I took some close up photos of the damage to the rim and the stem. The first photo below shows the damage to the inner edge of the rim and the crumbling cake in the bowl. Looking closely at the top of the photo and the bottom of the bowl you can see the cause for my concern regarding the potential burn out damage. The second and third photos below show the cuts in the stem and the missing chips. You can see how close the cut closest to the button came to the airway in that photo.Bruyere7

Bruyere8

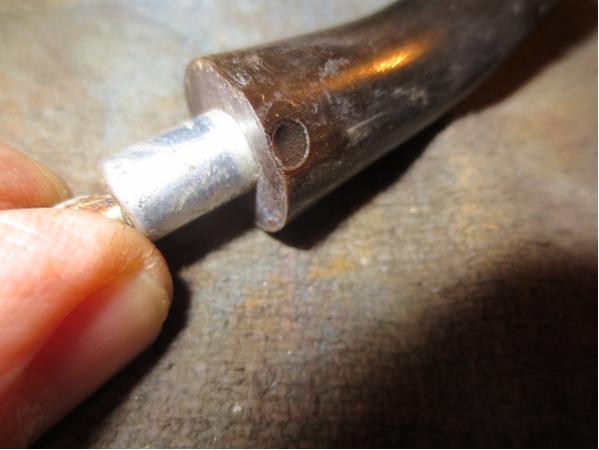
Bruyere9 The next photo shows the stamping on the side of the shank and the logo on the stem. It is hard to see but much of the depth of the stamping on the stem is gone so restoring that with new white colouring will not be possible.Bruyere10 When I removed the stem the tenon was inset aluminum and there was a stinger apparatus in place. It was a twisted piece that had a slot in the top for the airflow that followed the twist to the airway. It was stuck in the tenon and would need to be loosened before I could properly clean out the airway in the stem. I included some extra photos of the stem to show the cuts and chips from a different angle.Bruyere11

Bruyere12

Bruyere13 I reamed the bowl with a PipNet reamer. I started with the smallest cutting head and cleaned things up with it first. I then used the second cutting head which was pretty close to the diameter of the bowl. I cut the cake back to nothing so that I could examine the interior walls of the bowl. I was pleasantly surprised to find that once the cake was gone the interior walls of the bowl were solid and there was no burning.Bruyere14

Bruyere15 I worked on the out of round bowl with a folded piece of sandpaper to smooth out the damaged areas and bring it back to as close to round as I could get it. I then topped the bowl on my topping board to smooth out the rim and clean up the damage on the surface. I will often do this just to bring the damage on the inner edge of the rim closer to the top so that I can smooth it out further with sandpaper.Bruyere16

Bruyere17

Bruyere18 I wiped down the bowl with acetone on a cotton pad to remove the grime and the remnants of the finish. There appeared to be some damage to the front of the bowl that I wanted to have a closer look at once the bowl was cleaned up.Bruyere19 I wiped down the horn stem with cotton pads and some alcohol to clean up the surface so that I could begin the repairs. I debated on whether to use black super glue or clear super glue for the repairs to the chipped areas but decided to go with the clear hoping that once it dried the colour would come through the repair and blend it into the horn better. I layered the repair to the chipped areas on the underside and the cuts on top side of the stem. I wanted each layer to dry before I added another layer of glue.Bruyere20

Bruyere21

Bruyere22 After many layers of glue I was disappointed that glue did not cure clear but rather had a cloudy white appearance. The fills on the cut areas dried hard but looked like two white slashes. I was hoping that as I polished the stem these would blend in a bit more. The fills in the chips were a mixed bag. The smaller ones dried perfectly and blended in well. The larger divot was also white. I cleaned that area once again and added a drop of black superglue to the top of the repair to see if I could hide it better.Bruyere23

Bruyere24 I sanded the bowl and stem with 220 grit sandpaper and then medium and fine grit sanding sponges to clean up the repairs and the scratches in the briar. I carefully avoided the area of the stamping and the logo so as not to harm them. I also cleaned up the stinger and was able to remove it from the tenon. It was threaded and after cleaning up the joint I was able to unscrew it and clean it and airway of the stem. I wet sanded the bowl and stem with a 1500 grit micromesh sanding pad. The striations of colour are beginning to show on the stem and the bowl is looking far better than when I started.Bruyere25

Bruyere26

Bruyere27 I wiped the stem down with a light wipe of alcohol to remove the sanding dust and then continued to wet sand it with 1500-2400 grit micromesh pads. I rubbed it down with Obsidian Oil and then dry sanded with 3200-4000 grit pads. I rubbed it down again with the oil and then finished sanding it with 6000-12000 grit pads. I gave it a final coat of Obsidian Oil and let it dry.Bruyere28

Bruyere29

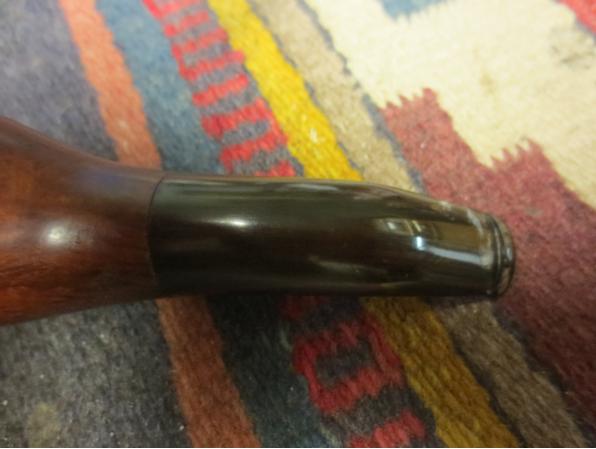
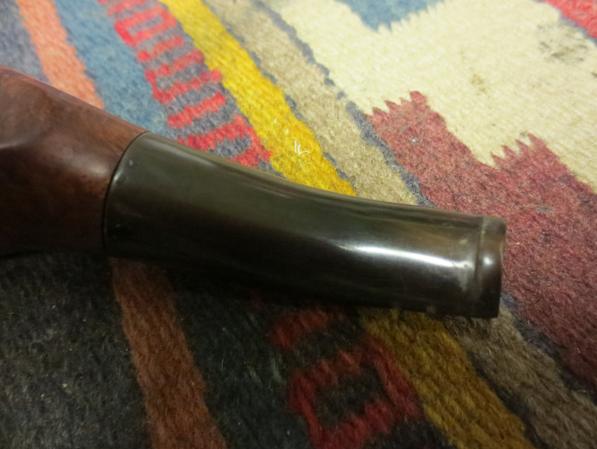
Bruyere30 I buffed the bowl and stem with White Diamond and Blue Diamond on the wheel. I then cave the bowl and stem multiple coats of carnauba wax and buffed it with a clean buffing pad. I hand buffed the stem and the bowl with a microfibre cloth. The first photos below are of the polished stem. You can see the repairs from the cuts. For some reason the glue dried white – even though it is clear. I did a patch on the chip on the underside with black super glue and it does not quite match… ah the frustrations of repairs. This one is staying with me so I will not mind as the stem is now smooth and polished. The cuts and the chips are repaired and are smooth to the touch. The fit of the stem to the shank is good with no missing stem parts.Bruyere32

Bruyere33

Bruyere34

Bruyere35 The final four photos show the finished pipe. The bowl polished up very nicely with just carnauba wax. The polished stem shows the striations that are one of my favourite parts of horn as a stem material. The deep shine is a bonus.Bruyere36

Bruyere37

Bruyere38

Bruyere39

Breathing new life into a Republic Era Peterson’s Kildare 999


Blog by Steve Laug

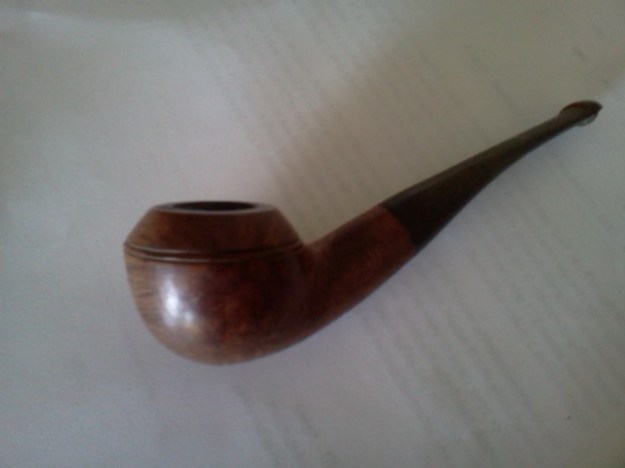
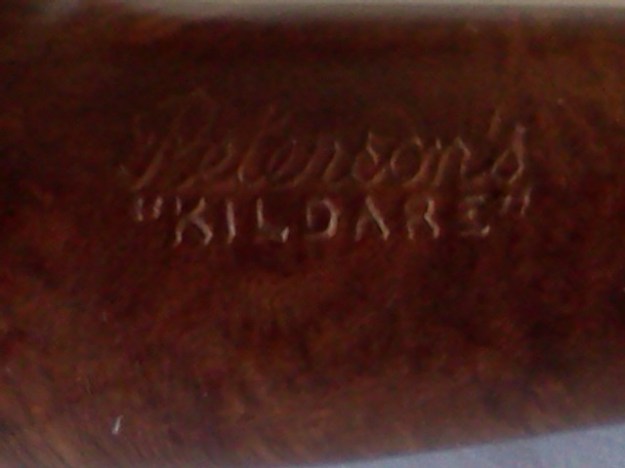
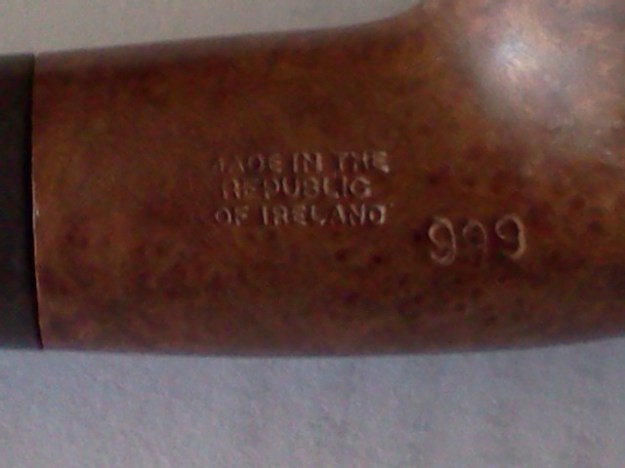
My brother picked this pipe up for me when he was in Austin, Texas. It is actually one of my favourite Peterson shapes – the 999. This one is stamped Peterson’s over “Kildare” on the left side of the shank and Made in the Republic of Ireland 999 on the right side of the shank. It actually is in really decent shape. The bowl had grime on the finish but no real dings or gouges. The rim was tarred and dirty but otherwise in good condition. The outer and the inner edge of the rim were smooth and the bowl was round. The double ring under the cap of the bowl was also in great shape with no chips or missing parts. There were a few small fills on the underside of the bowl among the cross grain that covered that and the top and bottom of the shank. The birdseye grain on the bowl and shank sides is quite stunning. The stem had straightened out during the time the pipe had been sitting and would need to be rebent somewhere along the line. The stem was oxidized, but otherwise clean with no tooth dents or bite marks. The fit against the shank was not tight but that would probably change once the pipe had been cleaned. There was a stinger in the end of the tenon once I removed the stem from the shank. The next three photos are ones that my brother sent me when he found the pipe. The first is a side view of the pipe and the second and third show the stamping on the shank.Pete1

Pete2

Pete3 When I was visiting with my brother in Idaho Falls I decided to rebend the stem on this one. I used a cup of water that I boiled in the microwave and then put the stem in to heat and soften the rubber. Once it had softened I bent it to match the curve of the bowl. When I heated the stem in the water the oxidation rose to the surface of the stem and turned it an unsightly brown. That is what I expected and why at home I use a heat gun rather than water. But as the stem was oxidized already the water would bring the rest of it to the surface for an easier clean up.Pete4

Pete5

Pete6

Pete7 I took the next three photos – close-up pictures of the rim and the stem – to show the state of those areas. Both the rim and the stem were in very good shape under the tars and the oxidation.Pete8

Pete9

Pete10 I reamed the bowl with a PipNet reamer to take the cake back to bare briar. I used the first two cutting heads to clean out the cake.Pete11

Pete12 I scrubbed out the bowl and shank with cotton swabs, pipe cleaners and alcohol to remove the build up and oils. It did not take too long for the shank to be clean.Pete13 The next photo shows the small stinger that was in the tenon when I removed the stem. It has a slot on the top of apparatus behind the ball and collects the moisture from the smoke. The shank is drilled deeper than my other 999 pipes to accommodate the stinger. I removed the stinger and cleaned out the stem with pipe cleaners and alcohol. I cleaned the stinger with the same and then polished it with 0000 steel wool.Pete14

Pete15 I scrubbed the top of the rim with alcohol and a cotton pad and then used a 1500 grit micromesh sanding pad to sand the surface of the rim. I used the pad like a topping board and worked the rim around the pad in a clockwise motion. Why clockwise? I honestly don’t know other than I am right handed.Pete16

Pete17 I wiped down the bowl with alcohol and a cotton pad to remove the wax and grime from the surface of the briar. The pipe was unstained or stained with a light stain so the alcohol did not remove any of the colour.Pete18 I sanded the stem with 220 grit sandpaper to remove the oxidation that sat on the surface of the stem. I worked hard on the angles of the button to remove the oxidation there. I then sanded the stem with a medium and a fine grit sanding sponge to remove the scratches left behind by the sandpaper.Pete19

Pete20

Pete21

Pete22

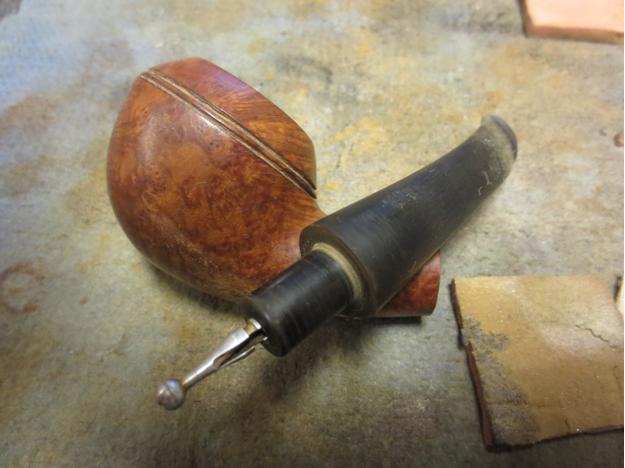
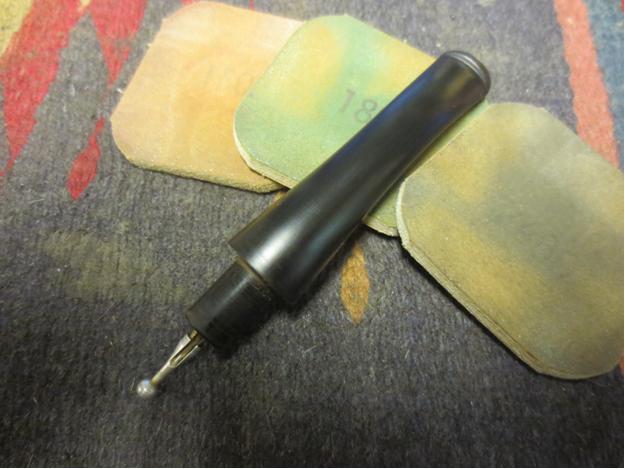
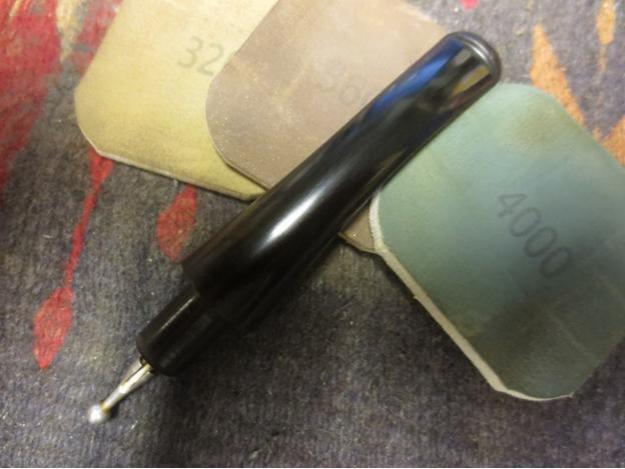
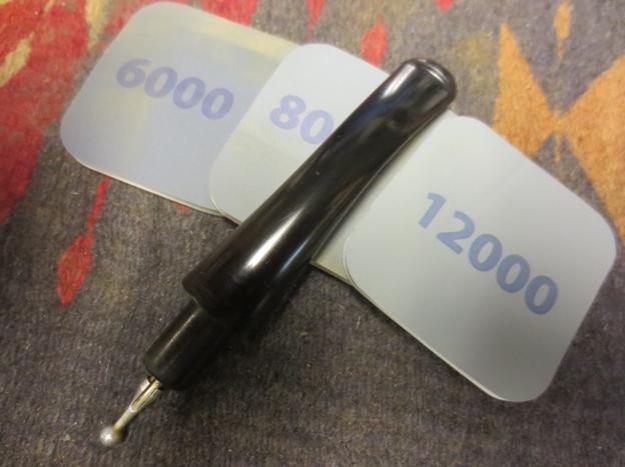
Pete23 I wet sanded the stem with 1500-2400 grit micromesh sanding pads and rubbed the stem down with Obsidian Oil. I dry sanded it with 3200-4000 grit pads and rubbed it down with Oil once again. I finished by dry sanding with 6000-12000 grit pads and giving it a final coat of Obsidian Oil. I let the oil absorb into the rubber of the stem.Pete24

Pete25

Pete26 I buffed the stem and bowl with White Diamond and then Blue Diamond on the buffing wheel. I gave it multiple coats of carnauba wax and then buffed it with a clean flannel buff on the wheel. I finished by hand buffing the pipe and stem with a microfibre cloth to give it a deep shine. The finished pipe is shown in the photos below. Thanks for looking.Pete27

Pete28

Pete29

Pete30

Pete31

Pete32

Pete33

Pete34

Bringing new life to an old corn cob


Blog by Steve Laug

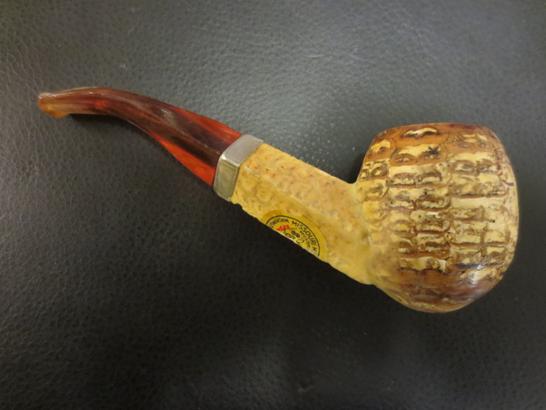
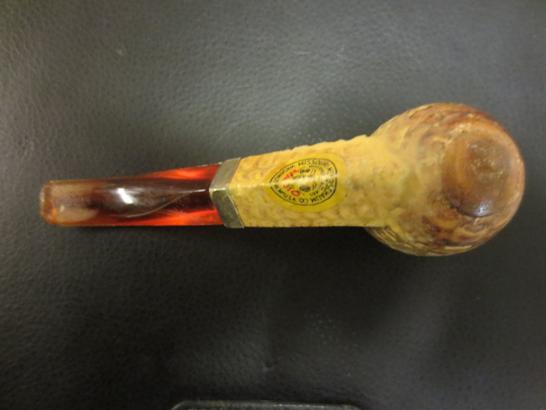
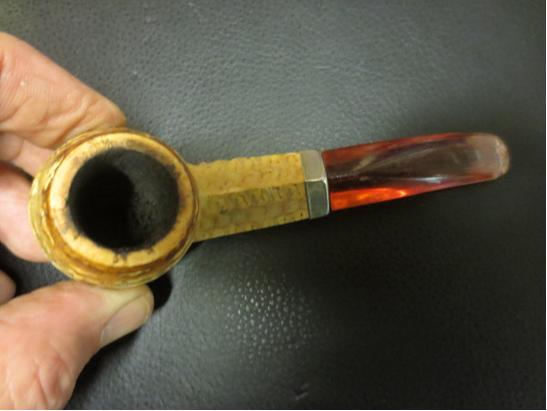
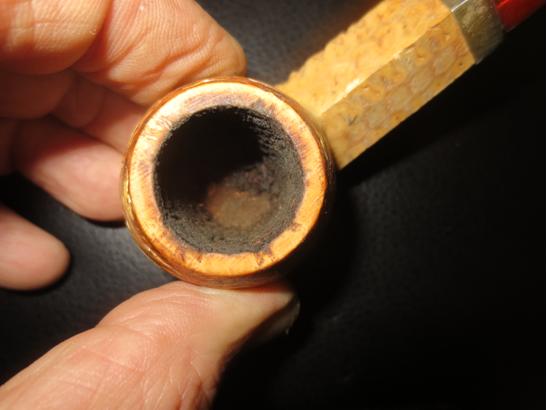
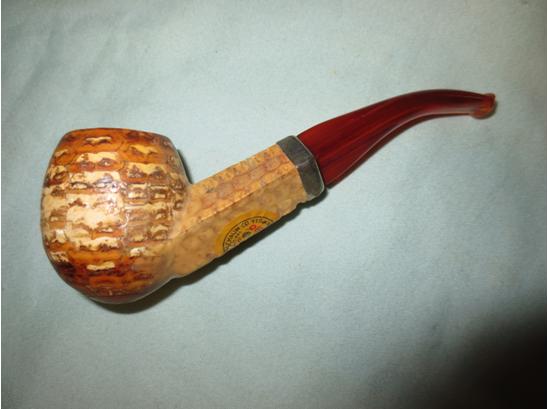
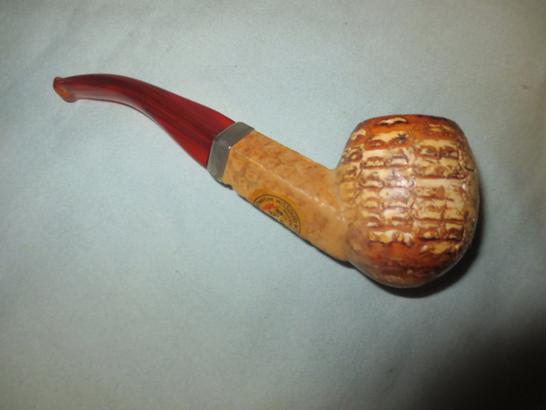
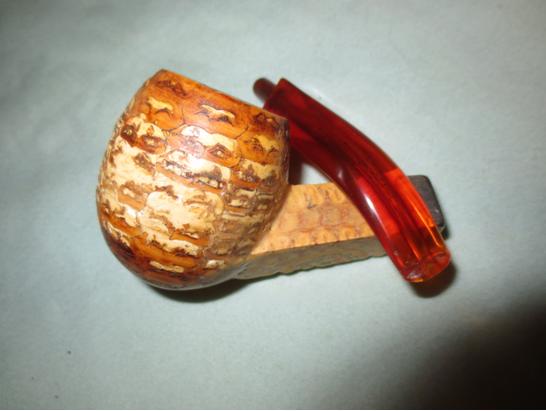
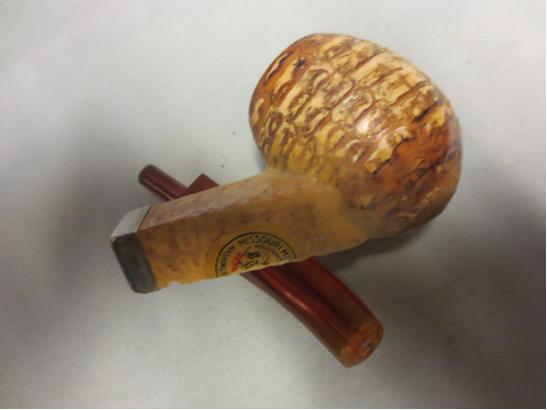
When I was in Idaho for the funeral of my mother in law my brother and I took the day after the funeral and went on a pipe hunt. He has been attending auctions and going to antique shops on his travels and he picked up some nice pipes that he passed on to me. I will be working on them for a few months. He also had visited several of the antique malls in Idaho Falls where we were. On that day we visited three of them. In one of them there were a few pipes that caught my fancy one of them was an old corn cob bent with a diamond shank. It was in rough shape in that the glue that usually seals the shank into the bowl was gone and it was pretty loose. The bowl was well smoked and had a cake that I would need to clean up. The rim was also blackened. The bowl has a hardwood plug in the bottom which adds to the durability of the pipe. One unique feature of this pipe was that the shank was made of cob. It had some dings and nicks on it. The bottom of the diamond shank bore the Missouri Meerschaum label. There was a brass band that protected the end of the shank. The stem was Redmanol or Bakelite – a nice rich red coloured plastic that had some tooth chatter but no deep tooth marks or cracks. The orifice button on the stem and the material it was made of made me pretty certain that this was an old timer – possibly from the 30s.

Typical of what happens when I find old pipes like this I can’t wait until I get home to start working on them. In this case I figured I wanted to stabilize the shank in the bowl so that it would not get damaged when I carried it home in my luggage. I bought some Elmer’s Wood Glue and used it to fill in the gap around the entrance of the shank to the bowl. I used it to also repair some of the nicks on the sides of the bowl and the shank. I gave it multiple coats to build it up so that shank bowl union was smooth and the dings and marks were also smooth. Of course being in a rush to work on it I forgot to take pictures of the pipe before or during the early stages of the repair. When I left for Vancouver the bowl and the shank transition were smooth and the nicks and dings were also smooth on the surface of the bowl. I need to sand them and feather them into the surface and take off some of the glue shine.Cob1

Cob2

Cob3 I lightly sanded the rim to remove the blackening and clean up that surface. I reamed the pipe with a PipNet reamer and took the cake back to a very thin coat. The bowl is still round so that will not take further work to fix it.Cob4

Cob5

Cob6

Cob7 I cleaned out the bowl and shank with cotton swabs, pipe cleaners and alcohol until they were clean. Due to the shank being cob I was careful how much alcohol I ran through it as I did not want to soften the shank any further by making it wet. I cleaned out the inside of the stem with pipe cleaners and alcohol again being careful to not damage the Redmanol material.Cob8 I sanded the stem with 220 grit sandpaper and then with a medium grit sanding sponge to remove the too chatter on the top and bottom sides of the stem.Cob9

Cob10

Cob11

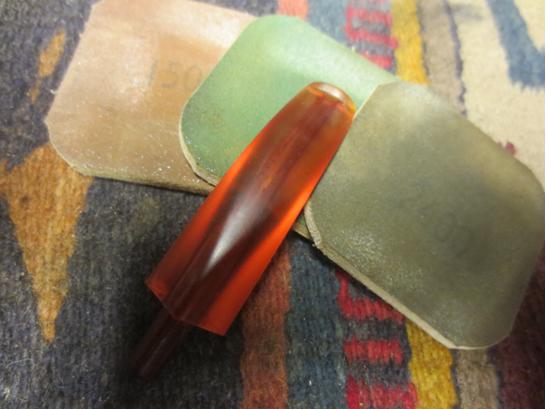
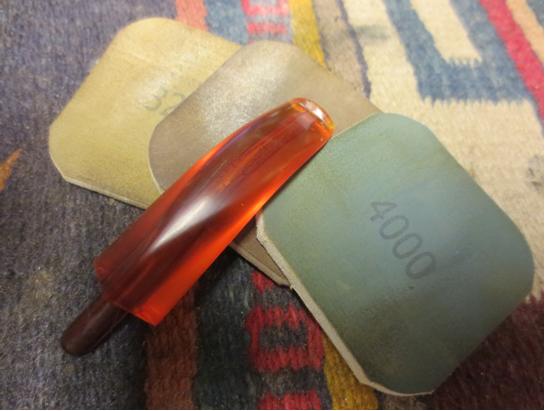
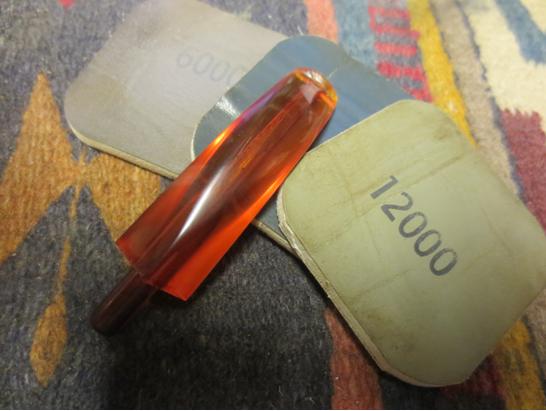
Cob12 I wet sanded the stem with 1500-2400 grit micromesh and rubbed it down with Obsidian Oil. I dry sanded it immediately with 3200-4000 grit pads so that the micromesh had some bite to it. The oil provided a surface that allowed the micromesh pads to polish the stem. I dry sanded further with 6000-12000 grit pads and then buffed it with Blue Diamond on the buffing wheel. I gave the stem several coats of carnauba wax and then buffed it with a clean flannel buff to give it a shine. I hand buffed it with a microfiber cloth to finish the polishing.Cob13

Cob14

Cob15 The finished pipe is shown in the photos below.Cob16

Cob17

Cob18

Cob19

Cob20

Cob21

Cob22

Removing Stain from a Briar Pipe – Additional info added


Blog by Dave Gossett
stain1

stain2 I’ve been working on a stain removal recipe/technique with some junker pipes and came up with this. It works pretty well. It will also strip the color out of any fills in the pipe and they will stand out afterwards. This is great for a fill free briar, but not recommended if it does, unless you plan on digging out the old fills and replacing them with briar dust. I always advise trying new repair and restoration tips on a test pipe before trying it on a keeper.

Step 1. Use Murphy’s wood soap to remove the wax. Take care not to get the Murphy’s soap inside the pipe!

Step 2. Wipe down with alcohol.

Step 3. Mix a heavy batch of Oxy Clean powder with hot water. 3 tablespoons give or take. Use just enough hot water to dilute the powder and then add a couple of shots of 91% alcohol. Heat the briar with a hair dryer before starting. This opens the pores and speeds up the removal process. (at least that’s my theory.)

0000 steel wool can be used with mix to gently scrub the briar. The steel wool is fine enough it will not scratch the briar. Use gently, let the wool do the work for you. A rag can be used but it will take a few runs to achieve the same results. When dipping the rag or wool don’t submerge to the bottom of the mix where the undissolved gritty powder is settled. You don’t want the grit on the briar when scrubbing. Stay clear of the stampings with the steel wool. Use a rag on those areas.

Rinse the stummel clean with tap water and towel off so the oxy residue doesn’t dry on the wood.

Let the stummel dry completely to see if you’re satisfied with the coloring. repeat the process again if it’s still dark.

Step 4. Depending on how much time and cleaning it took to remove the stain, it could raise the grain a bit. Don’t worry. Most of the time this isn’t the case. After the stain has been striped and the pipe has thoroughly dried, give the stummel a light dry sanding with 2000-3000 grit and this will take care of any raised grain concerns.

Step 5. Now your pipe is ready for your color change of choice or waxed up for a beautiful natural finish.

I tried to be as detailed as possible but may have forgotten something. This is why I recommend trying new techniques on a test pipe.

Here are the results of the stain removal on a very dark pipe.

Photos of the pipe before stripping the stain:stain3

Stain7

stain6

stain5 Photo of the pipe with the stain stripped:stain2 Photos of the finished pipe:stain9

stain10

stain11ADDENDUM

Dave took the time to measure all of the components in his recipe and has sent them to be added to this post. Here it is:
1 cup hot water (hotter the better)

3 spoons of Oxy Clean powder

After the Oxy is thoroughly dissolved then add the alcohol

1 spoon of 91% alcohol

The alcohol cuts the suds and stops the solution from becoming a foaming mess while you’re working on the pipe.

Thanks Dave

A Simple Elegance: Cleaning, Restemming and Restoring a Diplomat Billiard


Blog by Steve Laug

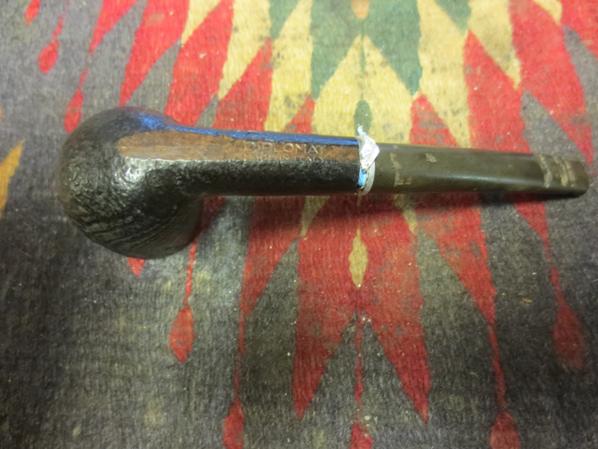
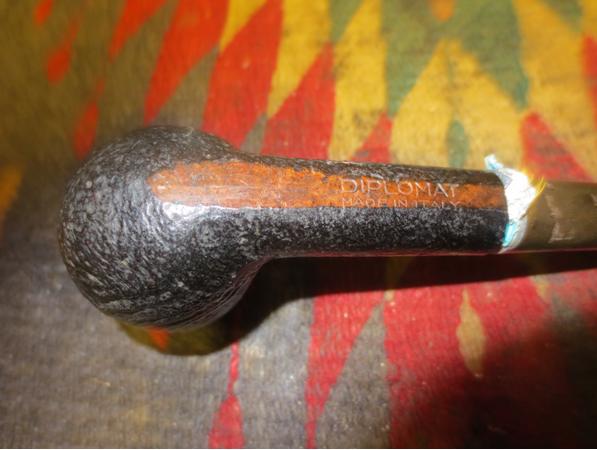
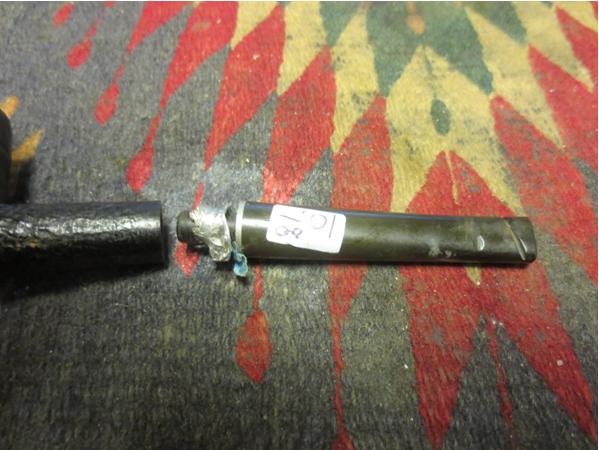
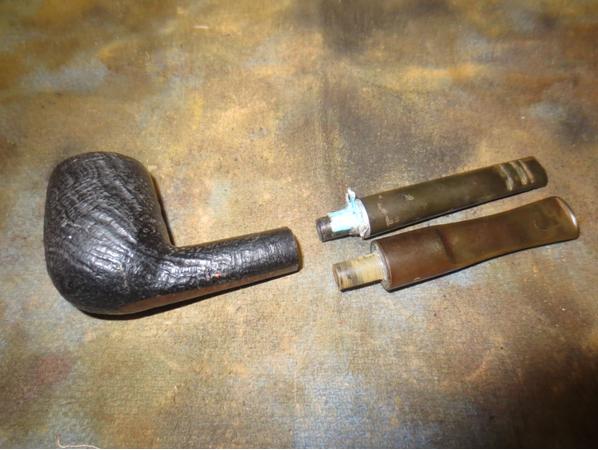
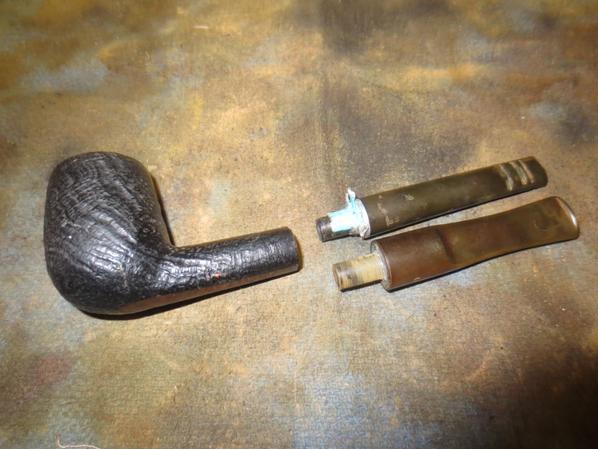
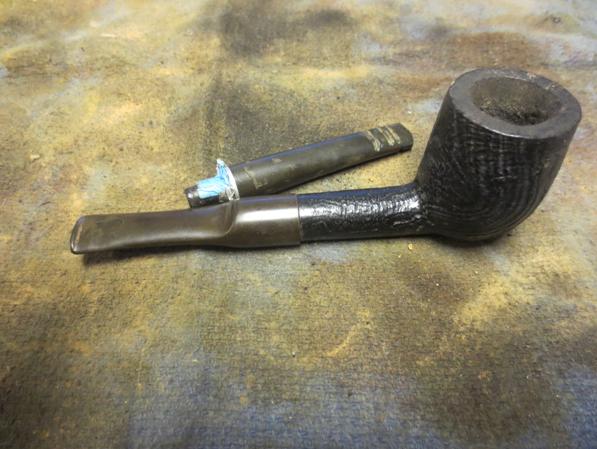
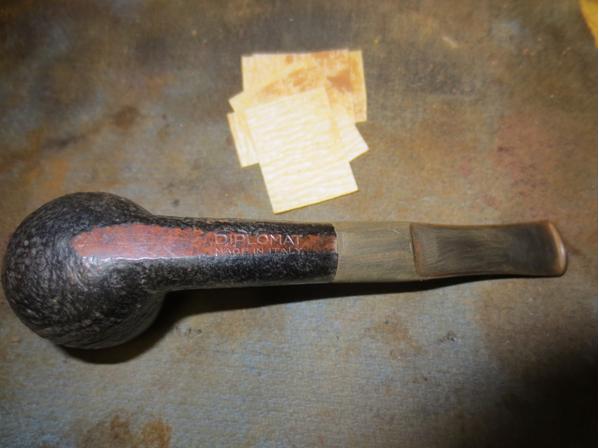
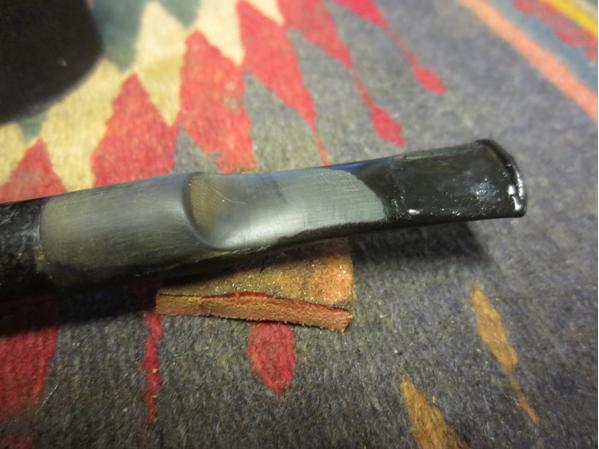
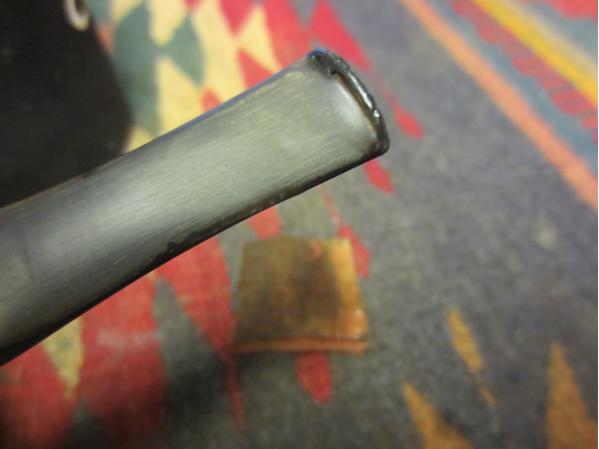
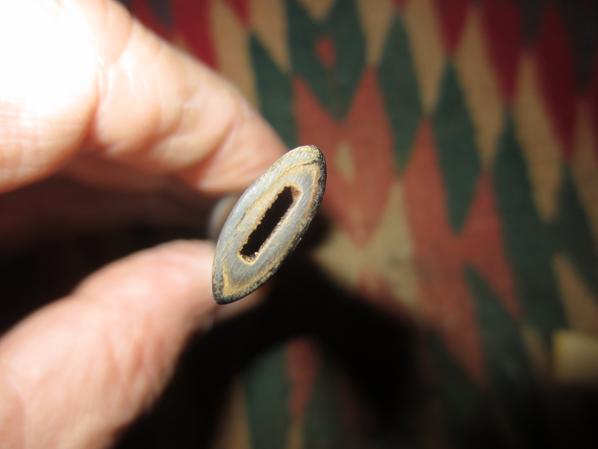
On my recent Lethbridge trip I found the Diplomat pipe at an Antique Fair. It is a nice sandblast billiard with a dark undercoat and a brown over stain. The bowl was in decent shape. The sandblast was deep and quite beautiful to look at. The nooks and crannies caused in the process made for an interesting feel in the hand as well. The stain had worn off in spots on the sides of the bowl and along the outer edges of the rim. The finish was also generally dull and lifeless. The surface of the rim was dirty with tars and oils. The inner edge was slightly damaged and would need to be worked on. There was a thick cake around the middle of the bowl and light at bottom and on top. The stem was one that somebody had Gerry-rigged to fit. It was smaller in diameter and the tenon was too small. The previous owner had wrapped the tenon with thread and then with aluminum foil and pressed it into the shank. The stem had also been hacked up to repair a damaged button and grooves had been carved on the top and bottom sides of the stem to make it a dental bit.Dip1

Dip2

Dip3

Dip4

Dip5 I took close-up photos of the top of the bowl and the underside of the shank to give a clear picture of the state of the inner edge of the rim and the stamping on the pipe.Dip6

Dip7 The next two photos show the stem that came with the pipe and the “fancy” work that had been down to make it fit the shank and create grooves on the top and underside that would allow the pipe to be held in the mouth behind dentures.Dip8

Dip9 My first task was to go through my stem can and see if I could find a better stem for this pipe. I did not have a tapered stem that would readily fit but I did have a saddle stem that would look good after shaping and fitting it to the shank.Dip10 I lightly sanded the tenon to get a snug fit in the shank and pushed the new stem home to have a look at the fit. The stem would need to be sanded to bring the diameter at the stem/shank union down to match the shank. I took a few photos to see what the pipe looked like with this new stem.Dip10

Dip11

Dip12

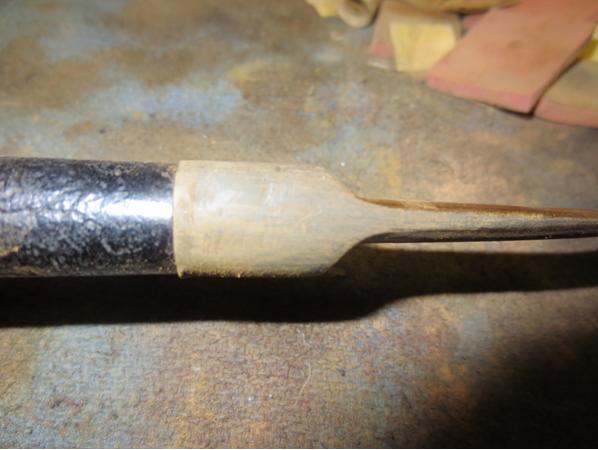
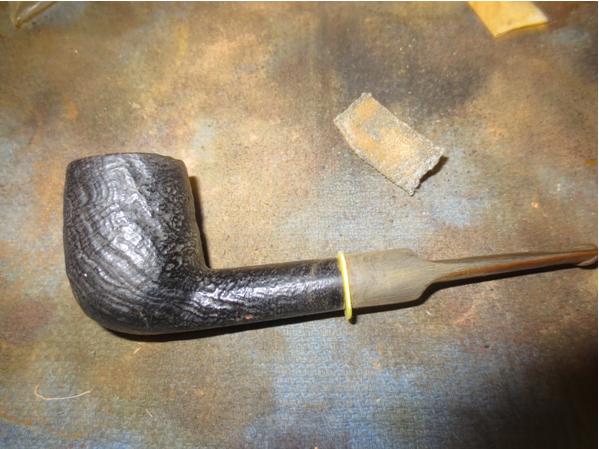
Dip13 I used a Dremel with a sanding drum to carefully reduce the diameter of the saddle portion of the stem. I have found that I can roughly shape the stem to fit better and then finish by hand sanding it (photo 1). Once I had the rough shape I sanded it with a coarse emery paper to remove the gouges and scratches left behind by the sanding drum (photo 2). I slipped a plastic washer on the tenon and put the stem back in place. I sanded it with 180 and 220 grit sandpaper to further shape it and remove the scratches (photo 3).Dip15

Dip16

Dip17 With the basic fit correct and only needing to fine tune it and polish the stem I decided to ream the bowl. I used a PipNet reamer and took the cake back to bare wood.Dip18

Dip19 I cleaned out the inside of the shank and stem with pipe cleaners, cotton swabs and alcohol. Once it was clean I worked on the inner edge of the rim. I sanded it and reshaped it to make it smooth and round once again using a folded piece of 220 grit sandpaper.Dip20

Dip21

Dip22 I sanded the stem some more with 220 grit sandpaper and flattened the bottom side to match the flat bottom of the shank. The next set of three photos show the fit and shape of the stem at this point.Dip23

Dip24

Dip25 The button was quite thin and I decided to build it up with black superglue. I also could see a repair that had been done on the stem before I used it so I worked on that to further blend it into the stem surface.Dip26 When the glue dried I sanded it with 220 grit sandpaper to feather it into the surface of the rest of the stem and also worked on shaping the button. In the second photo below you can see the end view of the built-up and reshaped button.Dip27

Dip28 I sanded the stem and button with a medium and a fine grit sanding sponge to remove the scratches and blend in the patches. I then wet sanded the stem with 1500-2400 grit micromesh sanding pads and then rubbed the stem down with Obsidian Oil. I dry sanded with 3200-4000 grit pads and rubbed it down again with oil. I finished by sanding it with 6000-12000 grit pads and gave the stem a final coat of Obsidian Oil. I set it aside until the oil was dry.Dip29

Dip30

Dip31

Dip32 I touched up the worn spots on the finish of the bowl with a dark brown stain pen and a black permanent marker and then buffed the bowl and stem with White Diamond on the wheel. I buffed it again with Blue Diamond and then gave the pipe multiple coats of carnauba wax. I polished it with a clean flannel buff and then hand buff with a microfibre cloth. The finished pipe is shown in the photos below. I like the looks of the saddle stem and the deep sandblast finish. The pipe has an understated elegance about it that I like.

Thanks for looking.Dip33

Dip34

Dip35

Dip36

Dip37

The Coming Calm after the Storm


Guest Blog by Robert M. Boughton
Member, North American Society of Pipe Collectors
http://www.naspc.org
http://www.roadrunnerpipes.com
http://about.me/boughtonrobert
Photos © the Author

Dedicated to Louis Arthur Hille (February 14, 1969-October 8, 2015)

“Part of me is afraid to get close to people because I’m afraid that they’re going to leave.” ― Brian Hugh Warner (a.k.a. Marilyn Manson), U.S. singer/songwriter/
performer/rock journalist/painter/actor, born January 5, 1969

INTRODUCTION

Rob1
Like a panther, the young man caught in this rare snap-shot had the edge of menace in his pensive yet calm and subtly wild gaze and the firm set of his jaws. Though he seldom permitted the opportunity to penetrate the murky depths of his intellect long enough to preserve the moment in a photo, it shone through anyway. We were best friends and roommates for the past 15 years; I was his certified, consumer-directed caregiver during the last seven, and, in 2009, when his health took a big dive and he needed someone to protect him more than ever, he reluctantly made me his agent under a durable power of attorney. At the risk of being misunderstood (a possibility that really doesn’t threaten my hardy sense of self-identity in the least), we were soulmates.

The term snap-shot itself, as I may have noted before, originated as a hunting term: “A quick or hurried shot taken without deliberate aim, esp. one at a rising bird or quickly moving animal.” [Oxford English Dictionary] The word used in that sense dates at least to 1808, whereas the adoption by photographers appears to have started around 1860.

Louis told me, more times than I have mentioned in my blogs here how my dad was fond of saying I have a mind like a steel trap, that I would never meet anyone like him again. Once was well worth the almost manic-depressive ups and downs in near constant close quarters and proximity, but enough, if you can grok me. If my mind is a steel trap, Louis’ could go off when an ant happened upon it. To say Louis did not handle strict, unyielding strangers well, in particular those who could violate the sanctity of his room at will and in the hospital did so more or less constantly, and with apparent delight, is a gross understatement. He could and usually did revert to his five-year-old self and throw the kind of tantrums of which only an adult is capable. I’m sure the sole reason he was never put in four-point restraints, before the last year and a half or so when his hip and leg contractures became so bad that his knees were frozen up to his chin and made the heart’s desire of many a nurse and tech impossible, was the hospital staff’s well-founded fear of what I would have done.

A little more than a year before the serendipitous snapshot above, Louis celebrated his thirty-sixth birthday, on Valentine’s Day 2005, in a bed and hooked up to IV bags and monitors, during the second of many extended hospital stays. Before the end came last week, at home where he wanted to be, with his cats and me, Louis was to spend two more birthdays in hospitals, the most recent this year, on his 46th, and last. Celebrated, of course, is a modifier for birthdays that is worn thin by convention, and not at all the best choice in this case. In fact, the only way he lasted three months in that place was my gift to him his first full day of a large but portable CD/DVD player with headphones, as well as a couple of Stephen King’s better audio books and the latest Marilyn Manson release. That last would have been “The Golden Age of Grotesque”; this was two years before “East Me, Drink Me.” Yes, even Manson grew on me thanks to Louis’ knowledgeable and fervent guidance.

When I suspended the above moment in time, Louis had just recently been released (or, to be more honest, sprung by me) from the hospital full of quacks, imbeciles and ninnies. In their vast wisdom, which so often fuels a God complex, they mused at first over the likelihood of multiple sclerosis, given their myopic failure to get to the truth, so few years ago, that is now taught to pre-med students and even EMTs. Then they turned to lupus and several other look-alike possibilities. They even tested Louis for A.I.D.S. – not once, but twice, in case they missed it the first time.

This was how he often looked, for a time, after that quarter-year exercise in trial-and-error experiments that ended with our hectic, A.M.A., wheelchair career down several flights on the elevator and thence straight for the exit.

I have another favorite snapshot of Louis, taken with my cellphone when he had grown his hair back the way he liked it, which is to say very long. This one was taken around 2009-’10.Rob2It’s a favorite for æsthetic or artistic reasons as well as the way it shows the almost trancelike way he could stop in the middle of a step, having fallen into a reverie of contemplation that required stillness. I was surprised and pleased that he enjoyed this photo when I showed it to him after the barber had sheared off his beloved hair again.

The next year sometime, returning to my previous train of thought and meaning 2006 – I don’t recall the date but believe it was Spring – brought a surprise telephone call from Louis’ primary care physician.

I will never forget the similarity of the one-sided conversations, as I heard it from Louis’ side, and one of Bob Newhart’s hilarious 1960s “phone calls” from dead people, such as Abe Lincoln’s entreaty for help writing the Gettysburg Address – and Newhart’s deadpan response to one unheard complaint with something about how 87 years ago really wasn’t very snappy. Except that from my perspective, being able to “hear” what his doctor was saying based on Louis’ verbal responses, and in particular seeing the changes of his facial expressions, there was nothing to inspire laughter.

“Okay, then, I guess I’ll take the good news first,” Louis said after a moment’s exchange of niceties. Pause. “It’s not MS.” Pause. “That’s the good news?” Pause. “So what’s – the – bad news?” The last part was spoken as one word. “Oh.” Swallow. “It’s something different.” Pause. “Wait: neuro-what?” Repeating what the doctor told him, sound by sound. “Neuro-mye-litis op-ti-ca.” Nervous breathing, by both of us. “Oh. Yes, I heard you. MS isn’t fatal, but this is.”

And so the doctor did the unthinkable in a time when the pop medical practice remains to downplay the negative if not outright lie to the patient: he told the truth. Using the magnetic resonance imaging (MRI) scan photos from the big machine at the private hospital from which Louis escaped – the same kind of contraption that seemed to scare the devil out of Linda Blair in “The Exorcist,” only somewhat quieter – the head of the neurology department at our local university hospital spotted healed and unhealed wounds from the back of Louis’ neck and down his spine that gave her a good idea of what she was dealing with. She confirmed it with a blood test introduced the same year that differentiates the disease Louis had as a distinct and fatal entity from MS.

As it turned out, Louis was host to a genetic anomaly. In other words, the neuromyelitis optica (NMO, or Devic’s Disease) with which he was born – and which was just beginning, after 37 years of passing time slowly but methodically eating away at the myelin sheaths, fatty substances protecting Louis’ nerves, starting with those in the optic region, to thereby render him legally blind – had no precedence in his family. It was more along the lines of a ghastly fluke.

For those of you who have no idea where I’m going with this long account of Louis’ non-pipe-related demise (in fact, I even succeeded in getting him off cigarettes by supplying him with pipes and tobacco, although there was little chance he would ever live long enough to die of cancer), I will now clarify. Louis was by no means easy to get along with, but during the 15 years we were roommates, he – how should I put it? – grew on me as a good friend does, regardless of the many differences. Almost everyone who ever talked to him agreed on two points: one, he was a genius usually more capable than the listener to discuss complex issues of mathematics, science, world events, religious topics through the millennia, detailed weather phenomena and even the day’s stock market numbers. He was possessed of the ability to memorize the entire dialogues of movies, TV shows, commercials, popular and rock songs and more or less anything else – on a single viewing or hearing – and he could recite them for the rest of his life. The other general characteristic people who talked to Louis agreed on was that he could be a downright rude jerk. I’m not speaking ill of the dead, as should be apparent by the end of this unusual introduction; it was the simple truth, and he was never even aware of it despite my attempts to make him so. The fact is, he sounded like his mother, whom I knew. There was also the fact that his mind and spirit traveled at a speed comparable by mental comparison to the F-22 Raptor and was just as deadly with its offensive and defensive weapons loads. All of these factors tended to intimidate or just embarrass people.

Louis had theories far rarer than NMO, but as intricately informed as a spider’s web is spun, on such issues as the afterlife, prior lives, simultaneous lives, paranormal entities, abortion and other lively and nowadays popular and/or controversial concepts. Does a pattern emerge from these topics? Only now do I see it: Louis’ thriving thirst for life, before, during and after what most people would call his own. The thing about Louis is that he was out there way before it was cool to be out there.

The reason I stayed by Louis’ side almost as long as his parents, who kicked him out as an eighteenth birthday present, was that I could still see the same person I met the day after Thanksgiving in 2000. He was happy. He smiled and laughed and talked non-stop but coherently and cogently about almost anything, and when he couldn’t think of a name or a word or whatever, I was the only person who listened and understood where he was coming from and could fill in the missing spaces, and he could finish my thoughts, as well.

I miss those conversations at coffee houses or on buses or walking when I didn’t have a car, and he could still walk. I miss those good times not because we stopped having them after he grew sicker, but because they occurred less and less often, and now he is gone. All I ever wanted was to help him get better. Right now the only thing I have to replace that is working on pipes, trying to make them better.

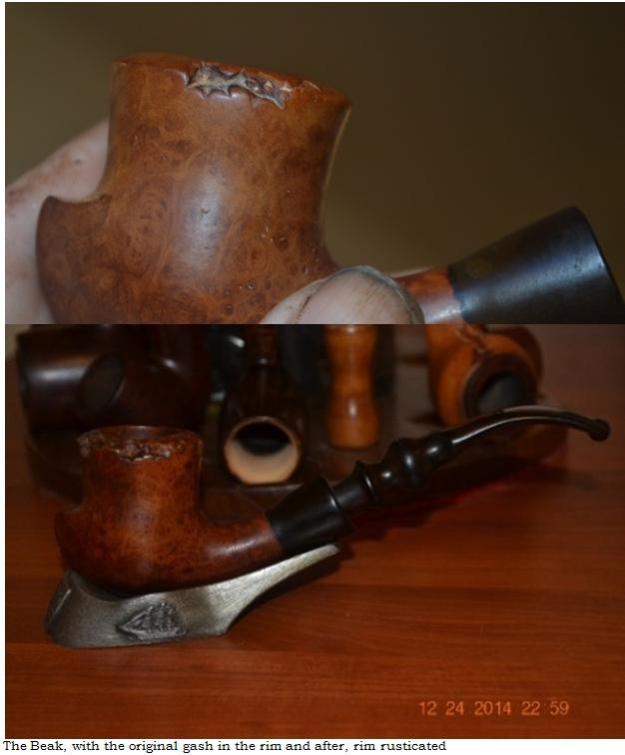
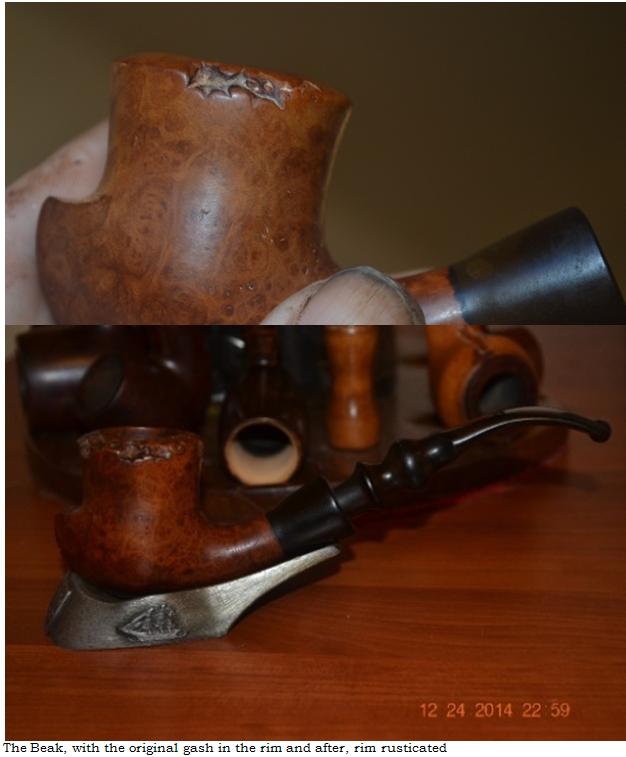
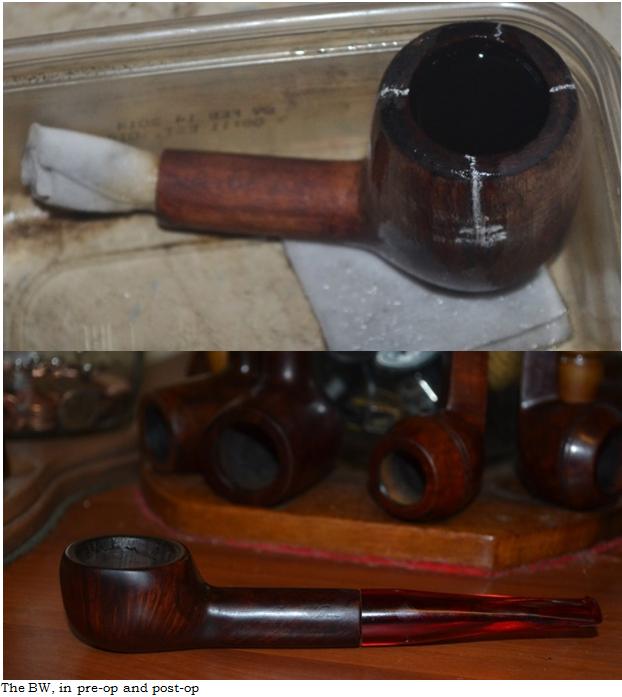
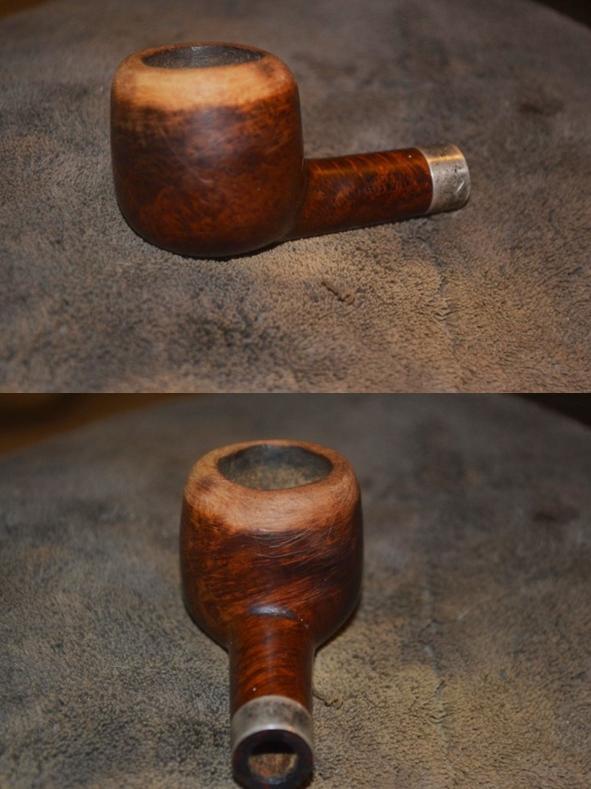
This one, like Louis, was really messed up when I got it, and the consensus among my pipe restorer friends was to lop off about a half an inch from the top of the bowl and reshape it. But I thought: nah! Been there, done that. This time I wanted to try something a little different. Two previous restorations came to mind. One is a Ben Wade with an enormous crack down one side of the bowl that required emergency surgery to amputate about two thirds of the tall billiard, and is still in recovery as a squat pot shop pipe. The other is a no-name Italian freehand that I call the Beak and thought was someone’s first attempt at pipe making because of several mistakes I had to correct, including the unmissable in the following photos.Rob3
Rob4 Louis, I know you’re listening, and this one’s for you.

RESTORATION
Rob5

Rob6

Rob7

Rob8

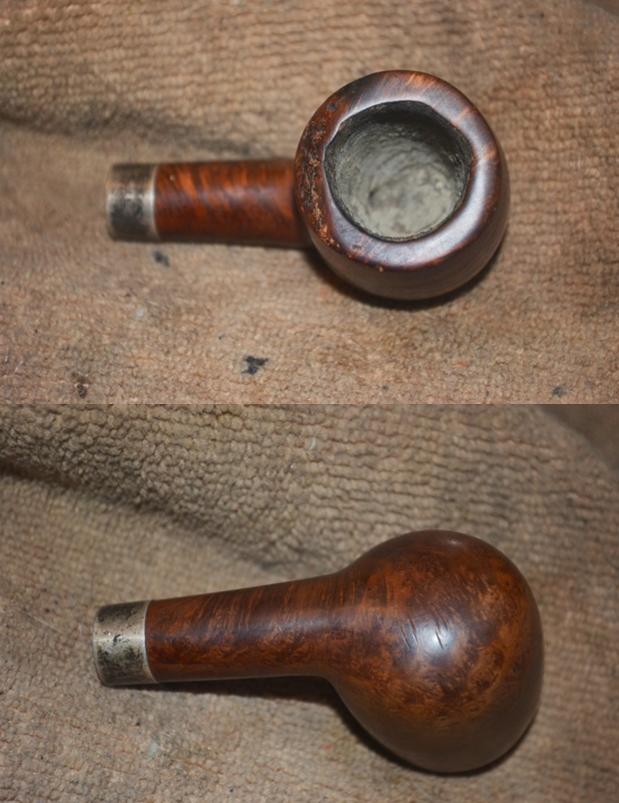
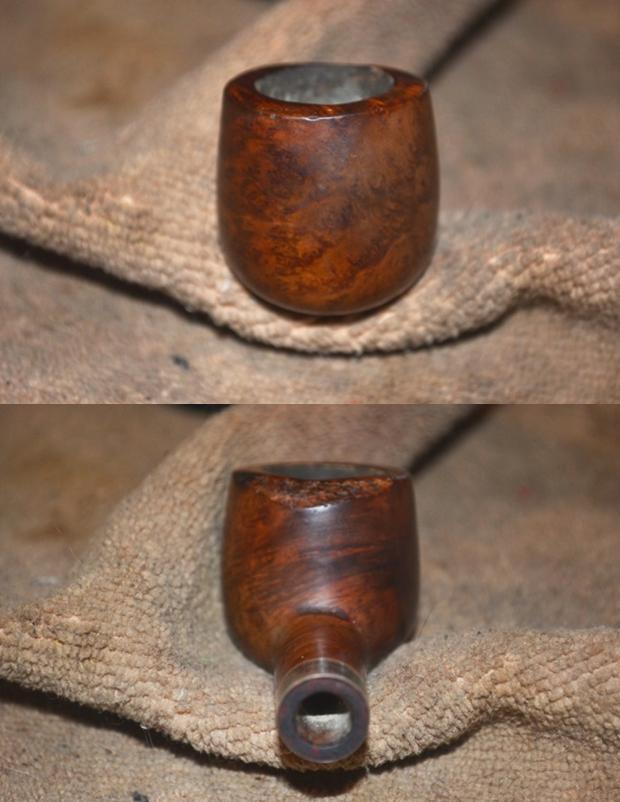
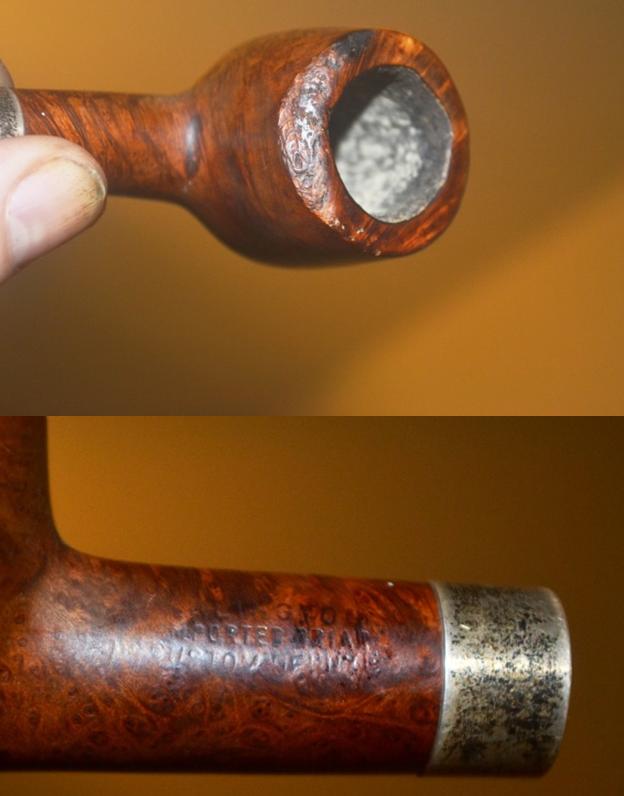
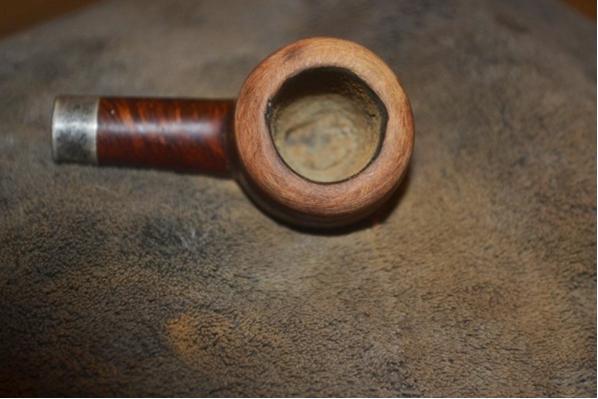
Rob9 I am sure the reason my friends suggested the more drastic surgery is clear from these photos. Whoever put that gash in the rim ought to be brought up before the Pipe Court, have any other potential hostages he might be holding liberated and be forced to register as a pipe offender for the rest of his life, unless, of course, he can prove he is rehabilitated. The latter event is unlikely, as recidivism is high for this offense.

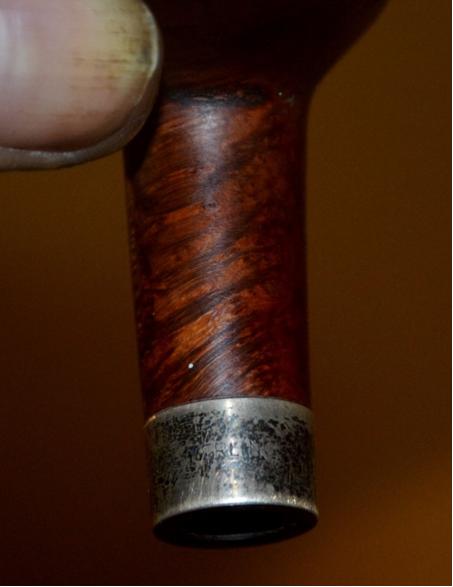
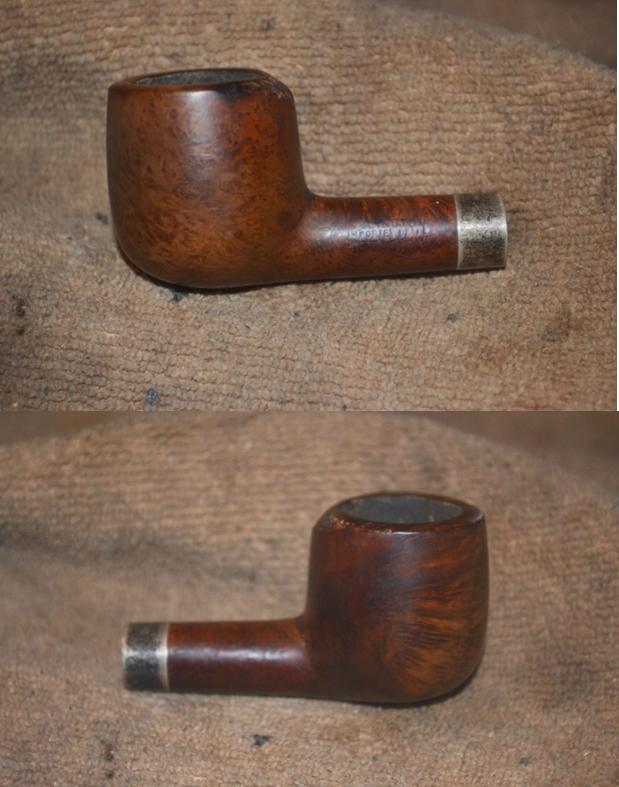
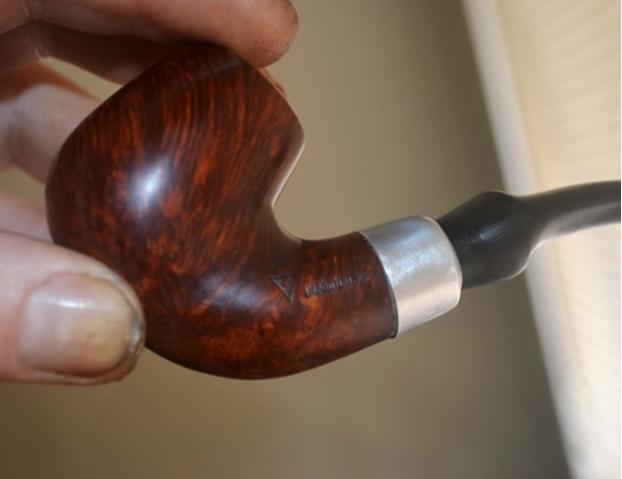
There are several not-so-easy to spot points. The traditional triangle with WDC, for William Demuth & Company (1862-1972), is missing, possibly from a previous owner gripping the bowl so tightly that it rubbed off altogether, or because of its original absence. Steve informs me that not all WDCs have the triangle. Also, the first few letters of Wellington are very faded, but the nomenclature type style is the same as other WDC Wellingtons, such as this System Billiard in the Peterson’s style that I restored a while back.Rob10 Then there is the small STERLING mark on the close-up of the band, if you can make it out in the first group above.
At any rate, as much as the initial challenge appeared obvious – to see if I could pull off rounding the entire rim, thereby eliminating the horrid wound and hopefully leaving the rim even – I decided to clean and otherwise prepare the insides of the WDC first. The chamber appeared to have been well-cleaned, and all it needed was an easy sanding with 320-grit followed by 500. Then I remembered I needed a bit for the pipe and couldn’t even retort it until I found one! That’s okay, laugh all you like. I know I can be a bit spacey sometimes, and besides, laughing at the recollection now does me good.

What I wanted was about a three-inch tapered with the right diameter of the tenon end to fit flush with the shank, or a little bigger. Bigger, I can fix. In fact, considering I’m doing it the old-fashioned way, by hand and sand, so to speak, I’m becoming pretty adept. Of course, all I could find in tapered bits, even replacements (i.e., no brand marks) on other pipes awaiting restorations with which I am not above robbing Peter to pay Paul, had tenons that were way too small, or the diameters of the meeting points with the shank were too small. The pipe is banded, so neither of those options would do.

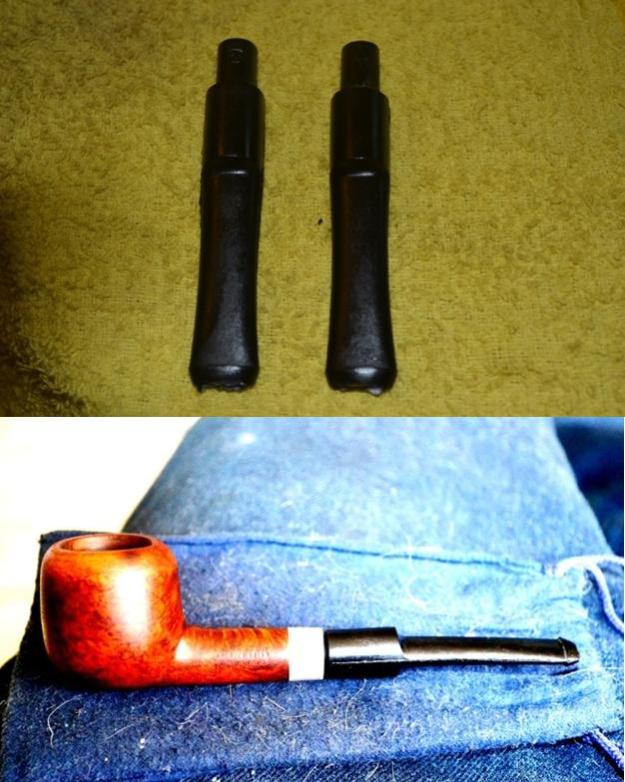
And so I turned to my sure supply of new saddle bits, which were just a touch shorter than I wanted but would do the trick. Here are shots of an uncut saddle bit next to the one I sanded down with coarse paper, identical except for the tenons, and the preliminary fit with the Wellington.Rob11 Keep in mind that the condition of the pipe with the preliminary stem in it was taken after the next two steps, counting the basic fitting of bit to shank and the retort as finished.
I chose 200-grit paper for the task of rounding the rim so as to take more time and get the job done right with some extra work, but not overdo it with one fell swipe. I hope I’ve learned my lesson there! I was surprised at how easy it was to accomplish.Rob12
Rob13

Rob14 Here is the step I suggested above, under the photo of the pipe and bit, which made the wood look so inexplicably polished. Using 500-grit paper, I worked over the entire outer wood. I micro meshed from 1500-grit to 12000.Rob15

Rob16

Rob17 After a moment’s consideration of staining the wood below the rim a little darker, I concluded I would have to make it too dark for there to be any difference from the way it already was and opted to skip it. With that, I realized I only had to finish shaping the bit to the shank before buffing everything on the wheels.

That was when something really creepy happened. I had searched high and low for a tapered bit without luck, but in the meantime did a little straightening up in my office-shop. I had been working on the pipe in the living room with my mobile restoration cart handy and the couch much more comfortable. While looking for an upgrade DVD to an invaluable computer program that remains misplaced, I searched through a large plastic trash bag stuffed willy-nilly with papers, electronic gadgets and whatnot. I came across a nice, black wooden cigar display case with a hinged lid and clasp that I picked up at my tobacconist. No, there was nothing special in the box; it was empty, unfortunately. Then the thought occurred to me how it would make the perfect place to put my loose oddball bits scattered. Most of them were in one place on the bottom shelf, but I had come across some others all over the cart.

Back in the living room, I sat down on the edge of the couch with the box open on the floor in front of me and began to organize the bits in the box, tossing a few that could never be of any use as I went. At last I thought I had them all but checked the top shelf again, as I had before while looking for a tapered bit. I was about to call it quits when I spied two bit lips poking out from under a piece of sandpaper, and…well, I could not believe my eyes. One of them was tapered and appeared to have about the right size tenon. With near reverence, I tried it in the Wellington. The fit was a little loose – just enough to add a layer of black Super Glue, I figured. All it needed other than that was the slightest of sanding just below the lip with 320-grit paper, micro meshing and buffing on the wheel with red and white Tripoli.

Knowing it would be a perfect fit when the glue dried, I still could not stand having to wait another night to see. Of course that’s a figure of speech relating to patience, which I am normally all about, and so I physically survived the night. I was so worn out I even slept like a baby until morning came, and my first thought, like a kid at Christmas, was the present waiting for me on the cart. All I can add is that the black Super Glue had dried on the tenon in perfect shape, and the bit twisted to an exact, flush match with the shank.

Some of you may think this foolish, but I found breathing difficult. Emotion welled up in me again, and to fight it off I closed my eyes. I said out loud, “I’ll be darned [or another similar word]! Thank you, Louis.” He thought I didn’t believe in anything he ever talked about but told me many times he would be keeping an eye on me after he died. I believe he is.

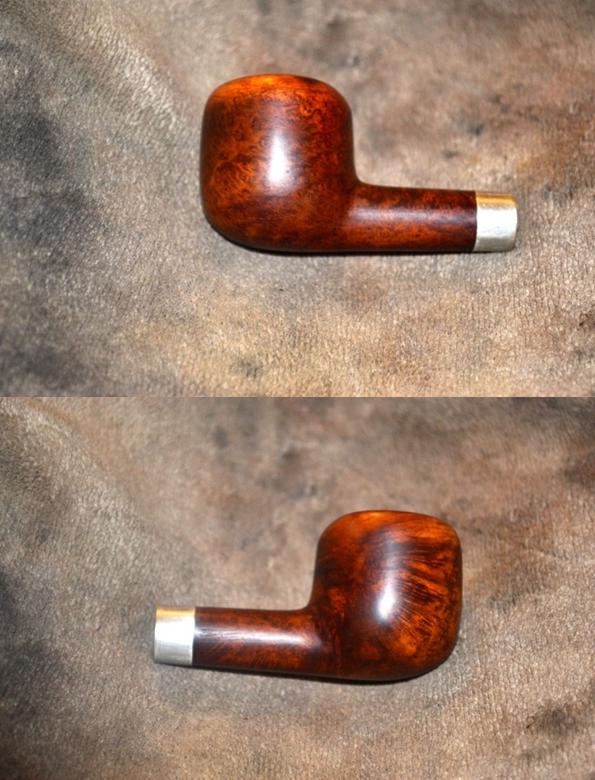
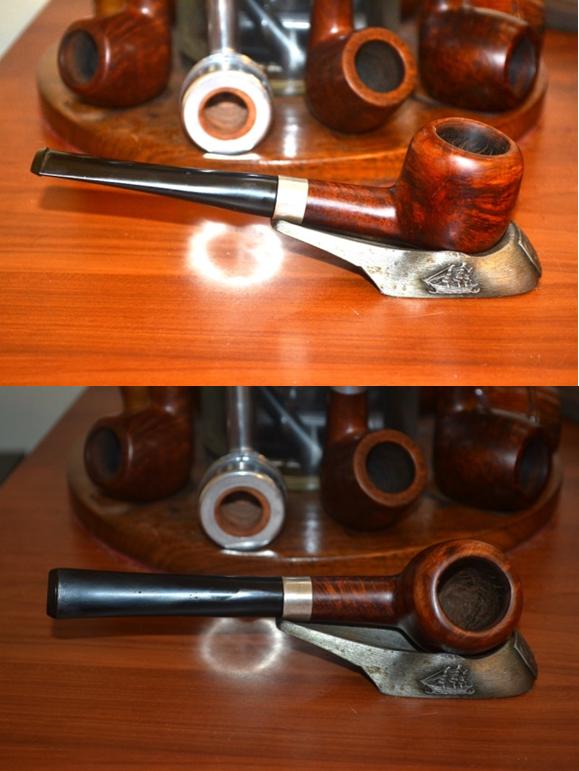
Ready to finish this relaxing project, I buffed the bowl with red and white Tripoli, White Diamond and carnauba, using the dry wheel as usual between each, and then rubbed down the whole thing with a soft cotton cloth.Rob18
Rob19

Rob20

Rob21 CONCLUSION

His vision, from the constantly passing bars,
has grown so weary that it cannot hold
anything else. It seems to him there are
a thousand bars; and behind the bars, no world.

As he paces in cramped circles, over and over,
the movement of his powerful soft strides
is like a ritual dance around a center
in which a mighty will stands paralyzed.

Only at times, the curtain of the pupils
lifts, quietly–. An image enters in,
rushes down through the tensed, arrested muscles,
plunges into the heart and is gone.
― Rainer Maria Rilke (1875-1926), Austro-Hungarian poet, in “The Panther”

This was one of Louis’ favorite poems. I was surprised when he revealed this insight into his personality, oh so long ago it seems now, back in the happy autumn days that are no more, to paraphrase another poet’s description of the feeling of ennui. Louis liked those somewhat morose lines of verse, also, the first time I spoke them to him from memory, and several times later asked me to repeat them. I used to recite the words in gushy, over-dramatic tones dripping with the contempt I thought I had for them. But in verbal repetition, I overcame that bad habit, for there was a reason I could recall the brilliant if brief sample of prose from a high school sophomore lit class that really was a long time ago.

For most of the 15 years I knew him, Louis had an intense fear of dying appropriate to someone with an equally free spirit of the simple joy of living that was stolen from him. I tried to reassure Louis, over and over again, that he was not there yet based on my knowledge of the progressively more horrible stages of the disease he came to face almost every waking hour. My mistake was not expecting the unnatural, man-made obstacles that hastened, for him, the day no one truly wishes to see. I am beginning to be at peace with the knowledge that Louis no longer suffers as he did for so long – that he is in a better place, despite my best efforts; and I am still here, to enjoy my life the way my friend wanted me to do, and to fight the good battles. Now I understand that tears are seldom idle.

Just a few more words with some illustrations to sum up: compare the photos below, one antique and the other still fresh.Rob22 That’s Rilke – somewhere.

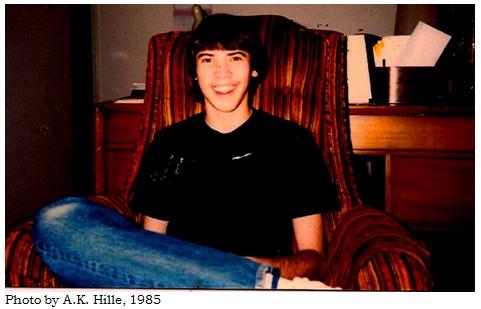
And just one more photo of Louis, age 16, happy at home with his parents.Rob23
MARILYN MANSON LINKS
http://www.rollingstone.com/culture/news/columbine-whose-fault-is-it-19990624

https://www.youtube.com/watch?v=9vyZK_CKkZo Marilyn Manson’s first David Letterman appearance – yes, he was invited back…and back!