Tag Archives: bowl – refinishing

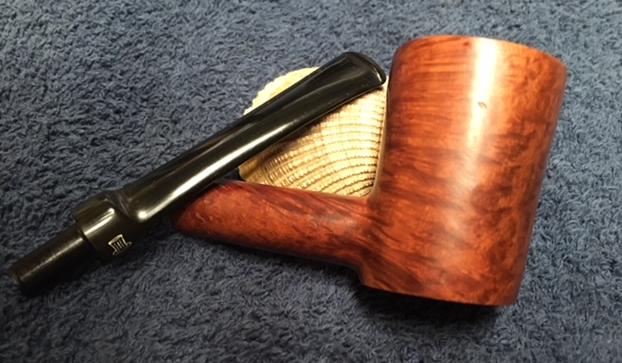
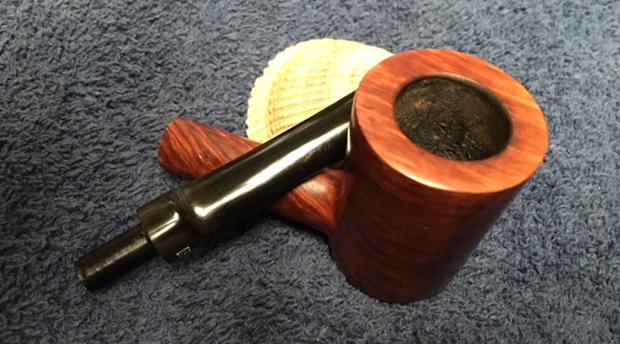
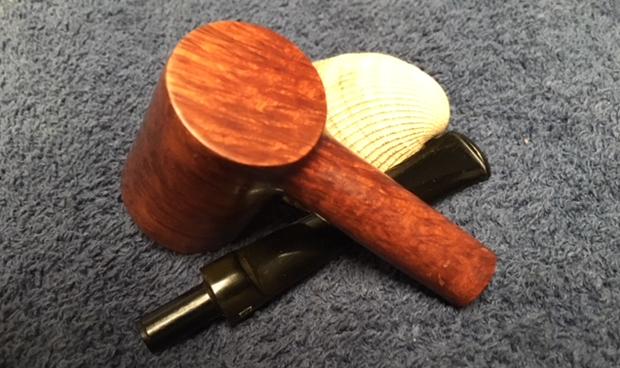
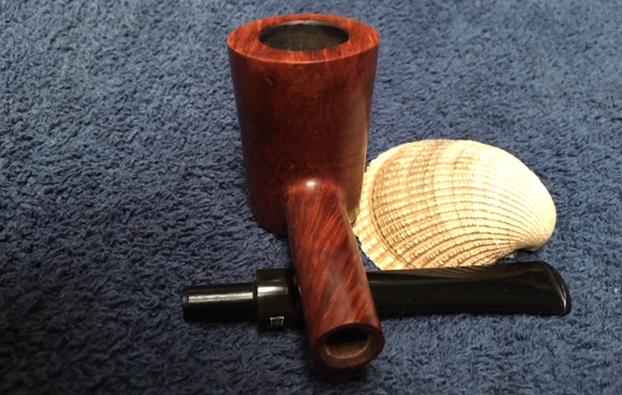
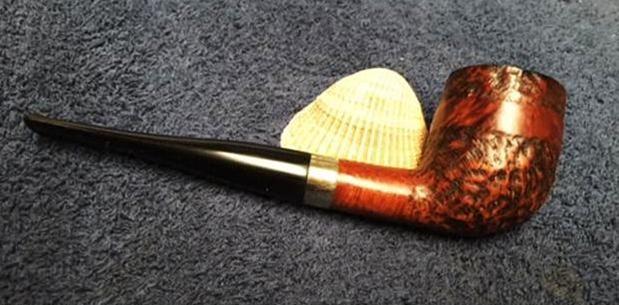
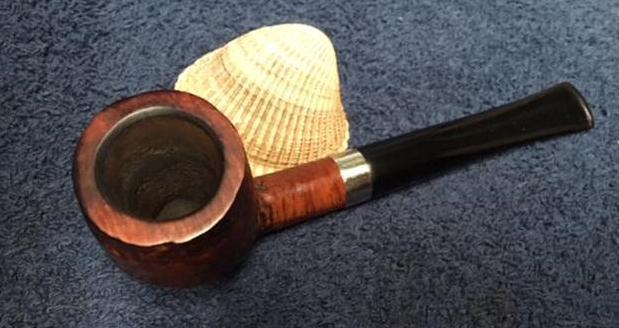
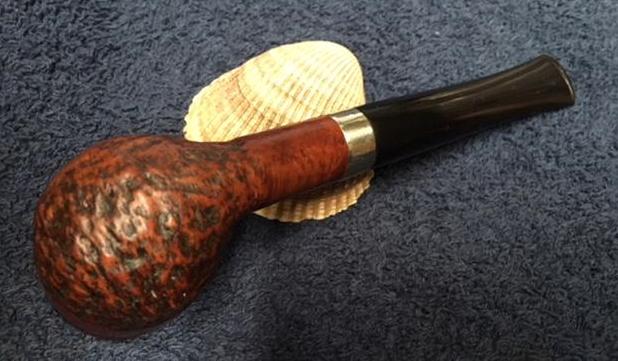
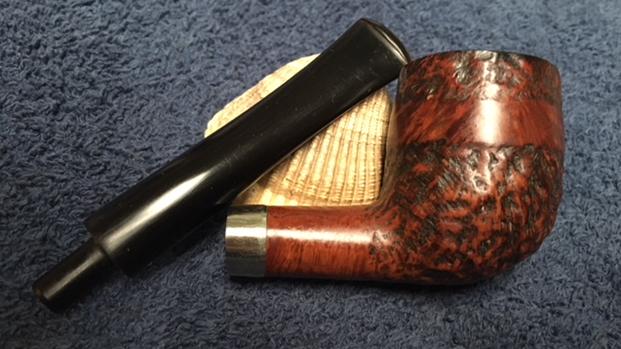
Breathing New Life into a Royal Esquire French Made Poker


Blog by Steve Laug

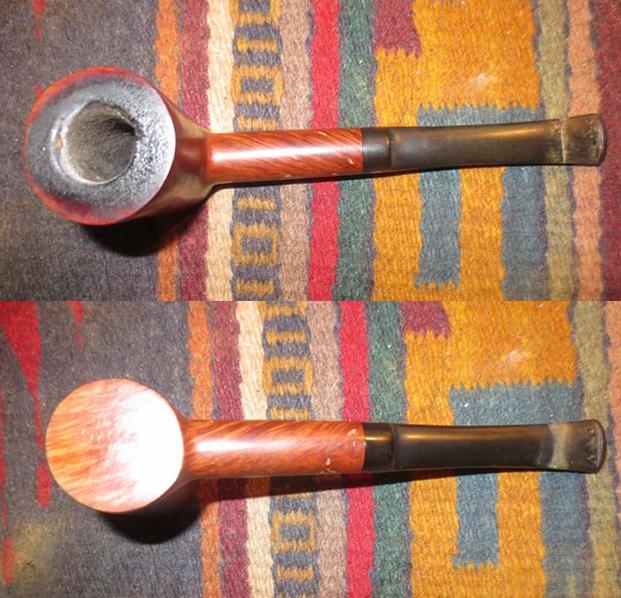
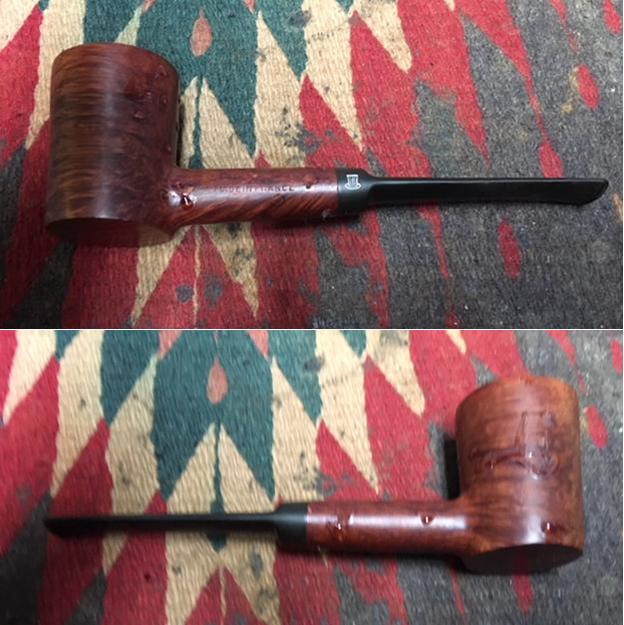
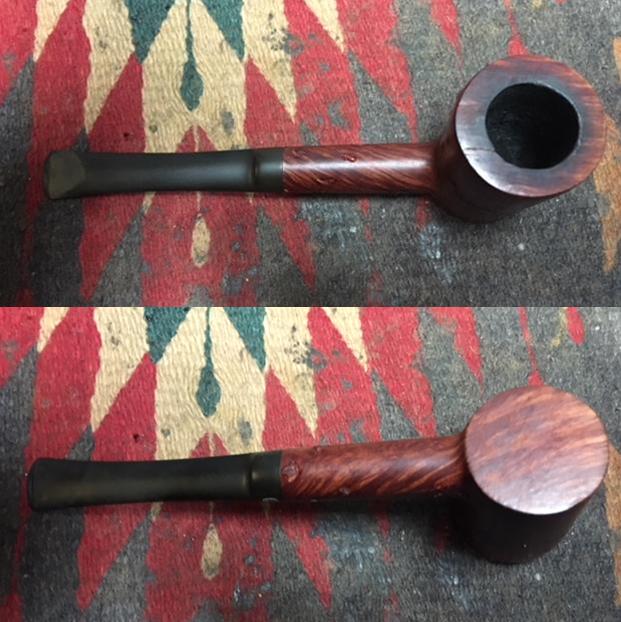
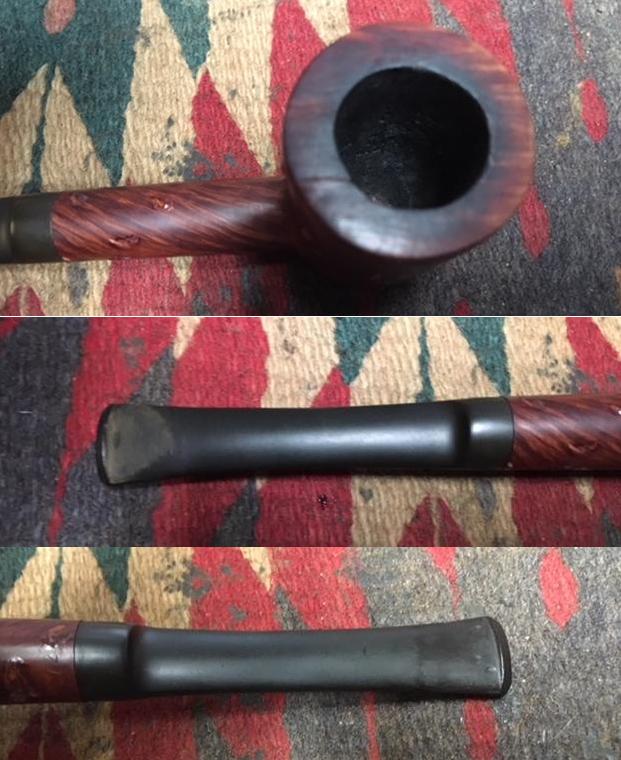
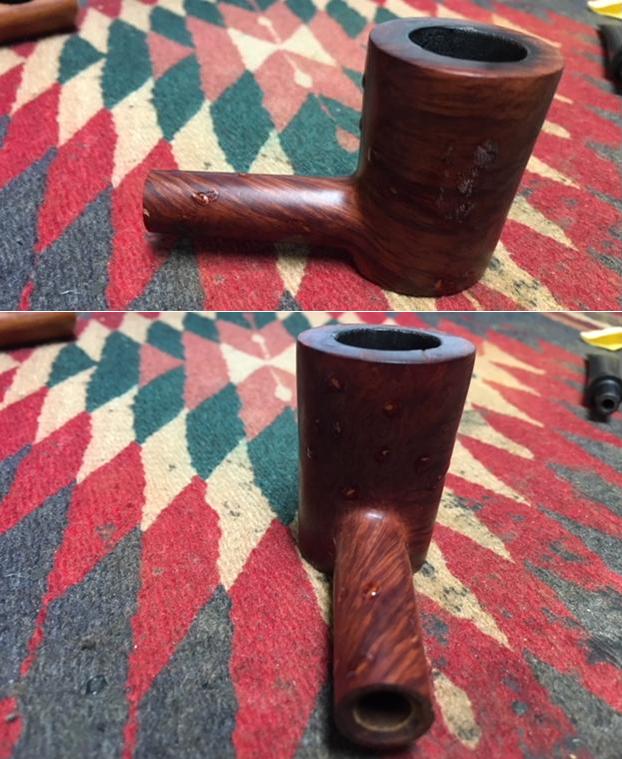
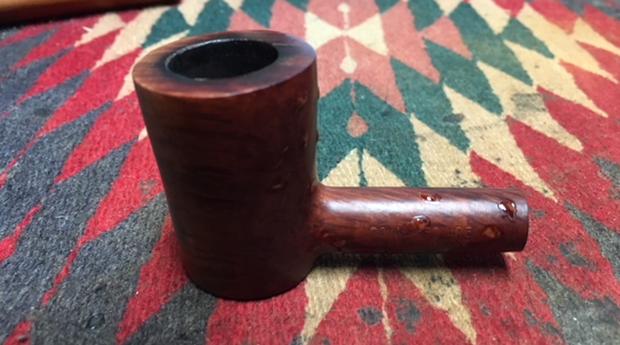
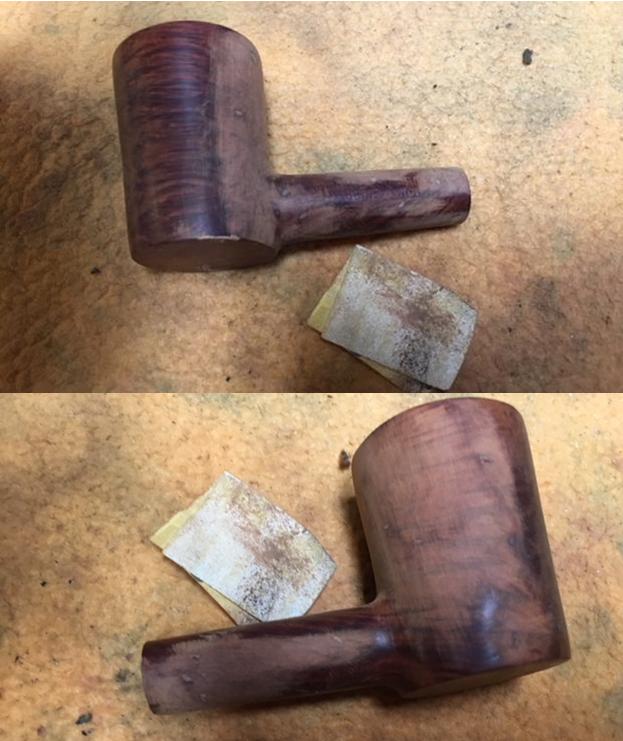
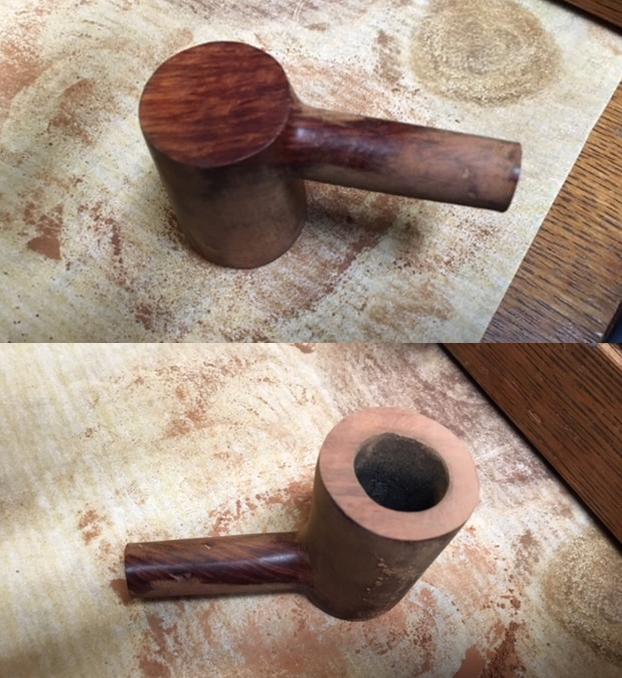
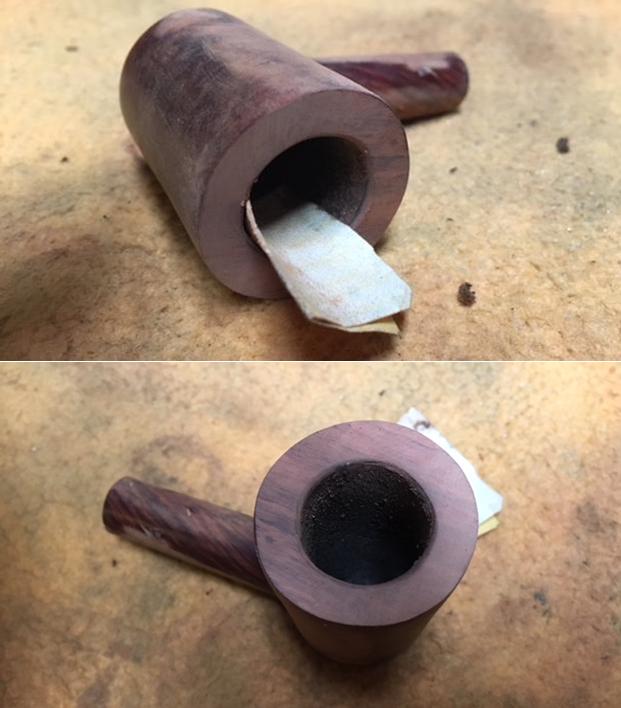
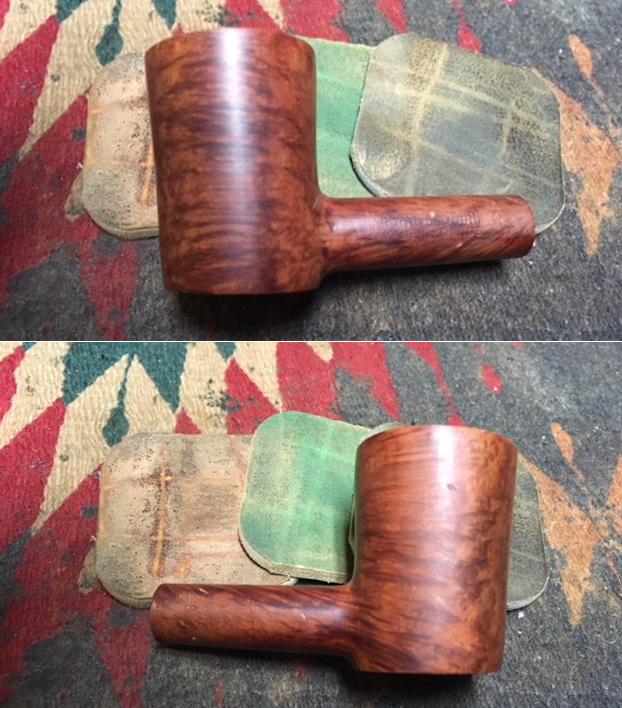
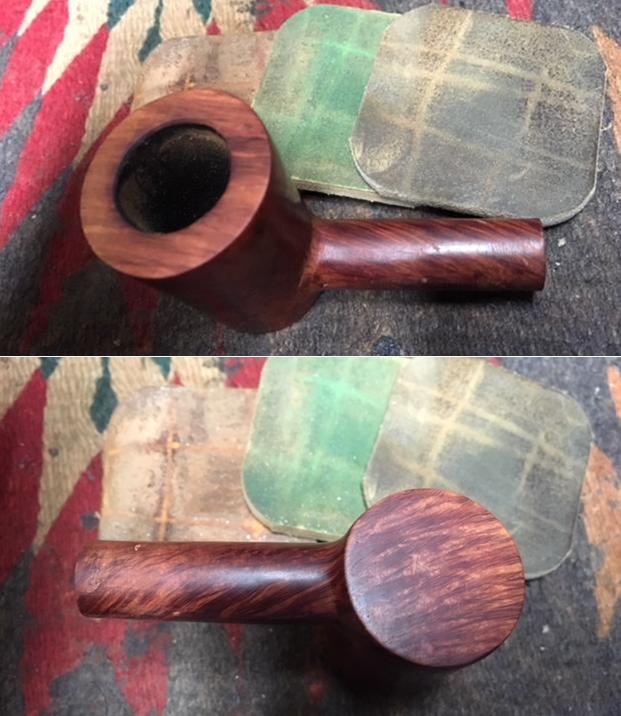
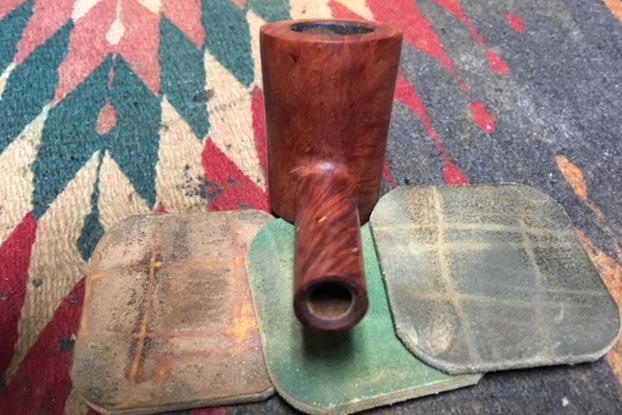
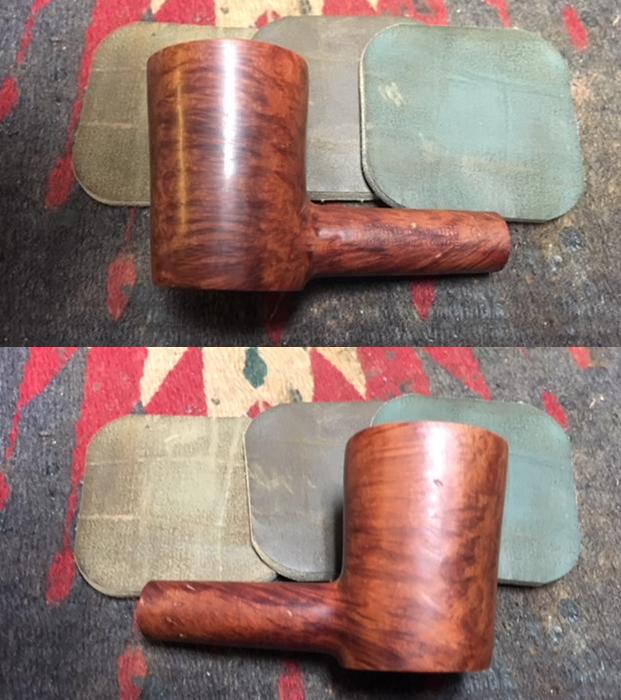
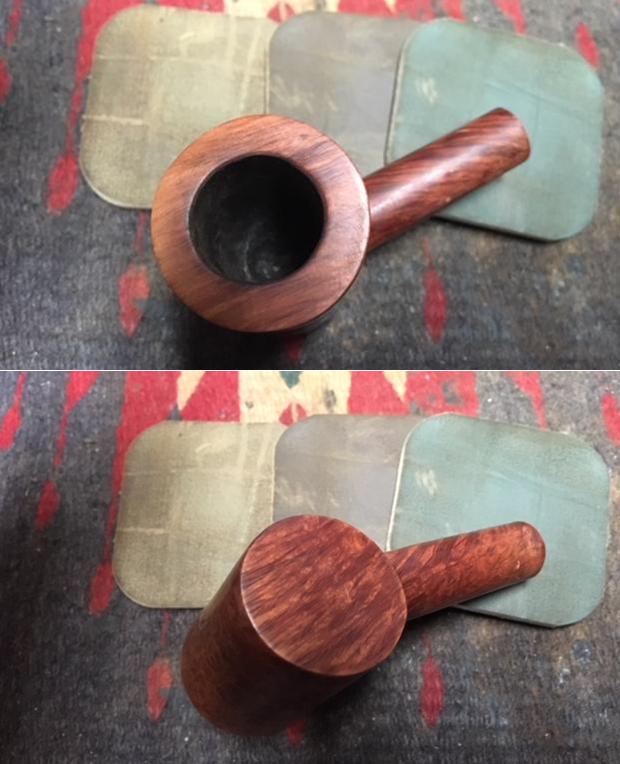
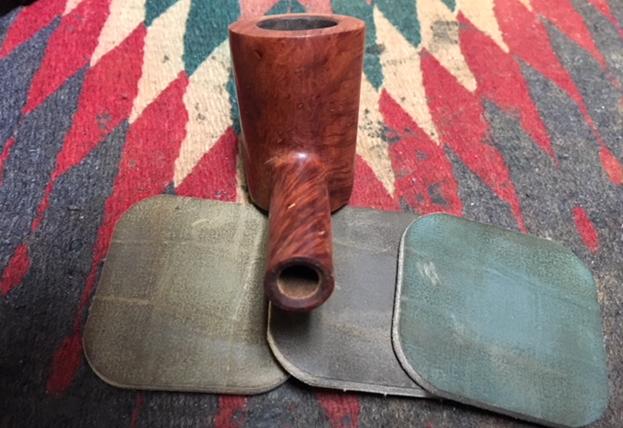
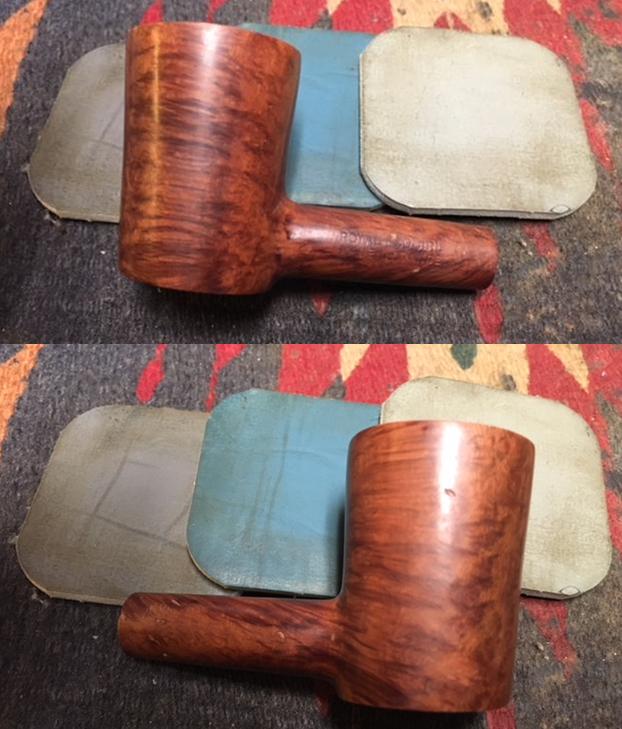
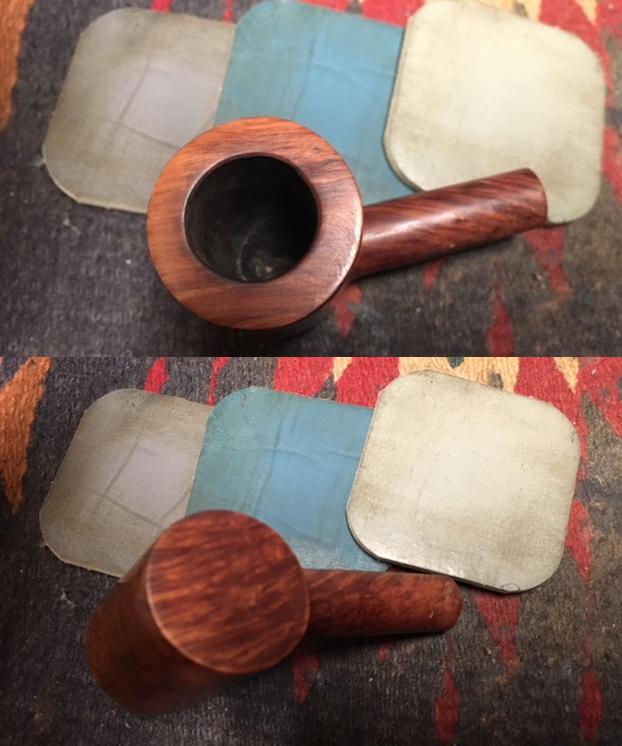
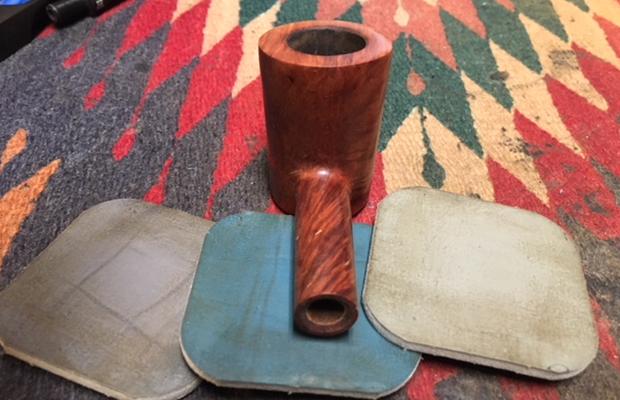
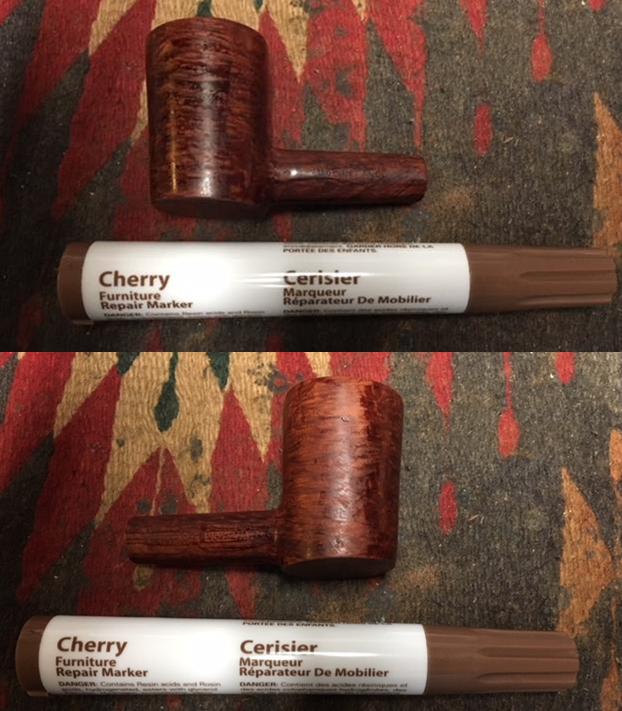
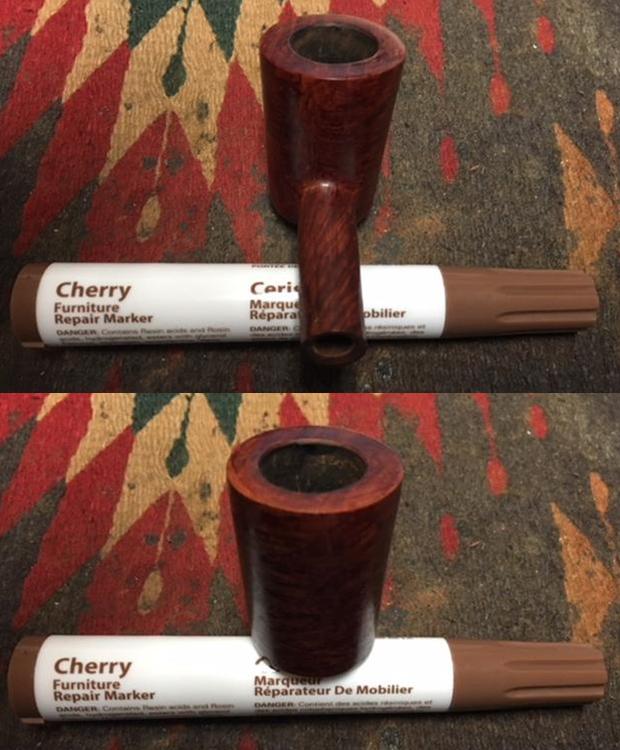
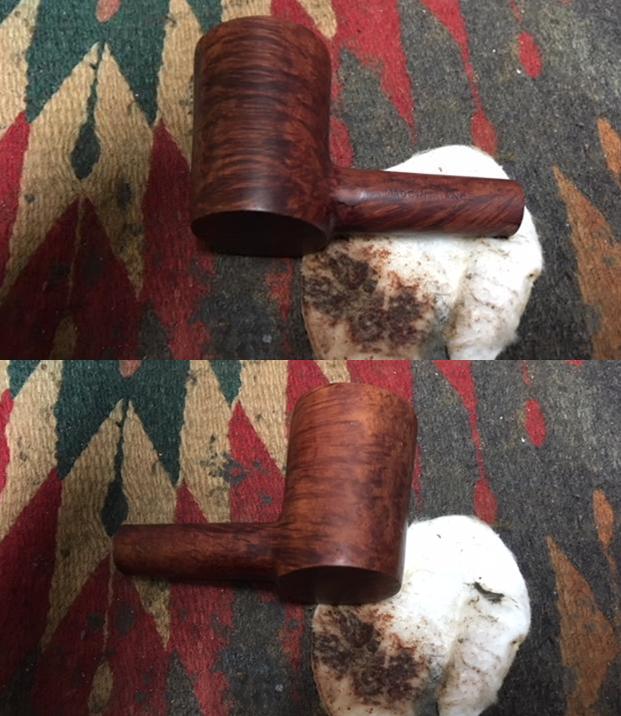
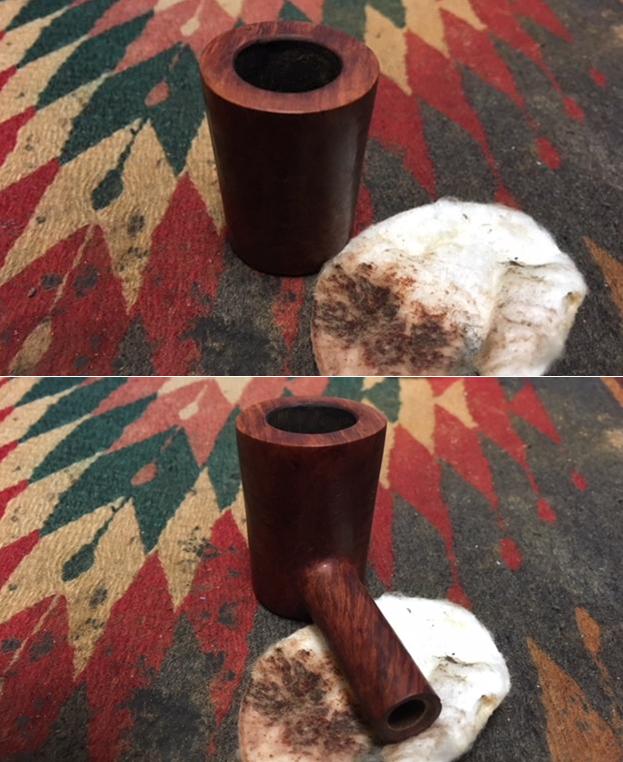
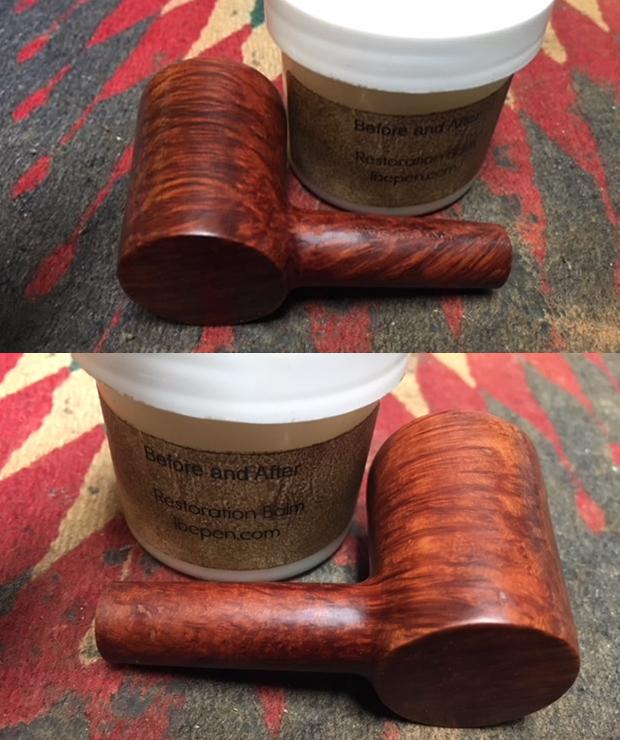
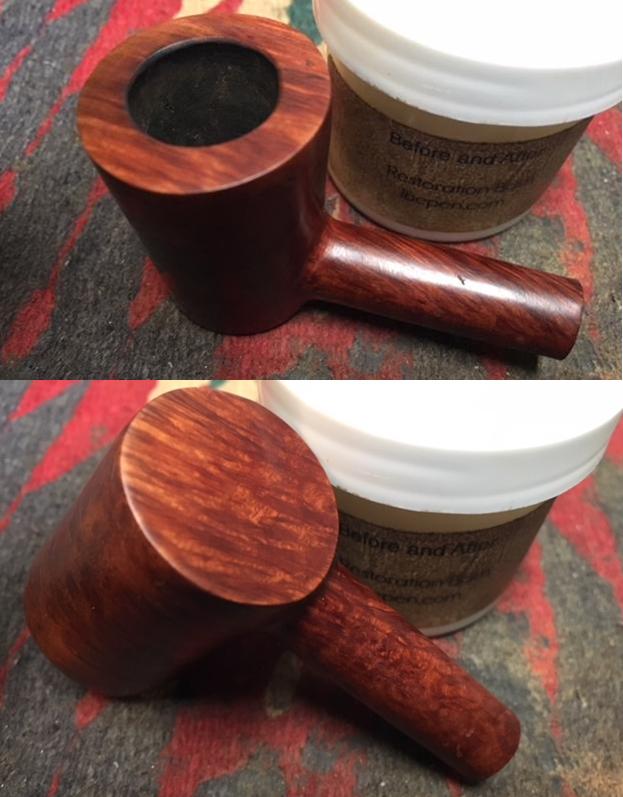
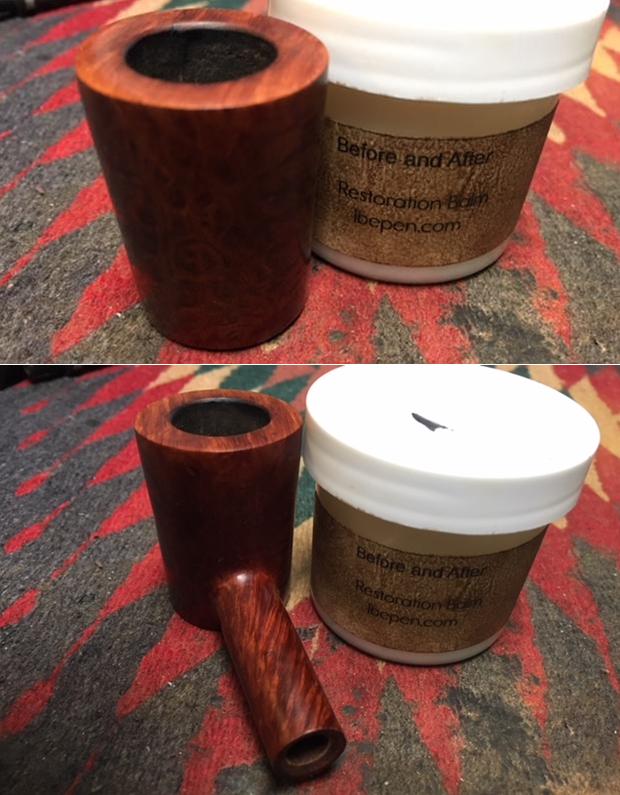
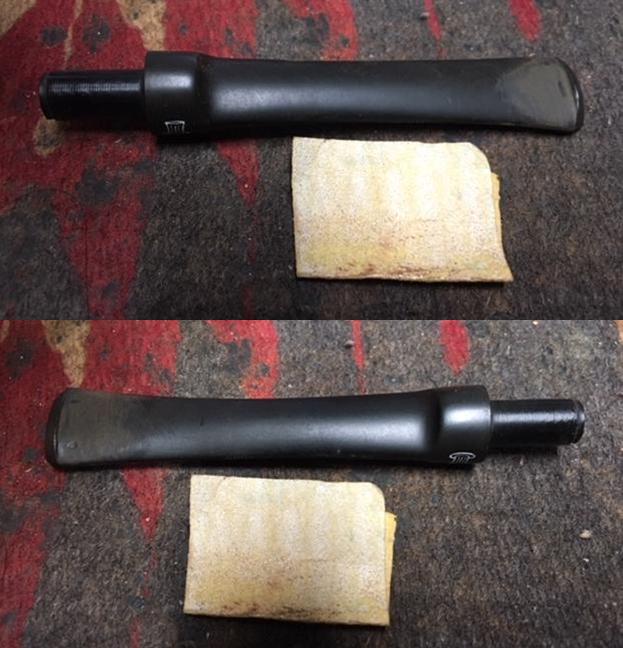
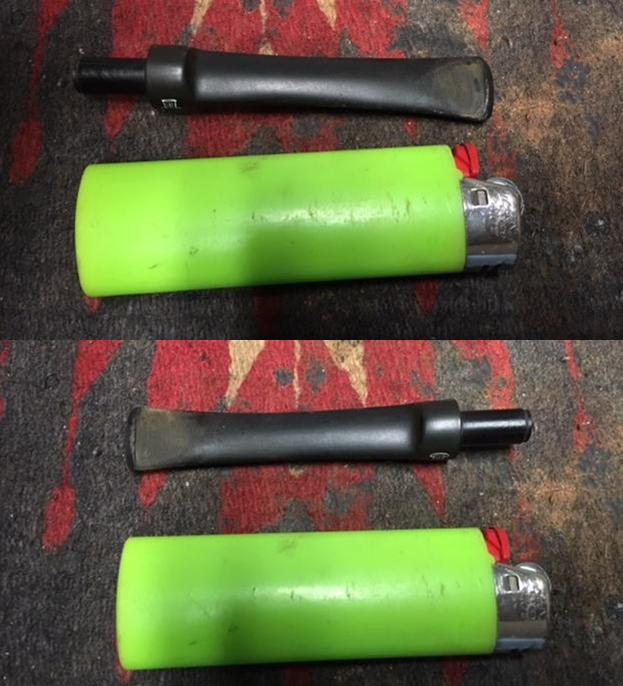
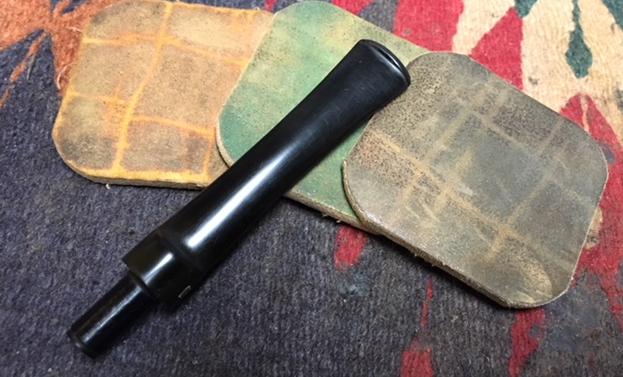
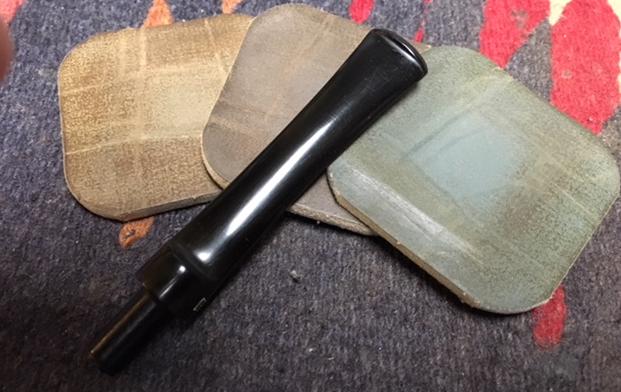
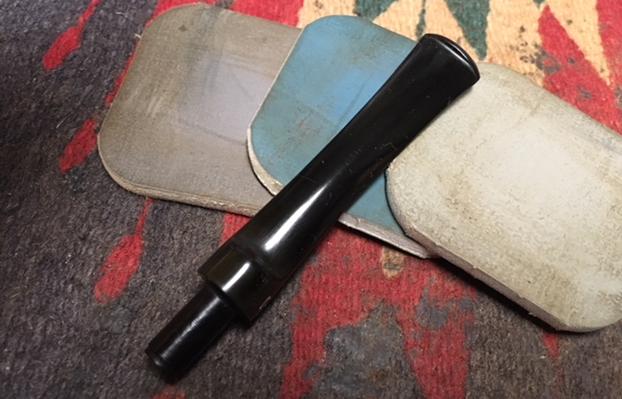
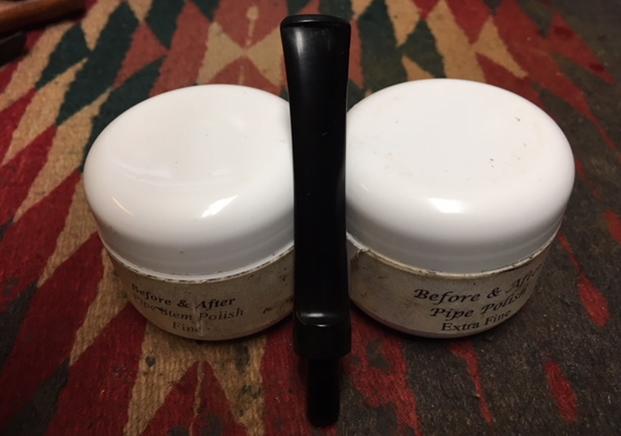
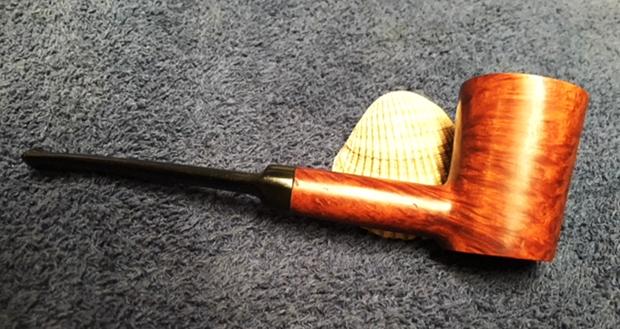
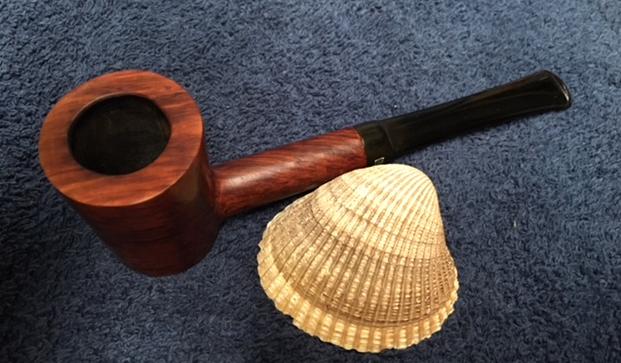
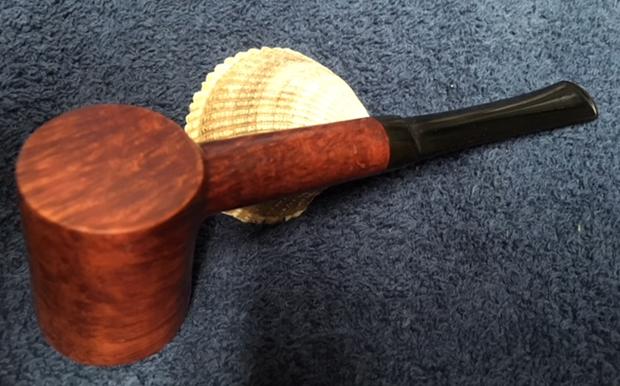
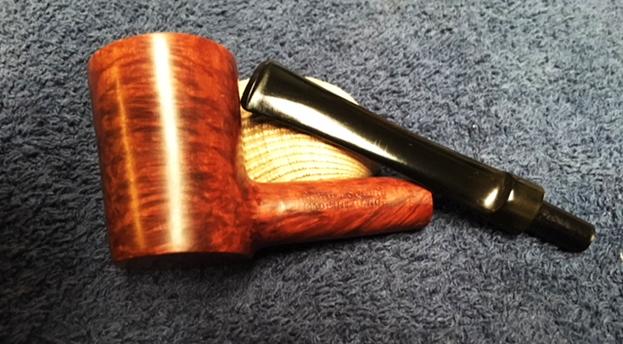
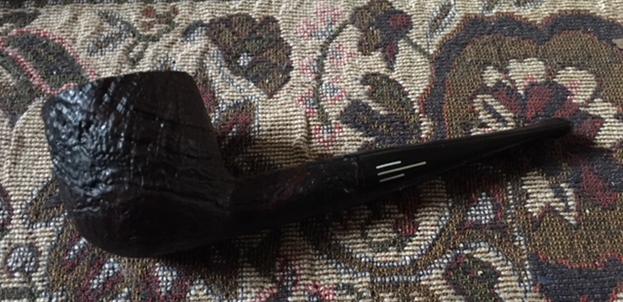
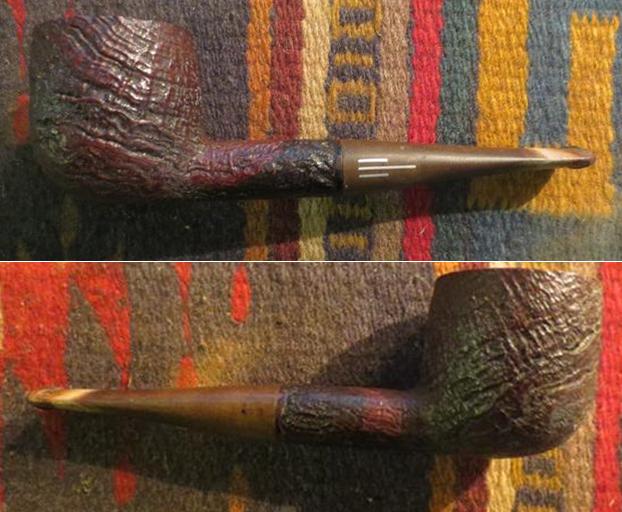
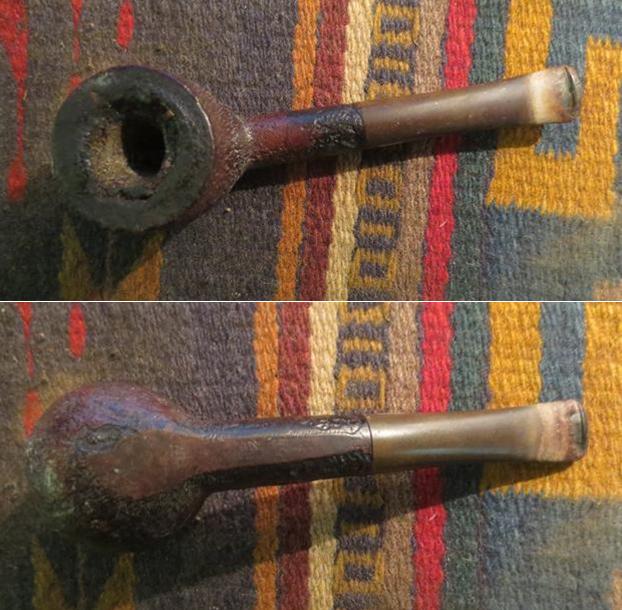
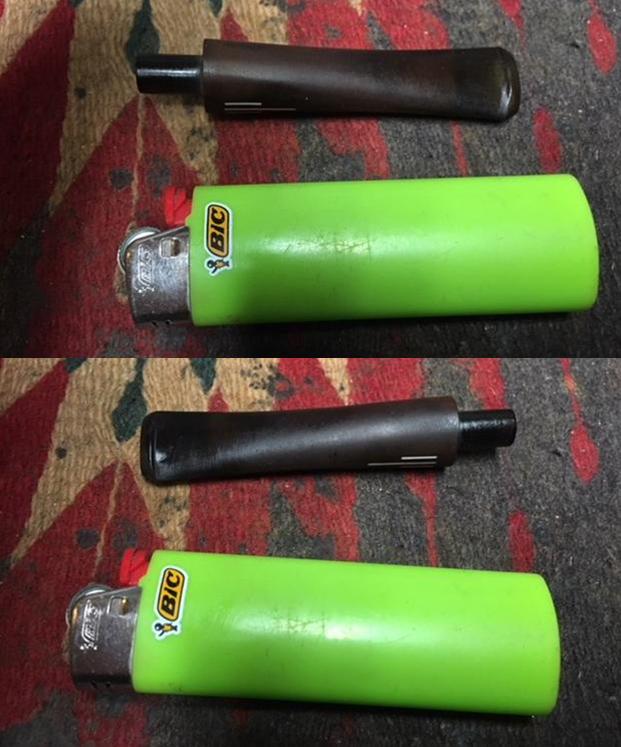
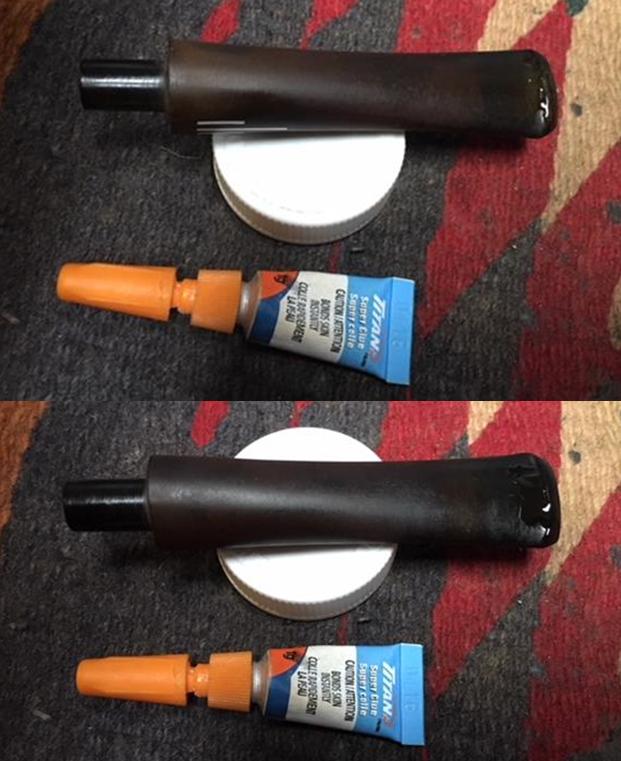
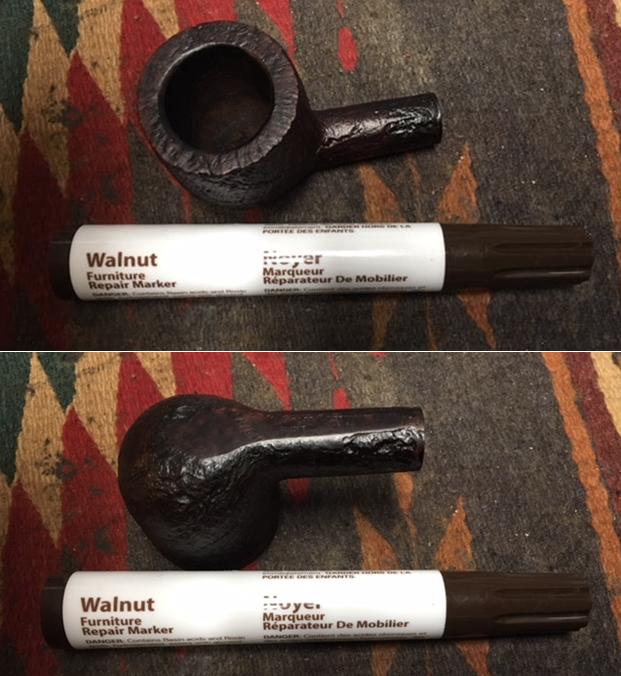
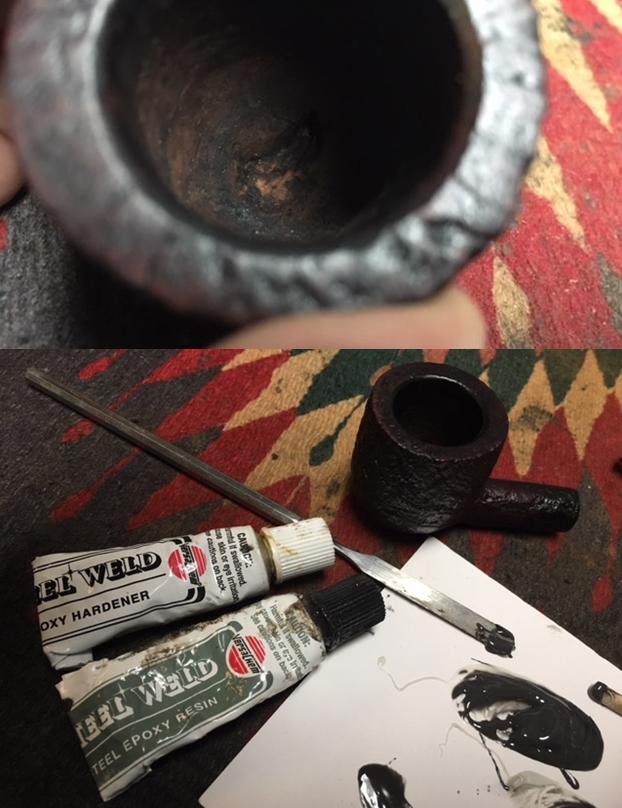
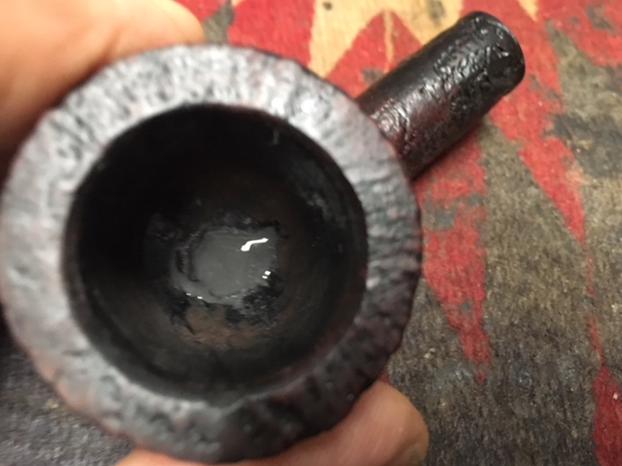
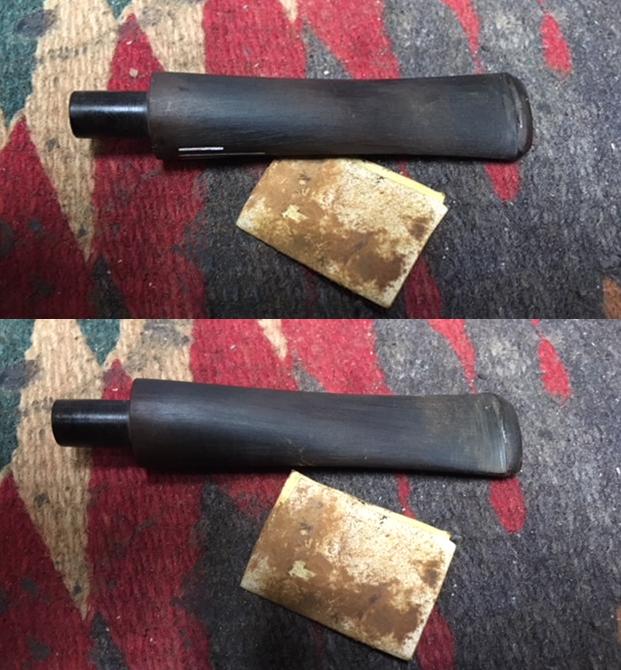
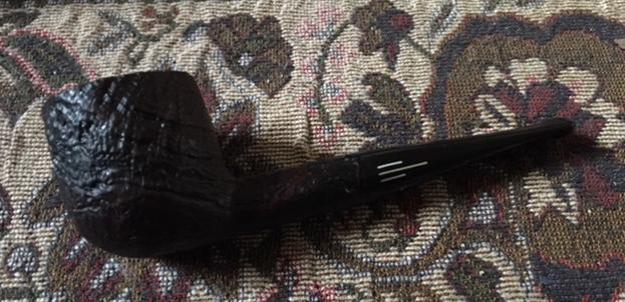
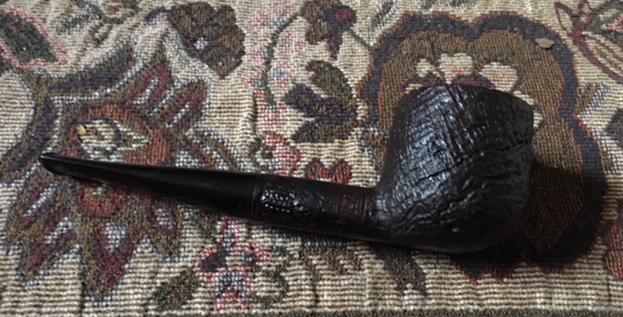
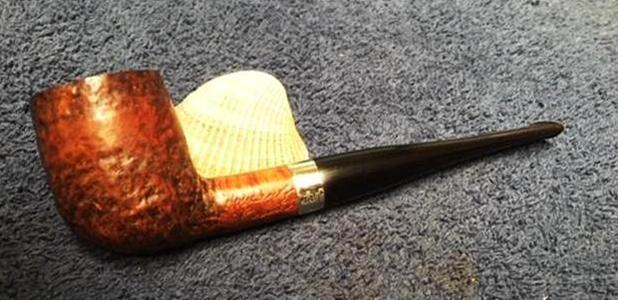
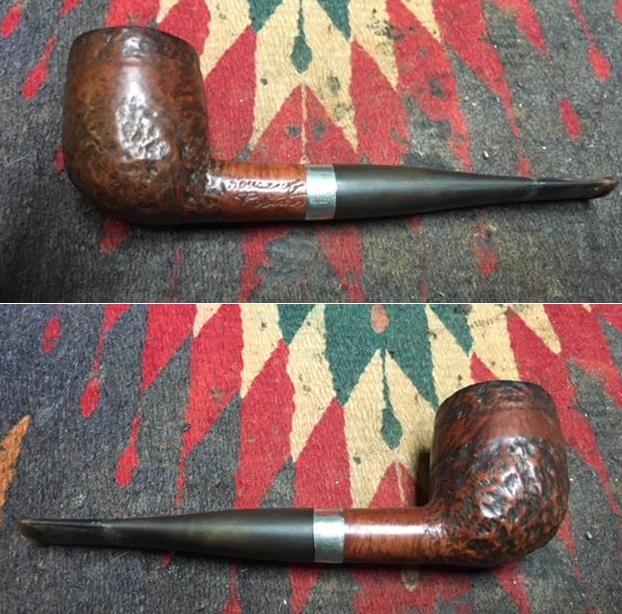
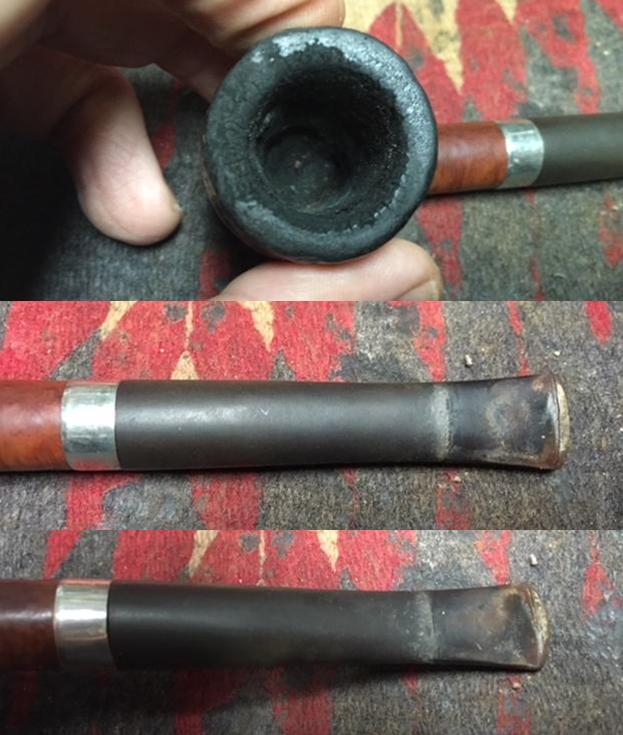
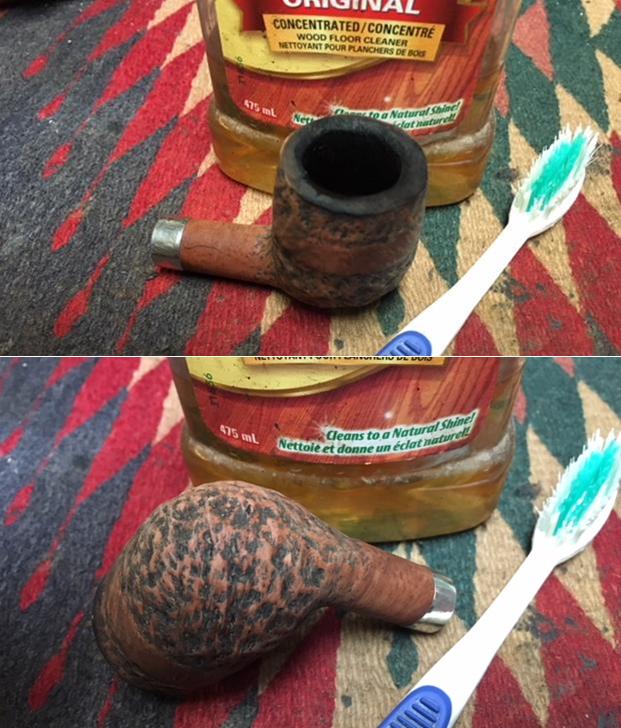
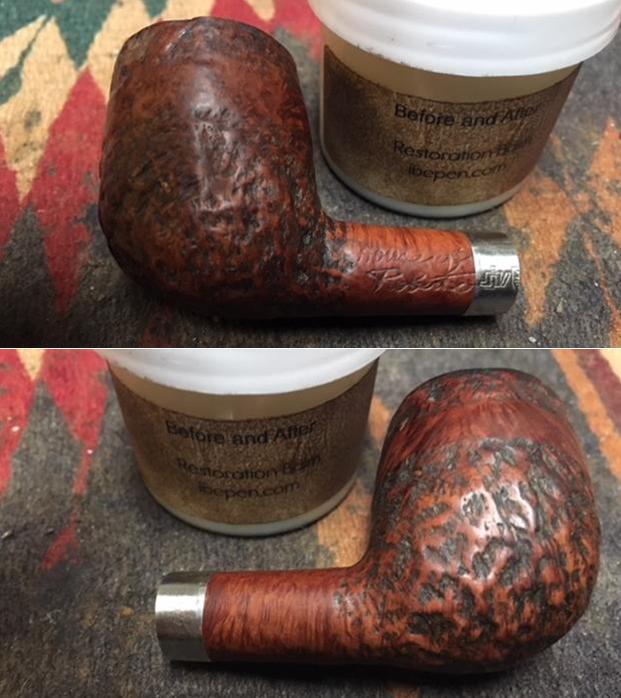
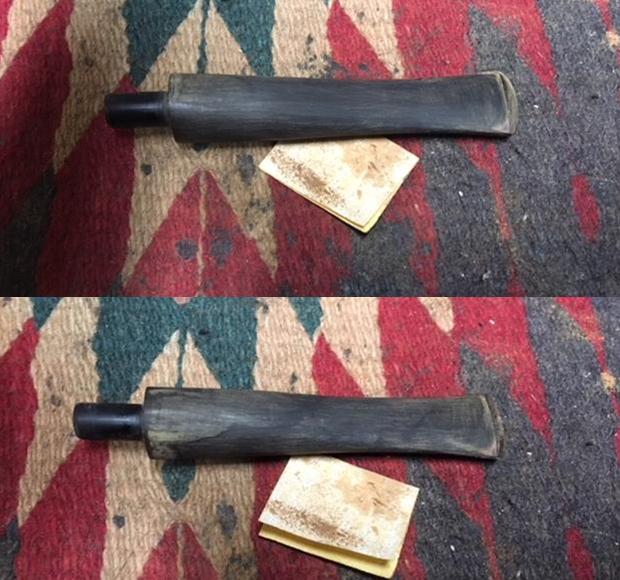
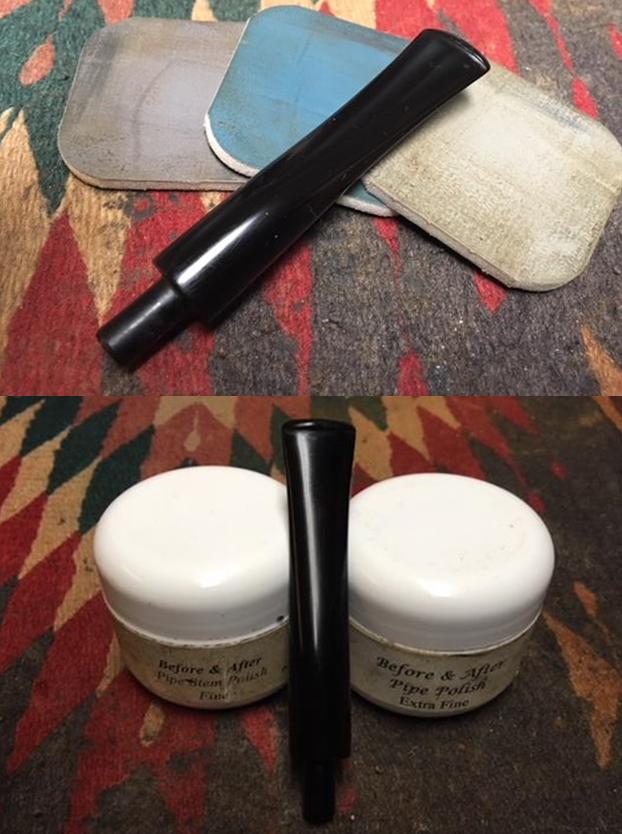
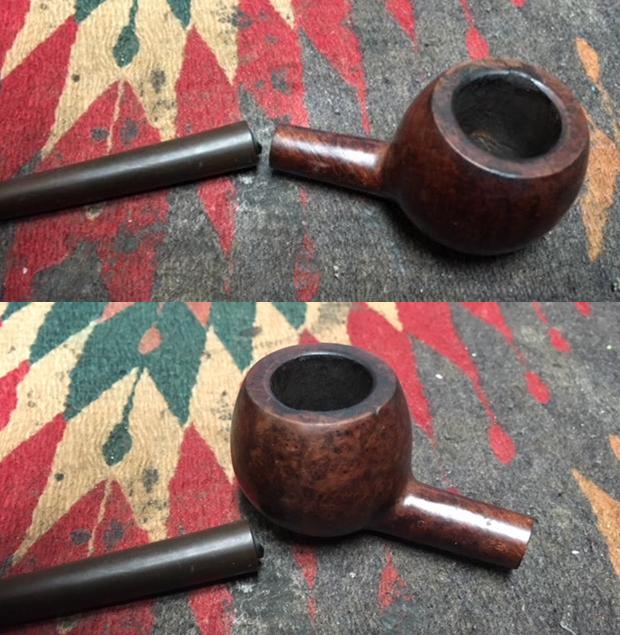
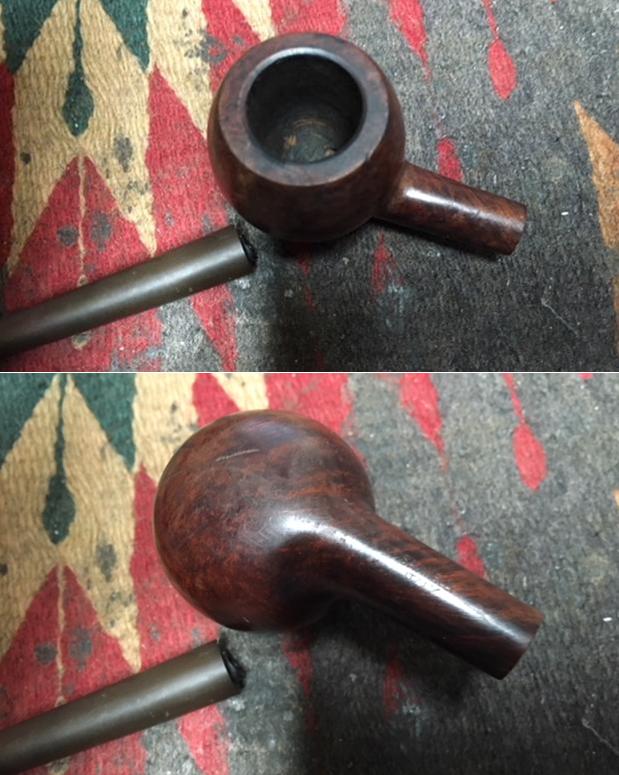
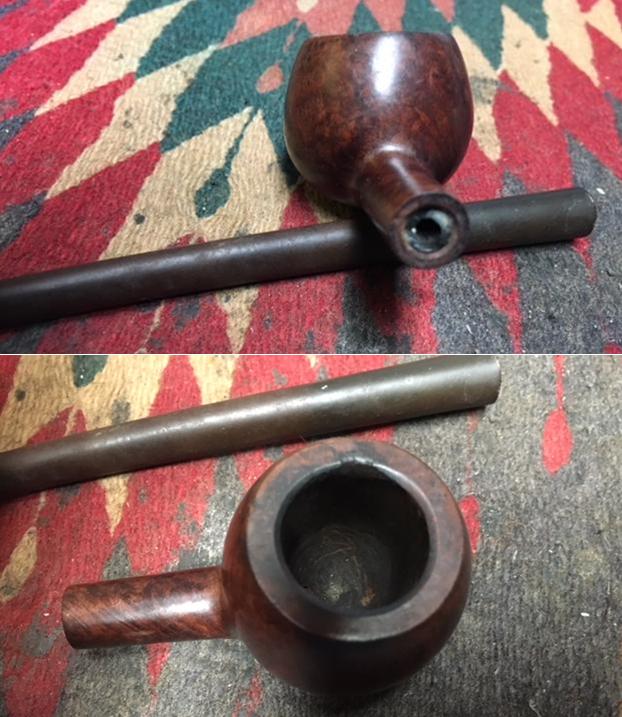
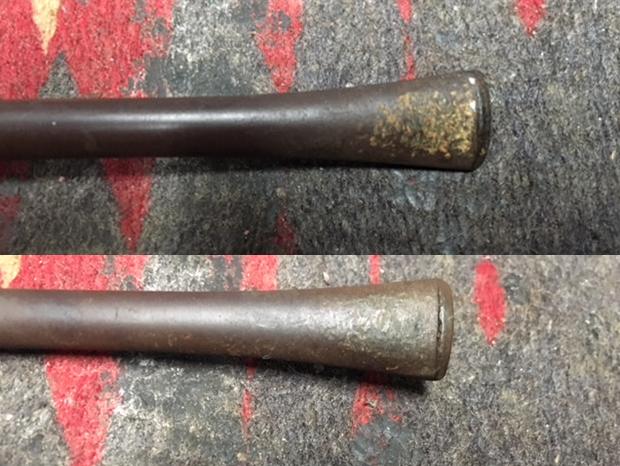
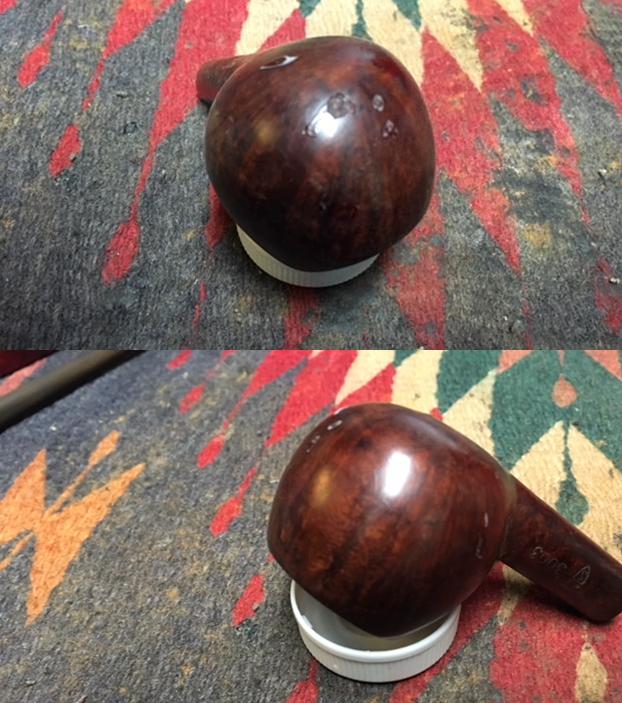
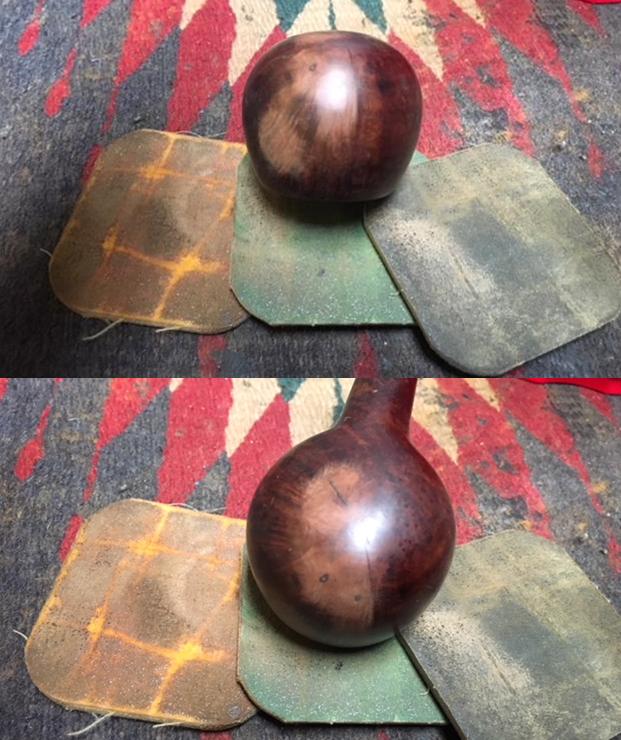
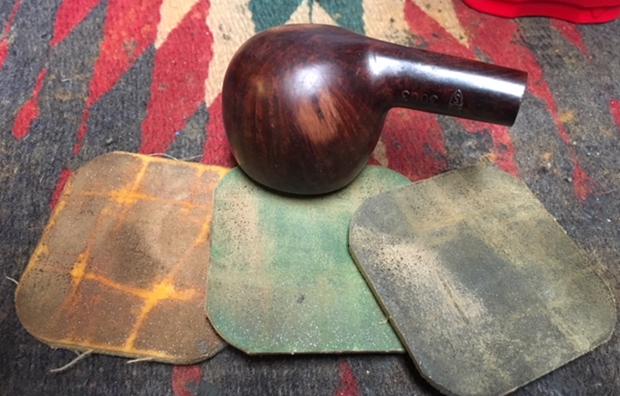
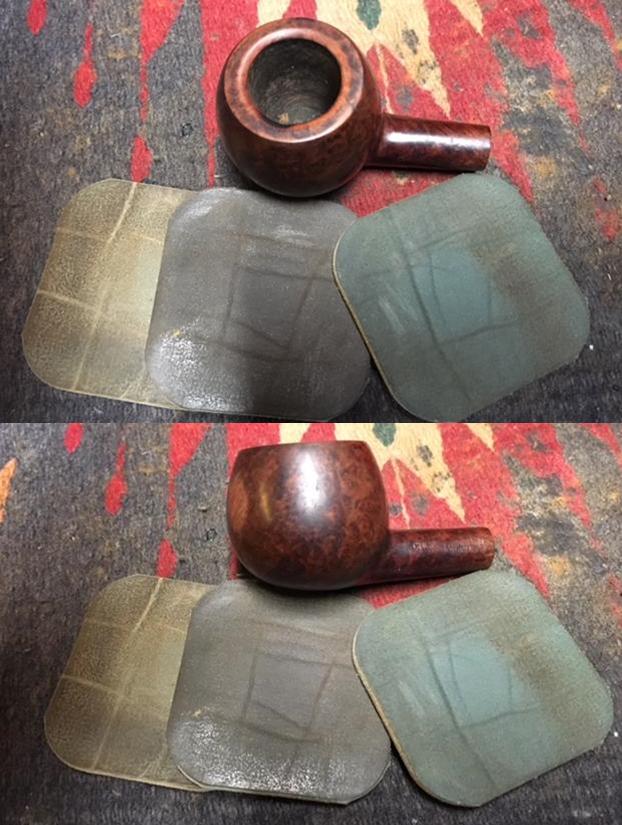
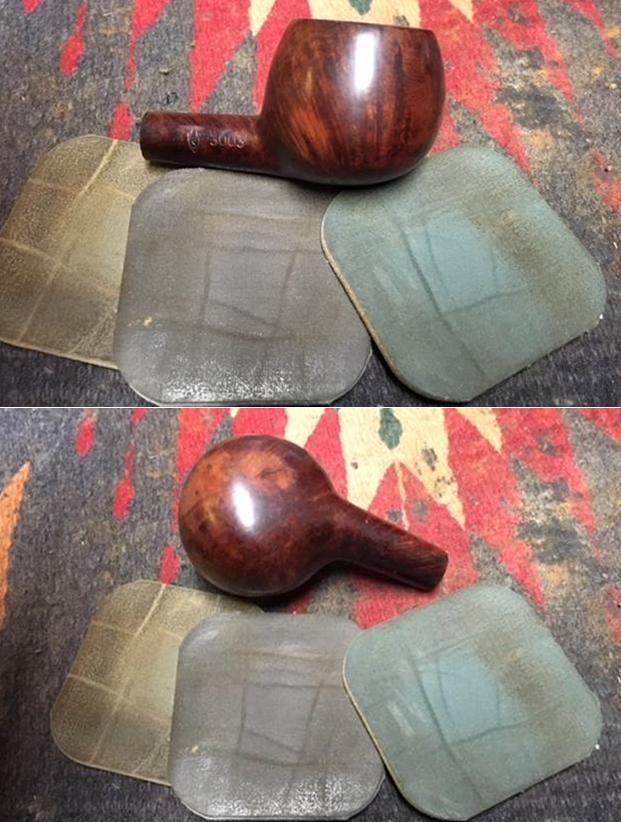
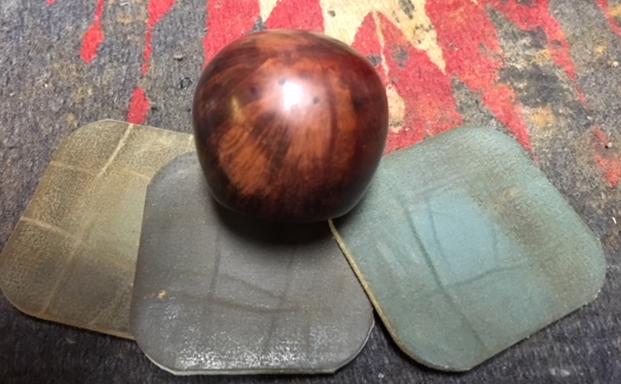
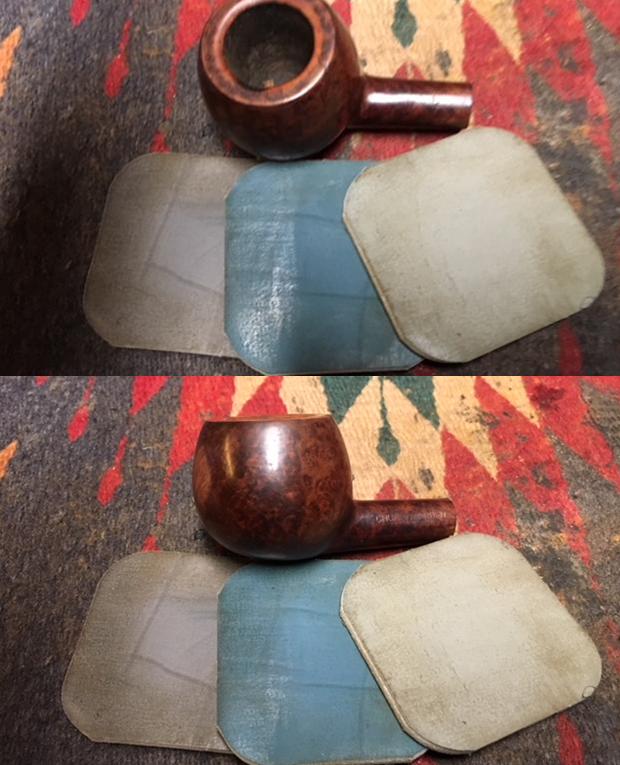
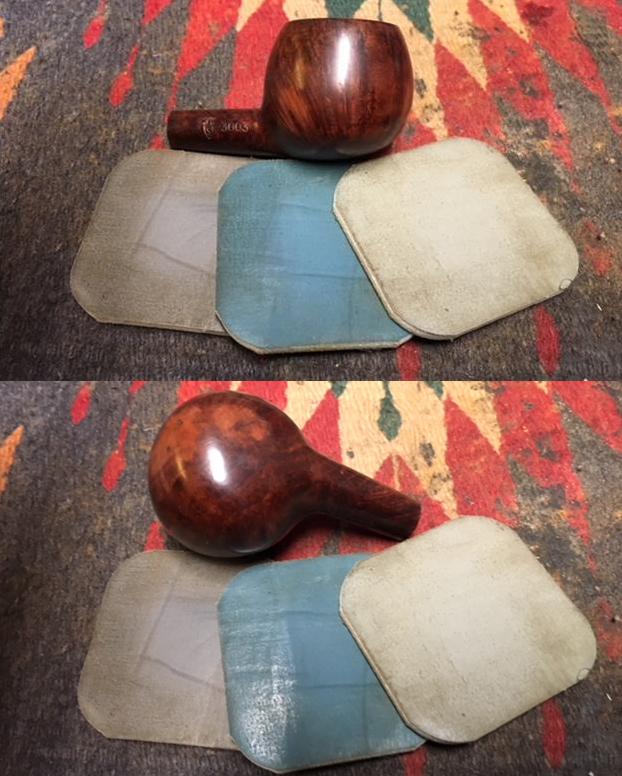
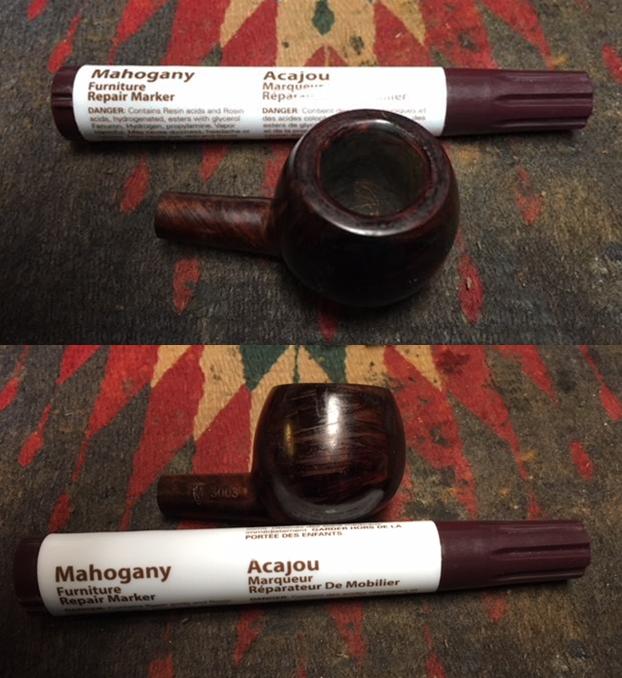
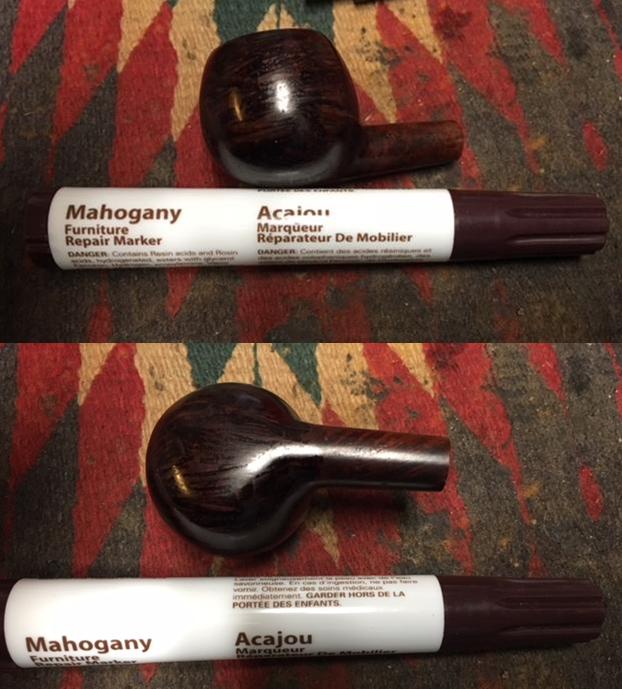
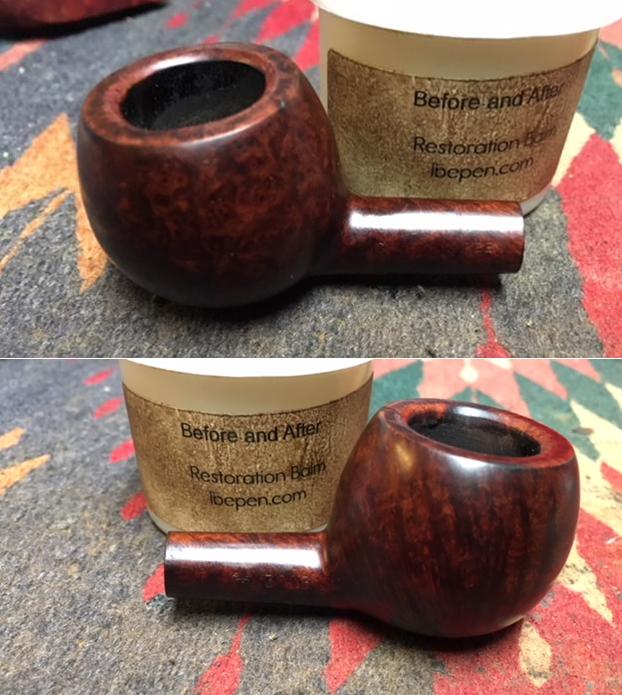
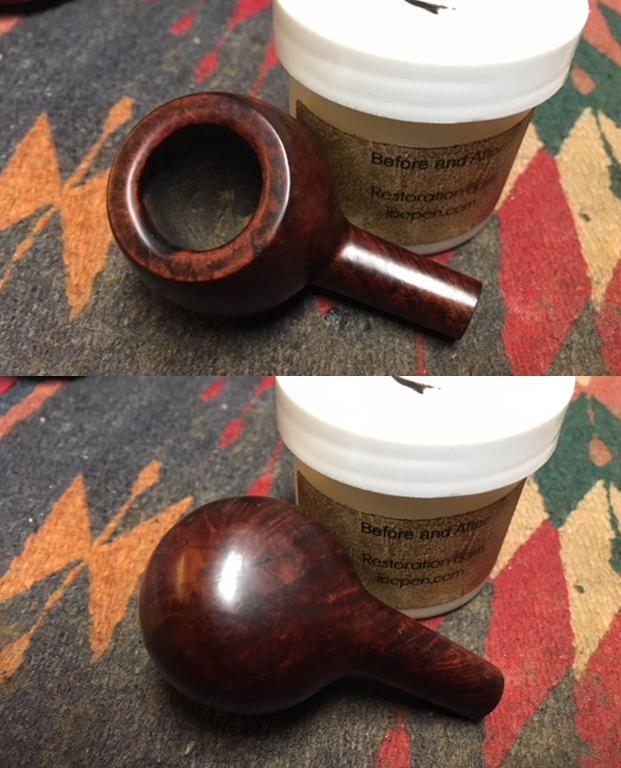
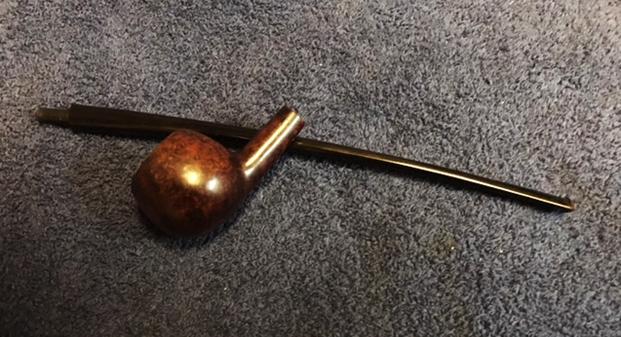
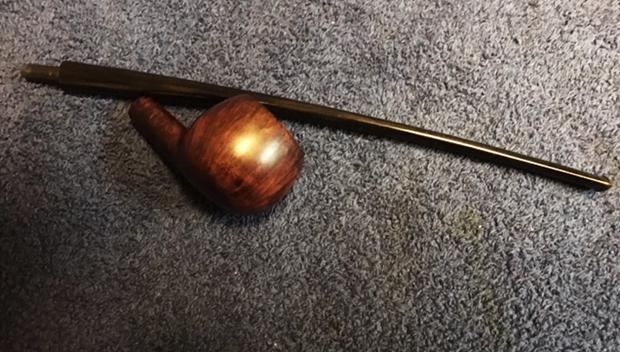
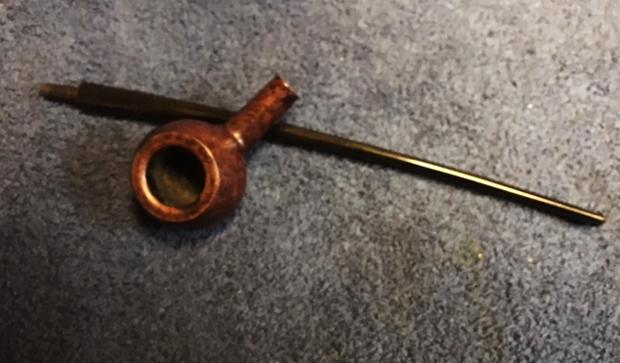
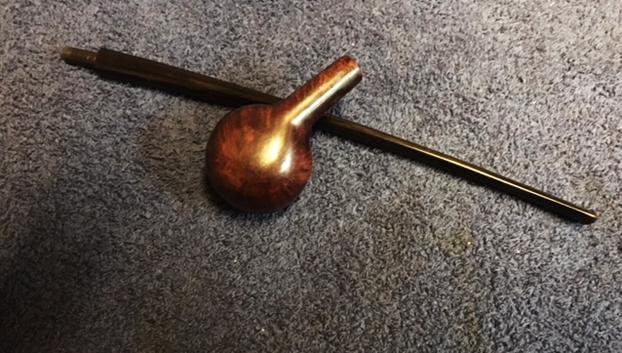
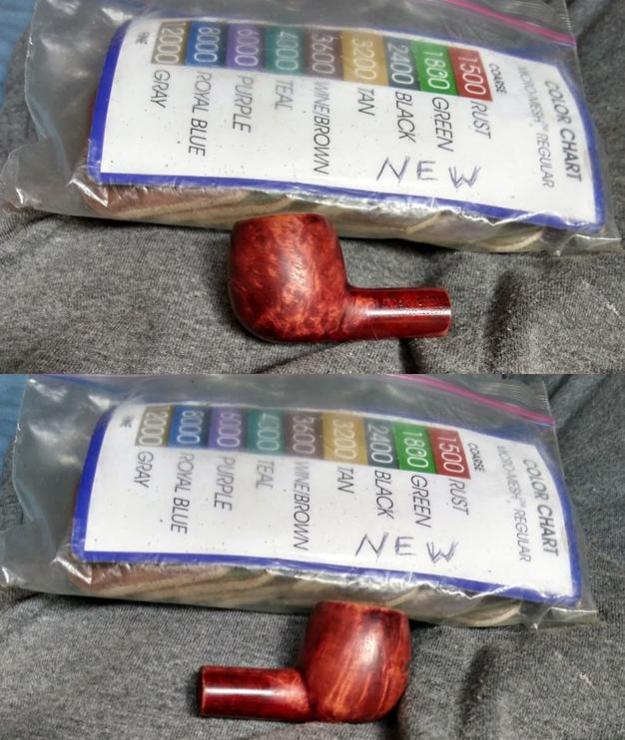
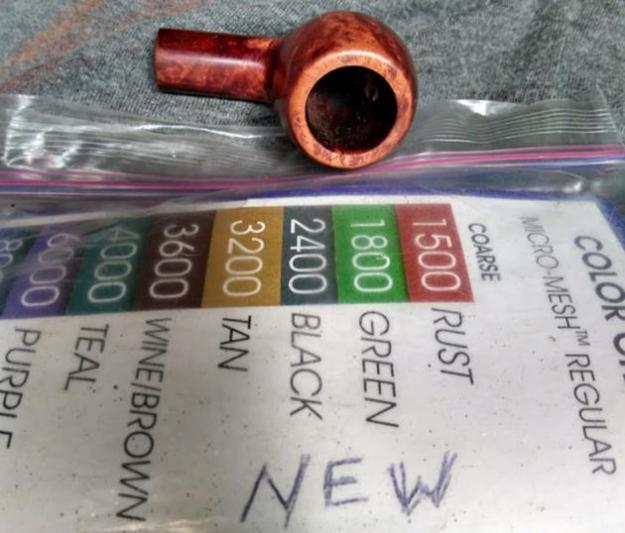
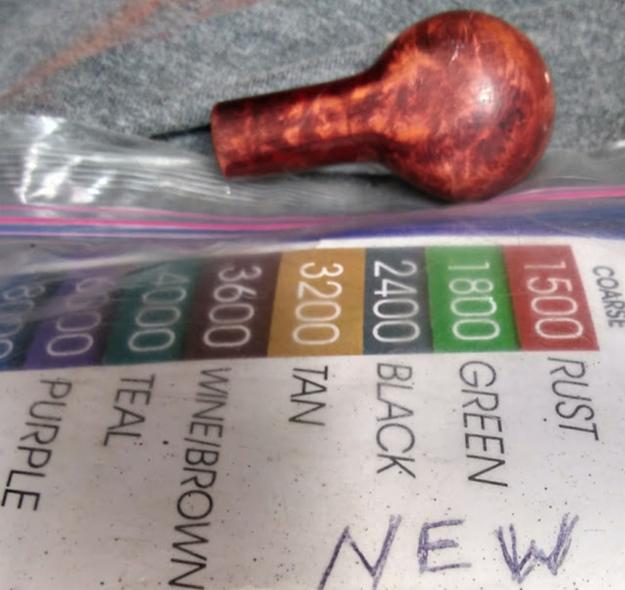
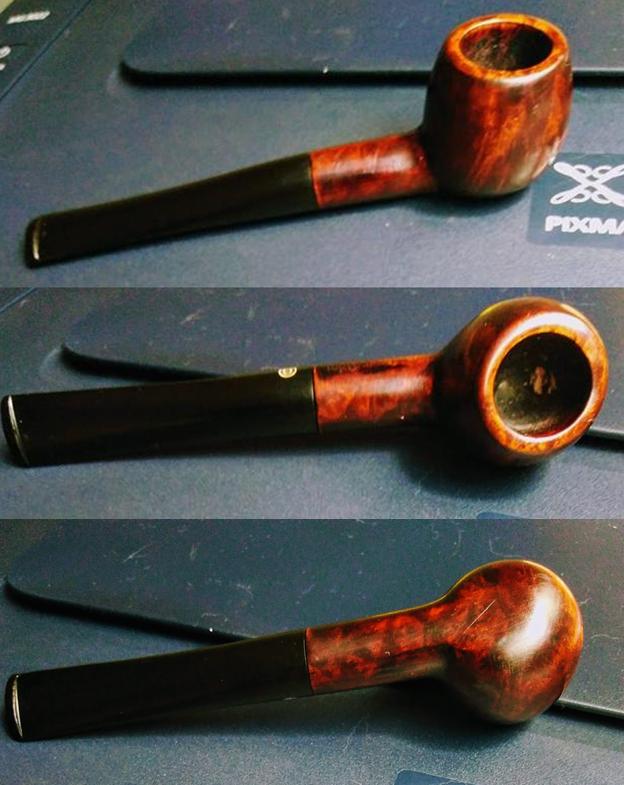
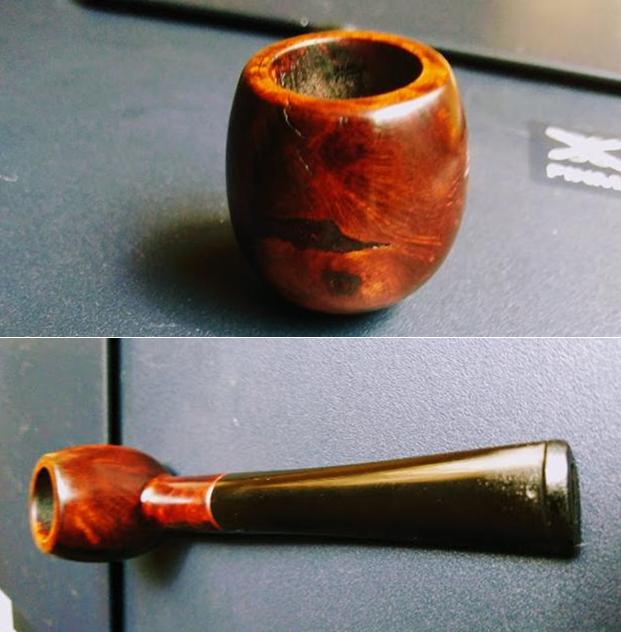
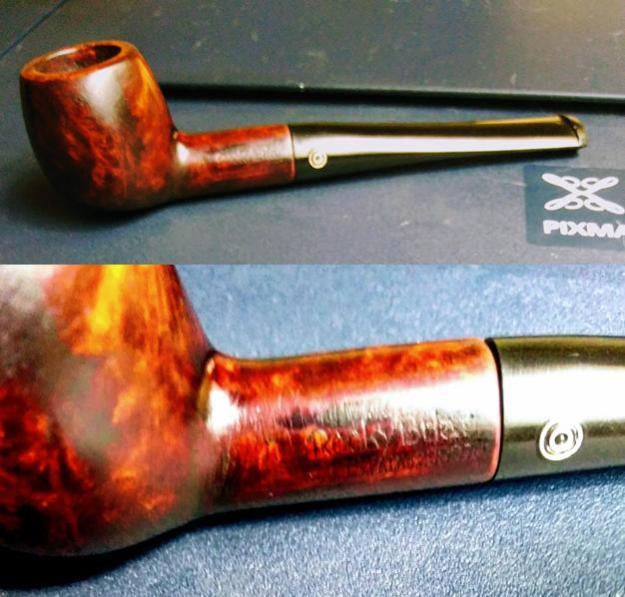
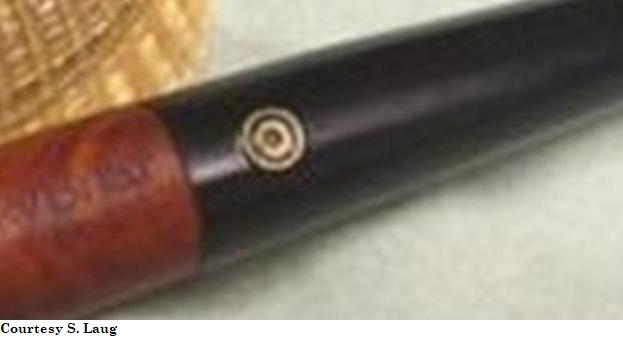
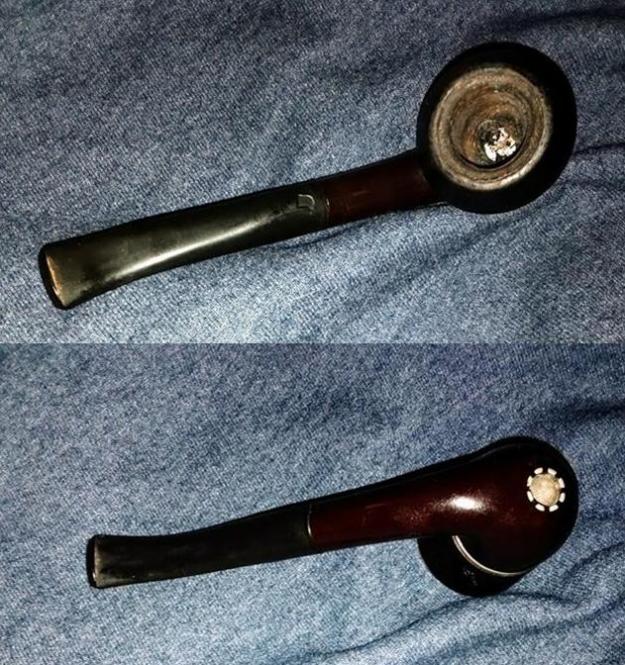
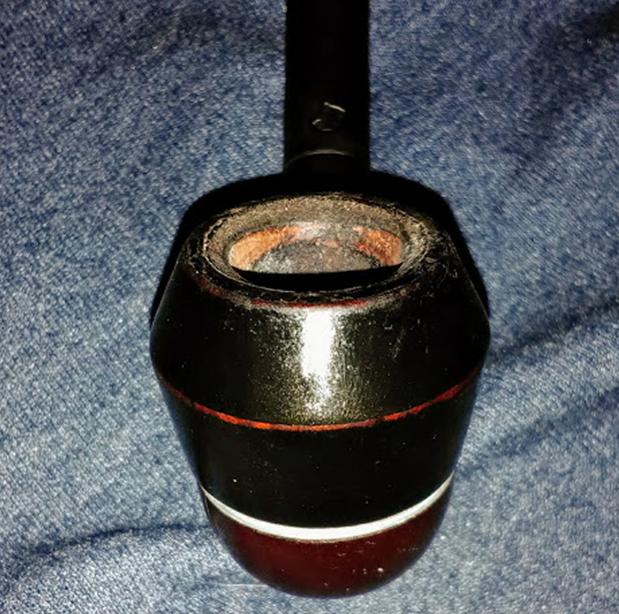
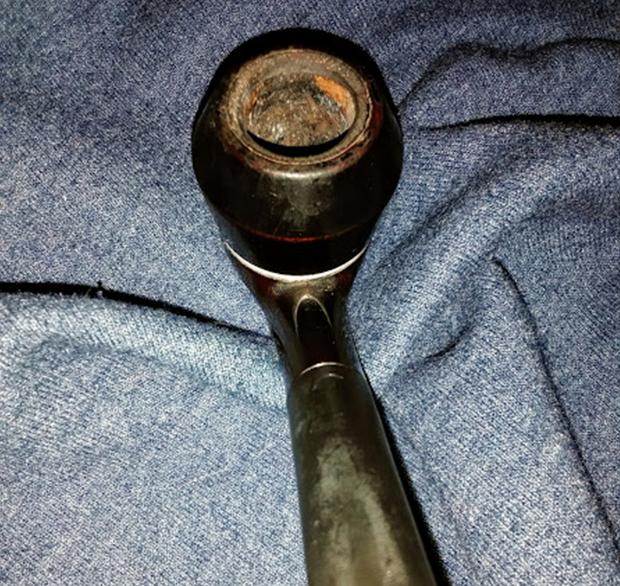
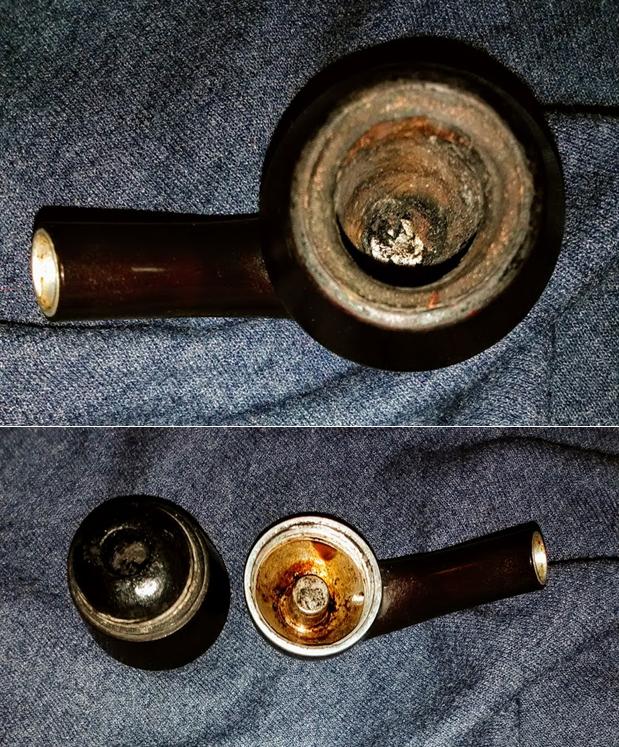
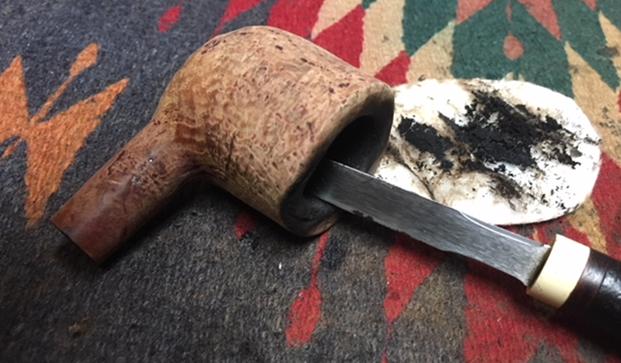
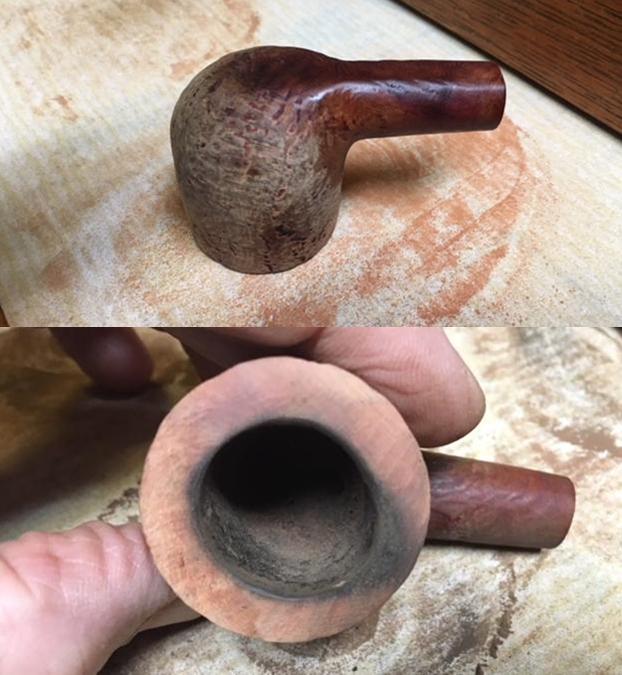
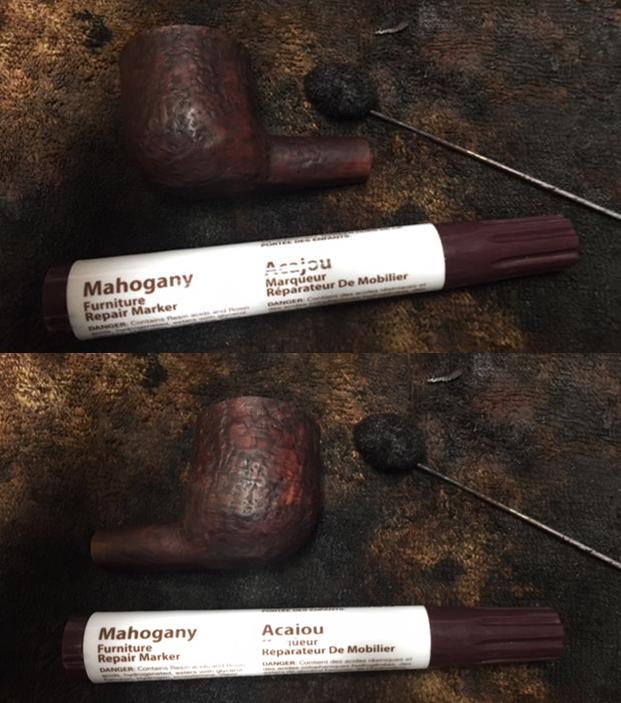
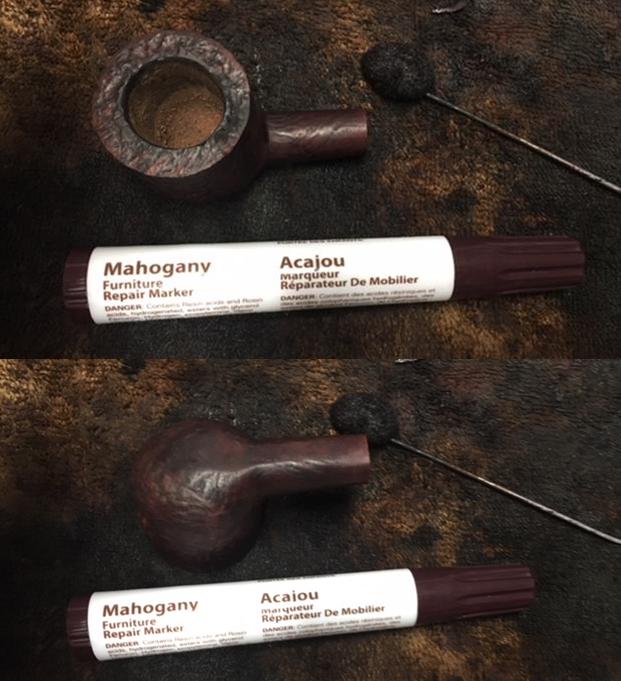
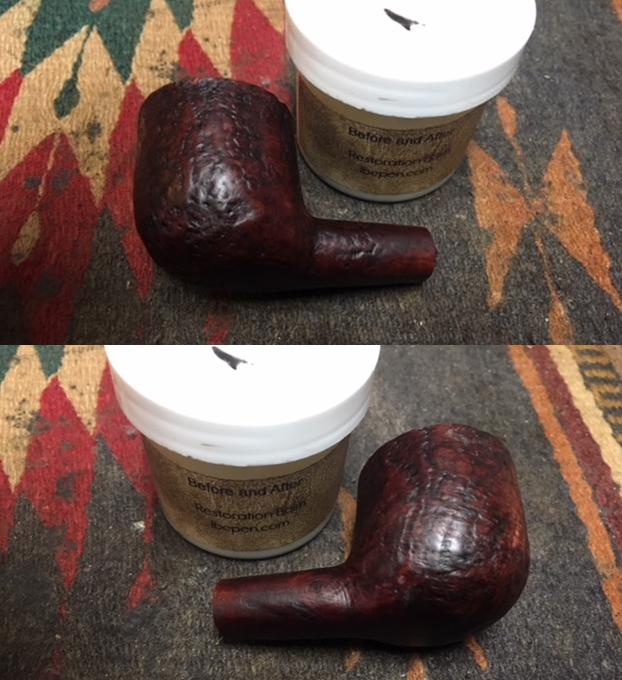
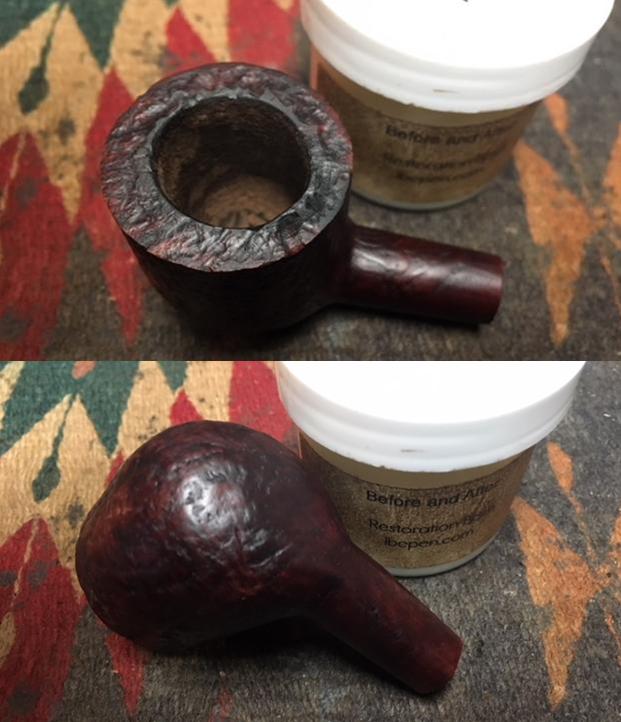
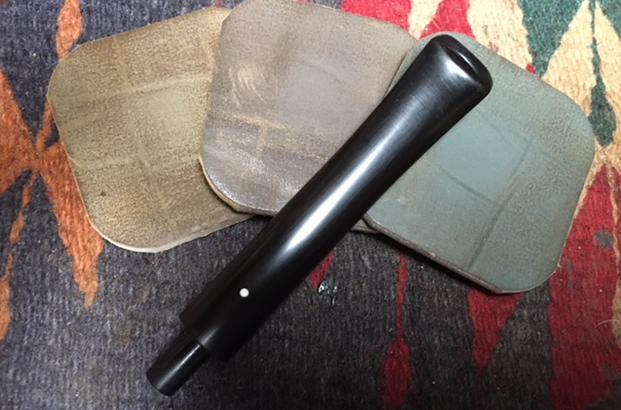
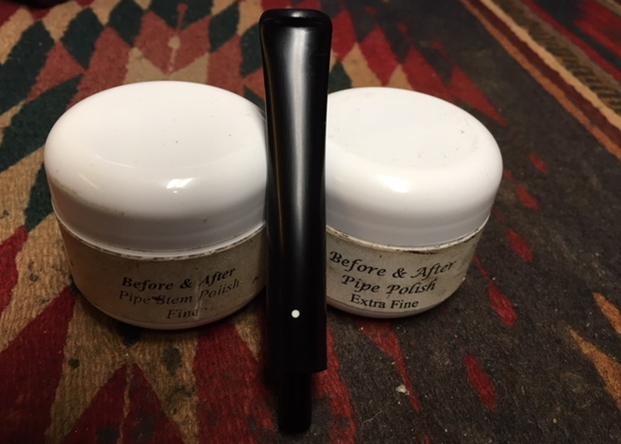
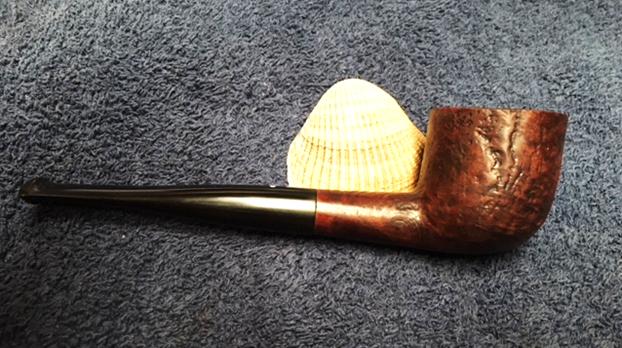
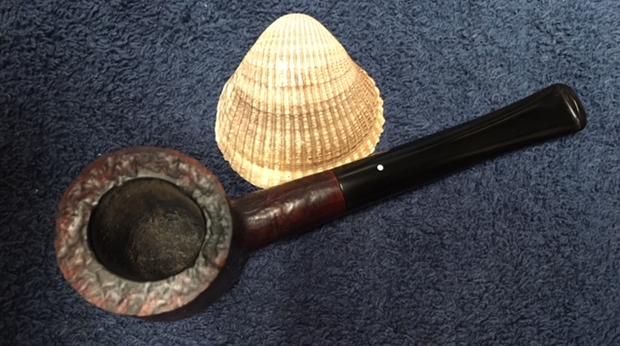
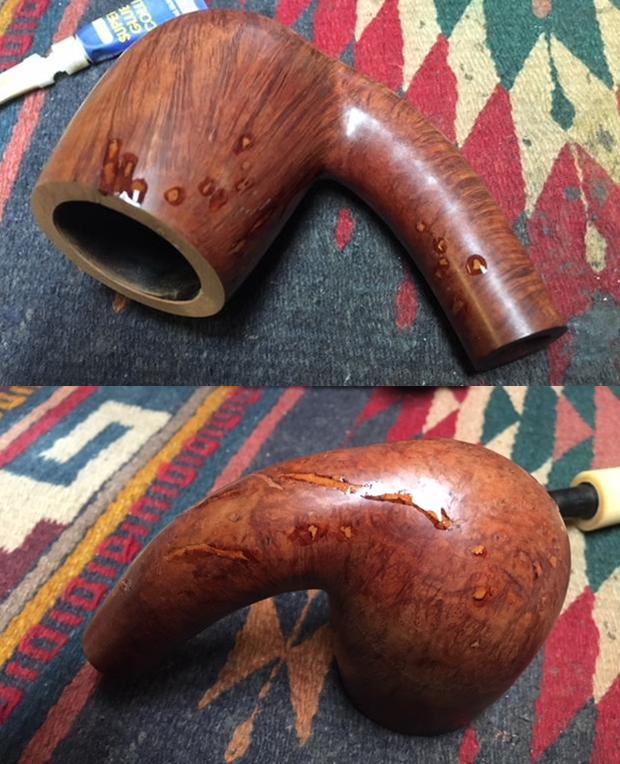
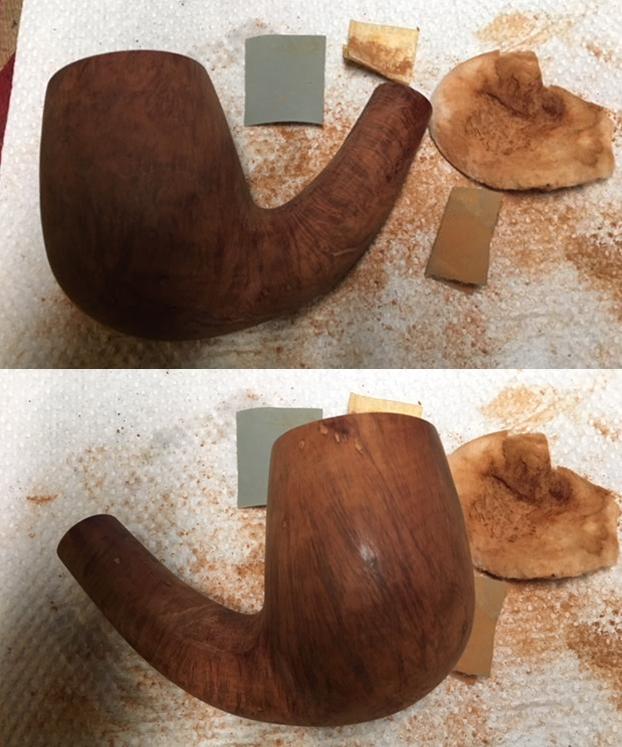
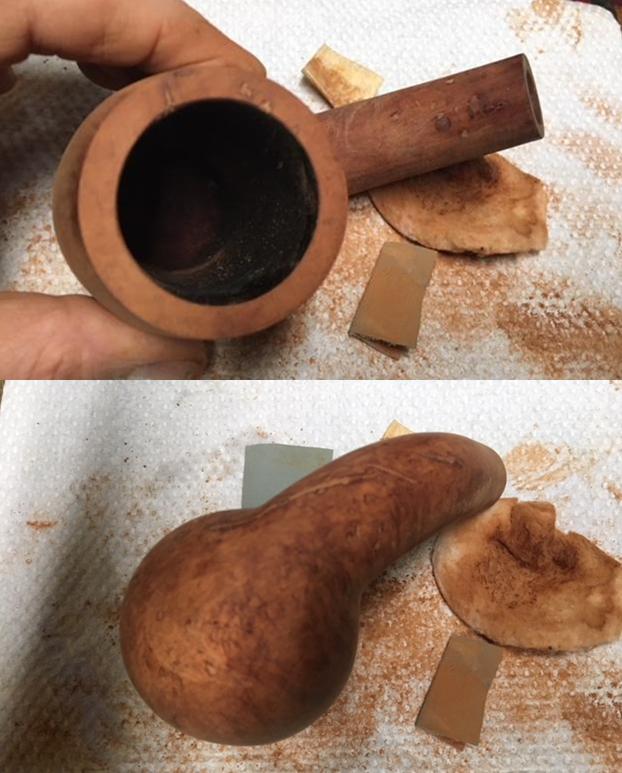
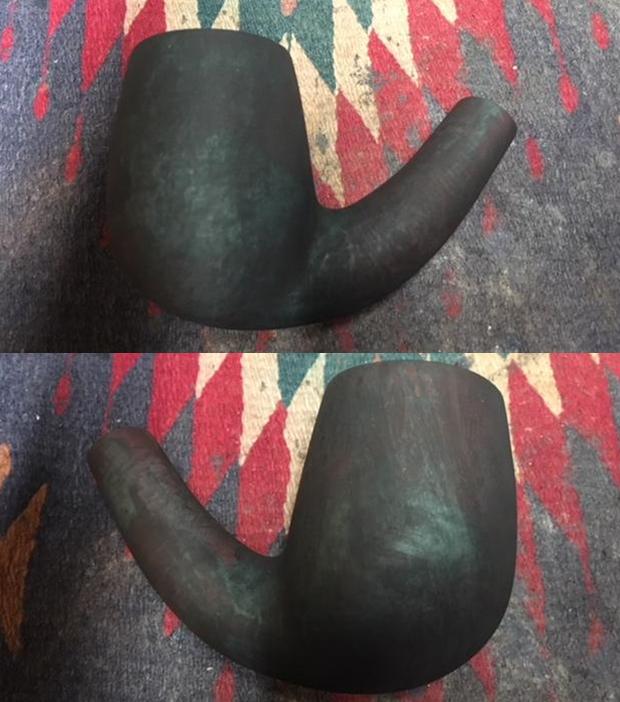
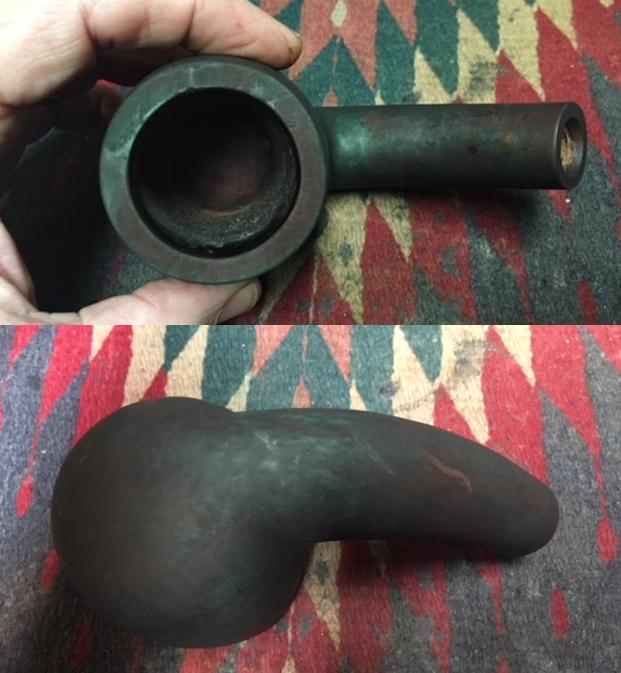
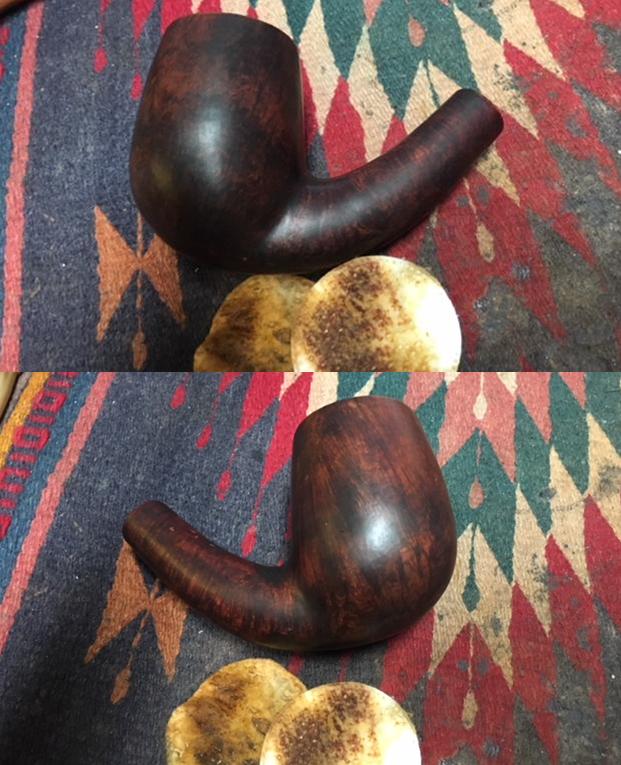
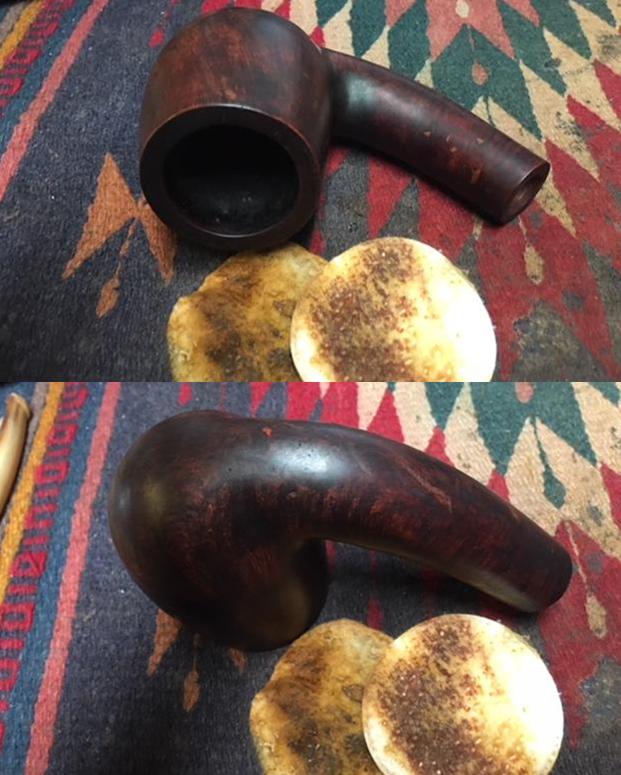
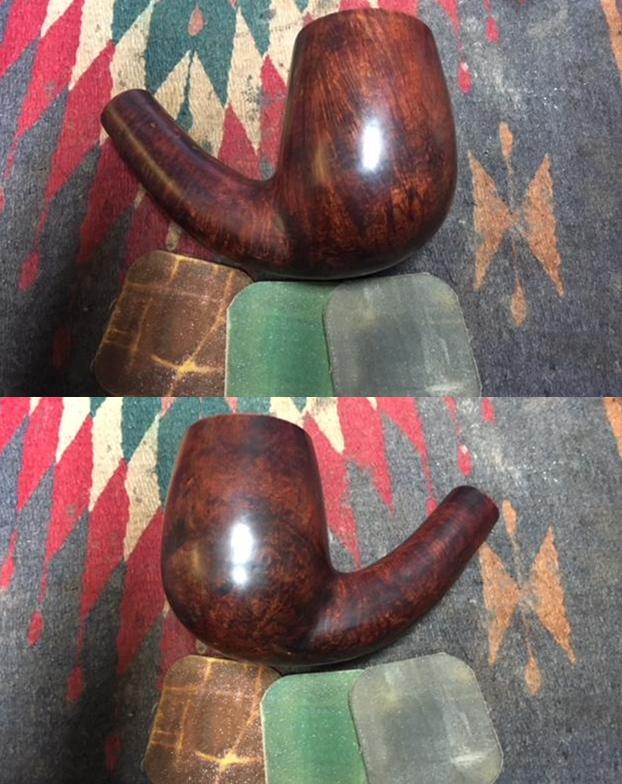
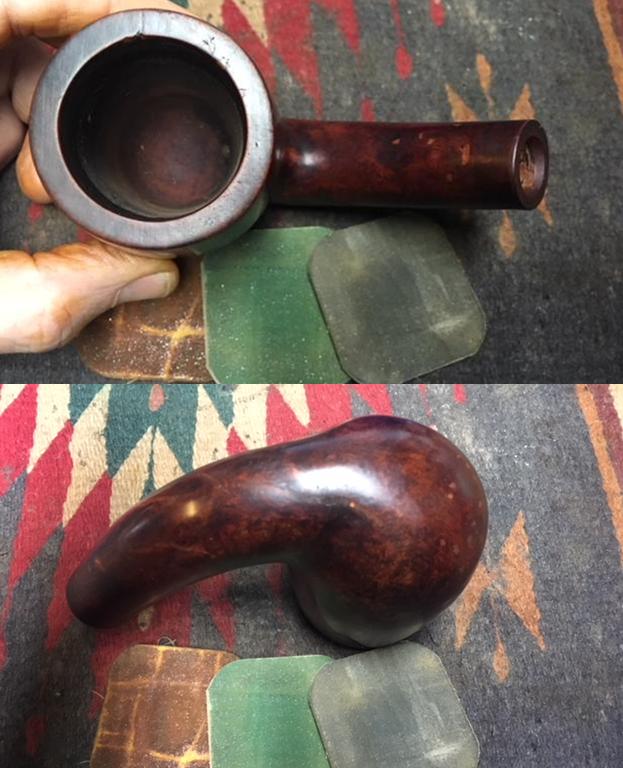
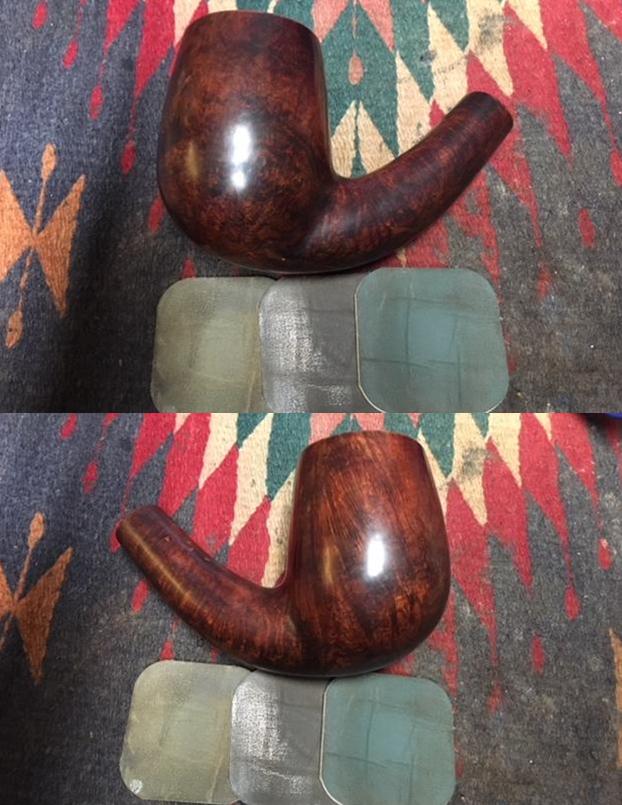
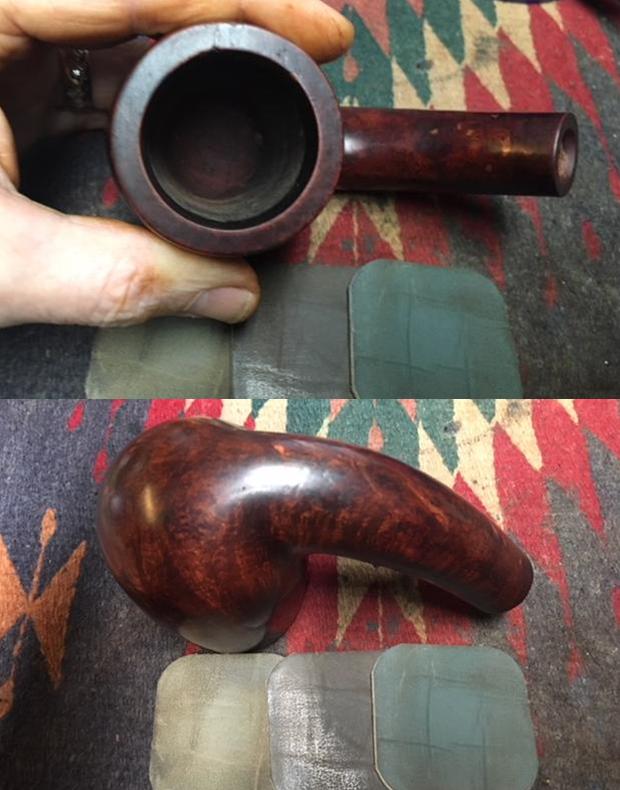
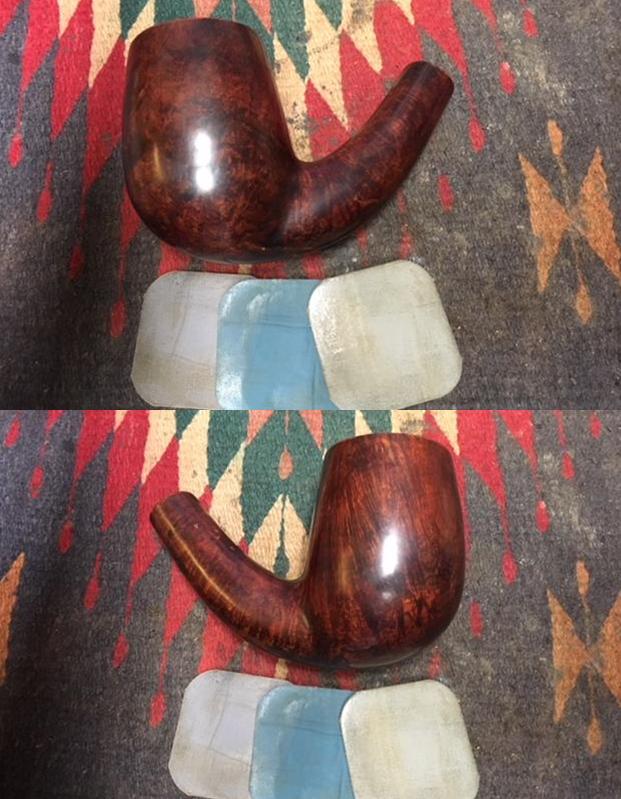
The next pipe on the work table is another pipe from the estate of a Vancouver pipe smoker whose widow left them with a local Pipe Shop. I was asked to clean them up and sell them for the shop after it closed. The photos show the pipe as it was when I brought it to my work table. It is a light weight Poker shape – with some interesting grain but the number of small putty fills in the bowl on the sides, back and shank detract from the cross grain on the bowl sides and birdseye on the front and back sides. The bowl was heavily caked with a lava coat on the top of the rim. It was hard to tell how the inner and outer edge of the rim actually looked until the bowl was reamed. The exterior of the bowl was dirty and covered with grime. The stem had the same tooth marks and chatter on the top and underside near the button as the rest of the pipes in this estate. There was calcification on the first inch from what looked like a Softee bit. The stem has a Top Hat logo on the left side of the saddle. The pipe is stamped on the left side of the shank with the words Royal Esquire over Made in France. There is no other stamping on the pipe. When I went back to the States after Christmas to visit my parents and brothers I took a box of these pipes with me so that I could have Jeff clean them for me. When they came back to Canada they looked like different pipes. He reamed the bowl with a PipNet pipe reamer and cleaned it up with a Savinelli Fitsall Pipe Knife. He scrubbed the exterior with Murphy’s Oil Soap and a tooth brush to clean off the grime on the finish and the heavy overflow of lava on the rim top. He cleaned up the internals of the shank, mortise and stem with pipe cleaners, cotton swabs and alcohol to remove all of the oils and tars in the pipe. When it came back to Vancouver it was a quite different pipe. I was in a hurry this afternoon when I worked on this one and forgot to take photos of the bowl and stem before I started working on the pipe. There were so many fills and places where the putty had shrunk that I had a hard time even looking at it the way it was. I had already refilled the fills in the sides and shank with clear super glue and then remembered to take photos. You will have to imagine it without all the super glue freckles around the bowl. I took photos of the rim top and the stem to show their condition. Jeff was able to clean out the bowl completely and the rim top. He removed the tars and lava and left behind a clean top that would need to be topped to remove some of the deep scratches and burn marks around the edges of the rim. The stem was lightly oxidized and there was tooth chatter and marks on both sides near the button and on the surface edges of the button itself.I took the stem off the bowl and took photos of the repaired fills all around the bowl and shank. Somehow the pink putty that was in them really stood out and made them highly visible. They look like pox marks. Once the repairs had dried/cured I sanded them smooth with 220 grit sandpaper to blend them into the surface of the bowl. It took a lot of sanding to smooth them all out. I was careful around the stamping on the left side of the shank so I would not damage it. To clean up the damaged rim top I used 220 grit sandpaper on a topping board. I topped the bowl until the surface was smooth and the damage was removed. It did not take too much work to remove the damaged areas.I cleaned up the inner edge and the slight bevel with a folded piece of sandpaper. I worked it around the bowl to smooth out the damage and minimize the darkening on the inner edge.I polished the bowl top and sides with micromesh sanding pads – wet sanding with 1500-2400 grit pads and dry sanding with 3200-12000 grit pads. I wiped the briar down after each sanding pad with a damp cloth. I was amazed at how many of the fills blended into the finish of the bowl and virtually disappeared. There were still some showing on the shank but the overall effect of the polishing was really apparent. I decided to stain the pipe with a Cherry stain pen to blend the repaired fills into the rest of the briar. The stain looks streaked and uneven but it will blend in nicely to the grain once I am finished with it. Once the stain dried I wiped the bowl and shank down with alcohol on a cotton pad to remove the streaking and blend the colours on the briar. The pictures below show the pipe at this point in the process. The fills have all but disappeared into the stain. The pipe looks considerably better at this point. I rubbed down the briar with Before & After Restoration Balm. I worked it into the surface of the briar to clean, enliven and protect the new finish. It also evened out the stain coat and gave the stain a multidimensional feel. I let the balm sit for a little while and then buffed it with a cotton cloth to raise the shine. The following photos show the bowl now. The fills are invisible. The bowl is pretty well finished. I still need to wax and buff it but that will wait for the stem. I turned my attention to the stem and worked on the tooth marks and chatter near the button. I sanded it with 220 grit sandpaper until I removed the lighter marks on the surface of the stem.I painted the surface of the stem with the flame of a Bic lighter to lift the tooth marks. One of the benefits of the lighter is that it burned off the sulfur on the surface of the stem. The tooth chatter and marks lifted on both sides of the stem. A little sanding would smooth it out well. I polished out the scratches in the vulcanite with 400 grit wet dry sandpaper and with micromesh sanding pads. I wet sanded with 1500-2400 grit pads and dry sanded with 3200-12000 grit pads. I wiped the stem down after each pad with Obsidian Oil. After sanding with the 12000 grit pad I polished the stem with Before & After Pipe Stem Polish – both Fine and Extra Fine. With the stem polished I put it back on the pipe and lightly buffed the bowl with Blue Diamond. I buffed the stem with a more aggressive buff of Blue Diamond. I gave the bowl and the stem several coats of carnauba wax and buffed the pipe with a clean buffing pad to raise the shine. I hand buffed it with a microfiber cloth to deepen the shine. The pipe polished up pretty nicely and the many fills virtually disappeared with the new stain. The finished pipe is shown in the photos below. I will be posting it on the rebornpipes store very soon. It should make a nice addition to your pipe rack if you have been looking for a reasonably priced pipe that can be used as a yard or shop pipe. It should be a great smoking pipe with a good hand feel. The dimensions are Length: 5 1/2 inches, Height: 1 3/4 inches, Outside diameter of the bowl: 1 1/4 inches, Chamber diameter: 3/4 inches. Thanks for walking through the restoration with me as I worked this pipe over.

Fresh Life for a Comoy’s The Everyman 126 Sandblast Pot


Blog by Steve Laug

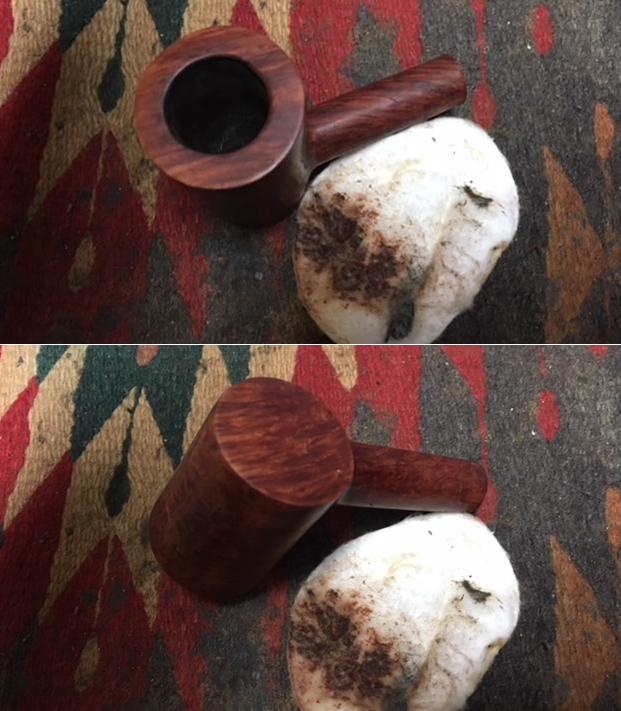
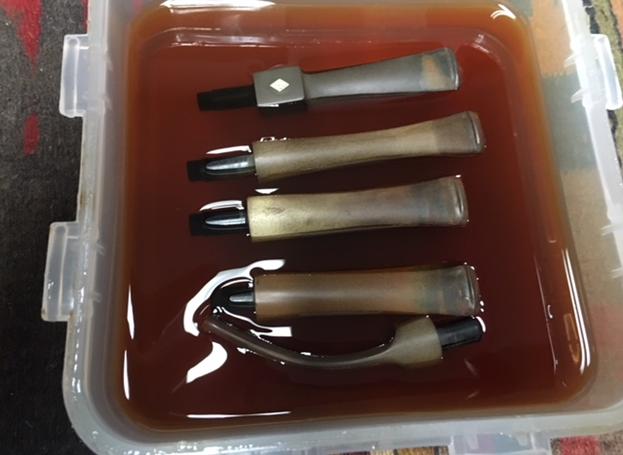
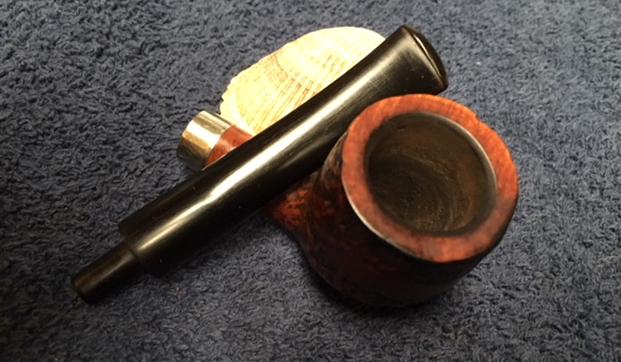
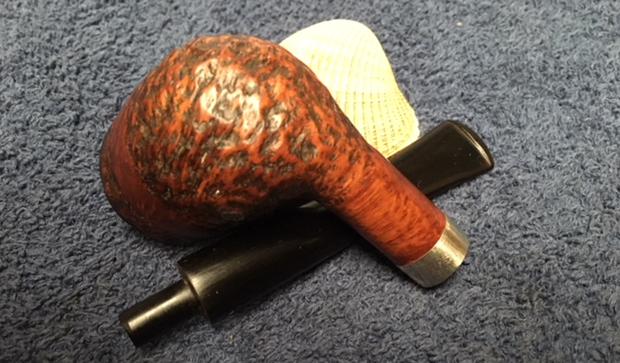
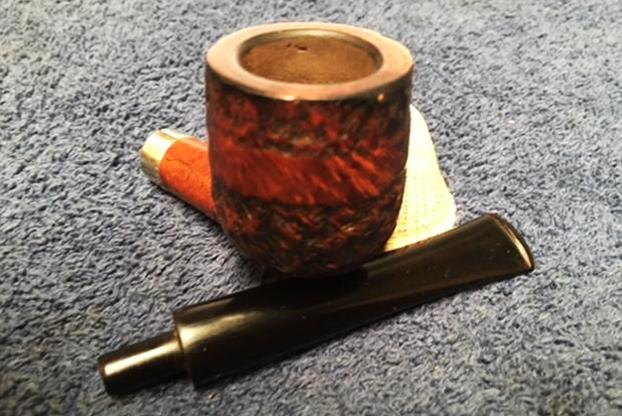
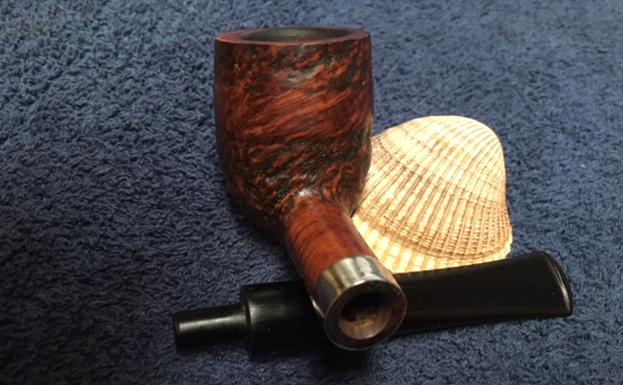
The next pipe on the work table is another pipe that came to me from the estate of a Vancouver pipe smoker whose widow left them with a local Pipe Shop after he died. I was asked to clean them up and sell them for the shop as it has since closed. The photos below show the pipe as it was when I brought it to my work table. It is a nicely shaped sandblast pot shaped pipe – with a a really nice looking grain pattern in the blast under all the grime. The bowl was heavily caked with a lava coat on the top of the rim. It was hard to tell how the inner and outer edge of the rim actually looked until the bowl was reamed. The bowl was dirty and the finish was almost filled in with the grime. The stem had the same deep tooth marks and chatter on the top and underside near the button as the rest of the pipes in this estate. There was calcification on the first inch from what looked like a Softee bit. From the three bars on the left side of the stem and the stamping it was clearly a Comoy’s product. In this case it was stamped on a smooth band on the bottom of the bowl and shank with the words The Everyman London Pipe. Next to that it is stamped Made in London England followed by the 126 shape number next to the shank/stem junction. I took photos of it before cleaning to show that even though it was dirty the pipe showed promise.   When I went back to the States after Christmas to visit my parents and brothers I took a box of these pipes with me so that I could have Jeff clean them for me. When they came back to Canada they looked like different pipes. He reamed the bowl with a PipNet pipe reamer and cleaned it up with a Savinelli Fitsall Pipe Knife. He scrubbed the exterior with Murphy’s Oil Soap and a tooth brush to clean off the grime on the finish and the heavy overflow of lava on the rim top. He cleaned up the internals of the shank, mortise and stem with pipe cleaners, cotton swabs and alcohol to remove all of the oils and tars in the pipe. When it came back to Vancouver it was a quite different pipe. I took photos of it before I started the restoration. I took photos of the rim top and the stem to show their condition. Jeff was able to clean out the bowl completely and the rim top. He removed the tars and lava and left behind a clean top that would need some stain touch ups. The stem was oxidized, though less so where the Softee bit had been. There were scratches, tooth chatter and marks on both sides near the button and on the surface edges of the button itself.I decided to work on five of the pipes from this estate at the same time so I put all of the stems in a bath of Before & After Pipe Stem Deoxidizer to soak. I submerged all of the stems in the bath and let them soak overnight to break down the oxidation.I took all of the stems out of the bath at the same time and rinsed them under warm water to rinse off the mixture. I blew air through the stems and ran water through them as well to rinse out the mixture there as well. Each of the stems still had varying degrees of oxidation but it was all on the surface of the stems. The photos below show the Everyman stem after rinsing and drying.I painted the surface of the stem with the flame of a Bic lighter to lift the tooth marks. One of the benefits of the lighter is that it burned off the sulfur on the surface of the stem. The top side of the stem came out very well as the tooth chatter and marks lifted. A little sanding would smooth it out well. On the underside it was a bit less successful. There were still two deep tooth marks present that would need to be repaired.I filled in the tooth marks and the dents on the top and bottom sharp edges of the button to smooth things out using clear super glue. Once the repair cures, I will sand it smooth and blend it into the surface on each side.While the repair was curing I turned my attention to the bowl. I touched up the faded areas on the rim top and around the sides of the bowl and shank with a Walnut stain touch up pen. It blended in very well with the colour of the rest of the bowl. The bowl had a hollow spot below the entrance of the airway. It was as if the bowl had been reamed with a knife and damage had been done to the bottom of the bowl. It was quite deep and rough. Since it was below the entrance of the airway I mixed a batch of JB Weld to apply to the deep gouge and build up the bottom of the bowl to the same height as the airhole. I applied it with a dental spatula and pressed it into the bottom of the bowl with a piece of wooden dowel. I rubbed down the briar with Before & After Restoration Balm. I worked it into the nooks and crannies of the sandblast finish to clean, enliven and protect the new finish. It also evened out the stain coat and gave the stain a multidimensional feel. I let the balm sit for a little while and then buffed it with a horsehair shoe brush. I buffed the bowl with a cotton cloth to raise the shine. At this point the bowl is pretty well finished. I still need to wax and buff it but that will wait for the stem. The repair on the stem had cured so I turned back to work on the stem. I used a file to recut the sharp edge of the button and then sanded it with 220 grit sandpaper until I had blended the repairs into the surface of the stem. I also worked on the remaining oxidation with the sandpaper until I removed that as well.I polished out the scratches in the vulcanite with 400 grit wet dry sandpaper and with micromesh sanding pads. I wet sanded with 1500-2400 grit pads and dry sanded with 3200-12000 grit pads. I wiped the stem down after each pad with Obsidian Oil. After sanding with the 12000 grit pad I polished the stem with Before & After Pipe Stem Polish – both Fine and Extra Fine. With the stem polished I put it back on the pipe and lightly buffed the bowl with Blue Diamond. I buffed the stem with a more aggressive buff of Blue Diamond. I gave the bowl several coats of Conservator’s Wax and the stem several coats of carnauba wax and buffed the pipe with a clean buffing pad to raise the shine. I hand buffed it with a microfiber cloth to deepen the shine. The pipe polished up pretty nicely. The finished pipe is shown in the photos below. I will be posting it on the rebornpipes store very soon. It should make a nice addition to your pipe rack if you have been looking for a reasonably priced Comoy’s The Everyman Pipe. The sandblast finish looks really good in person with depth and texture. It should be a great smoking pipe with a good hand feel. The dimensions are Length: 5 1/2 inches, Height: 1 1/2 inches, Outside diameter of the bowl: 1 1/2 inches, Chamber diameter: 7/8 inches. Thanks for walking through the restoration with me as I worked over this estate Comoy’s.


Restoring a Tired House of Robertson Billiard


Blog by Steve Laug

Not too long ago I sold one of the House of Robertson pipes to a fellow named John who collects them and lives in Salt Lake City, Utah. He loved the pipe that I sent him and wrote and asked if I would be willing to clean up and restore his first House of Robertson (HOR) pipe that had been given to him 30+ years ago by his brother. He said it was a billiard with a mixed finish – both rusticated and smooth. He said he had smoked it heavily as it was a favourite of his and it needed some attention. We made our arrangements and he shipped the pipe to me here in Vancouver. I was looking forward to working on it as I have enjoyed the other House of Robertson pipes that I have restored over the past months.

While I waited for its arrival, between working on other pipes I read over the last restoration blog I had written on an HOR pipe. I thought it might be helpful to add the information I had previously found for those of you who have not read those blogs. “House of Robertson” was in business for many years, but alas, closed their doors in 1999. They were located in Boise, Idaho. They are noted for making rather large and interesting pipes. Thayne Robertson… started the shop about 1947 and his son Jon started working there in 1970 when he finished college, along with Thayne’s daughter. Thayne and his son started making the big pipes at that time, and made them together until 1987 when Thayne passed away. Jon kept the store and his sister moved on to other things. The House of Robertson appears to have closed around 1999. https://pipedia.org/wiki/Robertson

I also received an email from Ed Mitchell from the Boise, Idaho area offering to share some of the history of the shop if I was interested. He was a frequent customer and loves the HOR Pipes. I of course was excited to learn more about the brand so I was looking forward to what he would write. It came in today’s email and I thought you might enjoy Ed’s reminiscences. Thanks Ed for sending me this information.

Hi, Steve

…I do not have any memorabilia, other than a box of two, from the House of Robertson shop. When Jon Robertson closed the store, it caught me by surprise. I do have several of Robertson pipes including a couple that need small repairs. Five or six I bought unsmoked from the widow of one of his Boise customers. The husband apparently was one of Thayne’s many friends and had bought pipes in the course of standing around visiting in his shop. One is a beautiful blond horn that I have saved unsmoked.

Thayne was a bear of a man in his 60s when I met him in the mid-1960s, a great raconteur with strong opinions on politics, religion, people and good pipes. For instance, he hated cigarette smoking; people who popped in to ask for cigarettes were shown the door with instructions on how to find the only other tobacco store in downtown Boise, an institution (still in business) that sold all types of tobacco, men’s magazines and pipes Thayne considered unworthy of any discerning smoker.

Another consequence of Thayne’s hatred of cigarettes was that he created a line of pipes sized and decorated (in some examples with inset bits of bling) for female smokers. He did make pipes in conventional shapes and sizes but preferred big freestyles. I can say I do not remember his ever making two pipes exactly alike. A large part of his business involved creating custom pipes on order. He mailed pipes to customers around the country and internationally. I am not sure what portion of his output was sold outside Boise but I had the impression that it was considerable.

The pipes I remember Thayne smoking in the shop were a couple of huge Oom Pauls about a foot long. The big man liked big pipes, usually loaded with strong English-style or oriental blends. He hooked me on my taste for Latakia tobaccos.

The shop was in one of the long, narrow brick storefronts of the old city core. An old-fashioned glass display case for pipes and accessories dominated the front along with shelves and stacks of at least 50 choices of tobaccos. A narrow flight of stairs led to inventory storage above the dusty workshop located in back behind a curtain.

For a one man shop, Thayne’s output was prodigious especially considering that the individual pipes were unique. His daughter Rosie and son Jon did assist in the shop’s latter years. Both were skilled makers but tended to create more conventionally carved and sized pipes. Most of the pipes made there, even after Thayne died and Jon was doing the work, came from a hoard of old Greek briar Thayne found in Holland around 1970. Some of the bold grain pipes from the latter years were as spectacular as smoking instruments can be. One feature I have never seen is a fill in a Robertson pipe. Thayne liked rusticating briar whenever the grain was flawed or just uninteresting.

Steve, I hope this gives you some brief insight into the House of Robertson. If you have questions to stimulate my ancient memory, I will be glad to try to answer. — Ed Mitchell

When the pipe arrived I took it out of the box to have a look at it and took some photos of it to show its condition before I began. It had a softee bit on the stem that had slid up about ¼ inch up the stem from the button. The finish was dirty and grimy. The rim top was damaged and the bowl was slightly out of round. There was a thick cake in the bowl and a heavy lava overflow on the top of the rim. There was a burn mark that was on the top of the rim at the front and extended down the bowl about a ½ inch. There was a nickel band on the shank that was a typical repair band that is available through repair suppliers. When I examined around the band on the shank end I could not see any cracks in the shank. The band had been cut off slightly so as not to cover the etched House of Robertson name on the left side of the shank. The stem was an obvious replacement that was slightly larger in diameter than the shank. The pipe definitely needed attention. I took a close up photo of the rim top to show the damage to the front of the bowl and the general condition of the pipe. The bowl is thickly caked and the rim has an overflow of lava on the rim top.  You can see how the bowl is thicker on one side than the other. The front of the bowl looks damaged as the lava on that portion is different in texture than the hard stuff on the rest of the rim top. The stem was in decent condition – some calcification on the top and underside where the rubber softee bit had been. There were some light tooth marks and chatter on both sides. The stem was lightly oxidized.I did a quick assessment of the pipe and wrote John a quick email about what I saw as I looked it over. I sent my questions to him to see if he could shed any light on what I was seeing. I am including both my questions and his response as it helps clarify what I saw when I examined the pipe first hand.

  1. Is the band something that you added? It appears to be cosmetic but it could be a repair band. They are available through online pipe parts guys and are made out of nickel. I think it is a later addition as it covers the N in Robertson. Do you know if the shank was ever cracked?? I will leave it there as it is a touch of bling.
  2. Is the stem a replacement stem? It is wider is in diameter than the shank and appears to be a replacement. The shank was drilled for a filter stem and this one is not the original as far as I can tell. It is well made and will clean up nicely. I took the softee bit off and will clean it up. I will send the softee back with the pipe.
  3. What is the hard substance in the bottom of the bowl? It appears that someone added some fill to the bottom of the bowl (unevenly mind you) to lift the bowl bottom to the level of the entry of the airway into the bowl. Is this something you added or was it there previously? I can leave it be as it is as hard as concrete. I can also smooth it out a bit with a coat of JB Weld (which is what I think is in the bottom of the bowl already).

John replied to my queries and I am including the pertinent parts of his answers:

To my recollection, the pipe is the same un-worked-on one my little brother gave me 38 or so years ago, bought directly from Mr. Robertson at his shop — I’m assuming it was the father and not the son, but I can’t remember when the elder died.

I may have had it worked on — possibly a new stem — at Jeannie’s Smoke Shop (now sold to newcomers since my friend Jeannie died; the shop still retains the name) in Salt Lake City. I do remember taking it, or possibly another pipe, to the craftsman she employed. If that was the pipe I took in, I don’t think he would have filled the bottom of the bowl, but he may have replaced the stem. I smoked that pipe a lot years ago and may have bit the mouth piece off. If you don’t think the current stem is one that Robertson used and feel strongly that it should be changed out with new, proper stem, do it. But you indicate that the stem is fine and you can touch it up and smooth it out, that’s fine, too. Your decision. And do what you suggested with smoothing the bottom of the bowl and adding the JB Weld coat. I have no idea why that would have been filled in.

I don’t recall adding a band. I don’t recall if the shank was cracked years ago and that I may have asked the guy at Jeannie’s to fix that. Please do whatever you need to do with that part. A few weeks ago, I thought I detected a slight crack, or maybe just a dark line along the shank. You don’t seem to think that a new band is necessary. The last Robinson you sold me has a silver band; my other two do not have bands. But I am reasonably sure the nickel band is what Robertson had on it when he sold it to my younger brother ($50 at the time! — a lot of money for a 19-year-old’s gift to his older brother). Possibly the stem got damaged when Robertson was making the pipe, and that’s the way he fixed it…

I reamed the bowl with a PipNet pipe reamer – starting with the smallest cutting head and working up to the third one. I cleaned up the remnants with a Savinelli Fitsall Pipe Knife. Surprisingly there was a rock hard substance at the bottom of the bowl – it looked like JB Weld or something like that. It was rock hard and seemed to have been used to bring the bottom of the bowl up to the bottom of the airway’s entrance to the bowl.I scrubbed the exterior of the bowl with Murphy’s Oil Soap and a tooth brush. I worked over the rim top with a brass bristle wire brush to break up the lava flow there. I rinsed the bowl with running water and scrubbed it under the water while it was rinsing. The bowl began to look pretty good at this point. The contrast between the smooth band around the bowl and shank with the rustication above and below the band looked really good. The rim top was so damaged with the burn mark and the nicks around the outer edge that I decided to top the bowl lightly to remove as much of the damage as I could without noticeably changing the profile of the pipe. I worked on the inner edge of the rim and the light bevel with 220 grit sandpaper to clean up the inner edge. I used it to also lightly reshape the outer edge of the bowl. You can see from the photos how out of round the bowl edges are outside and inside. I worked on the bevel to work on it and you can see the result in the third photo.I did not want to add stain to the oil finished bowl so I just rubbed the bowl down with Before & After Restoration Balm to deep clean the rustication on the briar. The rustication was well done and looked almost like a sandblast. I also rubbed it into the smooth portions on the band around the bowl, the rim top and the shank. The product works to clean, enliven and protect the briar. I hand rubbed it with my fingers to work it into the rustication. I wiped it off with a soft cloth. I buffed the bowl with a horsehair shoe brush to polish it. The briar really began to have a rich shine. I took some photos of the bowl at this point to mark the progress in the restoration. I decided to polish the topped rim top once more using micromesh sanding pads as the balm revealed more scratches in the finish. I wet sanded it with 1500-2400 grit pads and dry sanded it with 3200-12000 grit pads. I wiped it down after each pad with a damp cloth. I cleaned out the internals of the mortise and the airway in the shank and the stem with pipe cleaners, cotton swabs and alcohol. (I forgot to take photos of the stem after I cleaned it with alcohol and pipe cleaners).I mixed up a small batch of JB Weld to level the previous repair to the bottom of the bowl. I applied it to the uneven area with the end of a small sanding stick. I pressed it into the indentation and smoothed it out with the tip of my finger.I set the bowl aside and worked on the stem. I sanded out the tooth chatter, tooth marks and oxidation on the button end. I sanded the rest of the stem to remove the oxidation. The diameter of the stem was bigger than that of the shank so I sanded that at the same time to reduce it to the same size as the shank and reshape it at the junction. I polished the stem with micromesh sanding pads – wet sanding it with 1500-2400 grit pads to remove the scratching. I worked on it until the stem surface was smooth and the marks were less visible. I continued to polish it with 3200-12000 grit sanding pads. I wiped it down with Obsidian Oil after each sanding pad. I polished it with Before & After Pipe Stem Polish – both Fine and Extra Fine. I wiped it down a final time with Obsidian Oil. I put the stem back on the bowl and worked the pipe over on the buffing wheel using Blue Diamond to lightly polish both the bowl and the stem. I buffed the bowl and stem to raise the gloss on the briar and the vulcanite. I gave the pipe multiple coats of carnauba wax. I buffed the entire pipe with a clean buffing pad to raise the shine. I hand buffed it with a microfiber cloth to deepen the shine. The finished pipe is shown in the photos below. I don’t think House of Robertson stained the pipes as they have the rich patina of an oil finish. If it had a stain coat it was a tan stain that went well with the rich black of the vulcanite stem. The dimensions of the pipe are: Length: 5 1/2 inches, Height: 1 3/4 inches, Outside Diameter: 1 3/8 inches, Diameter of the chamber: 7/8 inches. This is an interesting piece of briar that shows a mixture of grain on the smooth portions. I really like HOR pipe work the rustication and smooth parts together in unique ways. Once the repair in the bowl cures I will mail it back to John. I know he is looking forward to enjoying it again. Thanks for walking with me through the restoration.

Restoring a Savinelli Churchwarden 3003


Blog by Steve Laug

I finished the restoration work on Mark’s uncle’s pipes and a few of his own and sent them back to him in late January of this year. I wrote a blog on each of the restorations. They were a fun batch of pipes to restore for him. He sent me another package a few weeks ago that had just three pipes in it – A GBD Classic Straight Bulldog, a GBD 9242 Rhodesian (one of my holy grail pipes) and a long Churchwarden pipe that had originally belonged to his uncle. Each pipe had a different set of issues that would provide a variety of challenges. The Bulldog was in excellent condition other than the first ½ inch of the stem missing in chunks. The Churchwarden had a broken tenon that was still stuck in the shank. By far the worst of the lot was the 9242 pipe. When I saw it in the bag I was excited. When I took it out of the bag I was saddened at the condition of the pipe. The bowl was dirty and there was some lava and rim darkening on the top. There were a few nicks in the edges of the bowl. The finish was dirty but the grain on the pipe was really nice. If I had stopped my observation at this point I would have been quite happy.

The second pipe I chose to work on from the batch of pipes was the Churchwarden that had belonged to his uncle. The Prince shaped bowl was in decent condition. The bowl was actually quite clean on the inside but the drilling where the airway entered the bowl was slightly off to the right side of the bowl. Other than having the tenon stuck in it; the shank looked pretty good as well. The rim top was dirty and there was a burn mark on the inner bevel of the left side. The finish was dirty and there were quite a few nicks and dents on the surface of the briar. The shank was stamped on the left side with the words Churchwarden over Aged Briar. On the right side of the shank it is stamped with the shape number 3003 and next to that was the Savinelli S shield. The underside of the shank is stamped Savinelli over Italy. The stem was quite oxidized and pitted. There were tooth marks and chatter on both sides of the stem at the button. The broken tenon remnants were on the end of the stem. It was broken pretty close to the stem/shank junction.

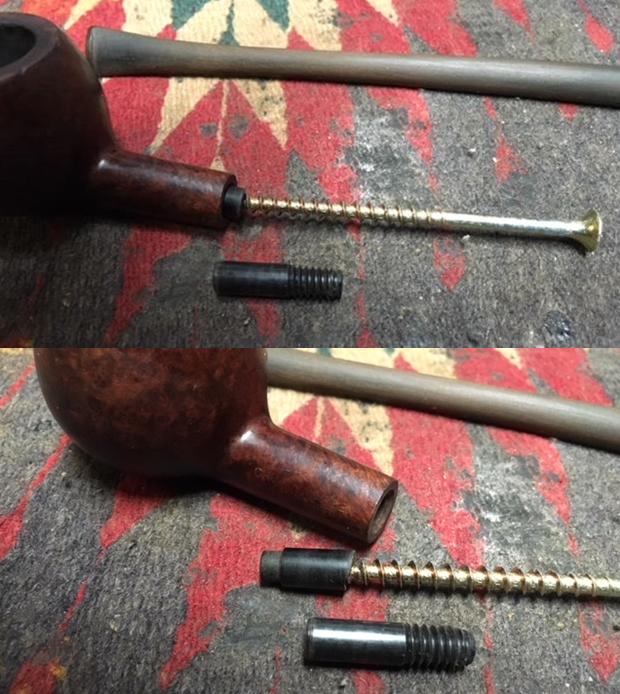
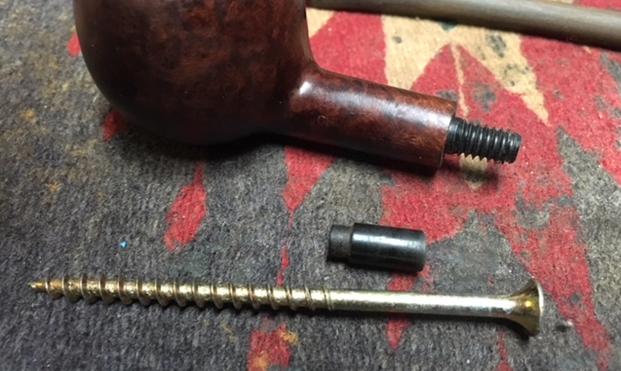
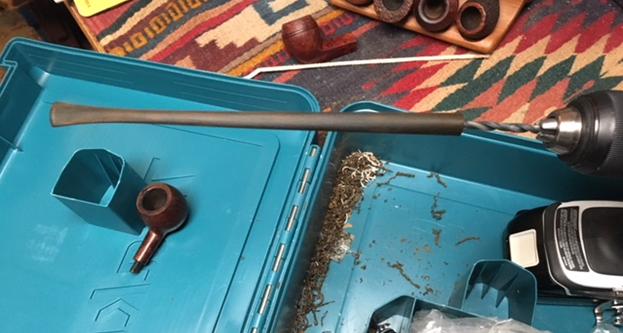
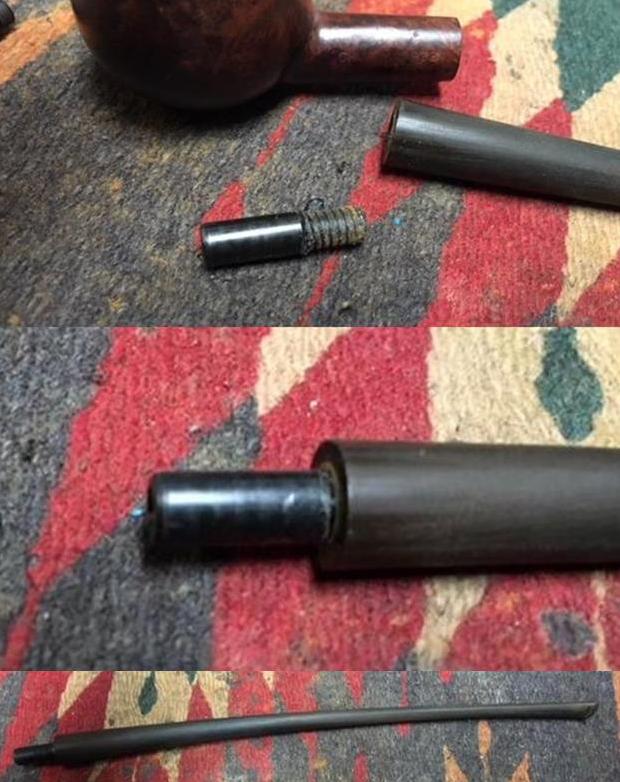
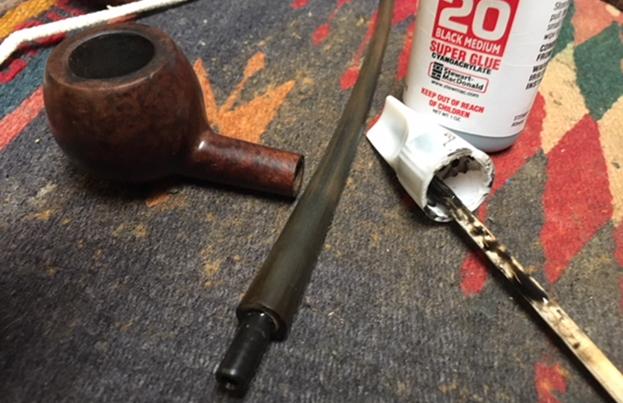
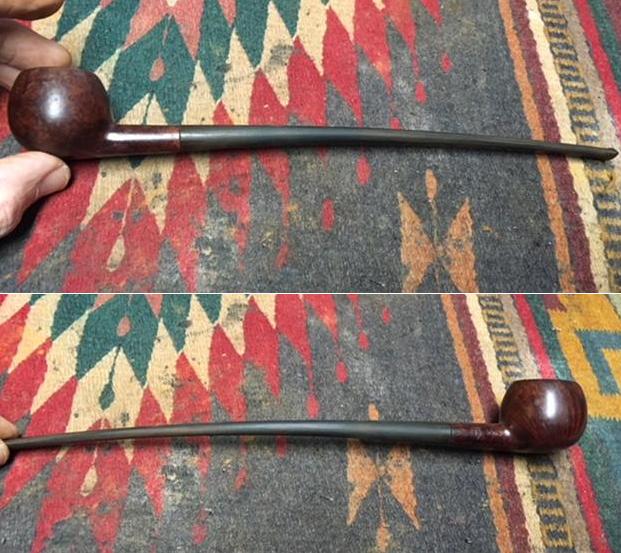
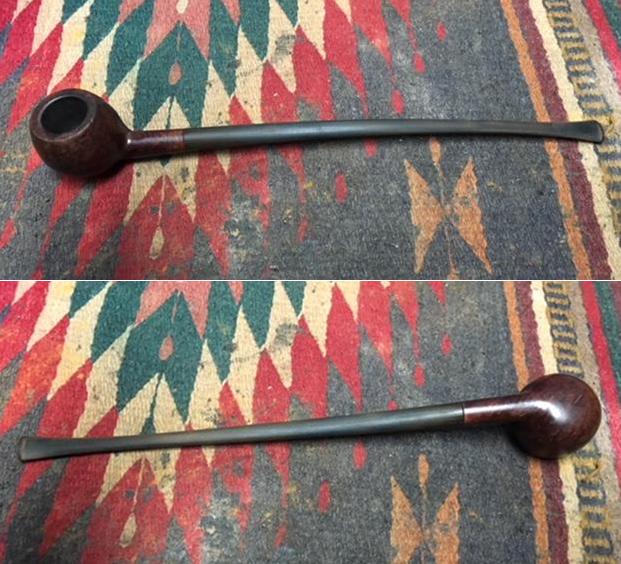
Sooo… here we go on the second of Mark’s restoration projects. I took photos of the pipe to show what it looked like when it arrived in all of its tattered splendour. The bowl had some beautiful grain underneath the grime. The photos show the stem the broken tenon and how close to the shank it was snapped off. The above photo shows the damage on the rim top to the inner edge. It is a burn mark from repeated lighting of the pipe in that spot. The photos below show the chatter and tooth marks on both sides of the stem at the button.The broken tenon was stuck in the shank when I first tried to pull it so I put it in the freezer for 30 minutes. I tried again using a long drywall screw and was able to get it free with the first try. I went through my jar of replacement tenons and found one that I thought would work. It is a threaded Delrin replacement tenon. Once I had the broken tenon out of the shank I compared them and found that the diameter was the same on both.  I tried it in the mortise and found that it was a perfect fit. Even the length was correct. I flattened the broken pieces on the end of the stem with a Dremel and sanding drum and then on the topping board. I wanted a flush surface to mount the new tenon on and also to have a snug fit against the shank. The airway was not centered in the stem so I had to do a bit of fussing with it to get it ready for the new tenon. I used a sharp pen knife to flare the side of the airway that was off to get it more centered before I drilled. Once I had done that I drilled the airway with a bit slightly larger in diameter than the airway and worked to keep it both straight and centered. This is yet another time I wished I had a drill press.I followed that drill bit with one that was the same diameter as the threaded portion of the new tenon. I sanded the threads to slightly reduce the diameter and pressed it into the stem. The fit was very good. I took a photo of the stem  at this point to show the look of the new tenon.I used black super glue that had a medium viscosity so that I had time to align the stem and the shank before the glue set. Once it was aligned I took a few photos of the fit of the stem to the shank. I would need to make a few minor adjustments but considering how off the airway was the fit was quite good. I carefully removed the stem and set it aside to let the glue on the tenon set firmly. I turned my attention to the bowl. The first item of business for me was to work on the rim top. I cleaned up the flat surface of the rim with 1500-2400 micromesh sanding pads and then shaped the inner bevel of the rim with a folded piece of 220 grit sandpaper to minimize the damage on the right inner edge. When I finished it definitely looked better. I would do a bit of finessing it once I worked on it with the micromesh pads.I decided to address the many nicks, scratches and cuts in the surface of the finish by filling them in with clear super glue. The next series of photos show the many spots on the front and bottom of the bowl.Once the repairs had dried I sanded them smooth with 220 grit sandpaper to blend them in with the surface of the bowl. I then wet sanded the entire bowl and rim with 1500-2400 grit micromesh pads and dry sanded it with 3200-12000 grit pads until the rim and the surface of the bowl was smooth and polished. I wiped down the surface of the bowl with a damp cloth to remove the sanding dust between each pad. I decided to highlight the reds in the briar and finish so I stained it with a mahogany stain pen. It looks streaked and poorly applied in the photos but the story is not over yet. I am more interested in getting the bowl covered with a stain that is transparent so when I take the next step the grain will come through the finish. Of course I was in a hurry at this point to call it a night so I forgot to take pictures of the next step. I wiped the bowl down with a cotton pad and isopropyl alcohol to spread the stain and wipe away the excess. When the grain stood out and the repairs remained hidden I rubbed the bowl down with Before & After Restoration Balm. I rubbed it into the finish to clean, enliven and protect the finish. I let it sit for a few moments and buffed it off with a cotton cloth. The photos below show the bowl at this point. Once the bowl was finished I set it aside to work on the stem. I sanded out the tooth marks and chatter on the top and underside of the stem at the button. I sanded the entire stem with 220 grit sandpaper to remove the damage and oxidation.I polished the vulcanite with micromesh sanding pads to remove the scratching and remaining oxidation. I wet sanded it with 1500-2400 grit pads and dry sanded it with 3200-12000 grit pads. I wiped the stem down with Obsidian Oil after each pad to remove the dust. I finished polishing the stem with Before & After Pipe Stem Polish – both Fine and Extra Fine to remove the rest of the scratches in the hard rubber surface. I put the stem back on the bowl and buffed the pipe with Blue Diamond on the buffing wheel. I gave it several coats of carnauba wax and buffed it with a clean buffing pad to raise a shine. I hand buffed it with a microfiber cloth to deepen the shine. The finished pipe is shown in the photos below. The repairs on the finish blend in really well with the overall finish of the pipe. The new tenon on the stem works very well and is a snug fit in the mortise. It really is a nice looking Savinelli Churchwarden. There is some nice grain on the bowl. This is the last of Mark’s uncle’s pipes and it is ready to head back to Mark for his smoking pleasure. I have one more pipe to fix for him then this one and the others will be in the post back to Mark. I think it is better than it was… thanks for looking.


The Worst Pipe I Ever Bought


Blog by Robert M. Boughton

Copyright © Reborn Pipes and the Author except as cited
https://www.facebook.com/roadrunnerpipes/

Look beneath the surface; let not the several quality of a thing nor its worth escape thee.
— Marcus Aurelius (121 AD – 180 AD), Roman Emperor, in Meditations

NOTE: My decision to post this blog was difficult because of my failure thus far to restore the pipe to a suitable condition.  The project remains a work in progress.  I now know what needs to be done to finish the job and will discuss those steps after the “Restoration” I offer now in a guileless attempt to show what horrors can follow the online purchase of a pipe that is just plain rotten to the core – a Frankenstein, if you will.  Still, this is no excuse for my frustrating defeat.  Maybe I should have extended the title to add “and the Worst Restoration I Ever Committed.” RMB

INTRODUCTION

Old Marcus knew what he was about, and his meditation on recognizing the full potential of a thing speaks to this precise pipe in an almost prescient way.  I wish I could say I always heed the sage advice, but I cannot tell that big a lie.  In the case of this tiny, smooth (in the roughest sense of the word), straight apple purported to be a Kaufman Brothers and Bondy Rocky Briar apple, I failed to a degree that does not now escape me in the least.  Where I should have listened to the voice in my head that screamed how the color was just wrong – not red or maroon but what I call Chinese Fake – part of me didn’t care because it was so cheap.  As it turned out, that term took on more than one meaning as well.  Where the numerous photos of the pipe offered for examination online showed blatant signs of serious damages, visions of repairing each of them overcame my usual better instincts and blinded me to the obvious conclusion that something still graver was hidden.  The result, as I suggested in my opening Note, is the absolute worst job of repairing a pipe I have ever made.  And so, when I opened the petite package that arrived soon enough in the mail and absorbed the monstrous truth, all that saved me from an explosion of temper was the song “Always Look on the Bright Side of Life,” from Monty Python’s Life of Bryan, and particularly the opening.

Some things in life are bad
They can really make you mad
Other things just make you swear and curse.
When you’re chewing on life’s gristle
Don’t grumble, give a whistle,
And this’ll help things turn out for the best.

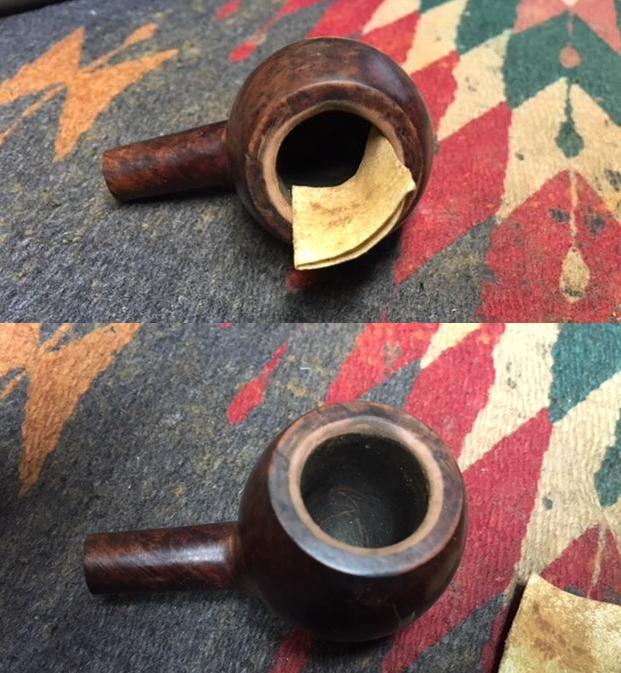
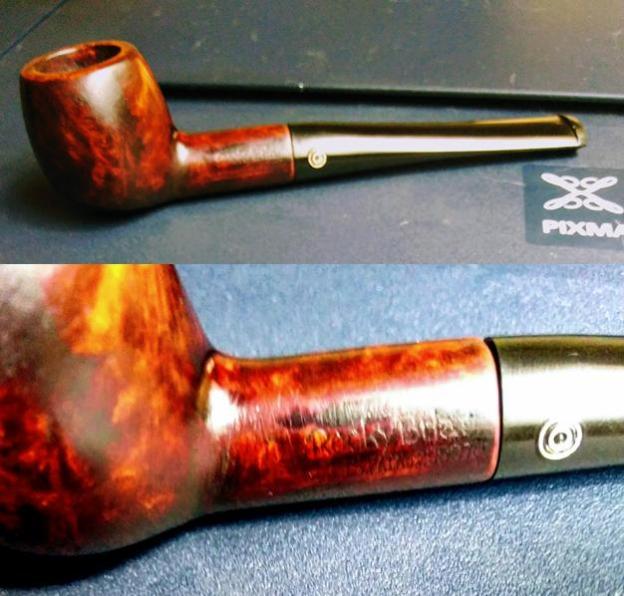
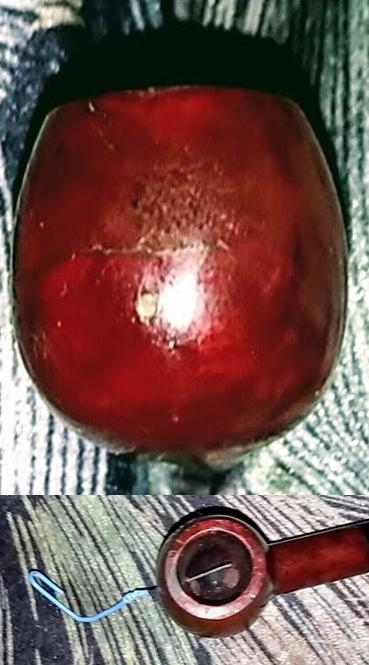
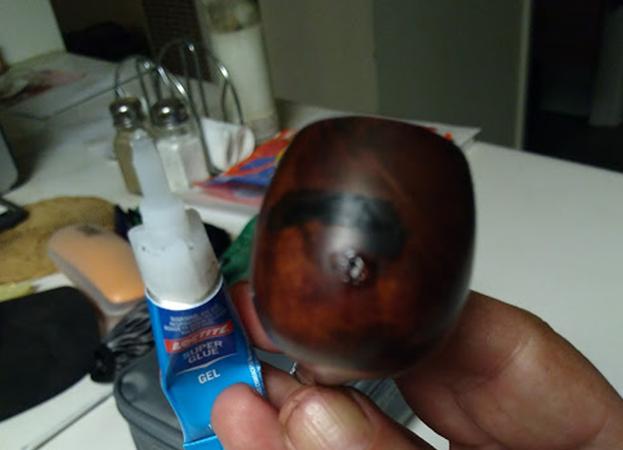
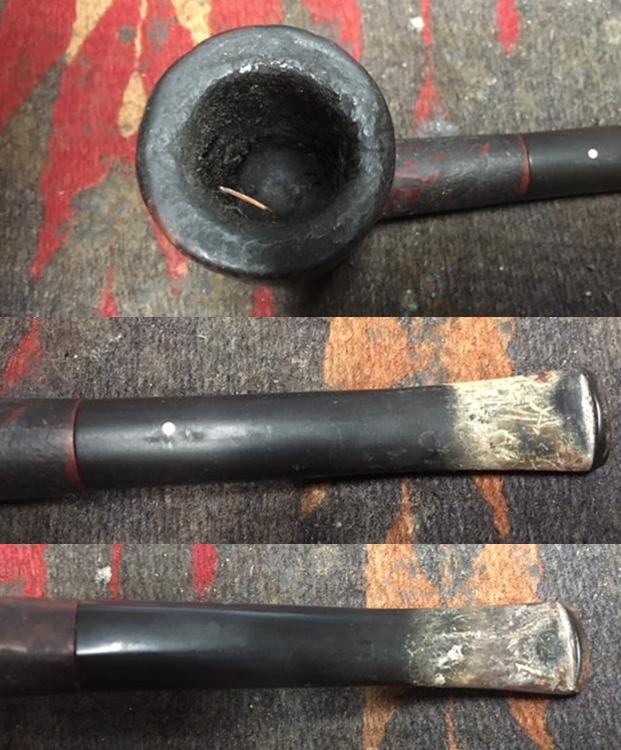
I mean, what else could I do but whistle, other than spend more than it was worth in return postage to the seller who went out of his way to hide the one definite fatal flaw, which was a pin-point hole in the bowl?  Oh, but if only that were the sole point at issue with this small yet abominable pipe!  Here are the sometimes poor but always honest pics I snapped with my old cell phone, showing every detail. The actual unique Chinese Fake color shows best in the fifth and sixth photos, close on the front and top with the latter including the stripped end of a small paper clip inserted through the hole it penetrated with precision.  This inexplicable tunnel, by the way, has no signs of being caused by a burnout.  It’s as if someone deliberately pierced through the dubious wood to test its physical density, perhaps a previous owner who was as doubtful as I that it’s briar.

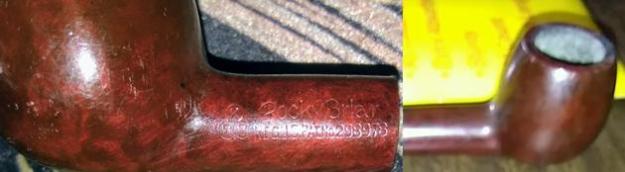
The next shot above reveals the approximate length, beside the pack of six-inch long cleaners, to be a little more than an inch short, or the size of a salesman sample.  If the pipe were a real KBB, without the ampersand as shown in the nomenclature pic – and I’m stating categorically that I do not believe it is – then it would date to the early 20th century, at least pre-1930s.  More about that later.

Now, a little extra info about the size, which would be expected to make the pipe light.  But this thing has so little density as to be comparable to holding your empty palm before you and imagining a visible cloud of radon, the heaviest noble gas at 4.4 g/cubic cm, floating there!  Okay, okay, for those who don’t go in for such sarcasm, compare the weight at most to a strip from the tail end of a classic Guillow’s Balsa Wood Flying Machine Kit.  And that’s no exaggeration.

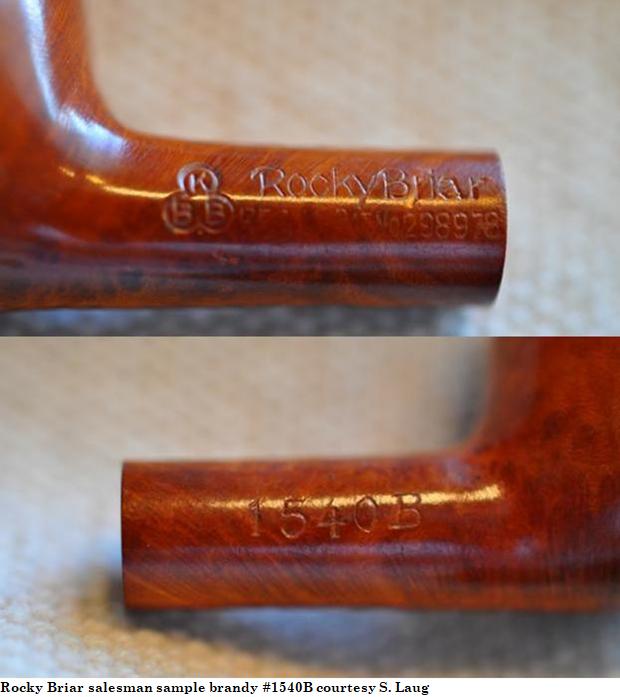
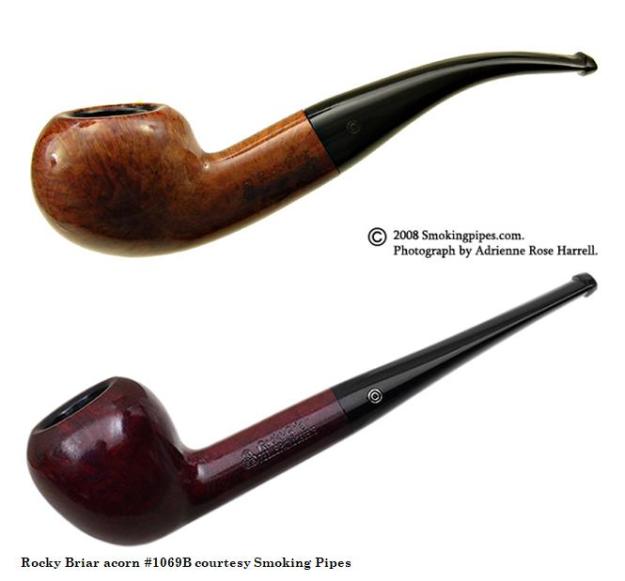
Returning to the veracity of the dainty pipe’s origins having any connection to KB&B, take a close look at the Reg US Pat No in the last shot above.  The number is 298978, which is a known KB&B Patent even though neither I nor anyone else I found searching online for a copy seems able to find one.  However, the number is fortunate in having two instances each of the numerals 9 and 8.  Now give the nomenclature still more scrutiny, and you’ll see neither pair is the same.  That is, the 9s don’t match each other any more than the 8s.  This sort of inconsistency just doesn’t happen in Patent stamps on pipes made by legitimate brands.  The two 8s are easier to spot the problem: the one at the end of the first half of the number is in the form of two separate tiny zeroes, one atop the other, while the final digit clearly shows a connection, or intersection, of the halves.  There’s also the absence of any shape number on the right shank that is present on every real Rocky Briar ever made.  Here are the two pertinent pictures again, this time followed by genuine KBB Rocky Briar examples.  Never mind the glare on the right shank of my fake; you won’t spot any number on the successive views following the worthless pipe’s restoration either.

See the weakness of the marks on my pipe as opposed to the crispness of the others.  Also note the varied but normal stain colors of the three authentic specimens, which can be viewed better at links in the sources, compared to the obvious dodgy glaze or varnish that clings to the questionable wood of mine as though still desperately trying to gain purchase.  I’ve made my point, but I’m sure those who doubt the very real and common existence of pipe forgeries will insist I just got my hands on a bad apple if I may be allowed the pun.

RESTORATION

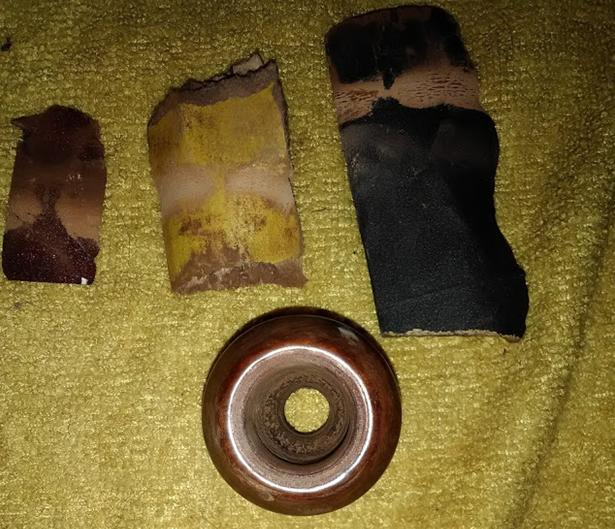
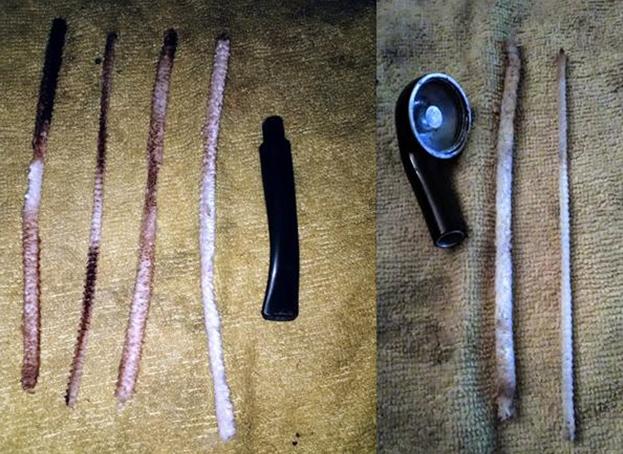
Let’s escape the hideous stummel altogether for the short time possible and start with the bit.  At least it’s Vulcanite for sure!Cleaning the bore with isopropyl alcohol was easy.  I suspect nobody who ever smoked the pipe did so more than once.Having read in this forum that using a small, relatively soft Brillo pad is a less invasive way to begin smoothing a bit, that’s how I began.  You’ll notice I still needed some practice with the method that was new to me.Then I gave it a wet micro mesh all the way from 1500-12000 with my older kit.And the same dry treatment with my newer kit.I recall using my Bic to pull out the minor chatter but seem not to have bothered recording the step.  Anyway, here’s how it worked out – a little dark, I apologize.Alright, fun time’s over.  For the stummel, I commenced the process that at times made me despair of the point of it all with the 150-grit side of a sanding pad.  At least I achieved a spotty resemblance to briar.See?  Still no sign of a shape number.

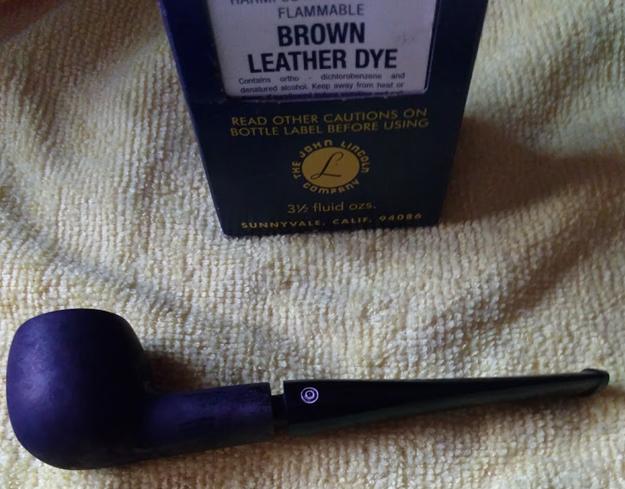
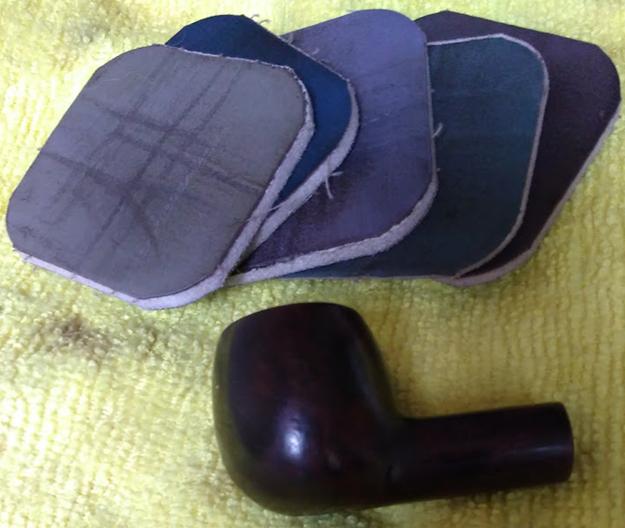
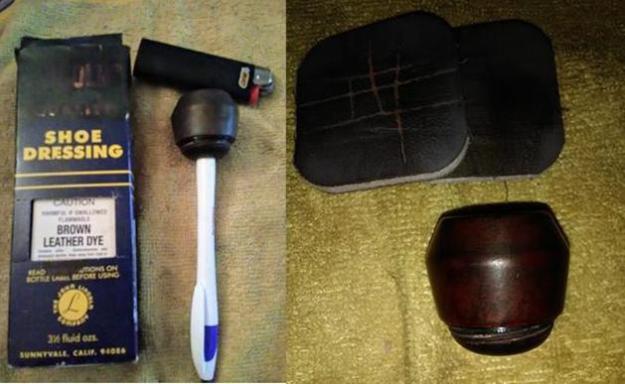
Here the thought that someone poked that hole in the bowl on purpose will seem a little saner.  My only guess at the cause of the glaring black mark, like a dark shape from a photo of the moon, is that it’s some weird sort of filling.  Check out the wear around the shank opening.  Does that look like briar?I gave the outer wood another full micro mesh progression, and it even started to look somewhat prettier. I stuffed the pin hole, from the chamber side, with wood putty and sealed the outer bowl side with Super Glue using the same exposed end of the paper clip from earlier.  Later I know I smoothed it with several of the finest micro mesh pads, but again didn’t record it.The next step was giving the wood a real stain.  I used Lincoln Brown Leather Dye and flamed it with my Bic.Hoping to obscure the dreadful damage to the front of the pipe with the darkness of the stain, I micro meshed from 3600-12000.  Everything was fine at that point but the front view. This is when the whistling stopped for the last time, and the gloves came off.  If the foul spot wouldn’t play nice, I rationalized, I’d just have to get rough.  And so, in inexcusable anger, I took 220- and 320-grit papers to the whole misbegotten stummel, micro meshed all the way one last time and gave the wood a few spins of carnauba.  Again, all but the final step went un-photographed, so ready to be done with the mess was I.  Somewhere in all the above steps I did retort the pipe.

Alrighty, then, here I go with the frankly awful results.Take a deep breath with me, as here comes the most deplorable result of my efforts, and the remainder.

Any doubters of the notion that this pipe is a forgery should consider the final closeup of the nomenclature showing the mottled stem mark.  Compare it again to Steve’s salesman sample stem crisp logo.

CONCLUSION

Embarrassment does not begin to describe the thoughts I’m having as I finish up this shameful example of how badly things can go when emotions are allowed to interfere with the task of dealing with each stage of a pipe restoration.  The work shown here was set aside at least a year ago in sheer disgust and mental exhaustion after setting out with such lofty ideals.  The fact that I knew I would never offer the pipe for sale and kept it for my own perverse enjoyment does nothing to mitigate my responsibility for the outcome.

I have not given up – I never do – but only taken the time to gird myself for the final confrontation.  In fact, it should be simple now, a mere matter of gentle sanding to remove the obvious abundance of scratches followed by another round of micro mesh, then re-staining the stummel dark brown or maybe maroon before the final electric buffing with carnauba.  And, of course, fixing the stem alignment.

Marcus Aurelius really had it right with the opening quote.  Quality and value are to be found in everything, regardless of the degrees.  My job remains to bring out the full potential for this faux KBB.

SOURCES

http://www.pipephil.eu/logos/en/logo-kbb.html#rockybriar
https://www.smokingpipes.com/pipes/new/peterson/moreinfo.cfm?product_id=40705
https://www.smokingpipes.com/pipes/estate/united-states/moreinfo.cfm?product_id=200676
https://rebornpipes.com/2016/08/12/restemming-and-restoring-a-tiny-kbb-rocky-briar-1540b-salesmans-pipe/
https://forums.arrowheads.com/forum/information-center-gc33/fakes-frauds-reproductions-authentication-gc94/identifying-fakes-reproductions-gc95/123908-pipe-smoking-instrument-fakes
http://pipesmagazine.com/forums/topic/warning-fraudster-on-ebay-selling-counterfeit-eltangs-possibly-castellos-etc
https://www.smokingpipes.com/pipes/new/castello/moreinfo.cfm?product_id=272648
https://pipedia.org/wiki/Kaywoodie
https://rebornpipes.com/2014/12/15/narrowing-down-a-date-for-kaufman-brothers-bondy-kbb-and-kbb-pipes/

An Ornery Falcon International Bulldog


Blog by Robert M. Boughton
Copyright © Reborn Pipes and the Author except as cited

If you get to thinking you’re a person of some importance, try ordering someone else’s dog around.

— William Penn Adair “Will” Rogers (1879-1935), U.S. stage and motion picture actor, vaudeville performer, cowboy, newspaper columnist and social humorist

INTRODUCTION

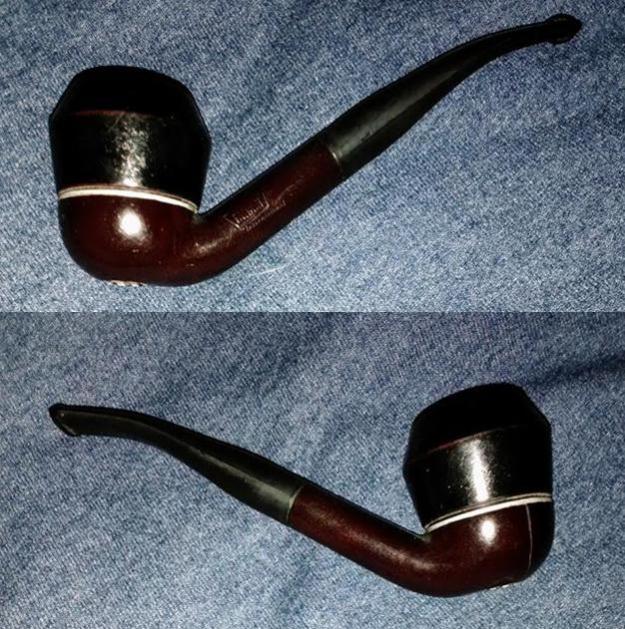
I came to understand the humorous comment above before push even came to shove with this Falcon International bent bulldog.  When I stumbled upon it on eBay, the metal system pipe’s most endearing aspect – that’s sarcasm, by the way – was its color, or rather, apparent lack of any.  Although I’m sure they exist, I had never seen one dressed all in black, or so I thought.  If for no other reason, as if I needed one, I had to have this thing, maybe to see if I could restore the rather ugly example of a type of pipe known for the more common sleek, shiny aluminum stems (which include the bit, shank and system filter dish) to the original condition.  But, of course, the threaded bowl coated with a thick black varnish did create a temptation, whether subconscious or not, to discover what lay beneath, and perhaps improve upon the condition, to my own way of thinking.

Understand, I have nothing against dress pipes, also called dinner or ebony, and have owned some remarkable representatives, from a Nat Sherman #862 billiard to a Peterson Kilarney #150 bulldog.  The International I purchased just seemed a bit wrong in that company.  I suppose my growing codger inclinations might be making me a tad old-fashioned, but in my humble opinion, the only proper place for a dress pipe is among fashionable all wood varieties.  I’ve always been against discrimination, but if that’s what this is, so be it!

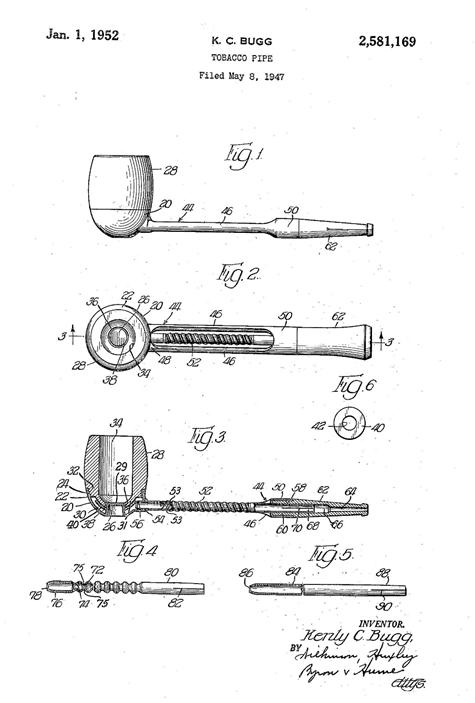
Created in 1936 by an American engineer named Kenley Bugg, the Falcon idea was to use a novel system design that provided for the tobacco smoke and resulting moisture to pass from an interchangeable wooden bowl that screwed onto the dish.  The Humidome., as the small aluminum area was known, trapped the dottle that would have ended up in the unfortunate smoker’s mouth, or worse yet, all the way to his stomach.  The revolutionary arrangement of the parts presented other benefits such as ease of cleaning and maintaining, not to mention that if an owner were so crass as to burn out, crack or otherwise lay waste to the bowl, instead of tossing the entire pipe, all that was needed was a less expensive replacement bowl.  Truly this must have been the dawn of the disposable age!  However, the greatest achievement of the Falcon is the potential lack of any need to give the pipes a resting period – again because of the interchangeability of the bowls.  One frame had the potential to facilitate countless pipes.

At first an oddity that some pipers embraced as such or owing to P.A.D., which must have afflicted some though likely fewer connoisseurs then as now, after World War II the situation that could have been called a fad began to turn into serious business.  More than six million of the increasing Falcon models sold during the brief nine years from 1958 to 1963 in the U.S. alone.  Current worldwide sales figures are hard to come by, but from 1958-1974, Falcon sold more than 14 million pipes outside the U.S.

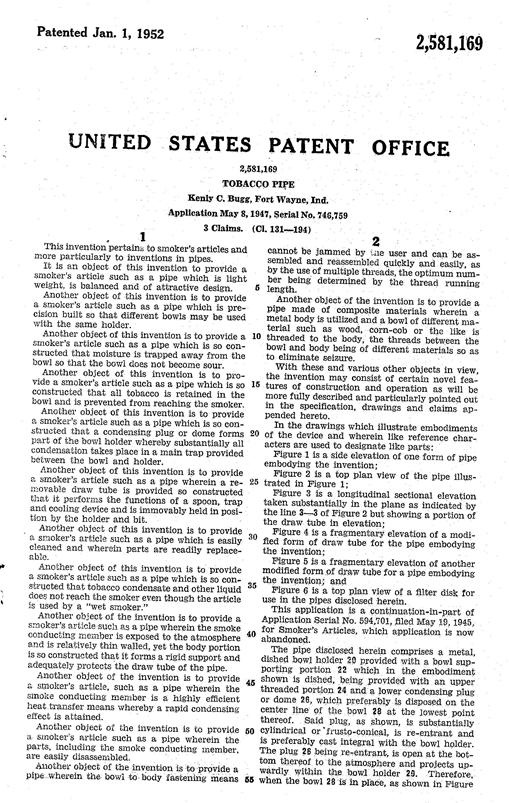
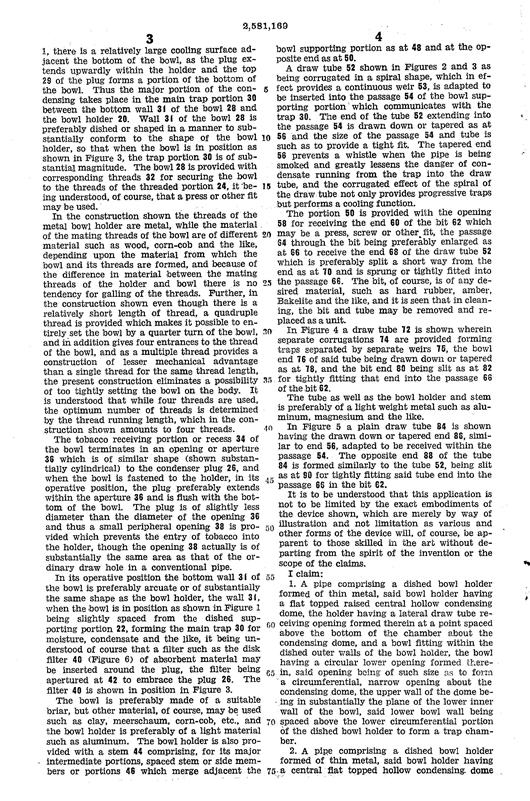
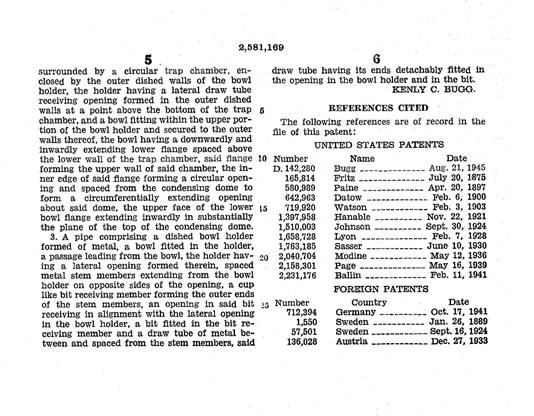
In a blog I wrote in January 2016 about the restorations of two different brands of similar pipes, one a Kaywoodie and the other a Delta, I concluded that Frederick Kirsten was the original inventor of the metal system pipe.  This may be true, but the fact remains that both Kirsten and Bugg came up with independent designs the same year: 1936.  Kirsten, however, filed for his U.S. Patent № 112,701 in 1937, while Bugg’s U.S. Patent № 2,561,169 wasn’t filed until 1947.  And so, who is the father of the metal system pipe?  We may never know. Here are the problems I saw to some extent in the eBay photos, but (surprise, surprise) with much more clarity using my own eyes and, better yet, taking pics, which always seems to reveal more.

  1. The briar bowl was coarse from whatever inappropriate black substance was used to “stain” it – much like the type of result one sees when the covered surface is not smooth enough.
  2. The right side of the base where the bowl screws in appeared to have a wicked scrape at best or a crack at worst.
  3. The rim was charred and dinged, and the coating was gone.
  4. The indented circular groove of the bulldog shape had a reddish tinge I suspected was the result of wear.
  5. The chamber had been cleaned but was crude, as if it had never been smoothed and sanded.
  6. The inside of the Humidome was dirty, but not very.
  7. The round, hard rubbery seal on the bottom of the bowl was grimy, and its hole was caked with sticky old tobacco by-products.
  8. The shape I saw on the lower top side of the bit looked more like a gash than a deliberate mark, and the tenon had an unnatural, uniform rawness.
  9. The overall appearance of the pipe was that it was all metal.

A good friend once told me I’m attracted to wounded people and things, and the International had all the earmarks of a nice challenge.

RESTORATION

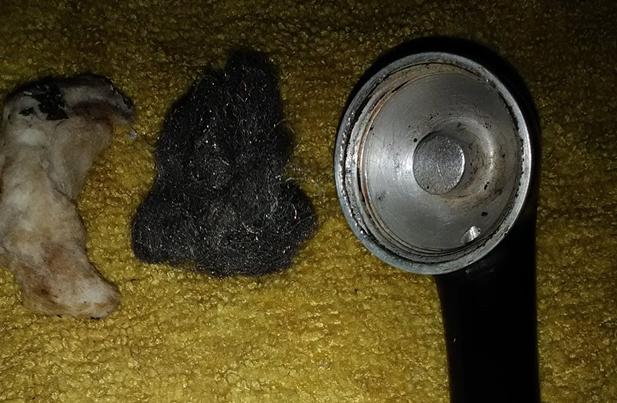
Now, I really do try not to resort to alcohol stripping and/or sanding when less invasive measures will do.  Nevertheless, this called for more than the ideal.  Also, I had decided I needed to uncover the briar beneath the unholy glaze covering if only to see how bad it could be.  I soaked the bowl except for the rubbery seal in isopropyl alcohol for 10 hours, but confidence was high there would be minimal if any effect.  The last pic shows some of the crud I scraped out from around the hole.  Next, I used the 150-grit side of a sanding pad followed by 220-grit paper with somewhat better results.  The near absence of any grain at all explained why the folks at Falcon chose to obliterate it, although the use of varnish or some other glaze is never justified. Note the sparkling bits within the toxic coal black substance, which prevented the wood from expanding, or breathing to use the more apt word, when tobacco was lit.   The coal black almost debris covered the pad that has a normal maroon color.  The bowl needed another couple of hours in alcohol.  I have to say I was surprised by the improvement in the general look and color a full micro mesh progression made. Sanding the chamber with 150-, 320- and 600-grit paper worked well to render it smooth.Cleaning the Humidome with a cotton pad soaked with alcohol and a small piece of superfine 0000 steel wool was simple.I think this was the first time I worked on a pipe when the bit was dirtier than the shank.At last, my favorite part arrived – staining and flaming the wood.  Only the 8000 and 12000 micro mesh was needed to clear away the soot and improve the color.The last part was micro meshing the stem to remove scratches.  In the process, the apparent gash or crack turned out to be just a bigger scratch that almost disappeared. I gave the whole thing three coats of carnauba only. CONCLUSION

I chose to leave good enough alone concerning the remaining minor scratches on the stem.  I’ve tried to stain metal before, and it’s a nightmare if you don’t know what you’re doing.  My friend Don Gilmore, who makes beautiful pipes and accessories, is knowledgeable about Falcons in general.  He had never seen one with the rounded shank and told me at last months pipe club meting he thought it might be a Chinese knock-off.  He suggested I check Smoking Metal, and when I showed him the following pic from that site he was relieved.  So was I.

Falcon Internationals courtesy Smoking Metal

This is one unusual example of the company’s products I wanted to add to my own collection.  But I decided to offer it for sale at my online store, https://www.facebook.com/rebornpipes/ (click on Store in the left column).  I hope it finds a good home.

SOURCES

https://www.uktobacco.com/acatalog/Falcon-Pipe-Accessories.html
http://www.tobaccopipes.com/falcon-history/
http://www.gqtobaccos.com/falcon-metal-pipes
http://www.smokingmetal.co.uk/pipe.php?page=103
https://rebornpipes.com/2016/01/10/i-got-the-kaywoodie-delta-blues/
http://www.chesapeakepipeandcigar.com/?page_id=2952
https://patents.google.com/patent/US2581169A/en?oq=2581169
https://patents.google.com/patent/USD112701

Farida’s Dad’s Pipes #4 – Restoring a Dunhill Red Bark Pot 43061


Blog by Steve Laug

The next collection of pipes that I am working on comes from the estate of an elderly gentleman here in Vancouver. I met with his daughter Farida last summer and we looked at his pipes and talked about them then. Over the Christmas holiday she brought them by for me to work on, restore and then sell for her. There are 10 pipes in all – 7 Dunhills (one of them, a Shell Bulldog, has a burned out bowl), 2 Charatans, and a Savinelli Autograph. His pipes are worn and dirty and for some folks they have a lot of damage and wear that reduce their value. To me each one tells a story. I only wish they could speak and talk about the travels they have had with Farida’s Dad.

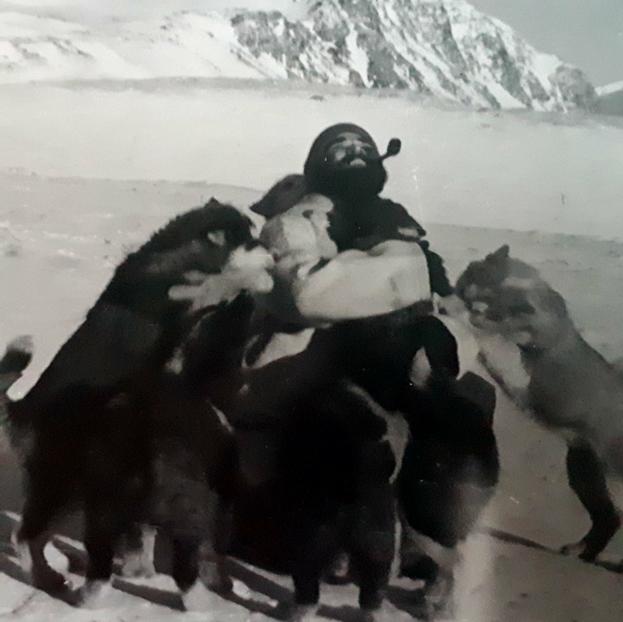
When I wrote the blog on the Classic Series Dunhill and thinking about its travels, Farida sent me an email with a short write up on her Dad. She remembered that I had asked her for it so that I could have a sense of the stories of her Dad’s pipes. Here is what she wrote: My dad, John Barber, loved his pipes. He was a huge fan of Dunhill and his favourite smoke was St. Bruno. No one ever complained of the smell of St. Bruno, we all loved it. I see the bowls and they’re large because he had big hands. When he was finished with his couple of puffs, he would grasp the bowl in the palm of his hand, holding the warmth as the embers faded. The rough bowled pipes were for daytime and especially if he was fixing something. The smooth bowled pipes were for an evening with a glass of brandy and a good movie. In his 20s, he was an adventurer travelling the world on ships as their radio operator. He spent a year in the Antarctic, a year in the Arctic and stopped in most ports in all the other continents. He immigrated to Canada in the mid-fifties, working on the BC Ferries earning money to pay for his education. He graduated from UBC as an engineer and spent the rest of his working life as a consultant, mostly to the mining companies. Whatever he was doing though, his pipe was always close by. 

She sent along this photo of him with his sled dogs in the Antarctic sometime in 1953-1954. It is a fascinating photo showing him with a pipe in his mouth. He is happily rough housing with his dogs. As a true pipeman the cold does not seem to bother him at all.Thank you Farida for sending the photo and the background story on your Dad for me to use on the blog. I find that it really explains a lot about their condition and gives me a sense of who Dad was. If your Dad was rarely without a pipe I can certainly tell which pipes were his favourites. As I looked over the pipes I noted that each of them had extensive rim damage and some had deeply burned gouges in the rim tops. The bowls seemed to have been reamed not too long ago because they did not show the amount of cake I would have expected. The stems were all covered with deep tooth marks and chatter and were oxidized and dirty. The internals of the mortise, the airway in the shank and stem were filled with tars and oils. These were nice looking pipes when her Dad bought them and they would be nice looking one more when I finished.

I finished two of the pipes and have written a blog on each of them. The first one was the Dunhill Shell with the oval shank pot (https://rebornpipes.com/2018/02/04/restoring-a-1983-dunhill-shell-41009-oval-shank-pot/) and the second was the Dunhill Classic Series Shell Billiard (https://rebornpipes.com/2018/02/08/faridas-dads-pipes-2-restoring-a-1990-lbs-classic-series-dunhill-shell-billiard/). The third pipe I restored from the estate was a Savinelli Autograph (https://rebornpipes.com/2018/02/15/faridas-dads-pipes-3-restoring-a-savinelli-autograph-4/).

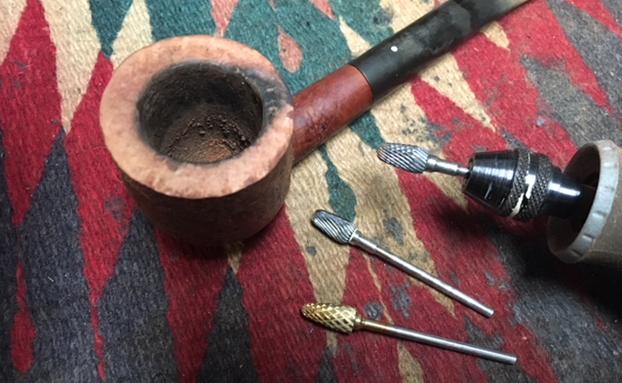
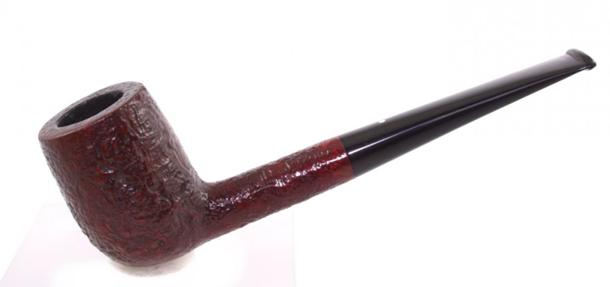
I went back to the Dunhills today so I chose to work on a Dunhill Red Bark 43061 pot. It was so dirty it was hard to tell what it looked like under the thick grime. The blast itself was almost filled in with thick, oily grime. I wiped the grime off the underside of the shank to be able to read the stamping. It was worn but readable. On the bottom of the bowl is the 43061 shape number. Next to that it is stamped Dunhill Red Bark over Made in England 17.  Dating this pipe is a fairly easy proposition. You take the two digits following the D in England and add them to 1960. In this case it is 1960+17= 1977. (Pipephil’s site has a helpful dating tool for Dunhill pipes that I use regularly http://www.pipephil.eu/logos/en/dunhill/redbark1.html). The bowl was thickly caked and the cake had flowed over onto the light sandblast finish on the rim top forming a hard lava that made the top almost smooth. The inner and outer edges of the rim were damaged. On the front of the bowl the rim had been scraped and damaged and then burned. On the back edge there was the same kind of damage that was on the other Dunhill pipes in this estate. This one however was not quite as deep so it would need to be dealt with a bit differently when I got to that point. The stem was oxidized and calcified at the button end. There were tooth marks and chatter on both sides in front of the button. The Dunhill white spot was intact on the top of the stem. I took photos of the pipe to show what it looked like before I started the cleanup work. I took close up photos of the bowl and rim top as well as the stem. You can see the condition of the rim top and bowl in the first photo. The stem has tooth chatter and some deep bite marks on the top edge of the button and a deep tooth mark on the underside of the stem just ahead of the button. There is a lot of calcification and wear on the rest of the stem as well.I reamed the bowl with a PipNet reamer and I had to use three of the four cutting heads to clean out the cake. The bowl thickly caked so I started with the smallest of the three and worked my way up to the third which was about the same size as the bowl diameter. I took back the cake to bare briar. I took a photo of the cleaned bowl. I scrubbed the surface of the sandblast with Murphy’s Oil Soap and a tooth brush to clean out all of the dust. I worked on the top of the rim with a brass bristle wire brush and a brass bristle polishing brush to remove the lava on the rim. I scrubbed the stem with the tooth brush as well to remove the calcification and grime. I rinsed the pipe under warm running water to remove the dirt, grime and soap. I dried off the bowl with a soft rag. The cleaned and scrubbed pipe really made the rim top damage very clear. It looked to me that I would need to top the bowl. I cleaned up the reaming of the bowl with a Savinelli Fitsall Pipe Knife to remove the remaining cake that was on the walls around the airway and the lower part of the bowl.I topped the bowl to remove the damage to the top surface of the rim and clean up the damage to the edges. I did not have to remove a lot and repeatedly checked it to make sure that I had removed enough but not too much.I used a series of dental burrs on the Dremel to etch a pattern into the top of the rim to blend it into the sandblast around the bowl sides. It was not a deep sandblast so the pattern on the rim needed to be random looking and not deep. I wanted it to blend in the damaged area on the back side of the rim. The photo below shows the rusticated rim top and the three burrs that I used to create it.I restained the bowl and rim with a Mahogany stain pen. I wanted to match the colour of the Red Bark shown in the photo below. After I stained the pipe with the Mahogany and I used a red oil based stain. I rubbed it onto the finish and buffed it off with a soft cloth. I rubbed down the briar with Before & After Restoration Balm. I worked it into the nooks and crannies of the sandblast finish to clean, enliven and protect the new finish. It also evened out the stain coat and gave the stain a dimensional feel. I let the balm sit for a little wall and then buffed it with a horsehair shoe brush. I buffed the bowl with a cotton cloth to raise the shine. Once again I have gotten so used to Jeff cleaning the pipes before I got them I just I realized that I had not worked on the internals of the pipe. I looked down the shank and it was filthy as was to be expected. Arghhh. Went back to clean out the shank and airway in the stem and shank. I scraped the hardened tars on the walls of the mortise with a pen knife. I cleaned the mortise and the airway in the shank with pipe cleaners, cotton swabs and alcohol until it was clean. I painted the surface of the stem with the flame of a Bic lighter to lift the tooth dents in the underside of the stem. It took a few swaths of the lighter and the dents lifted. There was only one small pin prick left next to the button that would need to be repaired.  I repaired the remaining deep tooth marks on both sides of the stem with black super glue. Once it dried I sanded the surface of the stem with 220 grit sandpaper to smooth out the repaired tooth marks and chatter and removing the remnants of calcification and oxidation on the stem until the oxidation was removed.I polished the stem with micromesh sanding pads – wet sanding with 1500-2400 grit micromesh sanding pads and dry sanding it with 3200-12000 grit pads. I rubbed the stem down with Obsidian Oil after each pad. I polished it further with Before & After Pipe Polish, using both the Fine and Extra Fine polishes to further protect and polish out the scratches. When I finished with those I gave it a final rub down with the oil and set it aside to dry. With the stem polished I put it back on the pipe and lightly buffed the bowl with Blue Diamond. I buffed the stem with a more aggressive buff of Blue Diamond. I gave the bowl several coats of Conservator’s Wax and the stem several coats of carnauba wax and buffed the pipe with a clean buffing pad to raise the shine. I hand buffed it with a microfiber cloth to deepen the shine. The pipe polished up pretty nicely. The finished pipe is shown in the photos below. This is the fourth of Farida’s Dad’s pipes that I am restoring from his collection. I am looking forward to hearing what Farida thinks once she sees the finished pipe on the blog. I will be posting it on the rebornpipes store very soon. It should make a nice addition to your pipe rack if you have been looking for a reasonably priced Dunhill. When you add it to your collection you carry on the trust from her father. The dimensions are Length: 5 3/4 inches, Height: 1 1/2 inches, Outside diameter of the bowl: 1 1/2 inches, Chamber diameter: ¾ inches. Thanks for walking through the restoration with me as I worked over this estate Autograph. More of his pipes will follow including some Charatans and more Dunhills.

Resuscitating a Gentle Giant Bent Billiard


Blog by Steve Laug

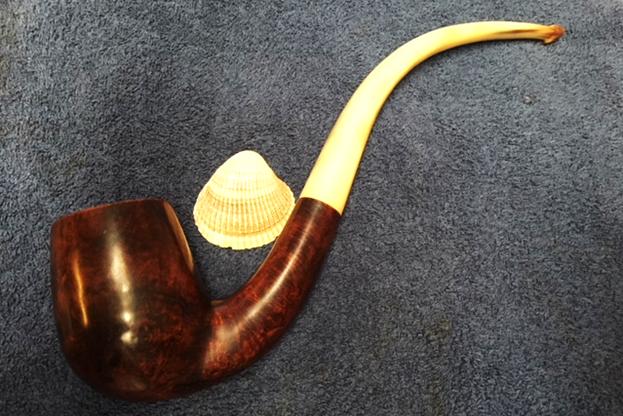
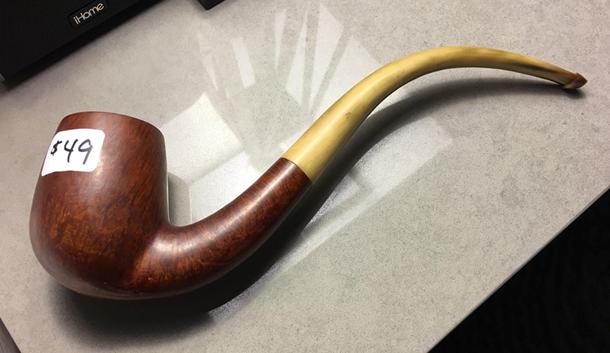
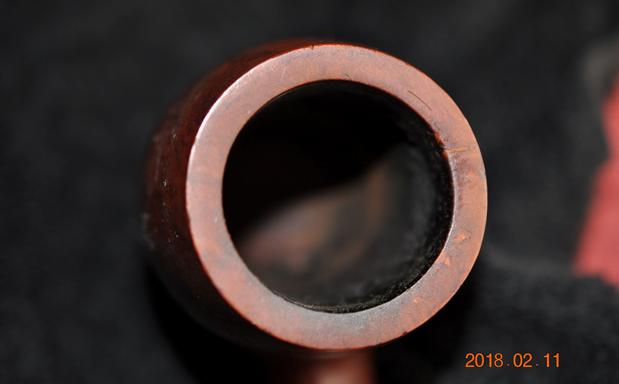
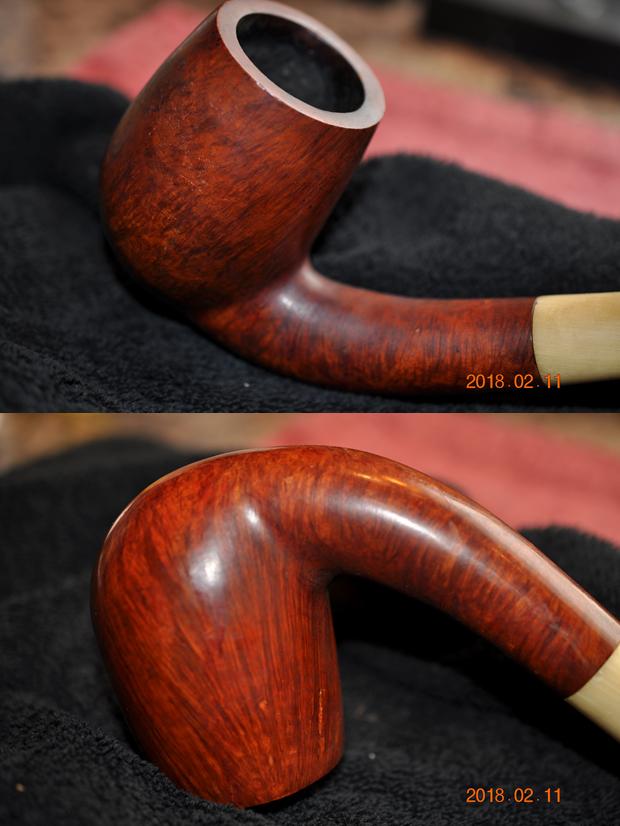
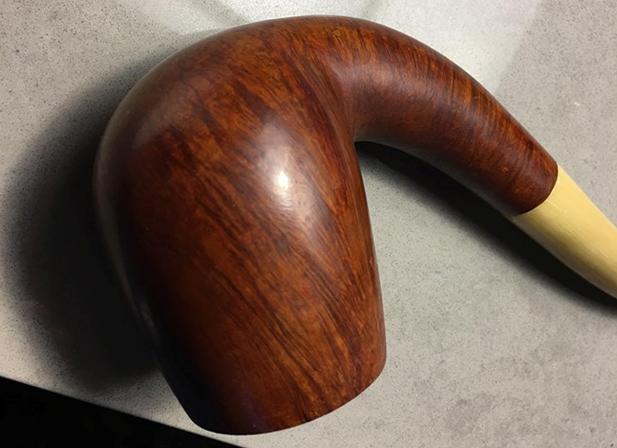
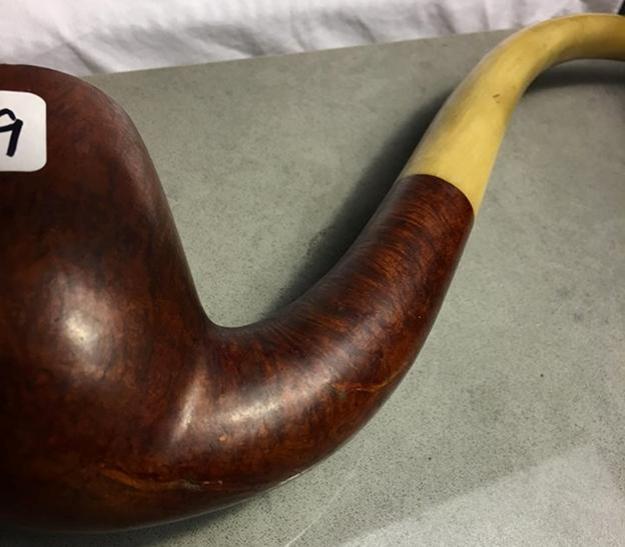
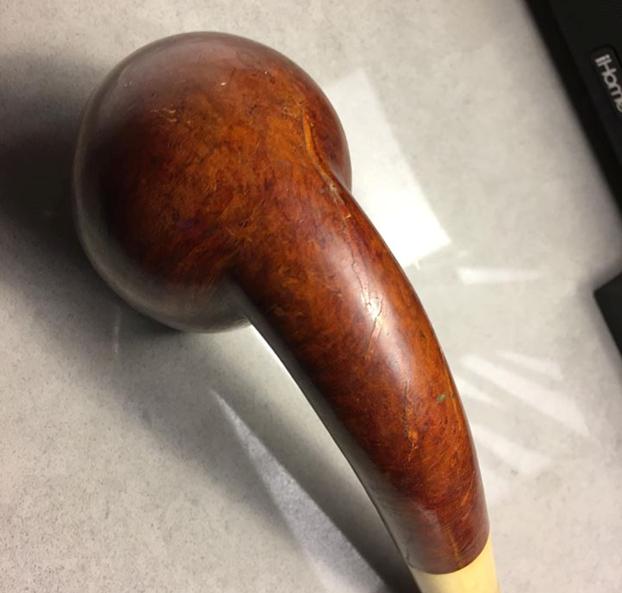
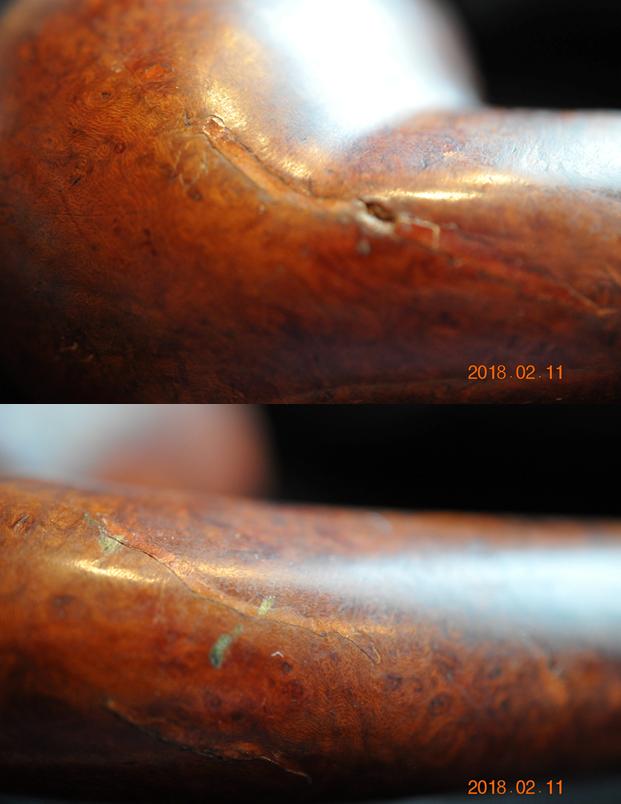
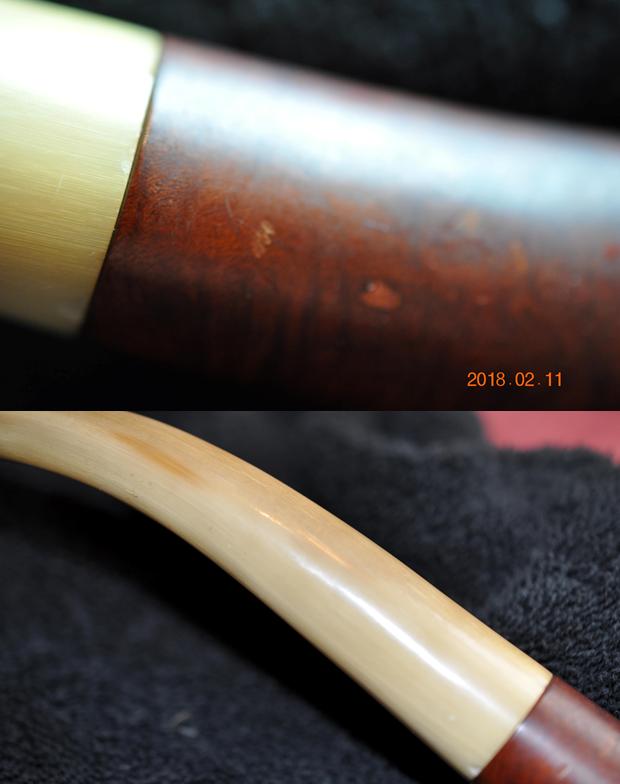
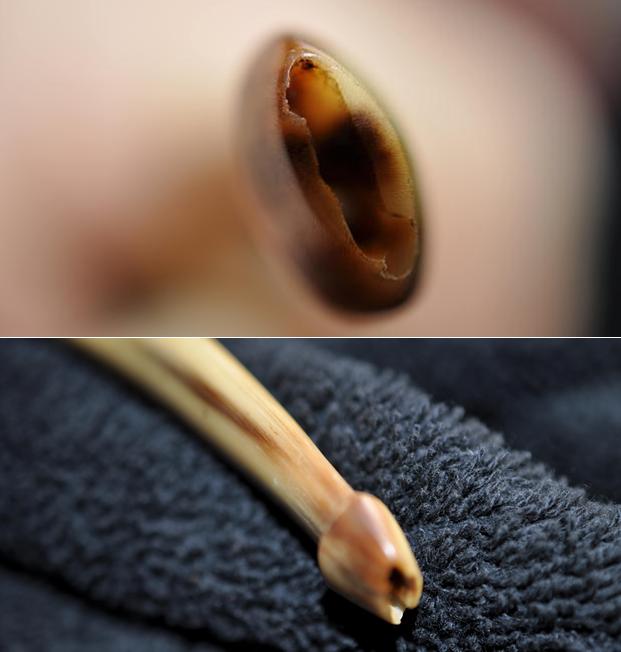
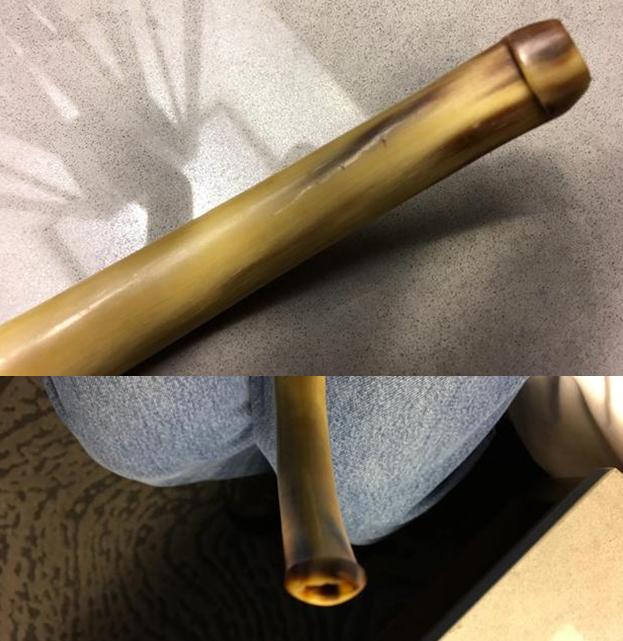
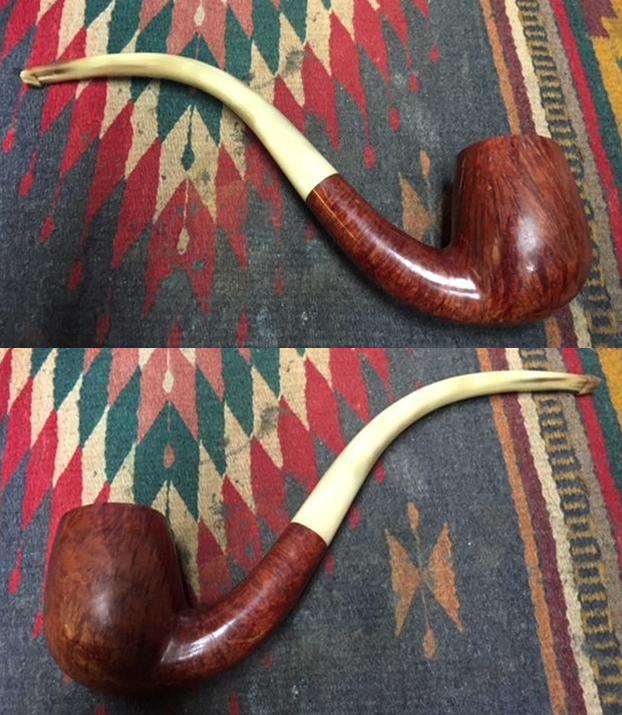
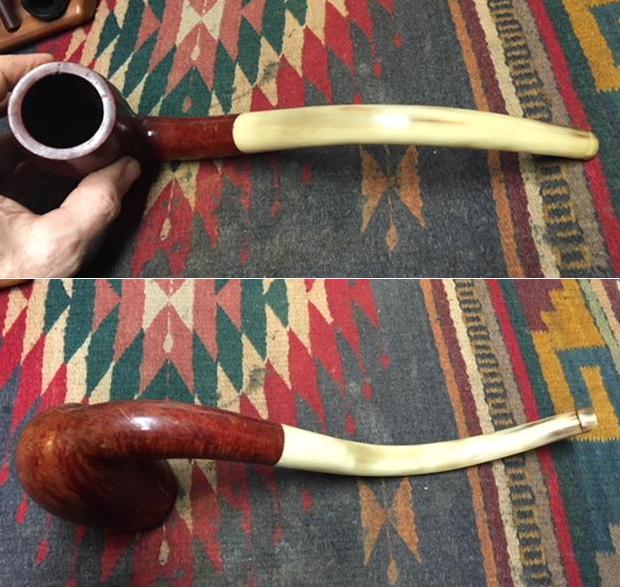
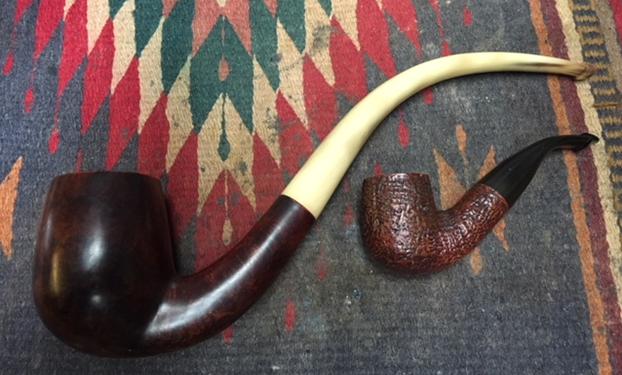
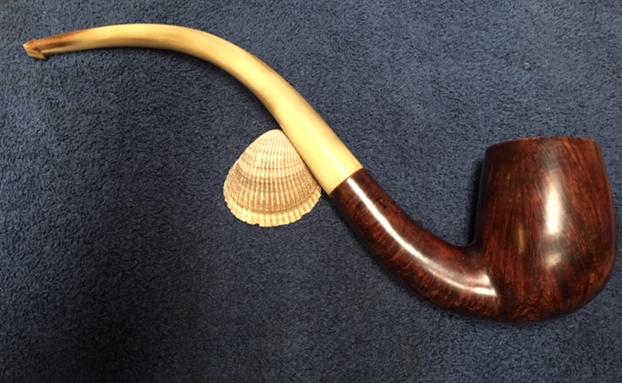
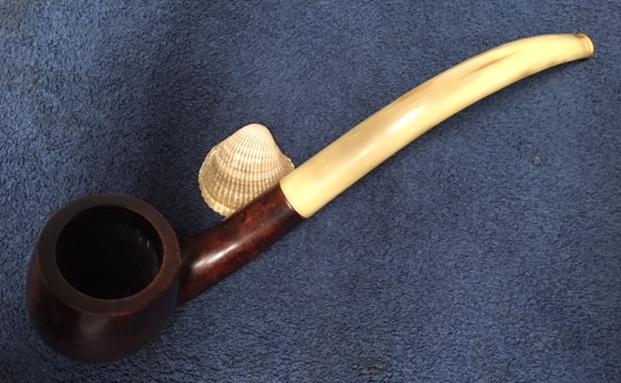
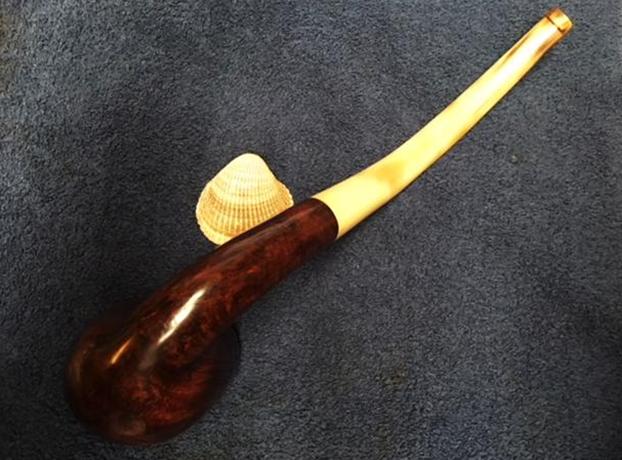
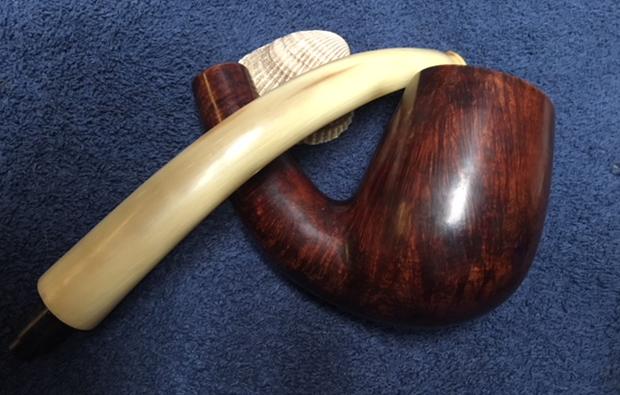
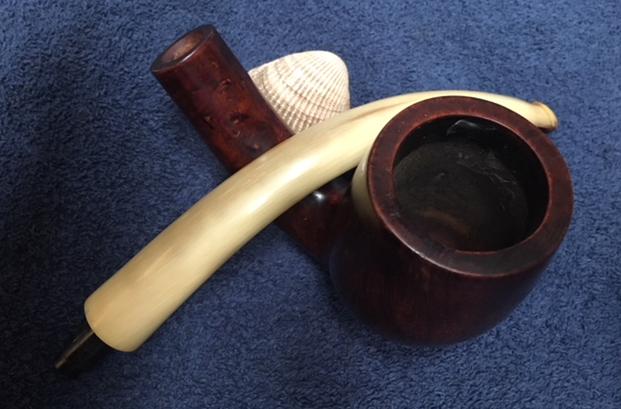
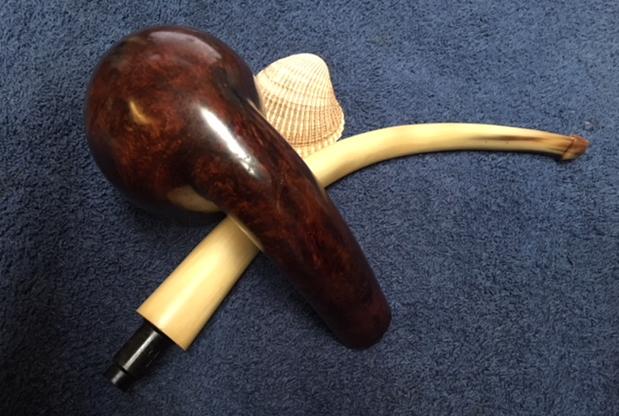
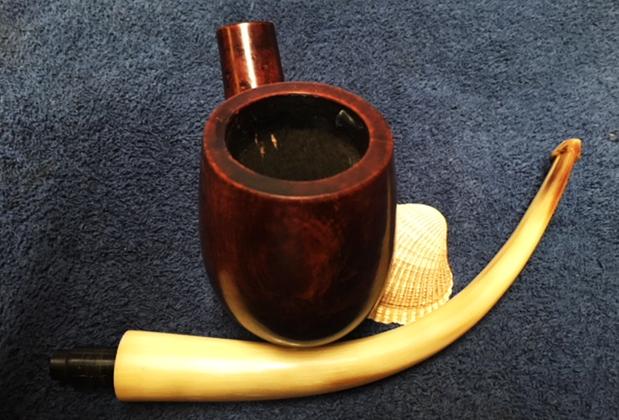
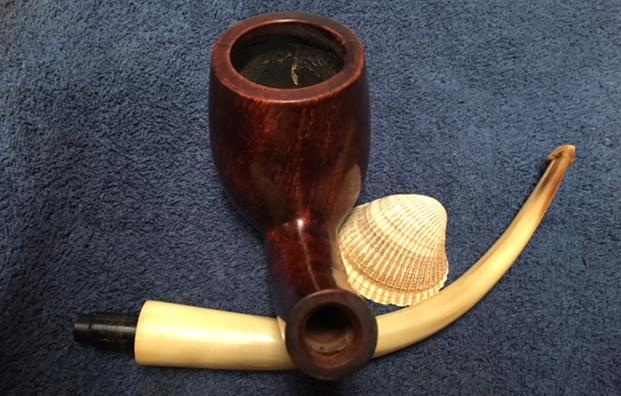
Several weeks ago I got a Facetime call from my brother Jeff. He was in Bozeman, Montana at an antique shop and had found a pipe that intrigued him. The seller wanted $49 for it and it was a large chunk of briar, well carved with a horn stem. He showed me photos on Facetime and it was indeed intriguing. It had gentle curves both from the bend of the shank to the curve of the horn stem. The horn stem appeared to be in good condition overall. The button and slot were damaged but it would not take too much work to clean up the slot and the nicks at stem/shank junction. We decided to pick it up and restore it. I have to tell you I had no idea how big the pipe was.Jeff took some photos of the pipe before he cleaned it up. It was in pretty good condition. The bowl had a light cake but there was no lava overflow on the rim top. The varnish finish on the bowl was peeling and spotty. The grain on the sides of the pipe was really nice. There were a lot of fills on the bottom and back sides of the bowl and all along the sides of the shank. On the underside of the shank and on part of the bottom of the bowl there were some very large fills that were chipped and damaged.The next series of photos show the rim top and the sides and bottom of the bowl. The cake in the bowl is not thick. The rim top is clean and there are fills that are chipped and nicked on the flat surface. The grain on bowl sides is really quite nice. The photo below of the bottom of the bowl and shank show the damaged fills. They are quite long and extend all along the shank bottom. The second and third photos below show the damaged areas of the fills. The fit of the stem to the shank was snug. There were a couple small nicks in the horn stem.The slot in the button end was damaged. On the top and the bottom edges the horn was missing. The second photo gives perspective on the damage along the edges of the button. The good thing was that the button itself was quite deep and I would be able to “top” it and remove much of the damage to the end. Jeff did his usual great job cleaning the pipe before he sent it to me. He reamed the bowl with a Savinelli Fitsall Pipe Knife. He scrubbed out the mortise and the airway in the shank and the stem with alcohol, cotton swabs and pipe cleaners. He scrubbed the exterior of the bowl, rim and shank with a tooth brush and Murphy’s Oil Soap to remove the peeling varnish coat on the bowl and shank. He rinsed it under running water. He dried it off with a soft cloth. Once the peeling varnish debris was removed, the finish was in decent condition. When it arrived it was in a vinyl bag that had been made for it. I had no idea how large the pipe was. I slowly took it out of the bag and took photos of the pipe to show its condition before I started my work on it.It was large enough that I can honestly say I have never seen a pipe this large. To get a better idea of the size I measured it for myself. The dimensions were Length: 12 inches, Height: 3 ½ inches, Outside Diameter of the Bowl: 2 inches, Diameter of the Chamber: 1 ½ inches. Later I will take a photo of the pipe with a regular sized bent billiard. I took some photos of the pipe to show what he had done in the cleanup work. It was a beautiful pipe. I took a close up photo of the rim and bowl to show the condition after the cleanup. You can see the fills on the top and inner edge of the bowl as well as the damage on the front inner edge. The stem itself looks to be in great condition other than several chips around the end next to the shank and the damage to the slot in the button.I took close up photos of the slot in the button to show the damage. In the photos you can see the damage to the edges of the slot on the sides and the top and bottom.Because of the depth of the button, the thickness of the stem end I decided to start on that first. I used the topping board and 220 grit sandpaper and topped the end of the button to remove the damaged areas as much as possible.I filled in the notches in the slot with clear super glue. I worked on them to repair the damages in those areas. I sanded the end of the button and slot to remove the excess and used a needle file to clean up the slot edges.I blew air through the stem and found that the flow was constricted. I pushed a pipe cleaner into the airway from both end and found that it hit a clogged or constriction at the midpoint of the stem. I pushed a flexible wire through the airway and pushed out thick tars and hardened oils from the stem. I used long churchwarden pipe cleaners dipped in alcohol through the airway to clean out the debris. Once I had cleaned it out the flow of air through the stem both ways was unrestricted.I repaired the chipped areas on the tenon end of the stem with clear super glue. Once the glue had cured I sanded the repaired areas to remove the excess and blend it into the surface of the horn. I polished the stem with micromesh sanding pads – wet sanding with 1500-2400 grit pads and dry sanding with 3200-12000 grit pads. I wiped the stem down with Obsidian Oil after each pad. I polished it with Before & After Pipe Polish and rubbed it down with a cotton pad to deeply polish the horn. I set the stem aside and worked on the bowl. I decided to top the bowl to remove the damaged areas from the surface and edges of the rim. I used 220 grit sandpaper to clean it up. I topped it until the rim top was clean.I repaired the fills in the briar with clear super glue. I filled them until they were slightly over filled so that as the glue cured it would not shrink and require a second coat.When the glue dried I sanded the bowl with 220 and 380 grit sandpaper to blend the fills into the surface of the briar. I wiped the sanded briar down with alcohol on a cotton pad. I sanded the bowl with a medium and a fine grit sanding sponge and then stained it with a dark brown stain. I flamed it and repeated the process until the coverage was even. You might wonder why I stained it with such a dark stain… my reason was quite simple. I wanted to mask the fills – particularly the large ones on the underside of the shank. I set the bowl aside to let the stain dry and called it a night. In the morning I wiped it down with alcohol on cotton pads to make the dark brown stain more transparent and allow the grain to pop through the finish. The fills though still present were in better condition and less obvious. I polished the briar with micromesh sanding pads – dry sanding with 1500-12000 grit pads. I wiped the bowl down with an alcohol dampened cotton pad after each grit of micromesh. I put the polished stem back on the shank and took a photo of the pipe next to a Peterson’s London Made Kapruf 9BC to give an idea of the sheer size of this giant pipe. The Peterson is an average sized pipe and it appears almost like a nosewarmer next to this big one.I took the pipe to the buffer and worked it over on the buffing wheel using Blue Diamond to polish it. I buffed the entire pipe to raise the gloss on the briar and really bring shine to the horn. I gave the bowl and stem multiple coats of Carnauba Wax. I buffed the entire pipe with a clean buffing pad to raise the shine. I hand buffed it with a microfiber cloth to deepen the shine. The finished pipe is shown in the photos below. The dark brown stains on the bowl do not hide the grain and the fills though present do not stand out as much. The bowl and the rich striated colours of the horn work really well to create a rich looking pipe. The pipe is so big that I want to once again give you the dimensions; Length: 12 inches, Height: 3 ½ inches, Outside Diameter of the Bowl: 2 inches, Diameter of the Chamber: 1 ½ inches.  This humongous briar and horn stem pipe is truly a beauty. I have never seen a pipe this big before and it makes me wonder if it was not originally made as a display pipe. I don’t think I will ever know for sure but I do know that it was smoked and it is available to anyone who is interested in adding big pipe to their own collection. I would have said rack but it is too big to fit even a large rack. I will be putting it on the rebornpipes store shortly so if you are interested let me know. Thanks for walking through the restoration with me.

Saving a New Friend


Blog by Dave Weagle

When I saw Dave’s work on this old pipe I knew I wanted to read about the process he used in repairing this old friend. I wrote him a message on the Facebook Tobacco Pipe Restorers Group and asked him if he would be interested in putting together a blog for us here at rebornpipes. He gladly accepted the offer and today he sent along this blog. Welcome to rebornpipes Dave. It is a pleasure to have you show your work and skills here. The invitation is always open to you. With no further intro I will let Dave speak for himself. Enjoy.

Growing up I always knew that someday I would be a pipe smoker. I remember during an anti smoking discussion in grade 1 at the rip old age of 7, I told the teacher I had no interest in cigarettes but someday I would smoke a pipe. That was 1978.

Over the past 40 years I have had a few passions that have shaped my life. Recently pipe smoking and restoration has been one of them. During the 90’s while working backshifts I discovered old black and white suspense movies from the 1930’s & 1940’s. Of these the Sherlock Holmes movies starring Basil Rathbone became a favorite.

Once I decided I was ready to take up pipe smoking I knew there was one pipe brand I would have to acquire. Peterson. After some research I found that Basil Rathbone smoked a 4ab in the movies produced by Universal. Further research suggested the 4ab shape would become the 309.   I found a Peterson Patent pipe a few years ago hiding in a lot on Ebay with a bunch of old burnt cobs. With a bit of work I had a close copy of a 4ab.

My Peterson Patent pipe with a stem I modified.Now for the back story. 

Now for the back story.  Since March of 2016 I have started chasing pre- republic pipes. This past Christmas (2017) with a little cash burning a hole in my pocket, I went surfing my usual online pipe haunts for older Petes. I found a seller on Etsy that had some interesting older pipes. One was a Pete. There was no shape number in the listing so I emailed the seller. It turned out to be a 313. I have three 313 already, so I thanked the seller but declined the pipe. To my surprise he emailed me back and asked if I’d be interested in some older unrestored Petersons. We emailed back and forth and came up with an arrangement that both were happy with. I bought 8 pipes. A Peterson calabash with a silver hallmark dated 1908 and a S17 sealed the deal (those will be future restorations). The other 6 pipes where all Republic era pipes. My favorite shape 309 was there so I was very pleased with my purchase.

This is where my restoration story begins. When the pipes arrived from England I was surprised to find how well loved the 309 was. The shank was actually worn crooked. The stem was worn and the nickel cap had a crack and 11 dents. I contacted Peterson about getting a new cap on the 309. When I found out how expensive it was I decided this was a lot of money to restore a well used 309. I started looking for a donor 309. It didn’t take long to find a cracked 309 (a cracked Chacom and Nording came with it) which would be a great parts pipe for about half the price of shipping my original 309 back to the factory to be fixed.

The donor 309 came from EBay. It took two weeks for the pipe to travel from California to Nova Scotia. During the two weeks, I kept going back to the original listing and night after night I keep thinking I can’t send this donor 309 to the scrap pile without at least attempting to save it. This is how the pipe arrived.Not sure how to approach this repair I decided to gently ream it to see the extent of the inner bowl damage. I didn’t want to just start filling the crack with CA glue and briar dust. This was the result of reaming. Some people might have been upset by the result but I knew it was a good thing. I now knew the extent of the damage. Also, I could clean up the cracked surfaces to remove any loose char or ash. Using cotton swabs and isopropyl alcohol I cleaned all the damaged area before reattachment. I now had two pieces of the bowl which I glued together and let them set. Once they dried I fit them back in place and set to gluing and pinning.I started by drilling several vertical holes and then drilled the horizontal holes making sure that the two broken pieces were pinned to each other and into the remaining bowl. I used several types of CA glue in this process. I used a thinned glue designed to flow into cracks. The pins were cut to fit and glued with a thicker gap filling gel CA. When it came time to fill the cracks and the drilled holes I used a standard CA and briar dust. I used several coats of glue and dust to fill everything in, brushing the bowl between coats with a brass bristled bush to remove any loose dust and checked each coat with my jeweler’s lope for coverage. Once I was happy with the surface coverage, using my jewelers lope and a rotary tool I tried to copy the rustification as close to the original as possible. I always wear a dust mask when I attempt surface repairs using a jeweler’s lope and a rotary tool. The pipe is right about nose level and the tool blows the dust right in your face.This is the outer surface after about two hours of work. Now it was time to fix up the inner bowl.  After the outer repair was complete it was evident that a burnt out was the cause of the crack.  There was an indent which need to be filled. Usually I use fireplace cement (a paste I make out of hardwood ash that I collect from my woodstove) to patch small burns in a bowl but this was going to be a large patch ,so I wanted something stronger. JB Weld was what I used. After wiping out the bowl with cotton swabs and isopropyl alcohol to remove any loose char and ash I mixed up some JB Weld and applied it to the inner bowl. After let it dry overnight I turned again to my rotary tool with a sanding drum to even out the walls. Again, wear a mask if using when this method because it throws a lot of dust in the air, and you’ll be sneezing for a few days (past experience). With the inner bowl smooth and round it was on to cleaning the draft hole and the shank. Using a 4mm drill bit I redrilled the draft hole. With cotton swabs, isopropyl alcohol and a dental tool I cleaned the shank and draft hole. After cleaning and drilling I didn’t like the depth of the bowl reverses the position of the draft hole so I added a bit more JB Weld to the bottom of the bowl. Using a small piece of 220 grit sand paper I sanded the inner bowl again so there were no rough seams. With the repairs to the bowl it was time to refinish. Using my brass bristle brush and a 3M autobody scuff pad I gently buffed the outer bowl. I carefully polished the stamping using micro mesh pads starting at 3200, finishing with 12000.

When it came to the staining I used Fiebing’s leather dye. USMC black was the base coat and Ox Blood was the finish coat. Both colours where flamed to set the dye into the grain. I then hand buffed the bowl before coating the bowl with Halcyon II wax. Once the wax had dried I hand buffed the bowl again. While staining the bowl I got some red stain on the cap which I removed with Autosol polish (I use it to polish the chrome bumpers on my Dodge Ram) which also cleans up the oxidation. With the outside finished it was time to finish the inside. For this I decided a coating of maple syrup and charcoal would be the best to help rebuild the new cake as the pipe is smoked. With a pipe cleaner placed in the draft hole the inner bowl was lined with maple syrup. Then the bowl was filled with charcoal. I gently tapped the top of the bowl with a spoon to remove any air gaps (not unlike how I may tap a bowl when I fill it with tobacco). I let the bowl dry before removing the excess charcoal. This was the finish of the work on the bowl. All that was left to finish was the stem. The stem was heavily oxidized so a soak in Oxiclean for a few hours. After removing the stem from its Oxi bath I cleaned the inner stem with bristle pipe cleaners and Isopropyl alcohol. There was a lot of chatter on the tip including some dents on the P lip. I heated the stem with a heat gun to raise the dents with some success. A quick sanding with 220 grit sand paper and a wipe with isopropyl alcohol I was ready to repair the dents that didn’t raise. Rubberized CA glue and charcoal powder were mixed and used to patch the dents. With a coarse file I reshaped the P lip. Starting with 220 grit sand paper I dry sanded the stem removing the excess glue. From there I dry sanded the stem with 600 grit. I then changed to wet sanding with 1000, 2000, and 3000 sand paper. I switch to dry sanding with 4000 – 12000 grit micro mesh pads. Once I was happy with the sanding, I polished the stem with blue diamond compound on a buffing wheel. To finish, I applied several coats of carnauba wax on a soft buffing wheel. A hand buff finished the stem work. All that was left was to assemble the stem and the bowl. Here is a shot of the two 309’s involved in this project. The donor being in the front. With guidance from certain pipe repair blogs, I have used their techniques and developed some of my own. A few years ago starting out buying estate pipes I never thought I’d be able to do repair work like this.

Just for the record, I have decided to just send the other 309 to Peterson to have a new cap installed. My attempt to save money ended up costing me more, but one can never have too many pipes. Right?


Chasing the Grain and Restoring a Ben Wade by Preben Holm, Part 2


Blog by Robert M. Boughton
With special thanks for the contributions of Lon “Pipe Lon” Schwartz
Copyright © Reborn Pipes and the Author except as cited

His hands are miracles.  I can watch them for hours, transforming wood into something it never dreamed of being. *
— Katja Millay, in The Sea of Tranquility (2012)

INTRODUCTION

Happenstance often plays a major part in major historical, cultural and business changes.  A 25-year-old American named Lon Schwartz, who owned a shop called Pipe Lon on St. Thomas in the Virgin Islands, was in Copenhagen, Denmark pursuing a rather nebulous search for “distinctive” pipes.  Coming upon a certain provision store, Lon went inside and saw 18 pipes fashioned in the newly exploding freehand style.  The young pipe entrepreneur, who now lives in Florida and still puffs on cigars, knew at once that he wanted all of them and more.  Lon’s warm and generous insights made this blog possible.

“I never saw anything like them,” Lon told me.  “I was in the right place at the right time.”

More accurately, as Preben Holm, who had carved the pipes and was 18 at the time and off performing his mandatory military service, which lasts from four to 12 months, Lon was in the right place at almost the right time.  Upon the awaited arrival, Lon met the teenage pipe crafter and was so impressed with the youthful artisan’s work that he repeated his offer to buy all 18 pipes in stock and added that he would like as many more as Holm could produce.  Persistence and determination to make the deal inspired the independent pipe distributor during that frigid winter to visit the Danish capital three times, staying in a small, uncomfortable room when he wasn’t prowling the city for pipes.  One of Copenhagen’s stronger beers helped Lon sleep.

“One or two Carlsberg Elephant Beers, and you’d be out,” Lon said, remembering the 12% ABV content.  Apparently, the alcohol level has been reduced to 7.2% in the intervening 53 years.

Popular with tourists from around the U.S. and elsewhere, St. Thomas was an outstanding starting point for the sale of such unusual pipes exclusively by Pipe Lon, the shop’s name from its beginning in the early 1960s until Lon’s retirement in 1986.

“I sold millions of pipes and had the largest open display of pipes in the world, about 300 feet of them,” Lon said.  Now, for those who are not sports-oriented, that’s the length of a football field, or a 100-yard dash in track and field.

“I had the Virgin Islands rights to all of the brands that were big in the U.S. and Europe,” Lon added.  “They included English makers like Charatan, Barling, GBD and Comoy; some French brands, and Danish names such as Criswell and Stanwell.”

Lon pointed out that most people still don’t know where the U.S. Virgin Islands are, and I will hazard a guess that the same folks would not imagine any one of the three main islands – St. Croix, St. John and St. Thomas – and about 15 minor islands is big enough to hold a football stadium.

Lon’s chance encounter brought about the ensuing wild success of freehand pipes, by Holm and others, in the U.S.  One word I came across in several sources described the resulting introduction to the U.S. market as hype, which translates in the best sense to hoopla, a term I’m sure Holm would have embraced.

Holm wrote of the experience: “I could simply not have had any better starting point, because the taste changes quite a lot from one place in the U.S.A. to another, but here came, as mentioned, pipe-smokers from all the States.  It was wonderful to feel how something one enjoyed making really was accepted.”

That was a tremendous understatement.  By the 1970s, every major Danish pipe maker and more were engaged in business in the U.S. and many on an international basis.

If anyone deserves the esteemed if a tad cliché designation of late great artist, as I have called him before in this forum, it is Holm (1947-1989).  Then again, the best clichés are truths propagated across generations within cultures.  Holm dedicated almost the entirety of his all too brief 42 years to the practice and innovation of pipe craftsmanship, his most outstanding accomplishment.  His vocation pushed those wild vertical and horizontal lines as far as he could during the short time he spent in this dimension; his legacy is the part he played in advancing the style that was called “Unfinished” by Sixten Ivarsson and other names by different early artists.  Now this wonder of woodwork and engineering is known throughout the pipe world as the Danish freehand.

Poul Winslow, another master freehand carver, cut his teeth in pipe making starting when he was 16 and began training under Holm.  Winslow had this to say about his early mentor:  “Preben was a genius.  Maybe a bit wild, always flying from idea to idea and impatient for results.  But could he turn a pipe!  Some of the most extreme freehands came out of our workshop in the ’70s, and whatever his critics say, they sold like crazy, mostly in America.  And when it came to finishing, he was the best in the business.”Many old-schoolers throughout the pipe world, in Denmark and everywhere else, considered the “crazy” shapes offensive.  “They thought these wild new pipes were funny, or stupid,” Lon said.  “It took some time to realize their potential, artistically and financially.”
Maybe if I had been a codger in the 1960s I would have agreed, but as a child then I had already learned to deal with stranger things: Flower Children in their VW Love Vans, Hasbro’s Twister and the Slinky, for example (which was, in fact, introduced in 1945).  Later, as a young man, I added news of the soiled clothes saved by a certain White House intern to the list.

A series of autobiographical articles by Holm, written from 1983-1984, was published later online and in The Pipe Smoker’s Ephemeris magazine (TPSE).   The first article concerns Holm’s earlier years and offers fascinating details of the young boy’s immersion into his father’s large provision shop in Copenhagen, the capitol of Denmark and one of the world’s cultural hubs.  Then there are the blank spots, like spaces in the New York Times daily crossword, that can tell still more about the man   Some can be penciled in with tentative answers to erase and correct from clues provided later in the disjointed narrative; others are enigmatic, parts of tight knots jumbled in Down and Across clusters of cross-questions within questions.

Tom Dunn’s founding of The Universal Coterie of Pipe Smokers (T.U.C.O.P.S.) in 1964, at the time a rag-tag group of pipers held together by Dunn’s untiring work in his Queens, New York apartment, led in short order to TPSE.  As becomes the fate of many pipers, Dunn’s life was plagued by avid collections of books and pipes.  As many, but not all, of the books no doubt concerned pipes, the dual diagnosis would seem to be Book and Pipe Acquisition Disorder (BPAD) and its fraternal twin, Pipe Book Acquisition Disorder (PBAD), or just BPBAD.  Hardbound editions of every TPSE issue from the magazine’s inception in 1964 as an irregular quarterly through 2004 were published by T.U.C.O.P.S./TPSE.  Book Two [1994, pp 670-673] contains the article relied upon most for this part of the essay and was cited by Pipedia in its re-print of the text that I found.

Mindful that, as an autobiographical work, the series called “The Story of My Firm” is written from Holm’s perspective, I took his suggestion that he was behind the transition of old Danish designs into the revolutionary freehand technique with a reporter’s mandatory skepticism, no matter how much I would like to believe.  Here is the passage I didn’t wish to question but had to do so, describing Holm’s life when he was 18 or 19 – in the late-1960s.

“One day while making the rather traditional hand-carved pipes as we had to in order to come by some money, I took a fancy to make something completely untraditional at that time.  From the very beginning I had only worked with the finest Bruyere that could be provided, and on the whole it all had very pretty grain patterns, and that gave me the idea to try something novel.  Contrary to what was done so far I started to form some of the pipes according to the grain pattern, and out of this I got some quite particular models…I began also to let the raw bark-top be part of the design.” 

Considerable research now under the bridge, I found numerous sites suggesting earlier origins of the style, but they were all vague and inconclusive.  Lon confirmed my suspicion that Holm, despite his great achievements as a carver, was not the father of the freehand.

“There were people playing around with new shapes and using the bark in the 1940s and ’50s, before it really got going in the ’60s” Lon said.  Sixten Ivarsson (1910-2001), “the grand old man of Danish pipe making, was just one of these chasers, but many cite him as the rightful patriarch of the now large family.  The truth may never be known, but Ivarsson started repairing pipes after the end of World War II and was soon asked to make them.  The results that at first followed the classic English shapes evolved into variations that were sleeker and curvier, and eventually freeform.

CHILDHOOD’S COST

Holm’s account of his childhood working in his father’s provision shop is conflicted, to say the least, and offers no truly personal insights into the man whatsoever.  As an adult, the son gives alternate descriptions of his father as “somewhat mean” and “altogether a very wise man.”  There are other signs that the boy might have been confused by what he saw as contradictory strictures of his father’s.  For example, Holm’s father forbade the smoking of cigarettes but was not opposed when the boy took to pipes around the age of 13-14.  And in at least the first installment of the series of articles he later wrote, there is the absence of a single mention of the elder Holm’s given name or having a mother much less any other family.  Lon filled in some of the family gaps as well.

“Preben’s mother sewed the pipe pouches, and he had a brother he didn’t talk about,” Lon said.  Holm also had a wife, still alive in Denmark, from whom he was divorced.  “We were very close also.  She came to the Virgin Islands with him.  He was a very odd person, a bit disturbed, and he let all of it out in his pipe making.”

Any concrete conclusions from these signs, however tempting to wade into, I will leave to psychologists.  Furthermore, the overall nature of his youth, other than being a bit precocious with adult duties and interests, may have been more a product of his generation and culture than an outright unpleasant upbringing.

At any rate, the store had three departments – wine; magazines, cigarettes and other convenience items, and the part of the shop that in a short time drew young Preben into its irresistible mysteries, the pipe and tobacco department.  Best of all, the tobacco shop included a small repair service area that Preben soon took over.

Holm’s prodigious start and rapid rise in his father’s family business

Starting as an errand boy when he was 12-13, Holm possessed a pragmatic maturity which led him to the early conclusion that his wage was “a sixth of what I could earn somewhere else, but [continuing with my father], I think, was very sound.”  That young Preben already was considering his advancement options seems clear.  Even as a youngster, Holm saved the tips he made running about town, depositing them in the bank and using his meager wages to purchase fine tobacco that was much more expensive than the lesser Danish blends at the time available at his father’s shop and most other places.  Although at first his father thought this practice “crazy,” so charismatic and business-like was his son, and one can only imagine just as persuasive the samples of superior tobacco mixes provided to the elder Holm by the boy, that the master of the shop was won over and began offering a wide selection of foreign pipe tobacco.  Most of the higher quality blends were English, meaning made in England.

Even before he was put in charge of pipe and tobacco purchases when he was only 14, Holm writes, he had a large role and the adult demeanor to fill it.  “Most likely I was not always popular with the sellers of pipes who considered me too critical, but I thought that necessary in order to live up to the confidence our customers of pipes gradually placed in me.”

In most cultures, the notion of a child manufacturing tobacco pipes would be frowned upon.  Not so in Denmark, where a cursory survey of the Who’s Who of that craft reveals many such examples.  At the age of 15 in Holm’s case, his obsession with pipes had grown so overwhelming that he became fascinated with “an elderly gentleman, who himself made hand-carved pipes.”  The unidentified man visited the shop to sell them and ended up offering to help young Preben obtain the machines he would need.  Holm’s hard-earned savings of 1,400 kroners (USD231.00 today) proved to be enough, again with the guidance of the gentleman, who also supplied other tools.  [I can’t find a handy inflation calculator for Denmark prior to 1981.  Perhaps someone could give me an educated conversion for kroners to kroners starting earlier.] 

 With the equipment installed in a Spartan 13.5 square foot room in the basement, Holm began experimenting late into the nights – after the demanding work of his day job.  But the daily practice paid off, and just short of his 16th birthday, Holm handed over his first batch of pipes he deemed acceptable for sale in the shop.  Without delay, the confident boy decided it was time to tackle the biggest seller in Copenhagen, Pipe Dan, who offered to buy 20-30 pipes every week.  The most Holm ever earned from Pipe Dan, which was quite a bit, was 500kr, or USD83.00 today, for one exceptional pipe – an elaborate freehand.  Holm suspected Pipe Dan didn’t believe the lad could pull it off when he described his plan and made the deal.

Before the end of his partnership with Pipe Dan, Holm and one “journeyman” were able to produce 50-60 pipes per week that the venerable middleman sold.  Holm was one of the most promising pipe crafters to produce the freehand style.  Of still more significance, however, is that he was the crafter responsible for the spread of the new form’s popularity to the U.S. and elsewhere.

Before Holm’s 22nd birthday in 1969, he and his 45 employees at the time were outproducing the sales he and Lon could handle, and the two concluded something needed to change.  The choice of a distribution outfit called Snug Harbour in New York had mixed results, to be nice.  Although sales increased, Holm ended up never seeing much of the money due to the distributor’s eventual failure to pay its bills.  Holm had a hefty supply of pipes ready for export and nobody to move them.

GOING DANISH WITH LANE LTD.

“I set up a meeting with Holm and Herman Lane in New York where I was present,” Lon said.  “Lane and I were very close friends.”  That turning point was in February 1971.

Herman G. Lane was the enormous ego behind Lane Ltd., a continuation of the original pipe and tobacco interest opened in Dresden, Germany in 1890 by Herman’s grandfather and resurrected in Manhattan by the emigrant grandson in 1938.  The Lane Ltd. empire distributed some of the world’s foremost pipe brands, including Dunhill, Charatan and for a while Dr. Grabow, as well as many more, and had made Captain Black tobacco since the family business first opened in Germany.

To say the least, the chance to “team” with the pipe giant was an opportunity for young Holm that he could not have been expected to let slip away.  For the ambitious Lane, on the other hand, the talented but not very business savvy Dane was an easy conquest.  In raising the price of Holm’s pipes higher than they already were, Lane’s goal, of course, was to make money.  That the two did, leading to the aforementioned hoopla.

THE BEN WADE CONNECTION

Lane was only interested in Holm’s freehands, and there was one snag to overcome: Snug Harbour retained a stockpile of Holm’s pipes and could be expected to sell them at cut-rate prices.  To avoid this contingency, Lane and Holm made an exclusive rights deal for distribution of the freehand pipes and agreed the use of Holm’s name was inadvisable.  As Lane Ltd. owned the Ben Wade name, Herman Lane suggested marketing Holm’s Golden Walnut Hand Made in Denmark line under that brand.  One fine example of Holm’s traditional Danish pipes is the following example.Pipedia notes that “Within a very short time Ben Wade Handmade Denmark sold in much larger quantities and at higher prices than they had ever dreamed of.”
Advertisements hiked the prices well higher than Holm’s pipes ever sold for before, and one key campaign was a New York Times full-page spot for an elegant Seven-Day’s Set.  The set, no surprise, is now difficult to find.

When I began work on these two blogs, I expected to accomplish the task in a single essay.  Becoming bogged down by the complexity of pulling together so much information and realizing the result was becoming massive even by my wildest discourses, I knew I had to do a two-parter.

This installment started as the re-stemming of the first Danish freehand I bought for a pittance on eBay, in January 2015, as a sort of New Year’s excuse to make another P.A.D. gift to myself.  Besides, it was a Buy Now deal for no more than $25 with shipping included, and no other watchers seemed to know it was something special.  I wrote the original “Grooming a Ben Wade Golden Walnut Freehand” blog in 2015 because, until then, I never received an estate pipe from that online source that was anywhere close to being ready to smoke.  The clean-up, in my mind, would be easy, just sanitizing the insides, removing a few petty scratches and deciding what to do with the rough rim and shank opening that were coated black, a condition I pretty much disliked.  I modify the fact that the pipe was the first I bought, as I already had a couple of other freehands, as noted in Part 1.

In hindsight, I recognize how, in the easier process of cleaning the freehand, I preserved what I now consider to be an unpleasant though common black finish for the natural, radiant, lighter golden hue of the walnut that was, furthermore, left with what I considered an inappropriate dark brown finish.  And so, instead of the sole re-stemming idea, I found myself with the option of removing the black stain where it was added and lightening the original dark brown stain on the rest as well as the minuscule scratches.  Even though I intended the pipe for my own personal use, I had a compulsion to do the job as I would for sale to a customer.

RESTORATION
After choosing the full refurbish course, I began with the replacement of the original Vulcanite bit that had broken during a harried move using my car.  The photos below show the bit as it was before I smoothed it out when I first bought the pipe.Here’s a similar new Lucite bit as it came in the mail, showing the huge 9mm tenon that was almost the same diameter as the one I used.If I owned a proper, electric stem turner, the job of fitting the tenon of the fancy Lucite bit to the shank opening would have been easy.  But I had the pleasure of doing it by hand, and after previous experiments I didn’t want to mess it up with a single miscalculated stroke of a file.  That left the sandpaper method.  And now the fancy replacement, after hours of going over with 150-grit paper and smoothing with a steady, ascending progression, ready to heat in the oven for about 20 minutes at 210° F., and again after bending. I micro meshed the stummel, other than the rim, from 1500-12000.I was ready to soak the stummel in isopropyl alcohol. Micro meshing again, the wood was nice and smooth, and the rim and shank opening only needed some work with the 180-grit side of a sanding pad.Reaming and sanding the chamber from 150-600-grit paper, that part looked much better.Just for good measure, I retorted the pipe, and the result was magnificent.Having re-thought my initial desire to lighten the wood, I used red and brown Tripoli and several coats of carnauba in the buffing. CONCLUSION
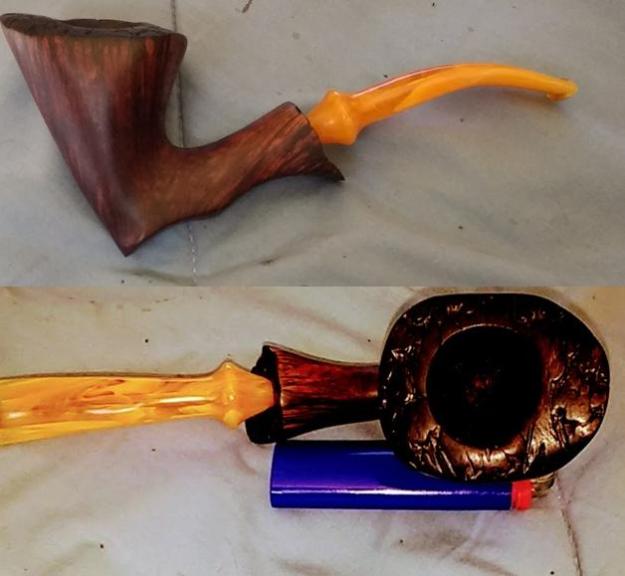
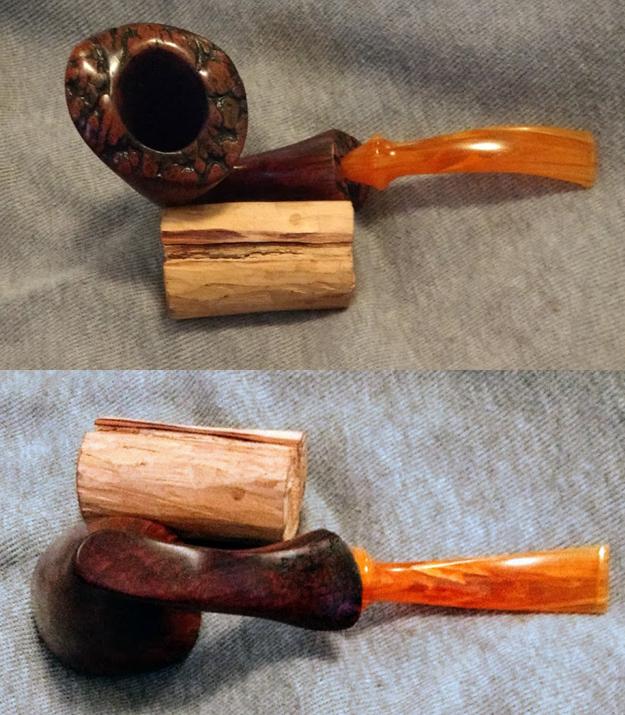
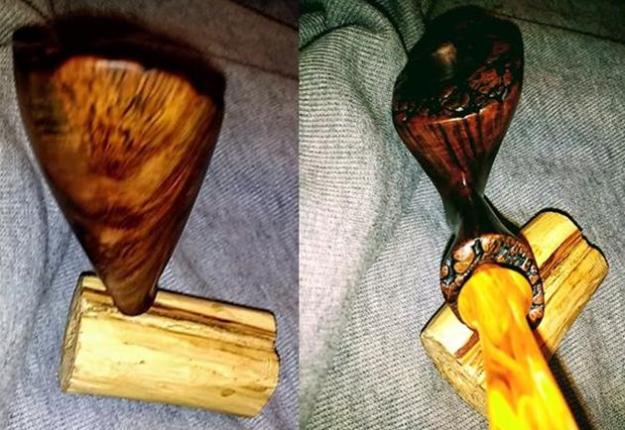
Wanting more than anything else to get an idea of what Holm was like as a person, I put the question to Lon.  His answer came back with almost no delay.

“Preben once bought a 1960s Chevy Camaro – a muscle car – for about $3,000.”  After a pause, Lon finished.  “He shipped it back to Denmark.  It cost him crazy money, at least $100,000, to do this, but that’s how he was: a rock star.  He was the only person in Denmark with that kind of car!”

Perhaps because I am a recovered alcoholic with 30 years of sobriety, something in the pervasive silence concerning the cause of Holm’s early death made me suspect that alcohol was involved.  Looking at various photos of Holm, I couldn’t help noting the sadness of his face and eyes.  At last, I found a single comment in a thread about Holm’s Ben Wade pipes on a popular smoker’s forum that read in part, “Preben literally drank himself to death…after his wife bolted with the kids.”

And so, again, but with difficulty, I turned for an answer to the man who might have been the best friend Holm ever had.  There was a long pause before Lon replied.

“When he was very strong working, making crazy money from his pipes, he was drinking a lot, as a youngster will, with everything that goes with that,” Lon said with great care and delicacy.  I didn’t ask him to expand on the last part.  “He was a rock star!  He didn’t know what to do with that.  He was getting everything he wanted and was bored.”

We both fell silent for a moment before Lon concluded, “I think we’ve said everything that needs to be said about that.”

I agree.

My hope is that this two-part essay will inspire future pipe makers, hobbyists and artisans alike to take up Chasing the Grain.  I, for one, intend to try my hand and imagination at the noble goal, even if the results are less than spectacular.

I want to express my deep gratitude to Lon, a consummate gentleman, for his invaluable help filling in details of Preben Holm’s life, craft and various business adventures.  Lon was unstinting in taking the time to share his reminiscences, not one but three times.  The only protest I have is that Lon ignored my repeated requests for a photo of himself of his choosing.  That’s why I was forced to track down, with great difficulty, the one I used.  So, Lon, don’t blame me if you don’t like it!

Lon also opened up about himself.  Born in 1940 in New York and now retired as a pipe buyer and seller, Lon described himself as the only child of highly educated parents who considered him “an idiot” because of his dyslexia.

“That was my motivation to leave home when I was 17 and look for work in the city,” Lon said in a matter-of-fact tone.

The uncontrollable condition, which causes written letters to become jumbled beyond sense, places Lon in the company of such historical and cultural figures as Leonardo da Vinci, Albert Einstein, Tom Cruise, Walt Disney – and even at least three U.S. presidents: George Washington, John F. Kennedy and George W. Bush.

The idea horrifies me, the more so because, when I was a child, I suffered from another optic disorder that mimicked dyslexia but proved curable.  I’ll never forget the shame of not being able to read or write until I turned 10 and moved to Shaker Heights, Ohio, where I was blessed to meet a woman who loved children and teaching more than anything else.  Sonia Golden was an innovator in special education and knew how to do her job when my so-called teachers in California had dismissed me as “borderline retarded.”

On his own in the Big Apple, Lon started out as a sales clerk for Wally Frank, earning $37.50/week.  That’s $321.63 in today’s dollars – not bad for a start, but a long way from the ultimate success he had after discovering Holm, for all intents and purposes, first partnering with the brilliant pipe maker and later, as a friend, guiding him to bigger distributors.

The shop known as Pipe Lon was only for a relatively short time, but the quality pipes he sold there can still be found online.  Lon told me he was in the habit of stamping various pipes he sold, whether they also bore the makers’ marks or not, with the following nomenclature.  In some cases, only the best guesswork can predict the actual craftsman.* The opening quote strikes me as an elegant example of the habit of personifying wood that I discussed in Part 1.
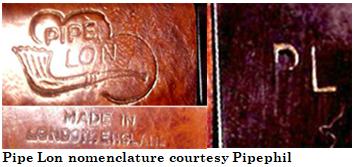
SOURCES

https://www.cia.gov/library/Publications/the-world-factbook/geos/vq.html
https://www.google.com/search?q=poul+winslow&rlz=1C1CHBF_enUS769US769&oq=poul+winslow&aqs=chrome..69i57j0l5.17027j0j4&sourceid=chrome&ie=UTF-8
http://www.danishpipemakers.com/forside/2006/1update/sixten/sixten.html
https://www.finepipes.com/danish
https://pipedia.org/wiki/Holm,_Preben
http://www.scandpipes.com/info.asp?text=3
http://www.pipephil.eu/logos/en/logo-benwade.html
https://pipedia.org/wiki/Ben_Wade
https://pipedia.org/wiki/Lane,_Ltd.
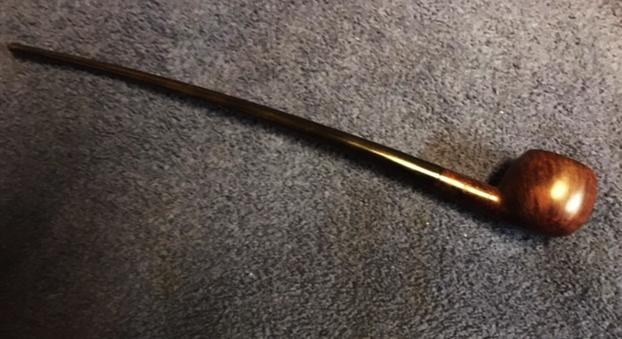
http://www.nytimes.com/1982/08/05/business/business-people-lane-ltd-gets-outsider-lane-tobacco-maker-places-outsider-helm.html
https://trademarks.justia.com/722/75/snug-harbour-72275082.html
http://pipesmagazine.com/forums/topic/ben-wade-by-preben-holm
https://rebornpipes.com/2015/01/24/grooming-a-ben-wade-golden-walnut-danish-freehand/