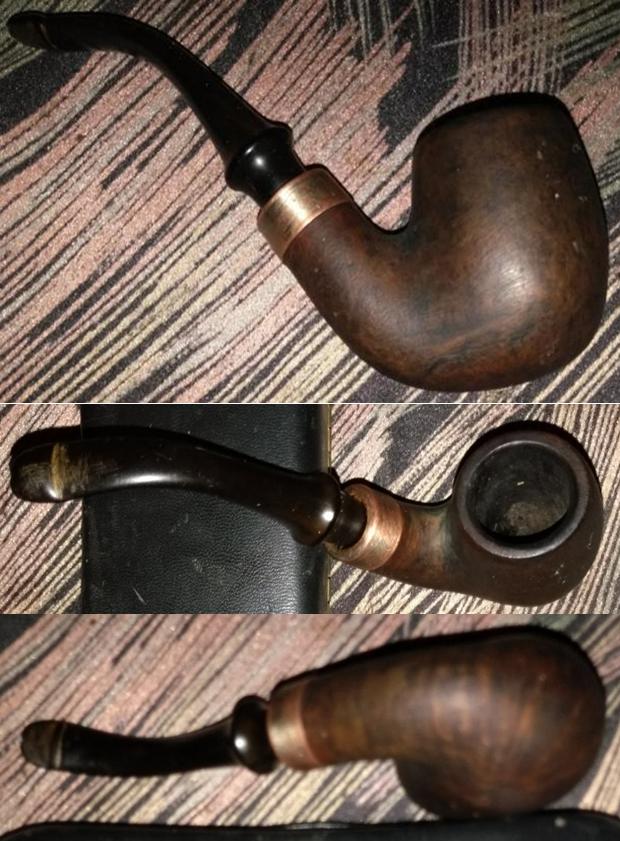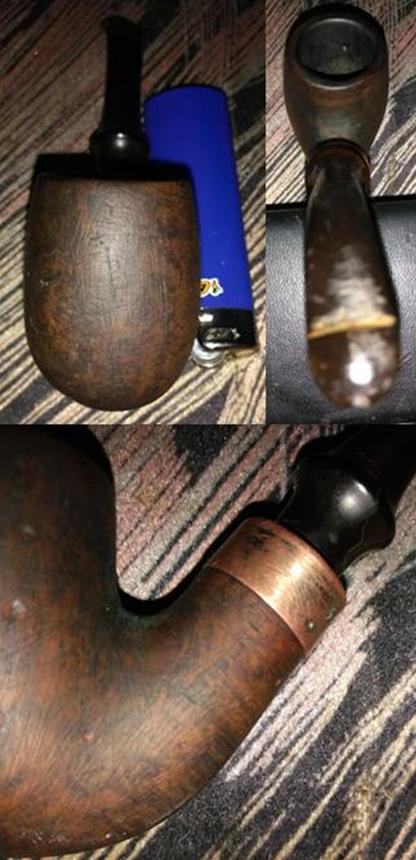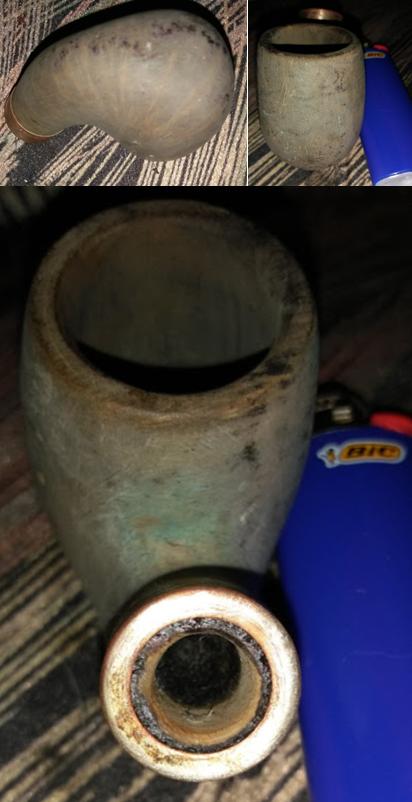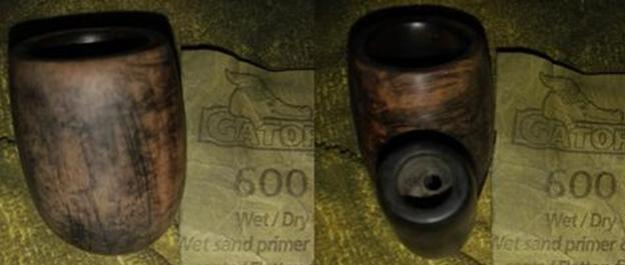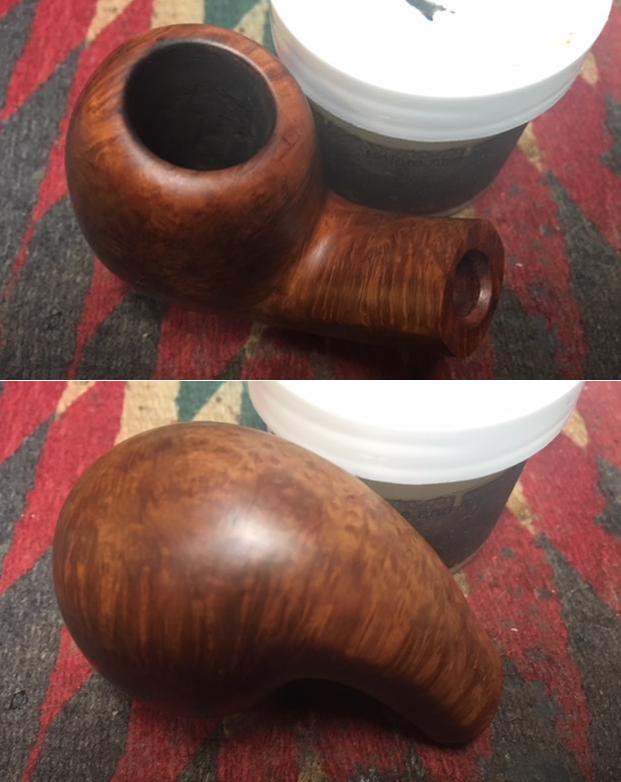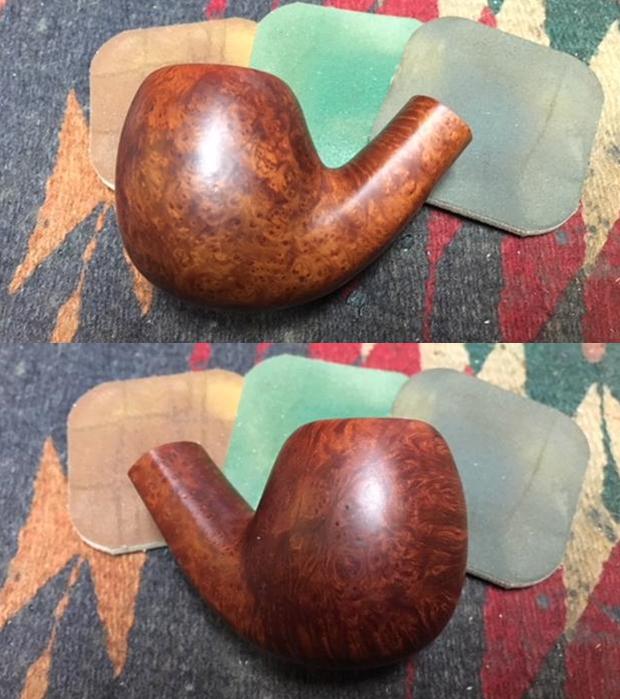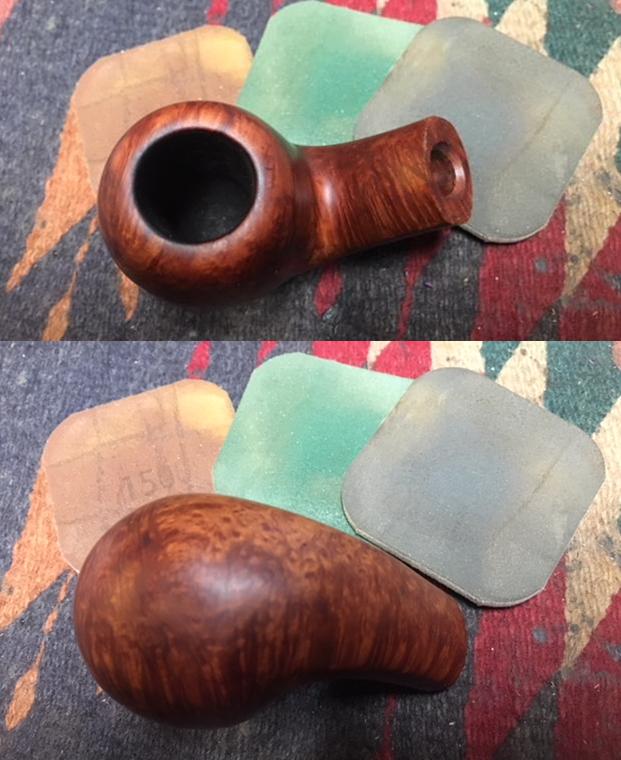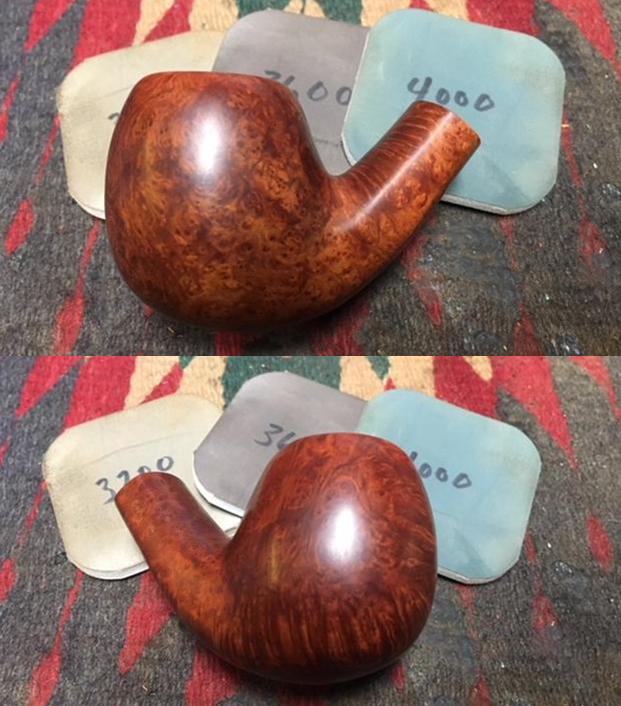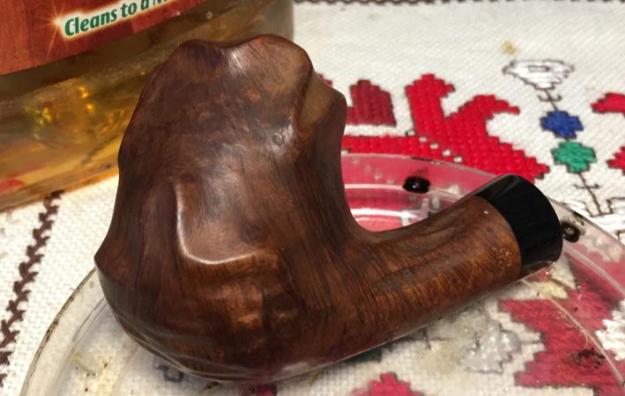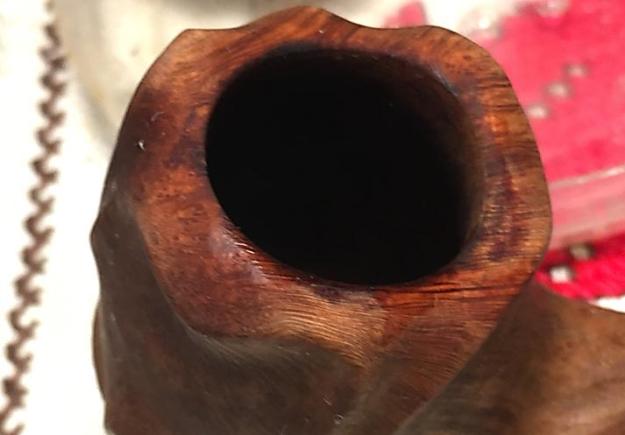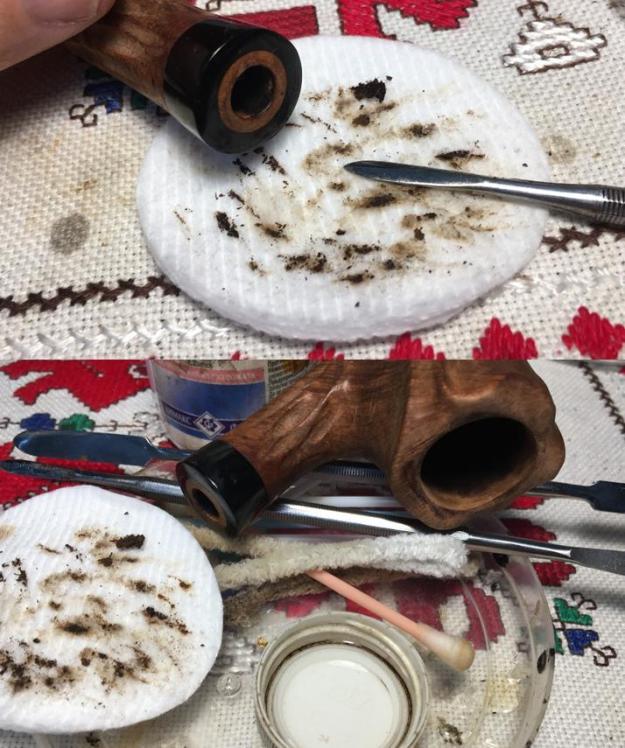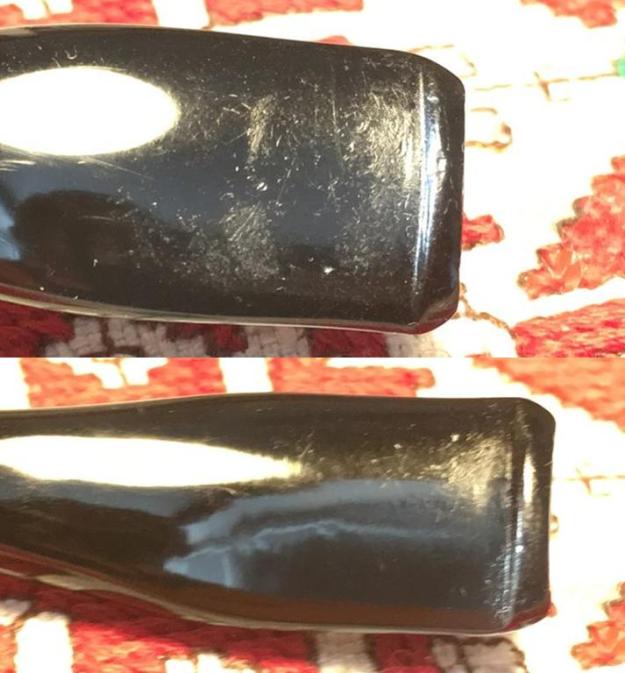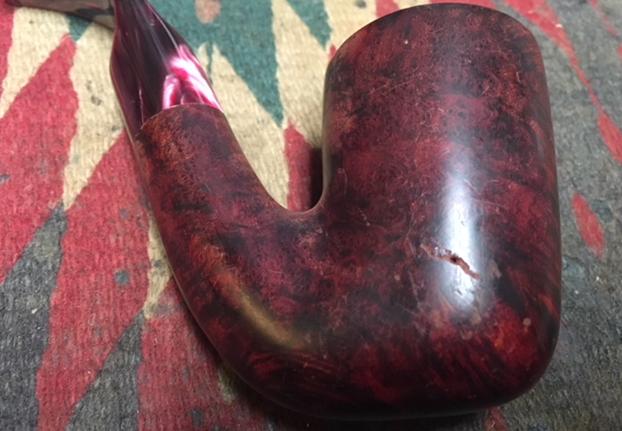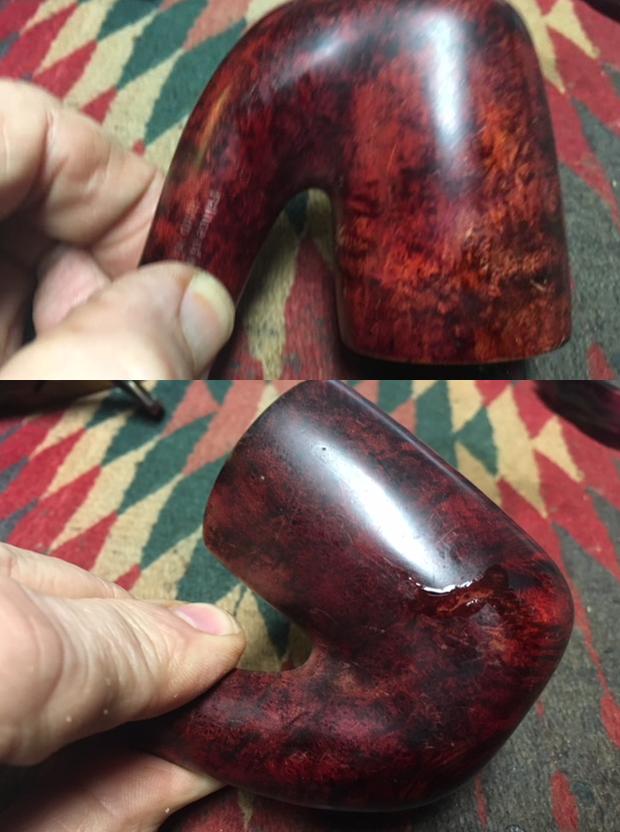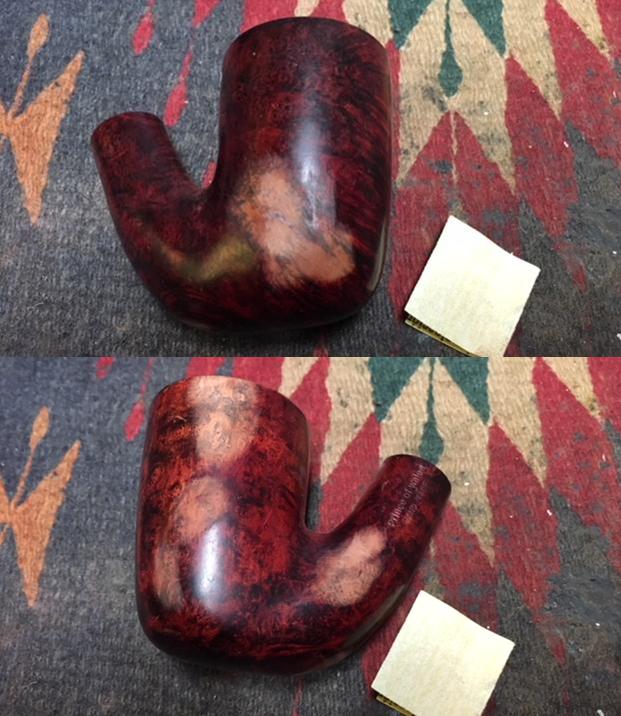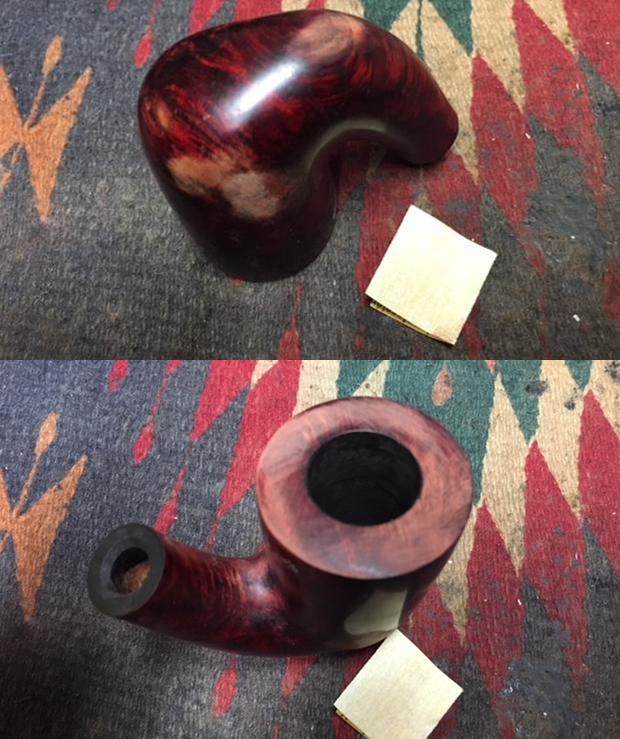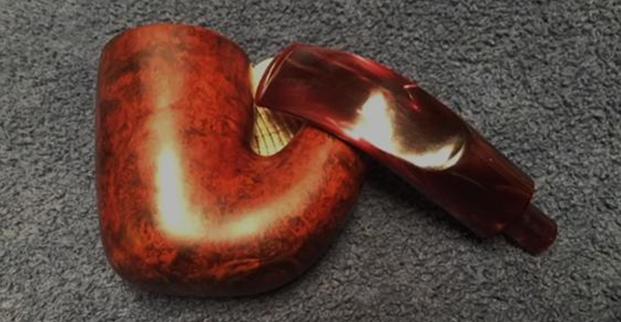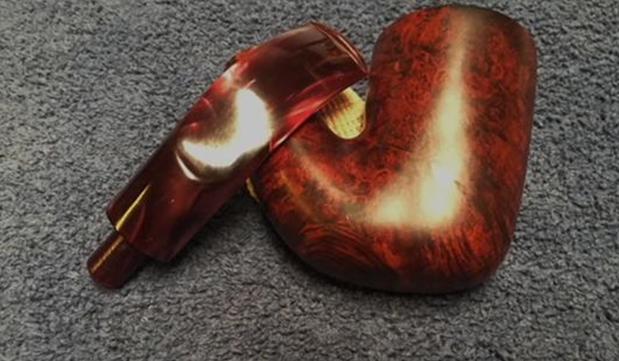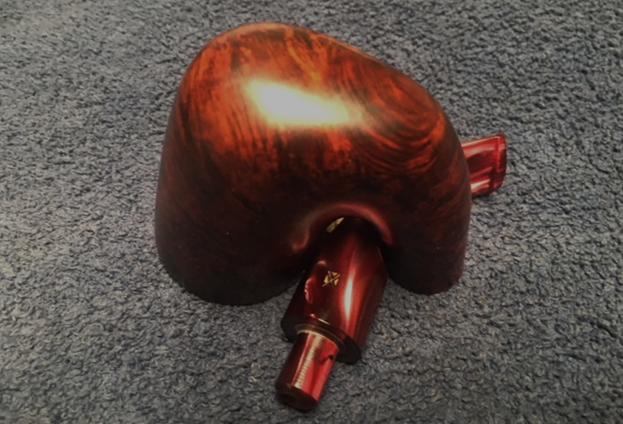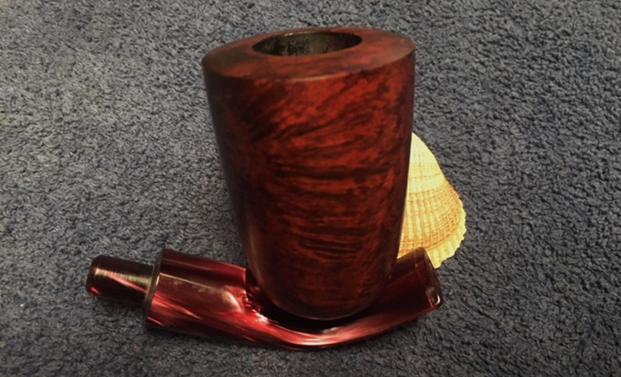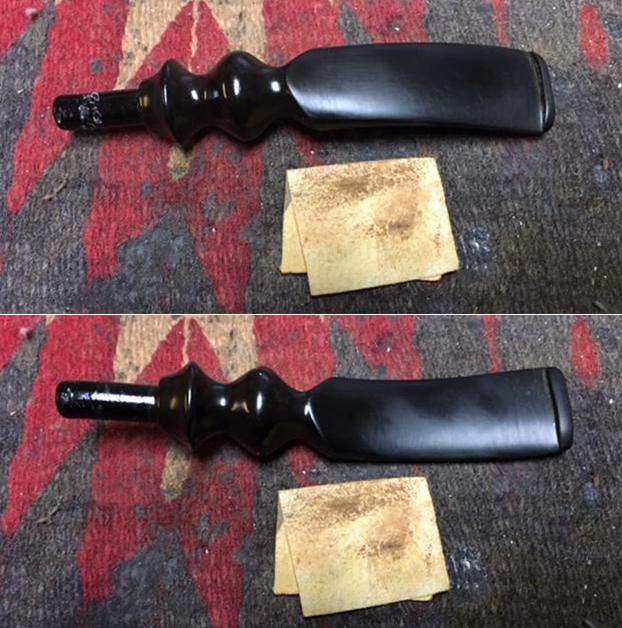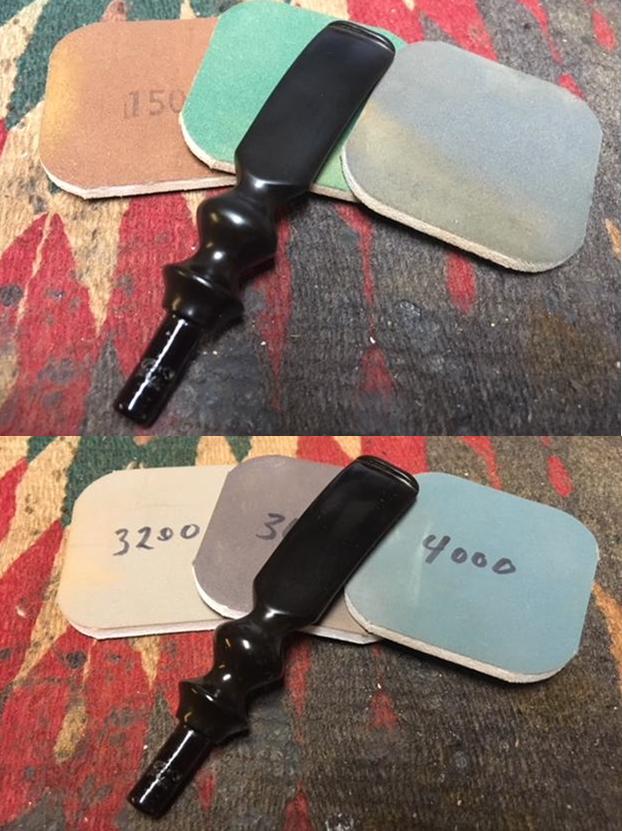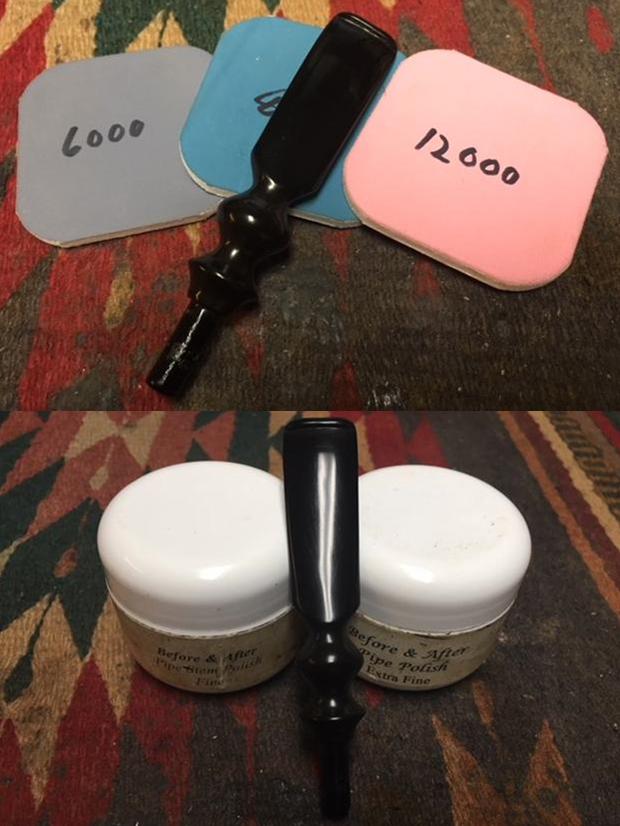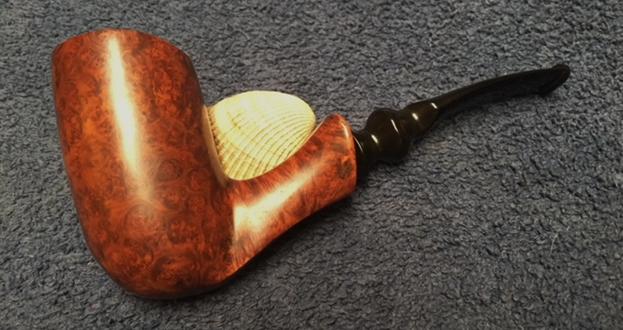
Tag Archives: bowl – refinishing

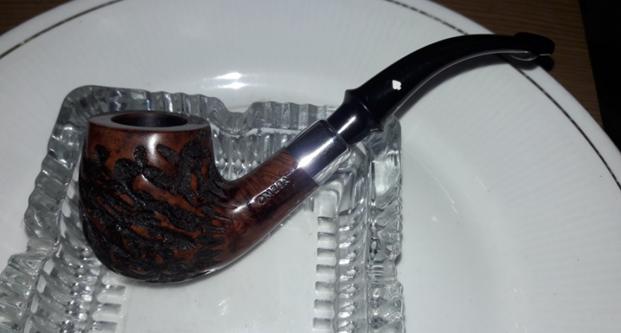
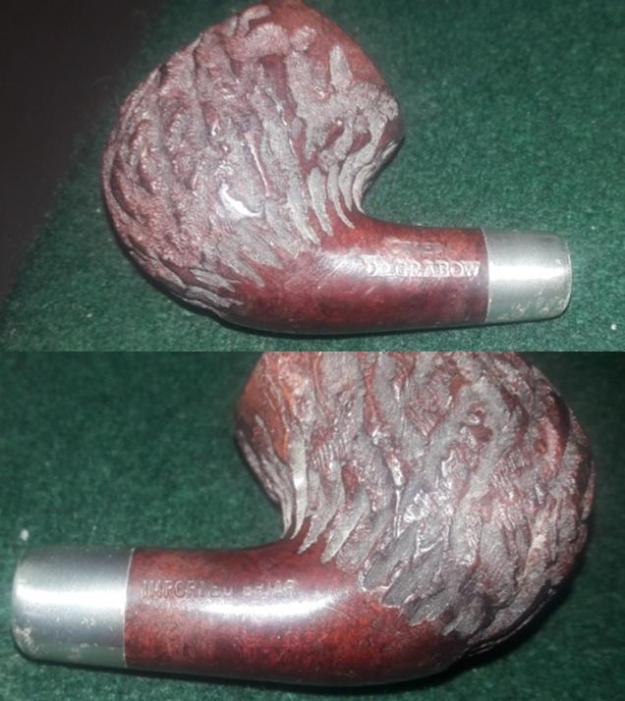
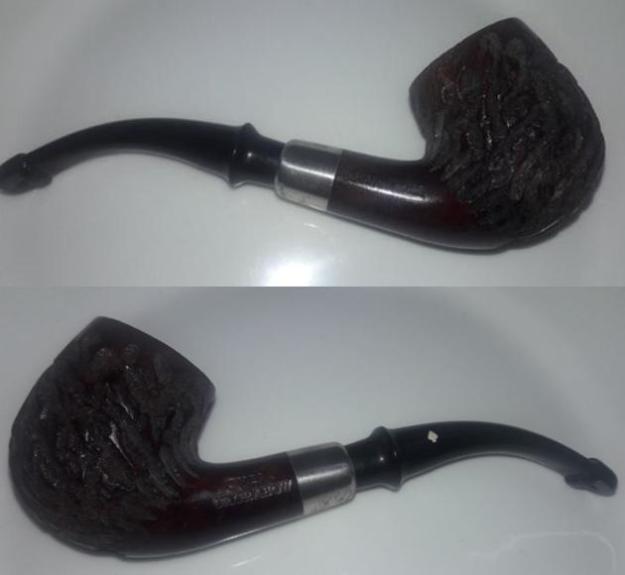
New Life for a Jeantet Neuilly ¾ Bent Apple


Blog by Steve Laug

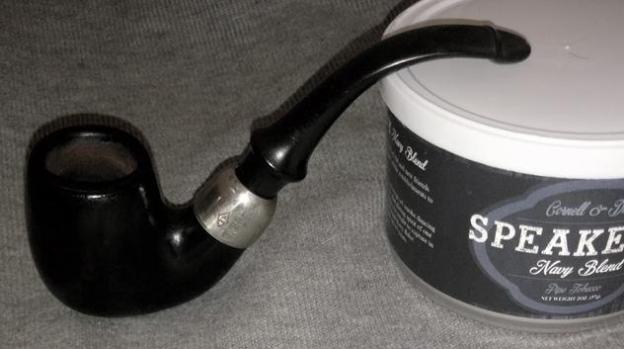
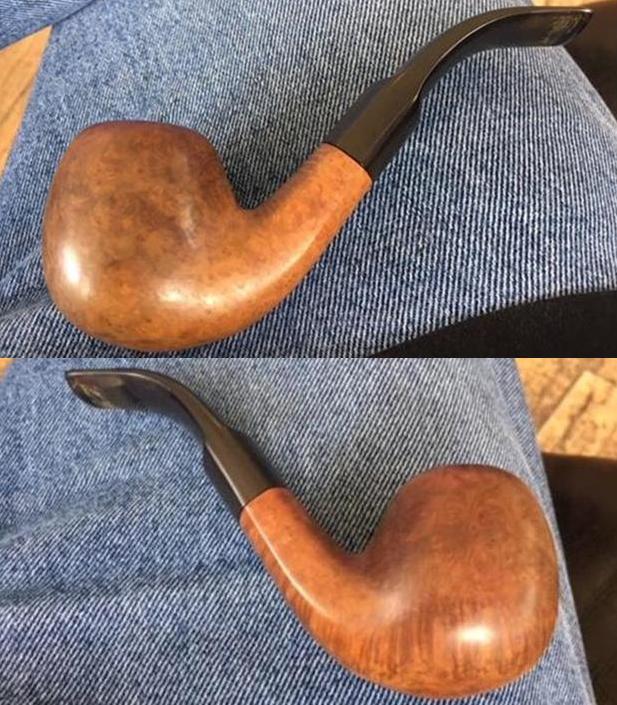
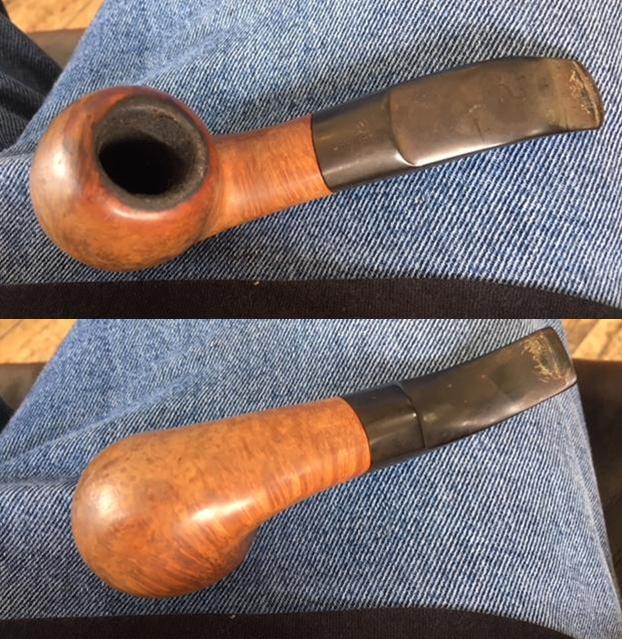
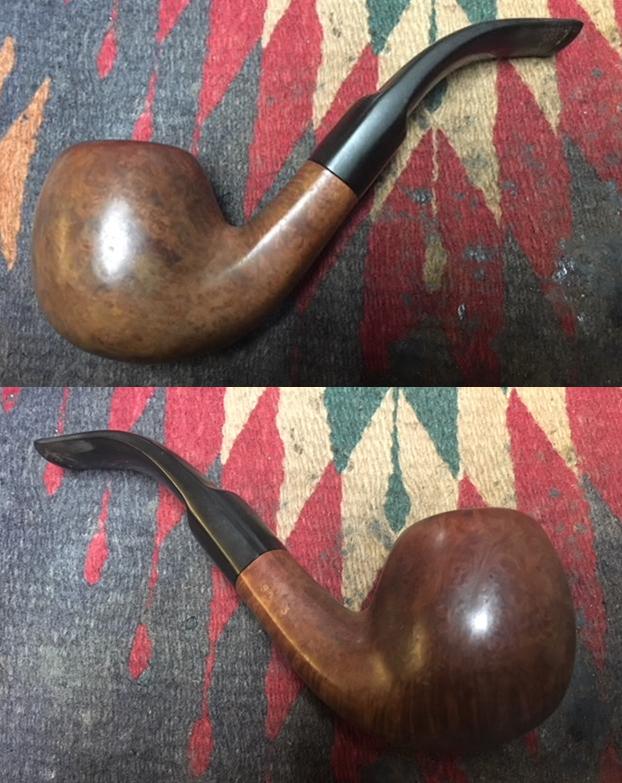
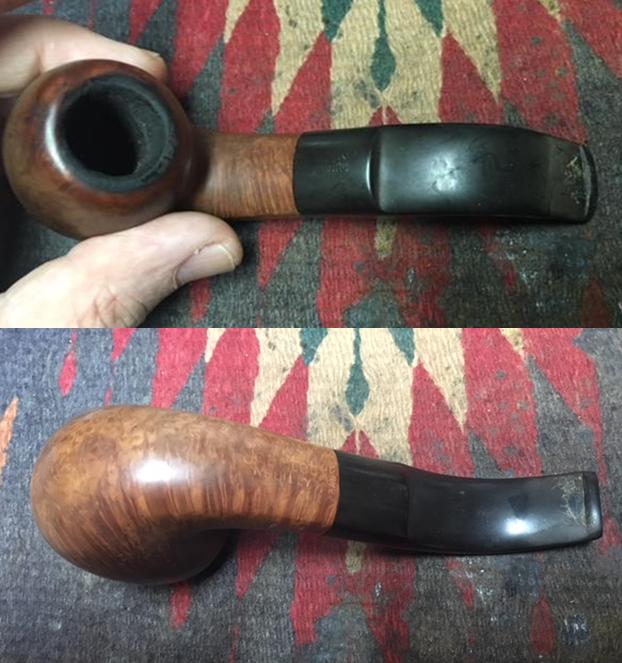
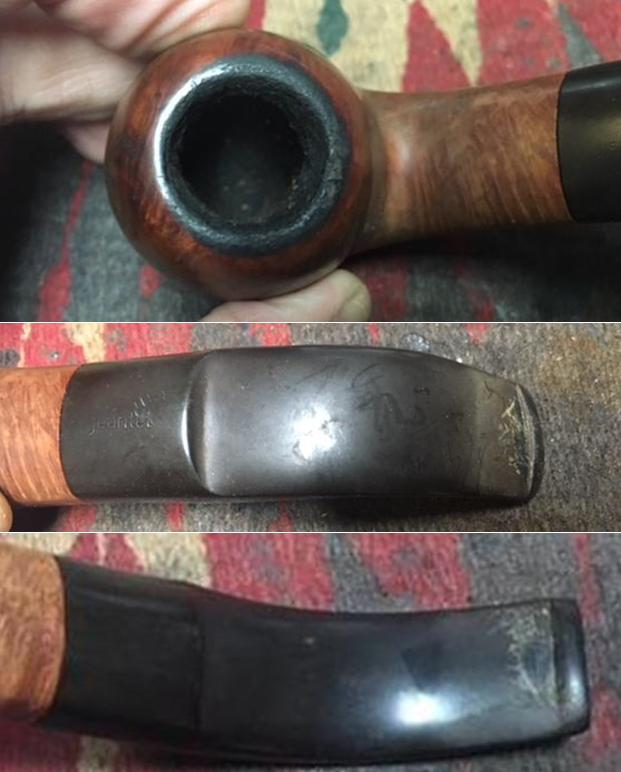
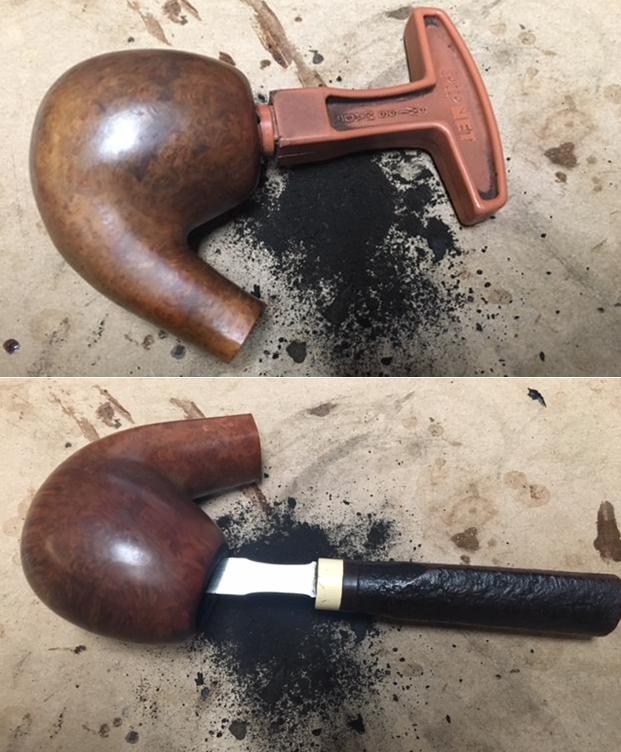
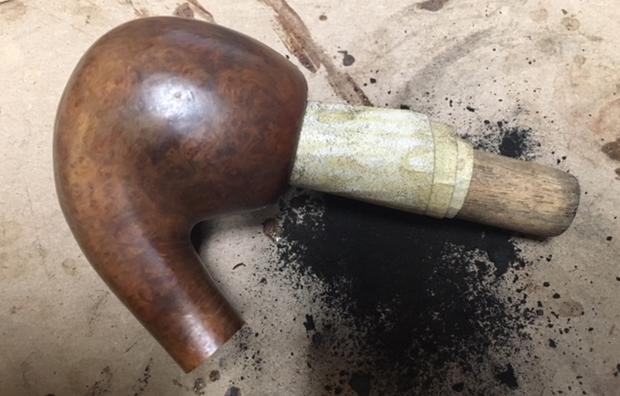
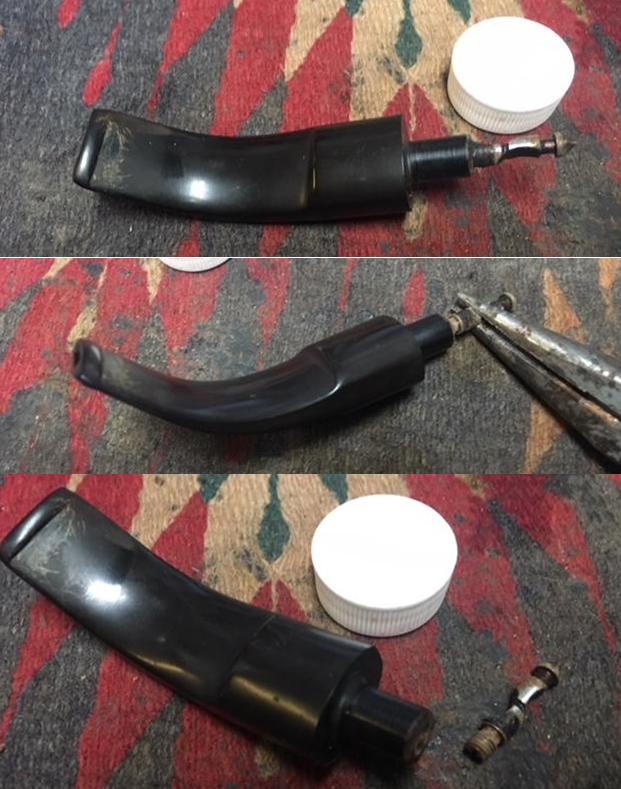
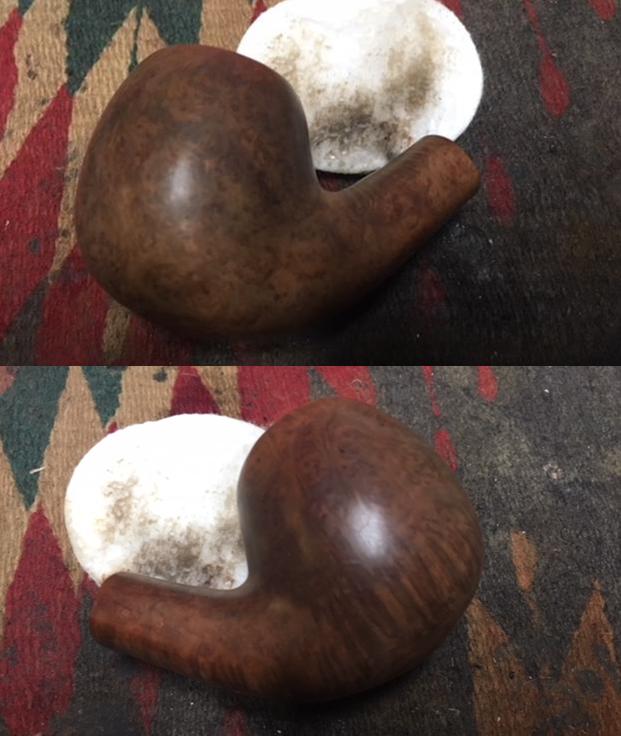
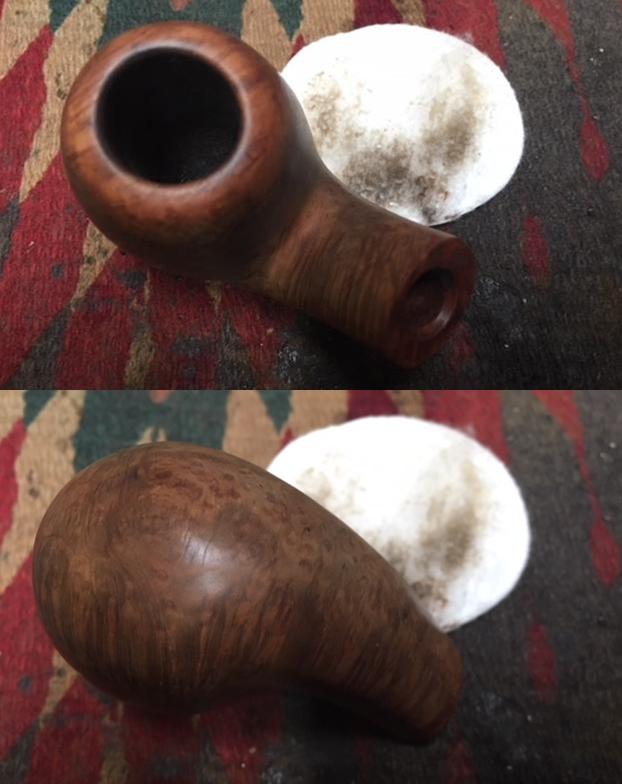
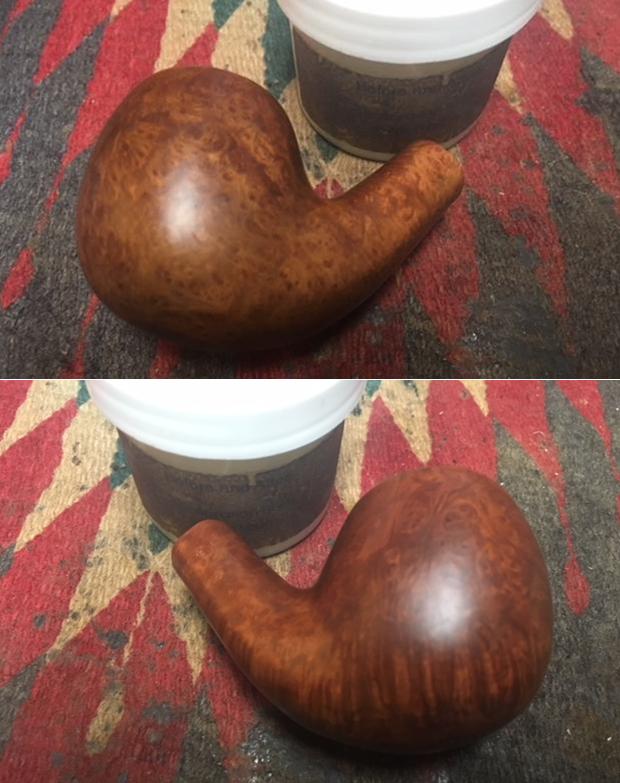
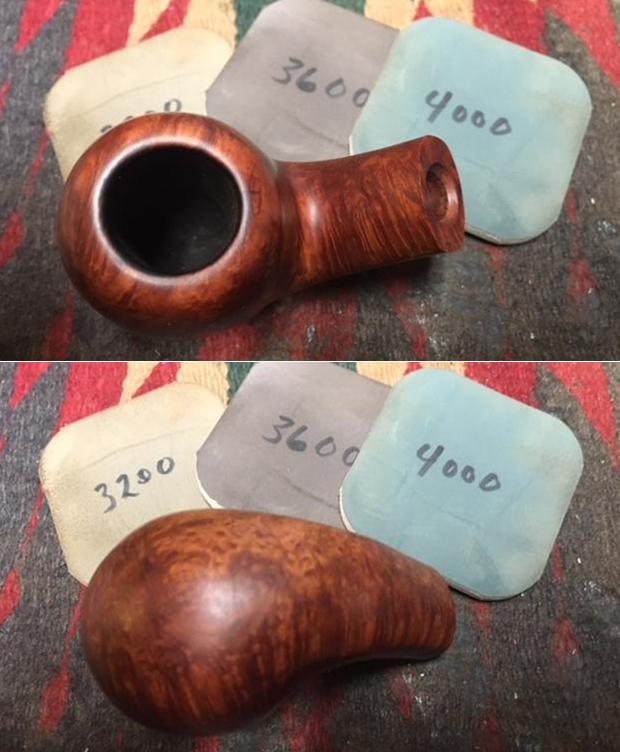
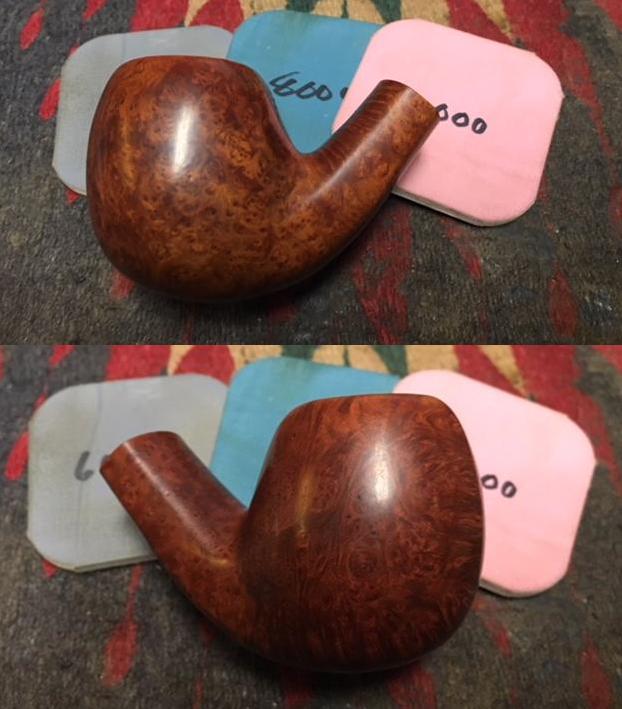
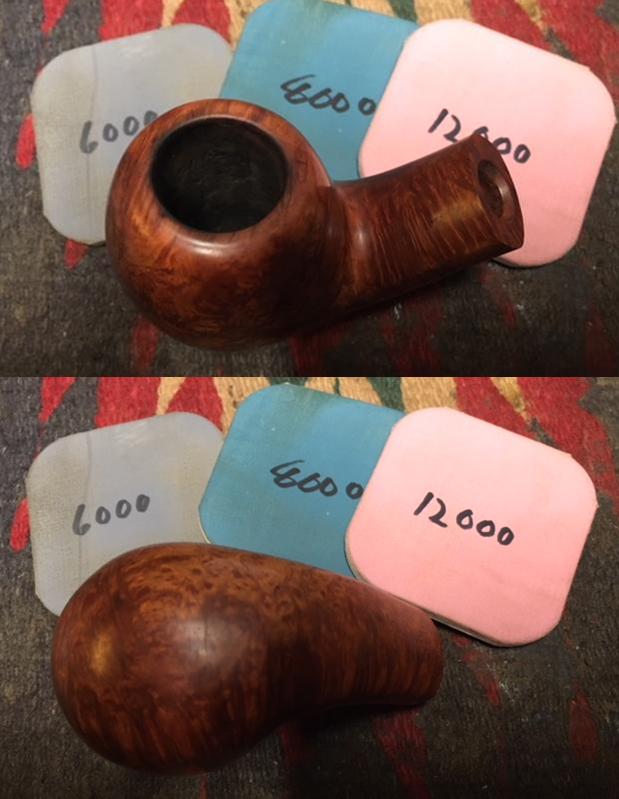
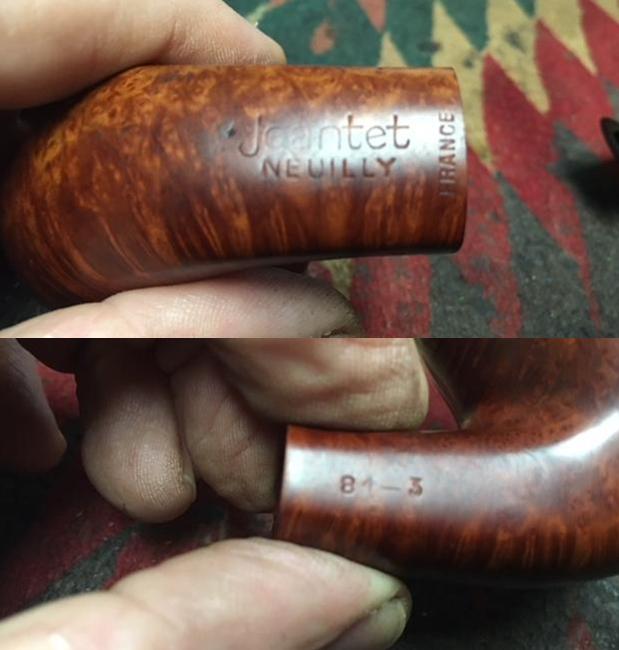
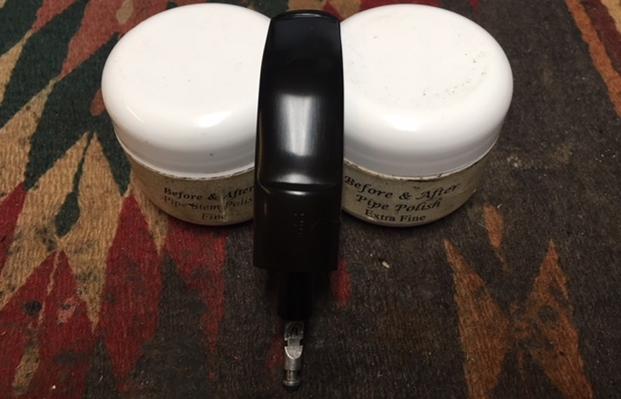
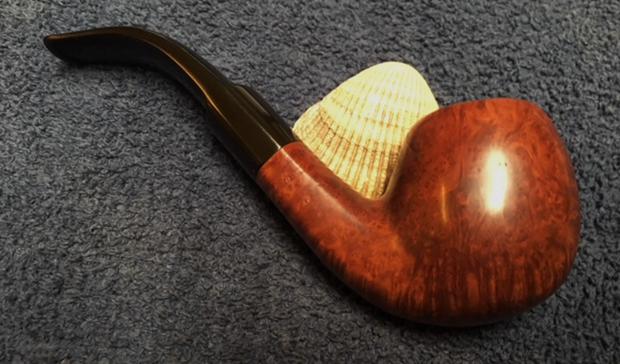
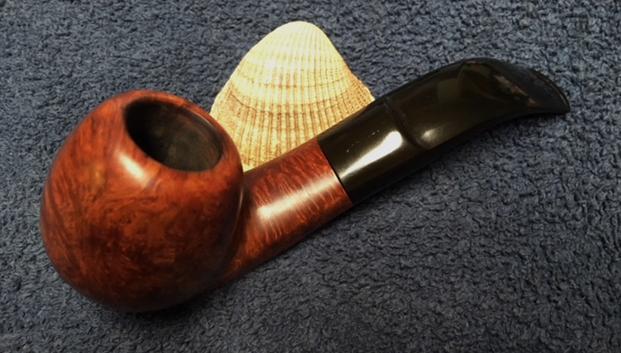
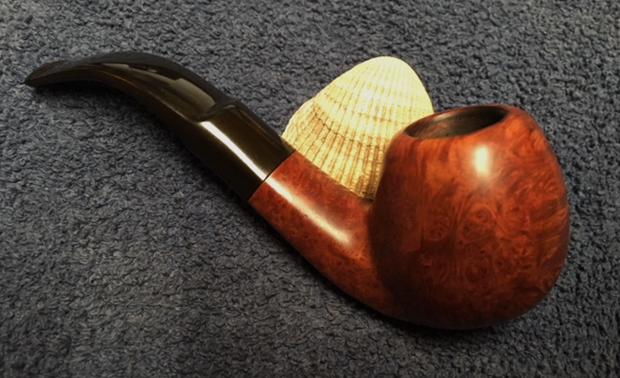
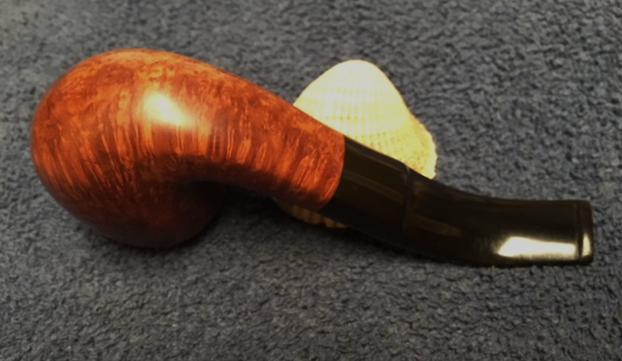
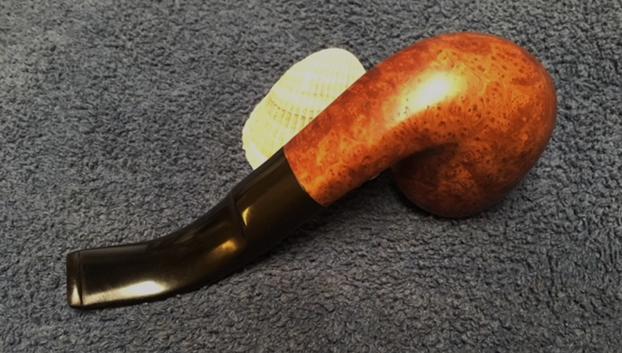
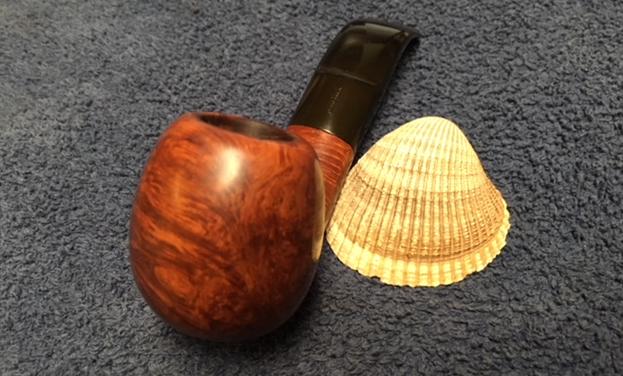
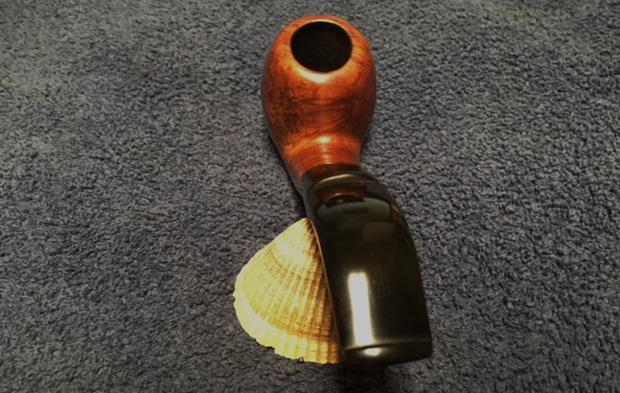
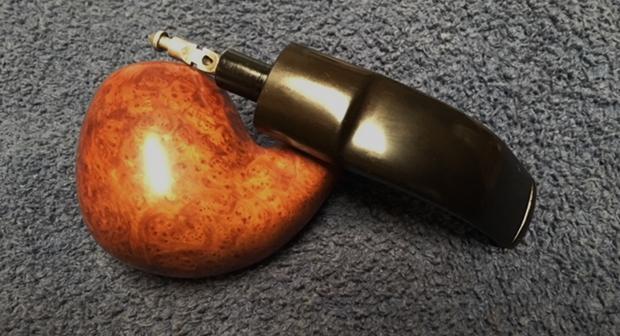
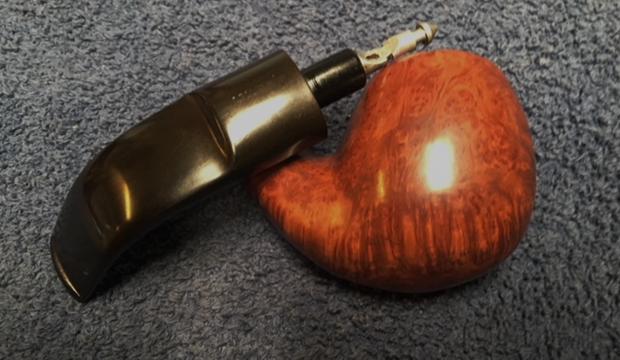
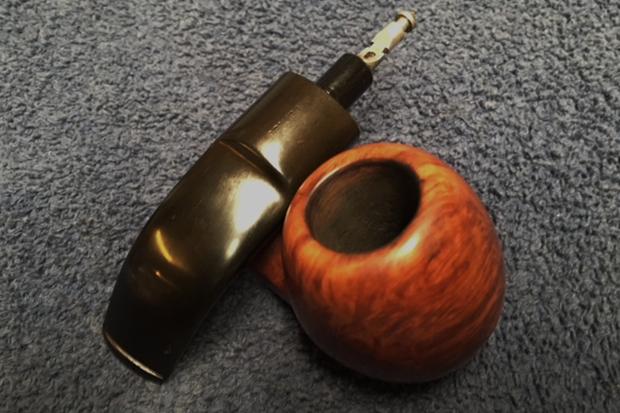
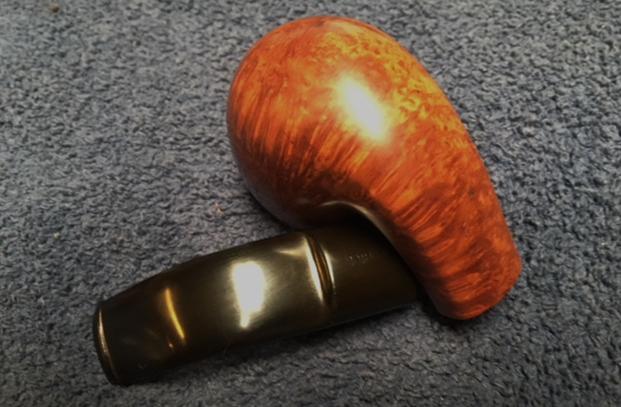
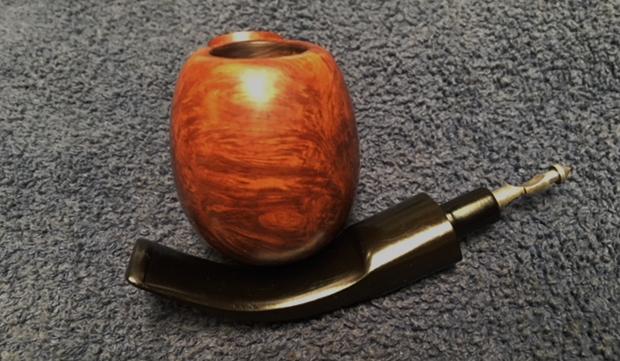
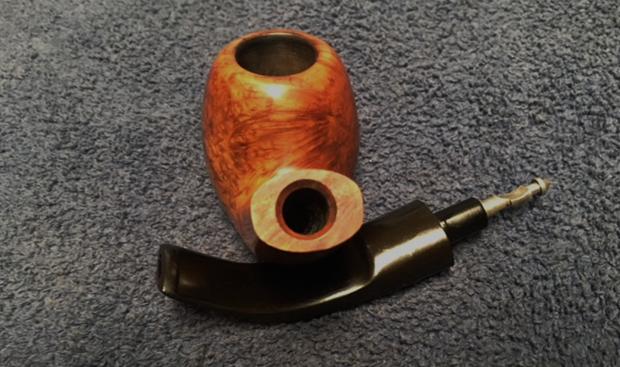
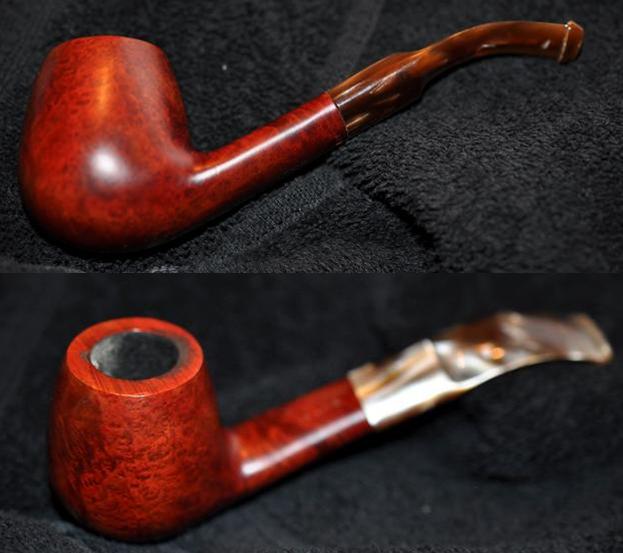
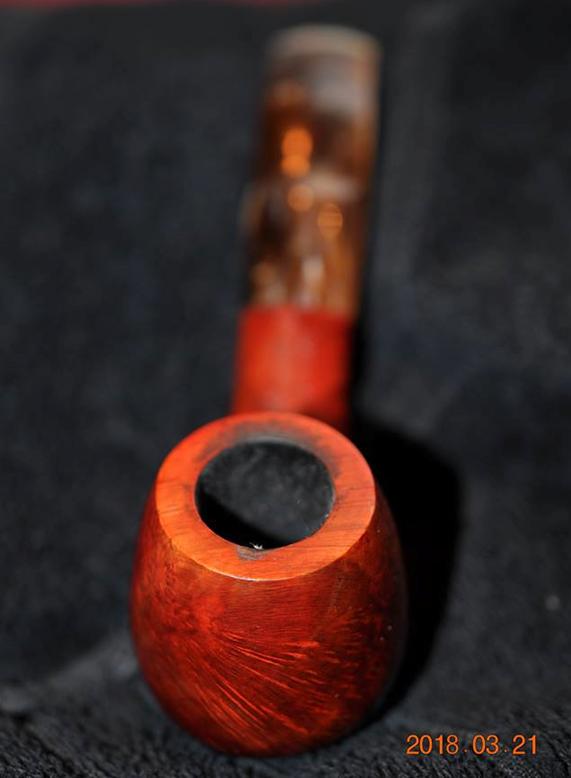
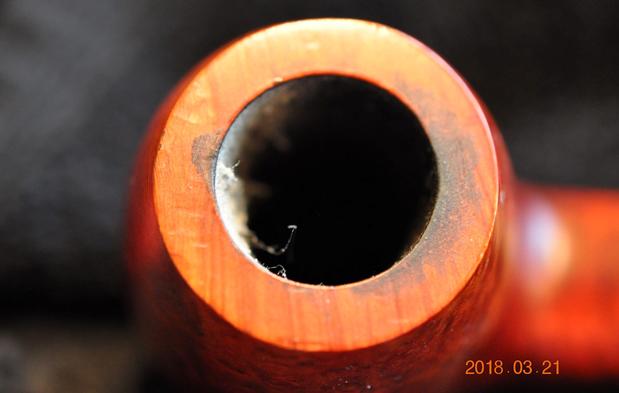
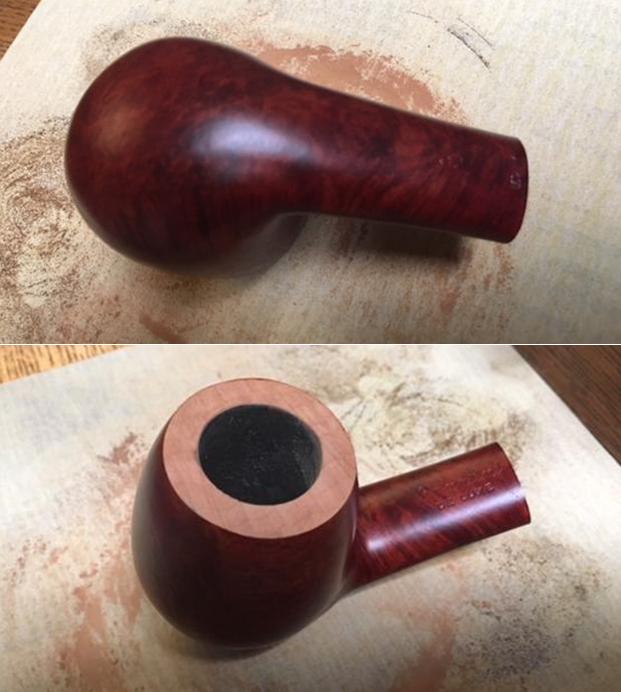
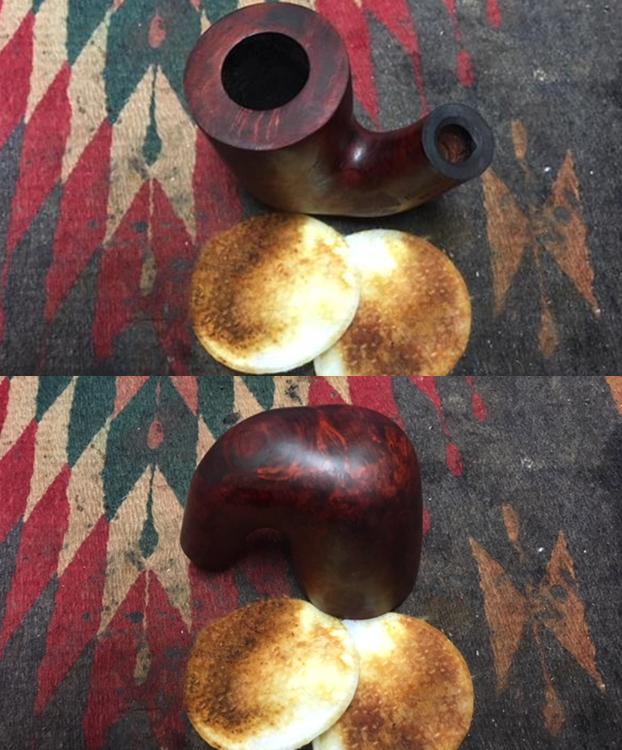
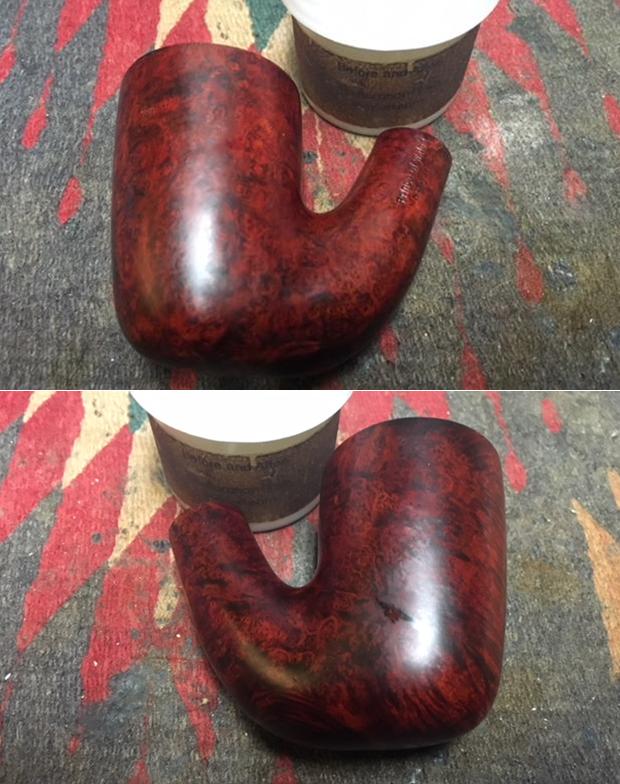
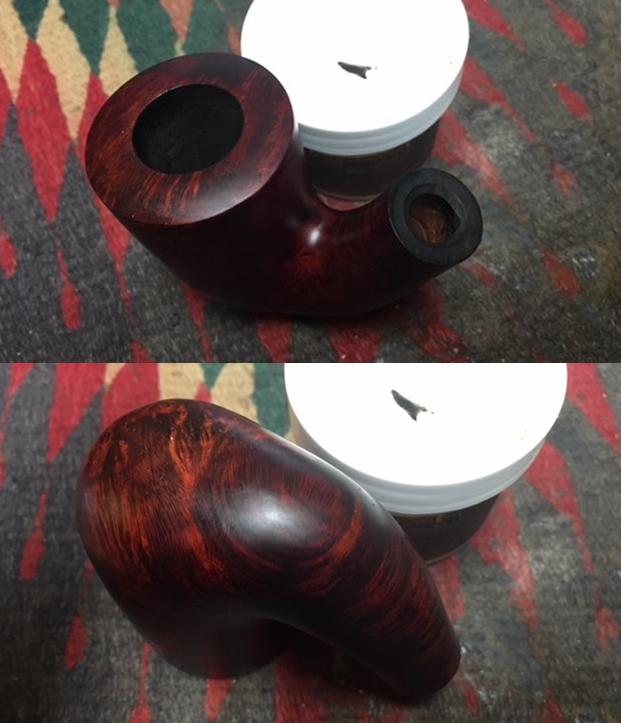
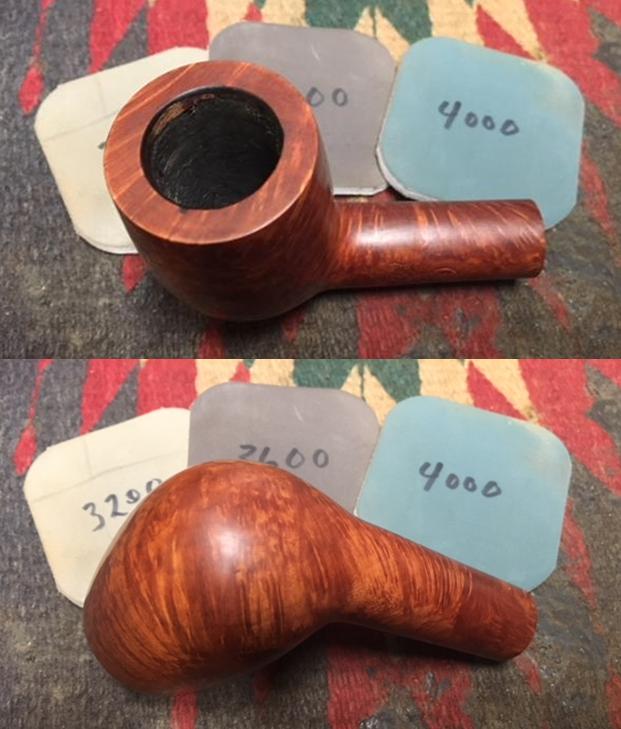
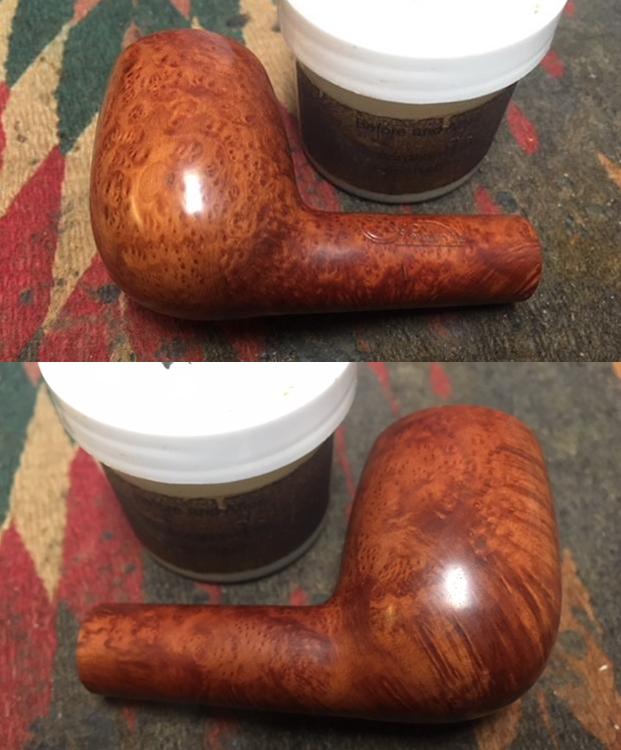
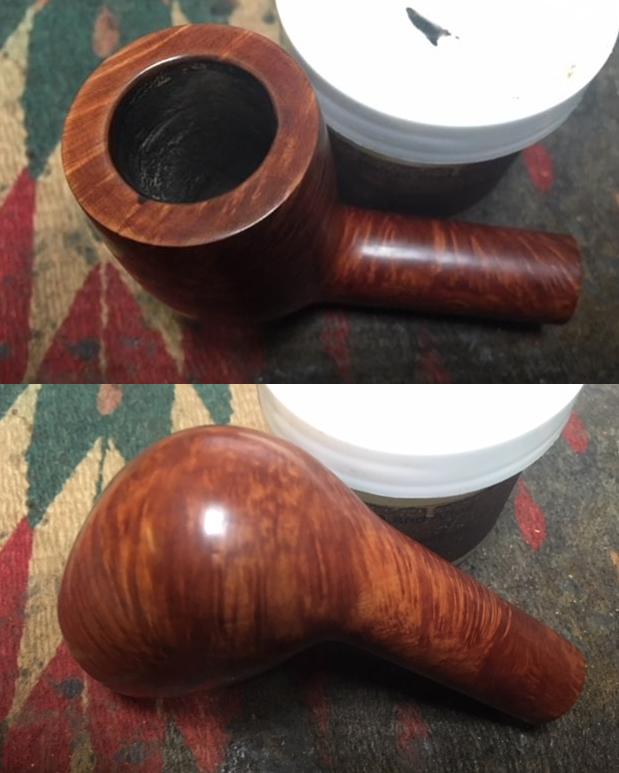
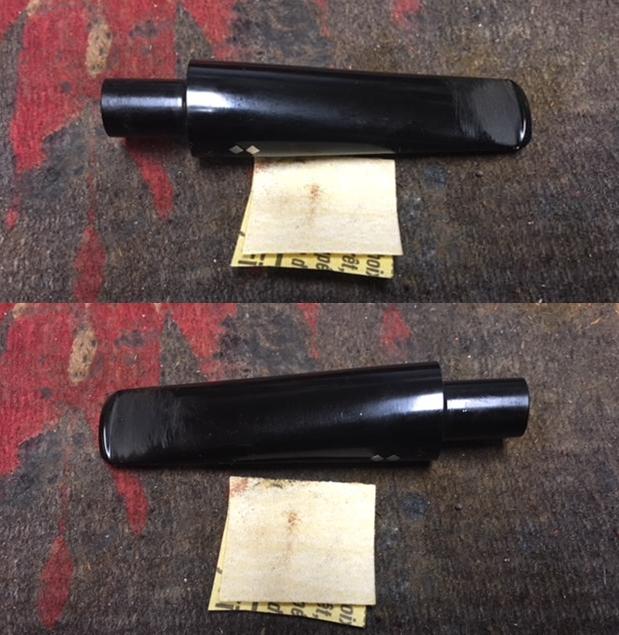
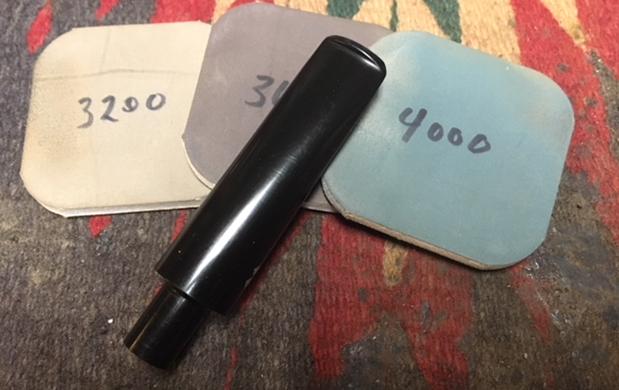
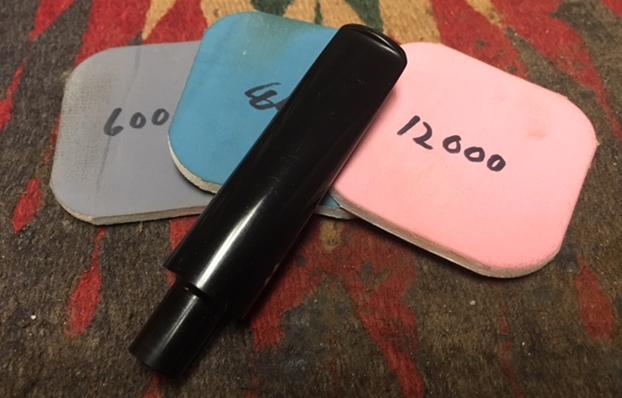
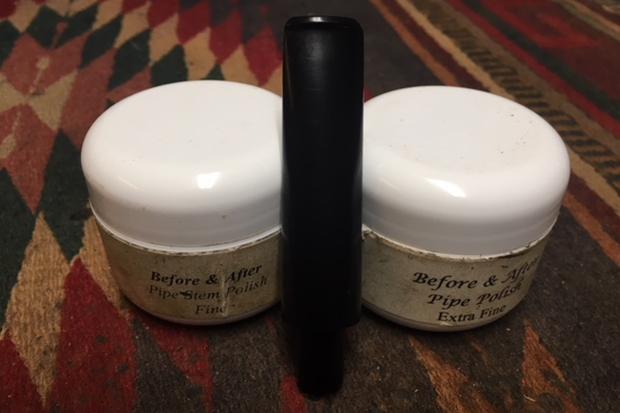
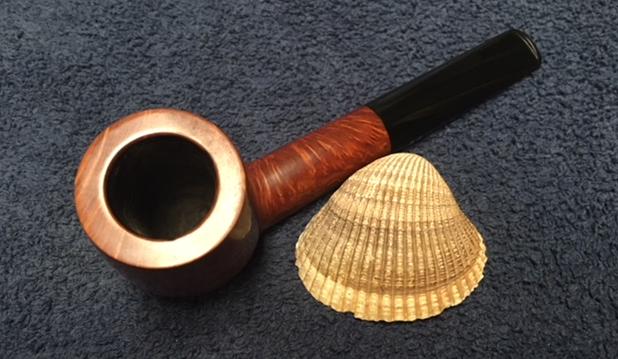
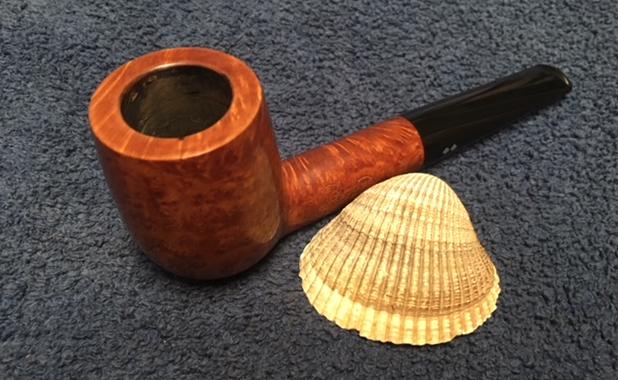
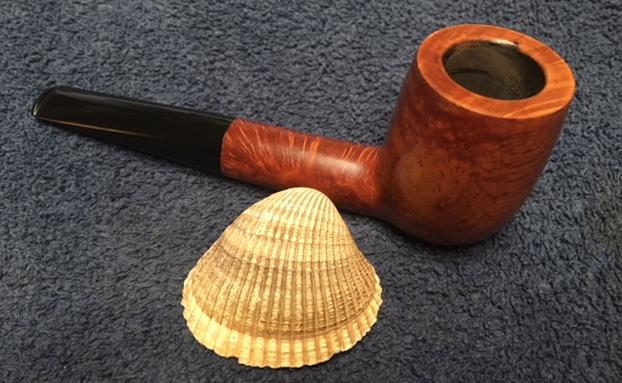
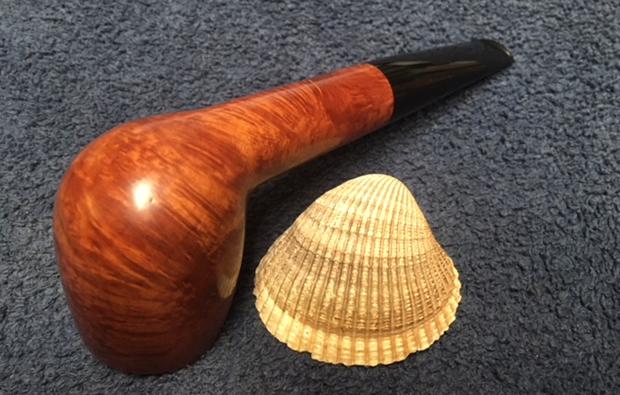
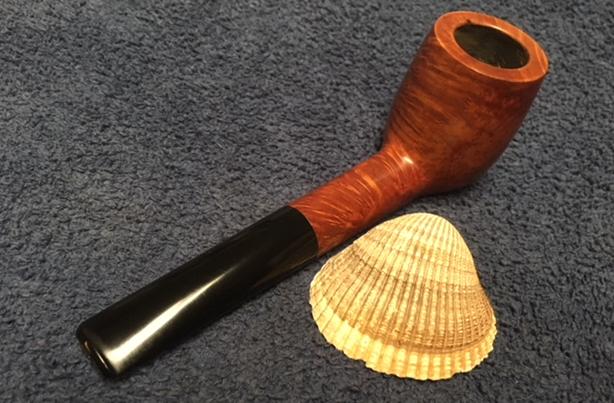
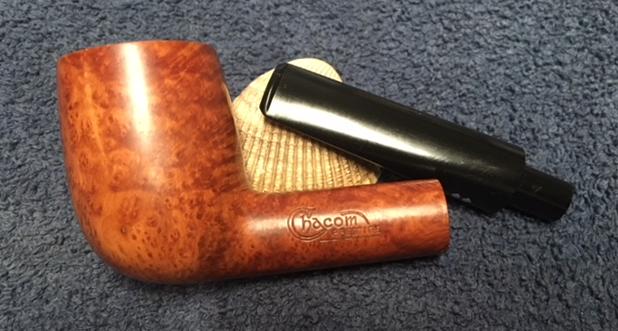
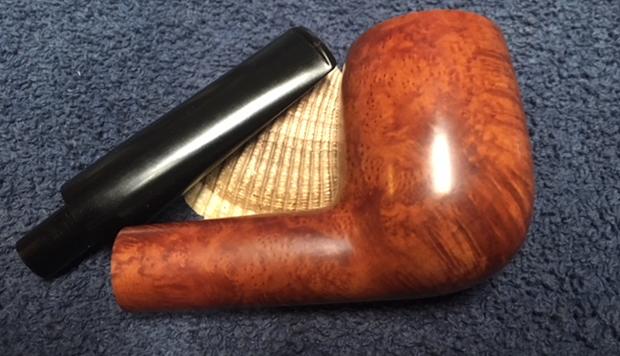
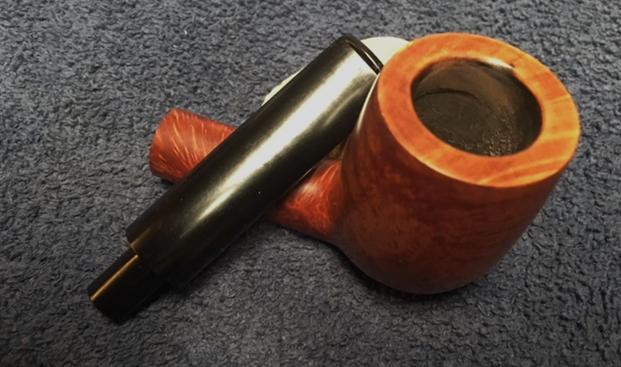
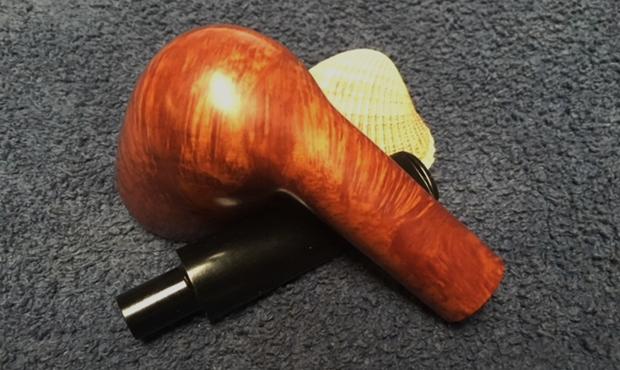
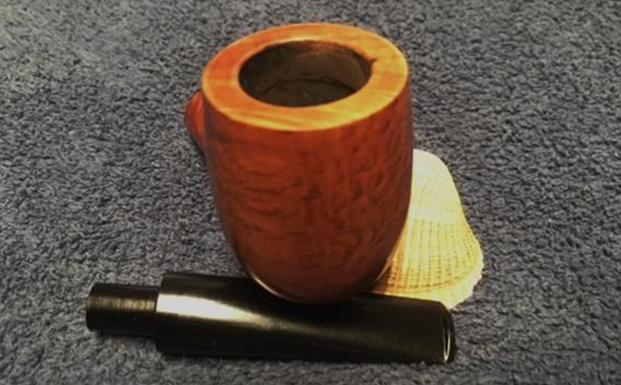
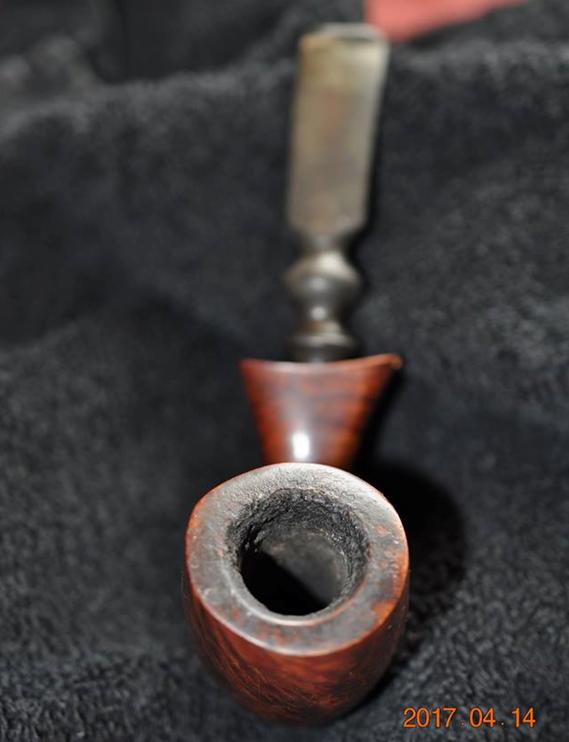
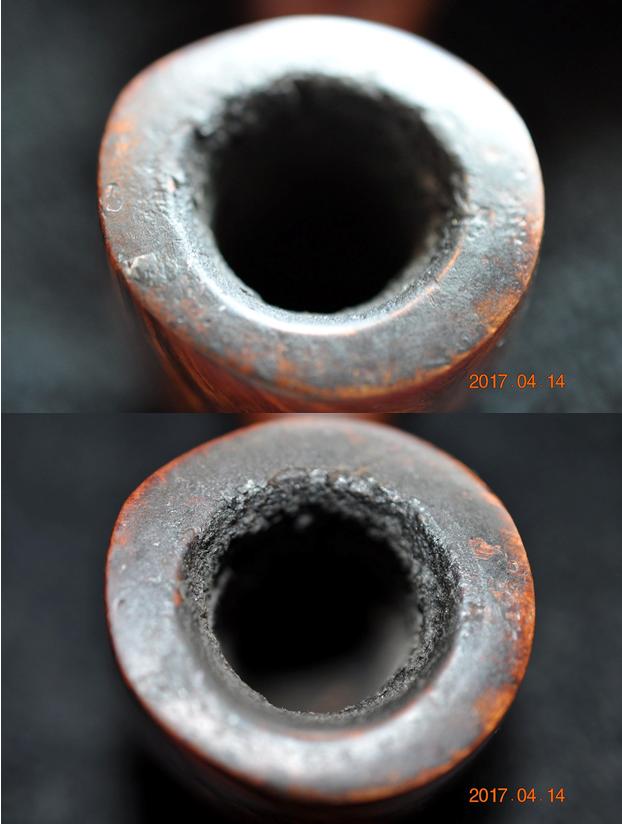
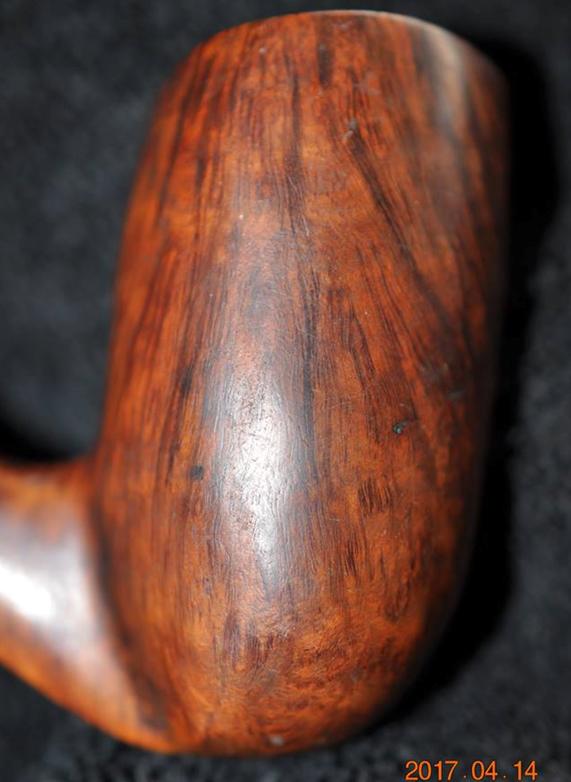
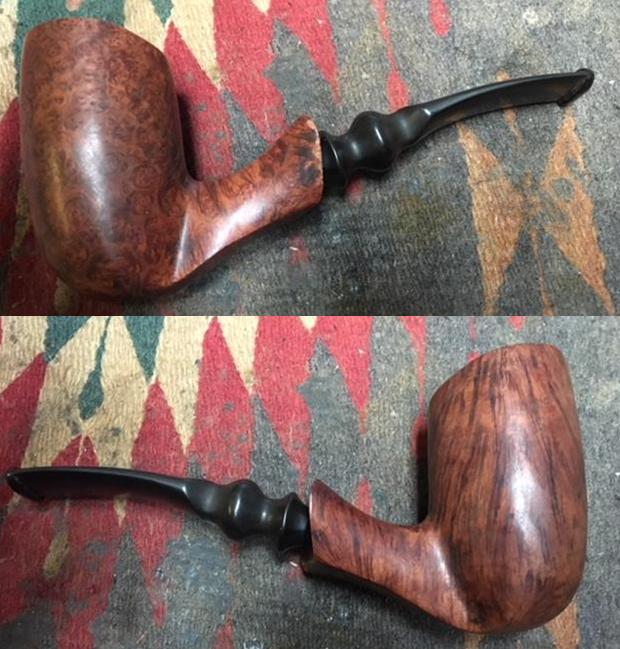
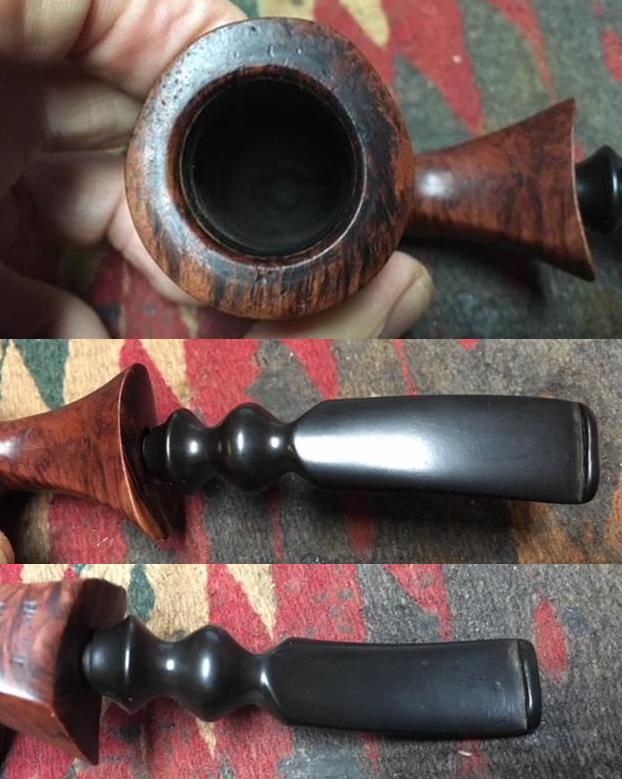
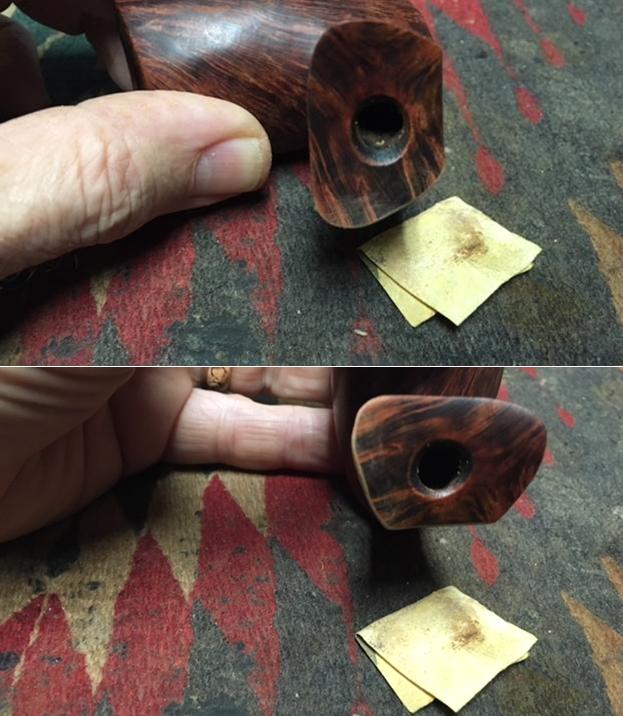
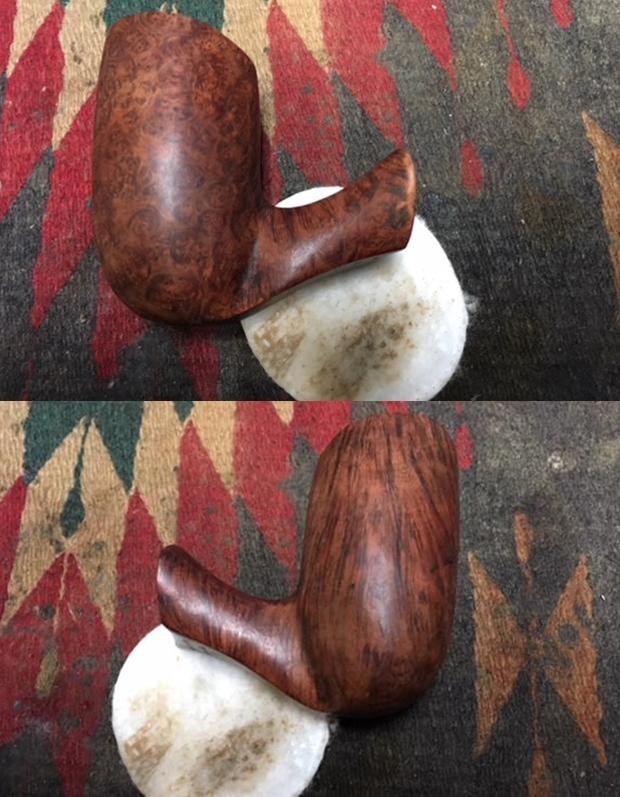
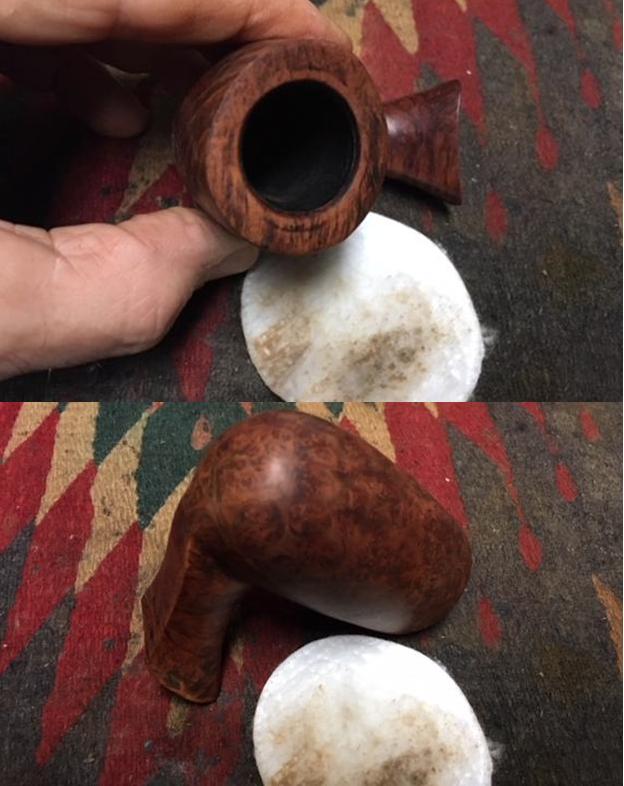
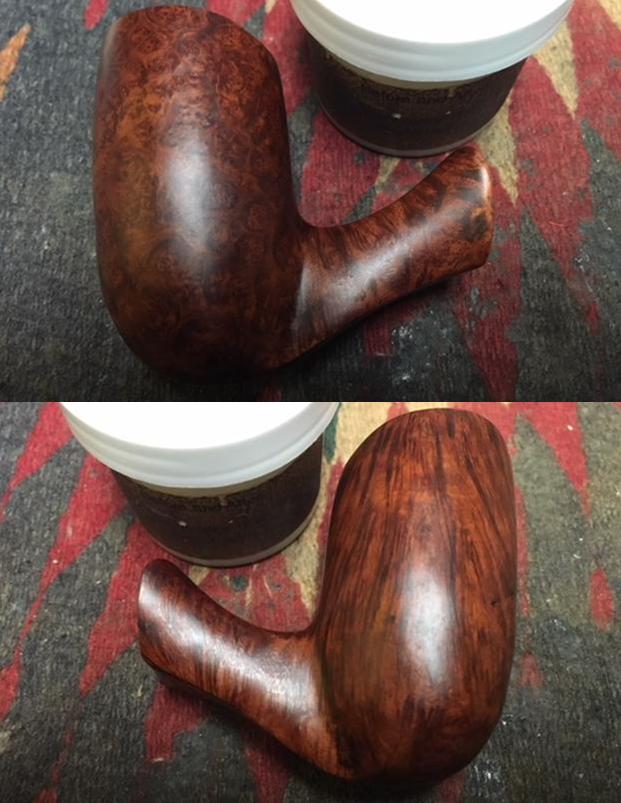
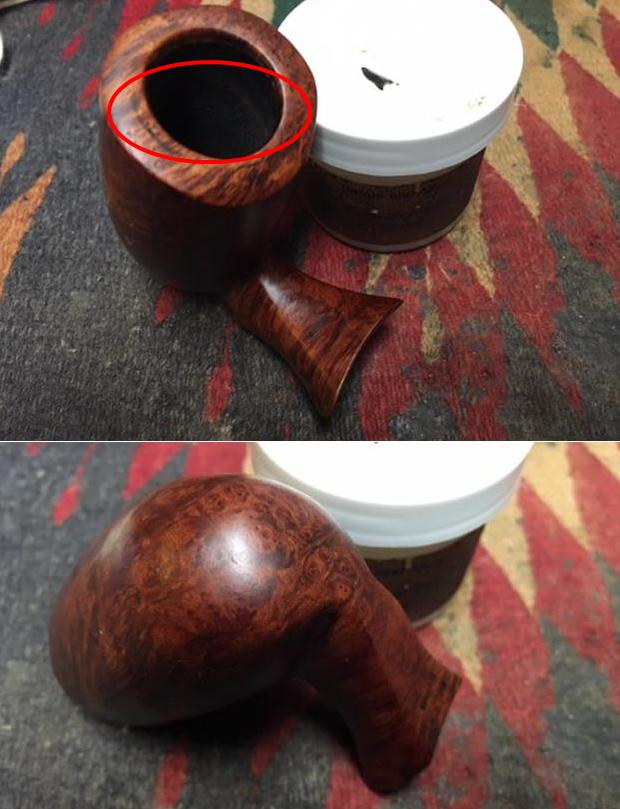
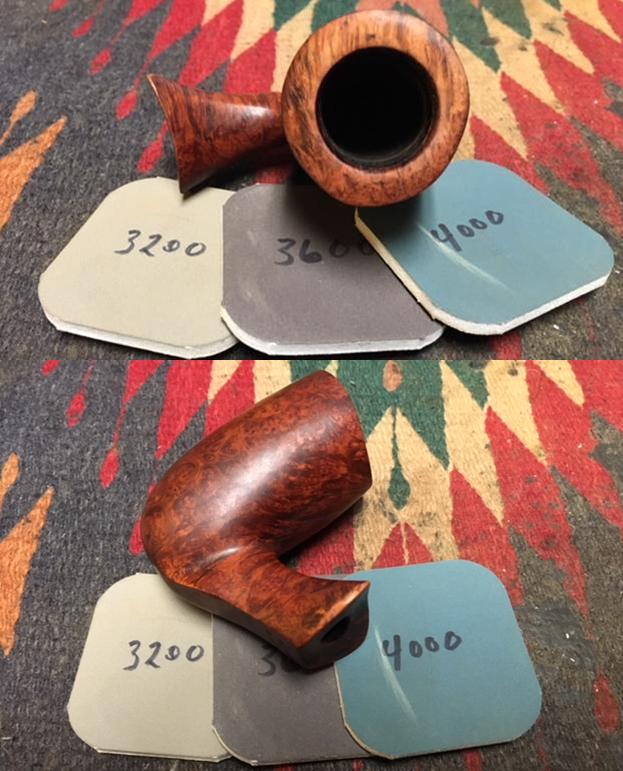
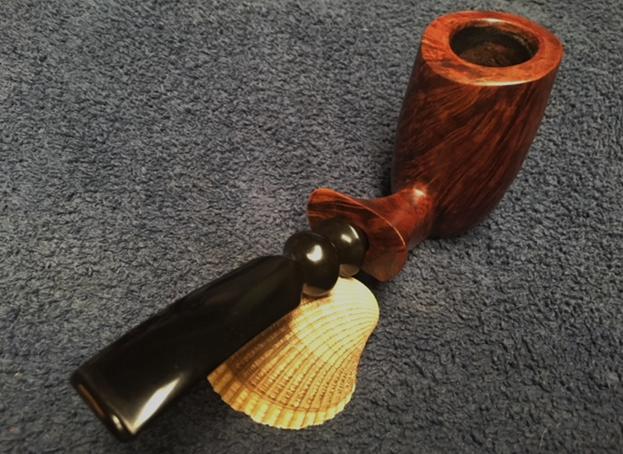
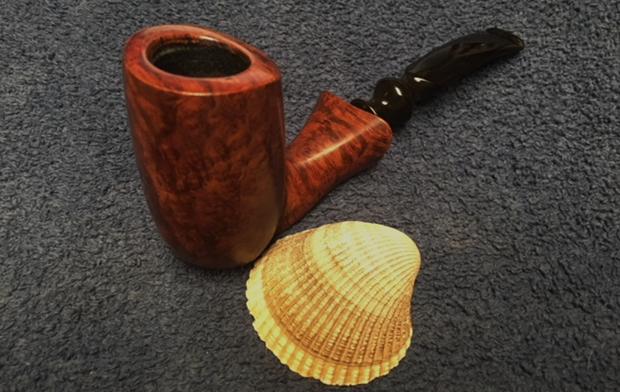
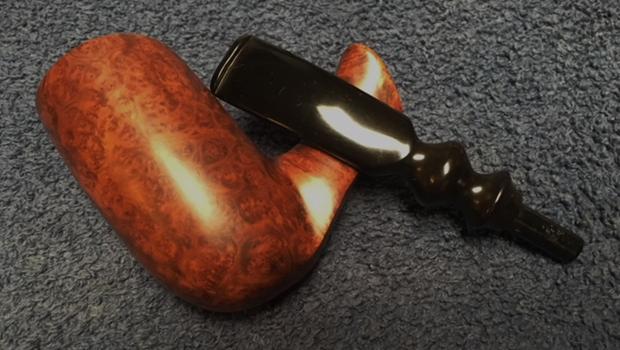
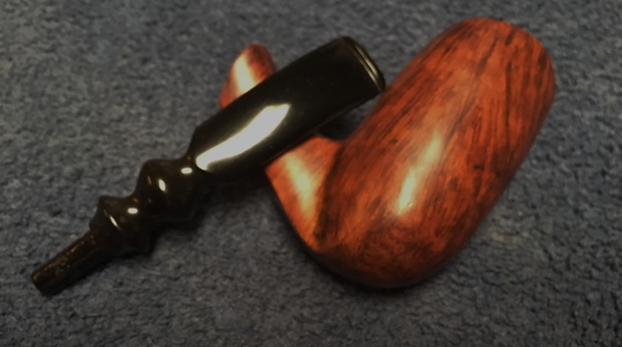
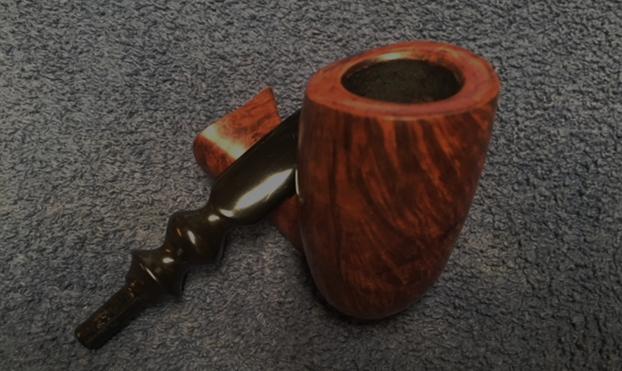
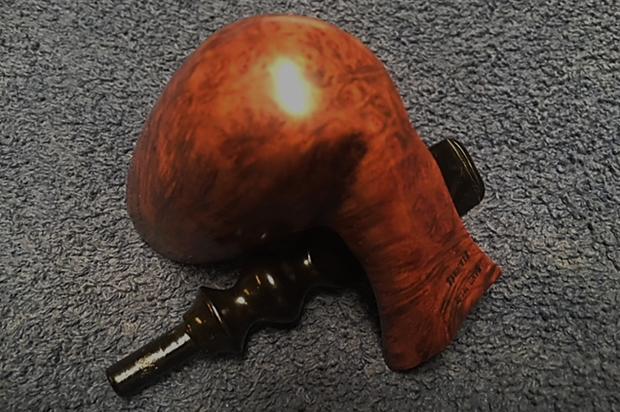
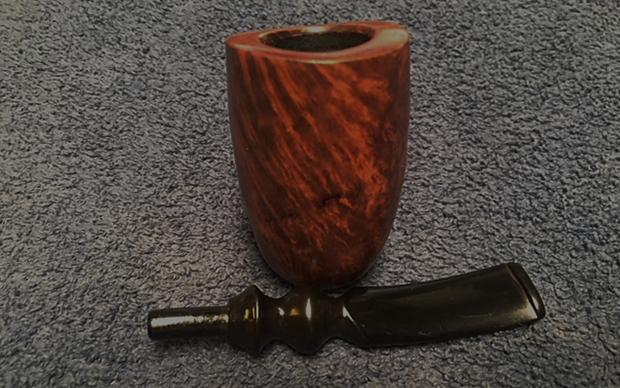
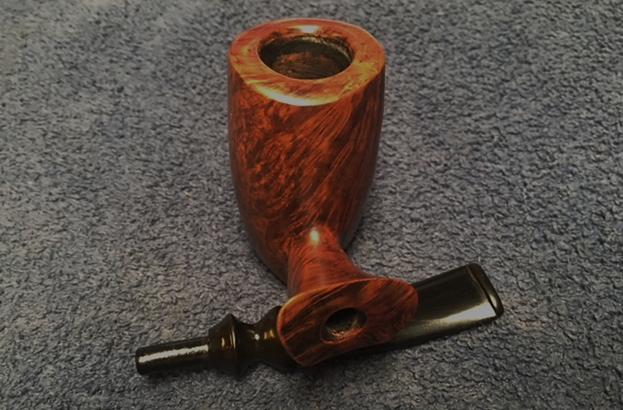
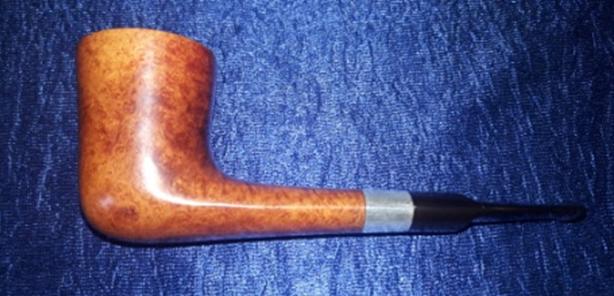
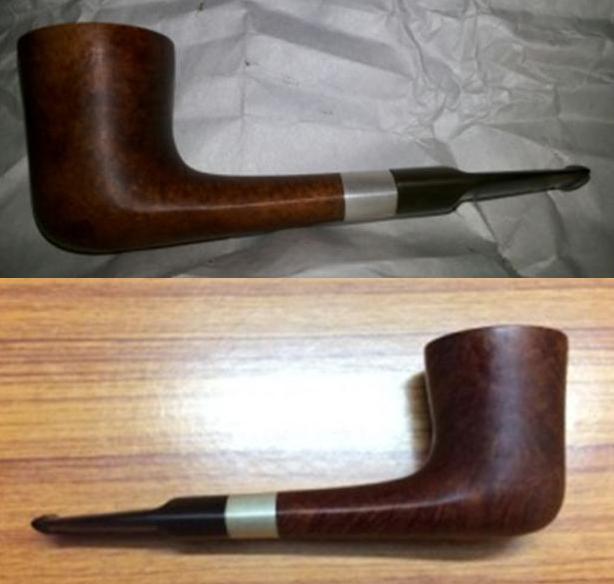
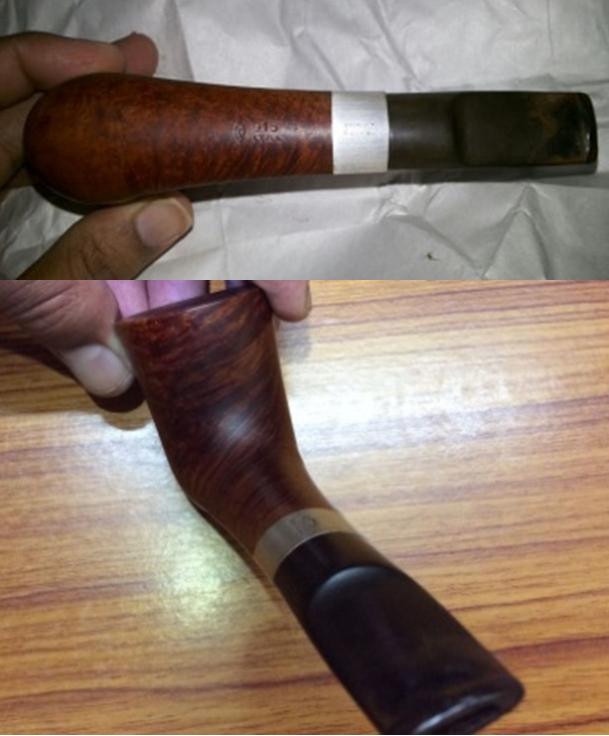
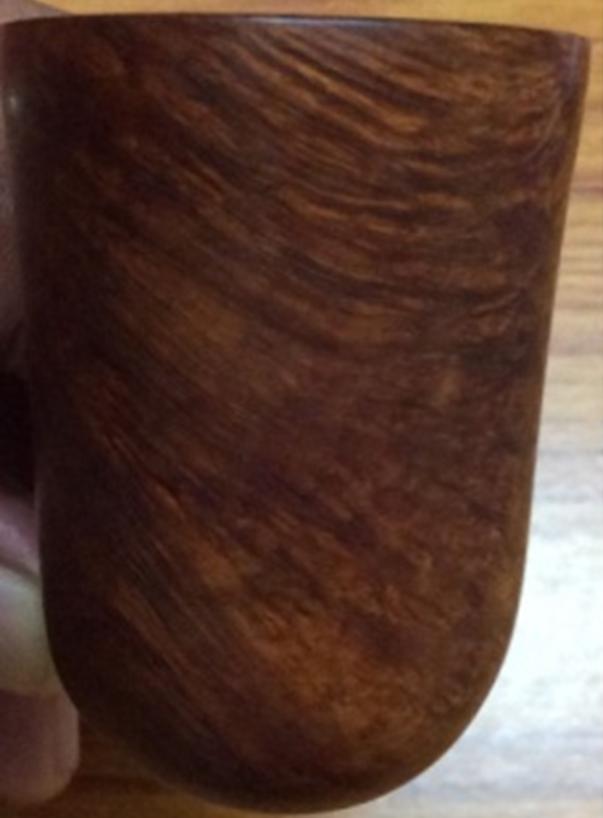
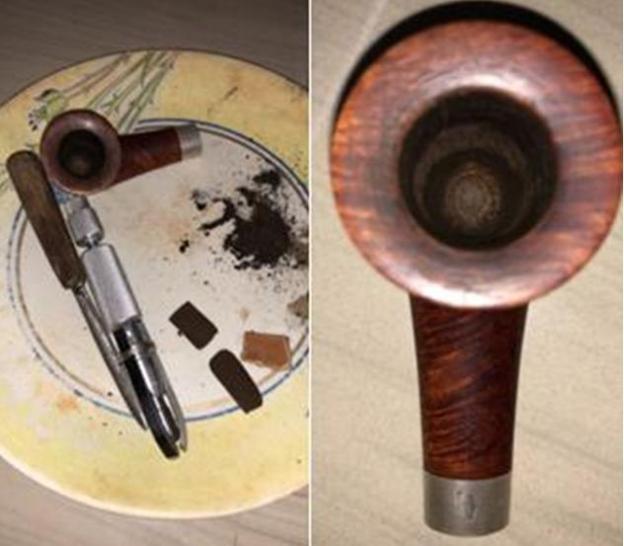
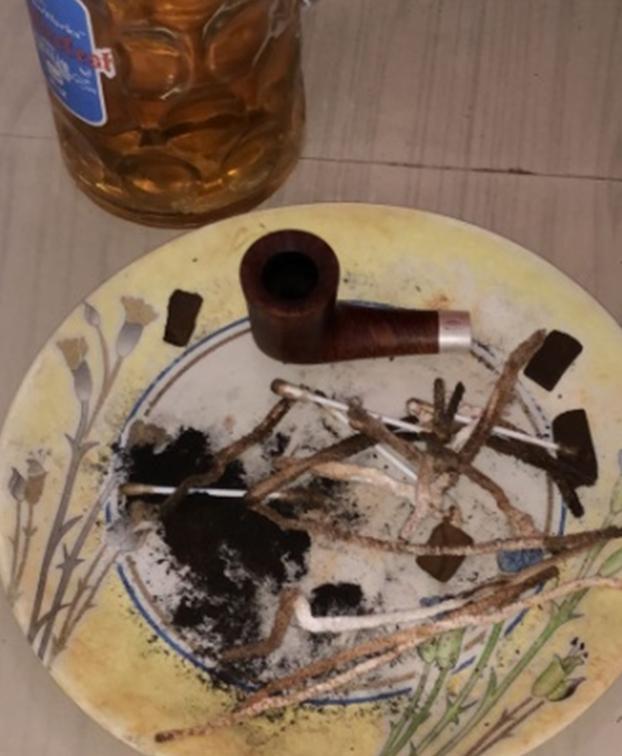
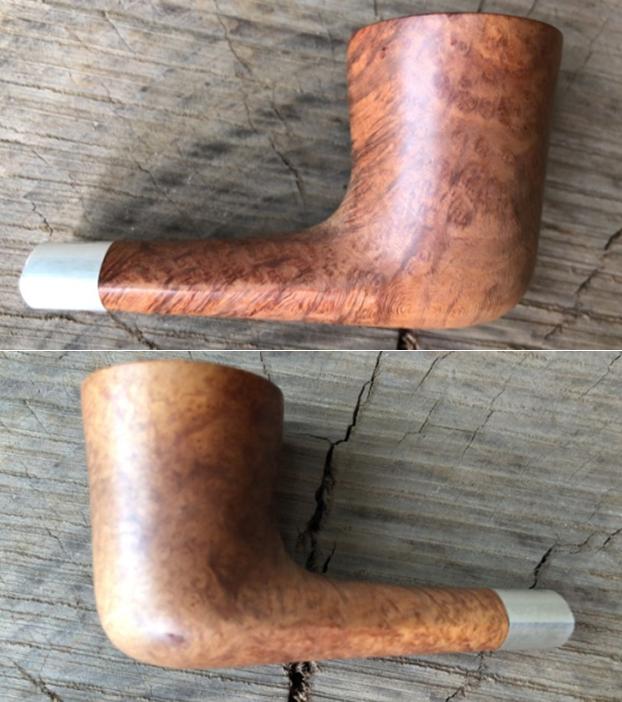
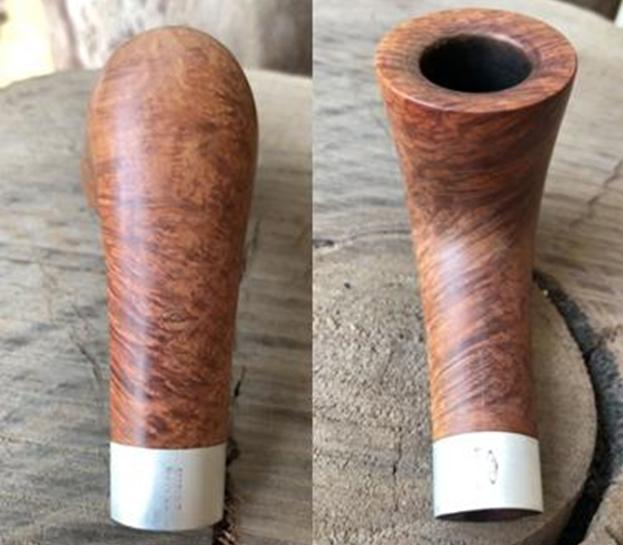
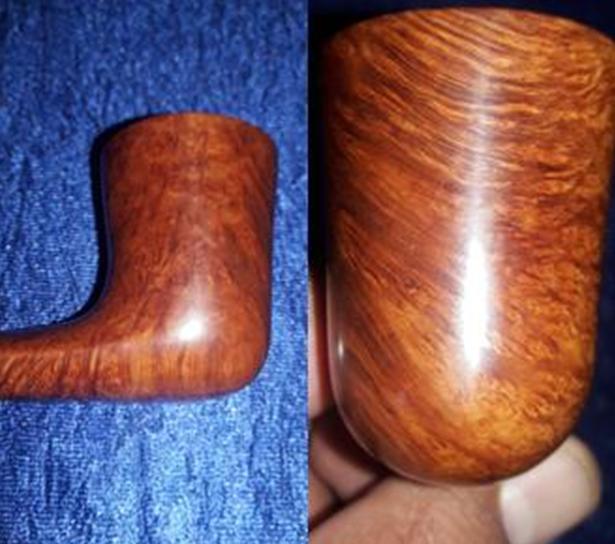
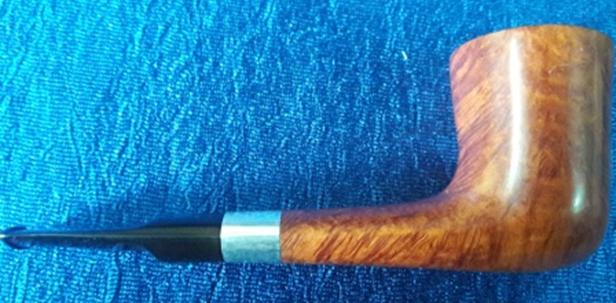
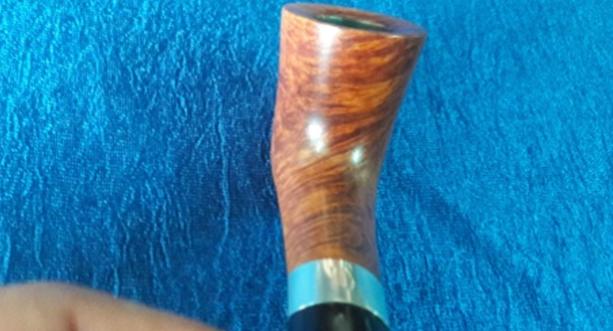
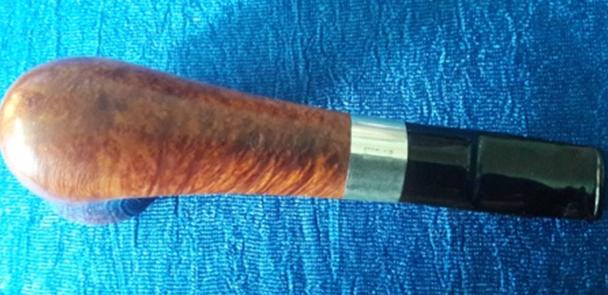
The next pipe on the work table is a pipe I picked up recently at St. Vincent de Paul thrift shop. I caught the bus to meet my daughter for lunch and while I waited for her to get off work I walked over to the nearby shop. I went through the display cupboards and found an interesting looking pipe. It was a ¾ bent pipe with a rounded edge rectangular shank pipe. It was priced pretty high for a used pipe but I struck a deal with the clerk and got it for a reasonable price. I took the pipe over to the coffee shop where my daughter works and took some photos. I took the pipe home and finally got around to working on it today. I took some photos of the pipe before I started to clean it up. It is stamped on the underside of the shank Jeantet over Neuilly and next to the shank/stem junction it is stamped France. It is also stamped on the right side of the shank with the numbers 81-3 It is a three-quarter bent apple-shaped pipe with a natural finish. The finish was dirty and stained from the grime of long handling without cleaning. The rim top had an overflow of lava from the thick cake in the bowl. It was dirty and hard to tell if the finish was nicked or damaged under the grime. The outer edge of the bowl is rounded over to the sides of the bowl. The stem was black vulcanite and had tooth chatter and some calcification on the top and underside near the button. It was stamped JEANTET on the top of the saddle stem. I took a closeup photo of the rim top to show the lava overflow from the thick cake in the bowl. The rounded outer edge of the rim carried down into the bowl. The inner and outer edges of the bowl look very good underneath the lava overflow. There is a thick cake in the bowl. The stem was in good condition. There was some tooth chatter and scratches on the top and underside near the button. There was some light oxidation on the top and underside of the stem. I reamed the bowl with a PipNet Pipe reamer to remove the majority of the cake in the bowl. I cleaned up the remnants of cake with a Savinelli Fitsall Pipe Knife. To finish the cleanup of the bowl I wrapped 220 grit sandpaper around a piece of dowel and sanded the walls of the bowl. I used a dental spatula to scrape the buildup of tars on oils on the walls of the mortise. I scrubbed the mortise and the airway in the shank with alcohol, cotton swabs and pipe cleaners. I took some photos of the pipe to show the condition at this point in the process.Before I could clean out the airway in the stem I needed to remove the caked and dirty stinger apparatus in the tenon. I used a pair of needle nose pliers to twist the stinger out of the tenon. I took a chance that it was threaded and it was not long before I had it free of the tenon.I cleaned up the aluminum tenon with 000 steel wool. I cleaned out the inside of the stinger and the airway in the stem with pipe cleaners, cotton swabs and alcohol.I scrubbed the top of the rim and the exterior of the bowl with isopropyl alcohol and cotton pads to remove the buildup of lava and grime on the bowl. I rubbed down the briar with Before & After Restoration Balm. I worked it into the smooth surface of the briar with my fingertips to clean, enliven and protect it. I let the balm sit for a little while and then buffed the bowl with a cotton cloth to raise the shine. The following photos show the bowl at this point in the restoration process. The grain is really starting to stand out. I polished the briar bowl and shank with micromesh sanding pads – wet sanding with 1500-2400 grit pads and dry sanding with 3200-12000 grit pads. I wiped the rim off after each sanding pad to remove the dust. The pipe really shone once it was polished. I took a photo of the stamping on the underside of the shank. It read Jeantet over Neuilly. Along the shank/stem junction it was stamped France. On the right side of the shank it read 81-3.I set the bowl aside and turned my attention to the stem. I used a folded piece of 220 grit sandpaper to sand out the tooth chatter and marks on both sides of the stem just ahead of the button. They were not deep so it did not take too much to remove them.The Jeantet stamp on the top of the stem is quite worn. There is not enough to recolour with white paint but enough that in the right light it is readable. I polished the stem with micromesh sanding pads – wet sanding with 1500-2400 grit pads and dry sanding with 3200-12000 grit pads. I wiped the stem down after each pad with Obsidian Oil to remove the sanding dust on the vulcanite. I finished polishing it with Before & After Pipe Stem Polish – both Fine and Extra Fine. When I finished with that I wiped it down with a final coat of Obsidian Oil and set it aside to dry. I polished stem and bowl with Blue Diamond to polish out the remaining small scratches. I gave the bowl and the stem multiple coats of carnauba wax. I buffed the pipe with a clean buffing pad to raise the shine. I hand buffed it with a microfiber cloth to deepen the shine. The pipe polished up pretty nicely. The natural oil finish works well when polished to really highlight the variety of grains around the bowl and shank. It has birdseye on the sides of the bowl and cross grain on the front (toward the right) and back of the bowl and on the shank both top and bottom. The polished black vulcanite stem works together with the beautiful grain in the briar to give the pipe a rich look. The finished pipe is shown in the photos below. The pipe is ready for a new home. The shape, finish and flow of the pipe and stem are very well done. The dimensions are Length: 5 1/2 inches, Height: 2 inches, Outside diameter of the bowl: 1 1/4 inches, Chamber diameter: 3/4 inches. I will be listing this one on the rebornpipes store shortly. Thanks for walking through the restoration with me as I worked over this beautiful little Jeantet Neuilly. 

Kathy’s Dad’s Pipes – Restoring a Barontini De Luxe Brandy


Blog by Steve Laug

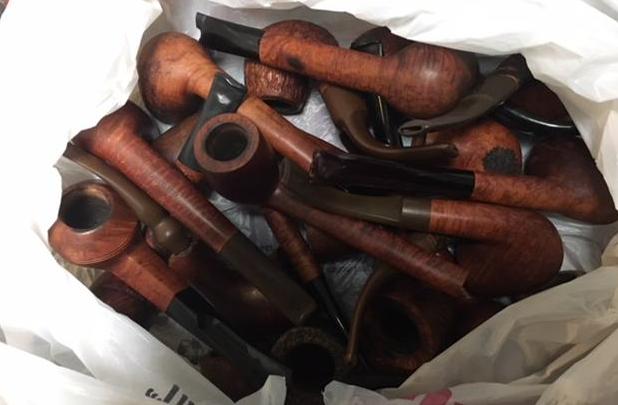
The next pipe on the work table is also from George Koch’s estate. It is a Barontini De Luxe Brandy shaped pipe with a quarter bend. The pipe was one of many that came to my brother and me in several shipments of pipes from George’s daughter Kathy. When Jeff got each box the pipes were well wrapped and packed. Jeff unwrapped them and took the following photo to give an idea of the volume of the pipes that we purchased. The Barontini came in mixed in a box of pipes much like the one below.In each of the previous blogs that I have written on the restoration of George’s pipes I have told his story. To me it is important to keep the story attached to the pipes that came from his collection. Each pipe I work on I remind myself of the man and in the work give a remembrance to the pipeman who owned these pipes. Having held a large number of his pipes in my hand and having a pretty good feel for the shapes, colour and stems that he liked, I can almost imagine George picking out each pipe in his collection at the Malaga shop in Michigan. I am including Kathy’s brief bio of her father and a photo of her Dad enjoying his “Malagas”. Here is George’s bio written by his daughter.

Dad was born in 1926 and lived almost all his life in Springfield, Illinois. He was the youngest son of German immigrants and started grade school knowing no English. His father was a coal miner who died when Dad was about seven and his sixteen year old brother quit school to go to work to support the family. There was not much money, but that doesn’t ruin a good childhood, and dad had a good one, working many odd jobs, as a newspaper carrier, at a dairy, and at the newspaper printing press among others.

He learned to fly even before he got his automobile driver’s license and carried his love of flying with him through life, recertifying his license in retirement and getting his instrumental license in his seventies and flying until he was grounded by the FAA in his early eighties due to their strict health requirements. (He was never happy with them about that.) He was in the Army Air Corps during World War II, trained to be a bomber, but the war ended before he was sent overseas. He ended service with them as a photographer and then earned his engineering degree from University of Illinois. He worked for Allis Chalmers manufacturing in Springfield until the early sixties, when he took a job at Massey Ferguson in Detroit, Michigan.

We lived in Livonia, and that’s where his love for Malaga pipes began. After a few years he returned to Allis Chalmers and we moved back to Springfield. I remember that when we went back to Michigan to visit friends, Dad had to go to the Malaga store and acquire a few new pipes. Many a year I wrote to Malaga and they picked out a pipe for me to purchase that I could give Dad for a Christmas or birthday present. He was always pleased. His favorites were the straight stemmed medium sized bowl pipes, but he liked them all. 

He had some other pipes, but the Malagas were his favorites. I remember him smoking them sitting in his easy chair after work, with feet up on the ledge by the fire burning in the fireplace.  Growing up it was my job to clean them and he liked the inner bowl and stem coated with Watkins vanilla, leaving a little of that liquid in the bowl to soak in when I put them back on the rack. Dad quit smoking later in life and so they’ve sat on the racks for many years unattended, a part of his area by his easy chair and fireplace. Dad passed when he was 89 years old and it finally is time for the pipes to move on. I’m very happy they are being restored by you and your brother and hope they find homes who enjoy them as much as Dad did. Thank-you for your care and interest. — Kathy, the oldest daughter

Each blog I have posted I thank Kathy for providing this beautiful tribute to her Dad. Jeff and I appreciate your trust in allowing us to clean and restore these pipes. We are also trusting that those of you who are reading this might carry on the legacy of her Dad’s pipes as they will be added to the rebornpipes store once they are finished.

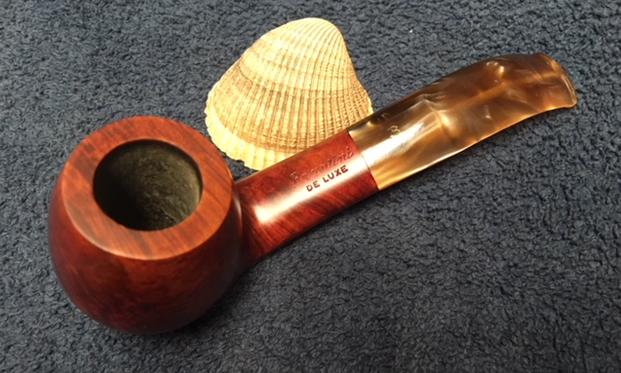
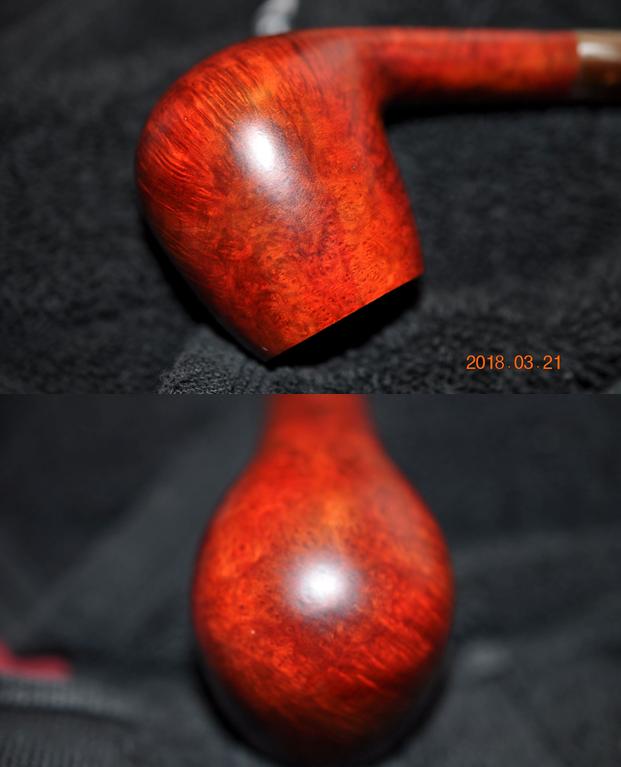
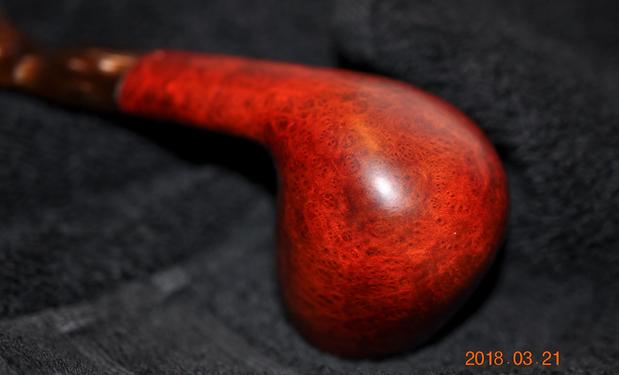
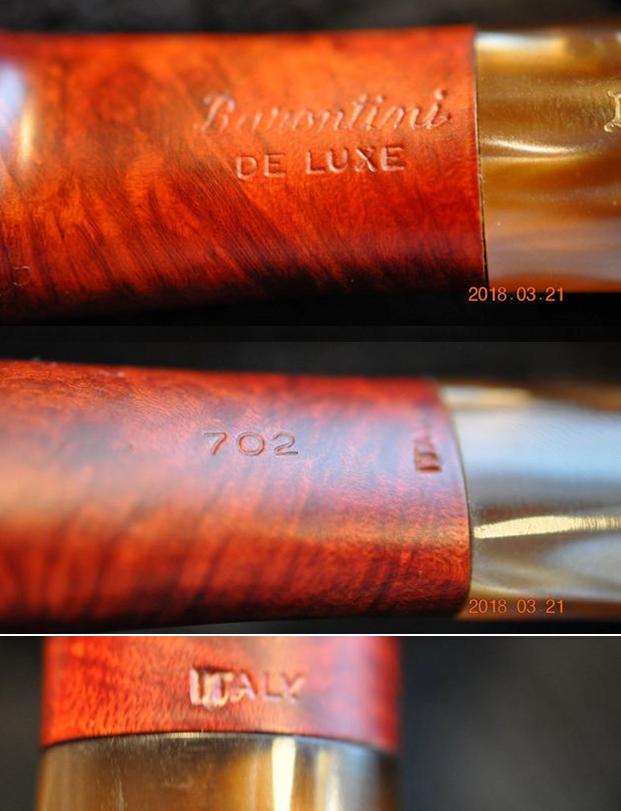
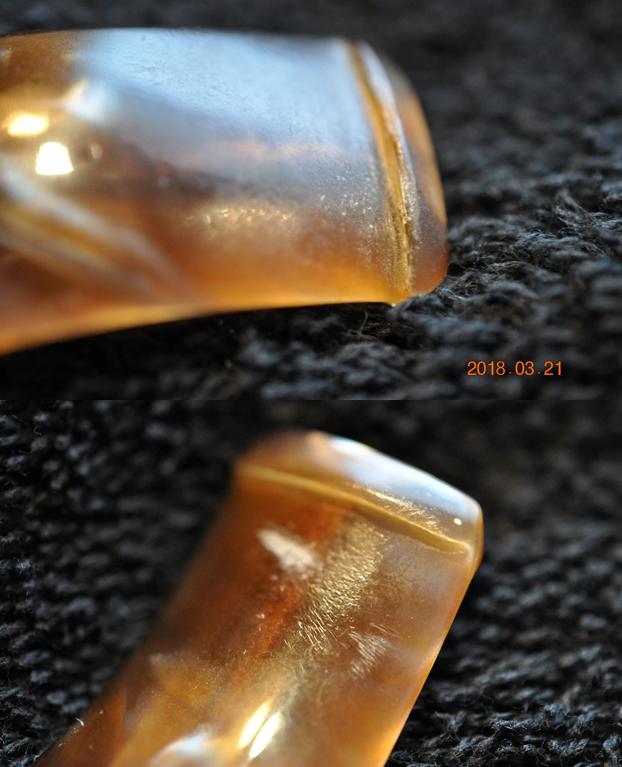
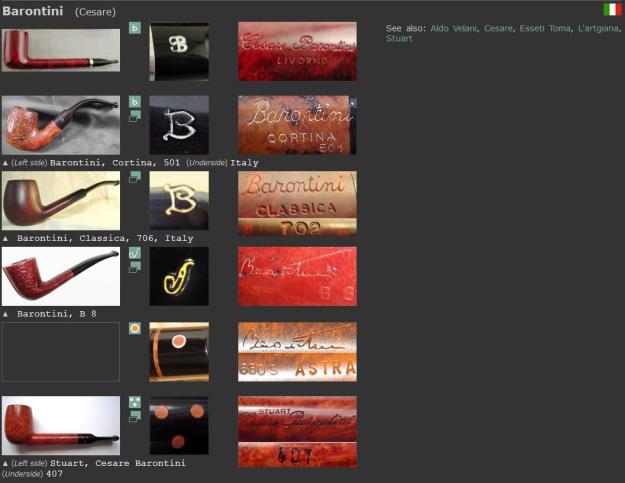
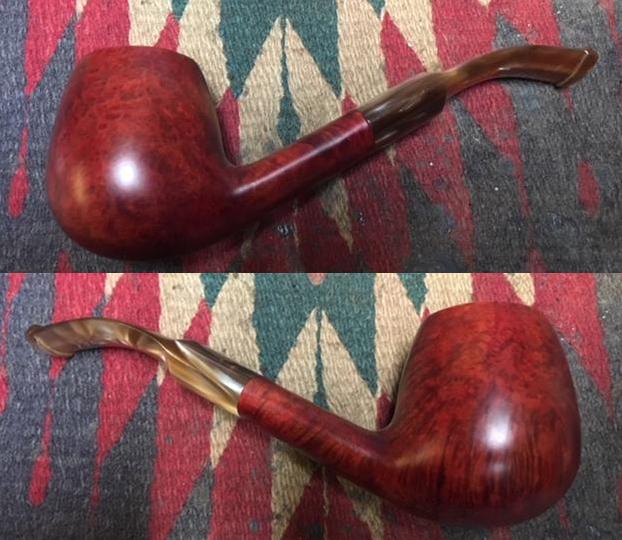
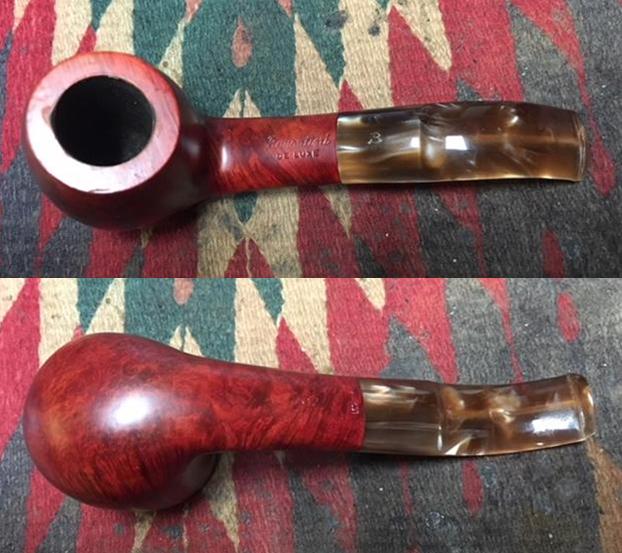
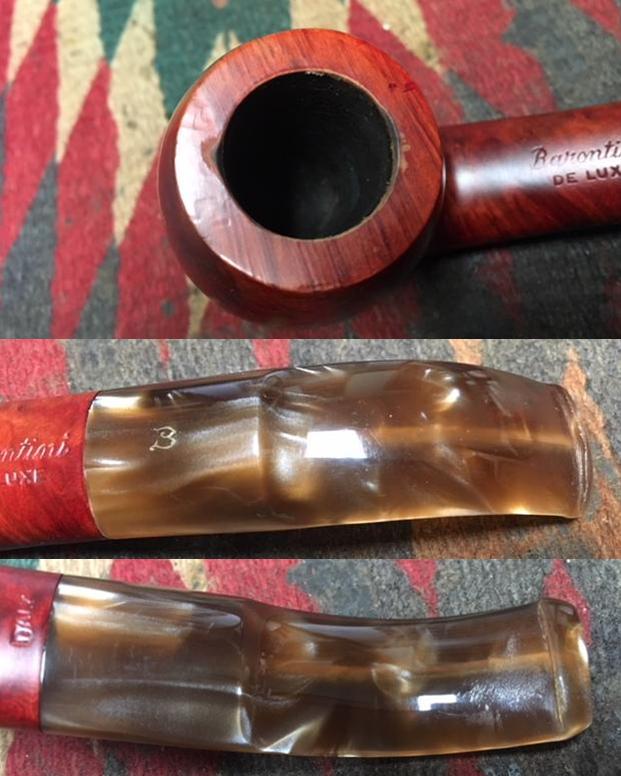
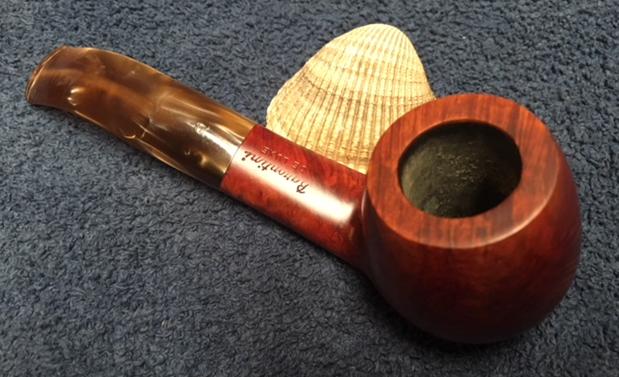
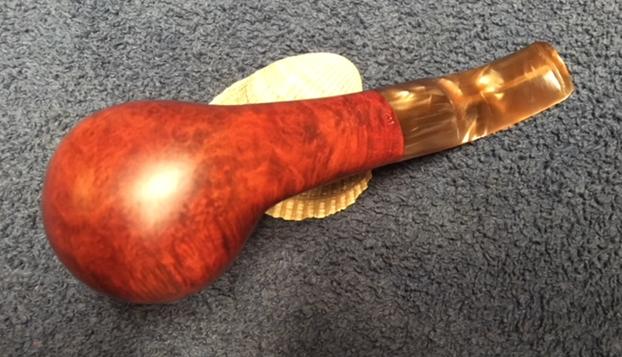
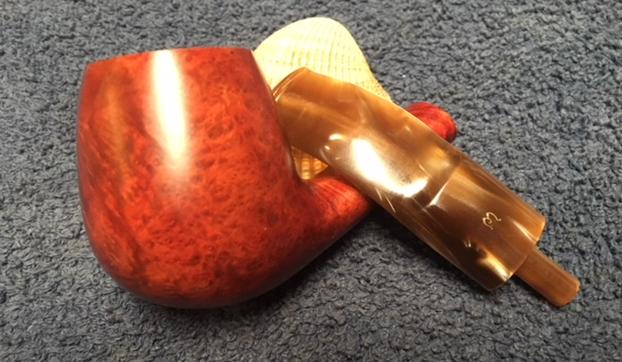
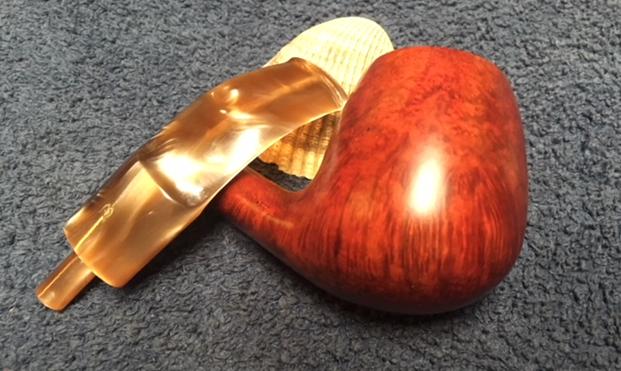
The next the pipe is a nicely shaped Barontini Brandy with an acrylic stem. It has beautiful grain all around the bowl – straight, flame and birdseye that is highlighted by the rich reddish brown stain. The top of the bowl is had some burn marks and some damage. The stamping on the top side of the shank read Barontini over De Luxe. On the underside it has the shape number 702 and Italy at the shank/stem junction. The gold and brown, swirled, pearlized Lucite stem had light tooth dents and chatter on the top and the underside of the stem. The interior of the pipe was caked and had cobwebs. Jeff took these photos before he started the cleanup work on the pipe. Jeff took a close up photo of the bowl and rim to show the condition of the pipe before he started his cleanup work. The rim top had some light lava overflow and some darkening. There appeared to be some rim damage on the inner edge toward the front of the bowl. You can see the wear on the rim top, the cake and remnants of tobacco in the bowl. It also looks like there are some cobwebs in the bowl. The pipe is dirty but in good condition.  He also took photos of the sides and bottom of the bowl and shank from the side to show the grain on this pipe. The finish is very dirty but this is a beautiful pipe. Jeff took some photos to capture the stamping on the top and underside of the shank. The first photo shows the top side of the shank with the stamping Barontini De Luxe and the second shows the shape number 702 on the underside. The third photo shows the ITALY stamping on the underside near the stem. There is also a B stamped on the acrylic stem.The next two photos show the stem surface. There are tooth marks and chatter on both sides near the button. There is also some wear on the sharp edge of the button.I looked up some information on the brand on the Pipephil website to get a quick overview of the history (http://www.pipephil.eu/logos/en/logo-b2.html). I did a screen capture of the listing for the brand. The fascinating thing that I learned in this quick overview was the connection to the entire Barontini family and to other companies like Aldo Velani. It is interesting to see the breadth of the brand in the following screen capture. The  pipe I am working on it stamped like the third photo down – the Classica and the B on the stem is identical to that pipe’s stamping.Pipedia gives further history of the brand (https://pipedia.org/wiki/Barontini,_Ilio) under the listing for Ilio Barontini. I quote that article in full as it has the connection to the De Luxe pipe that I am working on.

Cesare Barontini, who was in charge of the Barontini company since 1955, helped his cousin Ilio Barontini to establish a pipe production of his own.

Ilio started to produce machine-made series pipes of the lower to the middle price categories. Fatly 80% of the pipes went to foreign countries, the bulk being produced for various private label brands. Some of the own lines like “de Luxe”, “Etna” or “Vesuvio” gained a certain popularity. Citation: “Next to excellent craftsmanship Ilio Barontini pipes offer a wood quality, that is almost unrivalled in this price category!”.

The pipes being around still there were some unconfirmed utterances that Ilio Barontini brand has been absorbed by Cesare Barontini or even Savinelli. Who knows?

Now I had some idea of the maker of this Barontini. It appears to be one of the machine made Barontinis in the De Luxe line. Fueled by that information it was time to get working on the pipe itself and see what I had to do with it.

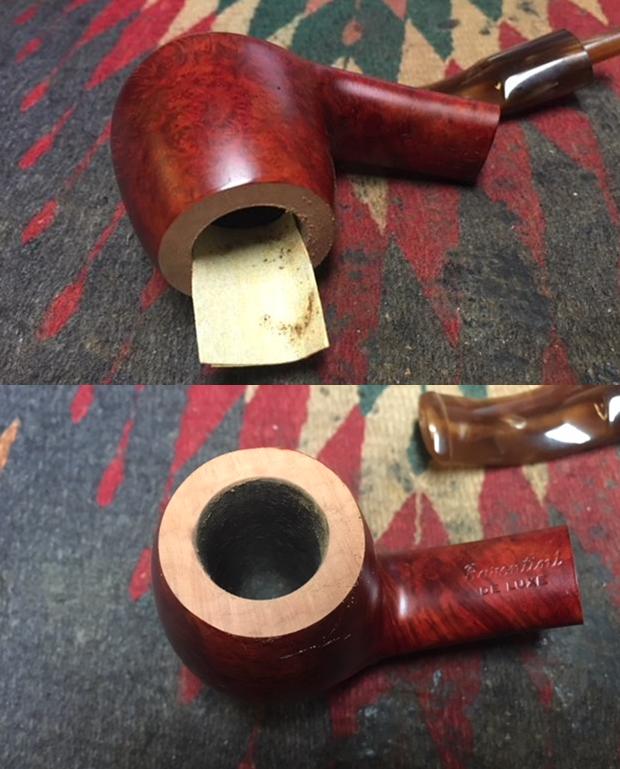
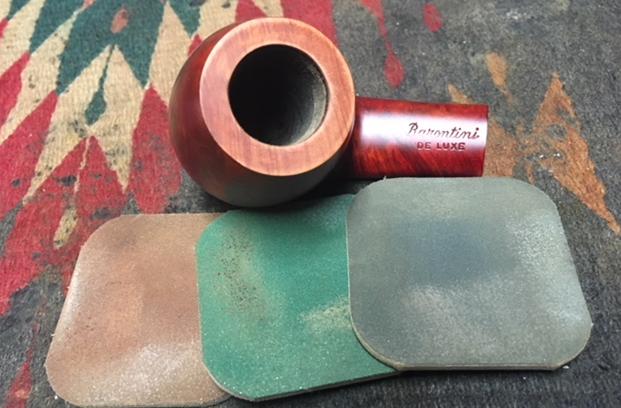
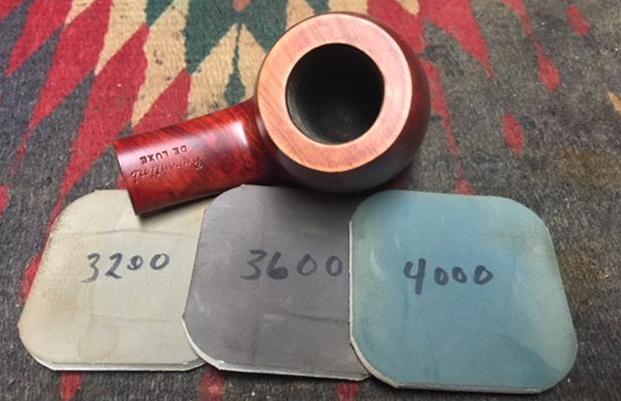
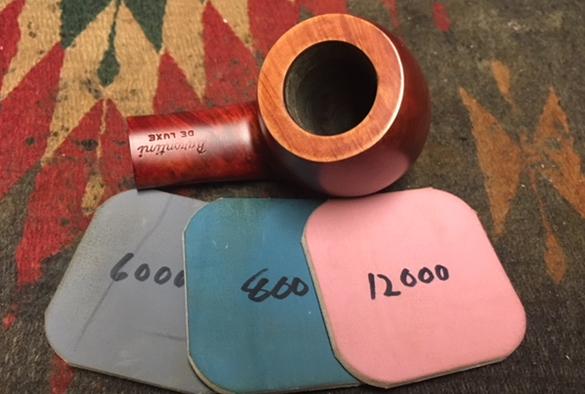
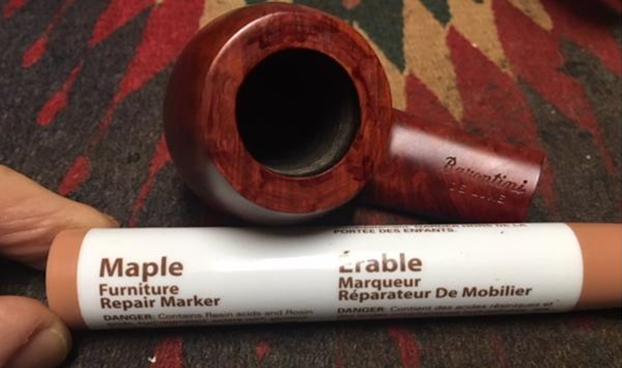
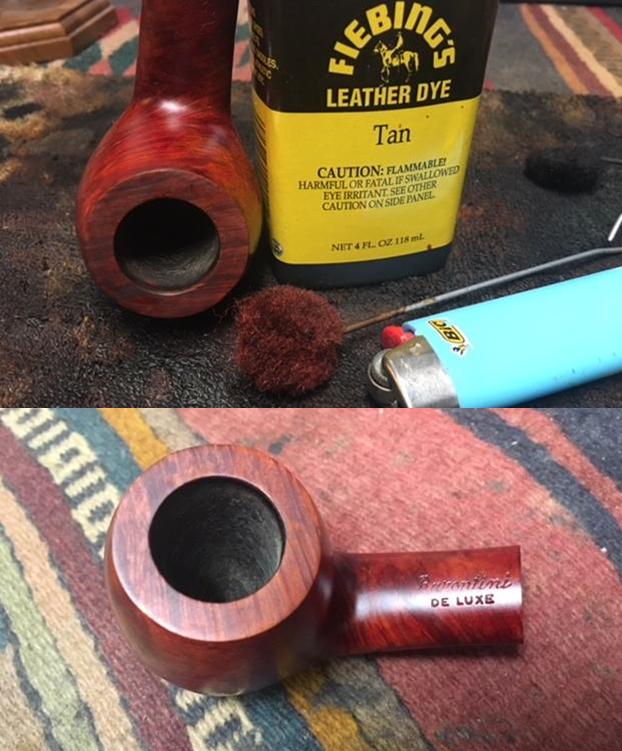
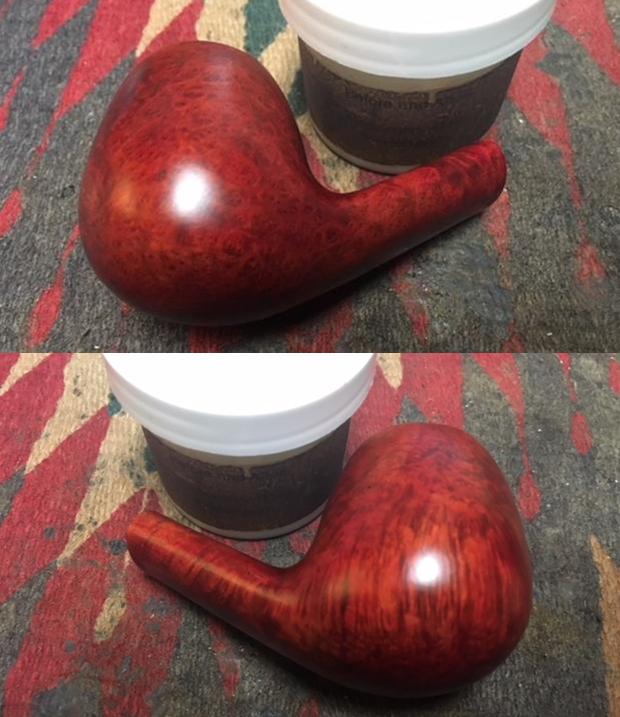
Jeff had reamed the bowl with a PipNet pipe reamer and followed up with a Savinelli Fitsall pipe knife to remove the cake. He scrubbed out the mortise and the airway in the shank and the stem with alcohol, cotton swabs and pipe cleaners. He scrubbed the exterior of the bowl, rim, shank and stem with a tooth brush and Murphy’s Oil Soap to remove the oils and tars on the rim and the grime on the finish of the bowl. He rinsed it under running water. He dried it off with a soft cloth. The rim was thoroughly cleaned and the damaged areas were obvious. Without the grime the finish looked really good. The Lucite stem would need to be worked on but I really like the profile it cast. I took photos of the pipe to show its condition before I started my work on it.   I took close up photos of the bowl and rim top as well as the stem. You can see the condition of the rim top and bowl in the first photo. Jeff was able to remove all of the tar and oils but you can now see the damaged areas on the surface clearly. There are damaged spots on the front inner edge and the back inner edge. There are also some deep dents and nicks in the flat surface of the rim. The acrylic/Lucite stem had tooth chatter and some light tooth marks on the top and underside of the stem just ahead of the button. There was one deeper tooth mark on the underside near the button.I decided to address the damage to the rim top first. I topped the bowl on a topping board using 220 grit sandpaper. I removed the damaged surface of the rim and made it smooth once again.I used a folded piece of 220 grit sandpaper to smooth out the inner edge of the rim. The rim top is looking far better at this point.I polished the rim top with micromesh sanding pads – wet sanding with 1500-2400 grit pads and dry sanding with 3200-12000 grit pads. I wiped the rim off after each sanding pad to remove the dust. The rim really shone once it was polished. Once it was polished the rim was ready to be stained. I started by using stain pens. I used a Maple stain pen to match the colour of the bowl. It was the closest I could get to matching the bowl. Once it cured it was streaked and not quite a match. The first photo below shows the rim after the stain pen.I carefully wiped the rim down with some isopropyl alcohol to smooth out the stain. Once it was smooth I restained it with some Fiebing’s aniline stain. I used a tan coloured stain and flamed it once I had stained the rim. I repeated staining and flaming until the coverage on the rim matched the bowl sides. The second photo below shows the look of the rim after this staining. I rubbed down the briar with Before & After Restoration Balm. I worked it into the smooth surface of the briar with my fingertips to clean, enliven and protect it. I let the balm sit for a little wall and then buffed with a cotton cloth to raise the shine. The following photos show the bowl at this point in the restoration process. The rim matches well but still needs to be polished and buffed to raise a shine on it. There were some tooth marks and chatter on the top and more chatter and a deeper tooth mark on the underside of the acrylic stem at the button. I cleaned off the surface of the stem with alcohol and filled in the deep tooth mark with clear super glue. Once it cured, I sanded both sides smooth with 220 grit sandpaper to blend the tooth chatter and the repair into the surface of the stem. It did not take too much sanding to remove the marks and smooth out the stem surface. When it was sanded it was smooth and the marks were gone. I polished the acrylic stem with micromesh sanding pads – wet sanding with 1500-2400 grit sanding pads and dry sanding it with 3200-12000 grit sanding pads. I wiped it down after each sanding pad with a damp cloth. I the polished stem and bowl with Blue Diamond to polish out the remaining small scratches and raise the shine. I gave the bowl and the stem several coats of carnauba wax and buffed the pipe with a clean buffing pad to raise the shine. I hand buffed it with a microfiber cloth to deepen the shine. The pipe polished up pretty nicely. This turned out to be a beautiful pipe in terms of shape and finish. This is the thirteenth pipe that I am restoring from Kathy’s Dad’s collection. I am looking forward once again to hearing what Kathy thinks once she sees the finished pipe on the blog. The finished pipe is shown in the photos below. The dimensions are Length: 6 inches, Height: 2 inches, Outside diameter of the bowl: 1 3/8 inches, Chamber diameter: ¾ of an inch. Thanks for walking through the restoration with me as I worked over this Barontini Brandy from George’s estate. More will follow in a variety of brands, shapes and sizes. I will be adding it to the rebornpipes store shortly so if you are interested in adding it to your collection and carrying on the trust from her father send me an email or a message on Facebook. Thanks for looking.

Refreshing an Italian Gasparini M.G.M. Rock Briar 1912 with an Unexpected Encounter


Blog by Dal Stanton

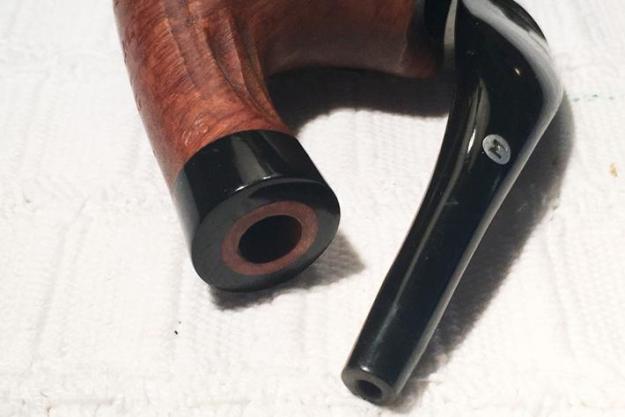
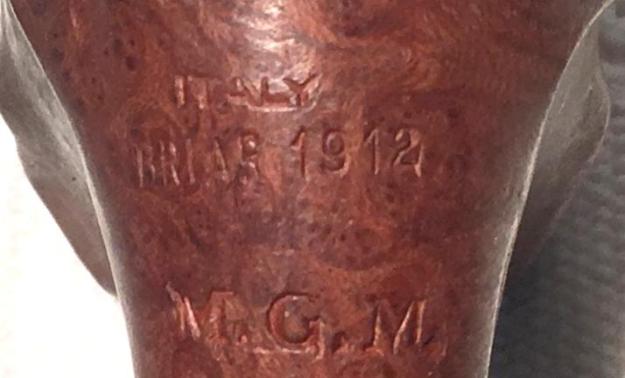
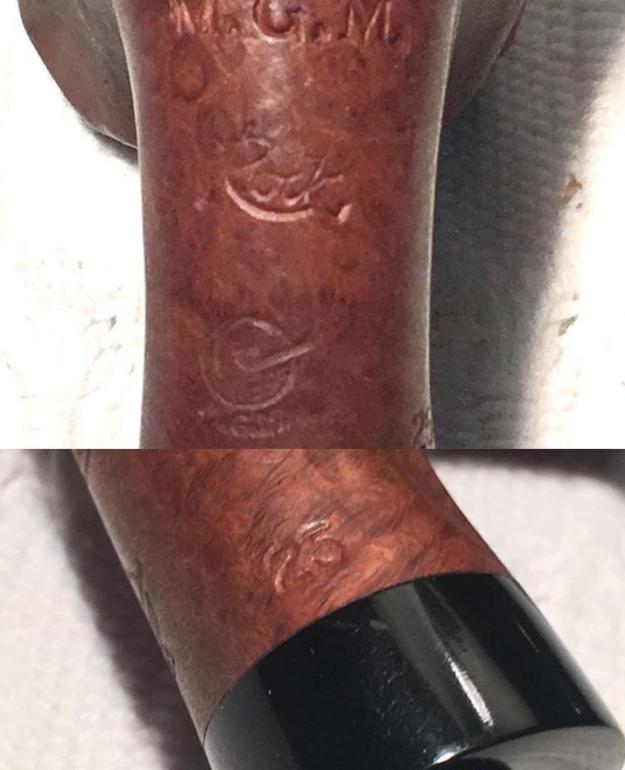
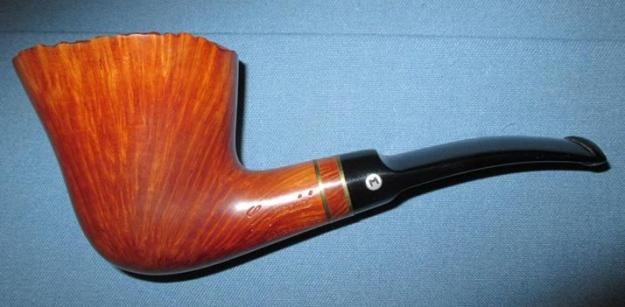
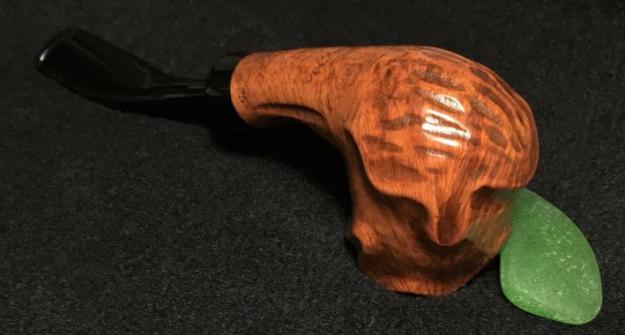
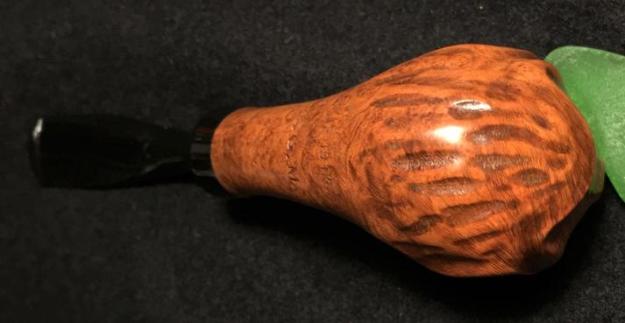
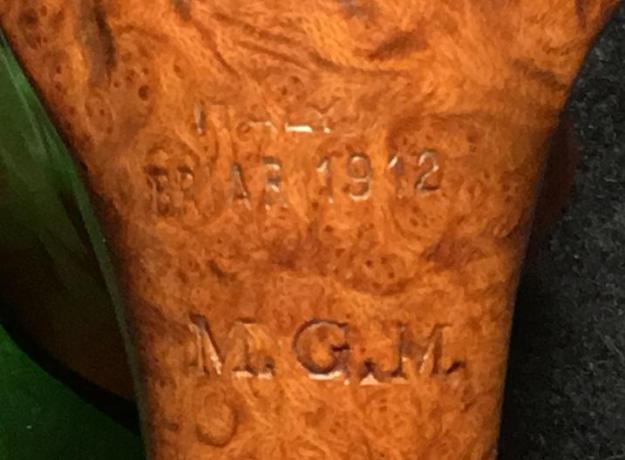
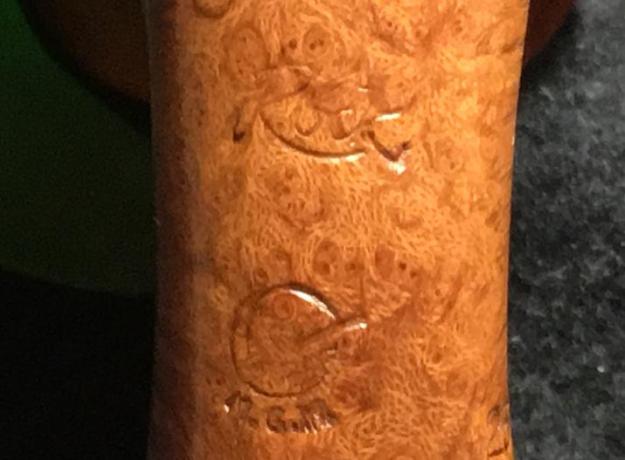
Idian lives in Indonesia and sent me an email after trolling through The Pipe Steward electronic “Help me!” basket which I call, “For ‘Pipe Dreamers’ Only!” He inquired about commissioning two pipes, a Peterson and the Italian, Gasparini M.G.M. Rock Briar 1912.  He settled on the Gasparini and assured me that he was a patient man as I put his commissioned pipe in the queue behind quite a few other commissioned pipes.  I found this pipe along with 65 others in a Lot of 66 which has provided several pipes for my work table which have benefited our work with the Daughters of Bulgaria, helping women and girls who have been trafficked and sexually exploited.  This M.G.M. Rock Briar stood out to Idian and it also stood out to me not only because it’s a unique Freehand shape but also because the shank is chocked full of nomenclature information that I’ve looked forward to researching.  Here are the pictures that Idian saw. The heel of the shank is stamped with ITALY [over] BRIAR 1912 [over] M.G.M. [over] Rock in cursive script.  Below this is a stamp – a pipe partially ensconced in a circle with M.G.M. repeated under the circle. To the right of this, hugging the briar’s edge transitioning to the vulcanite ferrule is the number 25, which I’m assuming is a shape number.  The pictures above show the rondel with the pressed M for Mario, the patriarch of the Gasparini family. Much of Pipedia’s article about the Gasparini name came from the current Gasparini website, http://www.mgasparini.it/en/.  When reading the information, one gets the impression of the enterprise having deep family roots which continue today.  From the Pipedia article:

In 1938 Mario Gasparini, with his wife Ida, took his first steps into the world of the pipe. Today his daughter, Marisa Gasparini, sits at his desk; since 1977 Marisa and her husband, and now her daughter, carry on the tradition of her family. At the beginning of 1950’s, the building, that still today hosts the production department, was enlarged. In 1971 the offices and the warehouse were moved from Milan (where they were situated for marketing purposes) to Luvinate.

During those years the skilled workers and our direct partners have always followed the history of the Gasparini factory, becoming very fond of it and devoting themselves, with care and love, to the making of each pipe, with the personal fantasy and skills of the artist. We would like to take this opportunity to thank those artisans who, with their creativity, gave, and continue to give, life to the Gasparini Pipe factory.

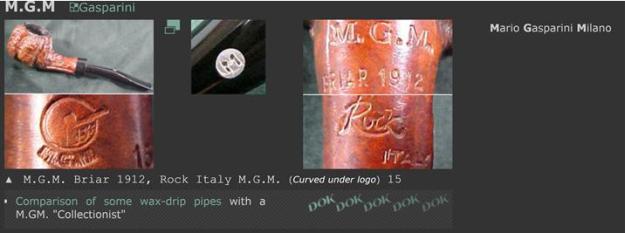
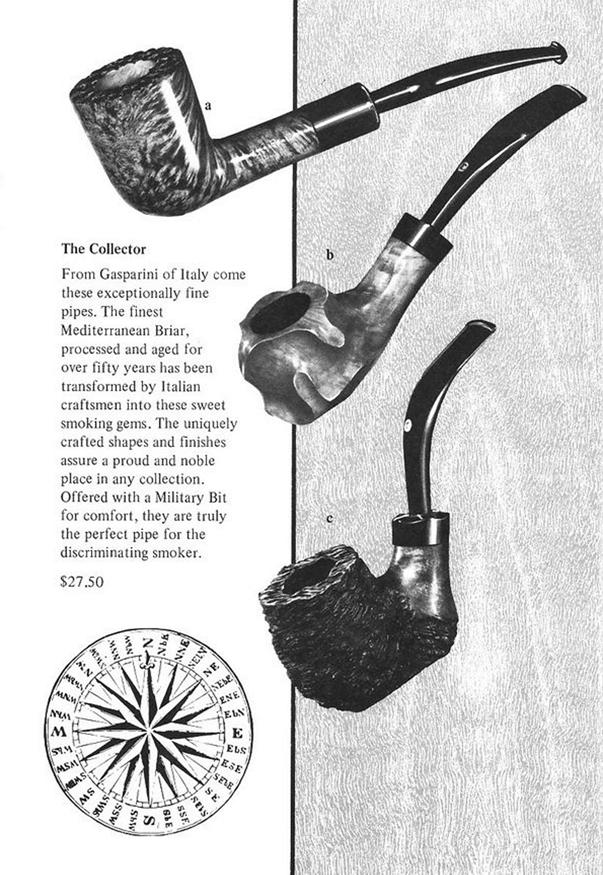
The article also describes the Gasparini series, M.G.M. coming on-line in 1965 as a classical line with the initials standing for the founder’s name – Mario Gasparini Milano.  Pressing the research, the Pipephil.eu site offered more information.Of interest in the Pipephil information was the reference connecting the M.G.M. “Collectionist” series (marked by the circle/pipe stamp) with a comparison to ‘wax-drip pipes’.  I looked at that link and got a clue of what might be the considered shape of the M.G.M. Rock on my work desk: stummels fashioned to look like the ends of used candles.  Here is a clipping of three ‘high-end’ examples of this interesting shape:With these examples before me, I take another look at the M.G.M. Rock Collector on the table and it I believe that its possible it was fashioned in the ‘wax-drip’ manner with the ripples of melted wax shaped on the rim flowing down.Pipedia’s article included an older Gasparini brochure (courtesy of Doug Valitchka) – unfortunately no dating was given for the brochure, showing three pipes in the ‘Collector’ series.  The middle example is obviously the same shape style and stem as the pipe on my work table but with a squatter bowl – very much reminiscent of a ‘wax drip’ shape.  My guess is that the brochure is from the 60’s because it’s black and white and I would imagine that the stated pricing at that time would not be for a corner drug store pipe!  Unfortunately, this was the only page shown – I would love to have read the description for the ‘b.’ pipe!One more question dogged me in my research of the M.G.M. Rock – ‘Briar 1912’.  Briar 1912 was stamped on several examples I saw of Gasparini pipes on Pipedia and Pipephil.eu.  What did it refer to?  As I’ve done before with much success, I decide to go to the front door of the Gasparini house and knock and introduce myself.  On the ‘Contact’ page of the Gasparini website I find contact information and send an email with the 1912 question as well as a few other questions to confirm the shape number and dating.  We’ll see if they respond!  The description in the brochure gives a clue that I didn’t recognize until later – it states that the briar had been aged over 50 years!  If one does the math, if 1912 is when the aging process began – plus 50 years, lands us in the year 1962 – the decade the M.G.M. series was introduced and perhaps the ‘Collector’ series as well. It was only after discovering an August 2013 thread in Pipes Magazine Forum (LINK) concerning Gasparini pipes that I tied the 1912 with the aging of the briar – I know, I’m slow!  This clip from Doc Watson speaks very positively of the Gasparini named pipes:

I have a few Gasparini pipes. They are real sleepers IMO and are seldom talked about by collectors but believe me there are some magnificent Gasparini pipes out there. Here’s a photo of one that came from the late Jack Ehrmantrout (owner of Pipe Collectors International PCI) collection. It was one of his favorites that he never smoked. Some are stamped 1912 briar, which is indeed some old root. As most pipe companies/makers they make different lines, some higher grades than others but IMO if you find one you like, go for it. (Note from me: IMO = in my opinion)I love ‘Sherlocking’ the provenance of pipes not only to learn about the names of historic lines, but to more fully appreciate the value of what I’m handling and seeking to restore.  The picture above, along with several examples in the Pipedia article courtesy of Doug Valitchka, give me a good idea of the natural briar hue Gasparini used and I will shoot for this with the M.G.M. Rock on my table.
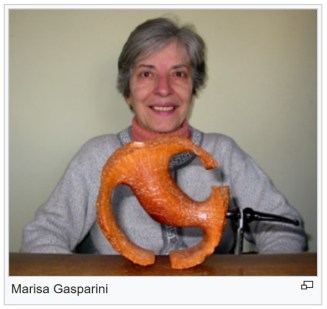
Well, my cup runs over!  I received a reply from M. Gasparini Pipes in Luvinate, Italy, but not from a desk employee.  Marissa Gasparini (picture from previously cited Pipedia article) responded to my questions, the daughter of Mario Gasparini, the founder of the Gasparini Pipe house in 1948.  She assumed control of the Gasparini Pipe interests in 1977 and I assume she continues in that role today.  I was honored that she wrote to me.  Here is her letter, switching to my native tongue and responding to my questions:

Dear Dal,
1) the 1912 is the year in which was born the briar that we used for making that serie of pipes so particular.
2) The circle with pipe in it was used only for some special  fancy serie like the Rock.
3) We begin to produce thise serie in the 1960 and finish in the 1965, and now we have left only few pieces, and you are lucky to have one.
4) The number 25 is the number of the shape and the pipe was waxed.
We hope  that our informations are o.k. for you and we thank you  and remain at your complete disposal,
with best regards,
Marisa Gasparini

Wow!  I love restoring pipes!  With Marisa’s letter as confirmation, the briar root aging process used for this M.G.M. Rock began in 1912, 106 years ago.  The Collector stamp was only used for special, fancy lines, which applies to this Rock.  This M.G.M. Rock was produced between 1960 and 1965 – which gives it an age ranging from 58 to 53 years.  The shape number perhaps points to the wax candle shape that I was guessing might be the case or the shape may simply be a freehand Rock.  She also said that I was ‘lucky’ to have one of these special collector series in my possession – I would call it blessed.  I responded to her gracious letter and ventured another question – to ask about the significance of the third letter, ‘M’ in M.G.M. moniker?  The first two letters are clear – the initials of her father.  The third letter, ‘M’ stands for Milano.  I asked her the significance of ‘Milano’?

A few hours later her reply arrived.  The M.G.M. – Milano was where the Gasparini family lived and produced their pipes 45 years ago – a special place in their memories.

This is a nice-looking pipe and I’m happy to call this a “Refresh” on the title of the blog. With a very quick cursory look at the chamber, stummel and stem I see no challenging issues.  There is a light cake in the chamber, the rim has minor discoloration from grime and oils, and the stummel surface appears to be in good shape.  The surface of the stummel has darkened and has become tired and needs some cleaning and spiffing up a bit.  The Military stem shows no perceptible oxidation and only minor scratches – no tooth chatter.  Maybe an easy restoration!

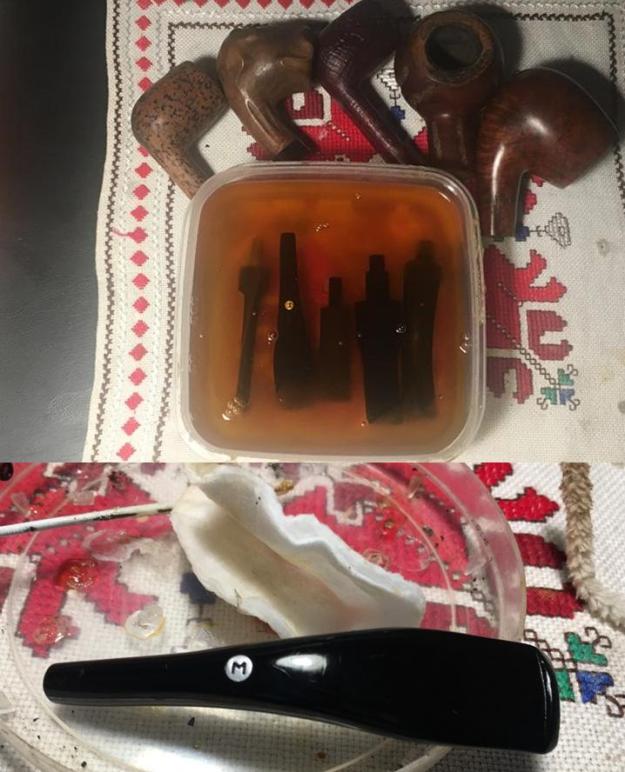
I begin the restoration by placing the stem in a soak of Before & After Deoxidizer along with other stems of pipes in queue for restoration.  Even though I see no oxidation, I’ll give it a soak to make sure.  Before putting the stem in the soak, I run a pipe cleaner dipped in isopropyl 95% through the airway to clean it first.  After soaking for several hours, I fish the stem out, drain it and wipe it down with a cotton pad wetted with mineral oil (light paraffin oil here in Bulgaria).  As I thought, very little oxidation was raised during the soak.Looking now to the M.G.M. Rock stummel, I begin by reaming the chamber to remove the moderate collection of carbon cake to provide a fresh start for the 106 year aged briar.  After putting down paper towel for easier clean-up, from smaller to larger, I use 3 of the 4 blade heads available to me in the Pipnet Reaming Kit.  After this, I employ the Savinelli Fitsall Pipe Tool to fine tune the reaming by reaching the more difficult angles at the floor of the chamber and by scraping the walls.  Finally, I wrap a piece of 240 grit paper around a Sharpie Pen and sand the chamber walls.  I then wipe the chamber with a cotton pad wetted with isopropyl 95% to clean the carbon dust left behind.  An inspection reveals a healthy chamber with no cracks or heat fissures.   The pictures show the process. Now, turning to the external surface cleaning, I use undiluted Murphy’s Oil Soap with cotton pads and a bristled tooth brush to reach into the rolls of the briar shaping.  I also use a brass wire brush on the small plateau to loosen the scorching around parts of the internal lip.  Following this, I gently scrape the scorching with a Winchester pocket knife edge to remove more of the damaged briar.  The cleaning and brushing made good progress. Preferring to work on a cleaned pipe, I now switch to the internals of the stummel by cleaning the mortise and airway with pipe cleaners and cotton buds dipped in isopropyl 95%. I also utilize different sized dental spatulas and scoops to excavate tars and oils by scraping the mortise walls and digging around the draft hole drilling deeper in the mortise.  I have learned over time that it shortens the clean up by excavating what you can and following with the cotton buds.  Last time I was in the US, I went to the US 1 Flea Market in Stuart, Florida, looking for pipes, of course.  I found a shop in the Flea Market that had absolutely everything and found an assortment pack of about 8 different dental tool accessories – sharp, flat and scooped.  These tools are very helpful in different phases of the pipe restoration process.  A good investment!  After excavating and swabbing, the internals are clean.  I move on!Back to the Military stem – it is in good shape with respect to the oxidation, but it has scratches and roughness around the bit that one expects to find through normal use.  The button also has compression marks to address. I first wet sand using 600 grade paper to find out if a mid-range grit is invasive enough to address the issues I see.  It does well, but it uncovers small tooth dents that I didn’t see before as well as the button being a bit compressed. I backtrack and use a flat needle file to give the button refreshed definition.  I then use 240 grit paper only in the bit area to remove the tooth dent and work on the button.To erase the 240 grit scratches, I again sand using 600 grit paper followed by sand/buffing the entire stem with 0000 grade steel wool.  I think the Military stem is looking pretty good.Pressing forward with the stem sanding, I wet sand using micromesh pads 1500 to 2400 followed by dry sanding with pad 3200 to 4000 then pads 6000 to 12000.  After each set of 3 pads, I apply a rich coat of Obsidian Oil which rejuvenates the vulcanite.  The stem’s looking great – I love the pop! I’ve been thinking as I’ve been working how I should approach the sanding/finishing of the ‘Wax Drip’ Rock shape?  As the tired finish is now, the pipe to me is one dimensional.  The darkened finish is uniformly non-expressive.  I look at it and I see the beautiful, unique shape, but I don’t see the beauty of 106-year-old briar grain standing on center stage of this presentation.  The great thing about micromesh pads is that they are flexible and hug the surface which I believe will aid me in adding some depth and contrast of shades in the briar’s presentation.  While sanding with the micromesh pads, there will be natural and unavoidable changes in the pressure and impact of the pads because of the contouring of the Wax Drip Rock shaped briar.  High points will naturally be lighter and lower points will be darker, providing (at least theoretically at this point!) contrast and shading through the briar landscape.  Ok, that’s the theory and the plan.  Time to march!  Using pads 1500 to 2400, I wet sand the stummel and vulcanite ferrule.  Following this, I dry sand using pads 3200 to 4000 then 6000 to 12000.  The pictures show the progress and I like what I see – theory becoming reality. Next, I mount the Dremel with a cotton cloth buffing wheel set at 40% full power and I apply Tripoli compound to the briar surface.  I’m able to reach more directly into the carved areas of the briar with this more abrasive compound.  After the Tripoli compound, I change to another cotton cloth buffing wheel, maintain the same speed and apply Blue Diamond compound to both stummel and military stem.  To remove compound dust from the pipe, I buff the pipe with a felt cloth. Before applying carnauba wax to the stummel, I apply Before & After Restoration Balm. I like using the Restoration Balm because it deepens and enriches the natural briar hues.  After squeezing some Balm on my finger, I apply it to the briar with my fingers working the Balm into the surface – making sure I work it into the carved areas.  As I work the Balm into the briar, it begins with a light oil consistency but thickens during the application to a wax-like ointment – the picture below shows this stage.  After letting the Balm settle for about 10 minutes, I wipe/buff off the Balm with a clean cloth. The final stage is to apply carnauba wax to the stem and stummel.  I mount another cotton cloth wheel to the Dremel, maintain the same 40% of full power, and apply a few coats of carnauba wax.  When I complete the waxing cycles, I give the pipe a rigorous hand buffing with a microfiber cloth to raise the shine even more.

Restoring this Gasparini M.G.M. Rock exceeded my expectations in important ways. The pipe was beautiful before I started.  Now, it’s a show stopper as the 106-year aged briar has retaken center stage and the Freehand shape with the dips, curves and swirls are a stellar supporting cast.  I can easily see the Wax Drip shape, but it could also be petals on a flower.  The Military style stem looks classy but unassuming as it joins the vulcanite ferrule with a contrasting ring of briar between ferrule and stem.  Another exceeded expectation was to understand better the Gasparini name and the value of family. My appreciation brimmed for Marisa Gasparini as she took the time to answer my questions – this was an honor.  This simple act revealed her pride in the Mario Gasparini heritage and her willingness to answer questions shows her concern for each pipe bearing the Gasparini name.

Idian commissioned this pipe with the understanding that the final valuing of the pipe would be after I researched and restored the pipe and published the write-up.  Then, as is the understanding for all the pipes that are commissioned, the commissioner of the pipe has the first opportunity to acquire the pipe in The Pipe Steward Store with the value determined.  If the price is not agreeable, he may pass, and I leave the pipe in the store for another steward to eventually add to his collection.  However, for this restoration, for this Gasparini M.G.M. Rock, the value for me is ‘priceless’.  I’ve invited him to join my collection and start pulling his own weight in the rotation – my first Gasparini, we’re happy.  I’m thankful to Idian for his understanding after letting him know – he was a bit disappointed but happy that the M.G.M. Rock was restored and continued in good hands.  Thanks for joining me!

Renewing a Prince of Wales Hand Made Oom Paul


Blog by Steve Laug

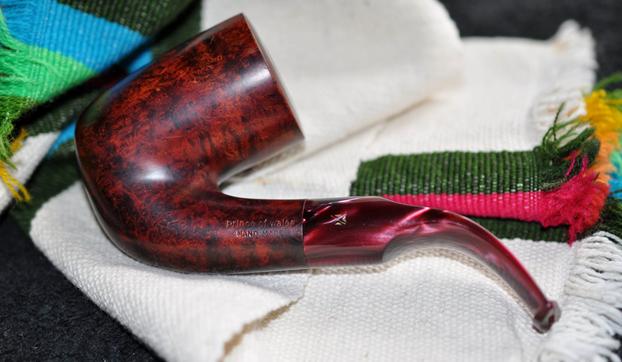
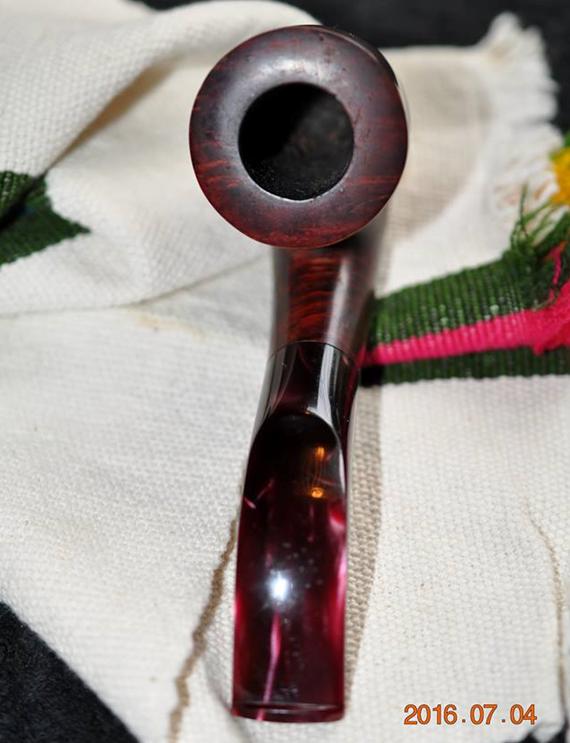
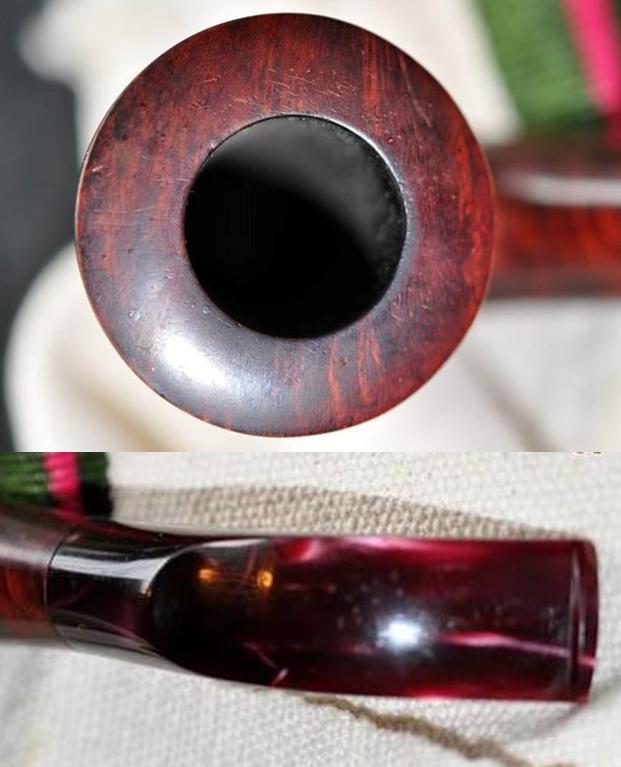
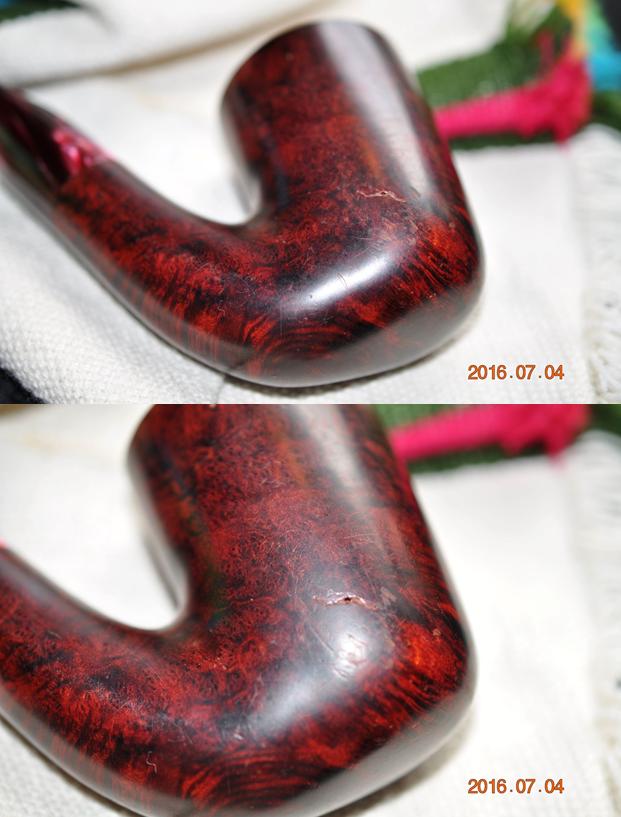
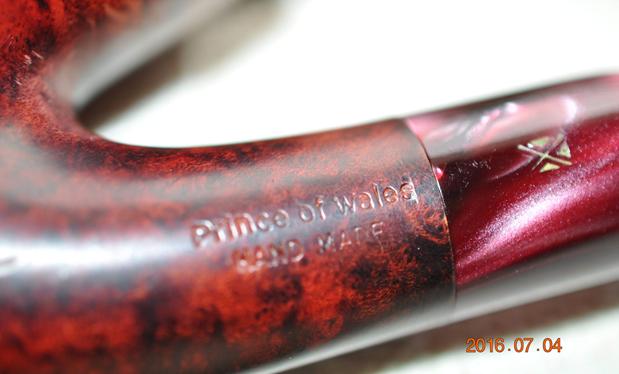
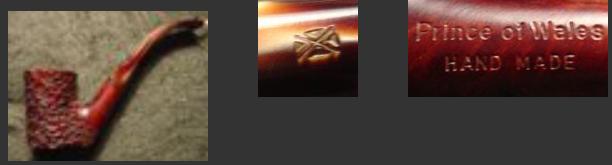
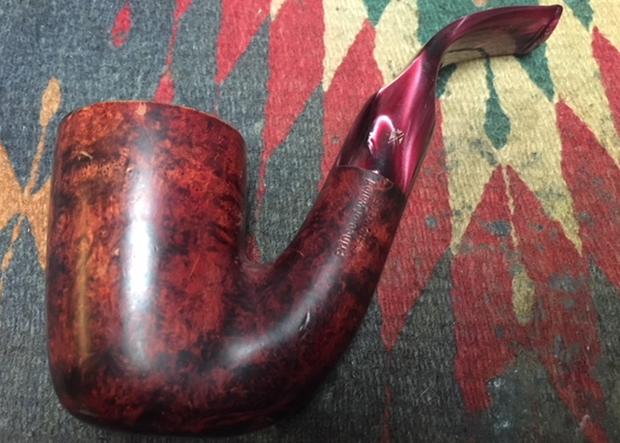
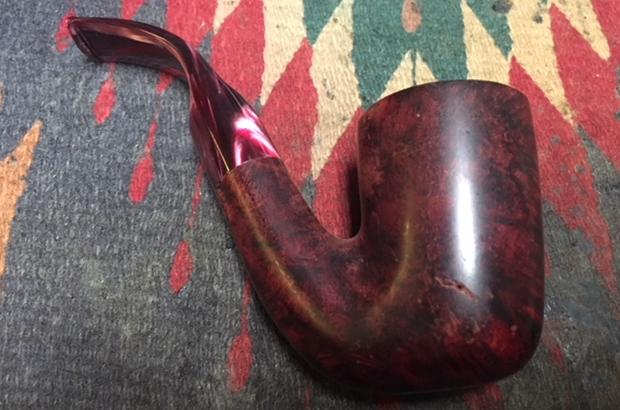
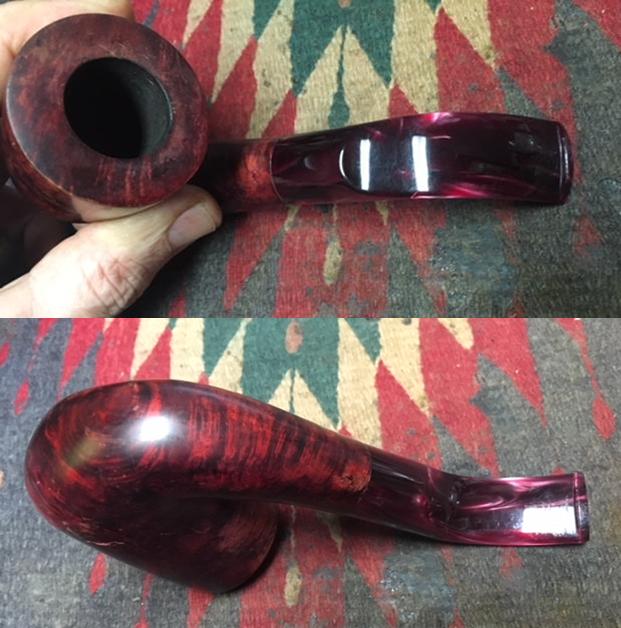
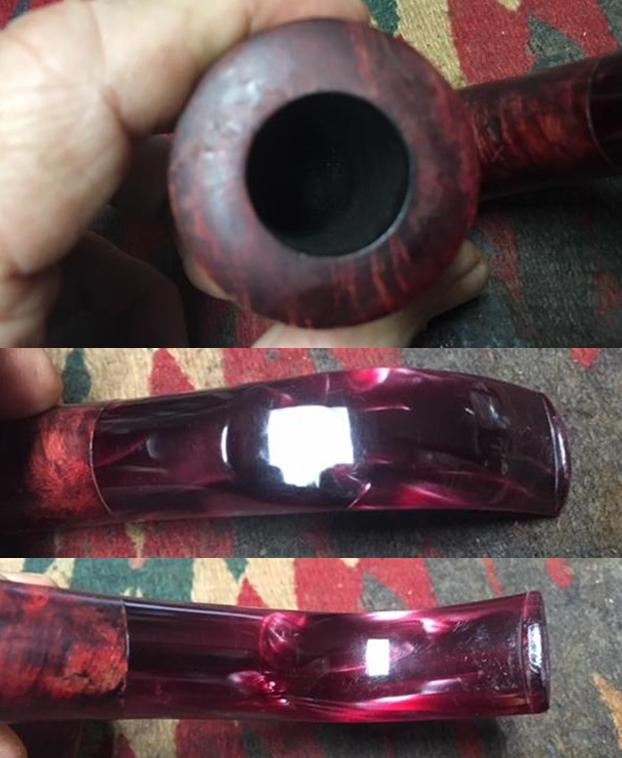
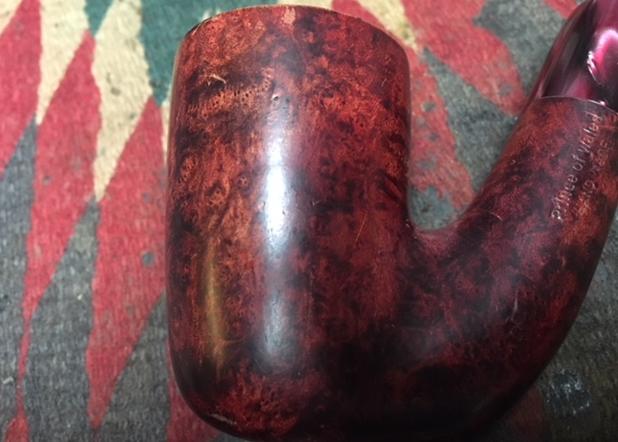
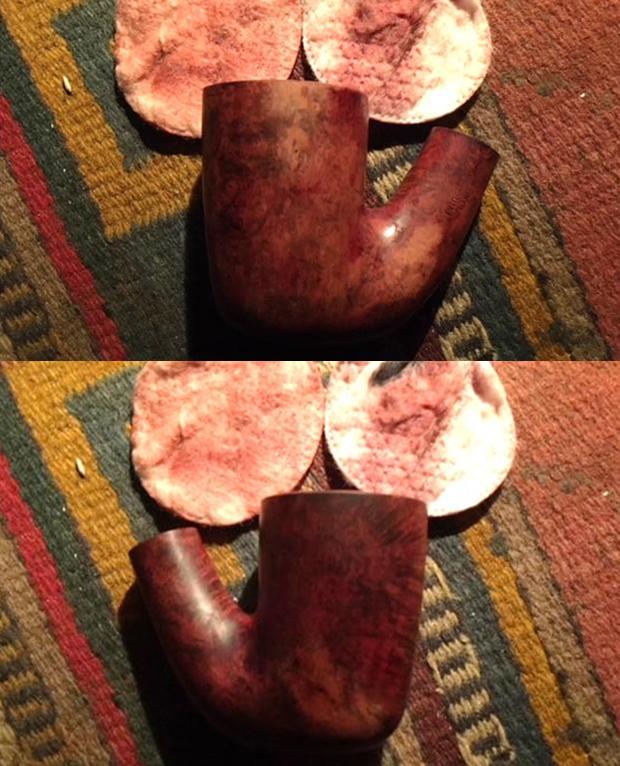
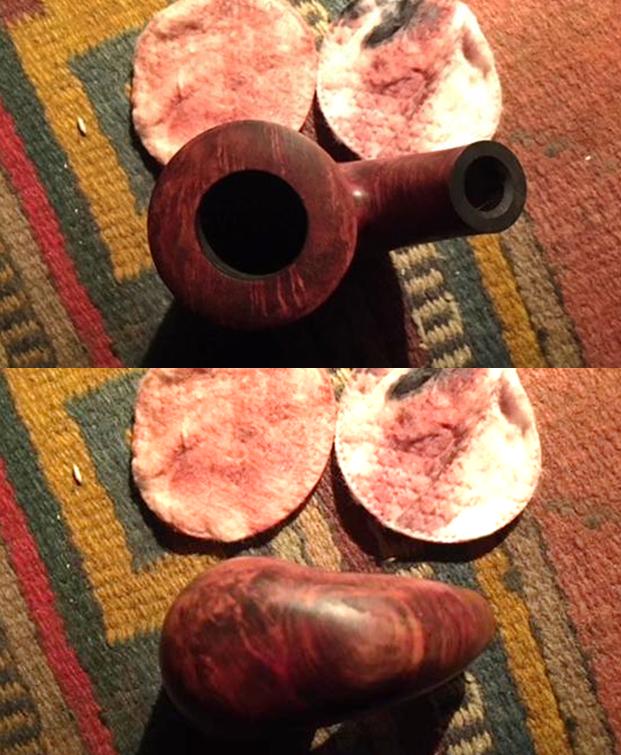
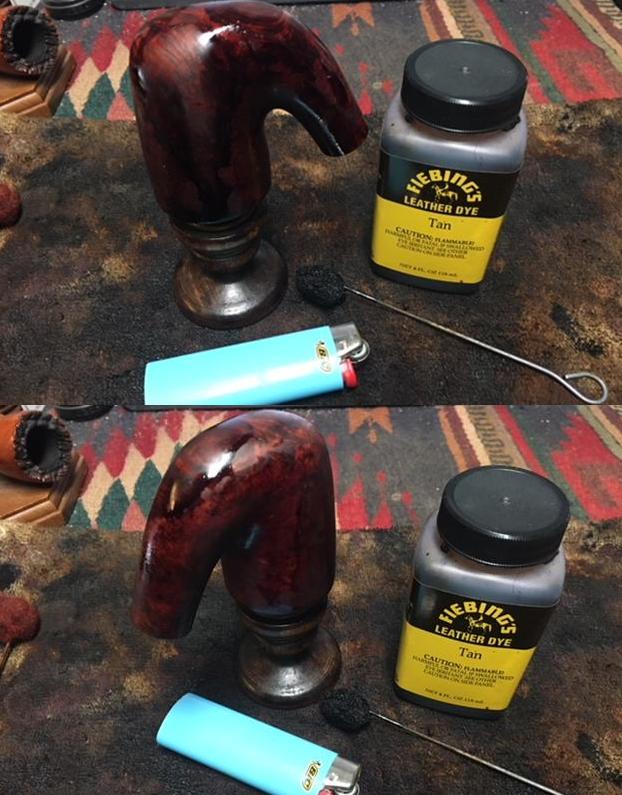
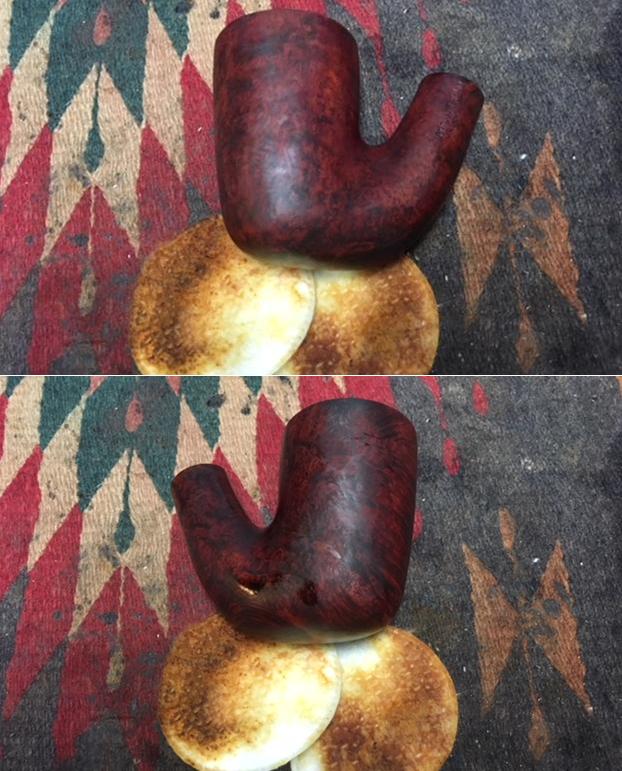
The next pipe on the table is the second of a pair of Oom Paul pipes that my brother Jeff picked up in from a guy in Texas. I wrote a blog about the cleanup of that one already. It is the pipe shown on the left side in the photo below. It was a Siena Artistica Oom Paul. The link to the previous blog is: (https://rebornpipes.com/2018/09/04/finally-a-simple-restoration-a-siena-artistica-oom-paul/). The second pipe is shown on the right side of the photo above. It is also a full bent Oom Paul but it has a smooth finish. The finish was in rough condition and was a Cordovan colour. There were a lot of nicks and damaged fills on the sides of the pipe. It has some great grain that shows through the grime on the bowl sides. Once it is cleaned and repaired that grain should show through nicely. The pipe is stamped on the left side of the shank Prince of Wales over Hand Made. There is no other stamping on the shank or bowl. The rim top was dirty and there were nicks and dents in the crowned surface. Fortunately there was no damage on the inner and outer edges of the bowl. The bowl had a light cake in it that would be easy to deal with. The stem was acrylic and variegated red. It had some tooth chatter and scratching on both sides near the button. Jeff took photos of the pipe before he started his cleanup up work. He took a closeup photo of the rim top showing that it was quite clean. The crowned surface was nicked and scratched. The edges of the bowl look very good. There is a light cake in the bowl. The stem was in good condition. There was some tooth chatter and scratches on the top and underside near the button.He took several photos of the finish to show the largest damaged fill on the right side of the bowl. The first photo gives an overview of the right side of the bowl and shank. You can see the wear and tear on the finish and the nicks and scratches. There is also a damaged fill mid bowl. The second photo shows the damaged fill clearly.The next photo shows the stamping on the shank and on the Scottish flag logo on the left side of the stem.I turned to the two websites that I regularly check for background on pipe brands. The first was Pipedia. I found the brand listed and the short description on the wiki that linked the brand to GBD pipes. It stated that it is a GBD sub-brand (https://pipedia.org/wiki/Prince_Of_Wales). It also included a link to the second site that I check, Pipephil. There it said that the brand was made in England. It bears the Scottish flag (X-shaped cross representing the cross of the Christian martyr Saint Andrew, the patron saint of Scotland) as logo. I did a screen capture of the stamping on the shank and stem that was included on the site. I include that below (http://www.pipephil.eu/logos/en/logo-p5.html). The stamping on shank read Prince of Wales over Hand Made like the screen capture above. It is very readable and clean. Jeff had scrubbed the exterior of the bowl with Murphy’s Oil soap and removed the dust and grime that had accumulated there. The finish was damaged but was worn and needed some repairs once it had been scrubbed. He reamed the bowl with a PipNet Pipe reamer and cleaned up the remnants of cake with a Savinelli Fitsall Pipe Knife. He cleaned the interior of the mortise and the airway in the shank and the stem with alcohol, cotton swabs and pipe cleaners. The pipe came to me clean and ready to do the restoration. I took some photos of the pipe to show the condition at this point in the process. I took a photo of the rim top and to show the condition of the surface of the rim. There is some darkening on the inner edge of the bowl and a lot of nicks and surface damage. I also took close up photos of the stem to show its condition. There is some light tooth chatter and tooth marks on both sides near the button but otherwise it is in good condition.I took some photos of the bowl sides to show the dents, nicks and faulty fills that would need to be addressed in the restoration. I repaired the damaged areas on the bowl sides with clear super glue to smooth out the damage. Once they cured I would sand them smooth to blend them into the bowl. Because there were so many damaged areas it would require restaining the bowl.It did not take too long for the repairs to cure. I sanded the repaired areas smooth with 220 grit sandpaper. I took photos of the bowl after the sanding to show the spotted, leprous look of the bowl after sanding. To further blend the repairs into the bowl surface I would need to stain it again. In preparation for restaining I wiped the bowl down with isopropyl alcohol to remove much of the previous stain. I restained the pipe with my Fiebing’s Tan stain – remember it is mislabeled and is actually a cordovan stain. I applied it and flamed it with a lighter to set it in the briar. I repeated the stain/flame process until the coverage around the bowl was even.I let the stain set over night and in the morning wiped the bowl down with isopropyl on cotton pads to unveil the newly stained pipe. The pipe looked better. The fills were visible if you looked for them but they looked far better than when I had started. I rubbed the bowl down with Before & After Restoration Balm to deep clean the briar bowl and the rim top as well as the briar shank. I also have found that it really helps to blend a restain on briar. The product works to clean, enliven and protect the briar. I hand rubbed it with my fingers, working it into the exterior of the pipe. After it had been sitting for a little while, I buffed it with a soft cloth to polish it. The pipe really began to have a rich shine. I took some photos of the bowl at this point to mark the progress in the restoration. I set the bowl aside and turned my attention to the stem. I used a folded piece of 220 grit sandpaper to sand out the tooth chatter and marks on both sides of the stem just ahead of the button. They were not deep so it did not take too much to remove them.I polished the stem with micromesh sanding pads – wet sanding with 1500-2400 grit pads and dry sanding with 3200-12000 grit pads. I wiped the stem down after each pad with a damp cloth to remove the sanding dust on the vulcanite. When I finished polishing and wiping it down I set it aside to dry. I polished stem and bowl with Blue Diamond to polish out the remaining small scratches. I gave the bowl and the stem multiple coats of carnauba wax. I buffed the pipe with a clean buffing pad to raise the shine. I hand buffed it with a microfiber cloth to deepen the shine. The pipe polished up pretty nicely. The dark undercoat and the cordovan combine to give the briar depth and a rich look. The polished variegated red and burgundy acrylic stem work together with the stained briar to give the pipe a rich look. The finished pipe is shown in the photos below. This is a beautiful smooth finish Oom Paul made by GBD. The pipe has already found a new home. The shape, finish and flow of the pipe and stem are very well done. The dimensions are Length: 6 inches, Height: 2 3/4 inches, Outside diameter of the bowl: 1 3/4 inches, Chamber diameter: 3/4 inches. This one will join the rusticated Oom Paul and soon be on its way to the southern US. Its new trustee is looking forward to firing up both of these pipes. Thanks for walking through the restoration with me as I worked over this unique Oom Paul. 

Dressing up a Dinner Pipe 1/4: The Trident Experiment


Blog by Robert M. Boughton

Copyright © Reborn Pipes and the Author except as cited
https://www.facebook.com/roadrunnerpipes/

“Ah,” she cried, “you look so cool.” 
— Daisy to Gatsby in The Great Gatsby (1925), Ch. 7, by F. Scott Fitzgerald

INTRODUCTION
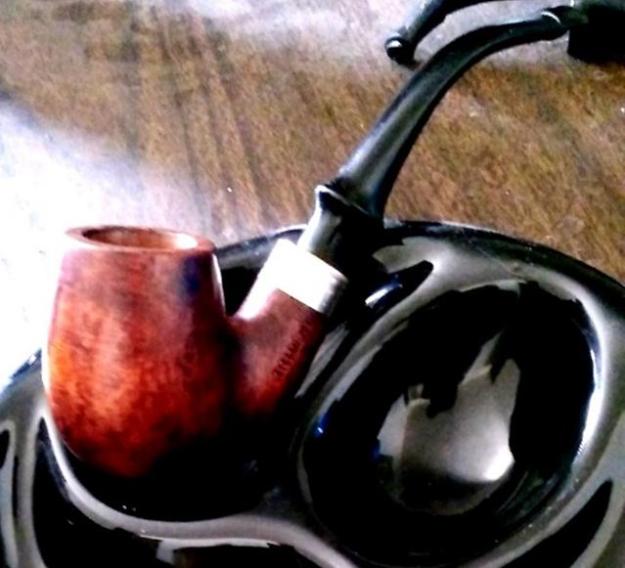
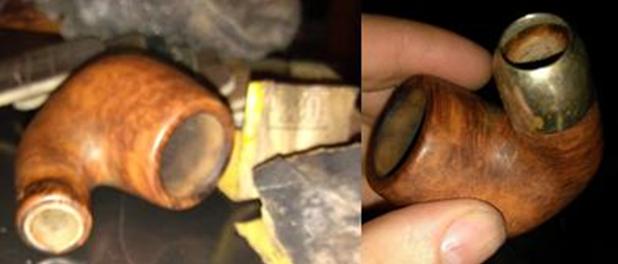
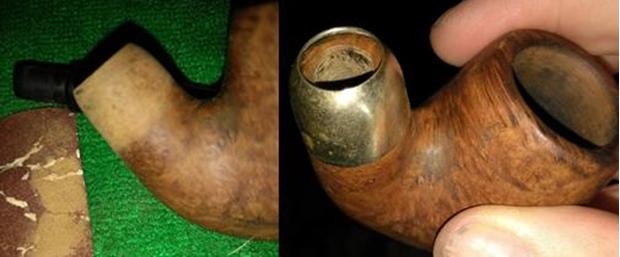
The whole unlikely adventure started when one of my two housemates, Mike, who rents a room from the owner as I do, somehow got it in his head that he wanted me to make the perfectly nice Trident full bent billiard I sold him for next to nothing into a dress pipe.  As Mike is a complete novice when it comes to pipes, I didn’t even want to guess how he heard of the term many far more experienced smokers don’t know.  The Trident is fashioned in the classic style of a Peterson system pipe.

Trident original before
Trident original after
Gaboon ebony *

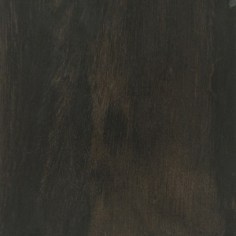
Dress pipes have also been called by other appropriate adjectives including dinner, evening and cocktail, and now are more often referred to as ebony.  That may be the worst name for this style, which renders the pipe with a jet black and shiny finish, as it refers to one of the rarest and most expensive (and now almost extinct) hardwoods from the tree of the same name.  Ebony heartwood tends toward dark black, but the extreme density – 3,080 lbf compared to 2,090 for briar on the Janka Scale – eats up cutting equipment like hors-d’oeuvres at a redneck bachelor party.  For that and other reasons, it is a poor choice for pipes.  But one thing is certain: a black dress pipe does look so cool.

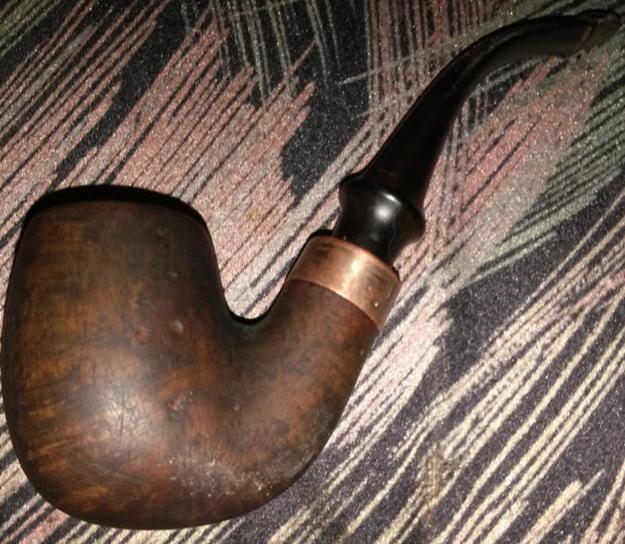
Assuring Mike that I would look into the process and necessary supplies, soon afterward I told him I had a tentative list, and it wouldn’t be expensive. That’s when he dropped the indefensible bombshell on me about how he had thrown the Trident away because “it didn’t work out” and bought a corncob. Then he said he didn’t think I was serious about dressing up the Trident. Is that not the perfect example of waffling or am I missing something? By an amazing stroke of luck, the trash collectors had not come, and at my rather frantic suggestion Mike retrieved the pipe from the garbage. Here’s what it looked like after maybe a month of use by him.The velocity of the Trident’s trip from being restored to like-new condition to worse than when I first received it has to be some kind of record.  Needless to say, given the garbage incident and the horrendous wear and tear in such a short time, I was reluctant to turn it into a high maintenance item.  When Mike said I could have it, that ended that dilemma.  He later regretted the decision – but there’s the only preview of Part 2 of this series I’ll give here.
HISTORY AND THEORY OF THE DRESS PIPE
Dating a pipe, even to an approximation as close as a decade, can be impossible.  Determining the origins of names for some shapes, such as the Oom Paul, might be easier but is still murky.  [Stephanus Johannes Paulus Kruger, president of the South African Republic, the Transvaal, and a fierce military leader against the British in the Second Boer War (1899-1902), is said to have chain-smoked a pipe of an uncommon shape.  His nickname among the Afrikaans inhabitants was Oom, for uncle, Paul – hence, the Oom Paul, although the name is debated, as is most everything pipe-related.]  Of course, coming up with a theory for the beginning of a special style of pipe, such as the dress as a finishing method, is by the nature of the guesswork involved much easier.
Dunhill 61032 Dress 1983 courtesy Paronelli Pipe

The basic premise of a dress pipe (or in the alternative again, evening, cocktail or ebony) is something that stands out and dazzles from across a room, and further, one that should only be used on special occasions because of its appearance and greater susceptibility to damage.  Andrew Wike wrote a thoughtful 2014 essay, in the Pipe Line section of Smokingpipes.com, titled “Dressed for the Occasion.”  In a space that could have amounted to no more than a single page from a word processor, Mr. Wike employs elegant concision pondering the important question of which one of his pipes he should take to a friend’s wedding – and he even provides illustrations, descriptions and the basic qualities of a handful he recommends for such formal situations.

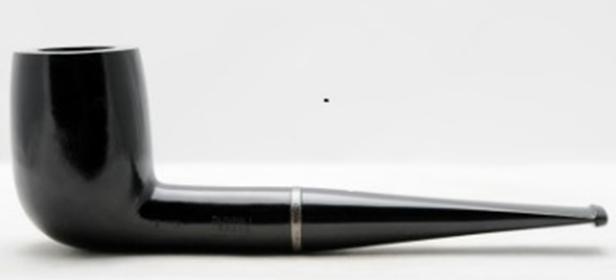
Starting his personal debate process with a smooth, jet-black Dunhill billiard derived from the collection Mr. Wike writes started the term “dress pipe” (and similar to the one shown here), he notes the classic elegance of Dunhill’s line, including the traditional sterling silver band, and compares the beautiful work to a tuxedo.

Mr. Wike moves on to Castello’s wonderful Perla Nera line and observes that these pipes vary from having no band or various ferules, as well as this Perla Nera Horn with a silver bamboo band below.Then Mr. Wike asks the perfect question, one that had been nagging me: “Who says your dress pipes have to be smooth finished?”  One excellent illustration is an unusual sandblasted Peterson Cara that SmokingPipes.com calls a bell style Dublin/Calabash hybrid.Skipping to the end of Mr. Wike’s list, I have to include his stunning example of a Tsuge dress pipe gone wild, the Urushi Sakura with its hand-painted floral design on the otherwise shimmering lacquer-coated black bowl, a black bamboo extension and brass fittings.Here’s my theory.  While the actual date of introduction of the black dress pipe is elusive, the likelihood of that flashy style of finish being conceived at all before the 20th century, much less as fashionable, is hard to imagine.
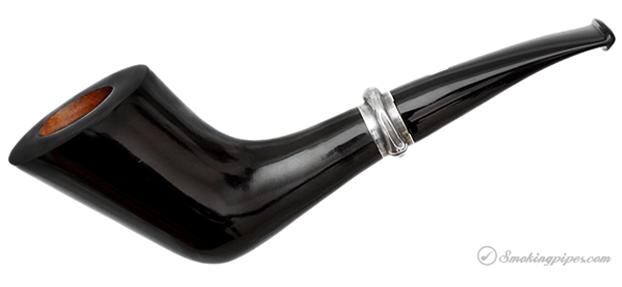
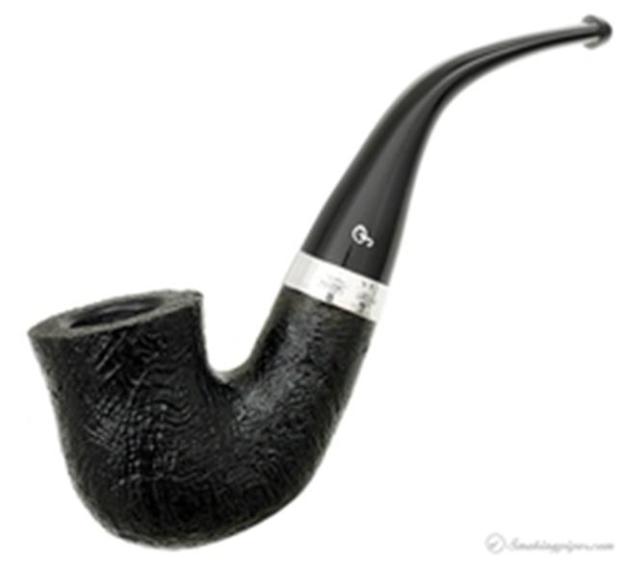
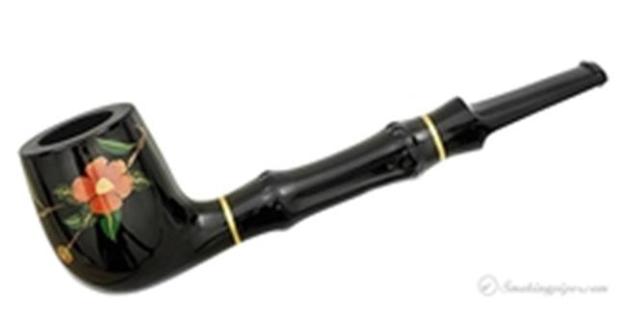
What better period of time and place for such a style than the Roaring ’20s in the U.S.?  Although I have not yet found an example from quite that far back, I can’t help the mental image that pops to mind of some of the wealthy revelers of that era, as recorded in The Great Gatsby and summed up with the simple quote opening this blog, trailing wisps of smoke from just such elegant, shiny black pipes with the ballroom lights in West Egg glinting off them.

Dunhill made its formal introduction of the Evening Dress Pipe in 1973, as shown below.
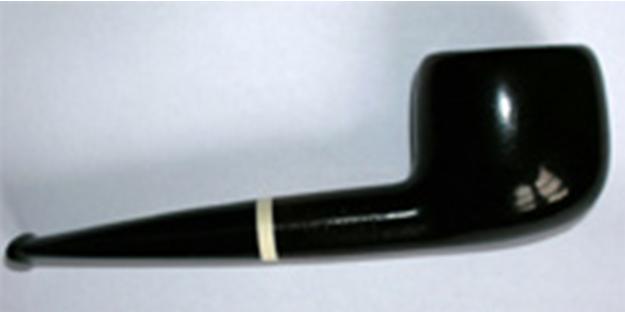
Dunhill Evening Dress Pipe courtesy Pipedia
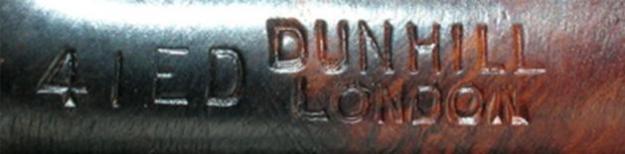
Nomenclature left side
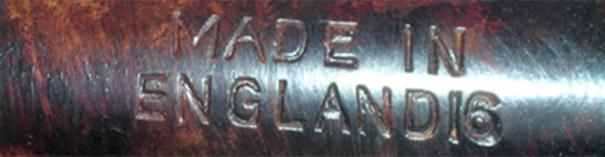
Nomenclature right side

However, several examples of Dunhill pipes associated with the word cocktail trace to the 1930s.  As well as the traditional black model shown below, green and red versions of Dunhill’s Lady’s Cocktail Pipe were made in 1934.
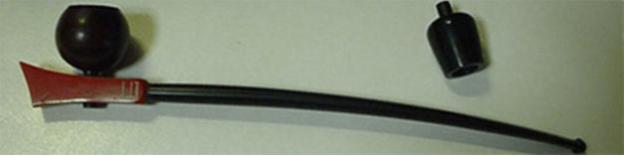
Dunhill Lady’s Cocktail Pipe, courtesy Pipephil

The following magazine ad from March of the same year is a hoot.  I couldn’t help letting out a healthy guffaw that startled one of my other housemates, the owner, when I took in the cloying sexism of a bygone era – in particular the idea of protecting the fingers of our precious little homemakers from being yellowed.

Courtesy Pipephil, from Modern Mechanix

If I didn’t know of too many occasions when Dunhill took credit for methods of making pipes that had already been used by different brands, I might have no doubt this was the first dress pipe.  But 1934 is too close to the 1920s for my comfort.  For now, it remains the earliest I can trace.

PREP WORK
Go ahead and chalk it up to coincidence, if you like, but at the very next monthly meeting of my pipe club after I set my mind to dressing up my abused but still savable Trident, I tuned into an interesting conversation next to me.  Don Gillmore, a respected artisan whose business is known as Don Warren Pipes (dwpipes) in Albuquerque, was talking to another restorer about the use of shellac on many of his pipes.  I was shocked for several reasons, chief of which was that I’ve seen quite a few examples of Don’s masterful creations over the years and never had a clue that shellac might have been involved.  I also knew that shellac, like varnish and certain other finishes, can, in excess at any rate, affect a pipe’s ability to breathe and lead to damages.  Until that moment, I had only associated it with awful, cheap Chinese pipe abominations, with the one exception being dress pipes for which I deemed the substance a necessary evil.  Unable to join the conversation, I resolved to email Don for more information on the subject, in particular how I might go about dressing a pipe in black.
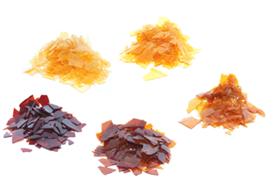
Flake shellac courtesy Wikipedia

First, I looked up shellac online.  I was surprised to learn that it is natural and converts to flake form from a resin secreted by the female lac bug on trees in India and Thailand.   Really, I’m not a bad raconteur, but I don’t have the gift of gab needed to spin that good of a yarn!  The finish has been in use for millennia and in various forms with artwork and wood finishing in general and furniture in particular for centuries, but not until the 1800s did it become preferred to oils and waxes for woods.

The following is a condensed version of the ensuing email exchange between Don and me.  Rather than the usual lacquer that seems to be the most common final coat used by the big pipe brands, Don repeated that he uses a thin coat of orange flake shellac on some of his pipes.  I asked if black shellac might be as good or better, and his answer was a firm but polite no.  He assured me the orange shellac would be clear by the time I reached that point.

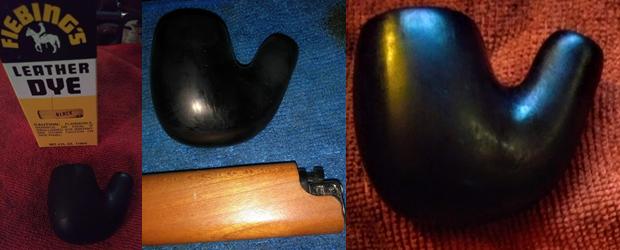
To reveal how clueless I was at the outset of my decision to try dressing up a pipe, I read numerous online references to the need for black aniline dye and even consulted the definition of aniline, which in every standard English dictionary published omits the most pertinent aspect.  Only after at least an hour of obsessive searching did I find a mind-numbing technical treatise on the subject that mentioned, somewhere in the blur of multiple-digit chemistry terms, the simple word alcohol.  Realizing my default leather stain was in fact an aniline dye, I was both relieved by the discovery and angered by the waste of time to which I was subjected.  Even when I posted a thread on an online smokers’ forum asking for help, everyone replied that black aniline dye was what I wanted!  But a few deep breaths later, I was back to my usual self again.

Don provided links to the site where he buys his orange flake shellac, a chart that shows the various mixtures of the flakes (aka buttons) with, ideally, 190-proof denatured alcohol dependent upon the desired thickness, and even detailed instructions for applying the shellac once it is rendered to pure liquid form.  All of this information can be found at obvious links in my sources, but you know I’ll describe the whole process soon enough.

LIQUEFYING FLAKE SHELLAC FOR IDIOTS
The Pound Cut Chart says it all – in fact, maybe more than you need to know for use with pipes – but the order is a bit whacked.  The main issue I have with it is how simple the process is compared to the way it’s described.  I had to consult Don for more than a few clarifications, which he was happy and gracious to supply.  That’s why I’m going to lay it out in this EZ synopsis.

To be sure, the official instructions are spot-on about three points: 190-proof denatured alcohol as the ideal agent for liquefication, the need to crush the flakes to as fine a degree as possible and the mix of alcohol and ground flake for the thickness and amount desired as shown in the chart.  Whatever size mix is made should last three months (its effective shelf life), and Behlen Behkol Solvent is specifically mentioned, although I used Everclear.  For my first batch of liquid shellac, I did not crush the flakes quite as small as they should have been.  It worked out but took longer to dissolve.  Here’s how to do it.

    1. From the Pound Cut Chart, decide how much liquid shellac you want and the thickness. Unless you’re going to use it all the time, a little goes a long way. Don recommended one cup of shellac at the one-pound cut (minimum thickness).  His reasoning was that it’s easier to apply a second coat if needed than to remove one.  Note: I ended up needing to do two coats, so I later made more at the two-pound cut.
    2. Crush the flakes, again, as fine as possible. I suspect a mortar and pestle would be perfect, but this is Albuquerque where such things other than very small types proved impossible to locate except online. Instead, I improvised with a chopping block and the flat bottom of a ceramic plate.  Getting the hang of that method wasn’t easy because the ornery flakes liked to shoot all over the place until I used mind over matter to develop my own style.  I highly recommend investing in a mortar and pestle!  If you’re thinking you might try grinding the flakes in a blender, remember they’re derived from resin and think again.
    3. Use a glass or plastic – not metal – container larger than the liquid amount you want.  For purposes of this first installment for which I used the one-pound cut, I poured one ounce (eight fluid ounces) of Everclear into a large glass baking pan and then slowly stirred in one ounce of flake with a rubber batter mixer.  The official instructions suggest a little every 15-30 minutes and stirring or shaking, as the container allows, as well as “occasional agitation.”  I added more flakes at 15-minute intervals but found frequent scraping of the flakes was vital to fight the constant sticking to the bottom of the glass pan.
    4. The photo above shows the mix about an hour and a half after I finished stirring in the last of the flakes and continued frequent scraping and stirring.  As you might notice, my flakes weren’t as fine as they should have been, and some bits are still at the bottom.  Then again, maybe that’s just what happens.
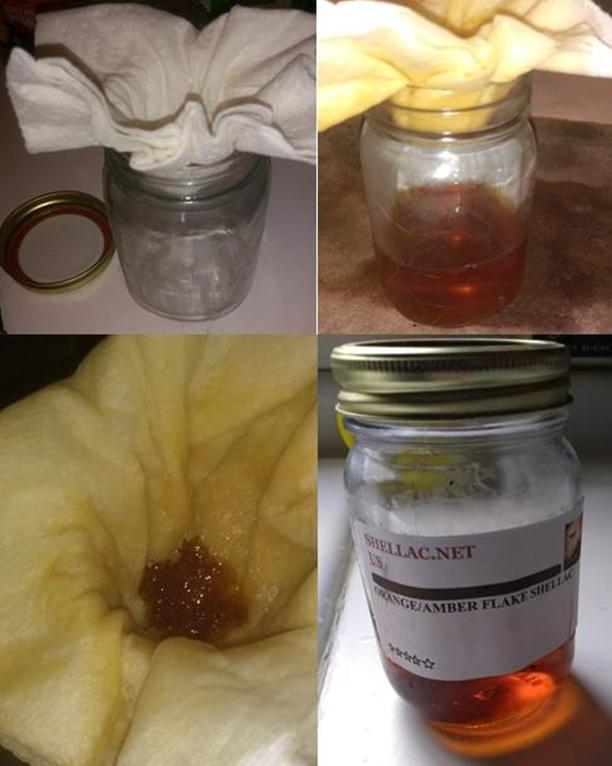
    5. Strain the shellac into a glass or plastic container that has a lid in order to remove any sediment or organic particles.  The official instructions give various methods and even combinations, but for the love of all that’s holy, it isn’t rocket science!  True, cheesecloth, a thin white cotton cloth or a paint strainer would have been just grand if I had any of them on-hand and going whole hog by “straining through a paint strainer first then through T-shirt or multiple layers of cheese-cloth” might have left me ecstatic.  But I used a few pieces of paper towels, and despite losing a little of the finished shellac to soaking all the way into the paper, I was overjoyed with the nice clear result.  I still have way more of it left than I can possibly use before it expires.
RESTORATION
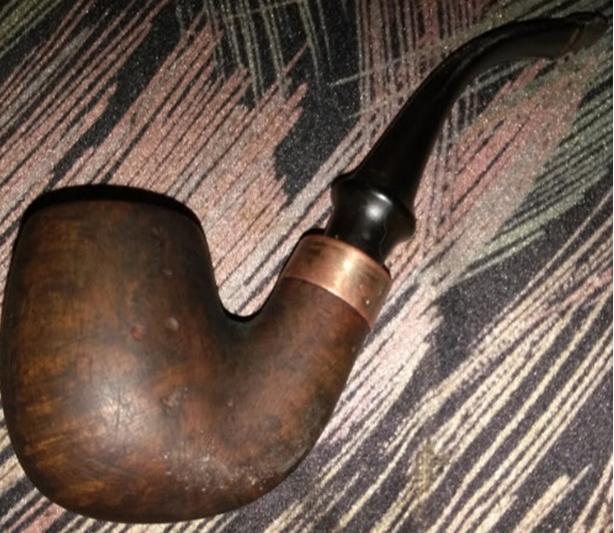
I’ll state for the record that the most egregious sign of the Trident’s abuse is the ghostly remnant of the name on the left shank shown up-close above.  Due to the necessary smoothing of the entire stummel, even the least abrasive measure obliterated it.

If ever an alcohol strip were called for, this was it.  I immersed the stummel in Everclear and let it sit for a couple of hours.  One positive result was the complete cleaning of the carbon and gunk buildup.
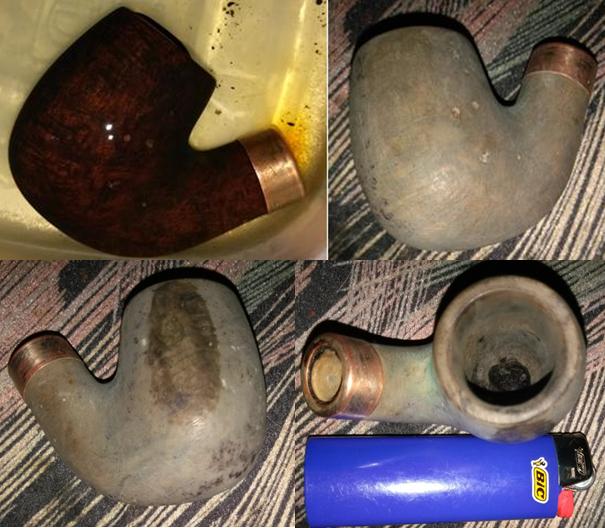
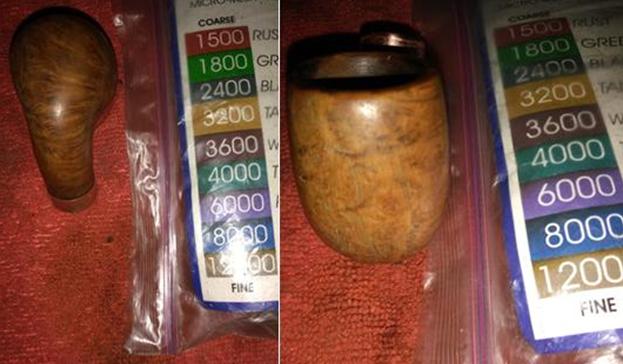
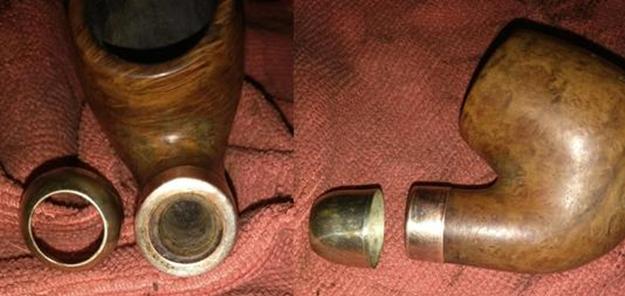
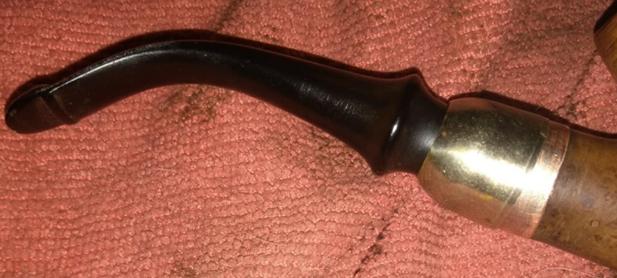
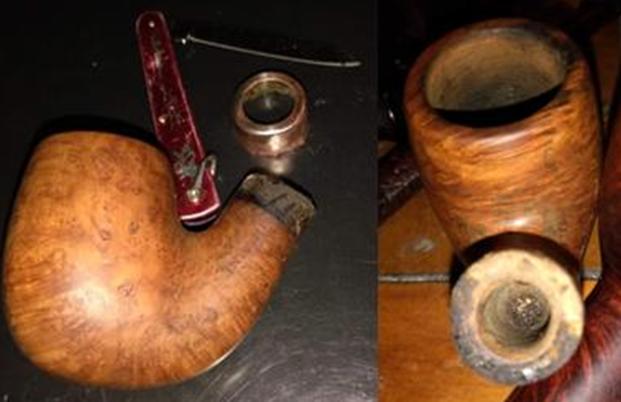
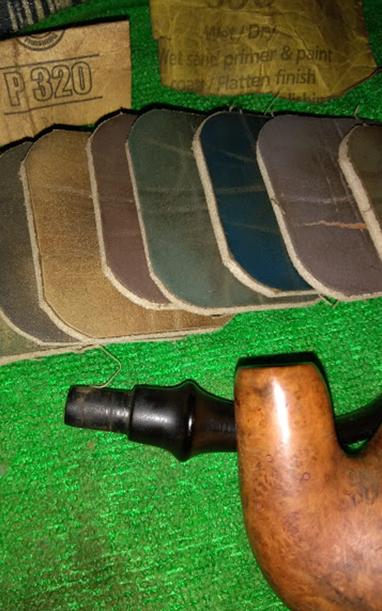
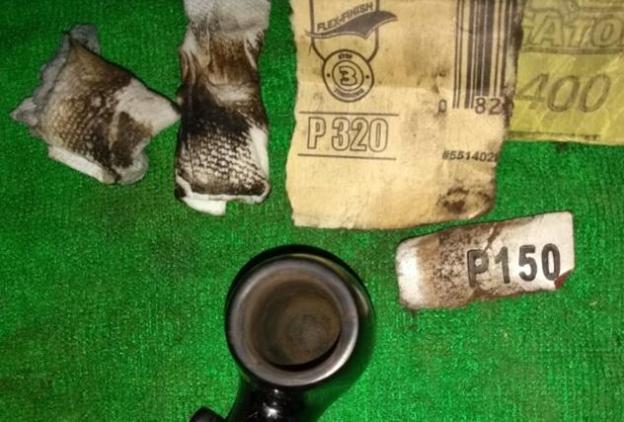
To clarify one point, the plethora of pits and other blemishes apparent in the above shots were not from fills that came out with the soak.  They were inflicted by Mike.  To remove them, I started with a double 150- and 180-sided sanding pad and 150-grit paper for the pernicious dings.  As a heads-up, it was a mistake.  Of course, that was then, and this is now. I could have saved considerable time and trouble with the subsequent sanding progression, but as I like to say, shoulda-coulda-woulda.  Now, for the beginning of what turned out to be a long, arduous smoothing process, starting with 220-, 320-, 400- and 600-grits followed by super fine “0000” steel wool, that even with the later fine-tuning was never altogether successful. The result so far is no doubt a great improvement from where it started and looks pretty good, but you know what they say about looks.  This project was the beginning of a learning process, after all, if I may be permitted a lame excuse.  Anyway, I followed up with a full micro mesh from 1500-12000.  The shine was beautiful, but there are still some small scratches, and that is not good with any restoration but in particular when dressing a pipe in black. Thanks to someone I had added as a Friend on Facebook’s Gentlemen’s Pipe Smoking Society forums just because he knew a couple hundred other people I do, I have a baggie of old bands, ferules and whatnot.  In the mix, I found a cool Peterson-style endcap I decided was more appropriate than the thin band on the pipe.  The third pic below is a tentative view of how it would look when I removed the old-worn-to-copper nickel band.  The biggest benefit of the endcap was that the stem, which was loose at first with the band, was able to stay in place well. The actual task of prying off that old band proved difficult, but as I’ve noted before, I’m tenacious.  I was quite aware of the dangers of damage including cracking the shank and with great and very slow care, I succeeded with a tiny pen knife.  I attacked the band somewhat like removing a flat tire, where my dad taught me to loosen the lug nuts a little at a time but not in order.  In plainer words, I went at one side of the band, then the opposite, and then the other two, before gently working the tip of the blade in between the four corners.  Again, I did this with no rush, and so it took about an hour before the narrow rim popped off.I cleared away the muck where the band had been with 220-, 320- and 600-grit paper, steel wool and all nine micro mesh pads, but the end cap still didn’t fit. A small piece of 150-grit paper and patient work to be sure I didn’t overdo it did the trick.  The open end of the shank was just narrow enough to place the end cap over it and push down slightly with a cotton cloth set on a table to make it snug.  Removing it again, I micro meshed after 320-grit paper. The big moment of staining and flaming the stummel had arrived, and I admit I was nervous.  The wood needs to be, for all intents and purposes, as smooth as a pipe maker would have it at this point of creation, and I am no pipe maker.  Restorations in general do not need to be as exacting.  Don had indicated 1000-grit paper is advisable, but I only had 600 and micro mesh.This was how it looked after hand-buffing without shellac.  As far as I’m concerned, the above results were unacceptable to proceed with the full dressing, but I figured I might as well get the chamber cleaning and smoothing out of the way with 150-, 320- and 400-grit papers.And then, for me, it was like the line from the traditional nursery rhyme: “Poor old Michael Finnegan, begin again.”  Back into an Everclear soak went the stummel, but this time only long enough to take the stain off to a point where I could smooth it more with 600-grit paper and micro mesh and try the stain again.  I’m missing the pics of the micro mesh work, but the next photos show the marked improvement. Once again, I stained and flamed it.Even before hand buffing with a special cloth for wood, the single shot above shows it was ready to shellac.  I used the small, soft brush for that part, taking care to move the brush in slow, even strokes from top to bottom around the stummel, including the shank.  I did the rim as closely as possible without overlapping to the sides.  After letting it dry for about six hours, I decided to repeat the shellac process and dry it again.  The shellac step, needless to say, was impossible to photograph
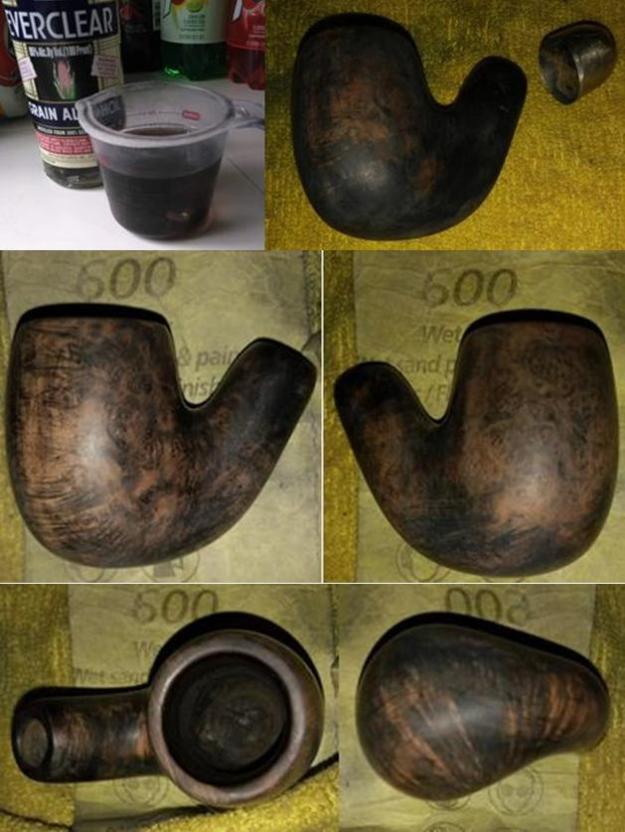
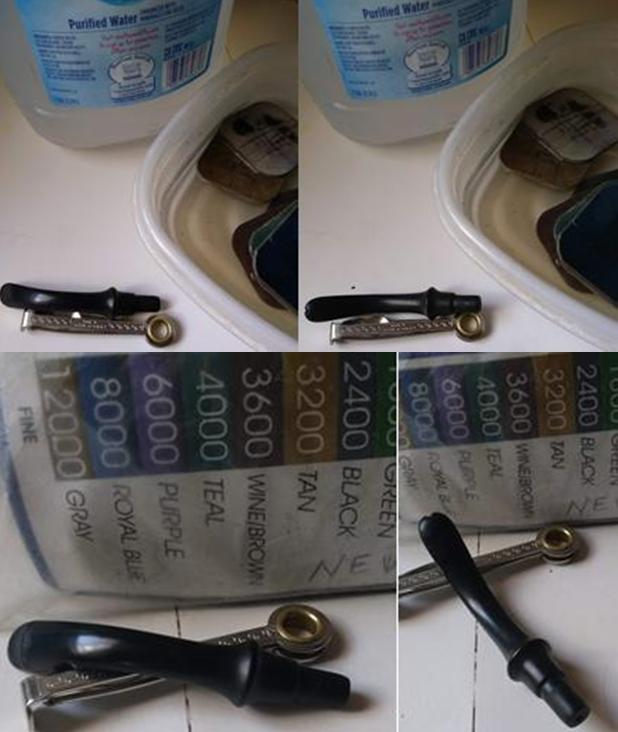
Now, for the stem, which was easy.  All I did was two full micro meshes, first with wet pads and then dry. I also buffed with red and white rouge and carnauba.  The endcap was snug as I mentioned before, but I added a couple dabs of Super Glue for good measure after a little polishing.
One more comment before the finished pipe pics.  Don had told me to “lightly buff” with the machine using white rouge between applications of shellac, but my electric buffer is a one-speed – fast – and I had severe doubts I could pull it off without removing patches of the shellac and stain.  In some of the installments of this series that follow, I gave it a shot, and with practice learned to hold the wood such that it almost didn’t even come in contact with the wheel buffer. CONCLUSION
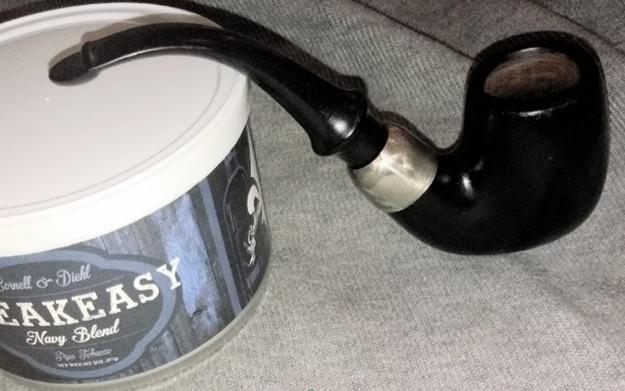
The flaws can be seen in the photos above but allowing it was my first try at dressing a pipe, I was happy.  Besides, I was keeping the Trident for myself, and I’m glad I did because it’s a great little smoker.

SOURCES
* Gaboon ebony photo courtesy Wood Database below
https://www.merriam-webster.com/dictionary/ebony
http://www.wood-database.com/gaboon-ebony/
http://oompaul.com/musings/2014/5/29/the-odyssey-of-the-oom-paul-a-hungarian-really-by-ben-rapaport
https://www.smokingpipes.com/smokingpipesblog/single.cfm/post/dressed-for-the-occasion
https://en.wikipedia.org/wiki/Shellac#History
http://www.pipephil.eu/logos/en/dunhill/others1.html#41
http://www.pipephil.eu/logos/en/dunhill/others2.html
http://www.pipephil.eu/logos/en/infos/dunhill-lady2.html
https://pipedia.org/wiki/Dunhill#Dress
https://www.alpascia.com/moments/en/detail/57/dunhill-pipes
https://www.shellac.net/Shellac_ordering_list.html
https://www.shellac.net/PoundCutChart.html
https://www.woodworkingshop.com/product/b6502816/
https://www.walmart.com/ip/Home-Basics-Mortar-and-Pestle-Bamboo/36699397
https://www.dwpipes.com/html/briar_pipes.html

New Life for a Chacom Prestige Chubby Billiard


Blog by Steve Laug

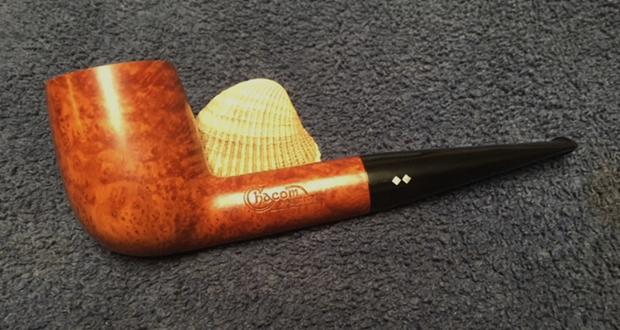
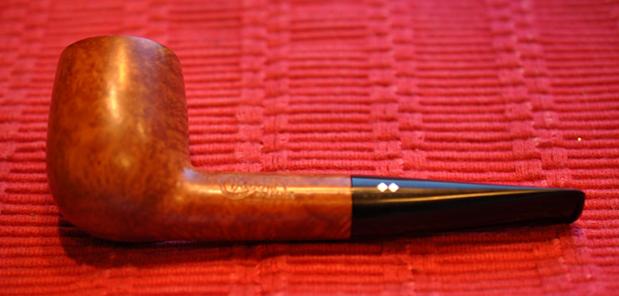
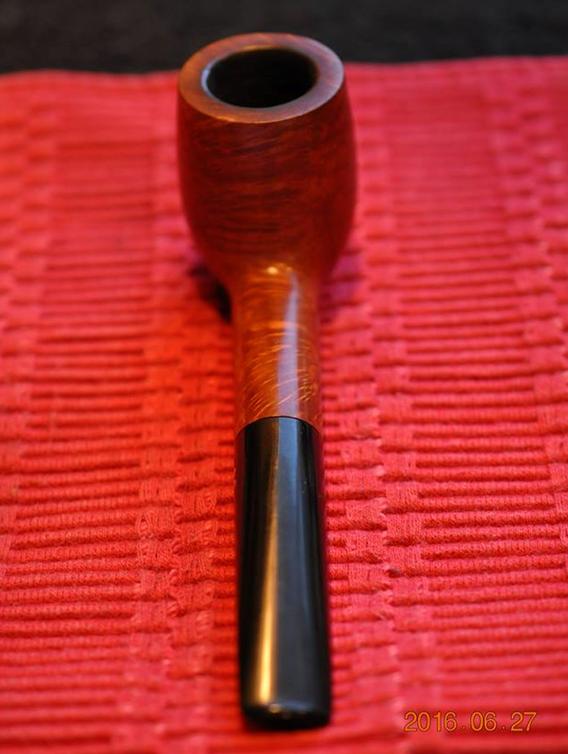
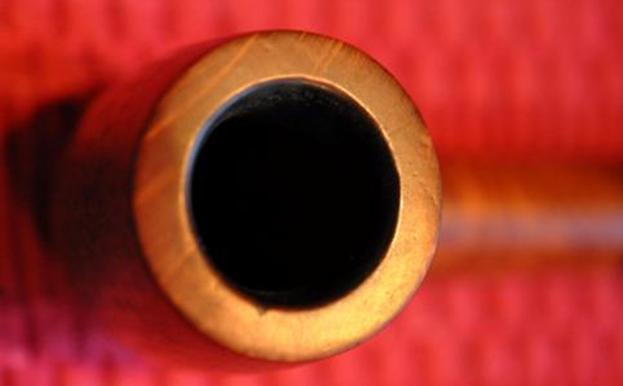
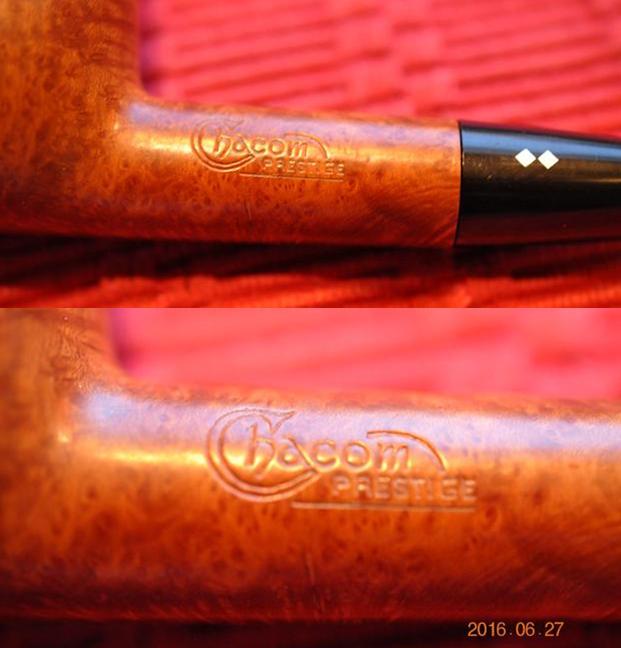
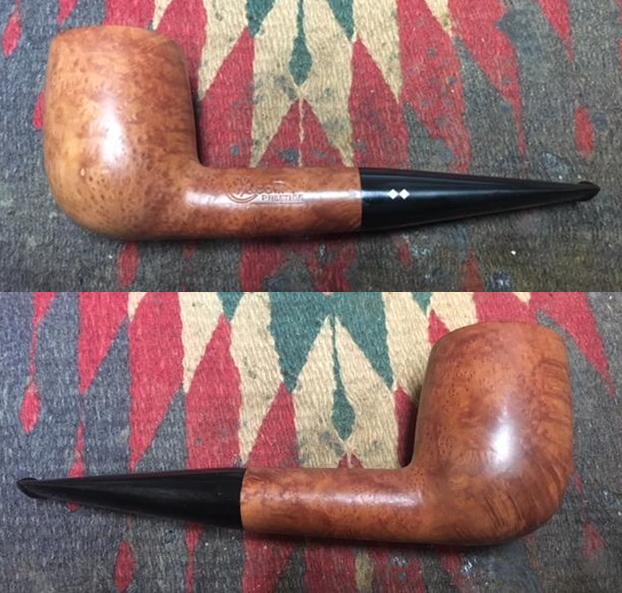
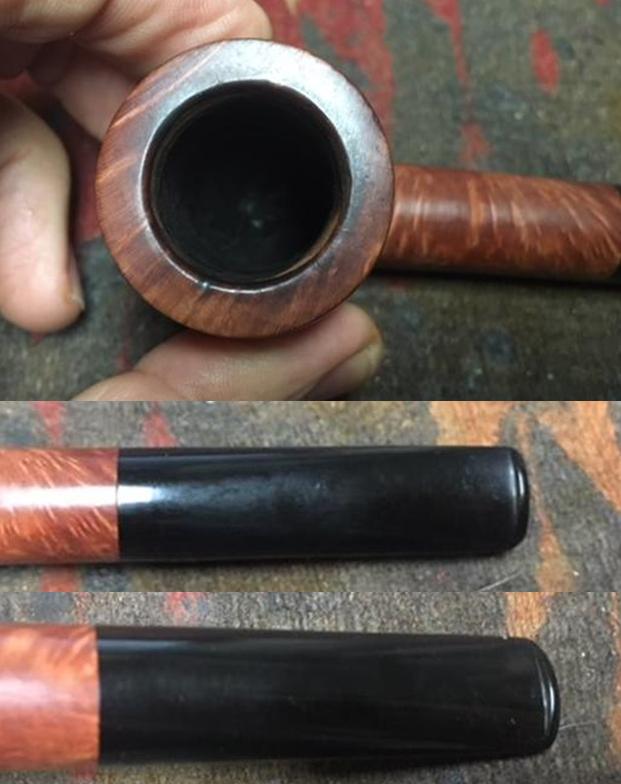
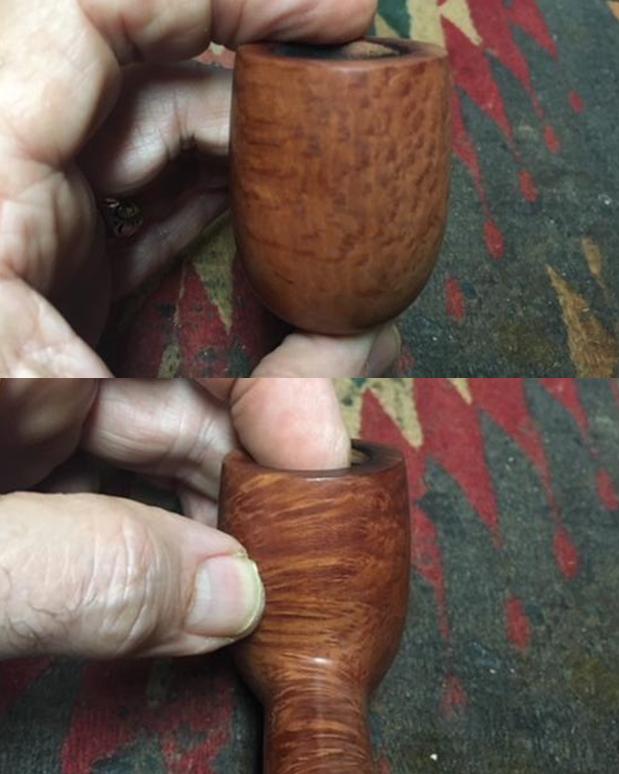
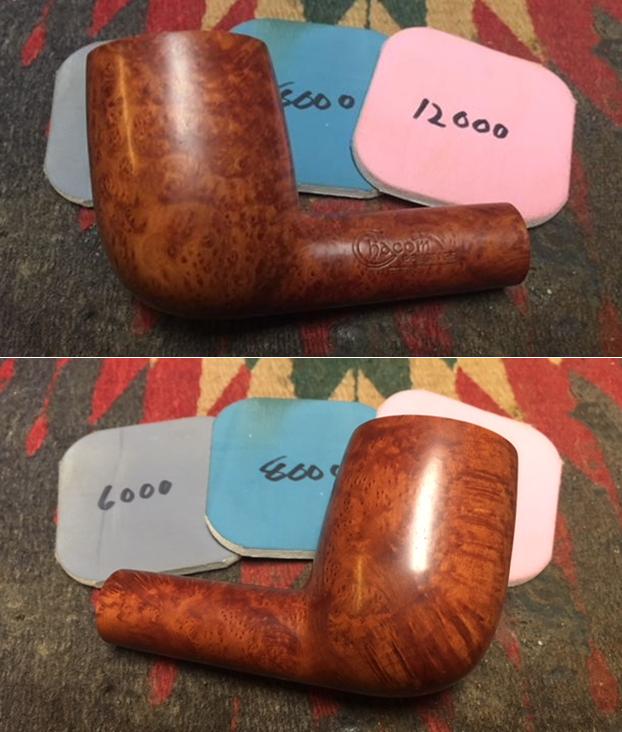
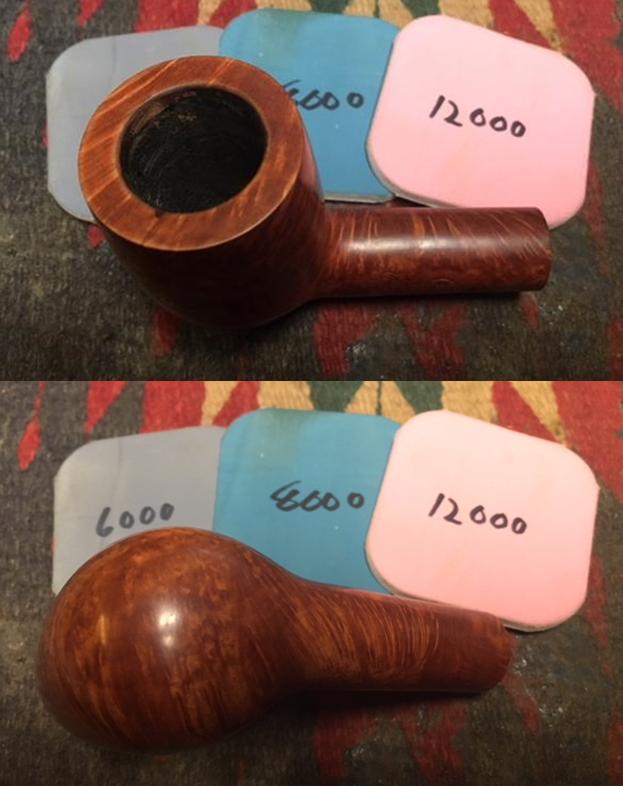
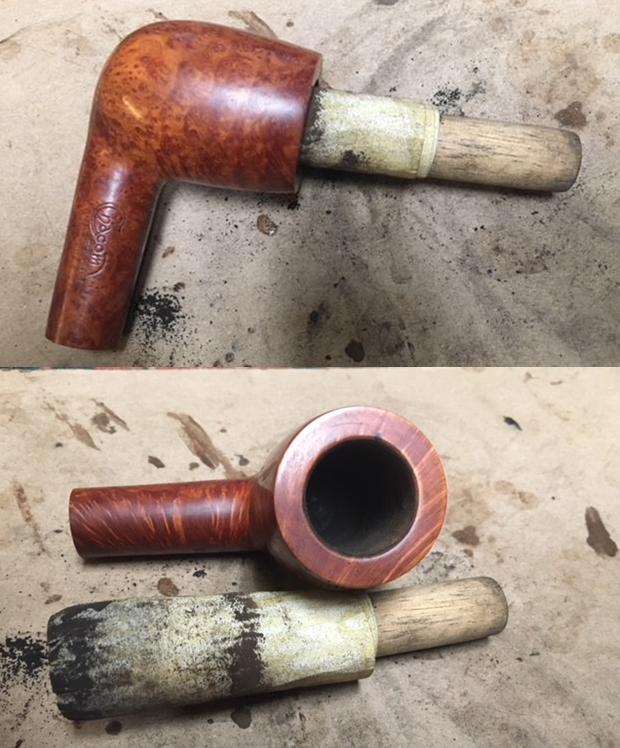
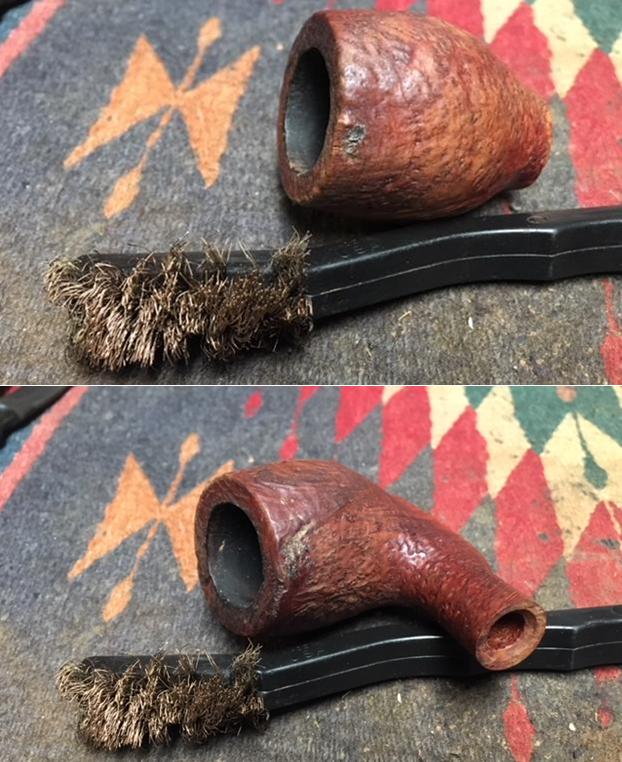
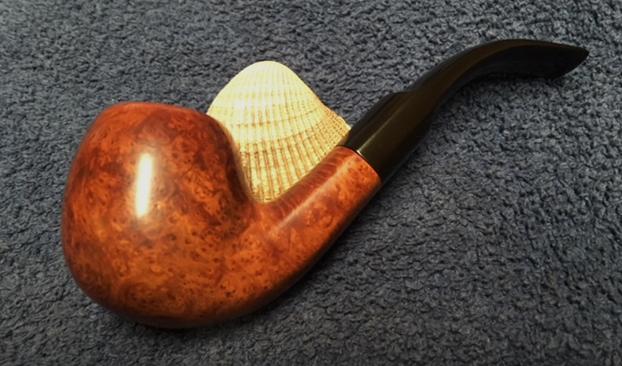
The next pipe on the table was one that my brother Jeff picked up somewhere along his travels through antique shops or online auctions. This one is a nice looking chubby billiard with a classic look and shape. It has some great birdseye grain around the sides of the bowl and shank and some cross grain off-center on the front, on the back and on the top and underside of the shank. It has a smooth natural finish to the bowl that highlights the grain. It is stamped on the left side of the shank Chacom over Prestige. There is no other stamping on the shank or bowl. The finish was dull and a little dirty but otherwise very good. The rim top was chipped and dented with a little damage to the inner edge of the bowl. The bowl had a light cake in it that would be easy to deal with.There was one fill on the left side of the bowl toward the bottom. The stem was vulcanite and had some tooth chatter and scratching on both sides near the button. The stem had a silver double Diamond inlay on the left side. Jeff took photos of the pipe before he started his cleanup up work. Jeff took a photo of the rim top and bowl. You can see that the cake is quite thin. The rim is slightly beveled inward and there are some nicks in the edge. The rim top has dents and nicks in it that are quite deep. The outer edge of the bowl looks good.Jeff took close up photos of the stamping on the left side of the shank. You can see that it is sharp and readable. The first photo shows the stamping and the double diamond logo on the stem. The second photo gives a closer look at the stamping on the shank.Jeff had scrubbed the exterior of the bowl with Murphy’s Oil soap and removed the dust and grime that had accumulated there. The finish looked very good once it had been scrubbed. He lightly reamed the bowl with a Savinelli Fitsall Pipe Knife. He cleaned the interior of the mortise and the airway in the shank and the stem with alcohol, cotton swabs and pipe cleaners. The pipe came to me clean and ready to do the restoration. I took some photos of the pipe to show the condition at this point in the process. I took some photos of the rim top and sides of the bowl to show the damage to the surface of the rim. The dark area on the inner edge at the bottom of the photo (left side of the bowl) is a nick and it has been lightly charred. There is also some darkening on the back edge of the bowl and some nicks and dents that need to be removed. I also took close up photos of the stem to show its condition. There is some light tooth chatter and tooth marks on both sides near the button but otherwise it is in good condition.I took some photos of the grain around the bowl. In the first photo you can see the only fill toward the bottom of the left side of the bowl. The grain on the pipe is quite stunning. I have worked on quite a few Chacom pipes over the years so I know most of the history or at least know where to turn to refresh my knowledge of the brand. Chacom tobacco pipes are made by the famous Chapuis-Comoy Company. The Chacom brand, a combination of the first three letters of each of the family names. It is the signature brand out of dozens produced by the nearly 200 year-old pipe-making family. Chacom tobacco pipes where the number one pipes in France, Belgium and The United States after World War II. The history of excellence in french pipe construction continues today ( https://www.tobaccopipes.com/chacom-history/). A good timeline on the brand can be found on Pipedia (https://pipedia.org/wiki/Chacom).
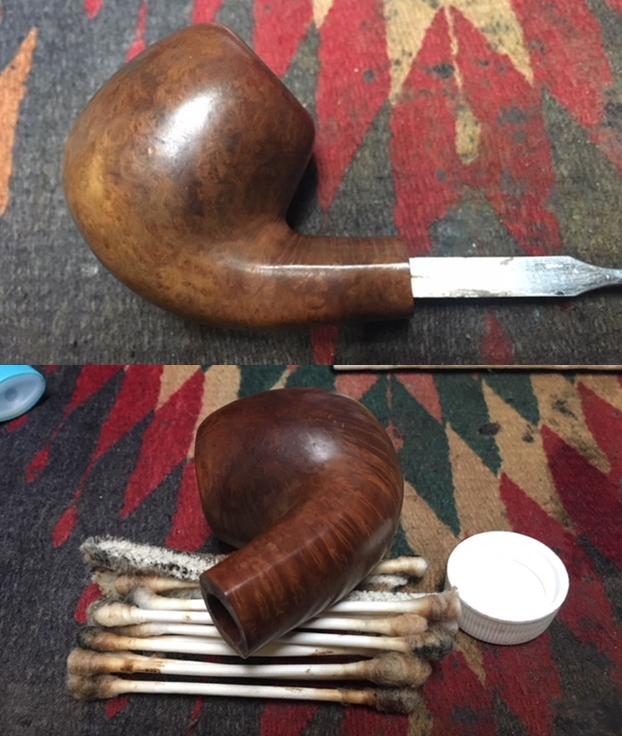
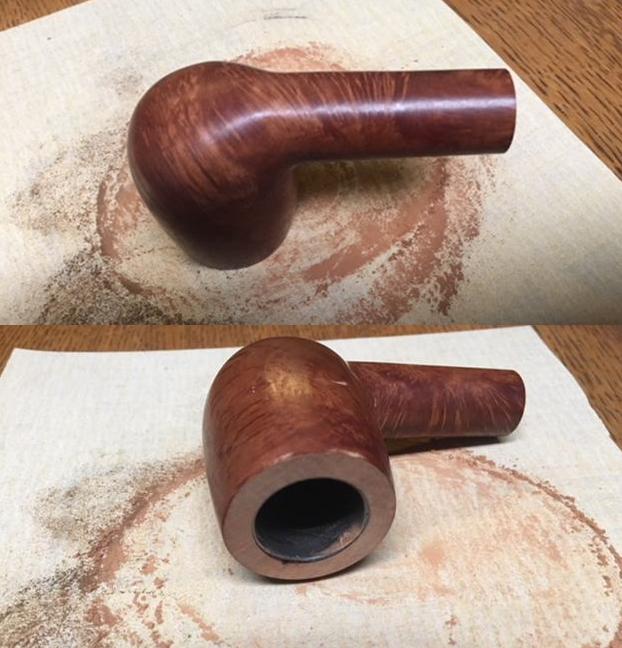
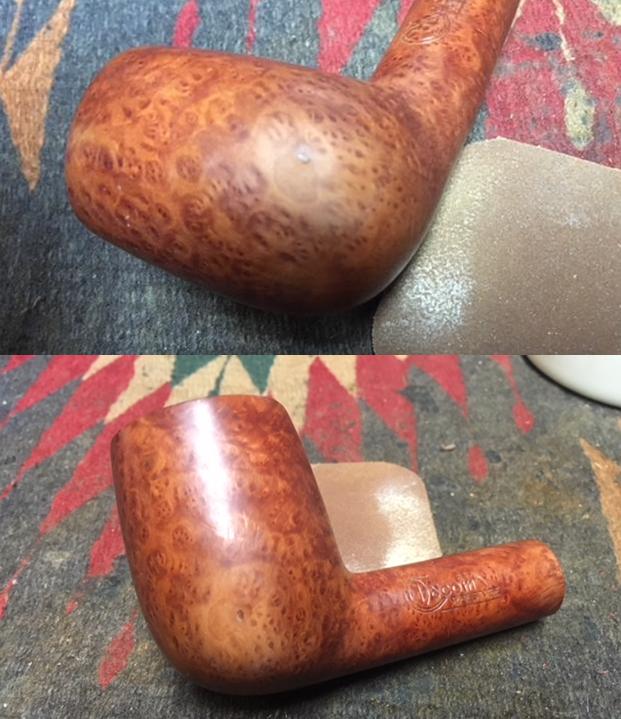
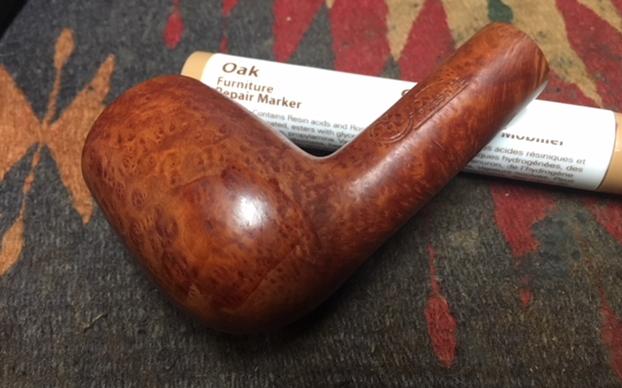
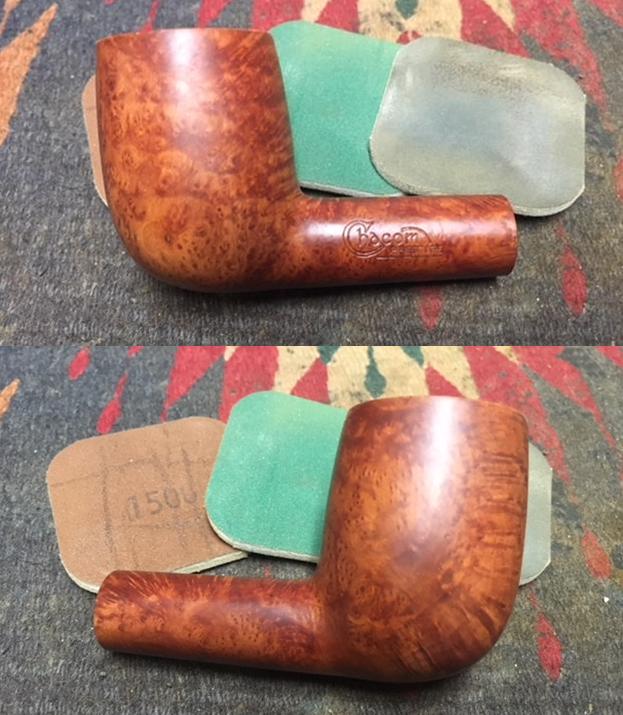
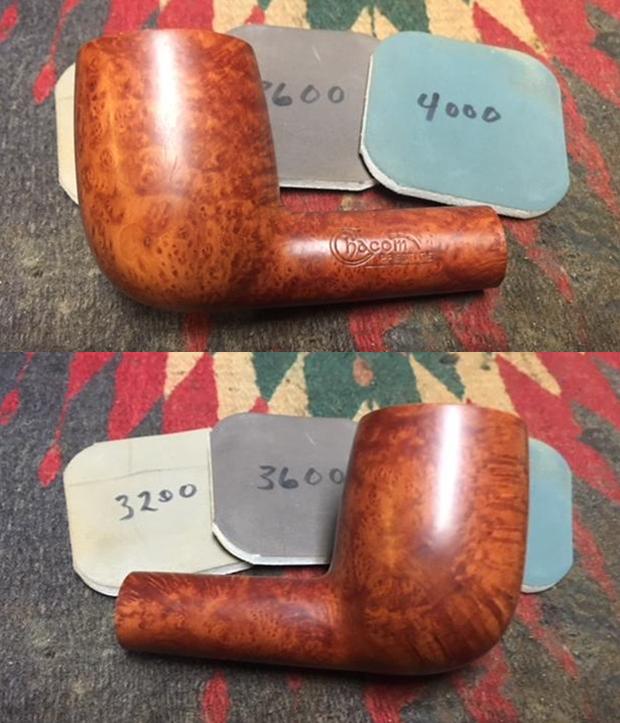
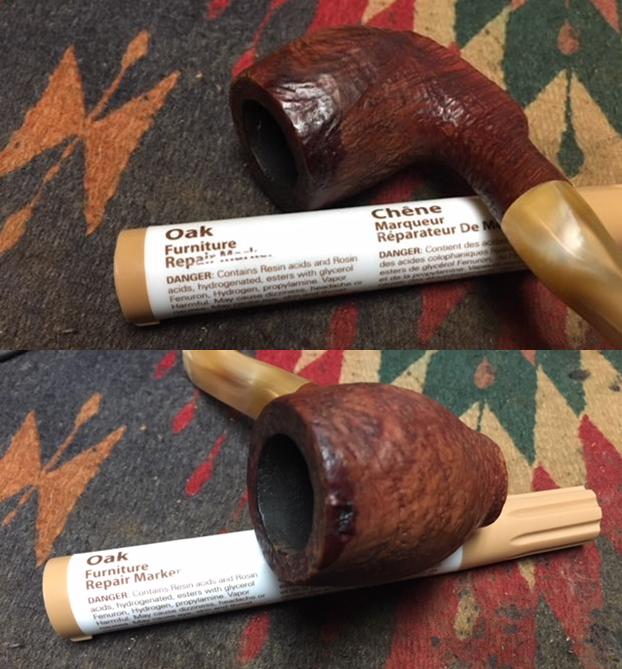
I started my restoration of the pipe by addressing the damage to the rim top. I topped the rim on a topping board using 220 grit sandpaper. I checked the progress repeatedly as I only wanted to remove the damage and not too much of the briar. The second photo shows the rim top with the damaged areas removed and the rim looking very good.I used an Oak stain pen to match the colour on the bowl. I took the photo below to show the quality of the match.I addressed the dented fill on the lower left side of the bowl next. I filled it in with a drop of clear super glue and set it aside to dry. When the glue dried I sanded it flat with a corner of 220 grit sandpaper and blended it into the briar with a 1500 grit micromesh sanding pad. I touched up the stain with an Oak stain pen. The colour was slightly off but once I buffed and polished the bowl it would blend in well.I polished the briar with 1500-2400 grit micromesh sanding pads to smooth the finish and blend in the restained portions of the bowl. Once I had that finished with the 2400 grit pad I checked the rim top and edges and was not happy with the dark spot on the inner edge of the right side. I used a folded piece of 220 grit sandpaper to bevel the edge a bit more to take care of that. I resanded the top with 1500-2400 grit micromesh sanding pads.I finished polishing the briar with micromesh sanding pads – dry sanding with 3200-12000 grit pads. The briar is shining and the repairs have all but disappeared. In some of the photos I notice a bit of carbon on the walls of the bowl so I wrapped a piece of dowel with some 220 grit sandpaper and sanded the walls of the bowl smooth.I rubbed the bowl down with Before & After Restoration Balm to deep clean the briar bowl and the rim top as well as the briar shank. The product works to clean, enliven and protect the briar. I hand rubbed it with my fingers, working it into the exterior of the pipe. After it had been sitting for a little while, I buffed it with a soft cloth to polish it. The pipe really began to have a rich shine. I took some photos of the bowl at this point to mark the progress in the restoration. I set the bowl aside and turned my attention to the stem. I used a folded piece of 220 grit sandpaper to sand out the tooth chatter and marks on both sides of the stem just ahead of the button. They were not deep so it did not take tooth much to remove them.I polished the stem with micromesh sanding pads – wet sanding with 1500-2400 grit pads and dry sanding with 3200-12000 grit pads. I wiped the stem down after each pad with a Obsidian Oil to remove the sanding dust on the vulcanite. I finished the polishing process with Before & After Pipe Stem Polish – both Fine and Extra Fine. When I finished polishing and wiping it down I set it aside to dry. I polished stem and bowl with Blue Diamond to polish out the remaining small scratches. I gave the bowl and the stem multiple coats of carnauba wax and buffed the pipe with a clean buffing pad to raise the shine. I hand buffed it with a microfiber cloth to deepen the shine. The pipe polished up pretty nicely. The contrasting light brown stain on the smooth briar with the polished, black vulcanite stem worked together to give the pipe a unique look. The finished pipe is shown in the photos below. This is a beautiful Chacom Prestige chubby billiard that needs a new home. The shape, finish and flow of the pipe and stem are very well done. The dimensions are Length: 5 3/4 inches, Height: 2 inches, Outside diameter of the bowl: 1 1/2 inches, Chamber diameter: 3/4 inches. This one will be added to the rebornpipes store soon. If you are interested in adding it to your collection send me an email to slaug@uniserve.com or send me a message on Facebook. Thanks for walking through the restoration with me as I worked over this beautiful billiard.

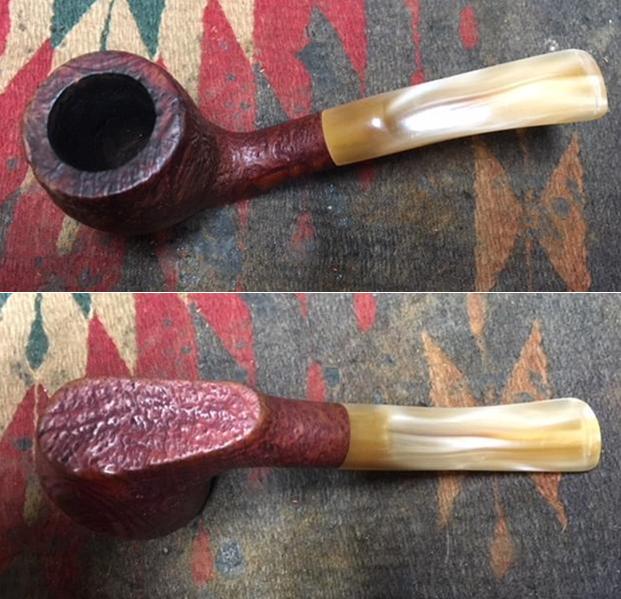
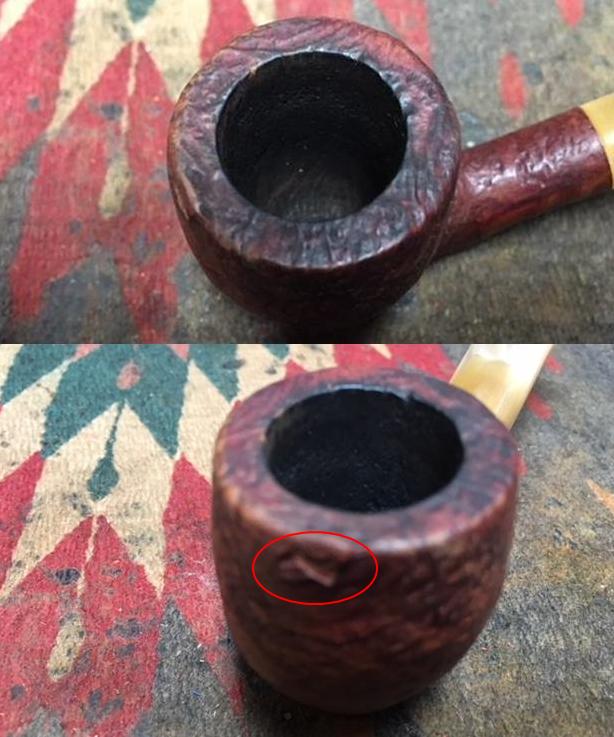
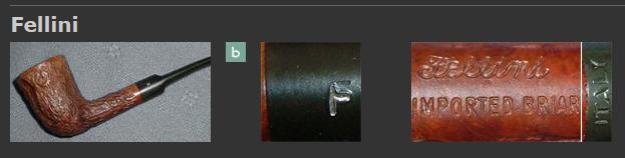
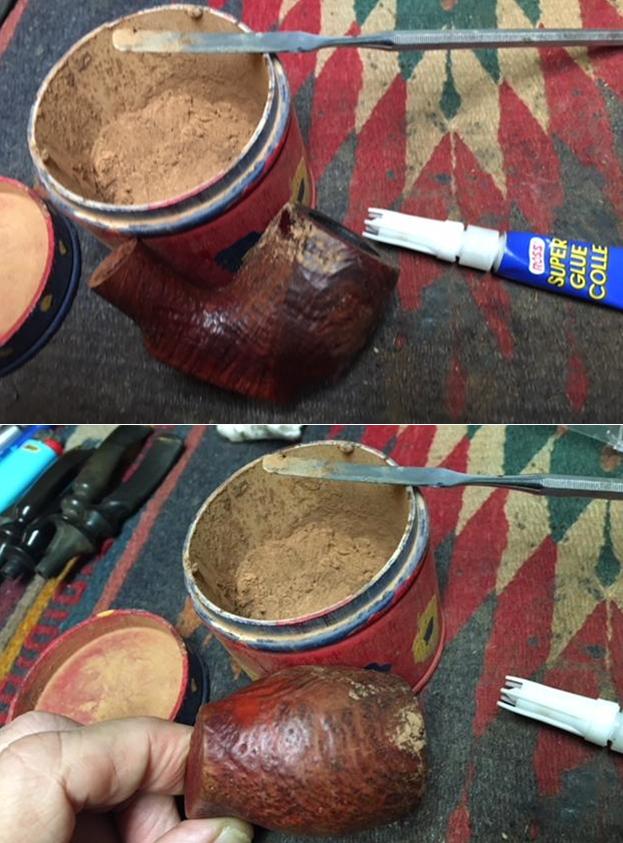
Restoring a Beautiful Sandblast Fellini of Italy Sitter


Blog by Steve Laug

The next pipe on the table was one that my brother Jeff picked up from a seller in Texas. We have picked up quite a few pipes from him. It was in a box with the freehand pipes that I have been working my way through. Even though it is not properly a freehand I had put it in the box – go figure. It is more of a Billiard shape with a flat bottom making it a sitter. It has a slight bend in the shank and stem and the pipe is balanced to stand on its own. It has a sandblast finish to the bowl that reveals some swirling grain patterns. It is stamped on the left side of the shank in a smooth panel with the word FELLINI. It is also stamped at the stem shank junction ITALY. The pipe was very dirty when it arrived from the seller. There was dirt and grime in sandblast finish on the bowl. There was a thick cake in the bowl and an overflow of lava on the rim top. The inner and out edges of the bowl appeared to be undamaged under the grime. There were a few sand pits/fill areas that needed attention and the finish was spotty – dark and medium brown randomly around the bowl and shank. The stem was a striated tan and cream acrylic and has some tooth chatter on both sides near the button. The tenon had come loose from the stem and was stuck in the shank. Because of that the fit of the stem to the shank was off.  Jeff took photos of the pipe before he started his cleanup up work. Jeff took photos of the rim top and bowl. You can see the thick coat of lava and grime on the rim and the thick cake in the bowl. This was a dirty pipe. There is even the fuzz of dust all around the bowl from sitting unused for a long time.The next photos show the finish on the bowl from various angles. Though it is dirty it is an interesting looking sandblast. He took a close up photo of the stamping on the left side of the shank. You can see that it is sharp and readable. You can see the gap between the stem and shank end in the photo.The stem was actually in great condition. The tooth chatter was light and there were no deep tooth marks in the surface of the acrylic.Jeff had scrubbed the exterior of the bowl with Murphy’s Oil soap and removed the dust and grime that had accumulated there. The finish looked very good once it had been scrubbed. He lightly reamed the bowl with a PipNet reamer and cleaned it up with a Savinelli Fitsall Pipe Knife. He cleaned the interior of the mortise and the airway in the shank and the stem with alcohol, cotton swabs and pipe cleaners. The pipe came to me clean and ready to do the restoration. I took some photos of the pipe to show the condition at this point in the process. I took some photos of the rim top and sides of the bowl where there were sandpits or fills that needed attention. I have circled the damaged areas in red in the second and third photo below. Both of them will need to be repaired and restained. There is some darkening to the surface of the rim and some spottiness to the finish that a restain will take care of. I also took close up photos of the stem to show its condition. It was in good condition other than the loose tenon in the stem. I took the stem off the shank and you can see the tenon stuck in the shank. It has obviously been this way for a while as there is staining from tobacco on the end that sits in the stem. I used a pair of pliers to wiggle the tenon free from the shank so I could reglue it in the stem later.Once again I turned to the internet to see if I could find out any information on the brand. There was a lot of information on the Italian Film Director Frederico Fellini but very little other than pipes for sale on eBay that bore the name. Pipedia did not even mention the brand so that was unhelpful. I turned to the Pipephil site and found a listing for the brand. I have included a screen capture from that site (http://www.pipephil.eu/logos/en/logo-f1.html). You can see from the screen capture that even that information was very slim. Ah well, it will remain a mystery that hopefully one of you reading this can unravel for us.I started my restoration of the pipe armed with the little bit of information that I could find on the brand. I decided to reglue the tenon in the stem.  I used a needle file to roughen the surface of the Delrin/nylon tenon. I wanted to make it rough enough for the glue to have something to bite on when I glued. I coated the roughened end of the tenon with clear superglue gel and pressed it into the drilled hole in the stem. I wiped away the excess glue on the face of the stem. With that done I set the stem aside to let the glue cure.I turned to repairing the damaged fills or sandpits on the bowl sides (front and rear). I put a drop of clear super glue in the pit and filled it in with briar dust using a dental spatula. When the repair had dried (fairly quickly as it is warm here) I used a brass bristle wire brush to remove the excess repair. I find that the brush follows the pattern of the sandblast. I touched up the repaired fills with an Oak stain pen. I used it to stain the area around the new fill and deep in the crevices of the fill. I intended staining the pipe again in full but this would allow me to at least do a bit of the cosmetic work before the full stain. (Before I did that I put the stem on the shank to check the fit – it was flawless!)You might notice in the above photos that the briar has a definite red tint to it and the light oak stain had turned a red/brown colour. I decided to go with that and highlight the colour of the briar. I have a bottle of Fiebing’s Tan Stain that really is a light Cordovan colour so I used that to stain the briar. I heated the briar and applied the stain with a dauber. I flamed it with a lighter to set it in the wood and repeated the process.I wiped the bowl down with isopropyl alcohol on cotton pads to make the stain more transparent. I took photos of the bowl to show it. I rubbed the bowl down with Before & After Restoration Balm to deep clean the briar bowl and the rim top as well as the briar shank. The product works to clean, enliven and protect the briar. I hand rubbed it with my fingers, working it into the exterior of the pipe. I worked it into the blast with a horsehair shoe brush. After it had been sitting for a little while I buffed it with a soft cloth to polish it. The pipe really began to have a rich shine. I took some photos of the bowl at this point to mark the progress in the restoration. It dawned on me that Jeff may not have been able to get the shank cleaned with the tenon stuck in the mortise so I went back and quickly cleaned the mortise and the airway in the shank and stem with pipe cleaners, cotton swabs and alcohol. I was right he had not been able to get to the debris behind the stuck tenon.I polished the stem with micromesh sanding pads – wet sanding with 1500-2400 grit pads and dry sanding with 3200-12000 grit pads. I wiped the stem down after each pad with a damp cloth to remove the sanding dust on the acrylic. When I finished polishing and wiping it down I set it aside to dry. I polished stem and bowl with Blue Diamond to polish out the remaining small scratches. I gave the bowl multiple coats of Conservator’s Wax and the stem multiple coats of carnauba wax and buffed the pipe with a clean buffing pad to raise the shine. I hand buffed it with a microfiber cloth to deepen the shine. The pipe polished up pretty nicely. The contrasting brown stain on the sandblast and the polished, variegated swirls and striations of the acrylic stem worked together to give the pipe a unique look. The finished pipe is shown in the photos below. This is one of those interesting Italian Made pipes about which little information can be found. The shape, finish and flow of the pipe and stem are very well done. The dimensions are Length: 5 1/2 inches, Height: 2 inches, Outside diameter of the bowl: 1 3/8 inches, Chamber diameter: 3/4 inches. This one will be added to the rebornpipes store soon. If you are interested in adding it to your collection send me an email to slaug@uniserve.com or send me a message on Facebook. Thanks for walking through the restoration with me as I worked over this nice little Italian Made sitter.
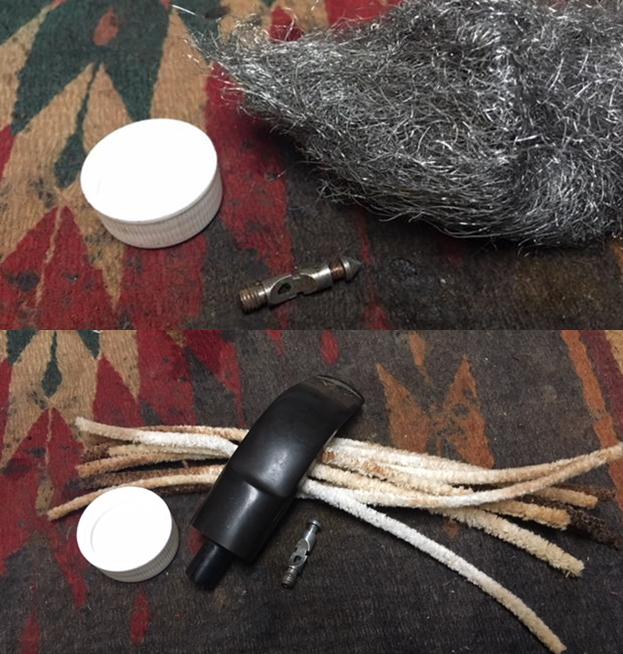
Restoring a Mystery Freehand – a Hand Made in Denmark. Is it a Preben Holm?


Blog by Steve Laug

Jeff found this old pipe in an antique shop in Stevensville, Montana. He continues to show that he has an eye for old and unique pipes. This one is a tall, stack Freehand pipe with a large bowl and beautiful grain patterns around the sides of the bowl and shank. There is straight, flame and birdseye grain around the sides, top and bottom of the bowl. The rim cap is smooth and a mix of grain patterns. The finish was dirty but seemed to have a matte finish under the grime and grit. The rim top had an overflow of tars, oils – lava from the thick cake in the bowl. It was truly a mess but the buildup probably protected the inner and outer edges of the rim. It was stamped on the underside of the shank just ahead of where the stem is inserted. It is simply stamped Hand Made over In over Denmark. The stamping is identical to the stamping on Ben Wade Pipes that I have in my collection and something in my memory says I have read that somewhere. The stem has chair leg turnings that are similar to many freehand pipe stems. There is nothing stamped on the side or top of the stem. Jeff took photos of the pipe before he started his cleanup work. Jeff took some close up photos of the rim top to show the condition of the bowl and rim. There was some overflow of lava and dirt on the rim top and there was a pretty thick cake in the bowl. The pipe is quite tall and the cake went to the bottom of the bowl. The inner and outer edges looked to be in good condition.Jeff took photos of the bowl from various angles to show the condition of the finish. The beautiful grain is visible in the photos. The finish is dirty but looks good under the grime.   The stamping on the underside of the shank is clear and readable. It simply reads Hand Made with a faint stamp “In” below that followed by Denmark. The second and third photos below show the damage to the left edge of the shank. There were some chips and nicks in the finish. None were too deep in the briar so would need to rework that area of the shank. The stem was in decent condition. It was oxidized on both sides and there were some nicks and tooth marks and chatter on both sides near the button. There were no deep tooth marks which is really a relief.I reread the articles on Pipedia and Pipephil on both Preben Holm and Ben Wade pipes. I could not find the comment I was looking for on the Hand Made In Denmark stamp. So I would not have the luxury of knowing the history or who the carver was. Many things about the pipe made me still think it was a Ben Wade pipe but I may never know. I am hoping one of you who are reading this might have a clue for me.

Jeff has become a magician in cleaning up pipes. When I get them they are clean to the point of looking almost new. It is nice to work on pipes that he has cleaned up once again. In this case he reamed it with a PipNet reamer and smoothed the walls of the bowl with a Savinelli Fitsall pipe knife. He scrubbed out the mortise and the airway in the shank and the stem with alcohol, cotton swabs and pipe cleaners. He scrubbed the exterior of the bowl, rim and shank with a tooth brush and Murphy’s Oil Soap to the oils and tars on the bowl, rim and shank. He rinsed it under running water. He dried it off with a soft cloth. He was able to remove all of the buildup on the rim top and the grime from the bowl. He soaked the stem in Before & After Deoxidizer and when it had done its work rinsed and cleaned the airway with pipe cleaners and alcohol. The tooth marks were clean but visible. I took photos of the pipe to show its condition before I started my work on it. I took some photos of the rim top to show what it looked like after Jeff had cleaned off the grime and tars. The briar was in good condition but there were some nicks and scratches in the flat top but none appeared too deep. The inner and outer edges of the bowl looked very good. The stem had cleaned up really well with the deoxidizer and need repair and polishing. It showed tooth marks on the underside and some chatter but it was otherwise in good condition. I decided to address the chips on the left side of the shank and reshape the shank end first. I sanded out the chips and reshaped the edge with a folded piece of 220 grit sandpaper. I shaped it to match the shape of the shank edge on the right side of the pipe. I worked on the end view as well. I wiped down the bowl with alcohol on cotton pads to remove the debris and dust from the clean up. I worked on the rim top as well to work on the darkening that was on different parts of the rim. I rubbed some Before & After Restoration Balm into the surface of the briar to enliven, clean and preserve it. I rubbed it in with my fingertips working it into the briar. I worked it into the edges of the shank and the bowl. I set it aside for a little while to let the balm do its work. I buffed it off with a cotton cloth. The photos below show the pipe at this point in the restoration process.The rim top still had some areas on the left side and back edge that would need to be worked on. You can see it as a line around the bowl. I have circled the area in red so that you can see what I am noting at this point.I worked on the rim top and the edge of the shank that I had reshaped with micromesh sanding pads. I wet sanded the rim top and the left side of the shank with 1500-2400 grit pads and was able to remove the circled damage on the rim and blend the edge of the shank. I polished it by dry sanding it with 3200-12000 grit sanding pads. I wiped the areas down after each pad with a damp cloth to remove the dust. I touched up the stain on the top of the rim and left edge of the shank to blend those areas into the colour on the rest of the pipe. I used a Maple and Cherry stain pen to approximate the colour of the pipe. I still need to buff the bowl and shank but the colour appears to be a perfect match. I buffed the bowl and shank with Blue Diamond on the buffing wheel and gave the bowl a coat of carnauba wax. I buffed it with a clean buffing pad to raise a shine and blend the stain into the rest of the finish. I took the following photos to show the bowl at this point in the process. I set aside the bowl and turned my attention to the stem. I wiped down the stem with alcohol and filled in the tooth marks on the top and underside with clear super glue. I set the stem aside to let the repairs cure.When the repairs cured I sanded them with 220 grit sandpaper to blend them into the surface of the vulcanite. I wiped it down with Obsidian Oil and took some photos of the stem at this point.I polished the stem using micromesh sanding pads – wet sanding with 1500-2400 grit pads and then buffing on the wheel with red Tripoli. I dry sanded the stem with 3200-12000 grit pads to further polish it. After each pad I wiped it down with Obsidian Oil to protect and enliven the stem. I polished it further with Before & After Pipe Polish – both Fine and Extra Fine. When I finished with the polish I gave it a final coat of oil and set it aside to dry. This smooth finished stack Freehand is an interesting and unusual piece. The Hand Made In Denmark stamp on the shank I think is one of Preben Holm’s marks but I cannot prove it. The shape of the pipe takes full advantage of the grain on the briar. The mix of grains – straight, flame and birdseye all work together to give this pipe a beautiful look from any direction it is viewed. The reddish brown of the bowl and the black of the vulcanite stem contrast well together. I buffed the bowl and the stem with Blue Diamond polish to raise the shine on the briar and the vulcanite. I was careful to not buff the stamping and damage it. I gave the bowl and the stem multiple coats of carnauba wax. I buffed the entire pipe with a clean buffing pad to raise the shine. I hand buffed it with a microfiber cloth to deepen the shine. The finished pipe is shown in the photos below. The dimensions of the pipe are: Length: 6 inches, Height: 2 3/4 inches, Outside Diameter: 1 1/2 inches, Diameter of the chamber: 7/8 of an inch. It is an interesting old pipe and should make a great collectible piece. Thanks for walking through the restoration with me.
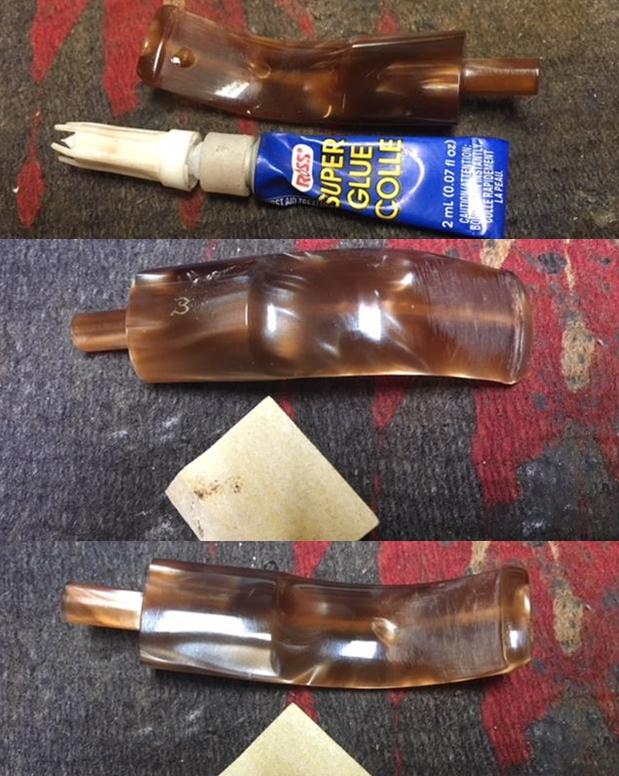
Transforming a Dr. Grabow “Omega”


Blog by Paresh Deshpande

“Mirror, mirror on the wall, who is the prettiest of them all?” asked this “Omega”, looking deeply into my eyes!!!!! How I wish I could have promptly replied that it was “YOU”…. but I could not get myself to say so!!!!! It was then that I decided to work on this pipe and make an attempt at its transformation.

This bent billiards has “OMEGA” stamped on the left side of the shank over “DR. GRABOW” in block capital letters while on the right side it is stamped “IMPORTED BRIAR”. A nickel ferrule adorns the end of the shank and is devoid of any stampings. An “ACE OF SPADES” on the left side breaks the monotonous black of the stem. I searched pipedia.com for information about the brand and try to place the period when this model was introduced by Dr. Grabow. The site has very detailed information about the brand and various models and is a highly recommended read. I have extracted only the relevant portions here:-

Dr. Grabow pipes are the quintessential American brand. Made with care in the Blue Ridge Mountains of North Carolina, this 60-year-old line of inexpensive tobacco pipes is a favorite among new pipe smokers for its consistency and good taste. The famous smoking pipe brand gets its name from the owner Dr Grabow, a general physician who lived in Chicago.

Made in America since the 1930’s, Dr. Grabow tobacco pipes were named after “the good doctor” to help polish the smudged image of smoking a pipe to newly tobacco-leery American public. The line of pipes bearing Dr. Grabow’s name have become one of the best known pipe brands in North America.

The Dr Grabow pipes first began with Louis B Linkman of the M.Linkman and Co of Chicago. The trademark “Dr Grabow” itself actually begun at about 1932 and had the US patent number 1.896,800.

The birth of the Dr Grabow smoking pipe is simple enough. It started off when Dr Grabow himself and his acquaintance Dr Linkman regularly visited the local pharmacist at Brown’s Drug Store in Lincoln Park Chicago.

Dr Linkman was on the lookout for a doctor’s name to Christian an innovative line of pipes in order to mellow out the smoking apparel’s smoggy image. He asked Dr Grabow to allow him to use his name to which he agreed and the name has stuck since then. Linkman continued to manufacture his Dr Grabow pipes until 1953. 

The earliest of these exclusive pipes were stamped both with Linkman’s and Dr Grabow. They included a propeller emblem that was white in color at the top of the mouthpiece.

In 1944 the white propeller emblem was replaced with a white spade, a move that heralded the introduction of Linkman’s new Dr Grabow pipes. All of the newer entries included most of the earlier favorites as well as “TRU-GRAIN” and “SELECT”. Later models of Dr Grabow pipes were described as Imported Briar.

I further searched pipedia.com and found detailed and comprehensive information on the various lines and models of Dr. Grabow through the years and was able to date this Omega to 1975. Here is the link; https://pipedia.org/wiki/Dr._Grabow_Models_(Series,Line)_Names_Through_the_Years

INITIAL VISUAL INSPECTION

The first thing that struck me like a jolt was the reddish brown/ very dark reddish purple, OMG!!!! I cannot even describe the color of the stain on this pipe; it was that unappealing to the eye to say the least. It just surprises me as to why my grand old man even bought it, if he had indeed bought it. You just feel like turning away from it. To add to its color woes, the stummel is covered in dust and grime of storage from all these years. The stummel has Custombilt like rustication emanating from the joint where the shank and stummel meet and move away from the bottom towards the rim top. Within this rustication we have very fine thin lines. The raised portion of these rustication have the same reddish brown coloration while within these rustication, it has dark color. The shank is plain and devoid of any rustication. There appears to be some kind of coat covering the entire stummel. All said and done, this coloration has to go!!!!! How am I going to do it, I really do not know, but IT HAS TO GO!!!!!! The chamber is lightly caked and has overflow of lava on the rim top. This will have to be cleaned and sanded down if the rim top surface is damaged underneath the overflowing lava. The inner and outer edge has minor dents and dings.The stem appears to be ebonite and has a plastic feel to it. The stem is a copy of the famed Peterson’s P-Lip button with the difference in the bore being dead center on the end of the button as opposed to being on the top surface. It has extensive damage to the upper and lower surface of the lip. It is peppered with tooth chatter and has one deep bite mark each on both the surfaces. This will have to be addressed.The mortise is relatively clean and air flows freely through the airway in the pipe and shank.The nickel ferrule has lost its shine and shows minor spots of corrosion. I think it will polish up nicely.THE PROCESS

I had made a promise to this pipe that I shall make it “the prettiest of them all…” (Well, actually it was like “TRY” really) and thus the first and most logical start point was to address the color of the stummel. To make this pipe attractive, I felt that I should attempt to do the following:-

(a) Highlight the rustications.

(b) Get some shine on the stummel.

(c) Attempt to reveal the grains on the smooth shank.

(d) Highlight the contrast between the raised portions of the rustication with that of within the rustication.

Having identified what needs to be done, I turned my attention to how it could be done. SWOT analysis dictated that I needed to adopt processes which did not require any stains or coatings of lacquer as I did not have any. Also since I do not have any mechanical equipment, I had to adopt simpler and manual techniques. I decided that the best and easiest course of action for me would be to get rid of the original stain.

I started by reaming the chamber with a Kleen Reem pipe reamer and fabricated knife. I removed the complete cake from the chamber. I further sanded down the walls of the chamber with a 220 grit sand paper to smooth the walls and took the cake back down to the bare briar. I gently scraped out the little overflow of lava from the rim top. I also cleaned out the mortise and the shank with cue tips and pipe cleaners dipped in alcohol.Once the chamber was cleaned, I turned my attention to the stummel and tried to get rid of the lacquer coating. I started by wet sanding with a 1500 grit micromesh pad and soon realized that it would not work. I tried sanding with 800 grit sand paper without any success. Soon I found myself sanding the stummel with 150 grit sand paper. The lacquer was very difficult to get rid off and after a considerable time, I was finally able to completely remove the lacquer coating. Believe you me, my fingers had started to hurt and sitting at the table for 3-4 hours at a stretch caused cramps in my back. But the end result was pleasing.

Then began the arduous and time consuming process of sanding the stummel with micromesh pads. I proceeded to sand the stummel with micromesh pads, going through wet sanding with 1500-2400 pads and dry sanding with 3200- 12000 grit pads. I was very pleased with the way the stummel had turned out. I decided that I liked this finish and after further cleaning and polishing, the stummel would look just beautiful. Once I was through with micromesh pads, I cleaned the stummel with undiluted Murphy’s oil soap and tooth brush. I paid special attention to the deep areas of the rustication, thoroughly cleaning it with the brush. I dried the bowl with cotton cloth and paper towels.I rubbed “Before and After Restoration balm” in to the stummel with fingers deep into the rustications and let it rest for a few minutes before I buffed it with a horse hair brush. Finally, I polished the stummel with a soft cotton cloth and muscle power!!!! I also polished the nickel ferrule with a jeweler’s cloth. Luckily, the corrosion was superficial and polished up nicely. Turning my attention to the badly damaged stem, I start by cleaning it with cotton pads dipped in isopropyl alcohol. I flamed the stem surface with a Bic lighter to raise the tooth chatter. The deeper tooth chatter and bite marks were filled with clear CA superglue. Thereafter began the time consuming process of curing, sanding with flat head needle file, 220 grit sand paper and finally by micromesh pads. In all, I had to repeat the fill and sand procedure thrice before resorting to final polish using micromesh pads. I also cleaned out the internals of the stem with pipe cleaners dipped in alcohol. To finish the pipe, I rubbed a small quantity of Halcyon wax II on to the stummel and gave it a nice polish. The pipe now does look stunning. I love the way the pipe has turned out and I can proudly reply back to this Omega “IT’S YOU!!!!!!” The finished pipe is shown below.
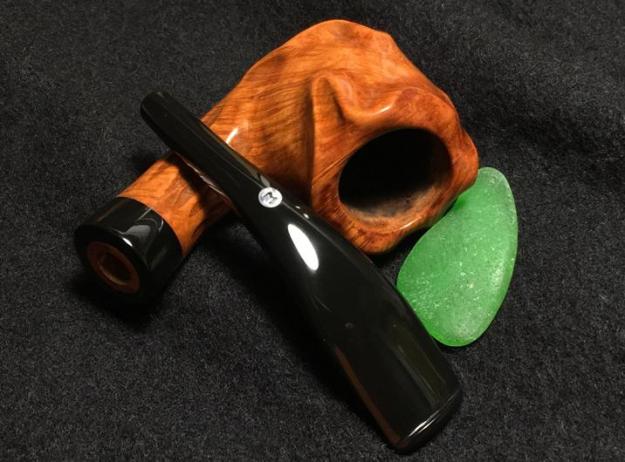
Stem Repair on a Savinelli Silver


Blog by Paresh Deshpande

I have been simultaneously working on the stem repair of CHACOM PANACHE #44 (https://rebornpipes.com/2018/08/26/chacom-panache-44/) and this SAVINELLI SILVER. Both the pipes had similar damage to their stems; a gaping hole in the stem exposing airway of the stem. As stated in my write up on the former, I had primarily purchased these pipes to gain hands down experience in major stem repairs and stem reconstruction. That both these pipes were beautiful was an added bonus!!!!!

This fancy Dublin Sav has beautiful mixed grain on the right side of the bowl while the left side has lovely birdseye grain. The front and back of the bowl, lower and upper surface of the shank has nicely packed cross grains. A sterling silver band adorns this Sav and is stamped on the upper surface with “925” in an elongated hexagon over “SAVINELLI”. On the lower surface, this band is stamped as “STERLING” over “MOUNTED”. All stampings are in block capital letters. On top of the oval shank, towards the shank end, it bears the stamp “SAVINELLI” over “SILVER” while at the bottom, it is stamped with Savinelli shield, followed by “915”, followed by size “KS” over “ITALY” in block capital letters. The saddle stem bears the Sav Shield logo on top of the saddle. History of Savinelli pipes is very well documented on pipedia.com, however, due to a very large line up, frequent changes to models, shapes and finishes, I came to a halt when I tried to date this Savinelli. I earnestly request all the knowledgeable veterans of pipe world to share any bits and pieces of information on this pipe.

INITIAL VISUAL INSPECTION

The stummel is covered in oils and tars giving a dull and lifeless appearance to the pipe. There is no heavy build up of cake in the chamber and also overflow of lava on the rim top. However, a slight darkening is seen on the right side of the rim. Some scratches are also seen on the rim top which will need to be addressed. It is the stem which has the maximum damage. A large hole can be seen on the upper surface of the stem near the button end, exposing that portion of the airway. There are two deep bite marks on the upper surface of the stem. The button on both surfaces of the stem has been chewed and will need to be reconstructed.The mortise shows some accumulation of previously smoked tobacco oils and tars, but it is nothing as compared to some pipes which I have seen.The airway is not clogged and will only require minor cleaning.
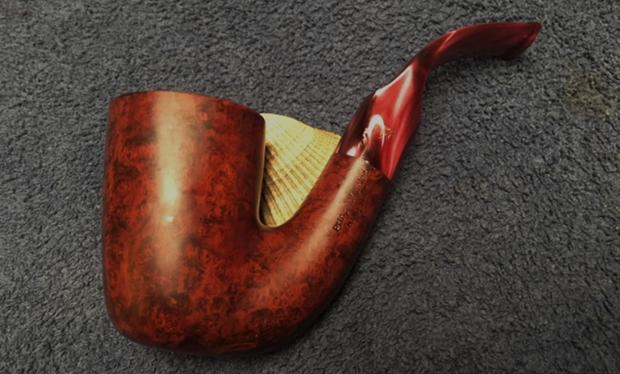
THE PROCESS

Since I had worked on the stem of the CHACOM simultaneously with that of this Sav, the process and difficulties were the same. I would request those interested in knowing the travesties I encountered and overcoming these, to please read the write up on the stem repair of CHACOM PANACHE #44 (https://rebornpipes.com/2018/08/26/chacom-panache-44/). Here are the progressive pictures of the restoration process. Having finished the stem repair (some imperfections are seen, but cannot be discerned in person), I turn my attention to the stummel. I reamed out the chamber using a Kleen Reem pipe reamer and fabricated knife. I removed the complete cake from the chamber. I further sanded down the walls of the chamber with a 220 grit sand paper to smooth the walls and took the cake back down to the bare briar. I gently scraped out the little overflow of lava from the rim top.I cleaned out the internals of the shank with pipe cleaners and cue tips dipped in isopropyl alcohol. I wiped the inside of the chamber with cotton swabs dipped in alcohol. There was very little amount of cake and the shank was pretty clean too. It appears that though the pipe was well smoked as is apparent from the stem condition, it was well cared for.I cleaned the stummel with undiluted Murphy’s oil soap and a tooth brush. I washed the stummel under running water and dried it using paper towels and soft absorbent cotton cloth. Once the stummel had dried, I felt that the bowl was still appearing dull and lackluster. The grains, though visible, needed to be highlighted. To achieve the desired results, I sanded the stummel with micromesh pads, wet sanding with 1500 to 2400 grit pads and dry sanding with 3200 to 12000 grit pads. The rim top was also sanded down with micromesh pads to remove/ reduce the darkened areas. I wiped the bowl with a moist soft cotton cloth to remove the sanding dust after each pad. The stummel now looks beautiful with the grains on full display. I finished the bowl by rubbing “Before and After Restoration Balm” with my hands and polished it with a soft cotton cloth. The bowl now appears to be alive and the grains pop out and are on display to be enjoyed. This pipe, along with the CHACOM, will always find a place of pride in my collection for being first major stem repair project. The finished pipe is shown below.