Blog by Steve Laug
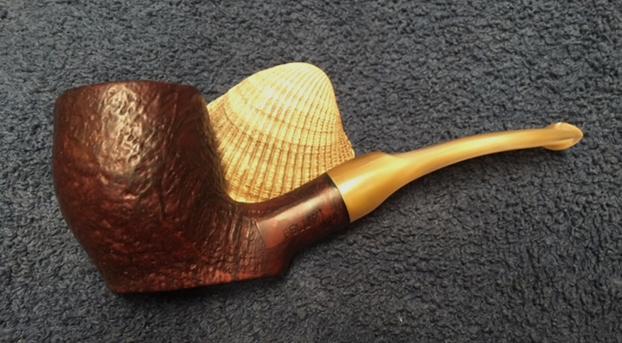
The next pipe on the table was one that my brother Jeff picked up from a seller in Texas. We have picked up quite a few pipes from him. It was in a box with the freehand pipes that I have been working my way through. Even though it is not properly a freehand I had put it in the box – go figure. It is more of a Billiard shape with a flat bottom making it a sitter. It has a slight bend in the shank and stem and the pipe is balanced to stand on its own. It has a sandblast finish to the bowl that reveals some swirling grain patterns. It is stamped on the left side of the shank in a smooth panel with the word FELLINI. It is also stamped at the stem shank junction ITALY. The pipe was very dirty when it arrived from the seller. There was dirt and grime in sandblast finish on the bowl. There was a thick cake in the bowl and an overflow of lava on the rim top. The inner and out edges of the bowl appeared to be undamaged under the grime. There were a few sand pits/fill areas that needed attention and the finish was spotty – dark and medium brown randomly around the bowl and shank. The stem was a striated tan and cream acrylic and has some tooth chatter on both sides near the button. The tenon had come loose from the stem and was stuck in the shank. Because of that the fit of the stem to the shank was off. Jeff took photos of the pipe before he started his cleanup up work.
 Jeff took photos of the rim top and bowl. You can see the thick coat of lava and grime on the rim and the thick cake in the bowl. This was a dirty pipe. There is even the fuzz of dust all around the bowl from sitting unused for a long time.
 The next photos show the finish on the bowl from various angles. Though it is dirty it is an interesting looking sandblast.
 He took a close up photo of the stamping on the left side of the shank. You can see that it is sharp and readable. You can see the gap between the stem and shank end in the photo.
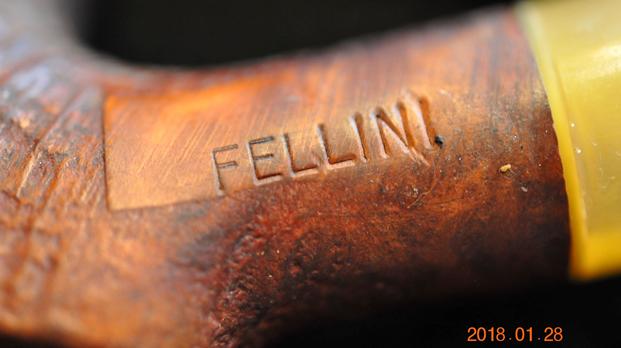 The stem was actually in great condition. The tooth chatter was light and there were no deep tooth marks in the surface of the acrylic.
 Jeff had scrubbed the exterior of the bowl with Murphy’s Oil soap and removed the dust and grime that had accumulated there. The finish looked very good once it had been scrubbed. He lightly reamed the bowl with a PipNet reamer and cleaned it up with a Savinelli Fitsall Pipe Knife. He cleaned the interior of the mortise and the airway in the shank and the stem with alcohol, cotton swabs and pipe cleaners. The pipe came to me clean and ready to do the restoration. I took some photos of the pipe to show the condition at this point in the process.
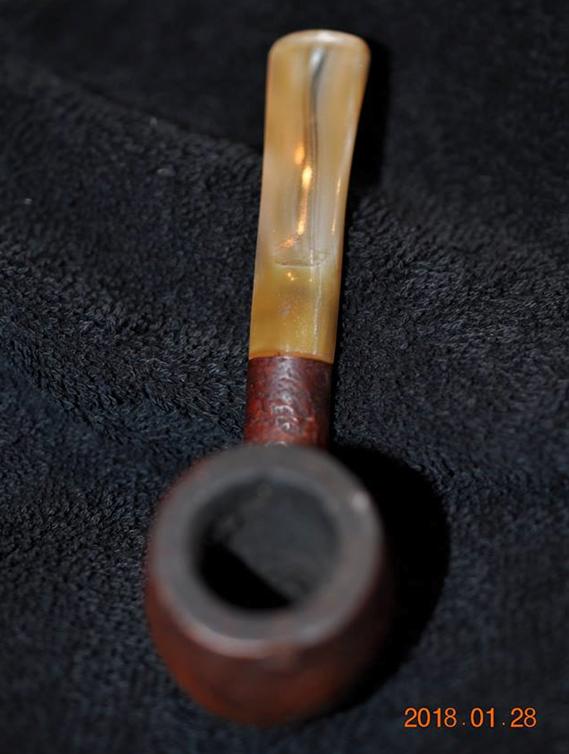
 I took some photos of the rim top and sides of the bowl where there were sandpits or fills that needed attention. I have circled the damaged areas in red in the second and third photo below. Both of them will need to be repaired and restained. There is some darkening to the surface of the rim and some spottiness to the finish that a restain will take care of. I also took close up photos of the stem to show its condition. It was in good condition other than the loose tenon in the stem.
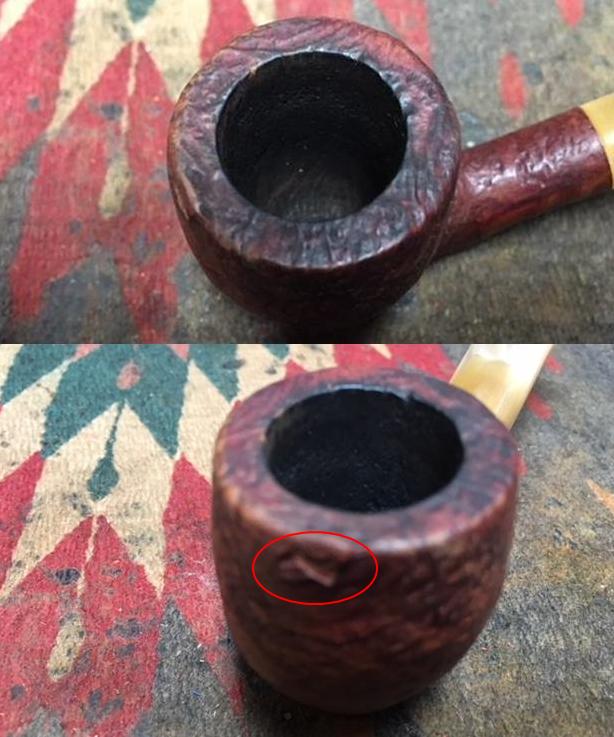
 I took the stem off the shank and you can see the tenon stuck in the shank. It has obviously been this way for a while as there is staining from tobacco on the end that sits in the stem. I used a pair of pliers to wiggle the tenon free from the shank so I could reglue it in the stem later.
 Once again I turned to the internet to see if I could find out any information on the brand. There was a lot of information on the Italian Film Director Frederico Fellini but very little other than pipes for sale on eBay that bore the name. Pipedia did not even mention the brand so that was unhelpful. I turned to the Pipephil site and found a listing for the brand. I have included a screen capture from that site (http://www.pipephil.eu/logos/en/logo-f1.html). You can see from the screen capture that even that information was very slim. Ah well, it will remain a mystery that hopefully one of you reading this can unravel for us.
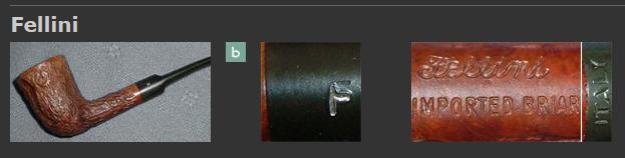 I started my restoration of the pipe armed with the little bit of information that I could find on the brand. I decided to reglue the tenon in the stem. I used a needle file to roughen the surface of the Delrin/nylon tenon. I wanted to make it rough enough for the glue to have something to bite on when I glued. I coated the roughened end of the tenon with clear superglue gel and pressed it into the drilled hole in the stem. I wiped away the excess glue on the face of the stem. With that done I set the stem aside to let the glue cure.
 I turned to repairing the damaged fills or sandpits on the bowl sides (front and rear). I put a drop of clear super glue in the pit and filled it in with briar dust using a dental spatula. When the repair had dried (fairly quickly as it is warm here) I used a brass bristle wire brush to remove the excess repair. I find that the brush follows the pattern of the sandblast.
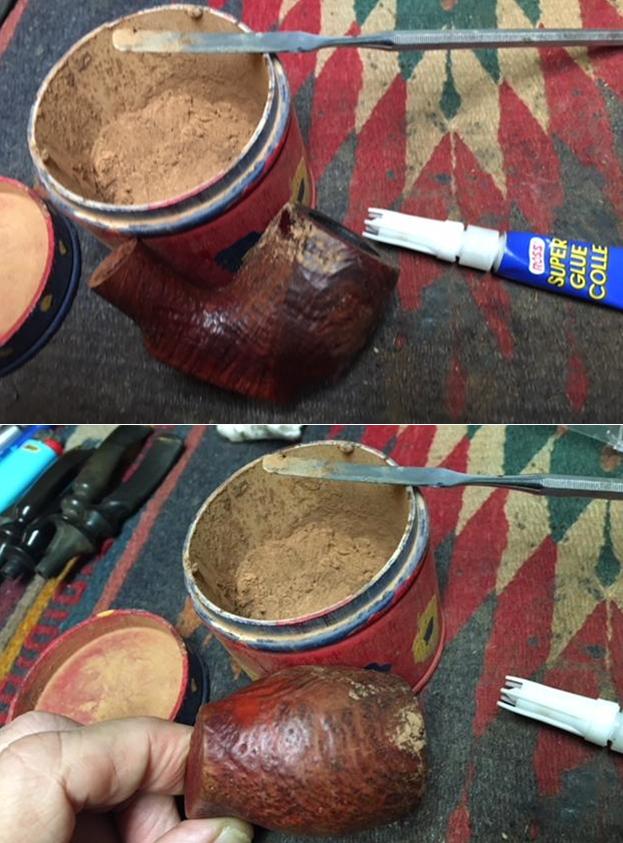
 I touched up the repaired fills with an Oak stain pen. I used it to stain the area around the new fill and deep in the crevices of the fill. I intended staining the pipe again in full but this would allow me to at least do a bit of the cosmetic work before the full stain. (Before I did that I put the stem on the shank to check the fit – it was flawless!)
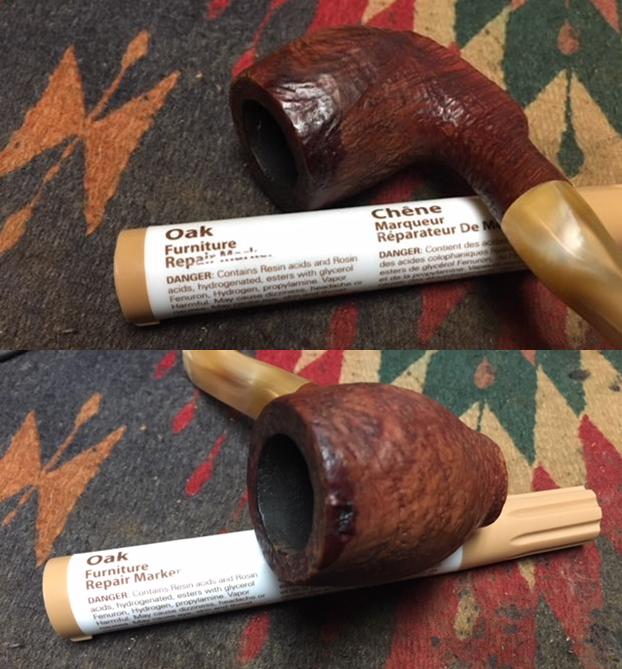 You might notice in the above photos that the briar has a definite red tint to it and the light oak stain had turned a red/brown colour. I decided to go with that and highlight the colour of the briar. I have a bottle of Fiebing’s Tan Stain that really is a light Cordovan colour so I used that to stain the briar. I heated the briar and applied the stain with a dauber. I flamed it with a lighter to set it in the wood and repeated the process.
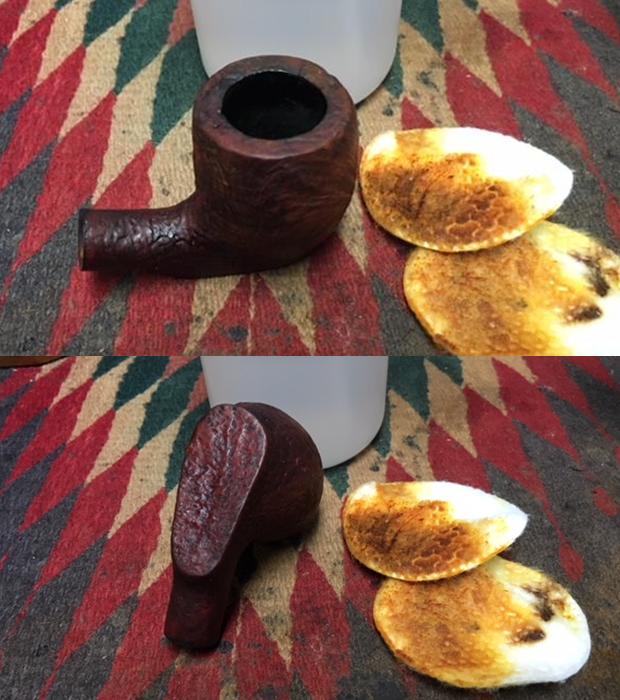
 I wiped the bowl down with isopropyl alcohol on cotton pads to make the stain more transparent. I took photos of the bowl to show it.
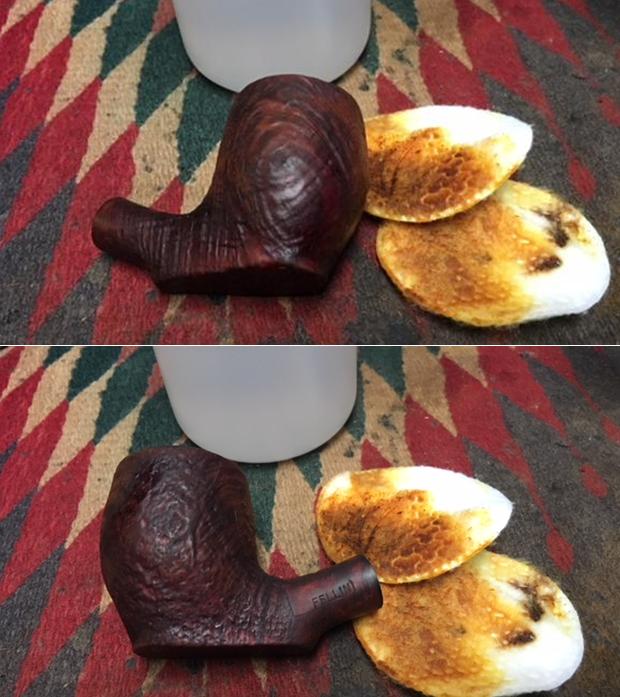
 I rubbed the bowl down with Before & After Restoration Balm to deep clean the briar bowl and the rim top as well as the briar shank. The product works to clean, enliven and protect the briar. I hand rubbed it with my fingers, working it into the exterior of the pipe. I worked it into the blast with a horsehair shoe brush. After it had been sitting for a little while I buffed it with a soft cloth to polish it. The pipe really began to have a rich shine. I took some photos of the bowl at this point to mark the progress in the restoration.
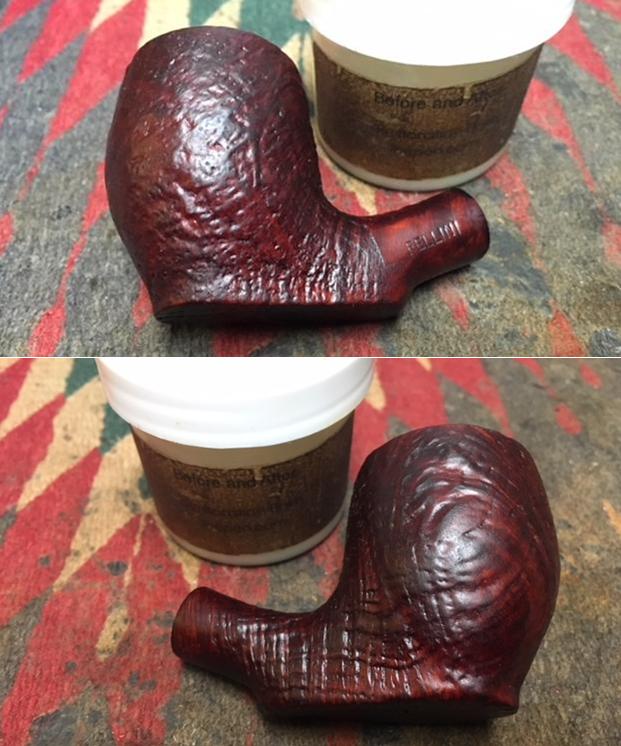
 It dawned on me that Jeff may not have been able to get the shank cleaned with the tenon stuck in the mortise so I went back and quickly cleaned the mortise and the airway in the shank and stem with pipe cleaners, cotton swabs and alcohol. I was right he had not been able to get to the debris behind the stuck tenon.
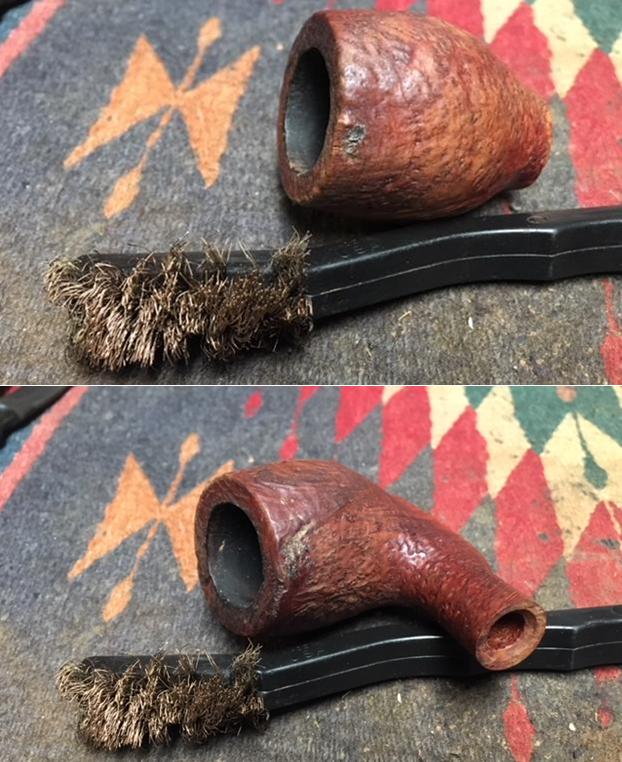
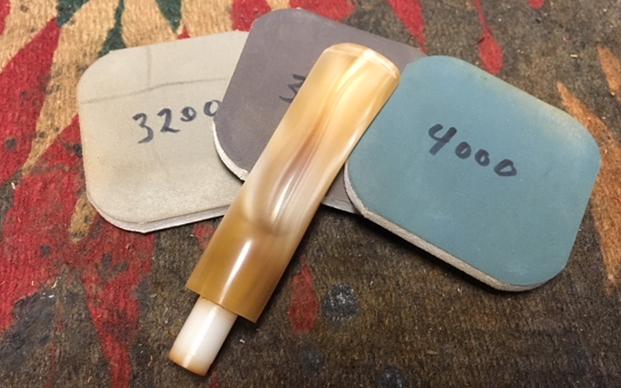
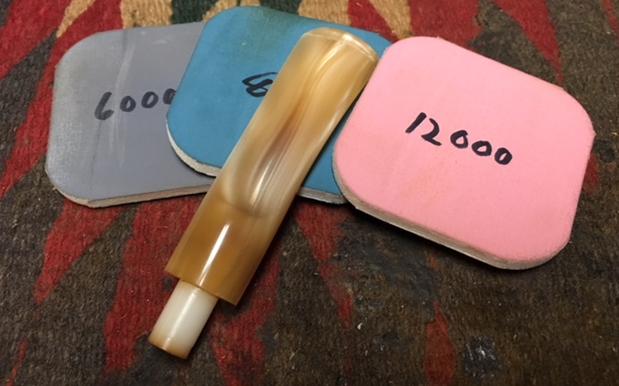
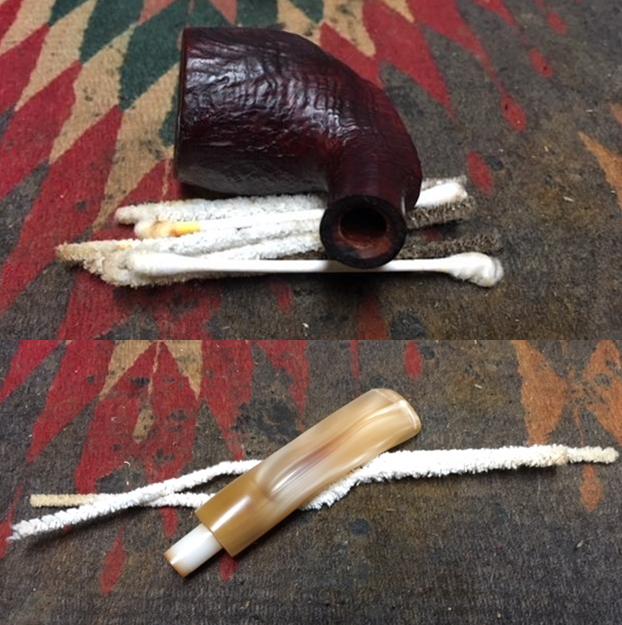 I polished the stem with micromesh sanding pads – wet sanding with 1500-2400 grit pads and dry sanding with 3200-12000 grit pads. I wiped the stem down after each pad with a damp cloth to remove the sanding dust on the acrylic. When I finished polishing and wiping it down I set it aside to dry.
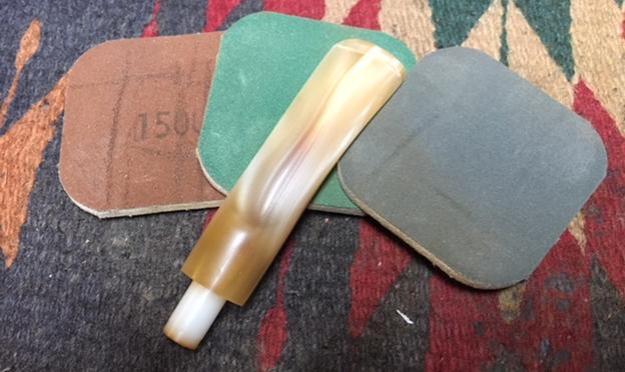
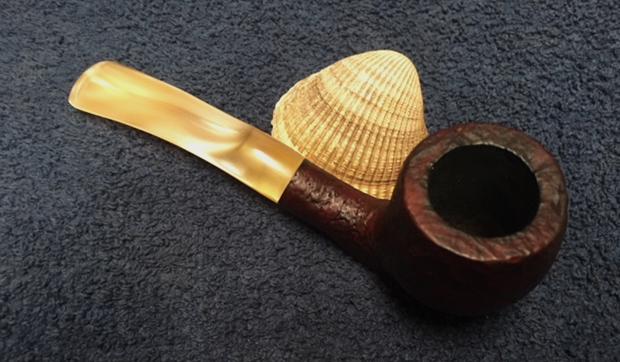
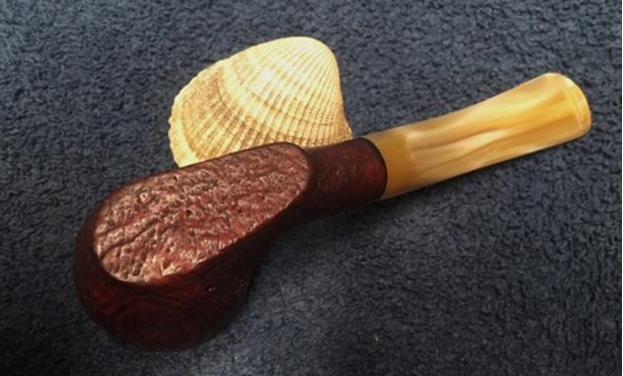
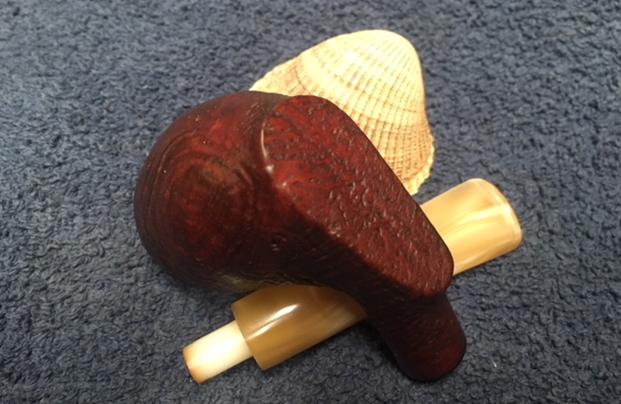
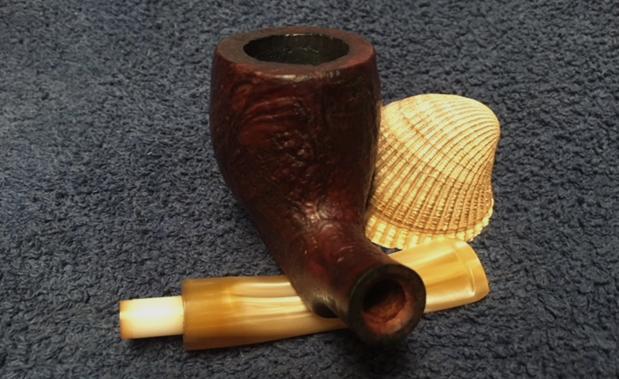
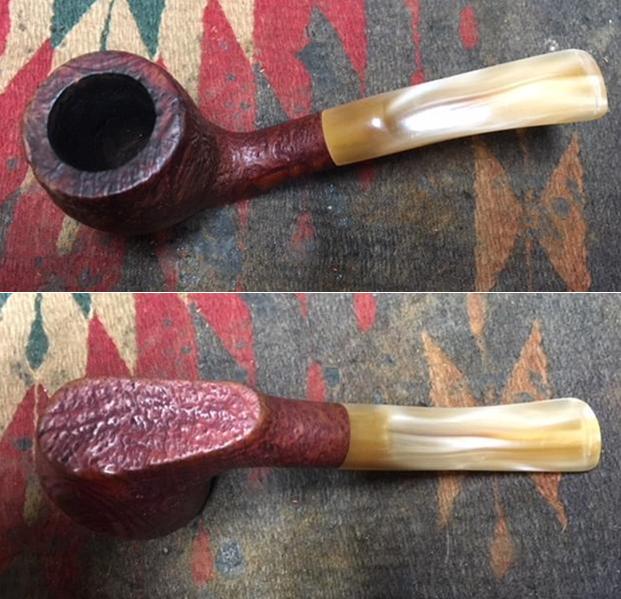
 I polished stem and bowl with Blue Diamond to polish out the remaining small scratches. I gave the bowl multiple coats of Conservator’s Wax and the stem multiple coats of carnauba wax and buffed the pipe with a clean buffing pad to raise the shine. I hand buffed it with a microfiber cloth to deepen the shine. The pipe polished up pretty nicely. The contrasting brown stain on the sandblast and the polished, variegated swirls and striations of the acrylic stem worked together to give the pipe a unique look. The finished pipe is shown in the photos below. This is one of those interesting Italian Made pipes about which little information can be found. The shape, finish and flow of the pipe and stem are very well done. The dimensions are Length: 5 1/2 inches, Height: 2 inches, Outside diameter of the bowl: 1 3/8 inches, Chamber diameter: 3/4 inches. This one will be added to the rebornpipes store soon. If you are interested in adding it to your collection send me an email to slaug@uniserve.com or send me a message on Facebook. Thanks for walking through the restoration with me as I worked over this nice little Italian Made sitter.