Tag Archives: Bowl – finishing

Restoring An Interesting Piece of Pipe History – An Art Deco C.B. Weber Streamliner


Blog by Steve Laug

In a recent EBay purchase I picked up a unique pipe that has a flowing look to it. I was intrigued to figure out the history and any information I could find regarding it so I went on a hunt on the web. One of the first articles I came across is found in the link below. http://streamlinesdeluxe.wordpress.com/2012/06/01/weber-streamliner-pipe-2/ The author of the blog makes a brief reference the pipe I found and even has a picture of it. He speaks of the stem being made of something other than vulcanite. Other references I found in online pipe forums spoke of the fact that the bowl was not made of briar but of some composite material. Others said that the bowls were made of American hardwoods. Interestingly no one spoke of what hardwoods were used. I have hunted high and low on the web and can find nothing definitive on the pipe’s manufacture or composition.

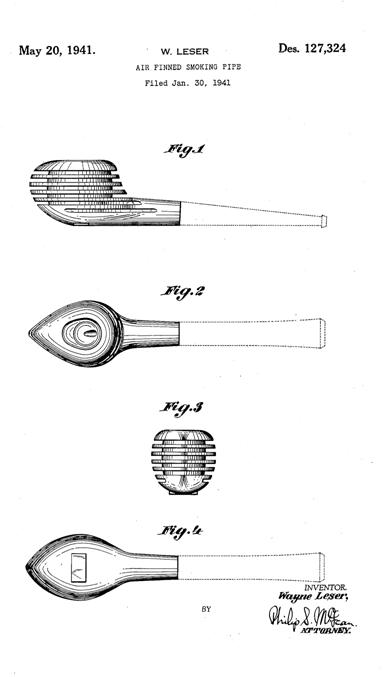
I broadened my search to information on finned pipes. I did not want information on Porsche design pipes or metal finned pipes but was looking for anything on wooden finned pipes. I came across the following information on a patent taken by a carver/designer named Wayne Leser. His diagrams and patent application is included below and it can be seen that it is actually very close to CB Weber’s Streamliner. His patent was applied for through the US Patent Office in January of 1941. I assume the patent was granted as it is on the Patent website. Weber’s design seems to be elongated a bit more than the Leser design but the tear drop shape of the outer bowl and the similarly tear drop shape of the drilling match quite well.

I can find no further information on Wayne Leser so I have no idea if he sold his concept to Weber, or worked for Weber. If anyone has further information on that connection it would be great to learn about it. Please post a response below.
Leser Patent Drawings

Leser Patent Application

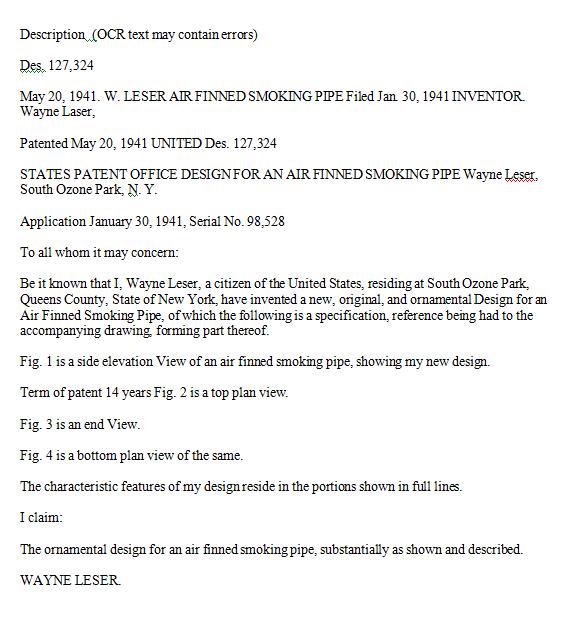
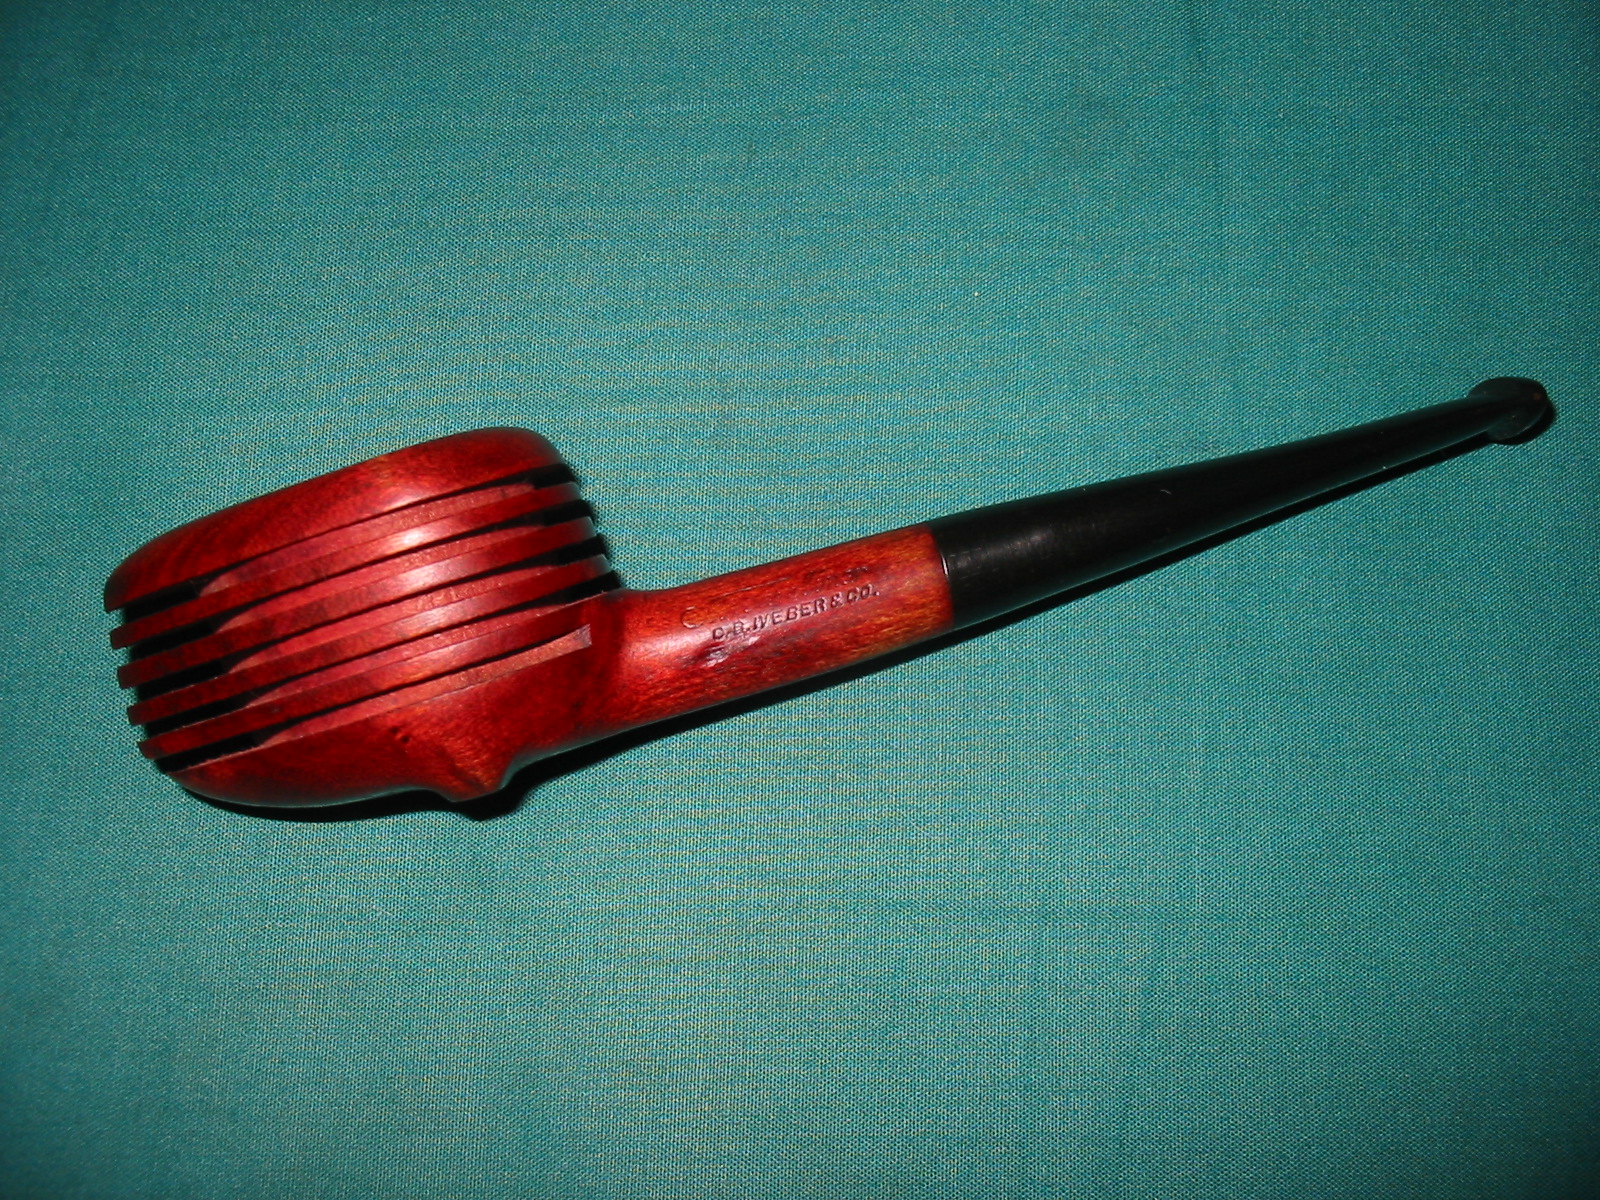
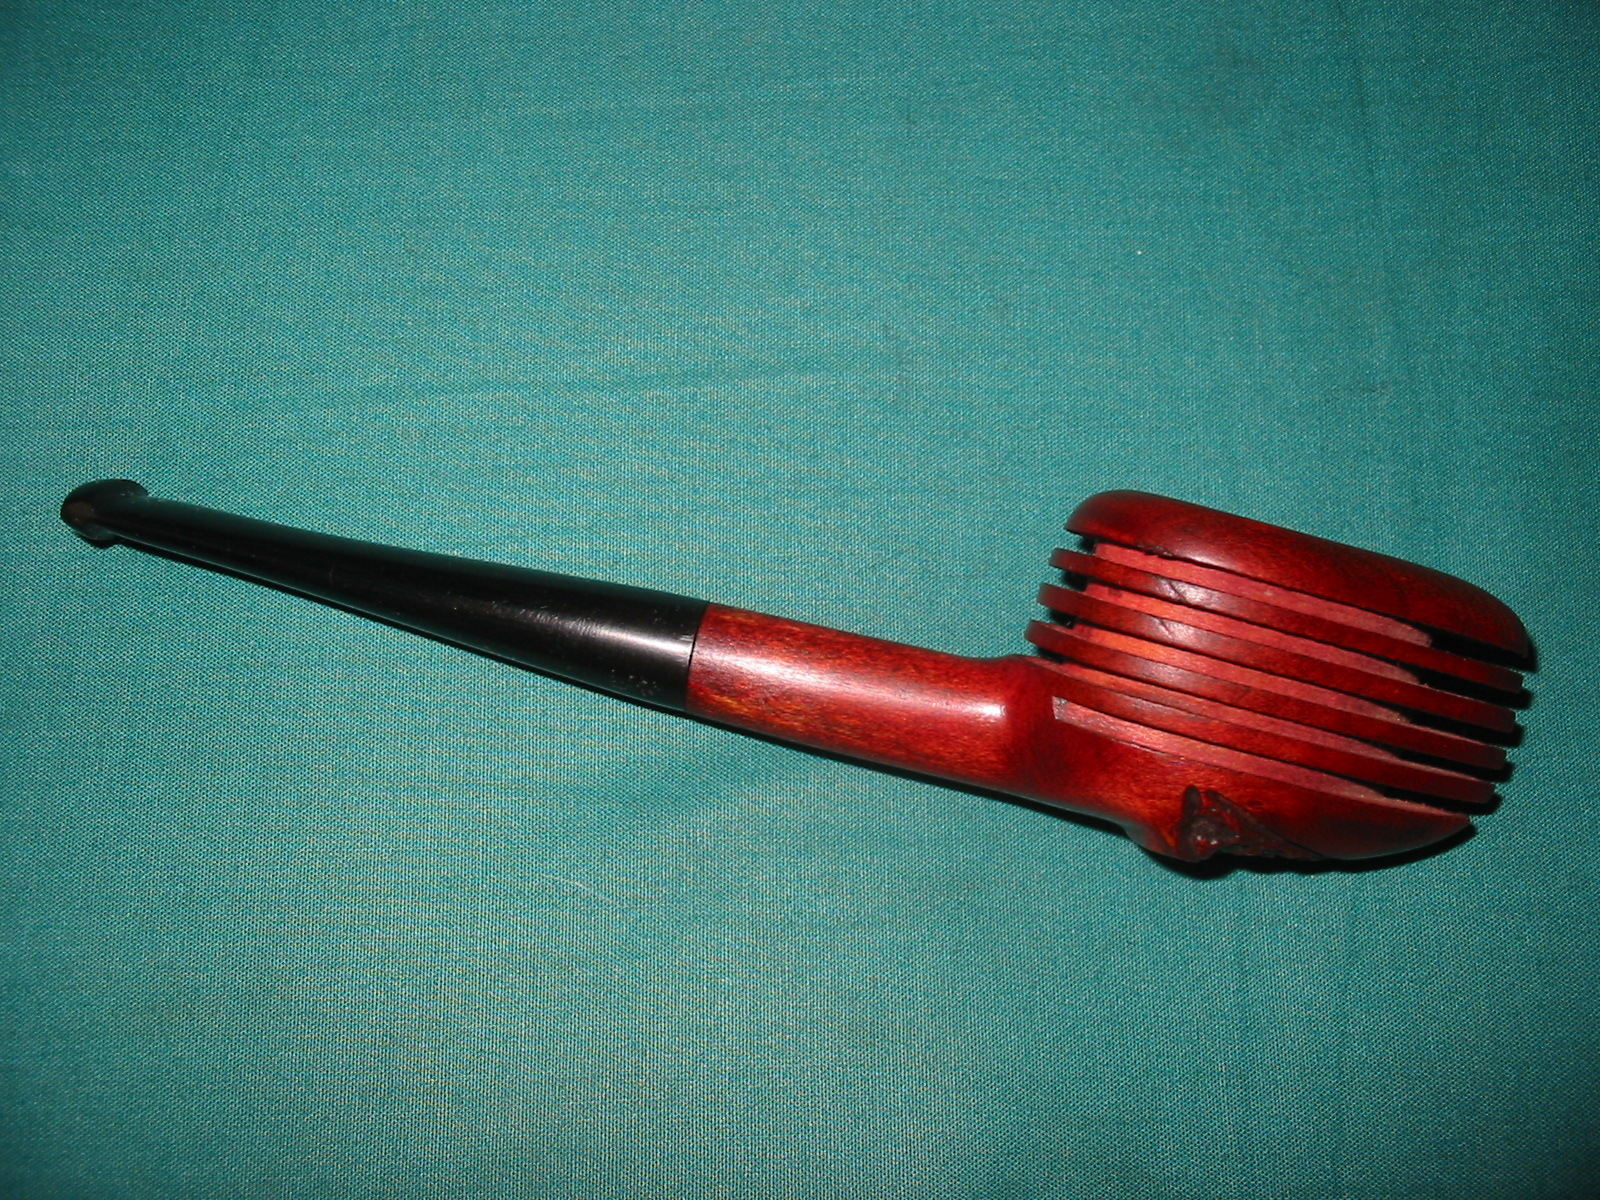
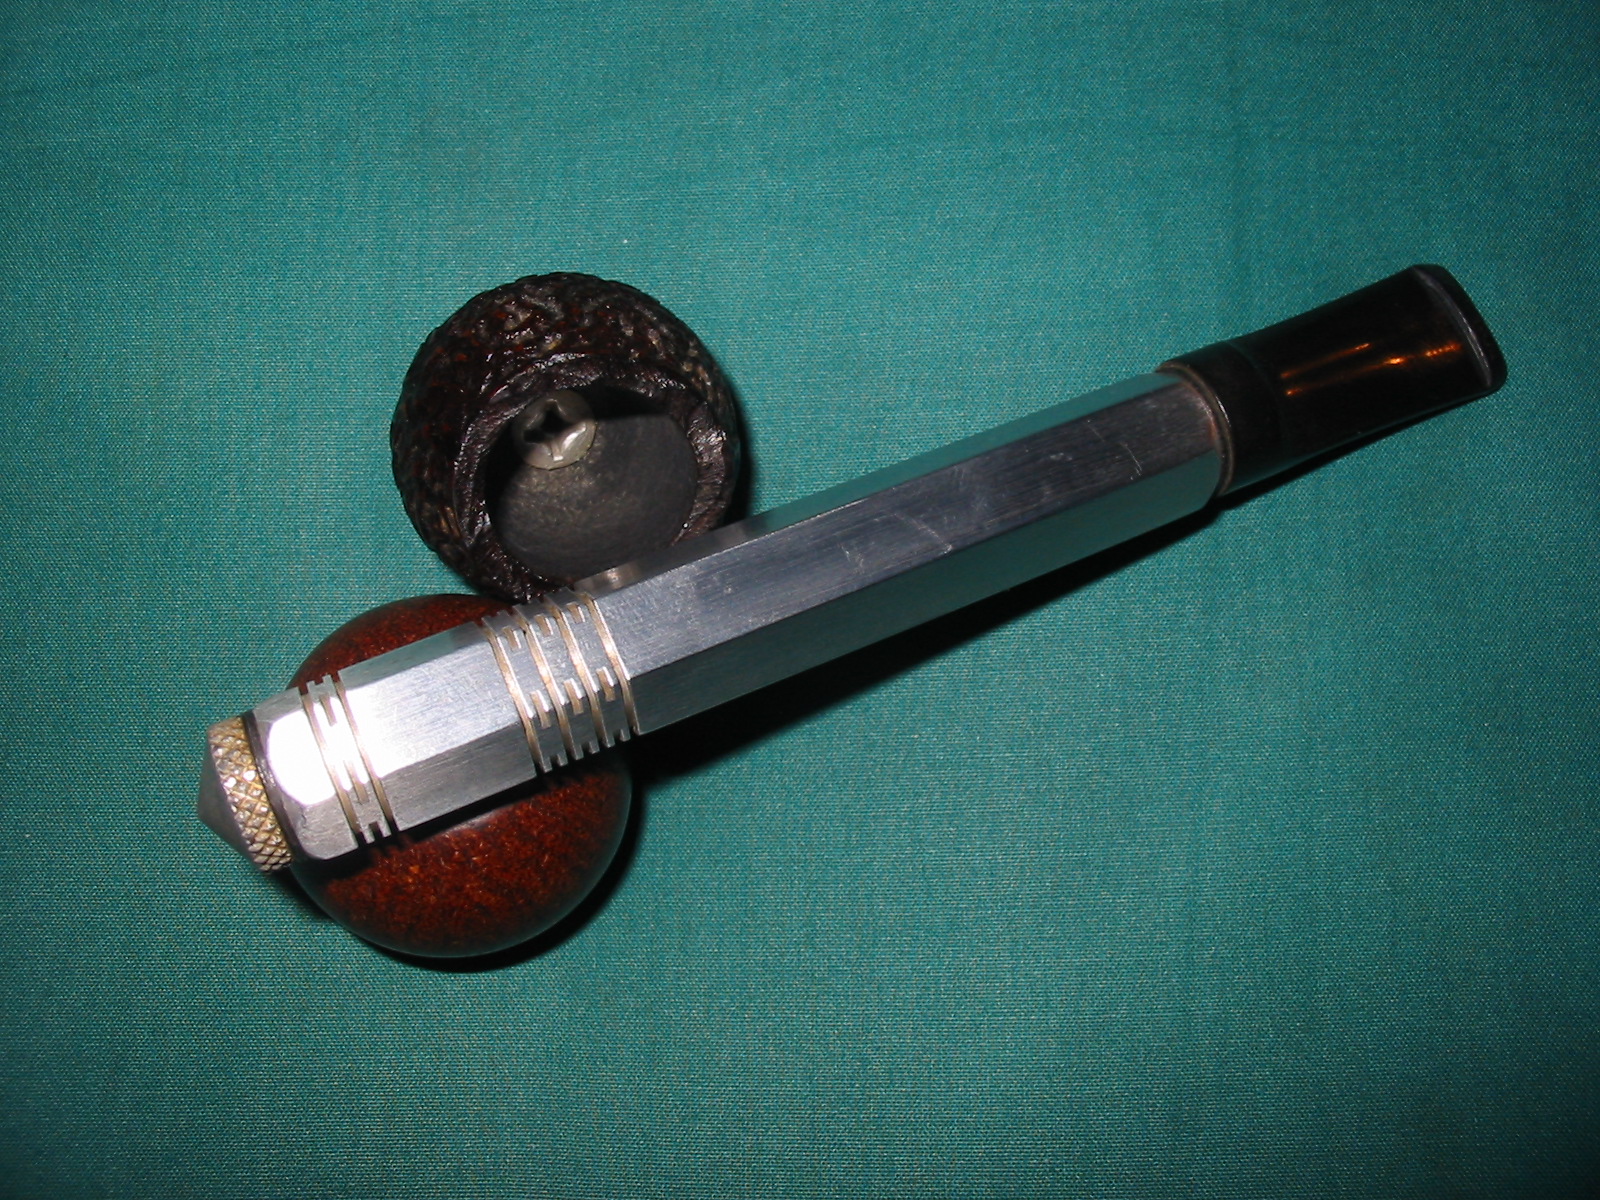
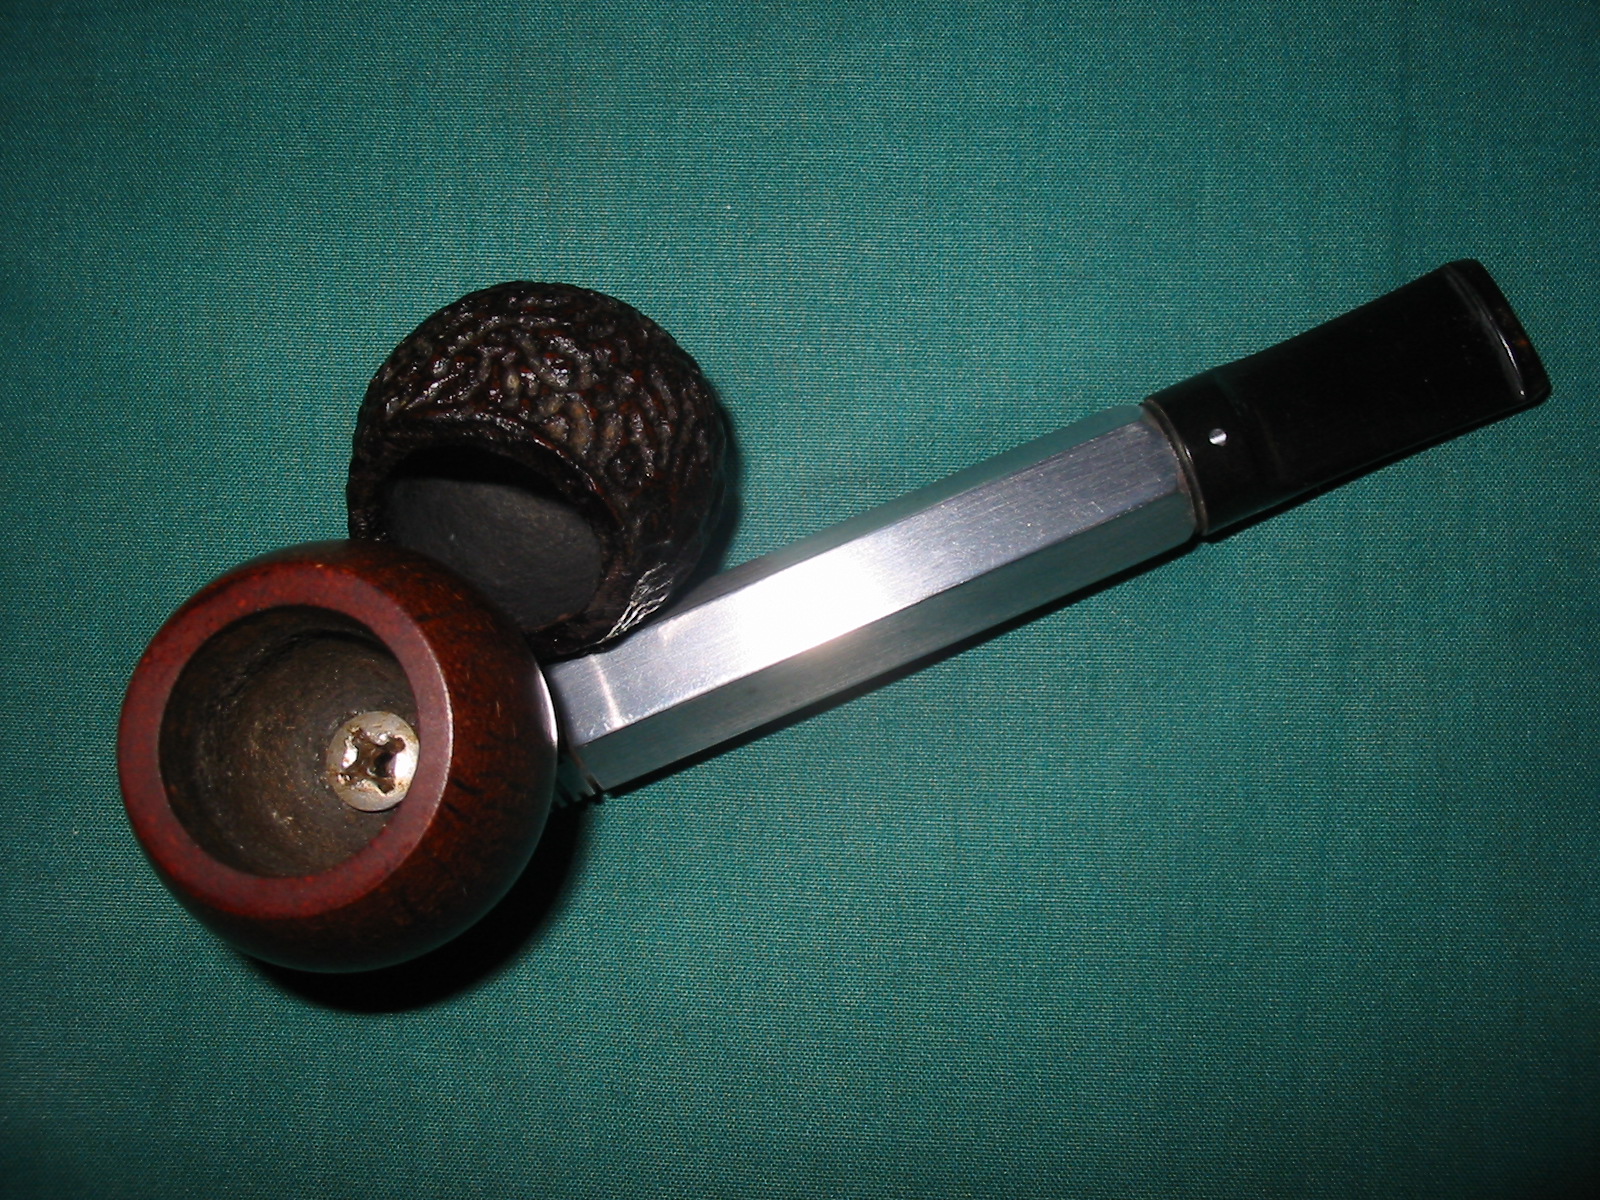
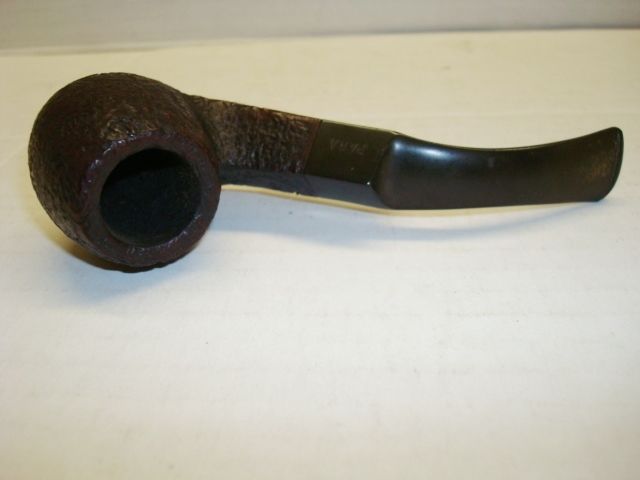
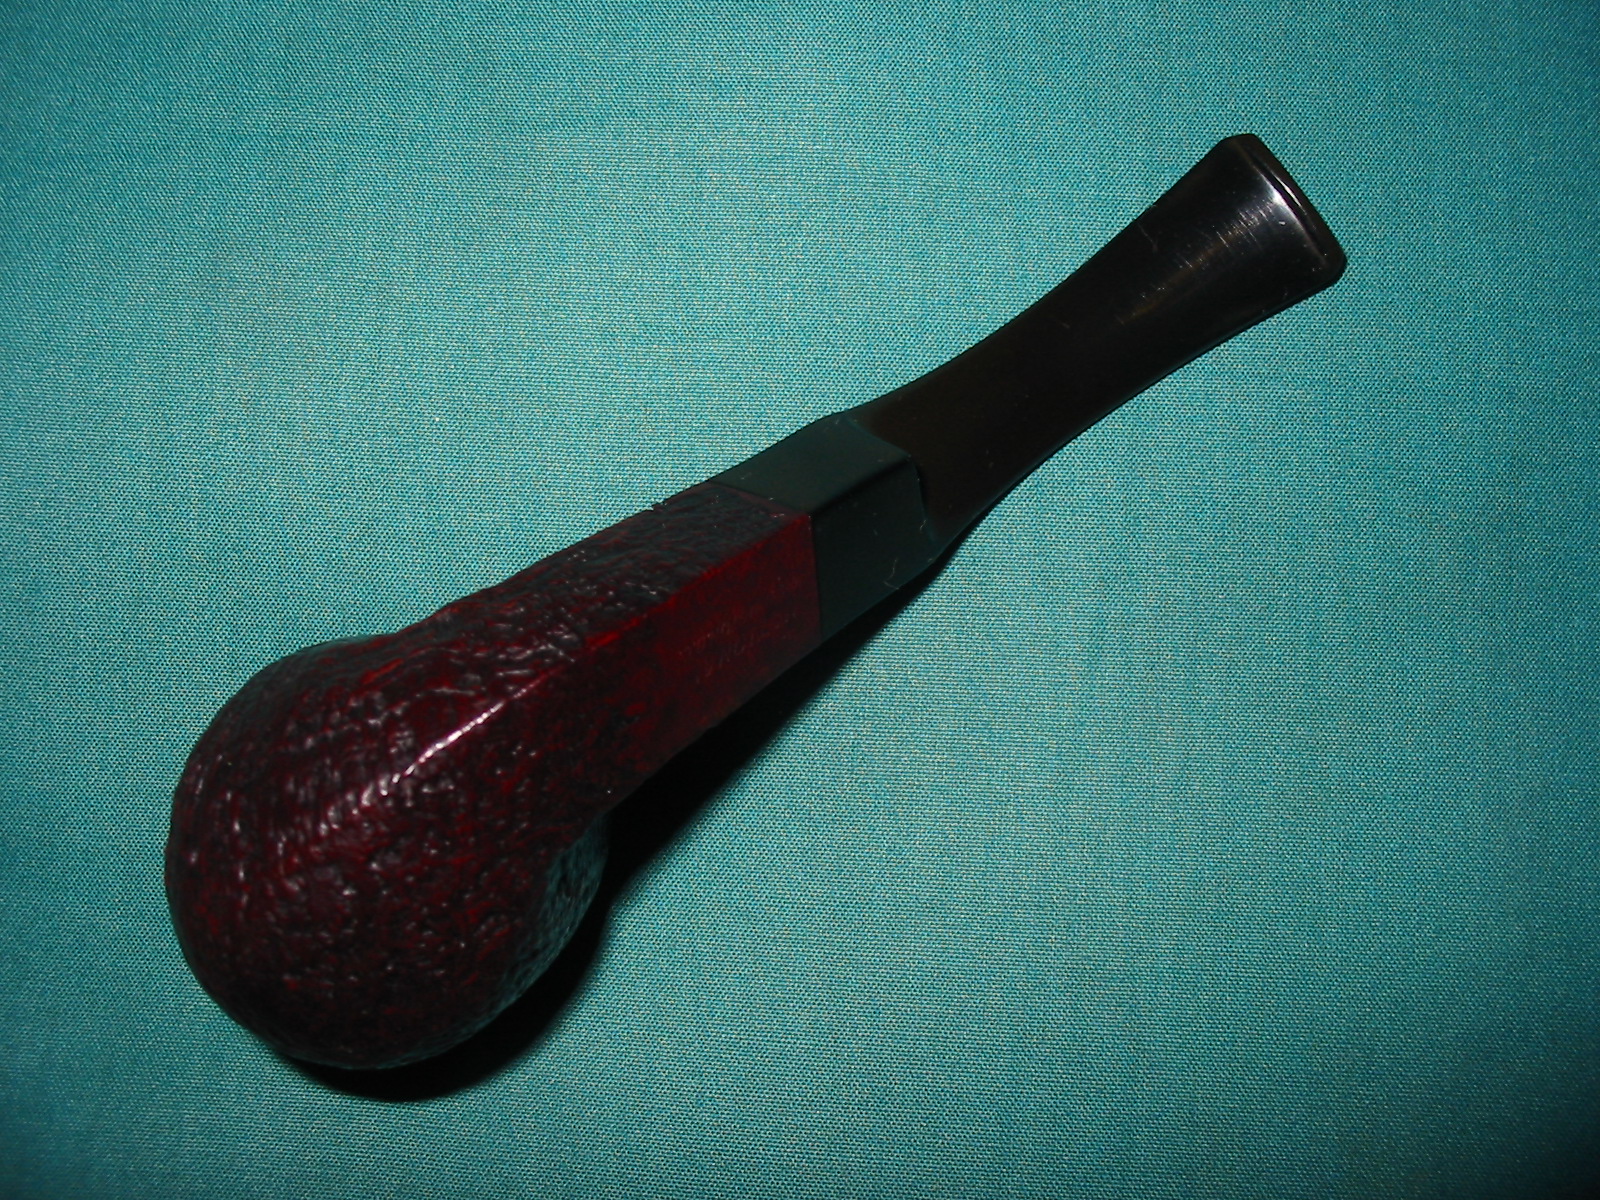
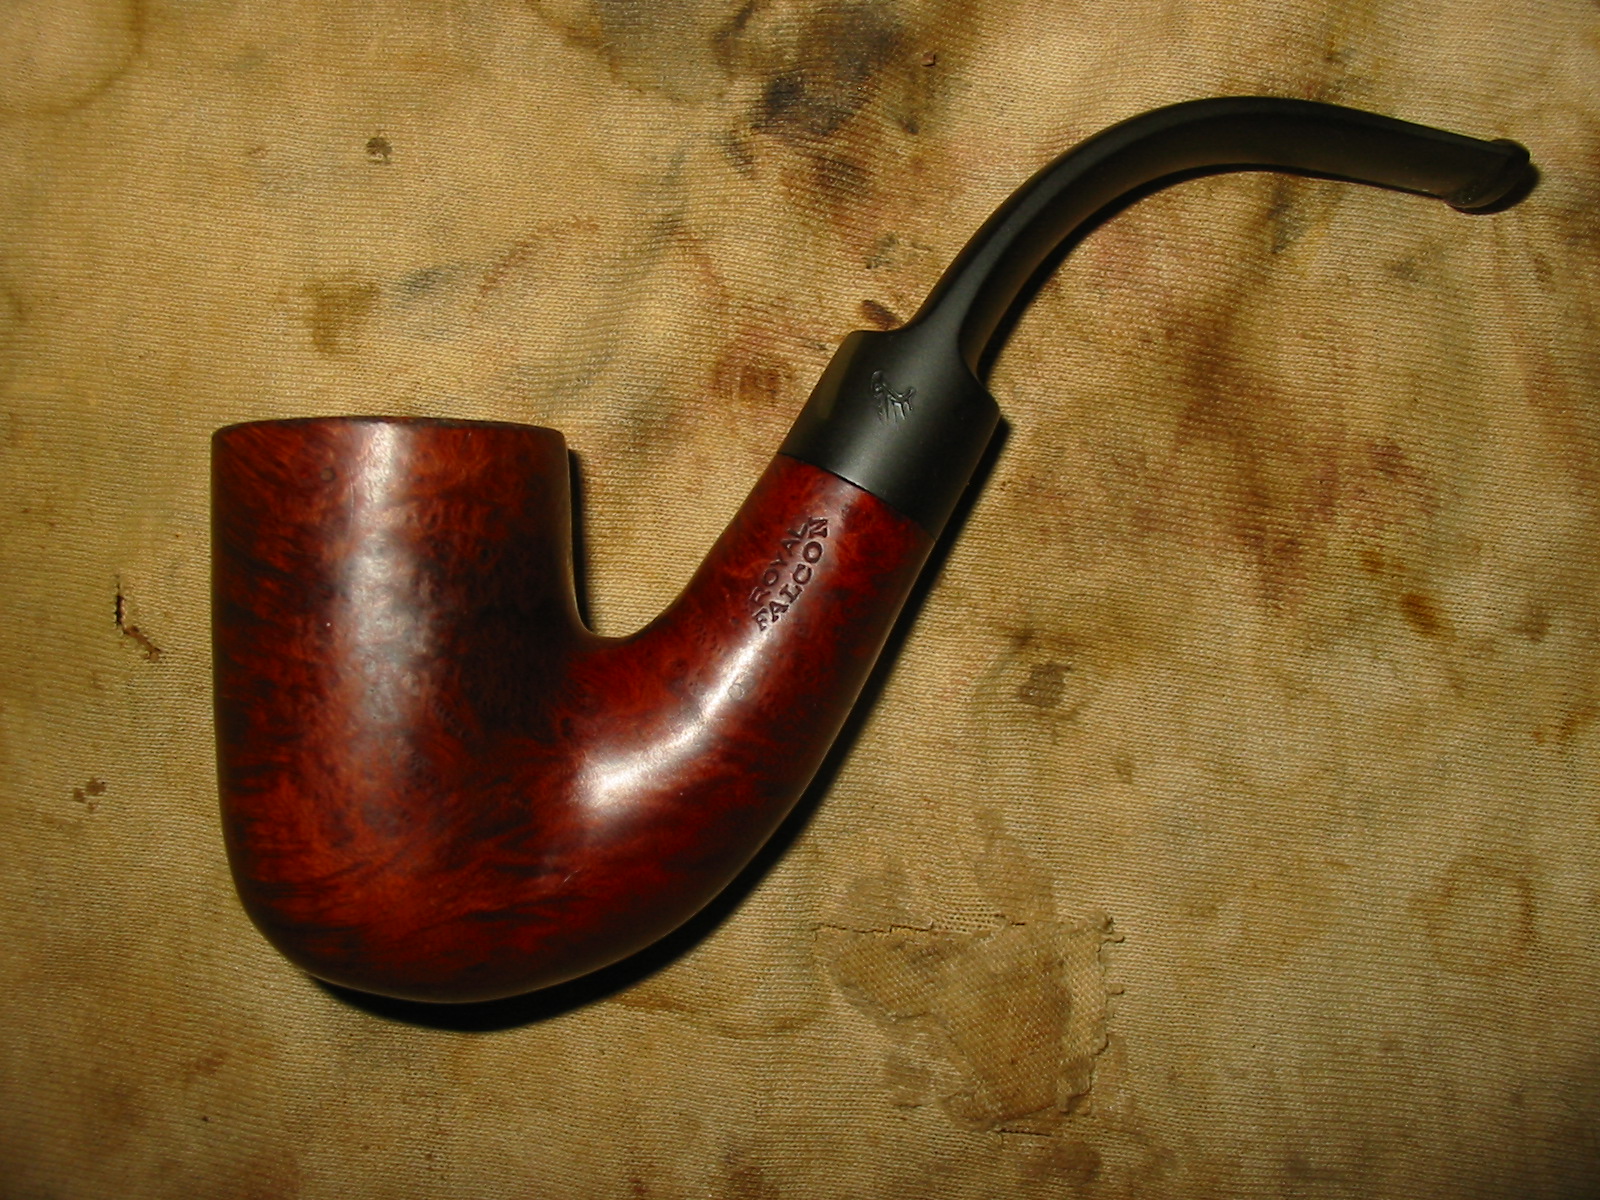
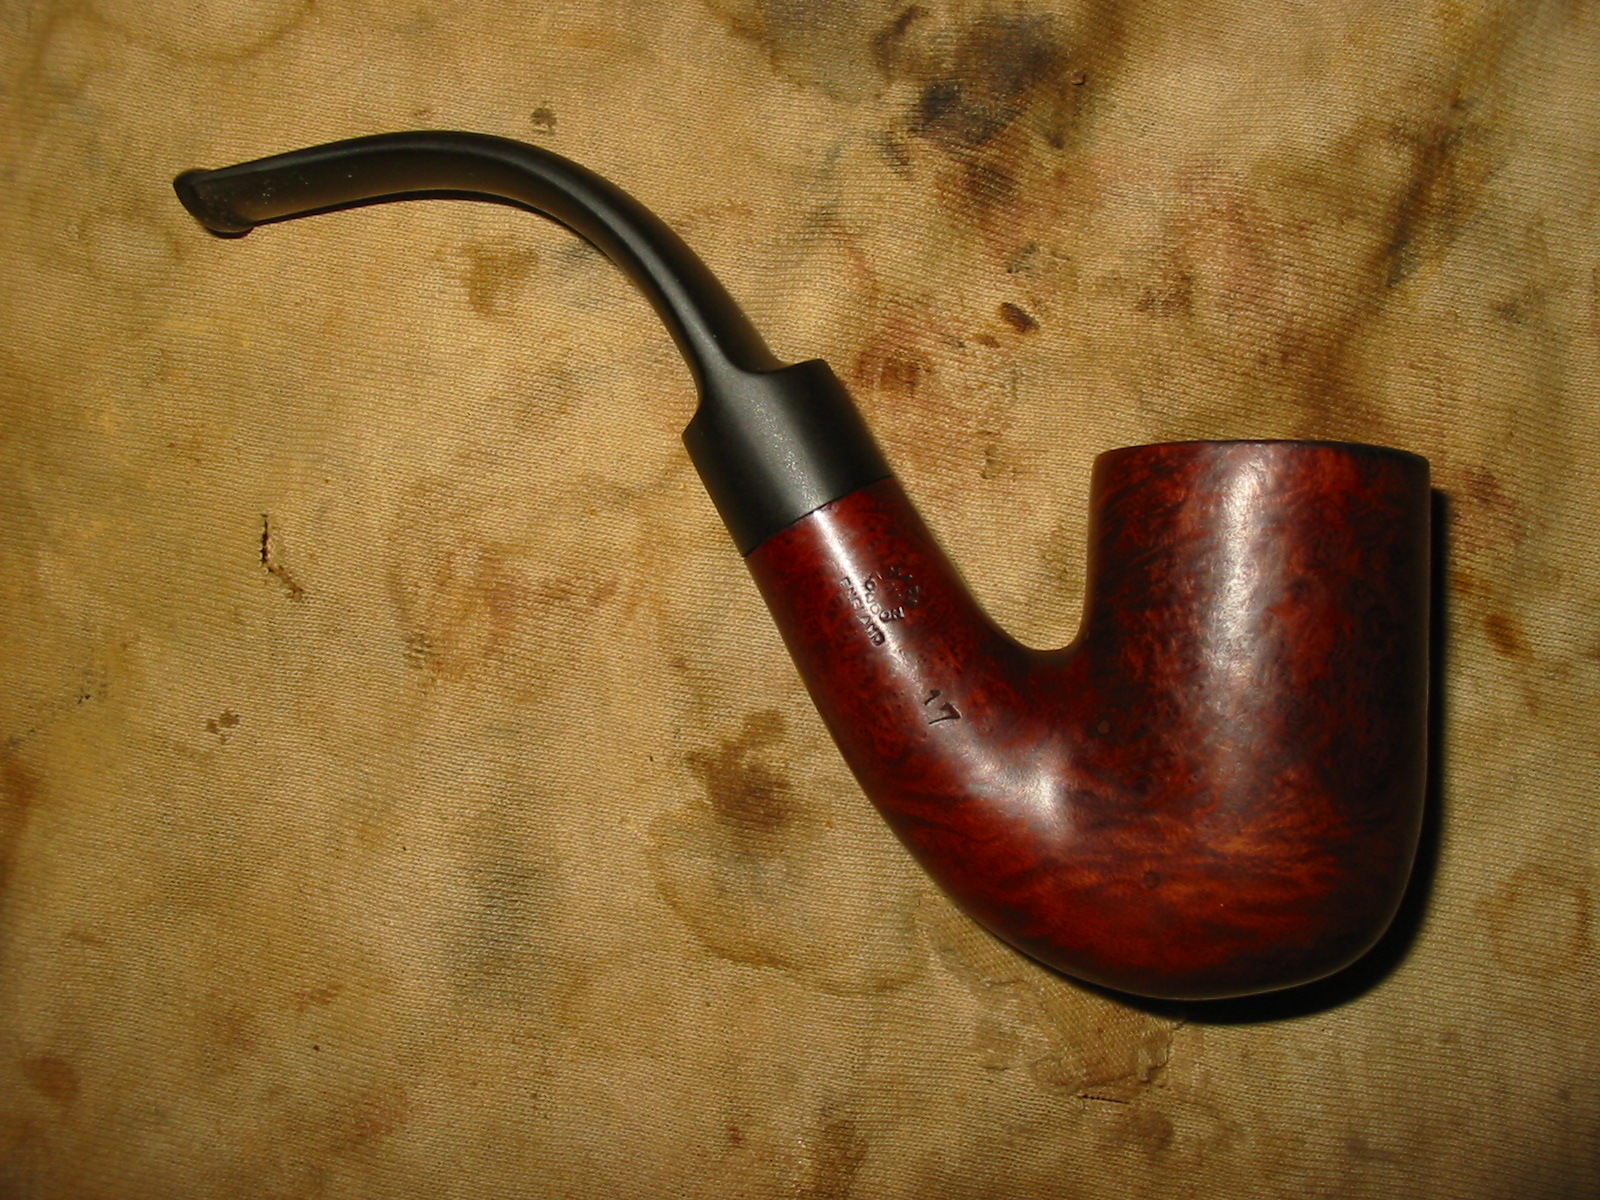
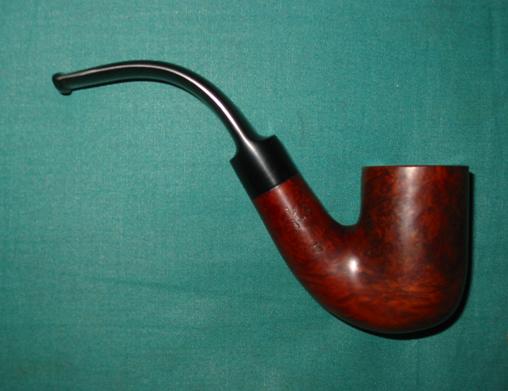
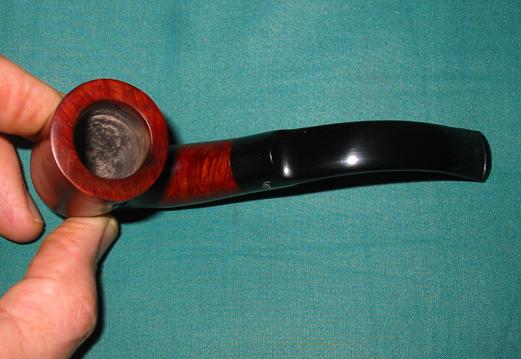
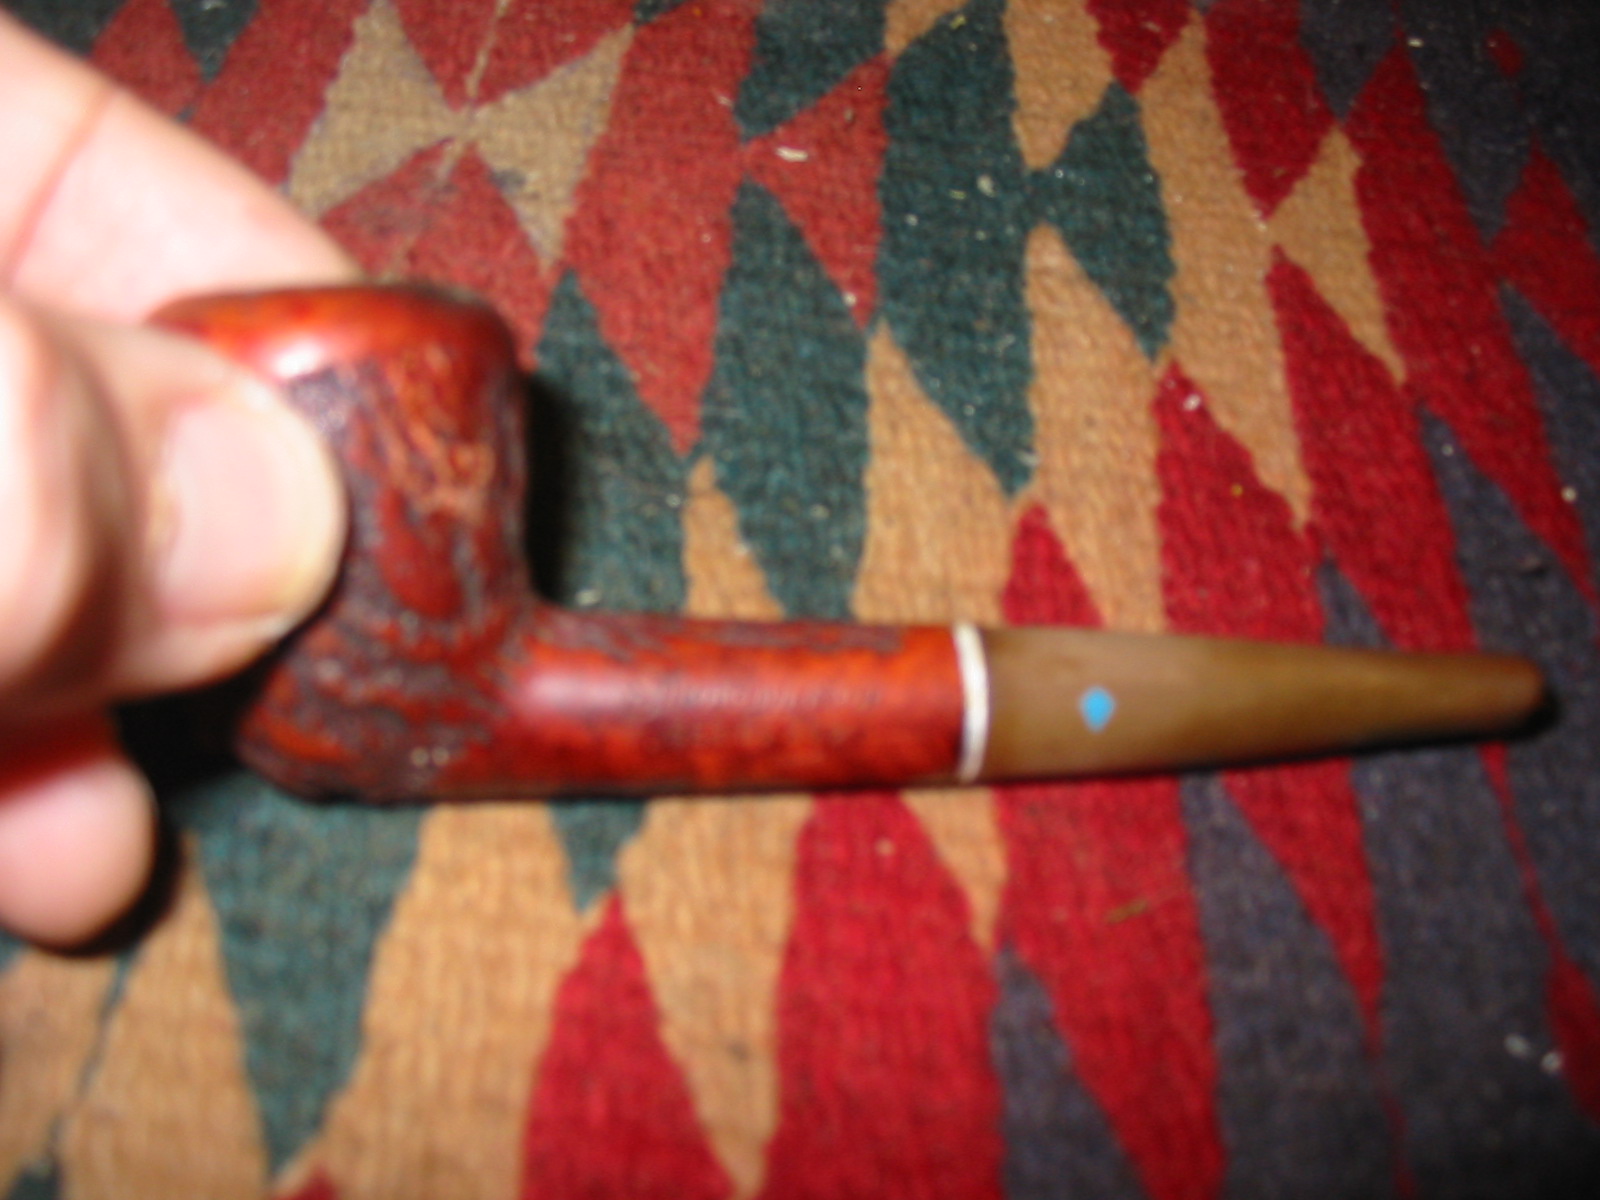
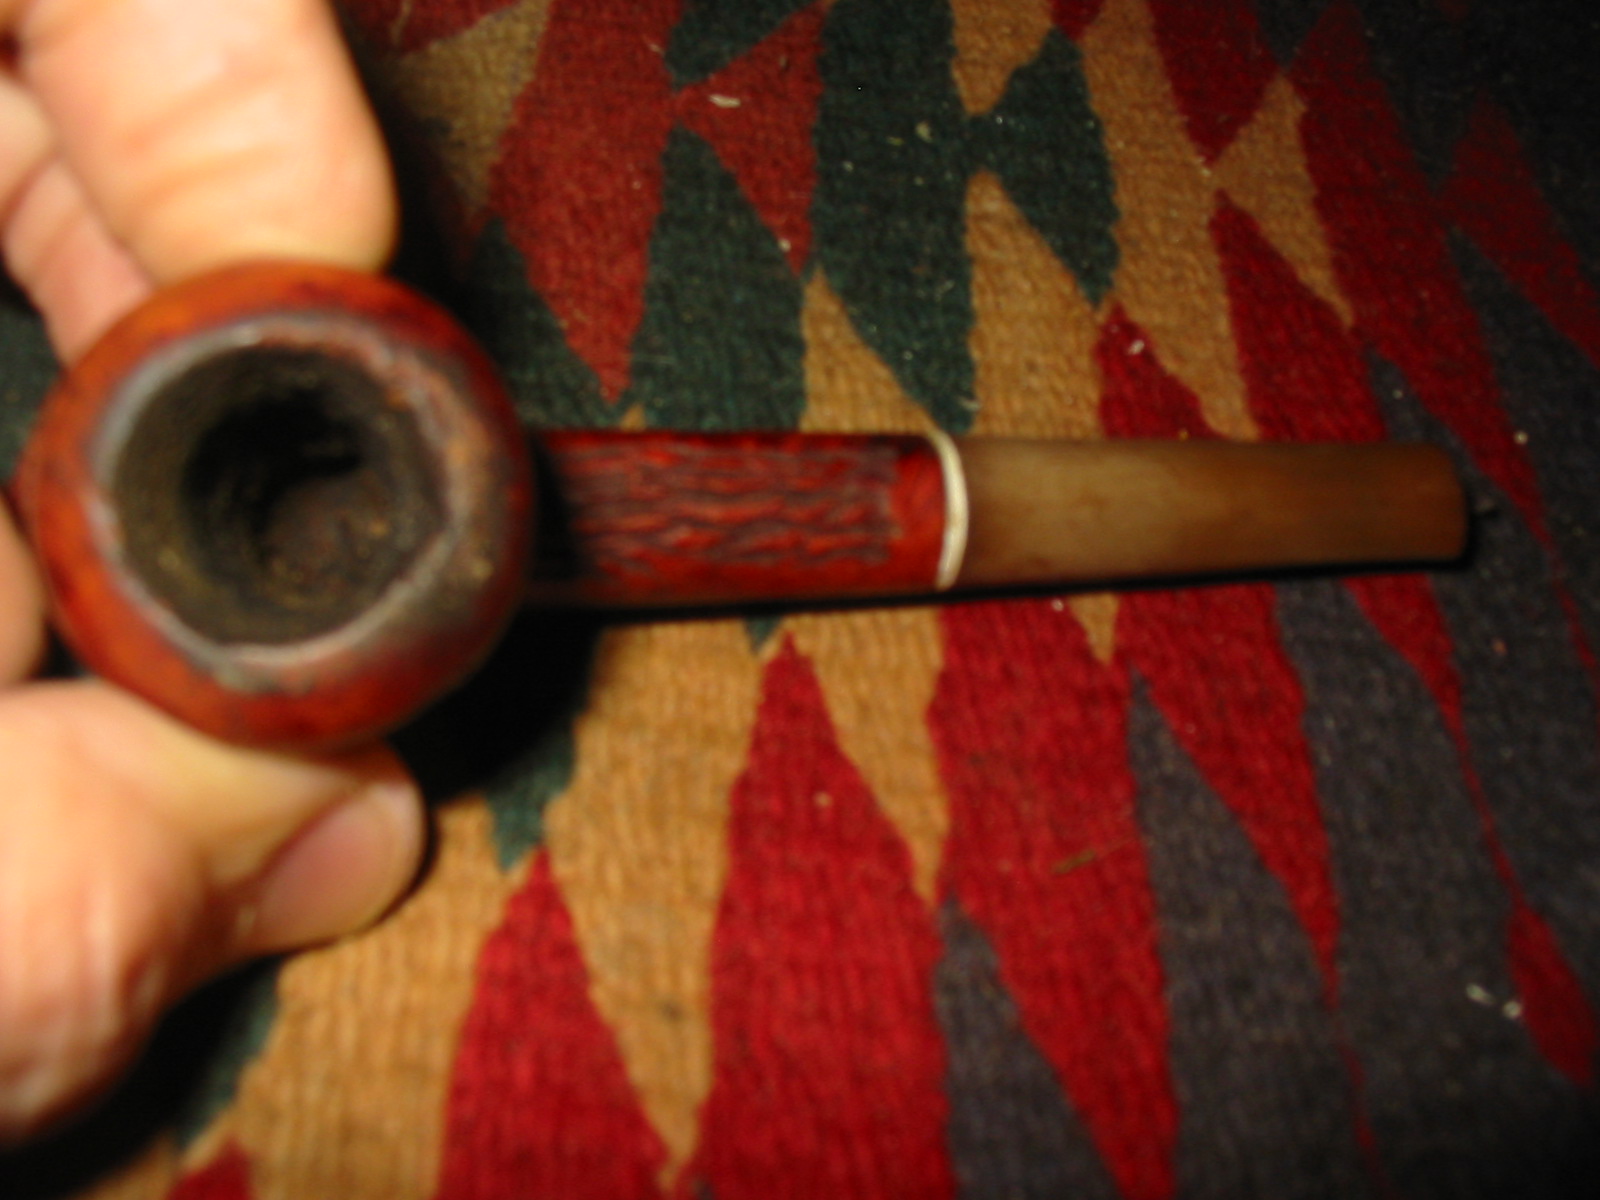
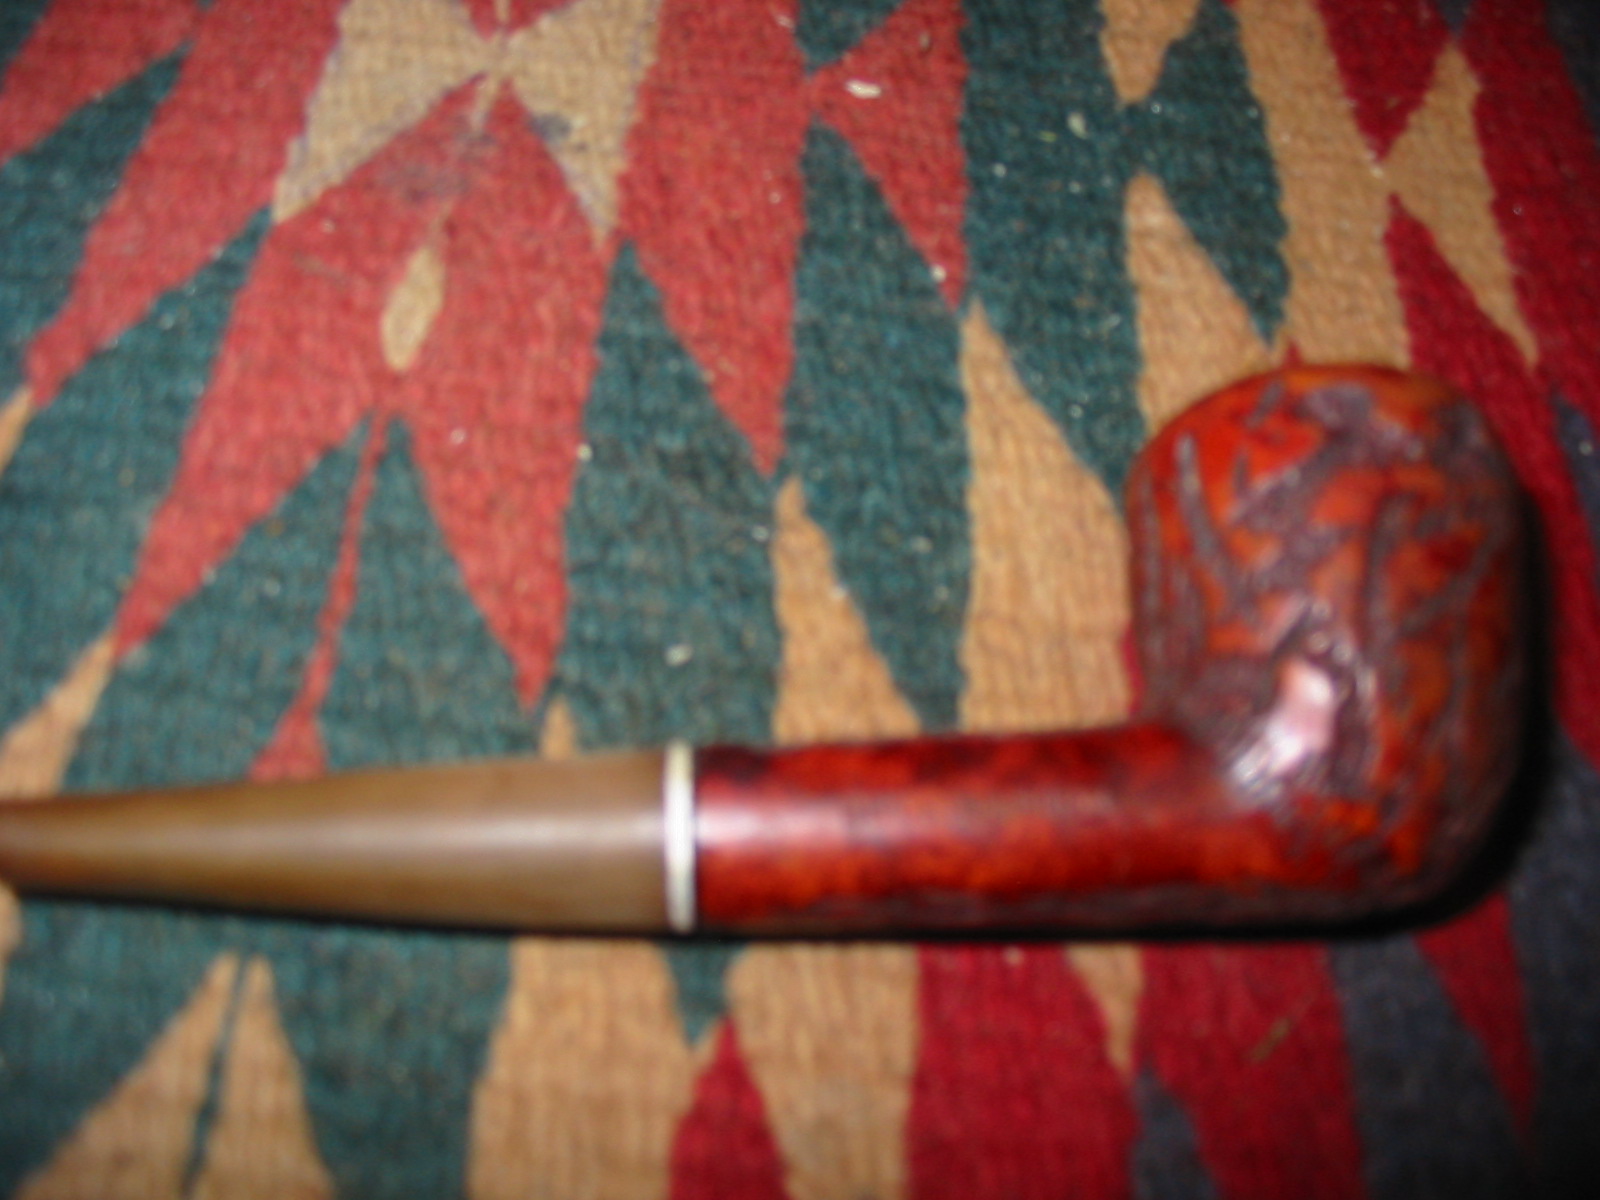
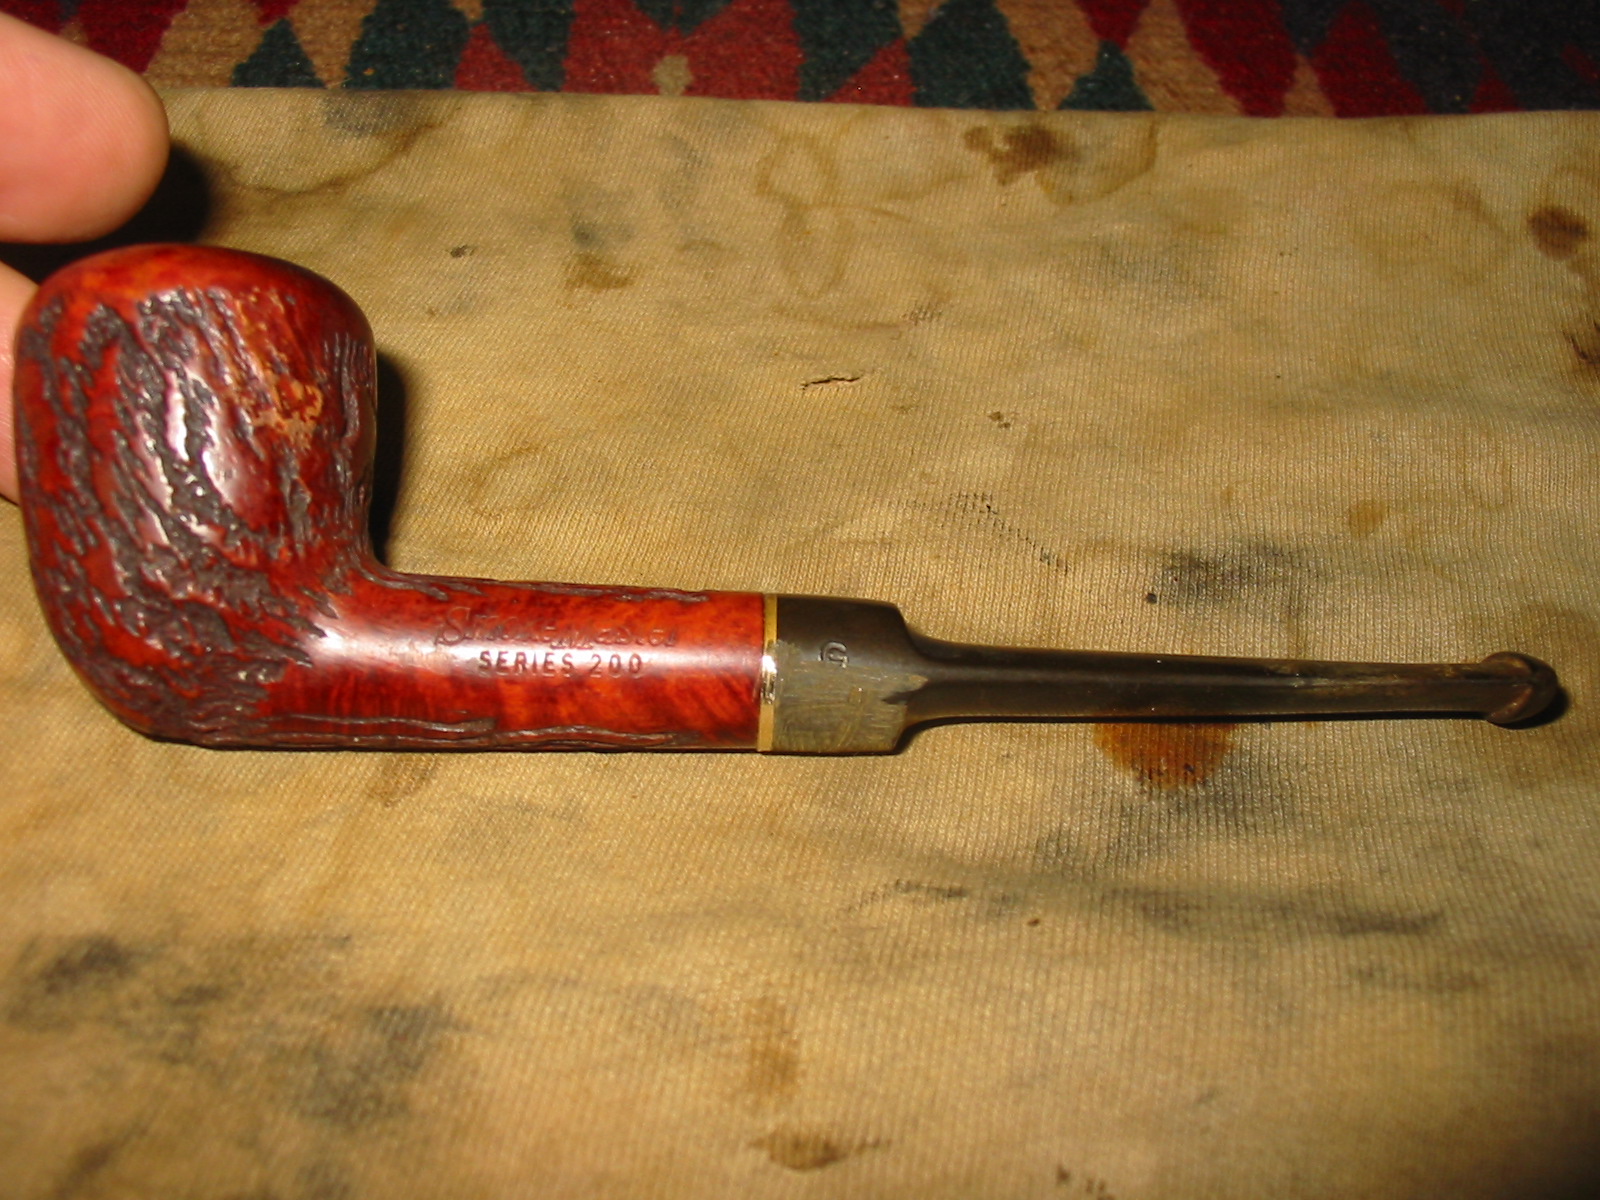
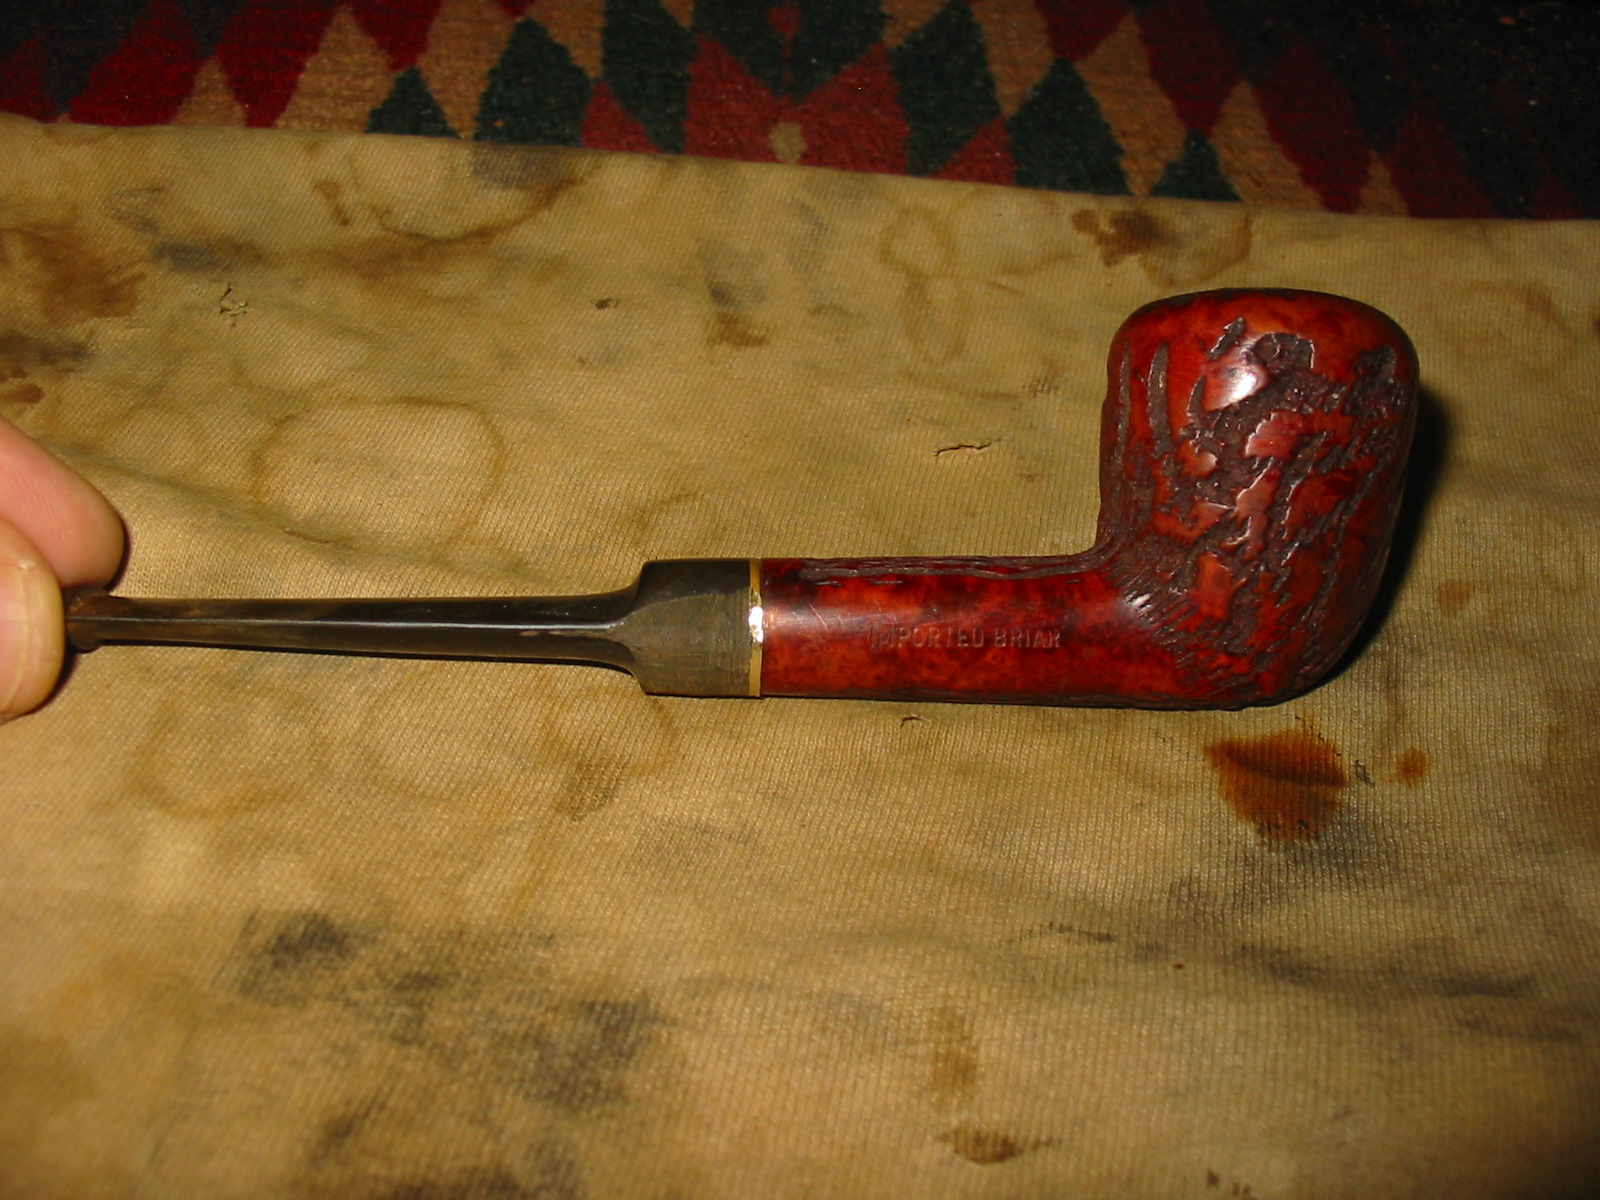
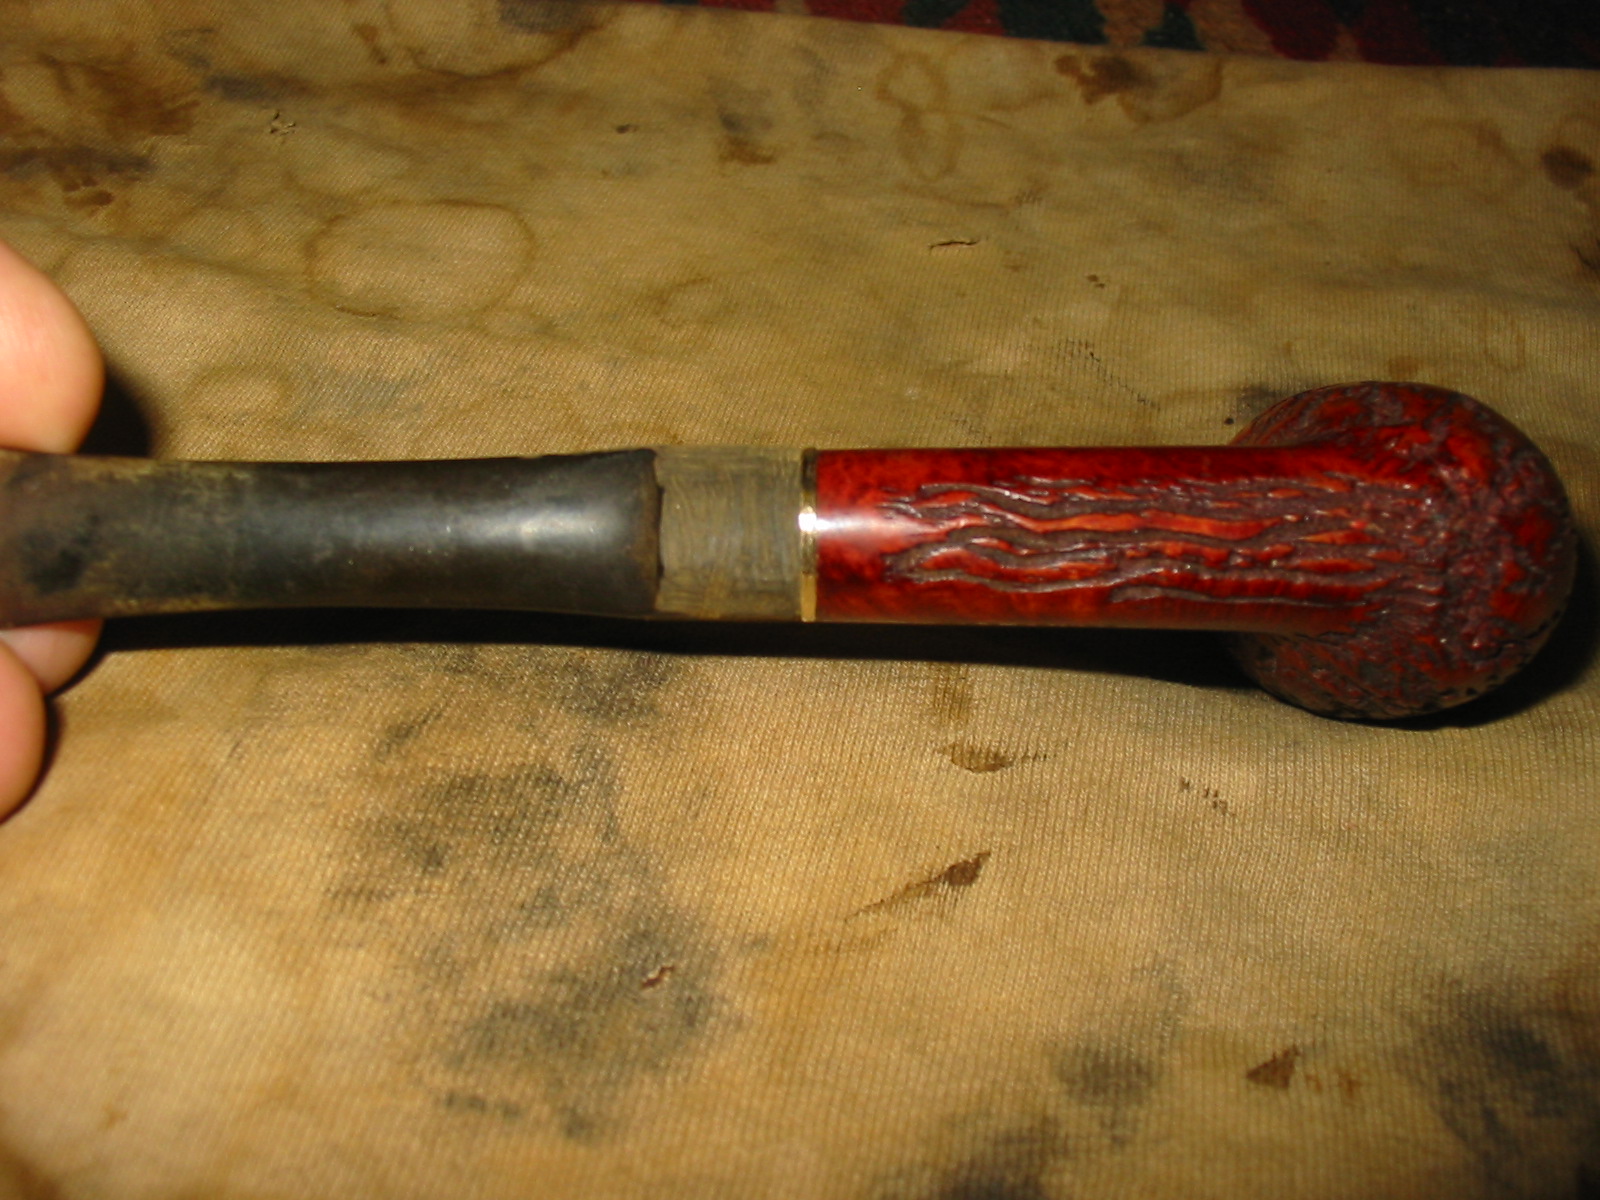
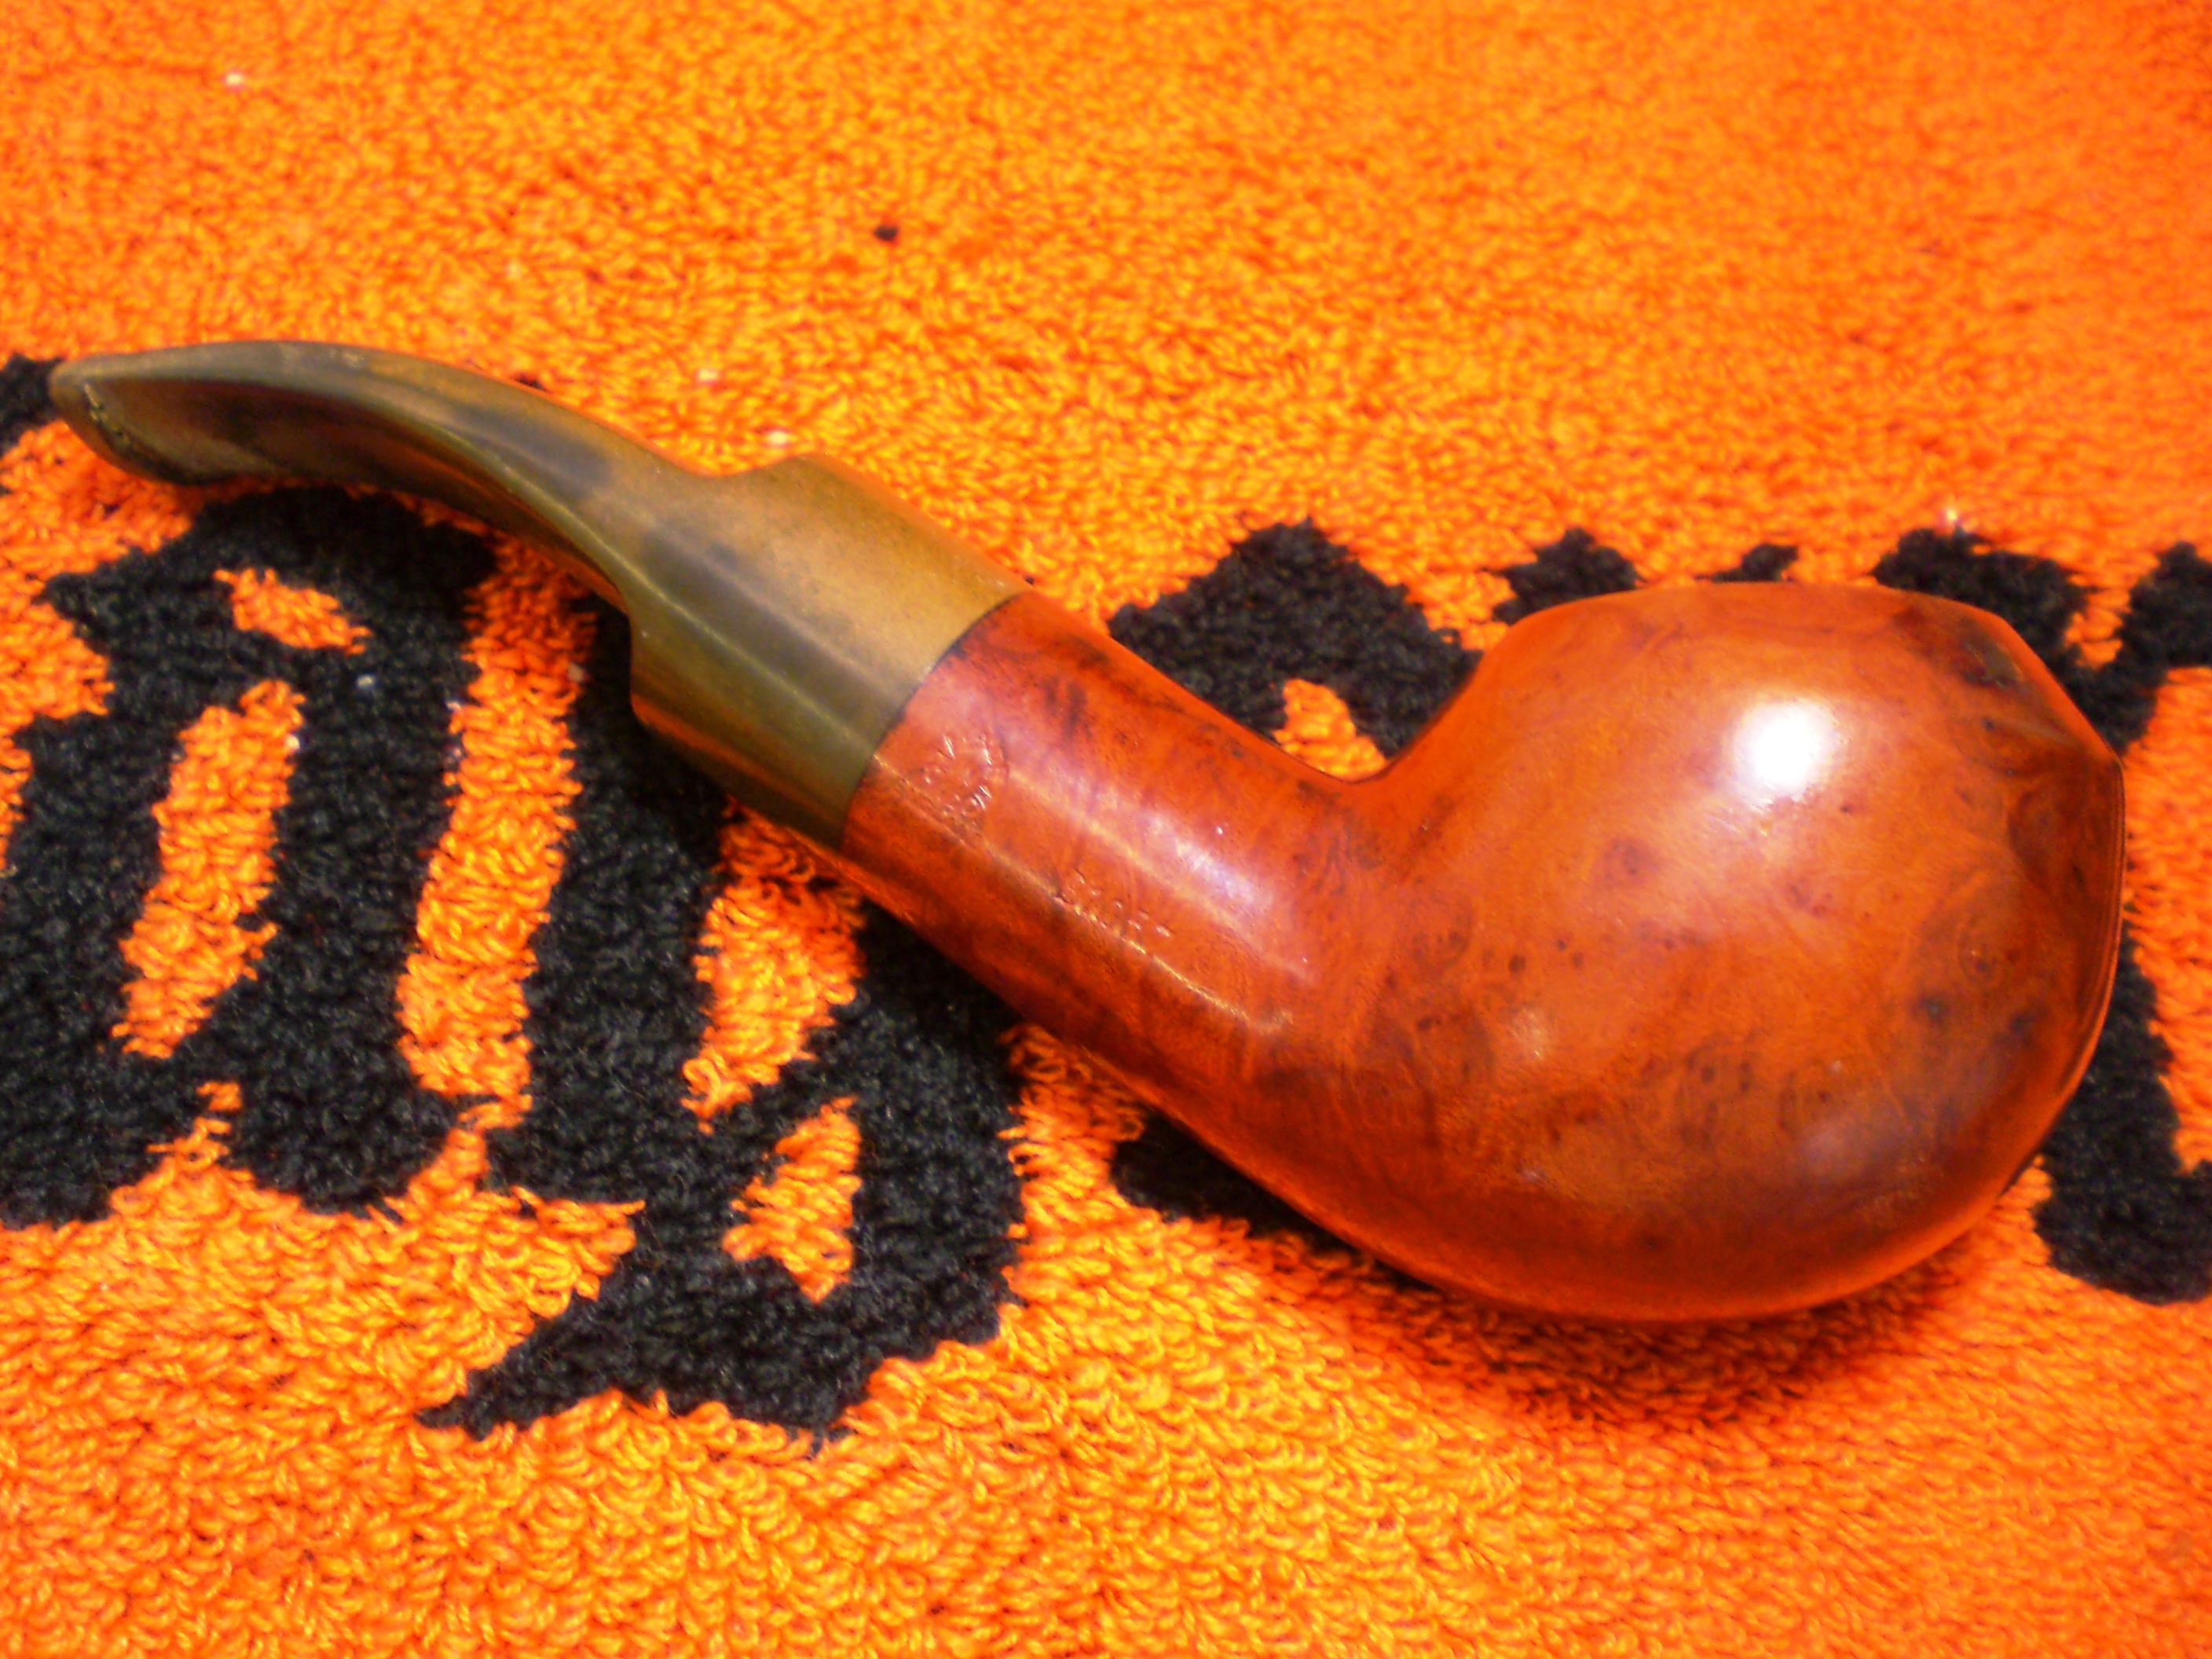
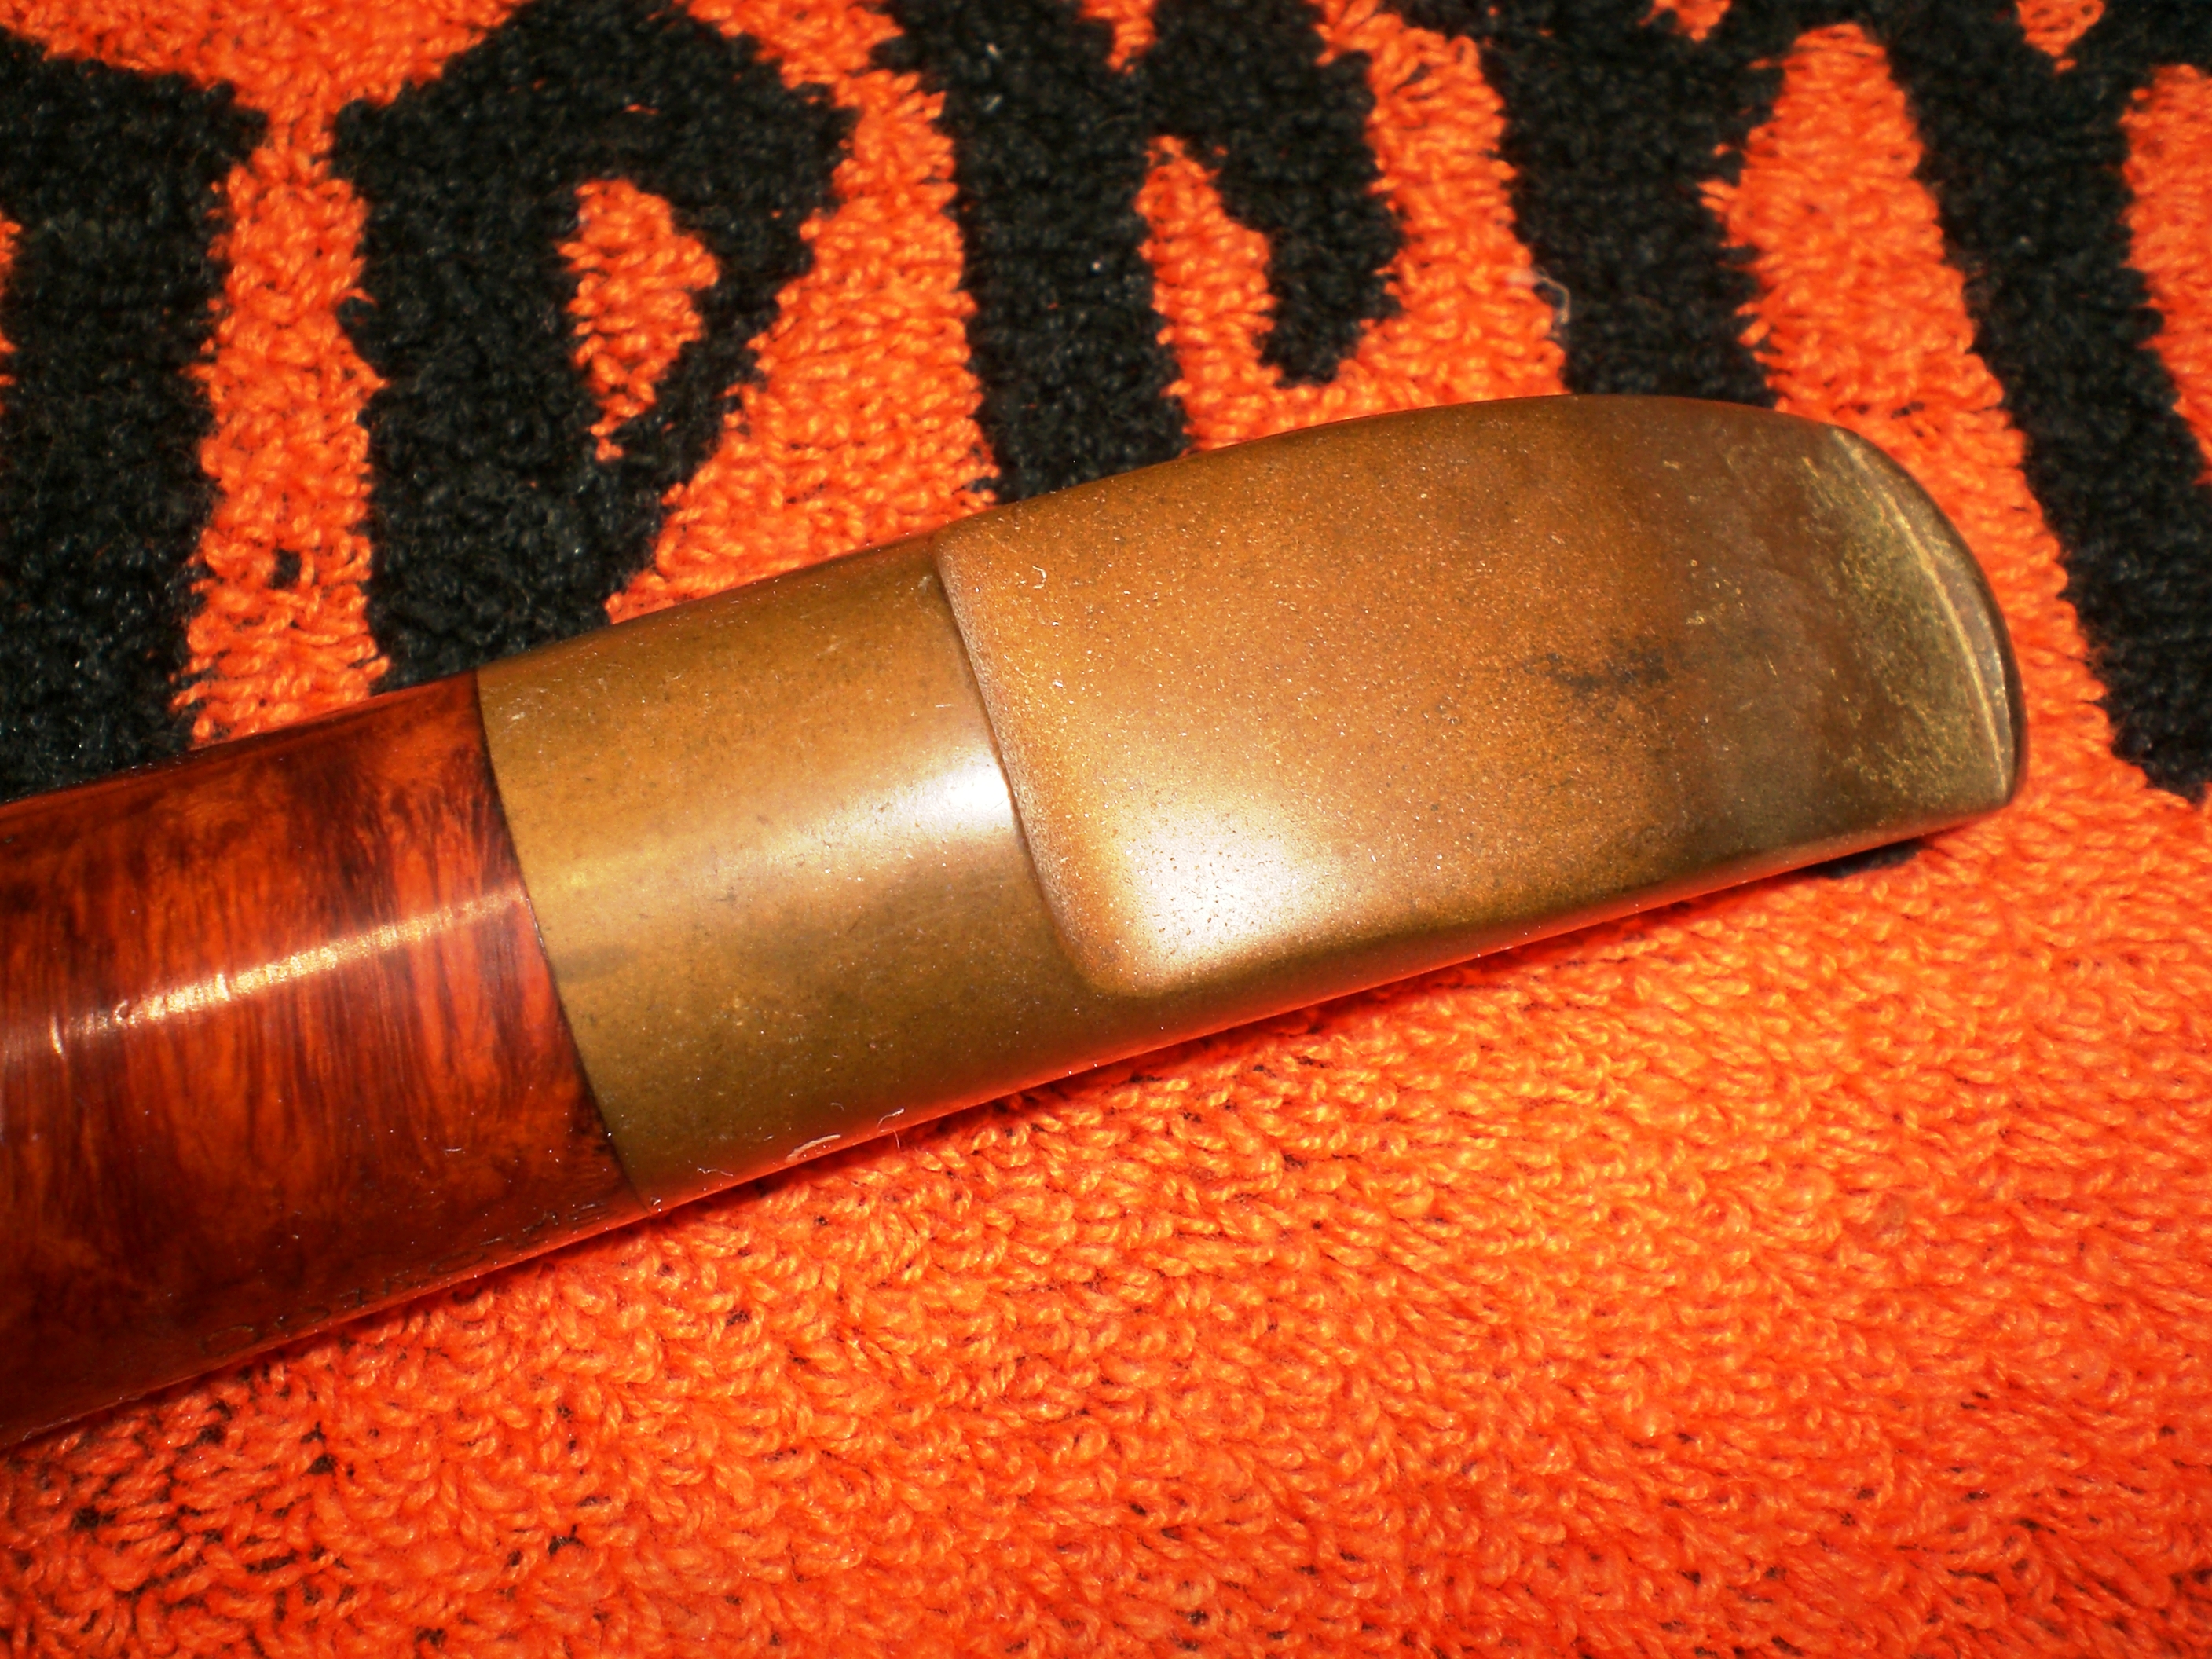
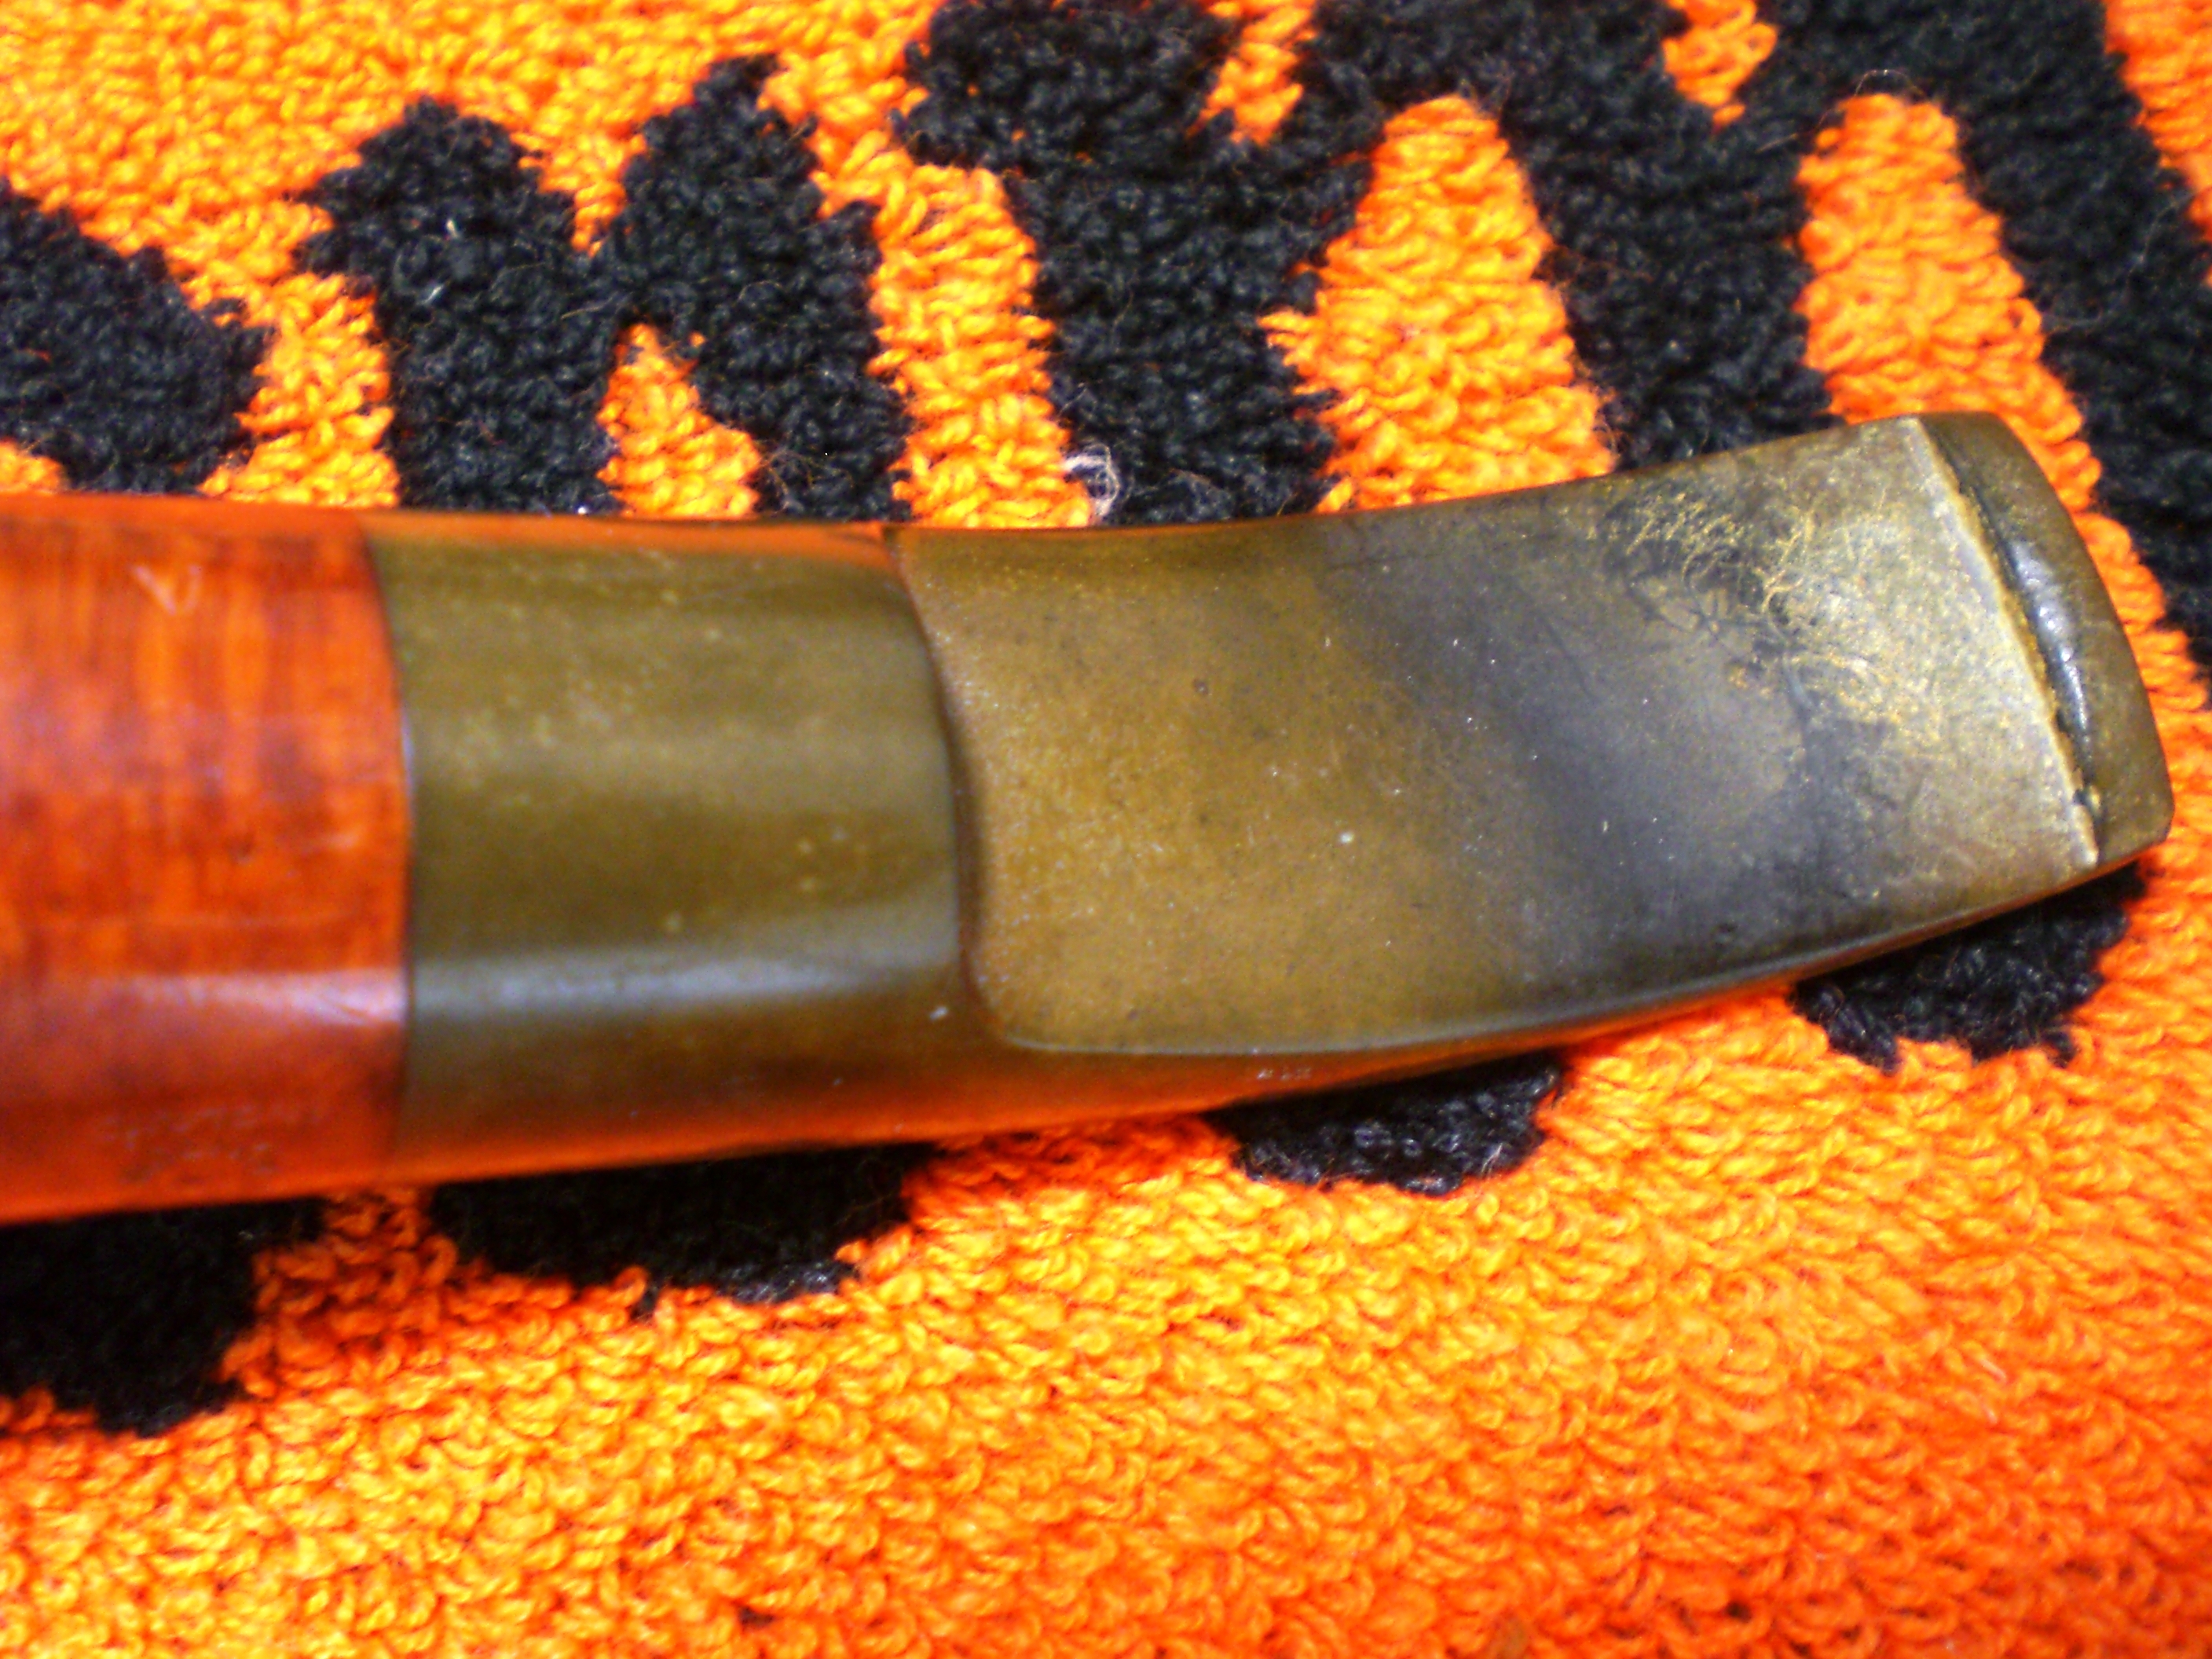
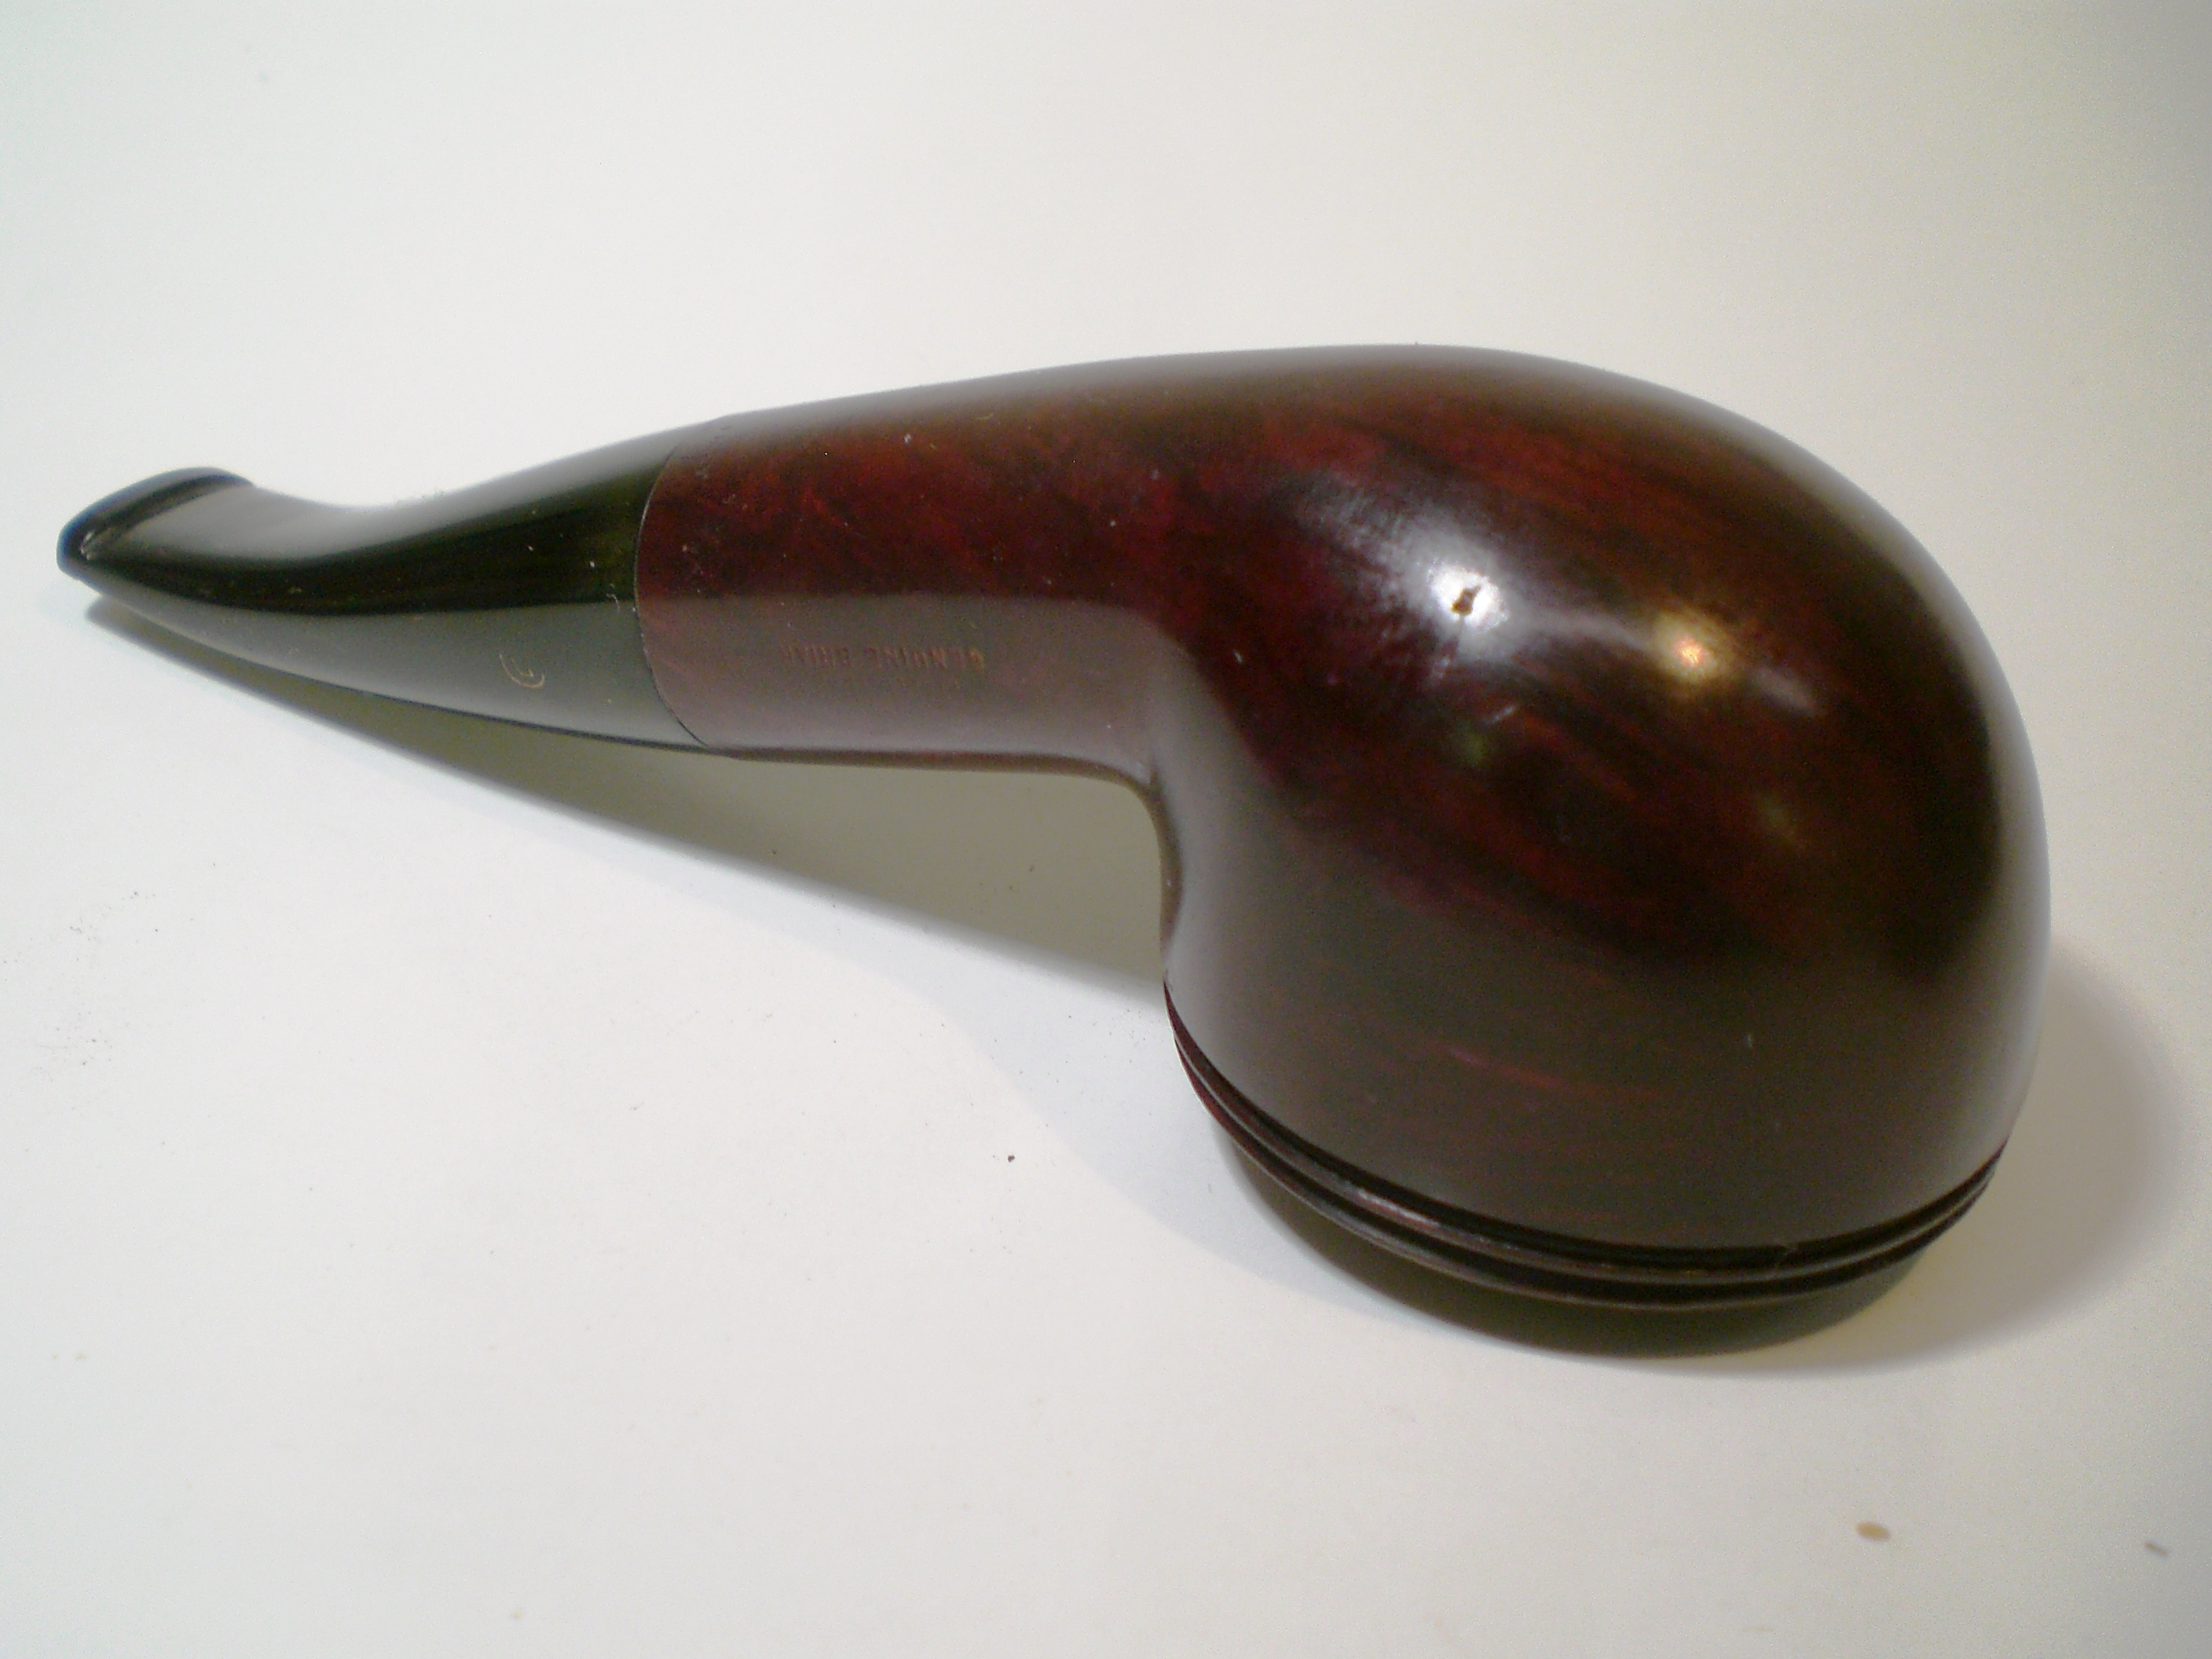
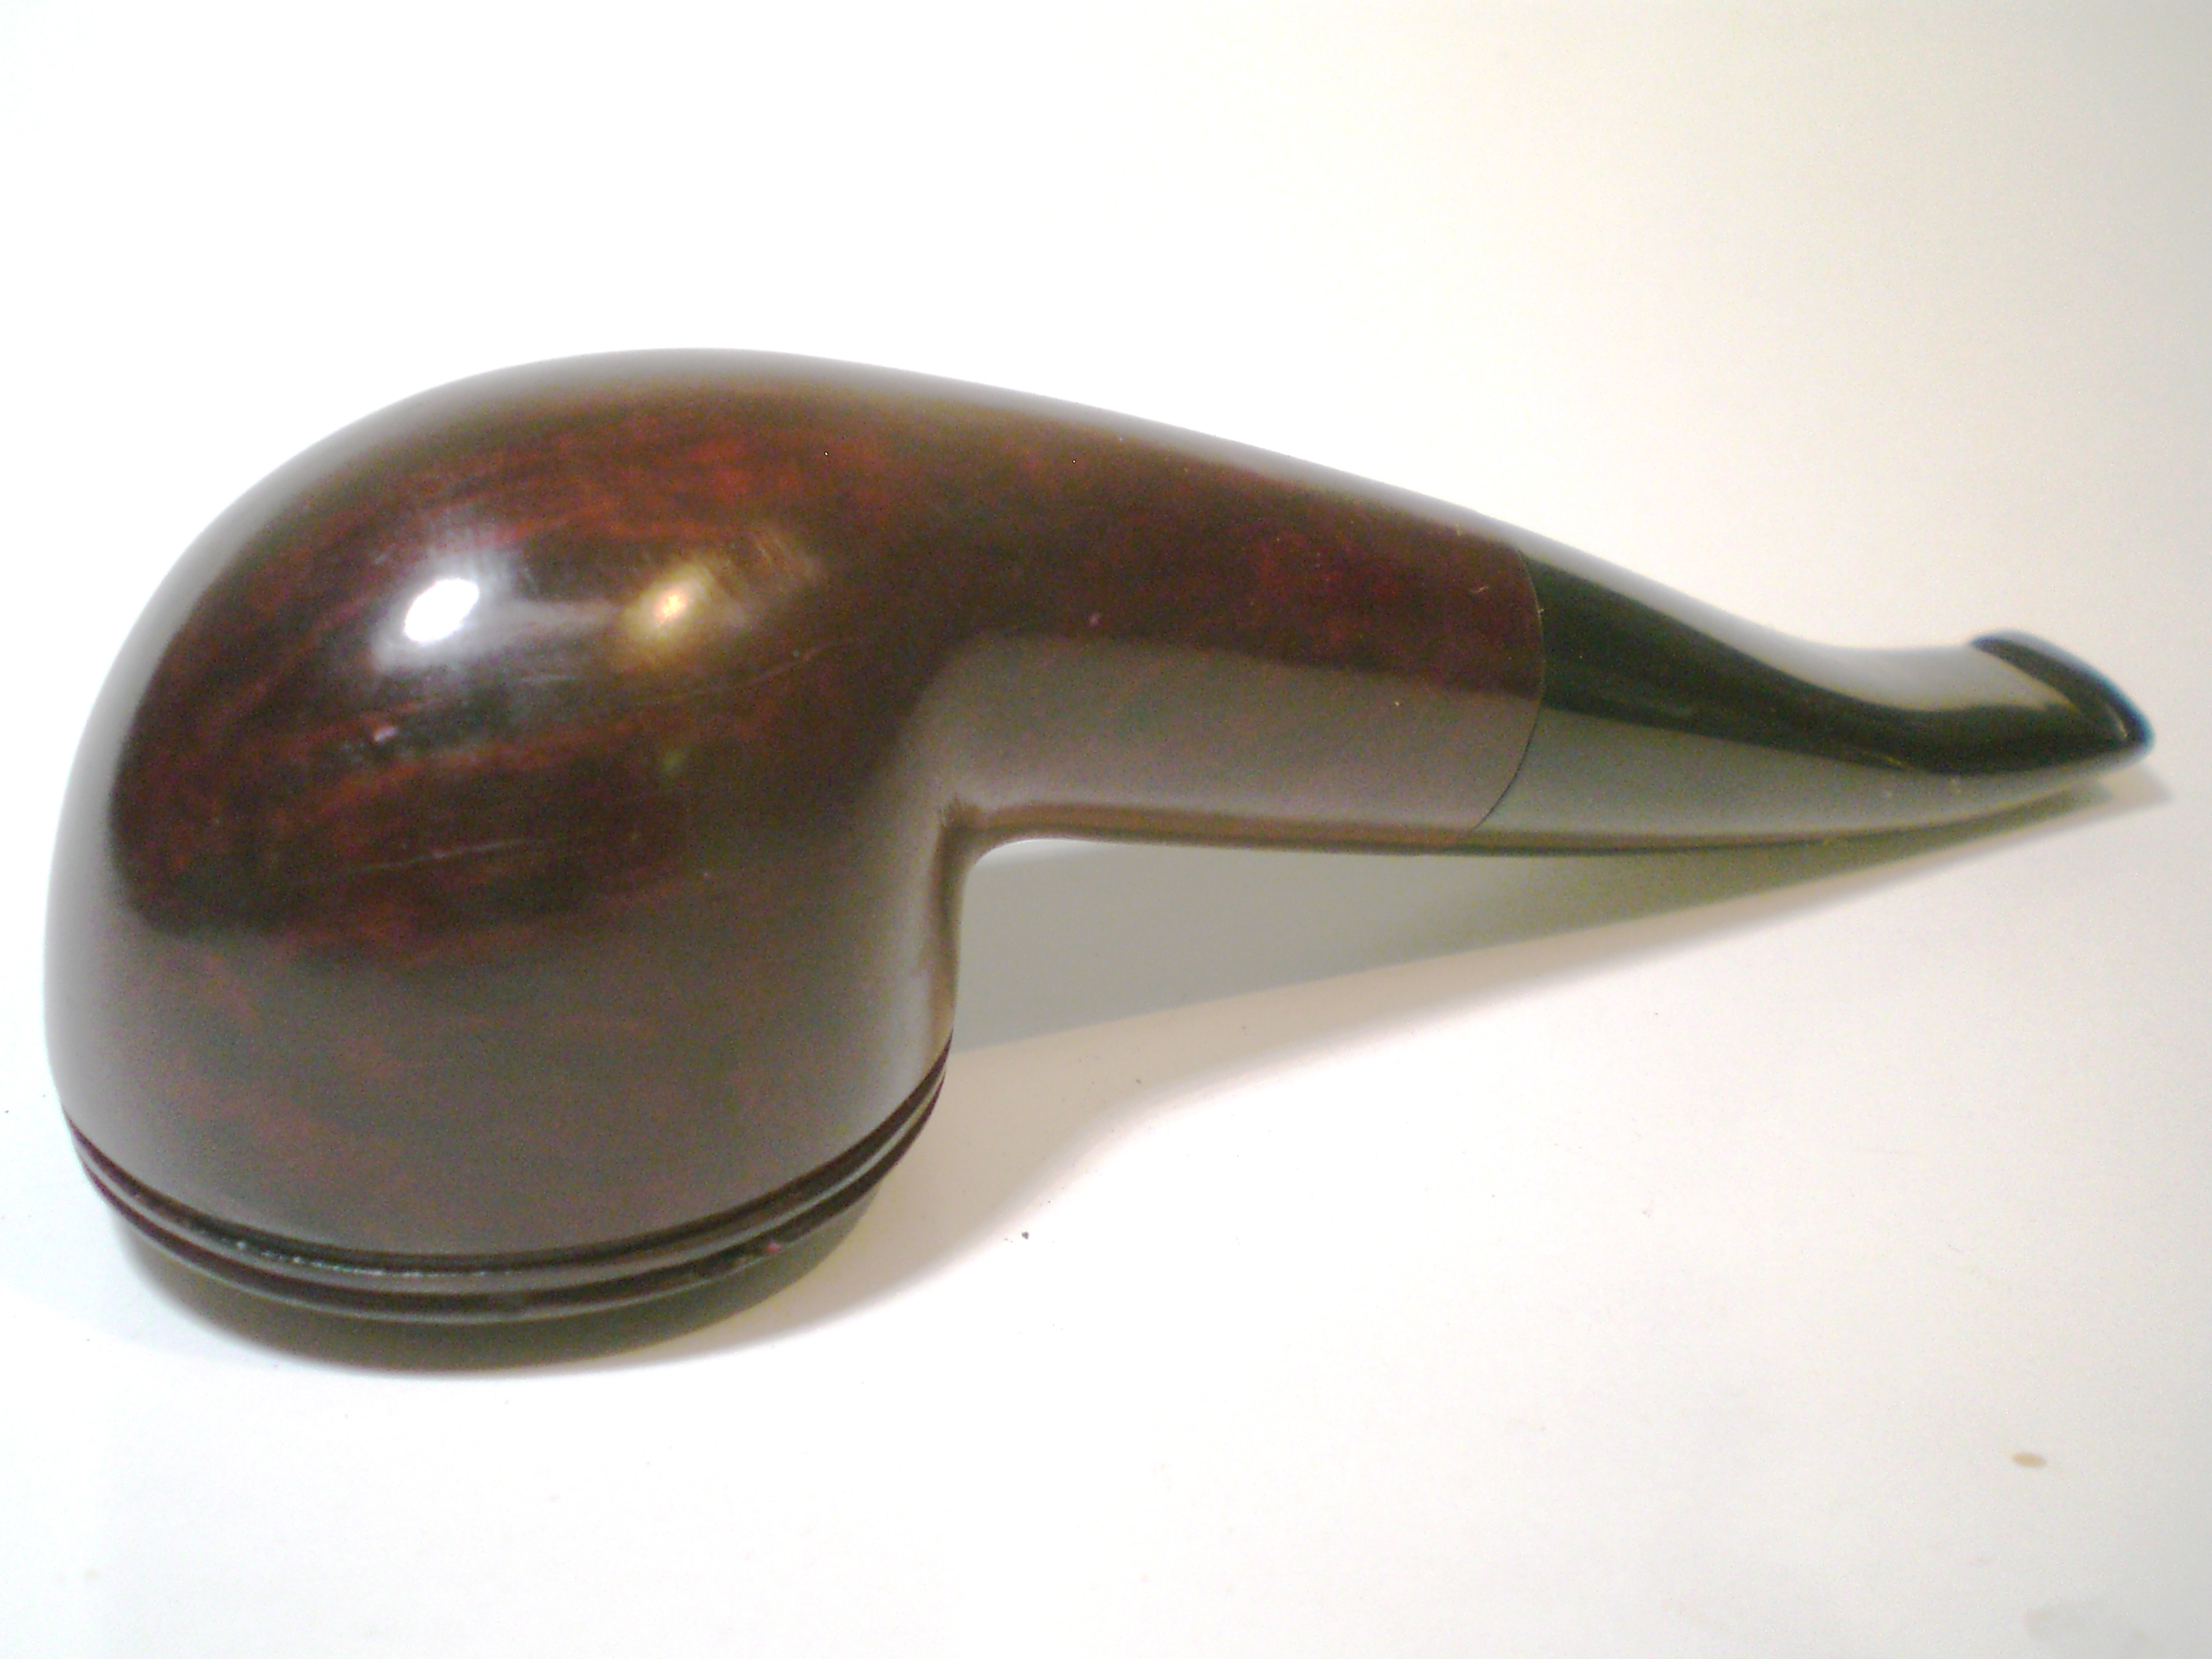
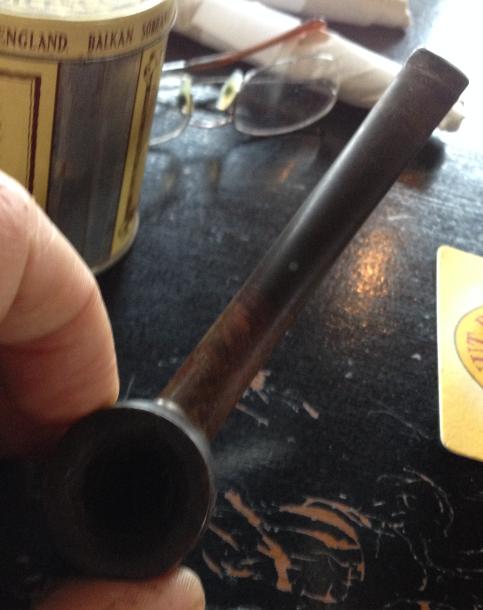
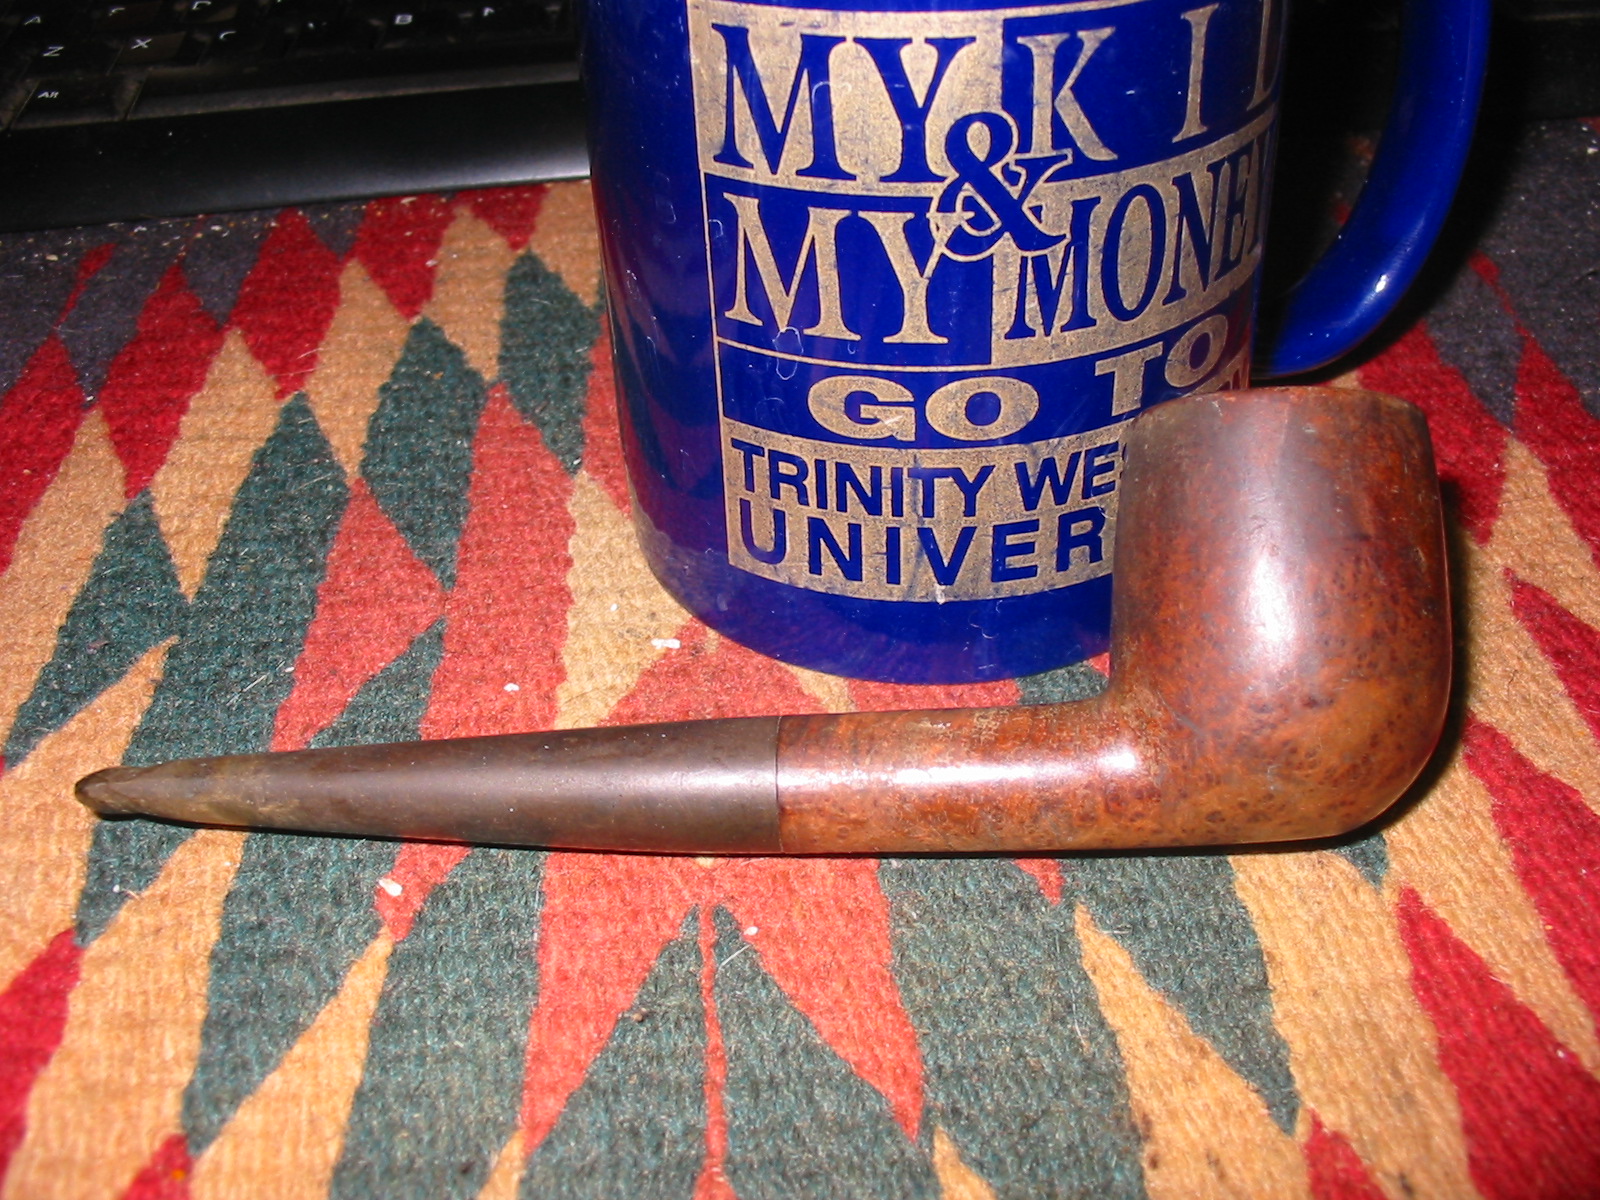
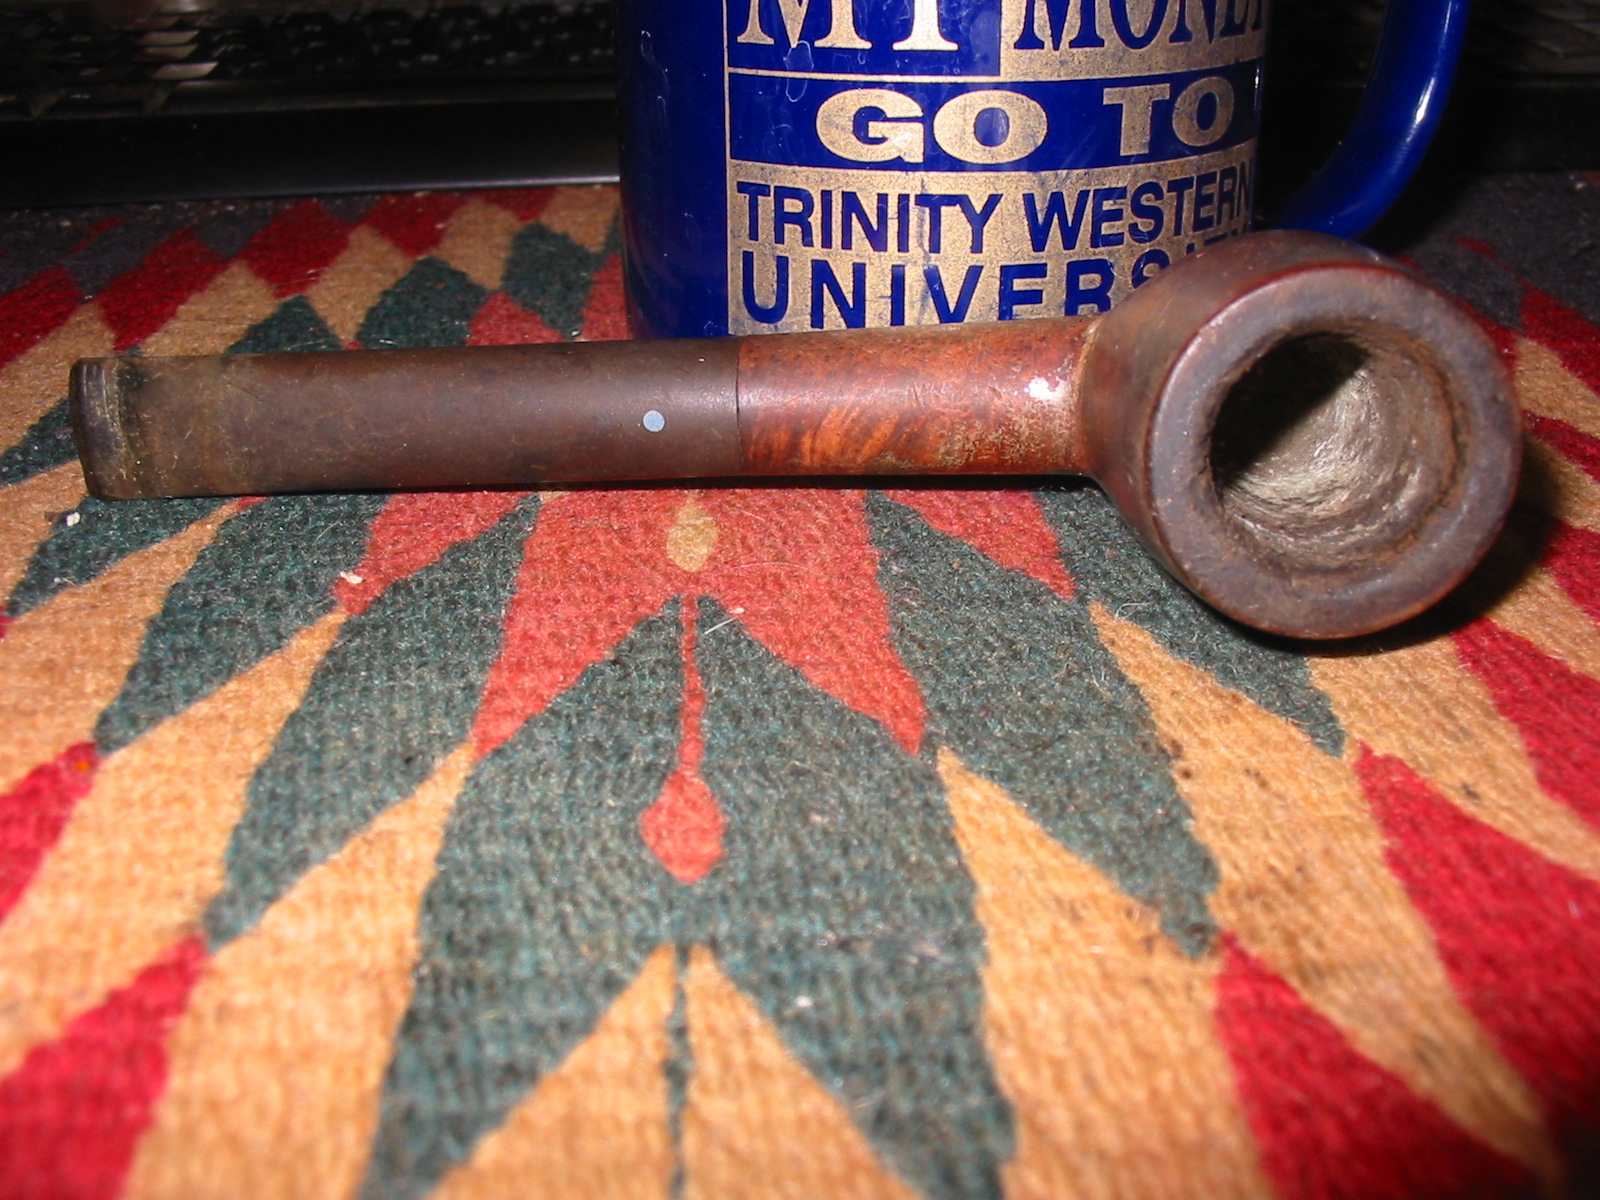
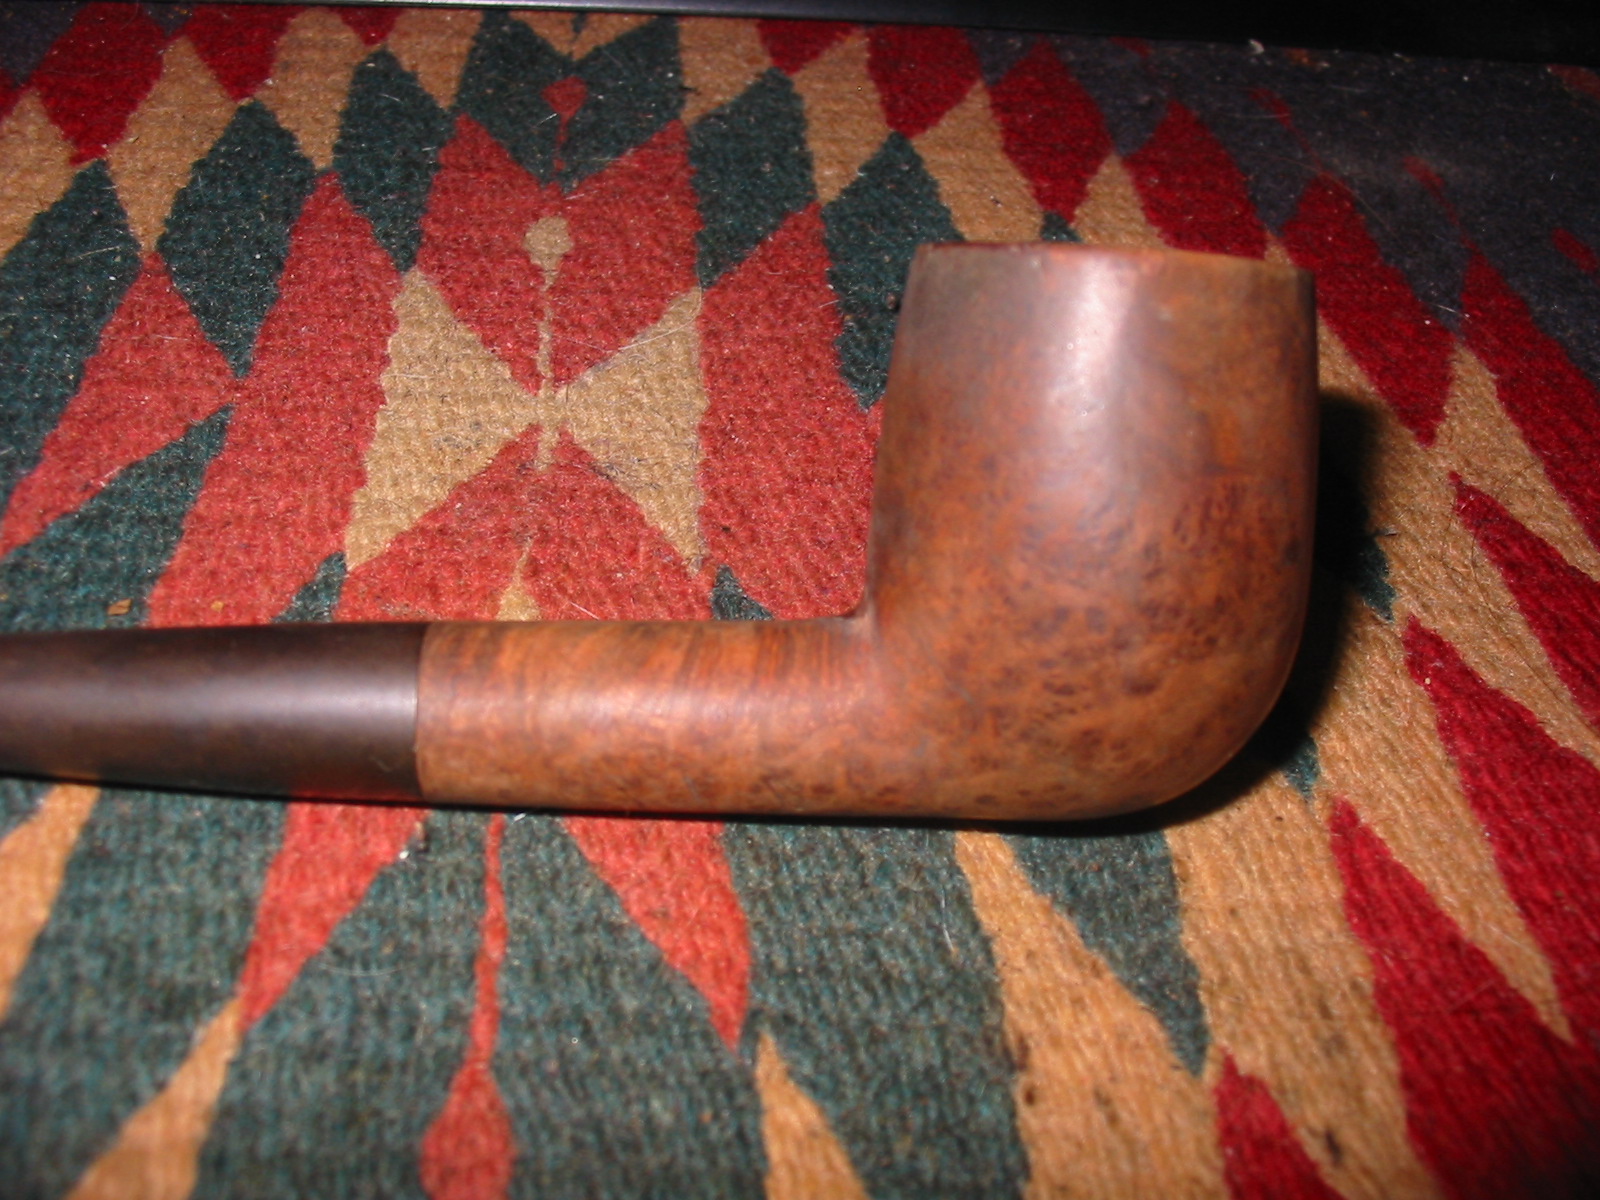
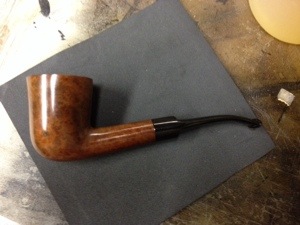
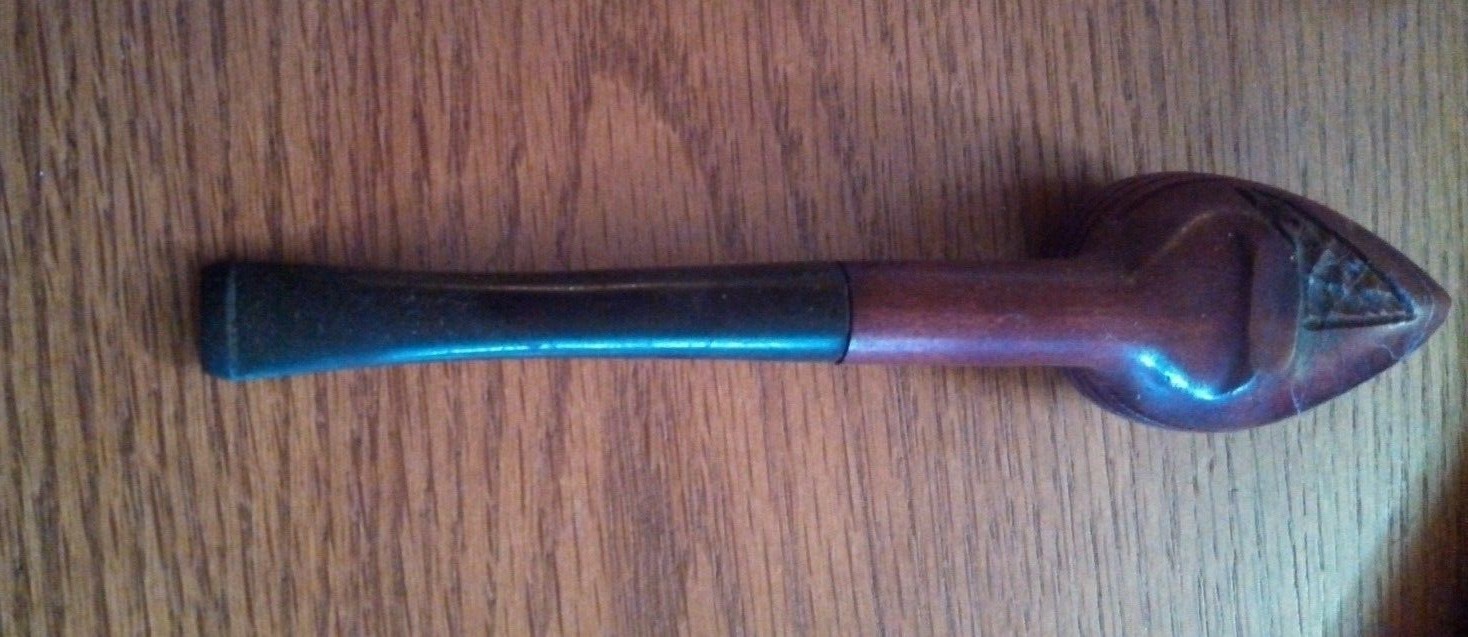
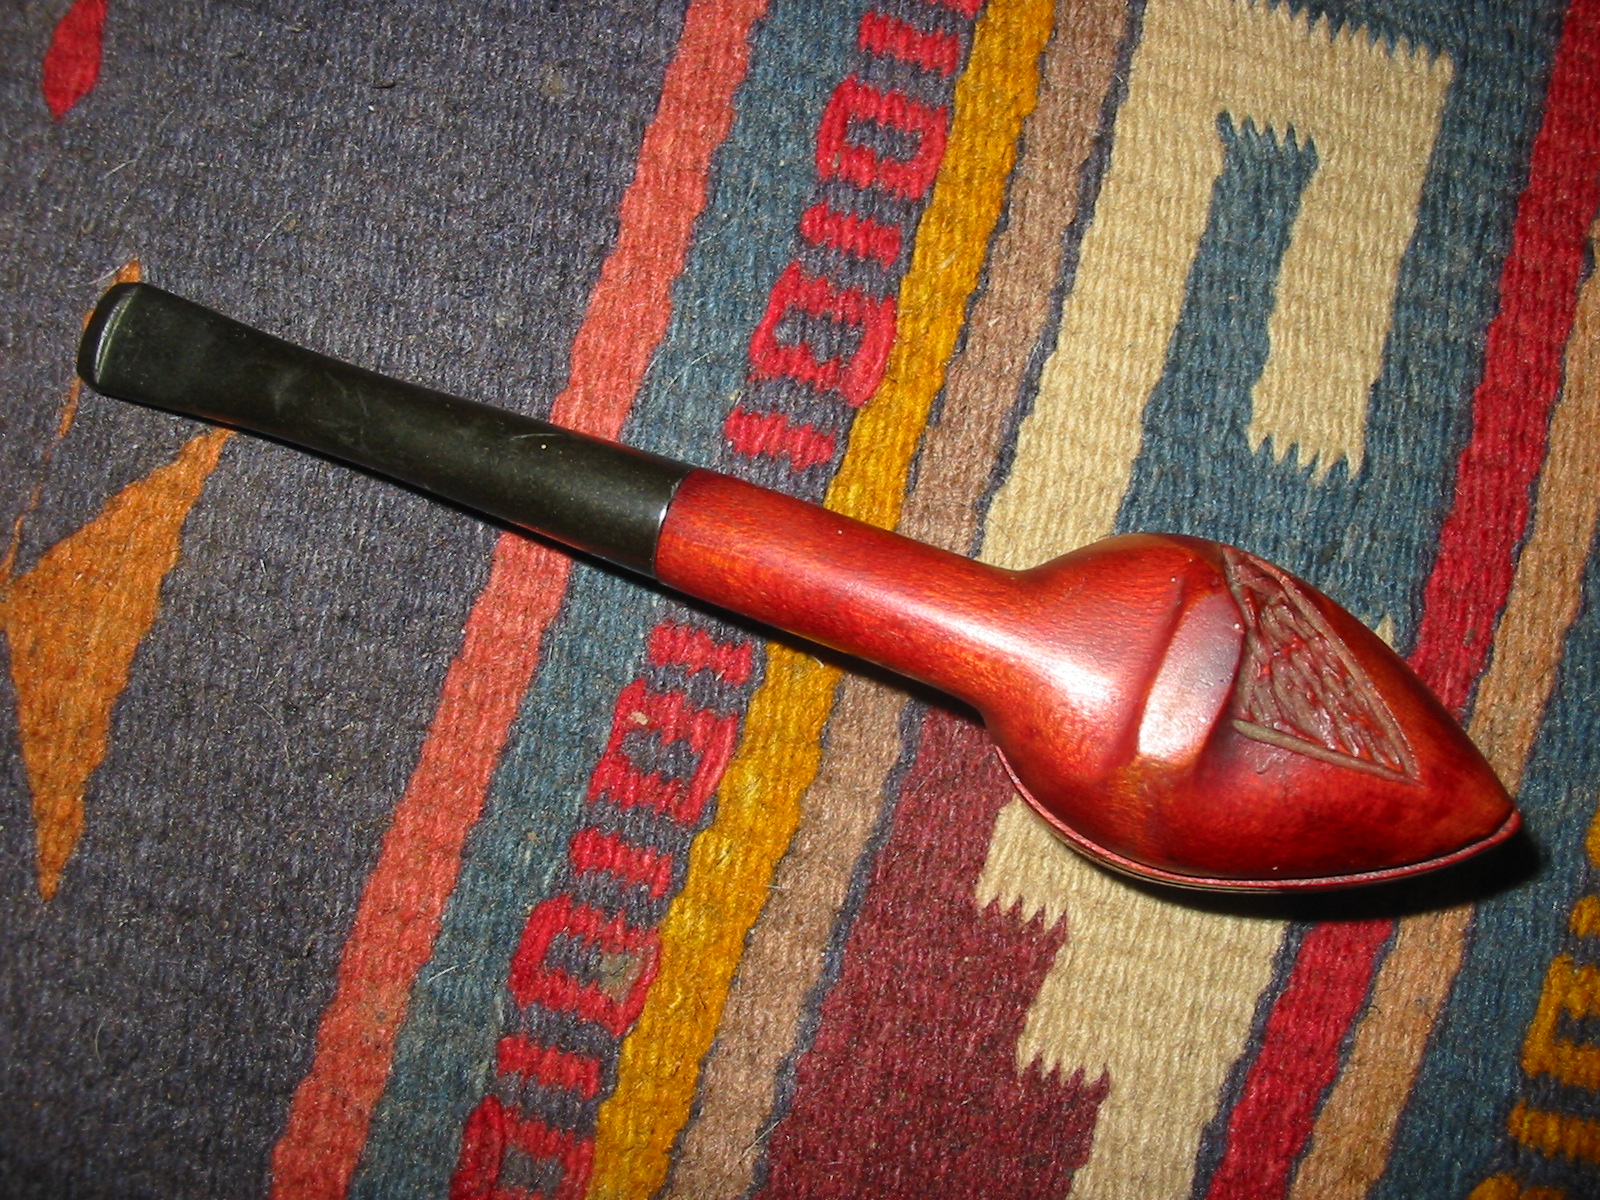
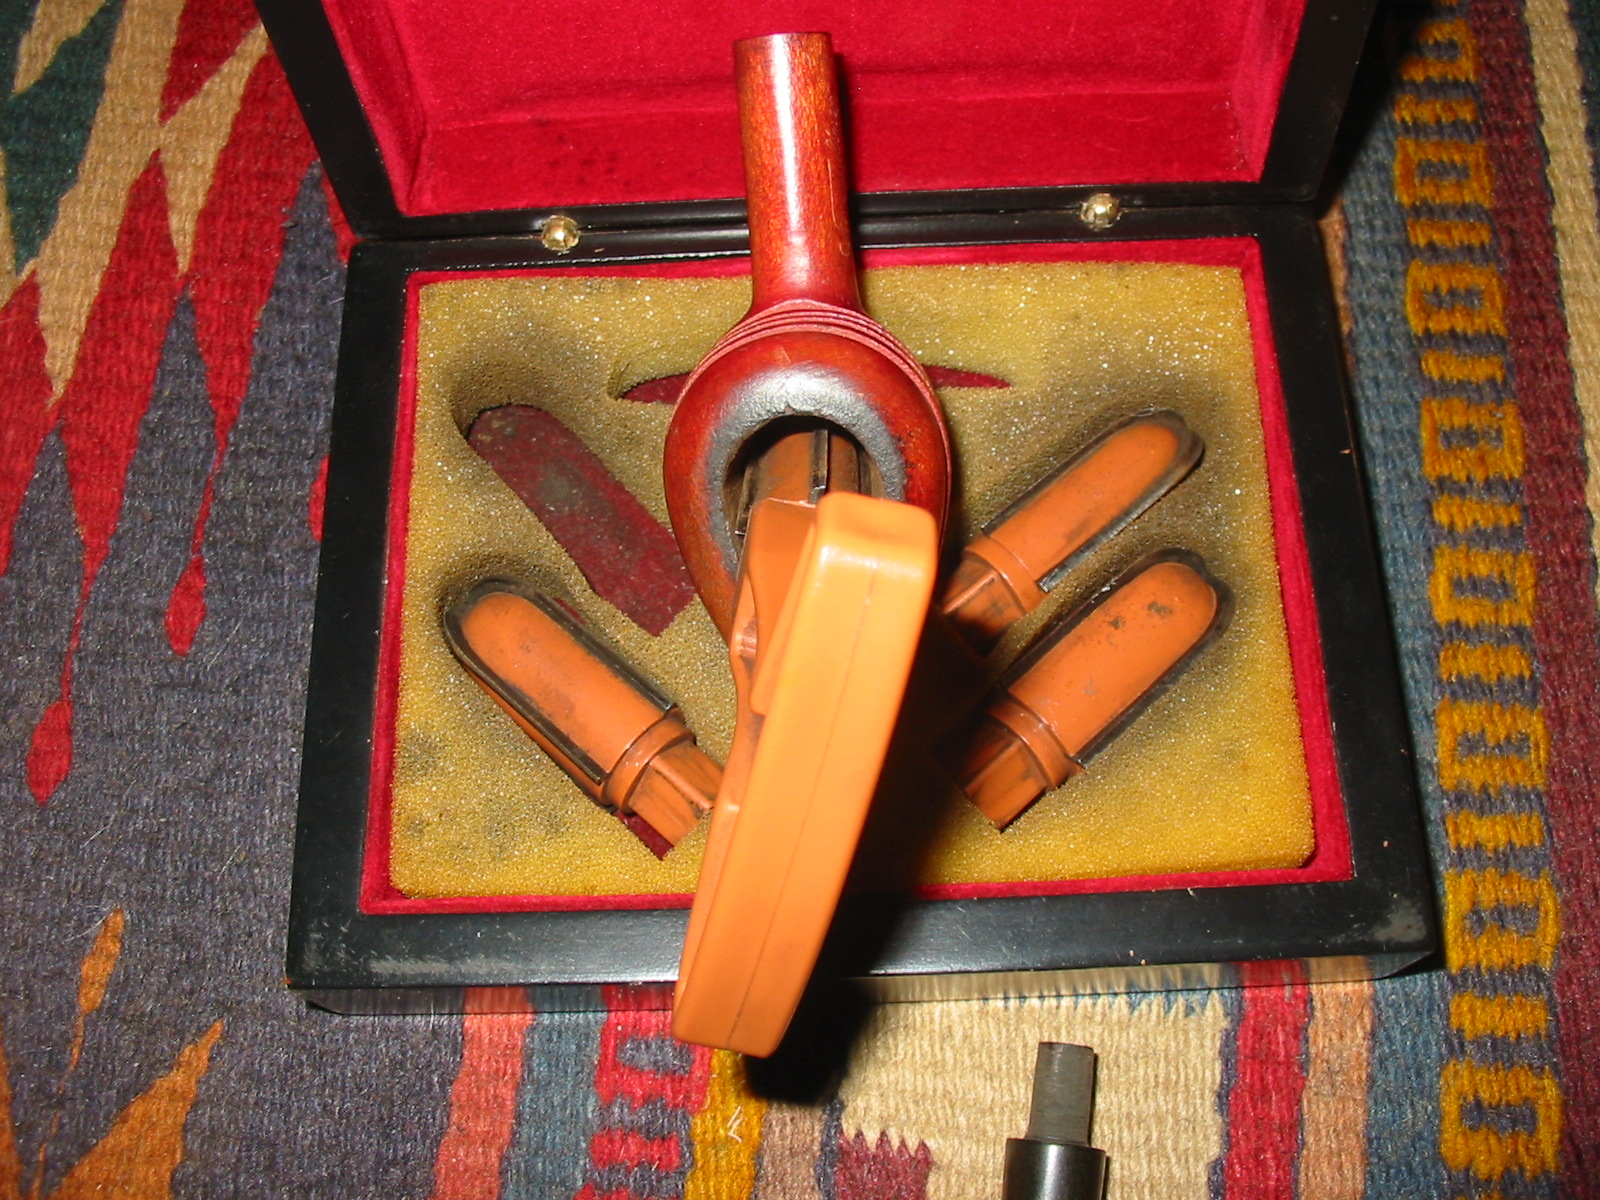
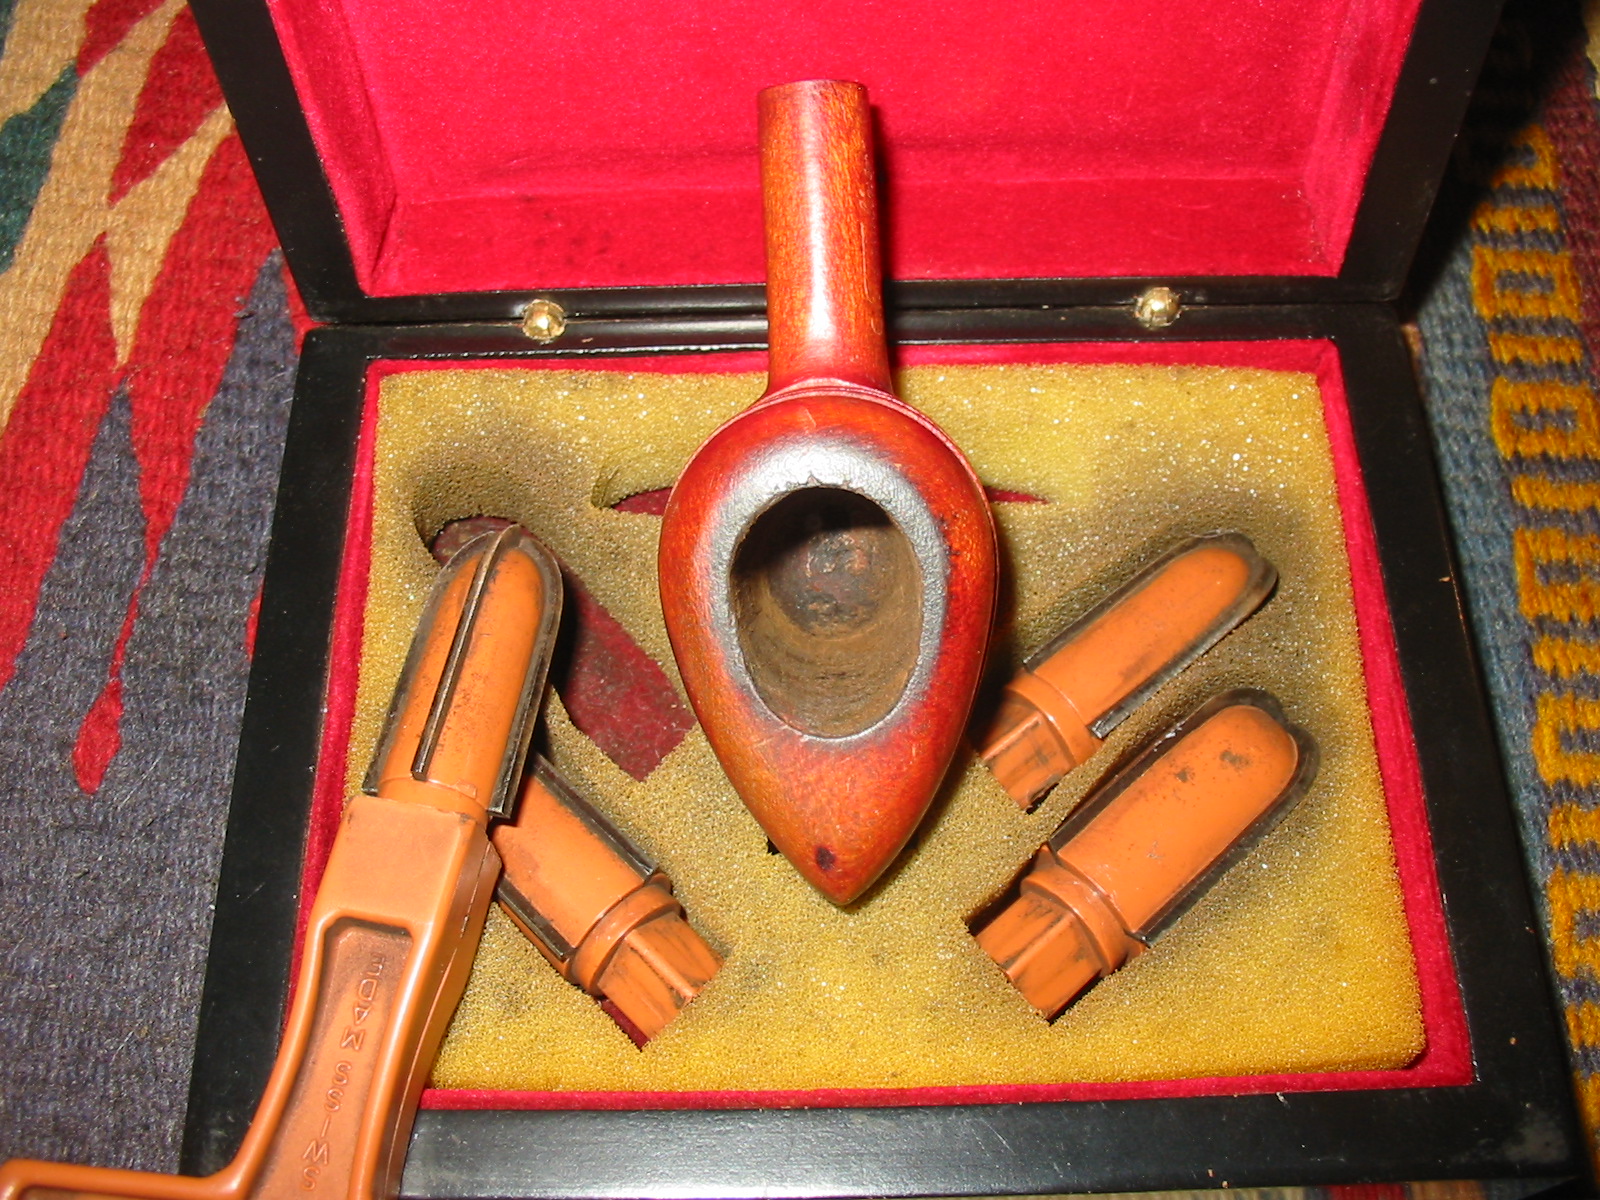
The pipe I picked up is pictured below in photos from the EBay seller. The photos were not very clear so I could not see the condition of the pipe very well but I was intrigued by it nonetheless. It looked like the bowl was in good condition. The stem however, appeared to be a replacement stem and the fit was poorly done. In the second photo below it is evident that the junction of the stem and shank does not meet.
pipes2

Streamliner

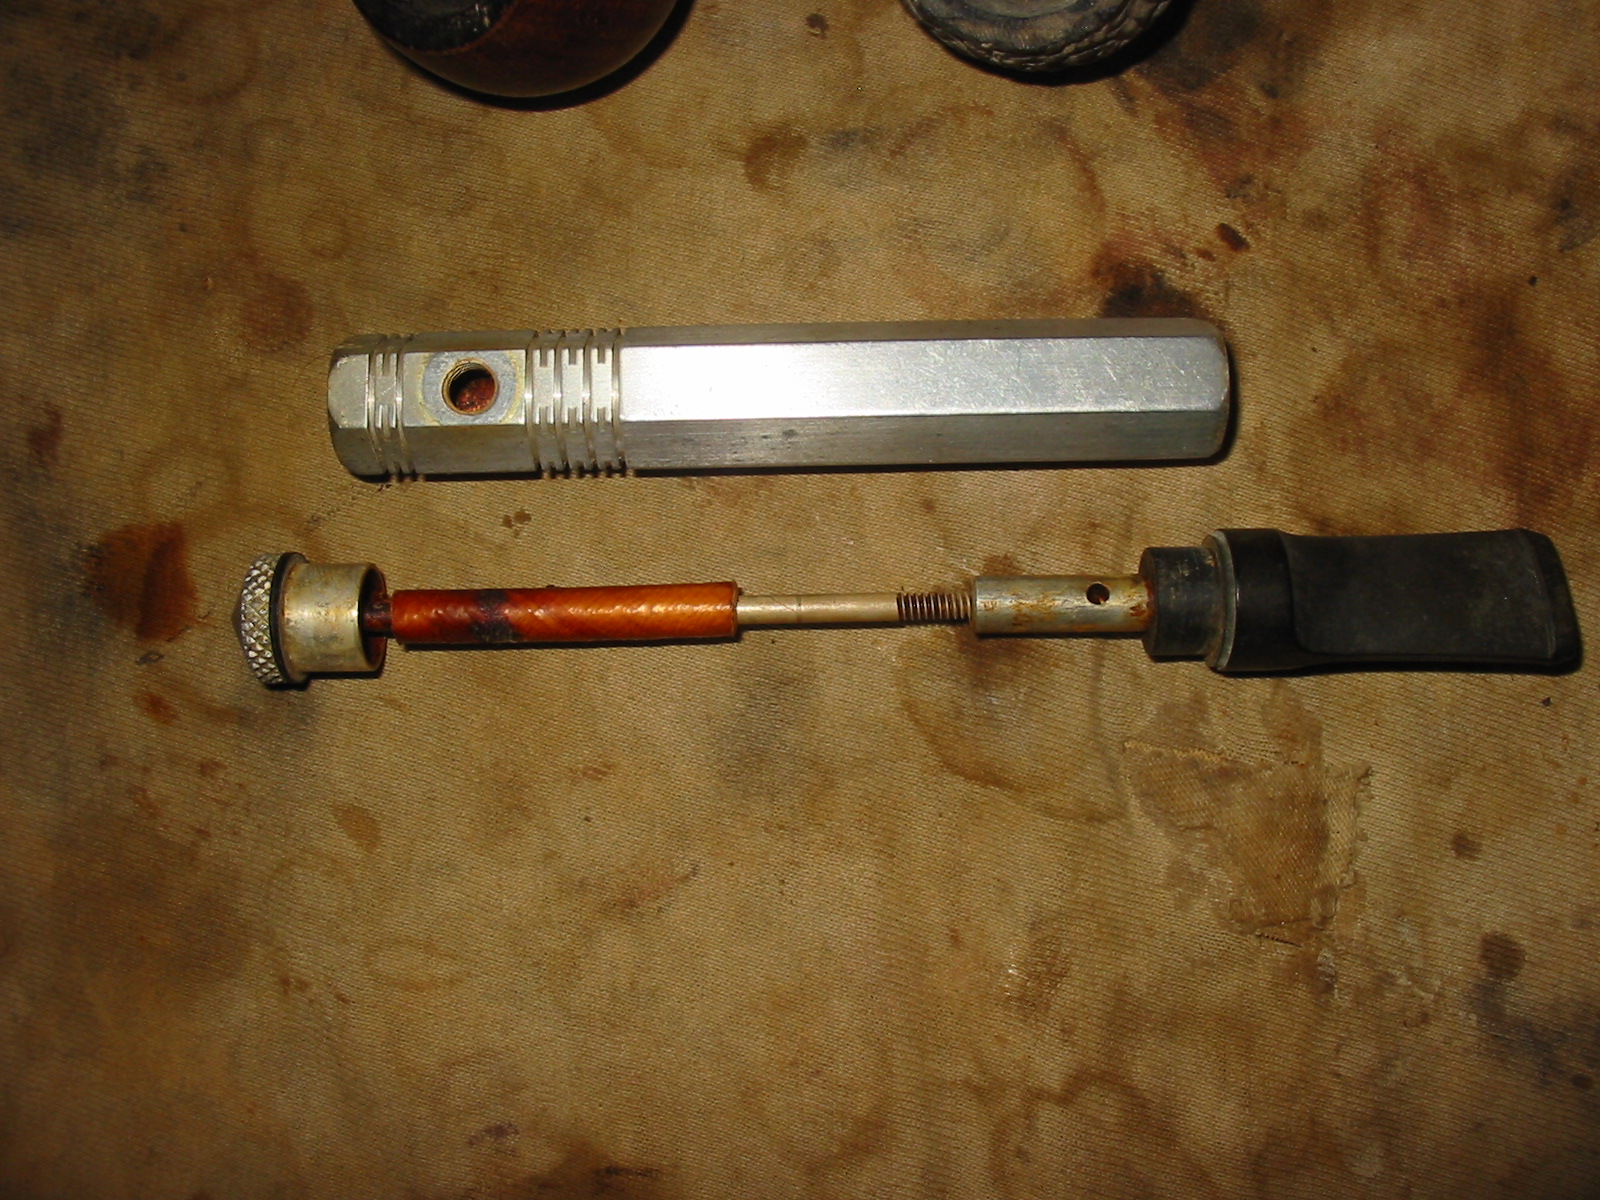
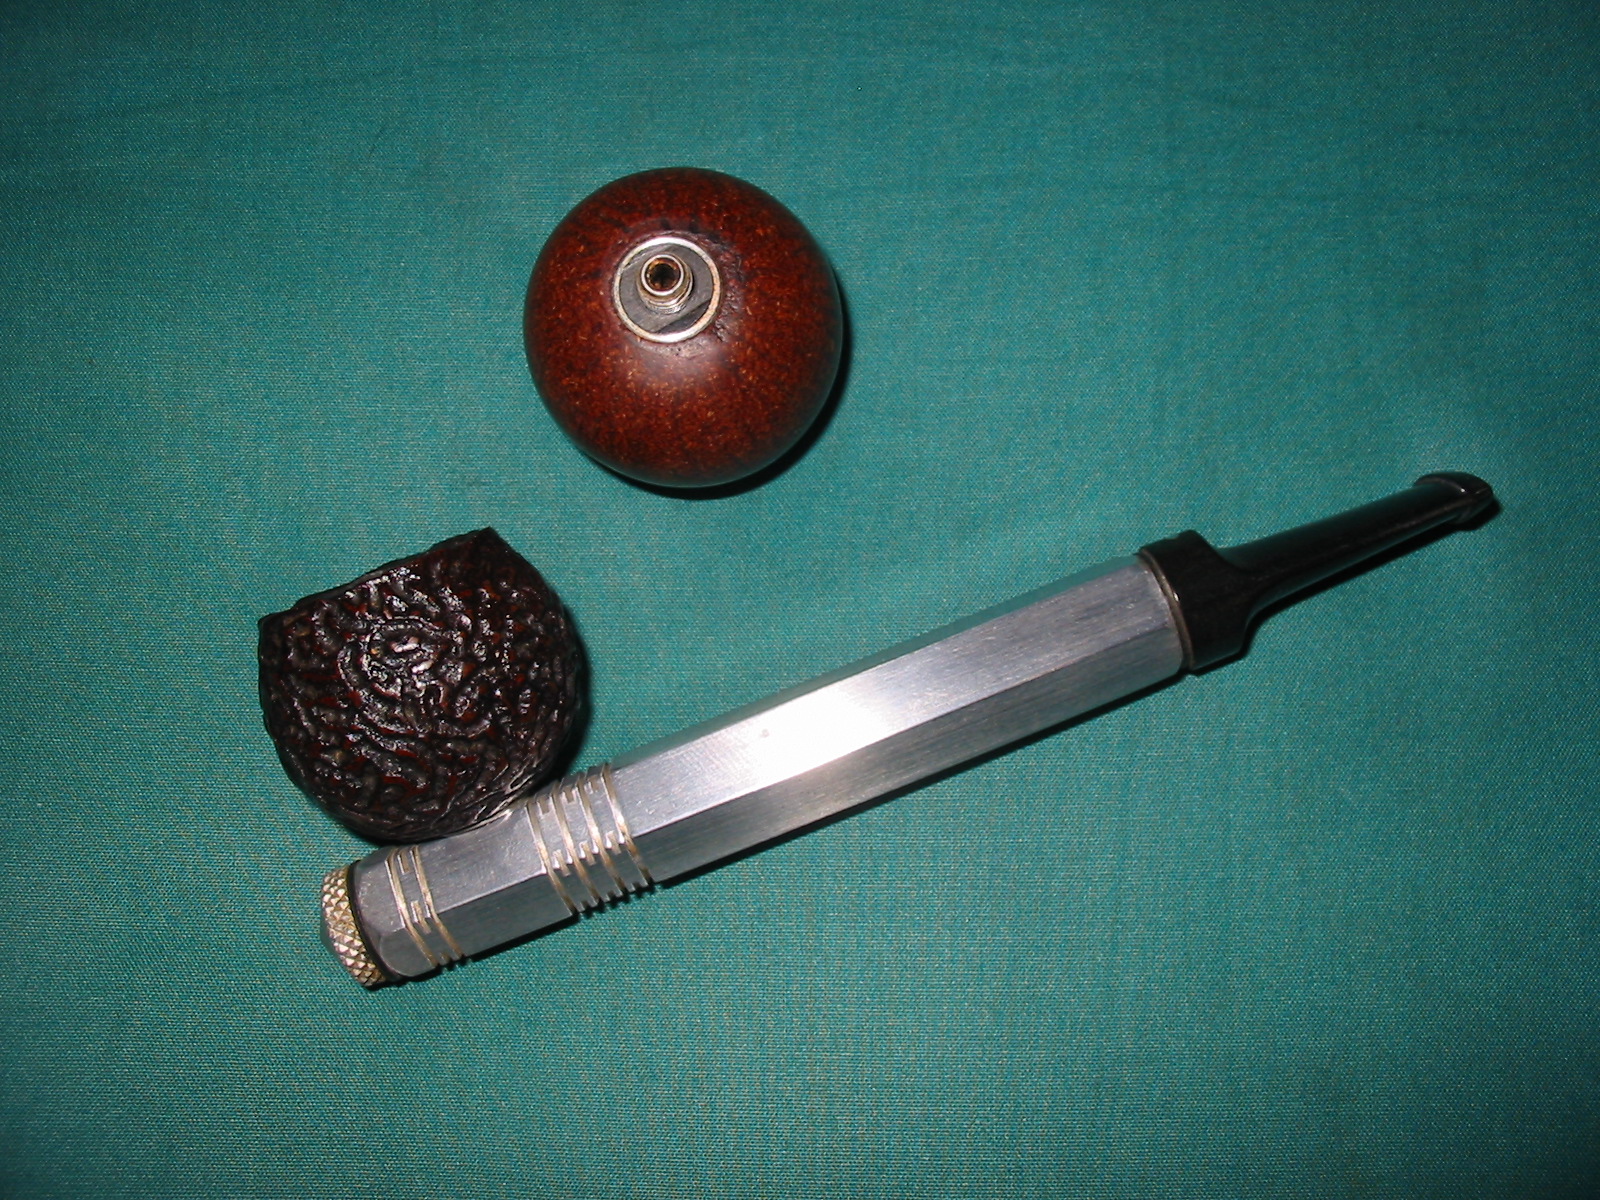
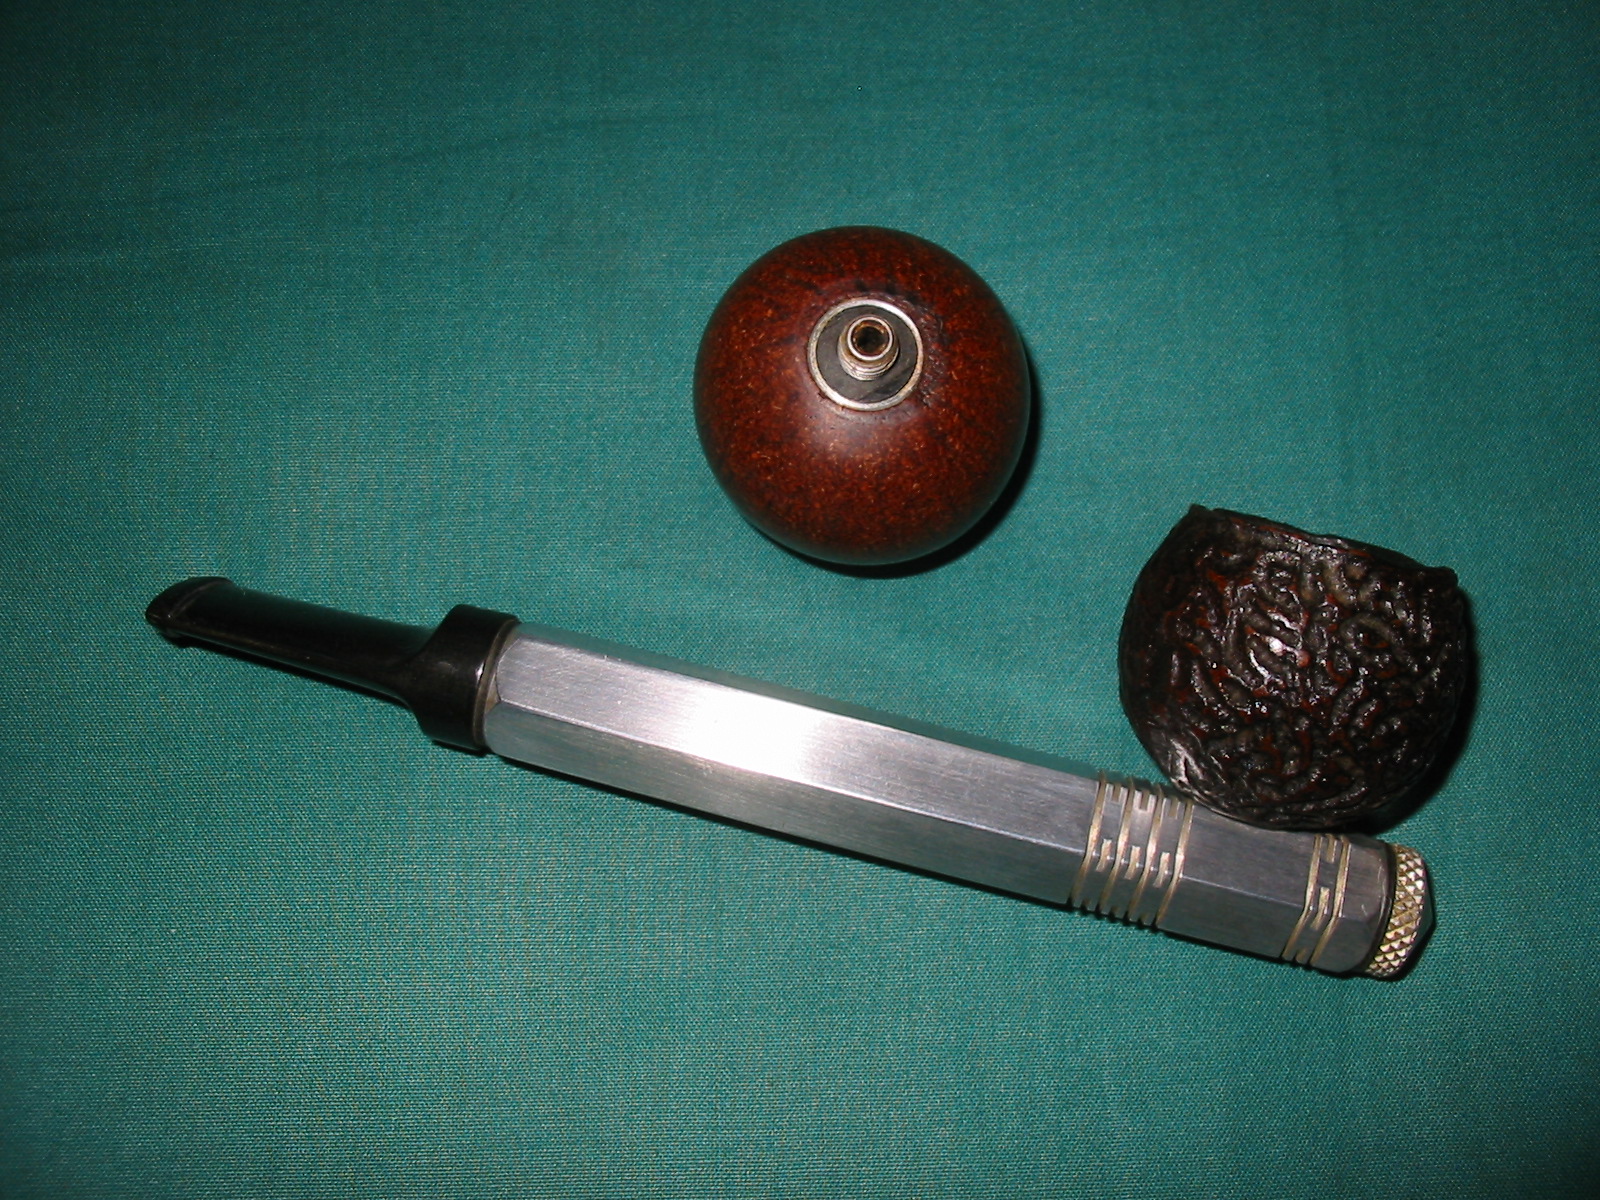
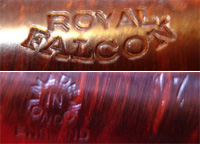
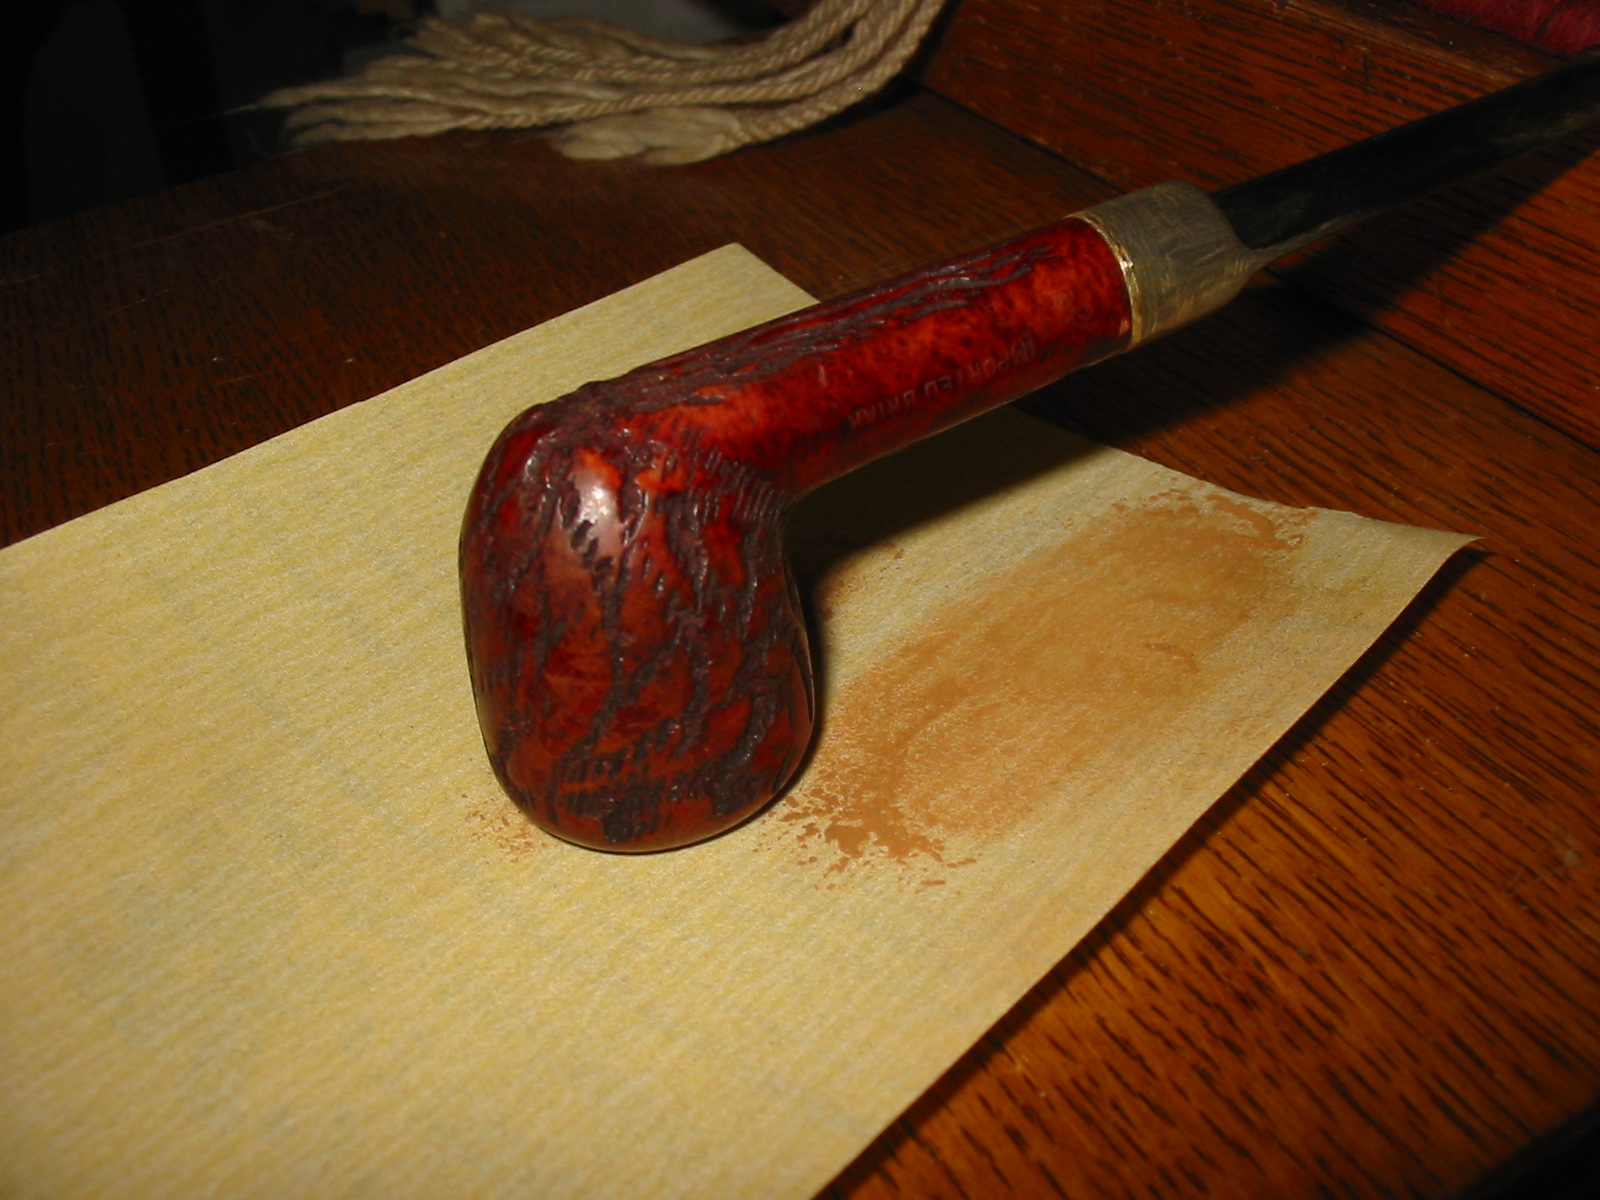
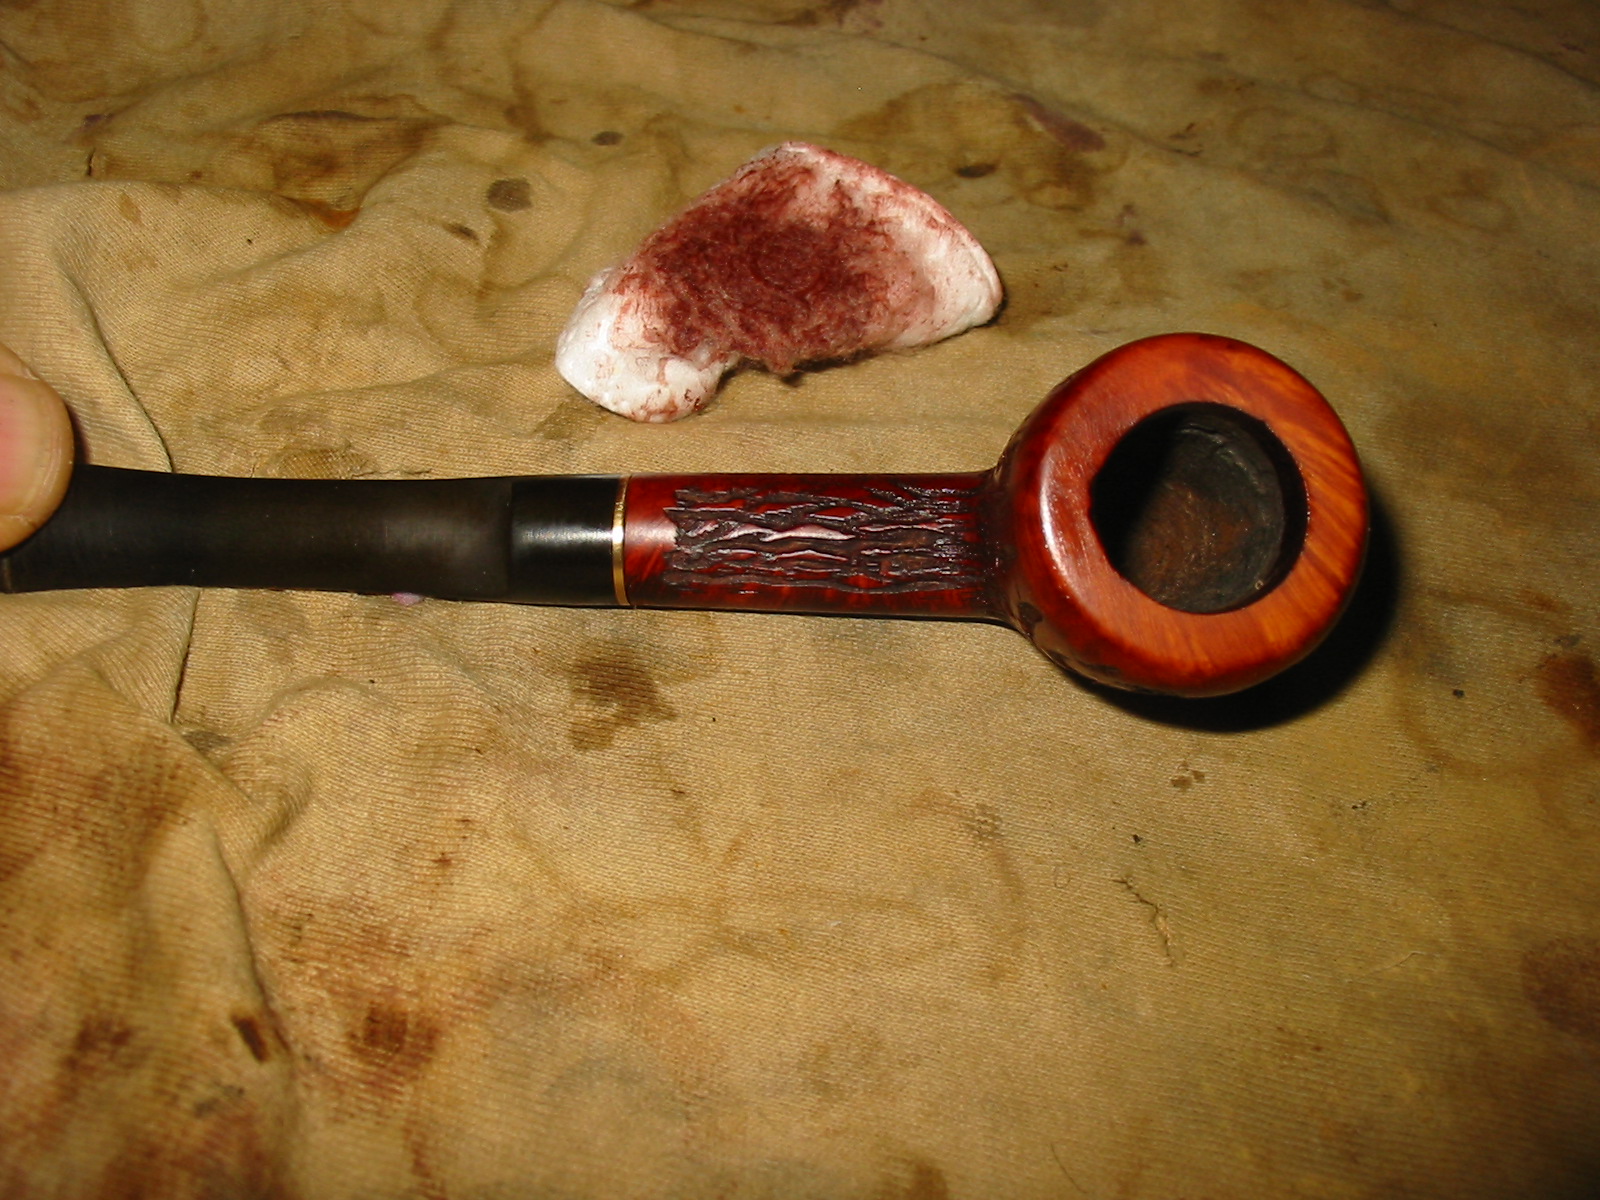
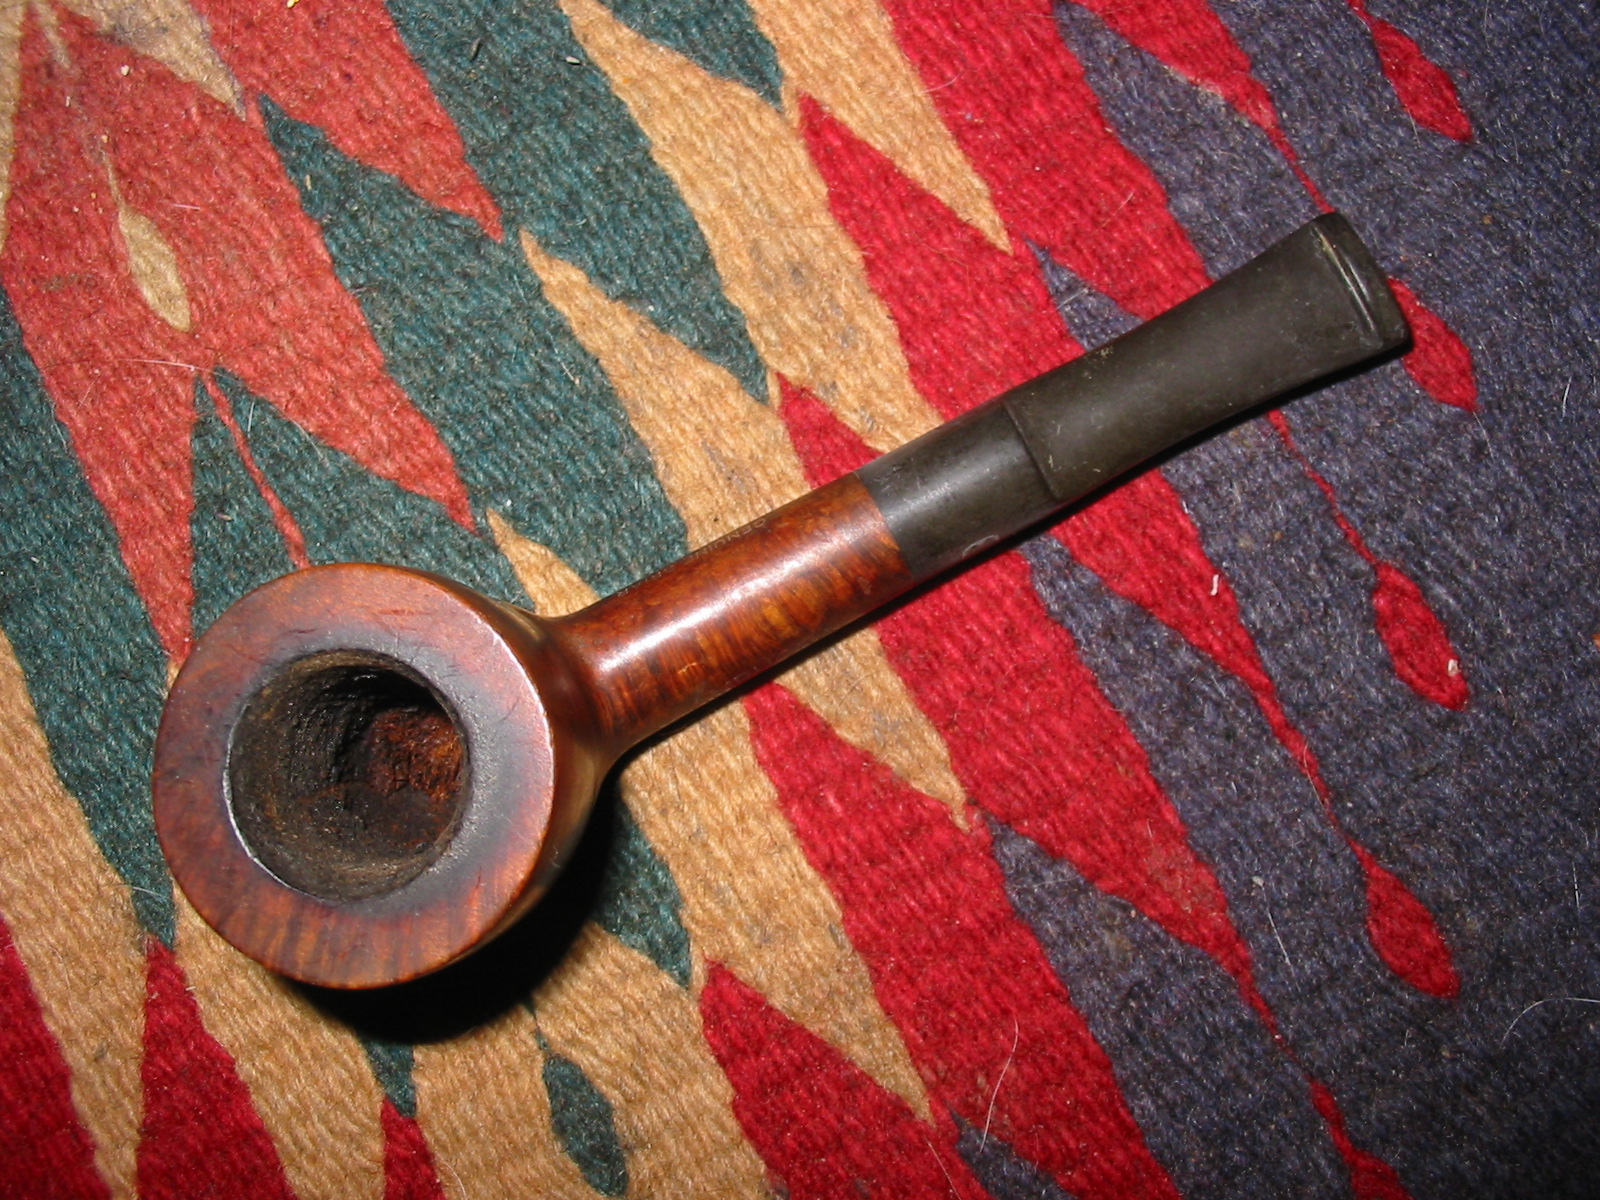
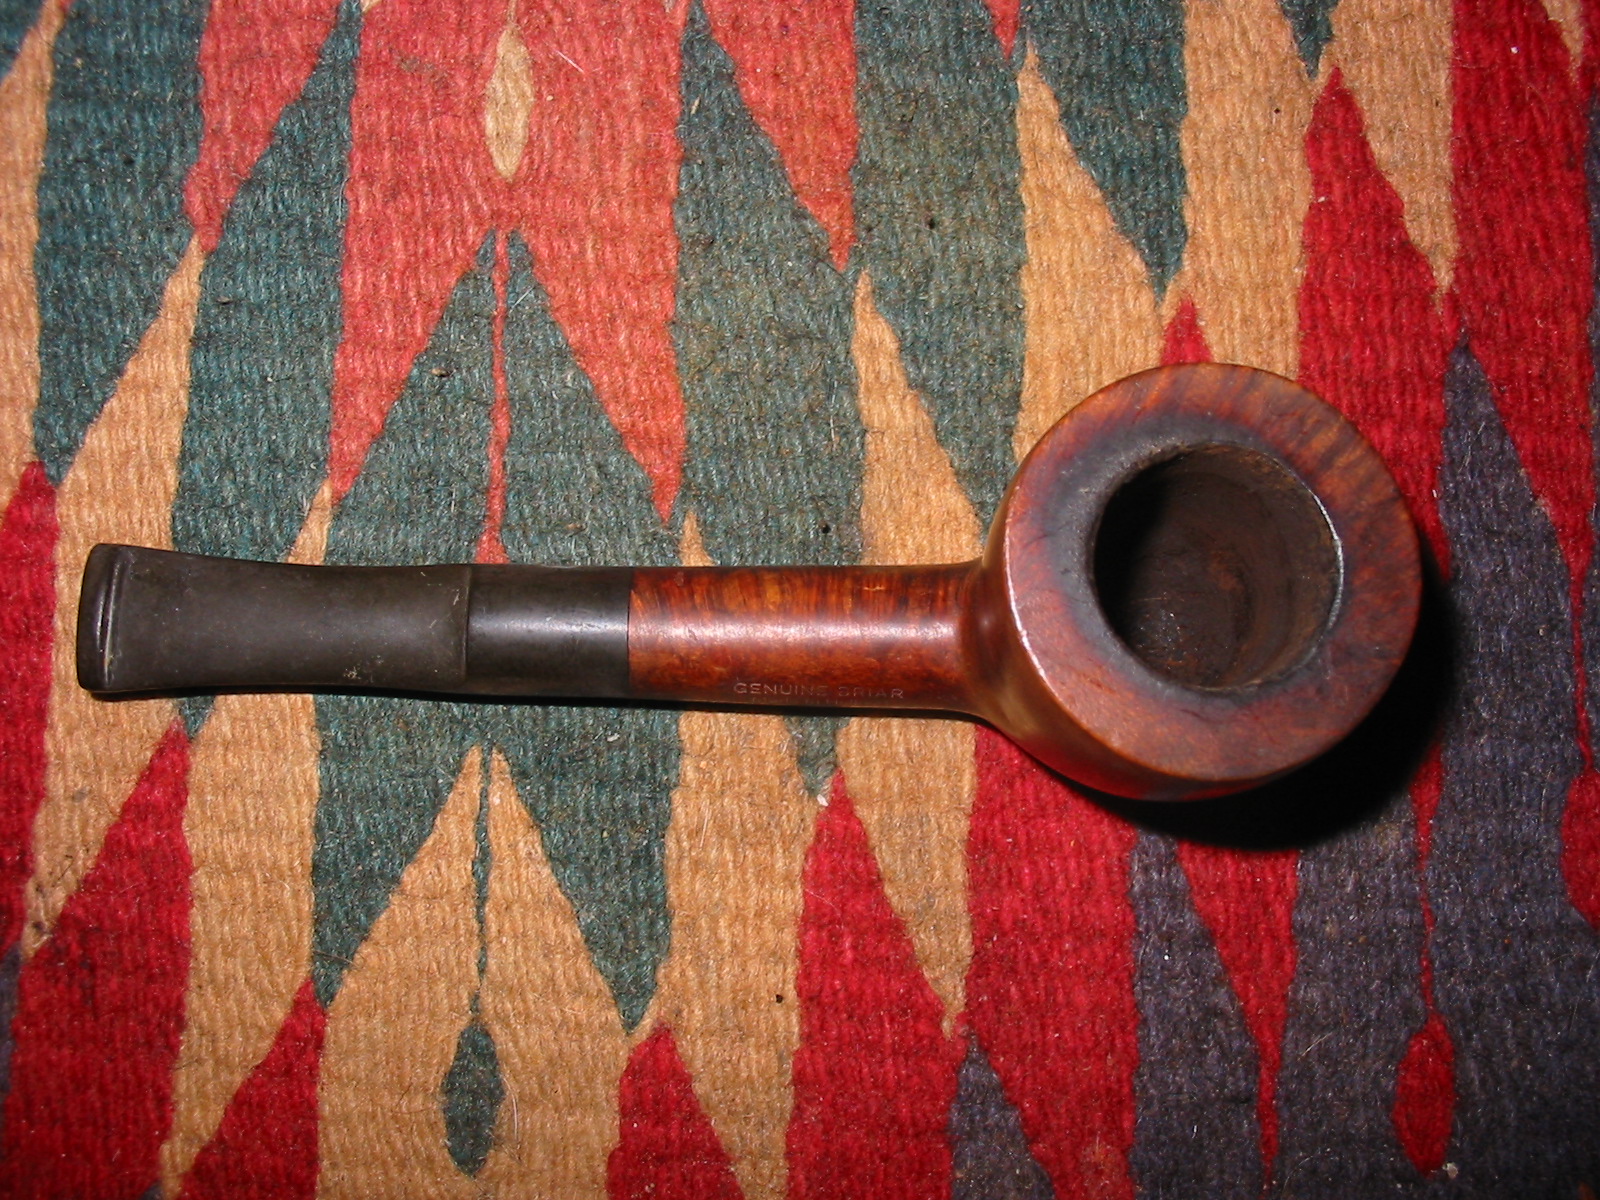
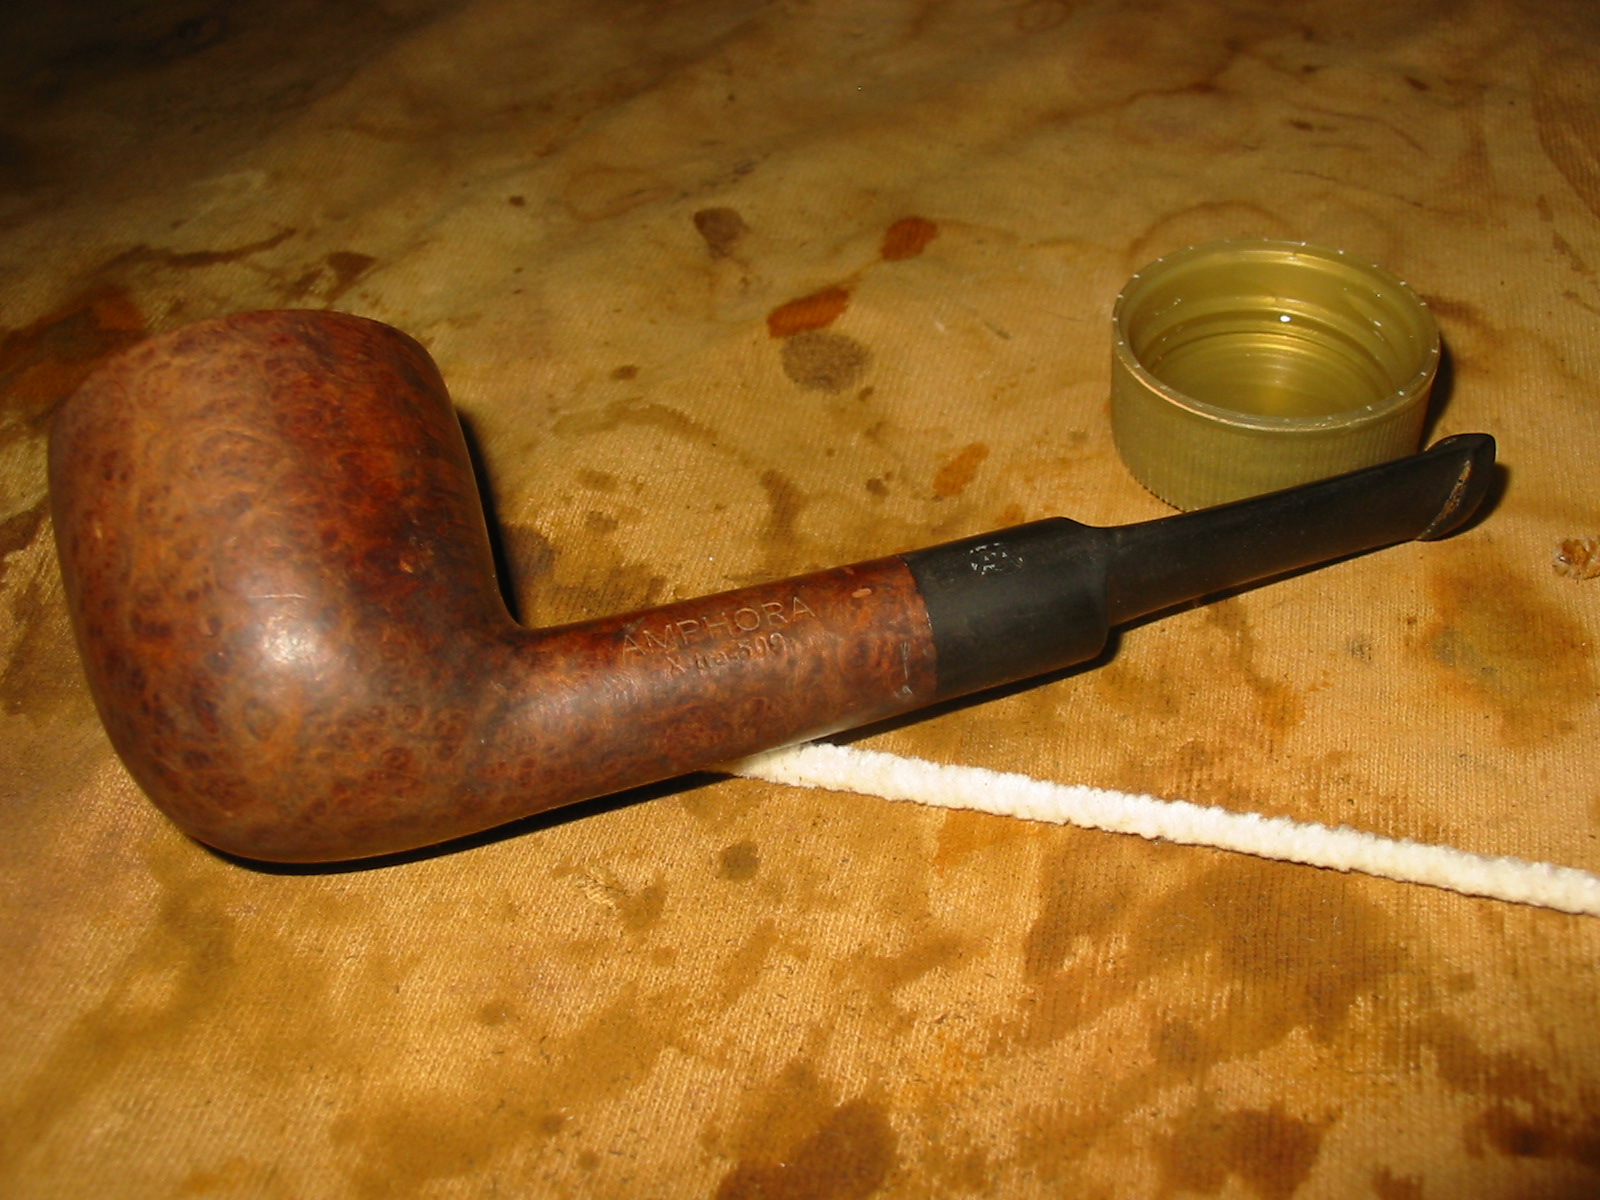
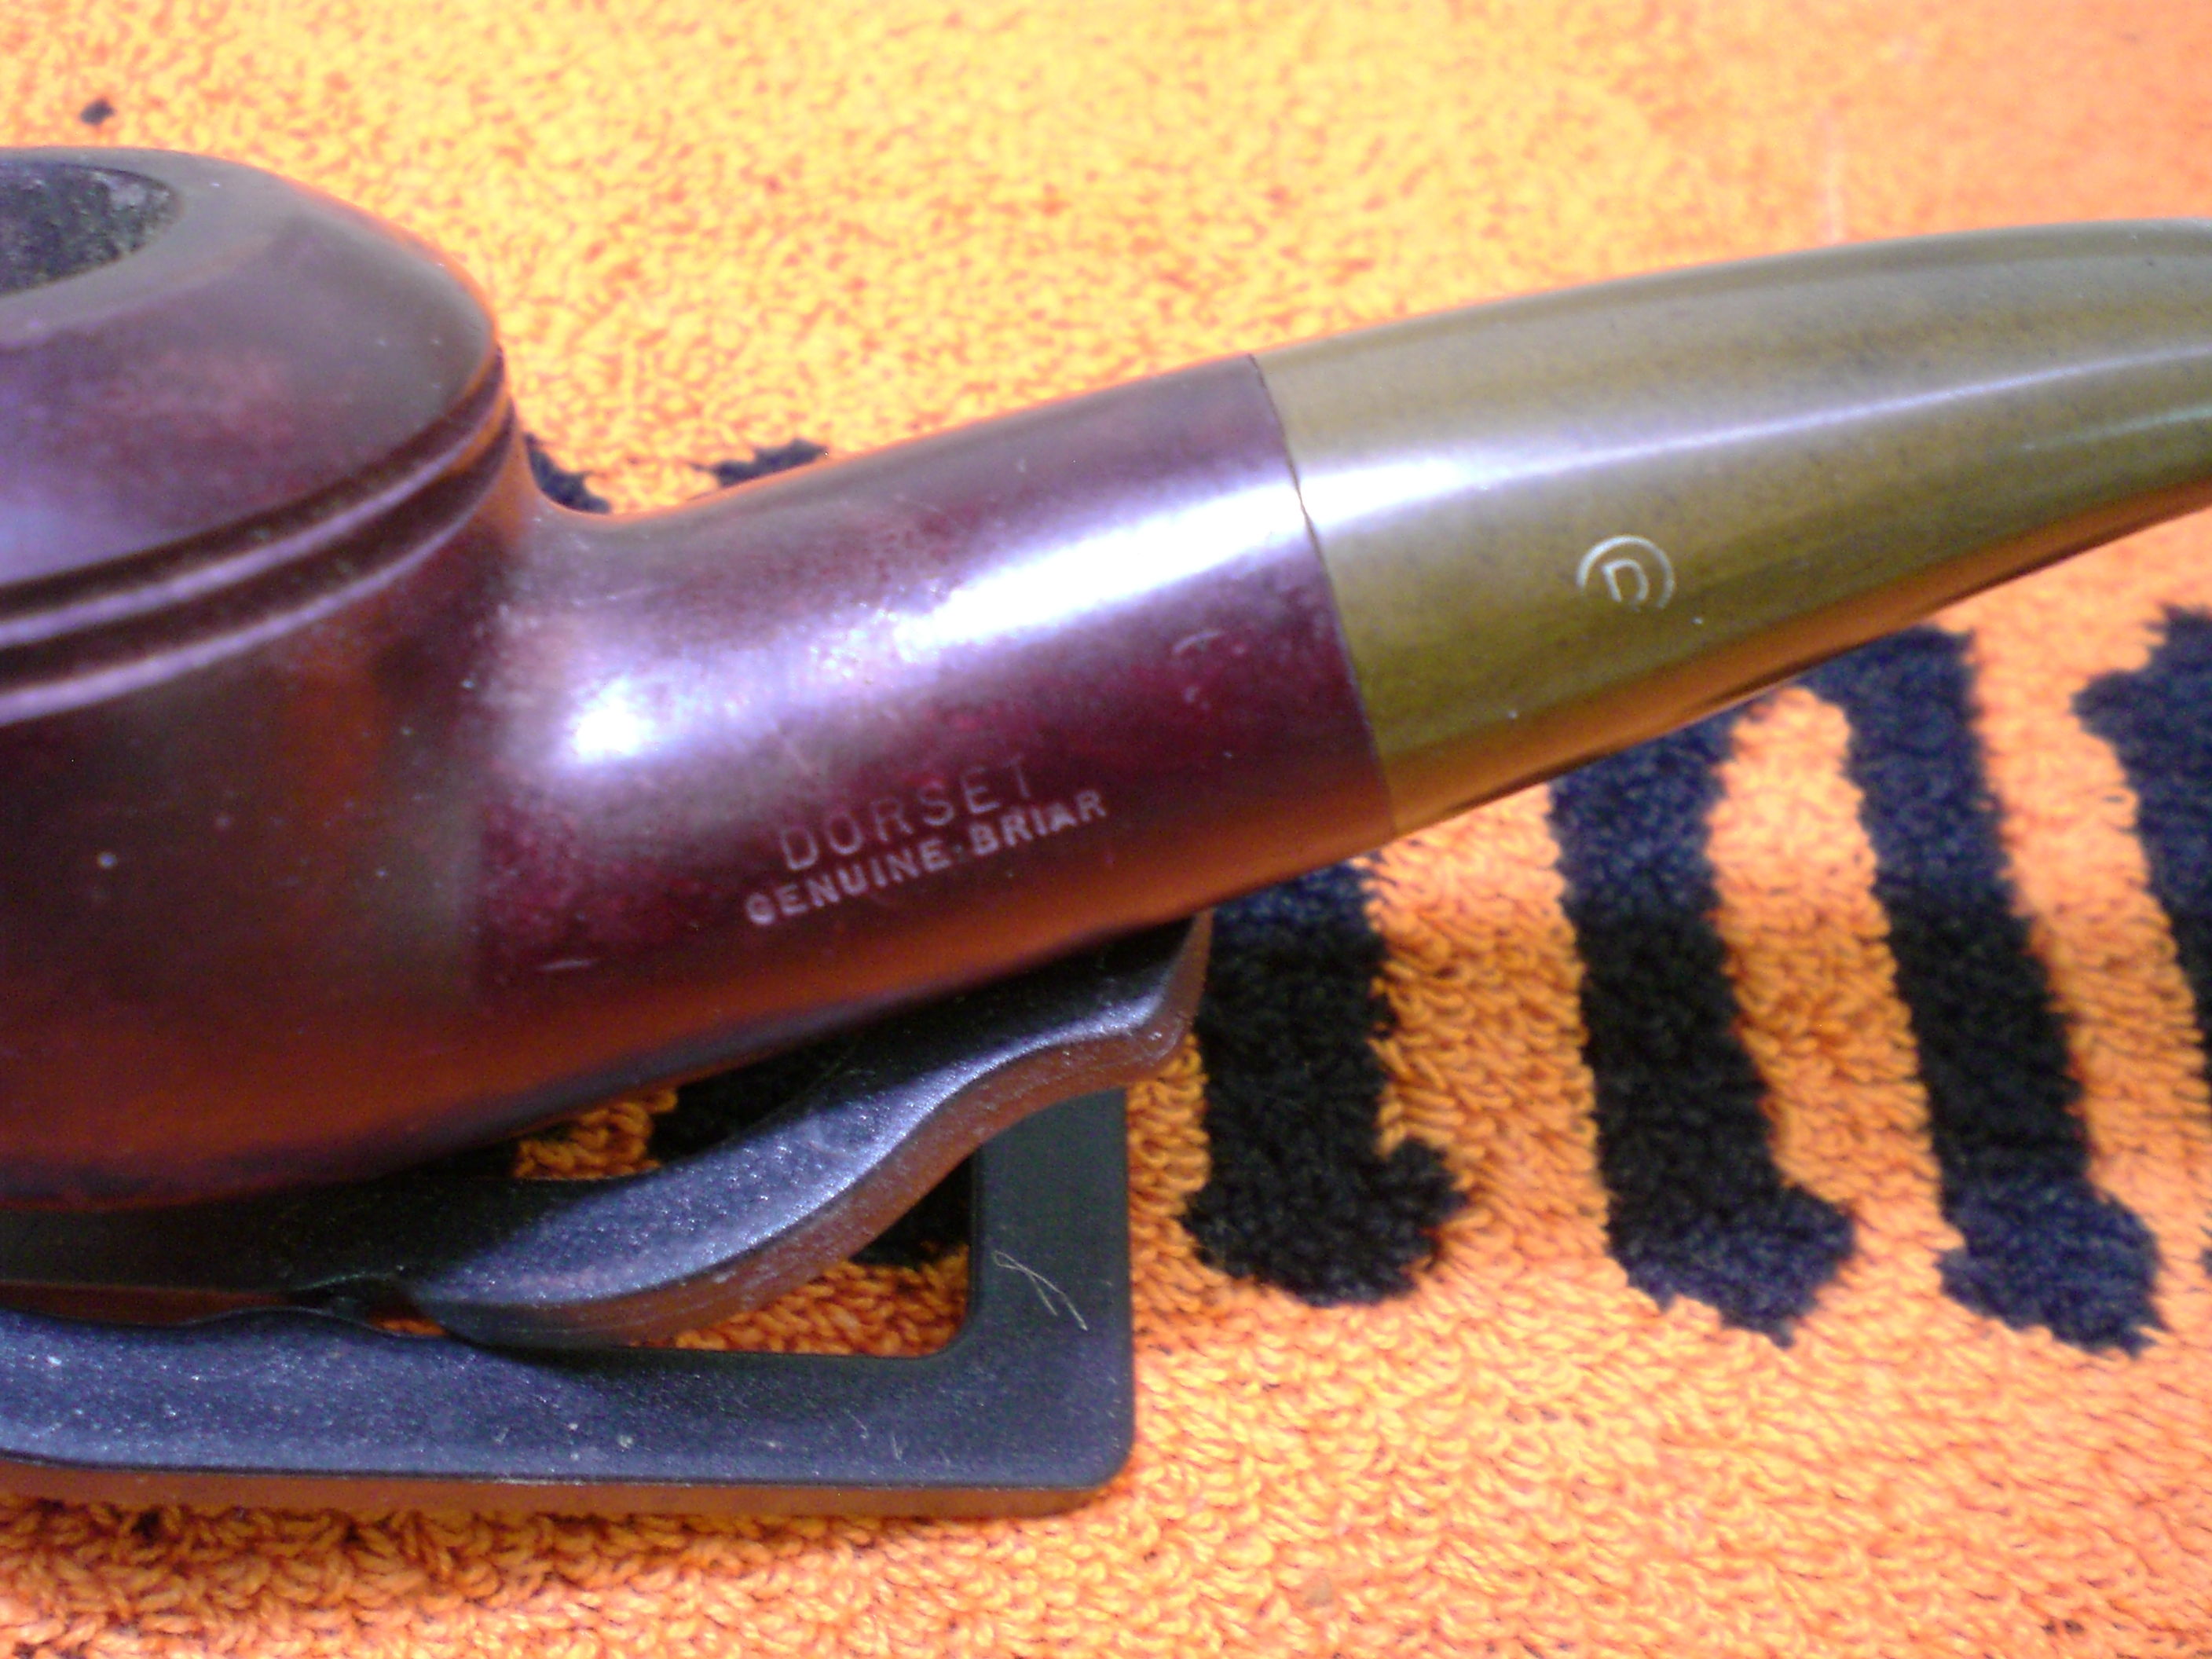
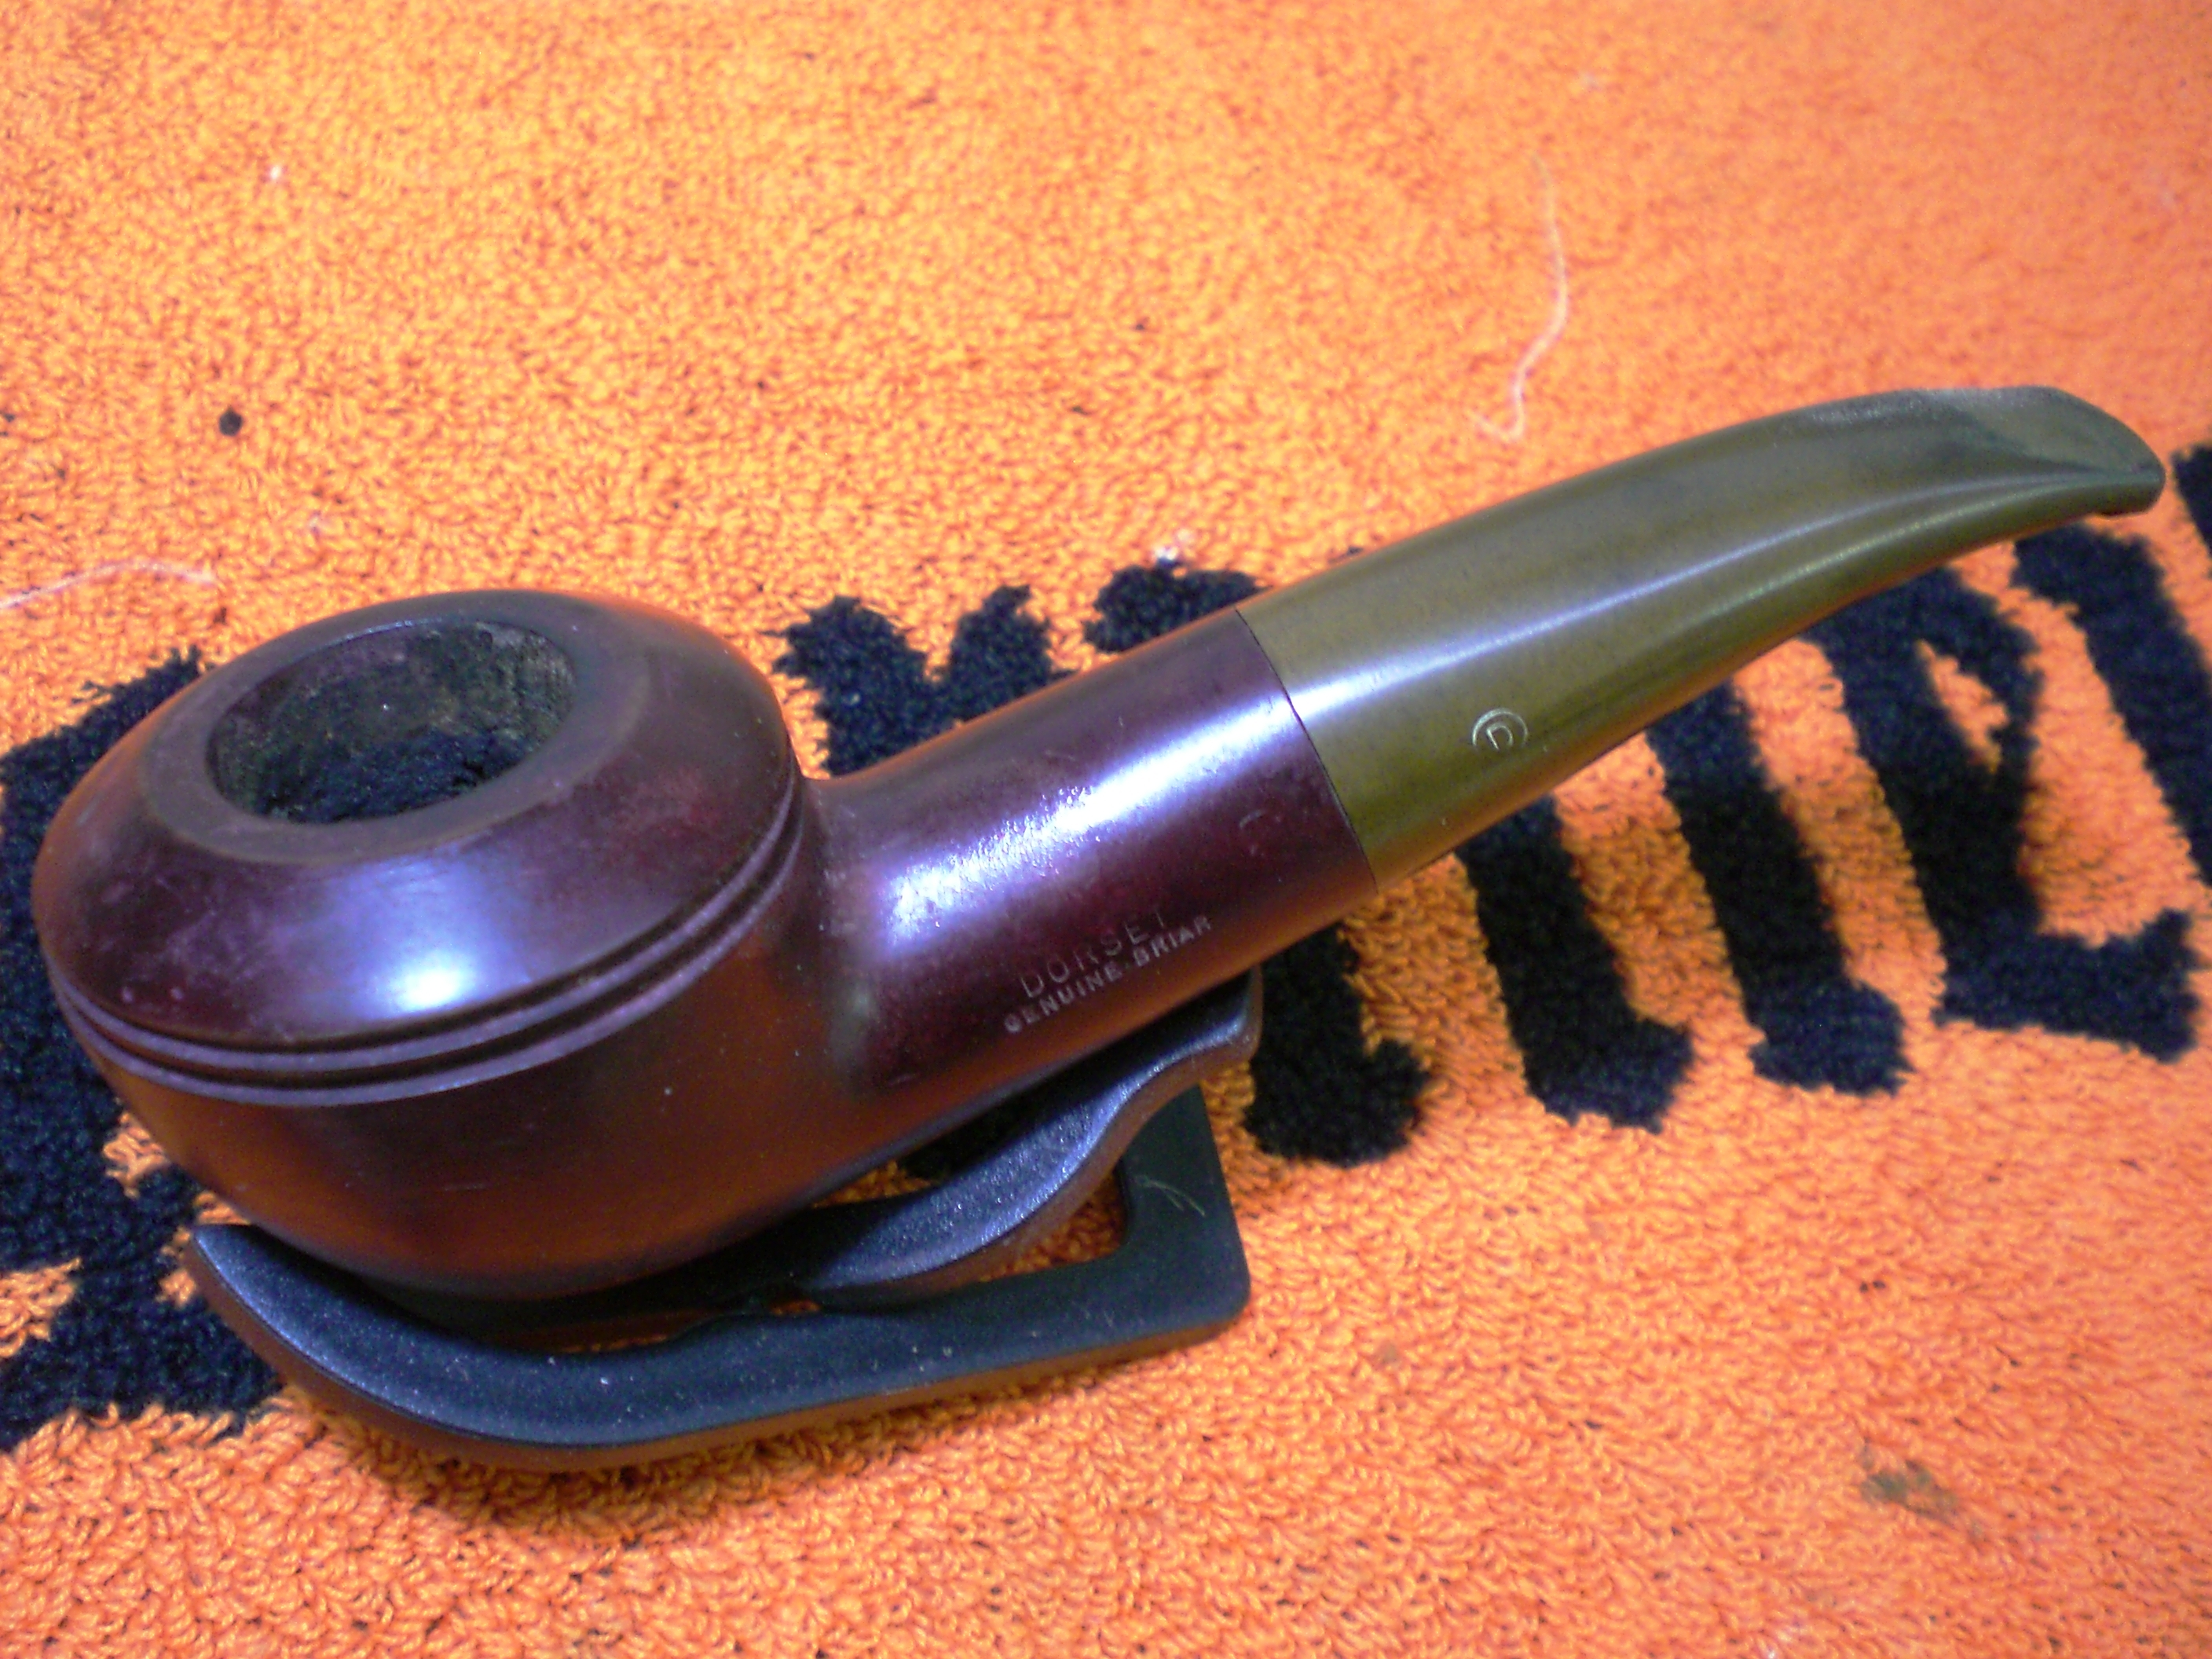
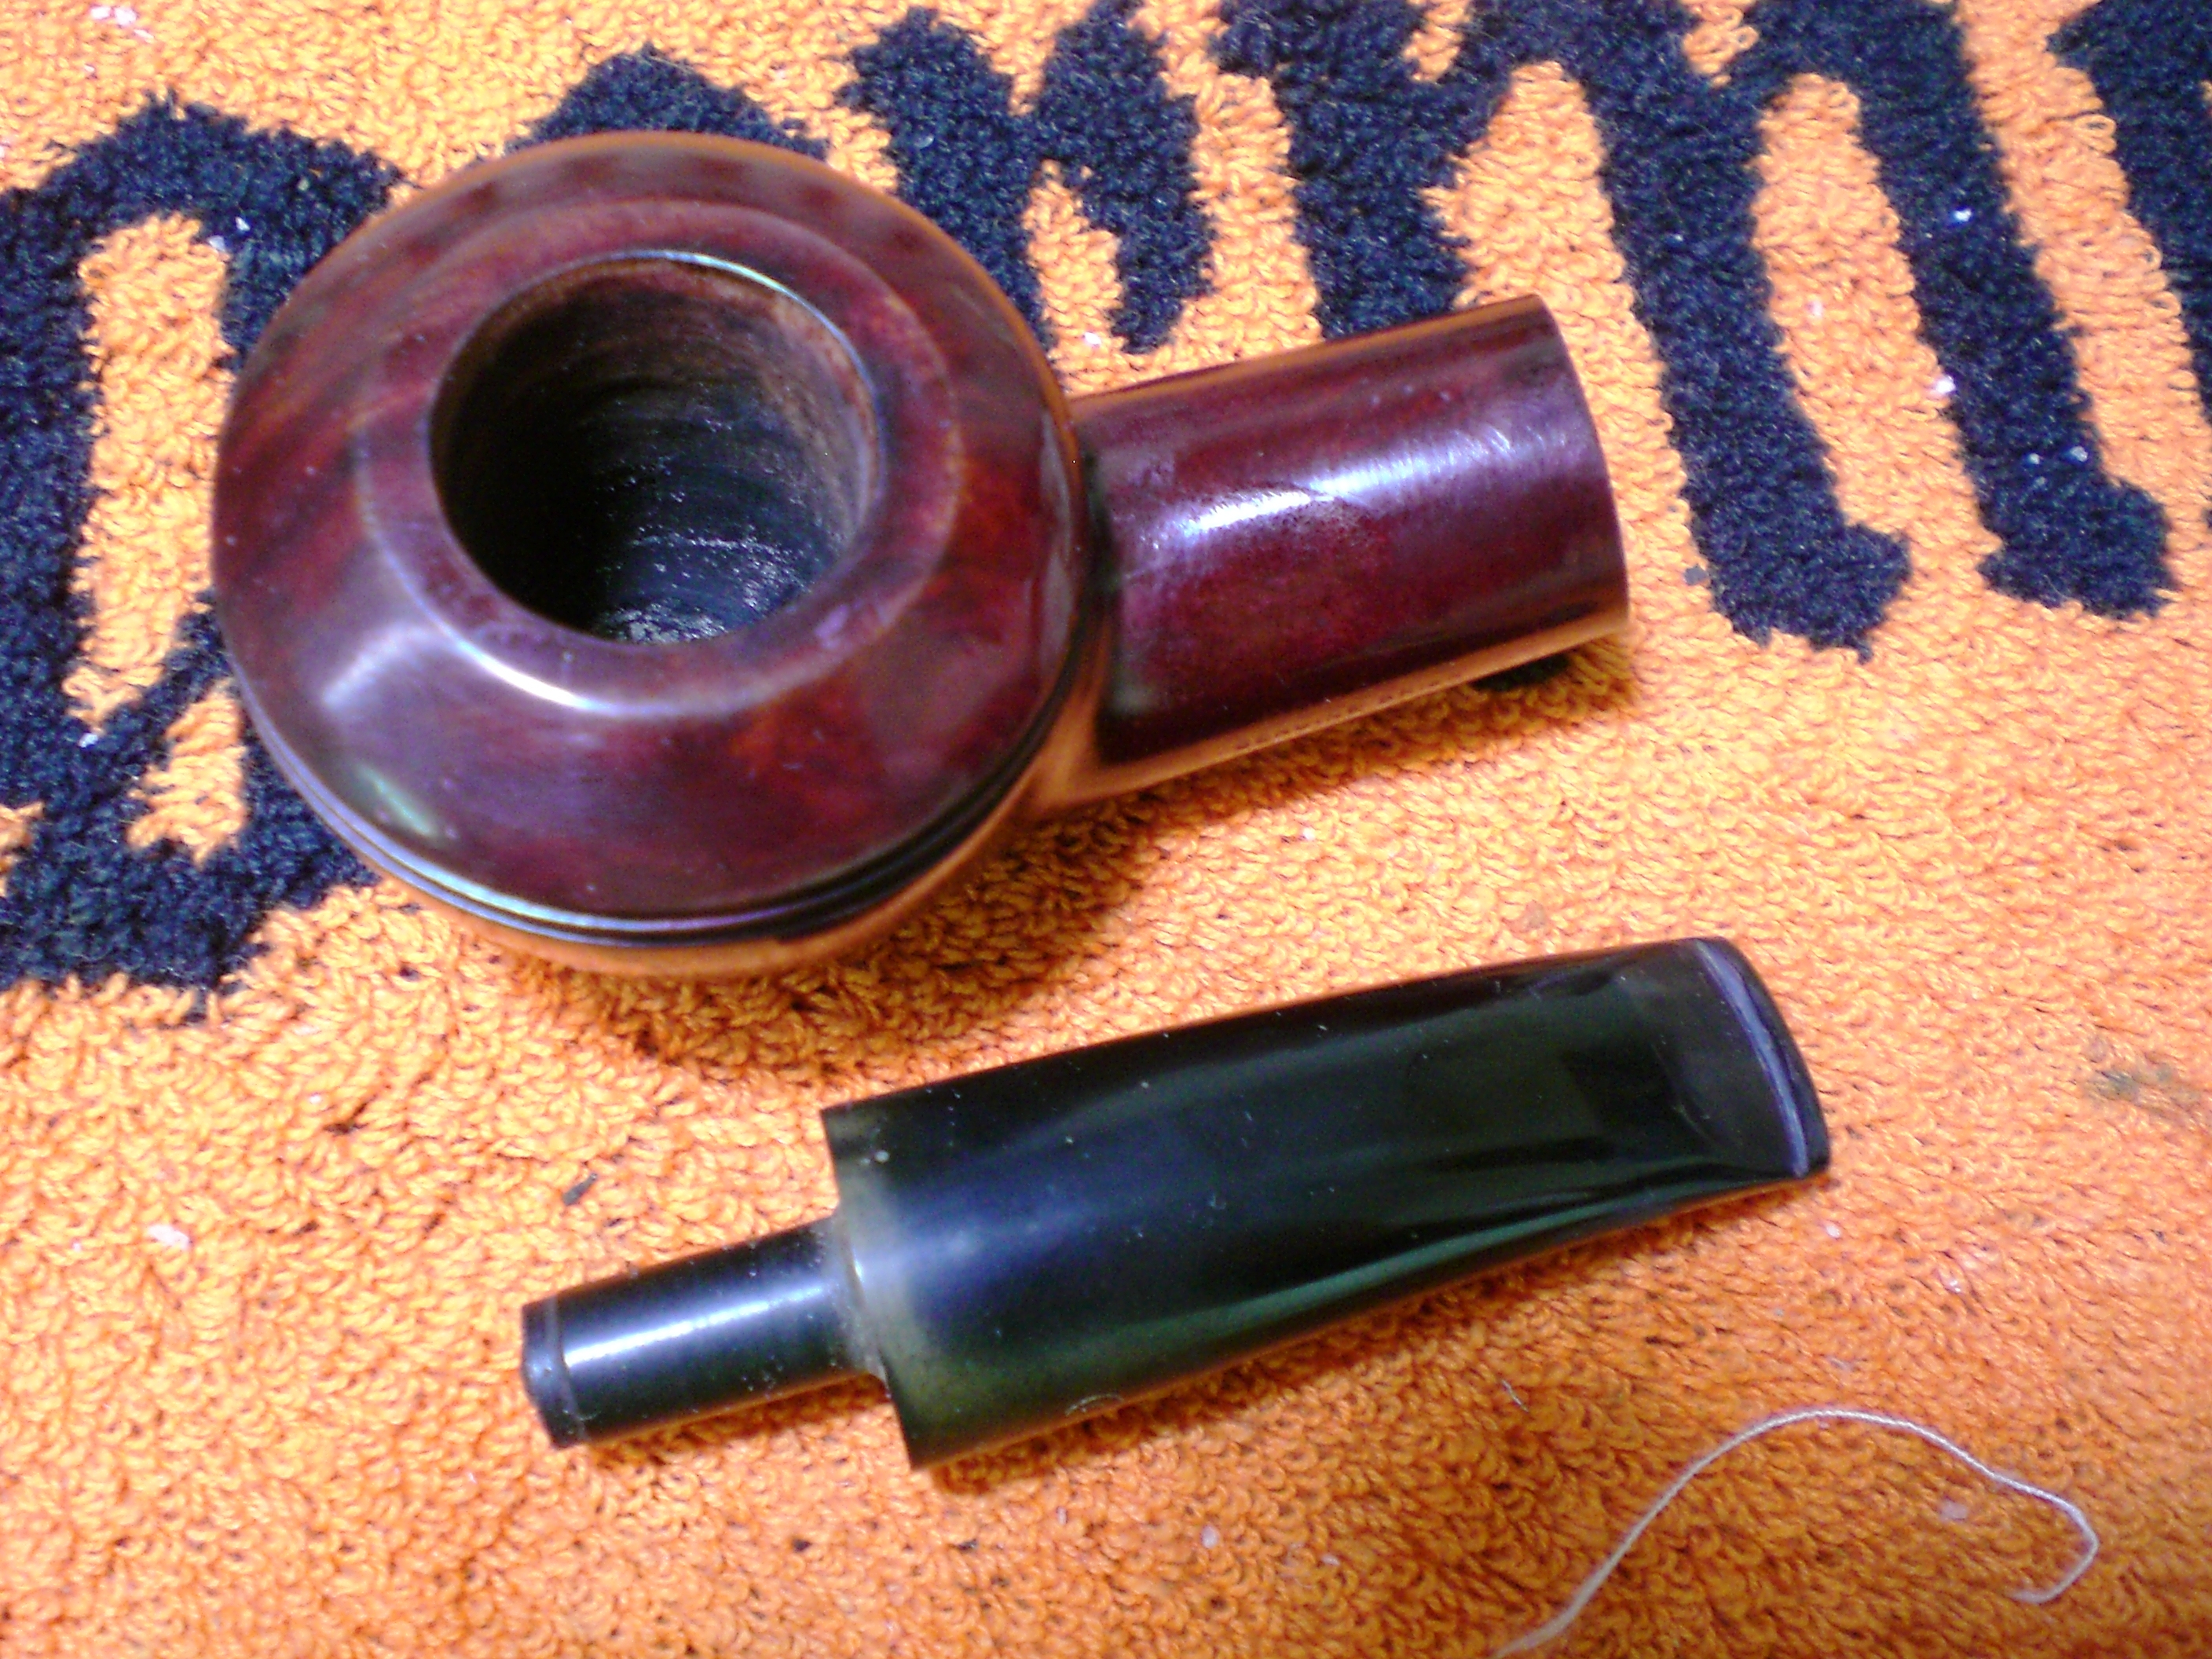
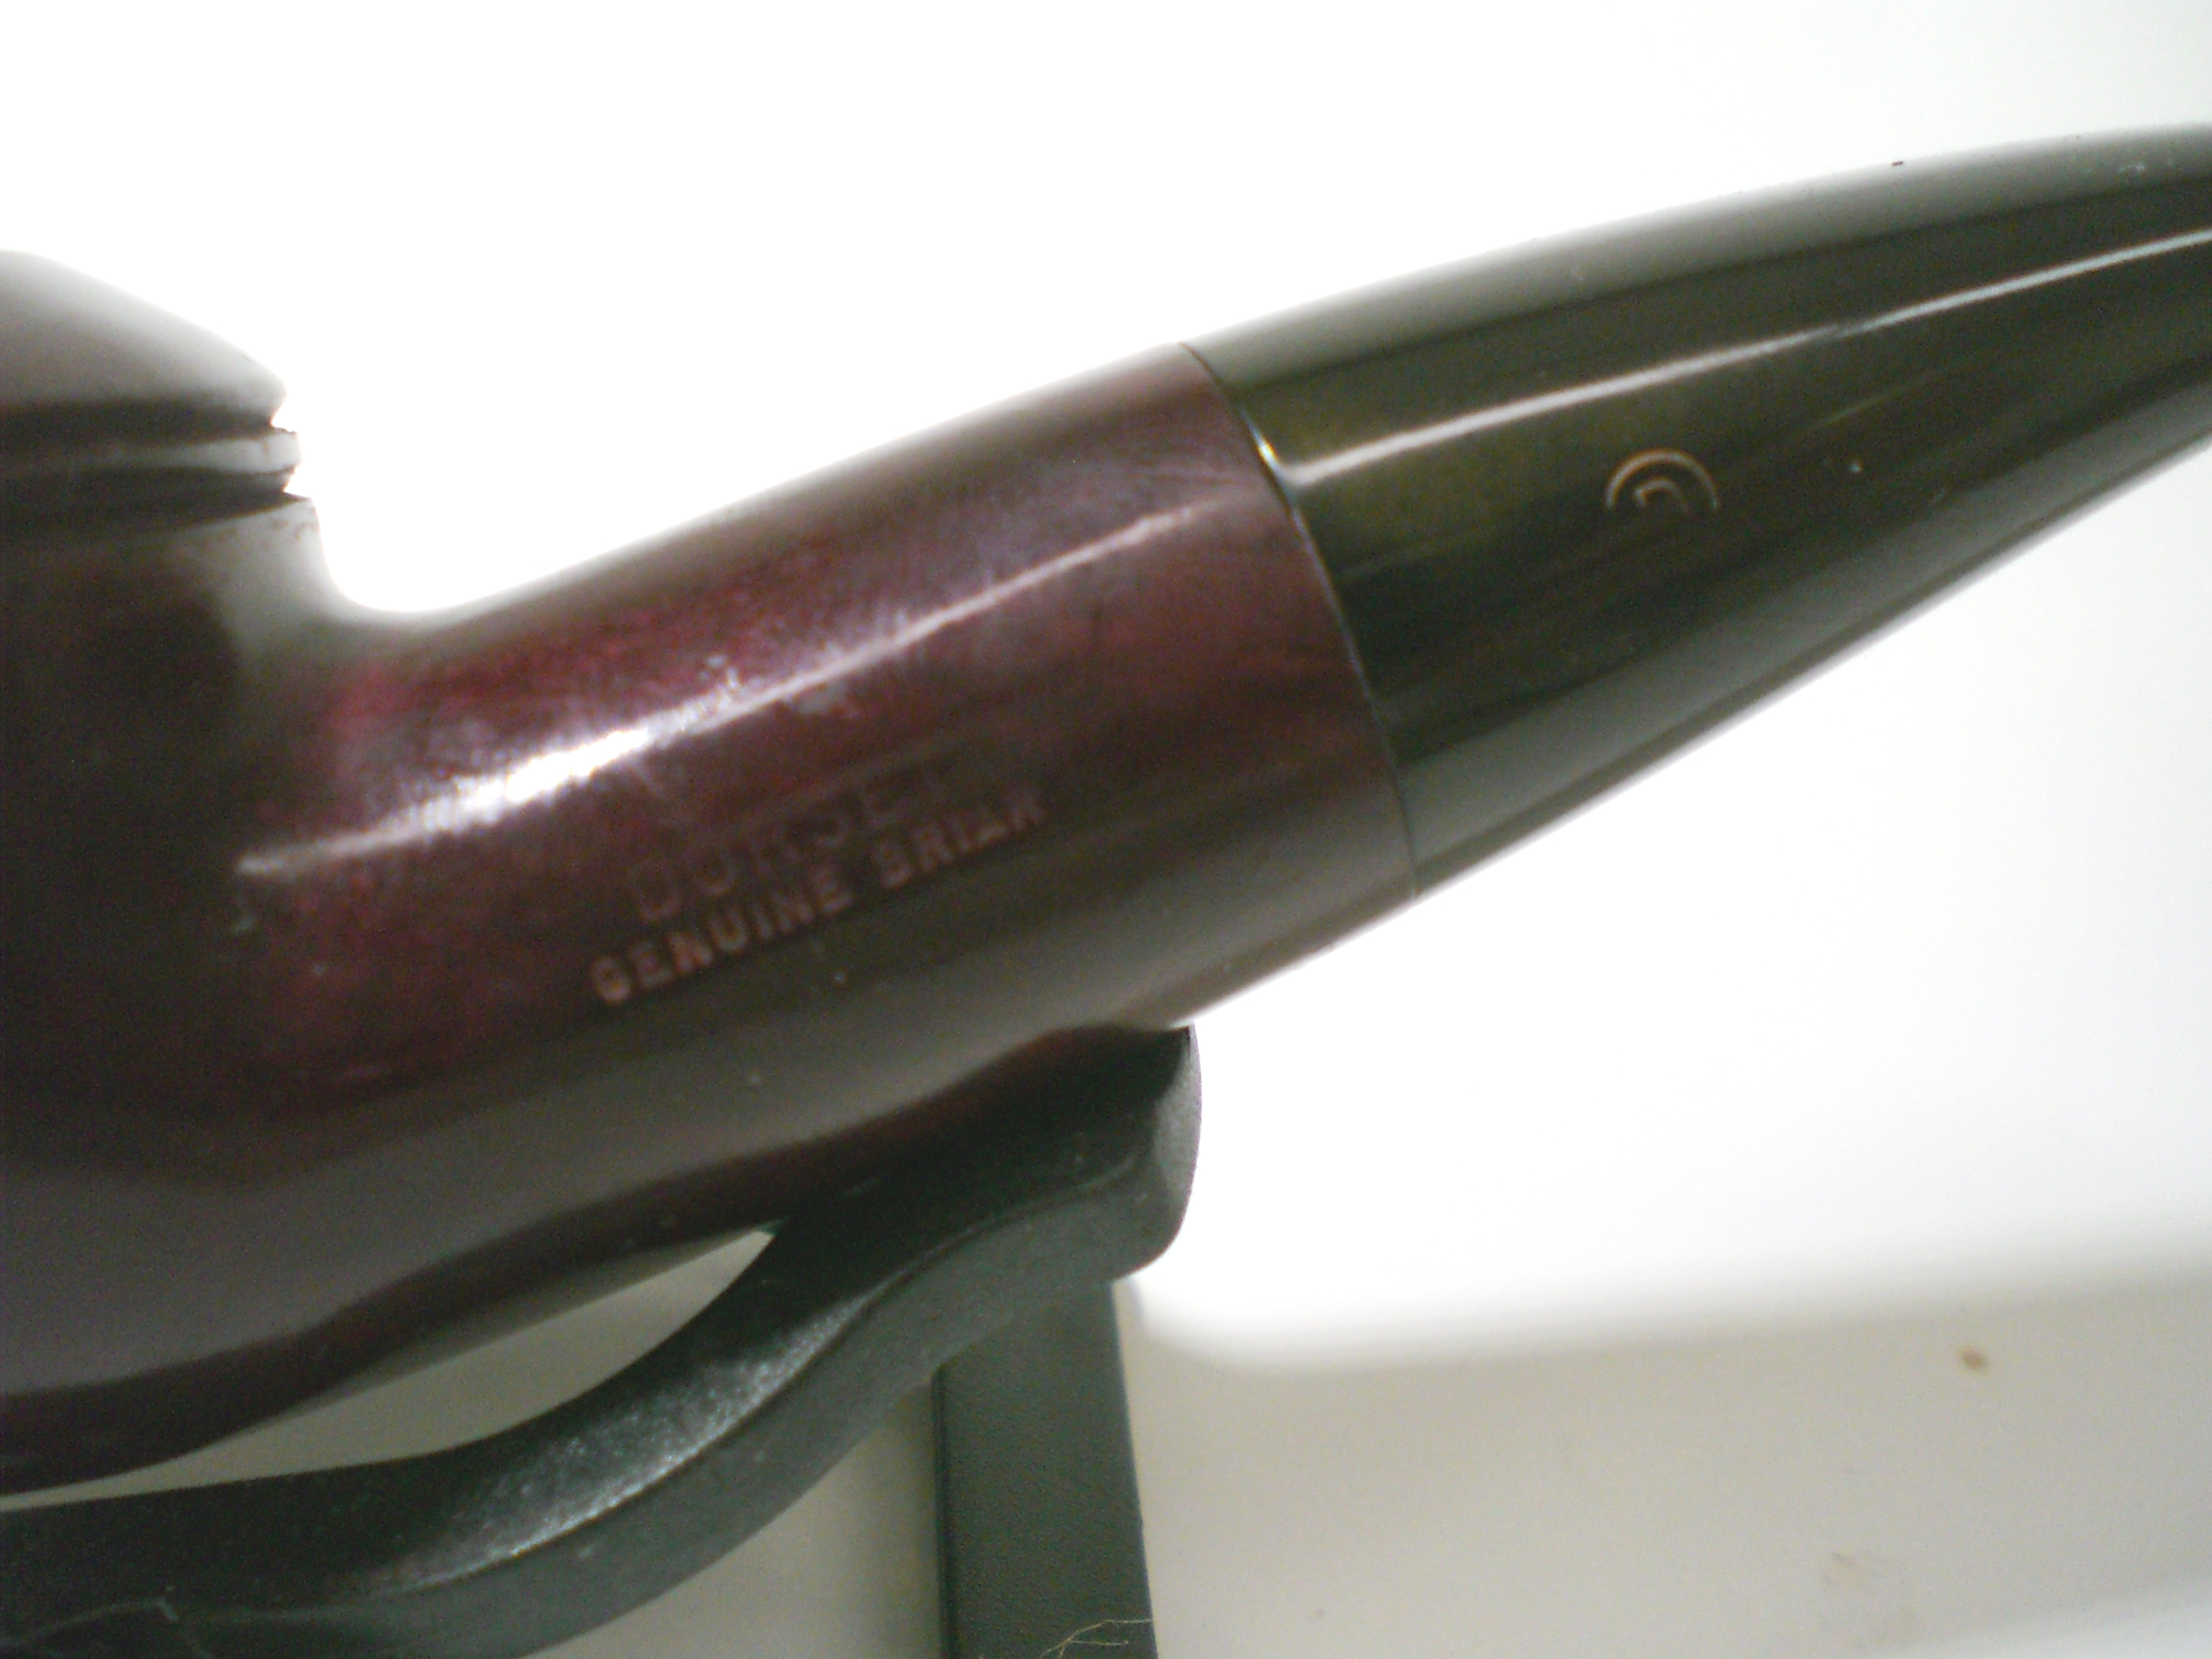
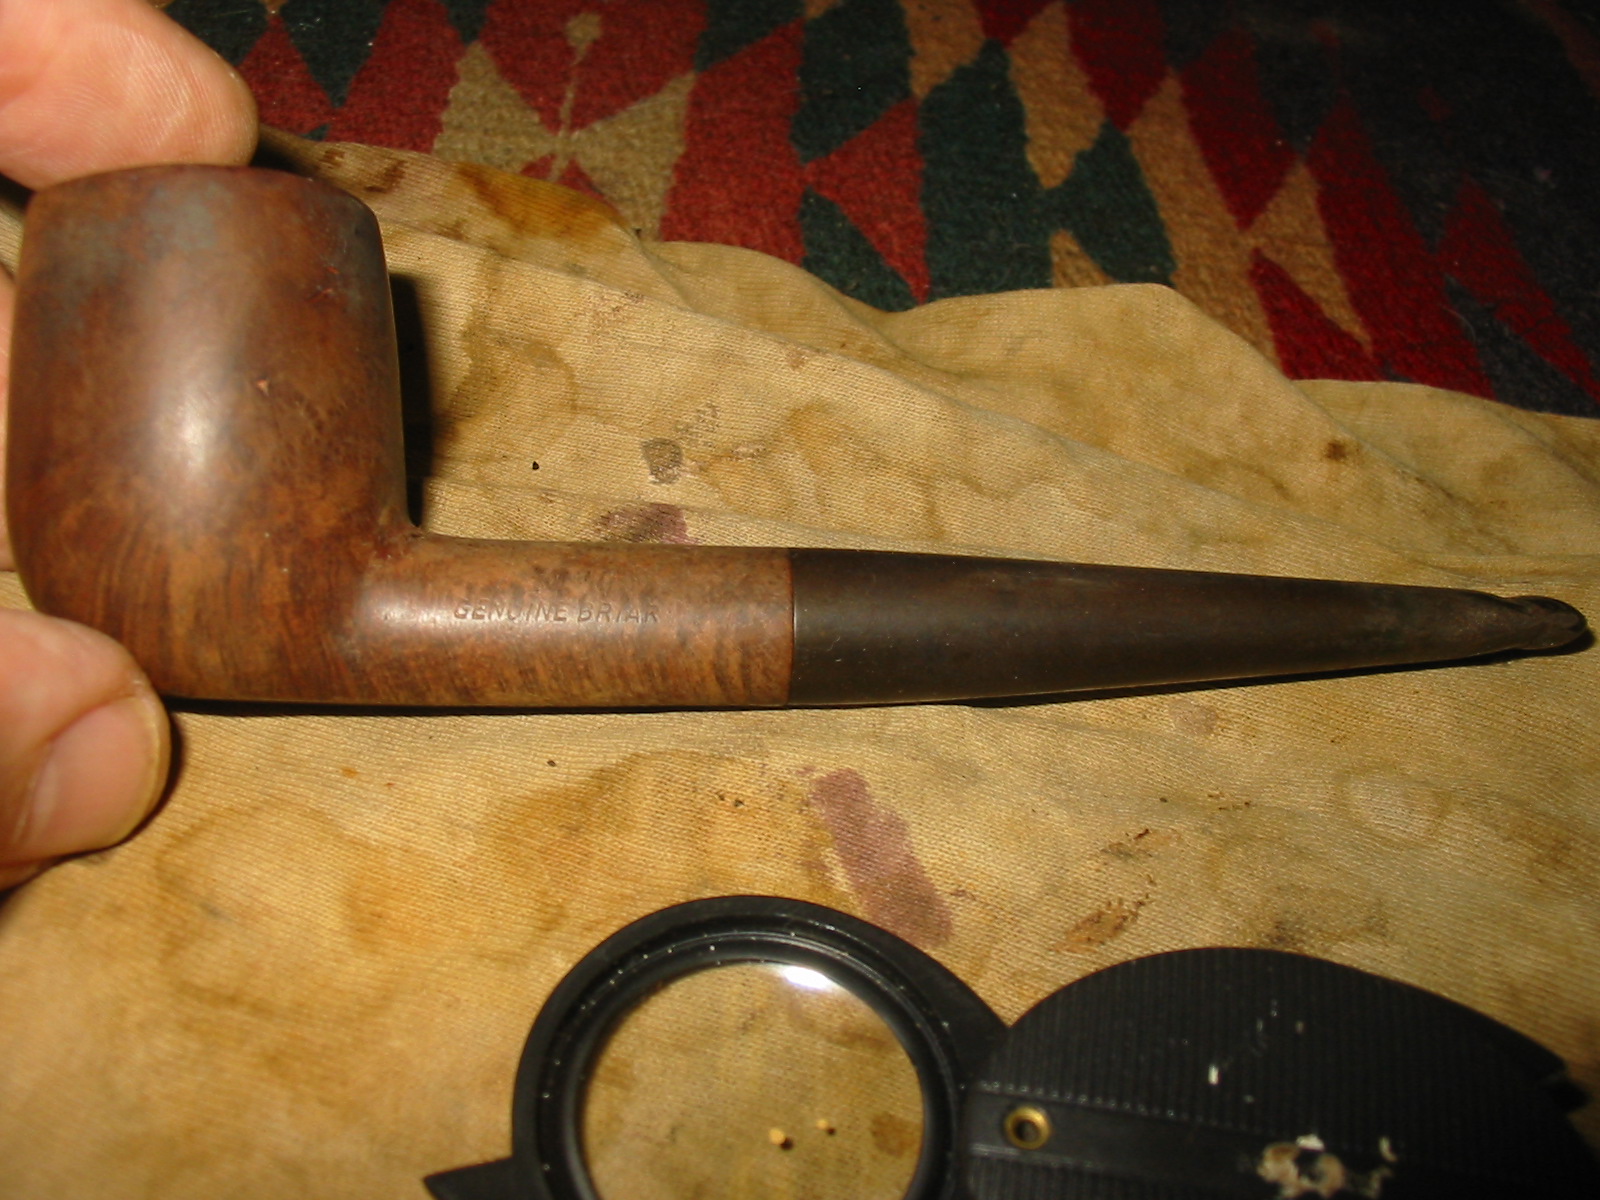
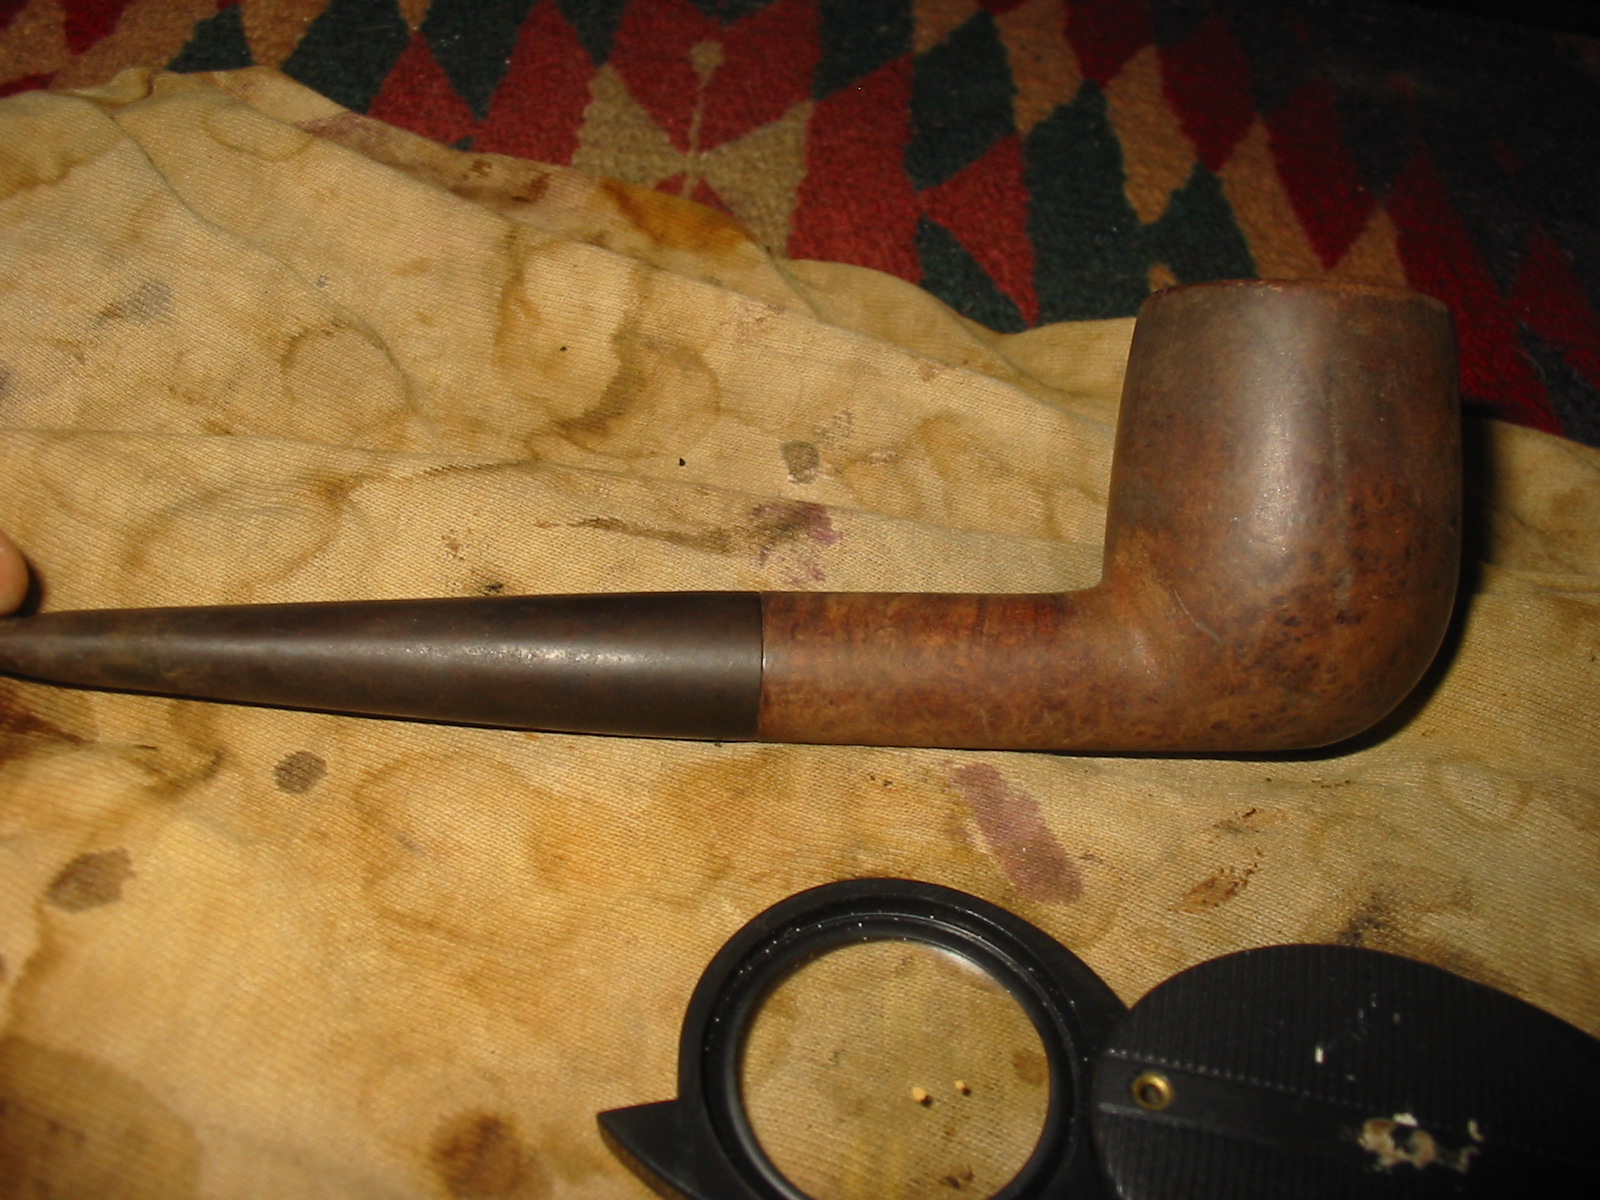
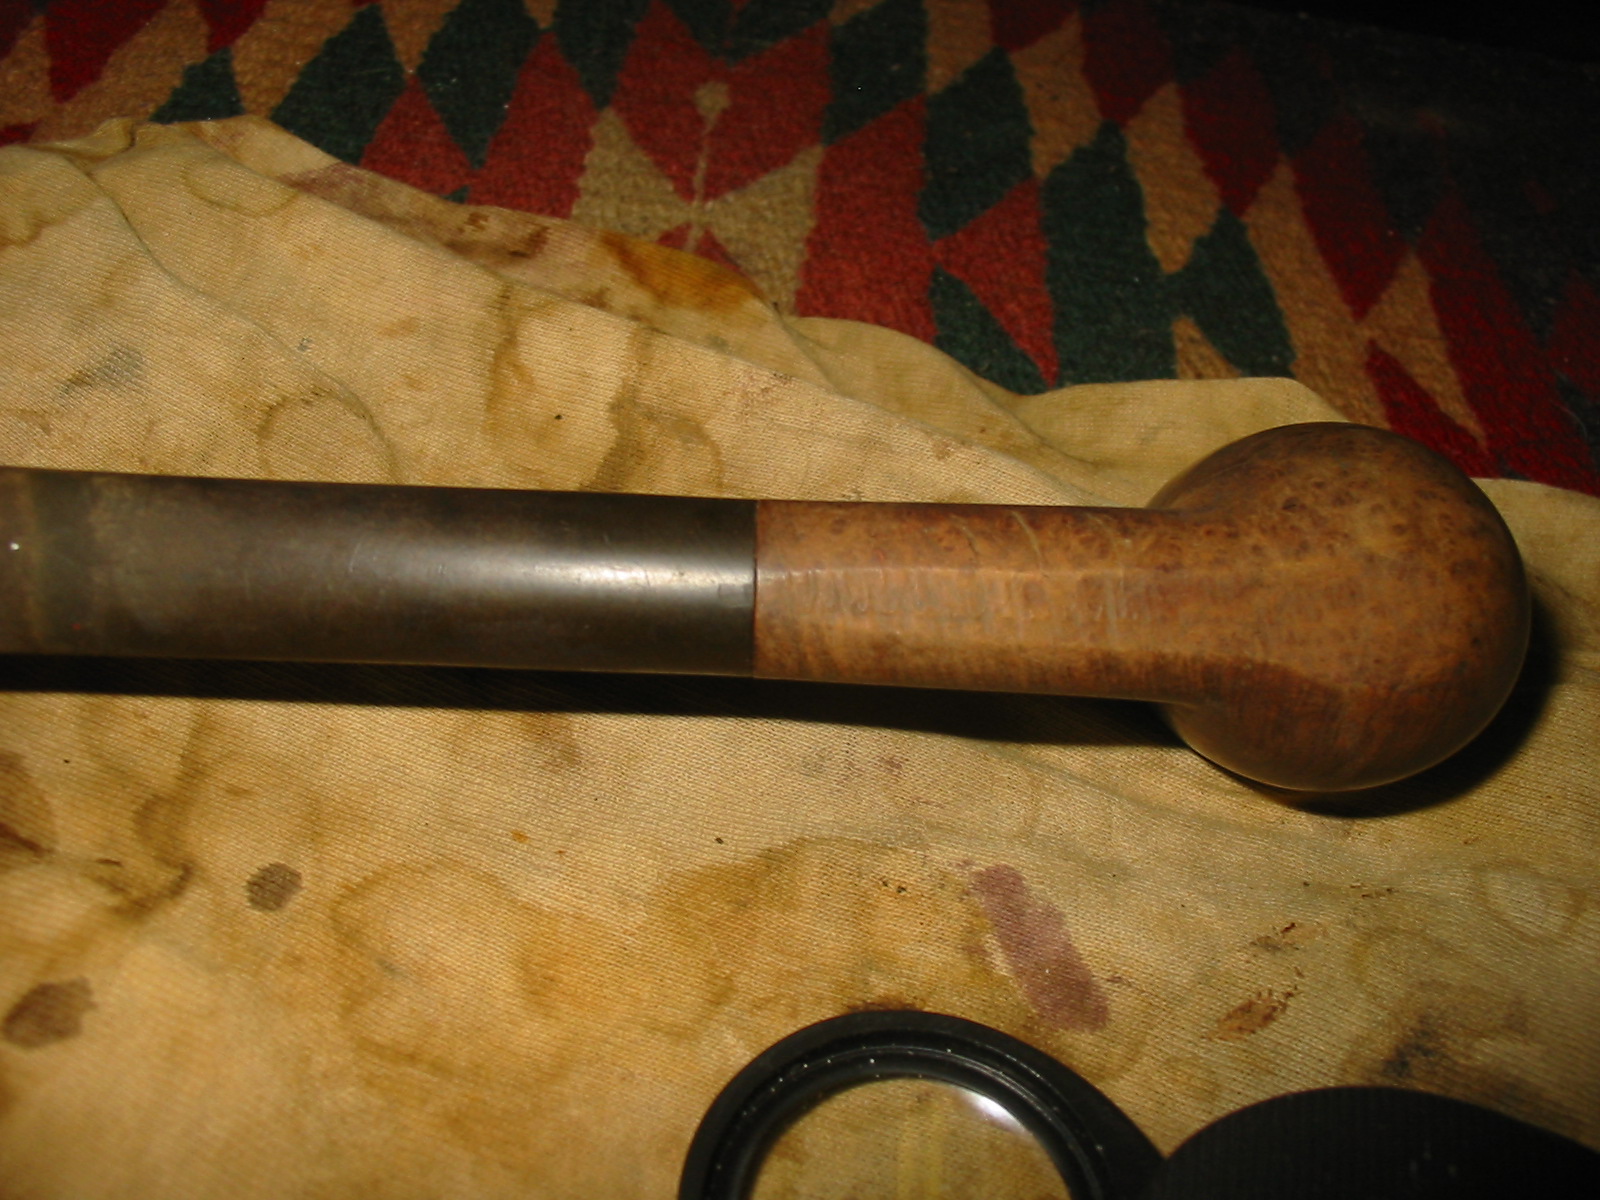
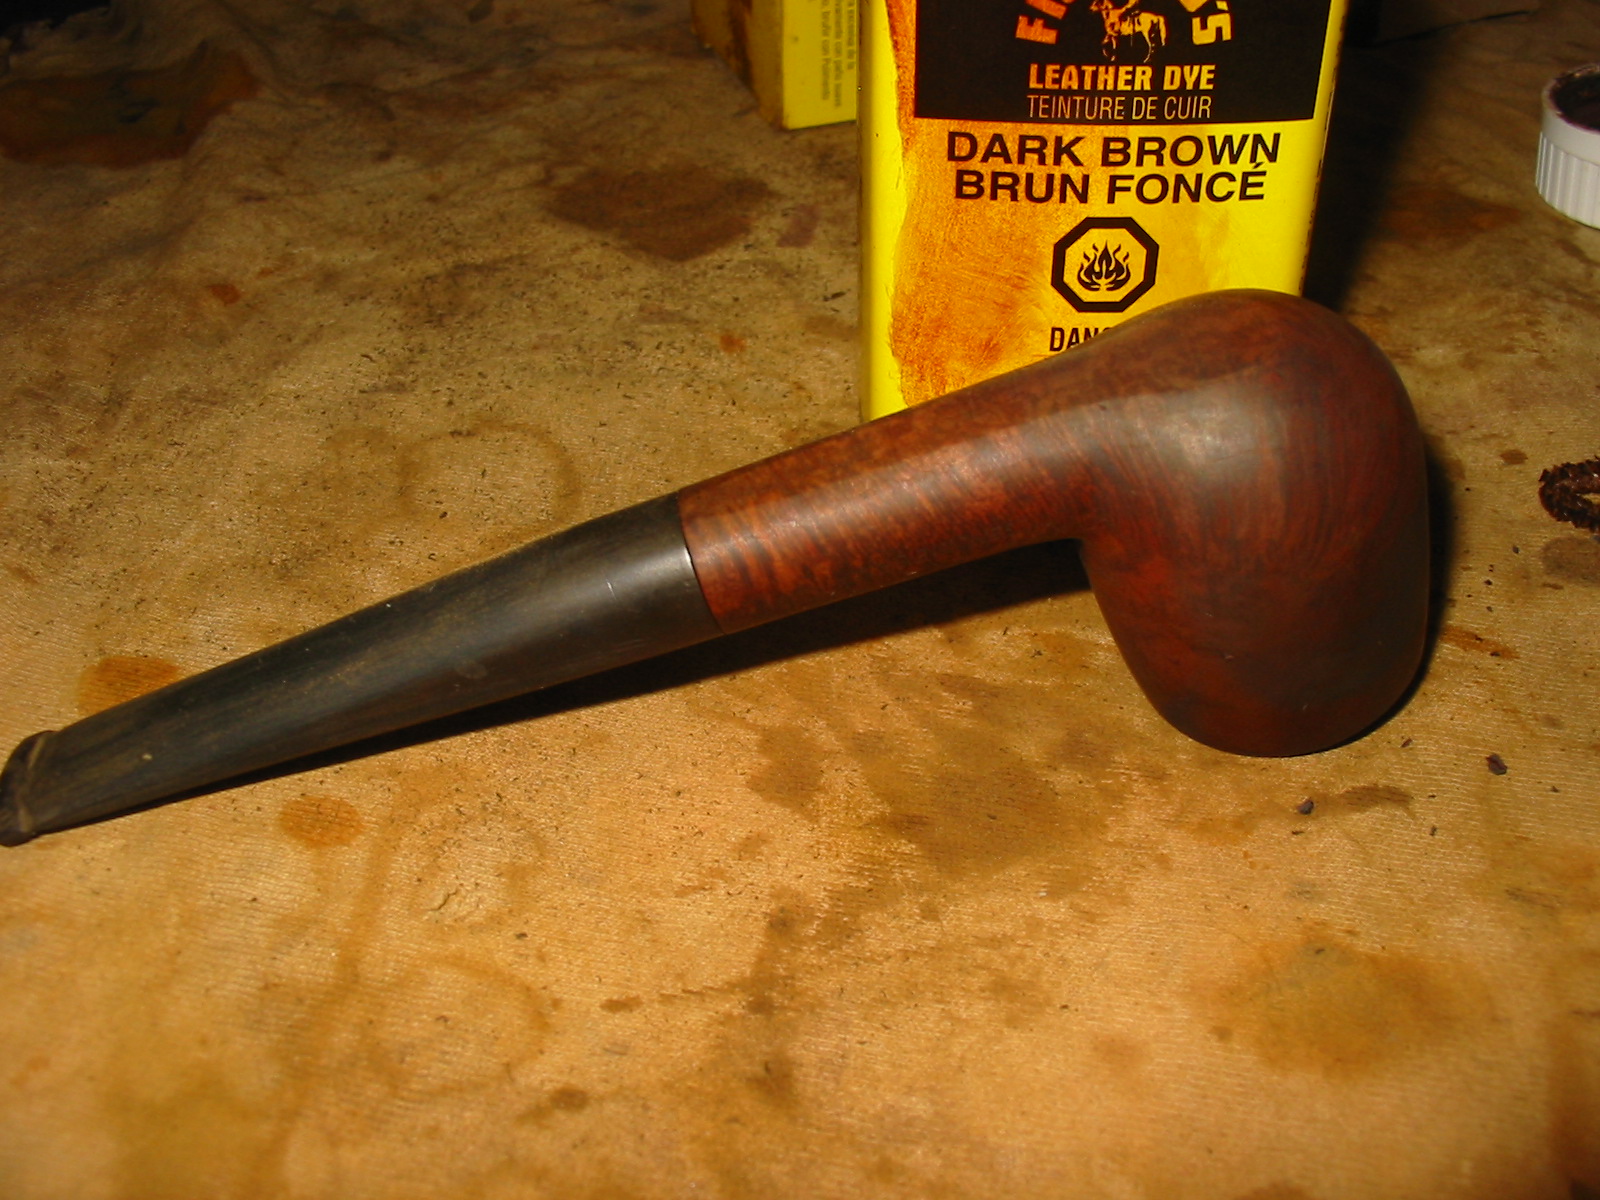
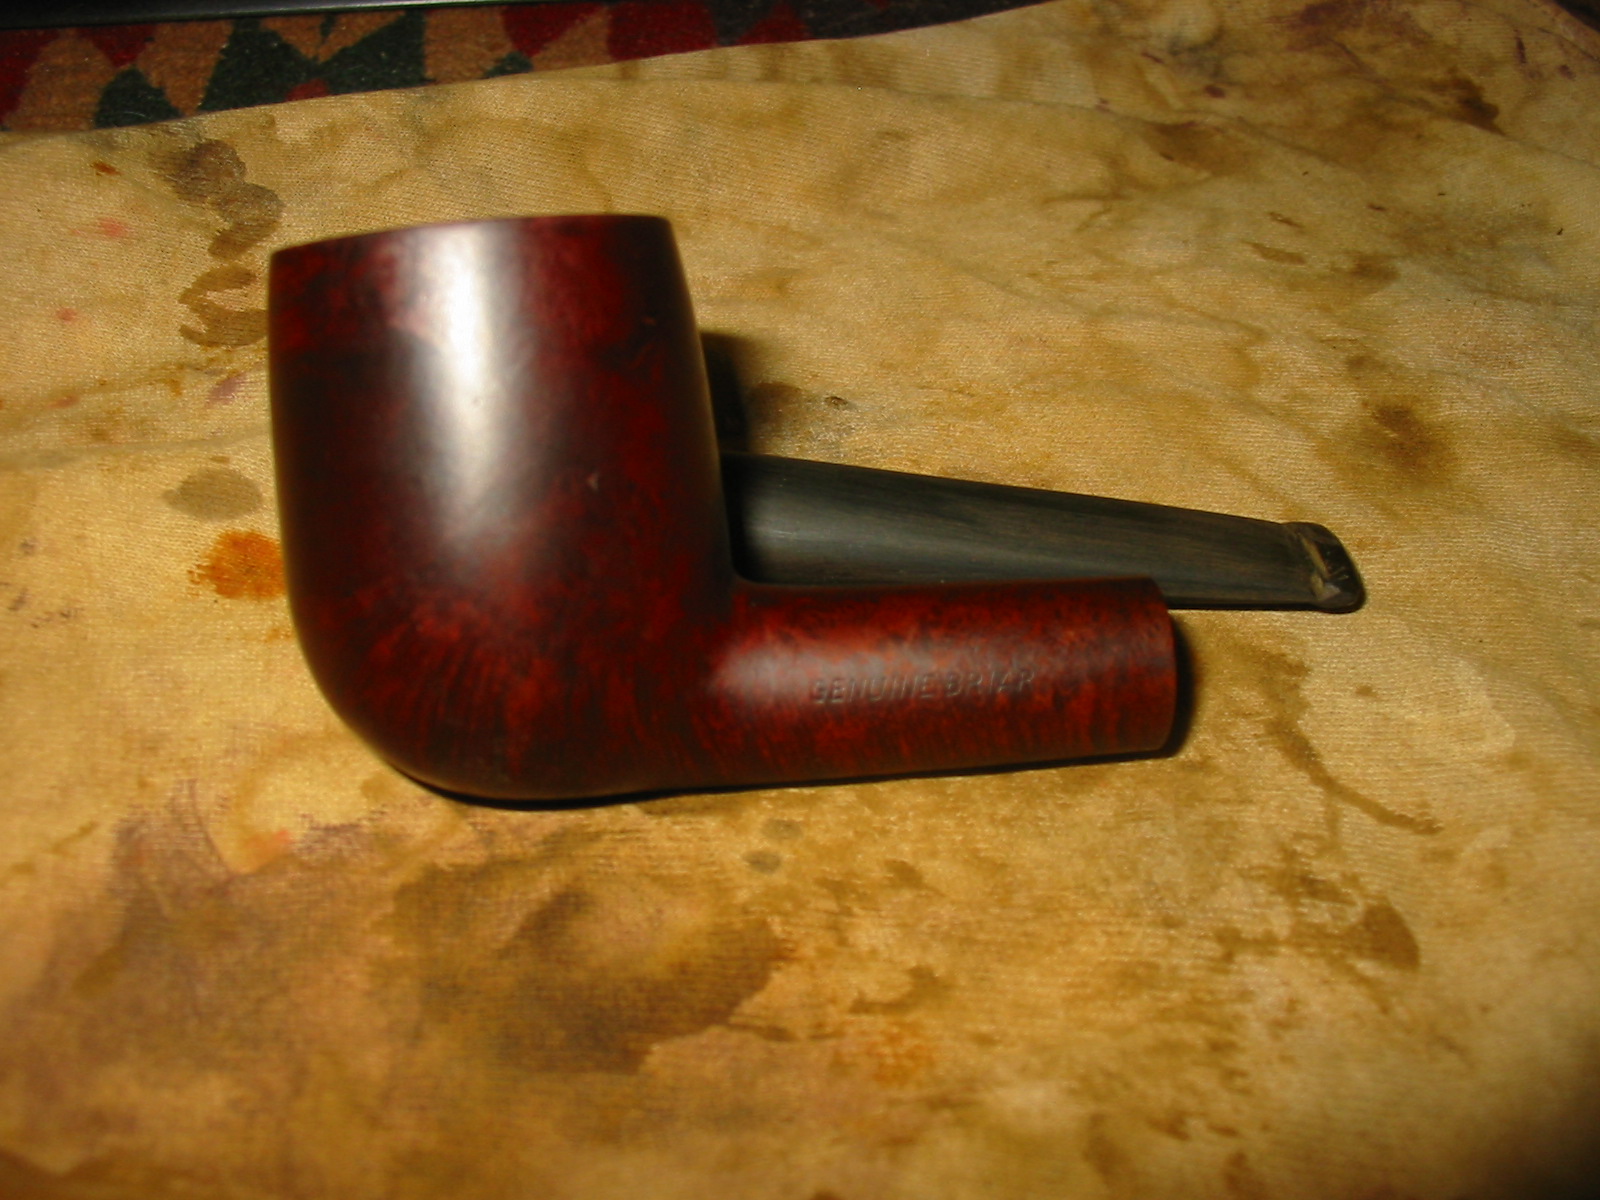
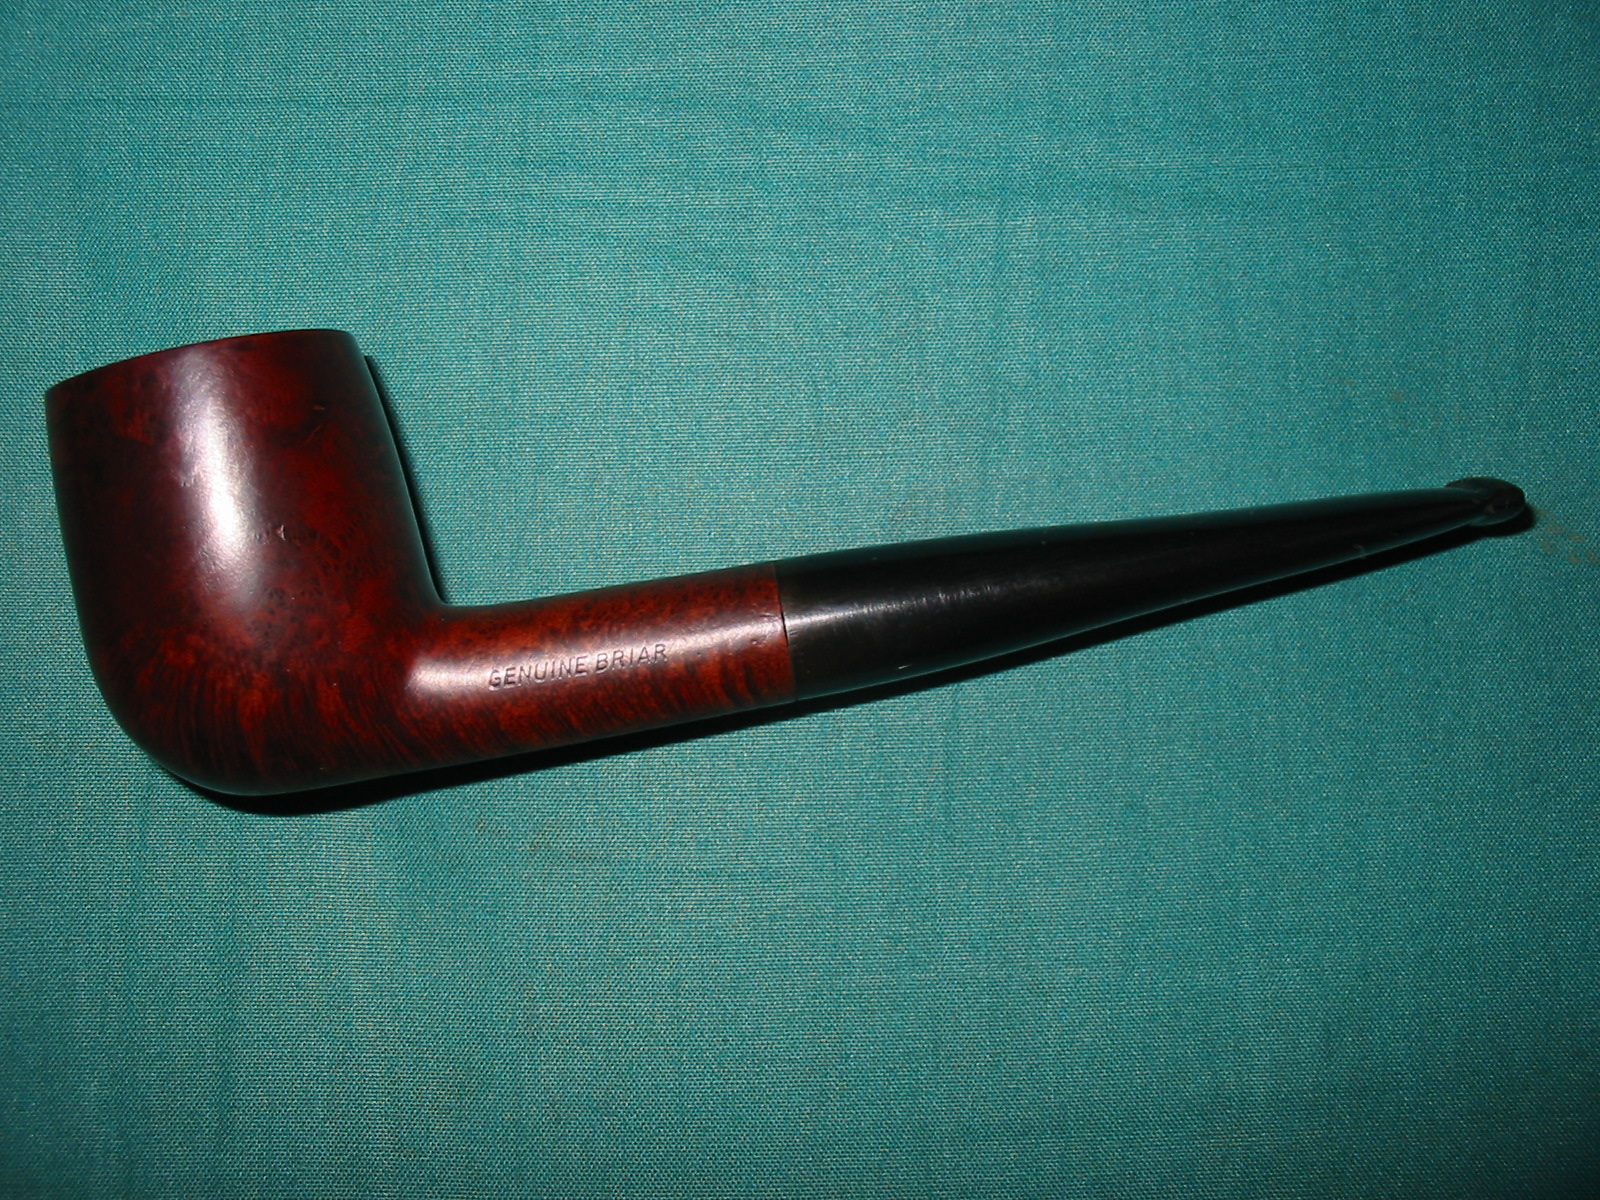
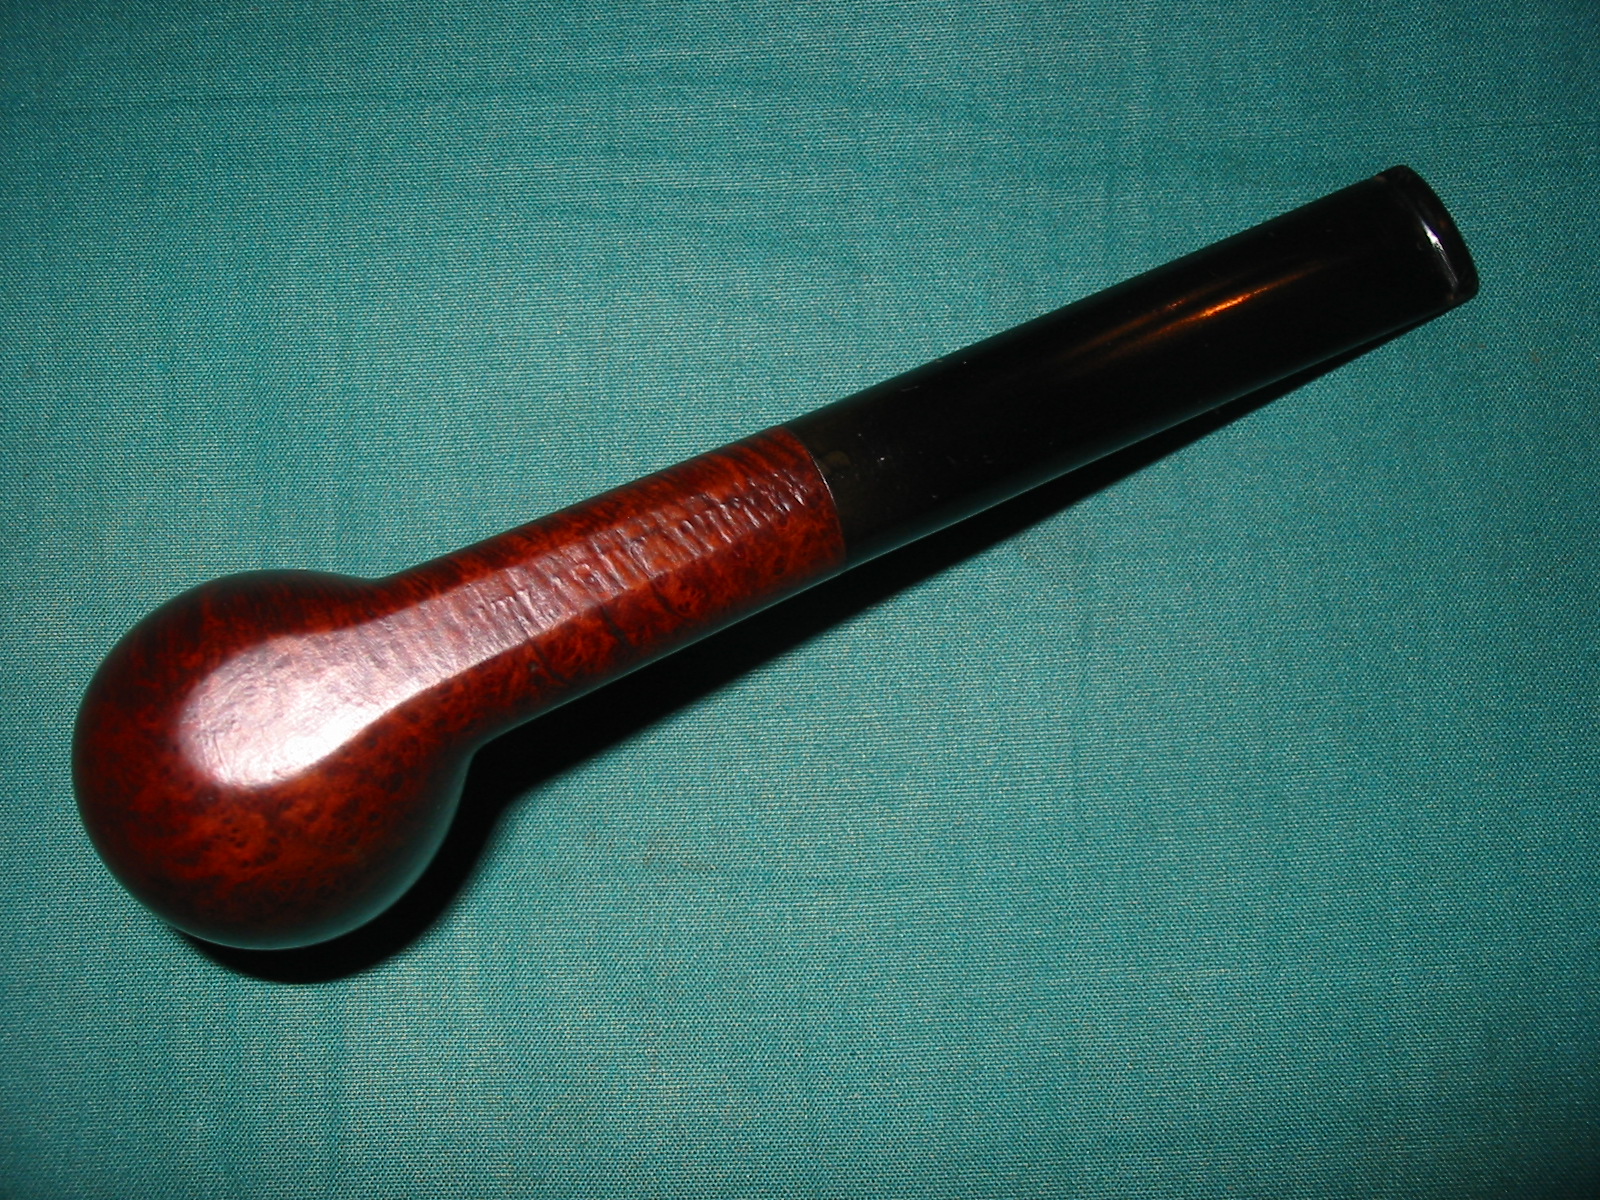
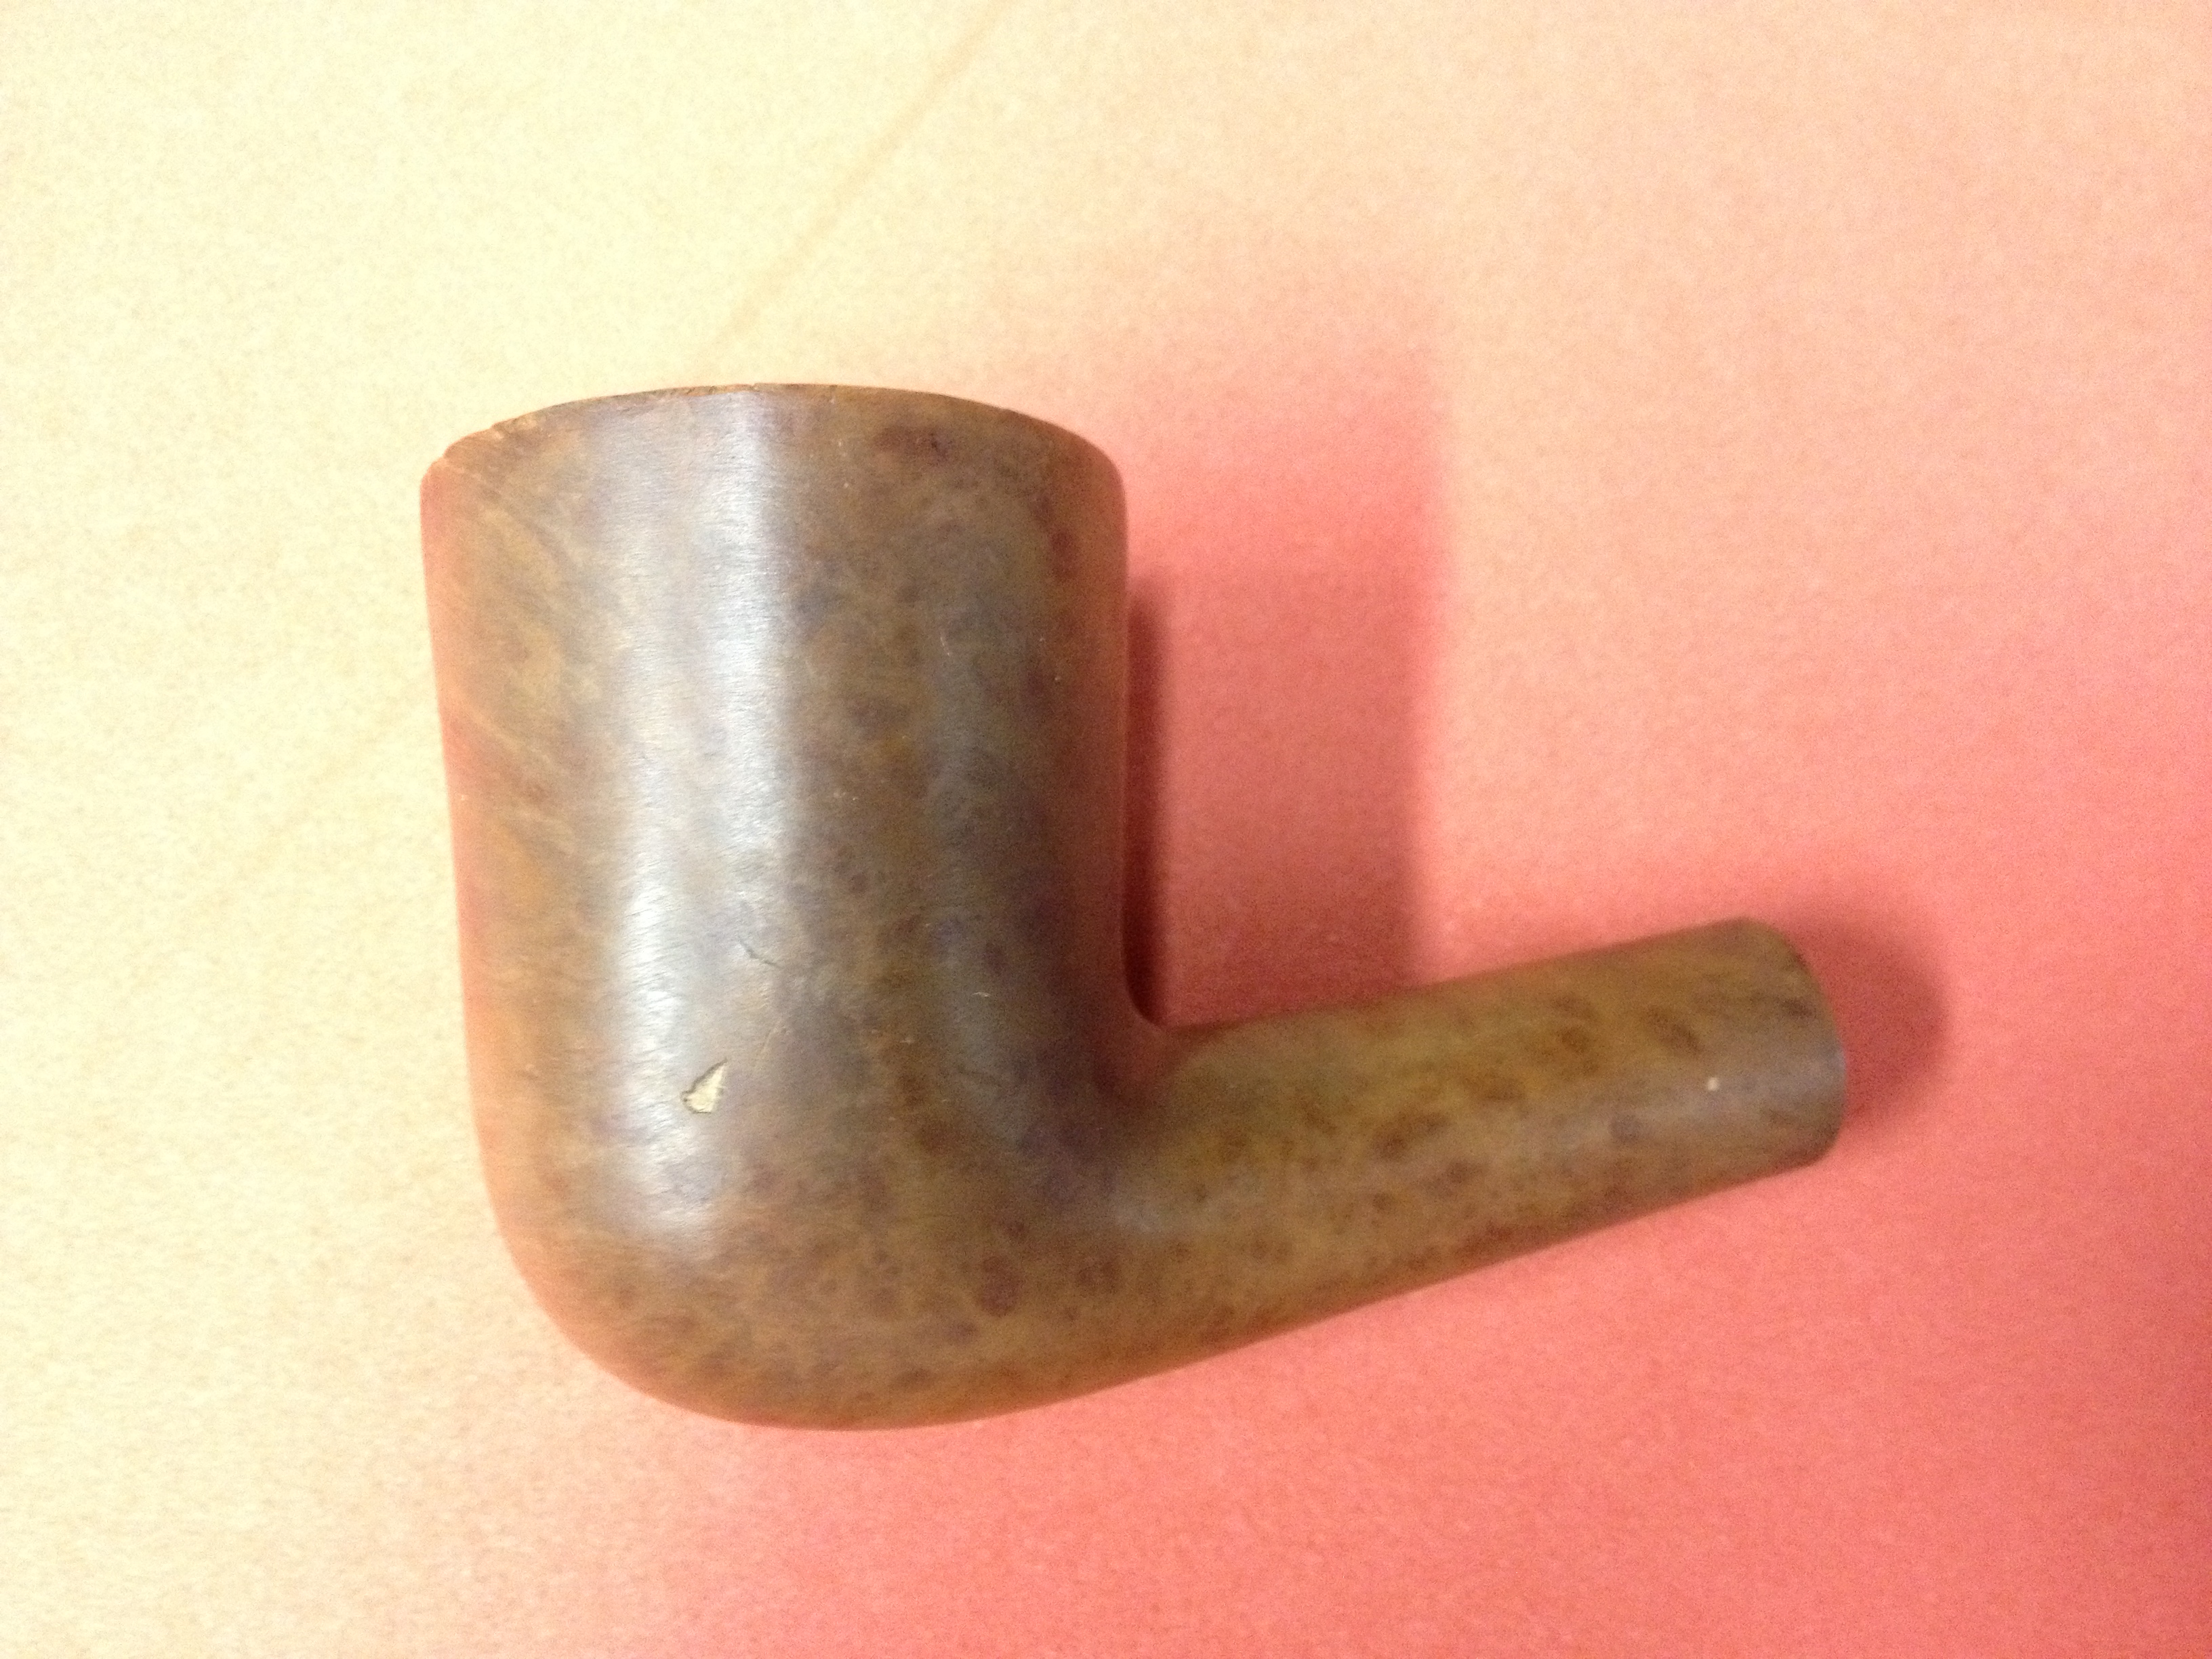
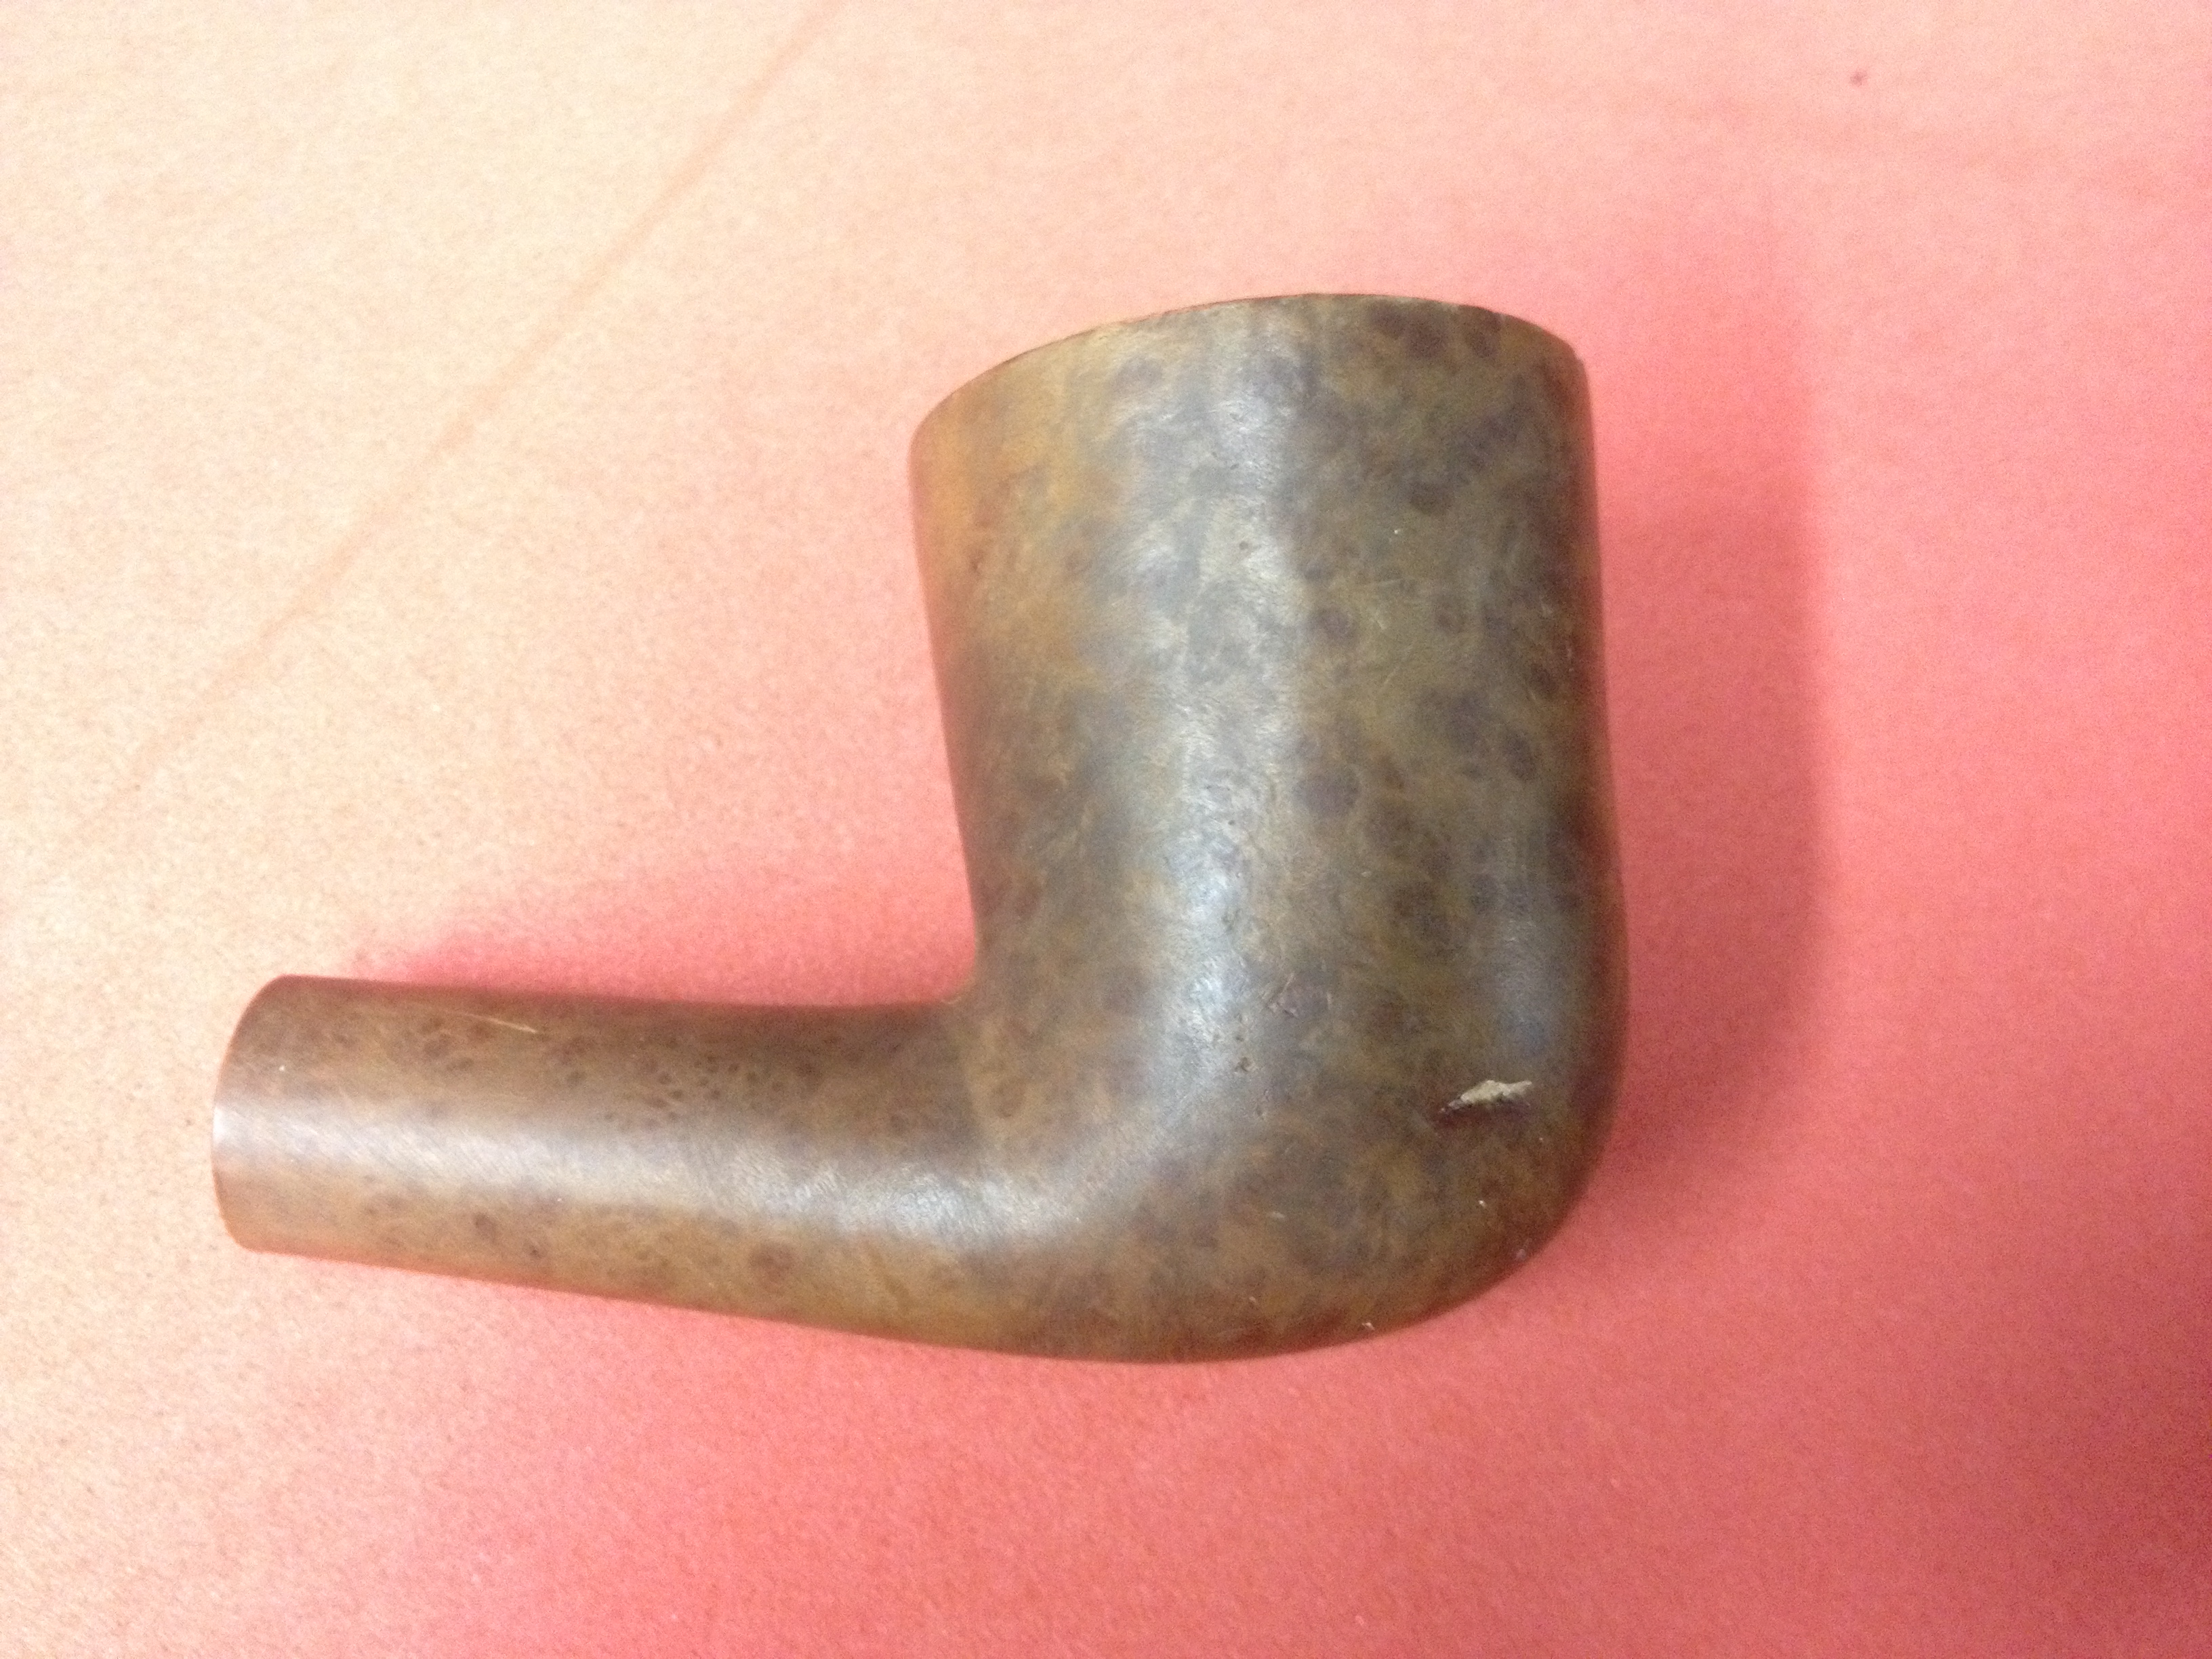
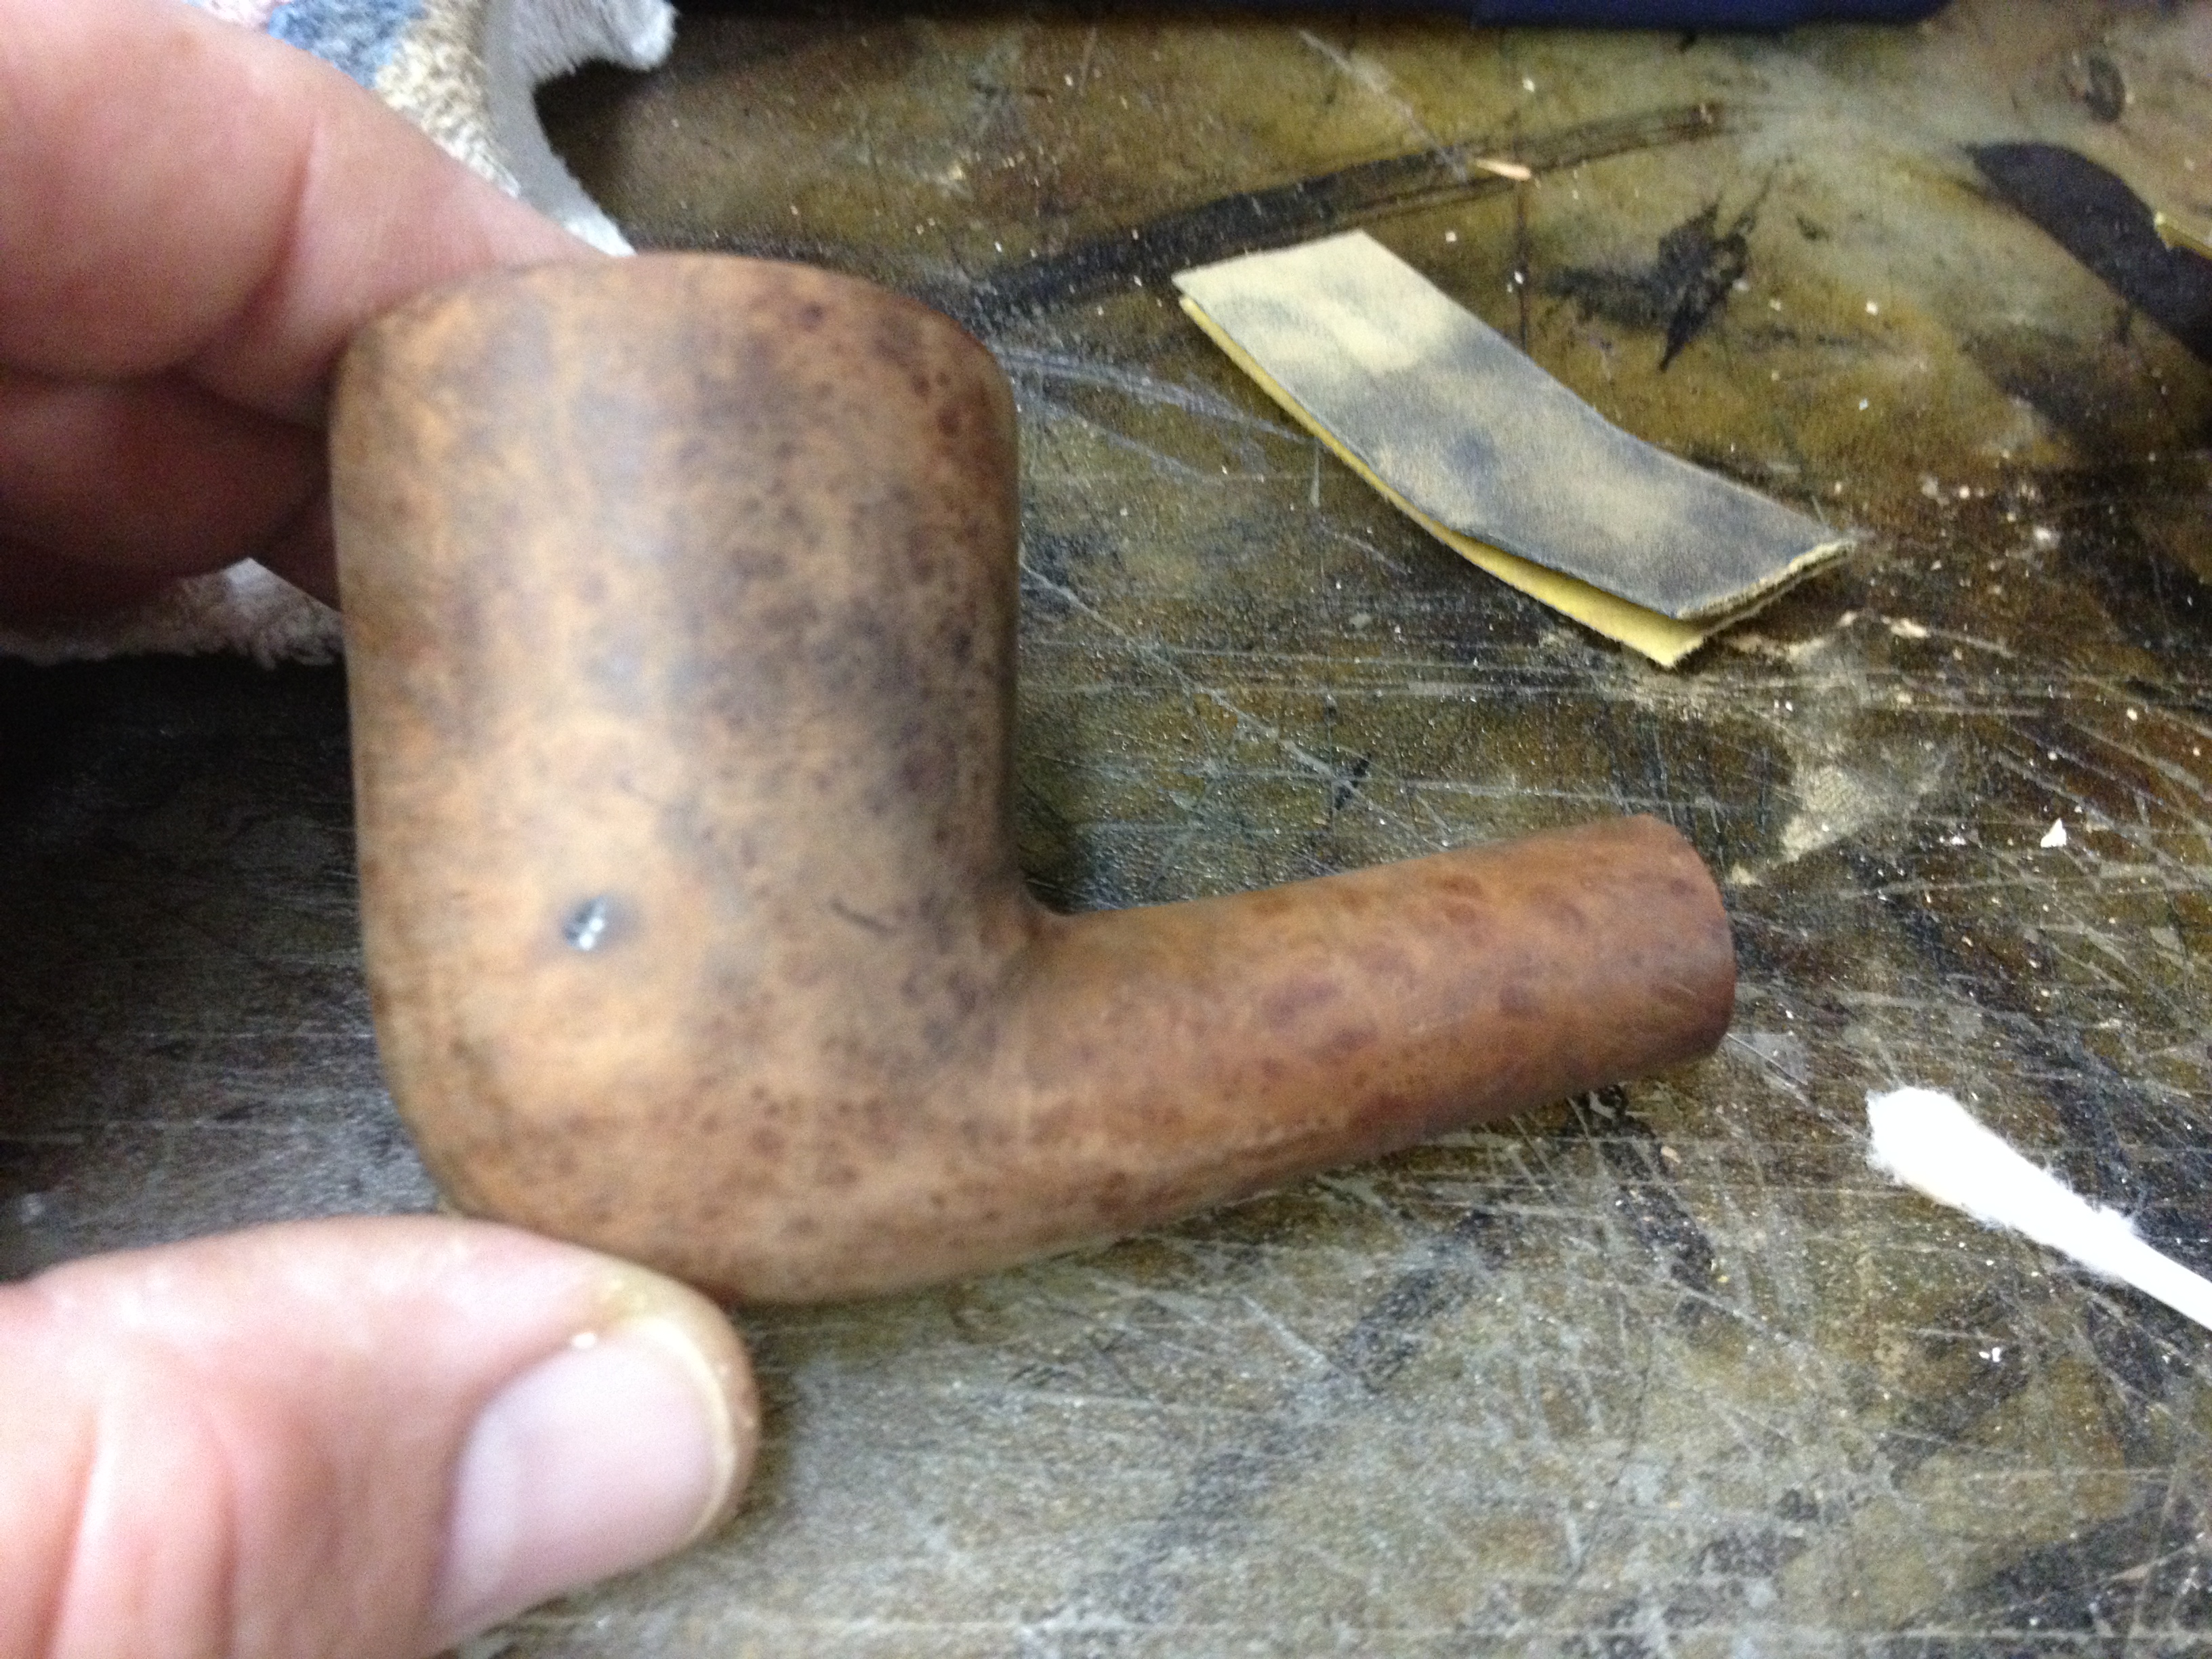
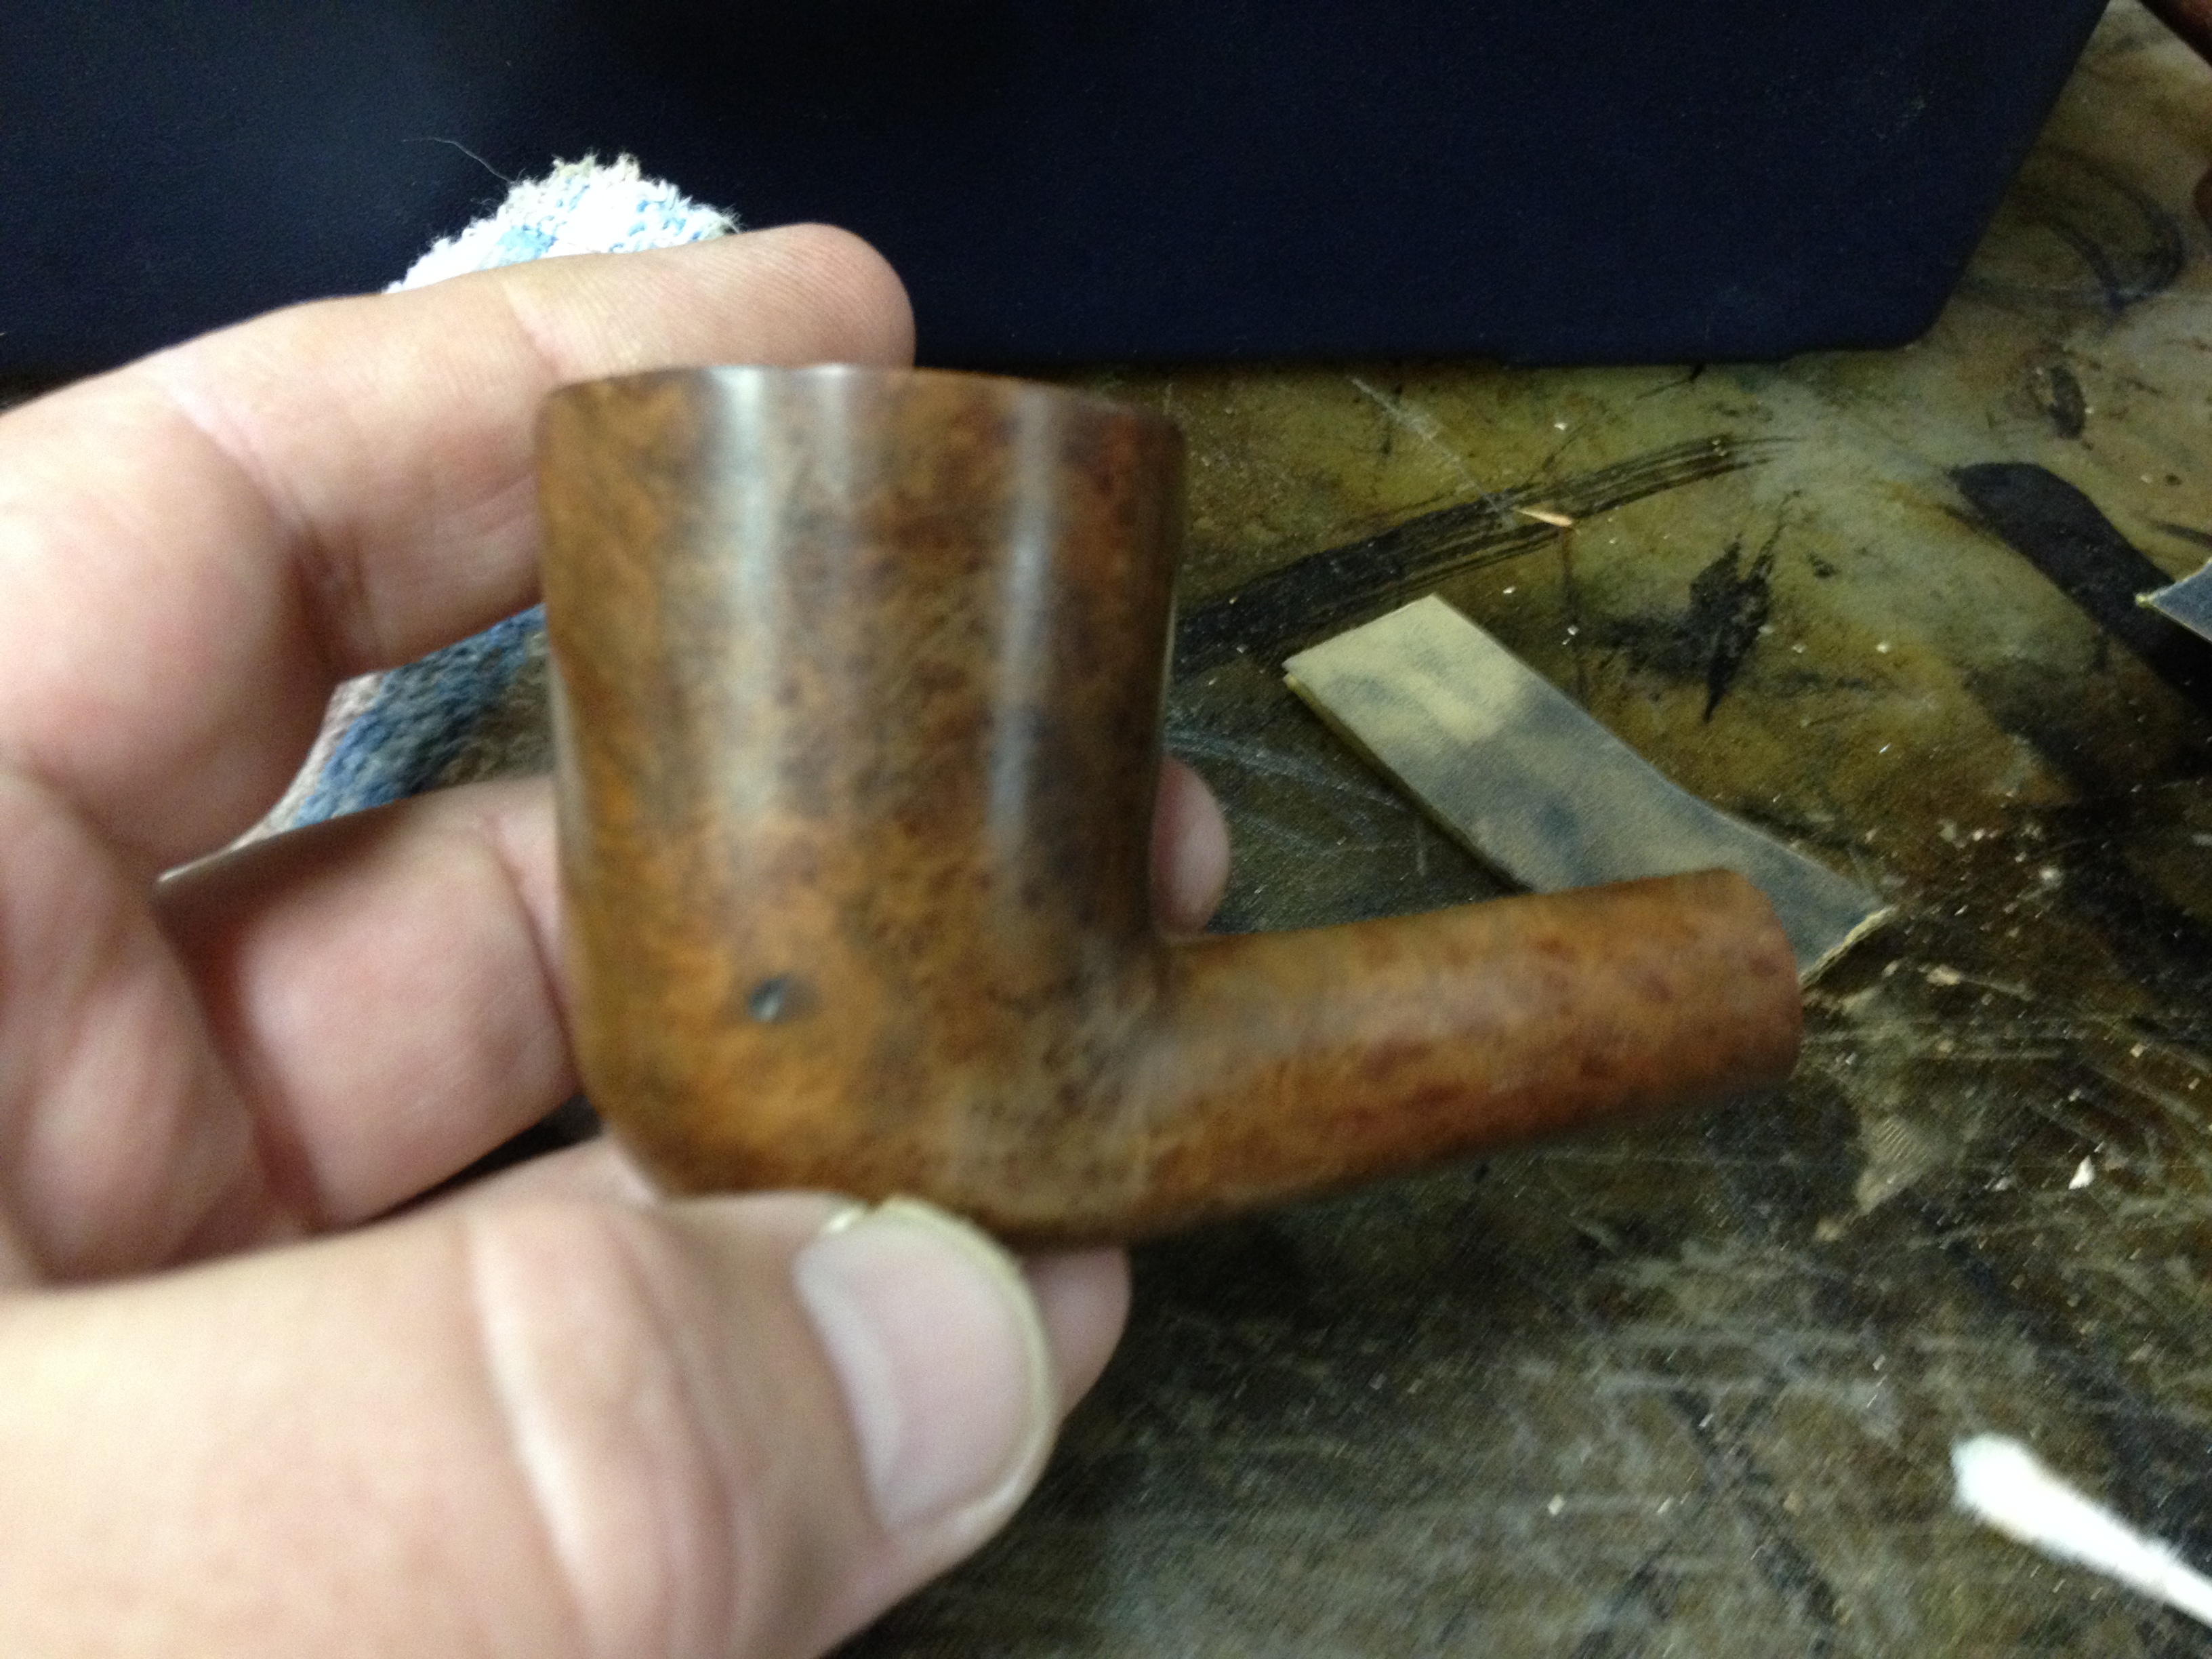
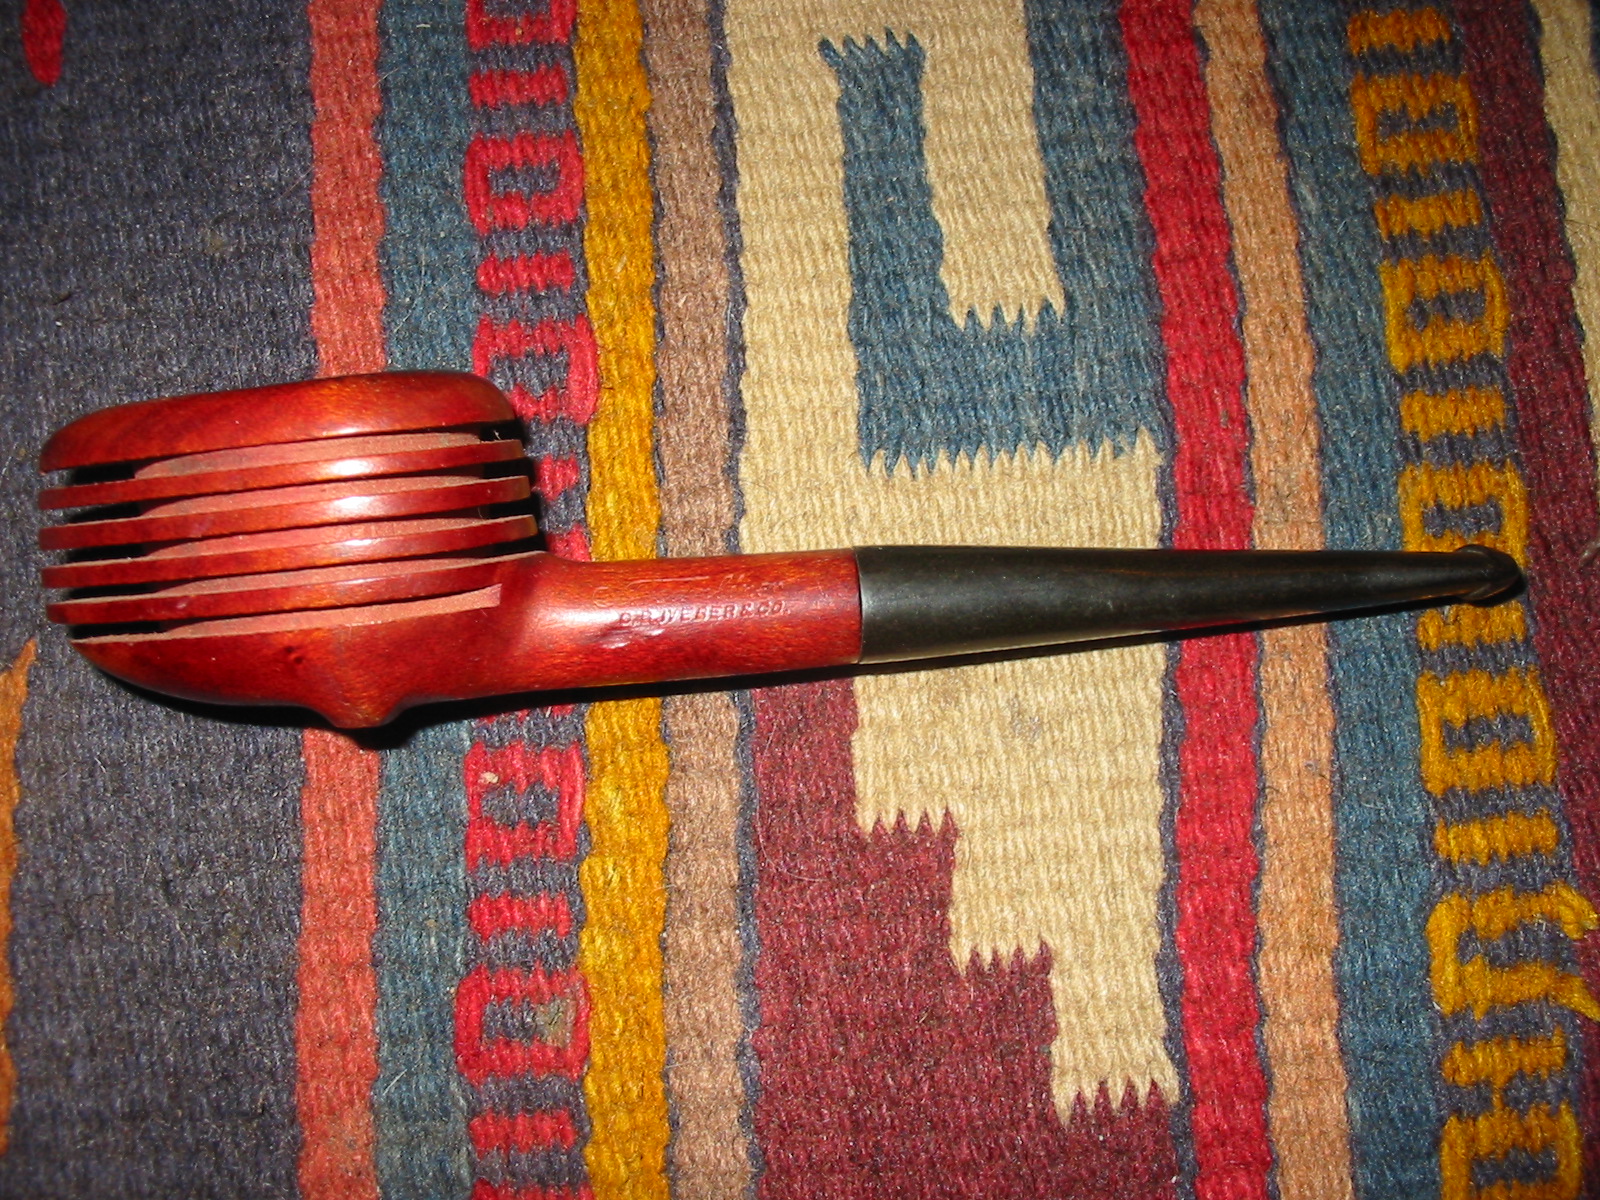
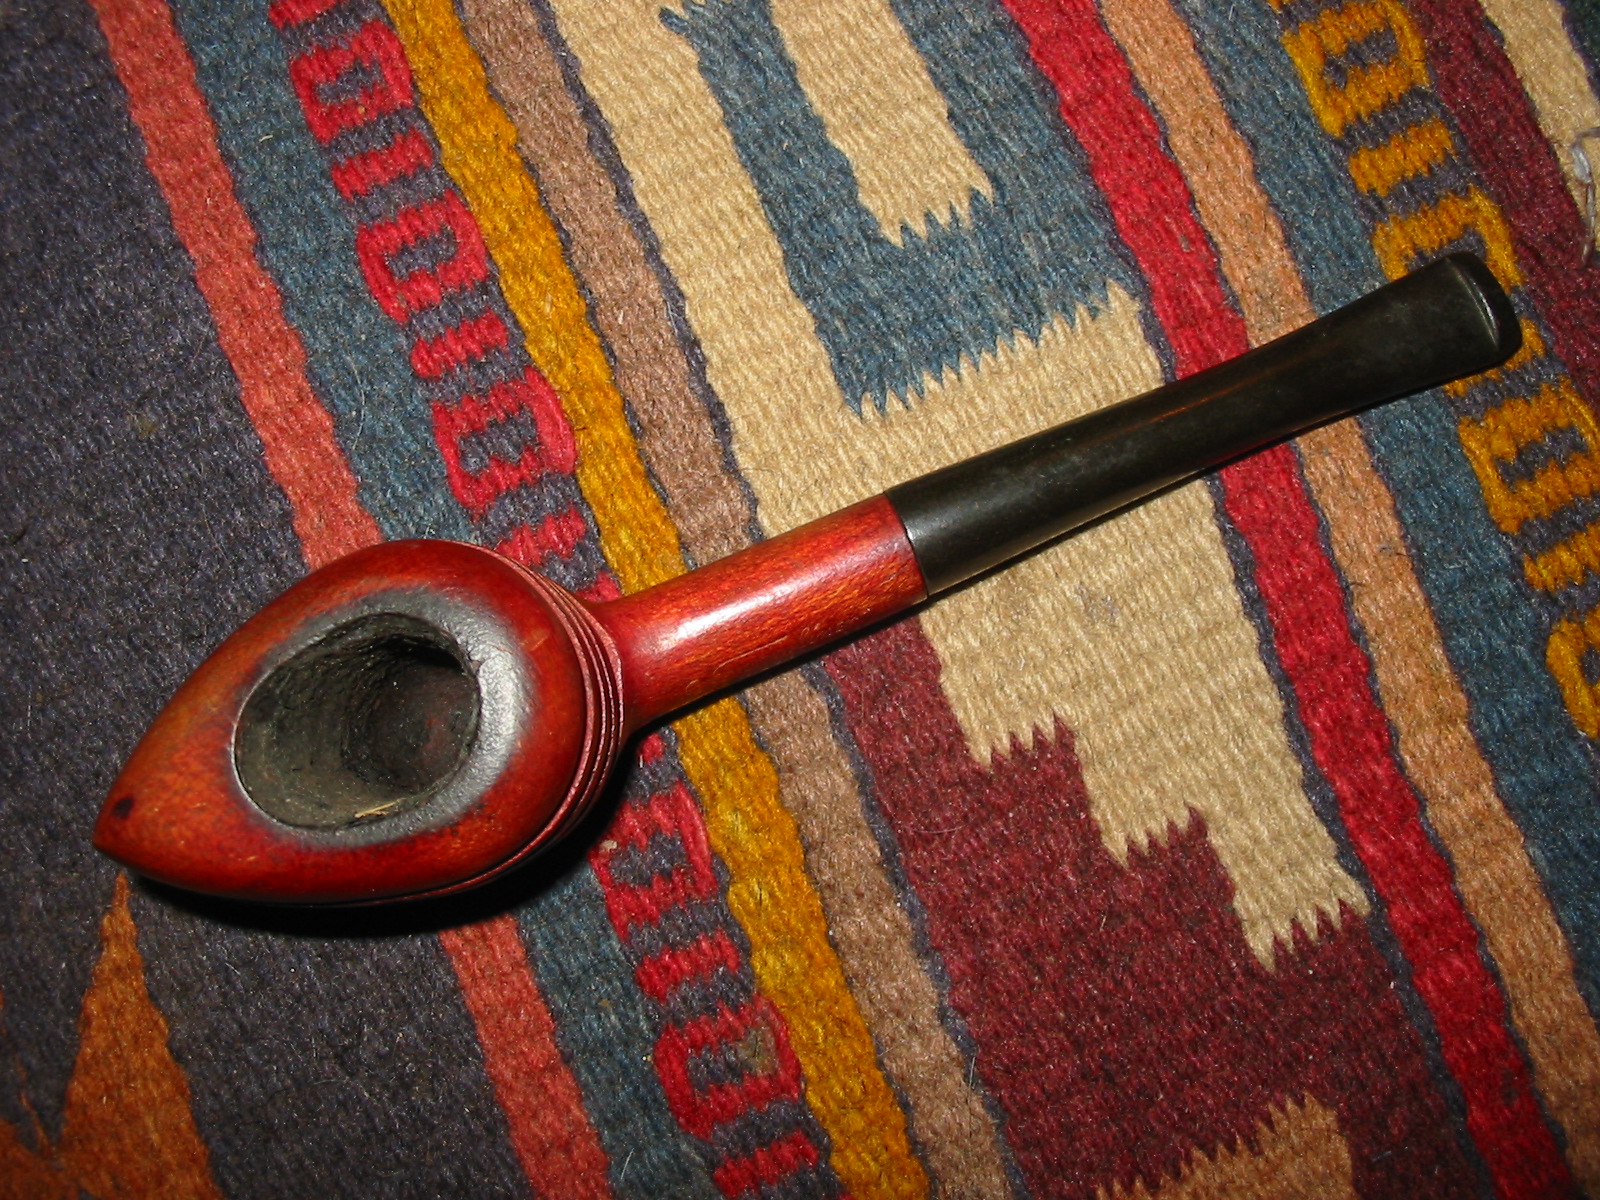
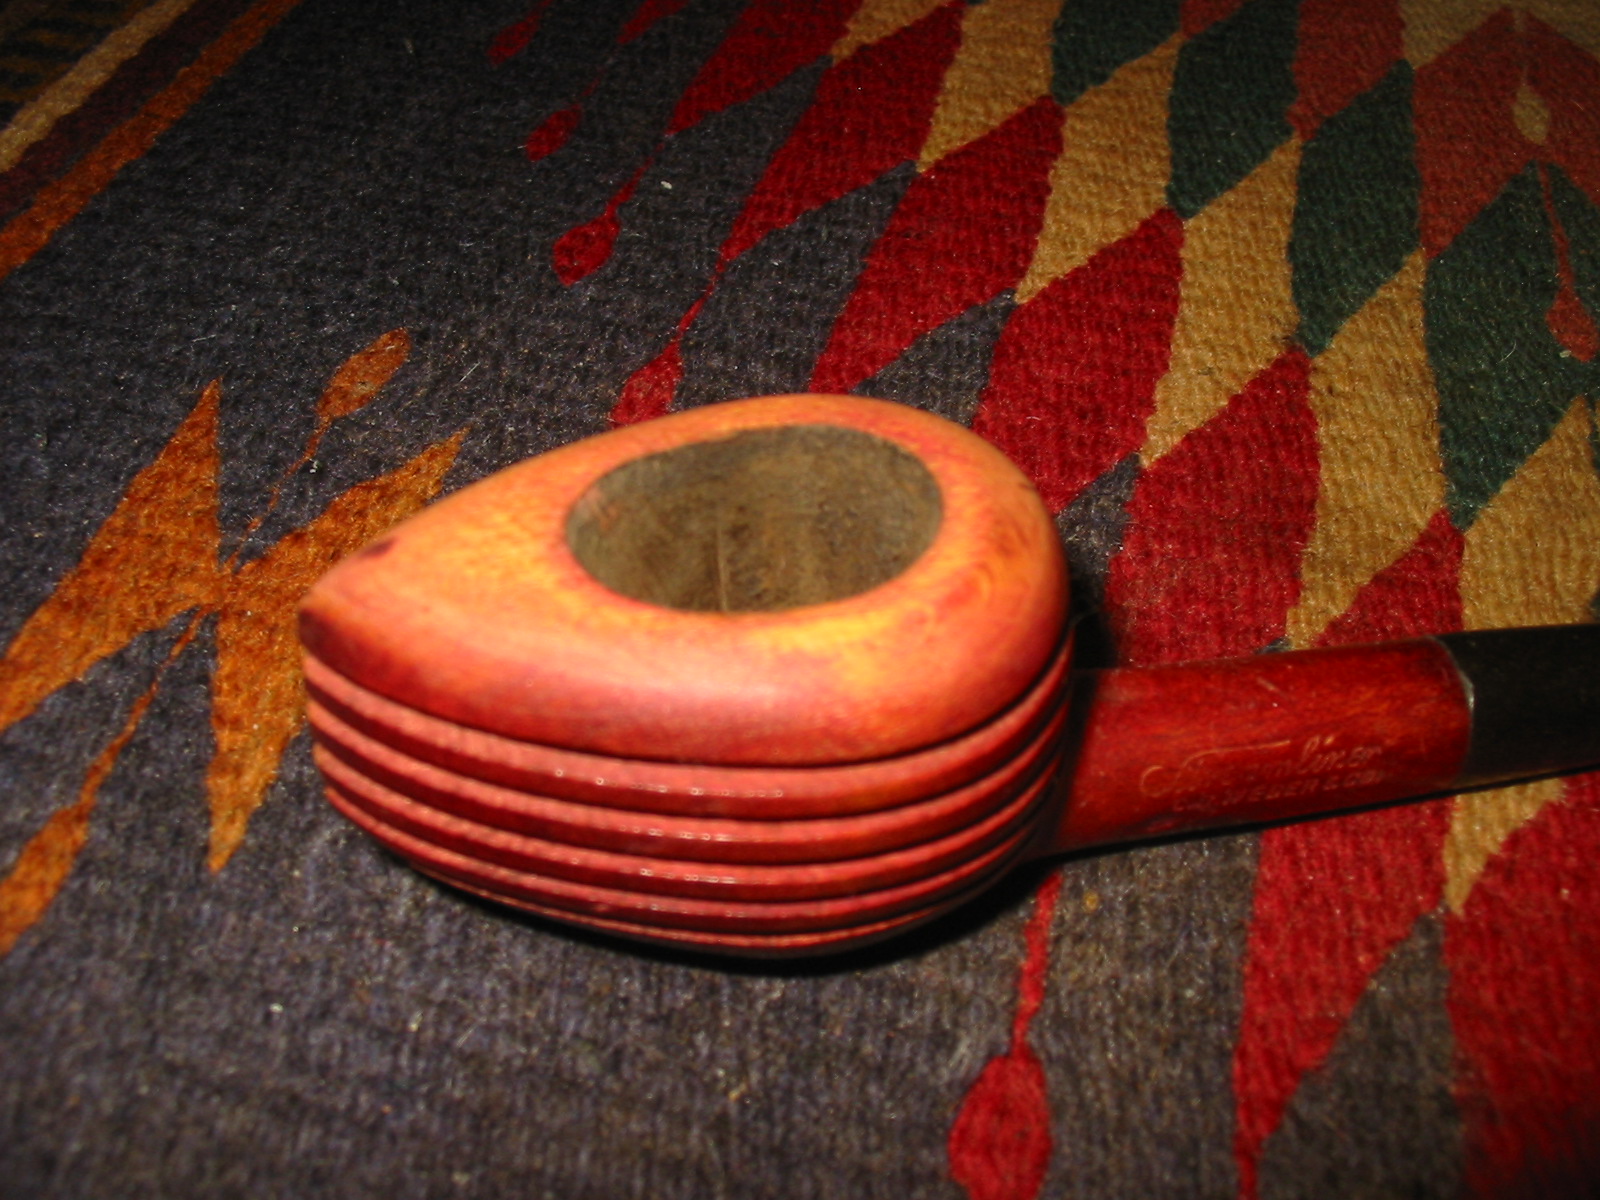
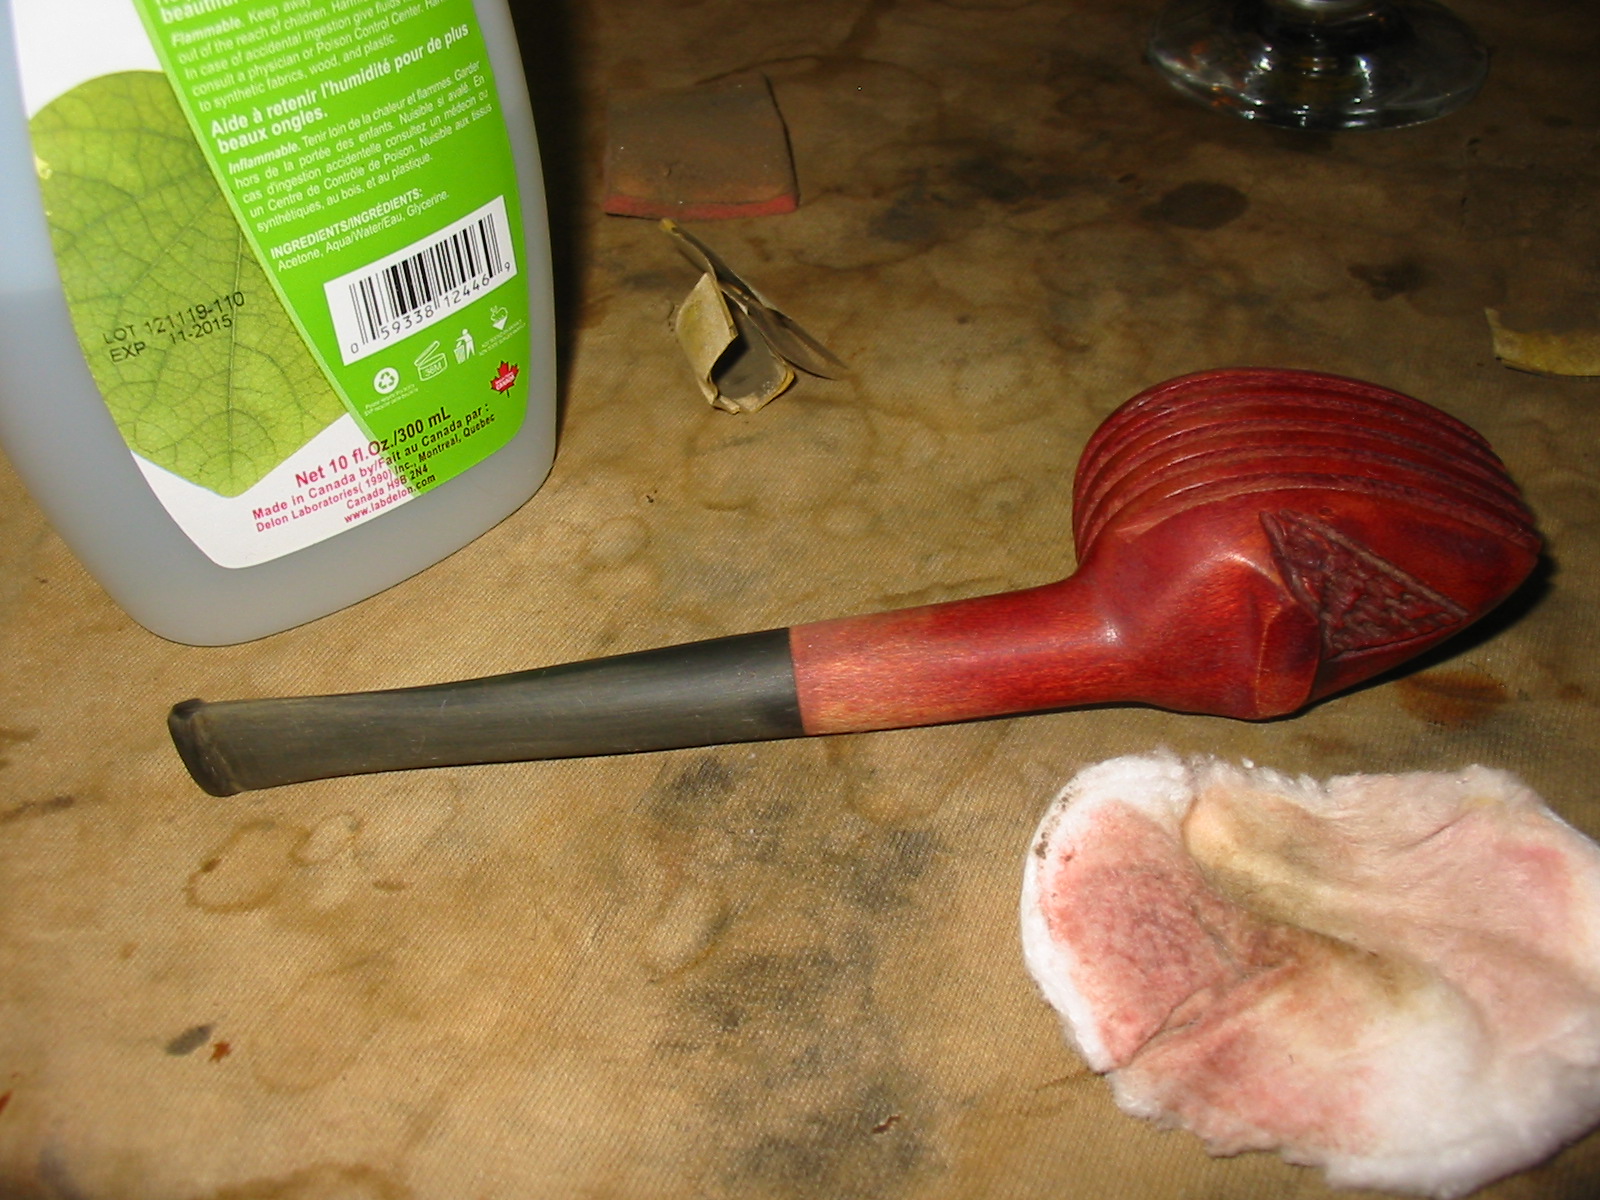
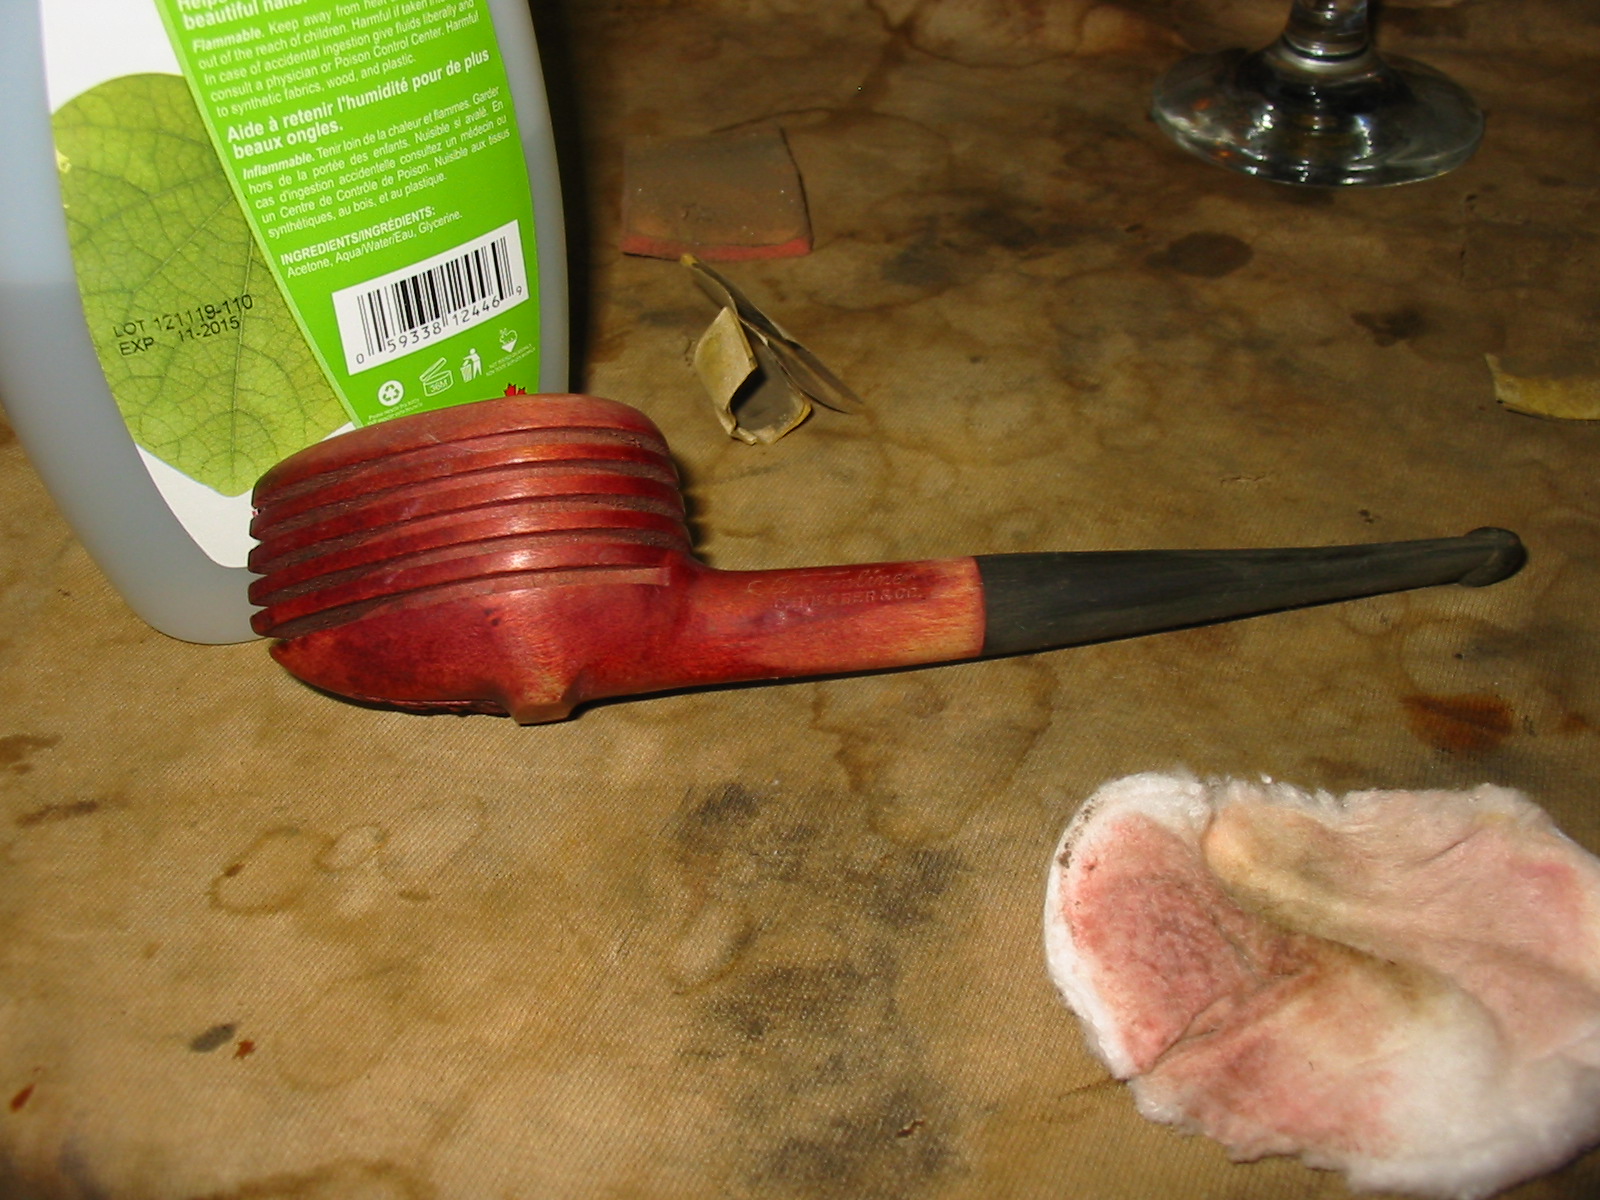
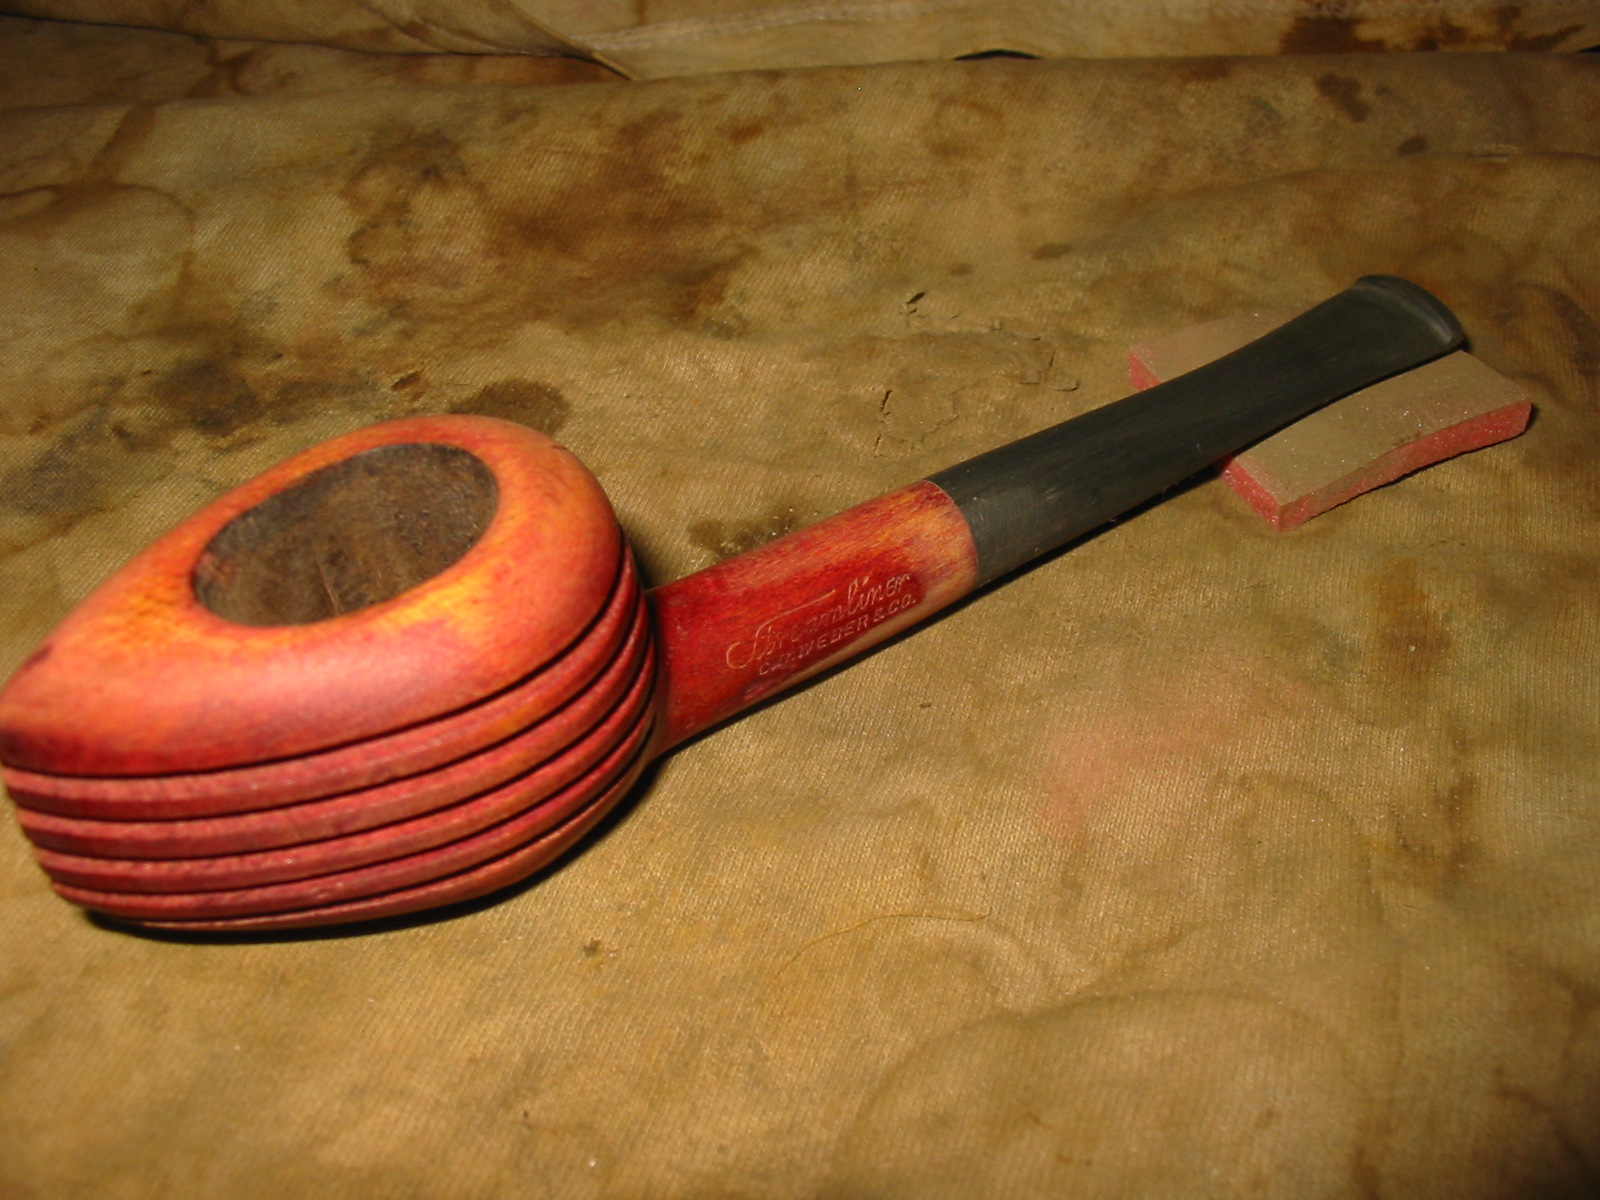
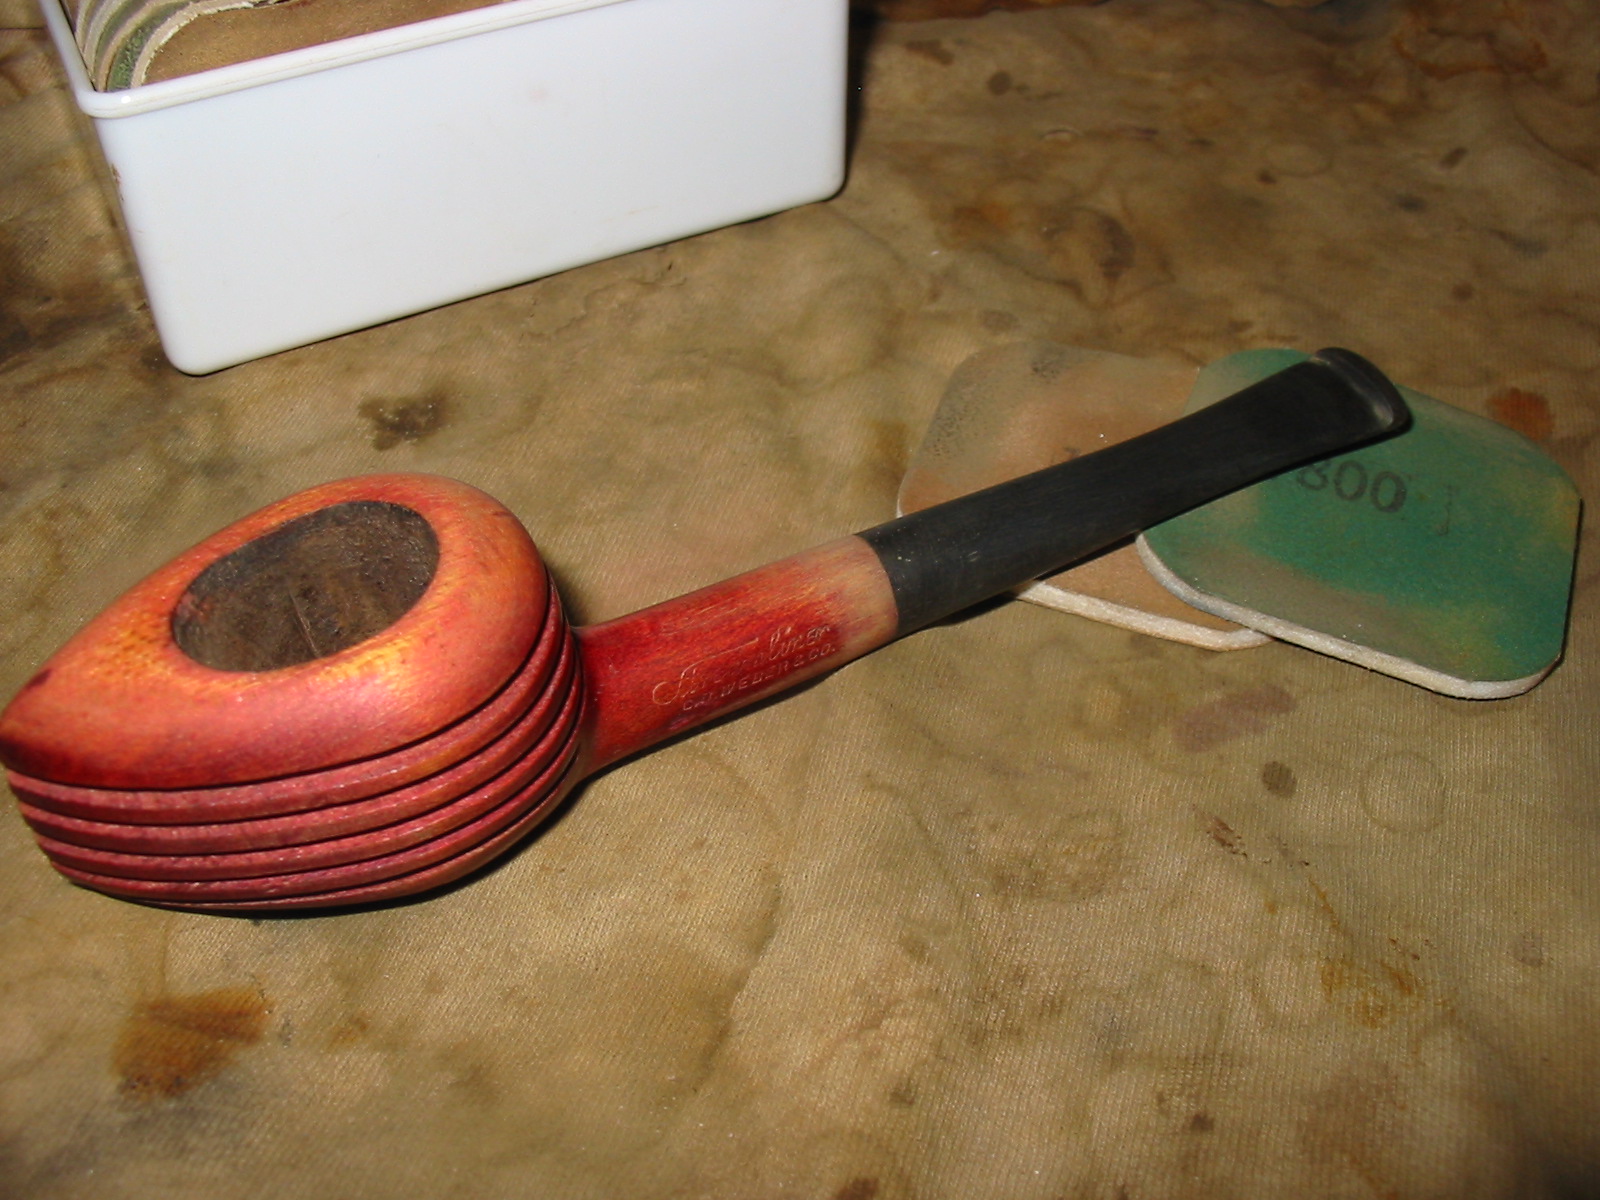
When the package arrived from the seller I took the pipe to my worktable and photographed the condition of the pipe. The pipe was in fairly decent condition. The left side of the bowl was clean. It is stamped Streamliner in script over C.B. Weber & Co.
Streamliner logo3

Streamlinerlogo2
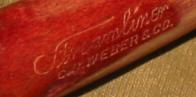
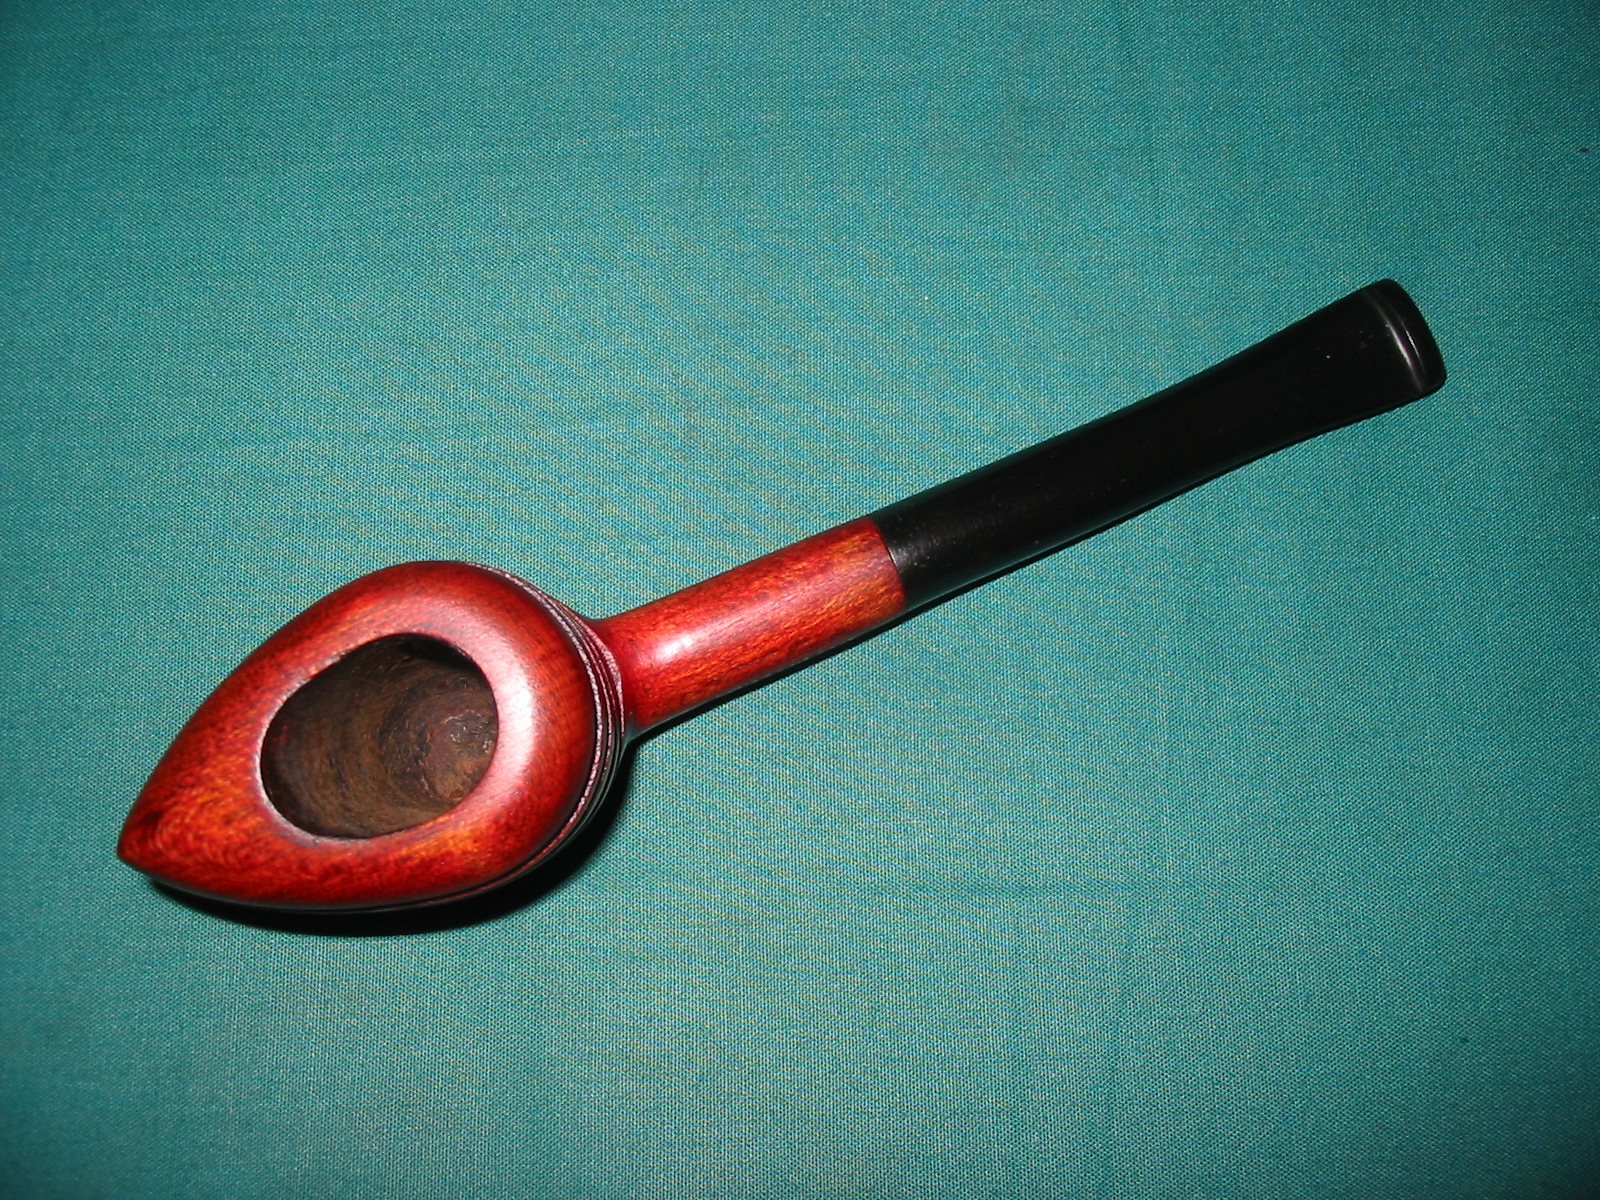
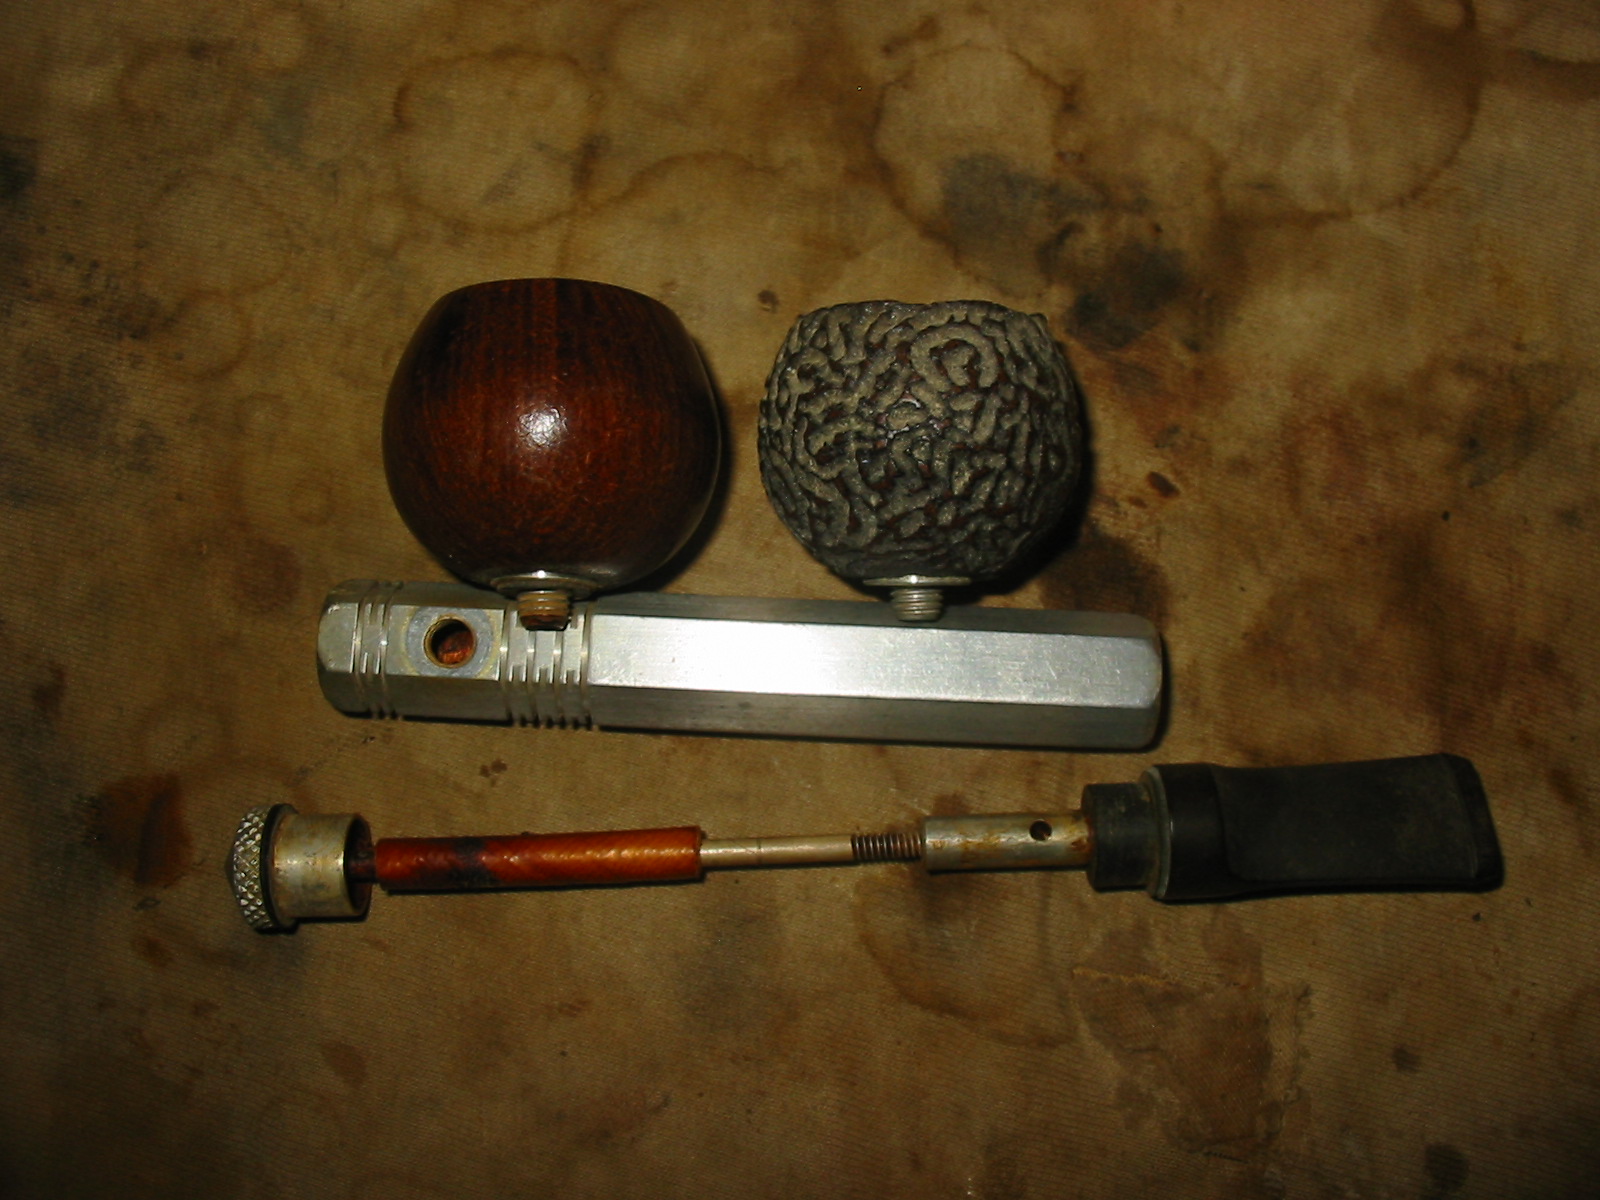
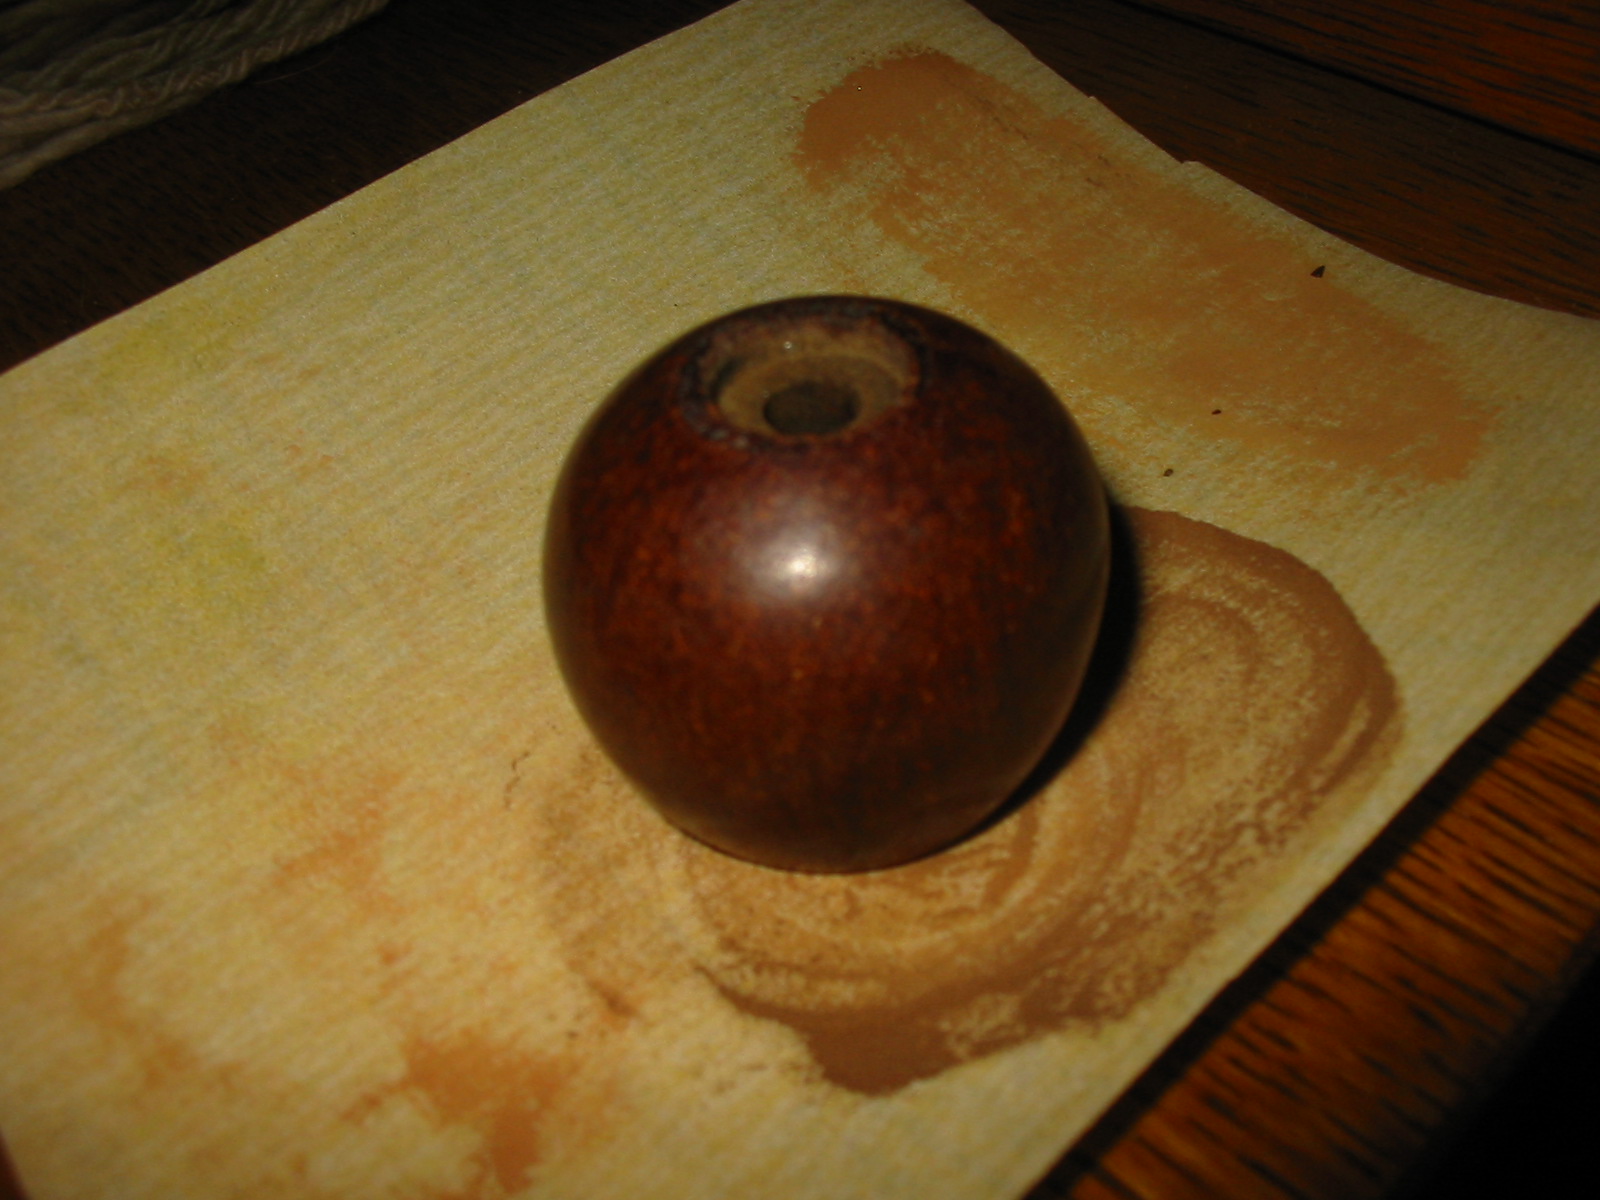
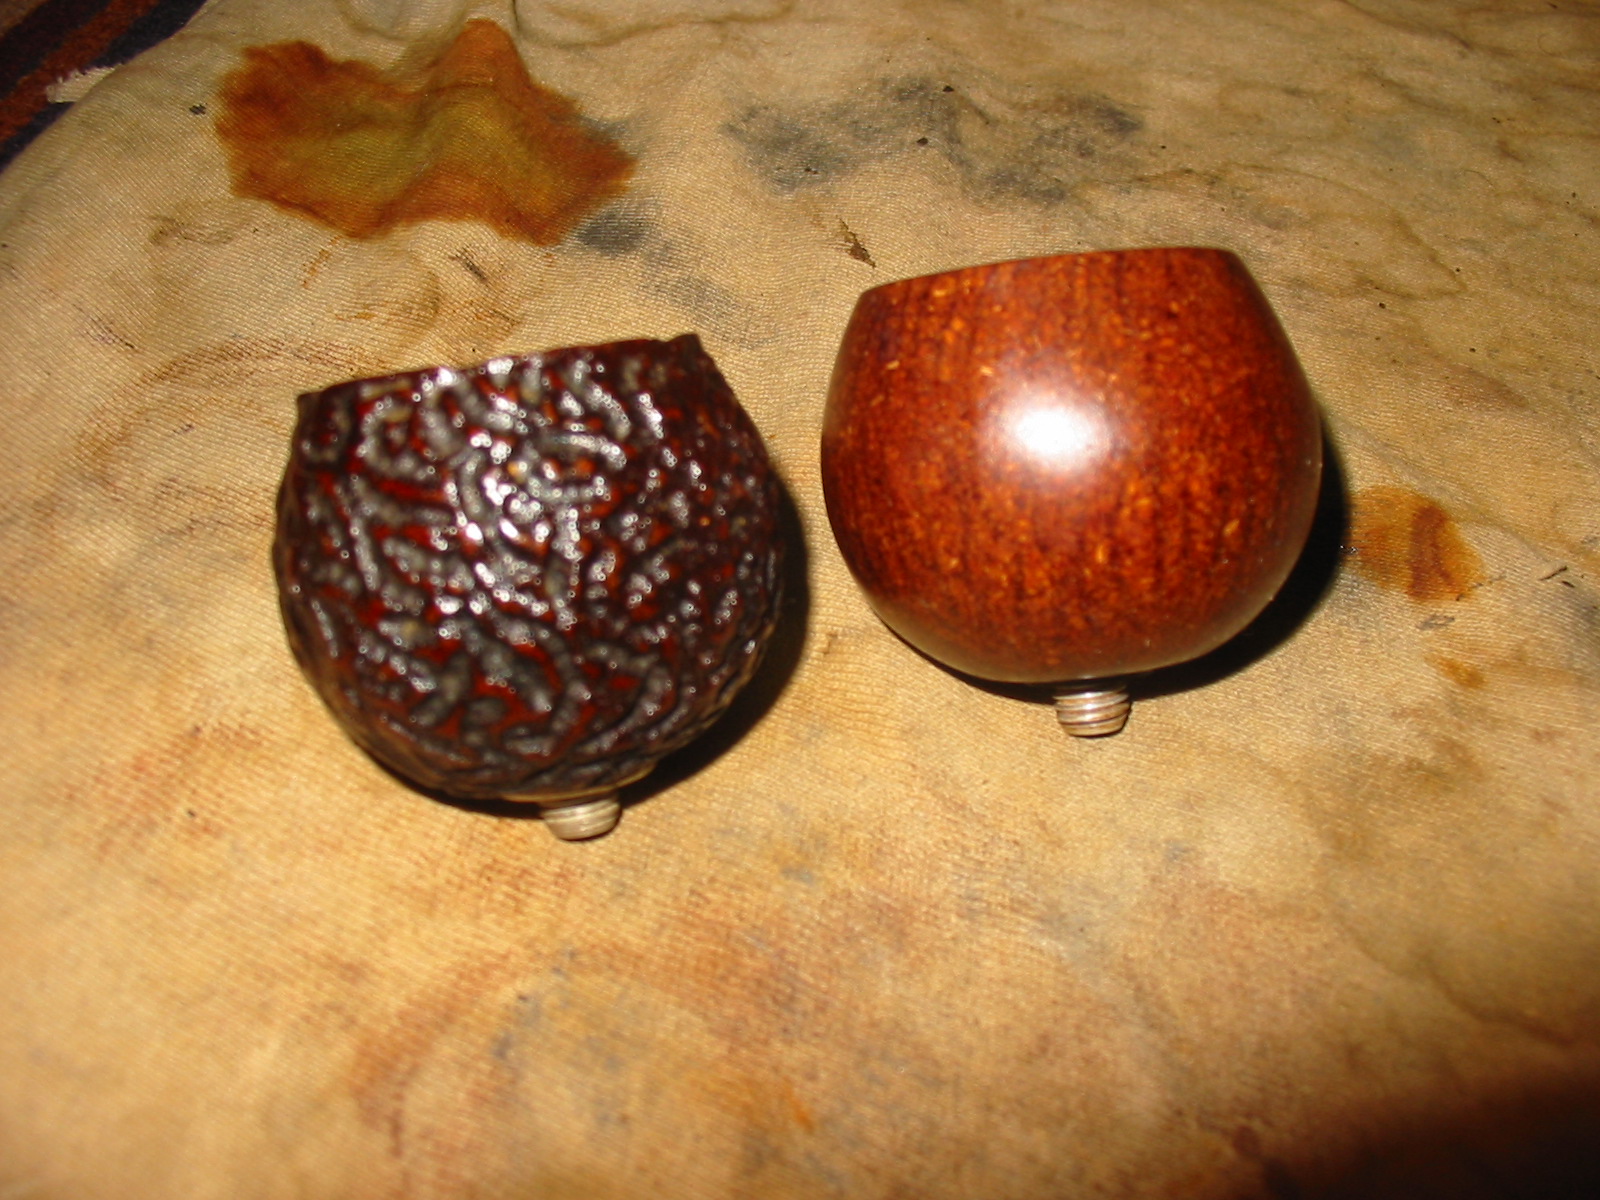
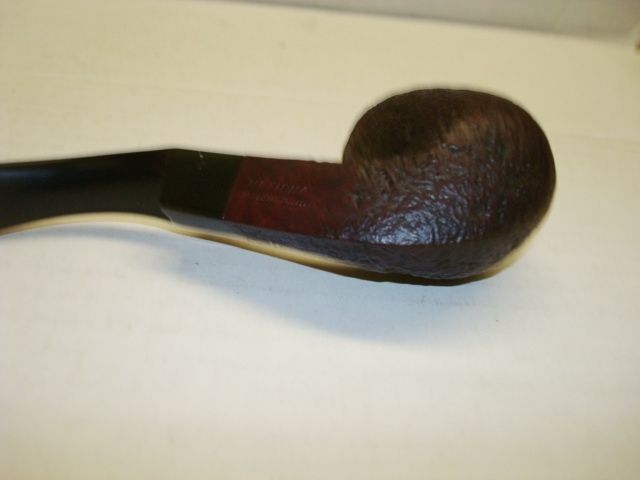
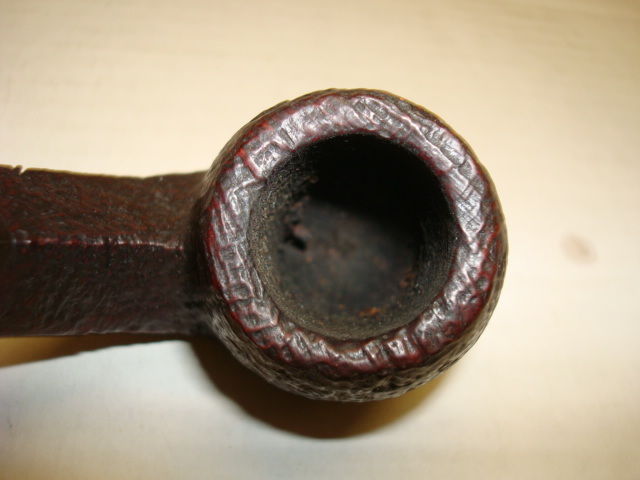
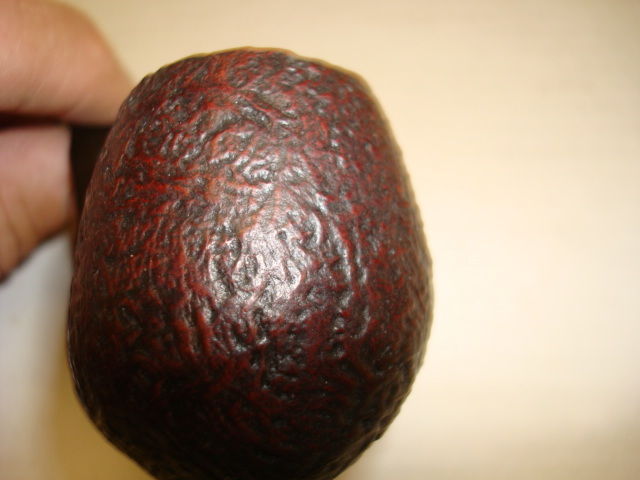
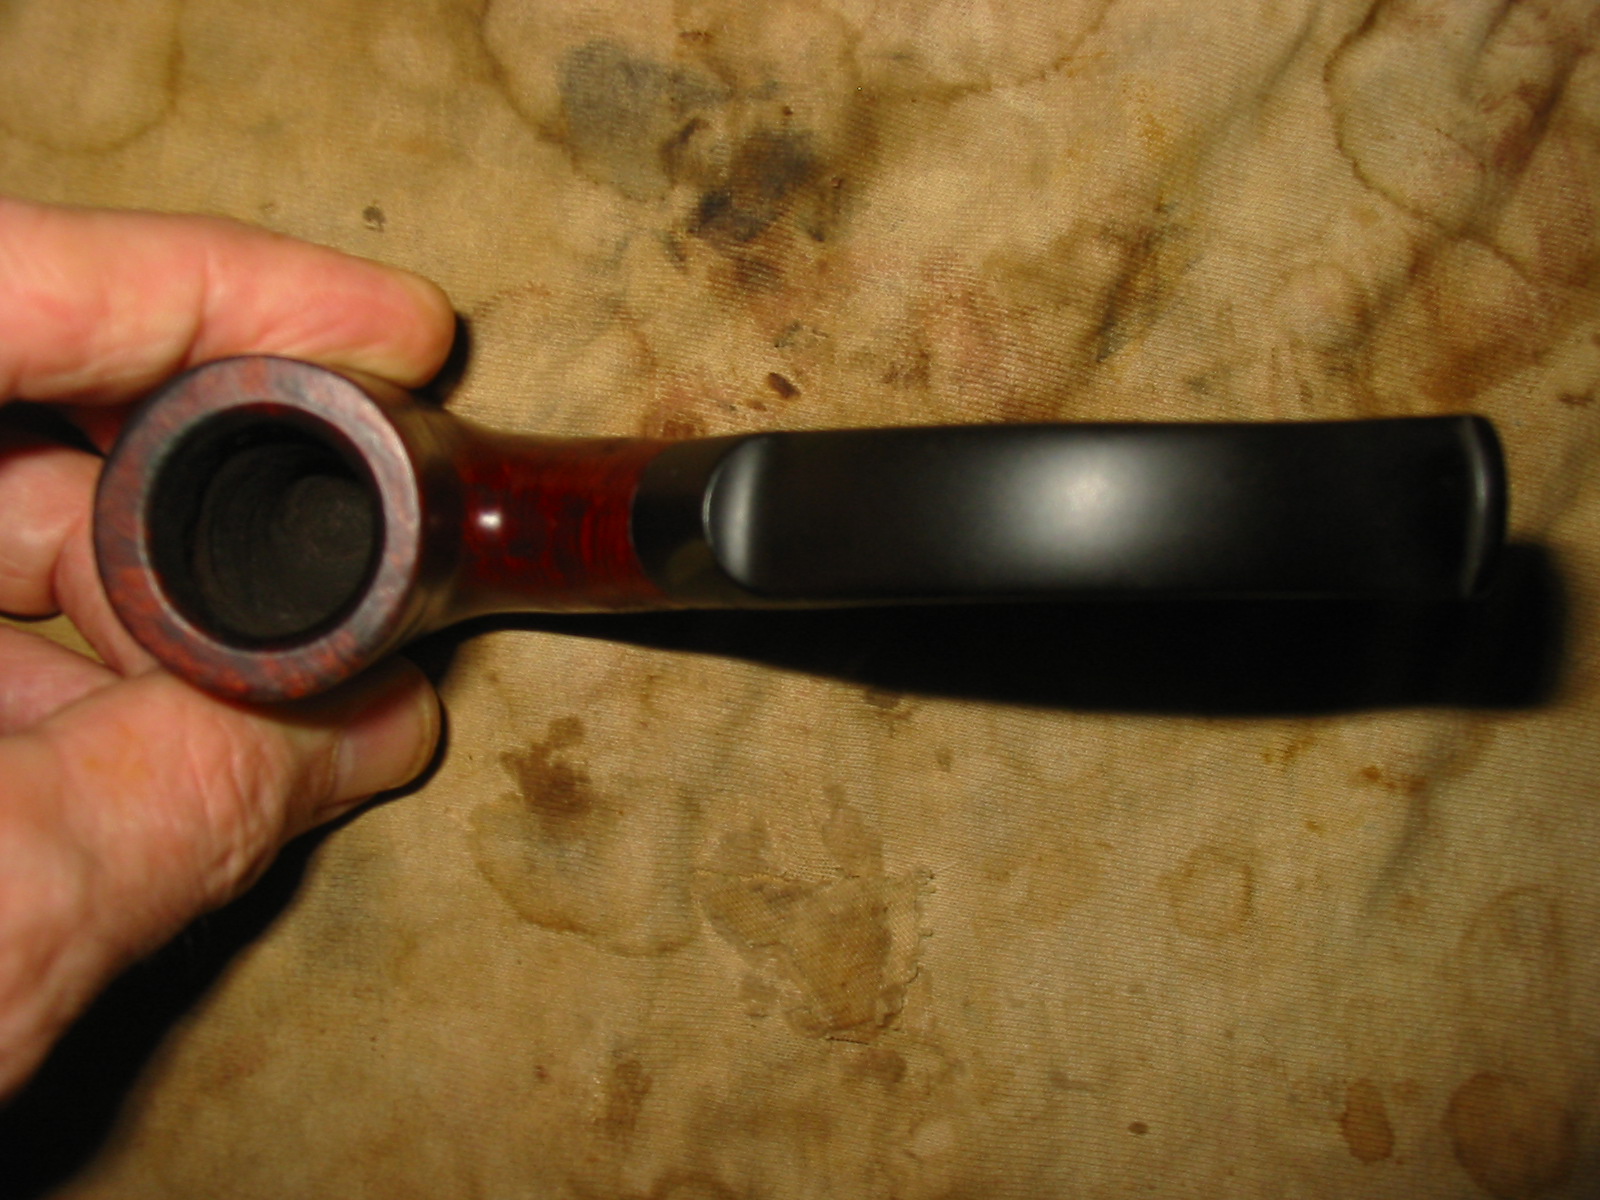
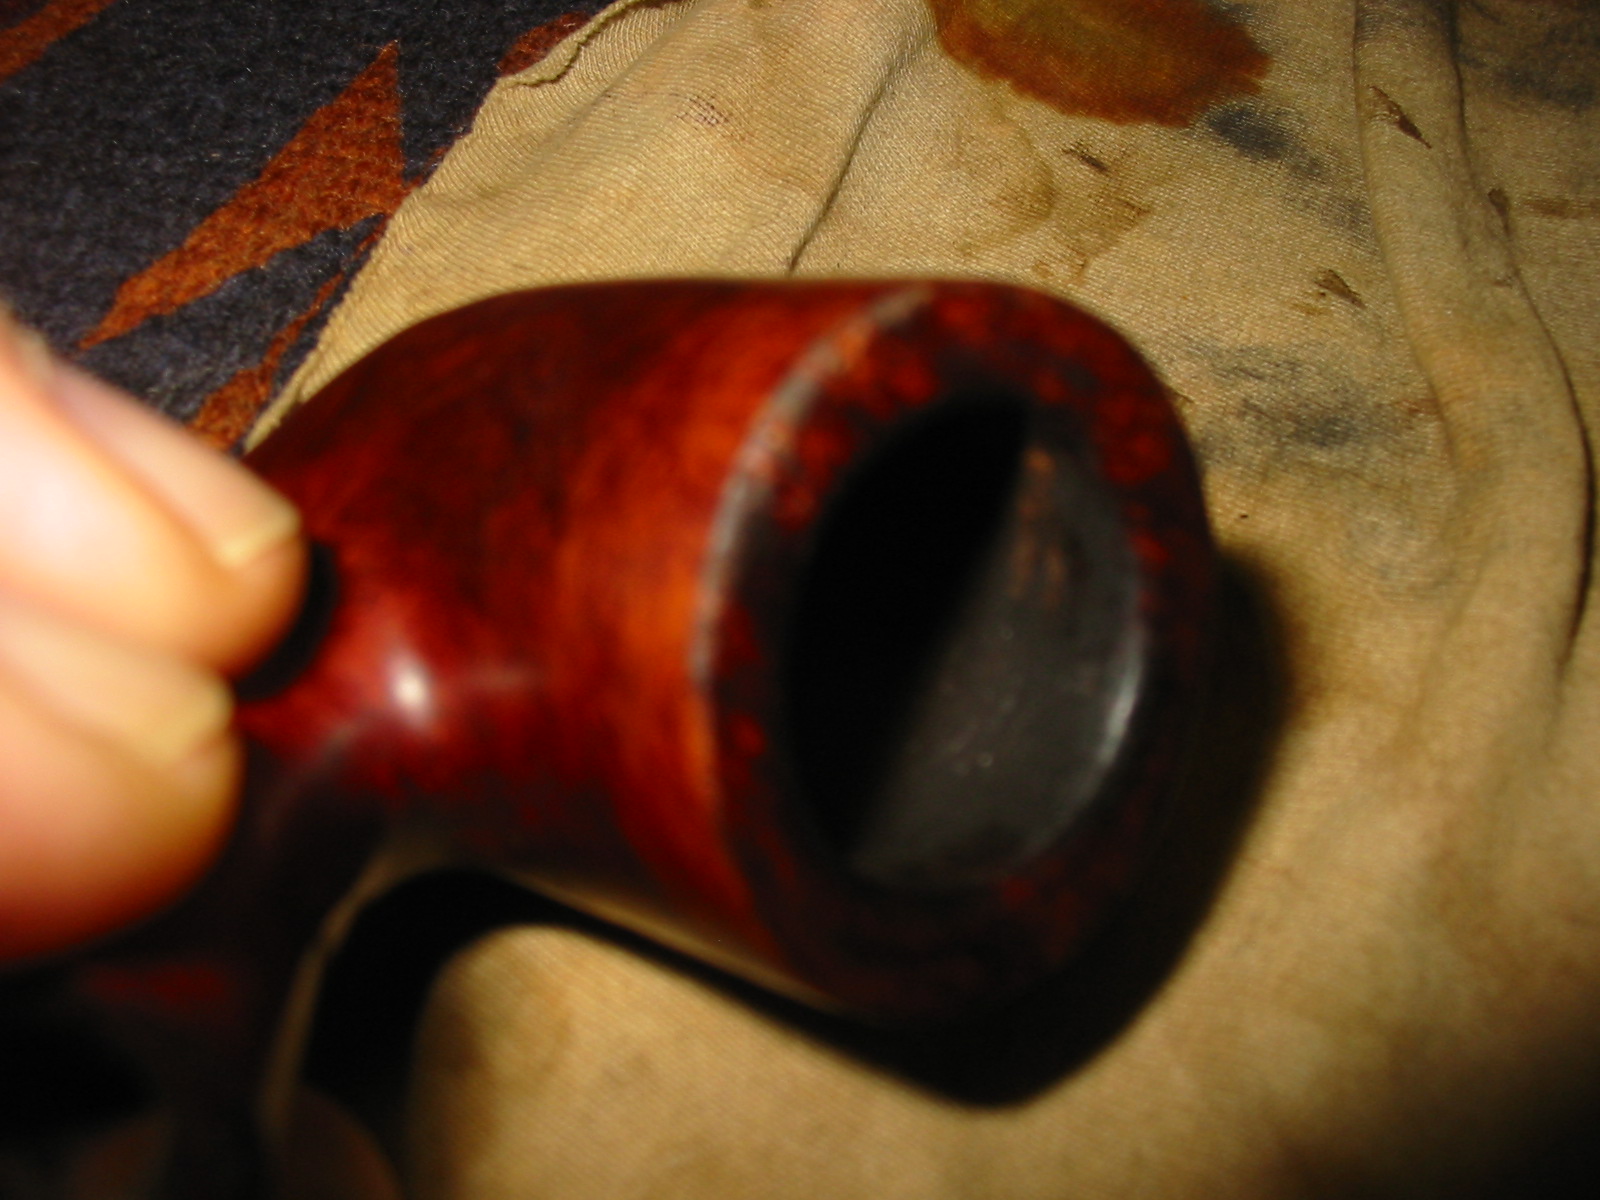
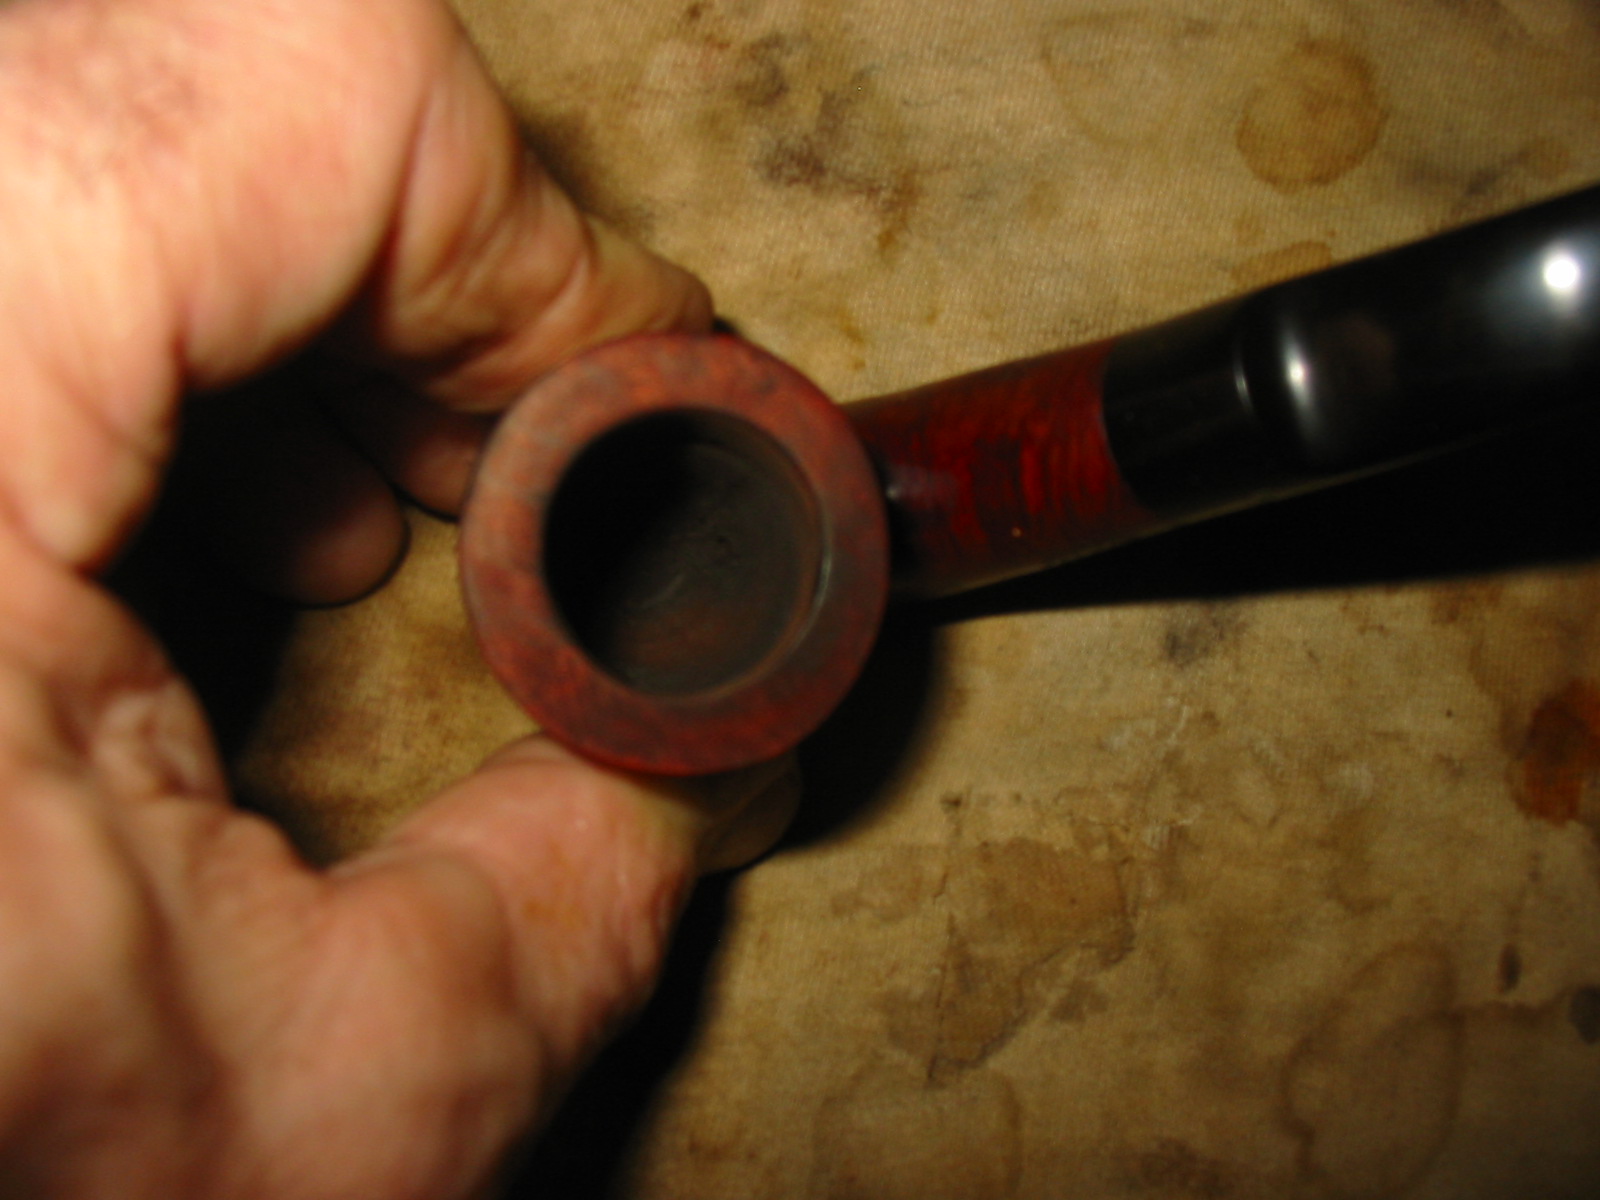
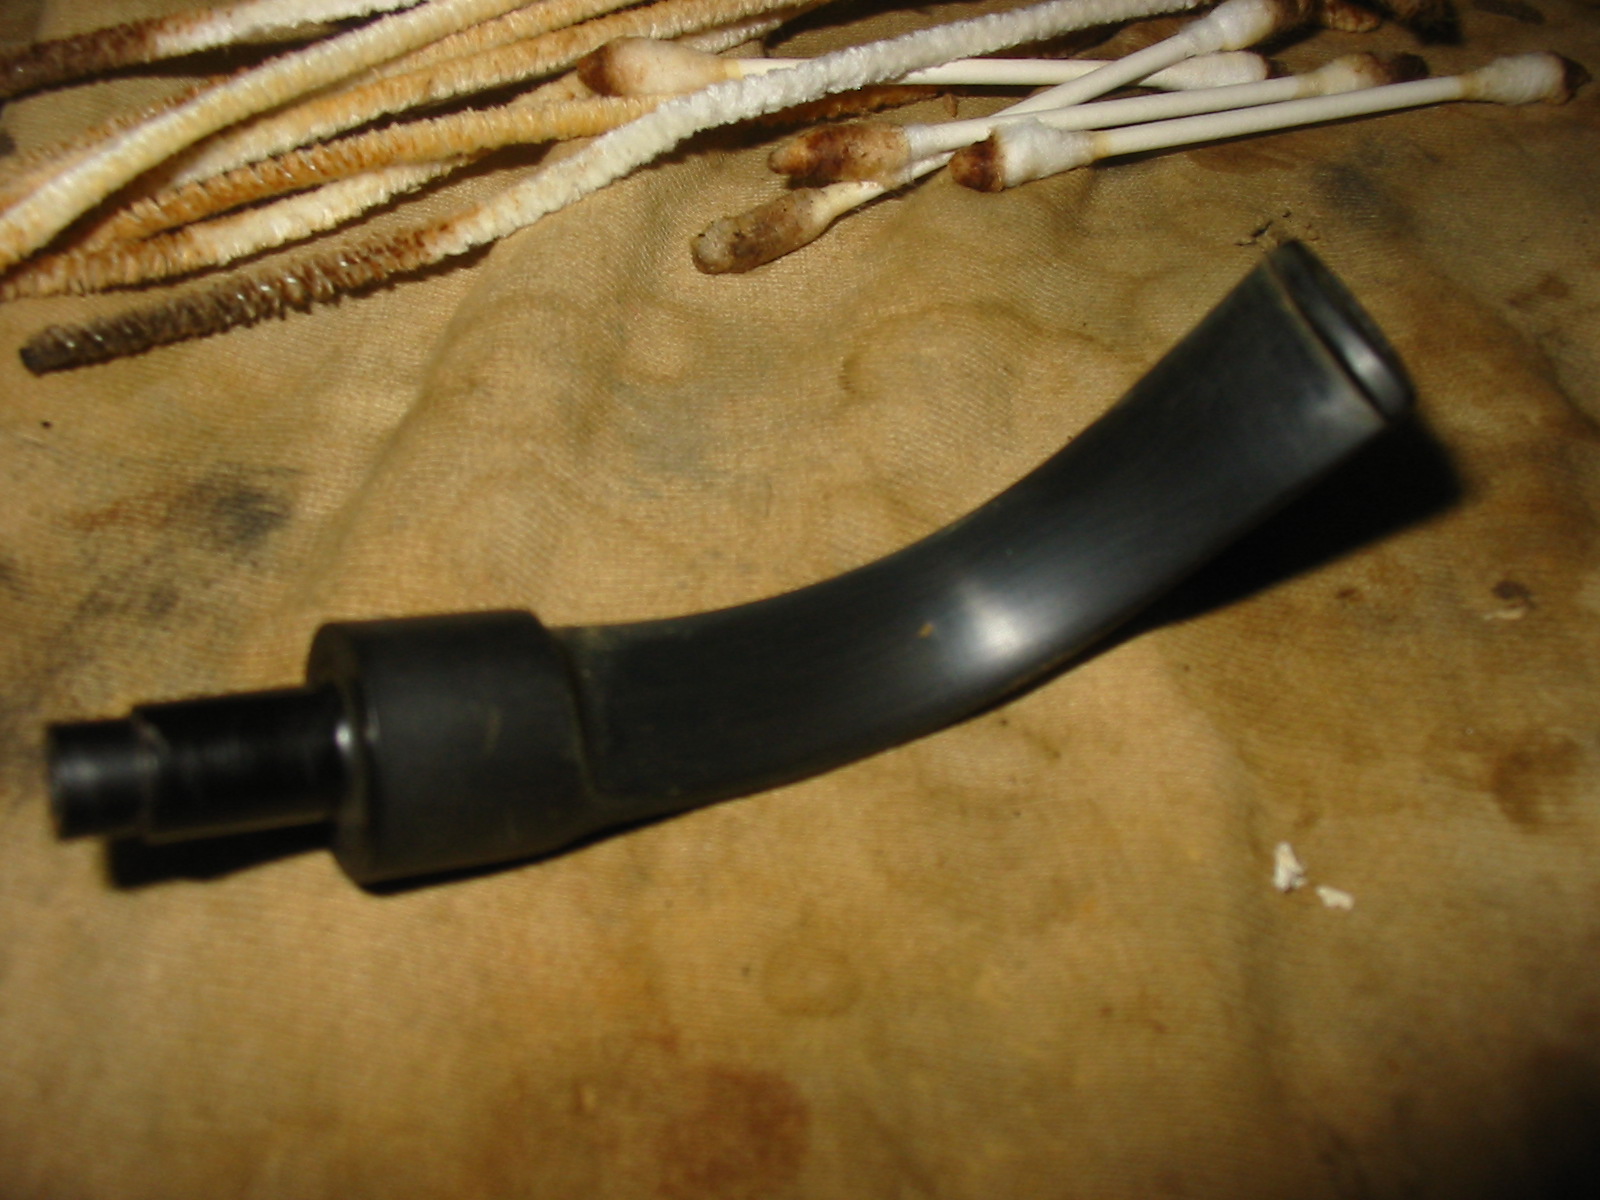
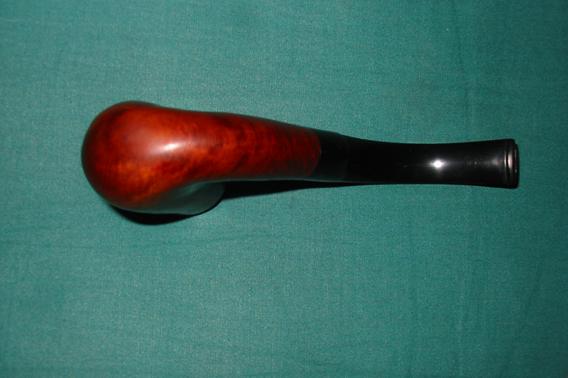
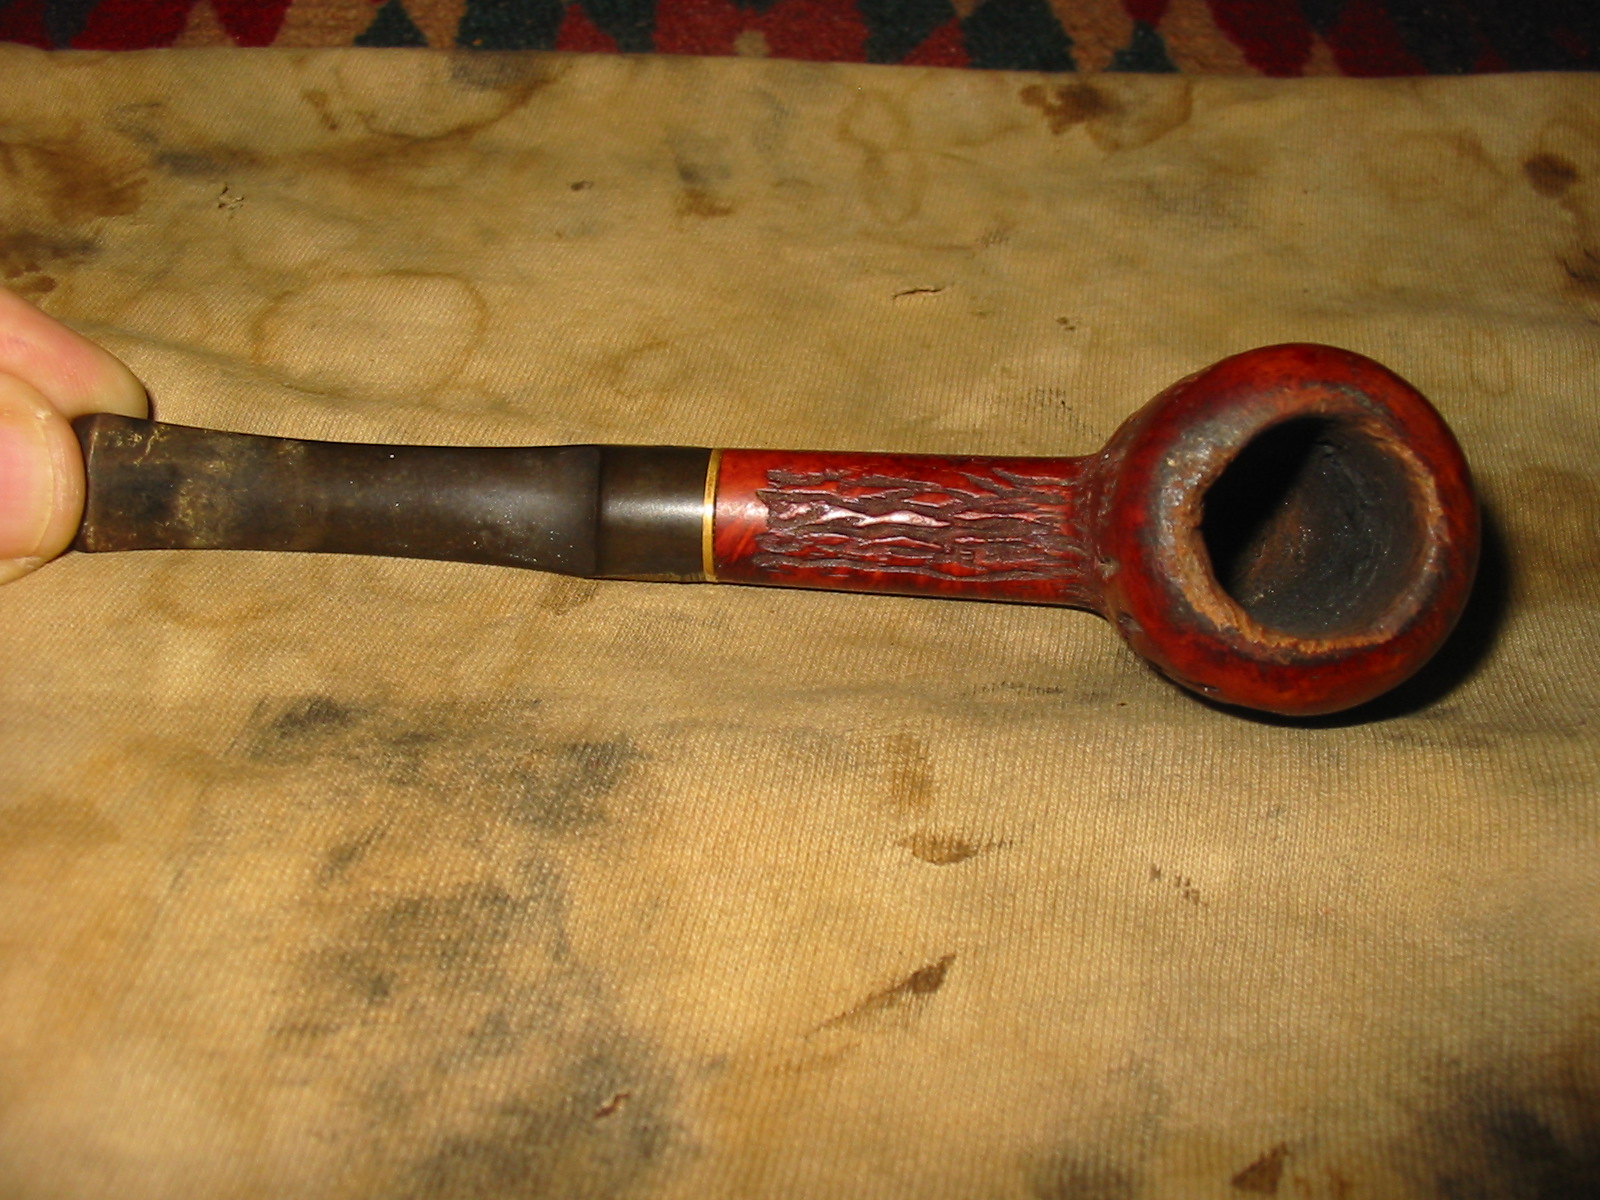
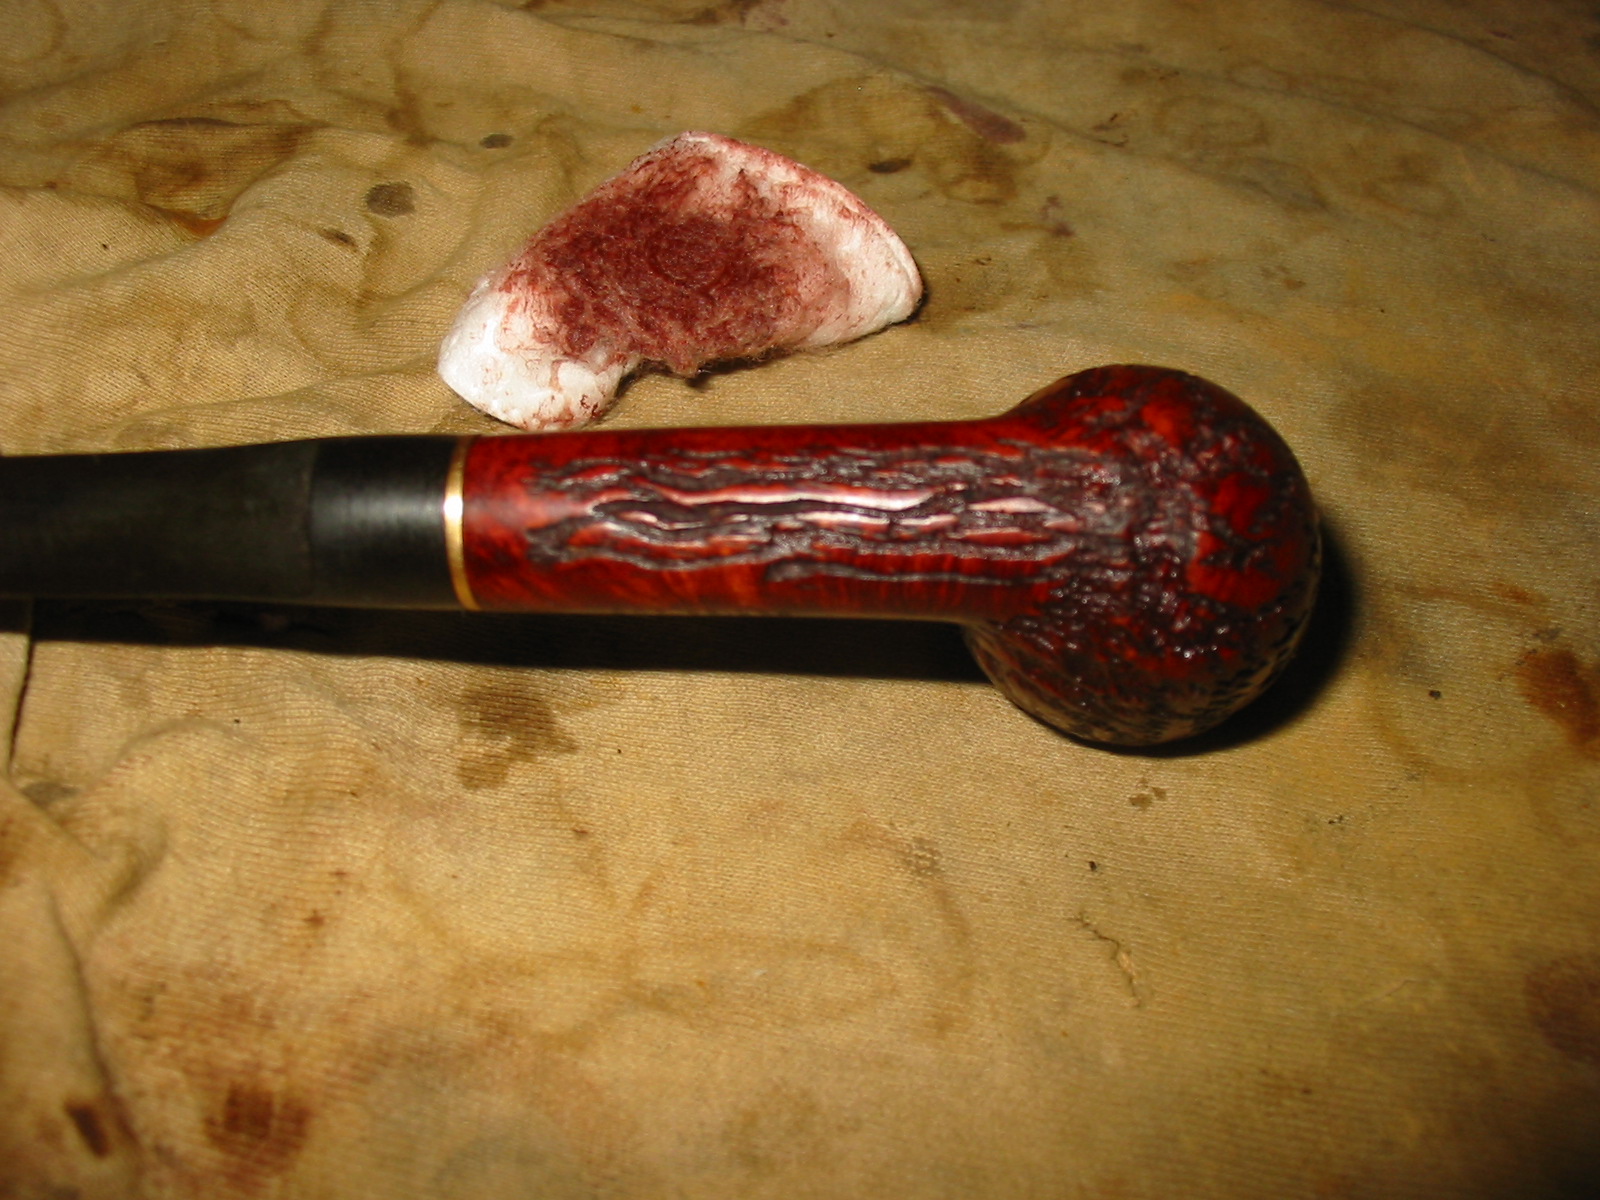
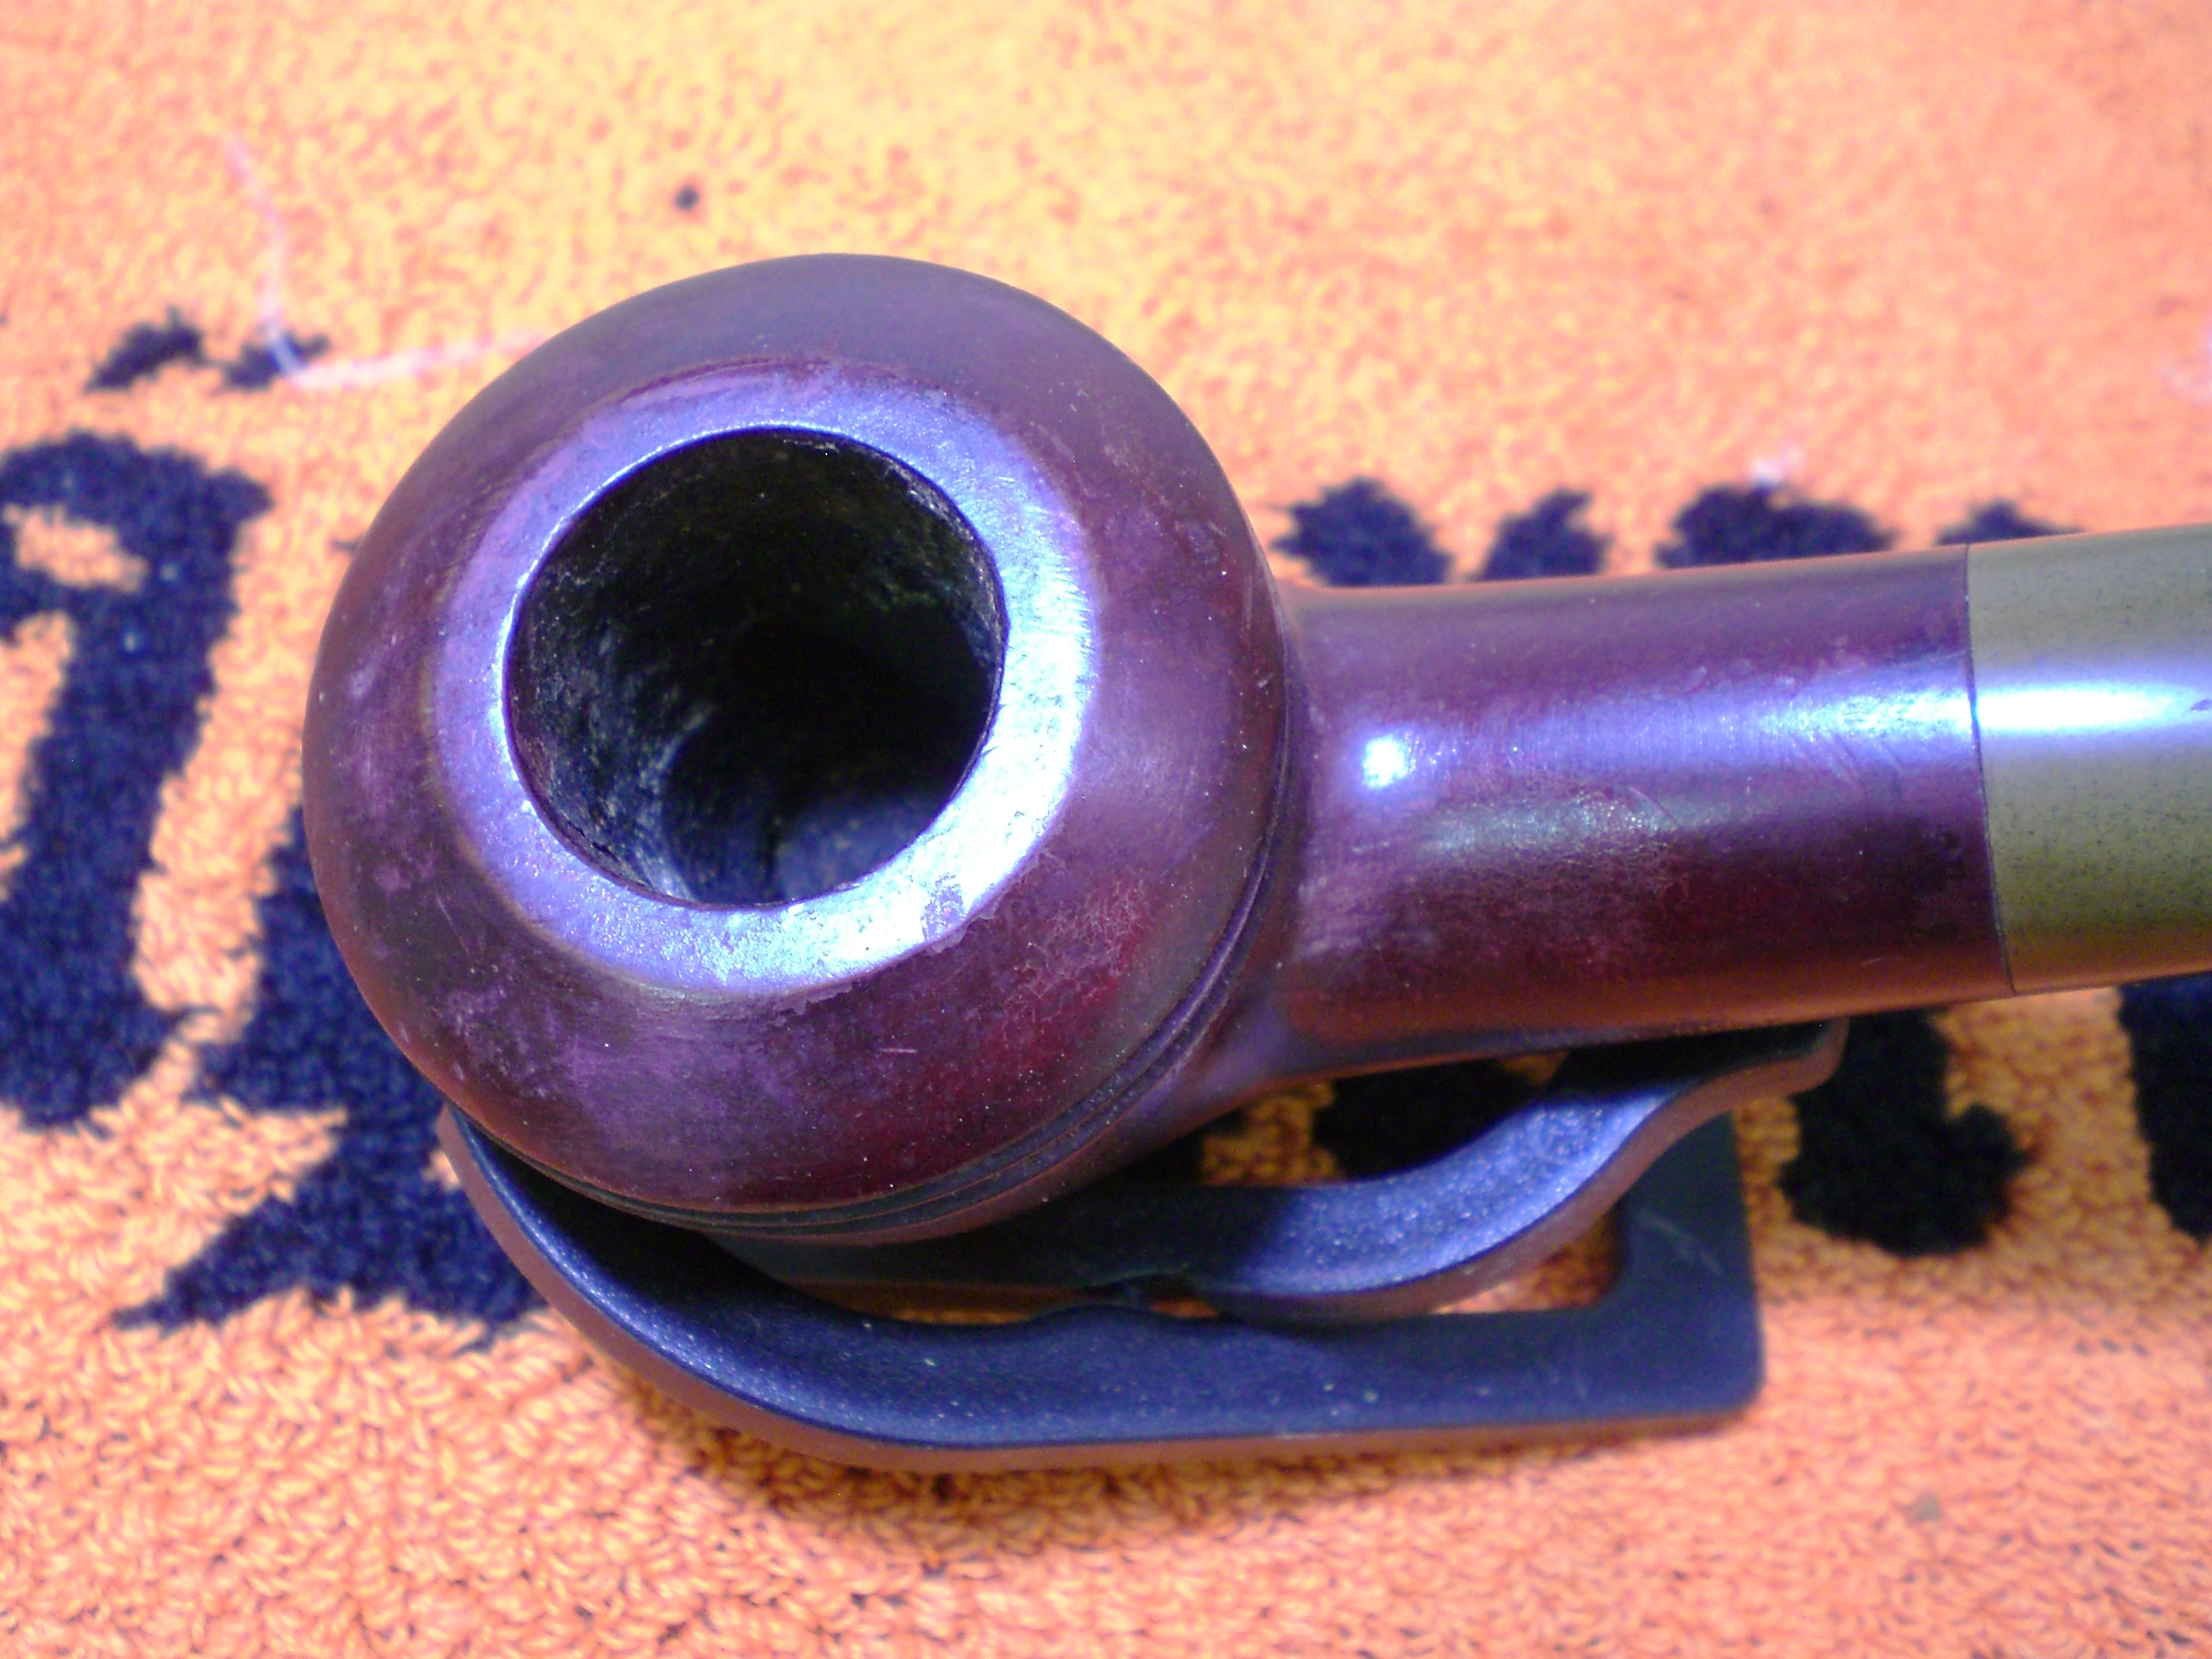
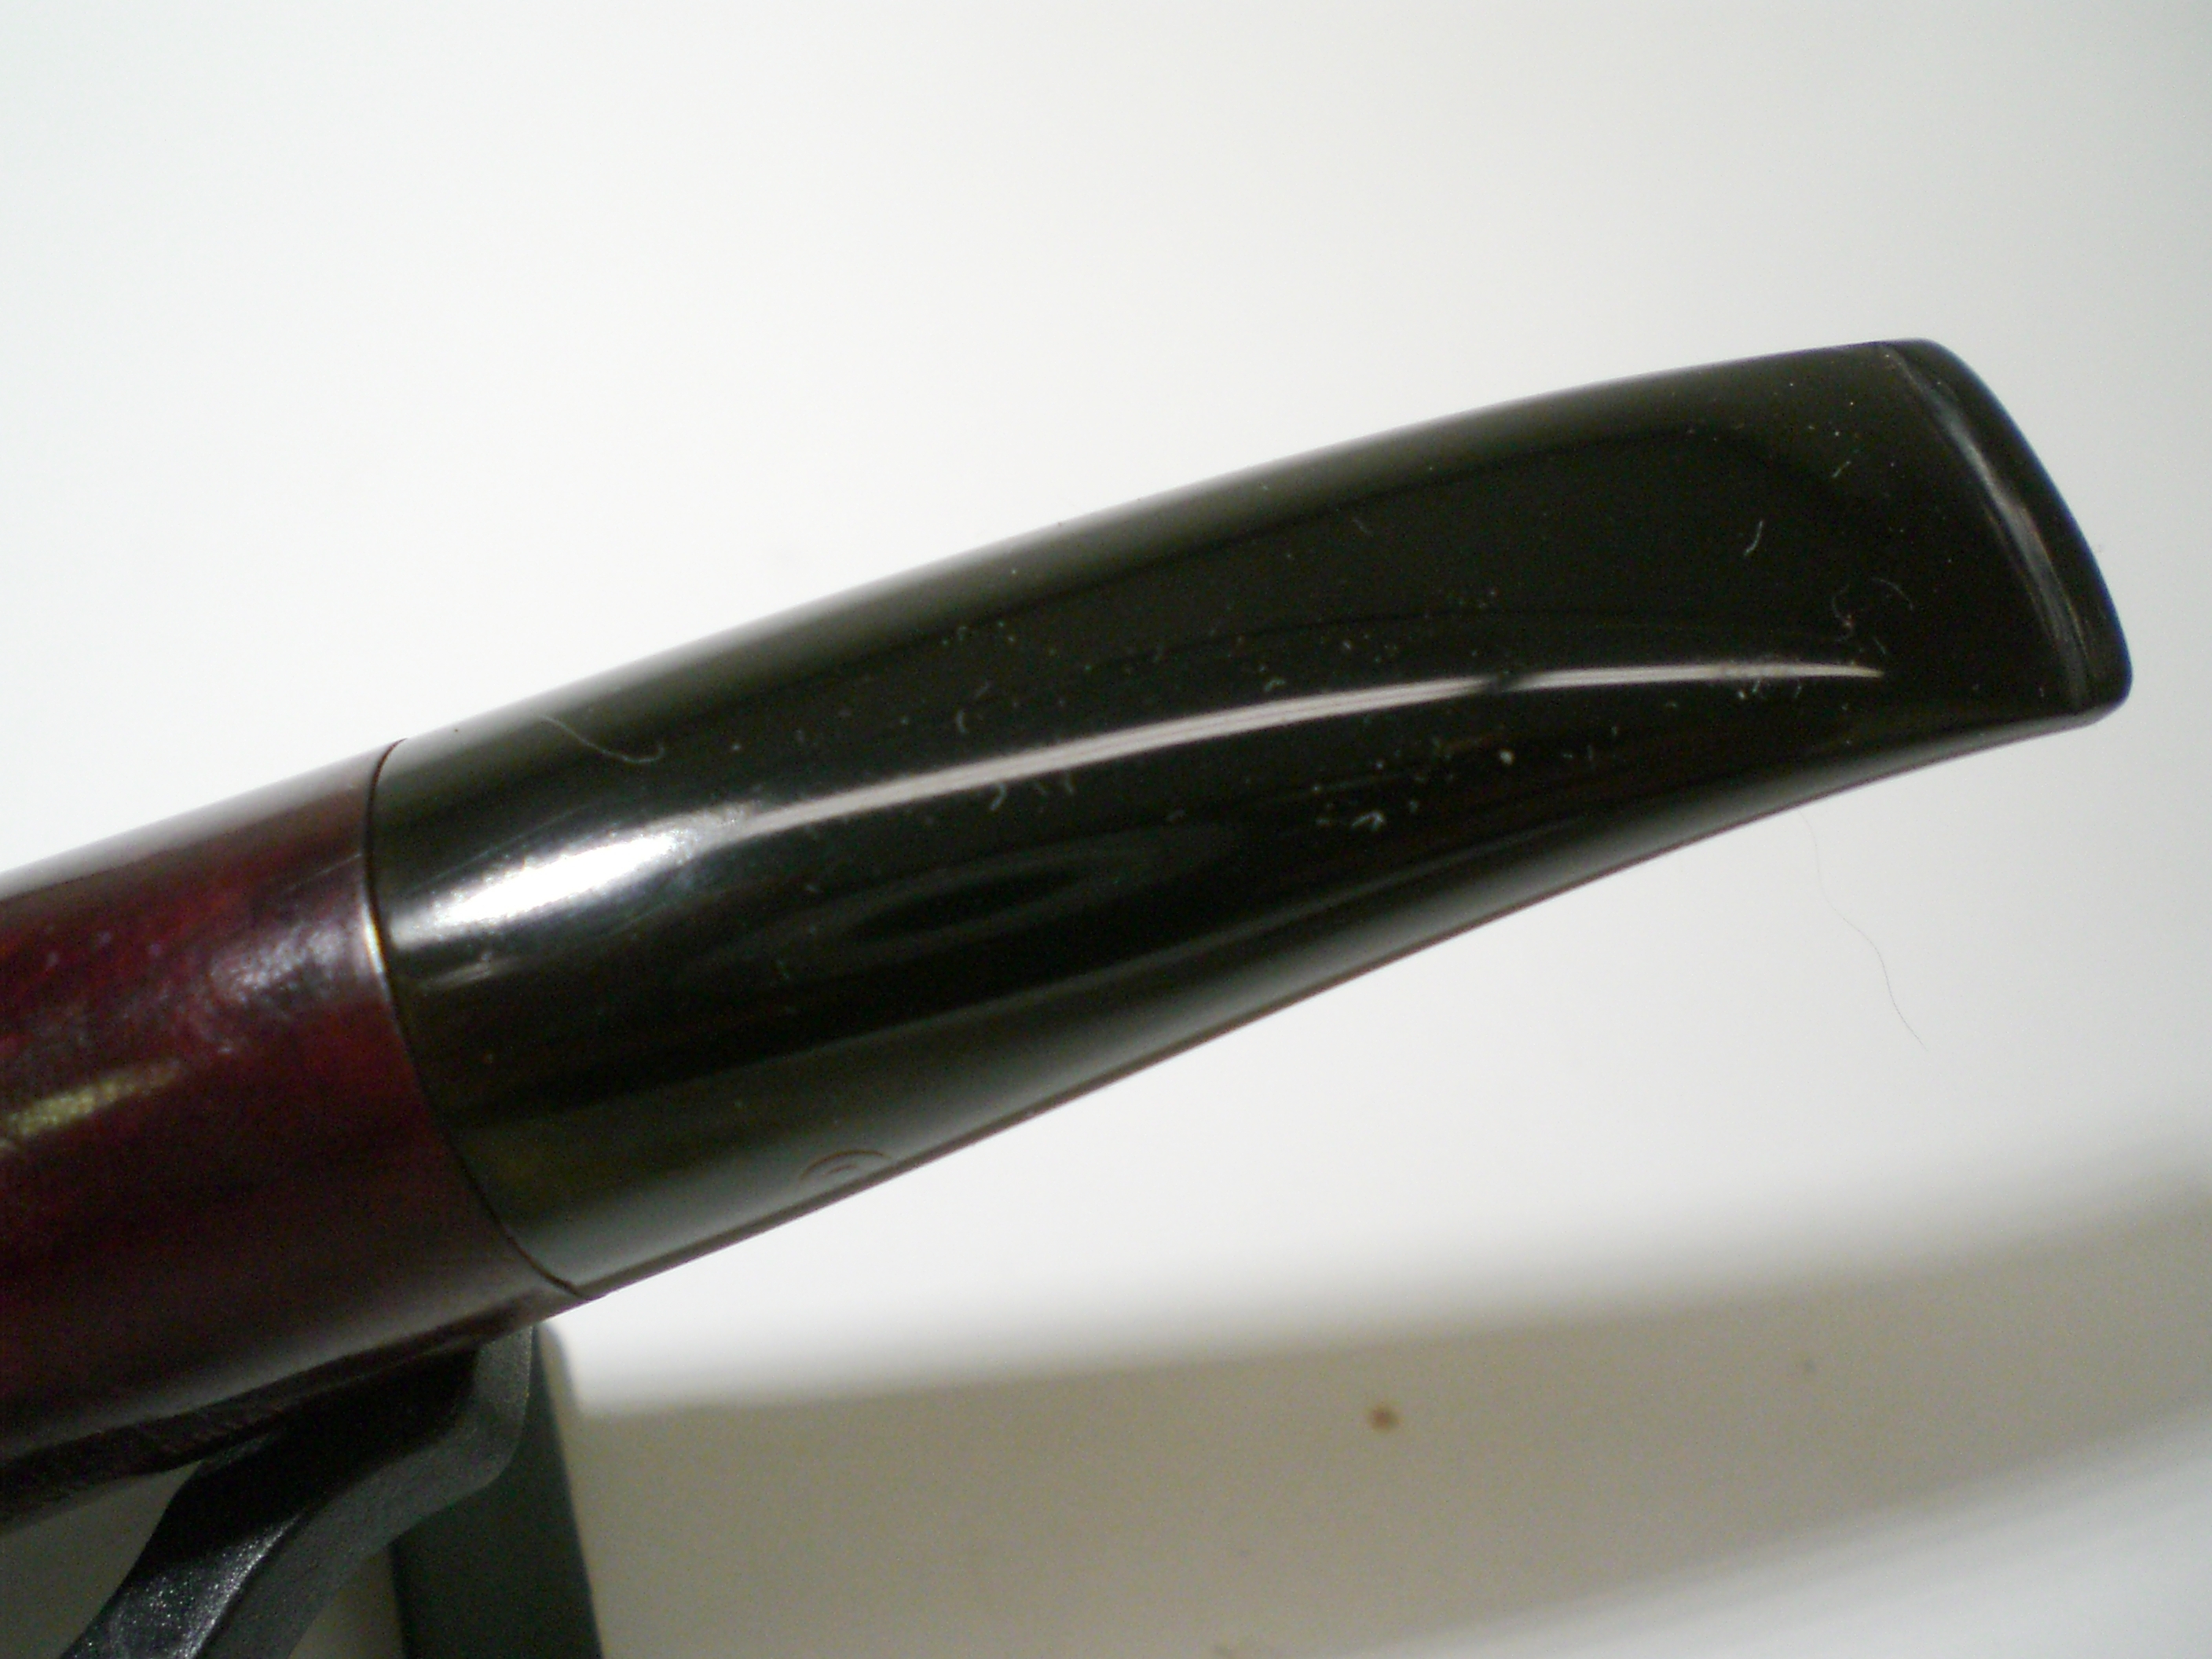
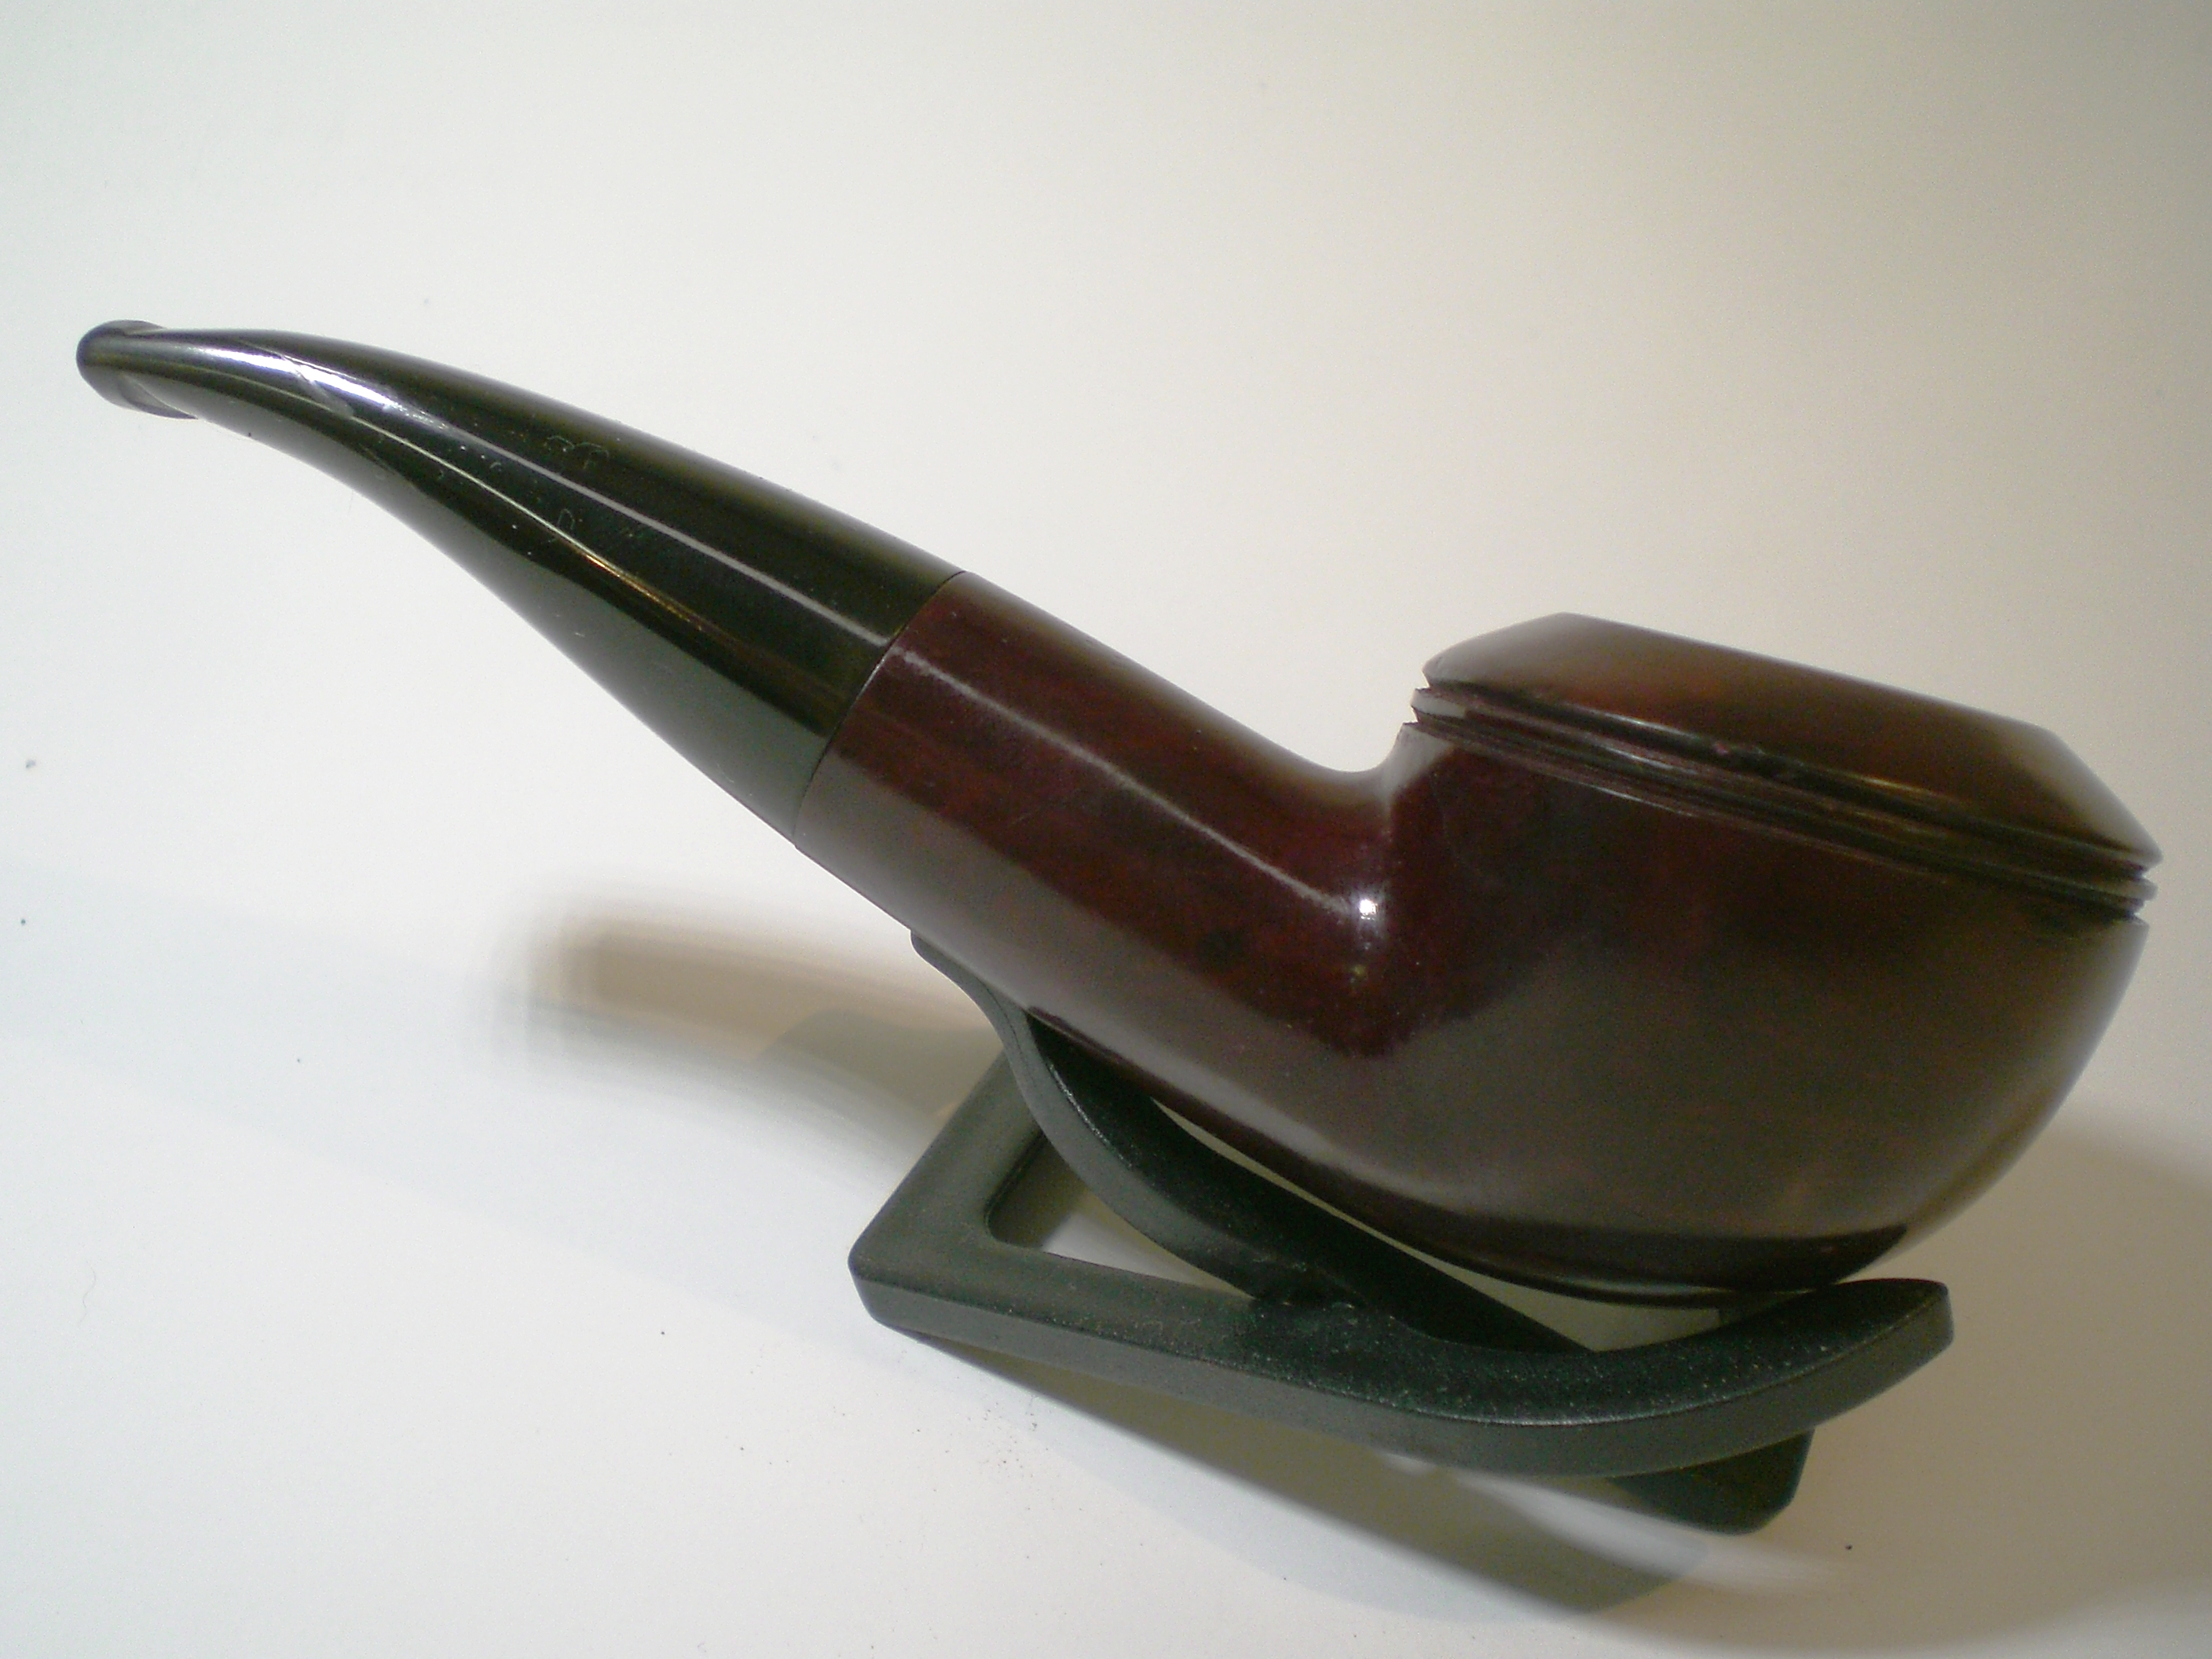
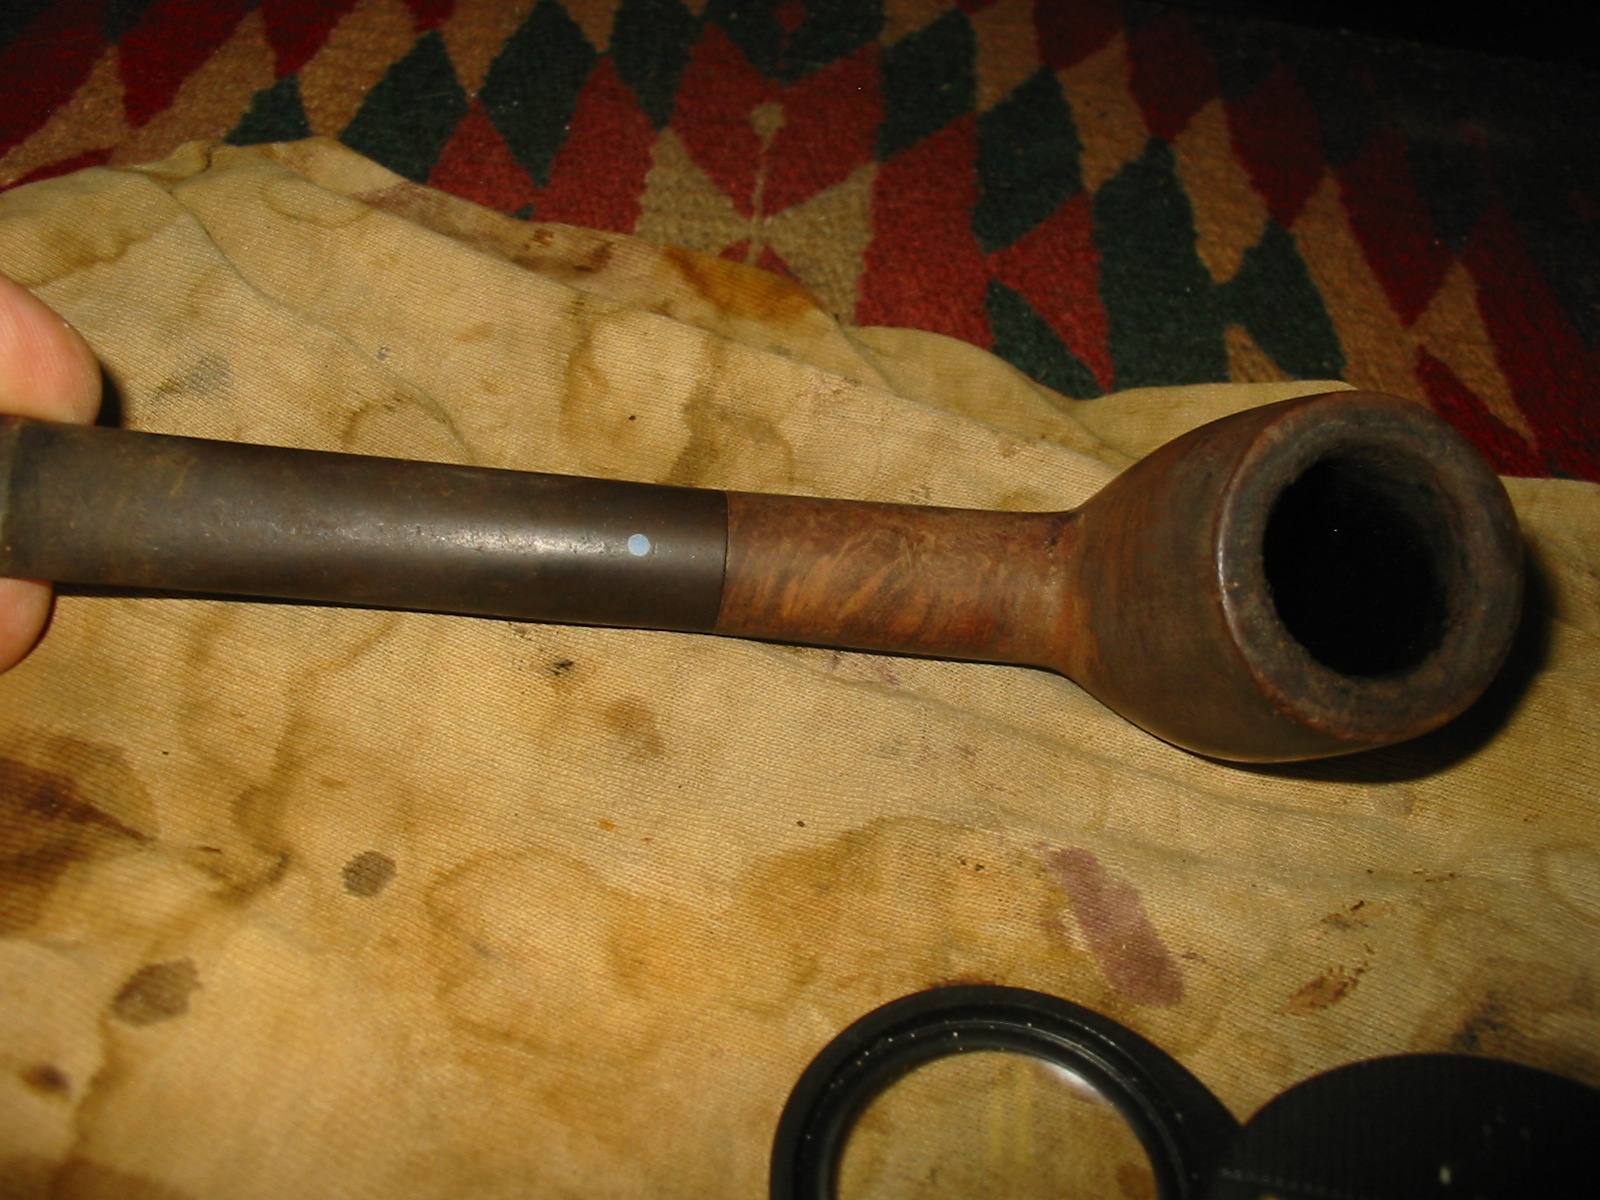
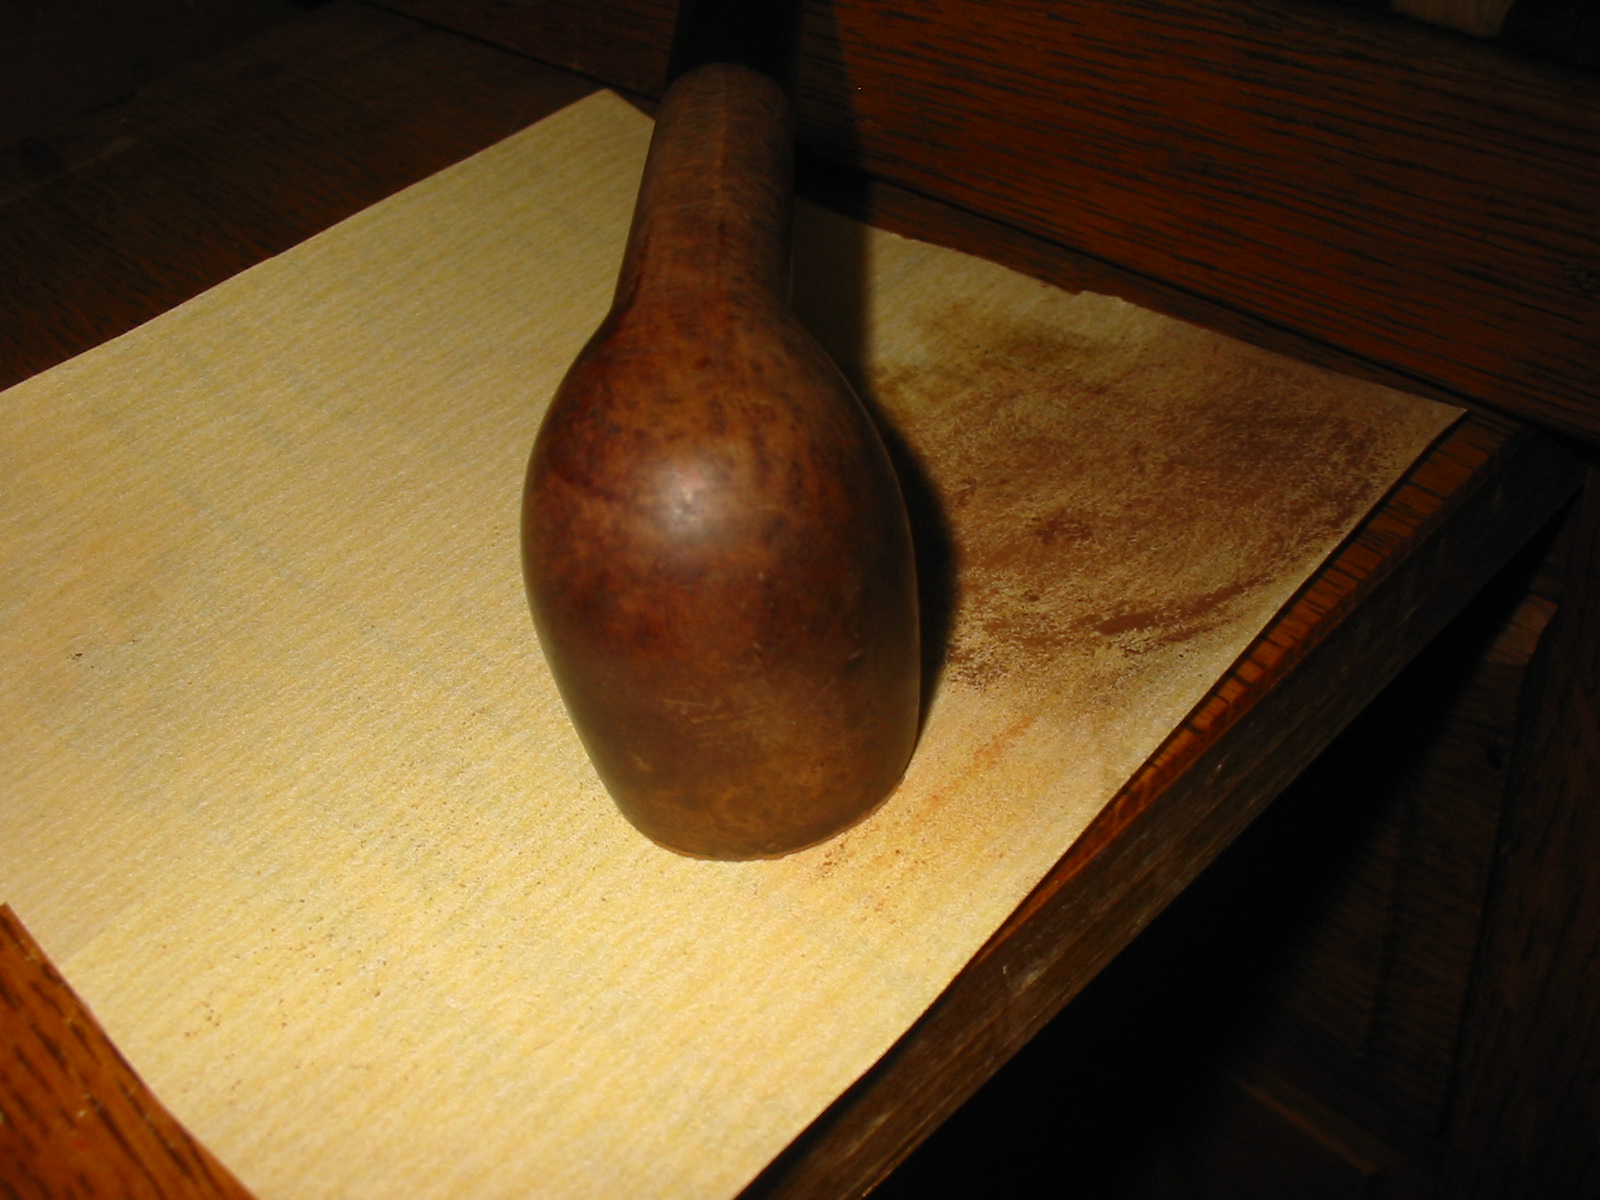
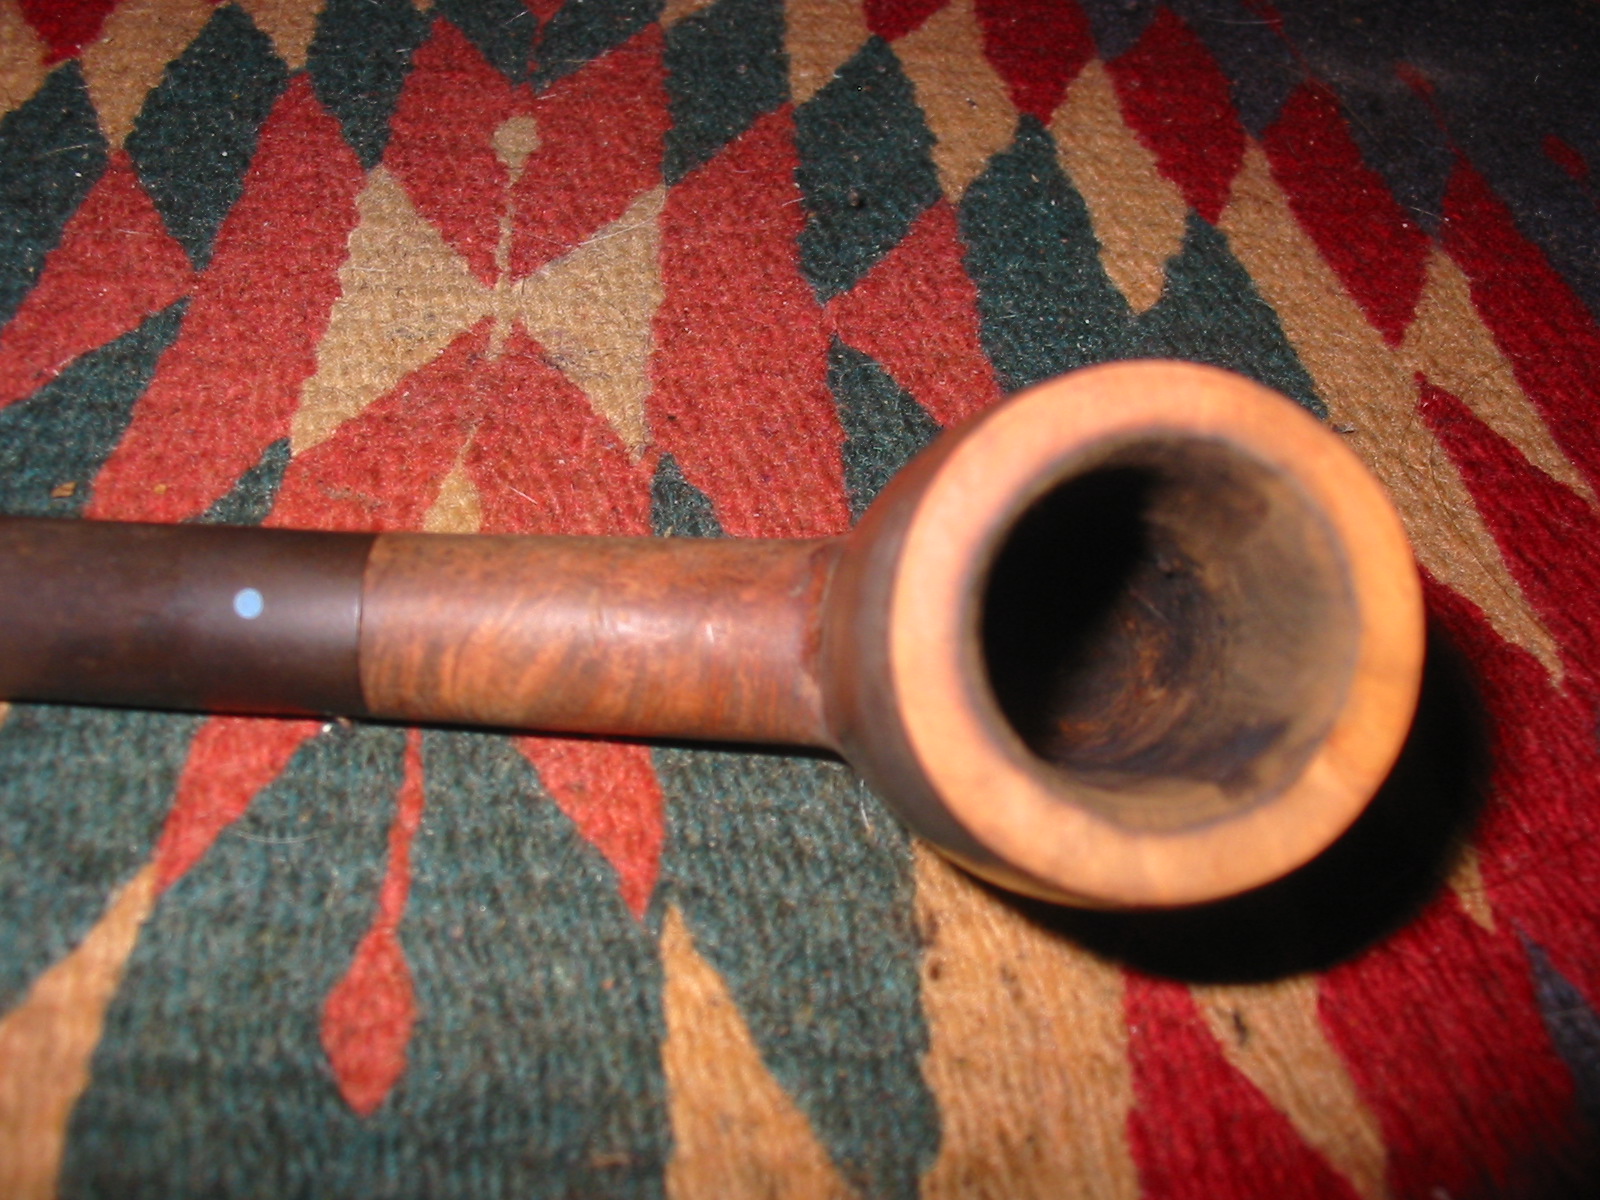
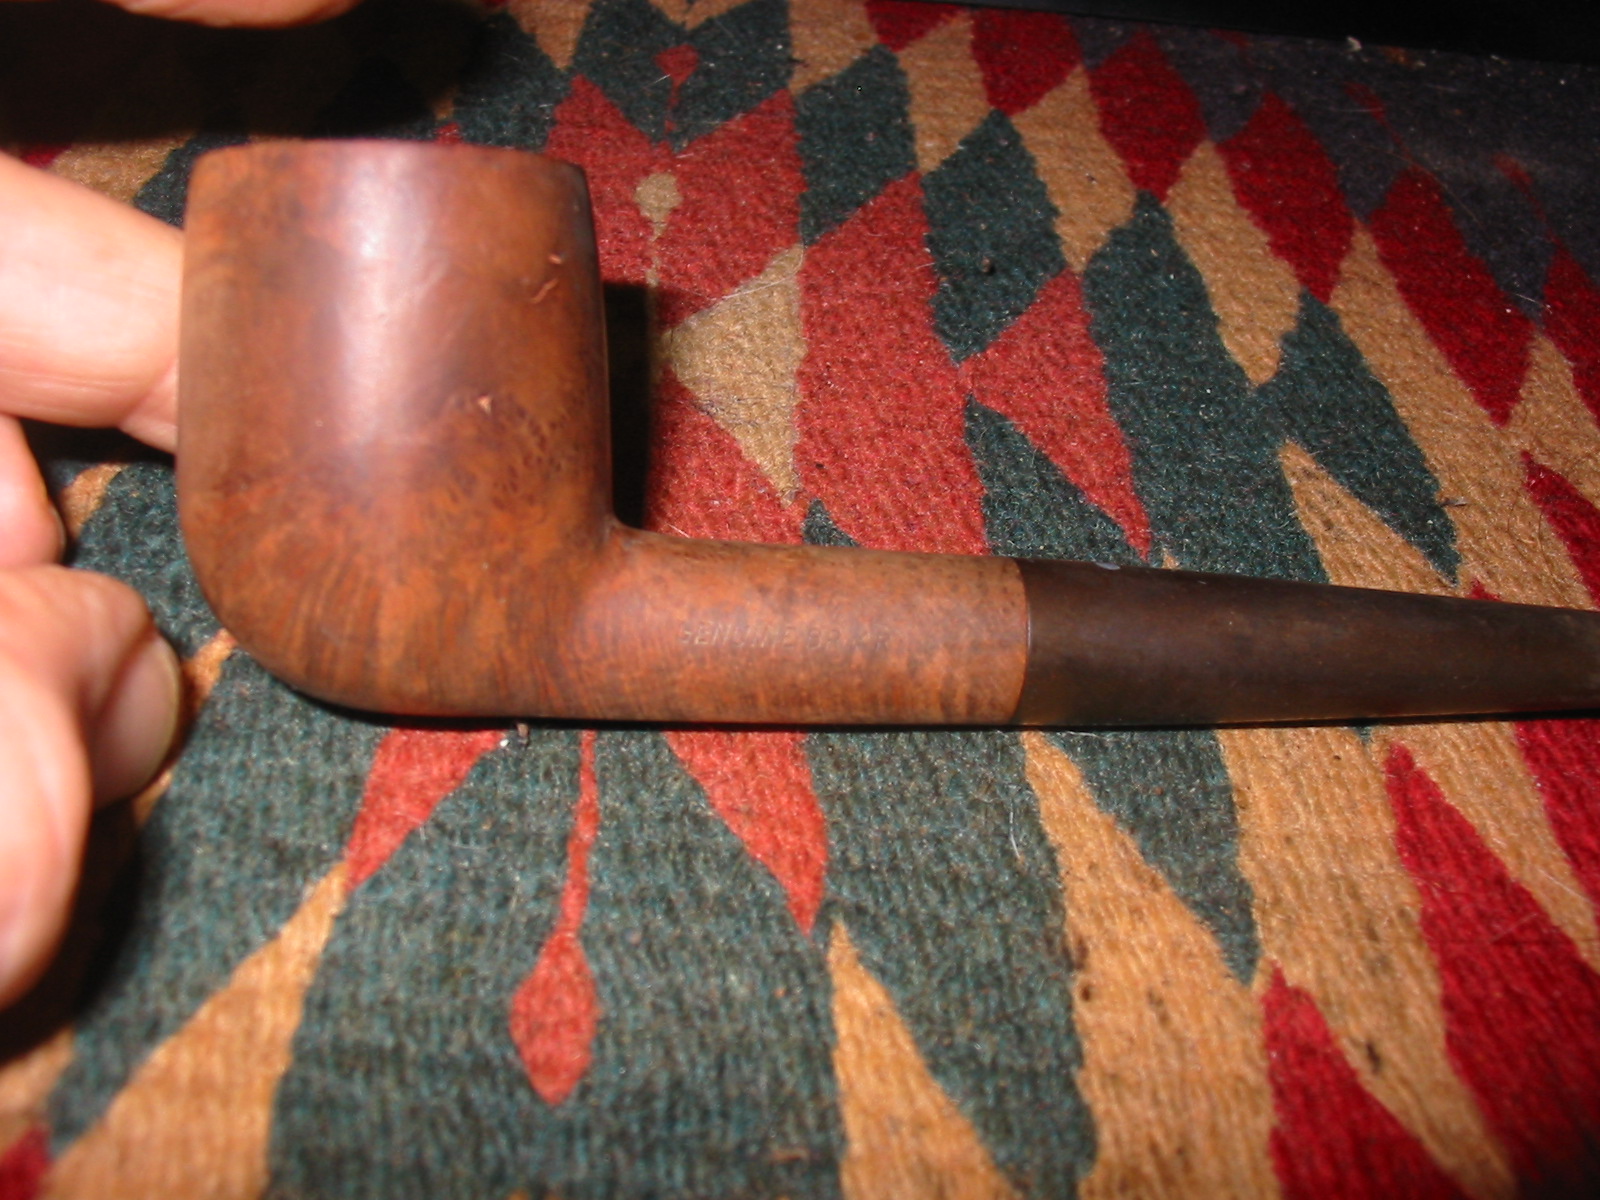
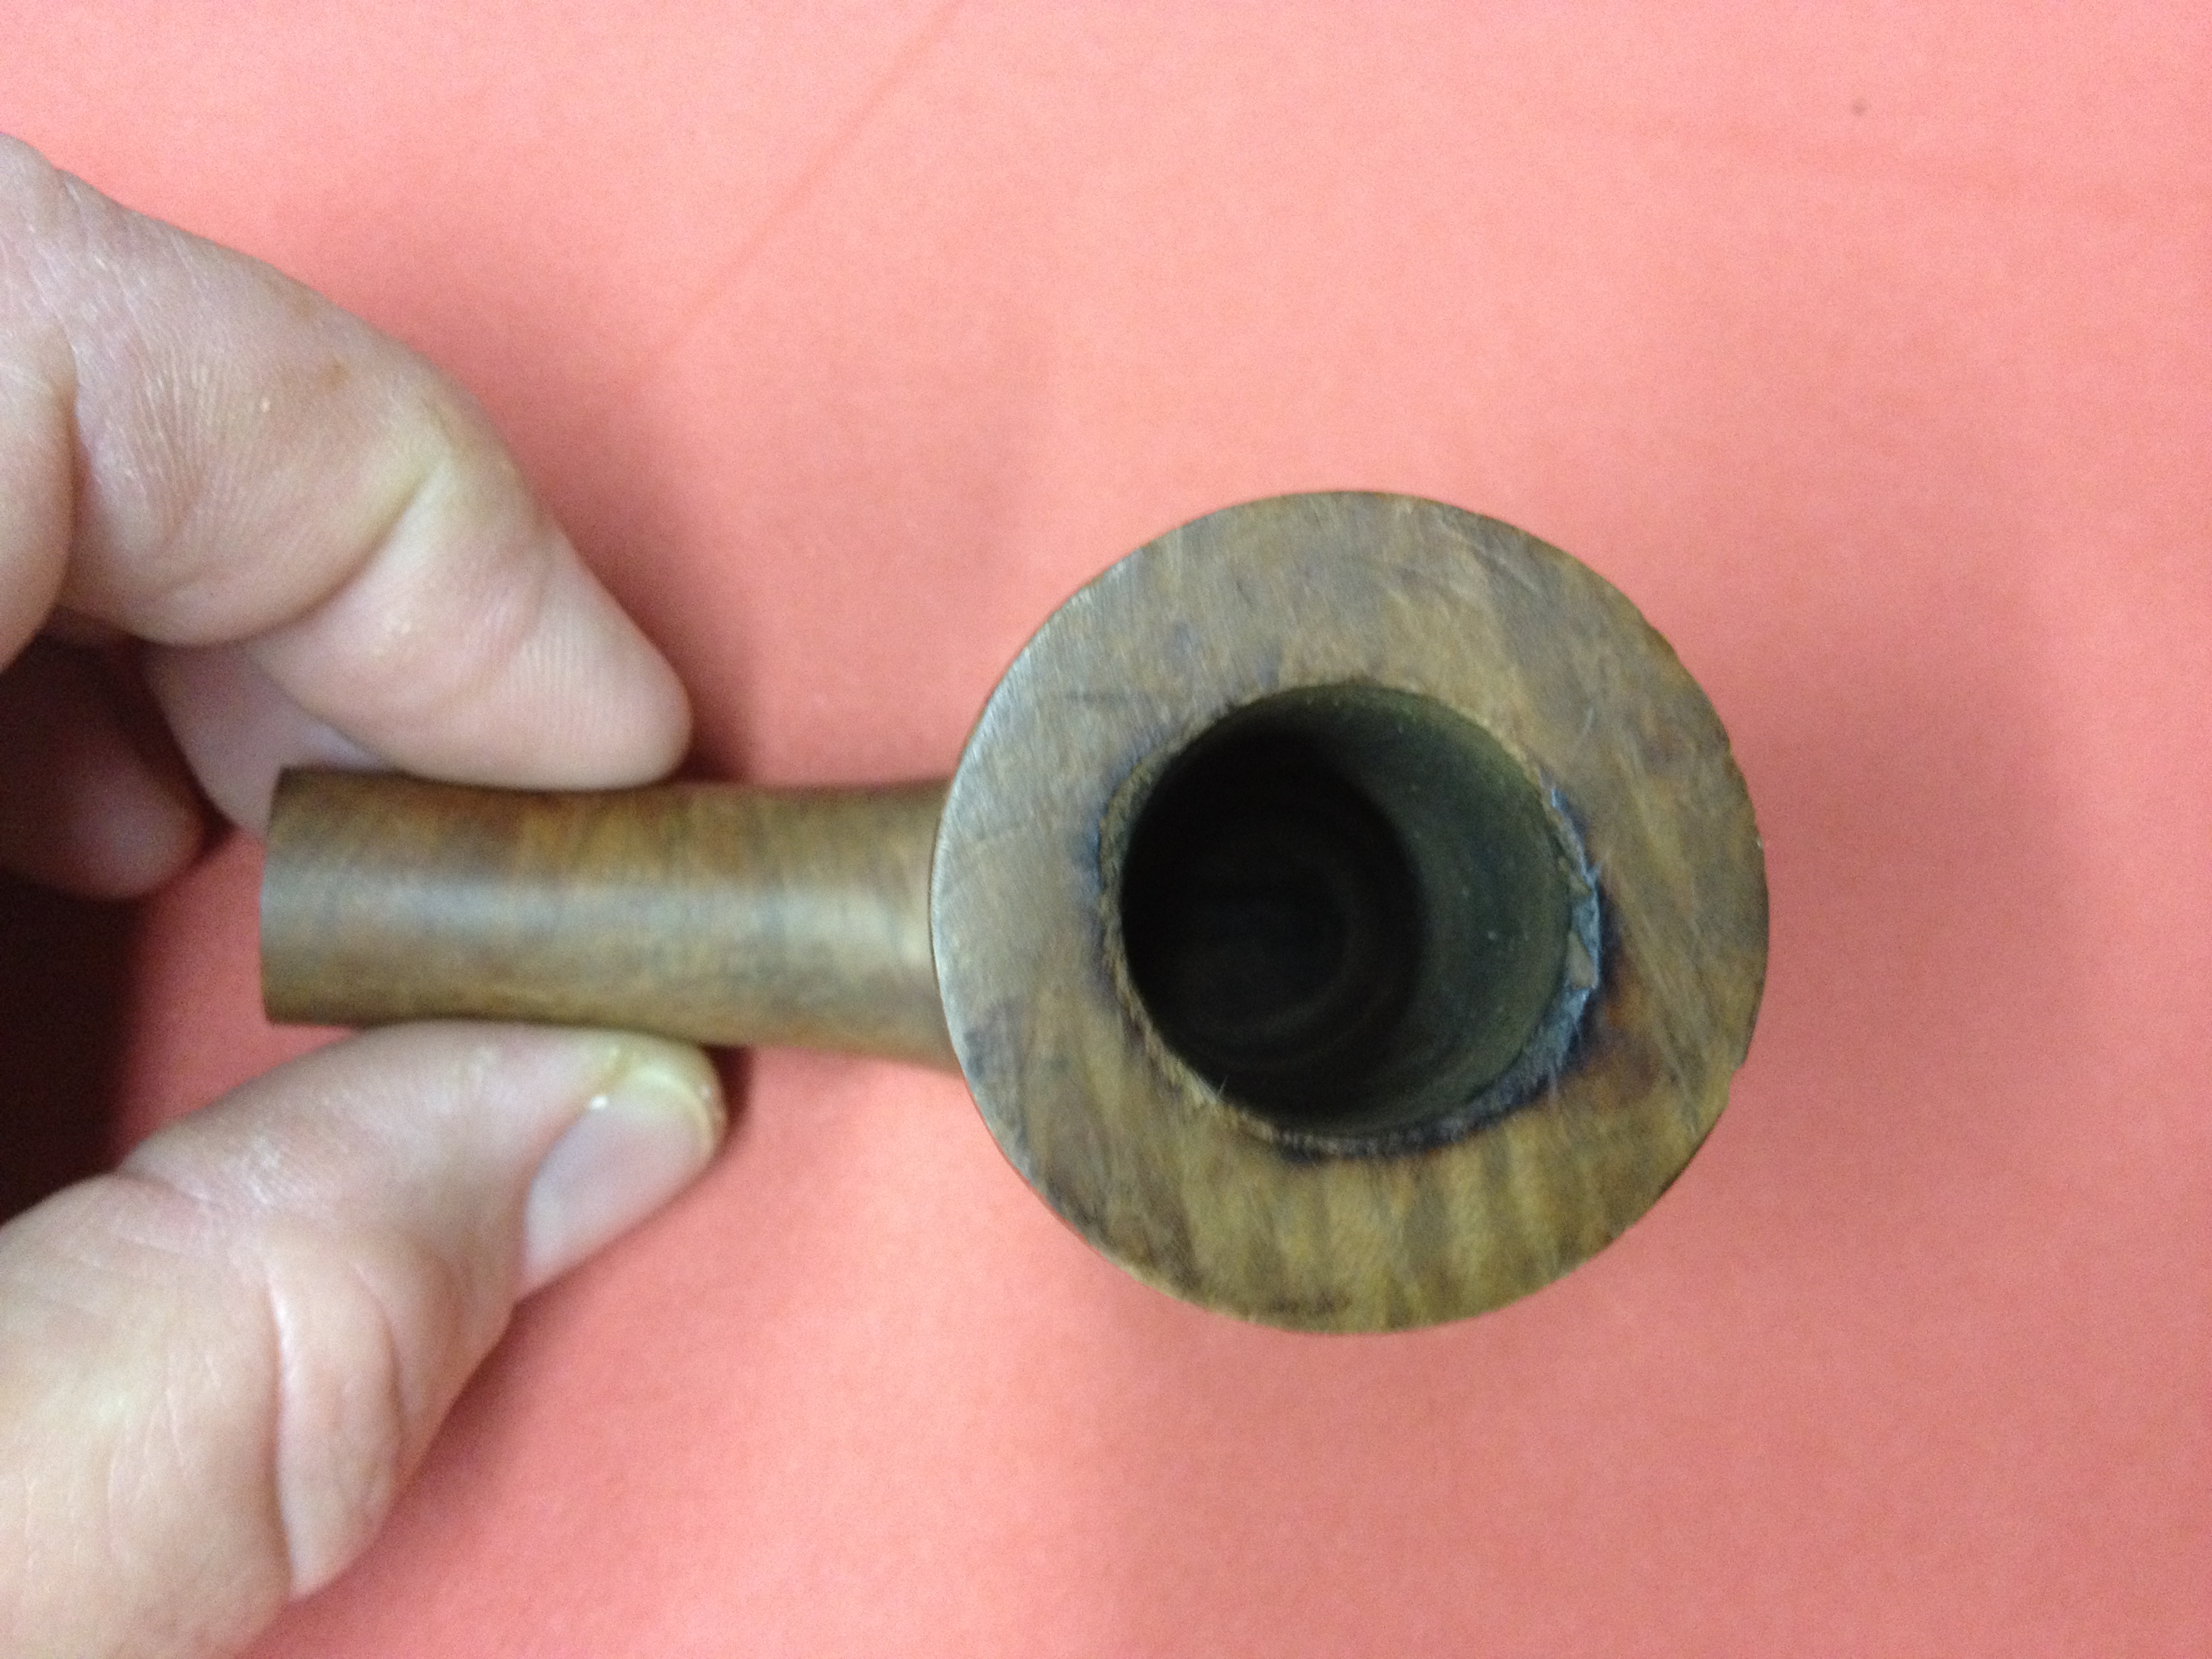
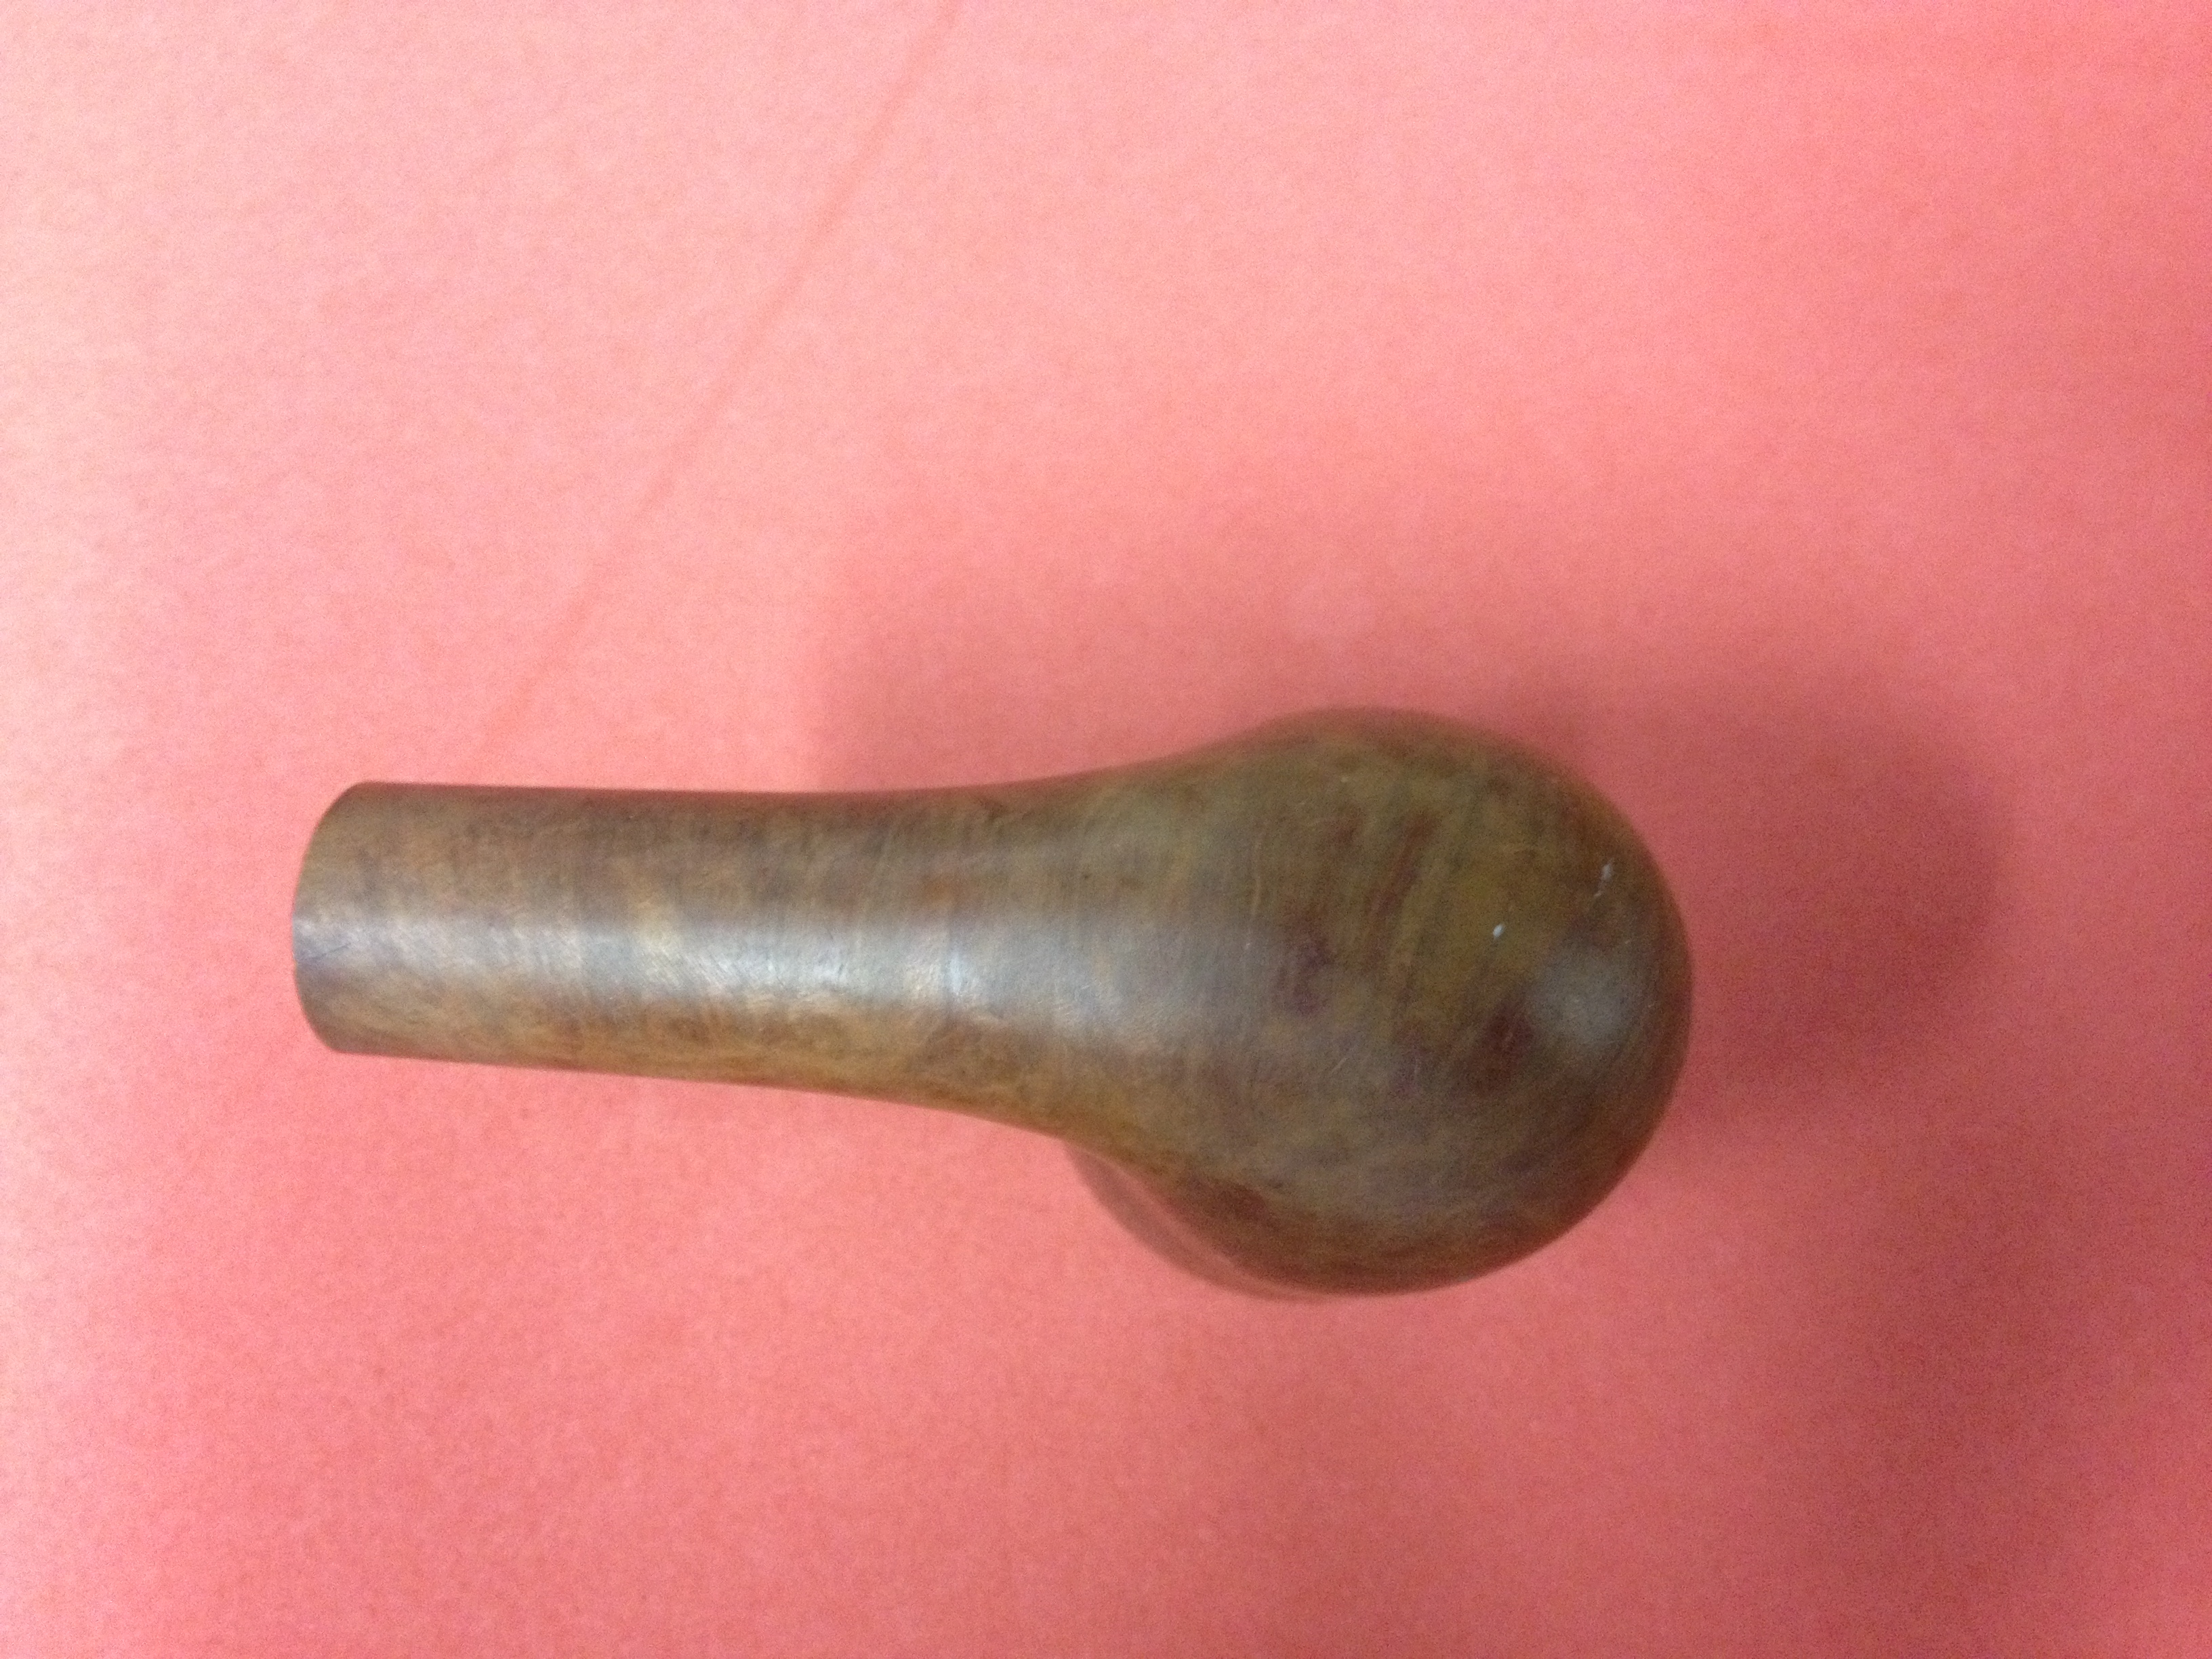
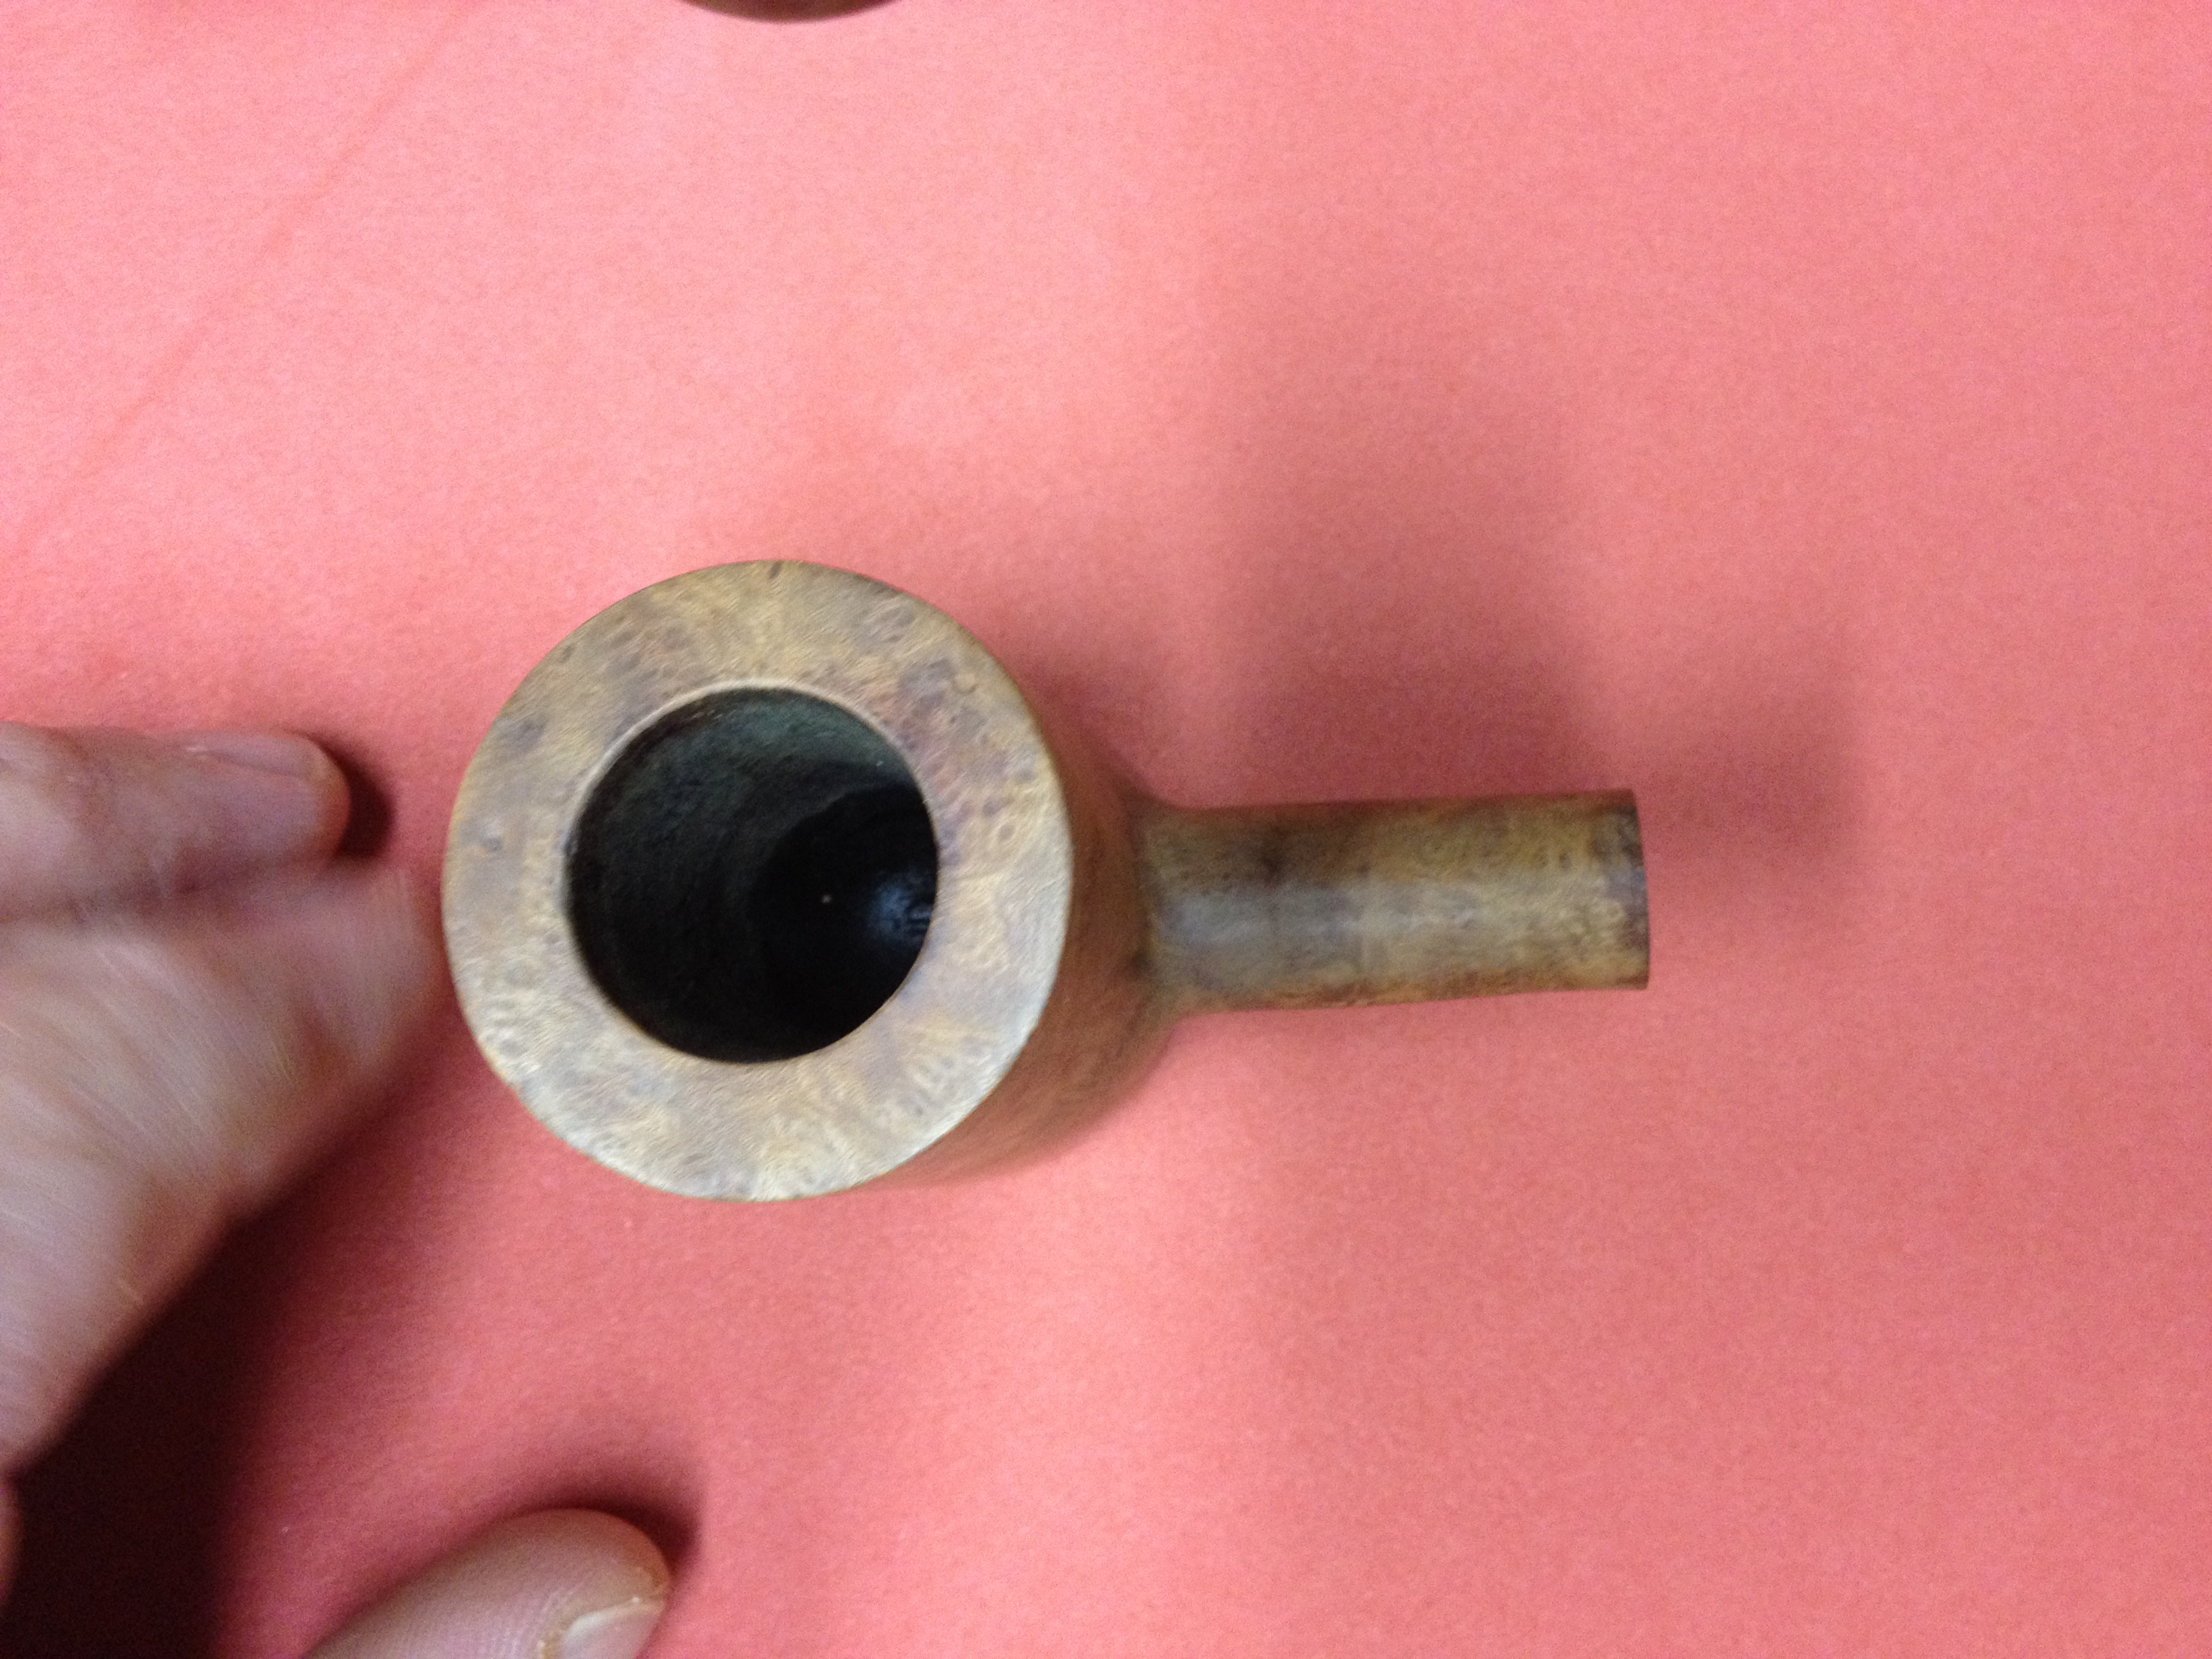
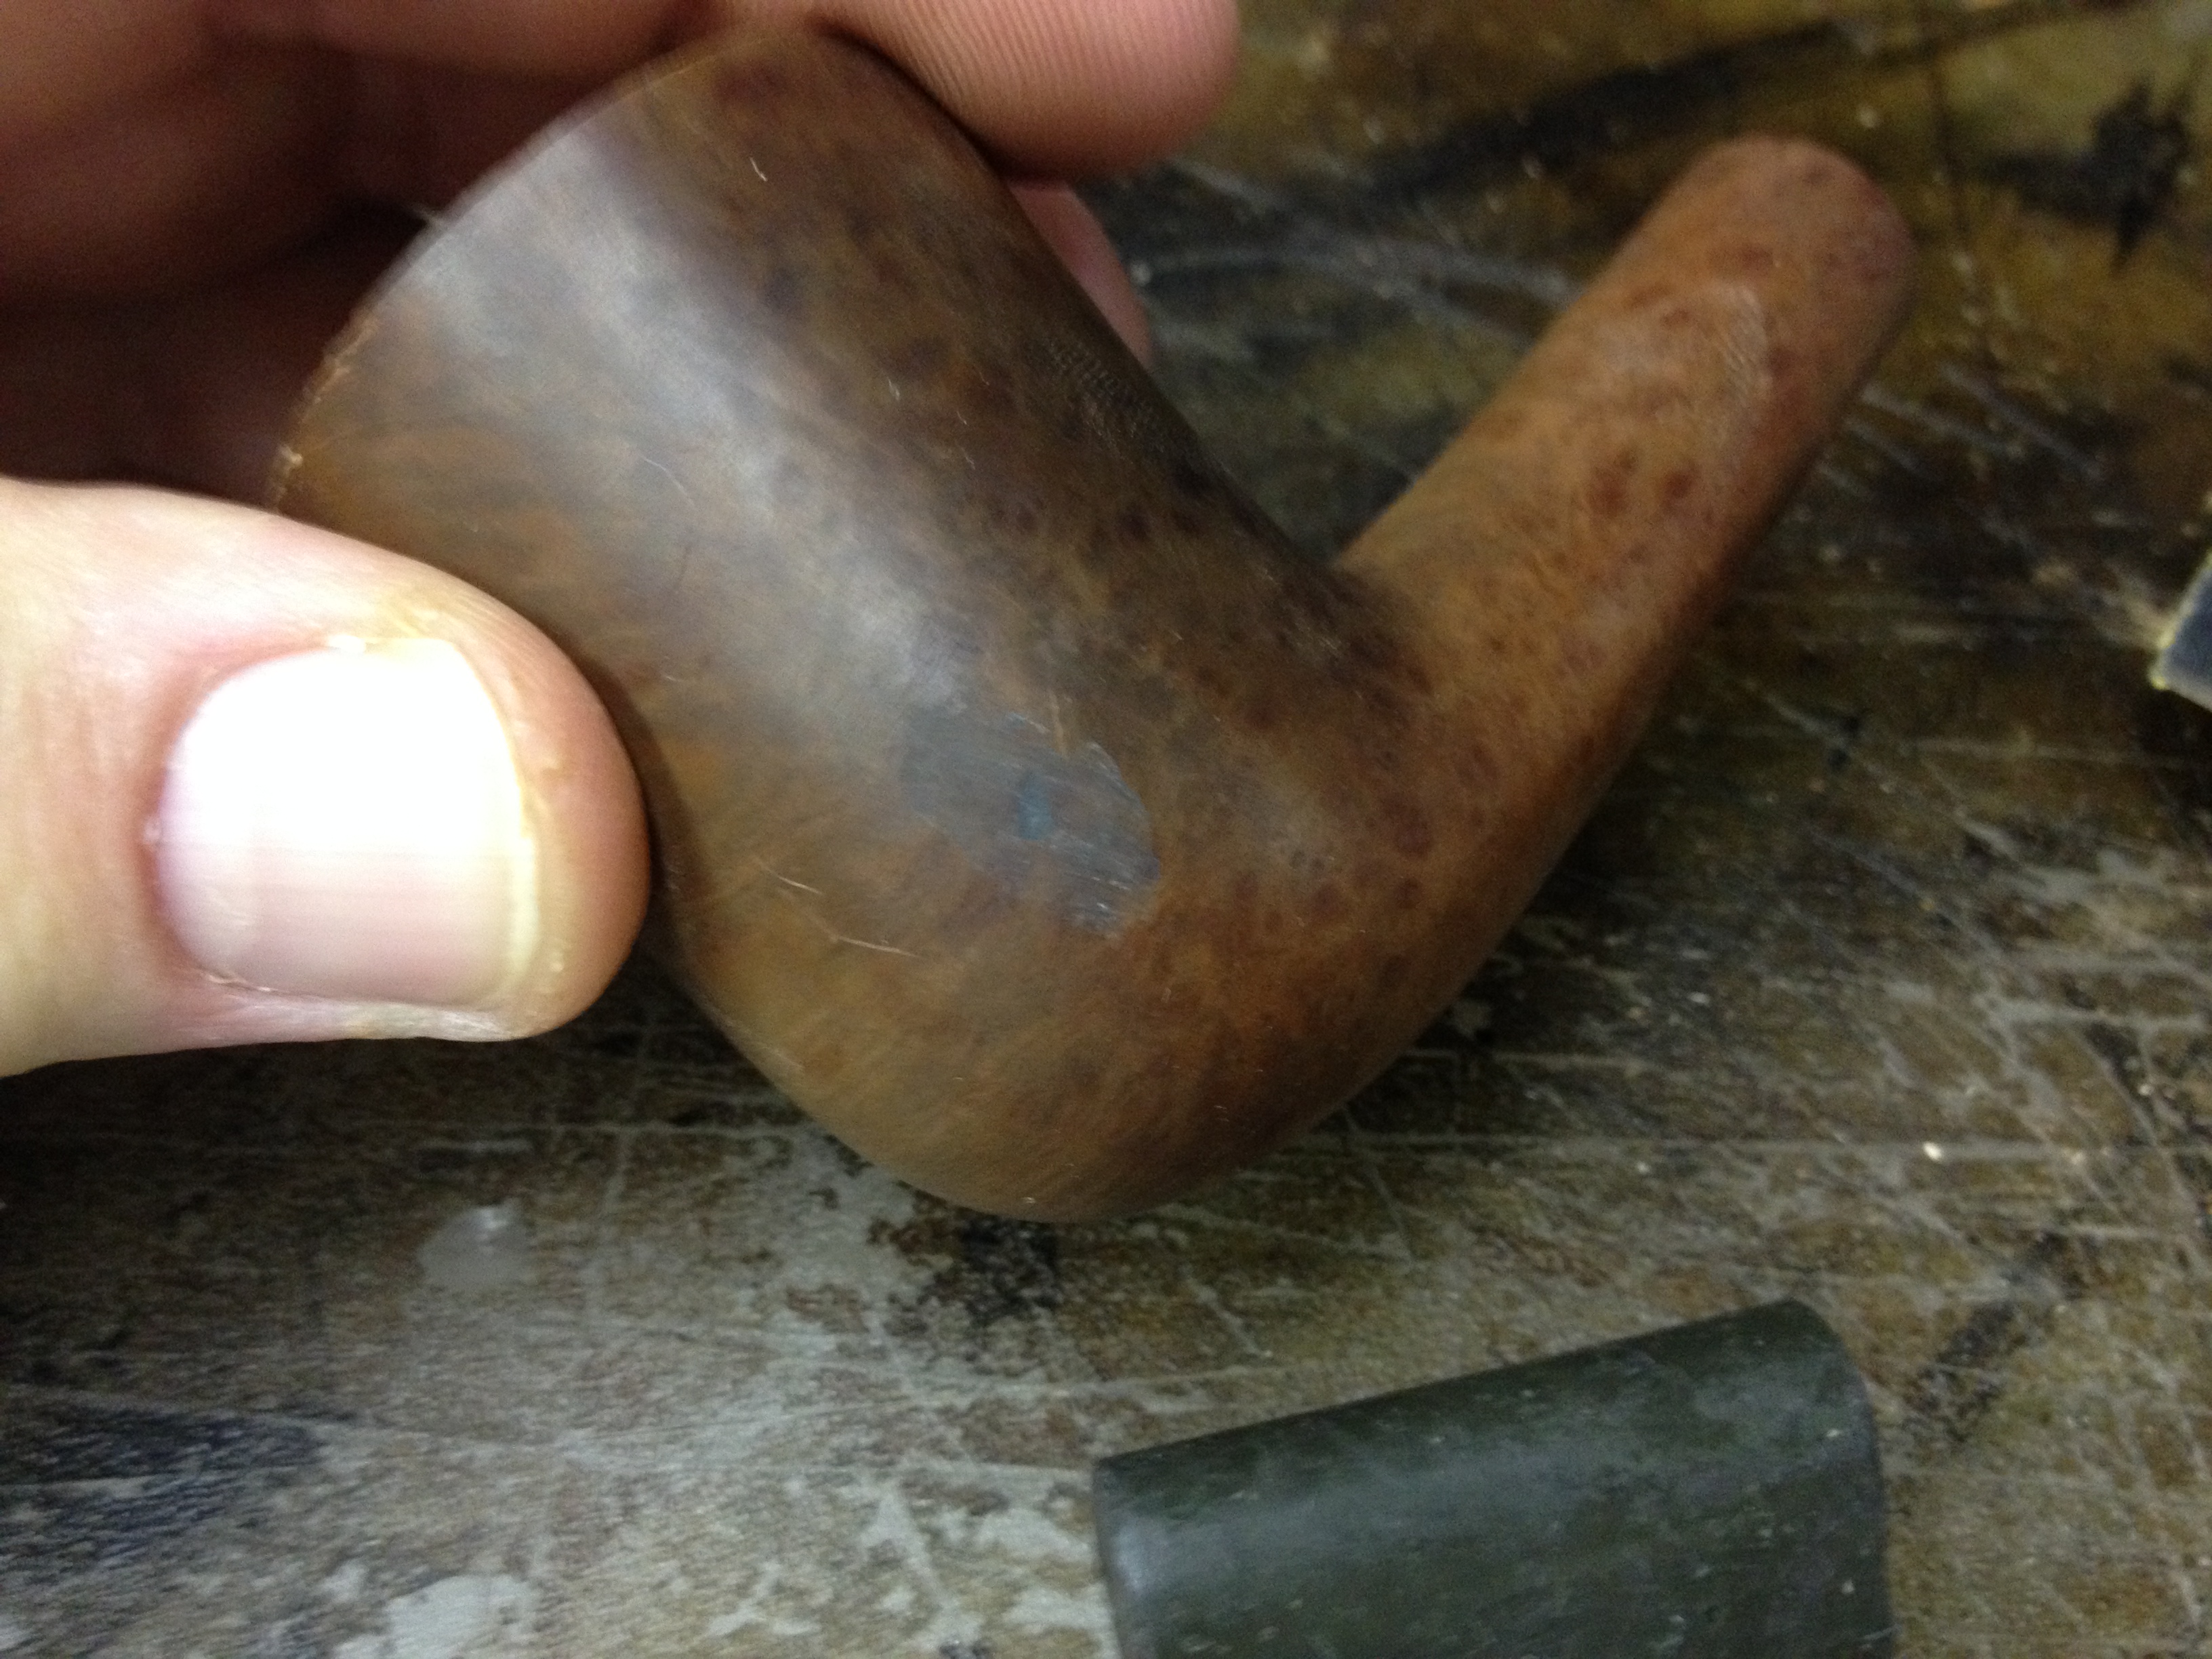
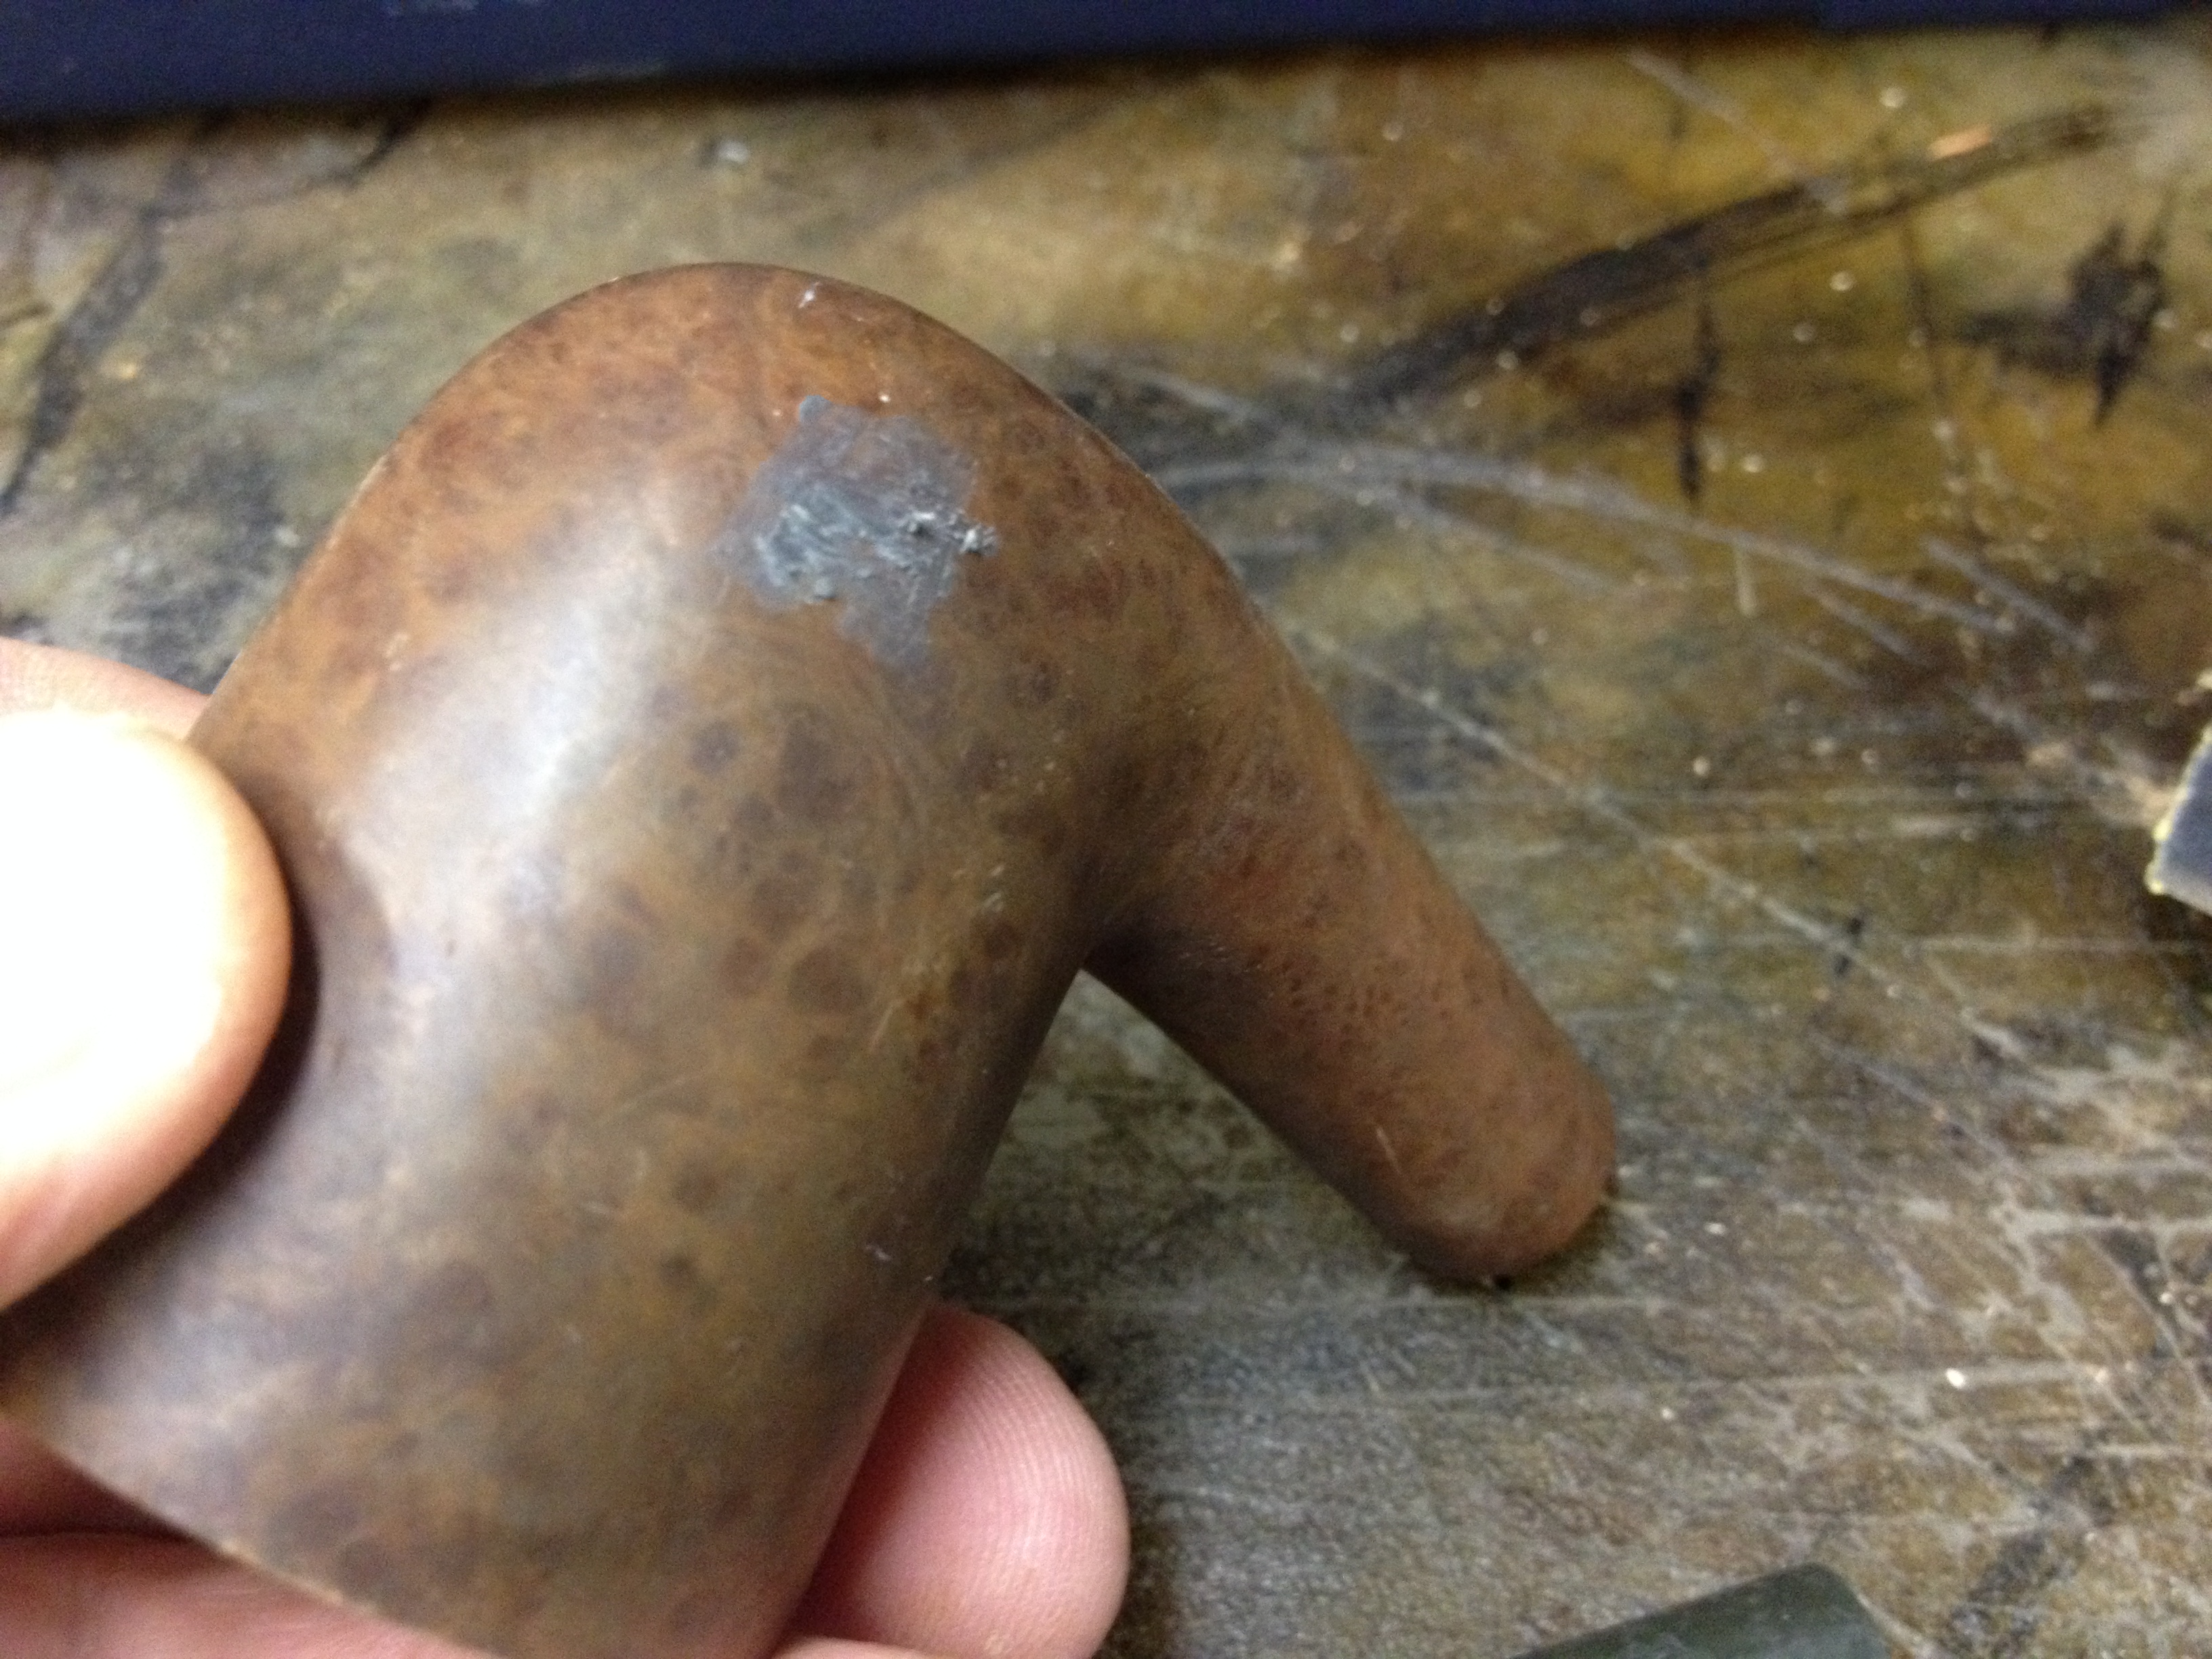
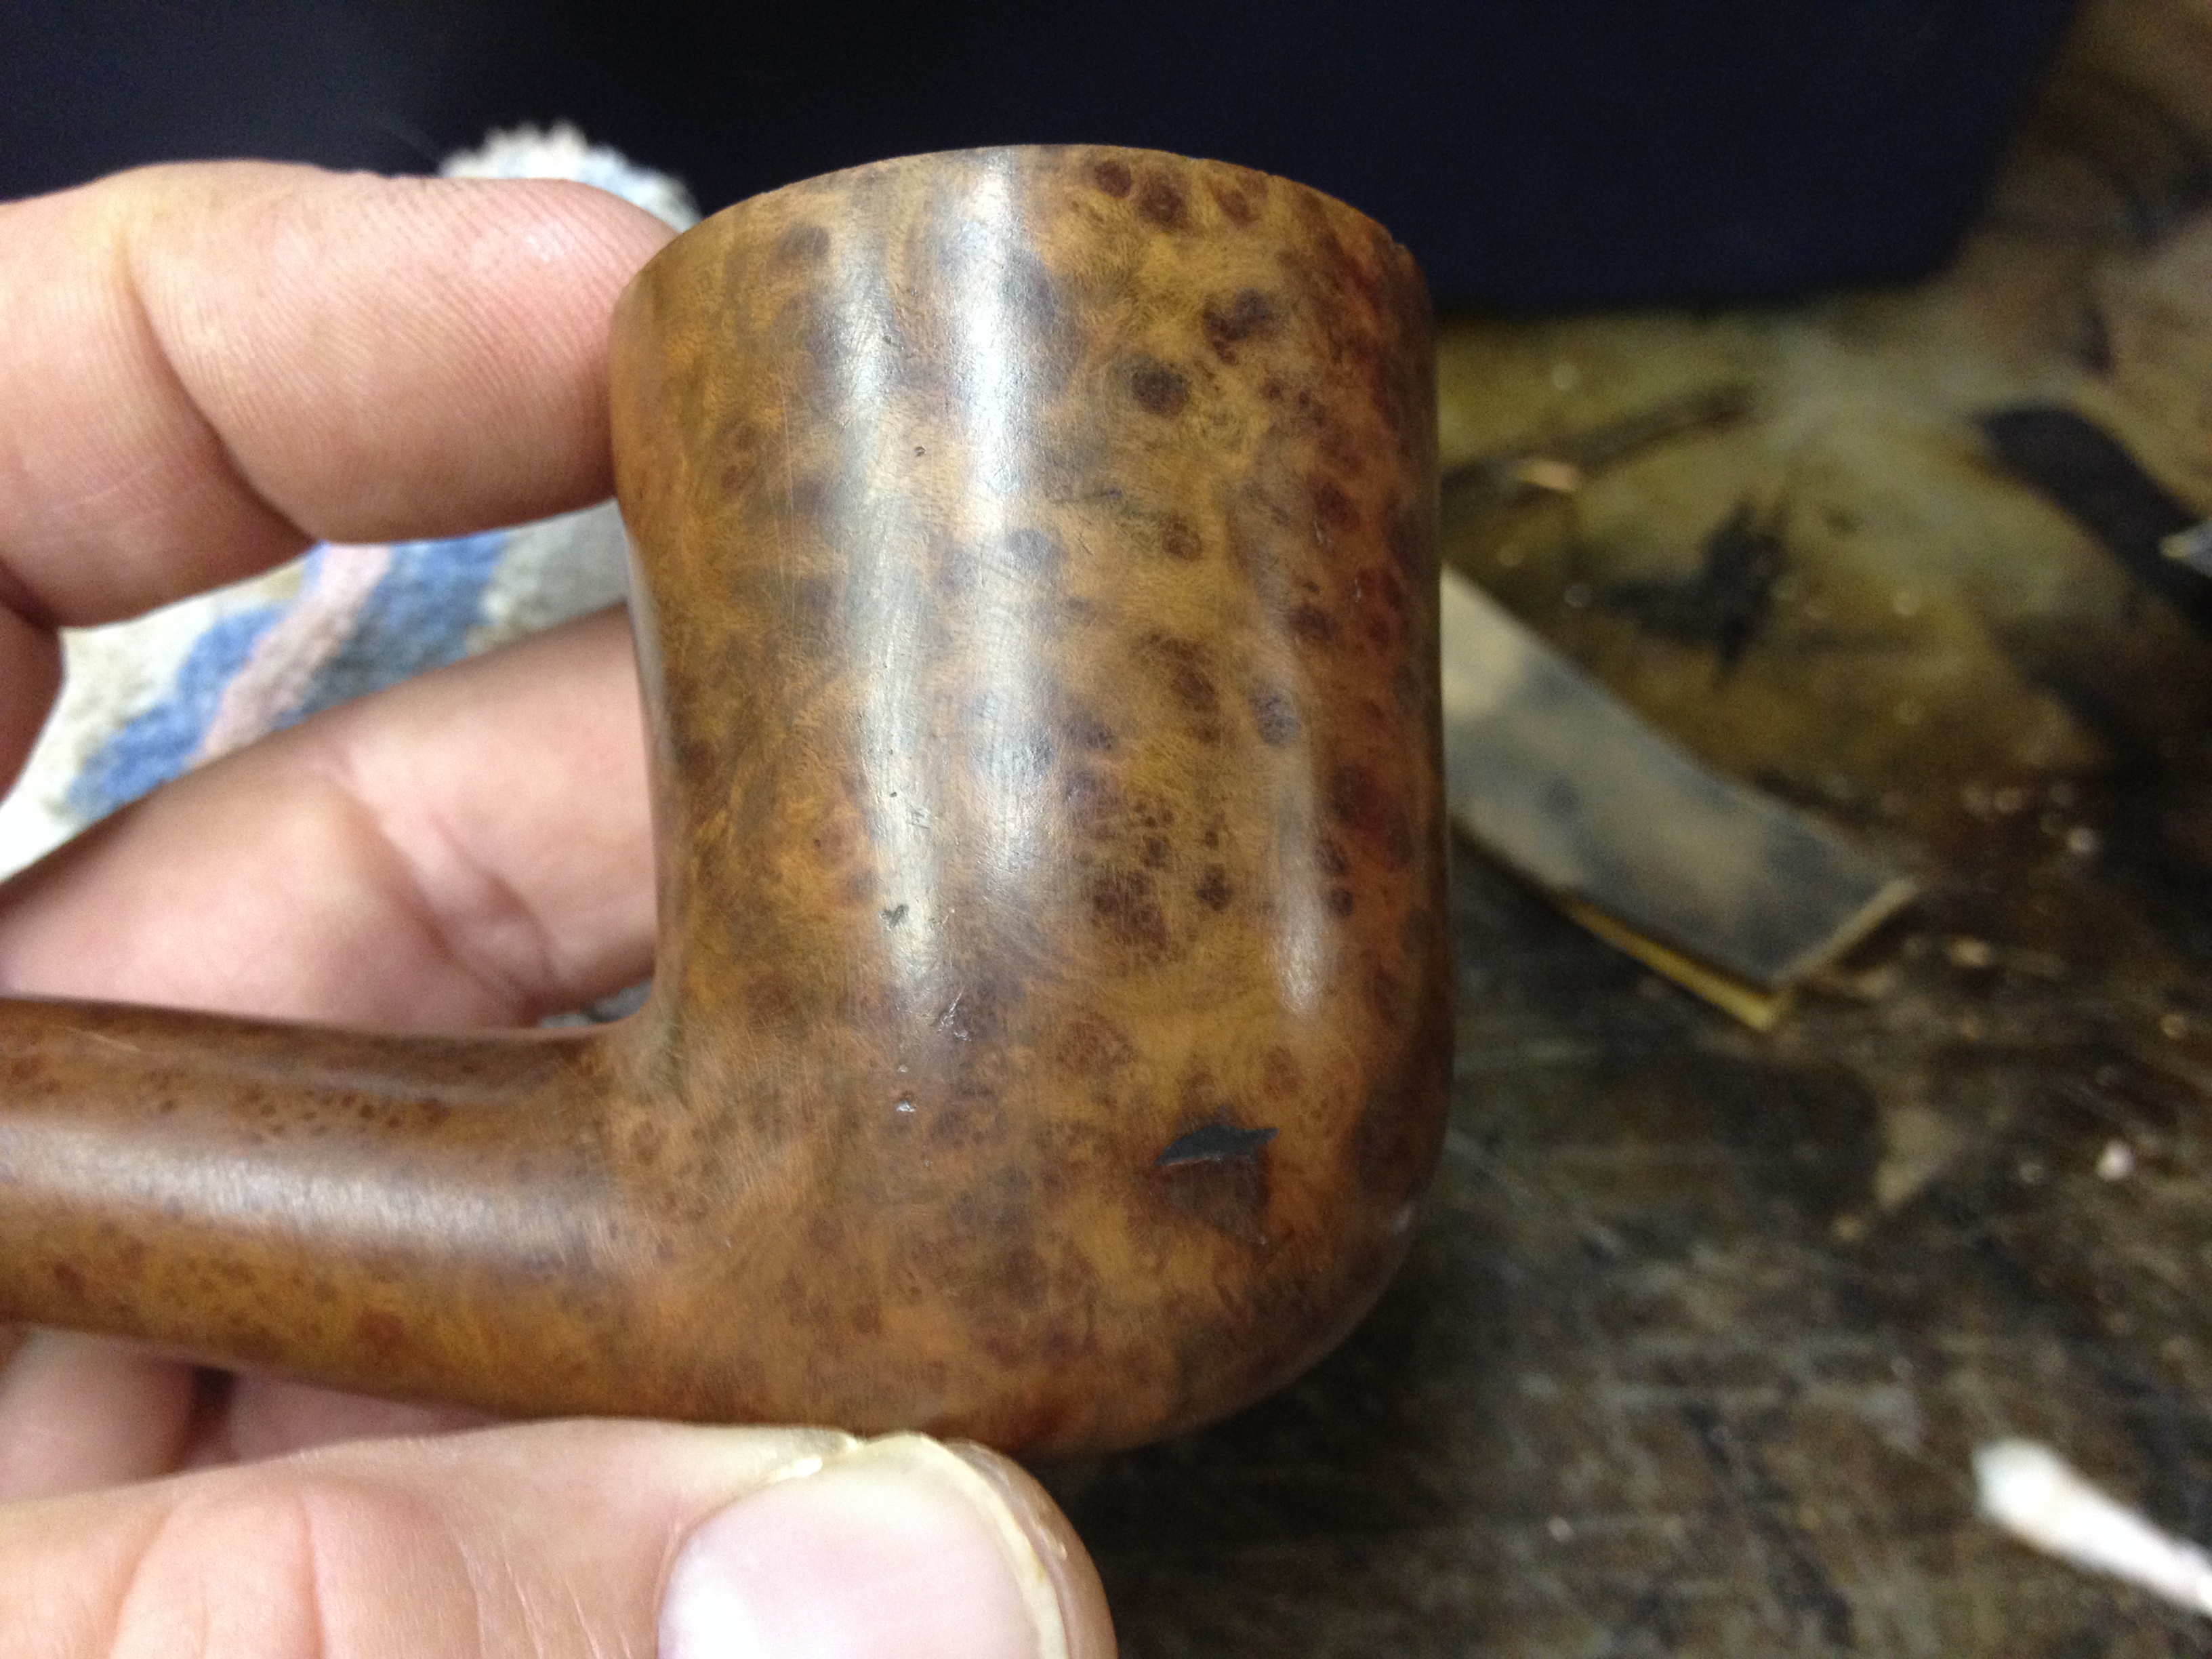
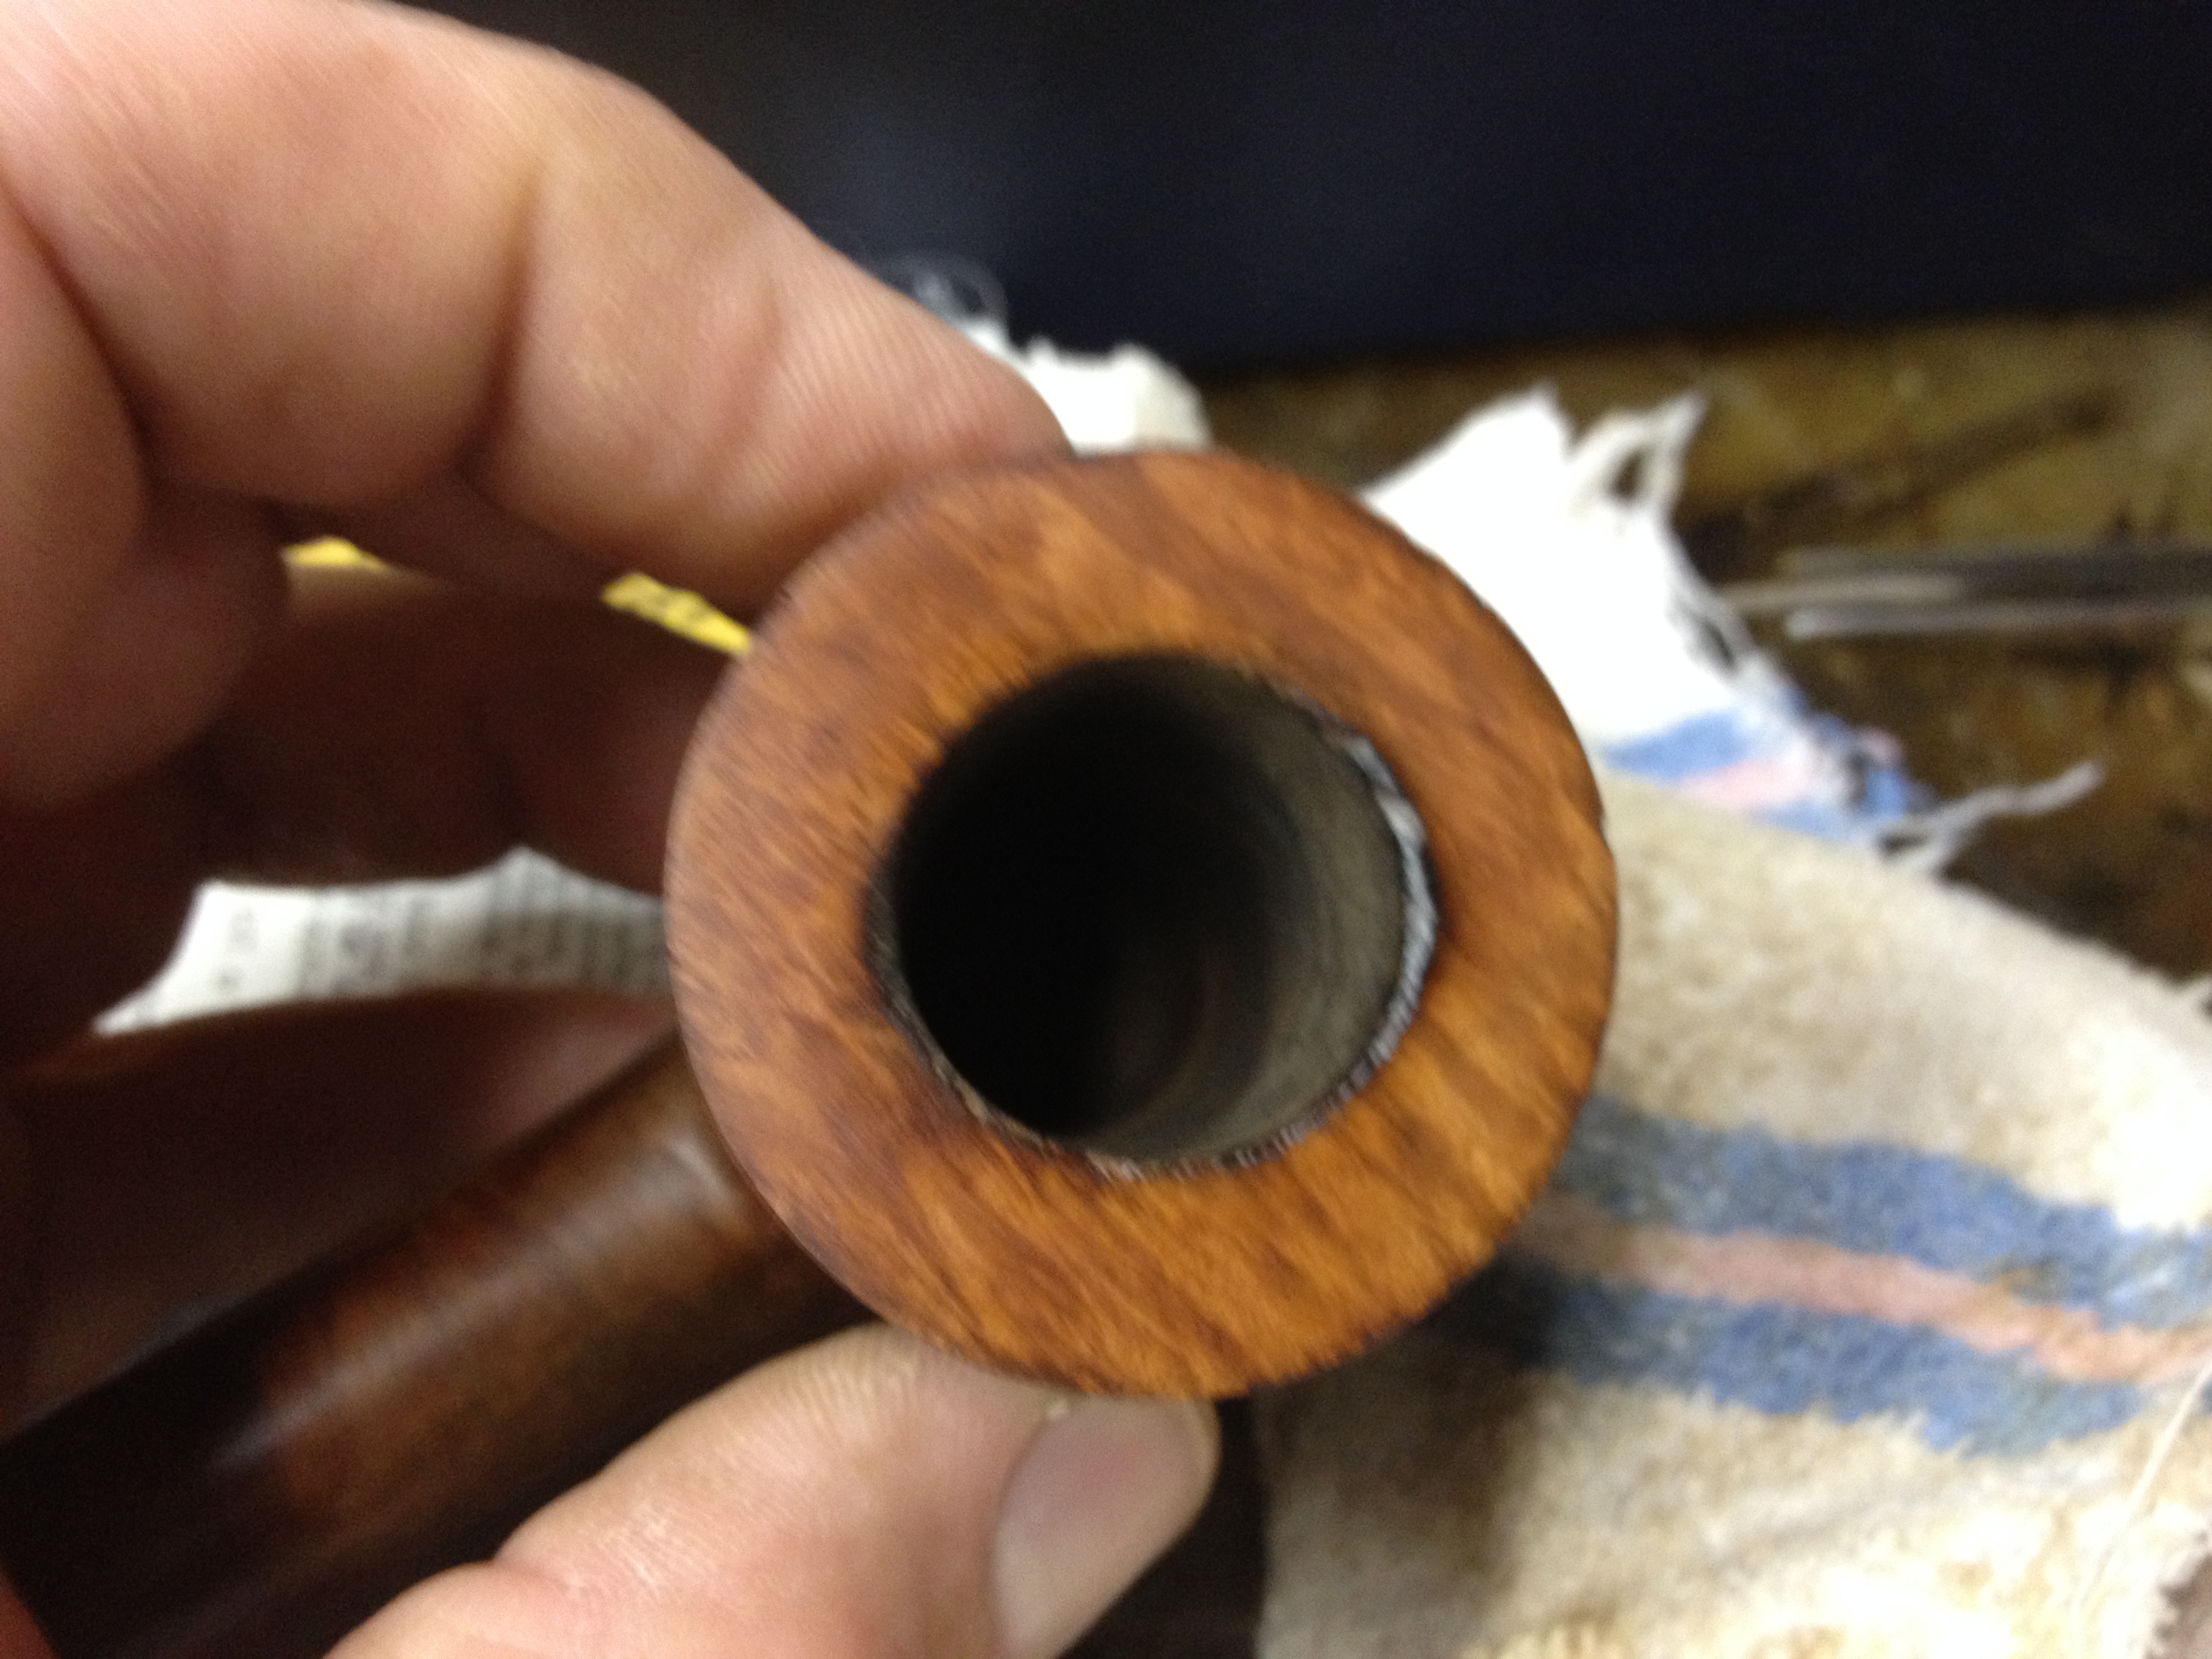
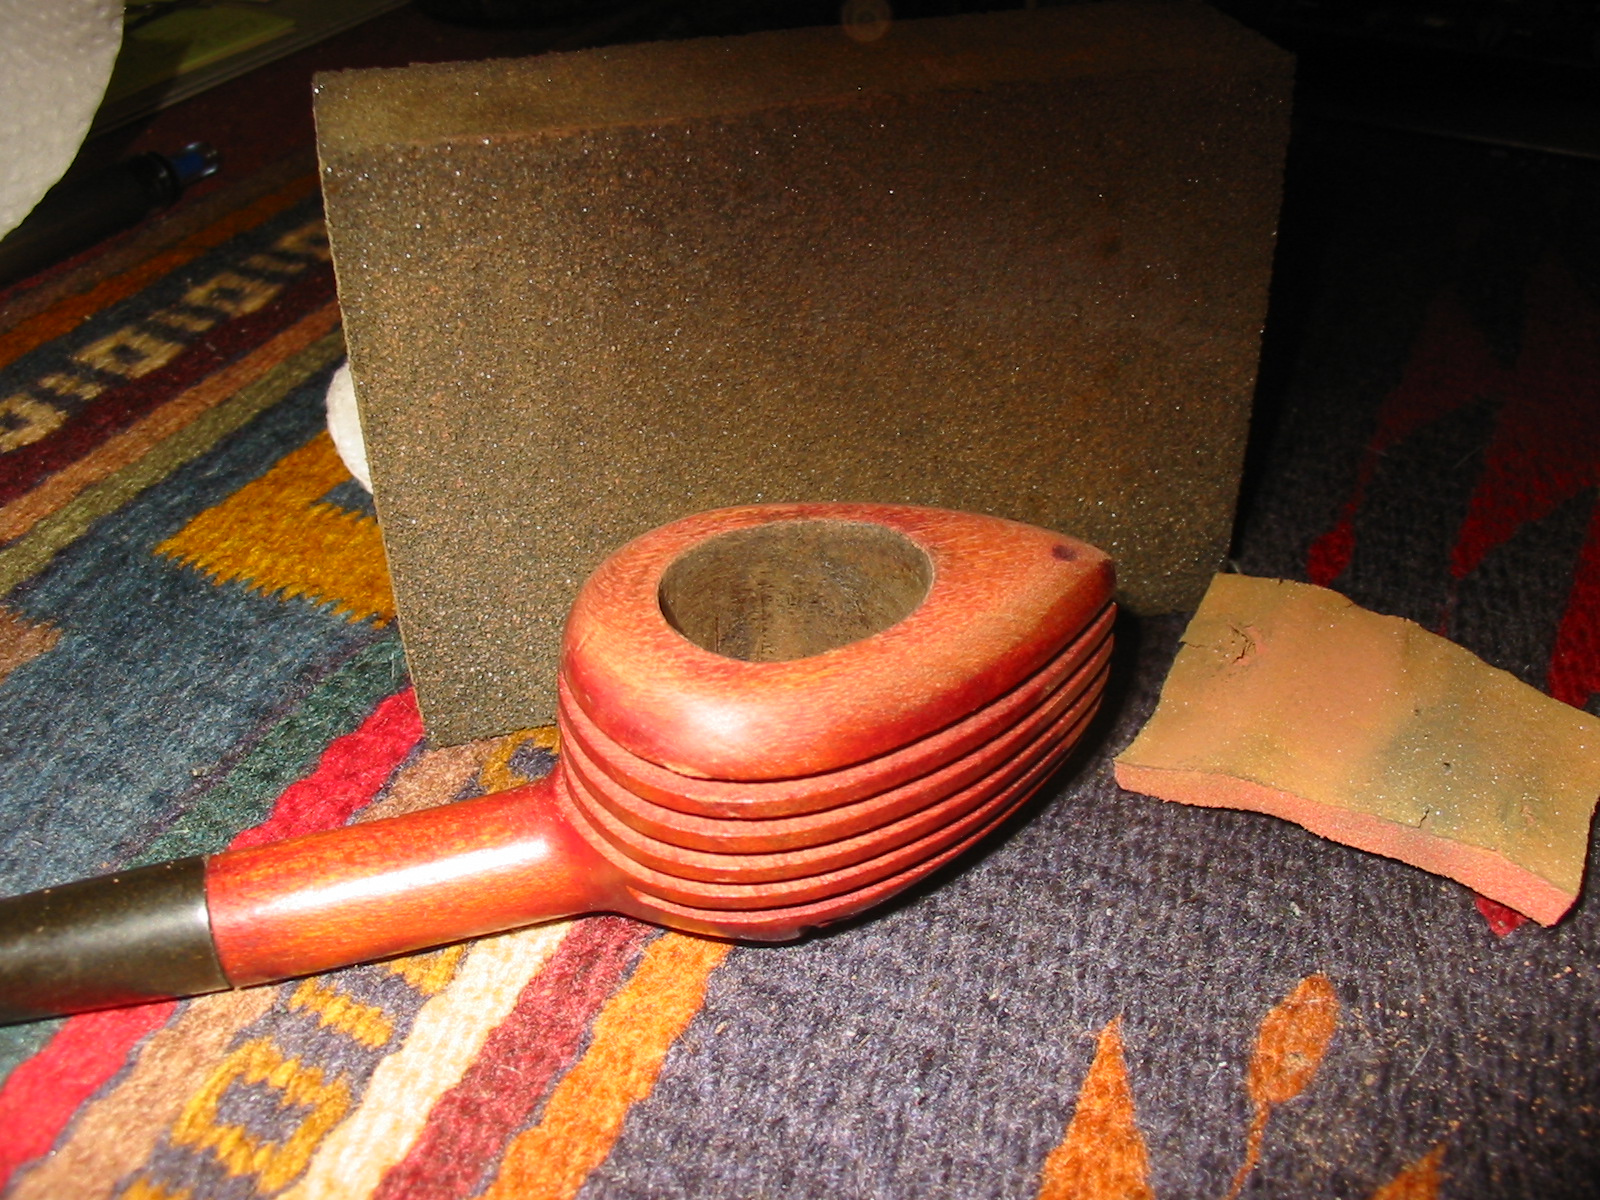
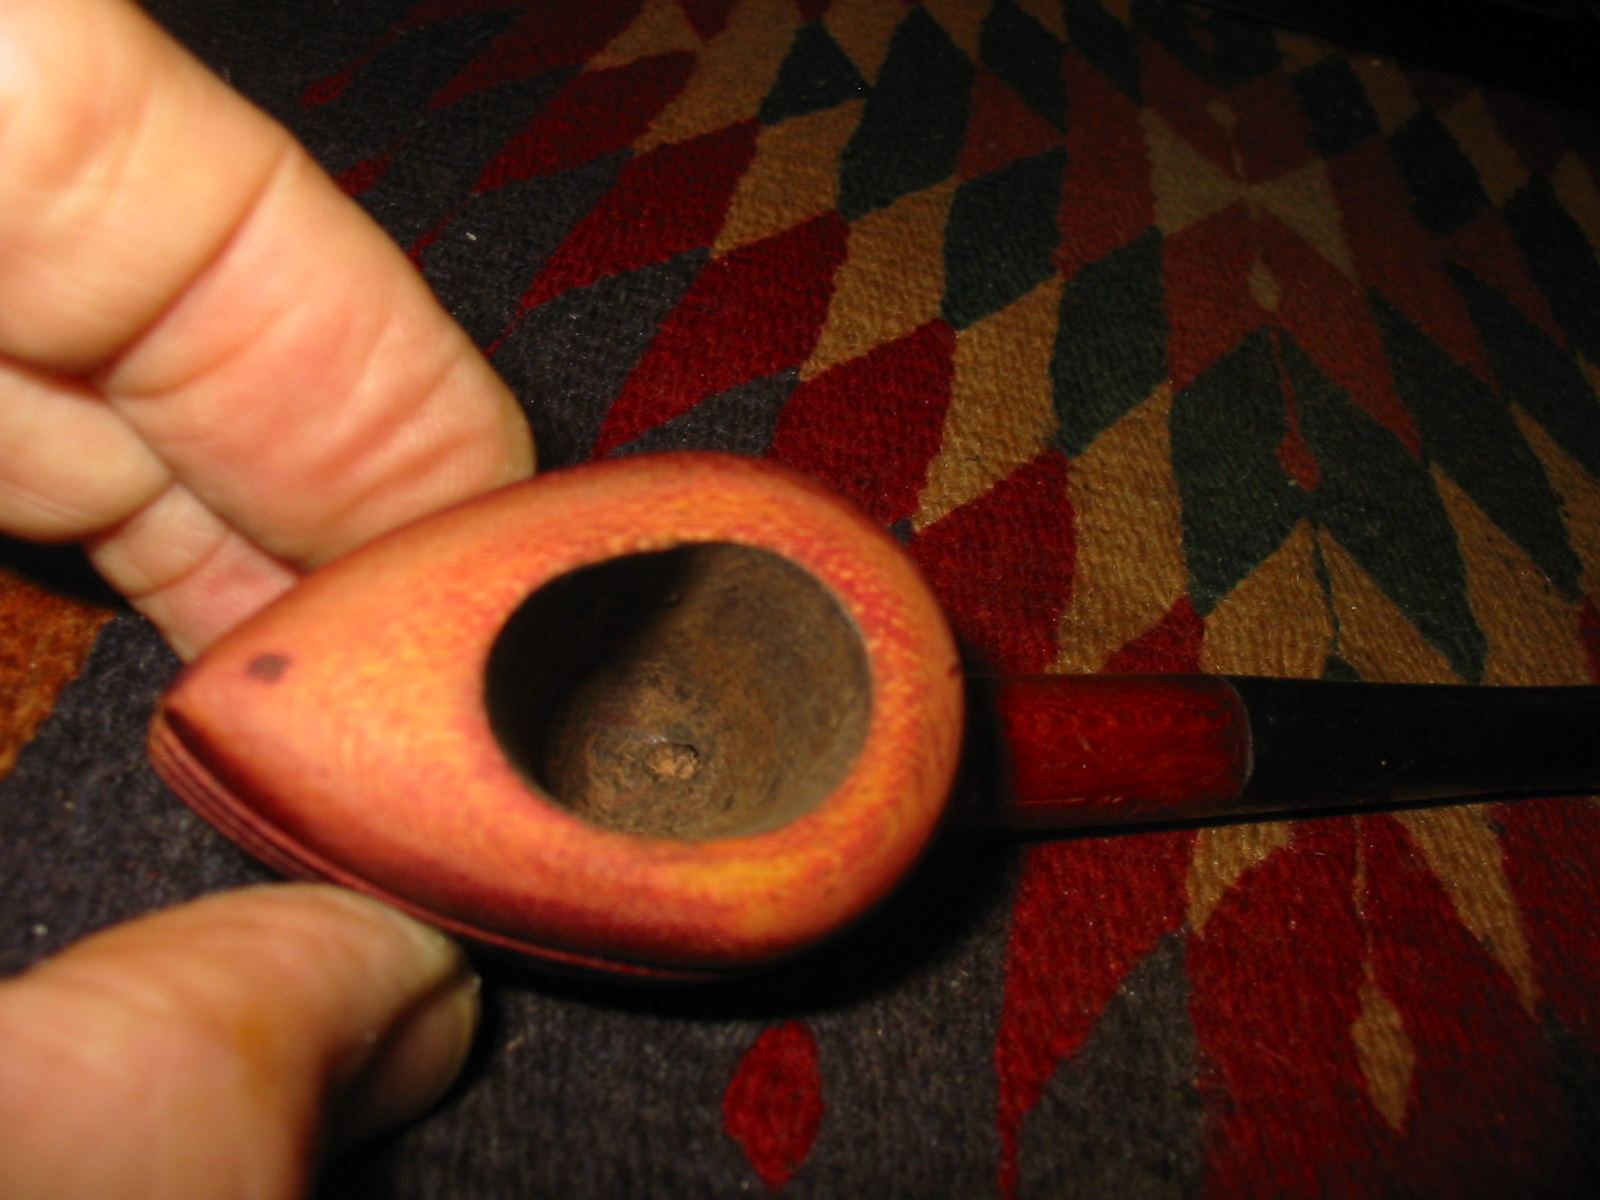
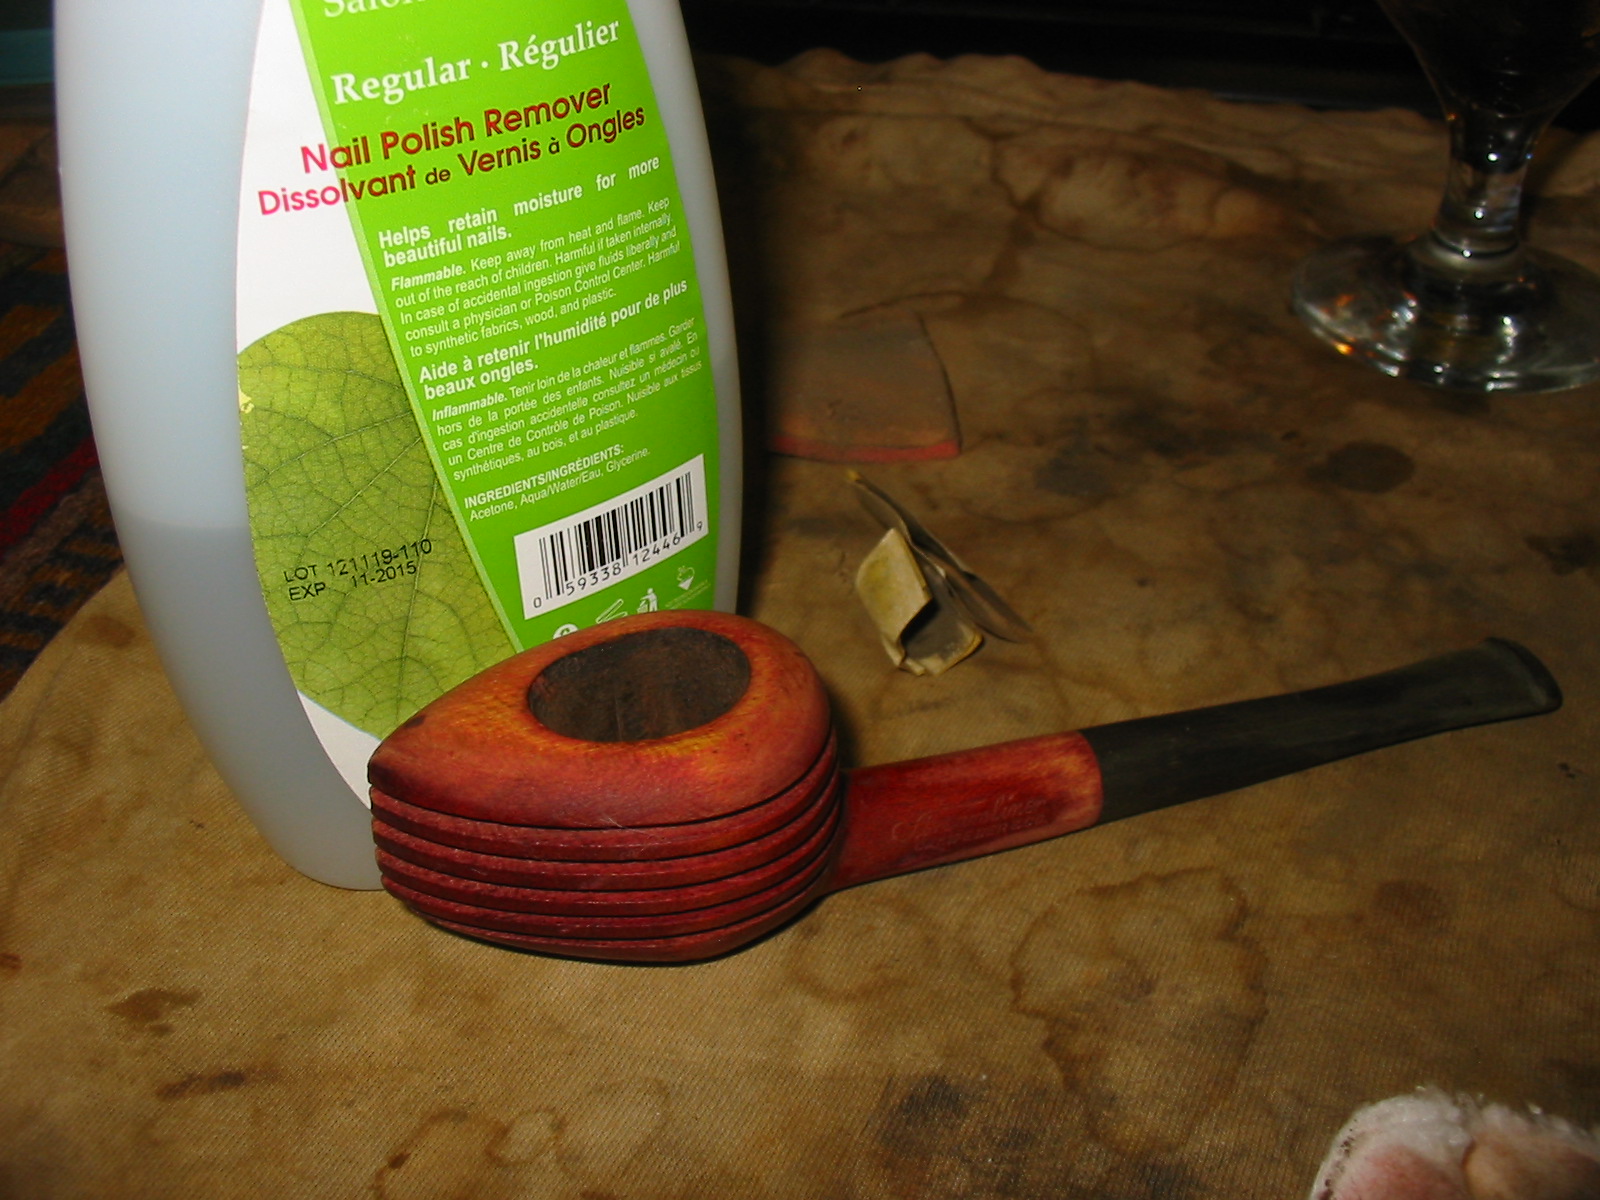
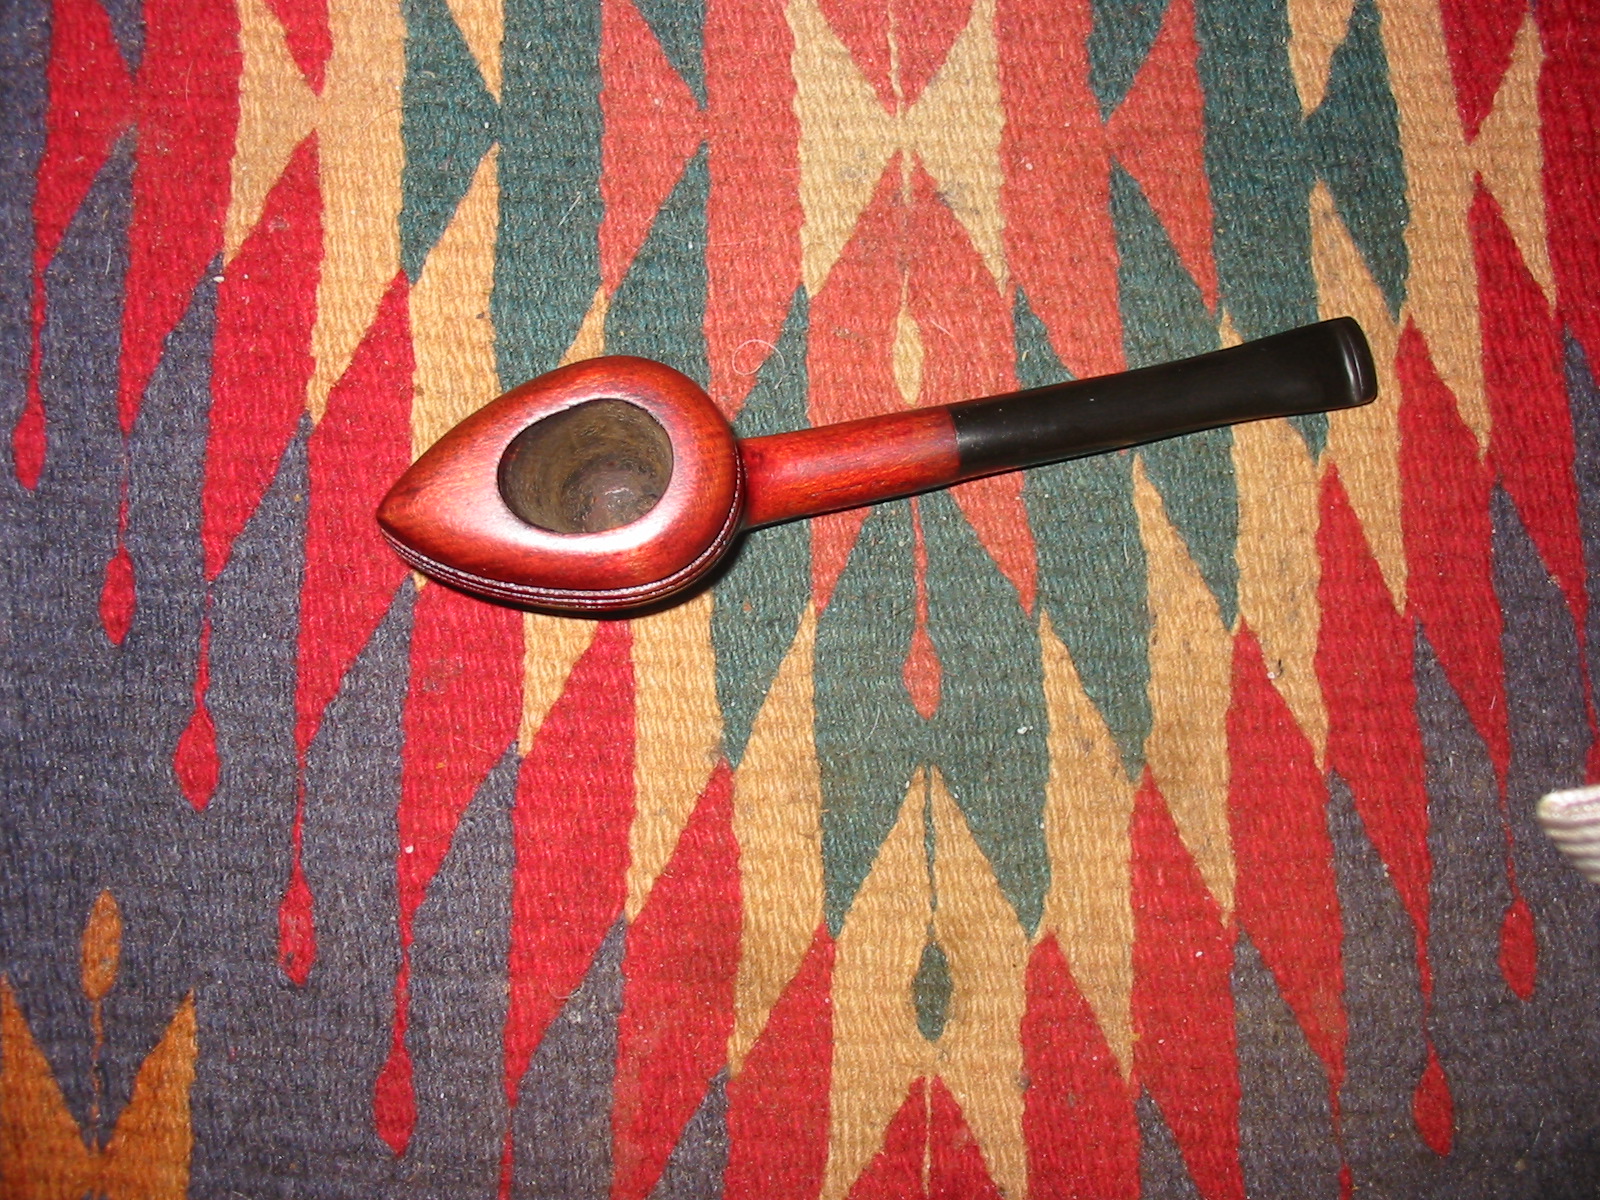
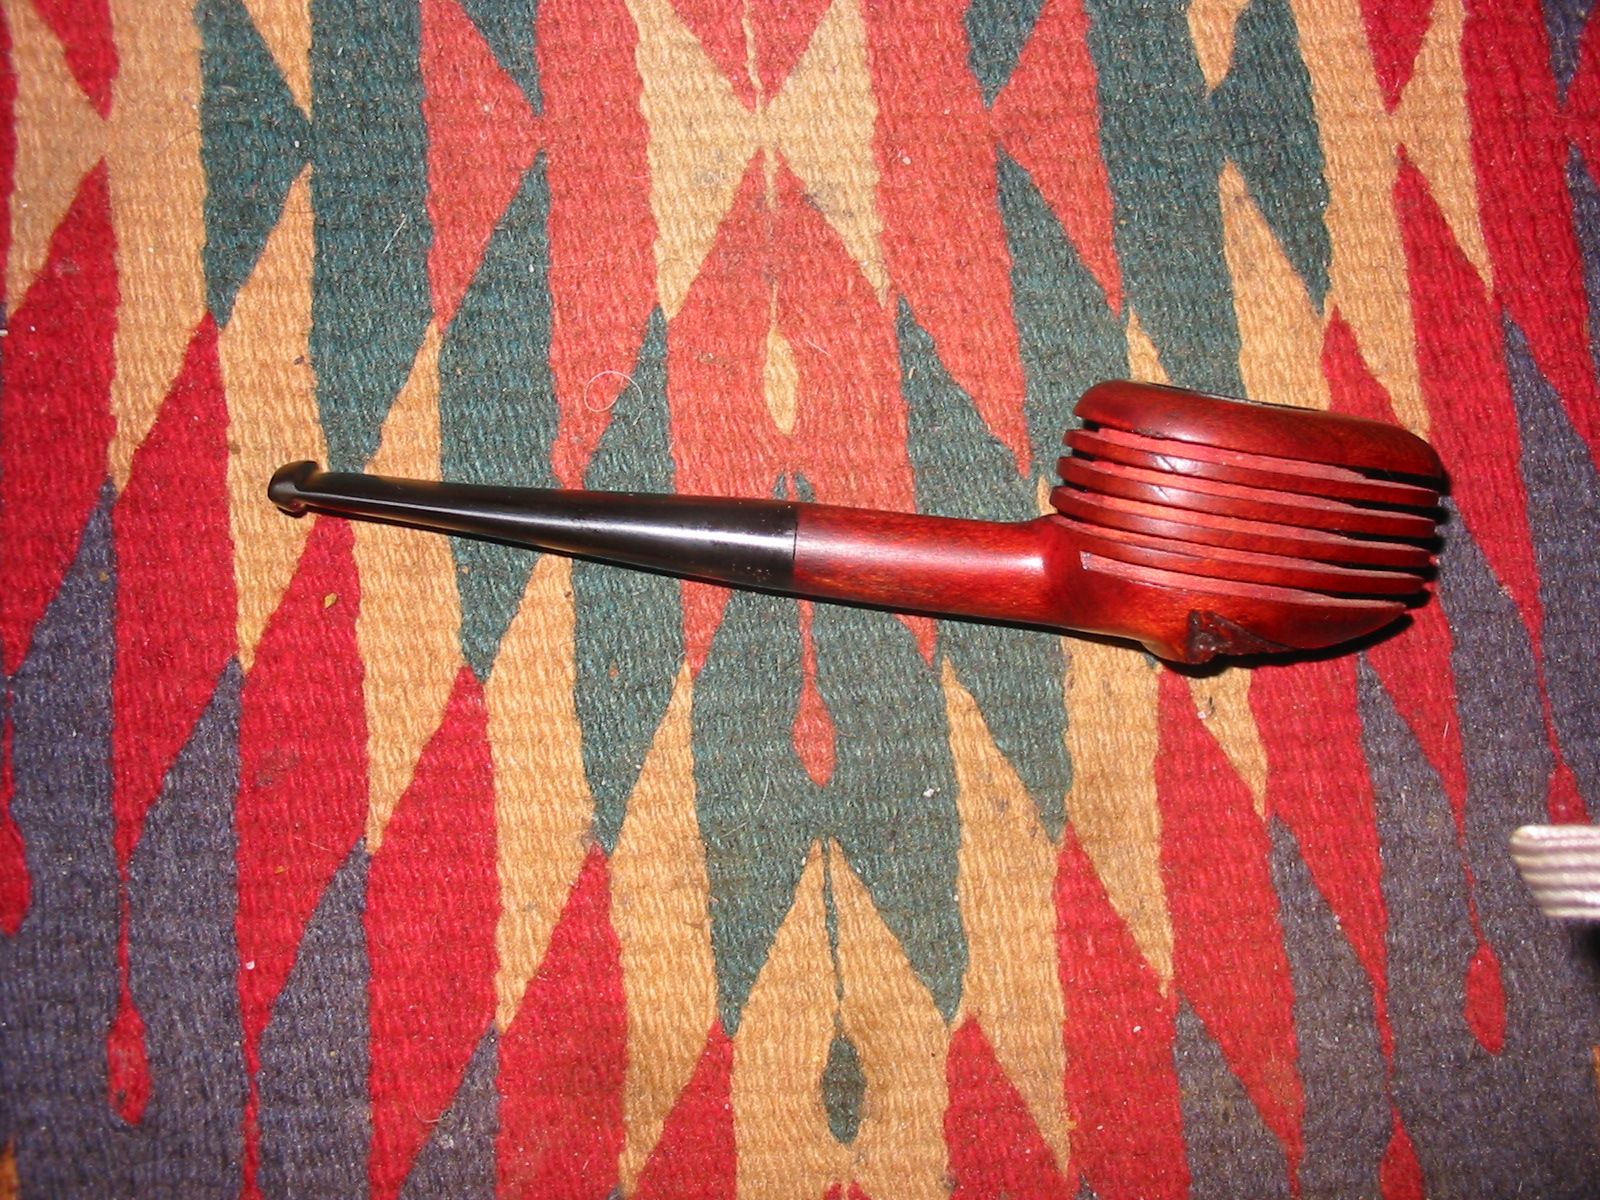
There were two small divots in the shank just below the stamping. I thought at first these might be dents but they are actually spots where the wood is missing. The right side of the bowl is also in good shape. The fins are intact all the way around the bowl with no chips or breakage. The rim was tarred and had a small burn spot on the point at the front of the bowl. The stem was definitely a replacement stem. In my reading I had found copies of the logo that was originally on the stem and also the fact that the stem had a stinger apparatus as part of the fitments. This stem had neither and the fit was wrong. The diameter of the stem was bigger; the tenon was off center therefore the fit was out of line with the left side being too large and the right side too small. The length of the stem was also too long and did not match the dimensions that I had found online regarding the overall length of the pipe. The bowl was in pretty decent shape though there was some kind of bowl coating on it that had broken free of the walls. It is a tear drop shaped bowl with a downward angle on the front portion so reaming it would be tricky. The wood on this one was definitely not briar. The bottom of the bowl has a foot that makes it a sitter and there is a rusticated pattern on the bottom of the bowl.
IMG_2425

IMG_2426

IMG_2427

IMG_2428

IMG_2429

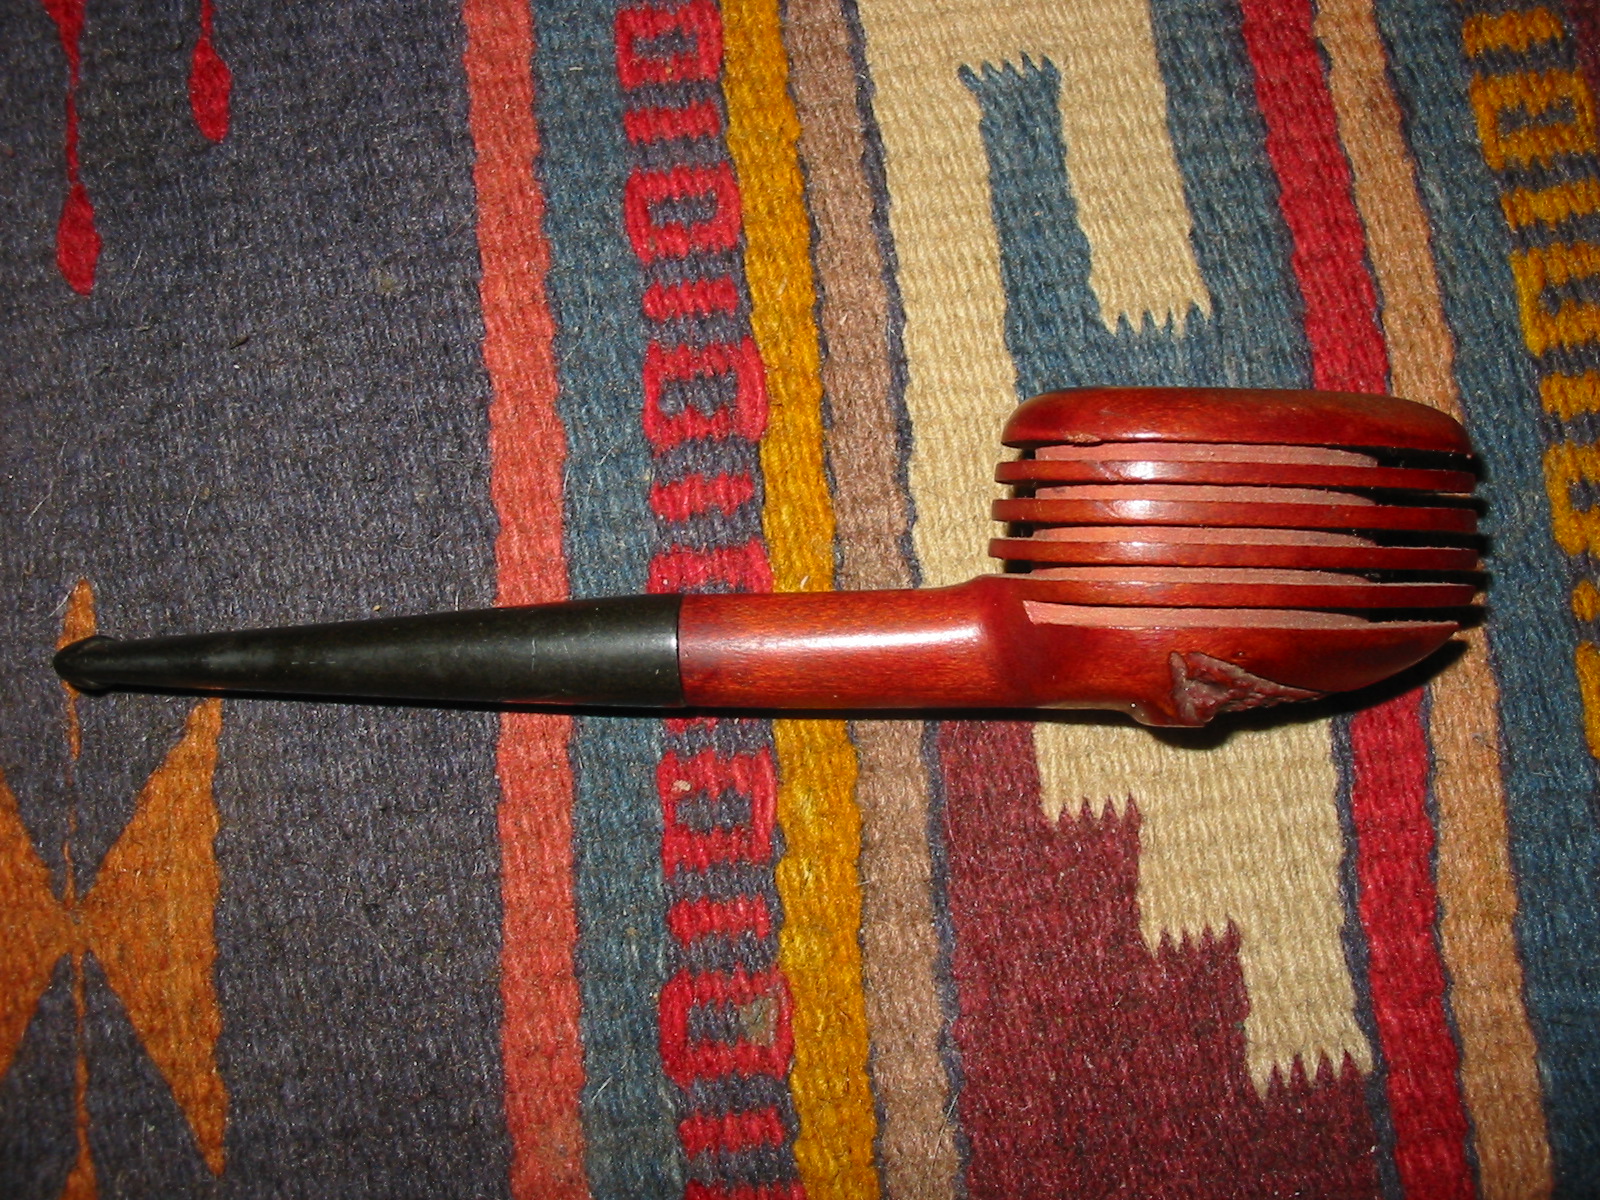
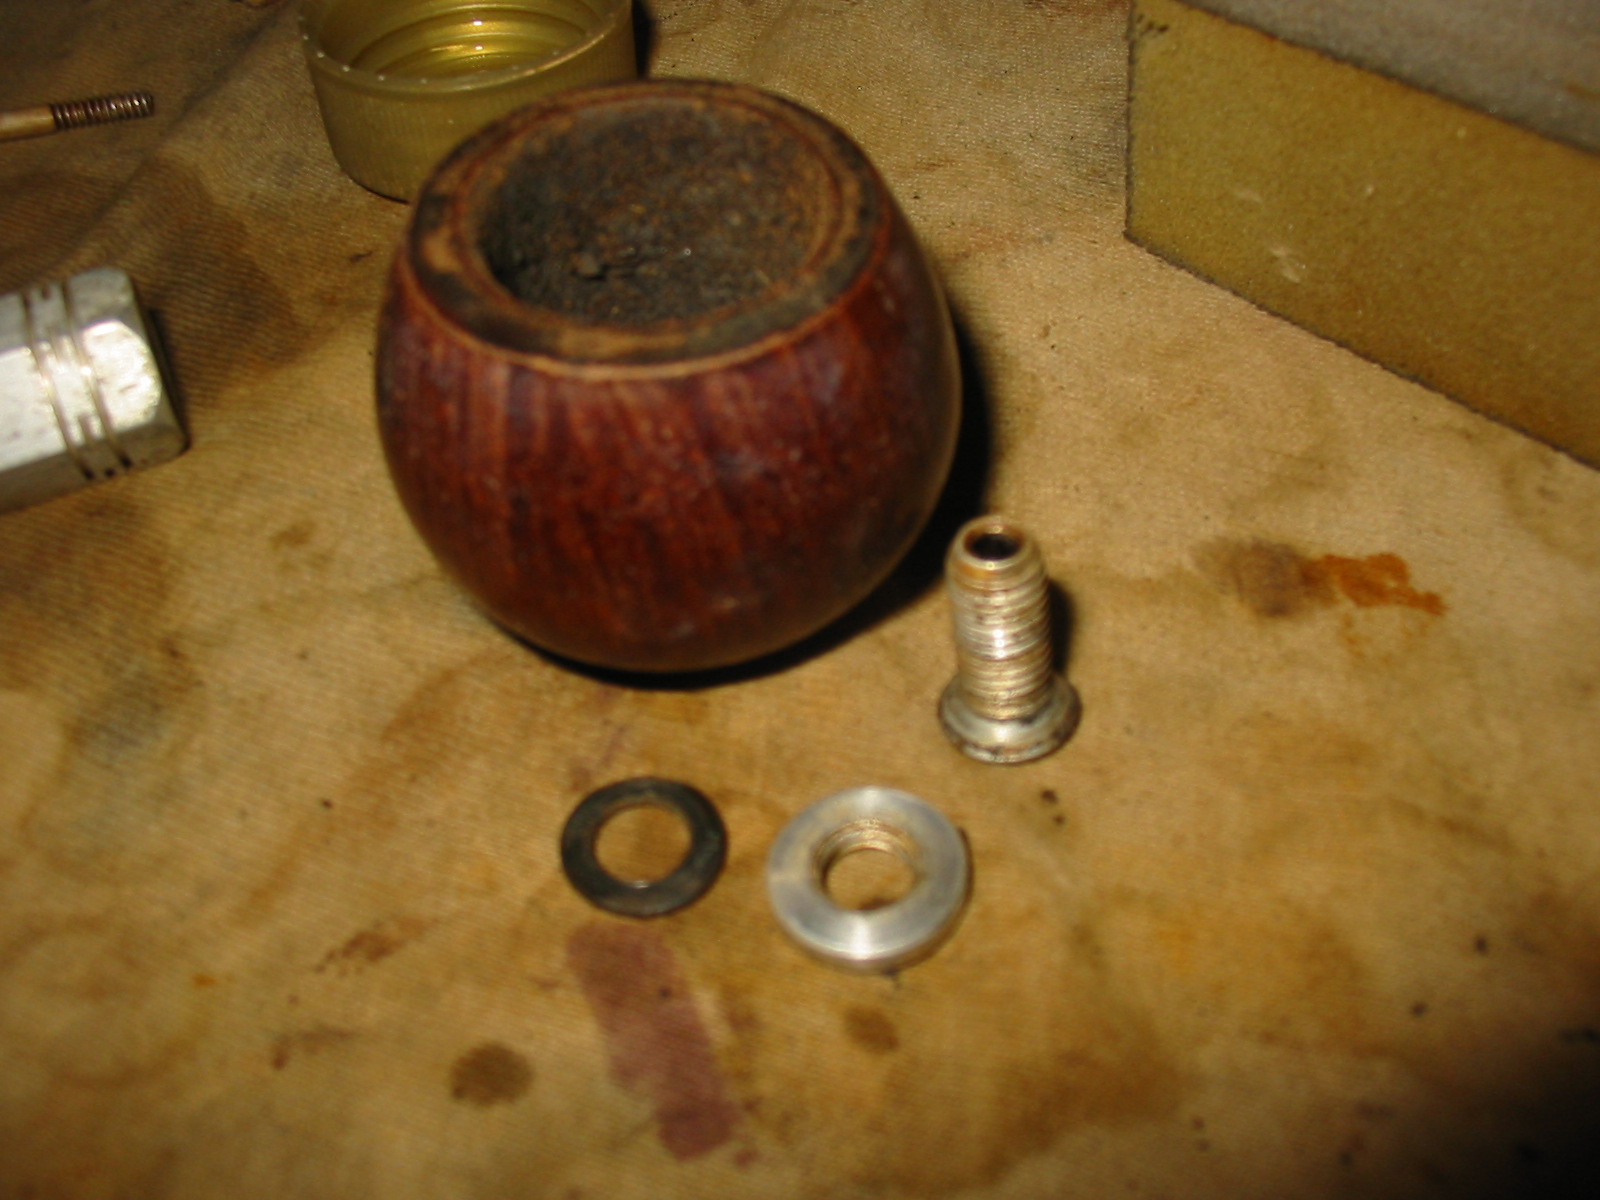
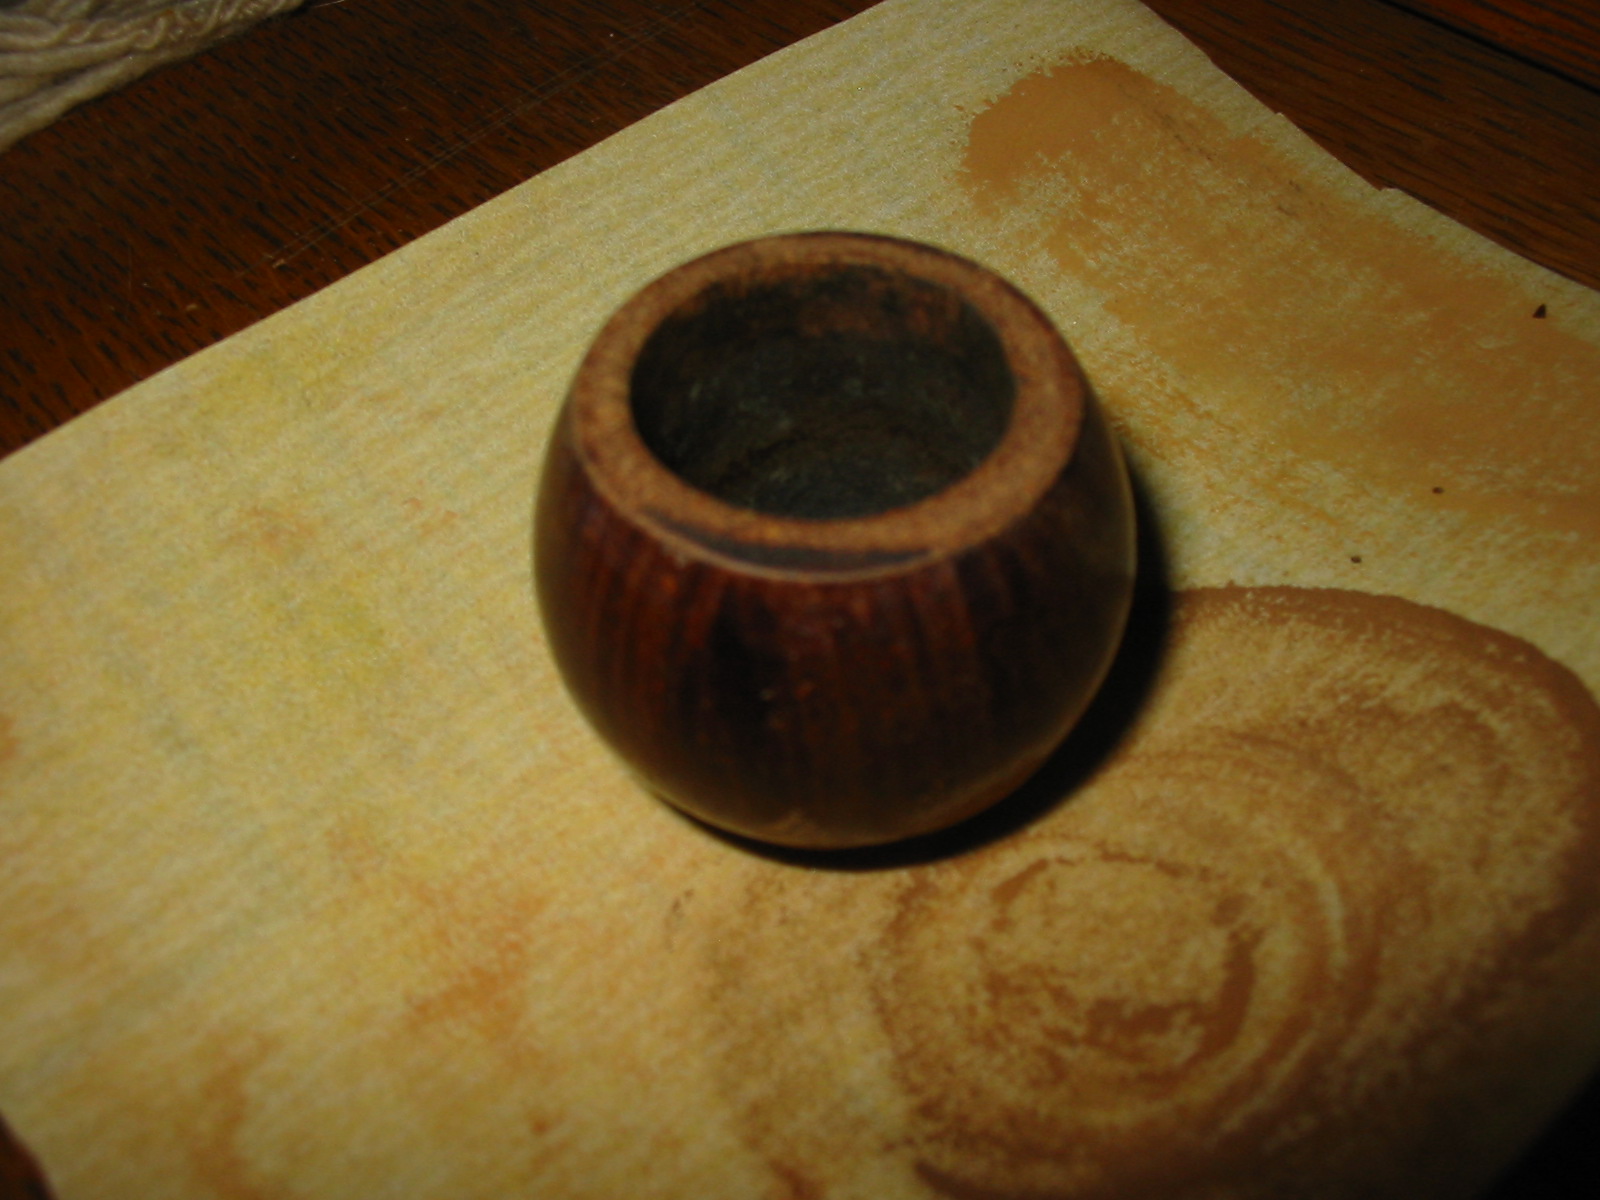
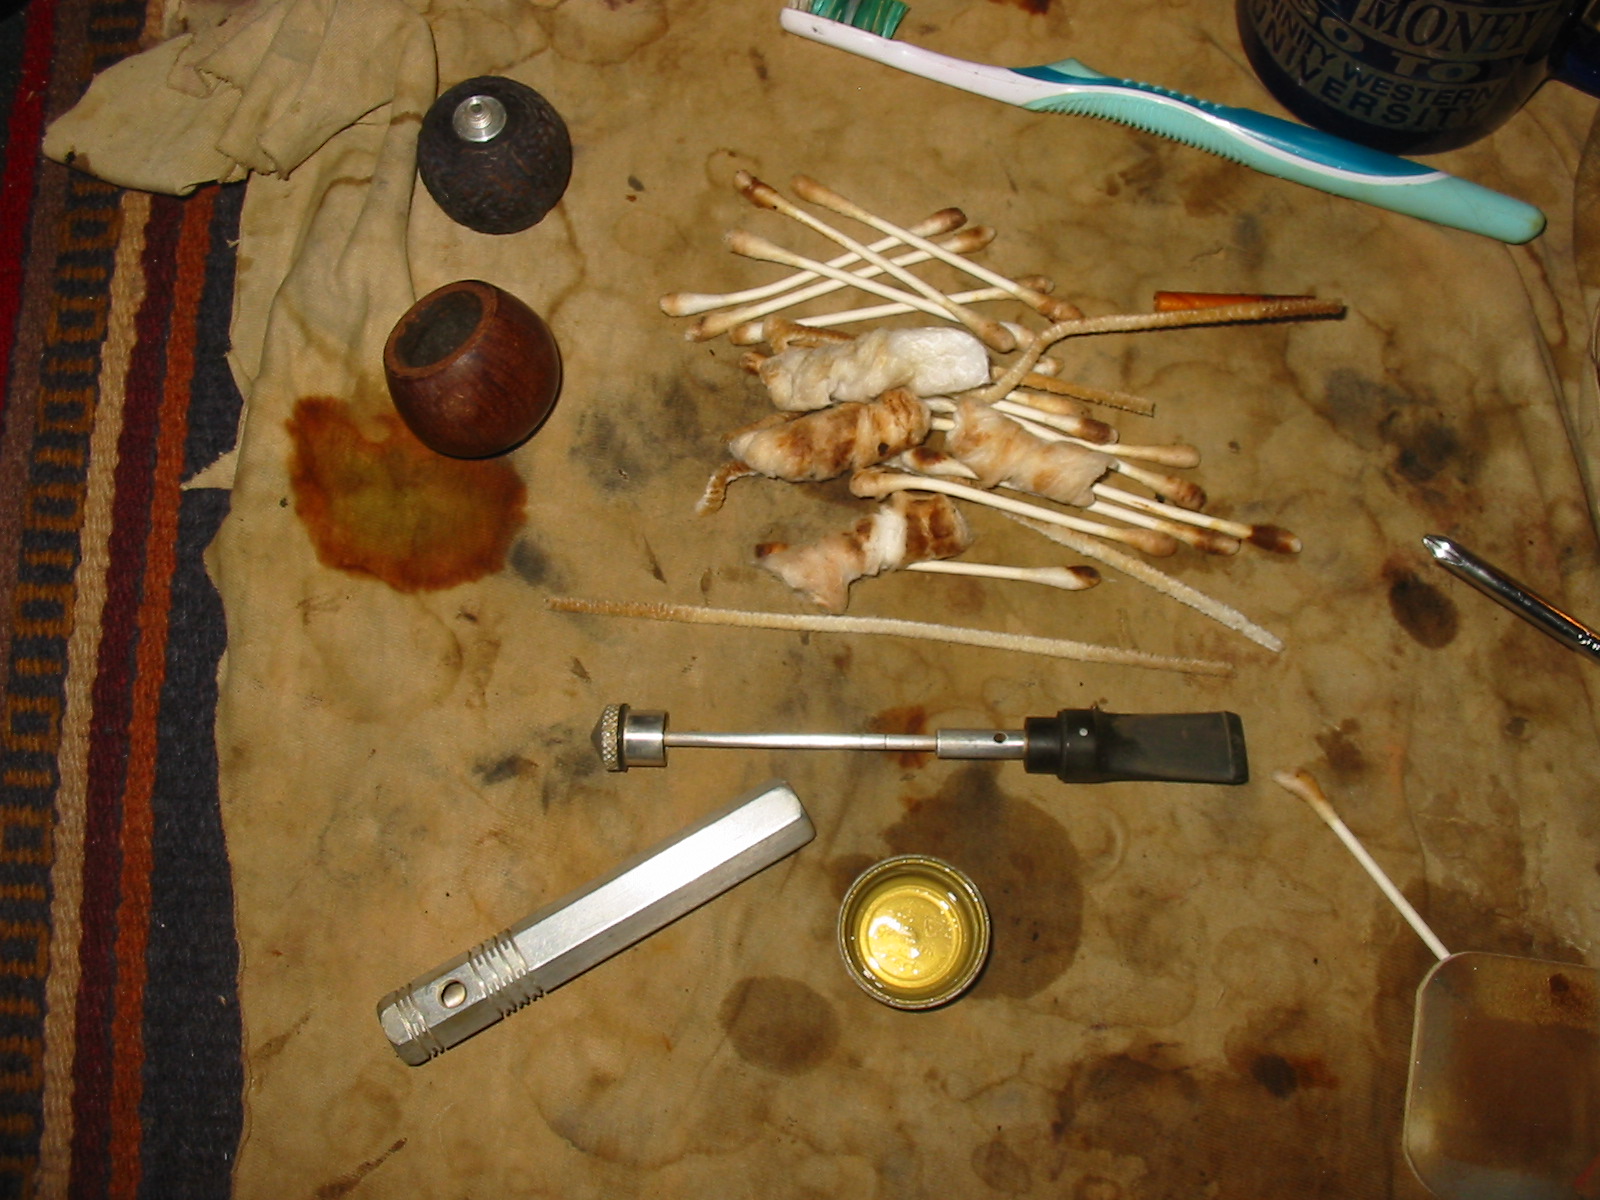
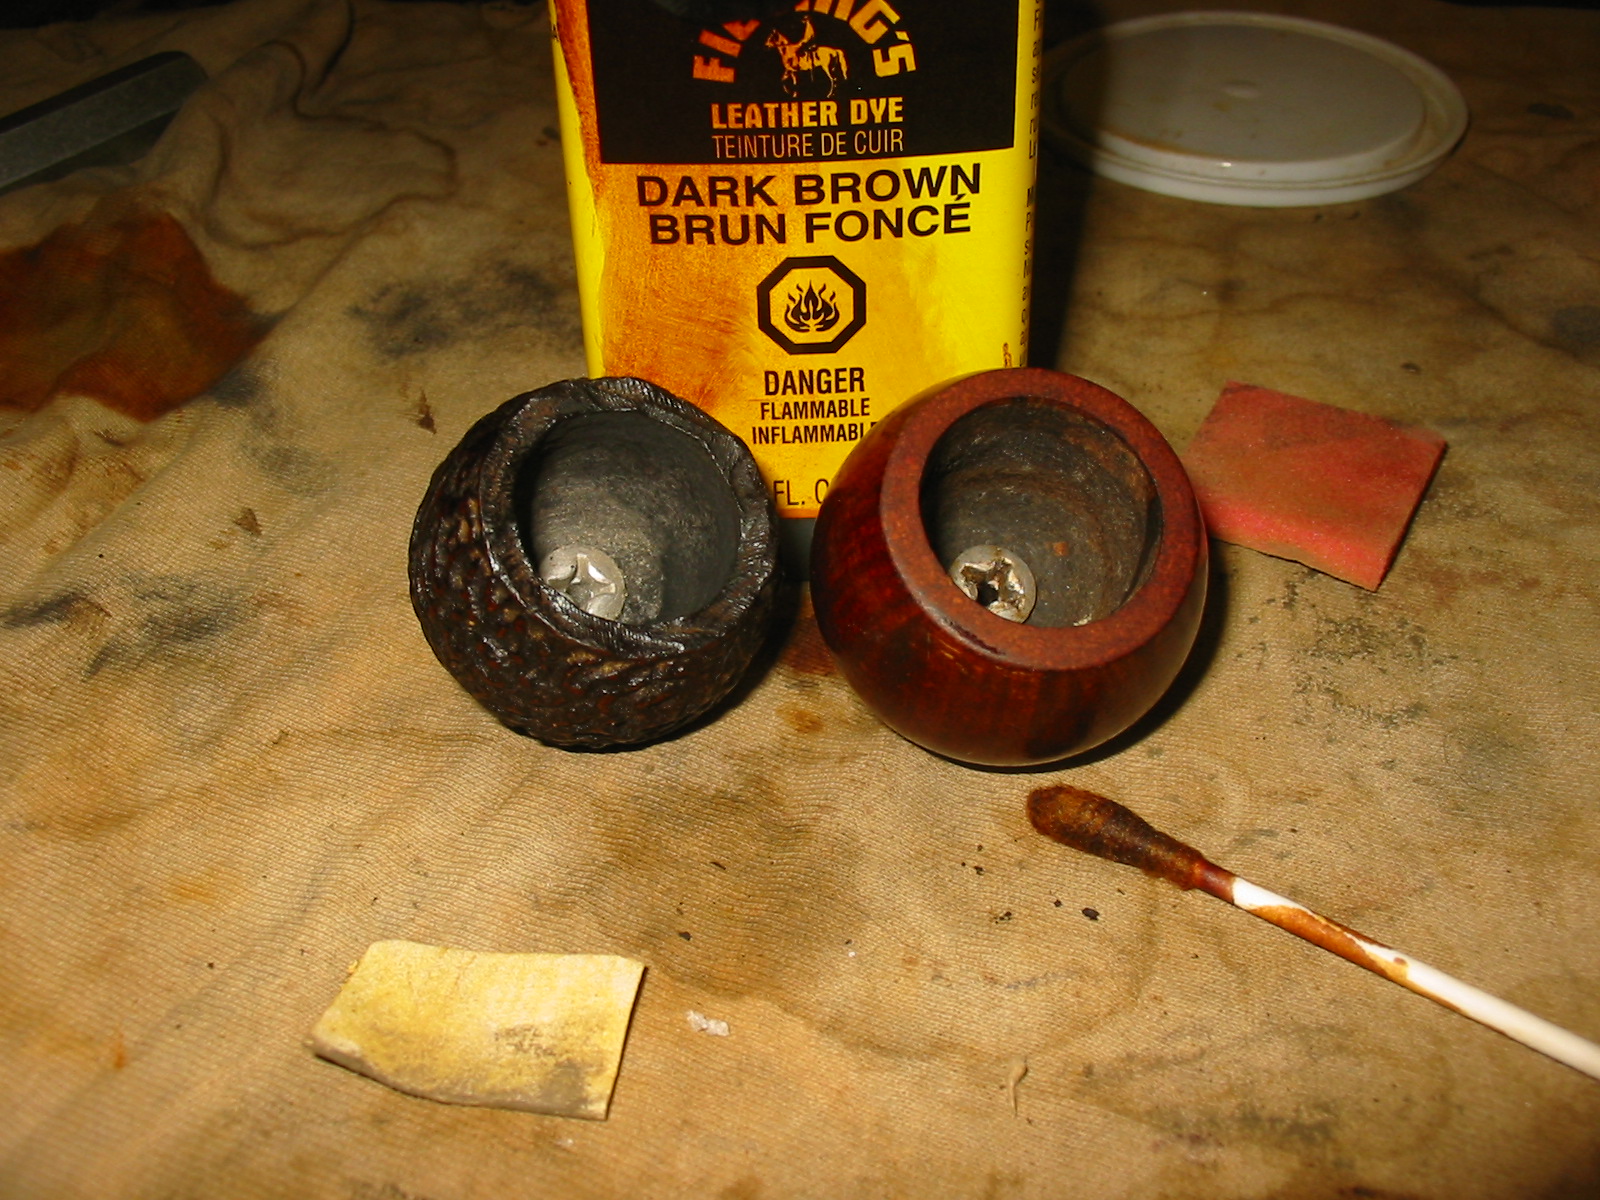
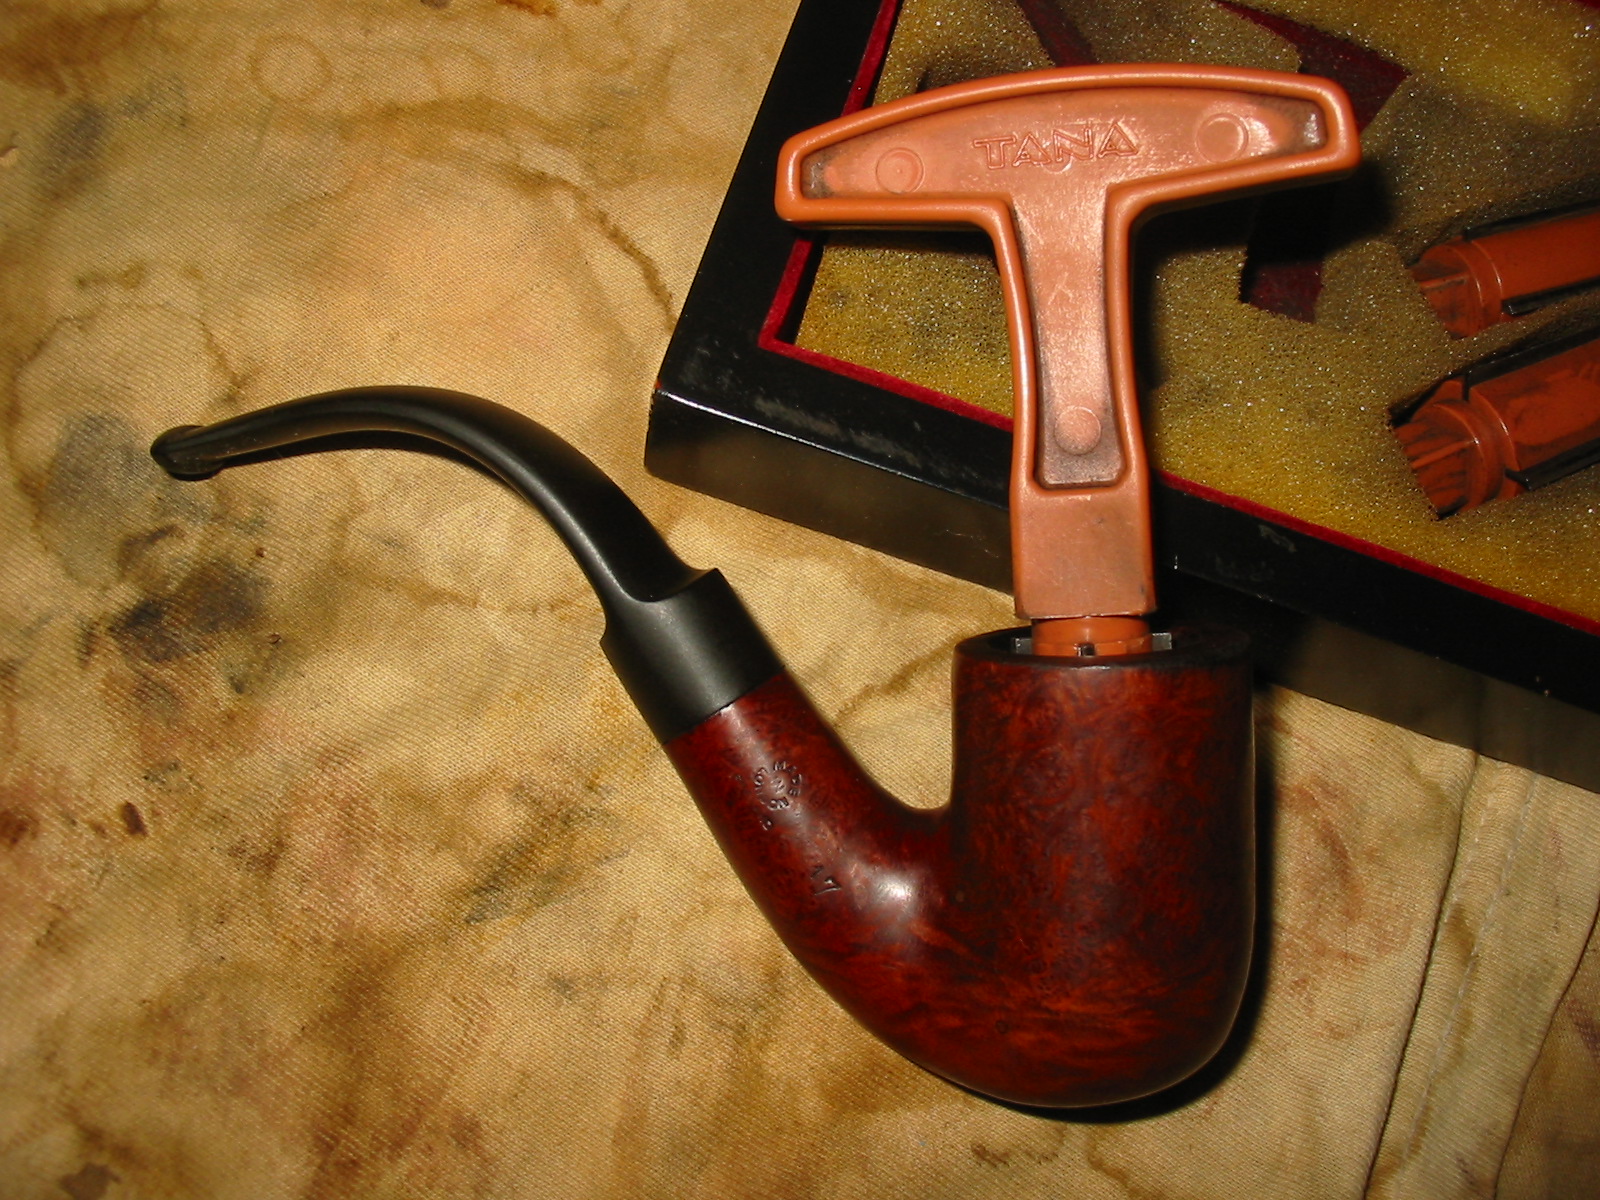
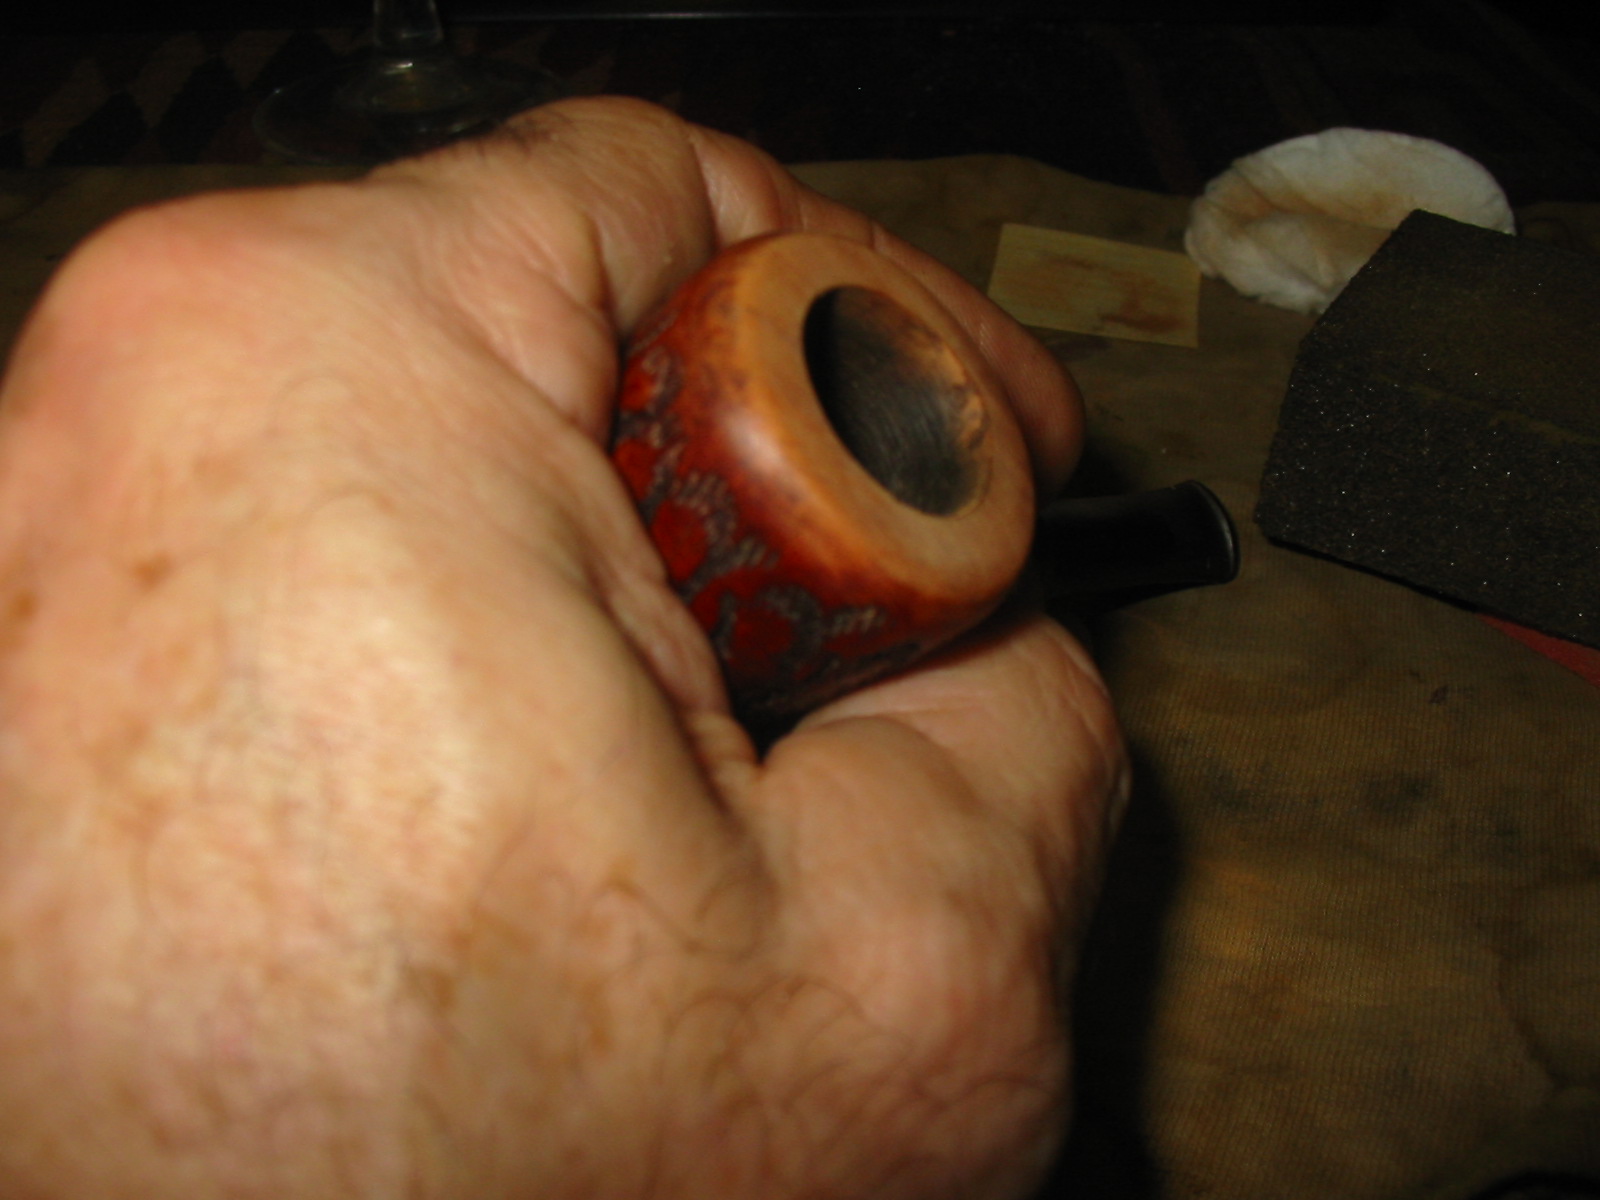
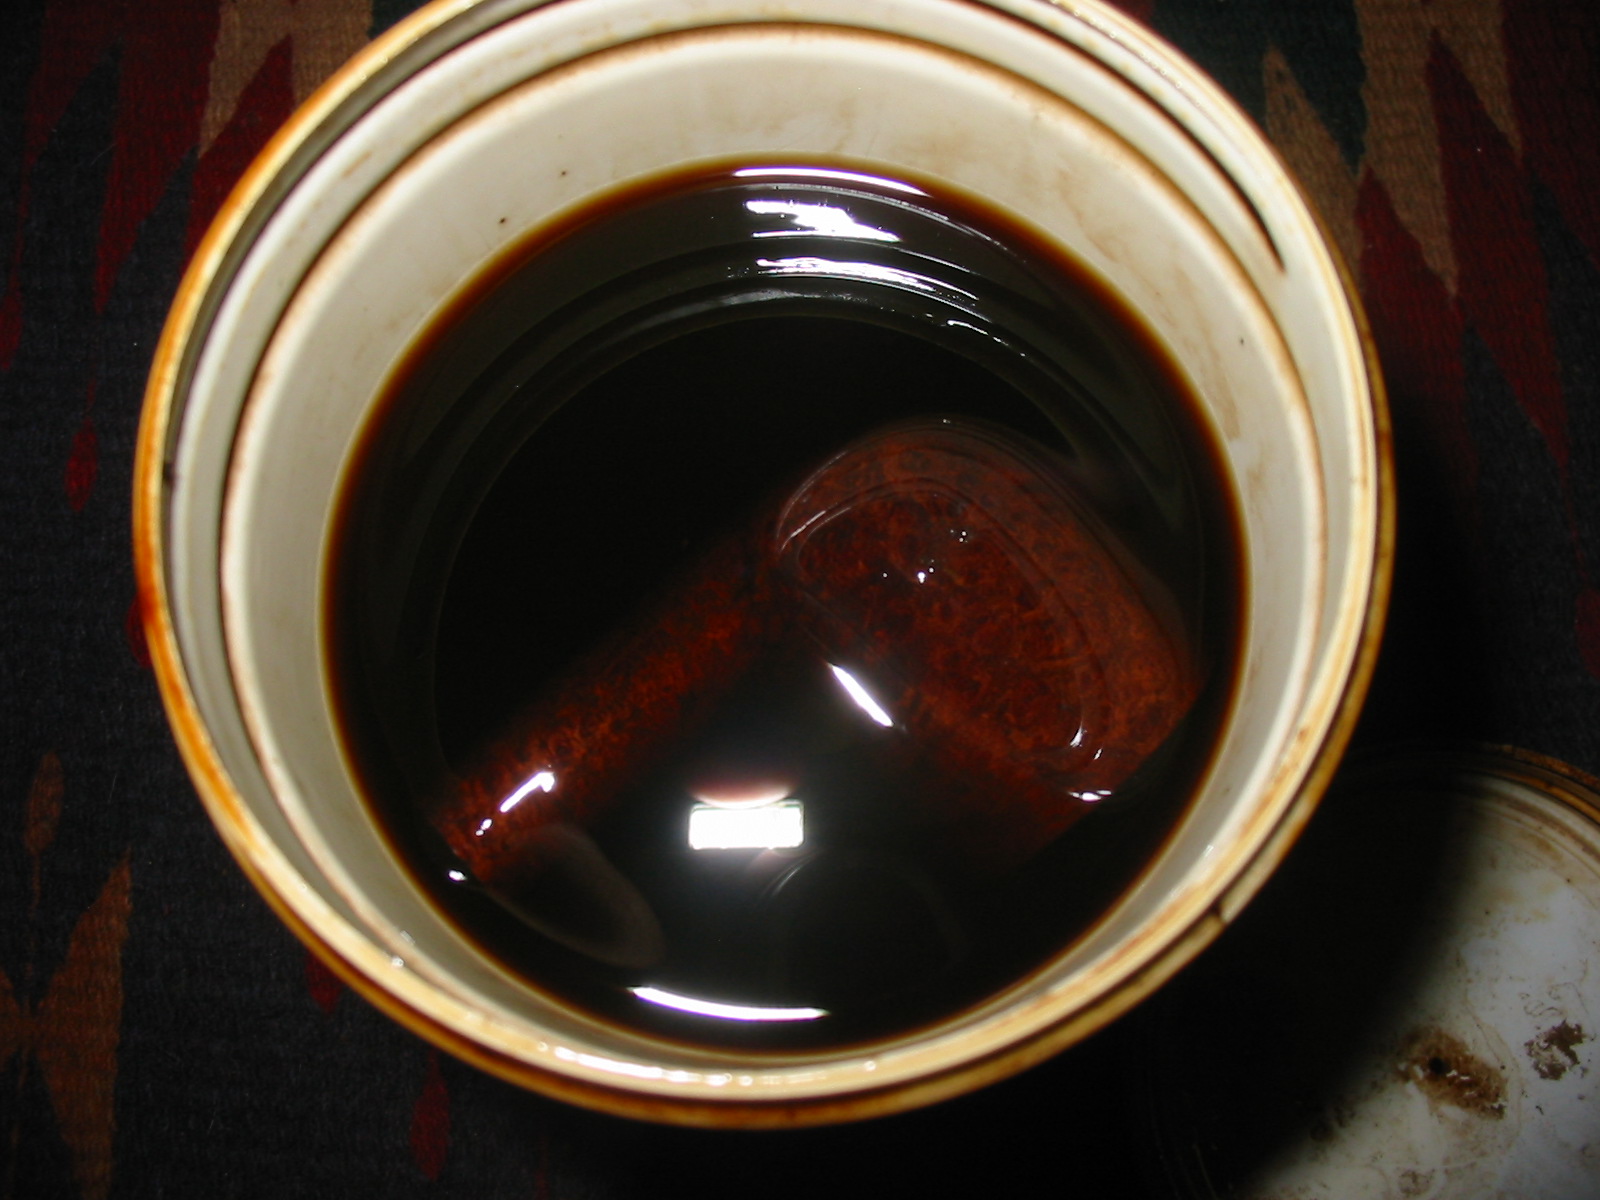
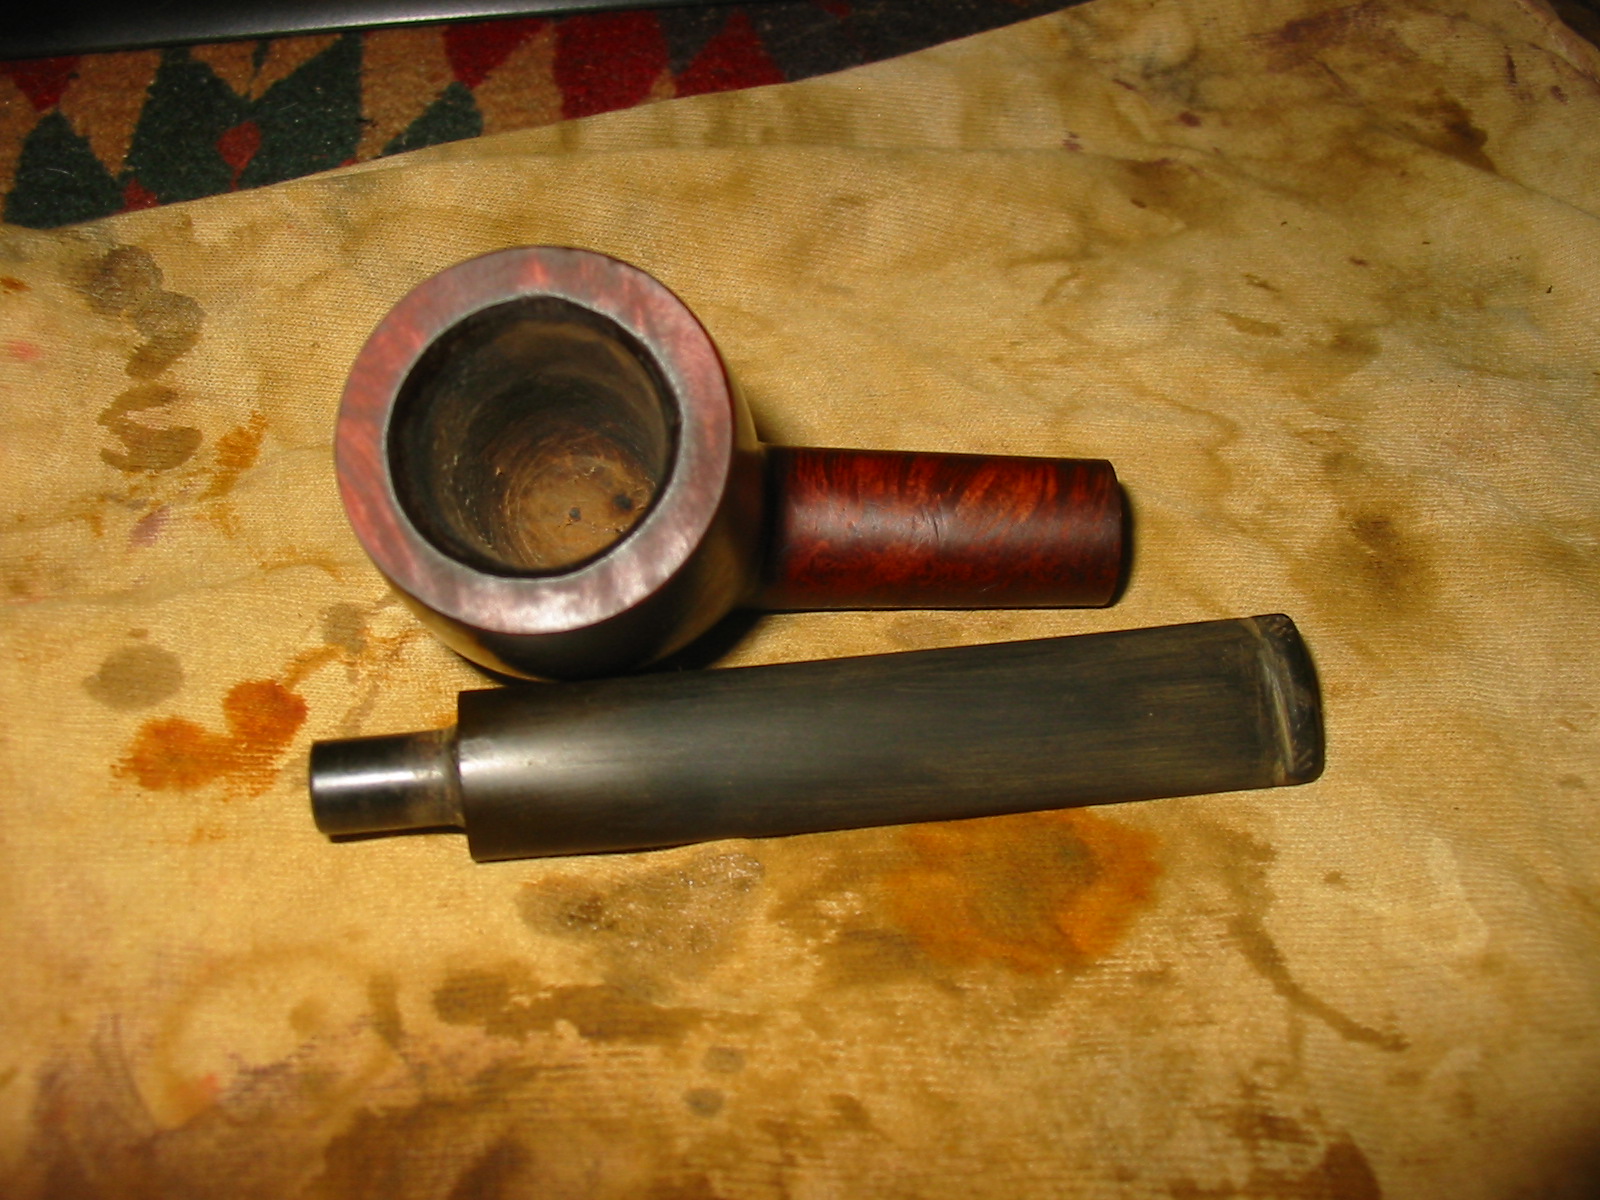
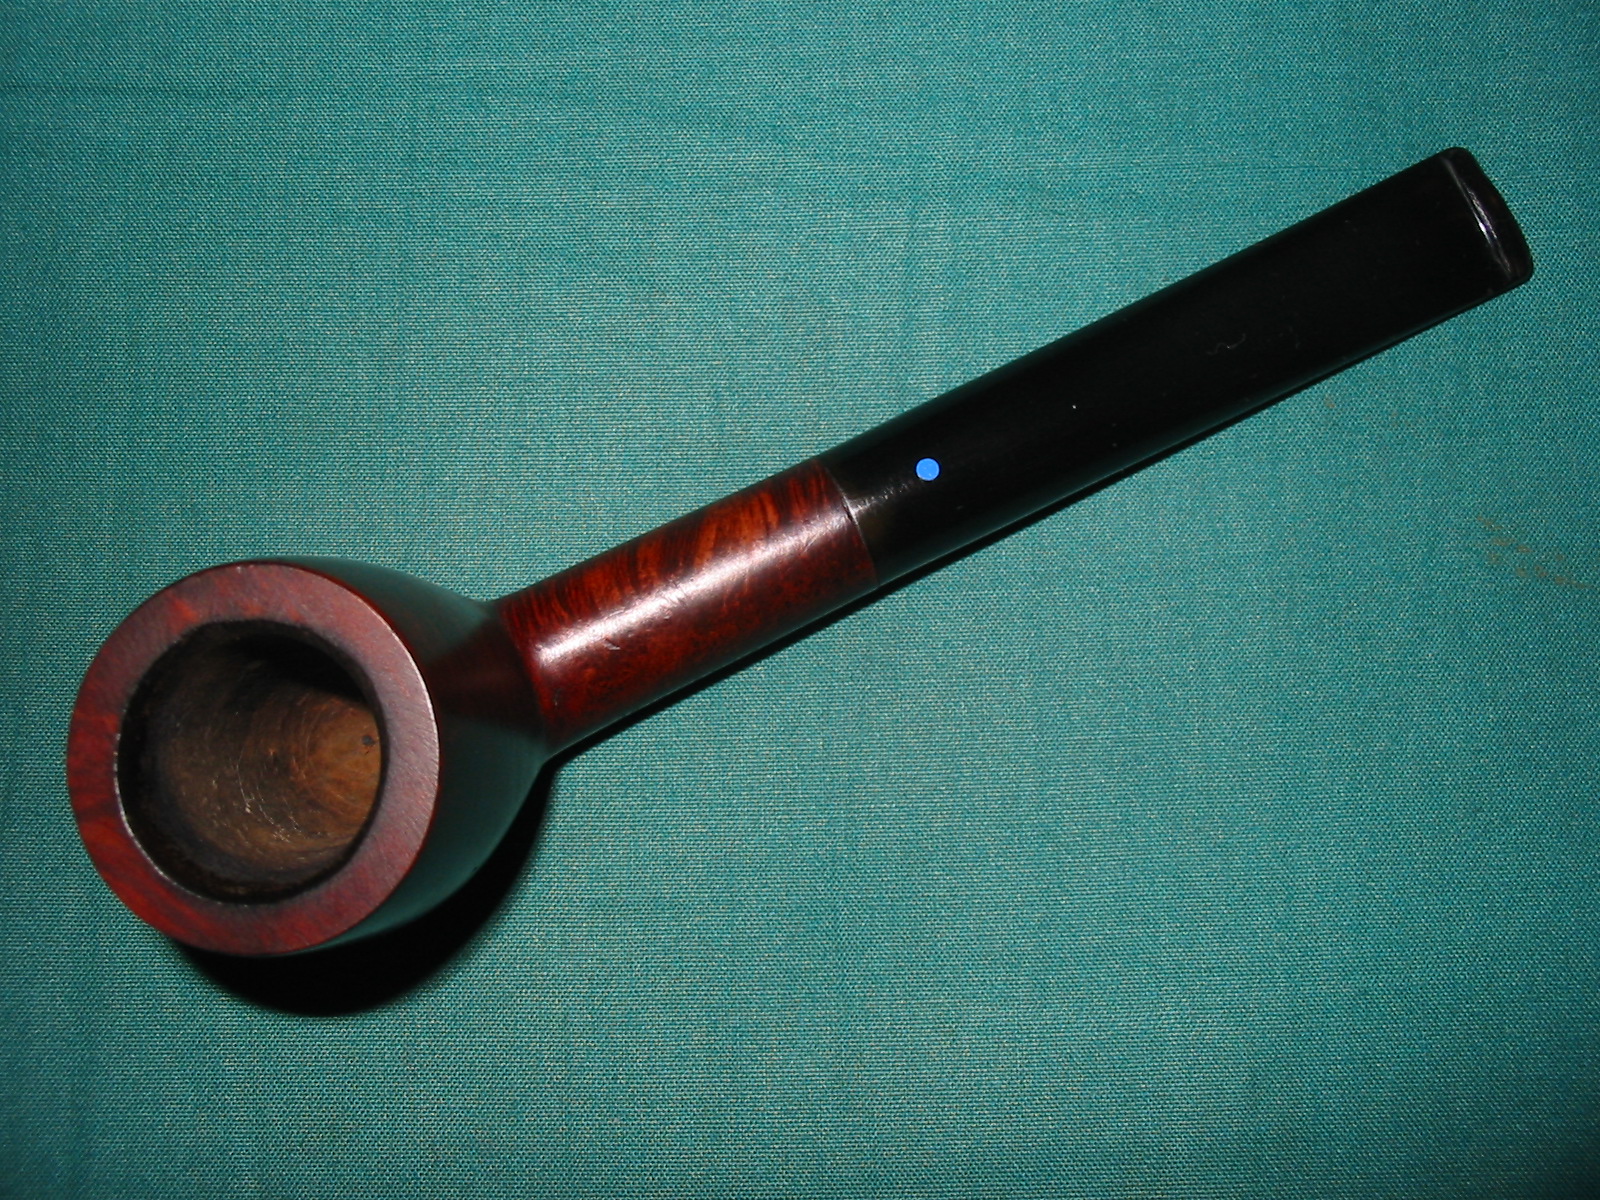
I carefully reamed the bowl to remove the bowl coating and the slight cake that was there. I used two different cutting heads on the PipNet reamer. The first head was the same diameter as the main portion of the bowl. For the angle teardrop end I used the smallest cutting head. Between the two of them I was able to clean up the bowl and remove all of the coating.
IMG_2430

IMG_2431

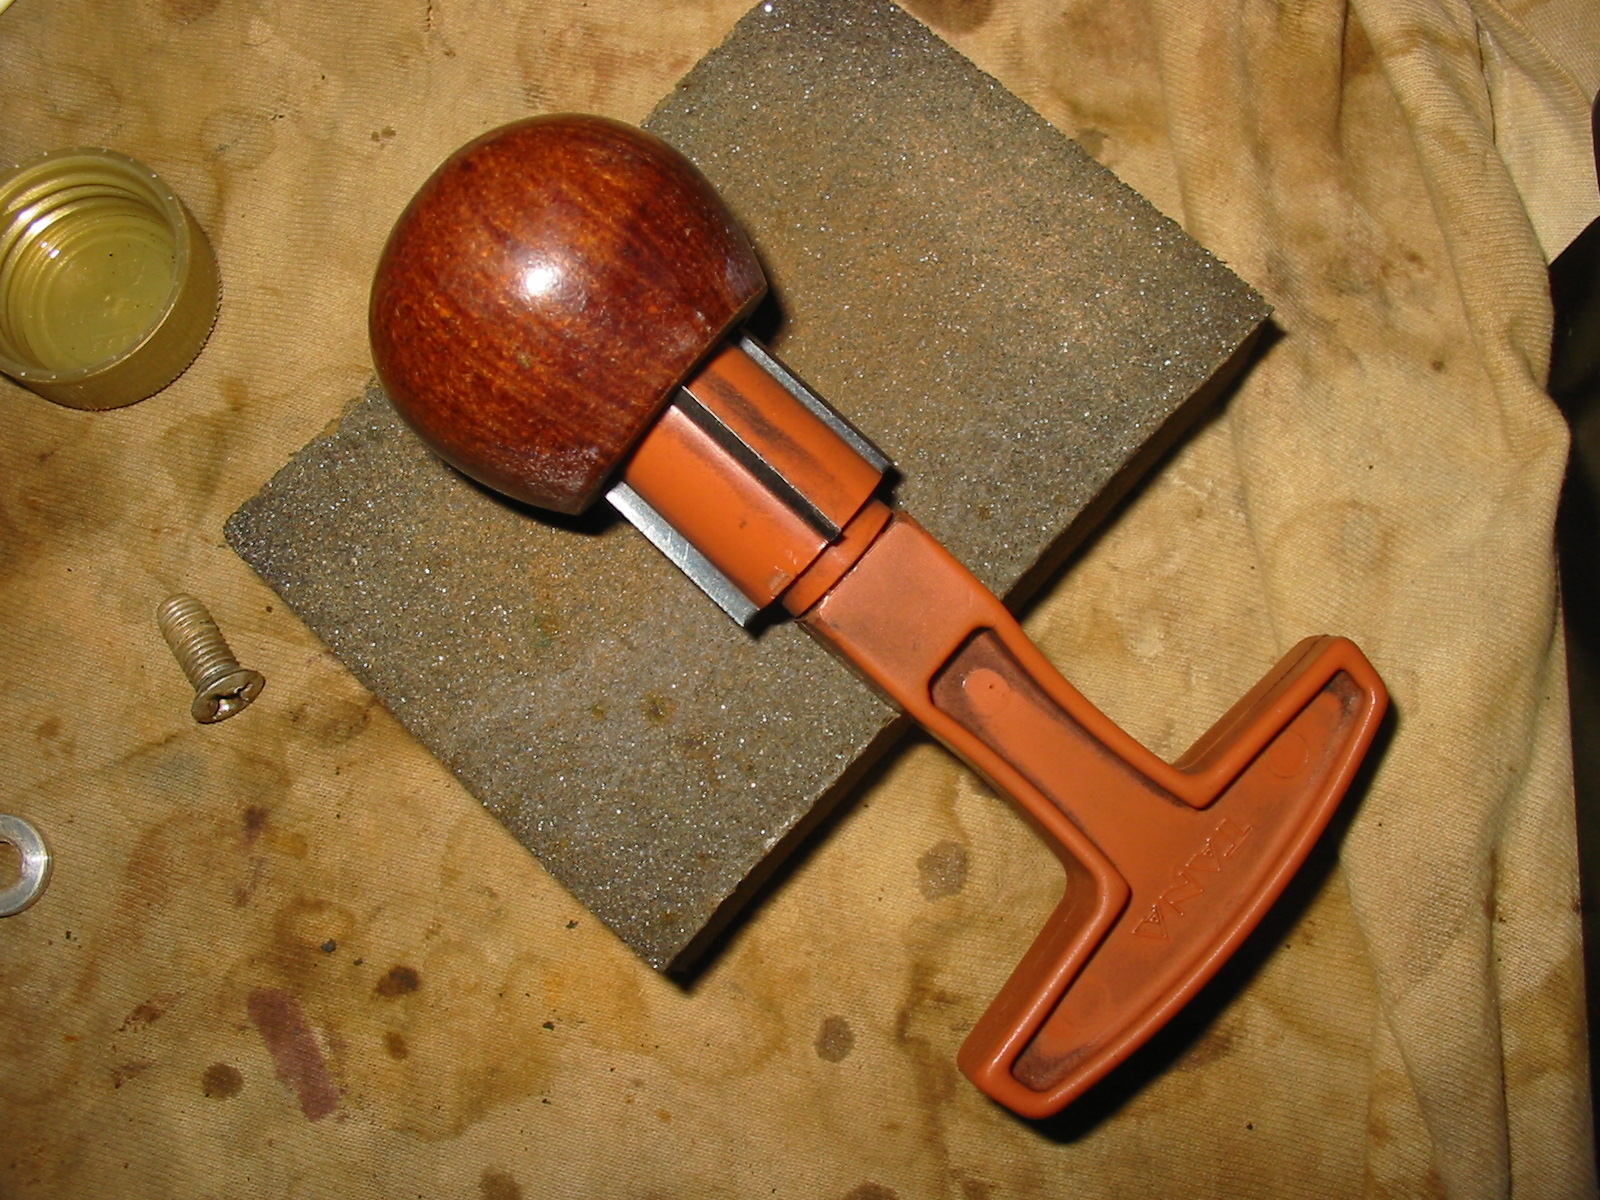
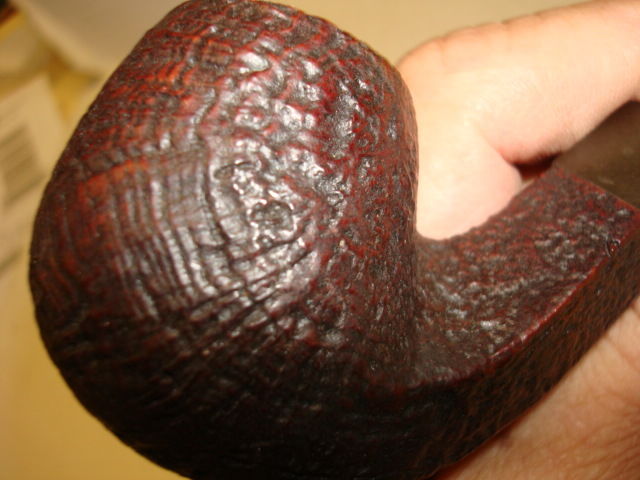
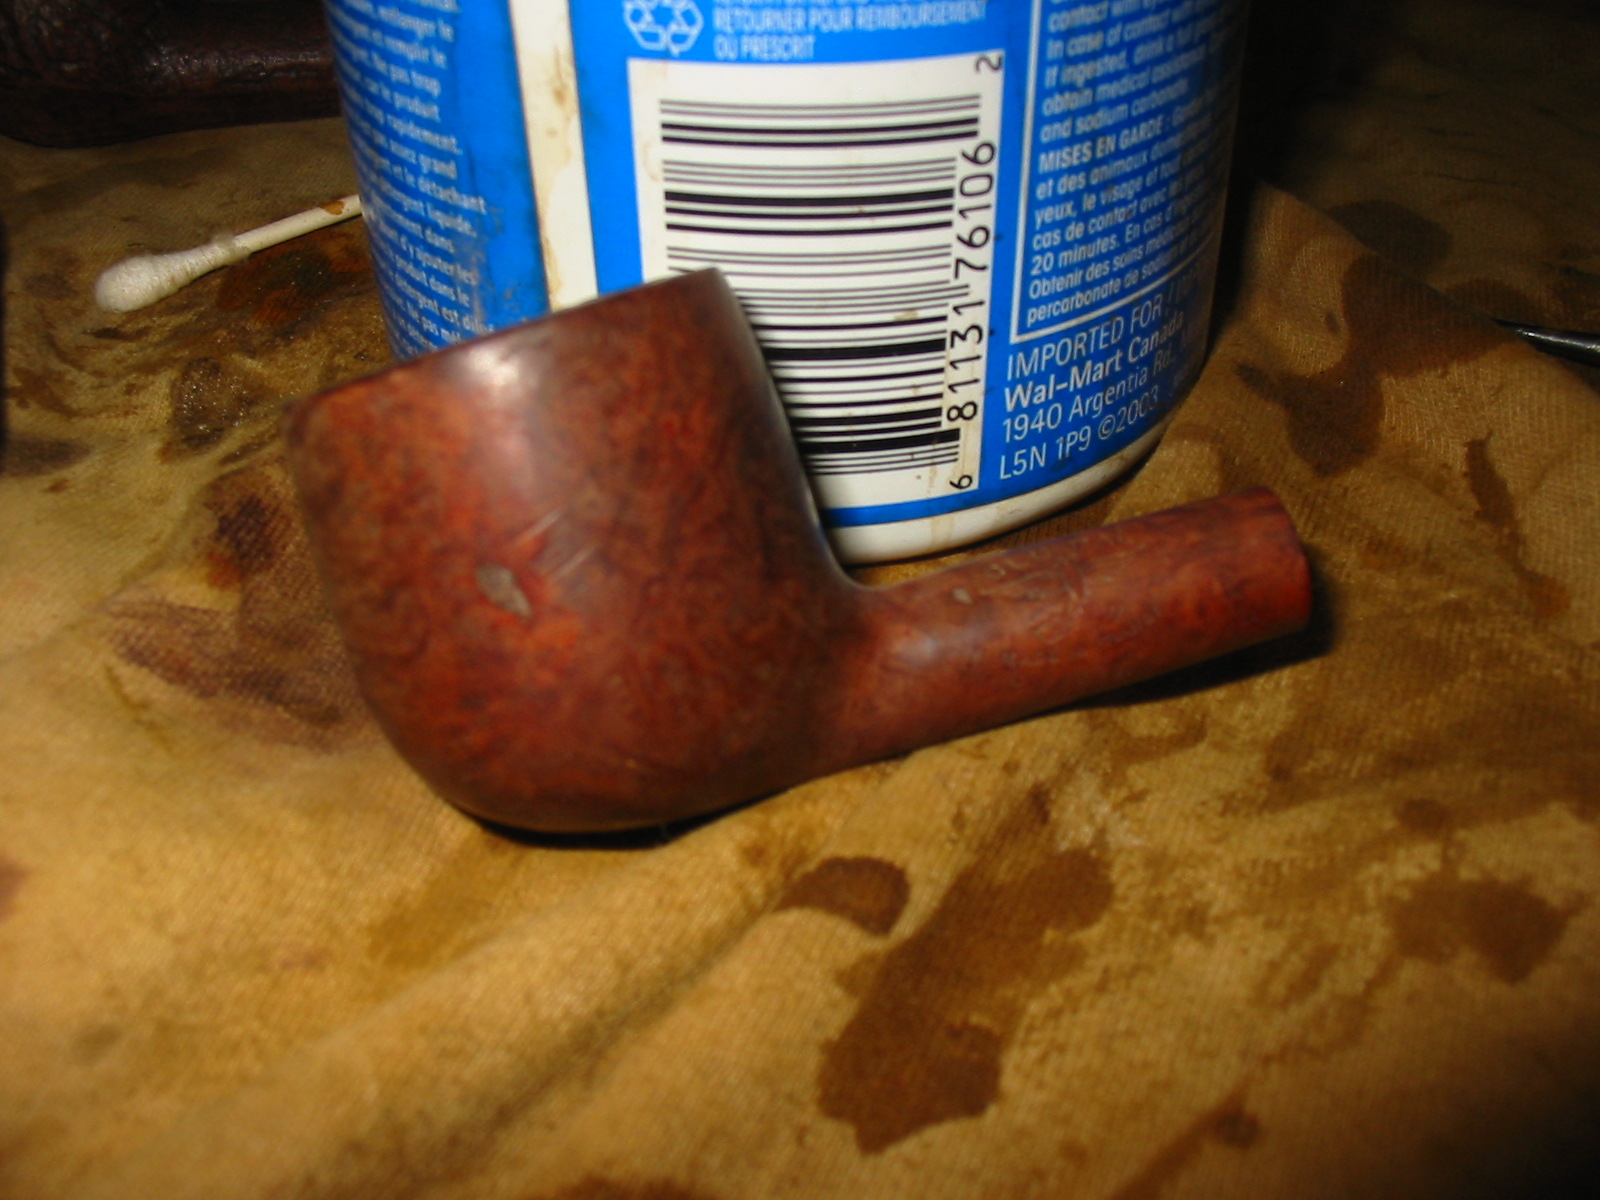
Removing the tars from the rim was a bit of a challenge and combined with burn mark on the point I decided to sand off the rim with a medium grit sanding sponge. I would then have to restain the bowl. I sanded it with the medium grit sponge and then with a fine grit sanding block to work on the burn mark and the darkening of the rim.
IMG_2432

IMG_2433

IMG_2434

IMG_2435

I finished the sanding by wiping down the bowl with acetone on a cotton pad. I was able to even out the finish on the bowl and rim so matching stain would be much easier to do. I was also able to lighten the burn spot with the same process to the point that a good coat of oxblood stain would make it fade into the surface of the rim.

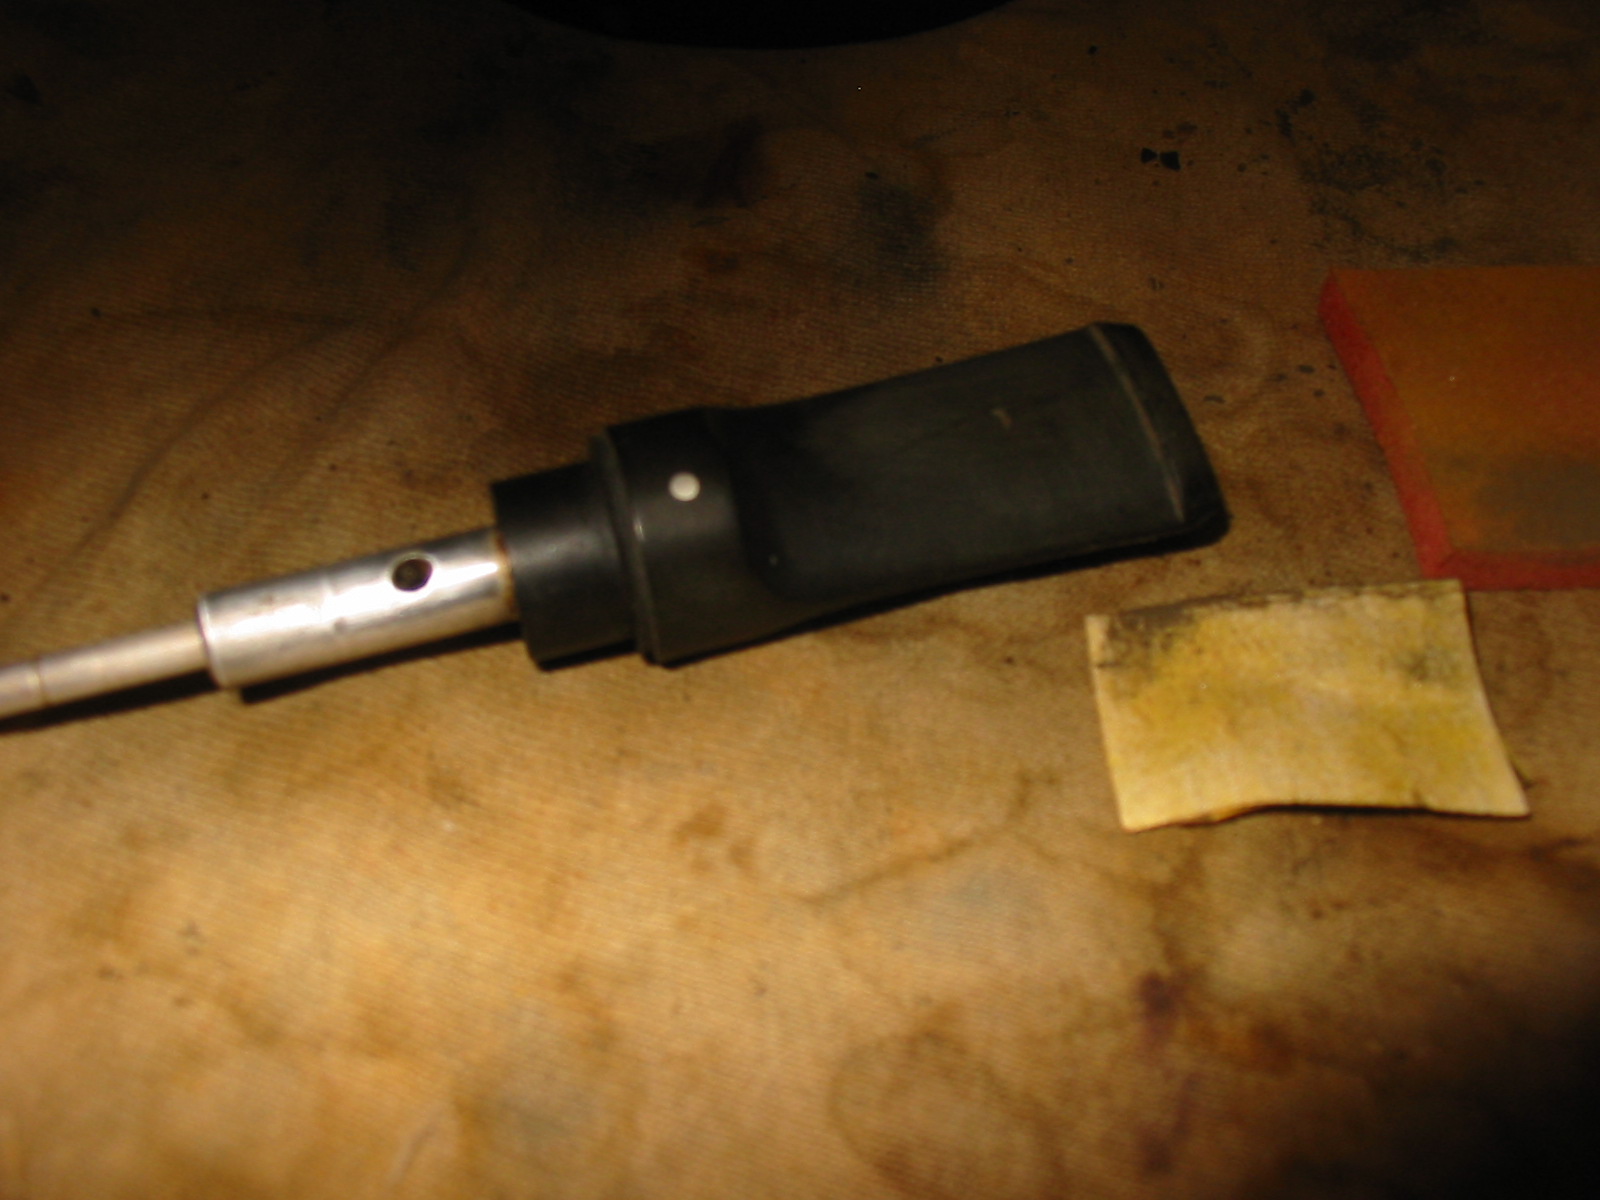
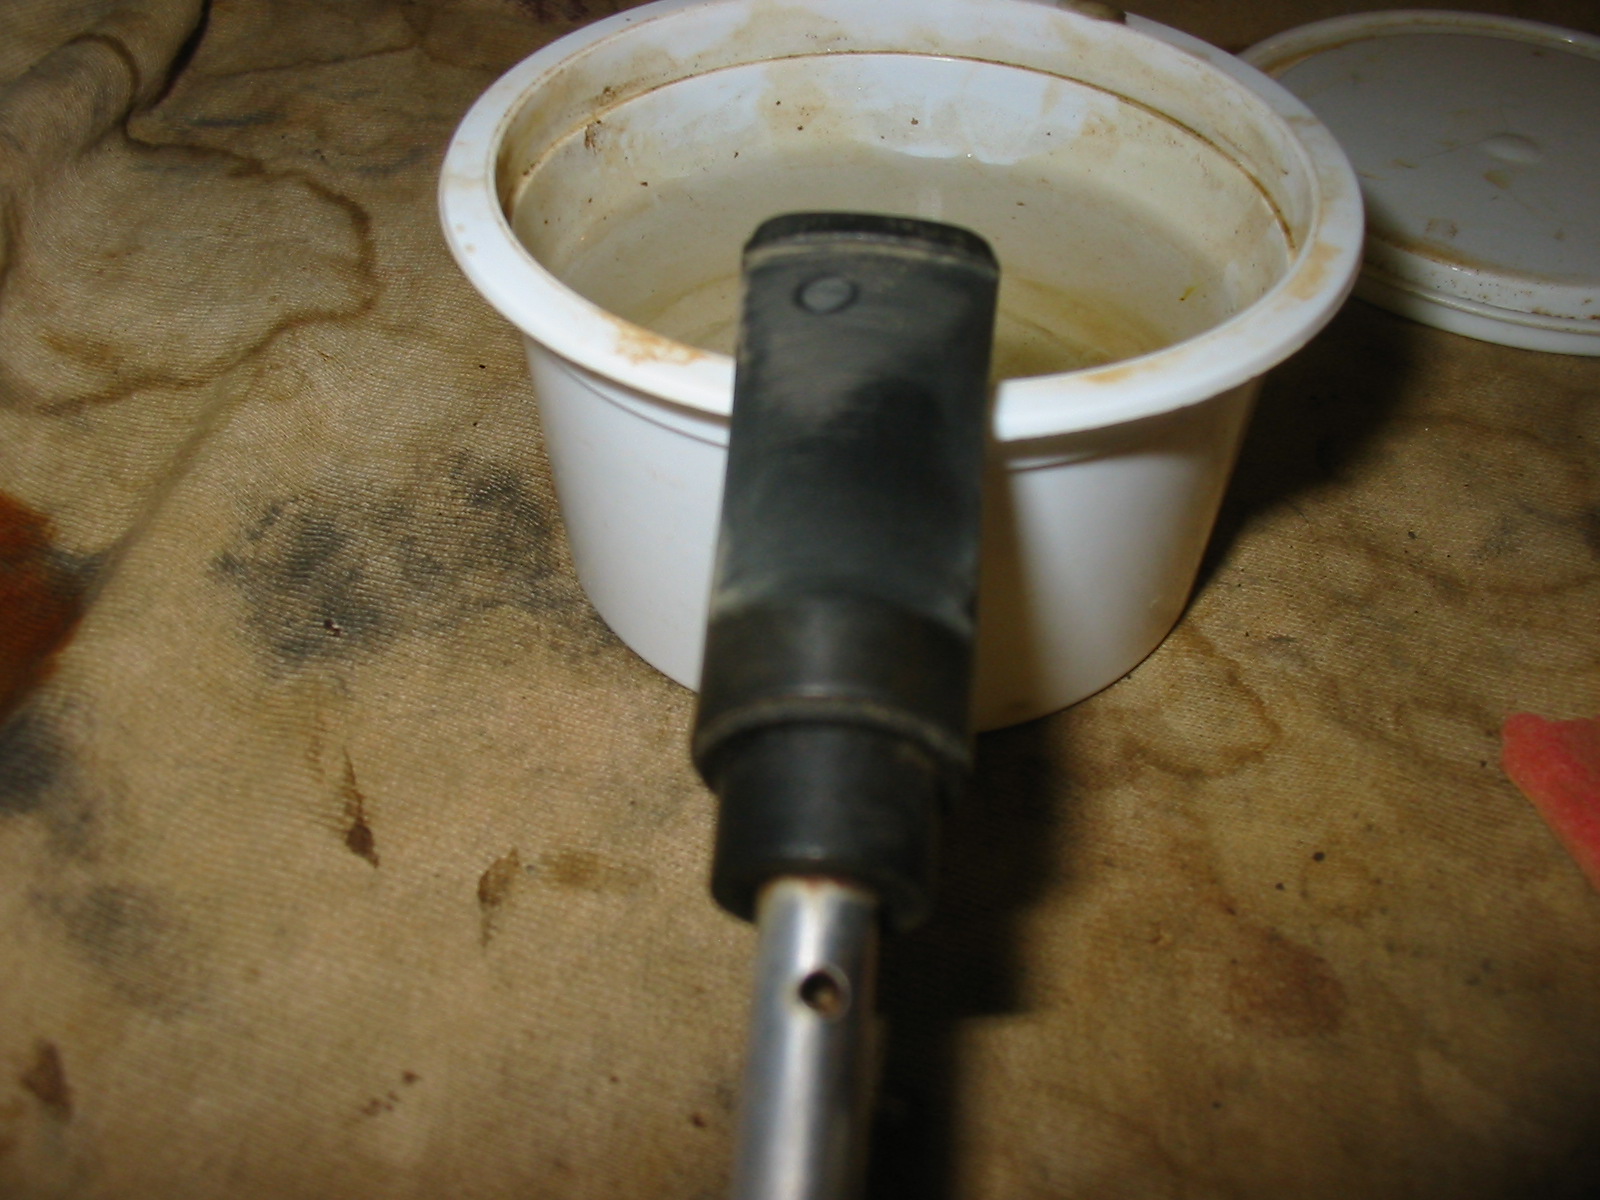
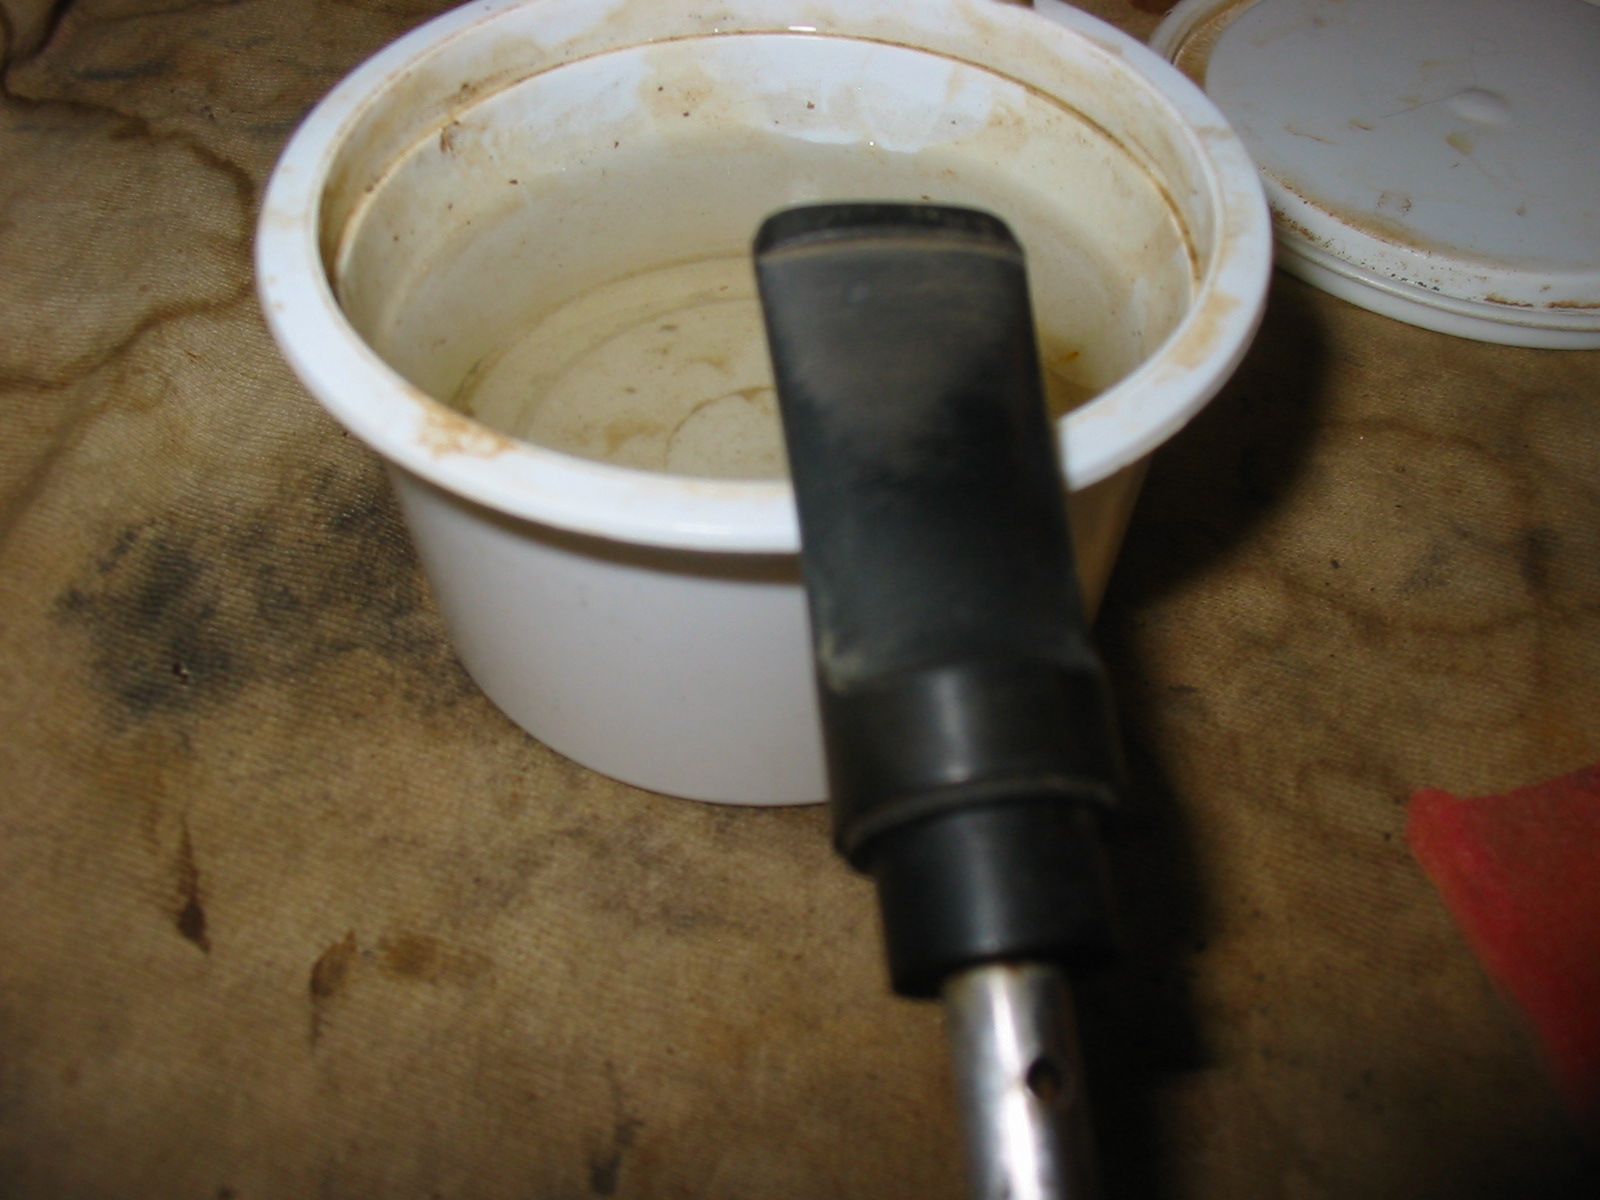
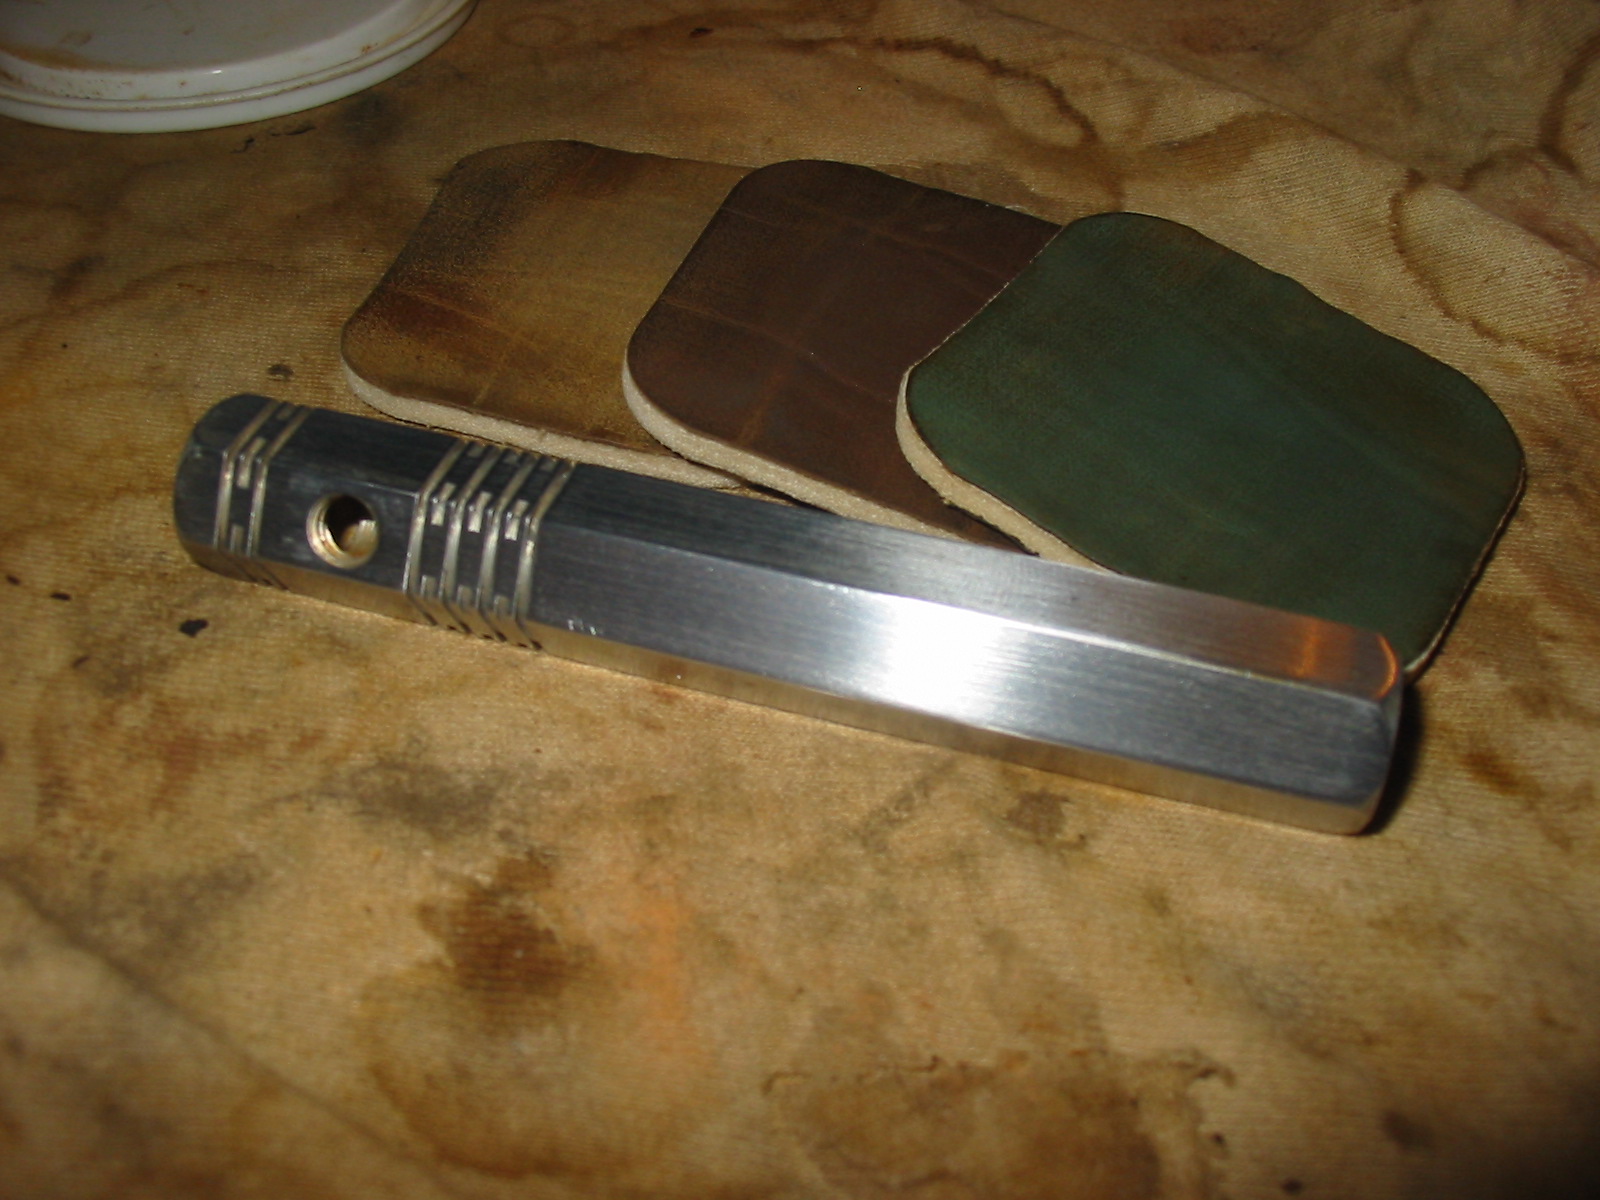
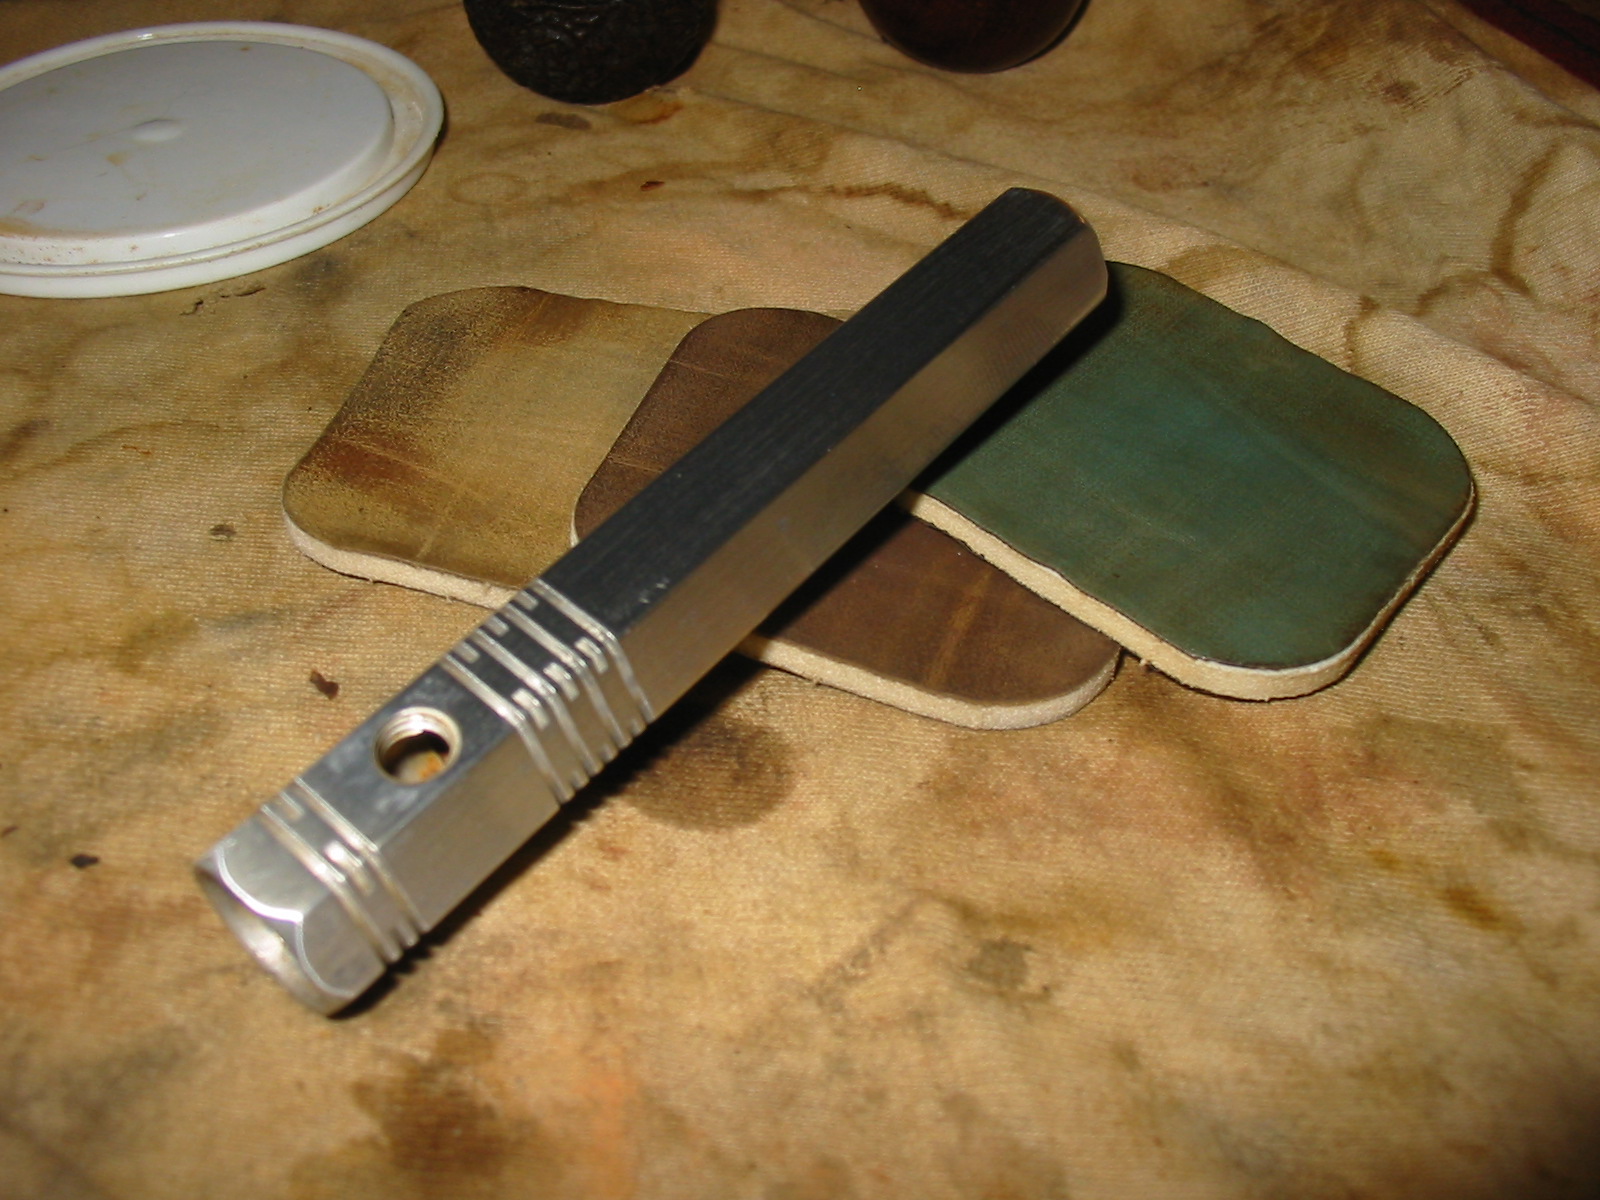
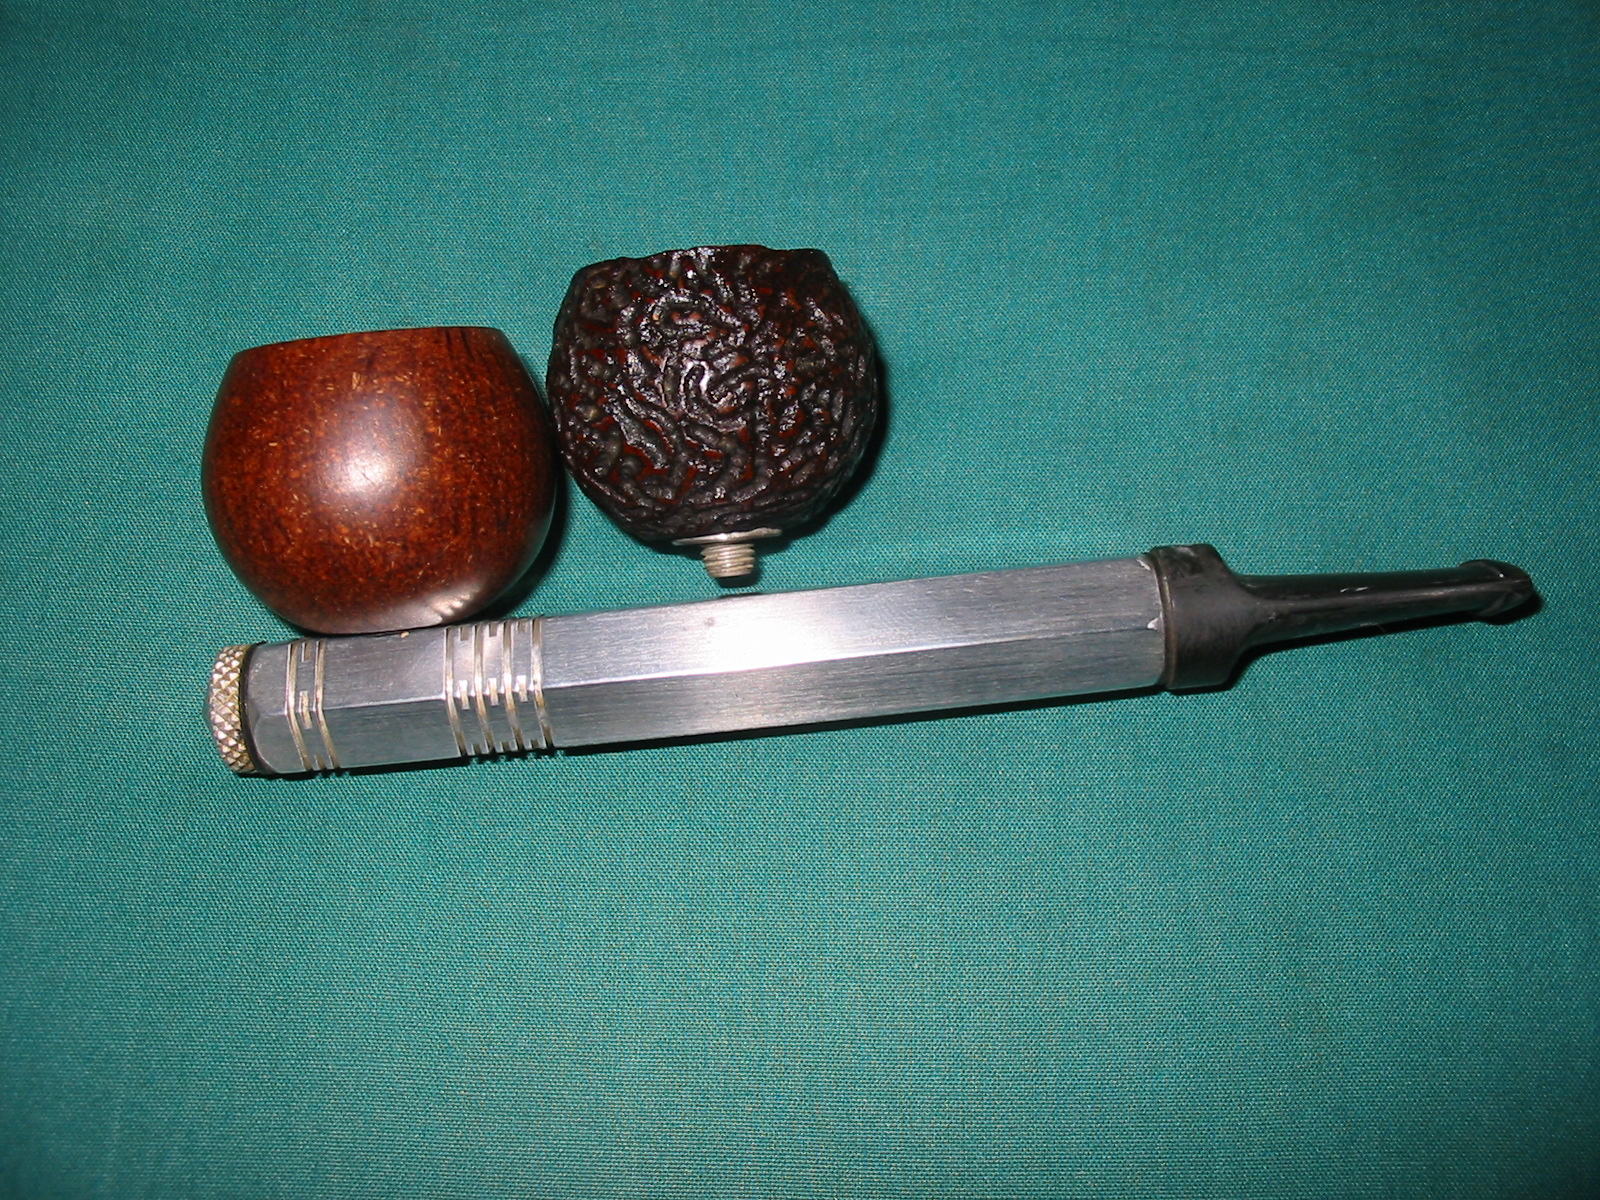
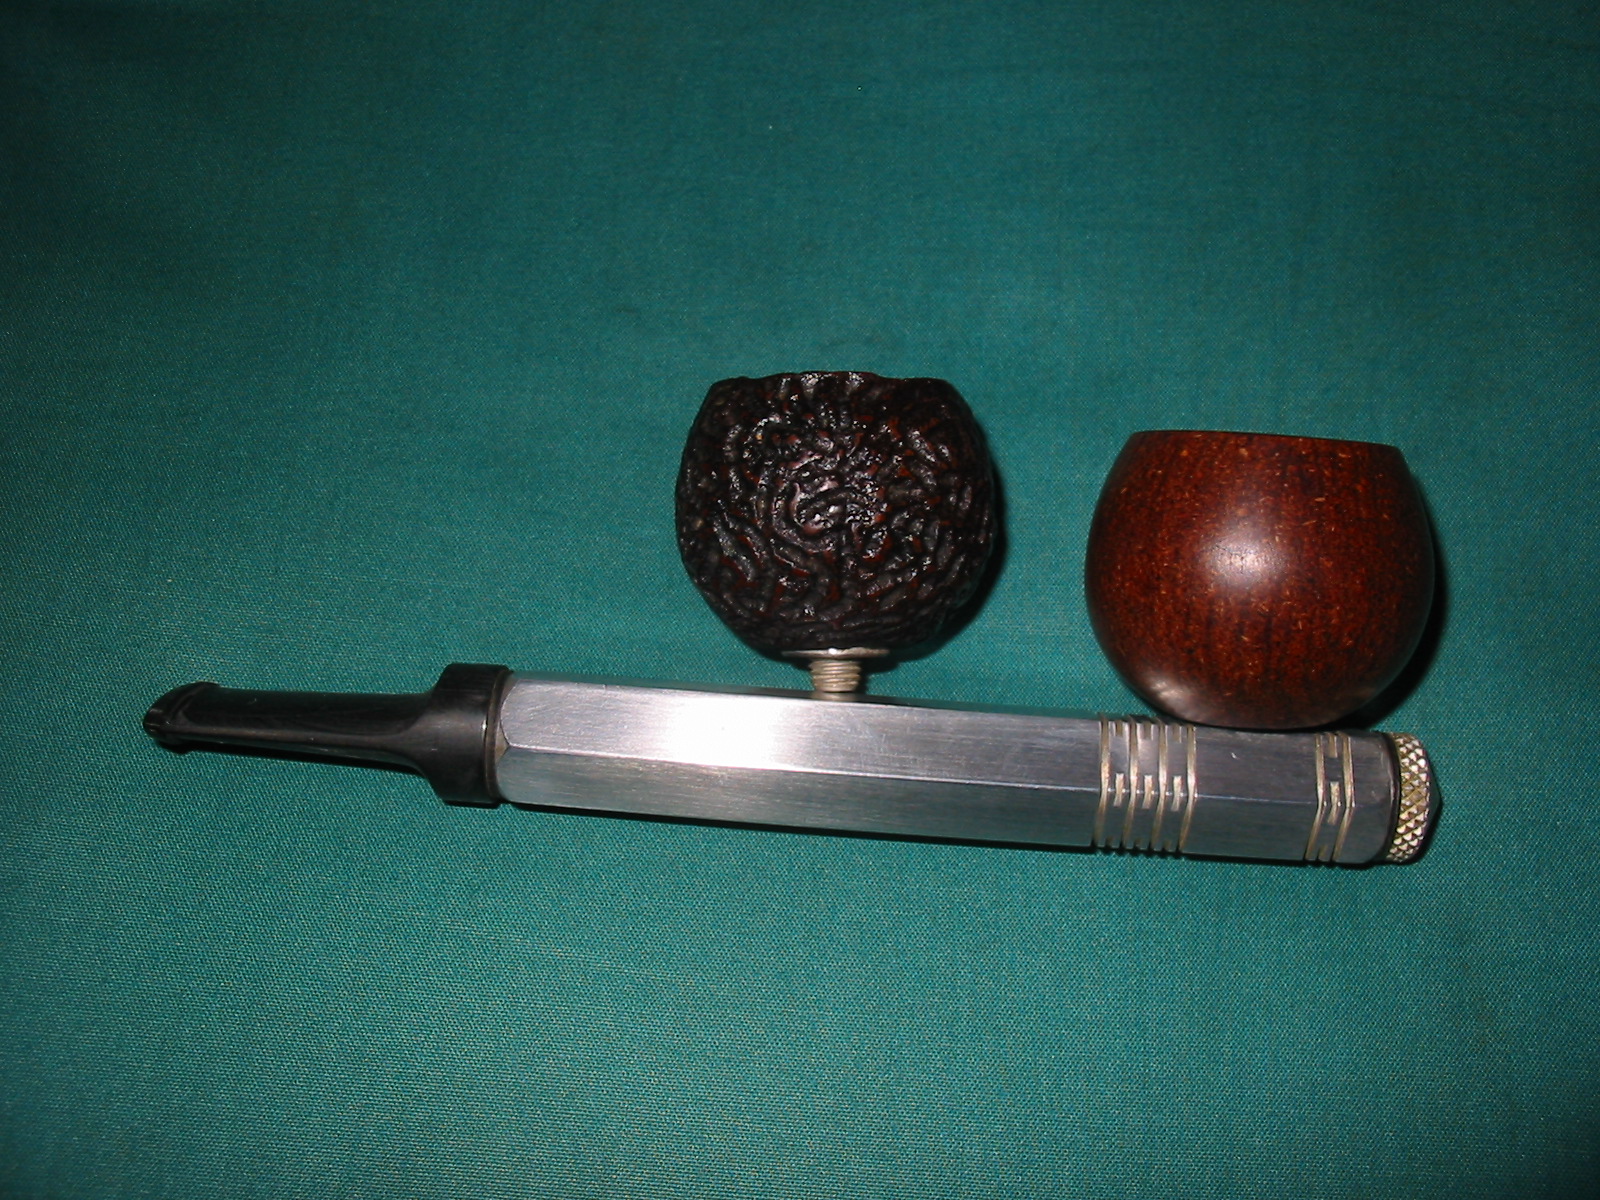
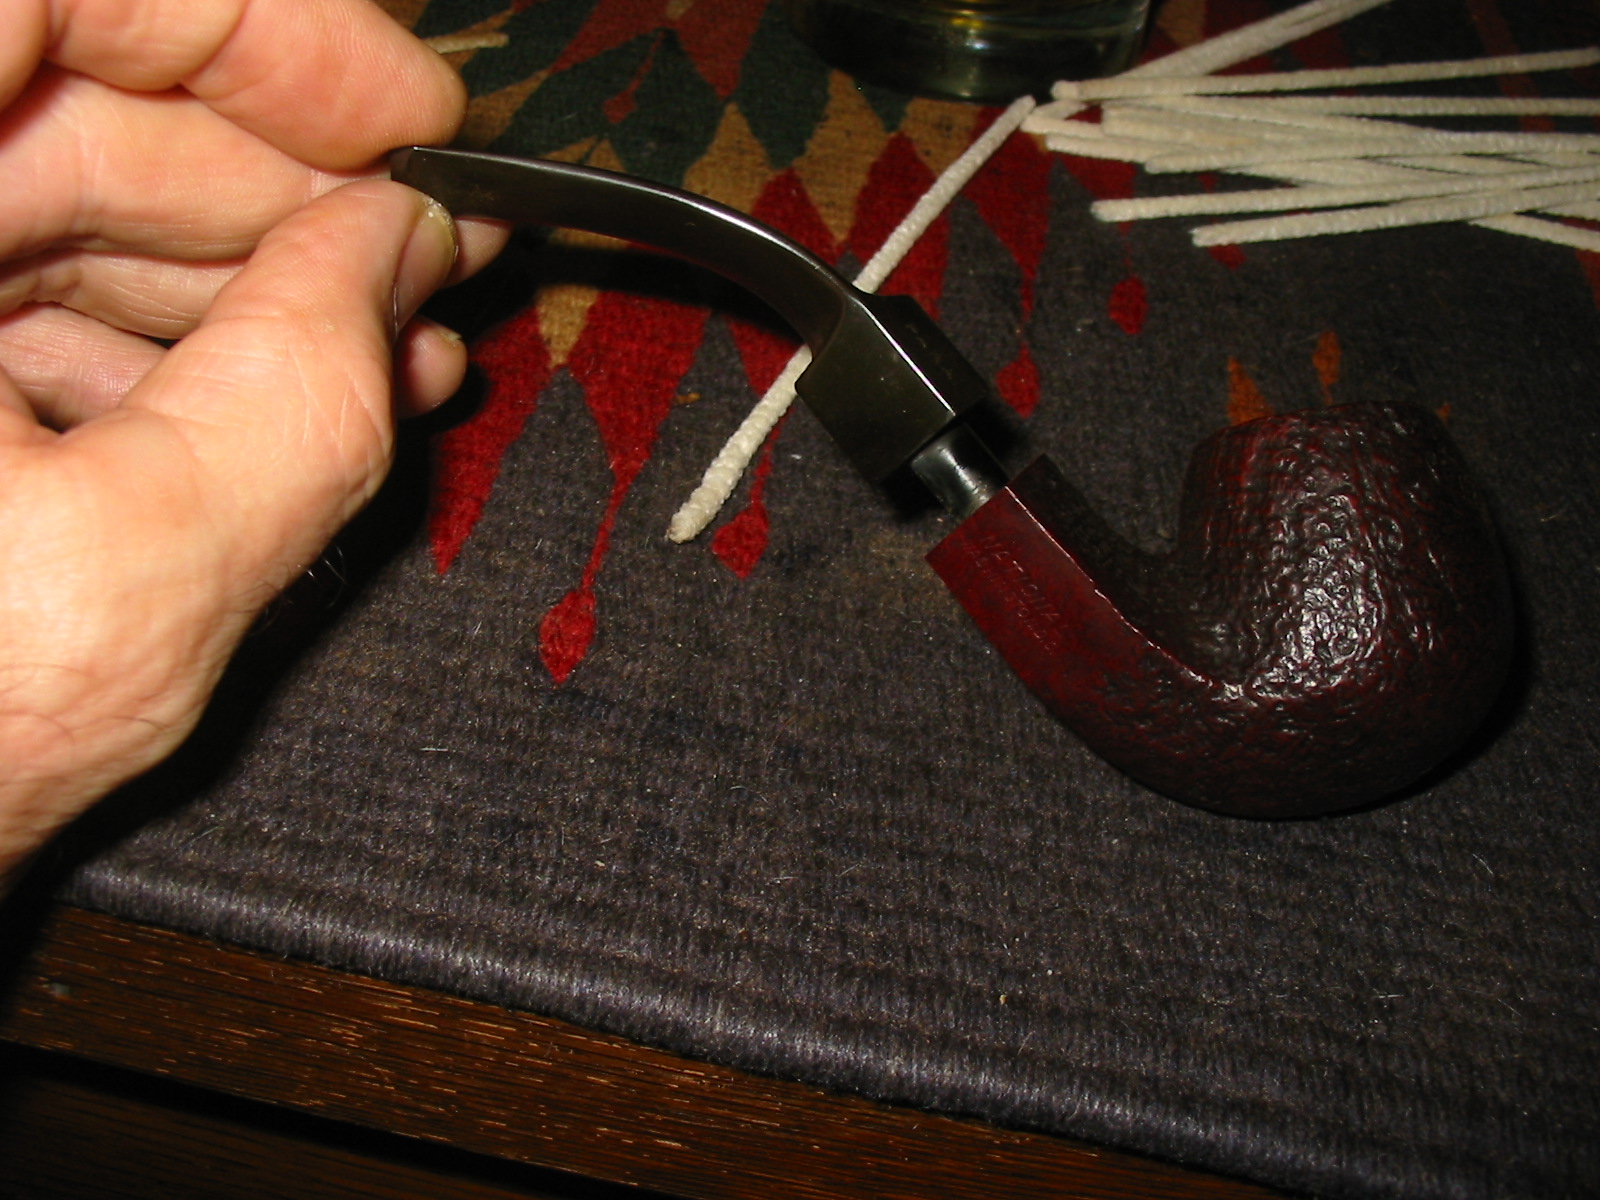
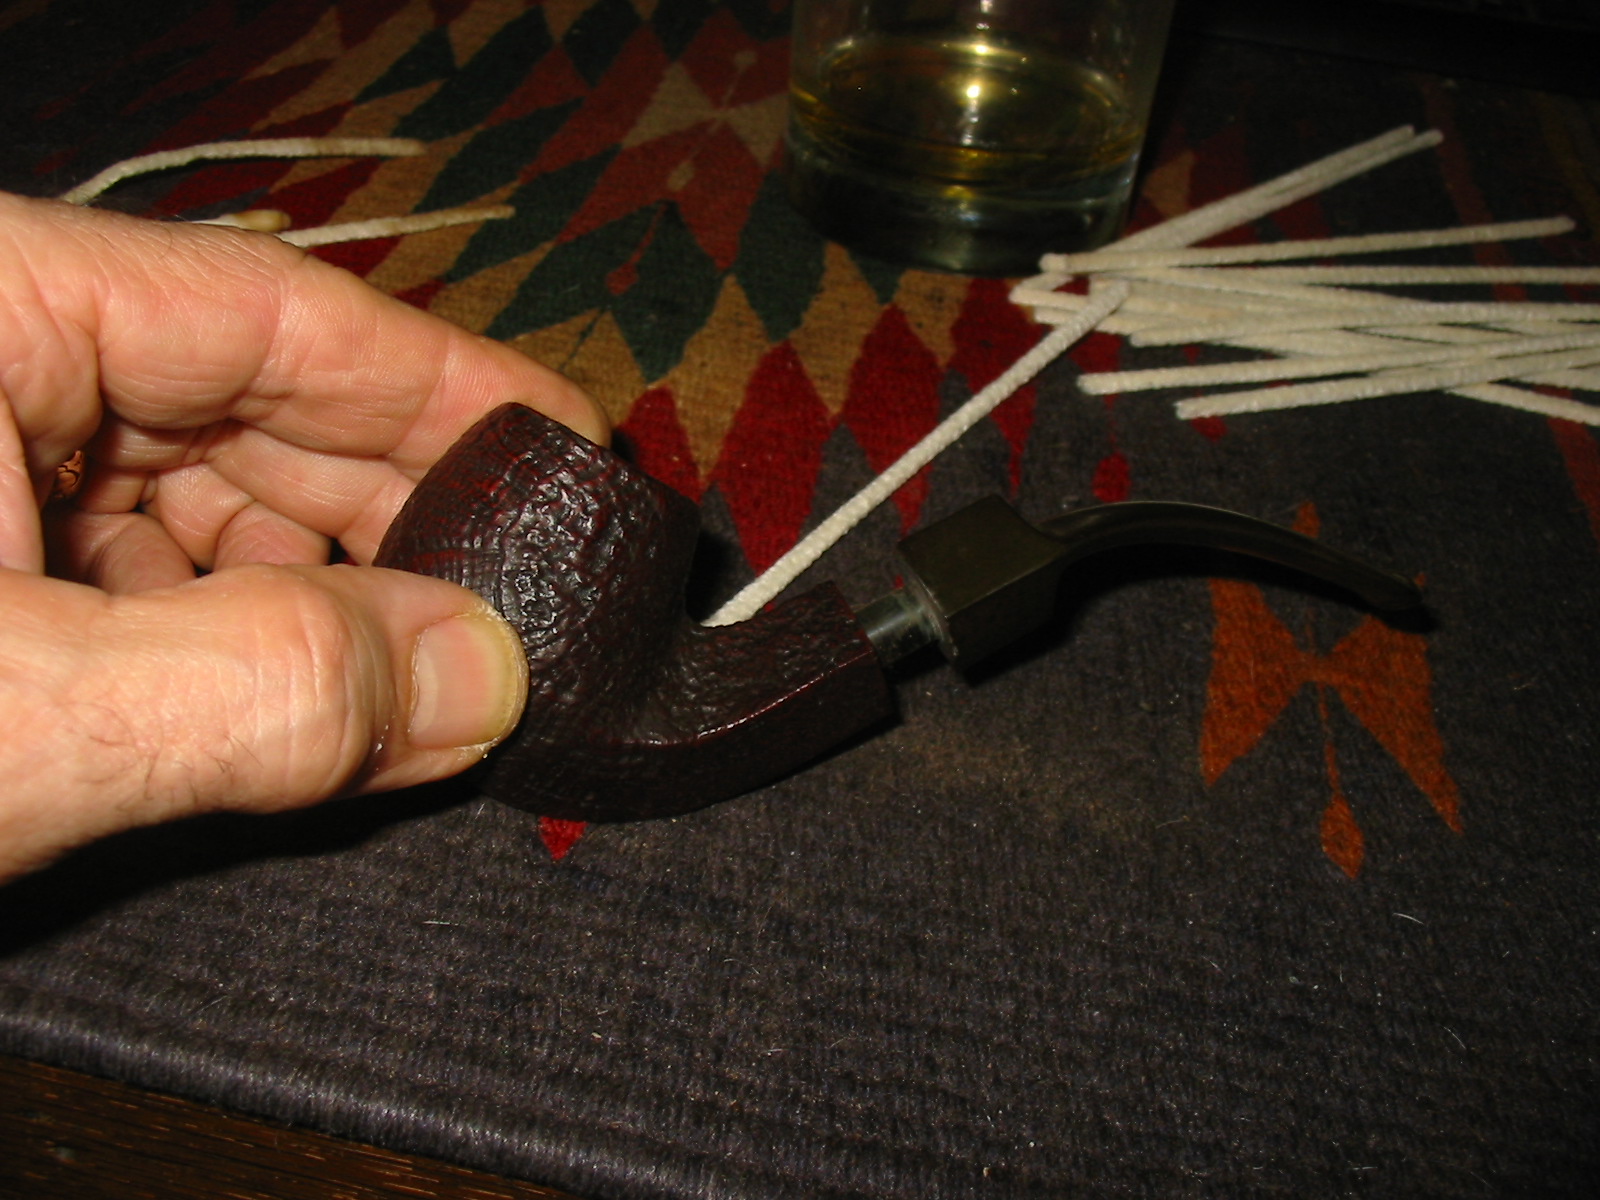
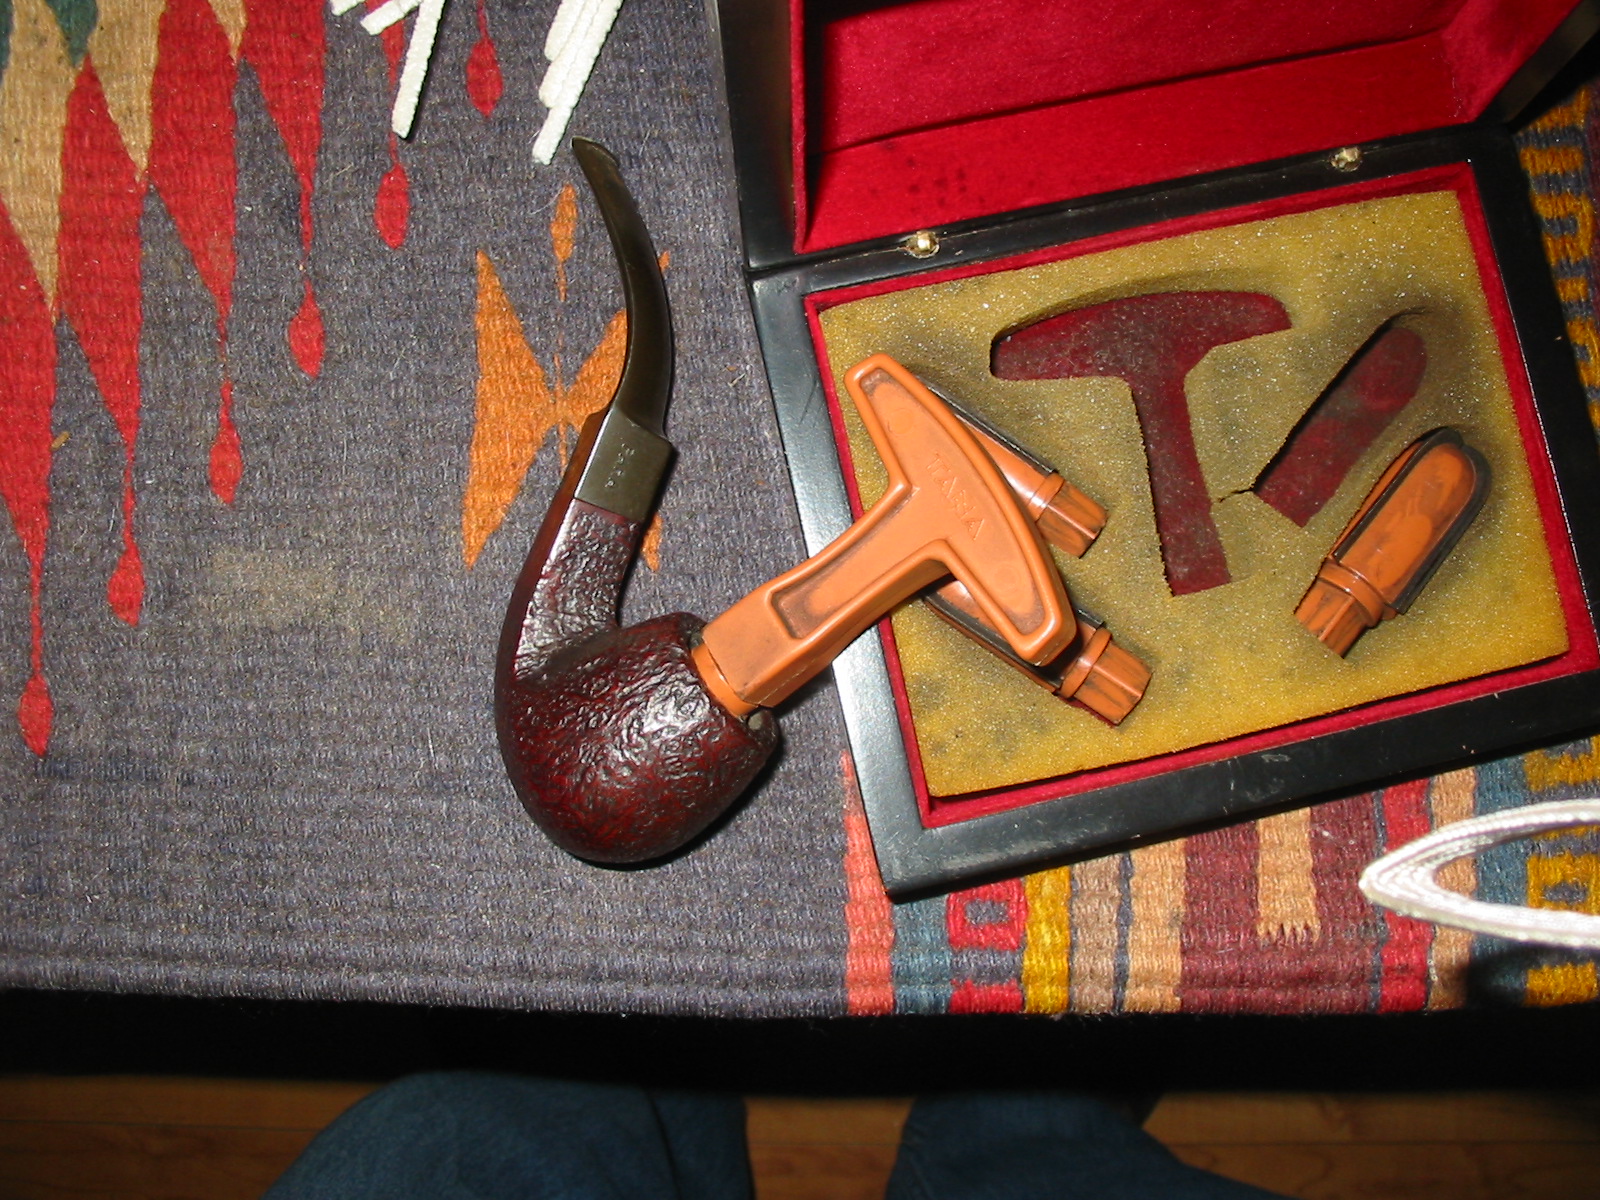
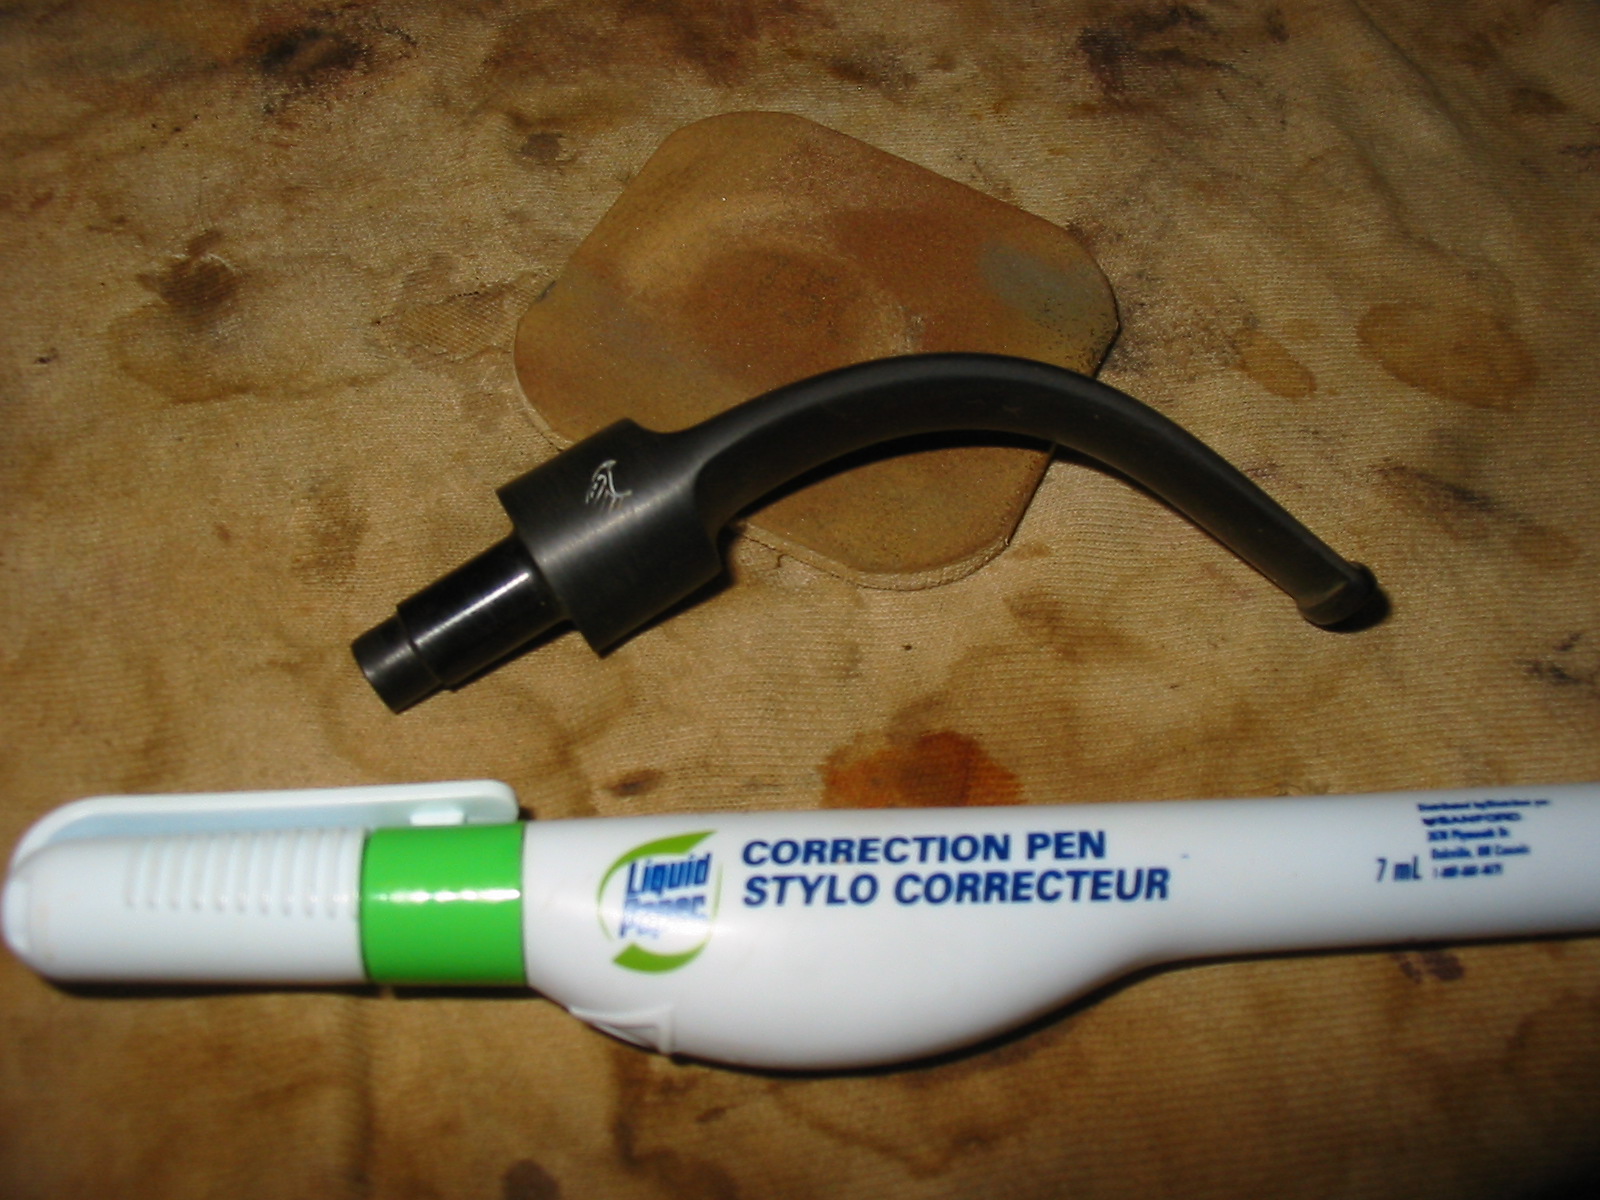
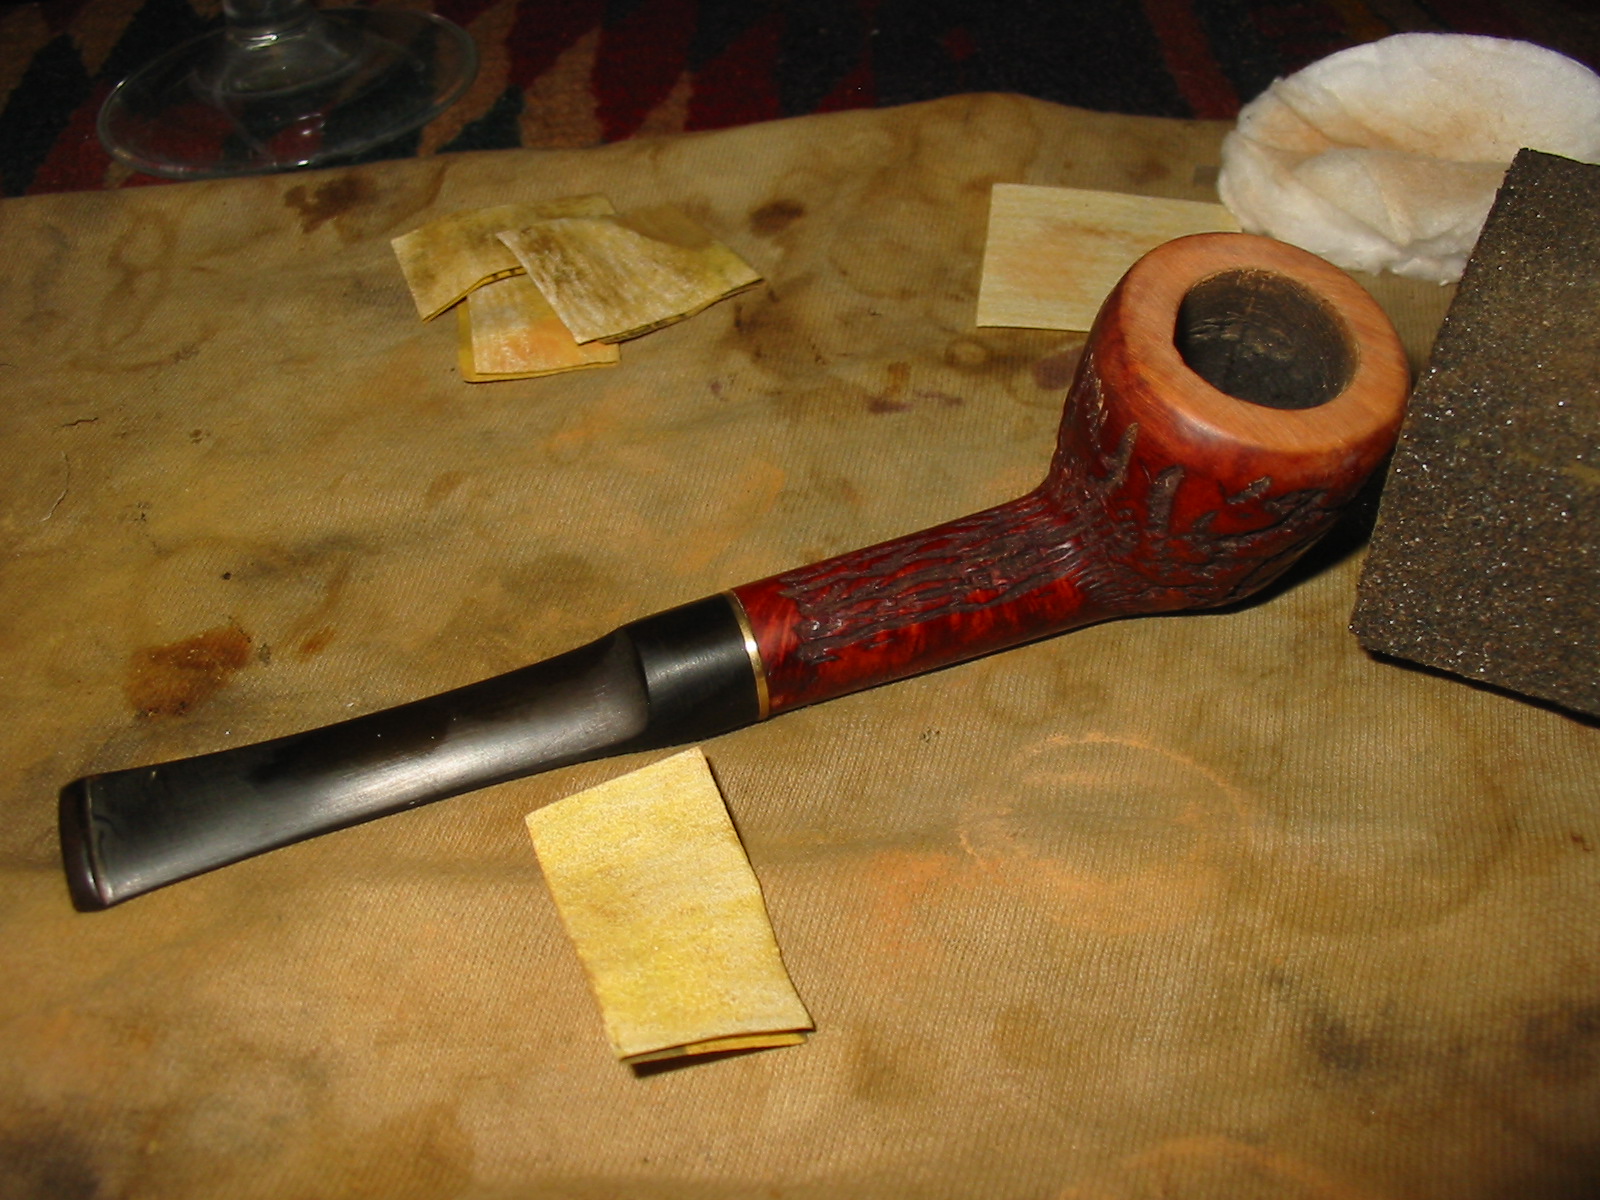
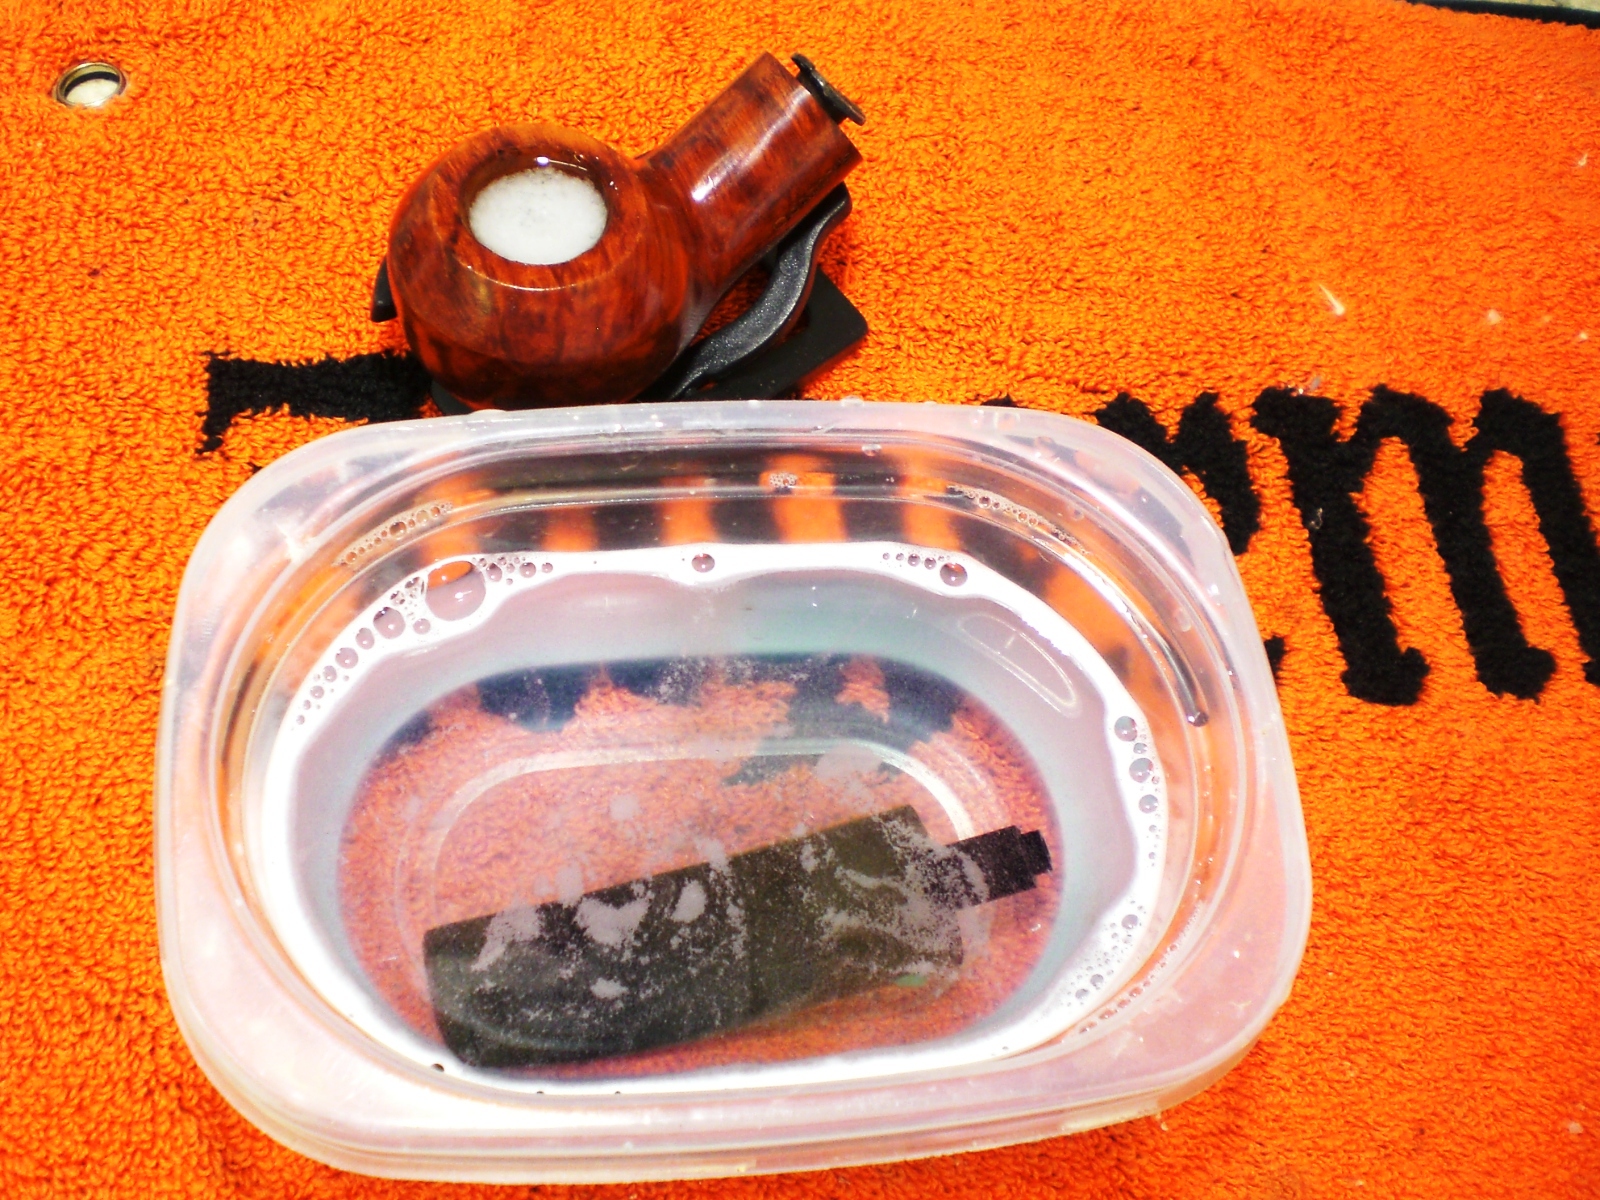
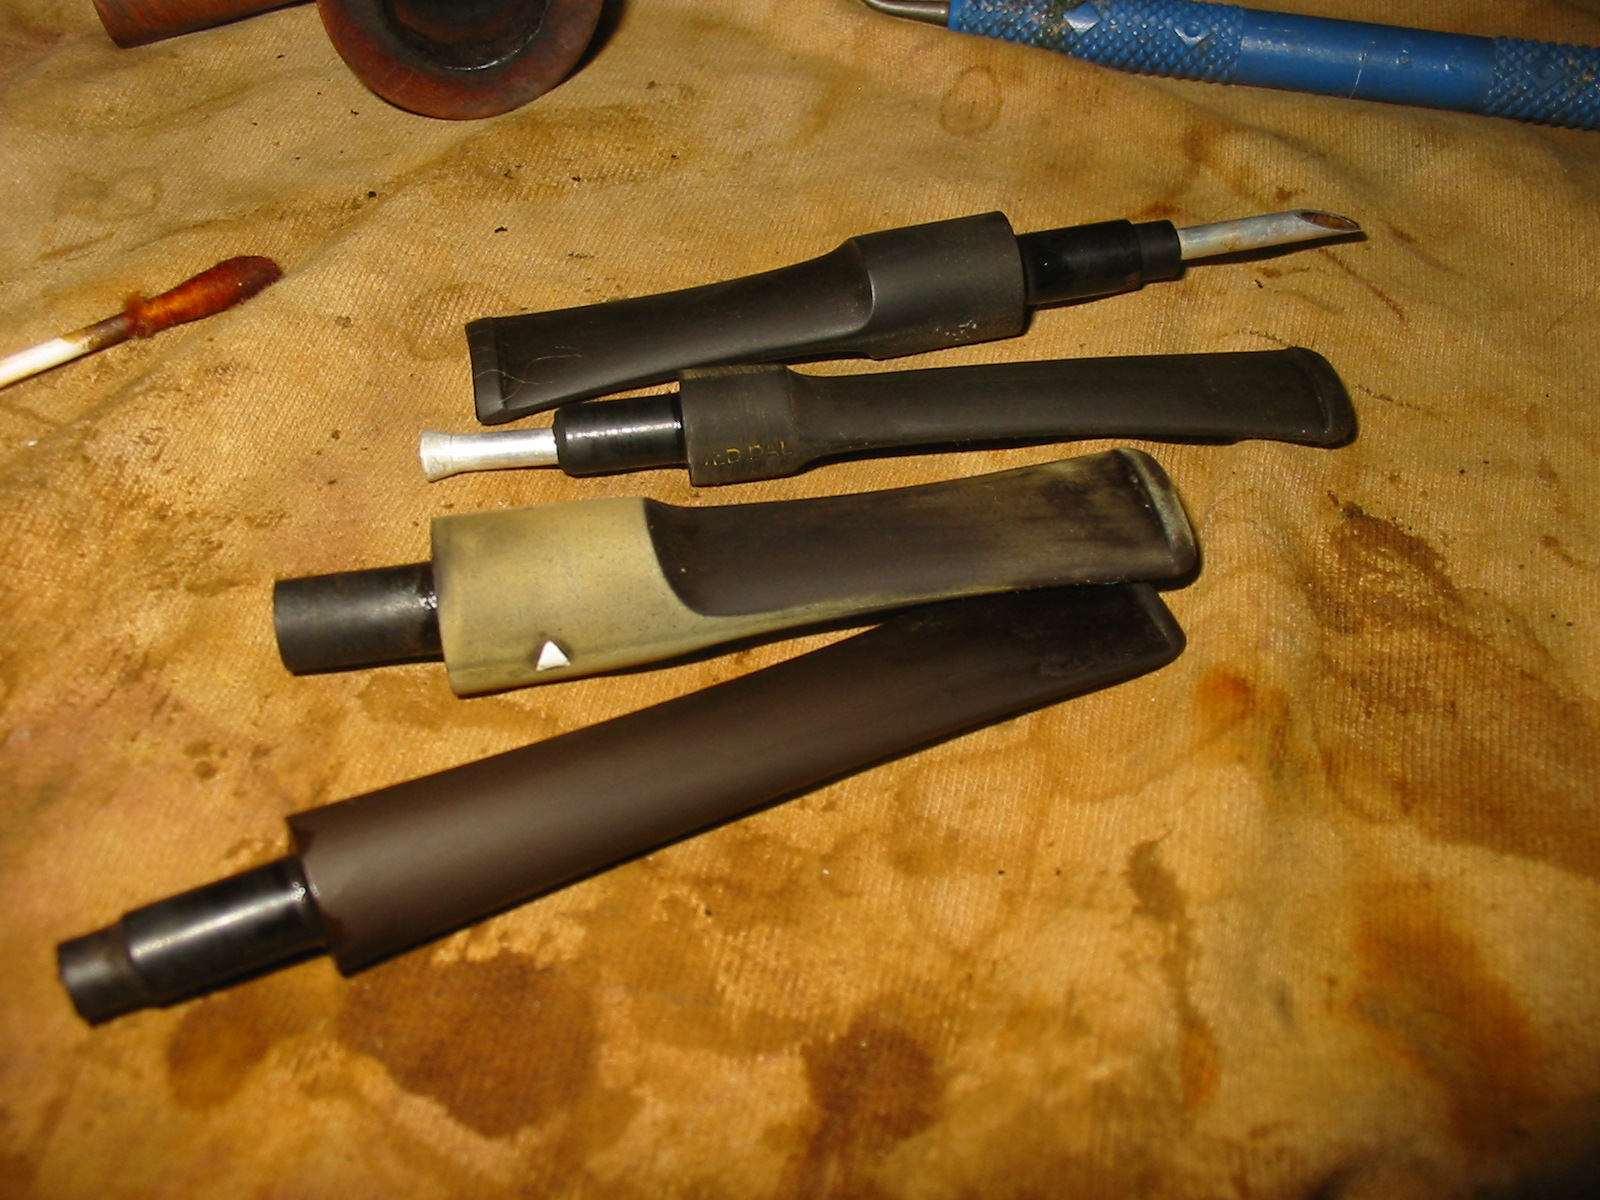
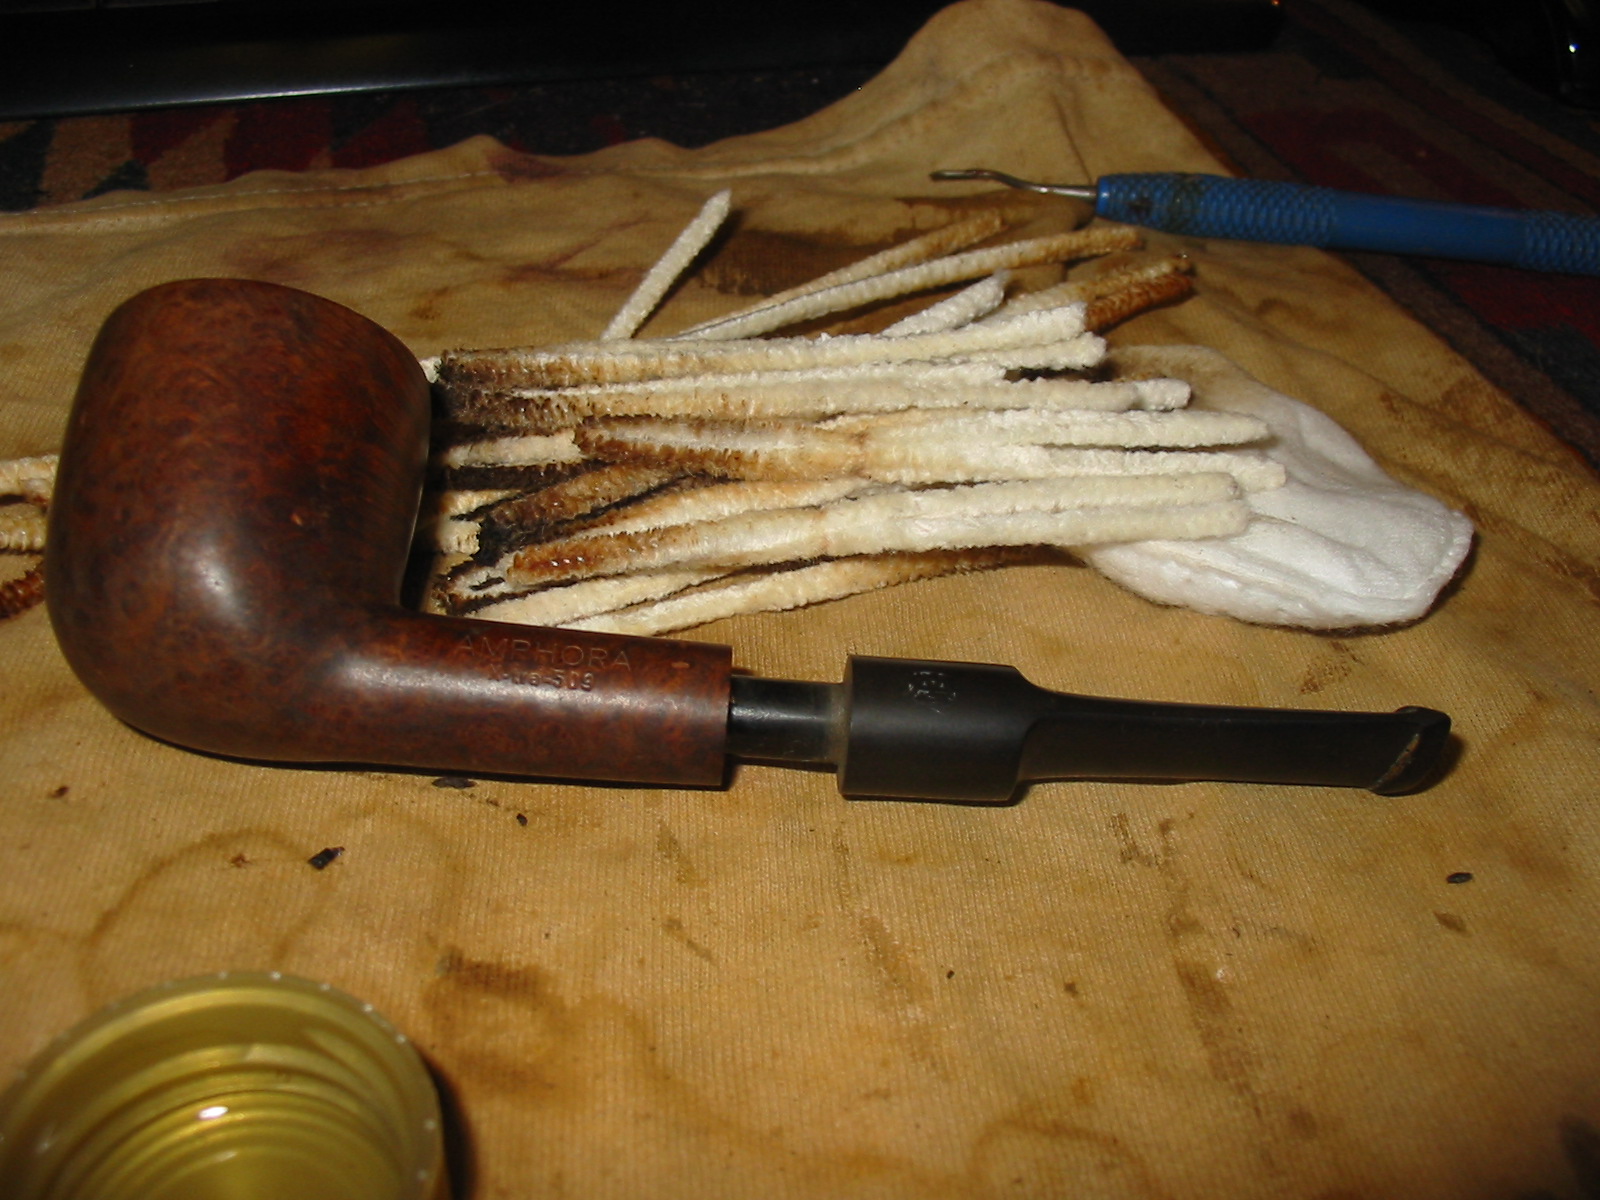
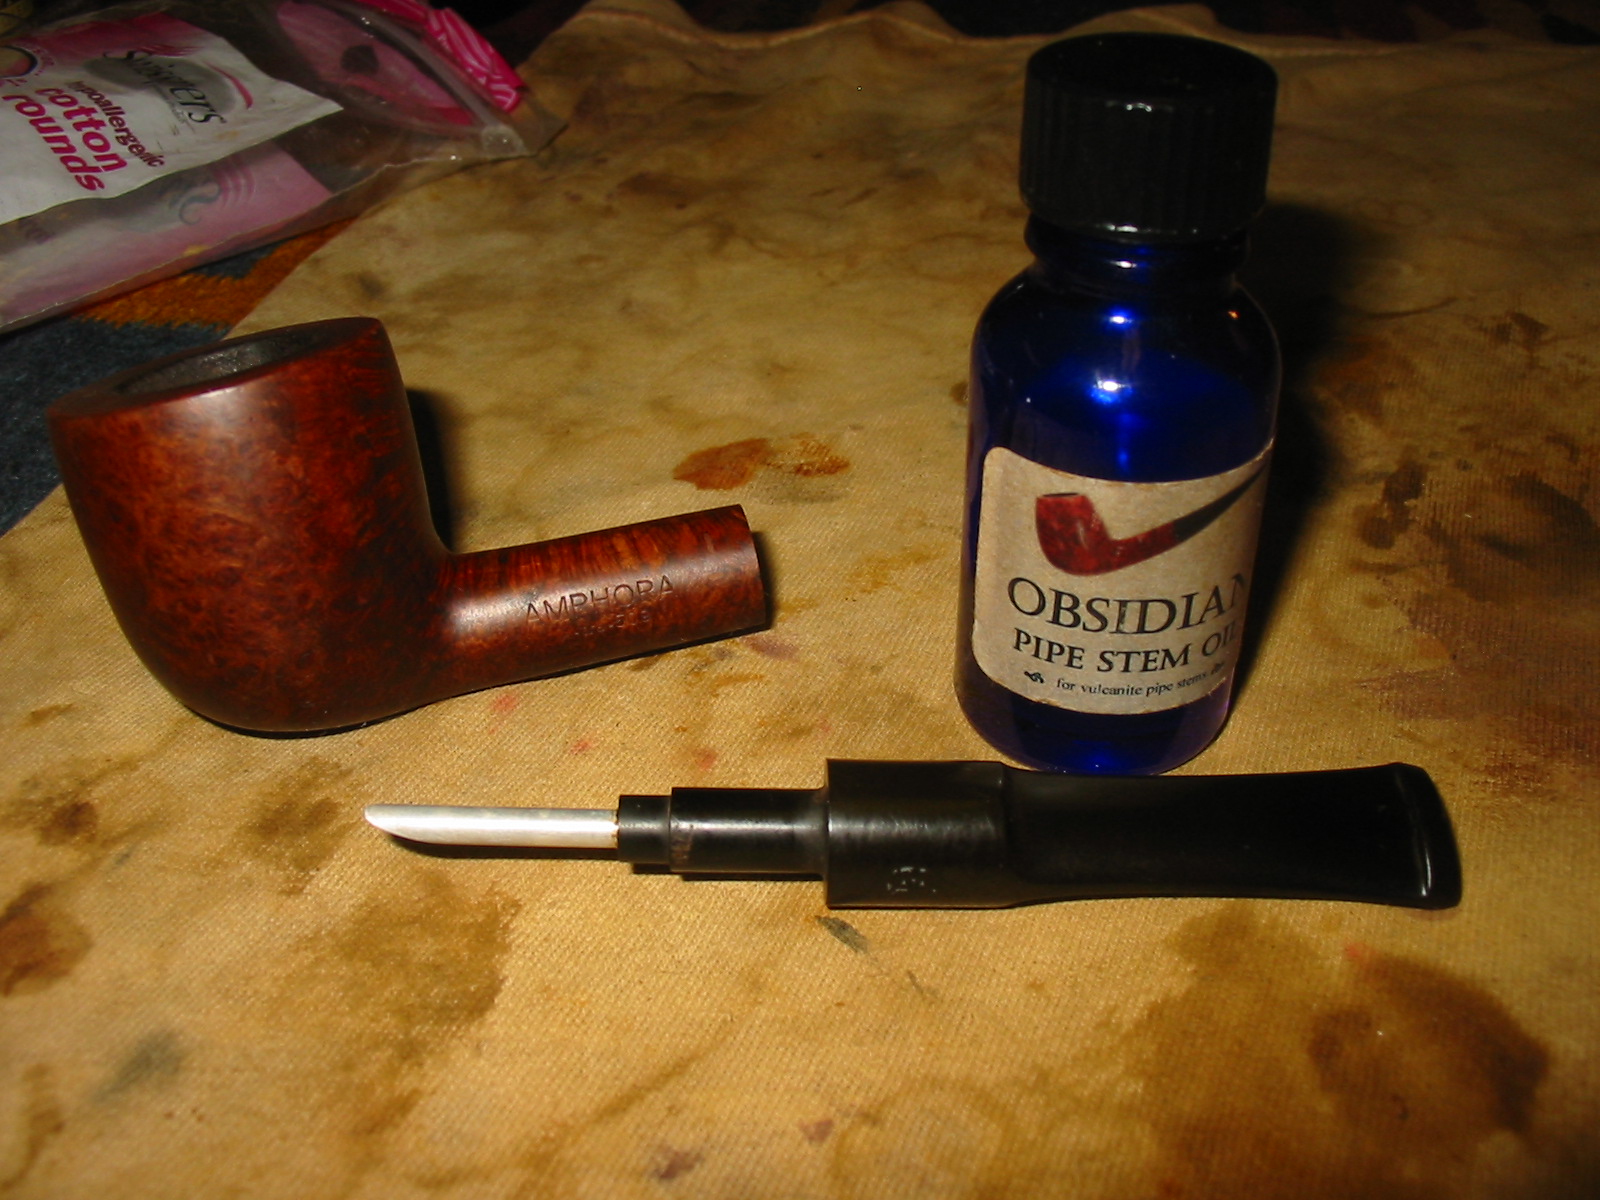
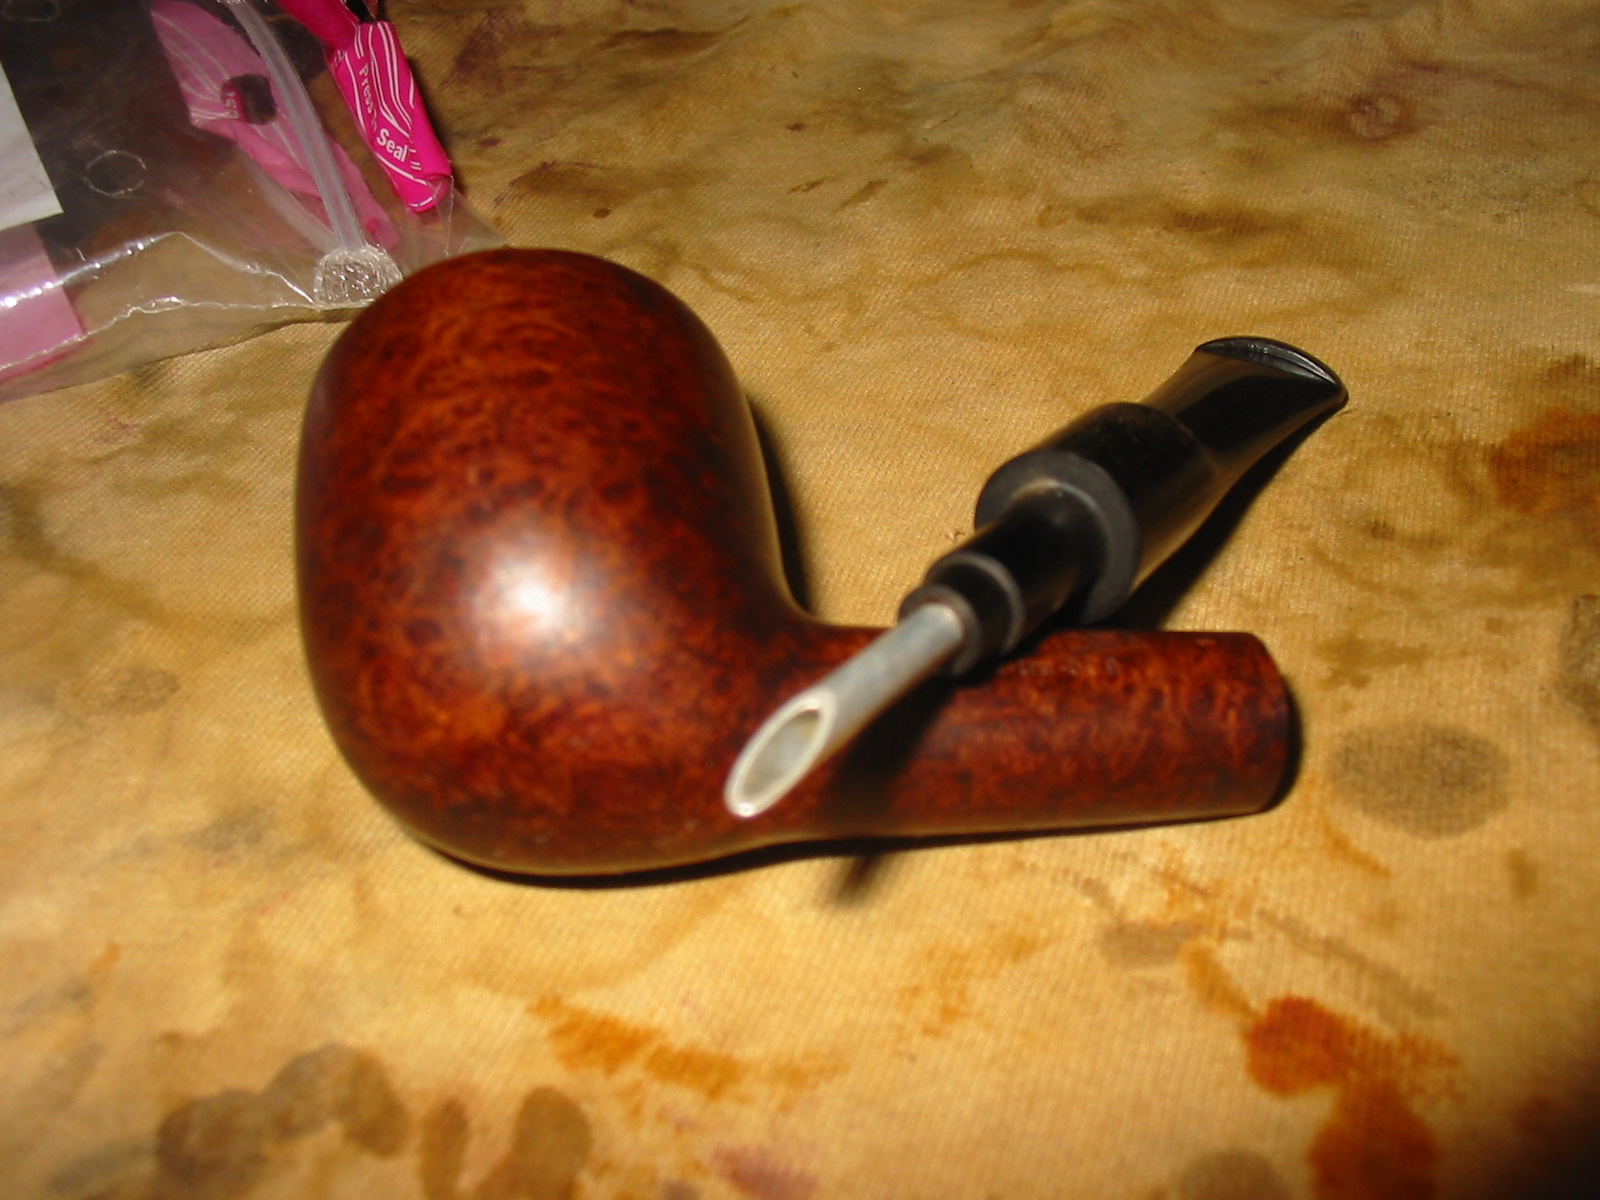
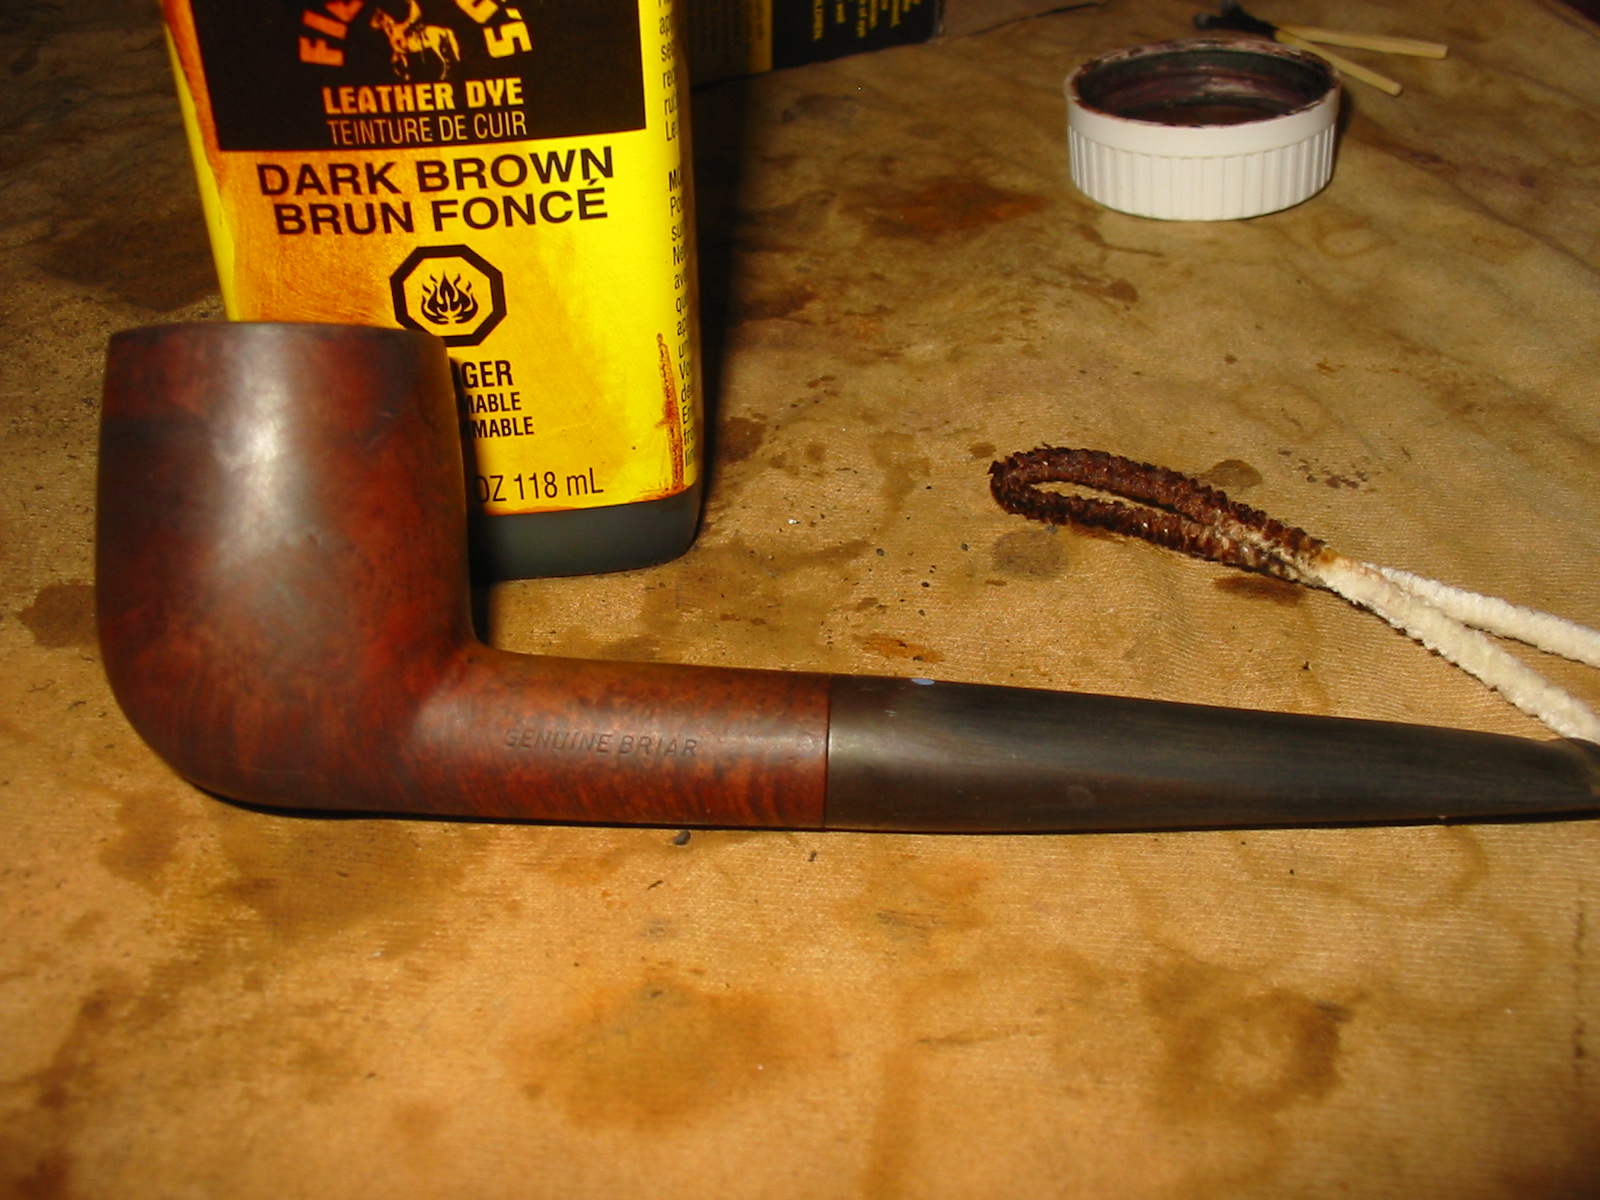
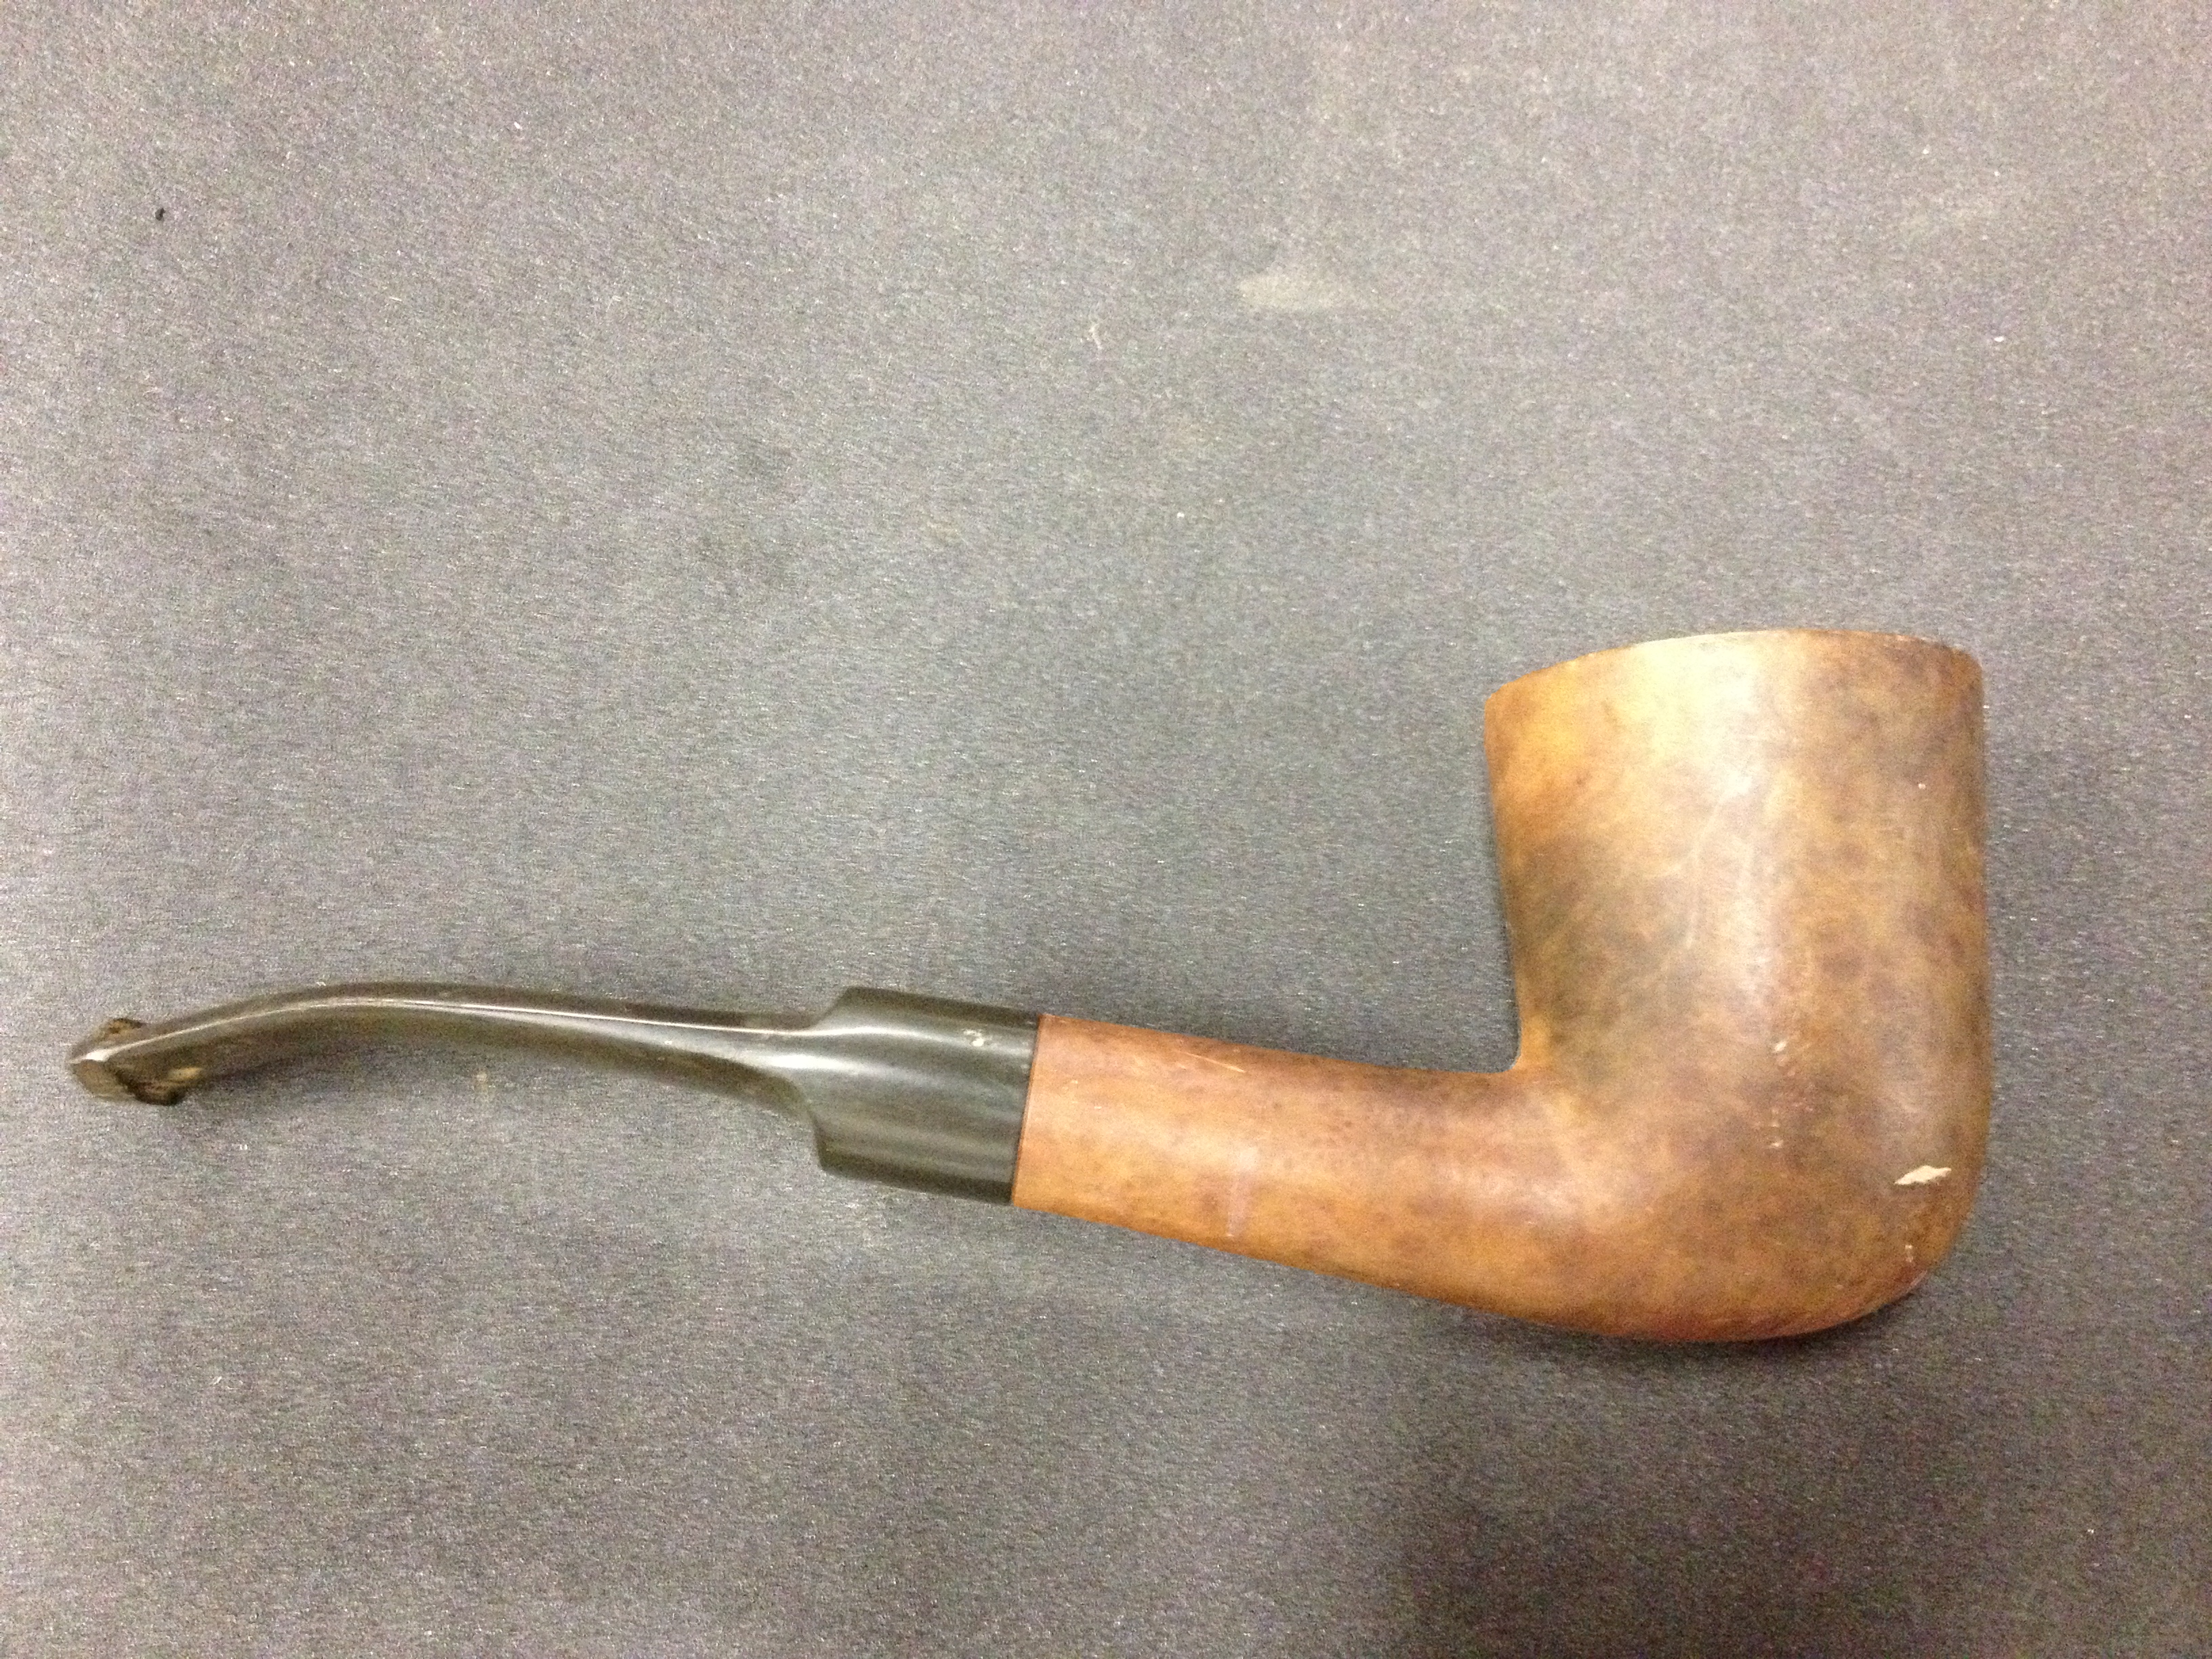
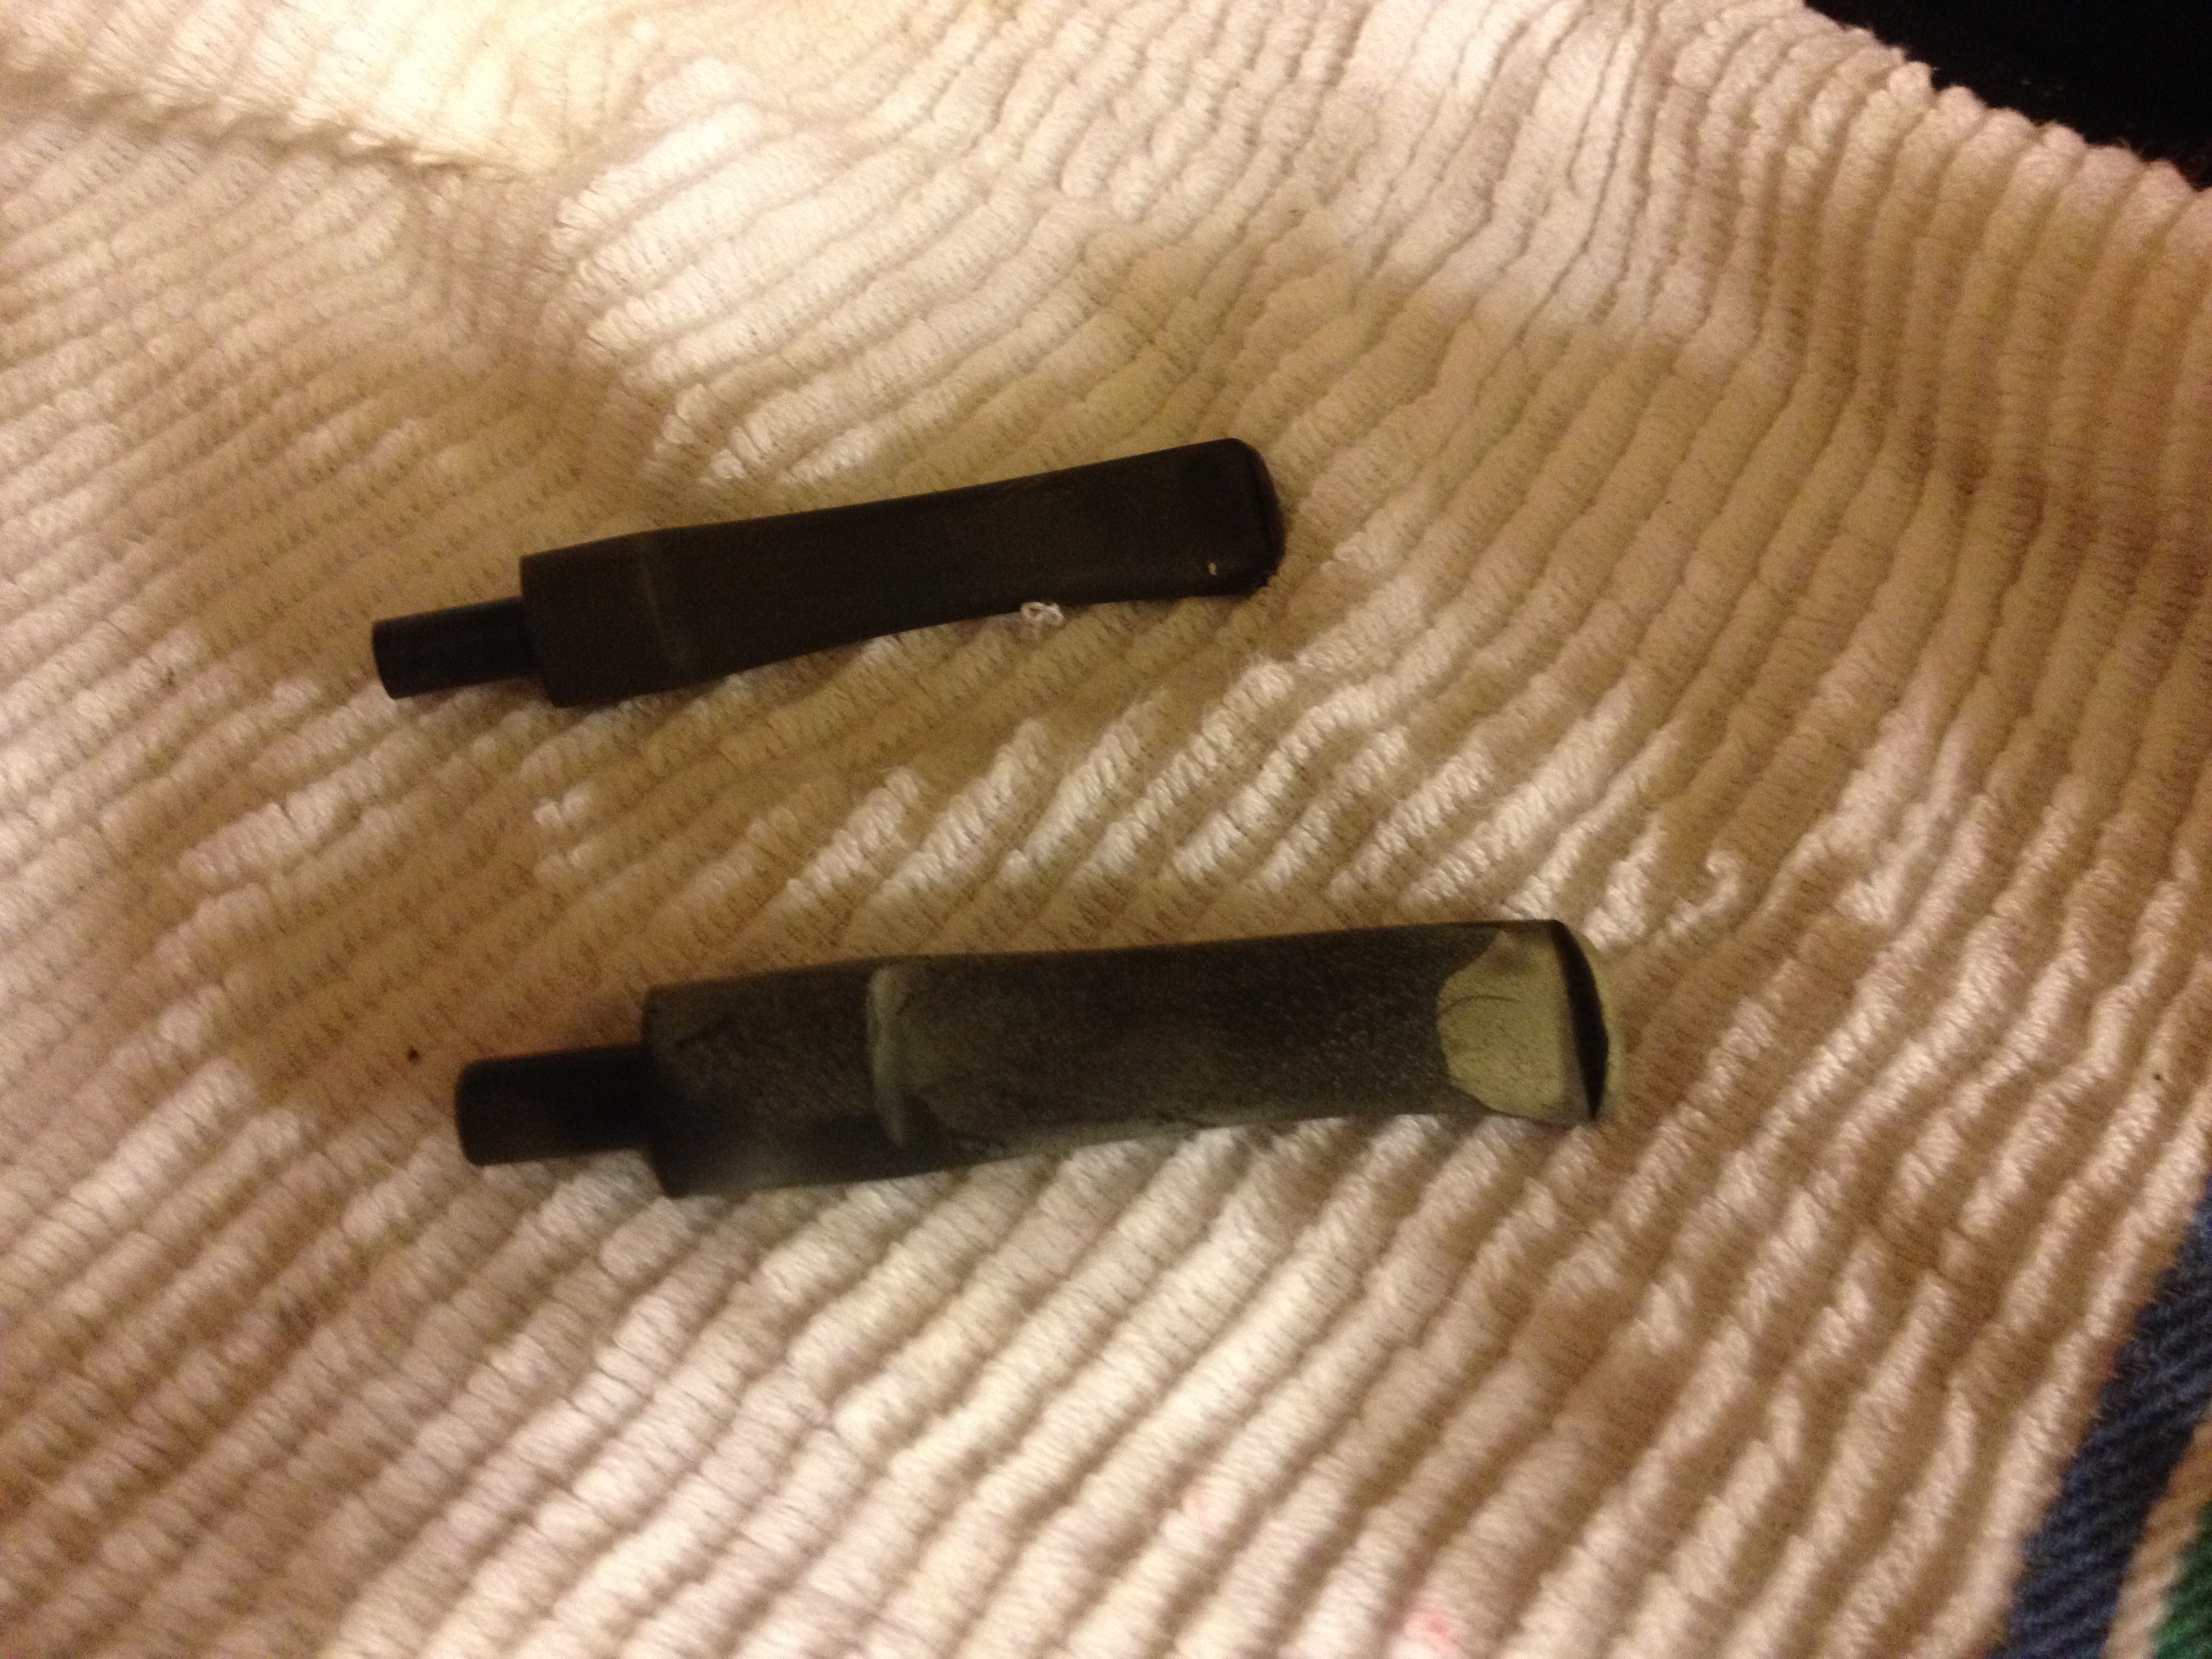
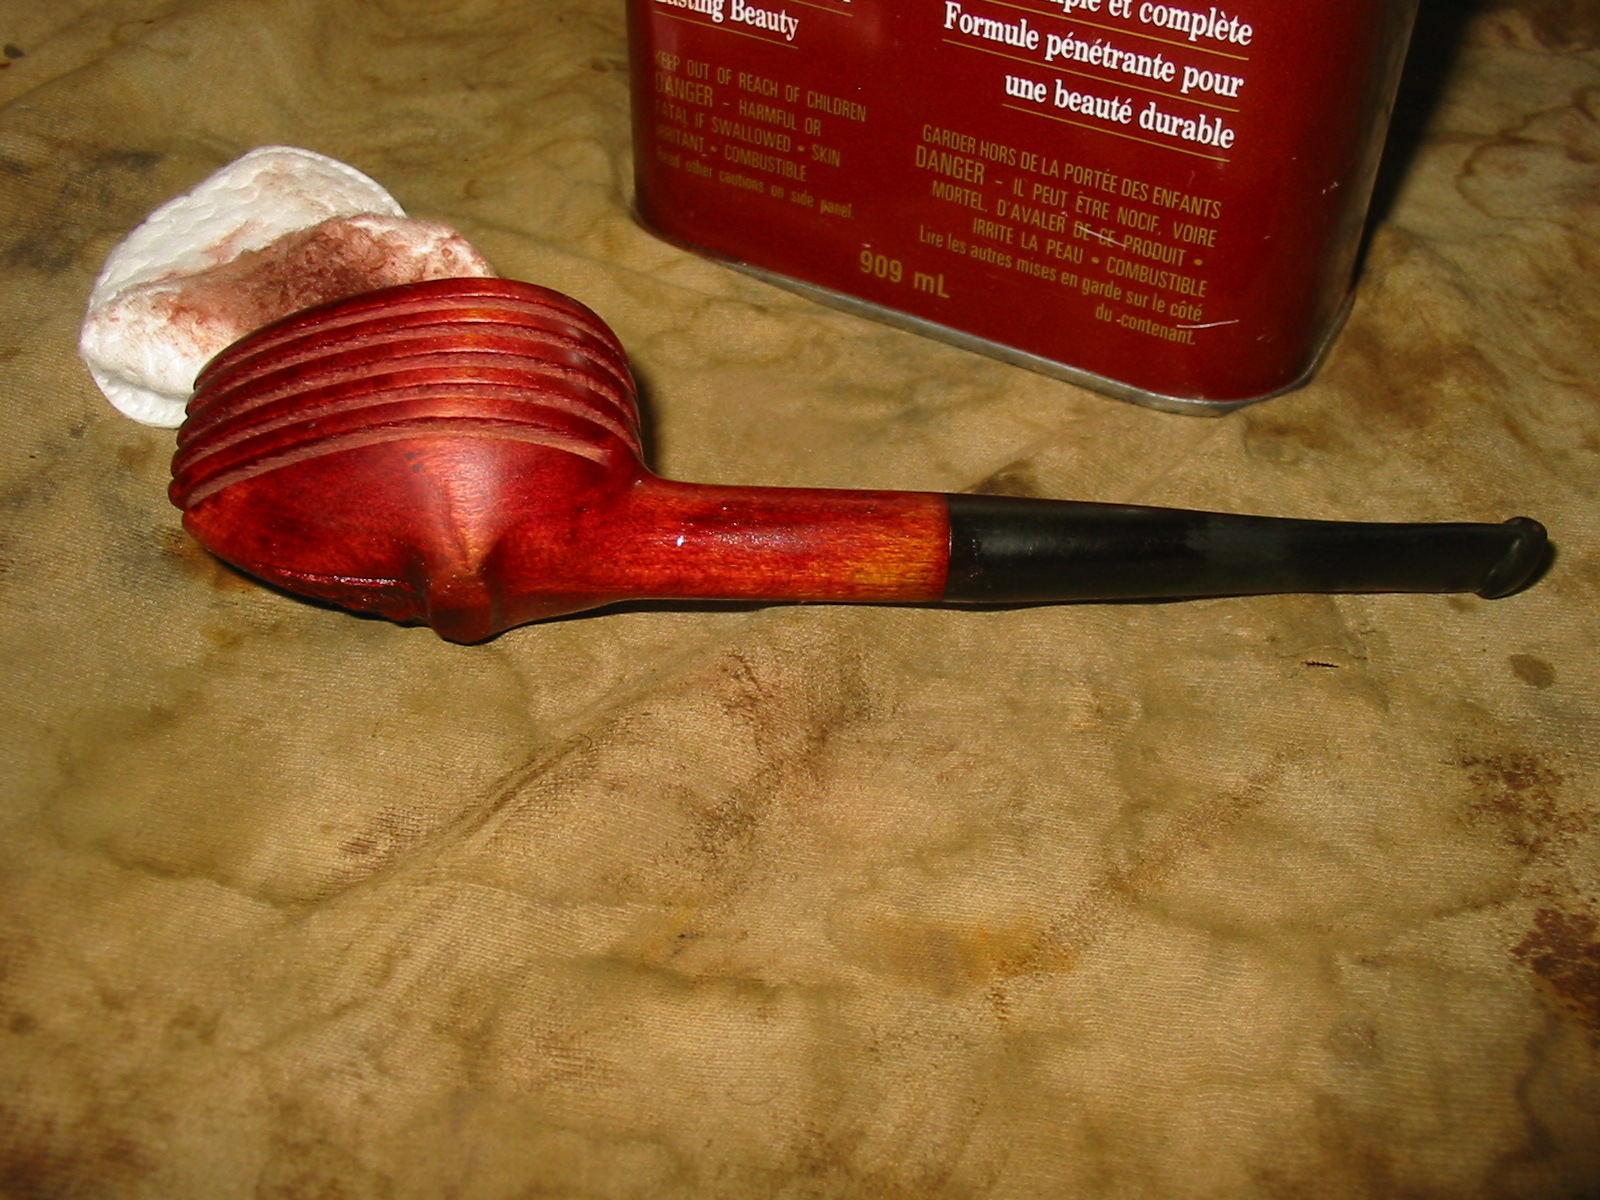
I then set the bowl aside and went to work on fitting a new stem to the bowl and shank. In the first photo below I have the new stem blank fit to the shank. It still needs work to make the diameters match. The stem is about an inch shorter and brings the pipe back to the original length as noted from my online work. I also think that proportionally it works better with the elongated bowl and shank than the one that came with it.
IMG_2436

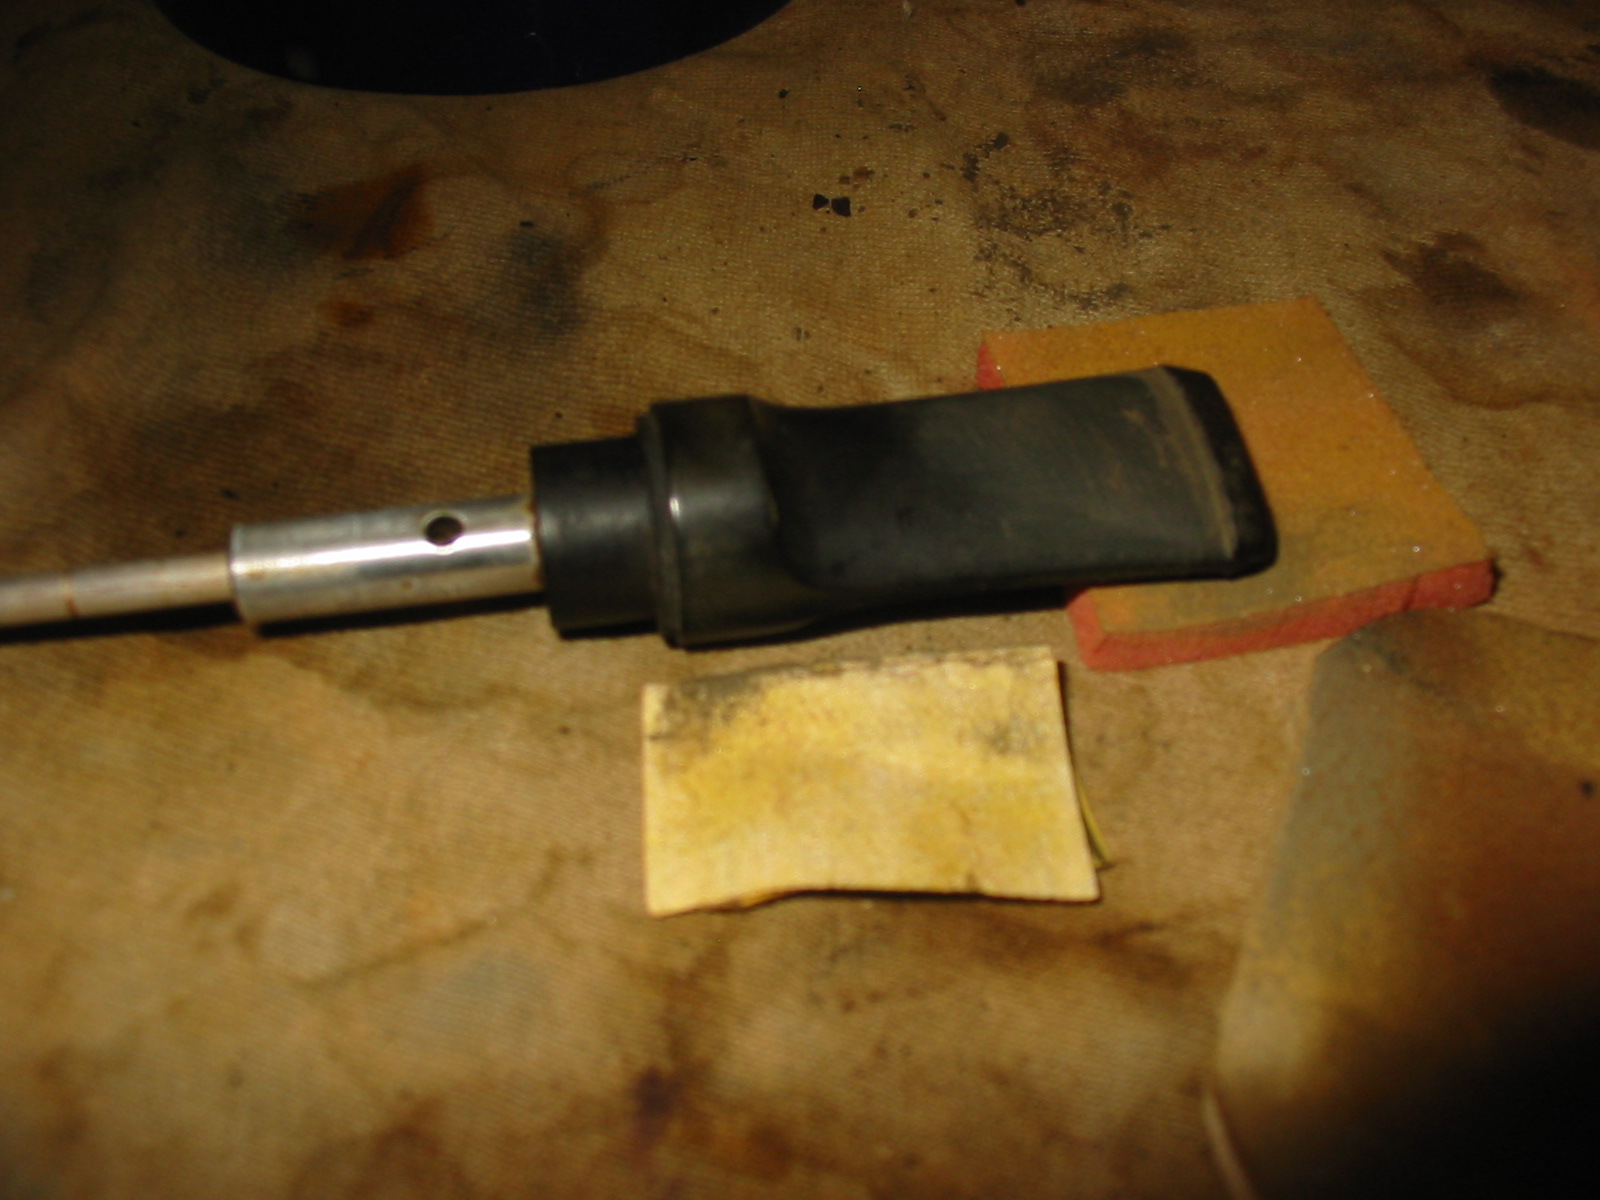
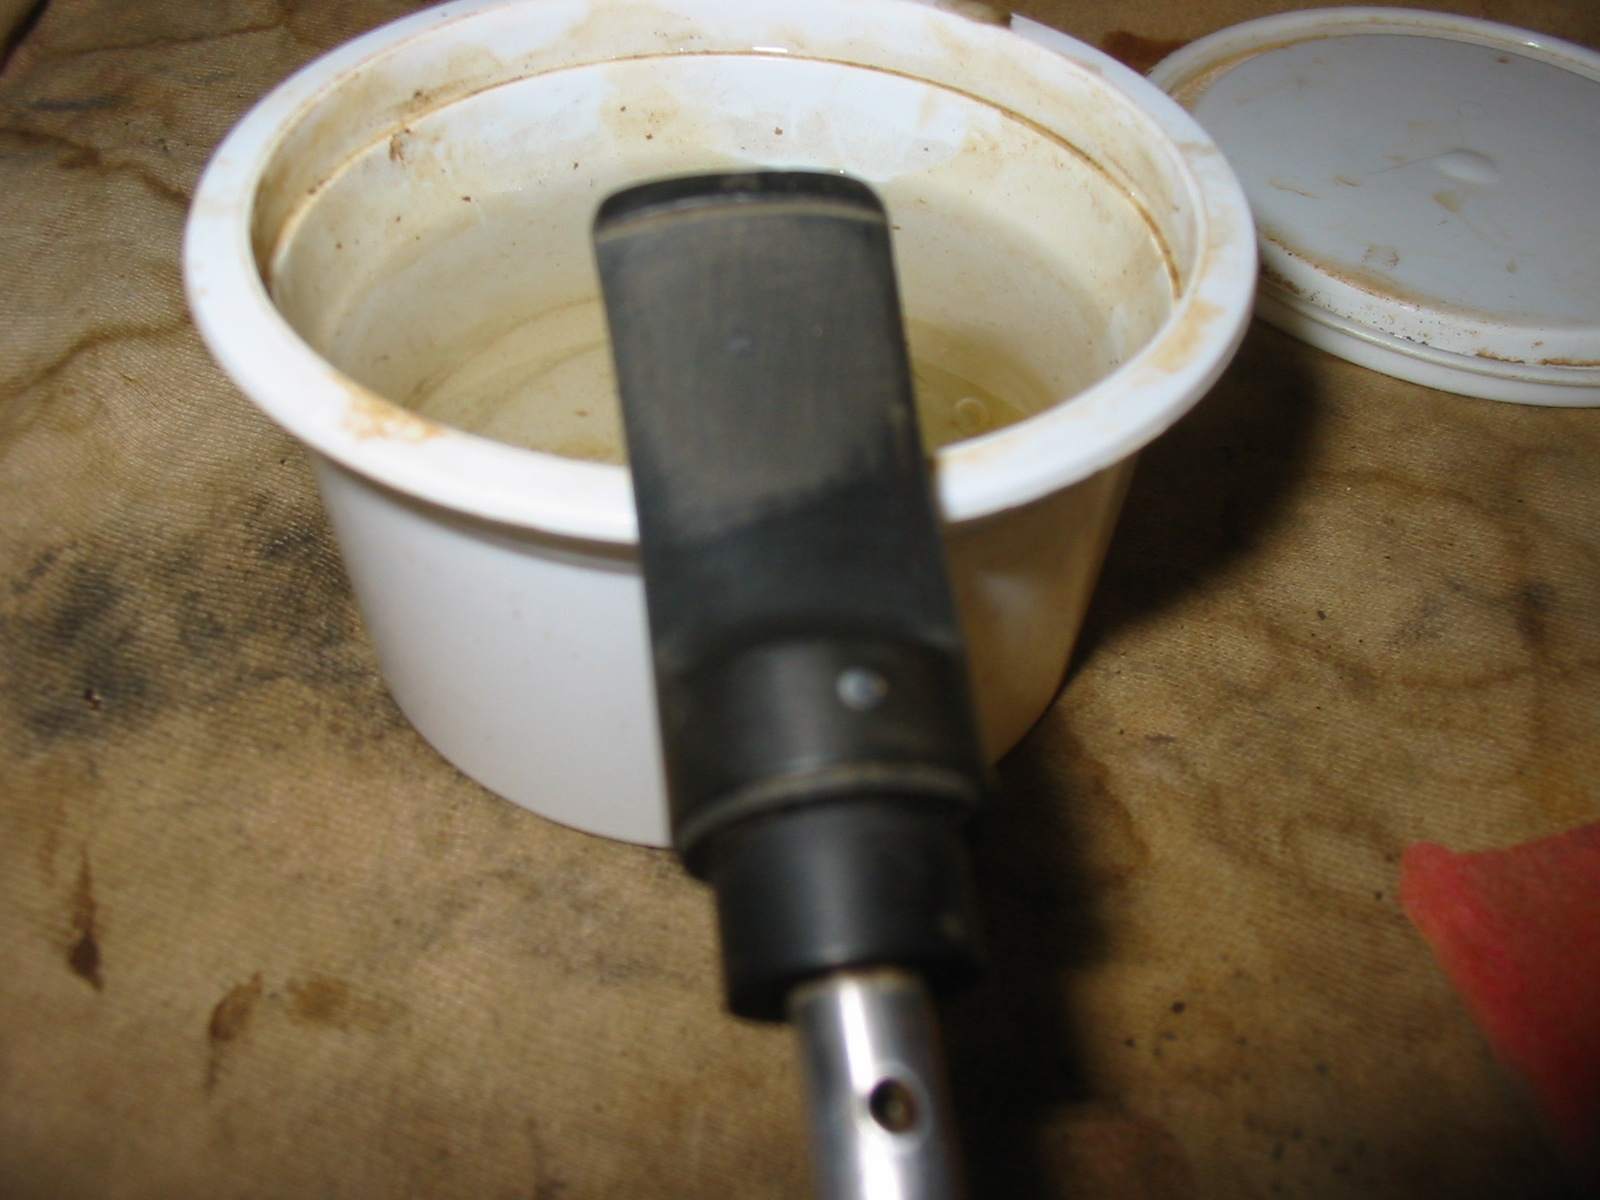
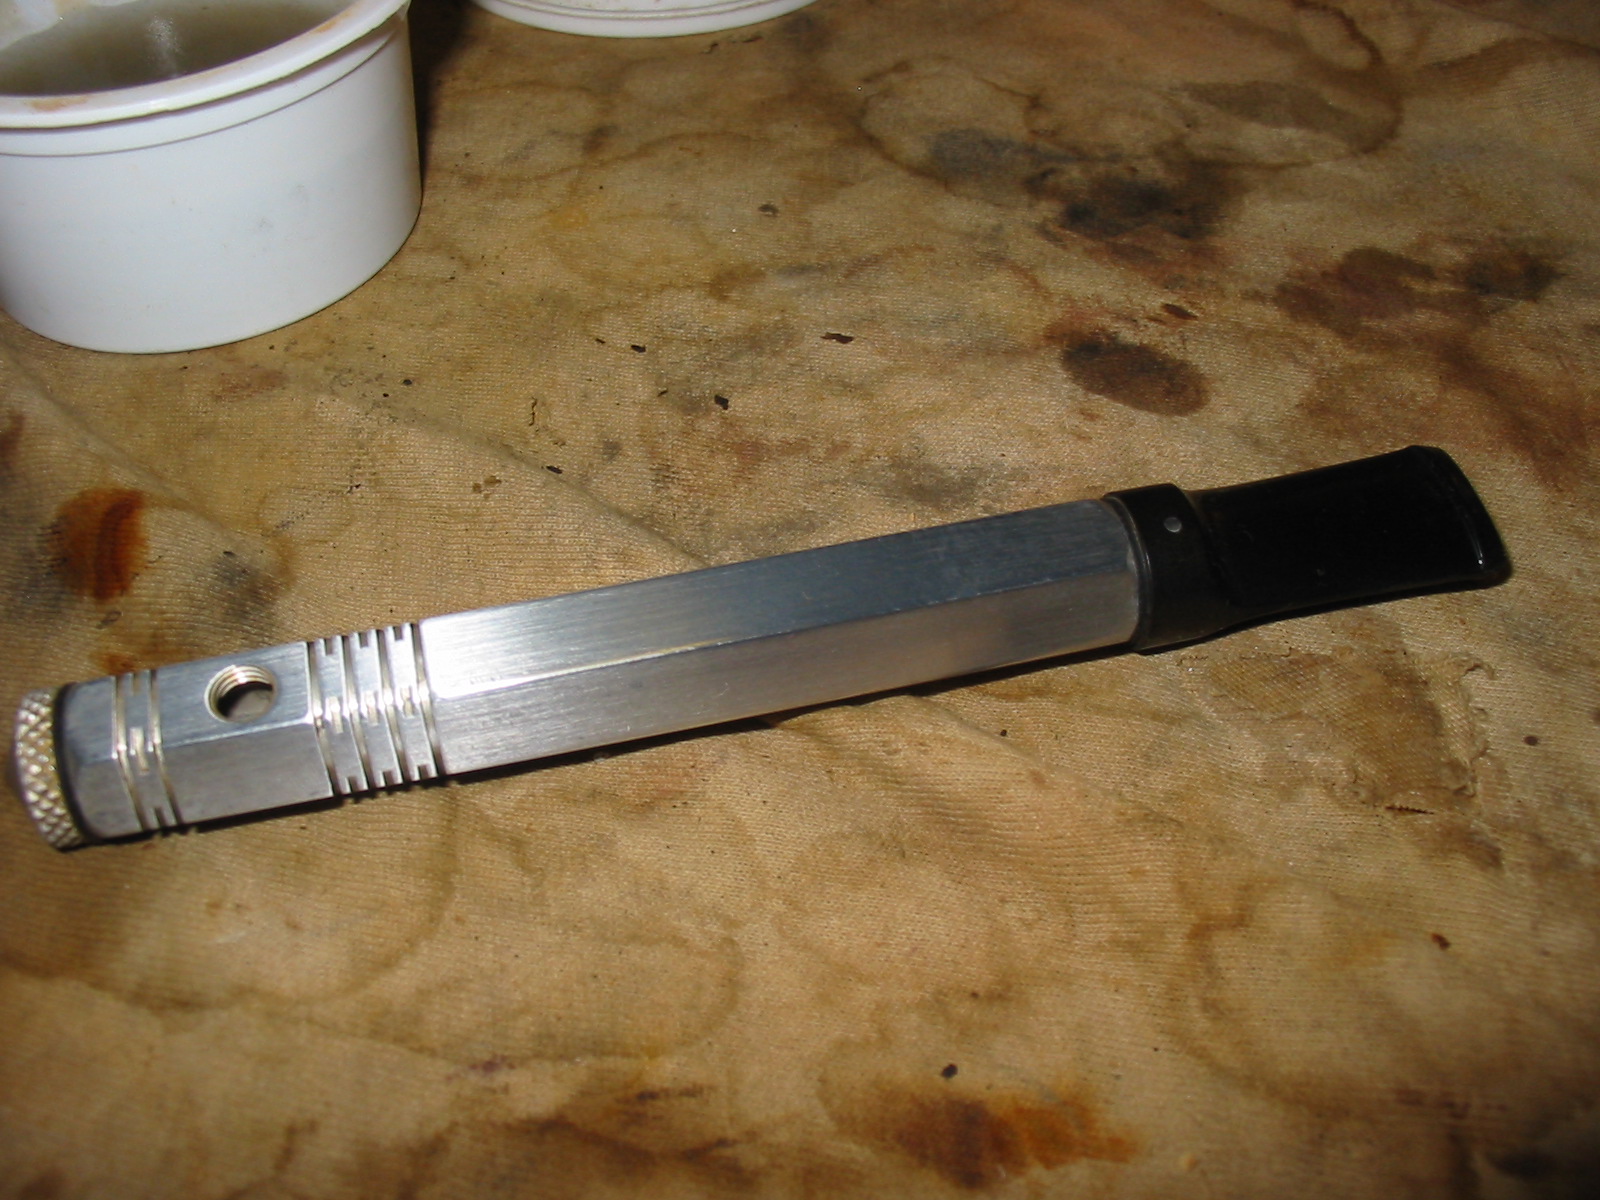
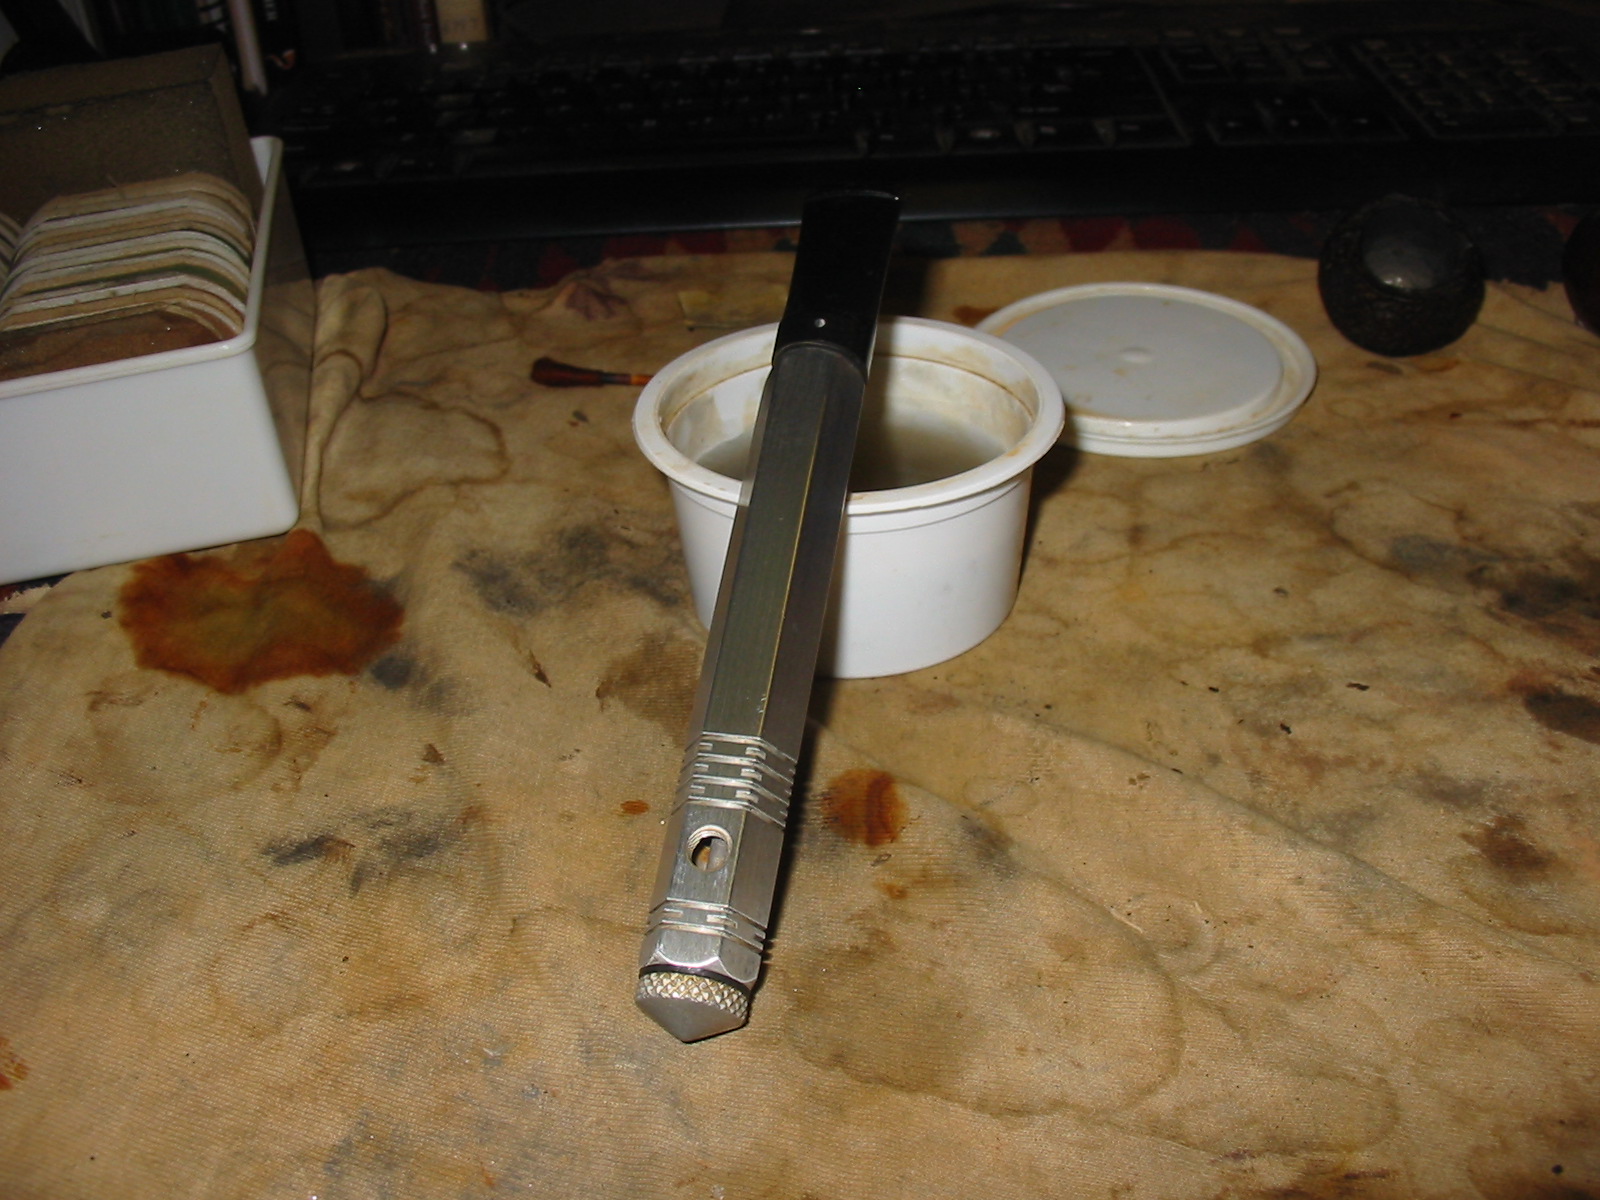
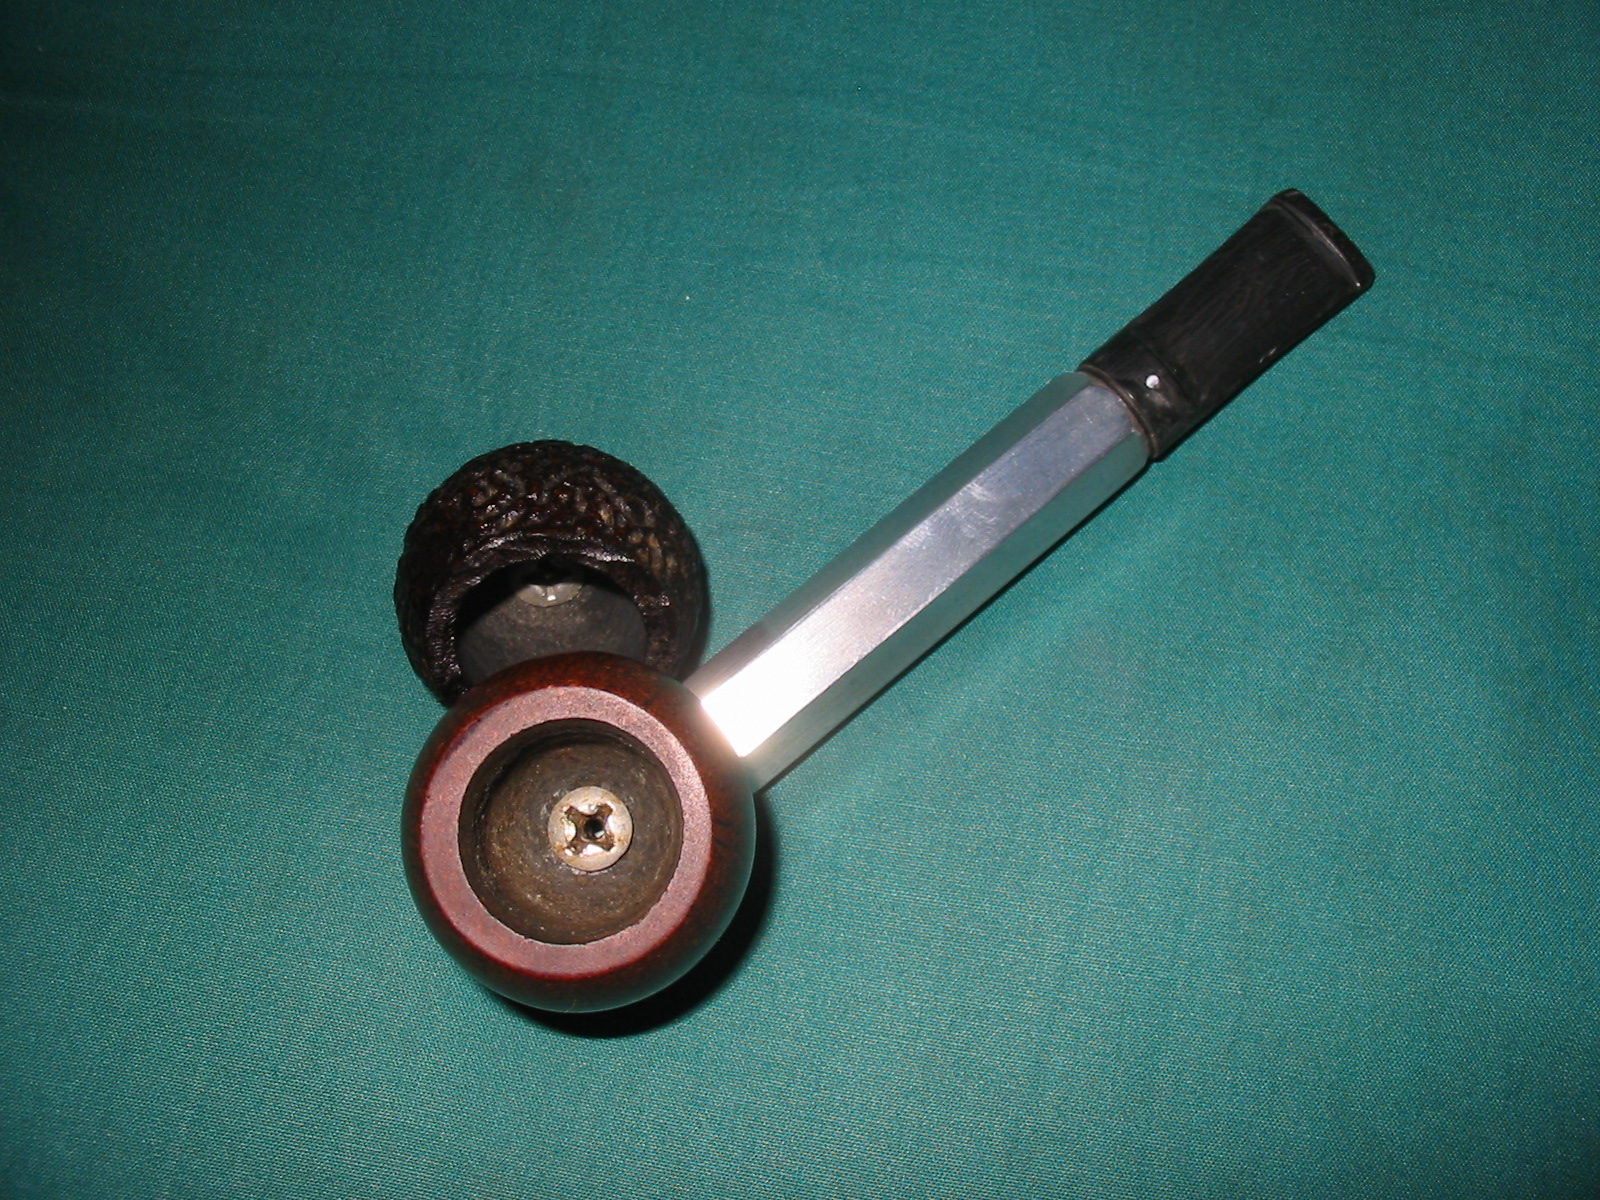
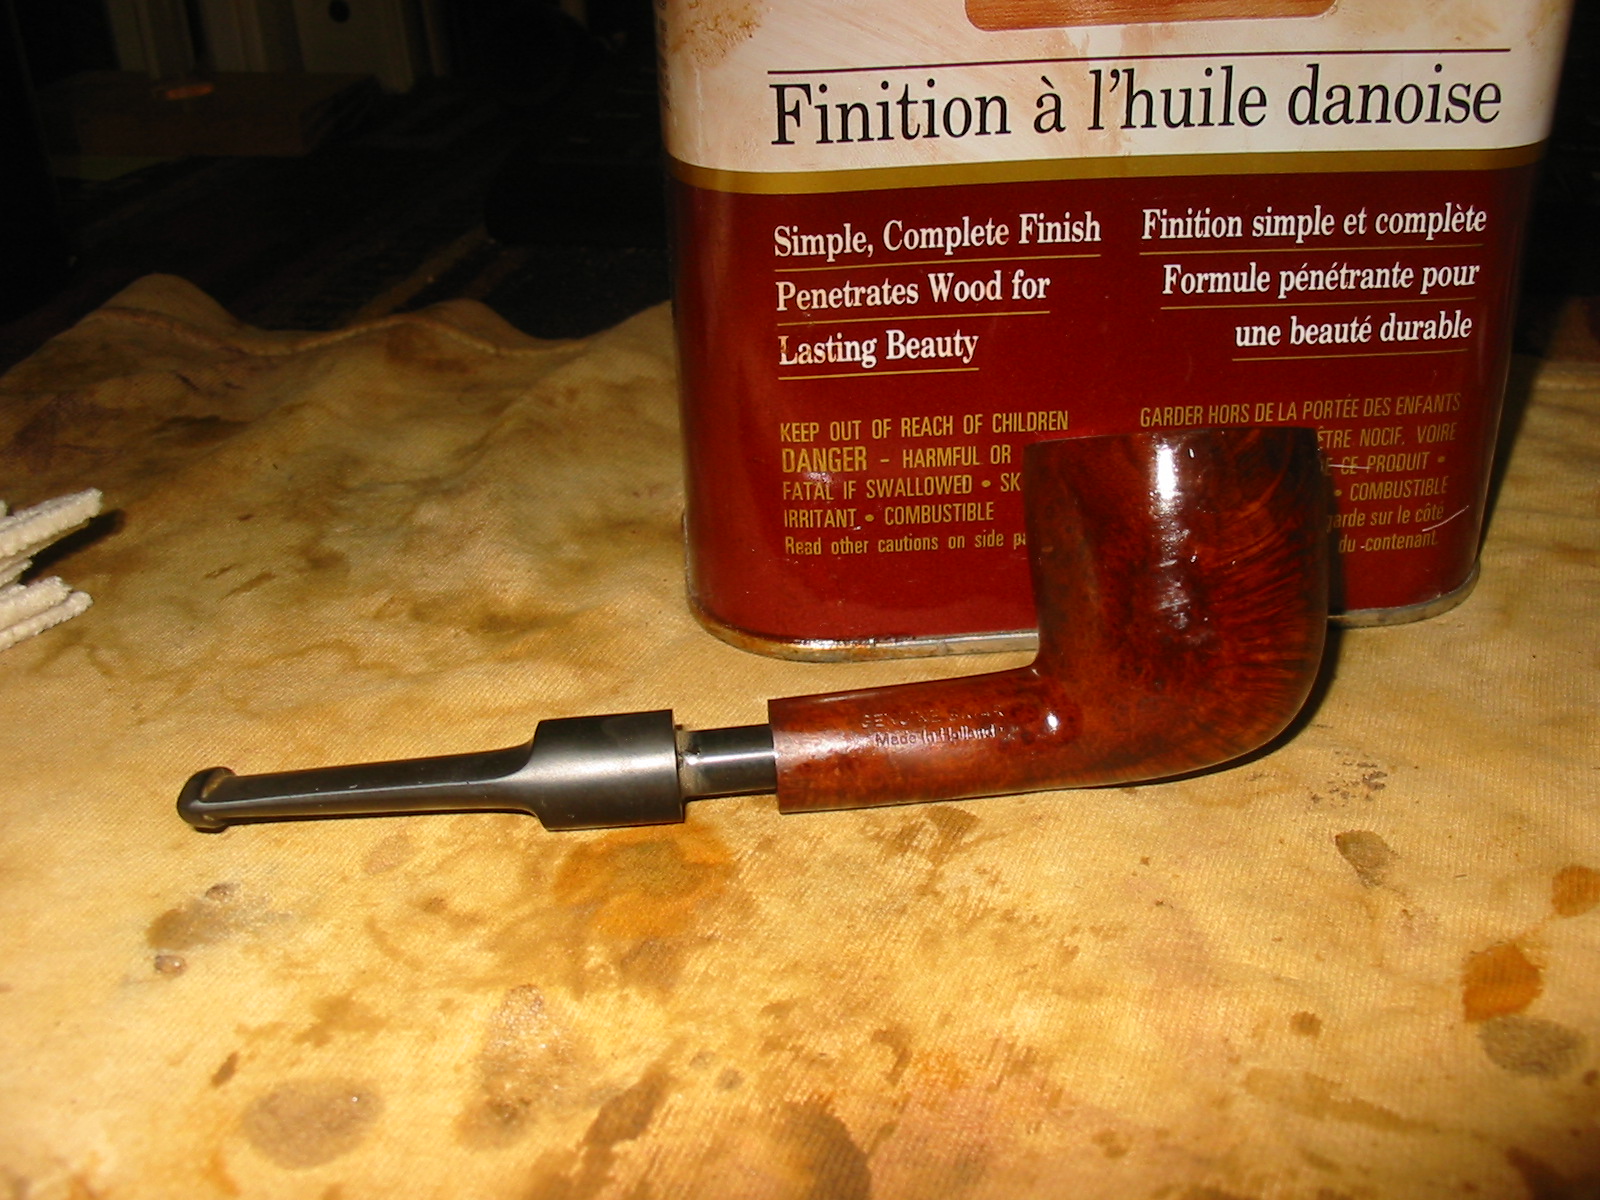
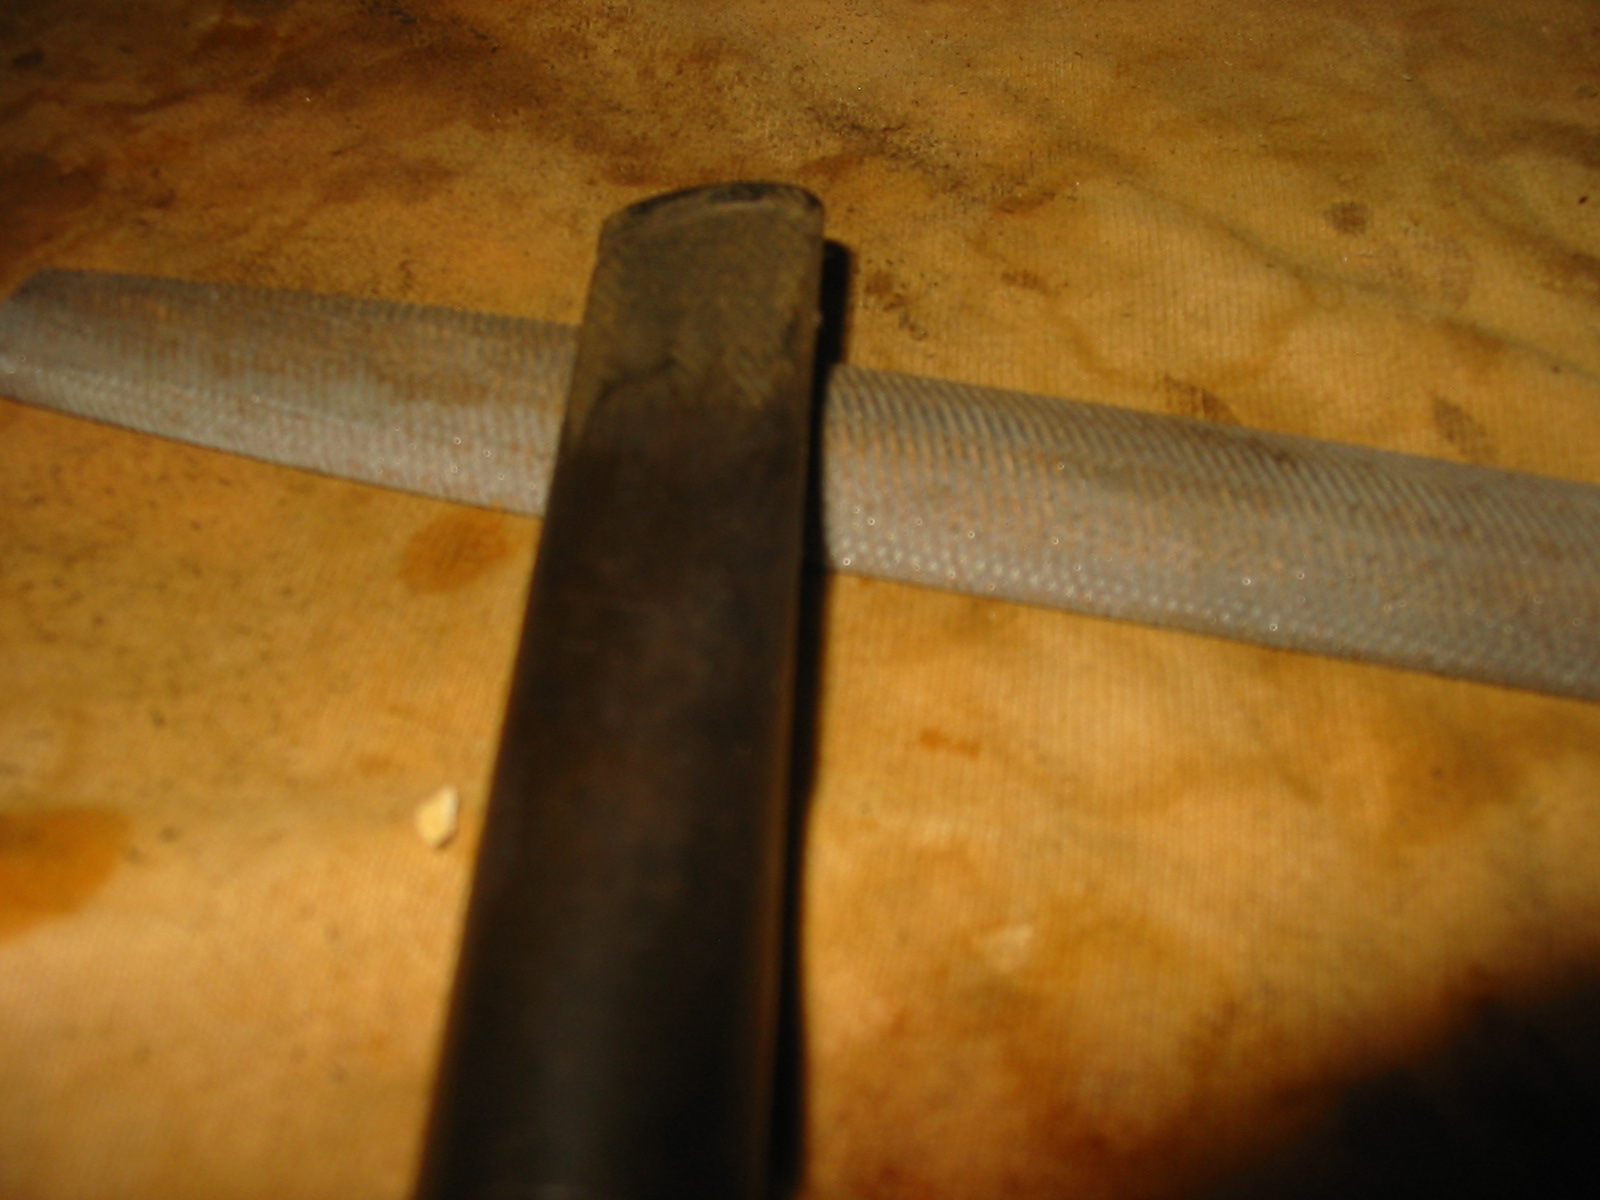
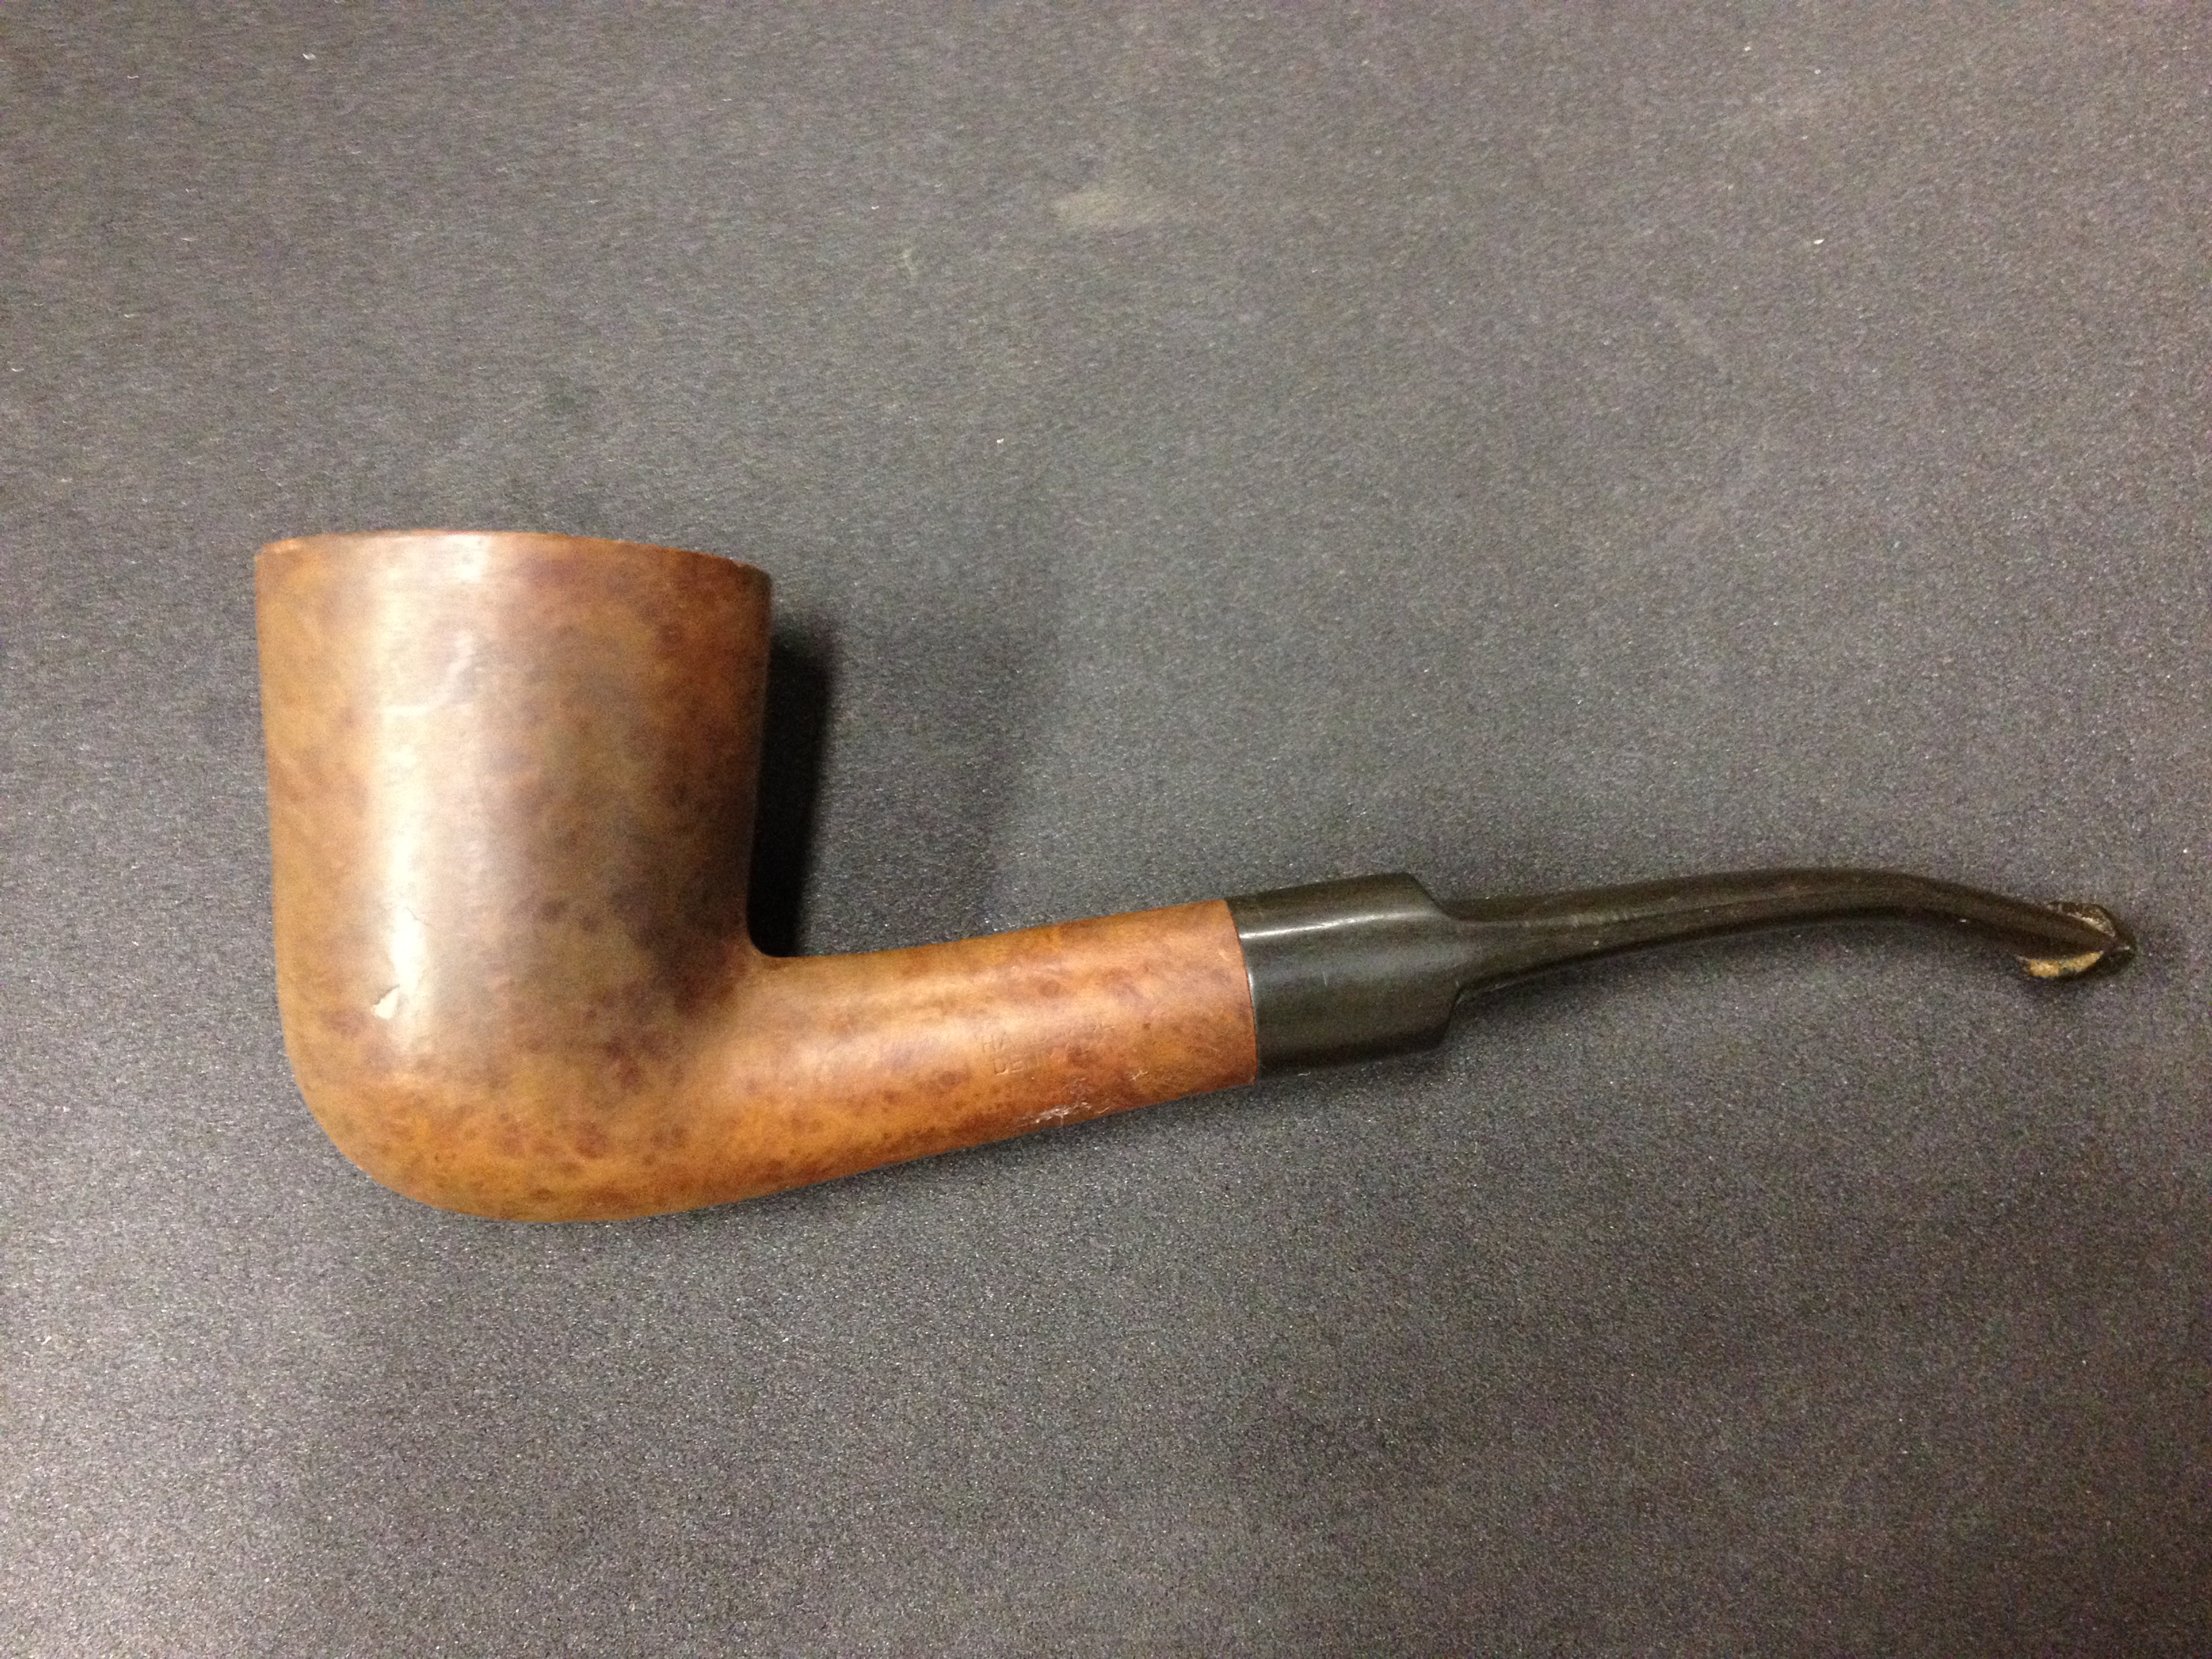
In order to get the fit good and tight I used a sanding block to make sure that the transition between the bowl and shank was smooth. This entailed sanding the shank slightly in the process. In the next series of four photos below the fit is finished. The transition is smooth and the fit is good and tight.
IMG_2437

IMG_2438

IMG_2439

IMG_2440

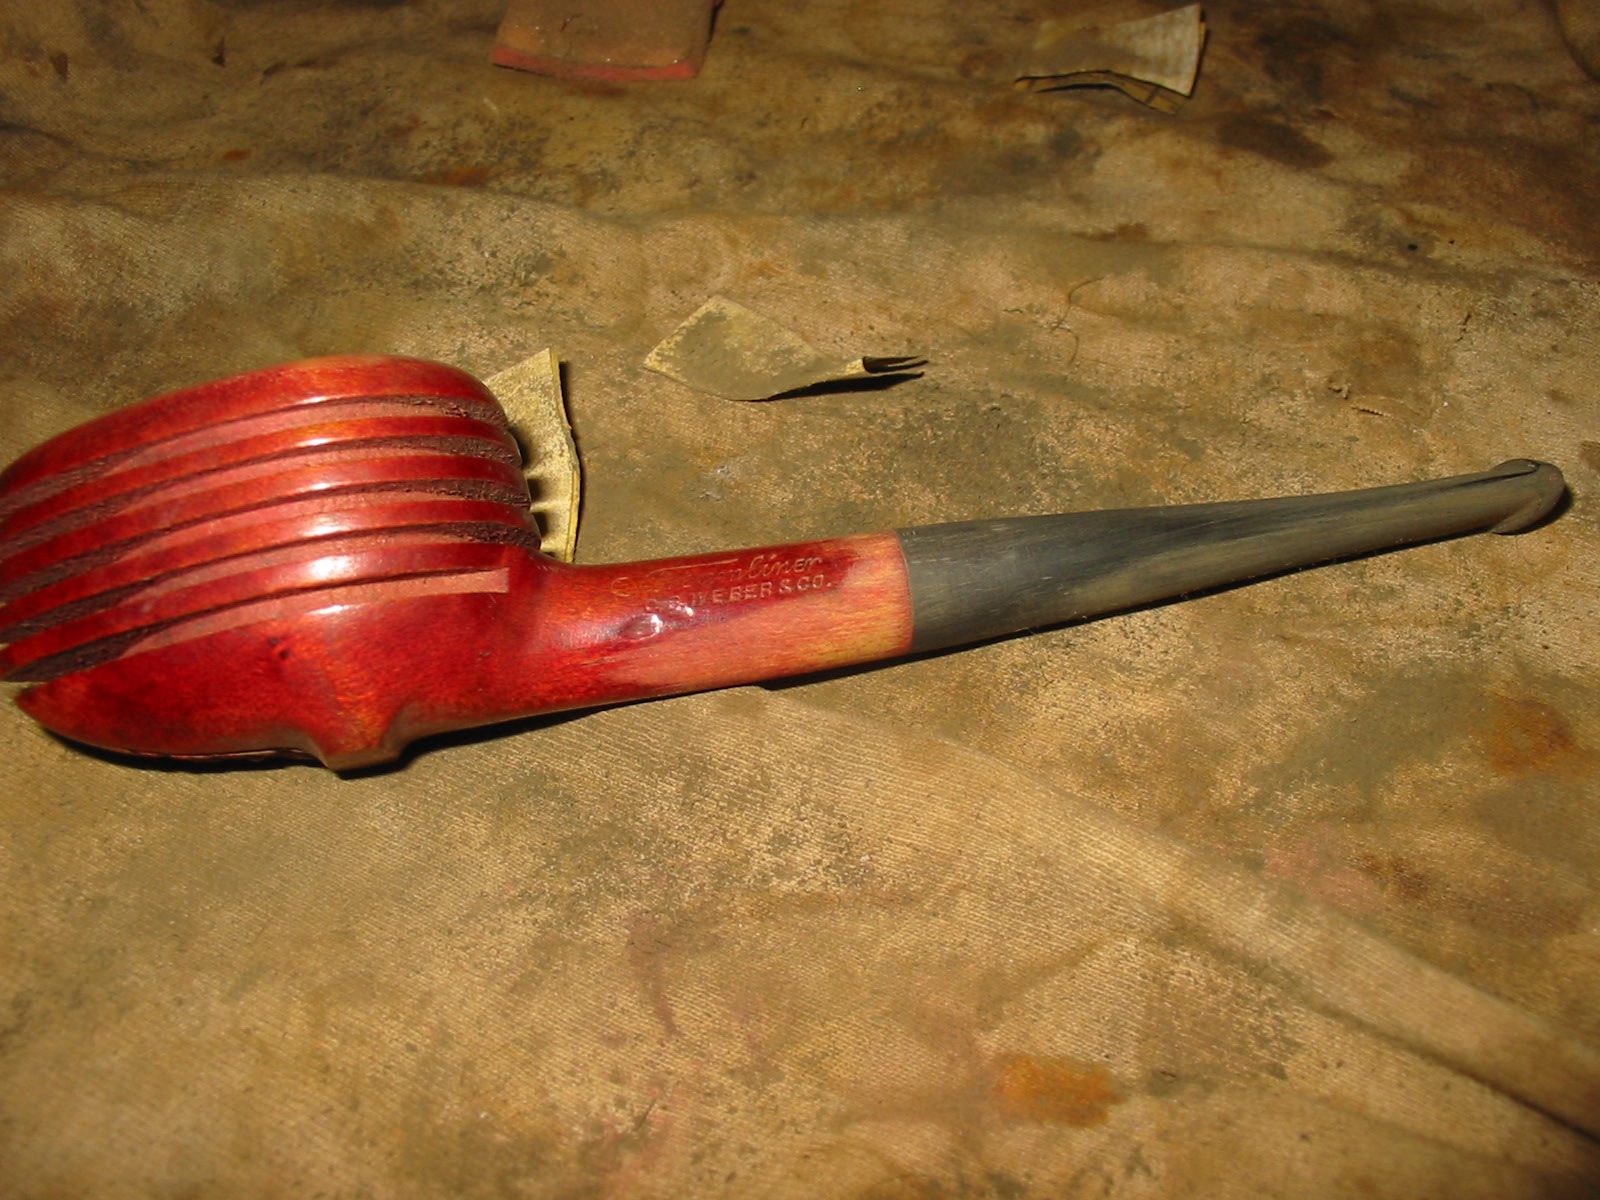
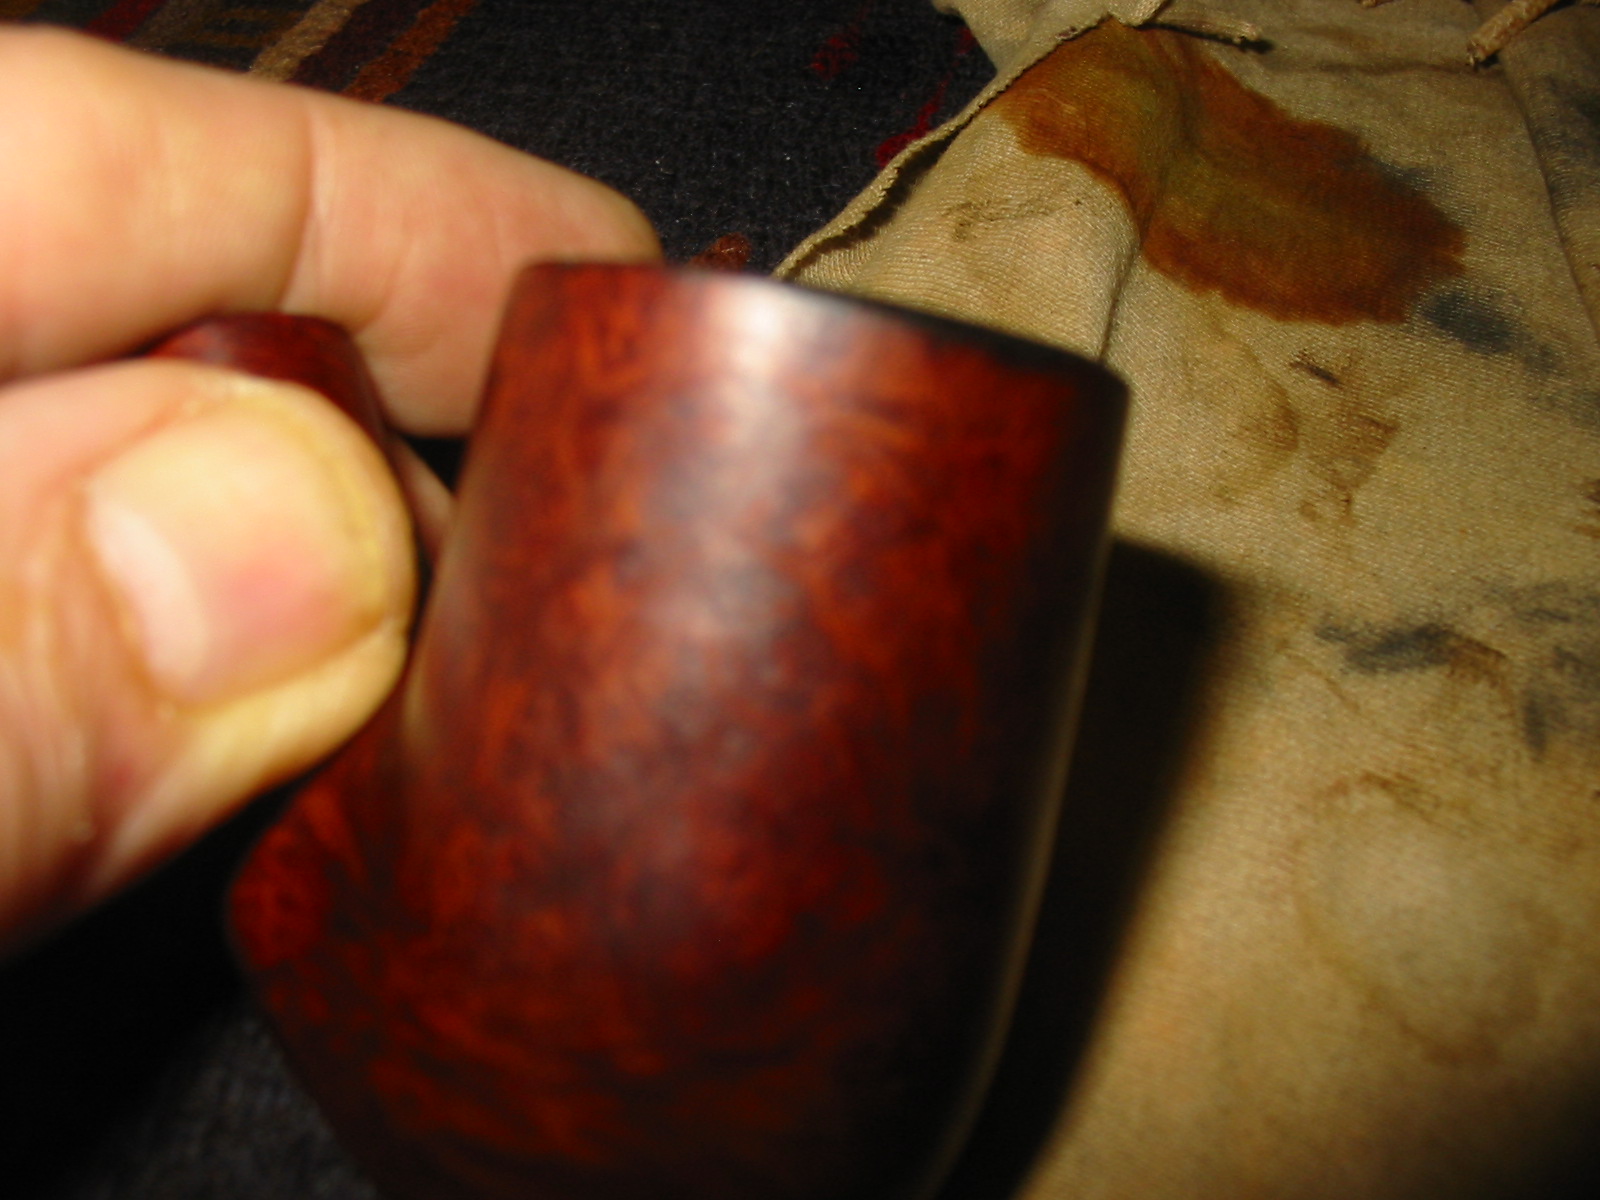
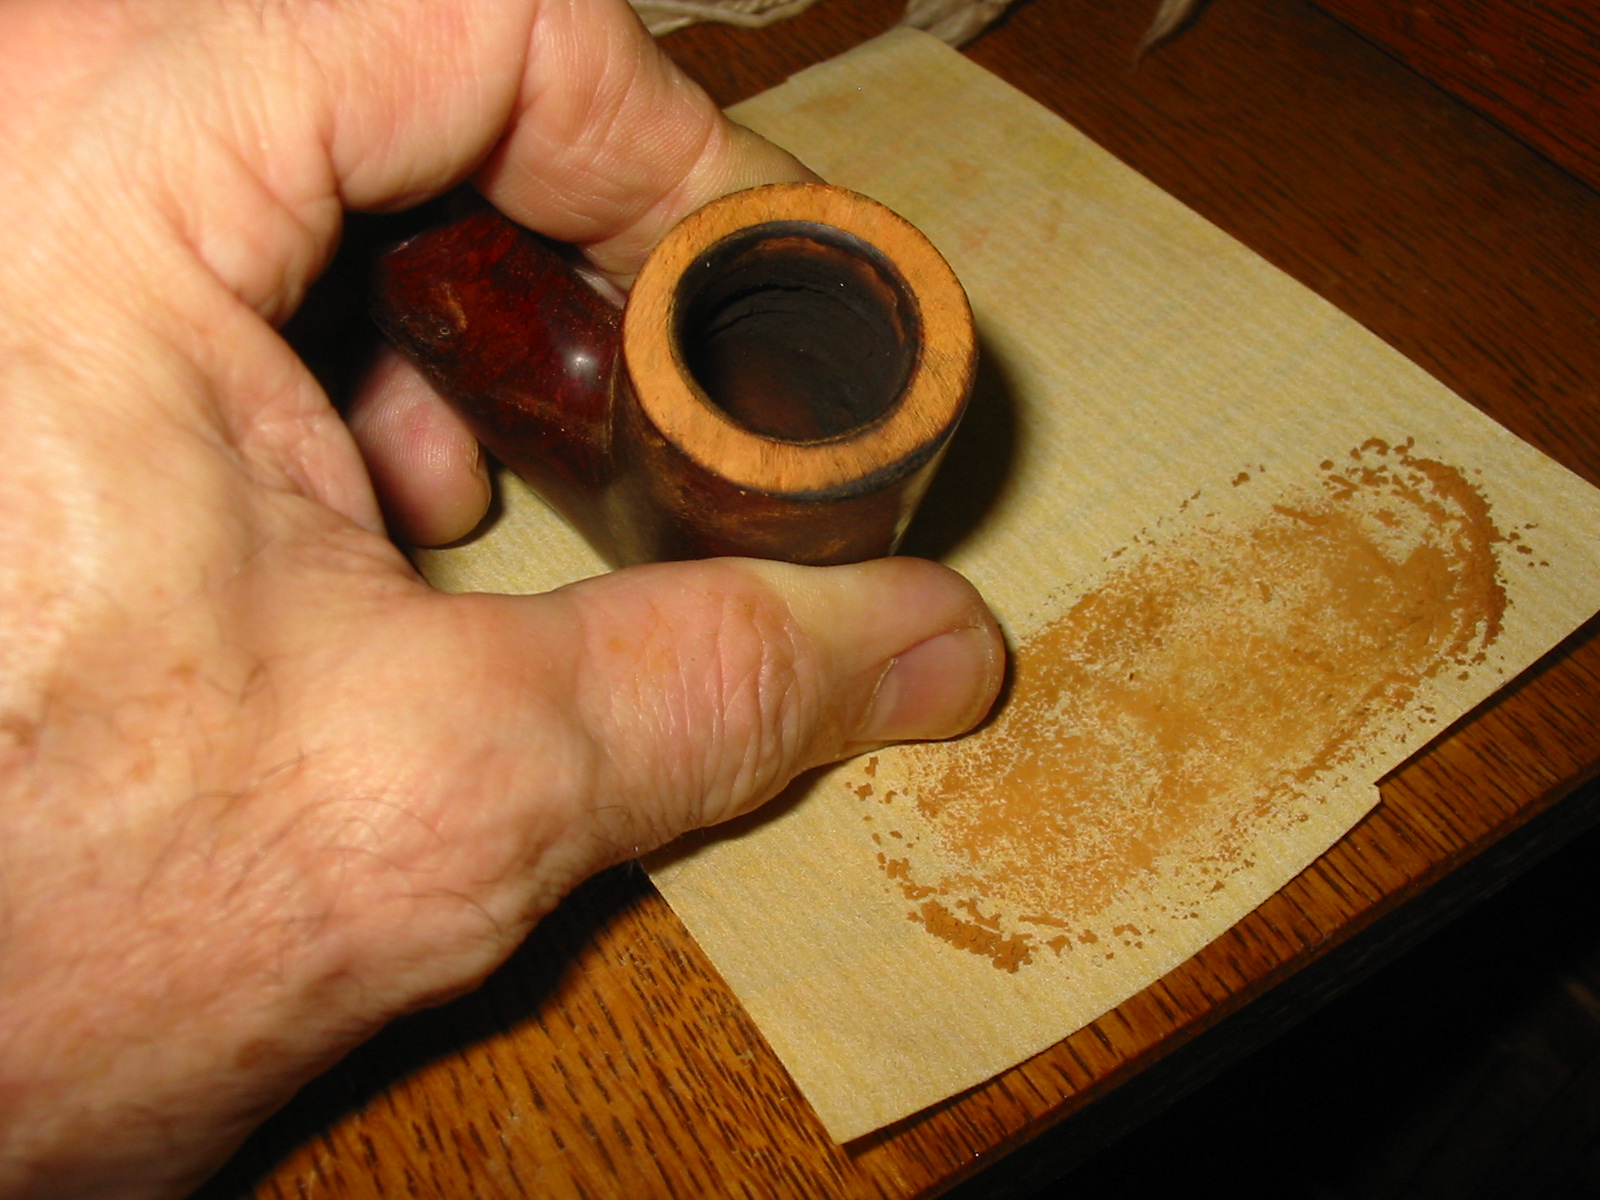
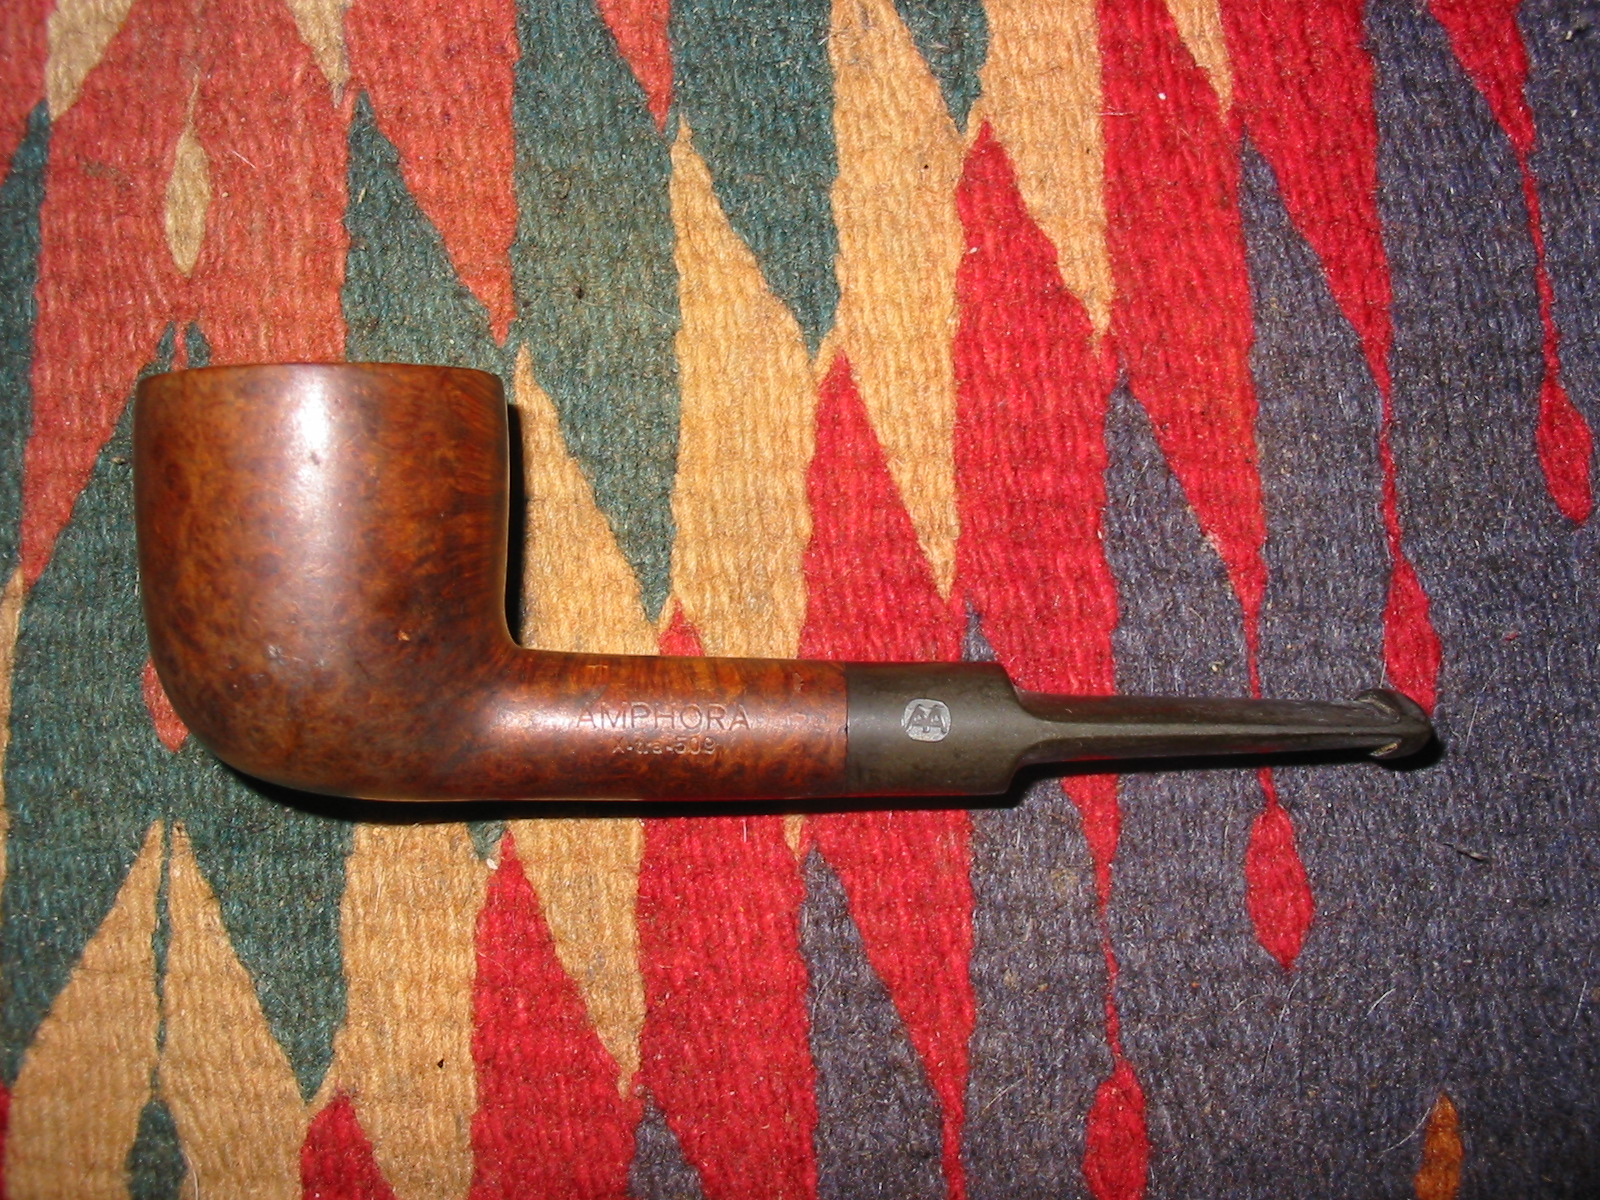
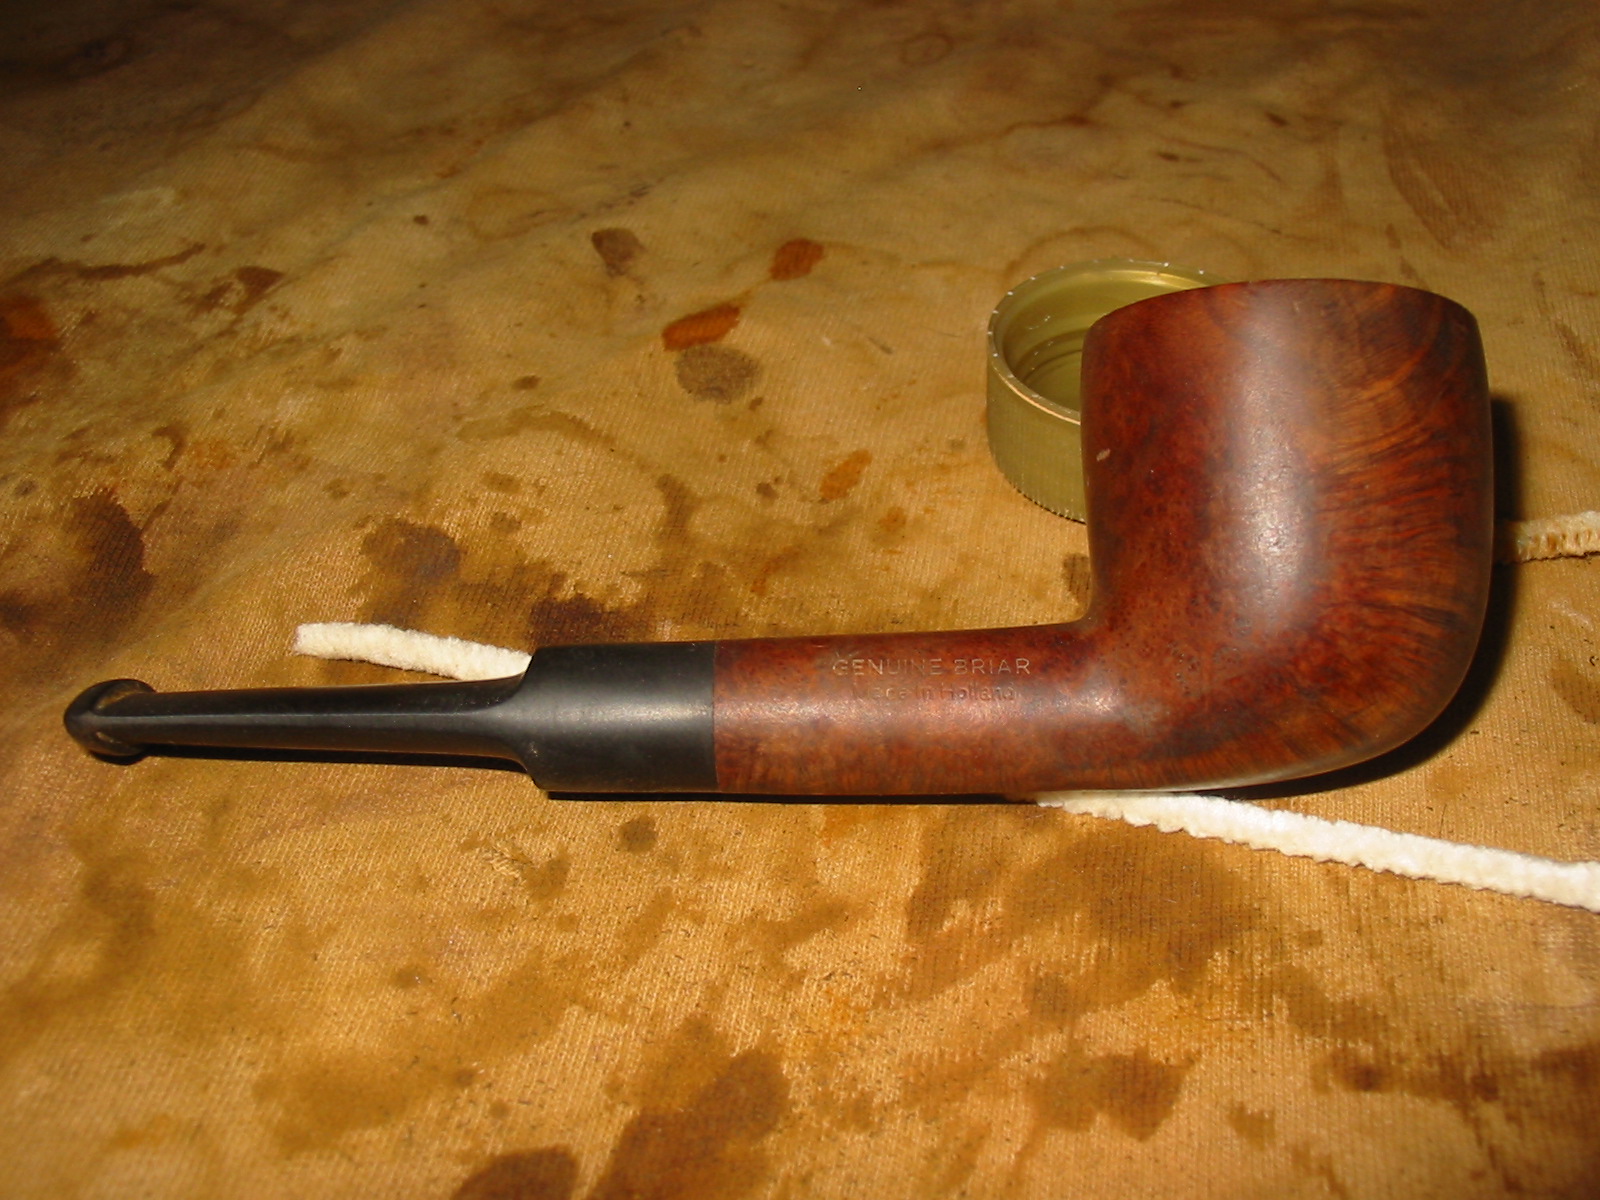
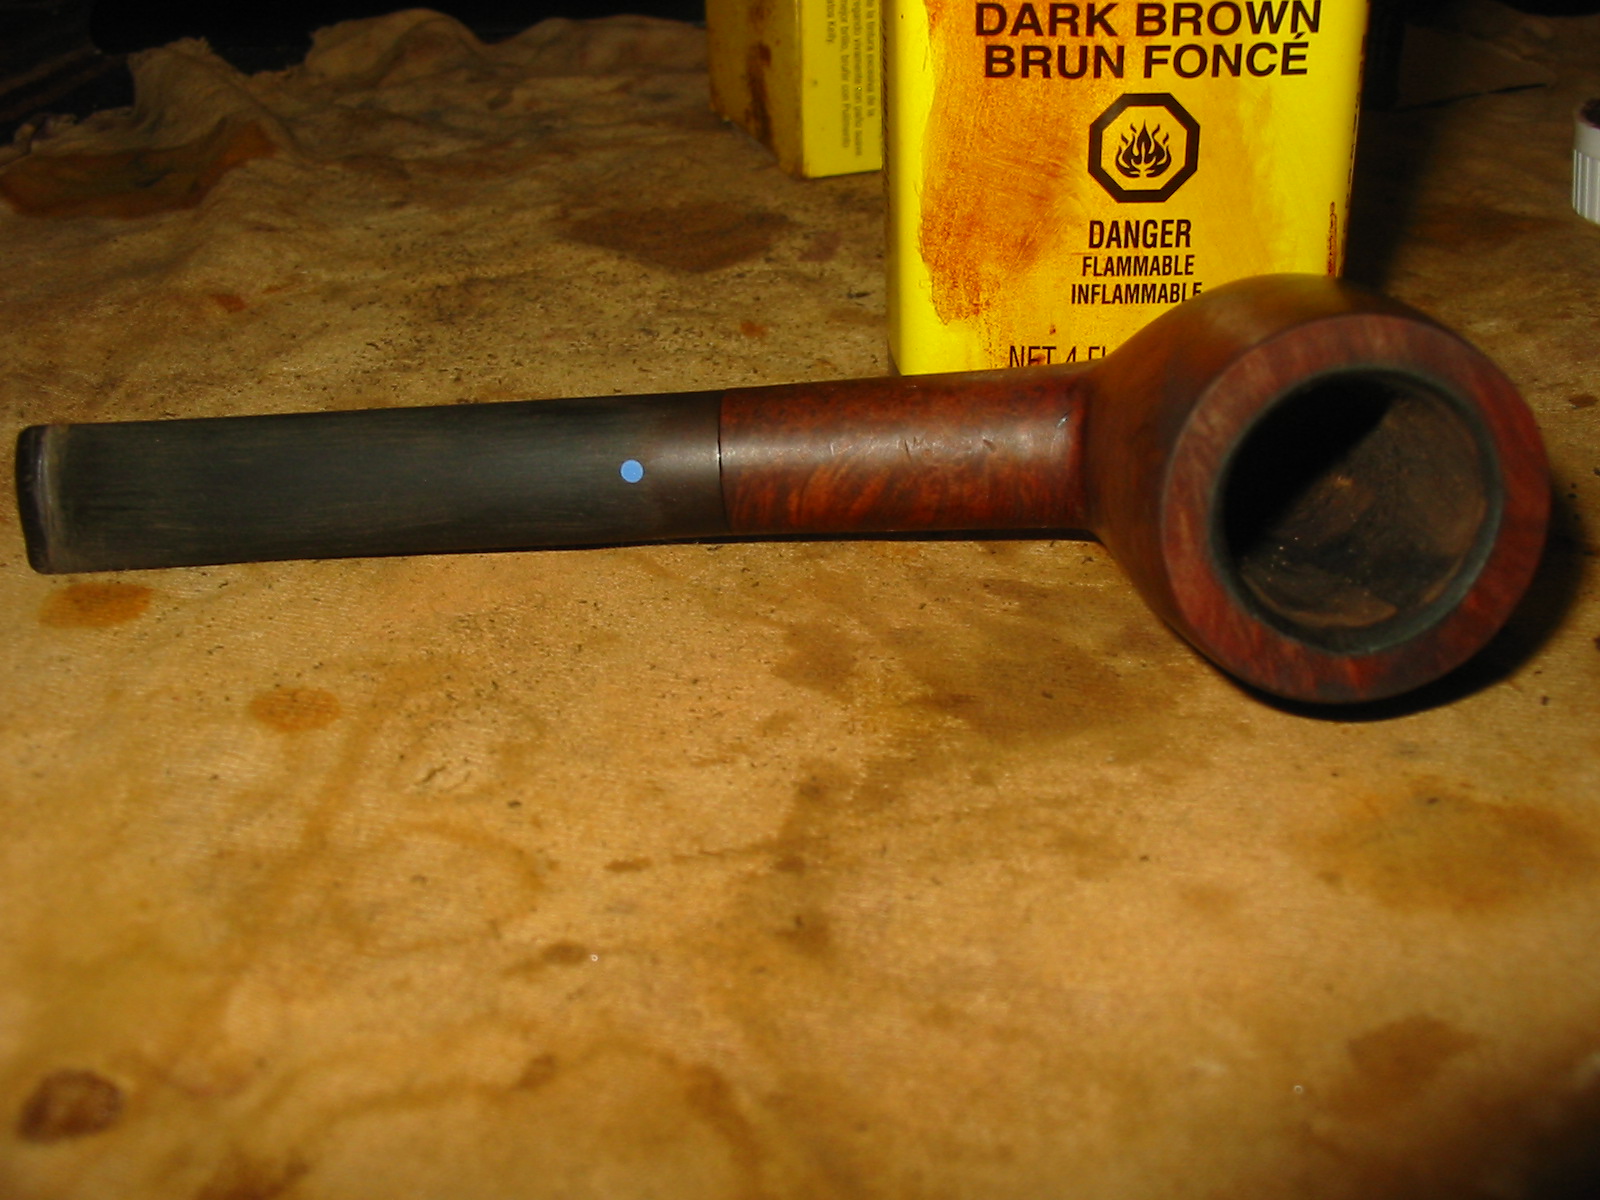
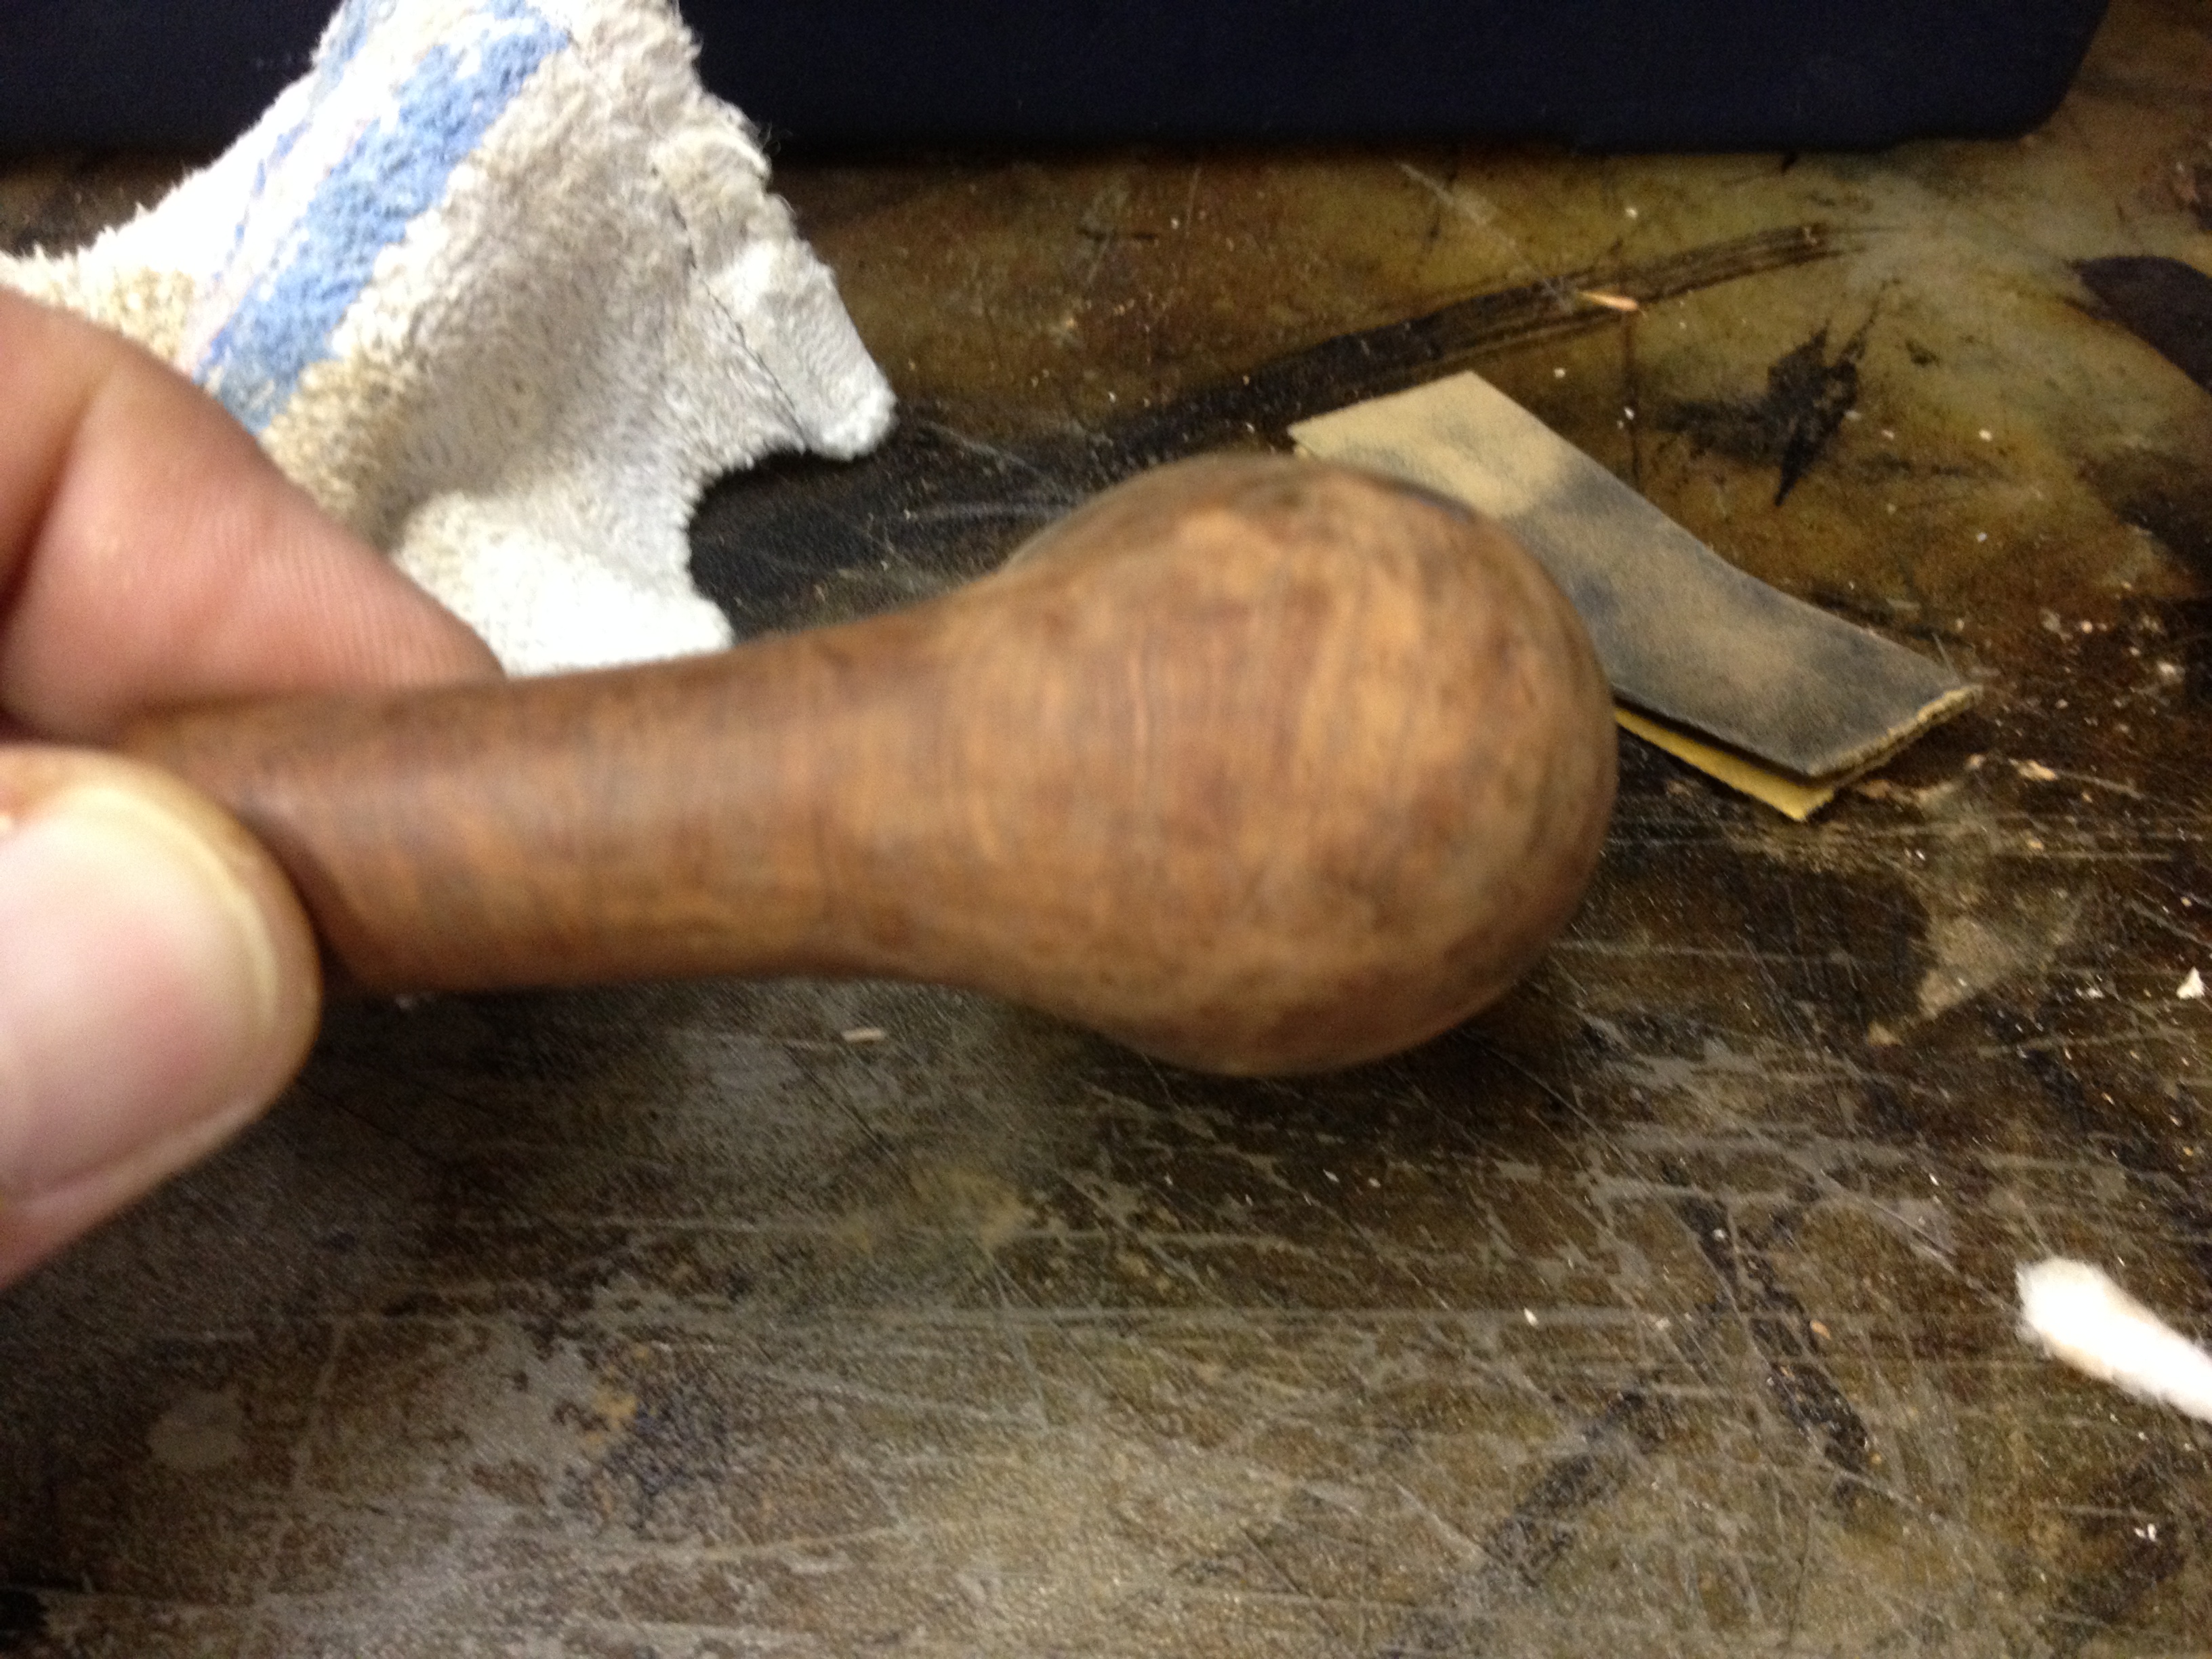
I wiped the pipe down with acetone once again to even out the finish on the shank. The grain in the original wood is quite visible in these photos and it is not briar.
IMG_2441

IMG_2442

IMG_2443

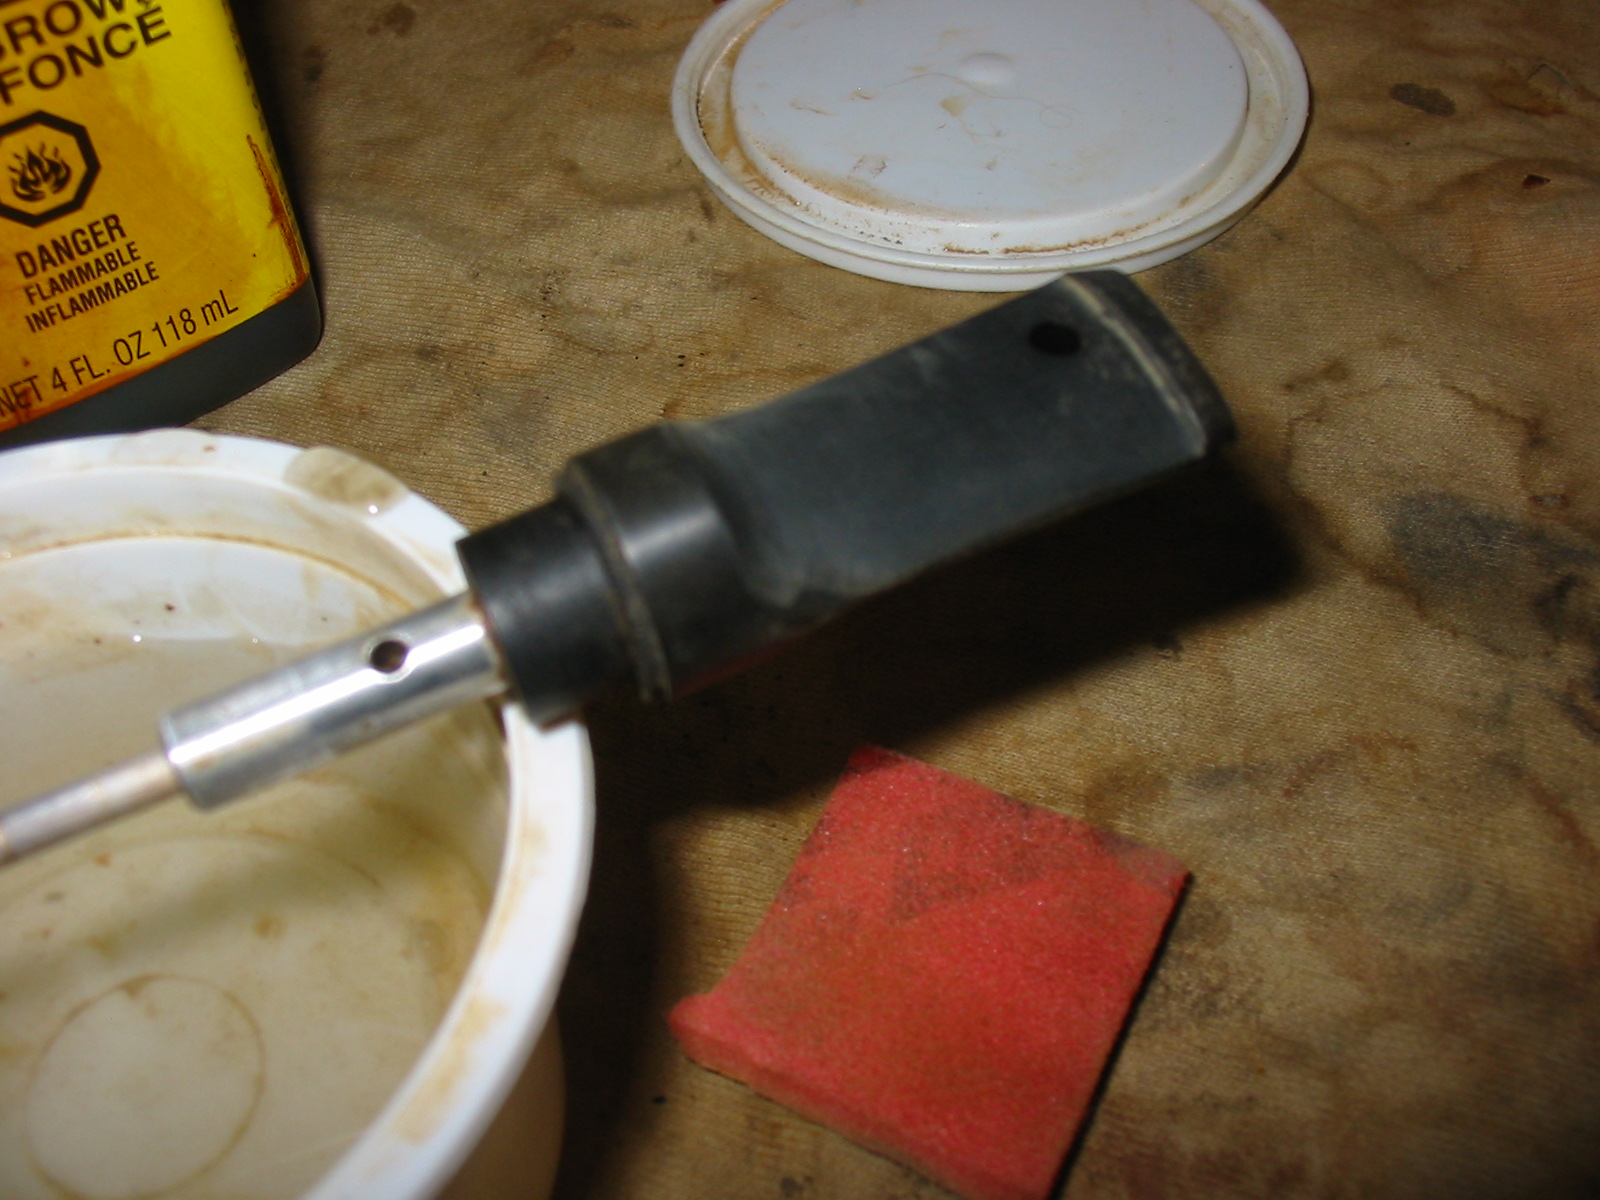
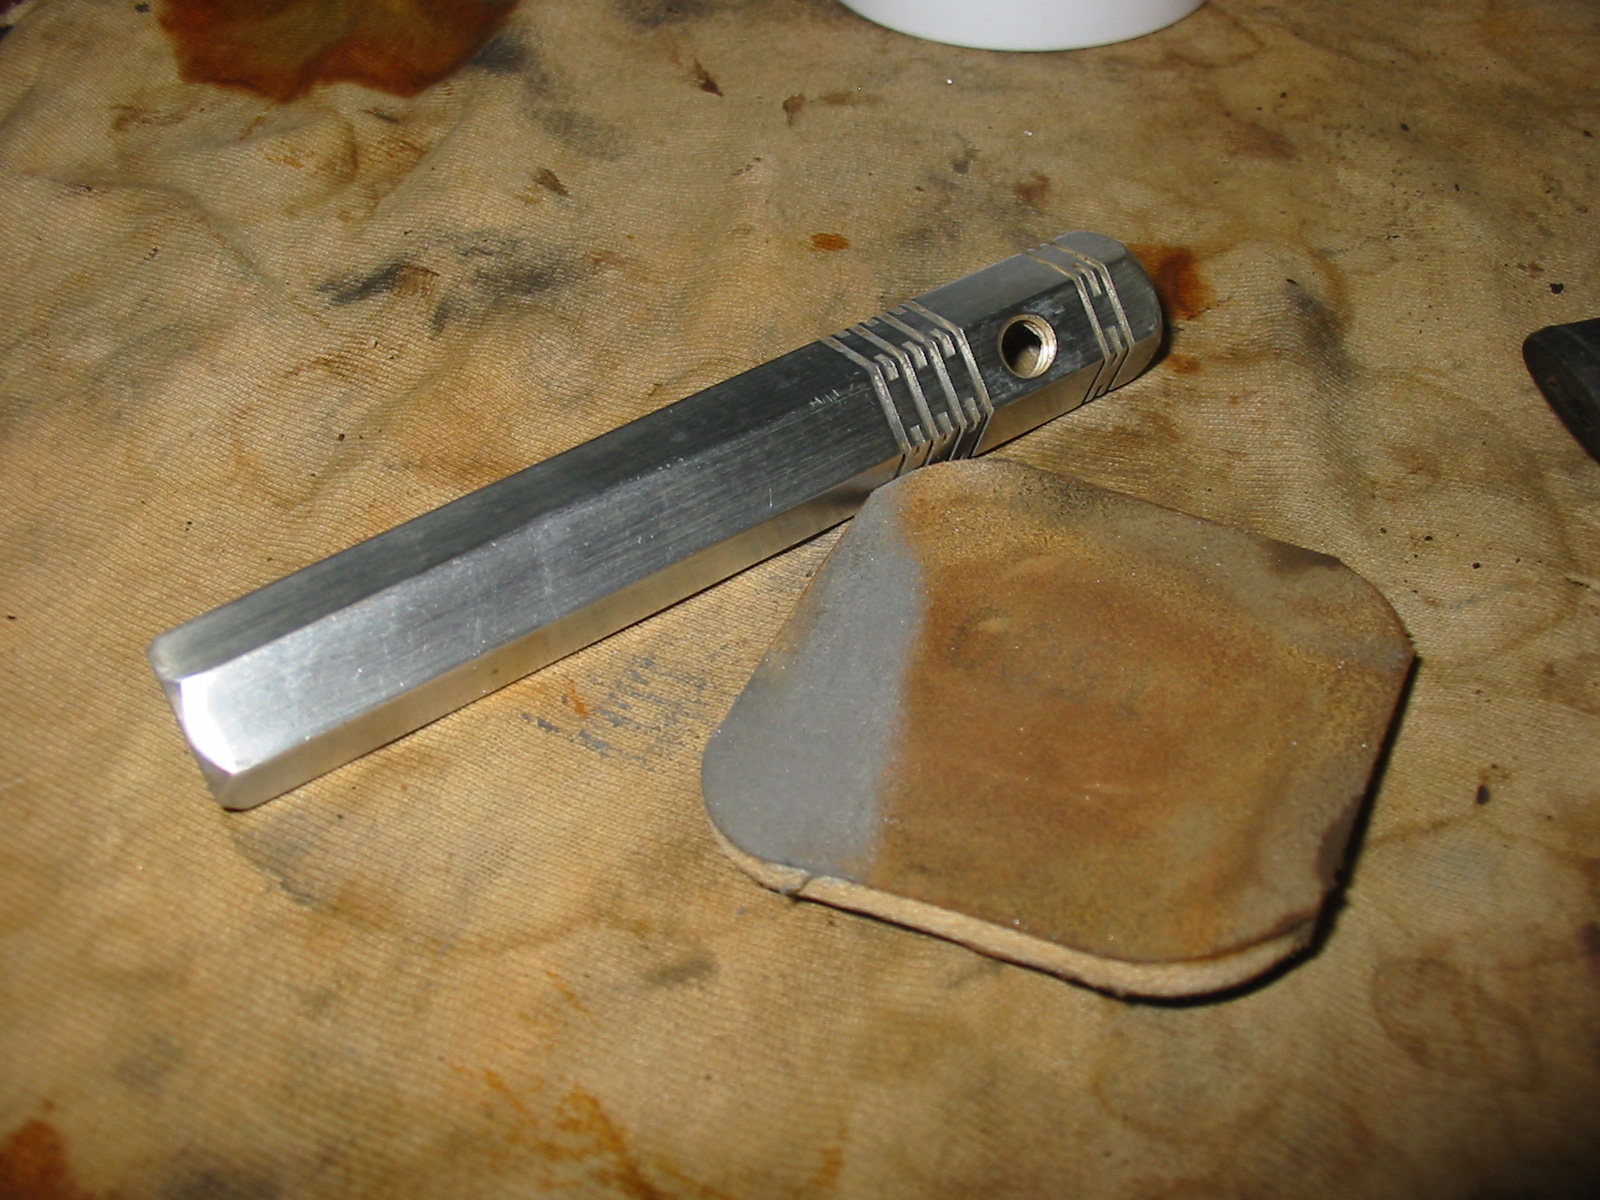
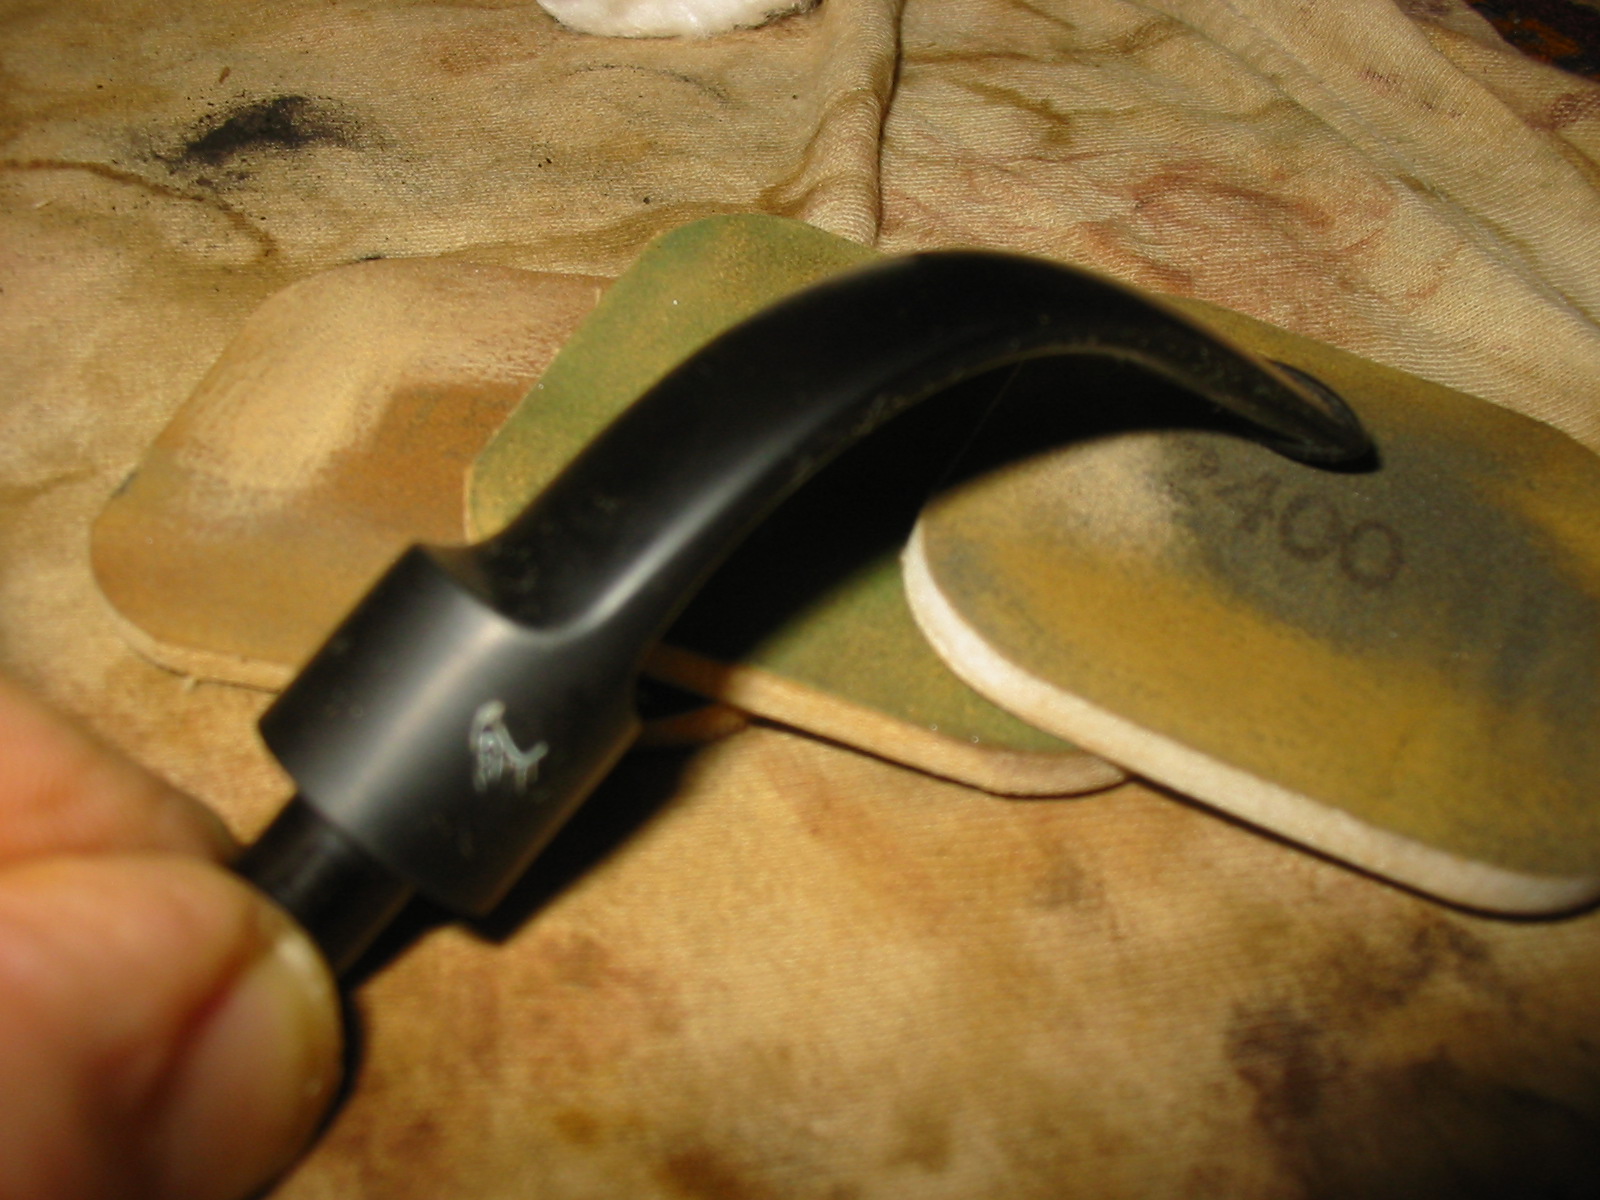
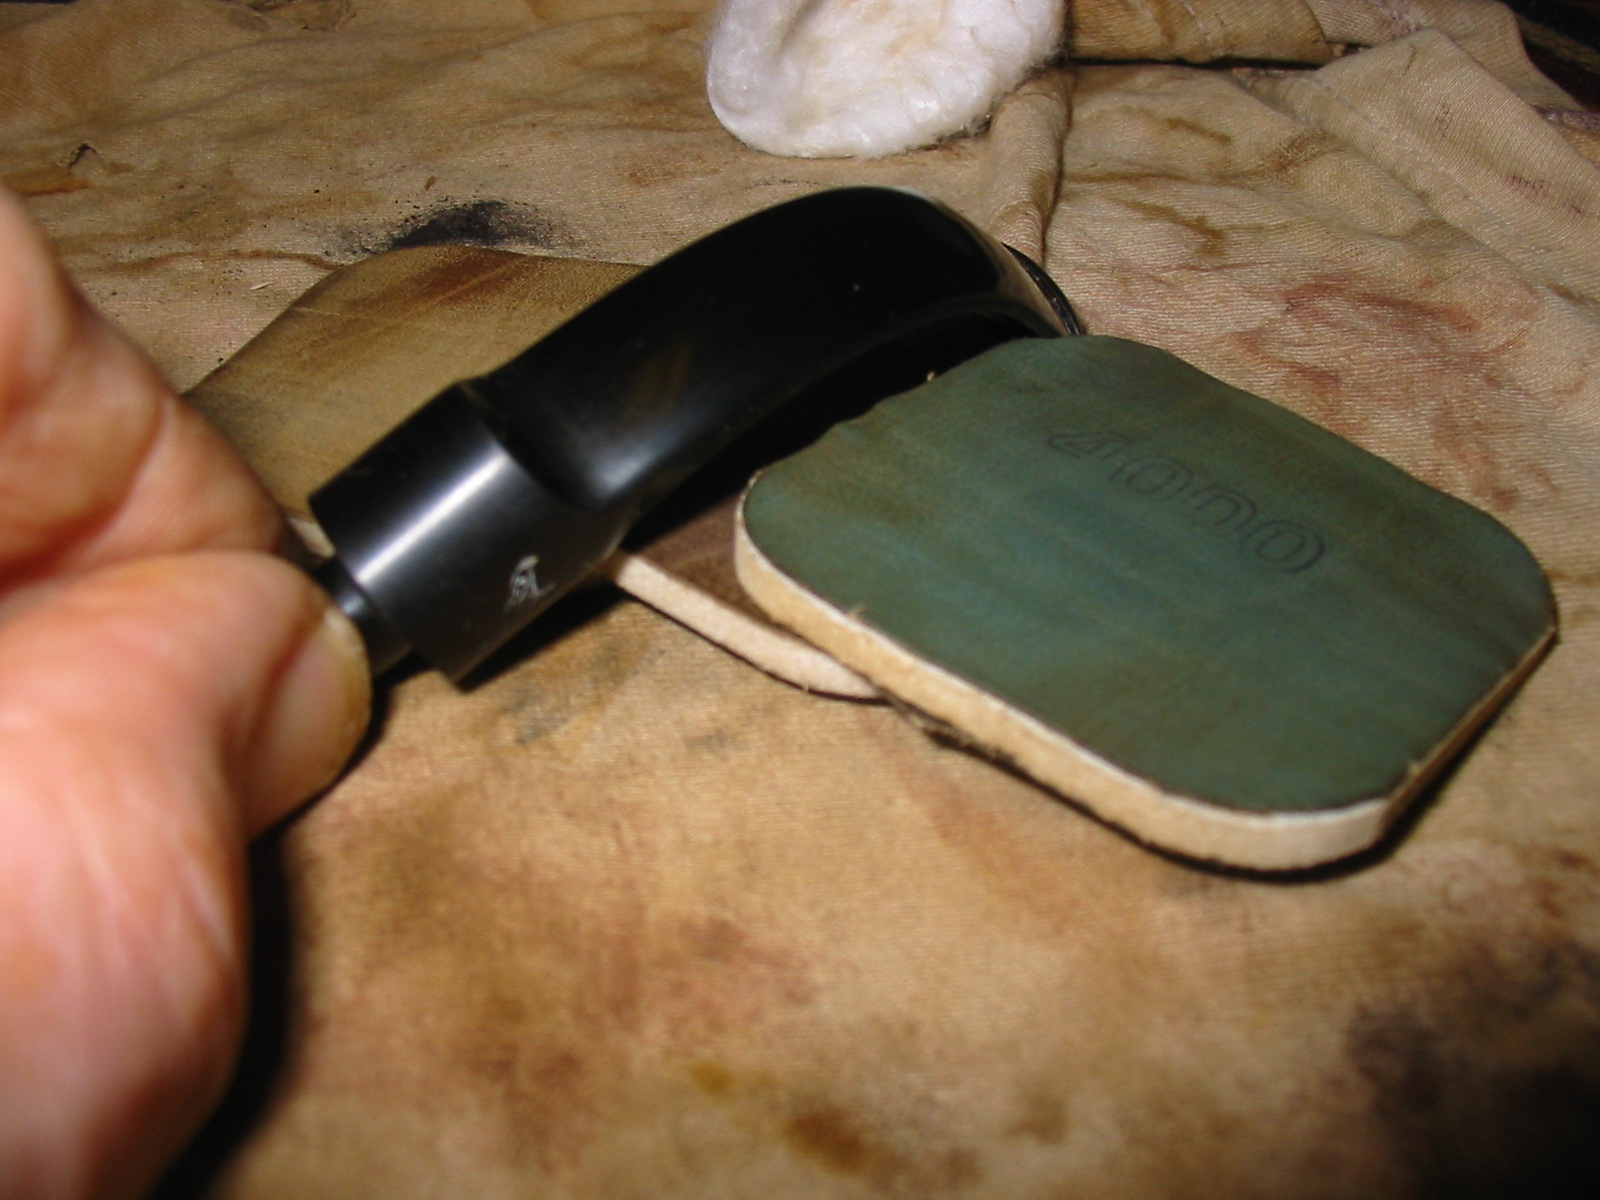
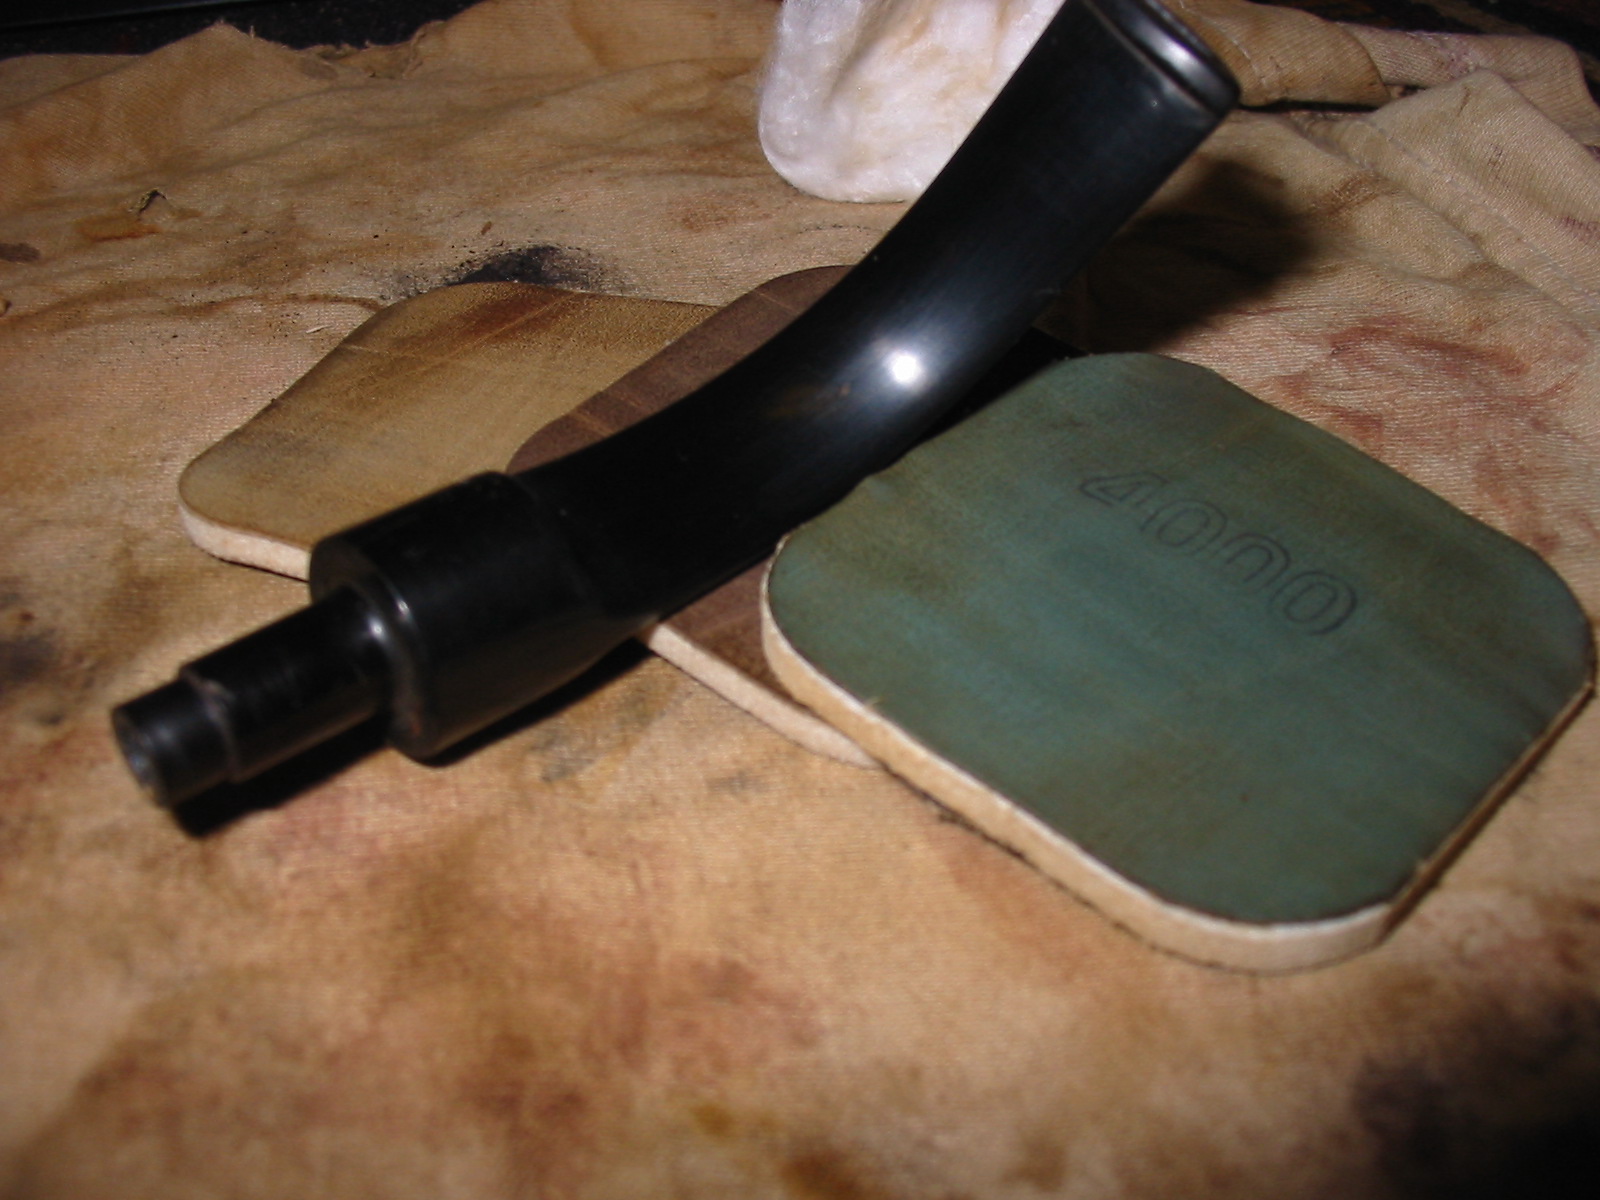
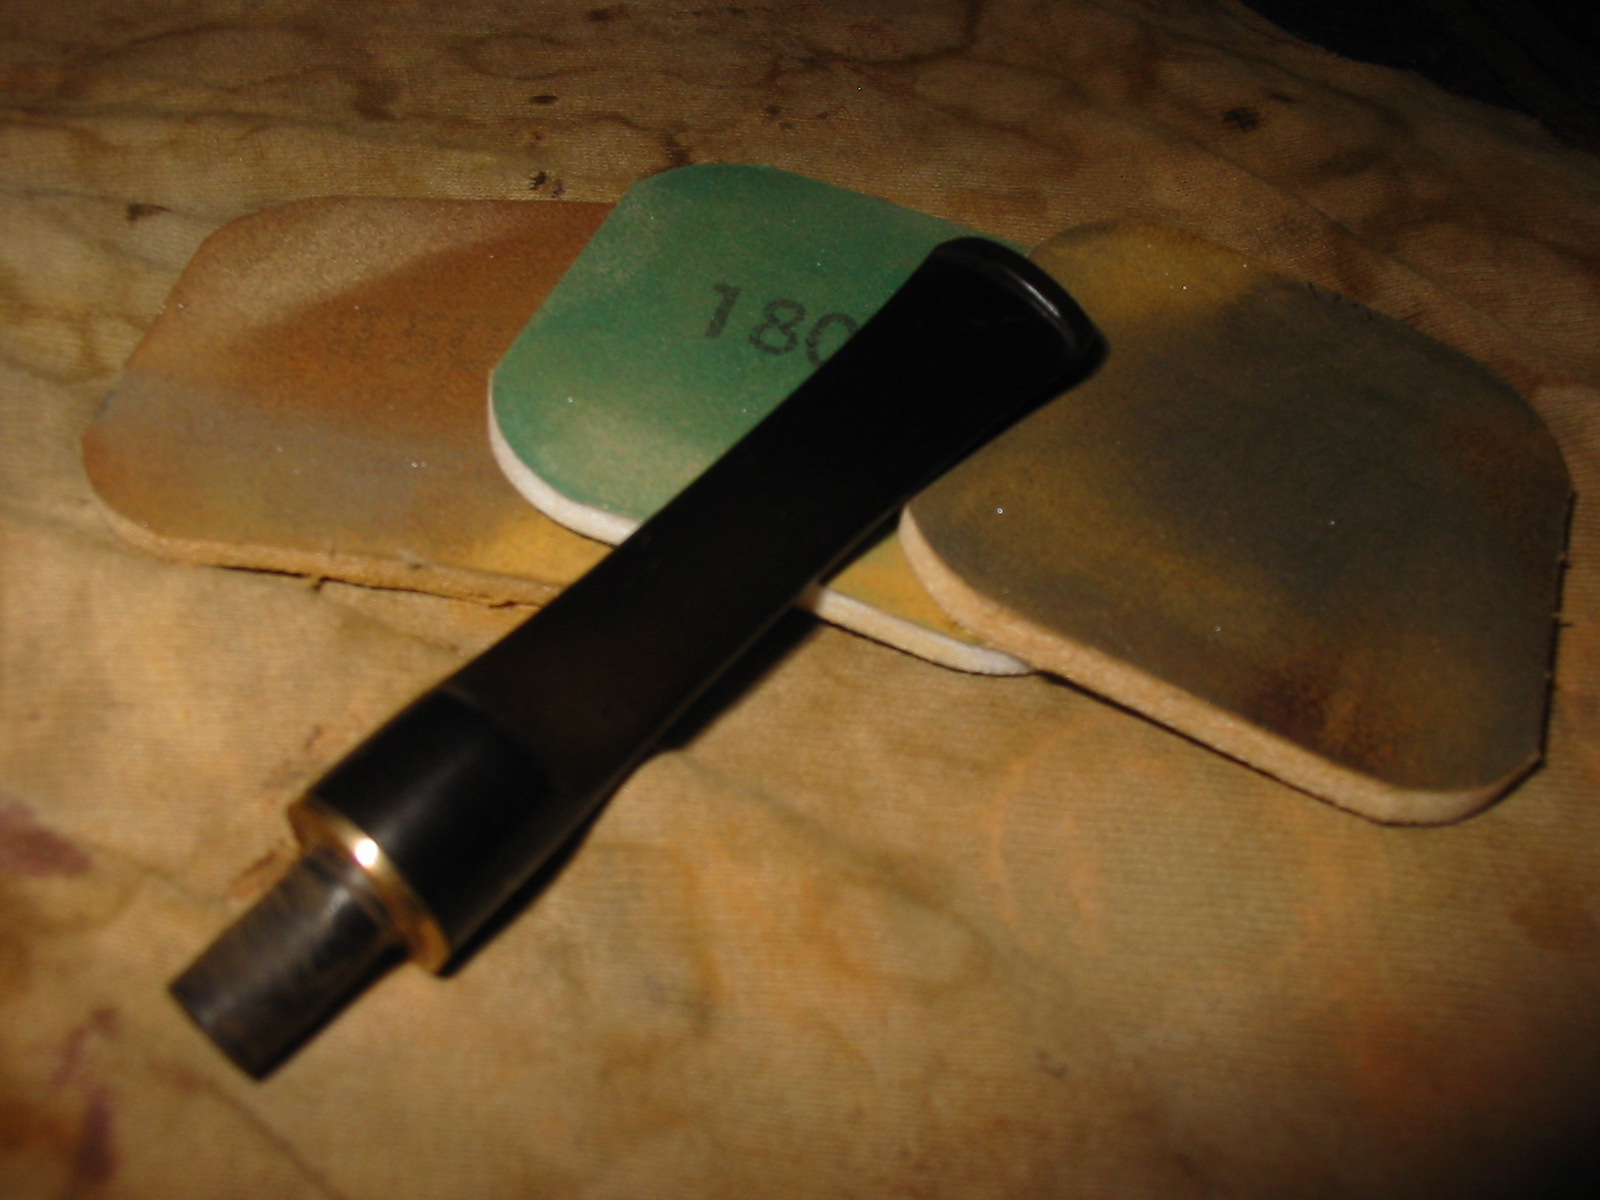
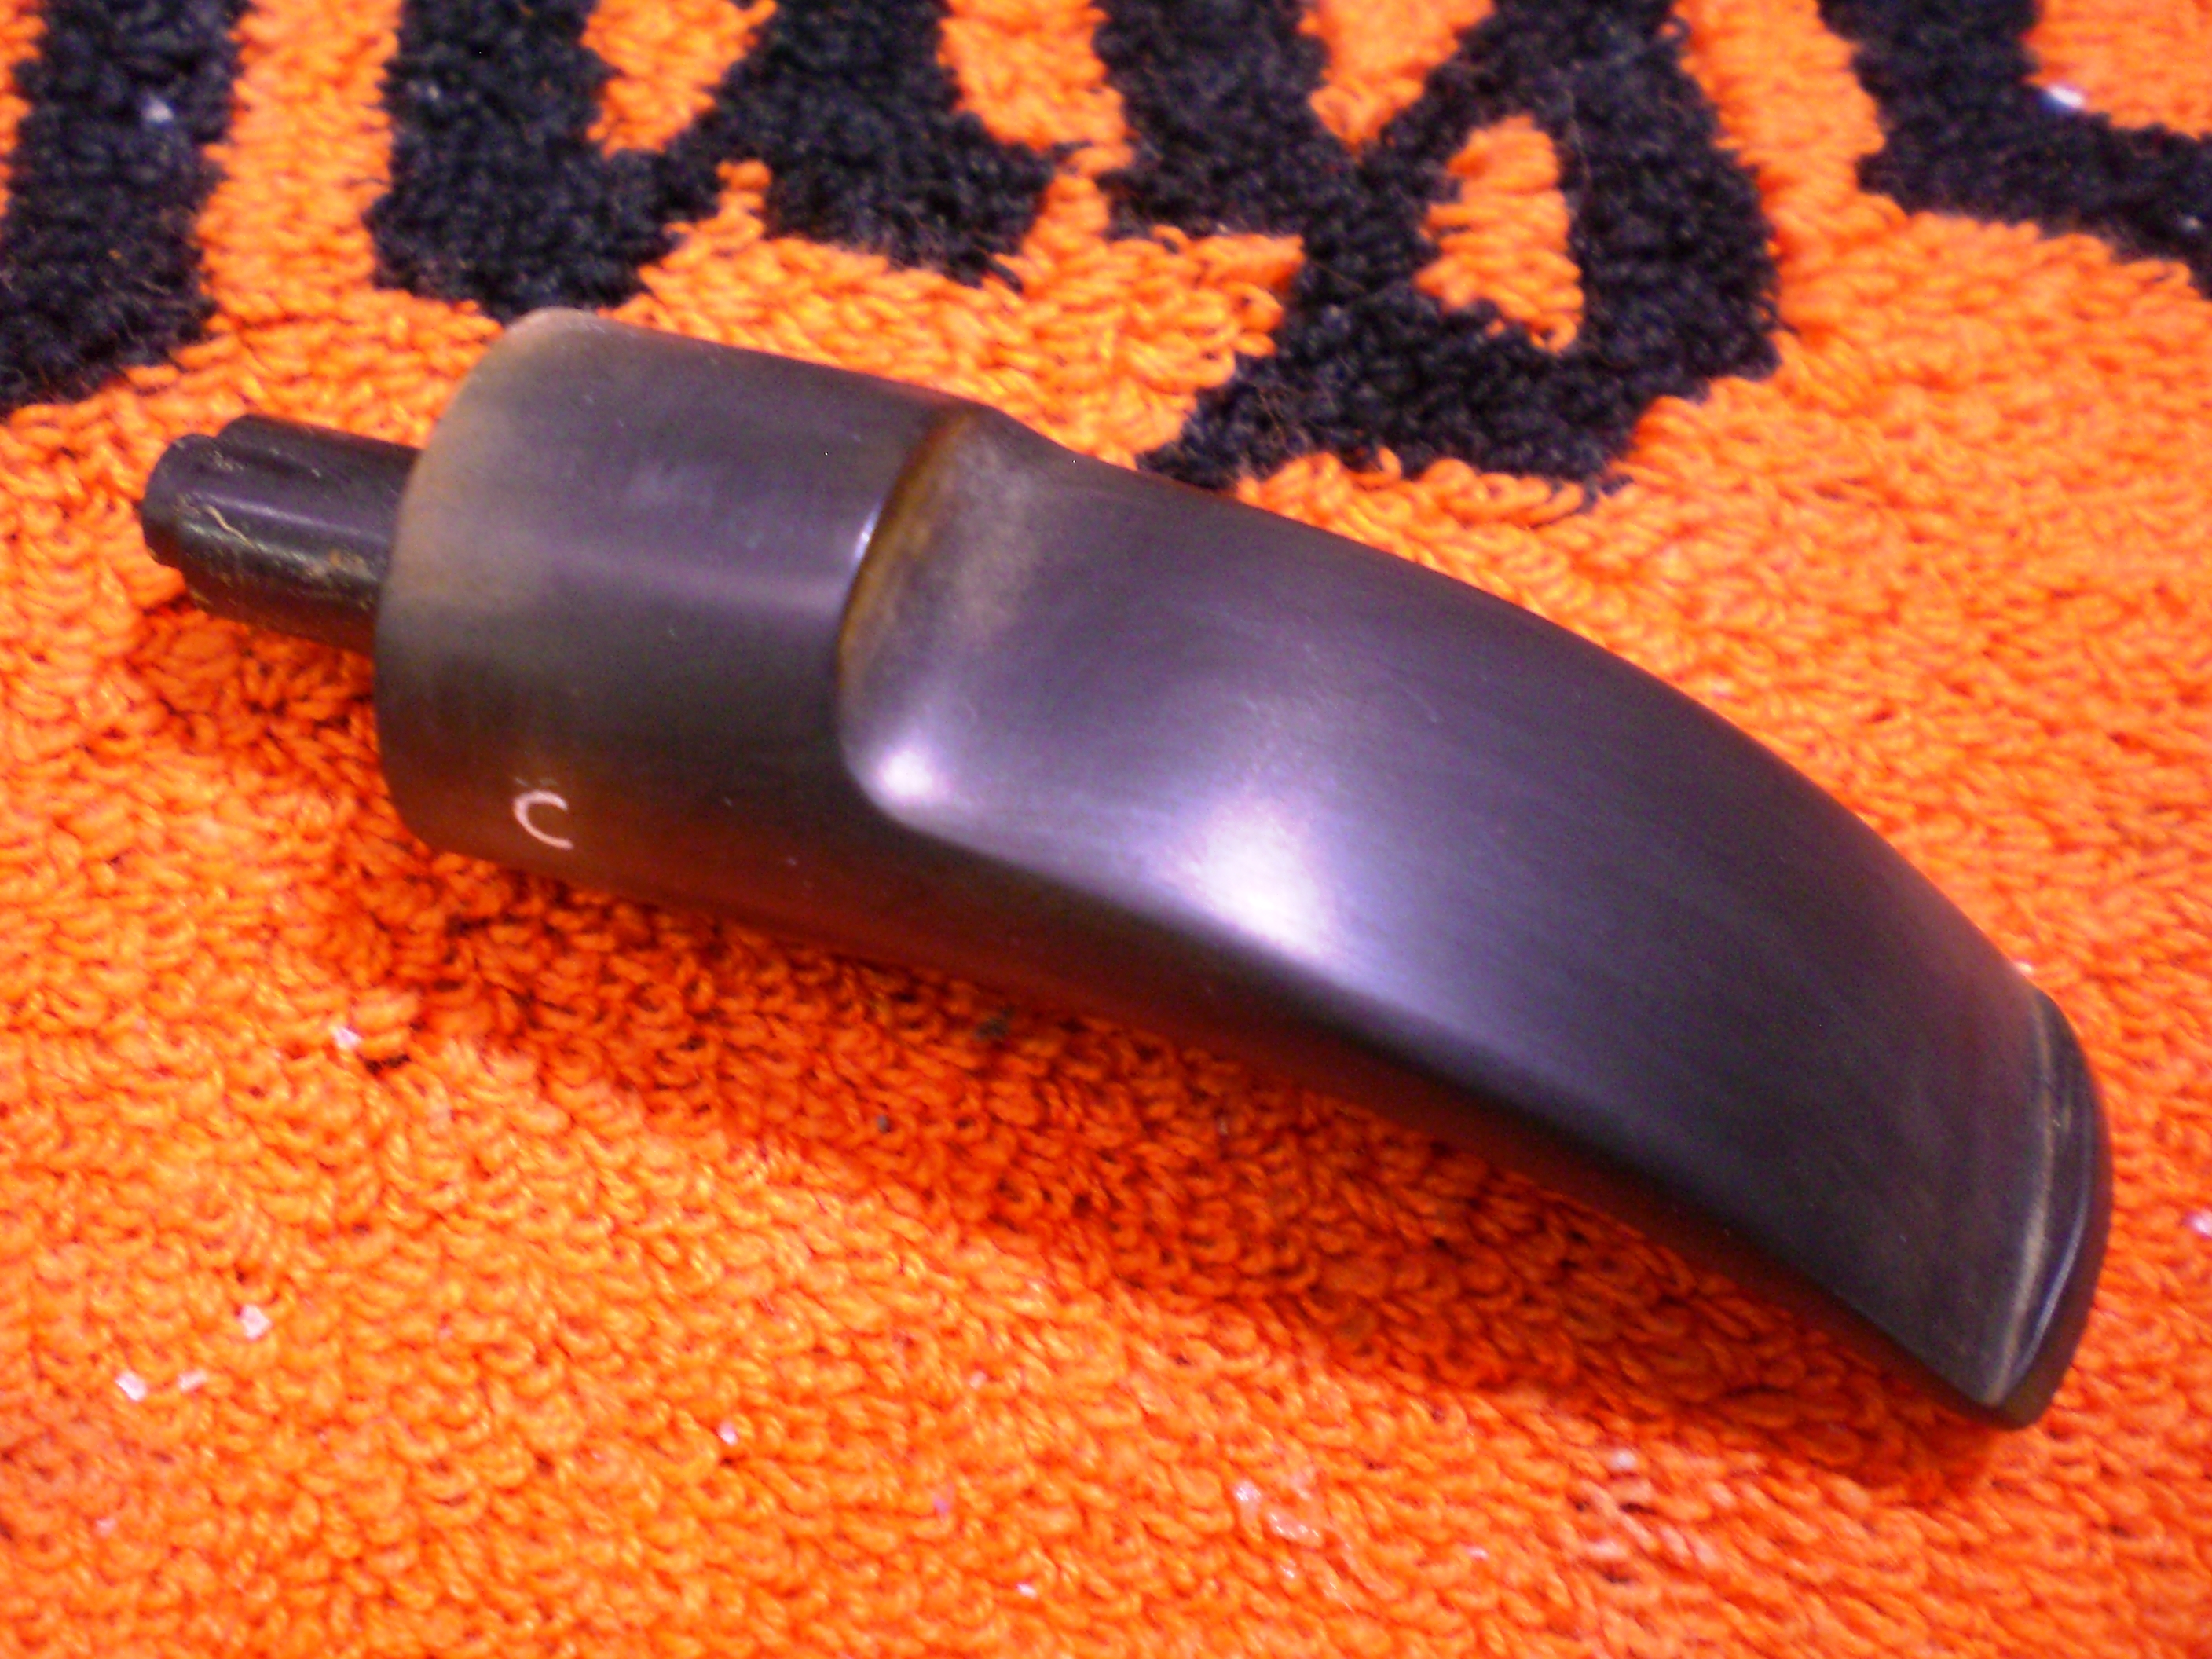
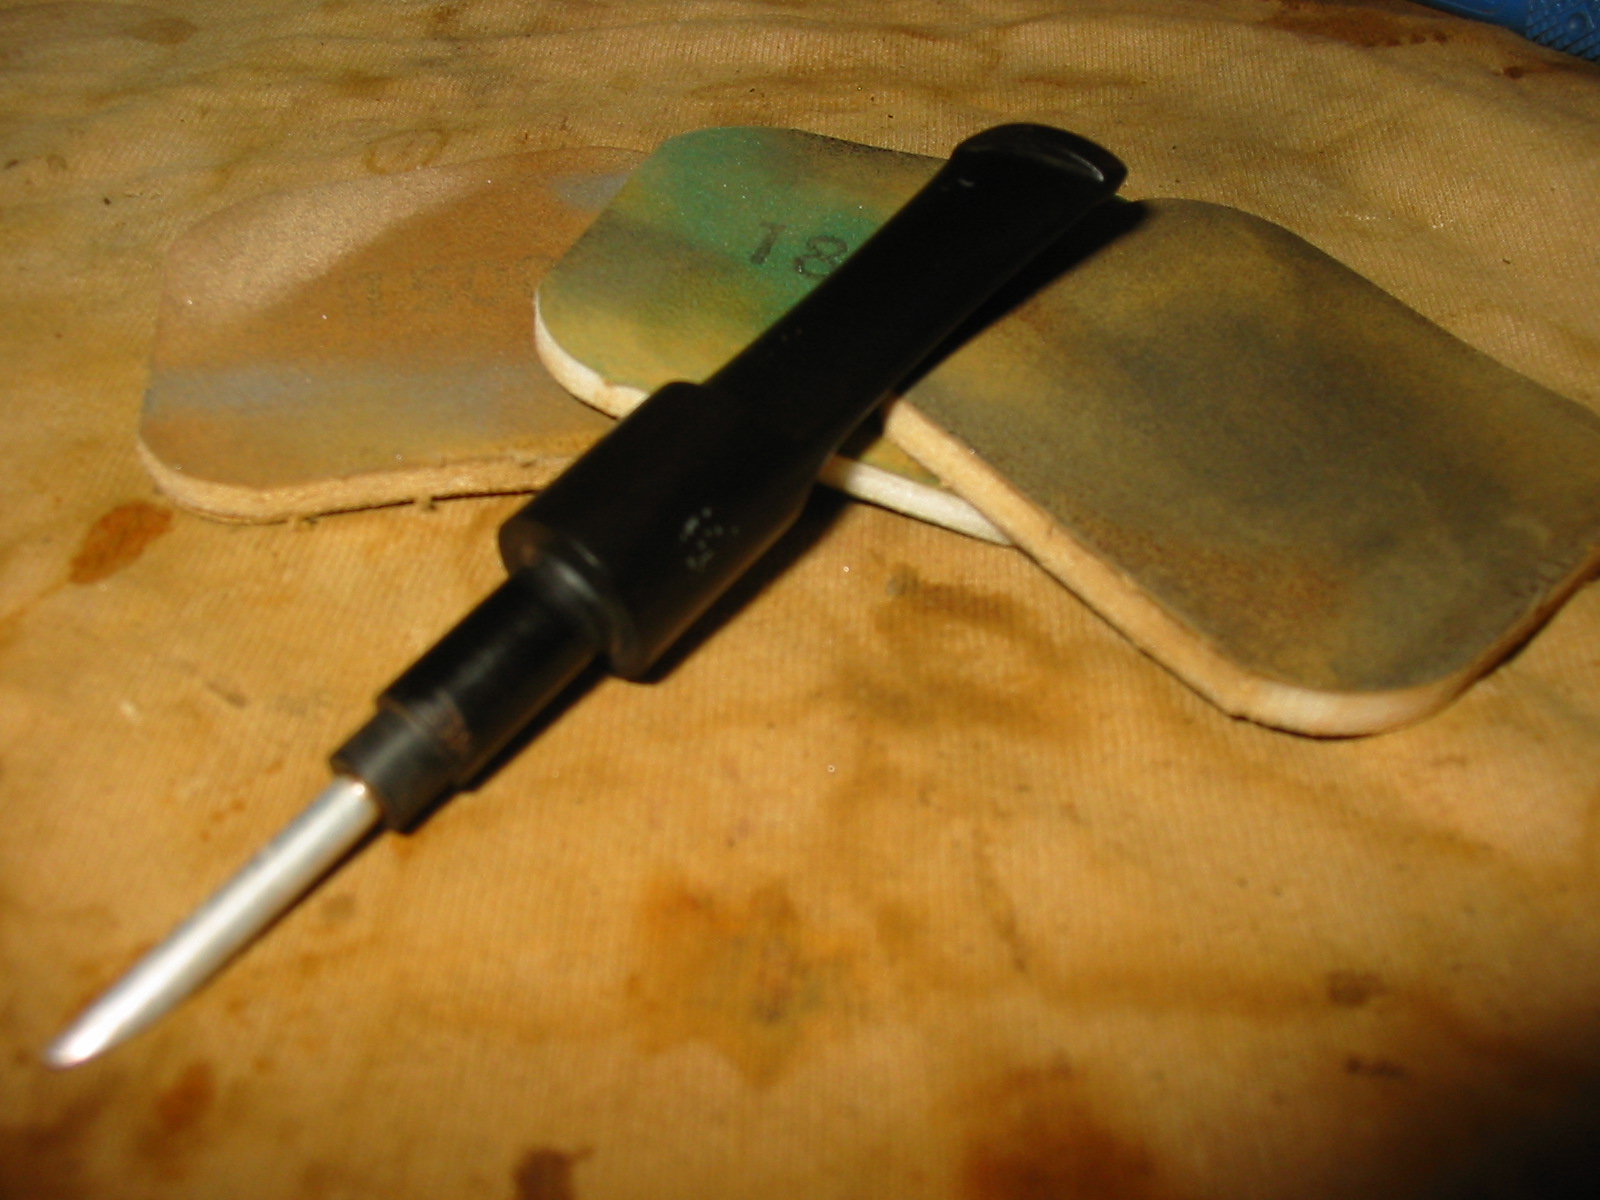
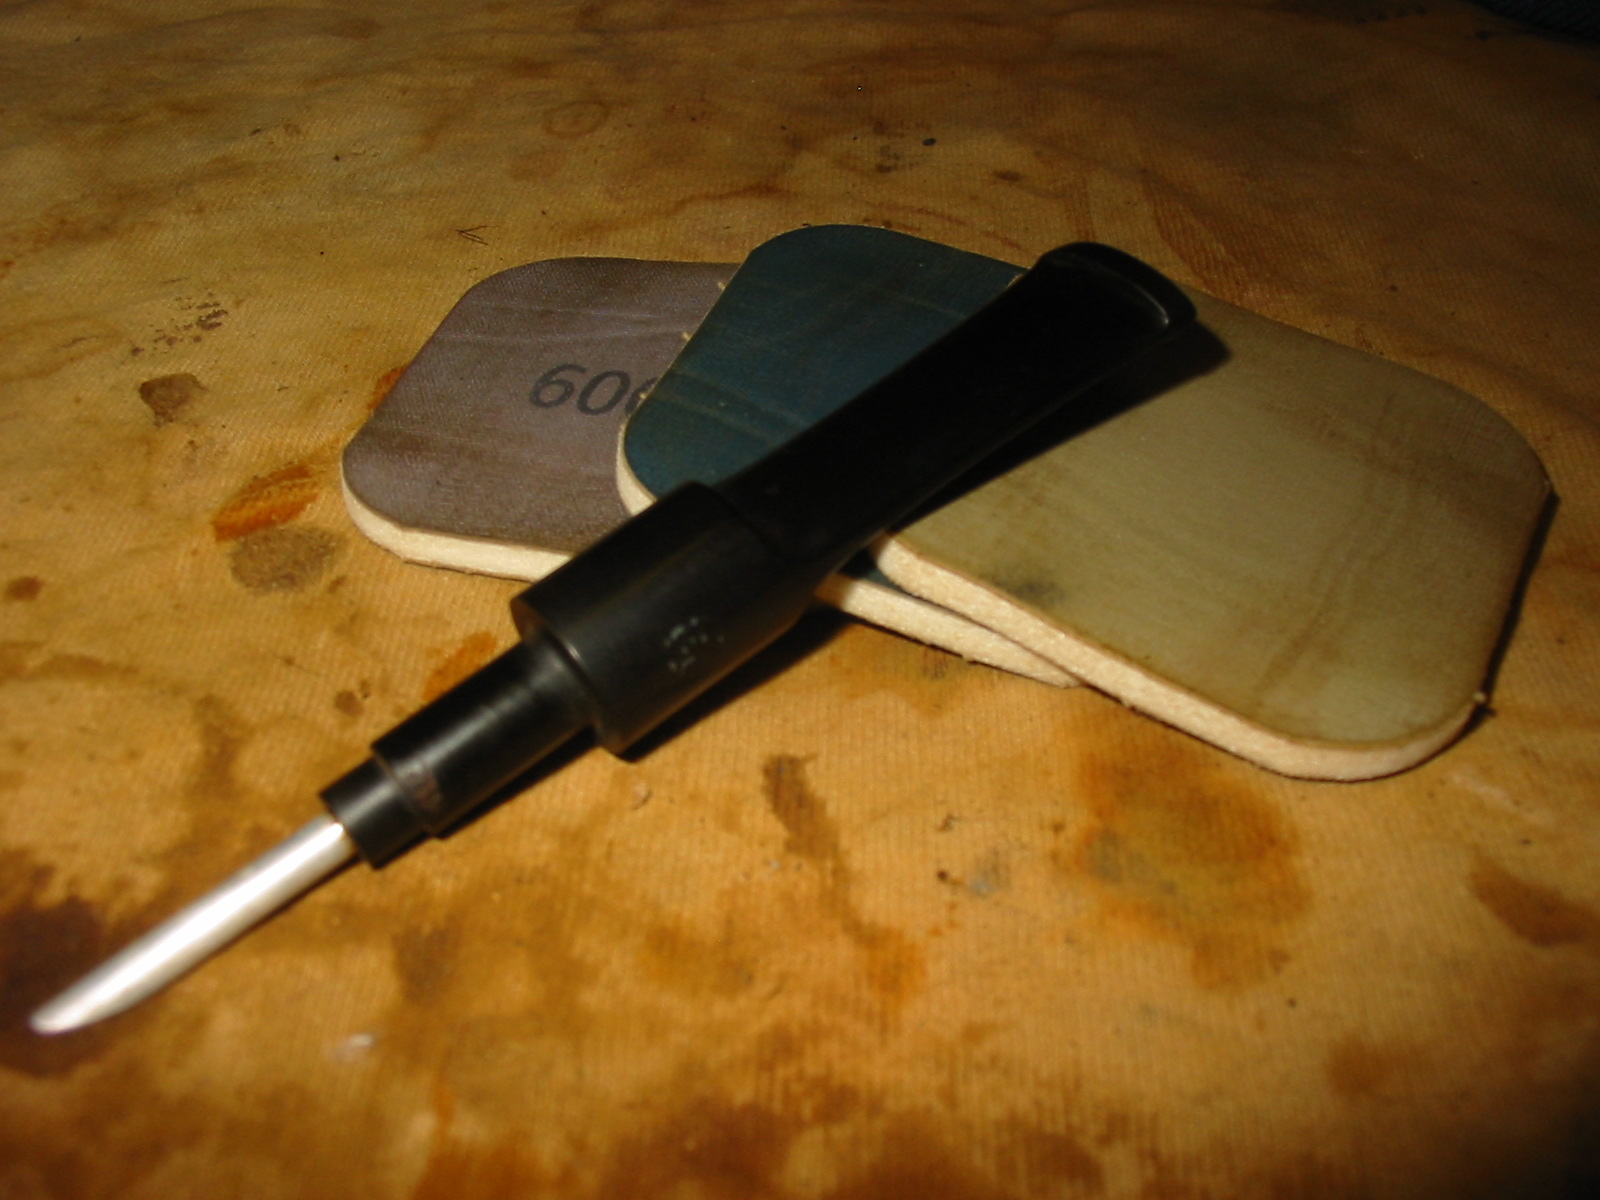
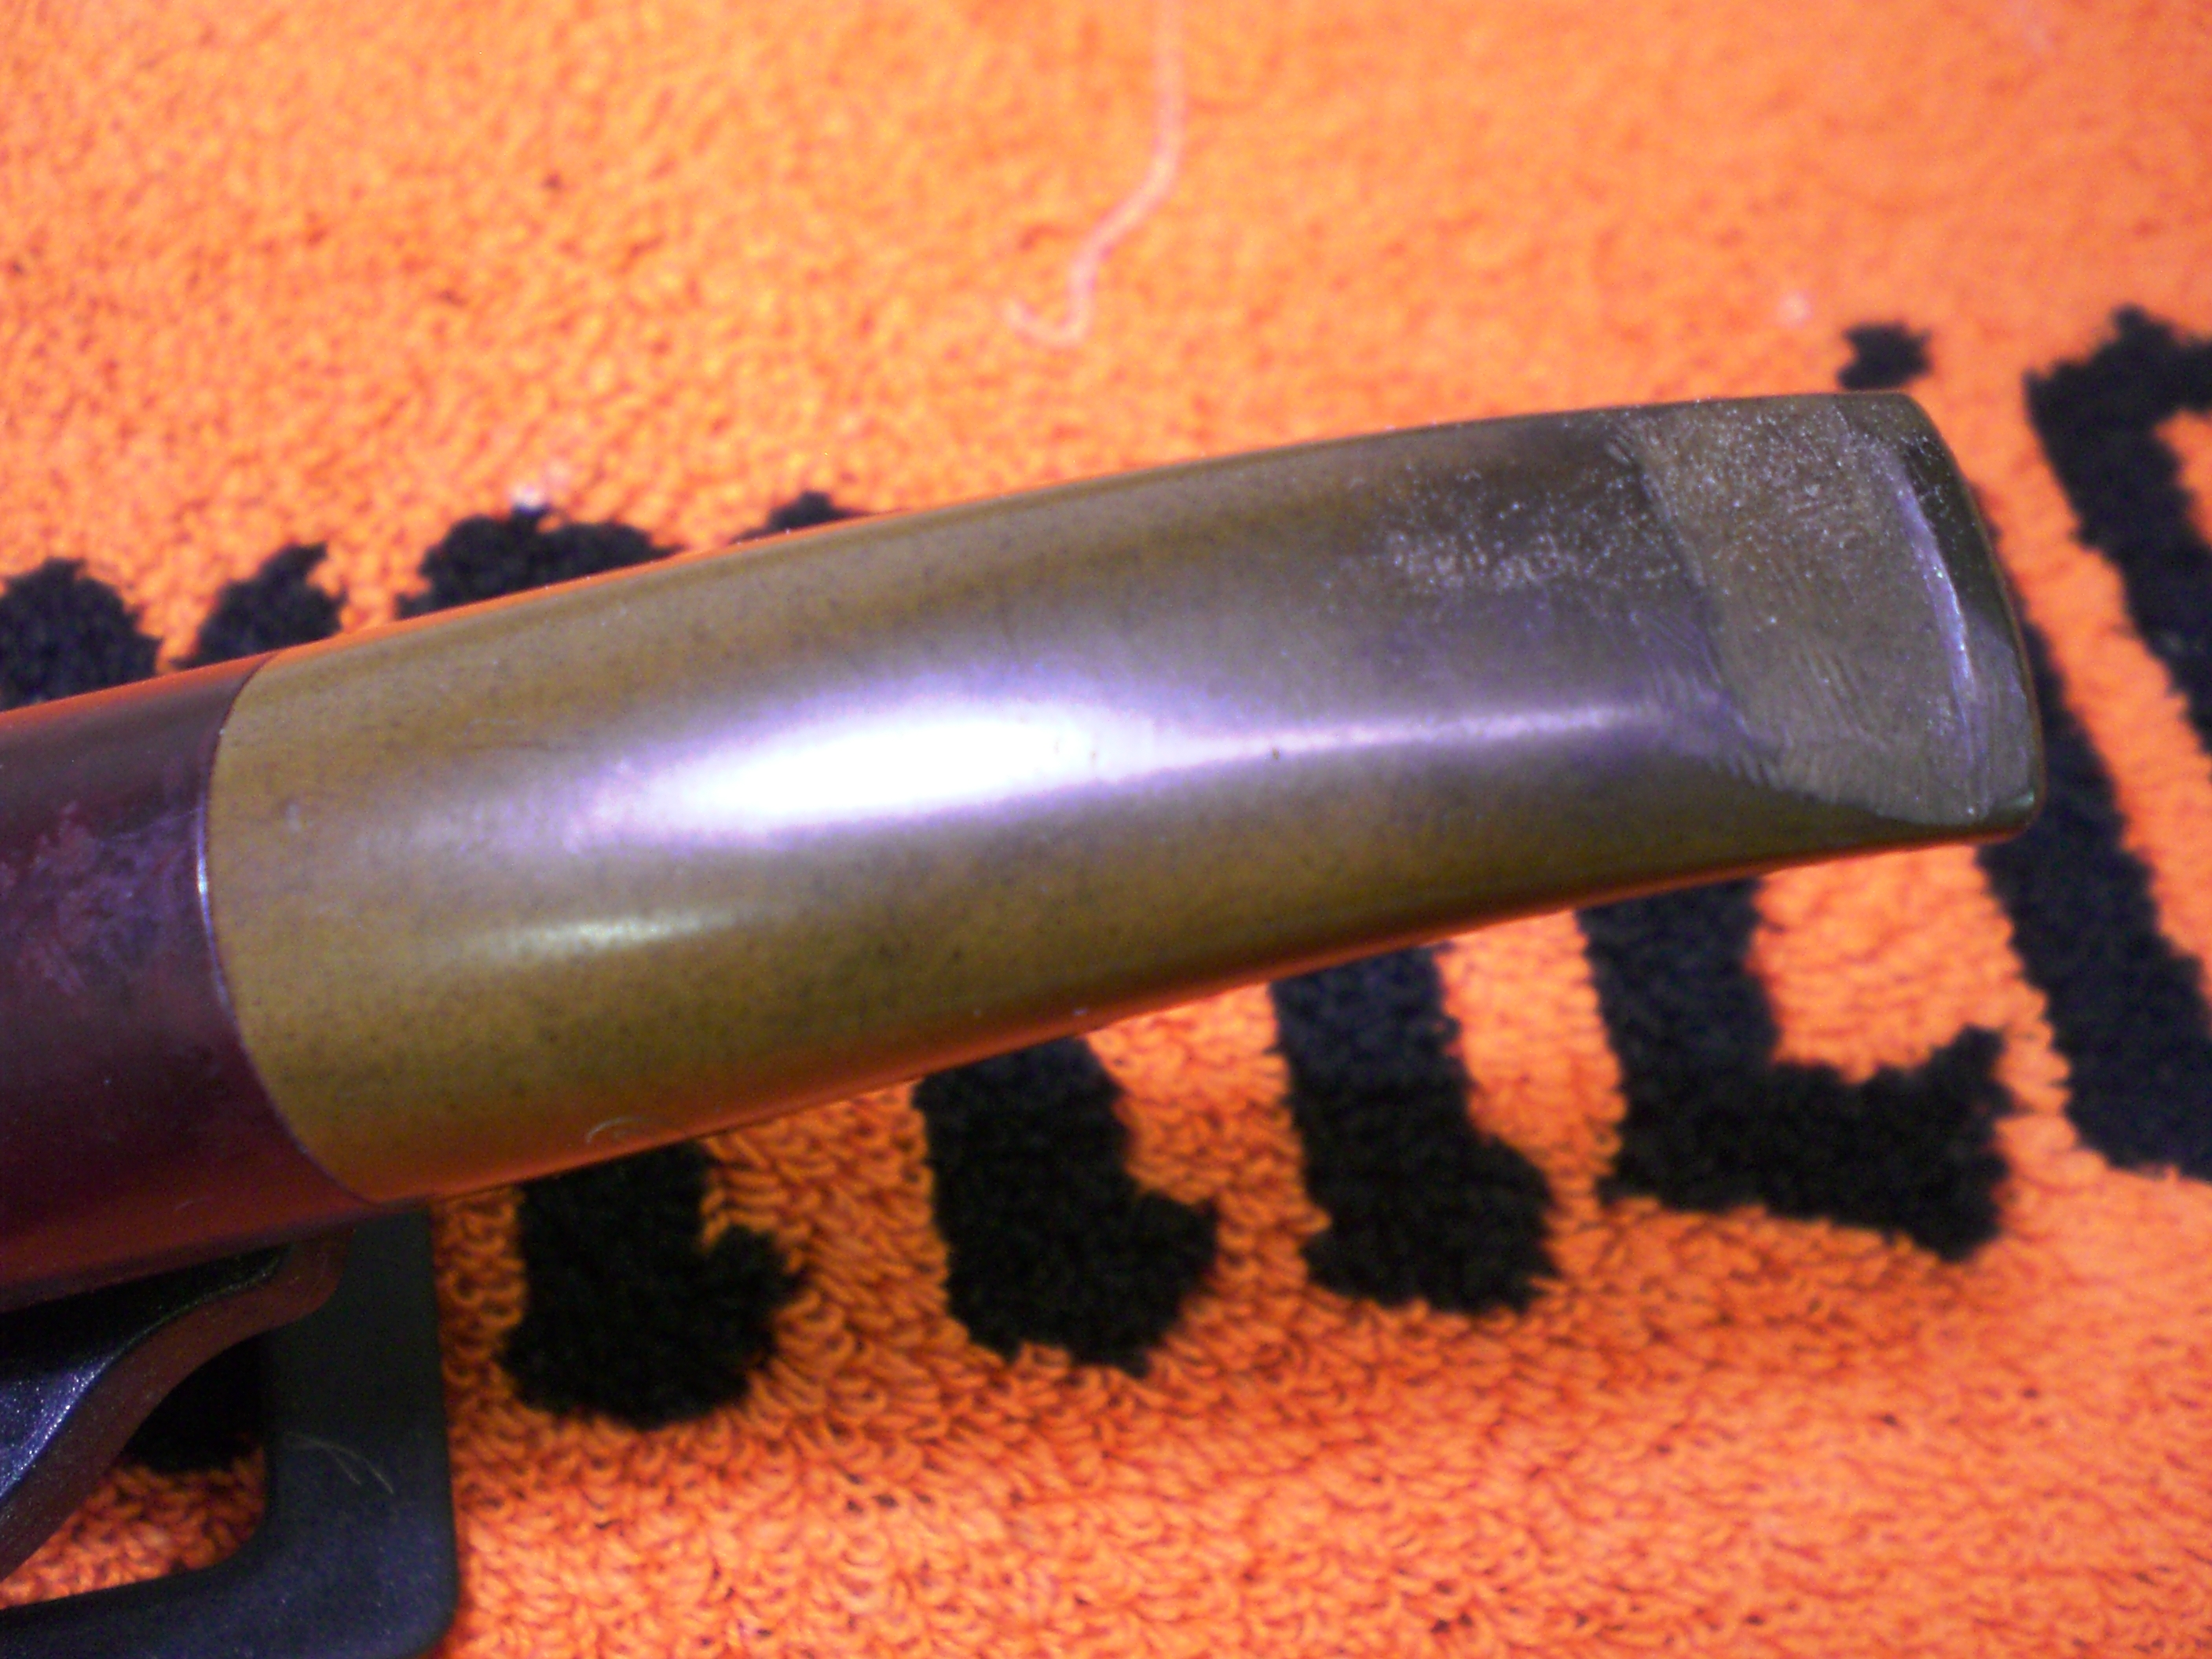
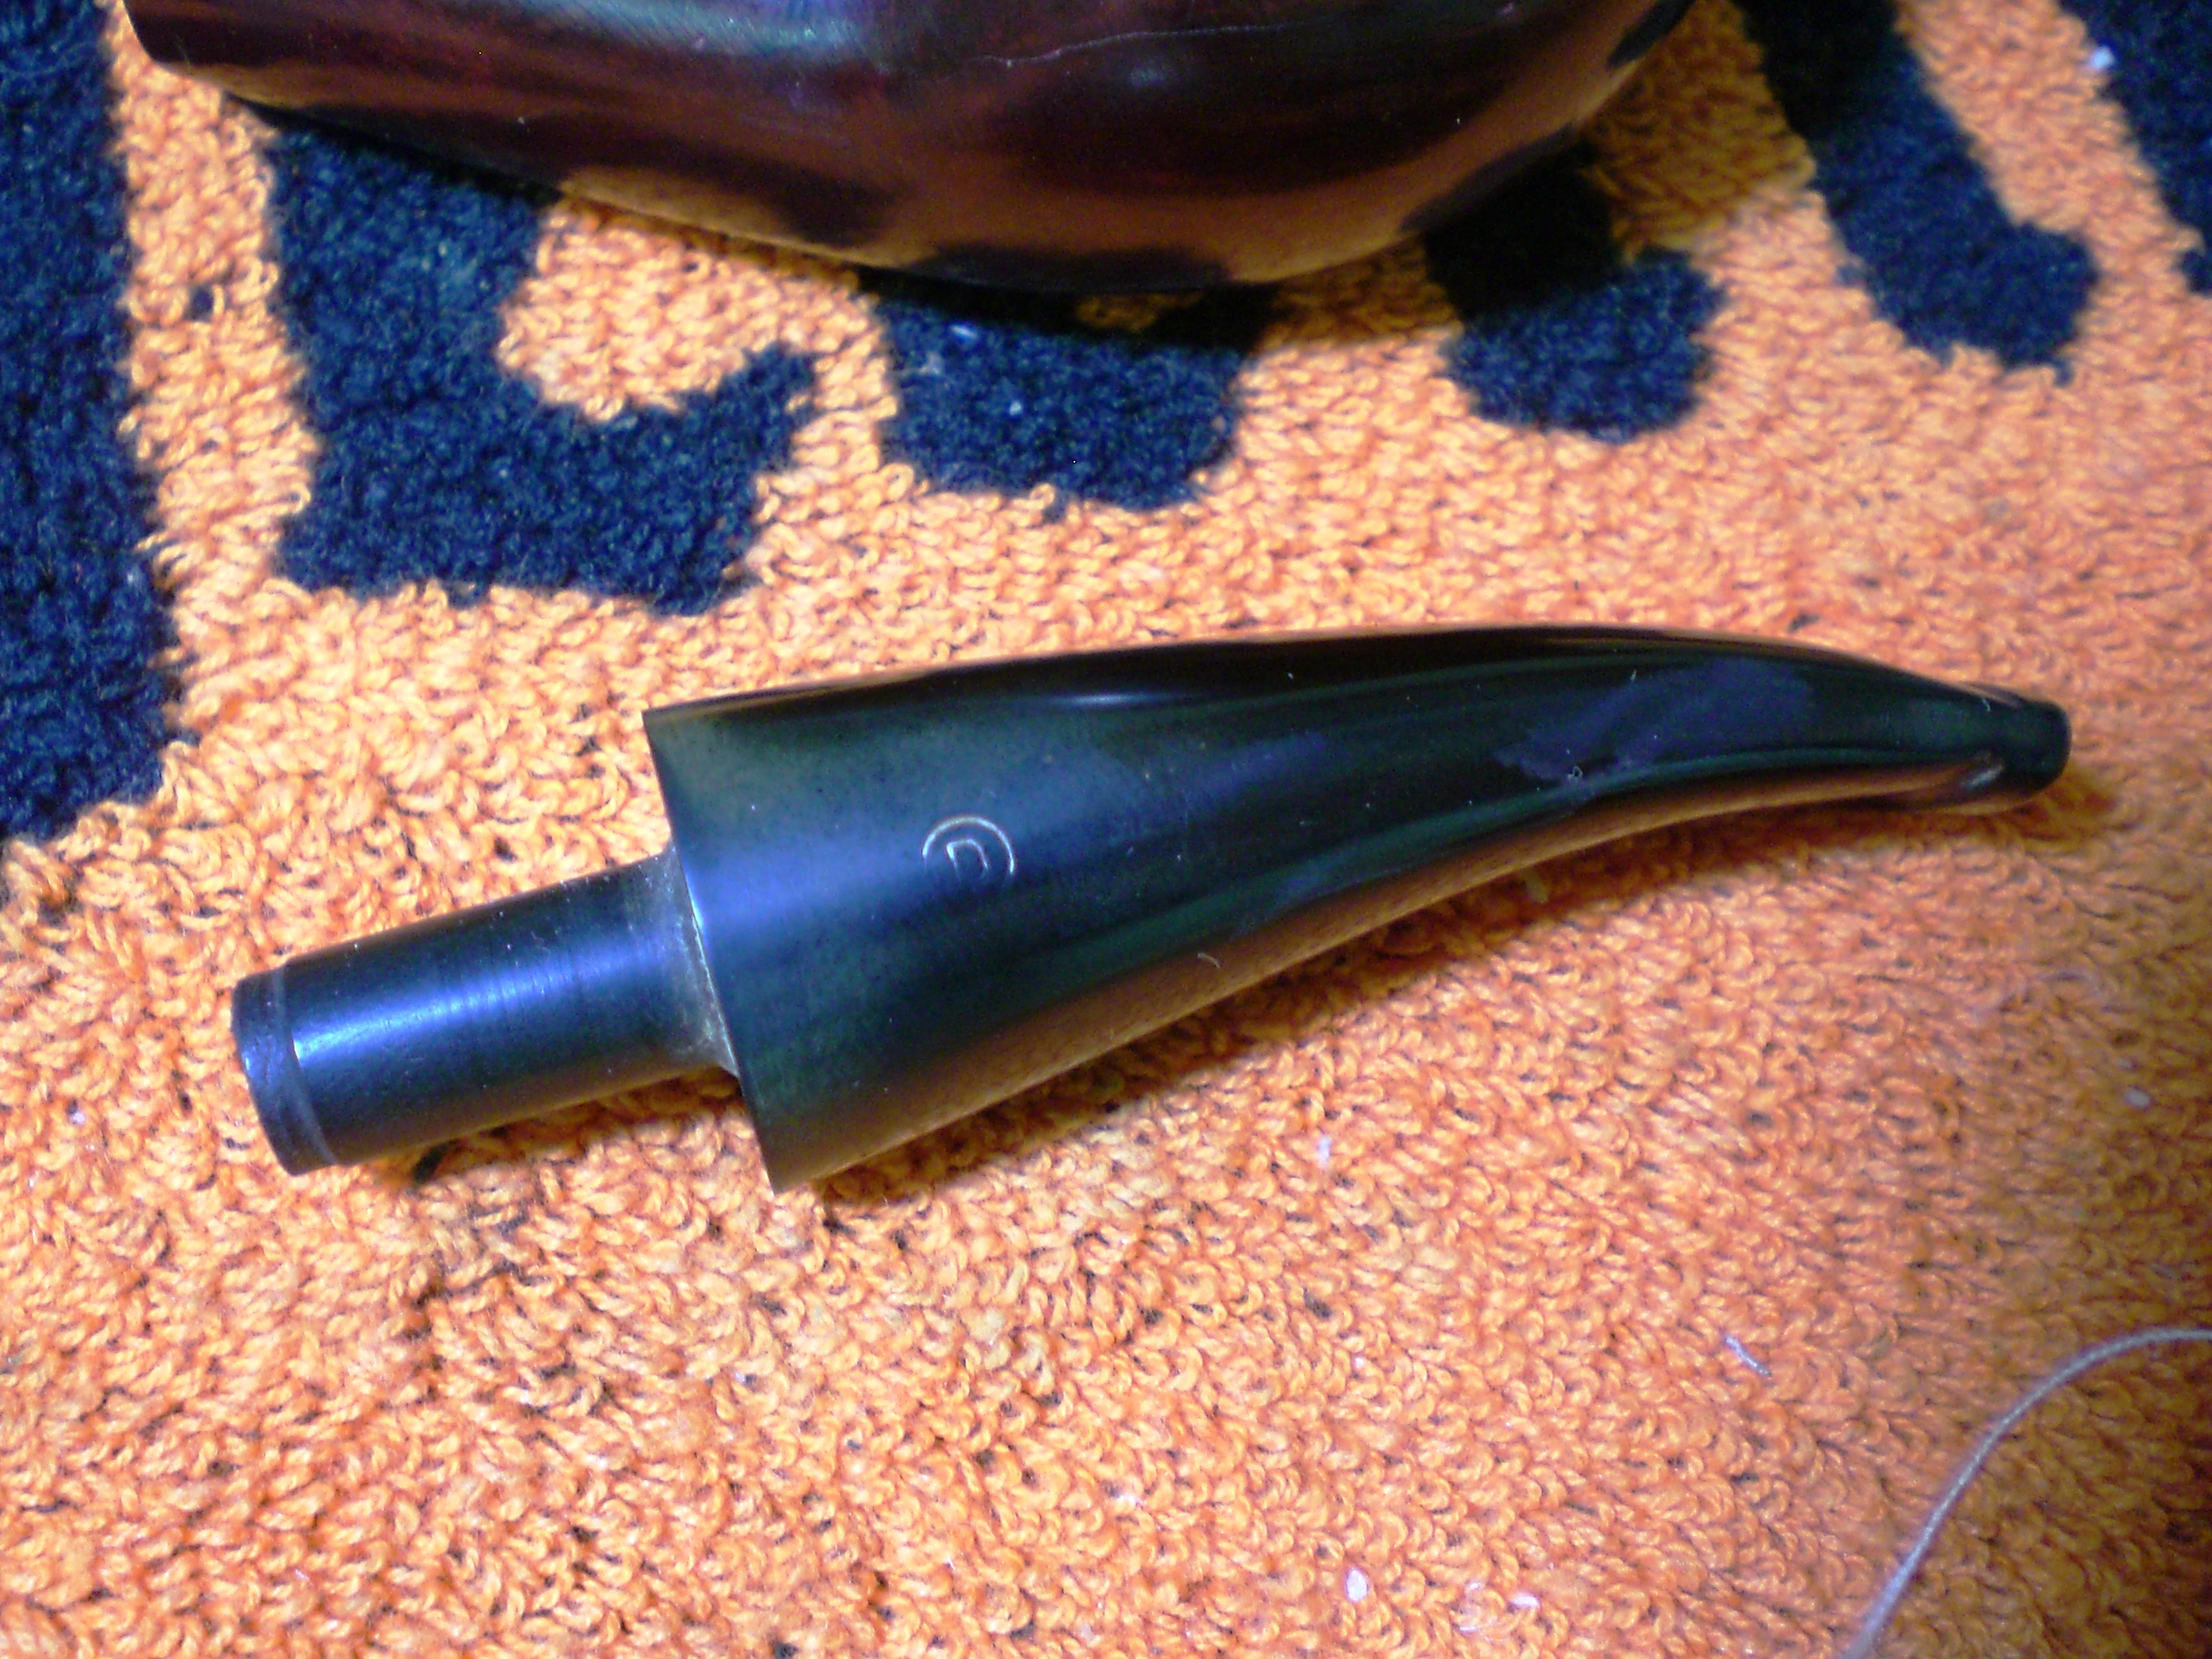
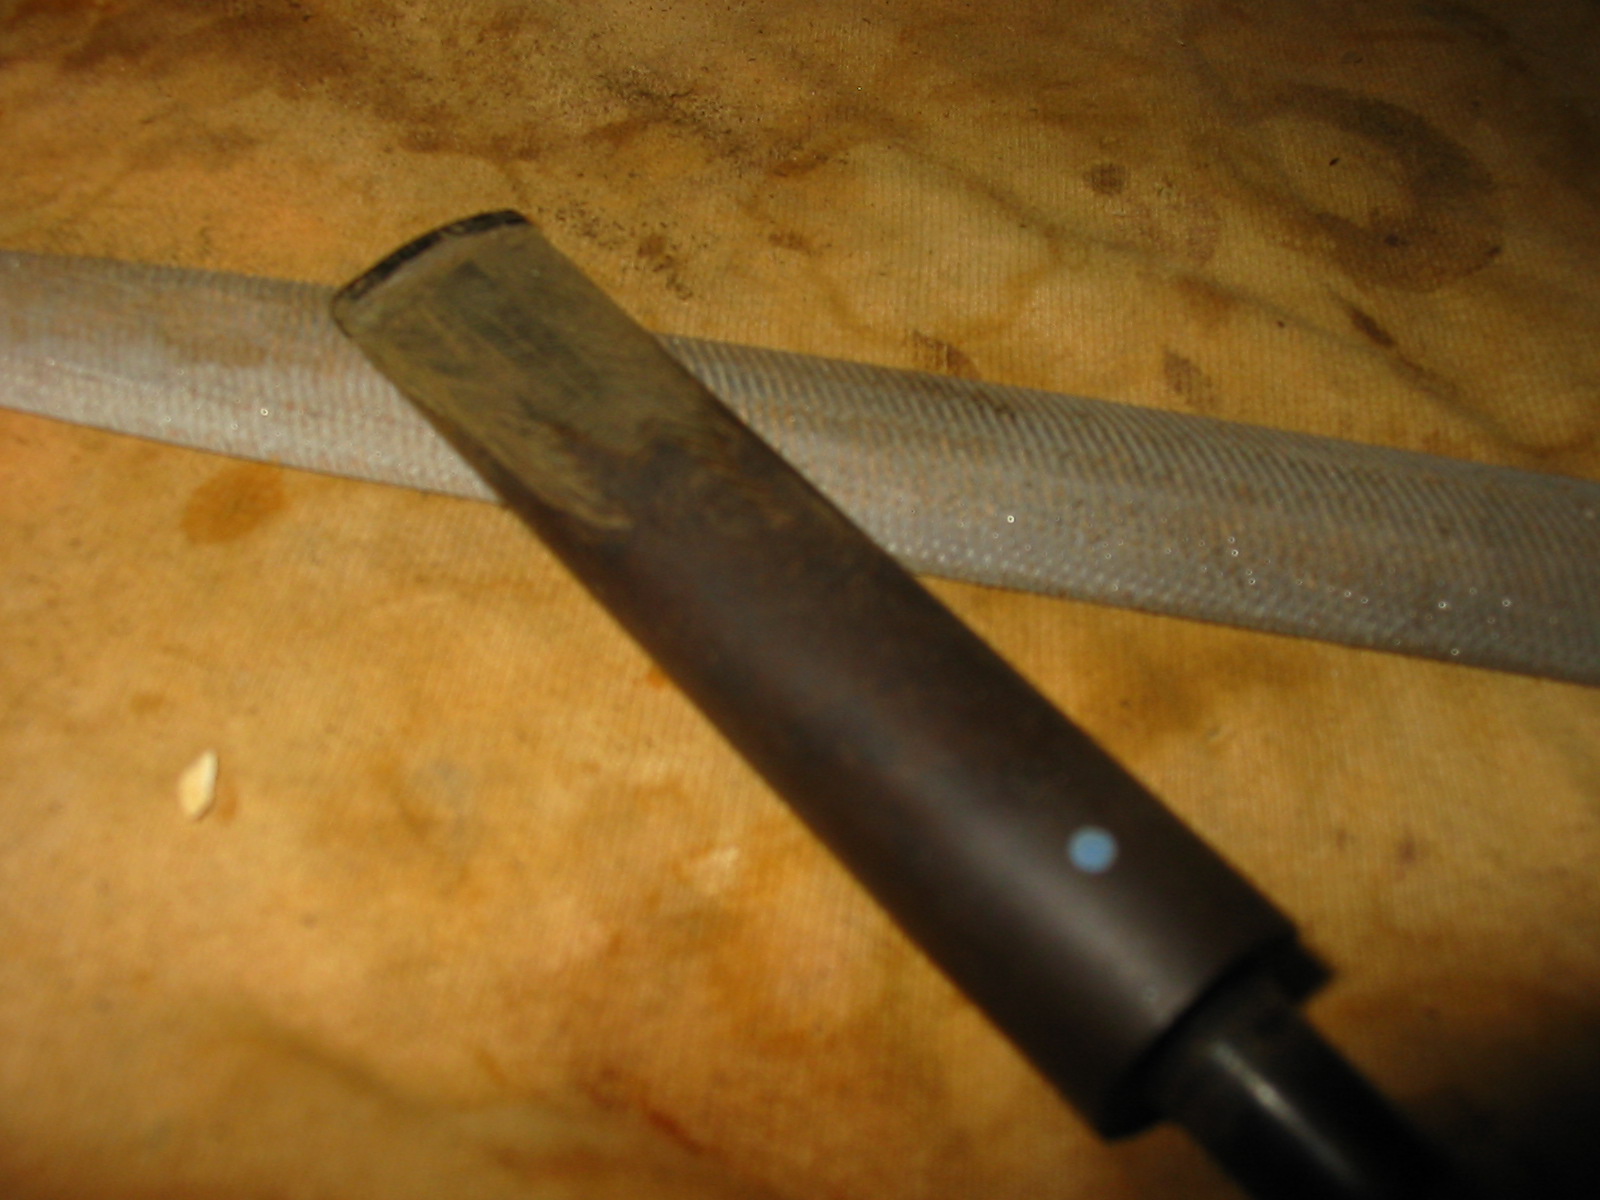
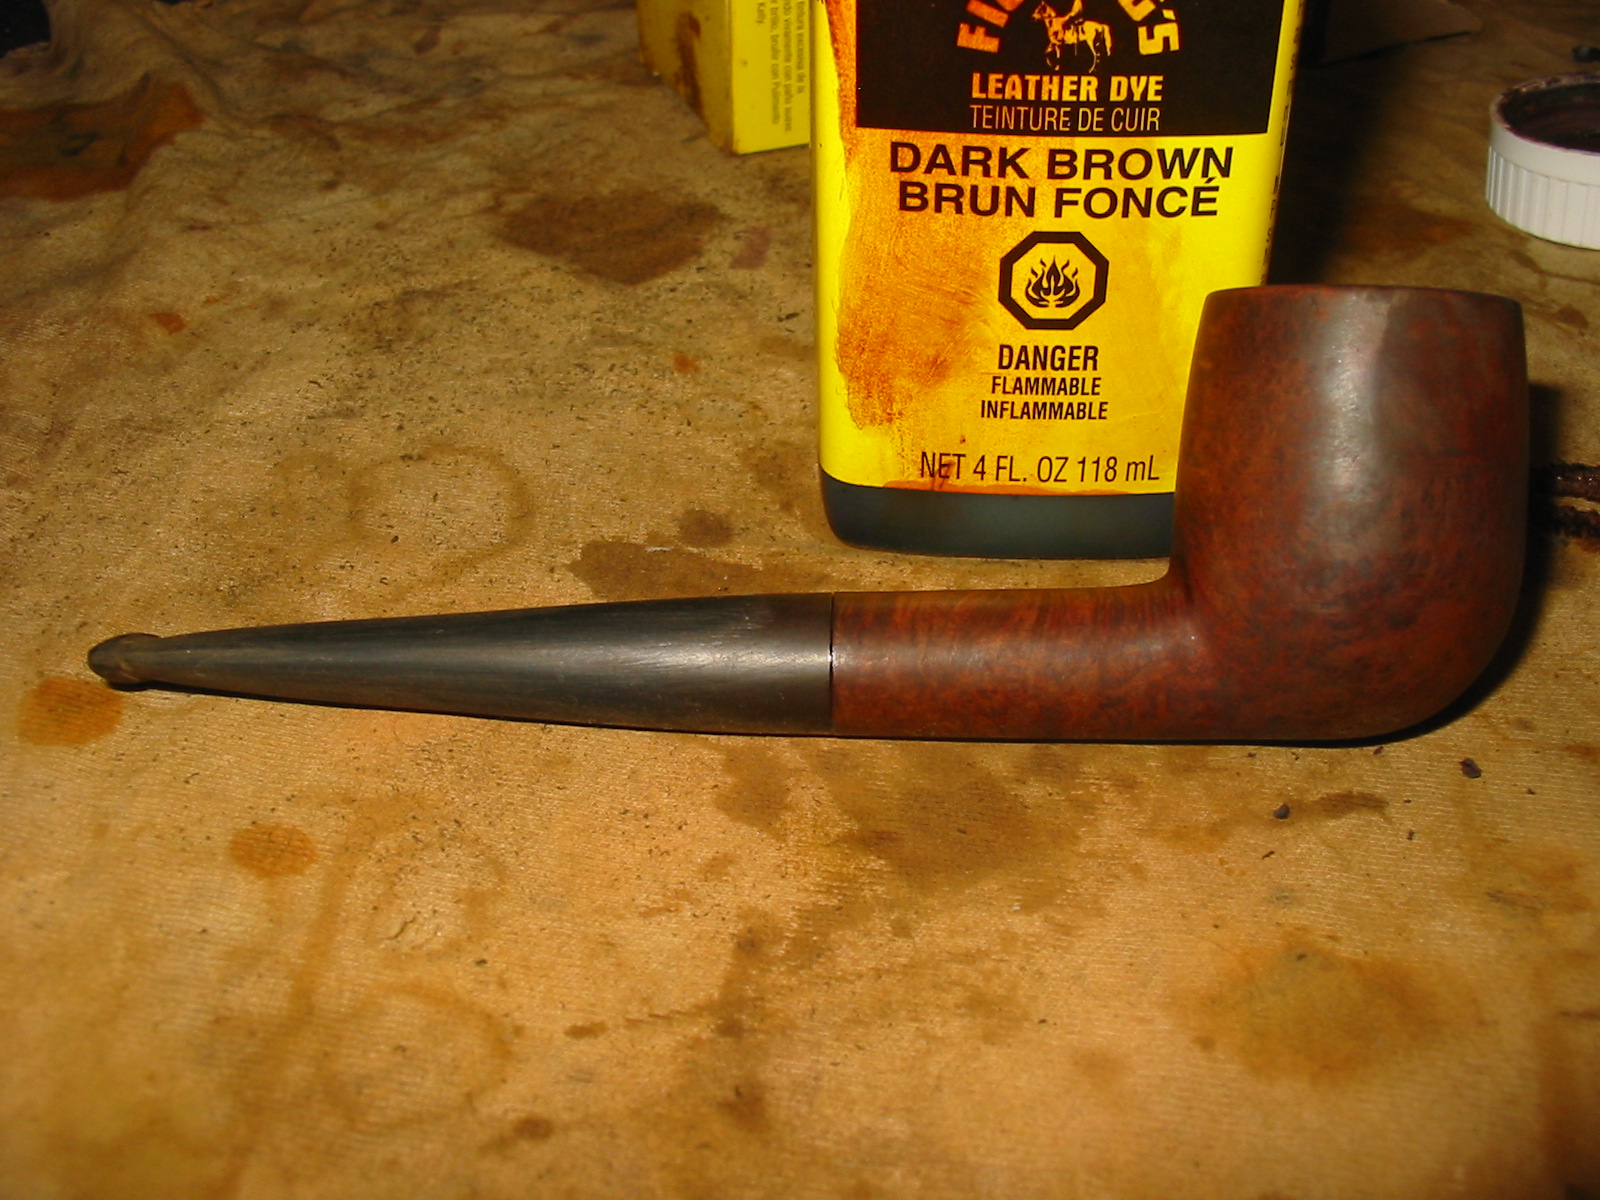
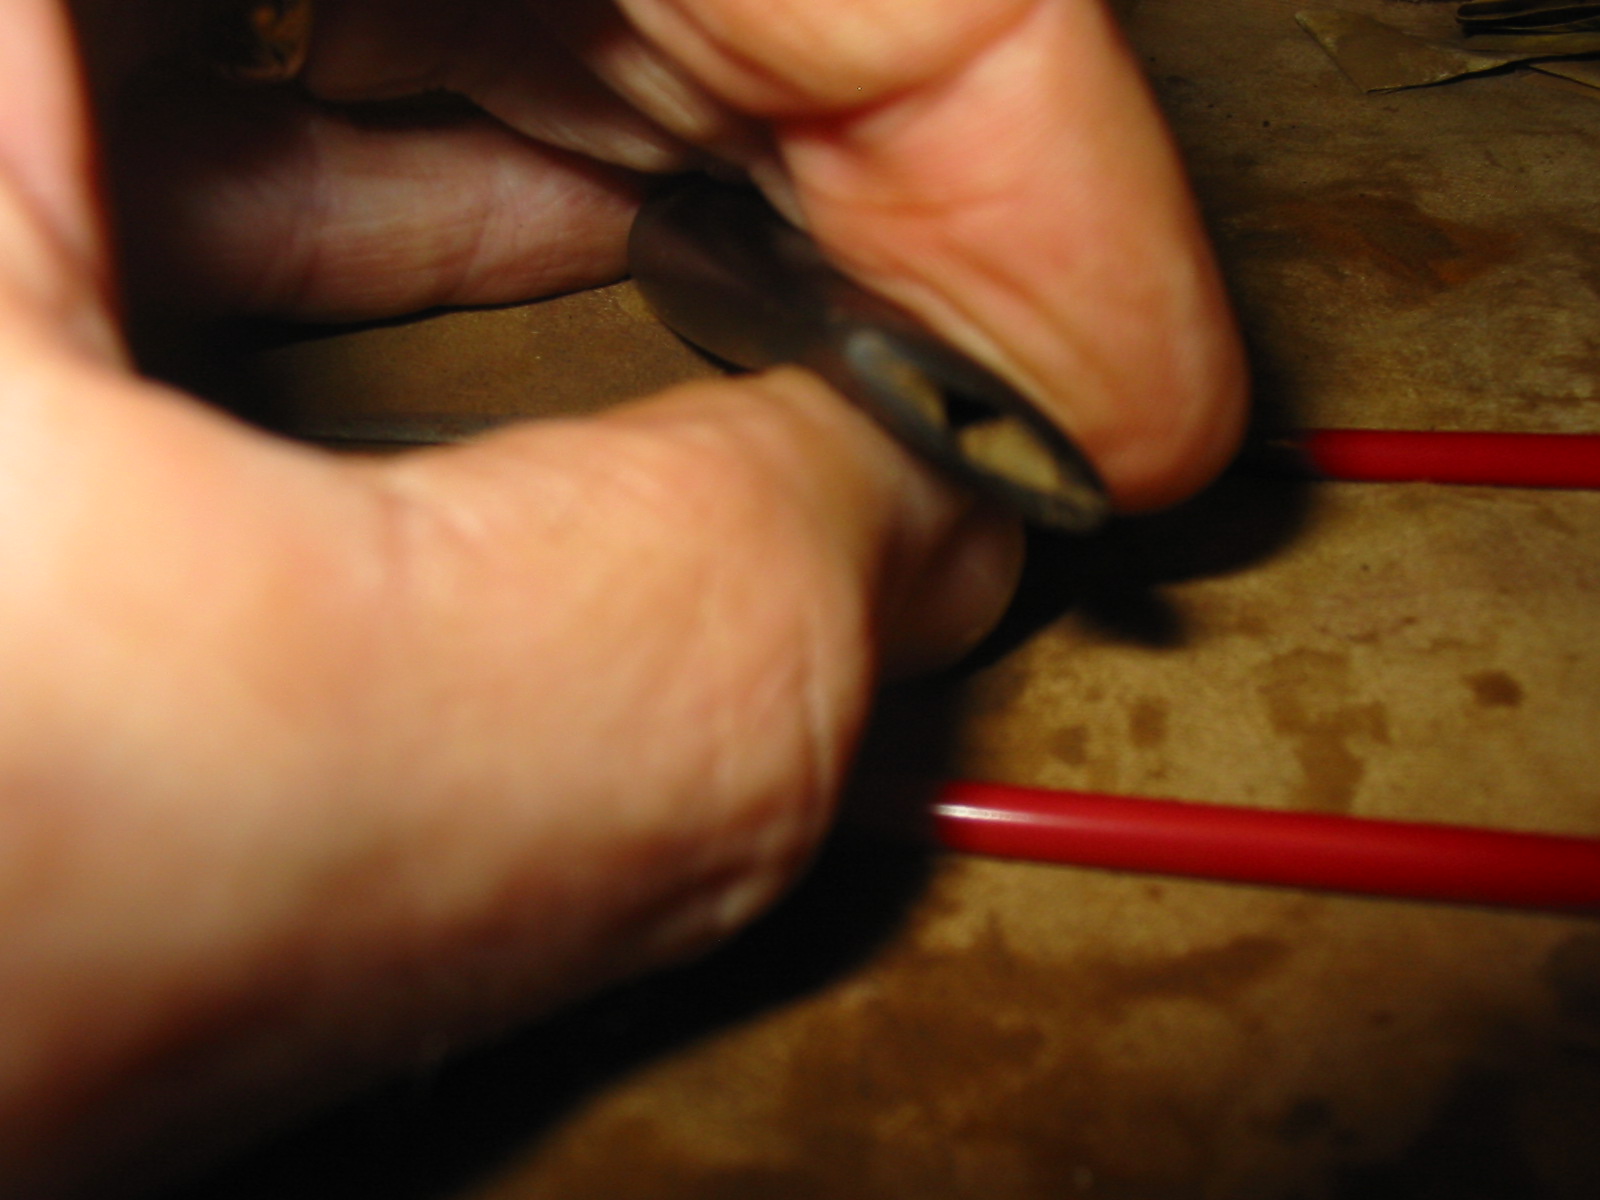
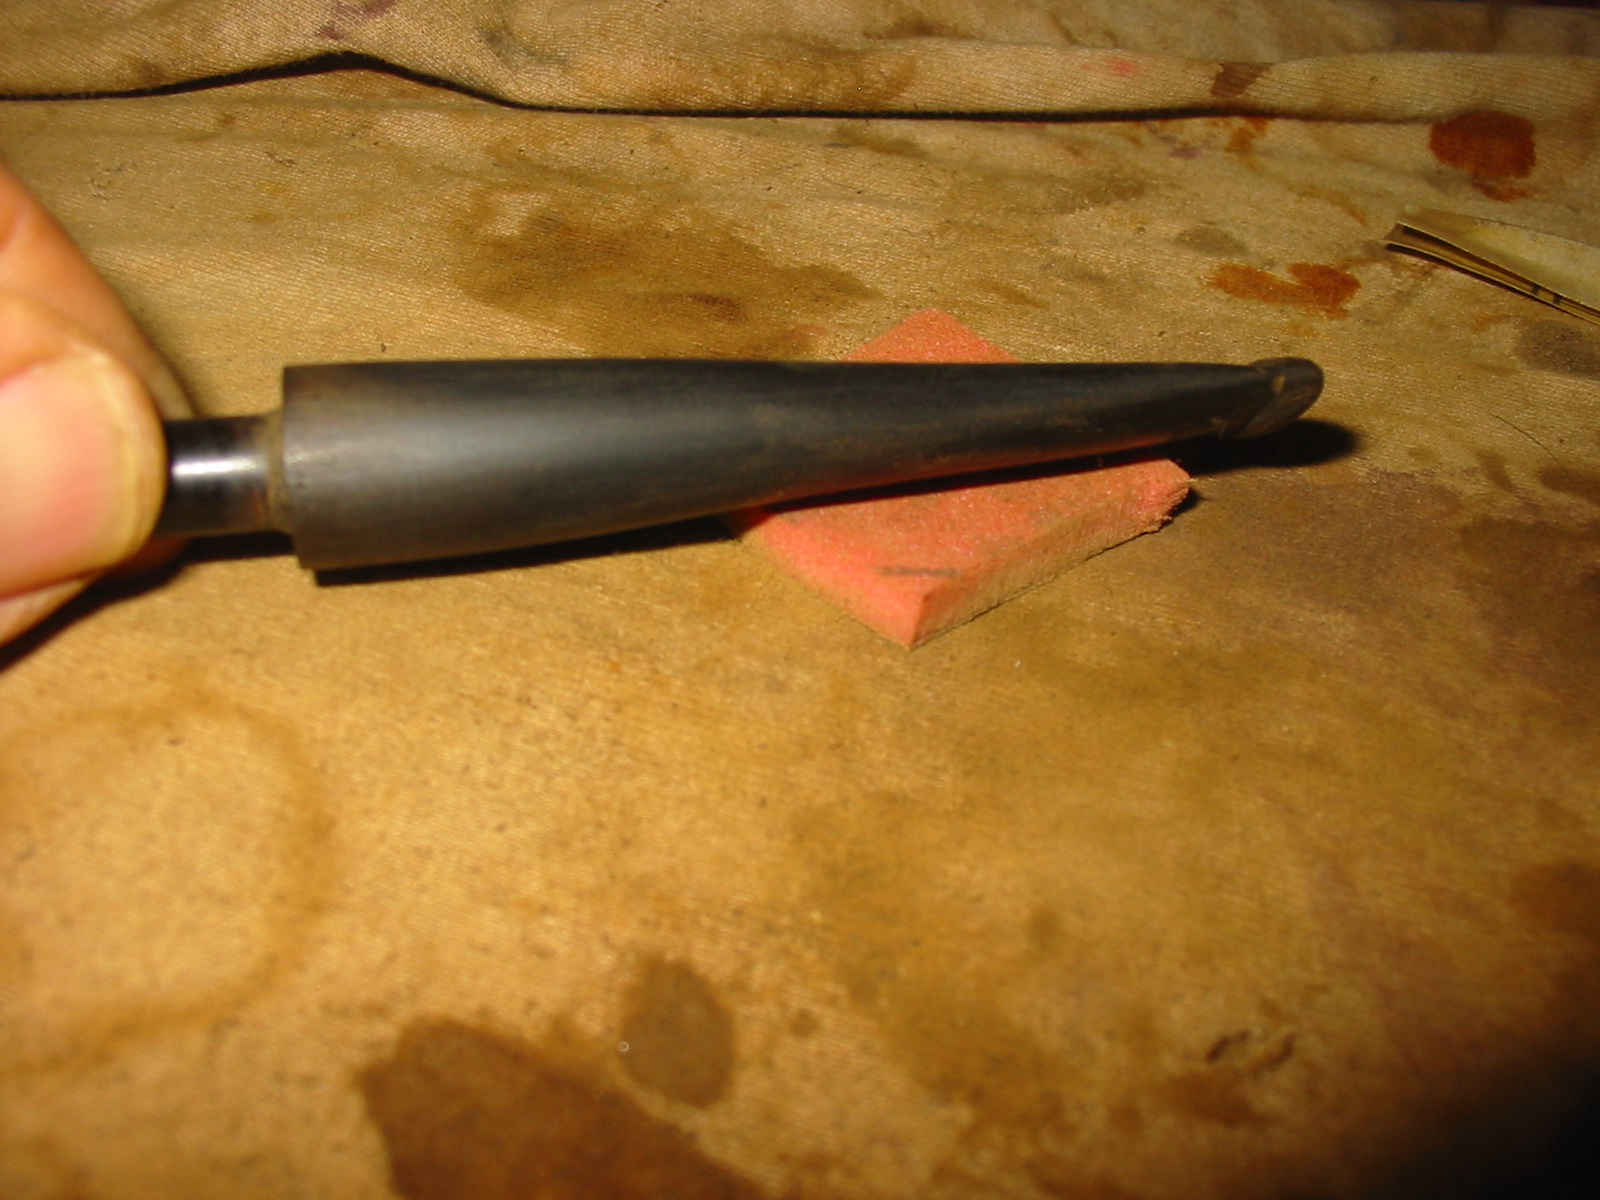
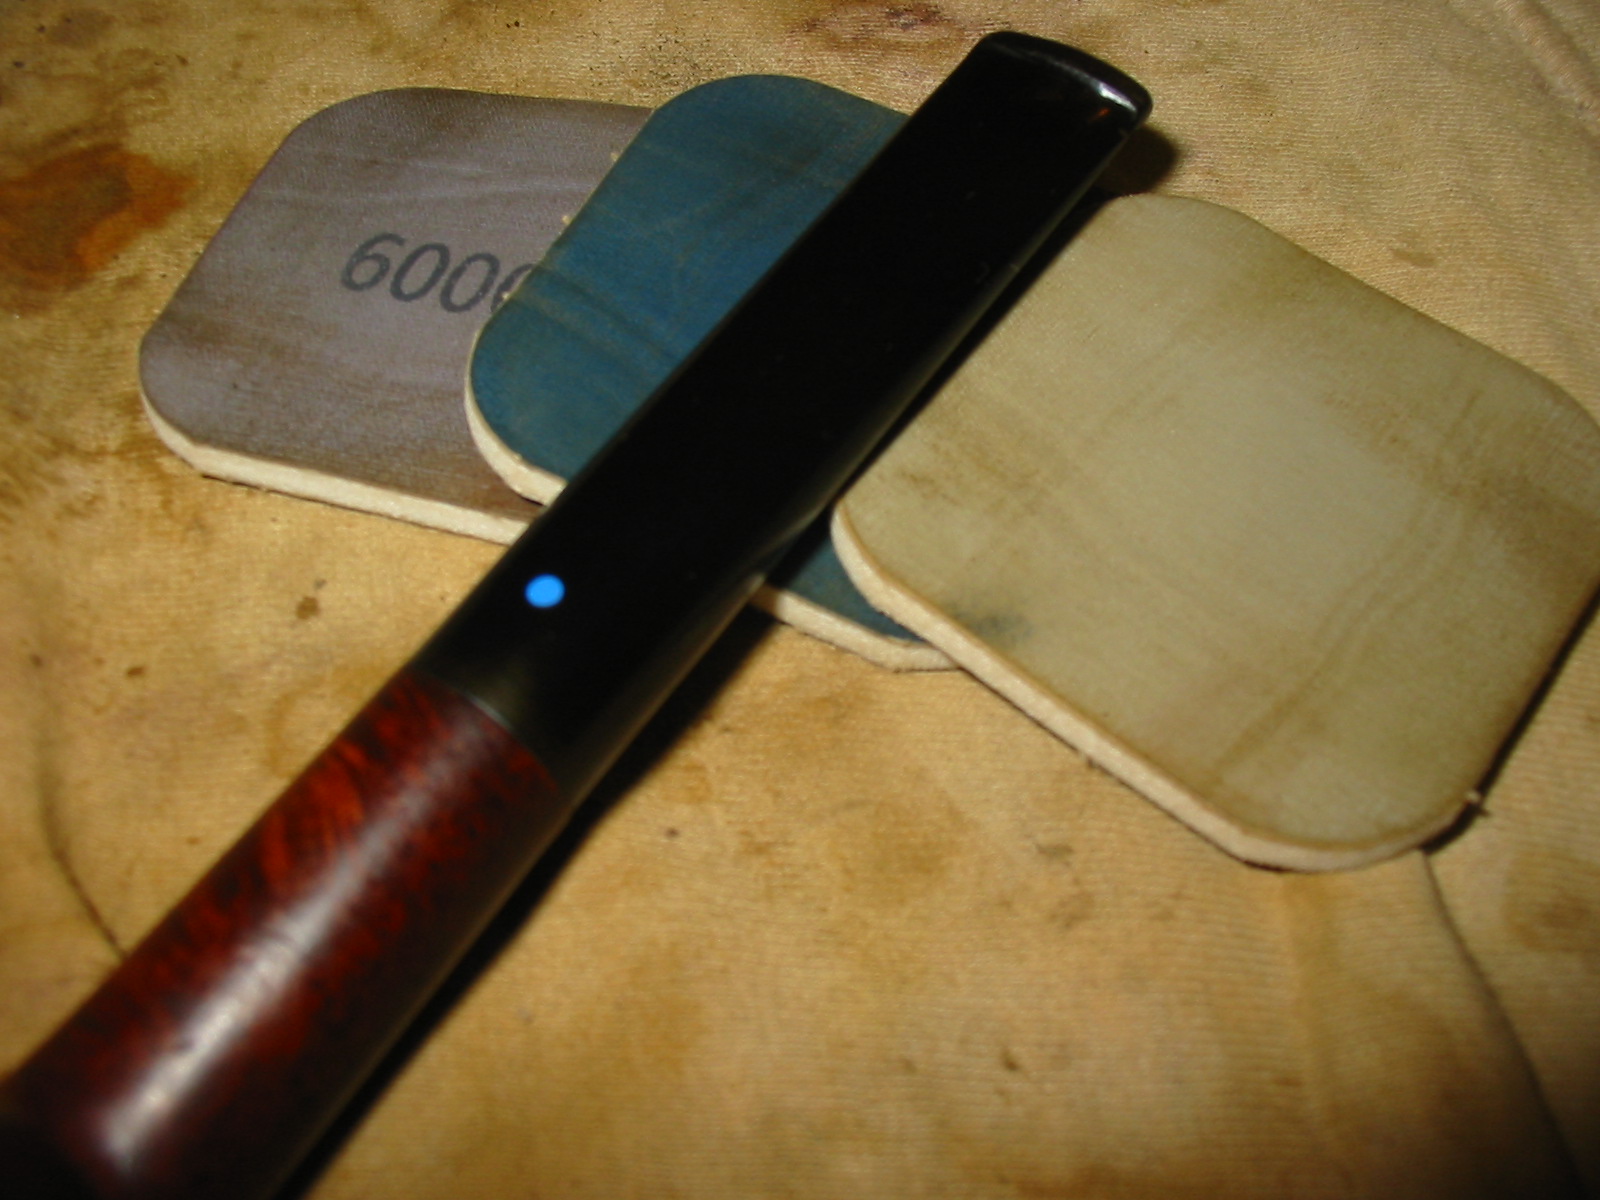
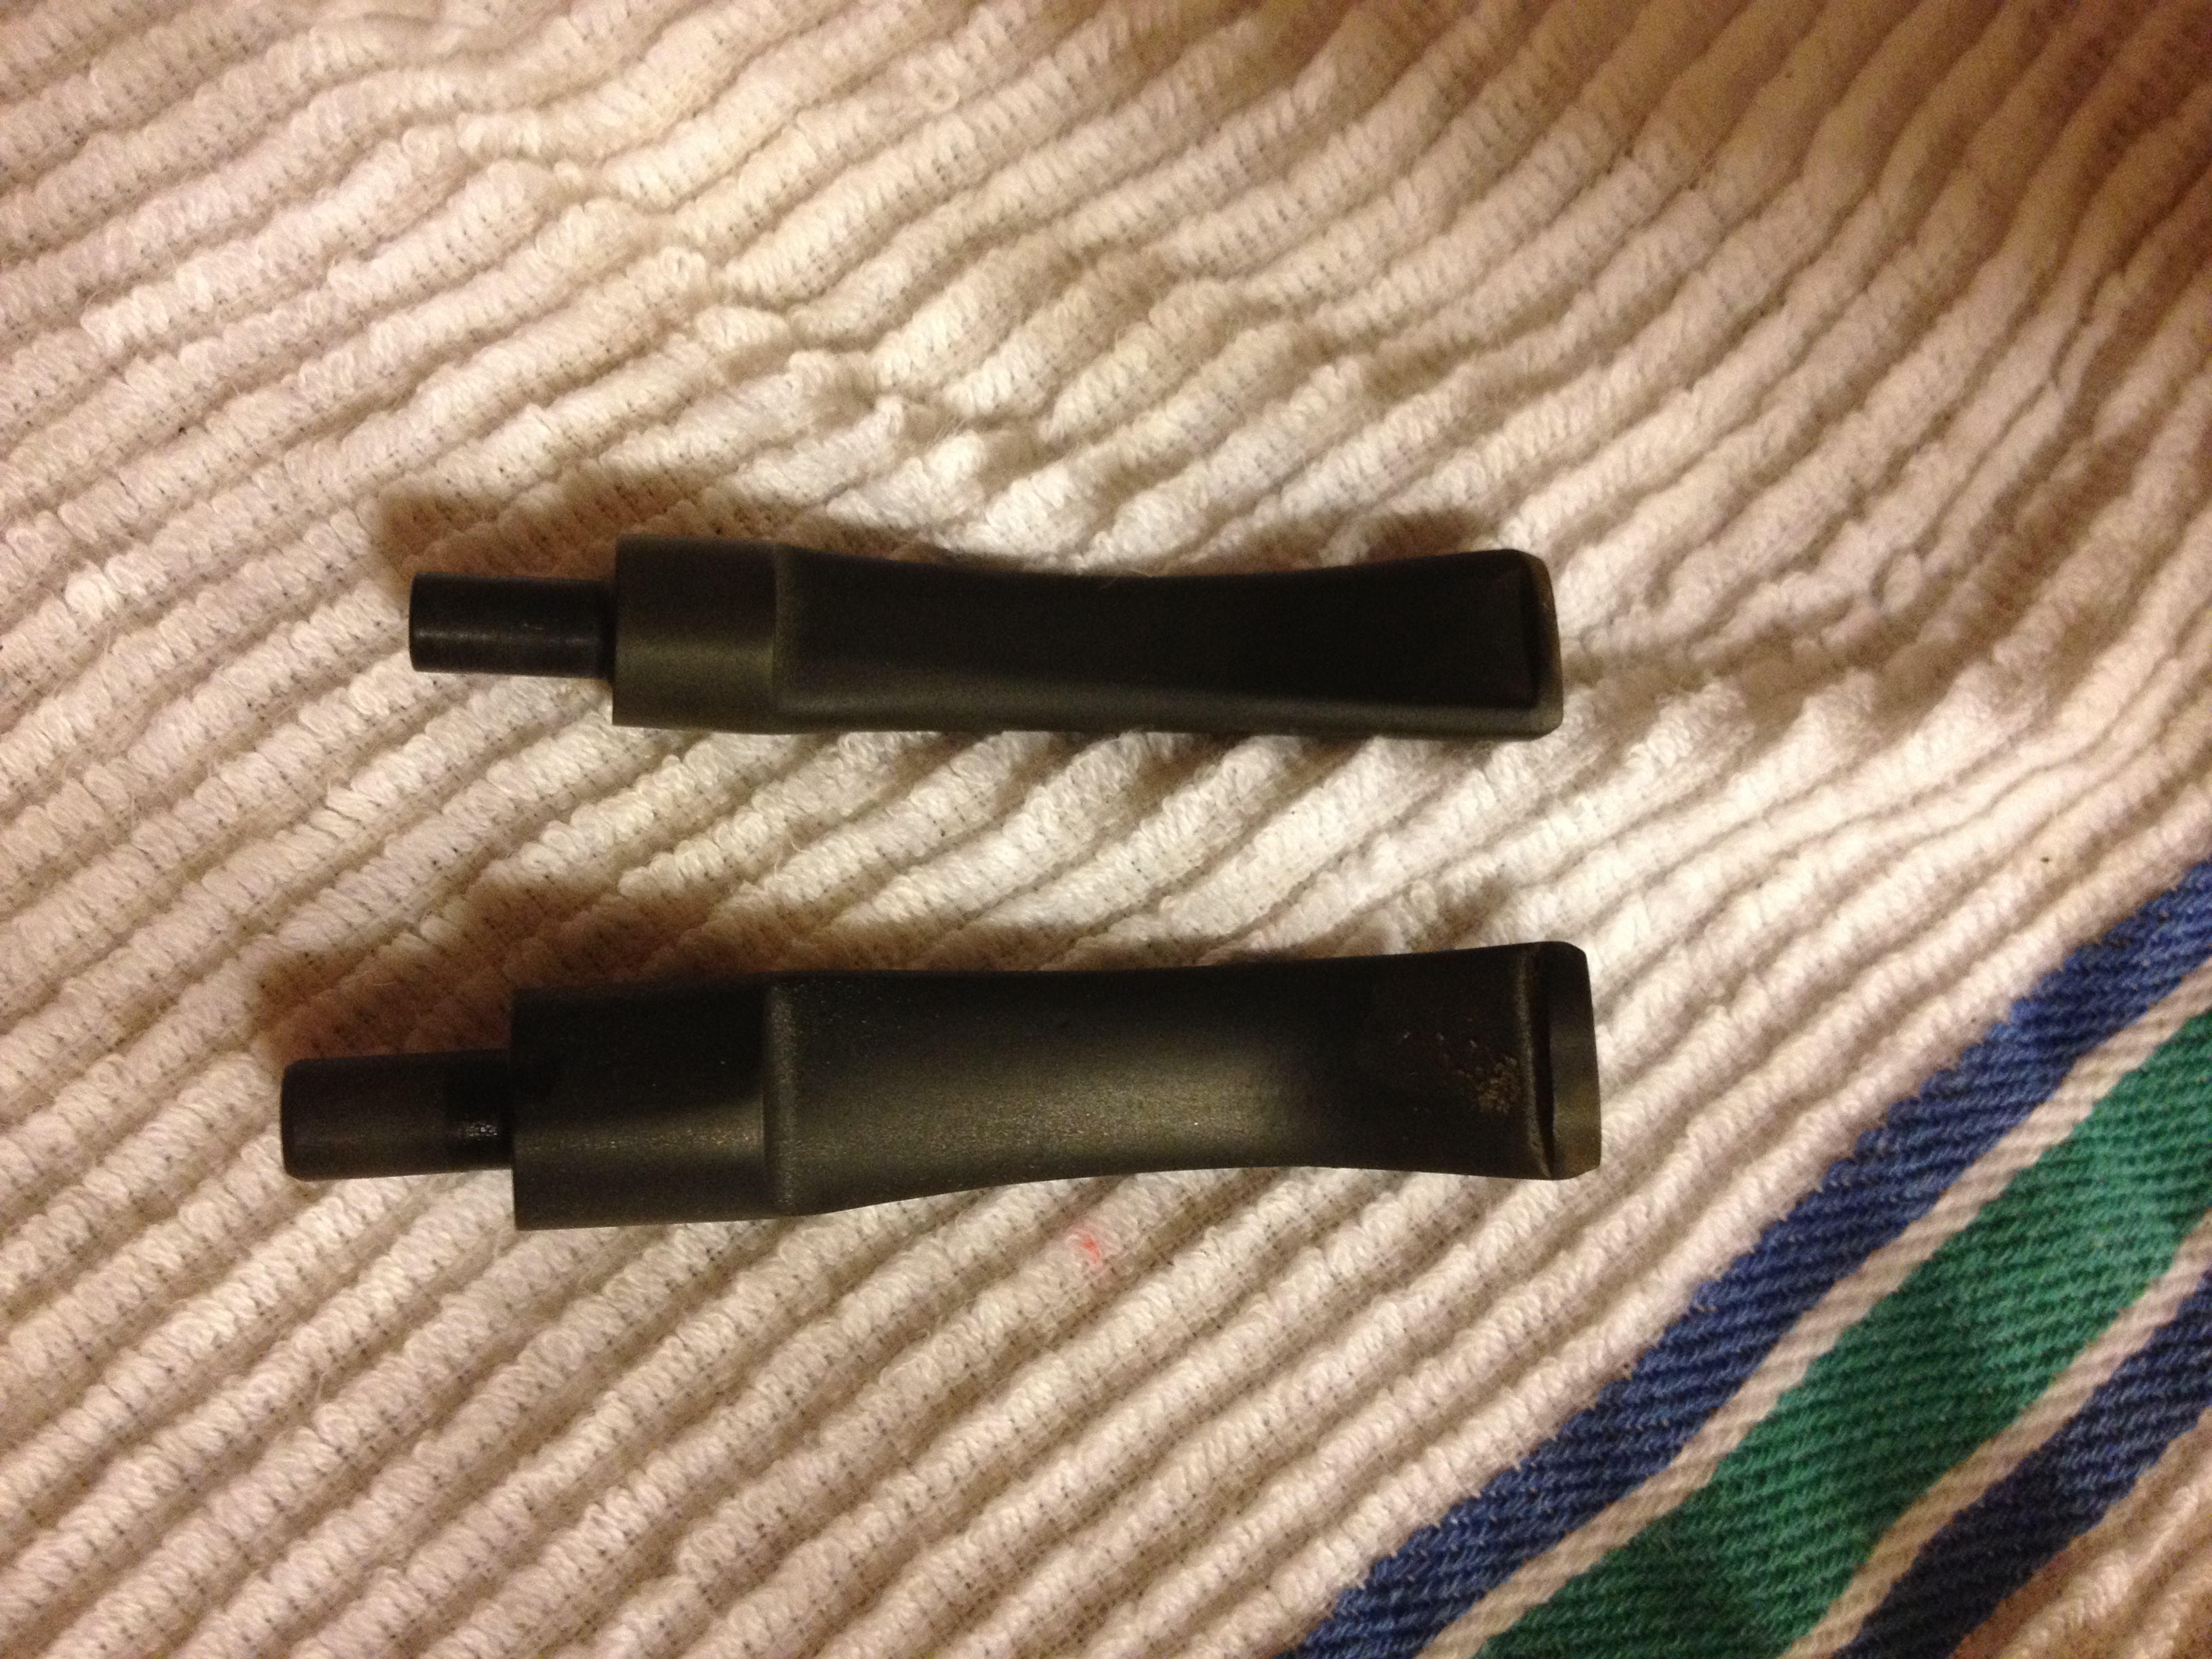
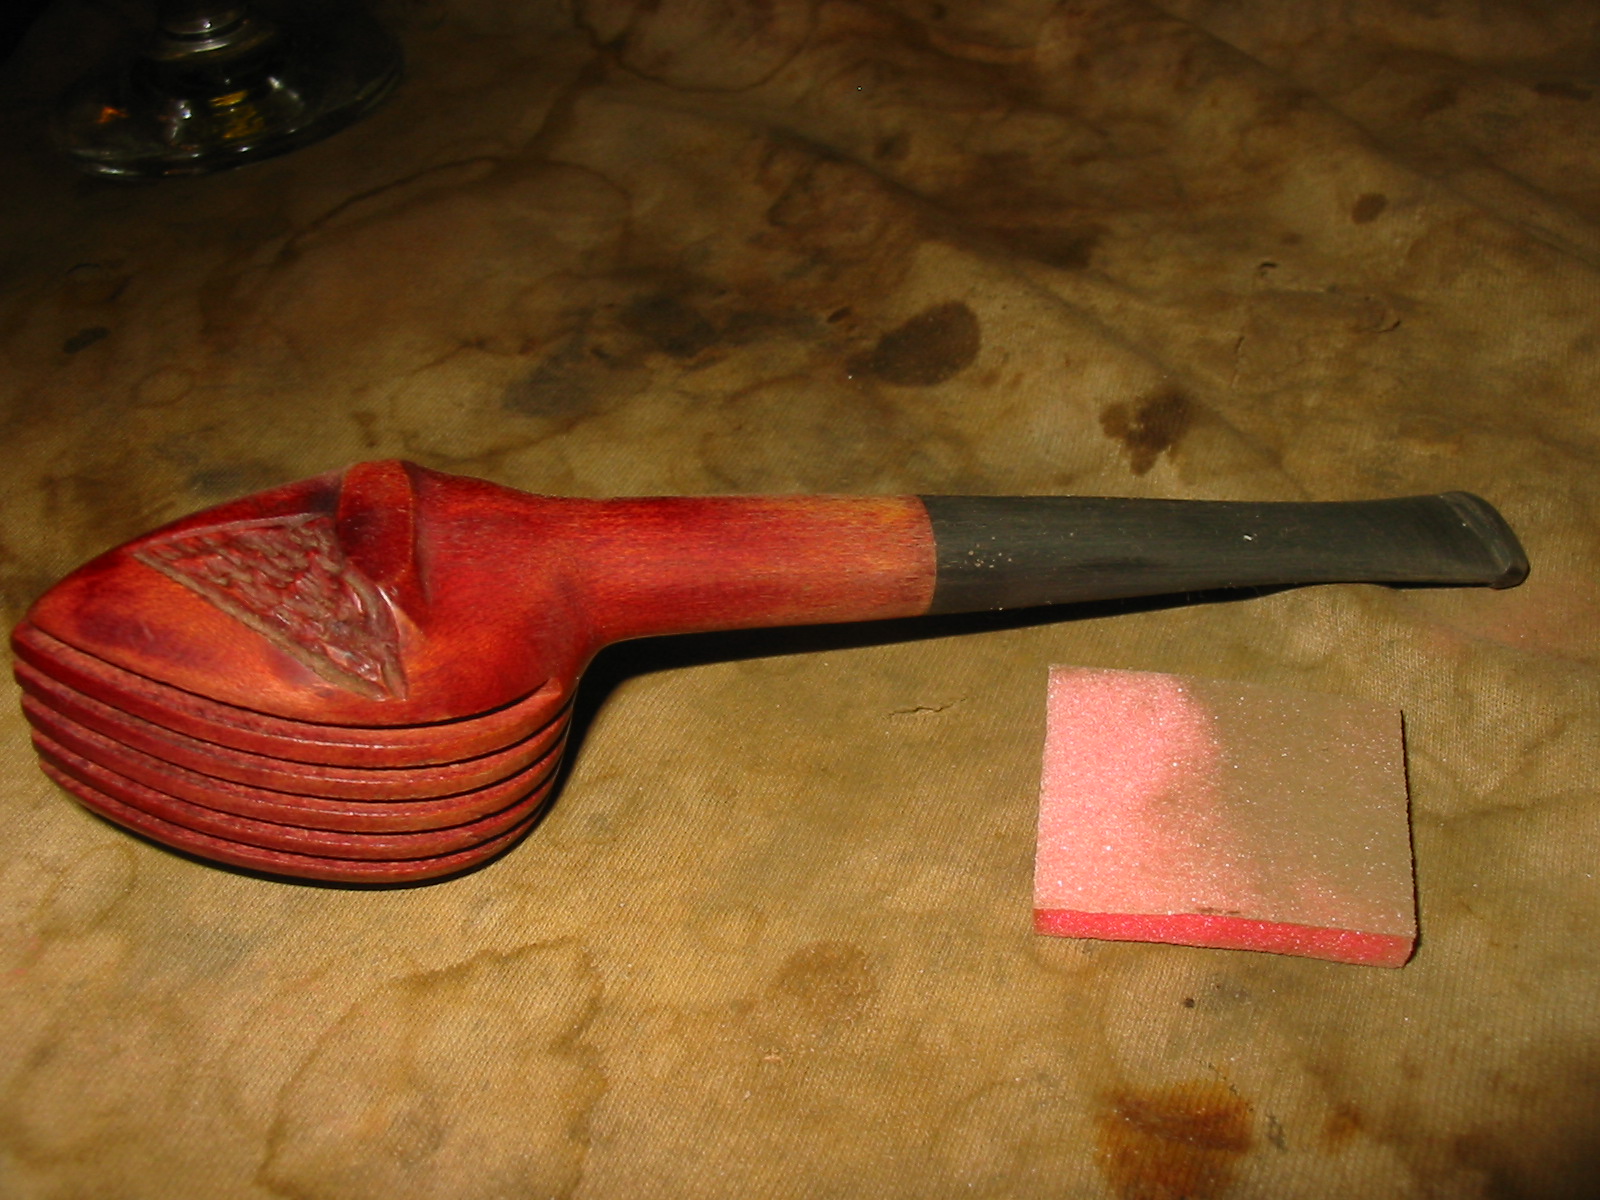
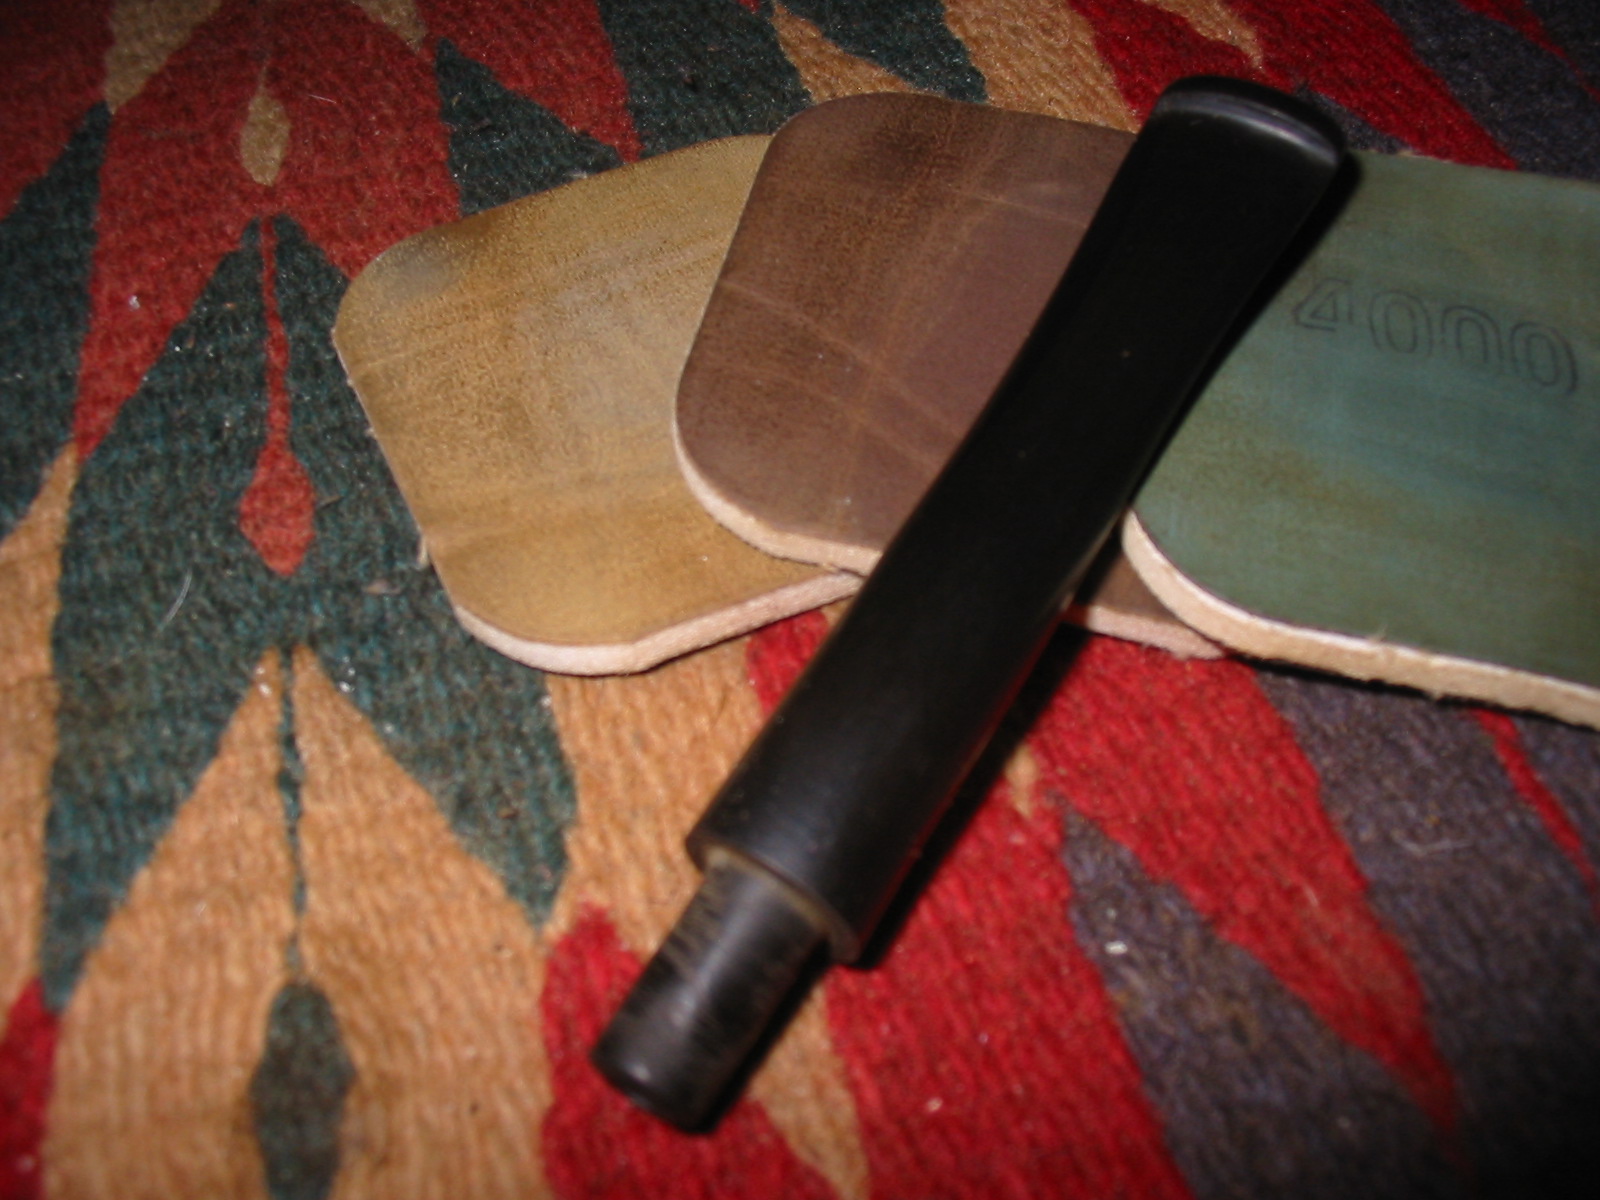
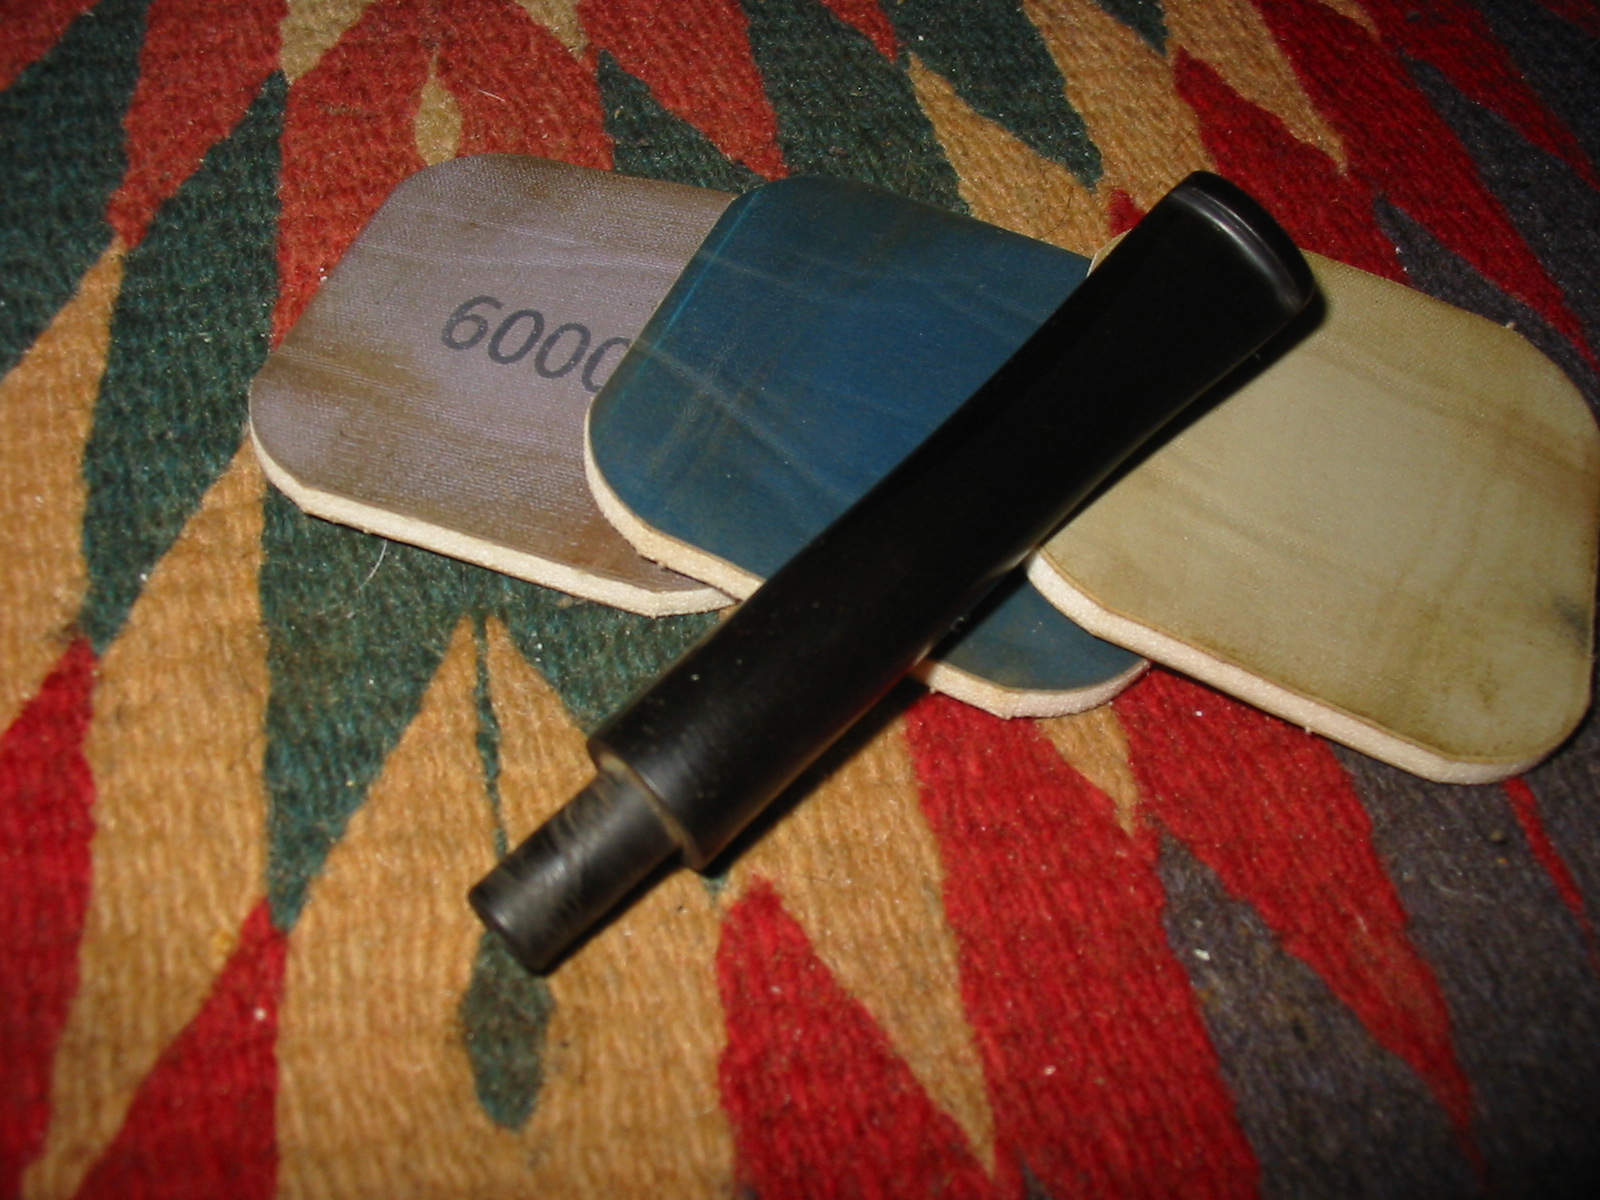
The flow of the taper on the stem was still too chunky in my opinion to match the Streamline concept of the pipe. I used 220 grit sandpaper and files to change the slope of the stem. When I had it the way I envisioned I sanded it with 220 grit sandpaper, a medium grit sanding sponge and also a fine grit sanding block. The angle was right and the profile looked much more “streamlined”.
IMG_2445

IMG_2446

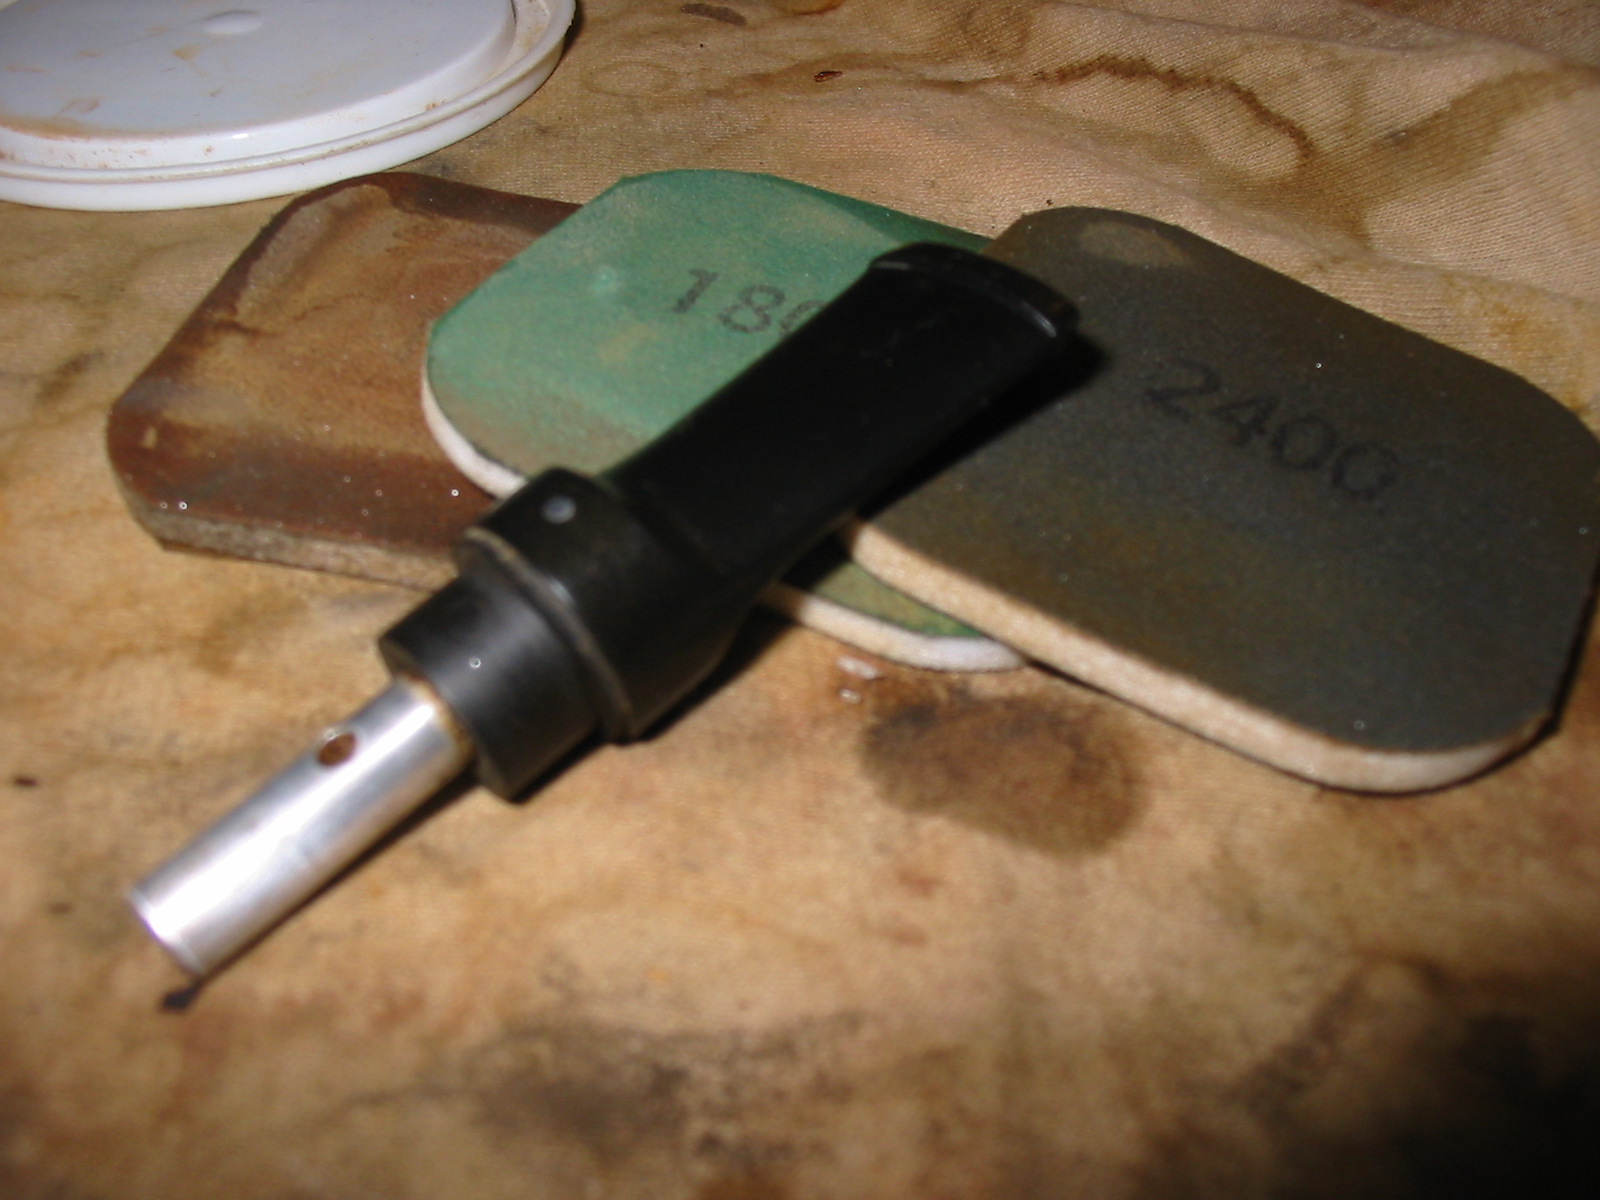
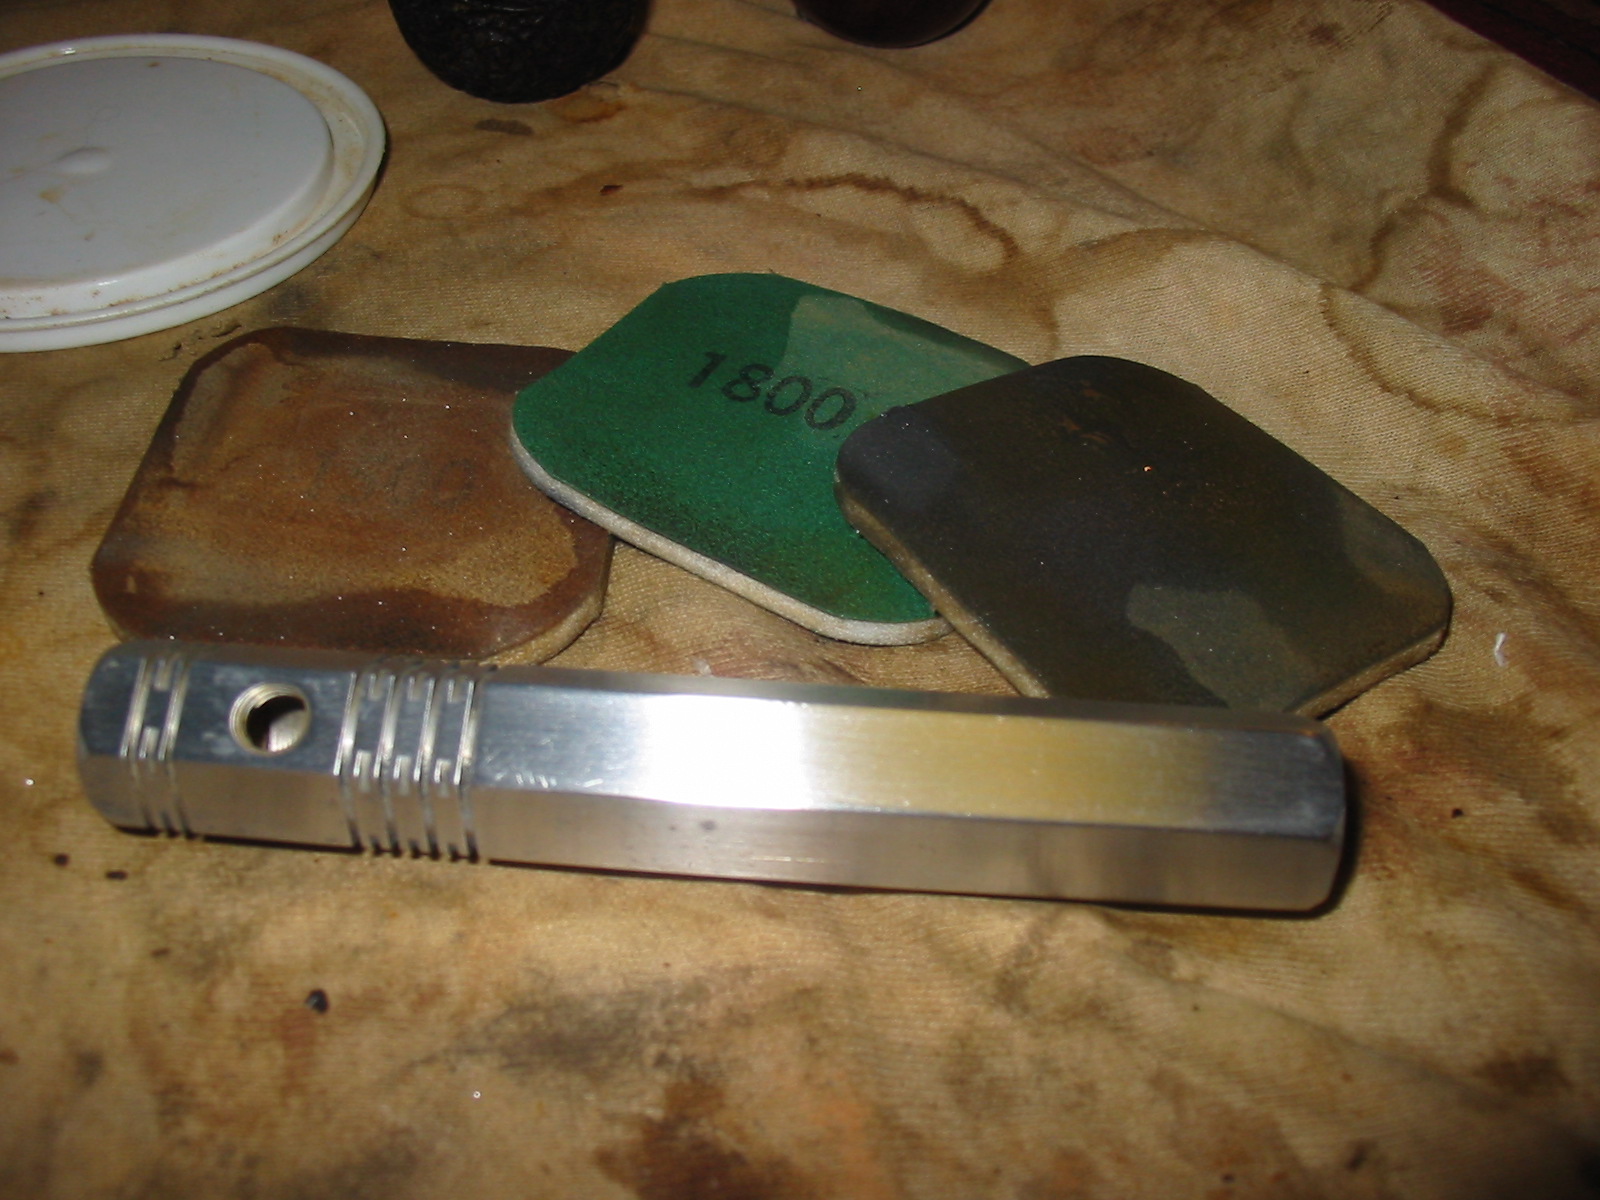
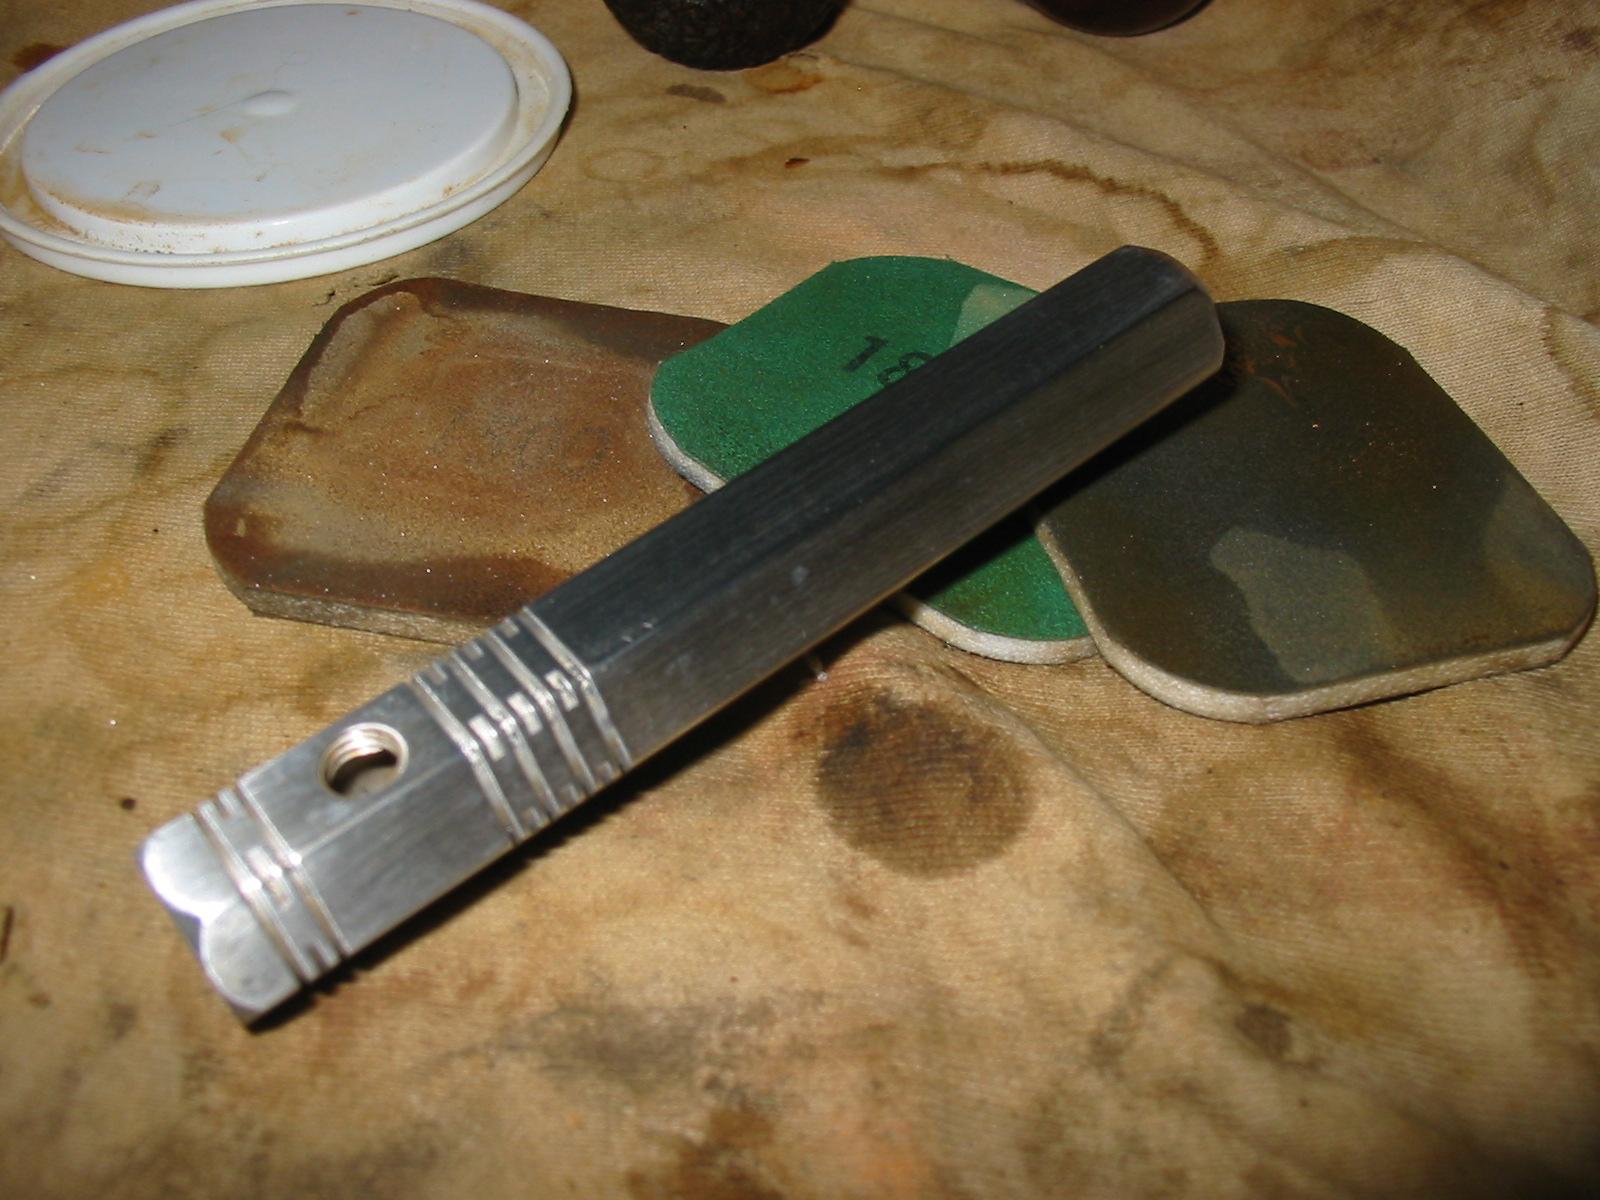
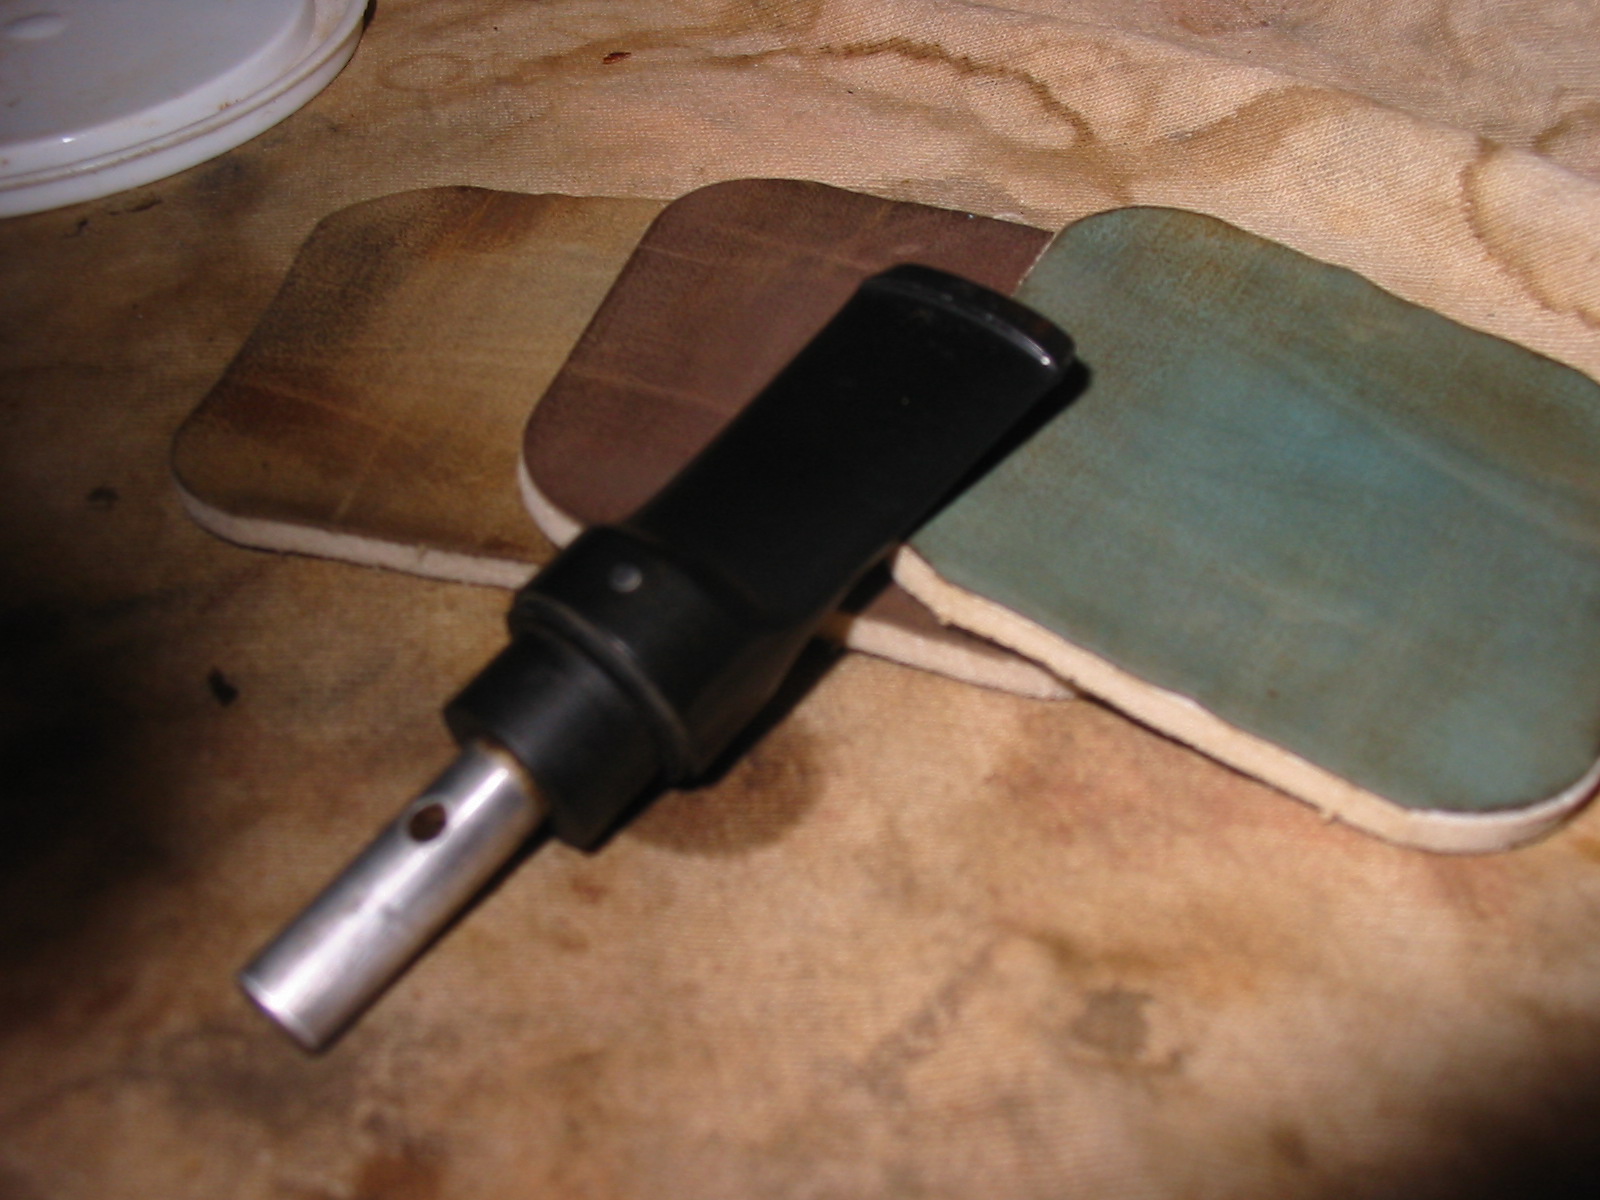
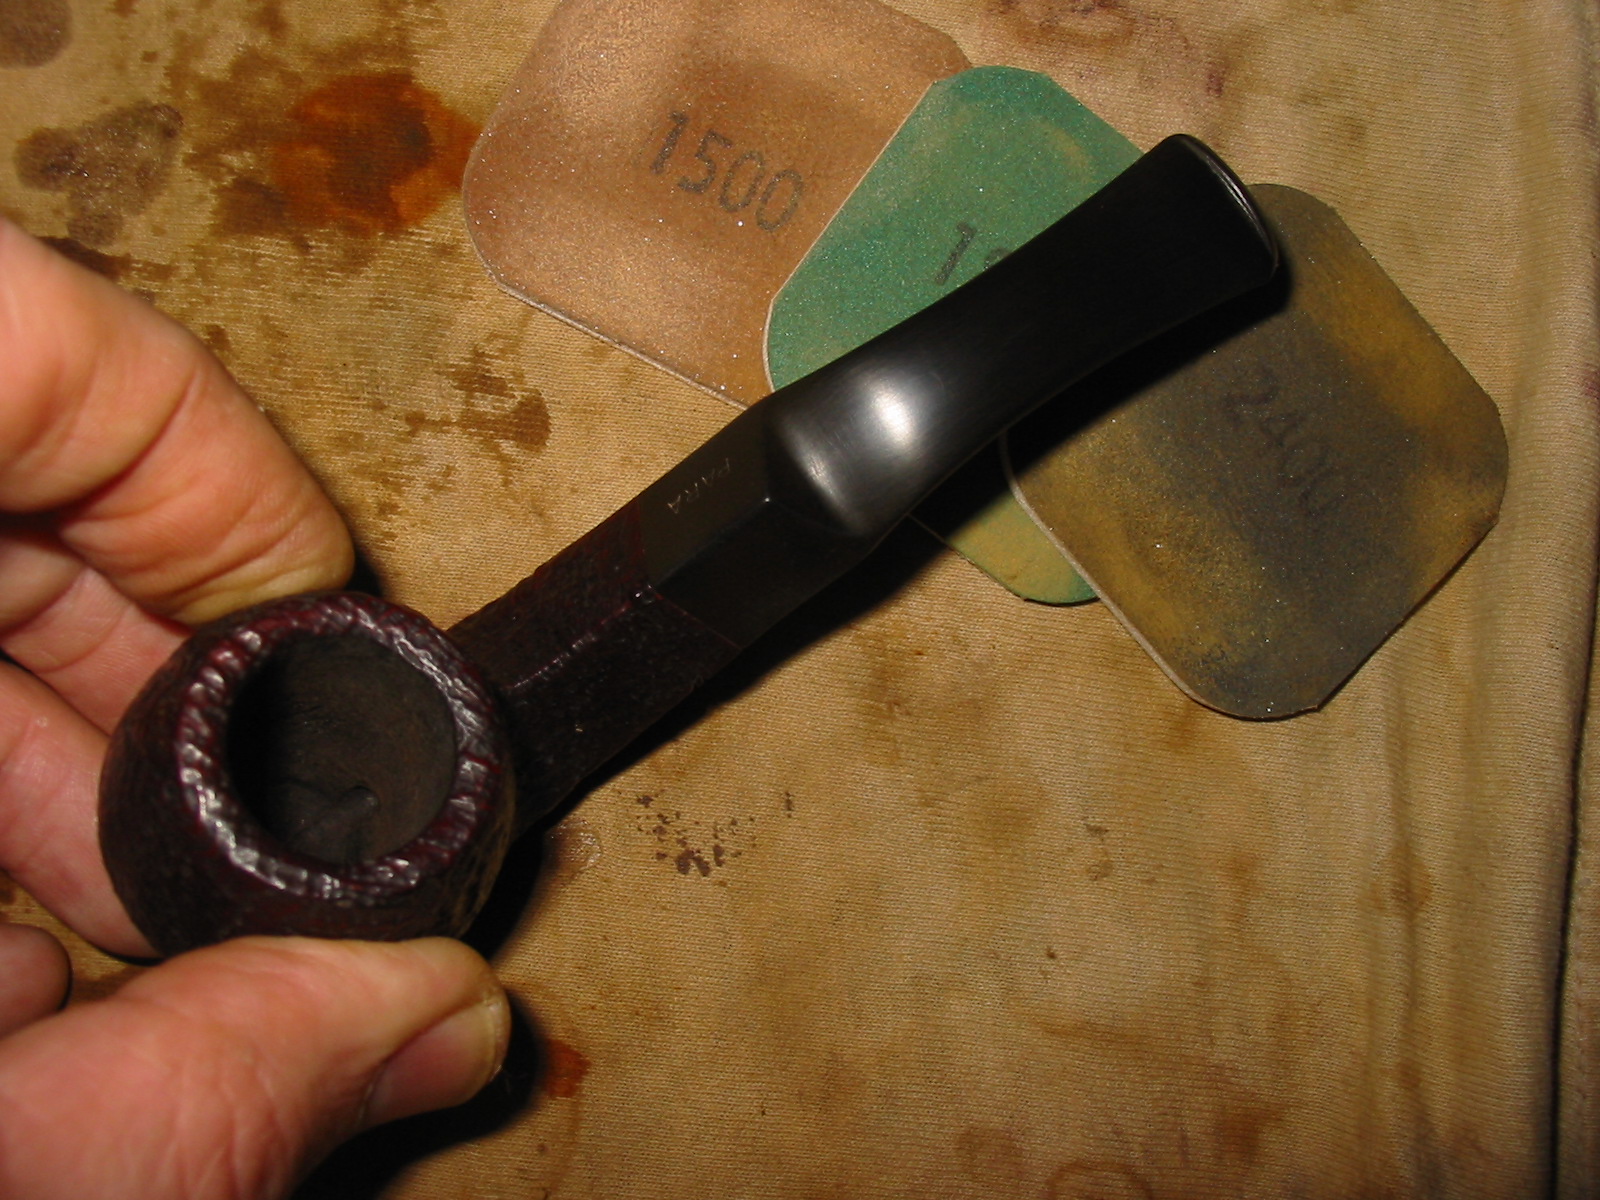
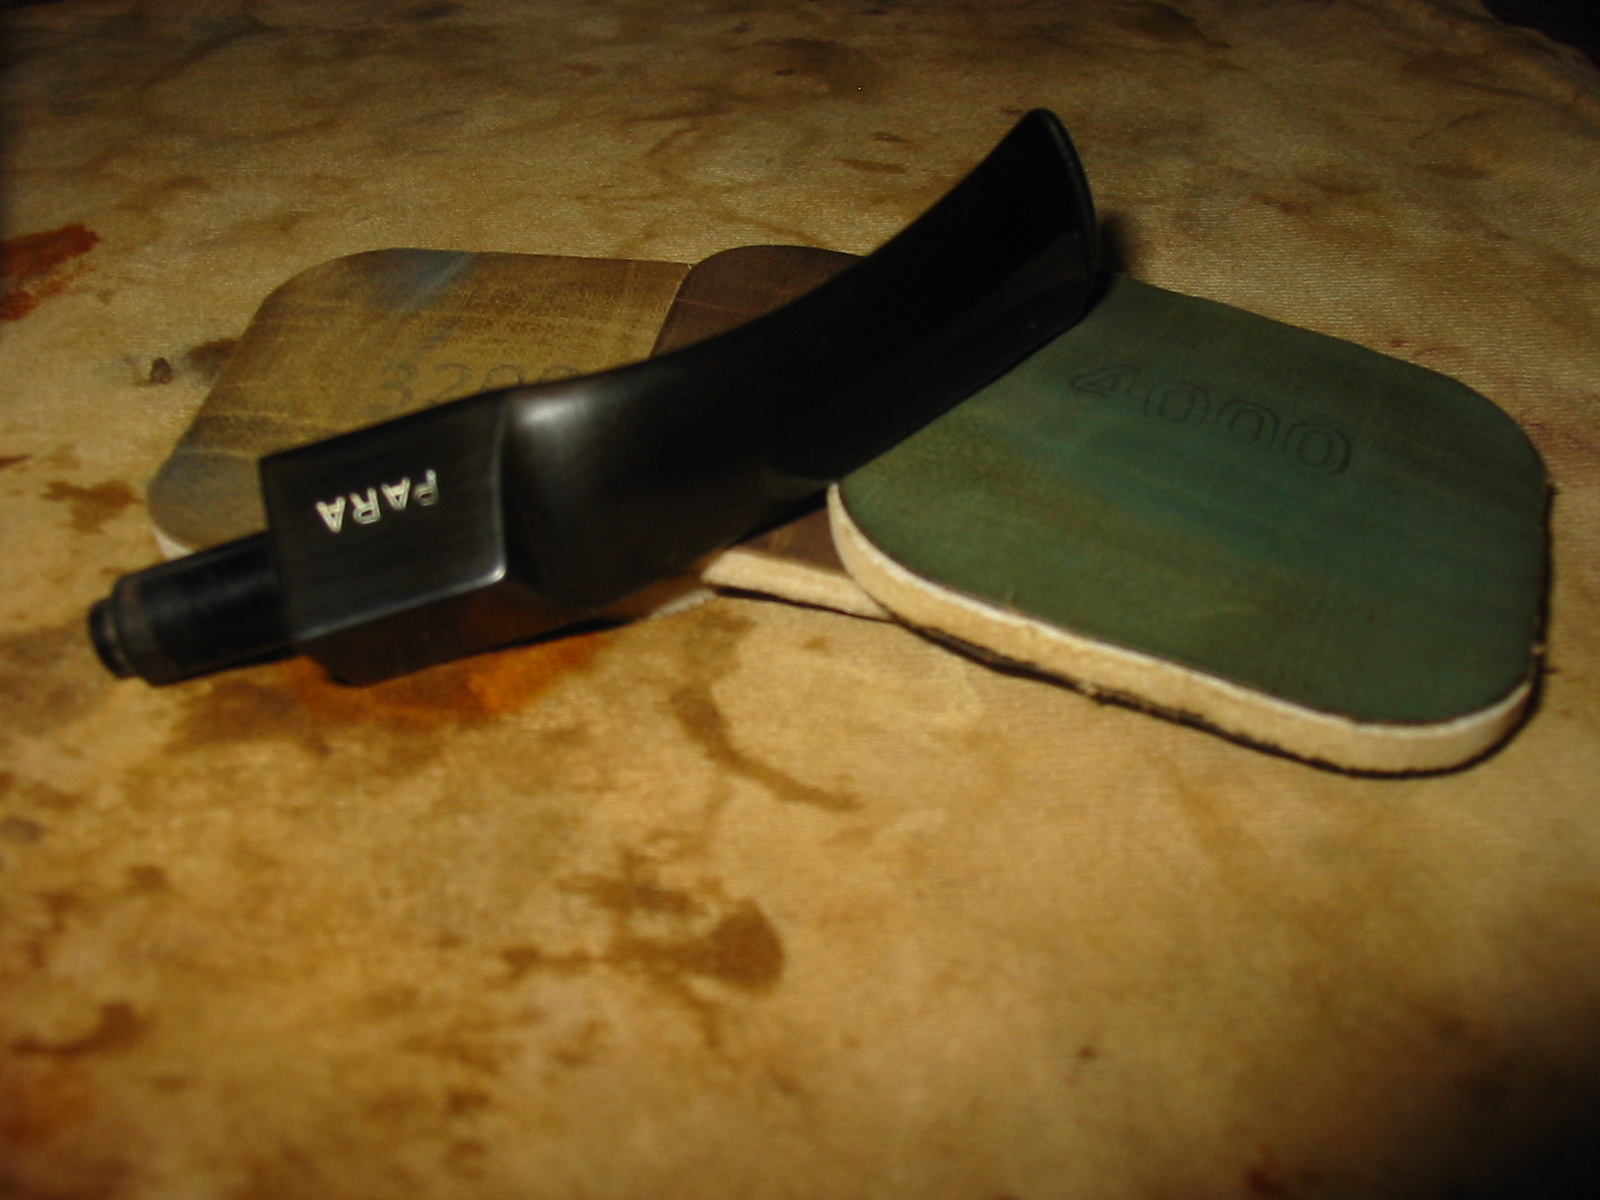
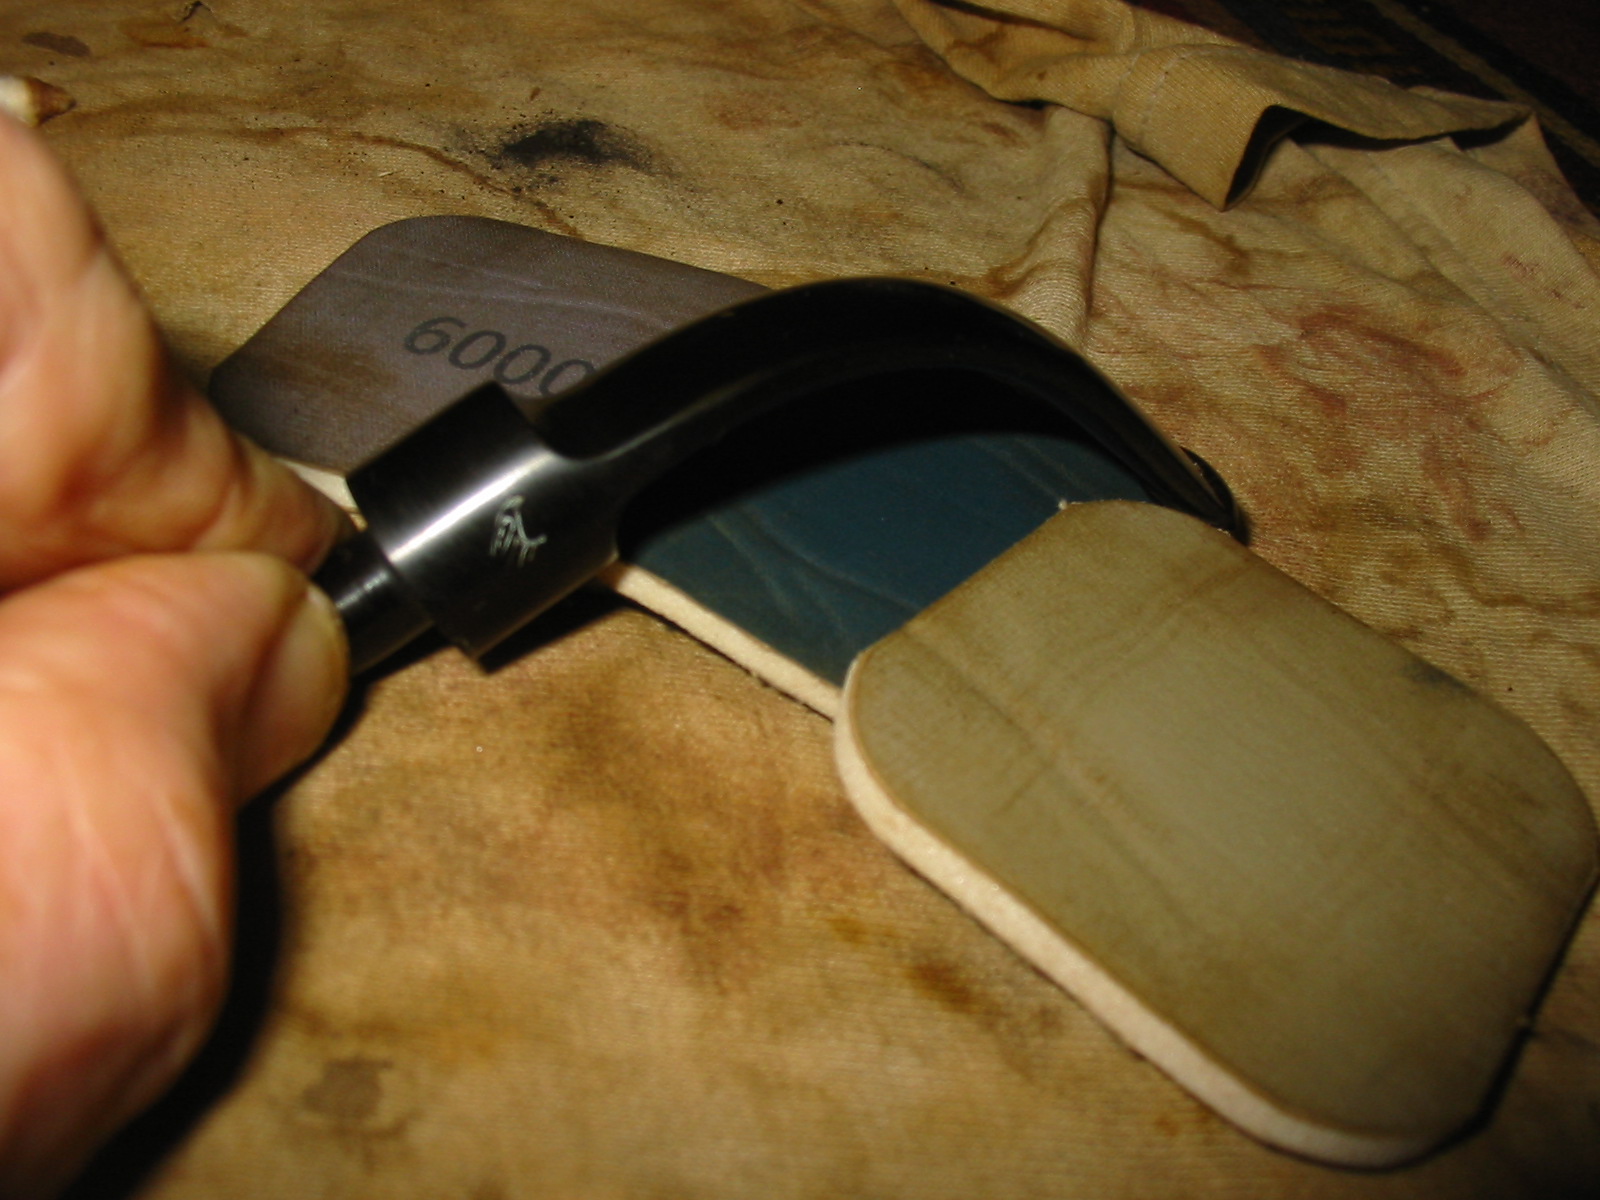
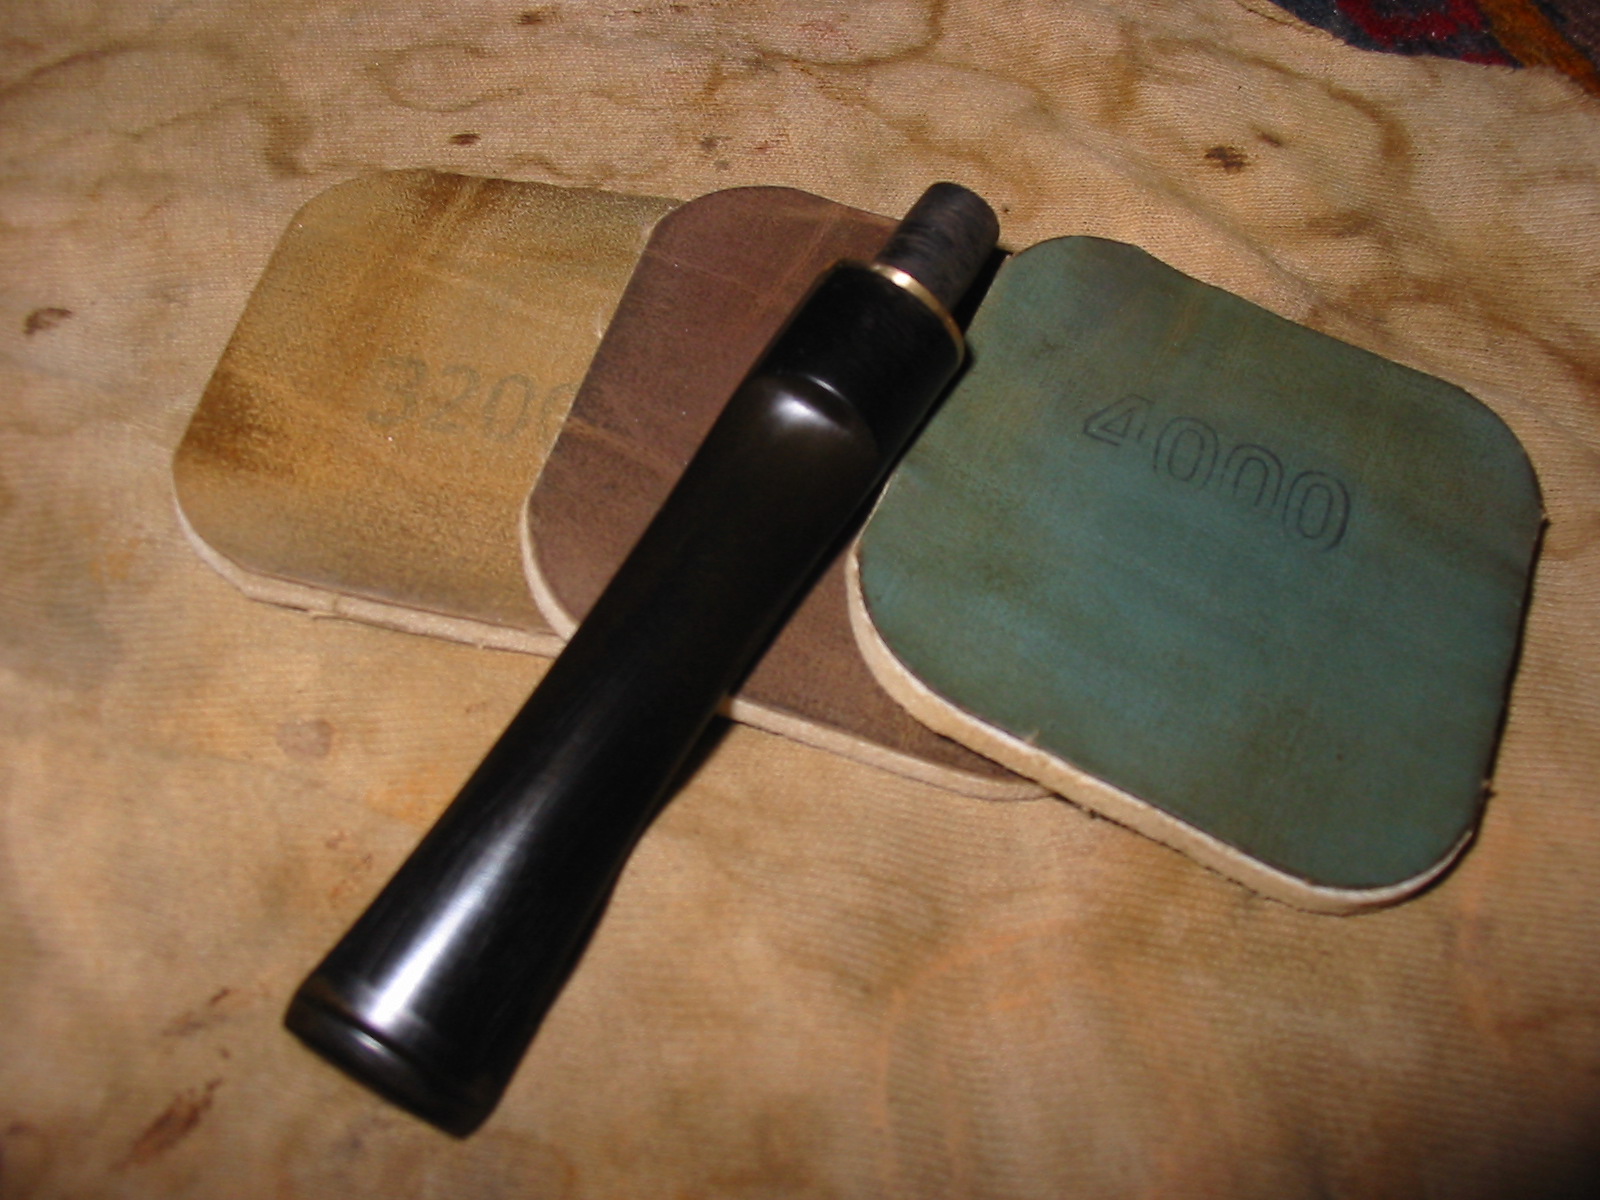
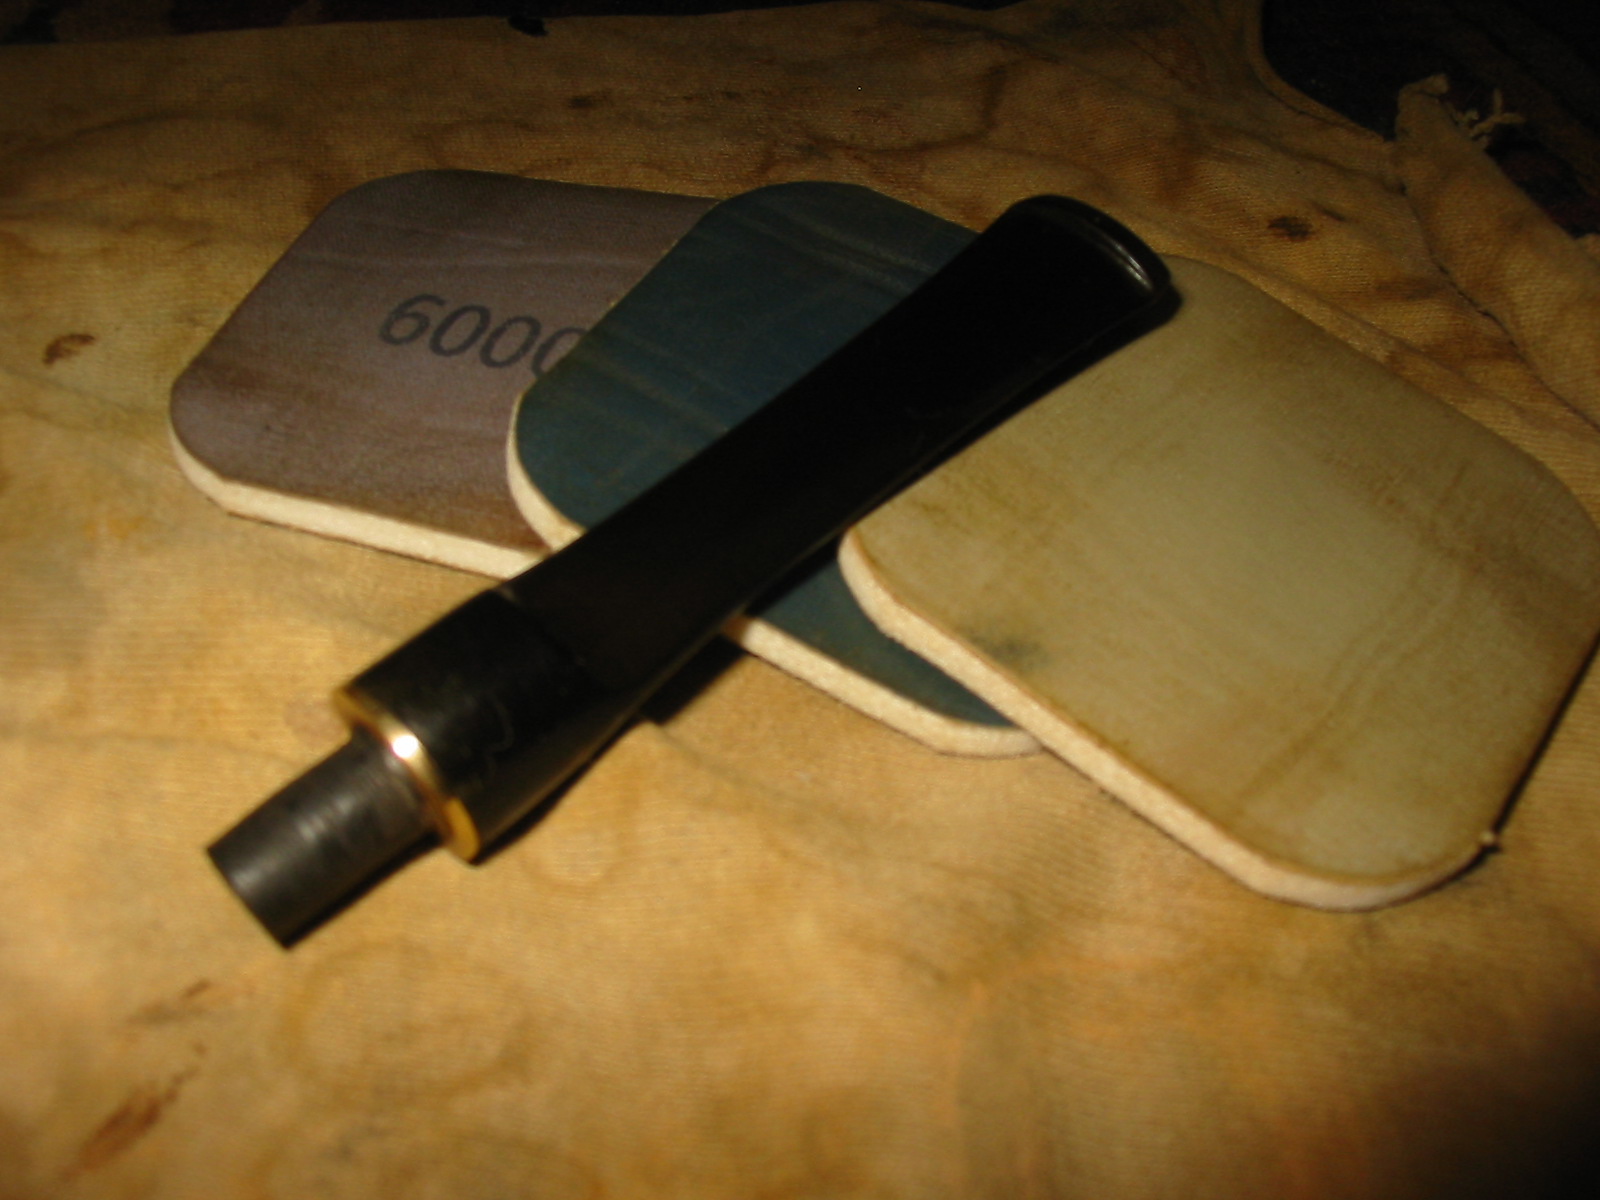
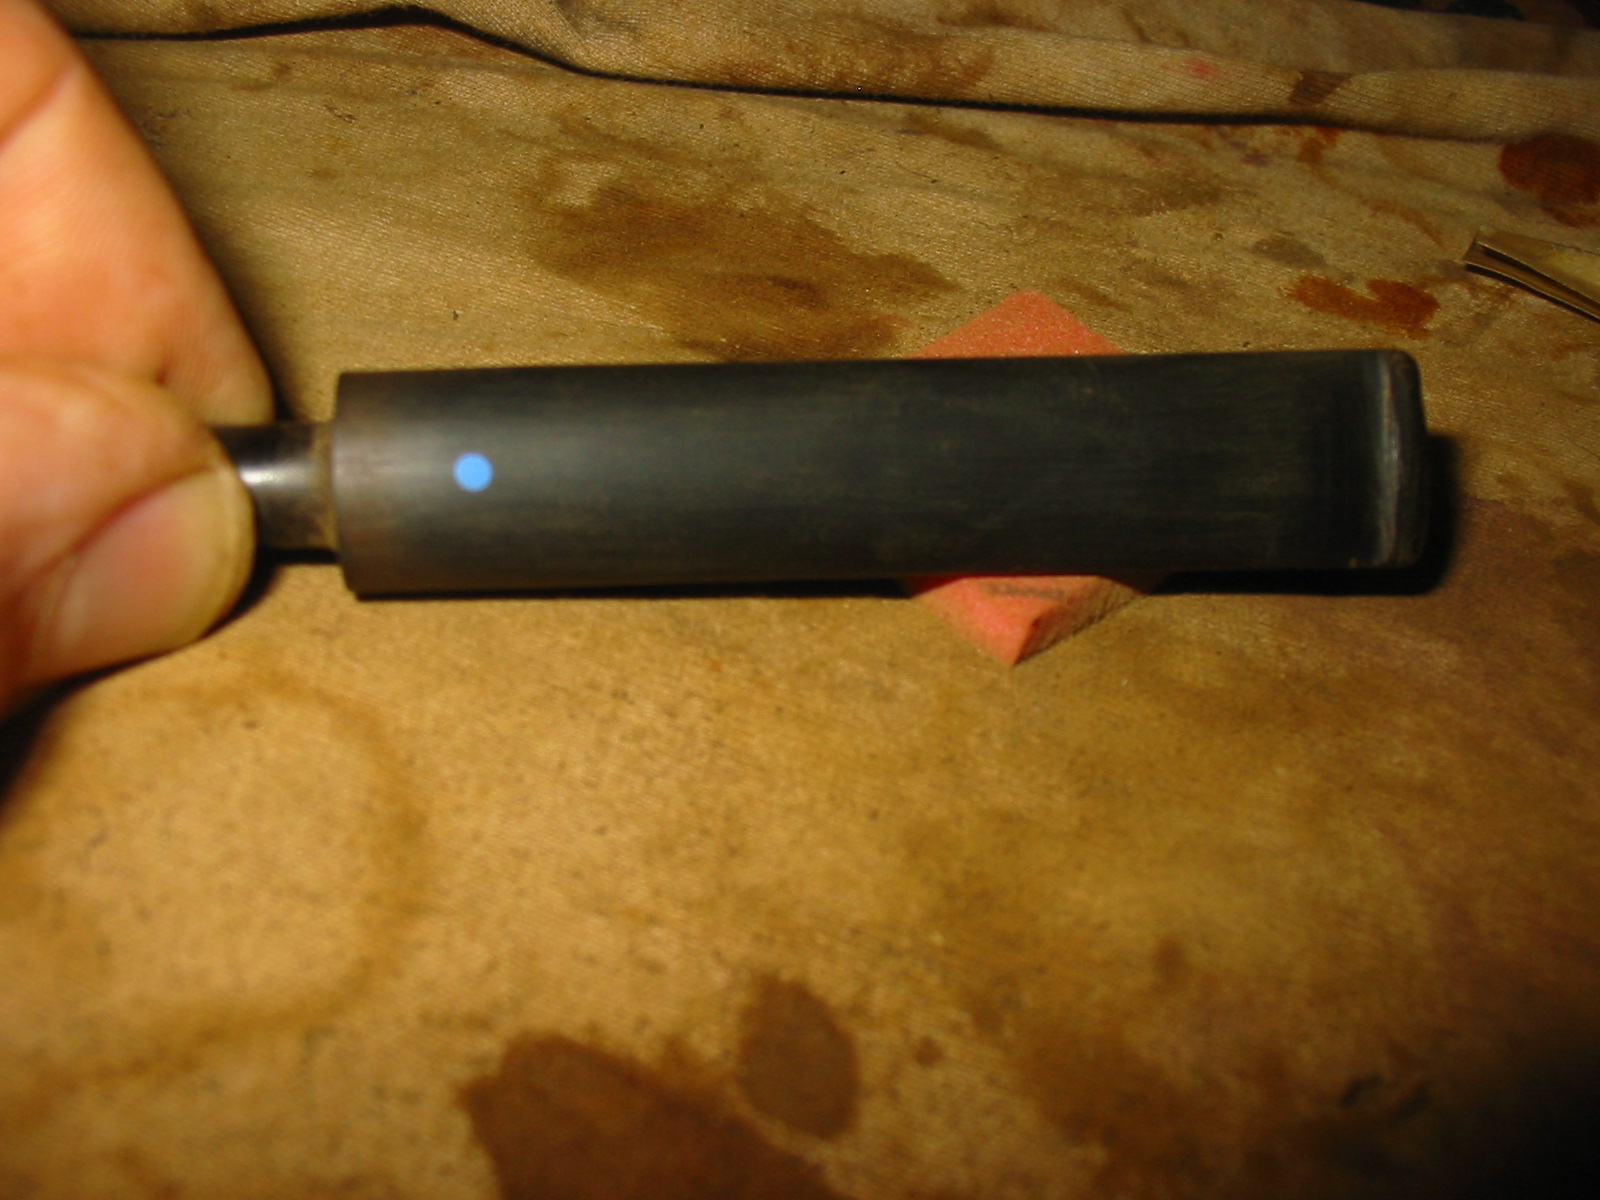
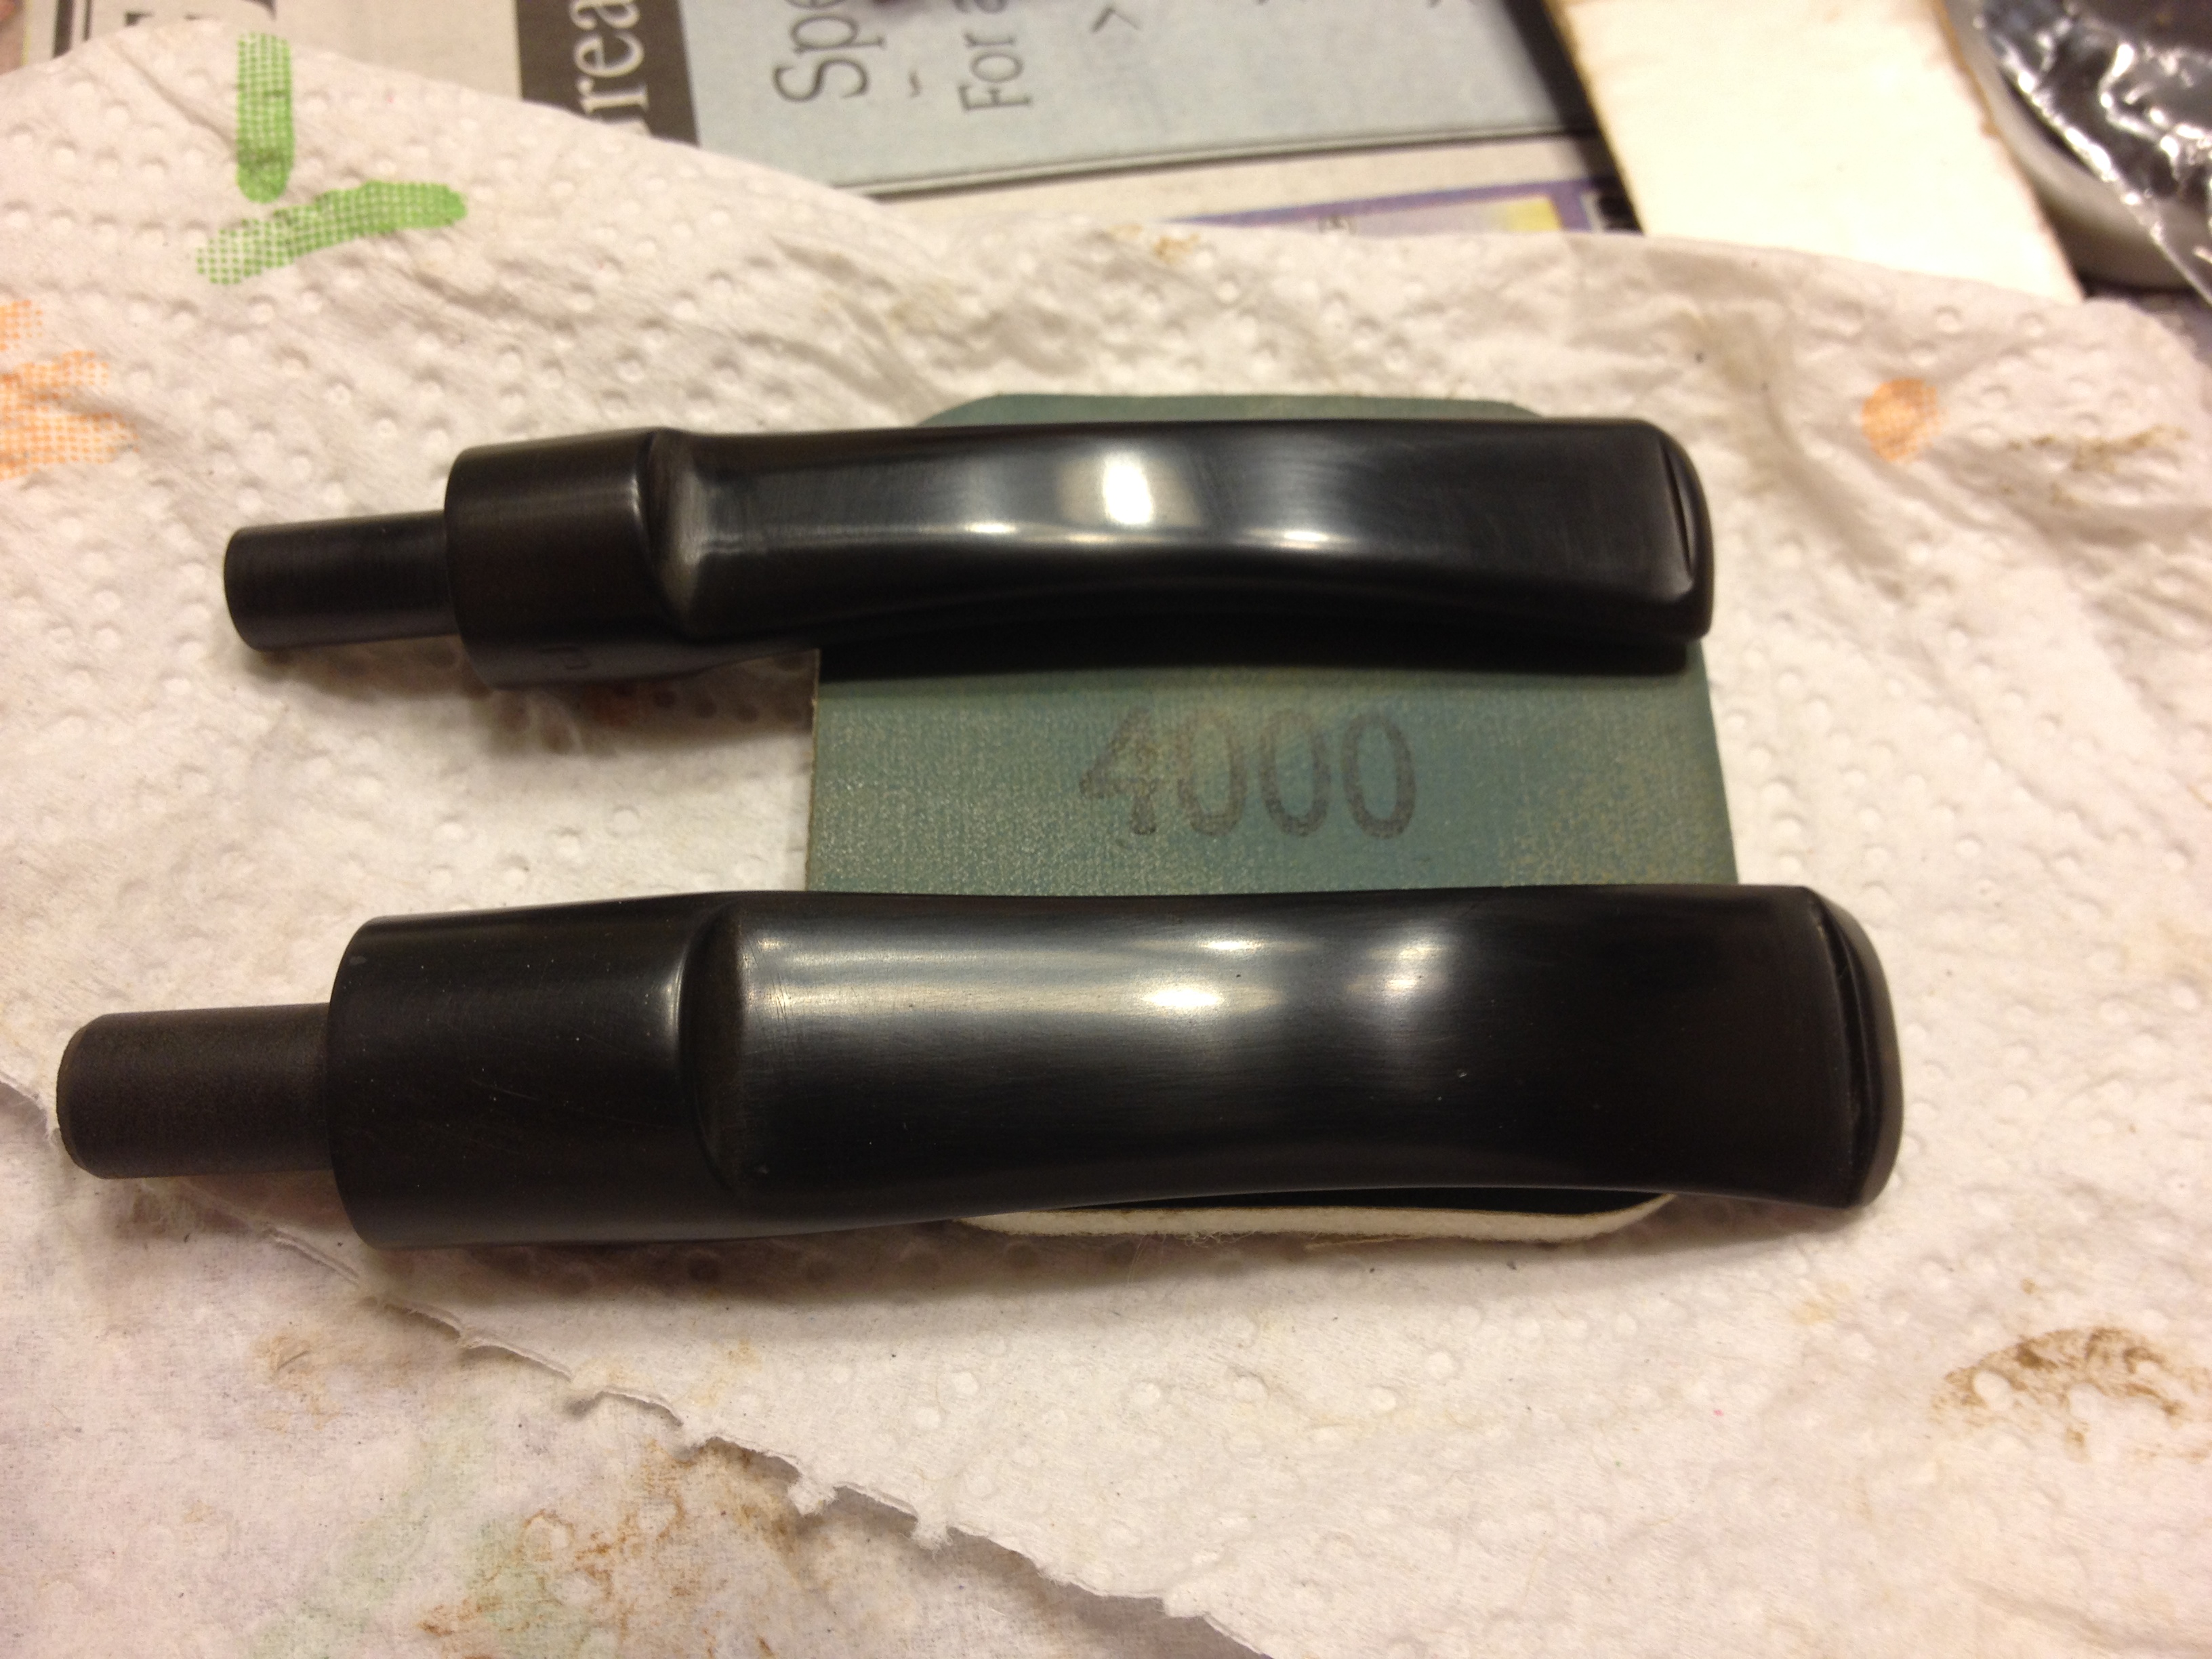
I sanded the stem, bowl and shank with micromesh sanding pads. I wet sanded them with 1500-2400 grit sanding pads and dry sanded with 3200-12,000 grit pads.
IMG_2447

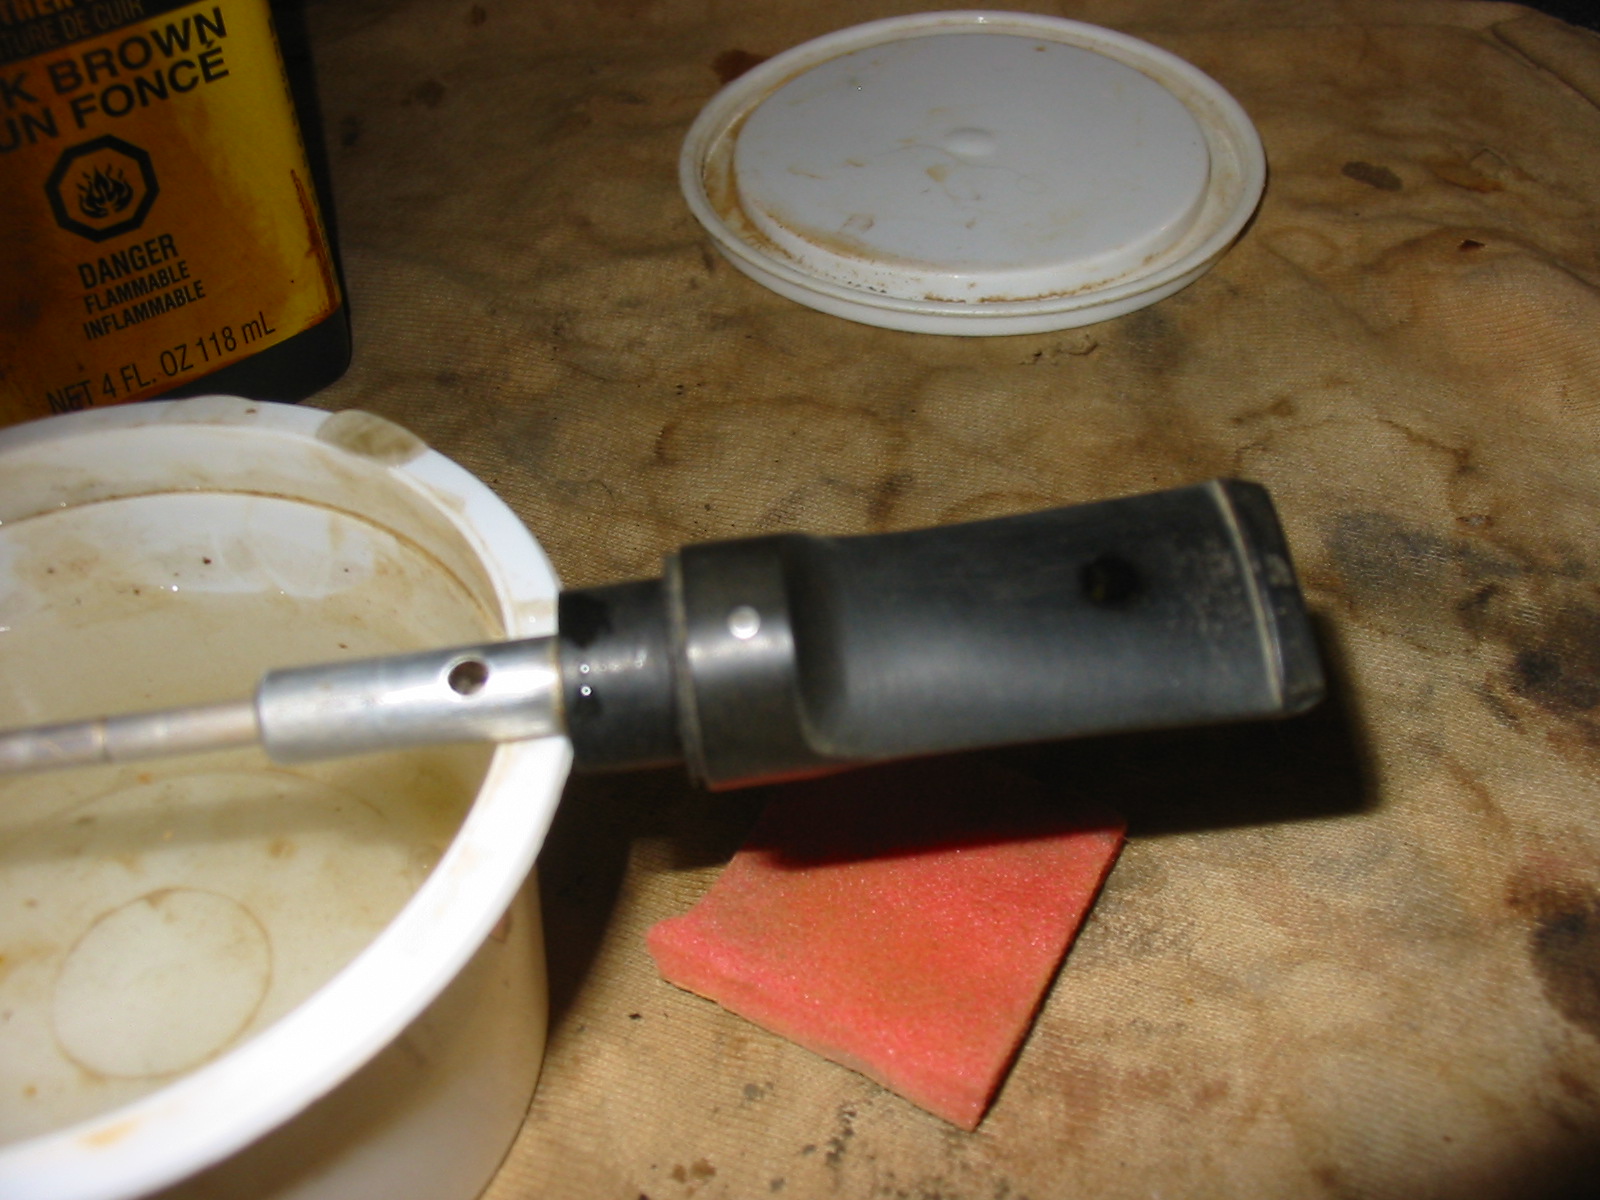
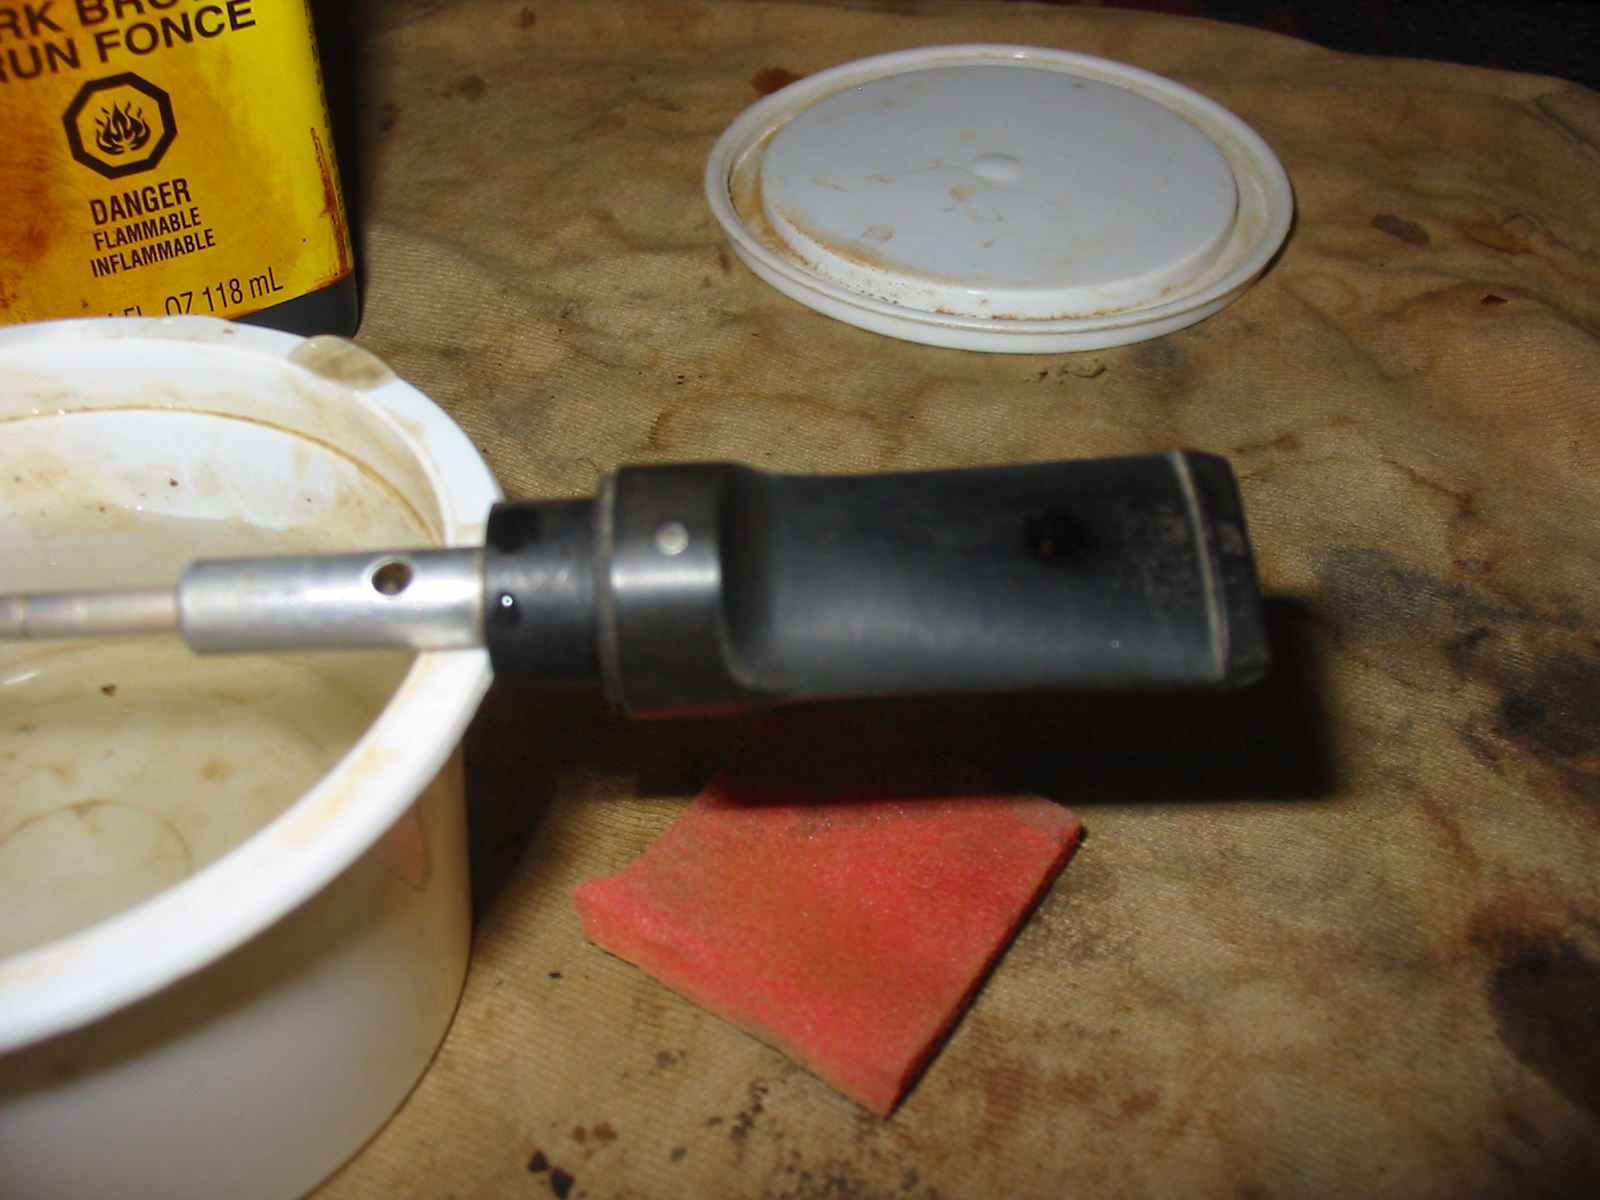
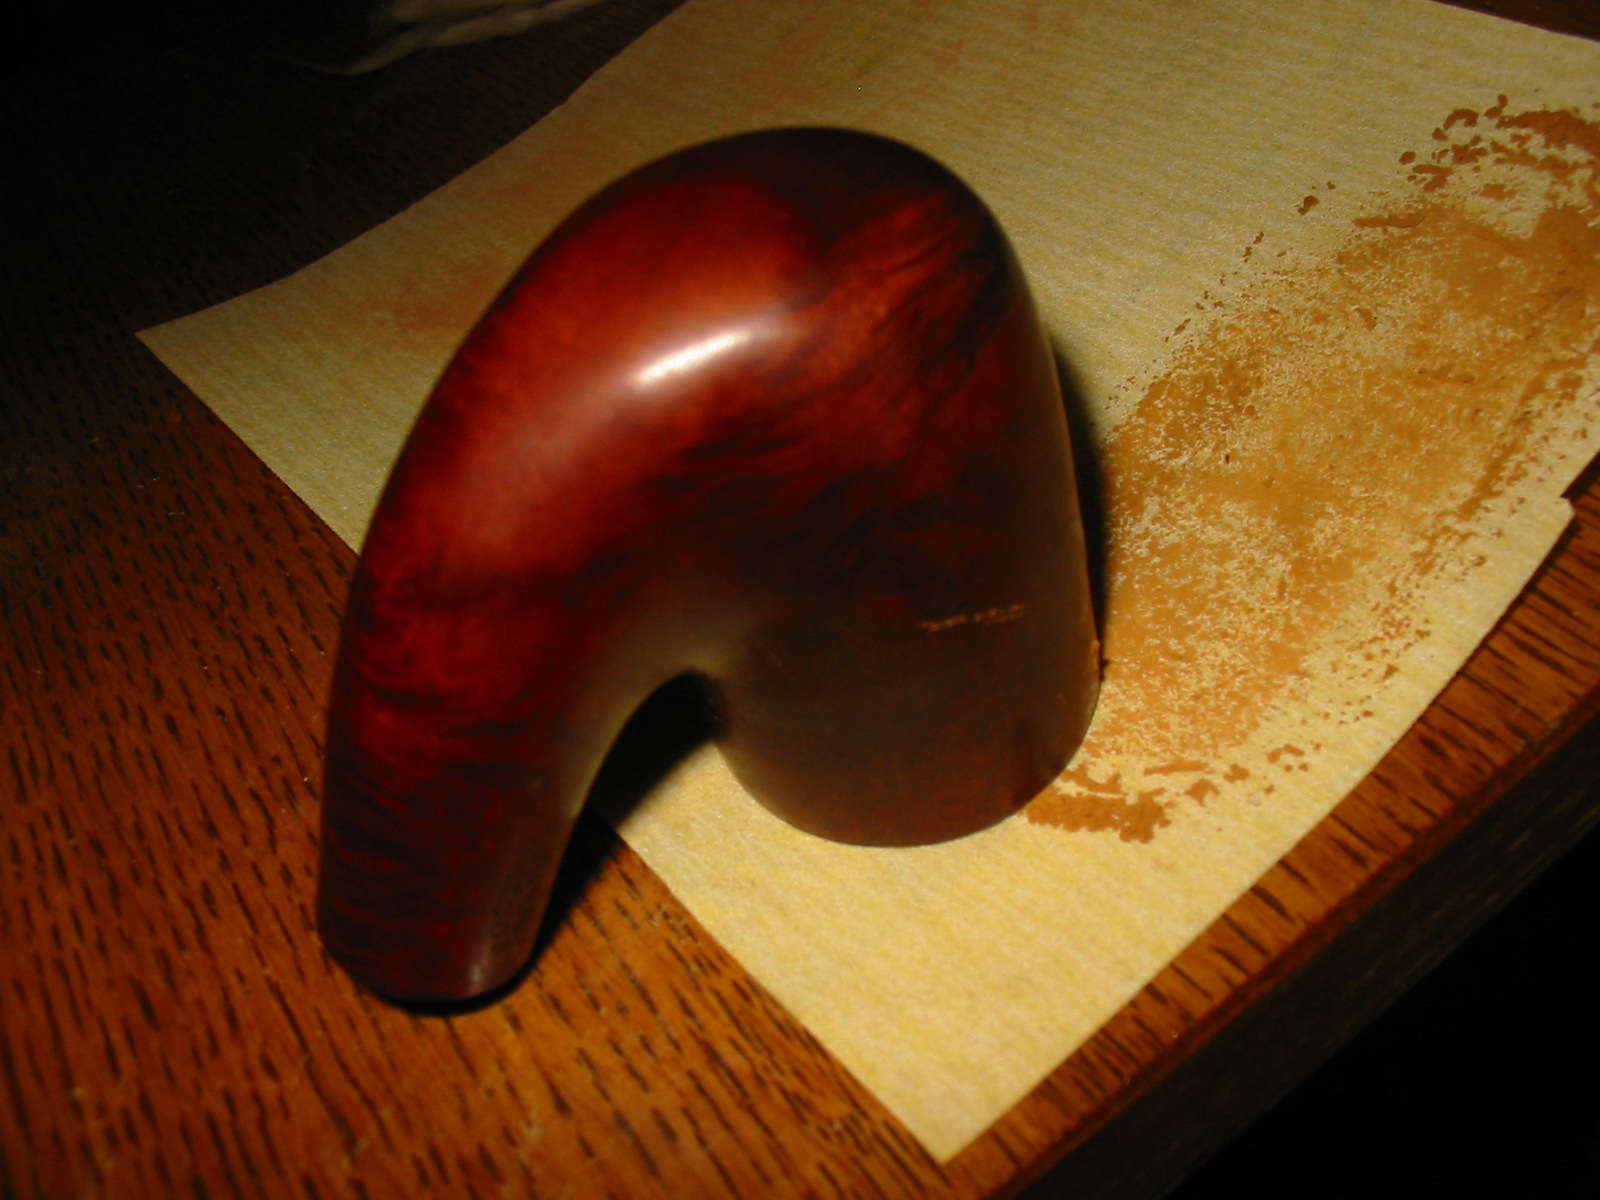
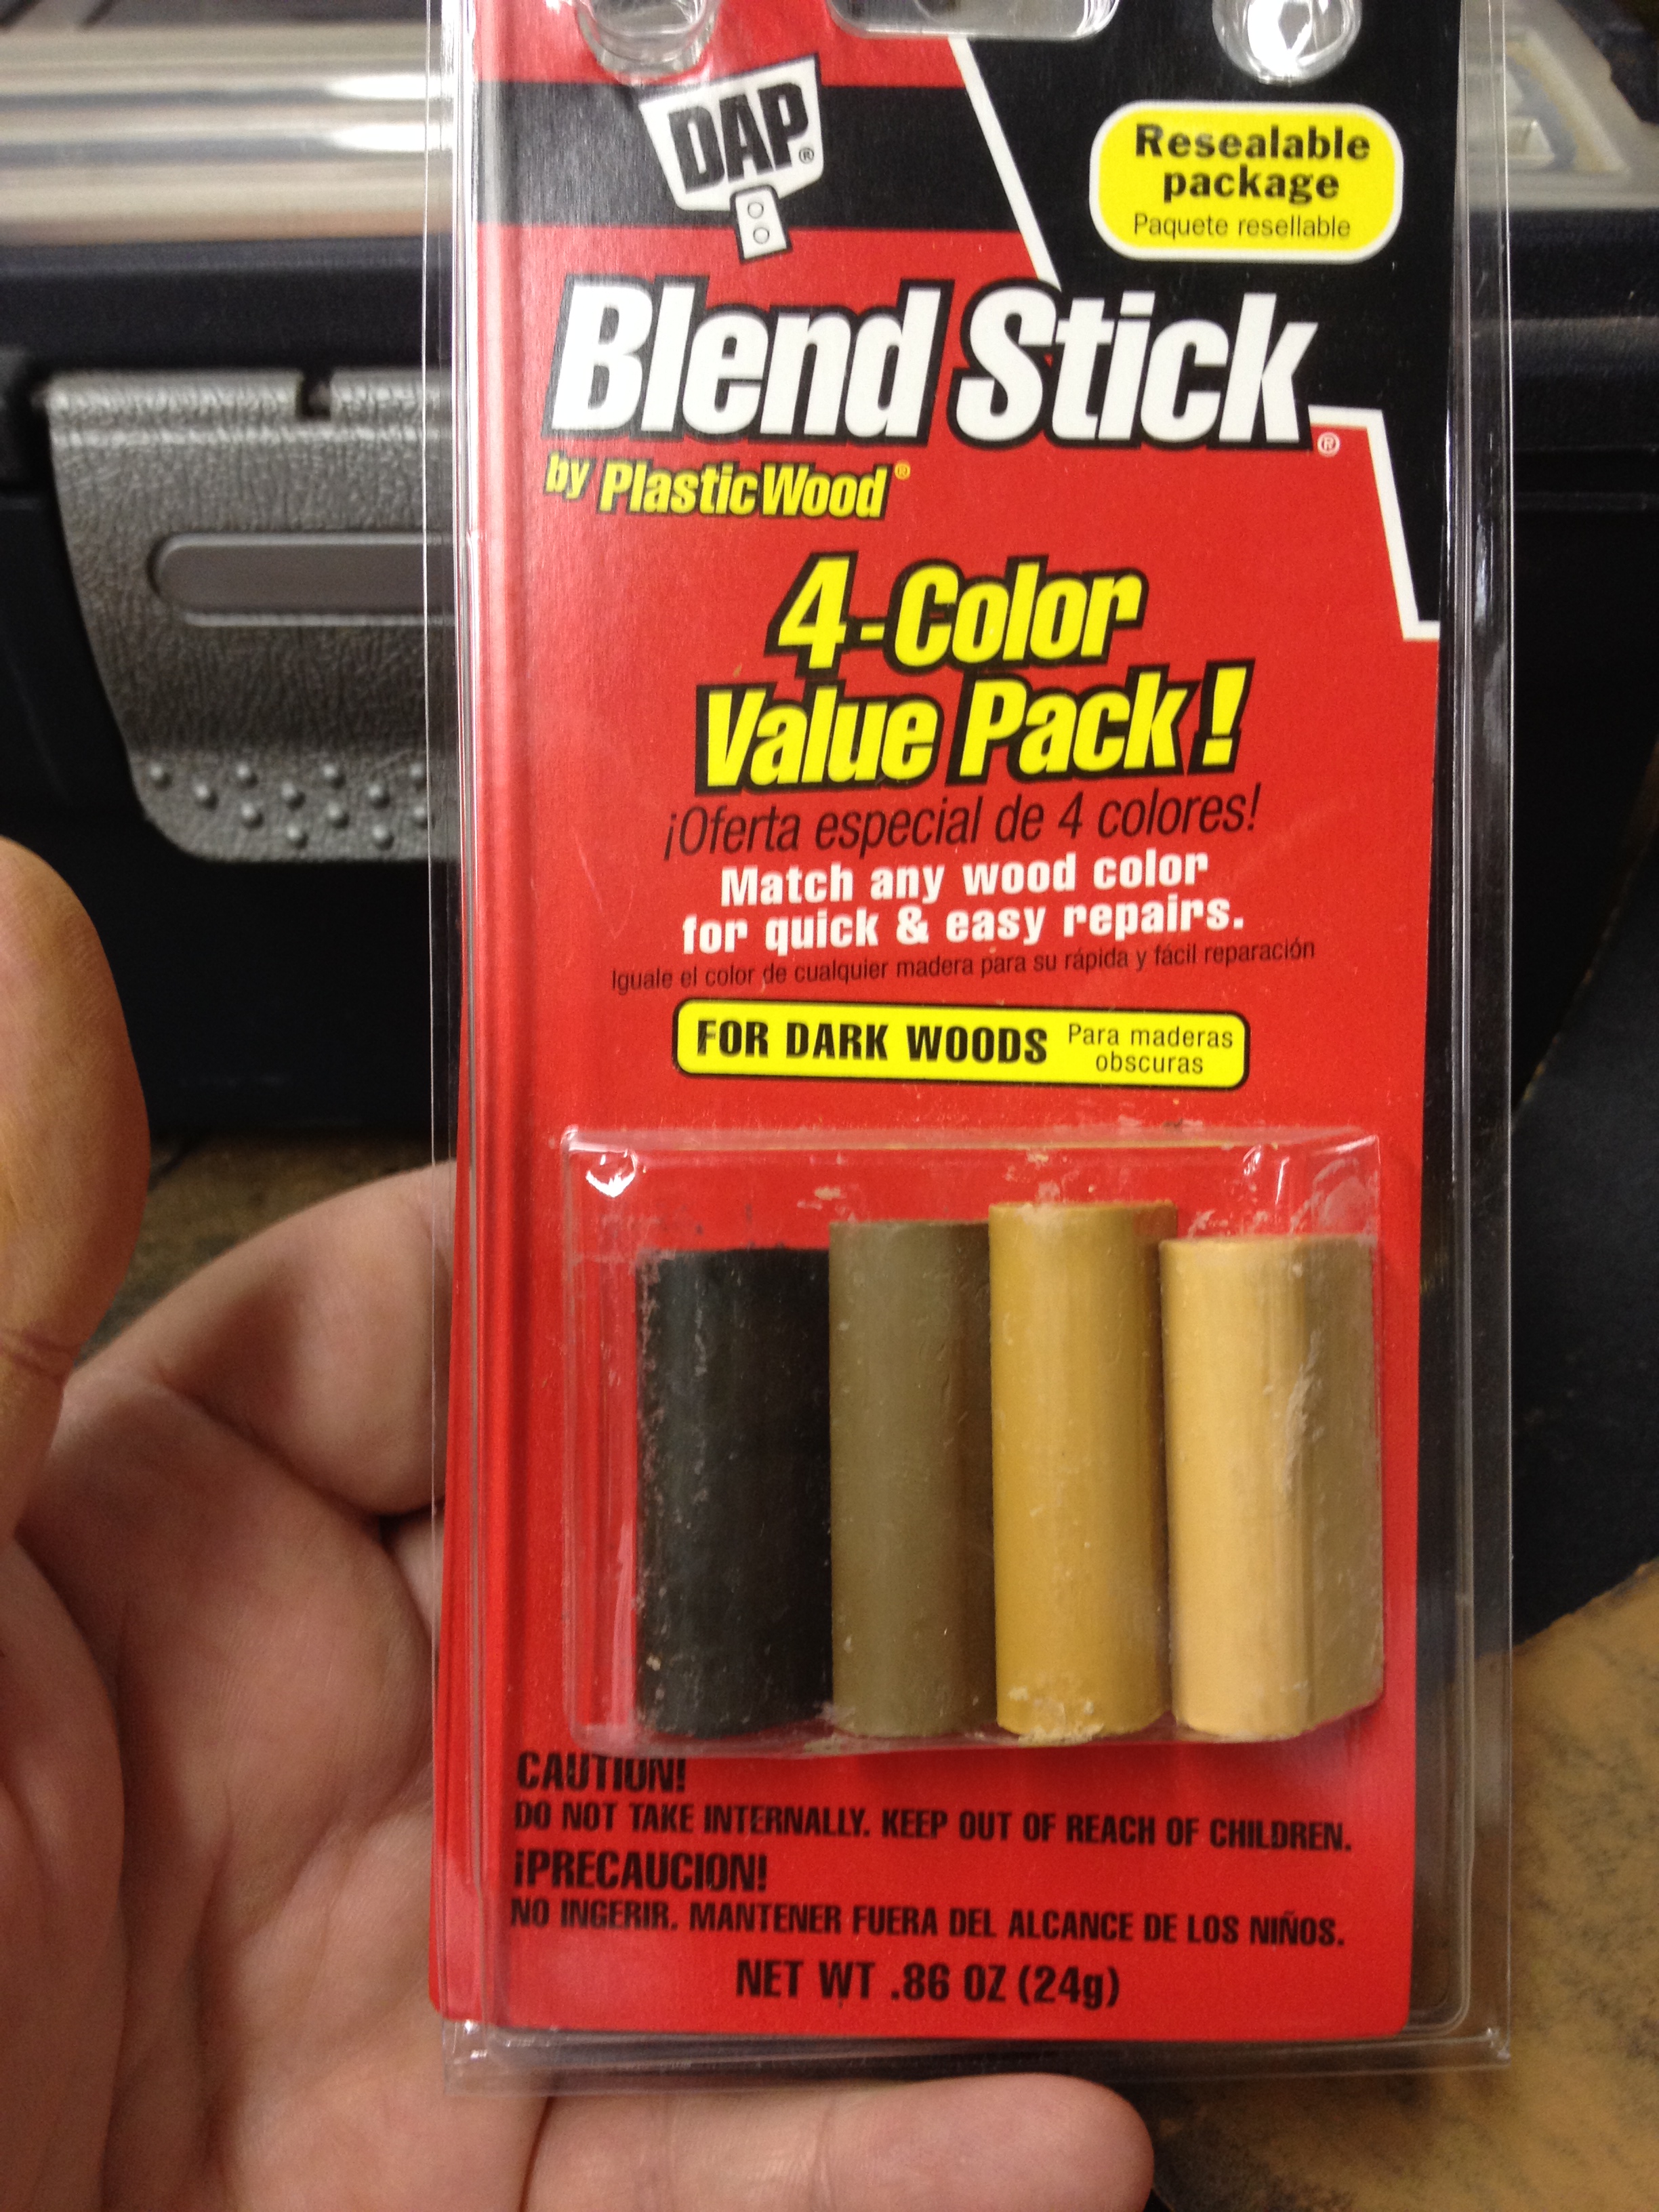
I decided to try to match the original stain using a Danish Oil (linseed oil with a cherry stain). I applied the stain with a cotton pad and wiped it down. When it had dried I was not happy with the coverage and appearance so I removed the stain with acetone to try a different stain.
IMG_2448

IMG_2449

IMG_2450

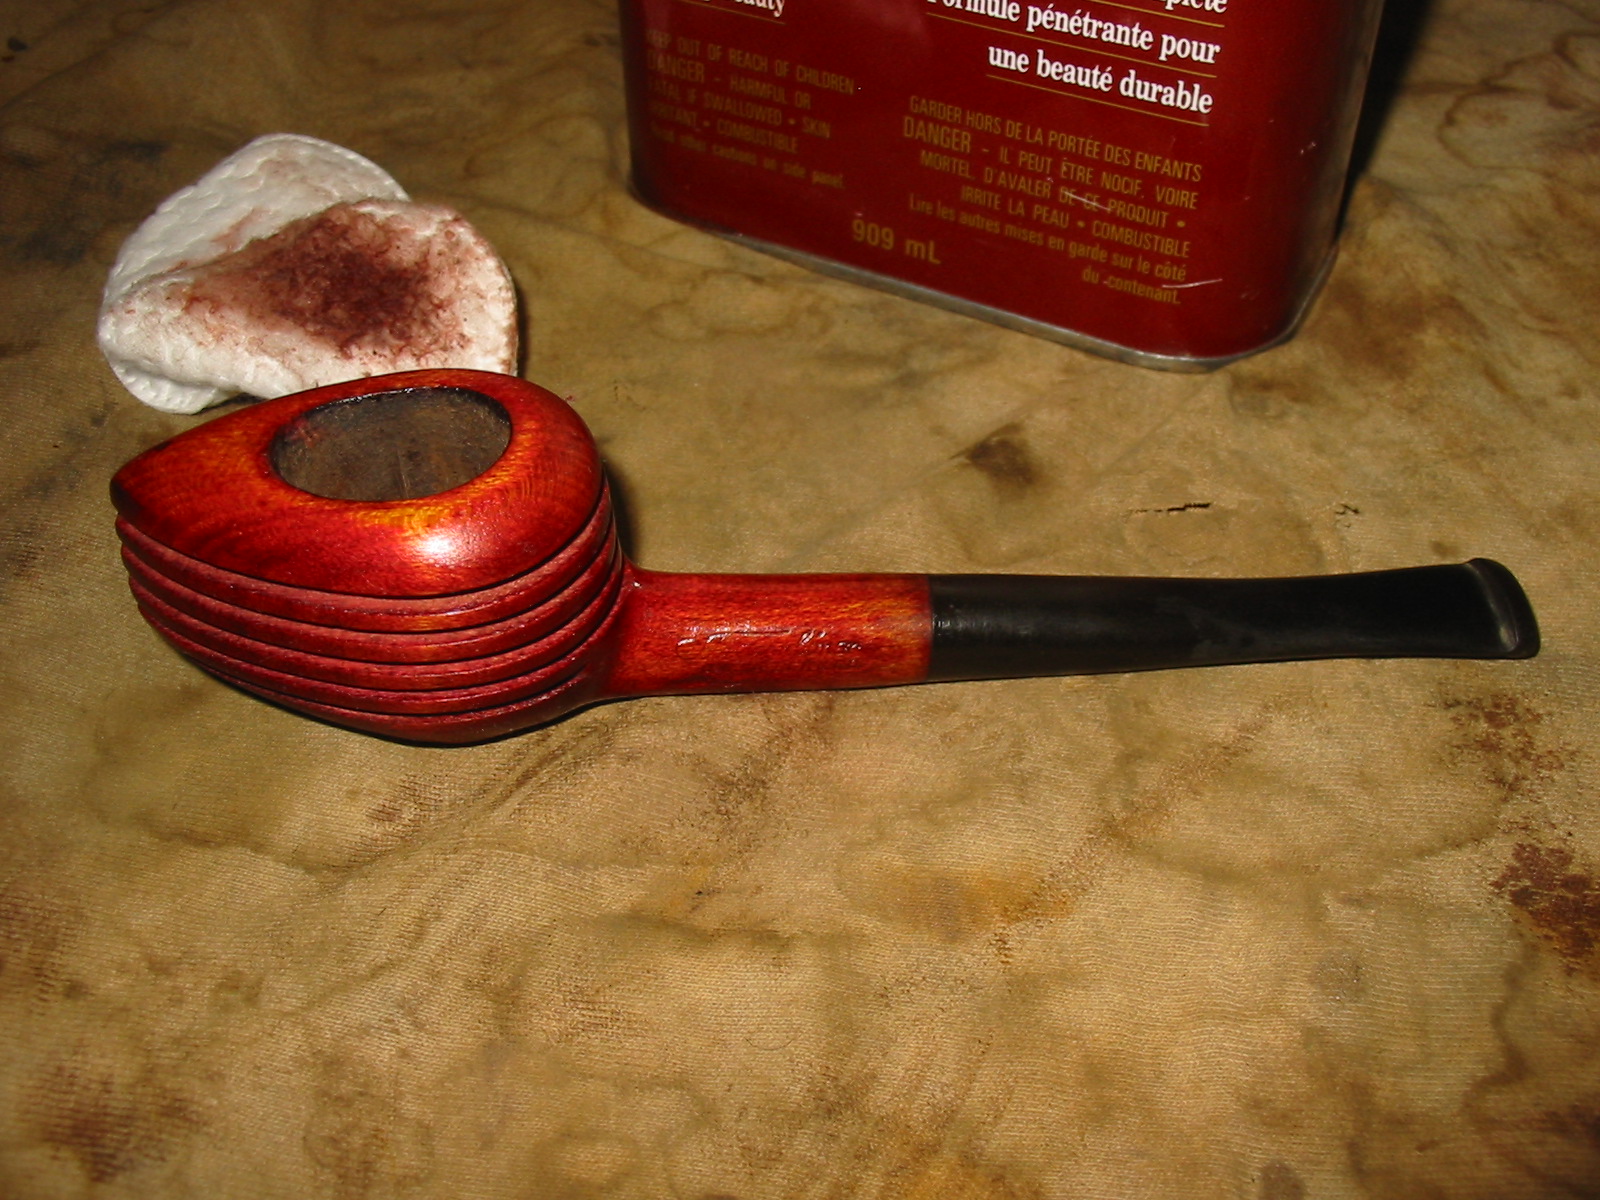
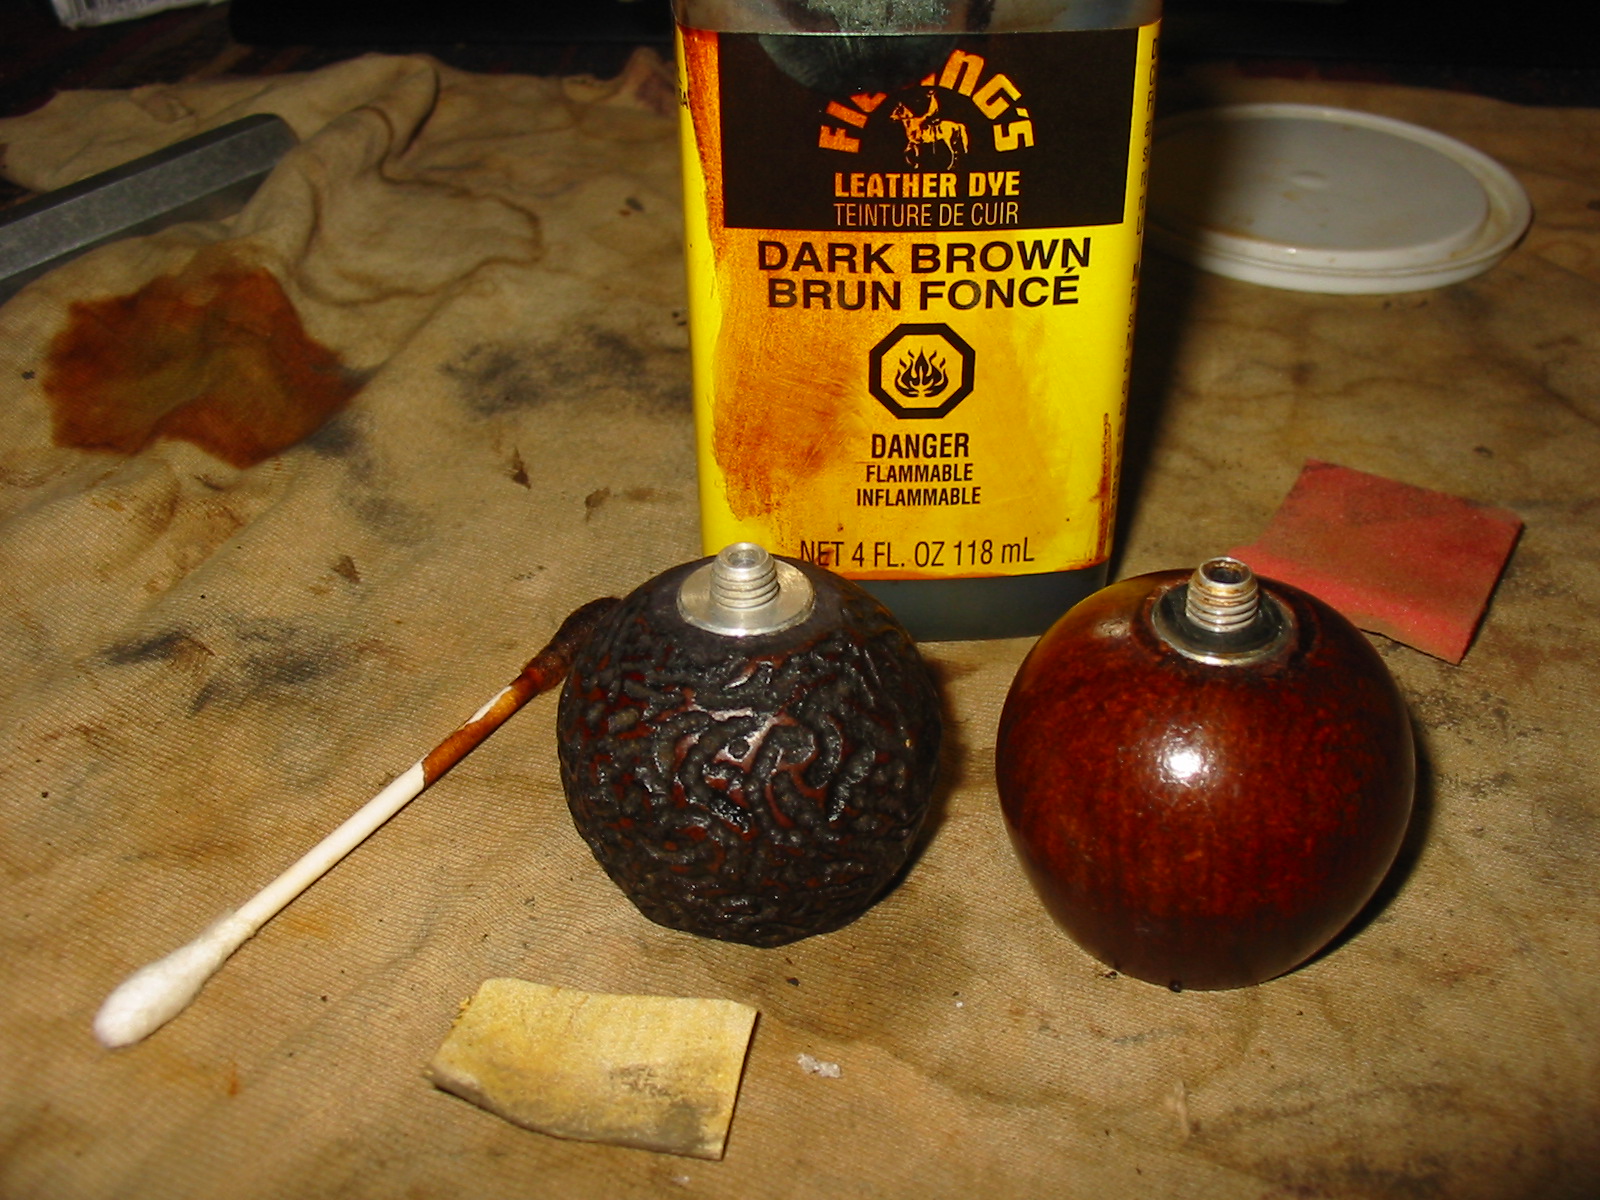
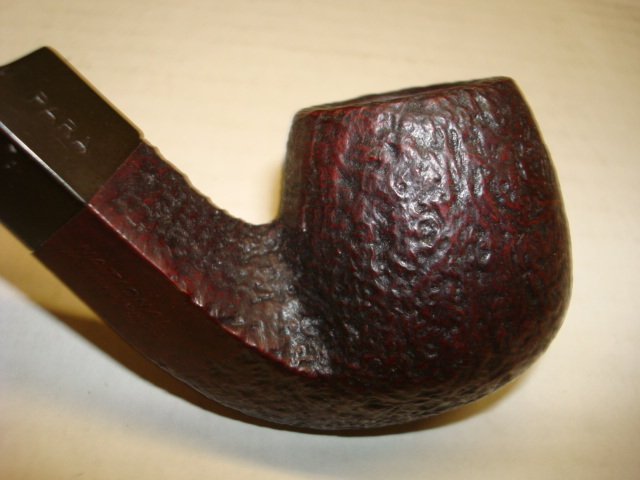
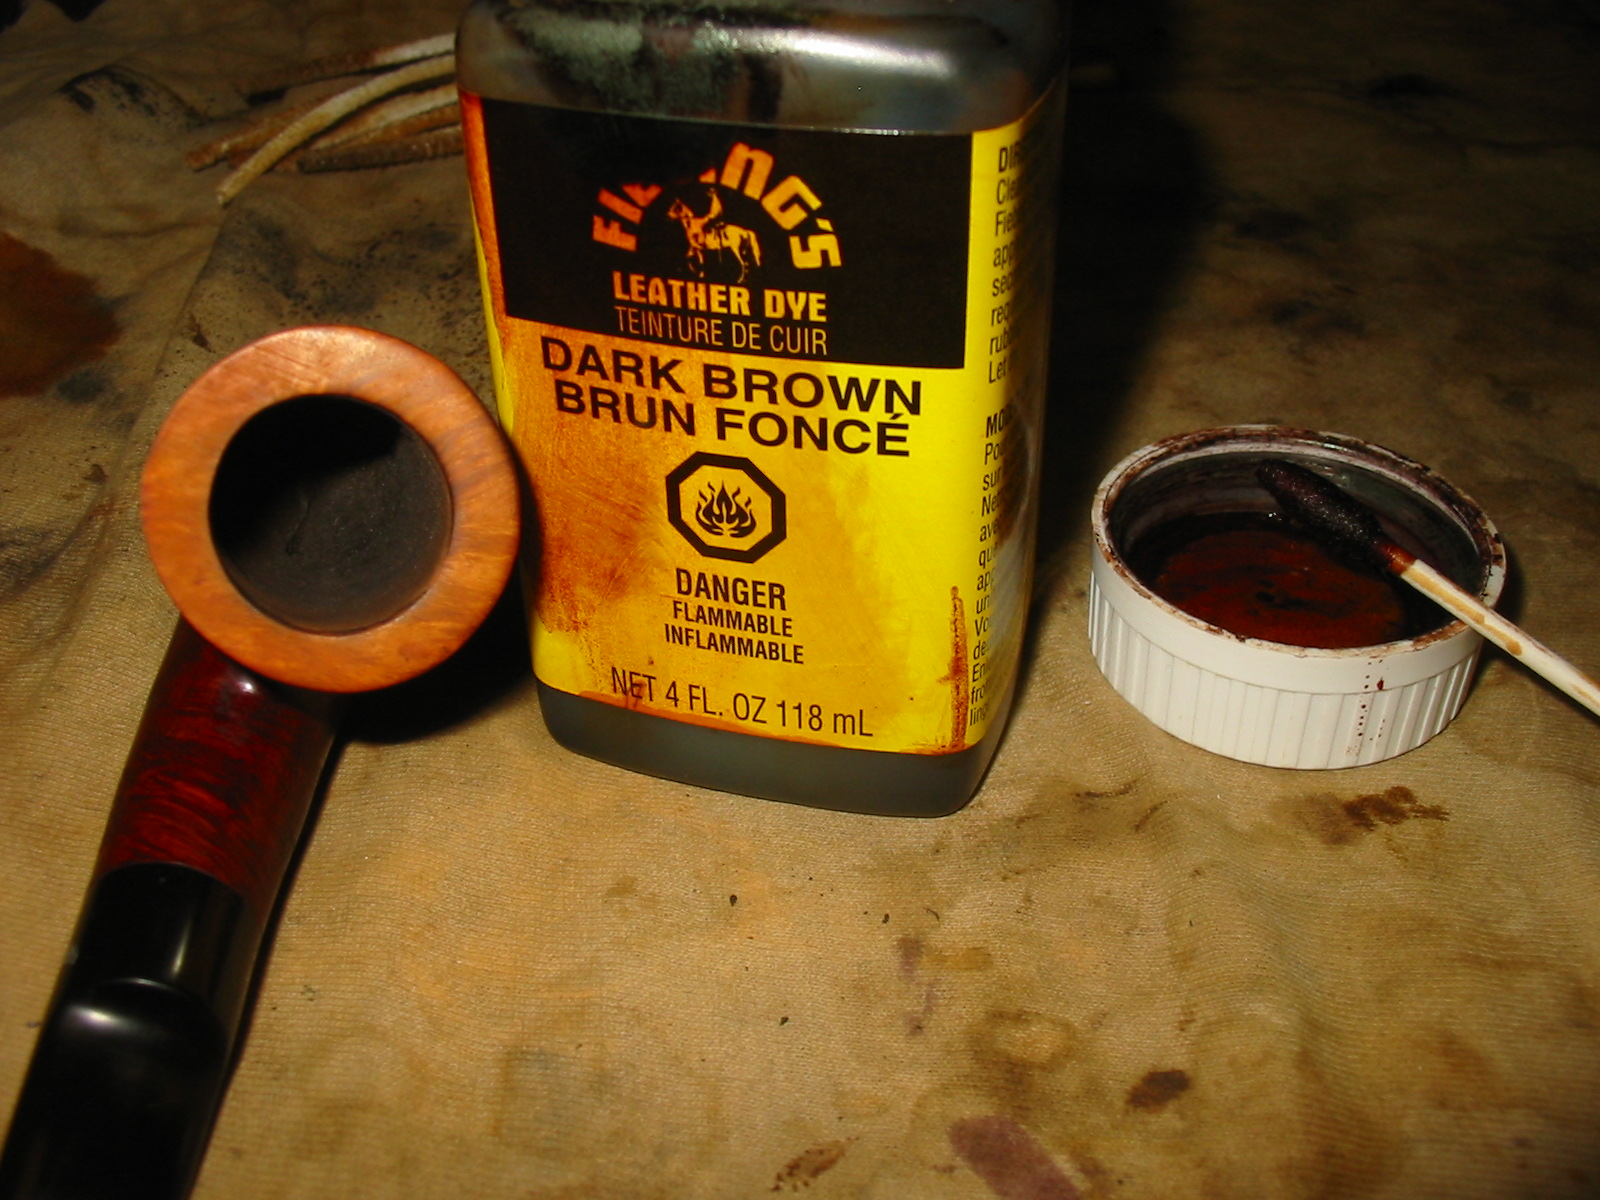
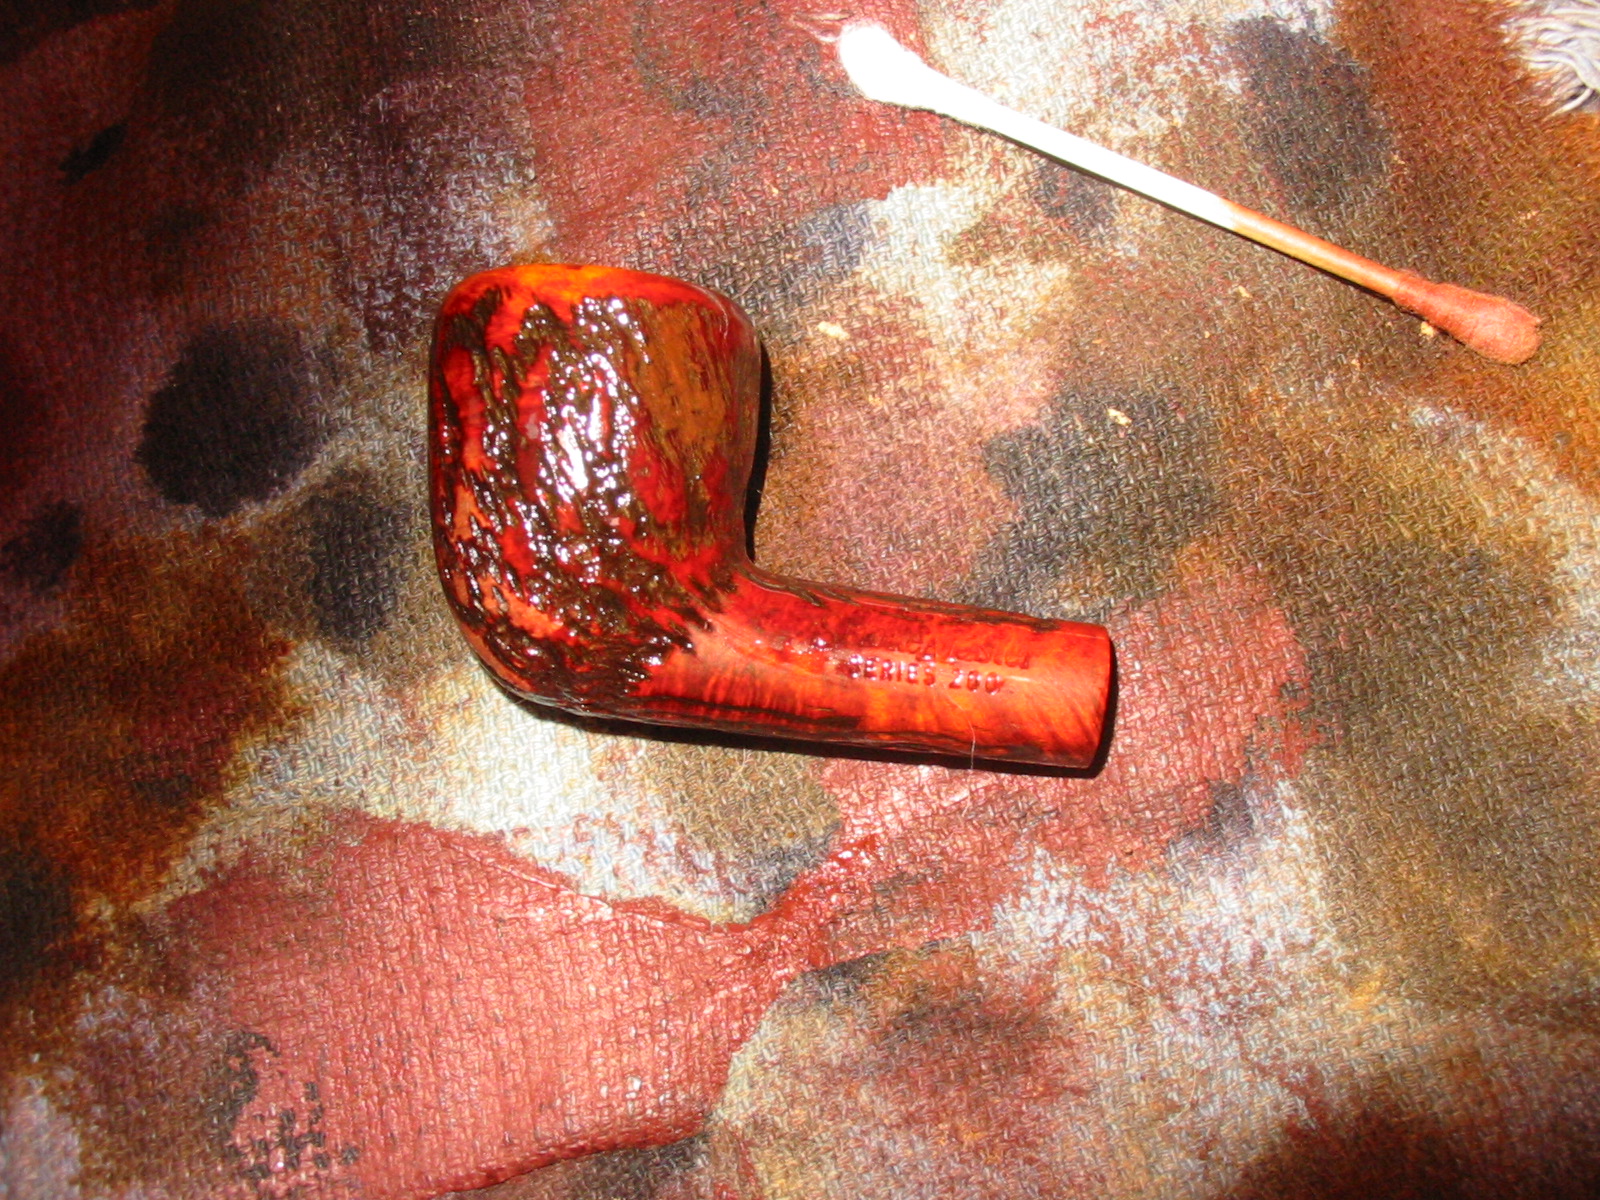
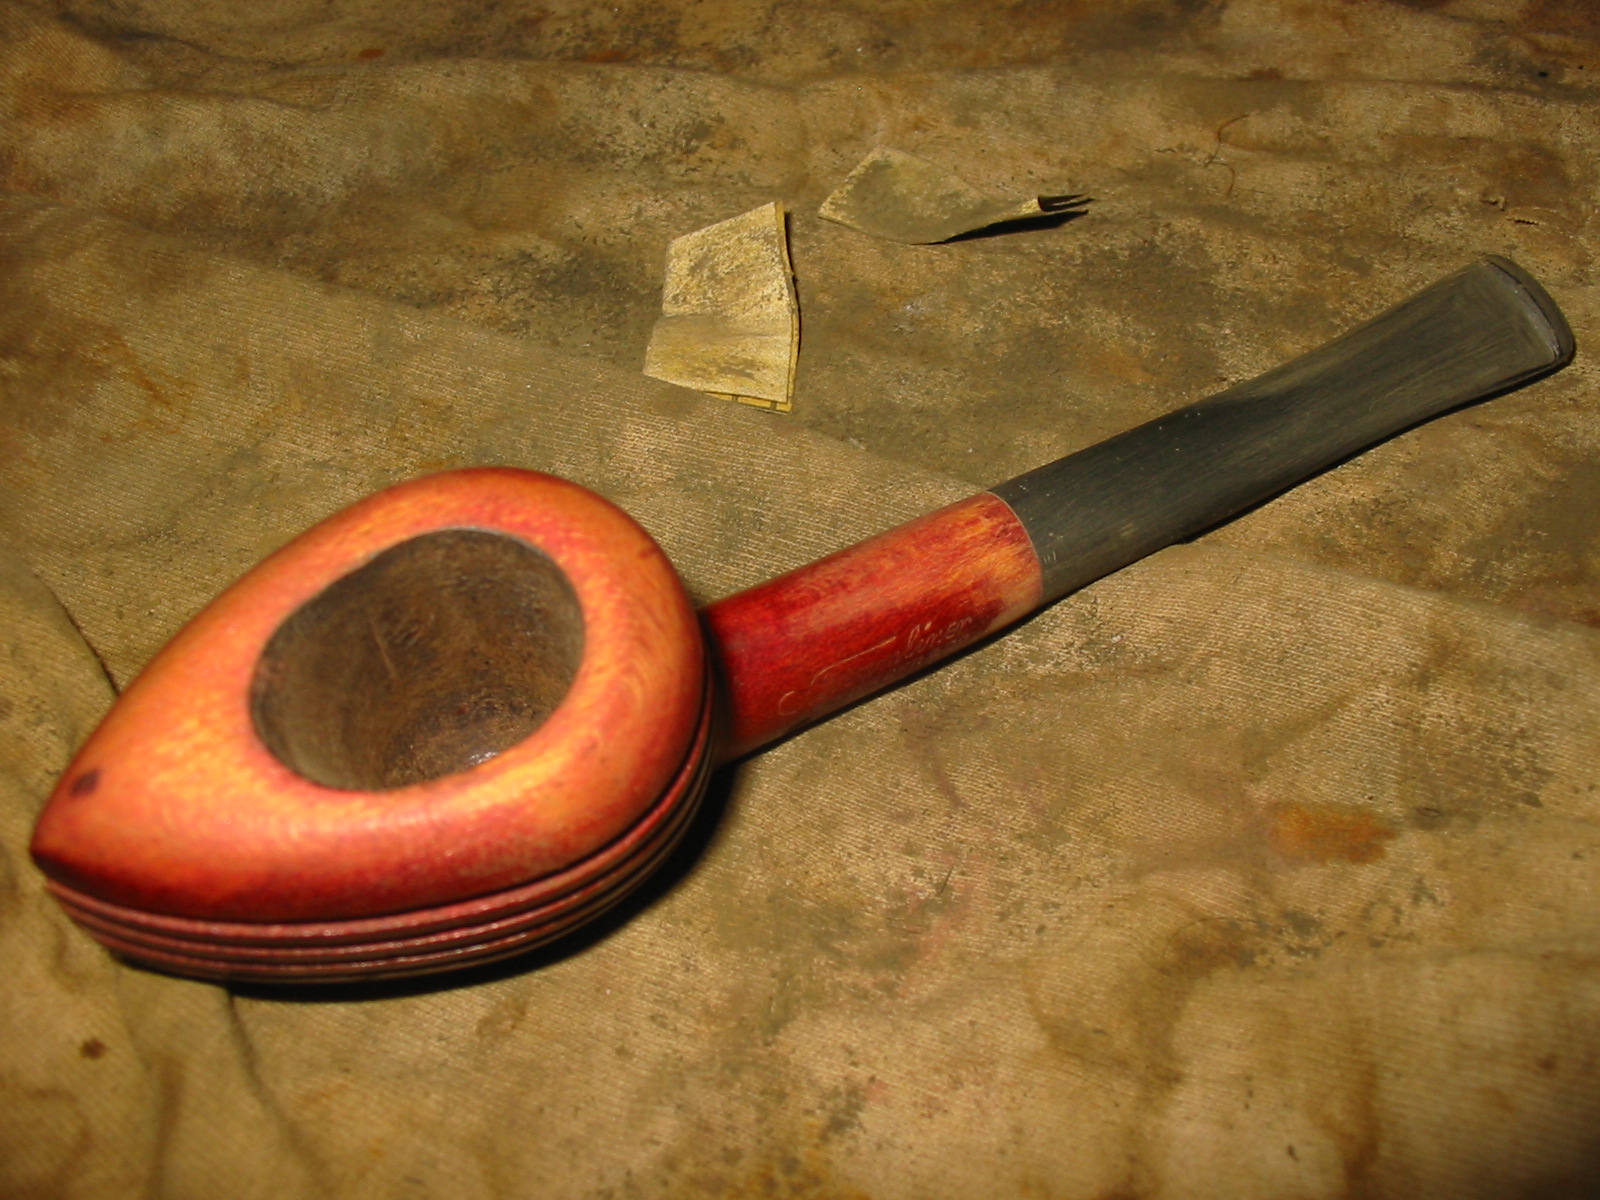
Once I had the finish removed I restained it with an oxblood aniline stain. I had to apply it and flame it several times to the top of the bowl and shank to get the stain to set deeply and match the rest of the bowl. This was a hard one to get a good stain on. I decided to not apply the stain in the grooves of the fins but just on the surface of the bowl. It worked quite well with the original stain in the fins matching the surface colour really well.
IMG_2452

IMG_2453

IMG_2454

IMG_2455

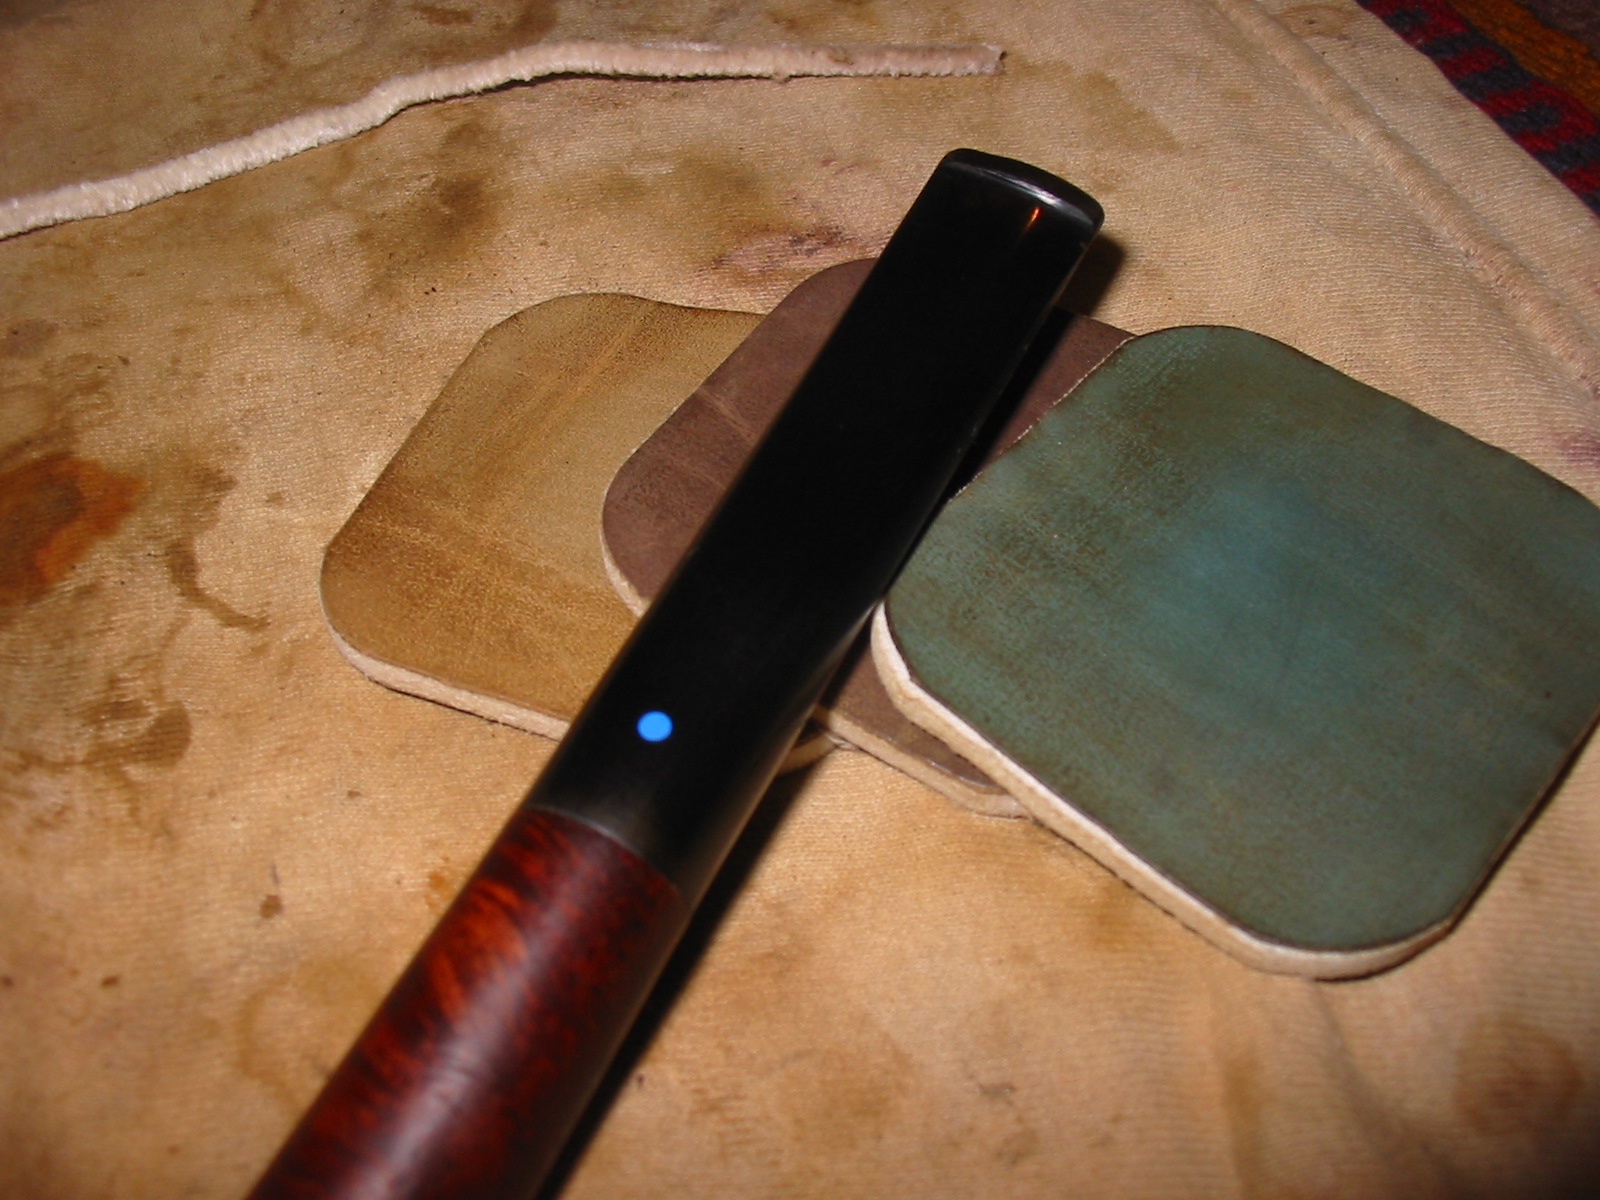
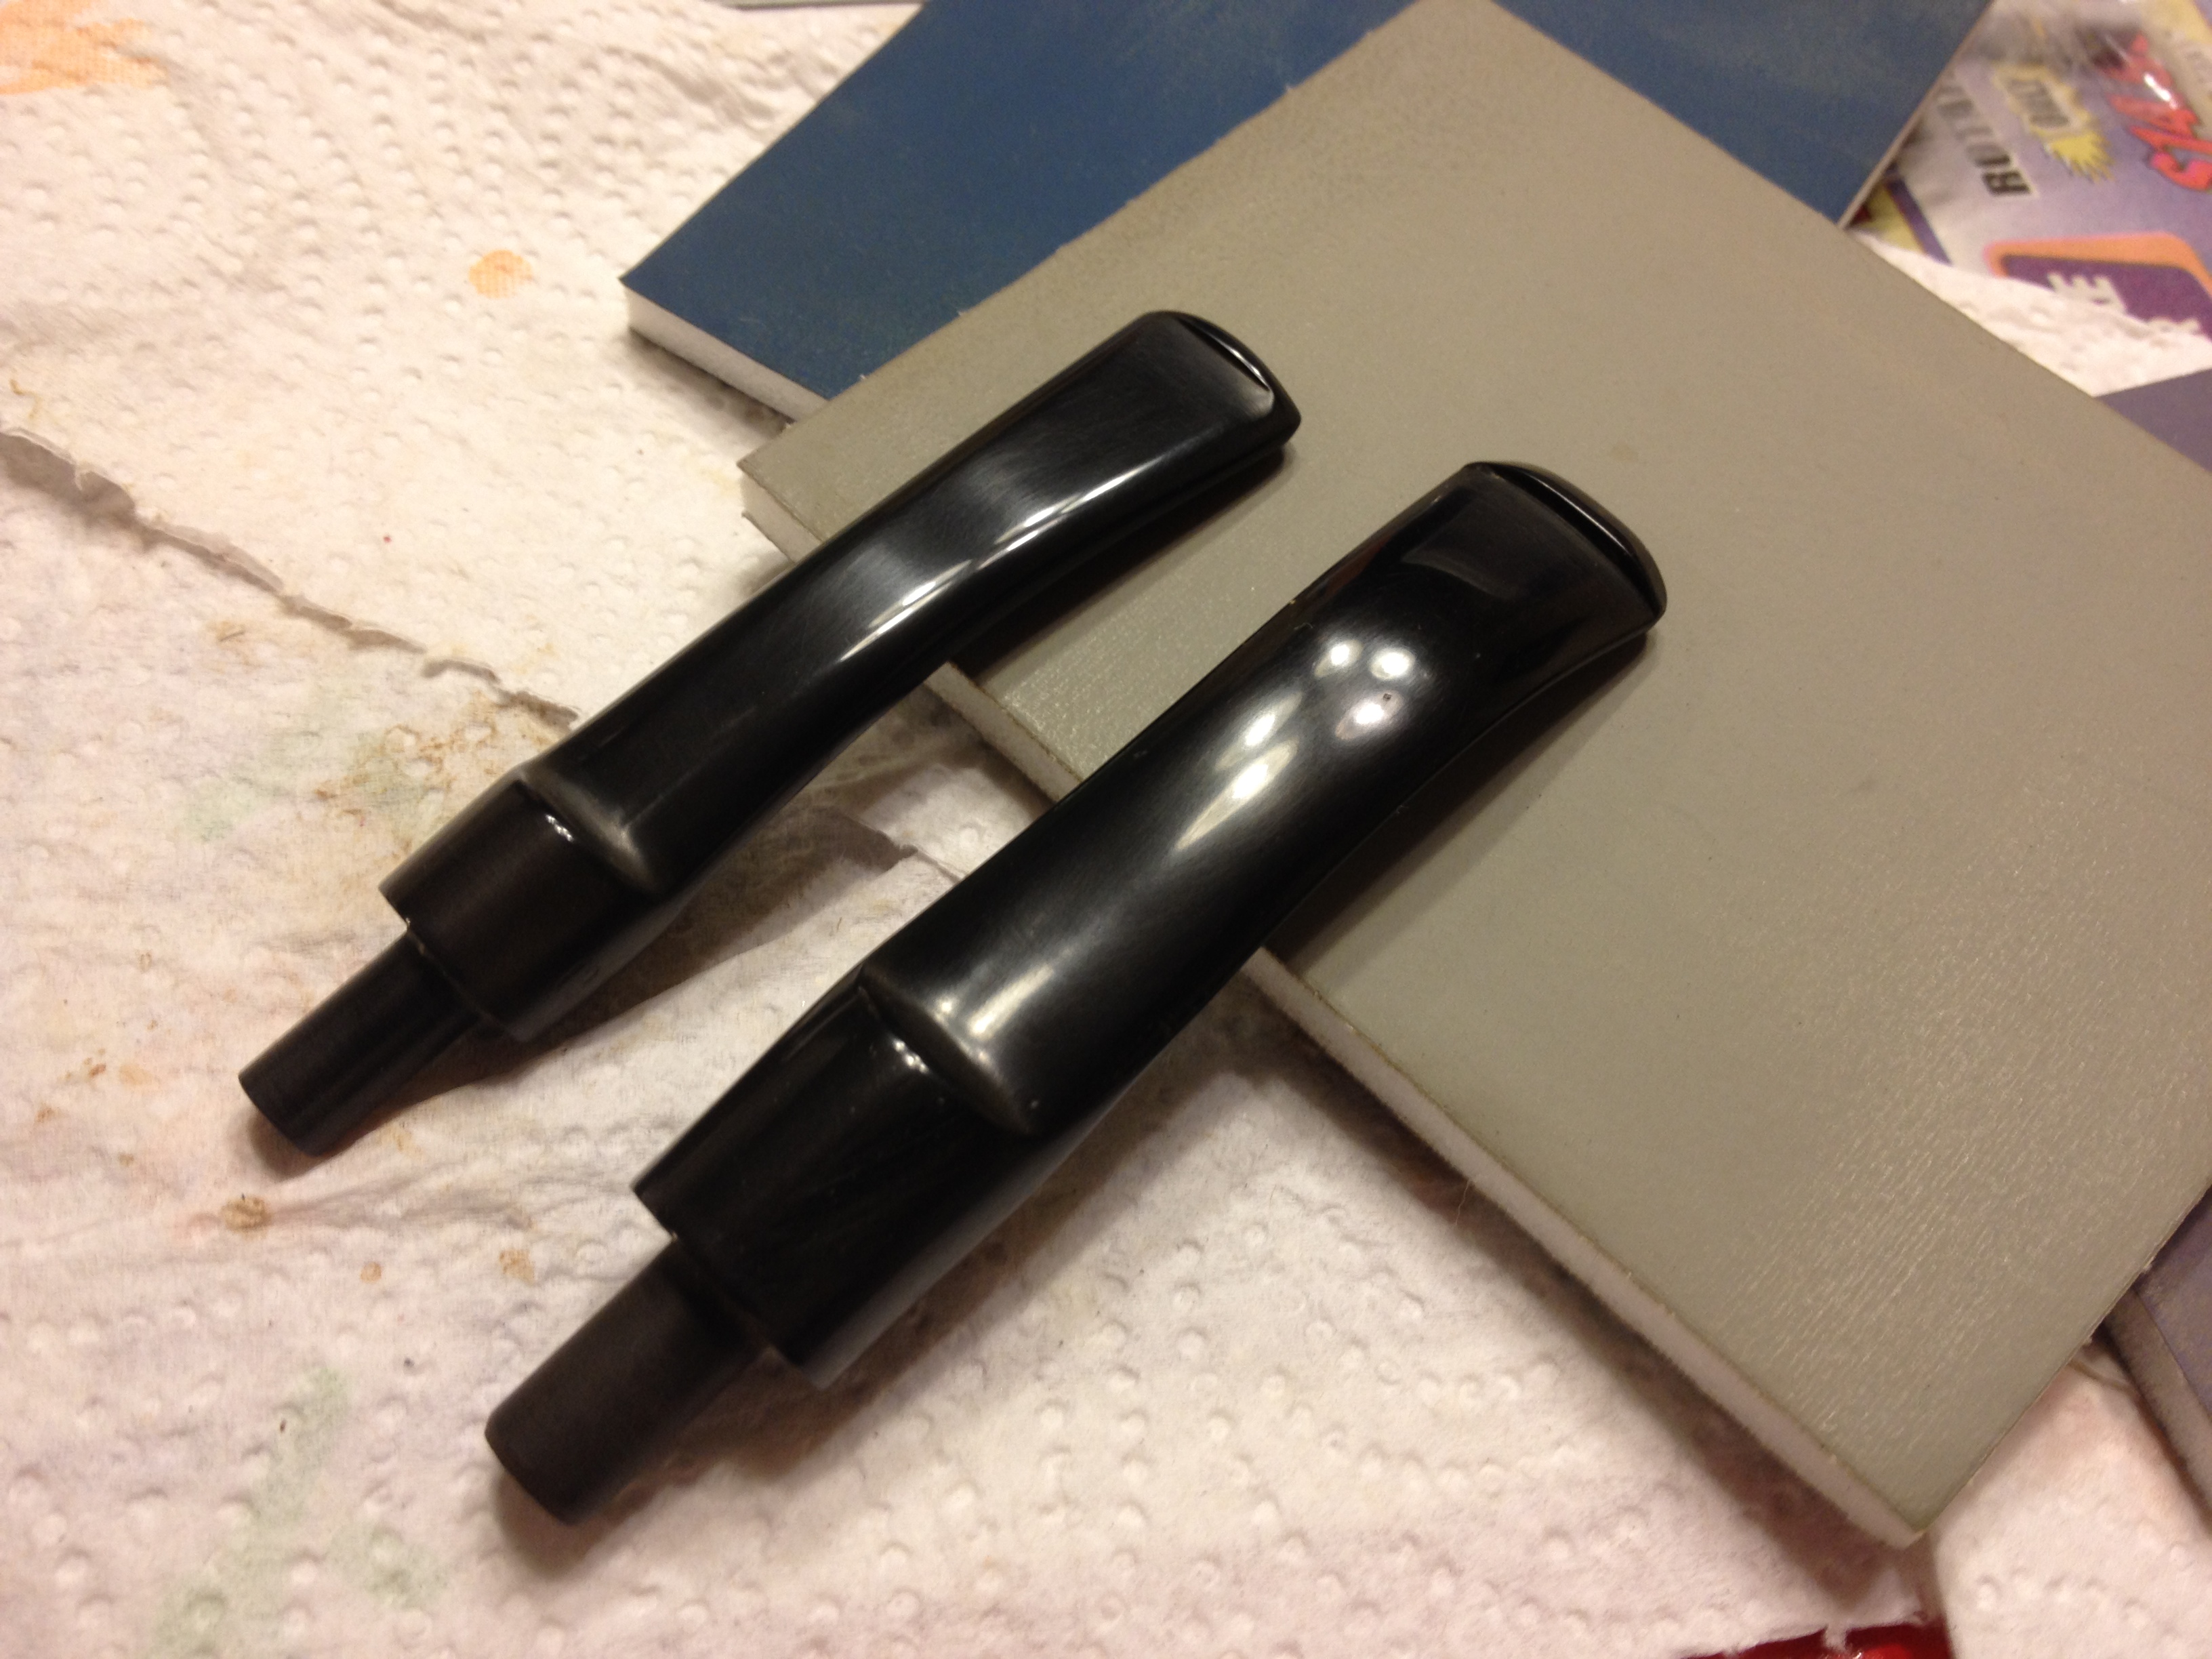
I did some further polishing on the stem with the higher grits of micromesh from 3600-12,000. Once I had finished the sanding I polished the stem with Maguiar’s Scratch X2.0 to deepen the shine. I coated the stem with Obsidian Oil and then buffed it with carnauba wax to seal it and protect it. The final buff on the stem was done with a soft flannel pad.
IMG_2457

IMG_2458

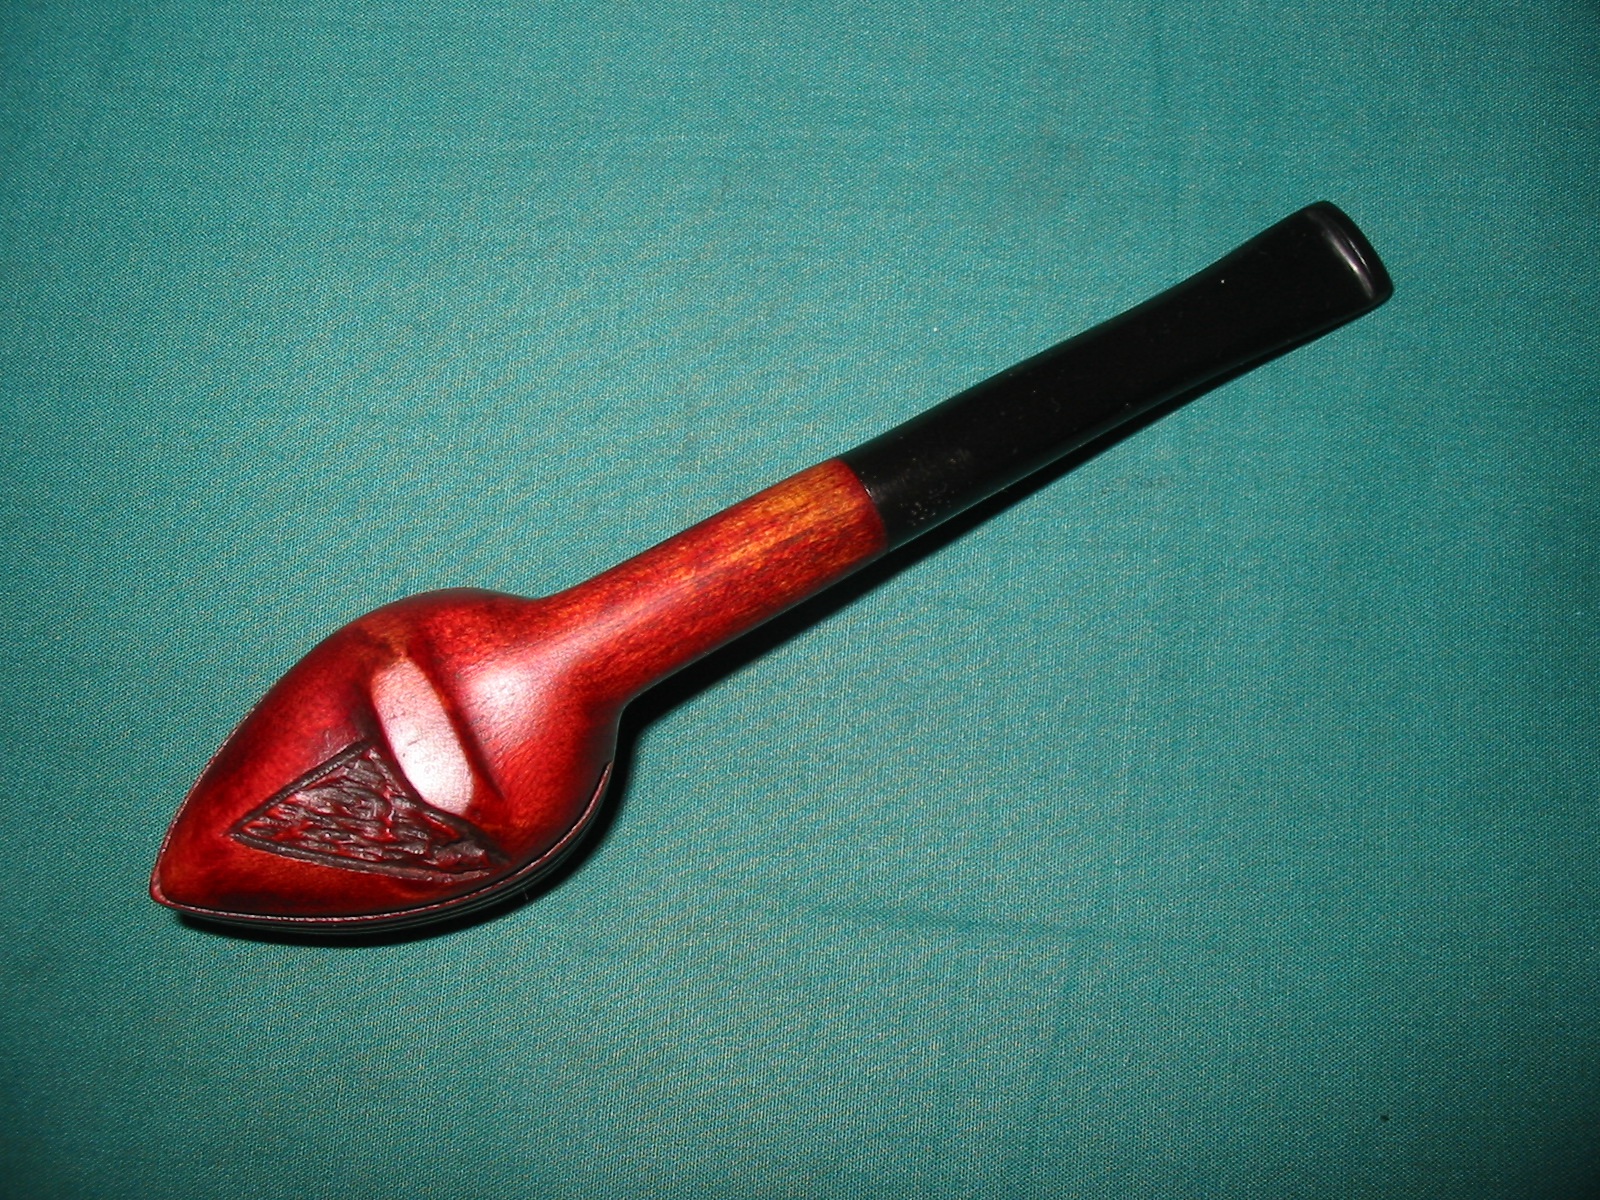
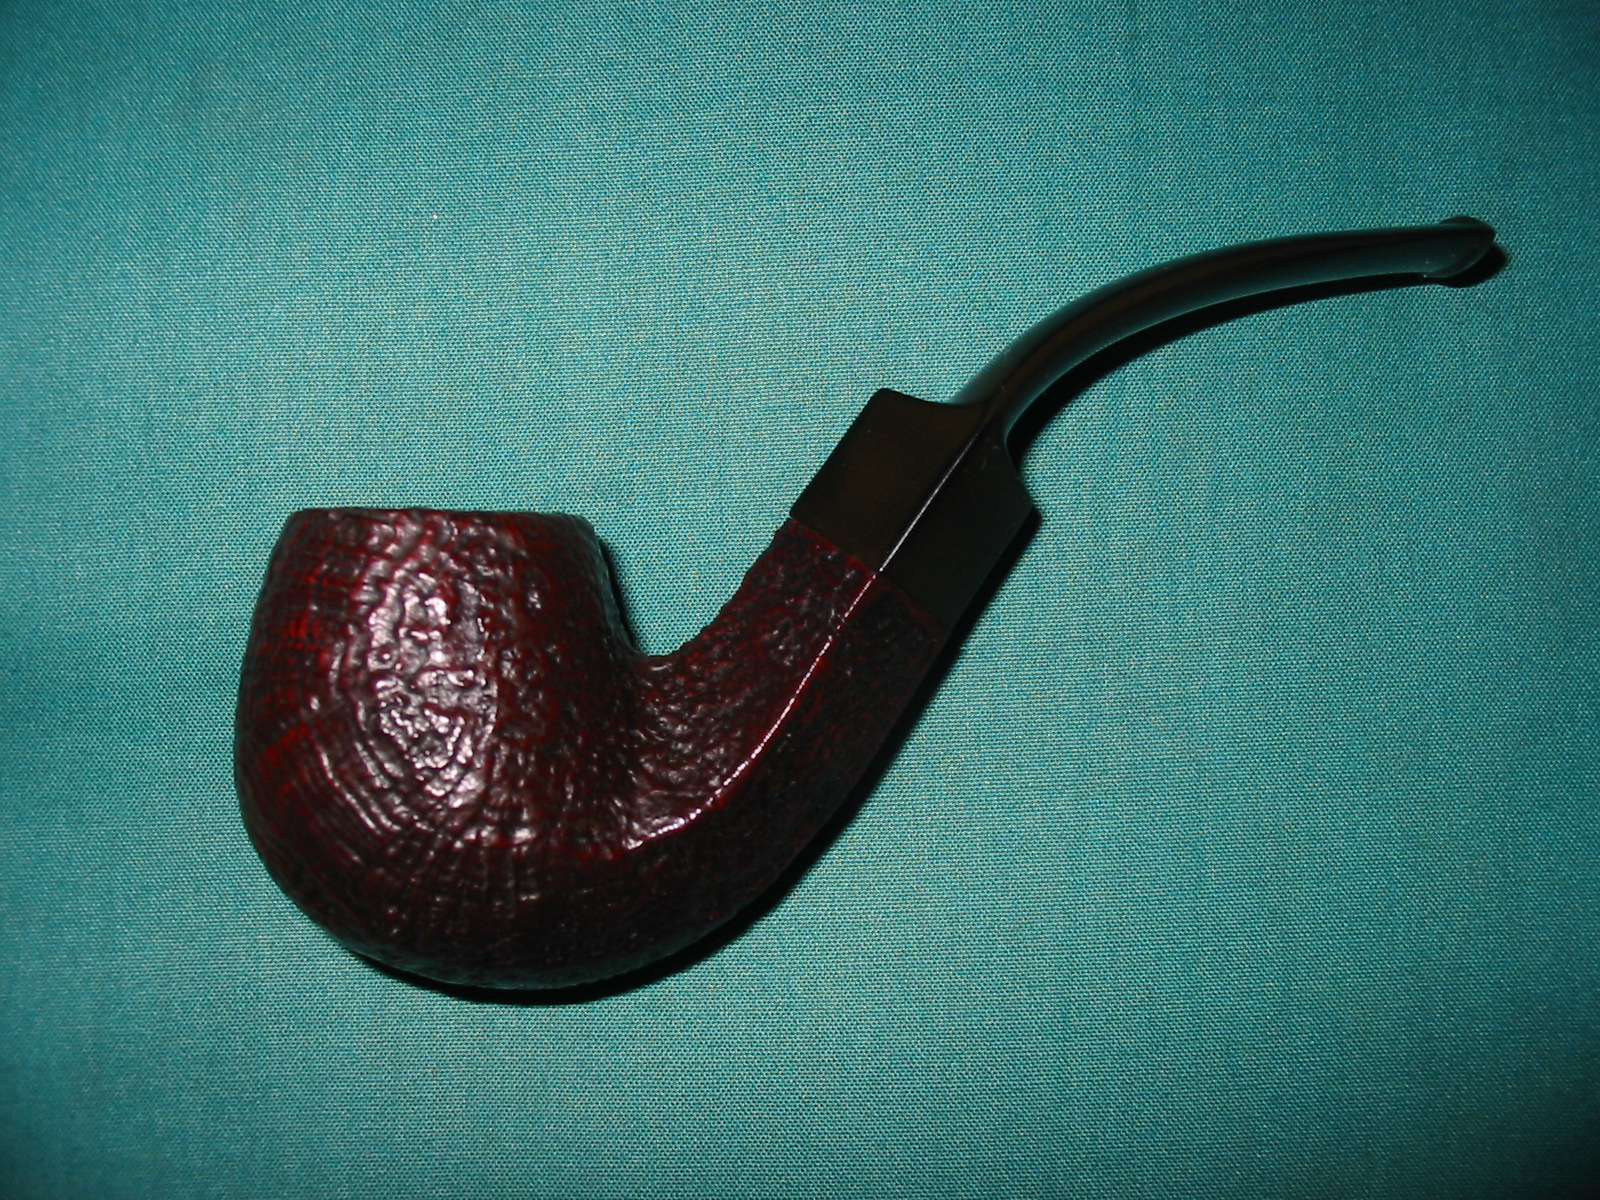
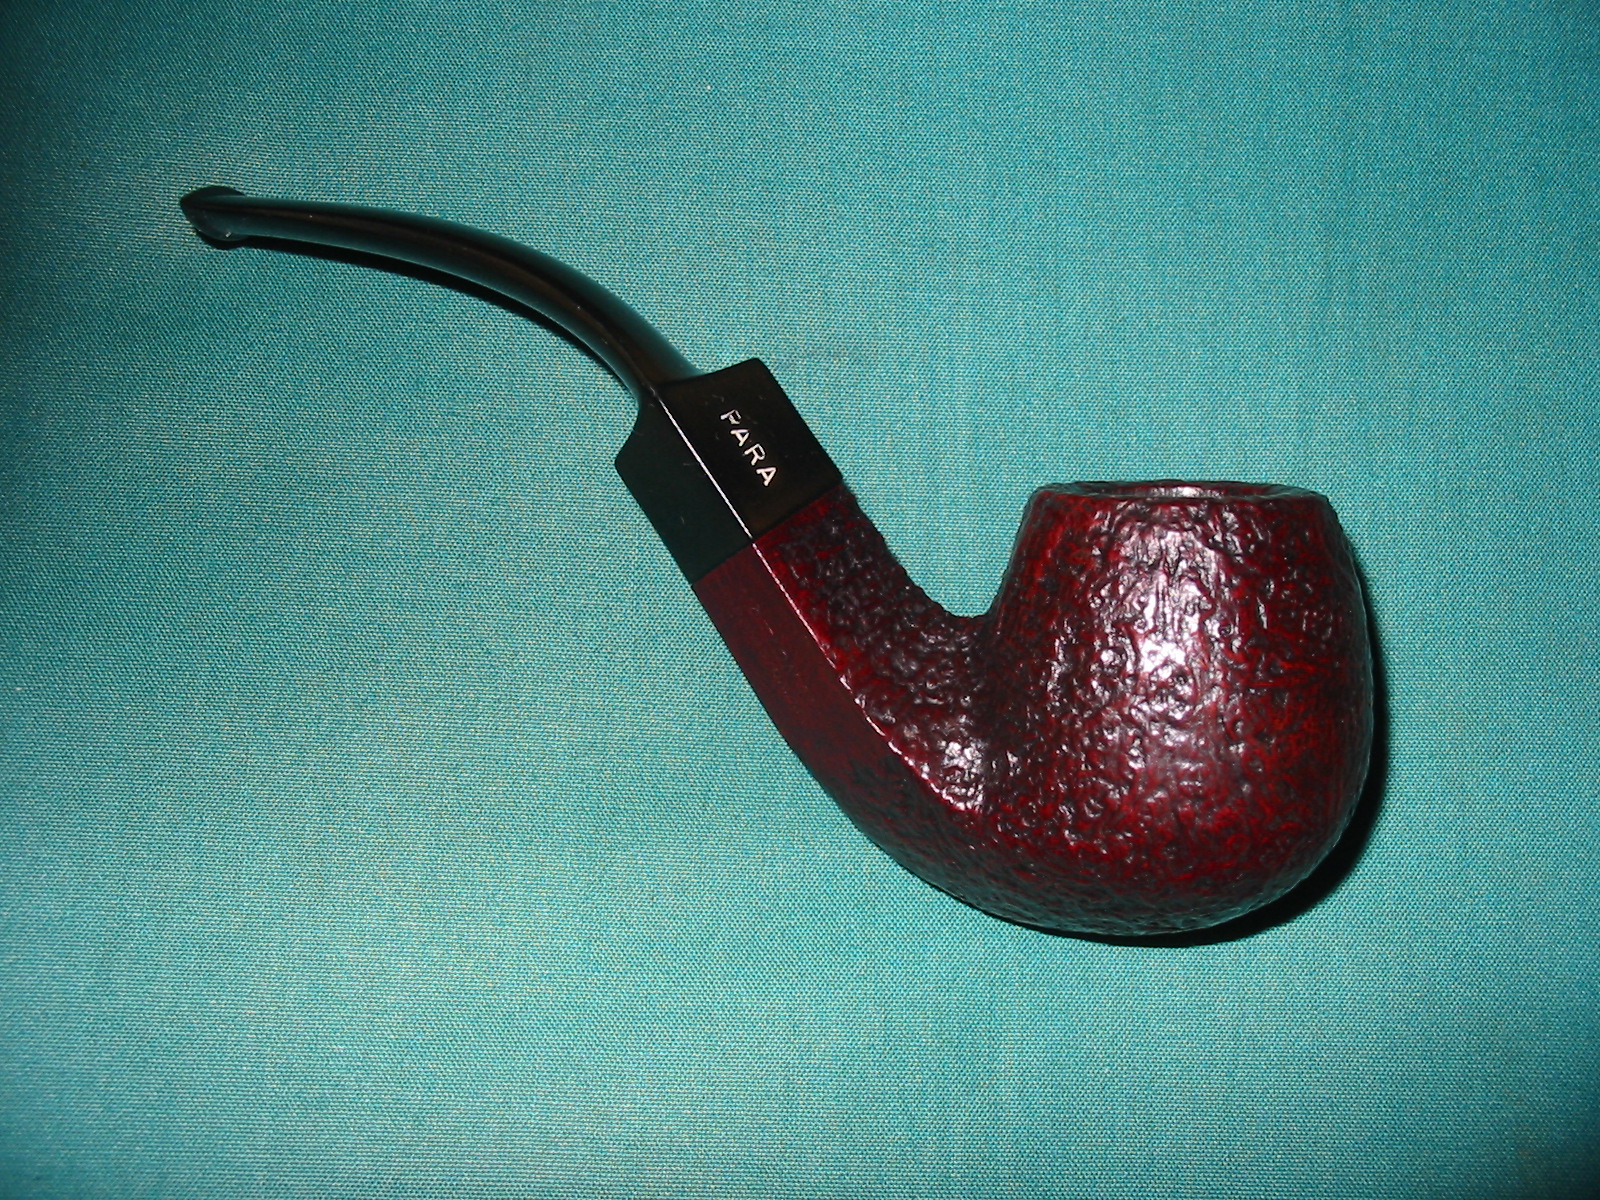
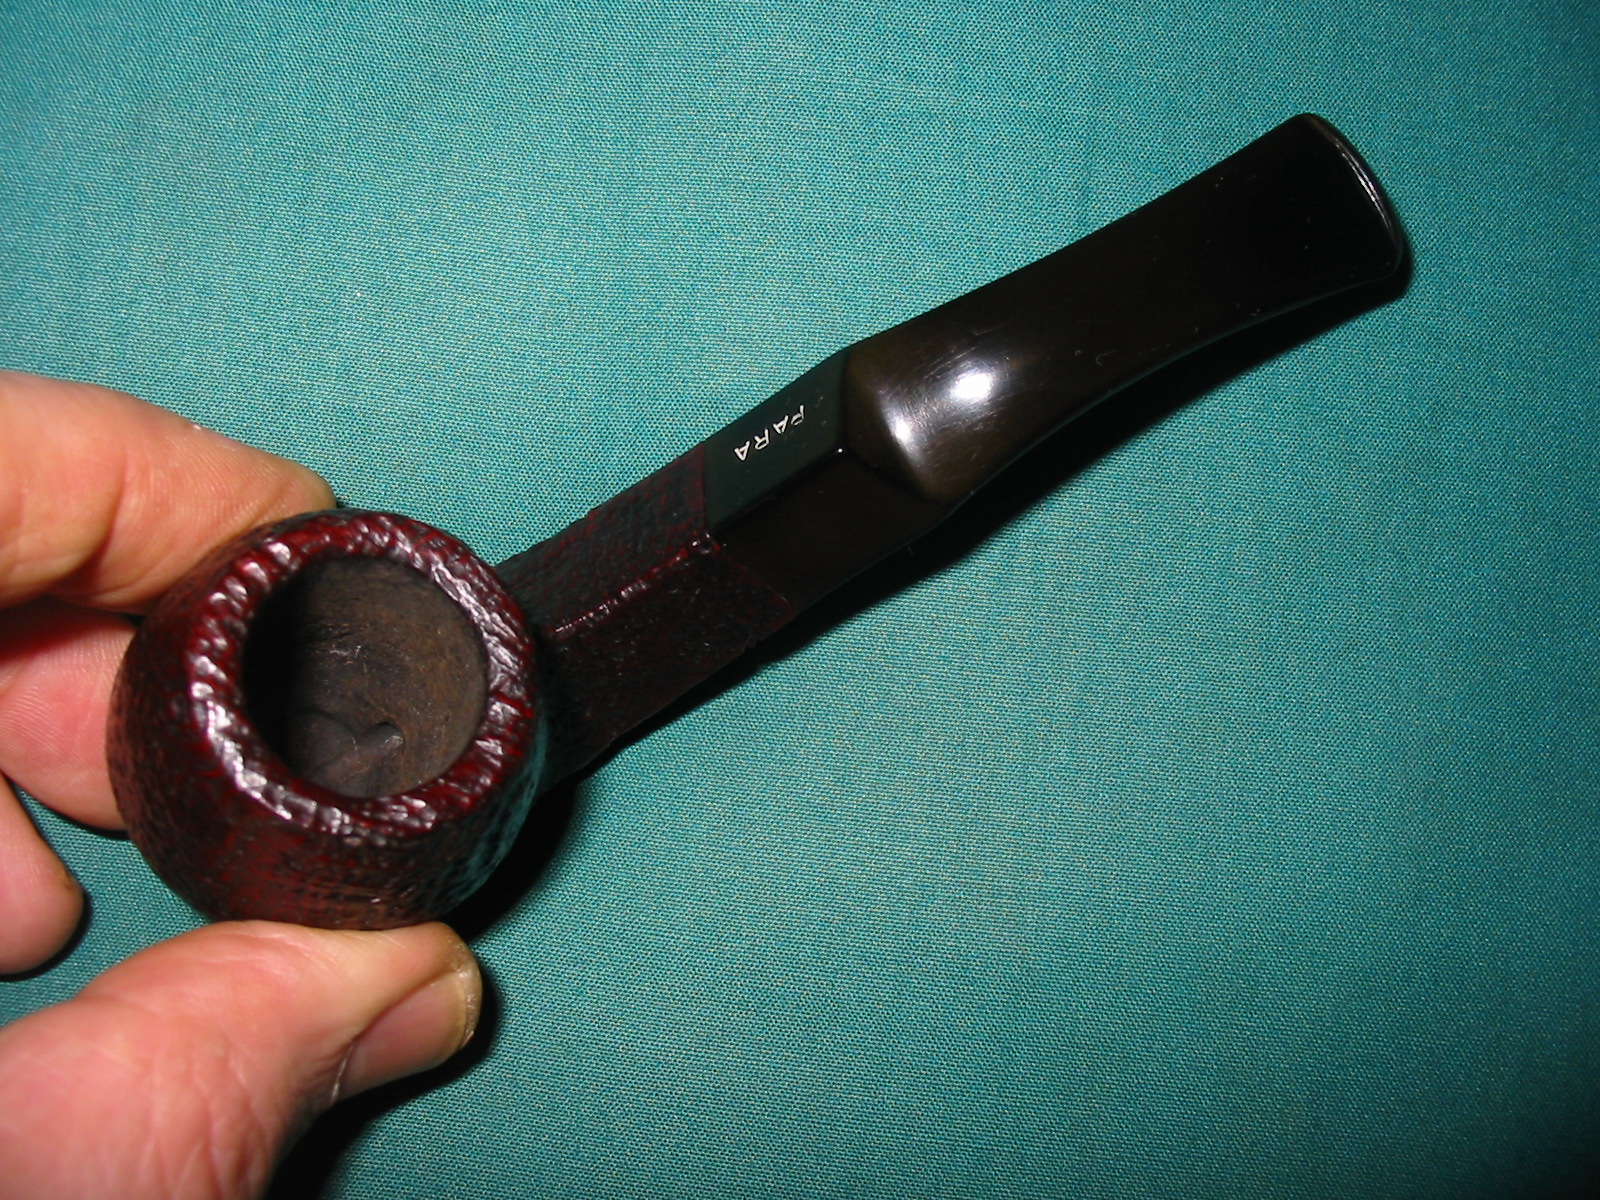
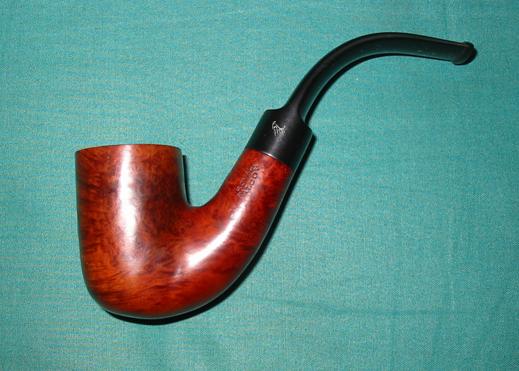
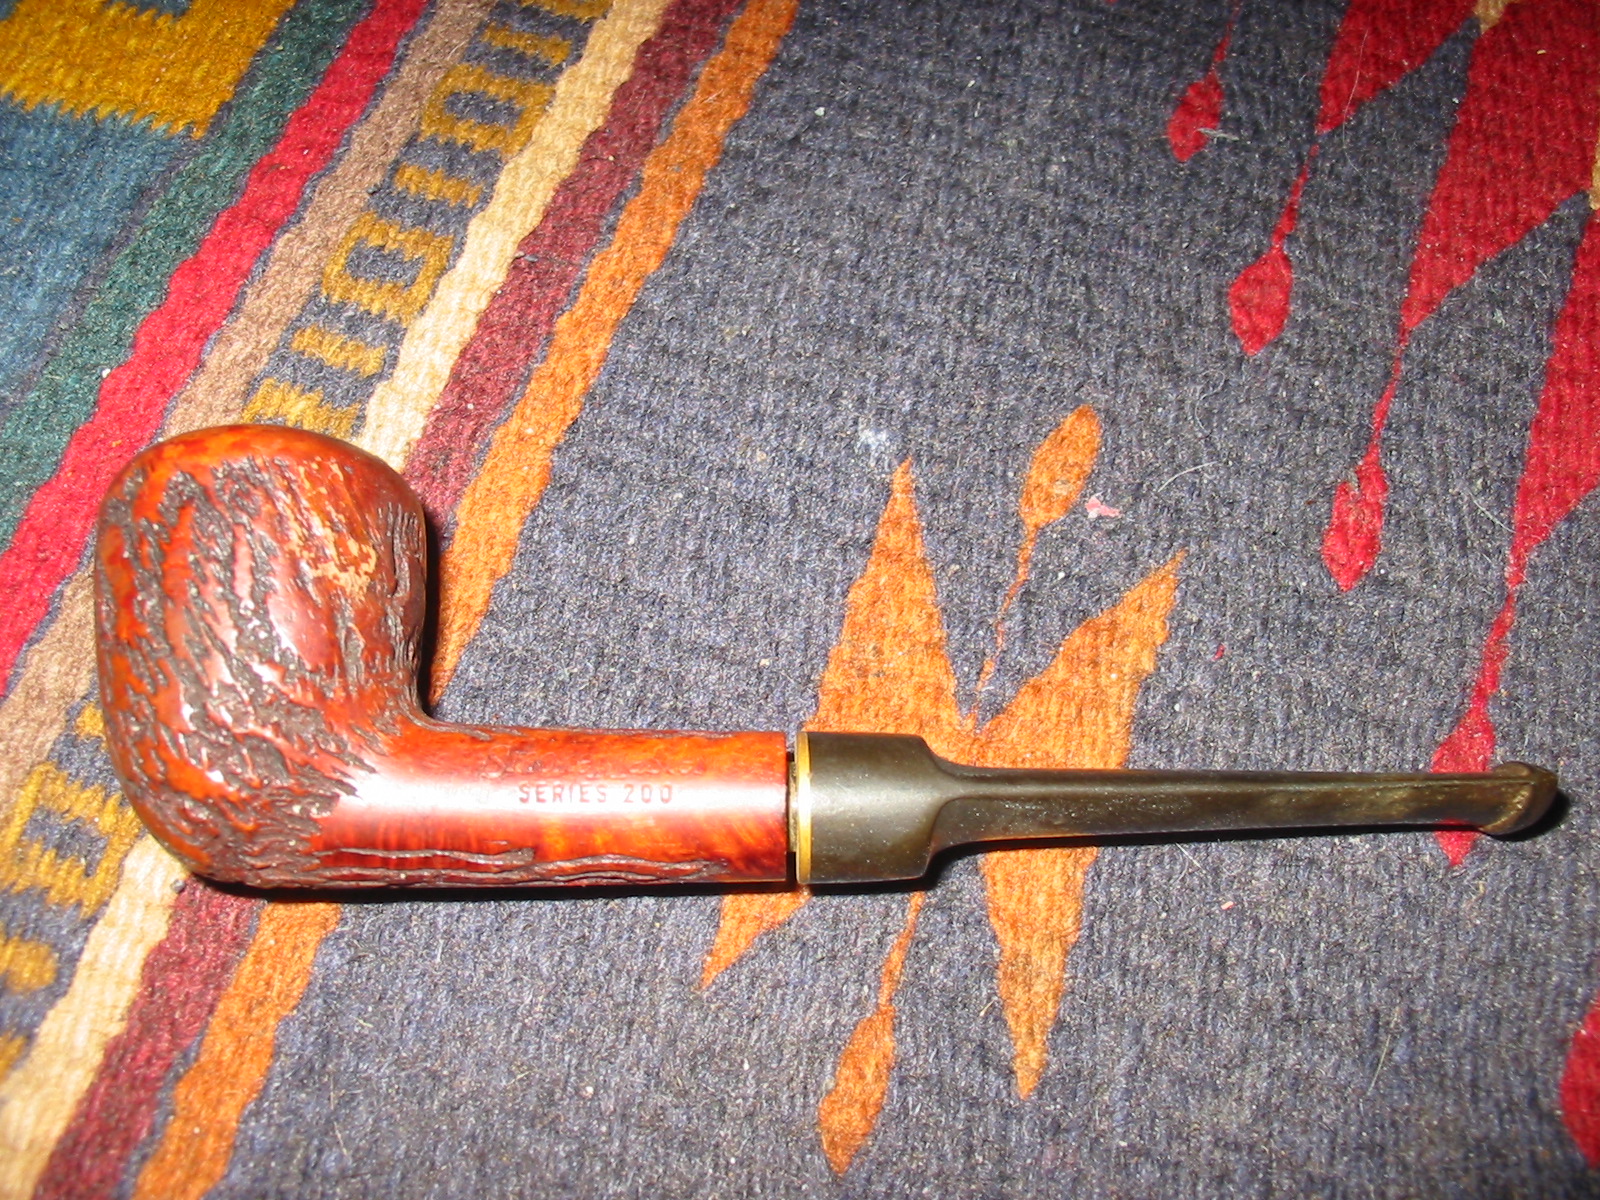
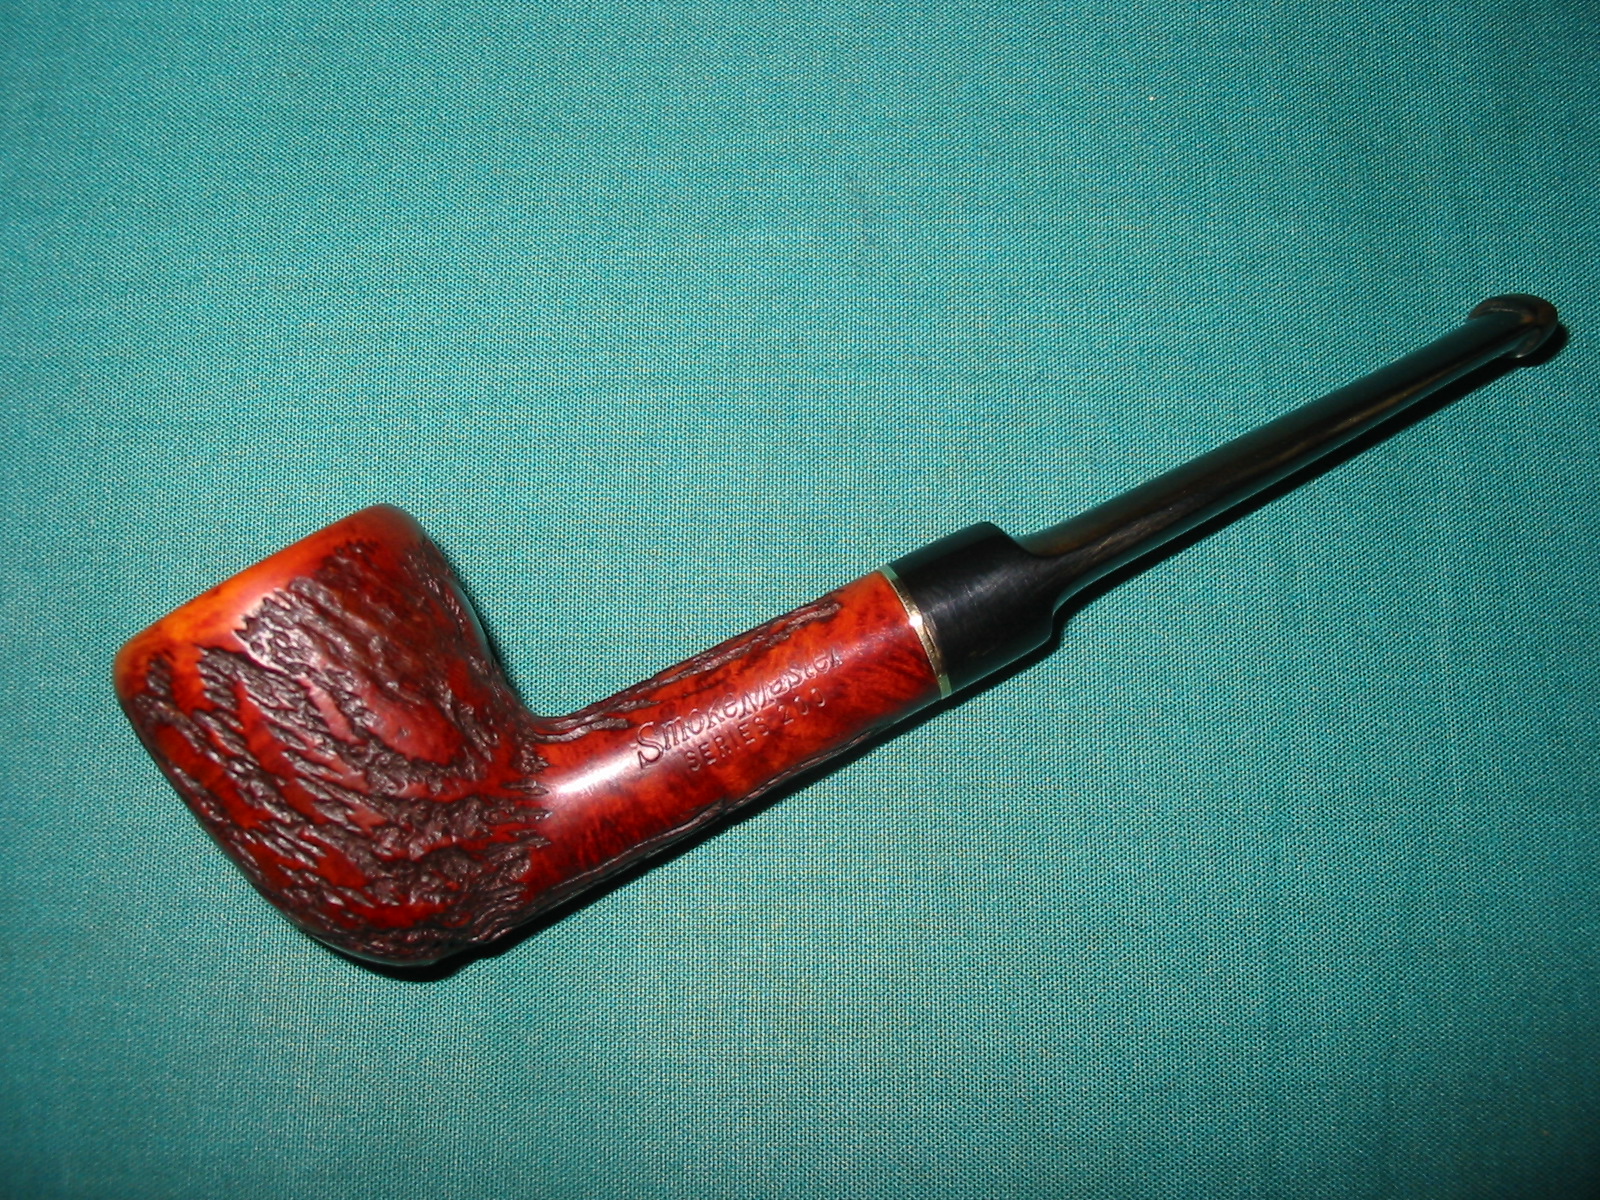
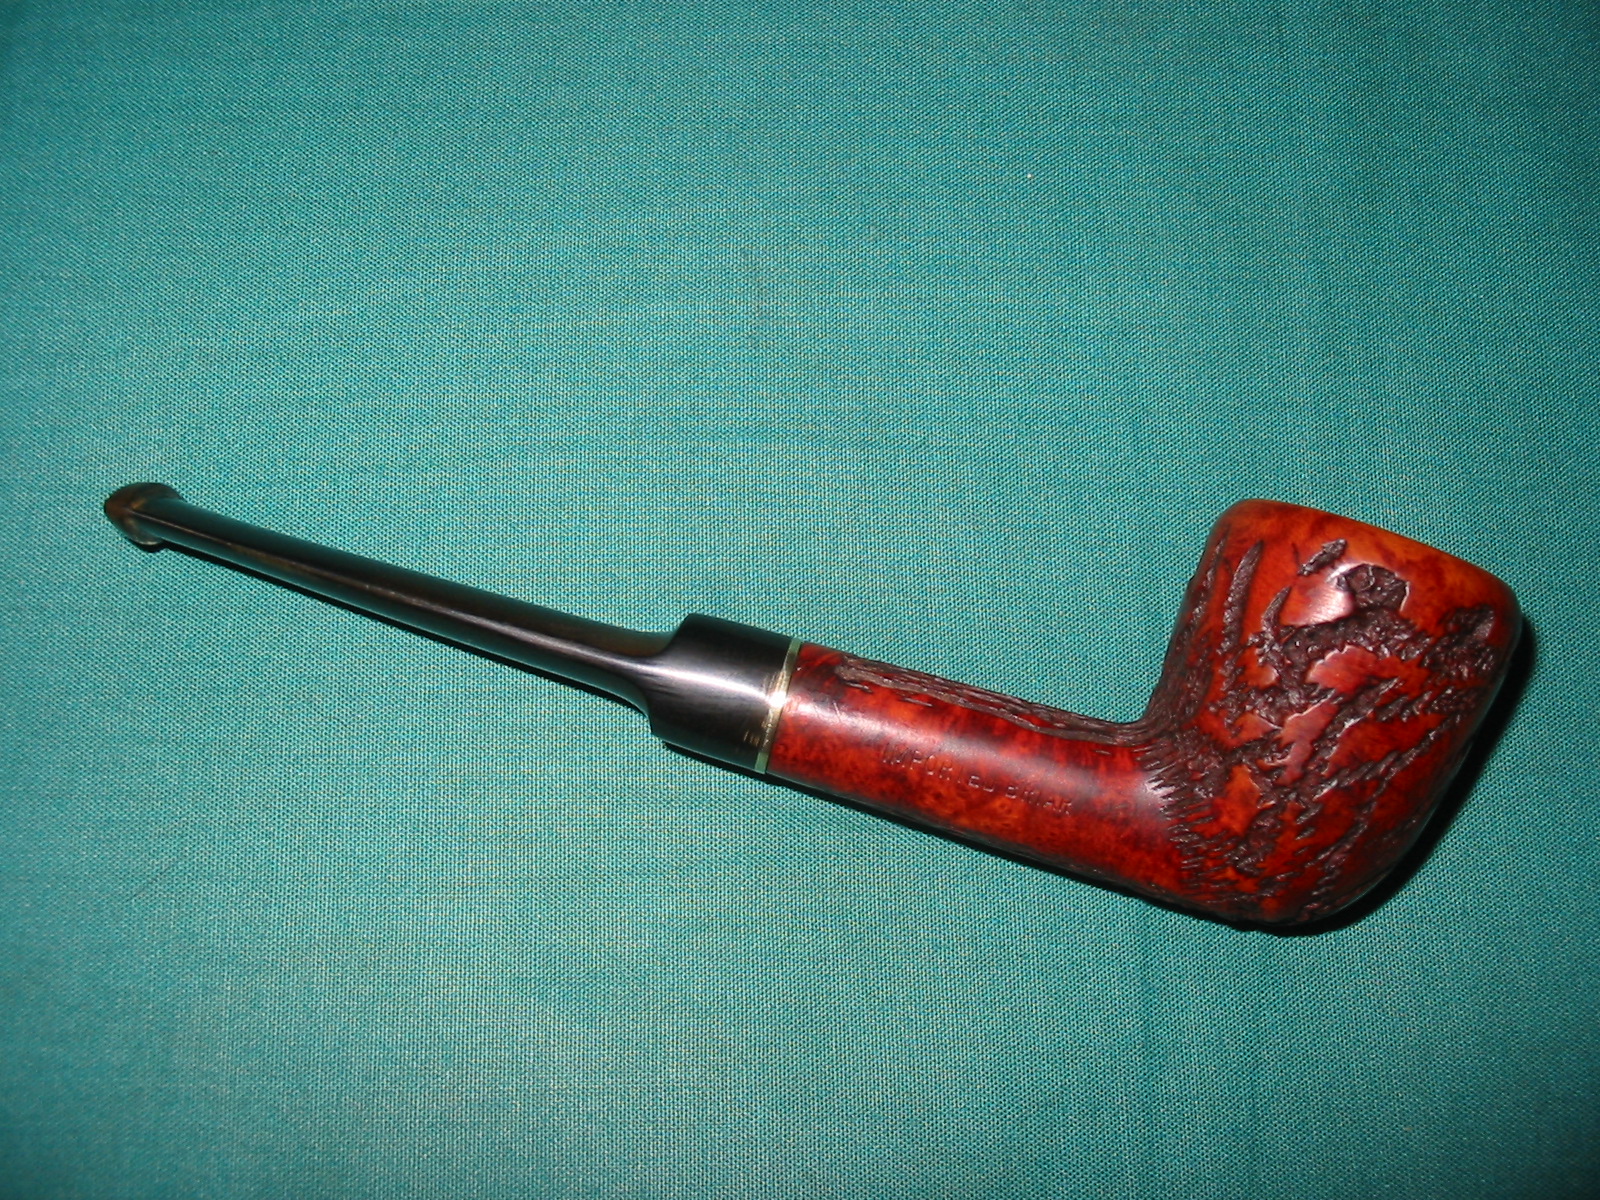
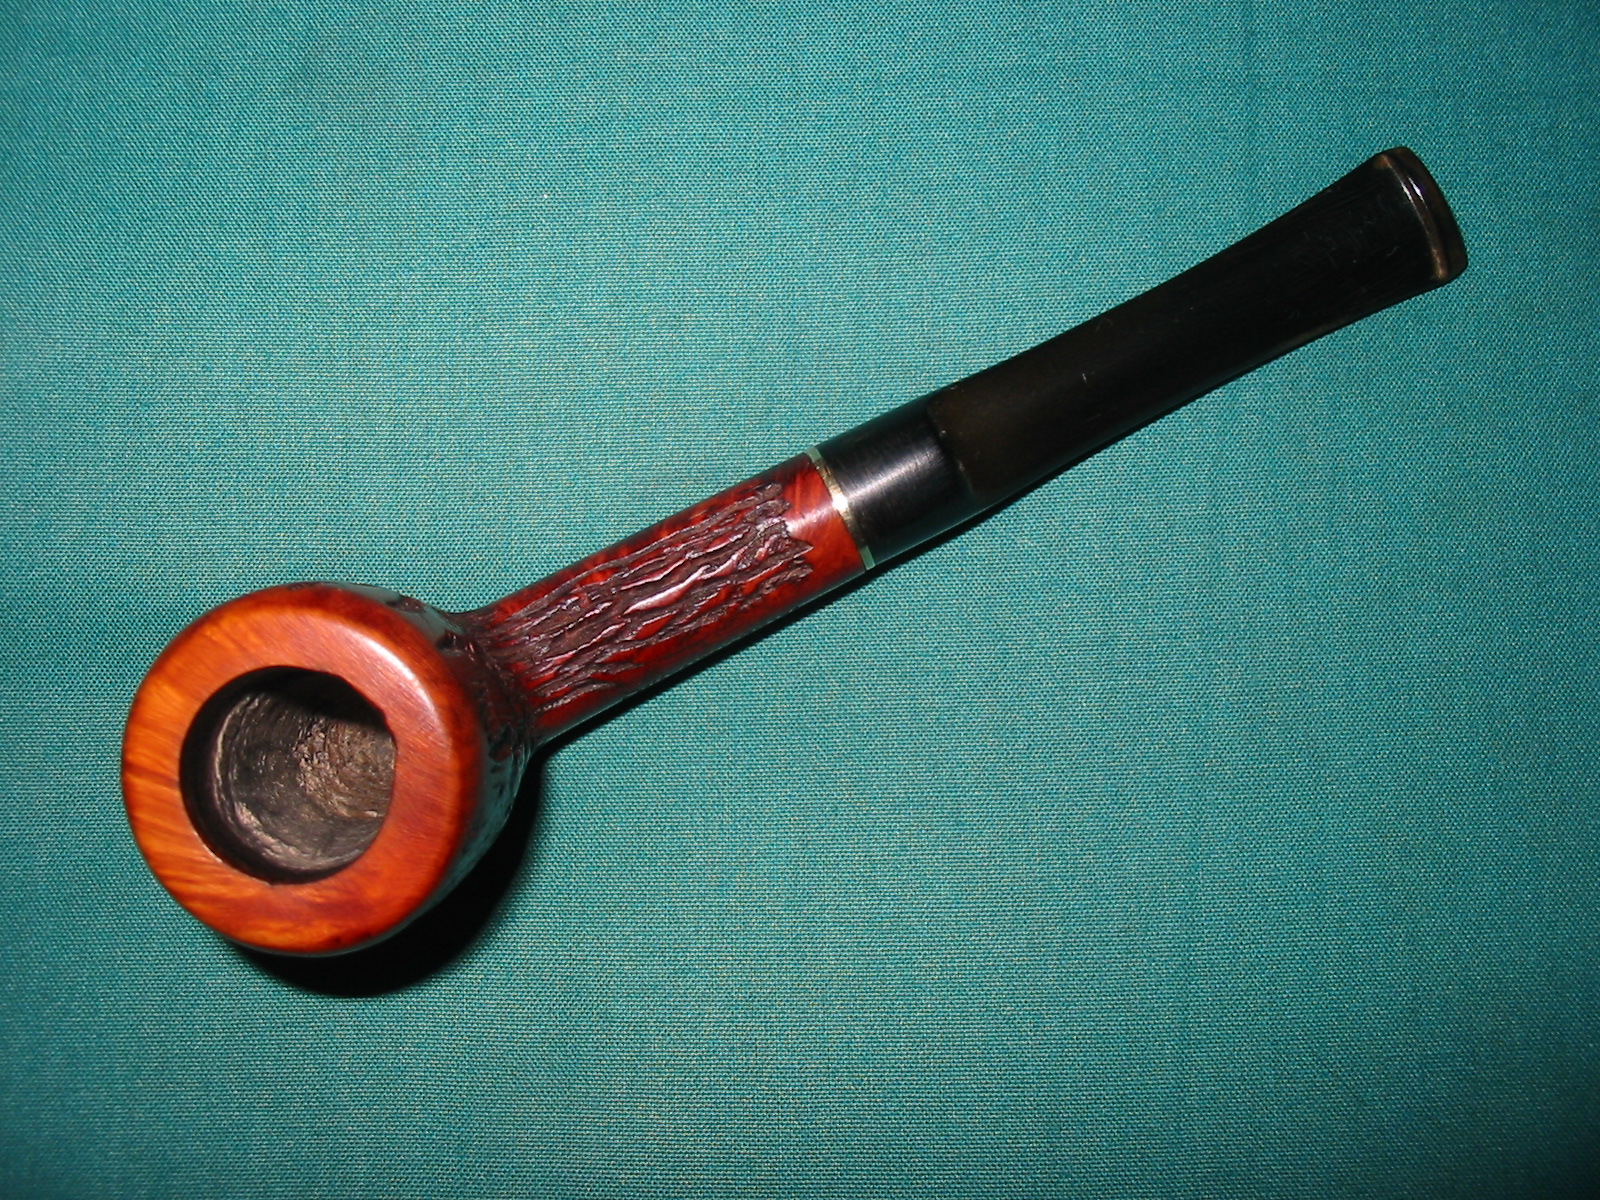
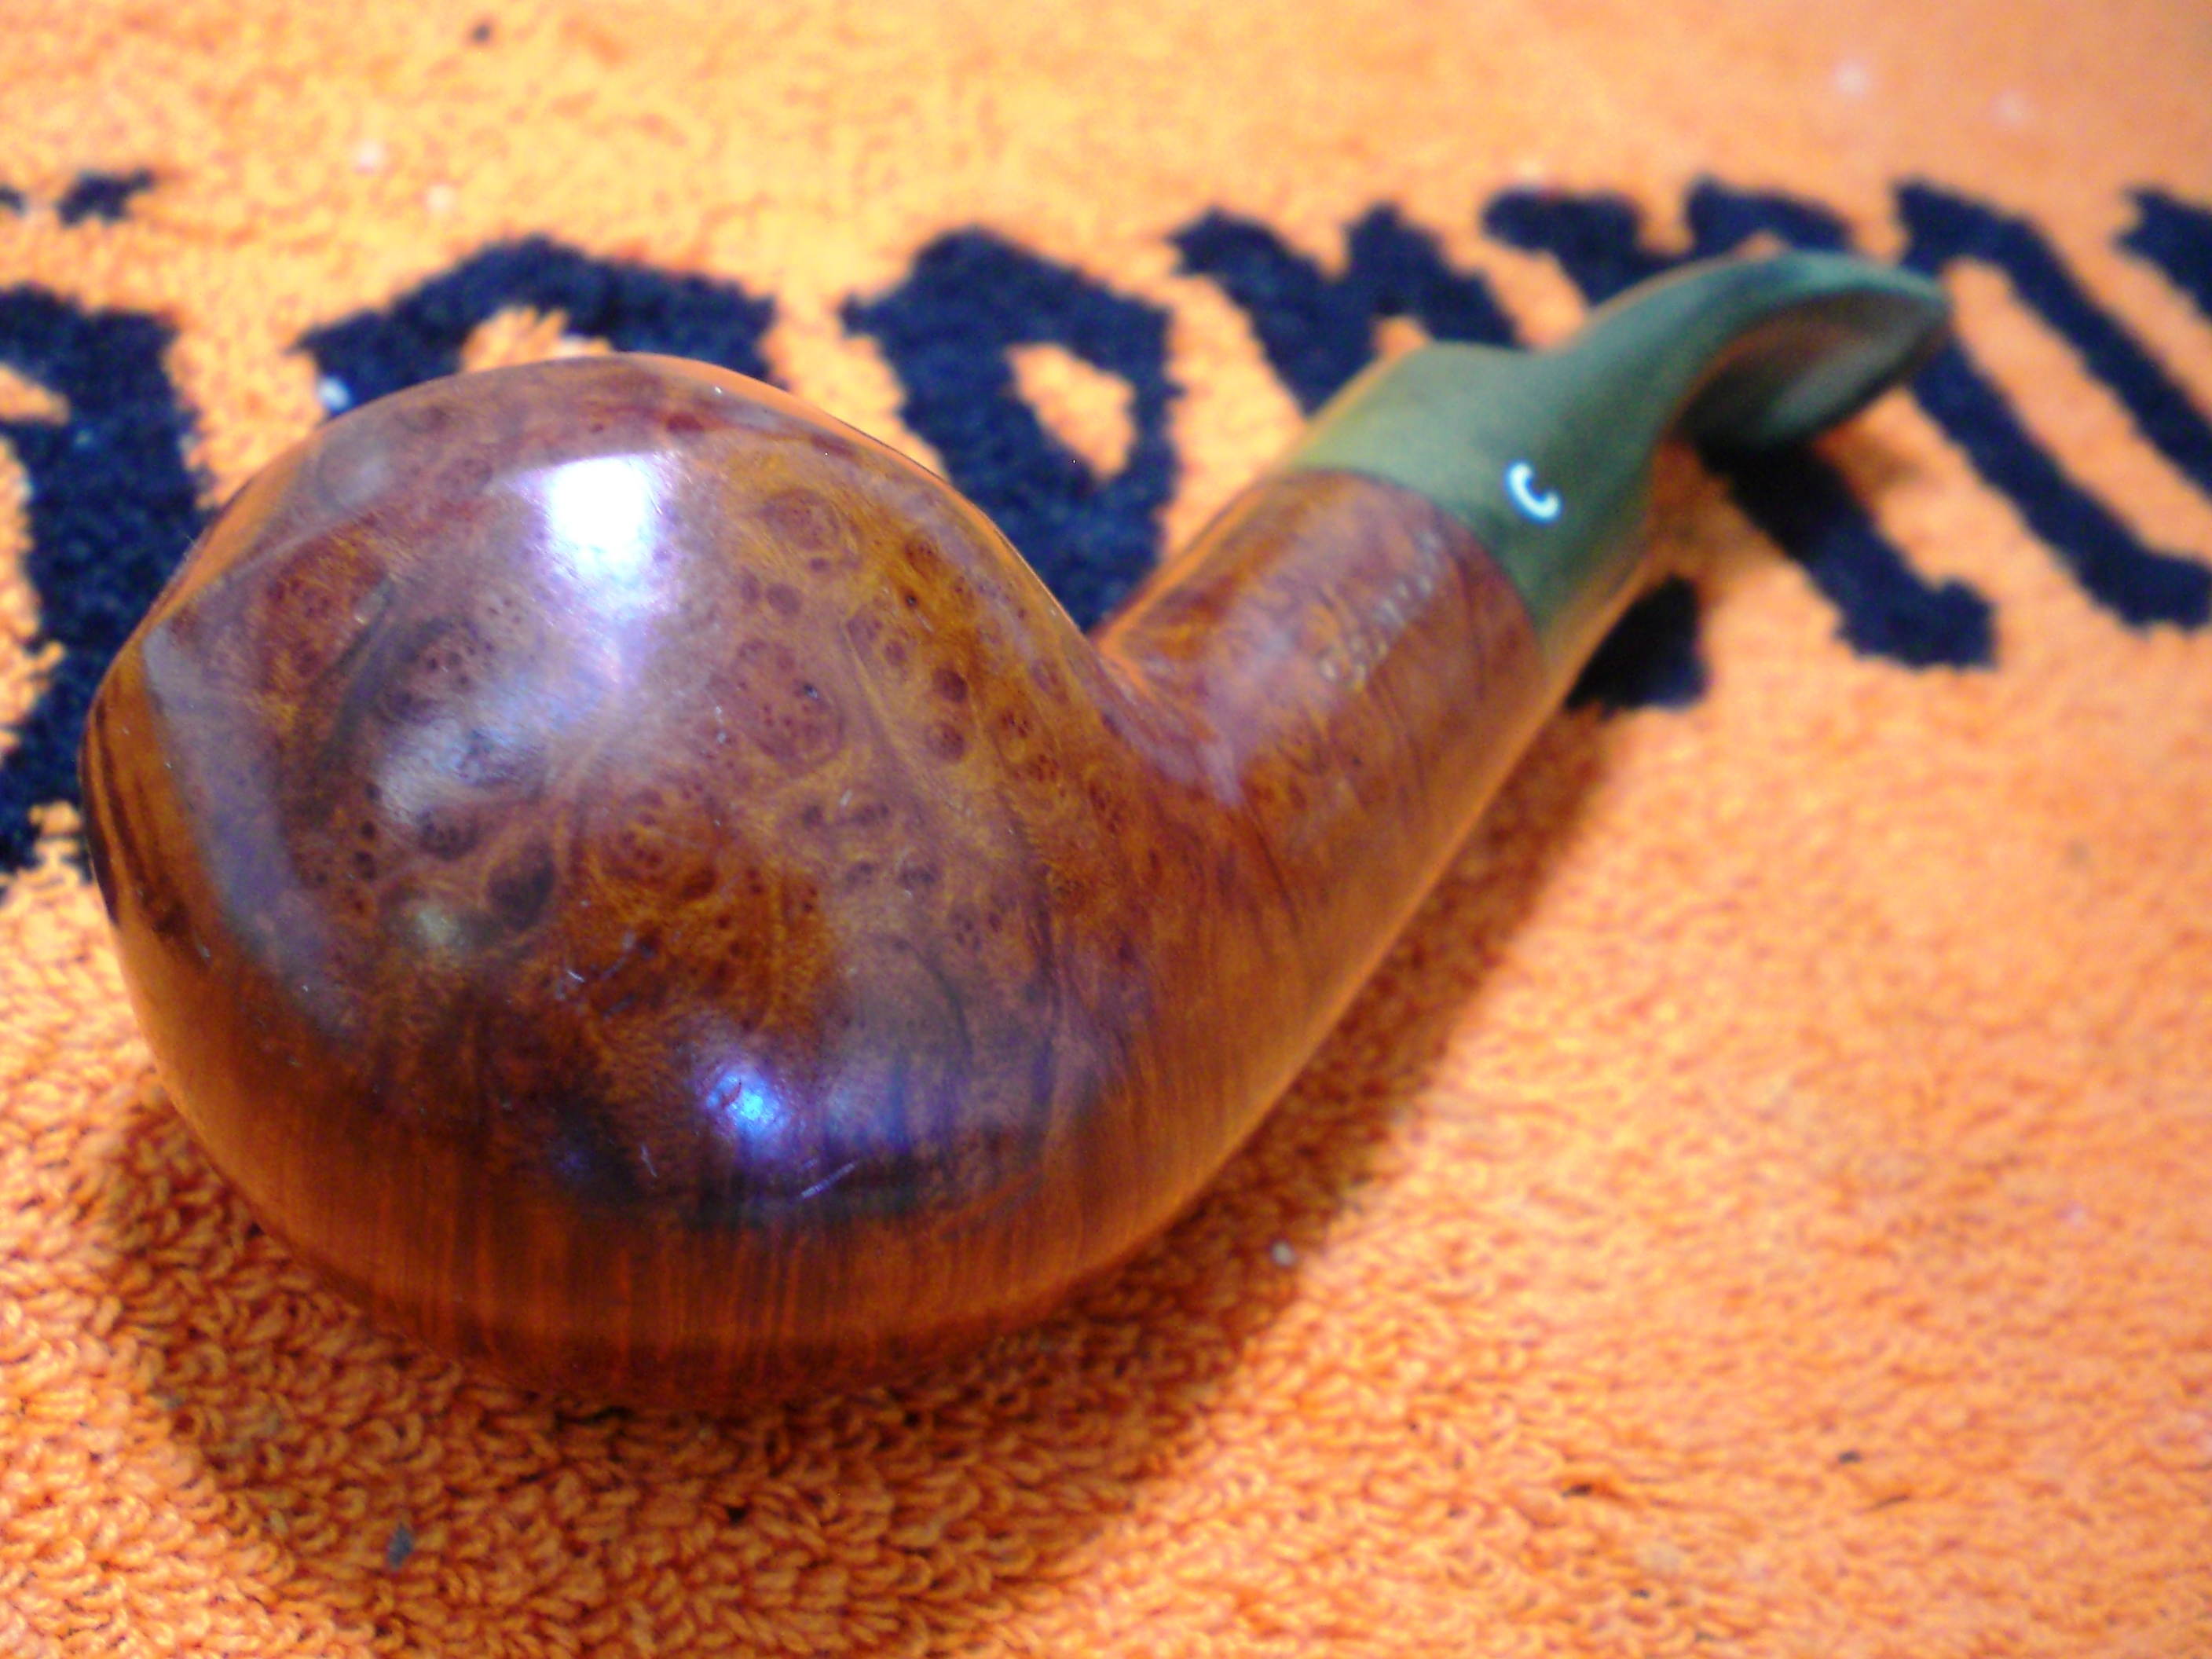
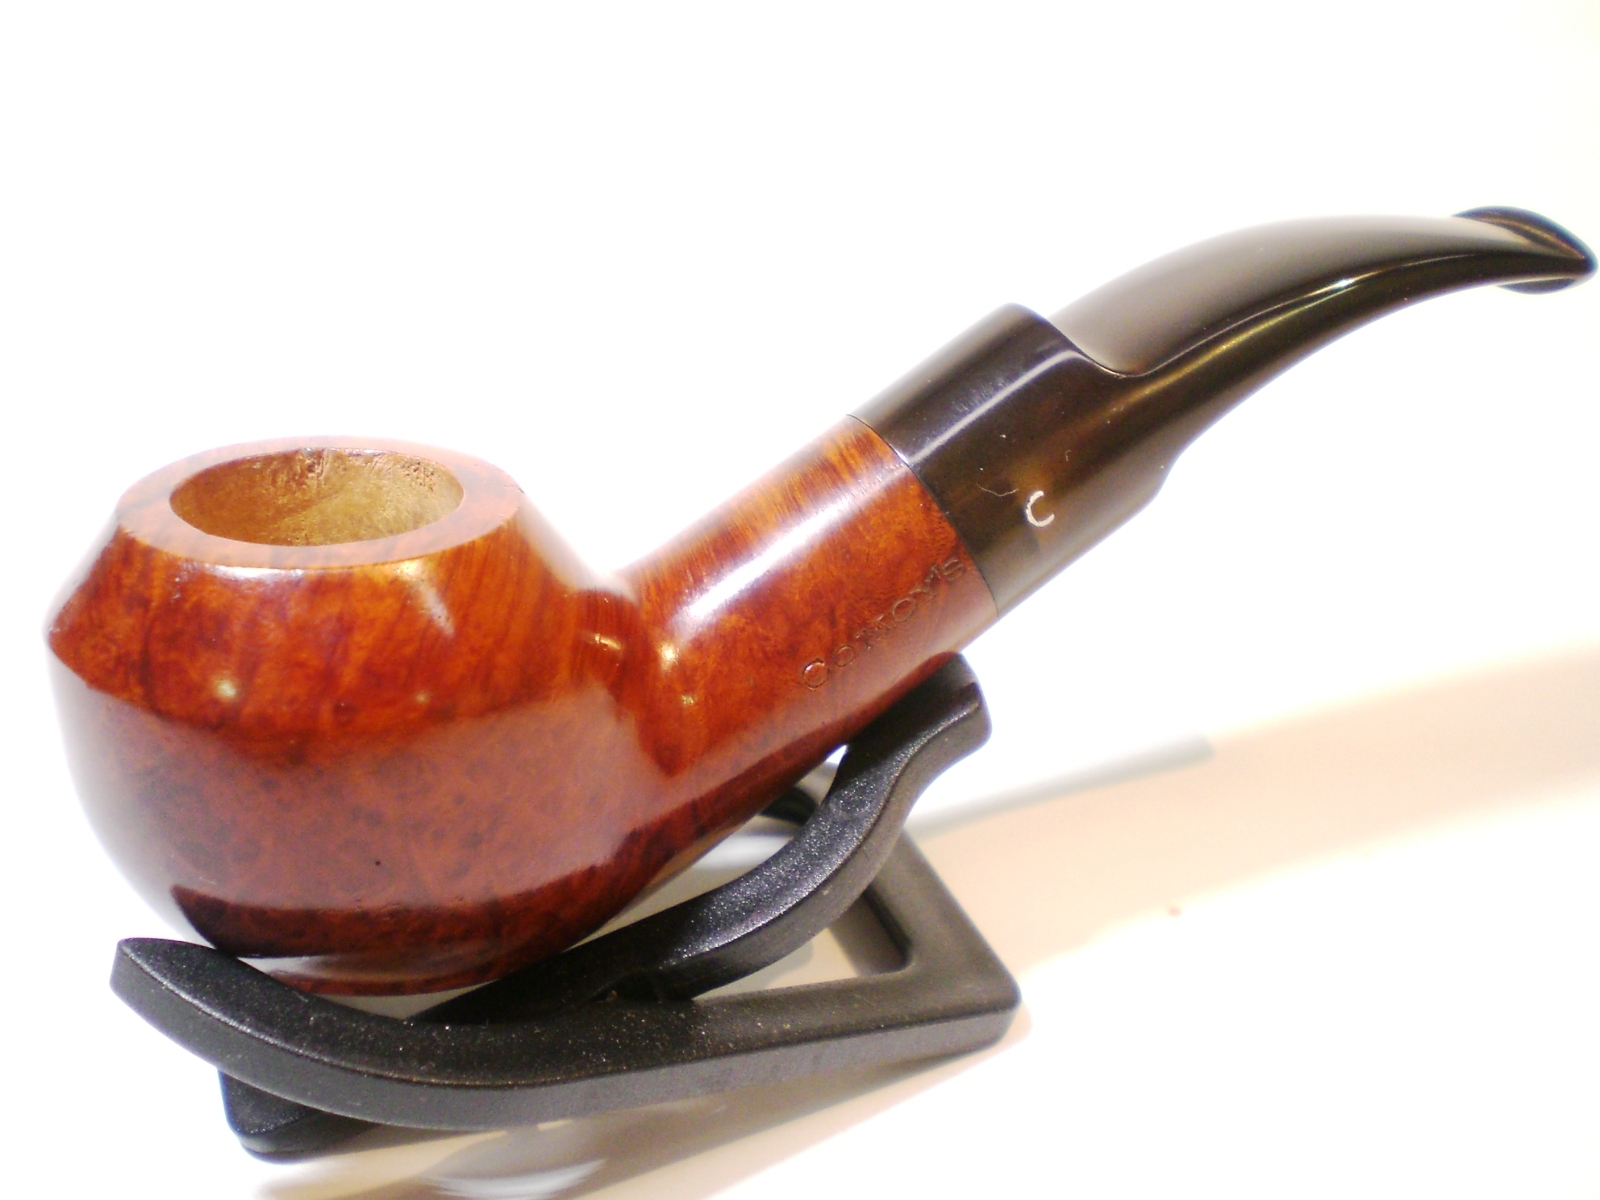
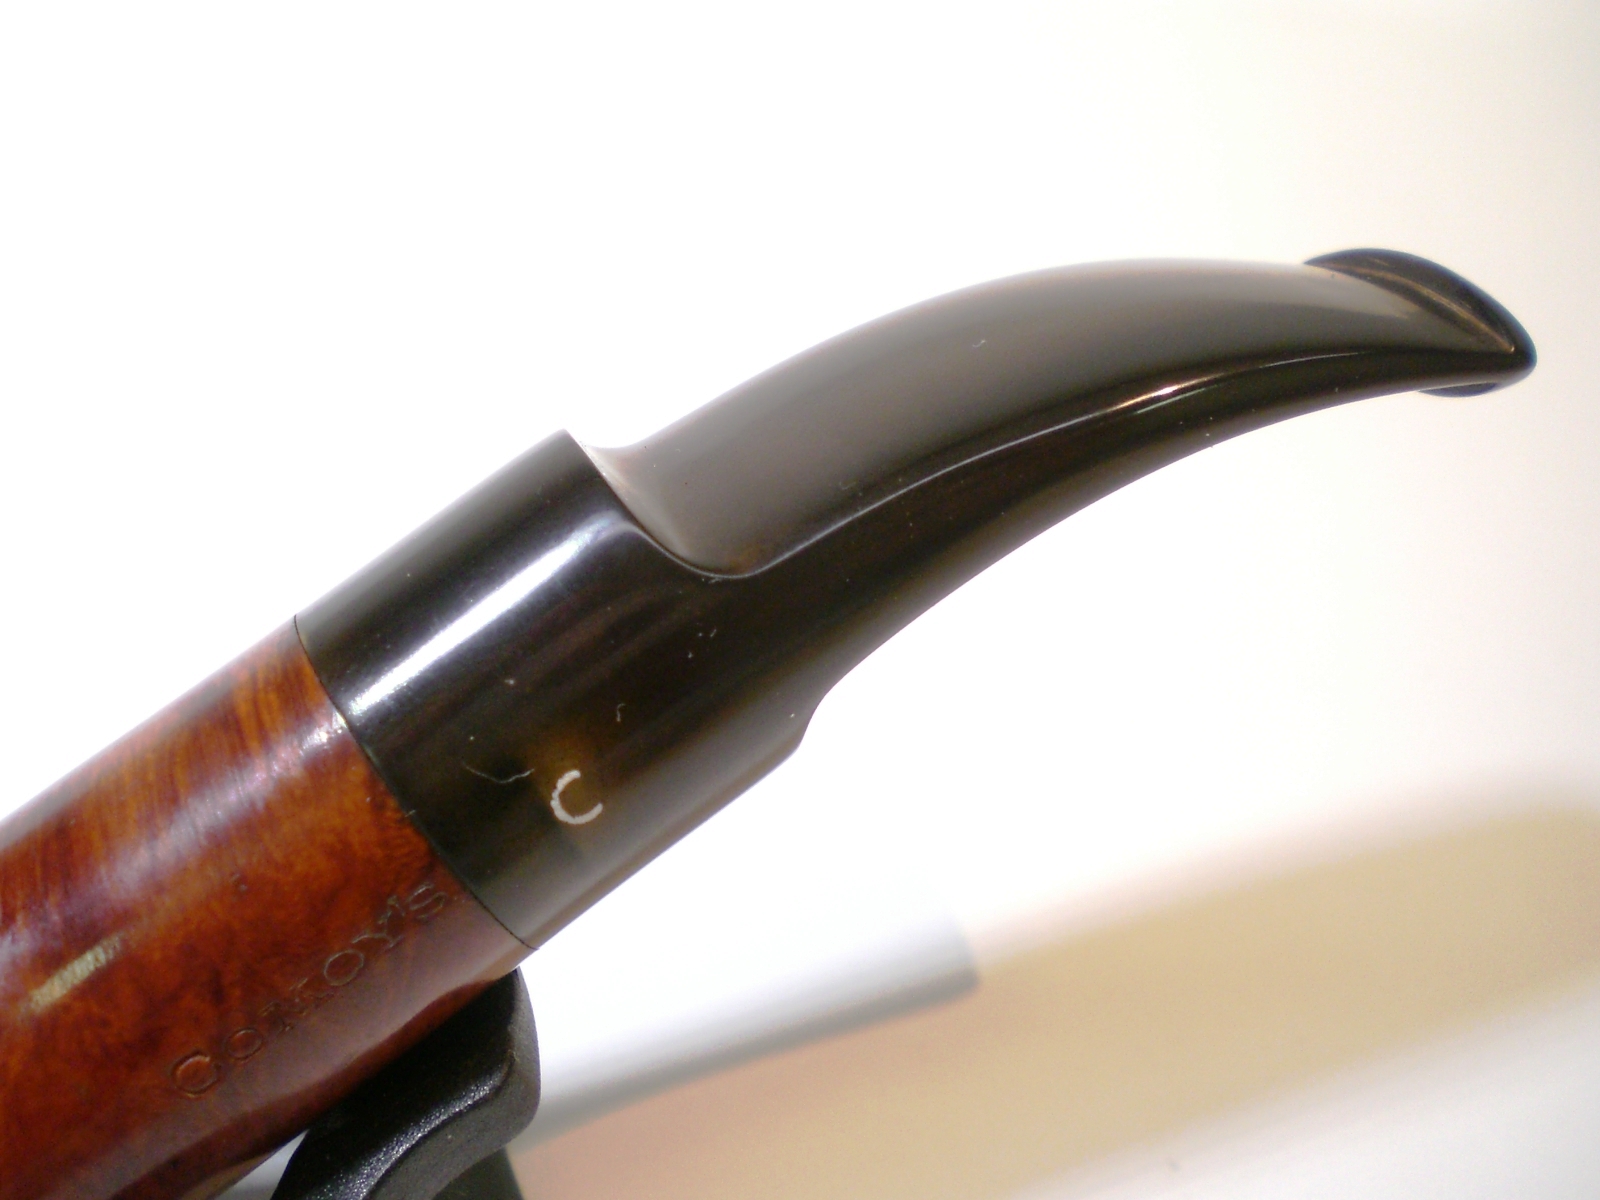
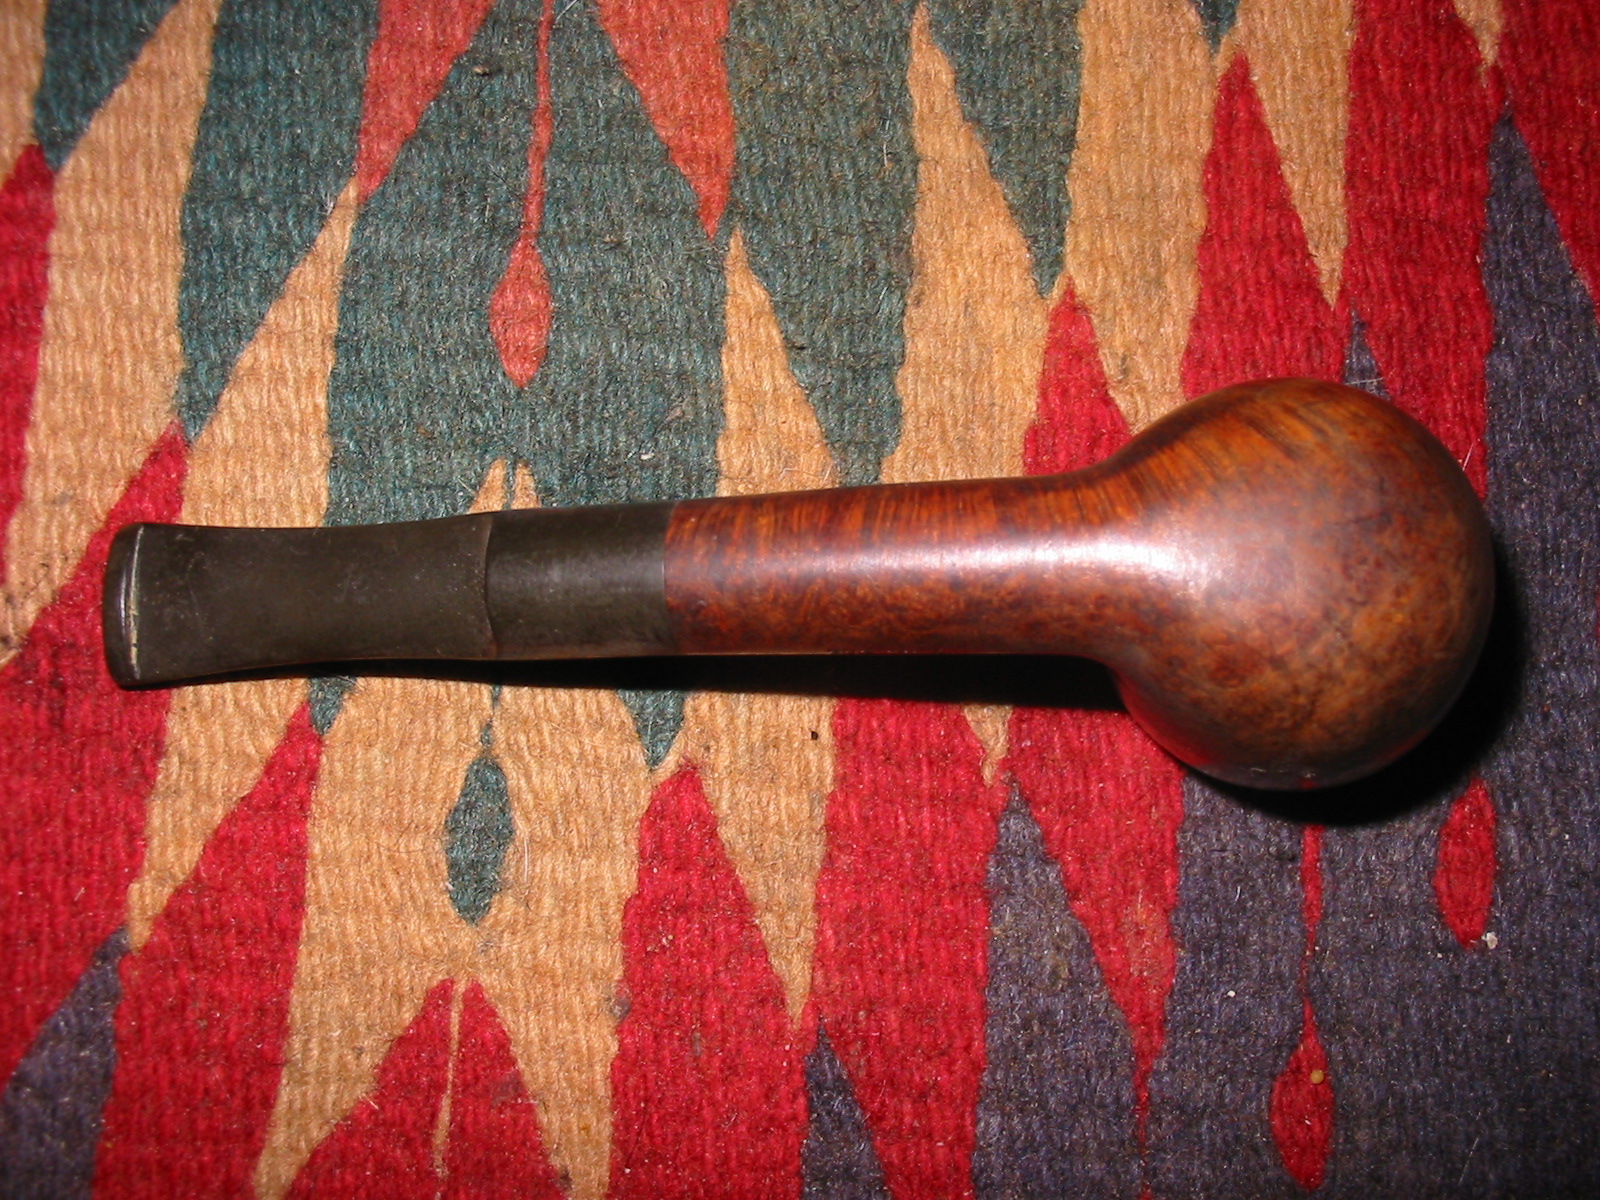
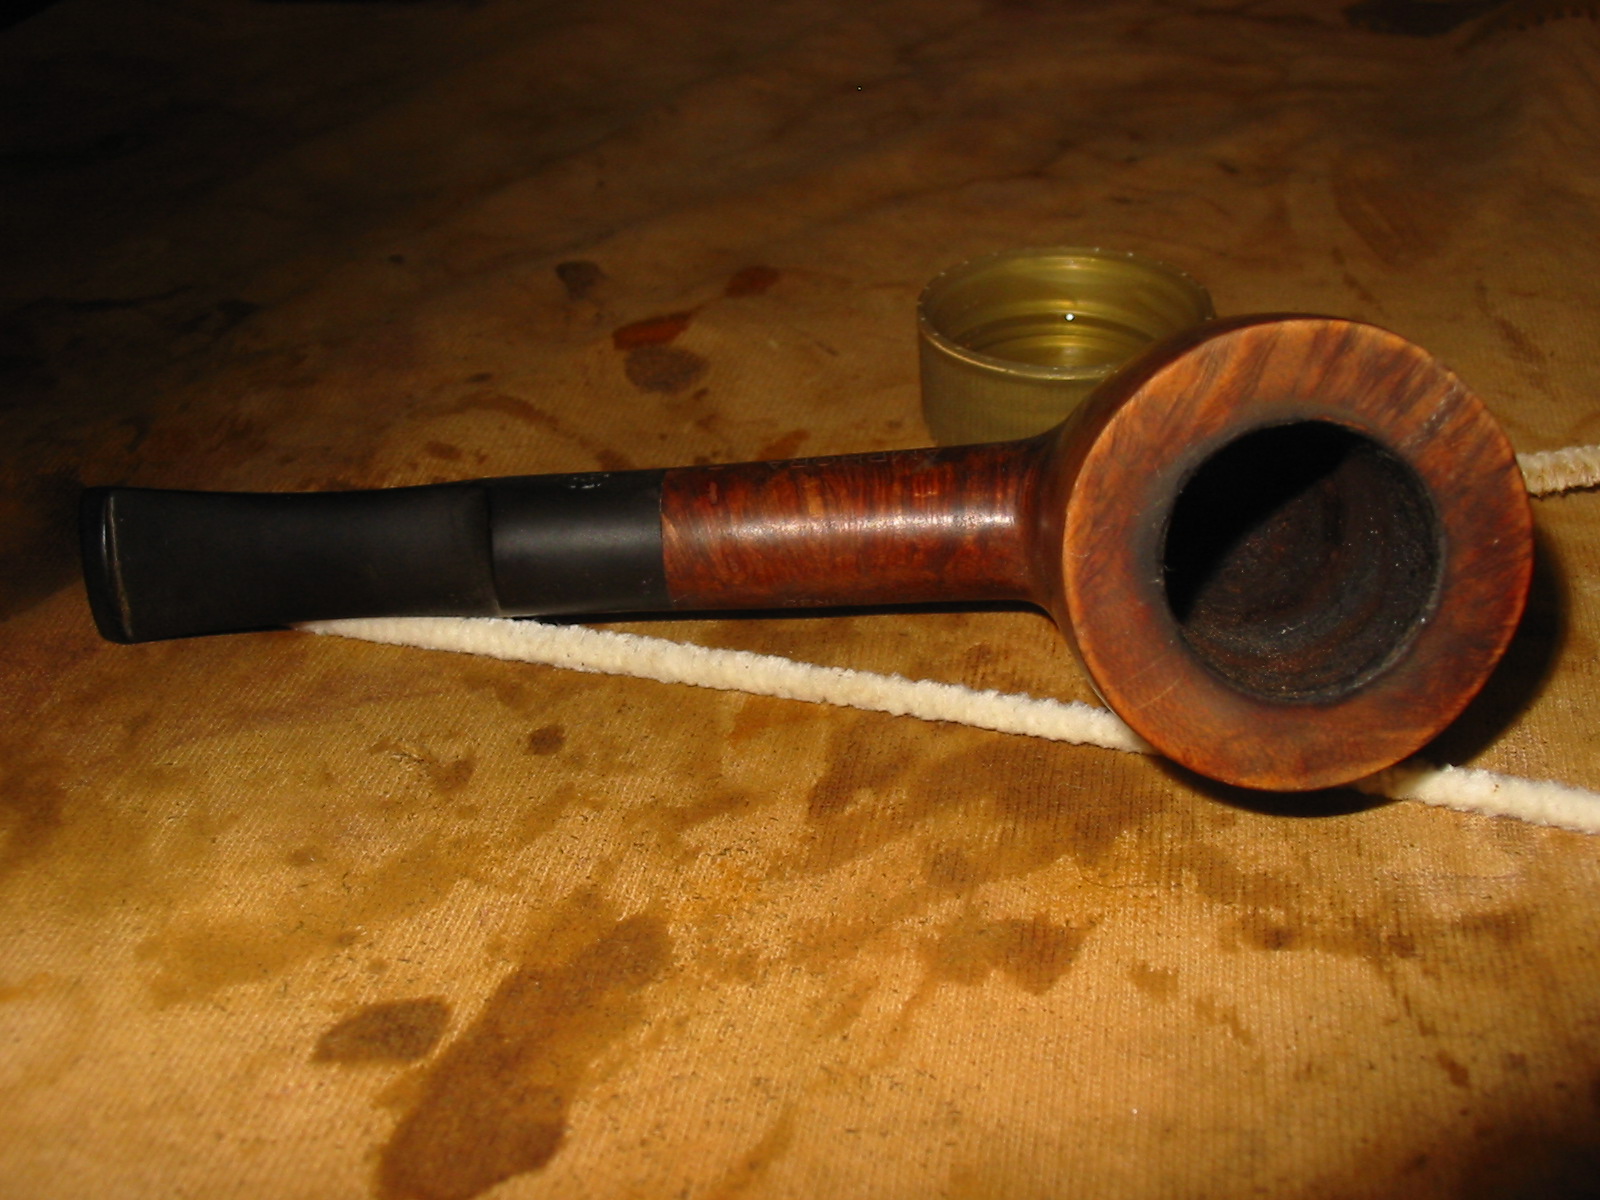
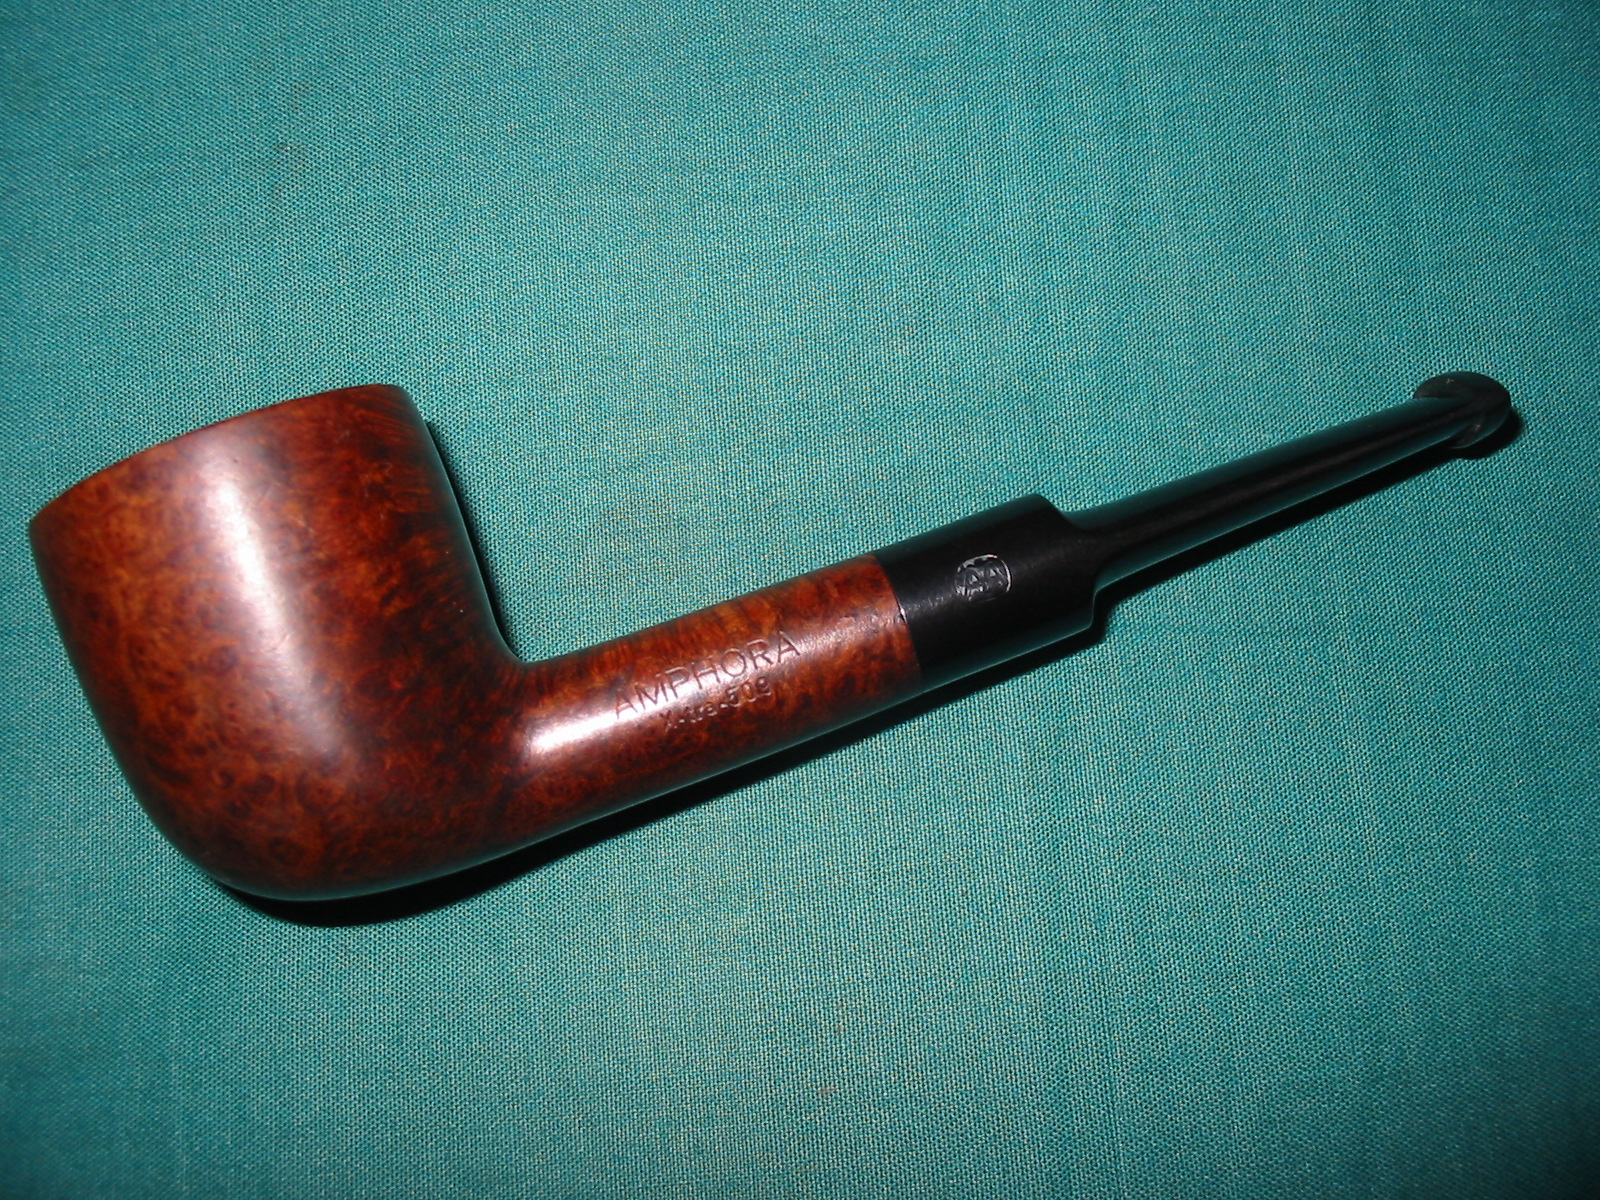
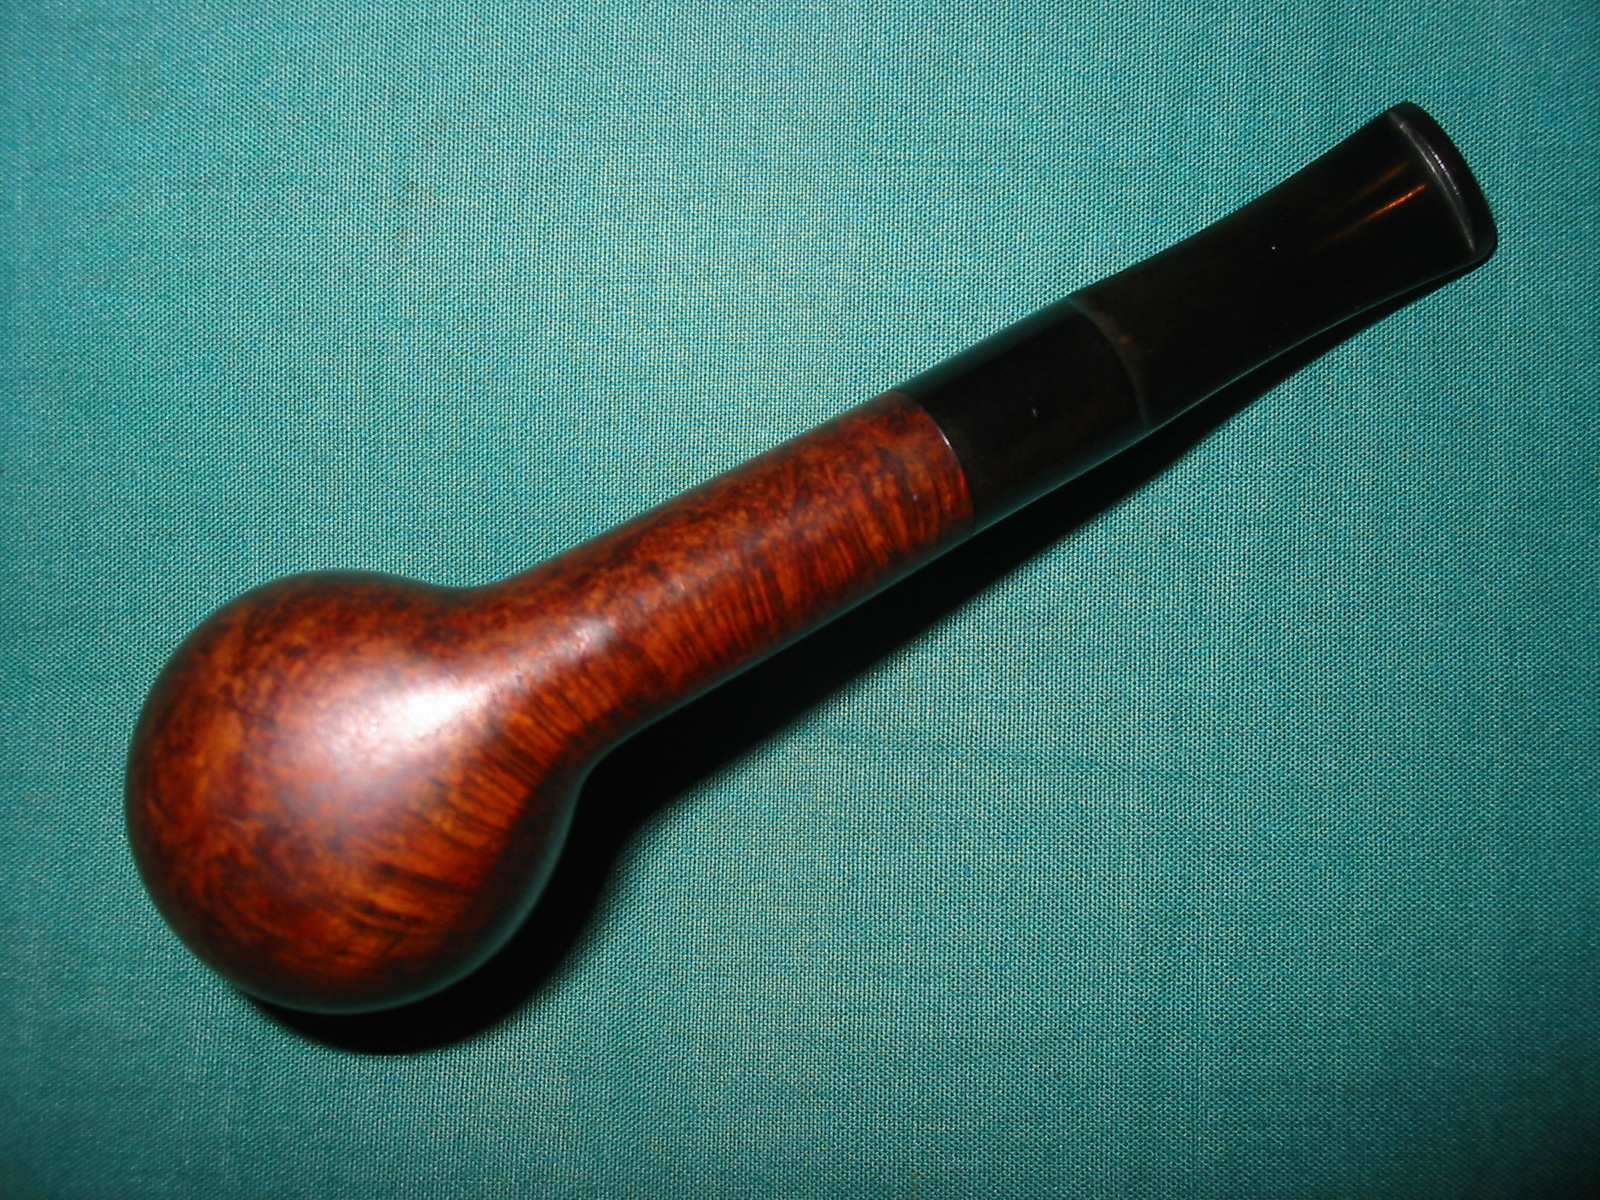
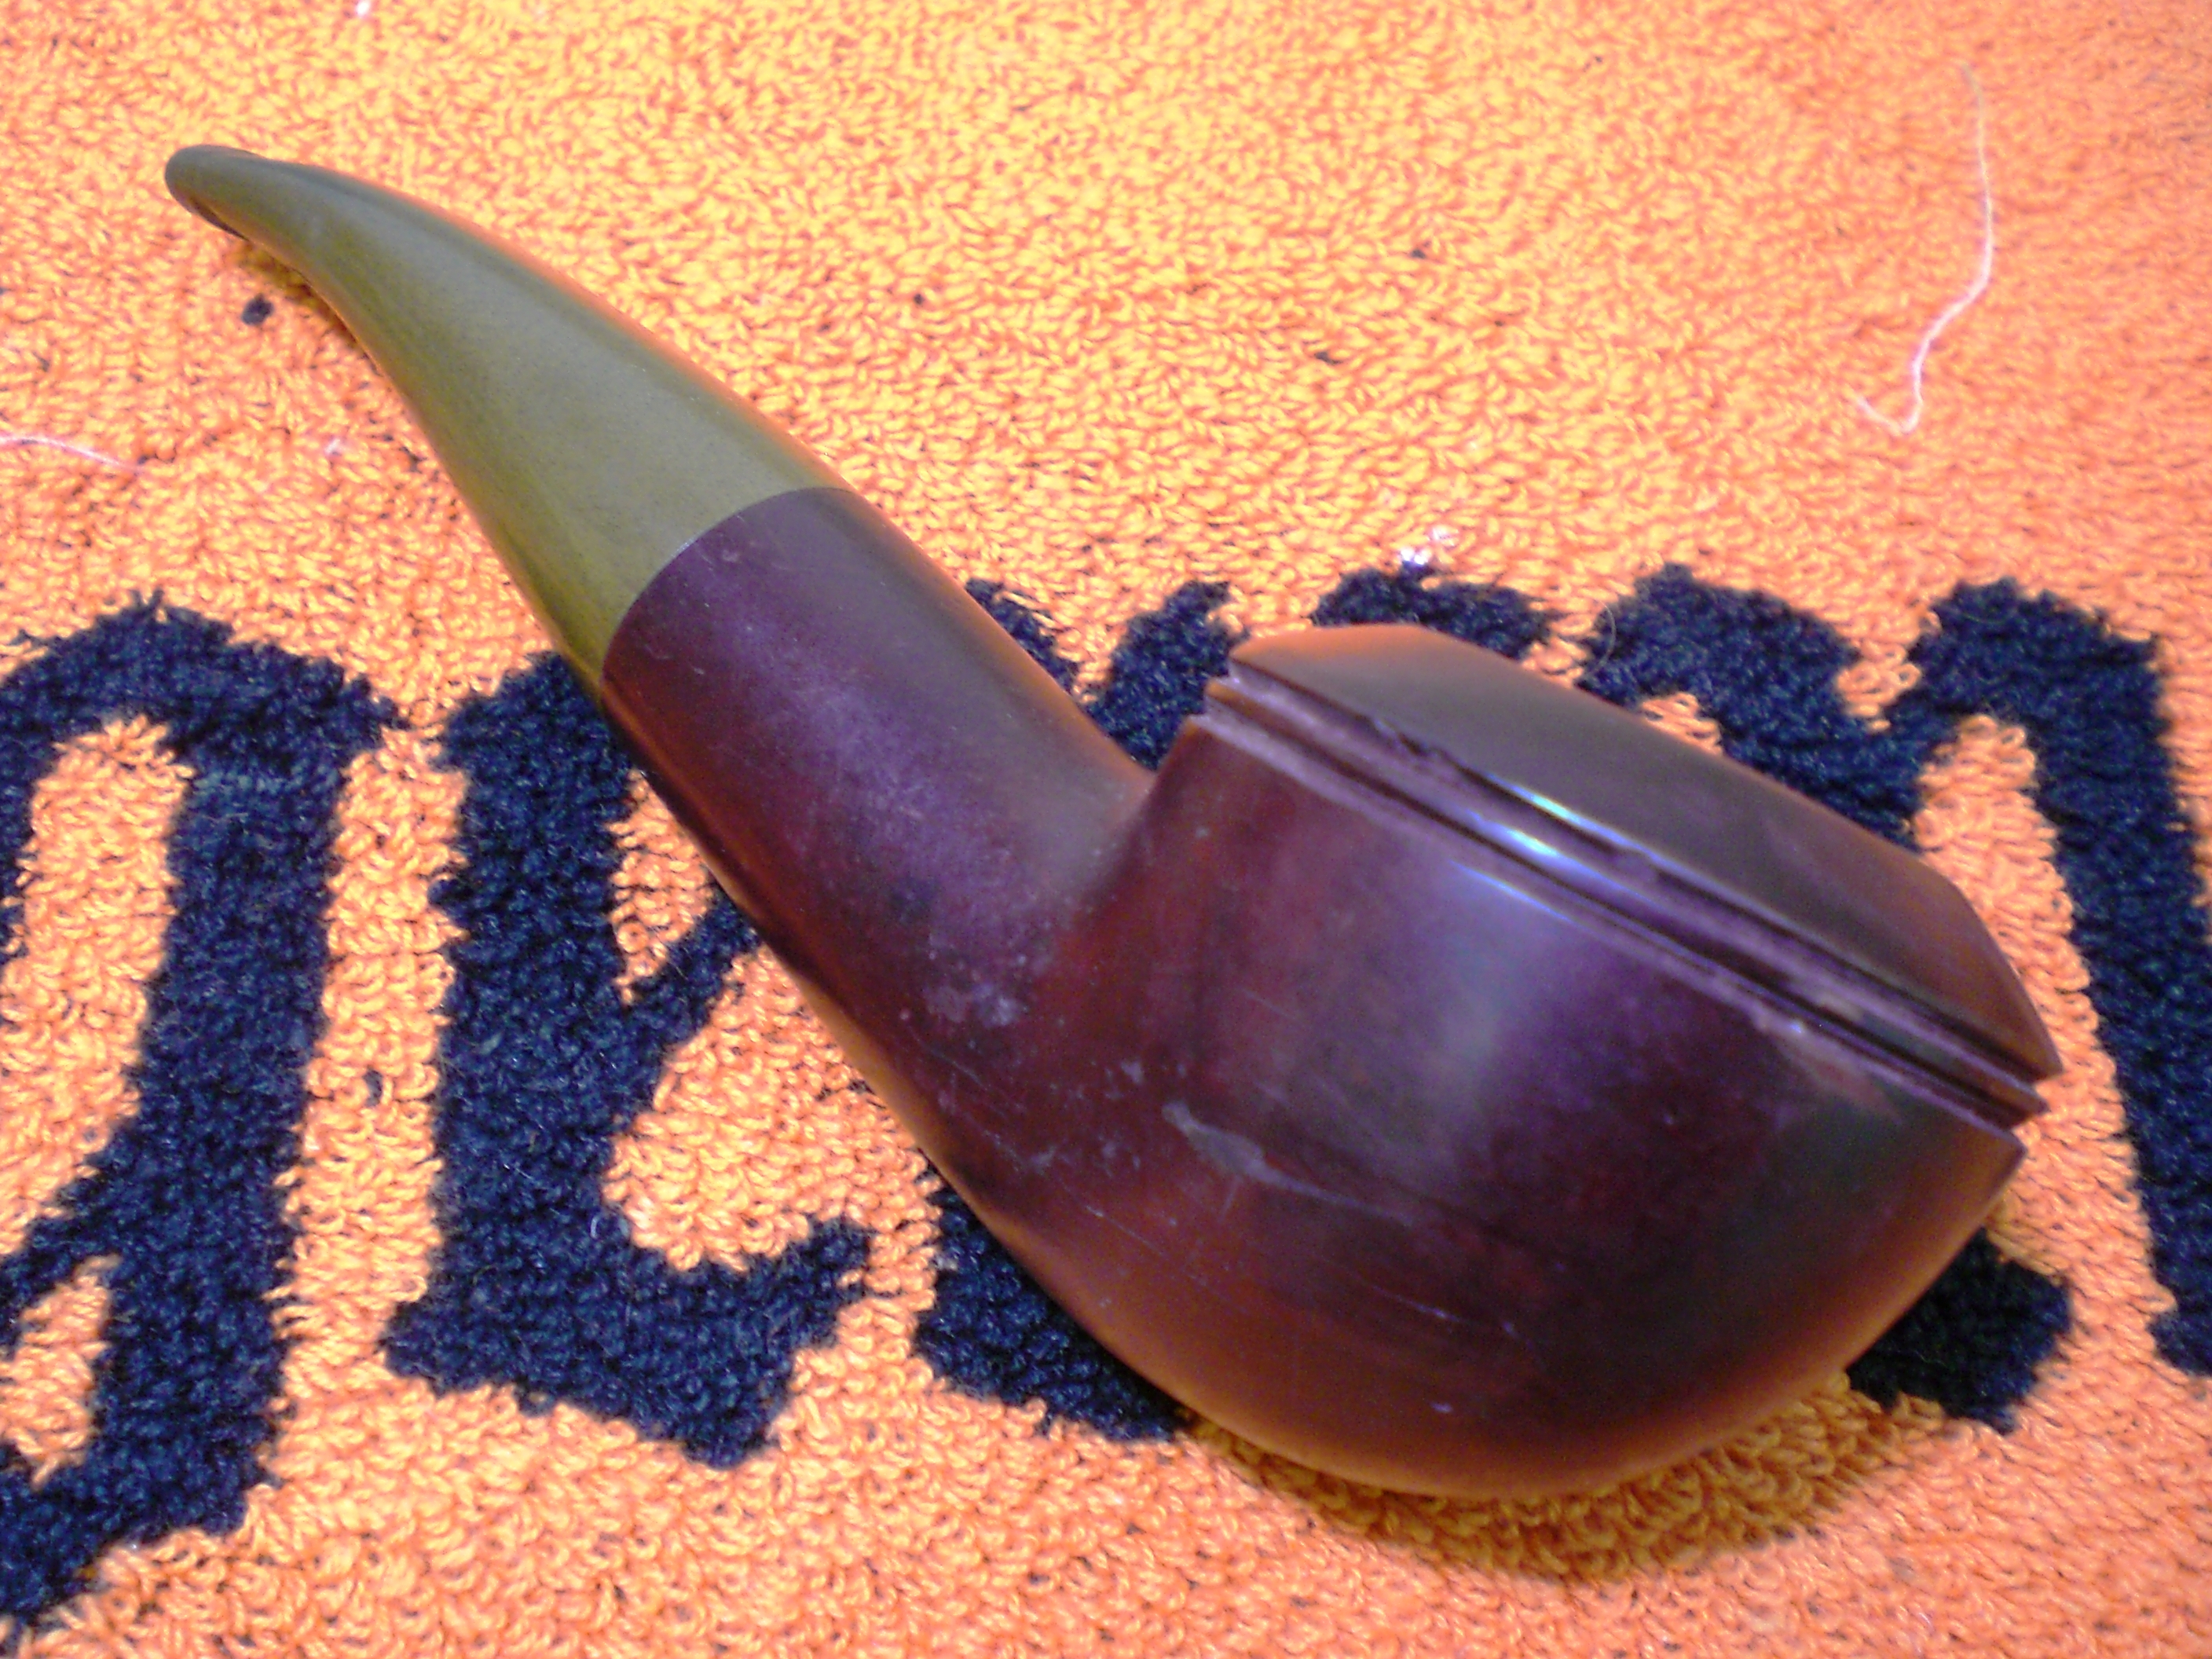
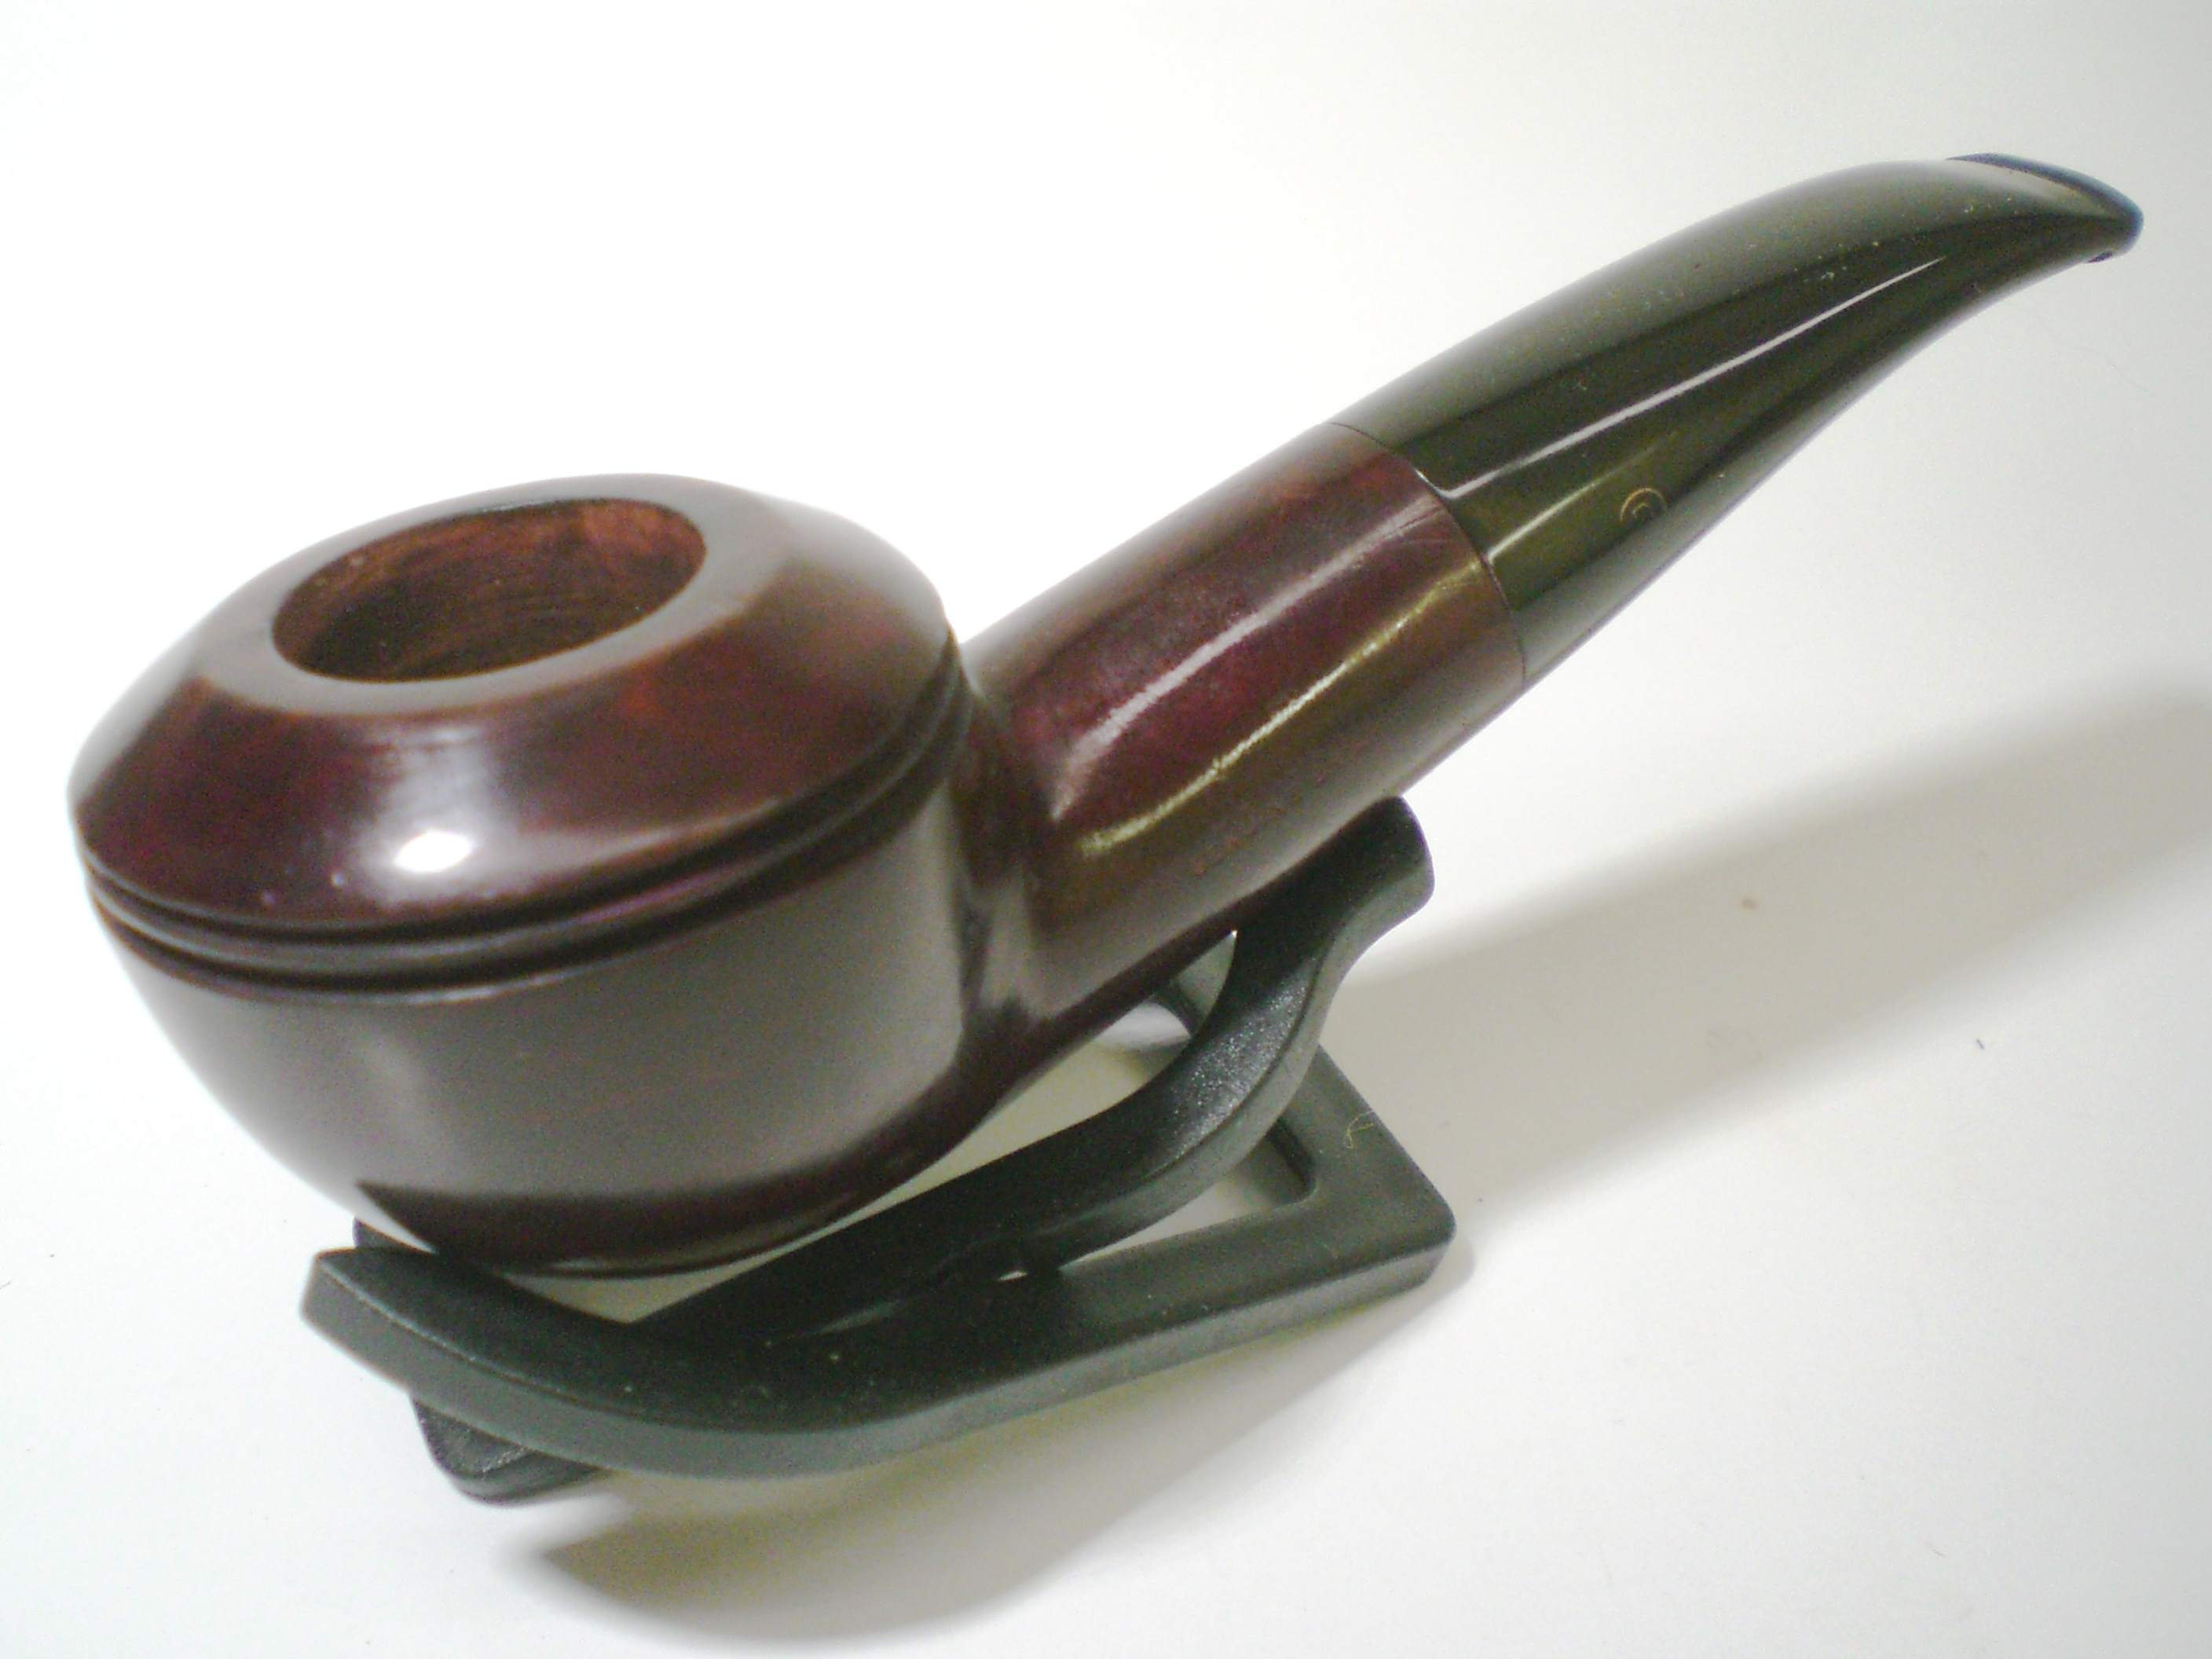
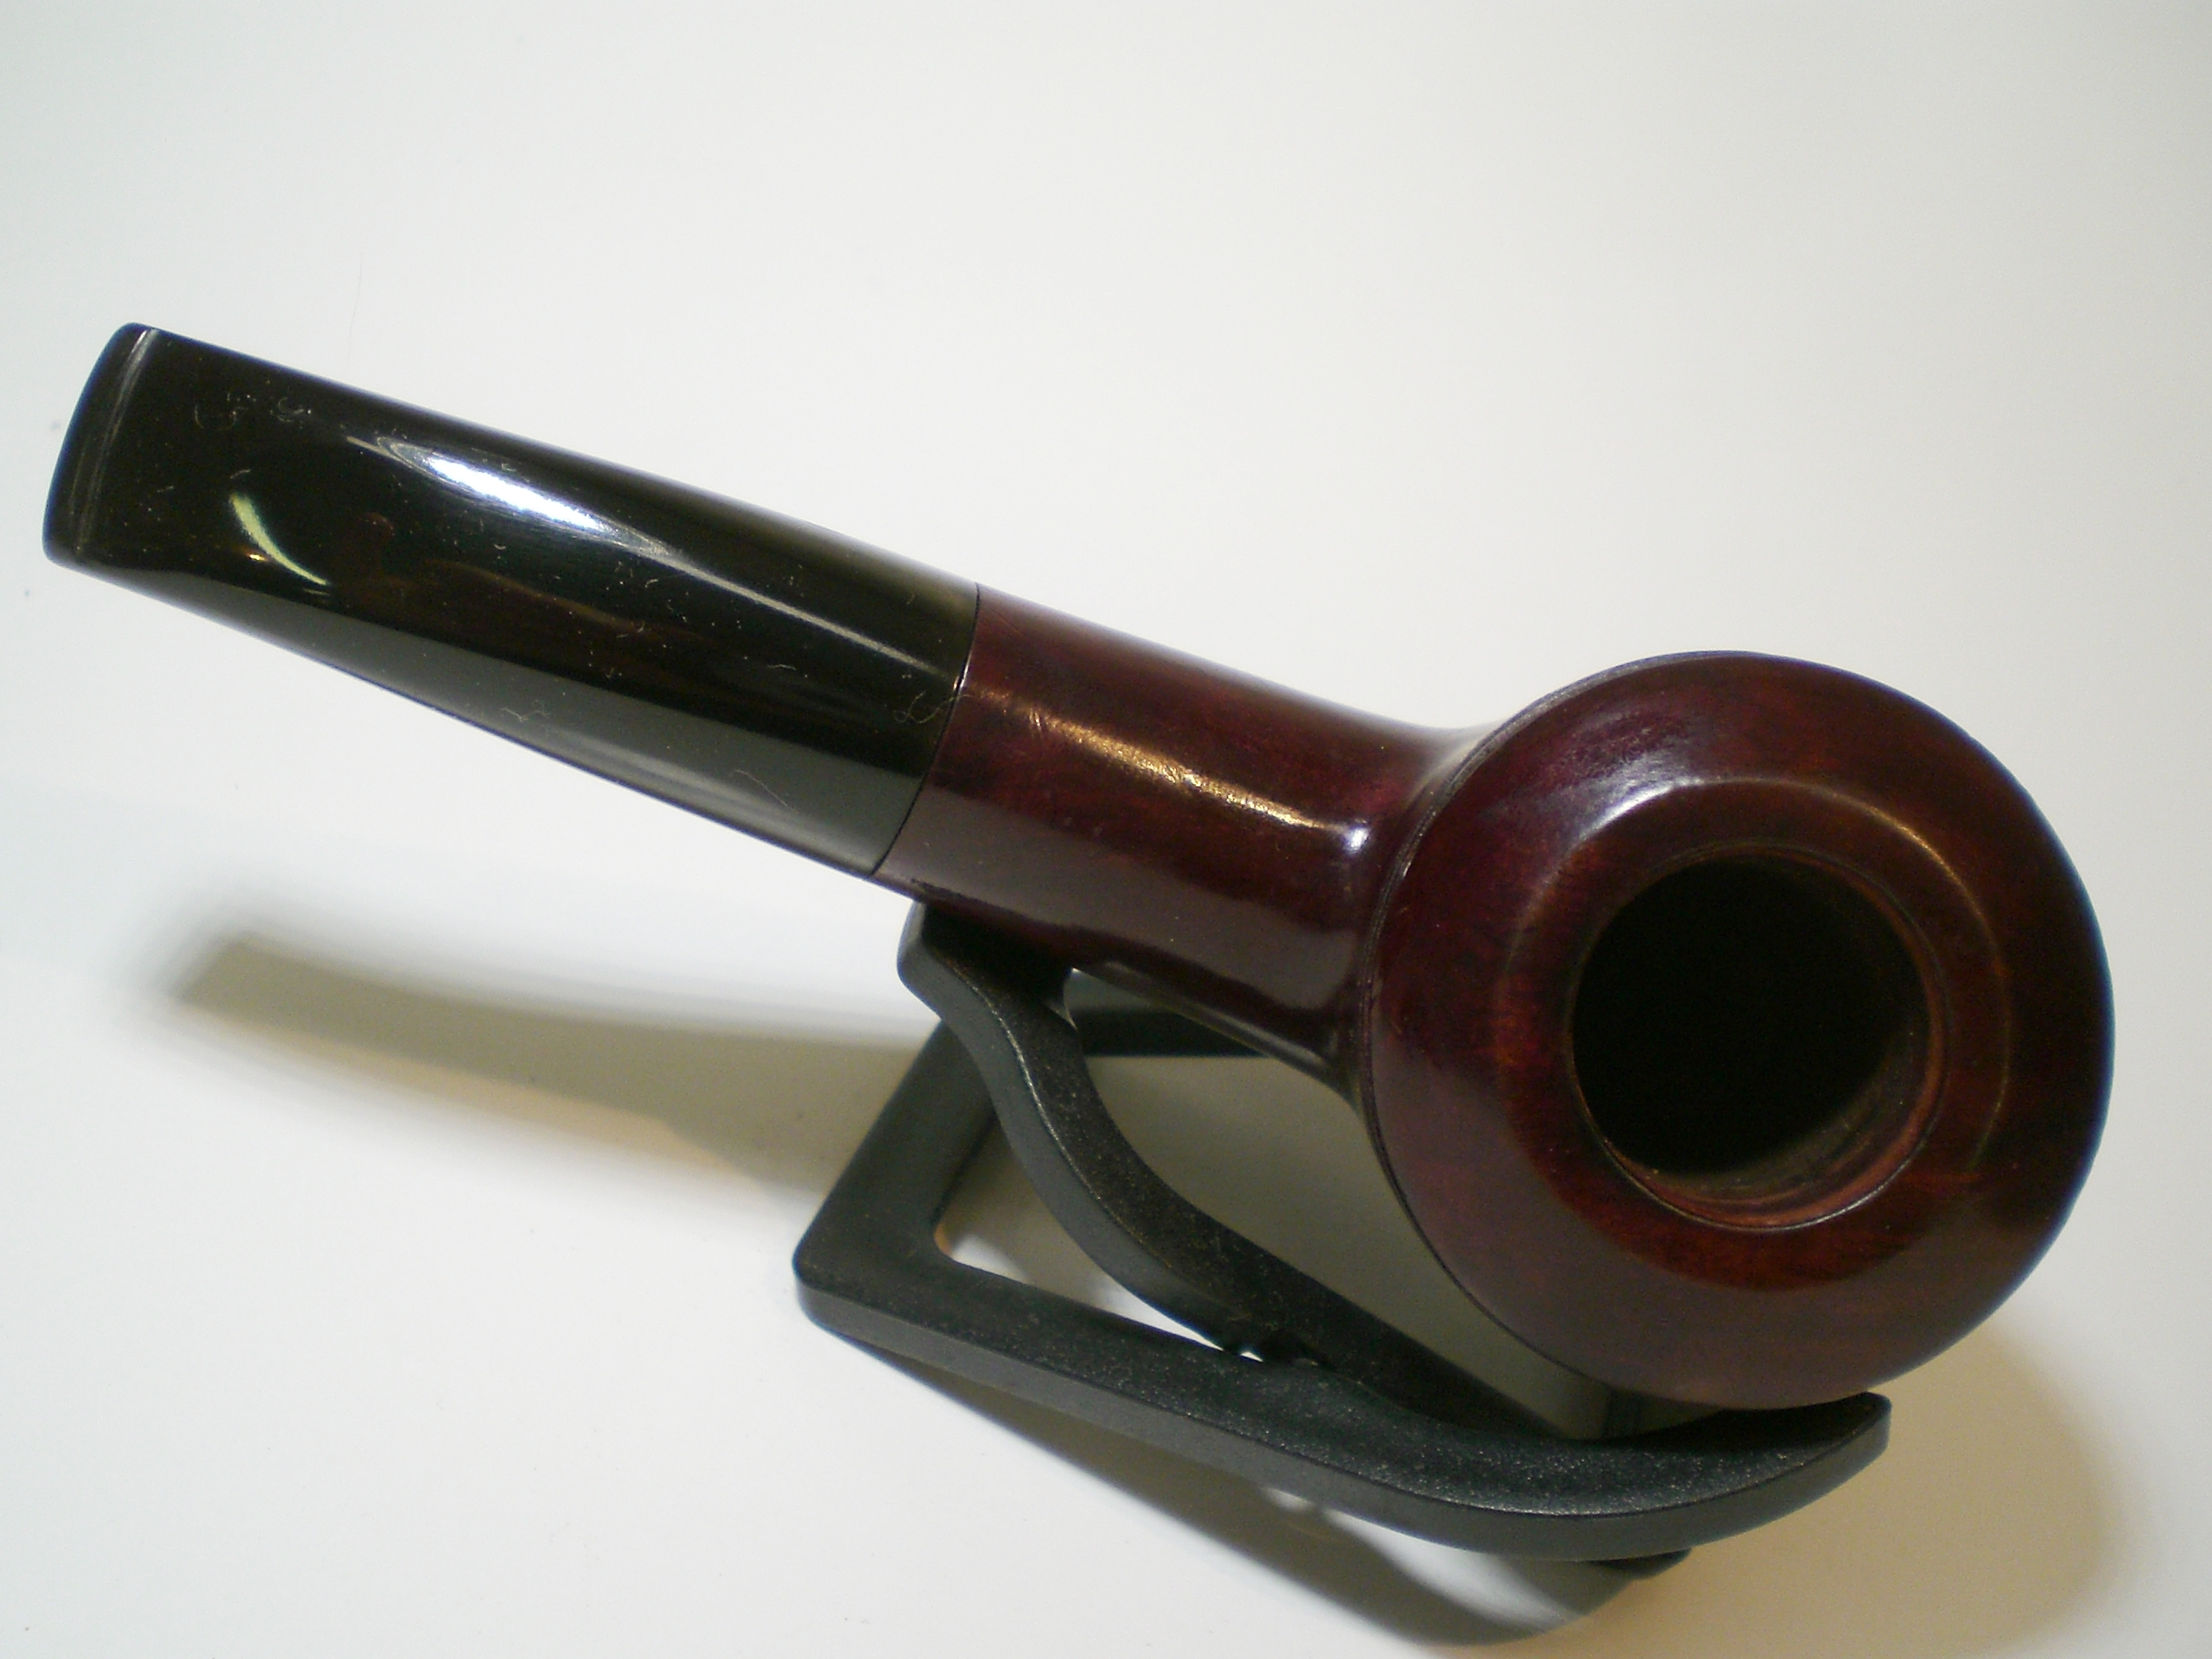
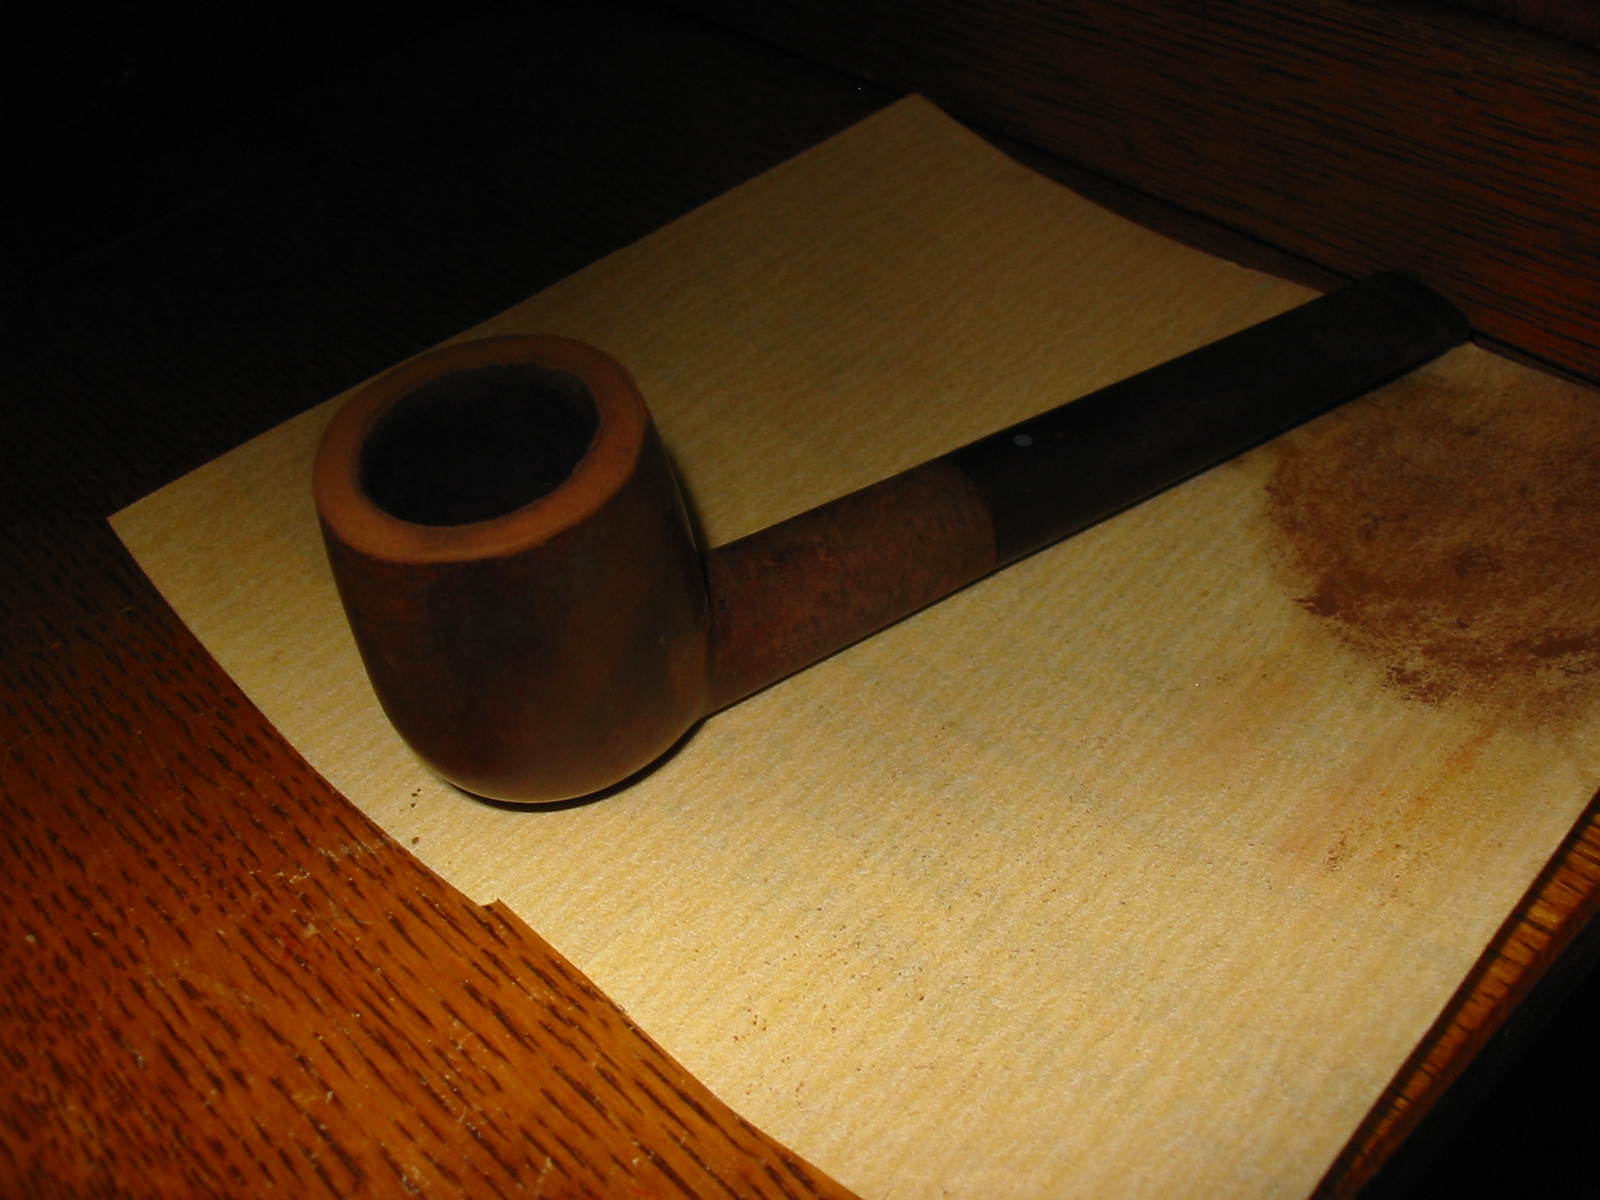
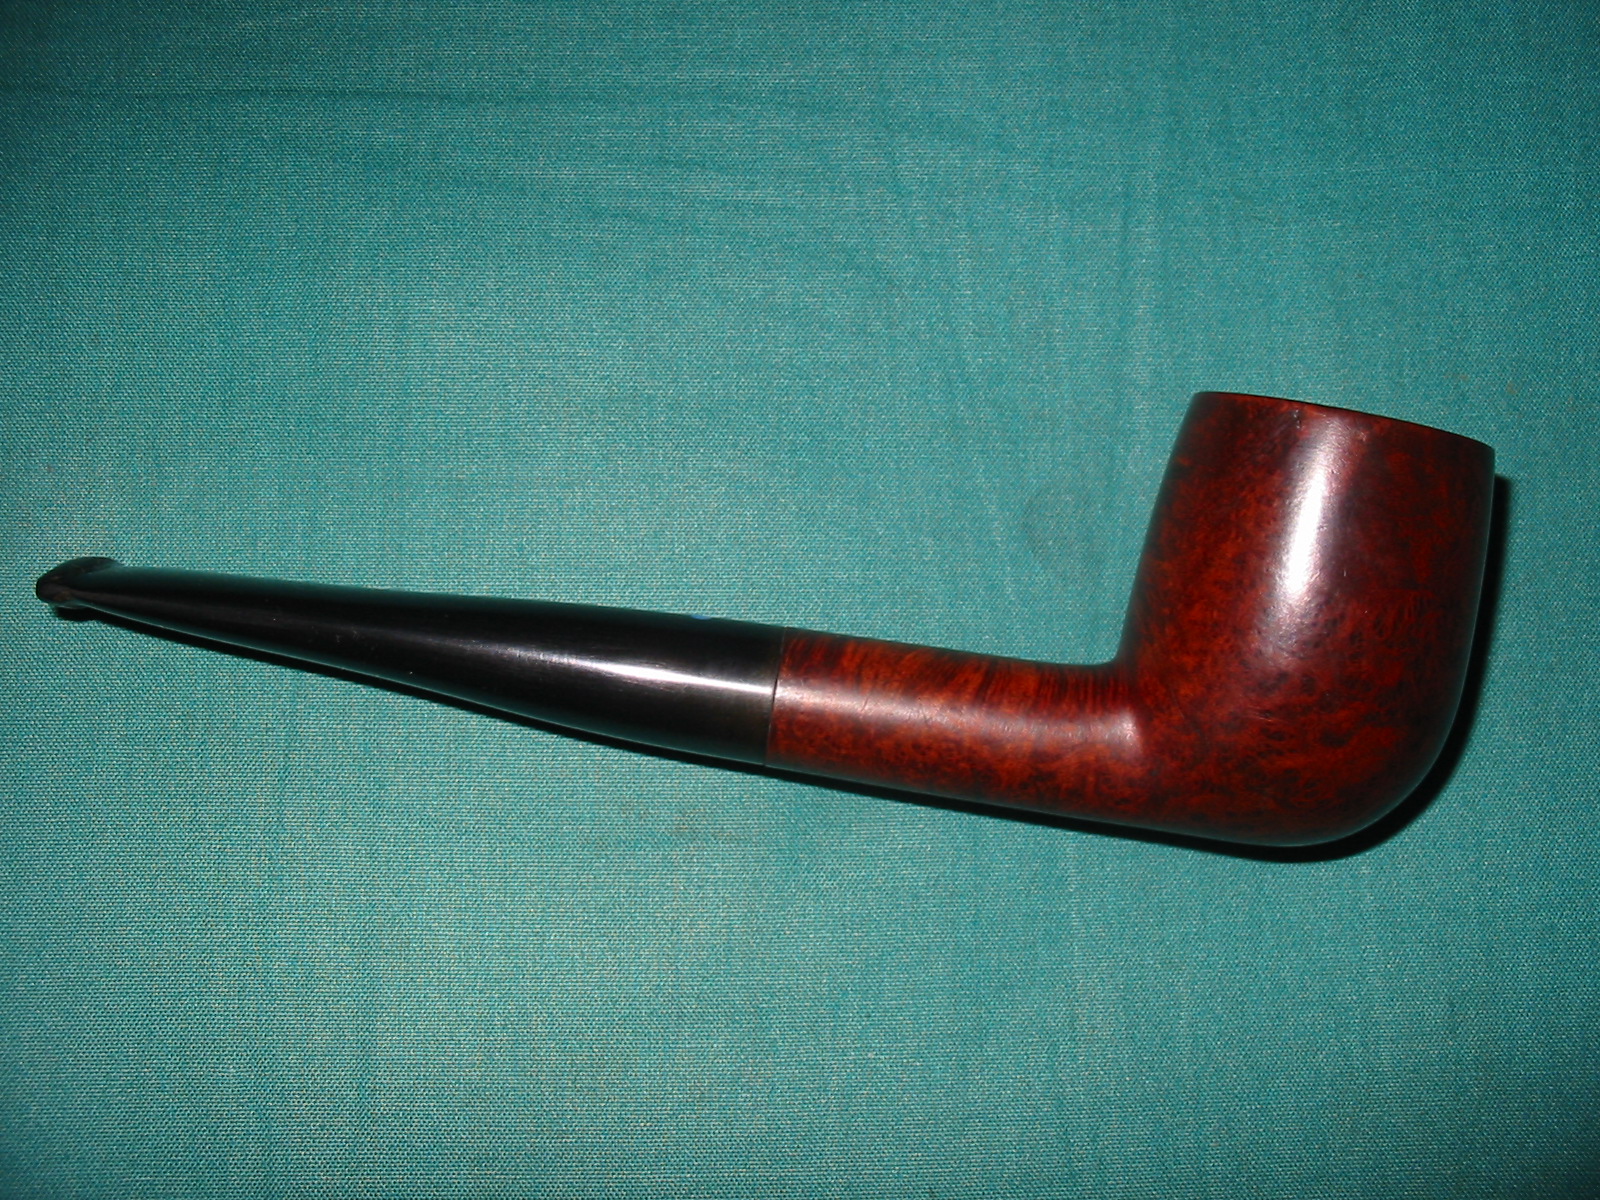
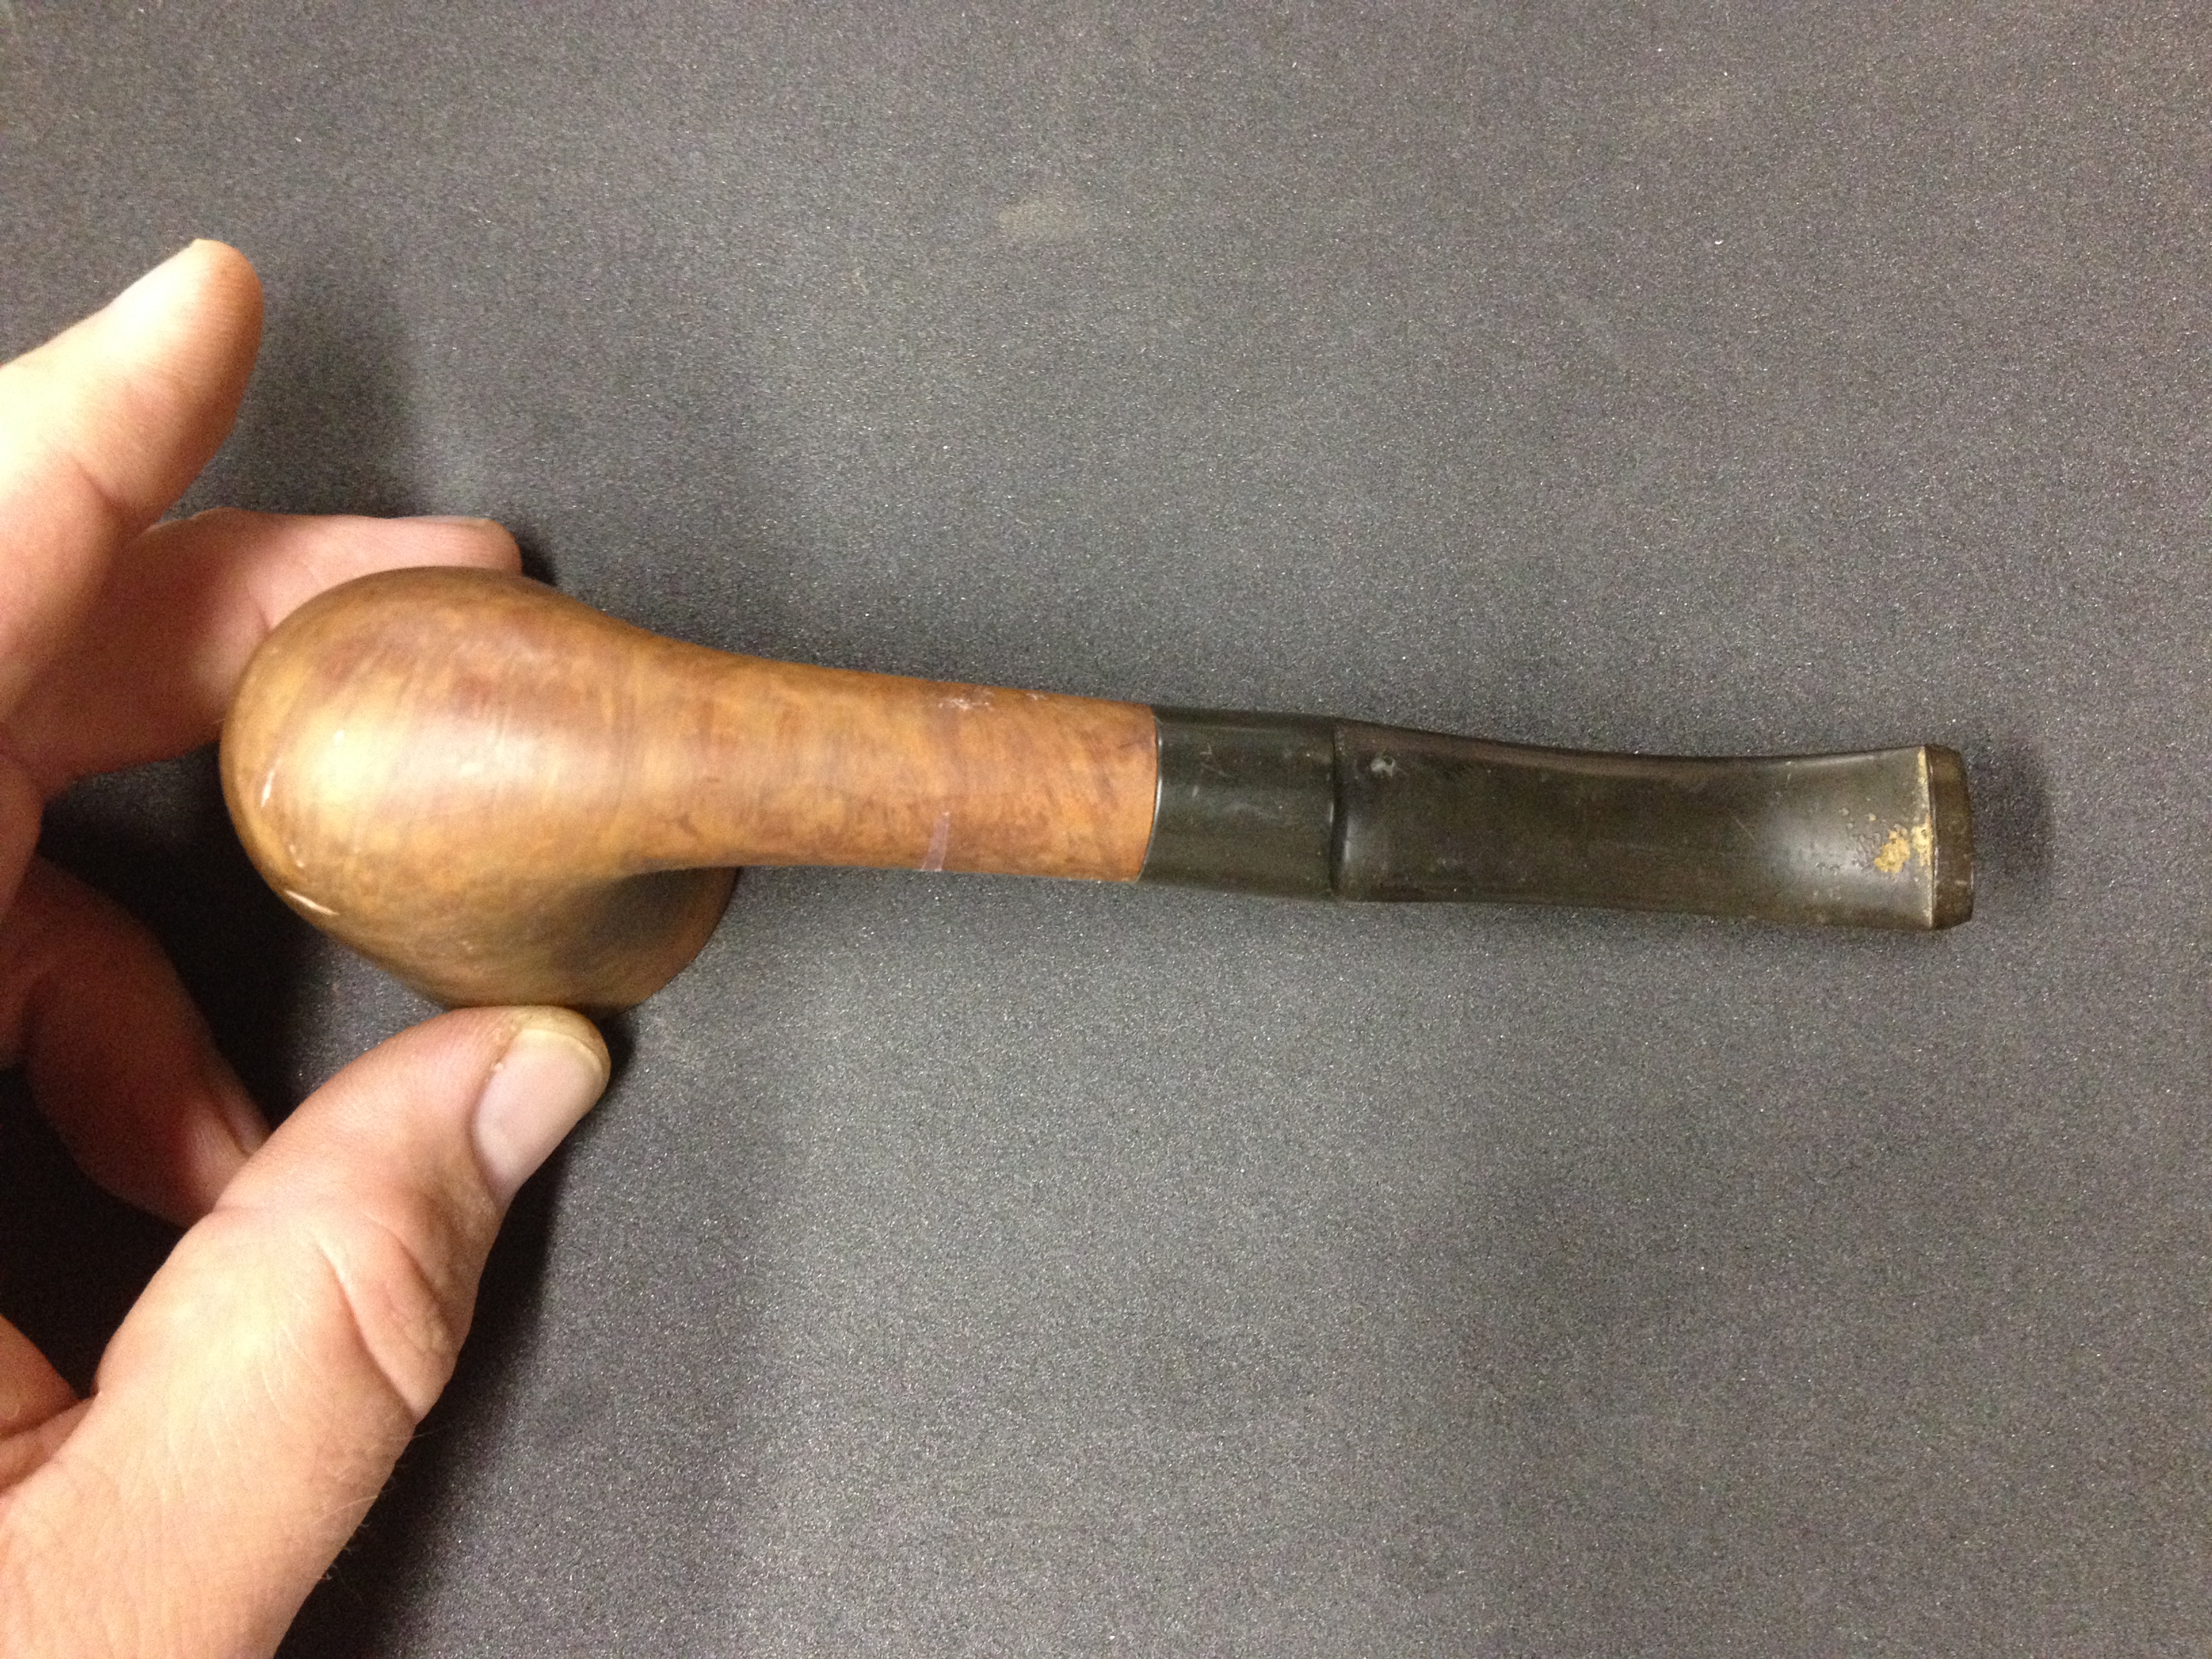
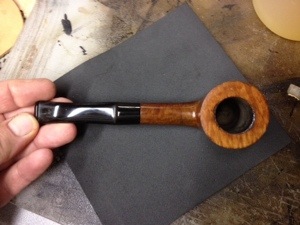
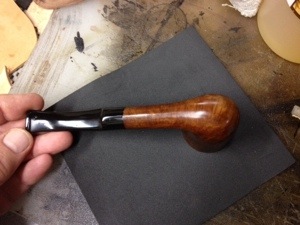
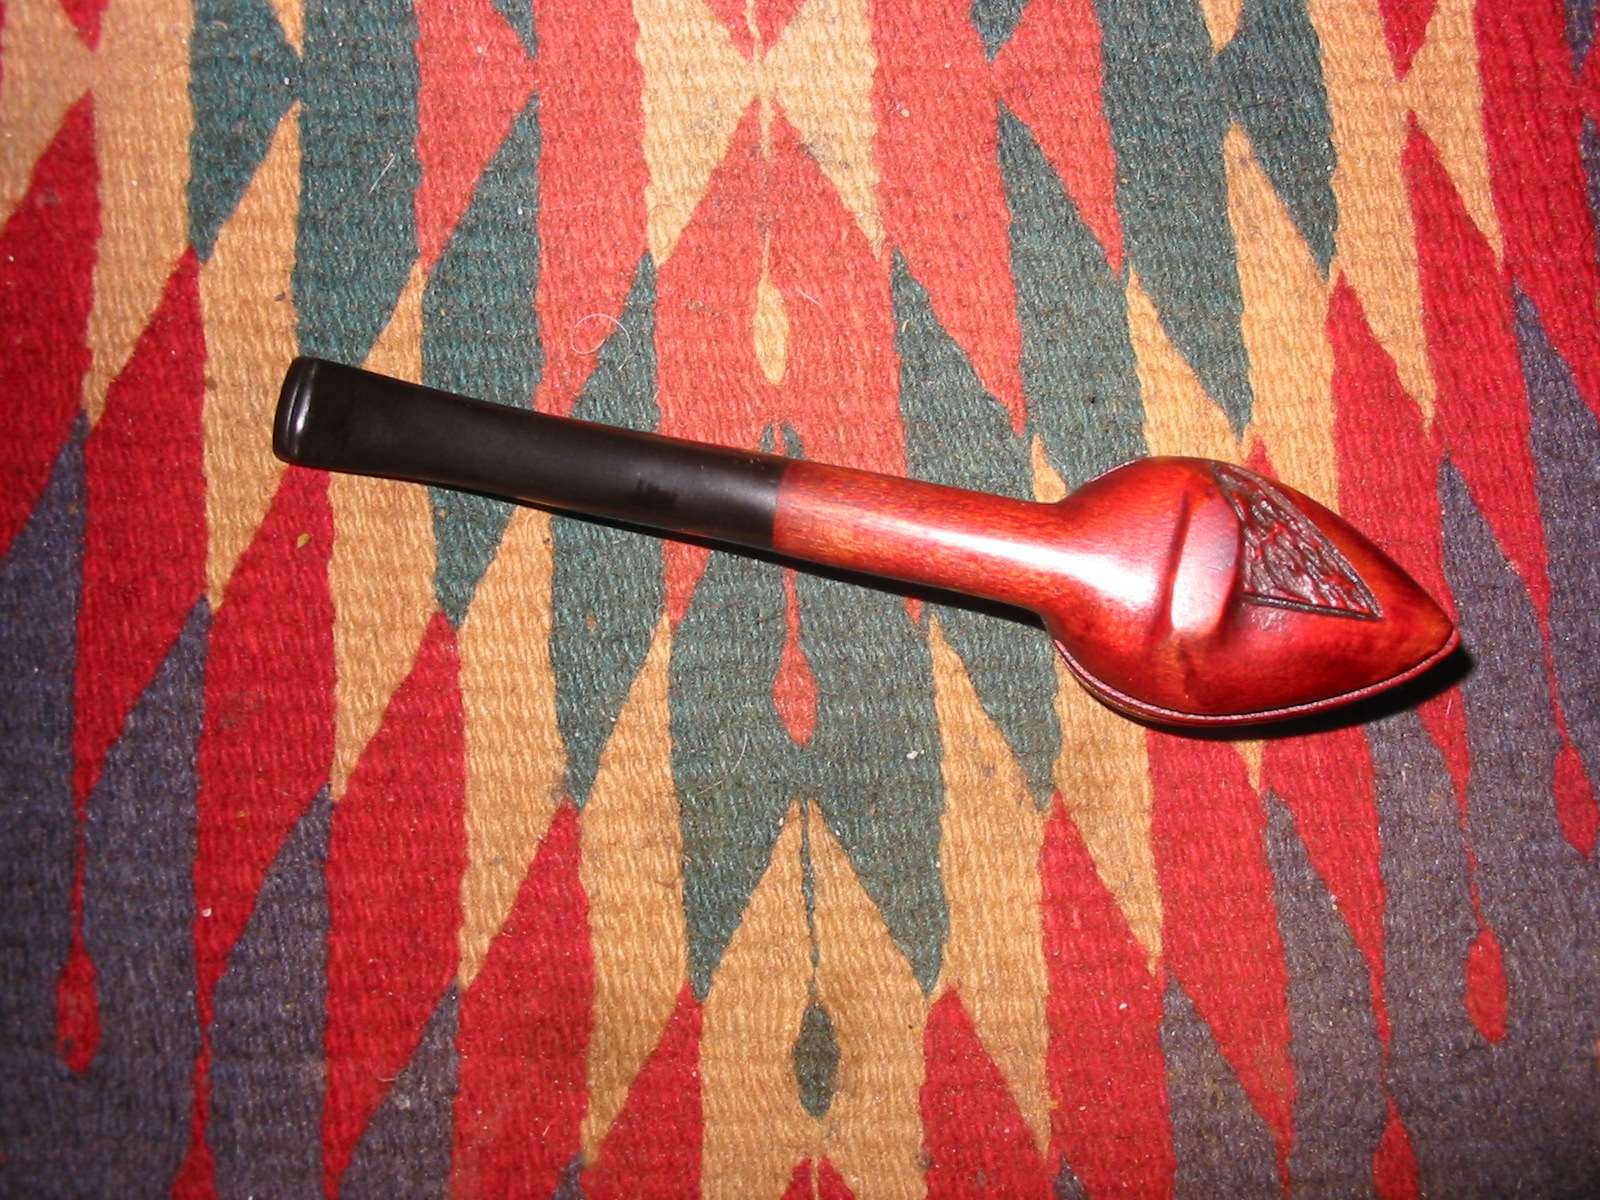
I reinserted the stem and gave the pipe a final buff with carnauba wax and a soft flannel buffing pad. The finished pipe clearly shows some of the grain pattern of the alternative wood on the shank and the top and bottom of the bowl. The stem came out fitting nicely and giving the overall pipe a new “streamlined” appearance more accurately approximating the original stem. The bowl feels great in the hand and is uniquely attractive as a piece of pipe history. Time will tell if I smoke this one or just keep it around for display purposes. Below are photos of the finished pipe.
IMG_2463

IMG_2464

IMG_2465

IMG_2466

Restoring a Bryson Metal Pipe with Two Bowls


I picked up this metal pipe with two bowls in an eBay lot recently. The shank shape and the two bowls intrigued me. I had no idea who had made the pipe but I bid on it because of some other items in the lot.
pipes4

pipes5

I decided to do a bit of research on the metal pipe on the great Smoking Metal website. It is a gift to the pipe smoking community looking for information on particular metal pipes that they come across or may have in their collection. The web address is: http://www.smokingmetal.co.uk/pipe.php?page=57
This is what I found out about the metal pipe pictured above: (credit given to the site above)

“This pipe was made by the Briarwood Corporation, Palo Alto, California; the BRYSON has number D120275 under the Bryson name on the pipe stem. There is a crosshead screw to attach the briar bowl to the stem. The end cap attaches to the mouthpiece by means of a rod through the length of the pipe, in which the air hole is close to the mouth piece. The stem is of polished duraluminum and hexagonal in cross-section.

The bowls are unusual in that they are not briar turned on a lathe, but briar wood, ground to a powder and compressed under very high pressure (no glue, heat or plastics are used, just pressure. It is claimed this produces a perfect bowl of aged briar every time with increased porosity. The varnished finish on the smooth bowl however is often very badly crazed.

Two bowls, one smooth and one rusticated, were supplied with the new pipe. The bowl retaining screw is ‘locked’ onto the bowl by a gasket and metal collar, enabling rapid replacement of the bowls without the need of a screwdriver. The corn cob bowl, in centre image, is another version, not sure if this was manufactured by Bryson, or a home workshop job.

The set here shown was available for $3.50 new, but in what year? Below that are pictures of adverts seen from 1946 magazine. The last photograph was of a possible derivative on eBay in 2003, although US patent D122042 seems to be this pipe, invented by Max Bressler, Chicago Ill 1940.

There are also other derivatives without the Bryson name stamped in the metal and variations on the shape and grooving of the stem. The pipe pictured with Pat Pend under the Bryson name has no grooves forward of the bowl and the front end cap is a larger thread than the other models, including my version with no name. 30 April 1940 US patent # D120275 Inventor Charles Rothman, Cleveland Heights, Ohio, assignor Briarwood Corp, also of Cleveland Ohio at that time.”
Bryson1

Bryson2

Bryson3

When the pipe arrived it was in pretty rough shape. The aluminum was oxidized on the barrel and the bowls were both very dirty and filled with cobwebs and built up grit. The rusticated bowl had not been smoked very much so it was clean on the inside underneath the dust and webs. There was no cake or tars. The smooth bowl was the exact opposite. The bowl was caked and the top of the rim was tarred and dented. In examining it I notice that the grain on the smooth one was peeling and fading in places – it was a decal and not truly grain. I could also see the composite make up of the pipe bowl as described above. This was strange looking material – similar to my Medico Brylon but also a lot like particle board that is used in building. This was going to be a fun piece to clean up and restore. The metal barrel was unstamped but the lines on the barrel match the photos above perfectly.

I was able to take it apart, which sounds normal but I have found that on these metal pipes that are in this condition the end cap and bowl are often welded together with tars that make breaking it free and taking it apart virtually impossible. The four photos below show the state of the parts once the pipe was disassembled. The bowl each had a screw in the bottom of the bowl with a hole in the center and a cap on the bottom of the bowl that was inset. The bowls thus could be quickly interchanged. The apparatus on the inside consisted of an end cap, a long pin that was threaded on both ends – into the cap and into the tenon on the stem, a nylon stem and in this case a paper filter slid over the pin. The pin was not hollow but acted as the connection that held the stem in place in the aluminum barrel. The end cap was inserted on one end with the pin extended the length of the barrel and the stem screwed onto the pin and tightening against the barrel. Without the end cap and pin in place the stem did not stay in place.

The inside of the barrel had a dark lacquer of tobacco juices that had hardened on the walls. The pin and inside the cap and tenon the same dark amber lacquer was hardened. This was going to be a challenge to clean up. The pressed briar bowls would also not be easy to clean as I was afraid of using alcohol on them for fear of decompressing the material with moisture.
IMG_2378

IMG_2379

IMG_2380

IMG_2381

I took apart the smooth bowl in order to ream and clean it. The next two photos show the parts of the bowl. You can see the hollow screw, the insert cap and a small washer. From all appearances the washer was an addition to the set up done by the previous owner. I appeared to me that the bowl had been over tightened and the cap pressed to deeply into the bowl for a tight fit. The washer took up the excess space and allowed the bowl to be tightened. In the second photo the top edge of the rim can be seen with the dents and damage visible.
IMG_2383

IMG_2384

I cleaned the screw and the washers with Everclear and cotton swabs to remove the lacquer buildup. I reamed the bowl with the largest cutting head of the PipNet reamer set as the bowl is quite large. In the first photo below the damaged finish is also visible. Once I had reamed the bowl I topped it with my usual method – a piece of sandpaper on a flat board. I twisted the bowl surface against the sandpaper until the damage was removed. Once done the composite nature of the bowl material was very visible.
IMG_2385

IMG_2386

IMG_2388

Cleaning out the barrel and all of the metal internals was labour intensive. It took many pipe cleaners, cotton swabs and Everclear to get the pipe barrel clean. I used cotton bolls that I twisted into plugs, dipped in Everclear and rammed through the barrel – just like cleaning a rifle. In the photos below you can see some of the plugs and swabs that were used. Once I had scrubbed the surfaces clean inside the barrel I worked on the pin, tenon and end cap. I used 0000 steel wool to clean the aluminum surface and brighten it.
IMG_2389

IMG_2391

IMG_2392

The nylon stem had a deep tooth mark on the top and on the underside of the stem. I sanded the stem with 220 grit sandpaper and then a medium grit sanding sponge to remove the tooth chatter and the calcification on the stem. I wiped it clean with Everclear to remove the sanding dust, cleaned the inside with Everclear and picked out the debris in the tooth dents. Once they were clean and dry I patched the dents with a drop of clear superglue. Because the colour of the stem is more of a grey black the black superglue did not match. The clear superglue was transparent and when dried and sanded was invisible.
IMG_2393

IMG_2394

IMG_2395

IMG_2396

IMG_2397

I set the stem aside to let the superglue spot patches to cure before I sanded them smooth. While it was drying I restained the bowls with a dark brown aniline stain applied with a cotton swab. I applied it and flamed it to set it. I was not sure the stain would take on the smooth bowl as it seemed to have a varnish coat on the surface and the grain pattern was a decal. Once it was dry I would give it a light buff and see if it took.
IMG_2399

IMG_2401

I set the bowls aside and worked on the superglue patches on the stem. I sanded them smooth with 220 grit sandpaper and then followed that by sanding with a medium grit sanding sponge. The next series of four photos show the process of blending in the repair.
IMG_2402

IMG_2403

IMG_2404

IMG_2405

Once I had blended the patch into the surface of the stem it was time to sand it with the micromesh sanding pads from 1500-12,000 grit. I decided to sand both the stem and the aluminum barrel at the same time. I wet sanded with the 1500—2400 grit pads to minimize the scratching on both and then dry sanded with the remaining grits. By the end of the process the patch was invisible and both the stem and the barrel shone.
IMG_2406

IMG_2407

IMG_2408

IMG_2409

IMG_2410

IMG_2411

IMG_2412

Once I had finished with the micromesh sanding pads I reassembled the internals, stem and the barrel. I gave it a light buff with White Diamond. A light touch is necessary in order not to turn the buffing pads black with the metal as it is polished. I took it back to the work table and hand applied wax and hand buffed it with a soft towel. The next two photos show the finished barrel and stem.
IMG_2413

IMG_2414

When the bowls had dried I buffed them with White Diamond as well. The rusticated bowl worked well and the shine came up on it with no problem. The smooth bowl was another story altogether. As I buffed it the finish came off in pieces. The varnish coat lifted and along with it the decal. The grain coat disappeared. I then gave it a clean buff with red Tripoli to remove the coat in its entirety. I hand sanded the bowl with the medium grit sanding sponge. Once the surface was clean I wiped it down with an alcohol dampened cotton pad. I then used a permanent black marker to draw grain lines on the surface of the bowl. These looked horrible after I had applied them but with some sanding with micromesh sanding pads and the sanding sponge I was able to lighten them and they began to look more natural. I then restained the bowl with some linseed oil and cherry stain. The photo below shows the finished surface of both bowls.
IMG_2415

When the bowls had dried I tried screwing each bowl to the barrel to make sure they fit well. I coated the rusticated bowl with Halcyon II wax and gave it a light buff with a clean flannel buffing pad. The smooth bowl I coated with carnauba wax and lightly buffed with the flannel buff as well. The finished pipe is pictured below with each of the bowls in place. I am pleased with how it turned out. In evaluating the amount of work to keep it clean, I am not sure I will ever smoke this one. It may well end up in the display cupboard as part of my oddities collection.
IMG_2416

IMG_2417

IMG_2418

IMG_2420

IMG_2421

IMG_2422

IMG_2423

IMG_2424

A National Bent Apple Diamond Shank Restored


A National Bent Apple Diamond Shank Restored
It is stamped NATIONAL in italics over Washington D.C. on the bottom right side of the diamond shank.
Wash11

That portion of the shank is smooth. The remainder of the pipe has a deep, craggy sandblast that is quite nice. The stem has no logo or identifying marks other than being stamped PARA on the top right side of the saddle stem.
Wash12

The two photos above and the series of ten photos below were included in the listing on Ebay. The pipe looked to be in excellent condition. I am uncertain as to the brand of the pipe. The book, Who Made That Pipe identifies the brand as being made by Comoy’s and stamped England. However, this pipe is clearly stamped Washington D.C. The book identifies a brand that is stamped National Mazda as made by LH Stern in the US. The pipe may have been made by LH Stern or possibly it was made for a pipe shop in Washington D.C. and made by Comoy’s. There is also a company called National Briar Pipe Company in Jersey City, New Jersey that could possibly have made the pipe as well. There is something about the stamping that reminds me of the Bertram pipes that also came from Washington D.C. This pipe is a bit of a mystery but I like the diamond shank apple shape and the nice blast on the bowl.
Wash1

Whoever made the pipe, it has a great looking sandblast as can be seen in the photos below.
Wash2

Wash3

Wash4

The bowl was lightly caked with carbon and was quite clean in the shank and stem. It appeared to have been barely broken in.
Wash5

Wash6

Wash7

Wash8

Wash9

The stem seemed to have light tooth chatter on the top and the bottom near the button. There appeared to be light oxidation on the vulcanite.
Wash10

When the pipe arrived, I unpacked it and took it to the worktable. I removed the carefully stem out of the shank because it was very tight and was hard to turn. I was just about ready to put it in the freezer for a few moments to let the contraction and expansion loosen the stem when it turned. I was able to remove it from the shank without damaging either shank or stem. Looking at the tenon I could see a slight buildup of grime that was on the last ¼ inch and looking into the shank the same band of grit was present. Interestingly to me, the shank was dirty but there was not a lot of tar or oils built up inside. There was bare briar clearly visible in the shank other than the band of grit that had held the stem tightly in place. I cleaned out the shank with cotton swabs dipped in Everclear and the inside of the stem with pipe cleaners and the same. It did not take too much work before they both came out clean and white.
IMG_2337

IMG_2338

IMG_2339

IMG_2340

IMG_2341

I reamed the bowl of the pipe with a PipNet pipe reamer to remove the slight cake and the tobacco debris that had built up on the walls. It was quite soft and came easily away from the wall of the pipe.
IMG_2342

I buffed the bowl with White Diamond and then gave it a coating of Halcyon II wax to give the surface a shine. The finish was actually in excellent shape and after hand buffing the Halcyon II the pipe bowl looked as good as new. I set the bowl aside and worked on the stem. I sanded the stem with a medium grit sanding sponge to remove the surface oxidation and the slight tooth chatter at the button. There was also some calcification around the button that I sanded off as well. After the stem was clean of oxidation and debris I sanded it with micromesh sanding pads. I wet sanded with 1500-2400 grit micromesh and the dry sanded with 3200-12,000 grit pads.
IMG_2343

IMG_2348

IMG_2349

Just after wet sanding with the 1500-2400 micromesh pads I used a white out/correction pen to whiten the stamping on the stem. I applied the white out with the tip of the pen and when it dried sanded off the excess with the 1500-2400 grit pads.
IMG_2350

IMG_2351

IMG_2352

Once the stem was polished with the final grit of micromesh I rubbed the stem down with Obsidian Oil and when it was absorbed I buffed the stem with White Diamond on the wheel. I gave the bowl a light buff with White Diamond as well. I finished by buffing the stem with carnauba wax, giving it several coats and then buffing the entire pipe with a soft flannel buff to raise a shine. The finished pipe is pictured in the last four photos below.
IMG_2358

IMG_2359

IMG_2360

IMG_2361

Royal Falcon Full Bent – Comoy’s Shape 17


I purchased the Royal Falcon along with a Merchant Service pipe from an Ebay lot for a good price. They both looked quite good in the photos provided by the seller below. I was not familiar with the brand so I did some research on it and found that it was a Comoy’s line. The numbering and stamping on the right side of the shank were identical to Comoy’s stamping.
Royal Falcon Merchant1

Royal Falcon Merchant2

Royal Falcon Merchant4

Royal Falcon Merchant5

The pipe is stamped on the left side of the shank, Royal over Falcon as pictured below. On the right side it is stamped Made in London in a Circle over England. Next to that is stamped shape number 17 which is a Comoy’s number. In checking on Pipephil’s site on logos and stampings it is clear that the pipe is definitely a Comoy’s brand. The stem has the same logo as Phil shows on his site (second photo below). The pipe I picked up is exactly the same pipe that Phil shows in his logo list (third photo below).
royal-falcon2b

royal-falcon2a

royal-falcon2y

When the pipe arrived I took the following four photos to give an idea of the condition of the pipe. The finish on the bowl was in excellent shape. The rim was not as good. The bowl itself was gouged inside and the cake had been gouged away with what looked to be a nail. It would need to be reamed and sanded. The bowl was also out of round slightly. The outer edge of the rim toward the right front had a burn that damaged that part of the bowl. On the left back side the rim was dented and chipped from hitting the bowl against something. I would need to address the rim and the inner bowl damage when I worked on the pipe. The stem was in good shape but the white in the logo was gone. The underside of the stem had a gouge in it that at first glance looked like a breakthrough from a pipe cleaner (apparent as a white spot on the stem in the fourth photo below). Under a lens the gouge did not go all the way through the stem and would be easily repaired. The button and the exterior were in good shape with no bite marks or tooth dents. The tenon while dirty and tarry was nonetheless in good shape as well. It was a step down tenon like that used on Comoy’s pipes.
IMG_2305

IMG_2306

IMG_2307

IMG_2308

I reamed the pipe with a PipNet pipe reamer to try to smooth out the gouges that were on the inside of the bowl. I took back the cake to the bare wood to minimize the deep gouges. They still were evident after removing the cake but they were definitely less intrusive. I sanded the inside of the bowl to further smooth out the deep marks and to rework the out of round bowl and inner rim.
IMG_2309

IMG_2310

There was a burn mark on the outer rim right side toward the front of the bowl that damaged the outer roundness of the rim. It is visible in the poor photo below (first photo). There was also damage and chipping to the outer rim on the left side toward the back (second photo below). I could have ignored these in my restoration of the pipe and left them as marks of age but I decided against that given the relative good condition of the remainder of the bowl. It would need to be carefully topped and restained to match the rest of the bowl.
IMG_2311

IMG_2312

I set up my sanding board and topped the bowl. The next series of photos show the process of topping and after the first turn on the board the burn and roughening damage are more evident.
IMG_2314

IMG_2315

After topping the bowl I sanded it with a medium grit sanding sponge and then progressively sanded it with 1500-3600 grit micromesh sanding pads to smooth out the scratches from the topping process. After the surface was smooth I restained it with a dark brown aniline stain that I mixed with two parts isopropyl alcohol until it matched the colour of the bowl. I applied the stain, flamed it and repeated the process until the depth of the colour matched the remainder of the bowl. It took 5 or 6 applications of the stain until I was satisfied with the colour match.
IMG_2325

IMG_2326

I set the bowl aside and worked on the stem. The underside of the stem had a white spot that is visible midstem in the photo below. This spot was actually a gouge or divot. I was unsure whether it went into the airway on the stem. I have seen this kind of thing on pipes with this kind of bend in the stem. It can be caused by the pipe cleaner rubbing through the vulcanite at the bend on either the top or the bottom side of the stem. In this case it did not go all the way into the airway.
IMG_2313

I cleaned it out with Everclear both internally and externally. I picked the white material from the divot and cleaned it a second time with alcohol. I used a small drop of superglue to fill the divot and then sanded it with a medium grit sanding sponge until it was smooth and even.
IMG_2316

Once the stem was cleaned and only needing polishing, I used a correction/white out pen to refill the stamping on the logo. I have found that this works very well. I apply the white out with the pen tip and then let it dry before sanding with a micromesh sanding pad to remove the excess of the filler. I then sanded the entire stem with micromesh sanding pads from 1500-12,000 to polish the vulcanite. When I had finished sanding it I rubbed down the stem with Obsidian Oil and then buffed it with White Diamond.
IMG_2317

IMG_2321

IMG_2322

IMG_2323

IMG_2324

The final four photos show the finished pipe. I buffed the pipe and stem lightly with White Diamond and then gave it several coats of carnauba wax to polish it. The restain of the top is visible in the third photo. The colour is a pretty good match to the bowl and I was able to redeem the out of round inner rim with the sanding and staining. It is ready to smoke.
IMG_2328

IMG_2329

IMG_2330

IMG_2332

Link

One of the pipes that I had been given years ago was stamped SmokeMaster Series 200 and was an acorn shaped rusticated bow with a smooth side on each side of the shank for stamping and a smooth rim. The left side bore the name and series number and the right side was stamped Imported Briar. The stem had been well chewed and the internal apparatus was missing. It was not useable on this pipe. I would have to restem it. I knew nothing of the brand name. My search on the internet gave me some information on the brand.

On the Dr. Grabow site ( http://drgrabows.myfreeforum.org/sutra13181.php ) I found some interesting information. I quote this post by Dave Whitney, the author of Old Briar, a book on refurbishing. “Smokemaster was a Briarcraft pipe. Richard Kliethermes Sr. was the founder of Briarcraft. First located on Pipetown Hill Rd, Spring Valley, NY, it moved later to 66 Central Ave., Spring Valley, NY. After the death of RK Sr., the business was run by Richard Kliethermes Jr. († 1943) and was quite prosperous between 1920 and 1940. The company closed in 1950. Briarcraft seconds are as follows: Airo, Arcadian, Briarmeer, Smokemaster, Cavalcade, Hallmark, Sterling Hall, and Wimbledon. The Orange off-center diamond was one of their logos.”

The link also had the following scan that shows the original design for the stems and the unique folded pipe cleaner filtration system of the original pipe. I decided to restem the pipe with a stem of my own choice rather than hunt down an original stem.
Smokemaster Patent Stem

Please forgive the poor focus on the next three photos but they still give the idea of what the pipe looked like when it arrived to my work table. It was in rough shape. The bowl finish was spotty and the varnish was coming off. The rim was out of round and the back edge of the inner rim and top were beat up and rough. The stem was gnawed off and the short length would not work with this old pipe. The cake was thick and uneven with large flakes of tobacco stuck to the inner walls of the bowl.
IMG_1015

IMG_1016

IMG_1017

I went through my stash of stems and found an old saddle stem with a built in brass band that would approximate the aluminum one on the original stem. I would need to do some work on the tenon length and the diameter of the saddle portion of the stem to get a correct fit but it was workable as the new stem.
IMG_1018

I reamed the bowl with a PipNet reamer (Photo 1 below) and a plumber’s wire brush (Photo 2 below) to clean out the debris. I used a sharp knife (Photo 3 below) to reshape the inner edge of the bowl and bring it back to round. Photo 4 shows the reshaped and cleaned bowl. I would have to top the bowl to repair the roughness to the top of the rim.
IMG_1027

IMG_1028

IMG_1029

IMG_1030

I used a sanding drum on a Dremel to shape the saddle diameter to meet that of the shank. The sanding drum worked well on the vulcanite and the brass. Due to the difference in hardness of the two materials I had to be careful to not cut the vulcanite deeper than the brass. The idea was to make a smooth transition between the two materials on the stem.
IMG_2276

IMG_2277

IMG_2279

The next photo shows the condition of the top rim of the bowl. I decided to top the bowl and then rework the rounded edge to keep the acorn shape intact. I set up a piece of sandpaper on my flat board and turned the bowl into the sandpaper. I worked it and sanded it, repeatedly checking the flatness of the rim and also the amount of briar I was removing from the rim.
IMG_2278

IMG_2280

IMG_2281

Once the roughness was smoothed out I sanded the rim with 220 grit sandpaper and a medium grit sanding block to smooth out the top and to round the outer edge of the rim to make it less abrupt and more like the original shape. The next two photos show the rim after the sanding and shaping with the sanding block.
IMG_2282

IMG_2284

At this point in the process I put the bowl into an alcohol bath and let it soak overnight to remove the varnish finish that was spotty and damaged. The next morning I took it out of the bath, dried it off and cleaned out the shank and the shank. The first photo below shows the bowl after I removed it from the bath. The second, third and fourth photos show the bowl after drying.
IMG_2286

IMG_2287

IMG_2288

IMG_2290

I restained the pipe with a Danish Oil Cherry stain applied with a cotton pad. I need to be able to work the stain into the deep rustication and also on to the smooth portions of the shank and rim. The rim took several applications to match the rest of the bowl.
IMG_2291

IMG_2292

IMG_2293

IMG_2294

I put the bowl aside to dry and worked on the stem. I sanded out the remaining scratches around the brass band on the stem with 220 grit sandpaper and then reworked it with the medium grit sanding block. Once the scratches were no longer evident I worked on the stem using the micromesh sanding pads from 1500-12,000 grit to polish the stem and prepare it for waxing and buffing. Once I finished with the 12,000 grit pad I gave the stem a coat of Obsidian Oil to seal the surface and to soak deeply into vulcanite. I buffed the stem with White Diamond to finish the shine and then reinserted it into the shank.
IMG_2295

IMG_2296

IMG_2297

I buffed the entire pipe with White Diamond and gave it a coat of Halcyon II wax for rusticated pipes. I then buffed it again with a clean flannel buff to raise the shine. The photos below show the finished pipe.
IMG_2302

IMG_2303

IMG_2300

IMG_2301

Comoys Rhodesian Restoration


Blog by Al Jones

I was looking for a Christmas pipe to restore for my future son-in-law and spied this neat, chubby Comoys Rhodesian on Ebay. It is a Cadogan era Comoys with a stamped C stem logo and has shape number B1057. The shape and size remind me of the GBD 9438, but without the beading on the bowl. He has a 9438 from last Christmas, so this Comoys will make a good rack mate for it.

Comoys_B1057_Before

Comoys_B1057_Before (4)

Comoys_B1057_Before (3)

Comoys_B1057_Before (1)

Comoys_B1057_Before (5)

Comoys_B1057_Before (8)

The pipe was in pretty good shape with a little tar buildup on the bowl rim and a heavily oxidized stem. There were some teeth abrasions on the stem, but they were minimal with no heavy indention’s. Stem fitment was great. The pipe passes a cleaner nicely appears to be drilled well. The bowl showed very light use and was easy to clean.

I soaked the bowl with 91% isopropyl alcohol and the stem in a mild Oxy-Clean solution. I put a dab of grease on the stem logo.

Comoys_B1057_Progress

The bowl didn’t take much, I buffed it with some white diamond and then red rouge, followed by several coats of carnuba wax. There are a few fills, but they blended in nicely and aren’t too noticeable.

I used 800 grit wet paper to remove the first layer of oxidation. That was followed by 1500 and 2000 grade wet papers. Working around a stamped C logo is always a little tricky and I don’t think you can get all the oxidation without damaging the letter. The stem was then sanded with 8000 and 12000 grade micromesh. I then buffed the stem with white diamond and red rouge. Below is the stem after the 800 grit wet paper.

Comoys_B1057_Progress (1)

Here’s the finished pipe, ready to be wrapped for Christmas morning…shhhh, don’t tell!

Comoys_B1057_Finished

Comoys_B1057_Finished (5)

Comoys_B1057_Finished (1)

Comoys_B1057_Finished (2)

Comoys_B1057_Finished (4)

Comoys_B1057_Finished (3)

Restoring an Old Amphora X-tra 509 Pot


Blog by Steve Laug

This is the last of the lot I found while on a recent trip in Northern Alberta, Canada. It is stamped Amphora X-tra 509 on the left side of the shank and on the right side it is stamped Genuine Briar over Made in Holland. The stem has an AA in a circle stamped on it (not a stamping for Amphora pipes I was familiar with). The pipe was in good shape. The rim was dirty and had a slight bit of build up on the surface. The bowl had a thin cake that was crumbly. The outside of the bowl was soiled and had some white paint on the surface. The stem was dirty and very slightly oxidized. There were no teeth marks on it so it was just dirty. The insides were also dirty. The inside of the shank and the stem were caked with a tarry buildup. There was an inner tube inserted in the tenon that extended into the shank almost as far as the airway at the bottom of the bowl.
IMG_1889

IMG_1890

IMG_1891

I used a PipNet reamer and started with the smallest cutting head and took back the cake. I followed that with the next size of cutting head and took the cake back to the bare wood in the bowl. The bottom of the bowl had some gouges in it and looked like someone had done a reaming with a knife.
IMG_2067

IMG_2054

IMG_2057

IMG_2056

IMG_2055

I removed the stem and dropped the bowl into an alcohol bath to soak overnight.
IMG_2066

I mixed a batch of Oxyclean and put the stem together with others I was working on into the bath of Oxy clean to soak at the same time.
IMG_2068

In the morning I took out the bowl and dried it off with a soft cloth. The finish was clean and the surface of the bowl free of the paint and grime that was present when I placed them in the bath. I took the stems out of the bath of Oxyclean and dried them off as well. The oxidation on the stem was softened and the stem was dark (it is the top stem in the second photo below).
IMG_2071

IMG_2080

I wiped down the bowl with acetone on a cotton pad to clean off the remaining finish. In the photo above of the bowl it appeared to have a fill on the bowl side. As I scrubbed it the surface cleaned up and the area was not a fill. The piece of briar has some great birdseye grain and a some cross grain on the front right side and the top of the bowl and shank. I also cleaned out the shank and the stem with pipe cleaners and Everclear. I scrubbed the rim to remove the tars and buildup.
IMG_2260

IMG_2261

IMG_2262

IMG_2264

I wanted to highlight the grain on this one so I decided to stain it using some Cherry Danish Oil which is Linseed oil and stain. I rubbed on the stain, rubbed it off and rubbed it on a second time. I set it aside to dry. Once it was dry I buffed it with White Diamond.
IMG_2265

While it was drying I used micromesh sanding pads from 1500-12,000 grit to work on the stem. I worked around the double AA on the stem logo. It is faint but still visible. Once I had finished sanding I rubbed it down with Obsidian Oil and let it dry. When it was dry I rubbed it with a soft cloth to buff it by hand.
IMG_2266

IMG_2267

IMG_2268

IMG_2269

I polished the aluminum inner tube with 0000 steel wool to remove all grime that was remaining on the aluminum. I gave it a coat of wax and polished it off with a clean soft cloth.
IMG_2270

I buffed the pipe and stem with White Diamond and then gave it multiple coats of carnauba wax and then with a soft flannel buff to give it a shine. The final photos below show the finished pipe.
IMG_2272

IMG_2273

IMG_2274

IMG_2275

Dorset “Genuine Briar” Rhodesian


By Al Jones (aka “Upshallfan”)

I found this unknown to me pipe on Ebay. It looked to be in decent condition and it is a shape that I love (tapered stem Rhodesian). The pipe had a dark red finish, with a few fills but they were covered up nicely. The stem fitment was excellent and also in overall very good condition. I was hoping that this would be a relatively easy restoration.

Dorset_Rhodesian (1)

Dorset_Rhodesian

Dorset_Rhodesian (3)

Dorset_Rhodesian (5)

Dorset_Rhodesian (6)

Dorset_Rhodesian (2)

Dorset_Rhodesian (8)

I reamed the light cake from the bowl and soaked it for several hours with isopropyl alcohol and sea salt. The bowl only required a light buff with white diamond to bring back the shine, after which I applied several coats of carnuba wax. The bowl had some scuff marks but they came out nicely. The beading around the bowl was in excellent condition.

The stem was badly oxidized, but in great shape. I soaked it in a mild oxyclean solution, then used first 800 then 1500 and 2000 grit wet sandpaper to remove the oxidation. After which I sanded it with 8000 and 12000 grade micromesh paper. The stem was inserted back onto the bowl for work around the shank end and I was careful not to damage the “D” stem stamp. I then buffed the stem with white diamond and red rouge, followed by a buff using automotive plastic polish. The stem came back quite nicely. Here is the stem before moving to the buffing wheel.

Dorset_Rhodesian (9)

Overall, I was very pleased with the finish of the pipe. It was delivered to the new owner this weekend, and they were also pleased with the appearance and how it smoked.

Dorset_Rhodesian (10)

Dorset_Rhodesian (11)

Dorset_Rhodesian (12)

Dorset_Rhodesian (13)

Dorset_Rhodesian (14)

Dorset_Rhodesian (15)

Dorset_Rhodesian (16)

When I saw it I thought it was a Sasieni one dot billiard


I came across this little billiard in an antique shop last weekend and when I saw the blue dot on the stem and saw the classic English shape of the bowl I truly thought I had found an elusive Sasieni one dot pipe. Lots of things about it seemed to signal that is what I had. The stamping was hard to see under the grime but there were i’s and an e. I was hopeful and I guess also wishful in my thinking. The pipe was dirty as can be seen below. The stem had obviously been damaged and cut off by the previous owner and a new button filed into the stem. The bowl was badly caked and the rim was damaged with dents and chips. I took the picture below while I was relaxing in a pub near the shop and looking over the finds of the afternoon.
IMG_0489

When I got home I took it to the basement and wiped down the bowl with acetone on a cotton pad to remove some of the grime. Once the outside was wiped down I tried to read the stamping with a magnifying lens. I could not make out the stamping – it was too faint. There was no stamping on the right side of the shank. On the underside it appeared that there had been stamping but it was no longer visible. The next three photos give a good idea of what the pipe looked like before I did a cleanup on the bowl and stem.
IMG_2192

IMG_2193

IMG_2194

I reamed the bowl with a PipNet reamer and took it back to bare wood. I picked at the inside of the bowl to check out the solidity of the walls and to check for potential burns. Everything looked and felt like it was solid so I dropped the bowl in an alcohol bath to soak over night.
IMG_2066

The next day I took it out of the bath and dried it off. The bath had removed the old finish for the most part. I finished by once again wiping it down with acetone on a cotton pad. After soaking part of the stamping had become visible. I was disappointed that it appeared that the pipe was not a Sasieni. The stamping that showed up after it was dry read Genuine Briar, which seemed to point to an American made pipe post WW2. I believe it is post war as that is when it became necessary to identify genuine imported briar in contrast to the Manzanita and other alternatives used by American manufacturers during the war years due to a shortage in briar. The briar was a nice piece – birdseye on one side, nice grain on other parts of the pipe and a clean shape to the bowl. I knew it would clean up nicely.
IMG_2217

IMG_2218

IMG_2219

IMG_2220

I topped the bowl using my normal method of anchoring a piece of sandpaper on a flat board and twisting the top of the bowl into the sandpaper until the top is smooth. I started with 220 grit sandpaper and then used a medium and fine grit sanding block to smooth out the rim.
IMG_2221

IMG_2222

When I had finished topping the bowl I wiped it down with acetone and a soft cotton pad to remove the sanding dust and the grime from the topping process.
IMG_2223

IMG_2224

IMG_2225

The stem had a poorly cut button on the end and the button as well as the taper on the stem needed to be reworked. I used a rasp and file to shape the taper on the stem and to take out the pinched look of the angle to the 90 degree cut on the button. The button was also not straight and not squarely cut so I also straightened out the flat edge of the button while I worked with the rasp and files. The next three photos show only the initial work on the stem and not the finished work. I removed quite a bit of the material and smooth out the slope of the taper so that it flowed evenly into the button on both the top and the bottom of the stem.
IMG_2226

IMG_2227

IMG_2228

I sanded the newly shaped stem with 220 grit sandpaper and a medium grit sanding sponge to remove the scratches left by the rasp and files. Once I had the basic shape in place I decided to restain the bowl. I warmed the briar and then gave it several coats of a dark brown aniline stain thinned 1:1 with isopropyl alcohol. I flamed it between each coats to set the stain. The rim took extra coats to match the colour of the rest of the bowl.
IMG_2240

IMG_2241

IMG_2242

IMG_2244

I buffed the newly stained bowl lightly with White Diamond and then gave it a coat of a light cherry coloured Danish Oil. Once dry I buffed it by hand and then also gave it a light buff with White Diamond to polish it.
IMG_2245

IMG_2246

IMG_2247

I then removed the stem and worked on the slot in the button. When the end of the stem had been cut off some of the flair of the original airway remained leaving the end of the button with a small rectangular opening. I used needle files to open the flair and widen the slot into more of an oval that extended the width and height of the button end.
IMG_2248

IMG_2251

IMG_2252

Once I had the slot opened the way I like it I sanded the inner edges with a folded piece of sandpaper to smooth it out. I also did some more shaping with files to the taper of the stems. I sanded it with 220 grit sandpaper until I had the slope well-defined from the tenon back to the button. I also shaped the externals of the button to clean up the angle at the point the button and stem taper met. I also sanded it with a medium grit sanding sponge to remove the scratches left behind and to also remove the oxidation at the stem shank junction.
IMG_2249

IMG_2250

When I had the scratches removed as far as possible with the sanding sponge I went on to sand the stem with micromesh sanding pads. I wet sanded the stem with 1500, 1800 and 2400 grit sanding pads and the dry sanded with the remaining grits.
IMG_2253

IMG_2254

IMG_2255

I rubbed the stem down with Obsidian Oil and rubbed it into the surface of the vulcanite. I took it to the buffer and buffed the stem with White Diamond. I gave the bowl and the stem multiple coats of carnauba wax and polished the pipe with a clean flannel buff to bring up the shine. The finished pipe is pictured below. I still wish I knew what the stamping says in full. That blue dot certainly is a symbol of some unknown to me brand of pipe. The mystery remains but in the mean time I have a great little billiard to enjoy.
IMG_2256

IMG_2257

IMG_2258

IMG_2259

A Handmade Denmark Dublin Reborn


Blog by Greg Wolford

A week or so ago I went into a local antique shop that houses a variety of vendors. In the past I have found a few decent pipes here so I always have high hopes when I go there. This trip yielded a nice little haul of four pipes which I plan to restore over the next few weeks as i have time. The first two have already been started one: one completed and one still in the process. This post will mainly focus on a Dublin shape that is stamped on the shank Handmade over Denmark, with no other information on the pipe or stem. This is the pipe as it looked when I got it home:

Image

ImageImageImage

As you can see, it was heavily caked and had what I thought were some deep scratches on it, the rim was charred and damaged from knocking out the dottle, the finish was gone, and the stem was oxidized but had little chatter on it. I decided to start with reaming the back the cake. This bowl is a tapered one, as many Dublins are, and required the use of all four of the bits on my Castleford reamer. After reaming the cake back considerably, to an even, thin layer, I decided to sanitize it with my retort. And since one of the other of the lot I picked up needed very little work other than cleaning (or so I thought at the time) I decided to go ahead and retort it (no reaming needed on this one) while I had the equipment out and also do both stems at this time, too. The Dublin took several “runs” with the retort to produce a clean tube of alcohol at the end; the cherrywood that I was also doing only took two tubes, but I knew it hadn’t been used much and wouldn’t be very dirty.

After I finished the work with the retort I dropped the stems in a OxyClean bath and left them to soak while I cleaned the shanks out. The retort had done a nice job of taking out most of the gunk in the shank of the Dublin; it took comparatively fewer pipe cleaners and cotton swabs than most restorations. I expected the shank from the cherrywood to be all but clean with one or two passes and it sort of was; instead of tar I found the alcohol had “raised” a mahogany-like stain inside the shank – and a lot of it. I then noticed that there was some of this same color on the outside, bottom edge of the shank. The pipe itself wasn’t a reddish color but a more maple, orange-ish one and I hadn’t planned on refinishing it since the color was nice and I didn’t really see a need – until now. Once I noticed the red color it had to come off the outside and out of the shank. Now the entire finish was going to have to be removed so both pipes got wiped down several time with acetone and then put into the alcohol bath overnight.

Several hours later I removed the stems from their soak to begin to make them look new again. I was disappointed to see that the thin layer of petroleum jelly I’d put over the logo on the cherrywood’s stem had washed away and the “white” which had been there was now gone; the stem logo had only been about 60% colored and I’d have had to apply more white anyway so I suppose it wasn’t that big of a deal. I washed the stem well with dish soap and then sprayed them with some liquid Bar Keeper’s Friend, a new product to me (I’ve tried the powdered form before but not the spray). I scrubbed them off with a Miracle Eraser hoping for the good results I had gotten last time I used the eraser but they weren’t as good, though a lot of the oxidation had softened and been removed.

ImageImage

I now moved onto using the micro mesh pads, wet sanding them with 1500 & 1800 grit. At this point I noticed there was some oxidation that hadn’t come out well so I took some 400 grit wet/dry paper to the stems, then “painted” them with a Bic lighter, and then back to the 400 grit paper until the oxidation spots were gone. I then went back to wet sanding with the micro mesh 1500-3200 grits. After the 3200 grit I polished the stems with plastic polish and then dry sanded with the remaining grits through 12,000. Here are a few photos of the shine progression:

IMG_7744  IMG_7745IMG_7746

I now set the stems aside until the next day when the stummels would come out of their bath.

After removing the stummels from the alcohol bath I wiped them down and them dry a bit. Then I began cleaning the shanks again to make sure all the tar, gunk, and stain were gone.  I also cleaned as much gunk off the rims as I could so I could see what their condition really was; fair on the cherrywood and poor on the Dublin.  I decided to top the bowl of the Dublin and set the cherrywood aside to finish later. This what the Dublin looked like at this point:

IMG_7748 IMG_7749 IMG_7750 IMG_7751

You can see much better the condition of the rim here. You can also see that the “scratches” I referred to earlier are in reality fills that have fallen out; I scraped them with my dental pick to be 100% certain. These would have to be dealt with after I topped the bowl.

I used 400 girt wet.dry paper to top the bowl, checking it often to see how it progressed. The char marks wouldn’t come out completely but were reduced substantially. And the dings in the rim were nearly sanded out, in good enough shape that I was happy with them; the one on the outside edge would require me to sand at least another 1/16″ off the entire bowl and I didn’t want to remove anymore material than I already had.

IMG_7752

Now I turned my attention back to the fills. Taking the dental pick, I picked out the remaining fill material. I recently picked up a new product that I wanted to try on fills made by DAP and I thought this would be a good opportunity.IMG_7757

These sticks are a wax-like substance that softens with heat/friction. I chose the darkest of the four sticks and rubbed it into the two largest fill areas. The sticks worked easily into the areas that needed filled:

IMG_7758 IMG_7759

I buffed the excess off lightly with an old cotton rag, getting it into the fill well and just below the surface. I then put a bit of super glue over the new fills and let it dry. After it dried I sanded the fills back down to flush. There were also some areas that needed small scratches/marks sanded out on the bottom of the stummel so I did that at this time, too.

IMG_7764 IMG_7765 IMG_7766

I avoided sanding around the nomenclature and the shank in general. As you can see, the spot sanding left some obvious differences in the finish. But I didn’t want to sand any more than I needed to and knew that as it was I’d have to blend the stain. I decided to use the new-to-me wood stain markers for this job as well as the bowl’s rim. I applied the stain from the marker in small sections and blended it immediately with my finger after I put it on; I did this with all of the fills, spot sanding and the rim. The stain from the markers is very easy to apply in just the area you want it and blending by “finger” was very smooth and didn’t take long at all. I think that the pens did a great job and they have earned a permanent place in my restoration arsenal!

IMG_7767 IMG_7768 IMG_7773

I know took the entire pipe to the buffer and buffed the stummel with Tripoli and then the pipe with white diamond and carnauba wax, finishing with a few passes on a clean soft buff. This is the finished pipe:

20131023-160821.jpg20131023-160835.jpg

20131023-160848.jpg  20131023-160901.jpg

The DAP fill sticks did a pretty good job I think. In retrospect, I should have, perhaps, used a lighter color; the fills were so near the grain I thought darker would be better. I do think that they are something that I will explore using further and believe they have potential for some good results.