by Steve Laug
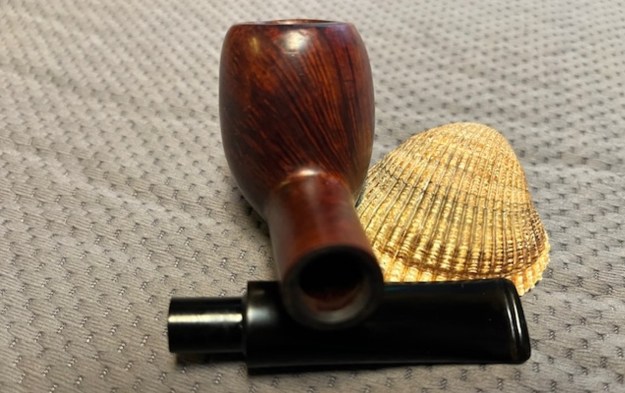
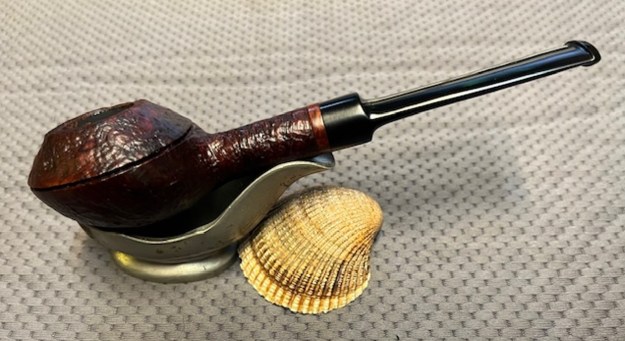
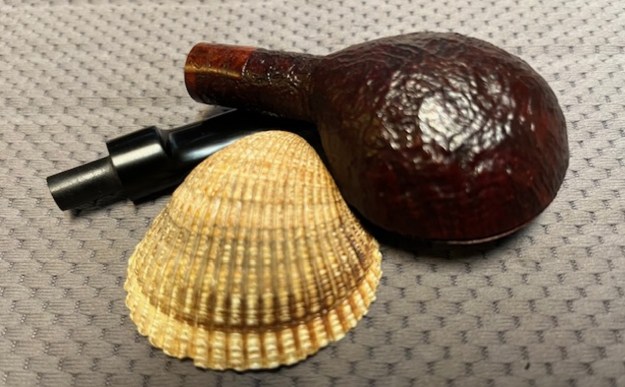
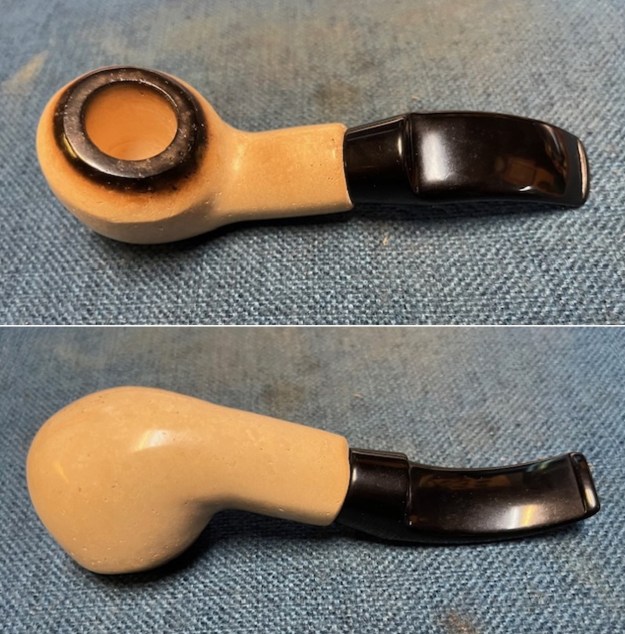
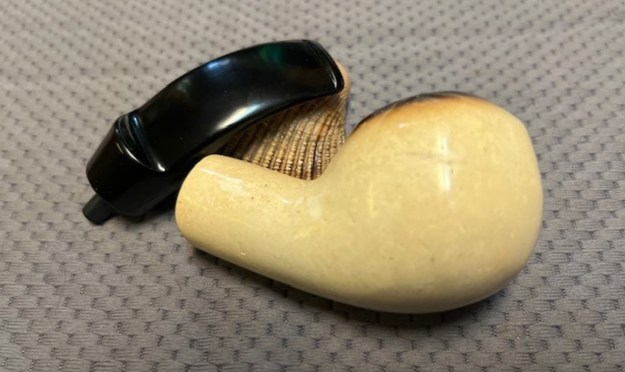
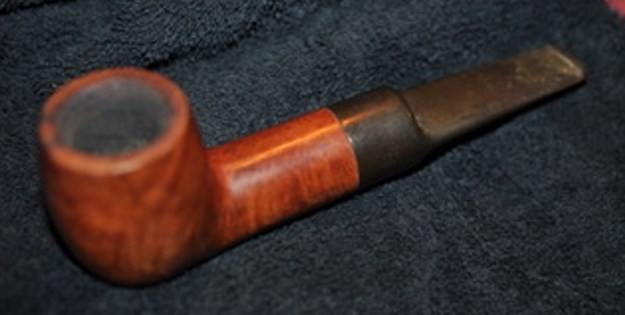
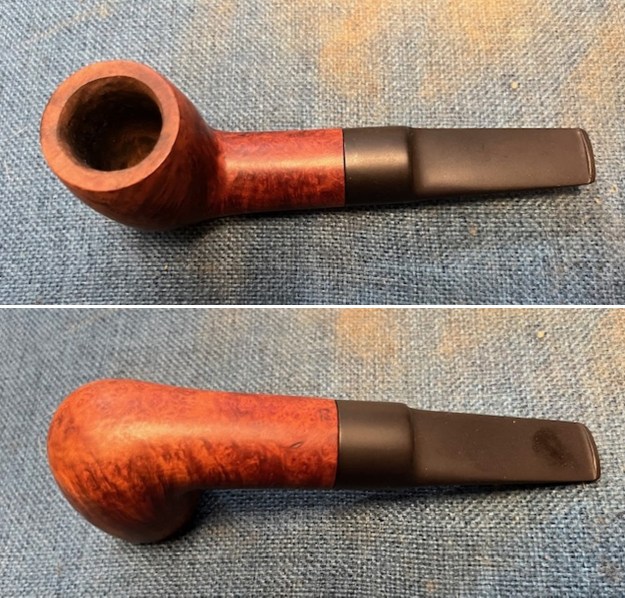
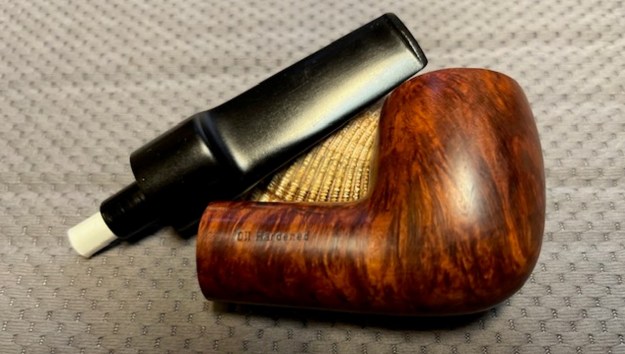
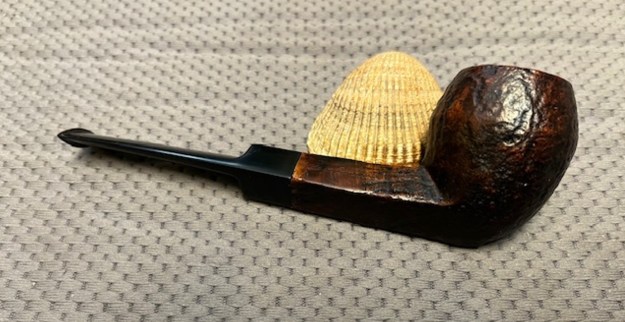
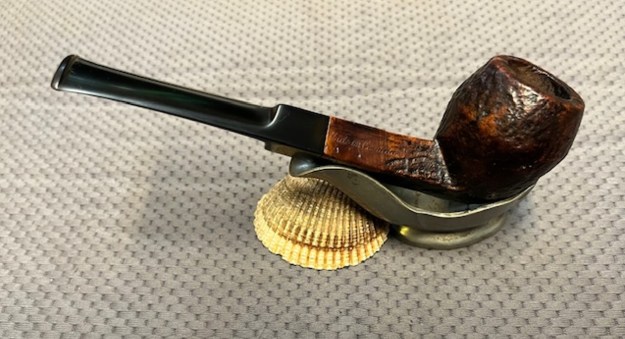
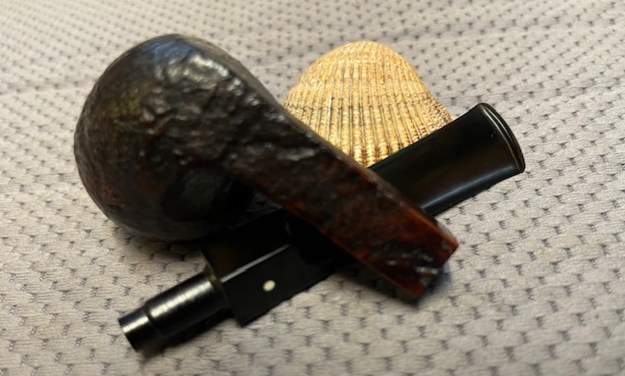
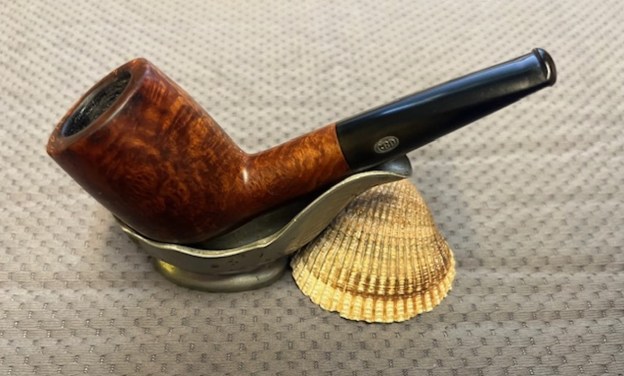
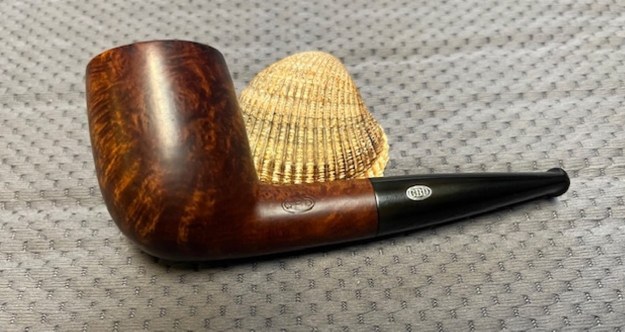
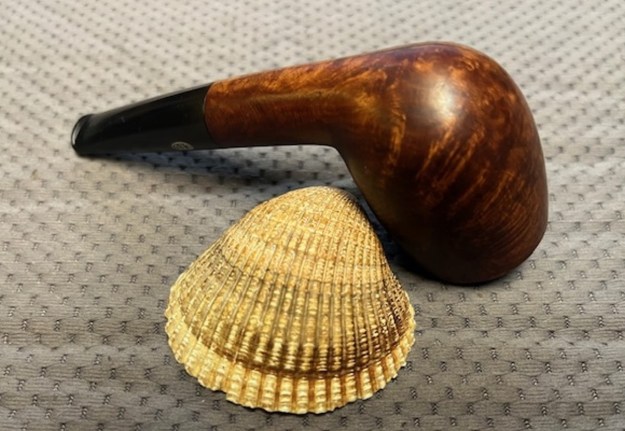
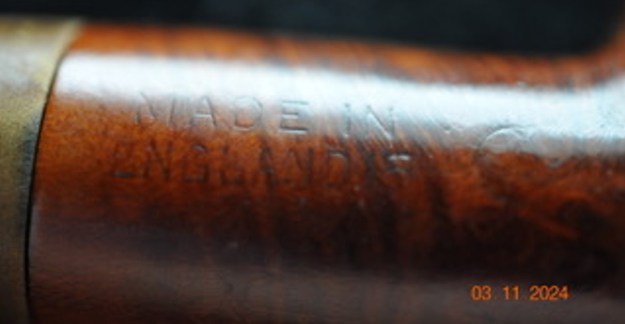
The next pipe on the table is one that we picked up in the lot from our contact in Copenhagen, Denmark on 08/09/2024. The shape, grain, finish and the Dunhill stamping is what caught our eye. It is stamped on the left side of the shank and reads 32 F/T next to the bowl/shank union followed by Dunhill [over] Black Briar. On the right side it is stamped Made in [over] England15 followed by a Circle 4. It has a classic dark Black Briar smooth finish that is a stark contrast to vulcanite taper stem. The bowl appears to be heavily caked and the inner edge and the top show some lava overflow. The inner edge is quite rough with nicks and cuts taking the oval shape of the Opera Pipe and straining it. The stem is heavily oxidized and calcified which is quite normal for what I see. It also has some deeper tooth marks and chatter on the top and underside ahead of the button and on the surface of the button edge. The classic white spot is on the top of the stem and looks to be in good condition. Jeff took some photos of the pipe to show the general condition of the pipe before he started his clean up.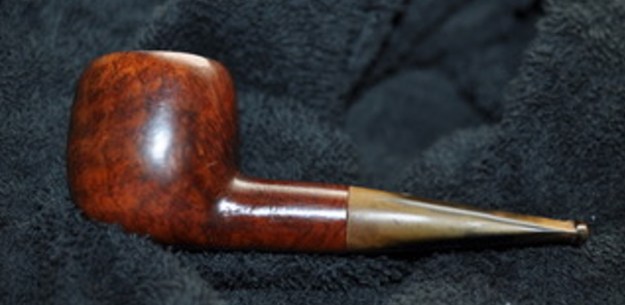
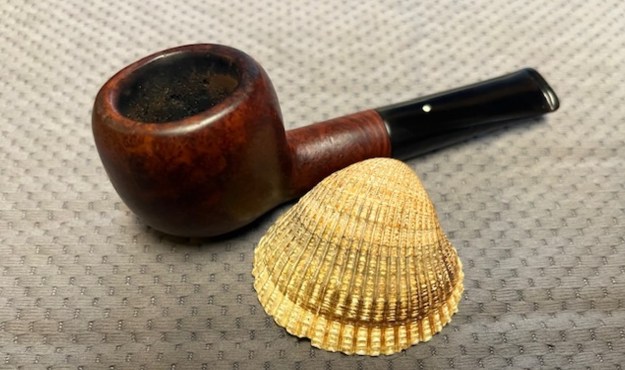
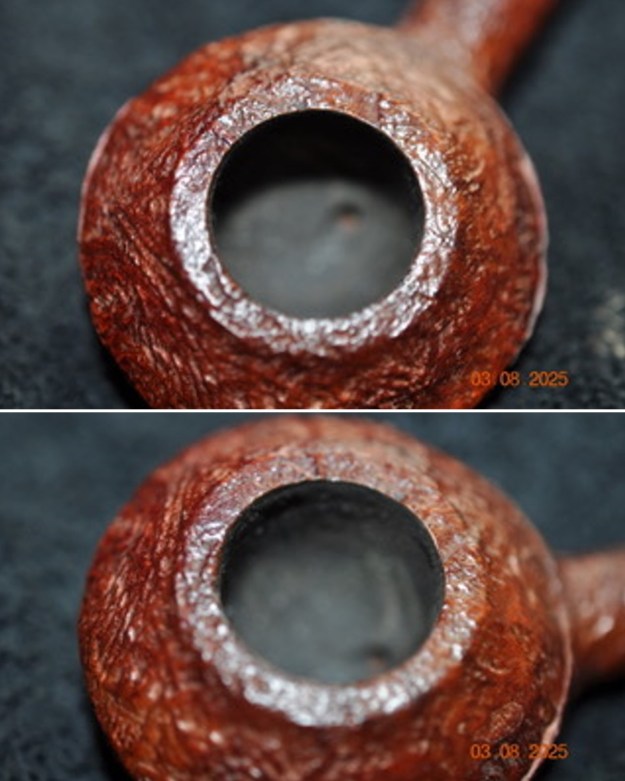
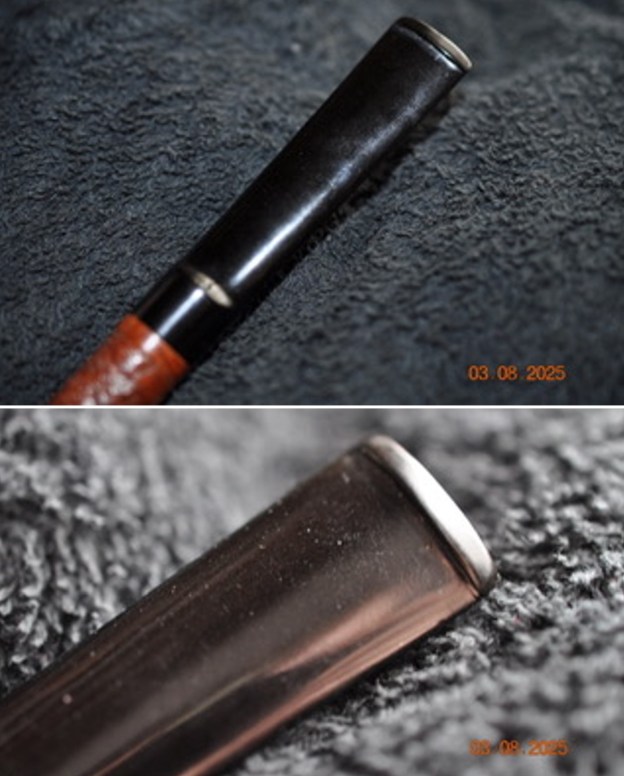
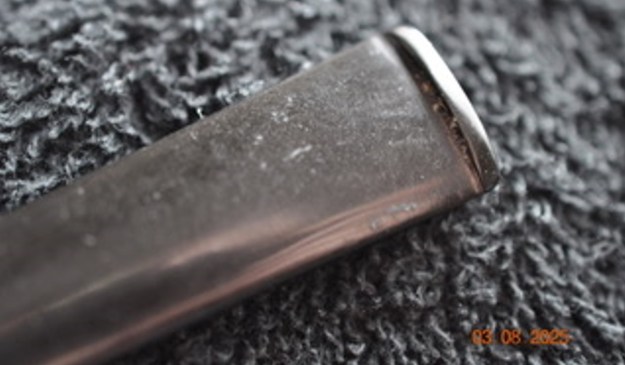
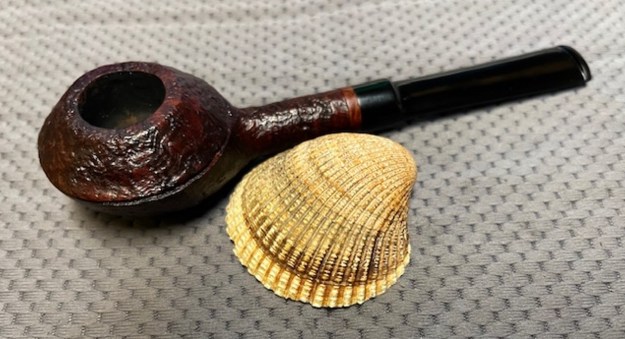
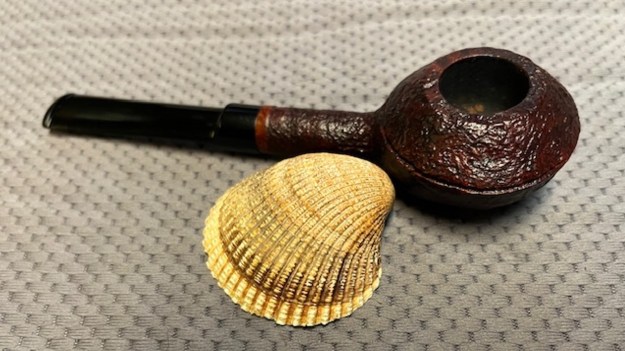
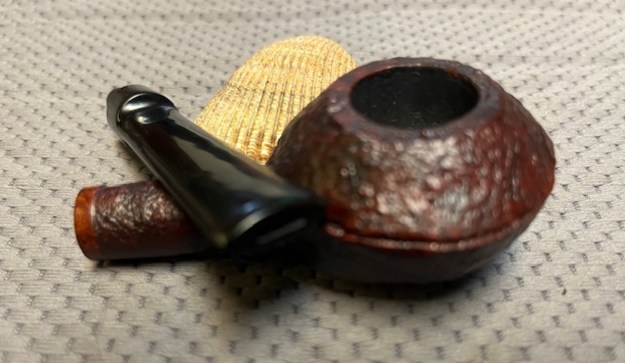
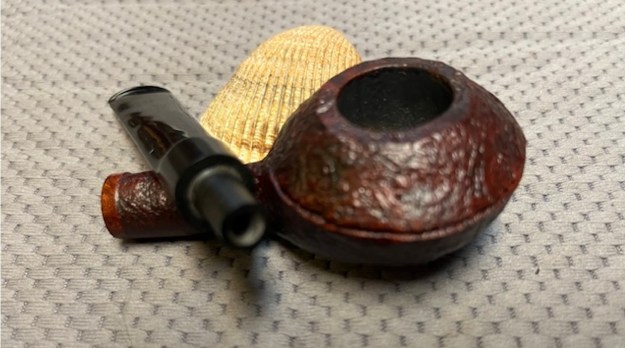
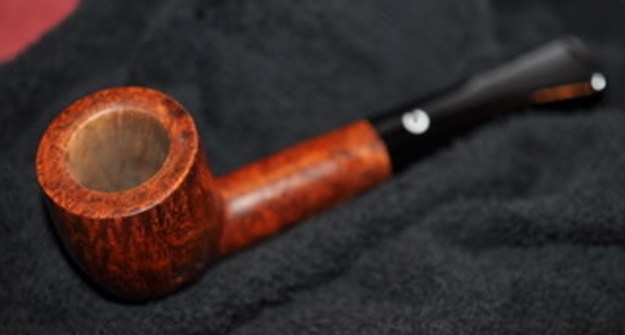
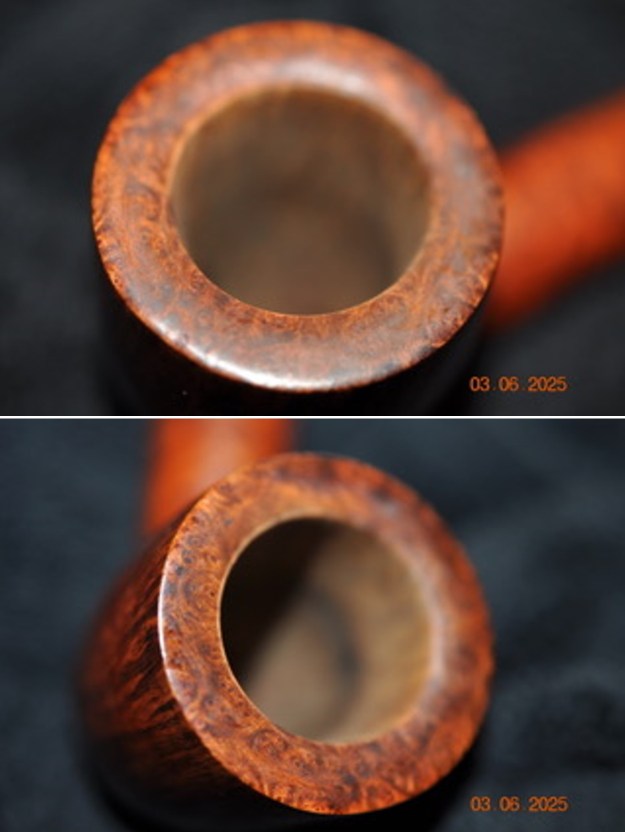
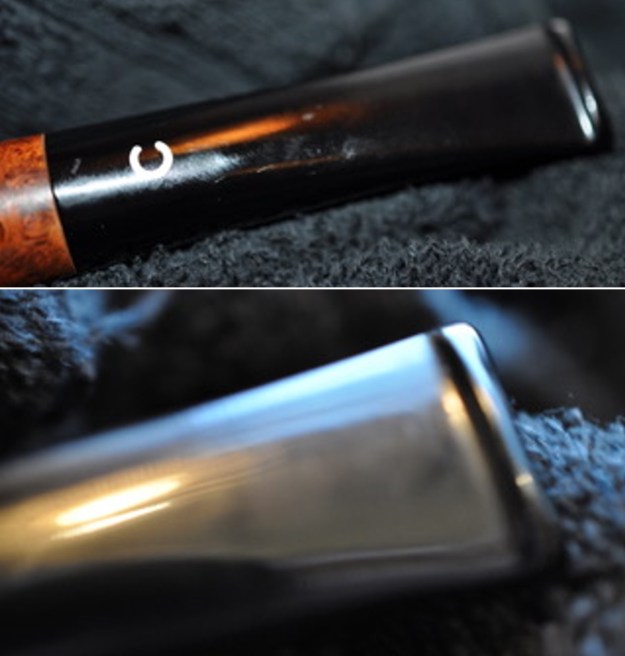
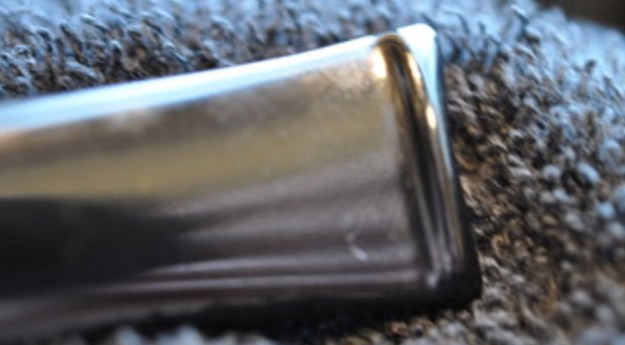
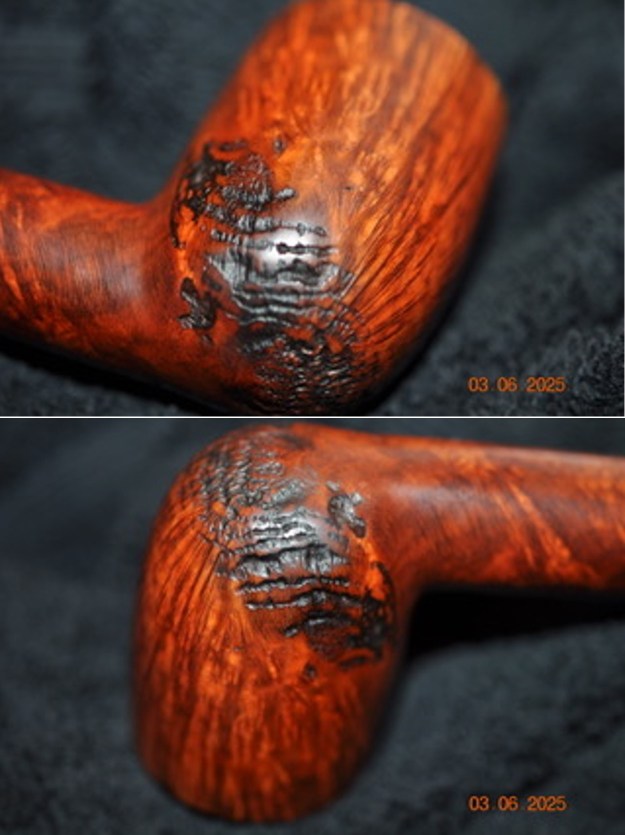
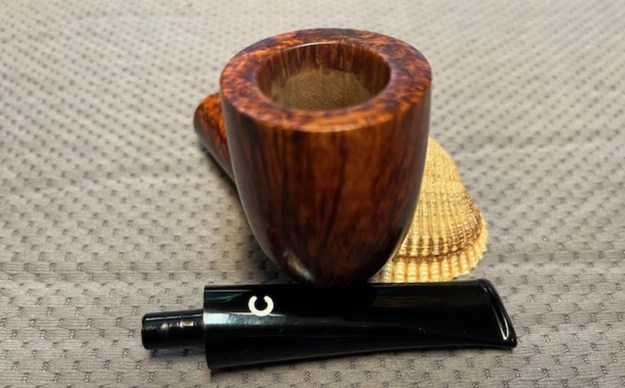
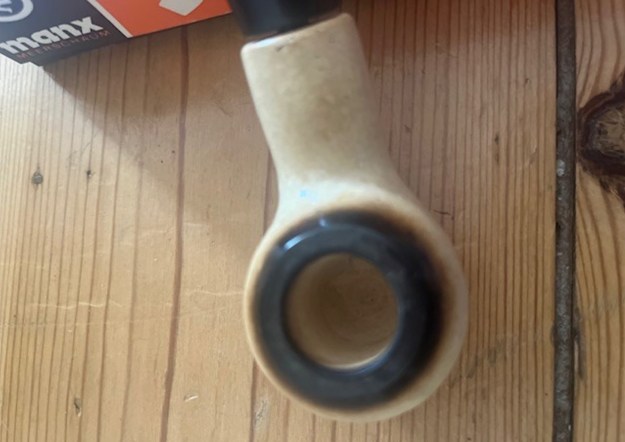
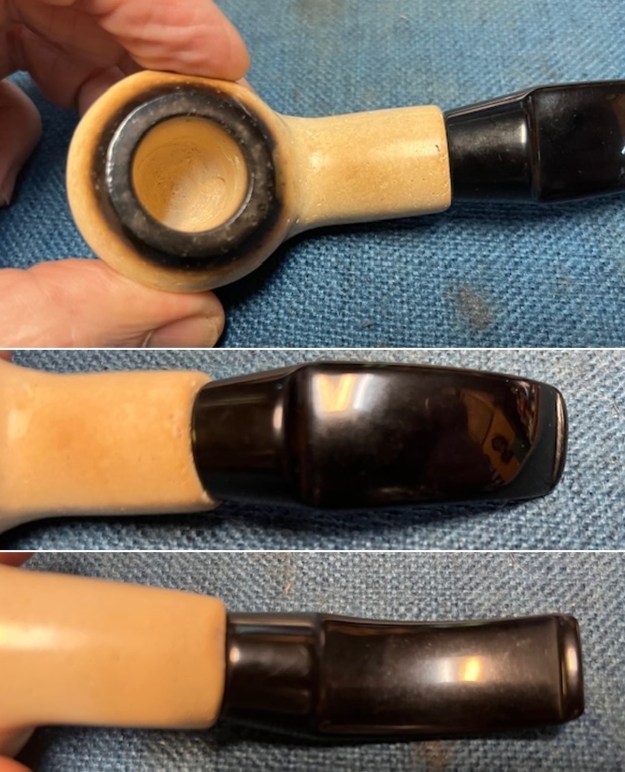
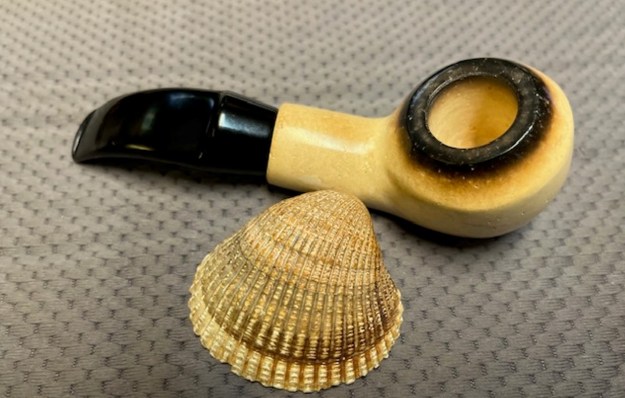
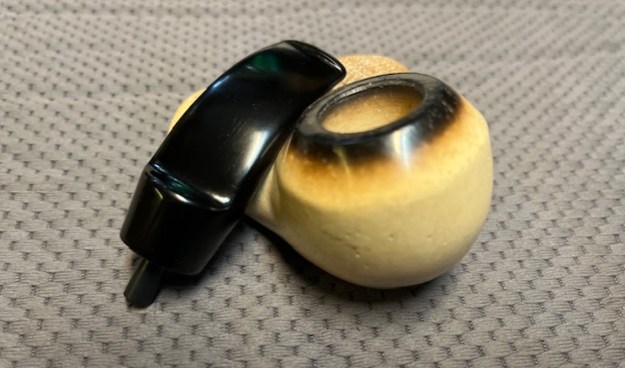
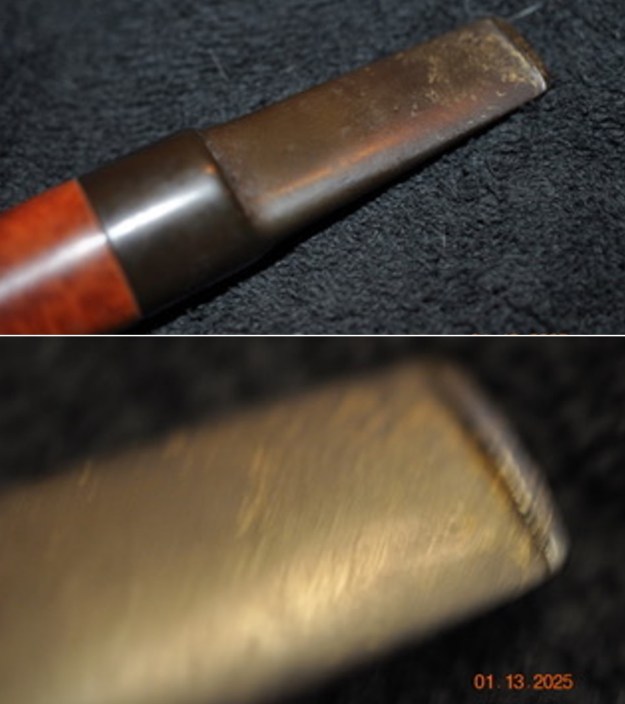
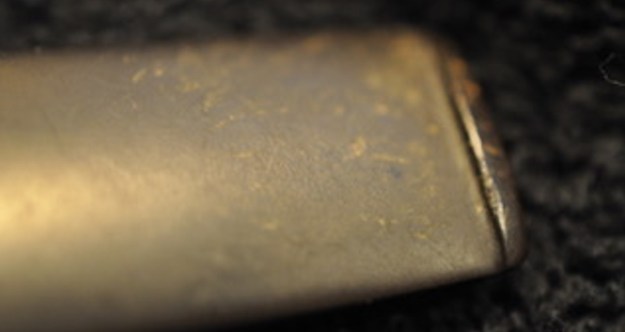
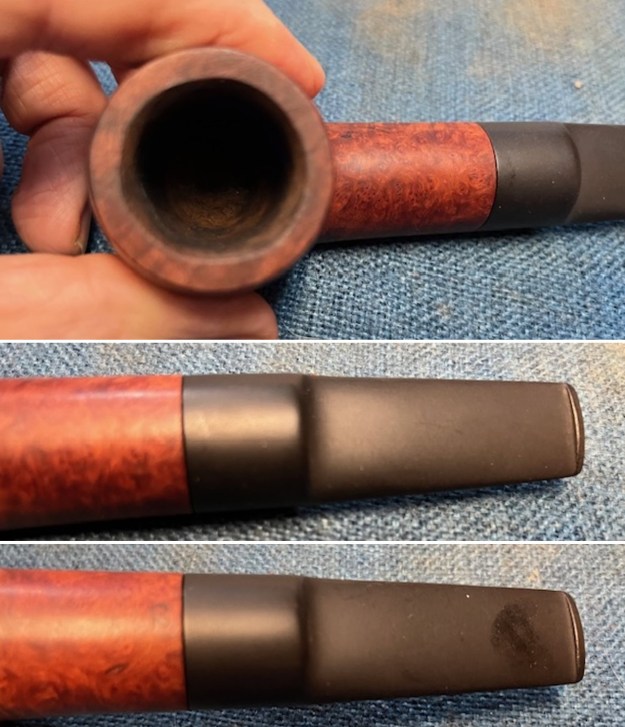
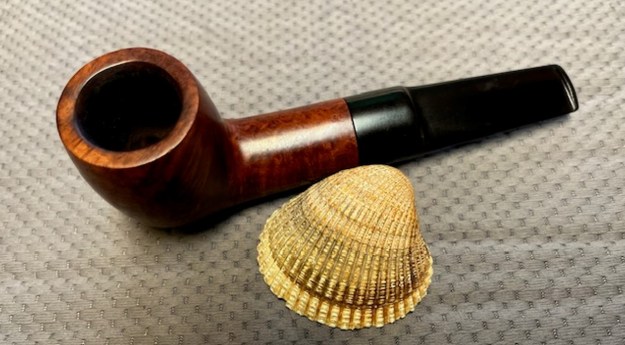
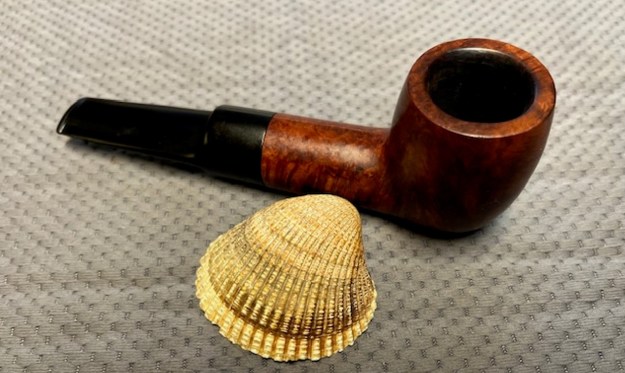
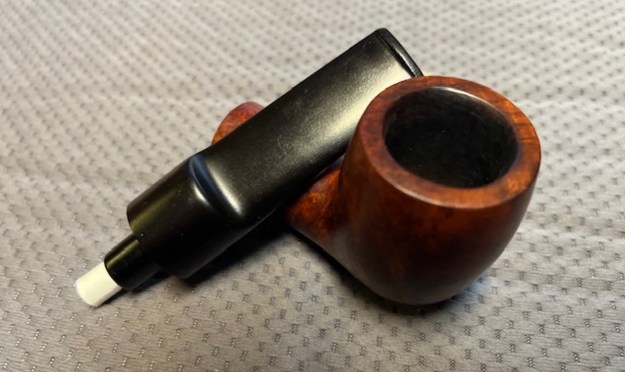
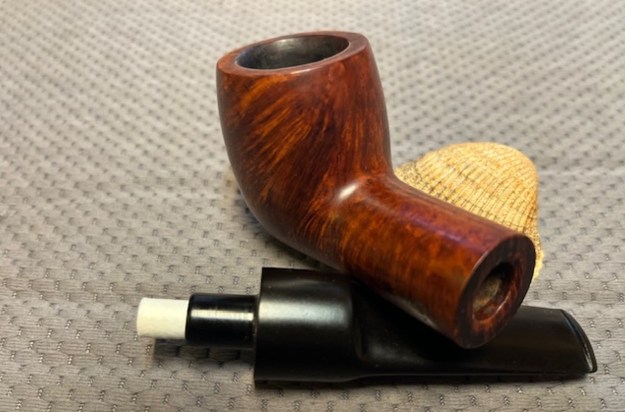
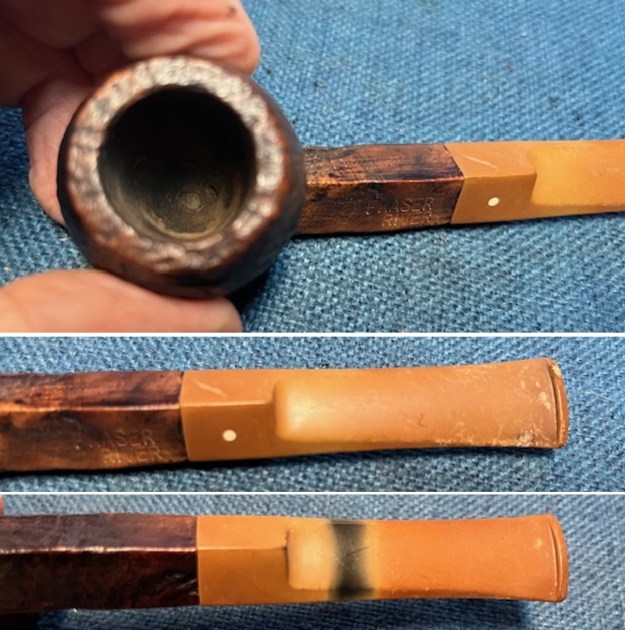
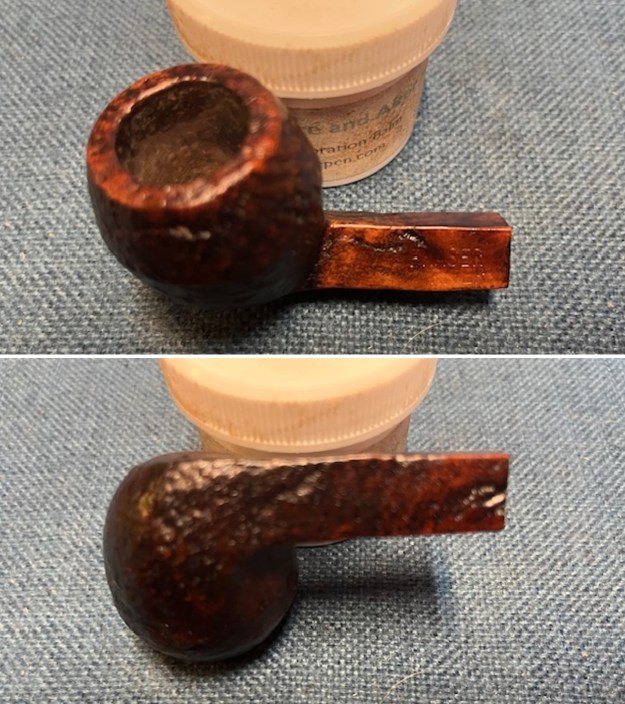
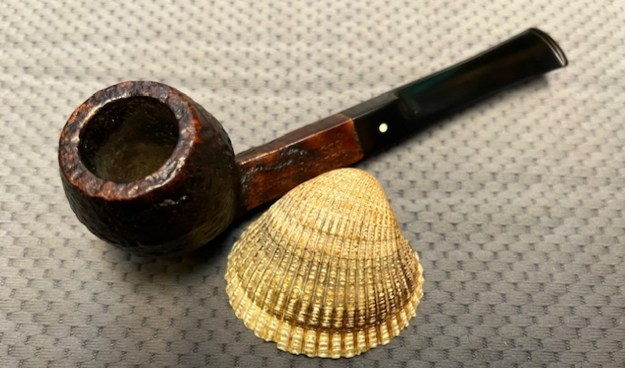
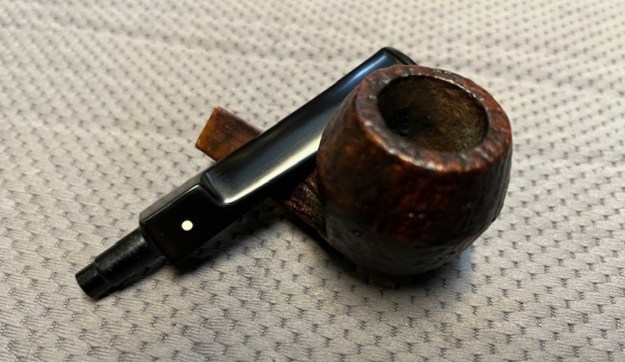
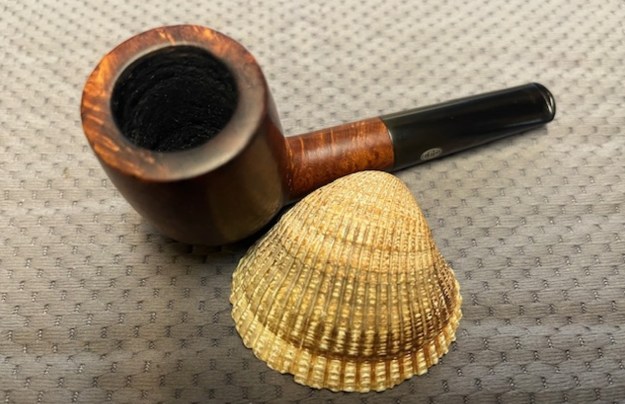
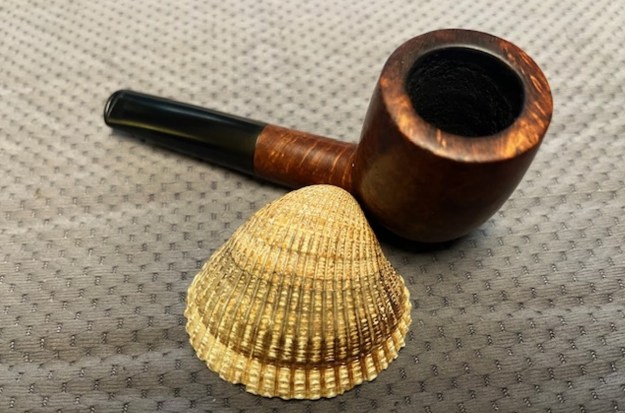
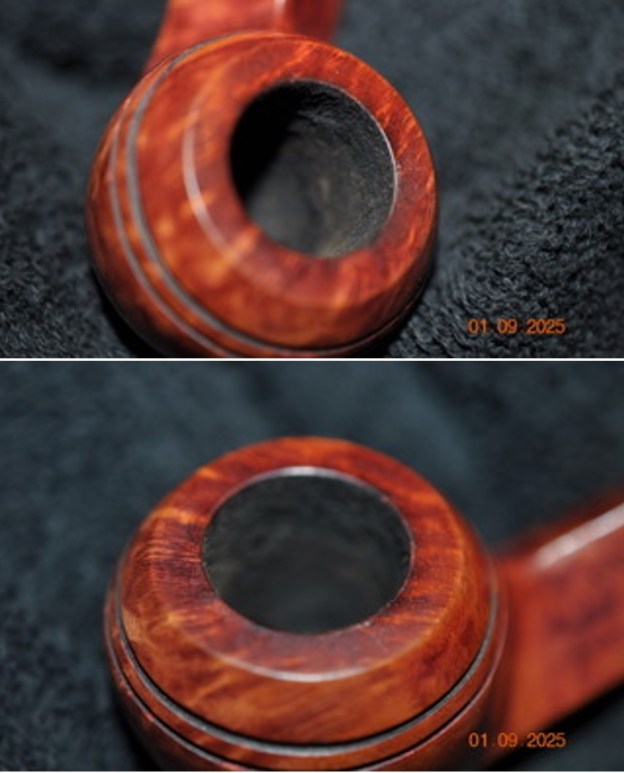
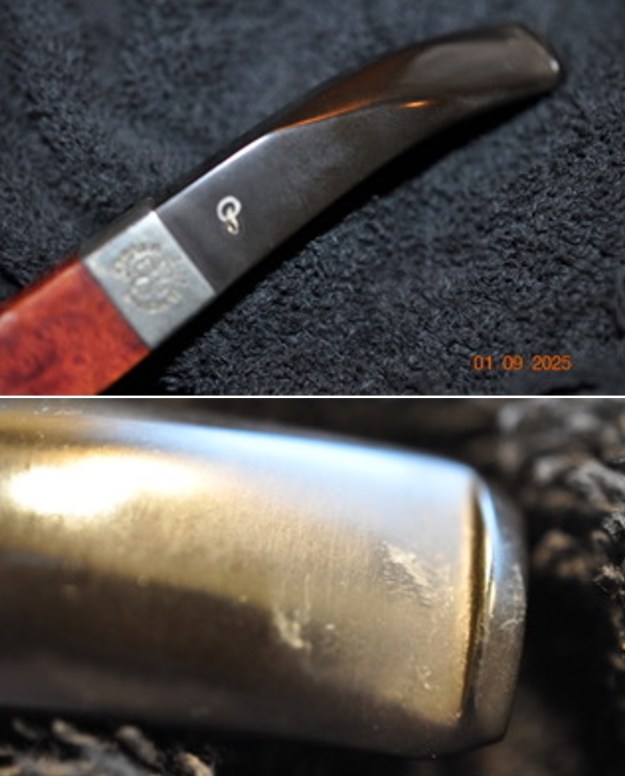
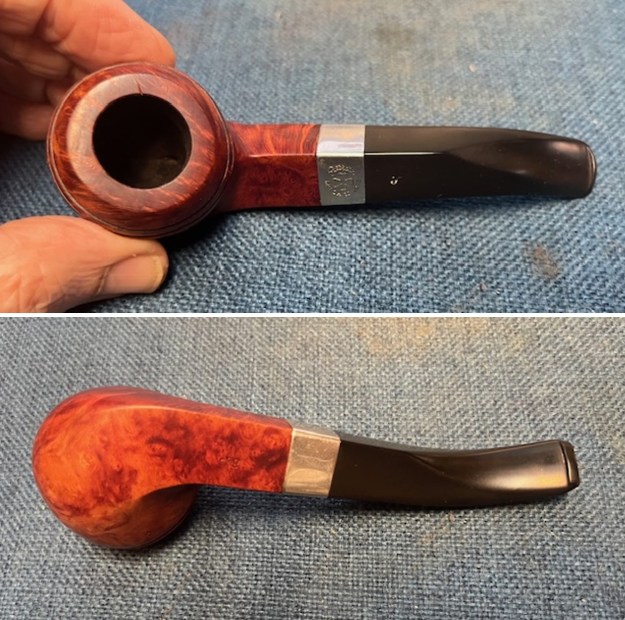
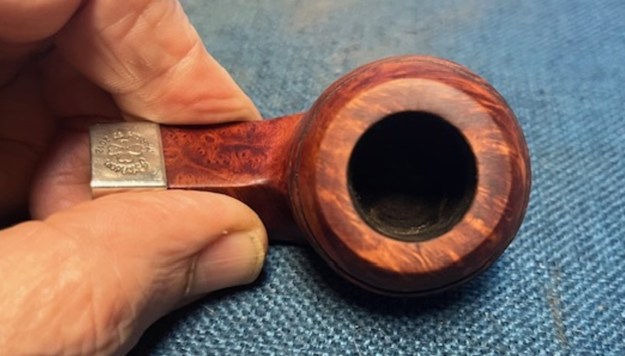
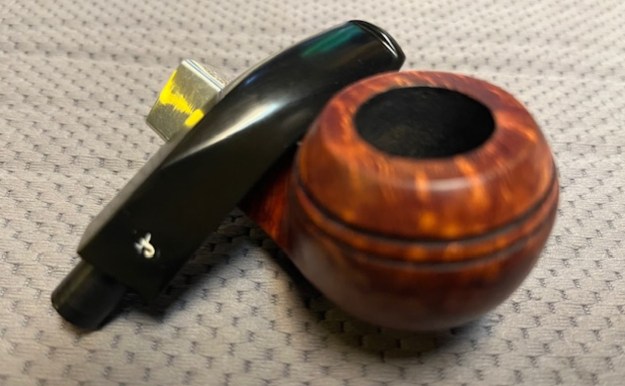
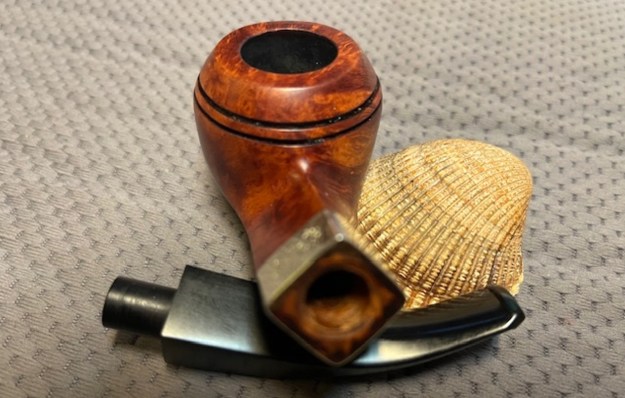
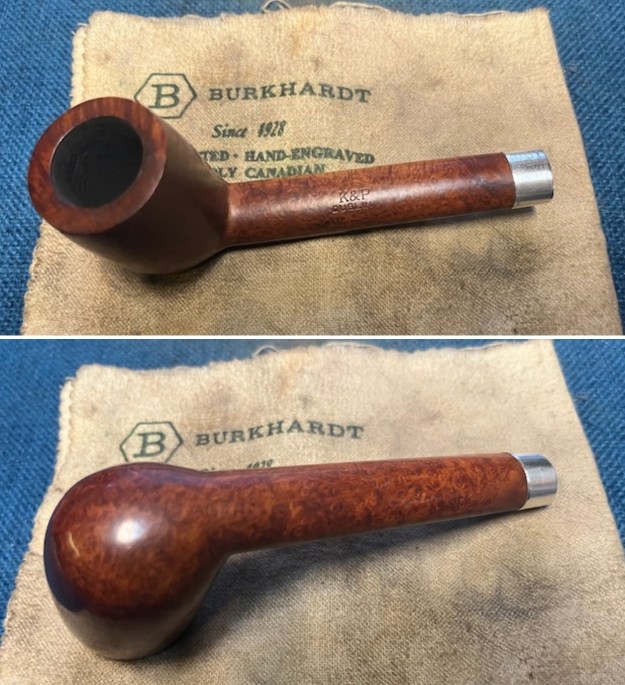
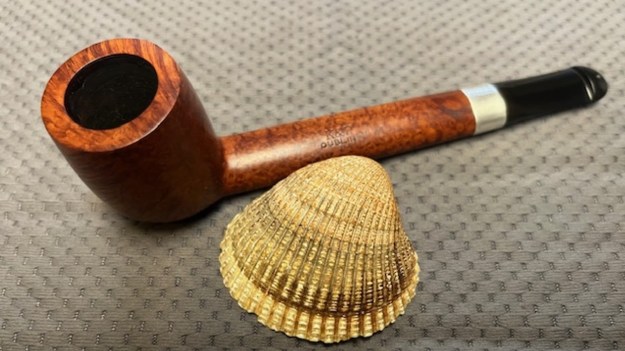
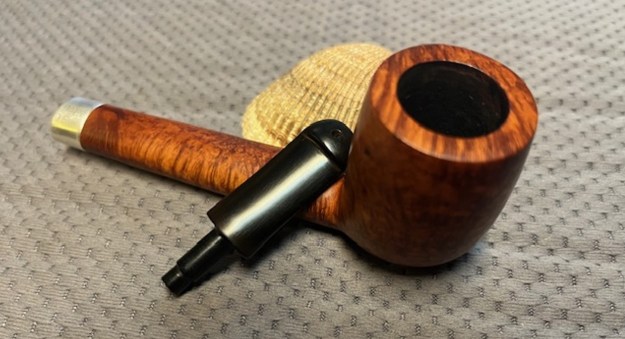
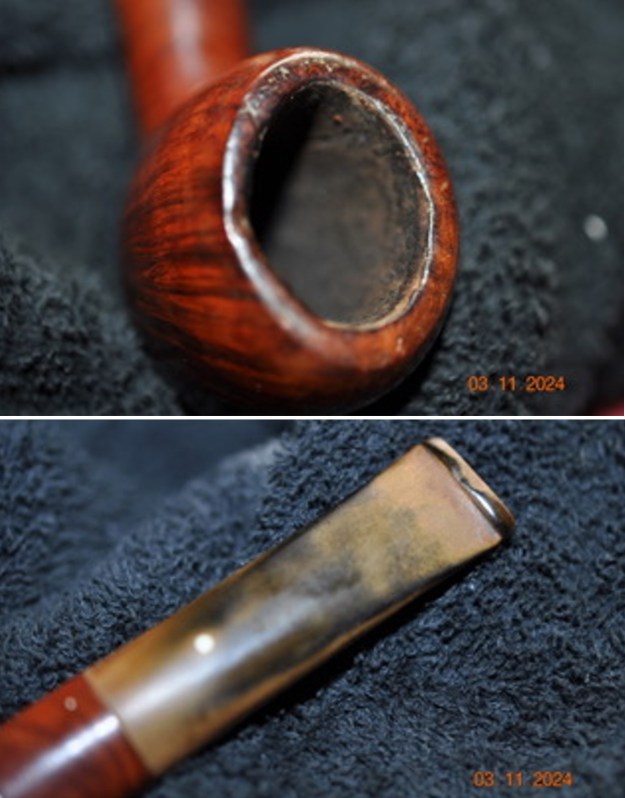
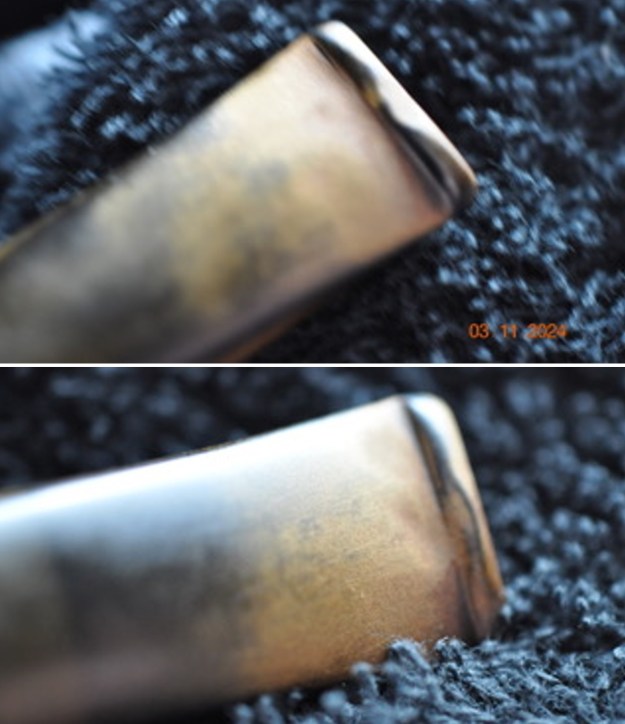
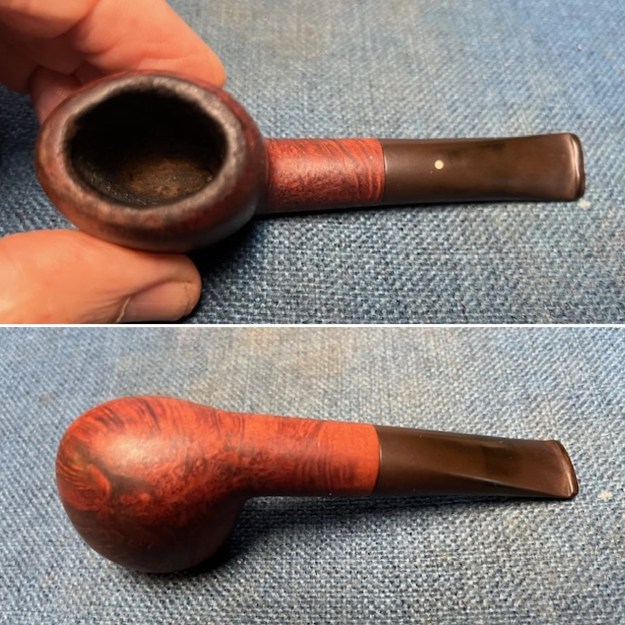
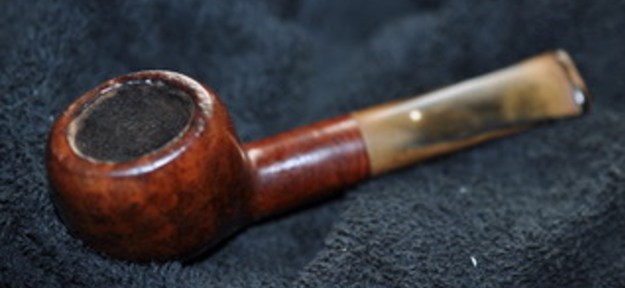 He took some photos of the rim top and bowl from various angles to give me a clear picture of the condition of the rim top and bowl. You can see the damage on the rim top and inner edge of the bowl. There is some lava on the rim top and edges as well as part of the cake in the bowl. He included photos that show the top and underside of the stem. It is as described above.
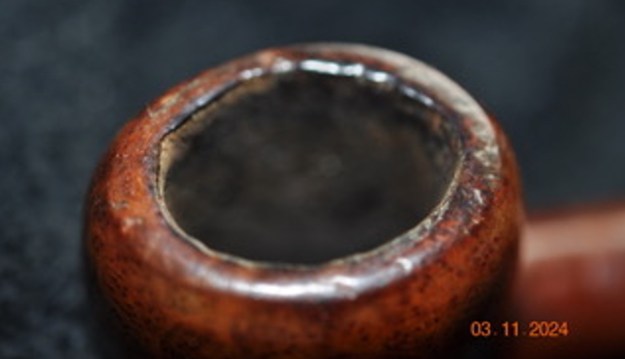
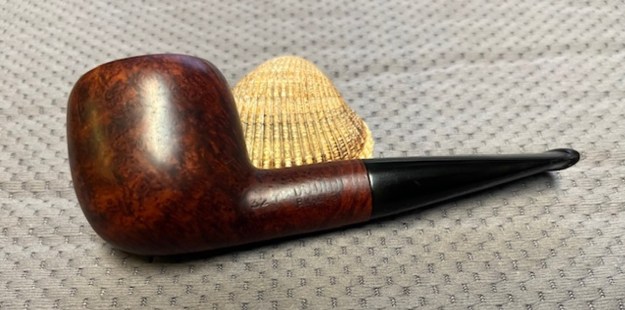
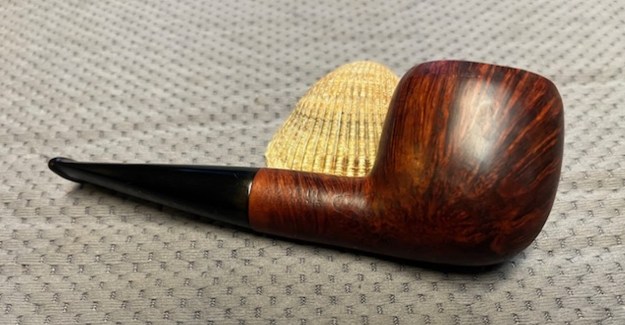
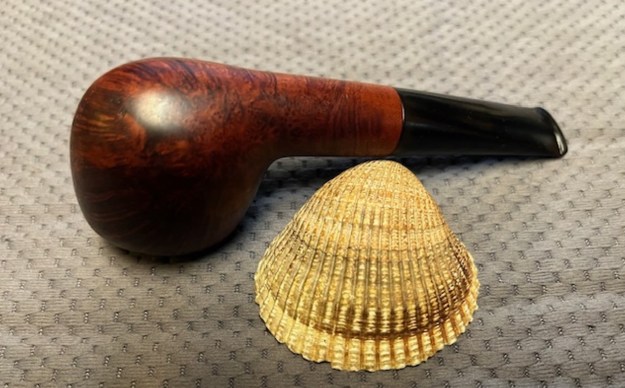
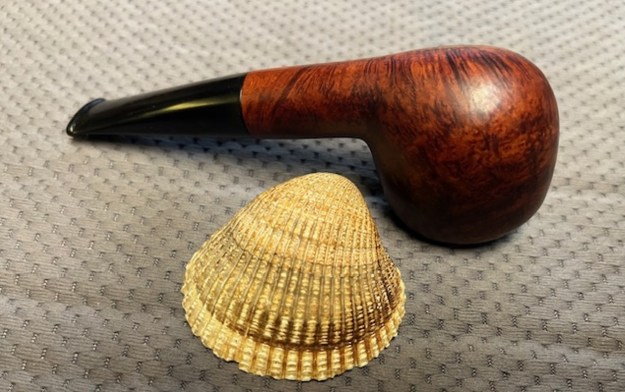
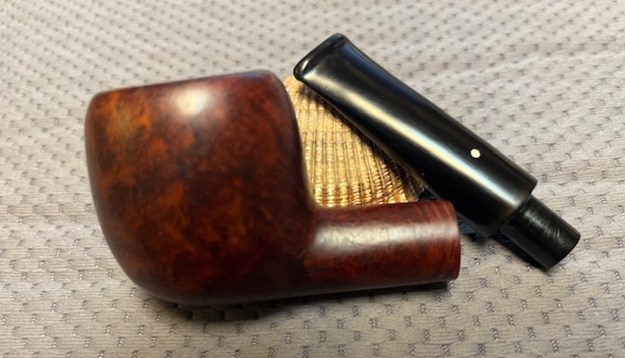
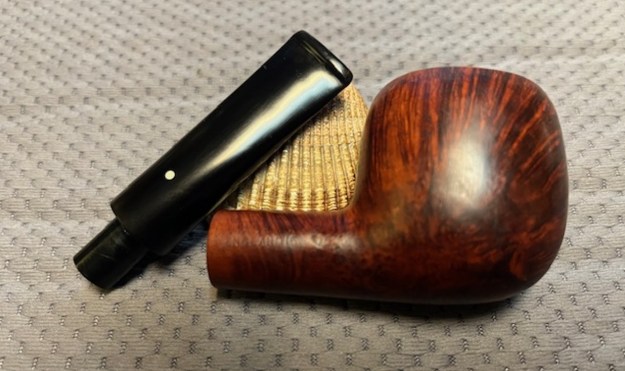
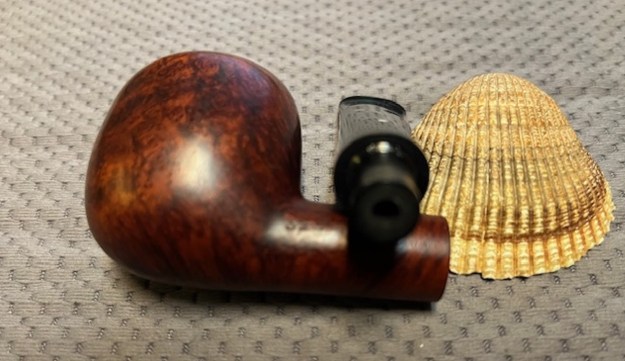
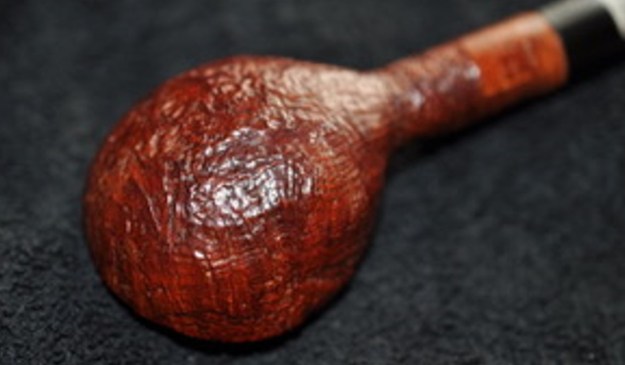
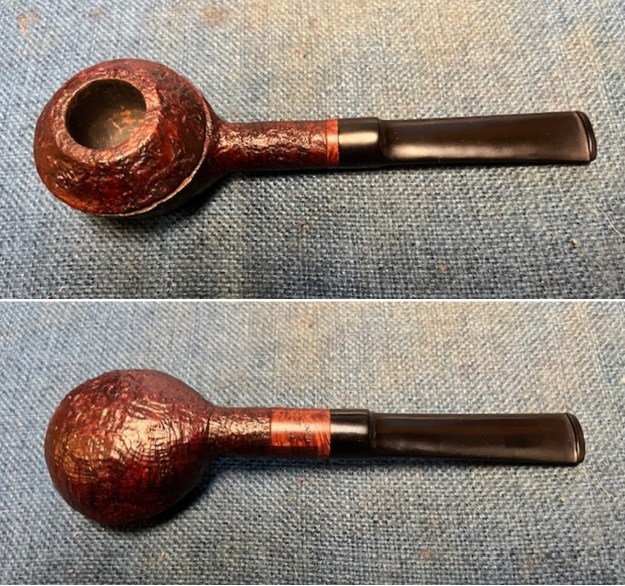
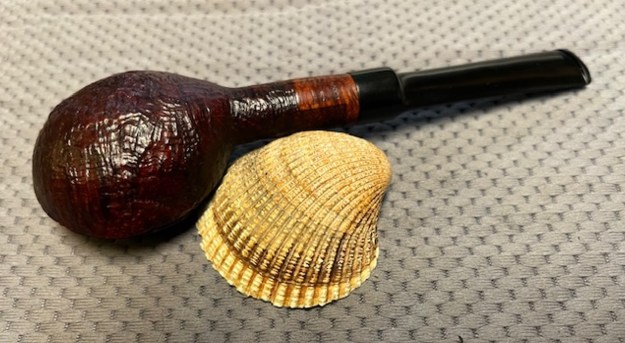
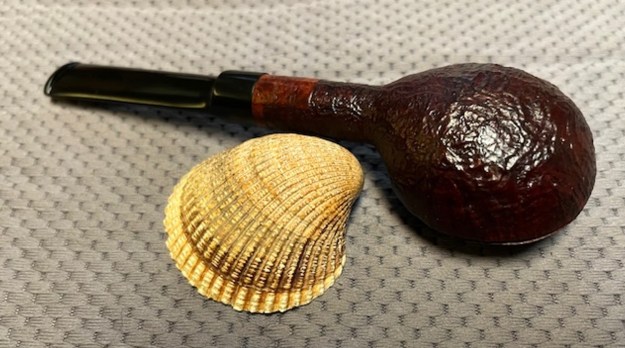
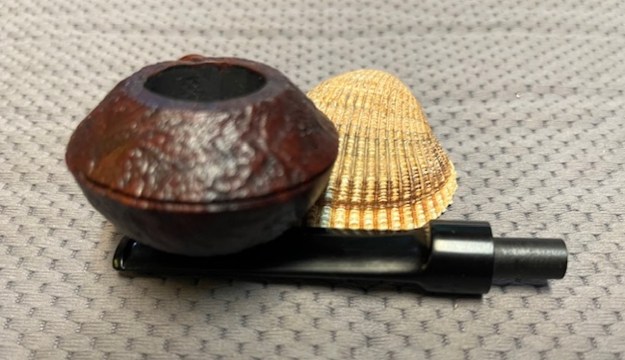
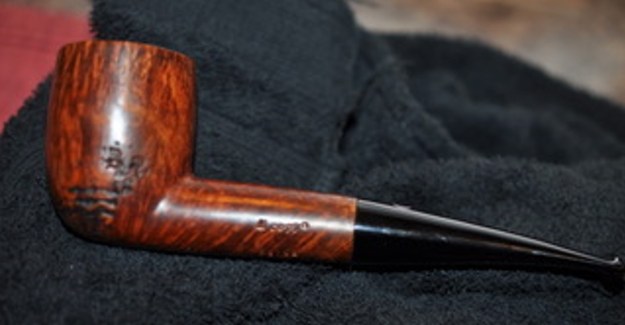
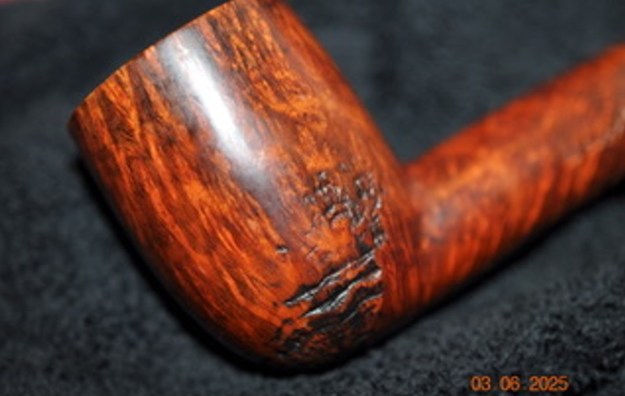
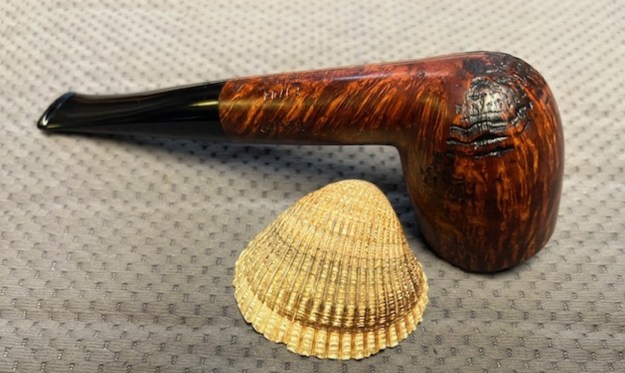
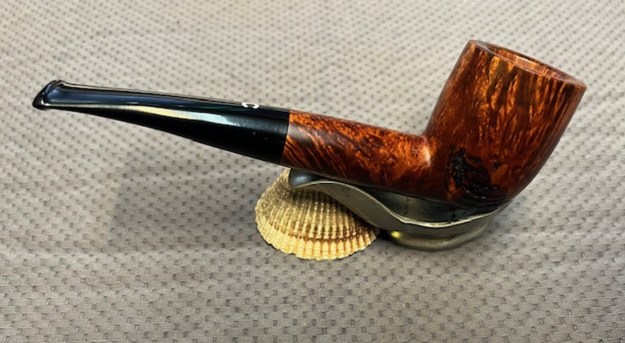
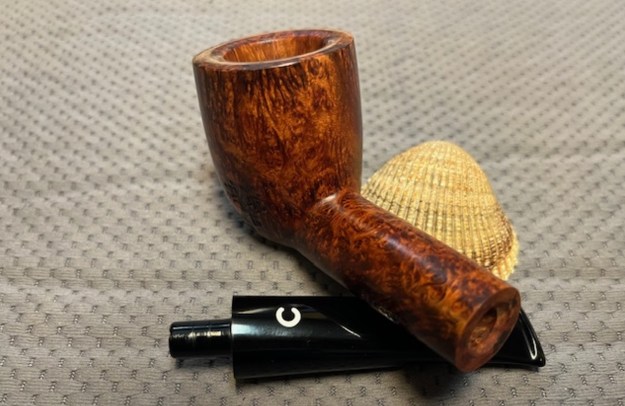
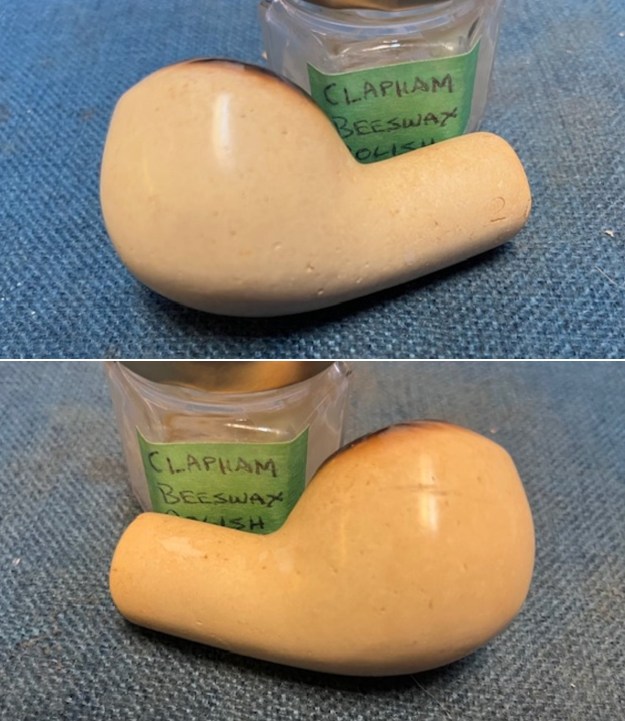
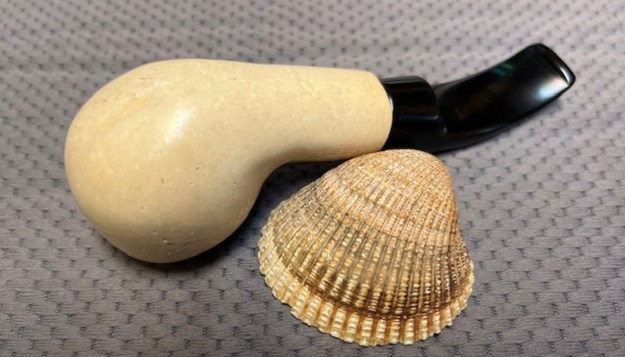
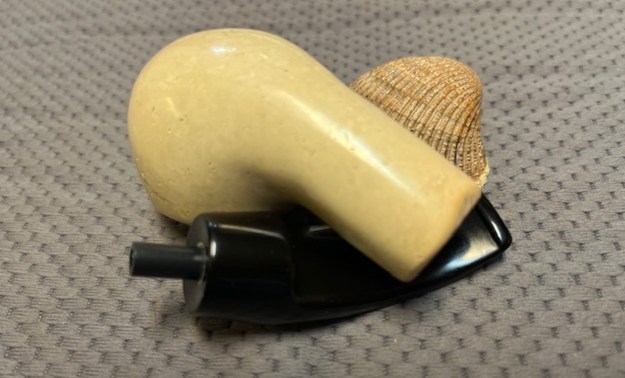
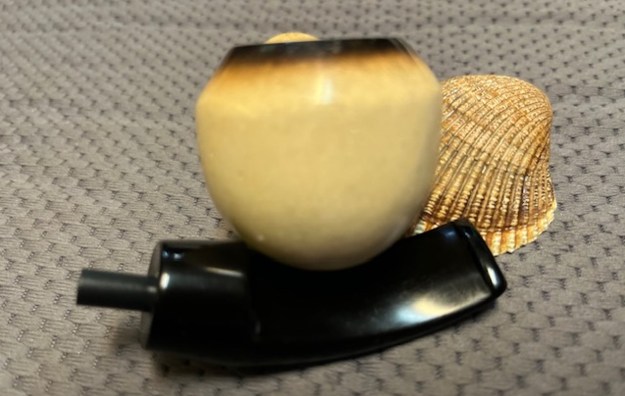
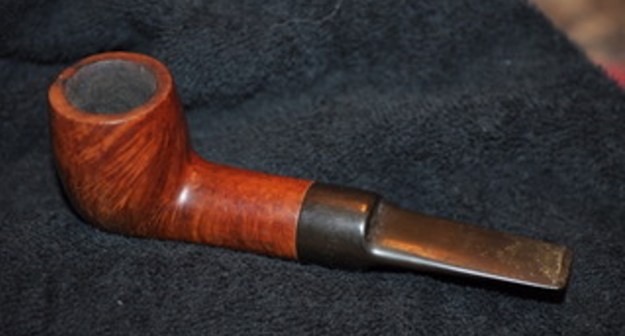
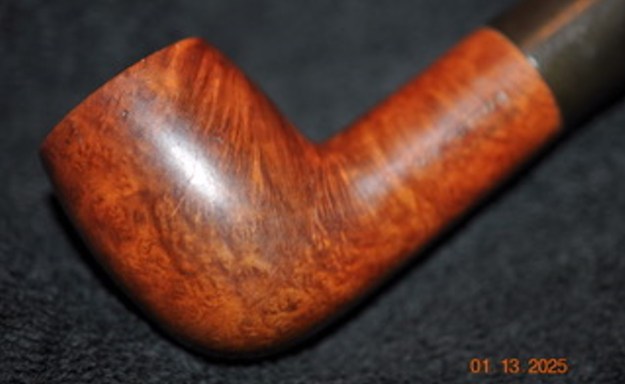
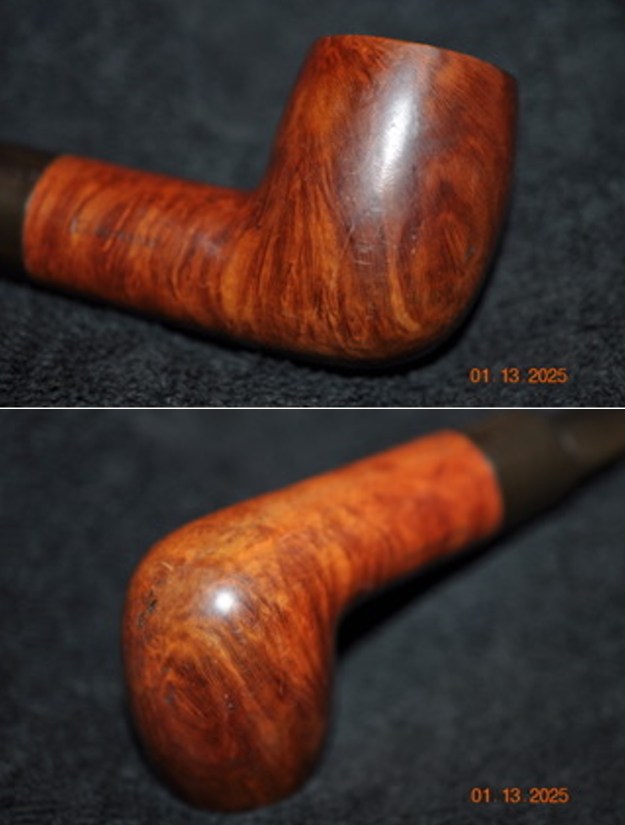
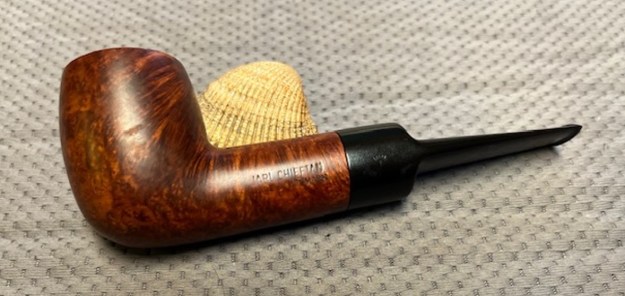
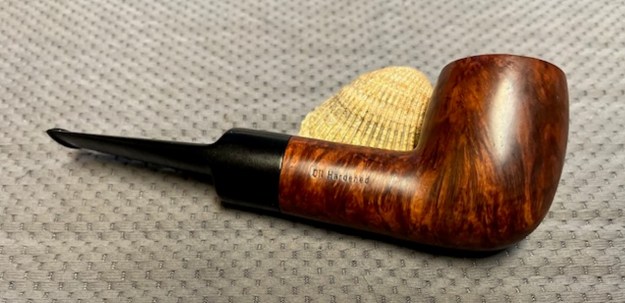
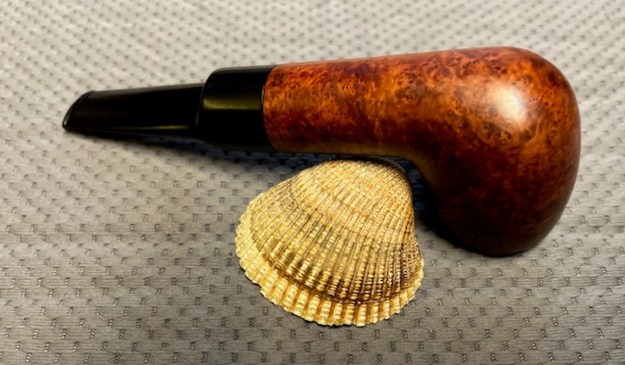
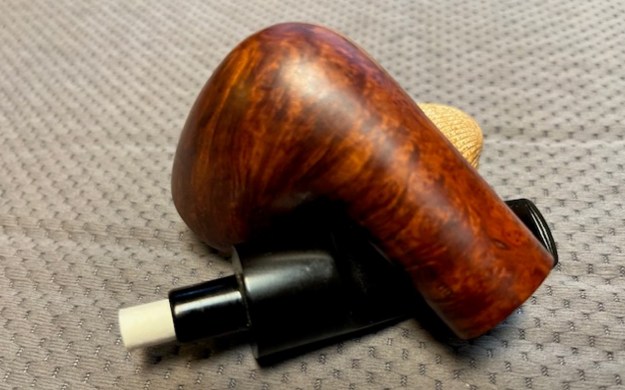
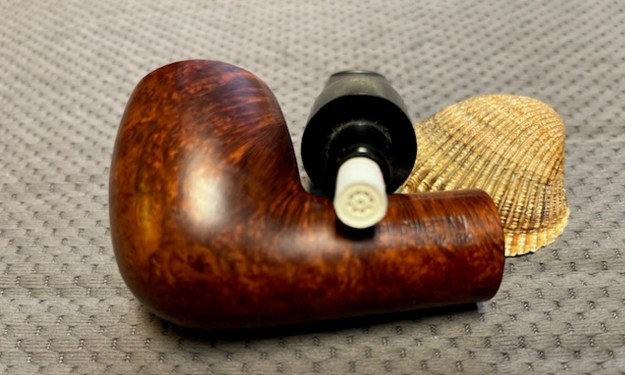
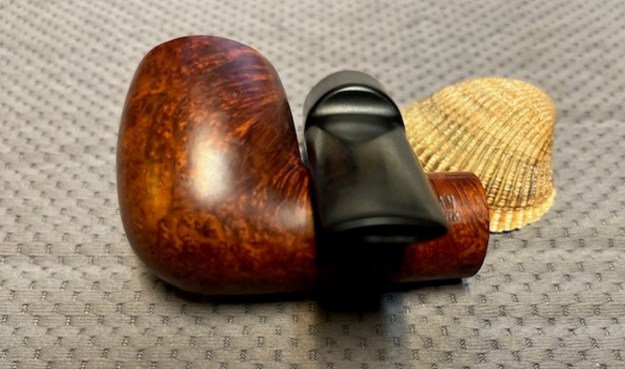
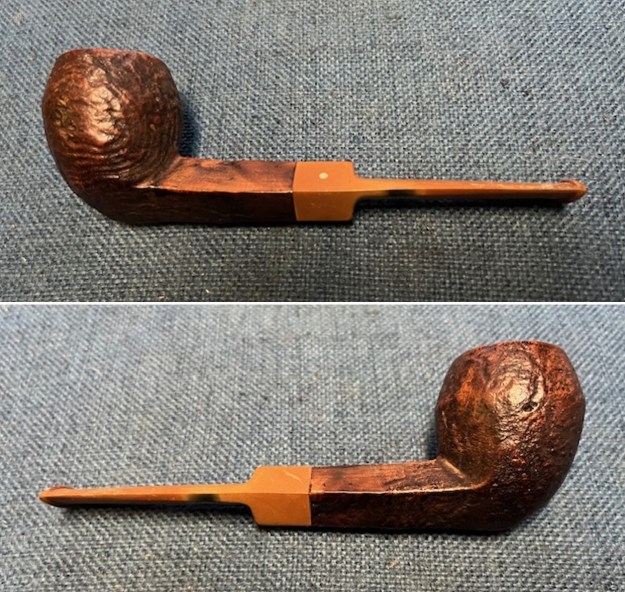
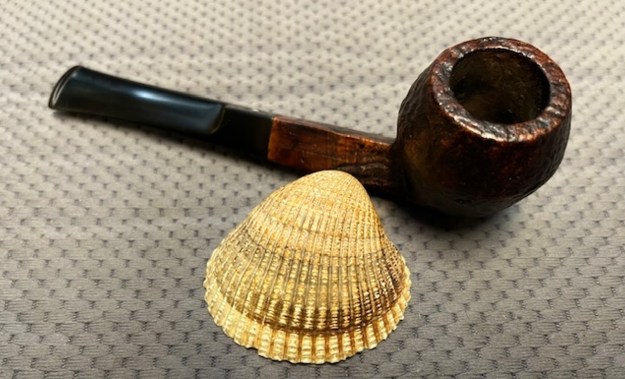
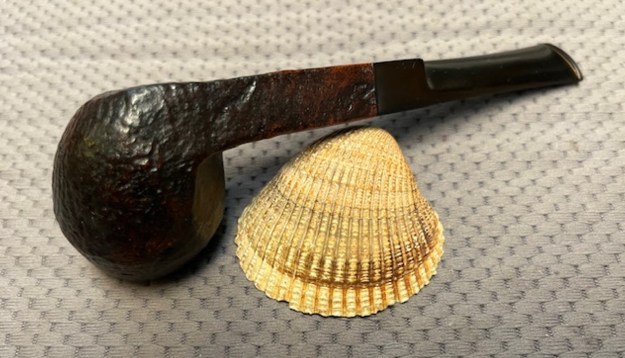
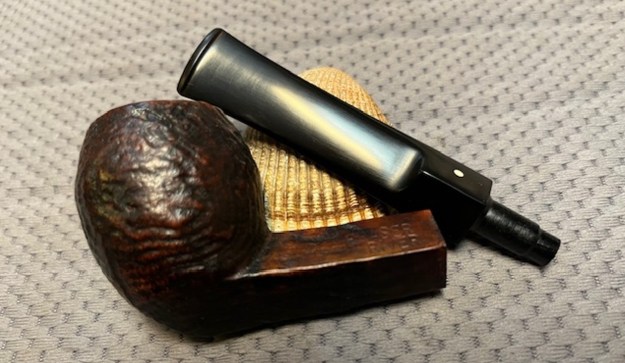
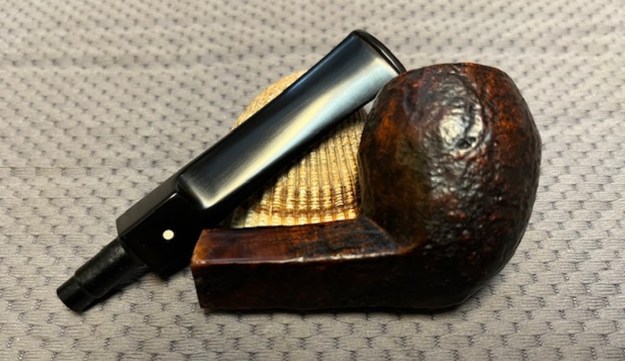
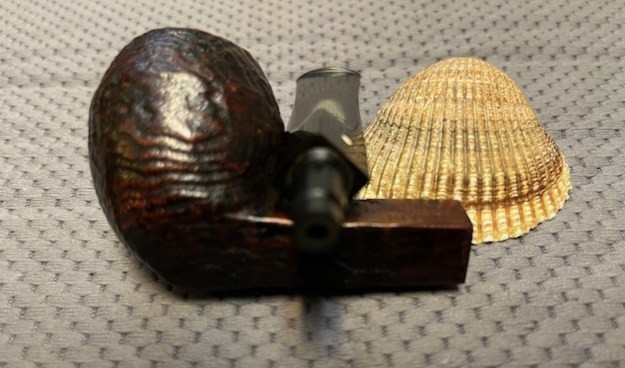
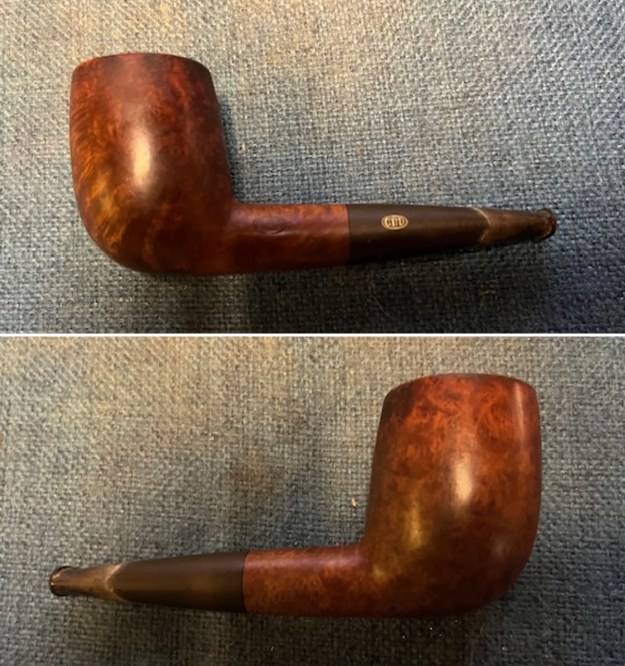
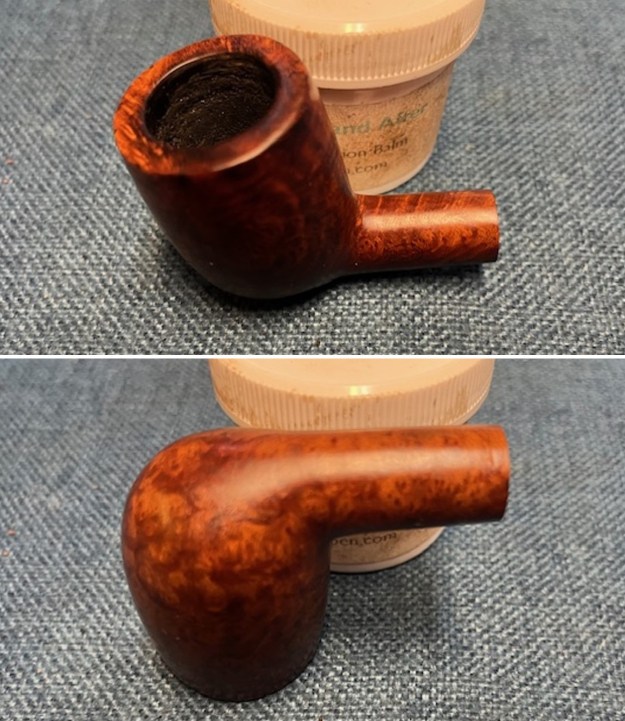
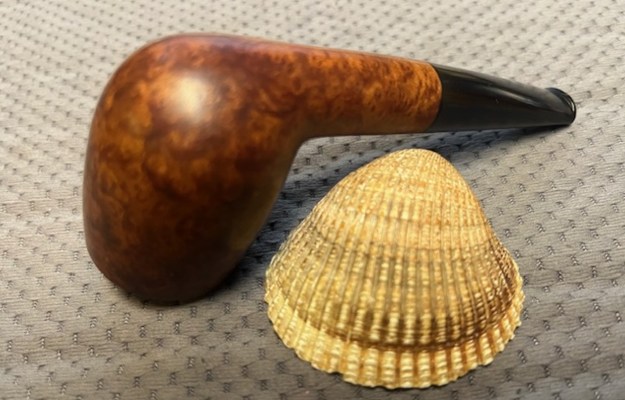
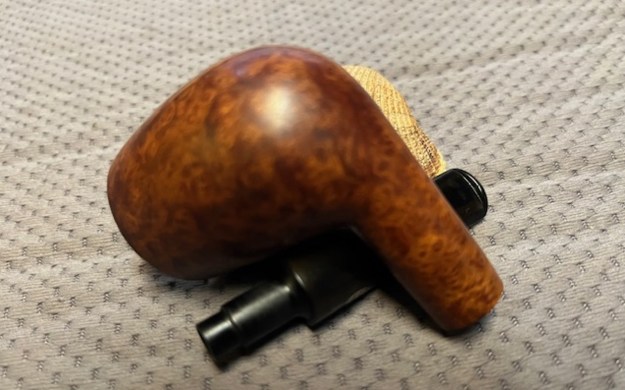
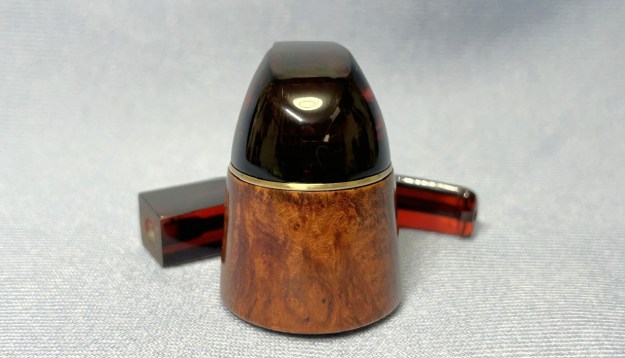
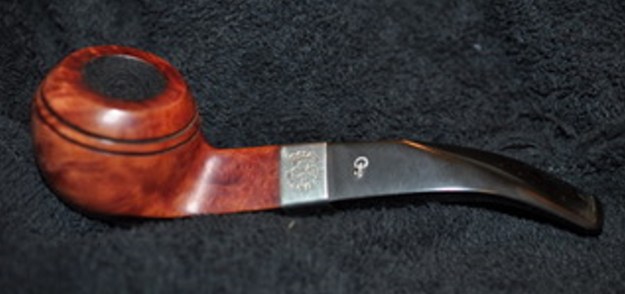
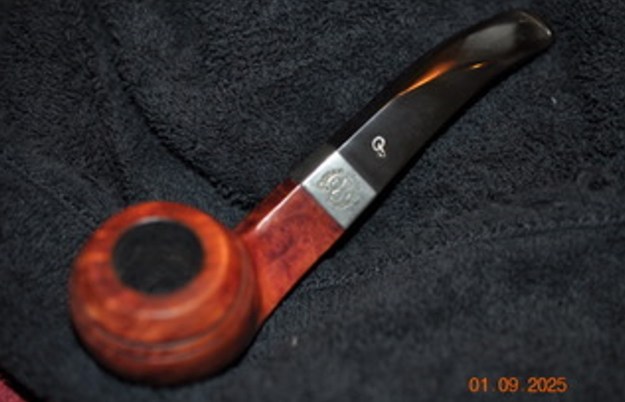
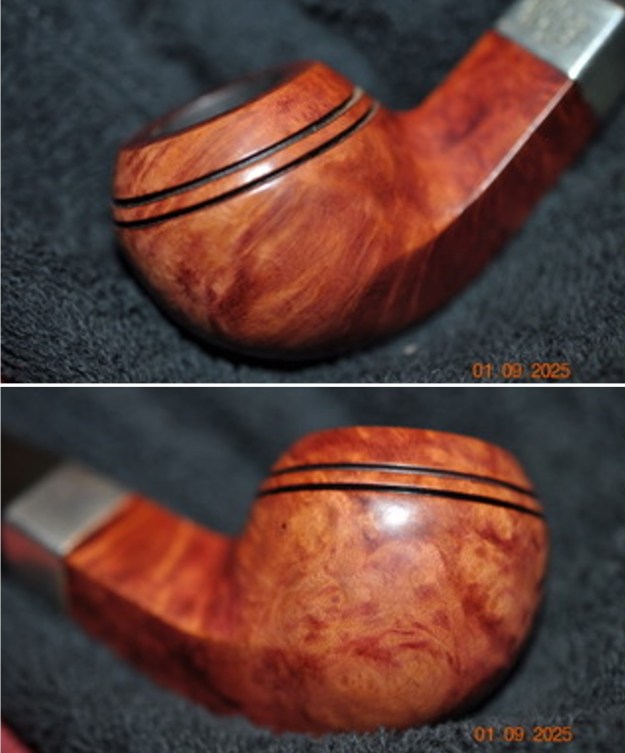
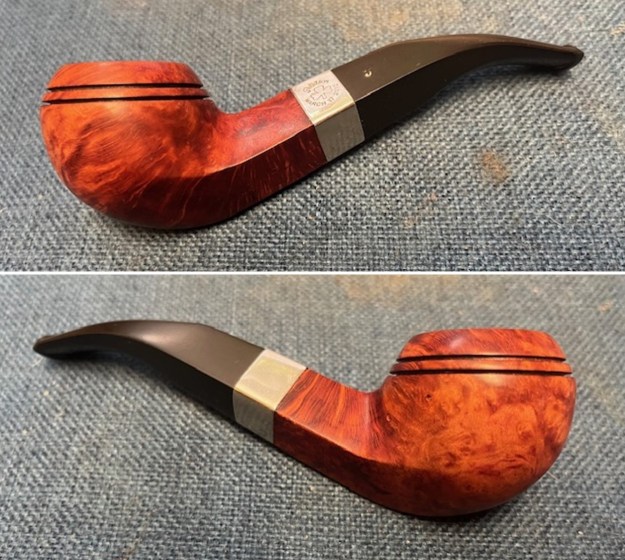
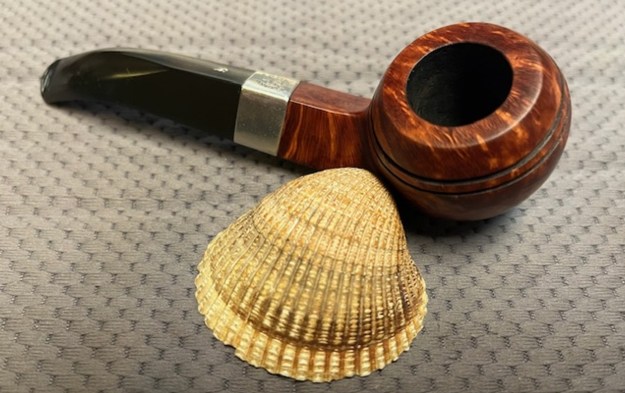
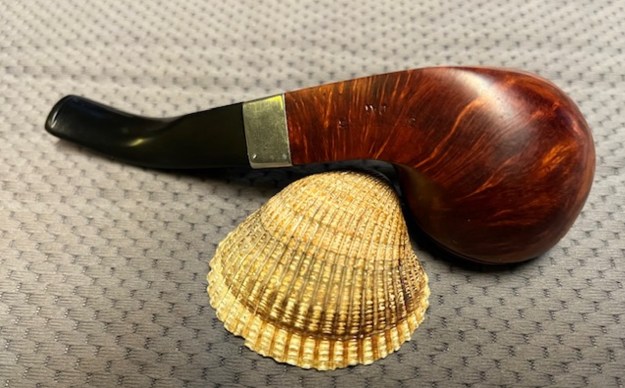
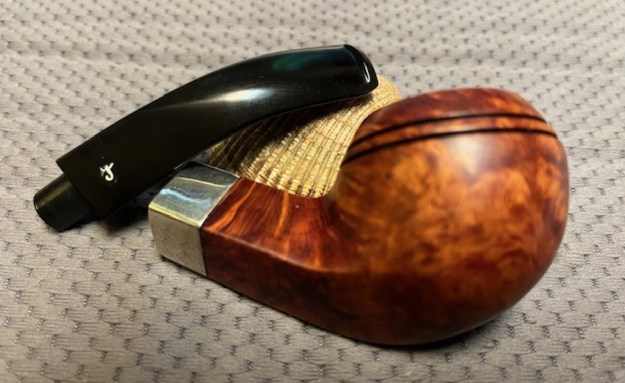
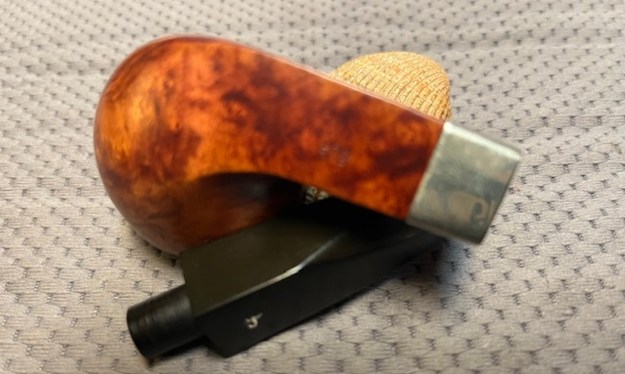
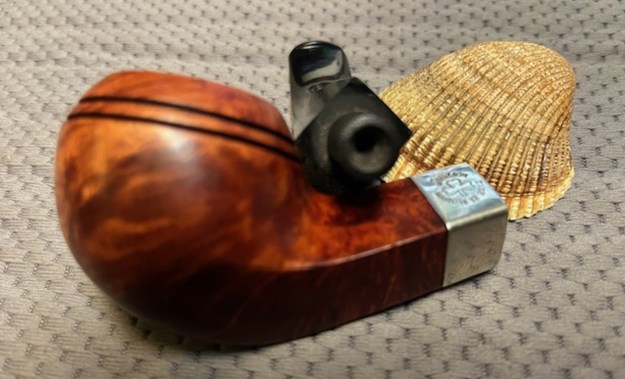
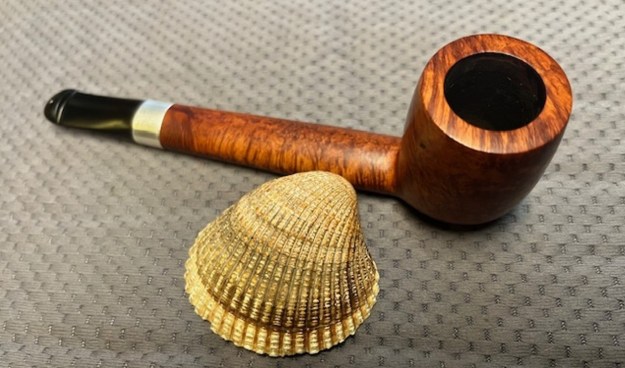
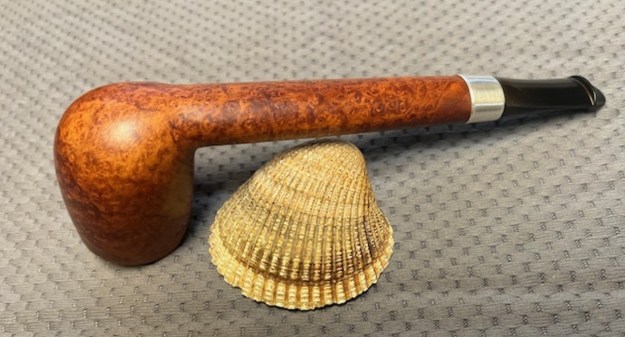
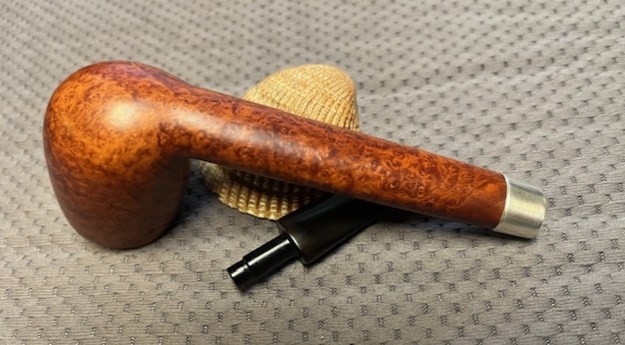
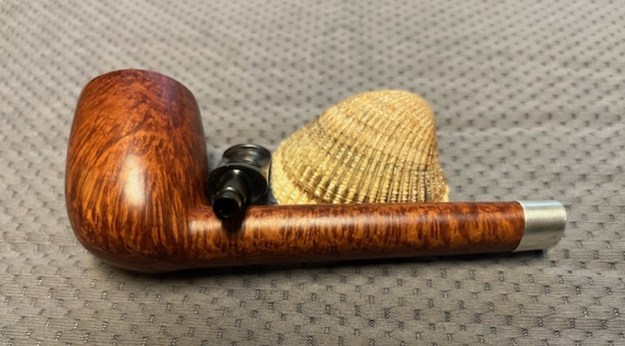
 Jeff took some photos of the sides and heel of the bowl to show the condition of the finish on the pipe. The photos showed some great grain around the bowl and shank. It is a great looking piece of briar.
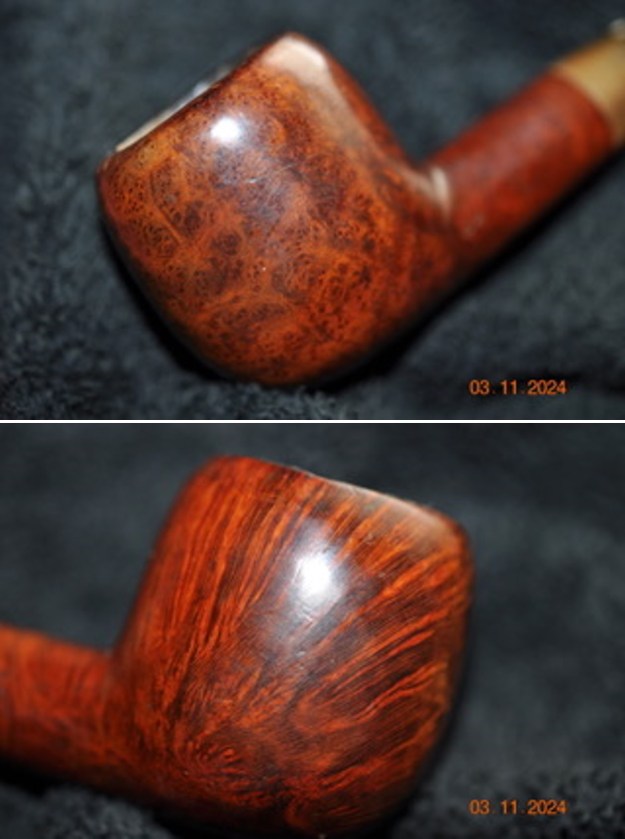
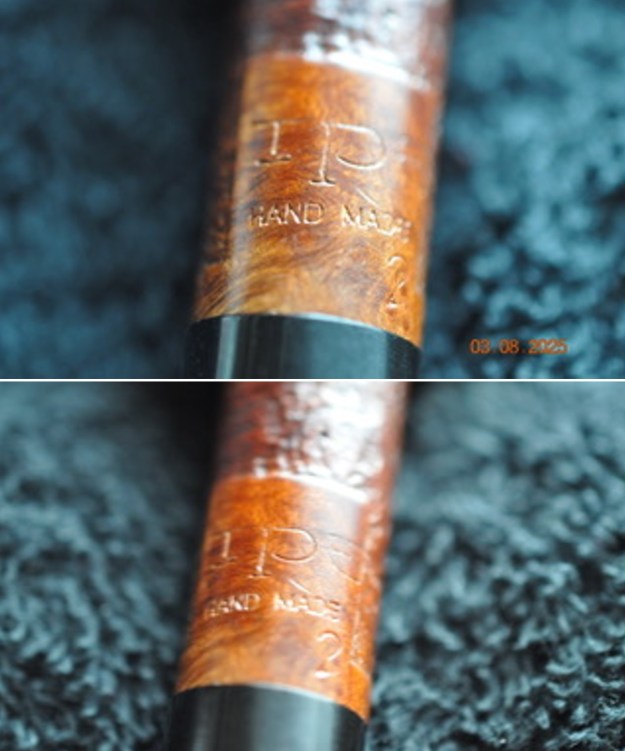
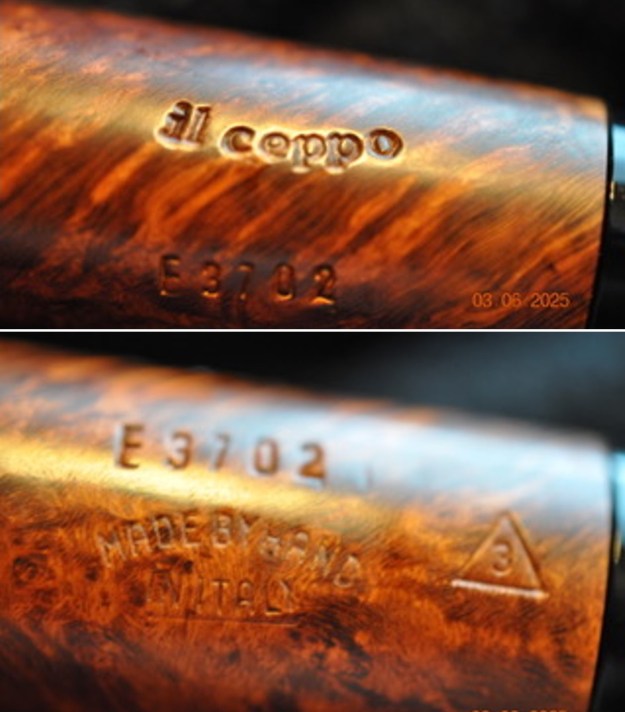
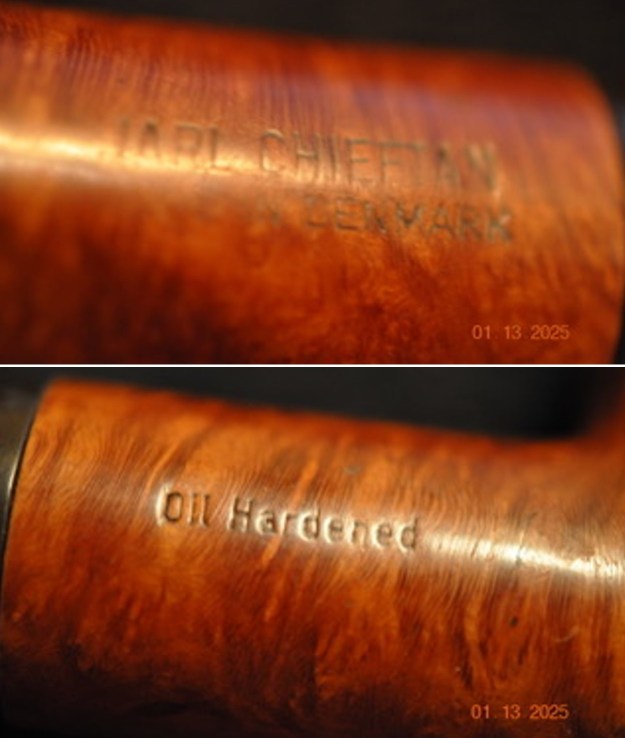
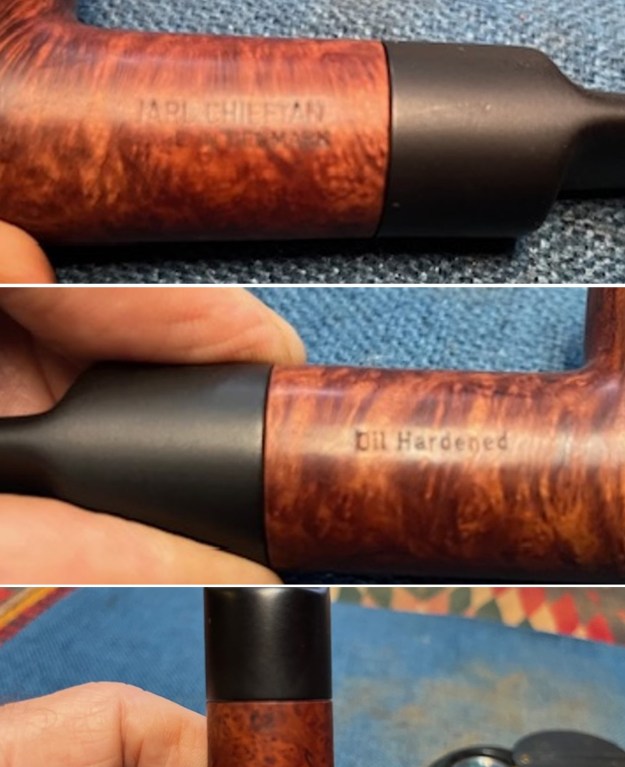
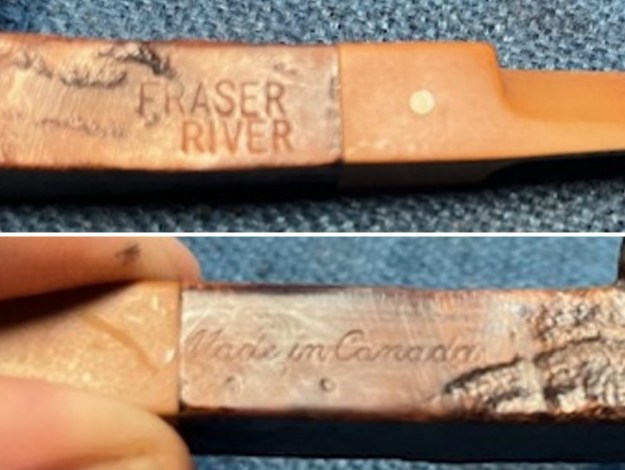
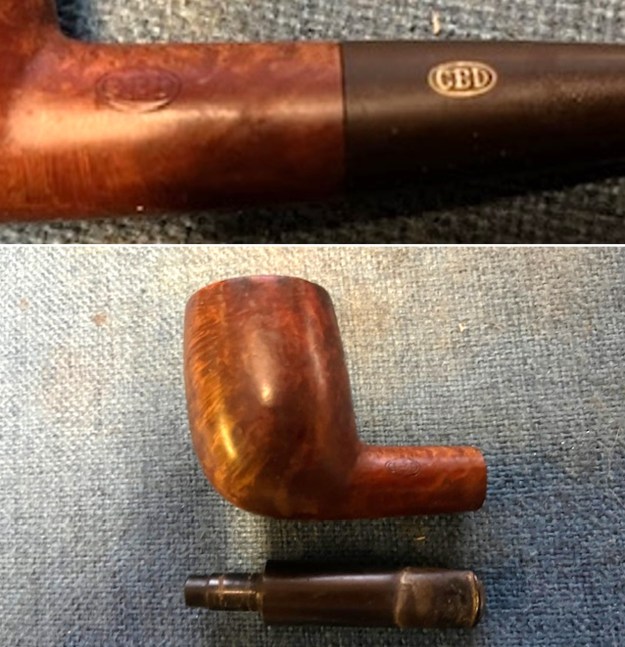
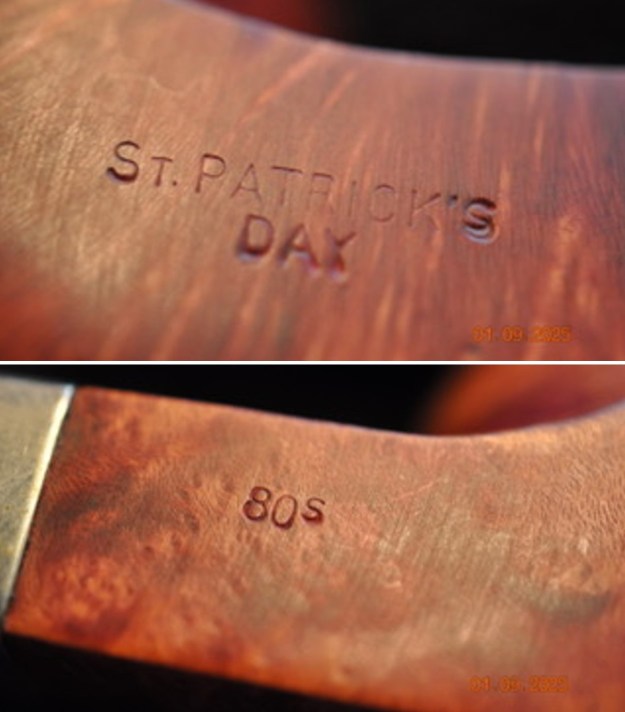
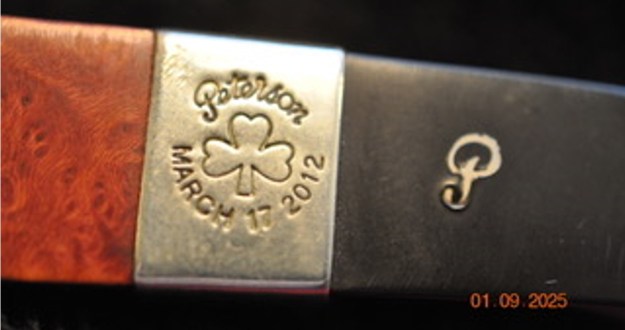
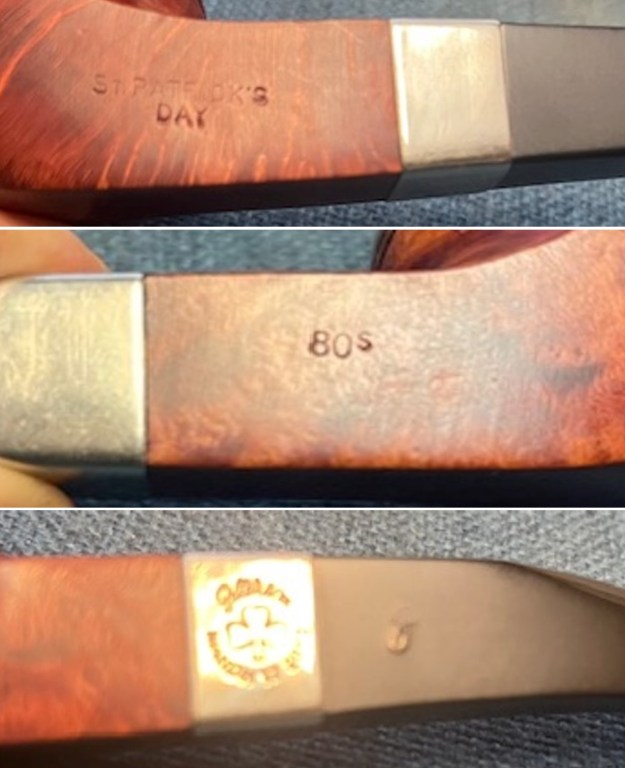
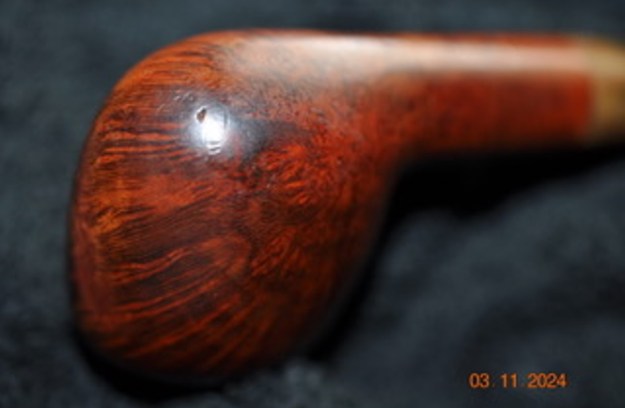 He took some photos of the stamping on the sides of the bowl and shank. The stamping was clear and readable as noted above.
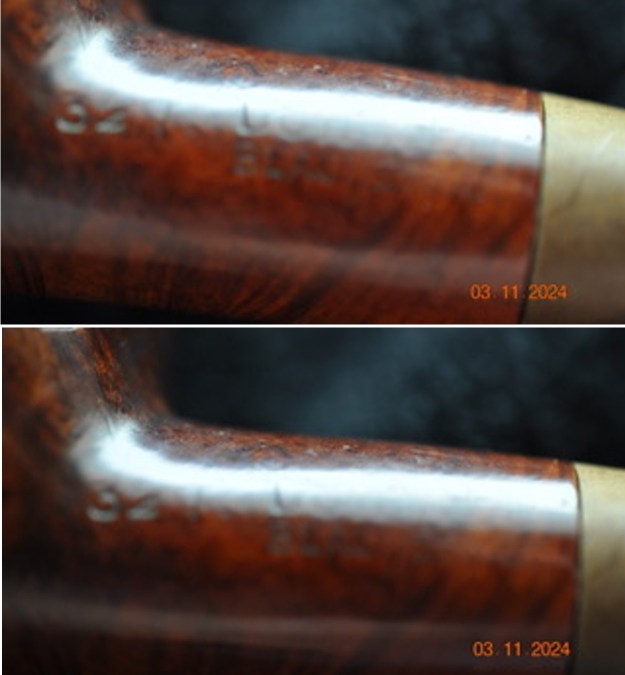
 As is my regular practice, before I started my work on the pipe, I turned to Pipedia’s section on Dunhill Bruyere Pipes to get a refresh the information I know regarding the Dunhill Black Briar and Dress pipe finishes (https://pipedia.org/wiki/Dunhill#Black_Briar_&_Dress). I quote:
Black Briar & Dress
Black Briar is a smooth dark finish with vein contrasted in black introduced in 1970 and renamed the DRESS in 1979.
Dress – introduced in 1979. The Dress is a black smooth finish designed to look elegant with a tux or other formal ware – refined and sophisticated. A smooth jet-black stain with a silver band and a black mouthpiece that give to this line of pipes the distinctive elegance that has come to be associated with the Dunhill name.
I looked further on Google and found some other links that helped with the Black Briar finish (https://pipetobacco.cc/dunhill-c-1_8/dunhill-black-briar-3113-2018-p-3109.html). I quote from the first of those sites.
The Black Briar shares origins with Dunhill’s Dress finish, first introduced in 1973 and characterized by a smooth, ebony finish. In 1979, though, the English marque renamed the line “Dress” with the addition of sterling silver, contributing to what would later become known as the dress-pipe style. That said, The White Spot still produces Black Briar pipes, though on a considerably less frequent basis. They share the same finish as Dunhill’s Dress pipes but forego the silver accent for a more reserved presentation of elegance and class, lending this pipe a distinctly formal aesthetic that’s ready for any black-tie affair.
A second site that I checked on google was on smokingpipes.com and included some additional details (https://www.smokingpipes.com/pipes/new/dunhill/moreinfo.cfm?product_id=214708). I quote from a paragraph by Daniel Bumgardner
Black Briar is a Dunhill line that has enjoyed something of a storied history. It seems to have first appeared around the same time as the Dress (maybe a few years later) sharing the same ebony finish but without accents. It continued from there as a rarity, appearing to be the moniker given to those ebony-finished briars which wore accents other than the Dress series’ sterling silver bands…. – Daniel Bumgardner
I turned to Pipephil’s dating guide to show how I arrived at the date of manufacture for this pipe (http://www.pipephil.eu/logos/en/dunhill/cledat-en1a.html). I am including the chart that is provided there for the dating a pipe. I have drawn a red box around the section. Since the pipe I am working on has a superscript suffix 15 after the D in England it points to the 1960 line on the chart below. To date it just add 1960 +15 for a date of 1975. I have drawn a red box around the pertinent section in the chart.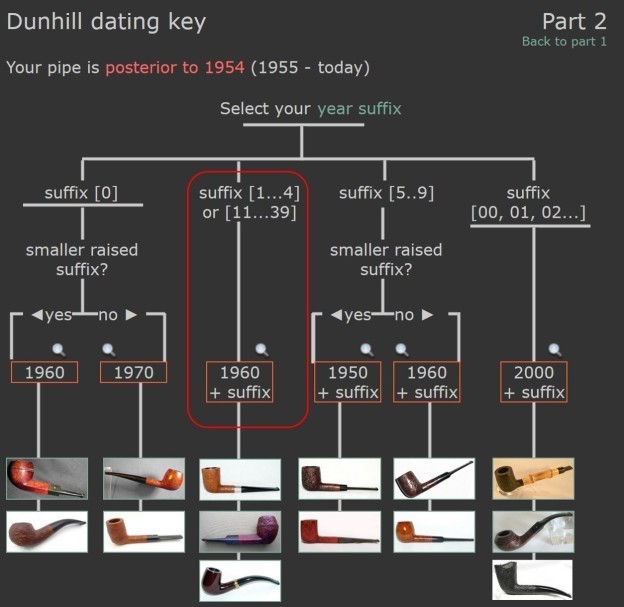 I now knew that I was working on a Black Briar Pipe that came out in 1975. The shape of the pipe is called a smooth Billiard with a 32 Shape number on the left side of the bowl told me it was a Dress pipe or an Opera shape.
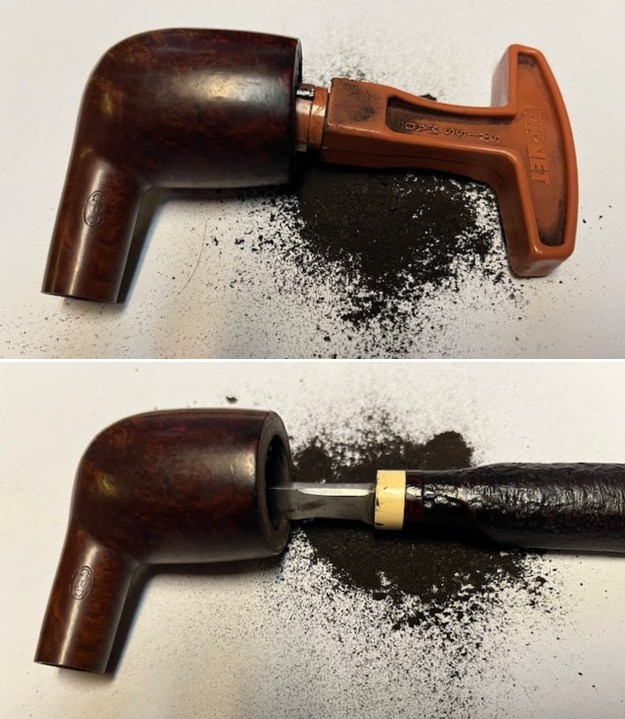
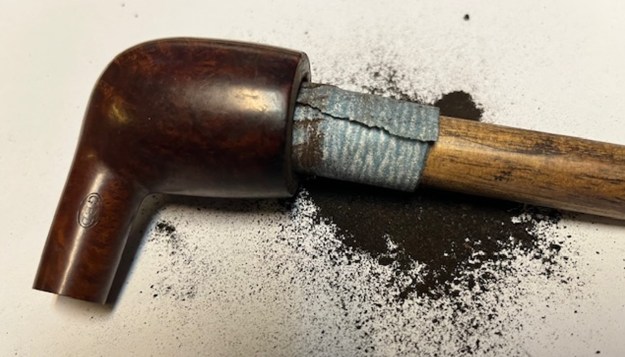
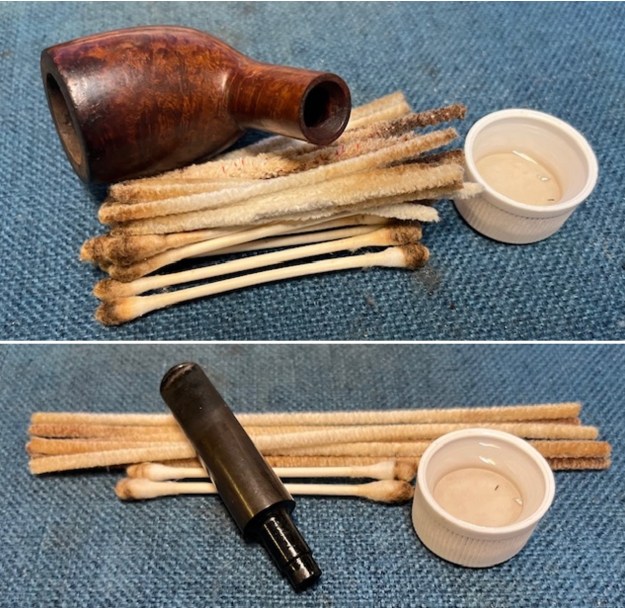
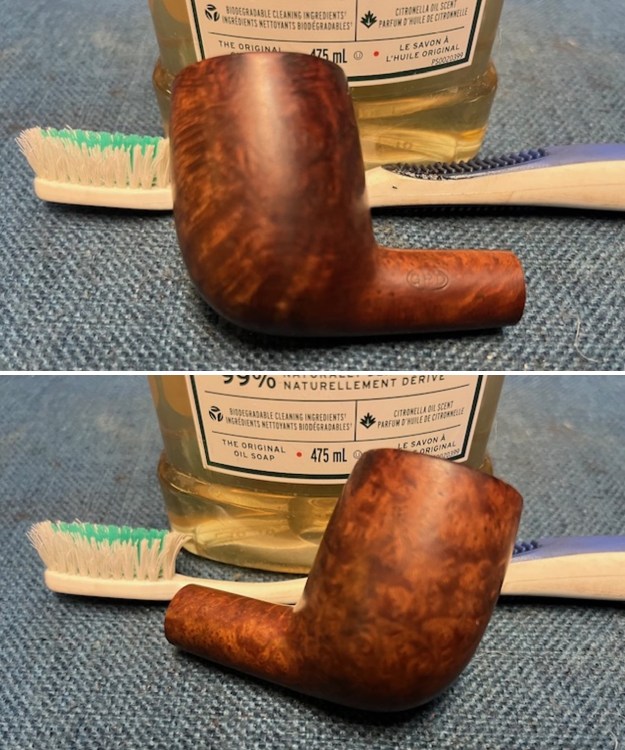
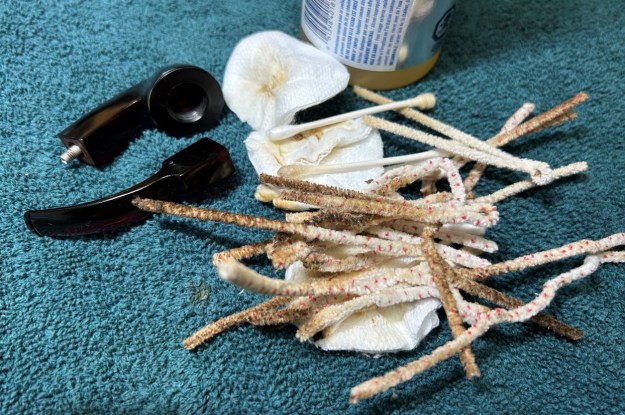
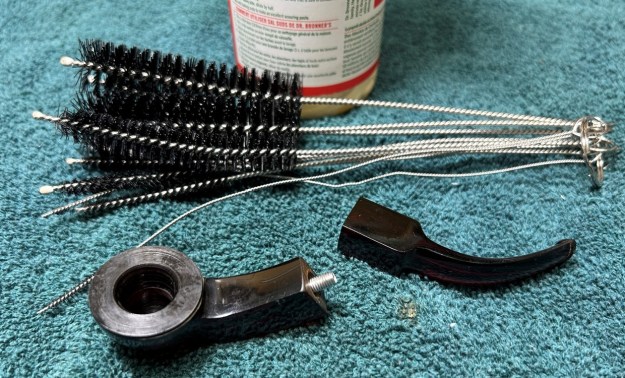
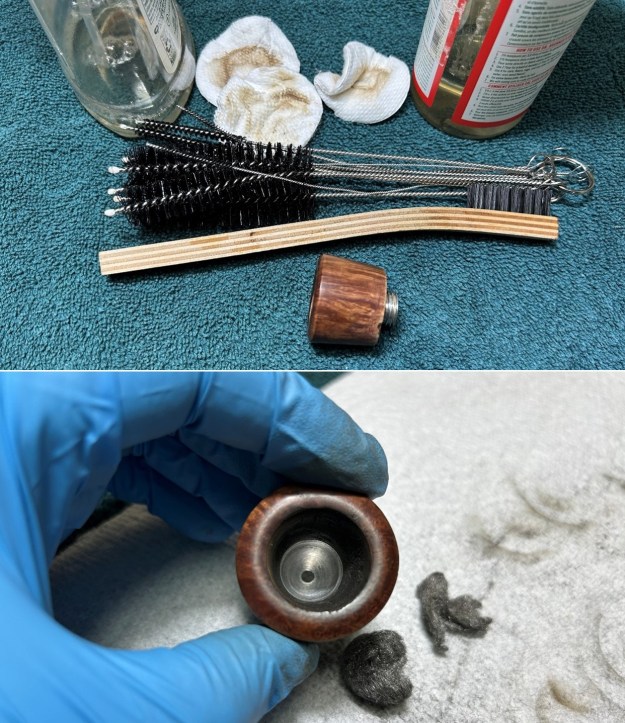
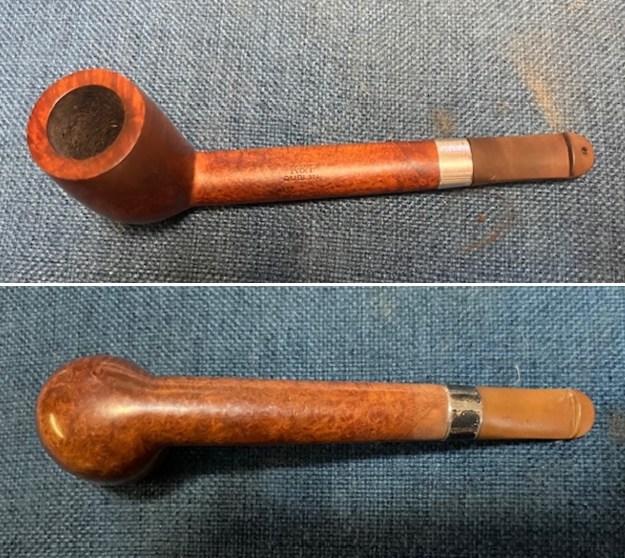
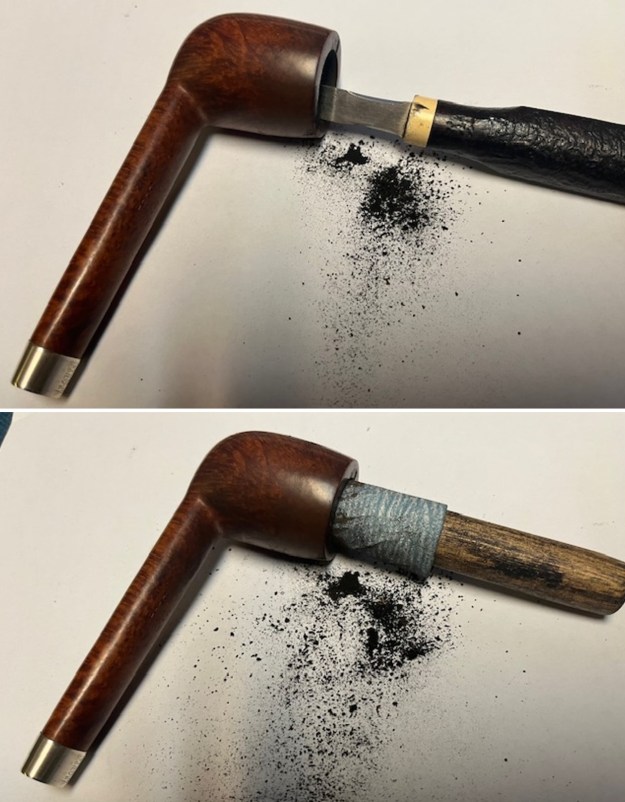
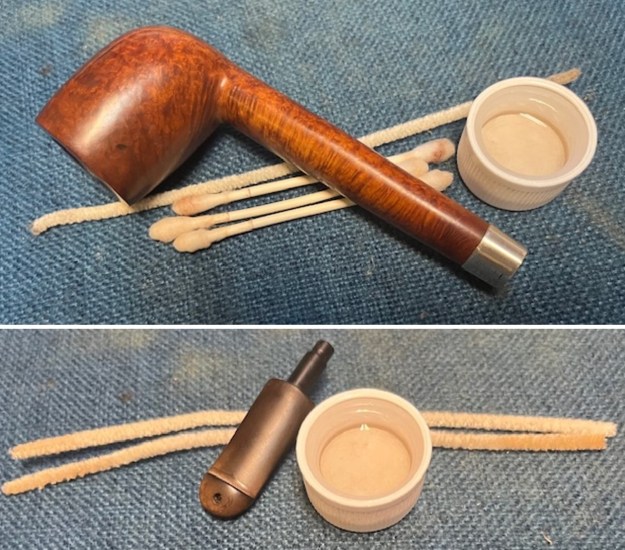
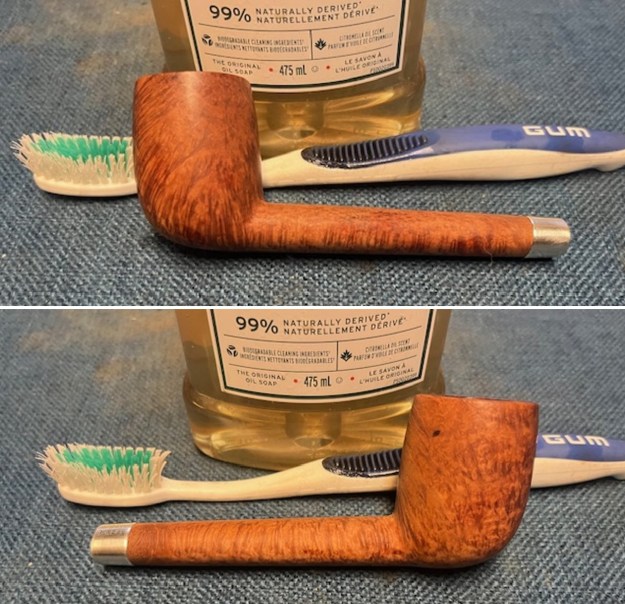
Armed with that information I turned to work on the pipe itself. Jeff had done a great job cleaning up the pipe as usual. He cleaned up the inside of the bowl with a PipNet reamer and a Savinelli Fitsall Pipe Knife. The rim top shows some damage on the top and the inner edge of the bowl. The bowl walls looked very good. He scrubbed the interior of the bowl and shank with pipe cleaners, cotton swabs and alcohol to remove the tars and oils. He scrubbed the exterior of the pipe with Murphy’s Oil Soap and a tooth brush to remove the grime from the finish. He worked on the rim top lava and darkening with the soap and tooth brush. He scrubbed the inside of the stem with alcohol and pipe cleaners. He scrubbed the exterior with Soft Scrub and then soaked it in Briarville’s Pipe Stem Deoxidizer. He washed it off with warm water to remove the deoxidizer. Now the damage to the stem was very clear. Overall, the pipe looked far better. I took photos of the pipe when I received it before I started working on it. 
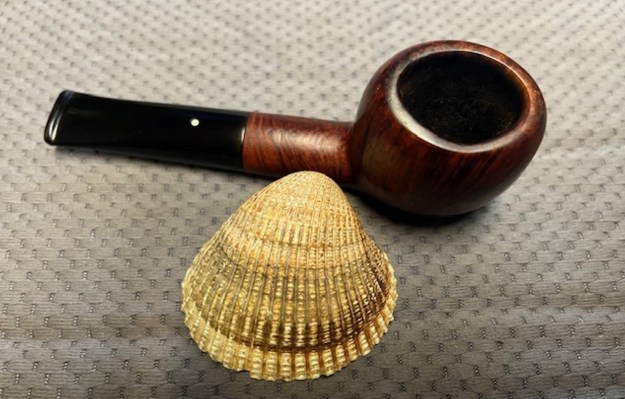
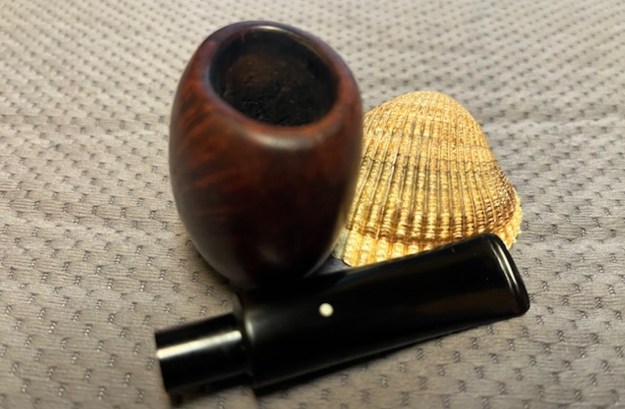
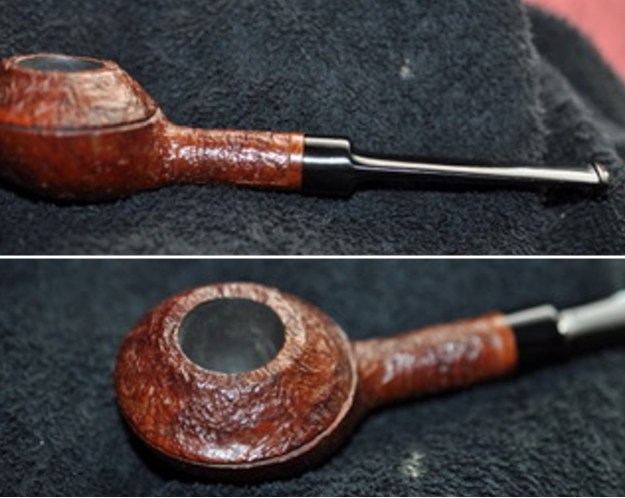
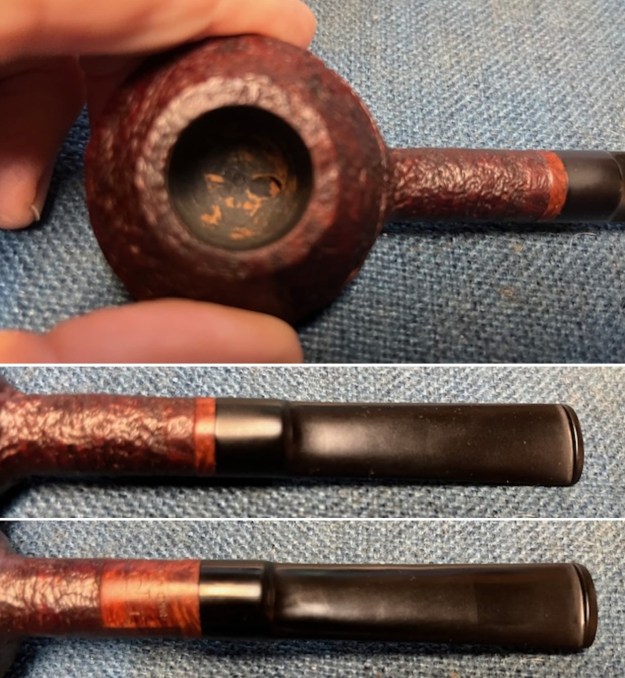
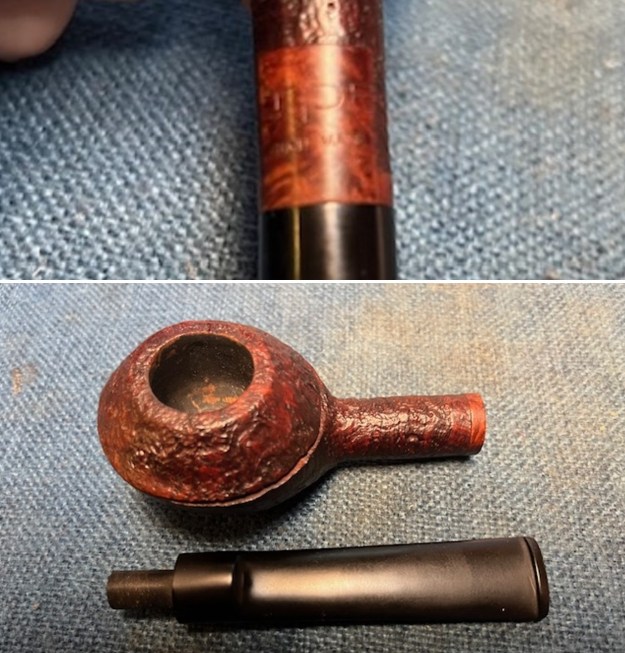
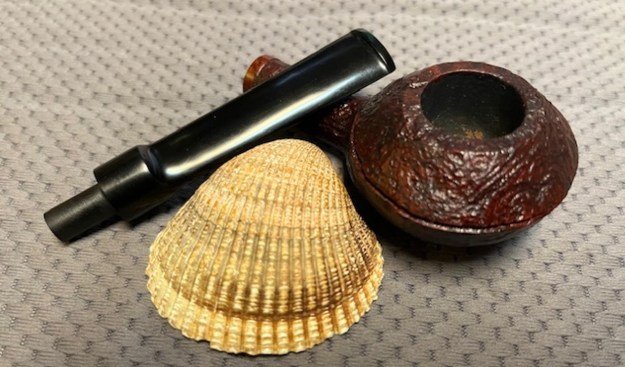
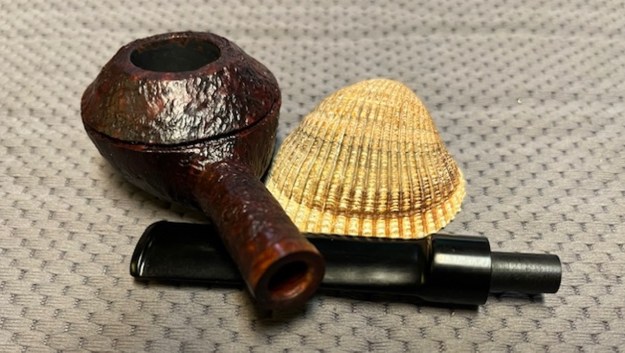
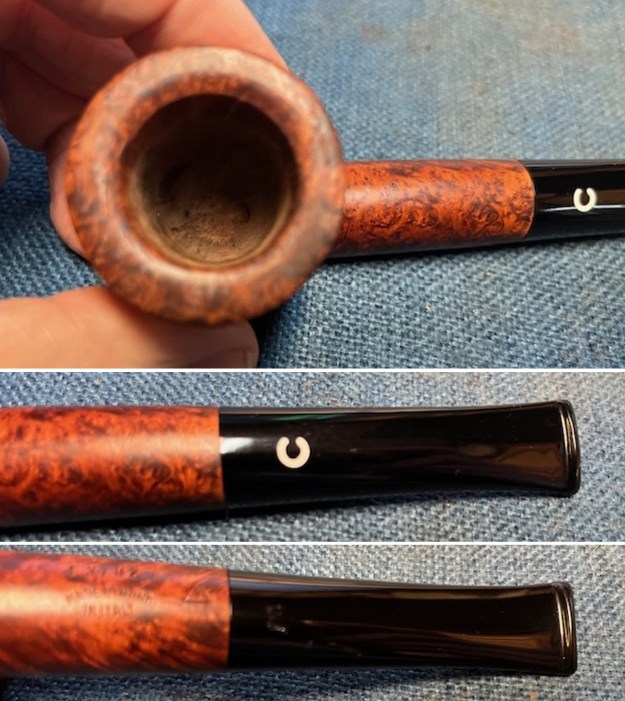
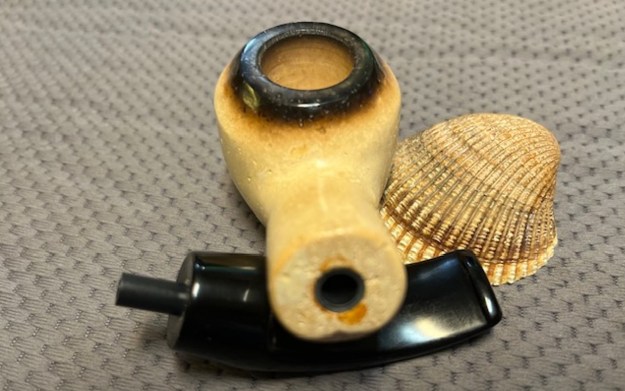
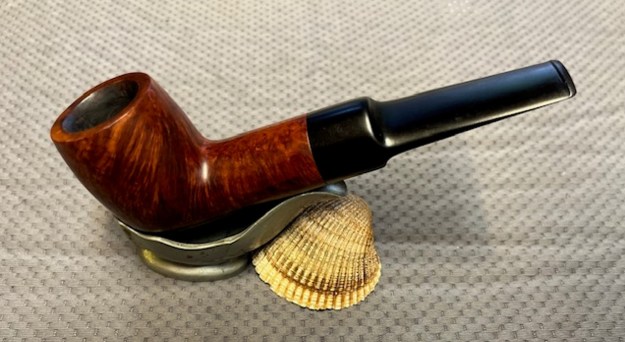
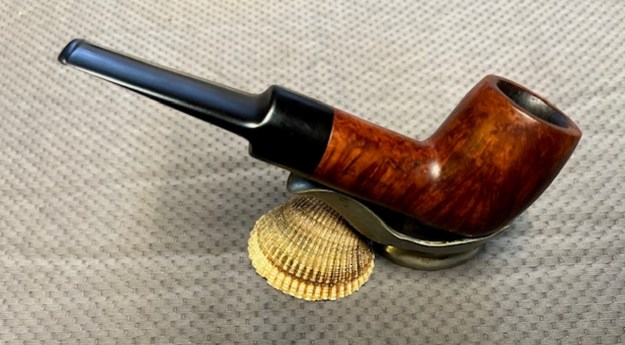
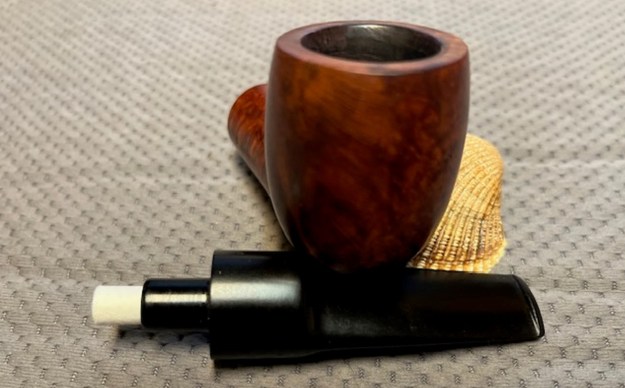
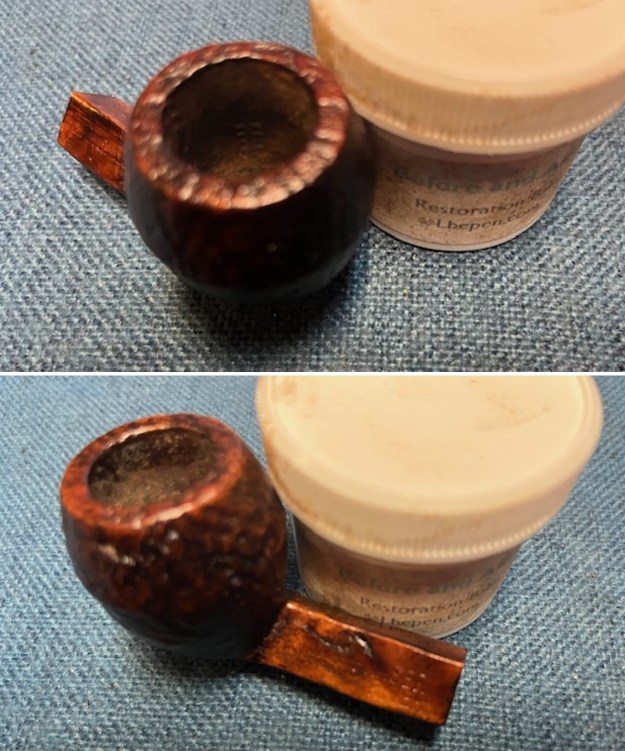
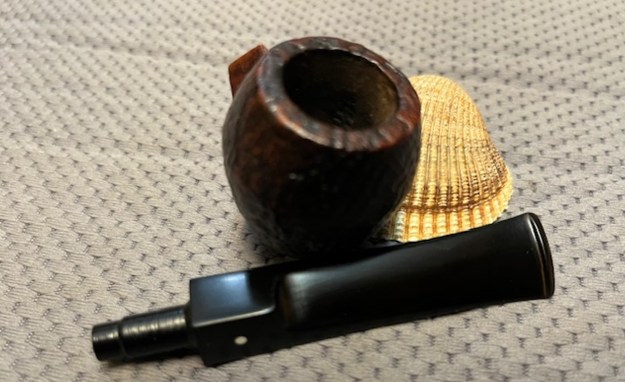
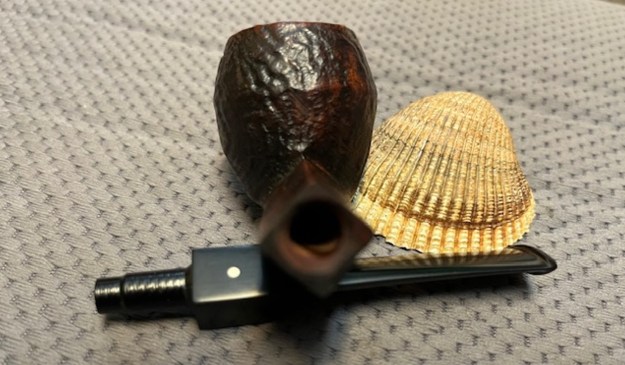
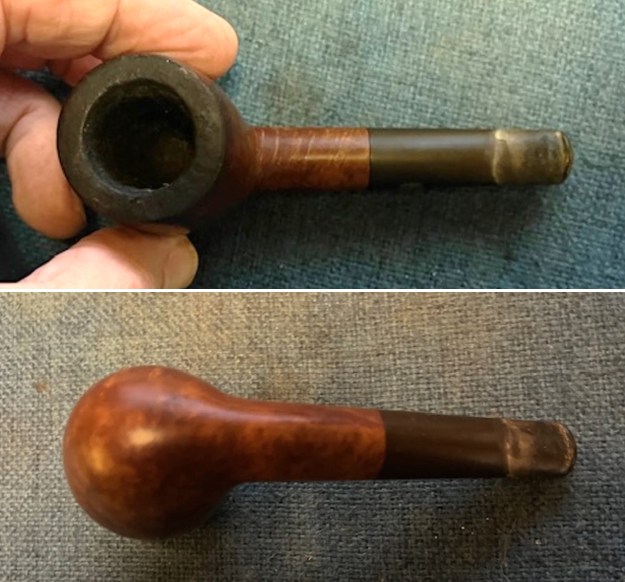
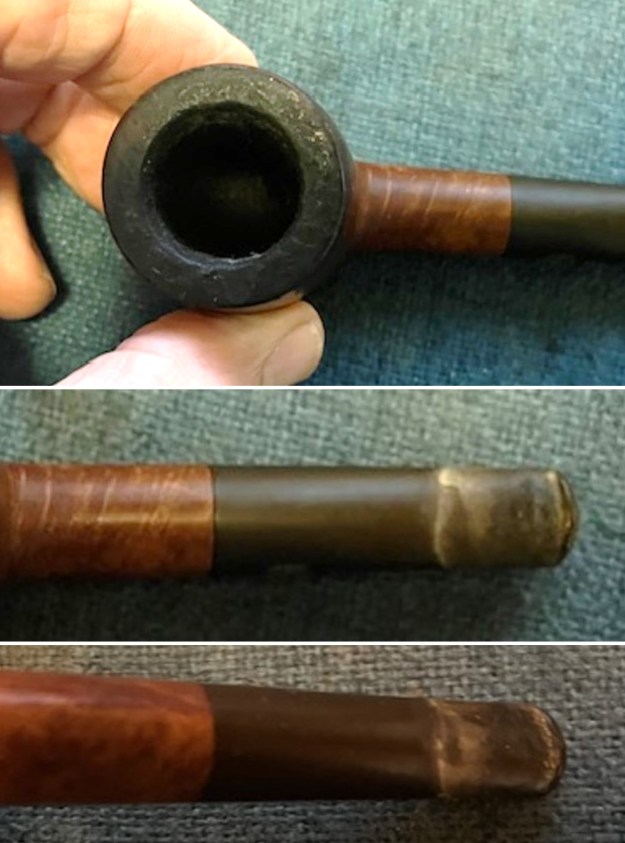
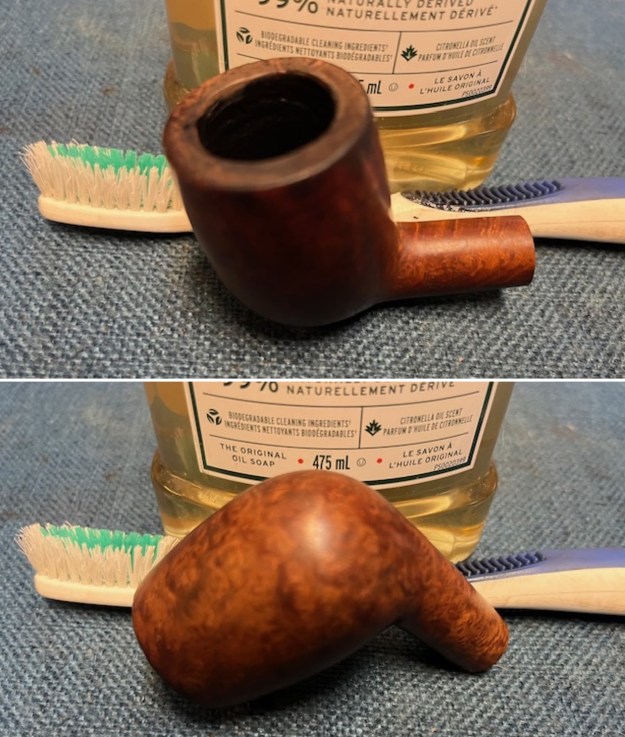
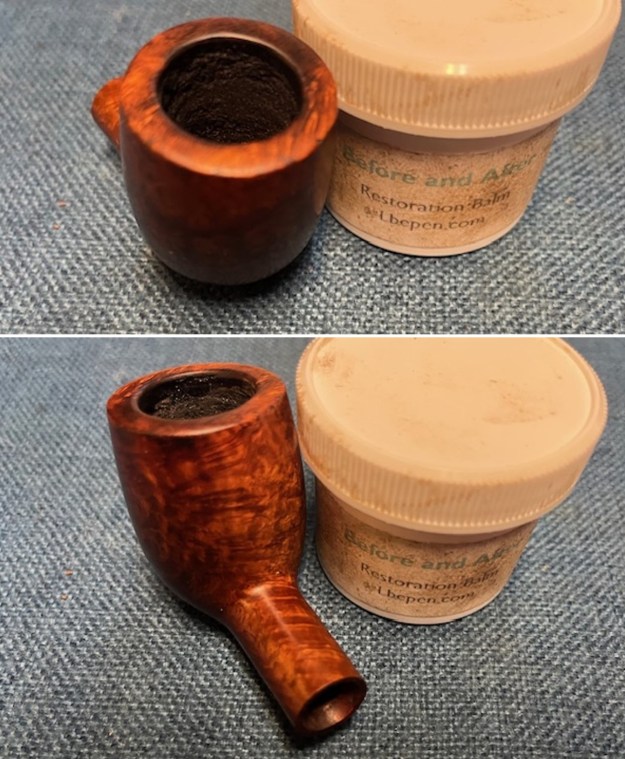
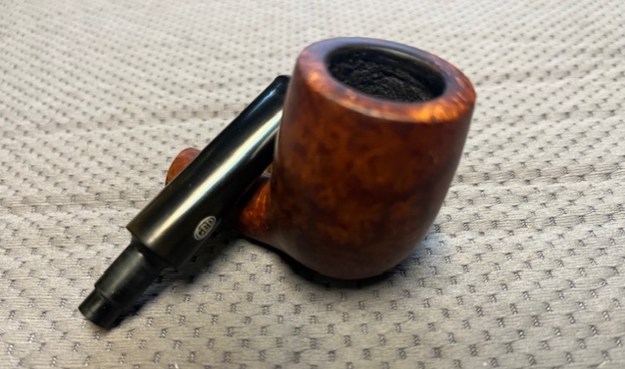
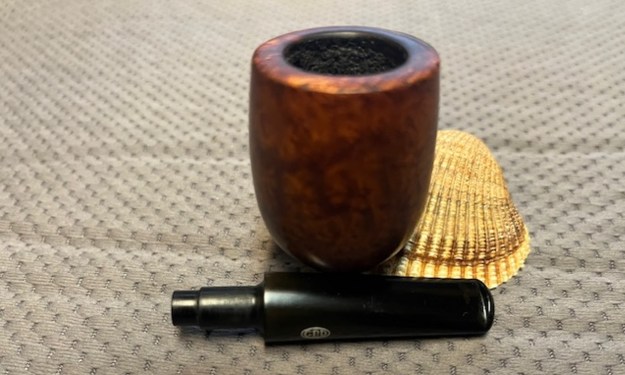
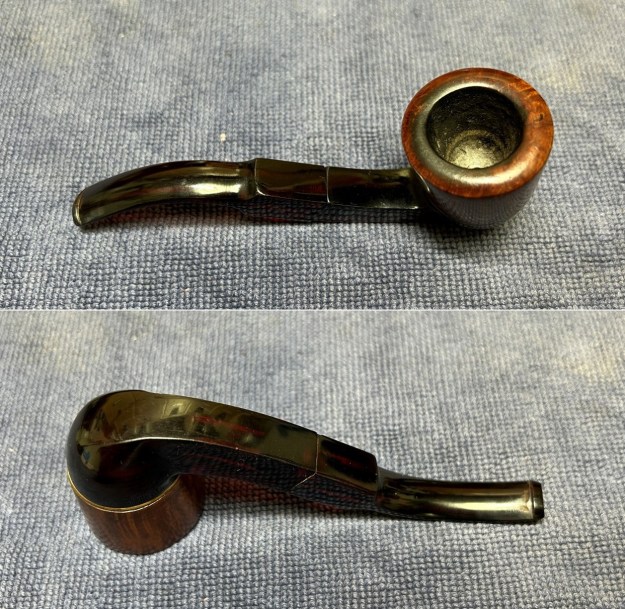
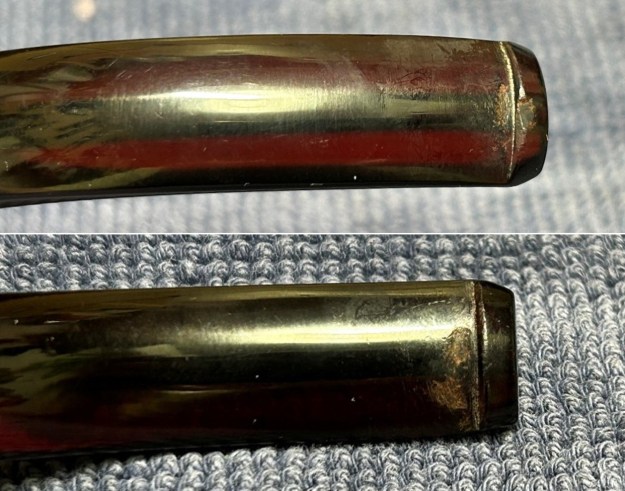
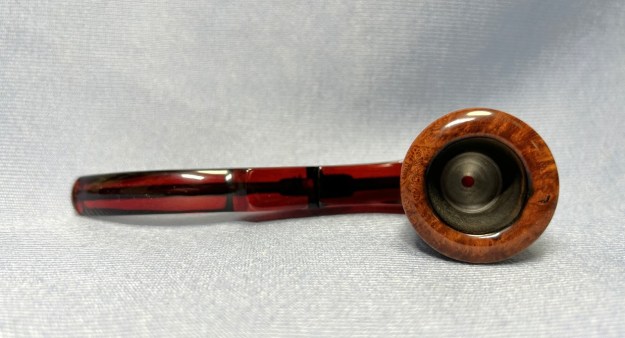
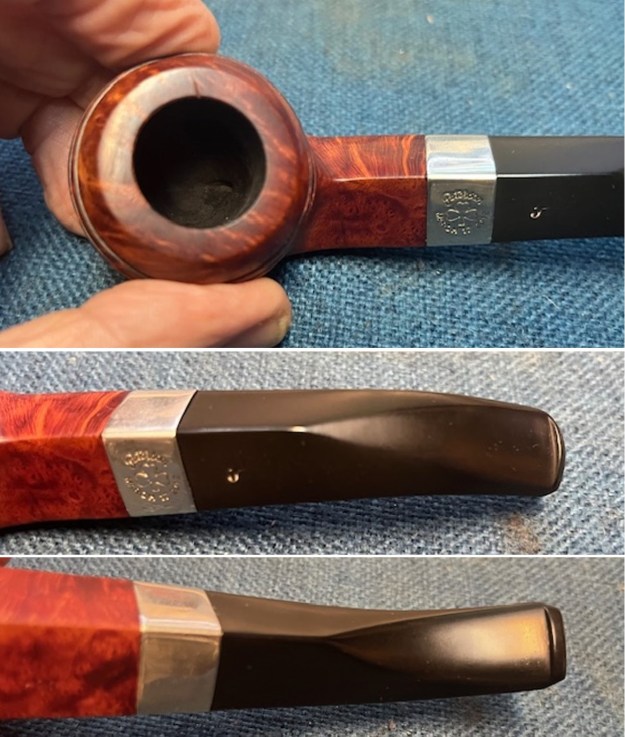
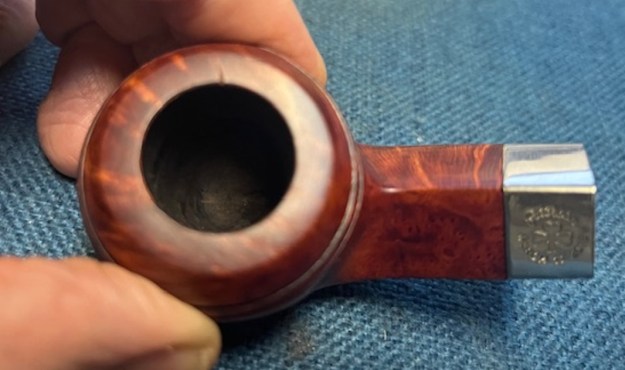
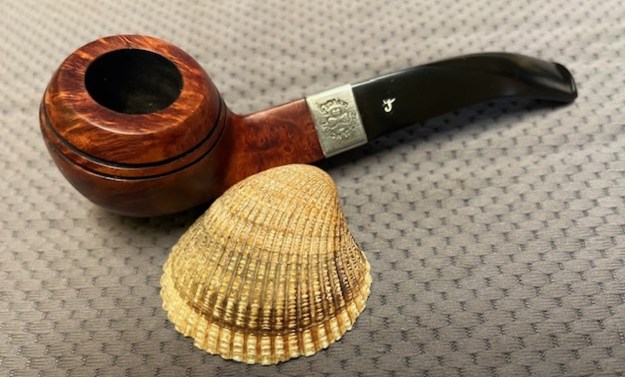
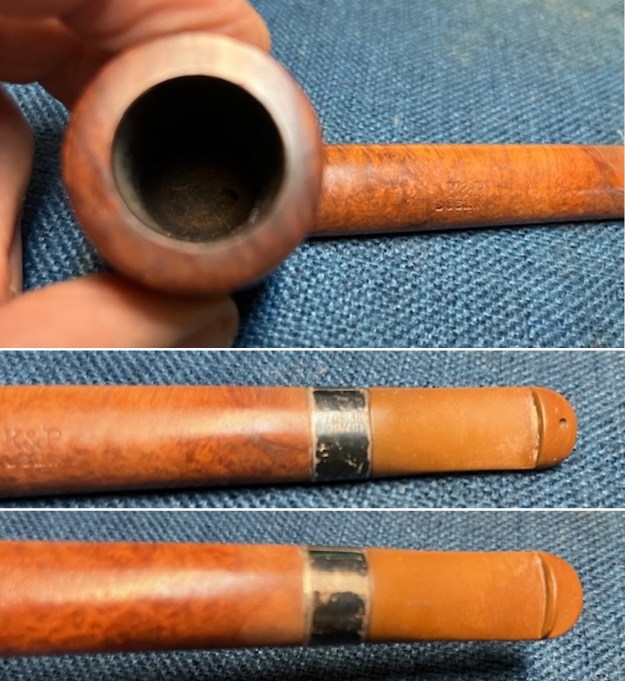
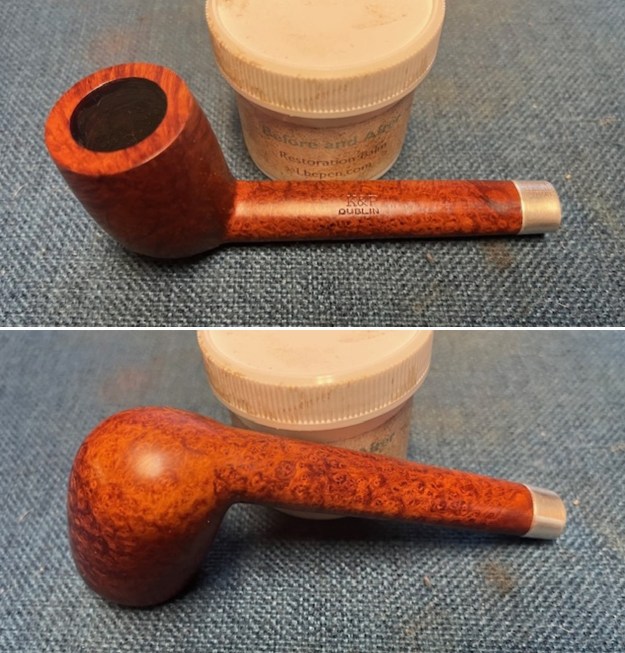
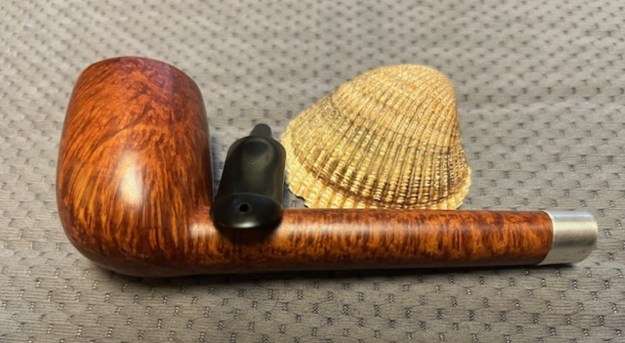
 I took close up photos of the bowl, rim top and stem to show how clean the pipe was. The bowl was clean and the damage to the rim top and the inner edge is very visible in the photo below. The stem was clean and the tooth marks and chatter can be seen in the photos.
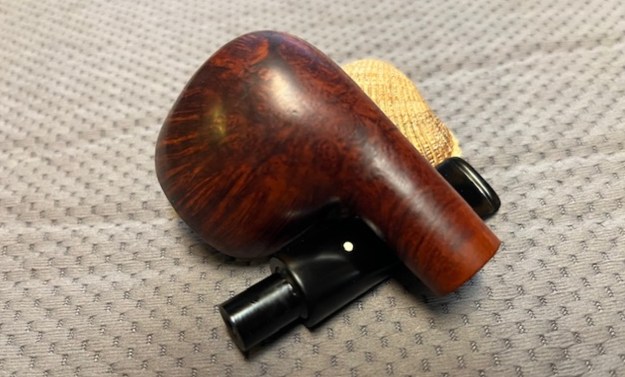
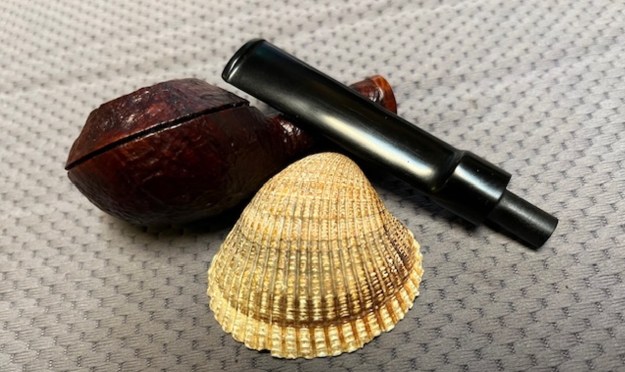
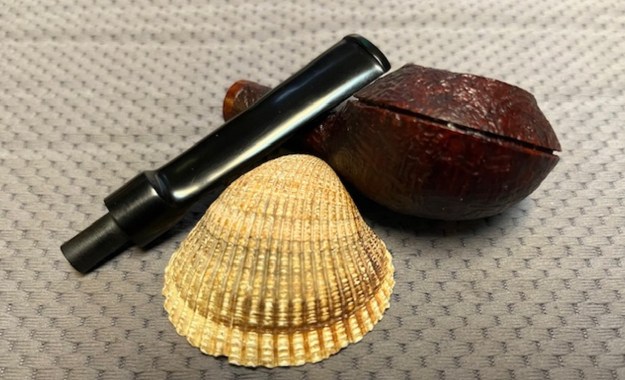
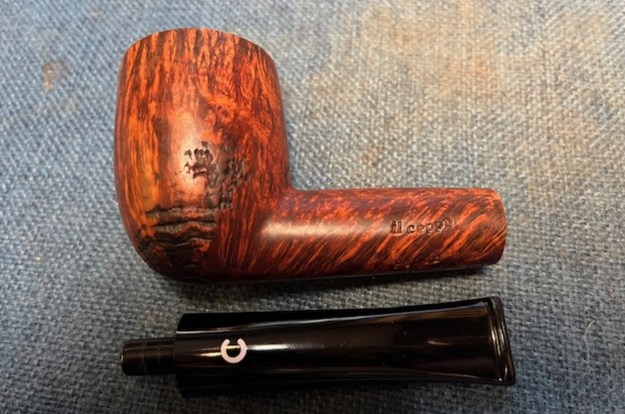
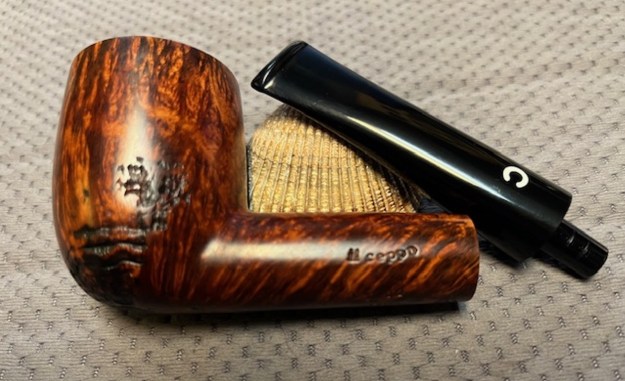
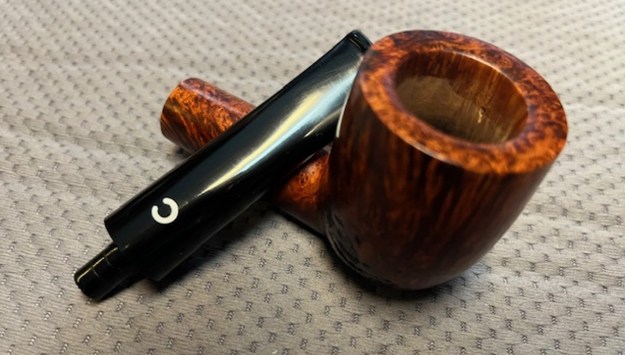
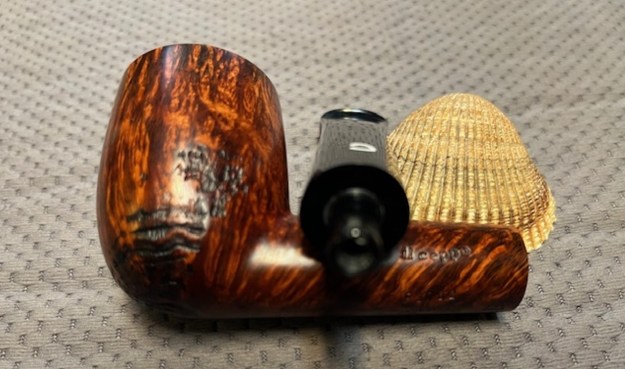
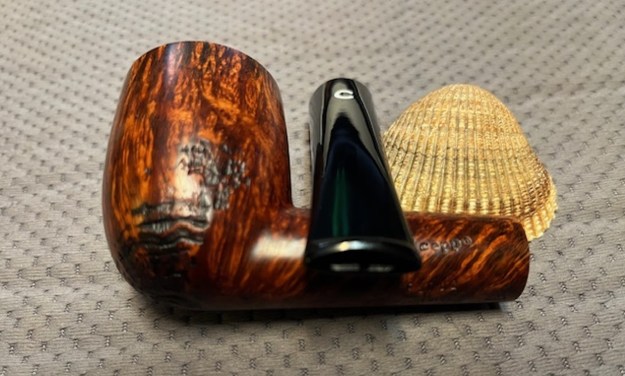
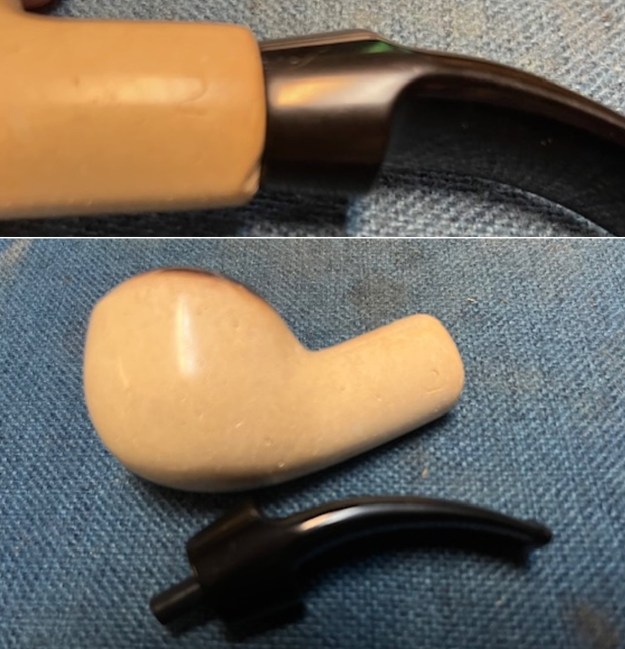
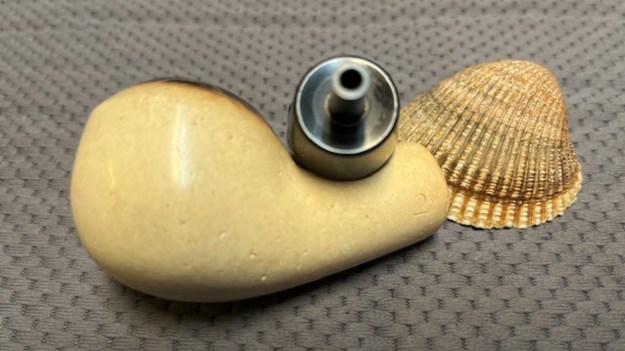
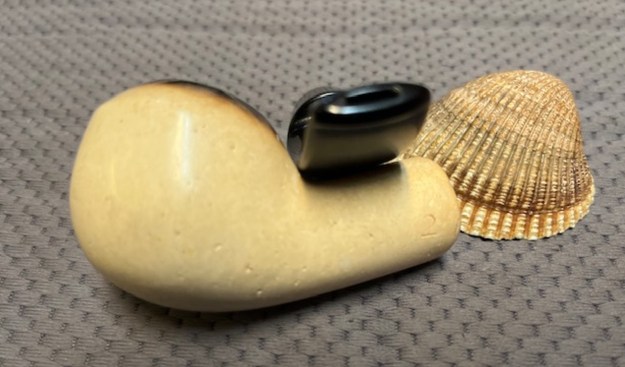
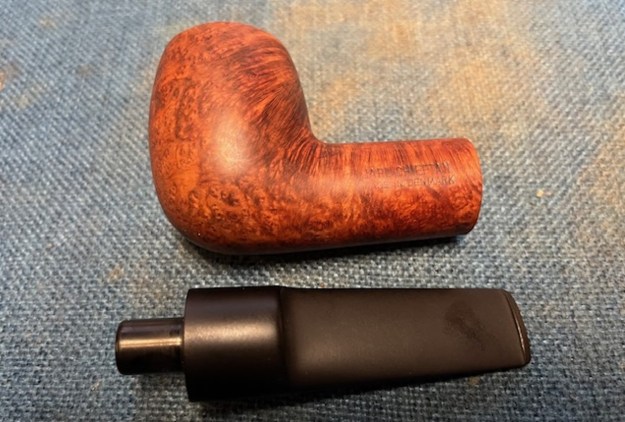
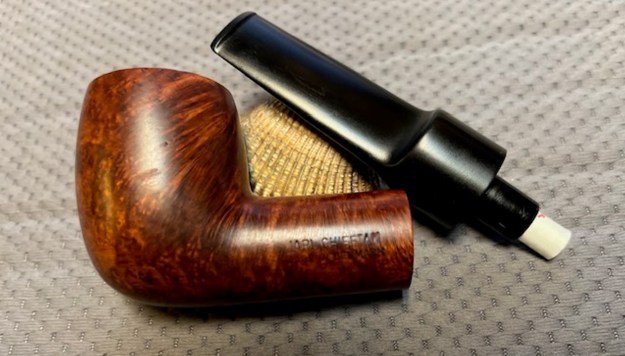
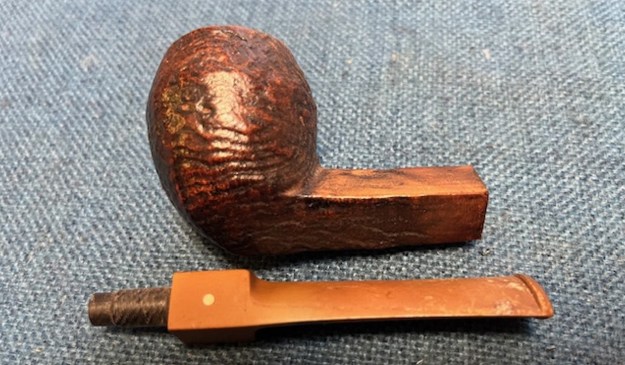
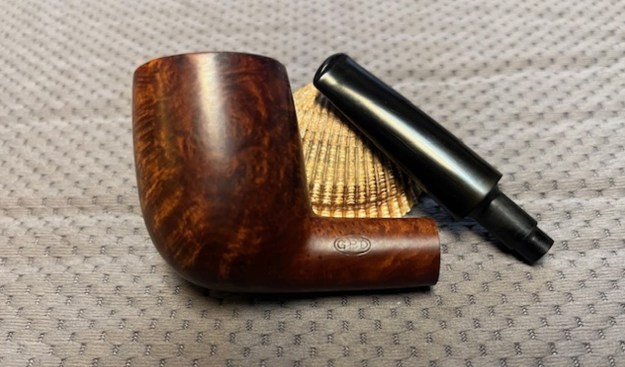
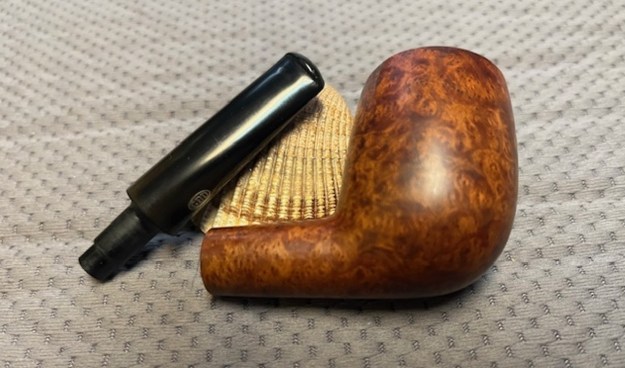
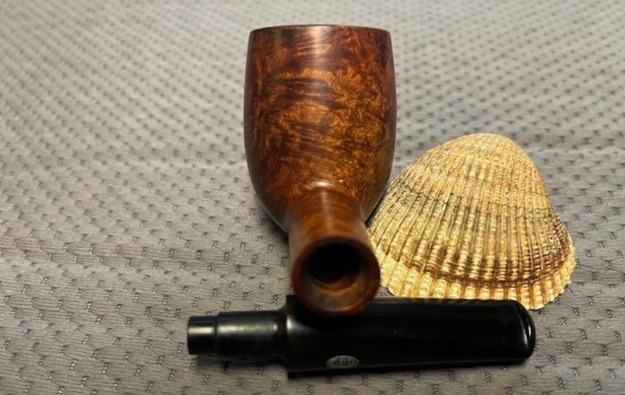
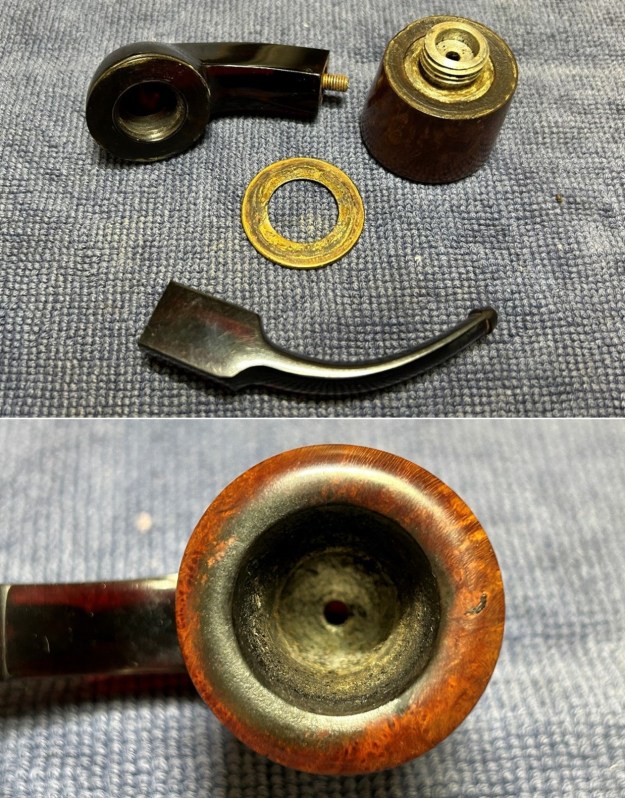
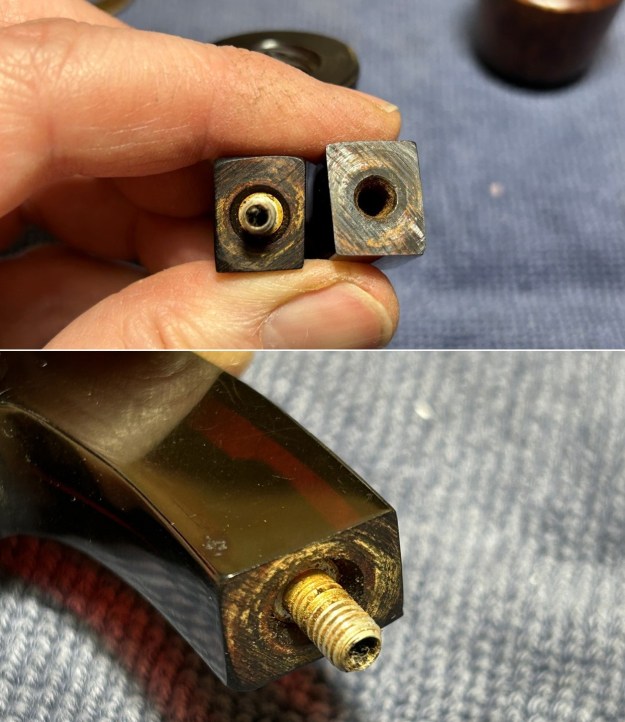
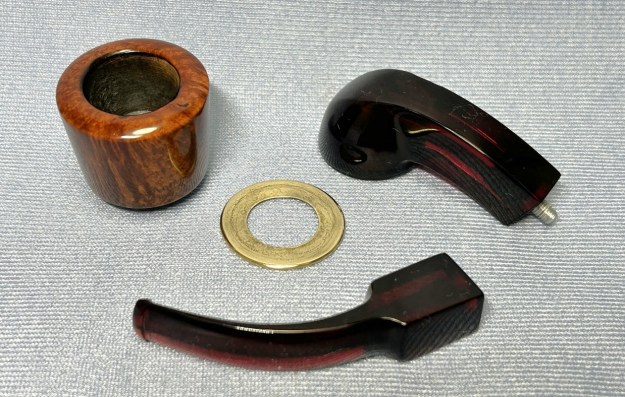
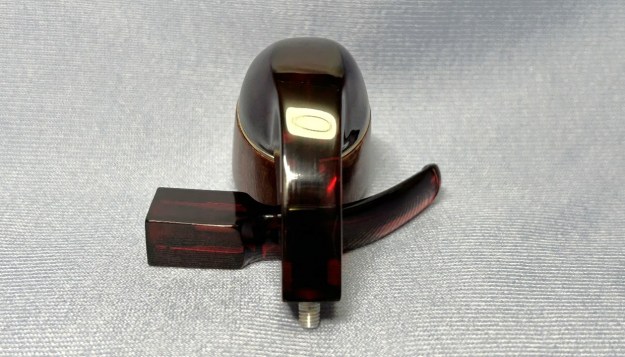
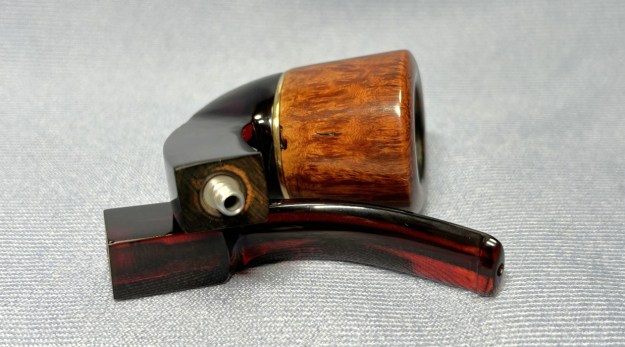
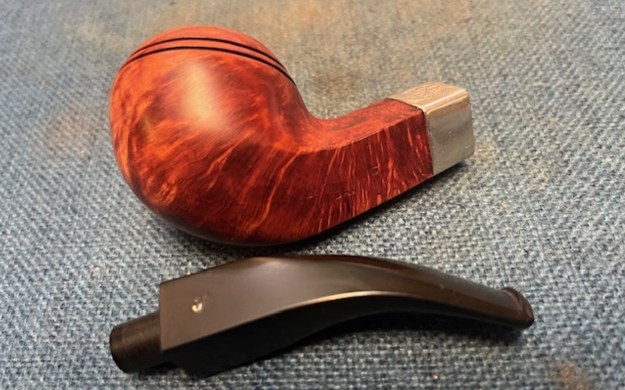
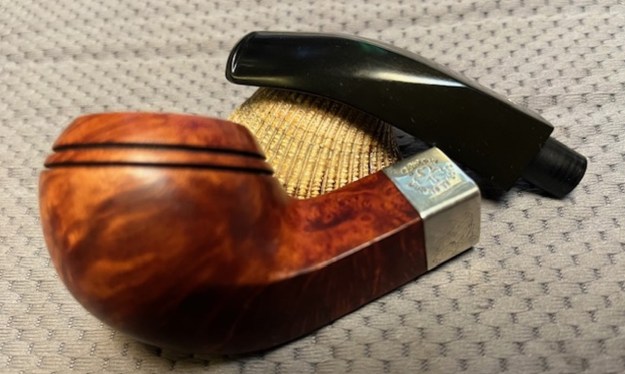
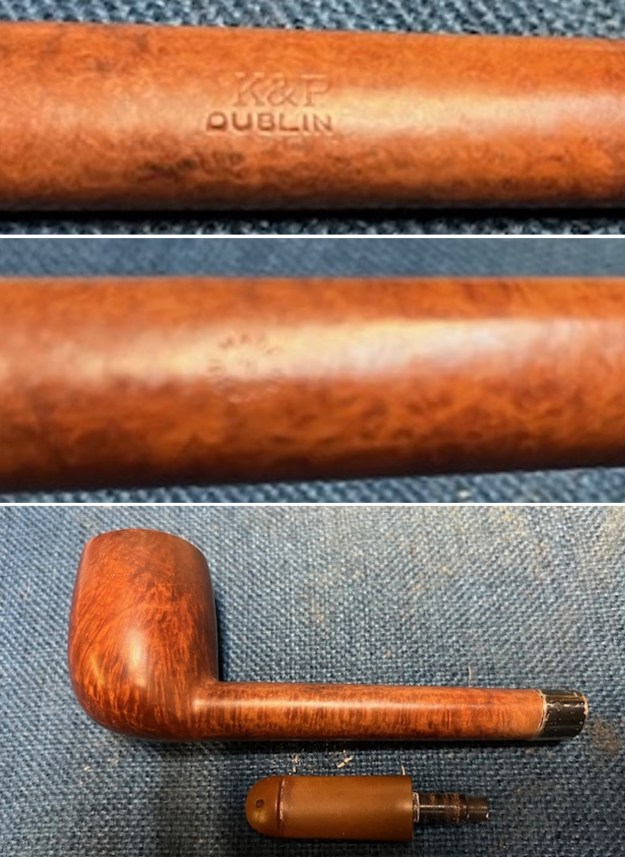
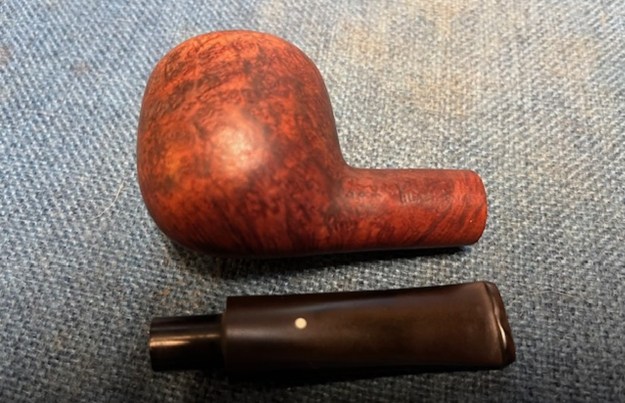
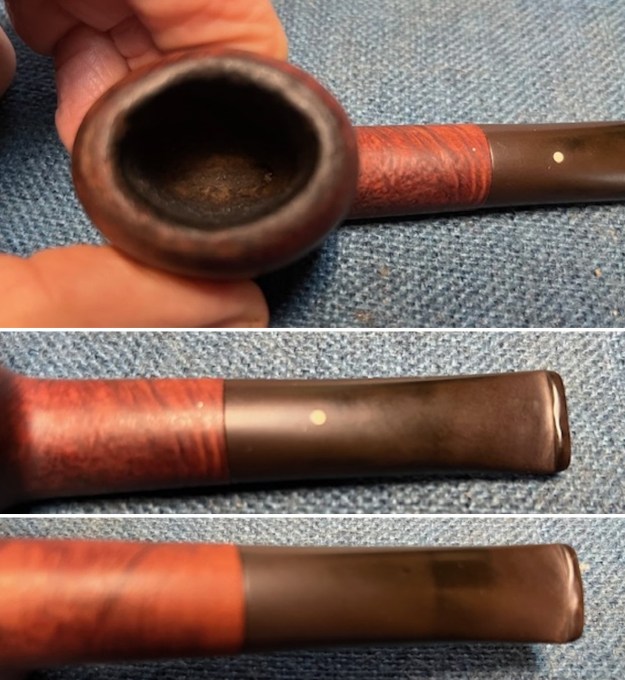 I took a photo of the stamping on the sides of the shank. It is very clear and readable and read as noted above. I also removed the stem from the shank and took photos of the pipe to show the look of the parts.
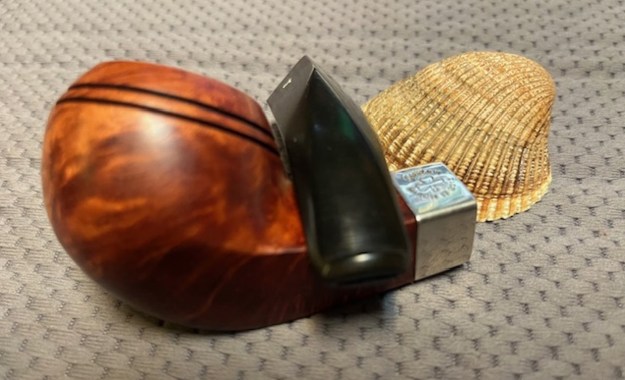
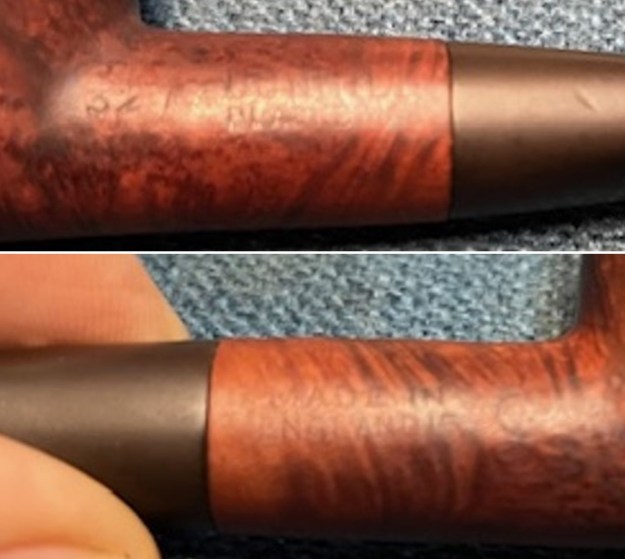
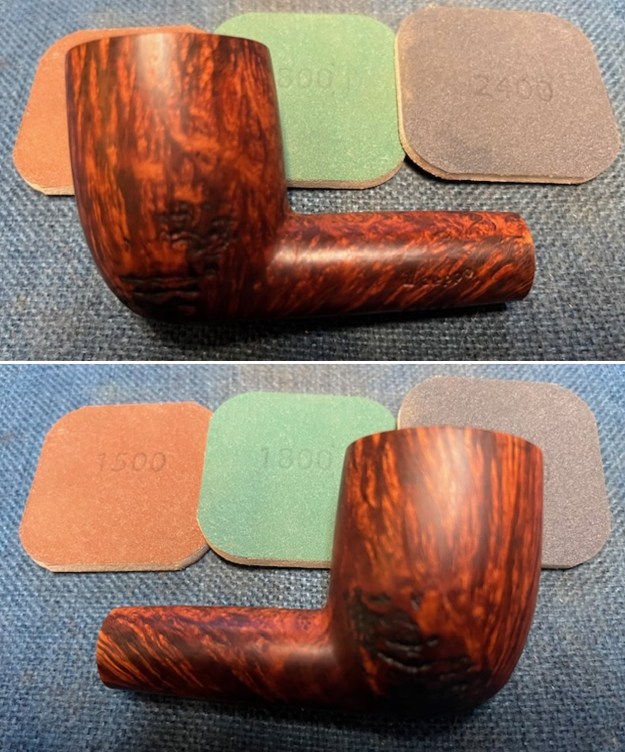
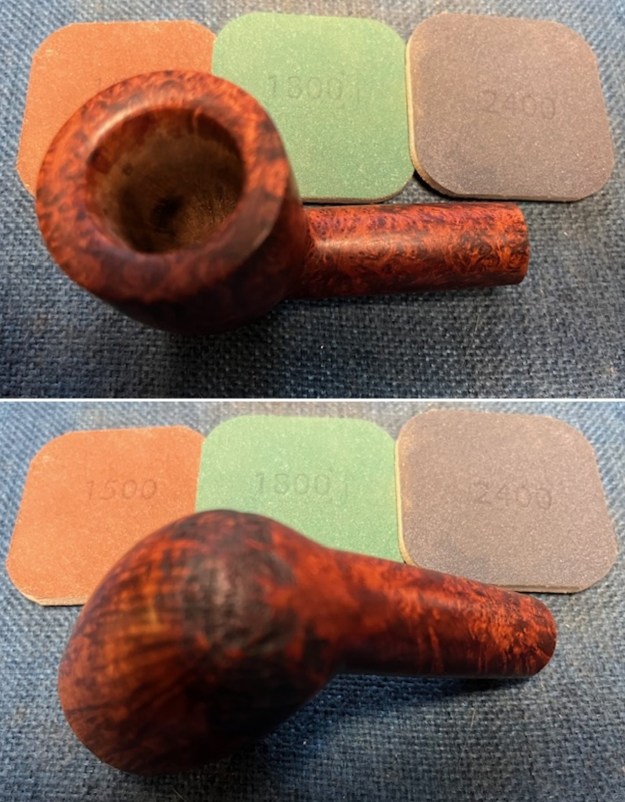
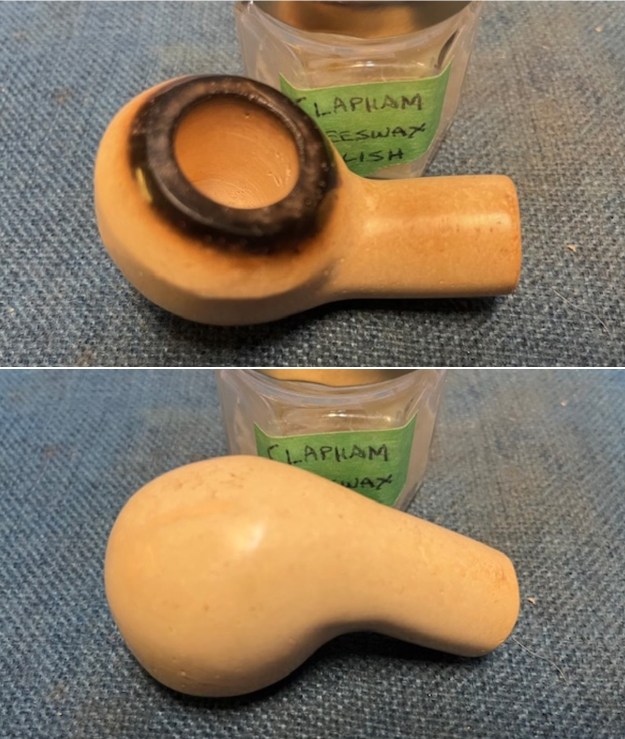
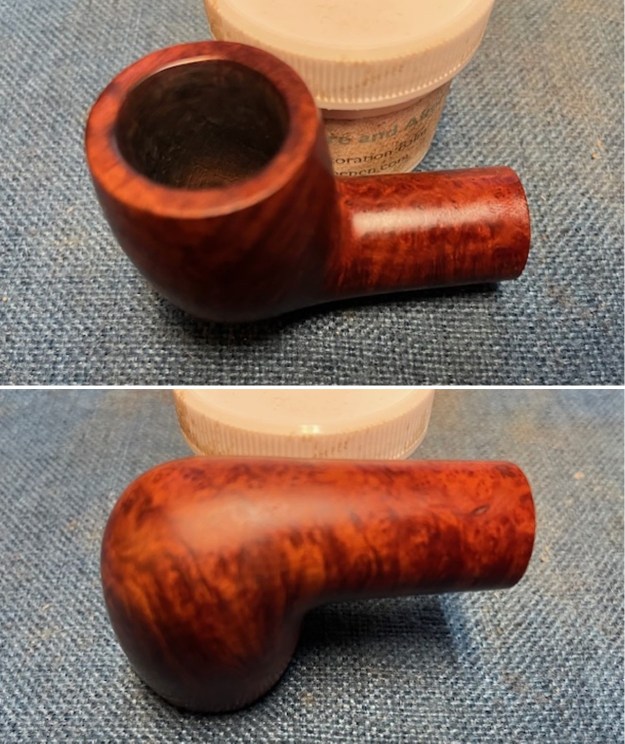
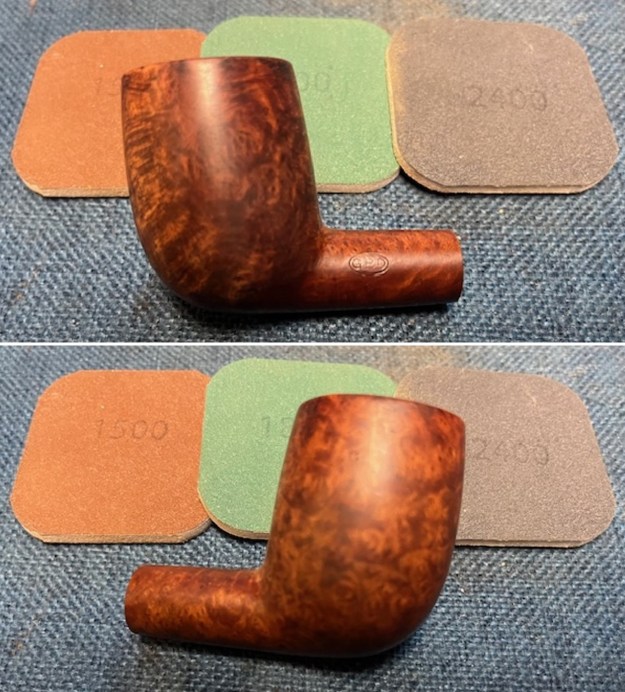
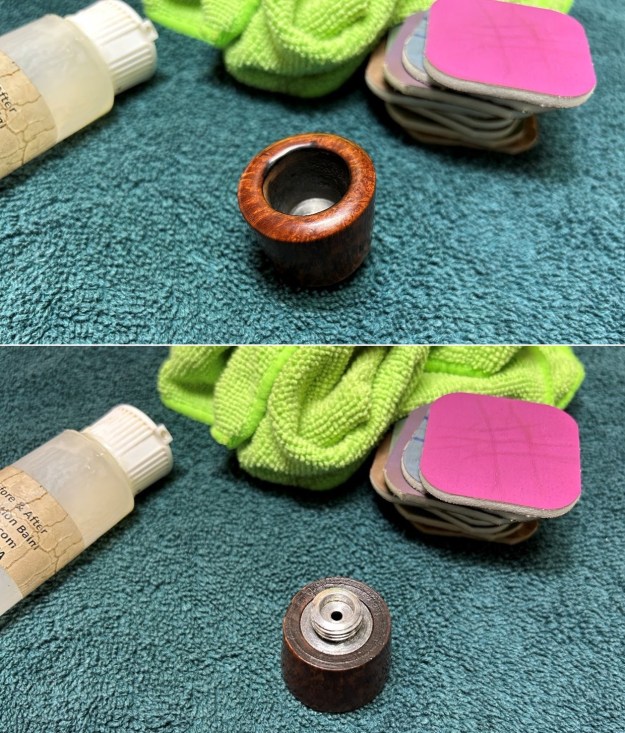
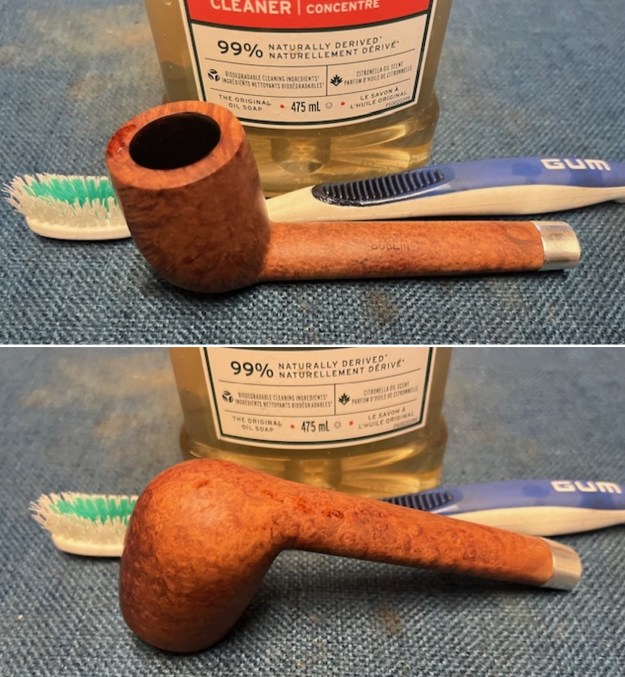
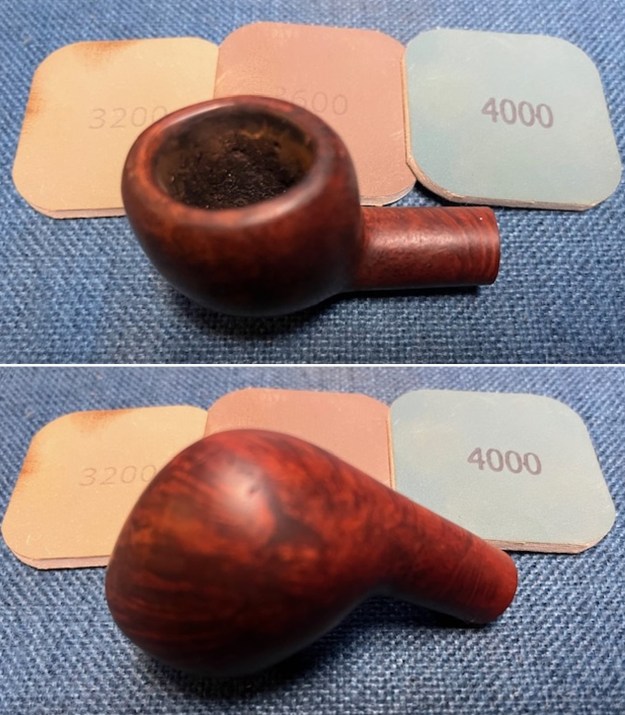
 I started my work on the pipe by addressing the damage to the rim top. I used a folded piece of 220 grit sandpaper to clean up the bevel on the inner edge of the bowl and reshape it. It looked much better once finished.
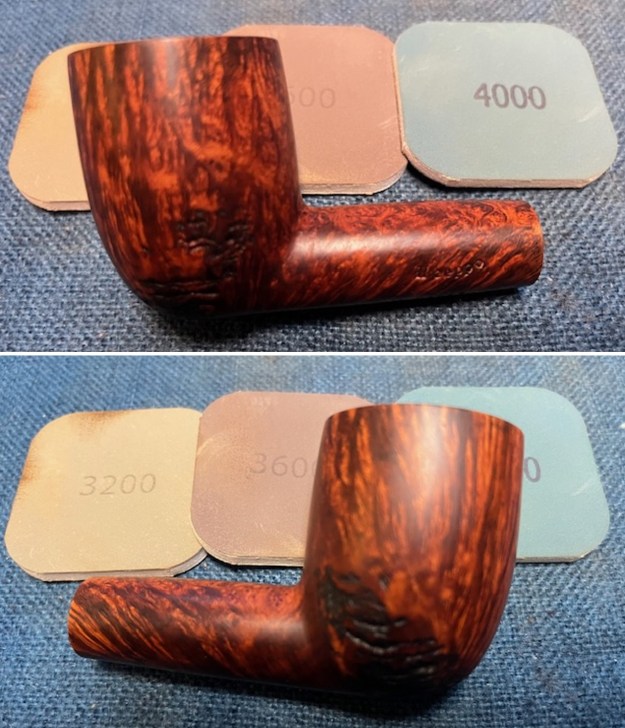
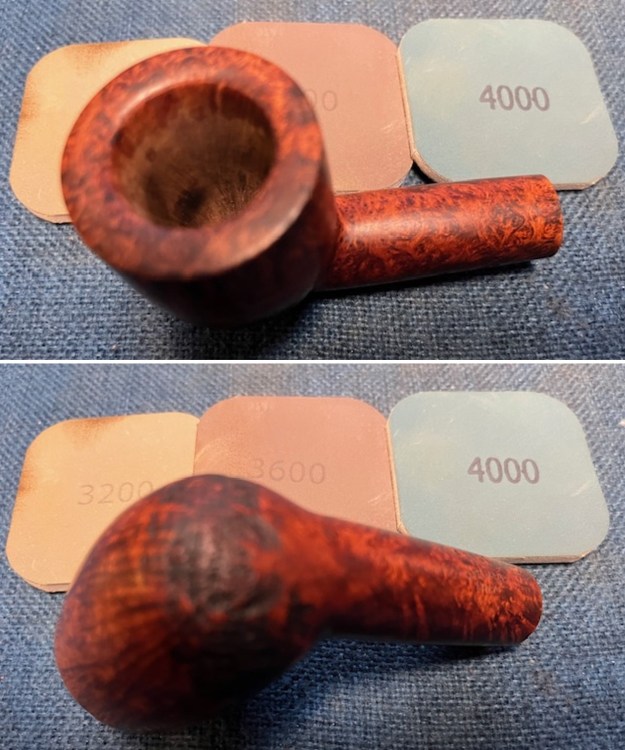
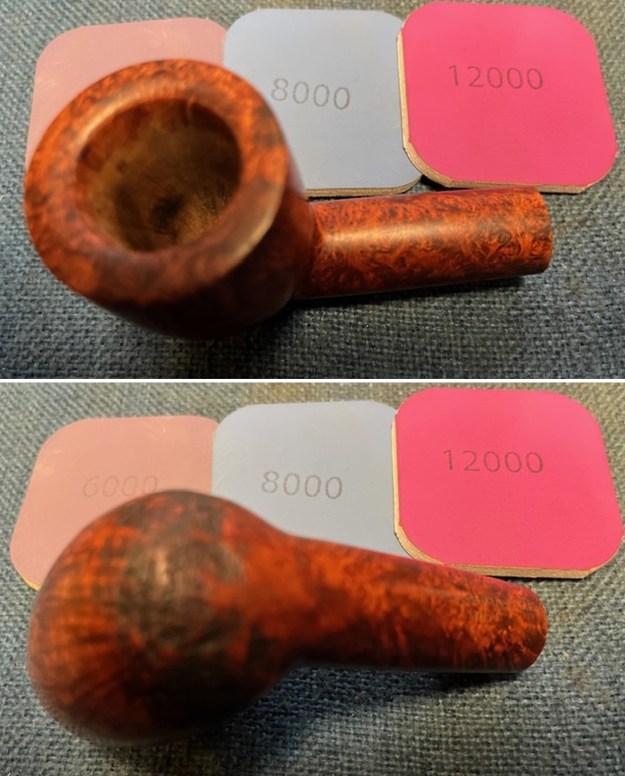
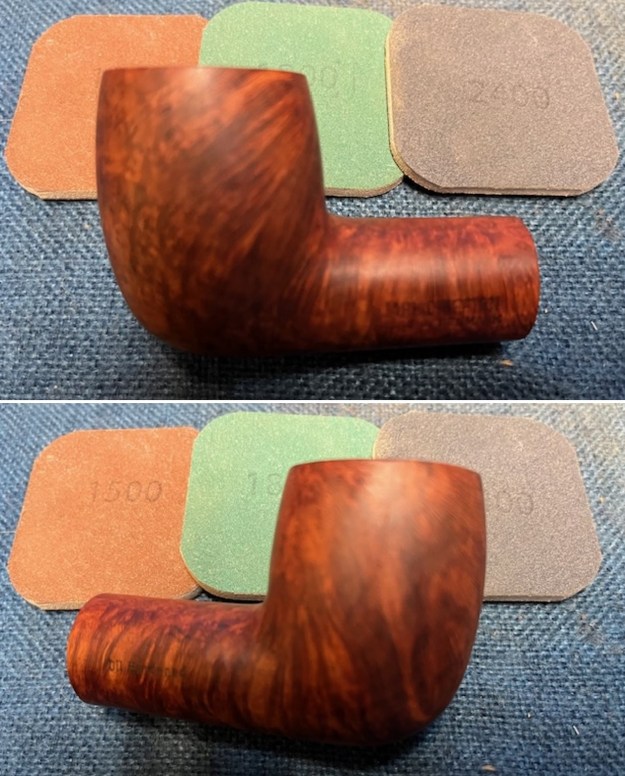
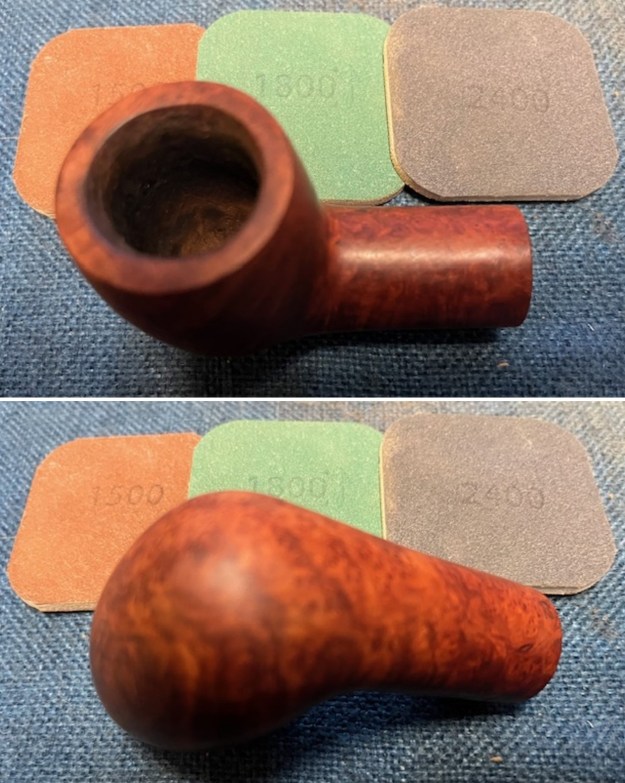
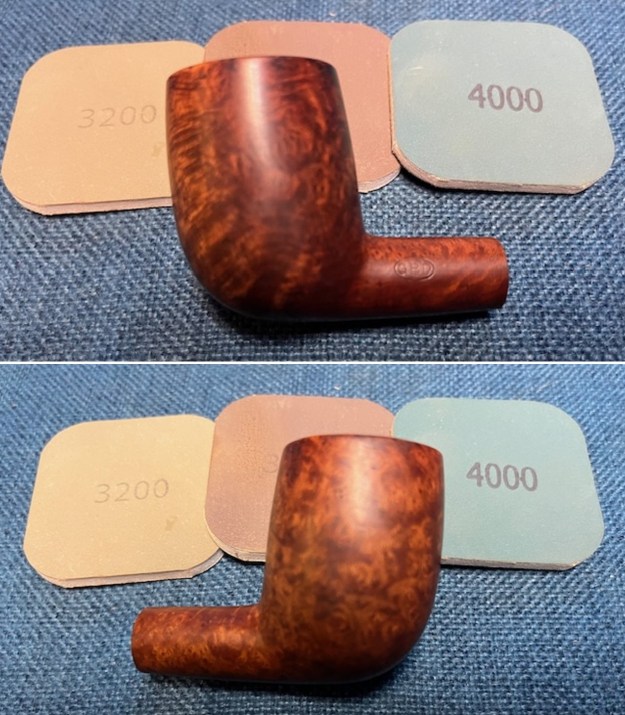
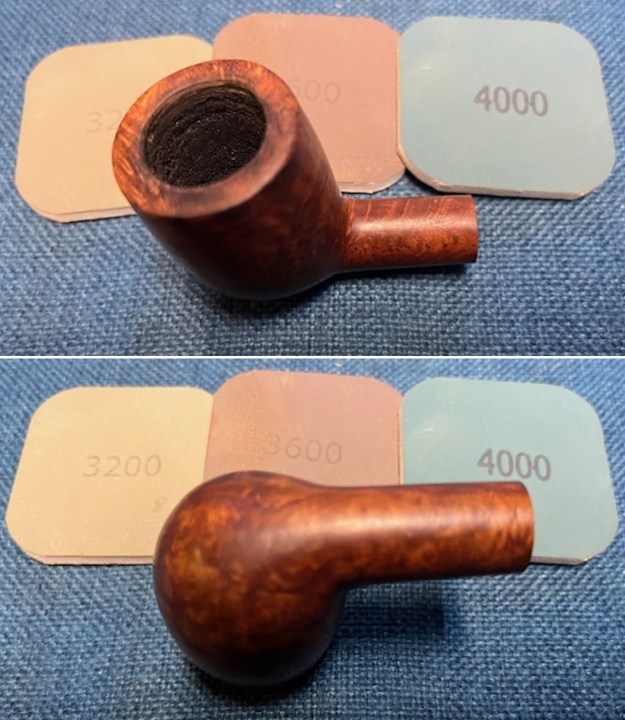
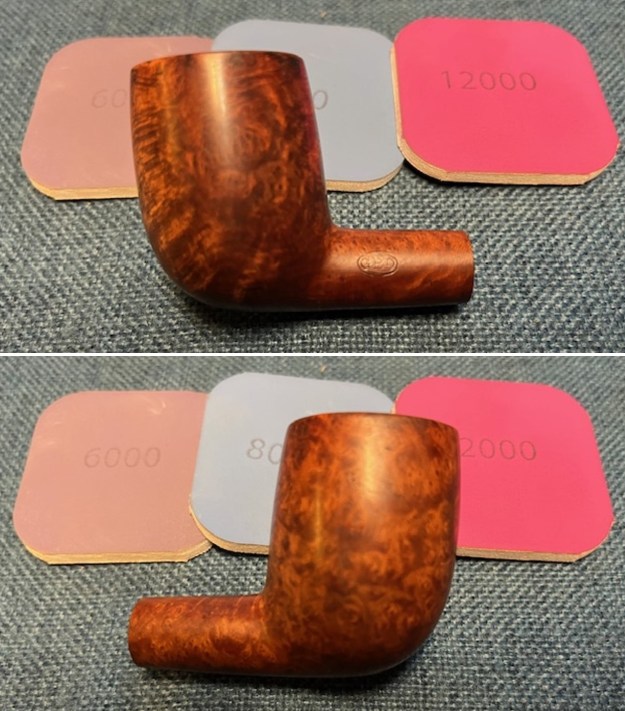
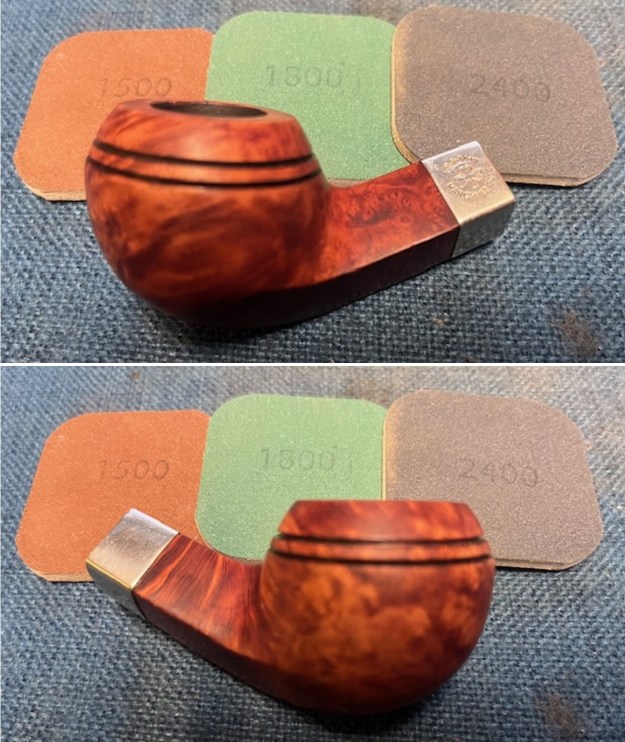
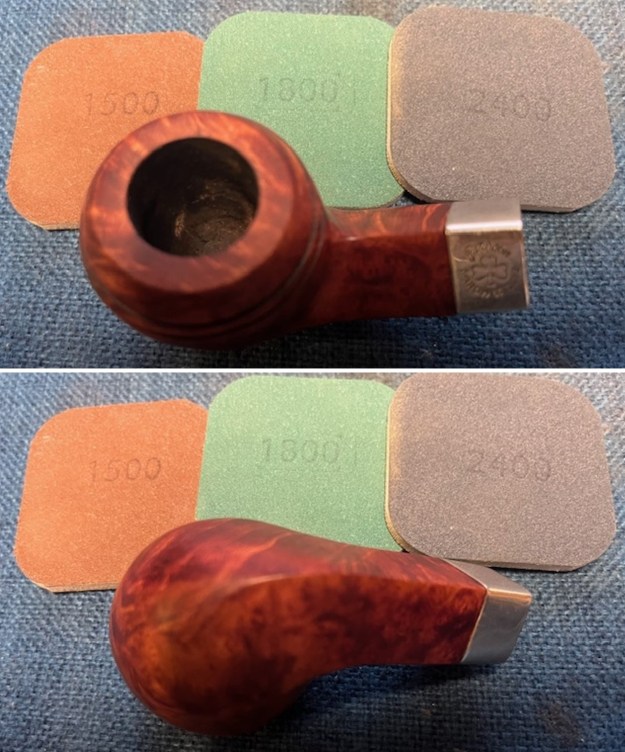
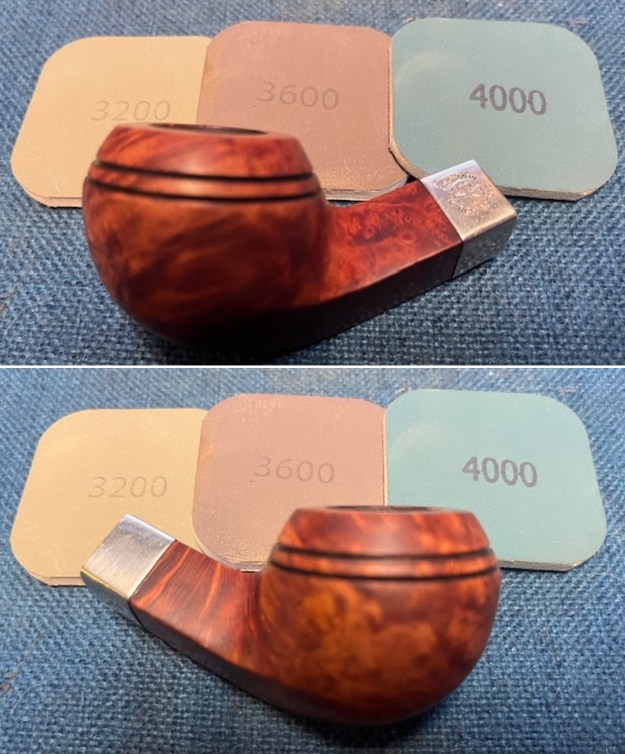
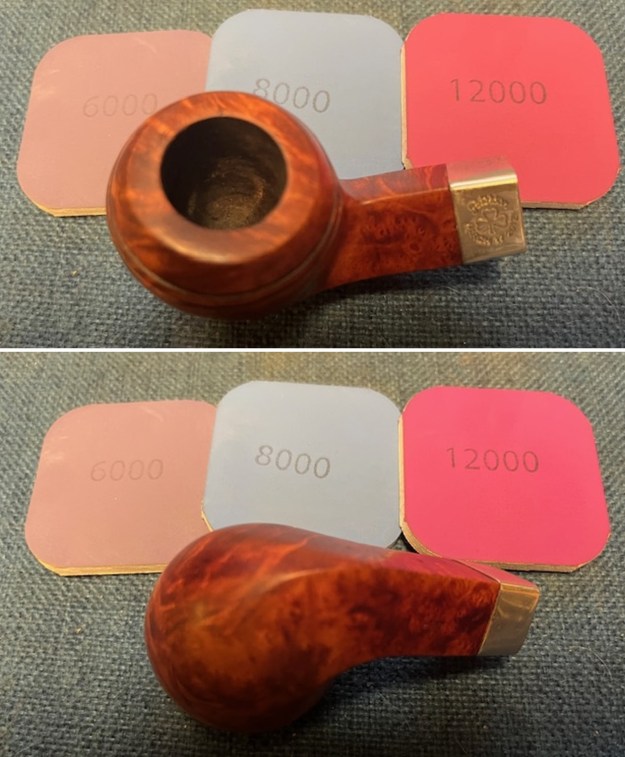
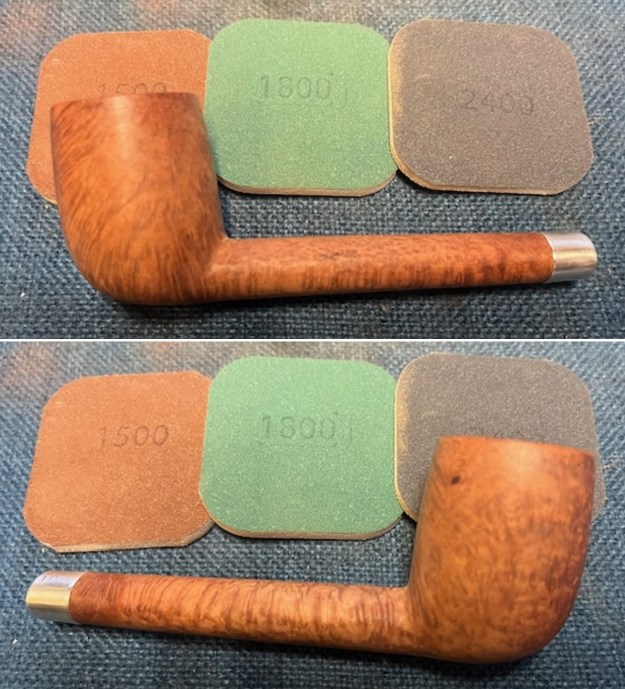
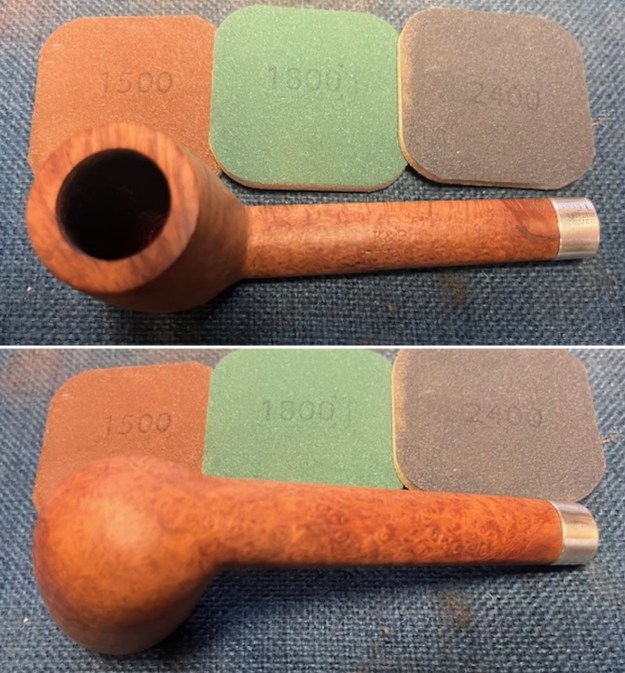
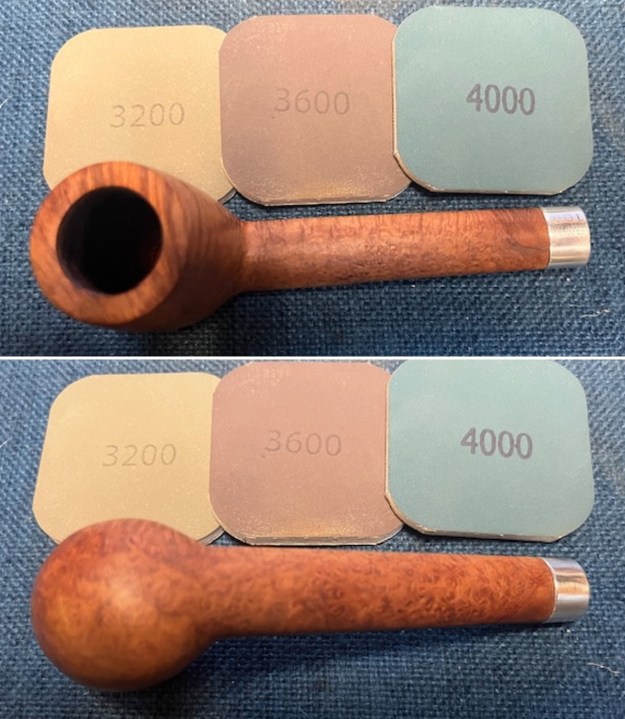
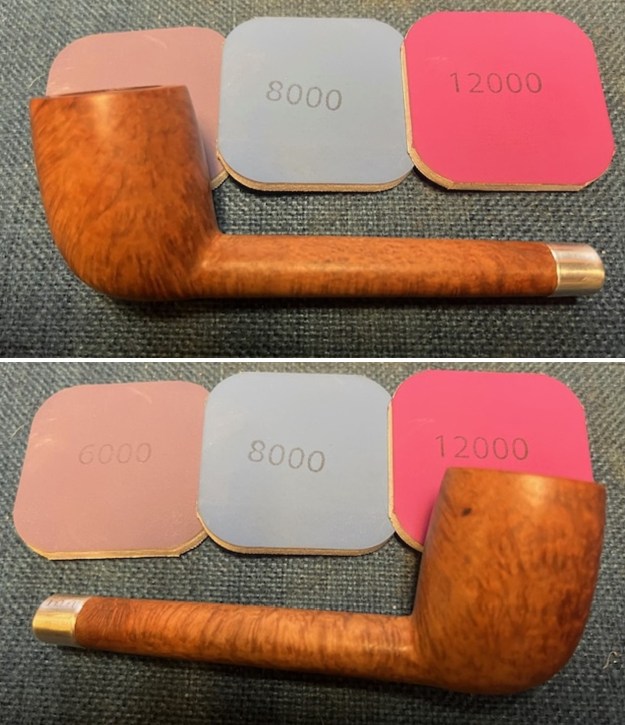
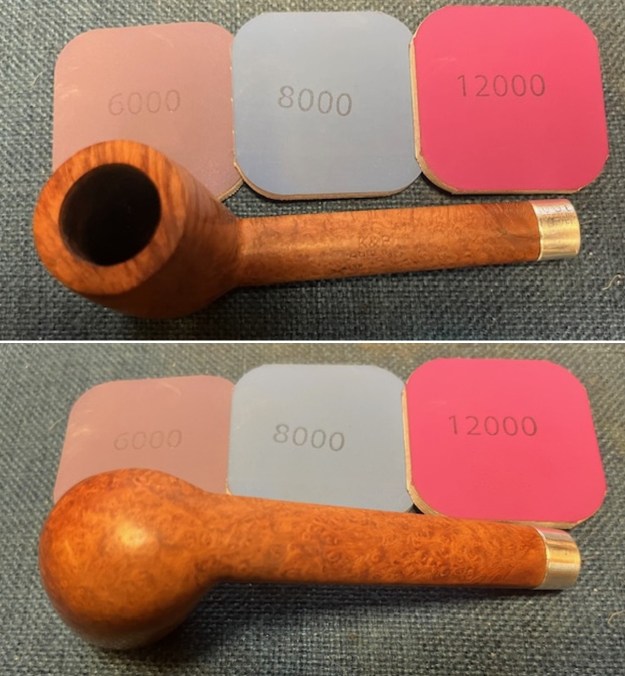
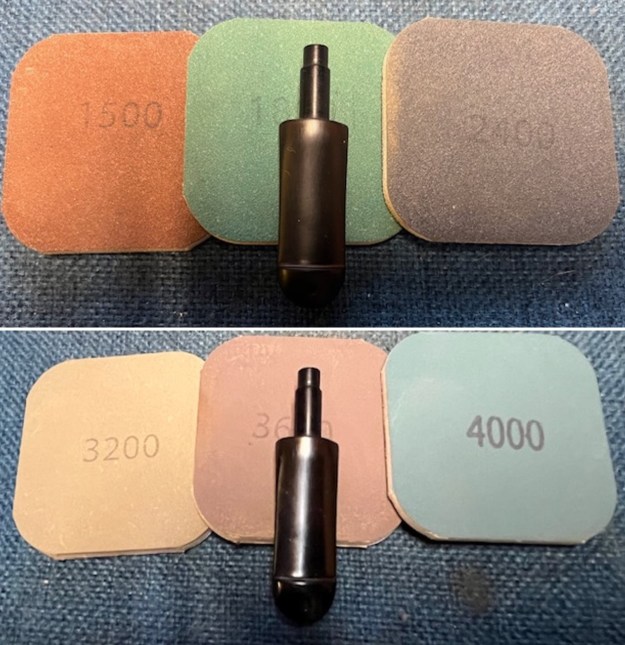
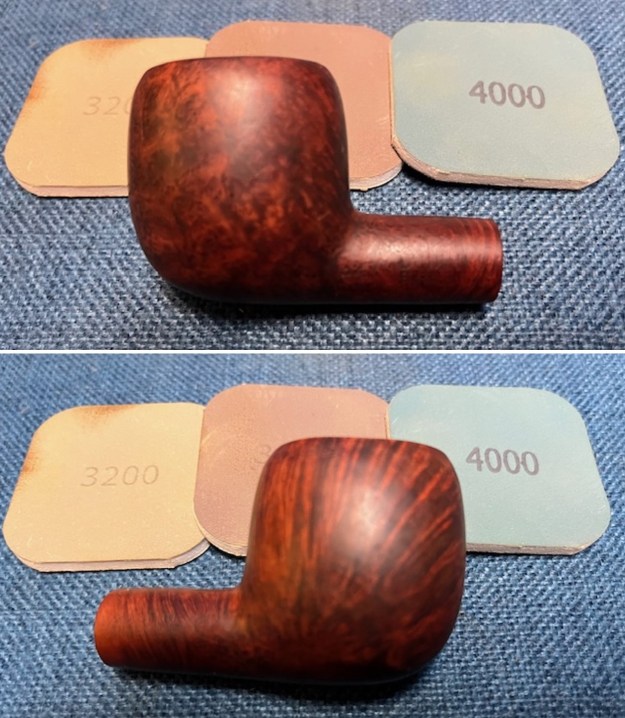
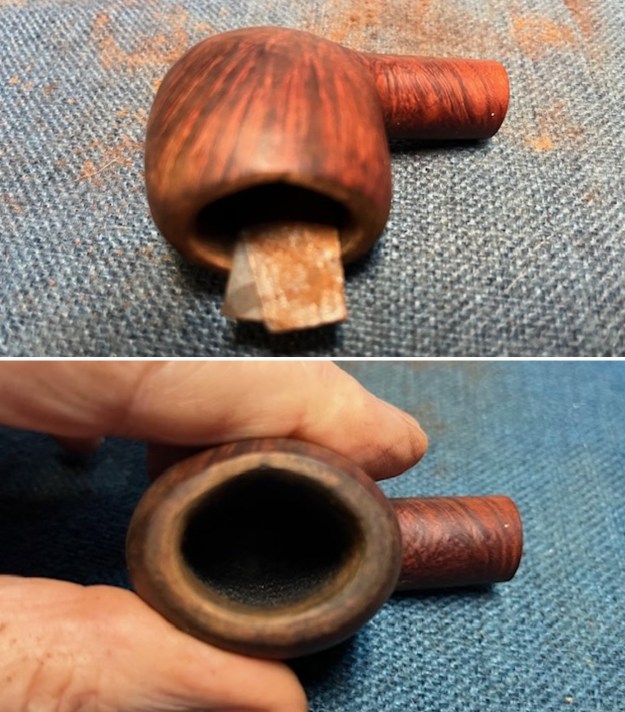 I polished the bowl and shank with 1500-12000 grit micromesh sanding pad – dry sanding it with the pads. I wiped the bowl down with a damp cloth after each pad. It began to take on a deep shine.
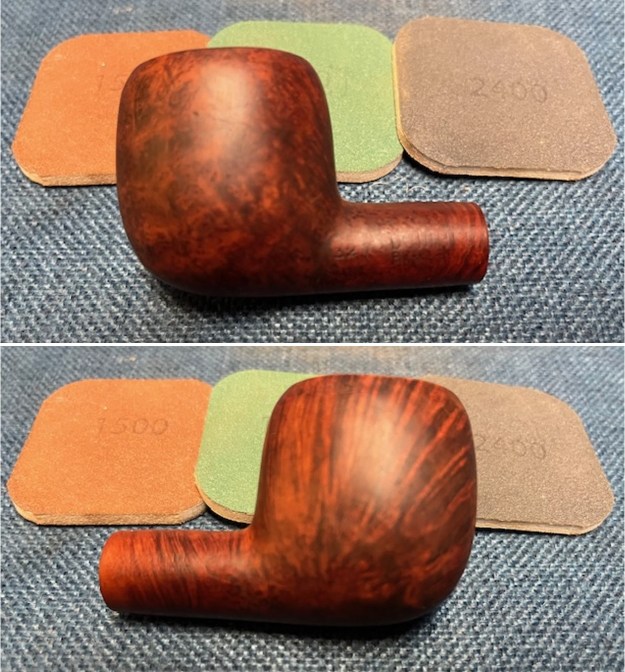
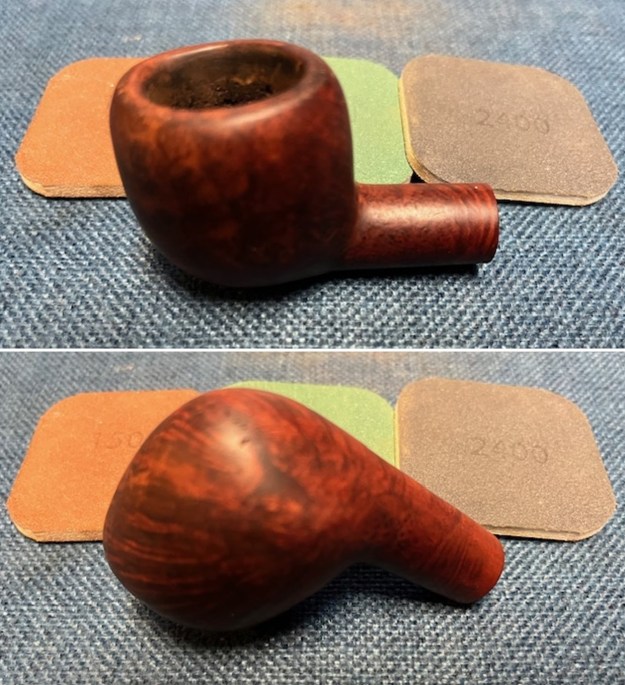
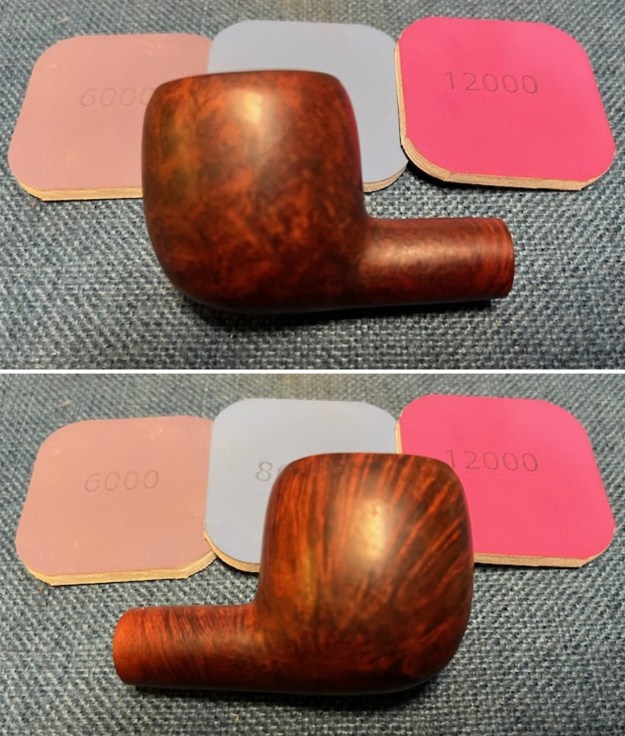
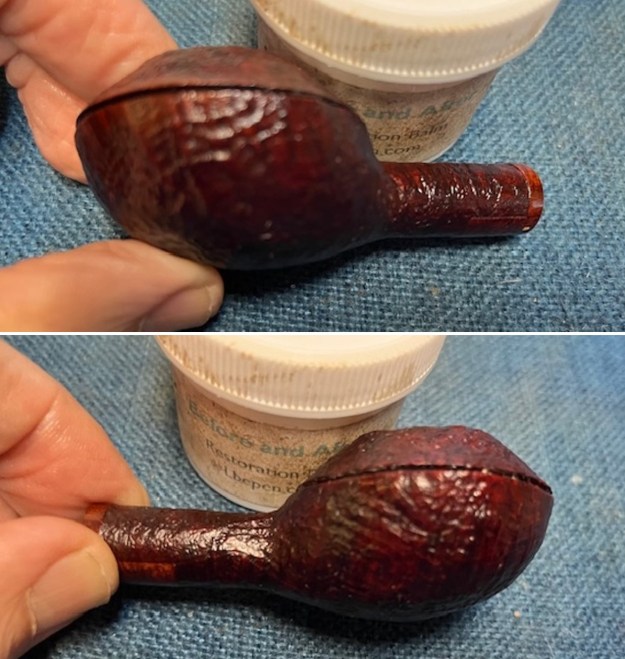
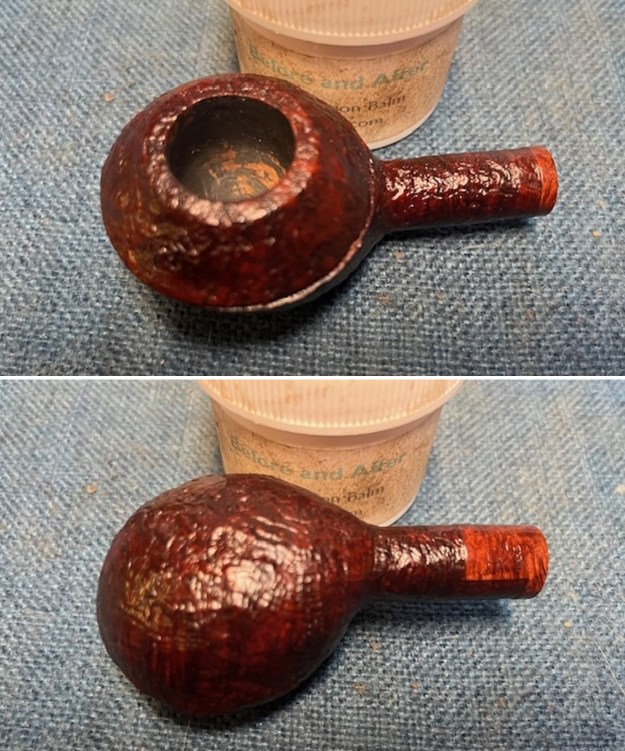
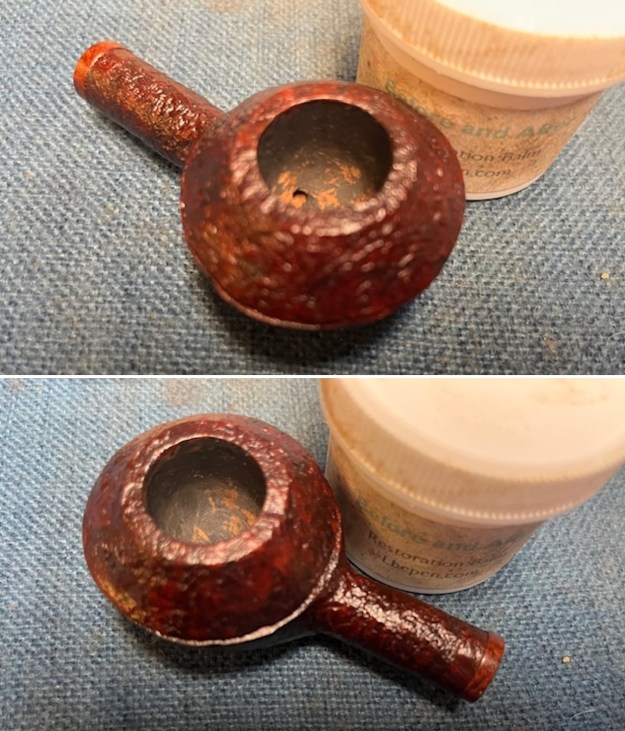
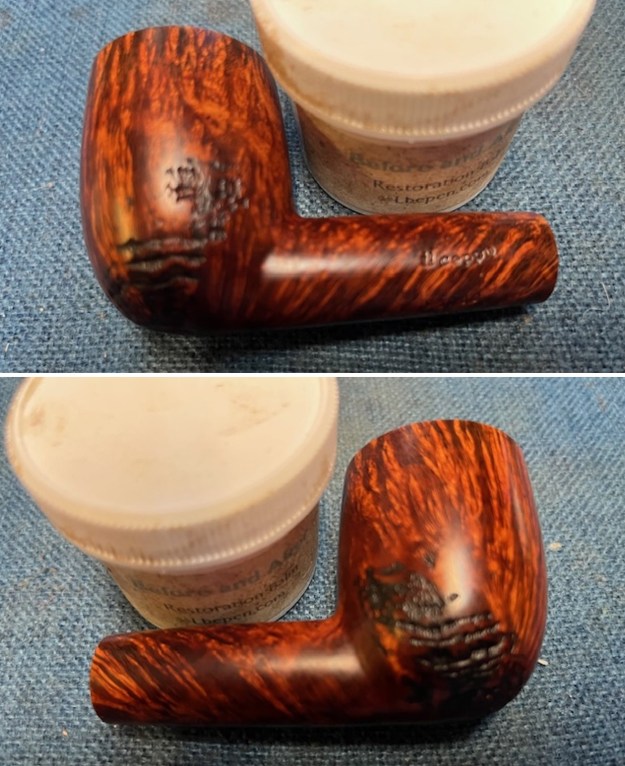
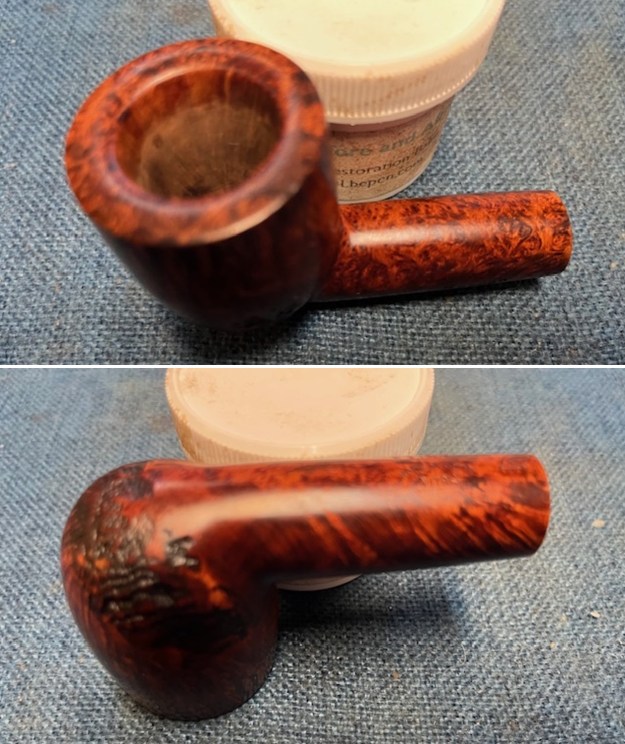
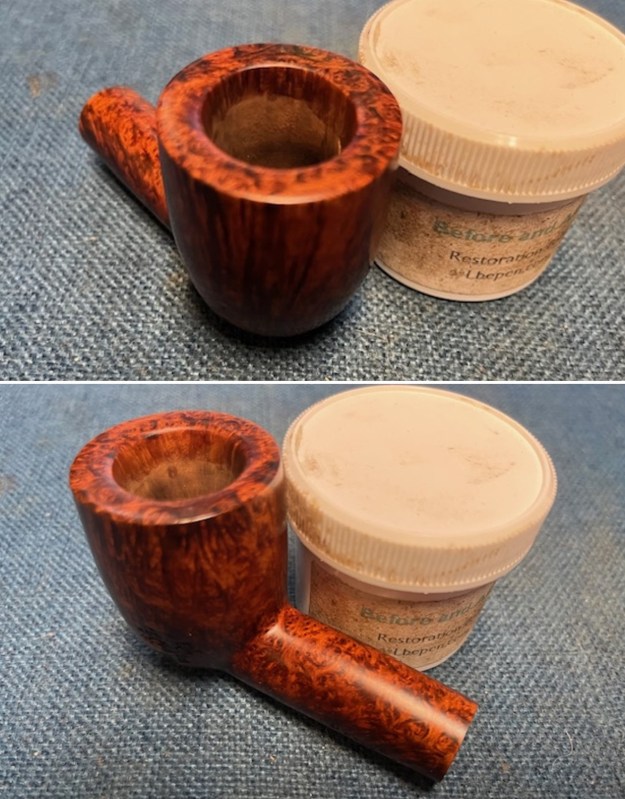
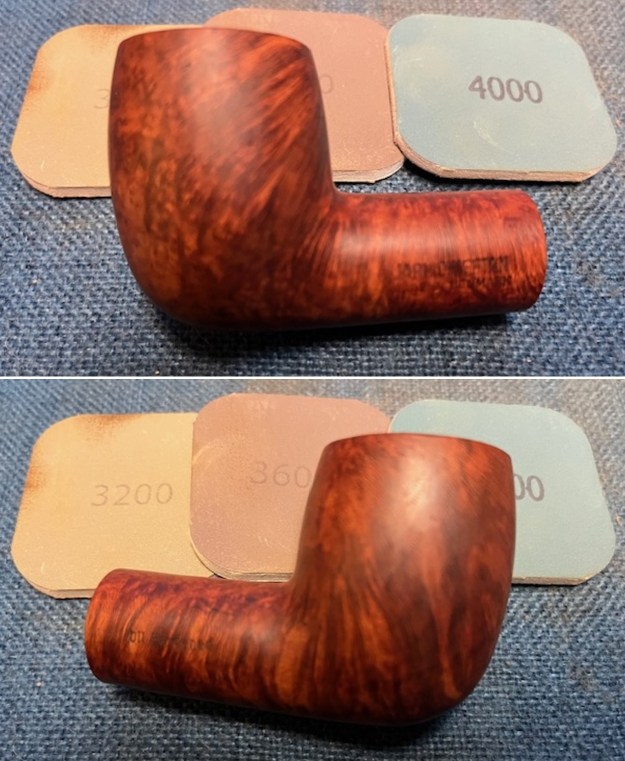
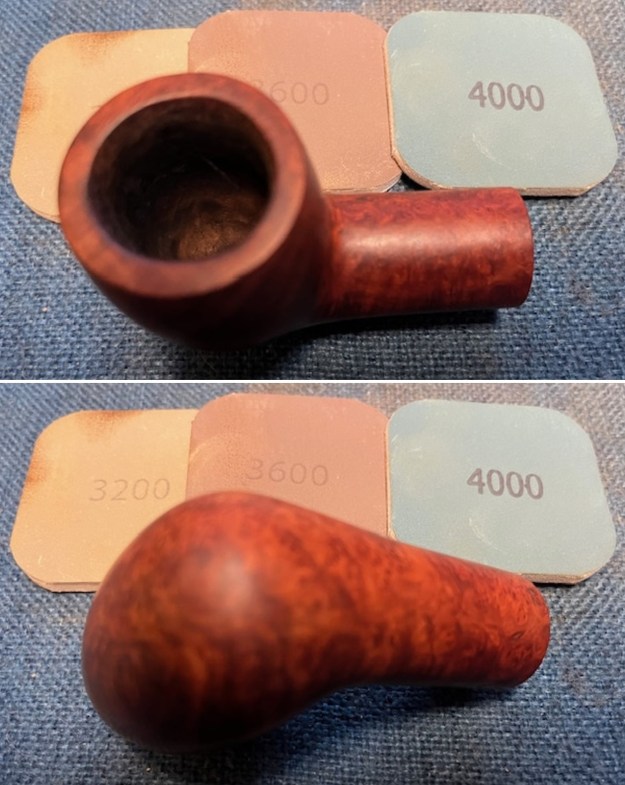
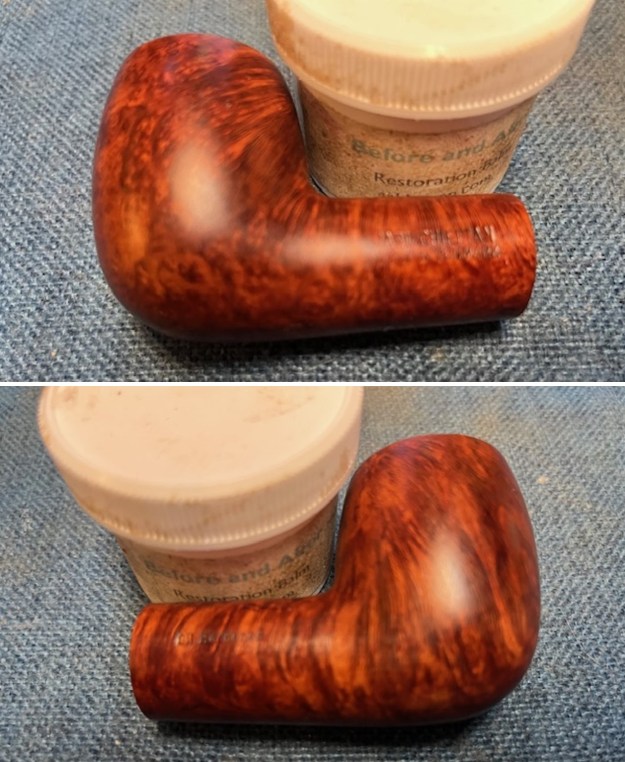
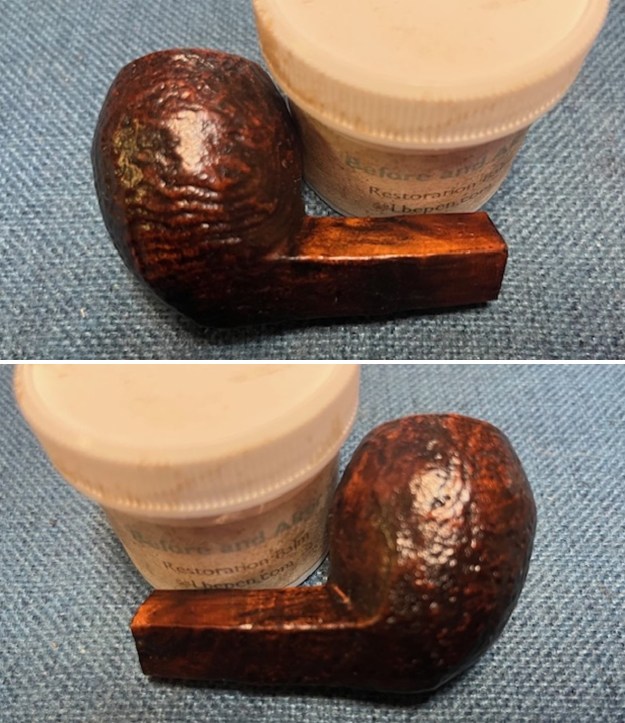
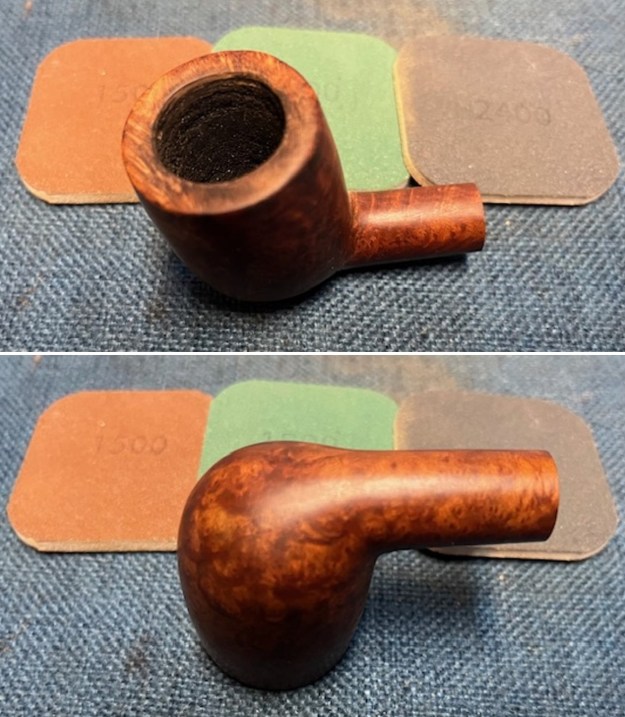
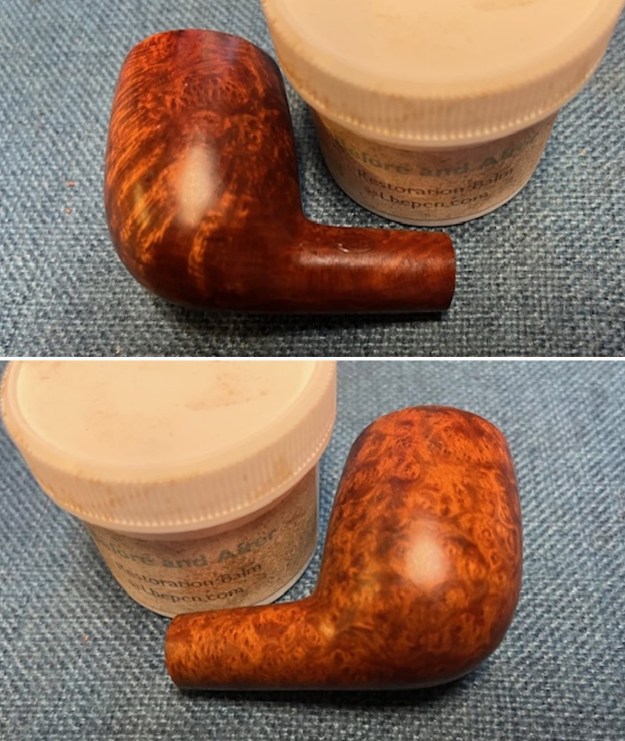
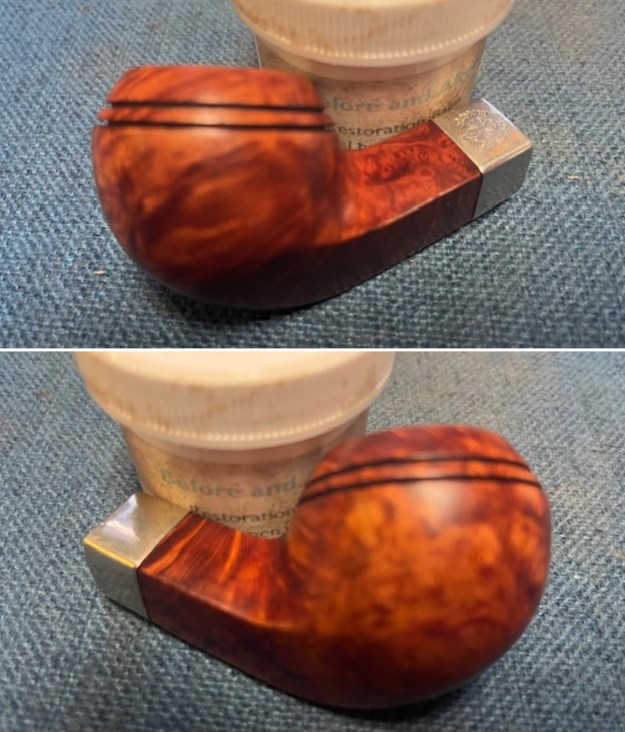
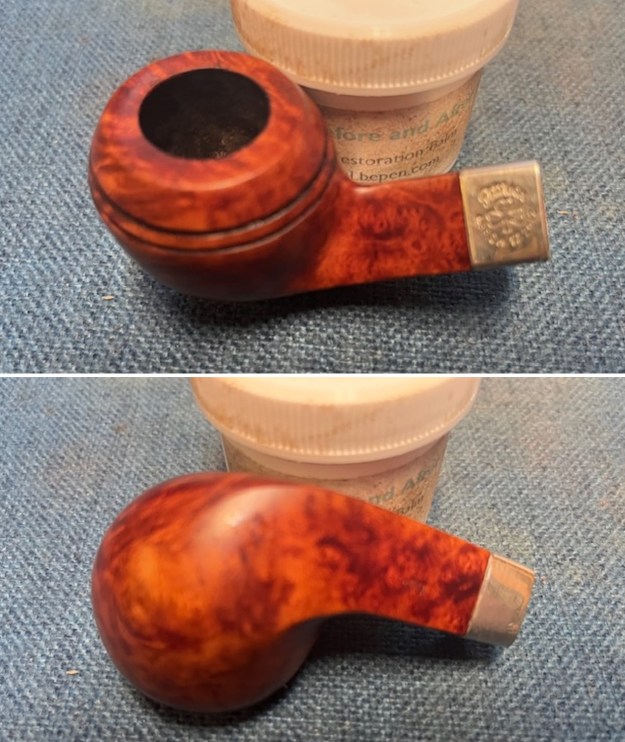
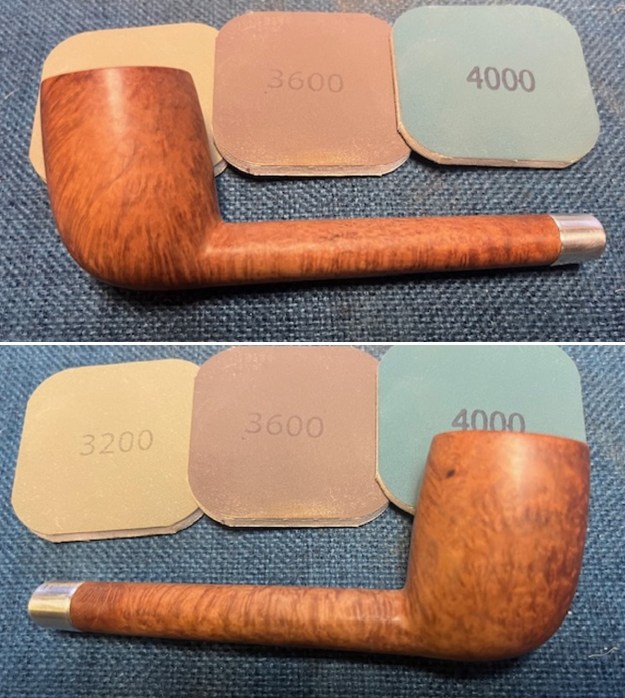
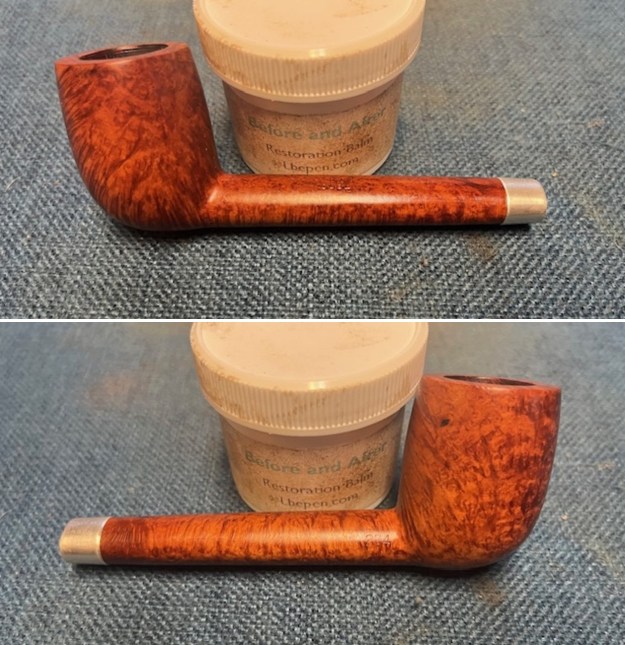
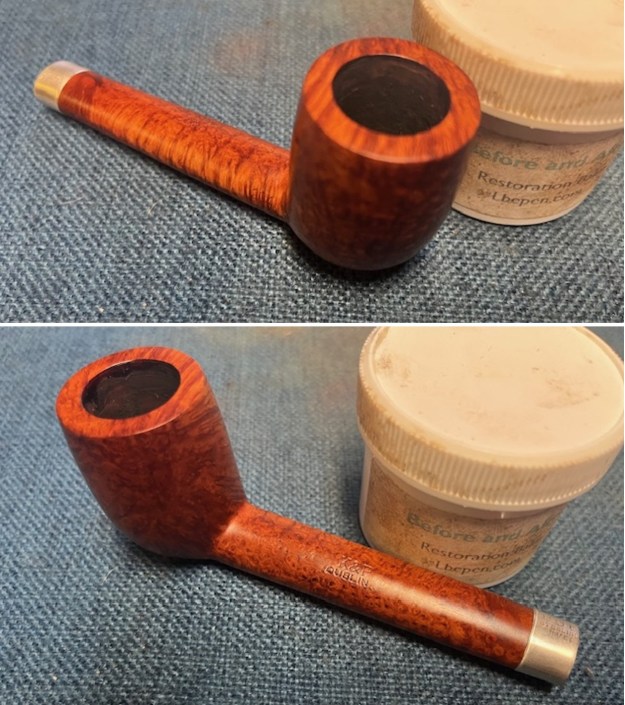
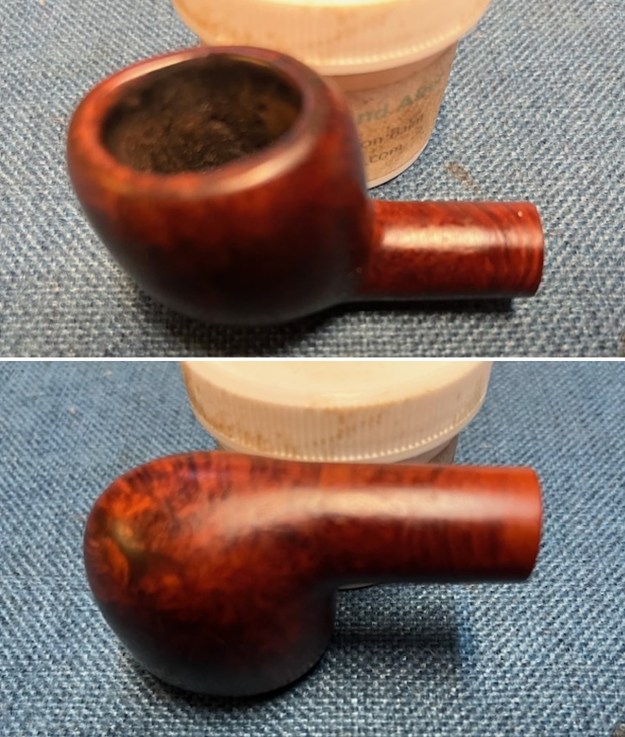
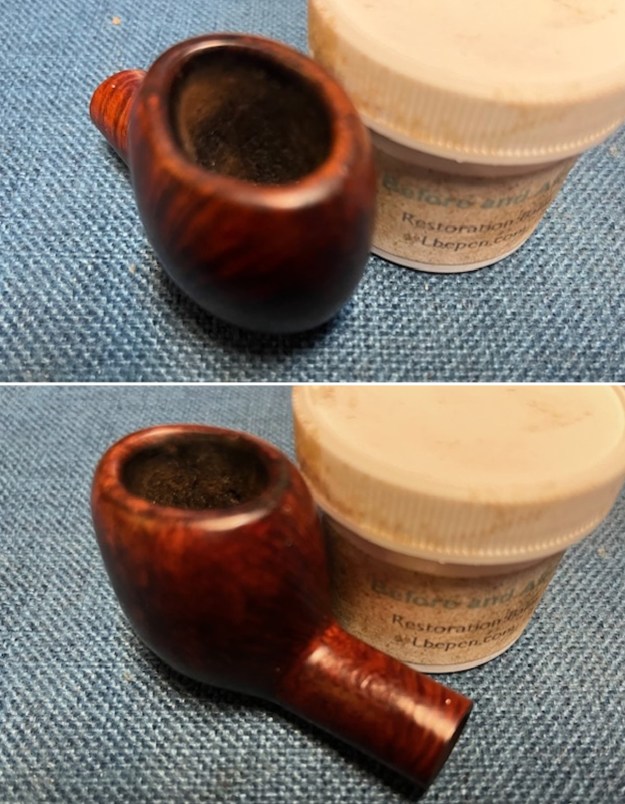
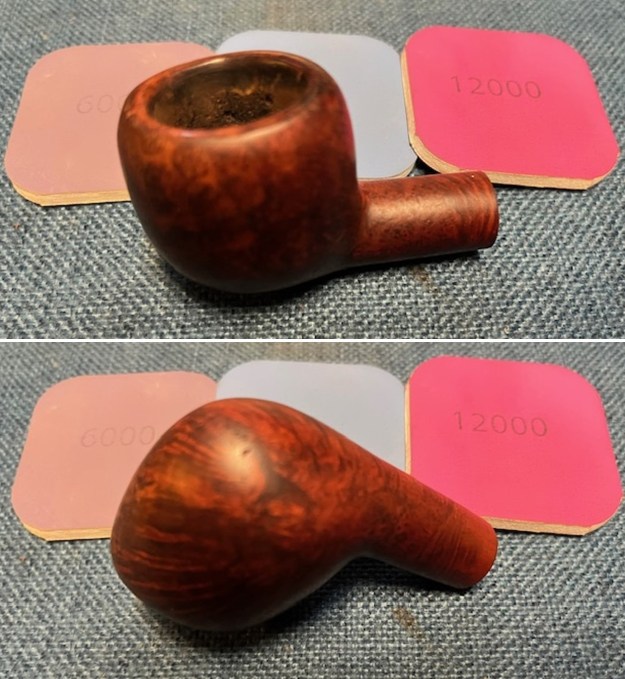 The exterior of the bowl look better after sanding. I worked some Before & After Restoration Balm into the briar with my finger tips. I let it sit on the bowl for 10 minutes and then buffed it off with a paper towel and soft cloth. The product is a great addition to the restoration work. It enlivens, enriches and protects the briar while giving it a deep glow. It is a product I use on every pipe I restore.
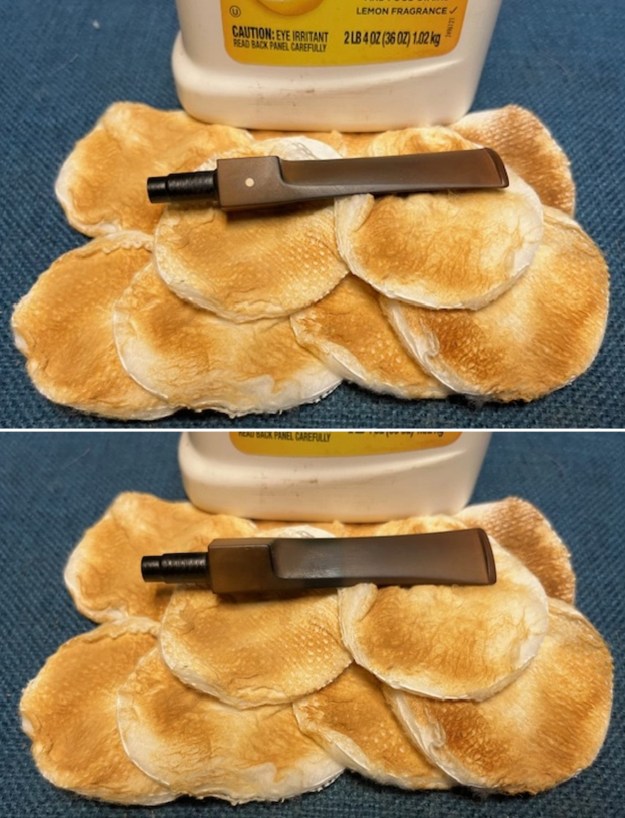
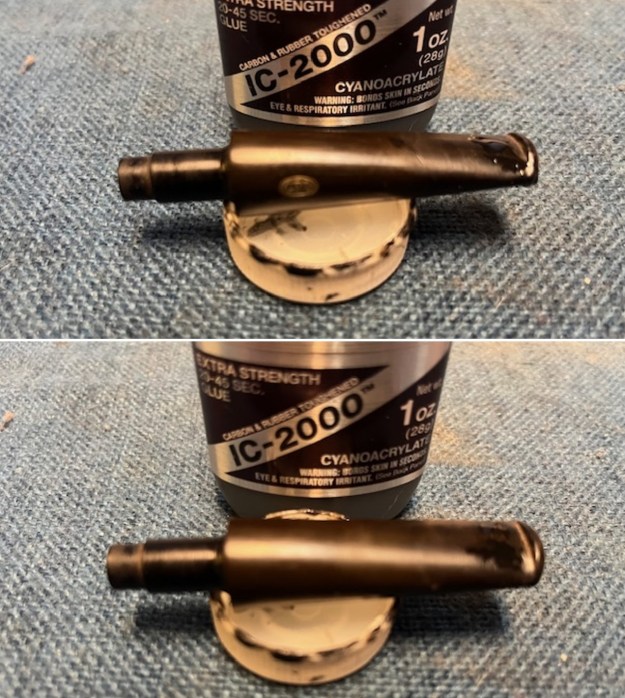
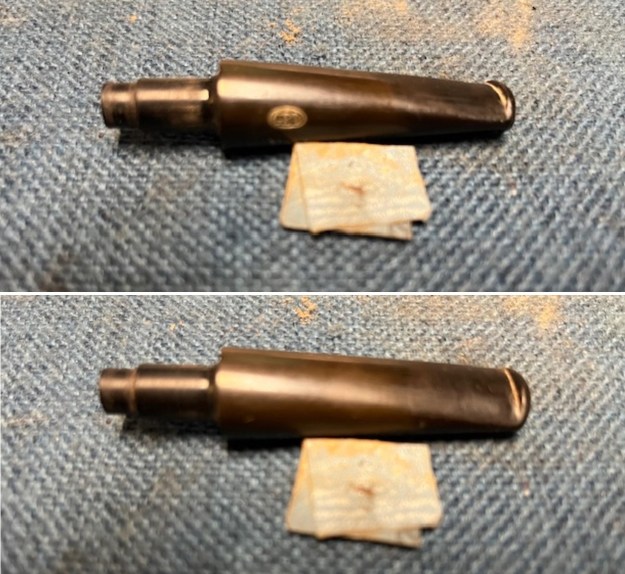
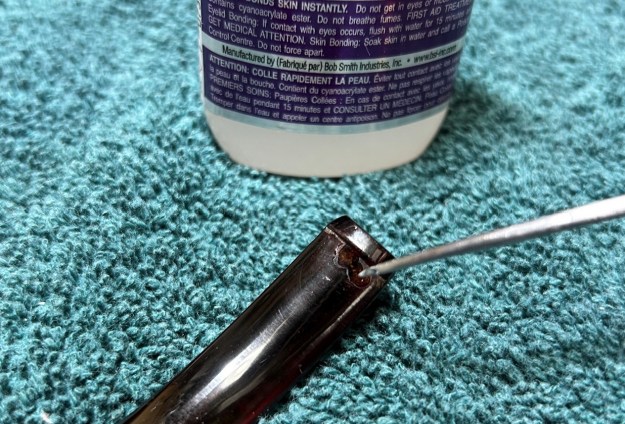
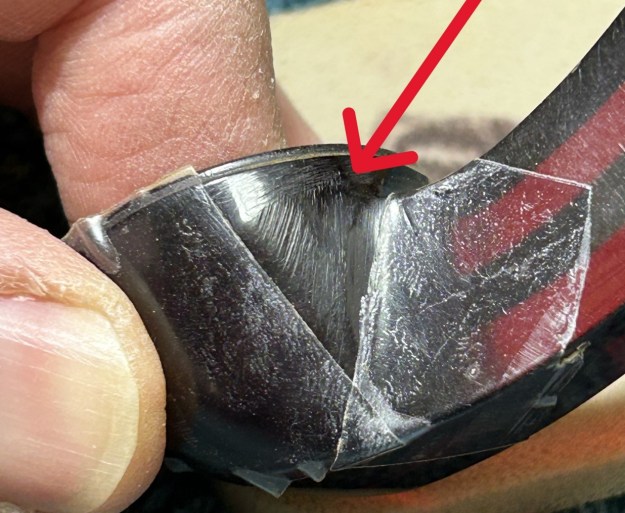
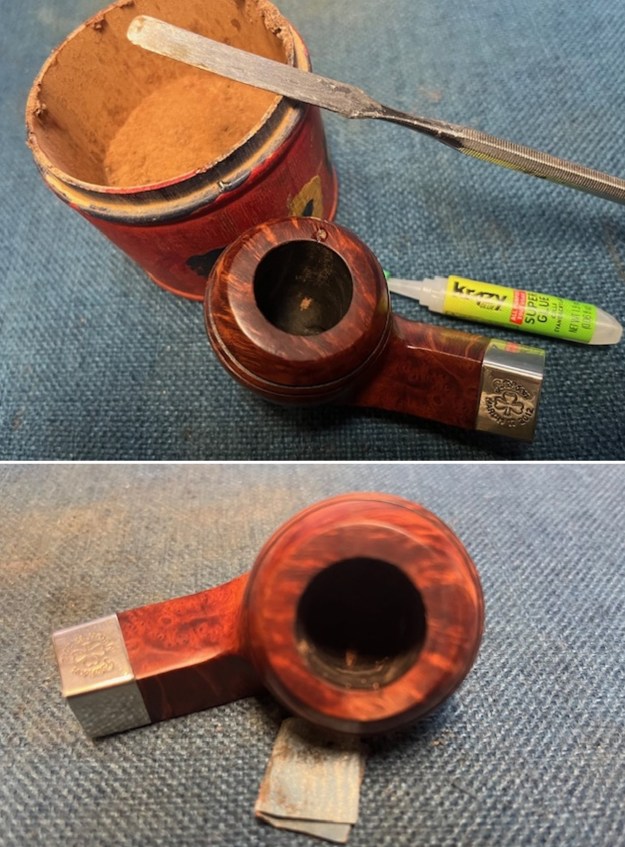
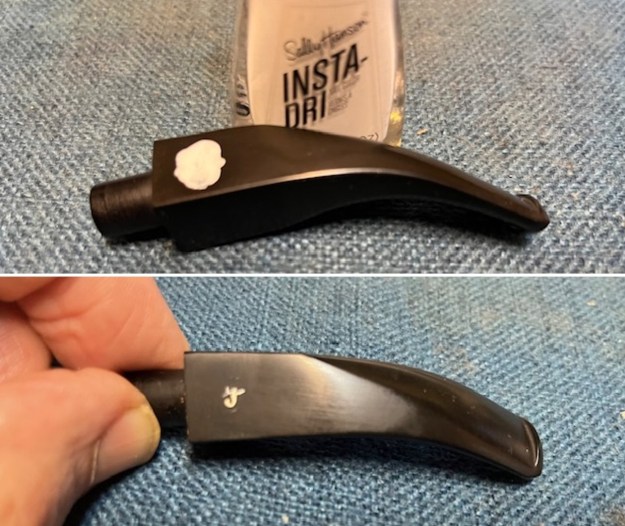
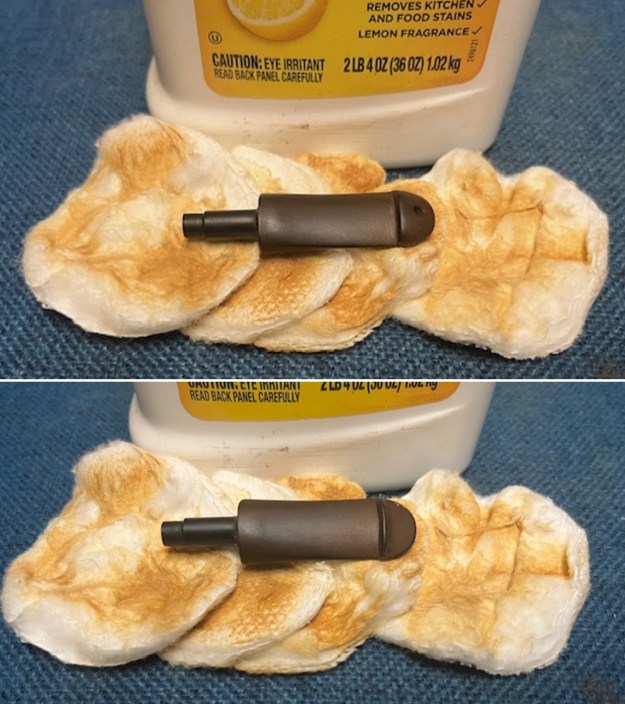
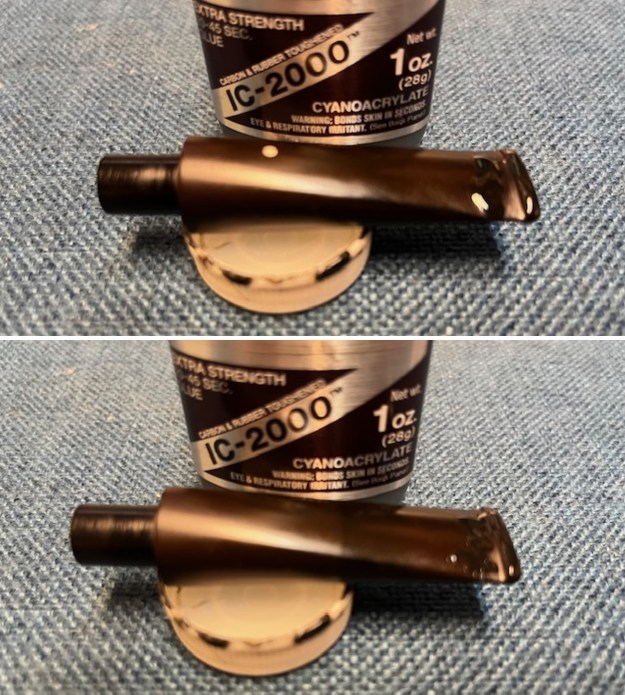
 I tried to raise the tooth marks as much as possible by “painting” the surface of the stem with a lighter flame. It worked very well and I was able to lift many of them. I filled in the remaining spots with black rubberized CA glue.
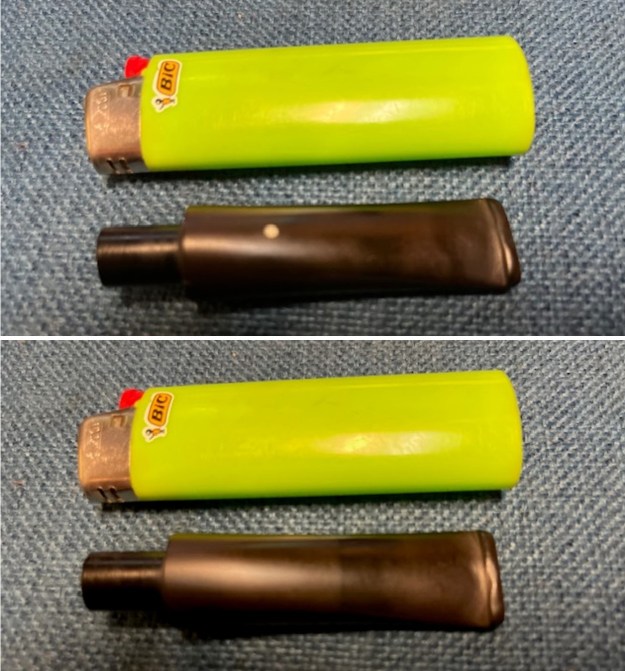
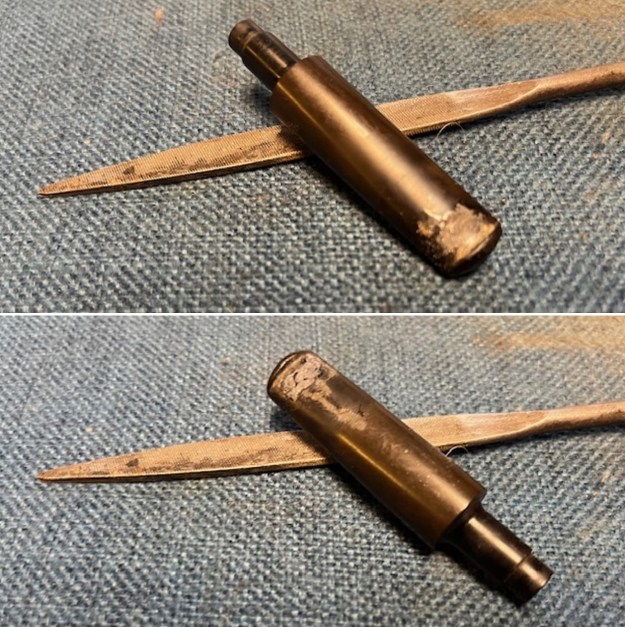
 I recut the button edge and flattened the surface of the repairs with some small flat files. I was able to smooth the surface and give the button a very sharp edge. I flattened it further and smooth out the surface with a folded piece of 220 grit sandpaper.
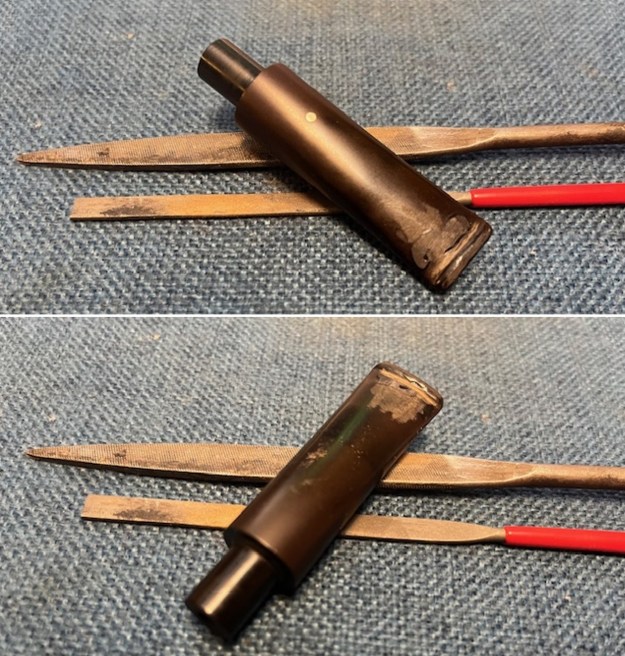
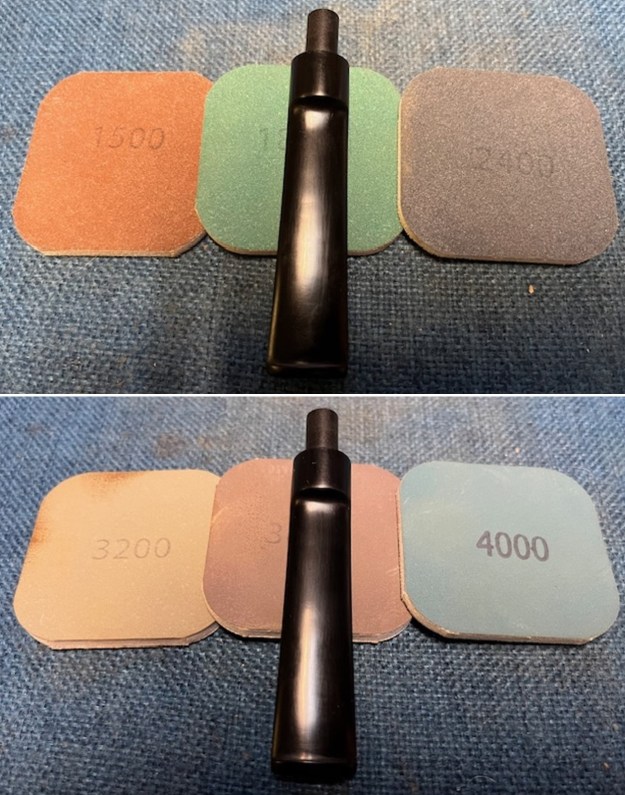
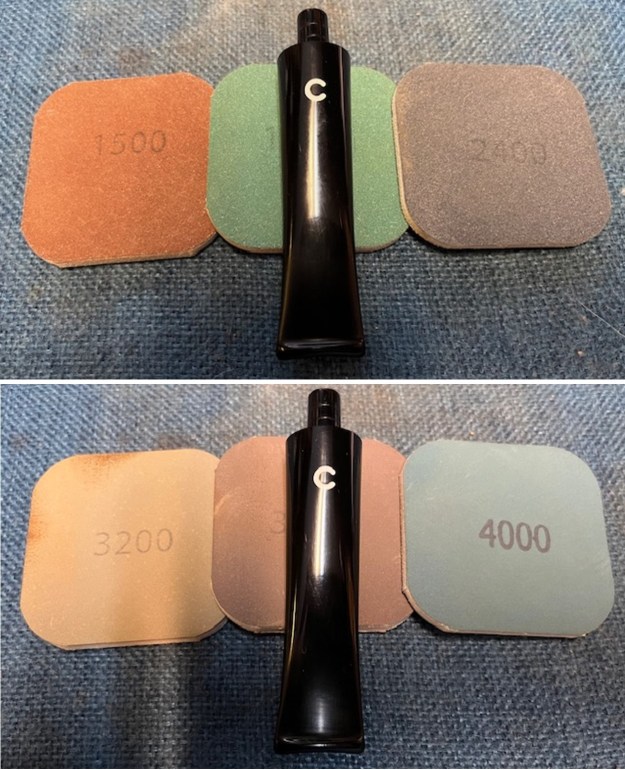
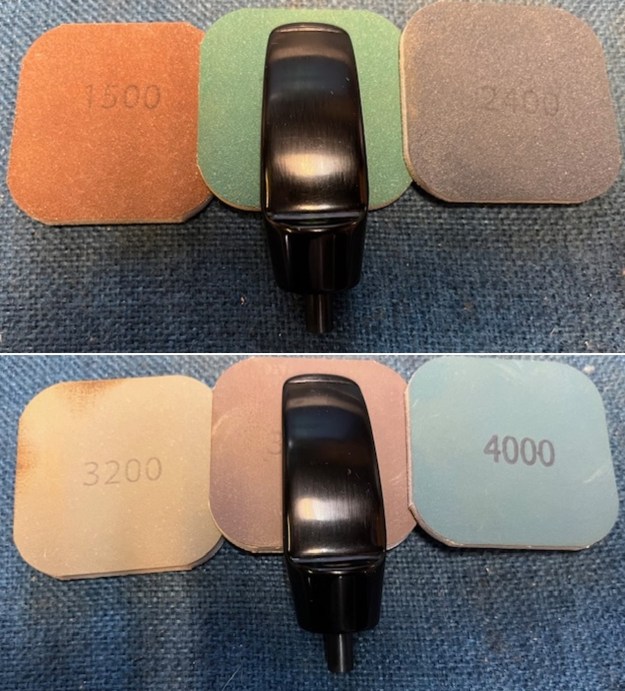
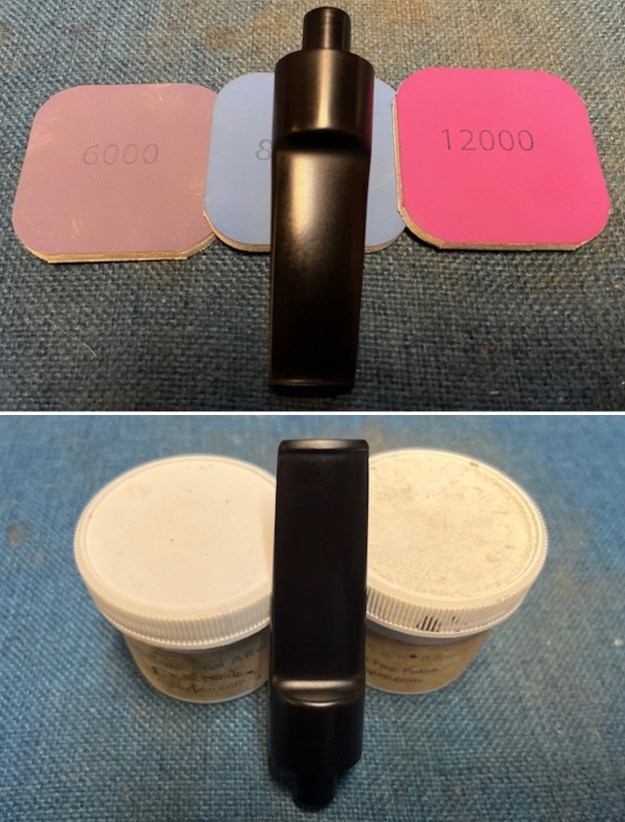
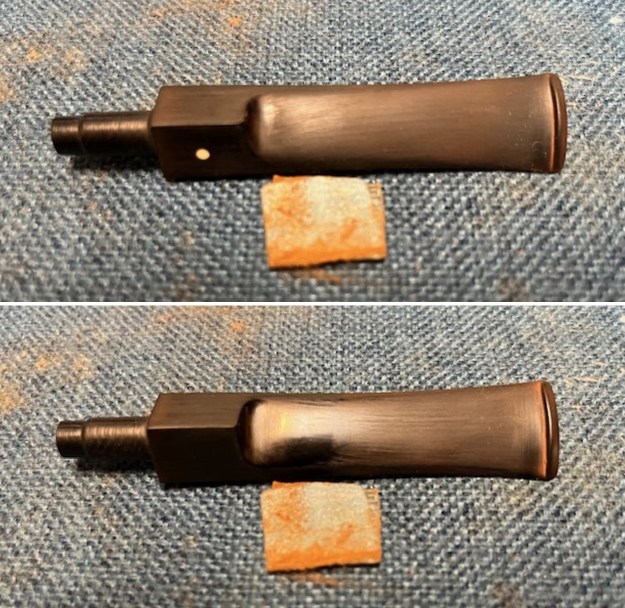
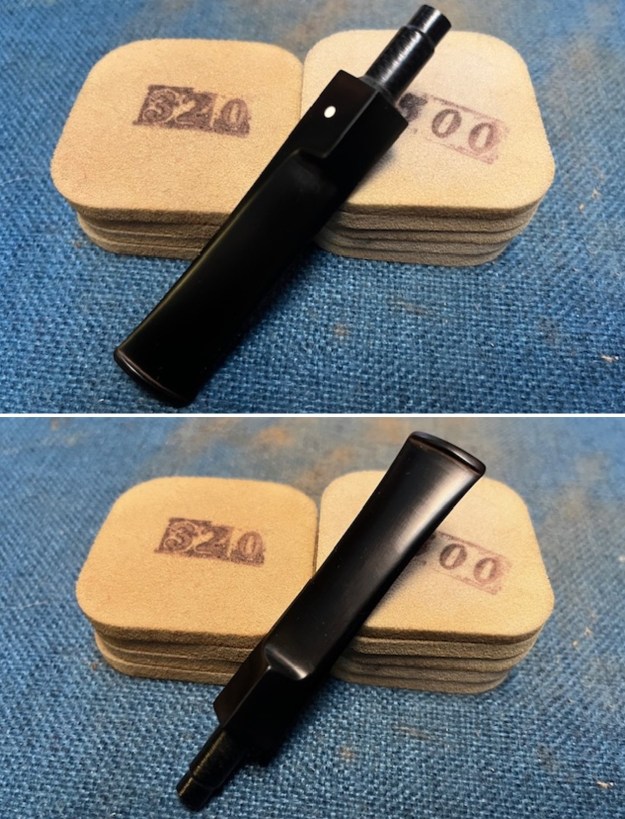
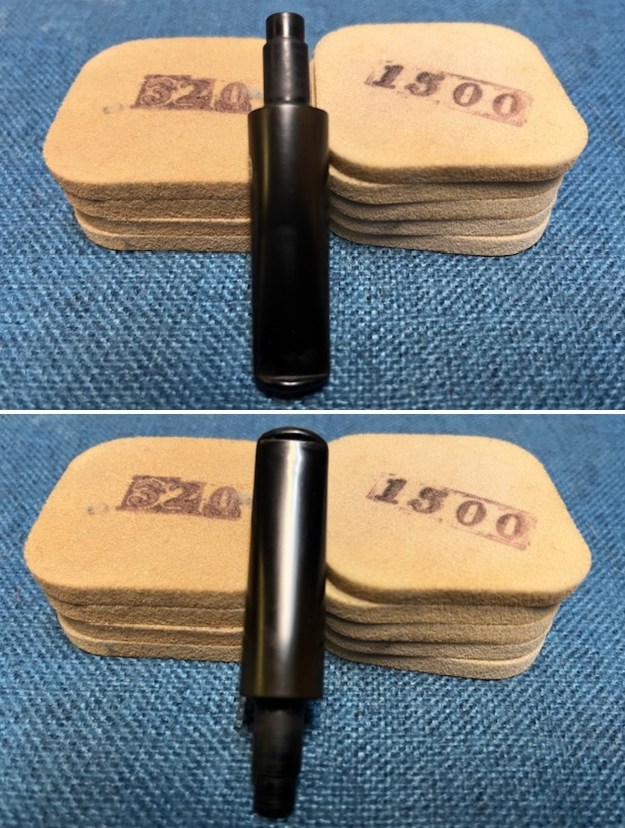
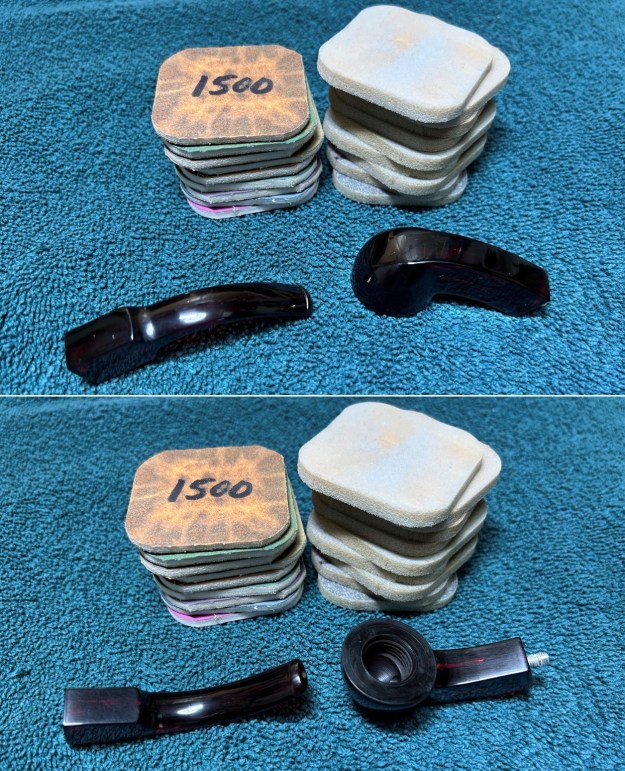
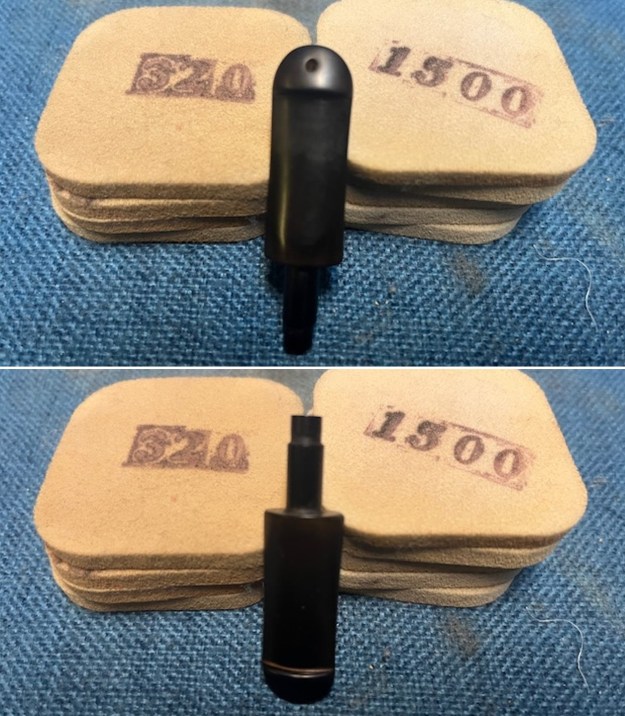
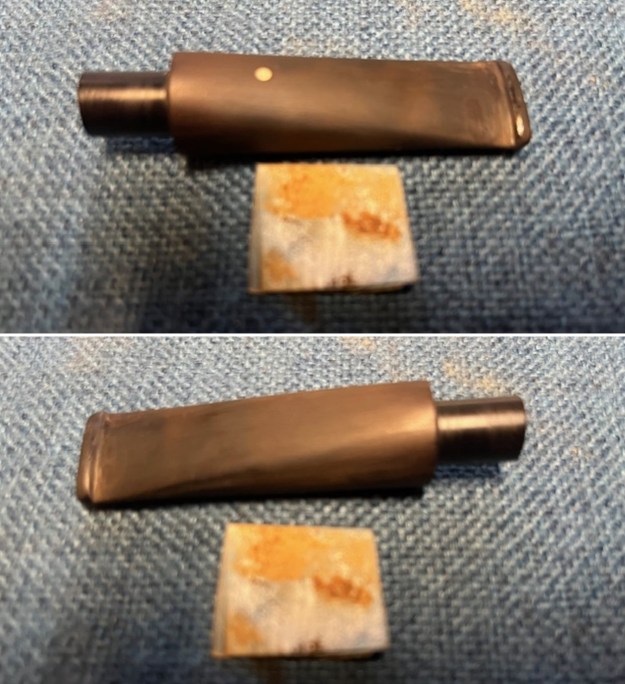 I sanded the stem with 320-3500 grit sanding pads to remove residual oxidation on the stem surface and further blend the repairs into the surrounding vulcanite.
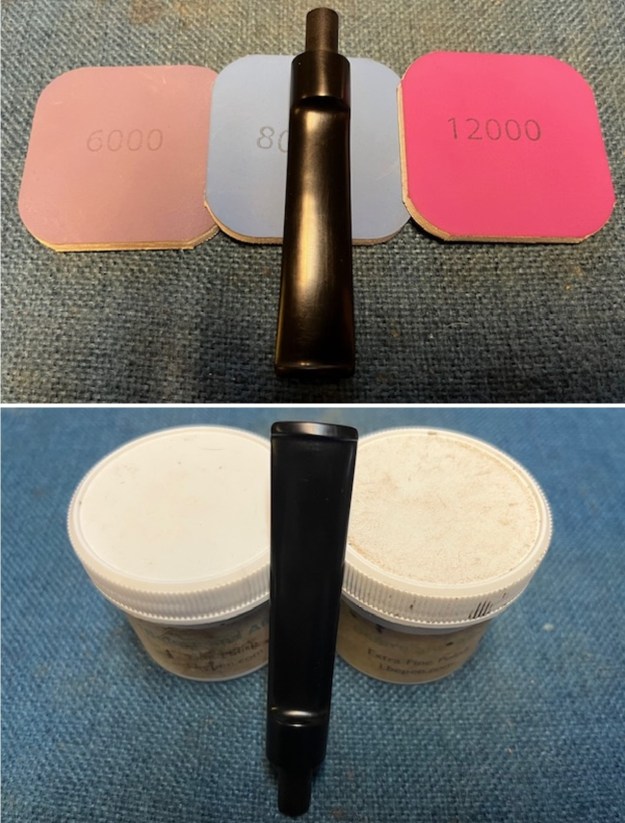
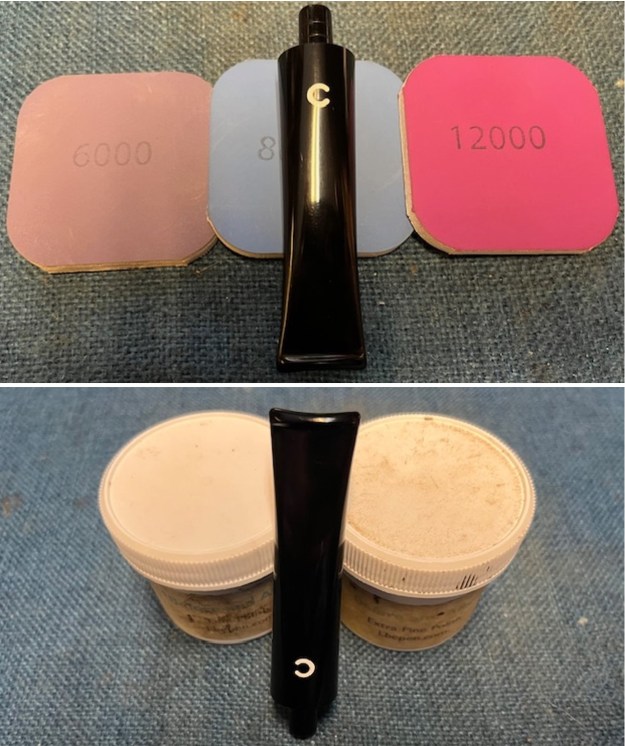
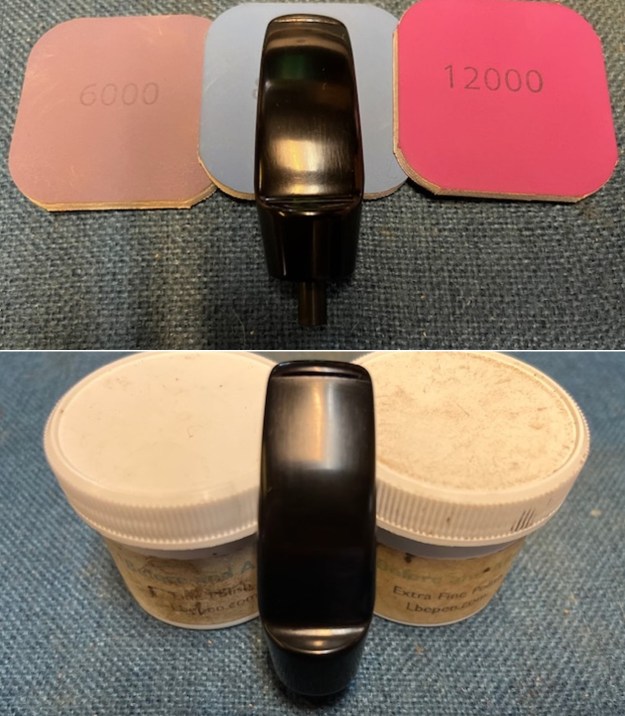
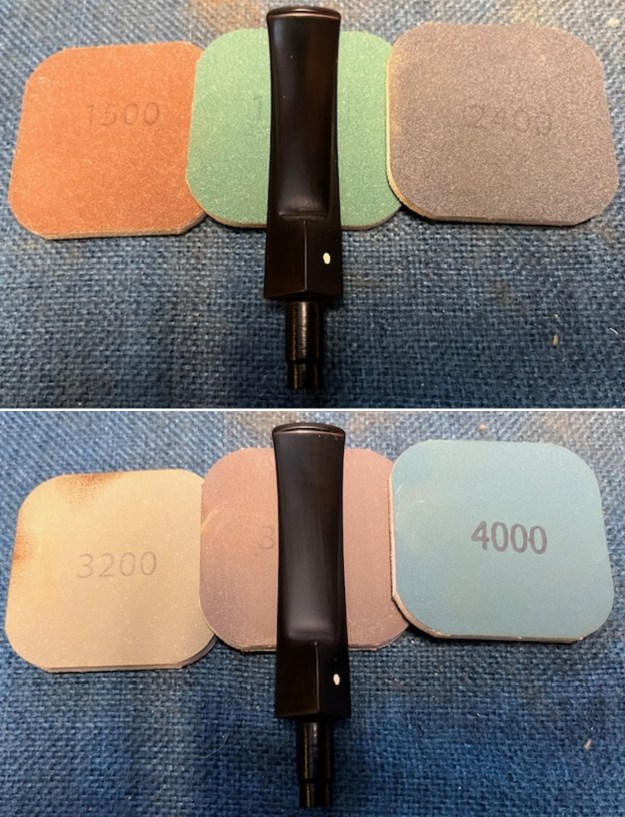
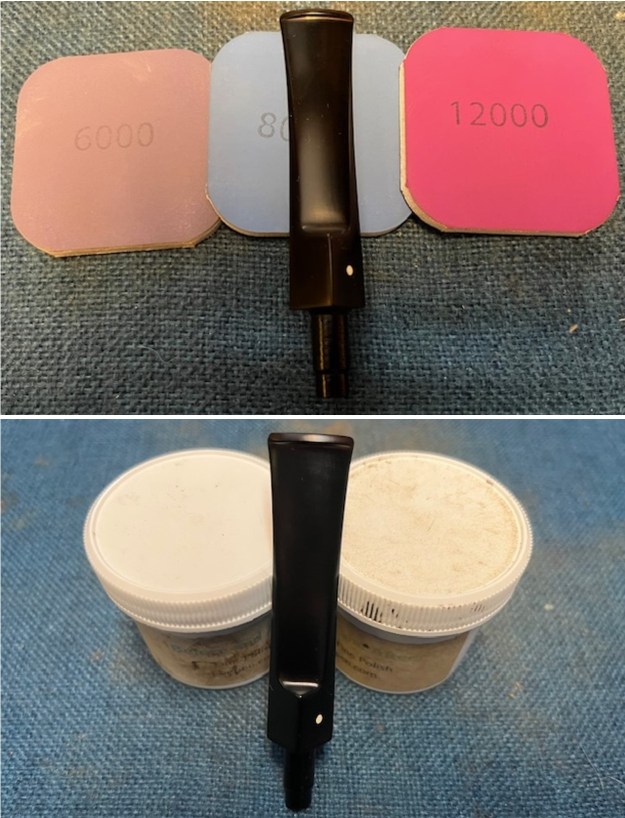
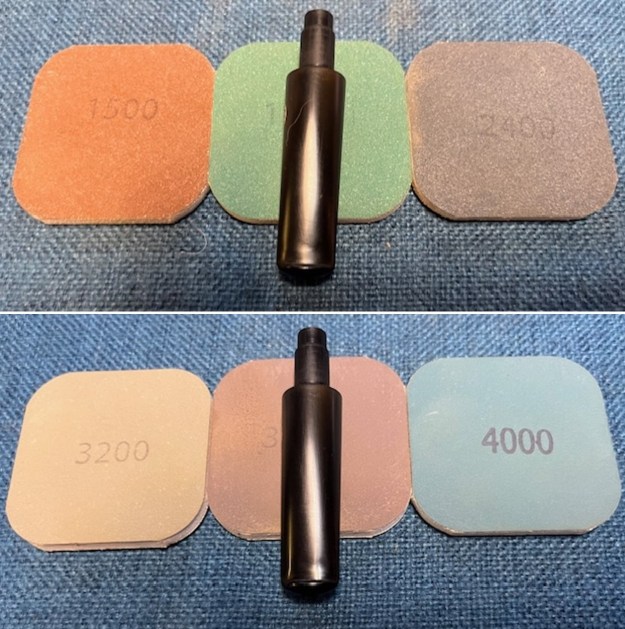
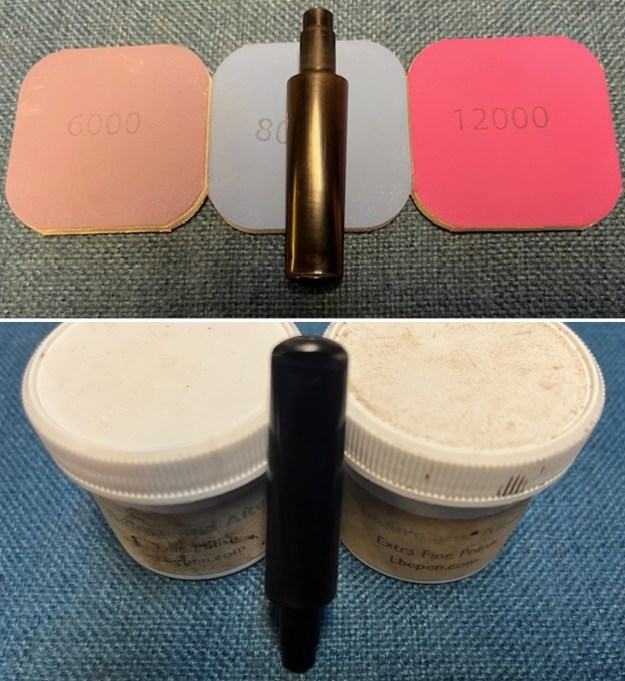
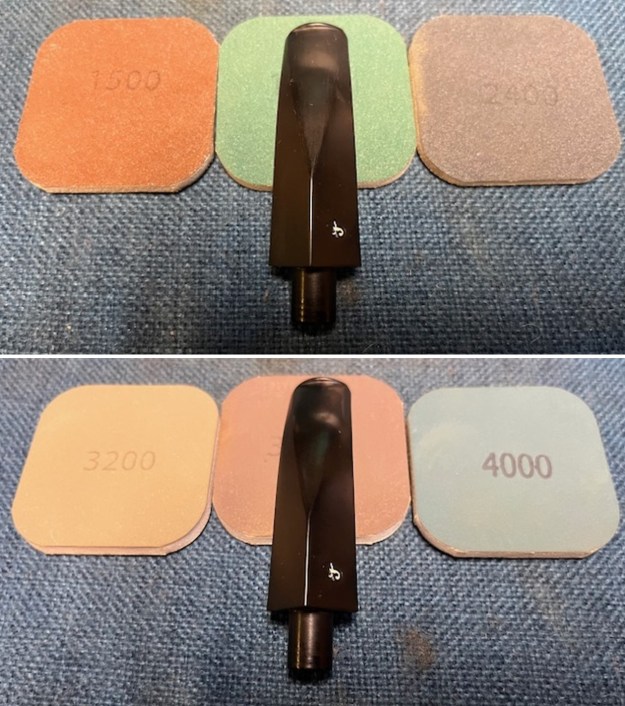
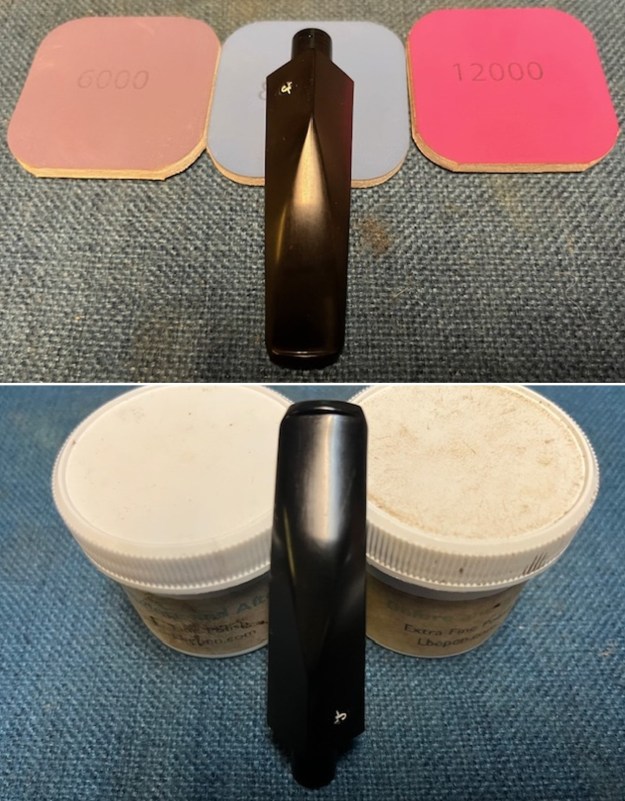
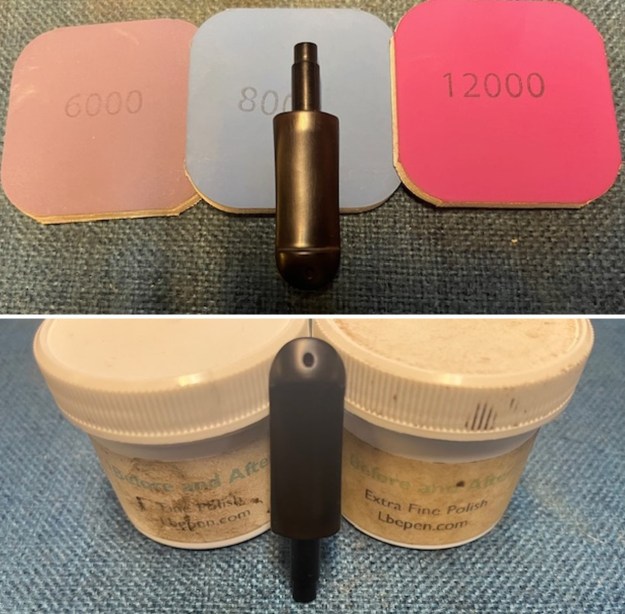
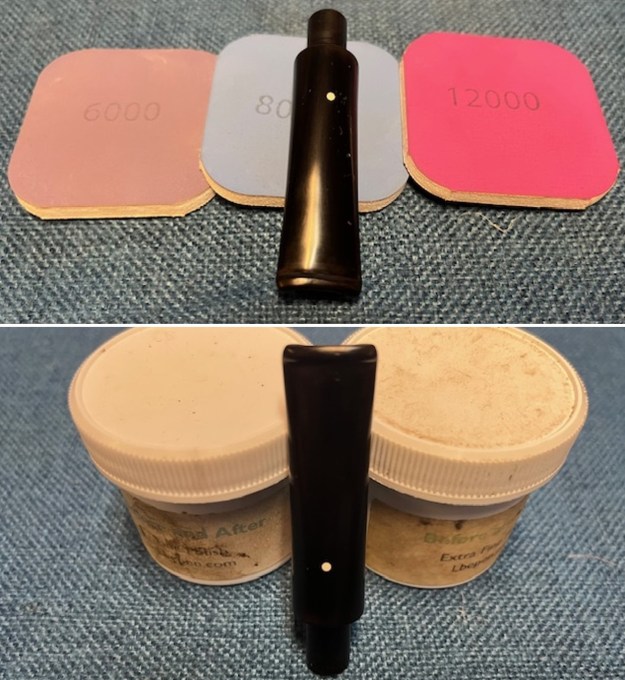
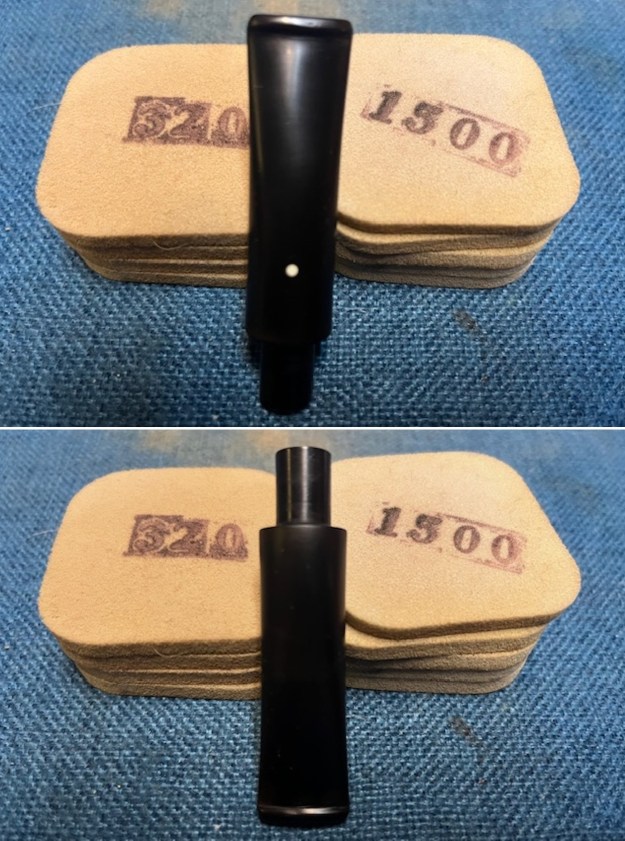 It was ready for the next step. I polished it with micromesh sanding pads – dry sanding with 1500-12000 grit pads and wiping the surface down with Obsidian Oil after each sanding pad. It is really shining. I polished it further with Before & After Stem Polish – both Fine and Extra Fine. I gave it another coat of Obsidian Oil to finish this step.
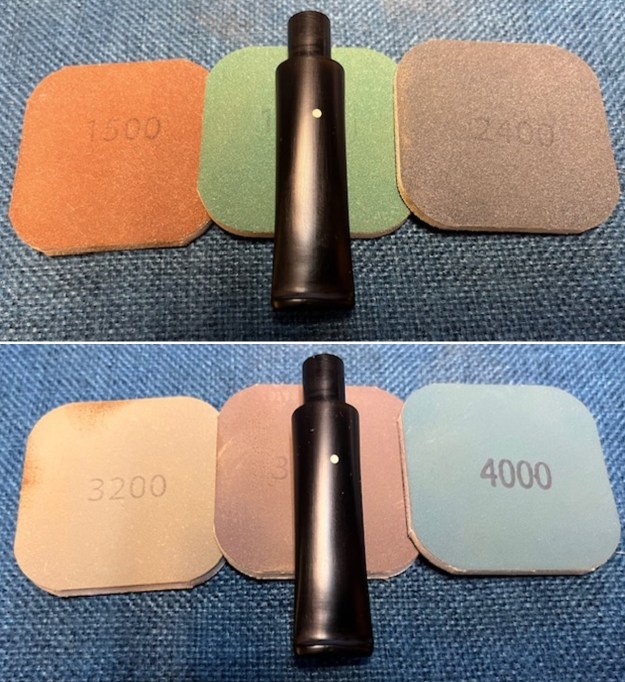
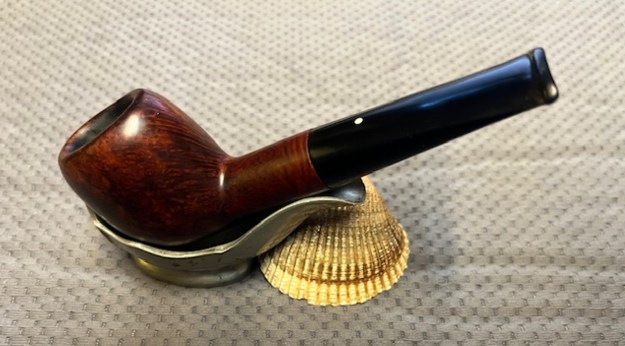
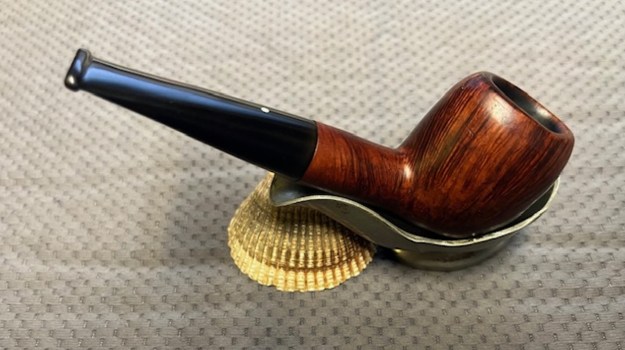
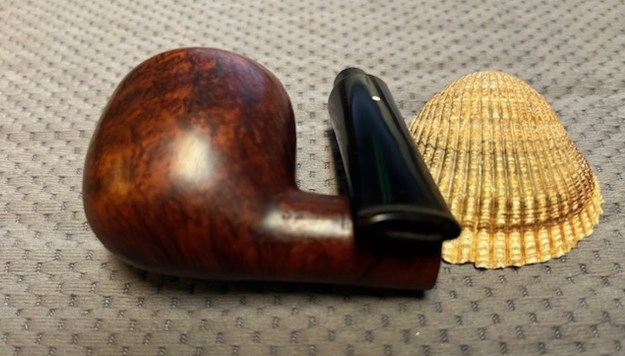
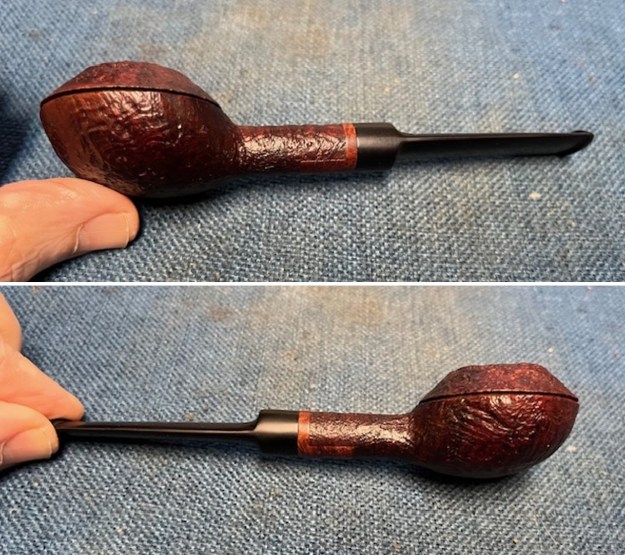
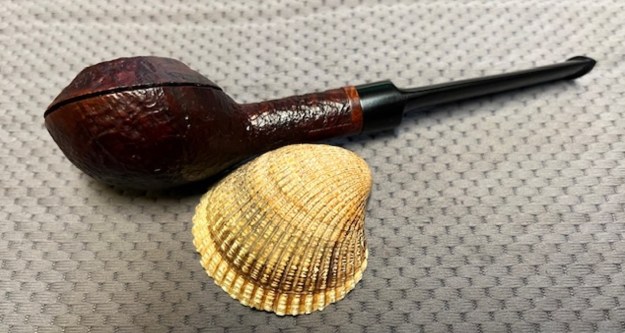
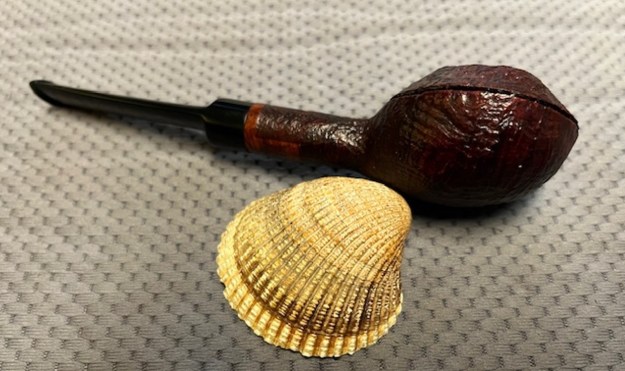
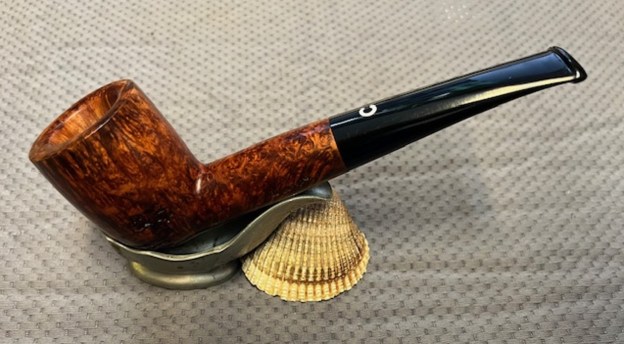
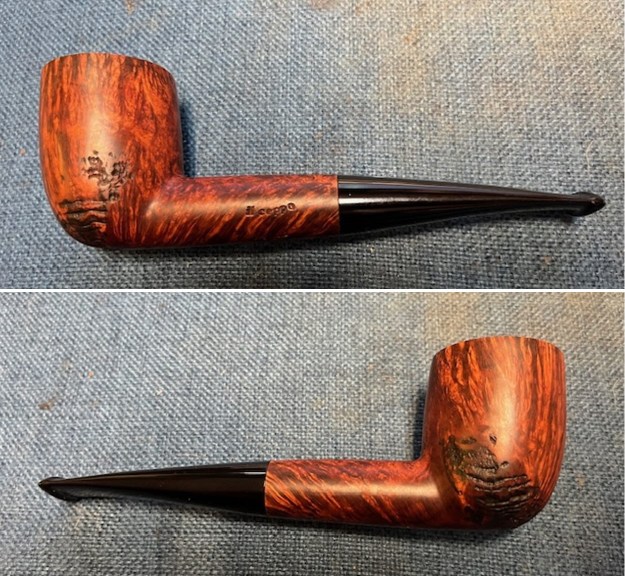
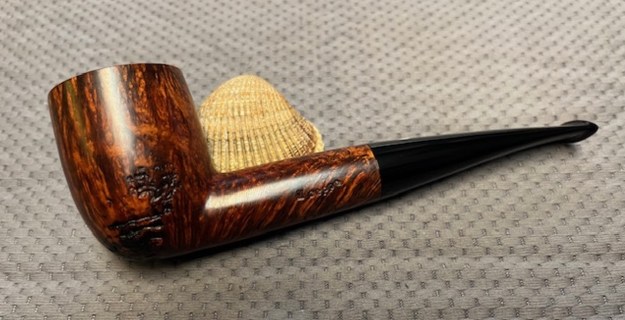
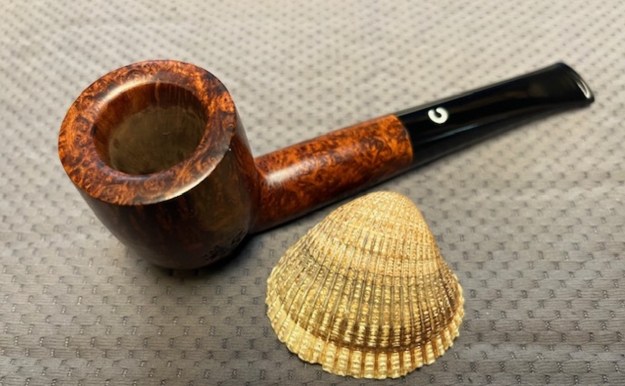
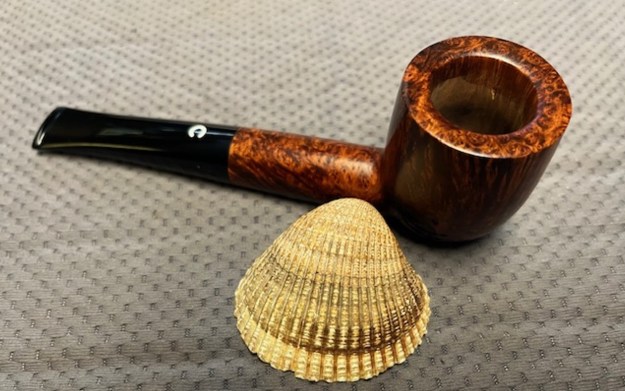
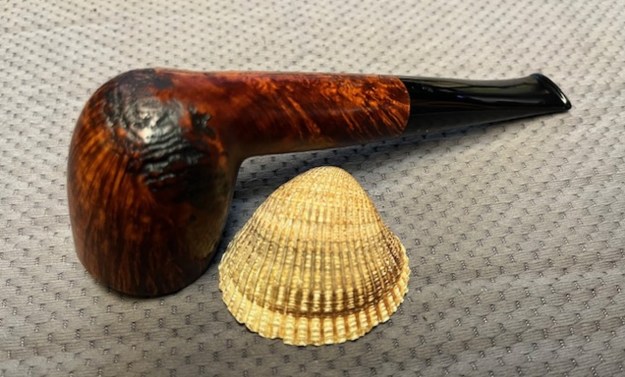
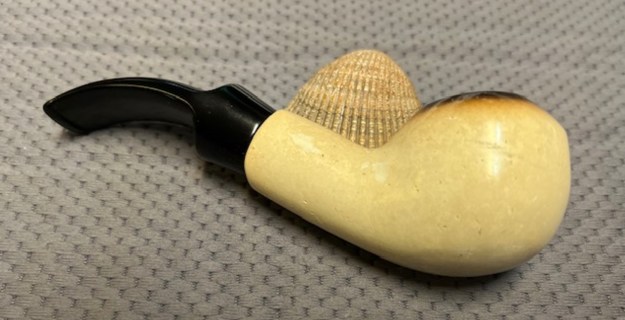
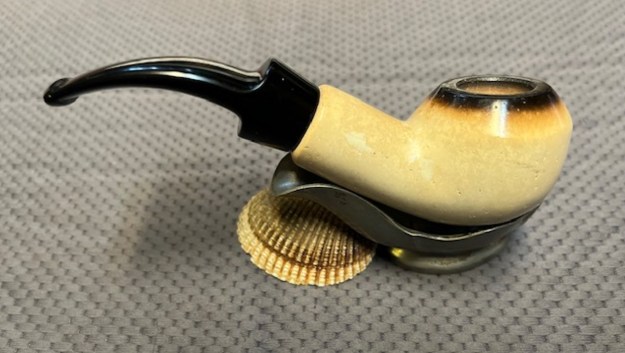
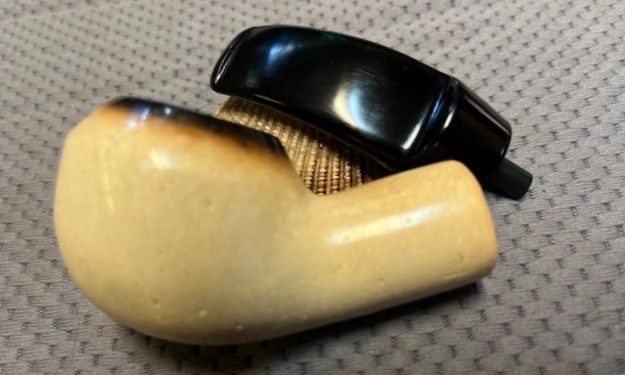
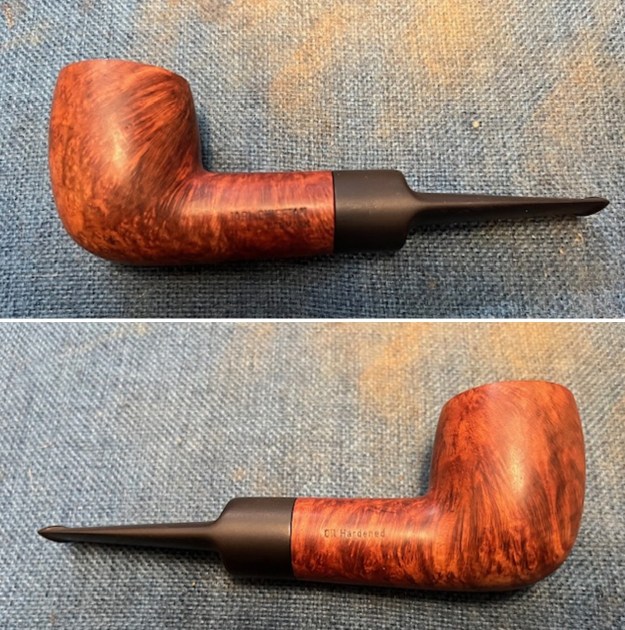
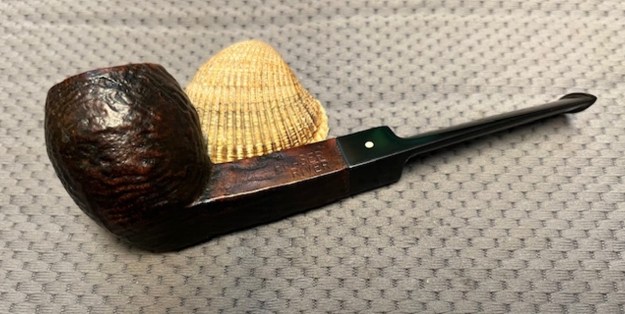
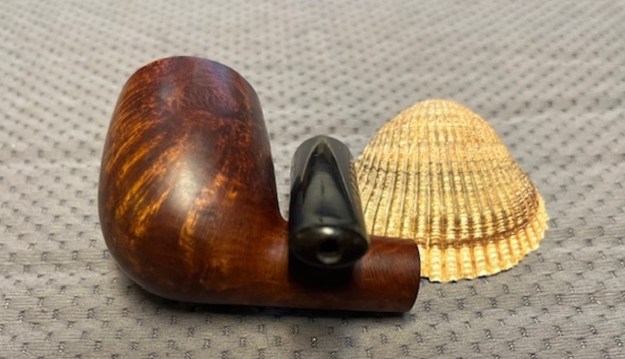
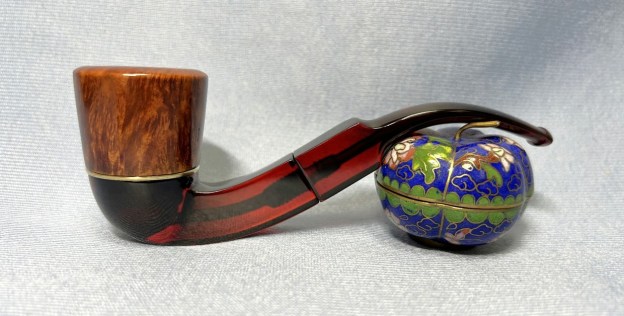
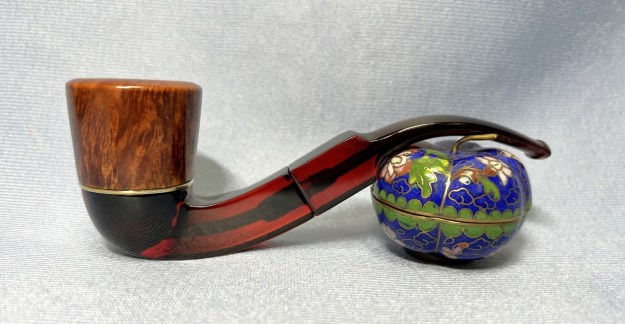
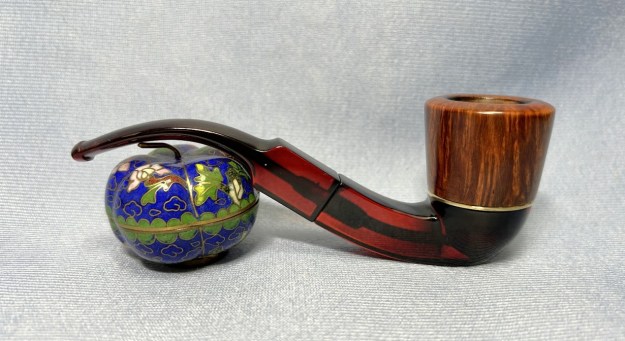
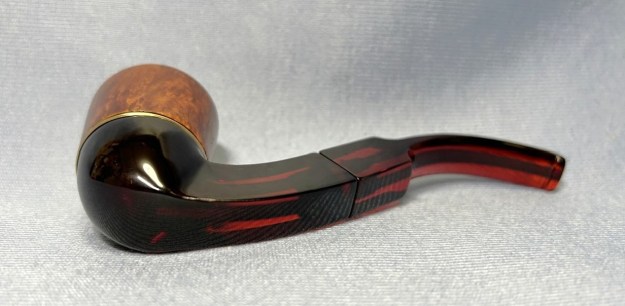
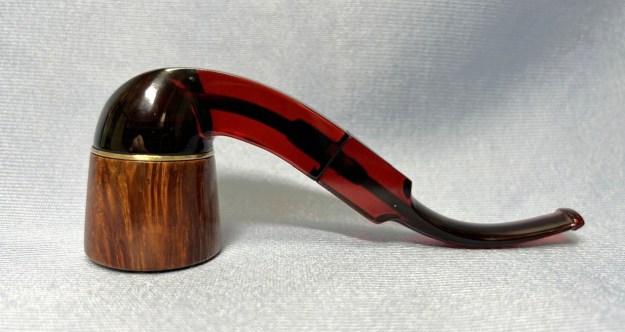
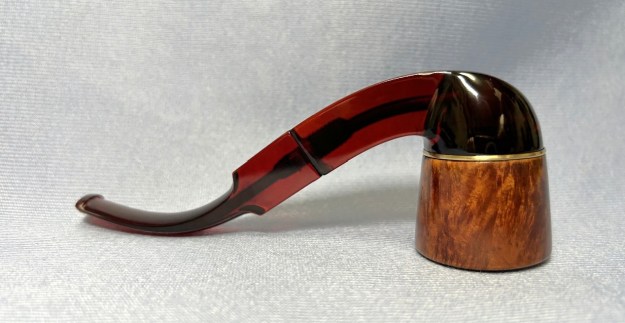
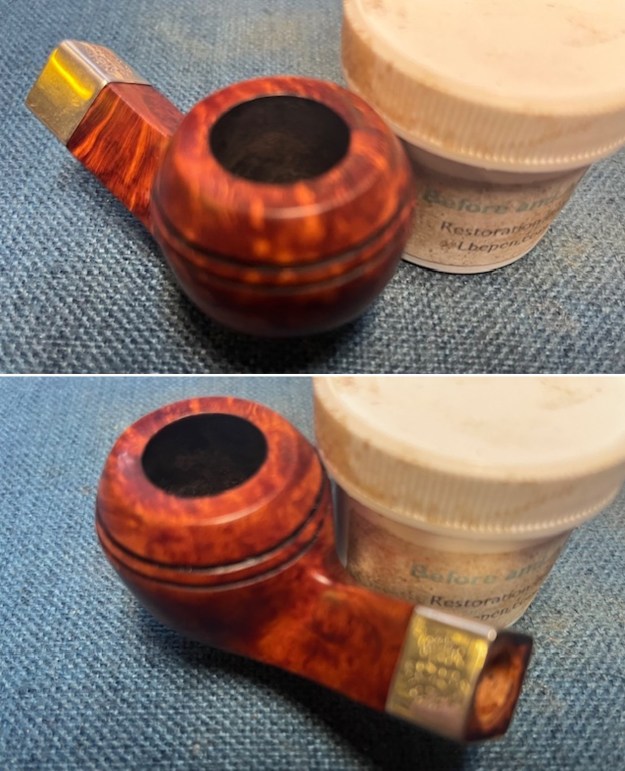
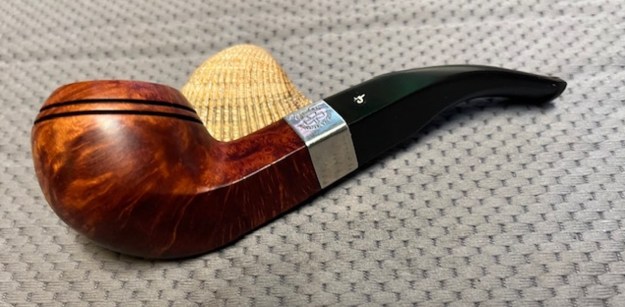
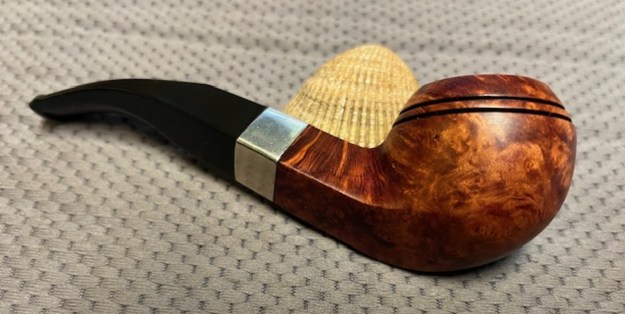
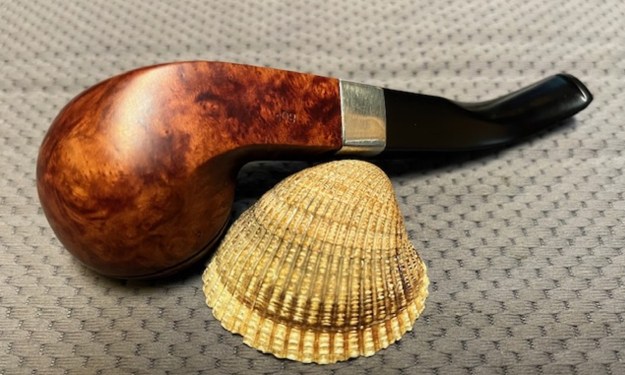
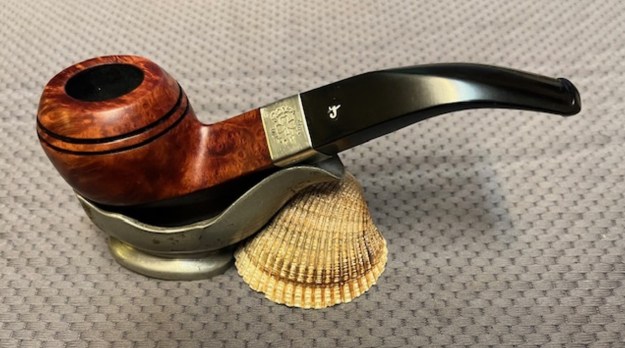
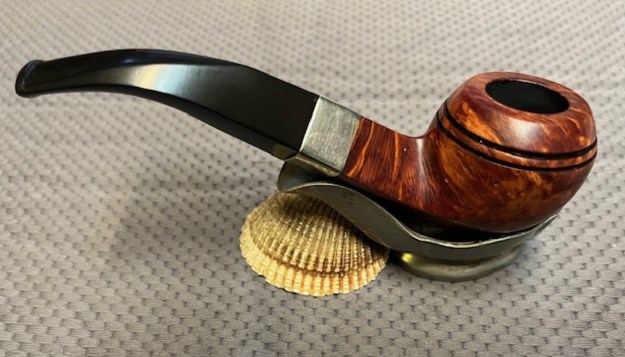
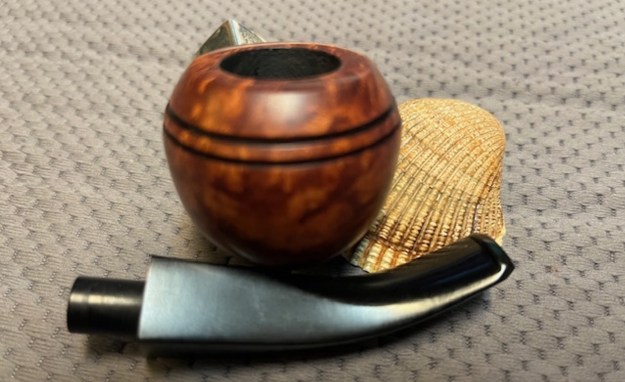
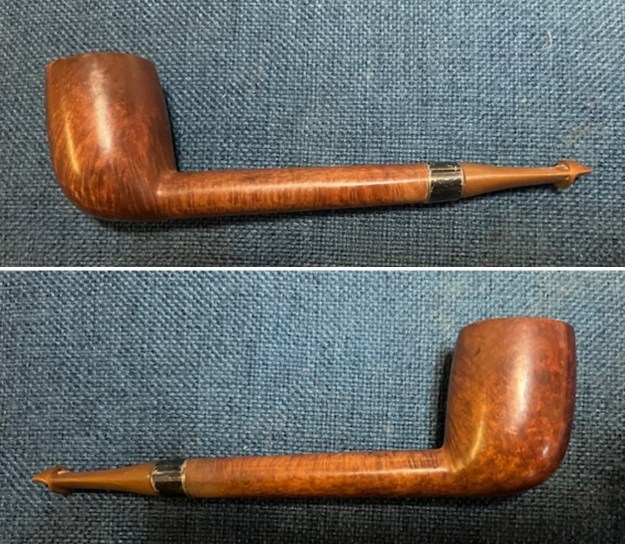
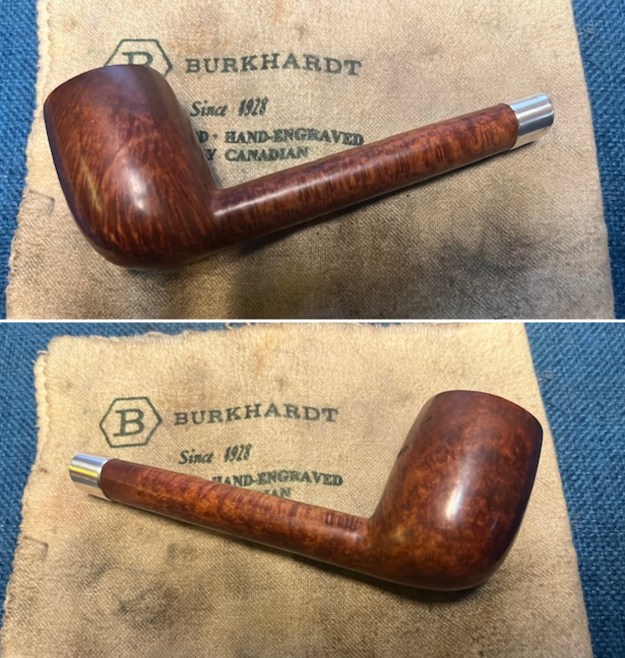
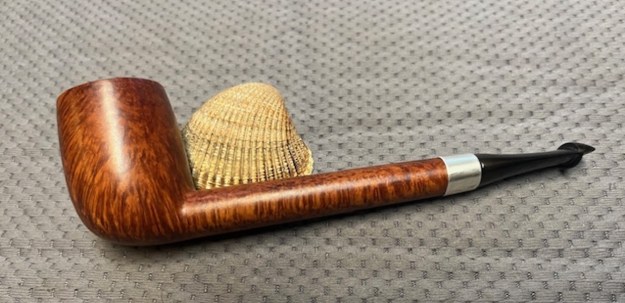
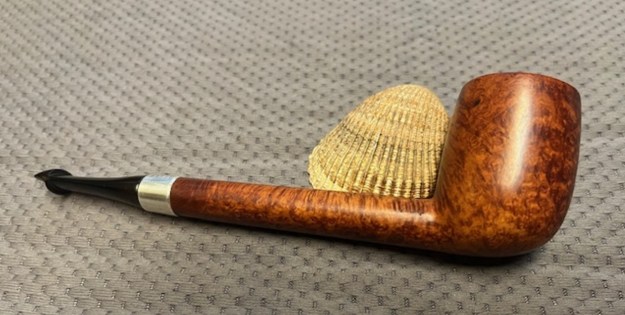
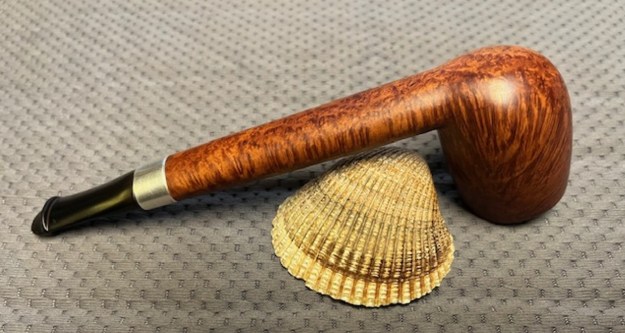
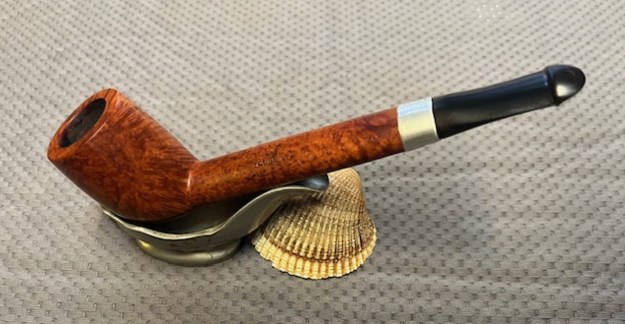
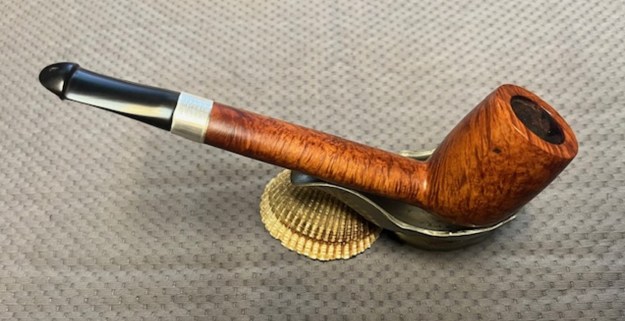
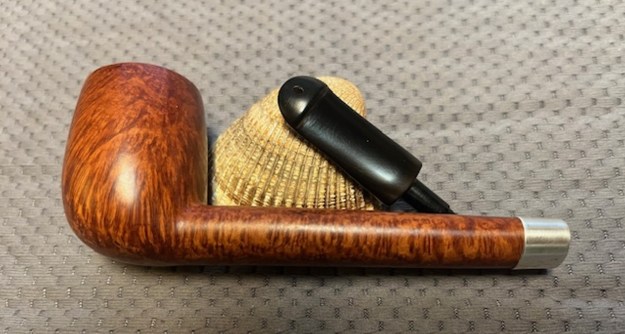
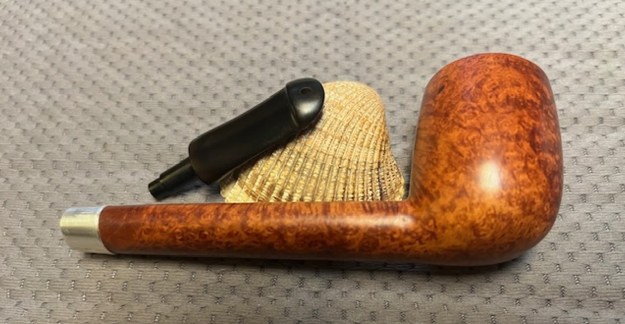
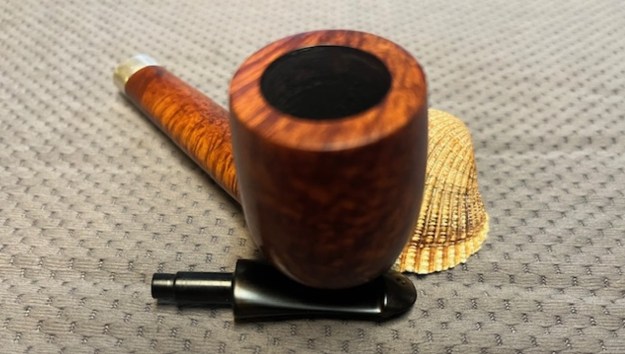
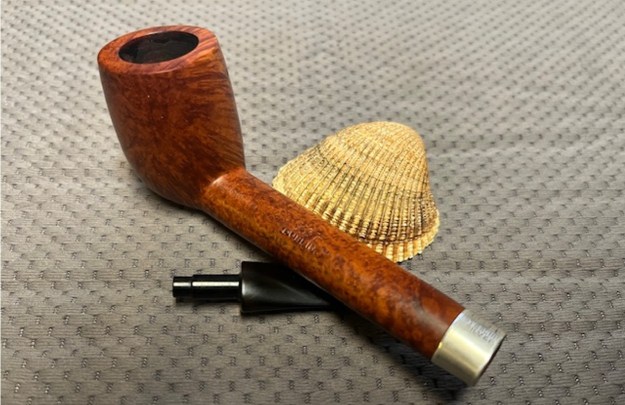
 I am excited to be on the homestretch and look forward to seeing the 1975 Dunhill Black Briar 32F/T Opera Pipe put back together, polished and waxed. I put the bowl and stem back together and lightly polished the bowl and stem with Blue Diamond to polish them. I gave the bowl and the stem multiple coats of carnauba wax. I buffed the pipe on the wheel with a clean buffing pad to raise the shine. I hand buffed it with a microfiber cloth to deepen the shine. The depths of the grain really pop with the wax and polish. The repaired and polished vulcanite stem is a beautiful contrast to the combination of Black and Brown stains on the bowl and shank. This Dunhill Black Briar 32 F/T Opera Pipe was a lot of work to bring back to life. The pipe is light weight, comfortable in the hand and should feel great as it is warmed up when smoking. The finished pipe is shown in the photos below. The dimensions of the pipe are Length: 4 ¾ inches, Height: 1 ¾ inches, Outside diameter of the bowl: 1 ¼ inches wide x 1 ½ inches long, Chamber diameter: 3/4 of an inch wide x 1 inch long. The weight of the pipe is 1.41 ounces/41 grams. I will be putting this one on the rebornpipes store in the British Pipemakers Section soon. Let me know if you wish to add it to your collection.
As always, I encourage your questions and comments as you read the blog. Thanks to each of you who are reading this blog. Remember we are not pipe owners; we are pipe men and women who hold our pipes in trust until they pass on into the trust of those who follow us.