Blog by Steve Laug
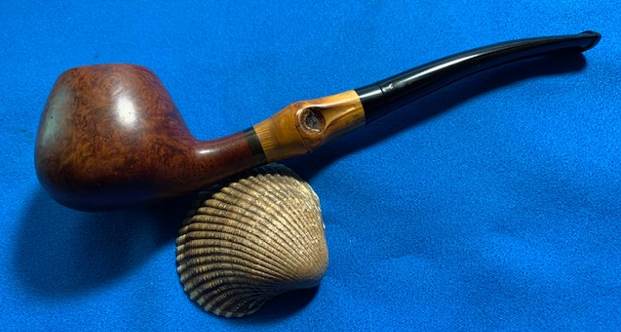
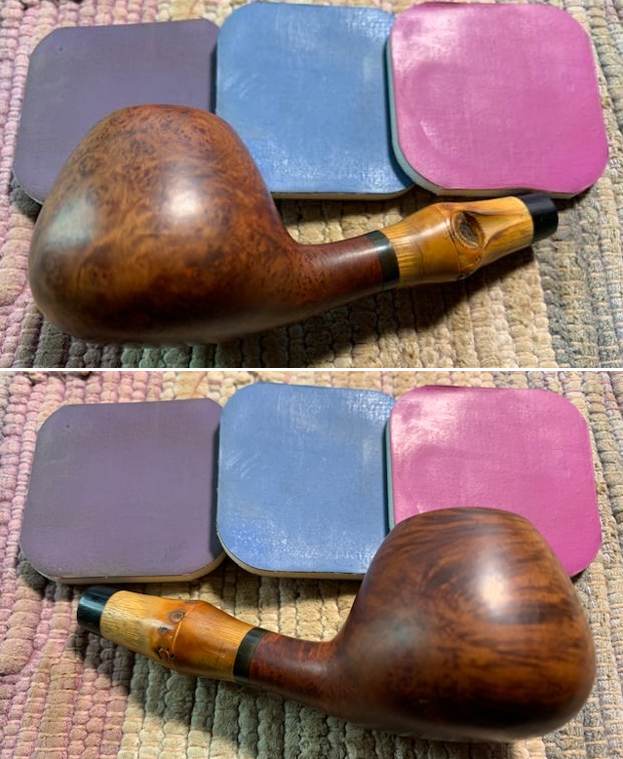
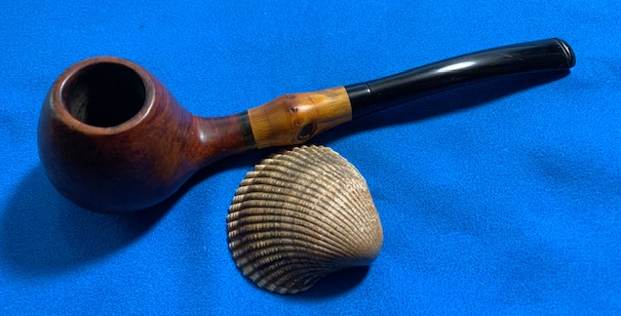
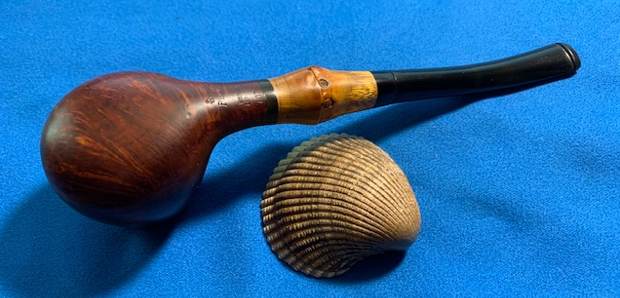
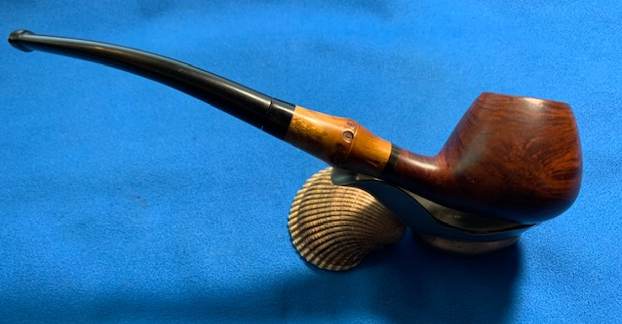
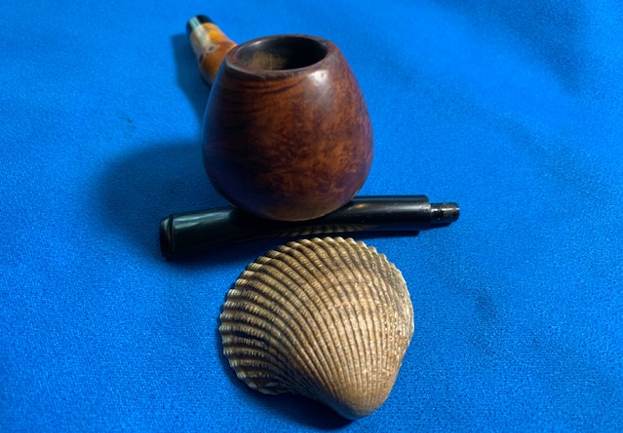
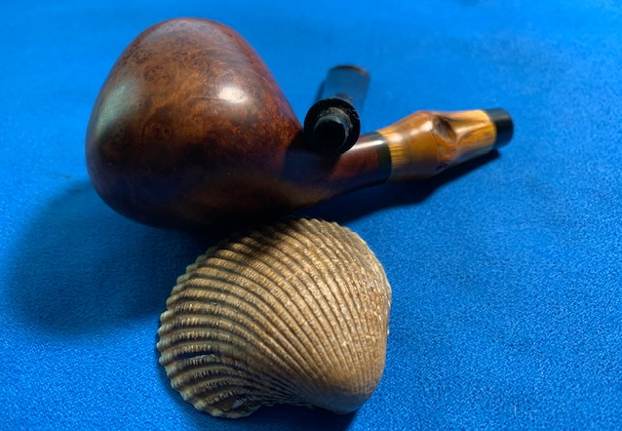
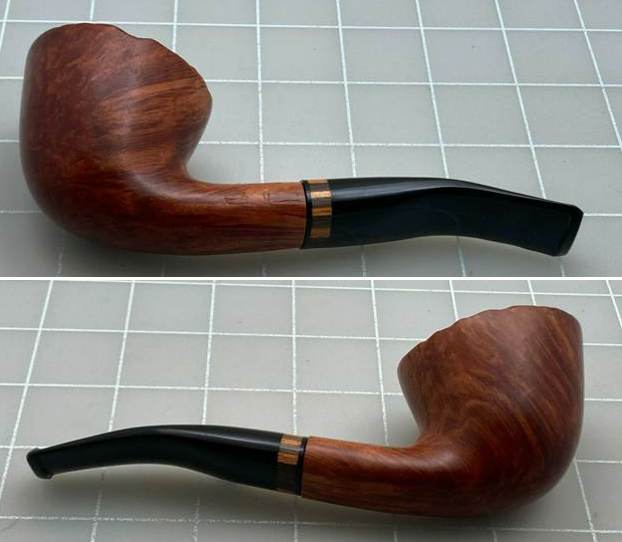
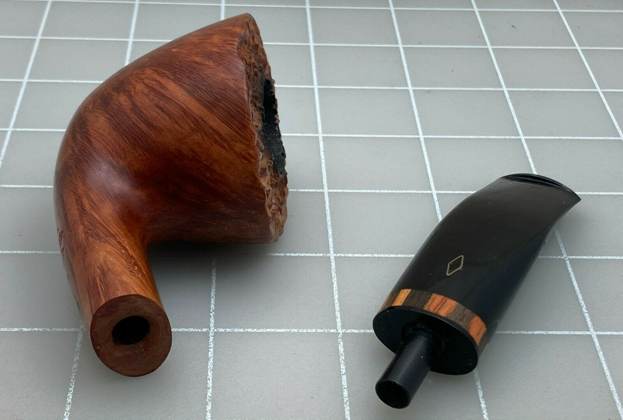
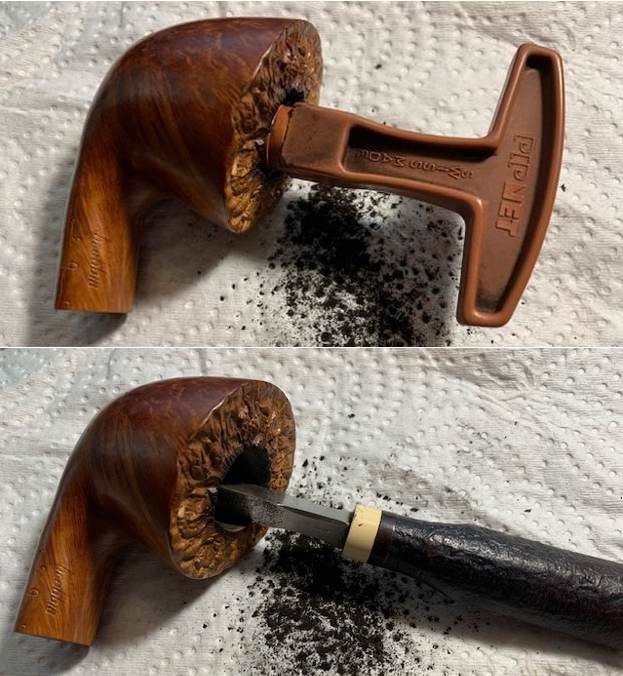
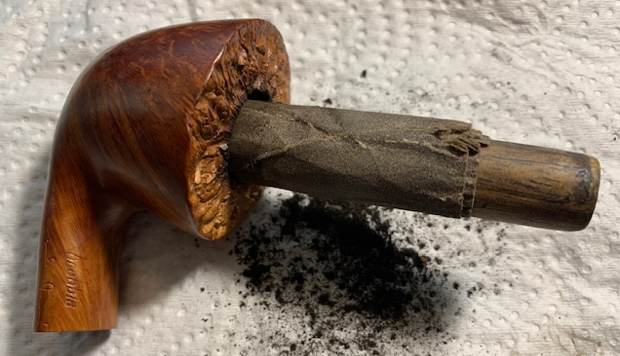
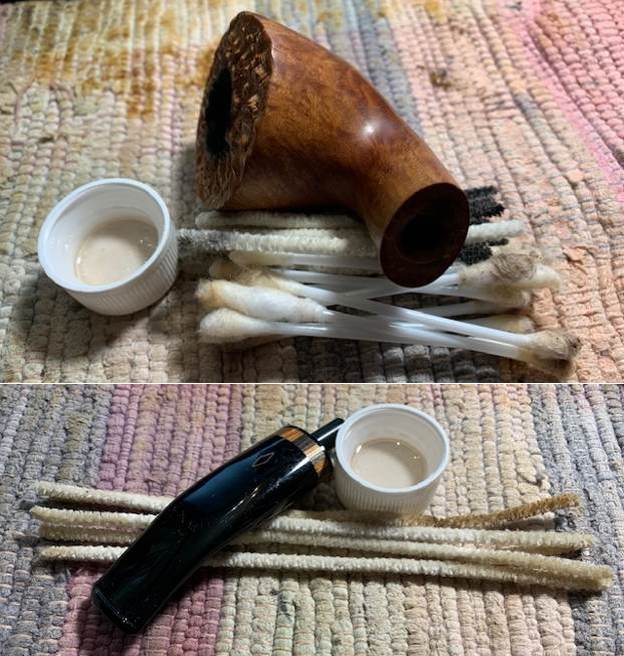
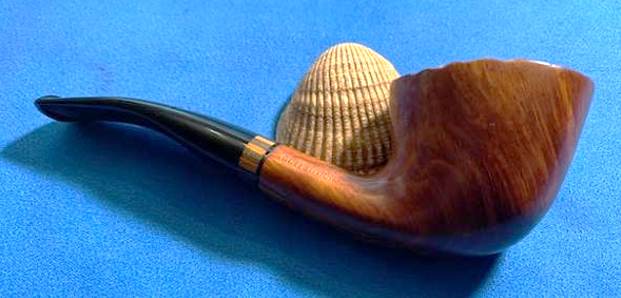
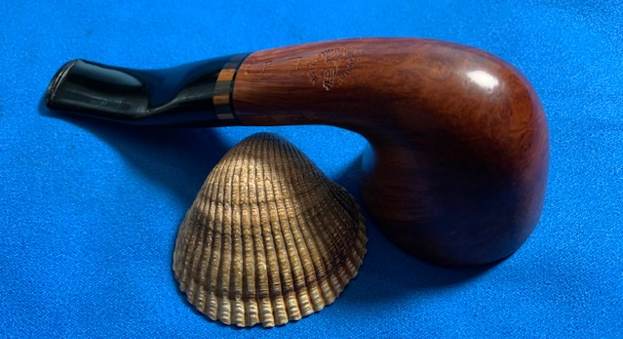
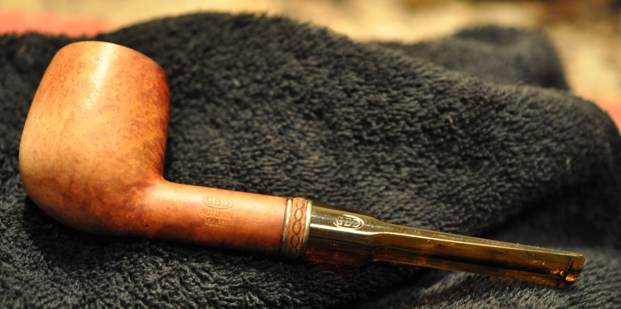
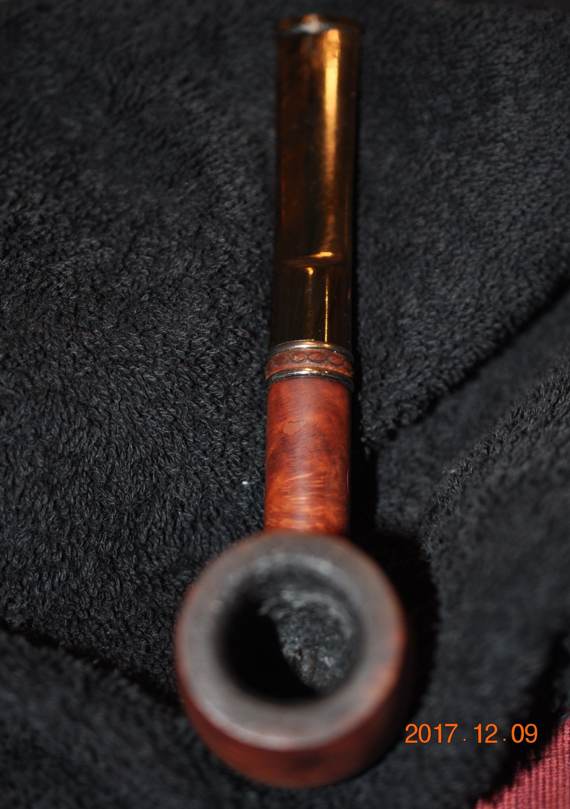
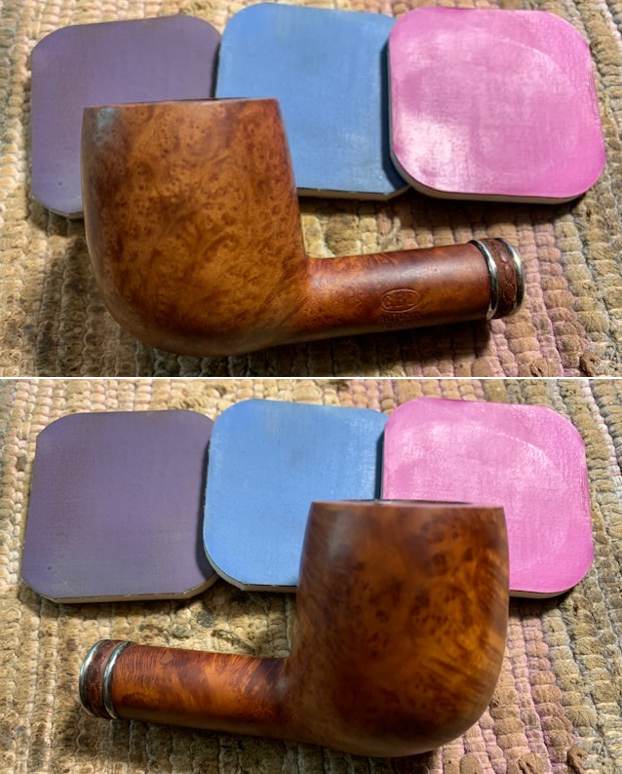
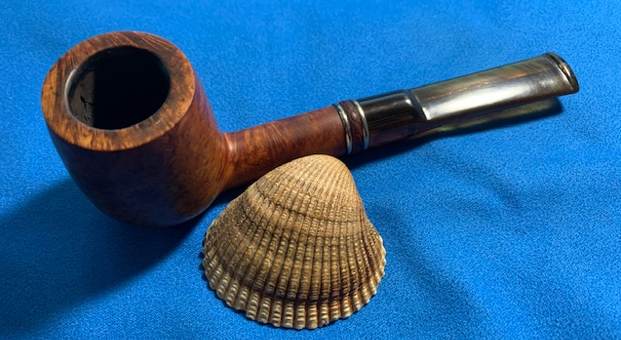
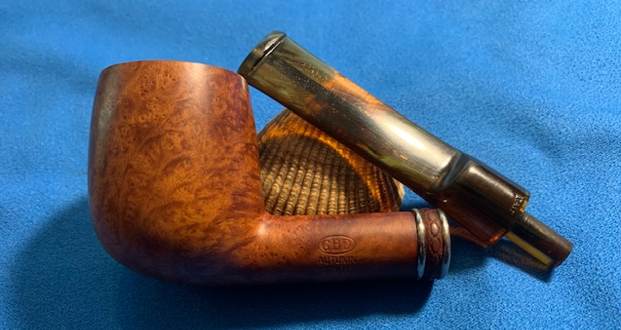
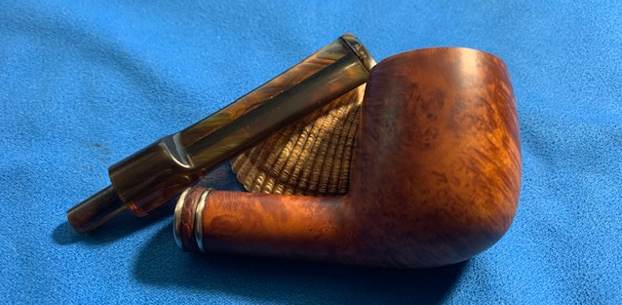
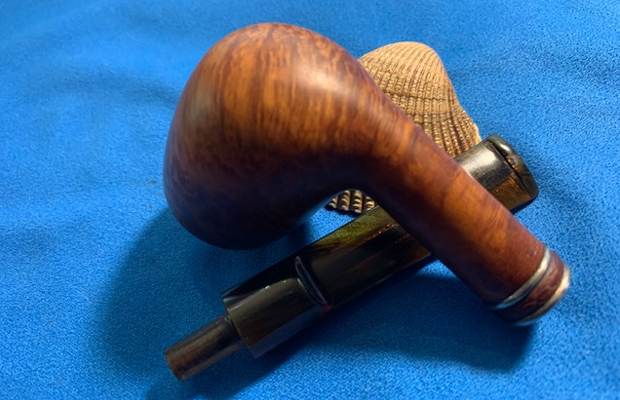
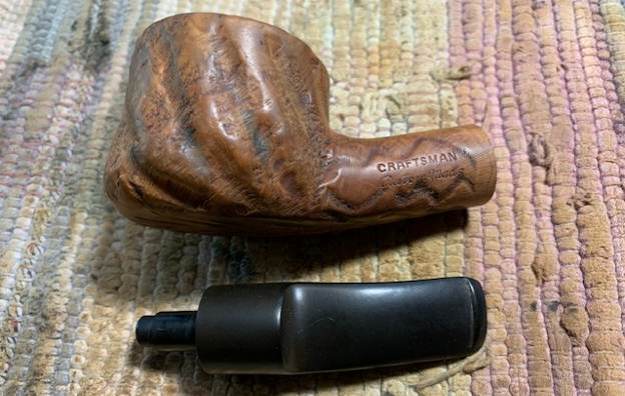
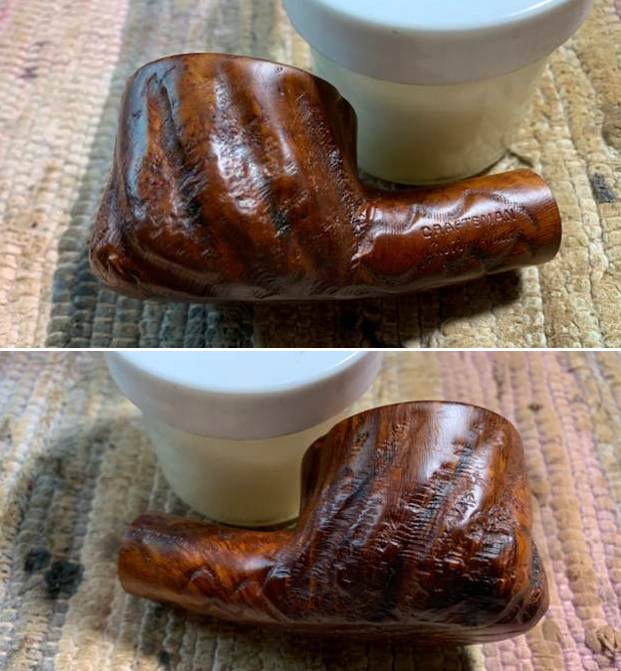
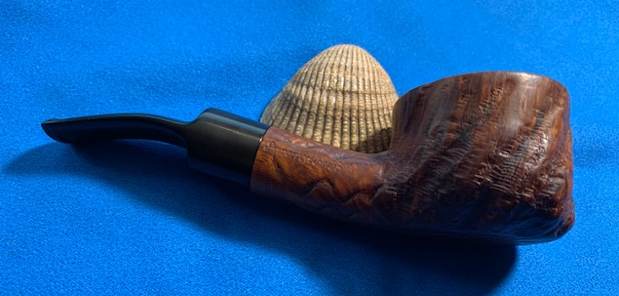
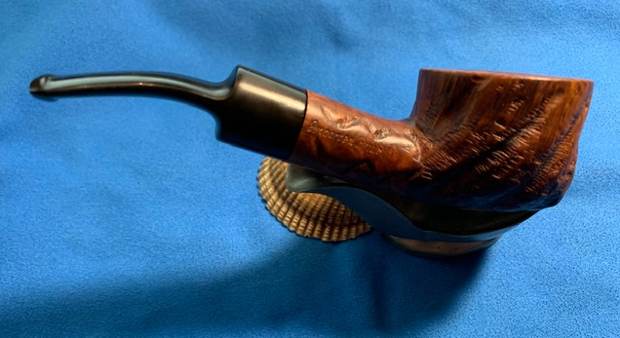
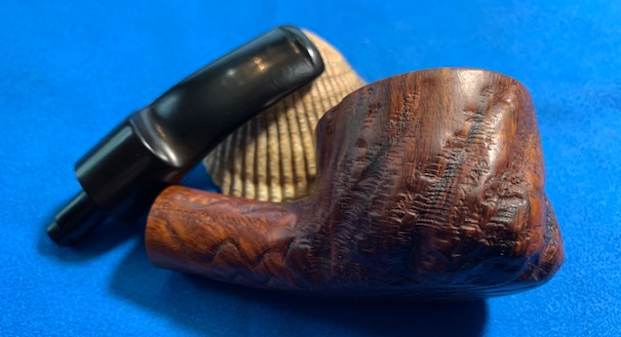
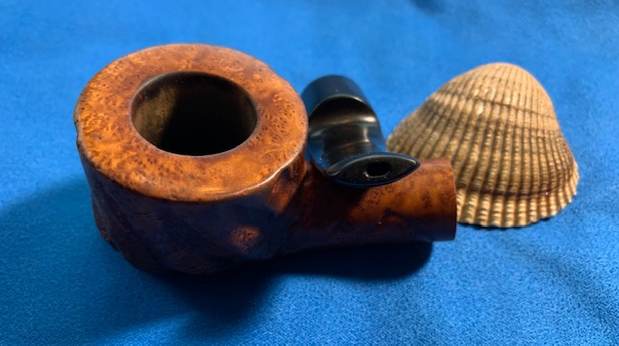
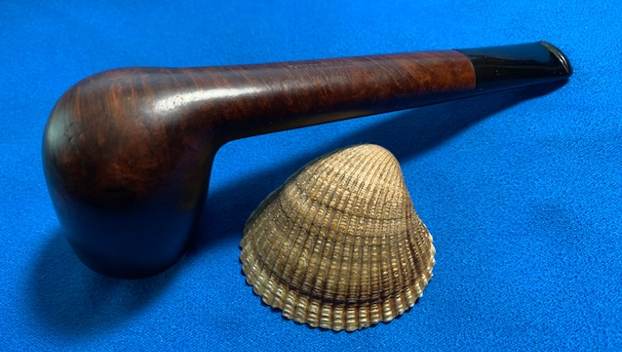
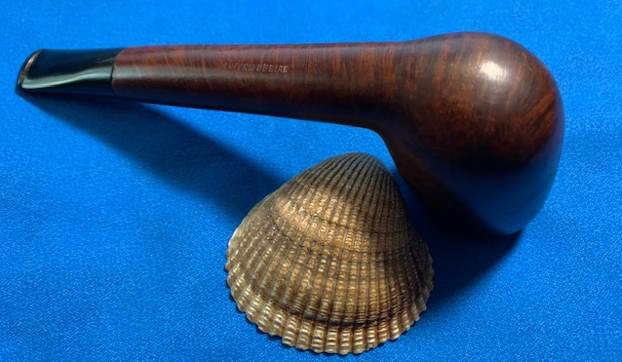
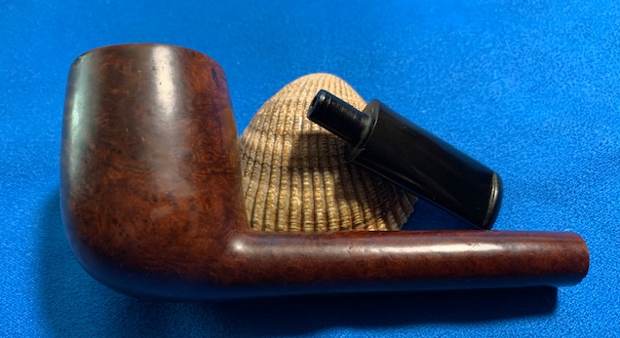
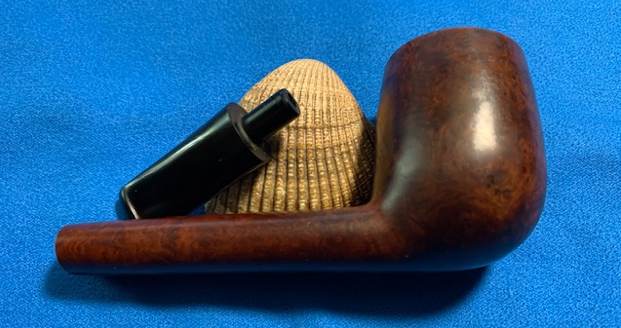
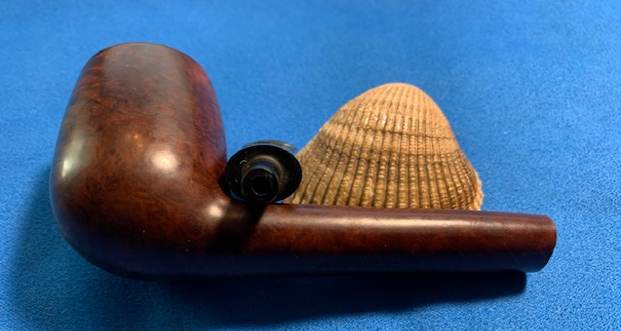
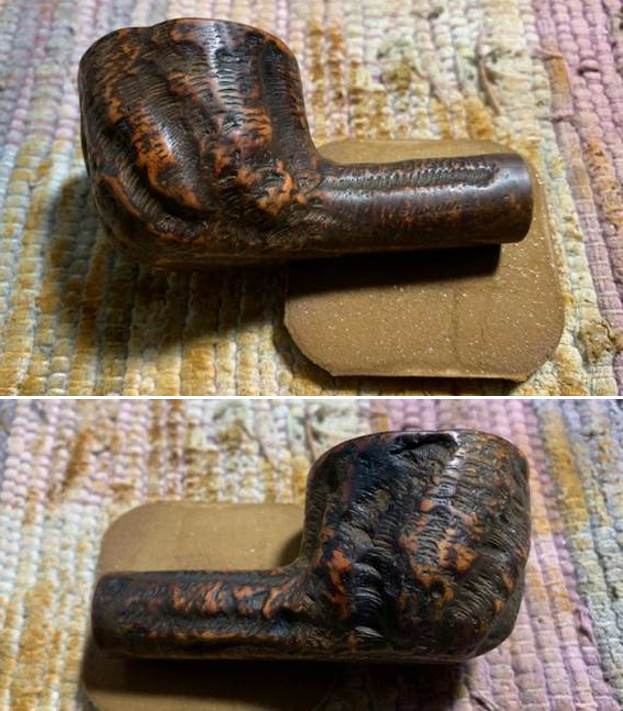
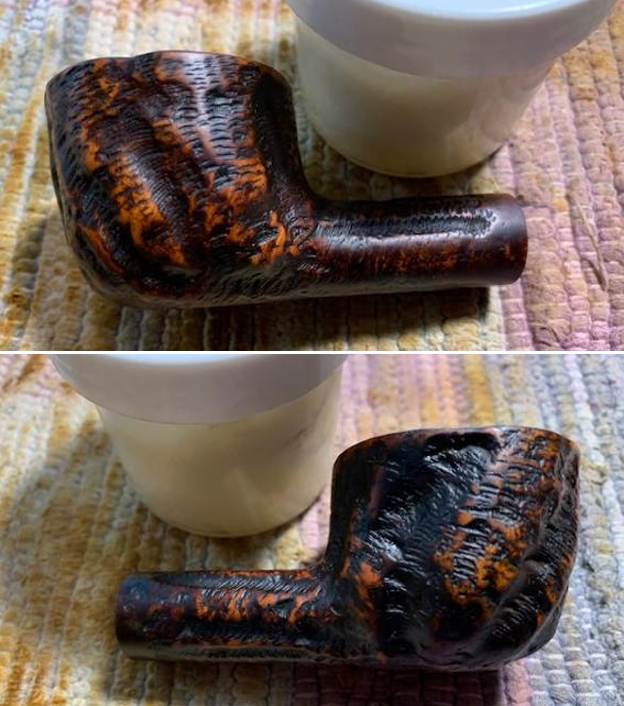
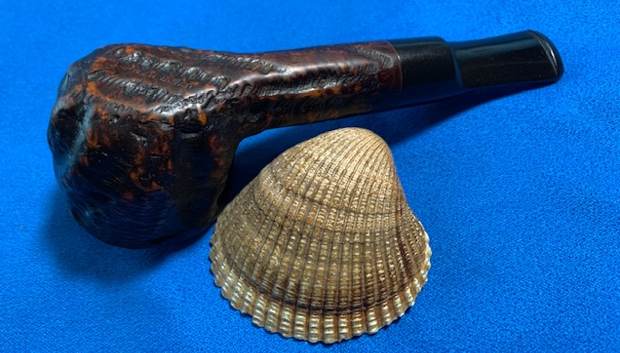
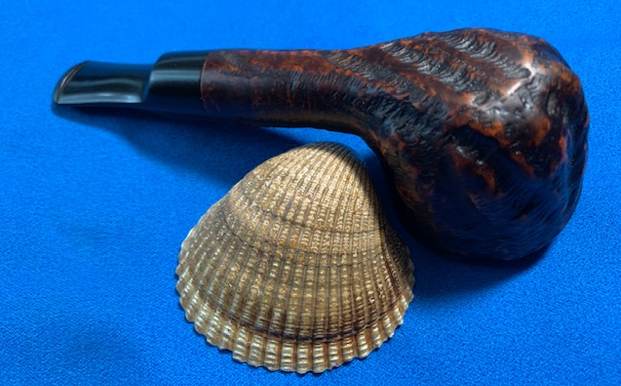
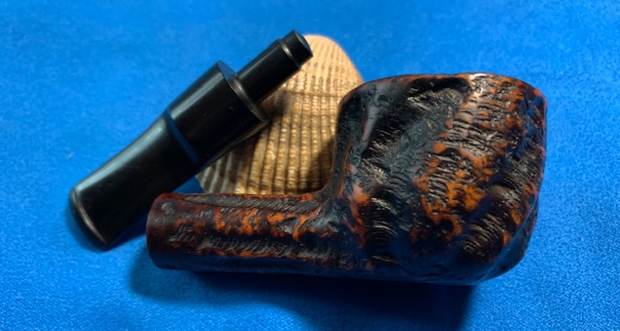
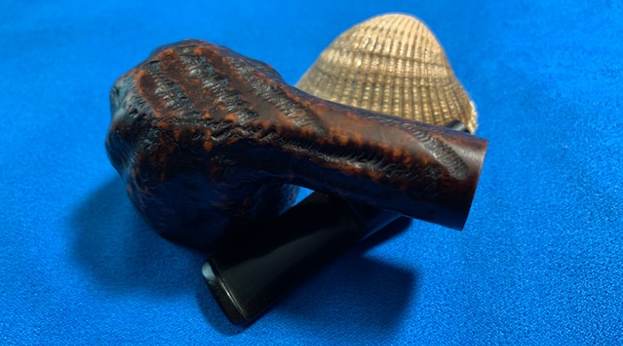
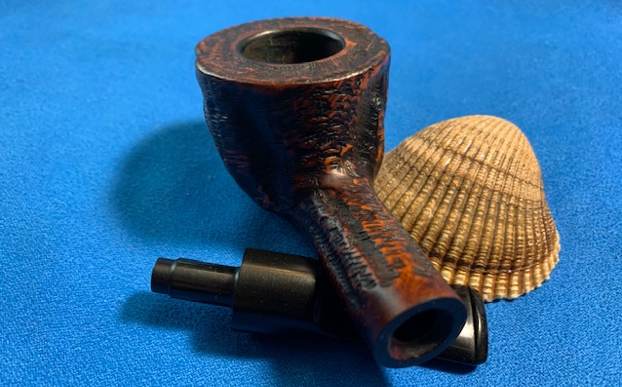
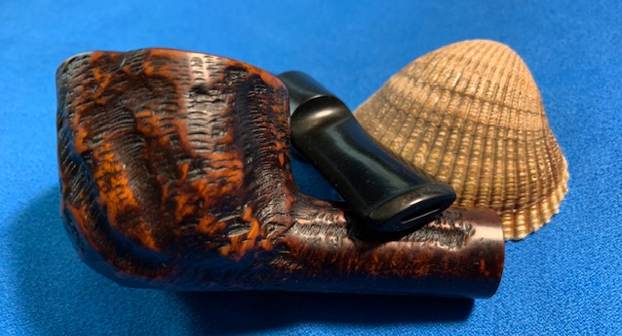
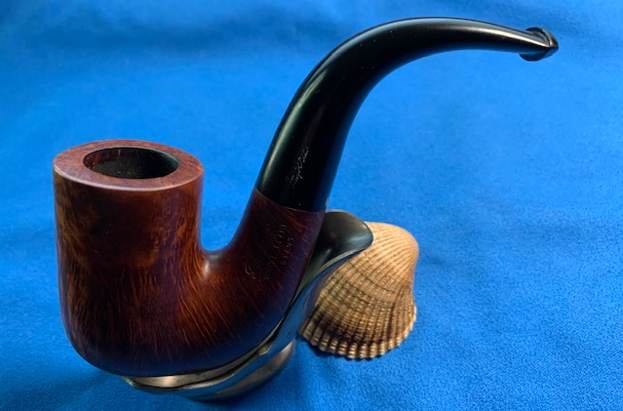
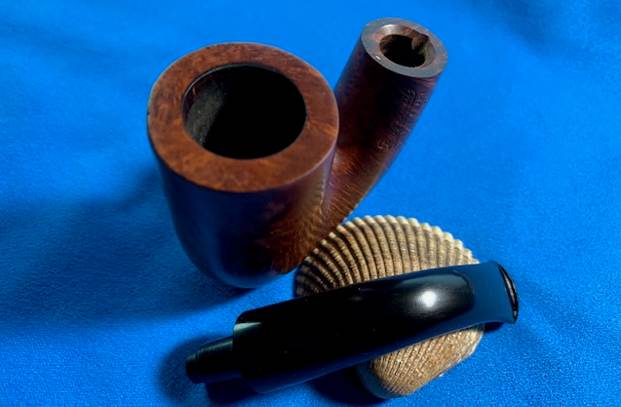
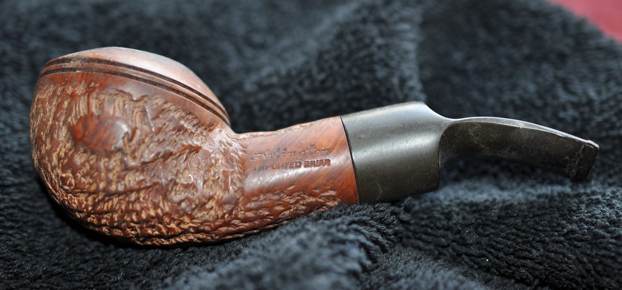
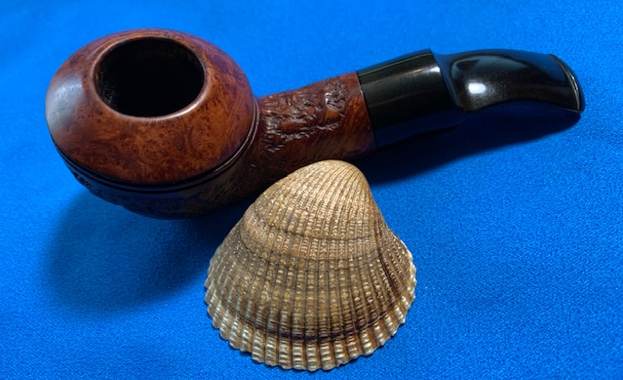
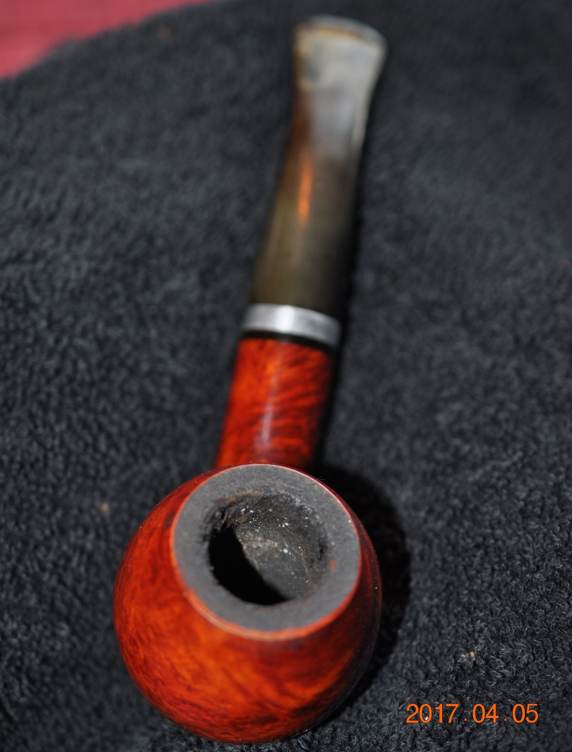
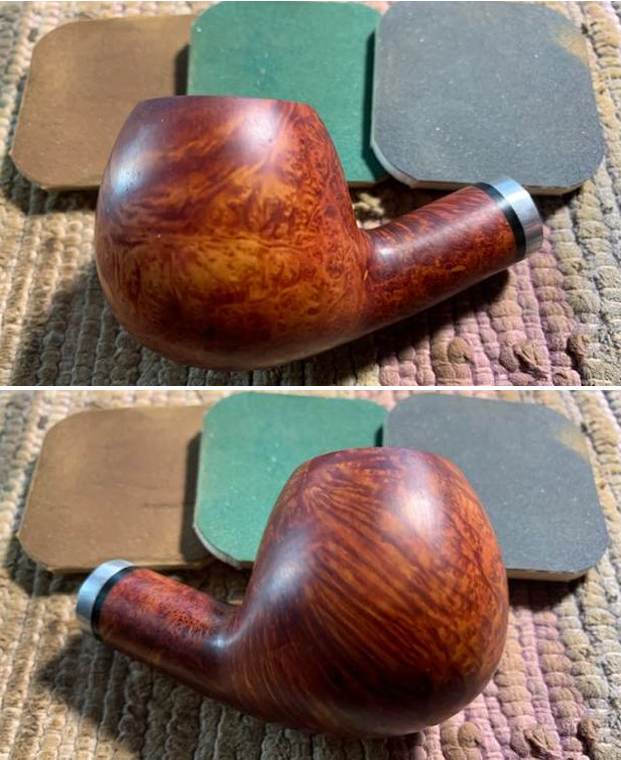
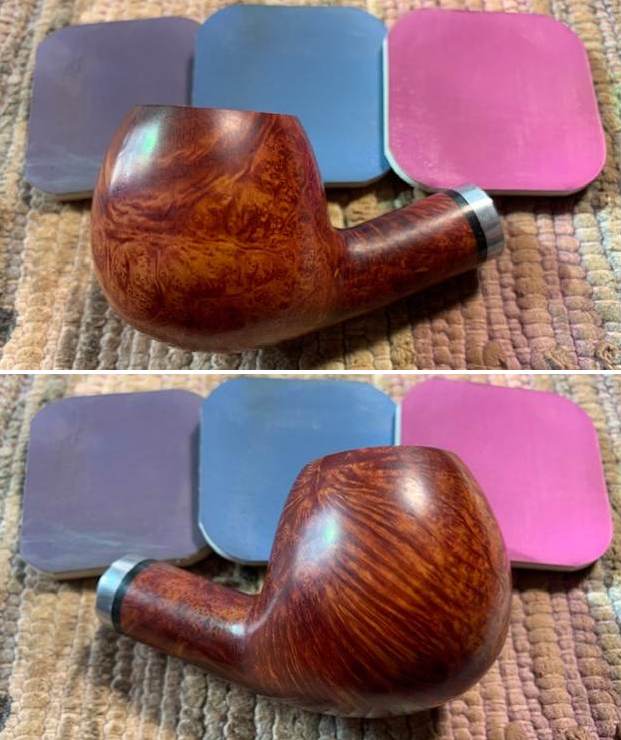
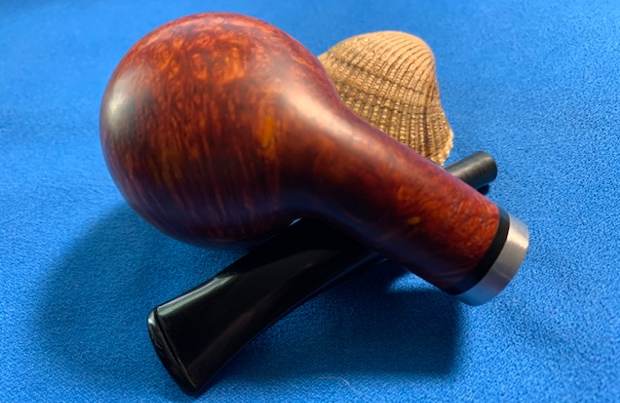
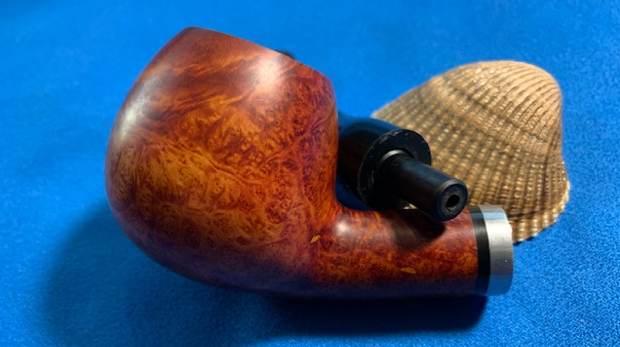
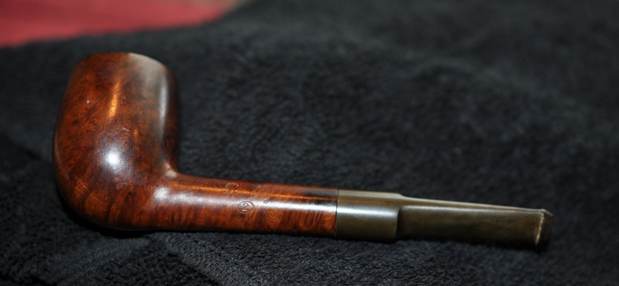
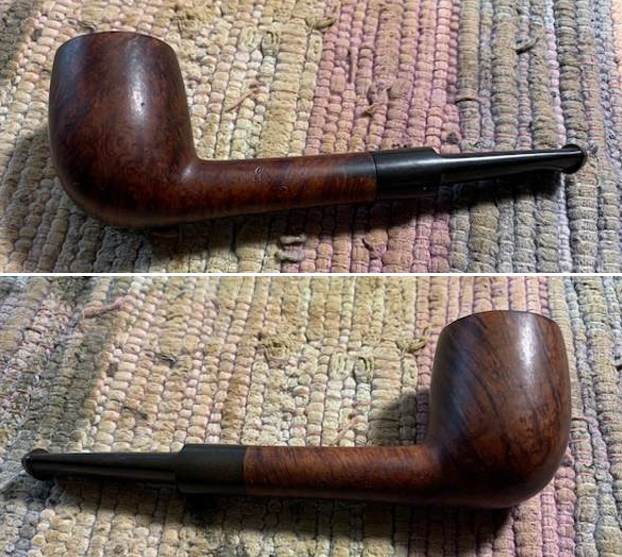
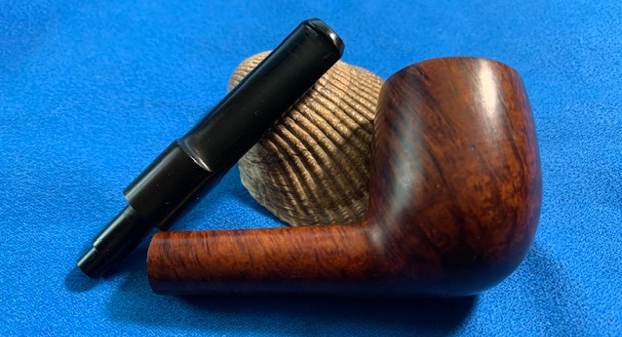
Jeff and I went through all the bowls that we had in boxes at his place recently. We wanted to consolidate them into one place and clean them all up. We sorted them as we went through them all. Many ended up being junk while a large number went into a box to be sent to me for restemming. One of those which caught my attention was an interesting bowl with a well coloured bamboo shank. It had a vulcanite spacer between the briar and the one knuckle piece of bamboo and another one at the shank end. It was a nice Brandy shape pipe with some great grain around the sides and shank. The bowl had been smoked and the top had some darkening and slight damage on the flat top and inner edge. The bamboo had a nice patina to it that showed that it had been someone’s favourite and had been well smoked. The shank end was smooth so a tight fit would be easy to do. It was stamped on the underside of the shank and read BARI [over] Pearl [over] Made In [over] Denmark [over] 7075 which is the shape number. Jeff had reamed and cleaned it before he sent it to me so it was in good shape when it arrived today. When I unpacked the box of bowls this one caught my eye. I wanted to restem it so I pulled it out to work on next.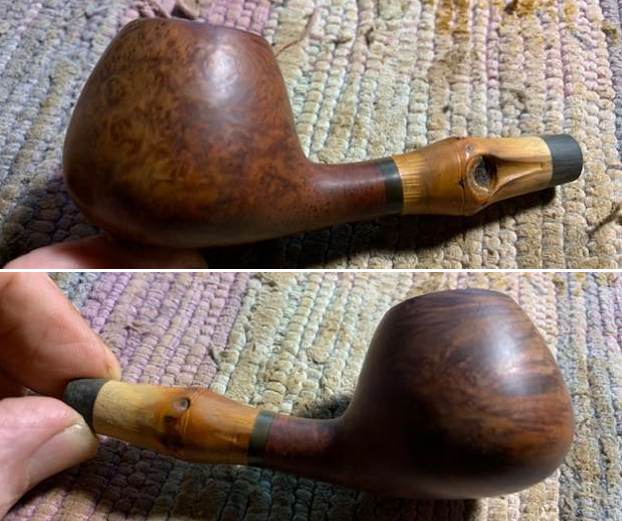
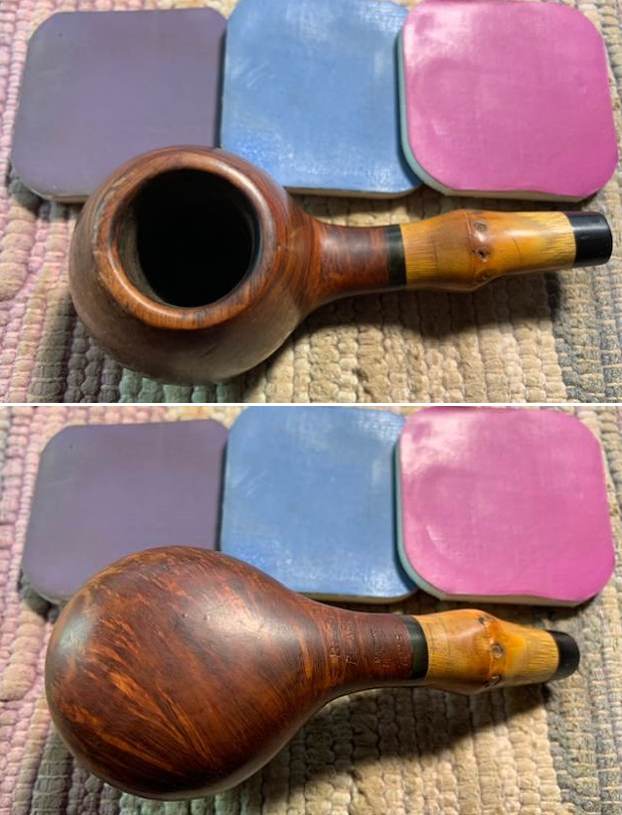
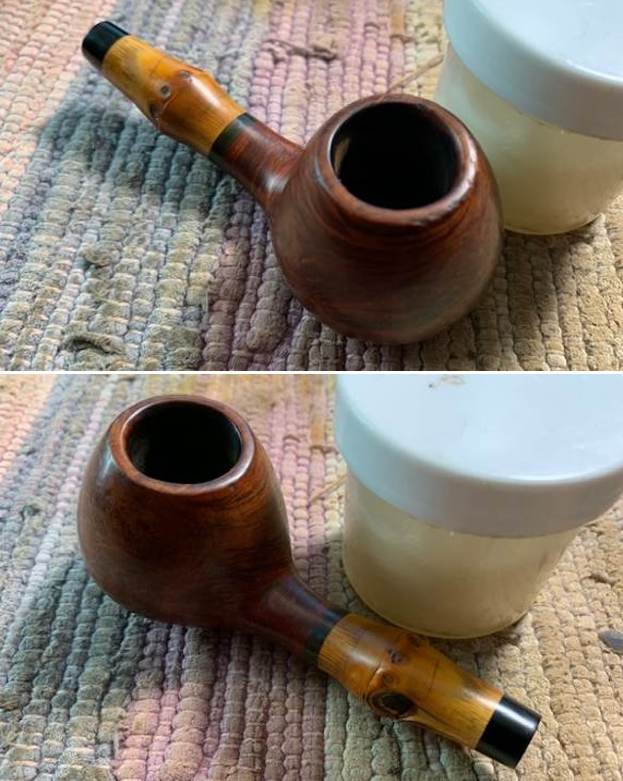
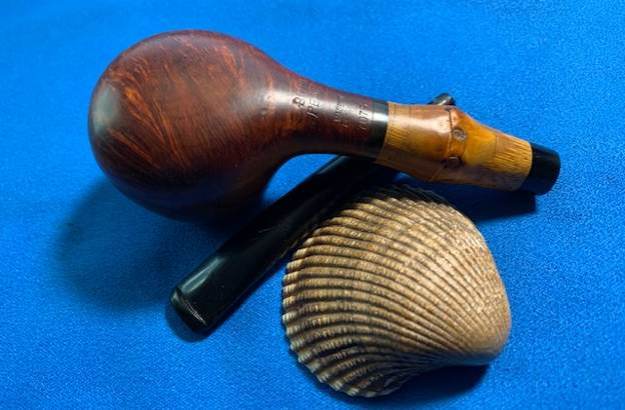
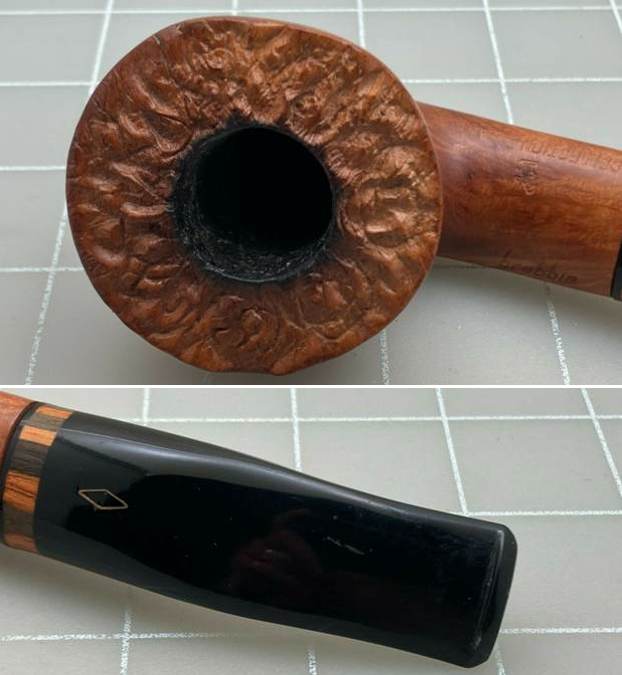
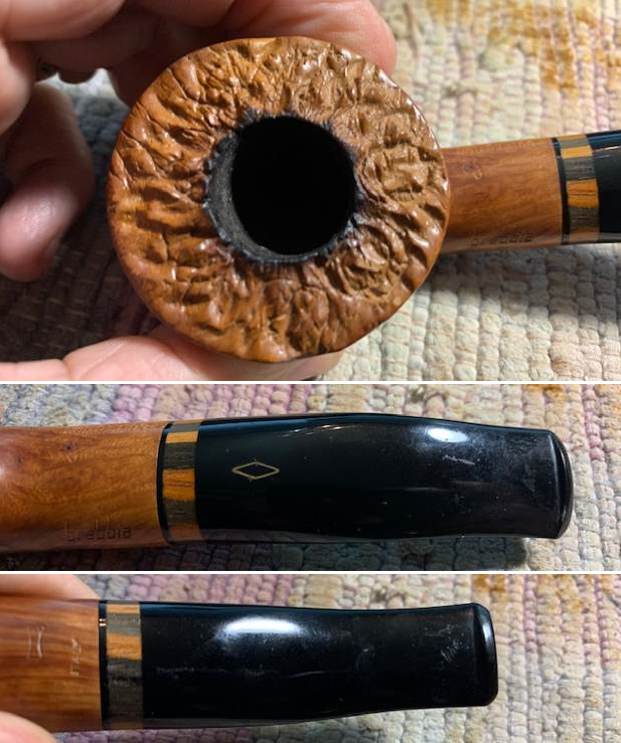
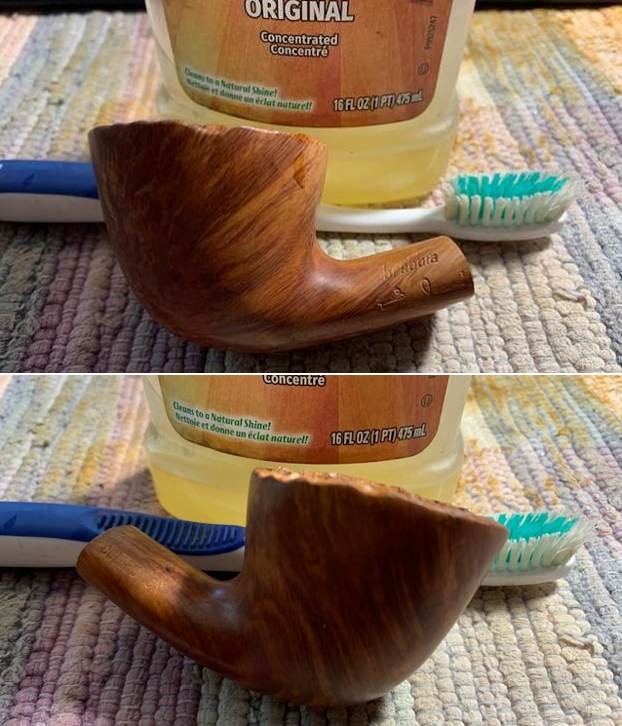
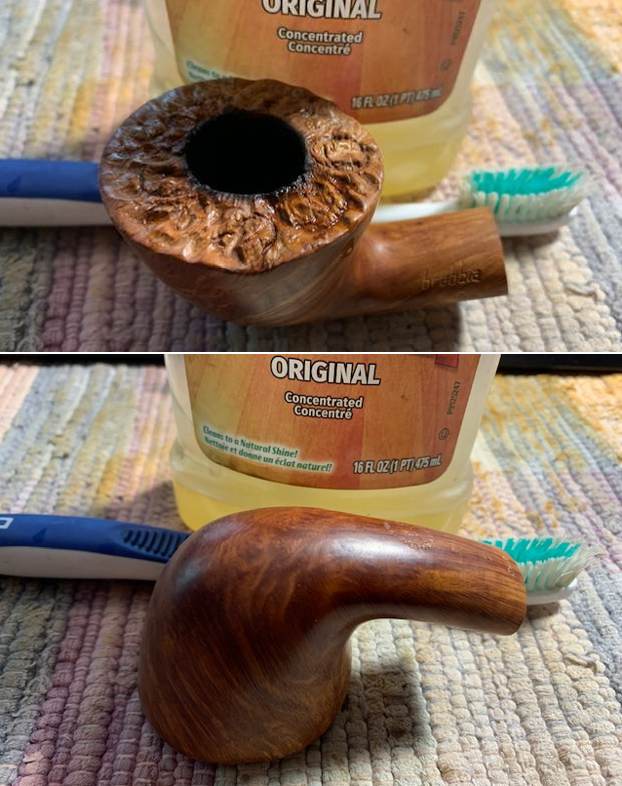
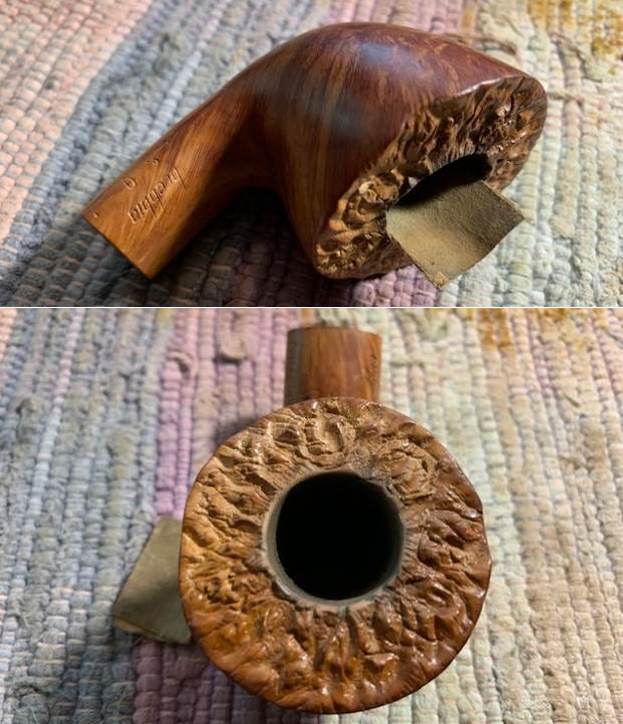
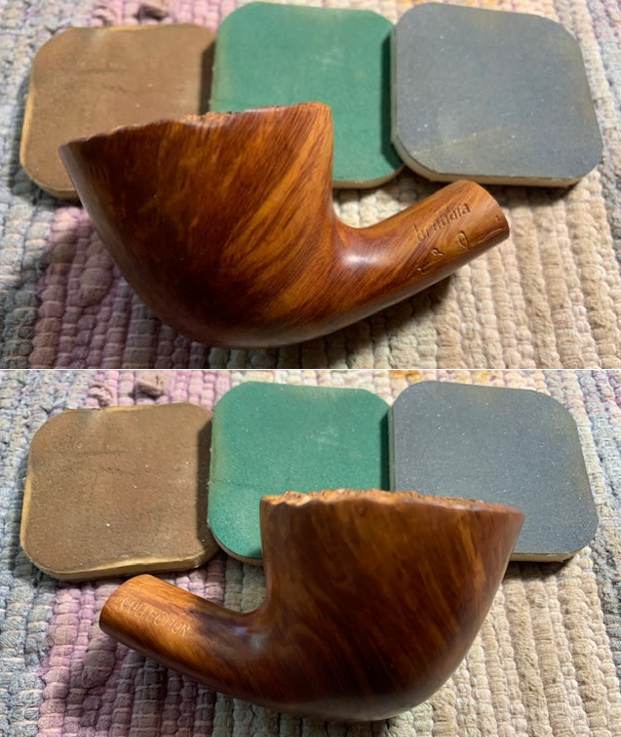
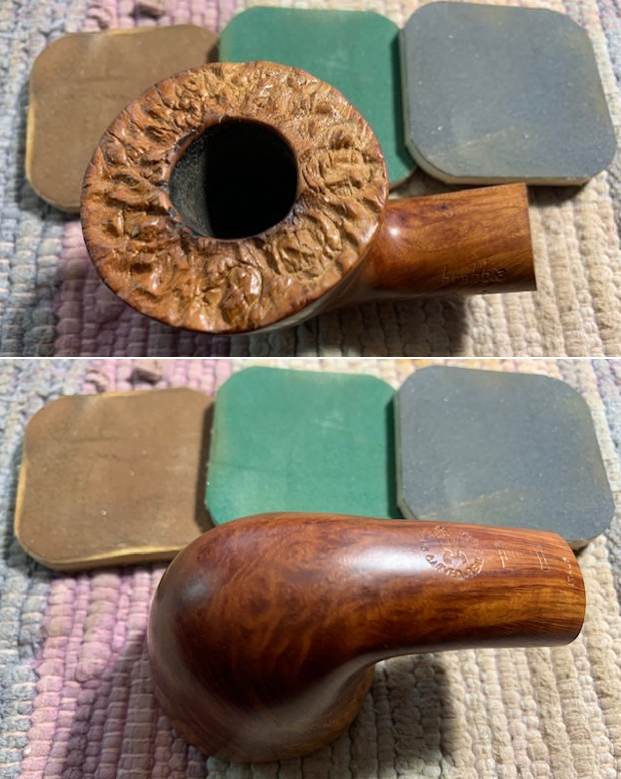
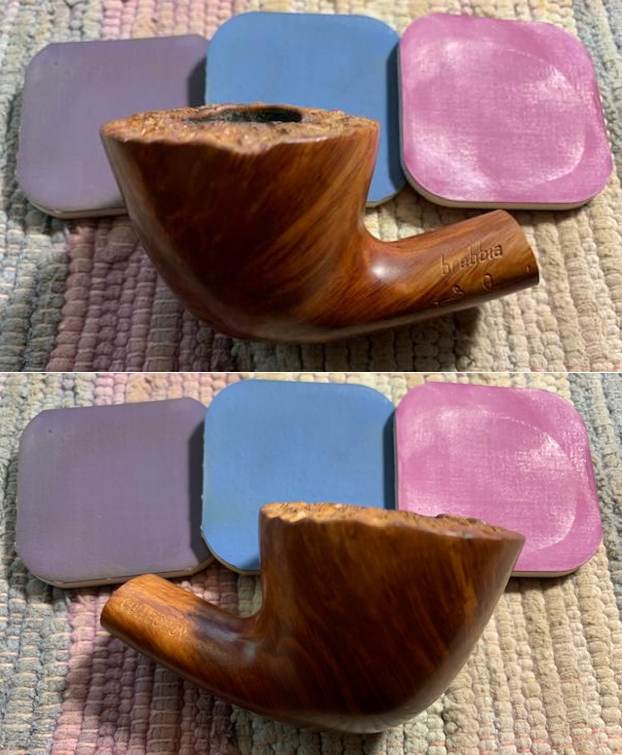
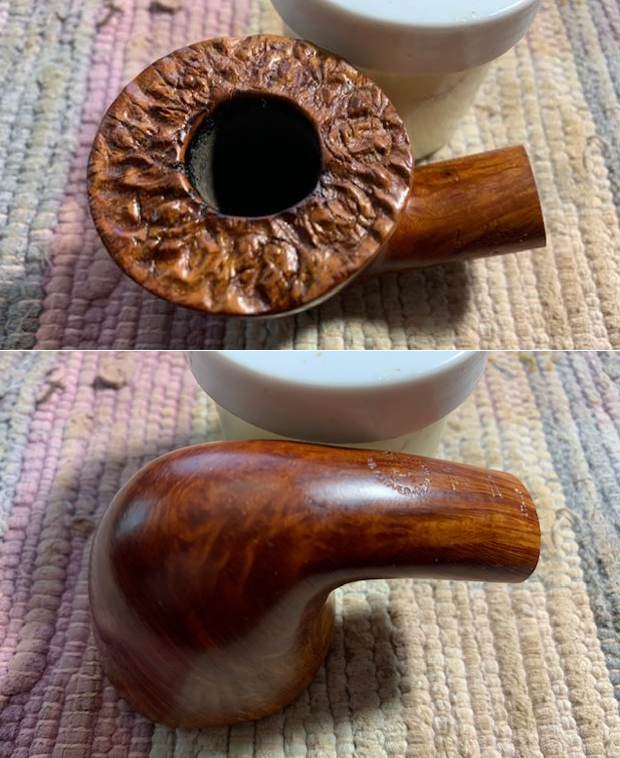
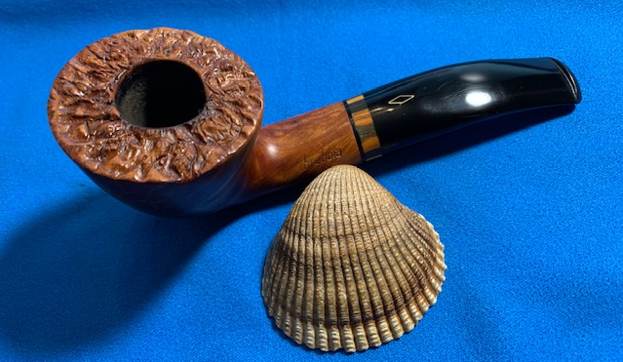
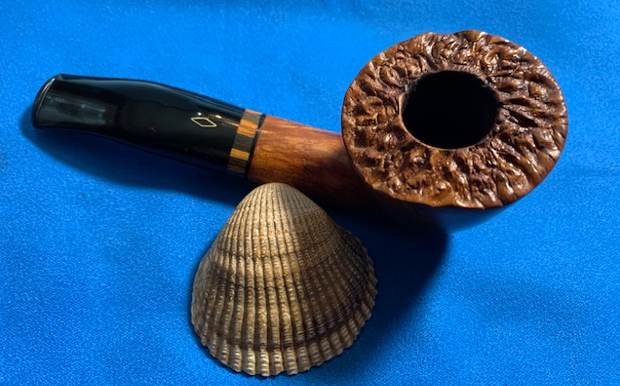
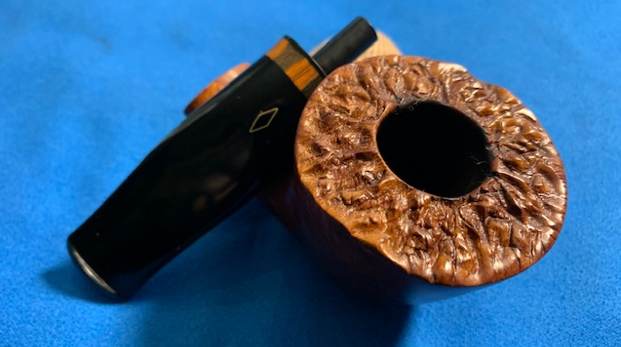
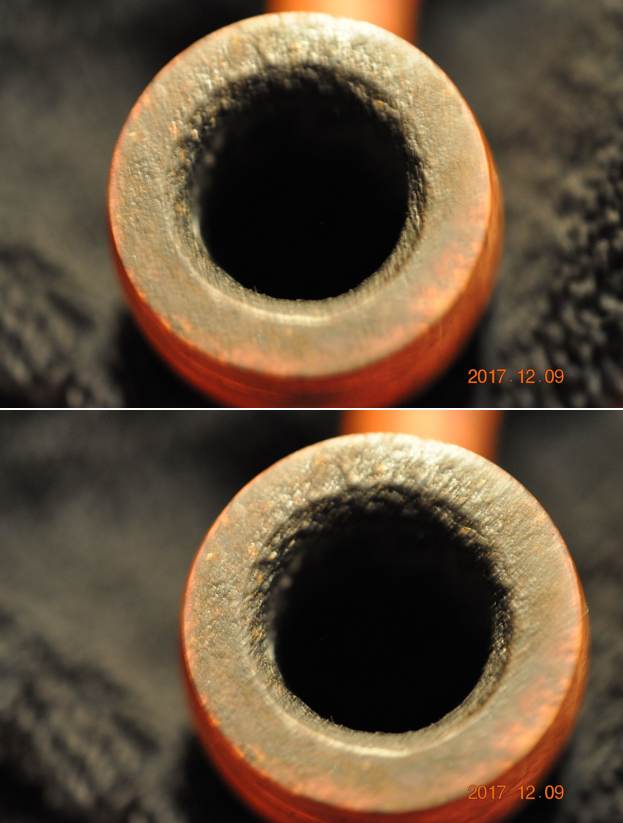
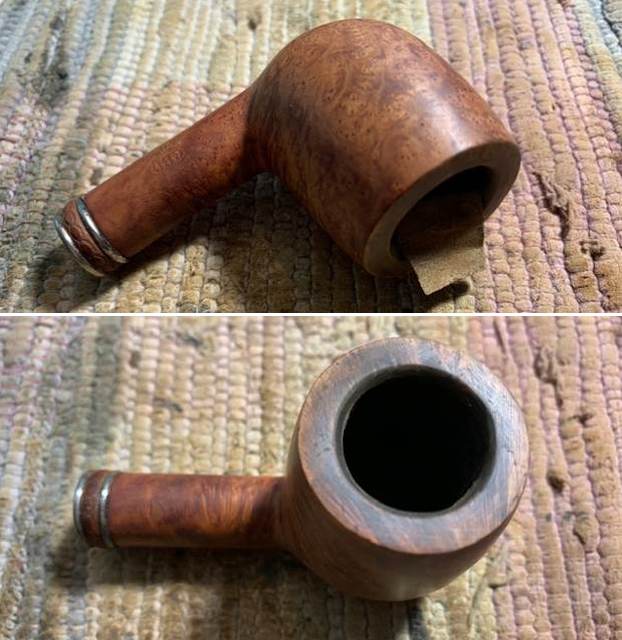
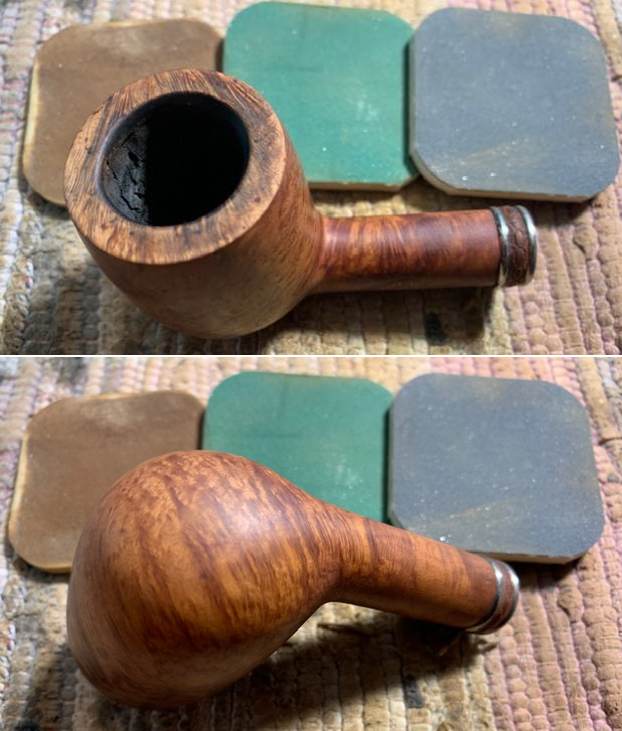
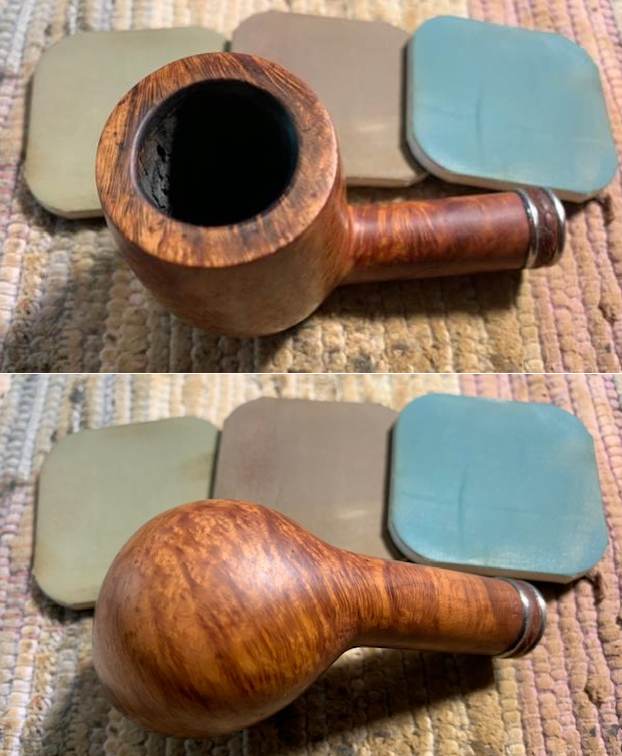
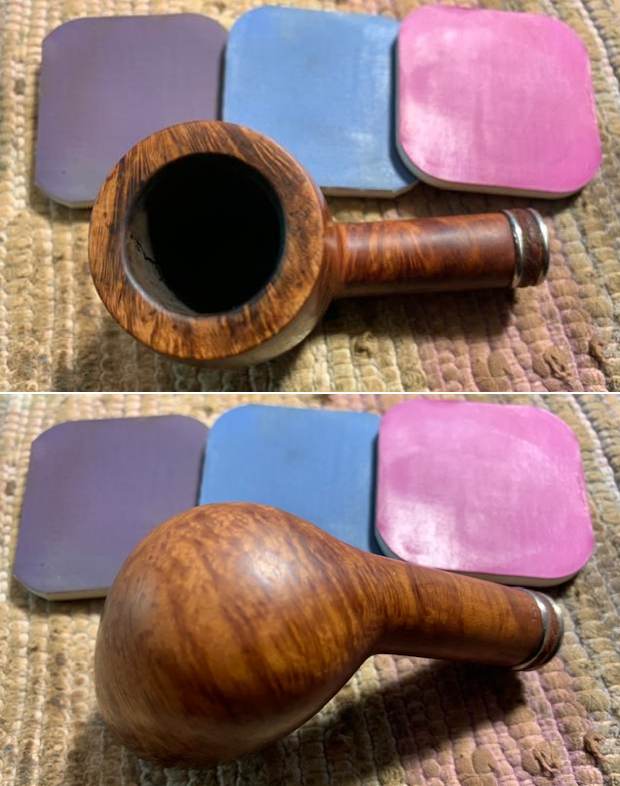
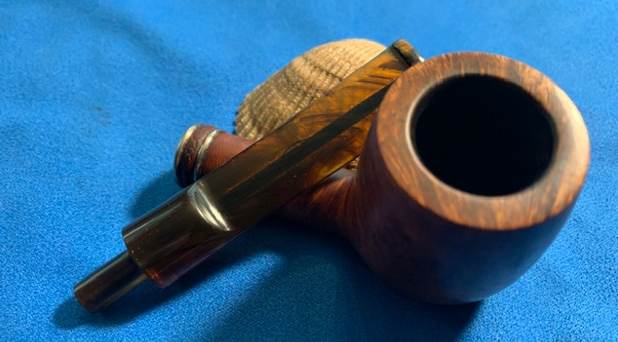
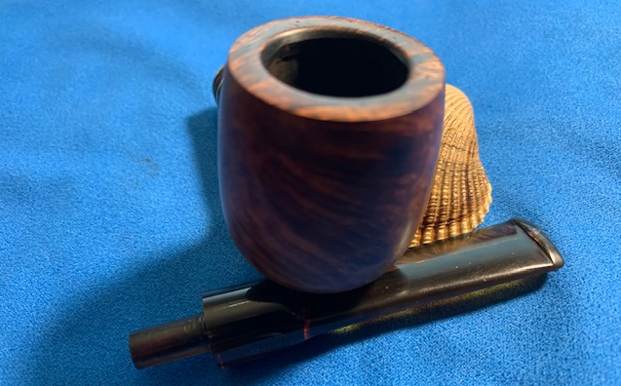
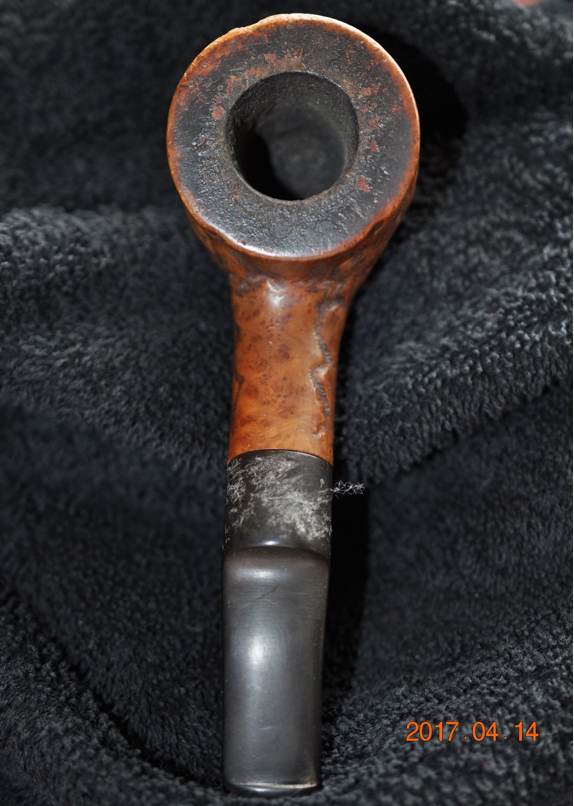
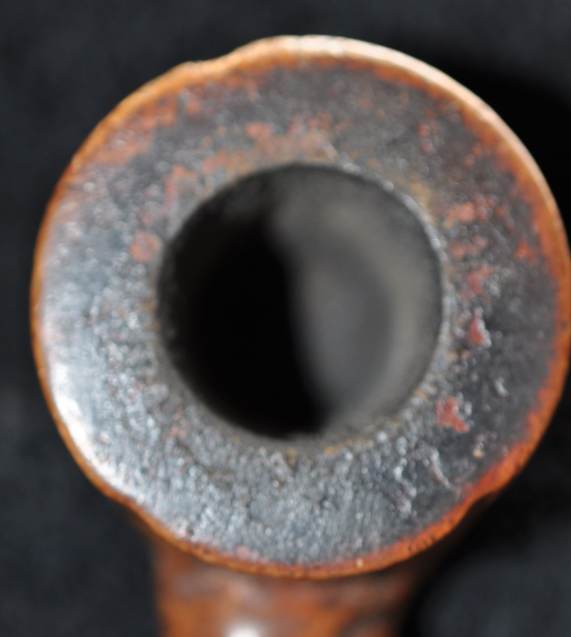
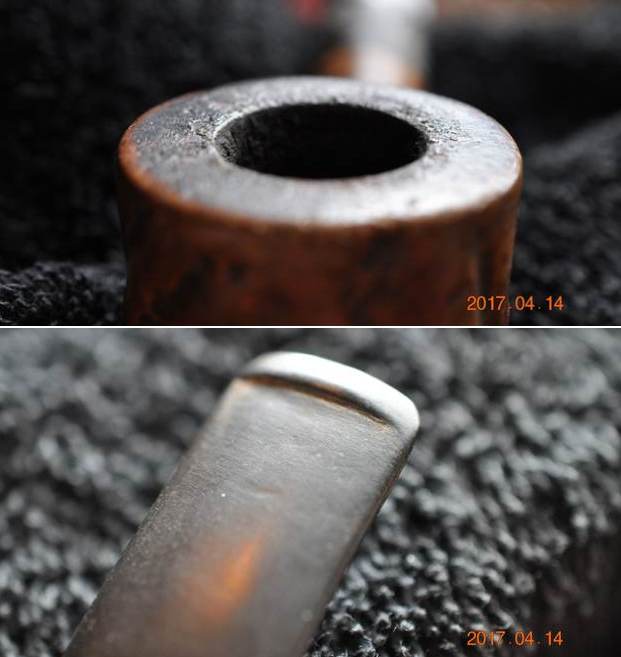
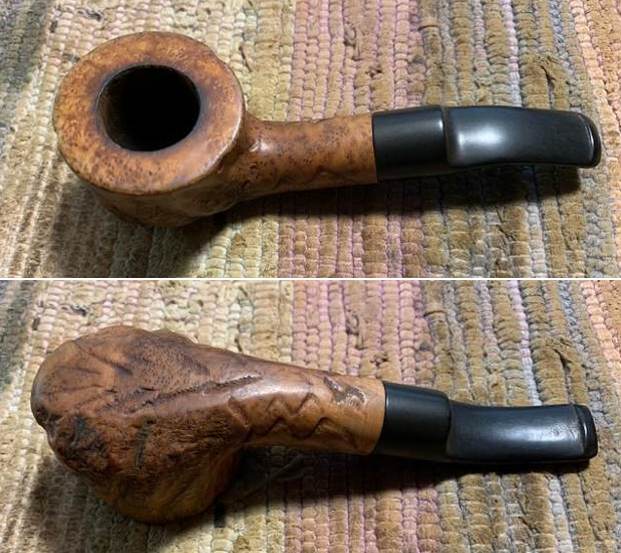
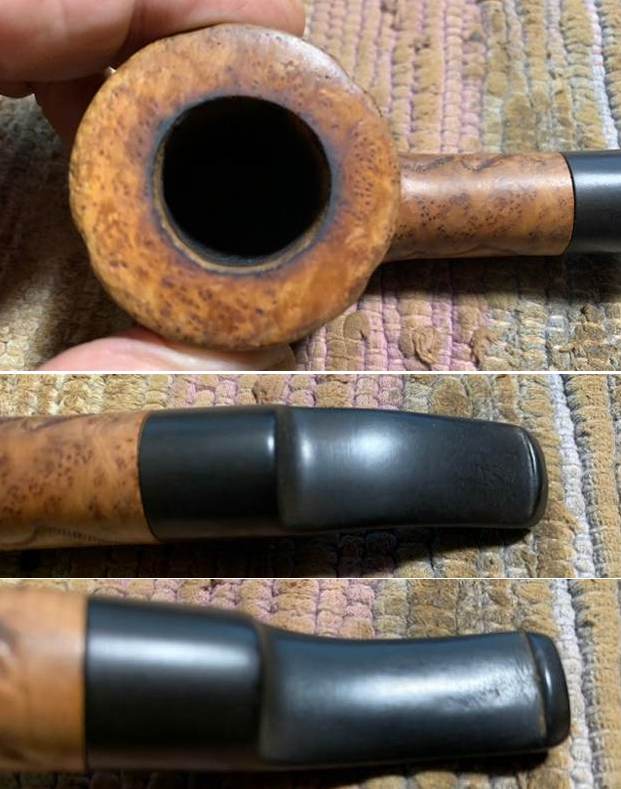
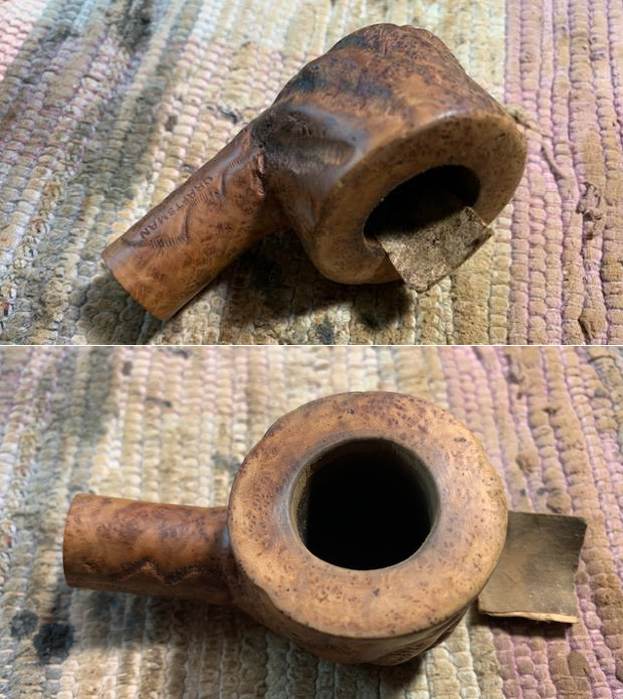
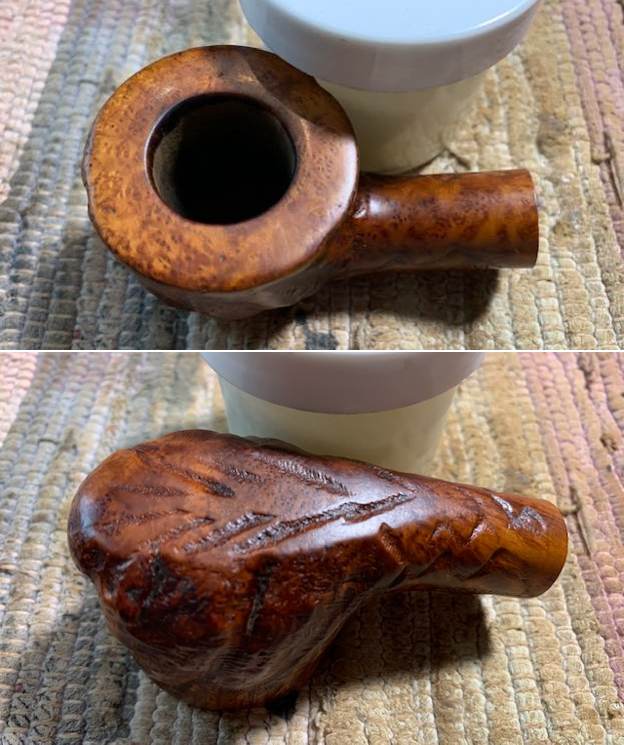
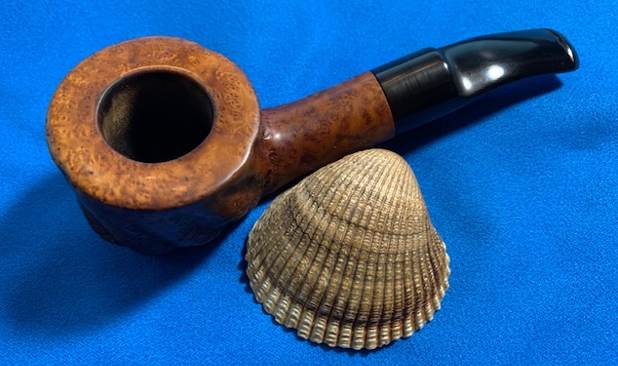
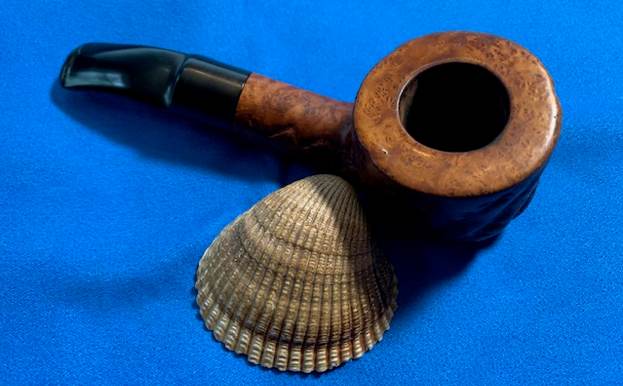
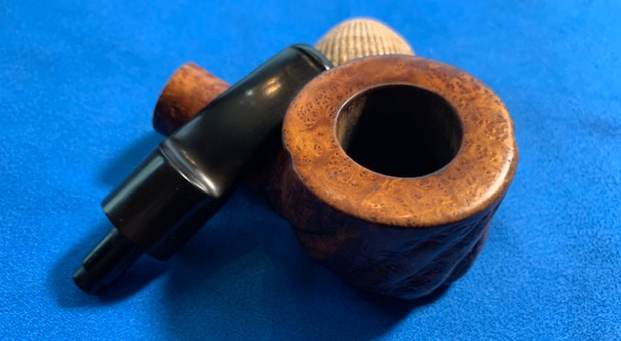
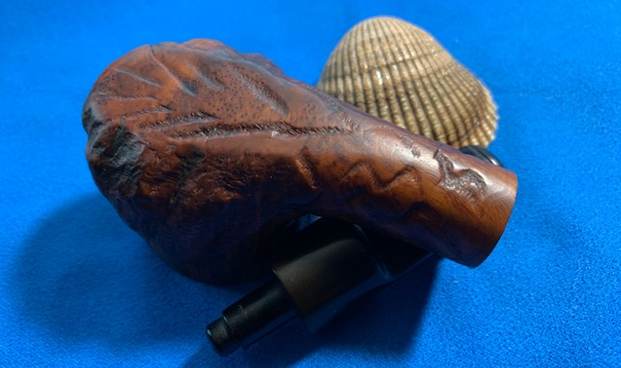
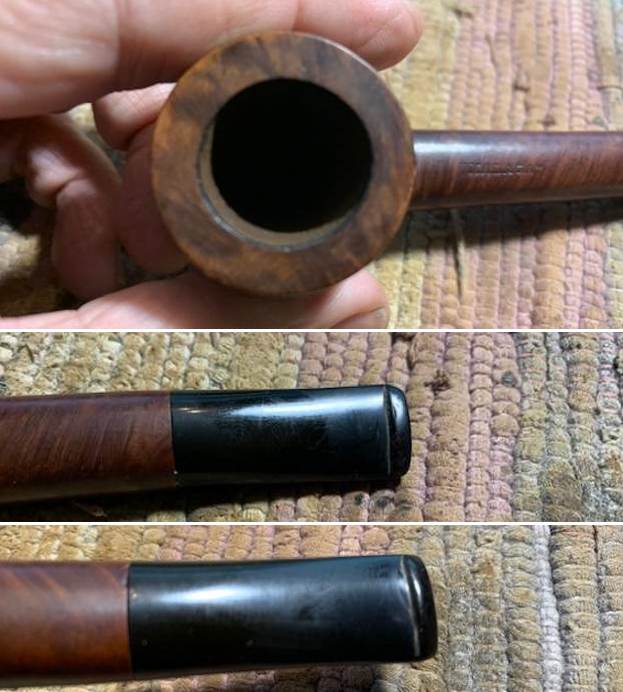
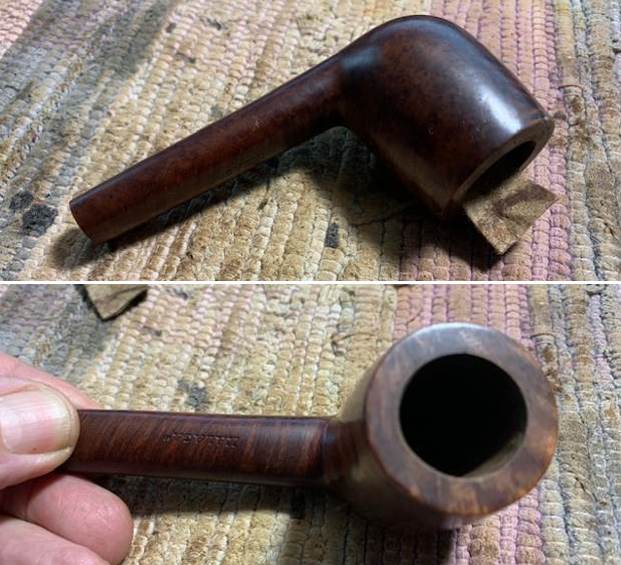
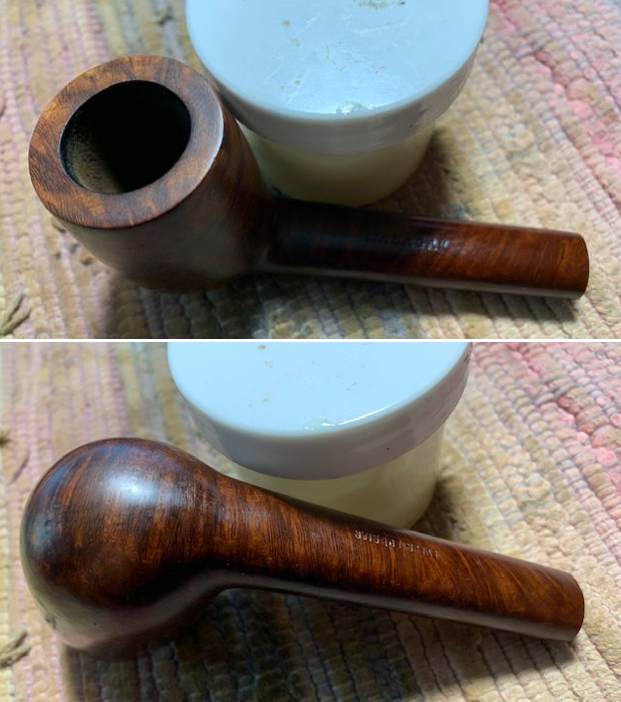
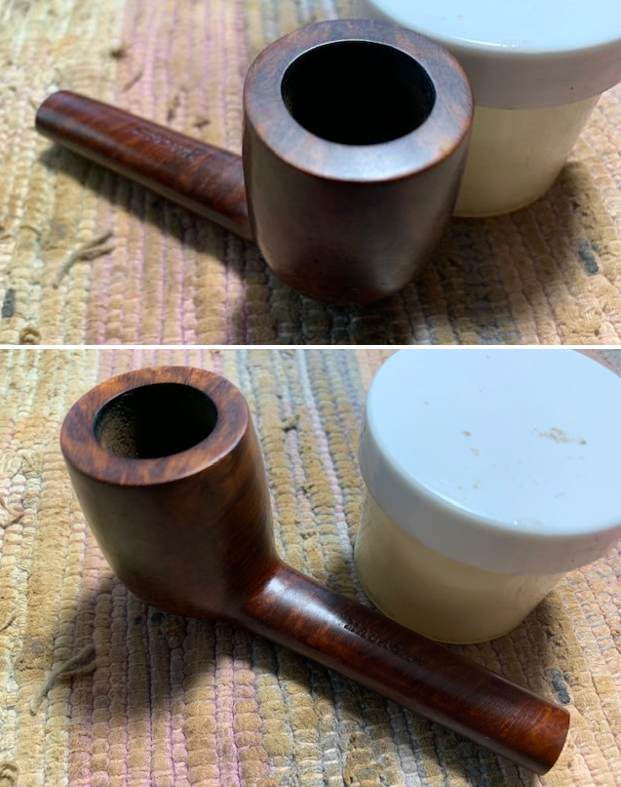
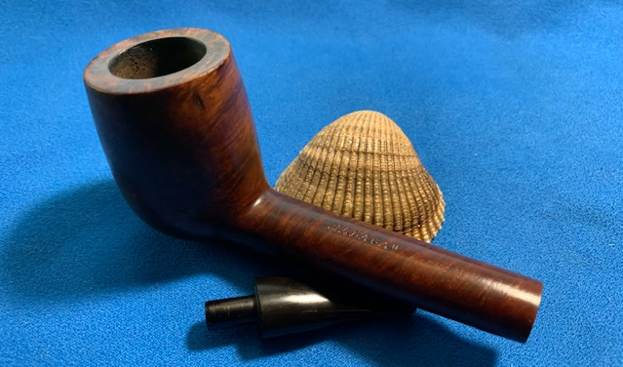
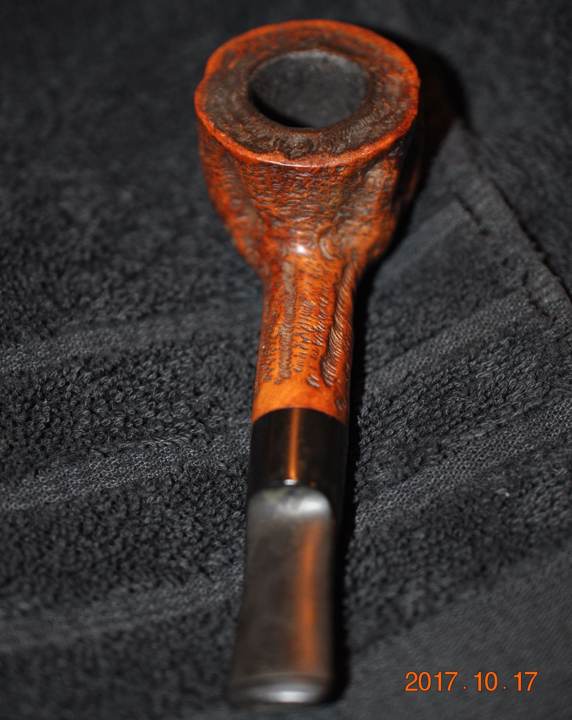
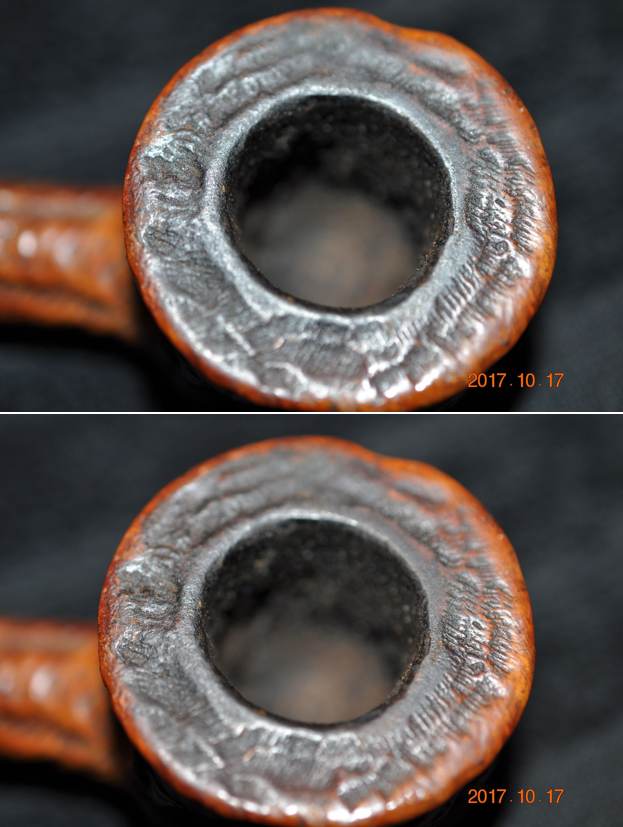
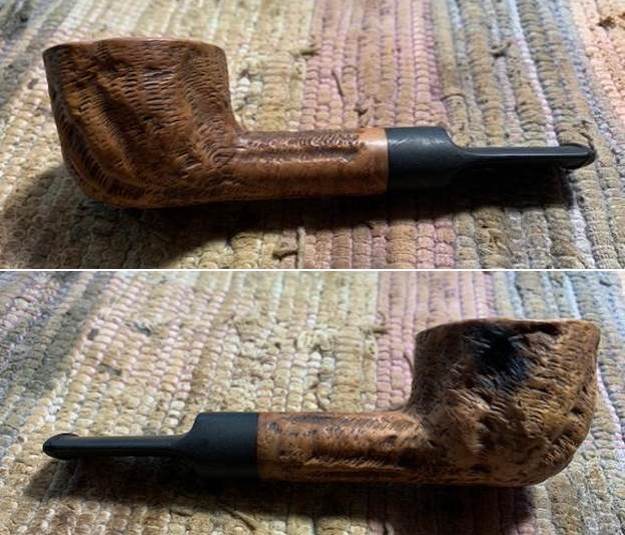
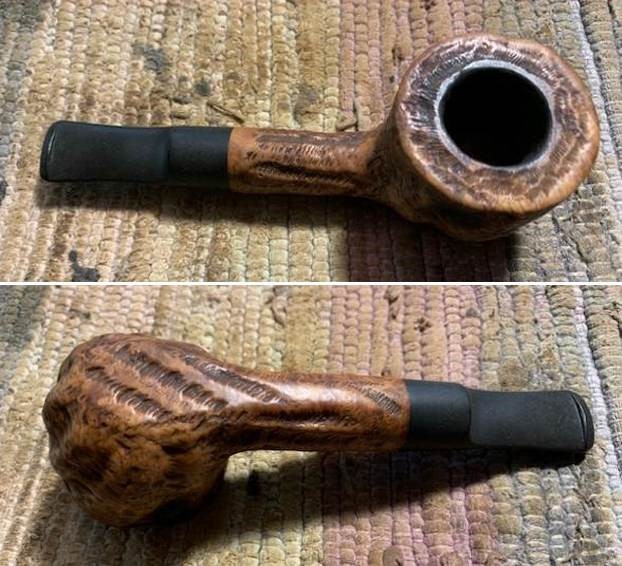
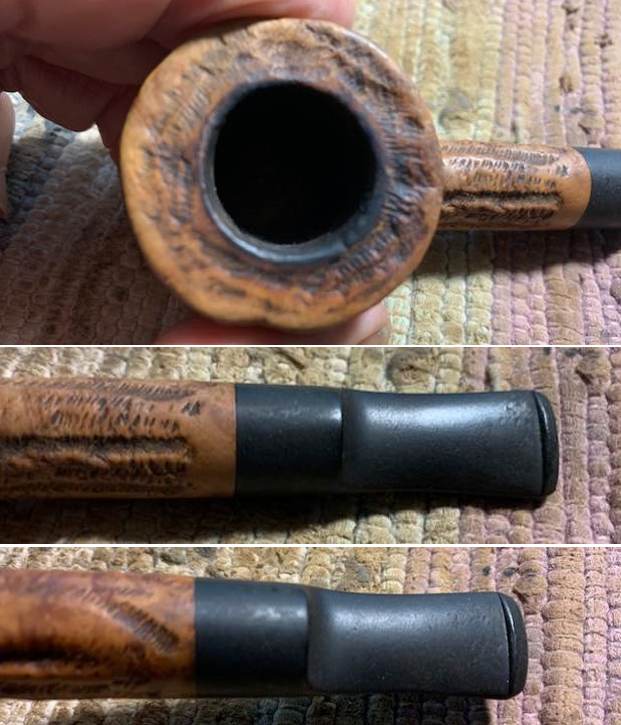
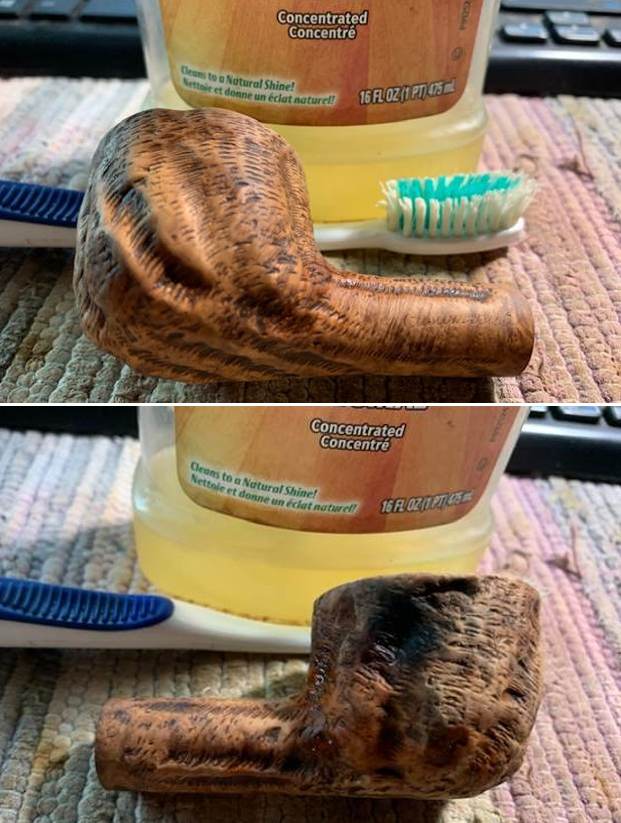
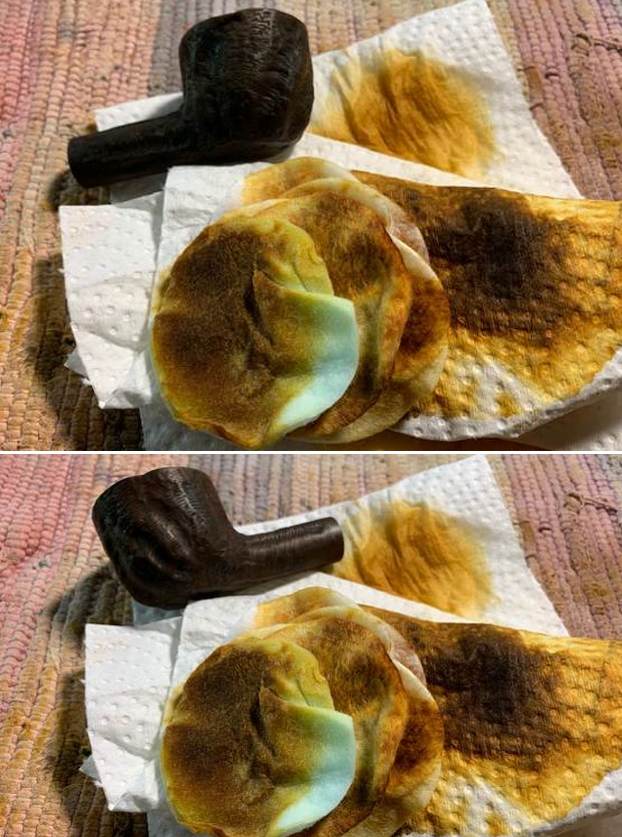
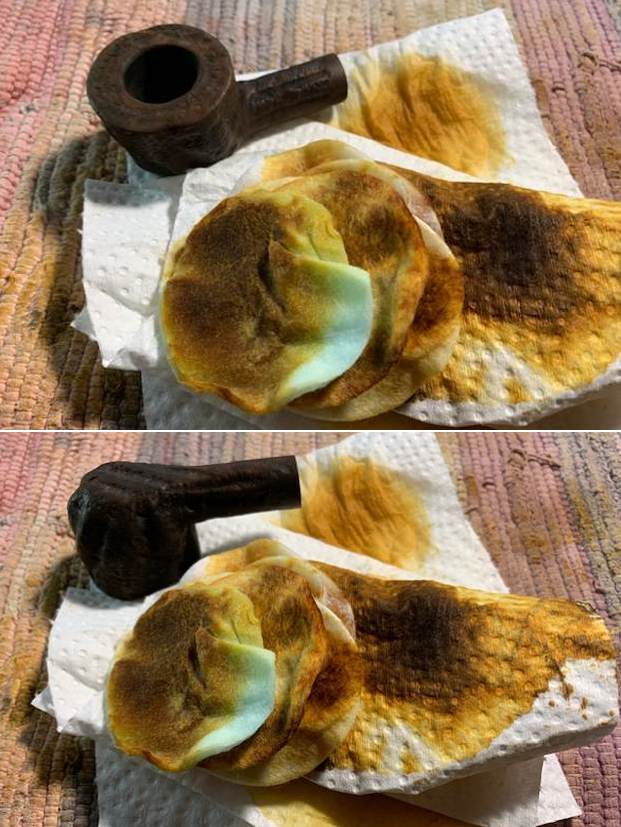
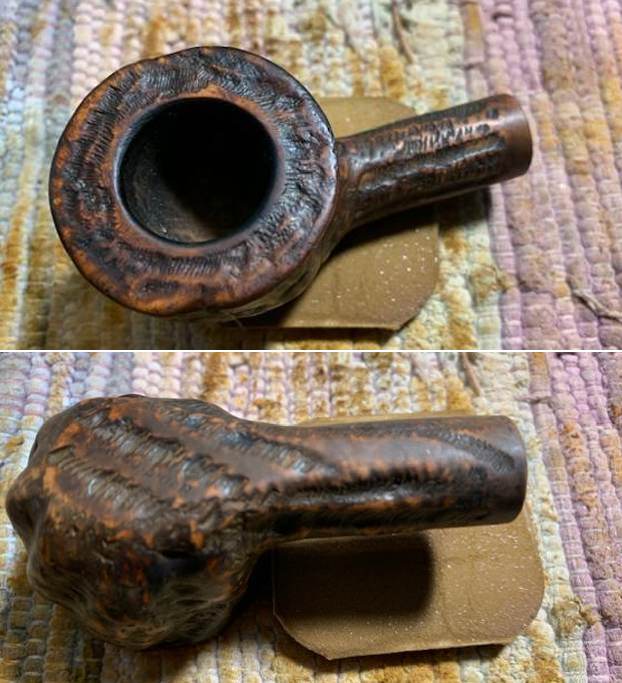
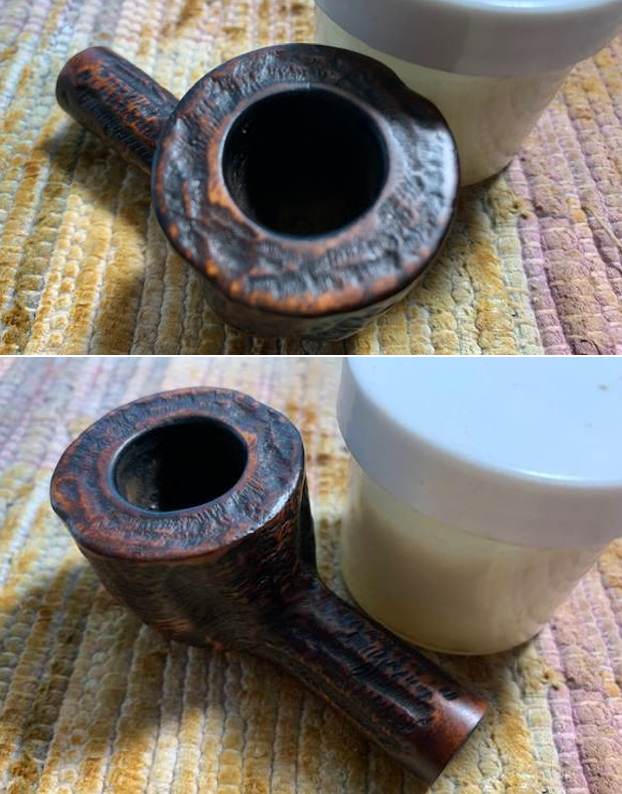
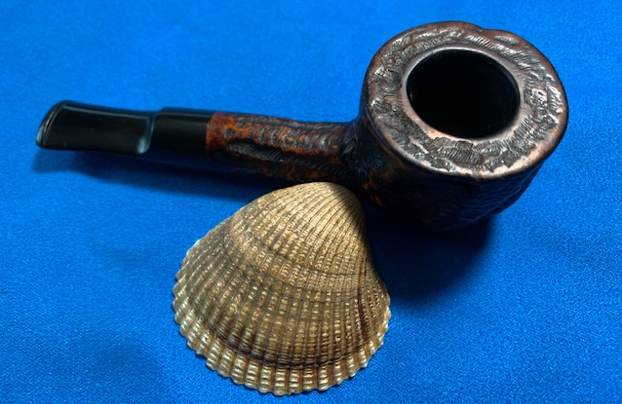
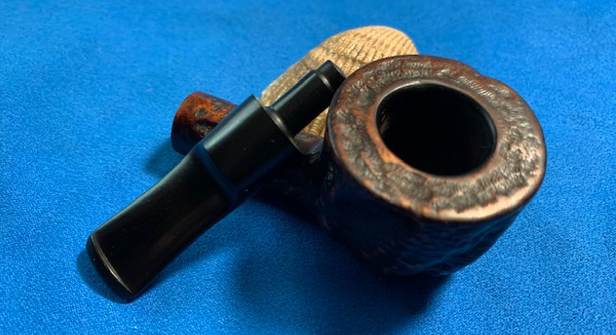
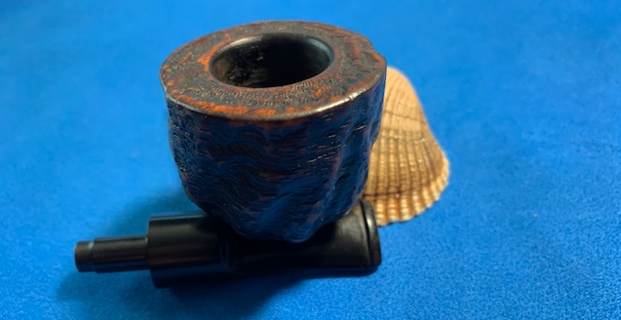
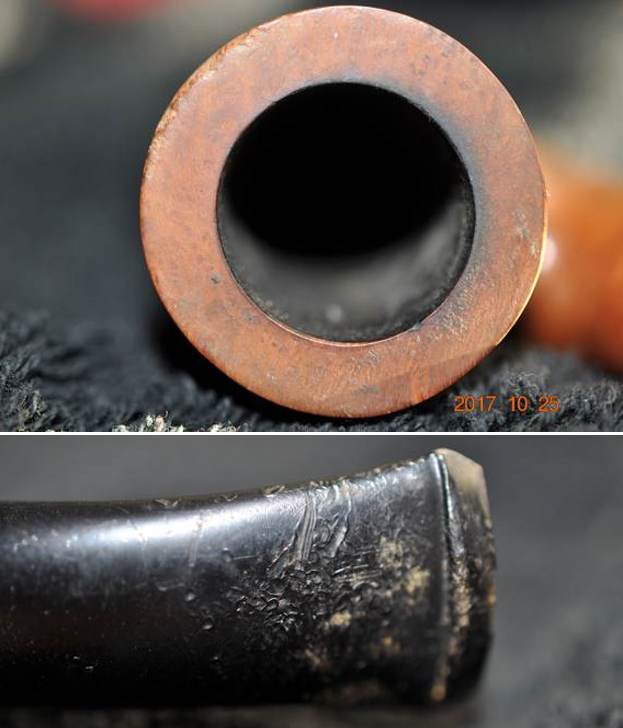
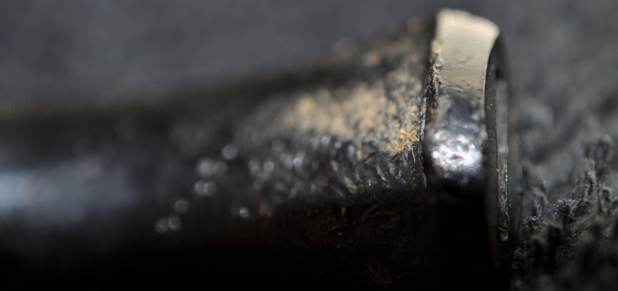
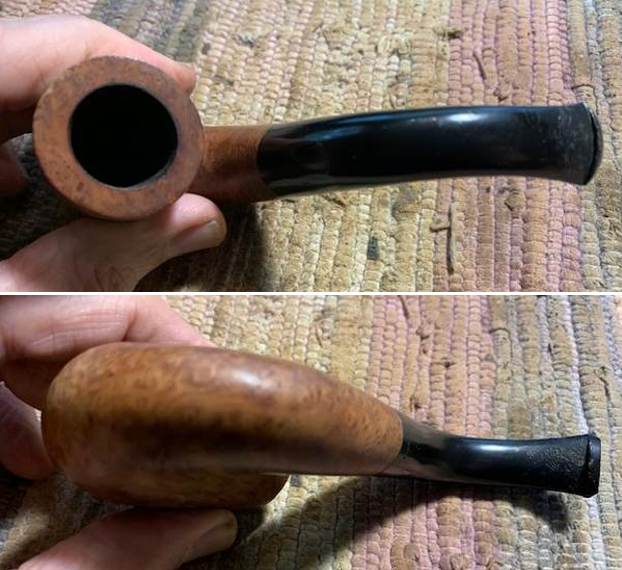
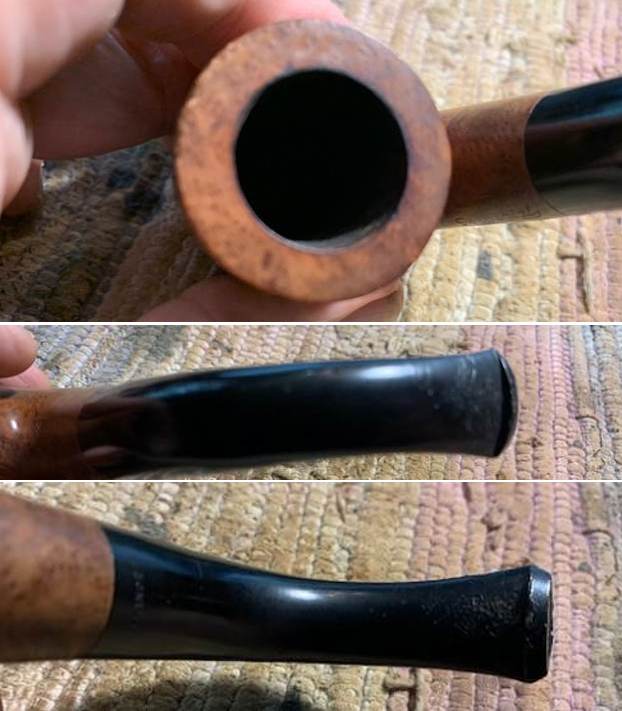
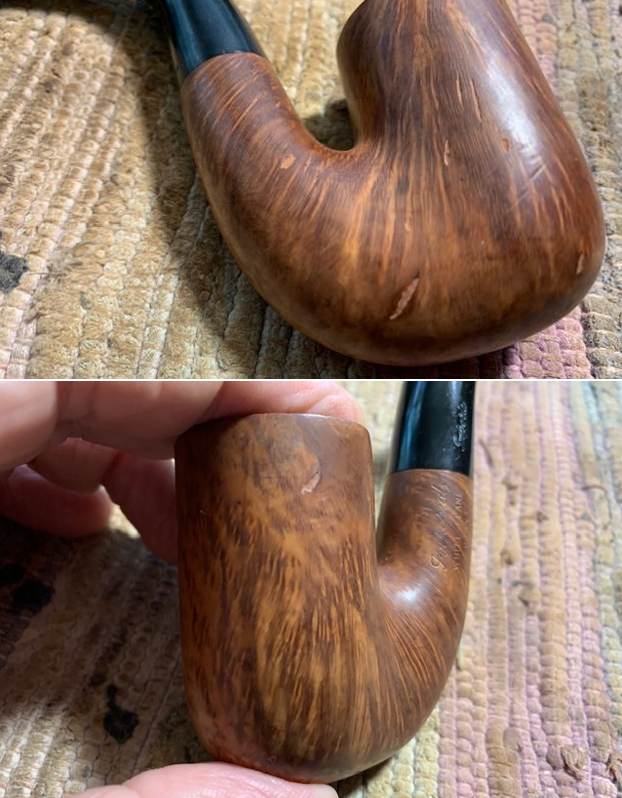
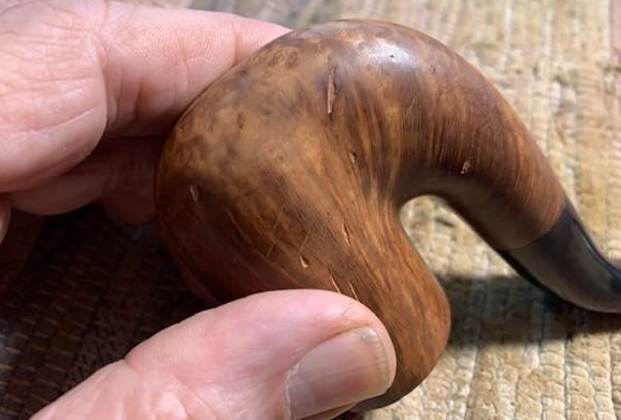
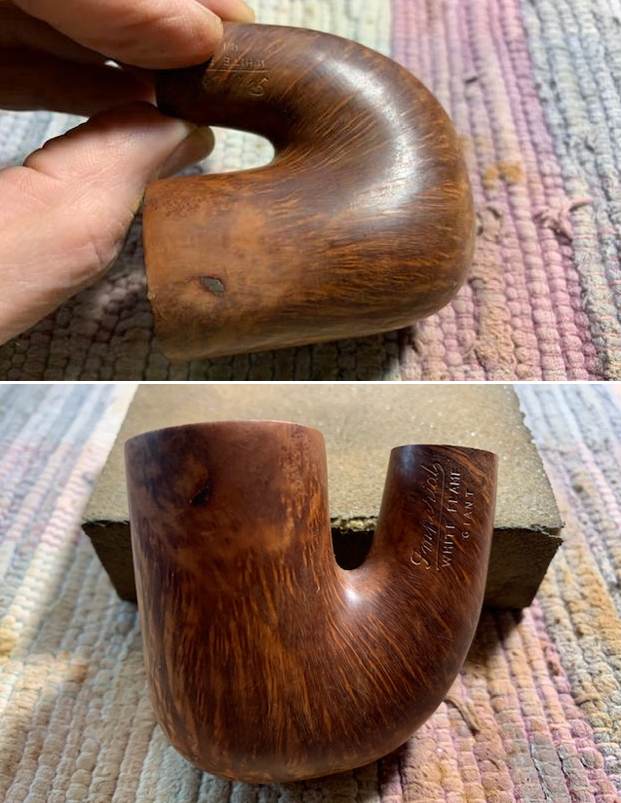
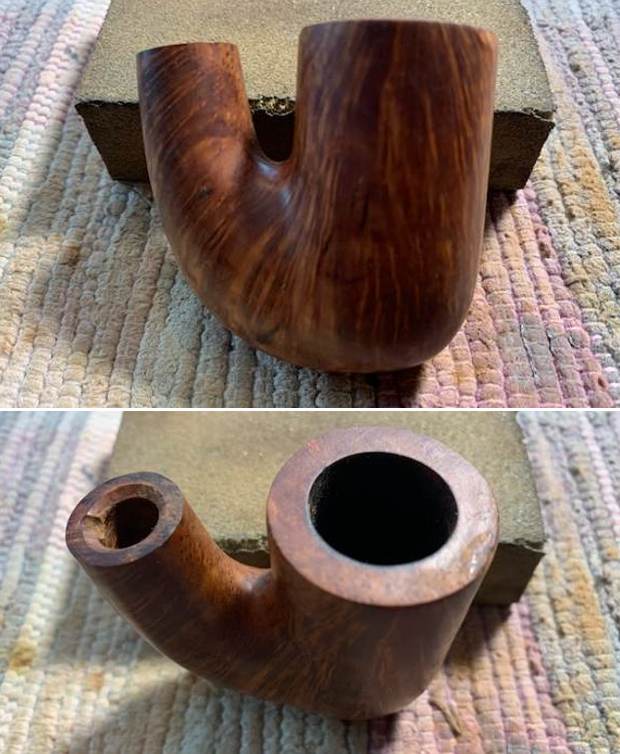
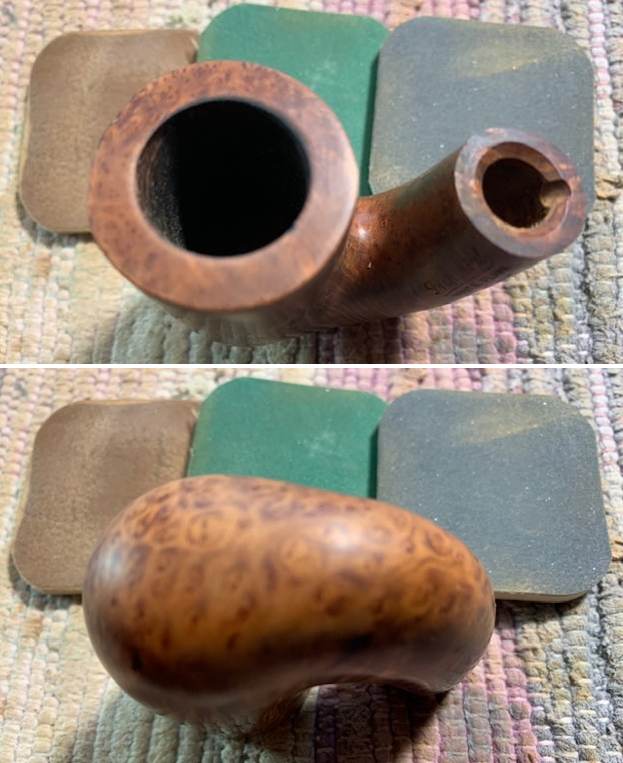
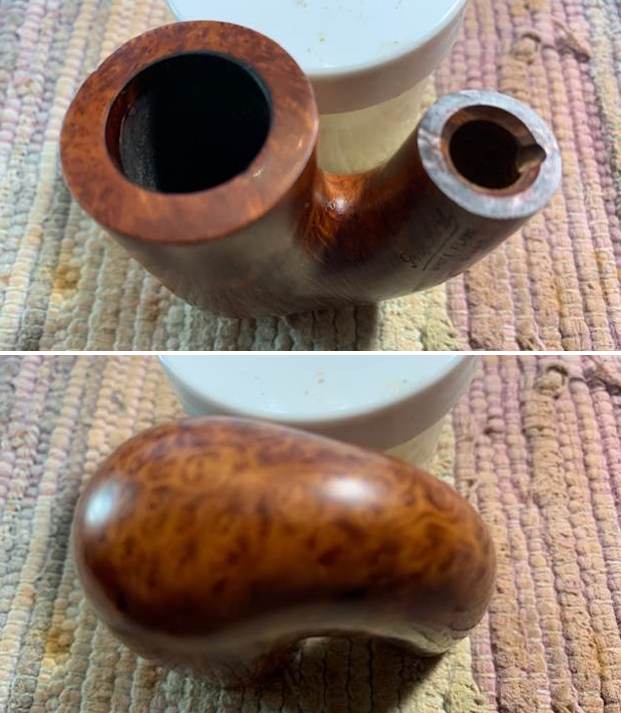
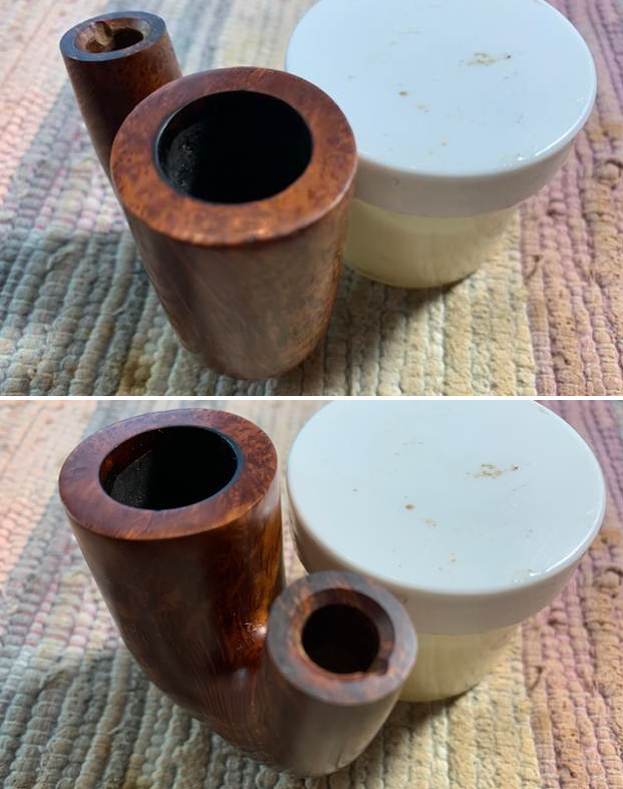
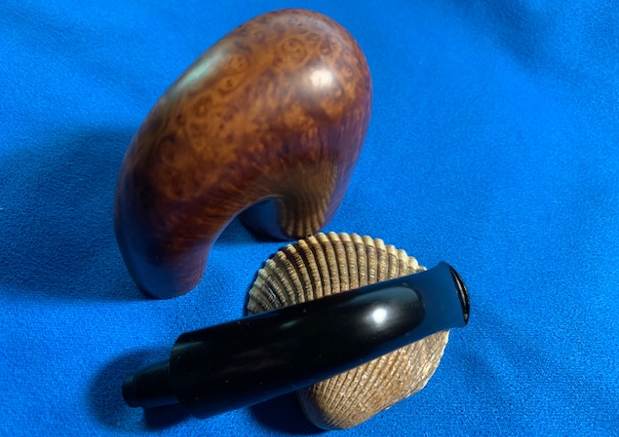
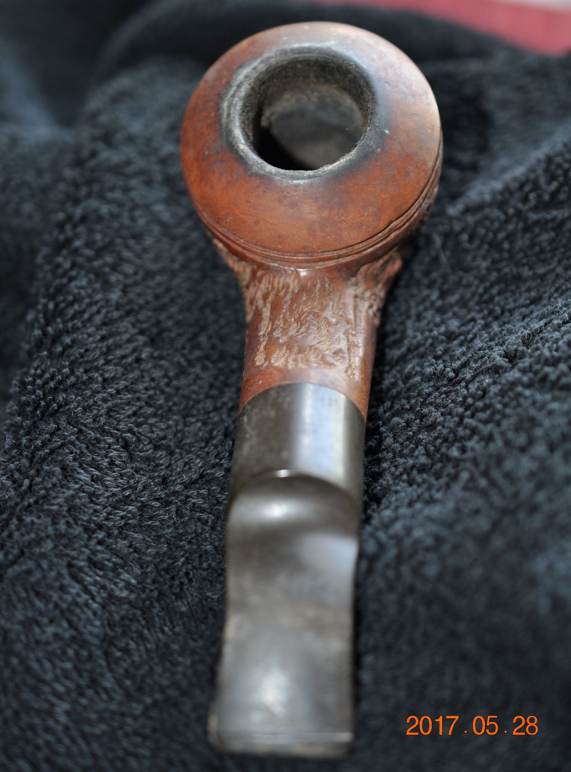
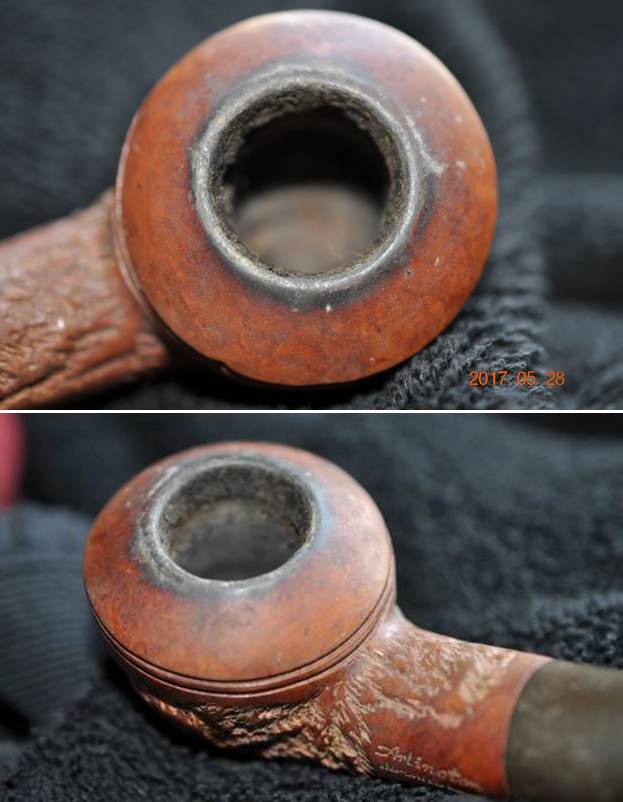
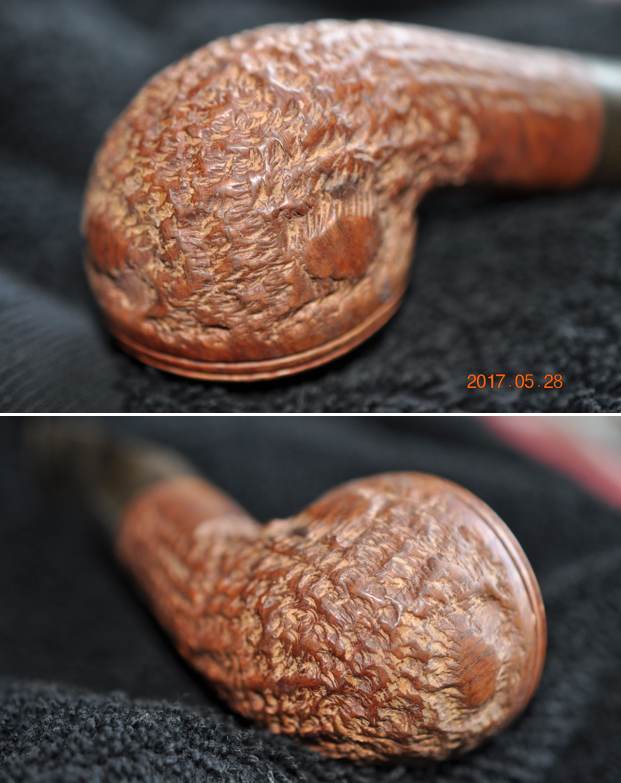
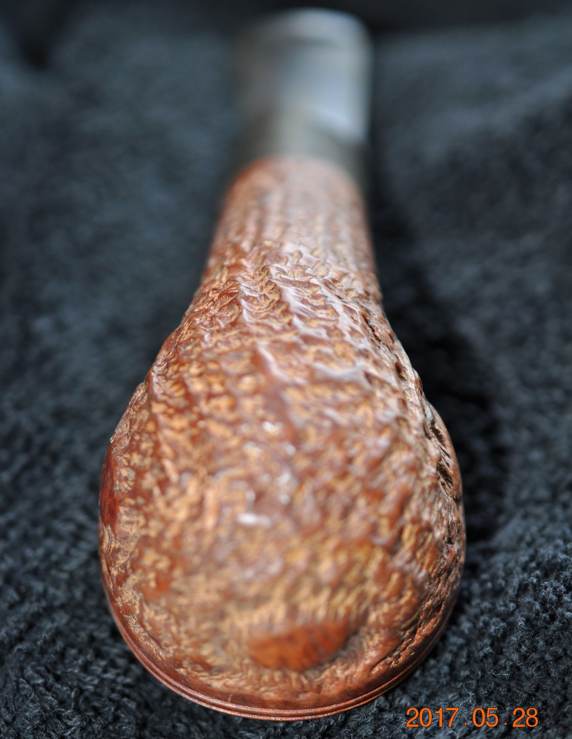
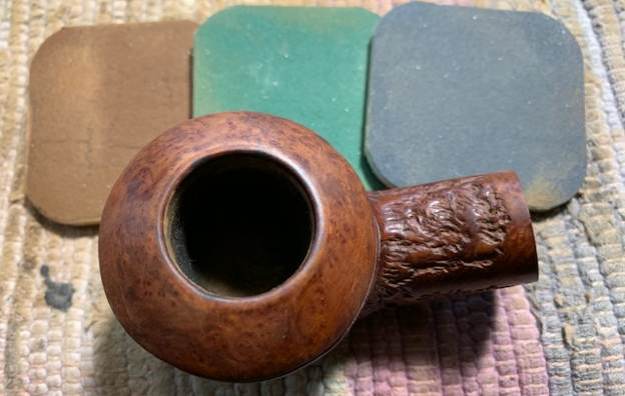
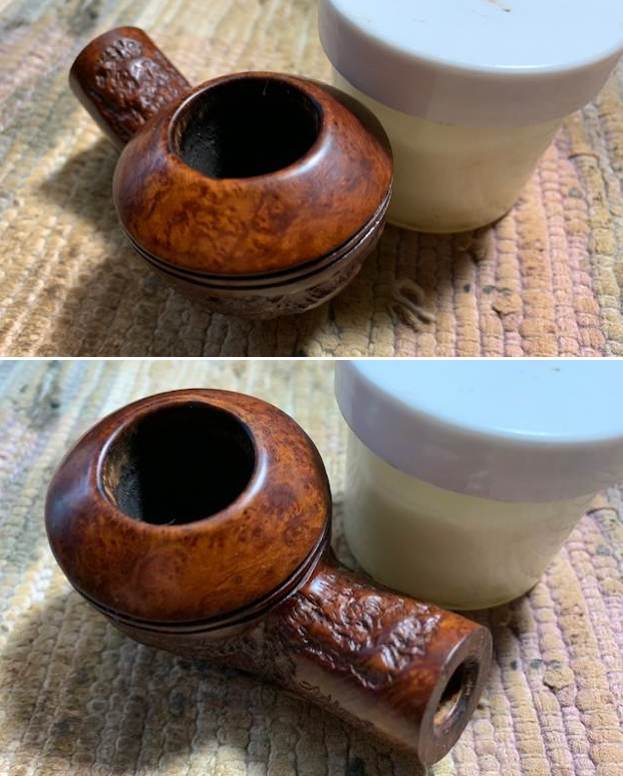
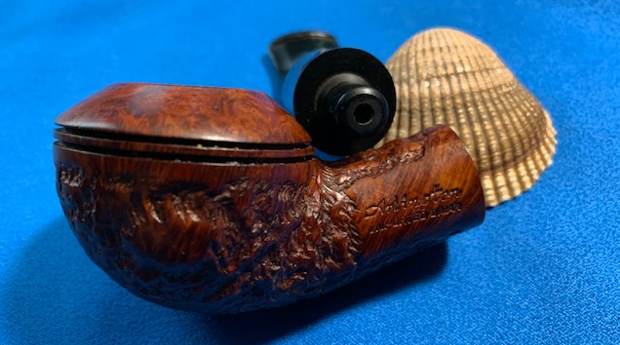
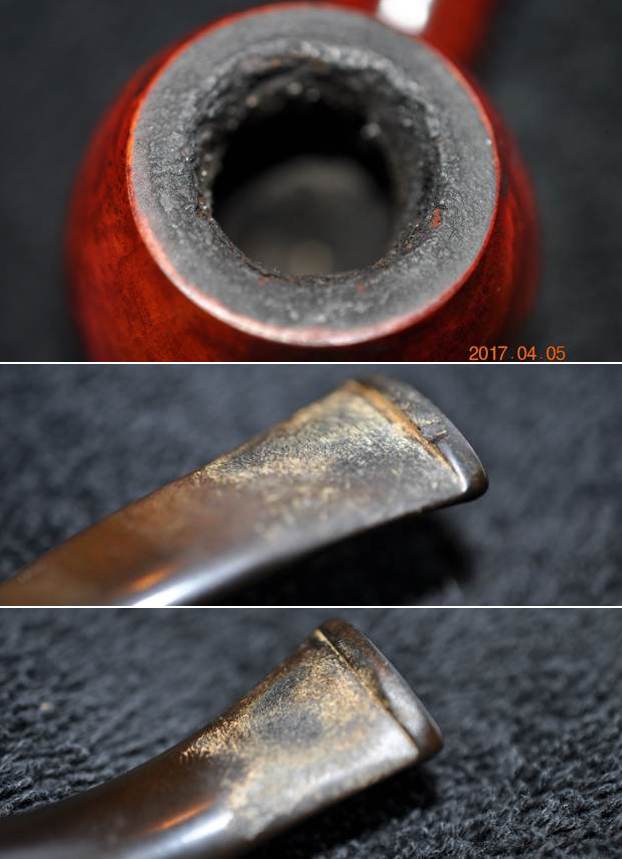
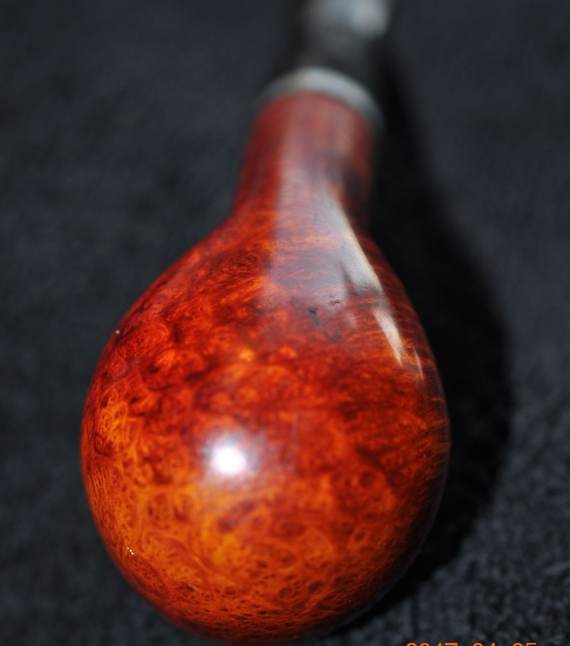
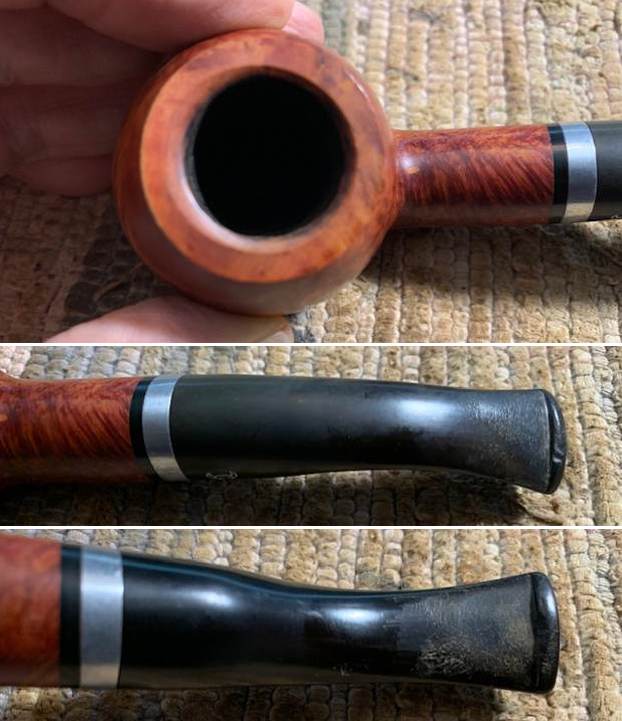
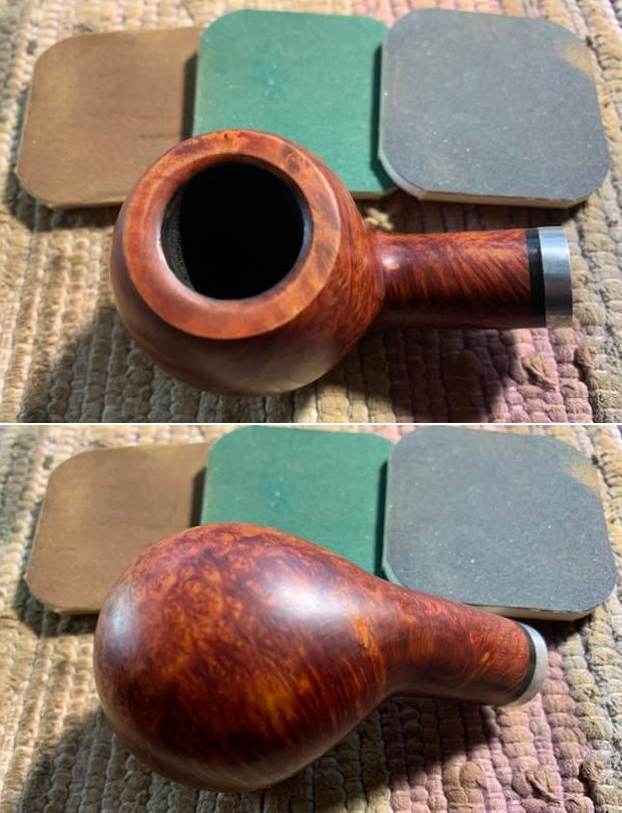
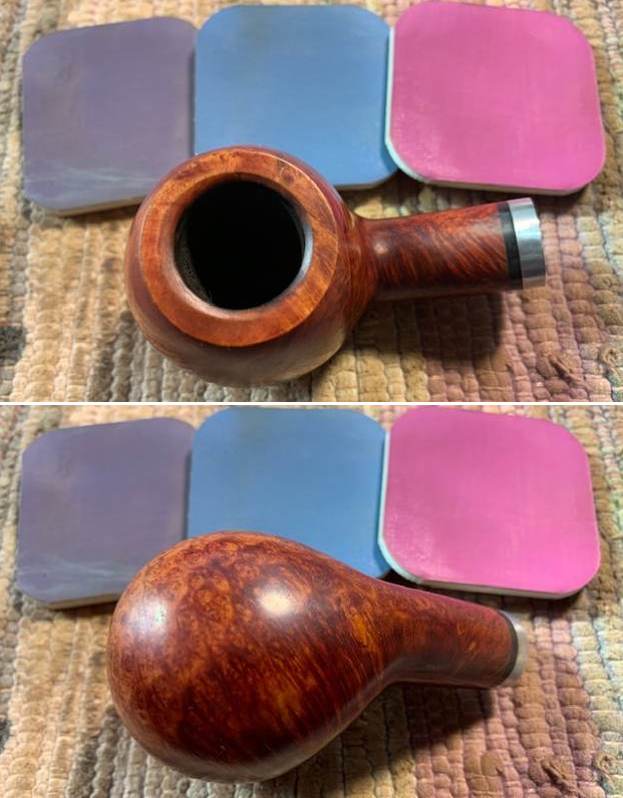
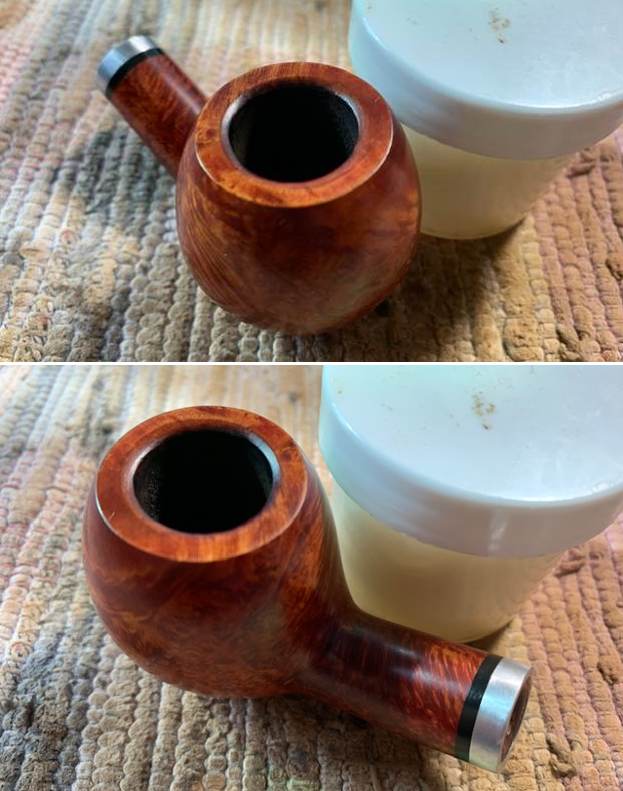
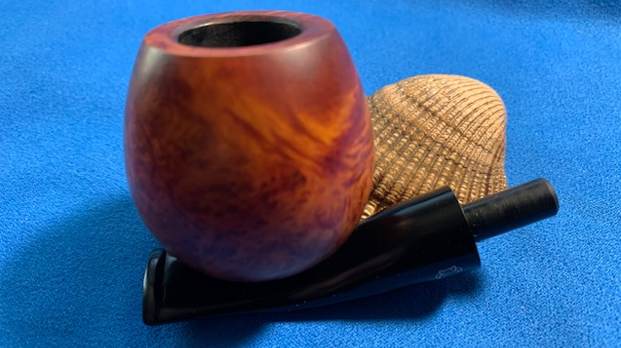
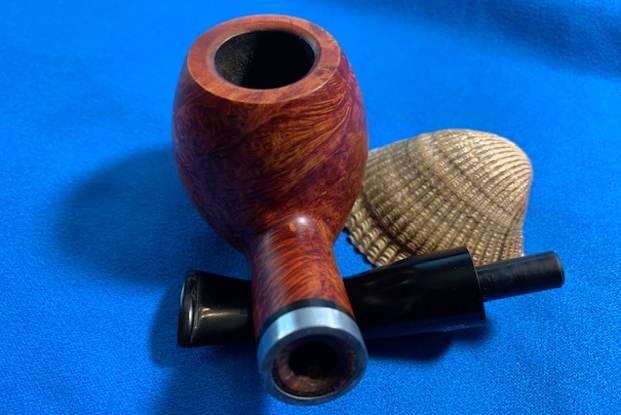
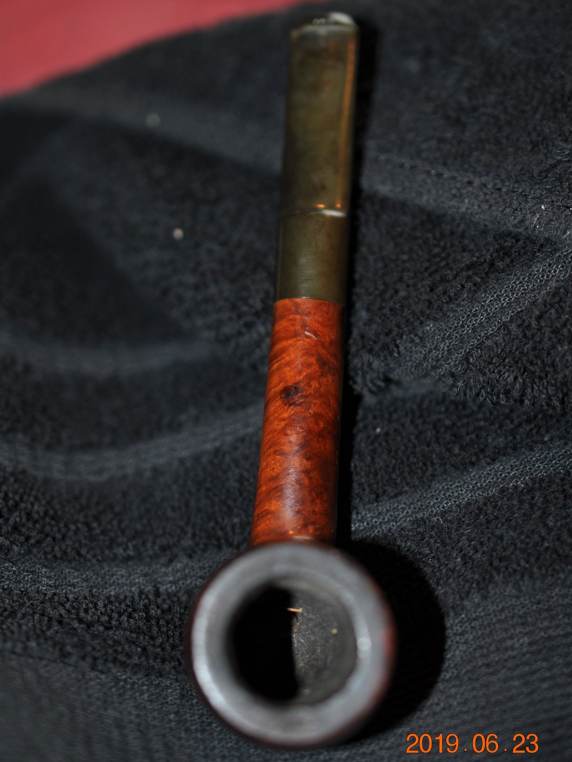
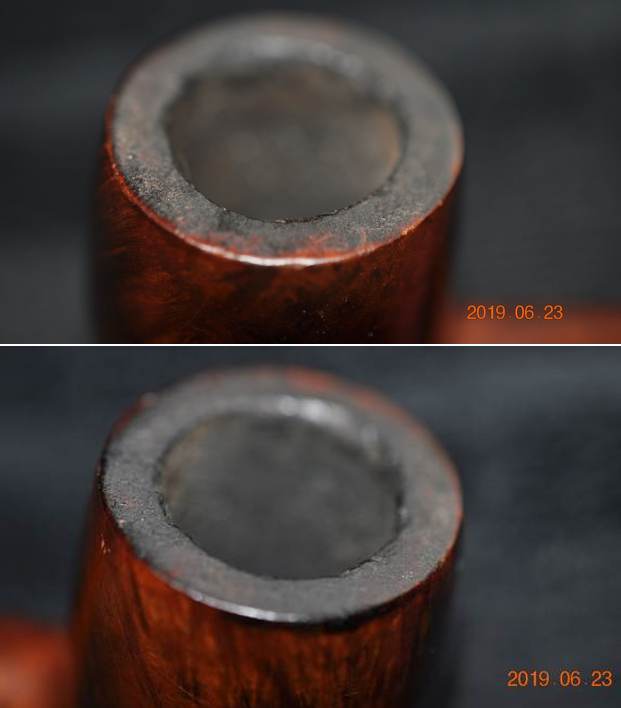
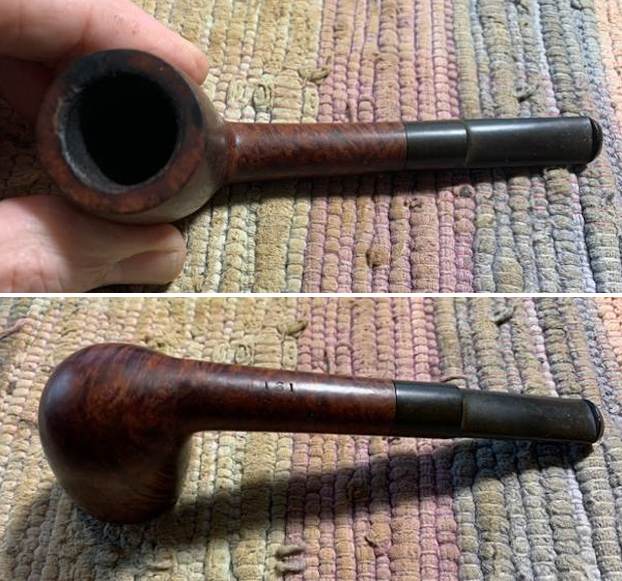
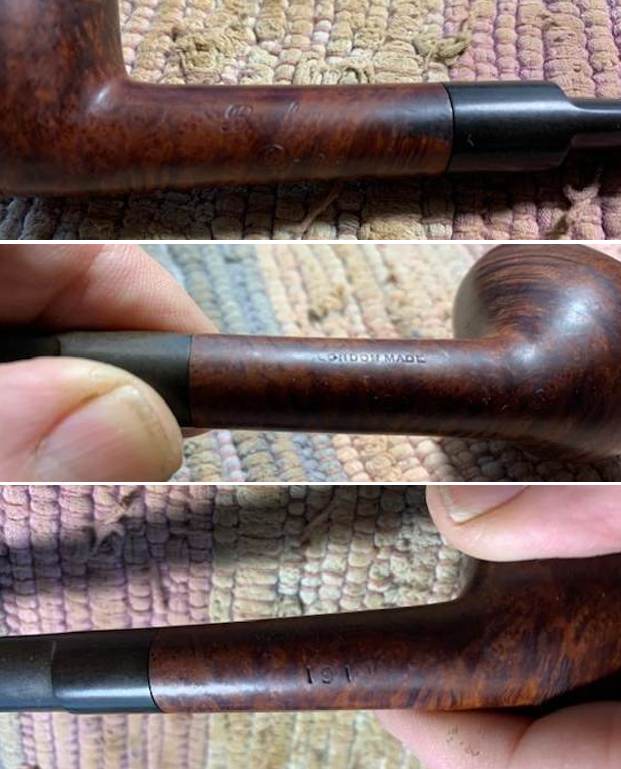
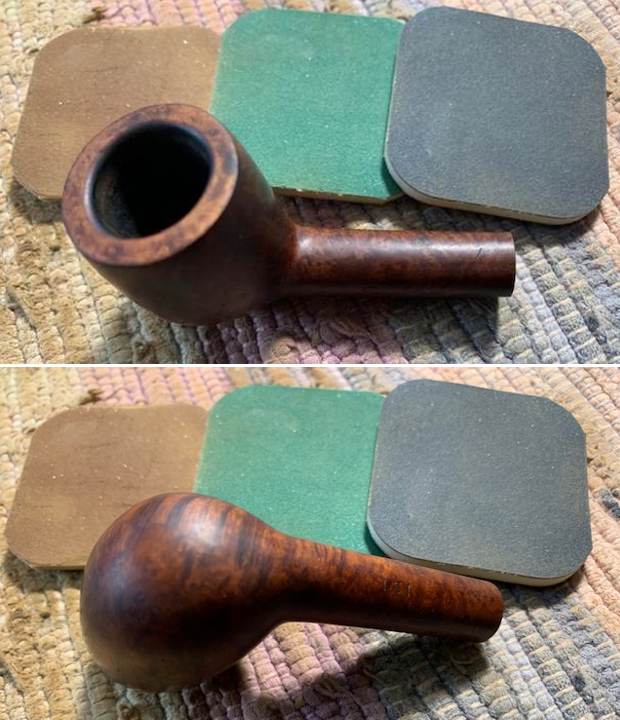
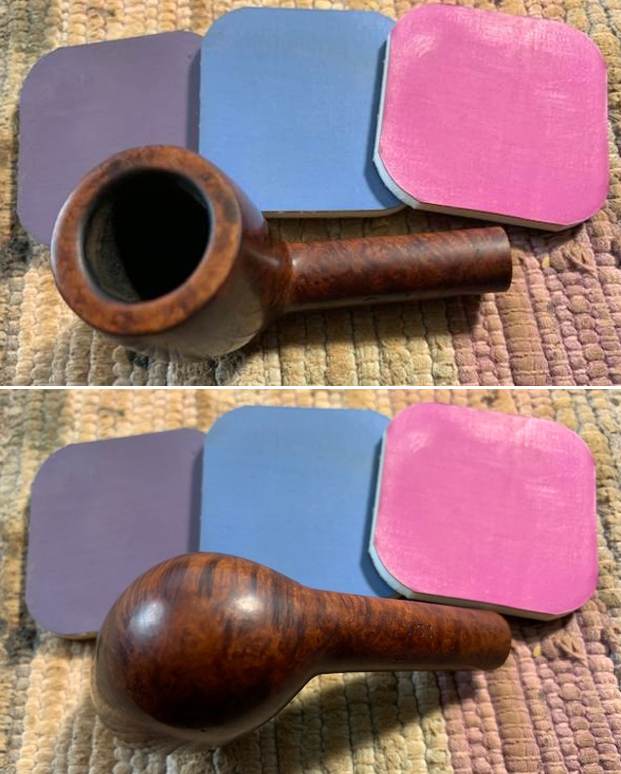
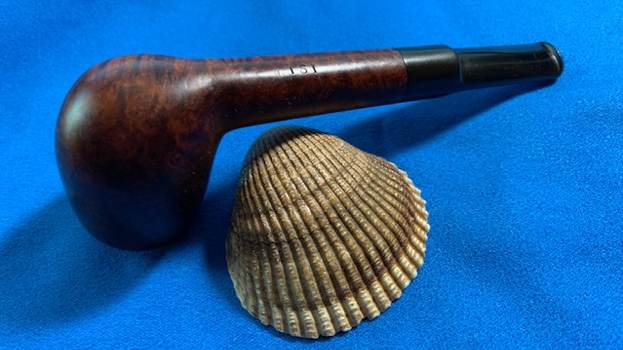
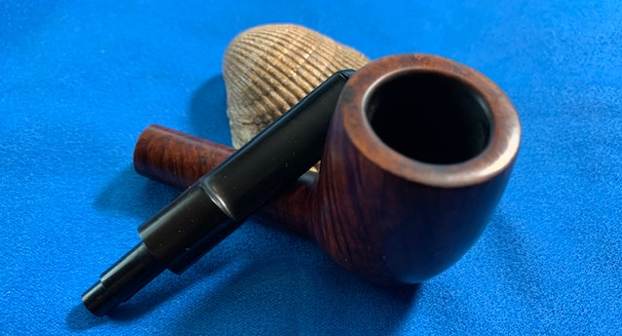
 I took a photo of the rim top and edges to show the condition. You can see that it is damaged on the top and both edges. There is some darkening on the top and edges and there are some rough spots around the bowl top and edges.
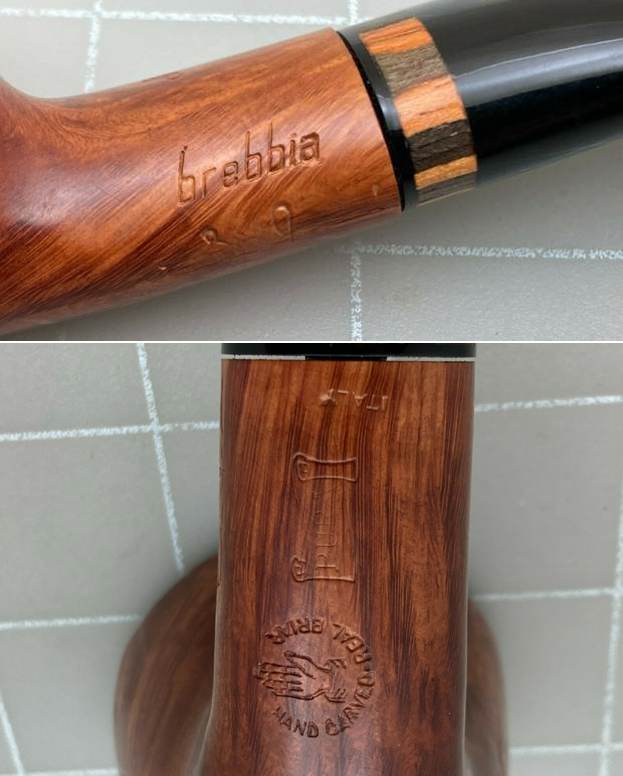
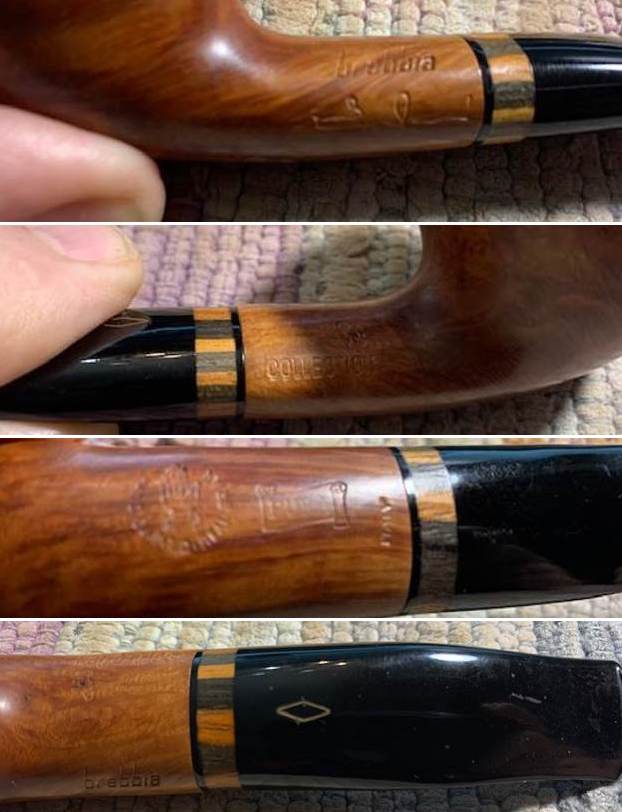
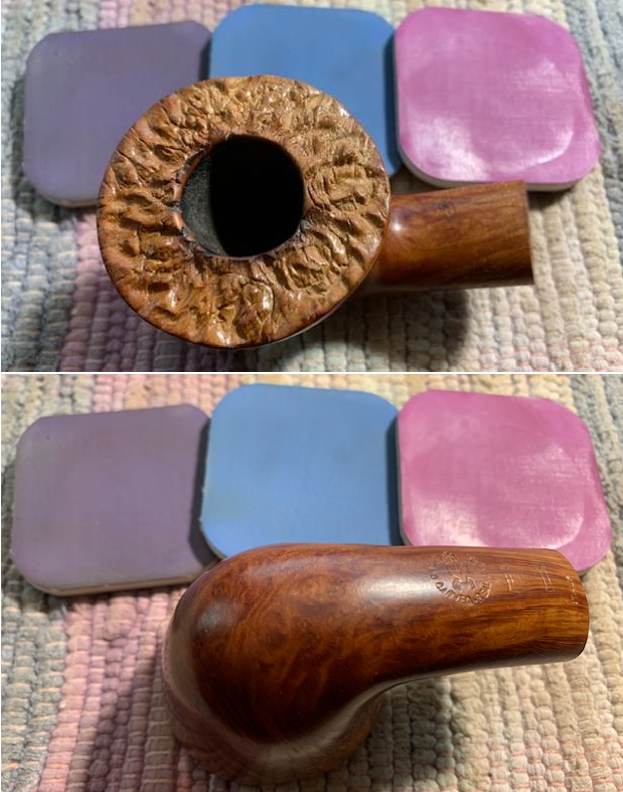
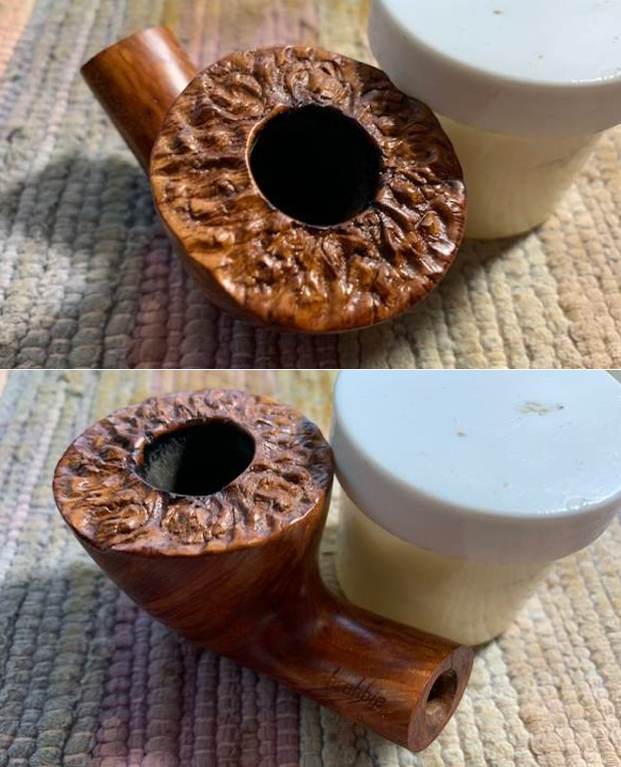
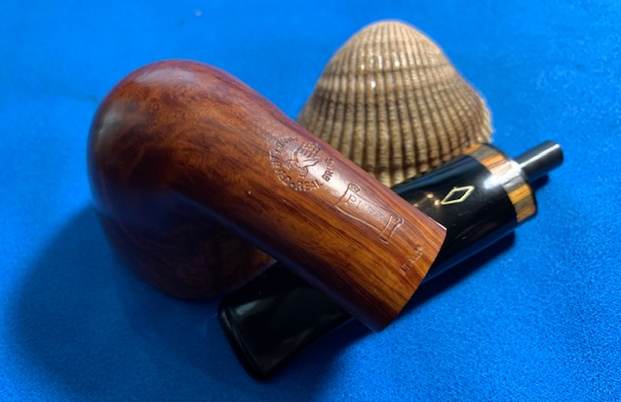
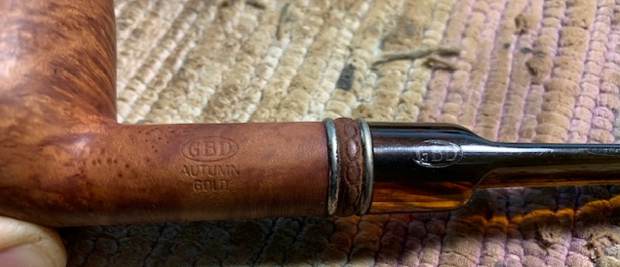
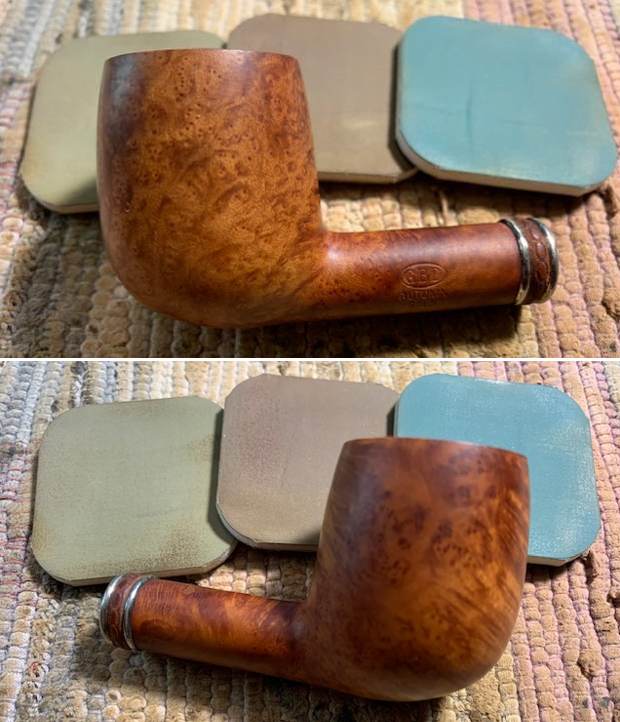
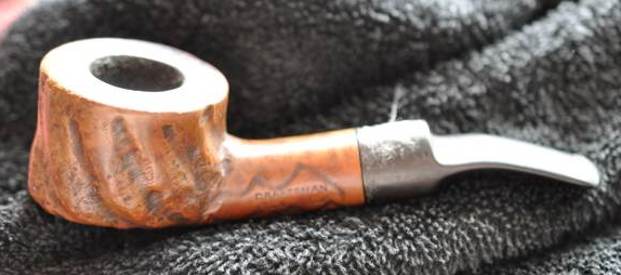
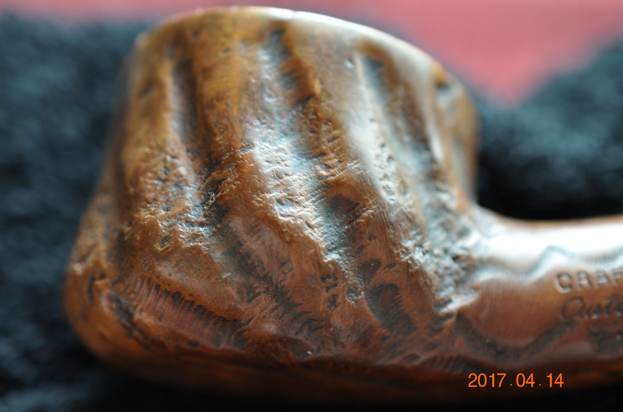
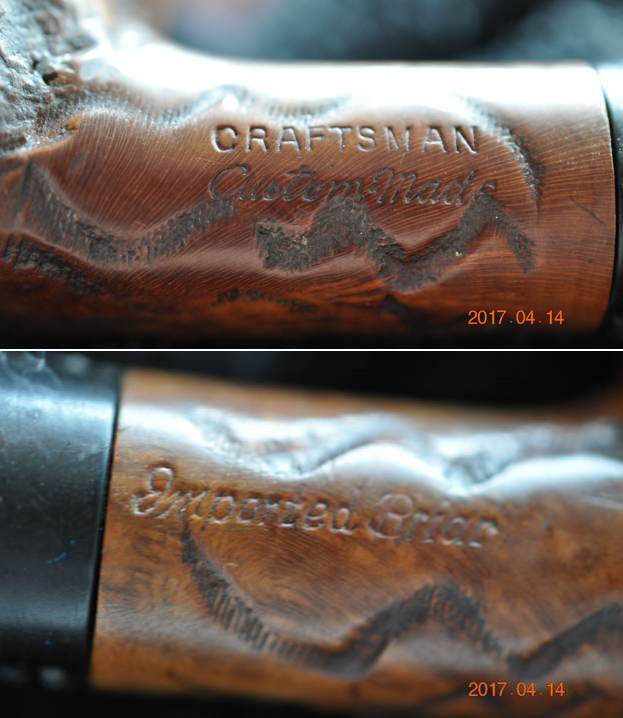
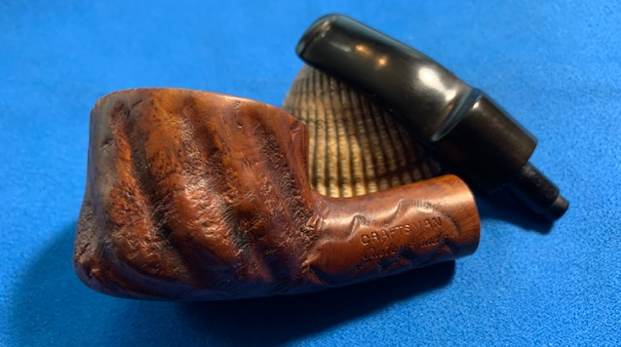
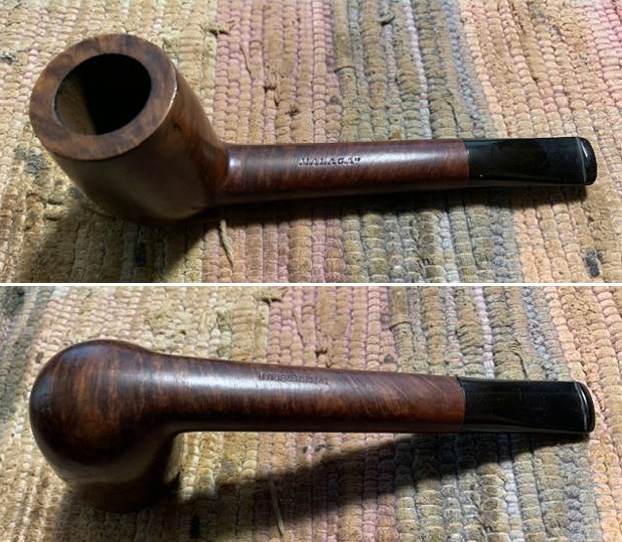
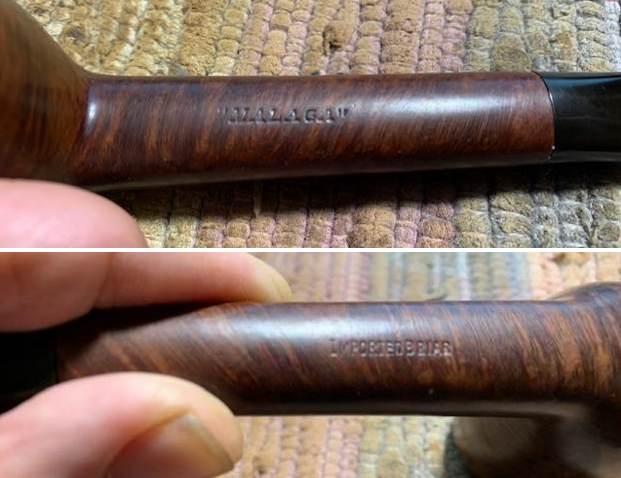
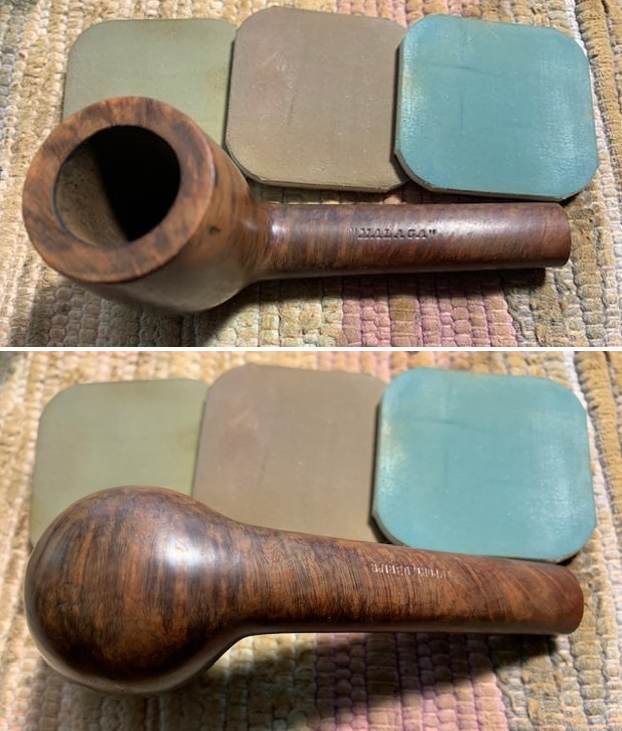
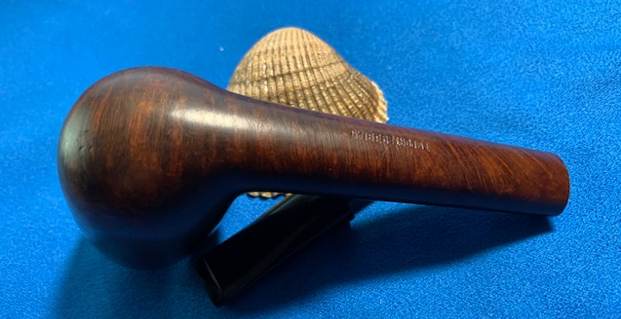
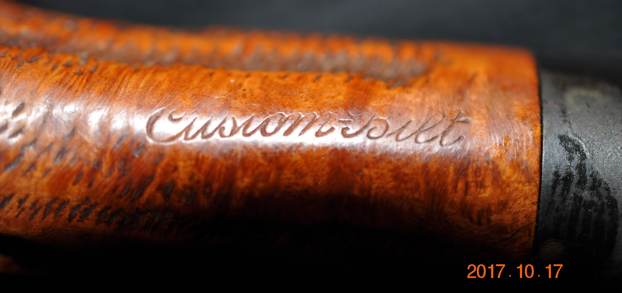
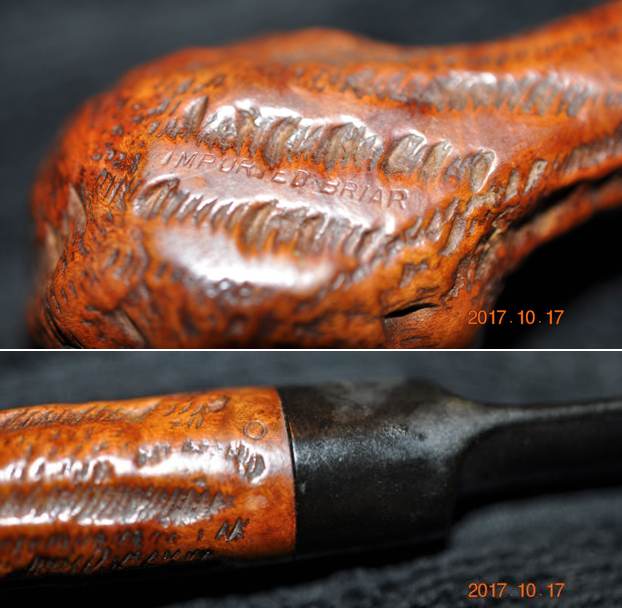
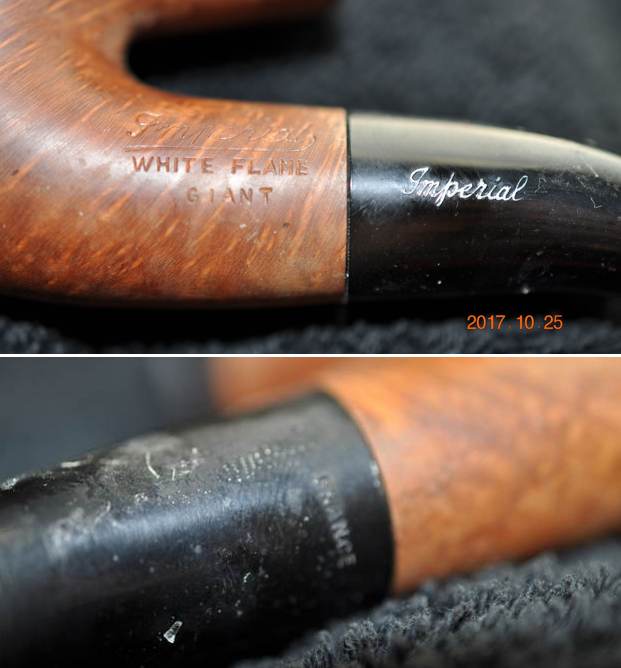
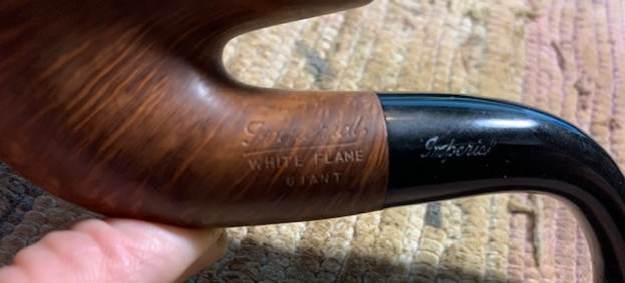
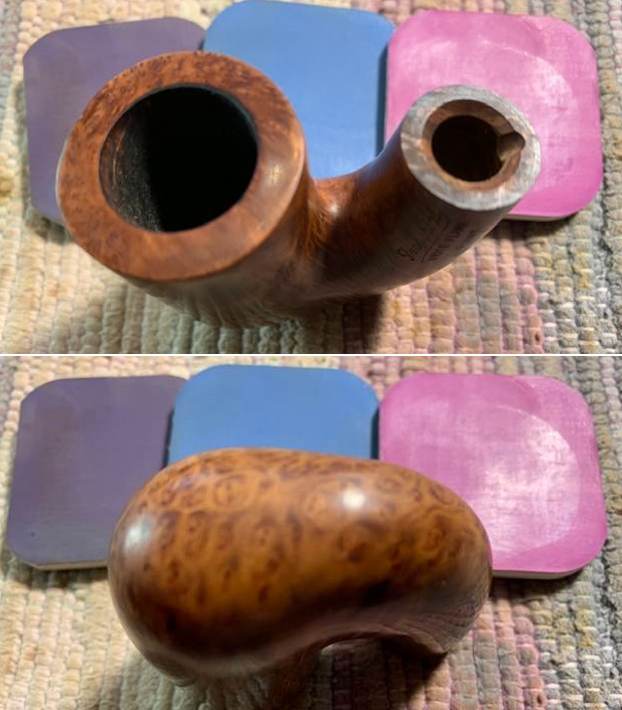
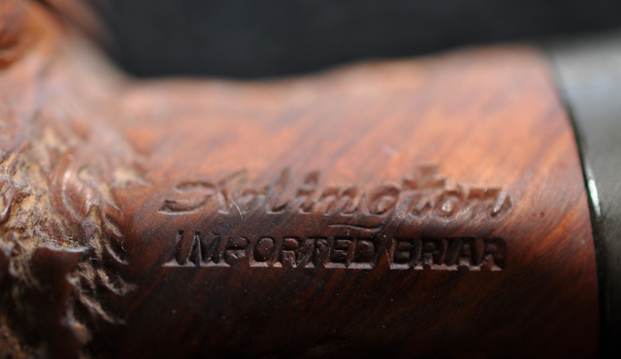
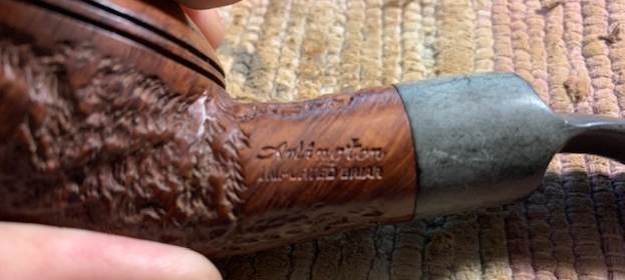
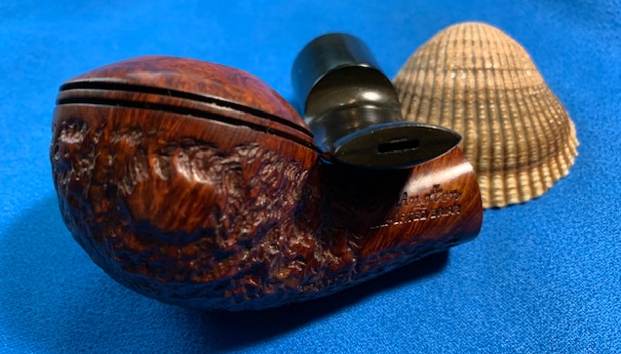
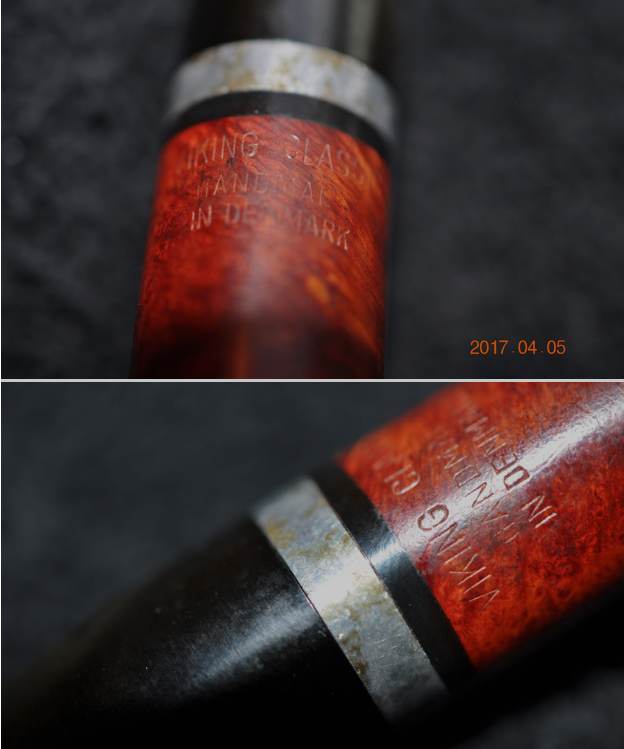
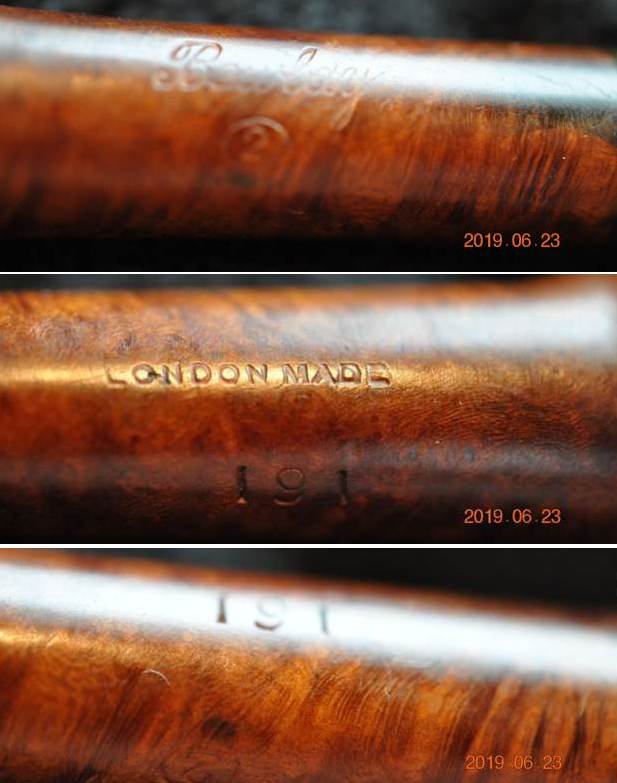
 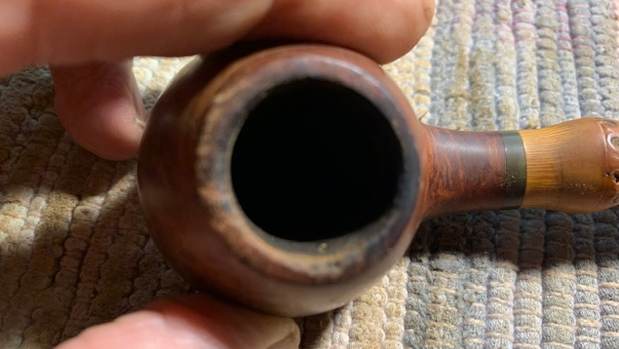 I took a photo of the stamping on the underside of the shank. It reads as noted above. It is clear and readable though faint in spots.
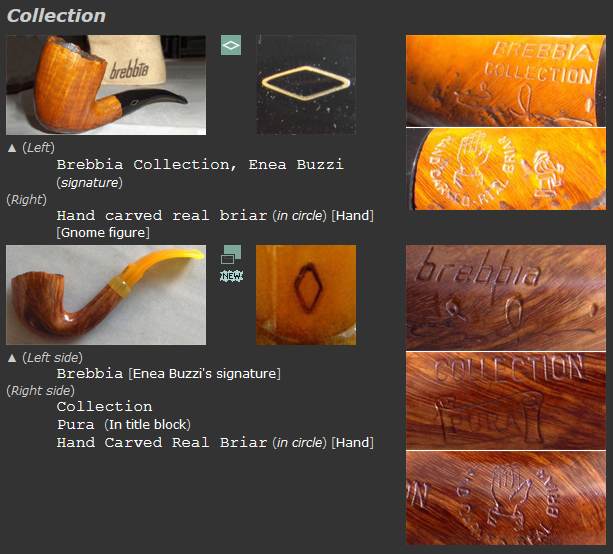
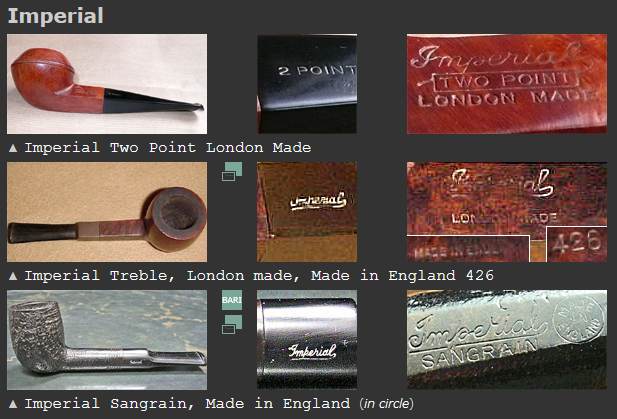
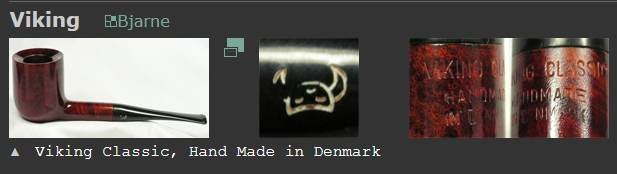
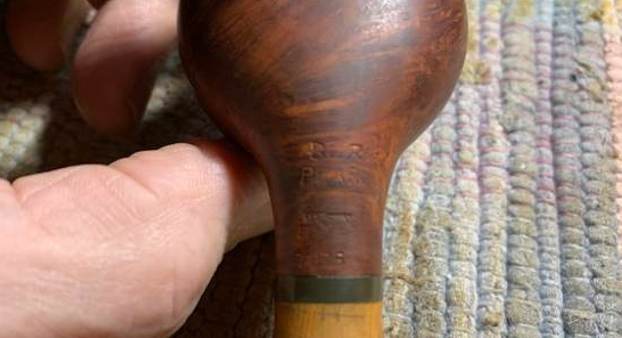 I turned to Pipephil to see if I could find information on the Pearl model but there was nothing there on the model (http://pipephil.eu/logos/en/logo-b1.html). I quote from the sidebar below and also have included a screen capture of the information.
Brand founded by Viggo Nielsen in 1950 and sold to Van Eicken Tobaccos in 1978. At this time Age Bogelund managed Bari’s production. The company has been bought in 1993 by Helmer Thomsen. Bari’s second: Don, Proctus. 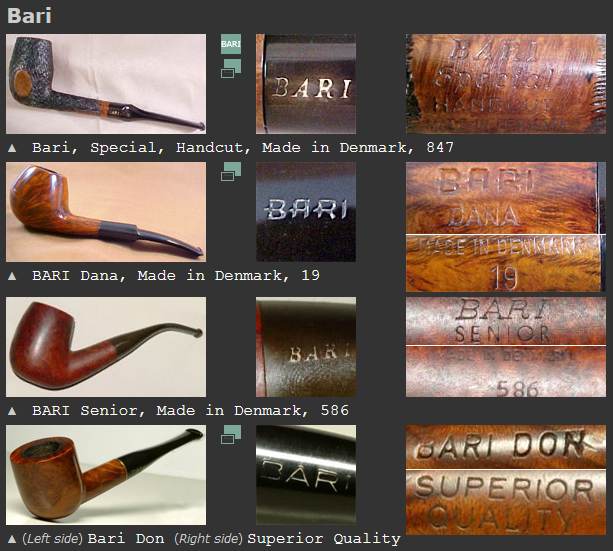 I then turned to Pipedia for some history of the brand and also to see if there as information on the Pearl model (https://pipedia.org/wiki/Bari). I have included the history below. There was also a photo that was done by Smoking Pipes.com and had a copy right so I did not include it. It did help me determine the kind of stem to use on the pipe.
Bari Piber was founded by Viggo Nielsen in Kolding around the turn of 1950/51. Viggo’s sons Kai Nielsen and Jørgen Nielsen both grew into their father’s business from a very young age and worked there till 1975.
Bari had very successfully adapted the new Danish Design that had been started mainly by Stanwell for it’s own models. When Viggo Nielsen sold Bari in 1978 to Joh. Wilh. von Eicken GmbH in Hamburg Bari counted 33 employees.
From 1978 to 1993 Åge Bogelund and Helmer Thomsen headed Bari’s pipe production. Thomson bought the company in 1993 re-naming it to Bari Piber Helmer Thomsen. The workshop moved to more convenient buildings in Vejen. Bogelund, who created very respectable freehands of his own during the time at Bari got lost somehow after 1993.
Bari’s basic conception fundamentally stayed the same for decades: series pipes pre-worked by machines and carefully finished by hand. Thus no spectacular highgrades but solid, reliable every day’s companions.
The most famous series are the smooth “Classic Diamond” and the blasted “Wiking”.
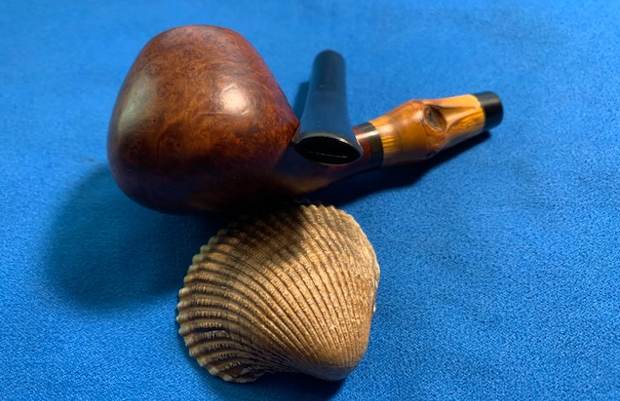
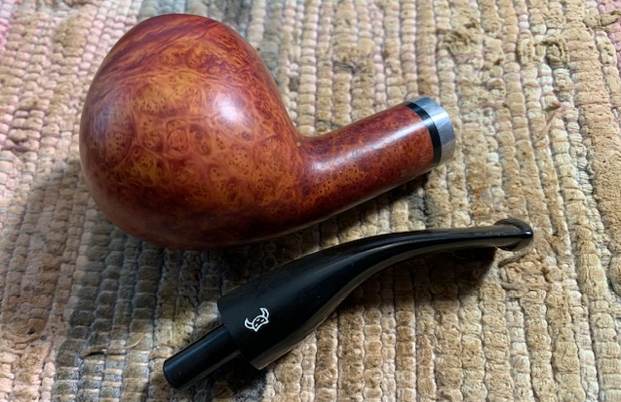
I did a quick Google search for the Bari Pearl pipe and found that Smokingpipes.com had quite a few different shapes of the model. It was interesting that all of them had a single knuckle like the one that I was working on and that the bamboo had been shaped and tapered on the front toward the bowl and toward the shank end. All of them had a vulcanite space on both ends of the bamboo. They were pretty pipes.
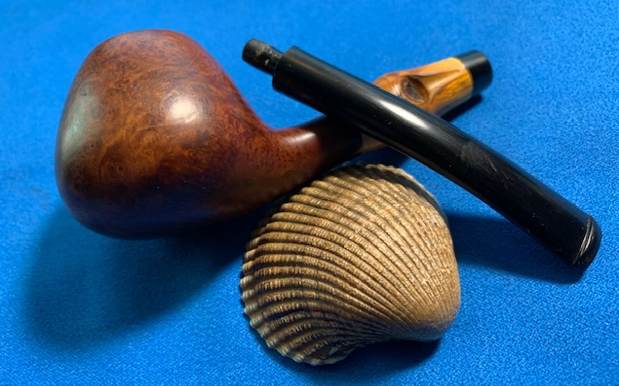
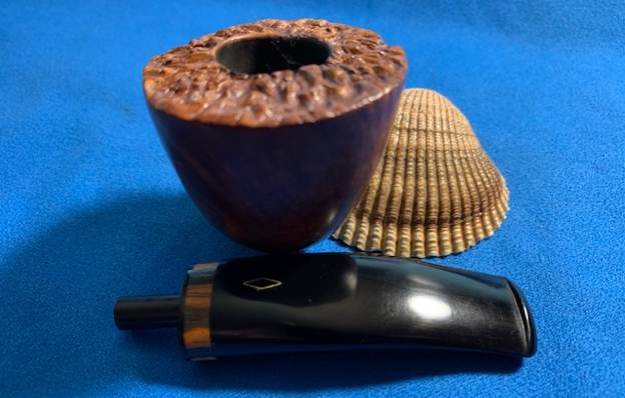
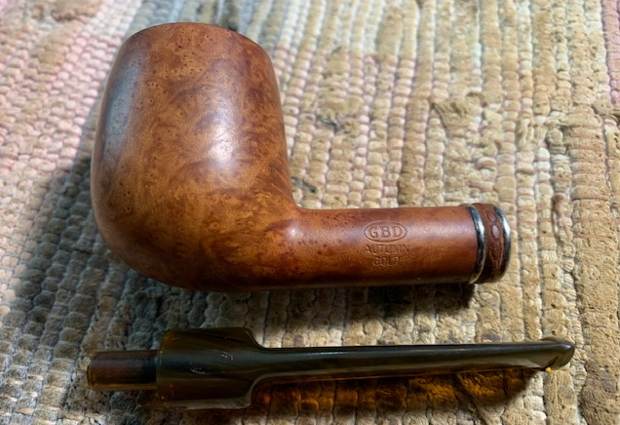
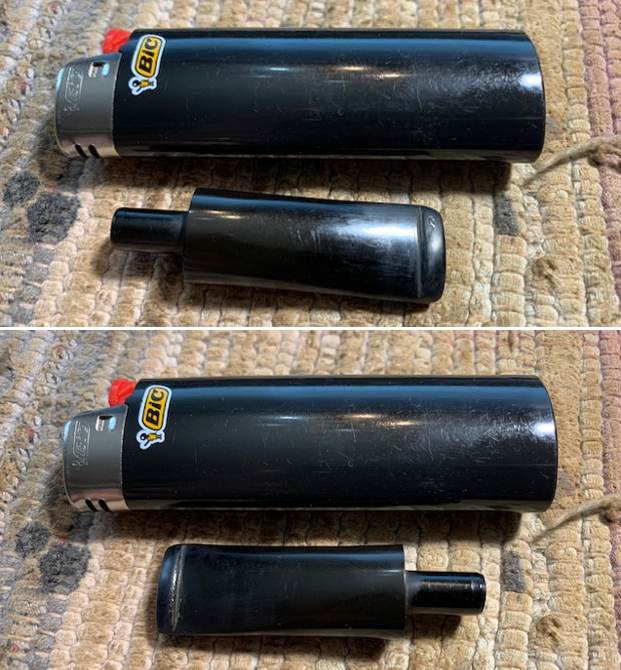
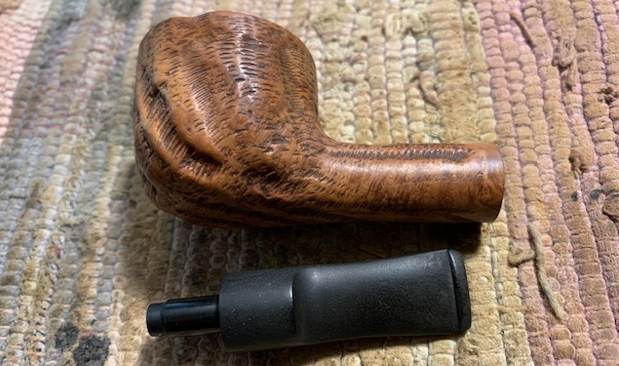
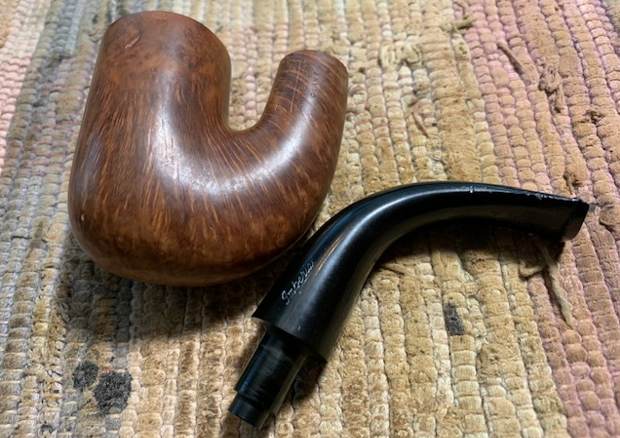
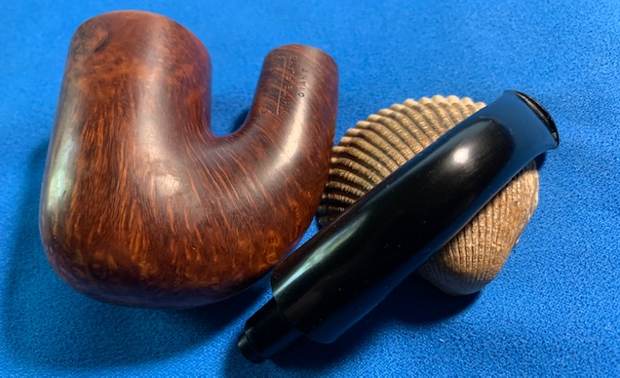
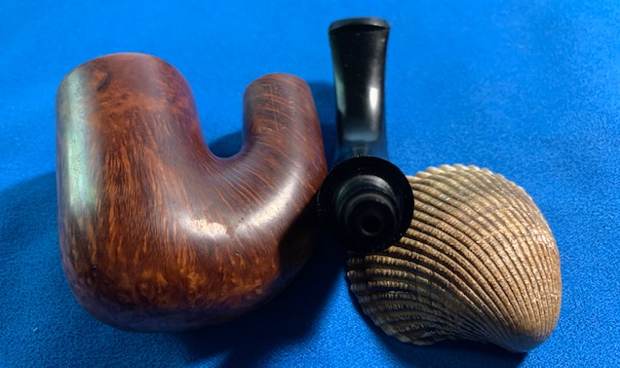
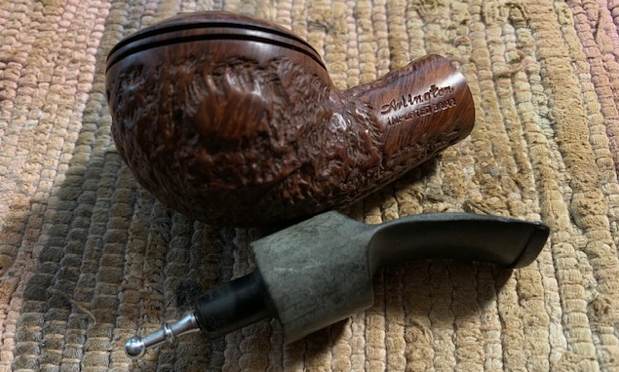
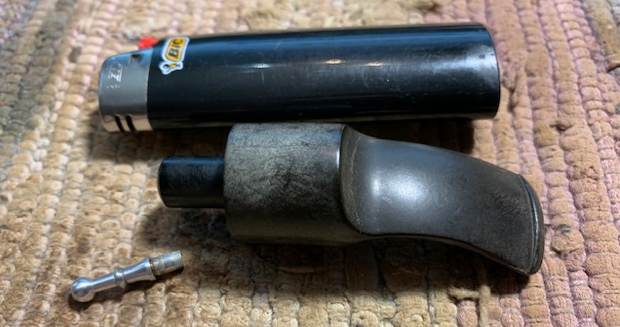
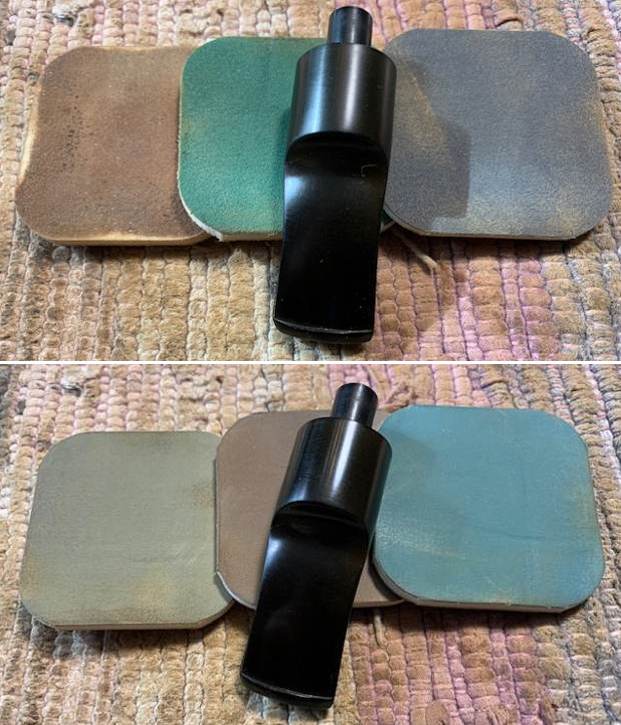
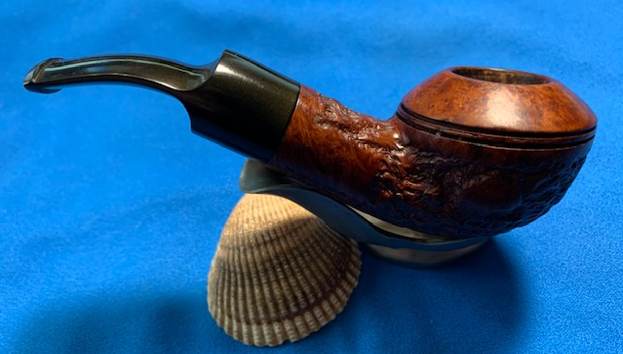
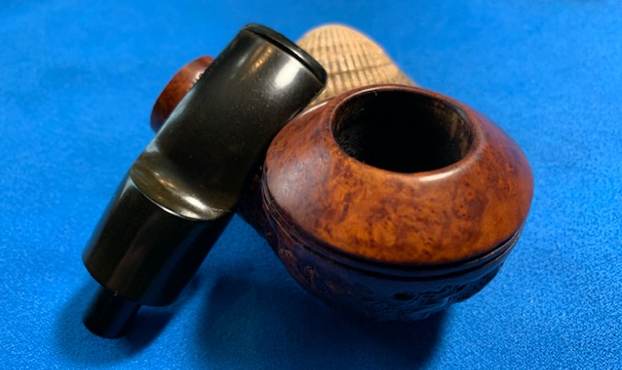
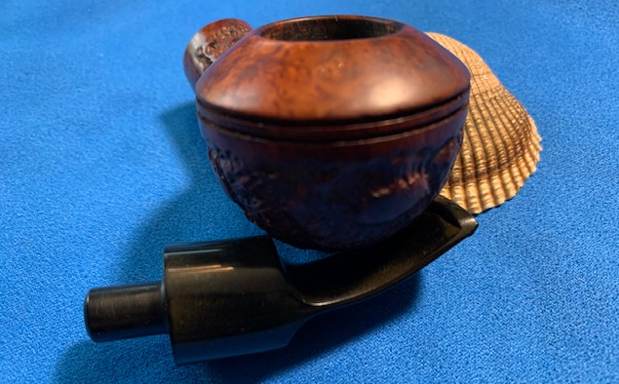
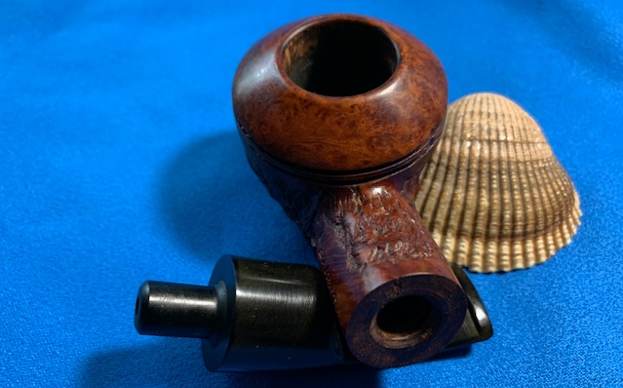
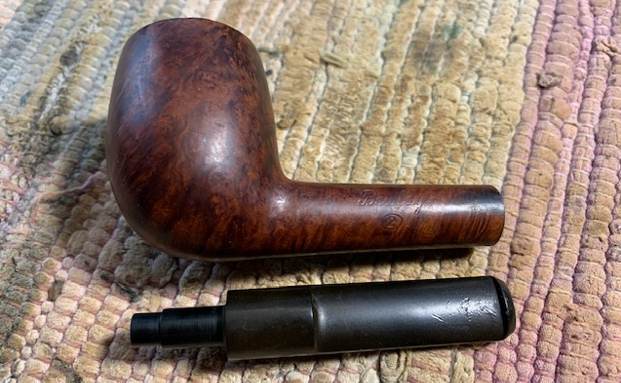
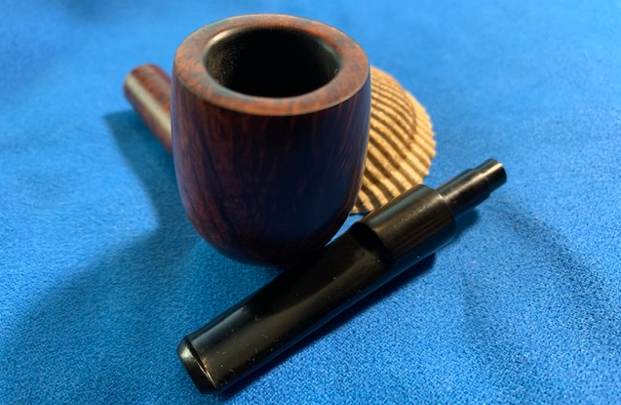
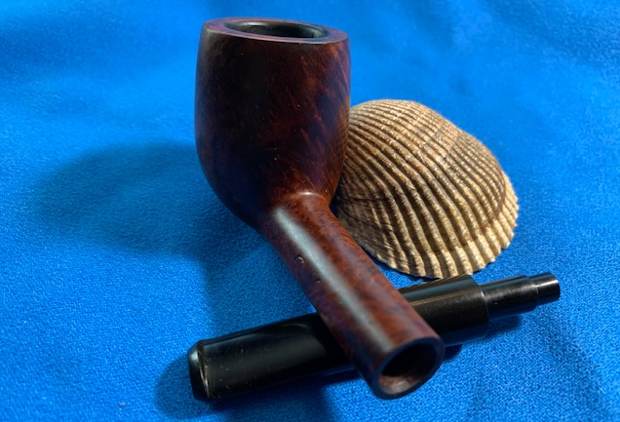
With that it was time to work on the pipe. I went through my cans of stems and found three possibilities. Two of them were short saddle stems and one was a longer taper stem. I tried all three of them and my daughters and I decided to use the tapered longer one. It is similar in shape to several of the ones I saw in the photos of the Pearl on Google.
I then turned to Pipedia for some history of the brand and also to see if there as information on the Pearl model (https://pipedia.org/wiki/Bari). I have included the history below. There was also a photo that was done by Smoking Pipes.com and had a copy right so I did not include it. It did help me determine the kind of stem to use on the pipe.
Bari Piber was founded by Viggo Nielsen in Kolding around the turn of 1950/51. Viggo’s sons Kai Nielsen and Jørgen Nielsen both grew into their father’s business from a very young age and worked there till 1975.
Bari had very successfully adapted the new Danish Design that had been started mainly by Stanwell for it’s own models. When Viggo Nielsen sold Bari in 1978 to Joh. Wilh. von Eicken GmbH in Hamburg Bari counted 33 employees.
From 1978 to 1993 Åge Bogelund and Helmer Thomsen headed Bari’s pipe production. Thomson bought the company in 1993 re-naming it to Bari Piber Helmer Thomsen. The workshop moved to more convenient buildings in Vejen. Bogelund, who created very respectable freehands of his own during the time at Bari got lost somehow after 1993.
Bari’s basic conception fundamentally stayed the same for decades: series pipes pre-worked by machines and carefully finished by hand. Thus no spectacular highgrades but solid, reliable every day’s companions.
The most famous series are the smooth “Classic Diamond” and the blasted “Wiking”.
I did a quick Google search for the Bari Pearl pipe and found that Smokingpipes.com had quite a few different shapes of the model. It was interesting that all of them had a single knuckle like the one that I was working on and that the bamboo had been shaped and tapered on the front toward the bowl and toward the shank end. All of them had a vulcanite space on both ends of the bamboo. They were pretty pipes.
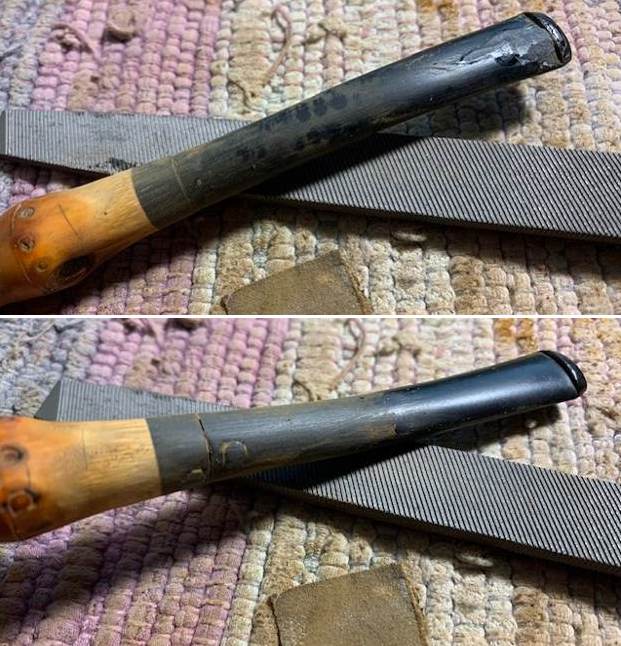
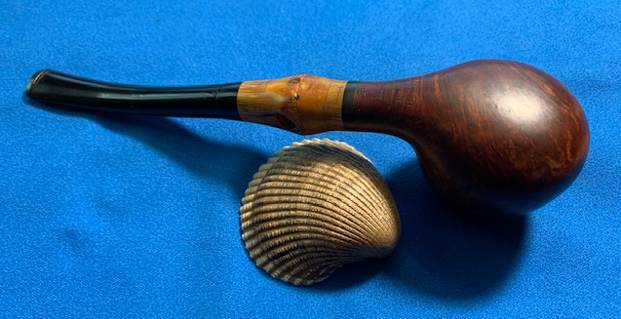
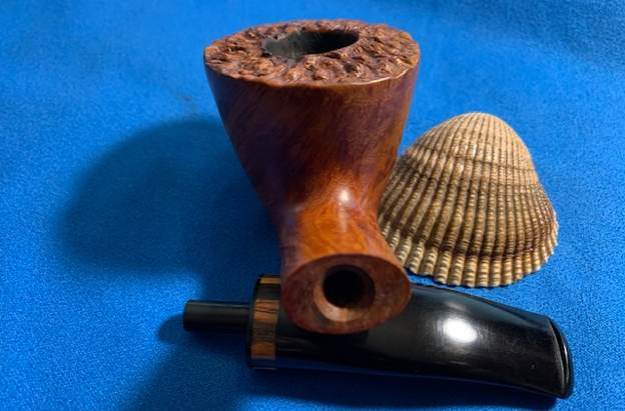
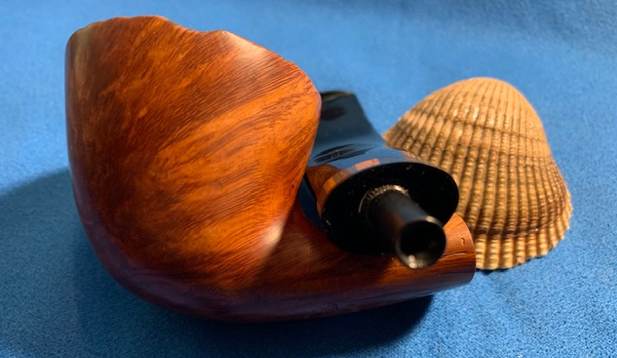
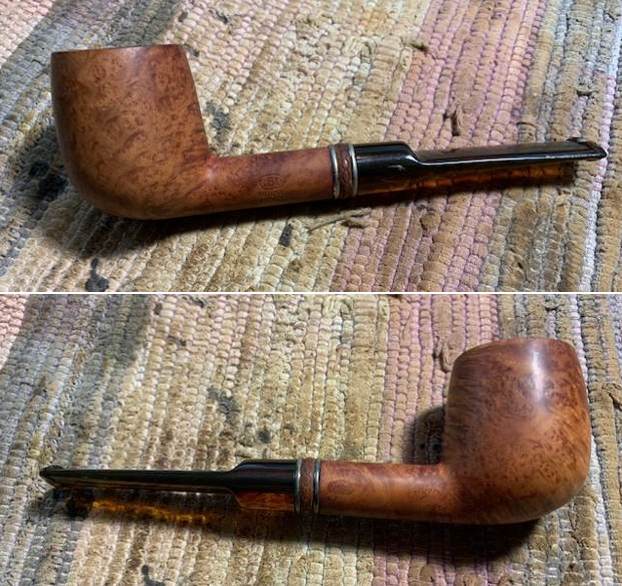
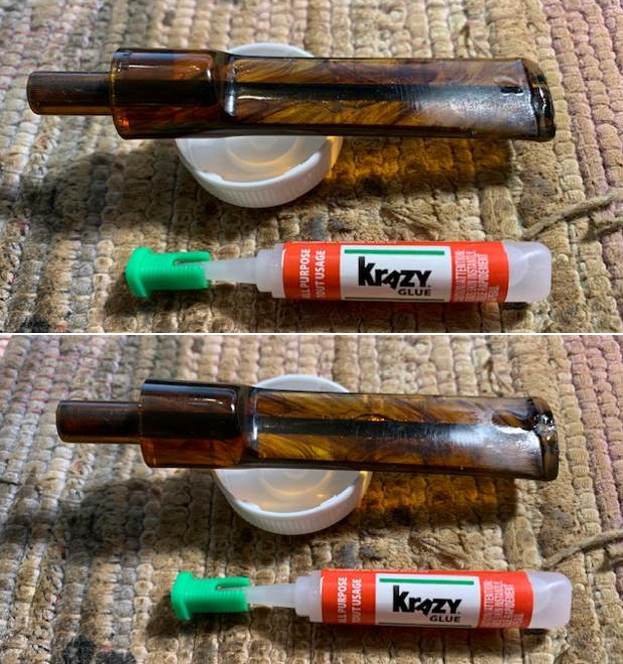
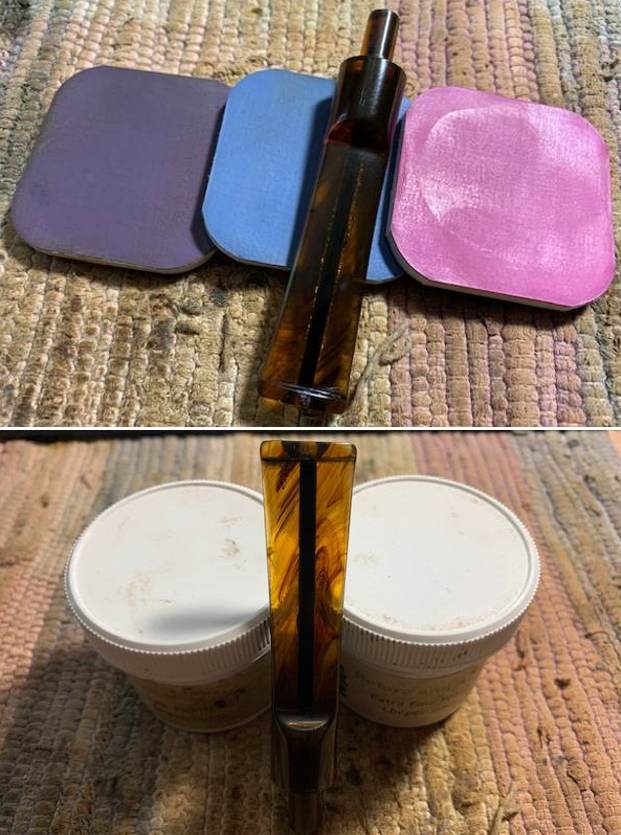
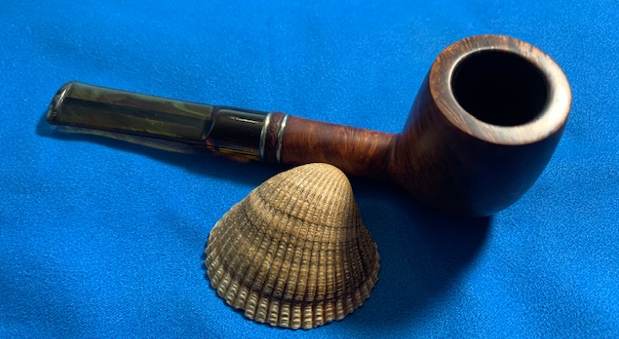
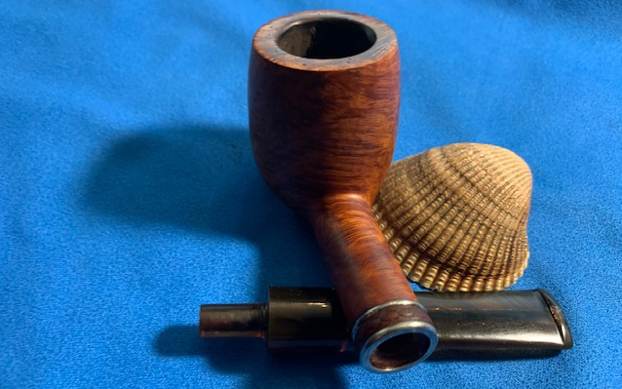
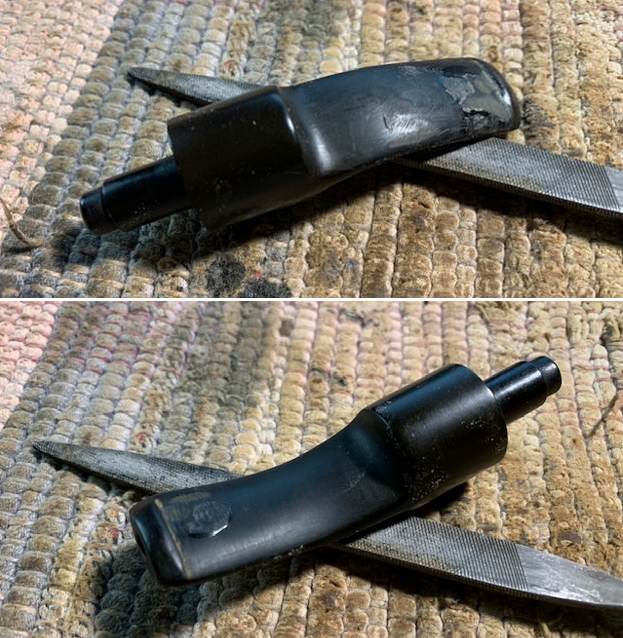
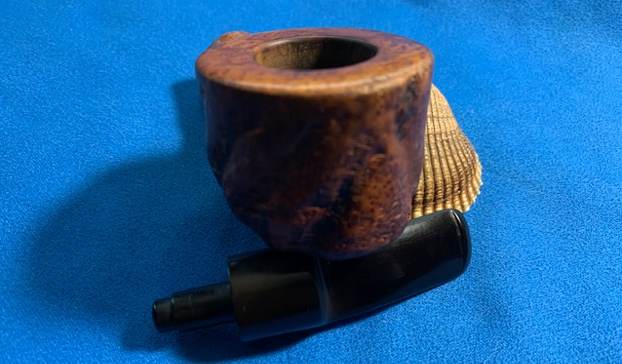
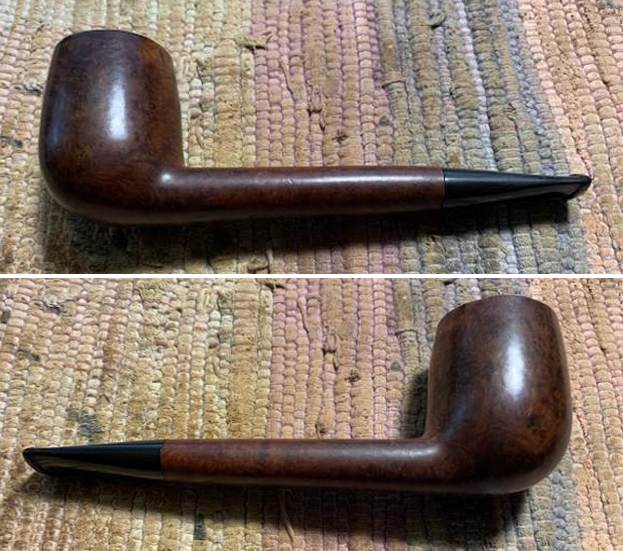
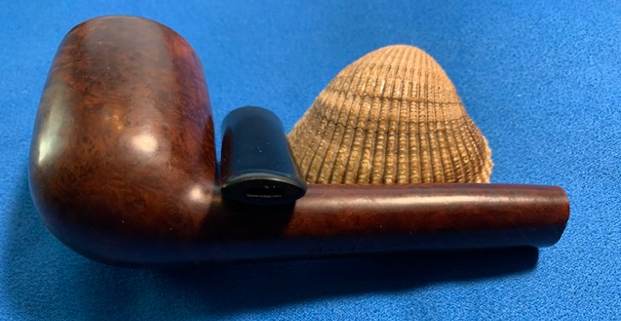
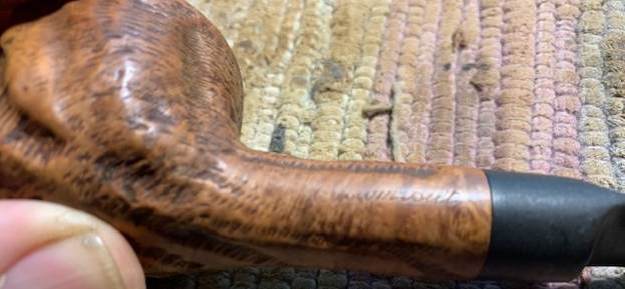
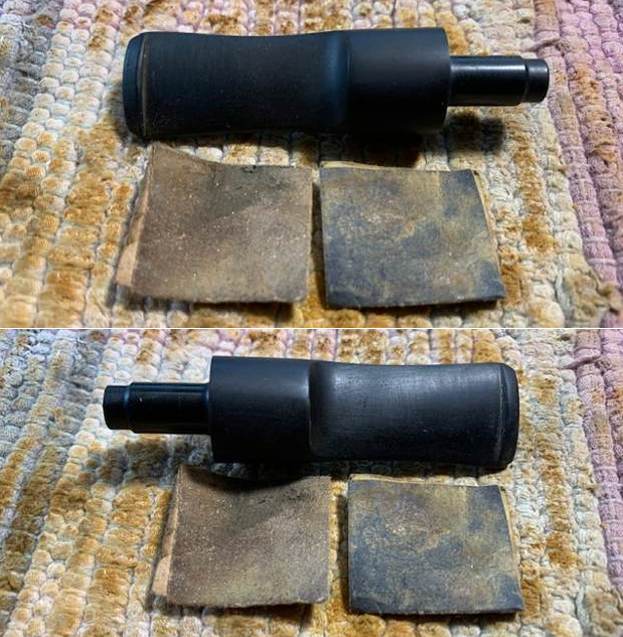
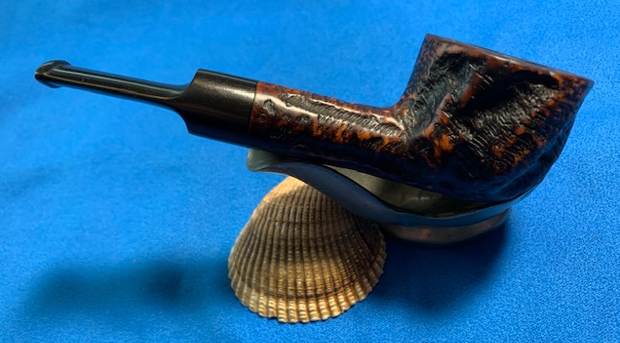
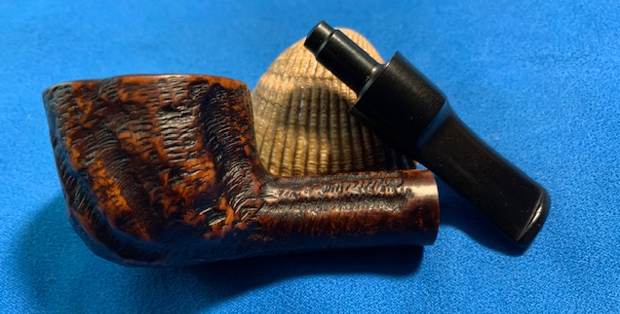
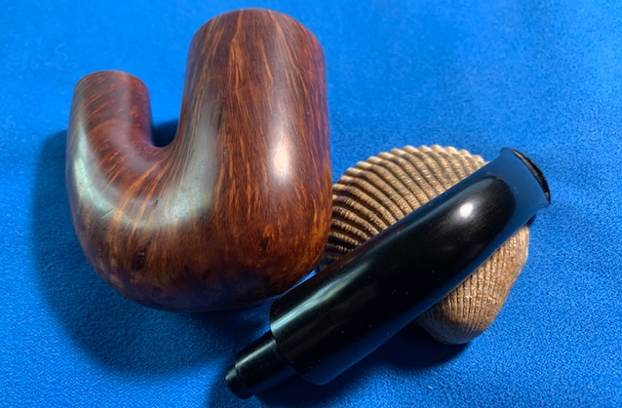
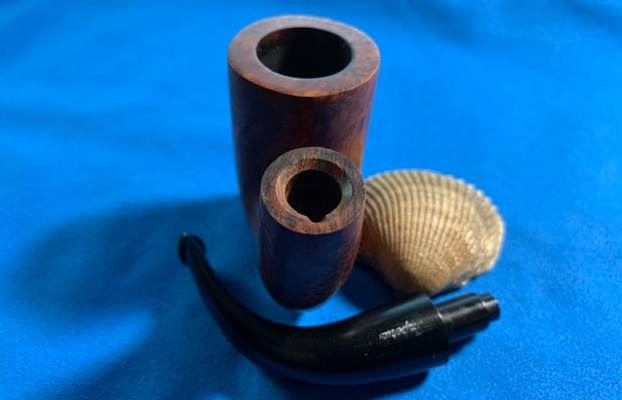
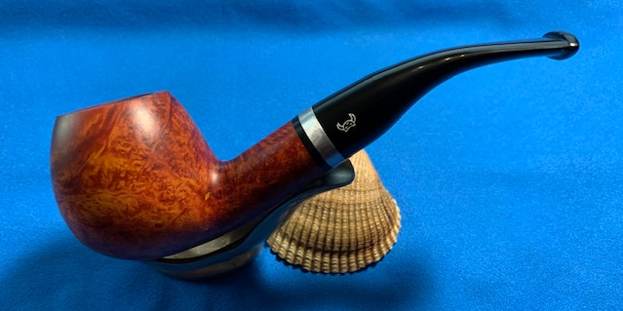
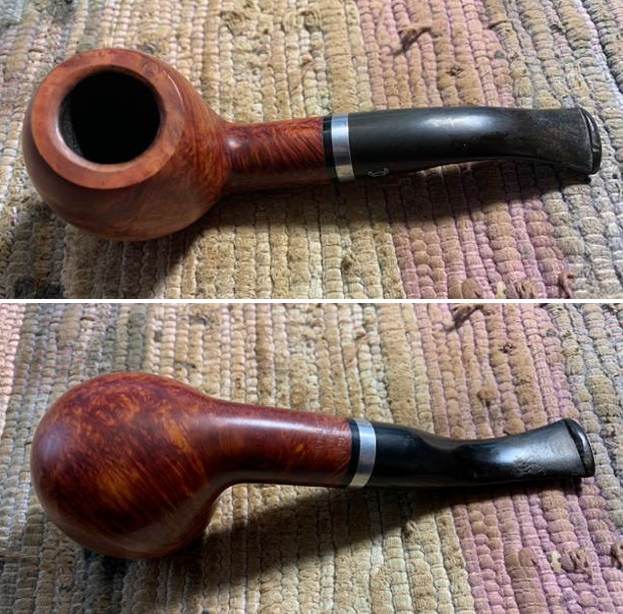
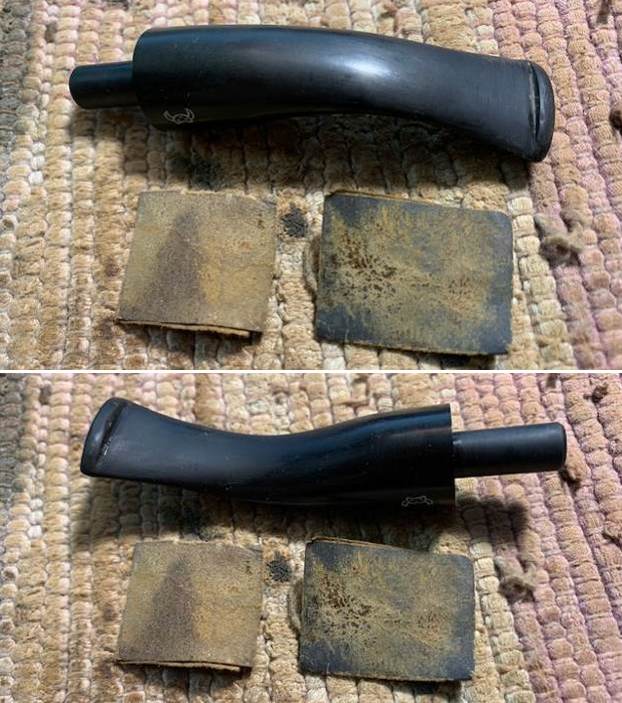
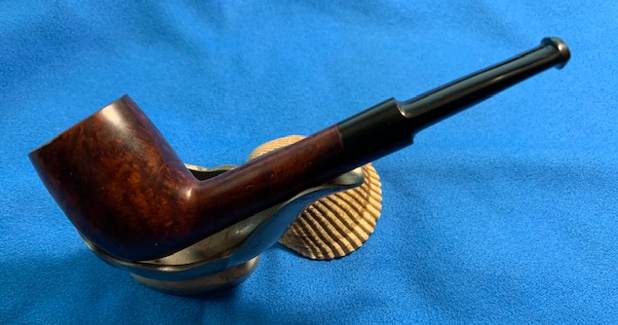
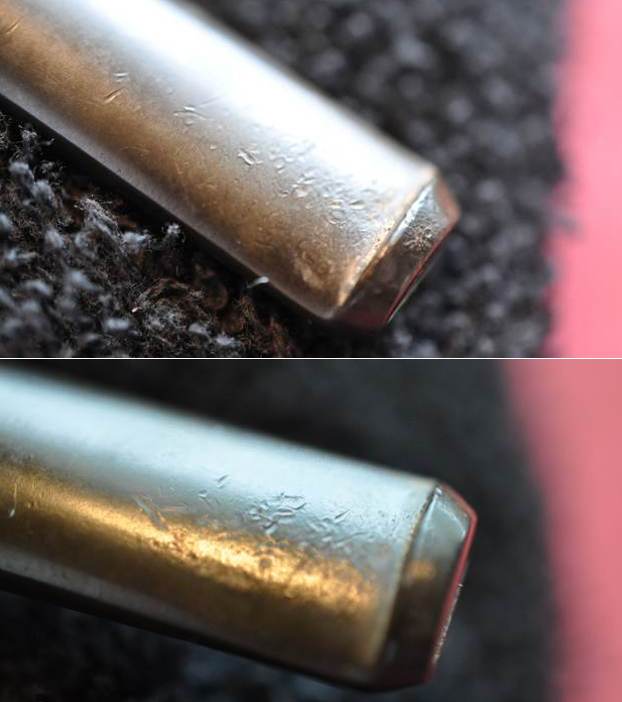
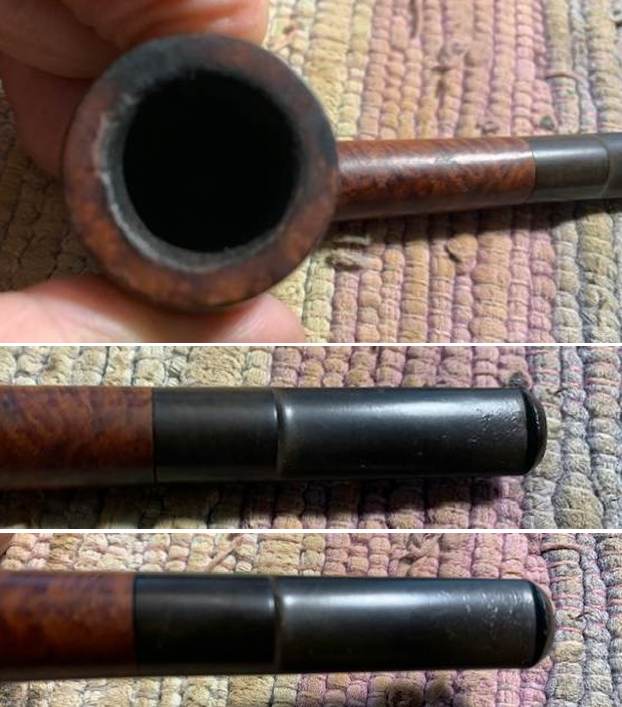
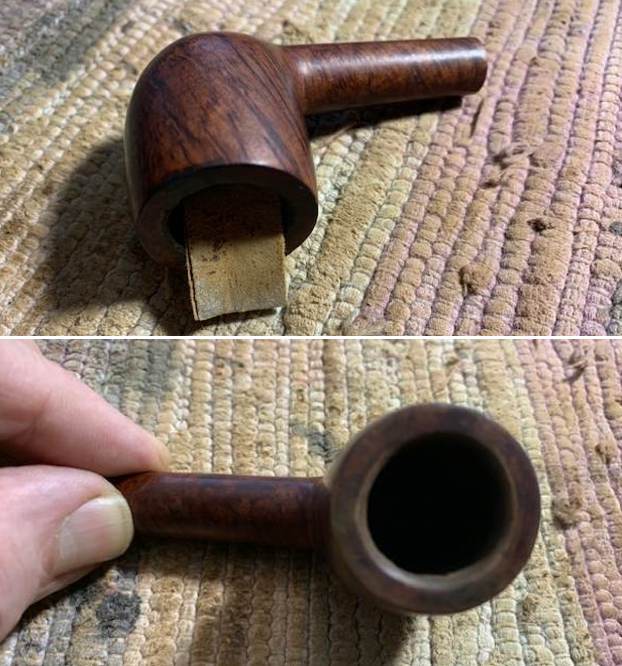
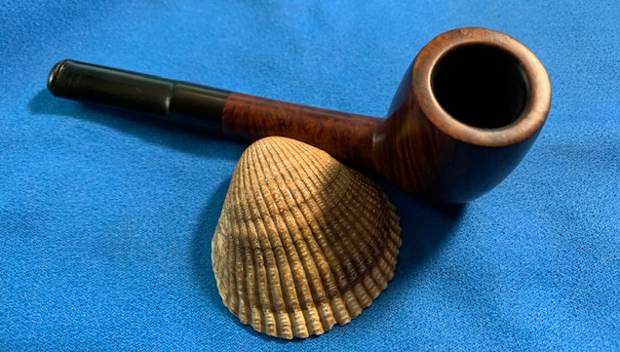
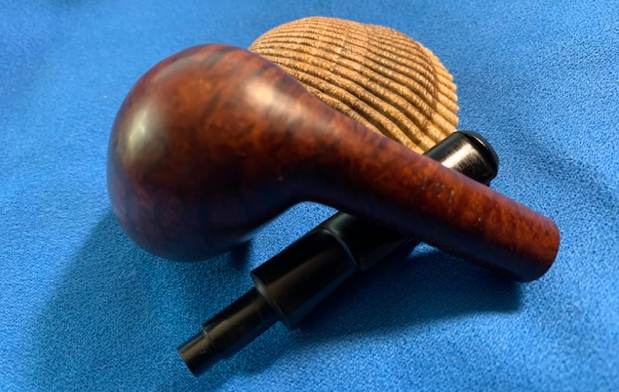
With that it was time to work on the pipe. I went through my cans of stems and found three possibilities. Two of them were short saddle stems and one was a longer taper stem. I tried all three of them and my daughters and I decided to use the tapered longer one. It is similar in shape to several of the ones I saw in the photos of the Pearl on Google. 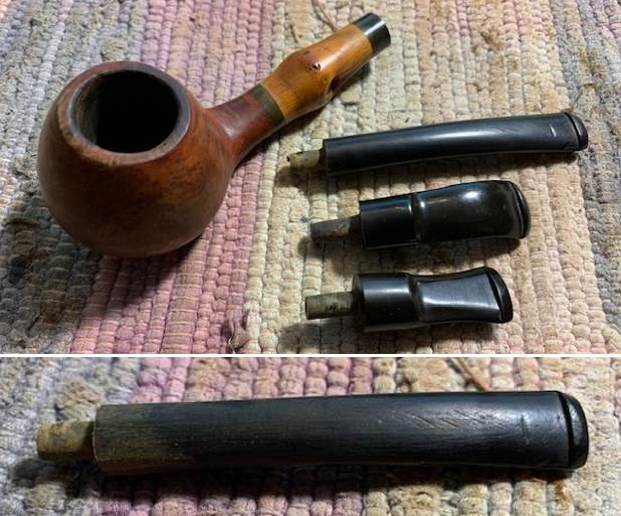 I lightly sanded the shank end of the stem and the tenon and fit it in the shank of the pipe. I took photos of it to give a sense of the look. The fit against the shank is very good. I reshaped the shank end to make the transition between the shank space and the stem smooth with my Dremel and a sanding drum. I need to fine tune the fit but the look is very good.
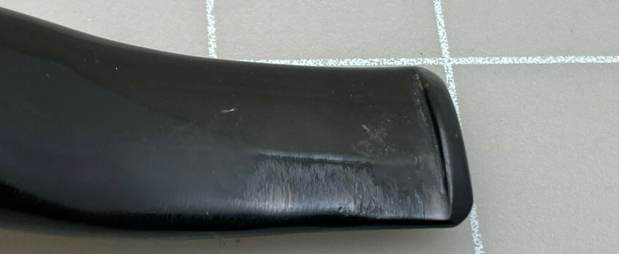
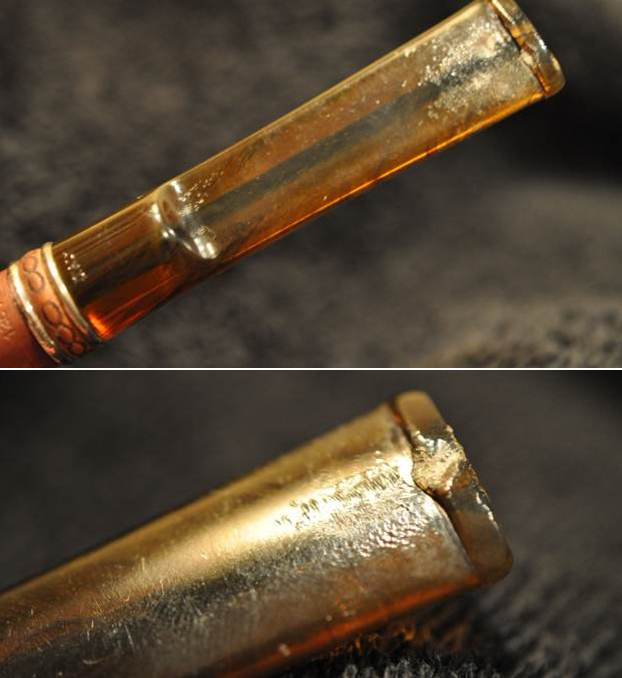
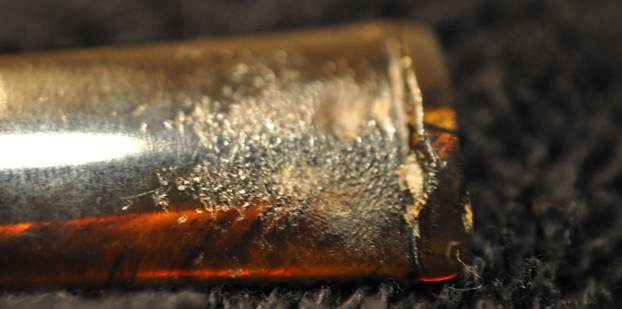
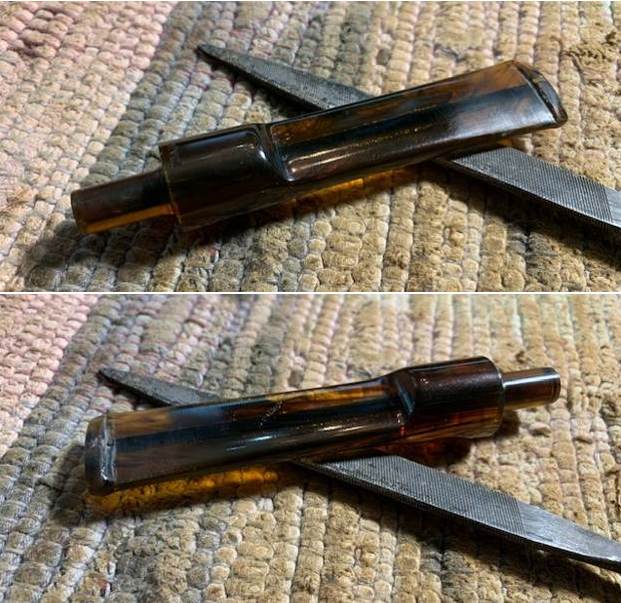
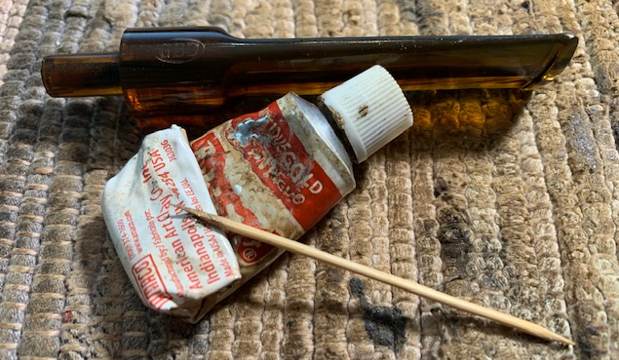
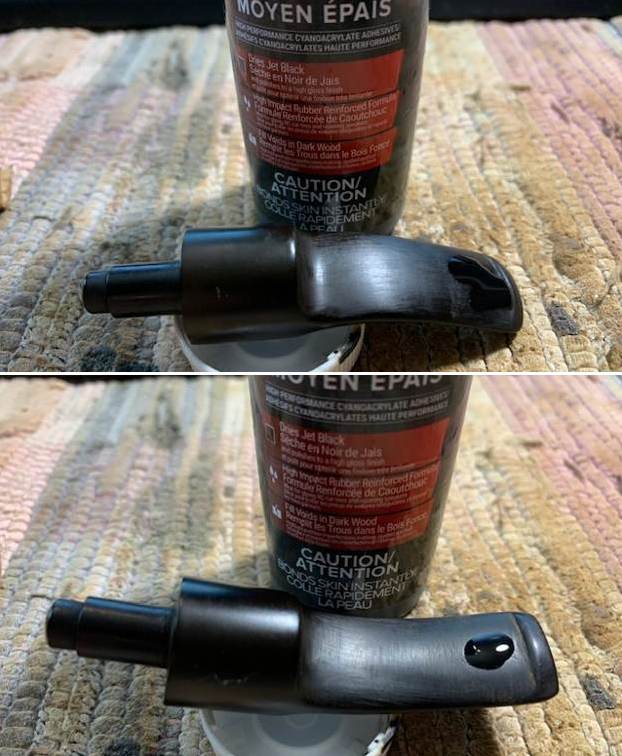
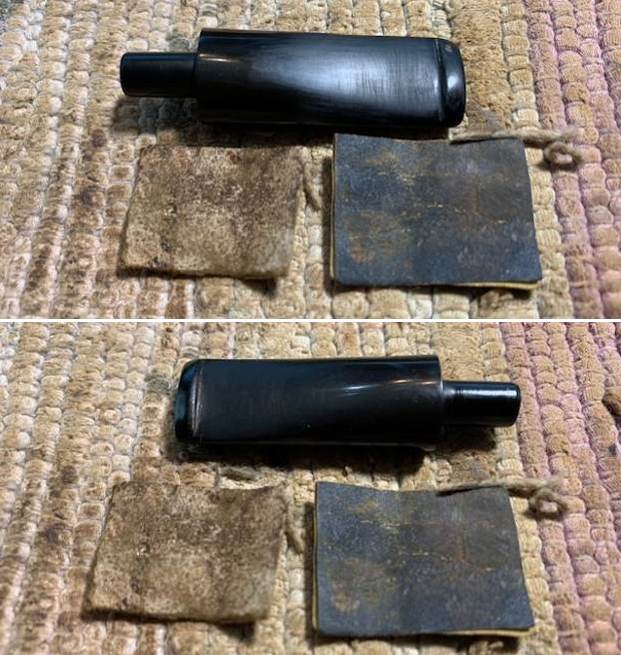
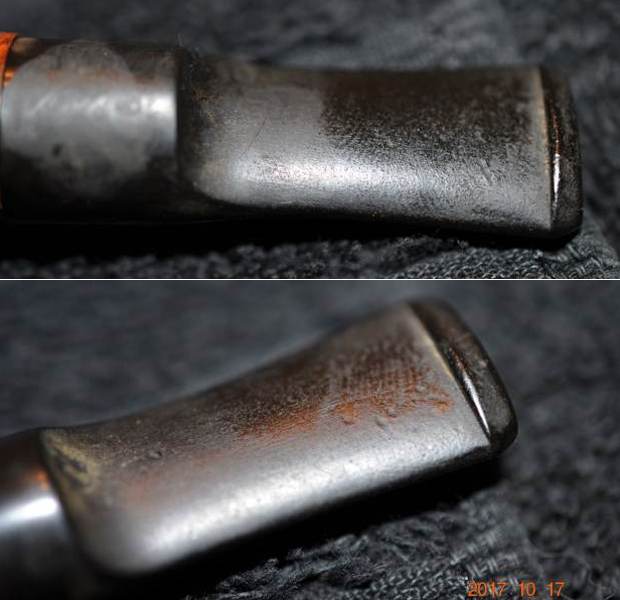
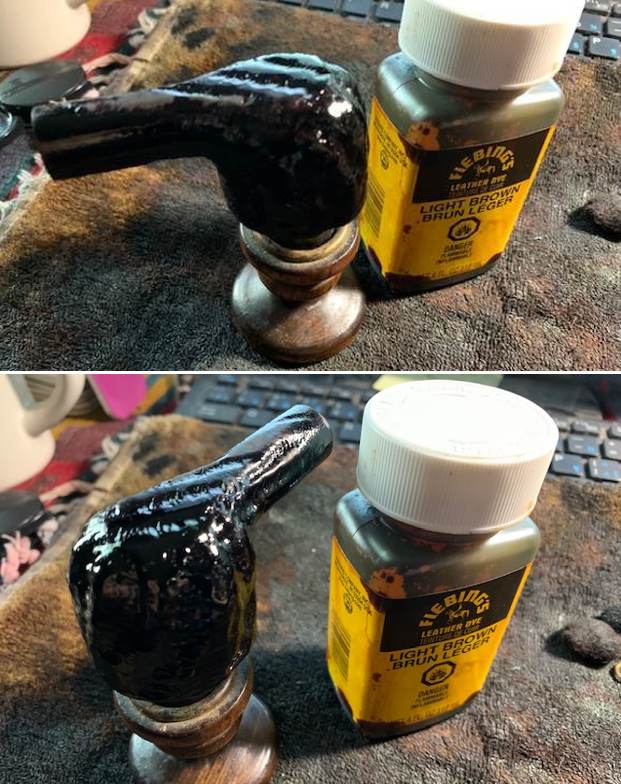
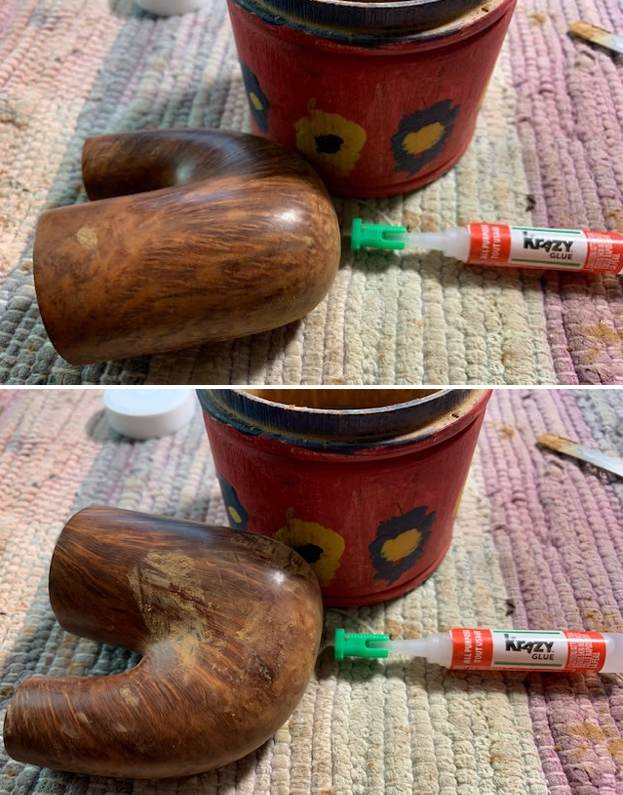
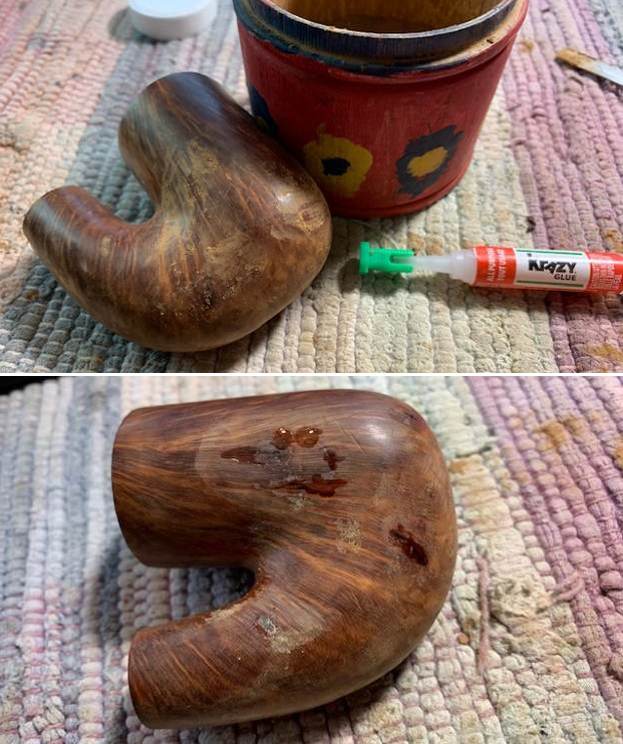
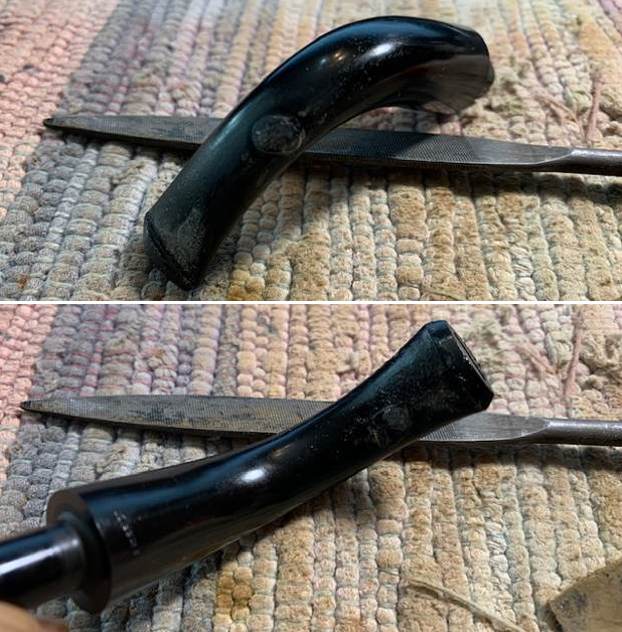
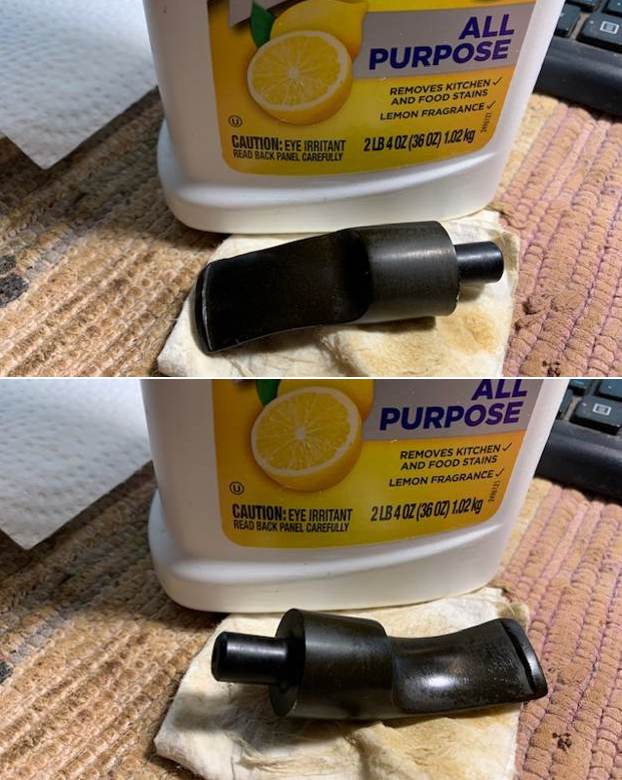
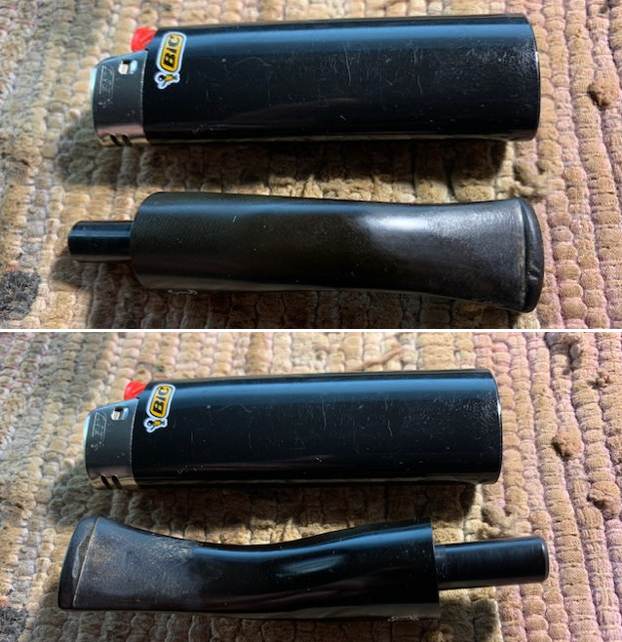
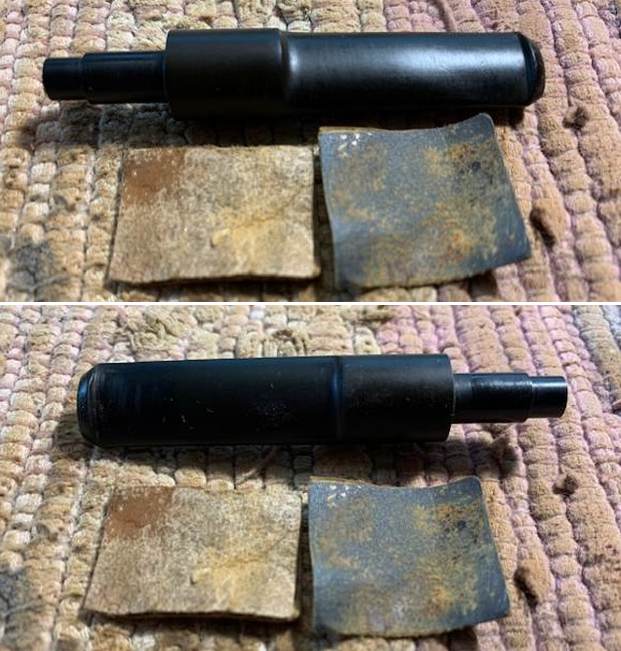
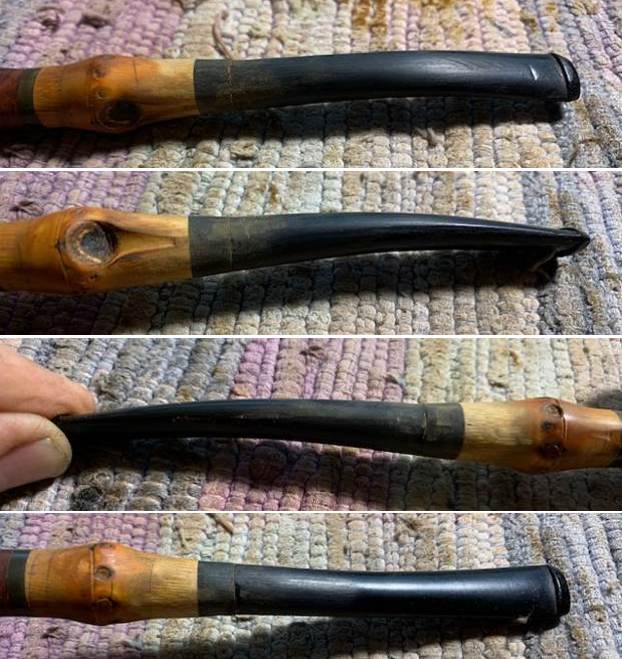 I filled in some pits on the shank end and on the top of the stem surface ahead of the button using black super glue. I also filled in some damaged spots on the shank end of the stem with the glue. I flattened the repaired areas with a flat file to smooth them out and blend them into the surface. I started sanding the surface smooth with 220 grit sandpaper.
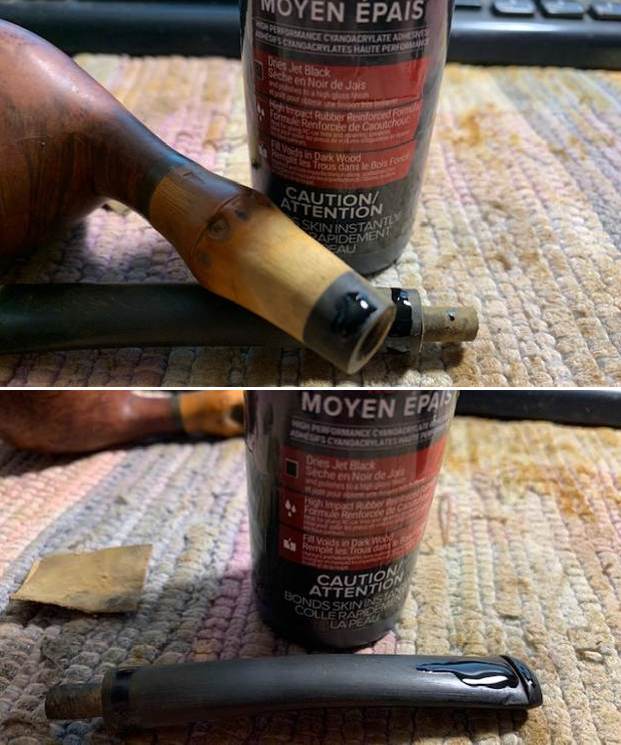
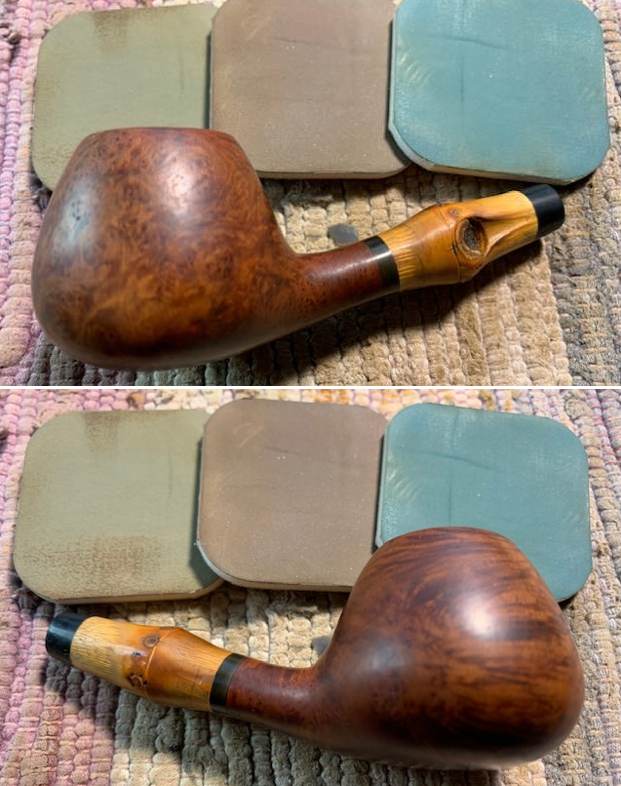
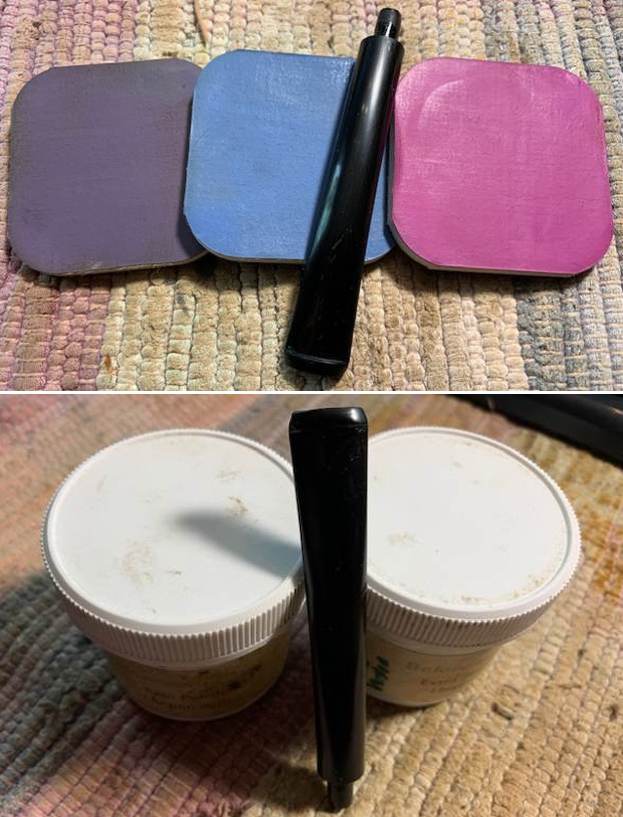
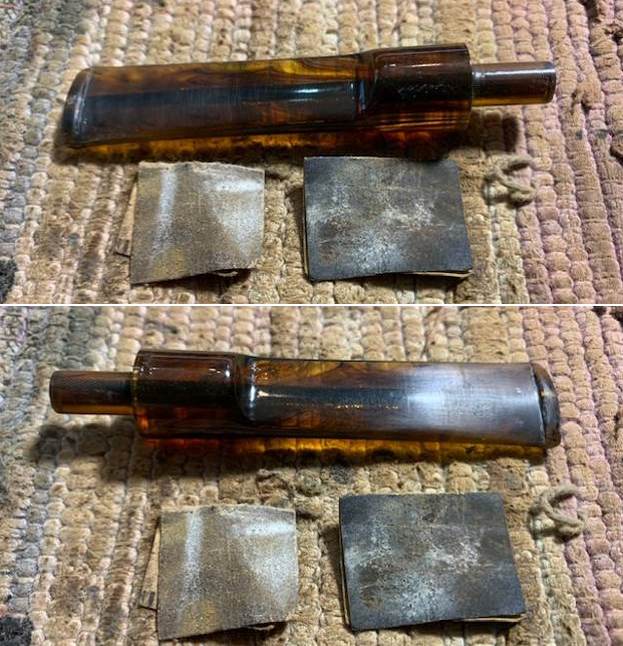
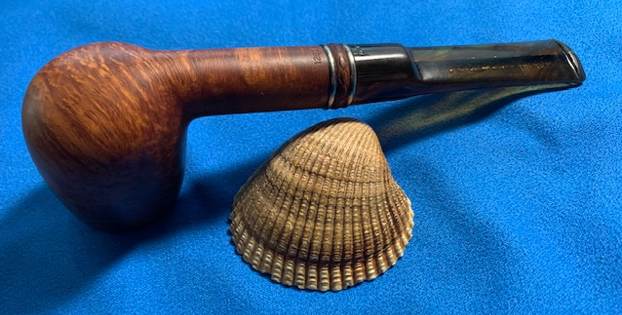
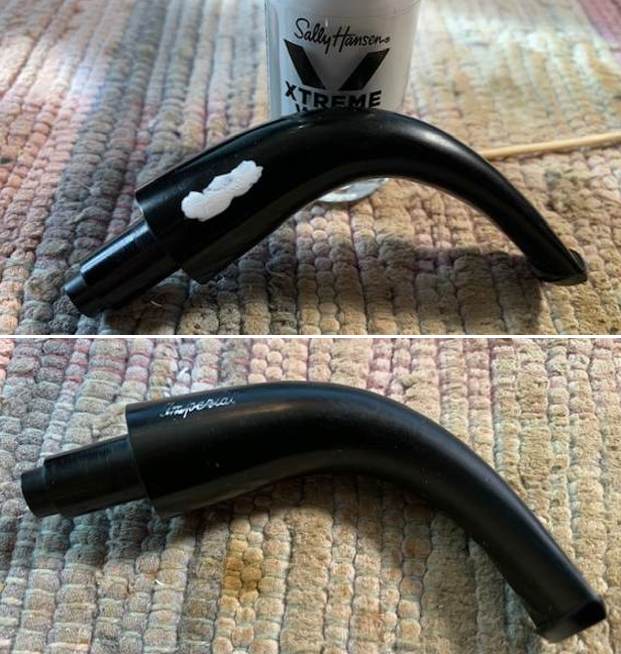
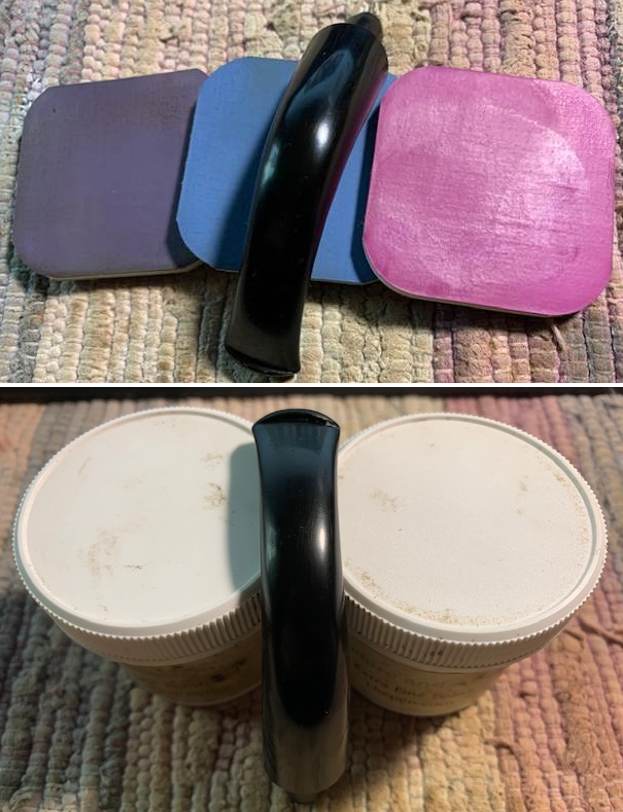
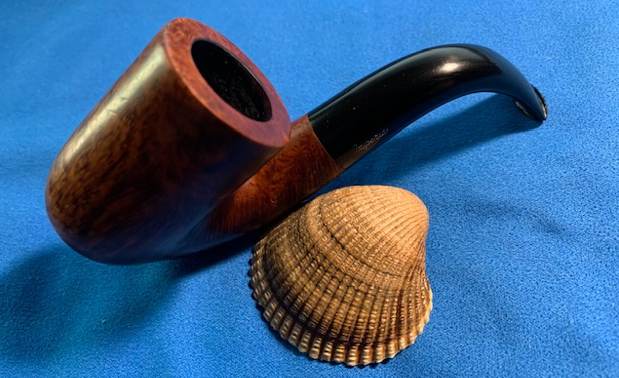
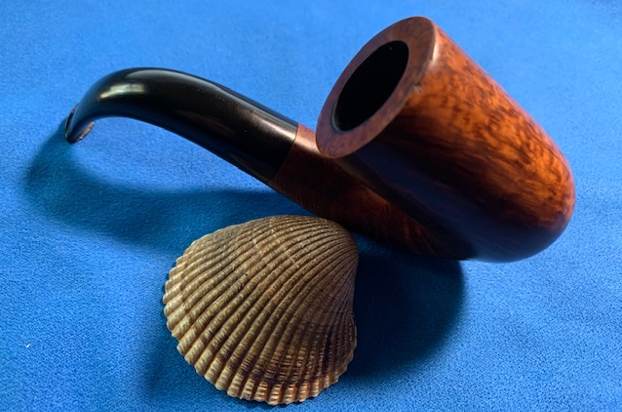
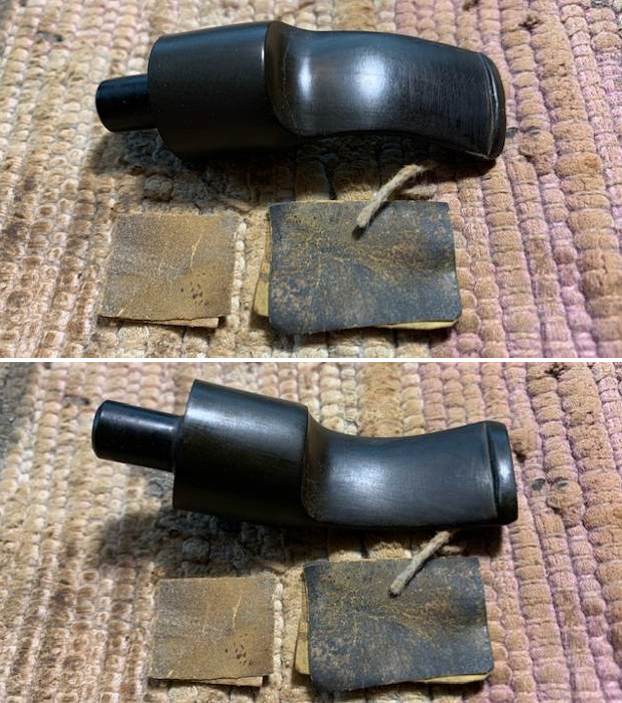
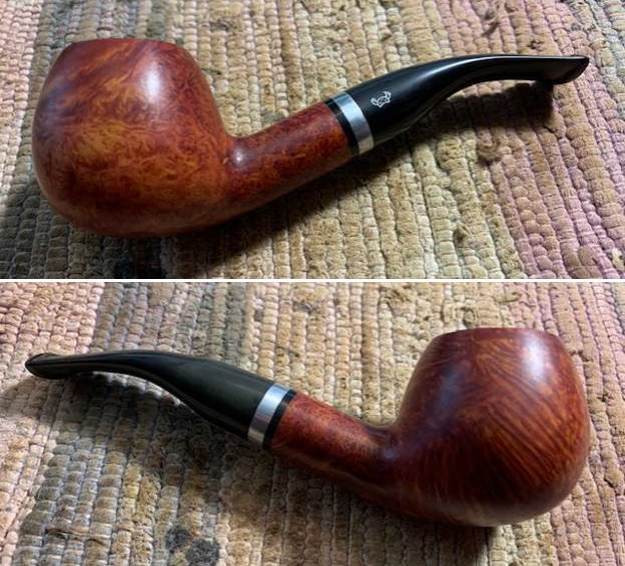
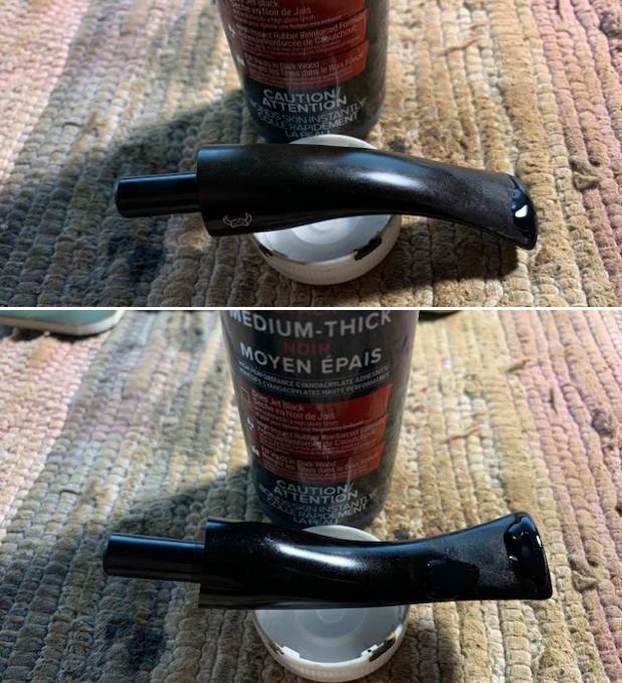
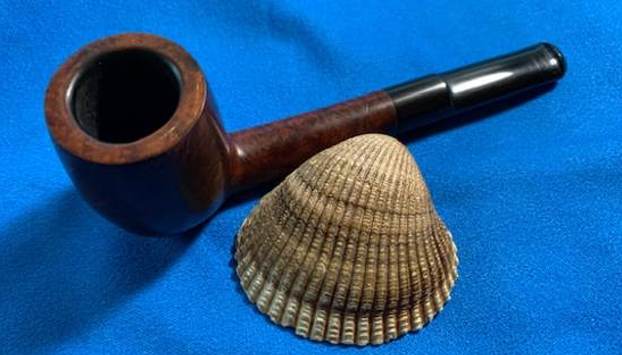
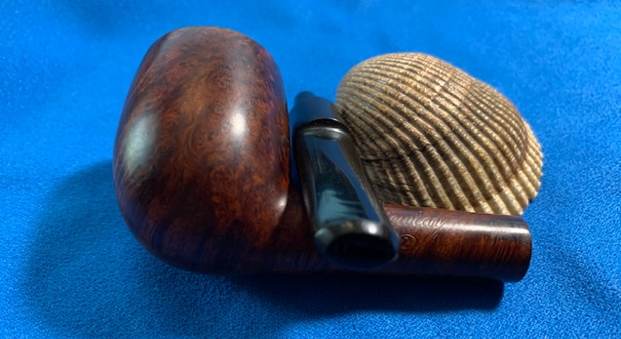
 I heated some water in a coffee mug and dipped the stem into the boiling water to soften it. Once it was pliable I gave it a slight bend to adjust the look of the shank and stem.
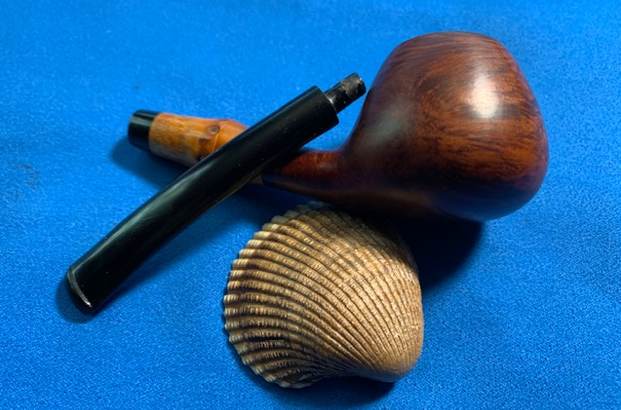
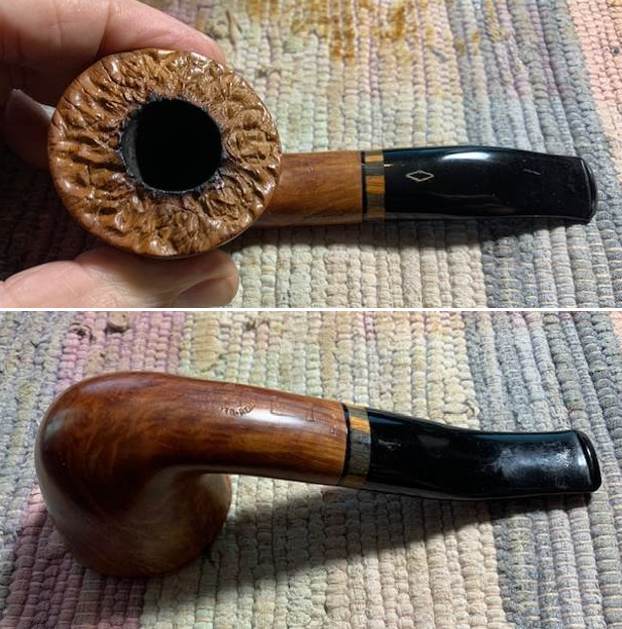
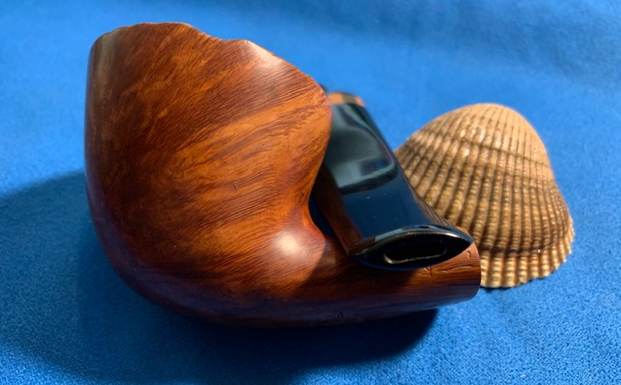
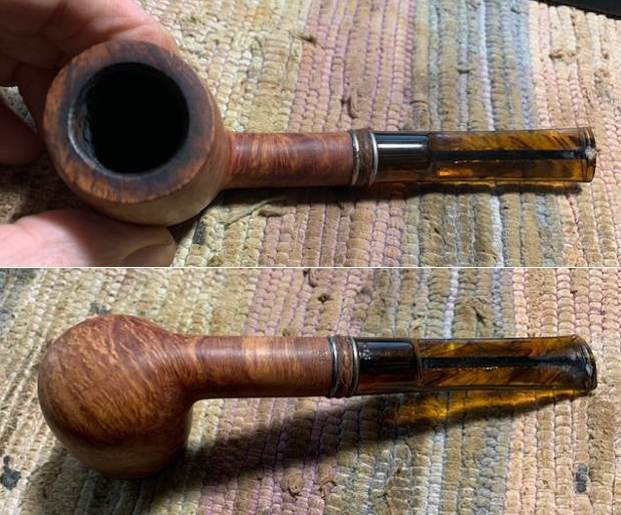
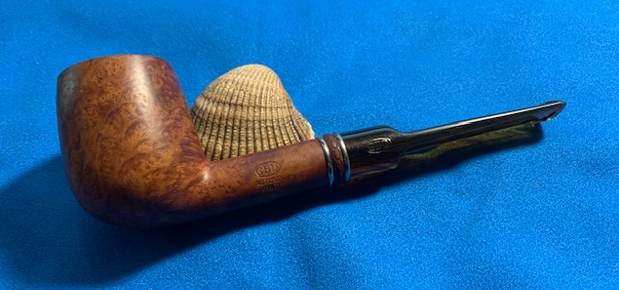
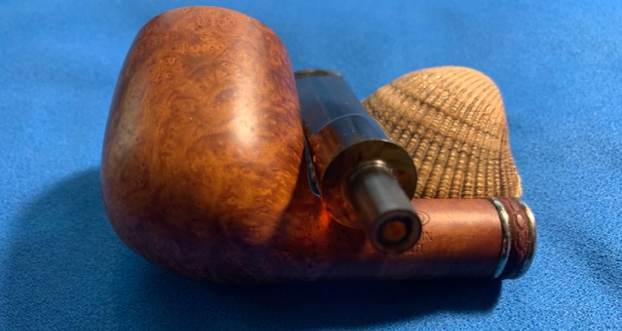
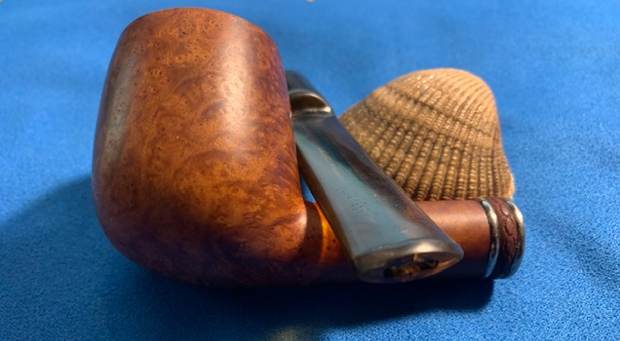
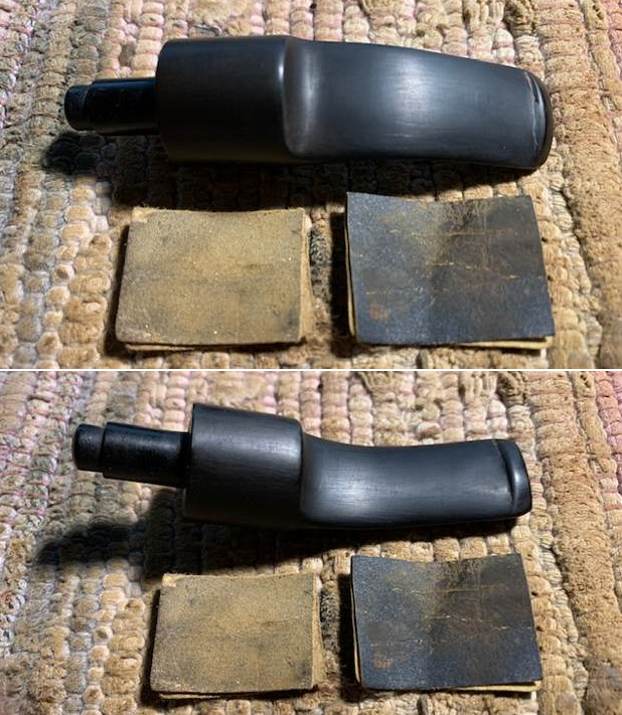
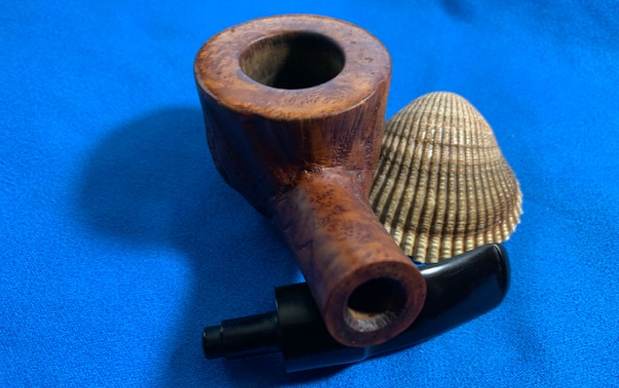
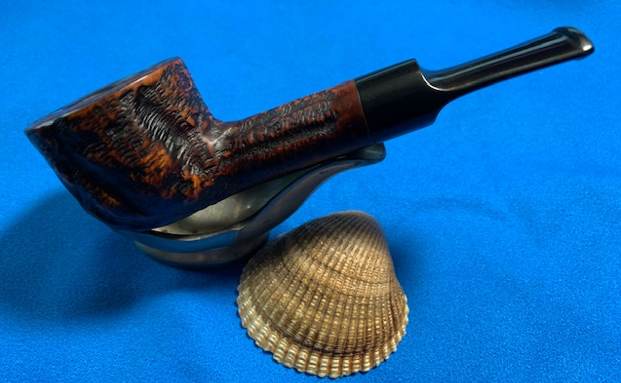
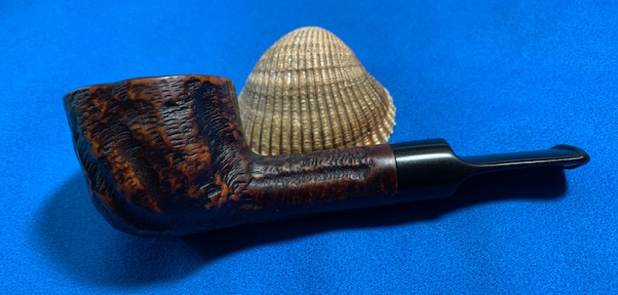
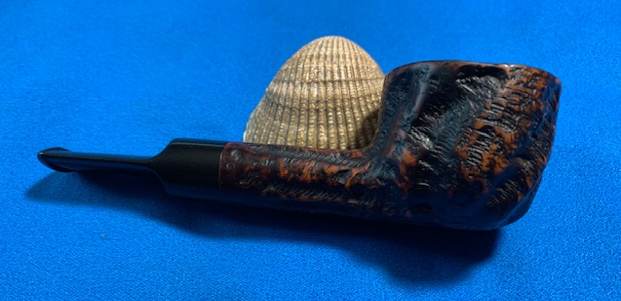
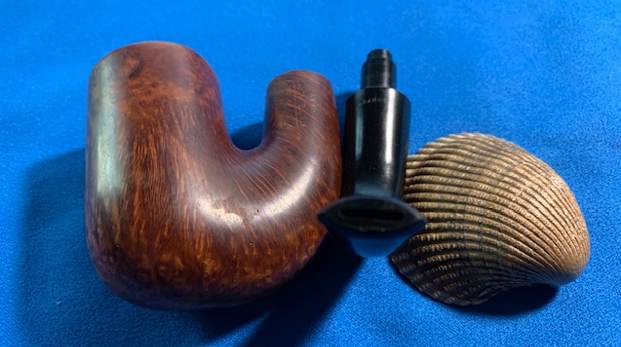
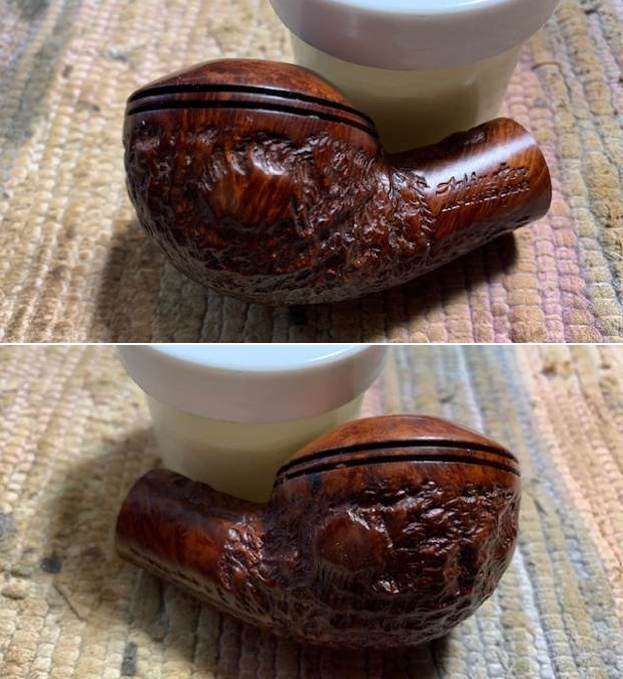
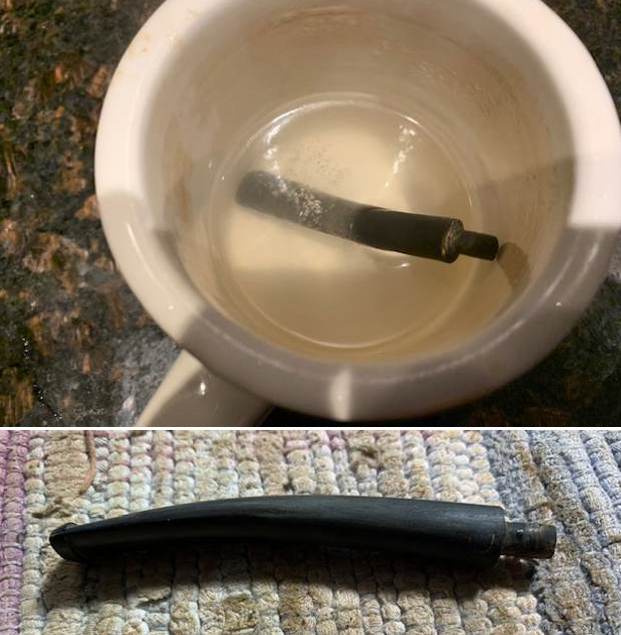 I had some more sanding to do at the stem shank transition and the repaired area on the topside of the stem near the button but the fit and shape of the pipe and stem was starting to look very nice. I took photos of the pipe at this point in the process.
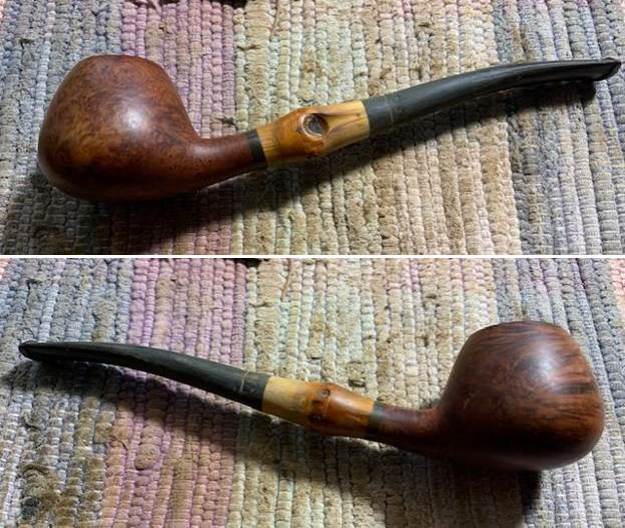
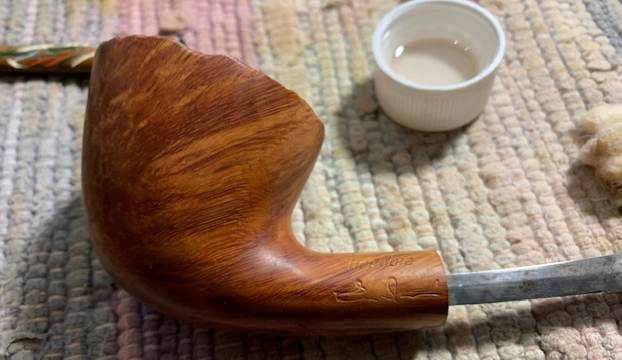
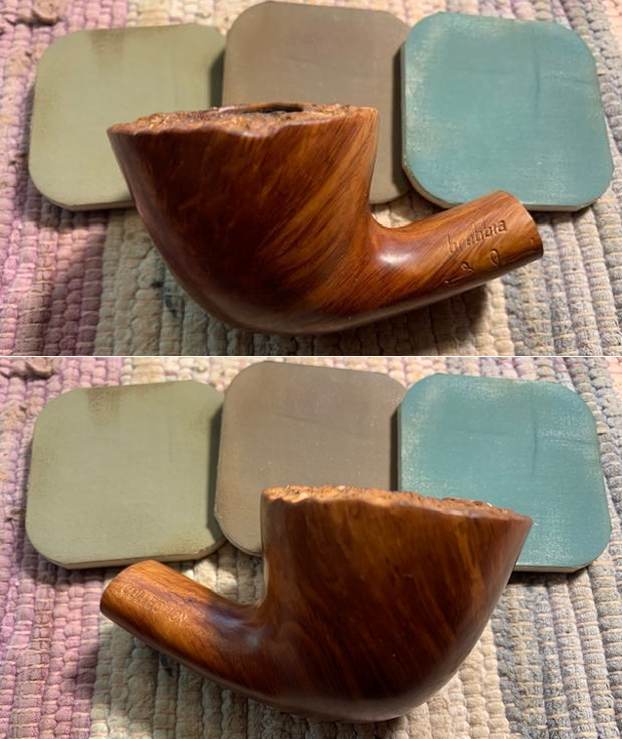
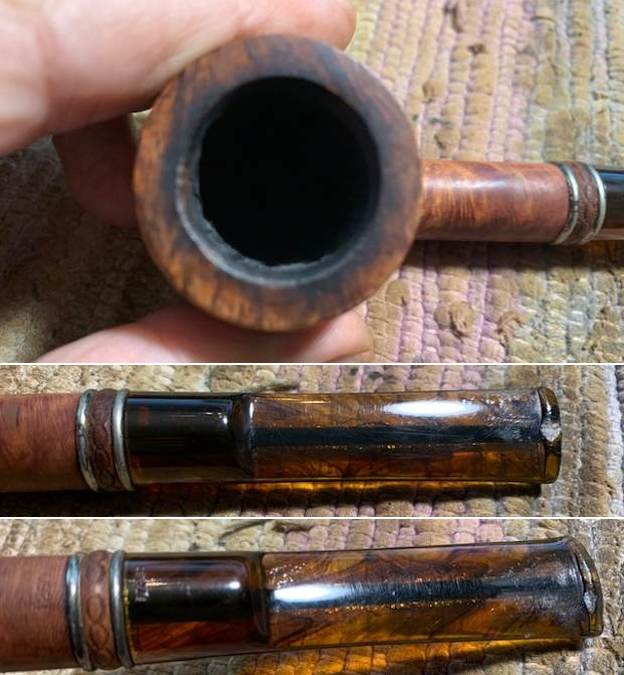
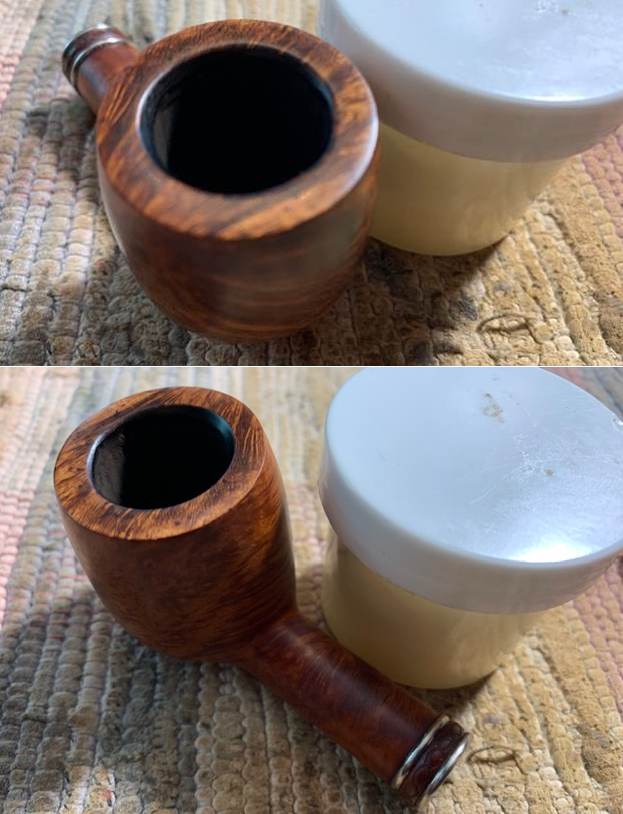
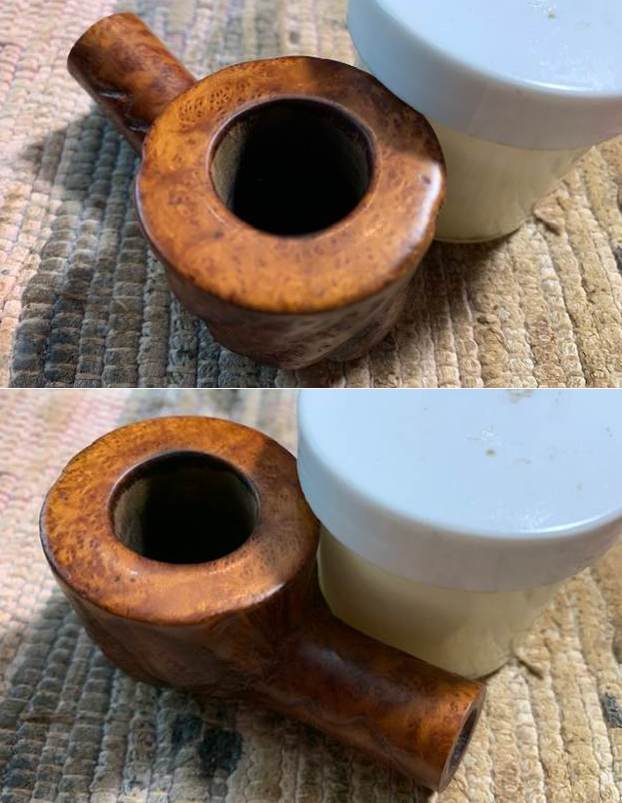
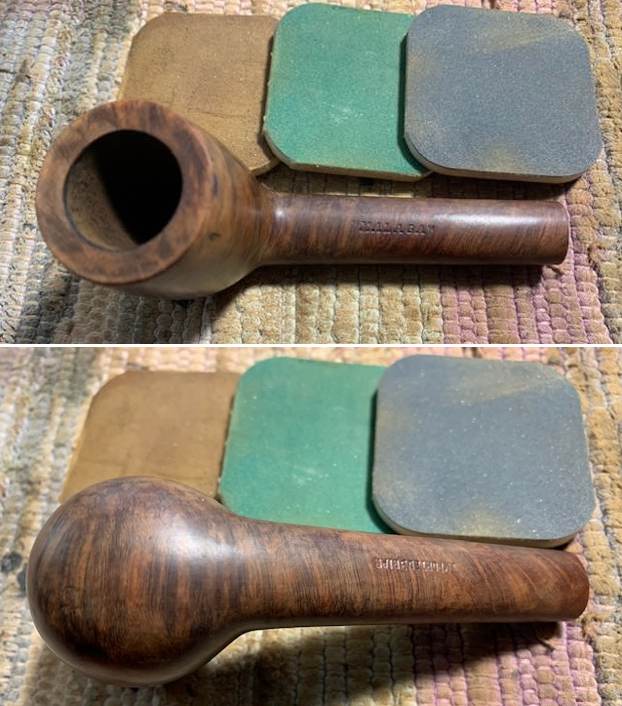
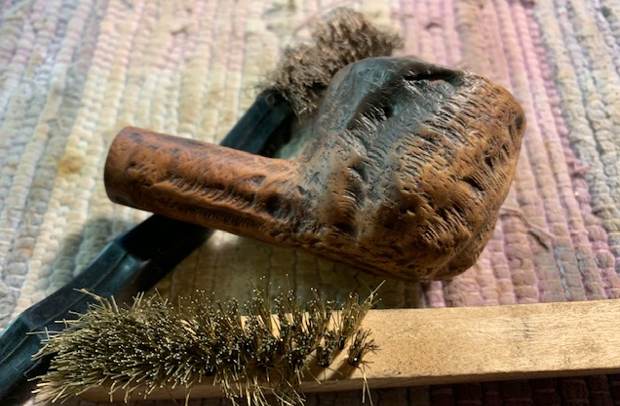
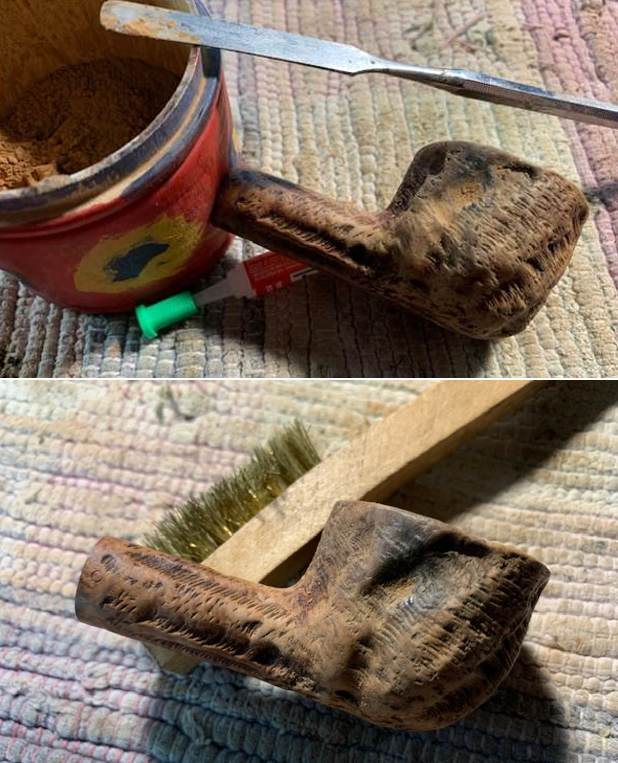
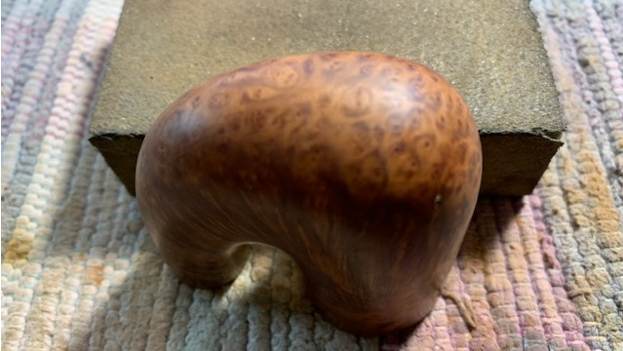
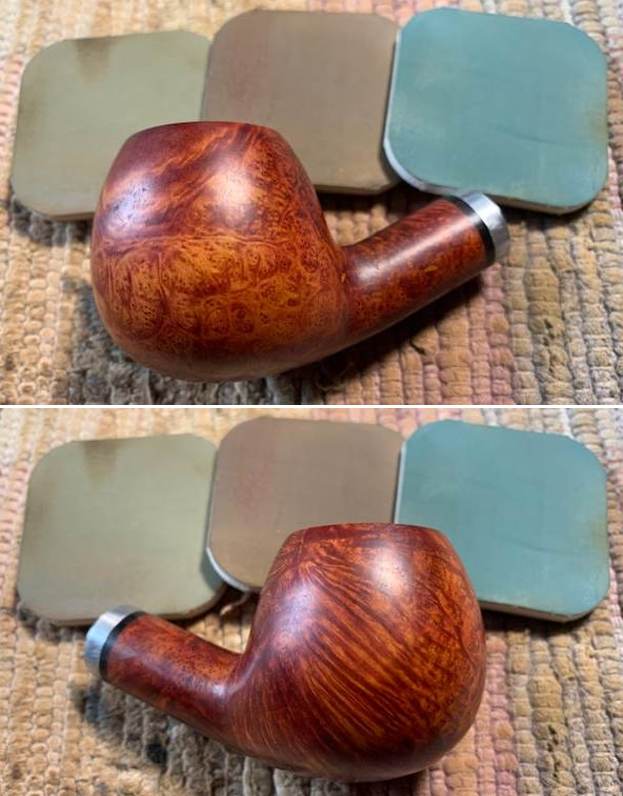
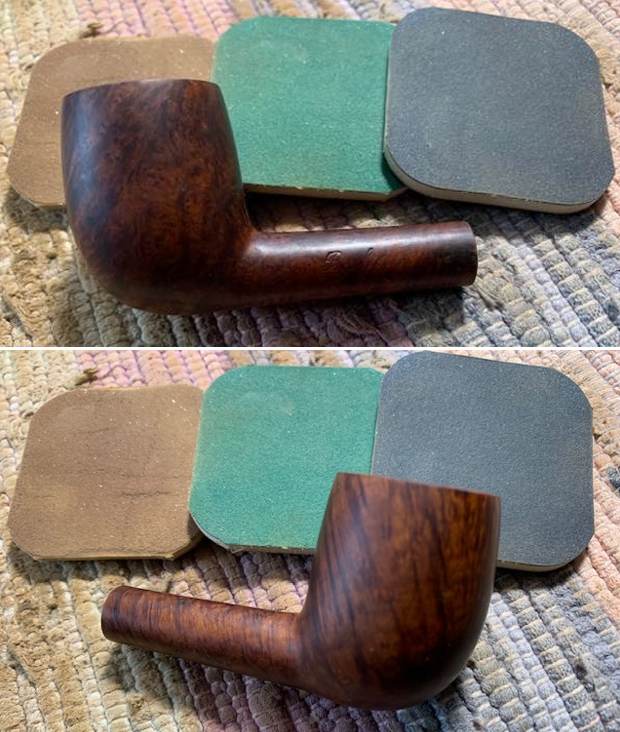
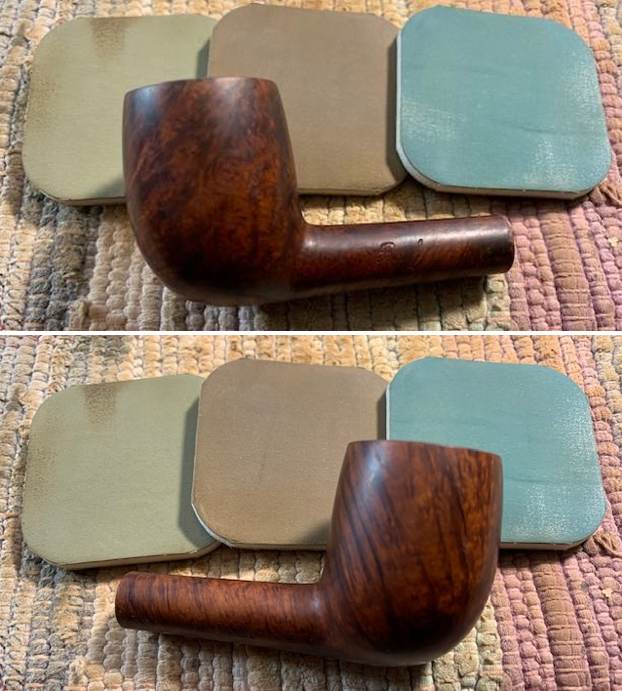
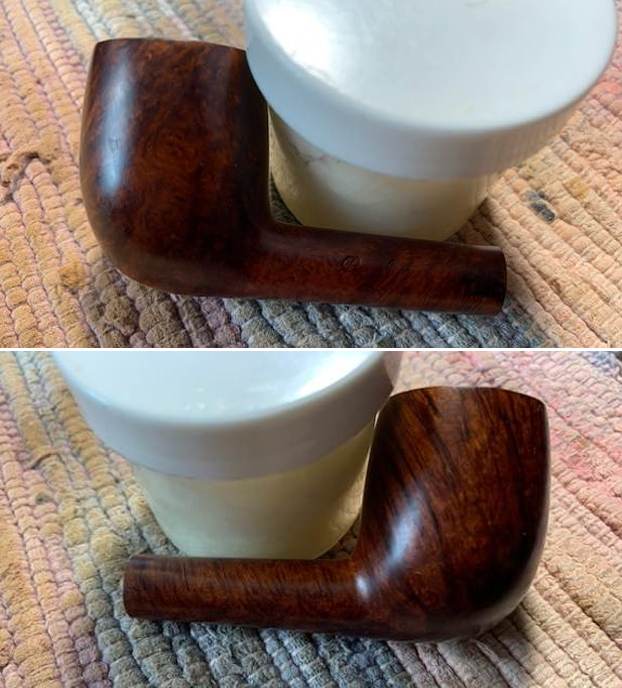
 I set the stem aside for awhile and turned my attention to the bowl. I worked over the rim top and edges of the bowl with 220 grit sandpaper. I smoothed out the nicks on the top and edges and reshaped the inner edge. The rim top and edges looked much better at this point.
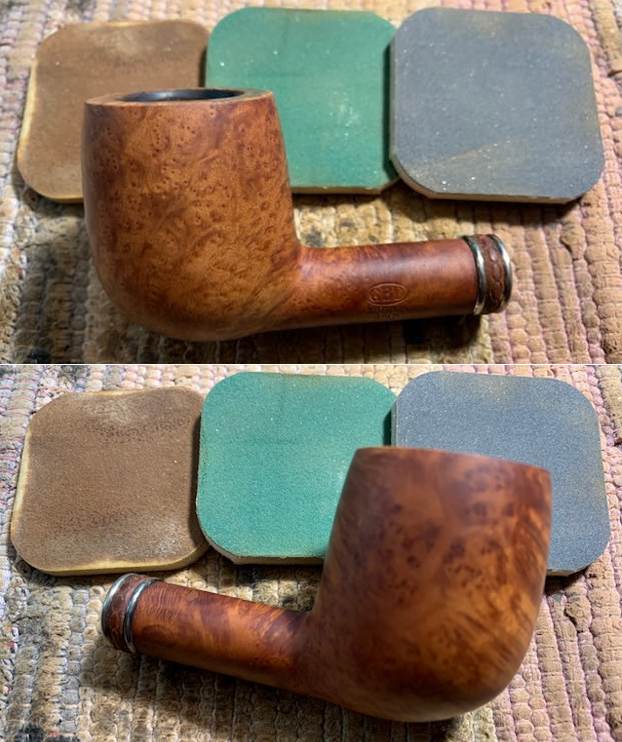
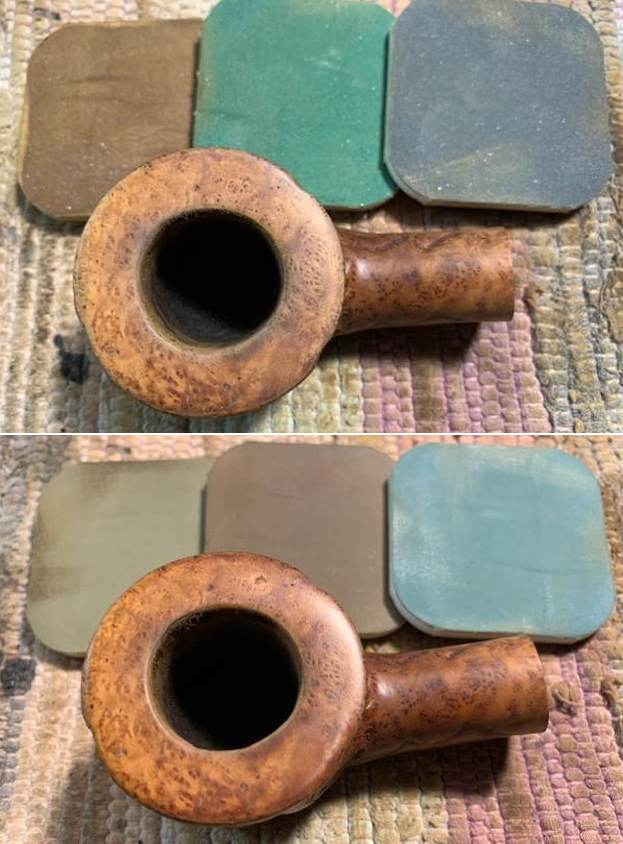
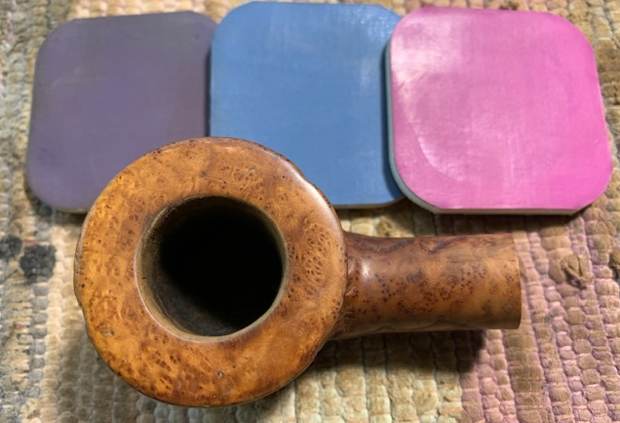
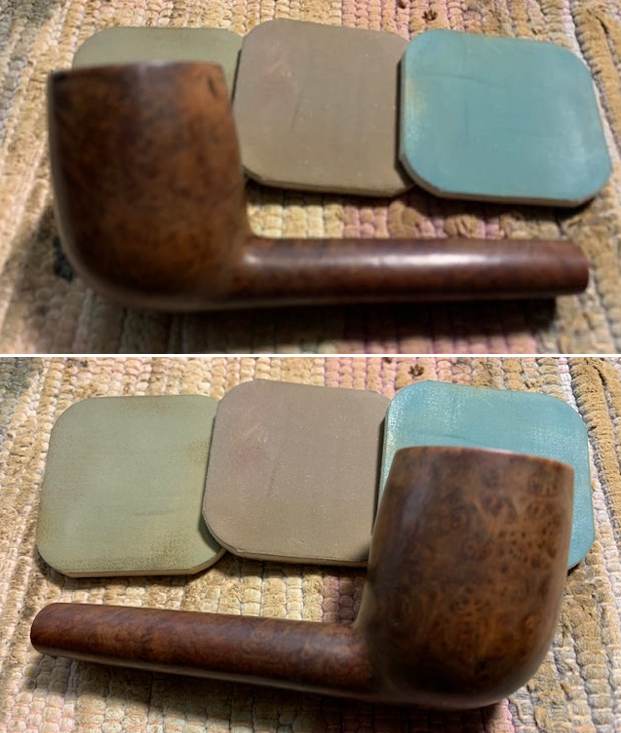
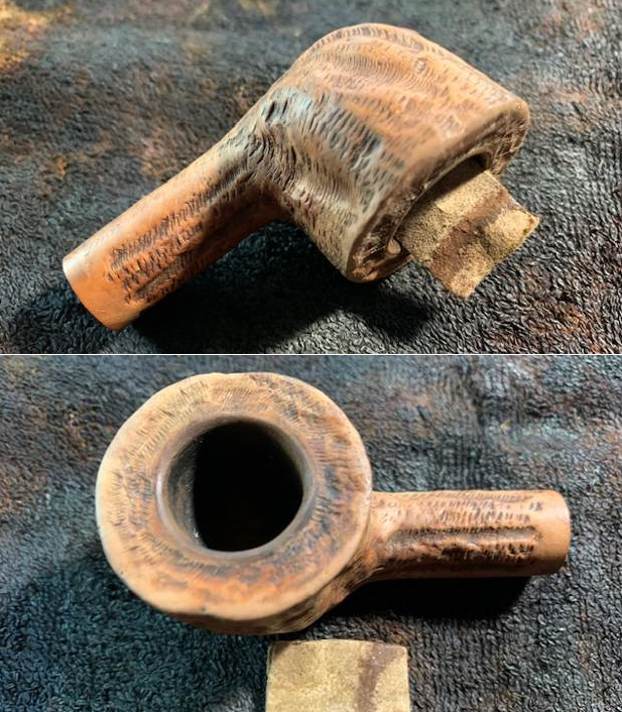
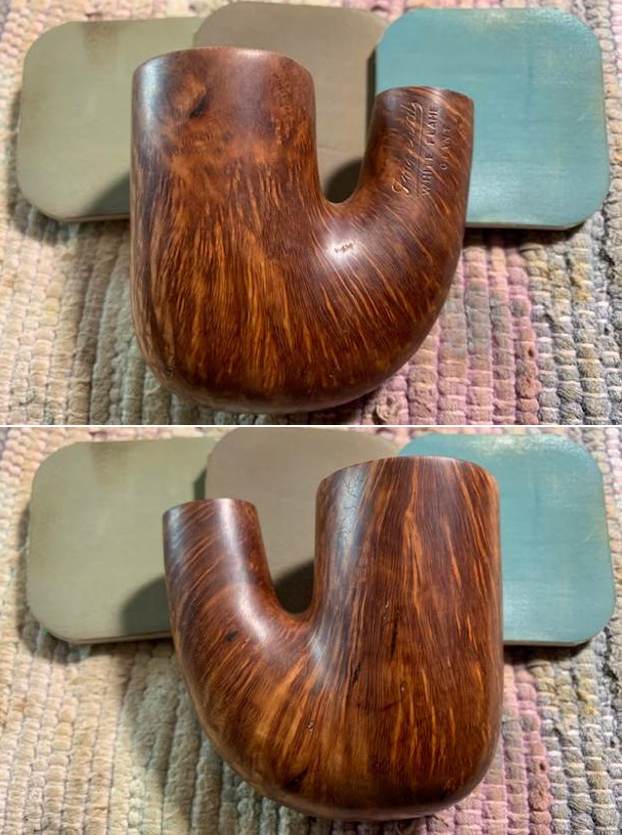
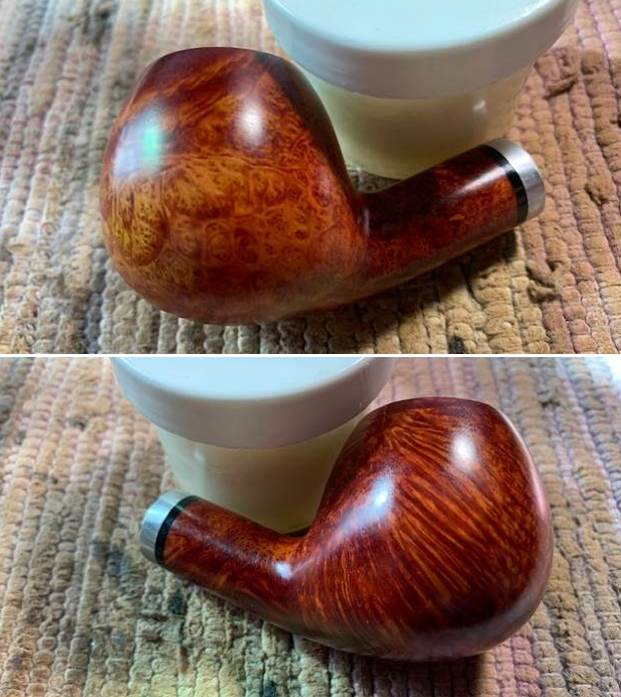
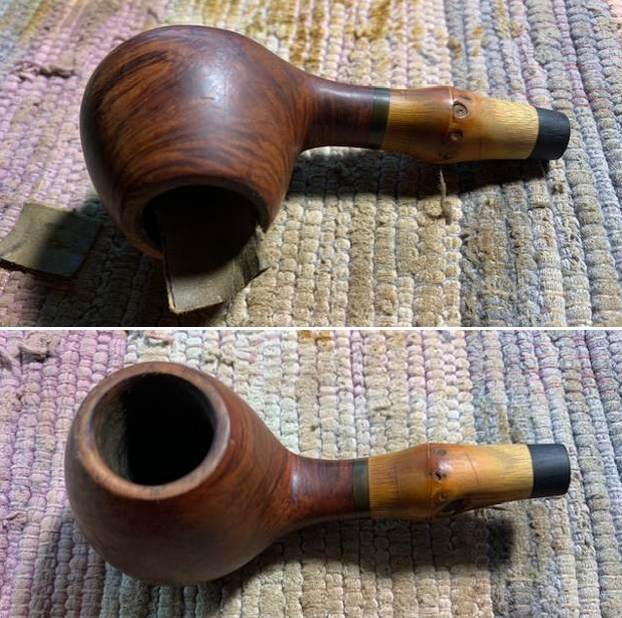 I polished the briar with micromesh sanding pads – dry sanding with 1500-12000 grit pads. After each pad I wiped the bowl down with a damp cloth to remove the sanding debris. It really took on a shine by the last three sanding pads.
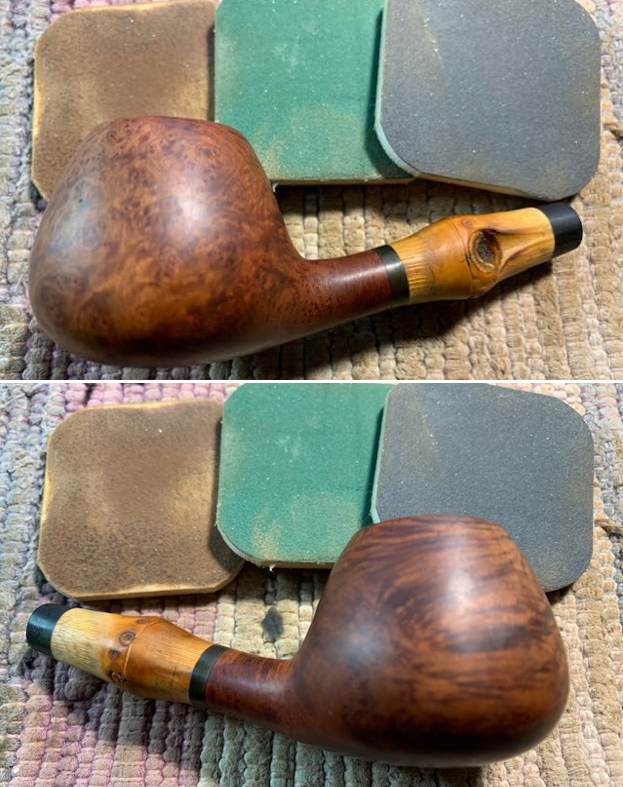

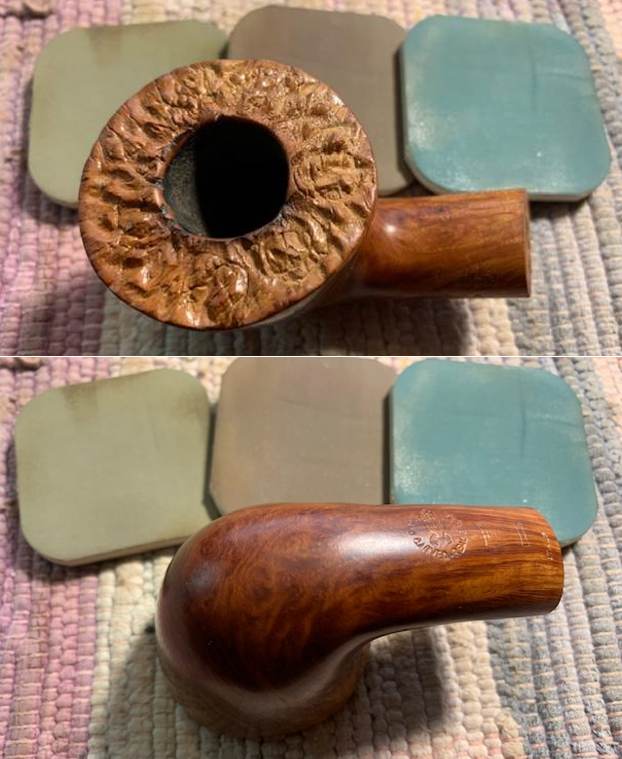
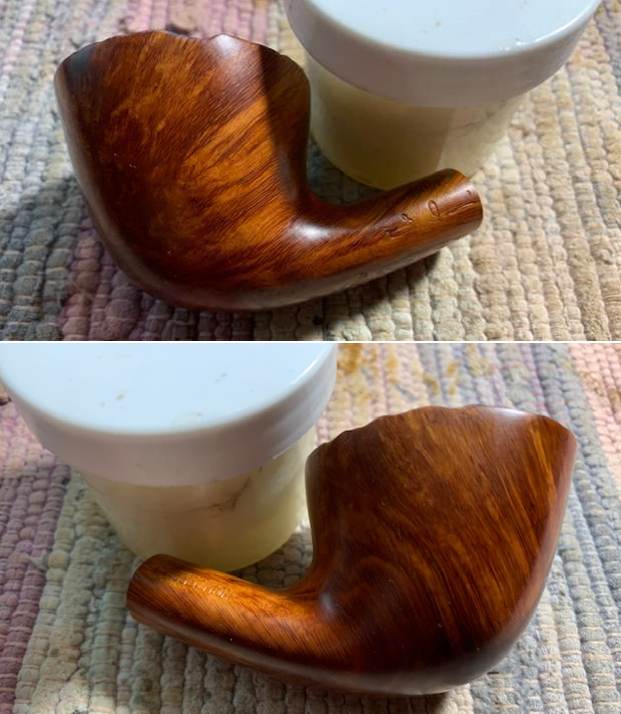
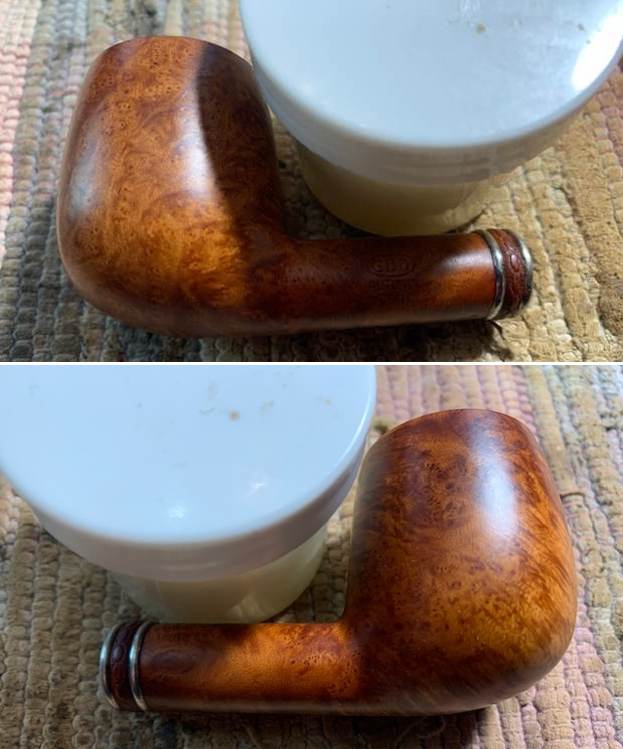
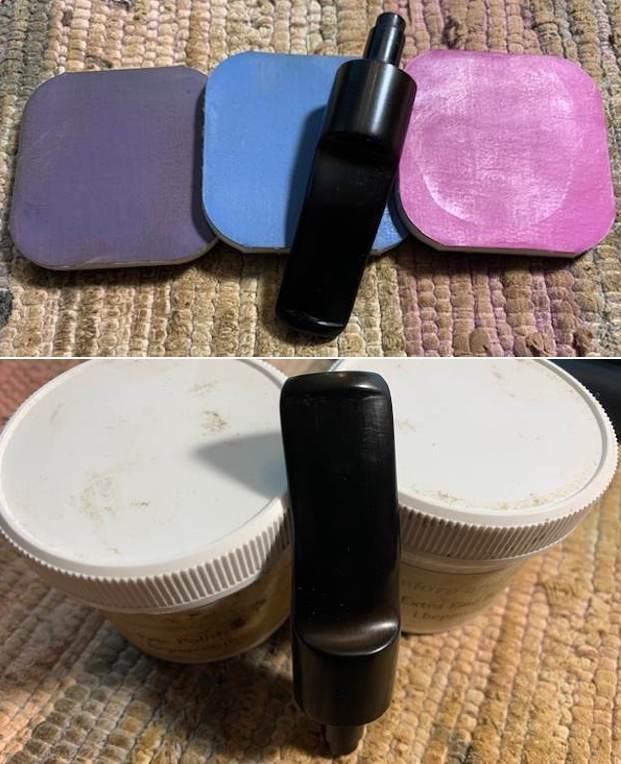
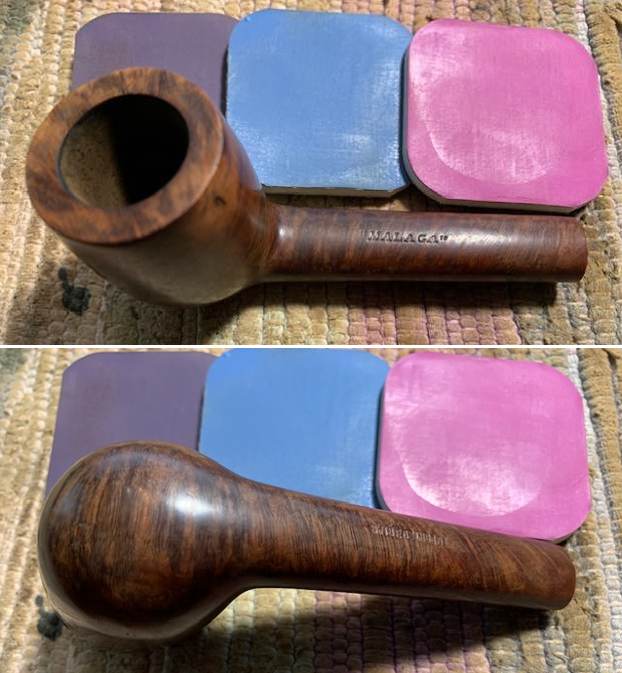
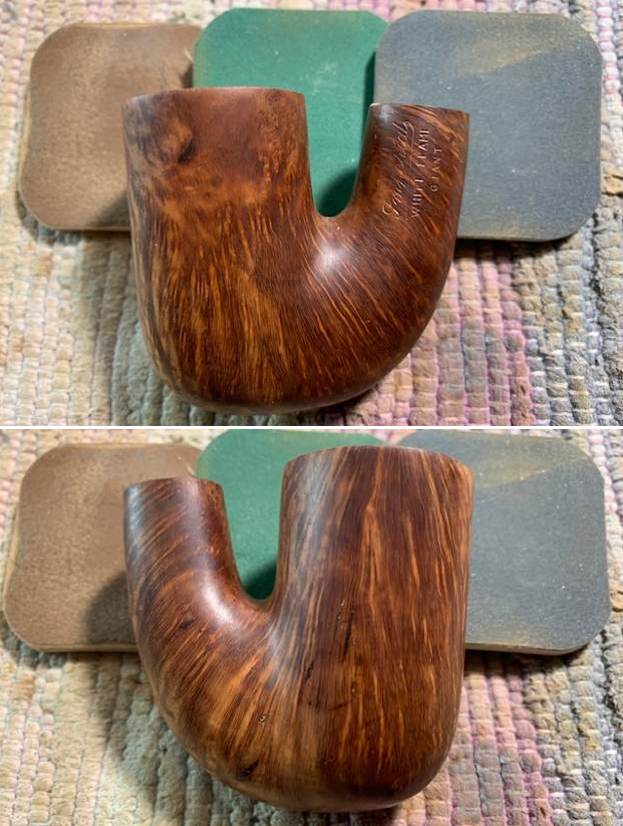
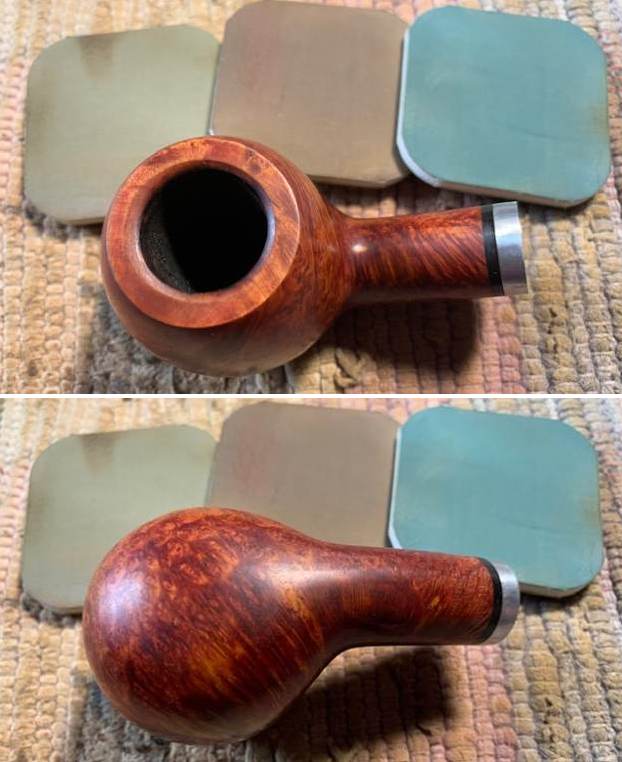
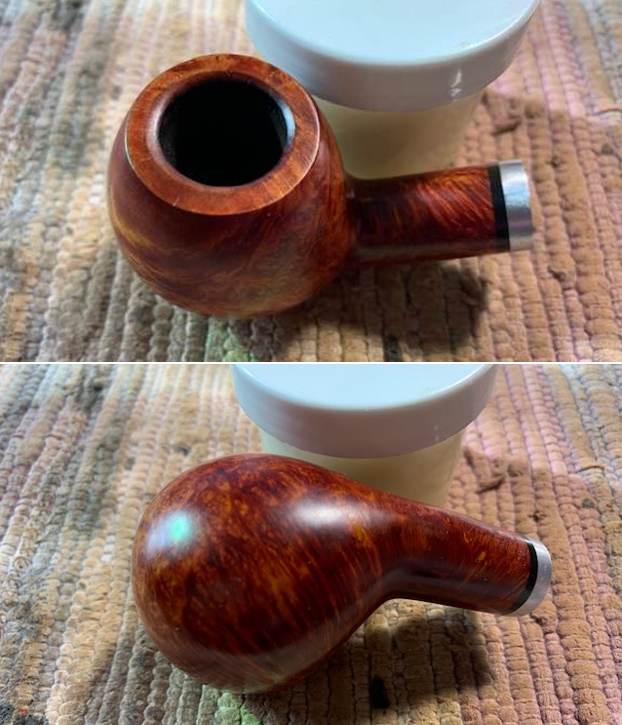
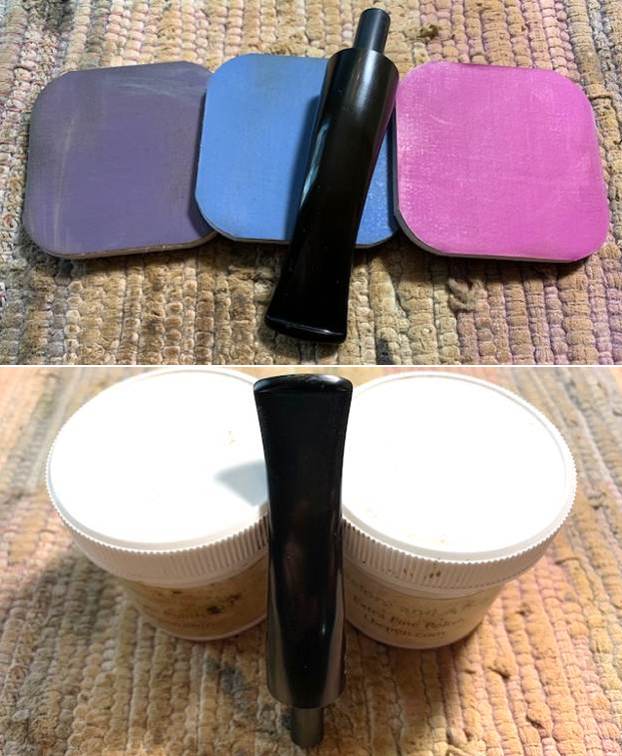
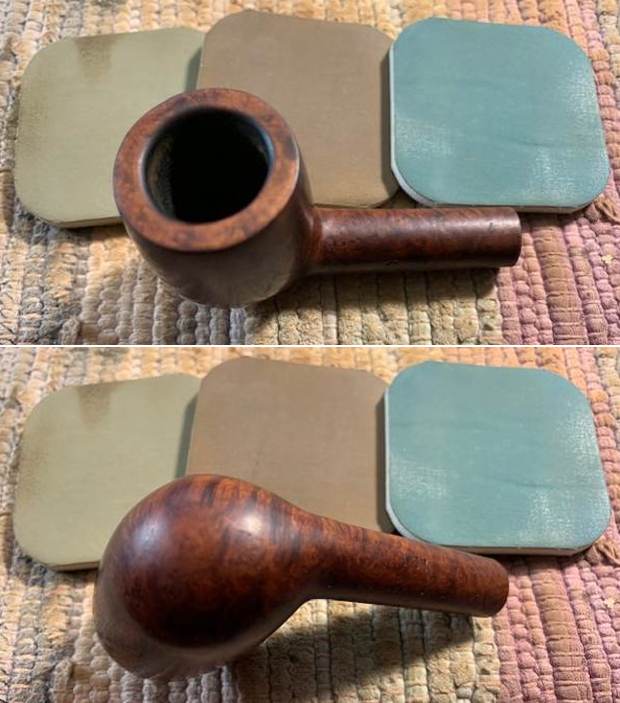
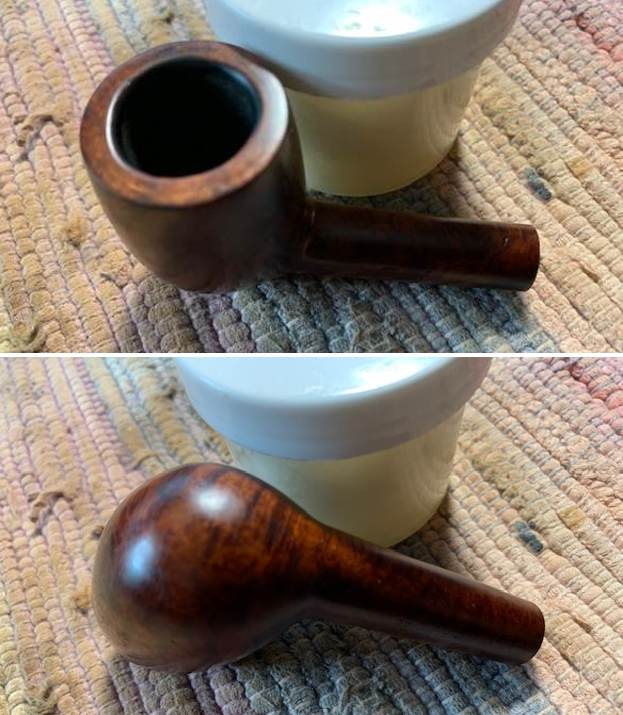
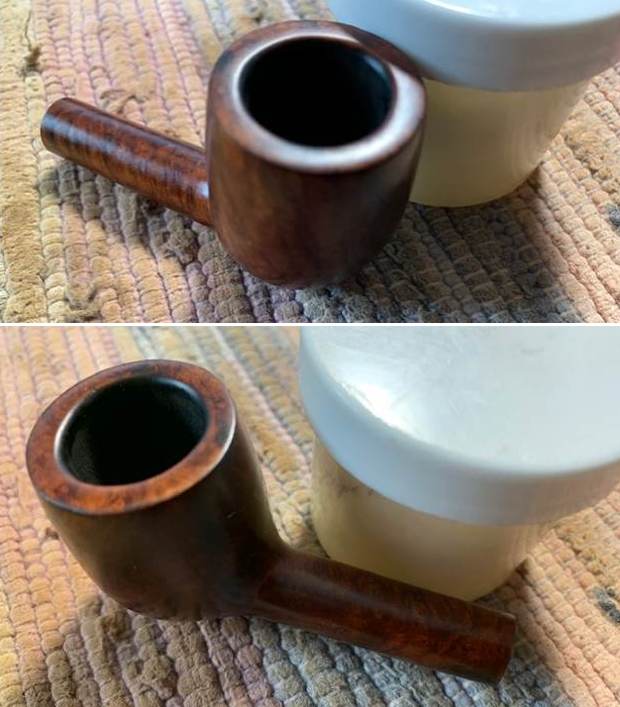
 I rubbed the bowl down with Before & After Restoration Balm. I worked it into the surface of the briar where it works to clean, restore and preserve the briar. I let it do its magic for 15 minutes then buffed it off with a cotton cloth. The pipe looks incredibly good at this point in the process.
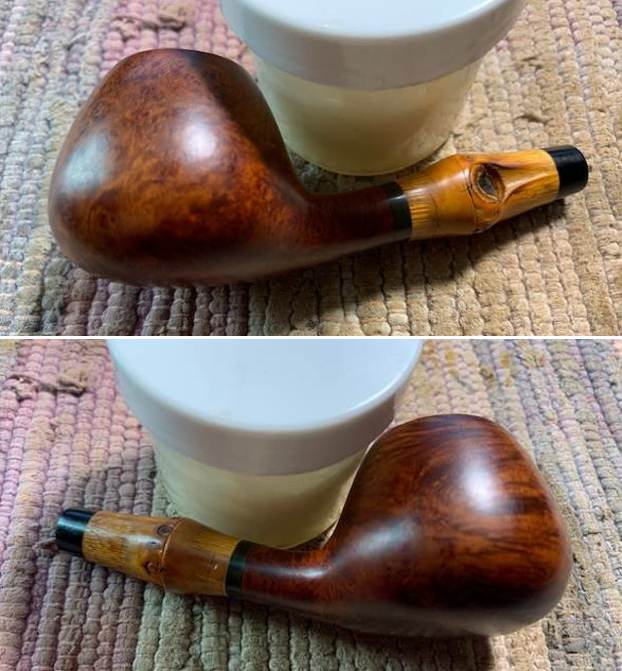
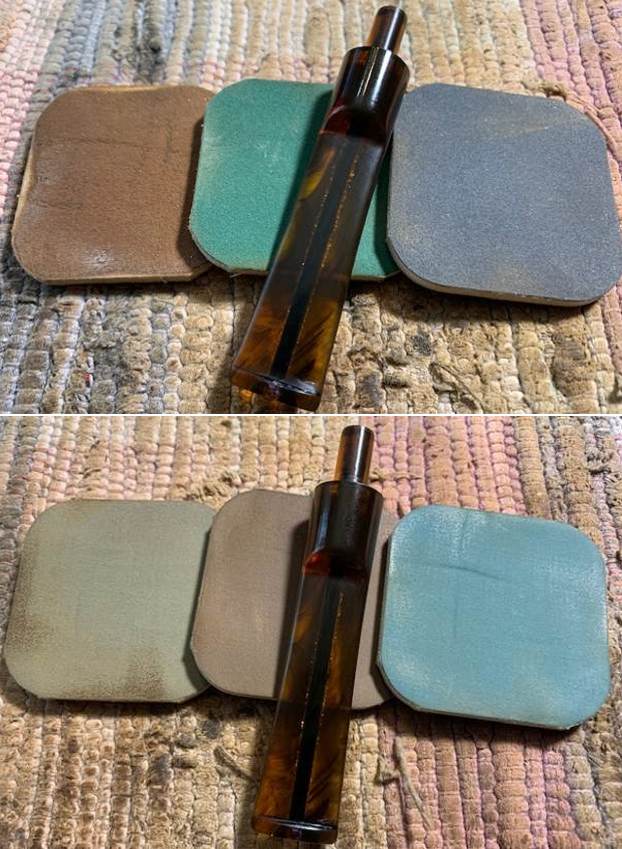
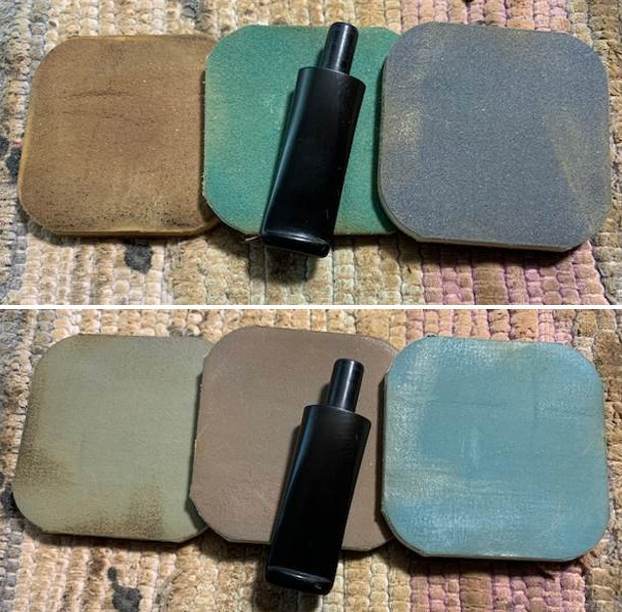
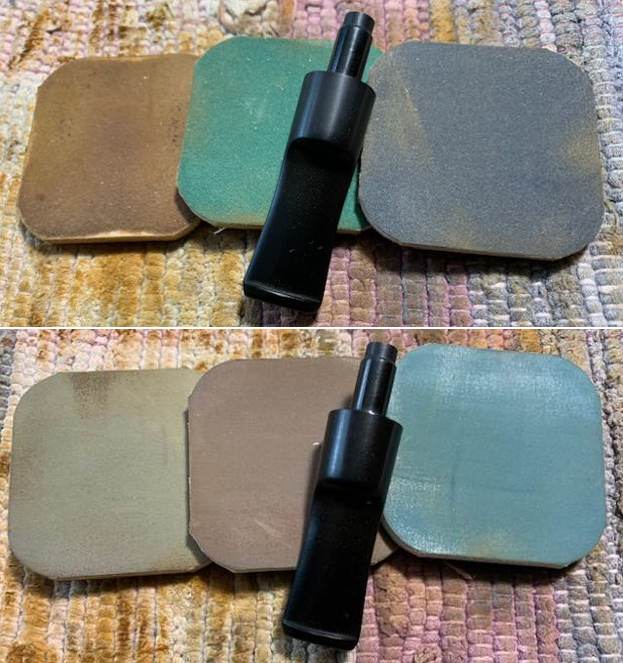
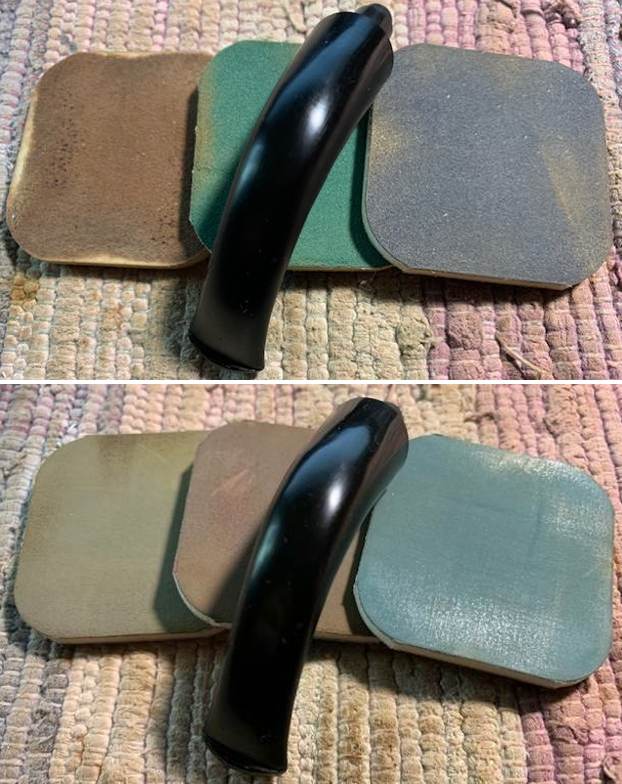
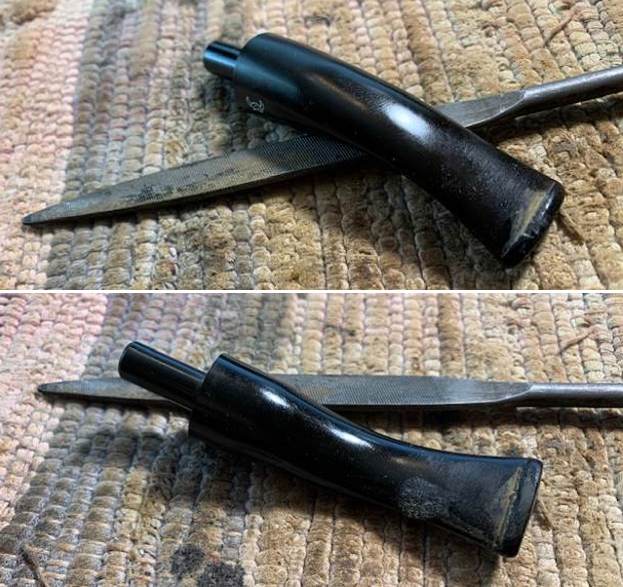
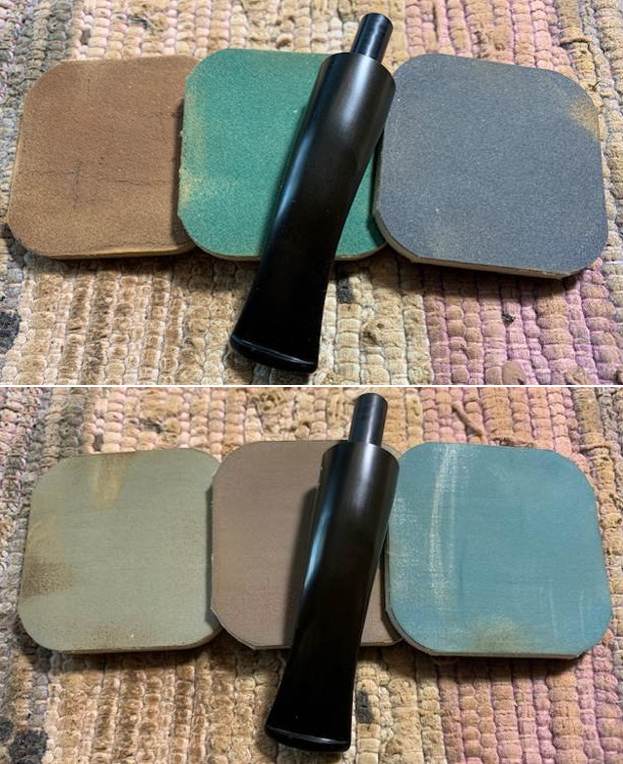
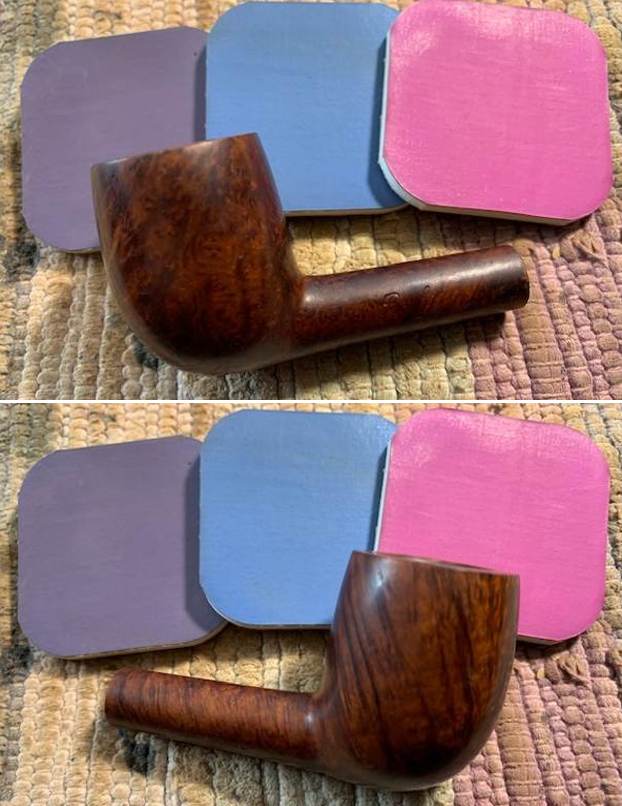
 With that the bowl had come a long way from when I started working on it. I set it aside and turned my attention to the stem. I sanded the stem surface with a folded piece of 220 grit sandpaper to finish removing the scratch a marks. I started the polishing with 400 grit wet dry sandpaper.
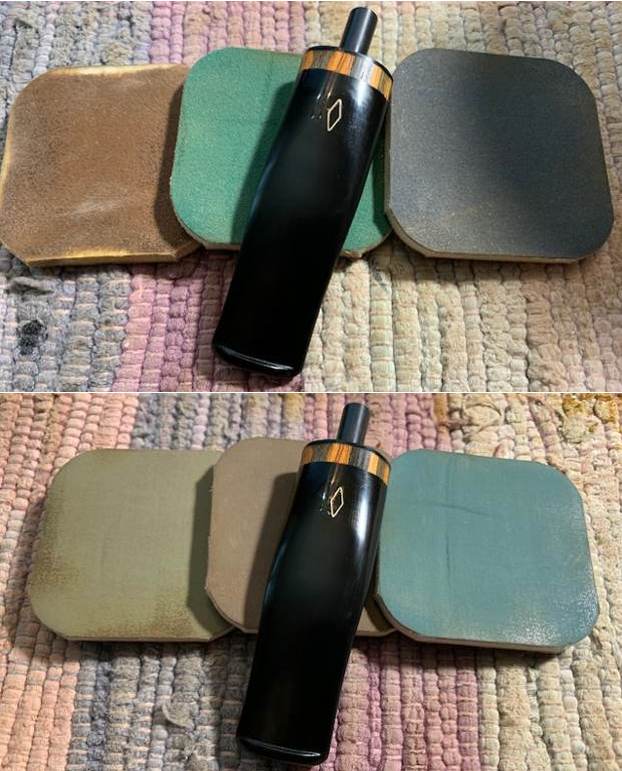
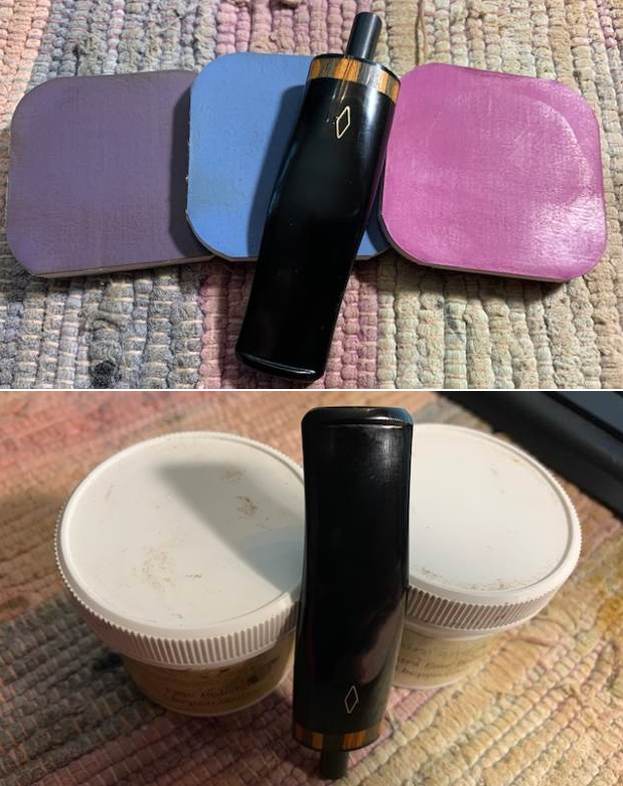
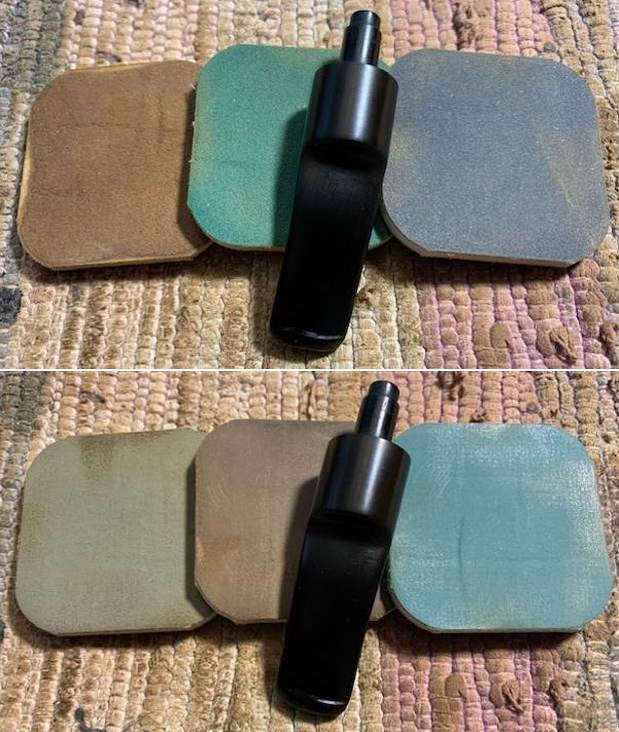
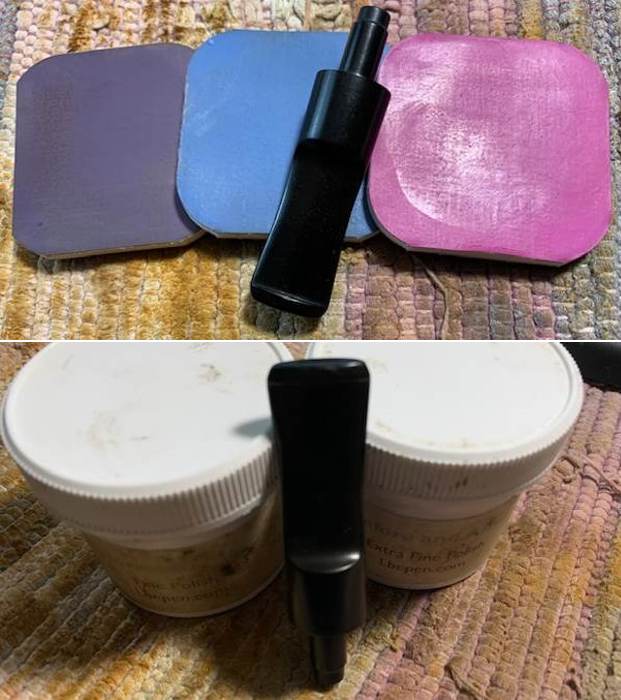
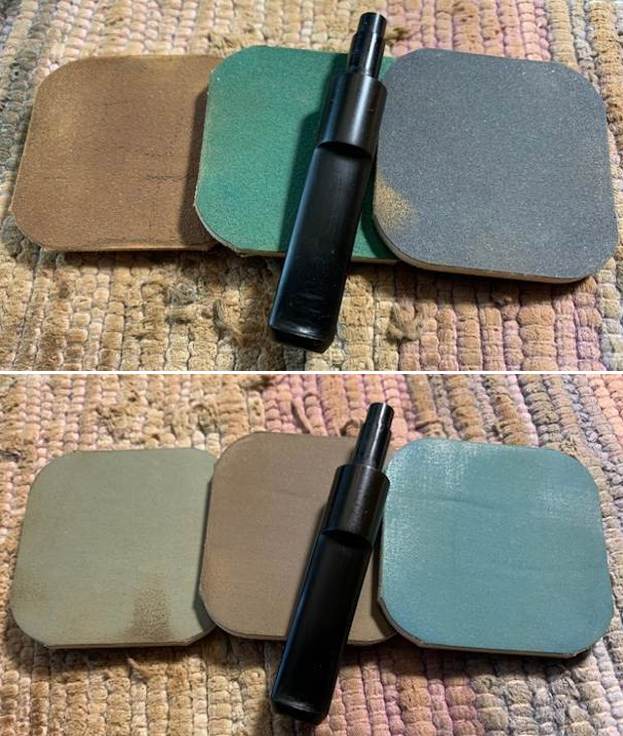
 I continued to polish the stem with micromesh sanding pads – wet sanding with 1500-12000 grit sanding pads. I wiped it down after each sanding pad with Obsidian Oil. I polished it with Before & After Pipe Stem Polish – both Fine and Extra Fine and wiped it down with Obsidian Oil one more time.
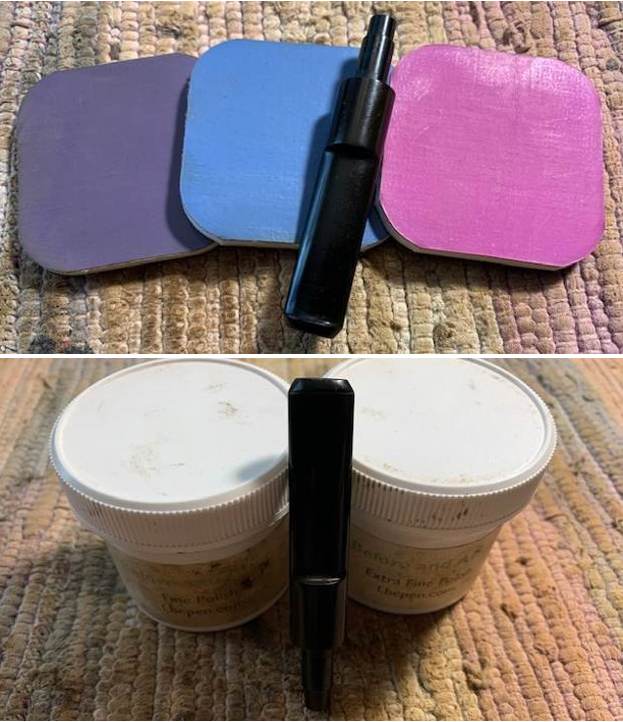
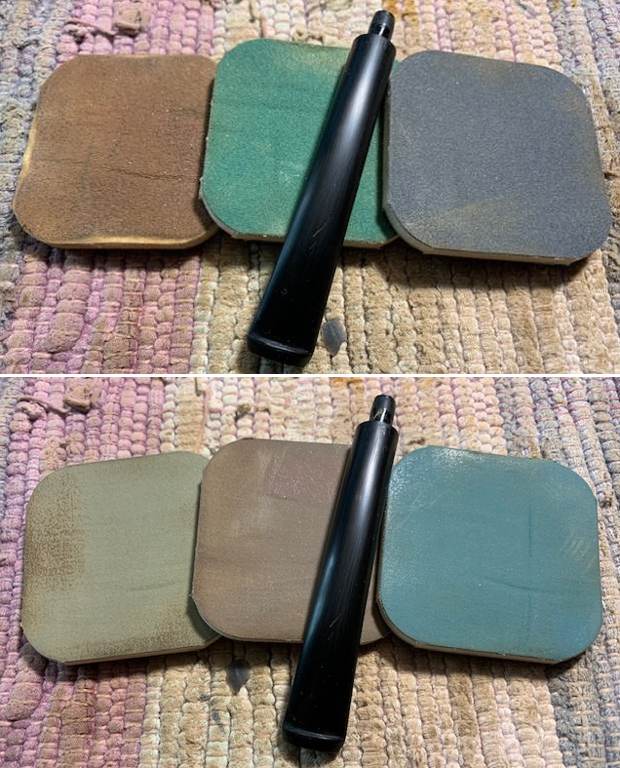
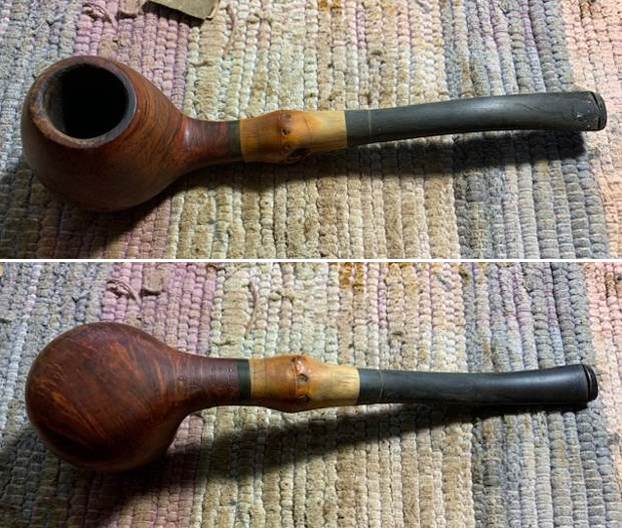
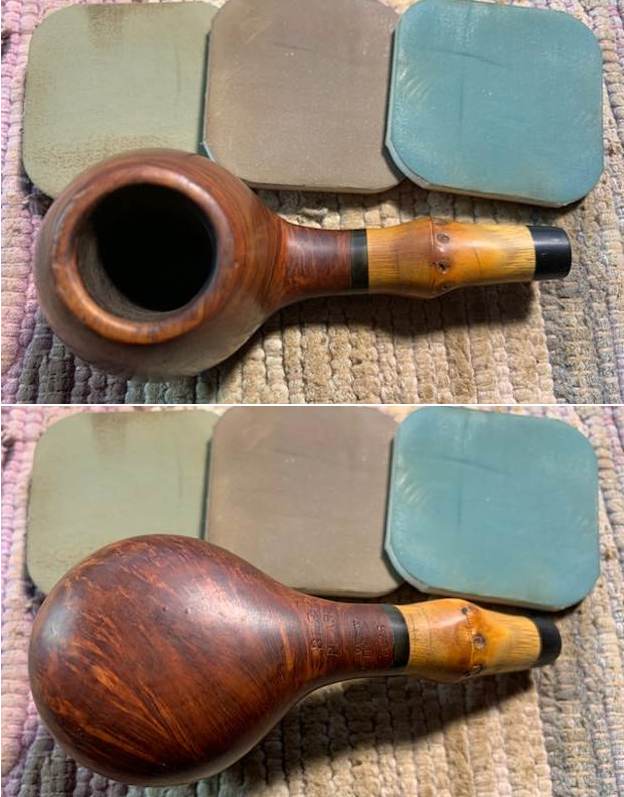
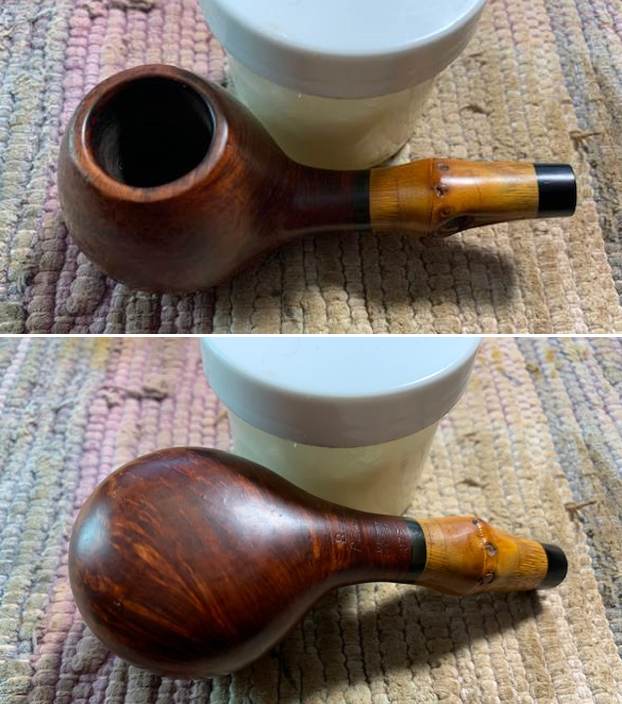
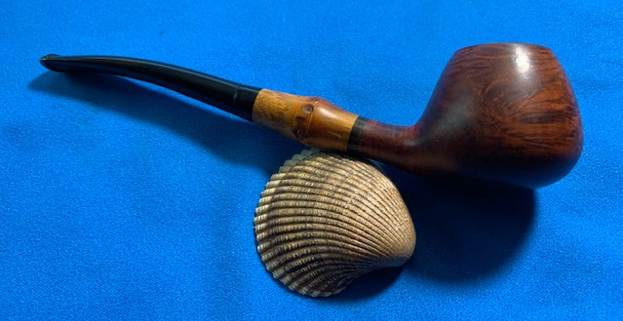
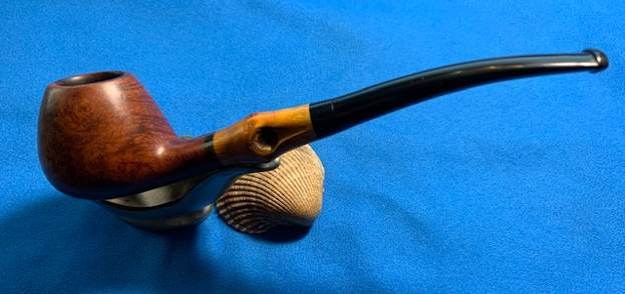
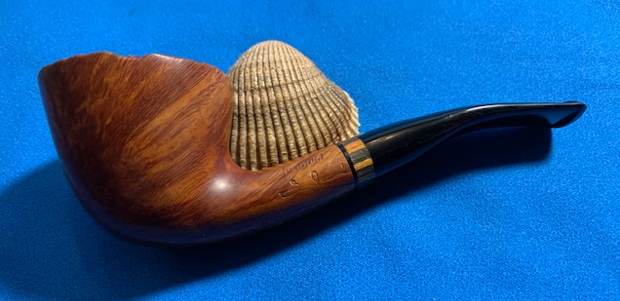
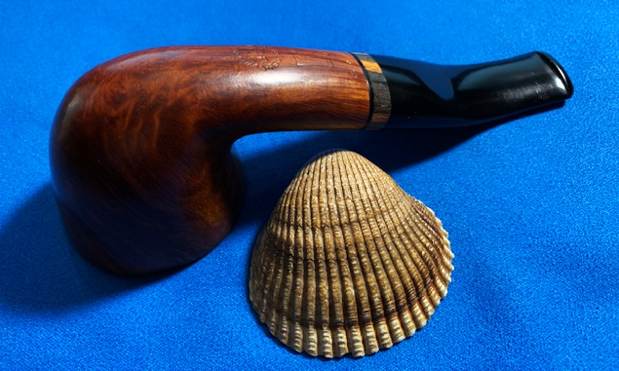
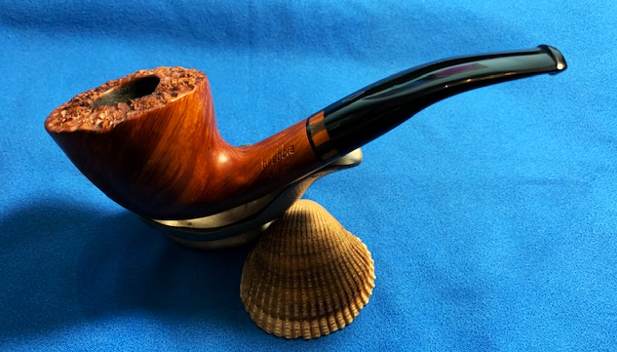
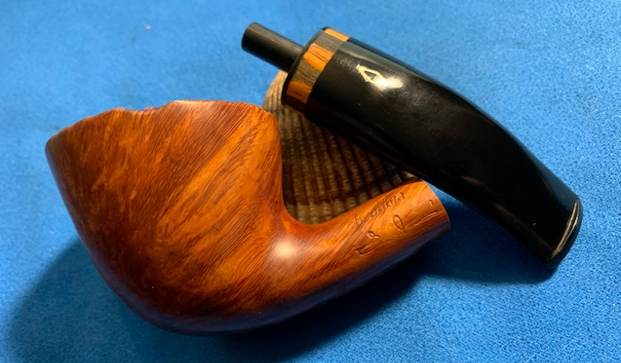
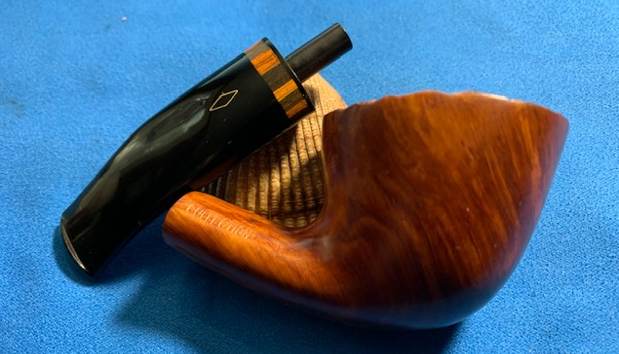
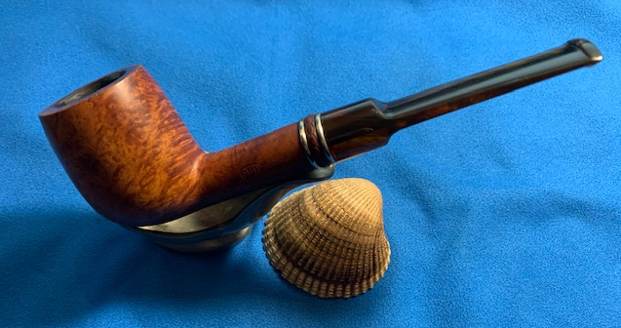
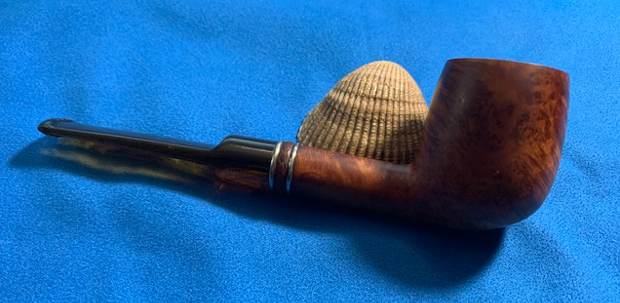
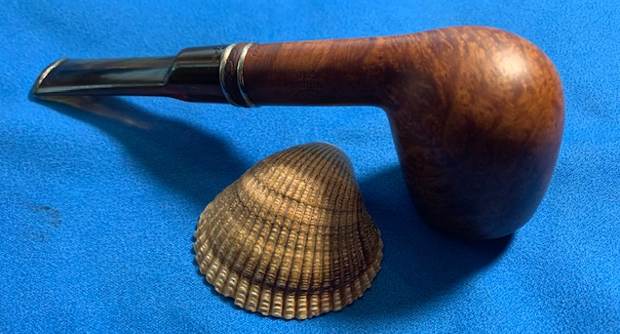
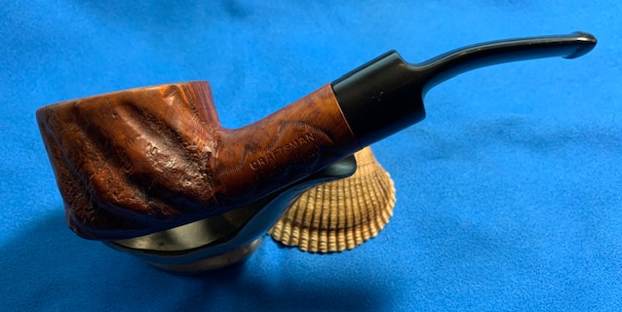
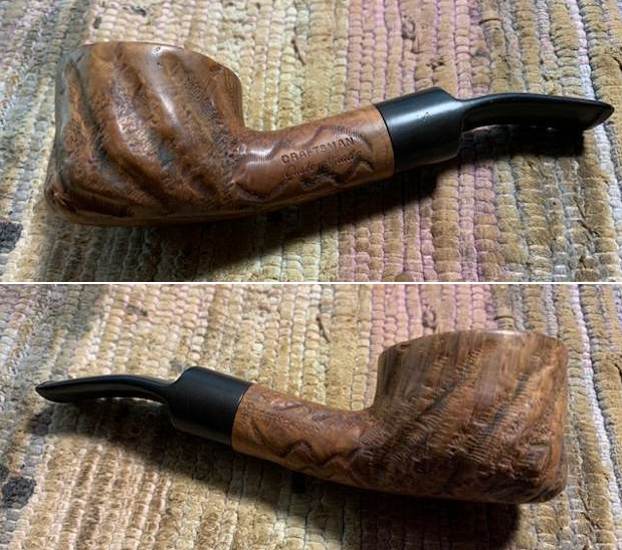
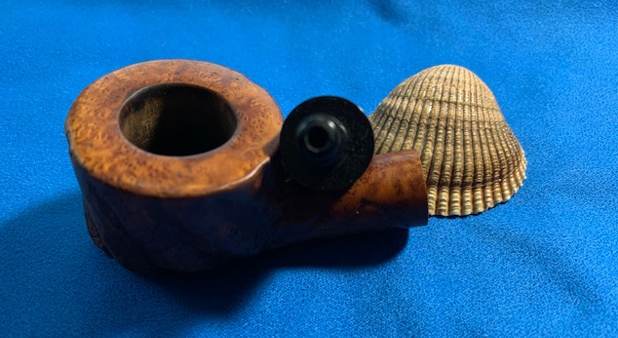
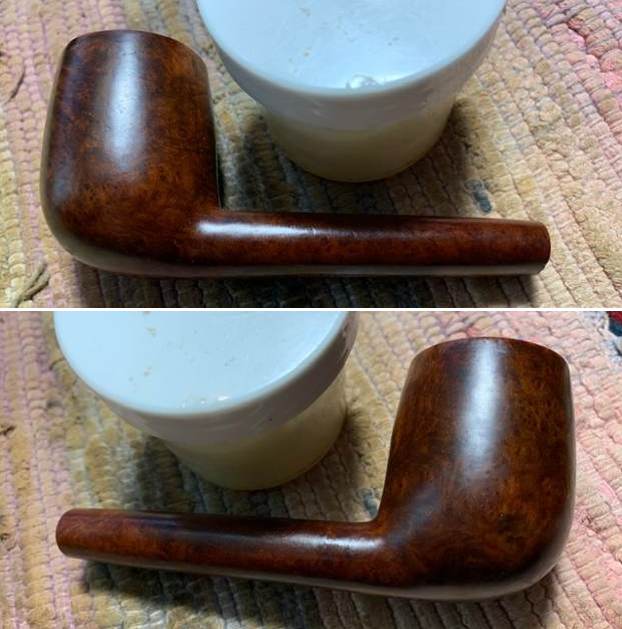
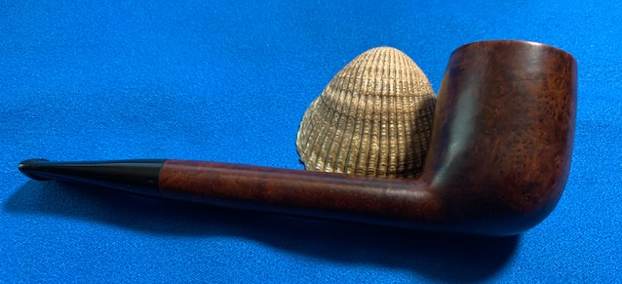
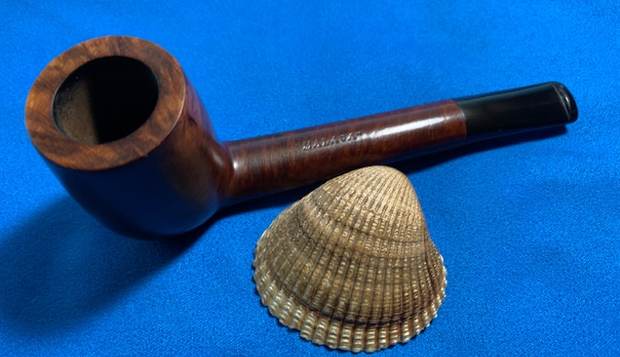
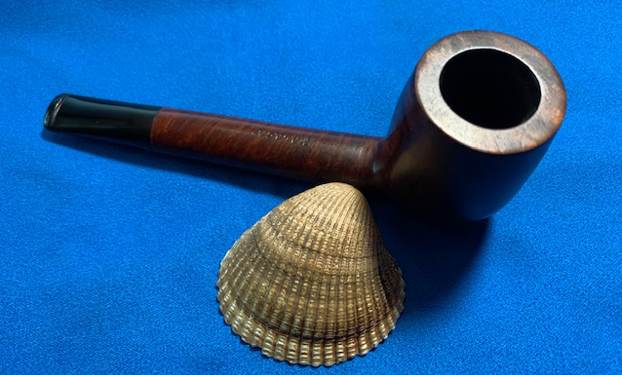
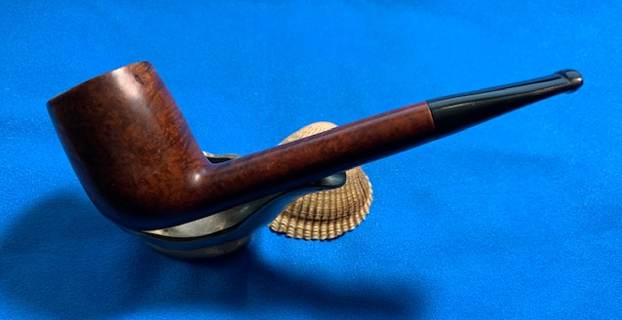
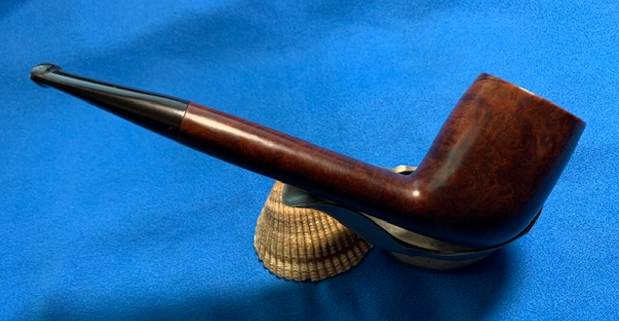
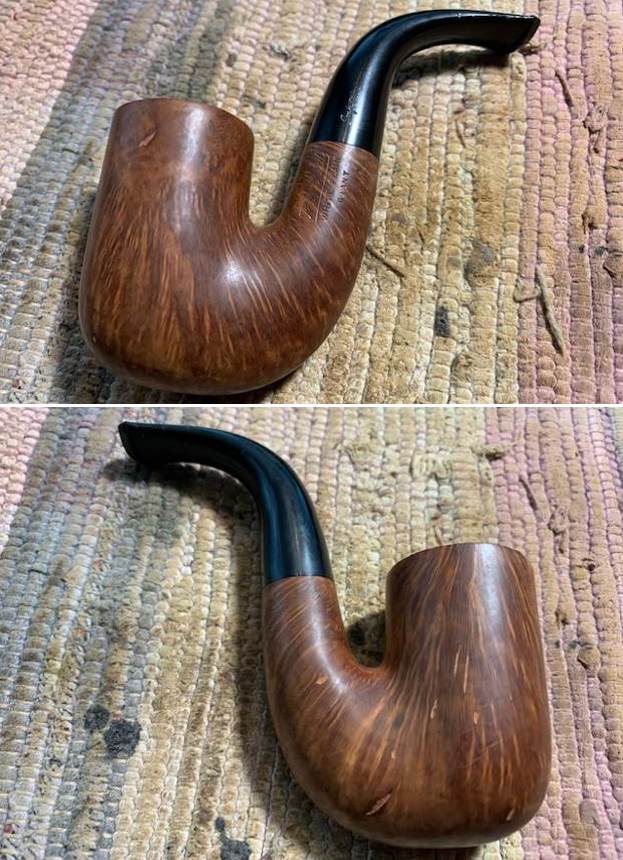
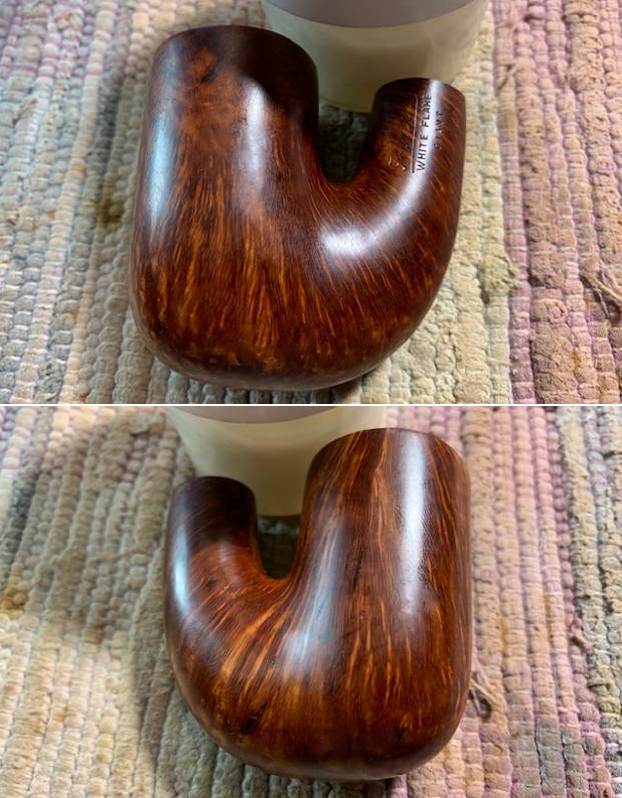
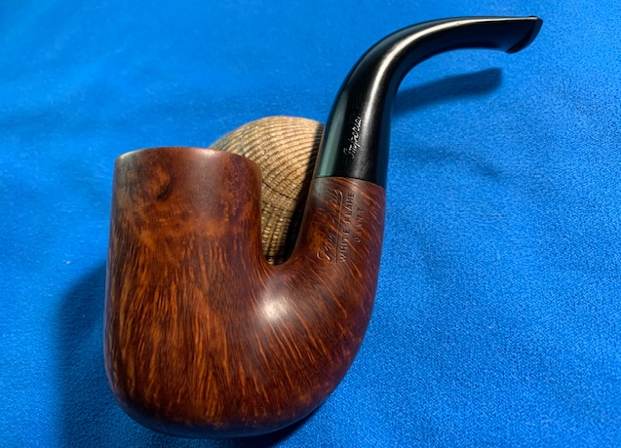
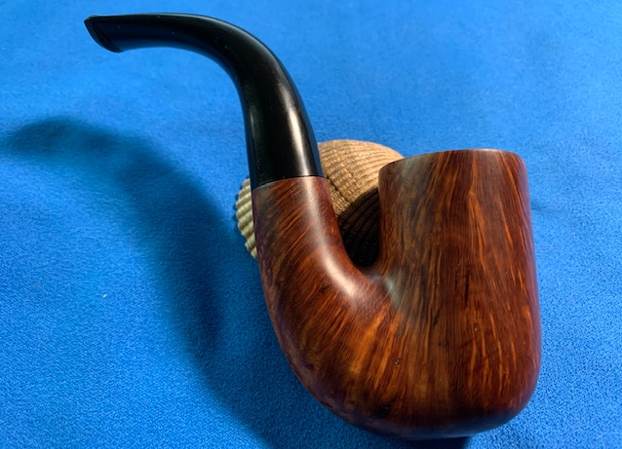
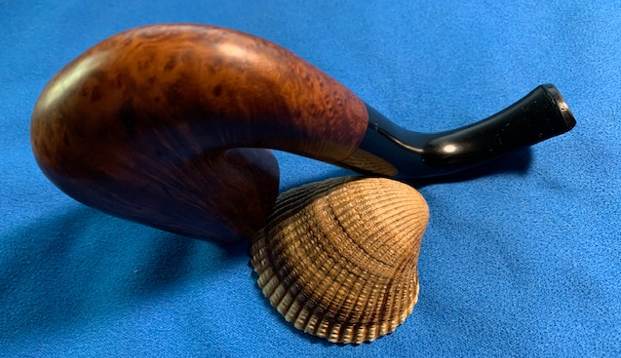
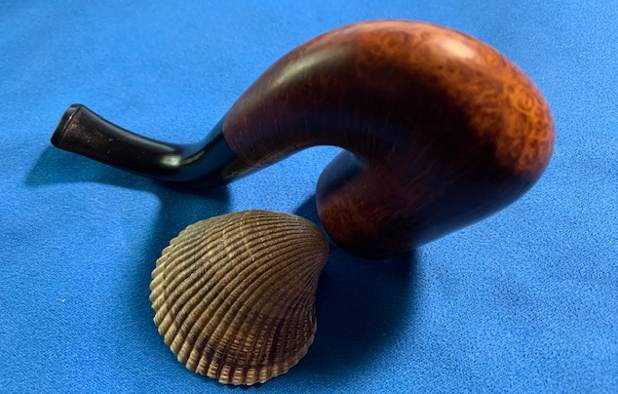
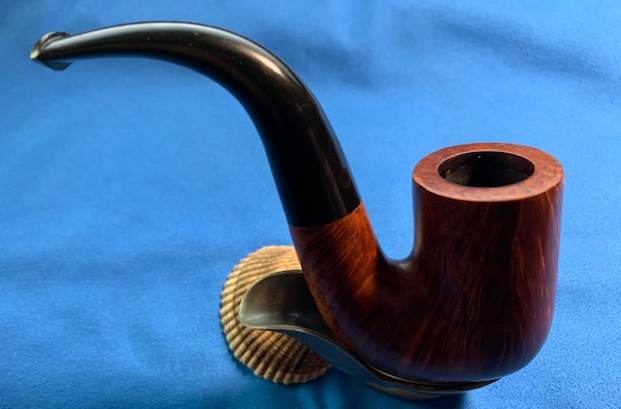
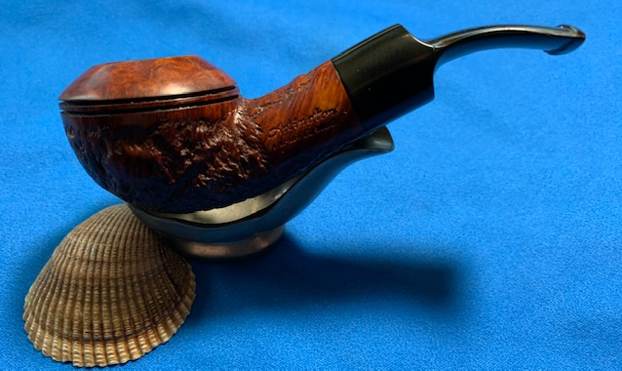
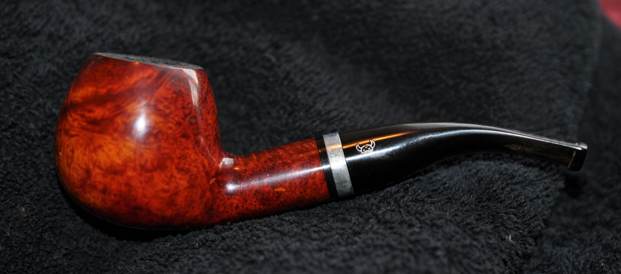
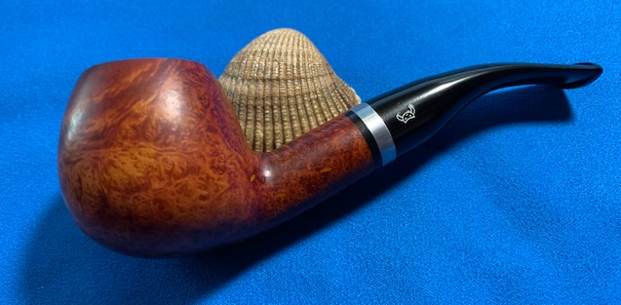
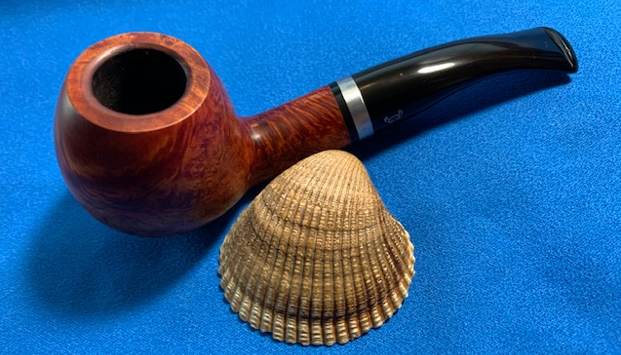
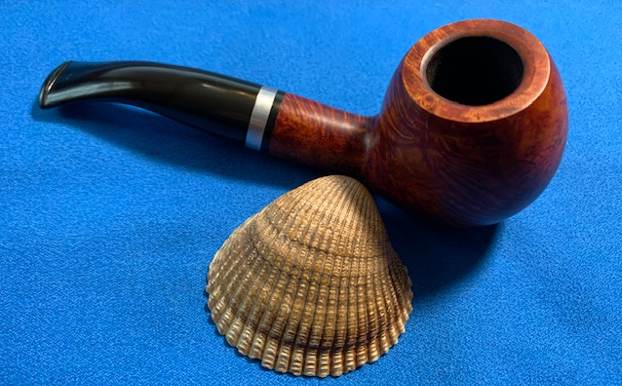
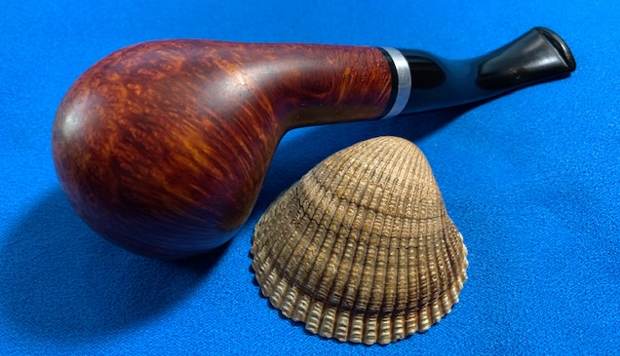
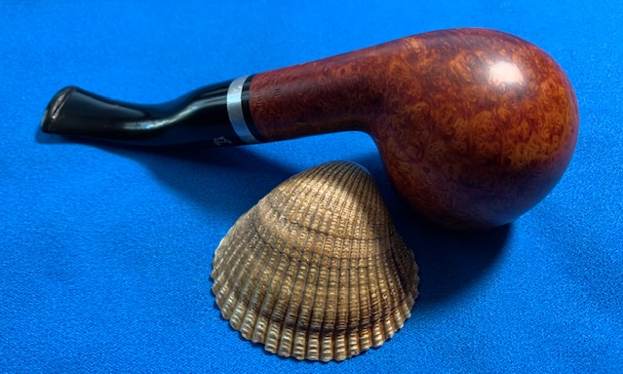
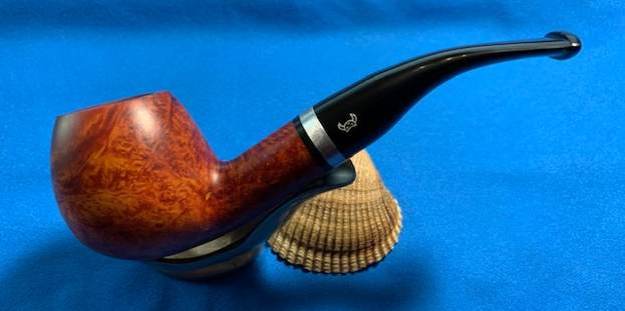
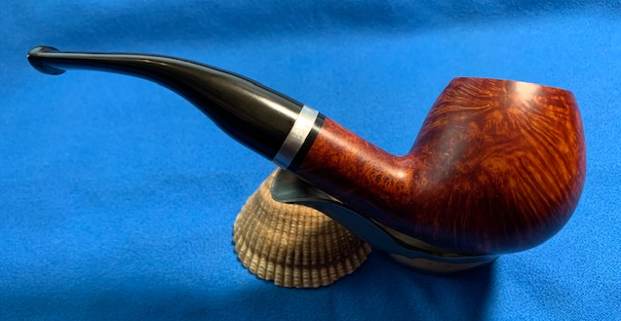
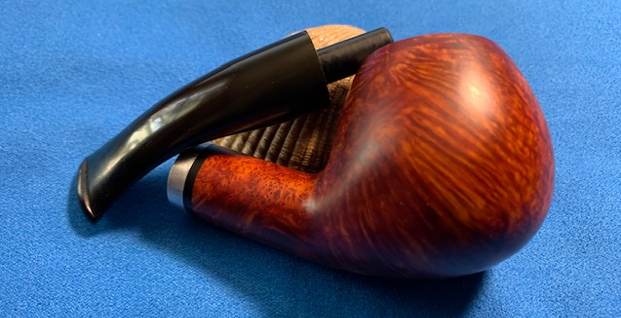
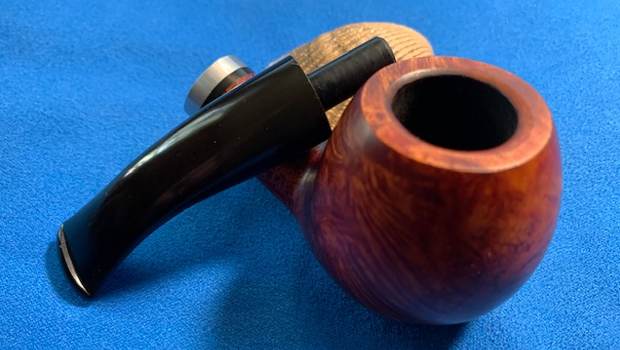
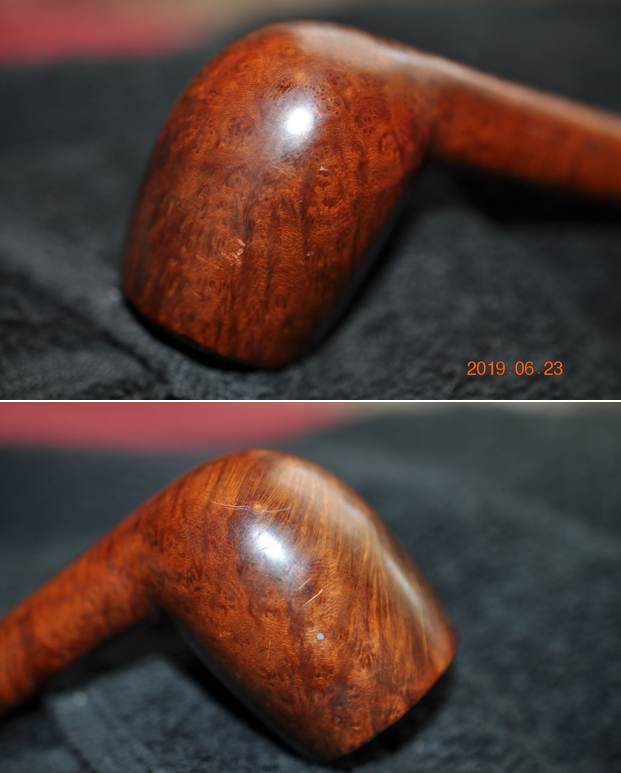
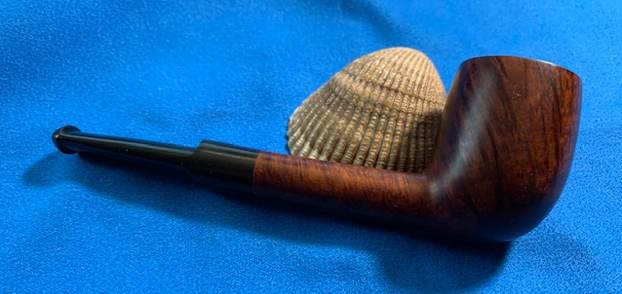
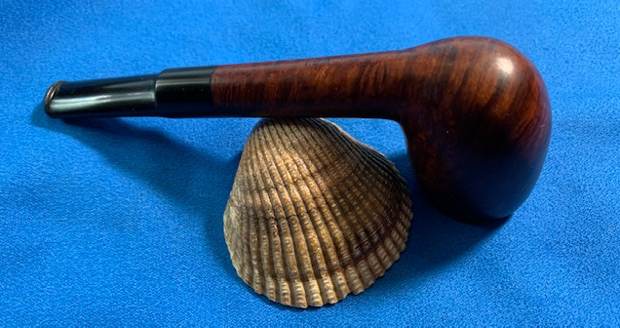
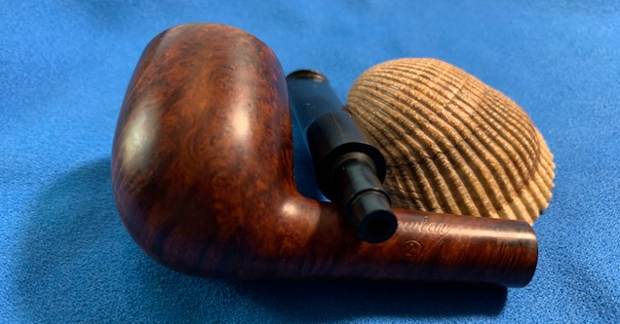
 I am excited to finish the restemming and restoration of this Bari Pearl 7075 Bamboo Shank Brandy. I put the pipe back together and buffed it with Blue Diamond on the buffing wheel. I gave the bowl and the stem multiple coats of carnauba wax. I hand buffed the pipe with a clean buffing pad to raise the shine. It is fun to see what the polished bowl looks like with beautiful mixed grain all around it. The polished grain on the pipe looks great with the black vulcanite stem. This smooth Bari Pearl Bamboo Shank Brandy is great looking and the pipe feels great in my hand. It is light and well balanced. Have a look at it with the photos below. The dimensions are Length: 7 inches, Height: 1 ½ inches, Outside diameter of the bowl: 1 inch, Chamber diameter: ¾ of an inch. The weight of the pipe is 46 grams/ 1.62 ounces. It turned out to be a beautiful pipe. I will be putting it on the rebornpipes store in the Danish Pipemakers Section soon. If you would like to add it to your collection let me know by email or message. Thanks for your time reading this blog and as Paresh says each time – Stay Safe.


