Tag Archives: bite marks

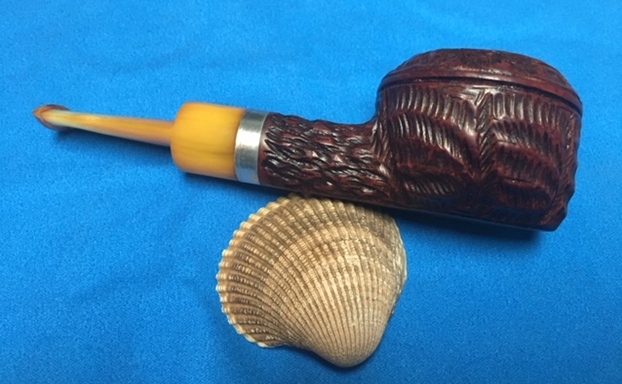
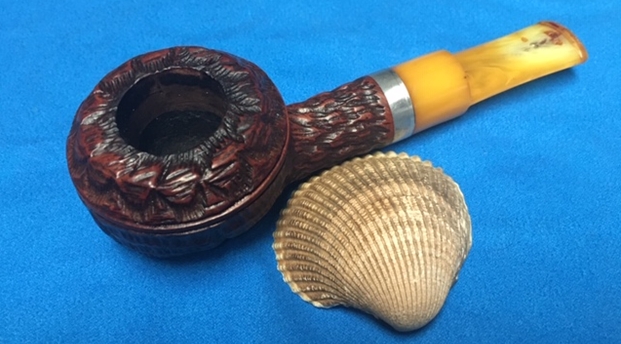
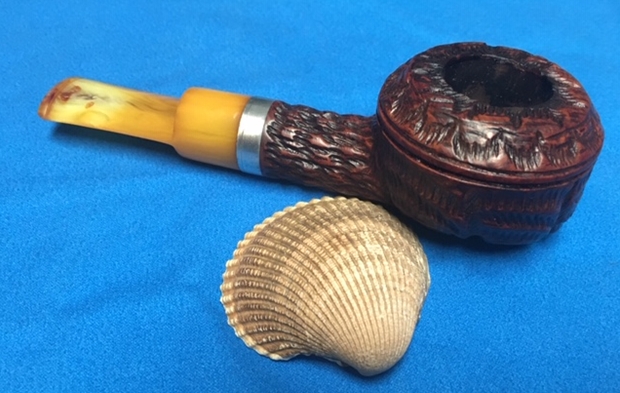
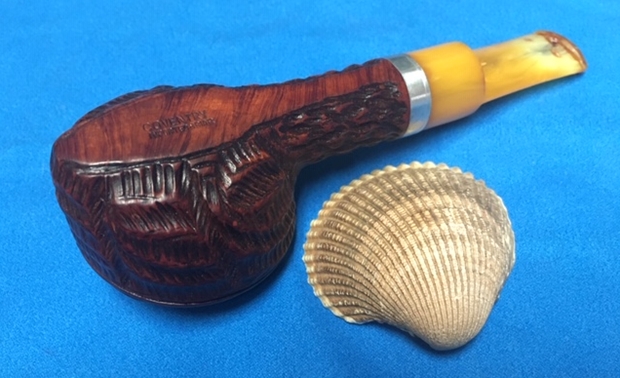
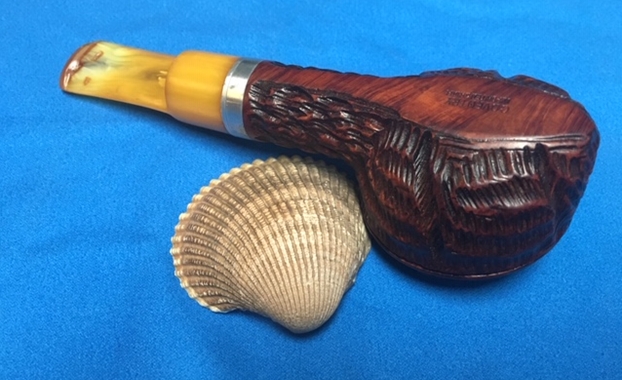
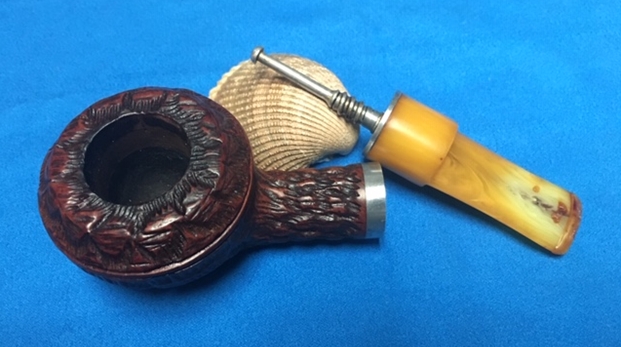
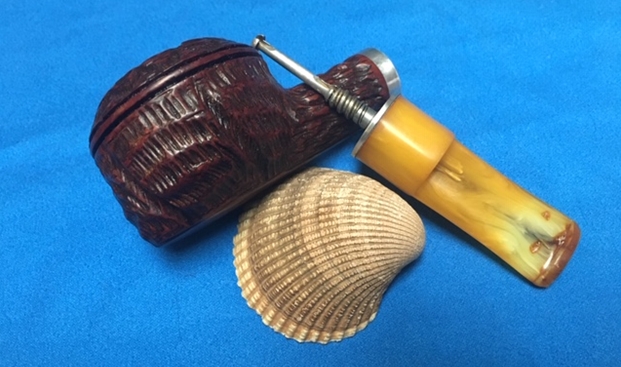
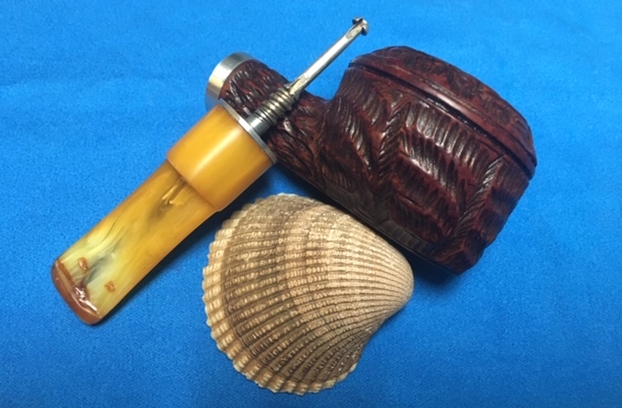
A Reborn Coventry Rusticated Bullmoose


Blog by Steve Laug

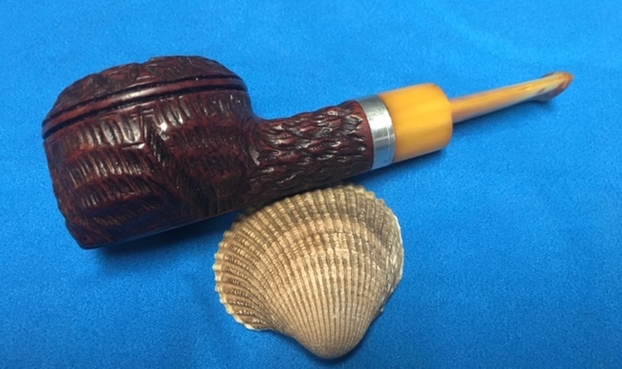
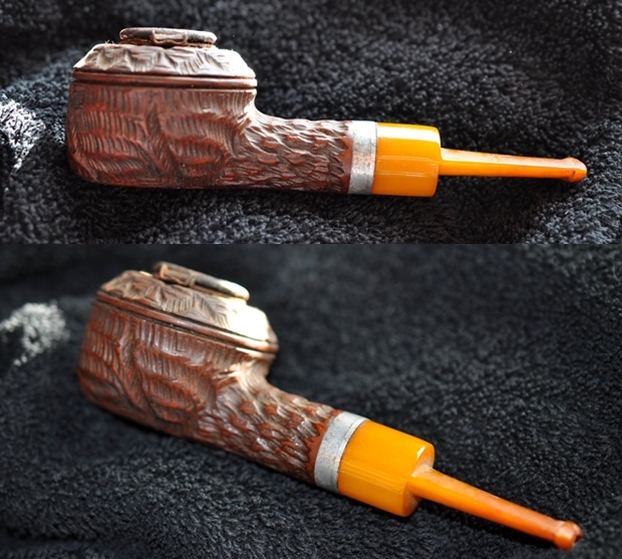
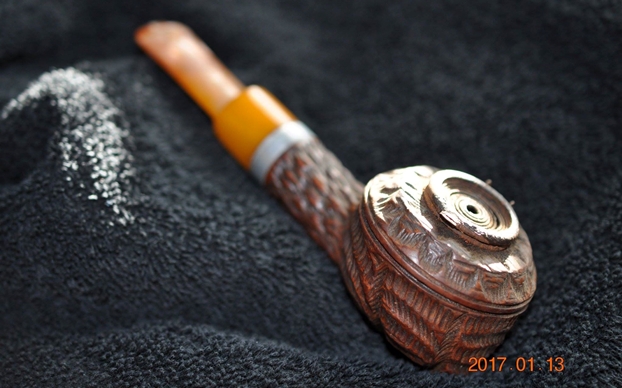
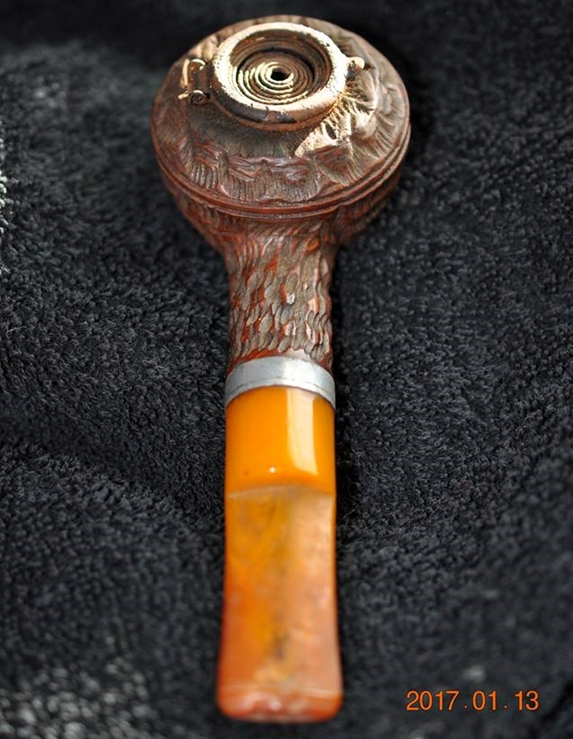
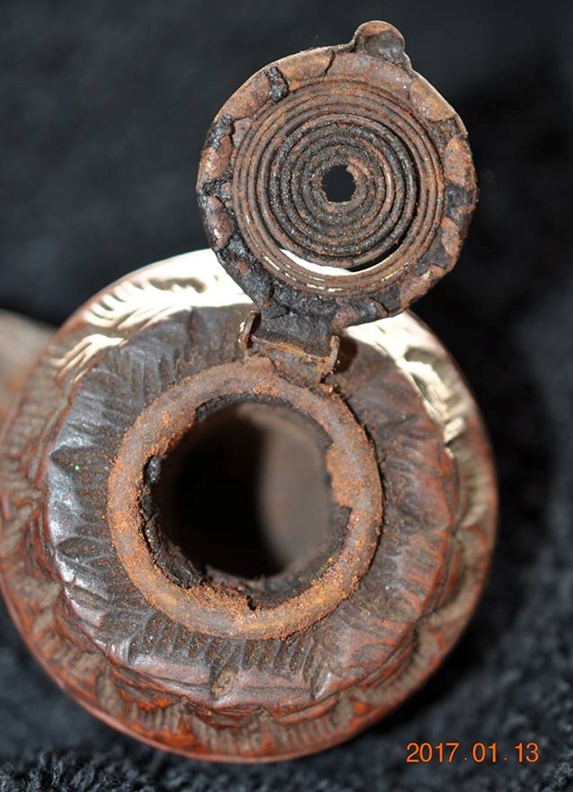
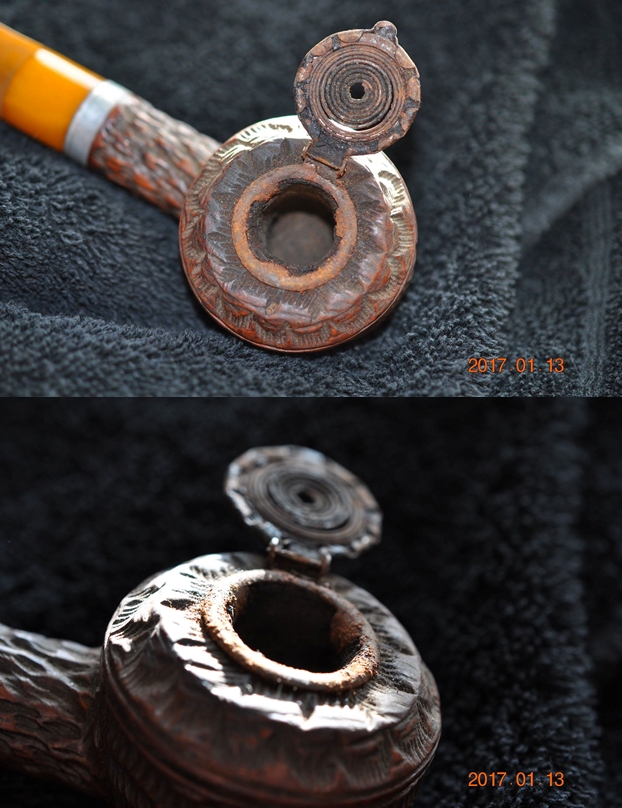
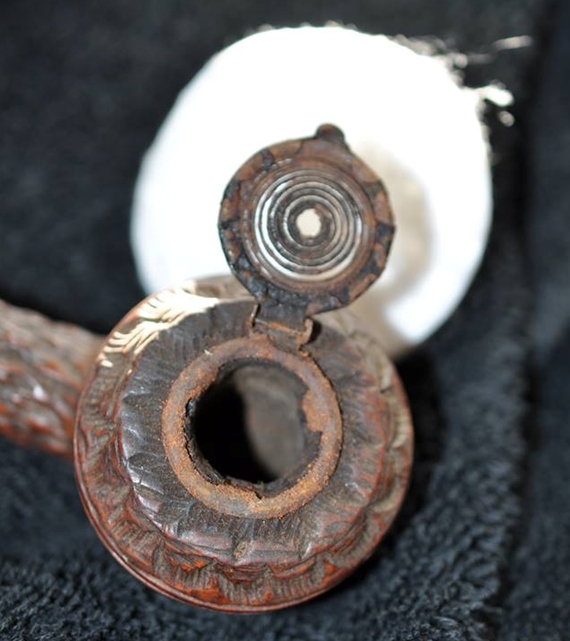
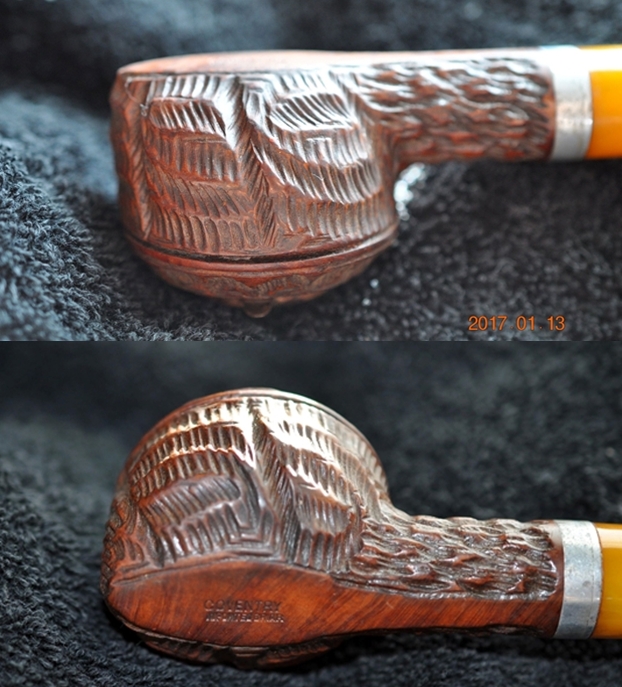
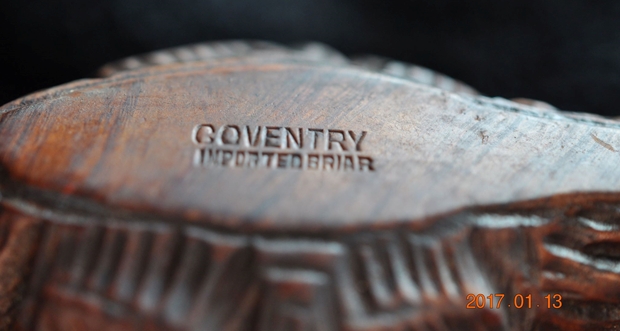
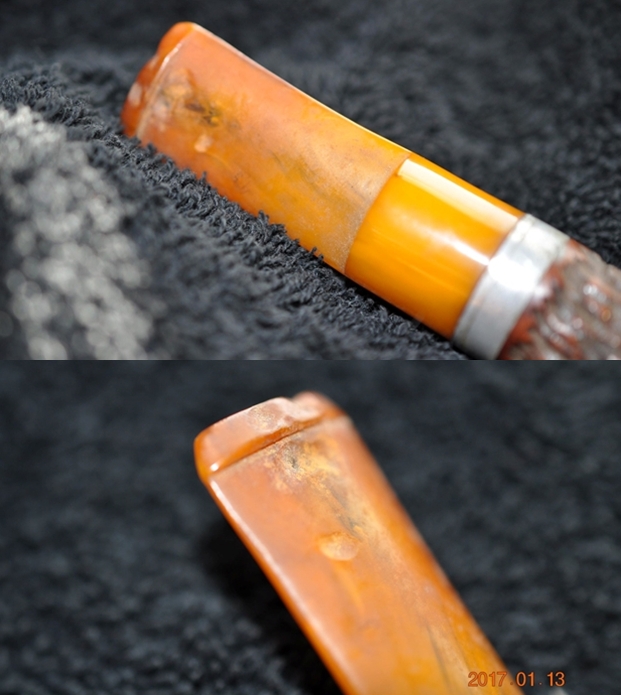
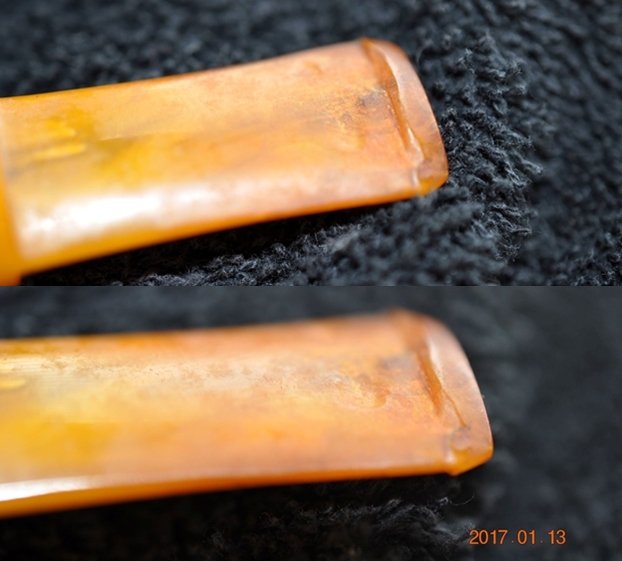
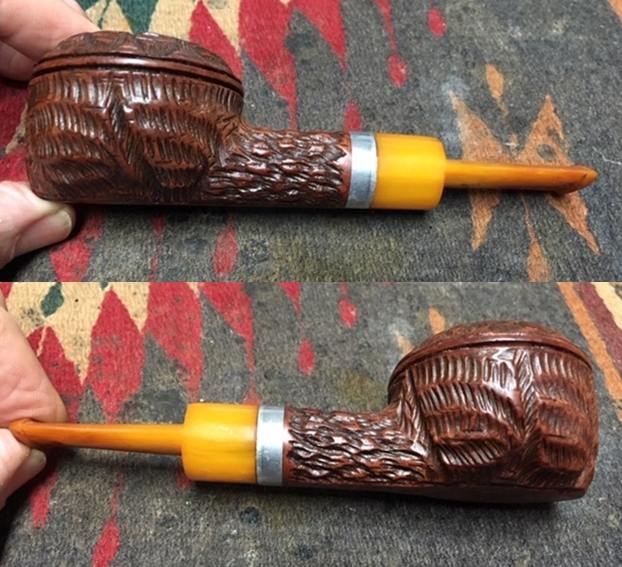
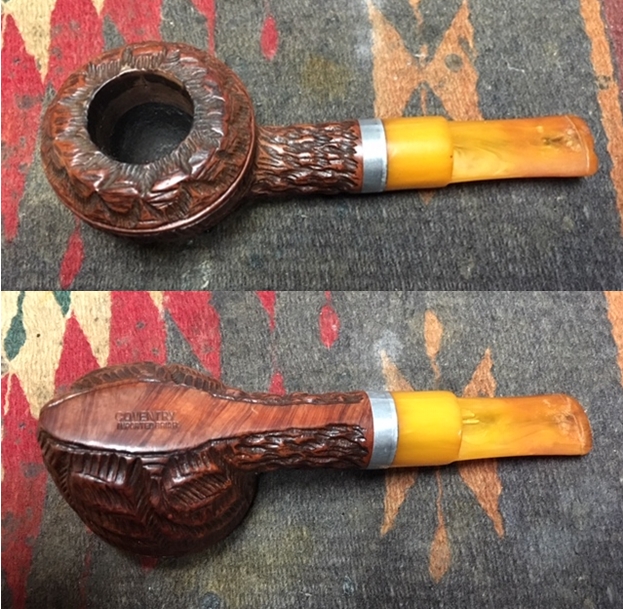
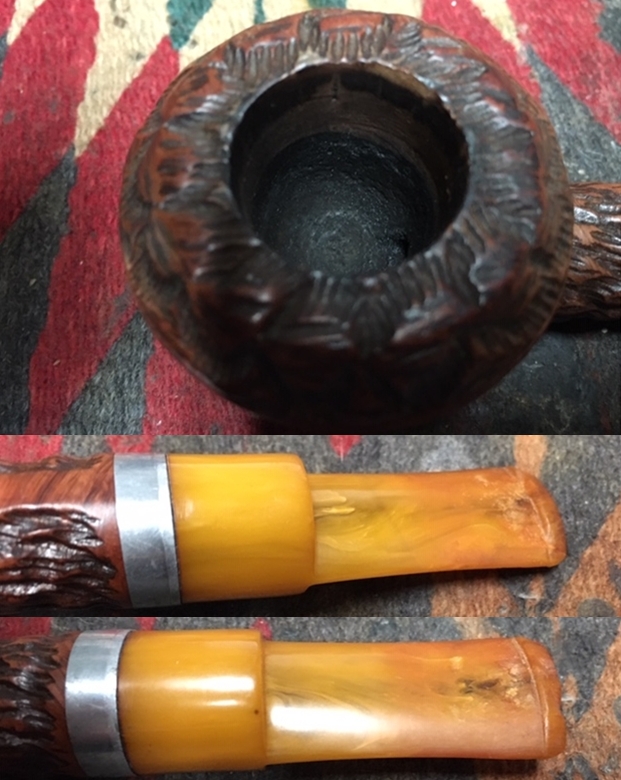
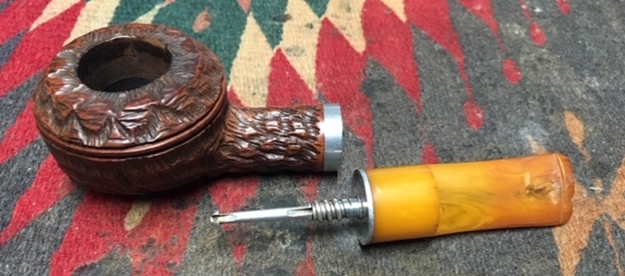
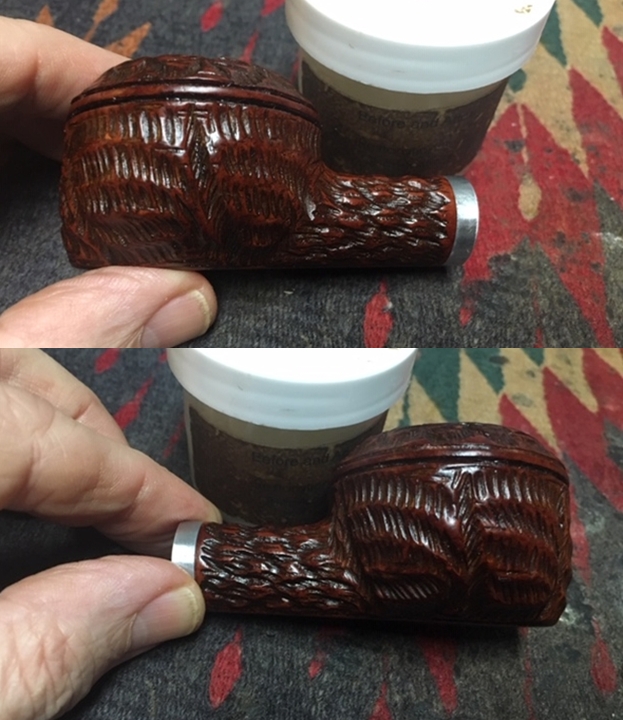
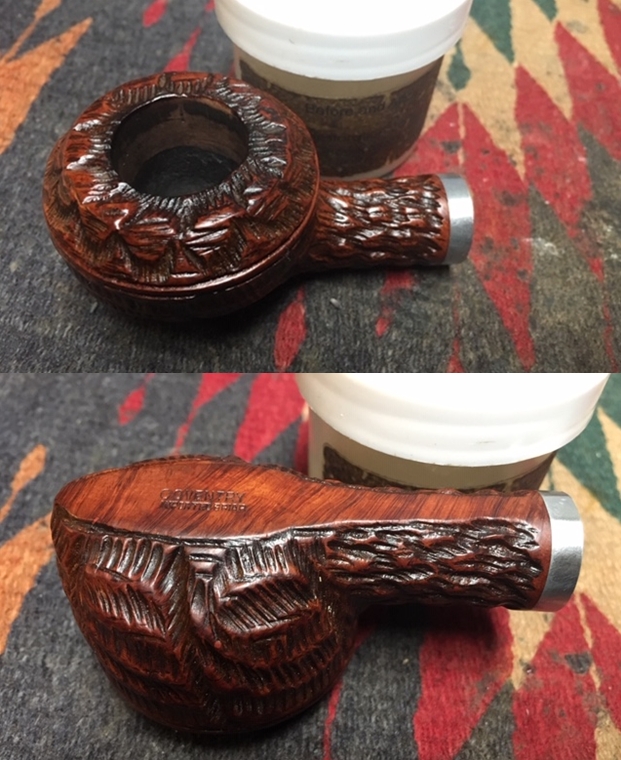
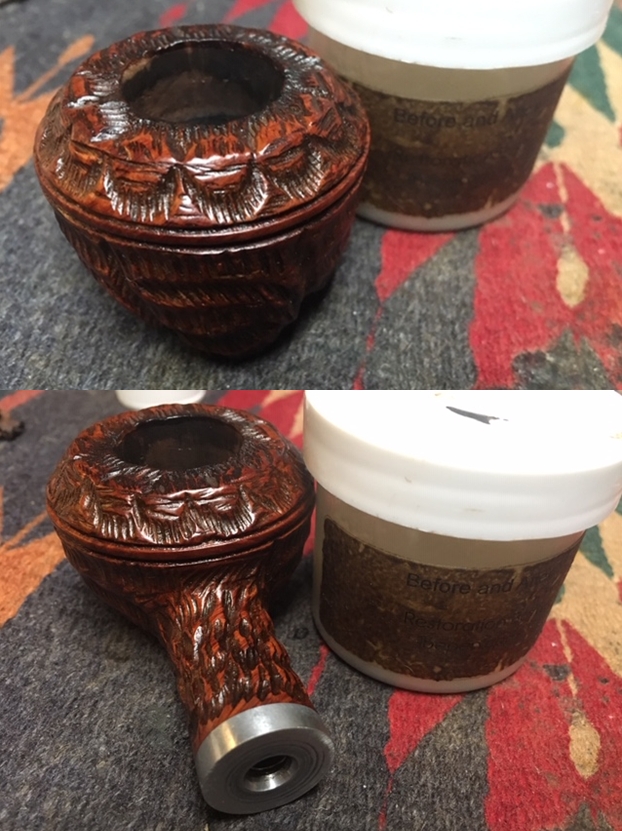
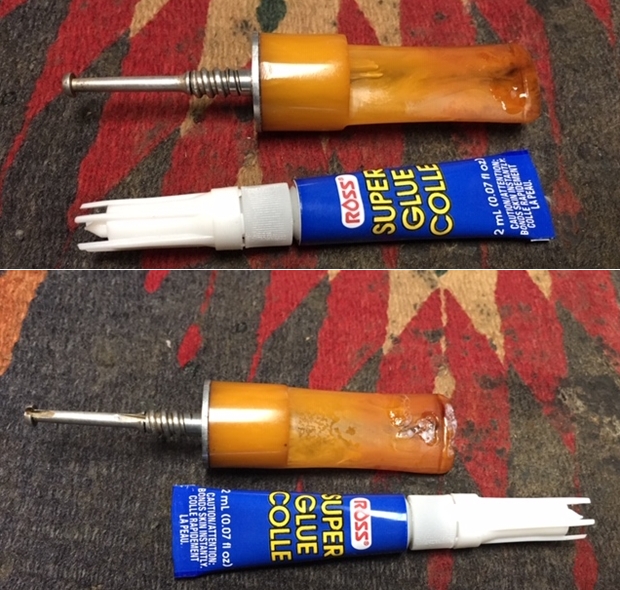
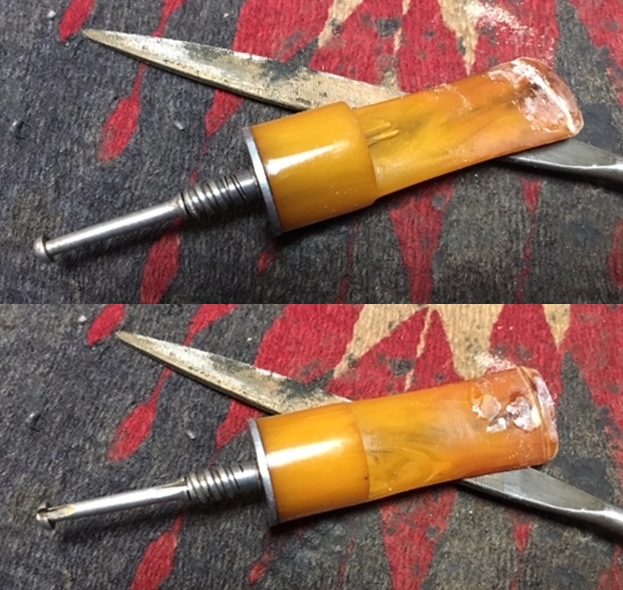
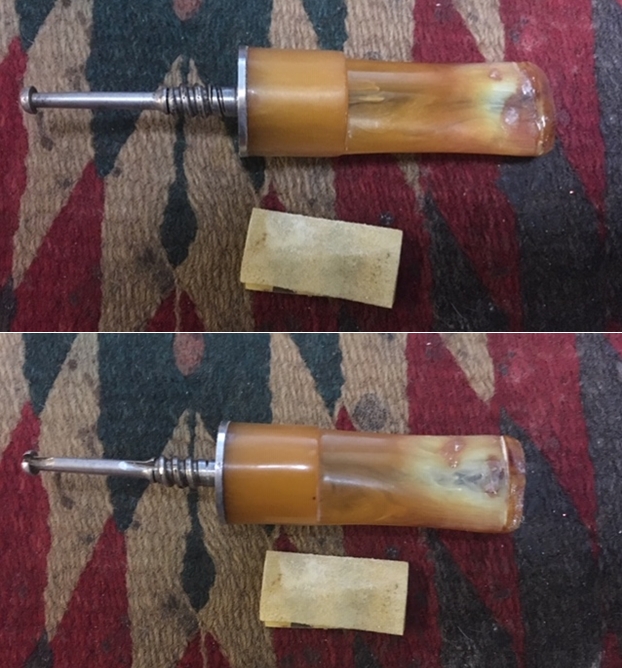
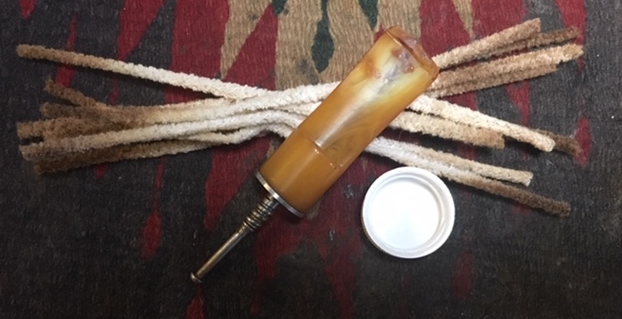
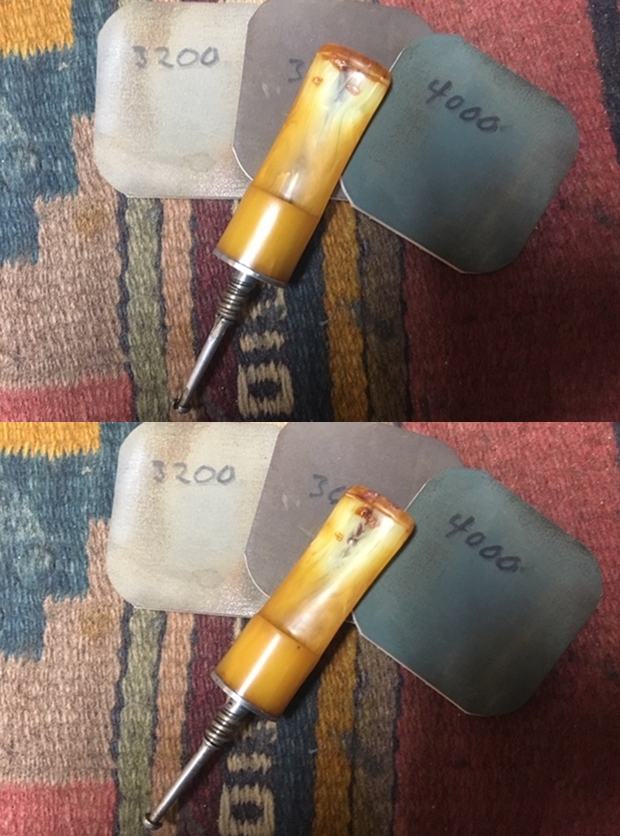
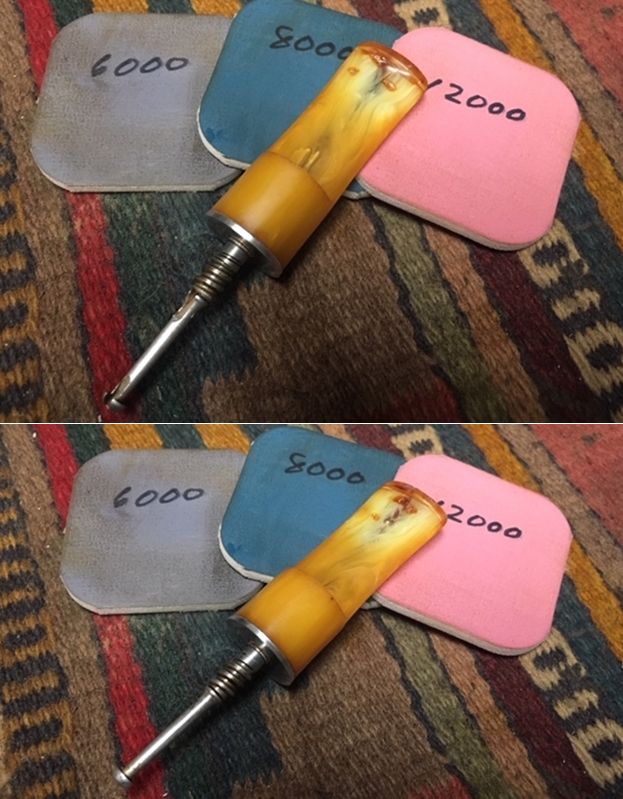
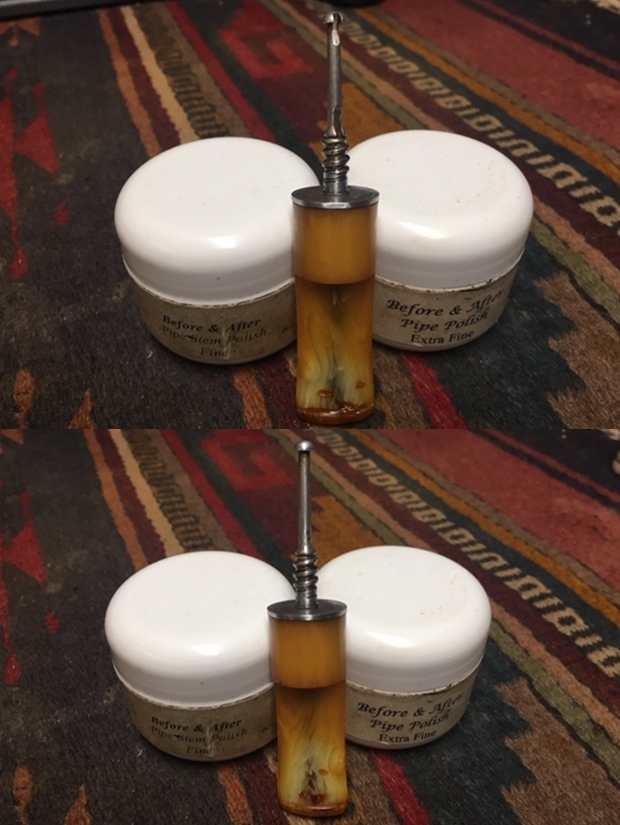
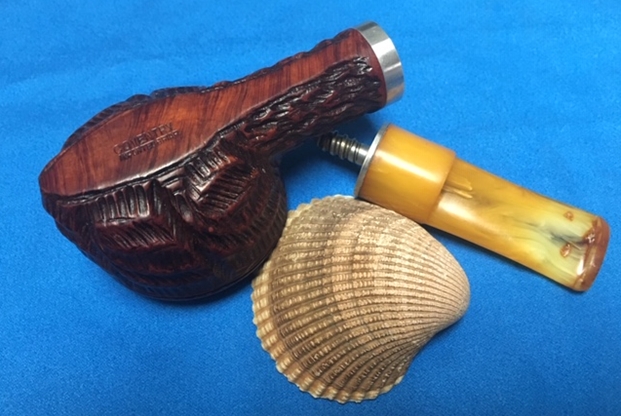
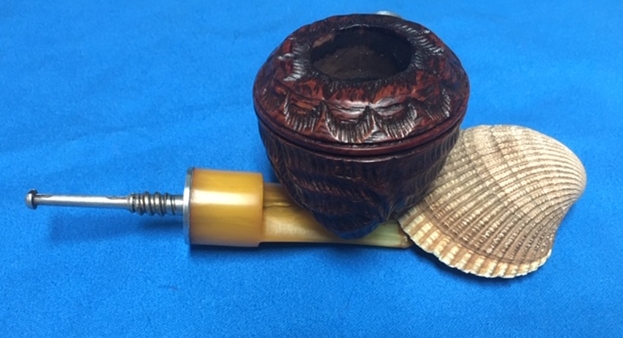
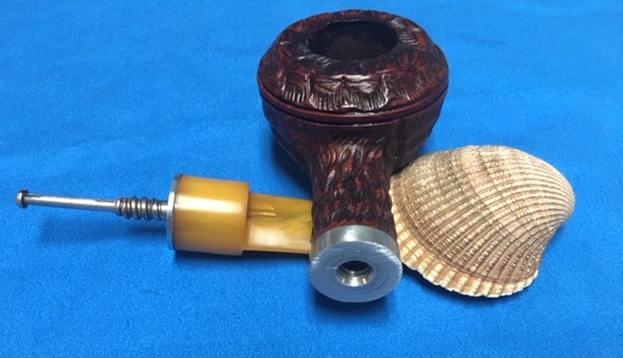
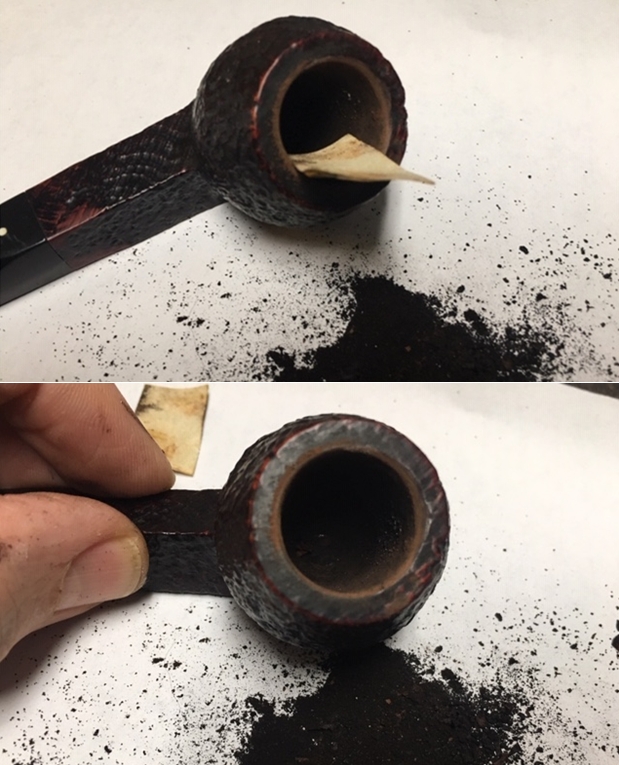
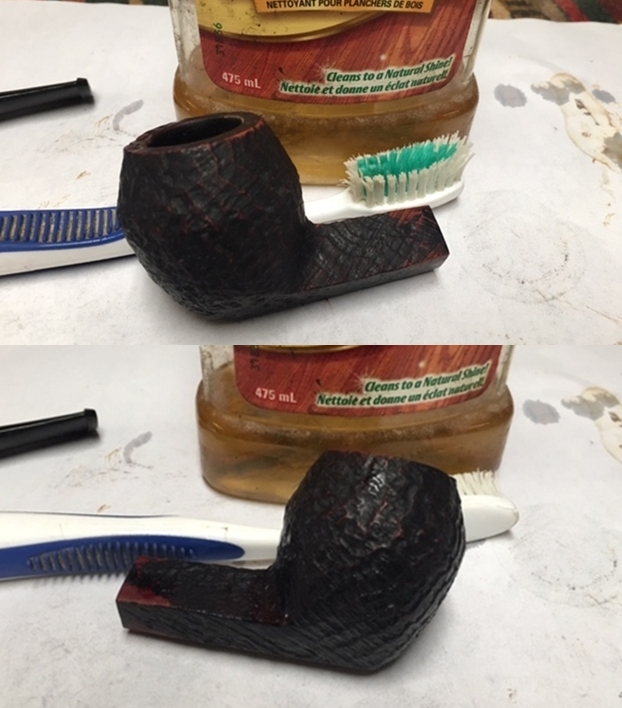
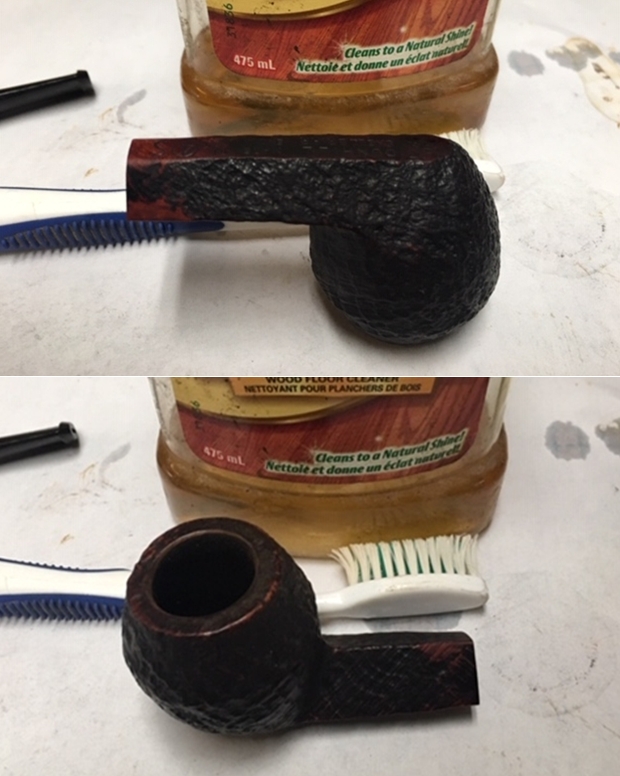
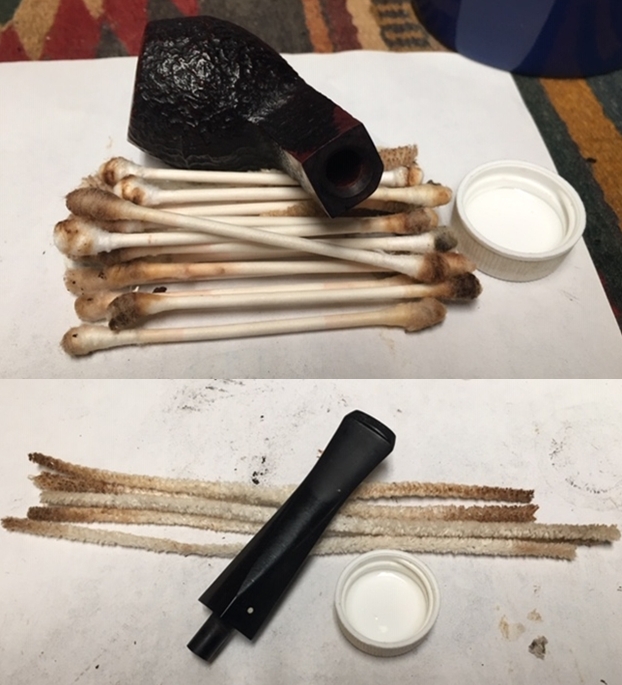
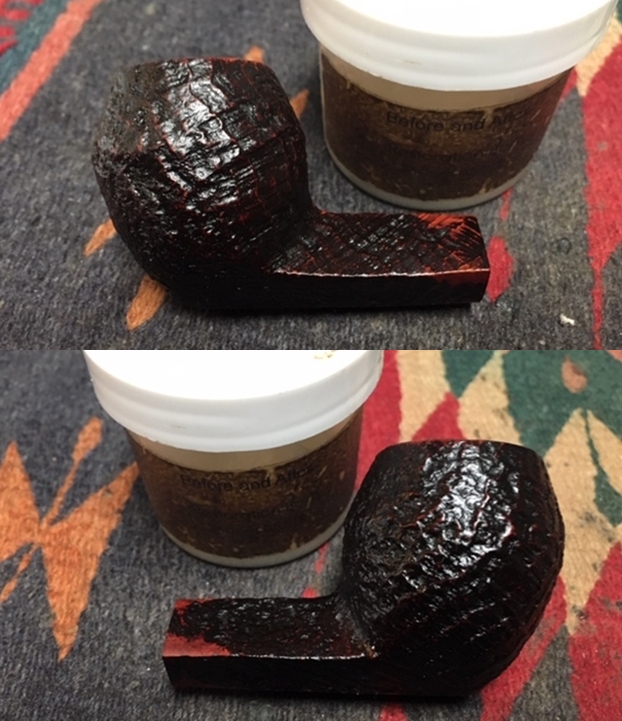
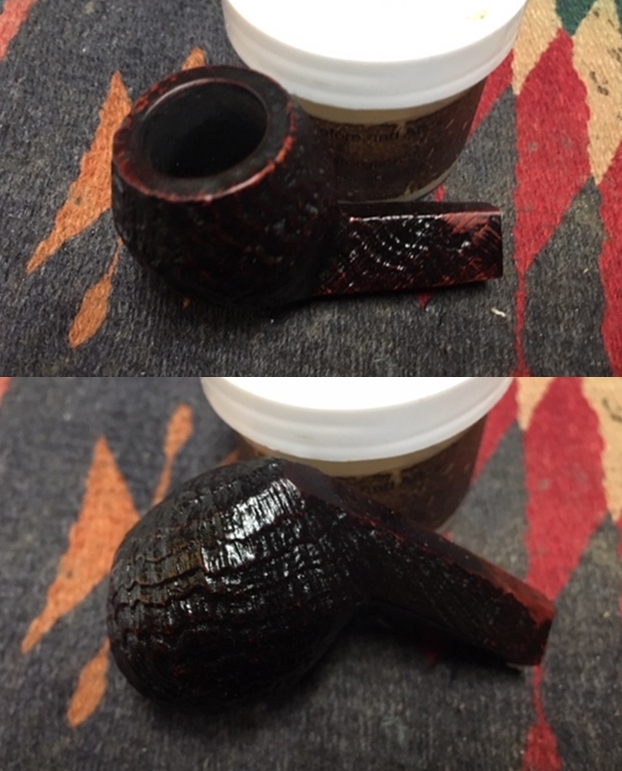
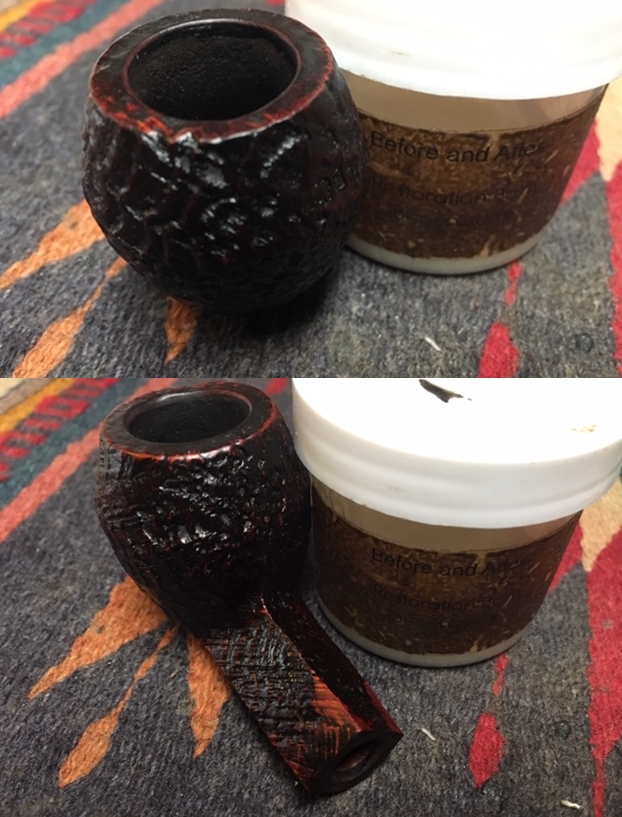
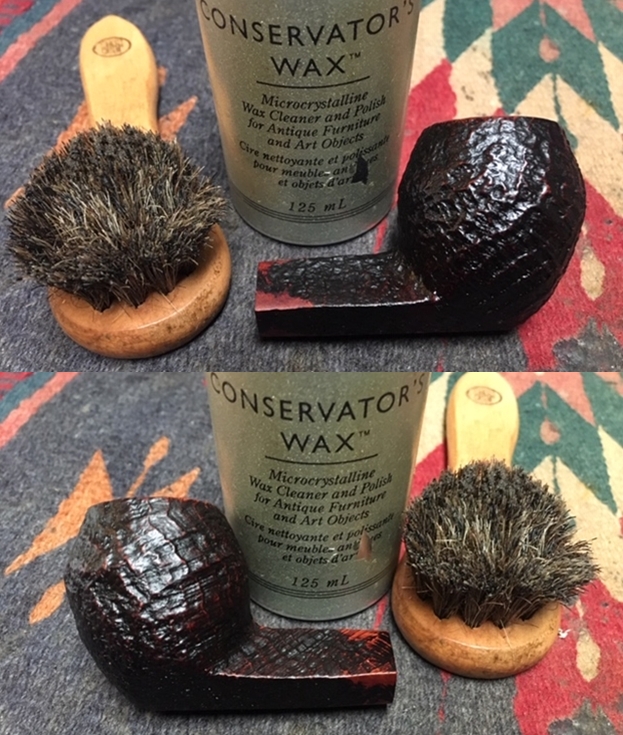
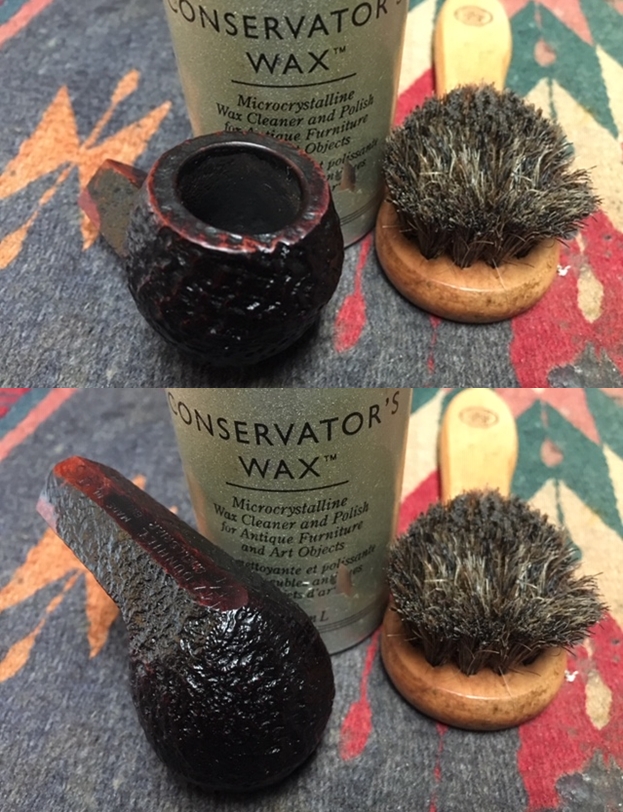
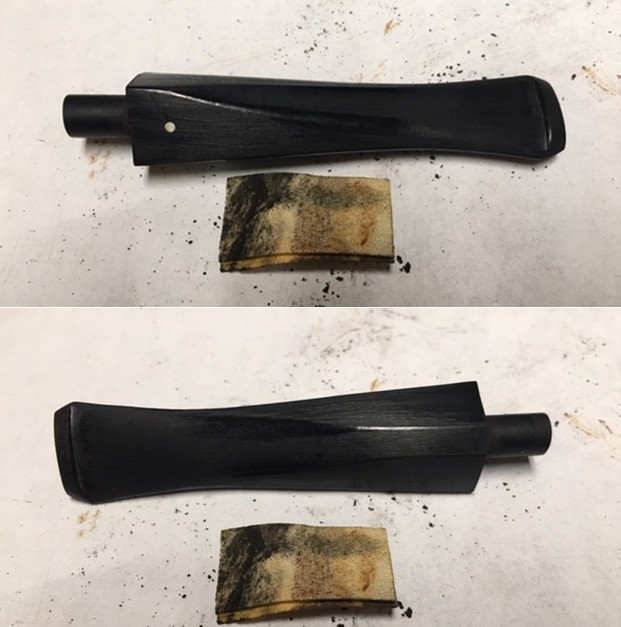
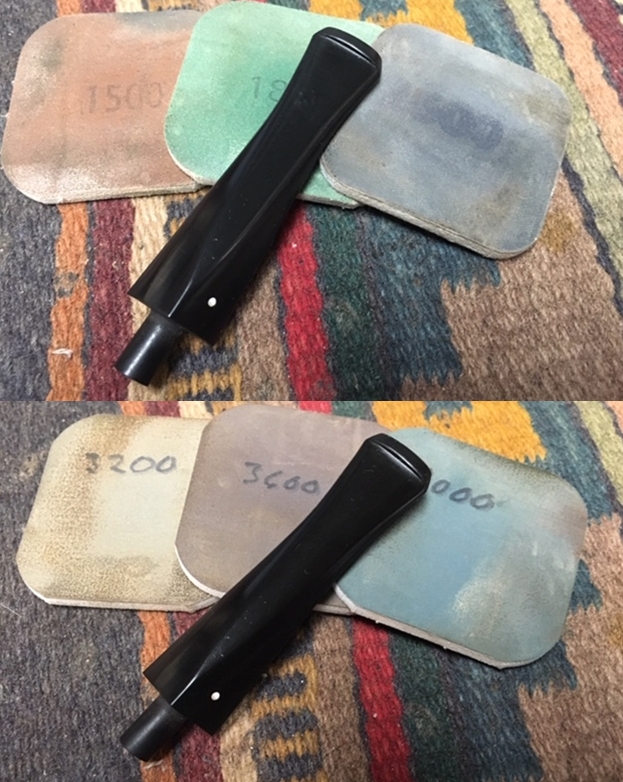
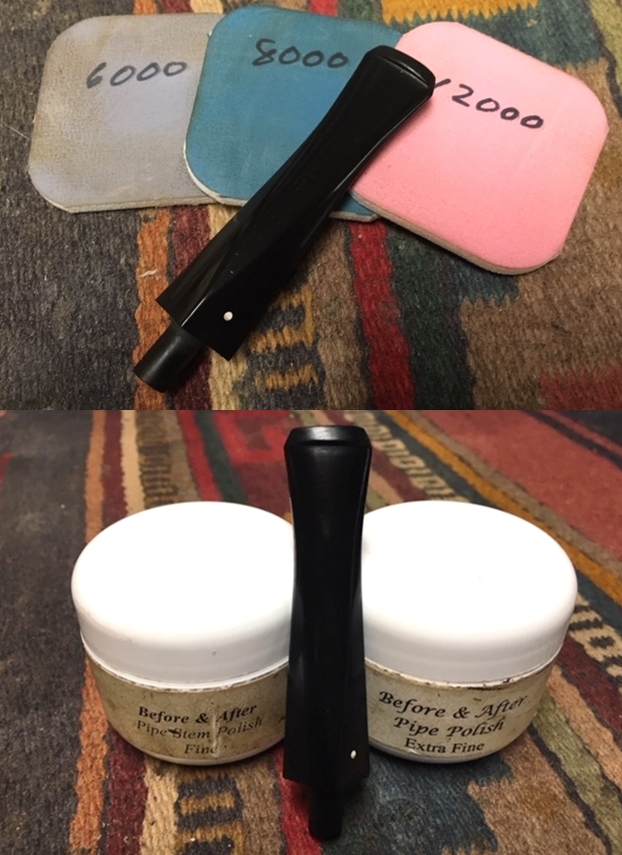
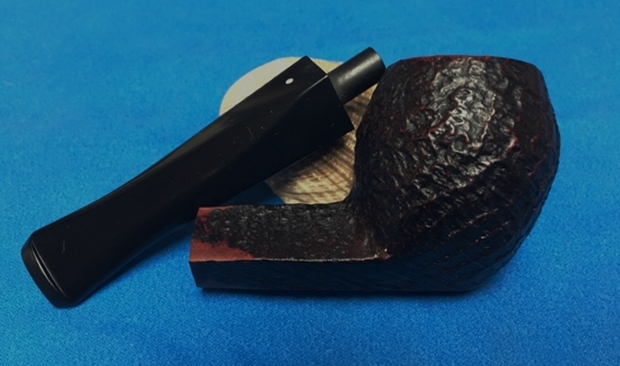
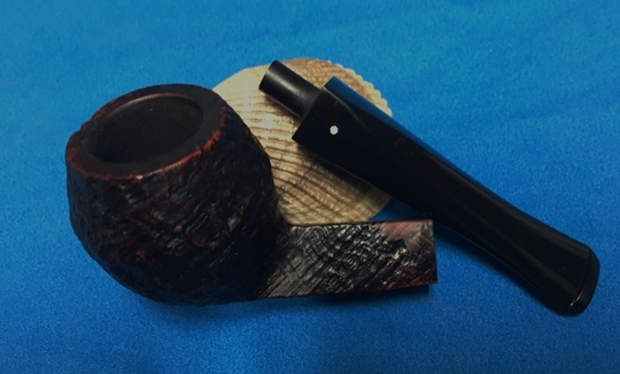
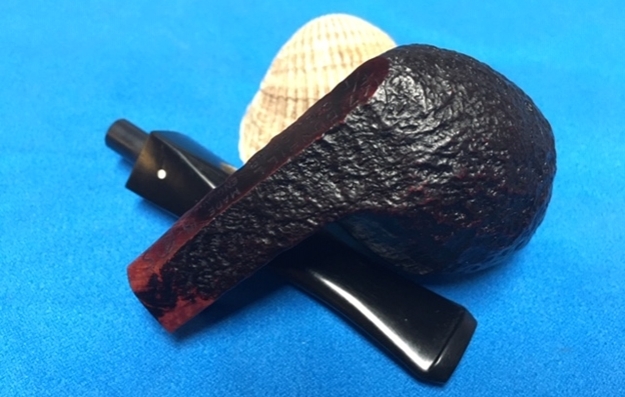
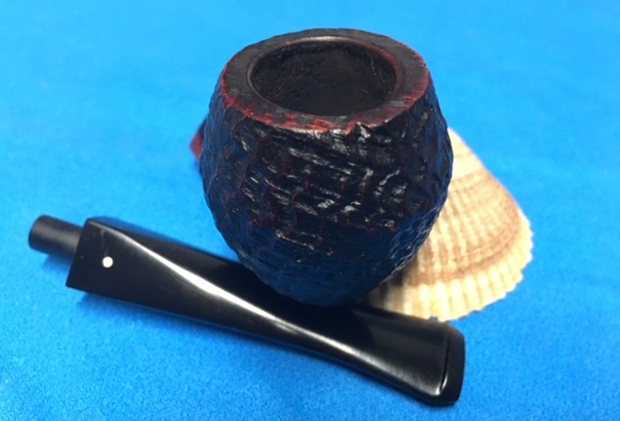
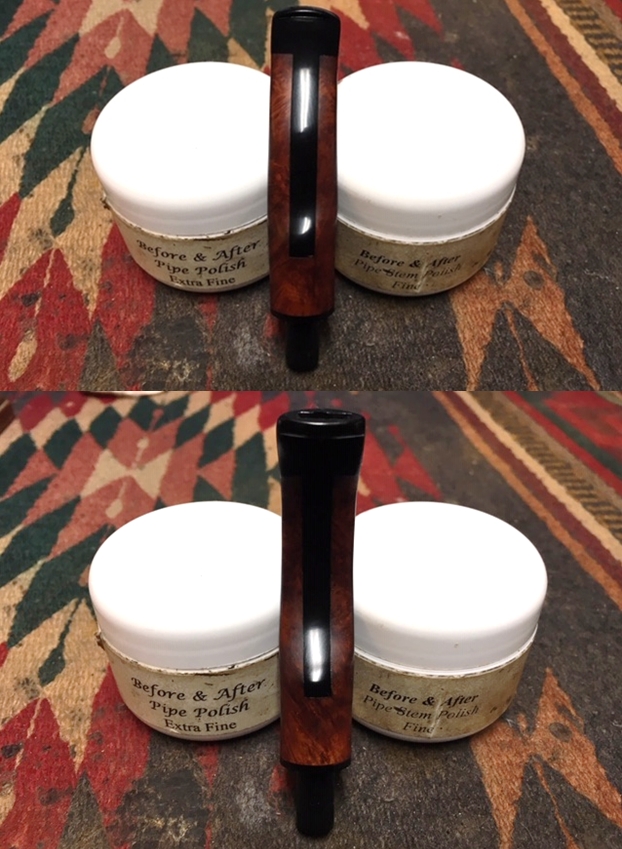
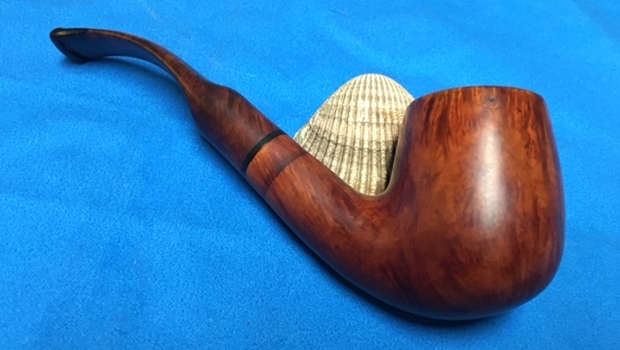
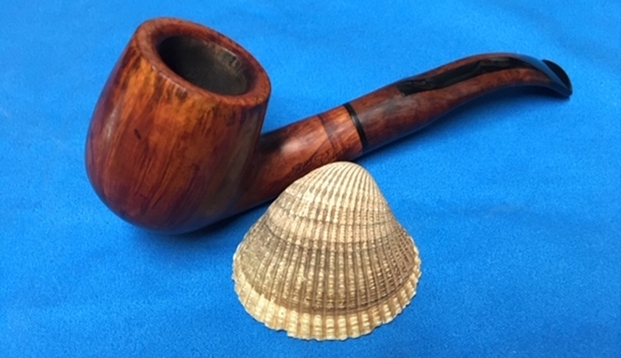
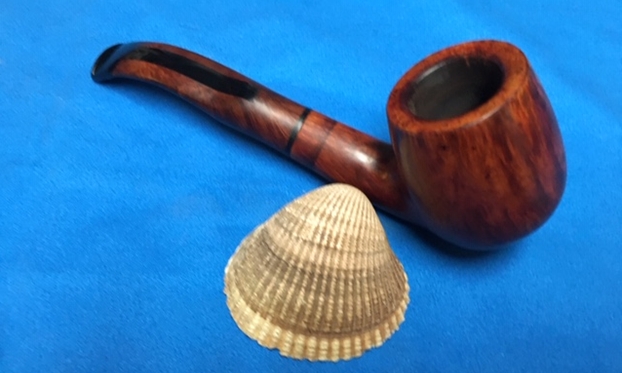
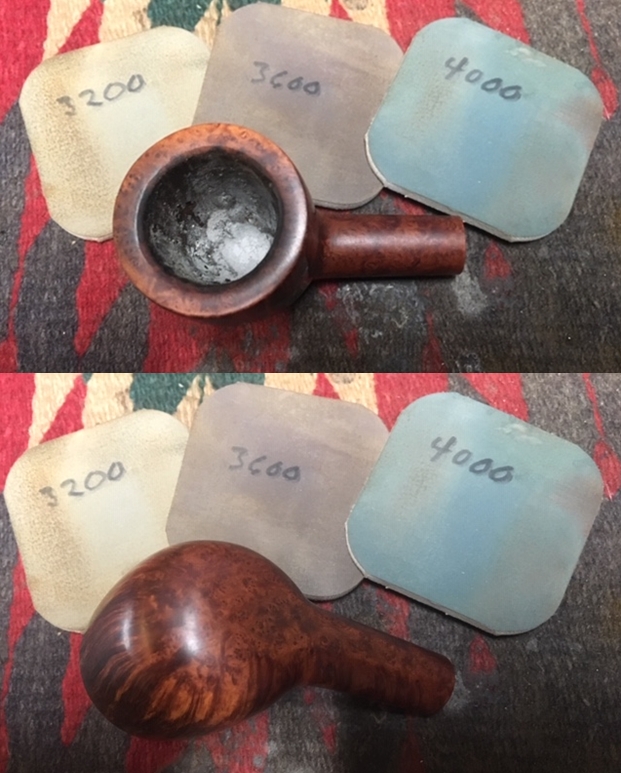
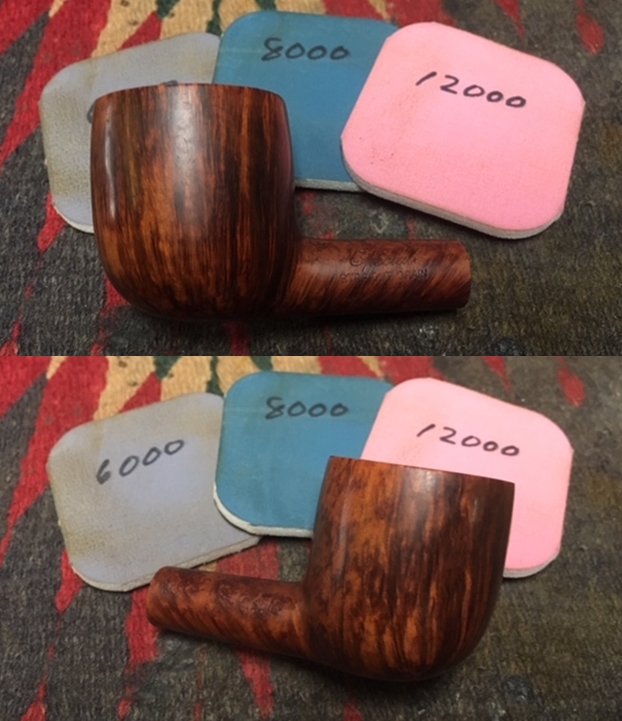
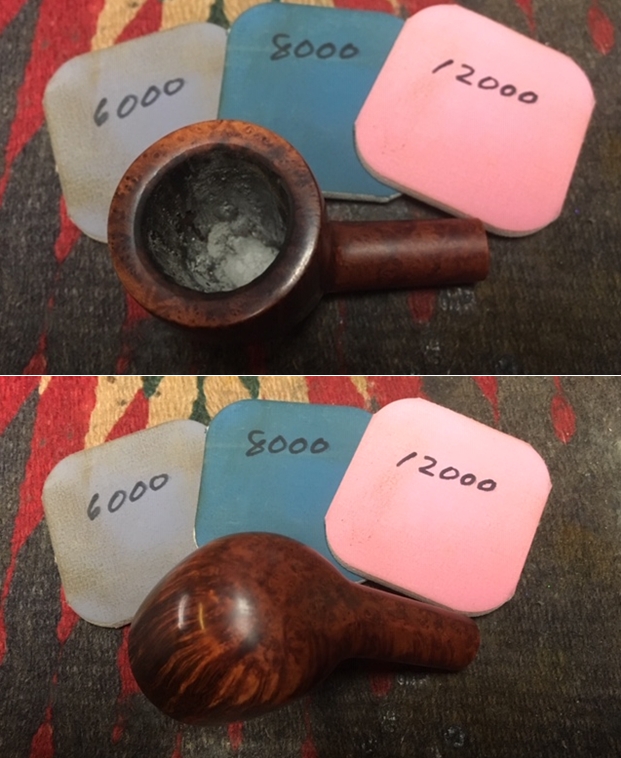
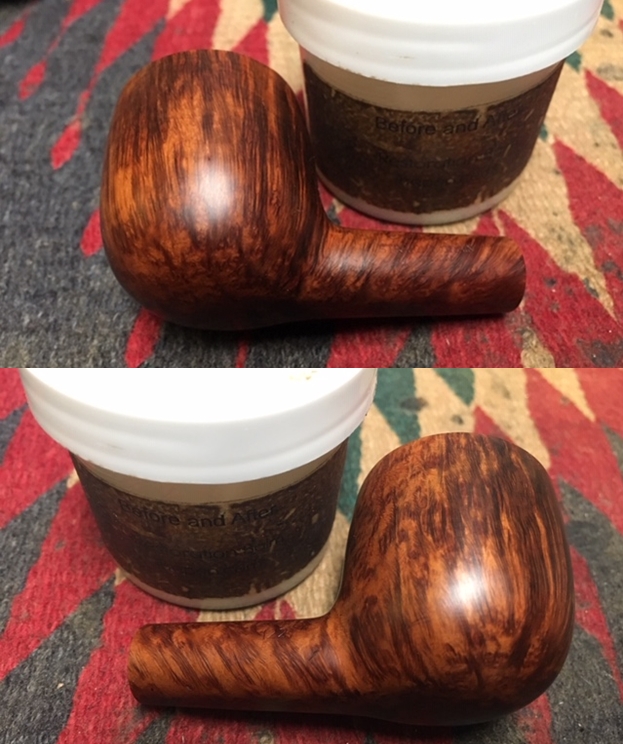
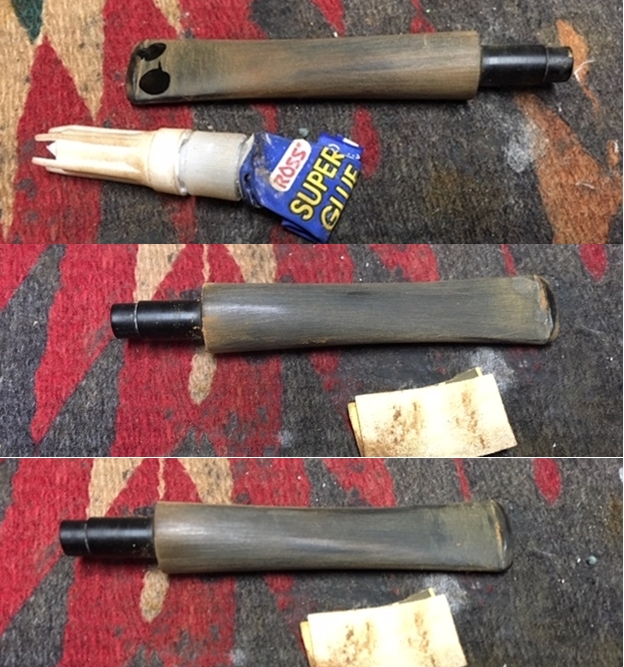
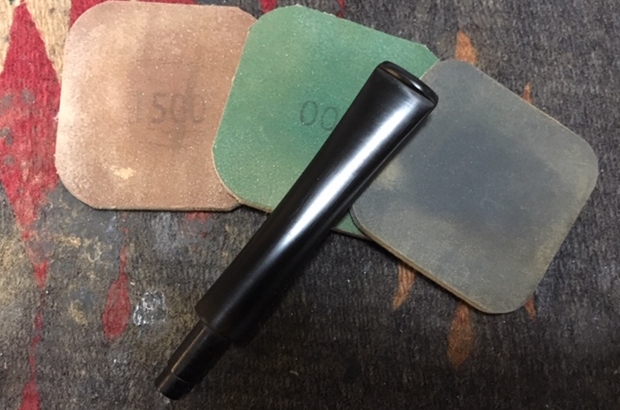
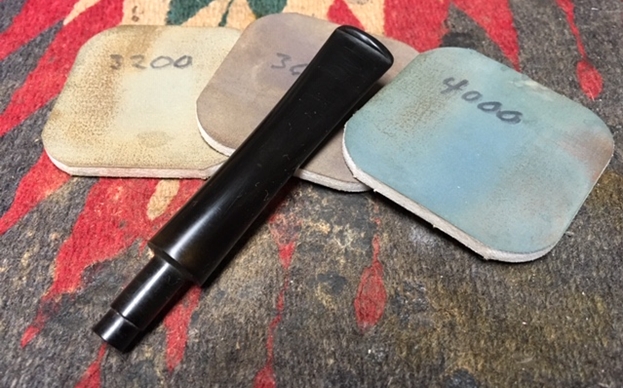
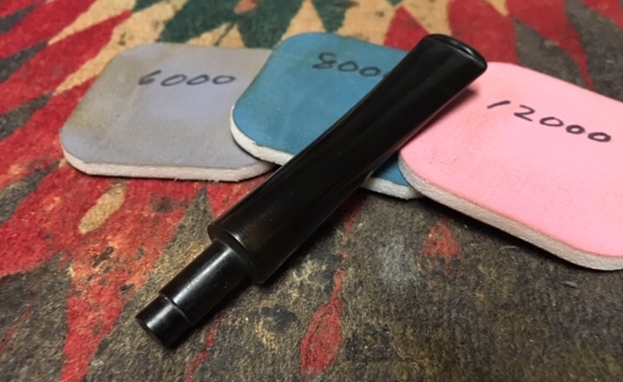
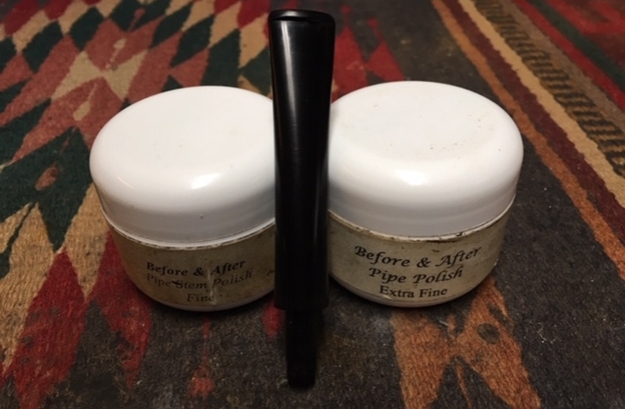
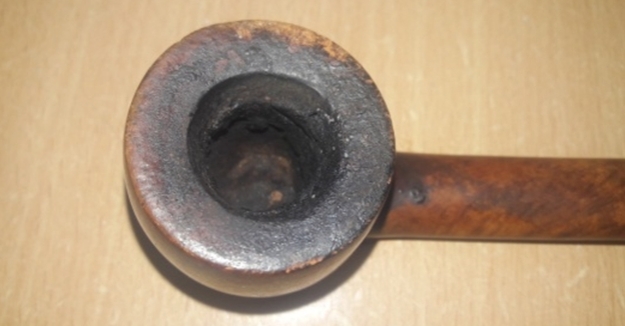
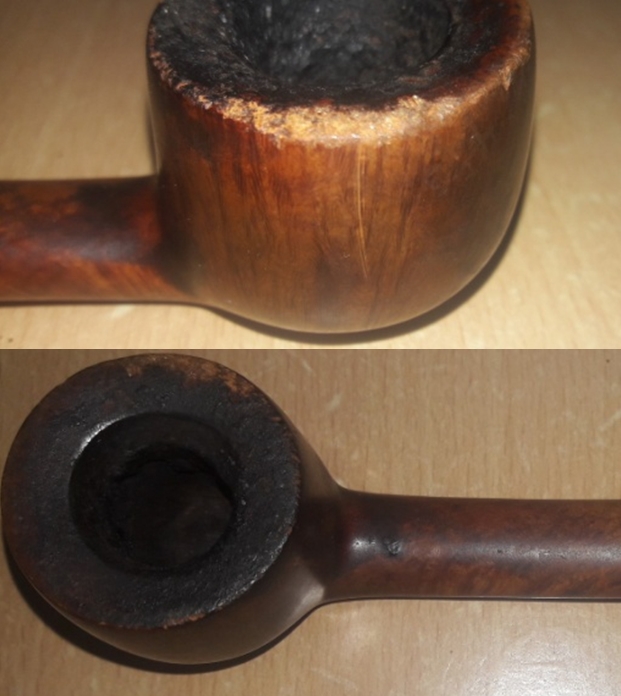
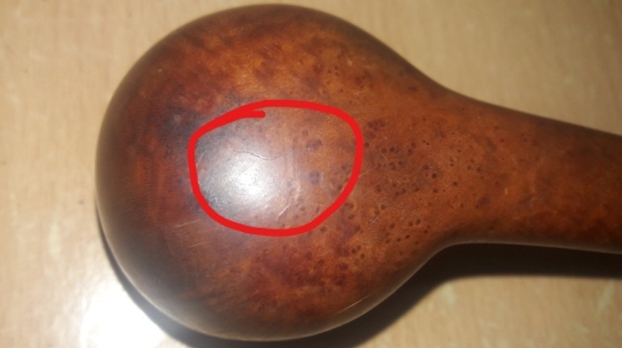
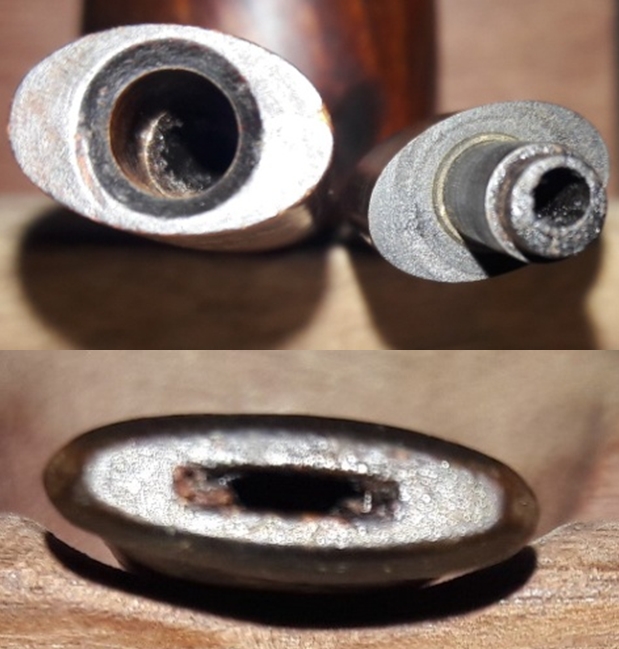
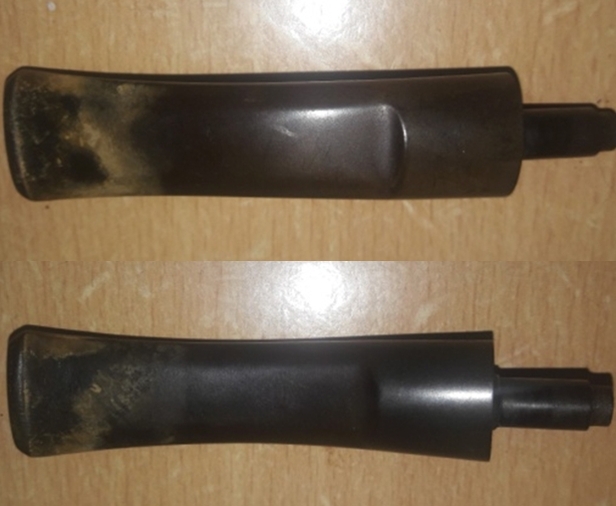
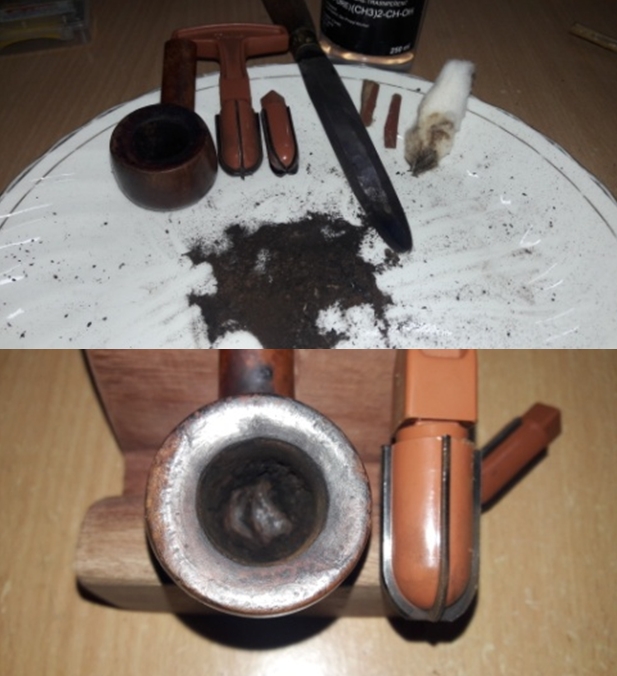
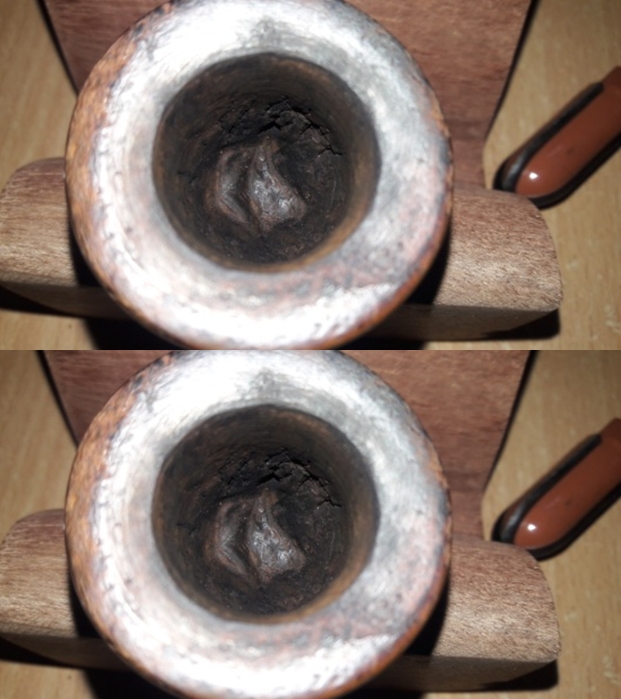
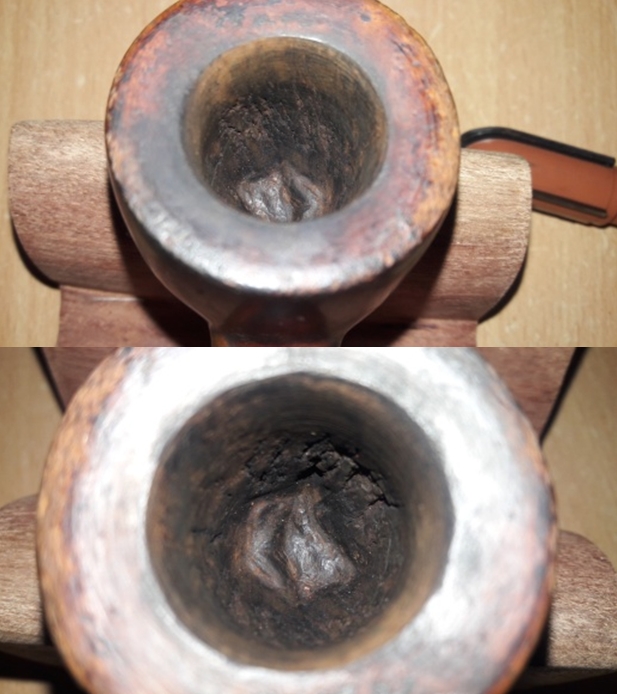
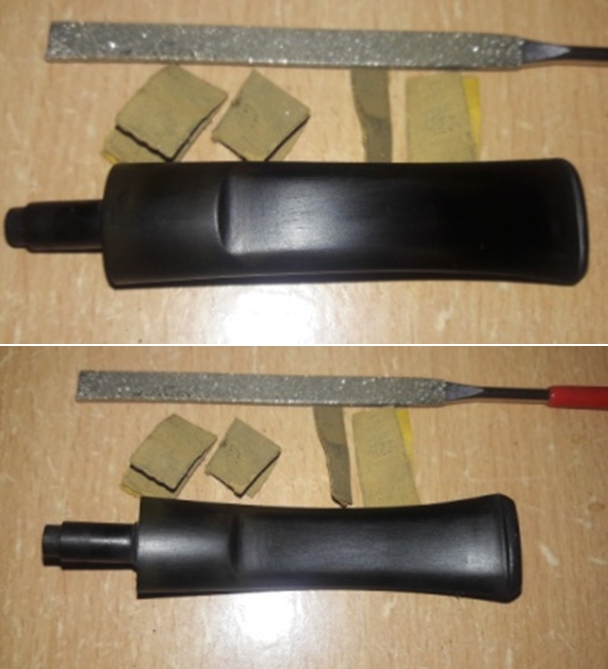
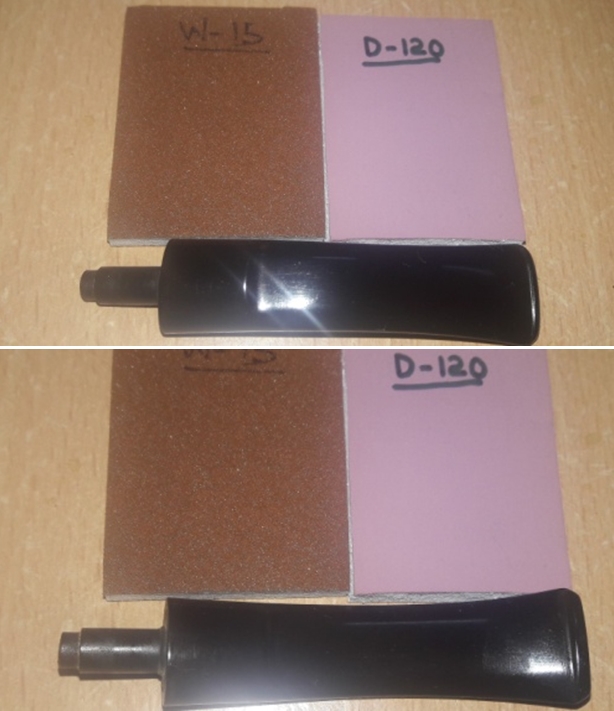
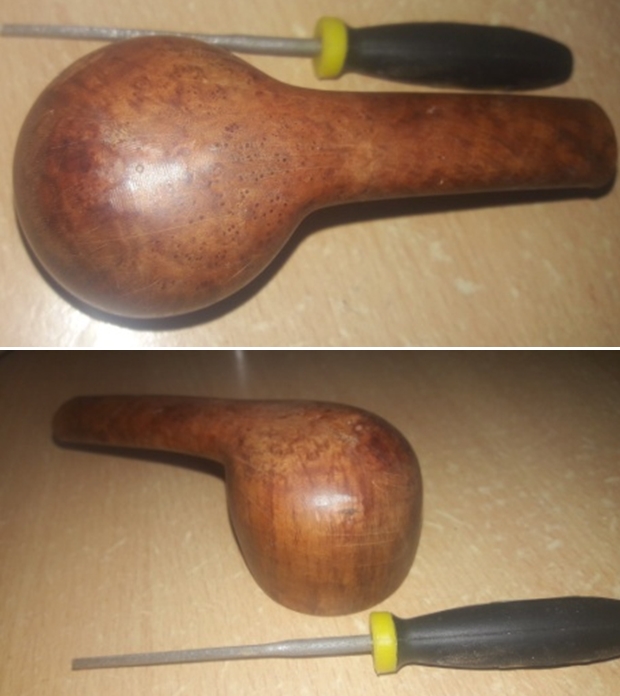
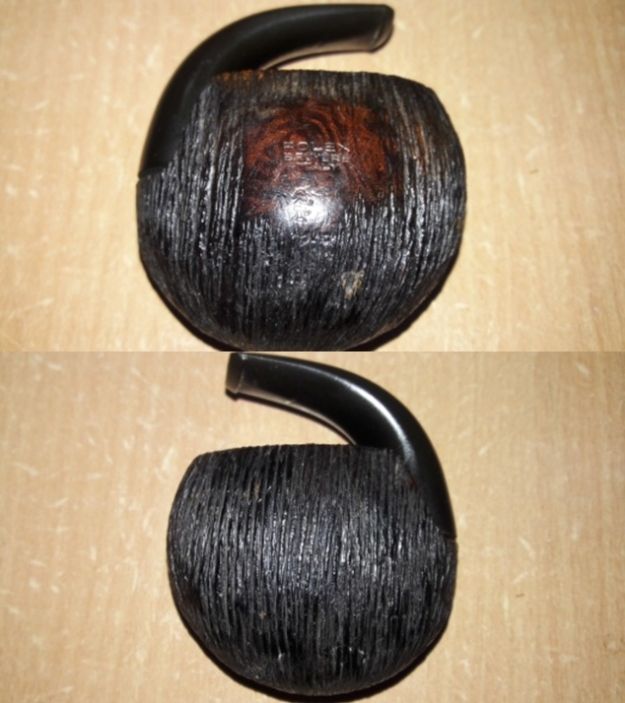
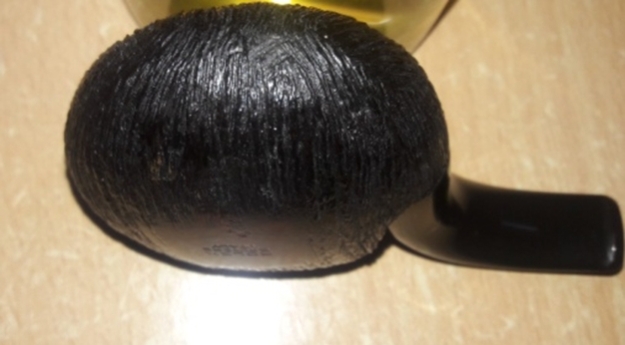
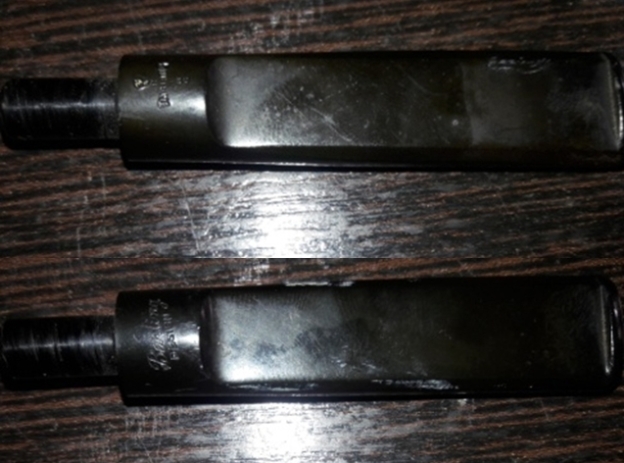
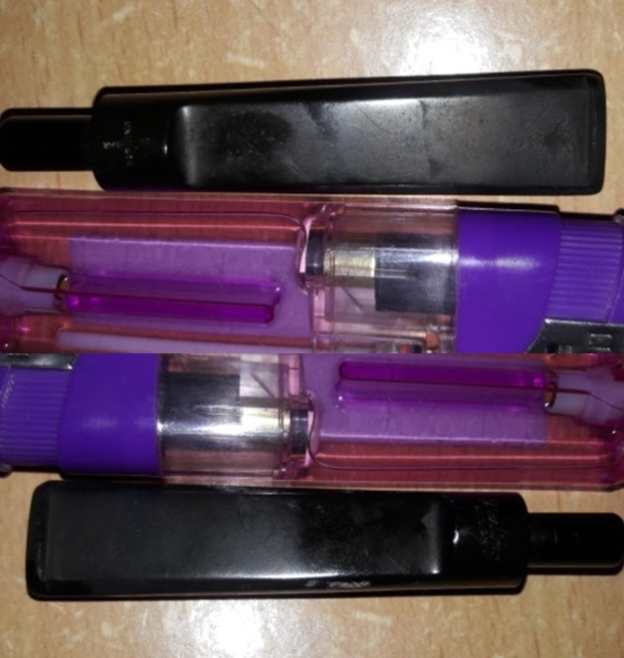
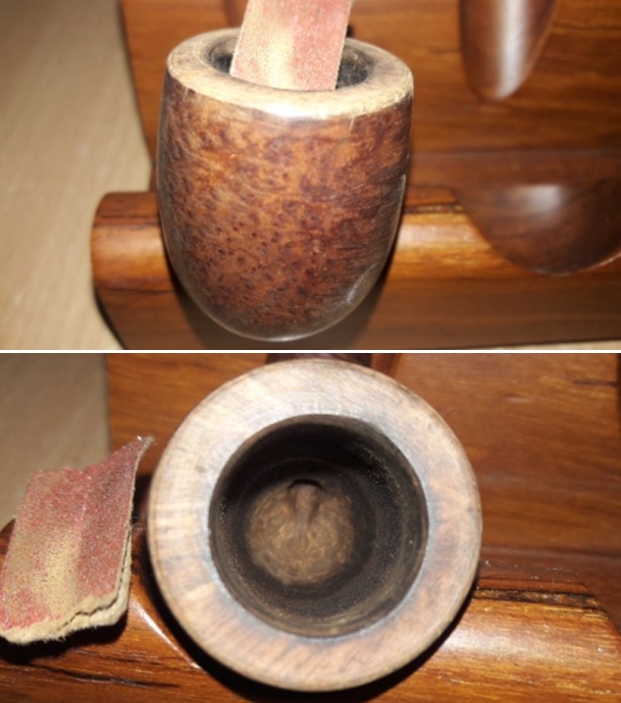
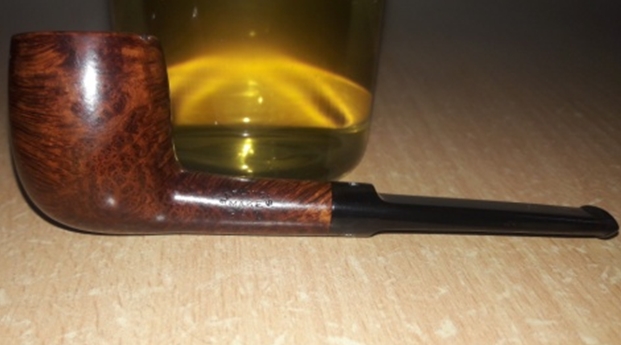
My brother Jeff picked up this Coventry pipe off eBay from Bradenton, FL. in January 2017. It is an interestingly shaped pipe and the rustication is quite unique. The rustication is dirty but in good condition. There is dust and debris in the grooves and valleys of the briar. The aluminum band is split with 1/3 remaining on the stem and 2/3 on the shank end. It is the exterior of the threaded mortise insert. The pipe had an aftermarket windcap that was absolutely filthy with debris, rust and tobacco tars and oils. There was a thick cake in the bowl that overflowed onto the windcap. The edges of the rim were in surprisingly good condition. The acrylic saddle stem was dirty and had deep tooth marks around the button on both sides and on the surface of the button as well. Jeff took photos of the pipe before he started his clean up. He took some photos of the rim top and the exterior of the bowl to show how dirty it was. You can see the lava on the rim and the rust and tars on the windcap. There is also a thick cake visible in the bowl. You can also see the sticky buildup on the exterior of the bowl. He took a photo of the stamping on the smooth, flat heel of the bowl – it read Coventry over Imported Briar.The stem showed a lot of wear and tear. There were deep tooth marks on the button surface itself and deep gouges and tooth marks on the stem for about an inch in front of the button. The material is an old style acrylic and I have learned from experience that it does not have memory like vulcanite. The tooth marks are there permanently. I have also learned that the colour darkens with time and sanding repairs always lightens the yellow. Knowing that means that some decisions will need to be made regarding the repairs. Jeff cleaned the pipe with his usual thoroughness. He removed the windcap and cleaned it as well as the pipe. He reamed the bowl with a PipNet reamer and cleaned it up with a Savinelli Fitsall Pipe Knife. He scrubbed the exterior with Murphy’s Oil Soap and a tooth brush to clean the dust and grime out of the valleys and grooves of the rustication. He scrubbed the rim top and it looked very good with no damage to the edges. The inside of the bowl was also in great condition. He scrubbed the internals of the shank and the stem with alcohol, cotton swabs and pipe cleaners. There was a long stinger in the shank that needed to be cleaned and he did that as well. The damage on the stem was quite visible once the stem was cleaned. I took photos of the pipe when it arrived here. I took some close up photos of the rim top and the stem to show the condition. The bowl and rim were perfect. The stem needed a lot of attention.I unscrewed the stem to get a photo of the long stinger that extends almost into the bottom of the bowl.I worked some Before & After Restoration Balm into the briar on the bowl and the rim top. I worked it into the surface with my fingertips to clean, enliven and protect the wood. I let the balm sit for about 20 minutes and buffed it off with a soft cotton cloth. I took photos of the pipe at this point in the process to show what the bowl looked like at this point. I set the bowl aside at this point and turned my attention to the stem. These early Bakelite/acrylic/plastic stems are really a pain and I do not relish repairing them. I have found that when they have been repaired and polished the stem loses the rich colour around the repairs. This one had been gnawed and there were deep tooth marks on the stem and button as well as several gouges in the surface of the stem. I cleaned the surface of the stem and filled in the marks with clear super glue. I rebuilt the top of the button and the edge. Once the repair cured I recut the edge of the button and flattened out the repairs with a flat needle file. It was still a mess but the bite marks and damage were no longer present.It is at this point that the issues always arise on these stems – sanding the repair smooth. When I blended the repair into the surface of the stem the area around the repair lightens significantly. It is ugly to my eye but I am willing to let it be because it improves the integrity of the stem.I cleaned out the dust in the airway in the stem and also some of the residual tars that are hard to get out of a pipe with the metal stinger apparatus like this one. I used pipe cleaners and alcohol and worked until the cleaners came out white.Now it was time to polish out the repairs and make the most of what looked rough. I polished the stem with micromesh sanding pads to remove the scratching left behind by the 220 grit sandpaper and give the briar and the acrylic a shine. I wet sanded with 1500-2400 grit pads and dry sanded with 3200-12000 grit pads. I wiped the stem down with a damp cloth after each pad. I gave it a final polish with Before & After Pipe Polish – both Fine and Extra Fine. Then gave it a final coat of Obsidian Oil. When I was finished the stem looked better than it did when I started. I still need to figure out how to keep the yellow from changing but oh well it is clean and sound. The photos tell the story. I put the bowl and stem back together. I polished the bowl and stem with Blue Diamond to polish out the scratches in the briar and acrylic. I gave the bowl several coats of Conservator’s Wax and the stem multiple coats of carnauba wax. I buffed the pipe with a clean buffing pad to raise the shine. I hand buffed it with a microfiber cloth to deepen the shine. The pipe polished up pretty nicely. The contrast of colours between the briar bowl and the yellow/gold acrylic stem really looked good in spite of the repairs. The Coventry Bullmoose looked really good and has a unique shape and finish that catches the eye. The finished pipe is shown in the photos below. The dimensions of the pipe are Length: 5 1/2 inches, Height: 1 ½ inches, Outside diameter of the bowl: 2 inches, Chamber diameter: 7/8 of an inch. This one will soon be on the rebornpipes store if you are interested in adding it to your collection. Thanks for reading this while I worked on it. It was interesting and unusual piece to restore and I really enjoyed the work.

Restoring the 1st Pipe from Bob Kerr’s Estate – A Dunhill Shell 147 FT Bulldog


Blog by Steve Laug

I am finally getting around to working on Bob Kerr’s Estate. His son-in-law, Brian contacted me a few months ago saying that the family needed to clean out the estate as they were getting the family home ready to move. He asked if I would be interested in restoring and selling the pipes for them. He brought what originally he said was a few pipes over to show me. When I opened the door Brian was there with a few flats of pipes. There were Dunhills, Petersons, Comoy’s Barlings and a lot of other pipes – a total of 125 pipes and a box of parts. That is the largest estate I had seen. I put together a spread sheet of the pipes and stampings to create an invoice. I was taking on what would take me a fair amount of time to clean up. I could not pass up the opportunity to work on these pipes though. They were just too tempting.

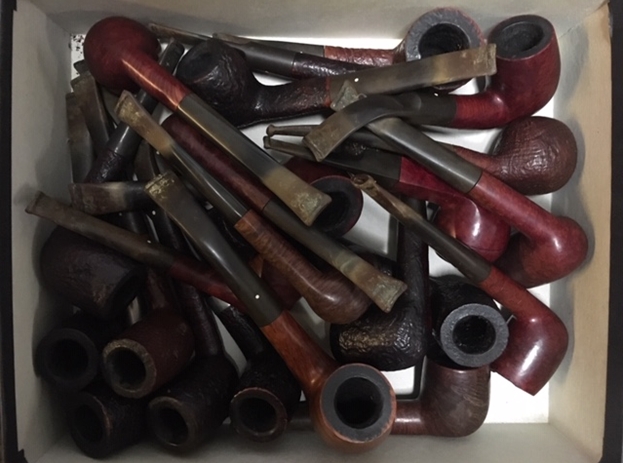
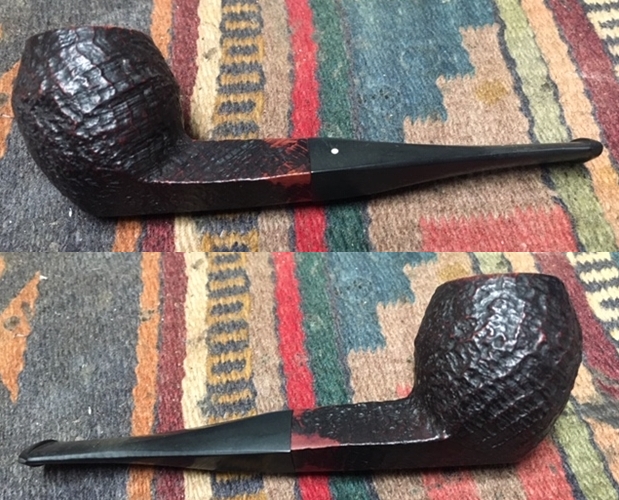
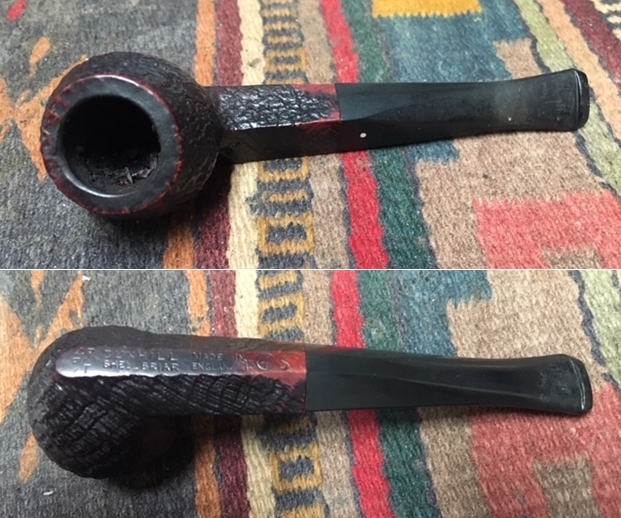
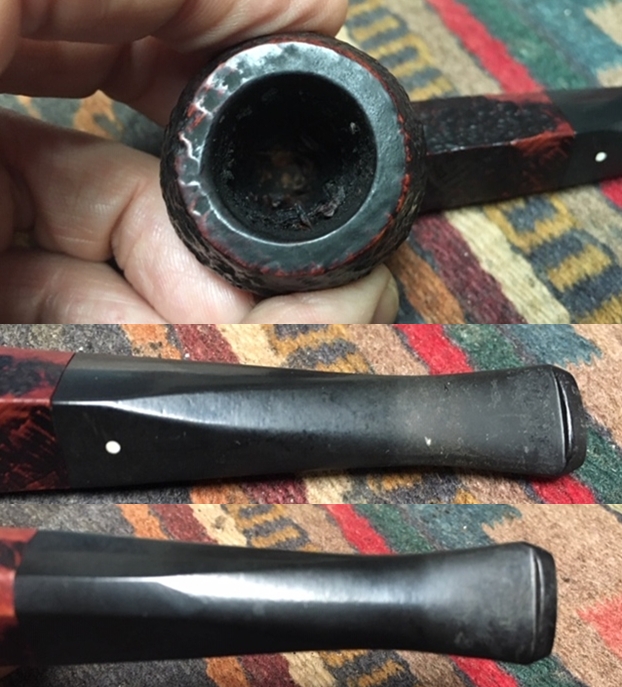
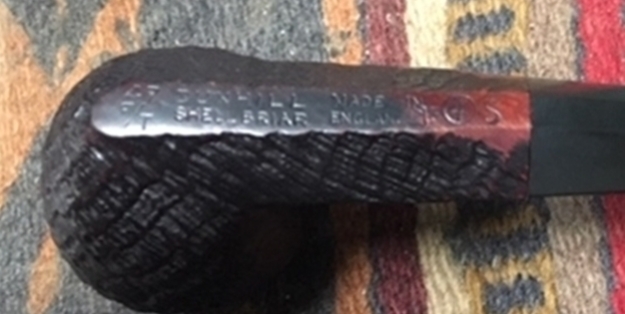
I sorted the pipes into groups of the various brands and had a box of 25 different Dunhill pipes in different shapes, styles and sizes. I decided to work on the Dunhills first. It was a great chance to see the shape variety up close and personal. The photo below shows the box of Dunhill pipes.I went through the box and chose to work on a little sandblast straight shank bulldog. It is stamped on the flat panel on the underside of the bowl and shank as follows. 147F/T Dunhill over Shell Briar. Next to that it read Made in England 12/13 followed by Circle 4S. The pipe was a shape 147 Bulldog with a fish tail stem (F/T). The finish was a sandblast that Dunhill named a Shell Briar. It was a Group 4 size that was made in 1963 and sold in 1964. The finish was dirty with an overflow of the cake onto the rim top. There was still tobacco in the bowl that was stuck in the cake on the walls. The inner edge of the bowl showed a little damage toward the front. The stem was lightly oxidized and had tooth marks and chatter near the button and on the button itself. Overall the pipe would take some work but it was a beauty with solid bones. I took pictures of the pipe before I started working on it. I took some close up photos of the rim top and stem to show what I was dealing with. You can see the cake and tobacco in the bowl. It looks like Bob Kerr had laid down the pipe after just finishing a bowl with the intention of picking it up and continuing later. The rim top shows the buildup of lava particularly on the back edge. You can also see the damage at the front of the bowl on the inner edge of the rim. The stem was dirty, lightly oxidized and had a lot of tooth chatter on the top and underside for about an inch ahead of the button. The button surface was also marked with tooth chatter.I took a photo of the stamping on the underside of the bowl and shank. It should be easier to read once I get it cleaned up a bit.If you have followed the blog for long then you will not be surprised when I include information on the pipeman whose pipes I am restoring. For me, when I am working on an estate I really like to have a sense of the person who held the pipes in trust before I worked on them. It gives me another dimension of the restoration work. I asked Brian if he or his wife would like to write a brief biographical tribute to her father, Bob. His daughter worked on it and I received the following short write up on him and some pictures to go along with the words. Thank you Brian and tell your wife thank you as well.

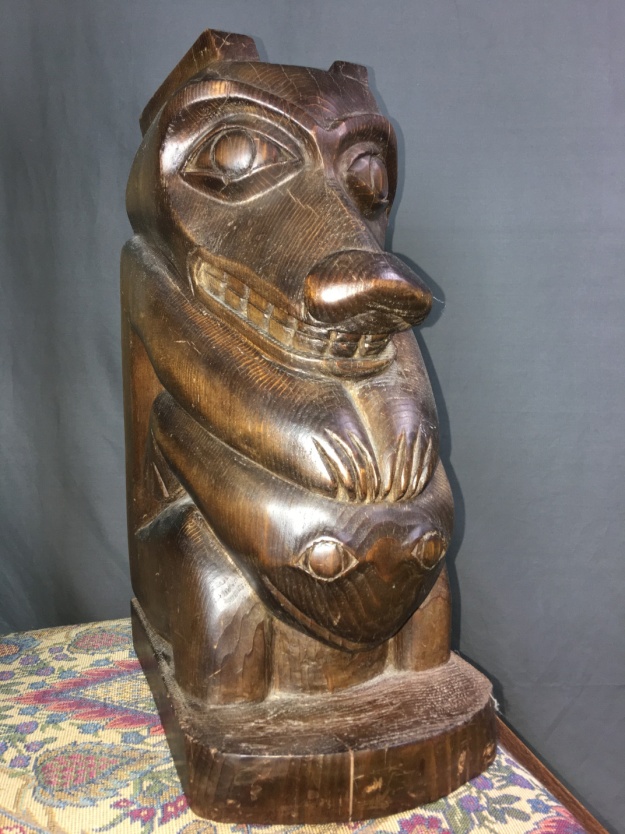
I am delighted to pass on these beloved pipes of my father’s. I hope each user gets many hours of contemplative pleasure as he did. I remember the aroma of tobacco in the rec room, as he put up his feet on his lazy boy. He’d be first at the paper then, no one could touch it before him. Maybe there would be a movie on with an actor smoking a pipe. He would have very definite opinions on whether the performer was a ‘real’ smoker or not, a distinction which I could never see but it would be very clear to him. He worked by day as a sales manager of a paper products company, a job he hated. What he longed for was the life of an artist, so on the weekends and sometimes mid-week evenings he would journey to his workshop and come out with wood sculptures, all of which he declared as crap but every one of them treasured by my sister and myself. Enjoy the pipes, and maybe a little of his creative spirit will enter you!

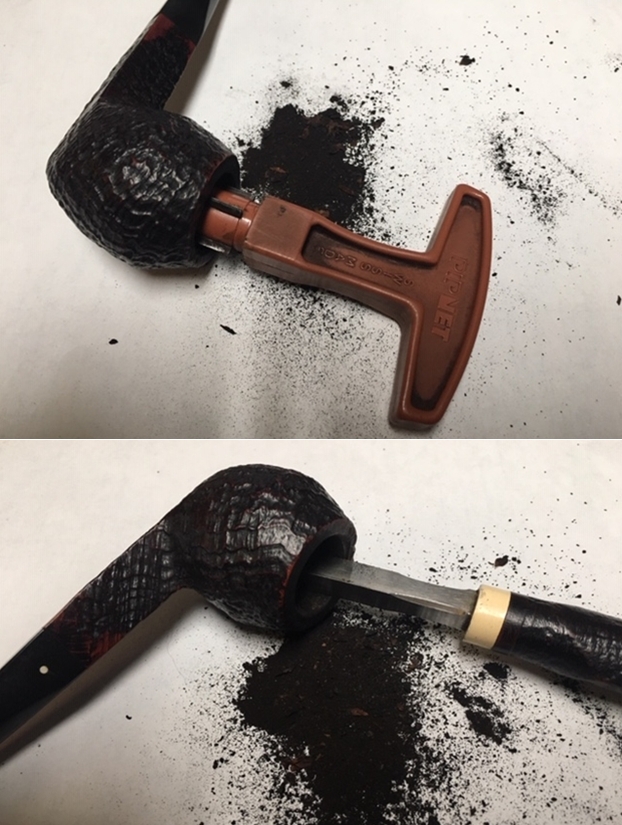
I have included one of Bob’s wood carvings to give you an idea of what he daughter wrote about above. You can see his artistry in the carving that is patterned after British Columbia’s Coastal First Nations people. To me this is a sea otter but perhaps a reader may enlighten us.Now I had a sense of Bob’s spirit as I turned to work on the first of his pipes. I reamed the bowl to remove the cake on the walls and the debris of tobacco shards that still remained. I used a PipNet pipe reamer to start the process. I followed that with a Savinelli Fitsall Pipe Knife to clean up the remaining cake in the conical bottom of the bowl. I sanded the bowl with 220 grit sandpaper wrapped around a piece of dowel. It smooths out the walls and also helps bring the inner edges back to round. With the bowl cleaned it was time to work on the inner edge of the rim. I used a folded piece of 220 grit sandpaper to smooth out the damaged area and give the edge a slight bevel to bring the bowl back to round as much as possible and remove the damage. The photos tell the story.With the bowl reamed I decided to scrub the sandblast finish. I scrubbed it with undiluted Murphy’s Oil Soap and a tooth brush to remove the grime from the grooves and canyons of the blast. I worked over the tarry lava overflow on the rim with the tooth brush and a brass brush. I rinsed the pipe under running water to remove the grime. I dried it off with a soft towel. I cleaned out the internals of the bowl, shank and the airway in the shank and the stem with alcohol, pipe cleaners and cotton swabs until they came out clean. It was very dirty in the shank and stem but it not only looks clean but smells clean now.I worked some Before & After Restoration Balm into the briar on the bowl and the rim top. I worked it into the nooks and crannies of the sandblast surface with my fingertips to clean, enliven and protect the wood. I let the balm sit for about 20 minutes and buffed it off with a soft cotton cloth and then polished it with a horsehair shoe brush. I took photos of the pipe at this point in the process to show what the bowl looked like at this point. I gave the bowl several coats of Conservator’s Wax and buffed it with a shoe brush to raise the shine. The bowl looks really good at this point. The grain just shines and the blast is showing all of the layers of colour that make up a Shell finish. With the bowl basically finished (I will buff it once the stem is finished and on the shank) I turned my attention to the stem. I sanded out the nicks and tooth chatter on the surface of the vulcanite with a folded piece of 220 grit sandpaper. I find that these older Dunhill stems are made of very high quality vulcanite and the sanding dust is black! Nice to work on. I polished out the scratches with micromesh sanding pads – wet sanding with 1500-2400 grit pads and dry sanding with 3200-12000 grit pads. I wiped the stem down after each sanding pad with Obsidian Oil. I polished it with Before & After Pipe Stem Polish – both Fine and Extra Fine. Once I had finished the polishing I gave it a final coat of oil and set it aside to dry. I put the bowl and stem back together. I polished the bowl and stem with Blue Diamond to polish out the scratches in the briar and the vulcanite. I gave the bowl multiple coats of Conservator’s Wax and the stem multiple coats of carnauba wax. I buffed the pipe with a clean buffing pad to raise the shine. I hand buffed it with a microfiber cloth to deepen the shine. The pipe polished up pretty nicely. The contrast of colours that show up in the sandblast of the Shell briar bowl looked good with the polished black vulcanite. The Dunhill Shell Bulldog 147F/T looked really good. The pipe has a unique look that catches the eye. The finished pipe is shown in the photos below. The dimensions of the pipe are Length: 5 1/2 inches, Height: 1 3/4 inches, Outside diameter of the bowl: 1 1/4 inches, Chamber diameter: 3/4 of an inch. This is the first of the many pipes that will be coming onto the work table and eventually be posted on the rebornpipes store if you are interested in adding it to your collection. Thanks for reading this while I worked on it. It was a fun pipe to restore and I am pleased with the finished pipe.

Cleaning a Second Aldo Velani Ultima 1 Straight Billiard


Blog by Steve Laug

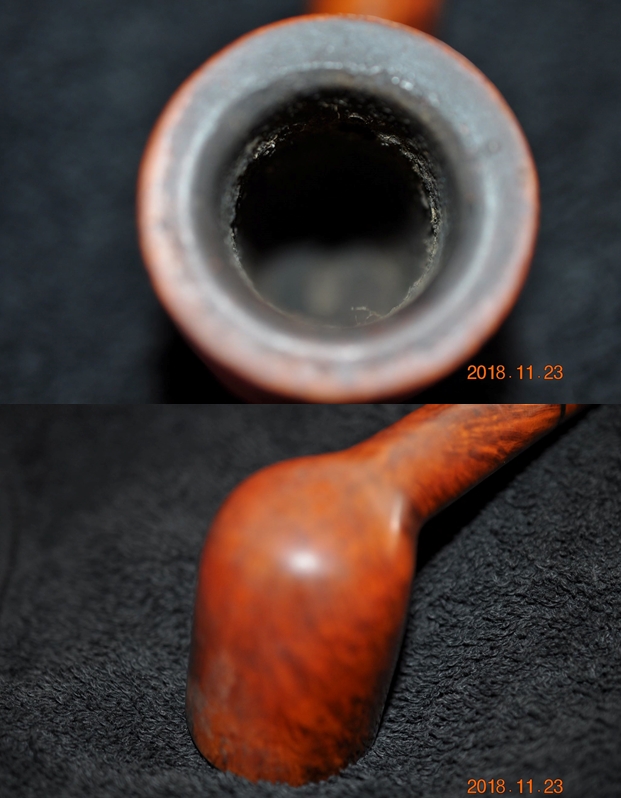
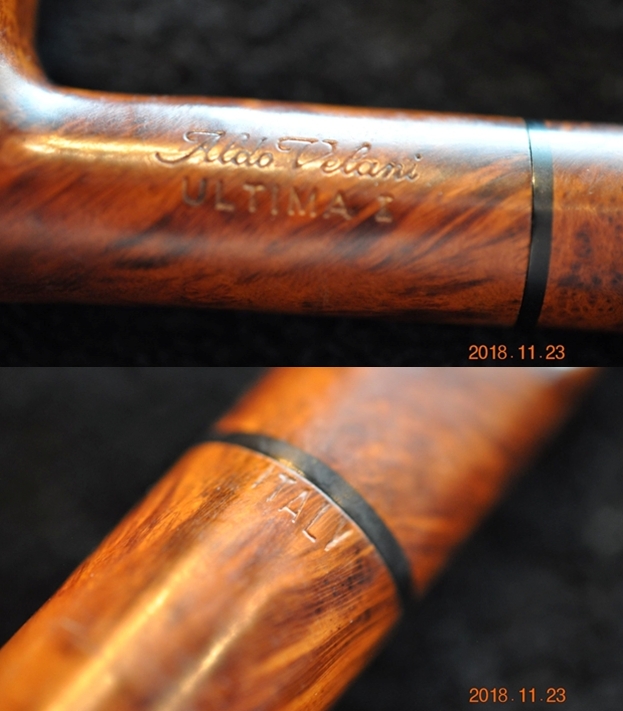
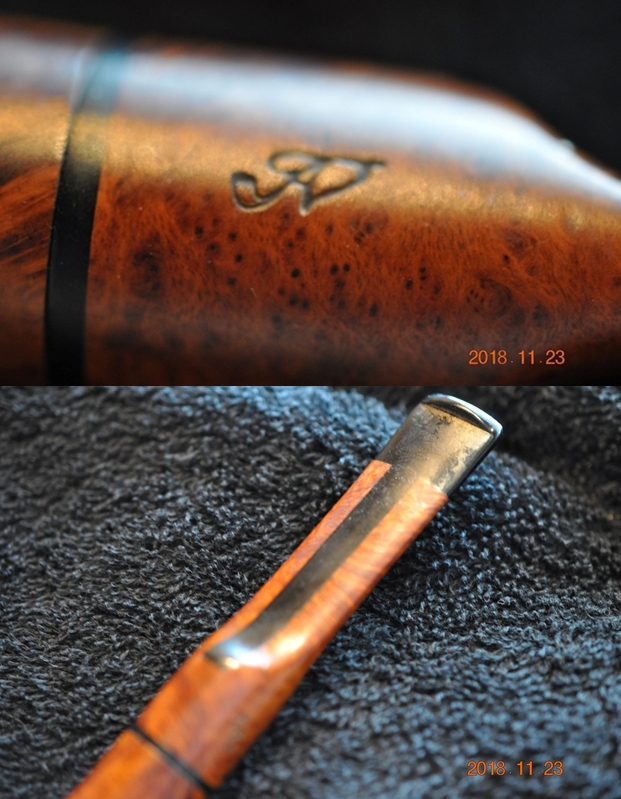
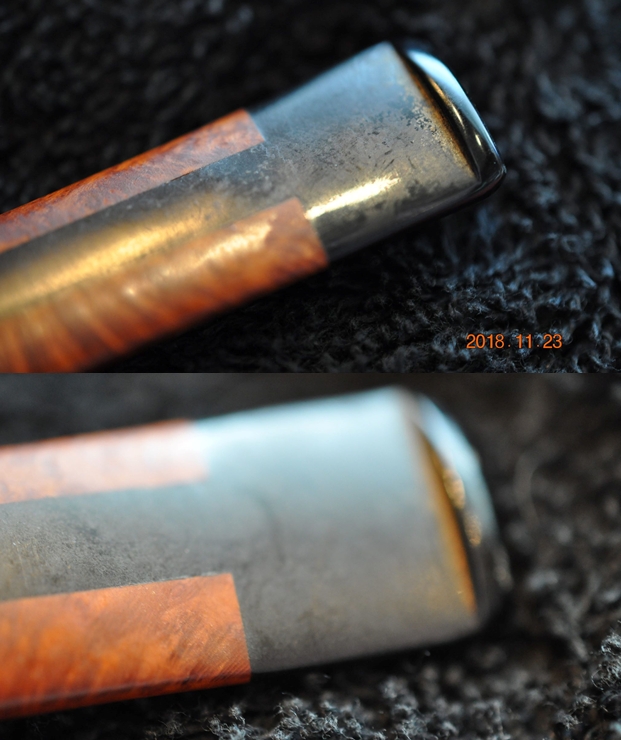
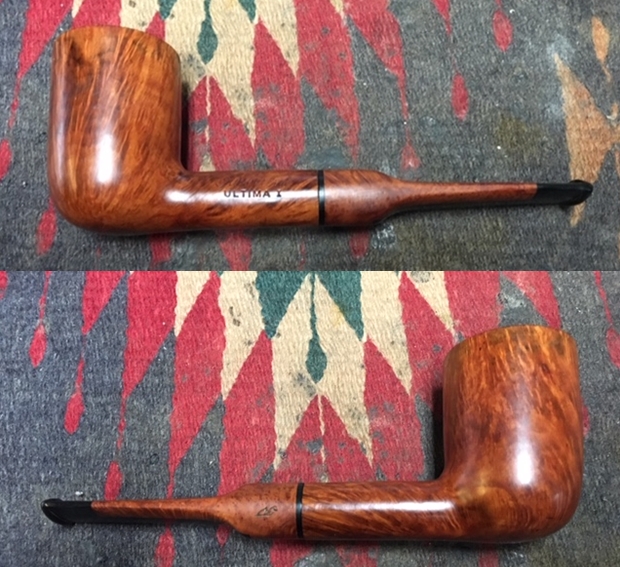
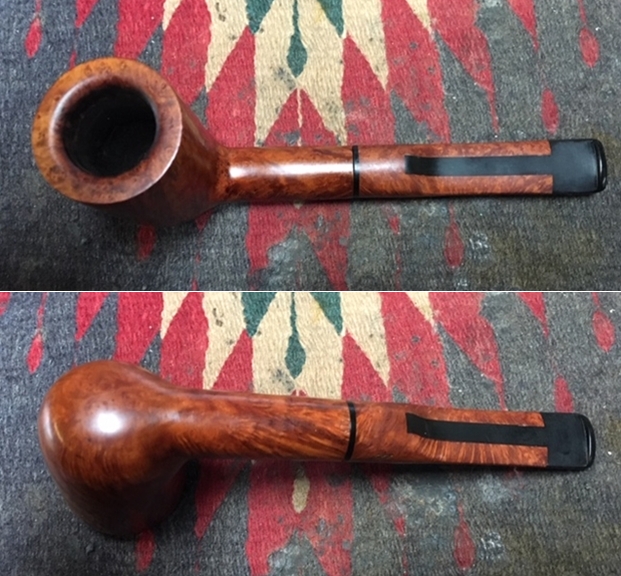
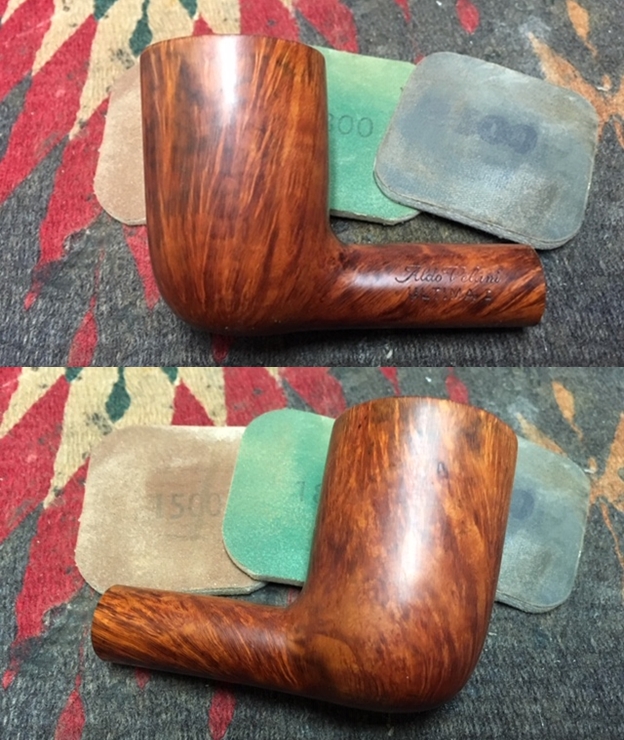
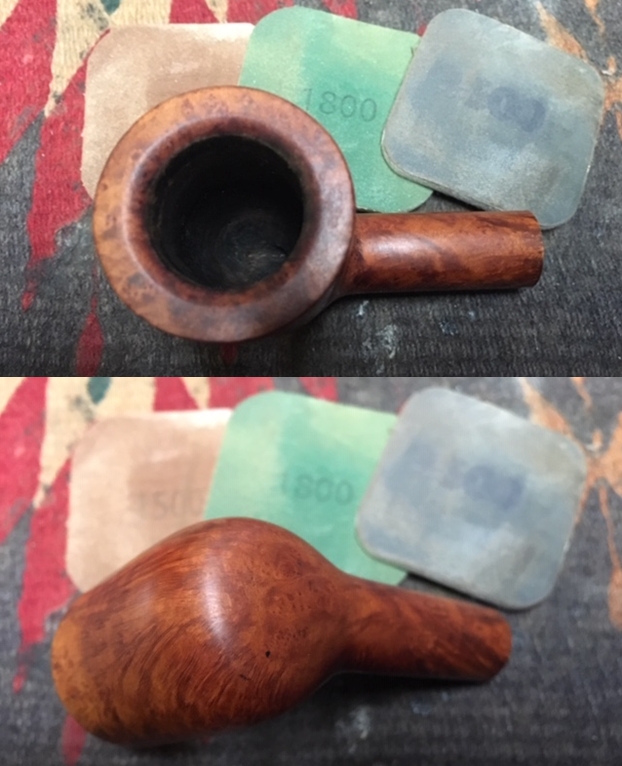
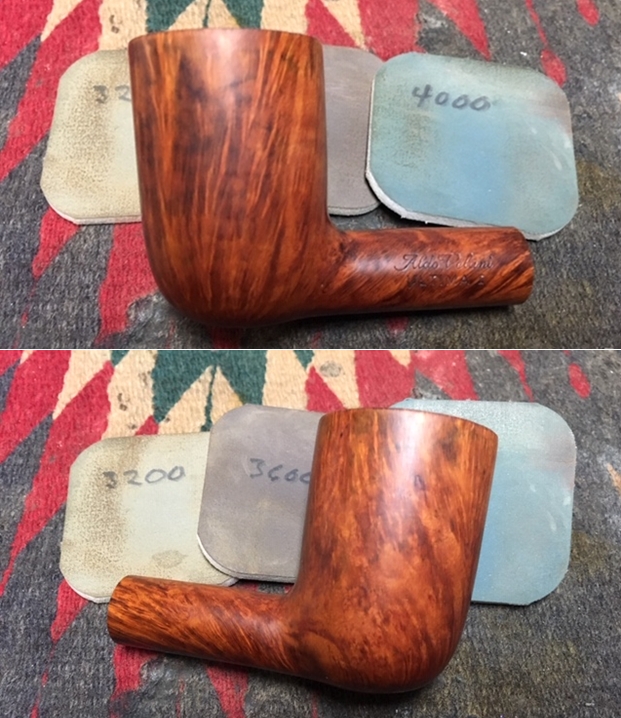
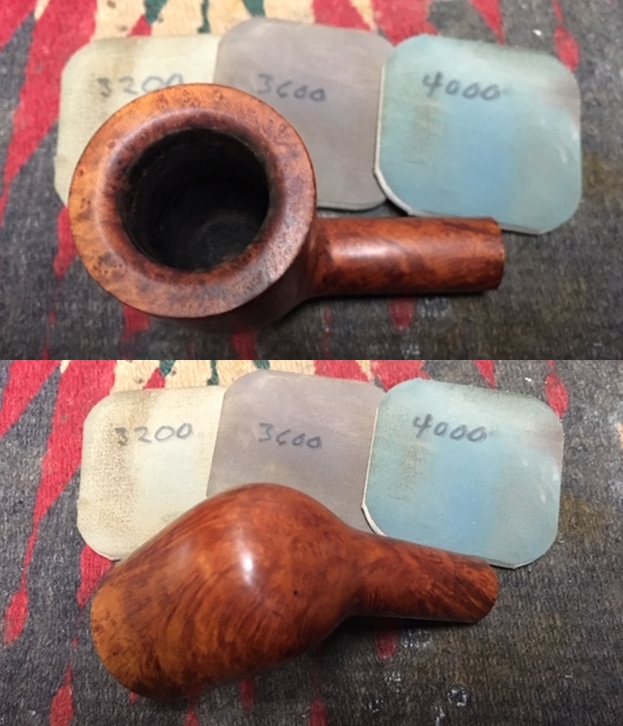
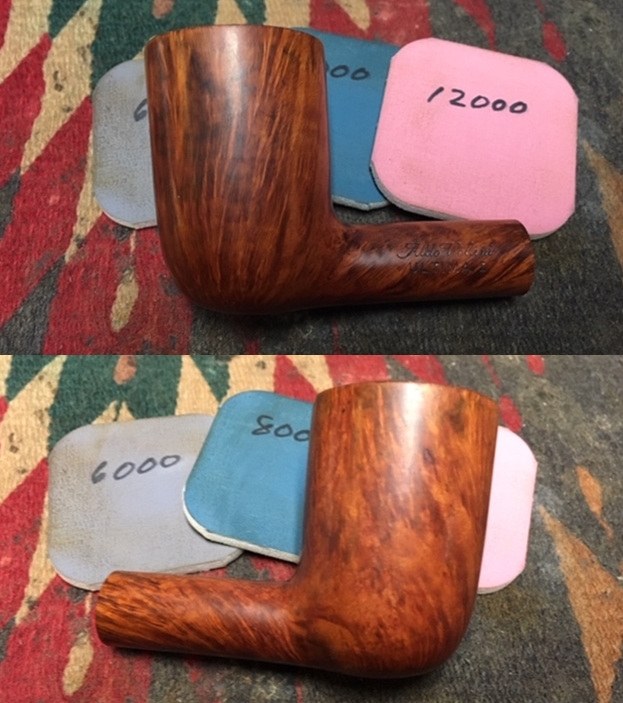
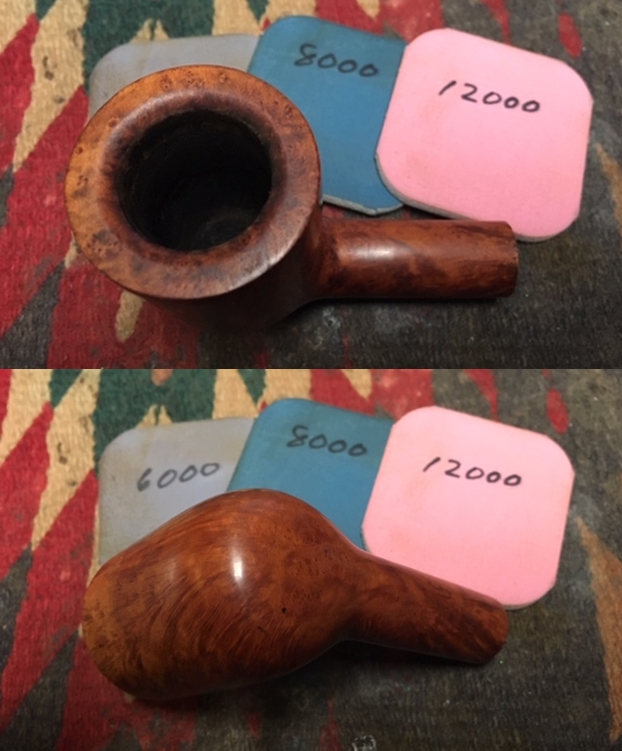
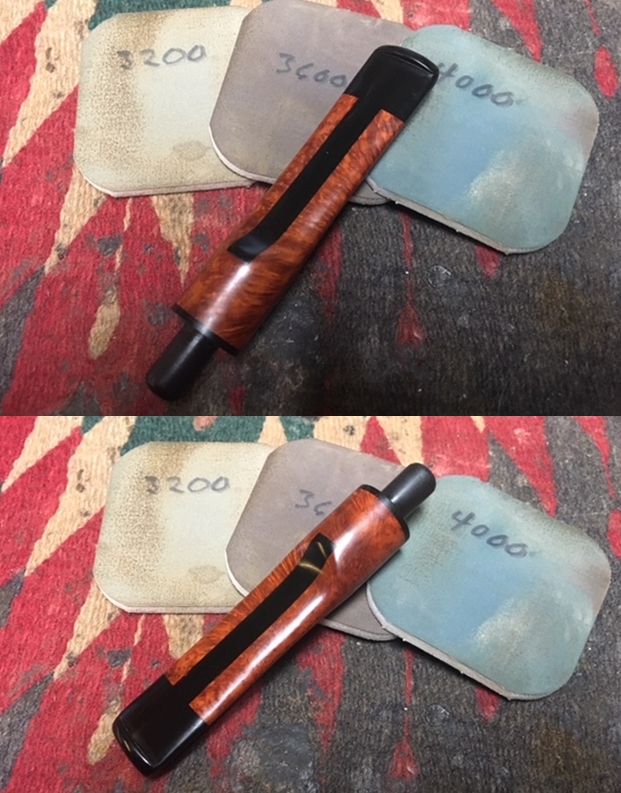
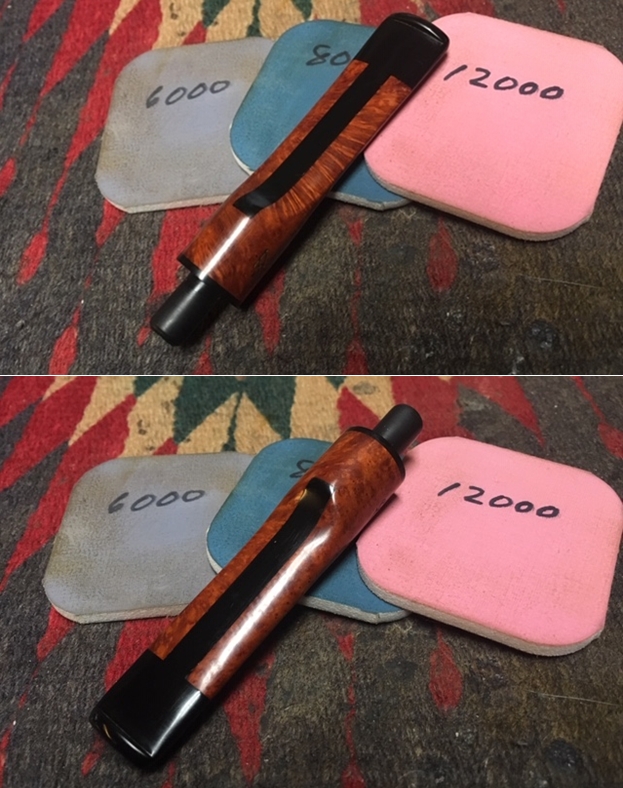
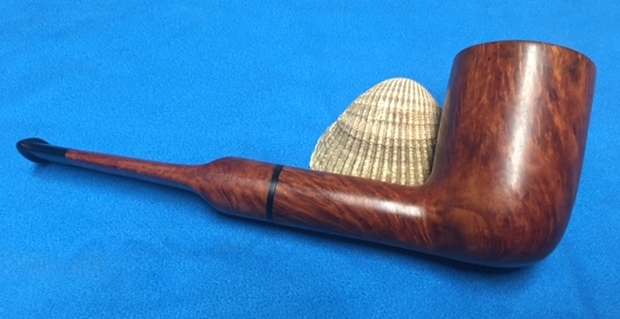
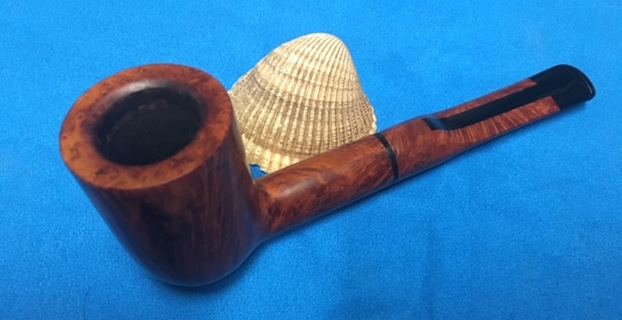
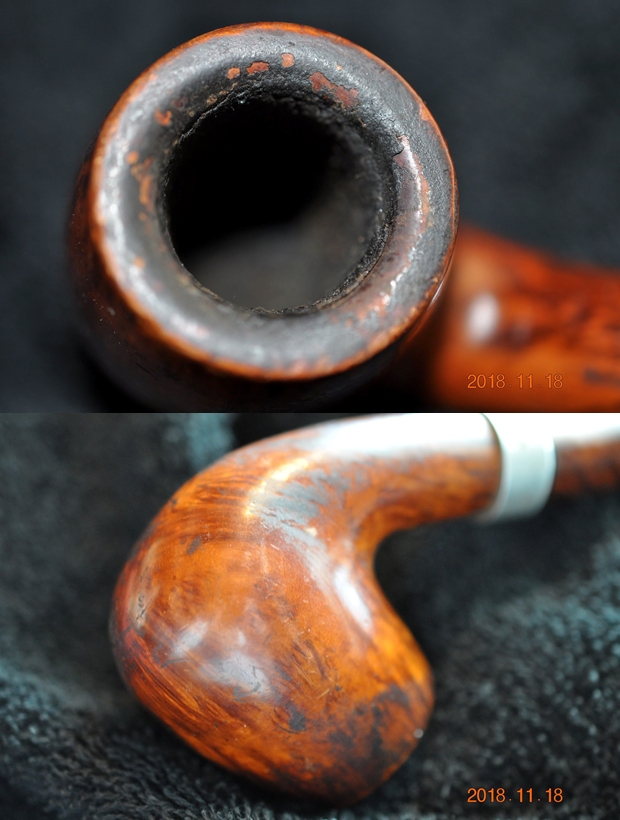
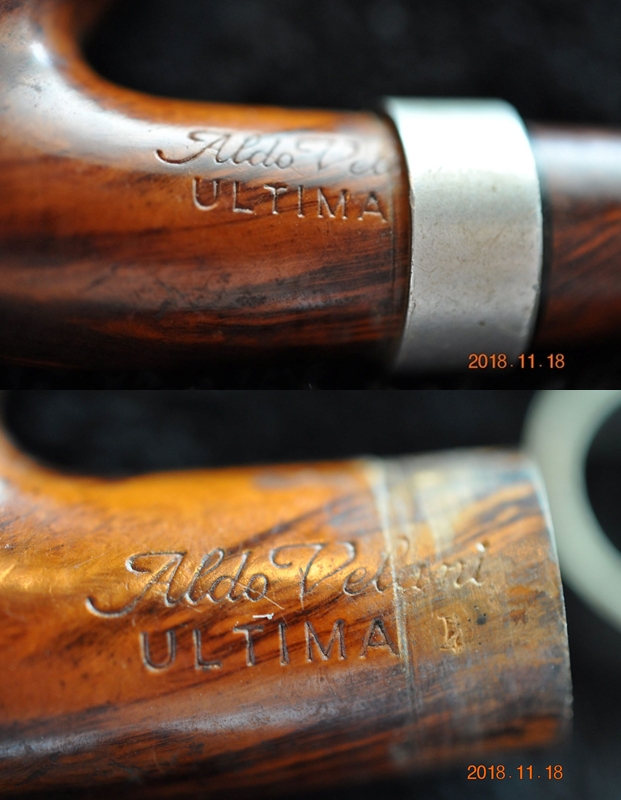
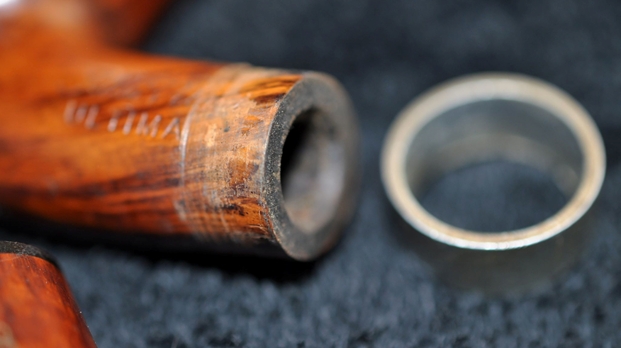
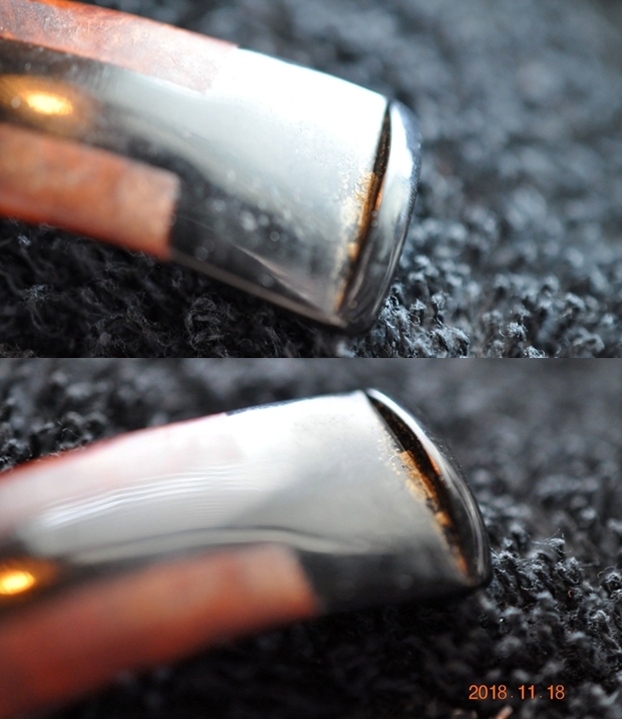
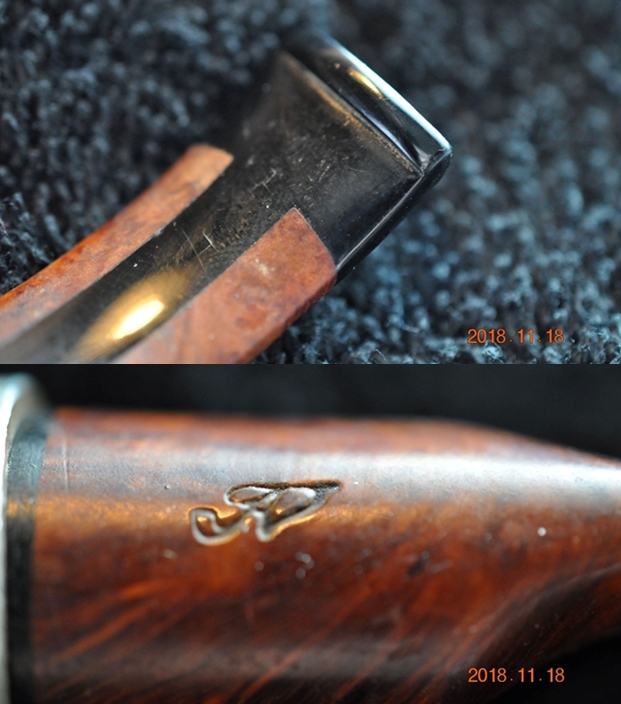
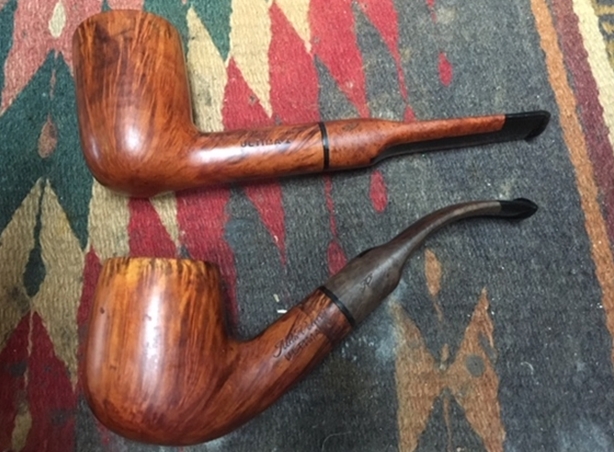
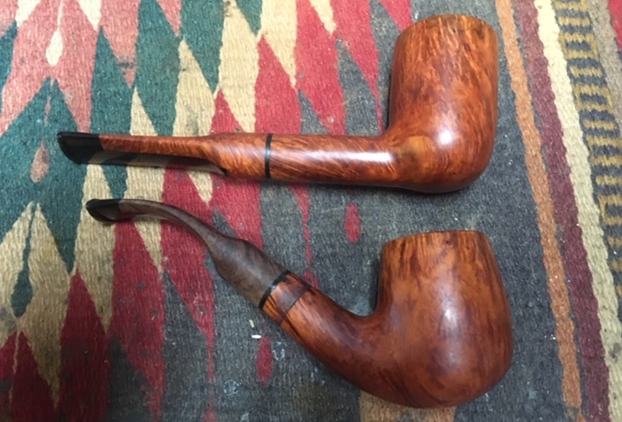
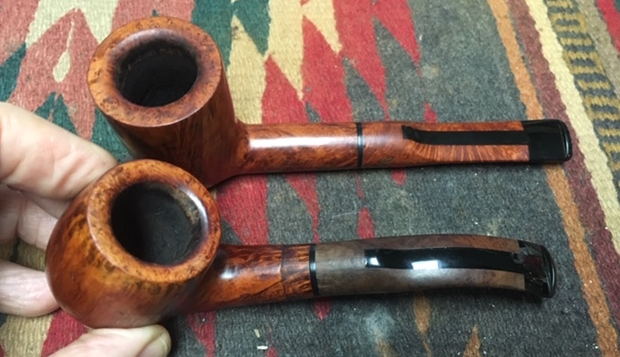
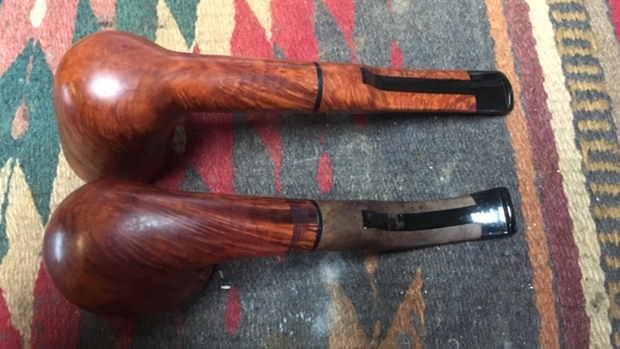
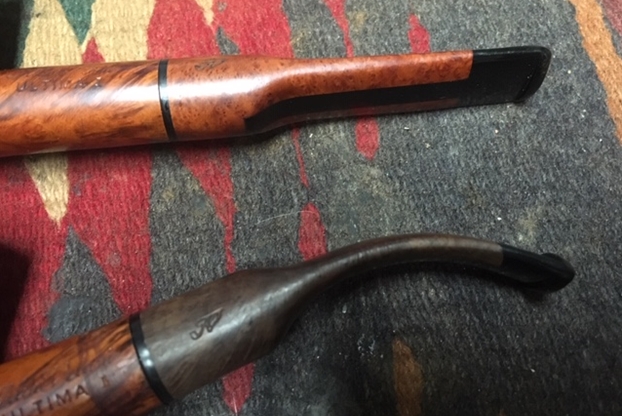
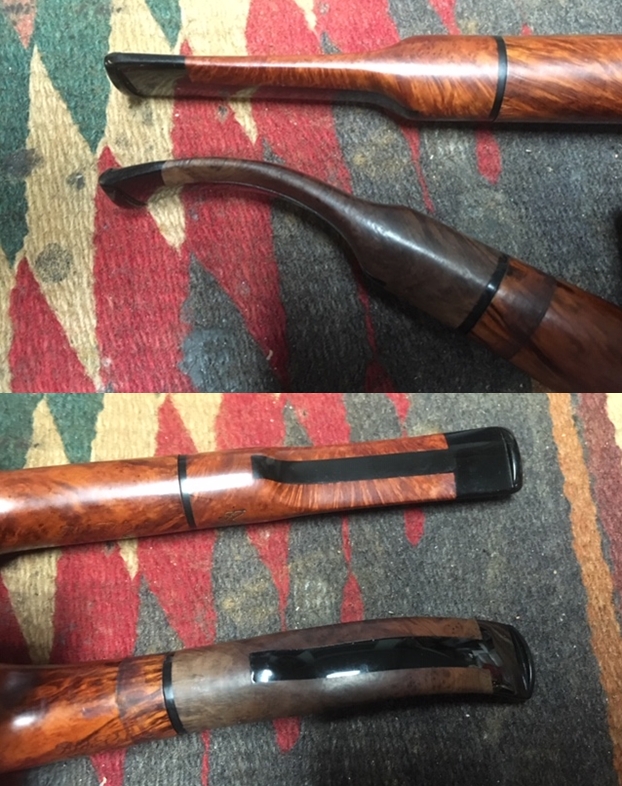
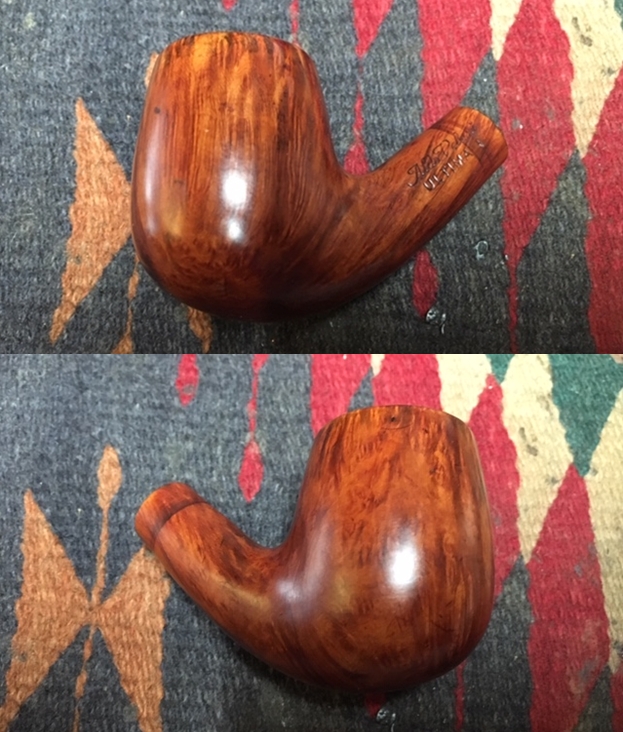
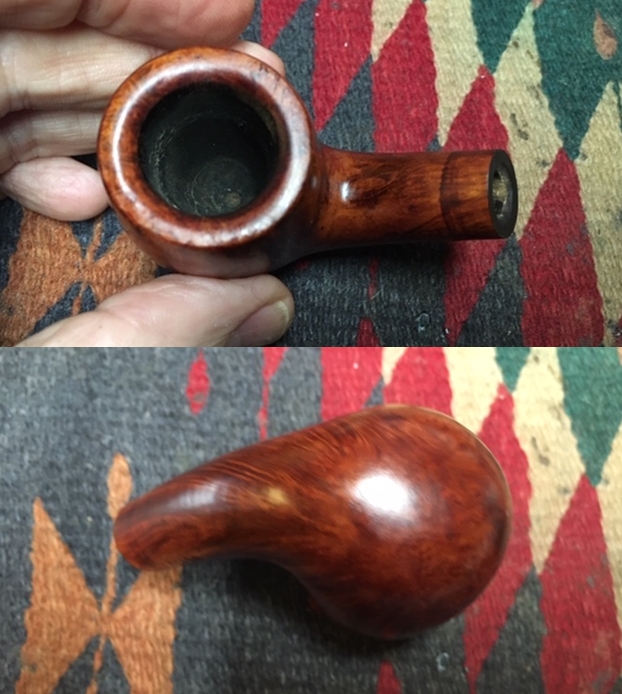
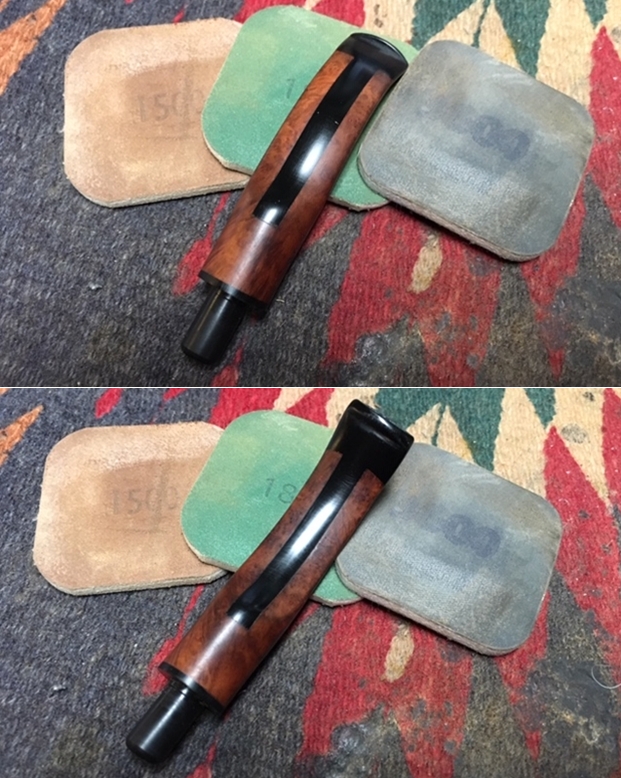
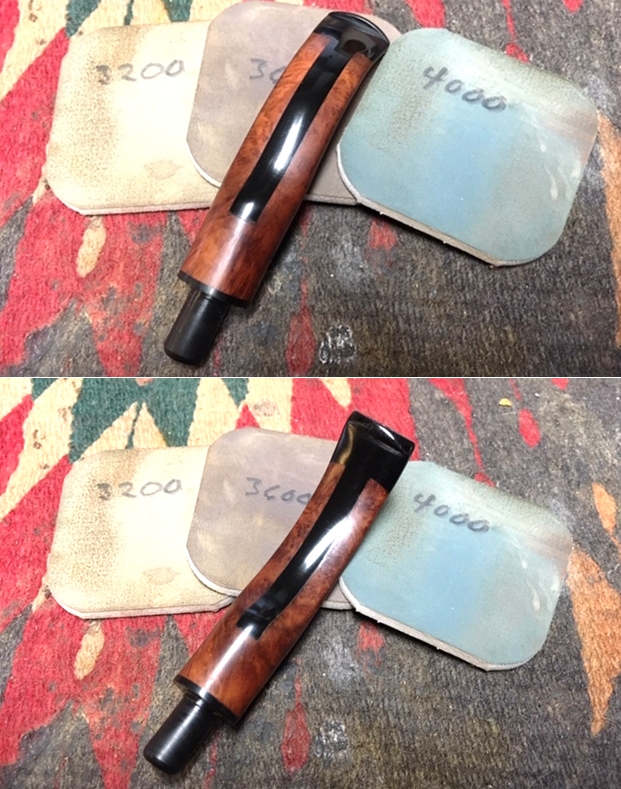
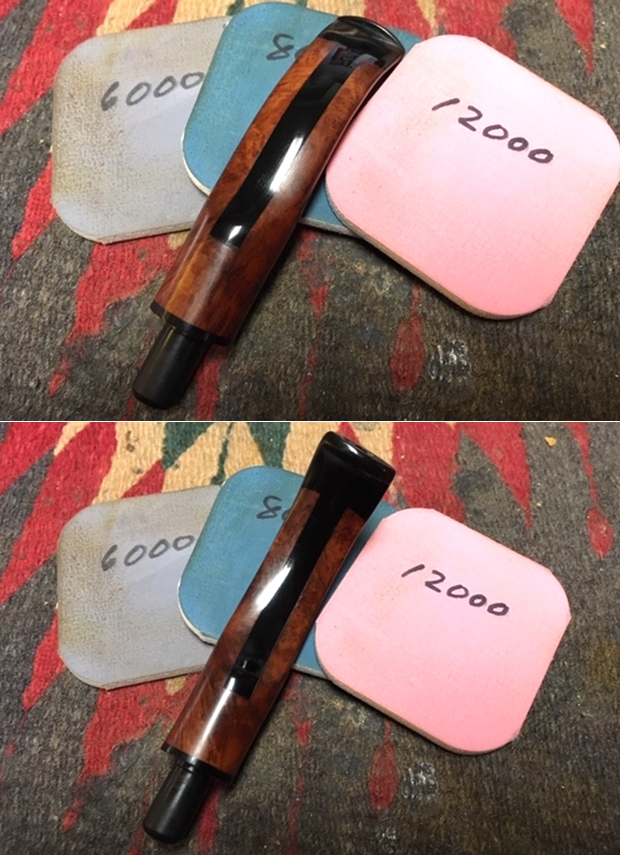
My brother Jeff picked up a pair of Aldo Velani Ultima 1 pipes in a lot he purchased on an auction. The Ultima 1 has a composite stem with briar inserts on the saddle and along the sides of the stem with Lucite forming the base of the stem. There are strips of Lucite on the top and underside and in the bite area around the button. It really is a beautiful looking pipe with a lot of class and distinction. Most Aldo Velani pipes are made in Livorno, Italy, for the USA market by Cesare Barontini. They were previously imported by Lane Limited. The name “Aldo Velani” is actually fictional and the brand was made for export (https://pipedia.org/wiki/Aldo_Velani  http://www.pipephil.eu/logos/en/logo-a3.html).  The second pipe of the pair was in significantly better condition than the first one. The pipes were probably made in the 1990s. This one was dirty but the exterior was in better shape. There was a thick cake in the bowl and there was a lava overflow on the rim top. This one was as it was made – no band added and no changes to the pipe. The stem was dirty and had light tooth marks on the Lucite around the button. Jeff took photos of the pipe before he started his clean up. He took some photos of the rim top and the side of the bowl to show how dirty it was. You can see the lava on the rim and the cake in the bowl. You can also see the sticky buildup on the exterior of the bowl.He took photos of the stamping on the shank – it read Aldo Velani over Ultima 1. On the underside of the shank it is stamped ITALY next to the shank/stem union. There was a nice acrylic band on the stem between the briar of the shank and the briar on the stem. The stem showed some wear and tear but it was in much better condition than its brother. The left side of the saddle stem also had the AV stamp in the briar. It always amazes me how dirty some folks let their pipes get. This one has a sticky substance all over the stem surfaces and a build up of gunk on the button and along its edges. Jeff cleaned the pipe with his usual thoroughness – reaming the bowl and scrubbing the internals with alcohol, cotton swabs and pipe cleaners. He scrubbed the exterior with Murphy’s Oil Soap to clean off the dust and grime on the finish. The rim top looked very good and the bowl itself looked great. The stem was in great shape other than a bit of tooth chatter. He cleaned the inside of the airways with alcohol and pipe cleaners. He did not put this one in the Before & After Deoxidizer Bath having seen the effects on the other one. I took photos of the pipe when it arrived here. I polished the bowl and shank with 1500-12000 grit micromesh sanding pads. I wet sanded it with 1500-2400 and dry sanded it with 3200-12000 grit pads. I wiped it down after each pad with a damp cloth to remove the sanding dust. The photos below show the progress in the polishing. The pipe was beginning to look really good and the grain was beginning to really pop. It was time to work some Before & After Restoration Balm into the briar on the bowl and the rim top. I worked it into the surface with my fingertips to clean, enliven and protect the wood. I let the balm sit for about 20 minutes and buffed it off with a soft cotton cloth. I took photos of the pipe at this point in the process to show what the bowl looked like at this point. I set the bowl aside at this point and turned my attention to the stem. I was really glad to see that this composite briar and Lucite stem was in decent condition. There was some light tooth chatter and scratching but nothing serious. It would only need to be polished. I polished it with micromesh sanding pads to remove the scratching left behind by the 220 grit sandpaper and give the briar and the Lucite a shine. I wet sanded with 1500-2400 grit pads and dry sanded with 3200-12000 grit pads. I wiped the stem down with a damp cloth after each pad. When I was finished the stem looked great. The photos tell the story. I put the bowl and stem back together. I polished the bowl and stem with Blue Diamond to polish out the scratches in the briar and acrylic. I gave the bowl and the stem multiple coats of carnauba wax. I buffed the pipe with a clean buffing pad to raise the shine. I hand buffed it with a microfiber cloth to deepen the shine. The pipe polished up pretty nicely. The contrast of colours between the briar bowl and the briar inserts on the stem really looked good with the polished black Lucite. The Aldo Velani Ultima 1 looked really good and was a great match to its bent brother. The pipe has a unique look that catches the eye. The finished pipe is shown in the photos below. The dimensions of the pipe are Length: 6 inches, Height: 2 ¼ inches, Outside diameter of the bowl: 1 1/2 inches, Chamber diameter: 7/8 of an inch. This one will soon be on the rebornpipes store if you are interested in adding it to your collection. Thanks for reading this while I worked on it. It was interesting and unusual piece to restore and I really enjoyed the work.

Life for a Really Filthy Aldo Velani Ultima 1 Bent Billiard


Blog by Steve Laug

My brother Jeff picked up a pair of Aldo Velani Ultima 1 pipes in a lot he purchased on an auction. The Ultima 1 has a composite stem with briar inserts on the saddle and along the sides of the stem with Lucite forming the base of the stem. There are strips of Lucite on the top and underside and in the bite area around the button. It really is a beautiful looking pipe with a lot of class and distinction. Most Aldo Velani pipes are made in Livorno, Italy, for the USA market by Cesare Barontini. They were previously imported by Lane Limited. The name “Aldo Velani” is actually fictional and the brand was made for export (https://pipedia.org/wiki/Aldo_Velani  http://www.pipephil.eu/logos/en/logo-a3.html).  The first of the pair had definitely seen better days in its ‘not so long life’. The pipes were probably made in the 1990s. This one was filthy and there was a thick coat of scum on the outside of the briar bowl and the stem. It was sticky to touch and really a mess. The bowl had a thick cake and there was a lava overflow on the rim top. The previous owner must have thought the pipe would look better with a band so he cut a piece of aluminum conduit and made a band. It is quite thick and really scratched and edges were rough from cutting – it was a real cob job! The stem was dirty and had tooth marks on the Lucite around the button. Jeff took photos of the pipe before he started his clean up. It really was a mess and needed new life breathed into it! He took some photos of the rim top and the side of the bowl to show how dirty it was. You can see the lava on the rim and the cake in the bowl. You can also see the sticky buildup on the exterior of the bowl.He took photos of the stamping on the shank and the fit of the aluminum band. You can see how thick it is in the photos. You can see it with and without the band. The shank was discoloured and scratched by the poorly made band. It would take some work to deal with that. The sad thing is that the band was purely “cosmetic” because the shank was not cracked or damaged. The band definitely had to go for cosmetic reasons! The stem definitely showed some wear and tear as well but the structure was sound. It always amazes me how dirty folks let their pipes get. This one has food particles or something jammed against the sharp edge of the button. The AV logo was stamped on the left side of the briar portion of the saddle stem. Jeff cleaned the pipe with his usual thoroughness – reaming the bowl and scrubbing the internals with alcohol, cotton swabs and pipe cleaners. He scrubbed the exterior with Murphy’s Oil Soap to clean off the dust and grime on the finish. The rim top looked very good and the bowl itself looked great. There were a few nicks or sandpits on the right side and heel of the bowl. The area where the band had been was quite a bit better but still was not right but it still looked better without the band than with it.

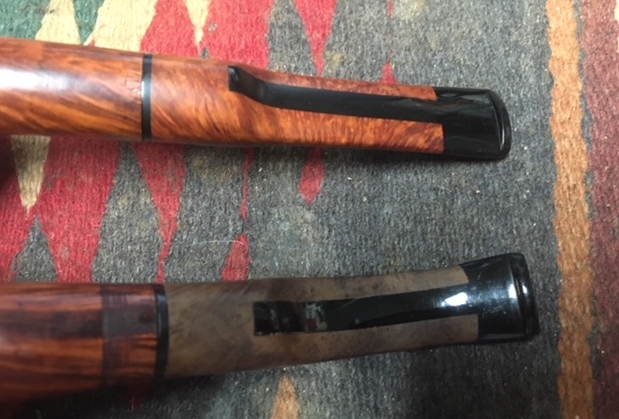
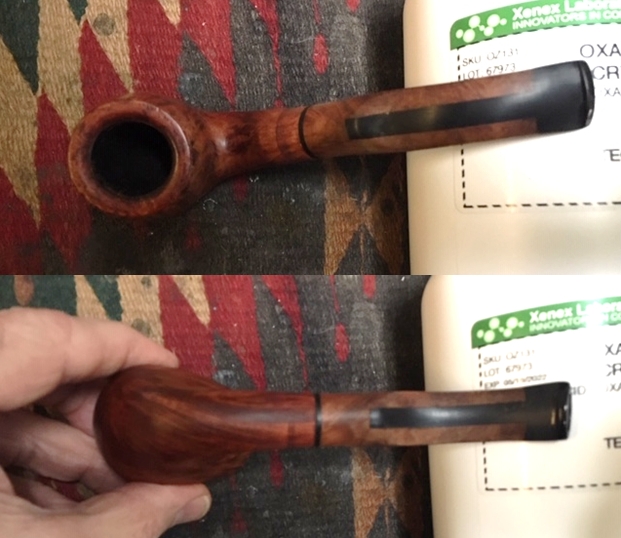
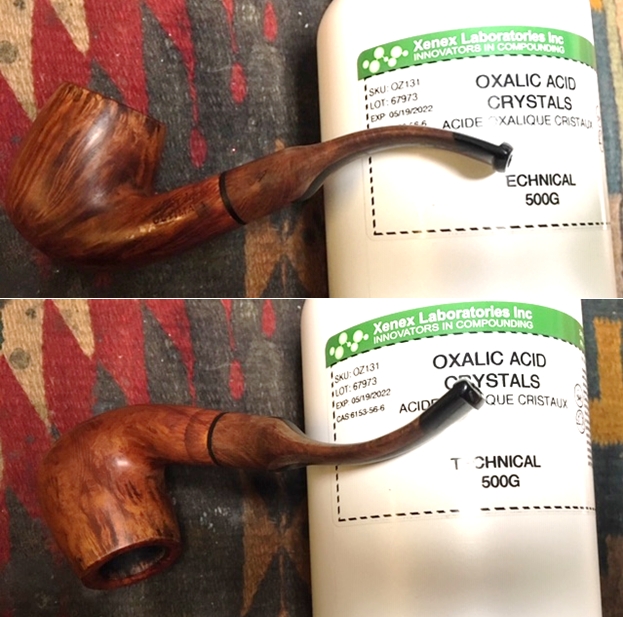
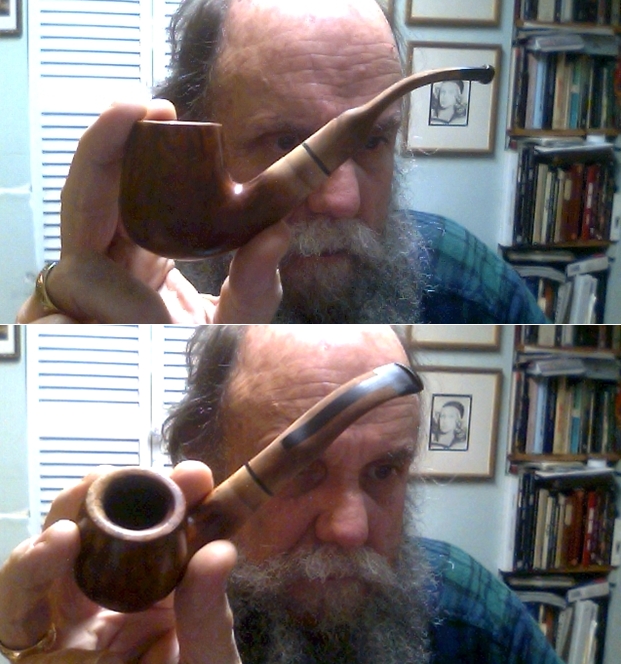
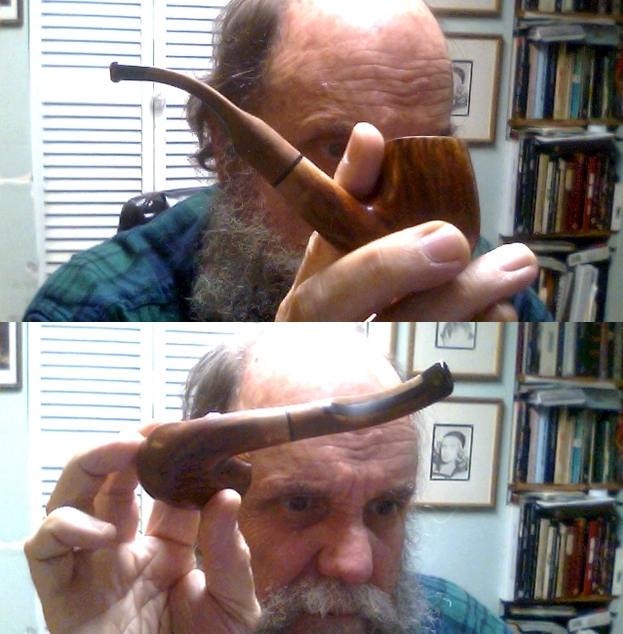
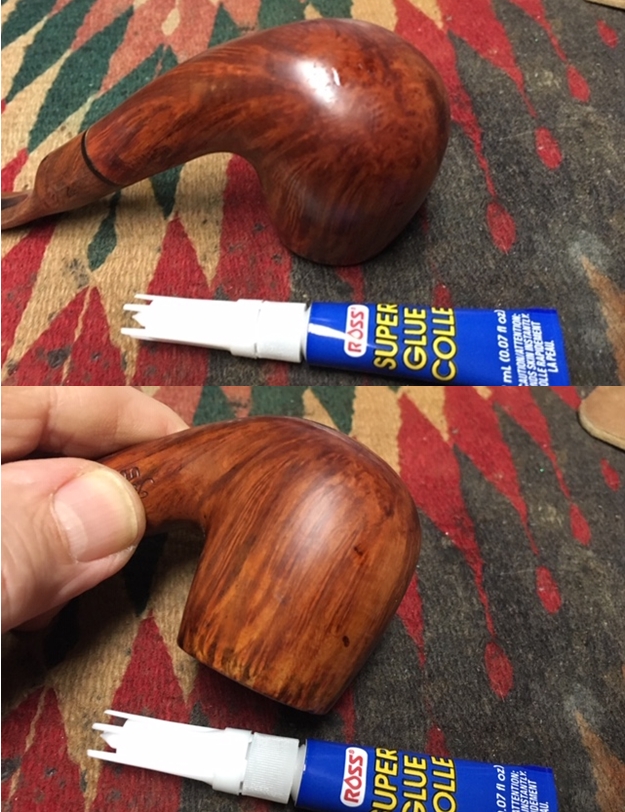
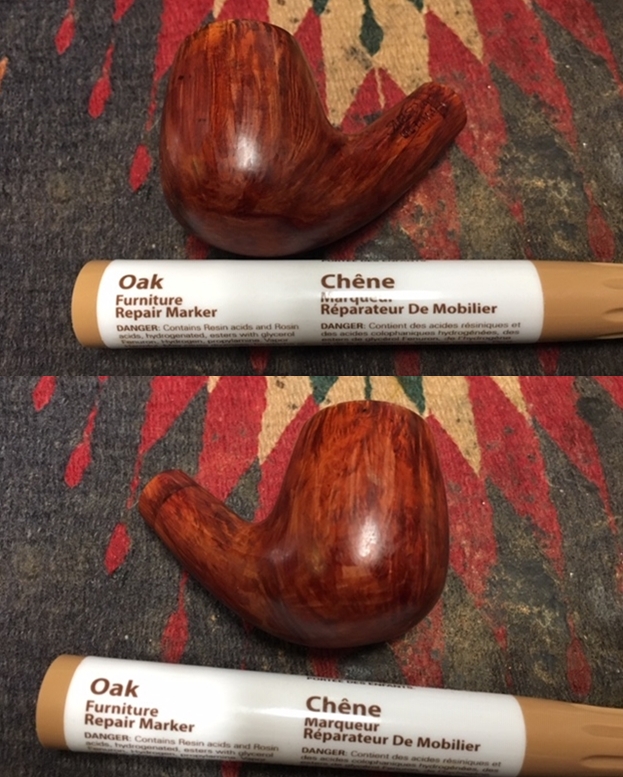
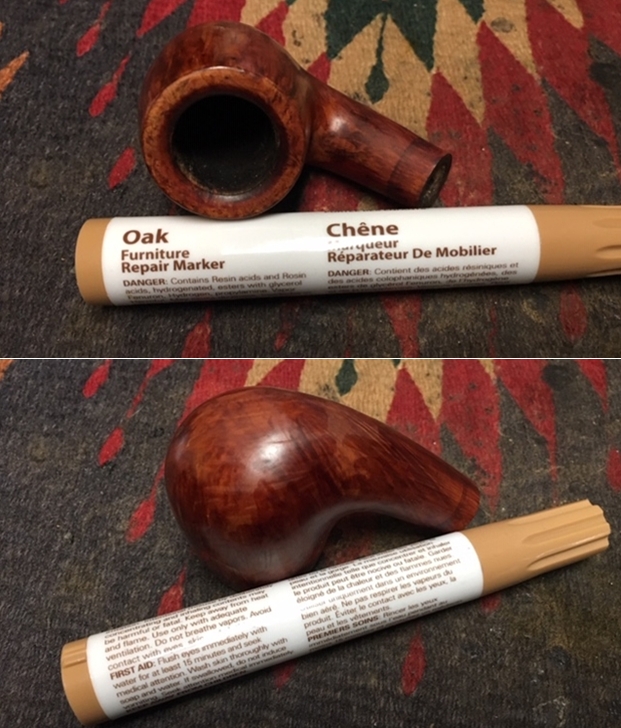
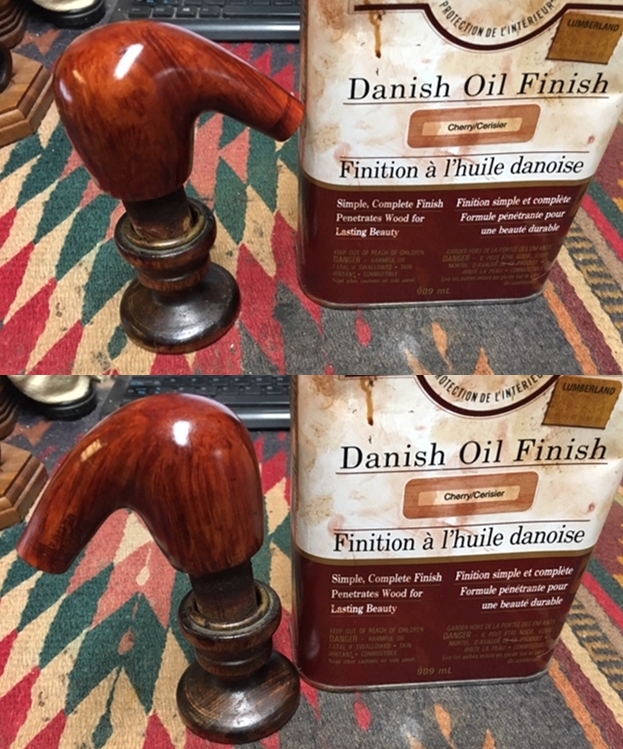
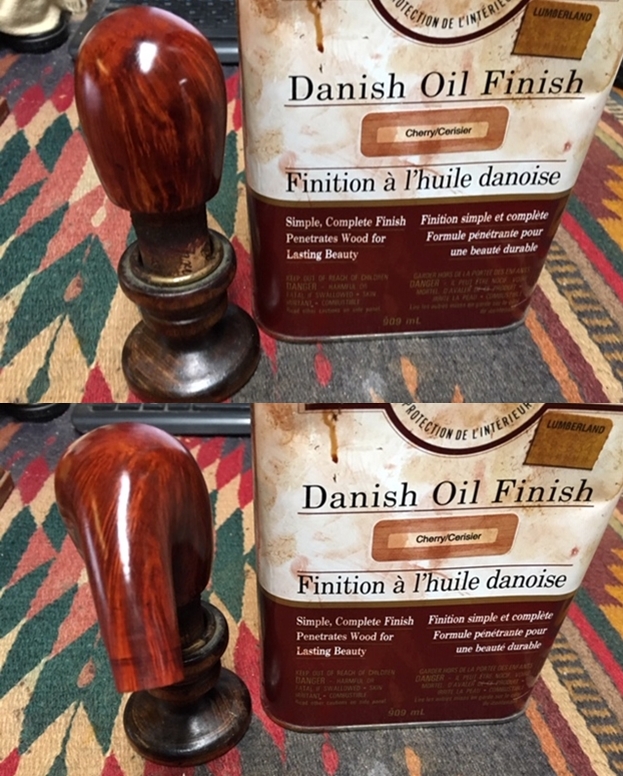
Sometimes the cleaning and restoration work has some unexpected results that end up making more work for the restorer! In this case the issue arose when Jeff soaked the stem in Before & After Deoxidizer. He did not leave it in too long but the time it sat in the mix made the briar inserts almost black and it swelled above the Lucite. When he took it out and rinsed it off the stem looked awful and Jeff was just sick! I took photos of the stem and bowls on both pipes to show the contrast in the stem. Originally the stem on the bent looked like the stem on the straight. The photos below show the comparison and the damage to the stem on the bent. Now the trick would be to try to restore the stem to a semblance of its original colour. I was not sure I would be able to get it back but time would tell. I decided to start my restoration on this pipe by addressing the most irritating issue facing me with this pipe! I wanted to see what I could do with the stem and the staining where the band had been. I mixed up a batch of oxalic acid – crystals and water. I made it fairly concentrated –1 teaspoon of oxalic crystals to ½ cup of water. When my Dad was here we used it to remove water stain damage to a pipe stand that I was refinishing. I figured it was worth a try. I wiped the stem down with a cotton pad dipped in the oxalic mixture. I also wiped the darkened ring around the shank where the band had been. I wiped it on repeatedly and dried it off. The first set of four photos show the immediate results of the action. I sanded the shank area (carefully avoiding damaging the stamping) and the briar portions of the stem with a worn piece of 220 grit sandpaper to further remove the darkening. I was able to remove much of the issue on the stem. I sent the following photos via Facebook Messenger to my brother to ease his mind about the stem. You can see that things are looking quite hopeful with the stem and the shank at this point. Please ignore the curmudgeonly model that is posing with the pipe!I wiped the stem and bowl down with an alcohol wetted cotton pad to remove the sanding dust. I polished the briar with 1500-2400 micromesh sanding pads. I used some clear super glue to repair the deep sand pits and nicks in the briar. Once the repairs had cured I sanded them smooth with a small piece of 220 grit sandpaper to blend them into the briar and then sanded the repaired areas with 1500-2400 grit micromesh pads. When I had finished the repairs were smooth (I failed to take photos of this part of the process).I stained the repaired areas, the rim top and the shank end where I had stripped the finish with the oxalic acid wash with an Oak stain pen. The colour most accurately matched the rest of the bowl. I was happy with the overall look of the bowl but the ring damage on the shank end still stood out too much to my liking. The colour on the bowl was even but still was significantly browner than the reds of the stem. I decided to rub the bowl down with several coats of Danish Oil Cherry stain. I rubbed it down and wiped it off several times until I had the colour I wanted. I set it aside to let the stain sink into the briar. The pictures below show the bowl at this point in the process. I am making progress. I was happy with the finished bowl colour and the darkening left by the poorly done band looked better than it had before. There were still remnants that were left behind and these are the war wounds from the journey this pipe took before it came to me. Here are some photos of the bowl at this point. The colour is very good and works with the stem and the grain really sings. I set the bowl aside at this point and turned my attention to the stem. I polished it with micromesh sanding pads to remove the scratching left behind by the 220 grit sandpaper and give the briar and the Lucite a shine. The stem was looking far better than I expected or had hoped. Now came the test – would the bowl and stem look good together? I polished the bowl and stem with Blue Diamond to polish out the scratches in the briar and rubber. I gave the bowl and the stem multiple coats of carnauba wax. I buffed the pipe with a clean buffing pad to raise the shine. I hand buffed it with a microfiber cloth to deepen the shine. The pipe polished up pretty nicely. The Cherry Danish Oil had really breathed life into the briar on the bowl and stem and the pipe came alive with the buffing. The contrast of colours between the briar bowl and the briar inserts on the stem really looked good with the polished black Lucite. The Aldo Velani Ultima 1 looked far better than when it enter the queue and I was able to redeem the darkened stem. The finished pipe has a unique look that catches the eye. The finished pipe is shown in the photos below. The dimensions of the pipe are Length: 6 inches, Height: 2 inches, Outside diameter of the bowl: 1 3/8 inches, Chamber diameter: 7/8 of an inch. This one will soon be on the rebornpipes store if you are interested in adding it to your collection. Thanks for reading this while I worked on it. It was interesting and unusual piece to restore and I really enjoyed the work.

Resurrecting a Tired & Worn Special Straight Grain 122


Blog by Steve Laug

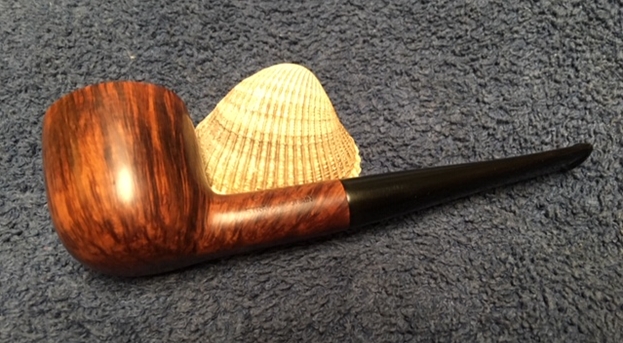
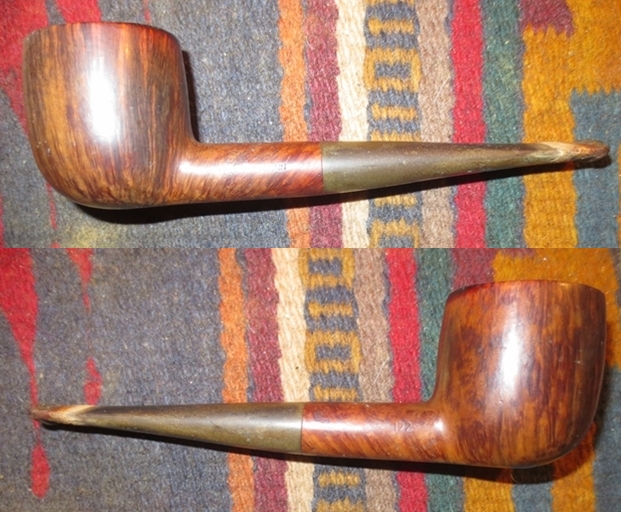
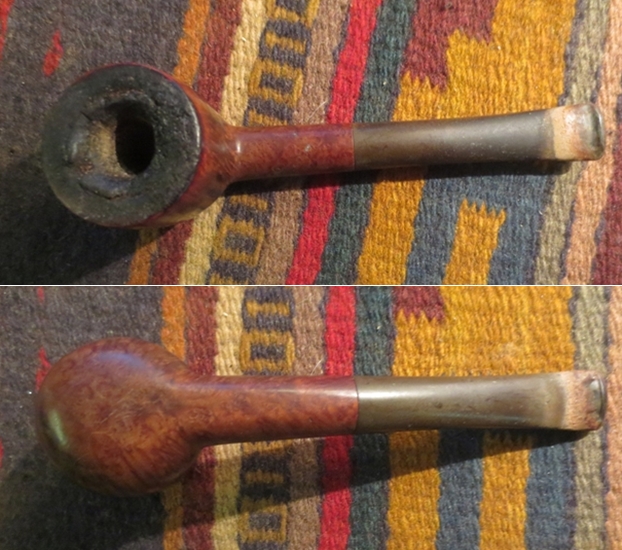
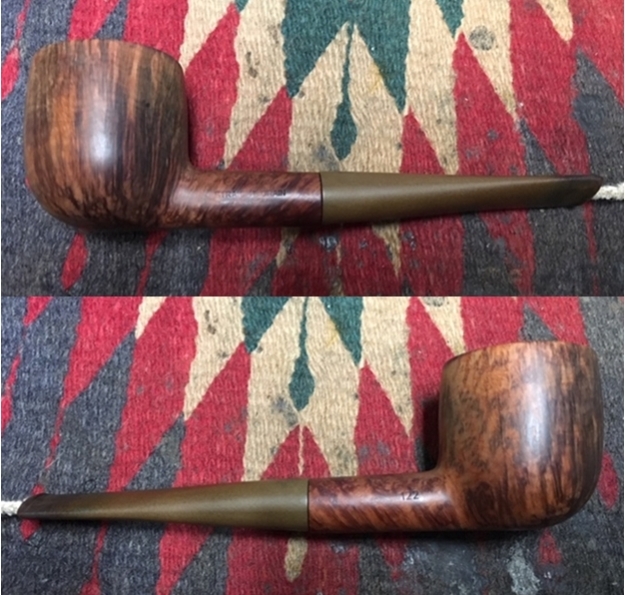
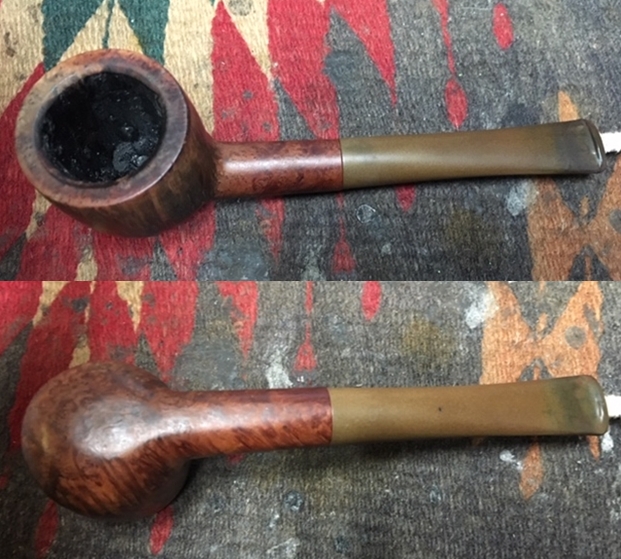
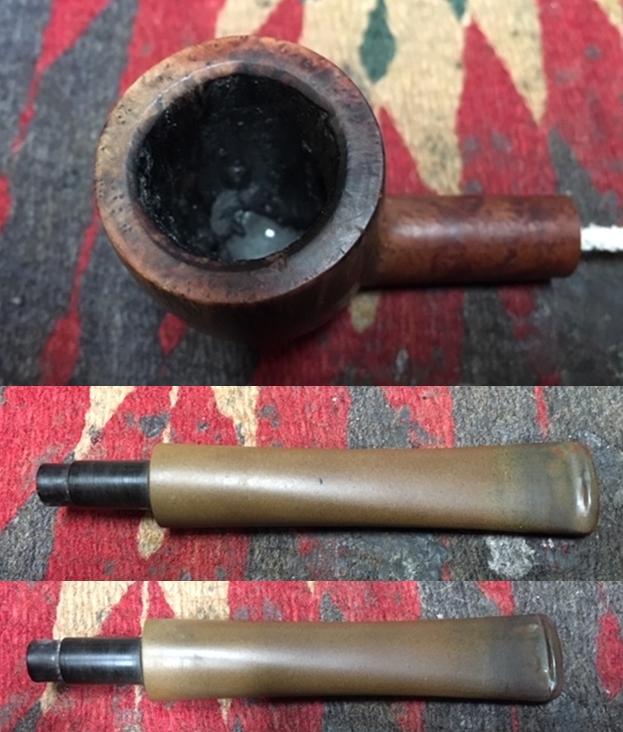
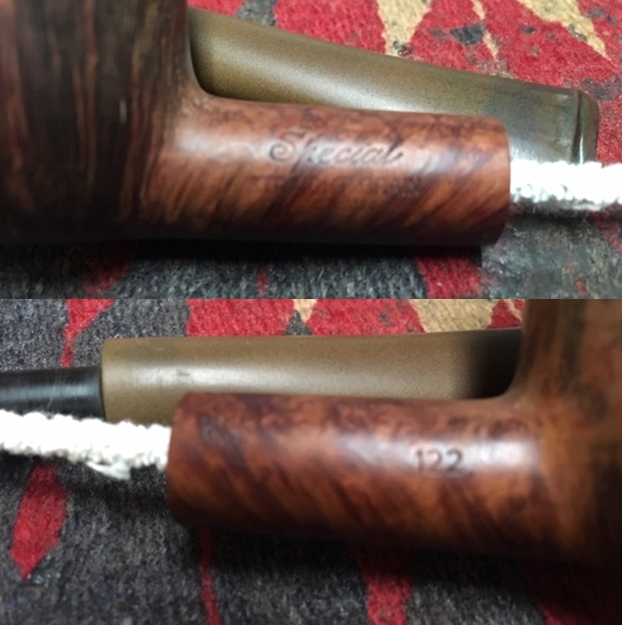
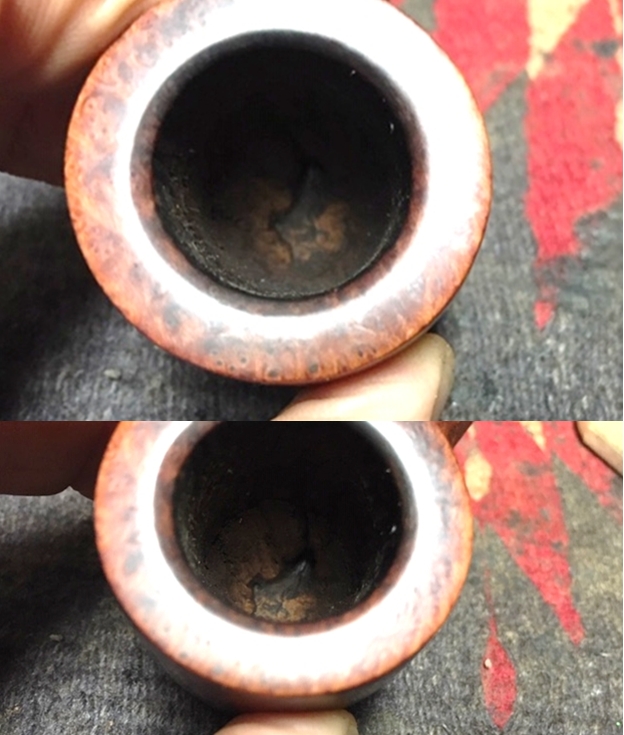
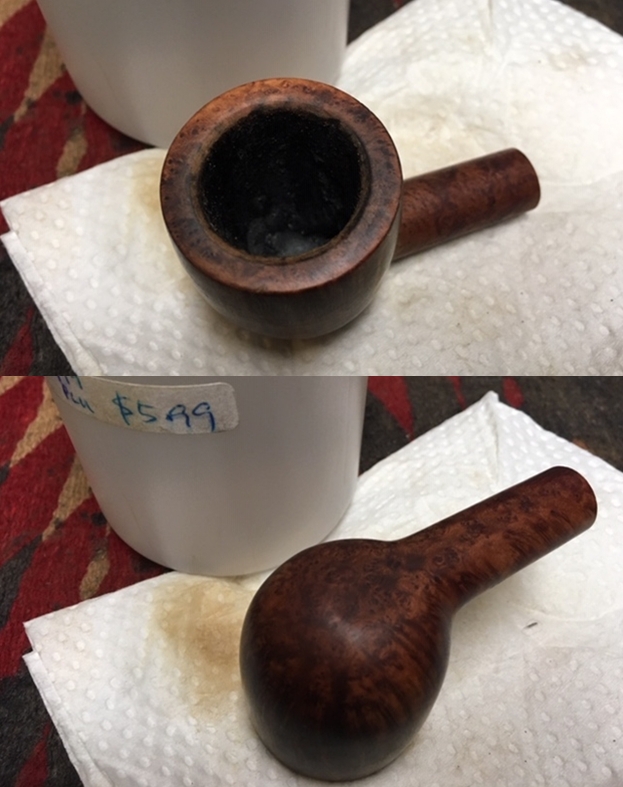
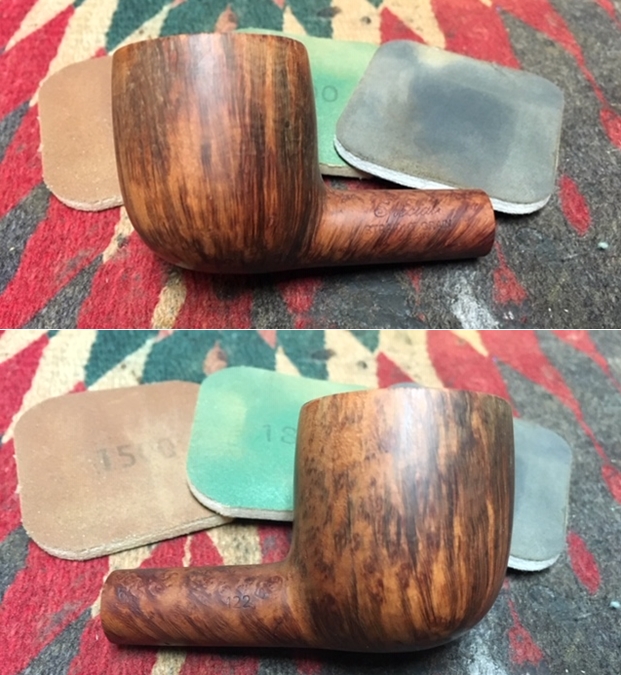
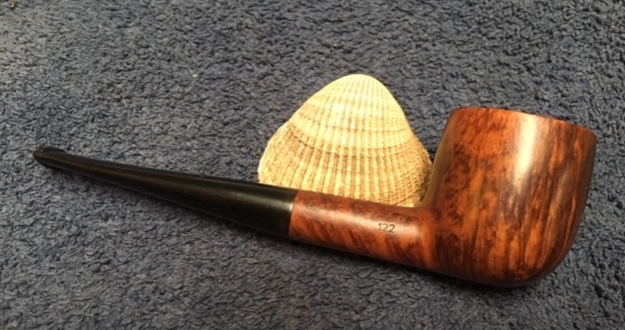
In my ongoing work on the estate pipes from the pipe shop that had closed here in Vancouver I am turning to a fourth pipe from the lot. The entire lot came to me from the estate of an older pipeman whose wife dropped them off at a pipe shop to be cleaned and sold. When the shop closed they came to me. The pipe on the table now is stamped Special over Straight Grain on the left side of the shank. On the right side it is stamped with a Comoy’s style COM stamp reading Made in London in a circle over England followed by the shape number 122. The briar has some nice straight and flame grain around the bowl with birdseye on the top of the bow, shank and the underside of both. The bowl had a thick cake in it with an over flow of lava on the rim top. The rim top looked very bad but it hard to know if there was real damage or if the marks were in the lava overflow. It was hard to know what the rim edges looked like with the thick coat covering it all. The briar was dull and dirty looking. The stem is vulcanite and is oxidized with no visible stamping or logo. There was calcification and tooth chatter and damage next to the button on both sides. There are heavier tooth marks on the underside of the stem. I took photos of the pipe when I received it.   I sent this pipe along with about twenty others from this lot to my brother Jeff in Idaho to work over and clean up. He cleaned up the pipes with his usual thoroughness – reaming the bowl and scrubbing the internals with alcohol, cotton swabs and pipe cleaners. He scrubbed the exterior with Murphy’s Oil Soap to clean off the dust and grime on the finish. When he sent it the pipe was ready to restore. Like the Savinelli I just worked on, I could not believe how good the rim top looked in comparison to what it was when he started. I was working on the Savinelli Giubileo D’ Oro and it had the same issues as this one with the trough in the bowl so I used the remaining pipe mud that I made for it to repair the bowl bottom on this pipe. In doing so I forgot to take photos before I began. I slid the stem over the pipe cleaner and put it in place to get photos. I took the following photos of the pipe to show what it looked like before I started working on the exterior. The briar was clean and the grain quite stunning. The finish looked dull and lifeless. I took a close up photo of the rim top after Jeff had cleaned it up. The look of the rim top and edges is very good. (Ignore the pipe mud in the bowl bottom.) He had been able to remove the cake and the lava very well. The bowl was clean but there seemed to be a trough in the bottom of the bowl made by a pipe cleaner repeatedly passing over the same spot. The stem is also shown and was very clean but oxidized. He had not started using Mark’s Before & After Deoxidizer at this point. The tooth marks on both sides near the button are visible in the photos.  The marks on the underside of the stem were worse than the ones on the topside.I took some photos of the stamping on the shank sides. The first photo shows the Special over Straight Grain stamp on the left side. The second shows the shape number and the COM Stamp that reads Made in London in a circle over England and the shape number 122 on the right side.There were several things about the stamping that I was unfamiliar with so I did some searching online. I had a memory of the Special being a Comoy’s product. The COM stamp on the shank and the stamping on the left side of the shank pointed to that. The shape number 122 also seemed to point in that direction. I turned to all of my usual sources – Pipedia and Pipephil and found nothing connecting the stamping to Comoy’s. There is not a note regarding the Special Straight Grain stamp on either site when it is missing the Comoy’s designation. However there was a connection with the shape number on the Comoy’s Shape Chart on Pipedia (https://pipedia.org/wiki/Comoy%27s_Shape_Number_Chart).

I have captured a portion of the chart to show the number and designation match what I have in hand.  I circled the shape number in red that is on the right side of this pipe. It fits the description of a 122 Pot with a straight stem and a medium sized bowl. I think I could safely assume I was working on a Comoy’s made pipe with an interesting and unique stamping – Special Straight Grain on the right side of the shank!

I started working on the bowl. Since I was working on the La Savinelli Giubileo D’Oro at the same time and both had parallel issues with the bowl I decided to address the trough in the bottom of the bowl first. It was quite visible and though the bottom of the bowl was still quite thick, it bothered me. I decided to mix a batch of pipe mud to fill in the trough and protect the bottom while a new cake was formed in the bowl. I mixed some cigar ash and water to form a paste. I put a pipe cleaner in the airway to protect it from being filled in. I used a folded pipe cleaner to paint the mud around the airway to clean up some of the edges and tamped some into the bottom of the bowl to fill in the trough. I packed it in place with a Czech pipe tool tamper as it fit in the bottom of the bowl. The pictures that follow tell the story. It will take a while to dry out but once it has dried it will be quite hard. I set the bowl aside while I worked on the other pipe.

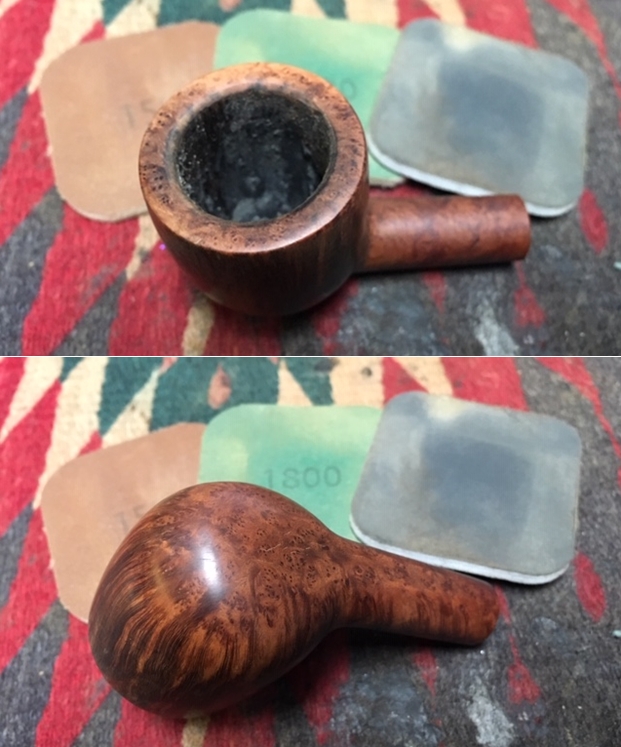
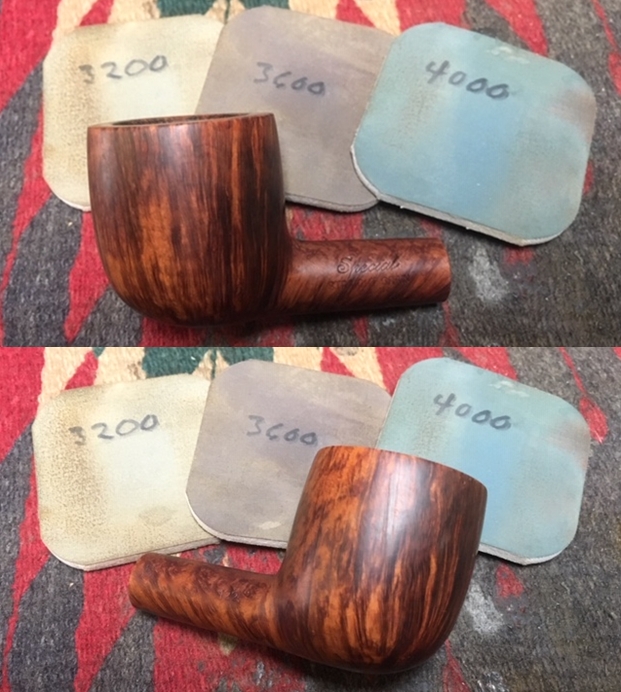
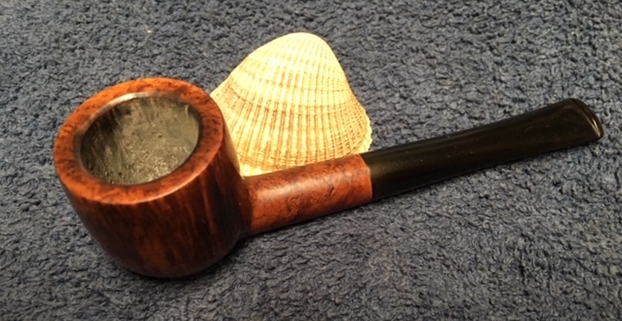
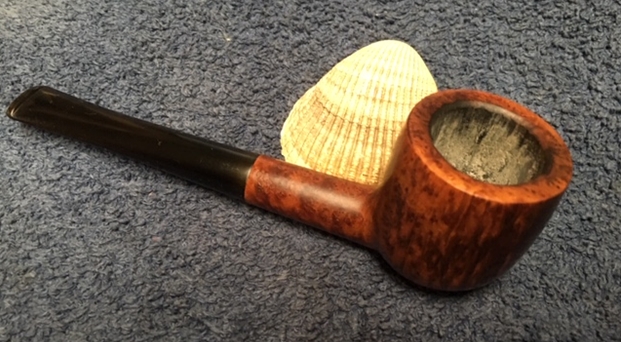
(The first two photos show the bowl of the Giubileo. The bowl on the Special had a twin looking bottom and I forgot to include photos of the bowl bottom on this repair. You can imagine it from the photos below.) I wanted clean up the rim top in the least intrusive method possible and still be able to deal with the scratches and wear on the flat surface. I wanted to see if I could minimize the darkening on the back side and the bevel of the inner edge of the rim top. I sanded it on a small medium and fine grit sanding block to see what I could do to begin with (forgot to take photos). I was happy with the way it was beginning to look. I finished with the blocks and wiped the bowl down with isopropyl alcohol to get a feel for what it looked like under the sanding dust. I polished the briar by wet sanding with 1500-2400 grit sanding pads to raise the shine. I also wanted to remove as much of the scratching as I could. I dry sanded the briar with 3200-12000 grit pads. I wiped the bowl down with a damp cloth after each pad. The briar began to really shine and the grain stood out. This was a beautiful pipe and worthy of the designation SPECIAL STRAIGHT GRAIN. The pipe was beginning to look really good and the grain was beginning to really pop. It was time to work some Before & After Restoration Balm into the briar on the bowl and the rim top. I worked it into the surface with my fingertips to clean, enliven and protect the wood. I let the balm sit for about 20 minutes and buffed it off with a soft cotton cloth. I took photos of the pipe at this point in the process to show what the bowl looked like at this point. I decided to rub down the surface of the bowl and shank with a Medium Walnut Danish Oil Finish and a cotton pad to give some depth to the finish. I really like how the Danish Oil Walnut Stain can make the grain pop on the briar without really darkening the finish. I hand buffed the bowl with a soft cloth to polish the briar. I buffed it lightly on the buffing wheel using Blue Diamond on the wheel. I took photos of the bowl after buffing. I really like the way that the grain stands out now. It is truly a beautiful piece of briar. The bowl looked good so I set it aside and turned my attention to the stem. I used a flat blade needle file to sharpen the edge of the button and smooth out the tooth damage to the edges of the button. I also worked on the tooth chatter with the filed. I followed that by using a Bic lighter to paint the surface of the vulcanite with the flame. Between the file work and the heat of the flame I was able to remove some of the marks and minimize the others. The photos tell the story.   I filled in the two deep tooth marks on the underside of the stem with superglue. The tooth marks on the topside were no longer an issue so I would only need to sand out the file marks. I set the stem aside to dry. Once the glue had dried I sanded the stem surface with 220 grit sandpaper to smooth out the repairs and remove the oxidation that was on the stem surface.I polished the stem with micromesh sanding pads – wet sanding with 1500-2400 and dry sanding them with 3200-12000 grit pads. I wiped the stem down with Obsidian Oil after each pad. I gave it a further polish with Before & After Pipe Stem Polish – both Fine and Extra Fine. When I finished I gave it a final coat of Obsidian Oil and let it dry. The following photos show the stem at this point. I polished the bowl and stem with Blue Diamond to polish out the scratches in the briar and rubber. I gave the bowl and the stem multiple coats of carnauba wax. I buffed the pipe with a clean buffing pad to raise the shine. I hand buffed it with a microfiber cloth to deepen the shine. The pipe polished up pretty nicely. The Walnut Danish Oil had really breathed life into the briar and the pipe came alive with the buffing. The contrast of colours between the briar and the stem worked really well. The Special Straight Grain pipe has a rich and classic look. The finished pipe is shown in the photos below. The dimensions of the pipe are Length: 5 1/2 inches, Height: 1 5/8 inches, Outside diameter of the bowl: 1 3/8 inches, Chamber diameter: 7/8 of an inch. This one will soon be on the rebornpipes store if you are interested in adding it to your collection. Thanks for reading this while I worked on it. It was interesting and unusual piece to restore and I really enjoyed the work.

Restoring my Inherited, Long Oval Shank “SON” ¼ Bent Pot


Blog by Paresh Deshpande

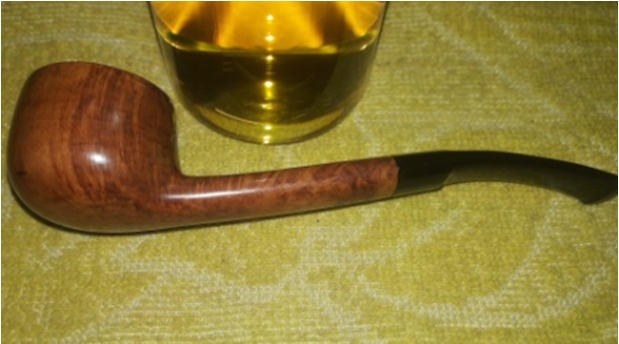
I had set my eyes on this pipe’s restoration for a long time, but was delayed for some reason or the other. Finally, it is now on my work table and I am looking forward to finishing this pipe. This is one of the two “SON” pipes from my inherited collection, the other being an un-smoked sandblasted bent brandy in its original sock.

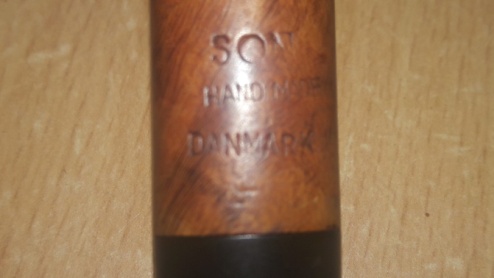
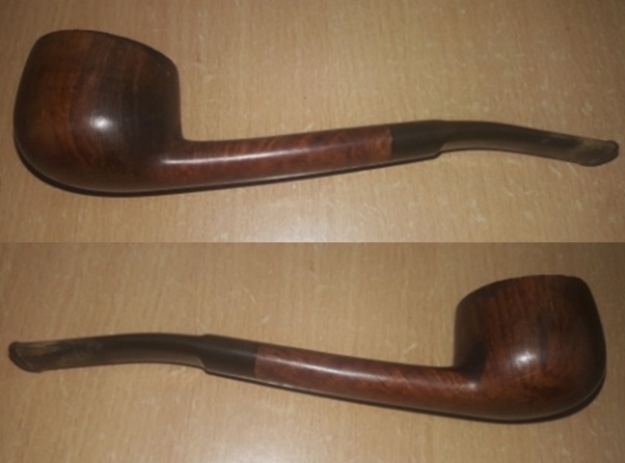
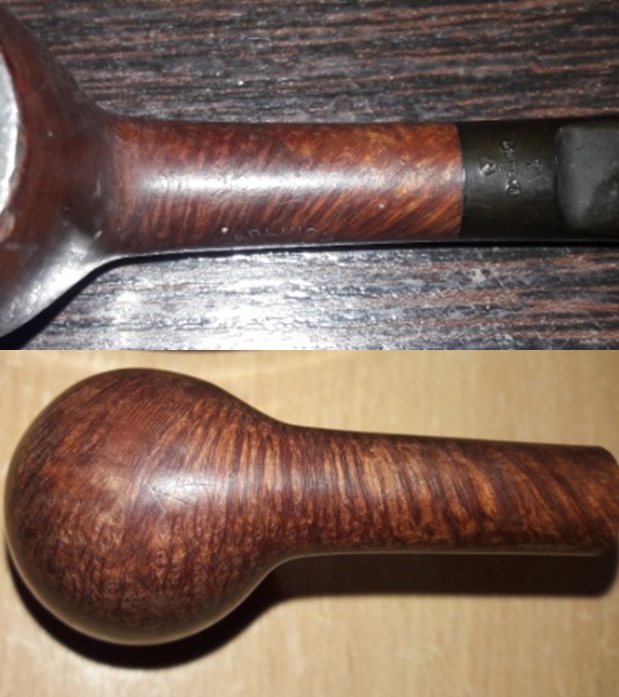
The stummel boasts of lovely straight grains rising from the heel of the stummel towards the rim while the long oval shank displays beautiful cross grains all round. The heel of the stummel has some fabulous swirls interspersed with bird’s eye!!!! The pipe is stamped on the bottom of the long oval shank end as “SON” over “HAND MADE” over “DANMARK”. The long ¼ bent saddle stem is devoid of any stamping.During my previous two restorations of Nording pipes, I had searched the internet and had come to know about the association between Mr. Nording and Mr. Skovbo and the first pipes that they made together were named “SON”! After the split, Mr. Nording continued to make pipes under this name before changing the company name to “Nording” in mid 1960s. Here is the link for more detailed information and reading interest; https://pipedia.org/wiki/Nørding. You may also like to read the write up on rebornpipes.com for abridged details; https://rebornpipes.com/2017/12/06/breathing-new-life-into-a-son-freehand-an-early-nording-pipe/

From the above information, I can safely claim that this pipe was made during the 1960s.

INITIAL VISUAL INSPECTION
Most of the pipes in my grandfather’s collection show signs of heavy usage with heavy build up of cake in the chamber and overflow of lava over the rim. The stem is also generally in dire state. I have always thought that my grand old man believed in a “use and throw” policy! This pipe is no exception to this general observation.

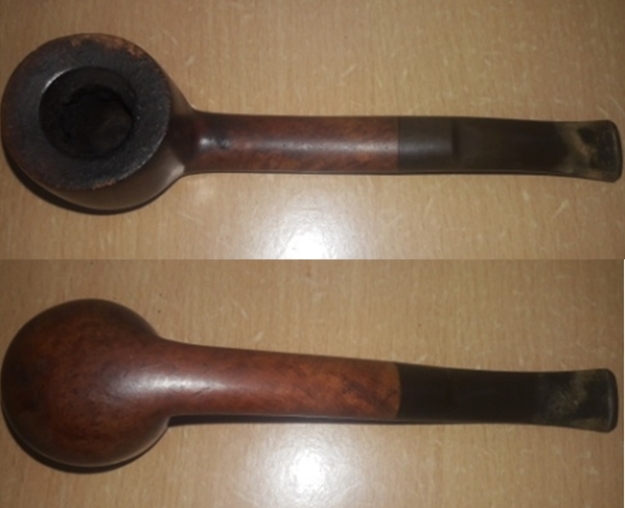
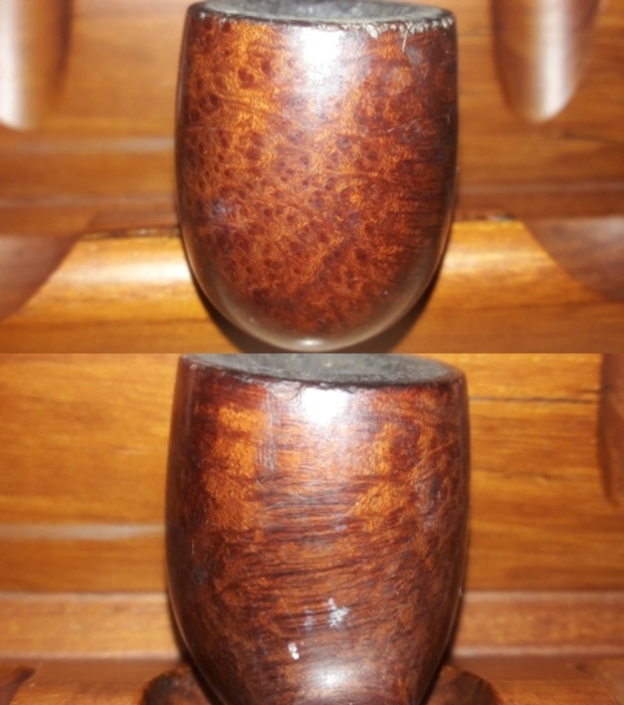
The stummel is covered in oils, tars and grime to such an extent that the bowl is very dull to look at with all the grains hidden and the surface sticky to the touch. This will need a thorough cleaning. There are a number of dents, dings and chipped surfaces over the entire stummel. Whether to sand the bowl with micromesh pads to bring to fore the lovely grains will be decided later. The bowl is heavily caked and has large amounts of lava overflow on top of the rim. The internal condition of the bowl and rim will be ascertained only after the cake has been completely reamed out. There is always a fear of possibility of charred rim edges or burn fissures or charred briar inside the chamber of pipes in this condition. However, the entire stummel appears solid to touch from the outside reducing the probability of any of the above issues being present.The rim top has an inward slope towards the chamber and will make topping impossible without compromising the rim profile, should the need arise. The heavy overflow of lava over the rim top also hides any damages to the inner edge of the rim and also atop the rim surface. However significant damage, in terms of chipped surface, is seen to the outer edge of the rim on the right side in 3 o’clock position and minor dents are seen along the entire outer rim edge. This will have to be taken care of.When I took some close up pictures of the heel of the pipe, I thought I could see a very small and thin crack dead in the center of the heel. My fears were confirmed when I shared pictures of this with my mentor, Mr. Steve, and he concurred with my assumptions. The exact extent of the damage, whether it’s a through crack or just a superficial external crack, can only be known after the cake has been completely reamed back to bare briar. Addressing this issue will be a first for me on my journey!As expected from the condition of the pipe, both the mortise and stem airway is clogged and air flow is restricted.The long ¼ bent saddle stem is heavily oxidized with heavy tooth chatter on both surfaces near the button end. The oxidation is heavier about an inch from the lip. The edges of the lip are worn and will need to be reconstructed and reshaped.THE PROCESS
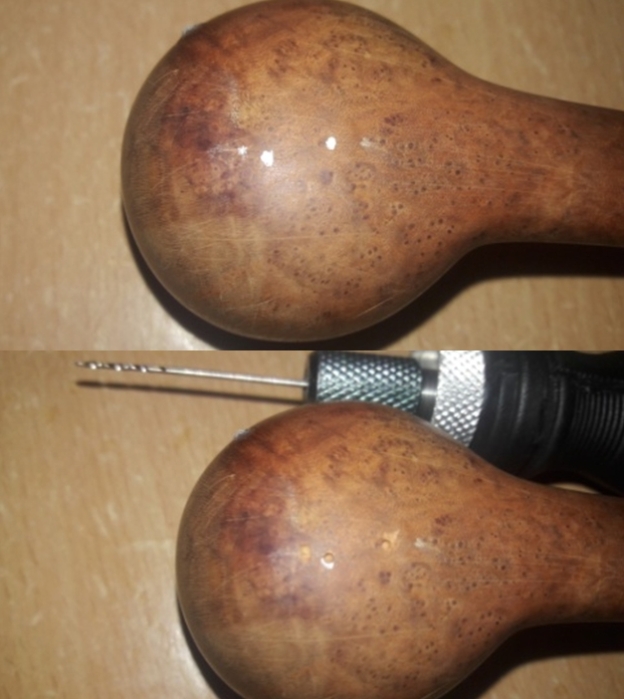
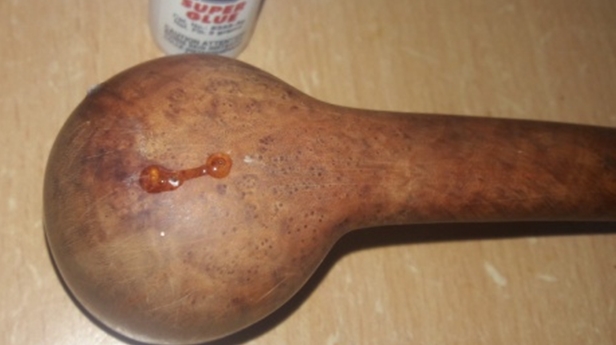
Since I had noticed a small hairline crack on the exterior surface at the bottom of the bowl, I wanted to investigate it further and that is where I start my restoration work. I ream the chamber with head size 2 of the PipNet reamer and progress to size 3 head. To smooth out the inner surface of the chamber and completely remove the last traces of remaining cake, I sand the inner surface of the chamber with a 220 grit sand paper. With a sharp knife, very gently I scrapped the surface of the rim top and removed the accumulated tars, oils and grime. I further clean the chamber with a cotton swab dipped in isopropyl alcohol.Once the chamber was cleaned, I was relieved that the hairline crack seen on the heel of the stummel was restricted to the external surface. However, the walls of the chamber have the markings of the beginning of burn out on the lower half of the chamber walls on the left, front and above the draught hole. I further sand the chamber walls with a 180 grit sand paper. With a fabricated thin and sharp knife, I gently remove all the charred briar from the walls and also from the bottom of the chamber. What was revealed really blew my sock away!!!! The extent of damage was something that I had not seen in 50 odd pipes that I have restored/refurbished to date. The gouges left behind were huge and the bottom surface was severely undulated. I shared these images with my Mr. Steve, who immediately responded and confirmed that the bottom had significantly thinned out and the walls have sustained significant damage. He suggested that the present condition necessitates coating with JB Weld to make it smokable and if that is not available, Plaster of Paris could be used as a substitute. But neither is available to me here in this remote area. I decided to proceed with further restoration while being on a look out for JB Weld! I clean out the mortise and the shank with a fabricated spatula, hard bristled and regular pipe cleaners dipped in isopropyl alcohol. To further clean and open out the drought hole, I had to use the shank cleaning tool of the KleenReem reamer. The amount of gunk, hardened oils and tars that was scooped out was astounding to say the least! After some efforts, I was finally able to clean out the mortise and airway of all the filth. The airflow is now open, full and free. Now, it was the stummel’s turn to be cleaned up. Using a hard bristled tooth brush dipped in undiluted Murphy’s oil soap, I very deliberately scrubbed all the stummel surfaces, cleaning them thoroughly. I cleaned the rim too. This cleaning and scrubbing revealed a new fissure/crack/fill towards the front of the bowl, on the left side. I checked the alignment of this crack with the heat fissures on the walls of the chamber as I feared a through burn out. Luckily, this fill was nowhere near the damaged portion of the chamber walls. The stummel and rim top was dried using paper napkins and soft cotton cloth. I set the stummel aside to dry out naturally. Next I decide to address the issue of damaged outer rim edge. I raised the chipped surface of the outer edge using the steaming method. I heat my fabricated knife and placing a wet Turkish hand towel over the damaged rim edge, placed the hot knife over it. The steam raised the chipped surface to a great extent. I followed the steaming process with sanding the entire stummel and shaping the rim outer edge with a 220 grit sand paper. I sand the rim surface and edge such that the profile of the inward slope of the rim top is maintained. It was a painstaking and time consuming process, but the end result was a smooth and even stummel, rim top and edges. I was very satisfied with the results of the effort. The superficial crack that was revealed on the front of the bowl after the cleaning of the stummel and the thin superficial crack seen on the heel of the stummel were addressed next. I gouged out the dead and dried briar from the crack with a thin and sharp knife, cleaned it with a cotton swab dipped in alcohol and filled it with clear CA superglue. There was a small nick on the right side of the shank end. This too was filled with superglue. Using a magnifying glass and a whitener pen, I marked the start, turning and end points along the extent of the crack. I next drilled holes using a 1mm drill bit (this was the smallest sized drill bit I could lay my hands on!!!) fitted on to my local Dremel machine, taking care that I did not drill a through and through hole. This helps in preventing further spreading/ progression of the existing crack. I cleaned the crack with a toothpick and spot filled clear CA superglue in to the drilled holes and over the crack. I set aside the stummel for the glue to cure. While the repairs to the stummel were curing, I addressed the repairs to the stem. Using a Bic lighter, I flamed both the surfaces of the stem. This helped in raising some of the tooth chatter and bite marks to the surface as vulcanite has a property to regain its original shape on heating. The high quality of the vulcanite ensured that maximum of tooth chatter was raised to the surface and what little remained, would be addressed subsequently during the sanding process. I used a 220 grit sand paper to sand out the oxidation. I used a flat head needle file to sharpen and reshape the lip edge and rubbed a little Extra Virgin Olive oil in to the stem surface. I wiped the stem again and worked on it with micromesh sanding pads – wet sanding it with 1500-2400 grit pads and dry sanding with 3200-12000 grit pads. Between each set of three pads I rubbed the stem down with extra Virgin Olive Oil and also gave it a final rubdown after the 12000 grit pad. I cleaned the stem airway with pipe cleaners dipped in isopropyl alcohol. I set the stem aside to dry while I worked on the bowl. I sand the fills on the stummel with a flat head needle file and further match these fills with the stummel surface by sanding it with a 220 grit sand paper. Once I am satisfied with the match, I progress to polishing the stummel with micromesh pads going through the entire cycle. Due to the light, natural hues of the briar, these fills are still visible, but overall, the pipe looks amazing. I intend to stain it with a darker shade, but as you guessed it right, I don’t have the material and wherewithal to carry out the staining. I rub a small quantity of “Before and After Restoration Balm” into briar with my fingers and let it rest for a few minutes. This balm enlivens and protects the briar. The balm almost immediately works its magic and the briar now has a nice vibrant appearance. I further buff it with a horse hair shoe brush. To finish, I re-attached the stem with the stummel. I mounted a cotton cloth buffing wheel on to the Dremel (actually it is not the brand machine, but a local machine which is similar).  I set the speed at about half of the full power and applied White Diamond compound to the entire pipe. I wiped/ buffed the pipe with a soft cotton cloth to clean it of any leftover compound dust. I then mounted another cotton cloth wheel on to the polishing machine and applied several coats of carnauba wax. I finished the restoration by giving the entire pipe a rigorous hand buffing using a microfiber cloth to raise the shine further. The completed pipe looks lovely, fresh and vibrant; the photographs speak for themselves. Thank you for having the patience to reach this far while reading the write up. It is always heartening when I receive comments on the write up, good or bad, either way is encouraging, but the real happiness and maximum satisfaction is derived from knowing that someone has dedicated his/ her precious time in reading your write up. PS: There are two issues which are yet to be addressed; one is the coating of the chamber for protection of the walls (functional necessity) and the second is staining the stummel in darker hues (cosmetic necessity). I do not have necessary materials and equipment to carry out these works as I pursue this hobby as a non earning pursuit. But I am gradually and step by step purchasing the equipment and materials necessary for reaching the standards that I have set myself. I shall keep you updated on this beauty as and when I address both the above issues. Cheers and wish me luck!!

Restoring a Beat up “Mini Woodart” Pipe #856


Blog by Paresh Deshpande

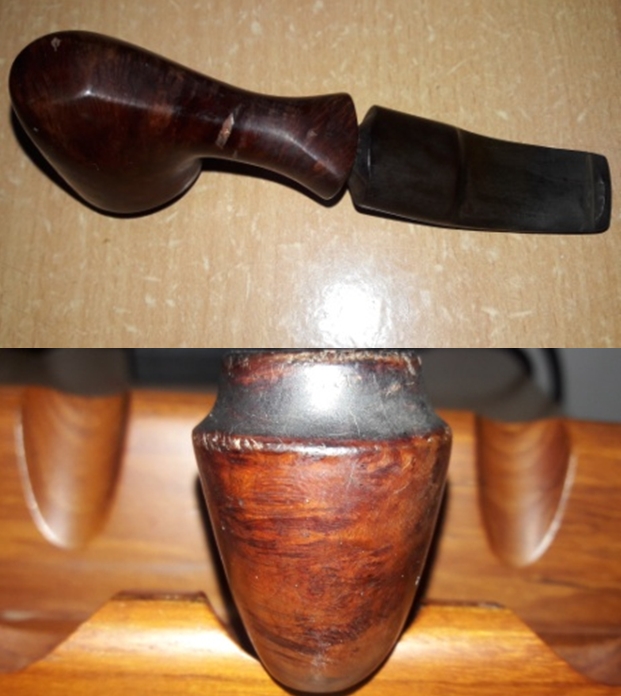
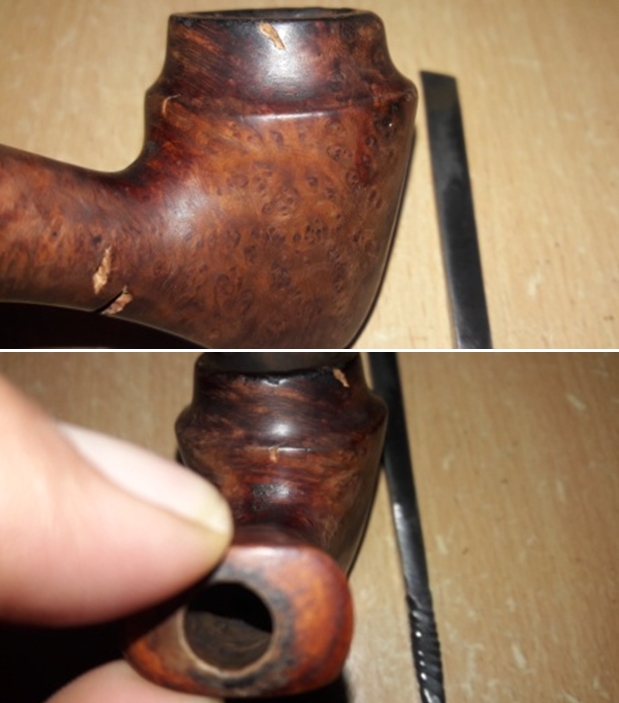
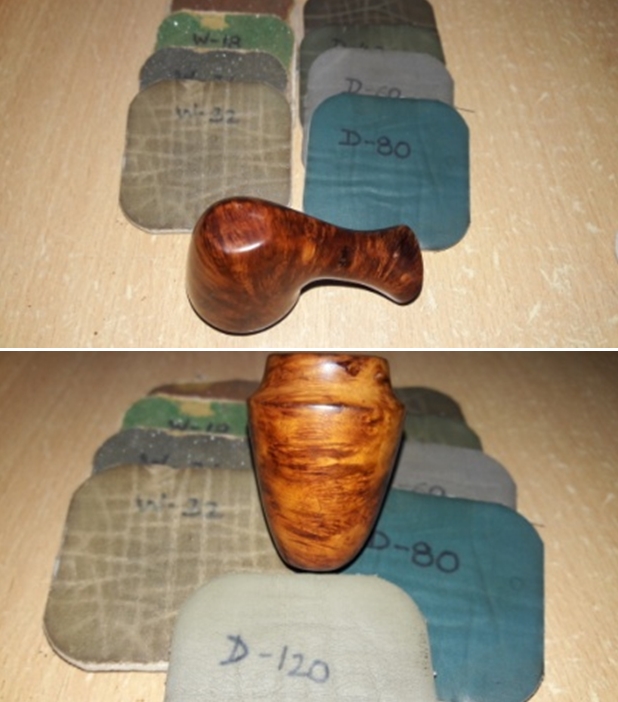
The fourth and the last pipe that I worked on simultaneously was another pipe that I had purchased on eBay along with the Rolex vest pipe. I was attracted to its vase like shape and through all the dirt and grime some beautiful bird’s eye grains peeked and beckoned me for help. The shank end flares out and the chunky, short and broad, 1/4 bent saddle stem with a conical tenon end makes for a very interesting appearance to the overall pipe. The appearance of this beauty was beat, the rim appeared to be damaged and there were a few prominent fills which appeared like blistered wounds. But, nevertheless, it is one handsome, more like cute, looking pipe!!!!

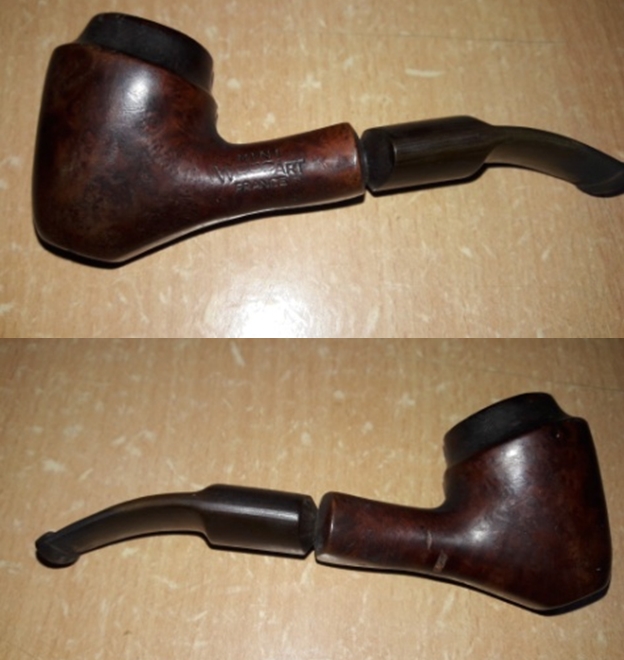
The stummel surface boasted of beautiful swirls of grains interspersed with bird’s eye along the sides of the stummel and shank, while contrasting cross grains adorn the top and bottom of the shank extending to the back and bottom of the stummel. The left hand of the shank is stamped as “MINI” over “WOODART” over “FRANCE”. The bottom of the flared out shank end bears the model number “# 856”. The saddle top of the stem bears the logo of “W” in an oval. This stem logo was revealed later after the stem had been soaked in hydrogen peroxide solution.I could not find any information about this brand on Pipedia.com or rebornpipes or anywhere on the internet. However Pipephil.eu does make a mention of this brand and even has a picture of a pipe with similar stampings (http://www.pipephil.eu/logos/en/logo-w3.html#woodart), but no further information was available!

INITIAL VISUAL INSPECTION
As I had noted earlier, this little pipe was in a sorry and battered state. There is not a single surface on the stummel which does not have either a dent or a fill or a chipped surface. The stummel is covered in oils, tars, sticky grime and dust, through which one can make out the beautiful grains all round. The overflow of lava has not only covered the area between the narrow top portion and rest of the bowl, but has spilled over to the back of the bowl and accumulated in the area where the shank meets the bowl. There are a large number of dents, dings and scratches prominently seen on the edge below the neck of the vase like stummel shape. There are a few major fills in the stummel, the most prominent ones being to the right side on the shank. These will need to be addressed. The bowl is narrow and tapers down towards the draught hole. The chamber has a thin layer of cake, but the appearance indicates that there may be issues with the walls of the chamber. The mortise is full of oils, tars and gunk and restricts air flow. The rim top is where maximum damage is seen through the overflowing lava. The inner and outer edge of the rim is peppered with dings, dents and chips, a result of striking the rim edge against a hard surface while cleaning after a smoke. The bowl is completely out of round with undefined rim edges. This will have to be taken care of without losing too much of briar estate and will be a challenge to achieve desired results. The vulcanite stem is so heavily oxidized that it appears brown in color!!!! The upper surface of the stem has very light tooth chatter towards the button end while the lower surface has a few deep bite marks with damage to the lip edge. This issue should not be a major headache to address. The tenon is filled with oils and tars, restricting flow of air through the airway.THE PROCESS
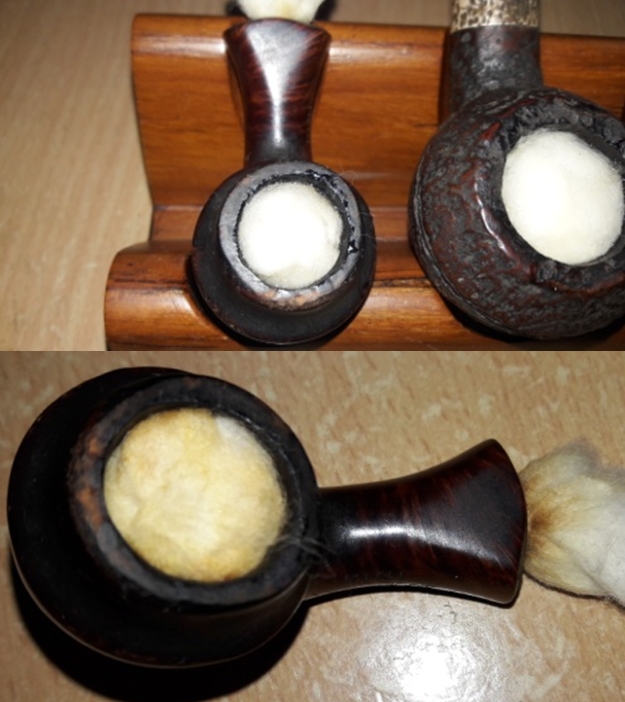
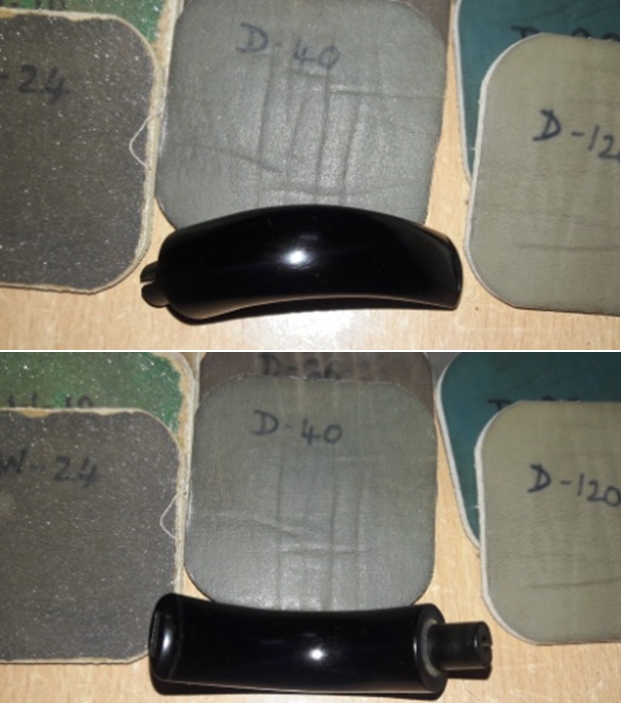
I started this project by flaming both the surfaces of the stem with a Bic lighter to raise the tooth chatter and bite marks to the surface. I followed it by immersing the stem in to the solution of hydrogen peroxide and hot water. Within 20 minutes the stem color changed to greenish brown, a sign indicating that the oxidation has been pulled to the surface. This also revealed the stem logo of “W” encircled in an oval, on the top surface.After the oxidation was raised to the surface, I removed the stem and wiped it with paper napkins. I ran a couple of pipe cleaners through the airway to clean it. Once I was satisfied that the internals of the stem are clean, with a 180 grit paper, I sand the stem surface to get rid of the raised oxidation. I followed it by filling the deeper bite marks and lip damage with a mixture of activated charcoal and CA superglue and set it aside to cure. While the stem was curing, I worked on the stummel. The small size of the chamber dictated that I could only use my smaller sized fabricated knife to remove as much cake as possible. I further sand the chamber walls with a piece of 150 grit sand paper wound on a thin but dry bamboo twig (which are abundant in the jungles in this part of my country) attached with a rubber band. This was followed by 220 and 400 grit sand paper and now we have a smooth and even surface on the walls of the chamber. This process exposed the walls of the chamber and confirmed my initial apprehensions. The chamber walls show a number of heat fissures on both the front wall as well as above the draught hole. I shall address this issue at the end by coating the chamber wall with a mixture of activated charcoal and yogurt. I wiped the insides of the chamber with a cotton pad dipped in isopropyl alcohol. I cleaned the mortise using hard bristled and regular pipe cleaners, dental spatula and shank brush dipped in isopropyl alcohol. I continued with the cleaning of the chamber by giving it a salt and alcohol treatment. I packed the chamber, just below the rim, with cotton balls. I stretched a cotton ball into a thick wick, tapering at one end, and inserted it in to the shank and pushed it as far inside as I could using a straightened paper clip. I find that cotton balls work just fine in drawing out all the tars and smells from the mortise and the bowl. I topped the bowl with alcohol again after 20 minutes when the alcohol level had gone down and set it aside overnight for the cotton and alcohol to do its intended job. The next day, the cotton and alcohol had fulfilled its intended task. I removed the cotton balls and ran pipe cleaners through the mortise to clean out all the loosened tars and gunk. The internals of the stummel is now clean and fresh. I set the stummel aside to dry out. While the stummel was drying, I worked the stem. I covered the stamping on the stem with whitener using a whitener pen. The filling of charcoal and CA superglue had cured and using a needle file, I sand the filling to match the surface of the stem. For a better blending, I further sanded the entire stem with 220 followed by 400 and 800 grit sand paper. This helps to reduce the sanding marks left behind by the more abrasive 220 grit paper. To bring a deep shine to the vulcanite stem, I went through the complete set of micromesh pads, wet sanding with 1500 to 2400 grit pads and dry sanding with 3200 to 12000 grit pads. I wiped the stem with alcohol after each pad and rubbed it down with Extra Virgin Olive oil. The internals of the stem was cleaned out using alcohol and pipe cleaners. The finished stem is shown below. With a sharp, thin knife I removed the entire old and loosened fills and cleaned the surface with alcohol. These are now ready to take on a fresh fill. Now, it was the turn of the stummel to get cleaned up. Using a hard bristled tooth brush dipped in undiluted Murphy’s oil soap, I very deliberately scrubbed the stummel, cleaning the surface thoroughly. I cleaned the rim too. However, the grime, oils and tars covering the stummel and rim surface was so stubborn that I could not get rid of it completely.  The stummel and rim top was dried using paper napkins and soft cotton cloth. I mixed briar dust and CA superglue and filled all the major gashes while the minor ones were filled with clear CA superglue. I set the stummel aside to dry the filling.After the filling had dried out overnight, I sand the filling with a flat head needle file to match the surface of the stummel.Before sanding the entire stummel to match the fills and clean the stubborn grime, I decided to address the out of round and charred rim top by topping the rim top on a 220 grit sand paper. I was careful not to sand too much to maintain the original profile of the stummel. Topping also helped in reducing the dents and chipping to the outer edge of the rim. The rim top, after topping, looks much better.However, the inner edge profile was still uneven giving the bowl an out of round appearance. Also the outer rim edge had a few dents, chips and scratches. I addressed these issues by creating a bevel on the inner and outer edge of the rim. The results are pleasing to the eye.The issue of damaged rim was addressed to a great extent at this stage. However, the issue of addressing the large number of dent, dings and scratches prominently seen on the edge below the neck of the vase-like stummel shape still remains. I decided to reduce/ eliminate, if possible, these dents and dings by steaming them out. I heated my fabricated knife over the flame of a candle, placed a wet Turkish hand towel over the marked areas and steamed out the dents by placing the heated knife over the towel. Though some dents were still visible, these were greatly reduced when compared to before steaming.Thereafter began the arduous, painstaking and time consuming process of matching the repairs by sanding the entire stummel with 220 followed by 400 and 800 grit sand papers. I was able to match all the repairs and dents and dings on the lower edge of the stummel by upward sanding motion while moving up from heal and downward motions while moving down from the rim top. I was satisfied with the appearance of the stummel after this sanding. I wanted to highlight the grains seen and further blend all the repairs carried out to the stummel. To achieve this aim, I sand down the stummel and rim top using micromesh pads, wet sanding with 1500 to 2400 grit pads and dry sanding with 3200 to 12000 grit pads. The stummel now has a deep shine with grains popping out with magnificent contrast. I rub a small quantity of “Before and After Restoration Balm” in to briar and let it rest for a few minutes. The balm almost immediately works its magic and the briar now has a nice vibrant appearance. I further buff it with a horse hair shoe brush. To finish, I re-attach the stem with the stummel. I mount a cotton cloth buffing wheel on to the Dremel (actually it is not the brand machine, but a local machine which is similar).  I set the speed at about half of the full power and applied White Diamond compound to the entire pipe. I wiped/ buffed the pipe with a soft cotton cloth to clear it of any leftover compound dust. I then mounted another cotton cloth wheel on to the polishing machine and applied several coats of carnauba wax. I finished the restoration by giving the entire pipe a rigorous hand buffing using a microfiber cloth to raise the shine further.The completed pipe looks lovely, fresh and vibrant; the photographs speak for themselves. The beauty, size and shape of this pipe compel me to wonder if this pipe could once have been nestled in the hands of a lovely lady in Paris. If only the pipe could tell the story of its journey till date…Cheers!! PS: – Once I had finished with all the buffing and polishing, only one issue remained to be addressed; heat fissures on the walls of the chamber. I coated the walls of the chamber with a mixture of activated charcoal and yogurt. Once dried, this will speed up the formation of cake and protect the chamber from a burn out.

Sprucing up a Sparingly Used “Rolex” Vest Pipe


Blog by Paresh Deshpande

The third pipe that I worked on simultaneously is a small folding “Rolex” vest or pocket pipe which I had purchased on eBay. I generally avoid making purchases on eBay as I am not sure as to what I shall land up with. I know there are all kinds of checks and balances on the site to prevent fraudulent transactions and various guarantees protecting the buyer, but still the fear of unknown prevents me from making purchases. However, in this case, I found the pipe interesting with the asking price to my liking and the seller had advertised it as rarely used and from the pictures, it appeared so. I decided to add it to my collection and made the purchase.

A long wait of 43 days followed and finally the pipe was received by my wife as I was away at my duty station. She immediately gave me a call to confirm receipt and sent me pictures of the pipe. She confirmed that the received pipe was indeed in excellent condition and would not require much work. This coming from her allayed all my fears about the overall transaction. A few months later, I went on some well earned leave and on return bought it with me to restore.

This round and flattened pipe has vertical thinly wired rustications running from the heel of pipe to the rim. The right side of the surface has a smooth surface in the center which bears the only stamping seen on this pipe. It is stamped as “ROLEX” over “BRUYERE” over “ITALY”. The bottom of the smooth surface has a stamp picturing a gnome. There is no other stamp on the stummel or the stem.I searched the internet for some information on this pipe and also on dating this pipe. I visited Pipedia and learnt that Rolex vest pipes were made by Brebbia of Italy. However, I hit a jackpot when I visited rebornpipes which really has a wealth of information on nearly every pipe ever made and served on a platter!!! It is here that I became aware that it is the picture of a gnome that adorns this pipe and that the gnome was the logo Brebbia used to put on its pipes from 1953 to 1956 (https://rebornpipes.com/2016/08/24/an-interesting-brebbia-silver-as1-square-shank-brandy/). Thus, is it possible to assume that this Rolex vest pipe was made between the years 1953 to 1956?????

INITIAL VISUAL INSPECTION
As is commonly seen on rusticated or sandblasted pipes, the crevices in these will be filled with dust, dirt, oils, tars and grime from all the years of smoking and storage. This Rolex vest pipe is no exception to this observation. The tight vertical rustications are filled with dust. The fact that the vertical rustications are dirty and filled with dirt is accentuated more due to a very dark reddish brown stain on the smooth patch on the stummel which bears all the stampings seen on this pipe. The briar is looking nice and a little TLC will further enhance its appeal.The bowl is oval and pinched at either end along the length of the pipe. The chamber is filled with a thin layer of cake which should make for an easy clean. However, the shape of the bowl and chamber will prevent the use of a regular pipe reamer. I would not be able to even sand it with a sand paper pinched between my fingers. Improvisations will have to be made to remove the cake build up. The short mortise is relatively clean and air flow is open and free. The rim top has the same thin wired rustications and is filled with dirt and dust. The inner and outer edge of the rim is in pristine condition with no dings or dents. The full bent vulcanite stem is so heavily oxidized that it appears greenish brown in color!!!! There are two major bite marks on the lower surface of the stem. The upper surface has a little debris stuck near the bottom of the lip. These issues should not be a major headache to address. The lip edge on both side is crisp and without any damage. The quality of vulcanite is good.THE PROCESS
As I had written in my write-up on John Bessai, I had learnt the use of Hydrogen Peroxide and hot water solution to raise the stem oxidation to the surface. Since I had decided to use this method, I had immersed stem of this pipe along with the stems of the John Bessai and Mini WoodArt pipes to make maximum use of the solution. Before I immersed this stem in the solution, I flamed both the surfaces of the stem with the flame of a Bic lighter. This helped in raising the deep bite marks on the lower side of the stem to the surface. The result of this flaming was so fantastic, that there were little or no traces of any tooth indentation on the lower and upper surface. This was followed by immersing the stem in to hydrogen peroxide solution. Within 20 minutes the stem color changed to greenish brown, a sign indicating that the oxidation has been pulled to the surface.I used a 180 grit sand paper to sand out the raised oxidation and rubbed a little Extra Virgin Olive oil in to the stem surface. I wiped the stem again and worked on it with micromesh sanding pads – wet sanding it with 1500-2400 grit pads and dry sanding with 3200-12000 grit pads. Between each set of three pads I rubbed the stem down with extra Virgin Olive Oil and also gave it a final rubdown after the 12000 grit pad. I set the stem aside to dry while I worked on the bowl. I cleaned the stem airway with pipe cleaners dipped in isopropyl alcohol. I removed the cake from the chamber by scraping it with my smaller sized fabricated knife. I found the chamber to be solid and without any heat fissures or cracks. To finish the chamber, I wound a piece of 150 grit sand on a thin but dry bamboo twig (which are abundant in the jungles in this part of my country) attached with a rubber band, and used it to sand the inner walls. This was followed by 220 and 400 grit sand paper and now we have a smooth and even surface on the walls of the chamber, ready for taking on a fresh layering of carbon cake!! This was followed by cleaning the short mortise with qtips, pipe cleaners and shank brush dipped in isopropyl alcohol. This further eliminated all the traces of old smells from previous usage.

Now, it was the turn of the stummel to get cleaned up. Using a hard bristled tooth brush dipped in undiluted Murphy’s oil soap, I very deliberately scrubbed through all the vertical rustications, cleaning them thoroughly. I cleaned the rim too. The stummel and rim top was dried using paper napkins and soft cotton cloth. I set the stummel aside to dry out naturally. I started work on the stummel which has dried by now. I rub a small quantity of “Before and After Restoration Balm” in to briar and let it rest for a few minutes. The balm almost immediately works its magic and the briar now has a nice vibrant appearance. I further buff it with a horse hair shoe brush. To finish, I re-attach the stem with the stummel. I mounted a cotton cloth buffing wheel to the Dremel (actually it is not the brand machine, but a local machine which is similar). I set the speed at about half of the full power and applied White Diamond compound to the entire pipe. I wiped/ buffed the pipe with a soft cotton cloth to clear it of any leftover compound dust. I then mounted another cotton cloth wheel on to the polishing machine and applied several coats of carnauba wax. I finished the restoration by giving the entire pipe a rigorous hand buffing using a microfiber cloth to raise the shine further.The completed pipe looks lovely, fresh and vibrant; the photographs speak for themselves. Thank you for having the patience to reach this far while reading the write up.

Rejuvenating a Captivating Savinelli Punto Oro Corallo di mare 510ks Rusticated Bulldog


Blog by Dal Stanton

This exquisite line of Savinelli Punto Oro Corallo di mare came to me in a single Lot of 66 that I acquired off the eBay auction block.  As I’ve referenced several times before, the Lot of 66 has been very good to me and this pipe confirms this again.  I included a picture of the Lot of 66 below with an arrow marking the Savinelli.  Looking at this picture reminds me of many pipes that have found new stewards and some that have made it to my own personal collection!  Only one regret – the two clay pipes immediately below the Savinelli Punto Oro Bulldog did not make it in the transit from the seller.  Overall, I am very pleased!This Savinelli Punto Oro got the attention of a Texan named Charles in my online collection called For ‘Pipe Dreamers’ Only!.  He contacted me about commissioning the pipe and was hoping to get it by his 50th birthday on December 2.  My first thought was, what a great present for yourself!  Sweet!  Secondly, I thought about the other commissioned pipes in the queue for which other pipe men and women were patiently waiting.  Regretfully, I explained this to Charles and he insisted that I not bump anyone out of the line – I appreciated that!  As I’ve worked the queue down, I have communicated to Charles letting him know the progress and I told him that I knew I wouldn’t have it to him by his birthday, December 2, but I felt very confident that he could celebrate the New Year with this Savinelli.  Well, tomorrow is December 2, and the Savinelli is now on my worktable.  Here are pictures that drew Charles’ interest and why he was willing to wait – by the way, Happy Birthday Charles! The nomenclature is stamped on a smooth briar panel on the lower left of the diamond shank.  It reads, ‘SAVINELLI’ [over] PUNTO ORO [over] 510ks [over] ITALY.  To the left of the COM is the Savinelli stamp.  The stem has a single dot on the upper left panel of the diamond saddle stem. Ever since I started restoring pipes and came into contact with my first Savinelli restoration, a Tortuga, I have appreciated this Italian pipe name.  Before and after WW II, when Italian pipe production was known more for volume than for quality, and not considered by many in the same league with other European pipe makers, Achille Savinelli Jr.’s gravitas took shape to make Savinelli one of the premier names in pipe making today.  This clip from the Pipedia Savinelli article summarizes this well:

Savinelli Pipes began production in 1948 and, although the pipes were of a superior quality and unique in their aesthetic, the brand wasn’t an immediate success. Few new brands are. It takes time for the public to catch on. Retailers were skeptical of placing Italian pipes alongside their best sellers from England or France, and customers, in turn, were hesitant to purchase a Savinelli over pipes by already established, foreign brands. Achille Jr. stood by his product, however; he knew it was only a matter of time before the world realized that these pipes were of a far superior quality, capable of competing with even the most well-established pipe manufacturers in the world. As it turns out, he was right. In less than a year, Savinelli pipes gained prestige in markets all across the world—heralded for their delicate balance of innovation and tradition, of form and function. Savinelli pipes were placed alongside the likes of Dunhill and Comoy’s in tobacconists from the United States to Europe, and, in time, this exposure modified Italy’s reputation; it was not only the premier exporter of briar, but now a premium source of fine briar pipes. (Picture courtesy of Doug Vliatchka)

The shape number listed as a 510ks is an interesting version of the well-known and loved Bulldog shape.  I’ve taken a clip of the 2017 Savinelli Shape chart from the middle of the chart.  This section conveniently shows the 510ks in the center, 3rd pipe down.  Comparing this style of Bulldog to the other two Savinelli Bulldog styles (623 & 624ks) pictured below, the right lower two pipes, the differences are interesting.  The 623 and 624ks are more what I would call traditional or classic Bulldog shapes.  Whereas the 510ks, is taller with a more distinct volcano shaped cone.  It’s an interesting variation and I like it.

The Punto Oro (Gold Point) name is a higher quality line produced by Savinelli.  From the same Pipedia article above, the discussion was the quality of briar used in the manufacturing of Savinelli pipes.  This helpful anecdotal information about the Punto Oro line was made in the article:

This focus on quality begins with sorting, which is conducted in two distinct steps. In the first stage, an artisan sorts through a massive pile of briar blocks, the quality of which can range from complete scrap to pristine gems destined to become Punto Oros or Giubileos.

Perhaps the most interesting information I found on Pipedia was the special Punto Oro edition that Lot of 66 had provided me – the Corallo di mare, or ‘Coral of the Sea’ line.  Of course, the most striking and unique characteristic of this pipe is the amazingly pronounced and expressive rusticated light hued briar.  Pipedia provided an undated page of a catalog of the Savinelli Punto Oro Corallo di mare line.  I include the entire page here:The information block on the bottom is a gold mine of information about the characteristics of this unique briar.   It is described as porous like Block Meerschaum – which is interesting because when I first saw this pipe, I mistook it for Meerschaum until I got a closer look. As with Meerschaum, the claim is that this briar does not need to be broken in.  Yet, most interesting to me was the description of the pigmentation also being like Meerschaum – the more one smokes it the more the pipe will darken into the honey yellow patina.  Fascinating!  This bit of information gave me a new perspective and appreciation for the vintage of the Savinelli Punto Oro Corallo di mare that Charles had commissioned.  The patina on the pipe was a sign of its aging and vintage, as with a Meerschaum pipe.  I take another picture of the briar to show this patina. Wow!The pipe is generally in good condition but needs extensive cleaning.  The chamber has very light cake buildup, but the rim is darkened some by what I believe to be from the lighting practices of the former steward.  The backside of the rim has some scorching.  There is additional darkening from oils and grime.  The stummel is darkened from the patina development from the information related above, but it should lighten some when cleaned in the extreme ridges and peaks of the rusticated briar surface. The stem doesn’t appear to have much oxidation and the bit has very little tooth chatter.  I’m hopeful that this restoration will be more of a refresher!

With a much better understanding of the quality and characteristics of the Savinelli Punto Oro Corallo di mare Bulldog before me, I begin the restoration by adding the stem to a soak of Before & After Deoxidizer along with other pipes and their stems, that have already completed the restoration process.  I let the Savinelli’s stem soak for several hours. After several hours, I remove the Savinelli stem from the soak allowing the Deoxidizer to drain and again pushing a pipe cleaner through the airway to remove the fluid.  I then wipe of the raised oxidation with a cotton pad wetted with isopropyl 95%.  I follow this by wiping the stem with light paraffin oil which cleans it further and revitalizes the vulcanite.Now turning to the stummel, I use undiluted Murphy’s Oil Soap and a bristled tooth brush to clean the rusticated surface with its myriads of nooks and crannies!  I also use cotton pads on the smooth panel and rim.  For the rim, a brass wire brush helps to remove the lava flow.  I find that the tight crevices on the shank are the most uncooperative and I use a sharp dental probe to break up the compacted dirt.  The first picture below shows the compacted crud – the whitesh hue on the shank in the grain is dirt. After a lot of scraping and brushing, finally, I rinse the stummel with cool tap water and it looks great.  The first 4 pictures are before, and then after. Now, after cleaning. Well, I don’t normally do what I just did.  I was so taken with the rusticated finish that I forgot my usual practice of reaming the chamber before cleaning the externals.  Well, back tracking, I use the Pipnet Reaming Kit to clean up the very light cake in the chamber. I quickly discover that there is no cake really to ream with the blade heads, so I graduate quickly to scraping the walls and reaching down to the floor of the chamber with the Savinelli Fitsall Pipe Tool.  I follow by sanding the chamber with 240 grade paper wrapped around a Sharpie Pen and finish by wiping the carbon dust from the chamber with a cotton pad wetted with alcohol.  That was a quick chamber clean up and the pictures show the progress.  After clean, I inspect the chamber walls and it looks great – no heating problems are evident. Next, I turn to the internal cleaning of the mortise and airway.  I discover again, that this pipe has been cleaned well.  I expend one pipe cleaner and cotton bud and I’m convinced that the internals are clean – this doesn’t happen often, but thank you!Before turning to the stem, I decide to push forward with the one noticeable challenge on this stummel – the charred rim.  The conundrum is, if I sand it off by introducing a gentle internal rim bevel, I sacrifice a bit of that valuable rusticated rim real estate which I hate to do.  I scrubbed it well earlier with a brass wire brush which cleaned the rest of the rim nicely, but the inner rim is charred and there isn’t a remedy for that.  The charring is on the front right and the back left – diagonally.  I take another close-up picture from the steward perspective to show what I’m seeing.  Taking the conservative route, I decide to use the brass wire brush again.  I dip the brush in Murphy’s Soap, concentrating on the scorching, I scrub.  Amazingly, after some time, the scorched, damage briar starts giving away and I see more healthy briar.  You can still see where the most damage was (third pictures – lower right), but it will not draw as much attention to itself after the stummel is completed.  I may still need to sand a bit on the inner rim lip, but not a lot.  The pictures show the progress.  I’m amazed. I turn to the stem and use the heating method to deal with the very light bite dents on the bit.  I take a close-up of both the upper and lower bit to show what I see.  Using a Bic lighter, I paint the areas with the flame to heat and then expand the vulcanite which hopefully reclaims its lost space or at least, minimizes the compressions.  Painting the bit with the open flame of the Bic works like a charm as the compression are greatly minimized allowing me easily to sand out the dents using 240 grit paper.  While sanding, I also use a flat needle file to freshen the button lips.  In order to erase the scratches of the filing and 240 sanding, I wet sand the entire stem using 600 grade paper and follow this by sanding/buffing with 0000 steel wool. Pressing forward with the stem restoration, using micromesh pads 1500 to 2400 I wet sand and follow by dry sanding with pads 3200 to 4000 and 6000 to 12000.  Between each set of three I apply Obsidian Oil to revitalize the vulcanite.  I love the gloss pop of the vulcanite after the micromesh cycles! With the stem drying, I look again at the stummel.  There is a light dark ring on the inner lip of the rim persisting.  It’s not a lot and I address it simply using 240 grade paper tightly rolled.  I do not really introduce a bevel but clean the residue scorching and it cleaned up quickly. There is only minor briar erosion on the inner rim where it was scorched – see second picture below on the left. I’ve been looking forward to this phase of the restoration, refreshing of this Savinelli Punto Oro Corallo di mare – Sea Coral.  This unique rusticated finish needs a bit more consideration regarding the approach toward finishing it.  The surface does remind me of coral (and maybe a bit of elephant skin!) and the light hue of this Corallo di mare line evident in the Savinelli advertisement I included above confirms this.  I take some additional close-ups focusing on the hue and texture. Here’s the question which reveals a concern.  The honey brown hue shows the patina of this briar as the information above described.  At this point in the restoration, with other pipes, I might apply Before & After Restoration Balm to enrich the briar.  My concern is that this might overly darken the light complexion of this Savinelli’s briar and I don’t want to do this.  If the briar is more porous than regular briar, as the Savinelli information indicates, it might ‘drink up’ the Balm and a darkened briar might result.  Ok, I’m curious.  I decide to test a spot to see what happens.  I isolate applying a small amount over the smooth nomenclature panel to the shank edge – the edge has some rustication, but not as pronounced as the forward part of the bowl.  Here is the result.It does darken the briar but wow!  The result is a deep honey hue which to me, enhances the appearance. I decide to apply the Balm to the entire surface, but very sparingly.  I put a very small amount on my thumb and rub the Balm into the rusticated surface very briskly and aggressively spreading it across the briar surface.  I also use a bristled tooth brush to brush the area thus helping to deliver the Balm into the crevices.  After completing the application, I again rub the surface aggressively with my thumb to make sure the Balm was spreading evenly over the surface.  I then use a 100% horsehair Kiwi shoe brush to brush the surface to lift the excess Balm and to buff it up.  The result to me looks good – I think.  It’s time to turn out the light and I let the stummel dry through the night.The next morning, I reunite stem and stummel and take a good look – liking what I’m seeing!  I mount a cotton cloth buffing wheel to the Dremel, setting the speed at about 40% full power and I apply the abrasive, Blue Diamond compound.  As I do this, I know I’ll have to pay the piper later – the compound will gunk up in the rustication and it will take a good bit of effort to remove it.  Even though I know this to be the case, I apply the compound because I like the textured highlights and nuanced shading that will result from the fine abrasion.  It will also light the hue which I like as well.  One additional benefit is that it teases out the grain of the briar in the rustication.  The application of Blue Diamond compound on the gnarly surface eventually obliterates the cotton buffing wheel and I switch to a new one.In this picture below, you can see the leftover compound residue which I’ll need to remove, but also look closely at the rusticated mountains – the grain is peaking out.  Doing this kind of detail work even on a rusticated surface transforms presentation subtly – like moving from a regular TV screen to a high definition display.Using a toothpick, sharp dental probe and a bristled brush I painstakingly AND patiently work on cleaning the briar surface of the leftover compound dust.  It’s a bear of a job, but to me, the results are worth it, at least in this case! Before waxing, again I use the horsehair brush on the rusticated surface and I give the bowl and stem a buffing with a felt cloth to remove the residual compound dust.
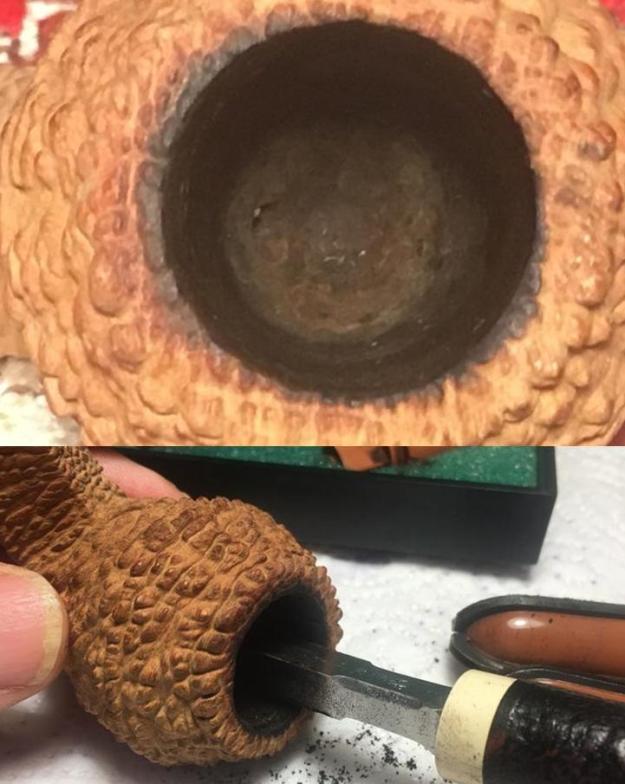
In the interest of full disclosure, as I finished the Blue Diamond process, I became increasingly dissatisfied with how dark the stummel had become after my application of Before & After Restoration Balm.  The rusticated surface lost the light hue that I believe characterized the Corallo di mare line.  What to do?  I failed to take pictures, but what I ended up doing was plopping the entire stummel in a soak of isopropyl 95% for a few hours to remove the applications on the surface.  I wasn’t sure that the alcohol soak would do the job and I wasn’t sure if it might damage the patina.  After a few hours I removed the stummel and after drying, I simply buffed the surface with a clean cotton buffing wheel on the Dremel.  Amazingly, the surface buffed up to a lighter hue that resembled the original.  I was thankful and relieved.

After the grand detour and experiment, I next mount another cotton cloth wheel, increase the speed of the Dremel to about 50% full power and strategically apply carnauba wax to the Savinelli Punto Oro. I increase the speed to provide more RPM and therefore more friction to heat and dissolve the wax, so it is received by the surface more evenly.  I avoid wax buildup as I slowly work the wax into the surface, rotating the Dremel’s buffing wheel to agree with the flow of the rusticated pattern I’m working on.  This takes a good bit of time methodically to work through and cover the surface.  I apply a few coats of wax to both stem and stummel and then buff up the surface using a horsehair brush and then a rigorous hand buffing with a microfiber cloth.

My, oh my.  When I complete a project like this, I marvel at what comes from the many processes the restoration brings to bear.  The rusticated surface on this Savinelli Punto Oro Corallo di mare emulates a coral landscape.  I the intricate design of the rustication process holds my attention as I study the contours.  The light hued briar is also eye catching and unique and my decision to soak the stummel in alcohol to clean it I believe was spot on.  Charles, from Texas, commissioned this pipe from the collection, For ‘Pipe Dreamers’ Only! and he will have the first opportunity in ThePipeSteward Store to bring this Savinelli home to Texas.  This pipe benefits the Daughters of Bulgaria – an effort here in Bulgaria helping women and girls who have been trafficked and sexually exploited.  Thanks for joining me!
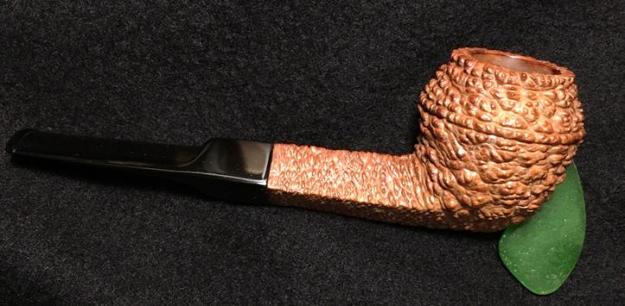


Decking out my Grandfather’s Battered Pre-transition Barling # 1354.


Blog by Paresh Deshpande

In one of a first, I had decided to work on four pipes simultaneously. Well, honestly, it was a decision which was forced on me due to extraneous circumstances that I had created for me. It so happened that after having discussed with my mentor, Mr. Steve, I decided to work on a John Bessai creation from my Grandfather’s collection. As I was turning the John Bessai in my hands, I felt that there were not very many major issues involved in its restoration and the small Barling’s, also from my old man’s collection, appeared to be a straight slam dunk of a restoration. Thus, I decided to work on both simultaneously, which appeared doable. However, things turned in to a challenge when I was just surfing YouTube on pipe restoration topics. In one of the videos, Hydrogen Peroxide and water solution was used to raise the oxidation to the surface and subsequent cleaning of the same was a breeze. I decided to try out this method and in order to make max use of the solution; I dunked stems of two more pipes in to it. Now I have four pipes in line to restore. I can still manage the restorations; it is the write ups that are a huge challenge for me as Mr. Steve will vouch for the delayed submissions.

The Barling’s Make pipe on my work table is a quaint little billiards with beautiful and very tightly packed birdseye grains on either side of the bowl and shank, extending over to more than half of the front of the stummel. Equally tightly packed cross grains are seen on the front left and back of the bowl and also on the upper and bottom surface of the shank. It is stamped on the left side of the shank as “BARLING’S” in an arch with block capital letters over “MAKE” in a straight line over the numeral “1354”. The right side of the shank bears the spaced out stamp “S M” towards the bowl shank junction. The vulcanite saddle stem bears the trademark Barling stamped in cross on the upper surface of the saddle and “Barling” over “Design” in a cursive hand on the lower surface of the saddle.  Even though there are quite a few Barling’s in grandfather’s collection, this beauty is the first of the Barling’s that I am trying to restore. To know more about the brand, the lines offered by the maker and attempt to date this pipe, I visited Pipedia which has a wealth of neatly cataloged heading-wise information on Barling’s pipes. Here is the link and the snippets of relevant information that I picked up https://pipedia.org/wiki/Barling#Model_Numbers:
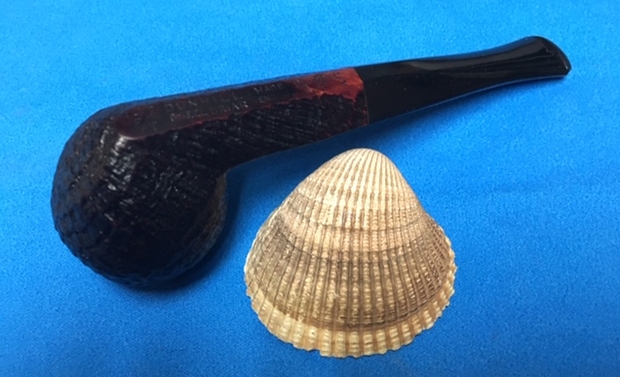
Model Numbers:

Also according to Tad Gage, the only four-digit number that denotes a Pre-Transition piece begins with “1,” which was used for pipes sold in England. Any other four-digit Barling pipe is a Transitional piece– (Tad Gage in P & T magazine).

Model numbers were occasionally stamped below the logo as early as the late 1920’s.

Other Nomenclature:

The “MADE IN ENGLAND.” stamp was in use in the 1930’s thru 1962. As with all things related to Barling nomenclature there are variations. Sometimes there is no “MADE IN ENGLAND.” stamp. Examples exist with a “MADE IN LONDON” over “ENGLAND” stamp. And, there are examples with “MADE IN ENGLAND” with no period after the word “ENGLAND”.

Size Stampings:

Up to 1926 and possibly beyond, Barling used specific, completely unrelated, model numbers to designate the various sizes of a specific shape. They produced pipes in three sizes, small, medium, and large.  

Barling’s published price lists show that they continued to offer pipes in only three sizes, small, medium, and large until 1941. That’s it, small, medium, and large. So when someone claims that they have a 1930’s EL, EXEL, or other size, they are mistaken.
In 1941 the published range of sizes expanded. Going from the smallest to the largest, they are SS, S, S-M, L, EL, EXEL, and EXEXEL. There is no “G” for giant. Giant pipes, or magnums, which are oversized standard billiards, were not stamped “G” but are commonly identified by collectors as such because they are obviously large relative to even EXEXEL pipes, and carried no size stampings (Gage).

Size stamps were rare before WW2, but we do an example from 1925 that we will discuss later as it is part of a forgotten class of Barling pipes.

Patent Stamps:

In addition to the stampings on the briar, Barling stems had stampings that relate to specific periods. In 1935 Barling received a patent for a stem design that radically improved airflow as well as cooling of the smoke.

Pipes made in 1934-5 may have the words “Reg’d Design” on the underside.

Following the granting of the patent in 1935, Barling stems featured the following patent numbers:

REG’D 98 046 – US patent number – 1936 – 1949 • REG’D 42/8968 – WW2 production – 1942 – 1950 • REG’D 754 068 – WW2 production • Barling Design – 1950 – 1962

 Not all pipes have this stamping on the underside of the stem, but its presence is a good indicator for the period of manufacture, assuming that the stem is original.

Throughout their history Barling continued to innovate in the area of stem and bit design.

From the above information, it is conclusively assumed that this piece is from the Family era/ Pre- transition period and was made somewhere during 1950s to 1960s. The minimalist stampings indicate that this pipe was intended to be sold in the local markets.

INITIAL VISUAL INSPECTION
The chamber shows a nice even build up of a thick cake which makes it difficult to comment on the condition of the inner walls of the chamber. There is a thick overflow of lava and completely covers the rim top and further spills over on to the stummel surface. The condition of the inner edge of the rim and rim surface will be ascertained only after chamber has been reamed down to its bare briar. The outer rim, however, is damaged and has a number of chips and dents, probably caused due to hitting the bowl against a hard surface to remove the dottle! Criminal, to say the least! The surface of the stummel is covered by the overflowing lava, which in turn has attracted a lot of dirt and grime over a period of time. The stummel surface is peppered with numerous dents and dings, more so towards the heel of the bowl, probably caused due to careless and uncared for storage for the last 40-45 years!!!! It will be a big decision whether to address these dents and dings by abrasive sanding method and loose the patina which has developed on the surface, or let them be. Well, I shall cross the bridge when I reach it. The mortise is surprisingly clean and air flow through it is open and full. The vulcanite stem is heavily scratched, but not oxidized. Some light tooth chatter is seen on both surfaces of the stem towards the lip with one deep bite mark on the upper surface. This issue should not be a major headache to address. The lip edge on both sides is crisp but lightly damage. The quality of vulcanite is good.THE PROCESS
I did not soak the stem of this pipe in the Hydrogen Peroxide solution as I was not sure how it would affect the stamping and so decided to play it safe. I flamed the stem surface of the stem with a Bic lighter to raise the tooth indentations and scratches on the stem. The heat from the flame of Bic lighter causes the vulcanite to expand and regain its natural shape, reducing the marks. The tooth bite marks which were visible after the flaming were filled with a mix of activated charcoal and clear CA superglue and I set it aside to cure overnight. I reamed the chamber with size 1 head of a PipNet reamer and followed it with a size 2 reamer head. To reach the areas where the PipNet reamer could not reach to remove the carbon cake, I used my smaller fabricated knife and scraped out all the remaining cake. I further use a folded piece of 180 grit sandpaper to sand out the last traces of remaining cake and expose the walls of the chamber to ascertain that there are no cracks/ heat fissures. I wiped the chamber with a cotton pad dipped in isopropyl alcohol to remove the carbon dust left behind by all the reaming and sanding process. The walls of the chamber were solid with no damage. I gently scraped the rim top surface with a sharp knife to remove the lava overflow. This was followed by cleaning the mortise with cue tips, pipe cleaners and shank brush dipped in isopropyl alcohol. This further eliminated traces of old smells from previous usage. The old smell was still prevalent, though greatly reduced. To completely eliminate the smell, I decided to resort to alcohol bath. I packed the chamber, just below the rim, with cotton balls. I stretched a cotton ball into a thick wick, tapering at one end, and inserted it in to the shank and pushed it as far inside as I could using a straightened paper clip. I topped the bowl with isopropyl alcohol using a syringe. I know that it is generally a practice to use Kosher salt for this procedure, but since Kosher salt is not easily available here, and when available, it’s very expensive, I use cotton balls. I find that cotton balls work just fine in drawing out all the tars and smells from the mortise and the bowl. I topped the bowl with alcohol again after 20 minutes when the alcohol level had gone down and set it aside overnight for the cotton and alcohol to do its intended job.The next day, the cotton and alcohol had fulfilled its intended task. I removed the cotton balls and ran pipe cleaners through the mortise to clean out all the loosened tars and gunk. The internals of the stummel is now clean and fresh. Now, it was the turn of the stummel to get cleaned up. Using a hard bristled tooth brush dipped in undiluted Murphy’s oil soap, I very deliberately scrubbed the surface of the stummel. I cleaned the rim too. The stummel and rim top was dried using paper napkins and soft cotton cloth. I am not very happy the way the rim top appears at this stage with all the charring and uneven inner and outer rim edges. This needs to be addressed. I set the stummel aside to dry out naturally. While the stummel was drying, I worked the stem. I covered the stampings on the stem with whitener using a whitener pen. The filling of charcoal and CA superglue had cured and using a needle file, I sand the filling to match the surface of the stem. For a better blending, I further sanded the entire stem with 220 followed by 400 and 800 grit sand paper. This helps to reduce the sanding marks left behind by the more abrasive 220 grit paper. To bring a deep shine to the vulcanite stem, I went through the complete set of micromesh pads, wet sanding with 1500 to 2400 grit pads and dry sanding with 3200 to 12000 grit pads. I wiped the stem with alcohol after each pad and rubbed it down with Extra Virgin Olive oil. The internals of the stem was cleaned out using alcohol and pipe cleaners. The finished stem is shown below. After cleaning the rim top with Murphy’s oil soap, I had observed that the rim top surface was charred and the inner edge was uneven, presenting a very sorry appearance. I topped the rim on a 220 grit sand paper, checking frequently till I was satisfied that the charred surface was greatly reduced. The inner edge is still uneven, though much better than before topping, it will need to be addressed.Next, I decided to address the dents and dings on the stummel surface and on the rim outer edge. Using a whitener pen, I marked all the major areas with dents and dings as I had decided to leave the minor ones as they were. I heated my fabricated knife over the flame of a candle, placed a wet Turkish hand towel over the marked areas and steamed out the dents by placing the heated knife over the towel. Though some dents were still observed, these were greatly reduced when compared to before steaming.The steaming method had raised to the surface all the major dents and dings. However, the outer and inner edges of the rim were still uneven. I took a piece of used and worn 180 grit sand paper, folded it and pinching it between my thumb and forefinger, created a slight inner bevel on the inner edge of the rim. Using the same technique, I created a light bevel on the outer edge. Now the rim surface and both its edges appear clean, even and well rounded.Steaming out the dents and dings from the stummel surface had necessitated that the surface of the stummel be evened out by sanding. I had an option of using more abrasive 220 grit sand paper followed by micromesh pad cycle and loose the patina or straight away go to the micromesh cycle. Using the more abrasive sand paper, minor dents and dings would be further addressed but I would lose the old sheen which the briar has taken over the years.  I decided on keeping the old sheen and went straight for the micromesh cycle. The old patina and the minor dents and dings would add to the vintage look of the pipe, which it was. I wet sand the stummel with 1500 to 2400 grit pads and follow it up by dry sanding with 3200 to 12000 grit pads. I rub a small quantity of “Before and After Restoration Balm” in to briar and let it rest for a few minutes. The balm almost immediately works its magic and the briar now has a nice vibrant appearance. I further buff it with a horse hair shoe brush. To finish, I re-attach the stem with the stummel. I mounted a cotton cloth buffing wheel to the Dremel (actually it is not the brand machine, but a local machine which is similar).  I set the speed at about half of the full power and applied White Diamond compound to the entire pipe. I wiped/ buffed the pipe with a soft cotton cloth to clear it of any leftover compound dust. I then mounted another cotton cloth wheel on to the polishing machine and applied several coats of carnauba wax. I finished the restoration by giving the entire pipe a rigorous hand buffing using a microfiber cloth to raise the shine further.The completed pipe looks lovely, fresh and vibrant; the photographs in this case, do not do justice to the appearance of this beautiful little pipe. Thank you for having the patience to reach this far while reading the write up.