by Kenneth Lieblich
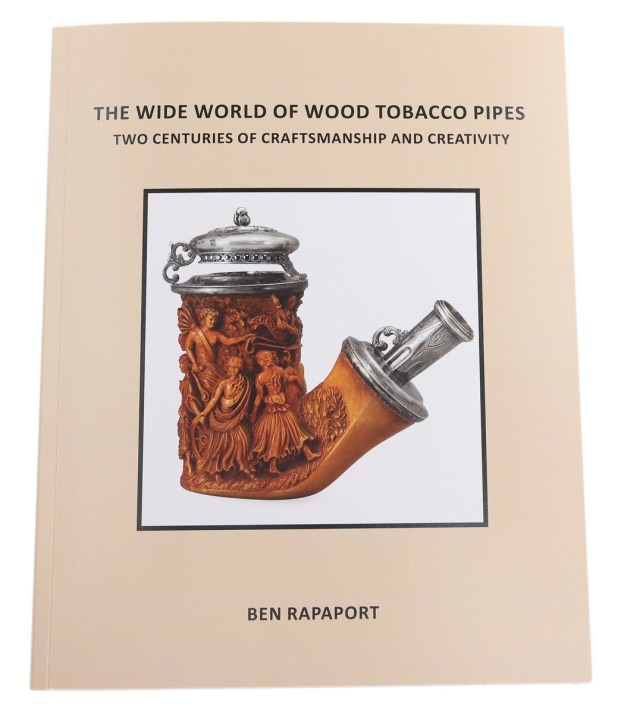
I have been wanting to write this blog post for some time now. Today, I am offering a review of The Wide World of Wood Tobacco Pipes: Two Centuries of Craftsmanship and Creativity by Ben Rapaport. As I mentioned in a different book review a few weeks ago, I’ve read several pipe-related books in the last few months – some very good, some very bad, and some in between. This book is at the top of that heap and I encourage you to read on. This book is one of the ‘very good’ ones – and just what I want a pipe book to be: well-written, informative, and engaging. Even though the book is quite substantial, I will try to keep my review brief – I want you to read the book, more than my review. This book is heavy (by weight), extensively illustrated, and expertly written. It is also not inexpensive, but I recommend this book with pleasure.
For those unfamiliar with him, Ben Rapaport is the doyen of scholarly pipe books. This is Ben’s tenth book and, supposedly, his last – but he said that last time too! His write-up in Pipedia states the following:
For the past 50 years, Ben Rapaport has been known internationally as an antique pipe collector, and tobacco bibliophile. He is a popular lecturer at pipe clubs, his articles on pipe and tobacco history appeared regularly in Pipes & Tobaccos magazine until Spring 2019, when it ceased publication, and his articles occasionally appeared in CIGAR magazine until Spring 2011 when it ceased to be published. Achievements and affiliations: member, Pipe Smoker’s Hall of Fame (1973); l’Académie Internationale de la Pipe (Founding Member, 1985); Confrère, Confrérie des Mâitres-Pipiers, Saint-Claude, France (1989), and Doctor of Pipes (2004). He is a consultant at the Center for the Study of Tobacco and Society, University of Alabama (since 2001). As a certified personal property appraiser, he has conducted formal valuations of pipe collections for several museums and for private collectors. Ben has created what is likely the most comprehensive list of pipe and tobacco books in English. Its scope includes the earliest publications to the newest titles organized by topic or theme. Ben updates the list as new works are published.
I own several of his books, but not all ten – yet. Each one is enjoyable and worth owning. I have had the pleasure of communicating with Ben, through email, over the past few years. Even though he is several decades my senior, he has been generous to me with his time. His knowledge of pipe history is immense and he has been very helpful in his advice in my own pipe research. It is fair to say that, when I purchased this from him, I was expecting a quality book – and I was not disappointed. The book has an extensive set of notes and a thorough bibliography. This is the sort of detail I especially value. Too often, pipe books are lacking in references, notes, indexes, bibliographies, etc. – but not in this book. Thank goodness!
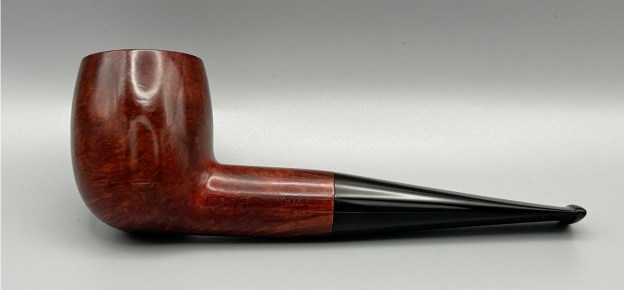
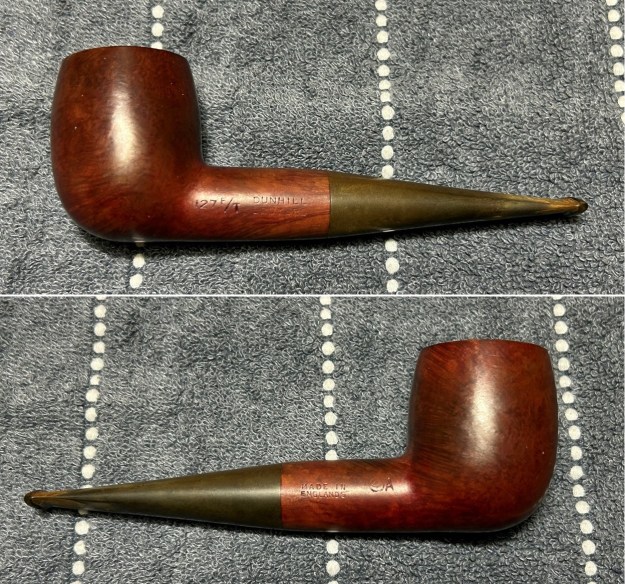
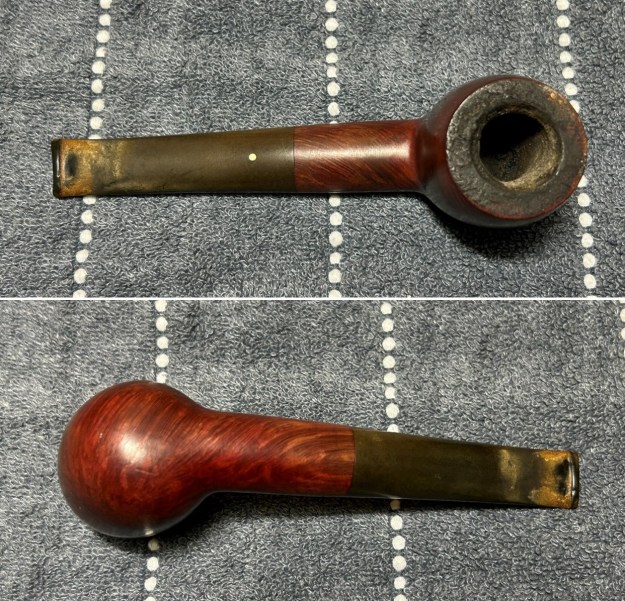
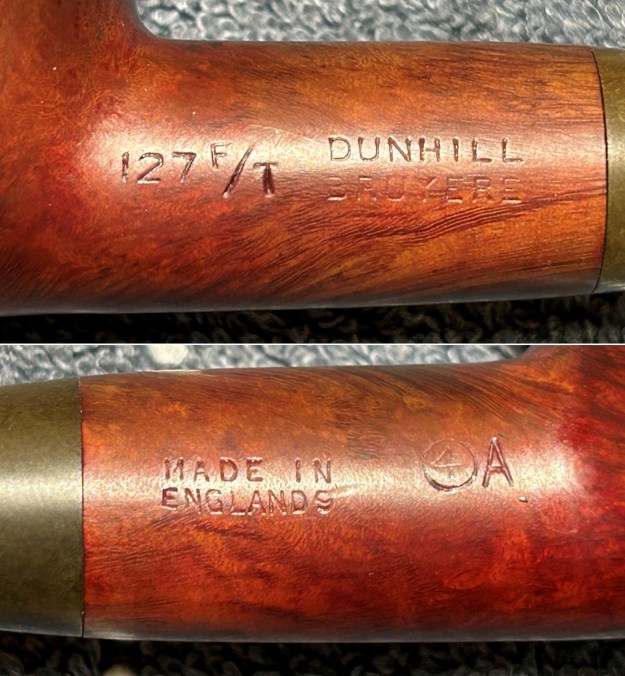
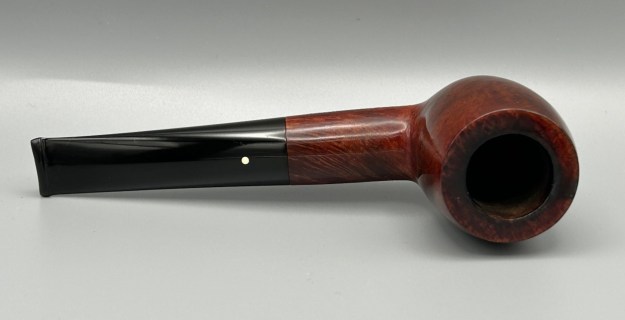
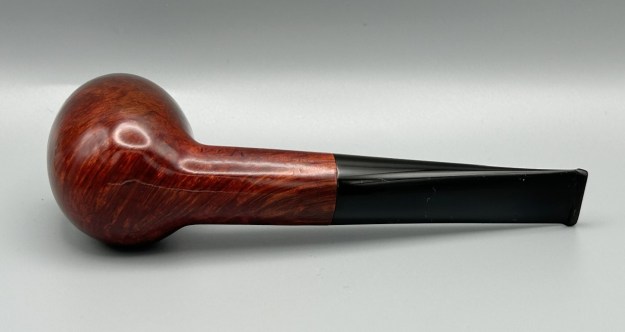
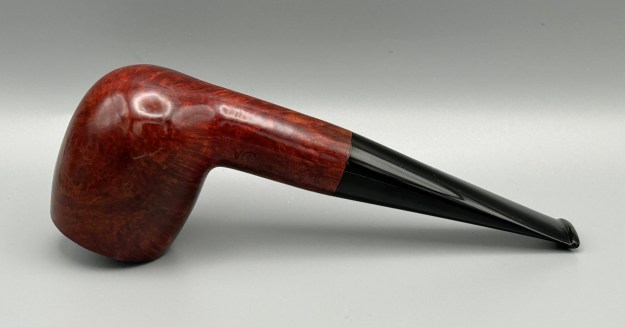
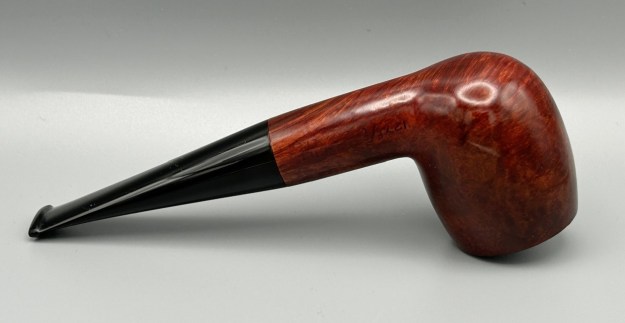
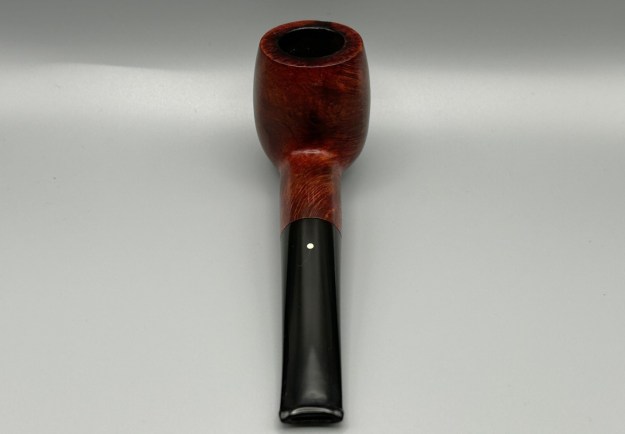
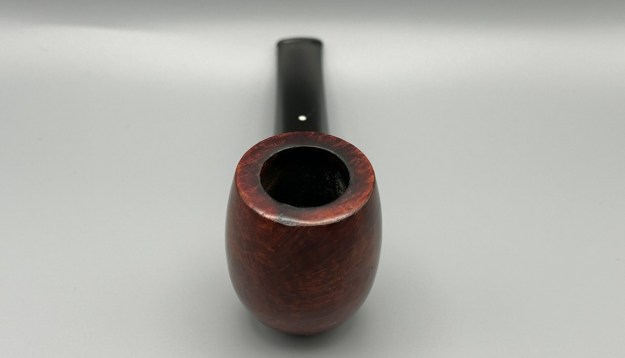
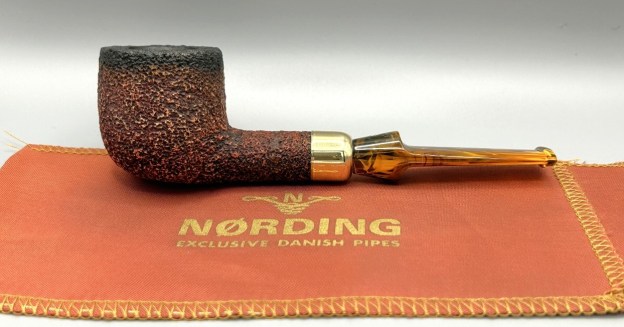
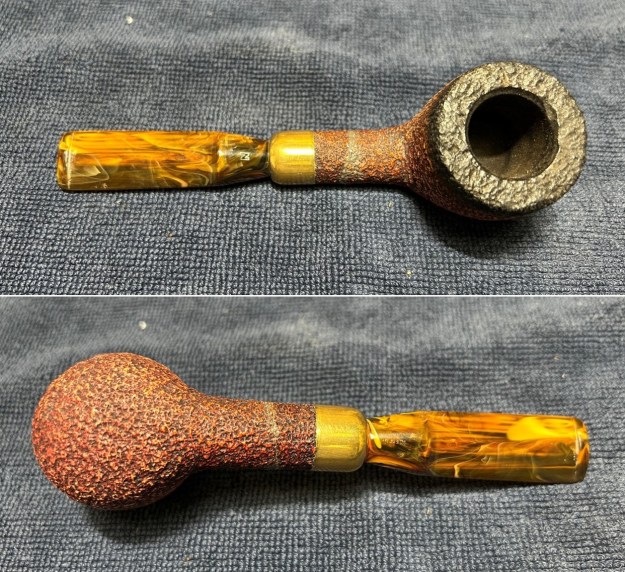
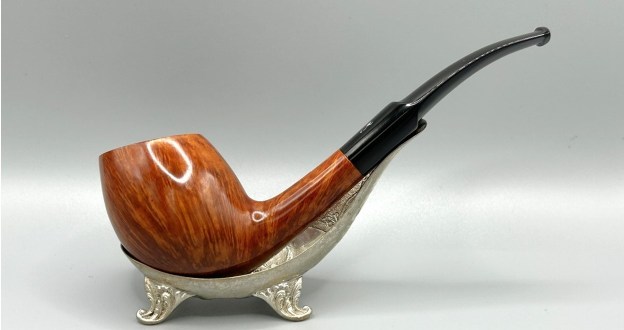
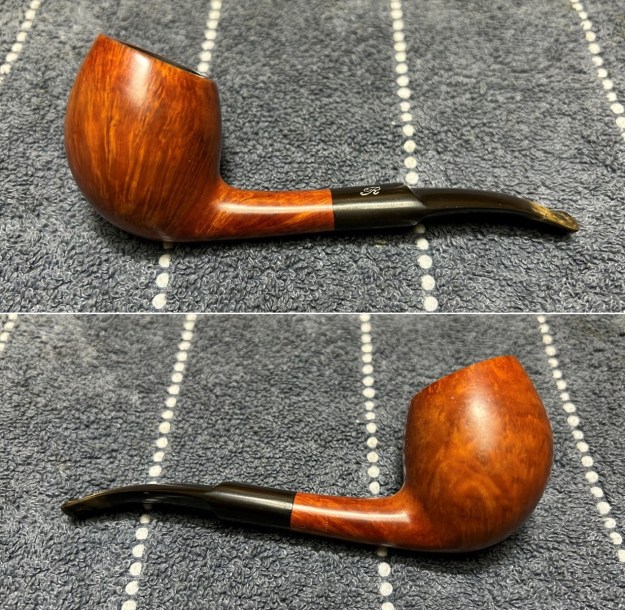
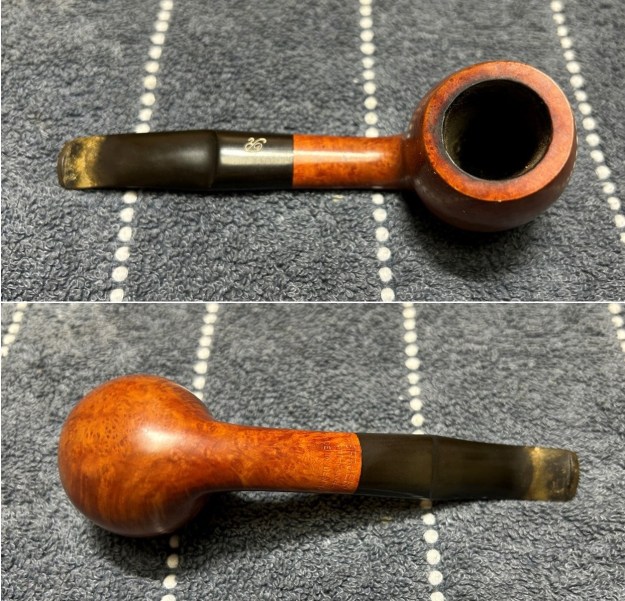
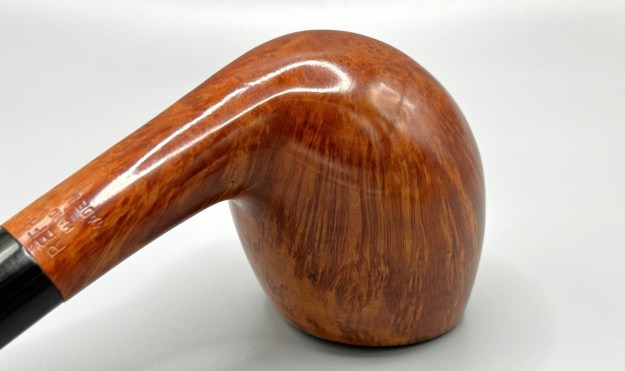
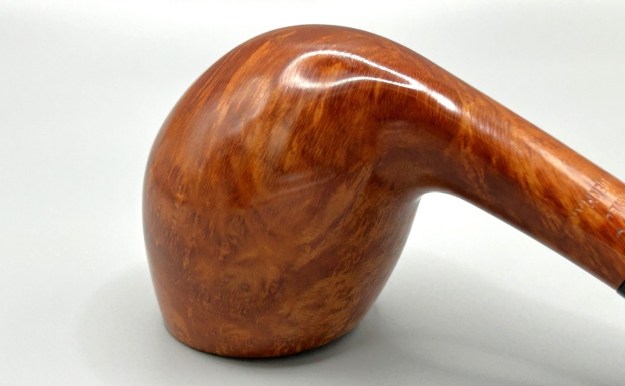
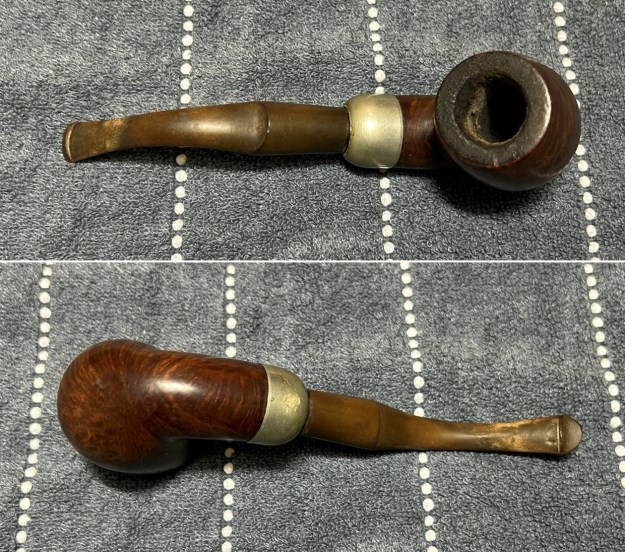
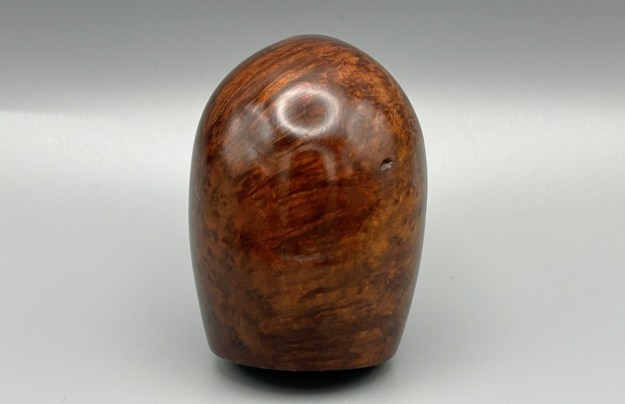
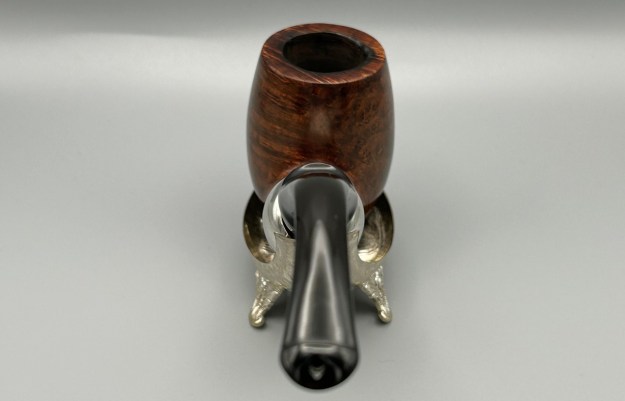
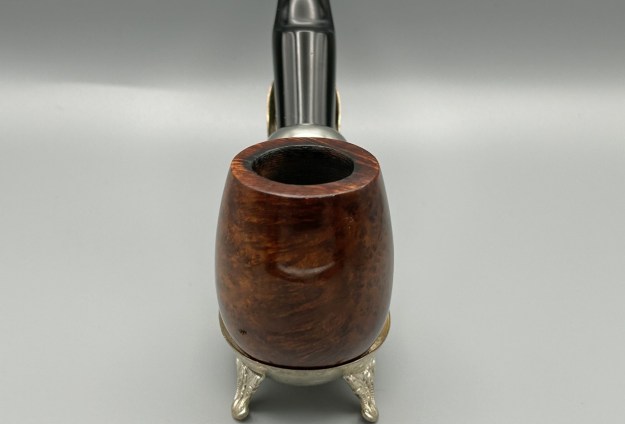
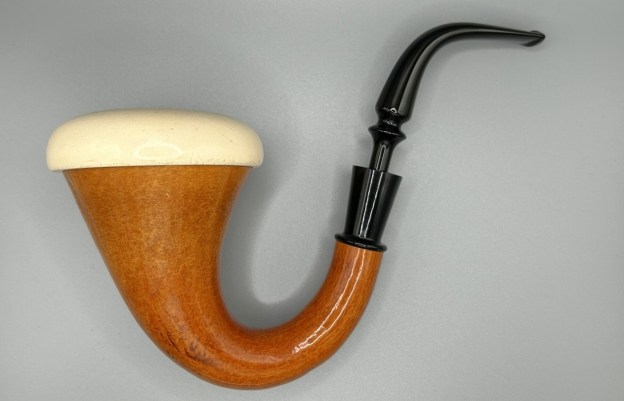
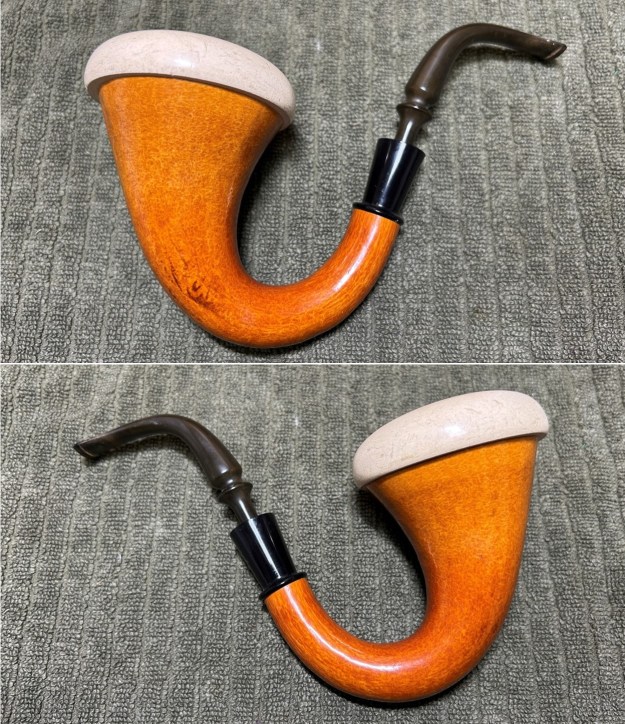
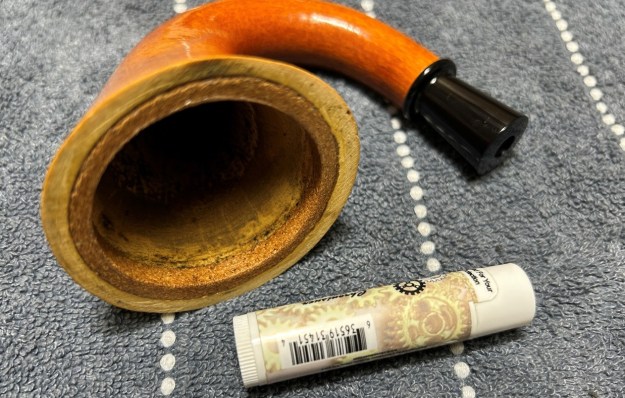
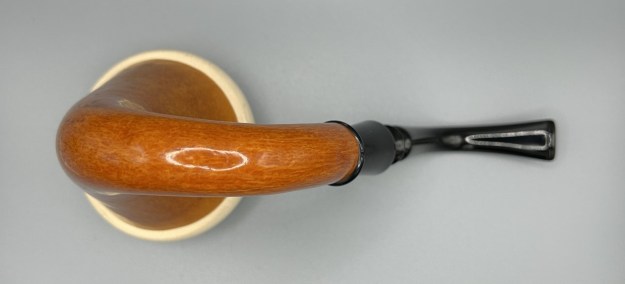
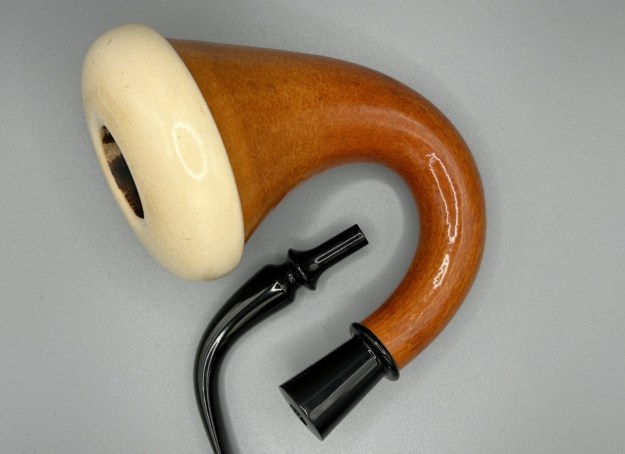
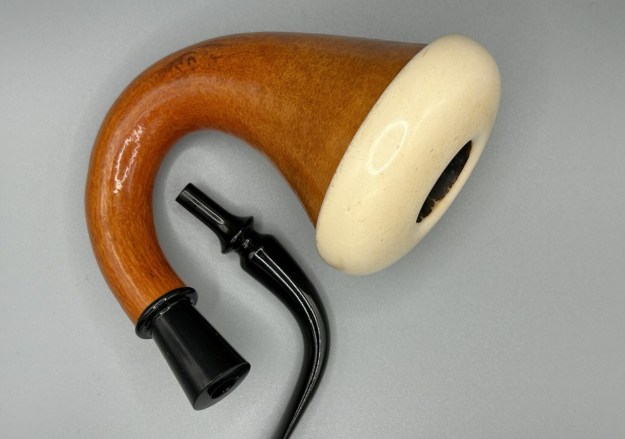
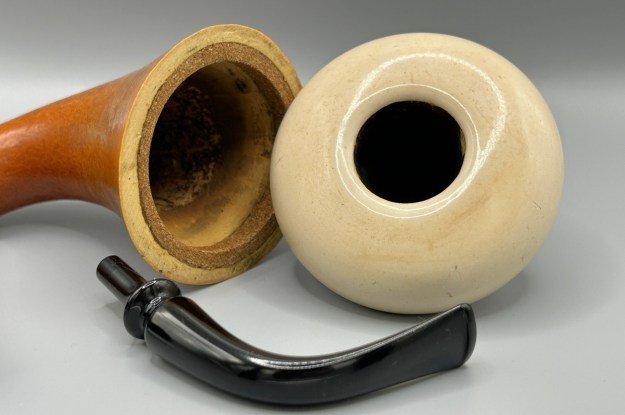
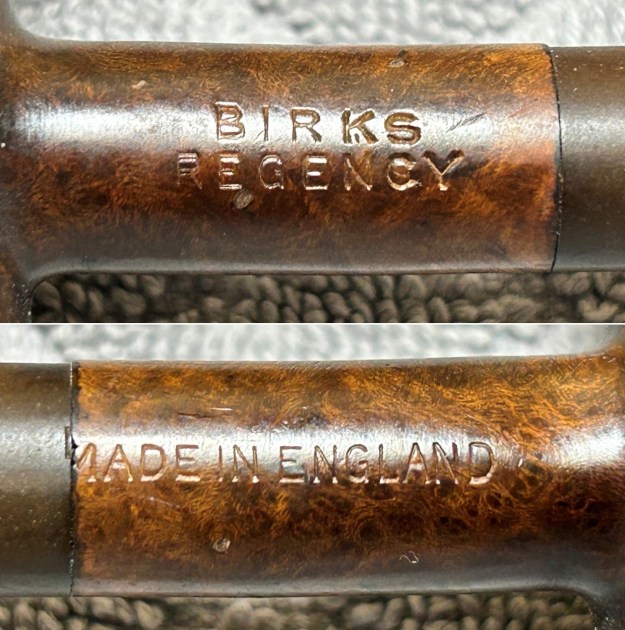
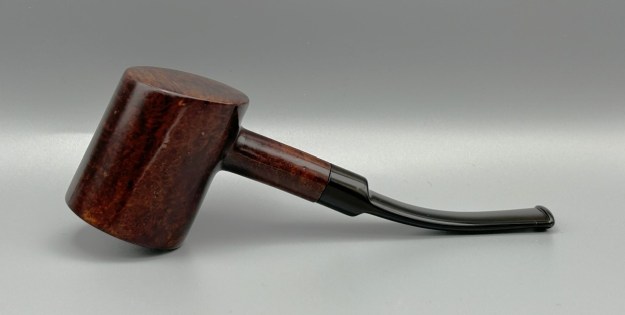
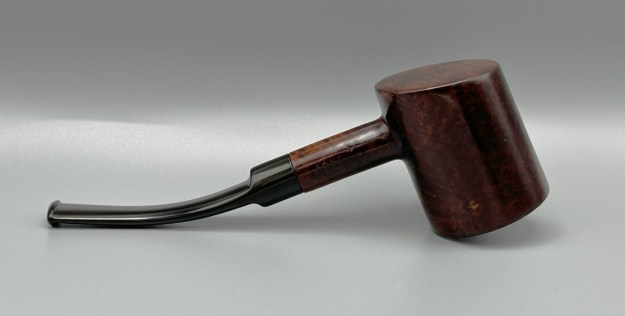
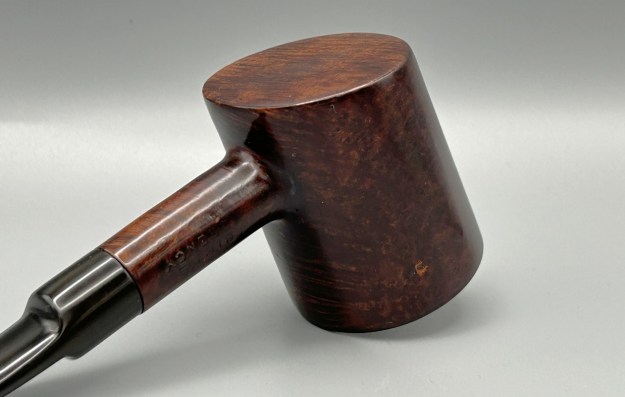
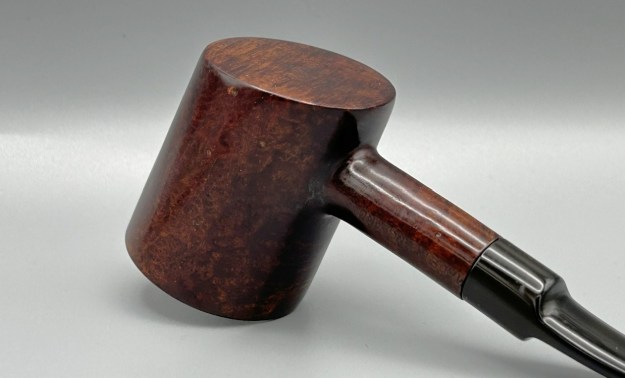
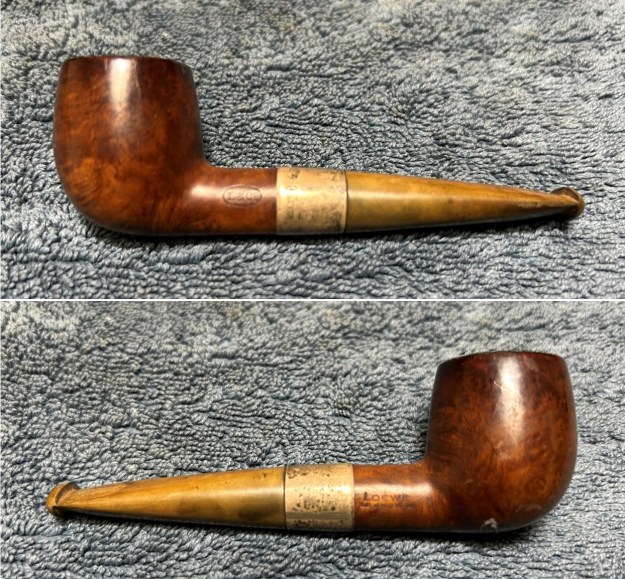
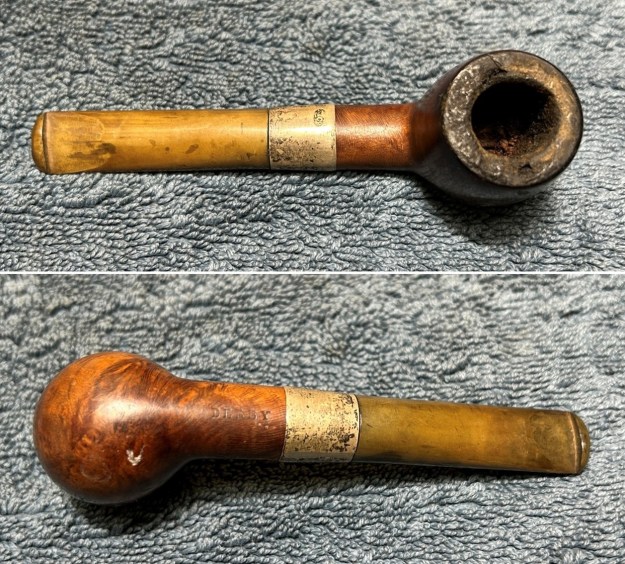
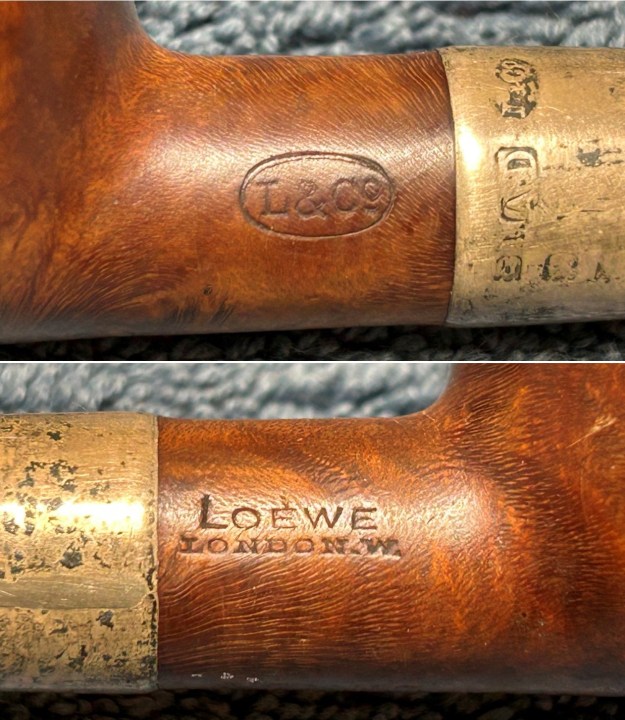
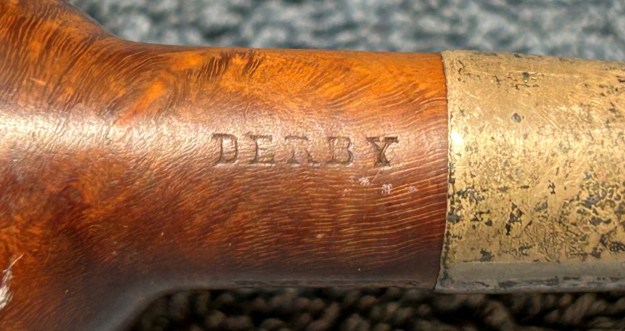
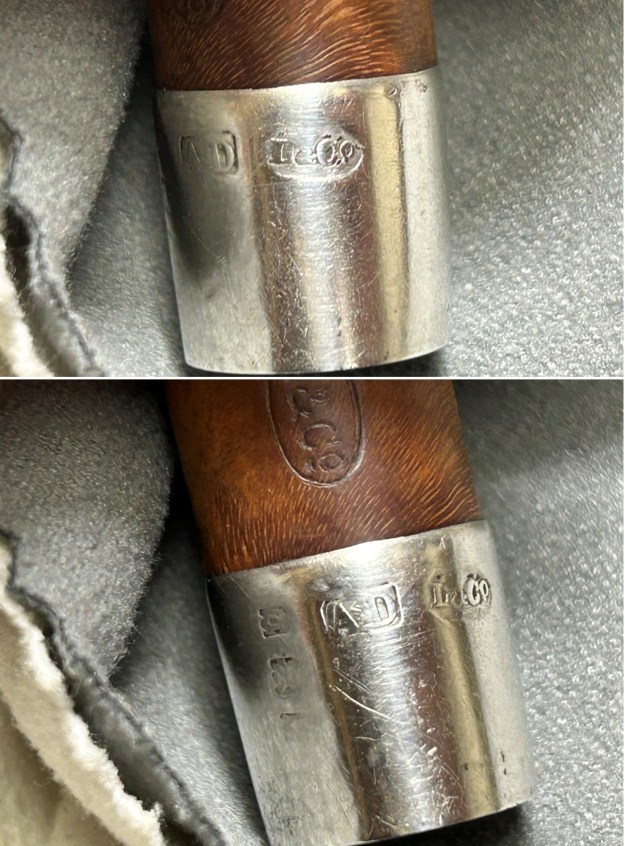
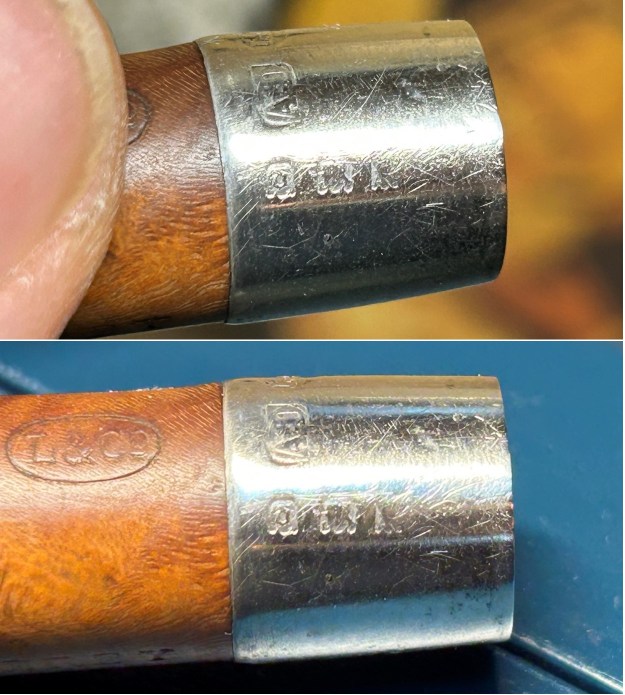
As the title suggests, this book deals with the history of tobacco pipes, and specifically the ones made of wood – not clay, meerschaum, porcelain, etc. This does not mean that the book restricts itself to briar. In fact, Rapaport records dozens of different woods that have been used in the past couple of centuries.
Listing the chapter titles below will be helpful in providing you with a sense of the scope of the book.
- Assorted Woods Used in Pipe-Making
- Eighteenth- and Nineteenth-Century European Pipes
- Helena Sophia Isberg: Sweden’s Extraordinary Pipe Carver
- The Ulmer: A Unique German Pipe
- The Alice Charlotte de Rothschild Collection
- Ethnographic Pipes of Africa
- Ethnographic Pipes of the Americas
- American Civil War Pipes
- Anglo-Boer War Pipes
- Pipe Collections in Museums and on the Web
- The João Pavão Martins Collection
- A British Collection
- The Holgar Haettich Collection
- Curiosities, Oddities, Folk Art, and Novelties
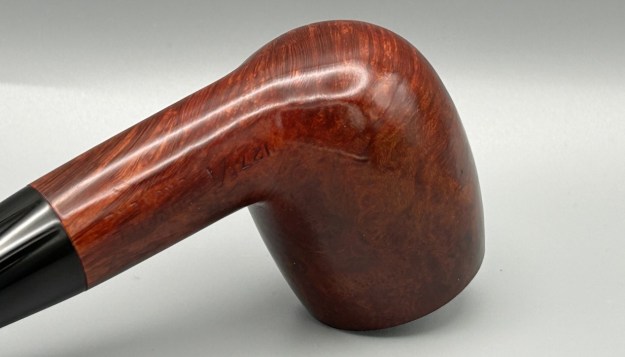
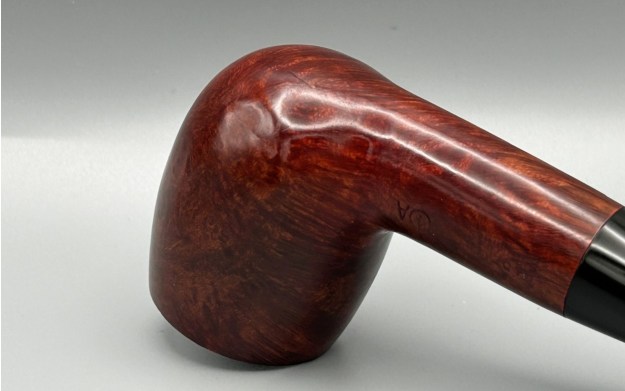
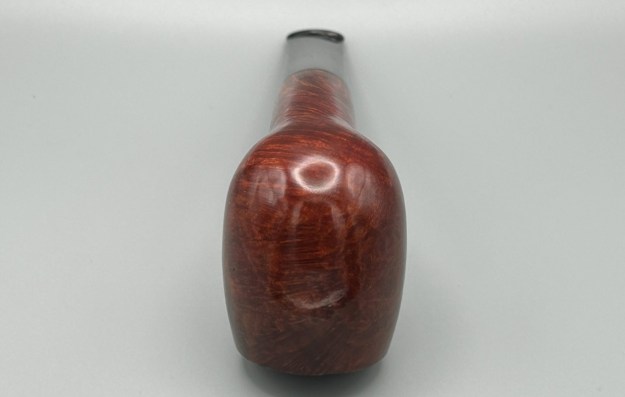
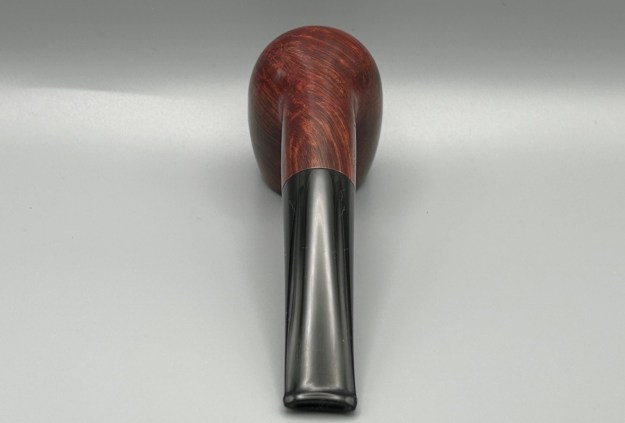
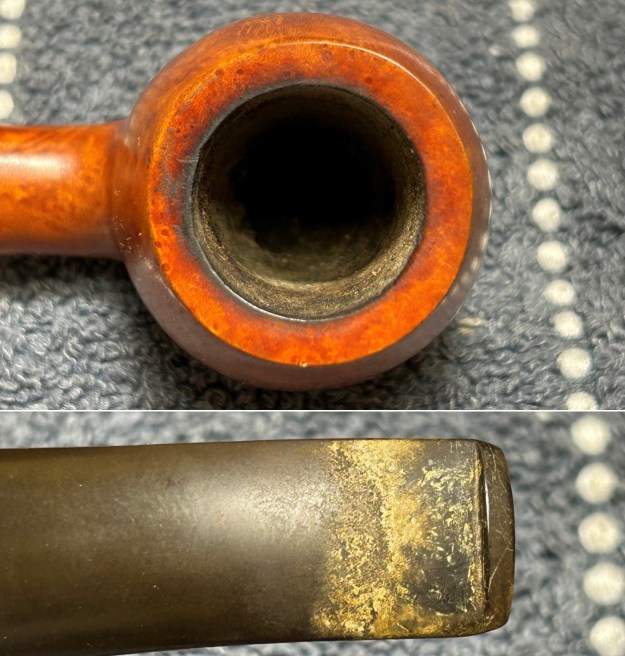
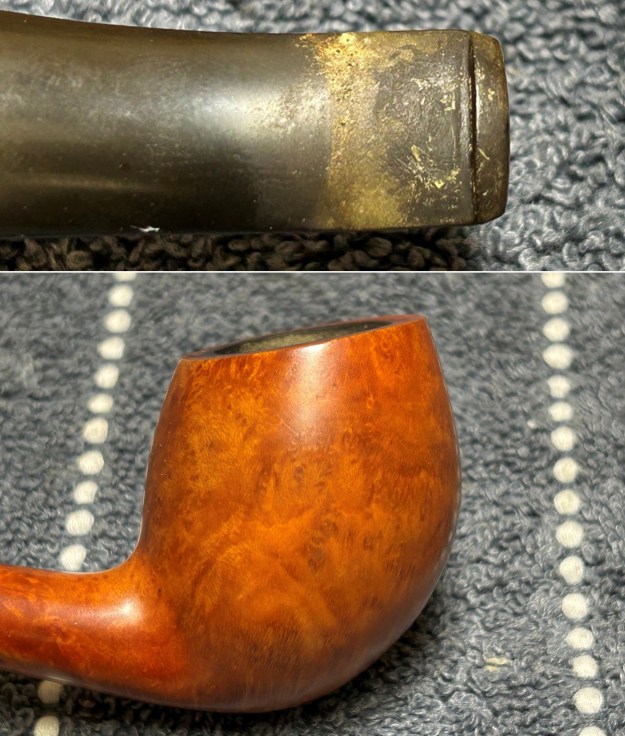
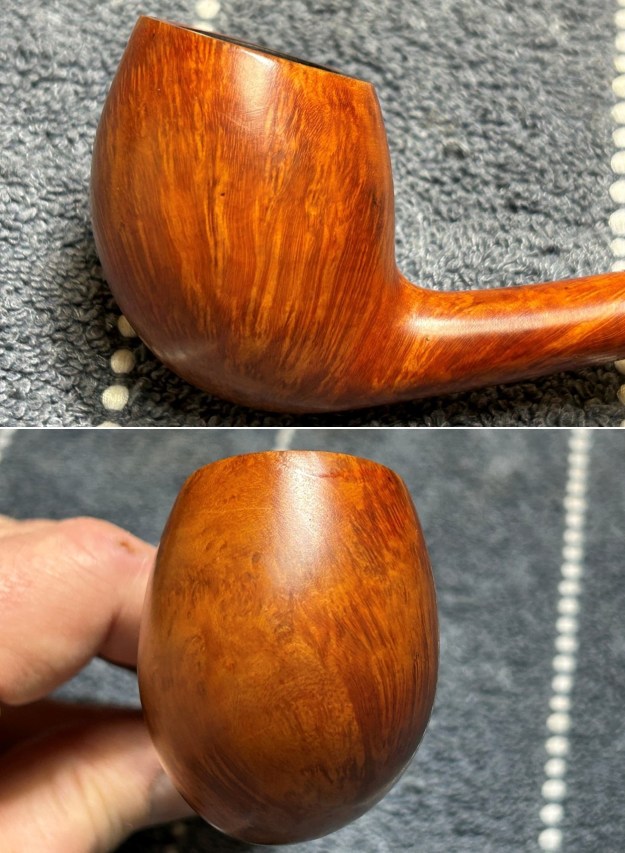
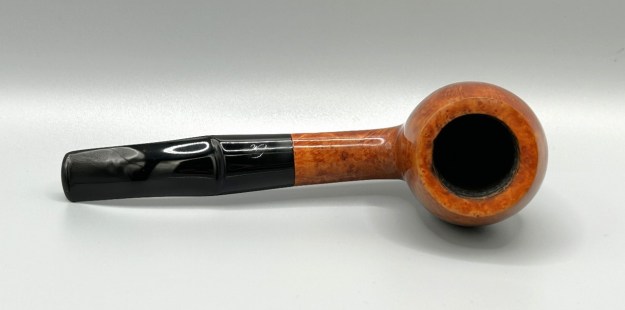
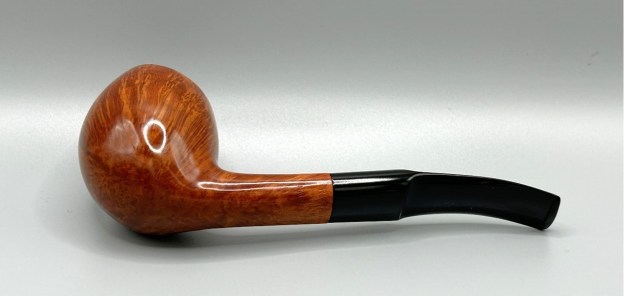
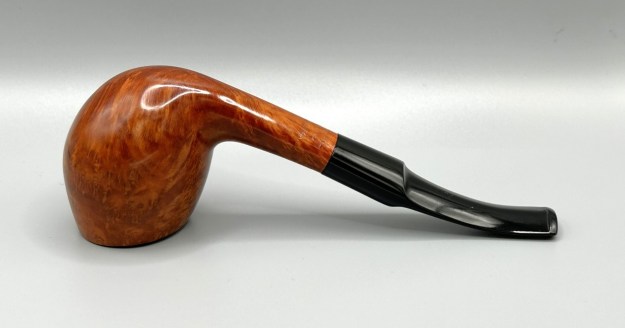
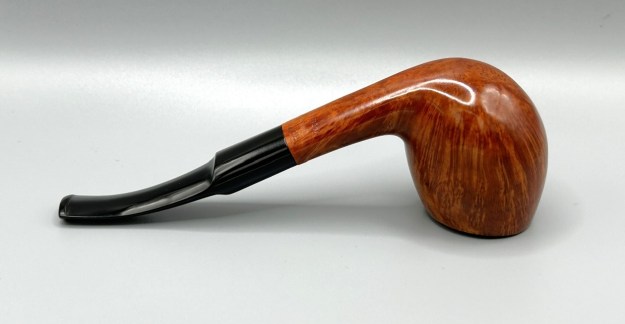
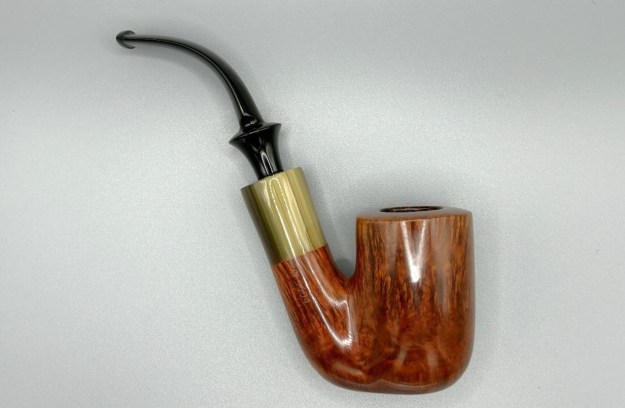
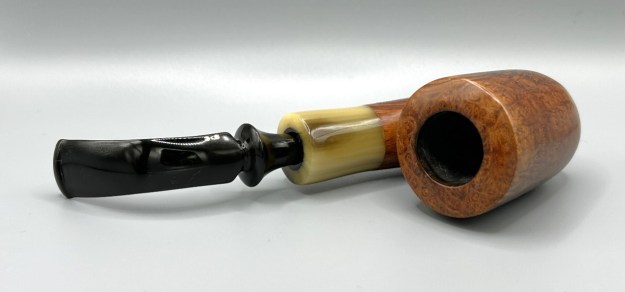
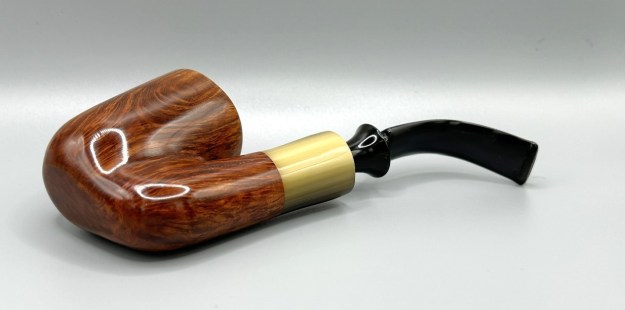
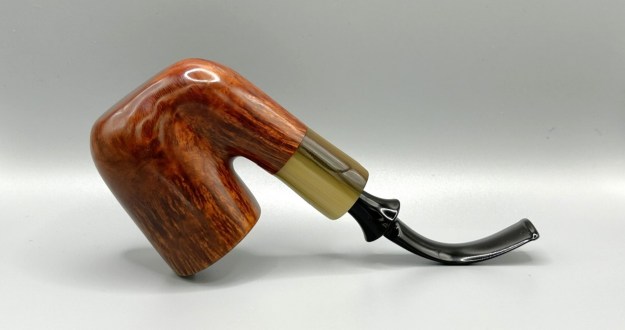
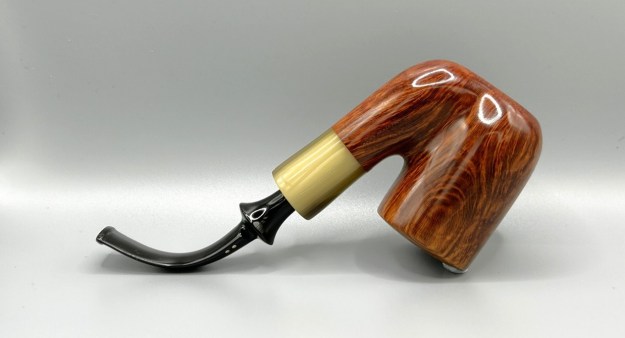
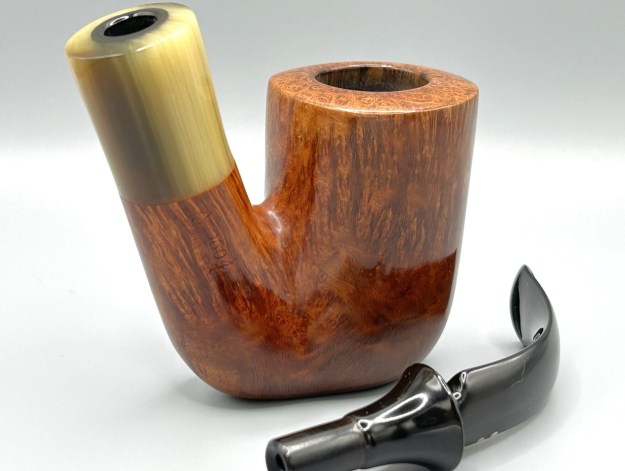
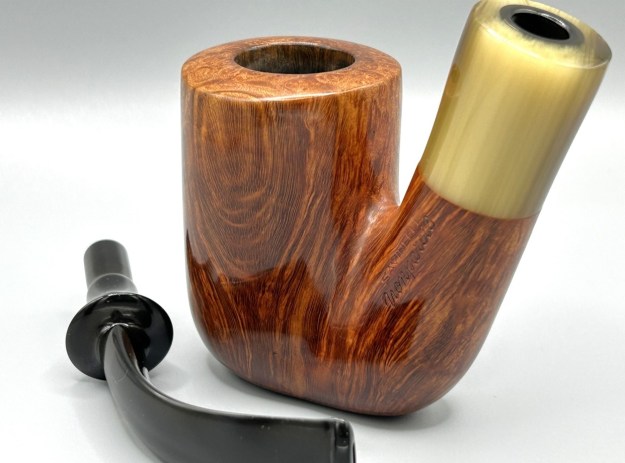
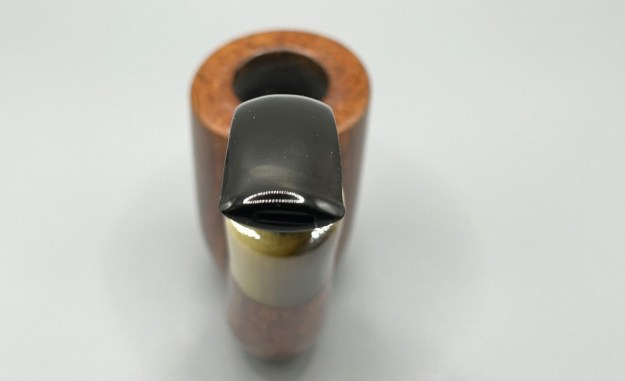
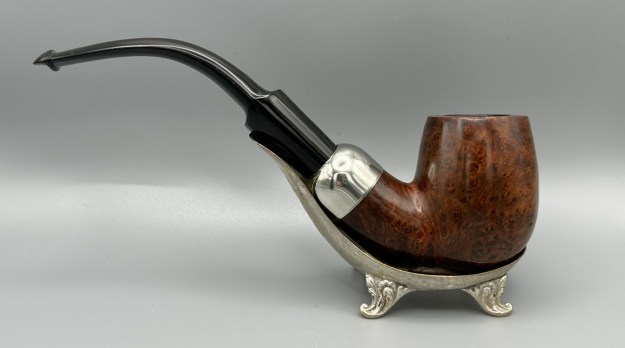
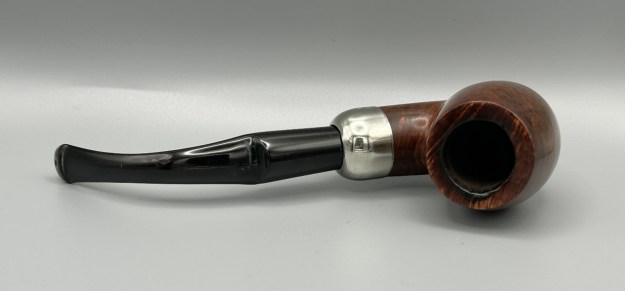
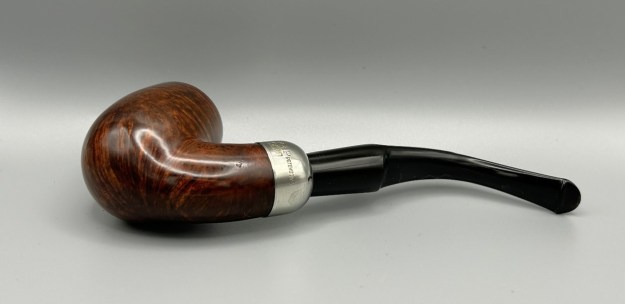
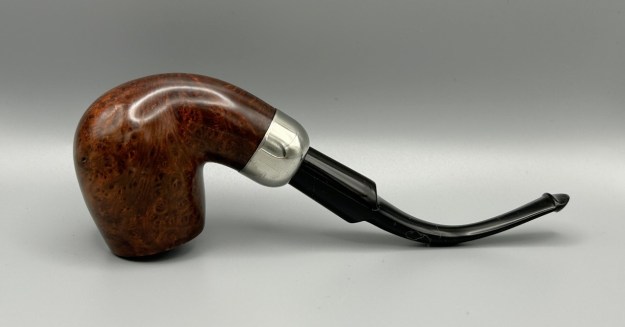
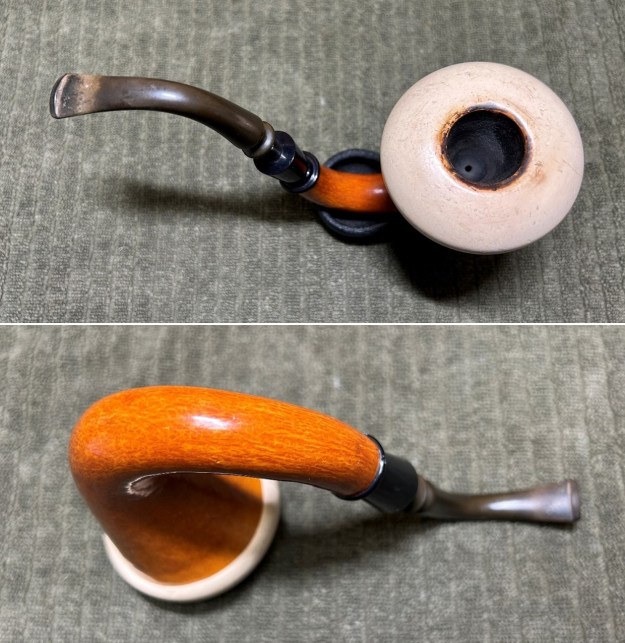
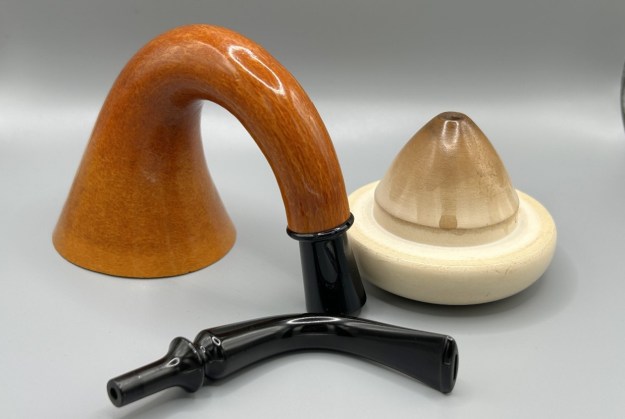
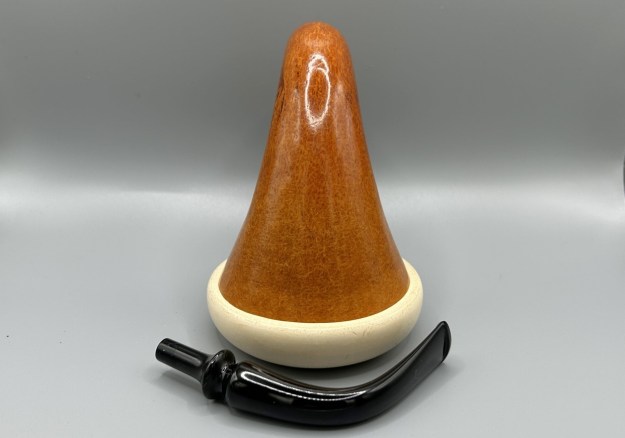
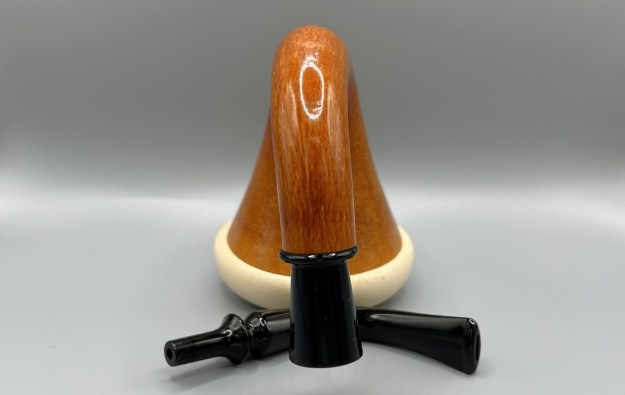
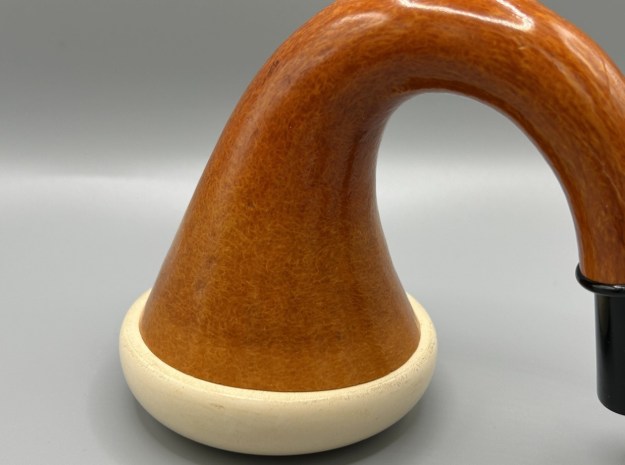
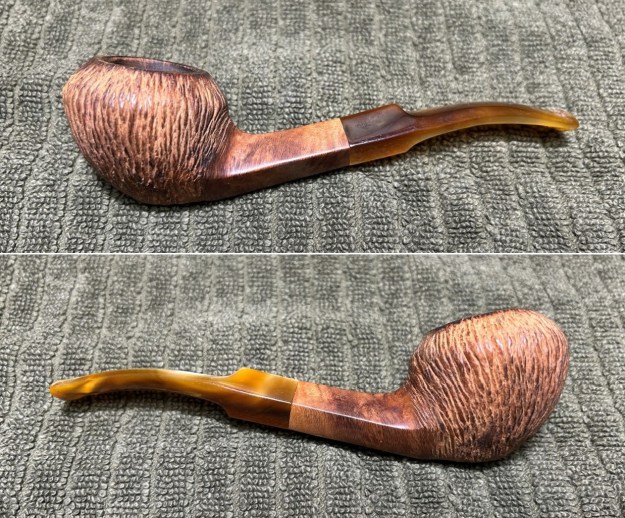
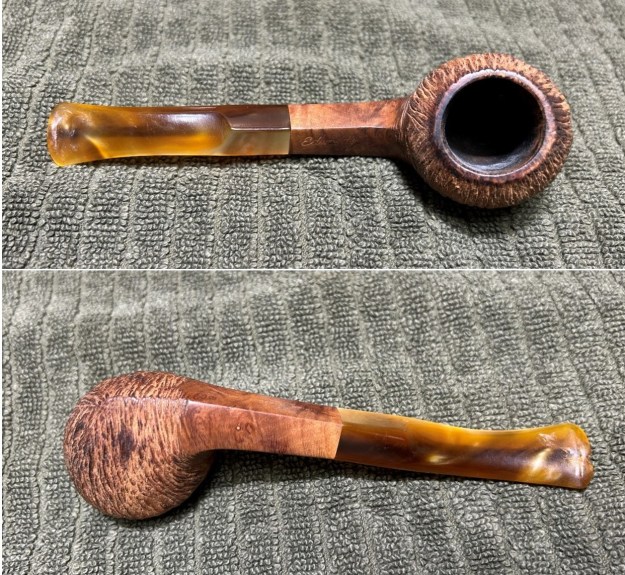
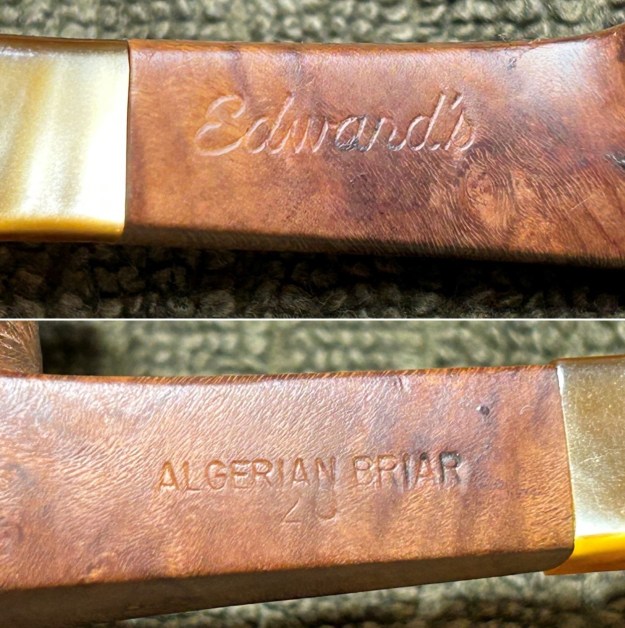
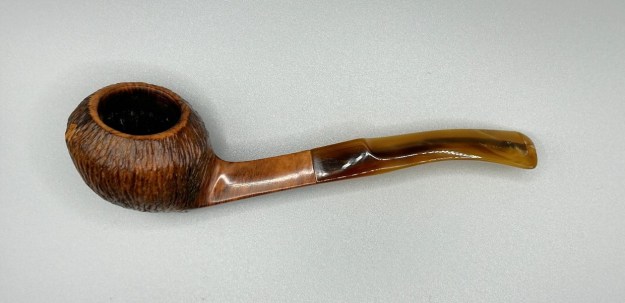
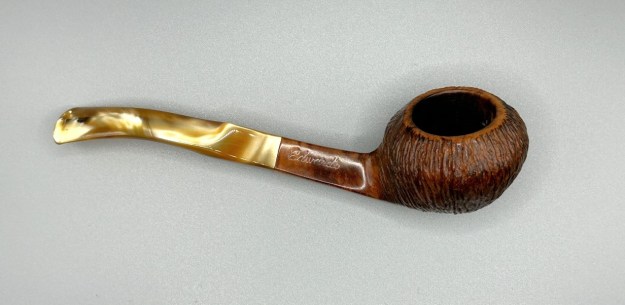
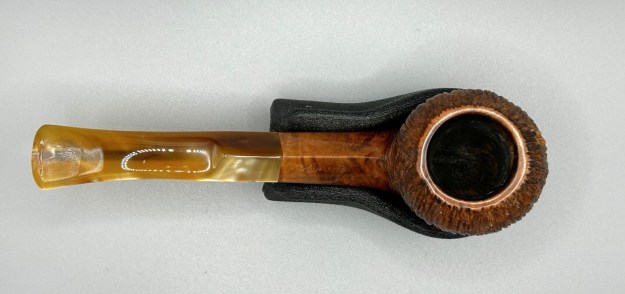
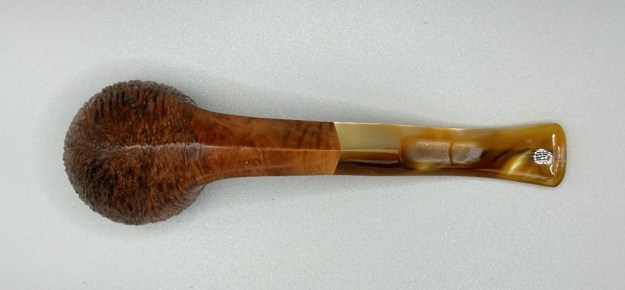
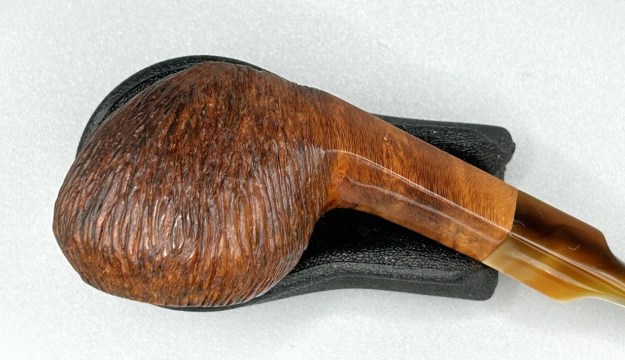
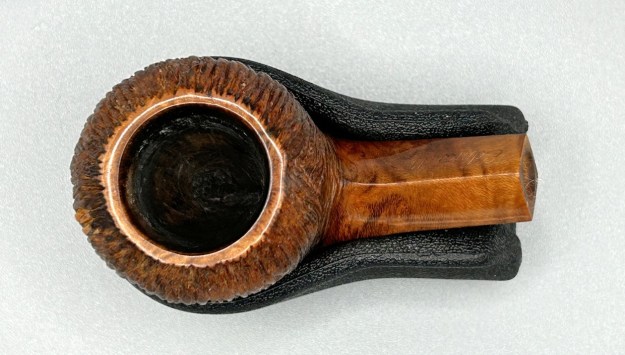
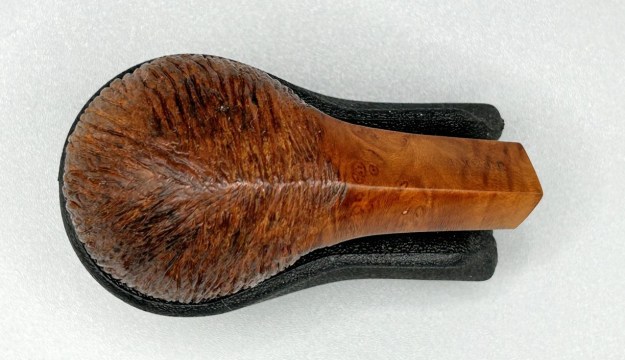
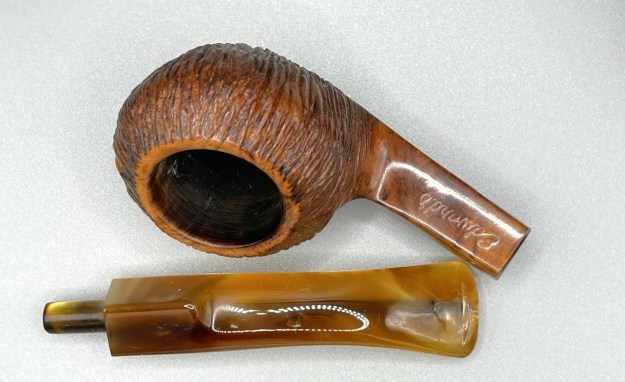
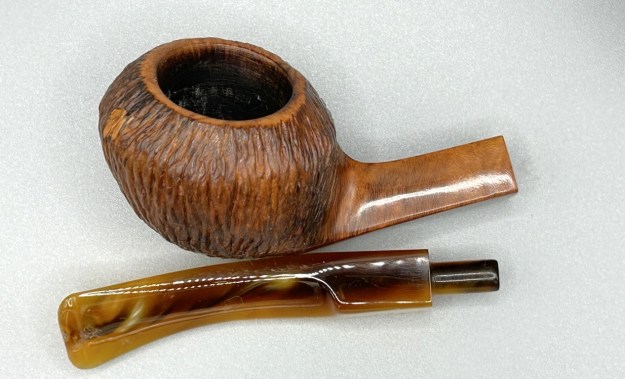
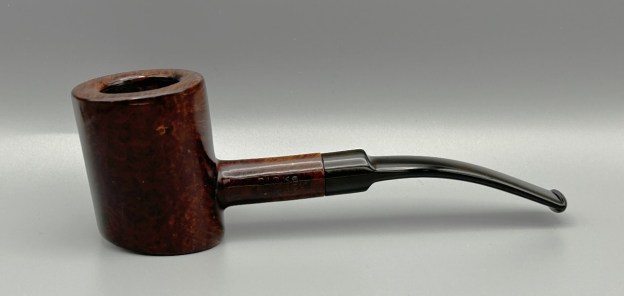
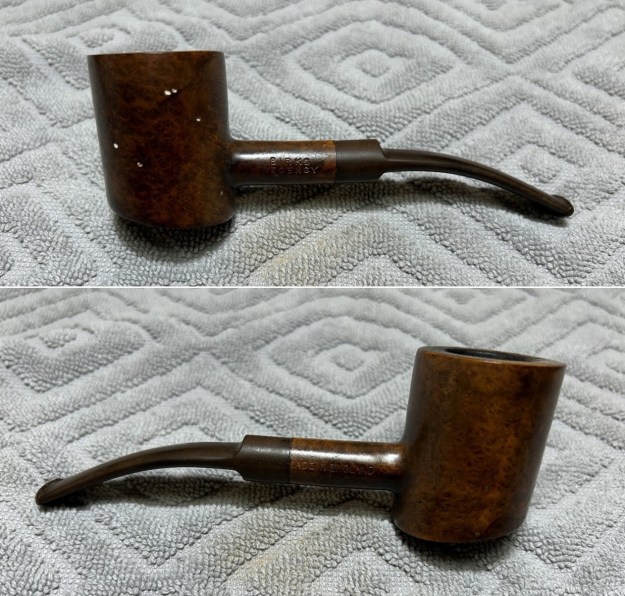
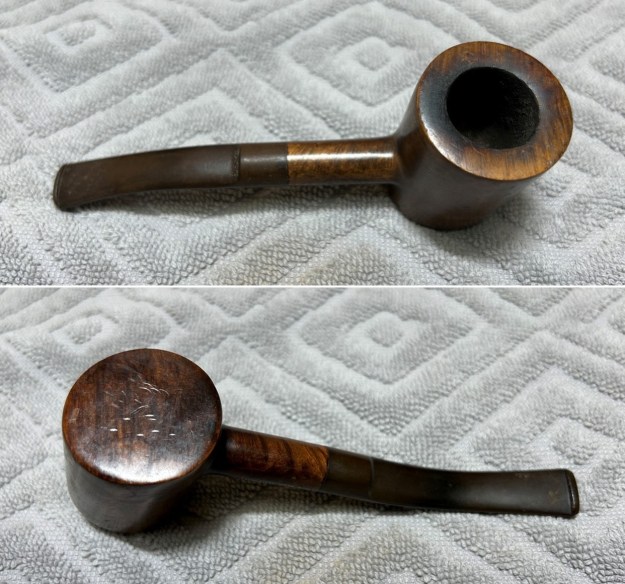
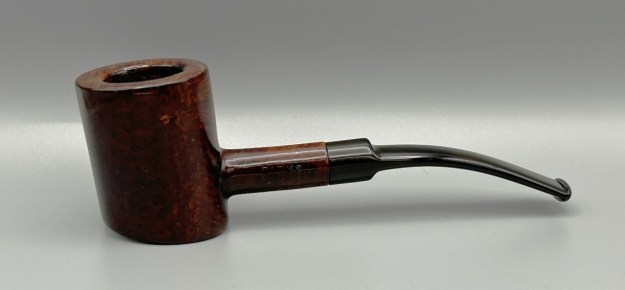
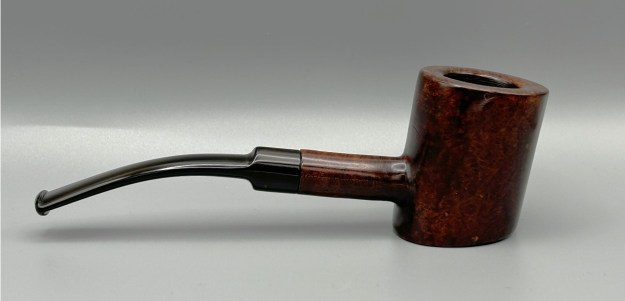
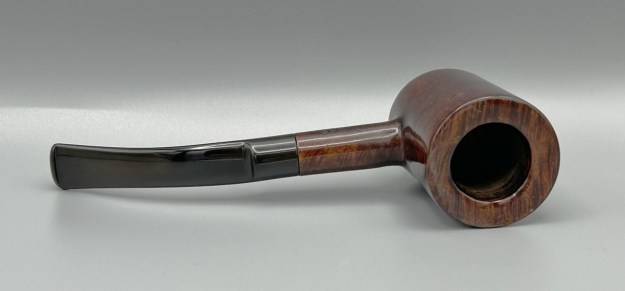
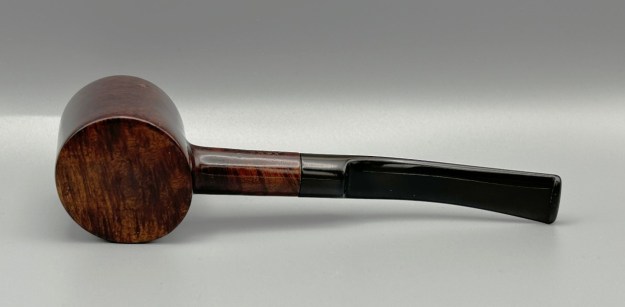
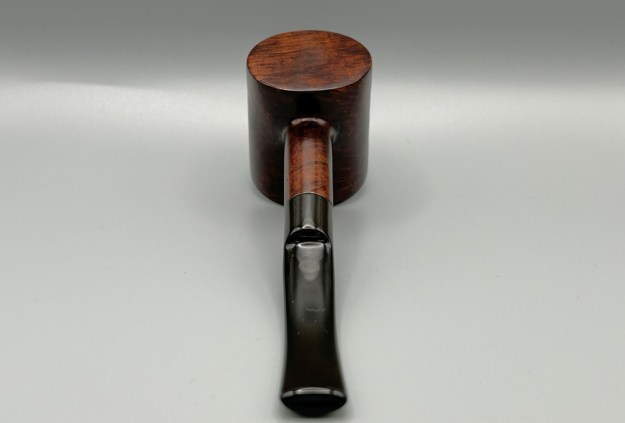
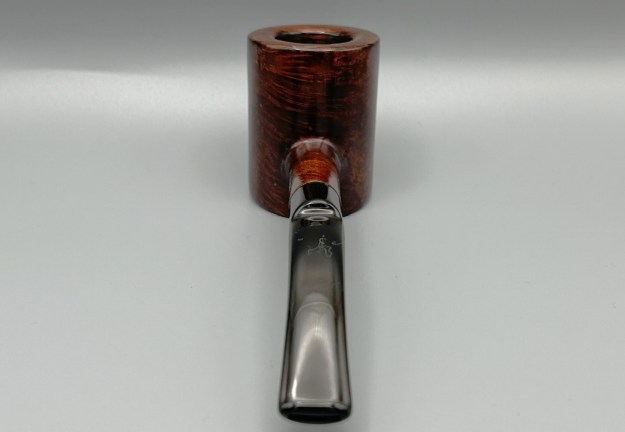
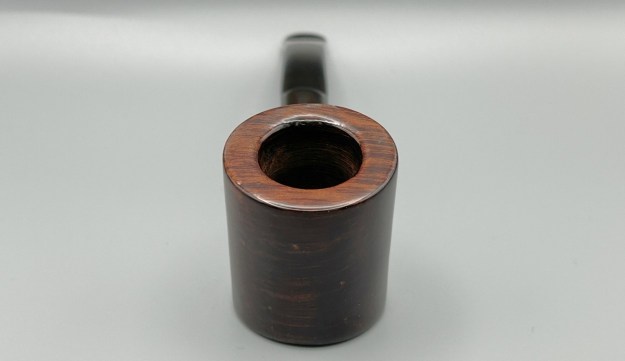
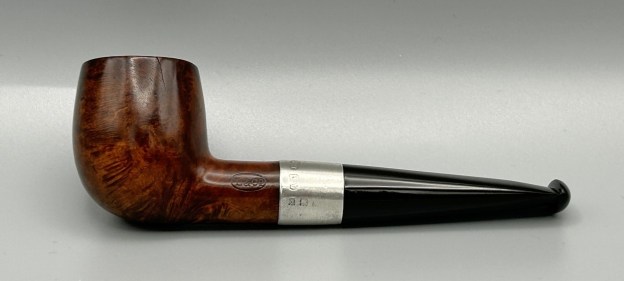
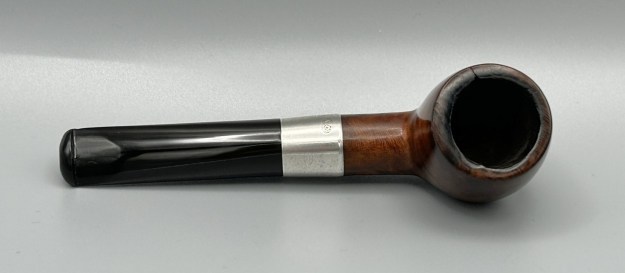
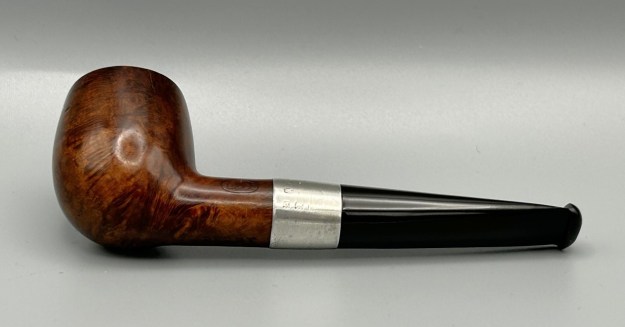
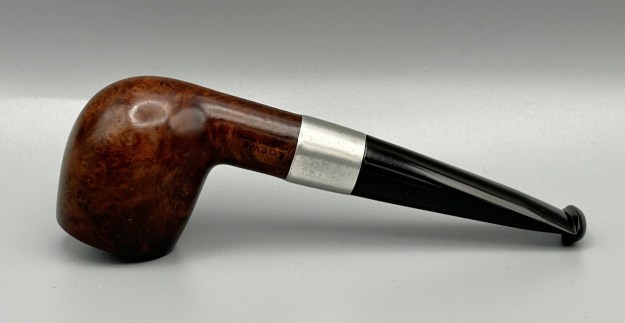
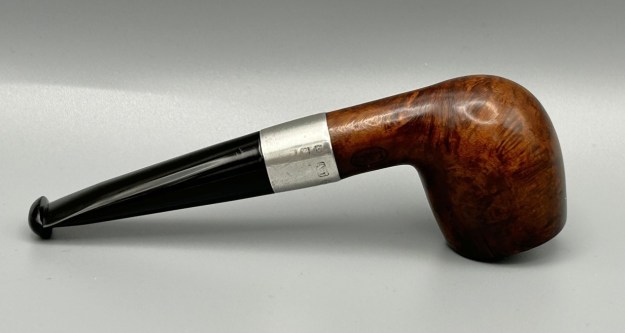
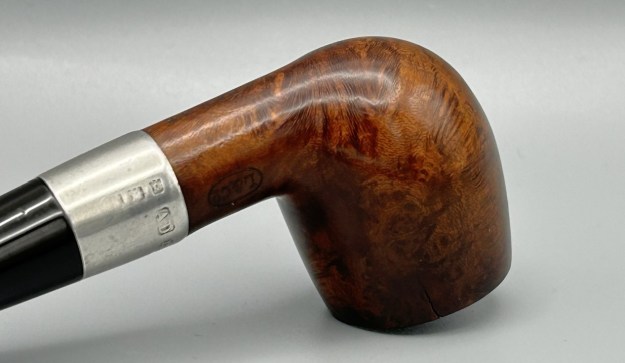
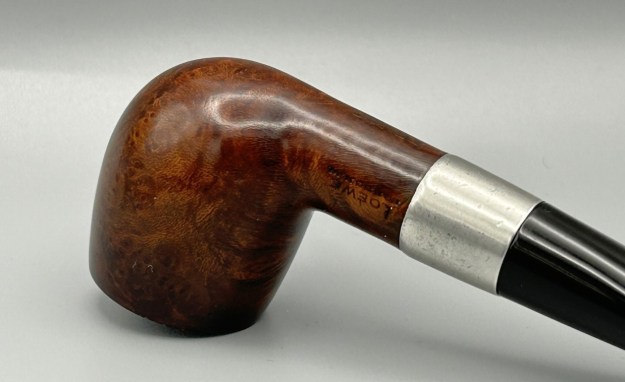
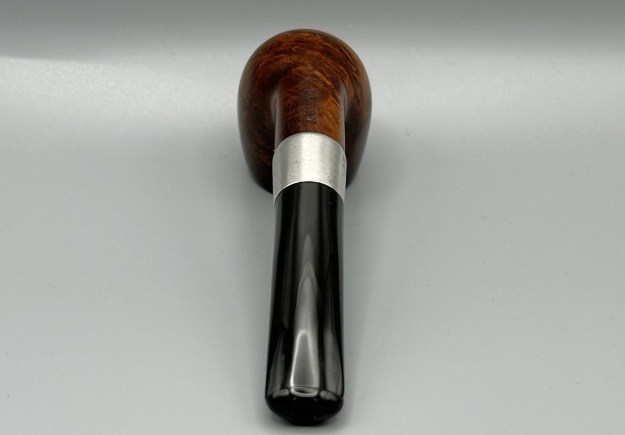
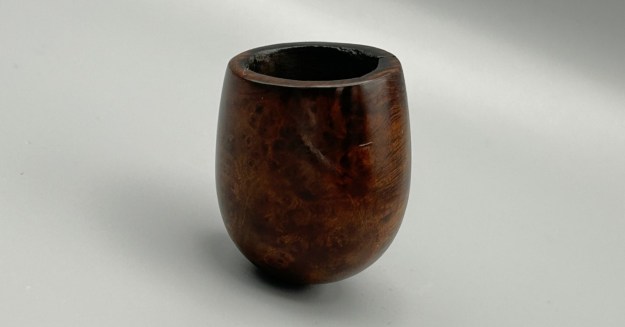
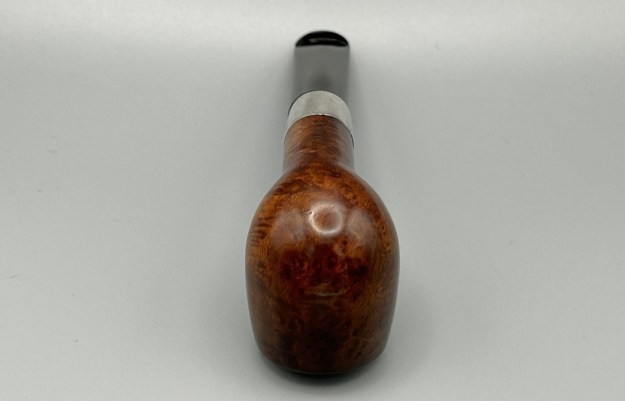
As you can see, he covers a lot of ground in this book and I won’t attempt to summarize each individual chapter, or else you’ll be reading this review all day long. Perhaps the greatest feature of this book is the incredible array of photos that Ben includes. It is both the diversity and quality of the photos that really adds value (and physical weight) to this tome.
In fact, the writing takes up a surprisingly small amount of real estate in this book. But the writing that is there is fascinating in somewhat untangling the murky history of wood as a material for pipe-making. Rapaport writes, ‘Wood … is light, durable, and a bad conductor of heat, and thus has three essential qualities of good pipe material…’. It is fascinating to learn how wood (of many tree species) came to be used as a pipe-smoking medium. In fact, it seems to be a silly material for containing fire – and so it is, but, as we ultimately know, when you find the right stuff, it is also the perfect material. How we moved from the absurd to the sublime in pipe woods is a fine story, and one that Rapaport tells well. But extolling wood’s virtues is not, essentially, the point of the book. In fact, it is the paucity of material in the written history of wood pipes that motivates Rapaport.
The origins of the wood pipe (not the wooden pipe, as he says) are disparate and obscure. It is fair to say that Rapaport cannot possibly reveal all of this history – most of which is, sadly, lost in the mists of time – but he has made an important contribution to the advancement of our knowledge. I, for one, am grateful for this because I cannot count the number of times I have yearned to know the history of some pipe or pipe-maker, and have been stymied by the absence of historical records or the loss of historical records or both. Even though I (as reader) have not been given the name/place/date for every wood pipe, I am not disappointed because such a wide variety of pipes has been documented, collated, and – I daresay – remembered!
Another valuable aspect of this book is the collection of collections! There are chapters which describe the private and institutional collections of pipes which exist throughout the world. Many are available for public viewing and Rapaport entices us with dreams of being able to behold these stunning wood pipes in person. I found this to be quite endearing and thought-provoking, as it made me aware of individuals about whom I previously knew little. To demonstrate my point, Alice Charlotte de Rothchild’s immense pipe collection is as remarkable for its whimsy as it is for its beauty.
The breadth and depth of photos in this book is impressive. More than simply adding volume to this publication, the photos create their own historical record, simply by their juxtaposition to one another. To take one example among many, the photo collection of Boer War pipes provides an extraordinary testimony of the pipe carvings and the men who carved them in the South African War. This isn’t simply an indiscriminate collection of photographs: this is actually a narrative told in photographs.
I am going to end the review here, because I am tempted to go on ad nauseum. Suffice it to say, this is an excellent book. It is worth reading and it is worth buying. I have had a similar reaction to Rapaport’s past books, so I hope this isn’t his last. If the distant history of tobacco pipes is of interest to you, I happily recommend this book.
I hope you enjoyed reading my review of The Wide World of Wood Tobacco Pipes by Ben Rapaport. If you are interested in more of my work, please follow me here on Steve’s website or send me an email at kenneth@knightsofthepipe.com. Thank you very much for reading and, as always, I welcome and encourage your comments.