
Blog by Steve Laug
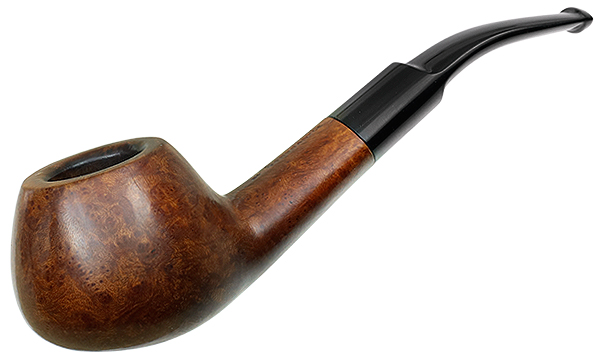
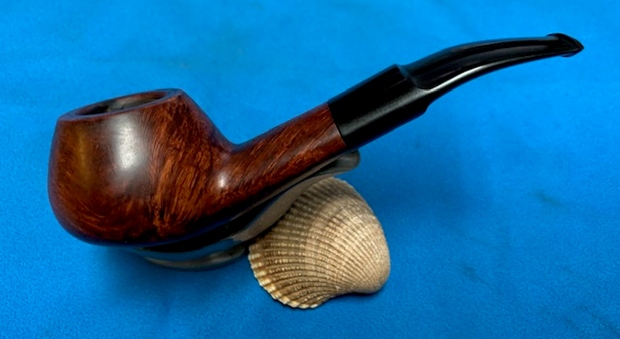
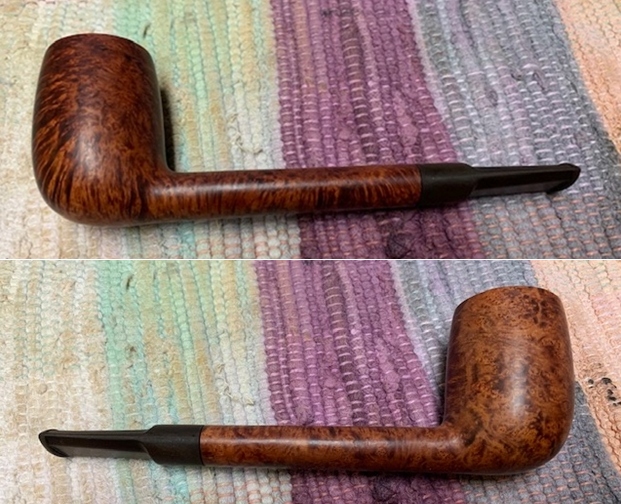
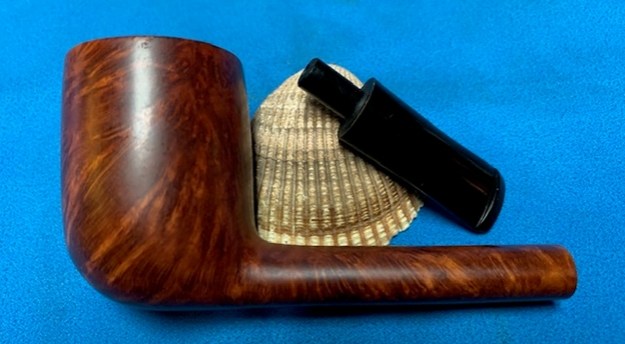
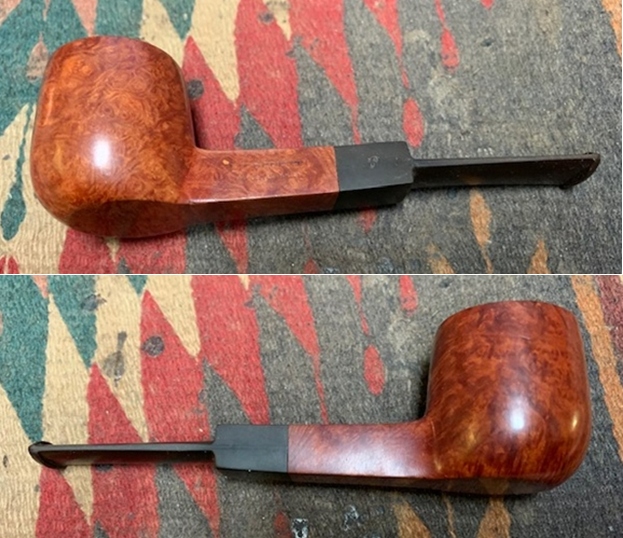
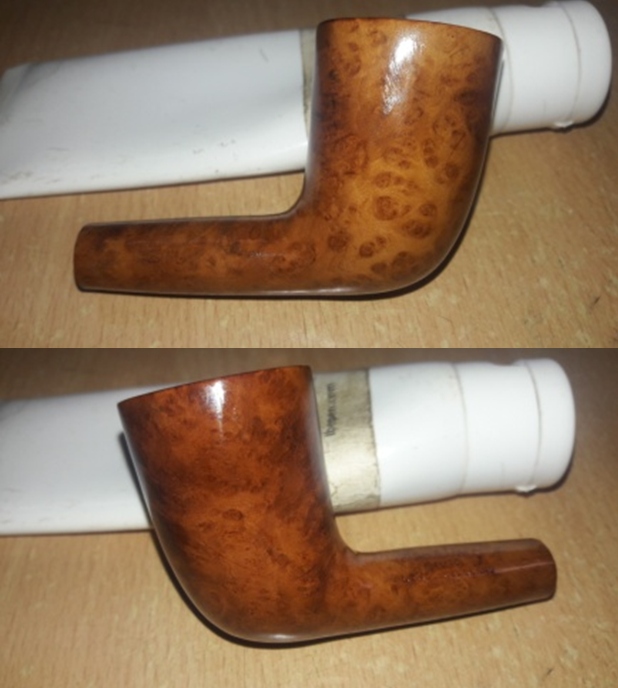
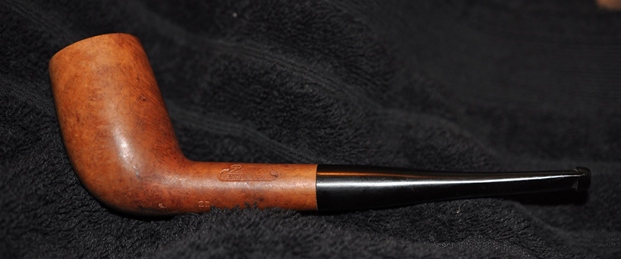
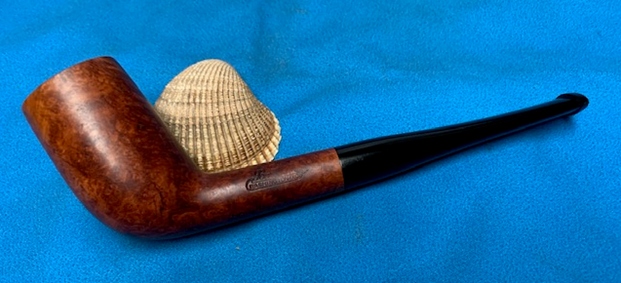
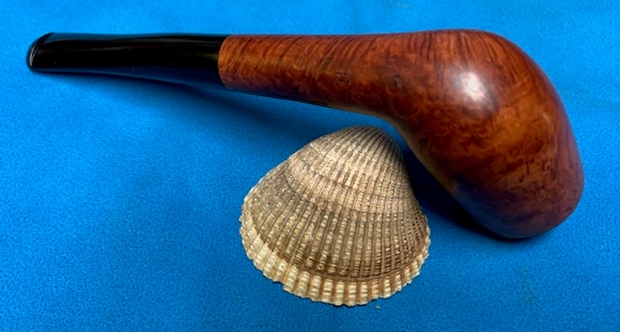
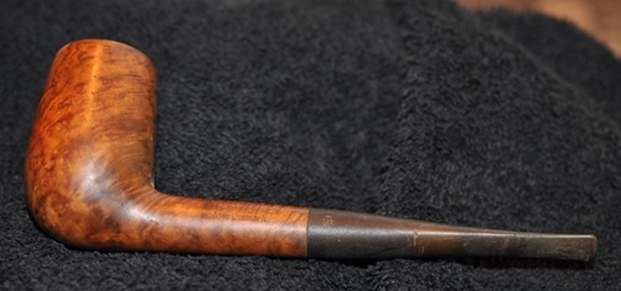
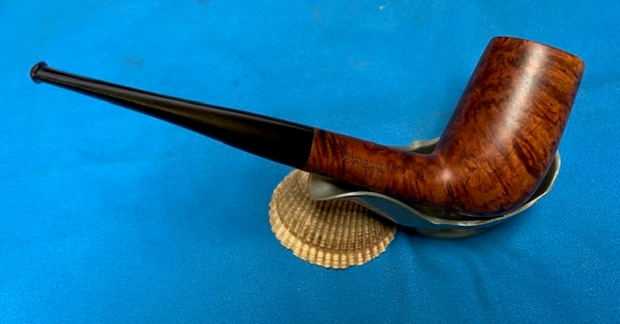
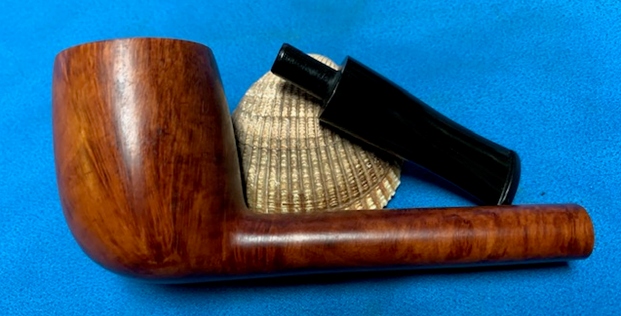
The next pipe on the work table came to us from a friend in Maryland, USA. It has been around for a while waiting to be worked on. Jeff did the original photographs of the pipe in December 2019. It is a Bent Apple with an acrylic shank extension and stem and some nice grain around the bowl. There are two rings on the shank before the extension – one is black acrylic and one is brass. It makes for a pretty pipe. The stamping is the clear and readable. It is stamped on the left side of the shank and reads the Balsa [over] System. On the underside of the shank it is stamped with Israel next to the shank extension. The varnished finish had a lot of grime ground into the bowl and some darkening around the sides of the bowl. There was some damage on the outer edge of the rim at the front of the bowl caused by knocking out the bowl. The bowl was moderately caked and the varnish was peeling on the top of the rim. The rim top and inner edge of the bowl looked quite good under the grime. The fancy variegated gold and brown acrylic stem matched the shank extension. It had tooth marks and chatter on both sides of the P-lip style stem. The top showed more damage ahead of the button than the underside. The stem had no identifying logo or markings. The pipe had promise but it was very dirty. Jeff took photos of the pipe before he started his cleanup work. 
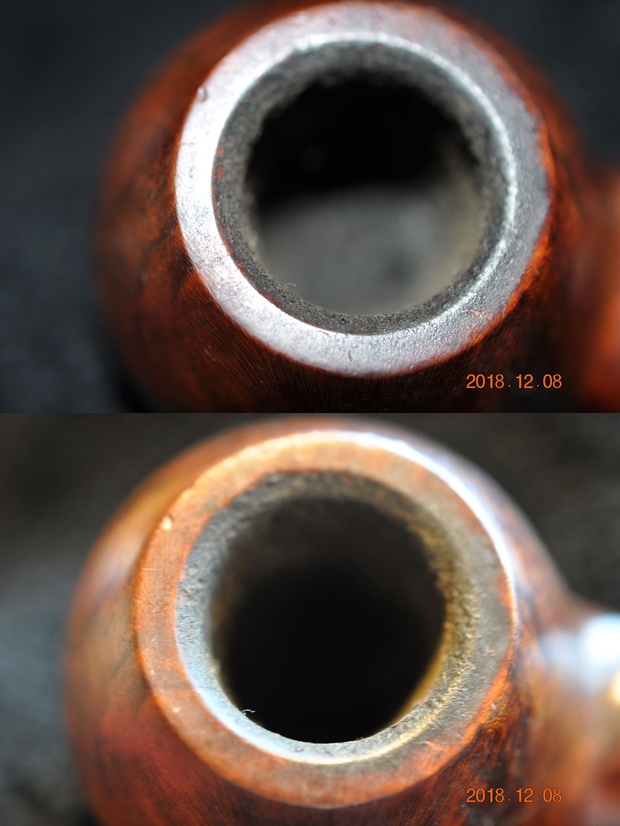
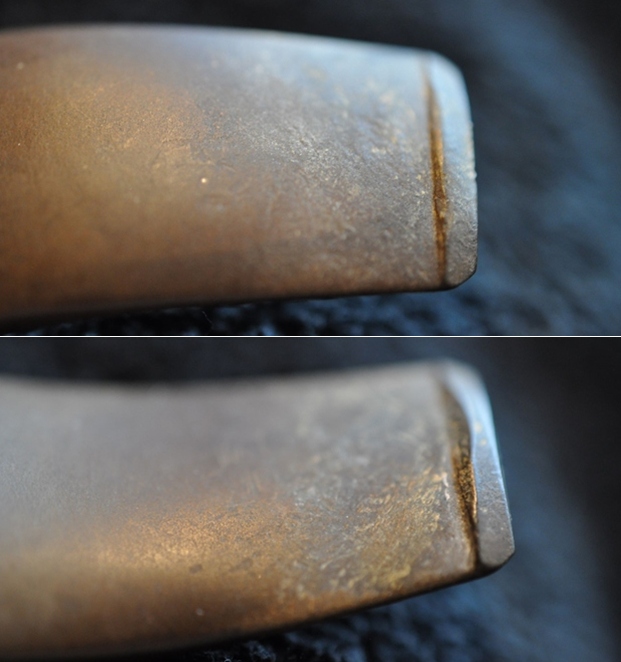
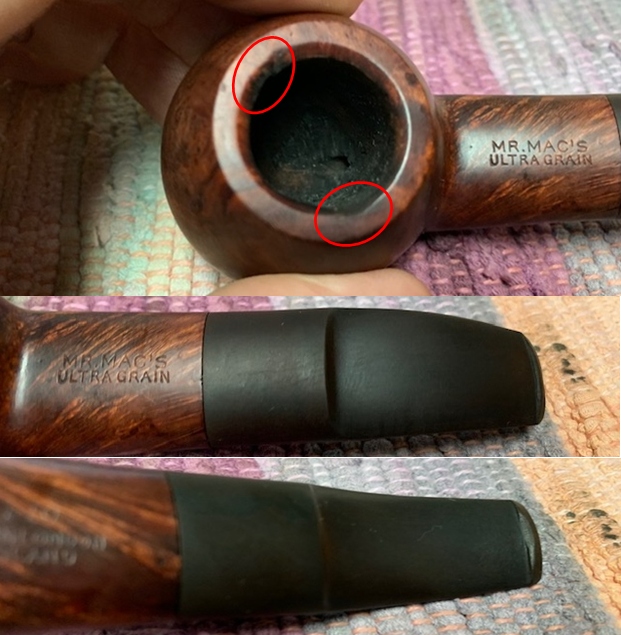
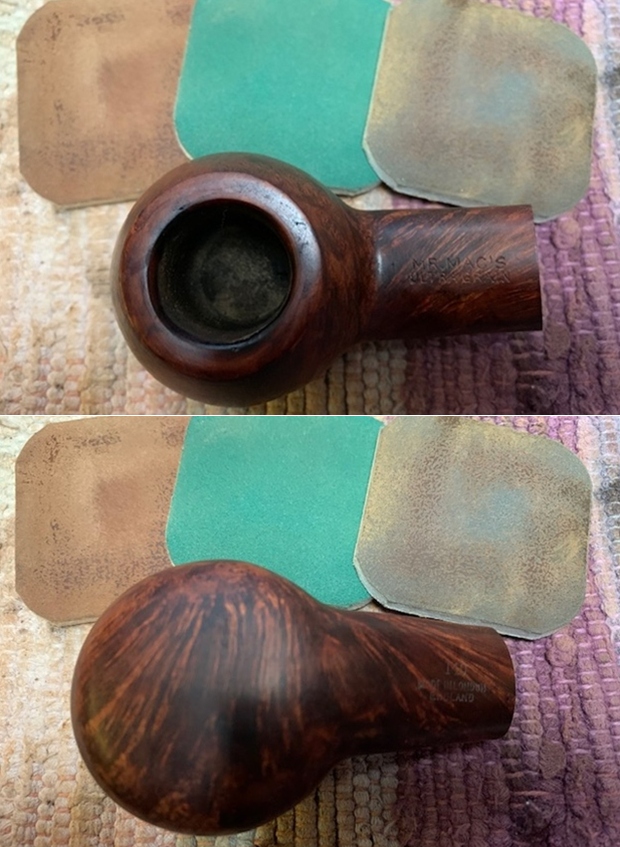
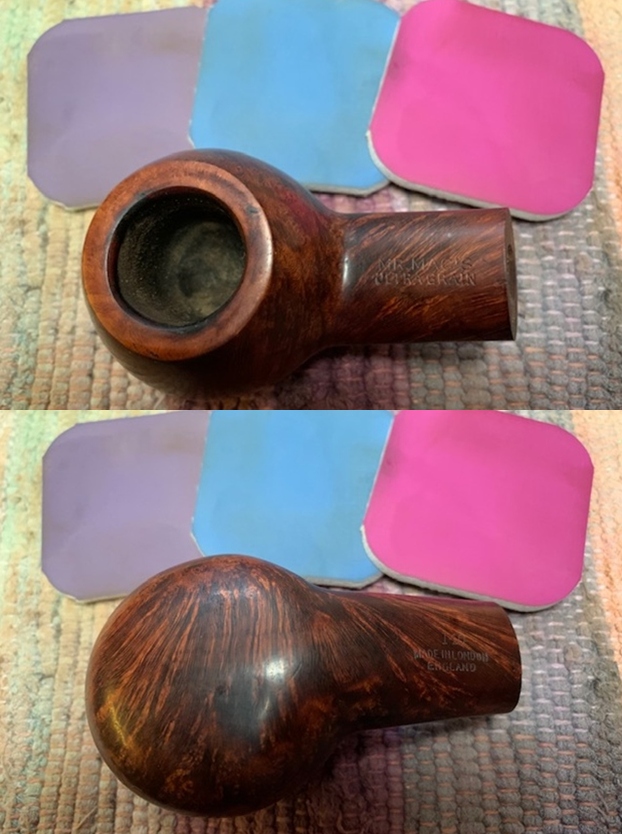
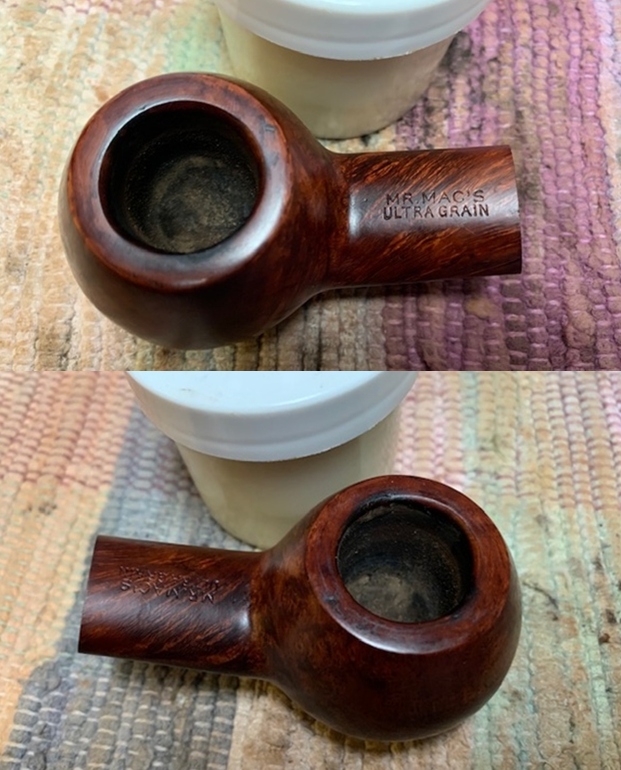
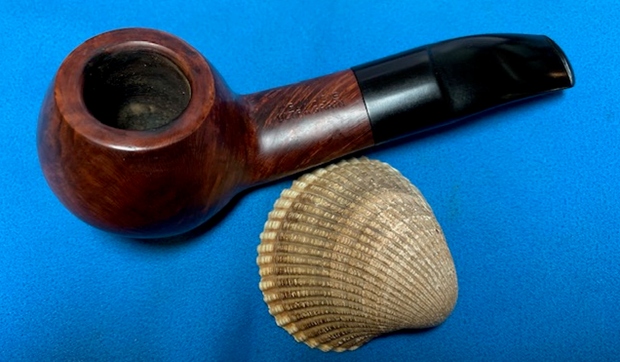
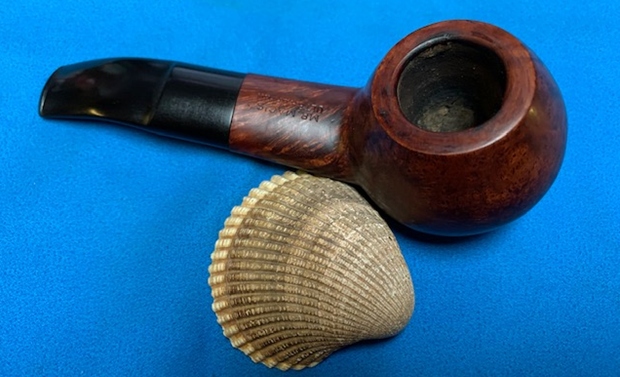
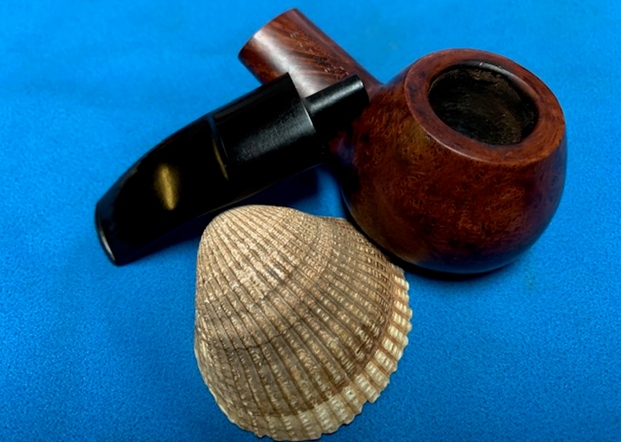
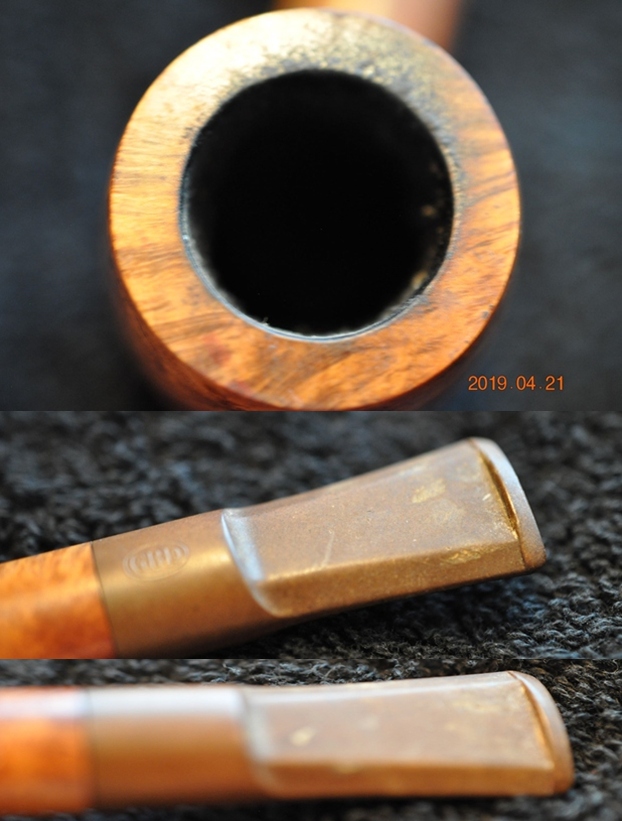
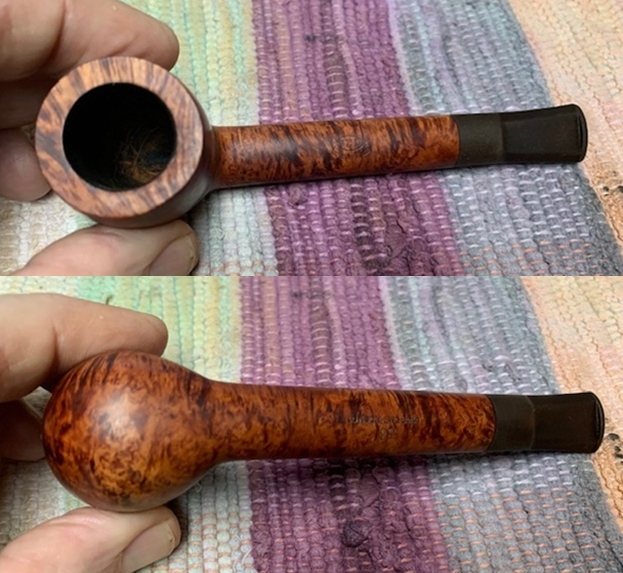
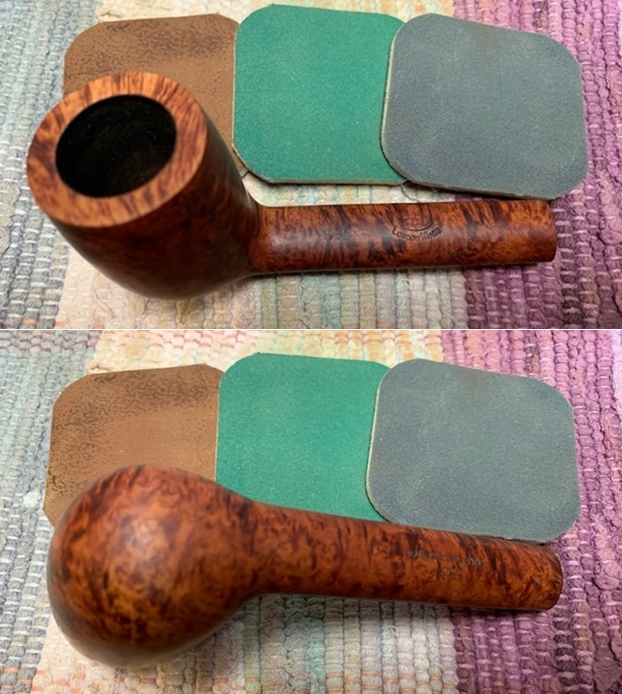
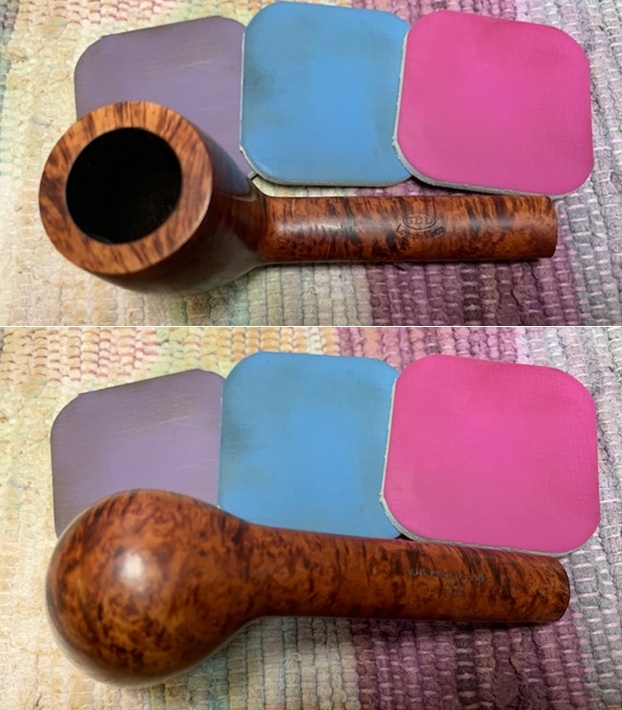
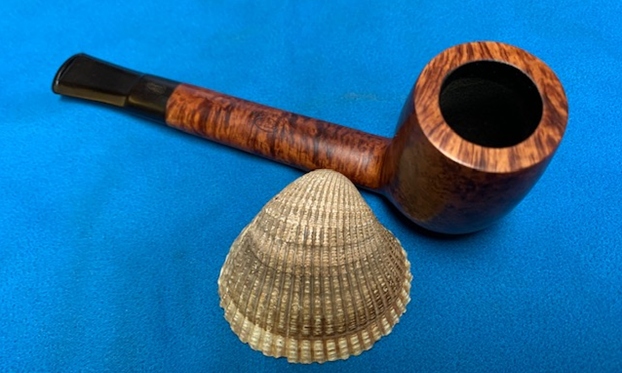
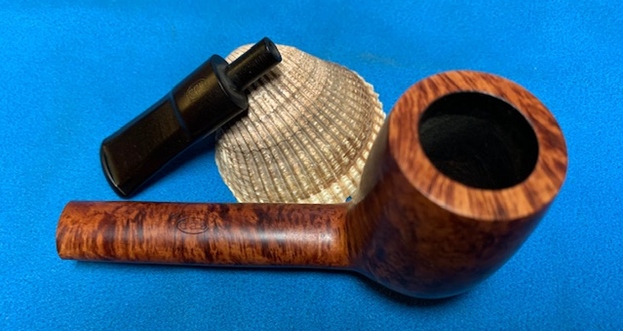
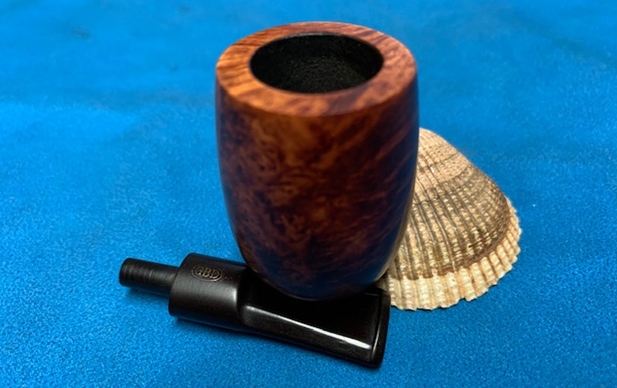
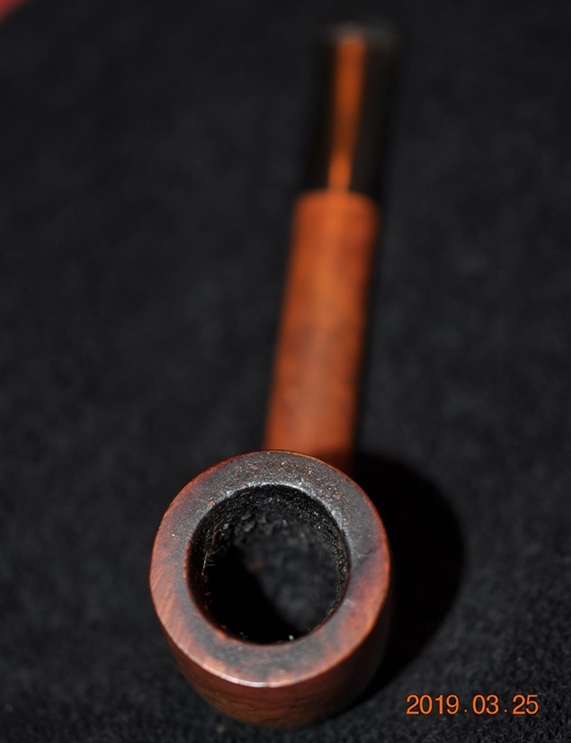
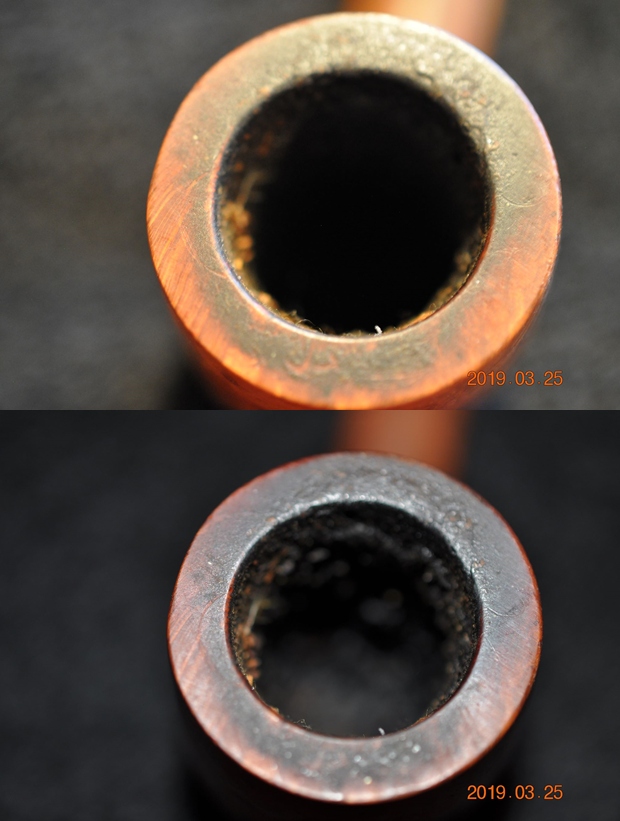
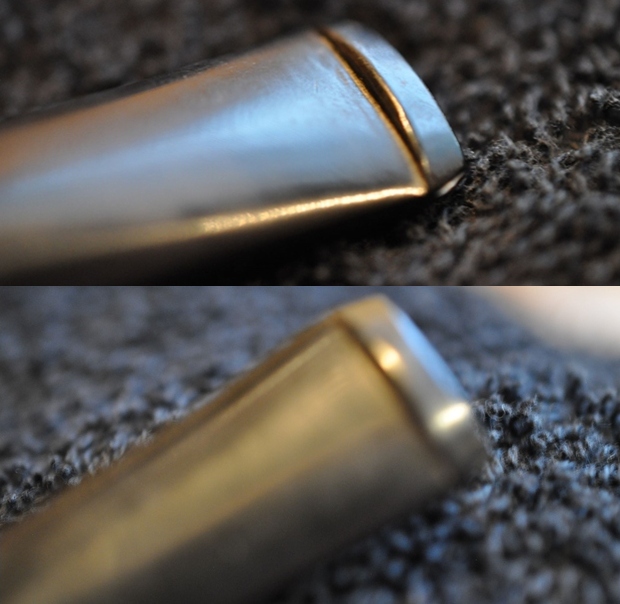
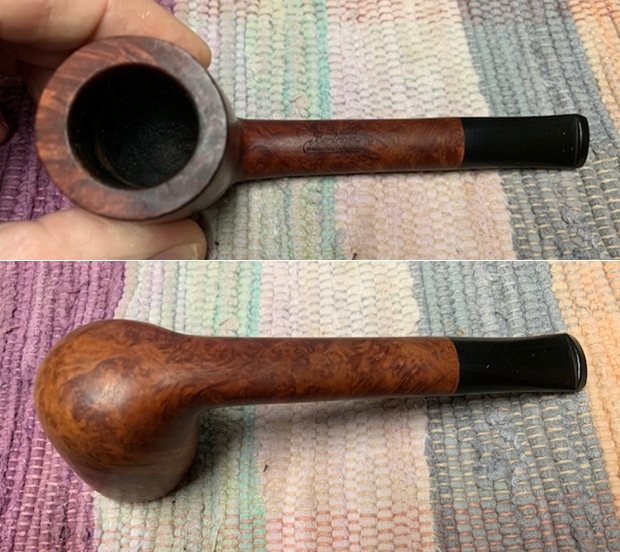
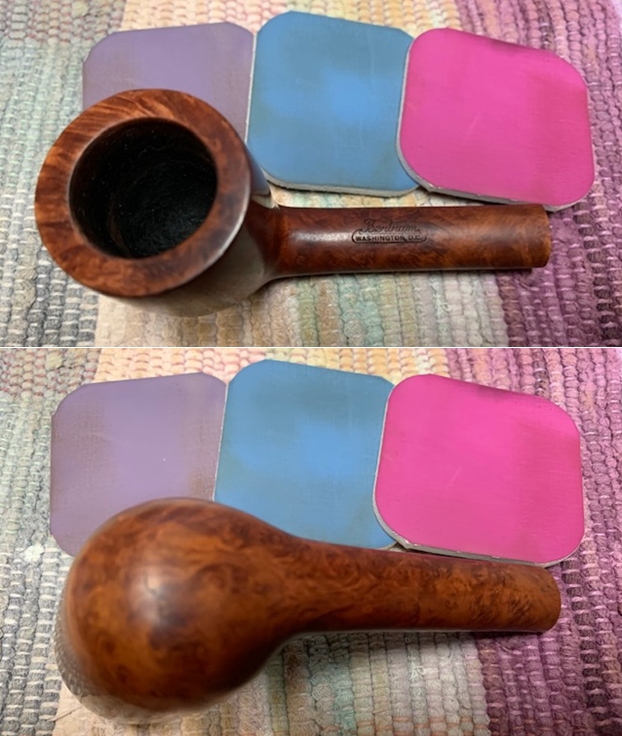
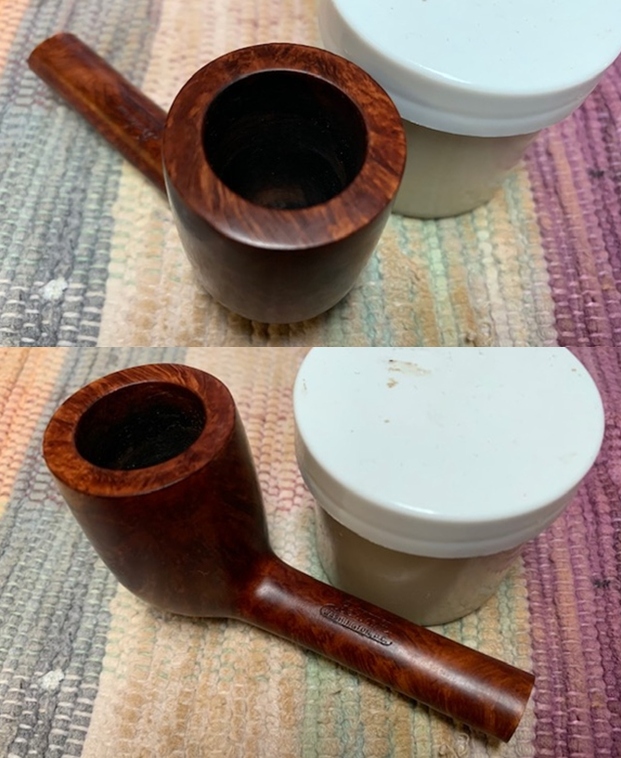
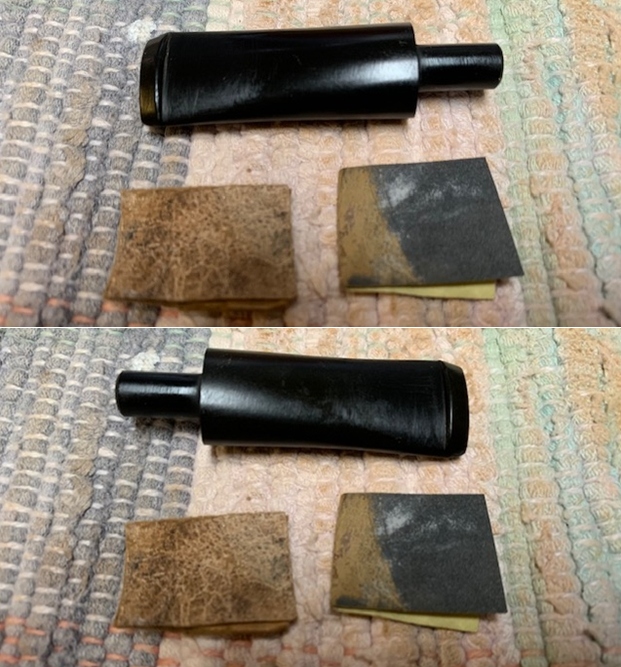
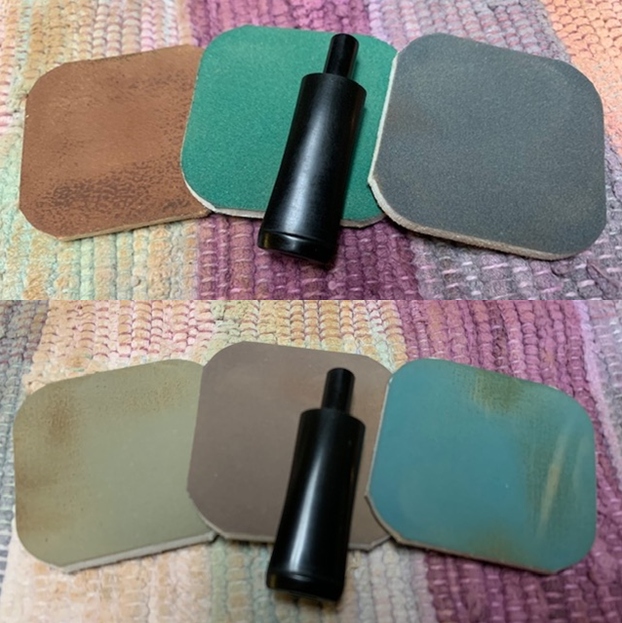
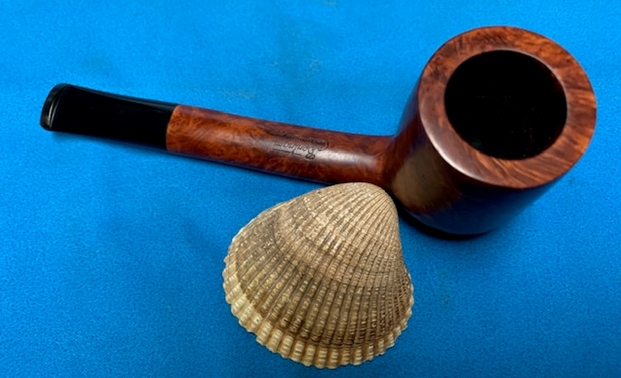
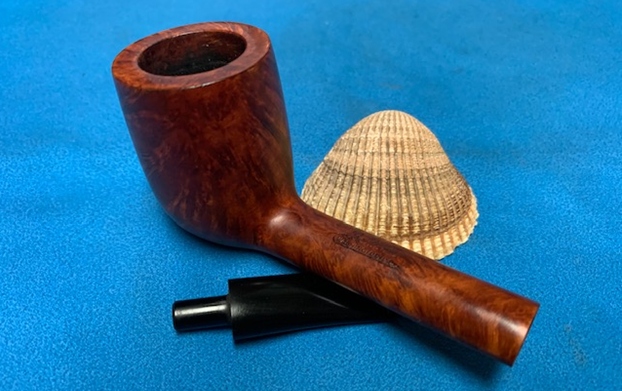
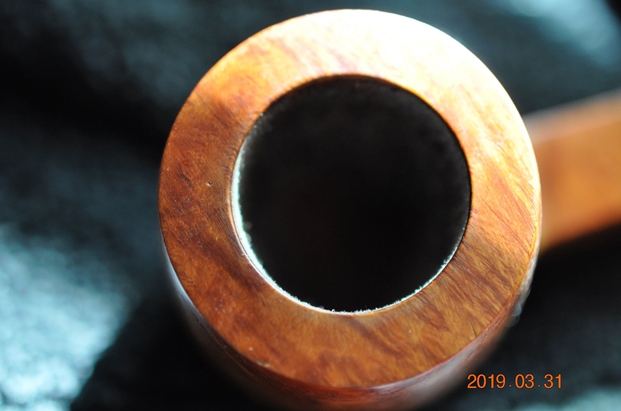
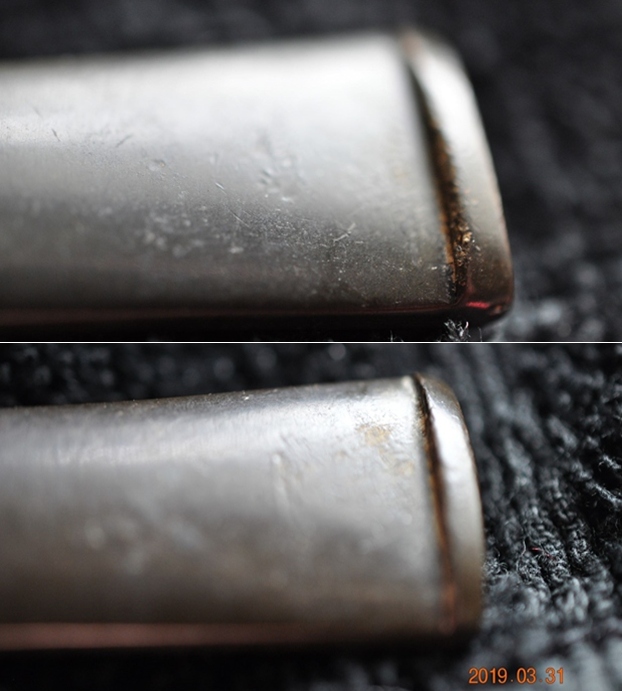
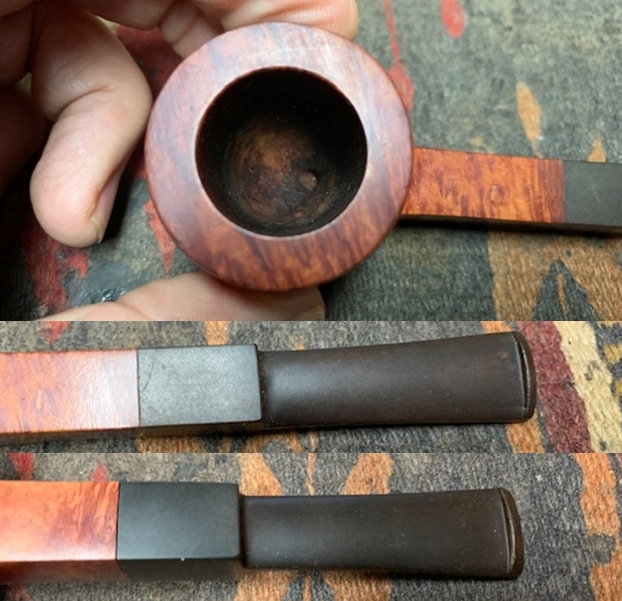
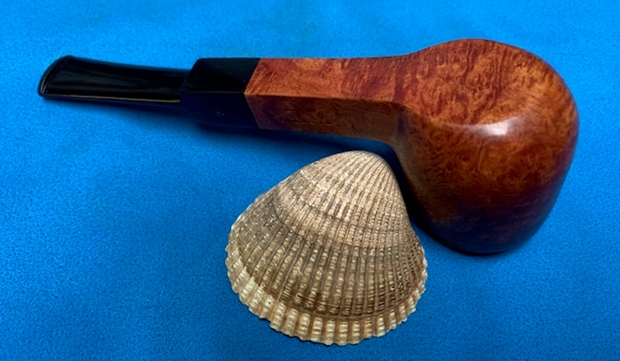
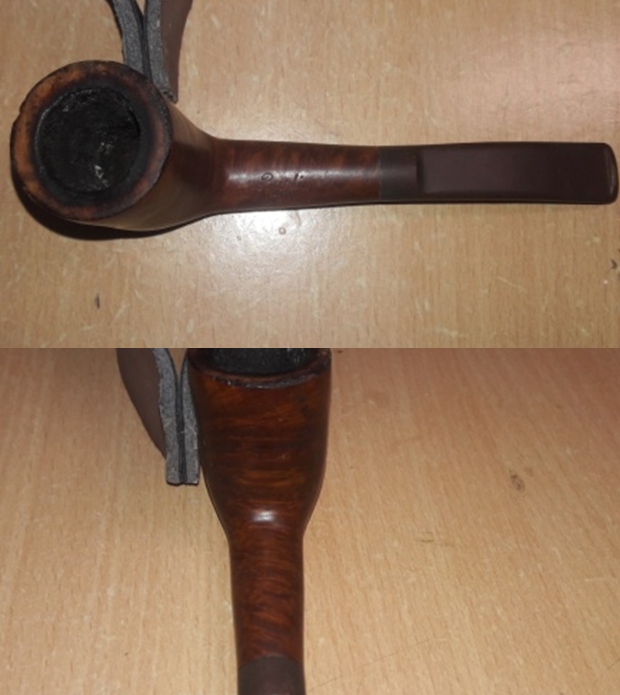
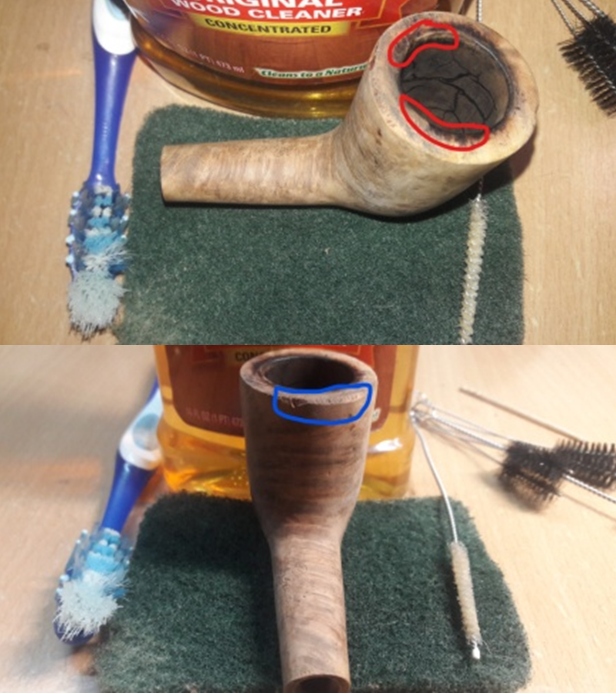
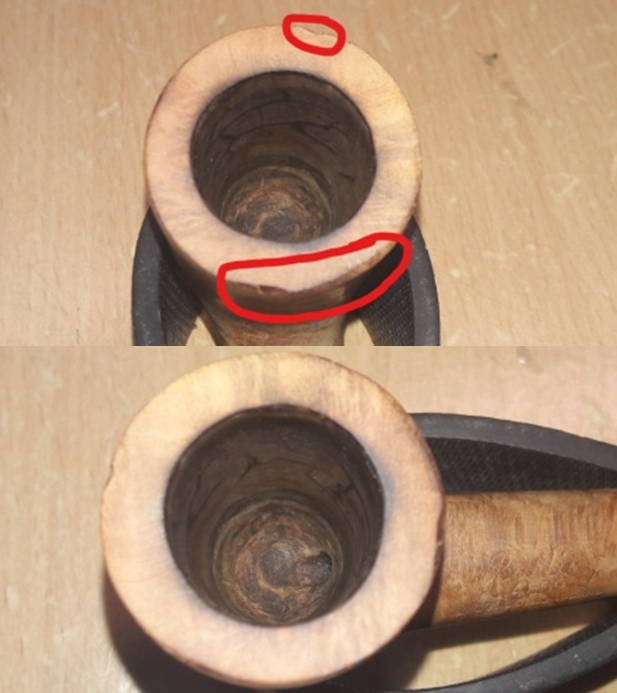
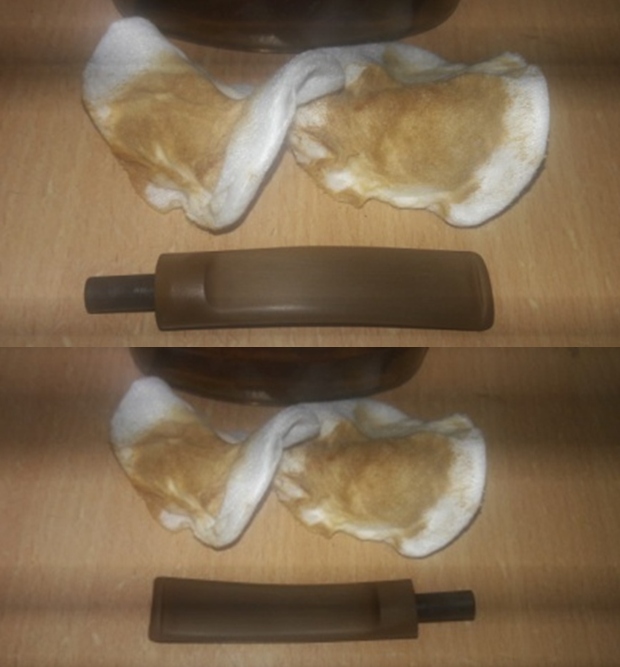
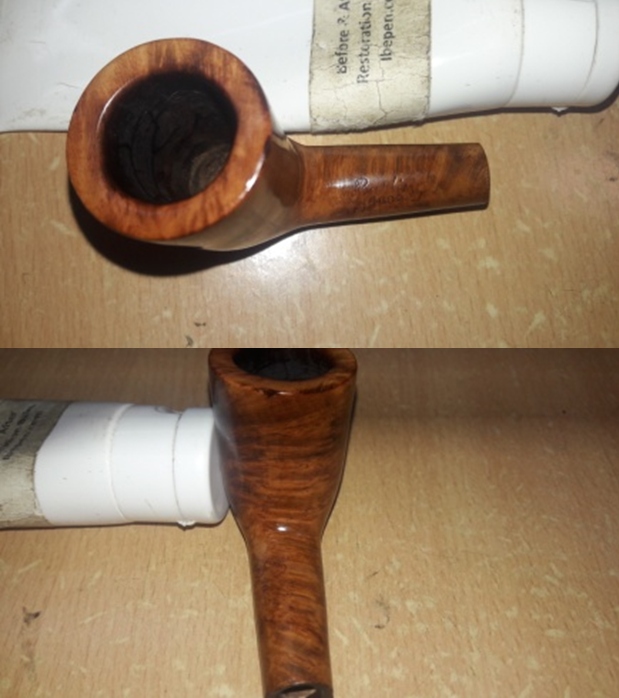
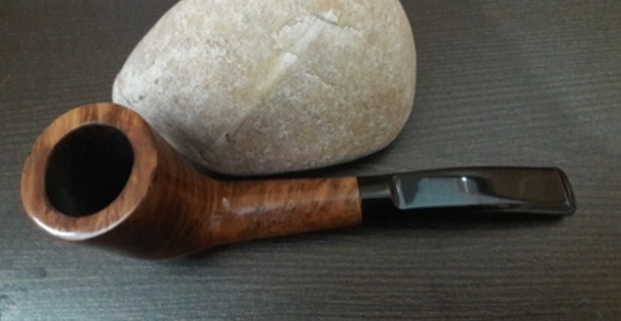
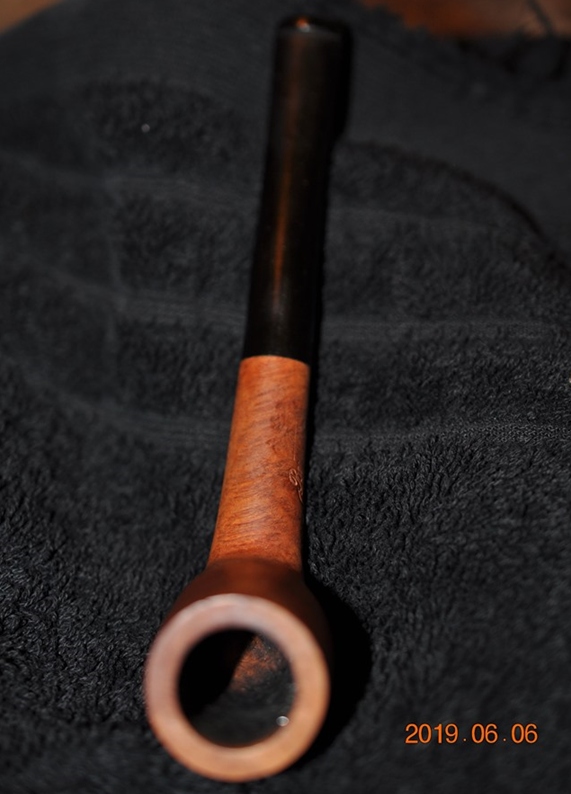
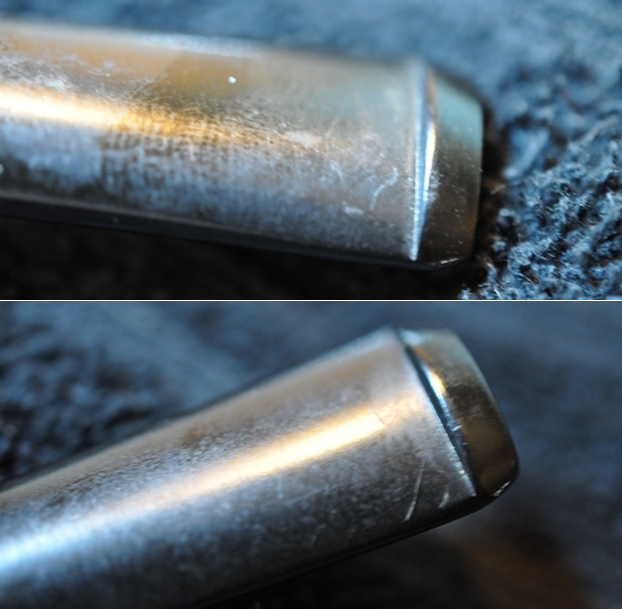
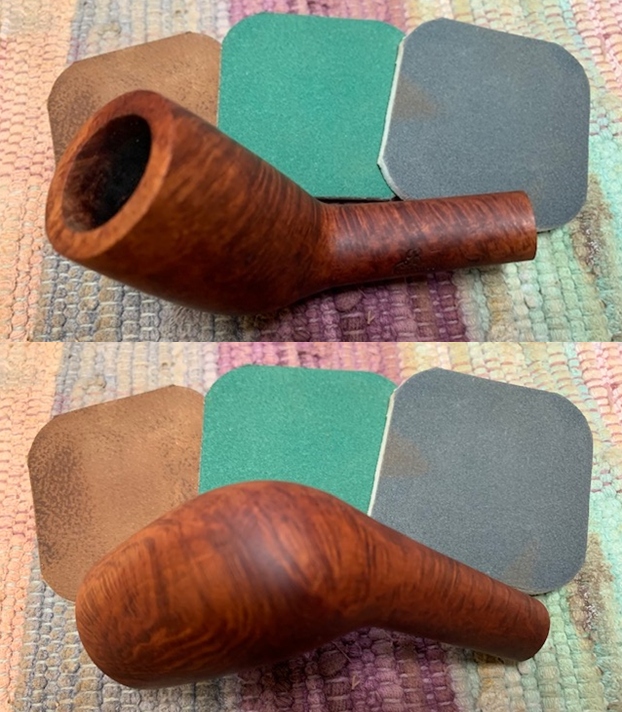
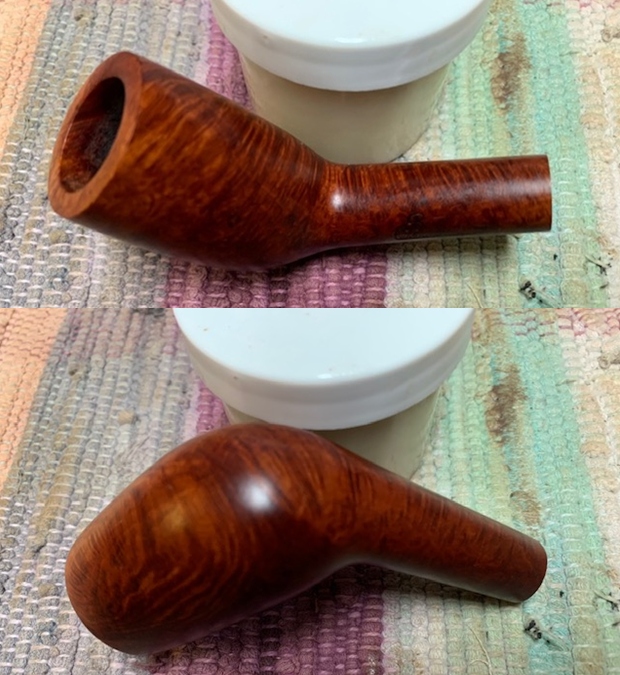
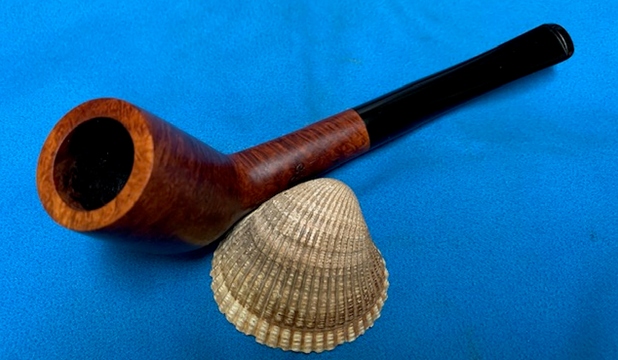
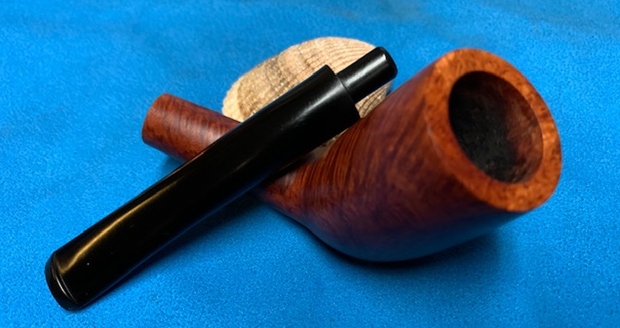
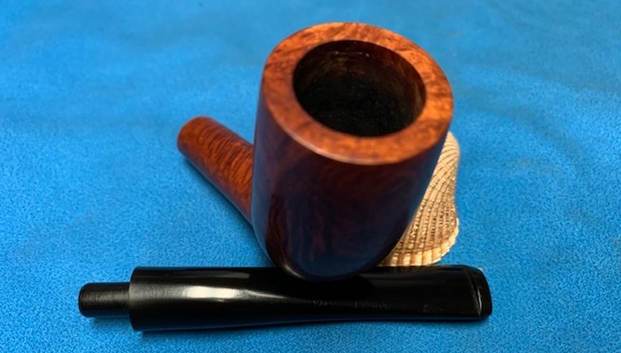
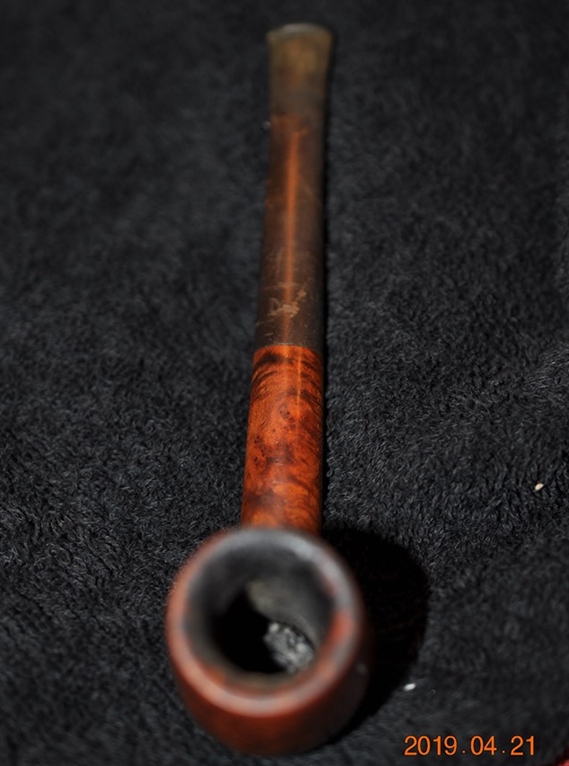
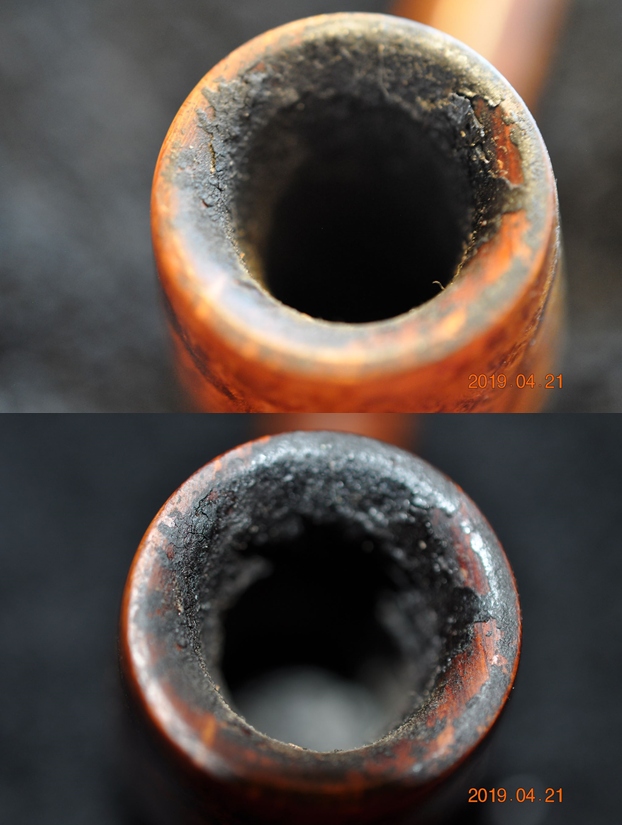
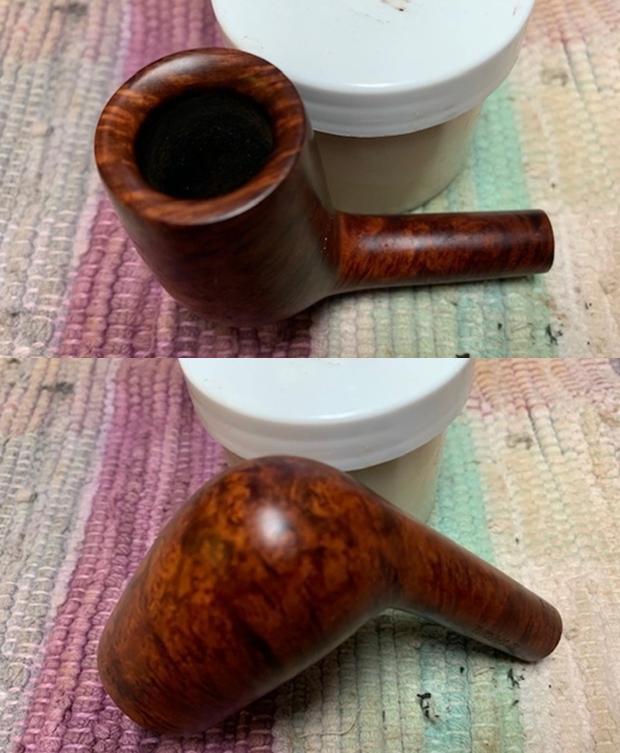
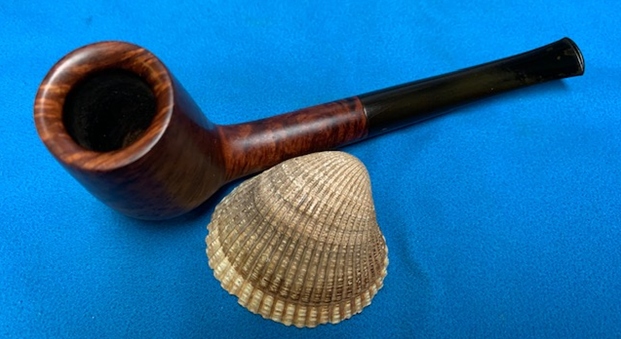
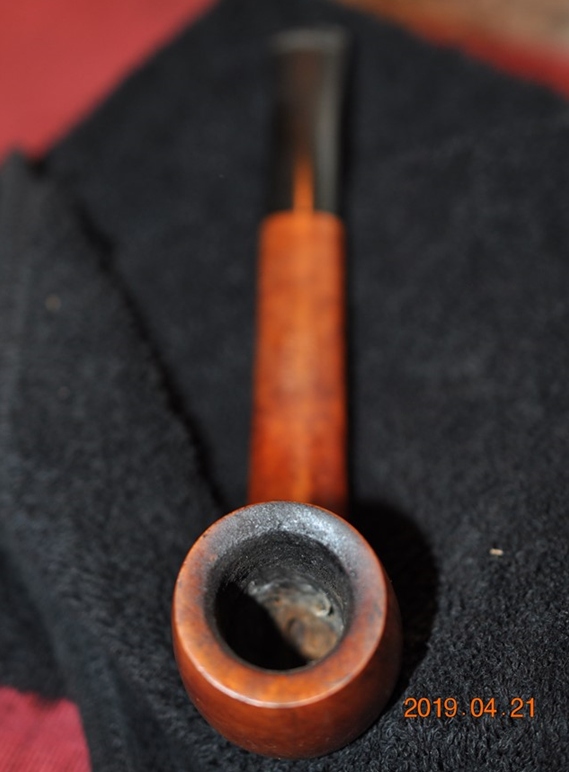
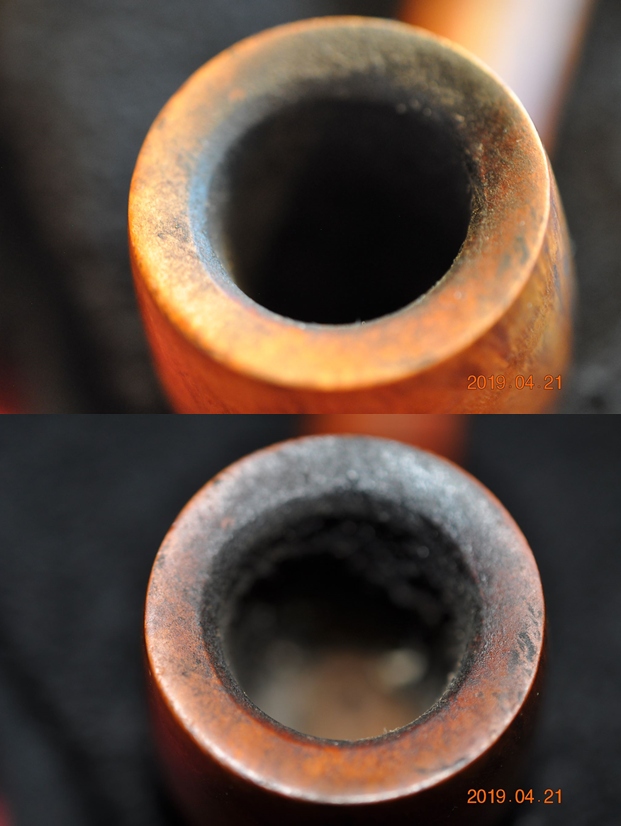
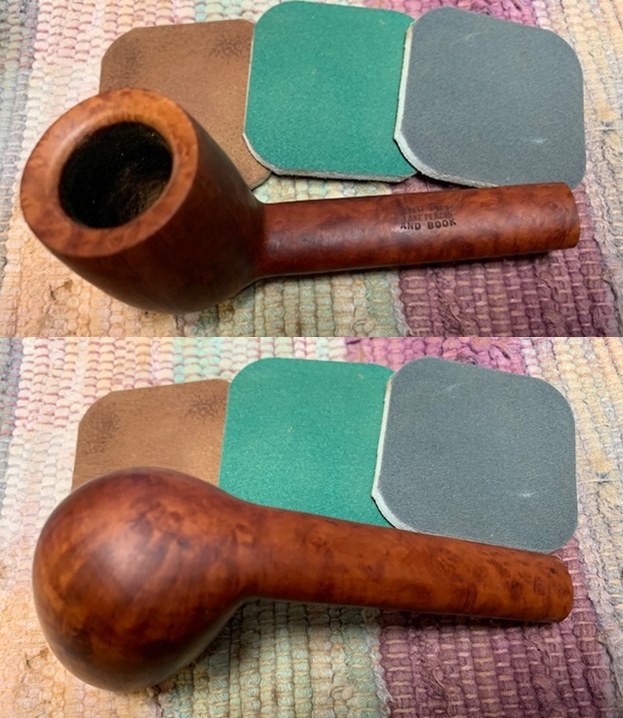
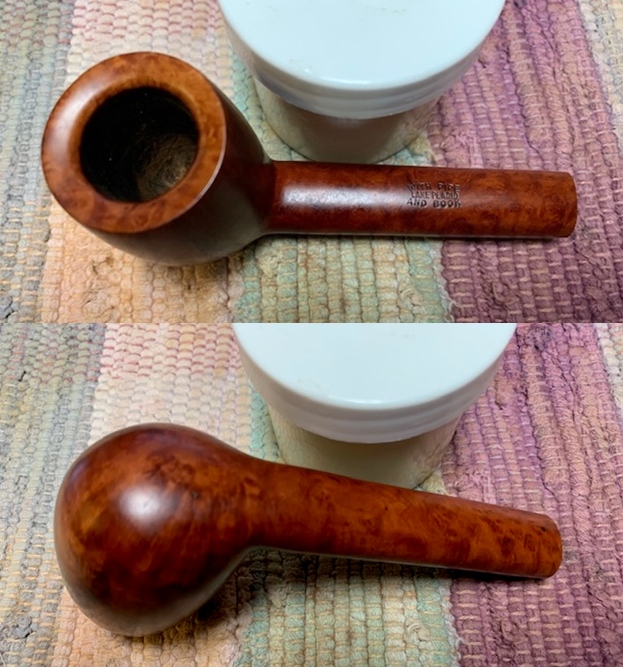
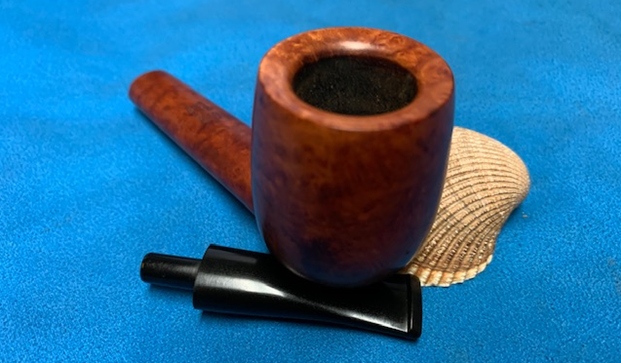
 He took photos of the rim top and bowl to give a clear picture of the thickness of the cake and the condition of the rim top and edges. You can see the damage on the front outer edge of the bowl and the peeling varnish on the top. He also took photos of the top and underside of the stem to show the chatter and tooth marks. The variations in colour on the stem are visible.

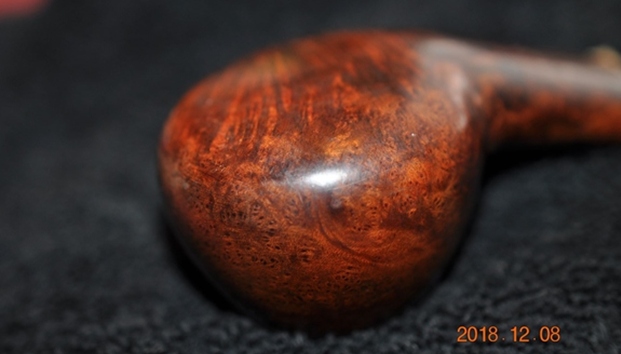
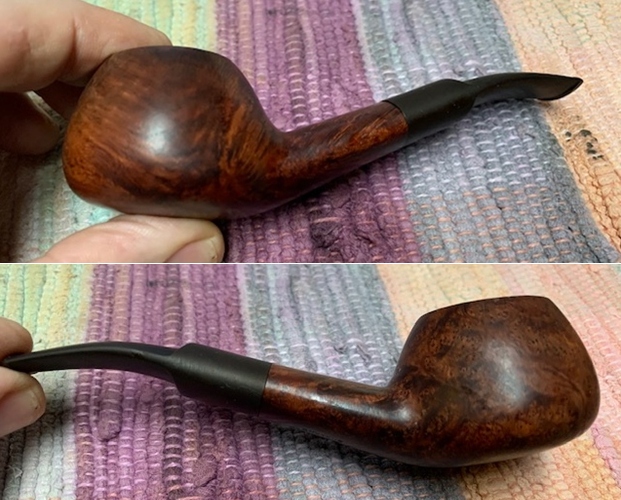
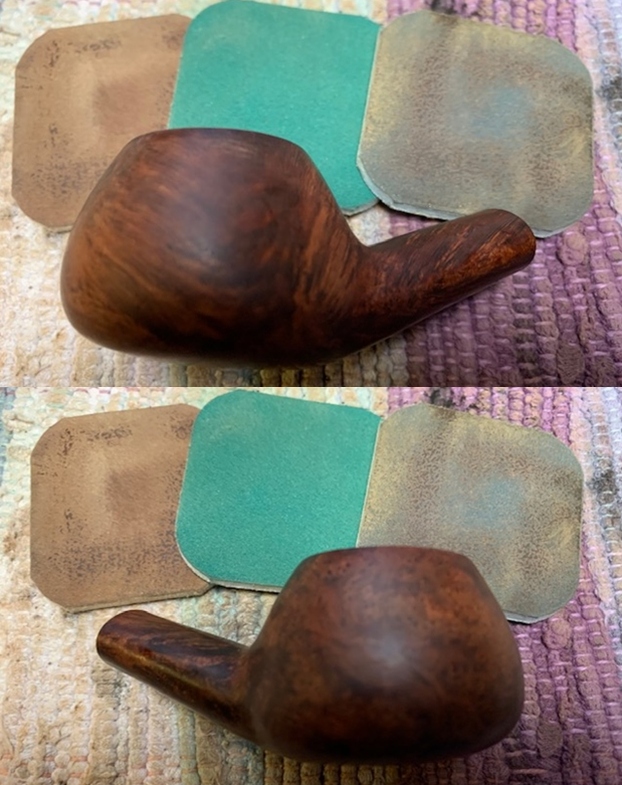
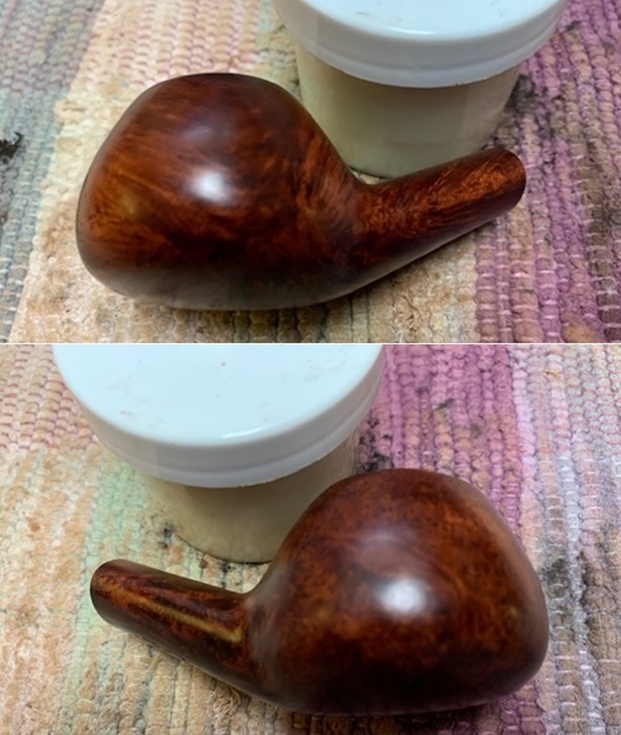
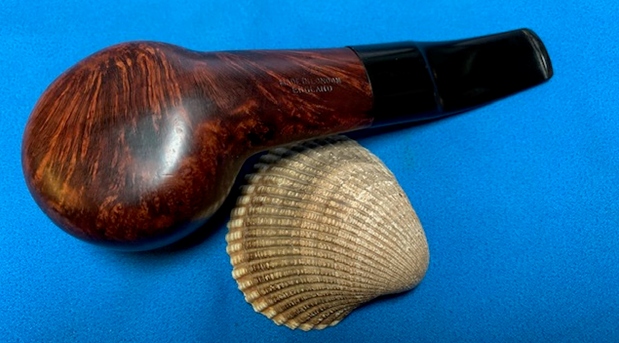
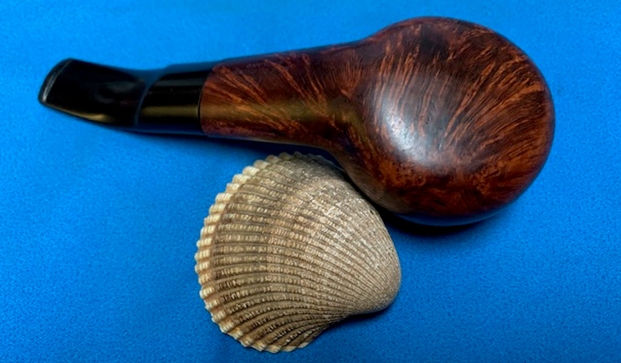
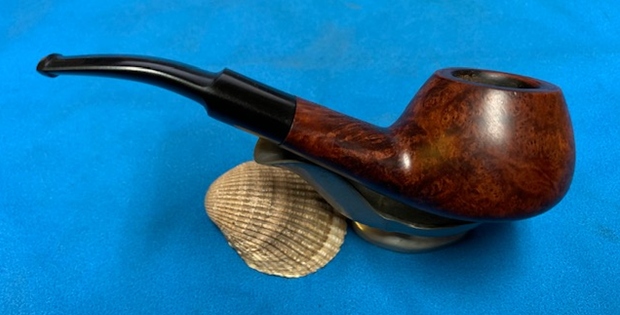
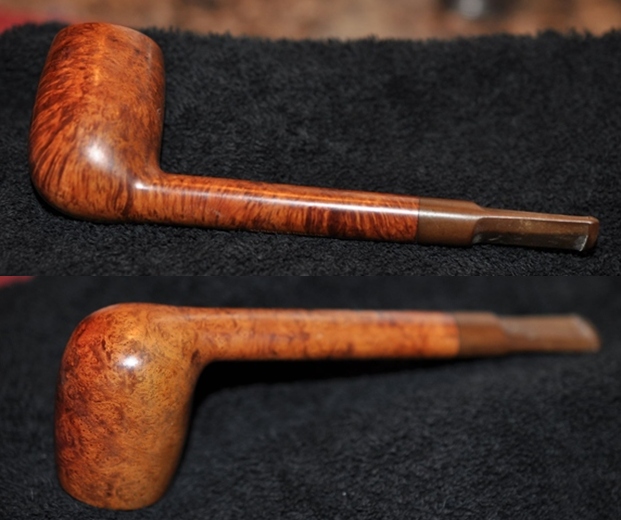
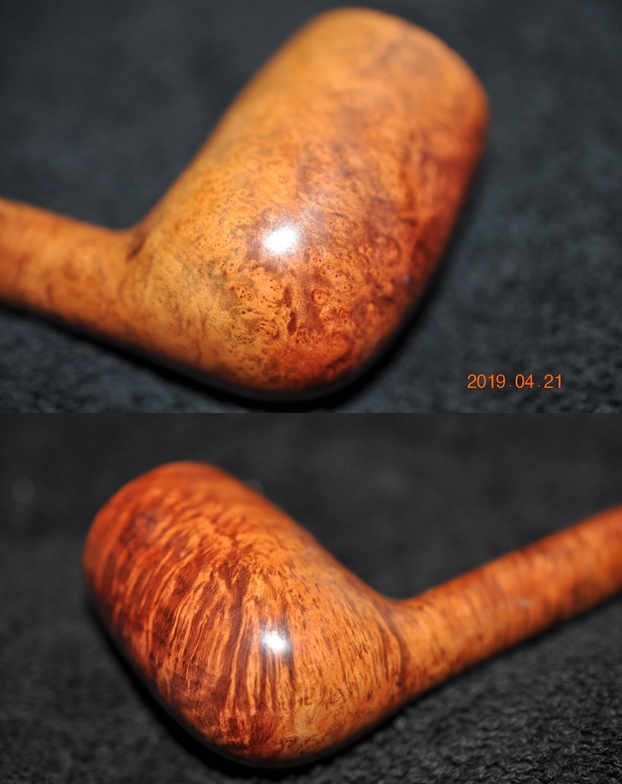
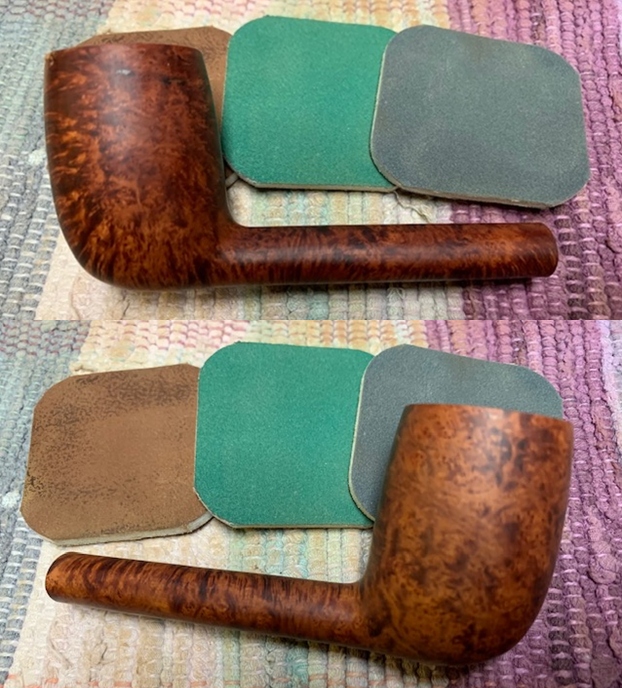
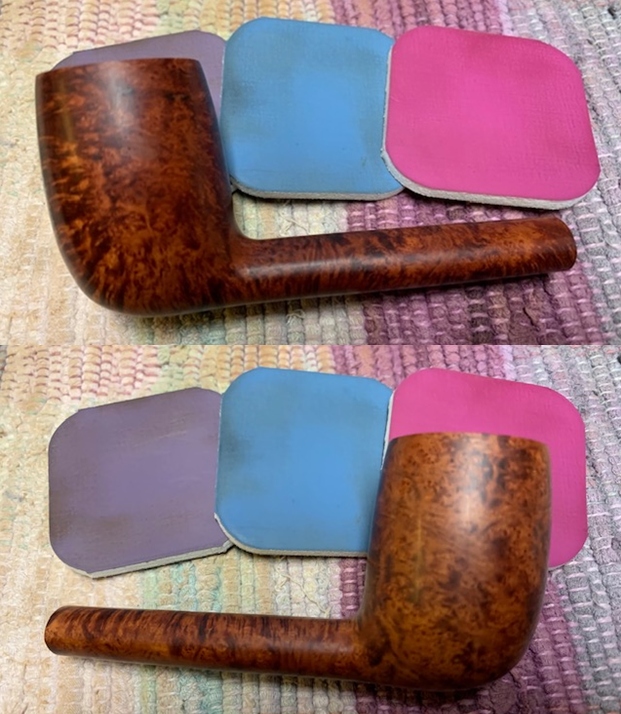
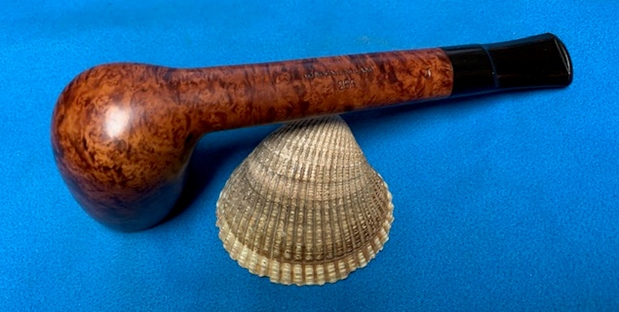
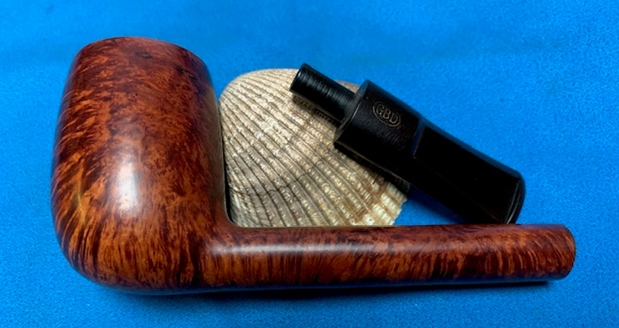
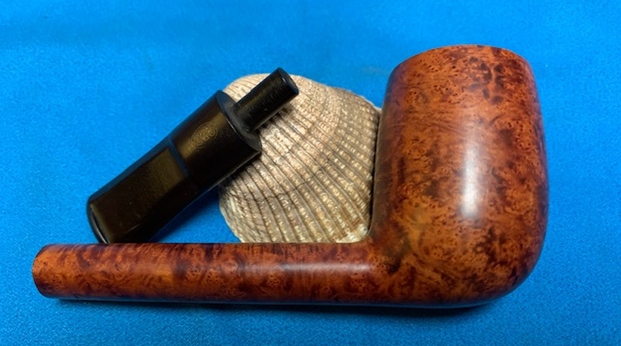
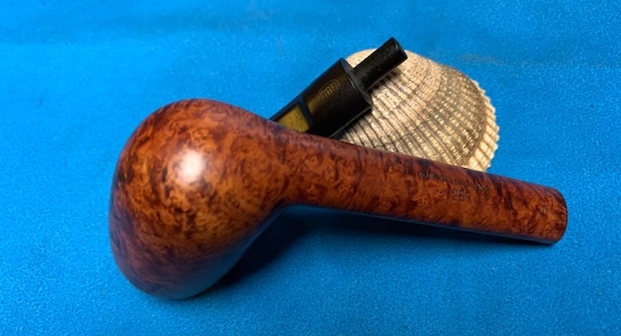
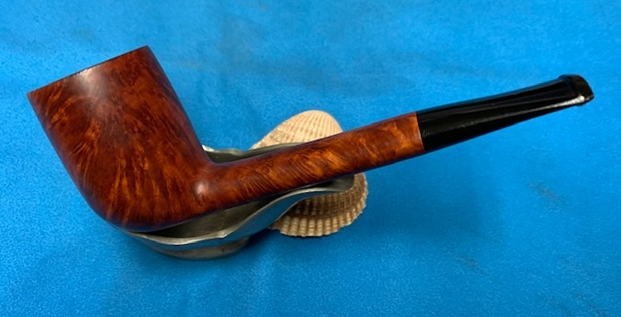
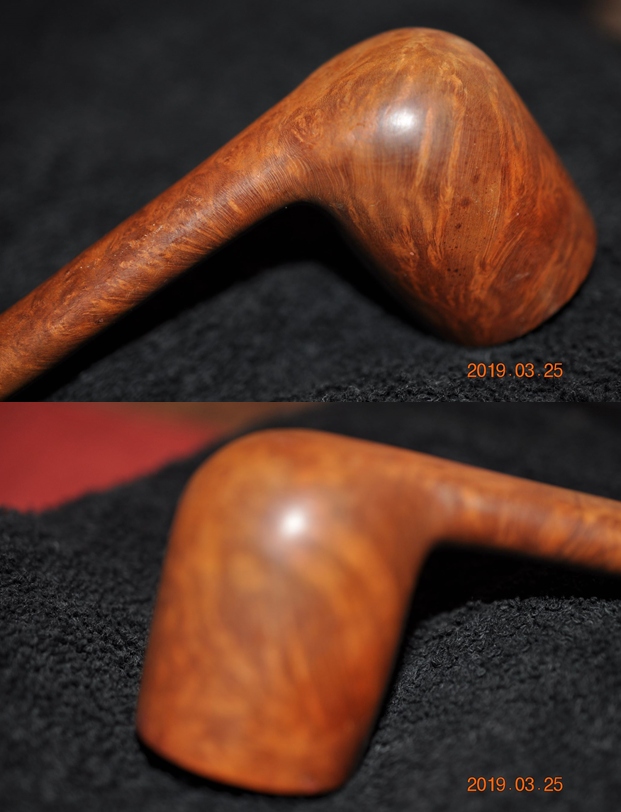
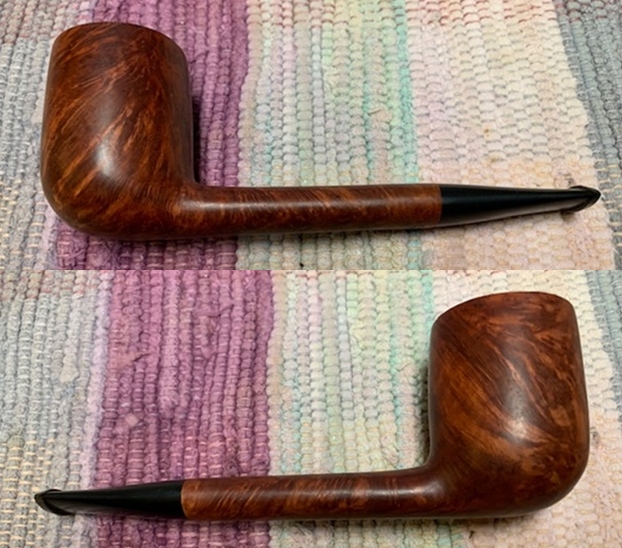
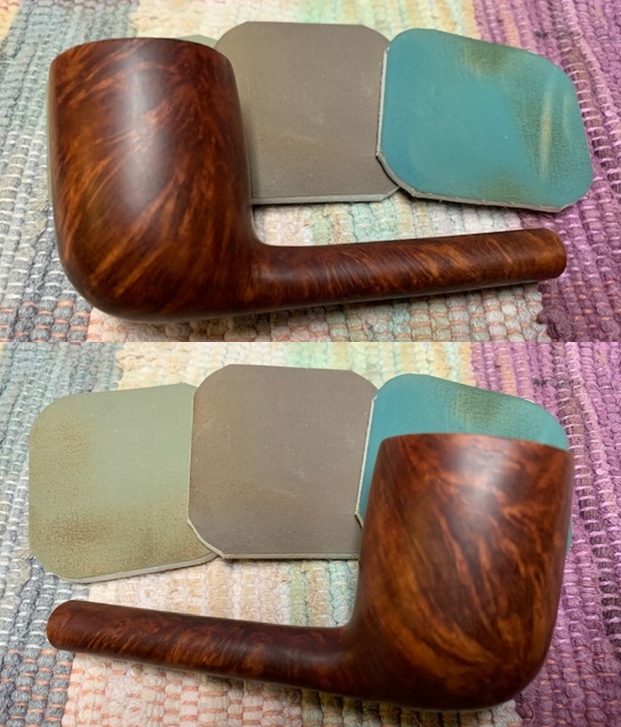
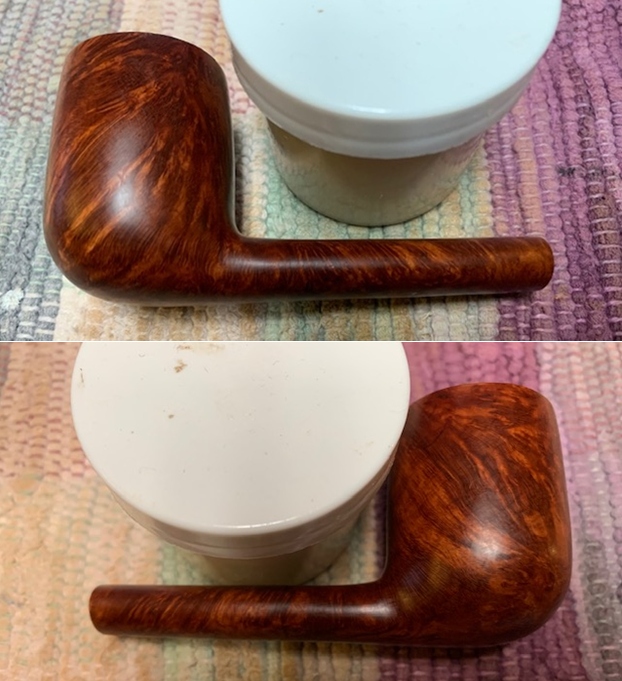
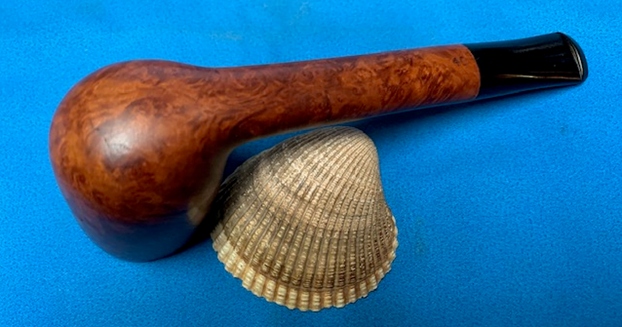
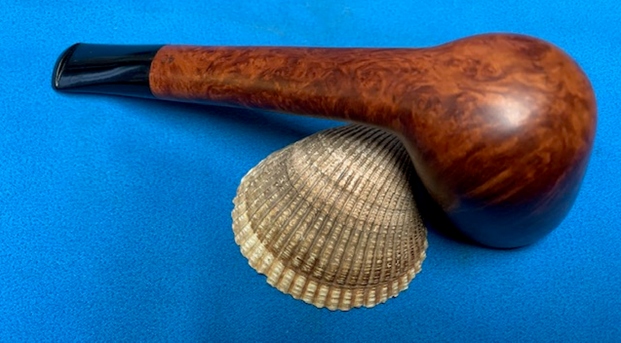
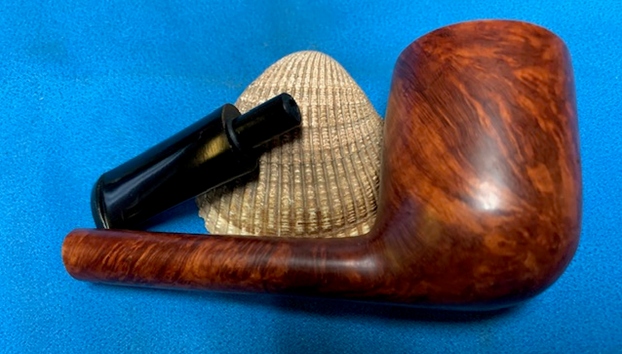
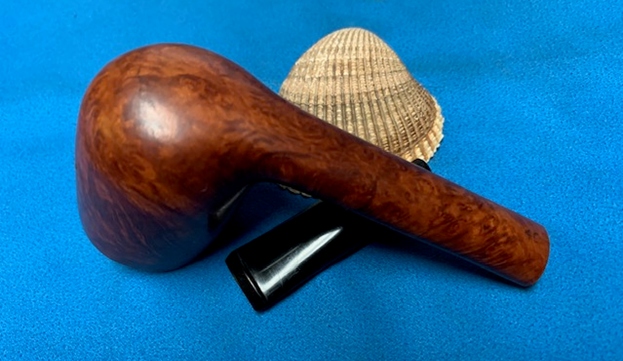
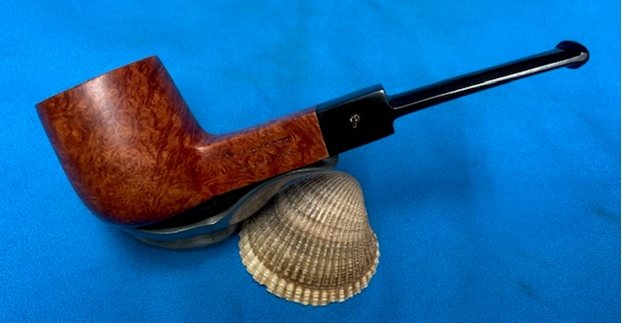
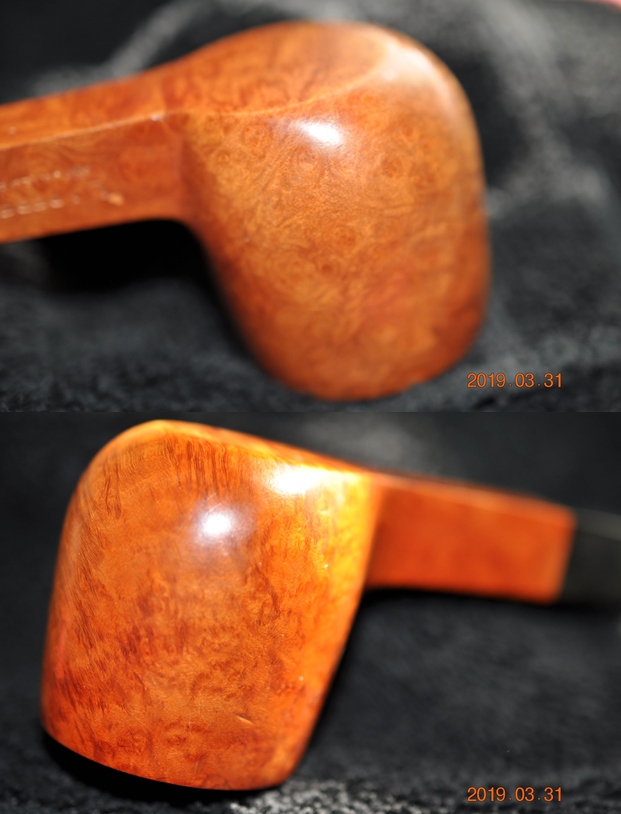
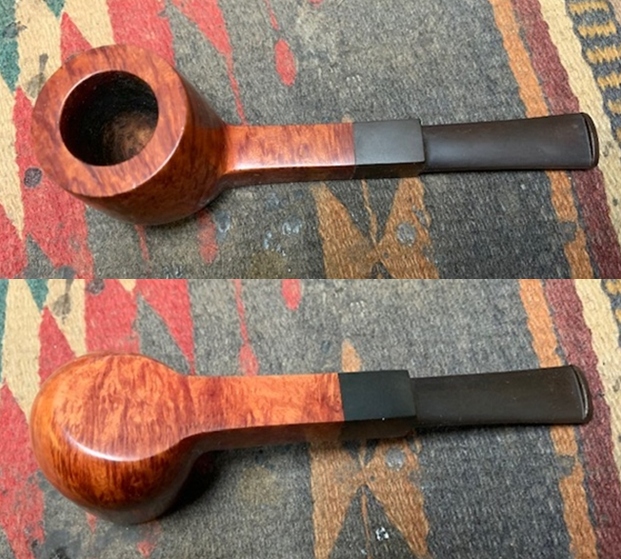
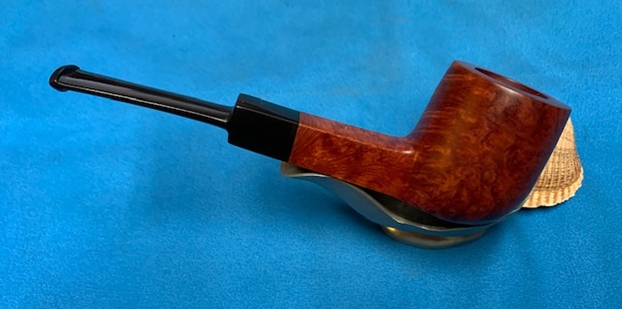
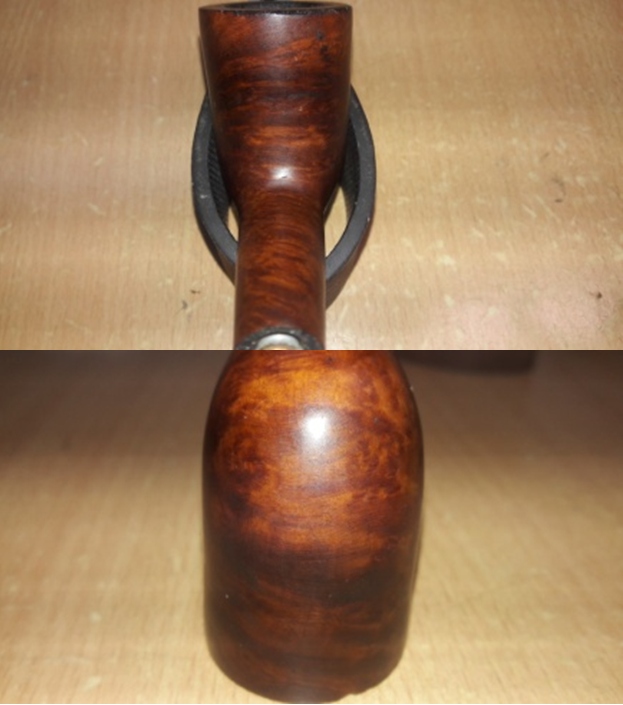
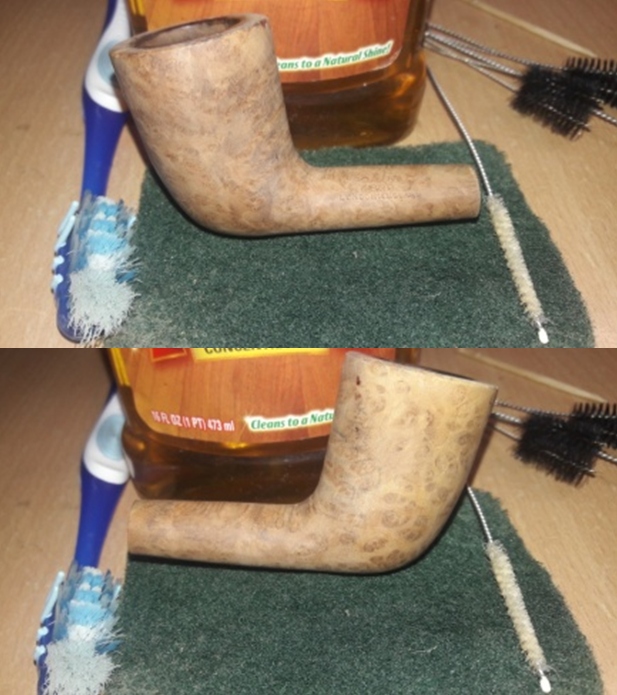
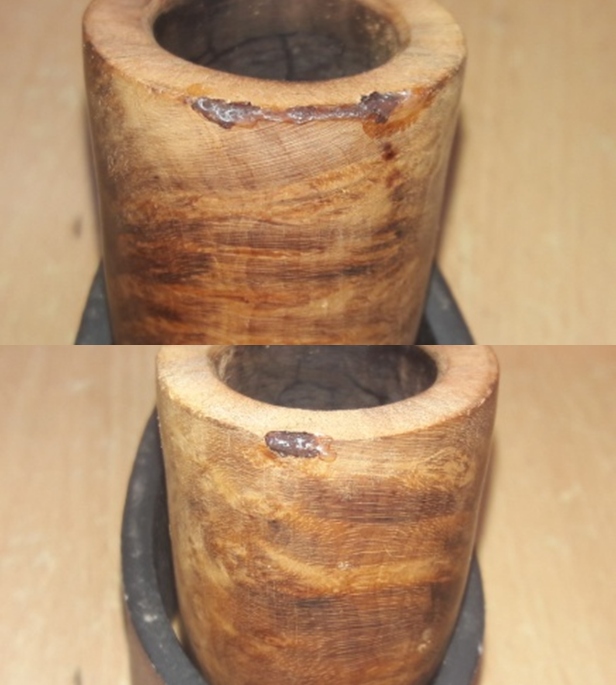
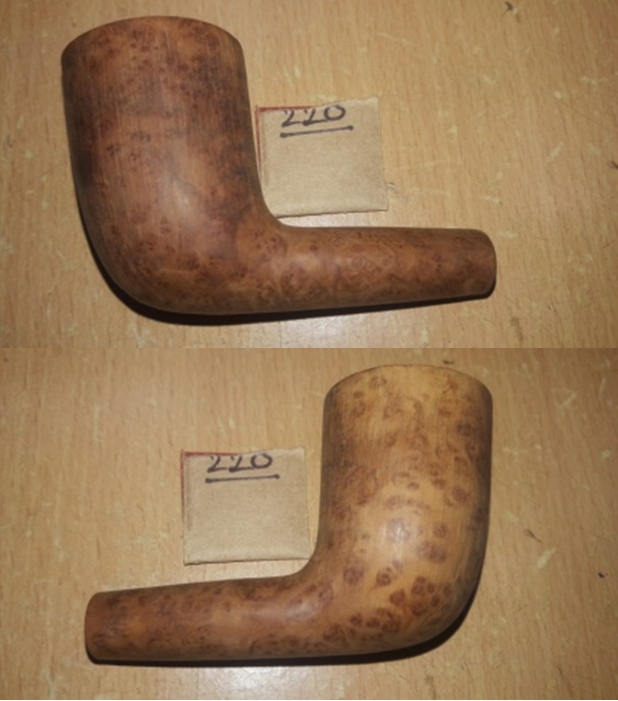
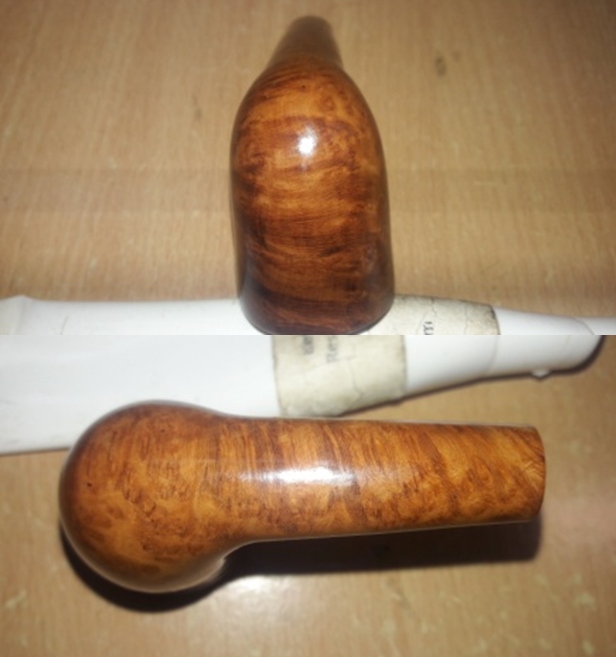
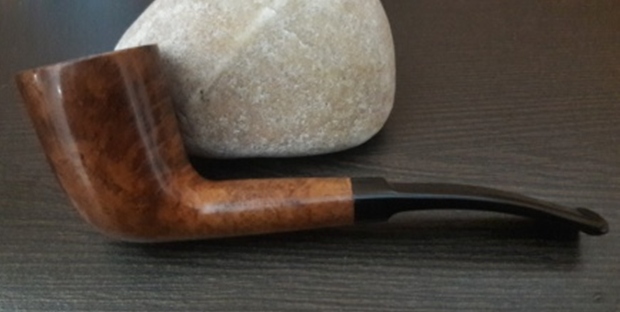
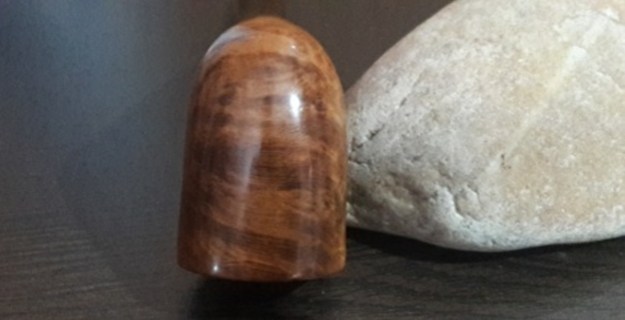
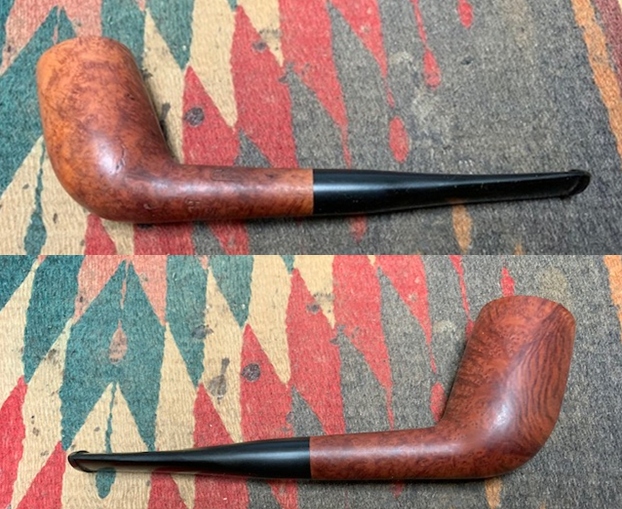
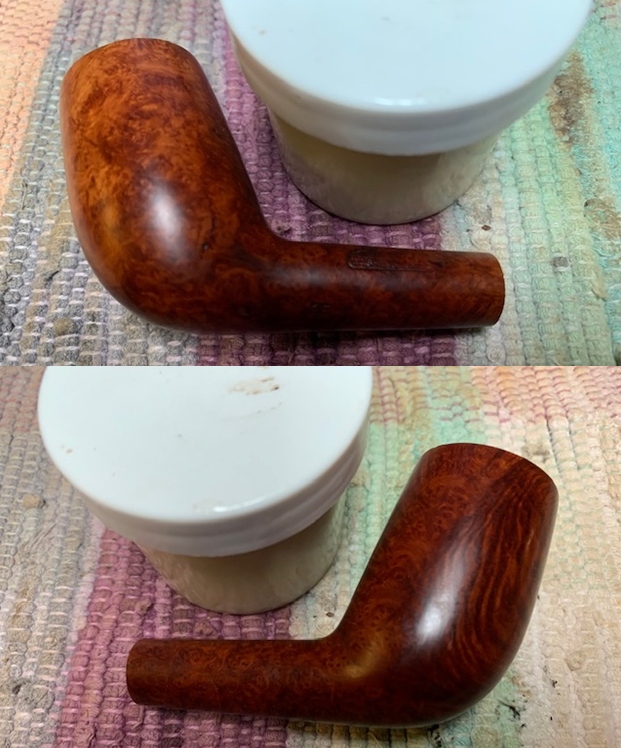
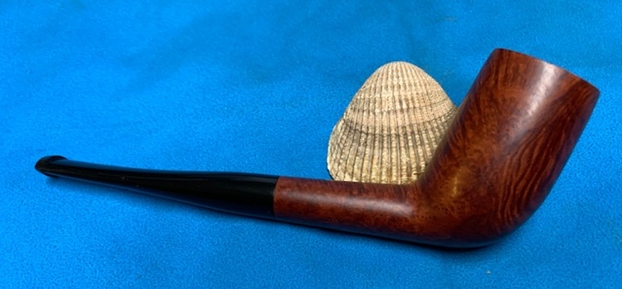
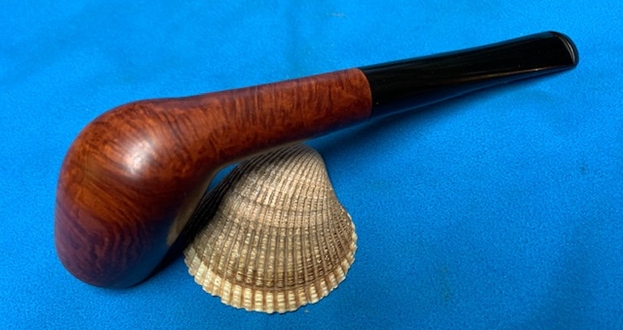
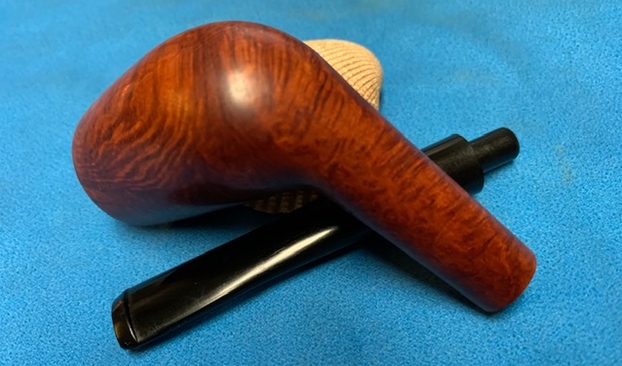
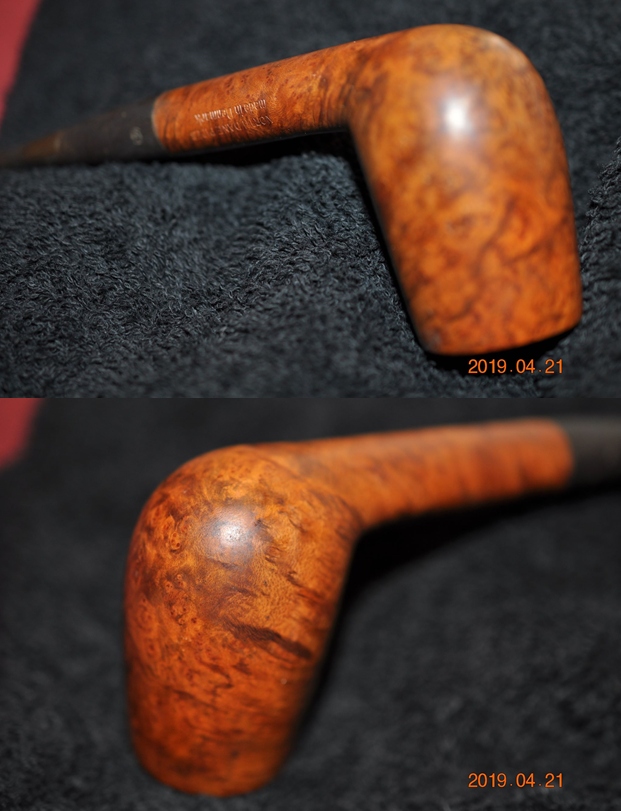
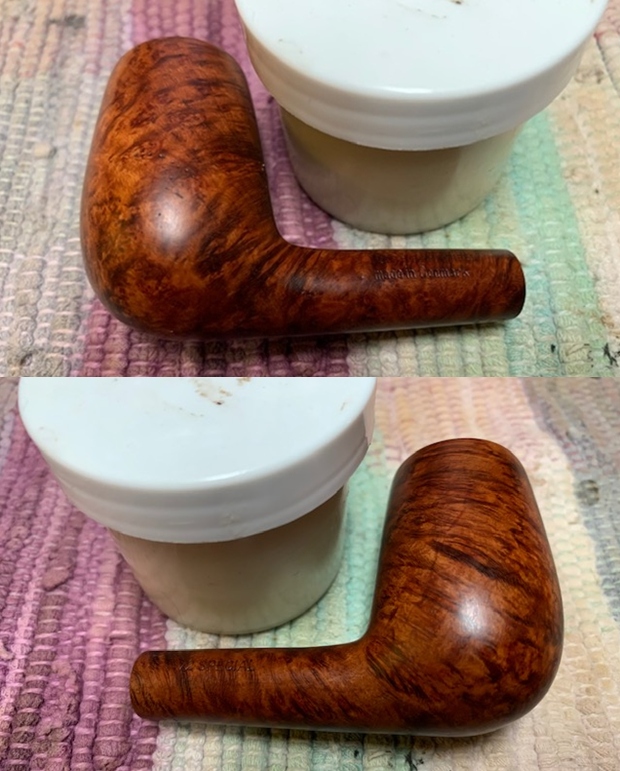
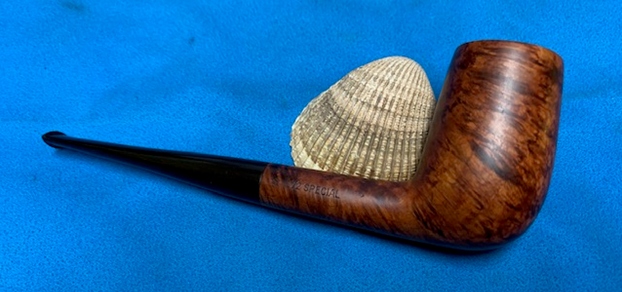
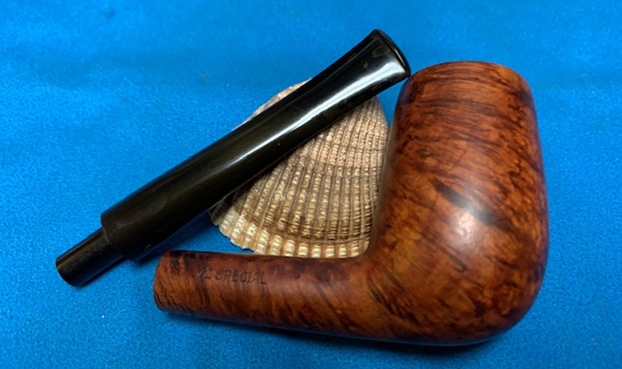
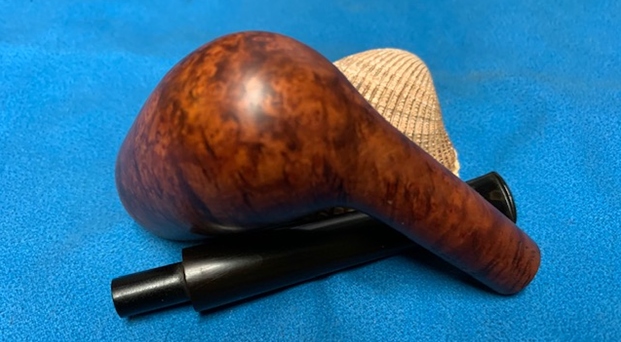
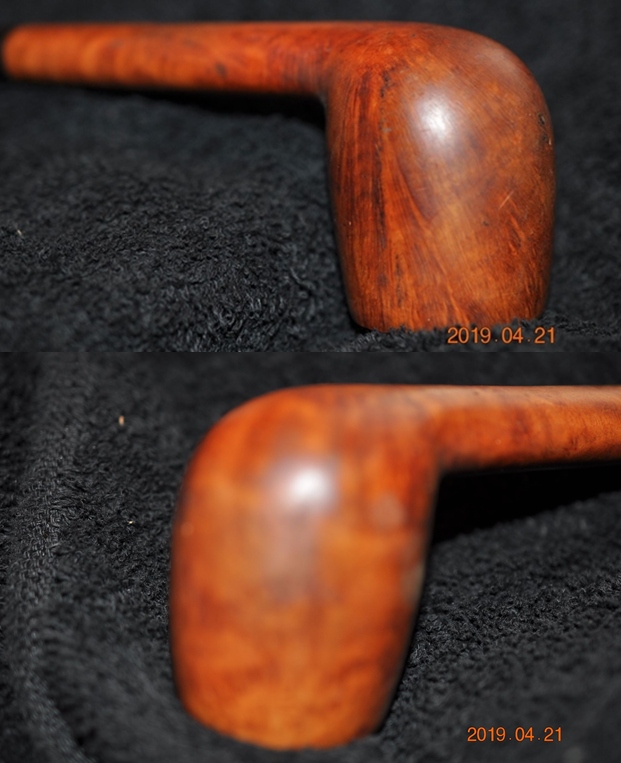
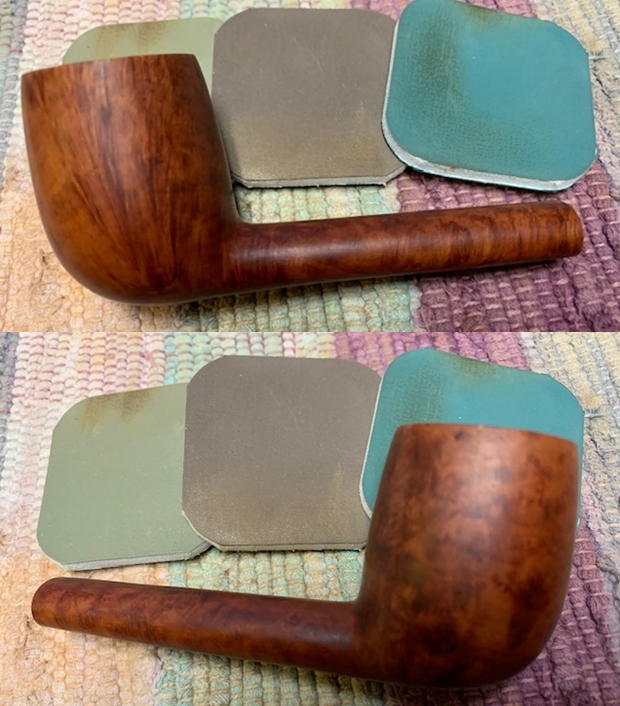
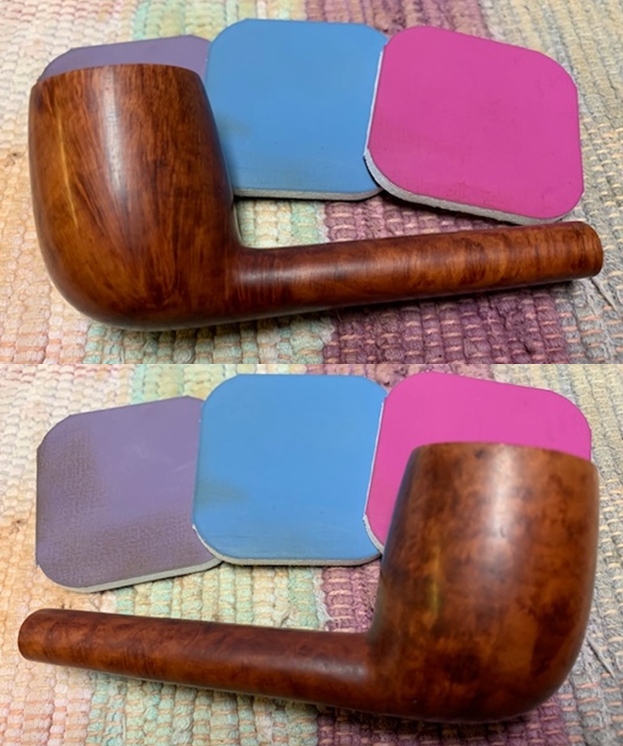
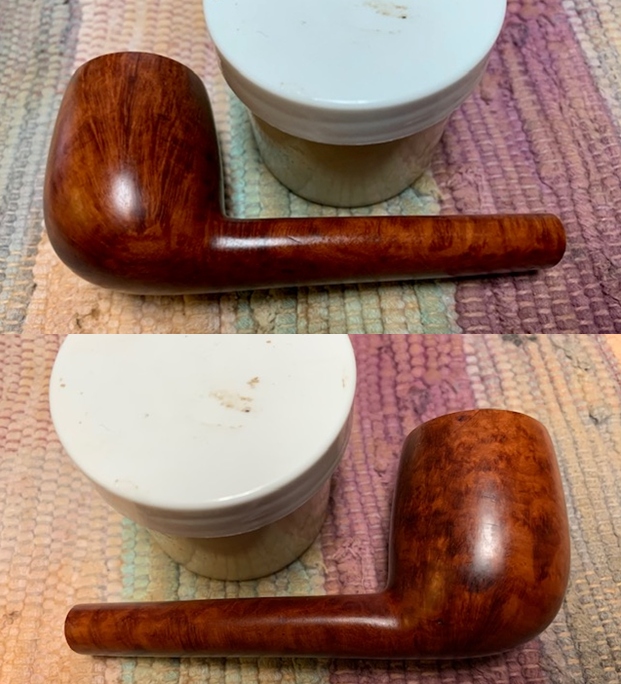
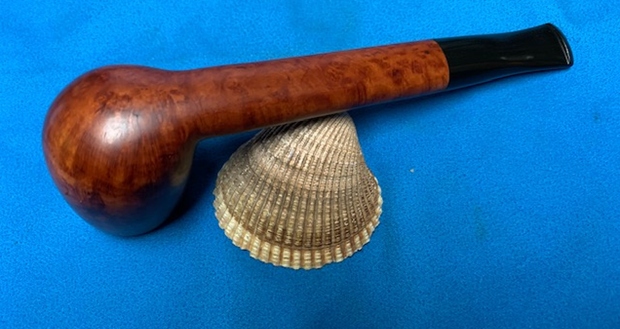
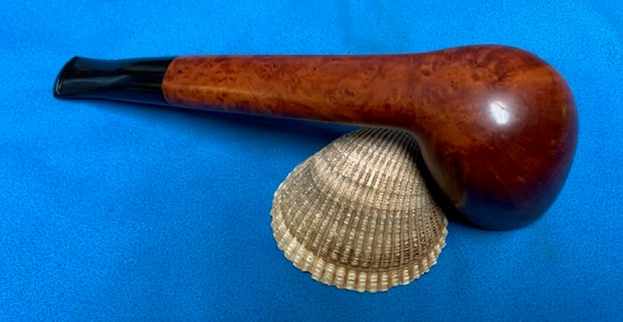
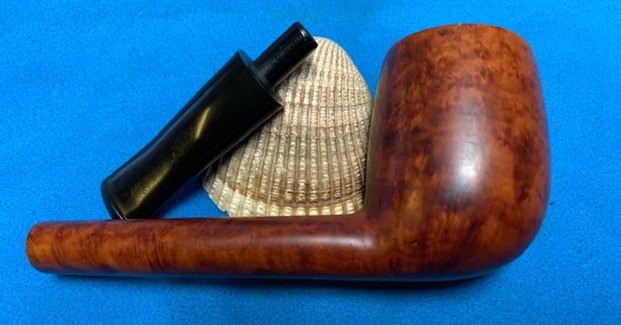
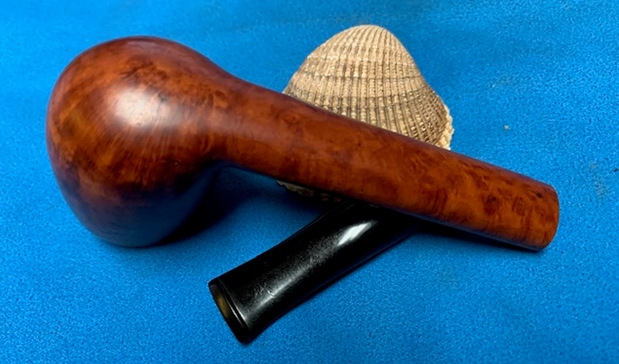
 Jeff took photos of the sides and heel of the bowl to give a picture of what the briar around the pipe looked like. There is some interesting grain under the grime and smoky looking varnish.
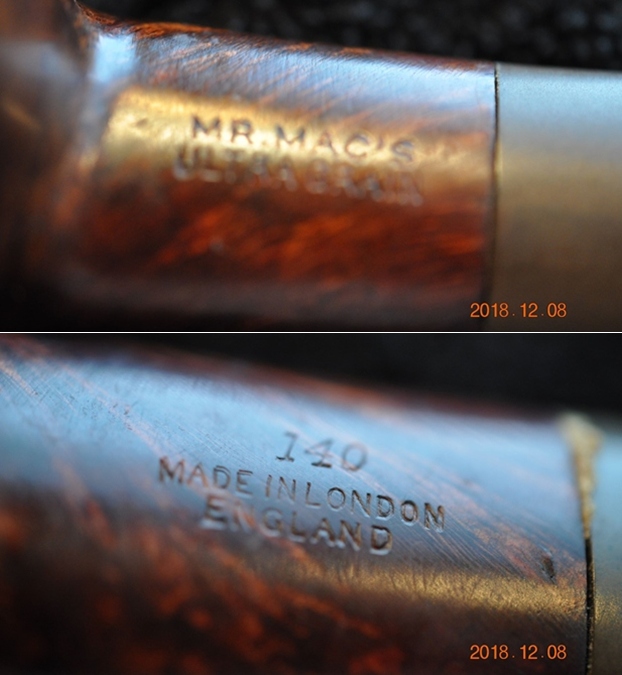
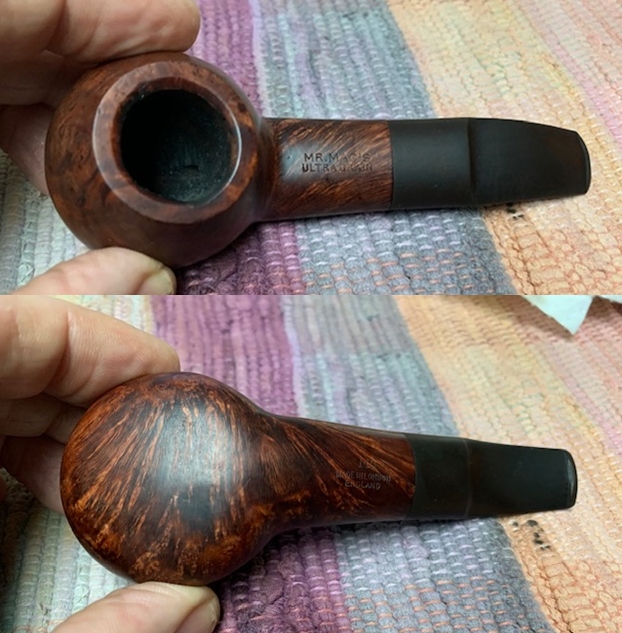
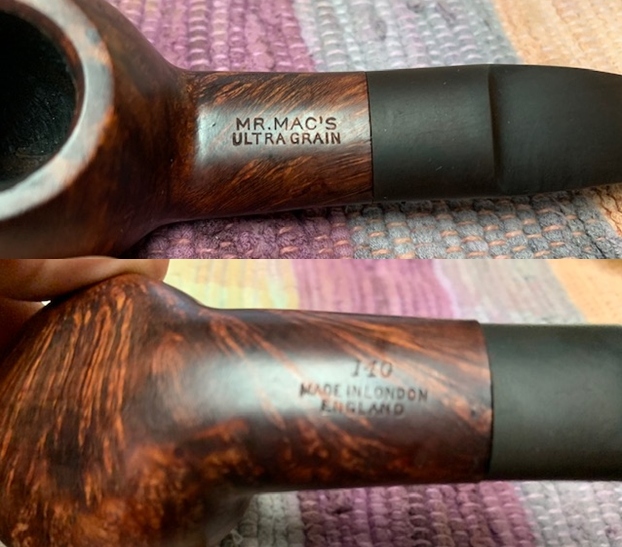
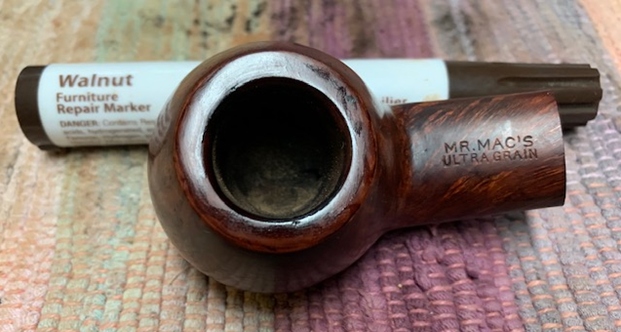
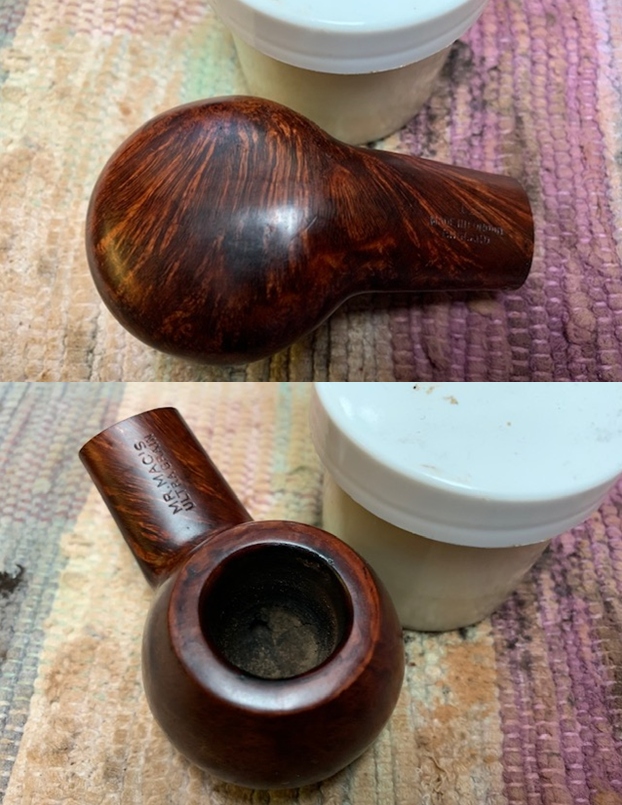
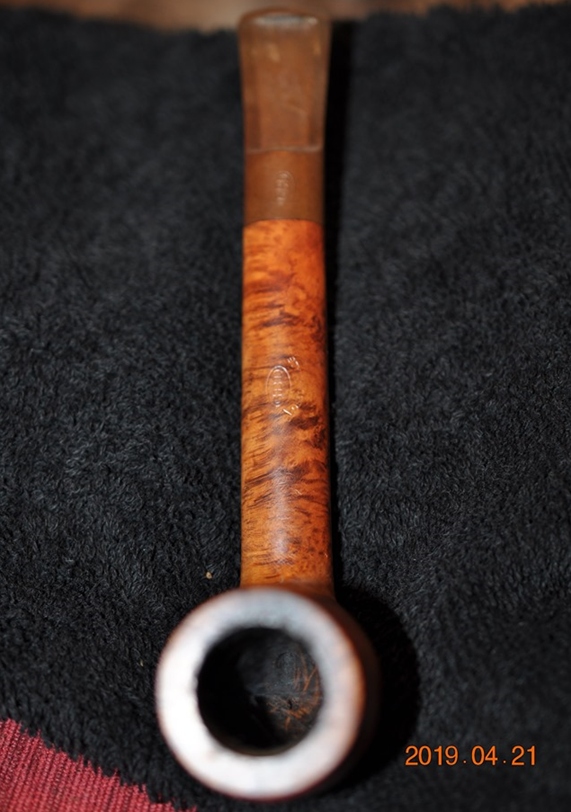
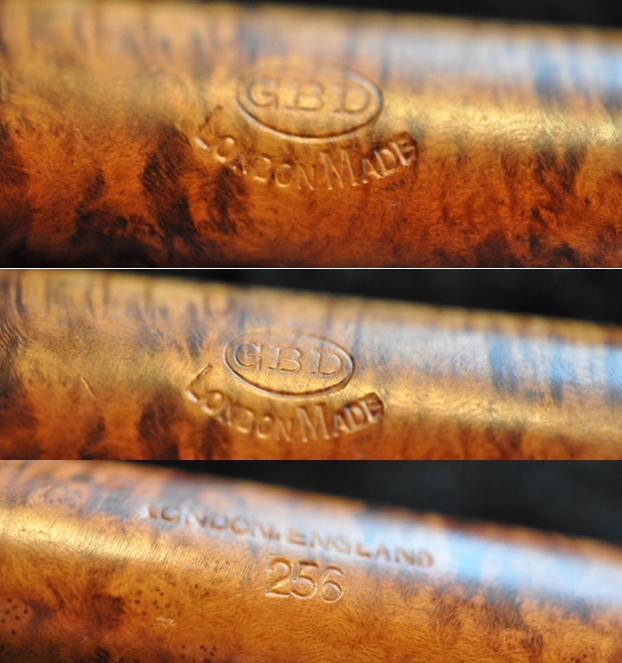
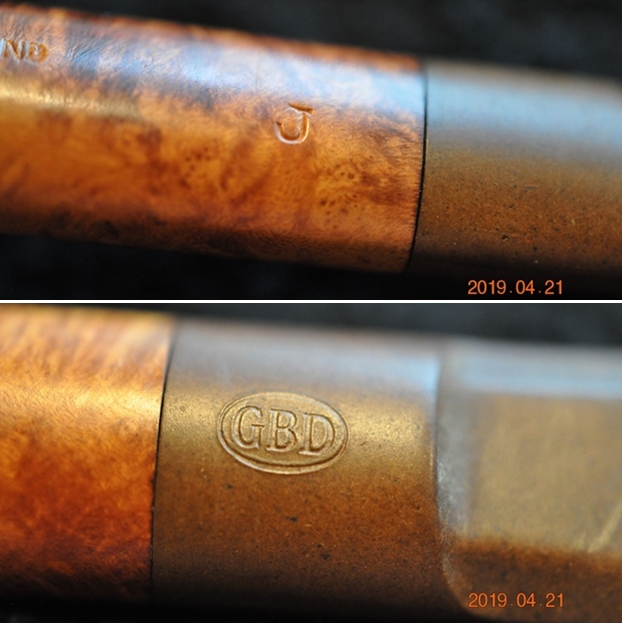
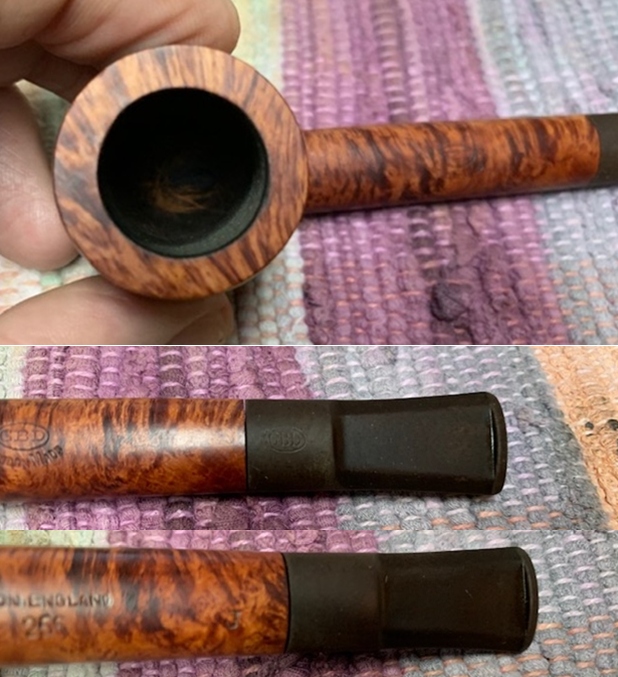
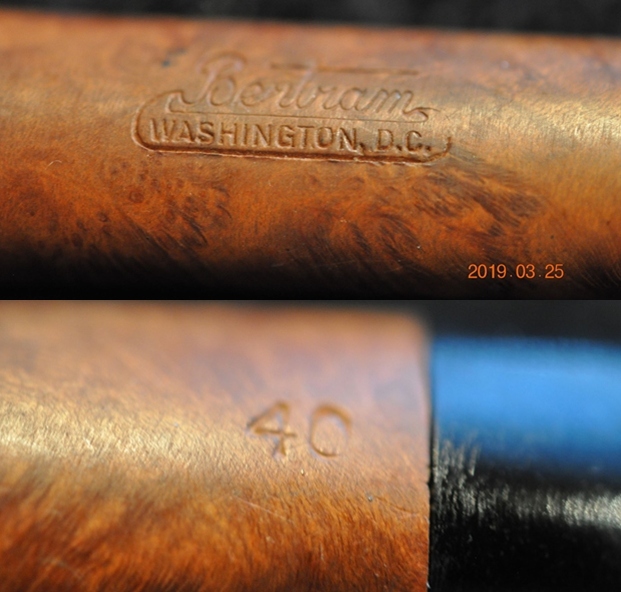
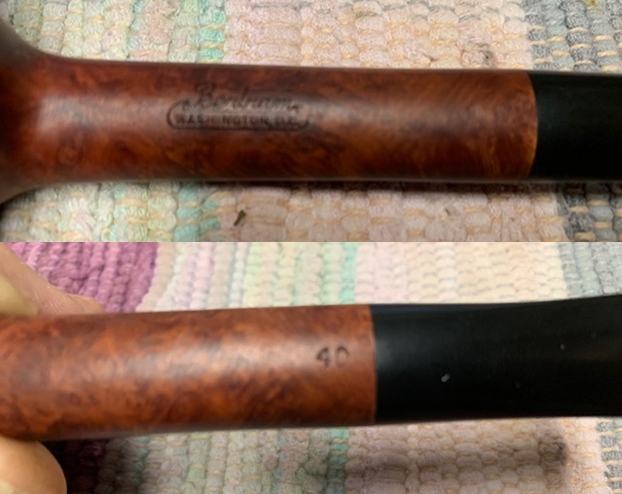
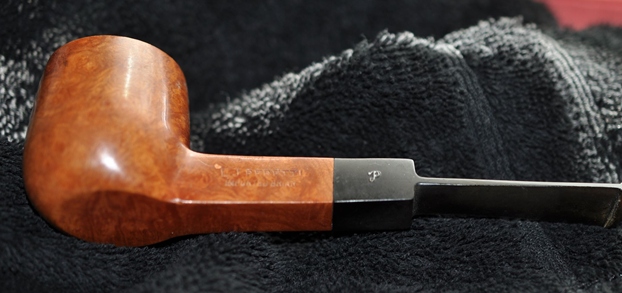
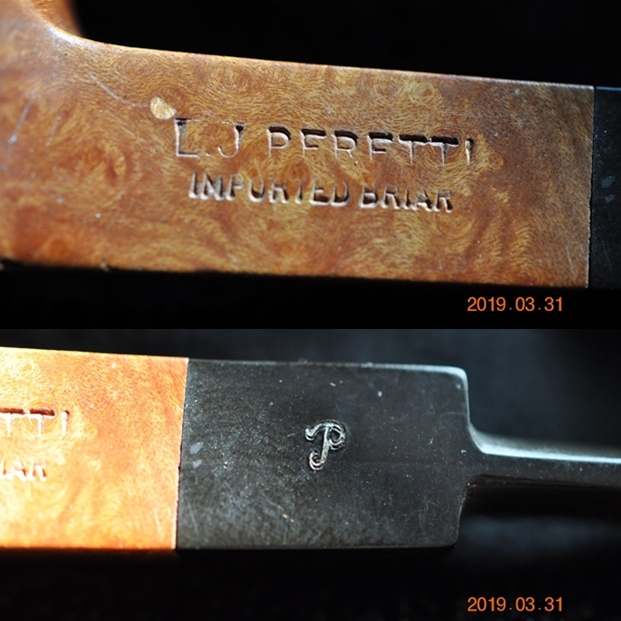
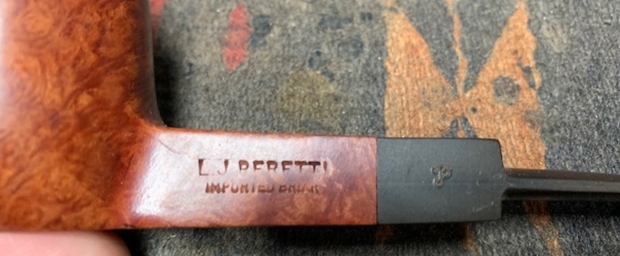
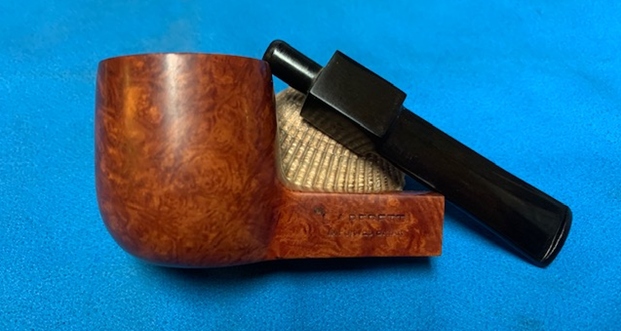
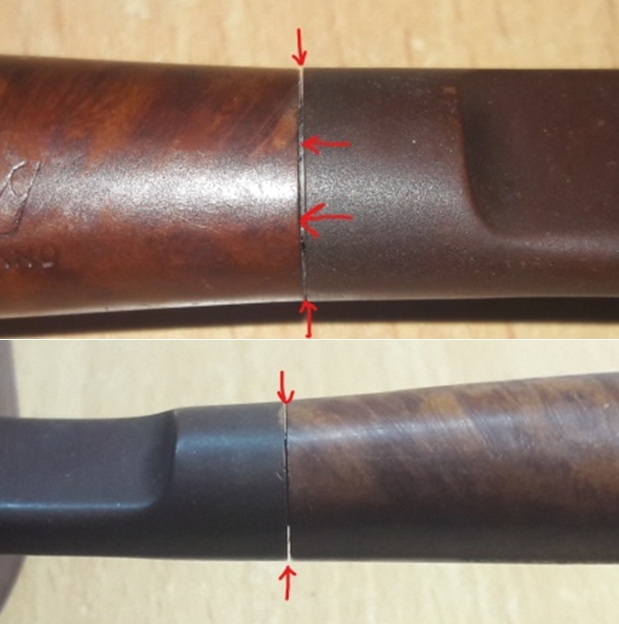
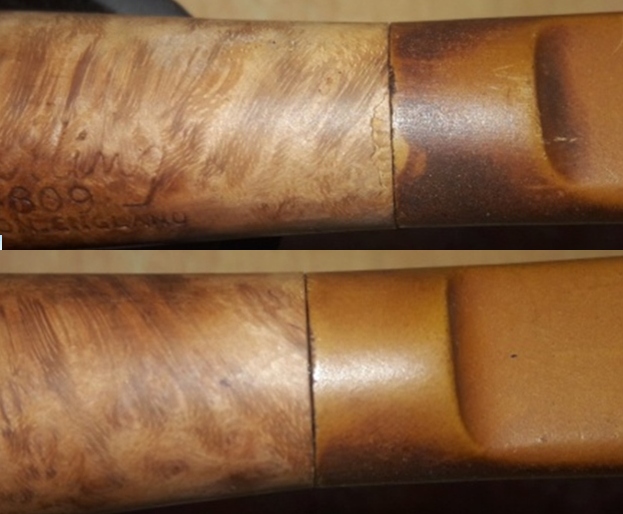
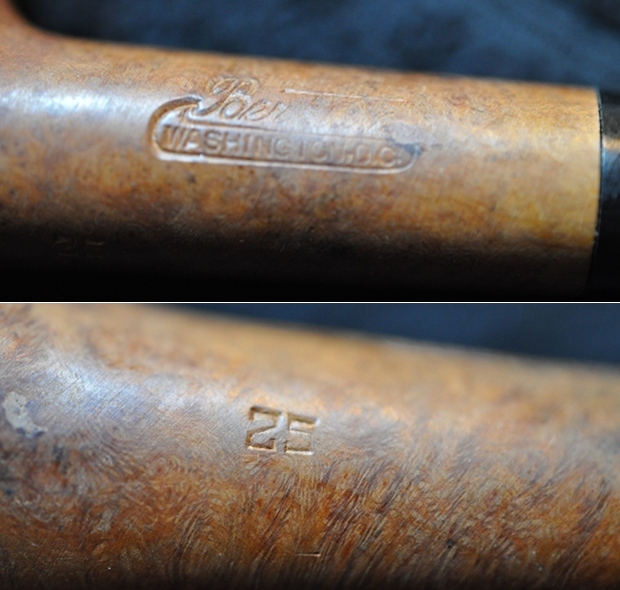
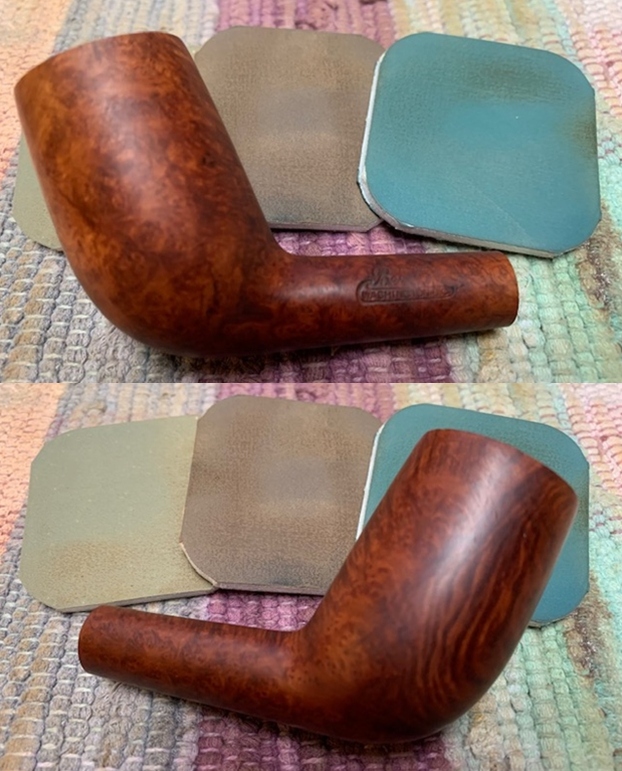
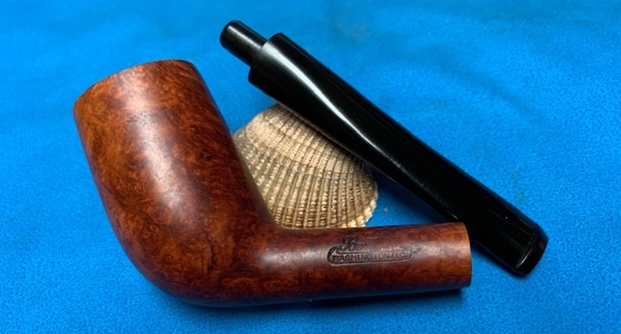
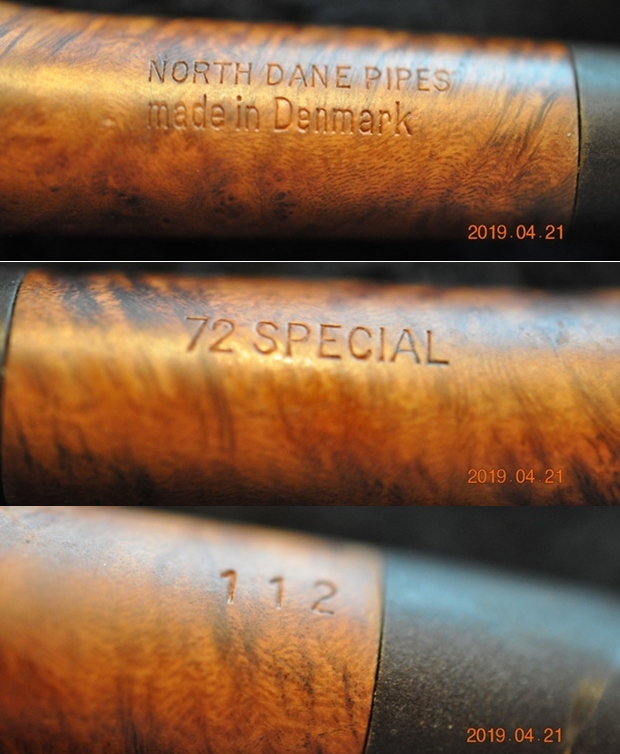
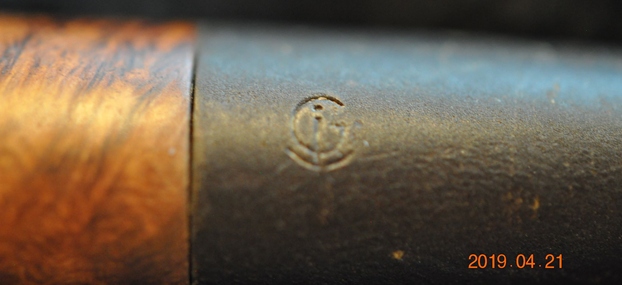
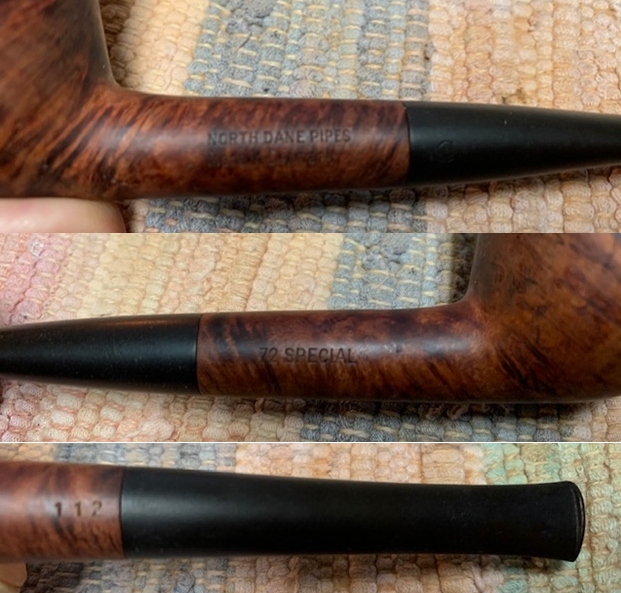
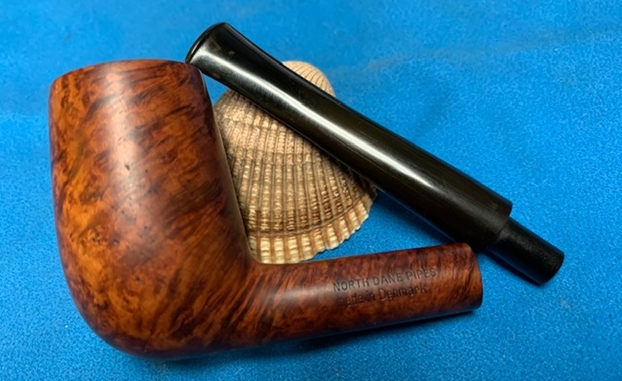
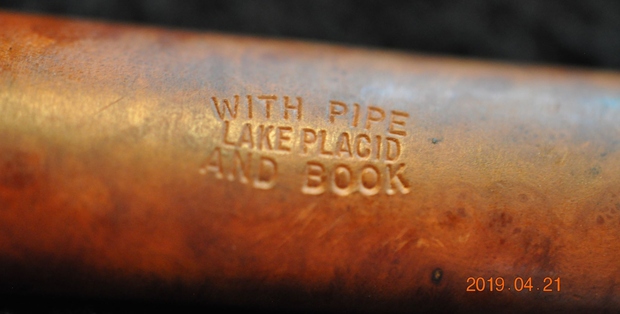
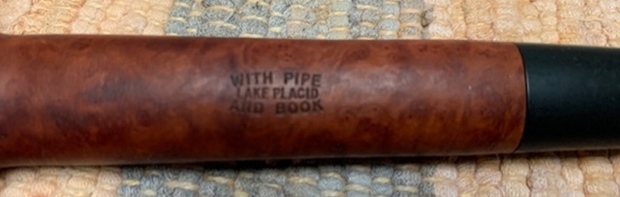
 Jeff took photos of the stamping on the left and underside of the shank. It read as noted above.
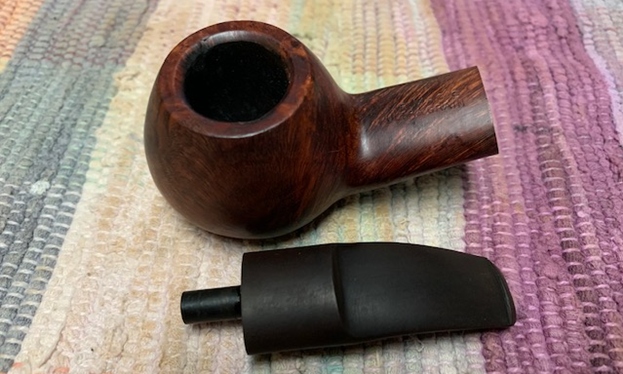
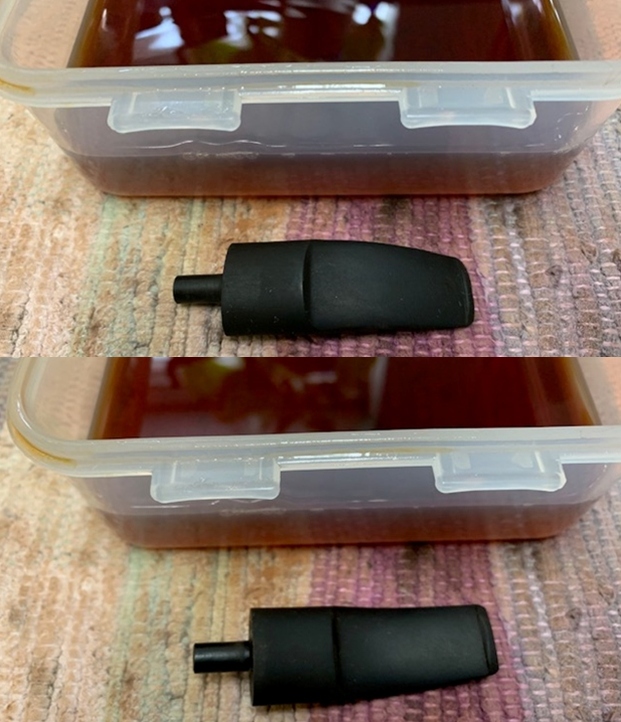
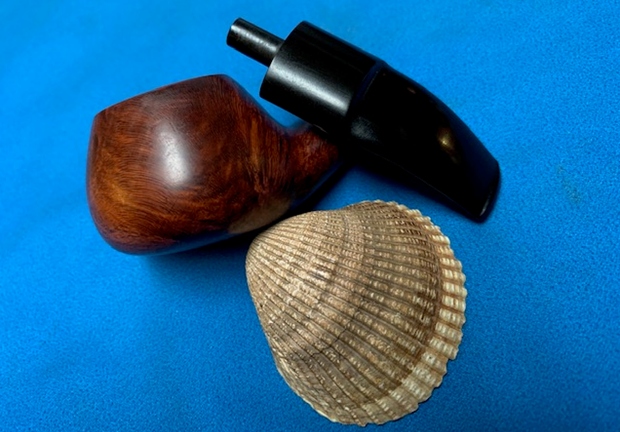
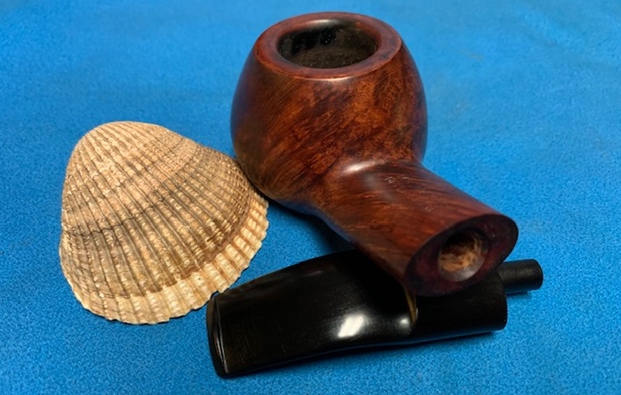
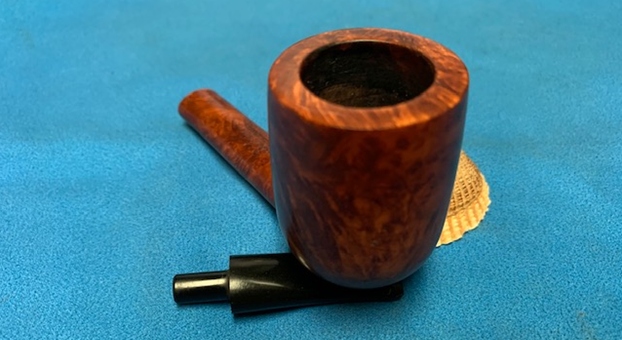
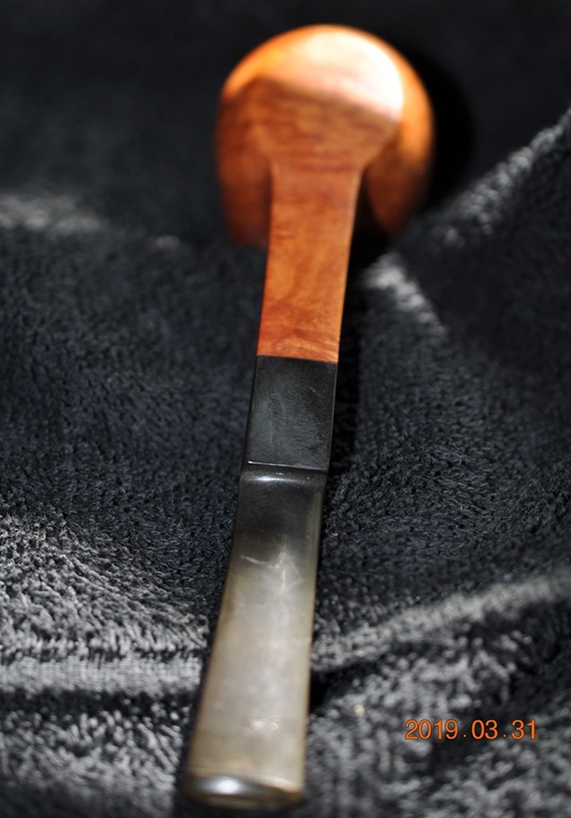
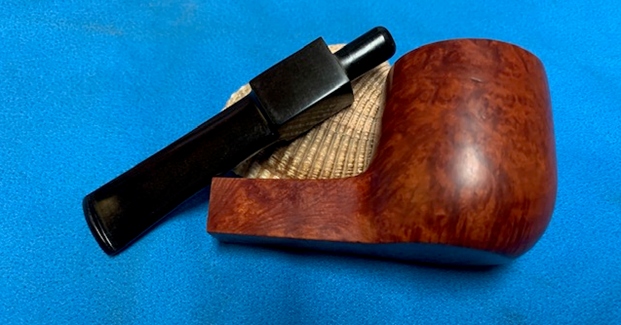
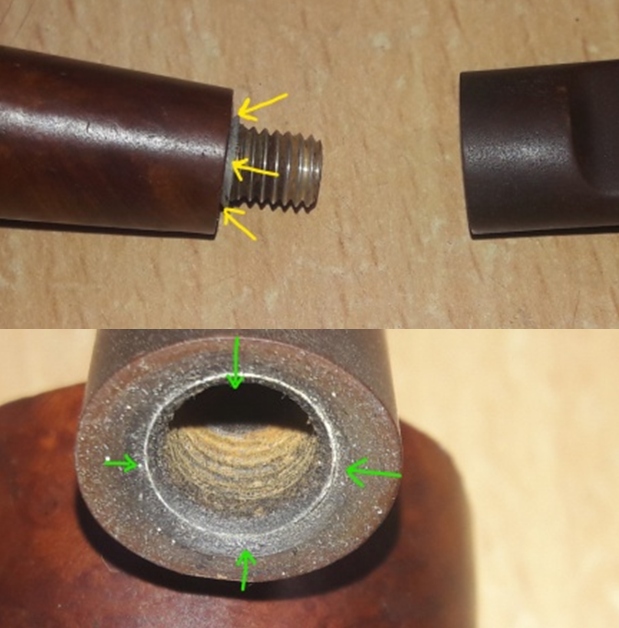
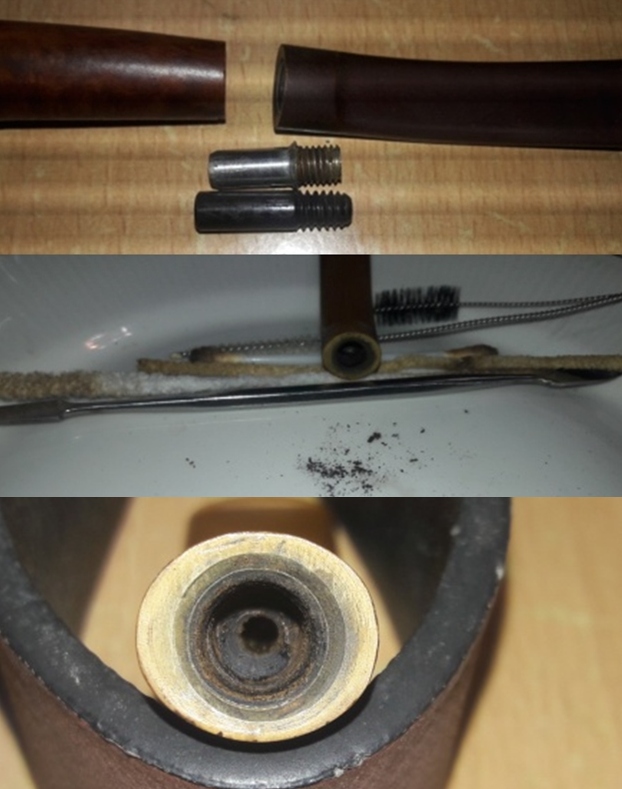
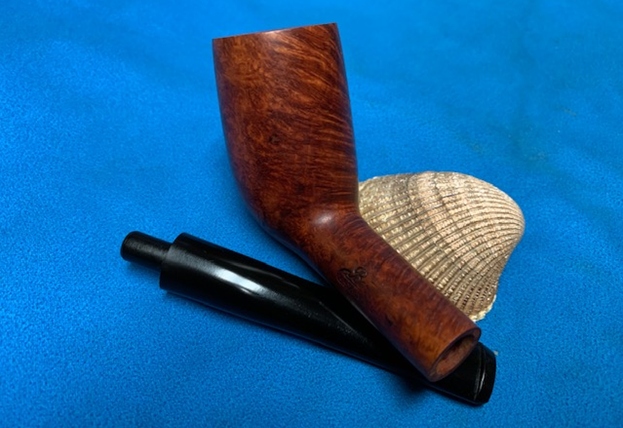
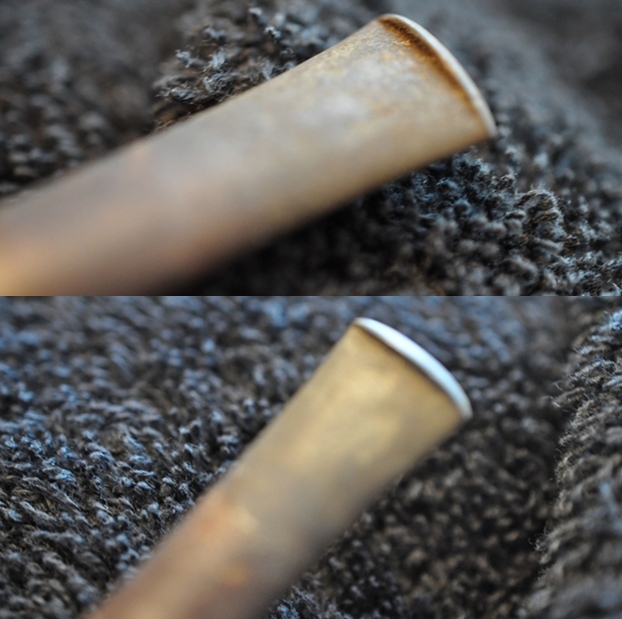
 His final pre-cleanup photo shows the pipe taken apart. You can see from the drilling on the stem that it was made for a filter and in this case the Savinelli Balsa System Filter.
 I searched on Pipephil and Pipedia for information on the brand and did not find anything on either site. I Googled the Balsa System Israel brand and did not come up with anything either. I knew from previous work on Israeli made pipes that they came from the Shalom Pipe Company and were made for a variety of shops and makers around the world. Perhaps I was dealing with one of their pipes crafted to accept the Savinelli Balsa System.
I did a search for the Balsa System and found a great review and explanation of the way that it works (https://www.tobaccopipes.com/blog/filtered-pipes-savinelli-balsa-system/). I quote from that article in part below.
Savinelli’s Convertible Balsa System
 One of the many things that sets Savinelli apart from other pipe makers is the signature convertible balsa system. Most Savinelli pipes have this feature, although not all, so check your chosen pipe’s product description first.
Convertible refers to the ability to use the filter or remove it and use a spacer piece to smoke your pipe unfiltered.
Why balsa wood filters?When you hear the word “balsa”, your first thought is probably not about pipes. It’s the same material used to make small airplanes. Balsa is naturally porous, which allows it to absorb the majority of the moisture and smoke impurities from the tobacco, without the need to use chemical elements or paper. This unique wood can do this without altering the aroma or flavor of the tobacco, which sets balsa filters apart from other pipe filters like charcoal.
Popularly hailed as the most absorbent wood Mother Nature has to offer, Achille Savinelli and his team were clearly inspired in creating the  convertible balsa system. The use of this unique material can’t be underestimated. No matter how hot you smoke, the tongue bite is eliminated (although we can’t help you with the hole you might burn in your beautiful Italian pipe). In addition, the gurgle caused by moisture build up many new smokers grapple with is no longer an issue. Another benefit of balsa wood is it’s apparent ability to help reduce toxins inherent in smoking tobacco. According to tests by the EURATOM Research Center of Ispra, Italy, the filter has the ability to absorb up to 77% of the nicotine and 91% of the tar contained in the pipe tobacco, without altering flavor. This makes Savinelli’s convertible balsa system ideal for smokers who want to cut down on nicotine and tar, without sacrificing the experience they love.
I knew that the pipe I was working came from an Israeli Pipemaker and was made to use the Savinelli Balsa 6mm Filter System. Now it was time to work on the pipe itself.
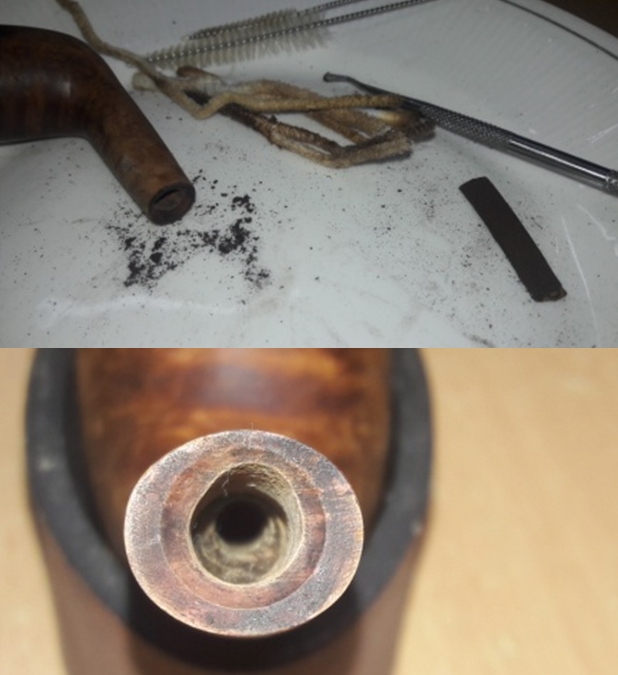
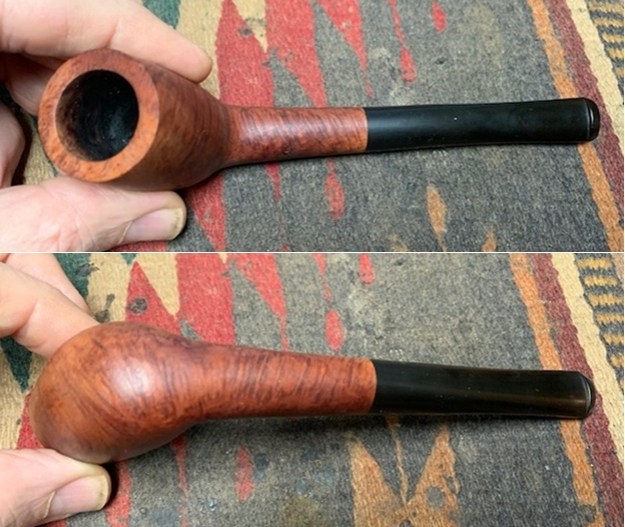
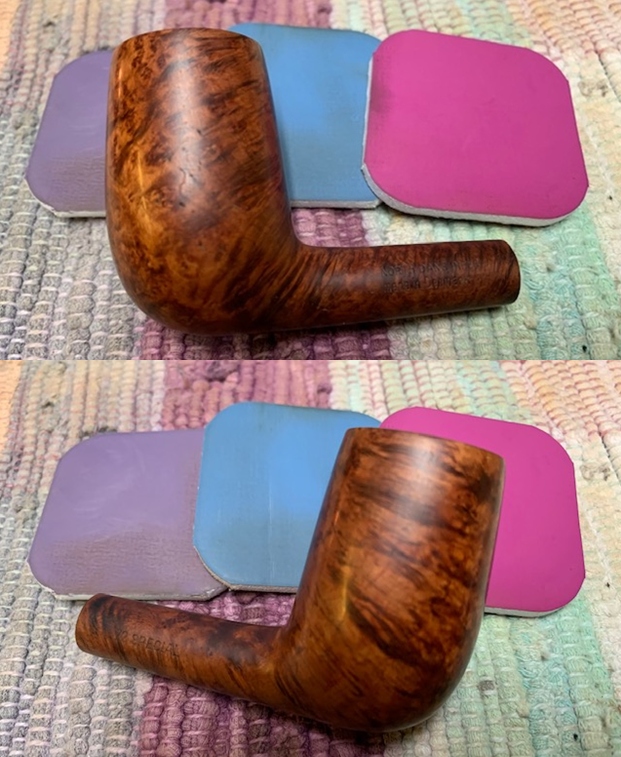
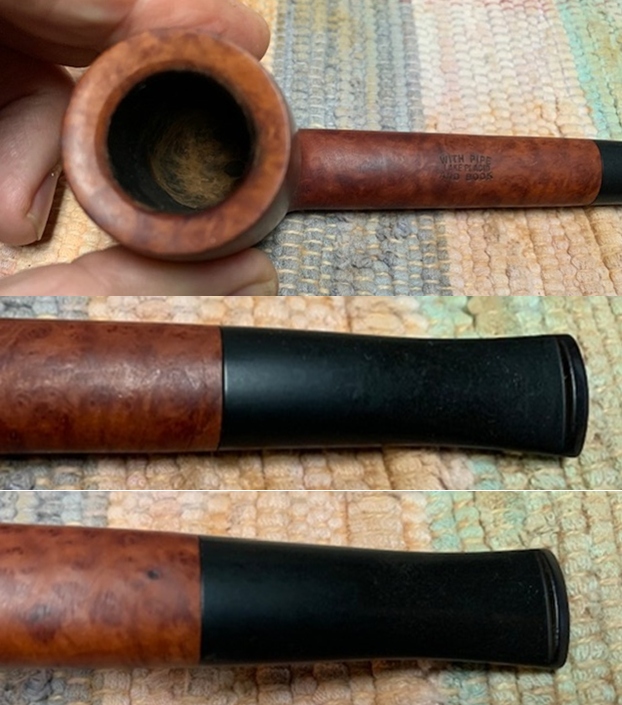
Since Jeff follows the same pattern of work in his cleanup we do not include photos but rather just a simple summary. Jeff reamed the bowl with a PipNet pipe reamer and followed up with a Savinelli Fitsall pipe knife to remove the cake. He scrubbed out the mortise and the airway in the shank and the stem with alcohol, cotton swabs and pipe cleaners. He scrubbed the exterior of the bowl, rim, shank and stem with a tooth brush and Murphy’s Oil Soap to remove the oils and tars on the rim and the grime on the finish of the bowl. He rinsed it under running water. He dried it off with a soft cloth. He was able to remove much of the varnish coat from the rim top and you could see the damages to the front edge of the rim. He cleaned the internals and externals of the stem with alcohol, pipe cleaners and cotton swabs. The stem was clean and you could clearly see the damage on the top and underside. I took photos of what the pipe looked like when I brought to my worktable. 
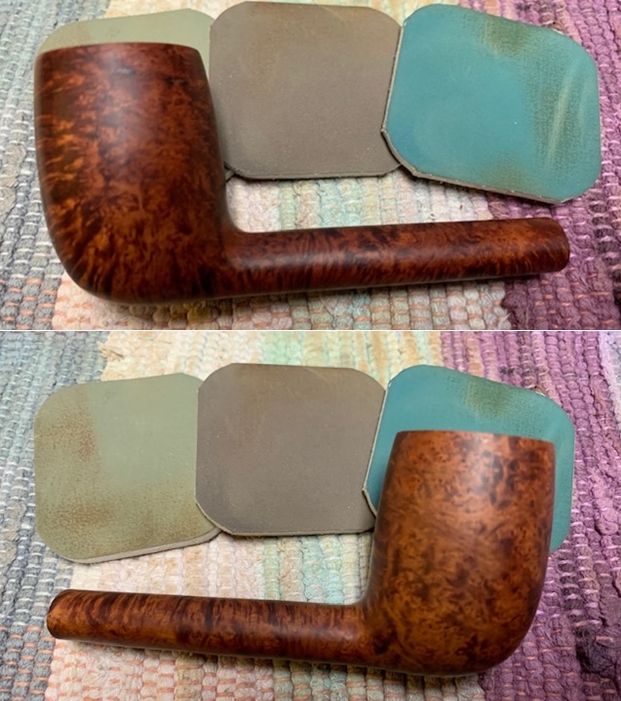
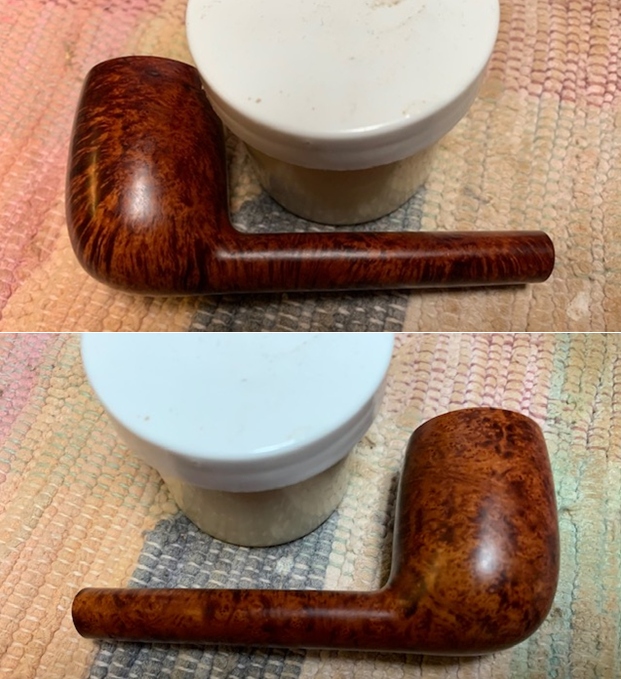
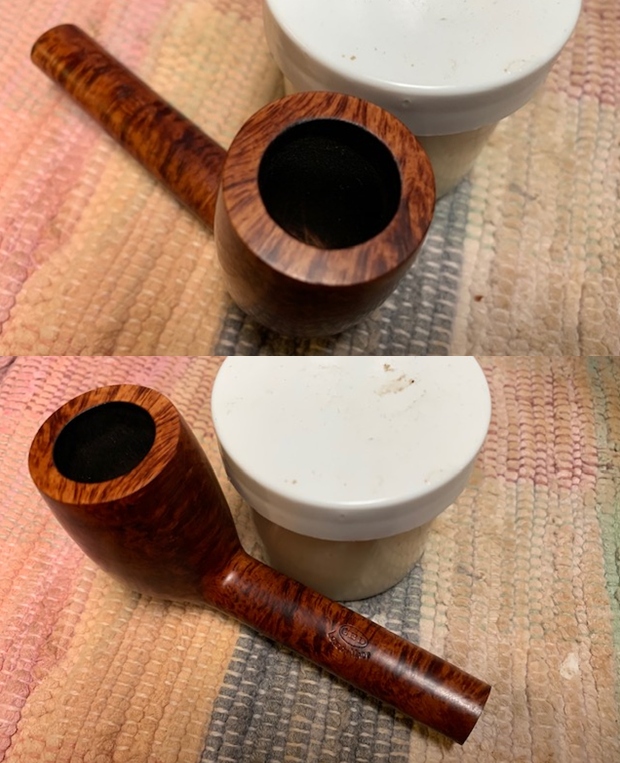
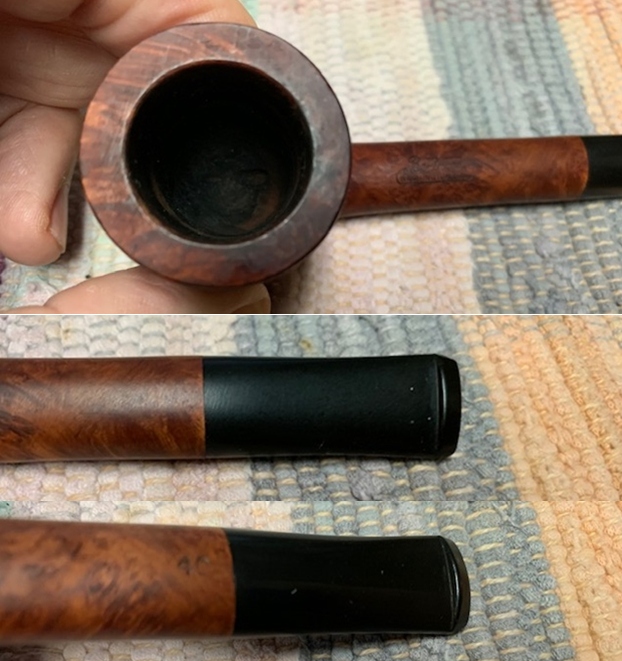
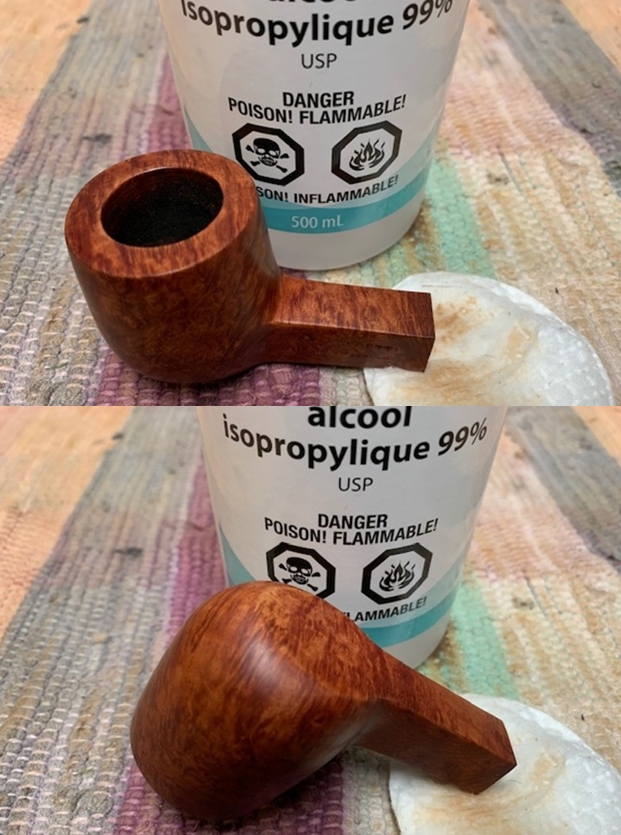
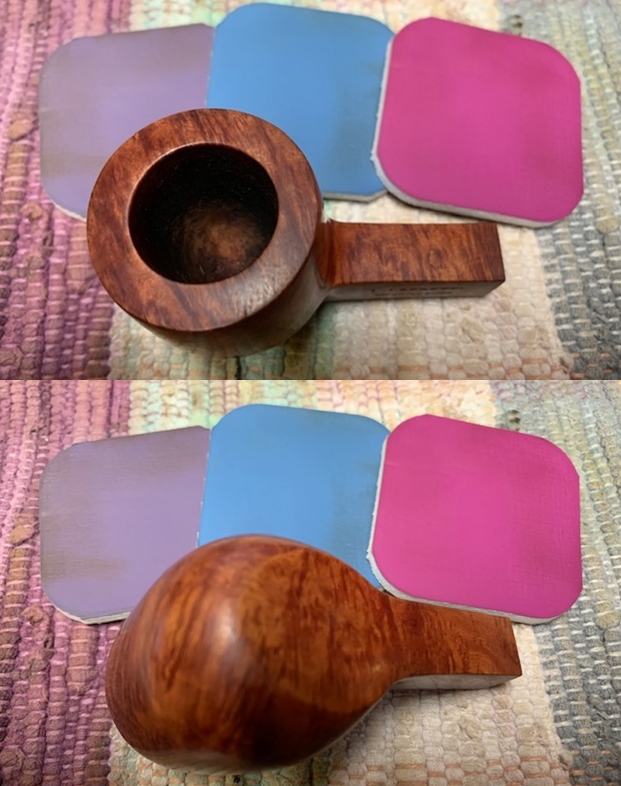
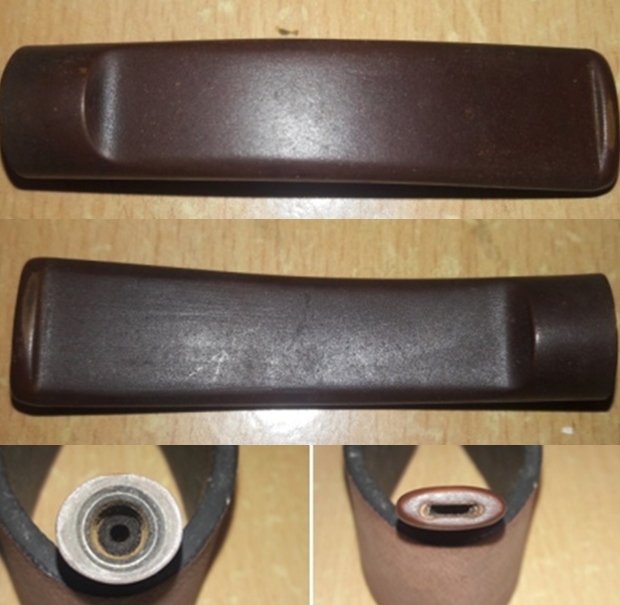
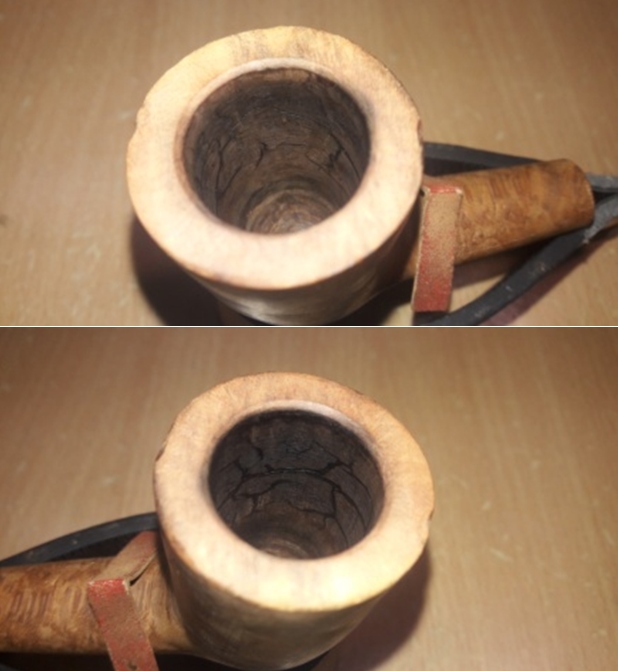
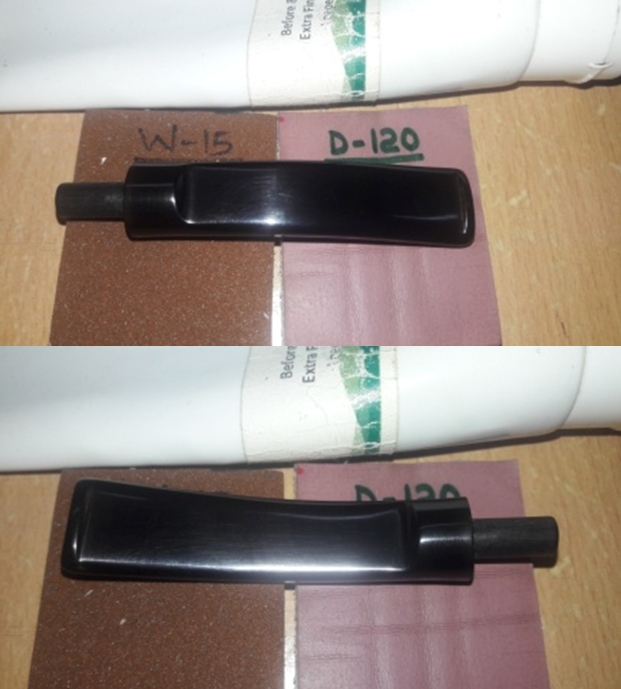
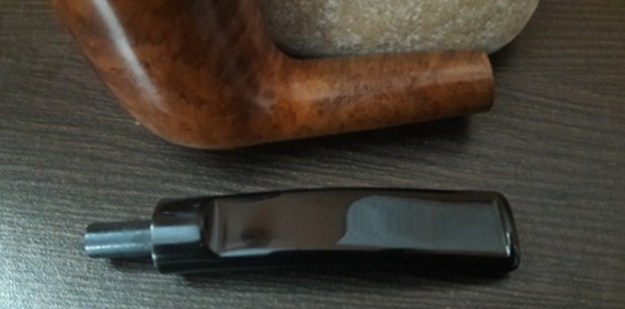
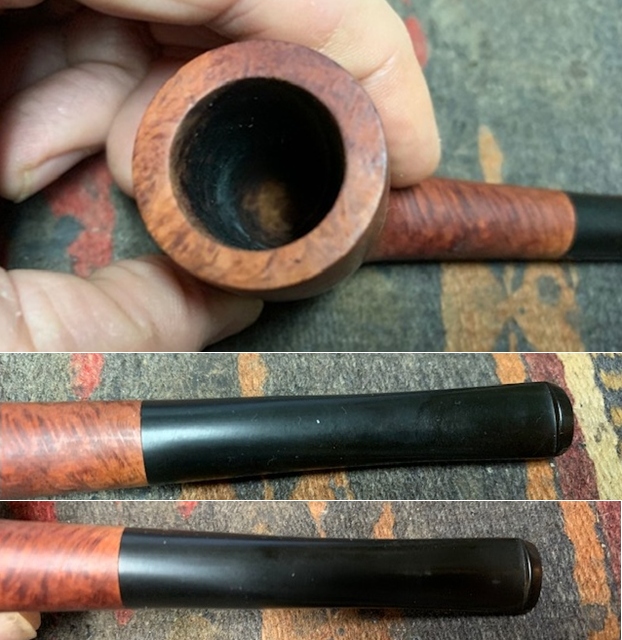
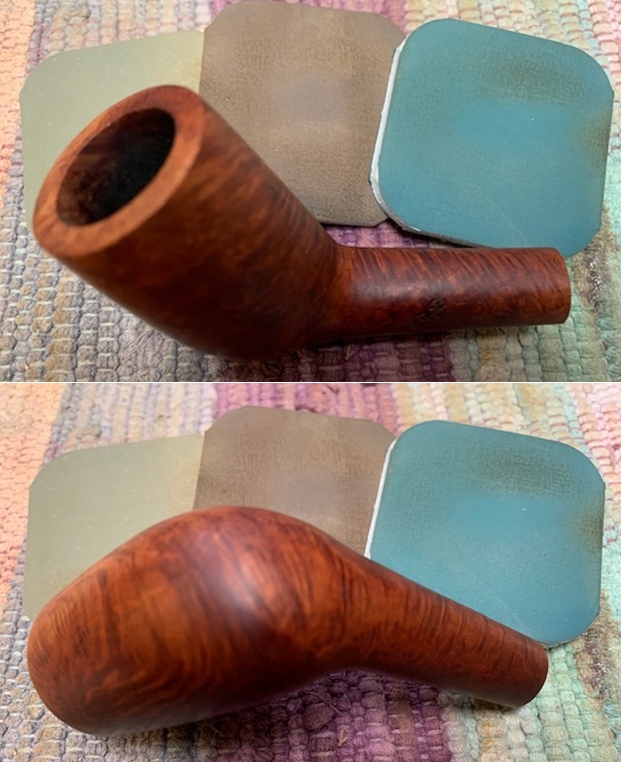
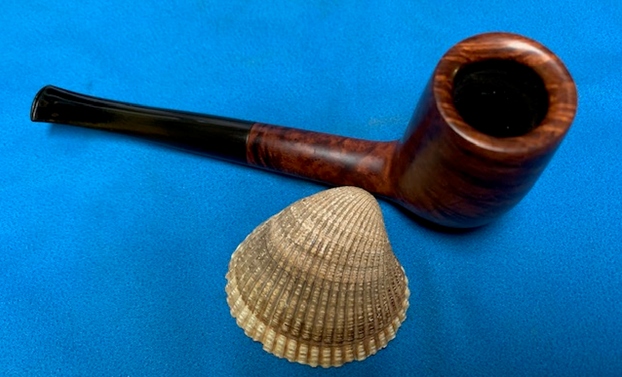
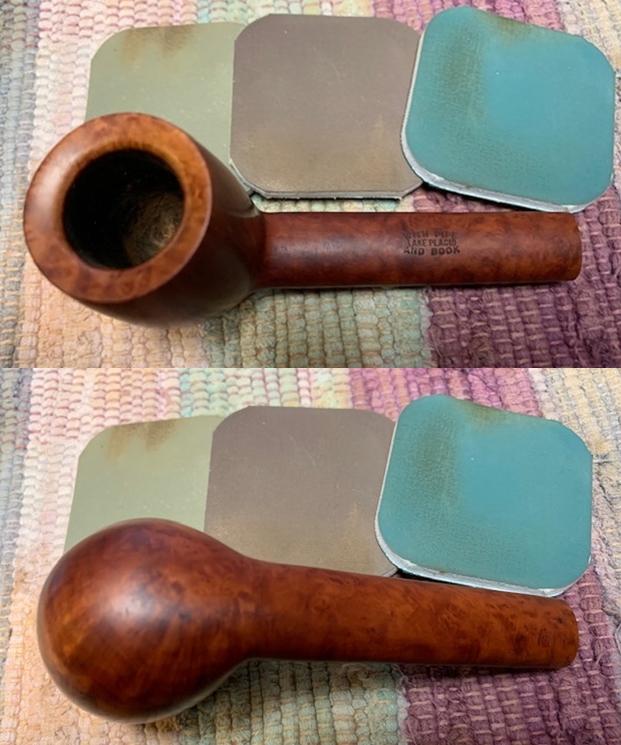
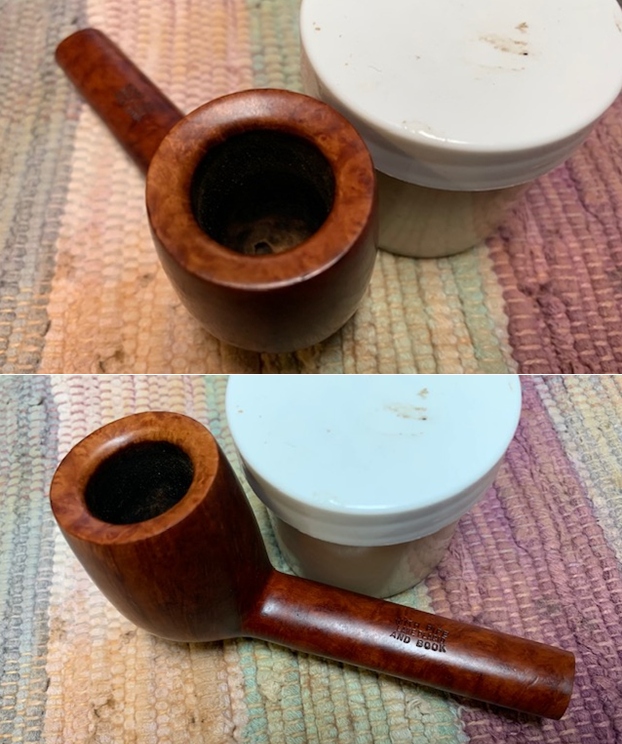
 The rim top cleaned up really well with the peeling varnish coat removed. The rim top and outer edges of the rim showed some damage. The stem surface looked very good the tooth chatter and marks on both sides ahead of the button very visible.
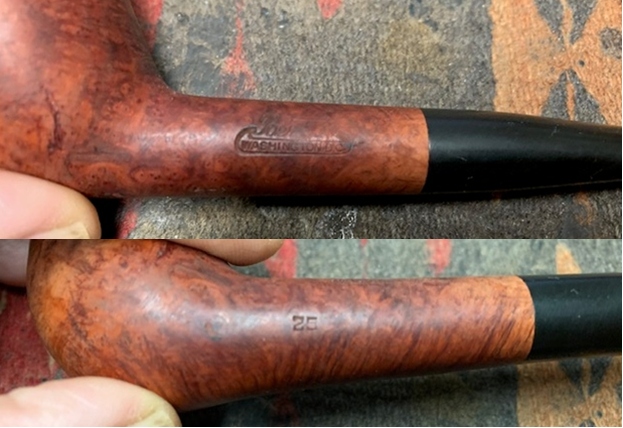
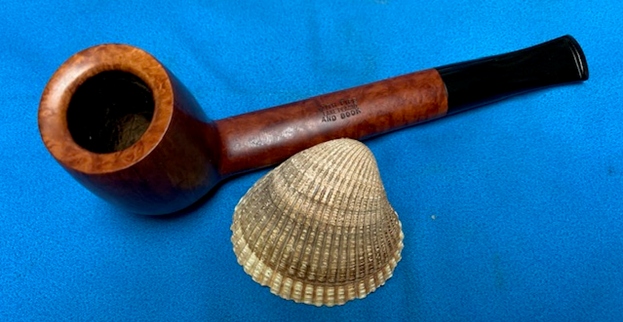
  I took a photo of the stamping on the side of the shank. It read as noted above.
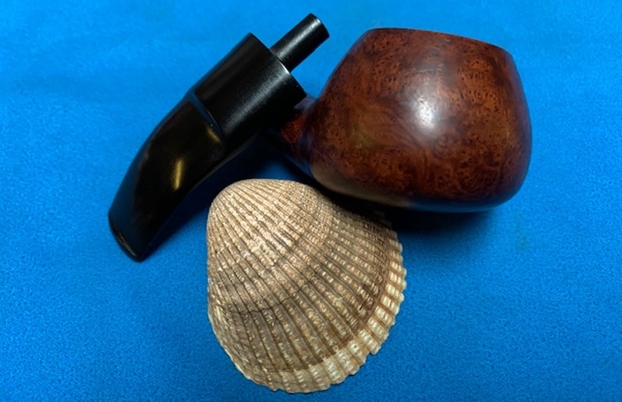
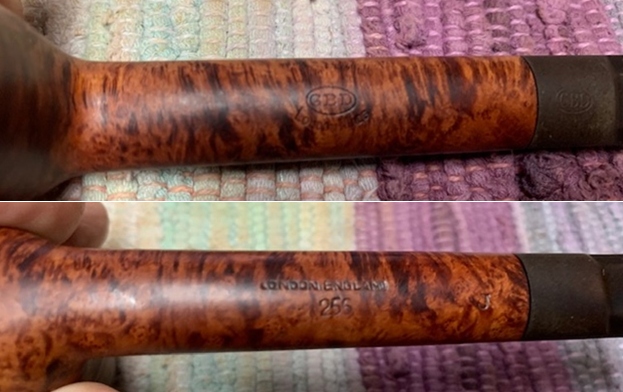
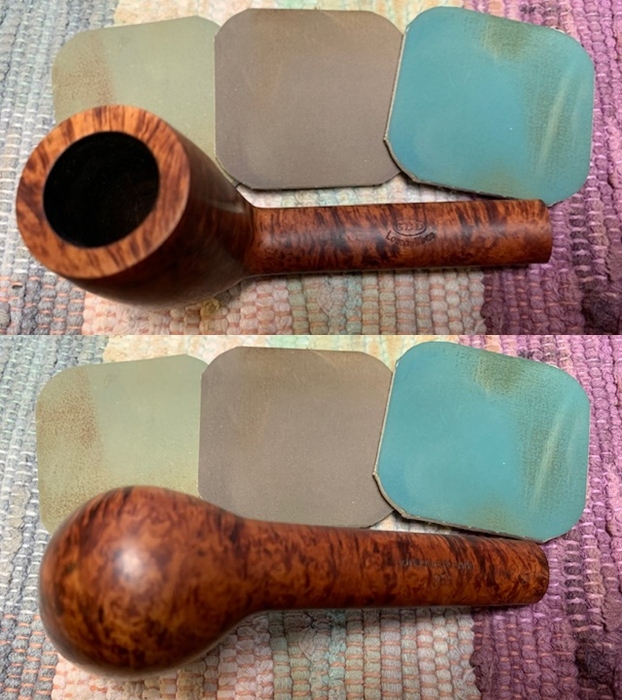
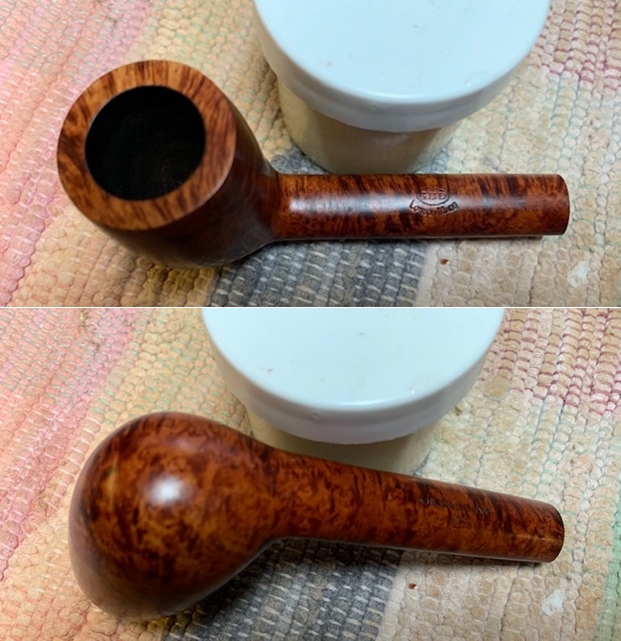
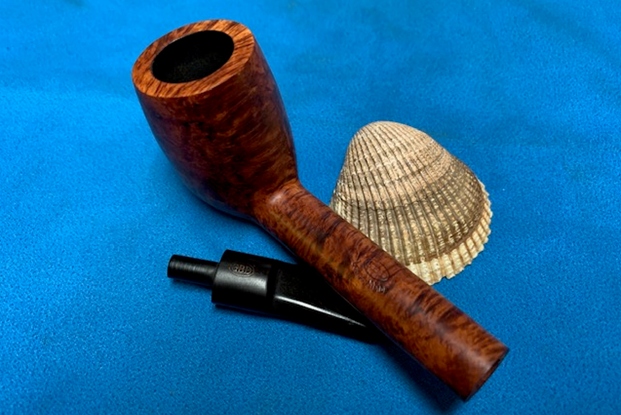
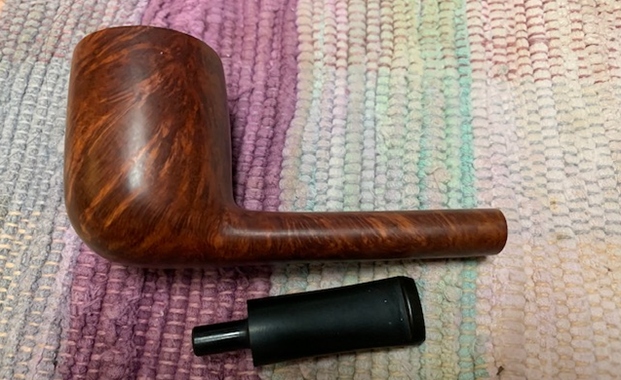
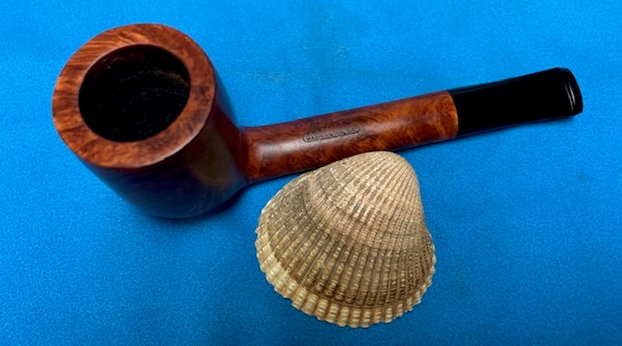
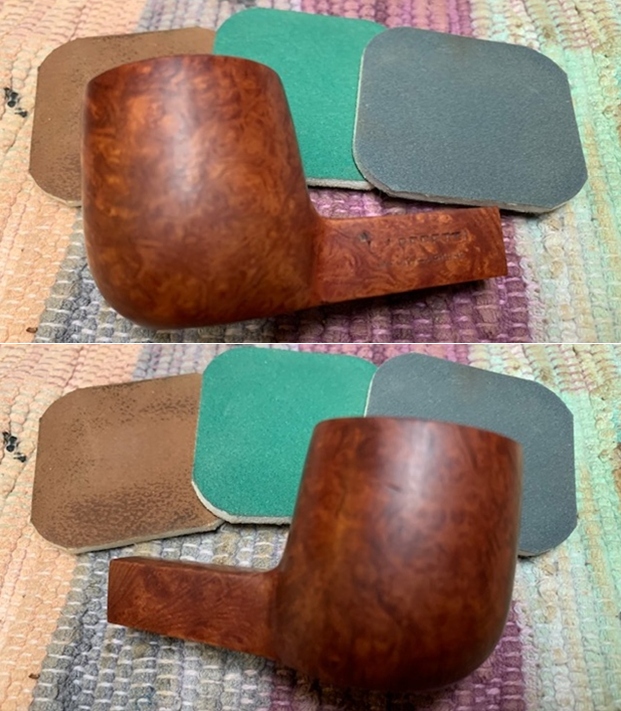
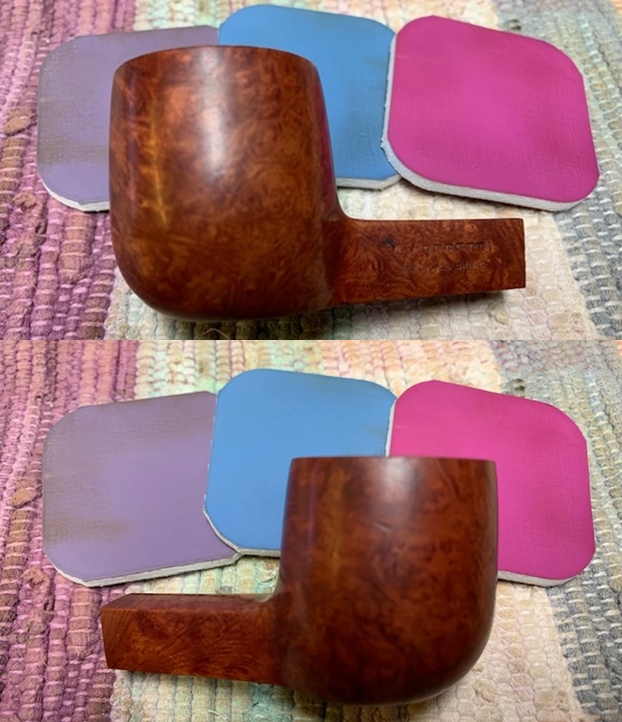
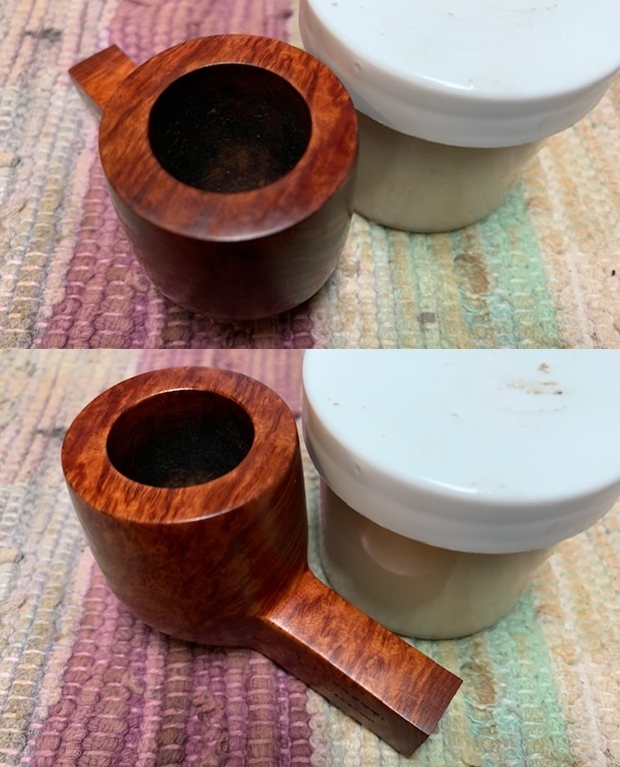
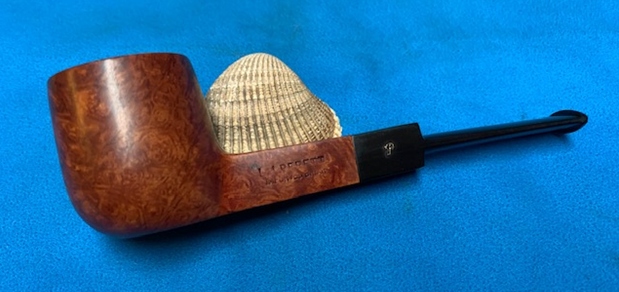
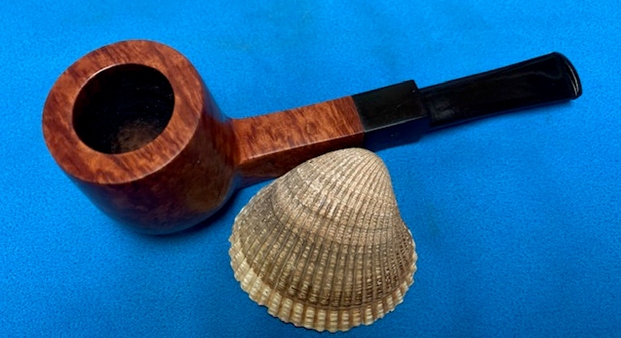
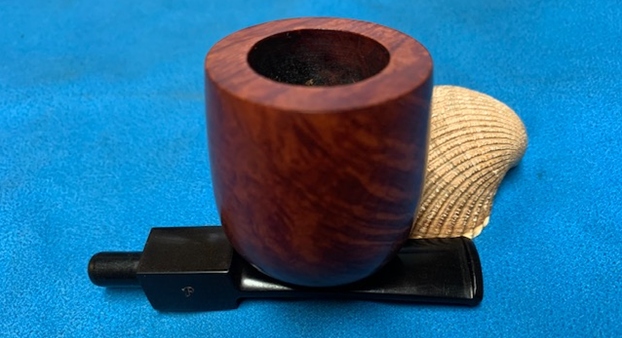
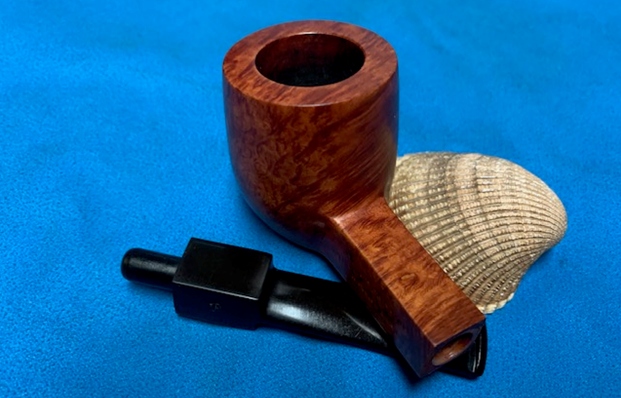
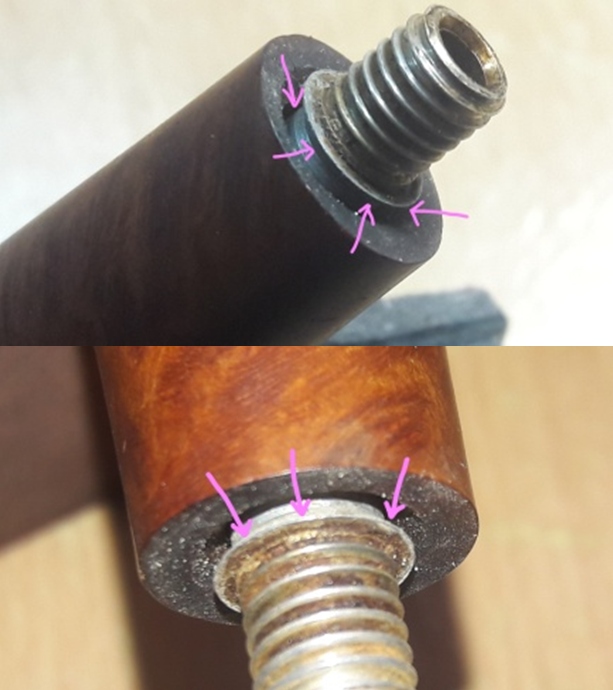
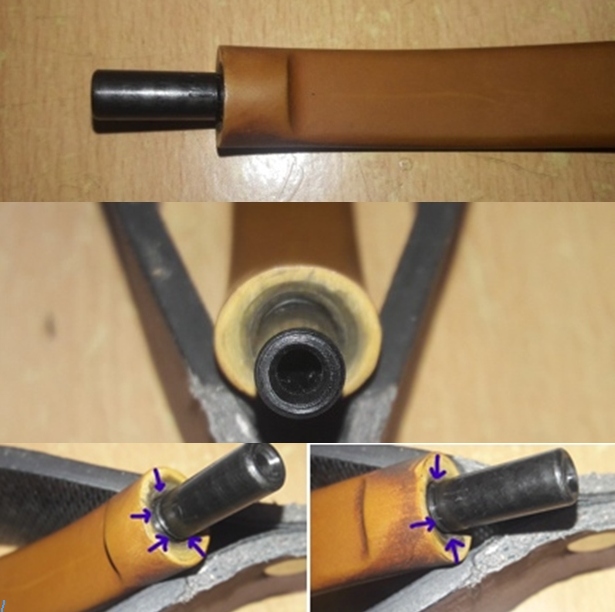
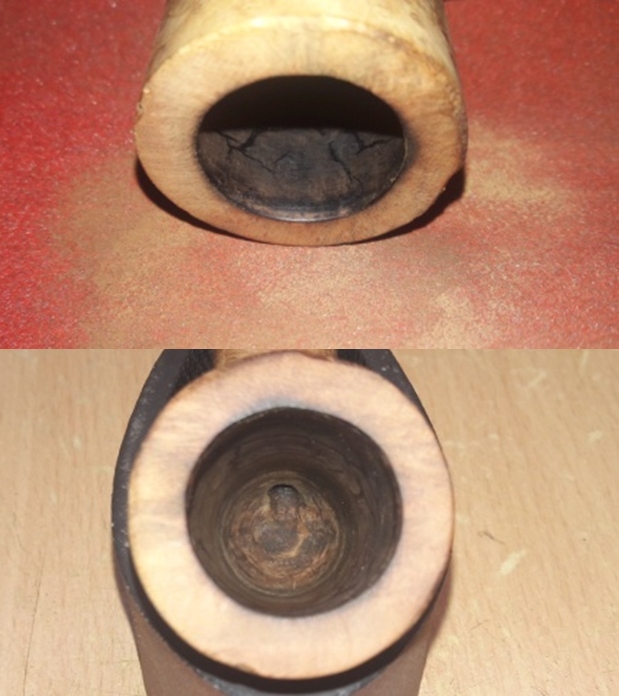
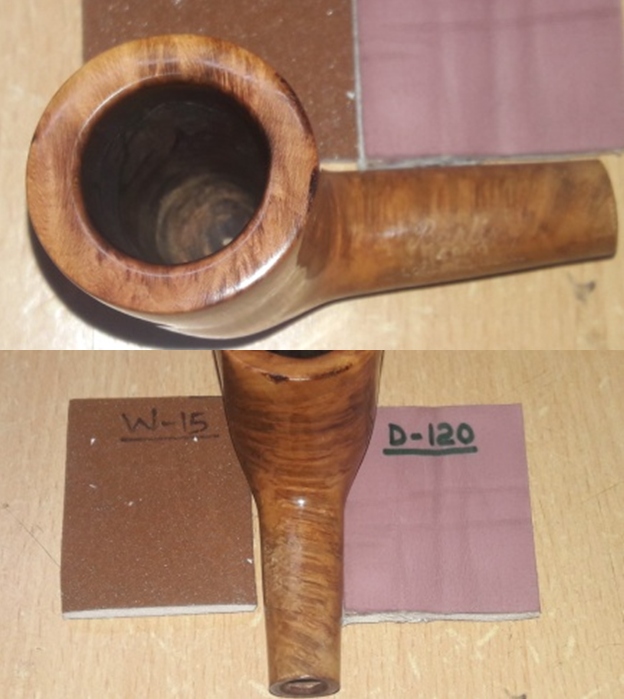
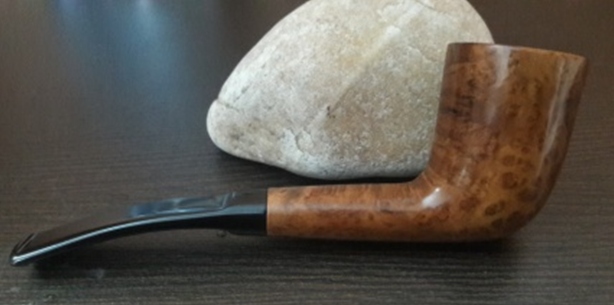
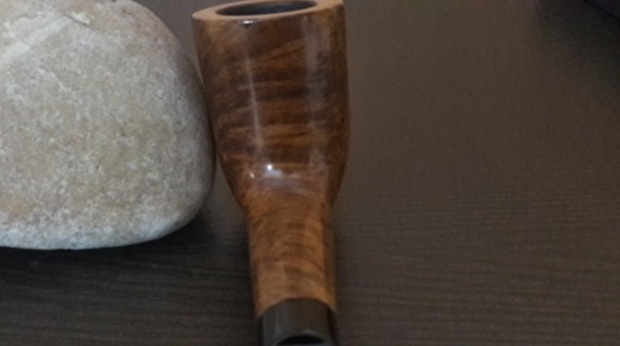
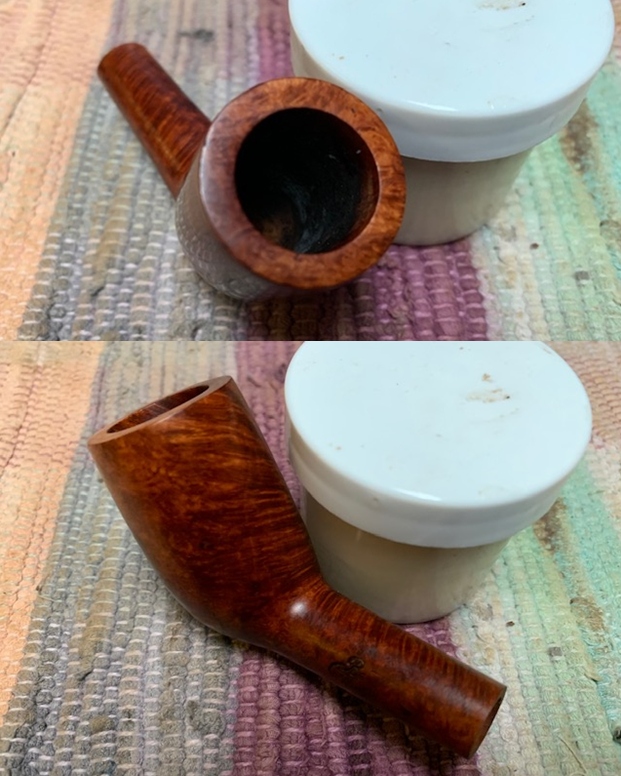
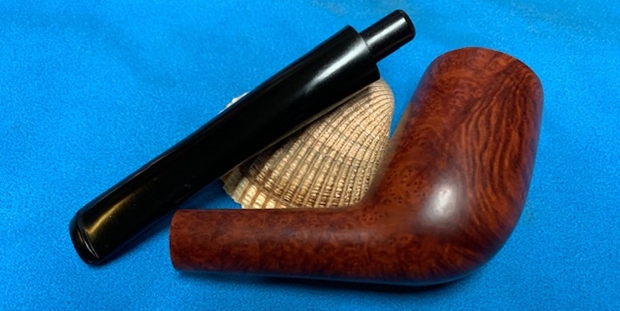
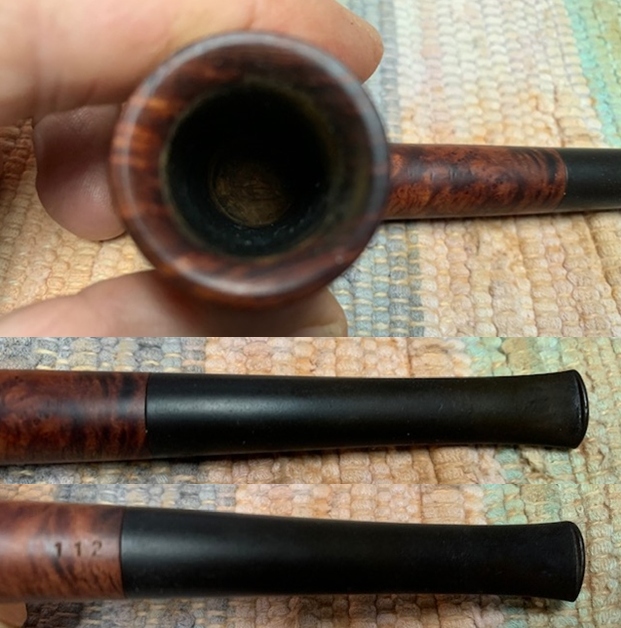
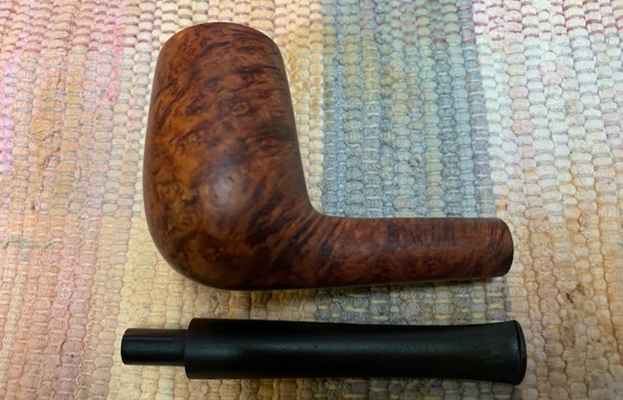
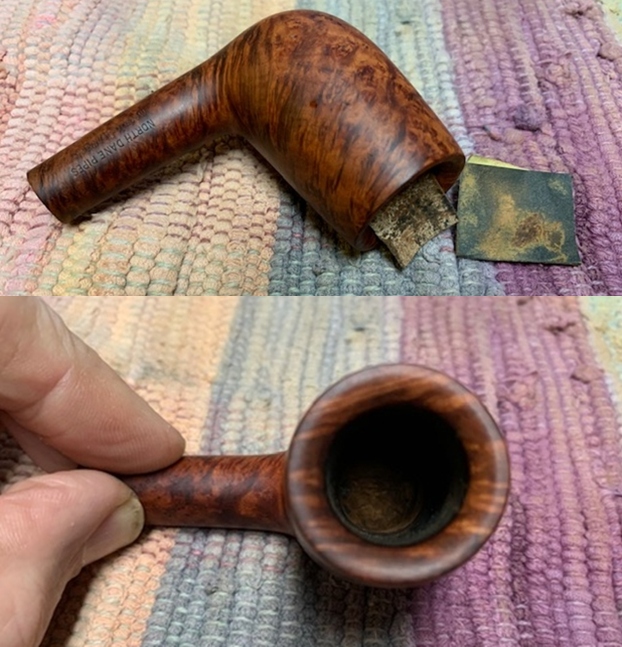
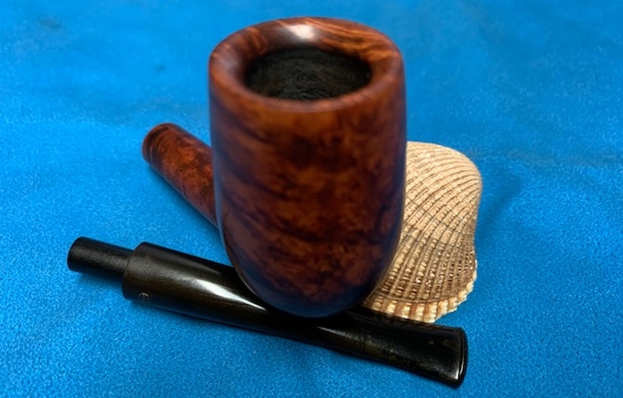
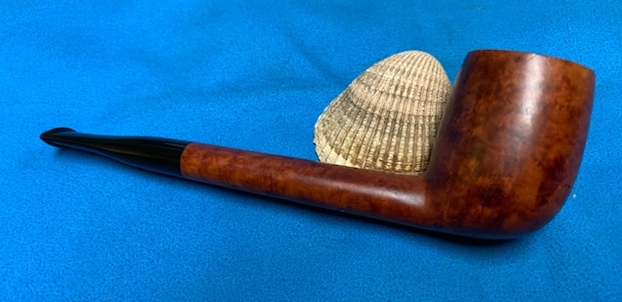
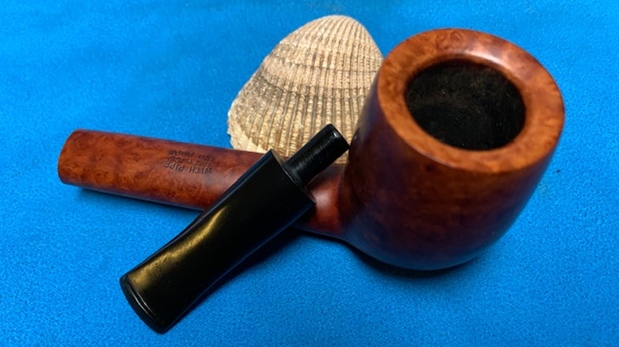
  I removed the stem and took photos of the pipe to give a sense of the whole. It is a well shaped apple with great grain. I also captured the mortise and tenon ends to show the 6mm Balsa Filter drilling.
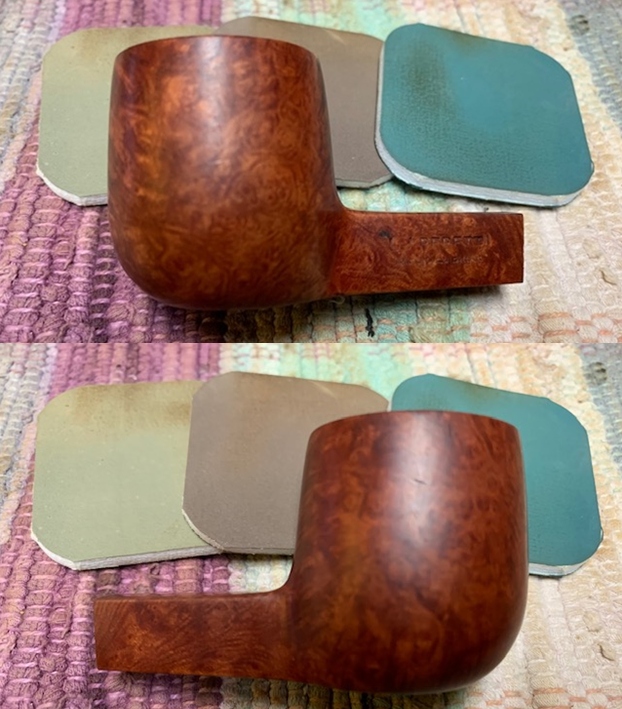
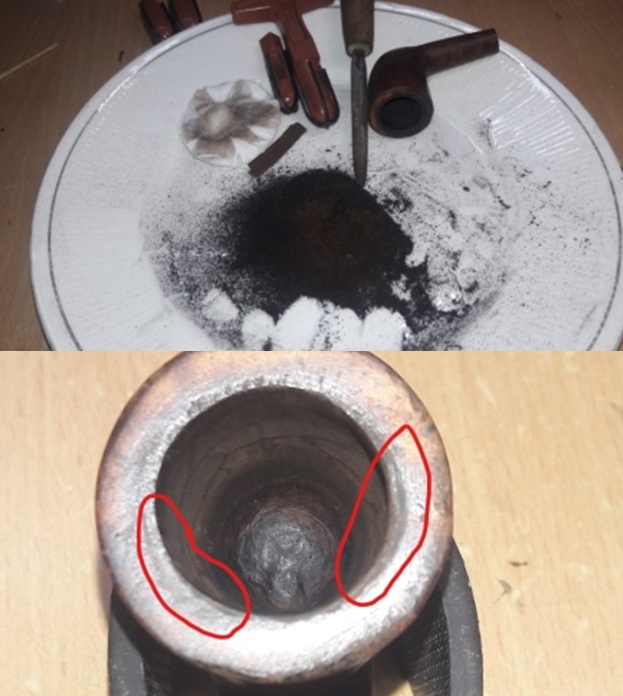
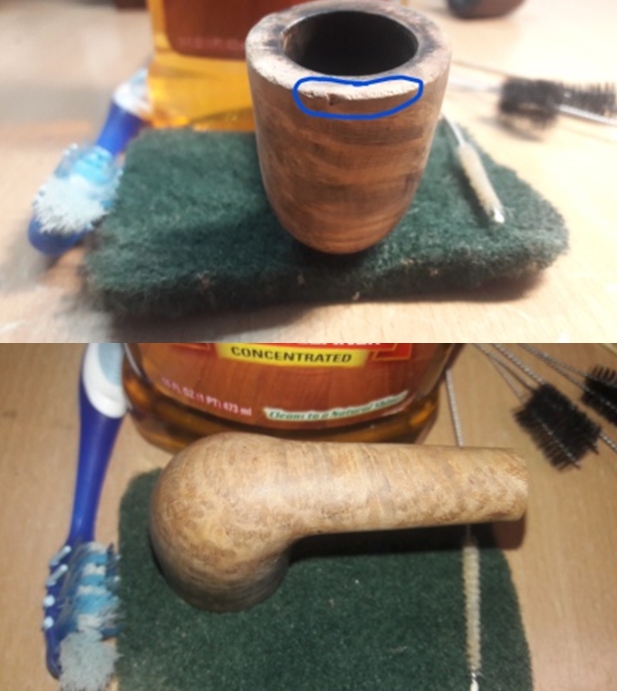
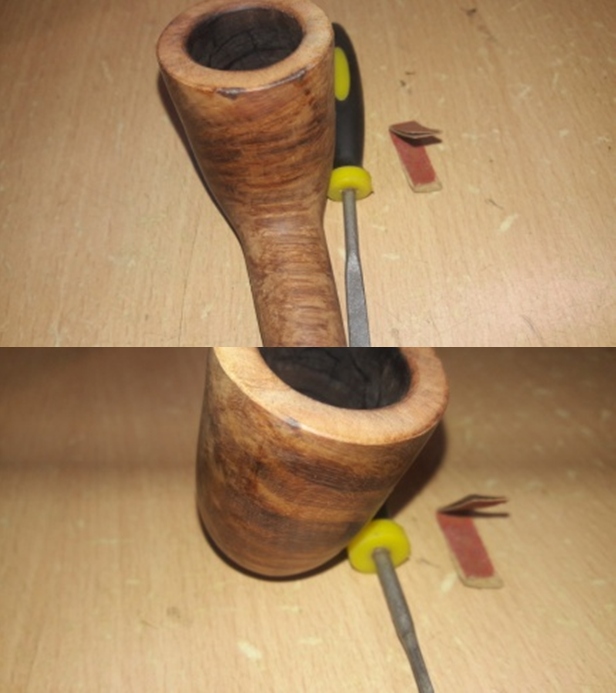
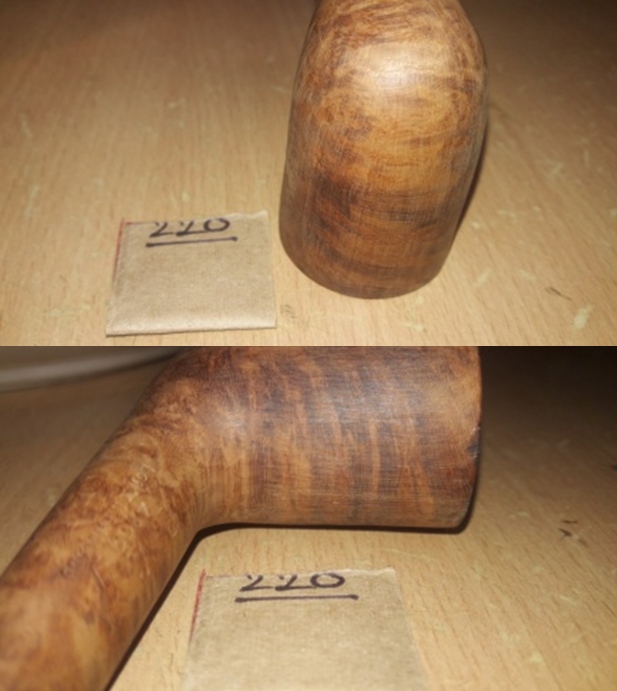
 Now it was time to do my work on the pipe. To remove the damage to the rim top and the edges of the bowl I topped it on a topping board with 220 grit sandpaper. I was able to remove the damage on the rim top but the damage on the front outer edge would take more work.
  I gave the outer edge of the rim a slight bevel with 220 grit sandpaper to get rid of the damage on the front of the bowl and blend it into the overall look of the outer edge.
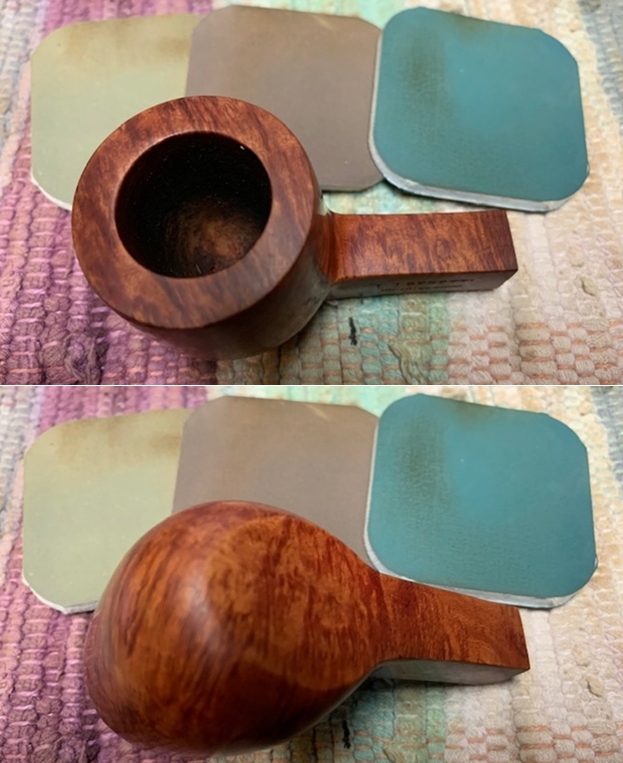
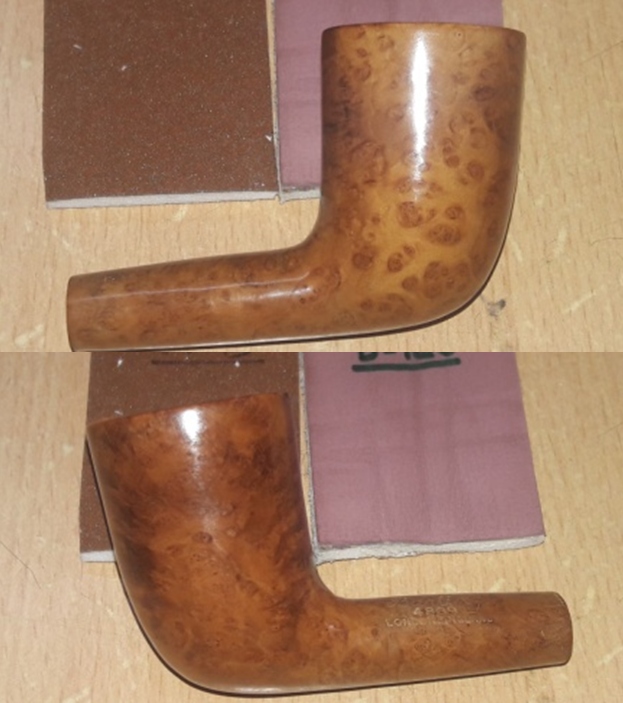
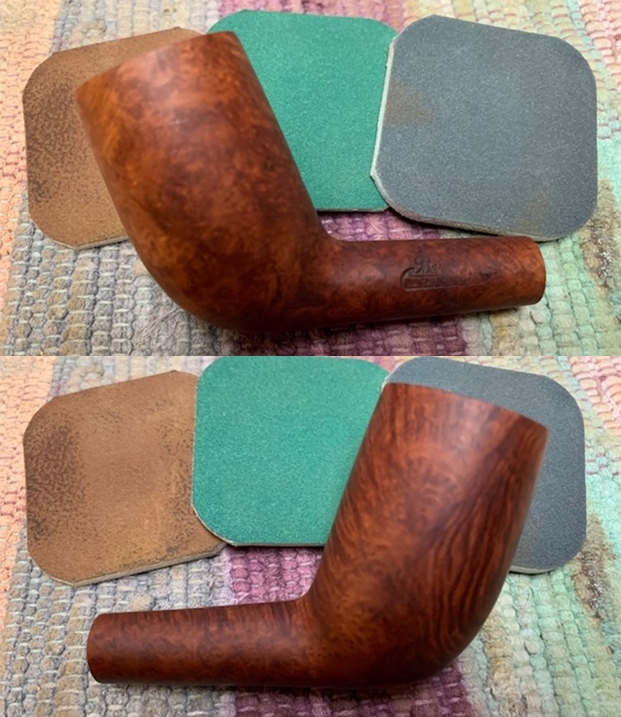
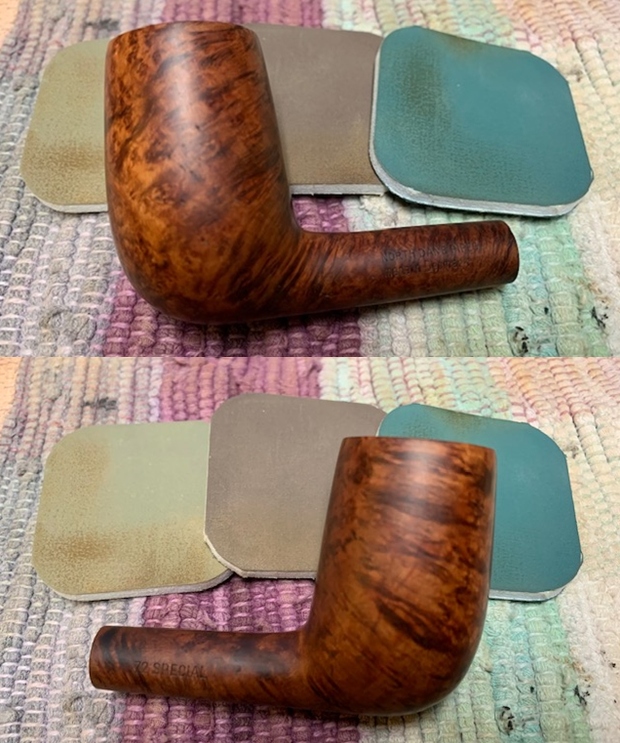
  I polished the bowl and the rim top, sides and shank with micromesh sanding pads – wet sanding with 1500-12000 grit pads and wiping it down after each pad with a damp cloth. I carefully avoided the stamping on the top and underside of the shank so as not to damage the stamping.


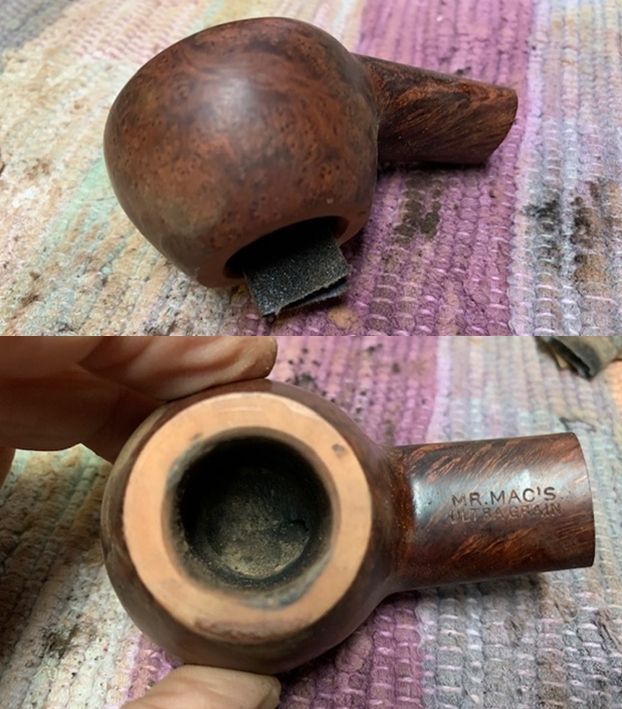
 I stained the rim top with a Maple Stain Pen and set it aside to let the stain cure for a while.
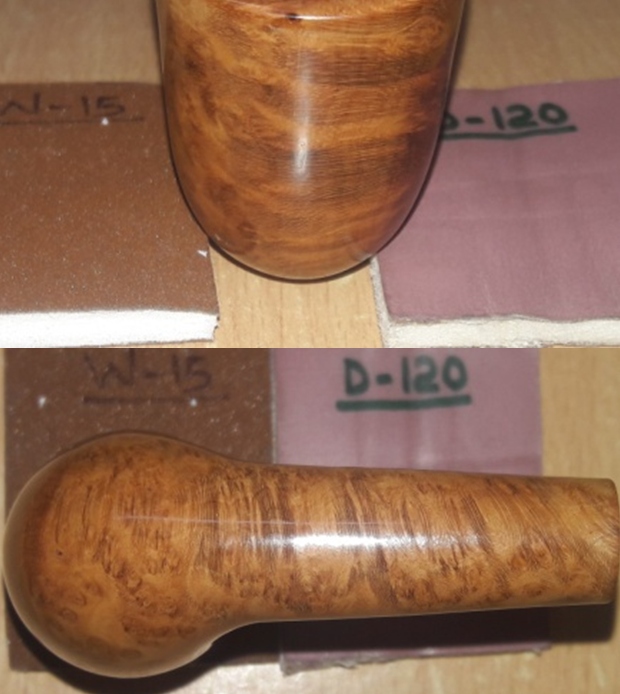
 I rubbed the bowl and shank down with Before & After Restoration Balm. I worked it into the surface of the bowl sides and shank with my fingertips to clean, enliven and protect the briar. I let the balm sit for a little while and then buffed with a cotton cloth to raise the shine. It helped to blend the stain into the rest of the bowl. The final buffing would bring the pipe alive and further blend the stain.


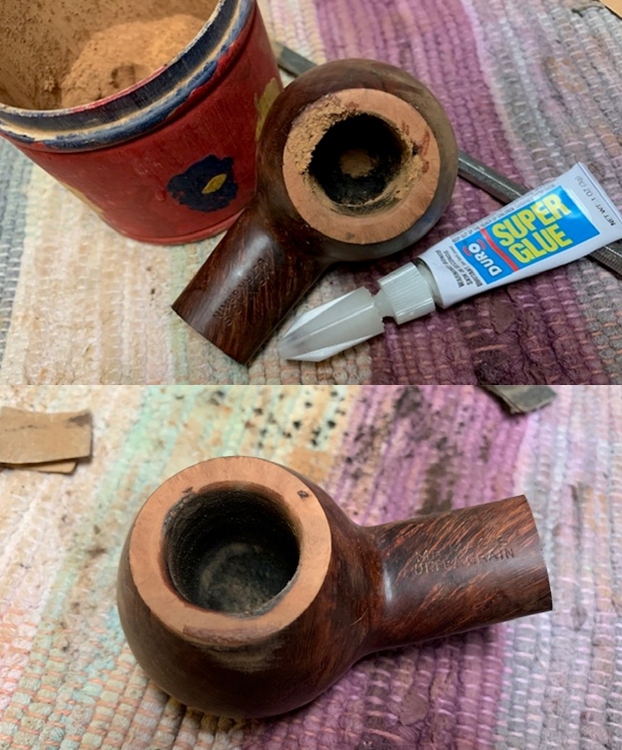
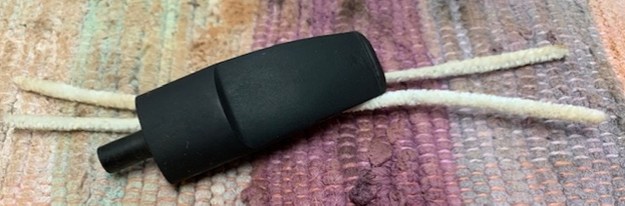
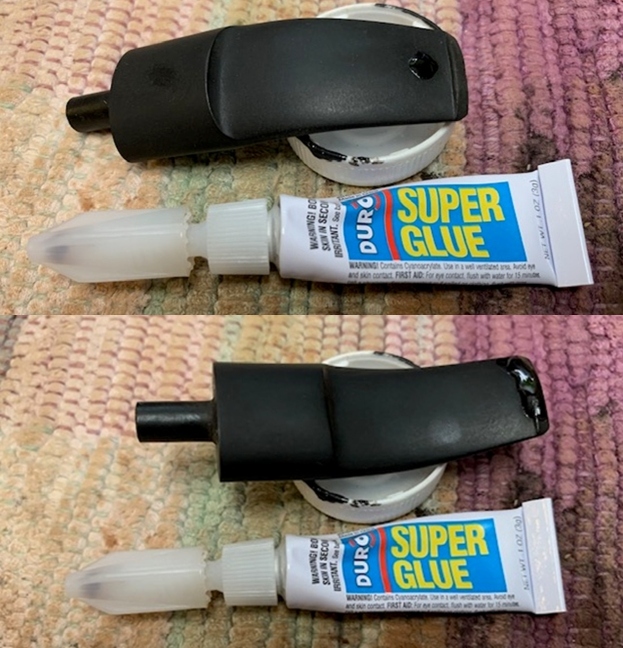
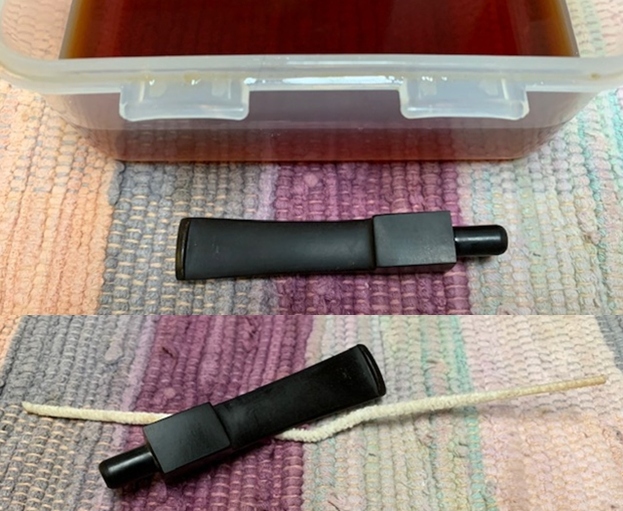
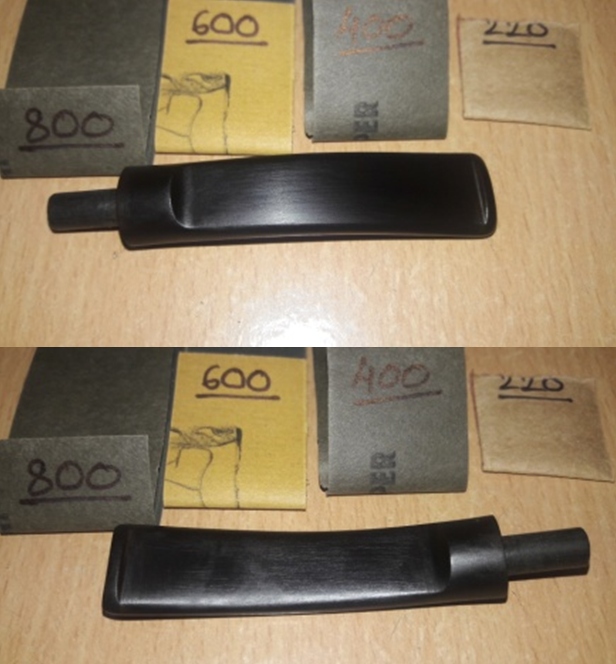
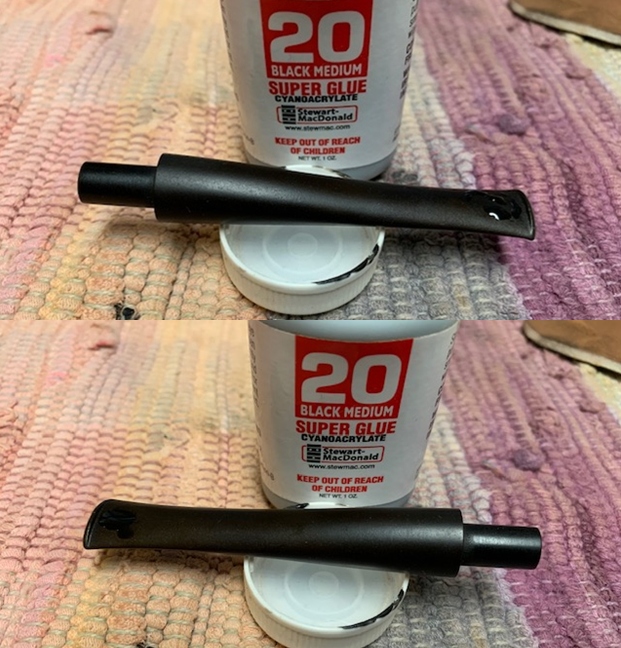
 I set the bowl aside and turned my attention to the stem. I filled in the tooth marks on the topside and the damage to the button edge on the underside of the stem with clear super glue.
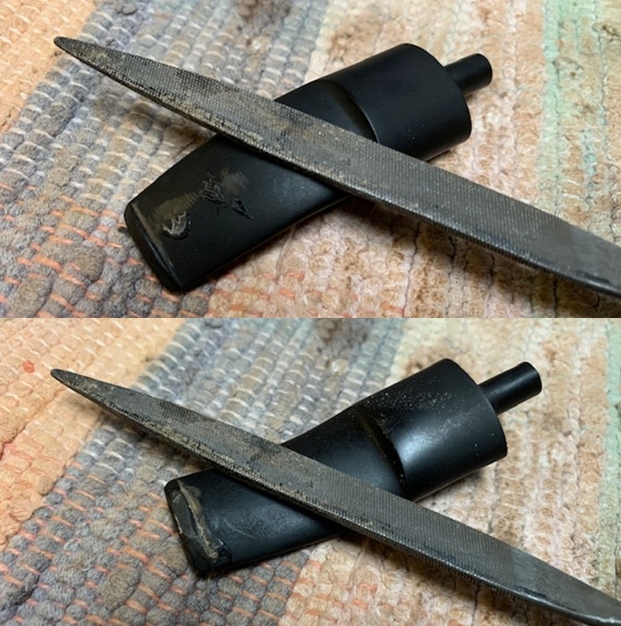
  Once the repairs cured I used a needle file to flatten the repairs and recut the button. I used 220 grit sandpaper to smooth out the repairs further and blend them into the stem surface. I started the polishing with 400 grit wet dry sandpaper.
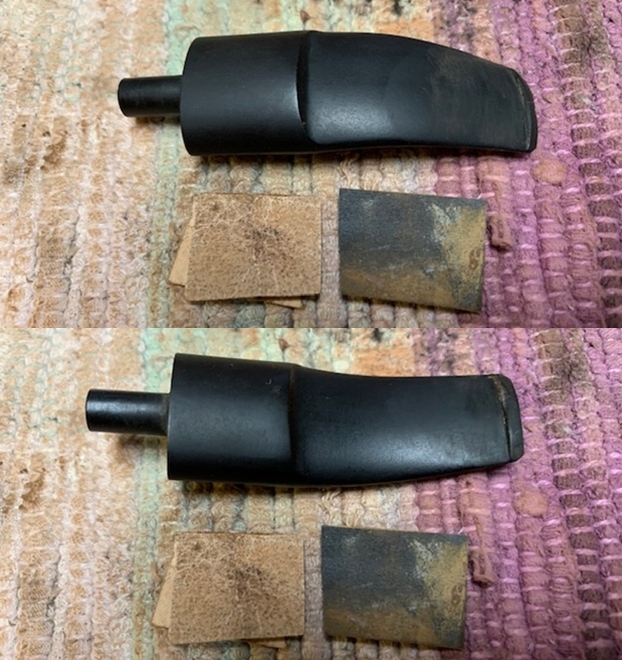
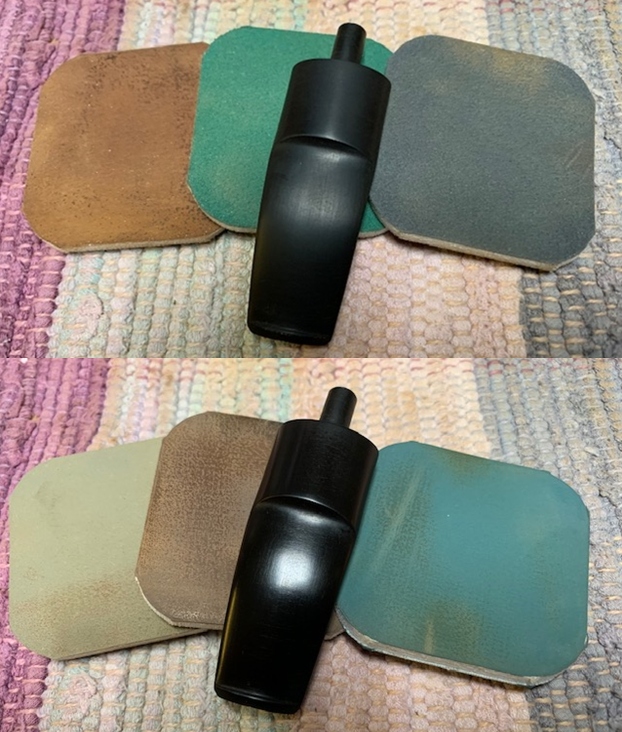
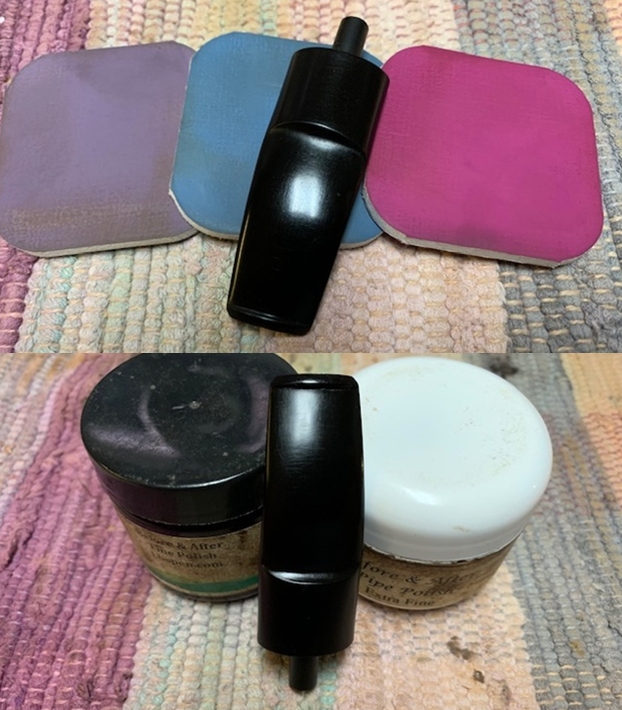
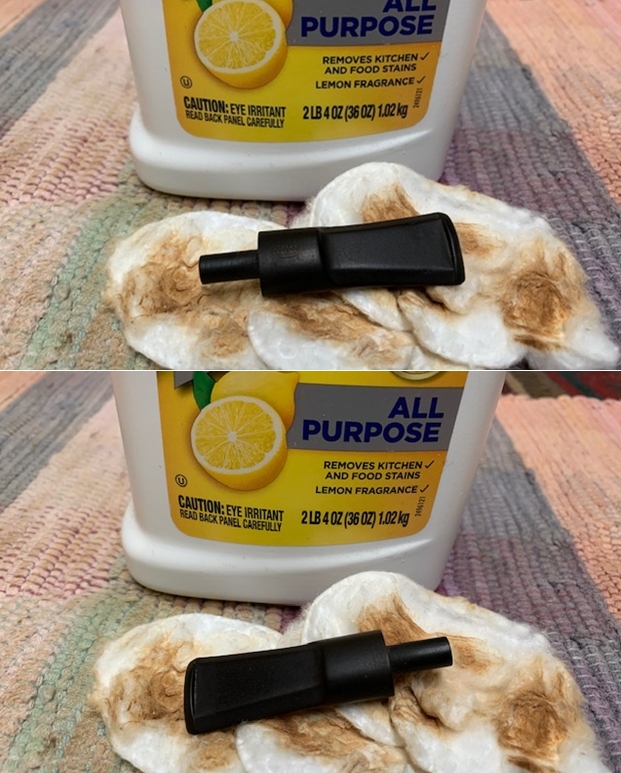
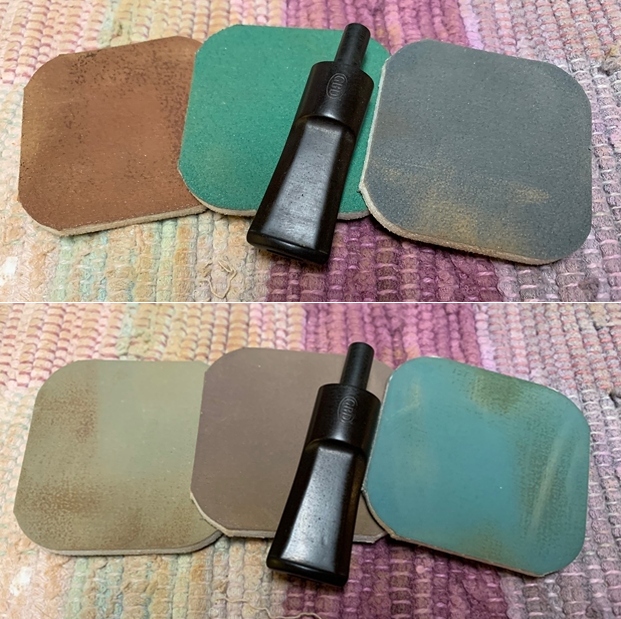
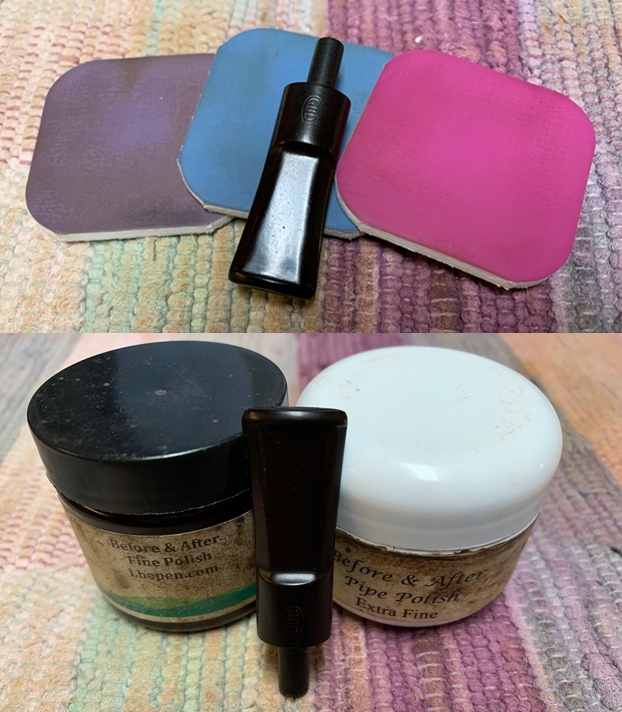
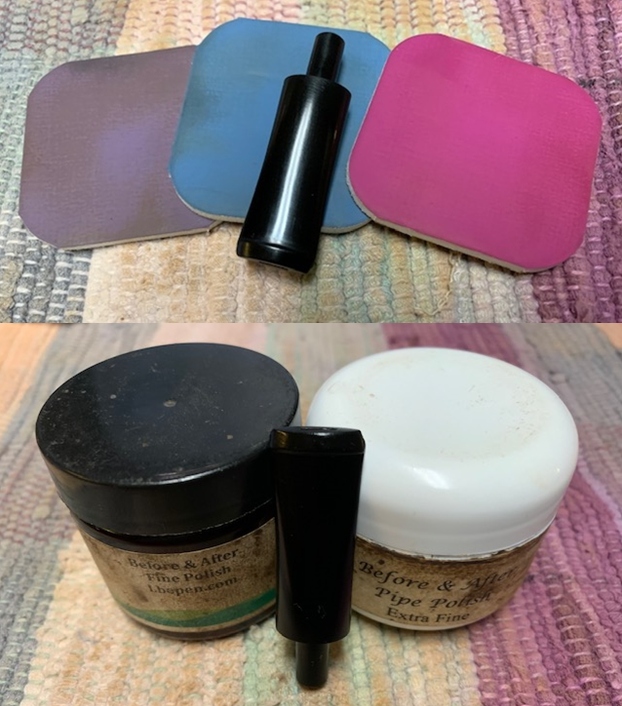
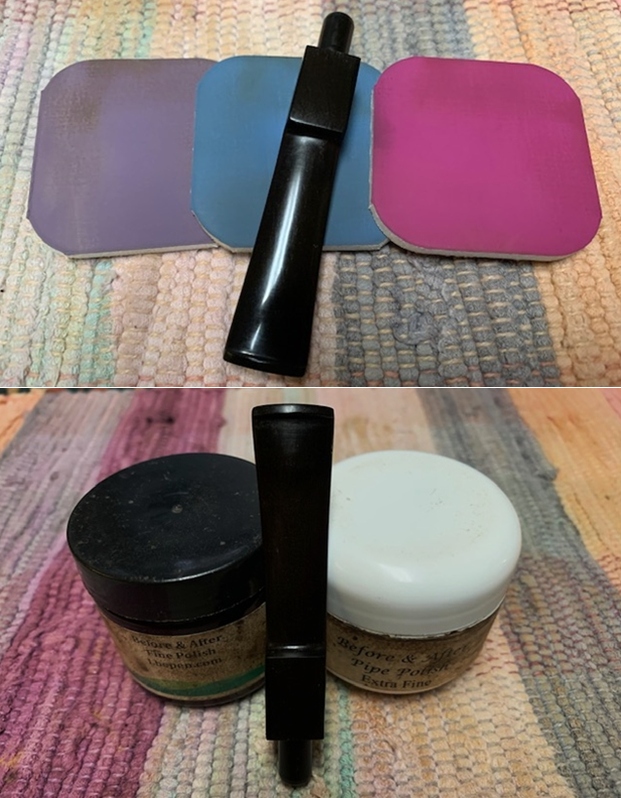
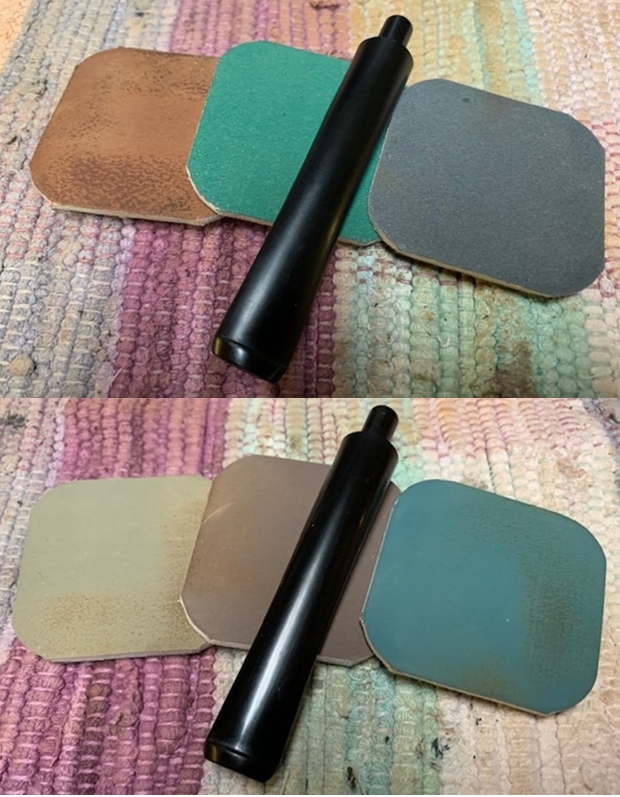
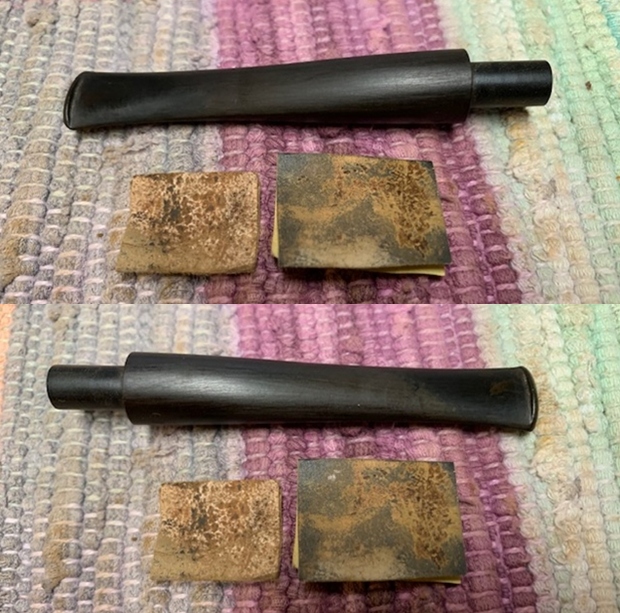
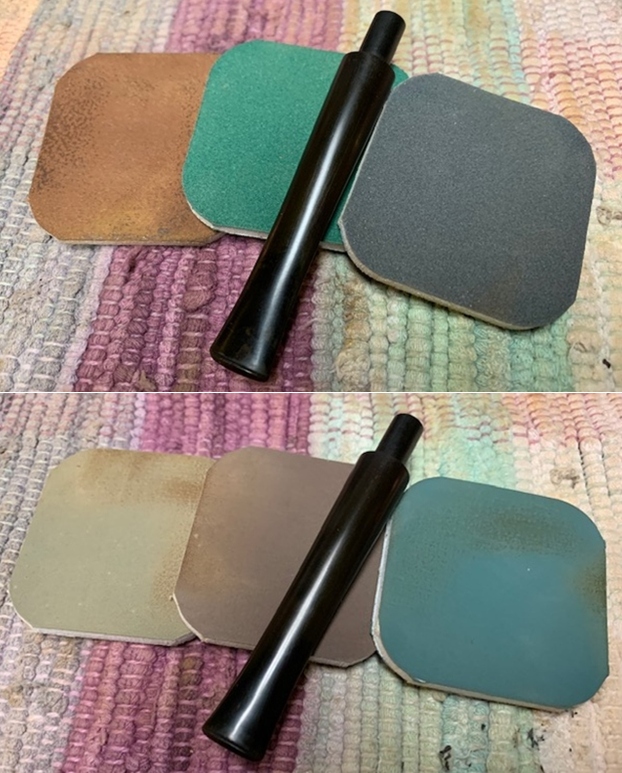
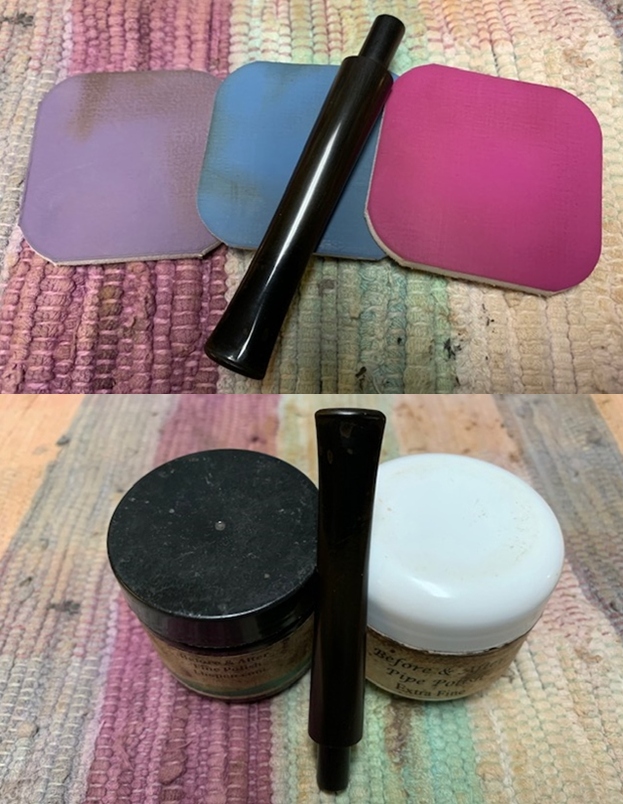
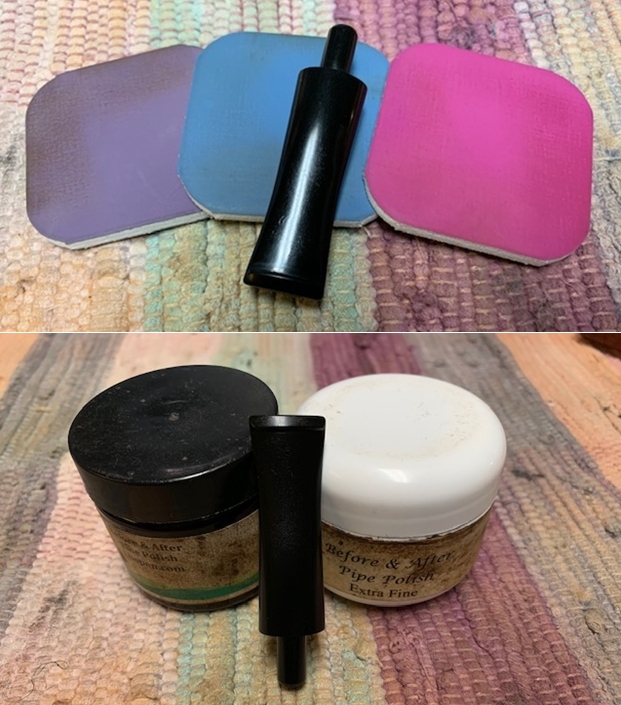
 I polished the acrylic stem with micromesh sanding pads – 1500-12000 grit pads. I wiped it down with a damp cloth after each sanding pad. I used Before & After Pipe Polish – both Fine and Extra Fine to further polish the stem.
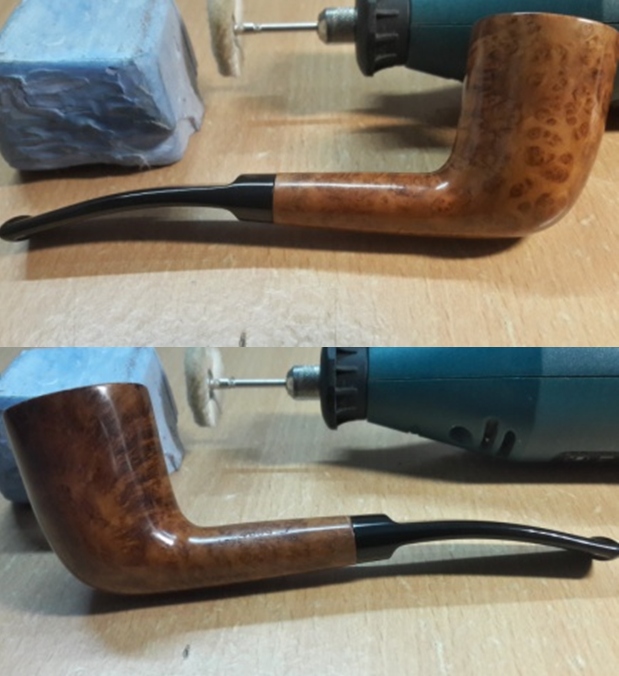
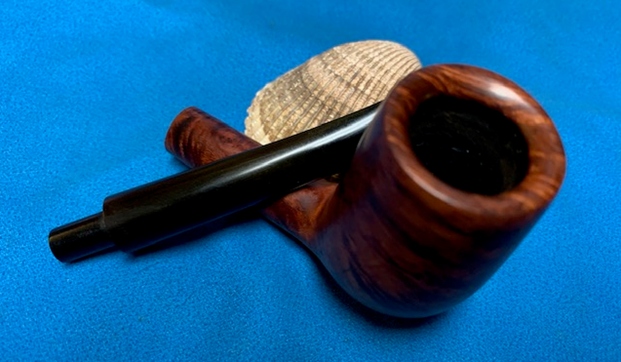
 I have some Savinelli Balsa System filters here in the work shop so I put one in the tenon of the stem. The fit was perfect.
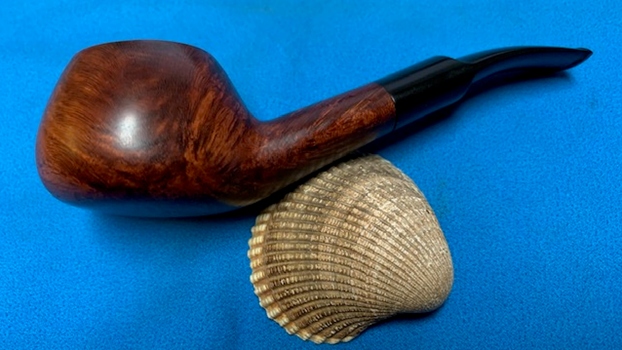
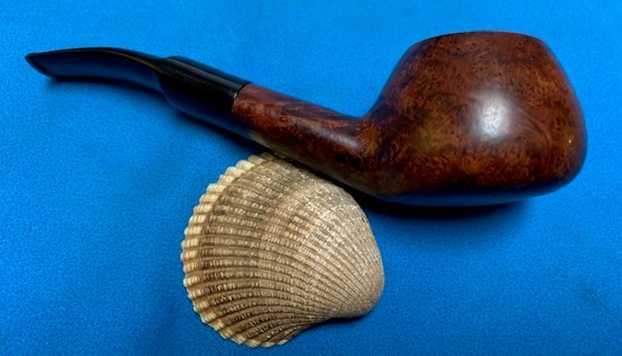
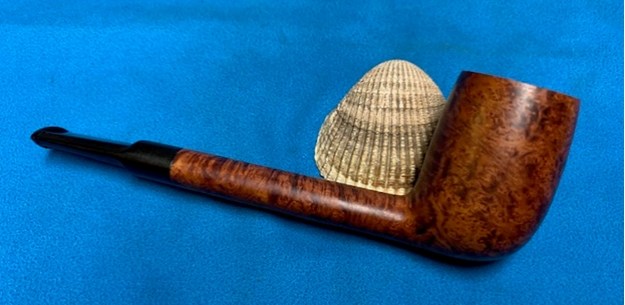
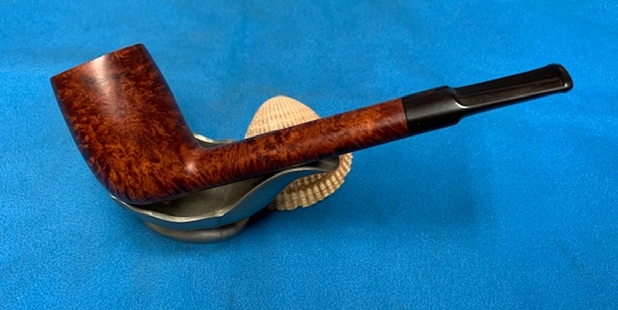
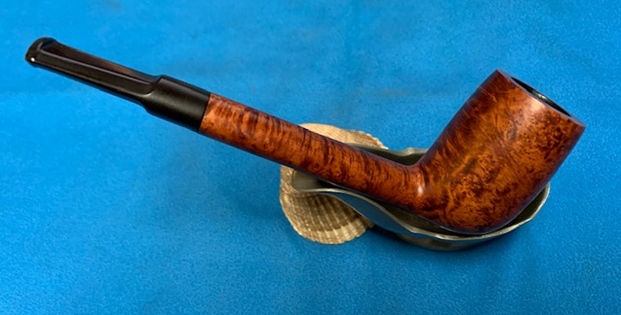
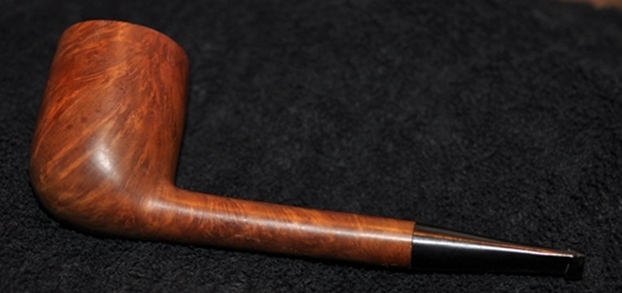
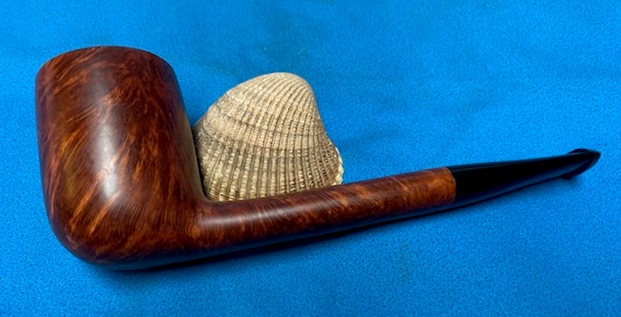
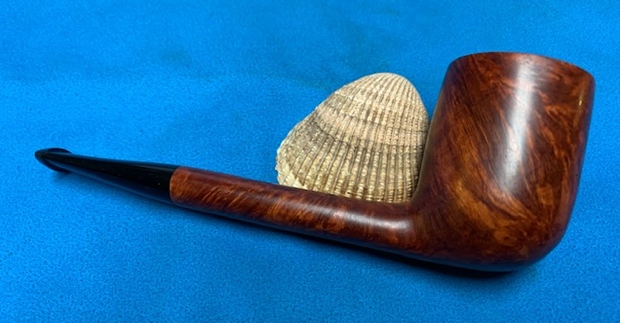
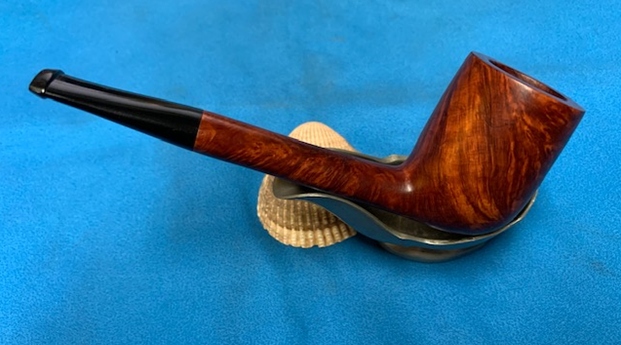
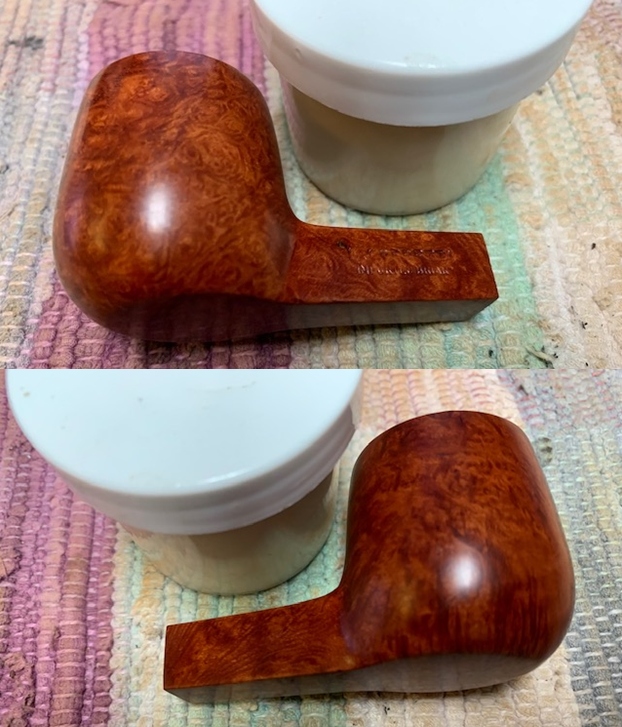
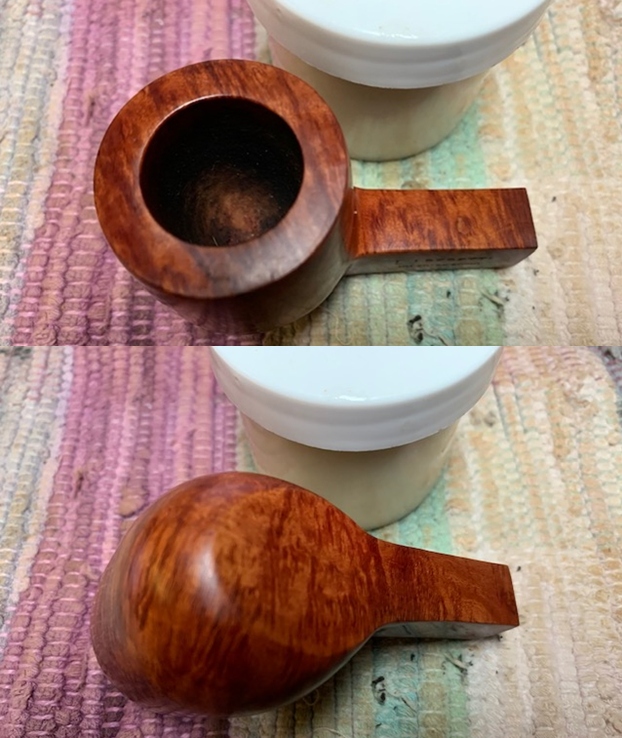
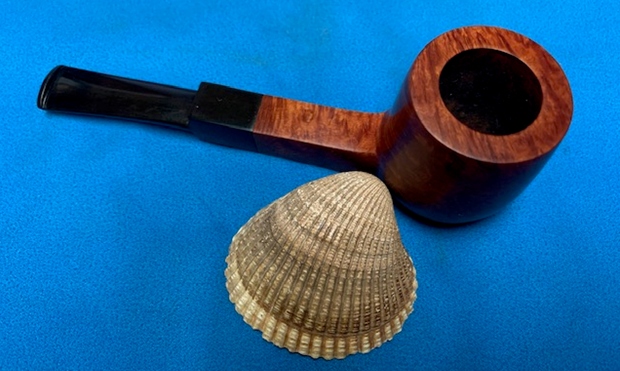
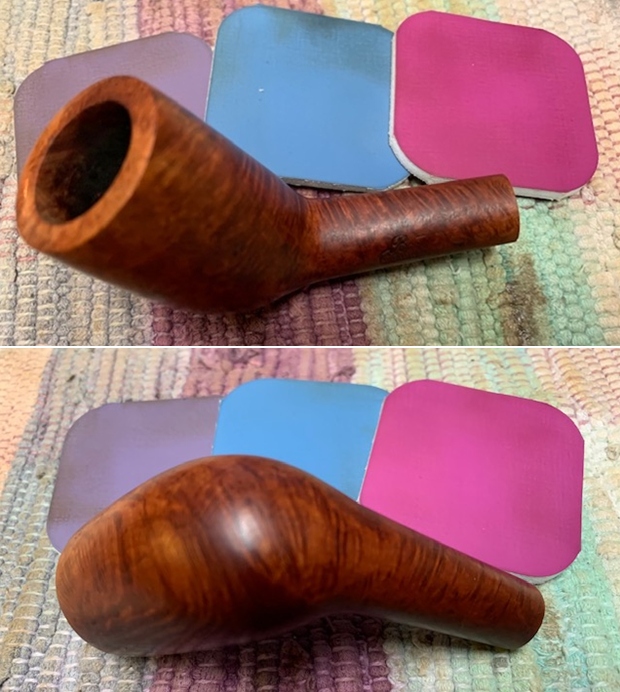
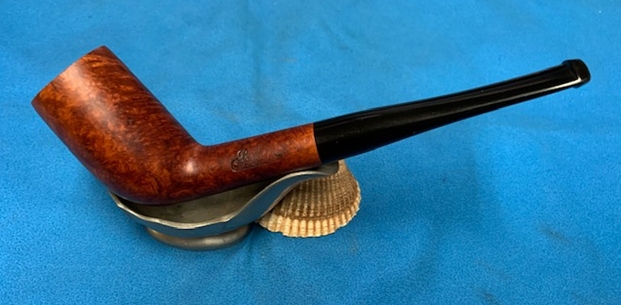
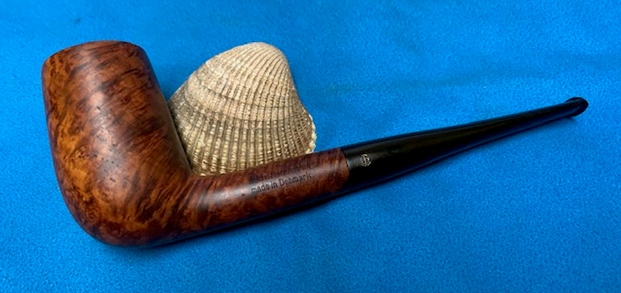
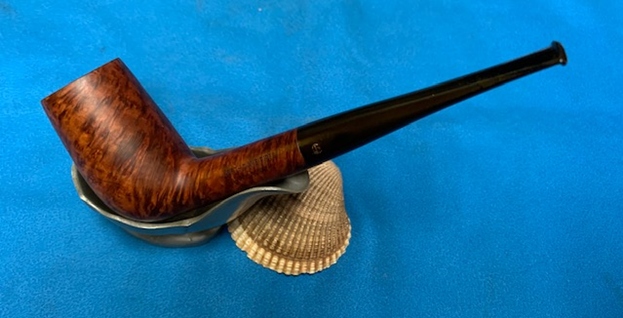
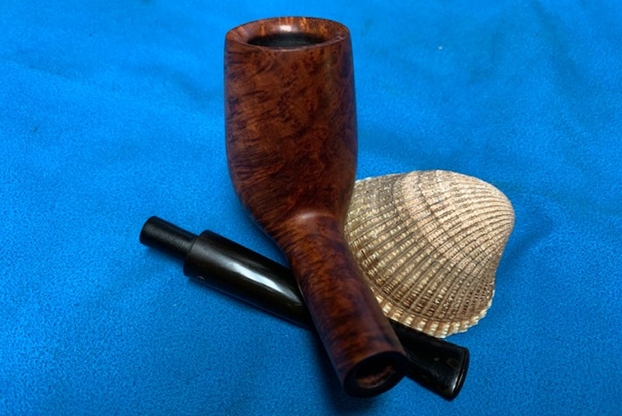
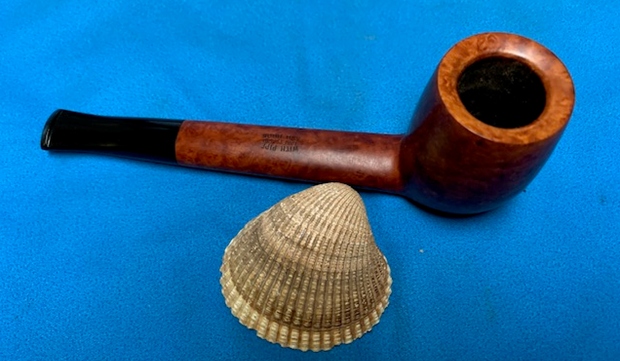
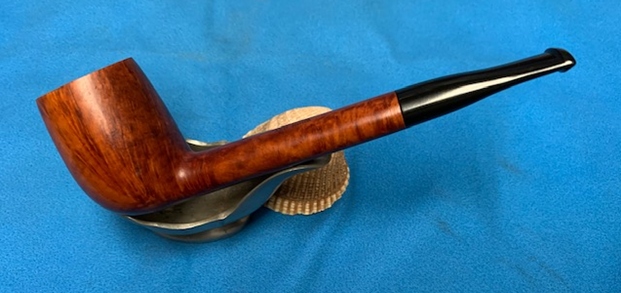
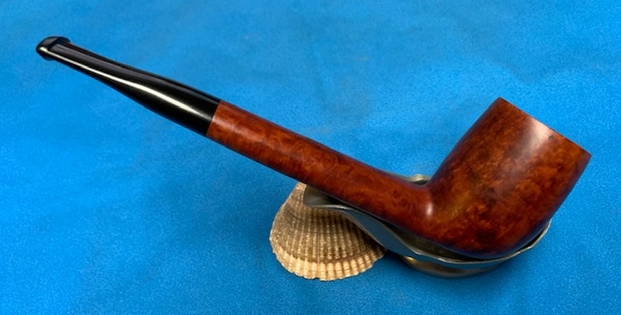
  This unique Balsa System Bent Apple with a fancy gold and brown variegated acrylic stem is a great looking pipe now that it has been restored. The rich brown finish came alive with the polishing and waxing. The grain really popped. I put the stem back on the bowl and carefully buffed the pipe with Blue Diamond on the buffing wheel using a light touch on the briar. I gave the bowl and the stem multiple coats of carnauba wax on the buffing wheel and followed that by buffing the entire pipe with a clean buffing pad. I hand buffed the pipe with a microfiber cloth to deepen the shine. The finished Balsa System is a beauty and fits nicely in the hand and looks very good. Give the finished pipe a look in the photos below. The dimensions of the pipe are Length: 6 inches, Height: 2 inches, Outside diameter of the bowl: 1 ½ inches, Chamber diameter: ¾ of an inch. If you are interested in adding this pipe to your collection send me a message or an email. Thanks for reading this blog and my reflections on the pipe while I worked on it. There are many more to come!


