Story by Steve Laug
Her Dad had smoked a pipe all of Laylie’s young life. It seemed to always be in his mouth or in his hand. She had come to associate the smell of the pipe with her Dad. She loved the rich leathery smell of the tobacco that lingered in the room and in her father’s beard and clothes. When she smelled it she would say “It smells like Daddy”. She would nuzzle him to take in the smells. Sometimes when he was away on travels she would go into his study and sit in his chair just soaking up the smells of the pipe.
During those times alone in his study it was natural for her to study her Dad’s pipes. I would say play with them but she was far to “grown up” to play! She would carefully take a different pipe each time to examine and study. She would gently stroke the pipe, almost petting it. She was always very careful not to damage Dad’s pipes in anyway. She would turn it over in her hands like she had seen her Dad do. She would feel the texture of the pipe with her fingers and if it was smooth she would polish it with the edge of her shirt. She put the stem in her mouth, she talked to it, and she rubbed it against her cheek. She loved everything about the pipes from their shapes and colours to their textures. They were alive to her so it was no big deal to talk with them and make up stories about them.
One particular day would always stand out in her memory because it was a very different day. She had no idea about what would happen when she picked up her Dad’s oldest pipe. In the past there had been no real issues and she was very careful But she had always been inquisitive. She wanted to know all there is to know about all there is! Even when she was playing she was still trying to figure it out and understand what seemed unknowable. So, this day would begin as every other one in her Dad’s study. She carried on conversations with the pipes in a comical way in which she had carried both sides of the talk. She spoke for the pipe and for herself. I wish you could have heard some of those conversations even for a few moments. If you could see and hear those conversations you would truly understand how this day was going to be very different.
That oldest pipe in her Dad’s pipe rack seemed to always call her name. She had held it before and turned it over in her hands. The carving of leaves and acorns around the pipe, the length and the overall feel of the pipe in her hand, made her come back to it again and again. She would carry on a conversation with it and then answer herself in a different voice. It was all a part of her “work” in knowing and understanding Daddy’s pipes.
This visit in the study started the same way each day did when she visited the pipes. After her Dad went to work and she had finished her chores she went into the quiet room and looked over the pipes as was her usual ritual. She talked with each of them greeting them as if they were her old friends. To her each pipe was unique and individual and each one had a different voice and tone that they spoke to her with – at least in her head. If you were there you would have overheard her carrying on each side of the conversation in a variety of voices. So far it was a just another day.
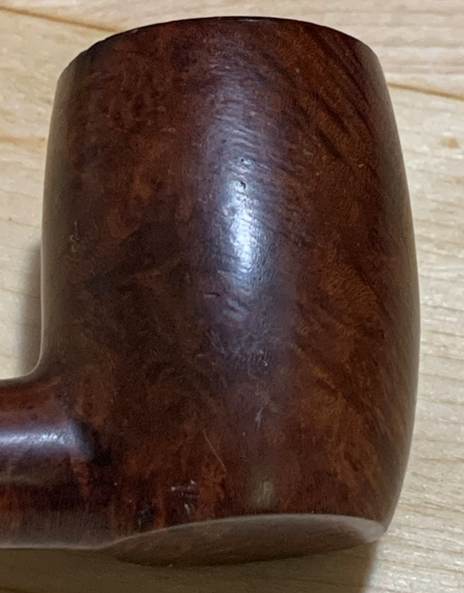
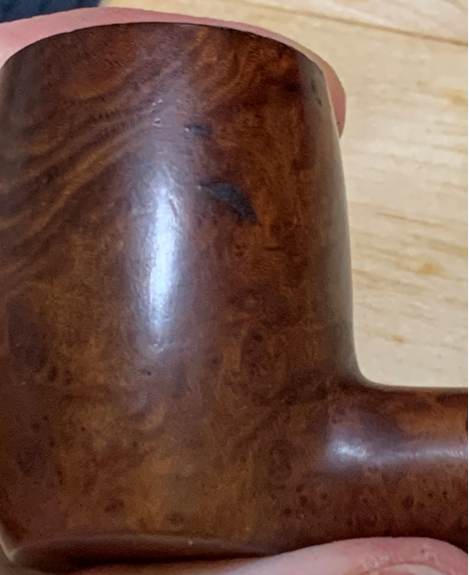
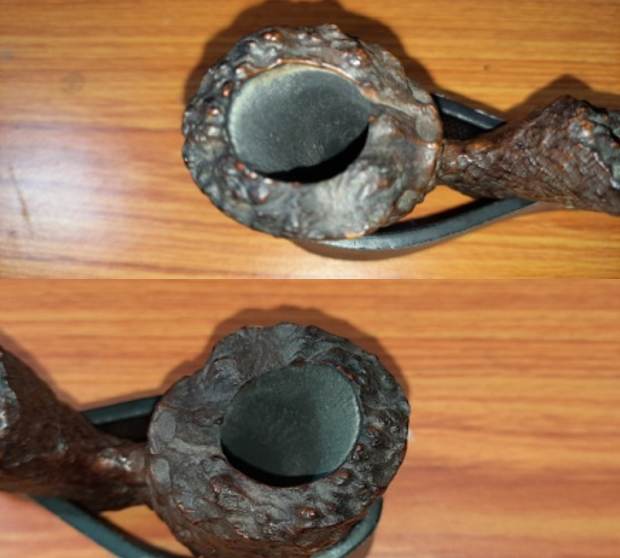
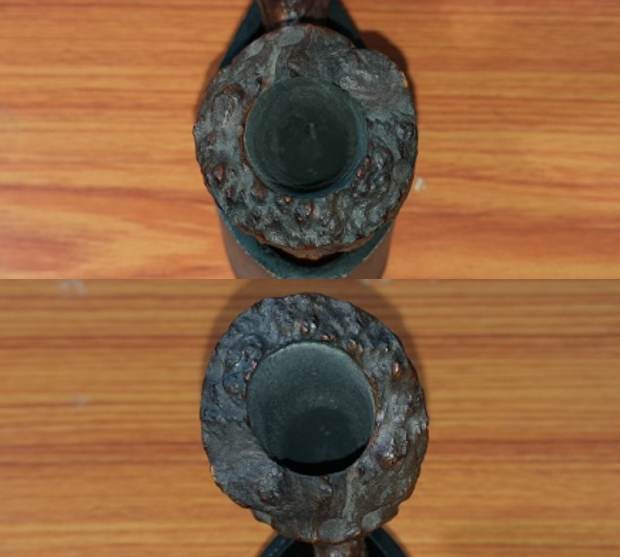
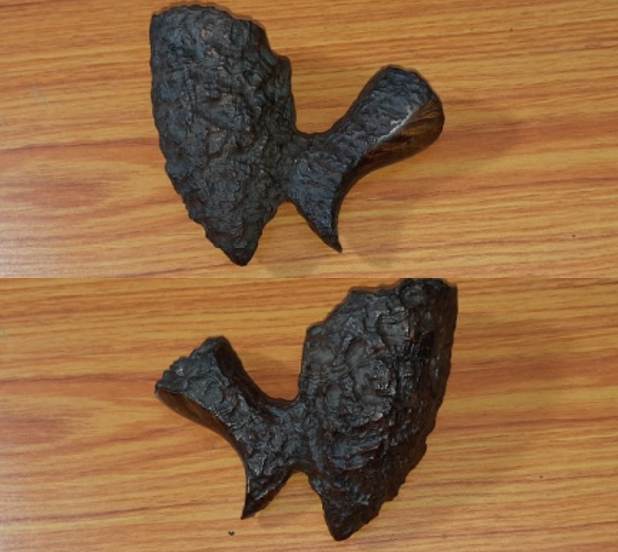
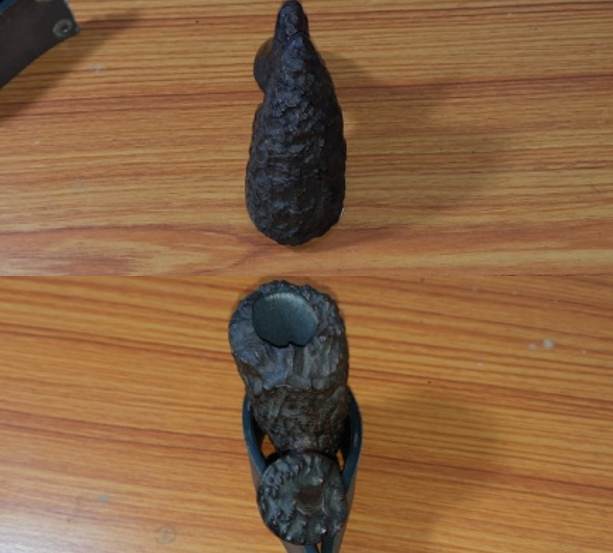
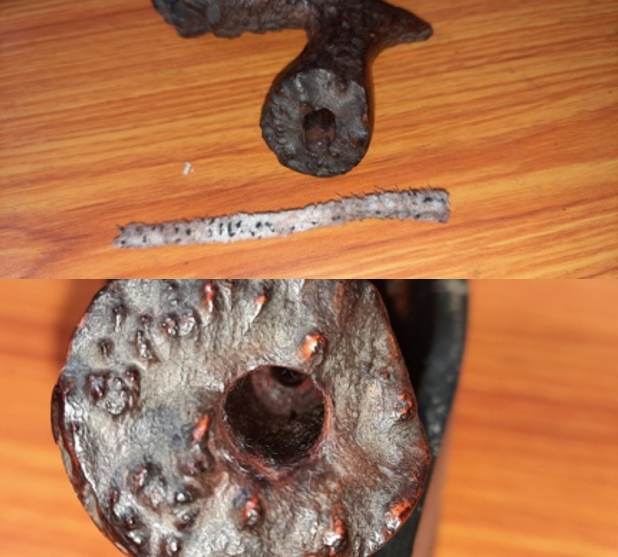
 What happened next certainly took the day far beyond normal. Where it went can only be called extraordinary. Laylie picked up her favourite among the pipes – the oldest one. This pipe was covered in carved oak leaves and acorns and had what her Dad called a horn stem. As she carefully turned it over in her hands she spoke to the pipe. Her tone was that of one speaking to an old and dear friend. “How are you today? You know how much I love the look of the carving around your bowl. It makes you very stunning.”
Without any warning the pipe with the leaves and acorns around the bowl spoke back. It caught her utterly by surprise because she was in the middle of her own answer! Her words stuck mid sentence and she was speechless.
The pipe answered in the same tone as she had spoken, “Good morning Laylie. Thank you for your generous compliments. I am also quite taken with my appearance as it is so unique. I am glad to see you too. It has been a quiet morning here so far with your Daddy at work. What are you planning for the day little one?”
Laylie answered, “Wow, I think I am imagining things. This is impossible that the pipe would speak to me. All these times I am here speaking to them and now this. It just cannot be real, can it?”
The pipe laughed as he answered her, “You are not imagining anything Laylie. I watch you each time you come in to look at the pipes. I have watched how careful you are in handling each of us and how you truly love your Dad’s pipes. Today as I saw you come in and go through your routine I decided to reveal myself to you! Your Dad and I have had many fascinating conversations when we are alone here.”
Laylie was beside herself with excitement, so much so that she did not know where to begin. She had so many questions and so much she wanted to learn. She stumbled over her words and managed to say, “Tell me about the person who made you and where you have traveled since you were made”, she asked. There were many more questions bumping up against each other in her head but this seemed like as good a place as any to begin.
The pipe answered, “I was born in the imagination of an older craftsman who used to carve pipes in the window of a pipe shop that no longer exists. For years he searched for just the right piece of briar to capture the vision in his mind for a special pipe that he longed to carve. He sorted through many briar blocks but never seemed to find the one that spoke to him or fit what he saw. Then one day he found exactly the right piece of briar. He turned it over and over in his hands and then quickly sketched his vision for the pipe – for me – on the sides of the briar…” He suddenly was very quiet, as if reliving the moment as he spoke.
When he finally continued it was in very quiet voice. “He used his carving knife and his skill to bring me out of the piece of briar. Each move of his hand and his knife brought the shape more and more to the surface. It took him quite a bit of time to carve the intricacies of the leaves and the acorns twisting around my bowl and shank. Each chip of briar he removed brought more of the pipe is his mind to life. Once he had finished the carving of the bowl he selected a beautiful piece of horn to carve just the right stem for the pipe. I think he worked on me for many months to get everything just right.”
Laylie was amazed at the detail of the story and was mesmerized as the pipe unfolded this tale. She asked him, “Did you always speak like this or was that learned later?”
The pipe answered, “No Laylie I always spoke from the moment the pipe maker awakened and released me from the block of briar. He would talk to me all the time he was carving and I remained silent. I listened to what he said and how he spoke to me. It was beautiful to listen as he shaped and carved my finish. As each part progressed he would turn me over and over in his hands and smile. He would make adjustments and when he got it just right he would come alive. It was at one of those moments that I spoke to him the first time. I thanked him for releasing me from the block of briar. I thought he would be surprised but he was not.”
“What did he say to you?” asked Laylie
“He smiled at me and said, You are welcome! I knew as I worked on you that you were alive and special. I just followed the guidance of the block to birth your form and shape. It was always in the briar and just needed to be released. From that point on every time he worked on me we spoke. He told me tales of his youth and training as a carver. He had learned to carve at the feet of a master carver in St. Claude, France and since then had been carving for over 60 years. As he carved me I could sense in each of his movements, the skills of many masters who had taught him their craft.”
Laylie sat quietly taking it all in. It was very quiet for some time and she wondered if the magical moment had passed. Still she sat patiently and waited.
After the pause the pipe continued, “The memories that come back just talking with you are incredible. Do you realize that I am actually over 100 years old and have been entrusted to many different pipe men over the years. I remember each one of them and how I was cared for by them. I can only say that I have had some amazing people take care of me during that time. I have lived here with your Dad for almost 20 years now. I still remember the day he purchased me and took up the trust. He was a thoughtful young man who loved his pipes and thoroughly enjoyed sitting quietly with them as he smoked. Living here with all of you have been very good days for me Laylie.”
Laylie stirred and asked, “Have you ever spoken with my Dad? Does he know you can speak?” Her thoughts kept running and she had so many questions but it seemed the old pipe was getting weary.
The pipe chuckled and said, “Ah Laylie, your Dad and I talk every time we meet. When he comes home from work he always comes here to visit for a bit. Even when he chooses another pipe to smoke we chat together about his work. Your father is a good man and I enjoy speaking with him.” He then paused again…
…after his pause (a bit shorter this time) he spoke once more, “Laylie it has been a pleasure to speak with you. We will have to do this more often. I am going to rest now. Thank you for your visit.” He seemed to lose his animation as she held him in her hands, She carefully placed him in his spot on the rack.
She sat in her Dad’s chair and just quietly went over what had just happened. It was so astonishing and she could not hardly find the words to explain what she was feeling. She could not wait to share it with him when he returned from work.
When her Dad returned from work and went to his study he found Laylie asleep in his chair. It was big enough that she could curl up. He looked at her and thought about waking her up but decided to let her rest. He quietly left the study to make a cup of tea. Perhaps he would come back with that and visit a bit with his pipes…
Ah but that is another story!
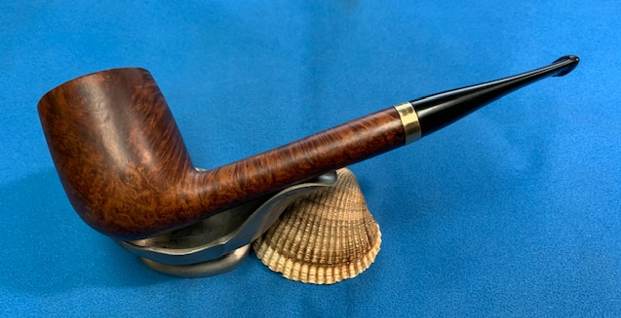
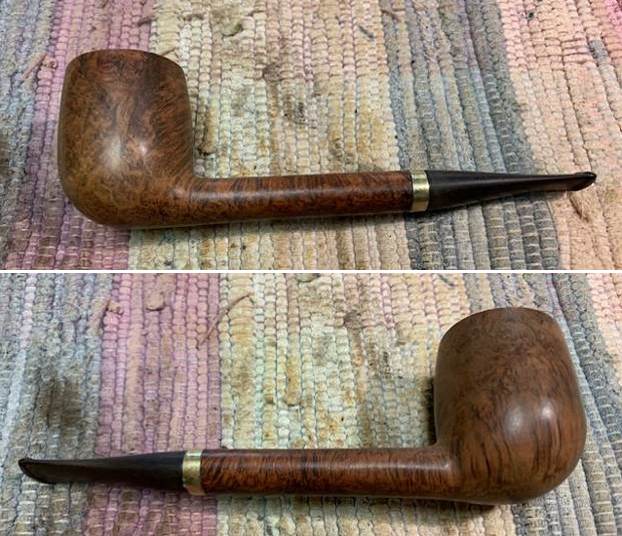
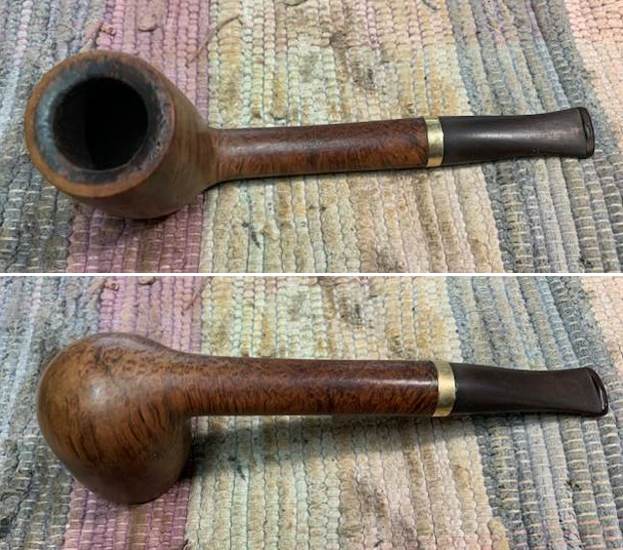
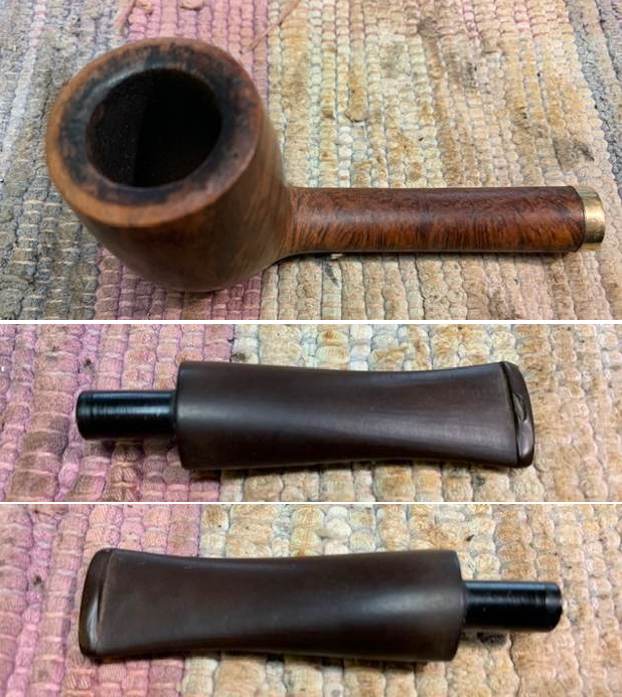
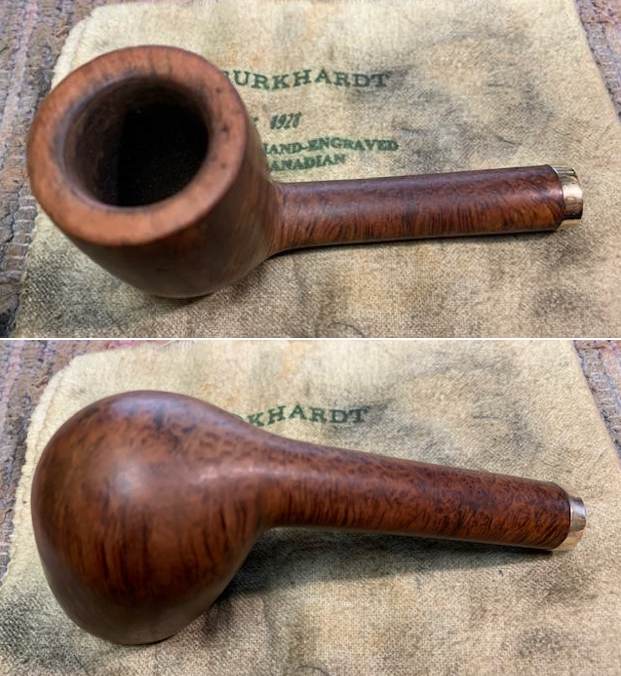
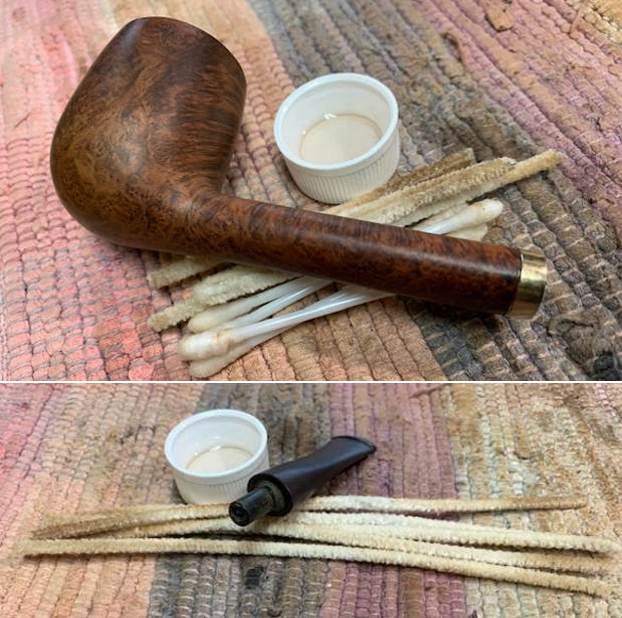
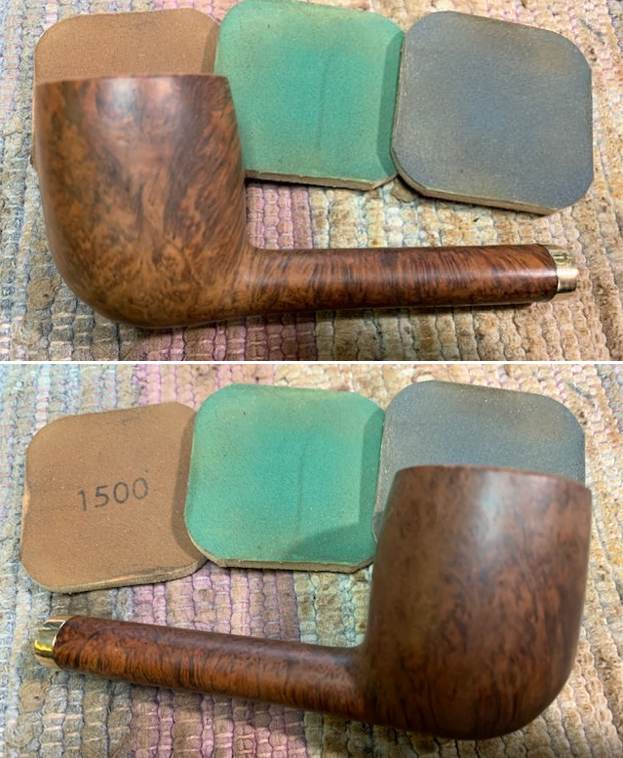
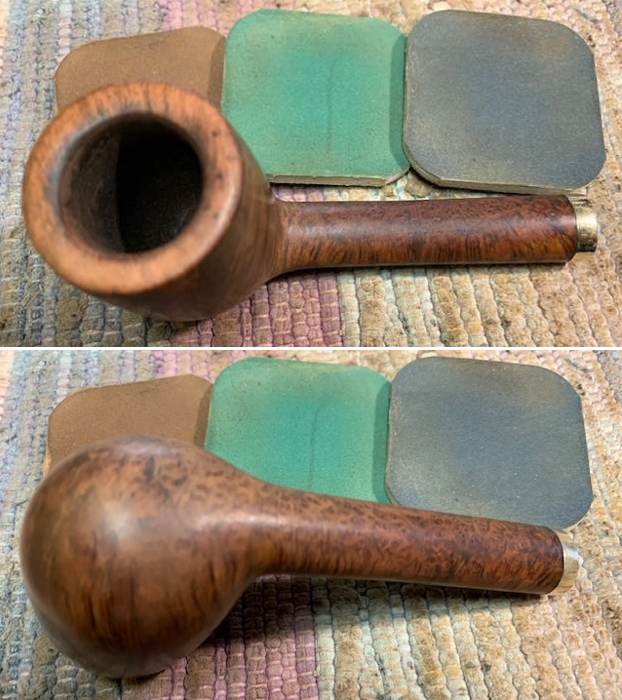
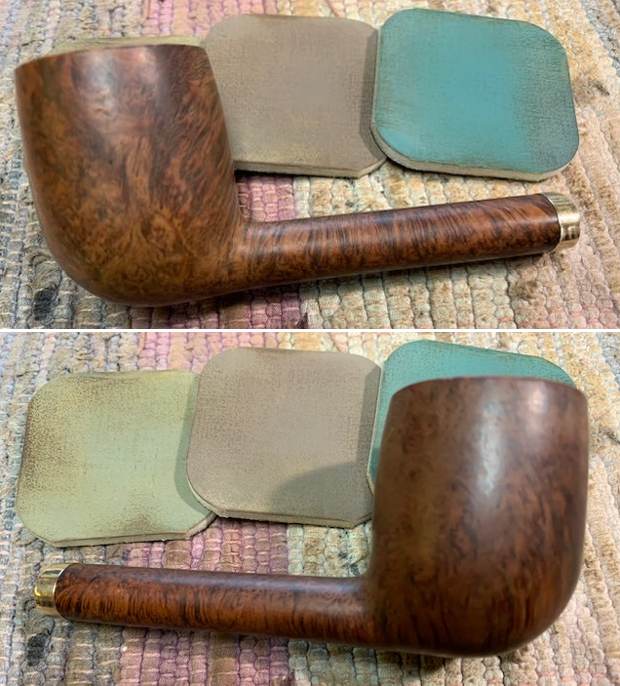
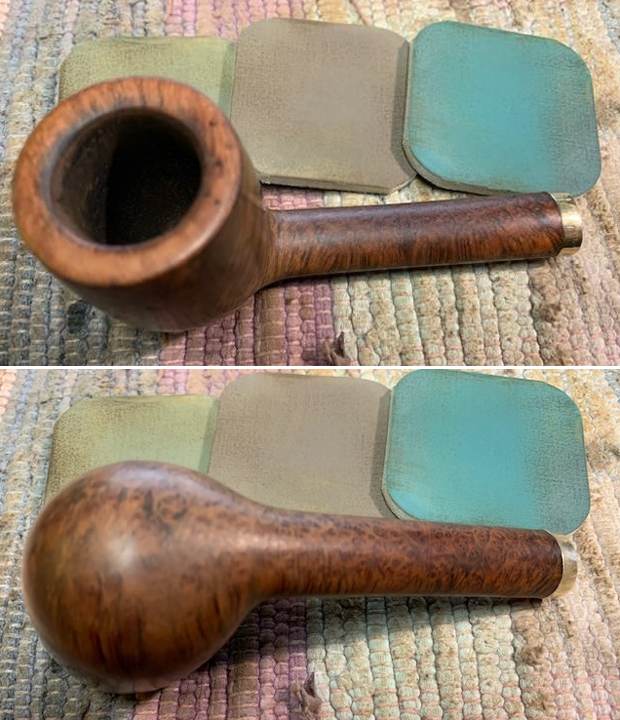
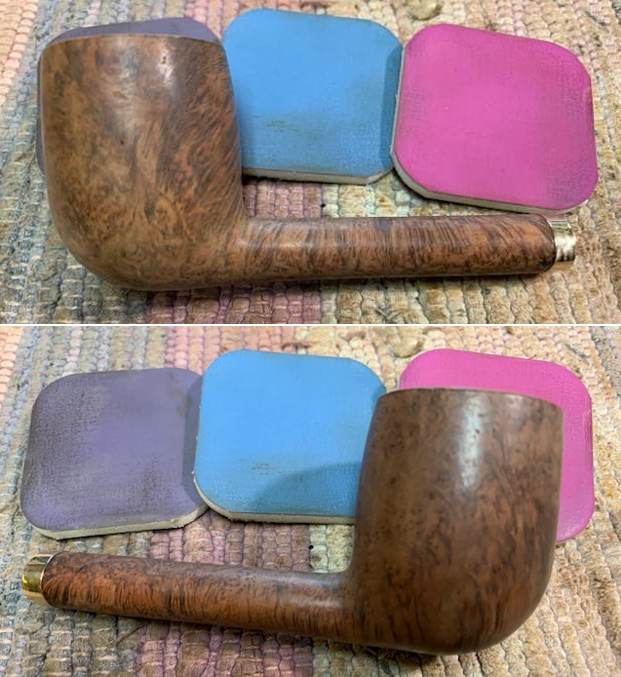
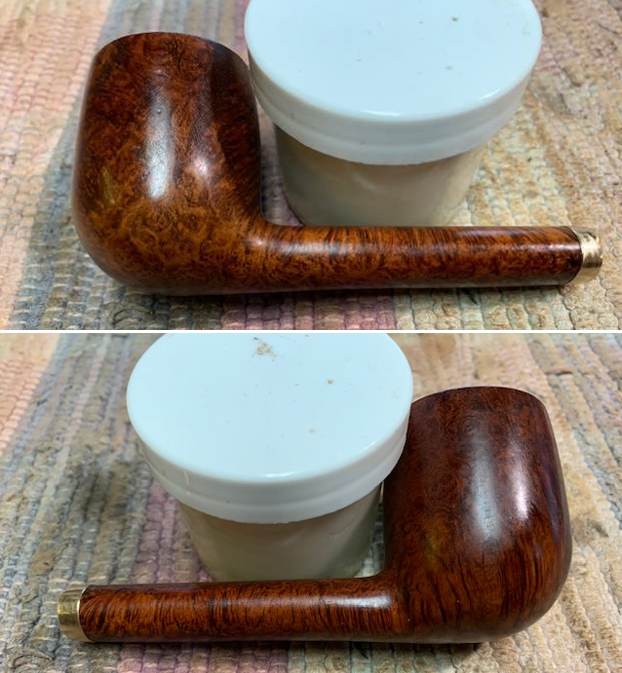
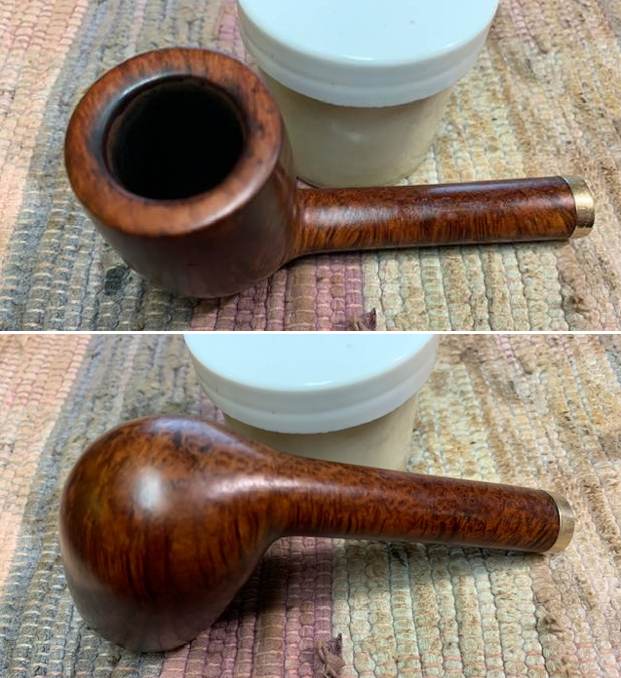
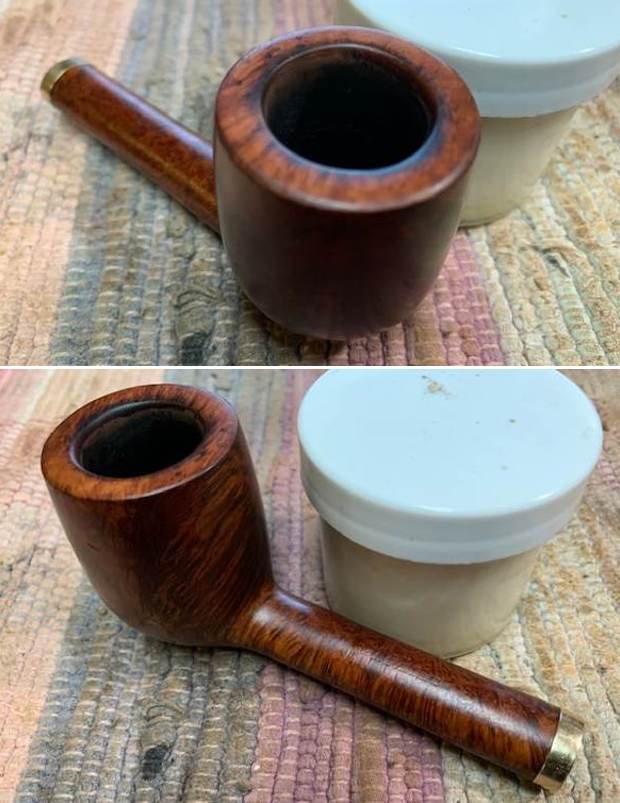
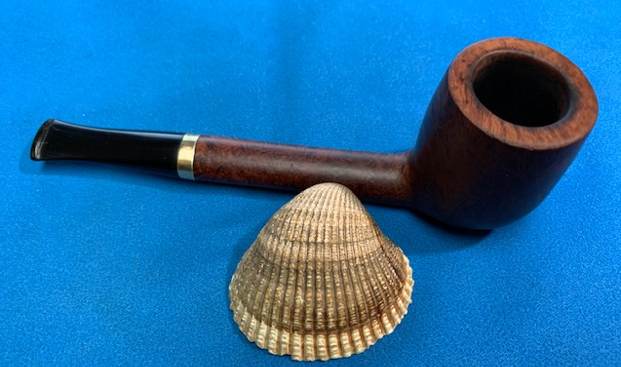
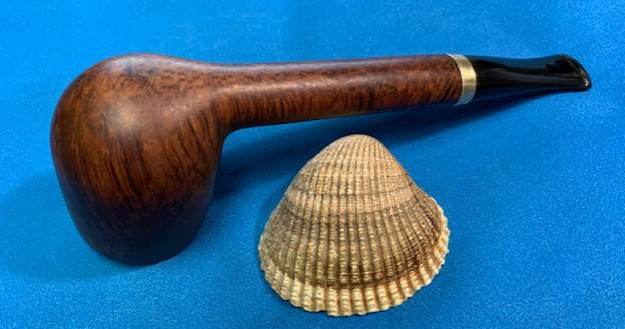
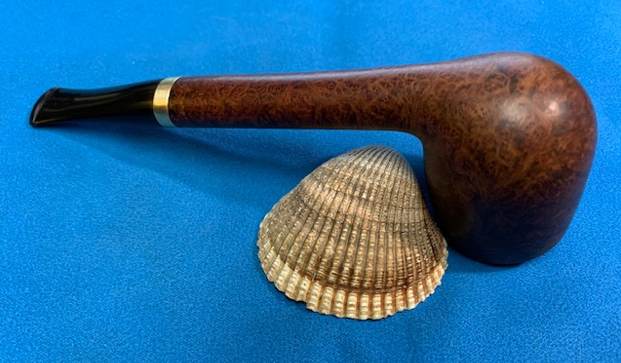
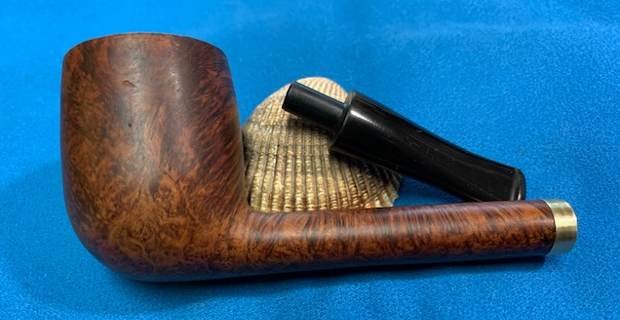
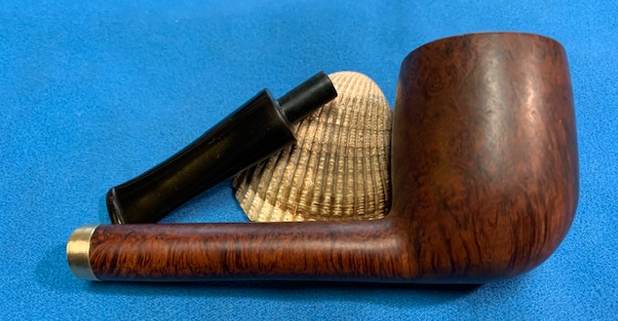
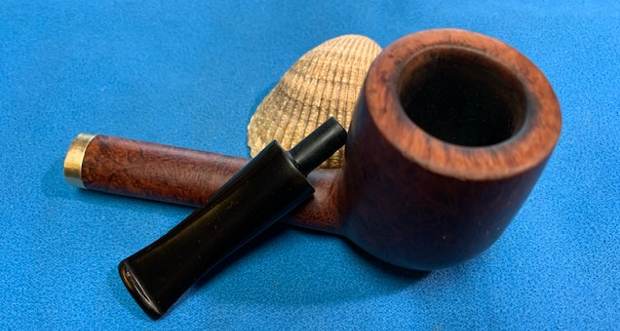
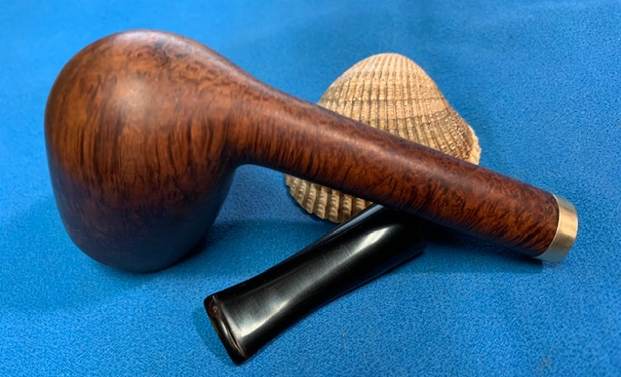
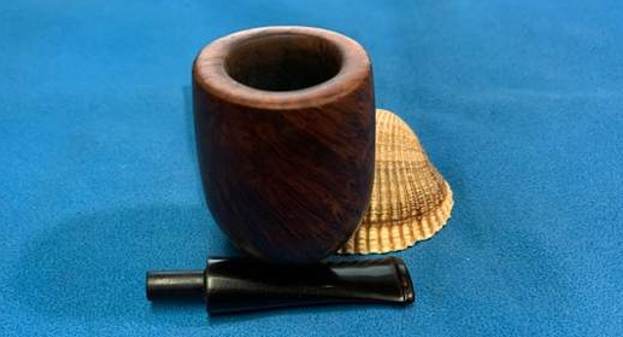
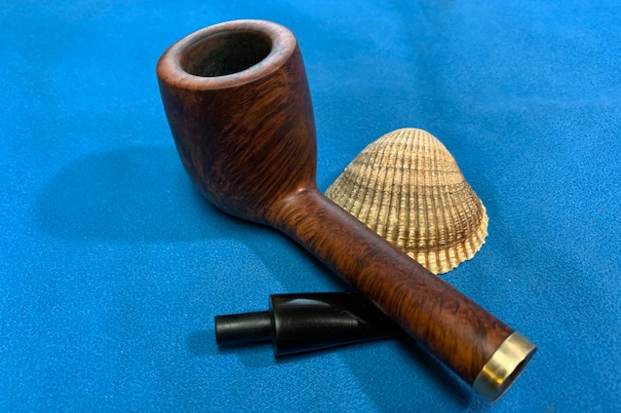
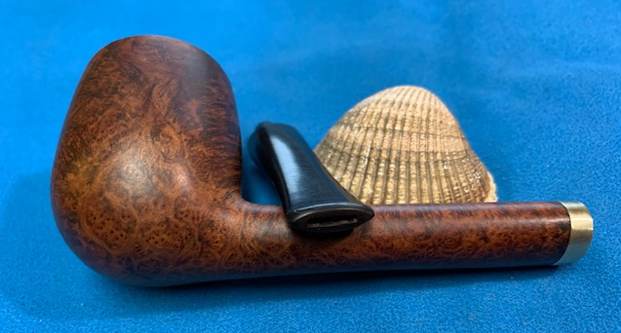
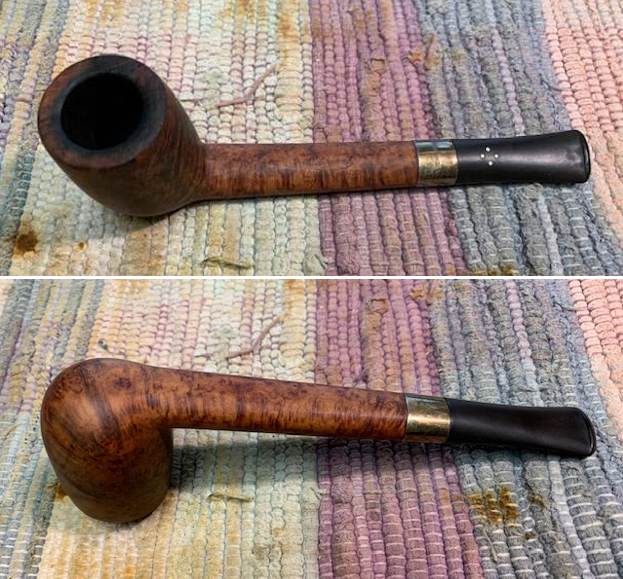
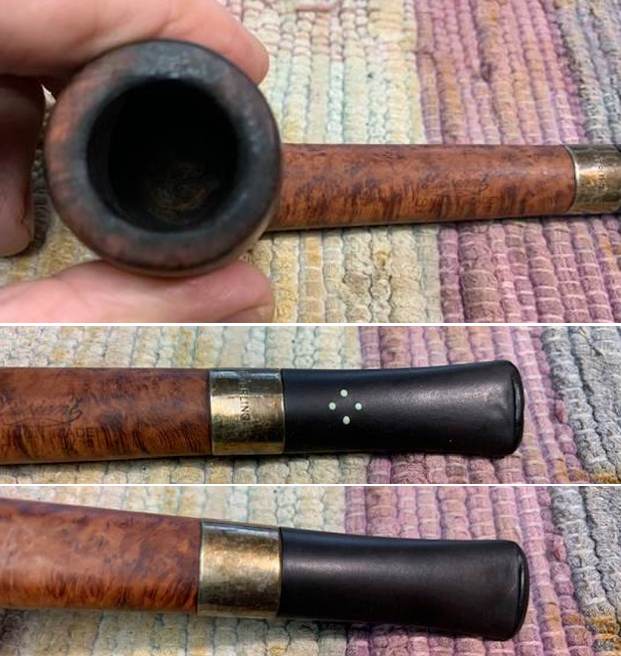
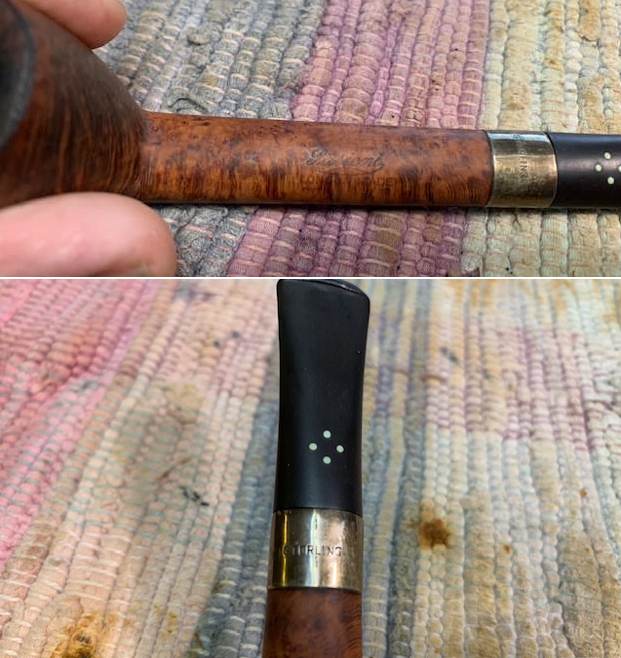
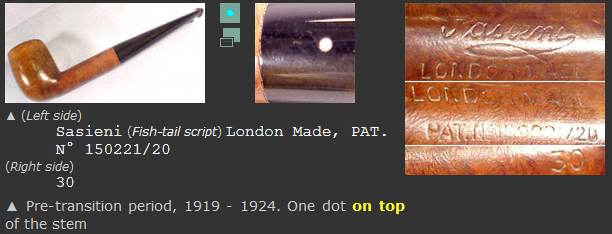
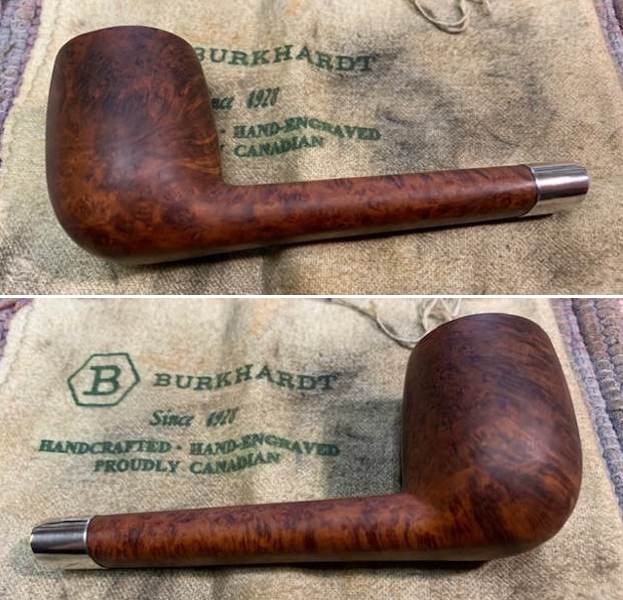
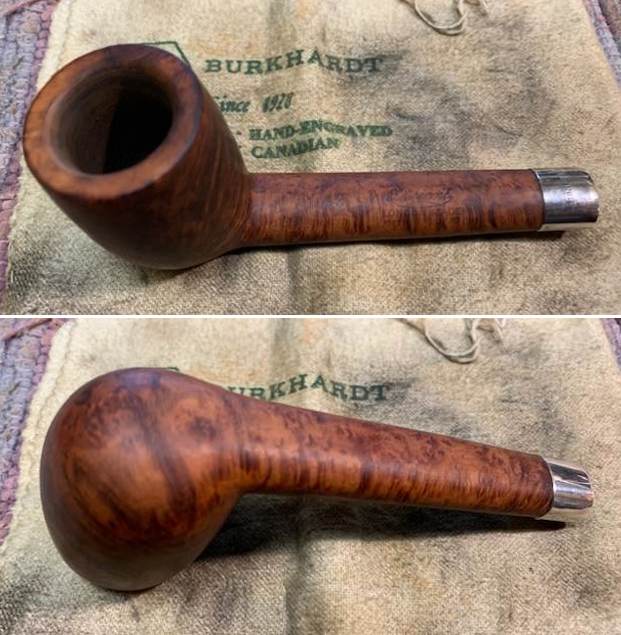
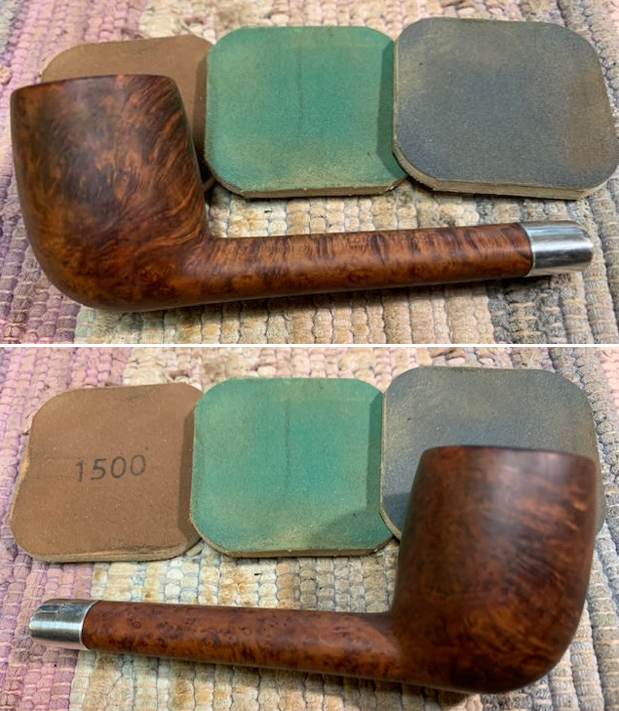
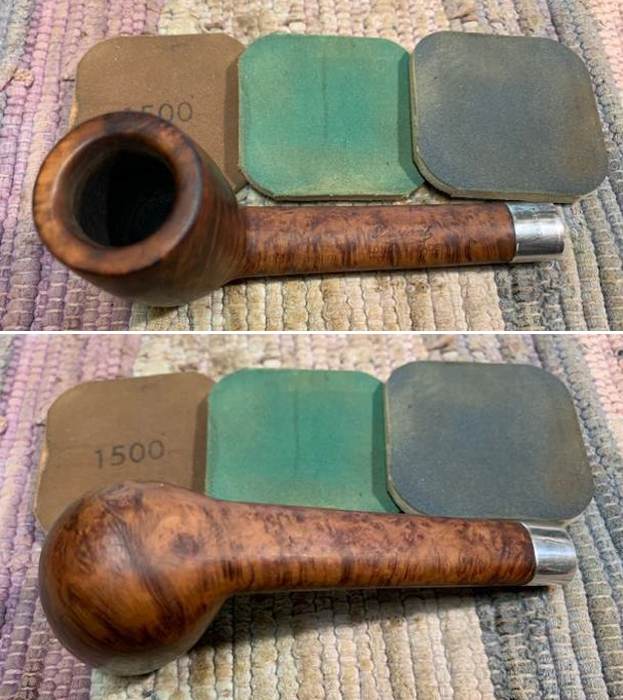
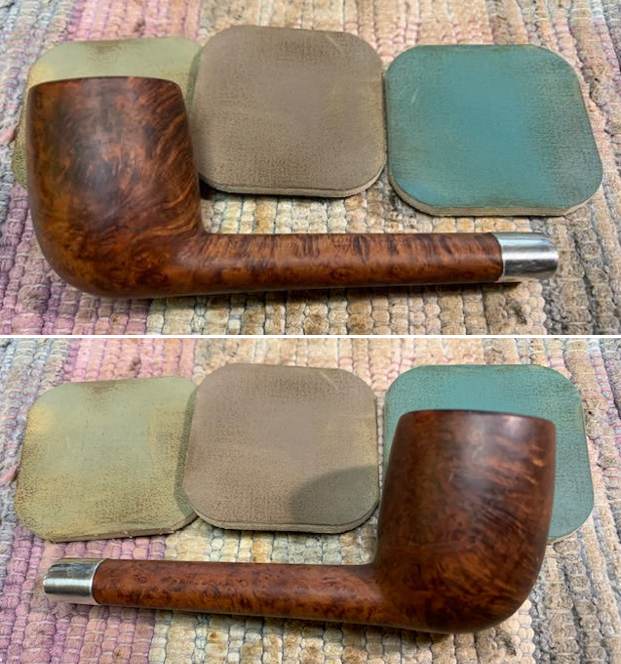
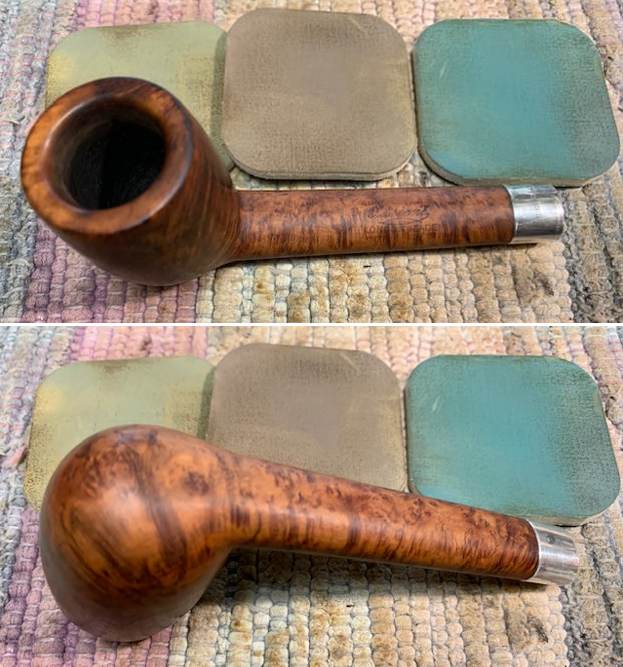
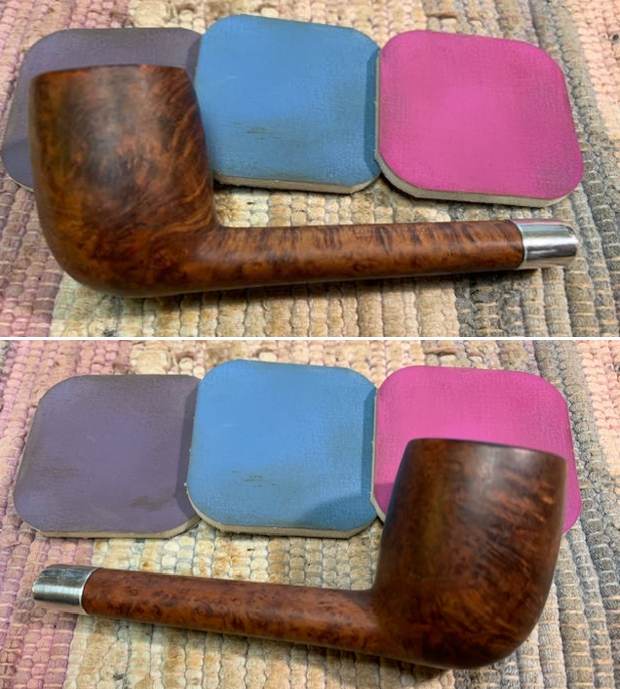
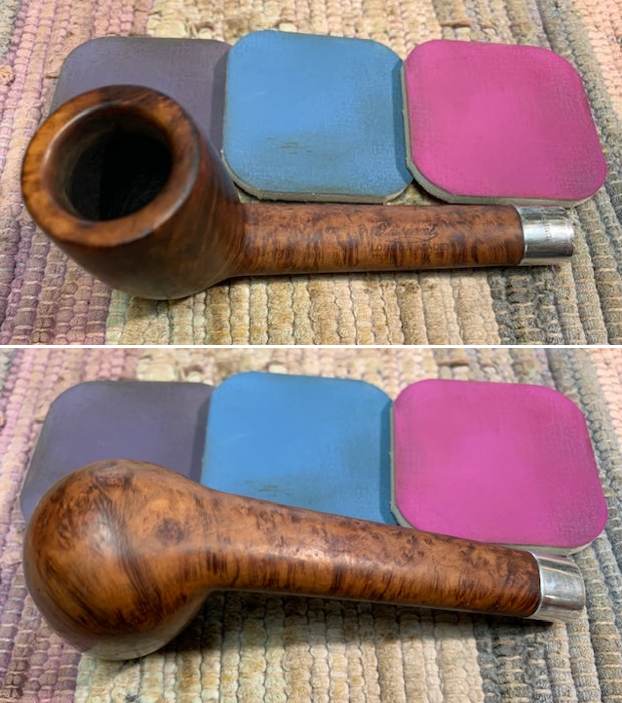
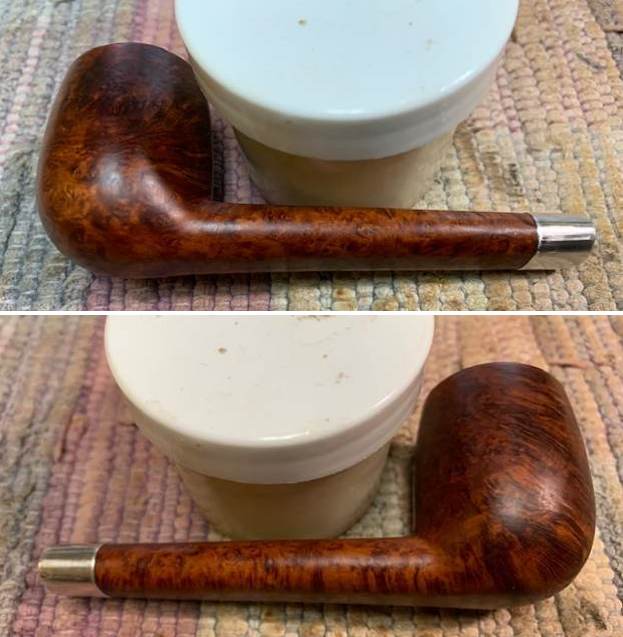
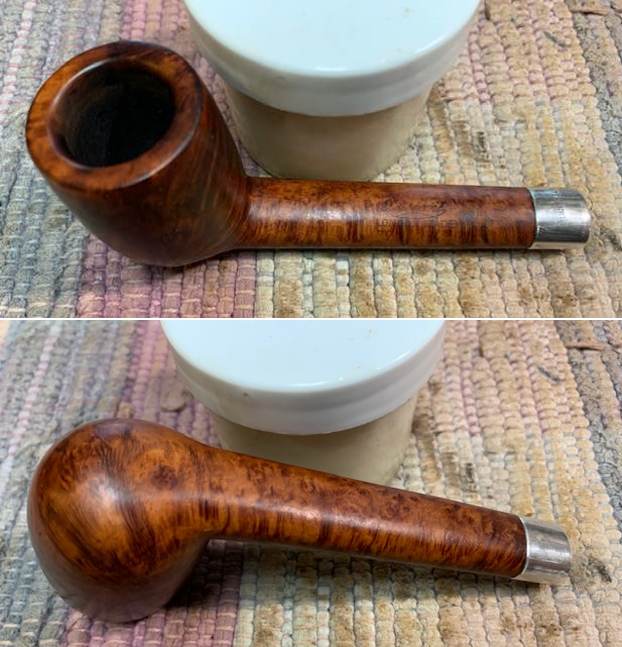
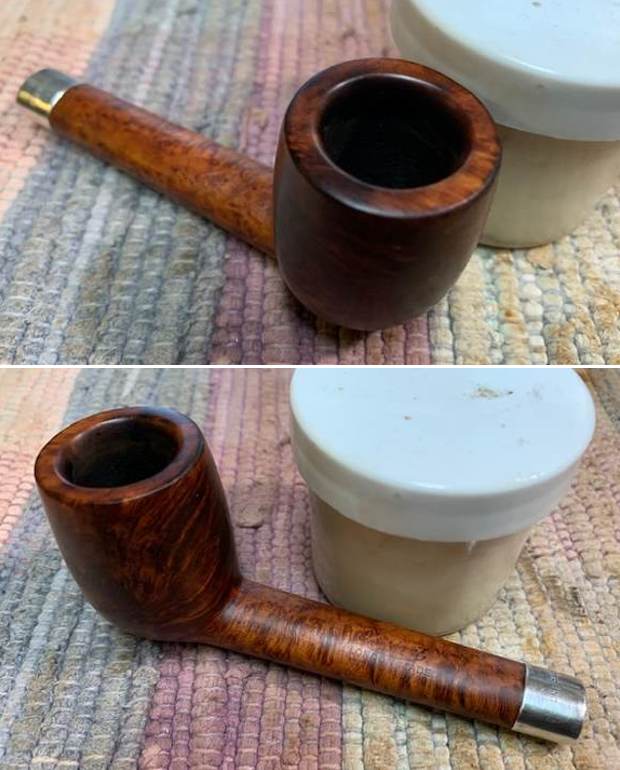
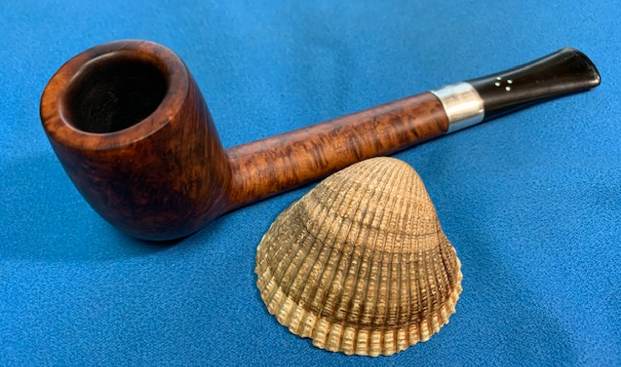
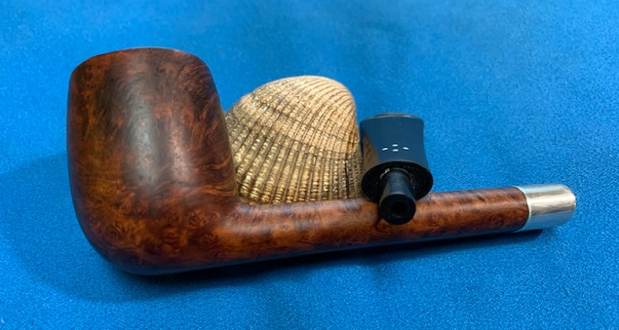
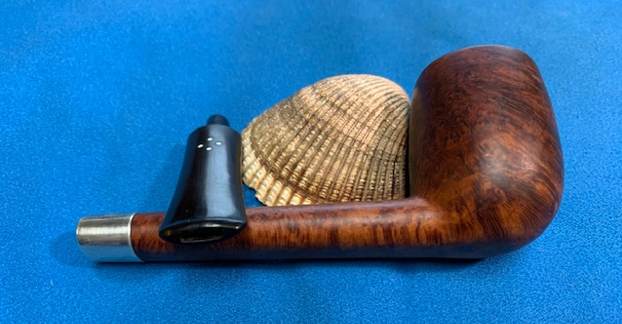
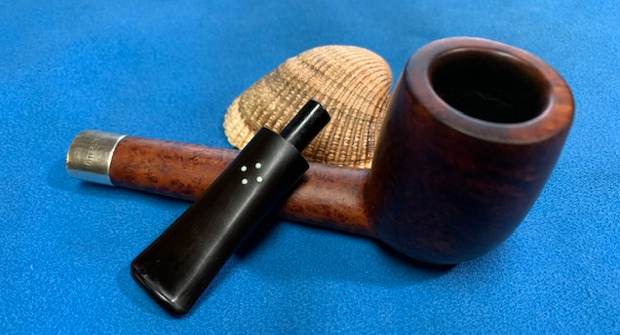
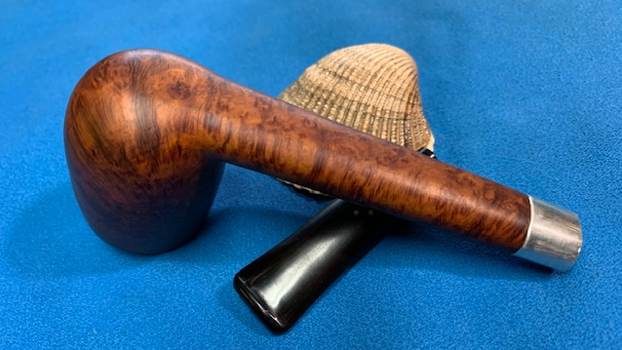
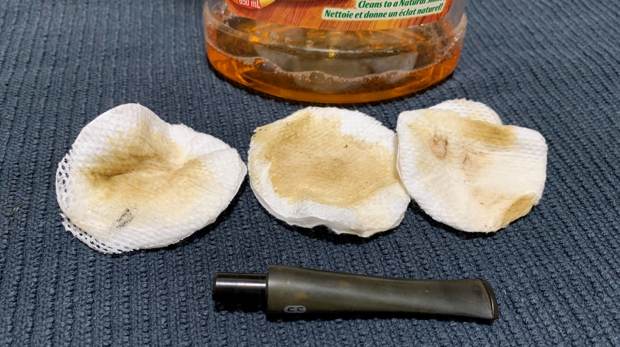
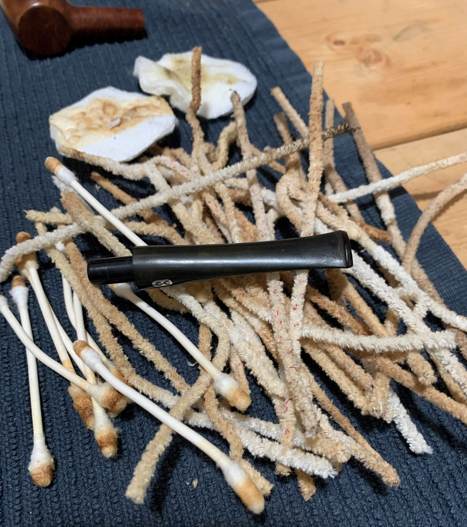
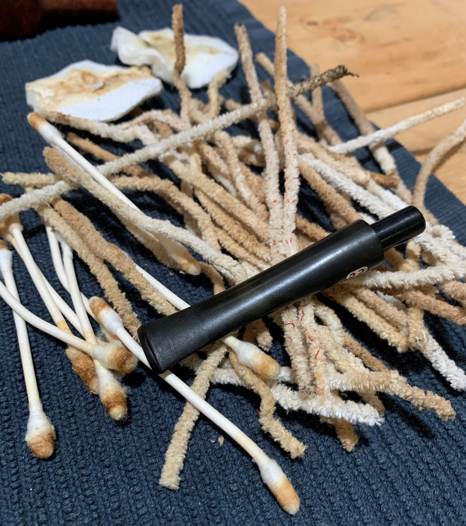
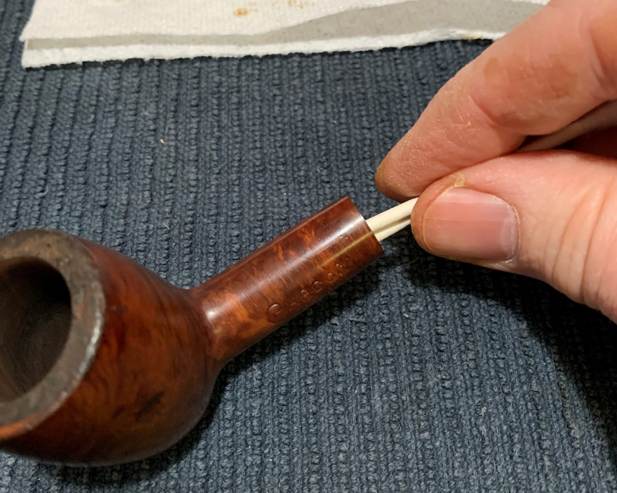
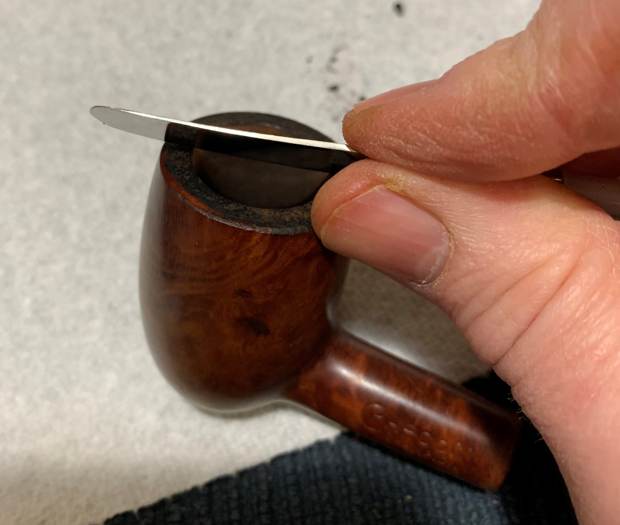
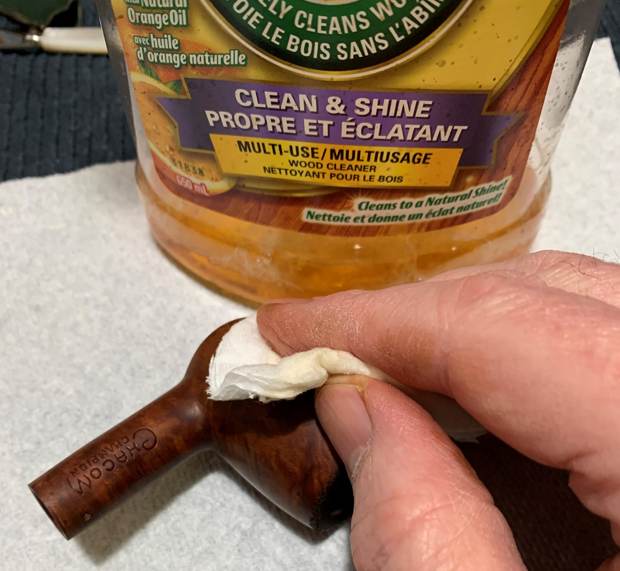
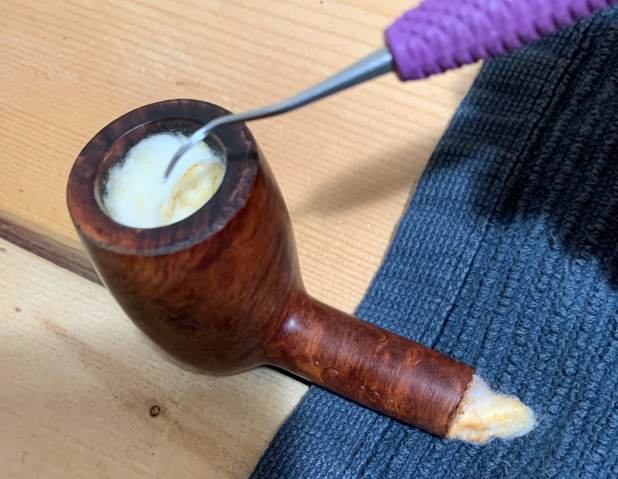
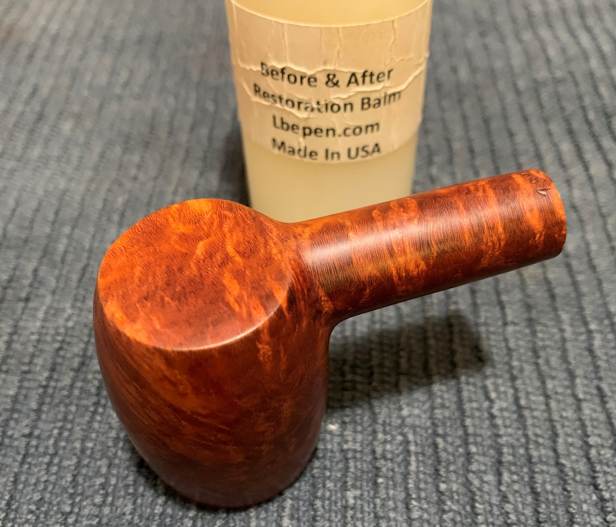
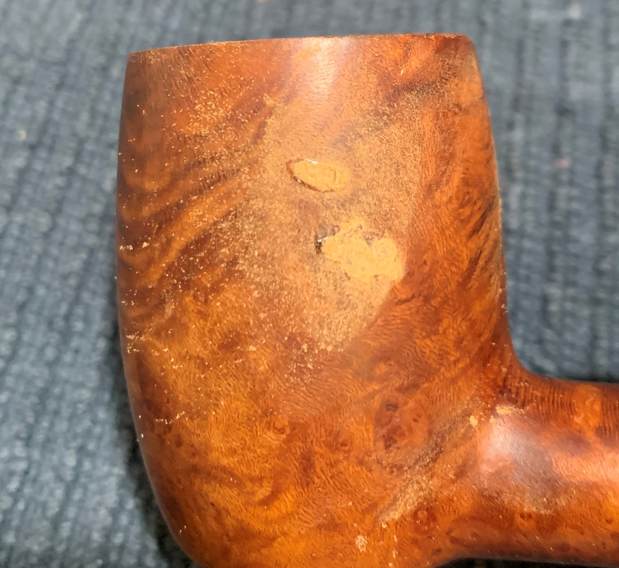
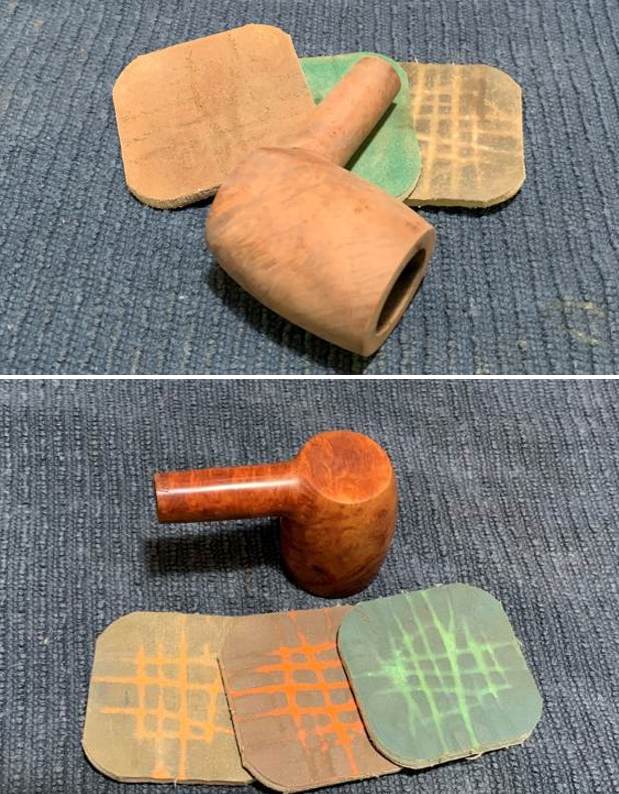
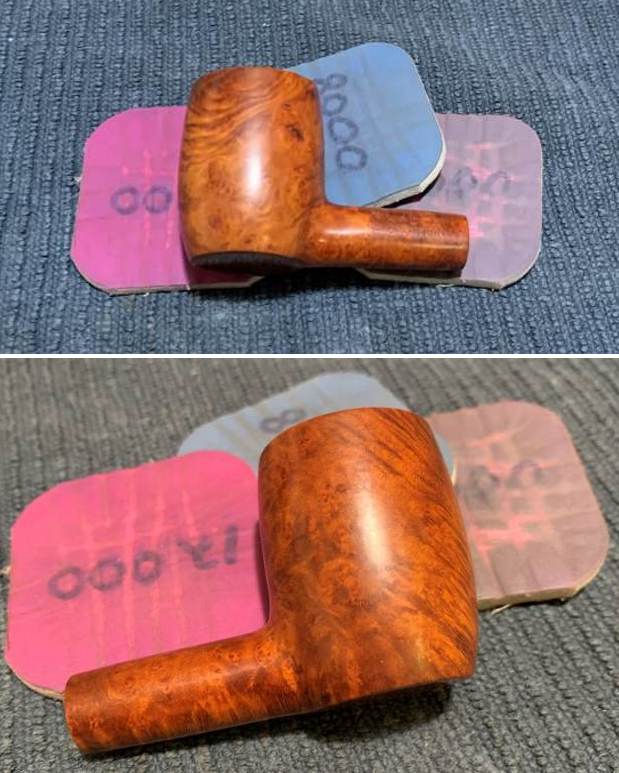
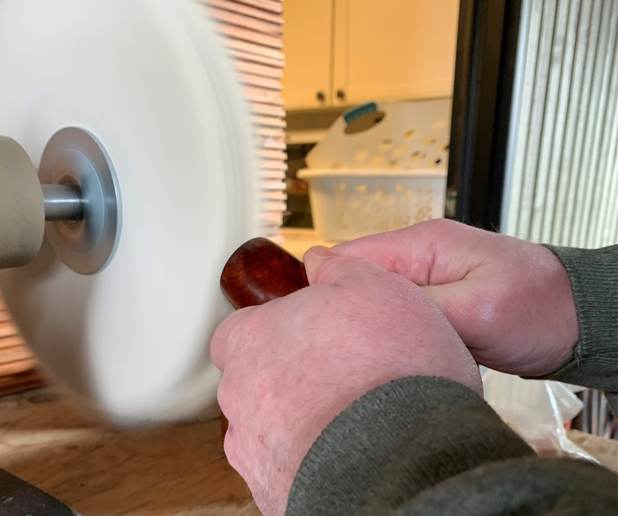
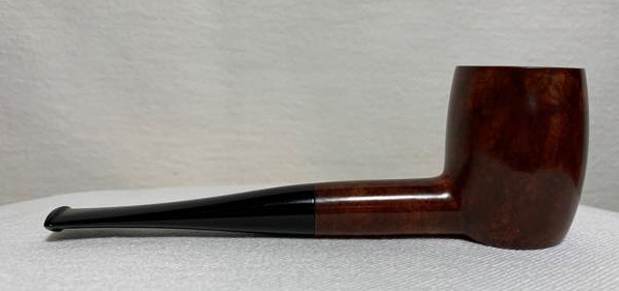
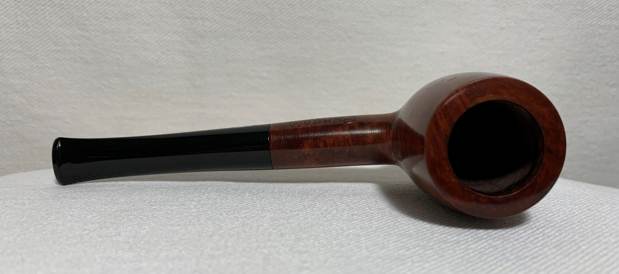
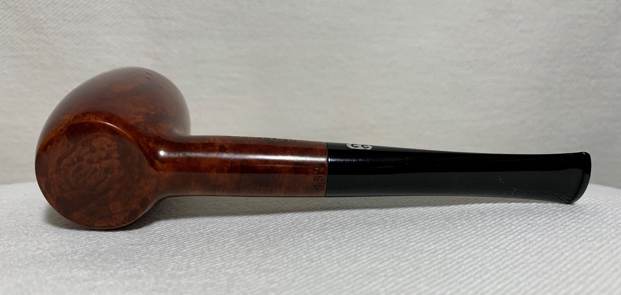
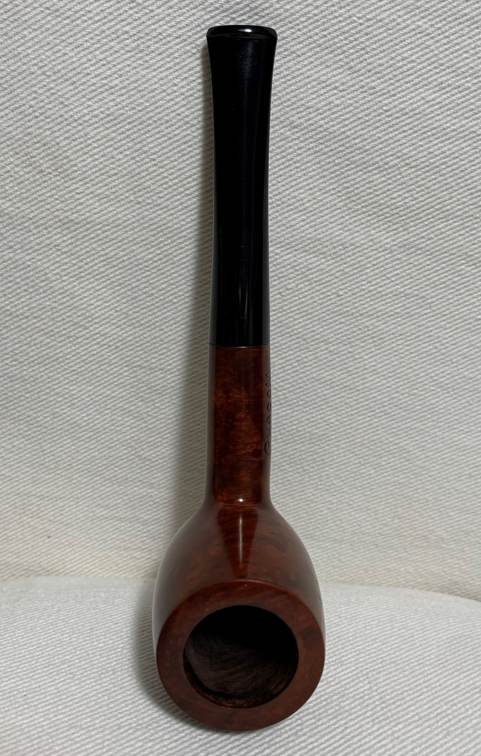
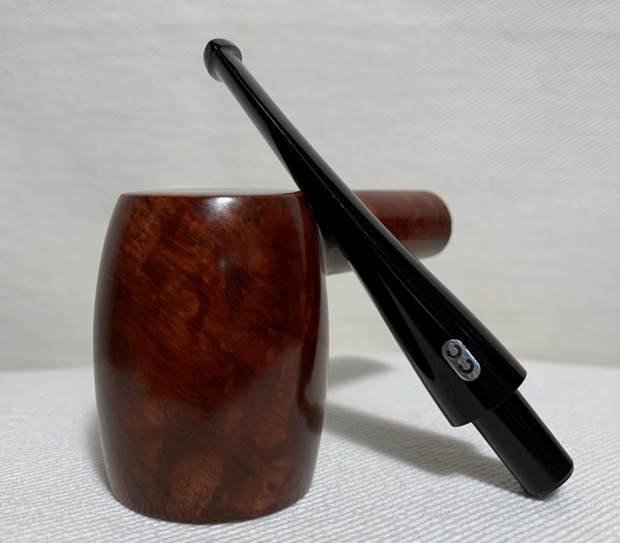
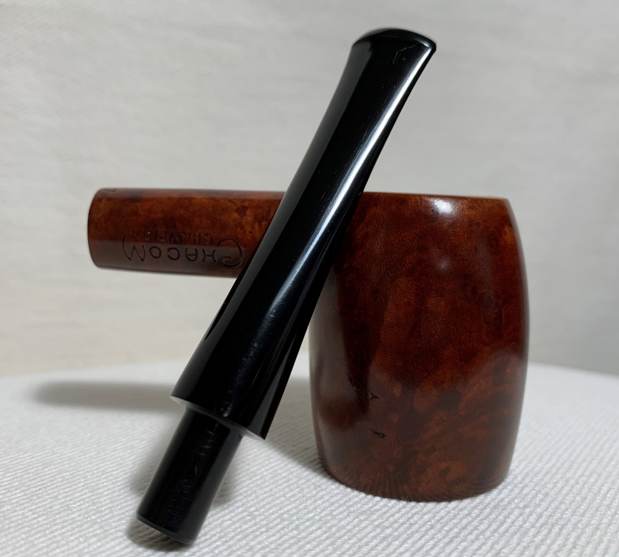
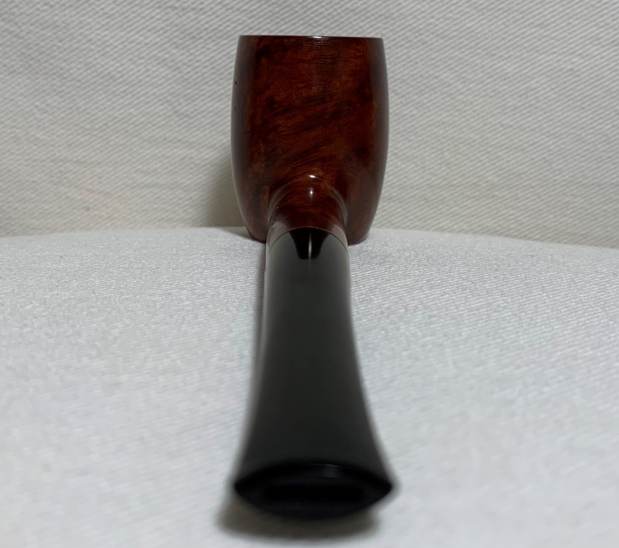
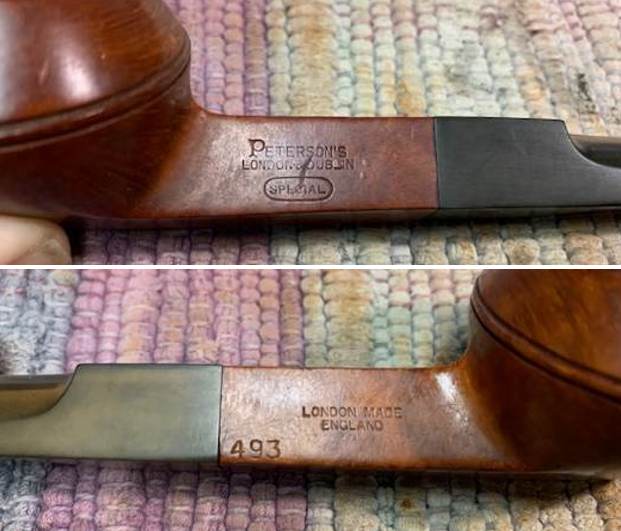
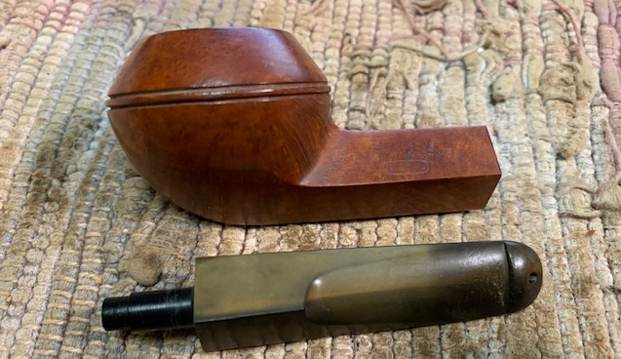
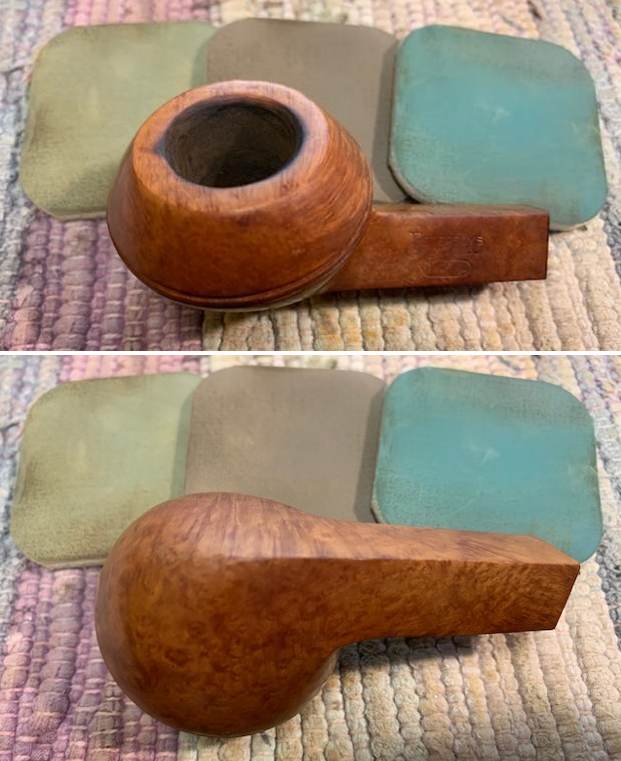
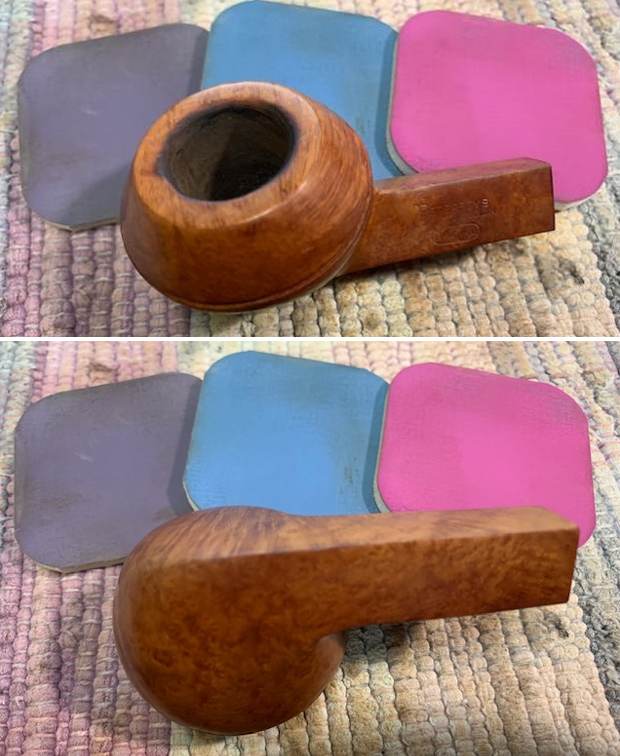
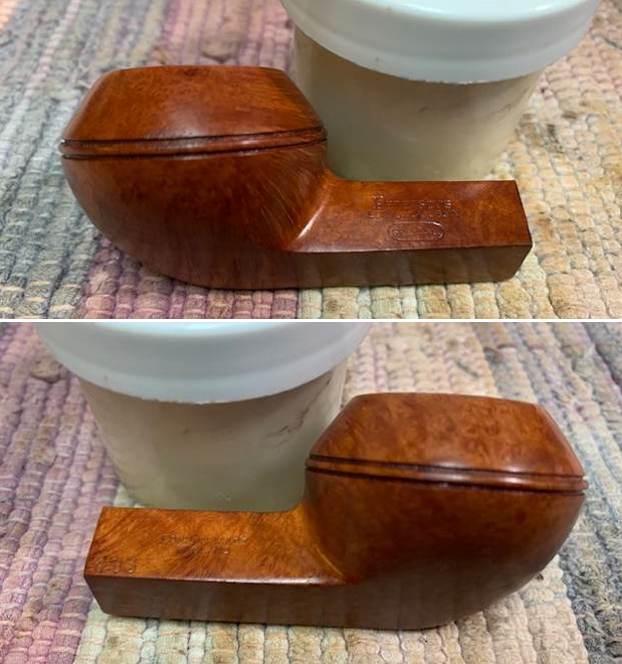
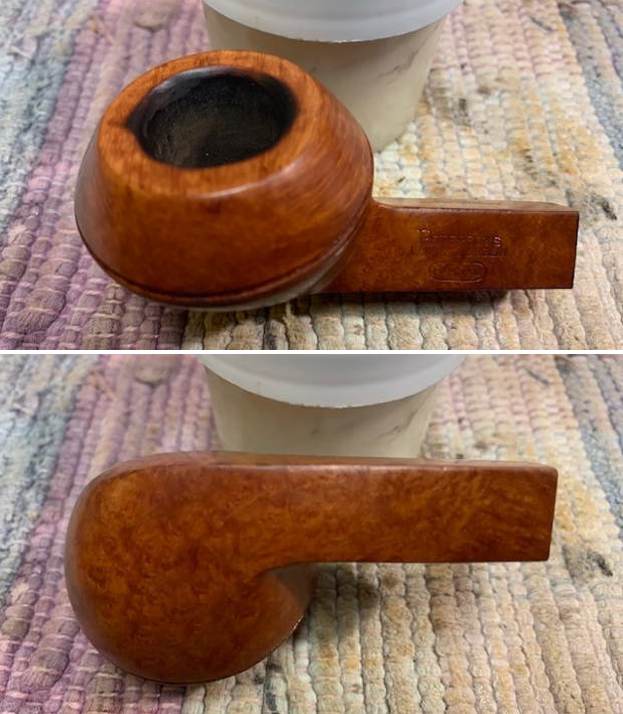
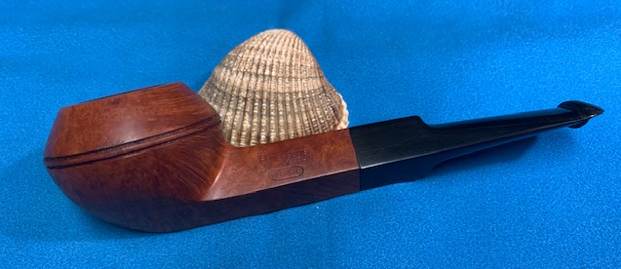
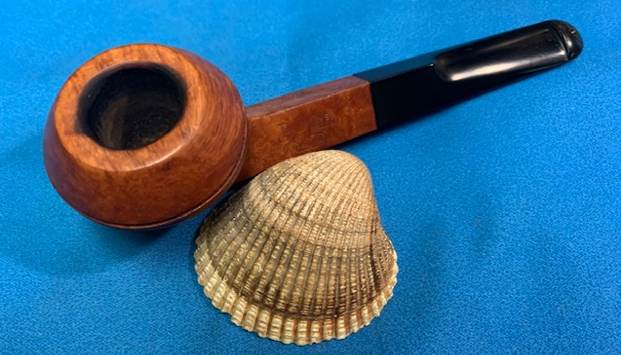
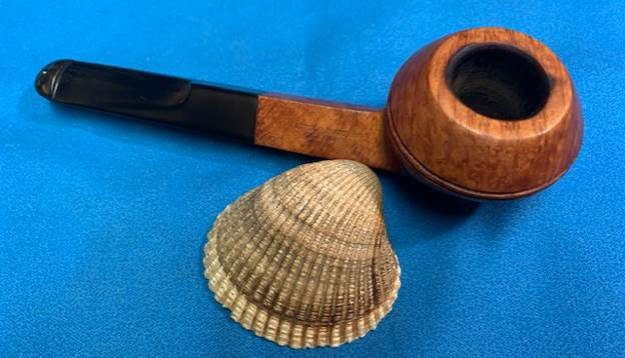
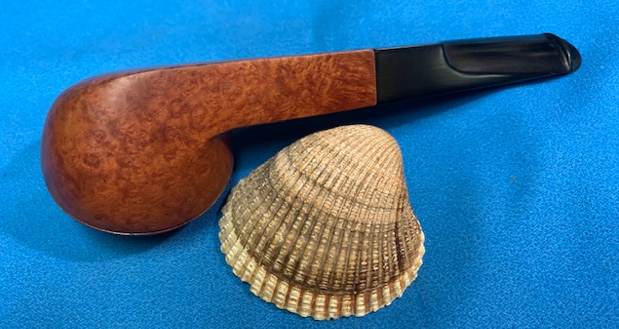
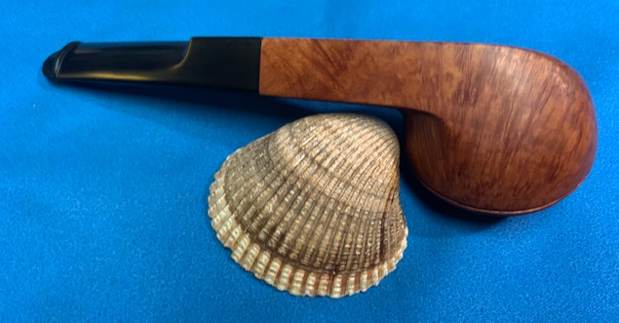
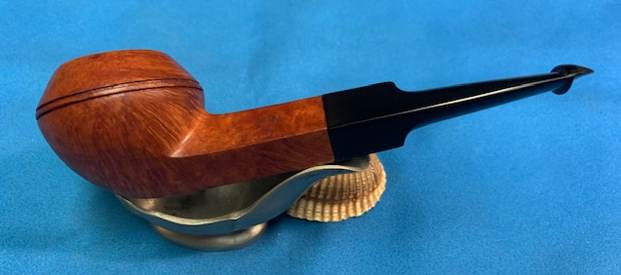
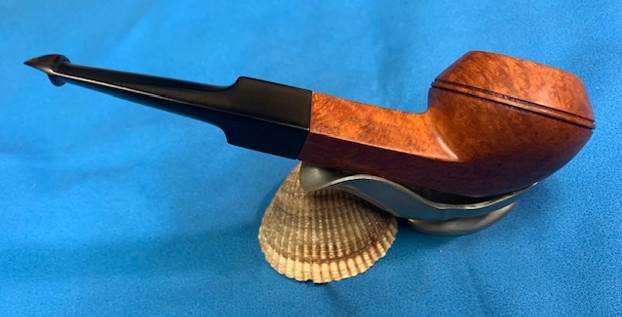
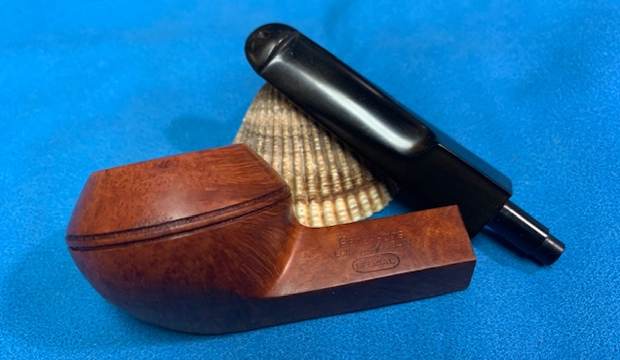
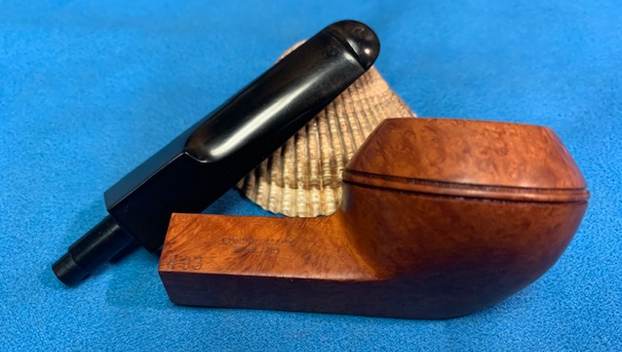
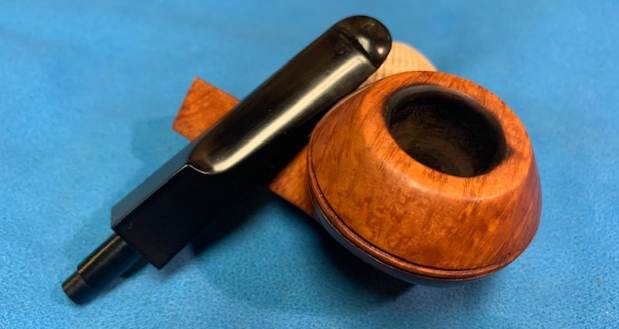
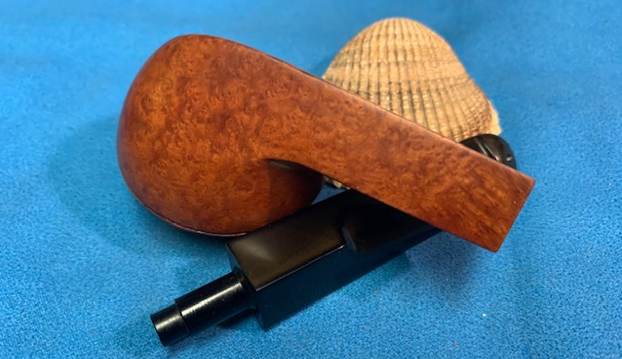
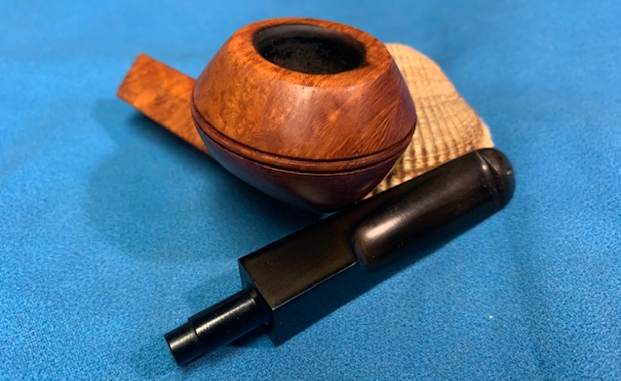
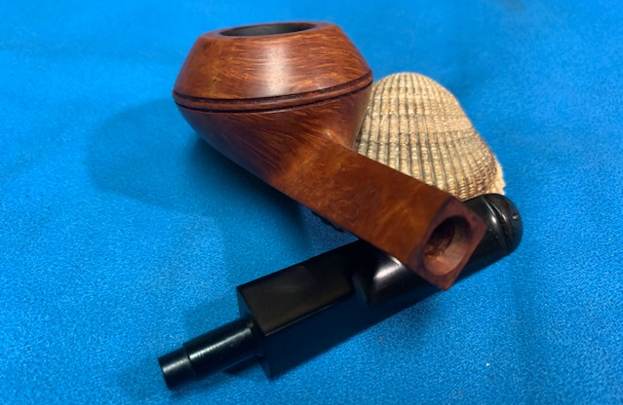
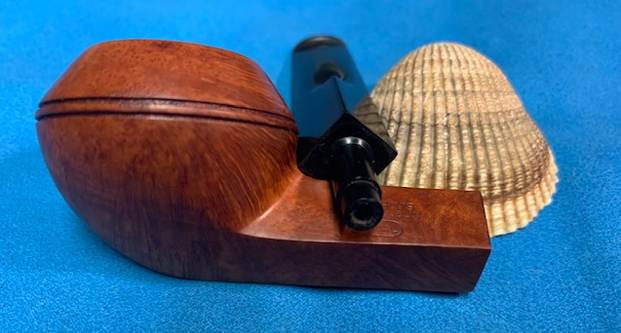
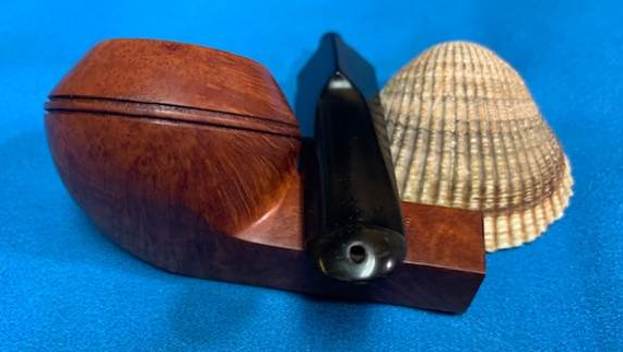
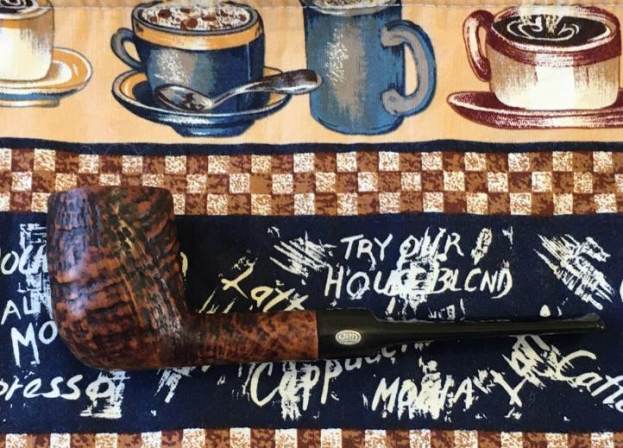
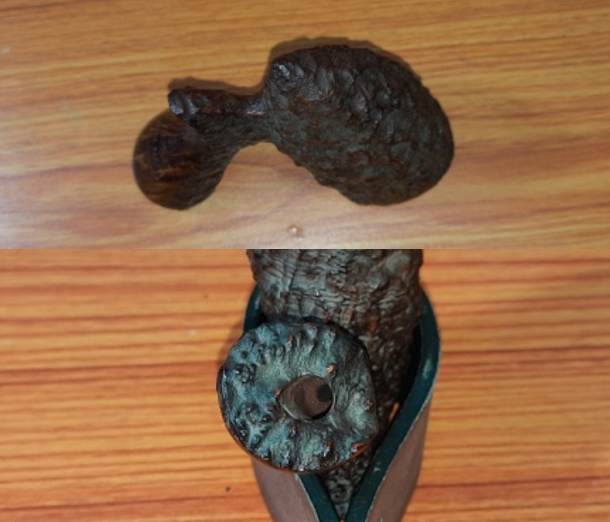
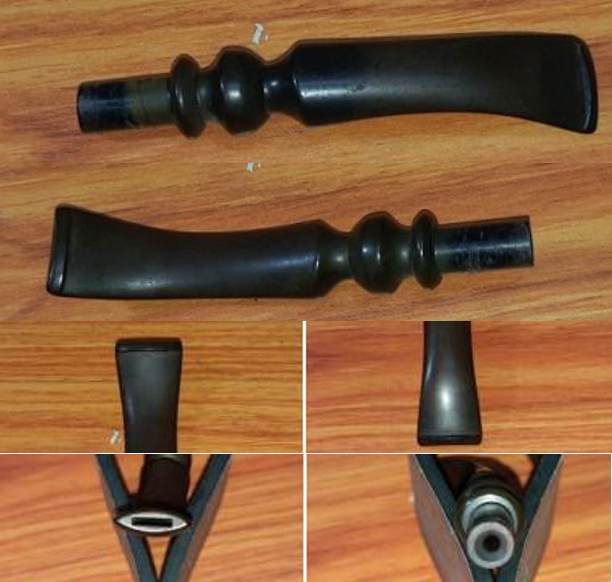
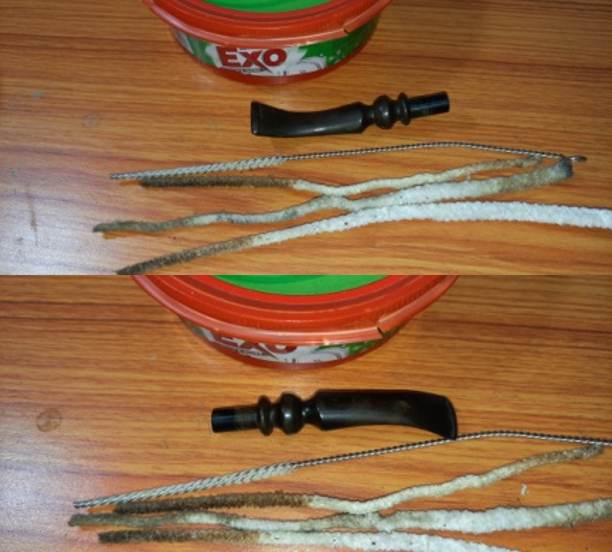
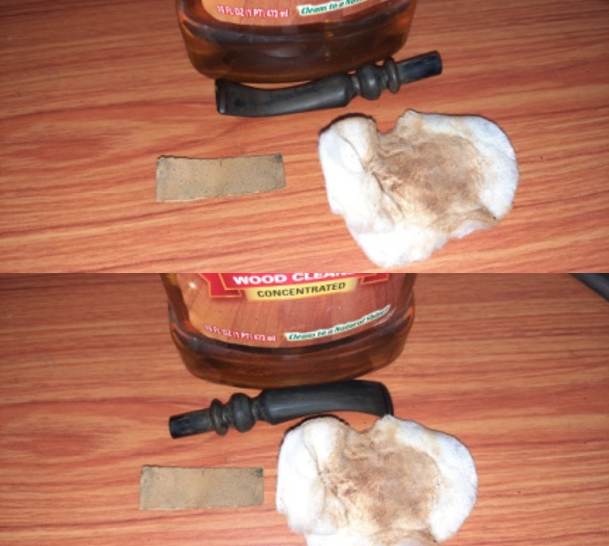
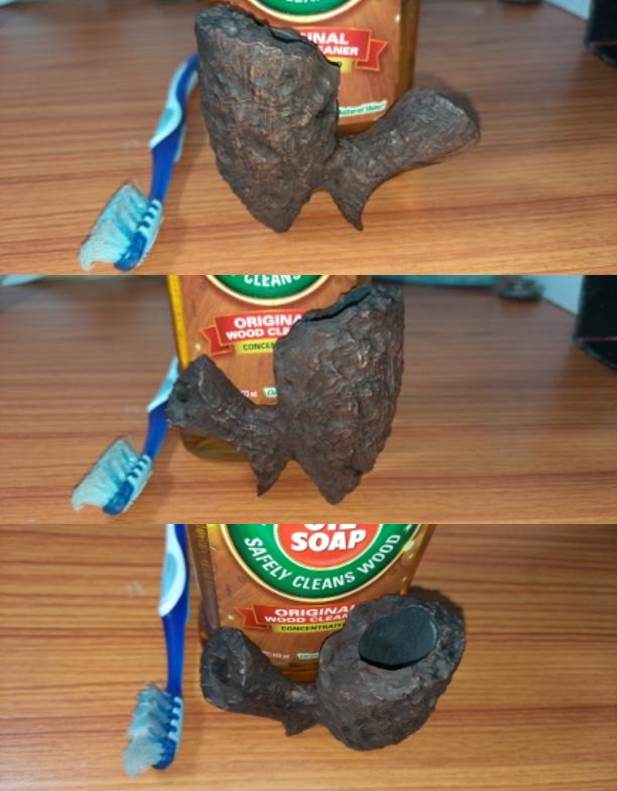
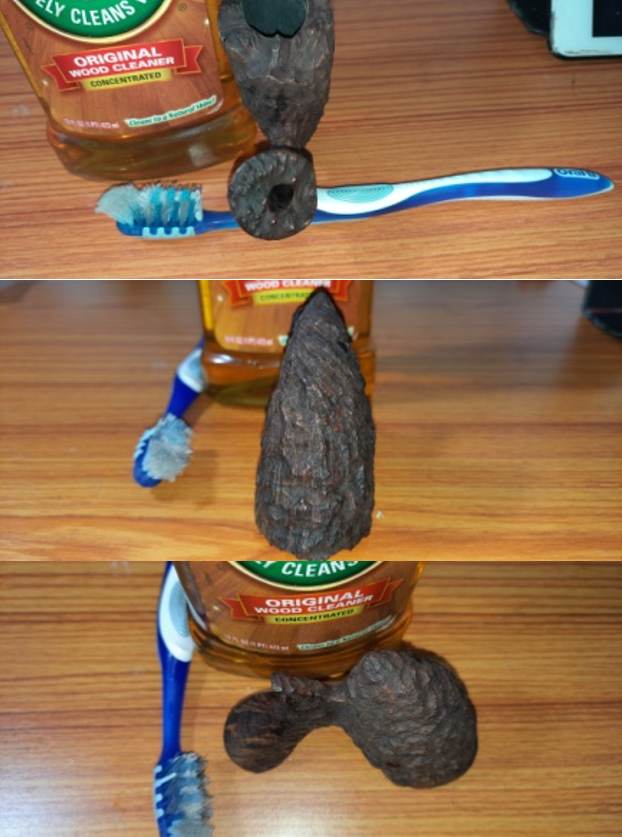
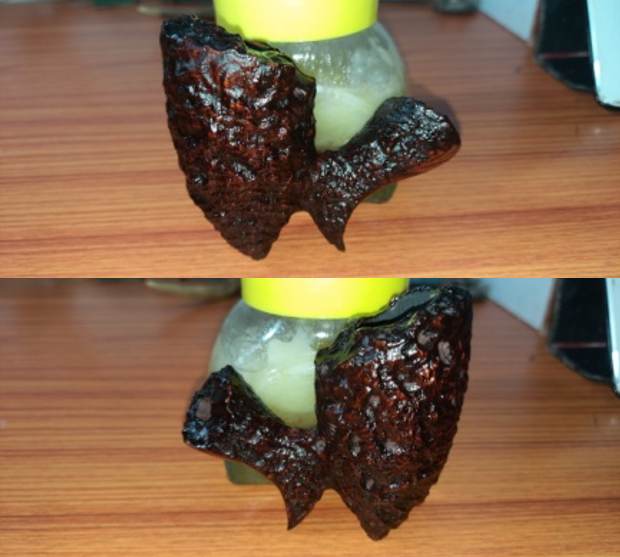
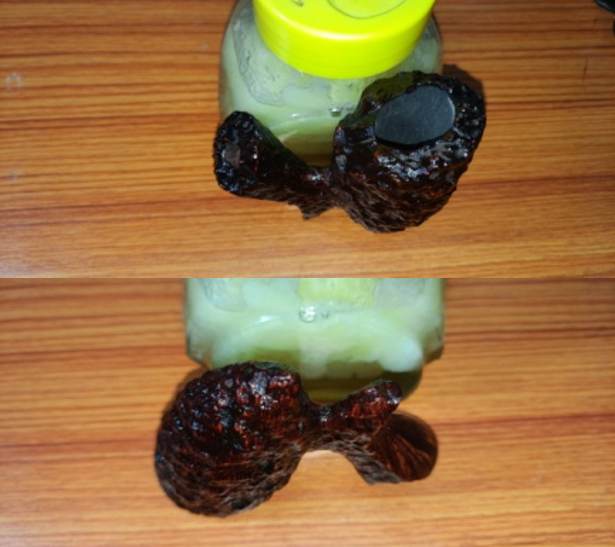
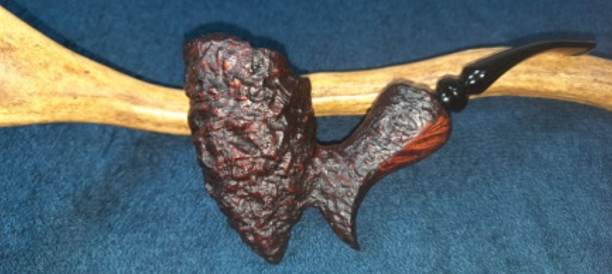
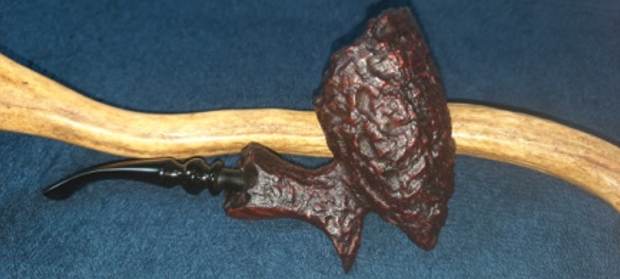
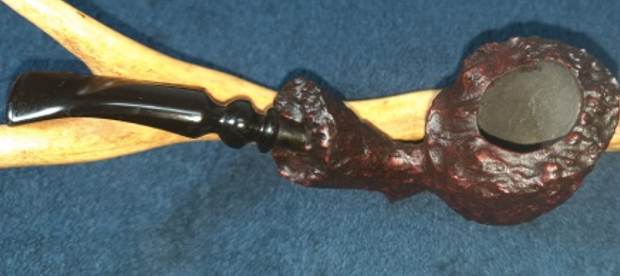
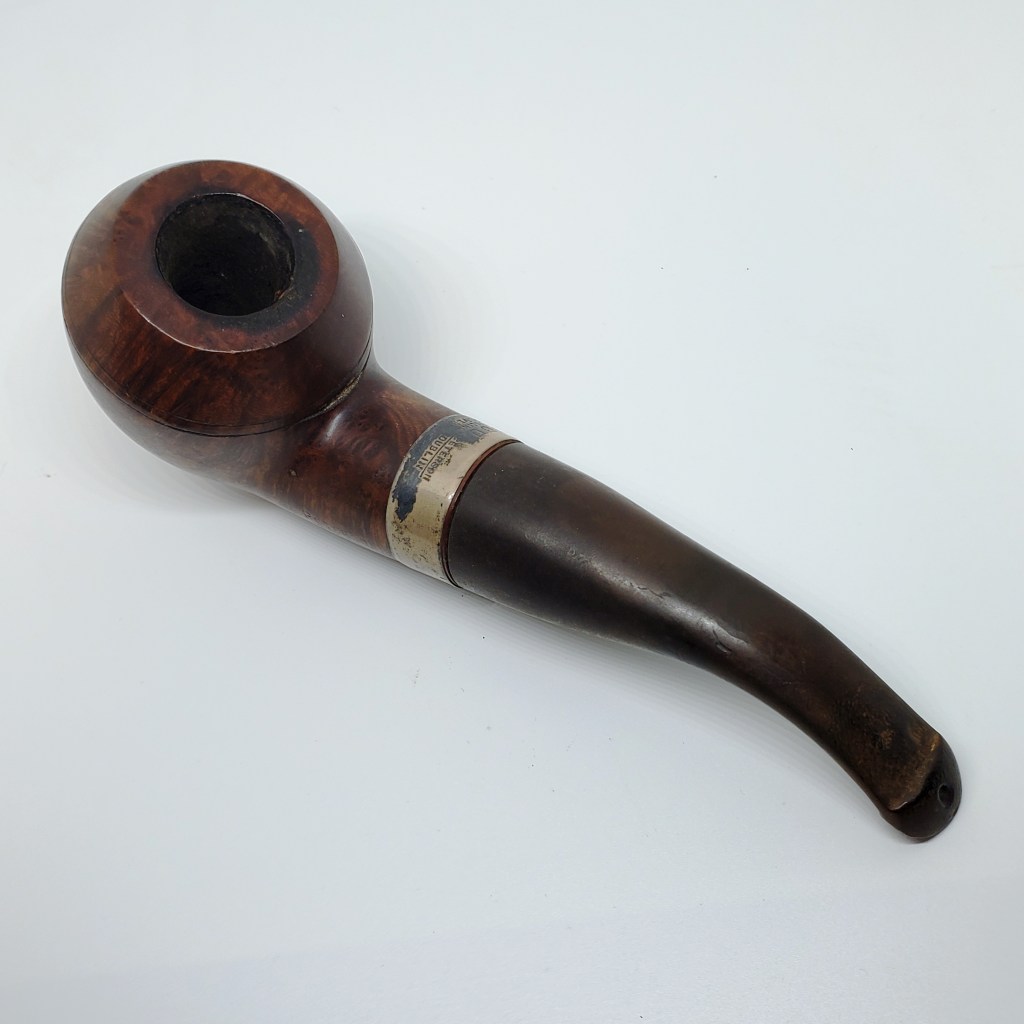
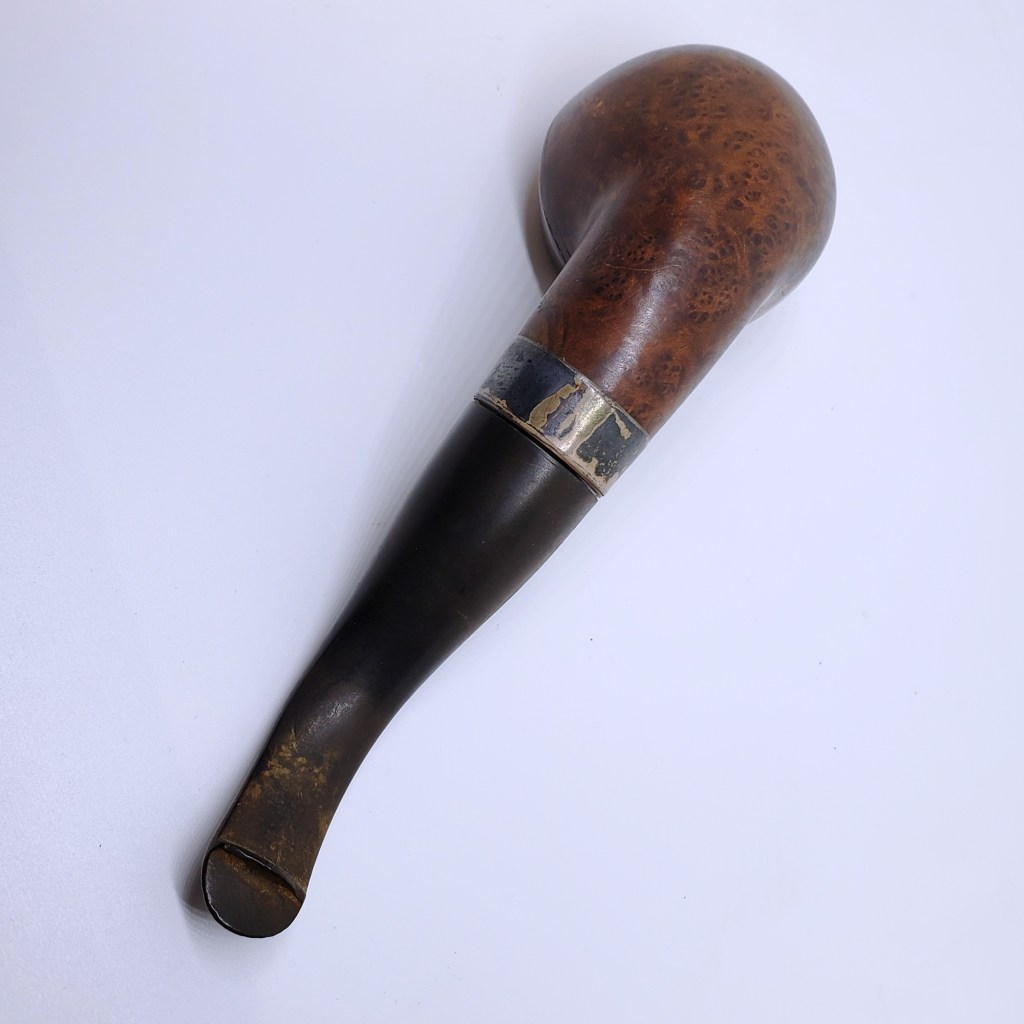
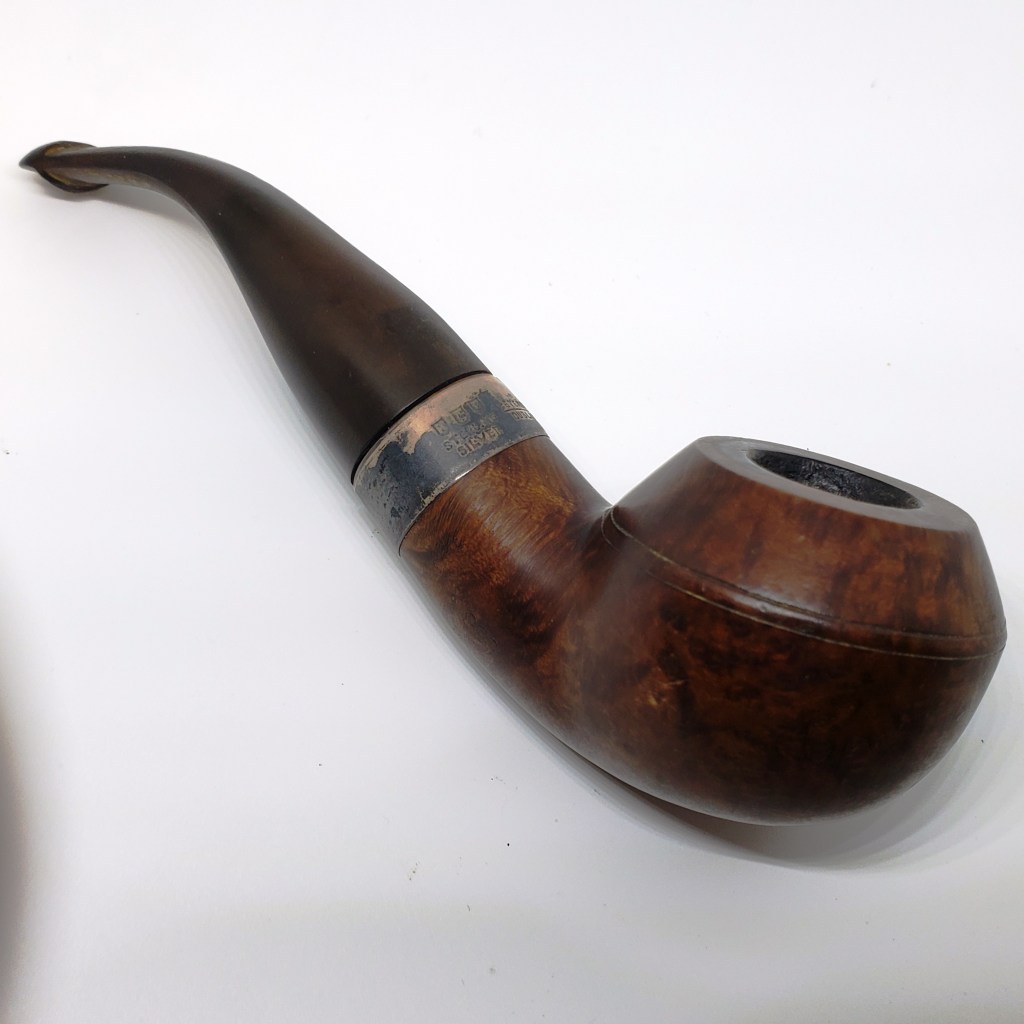
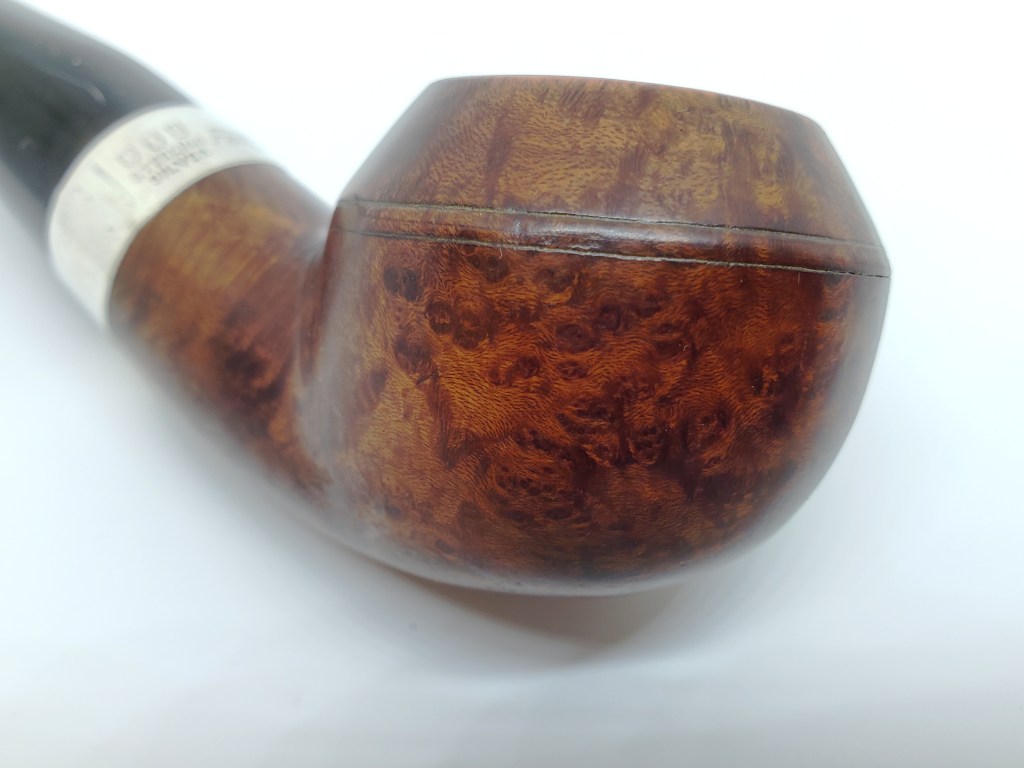
 Pipe man Mike from Tennessee heard the whisper of this pipe and the McMillian Sports joined other pipes he commissioned. I appreciate Mike’s love of pipes and the fellowship that pipes create with likeminded folks. I also appreciate Mike’s other hobby of threading and creating flies…
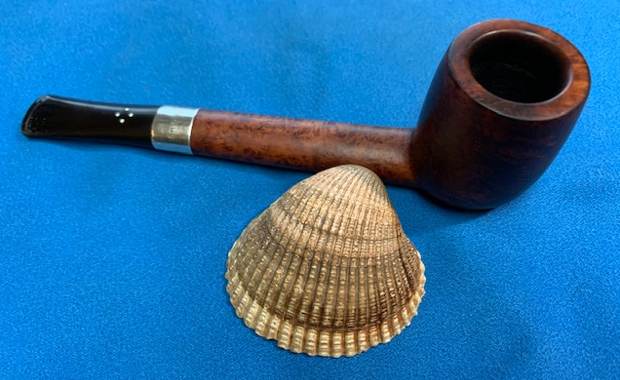