by Kenneth Lieblich
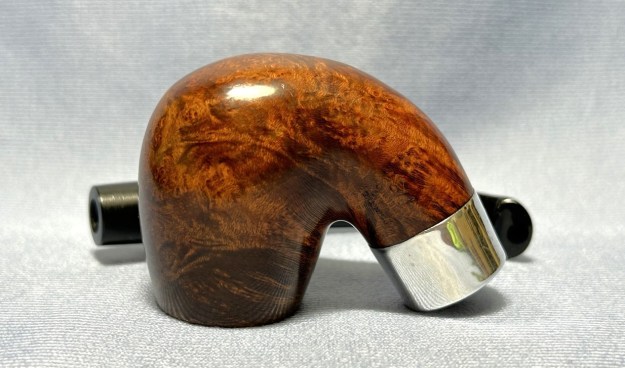
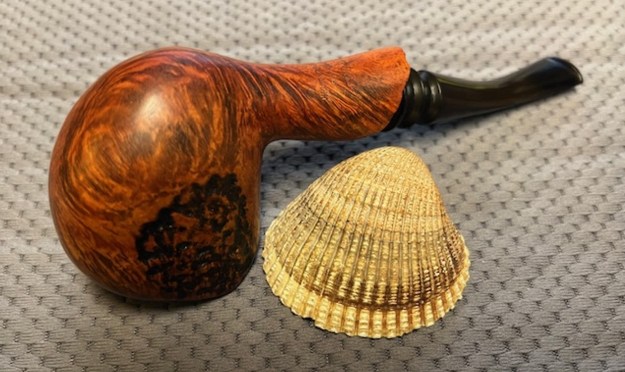
Ah, the Peterson Deluxe System – such a lovely pipe. Good fortune has provided two such pipes for me. First is the one you’re about to see restored and the second in a few days time. The two pipes didn’t come into my possession together, but they are being restored together. Despite both being Deluxe Systems, they have different finishes, come from different eras, and had different challenges in restoration. This 11S is really a fantastic pipe with wonderful grain. I am delighted with the way it cleaned up and I hope you are too!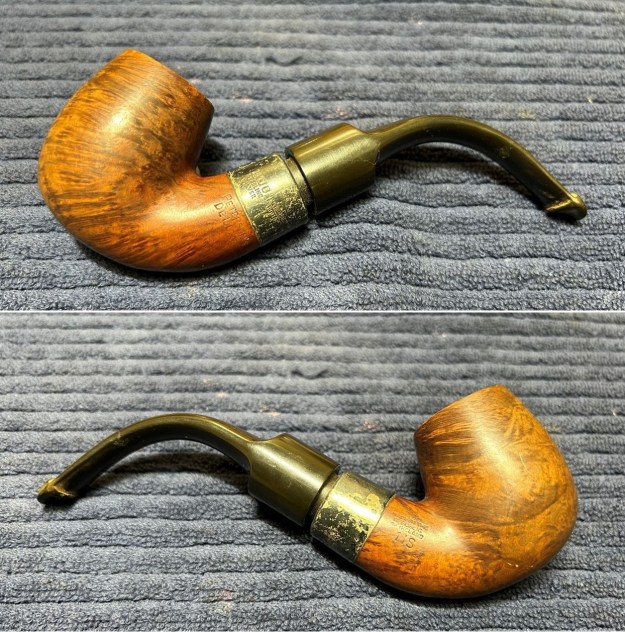
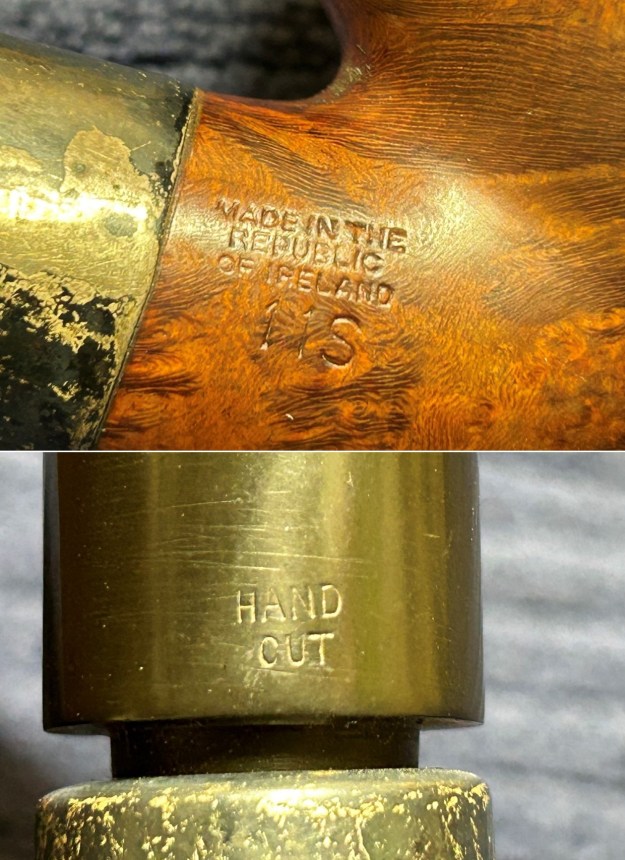
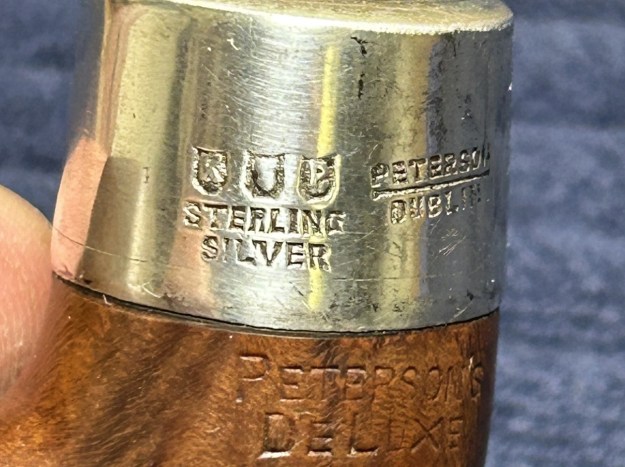
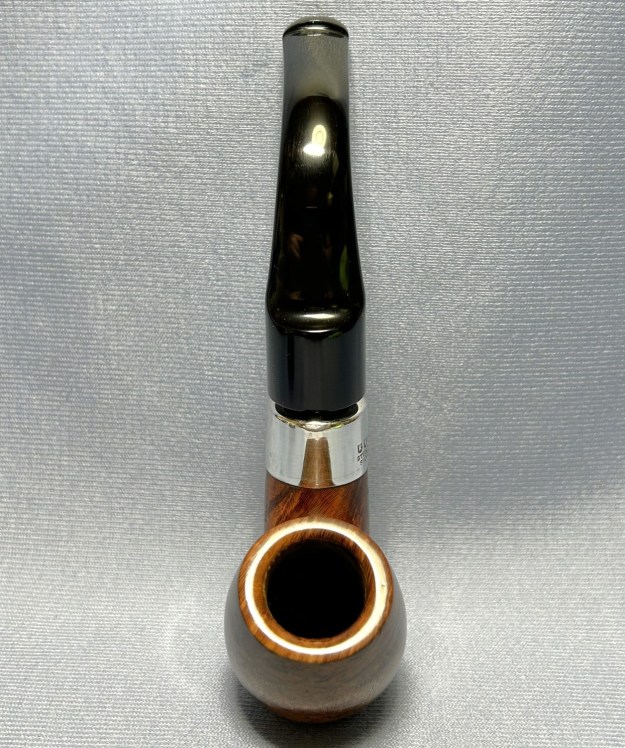
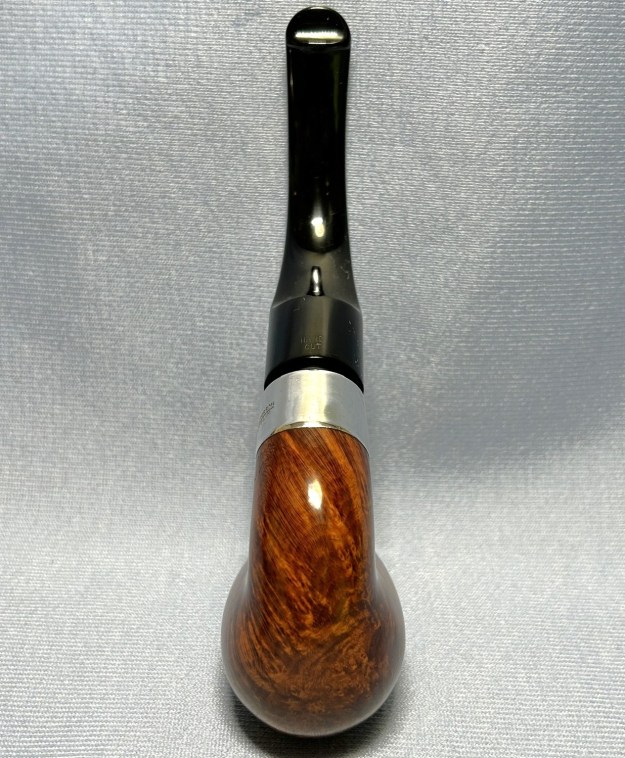
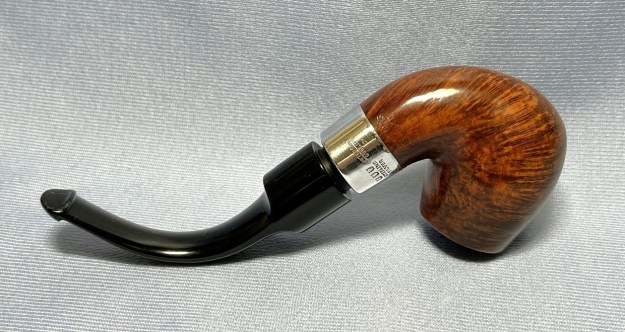
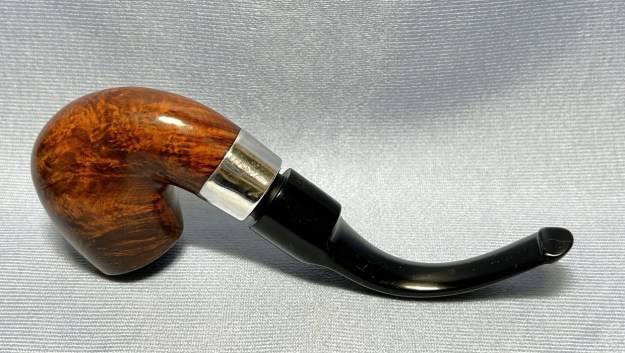
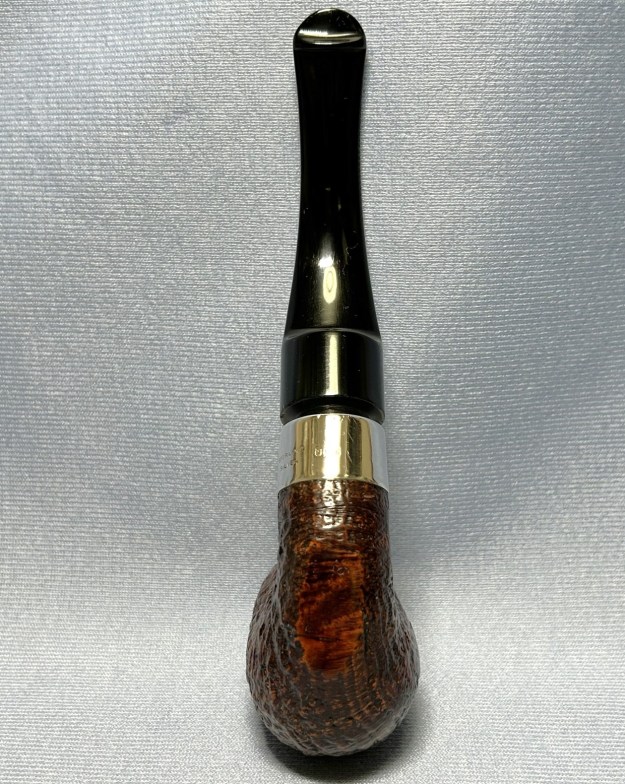
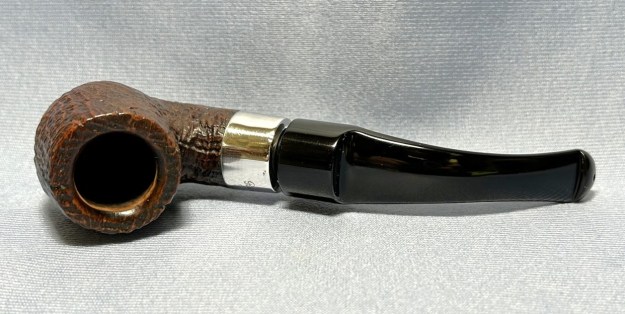
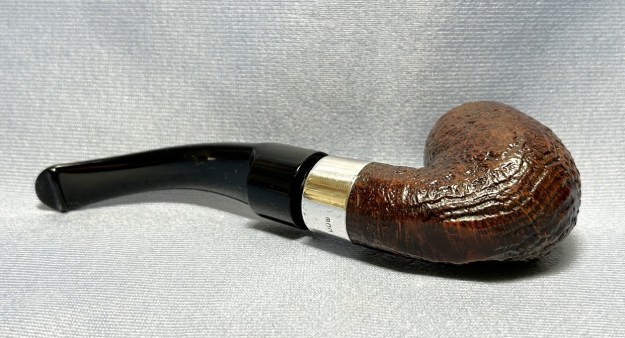
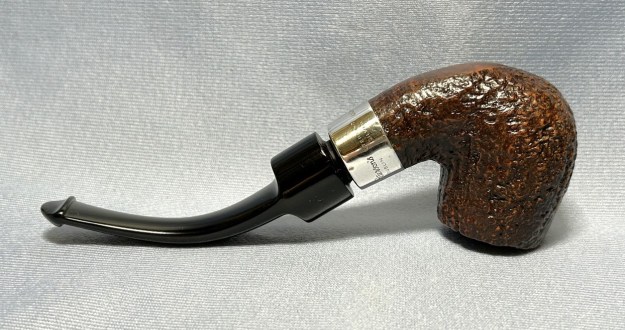
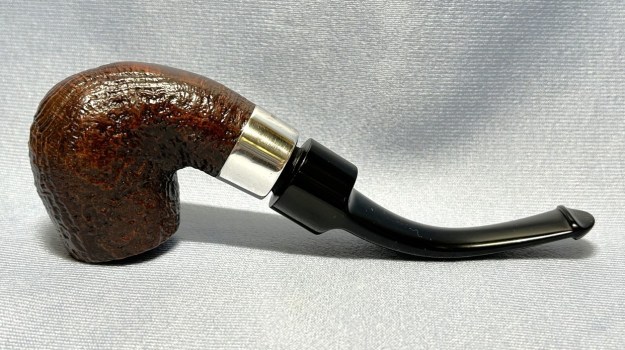
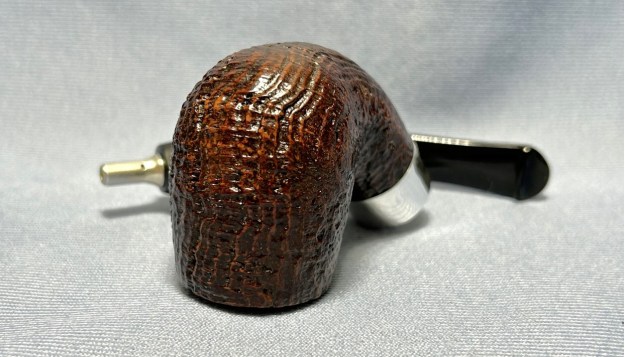
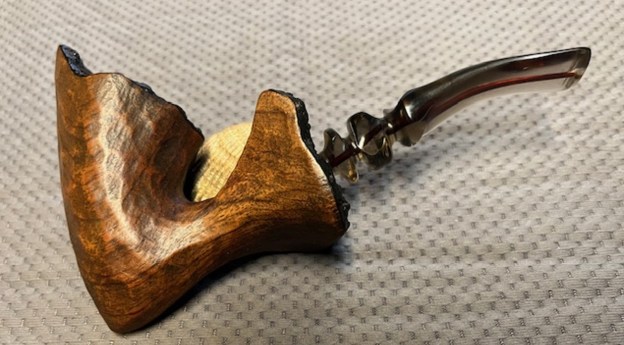
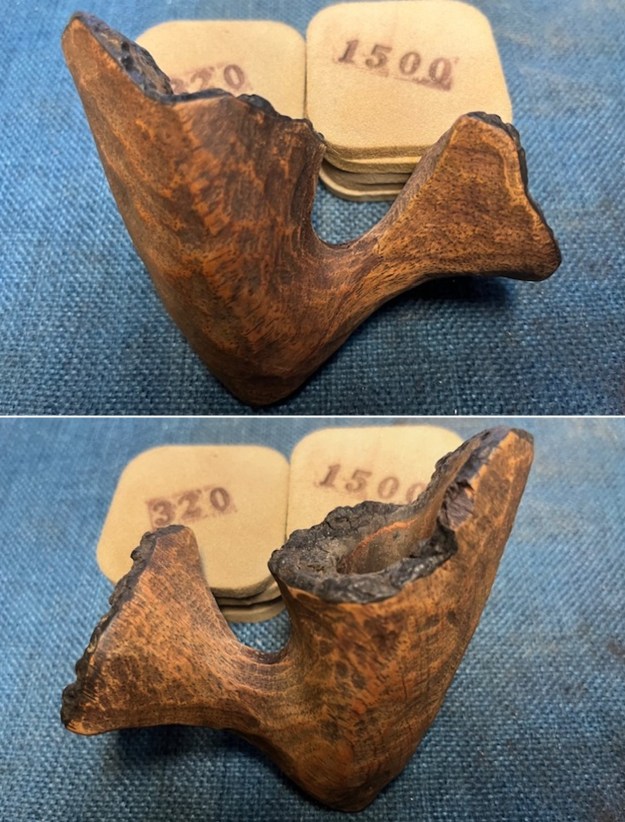
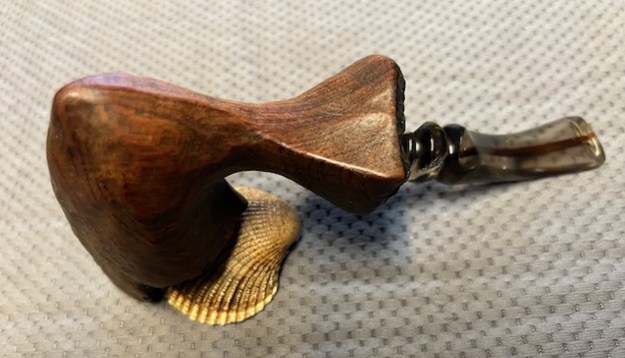
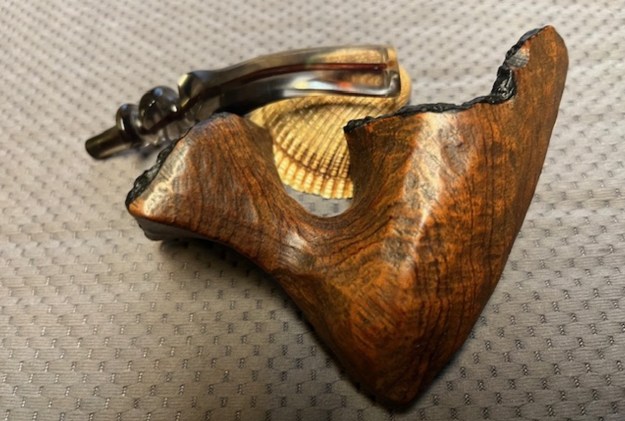
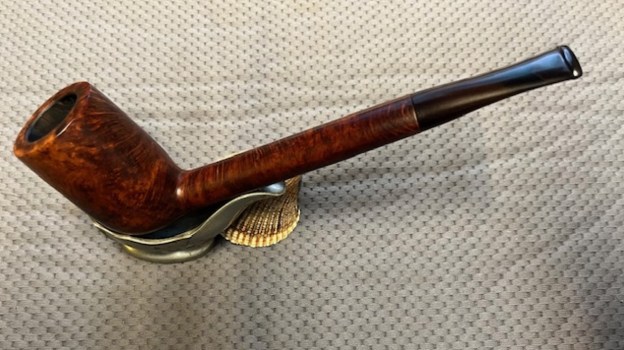
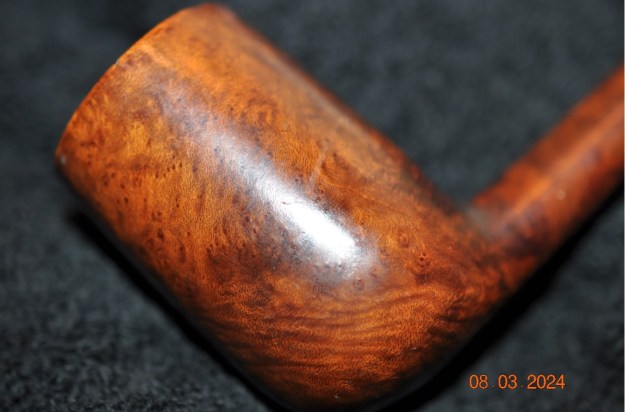
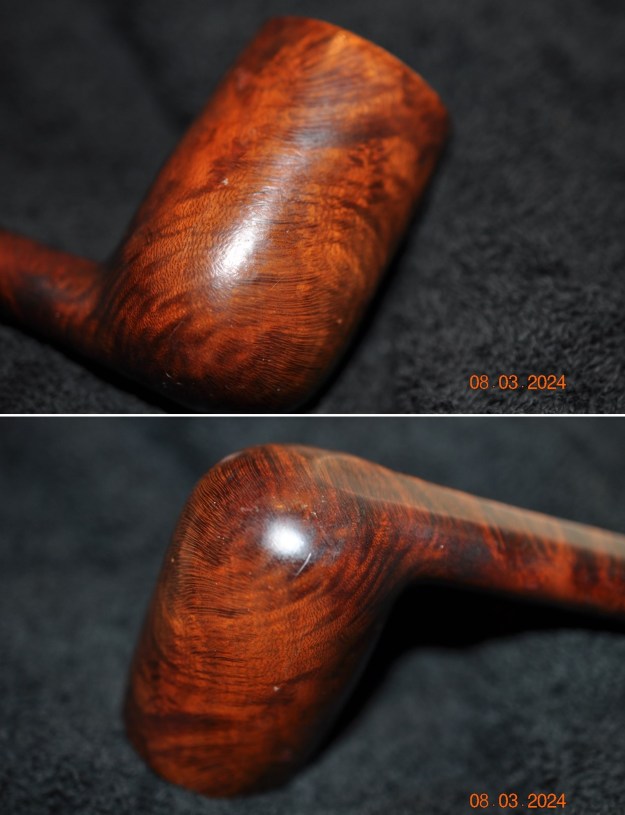
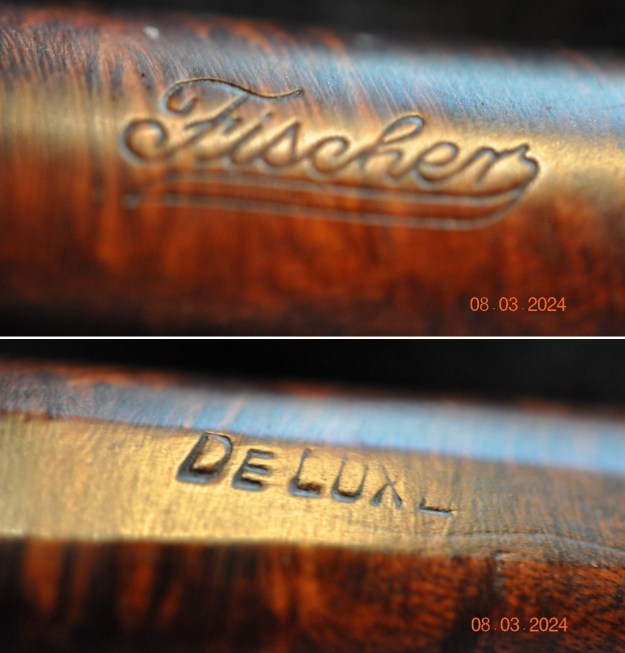
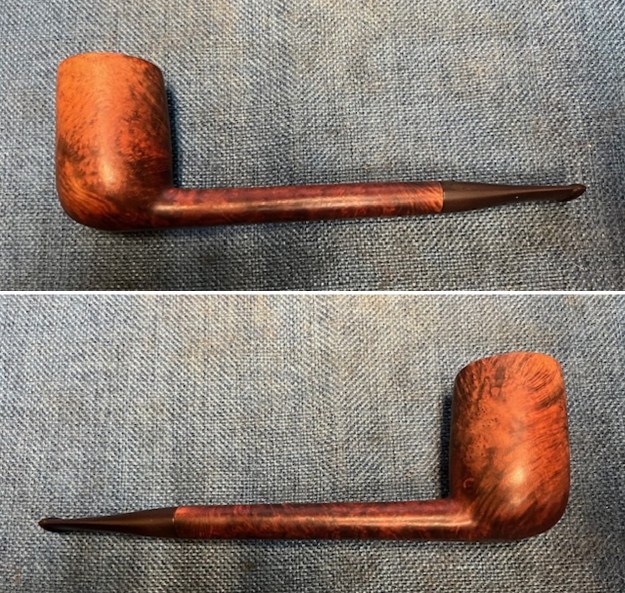
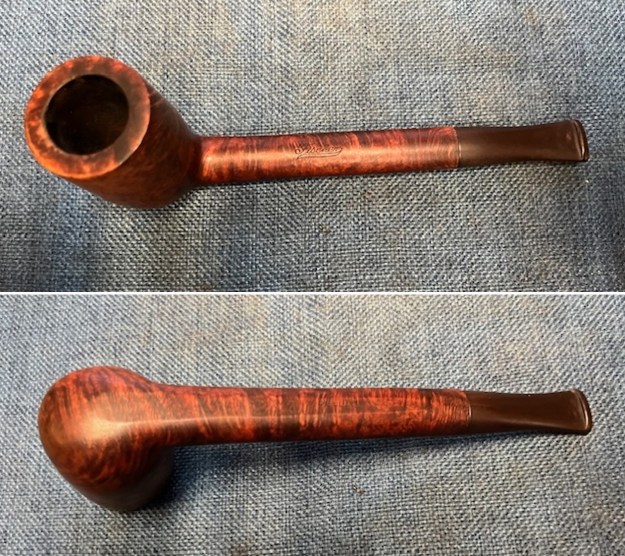
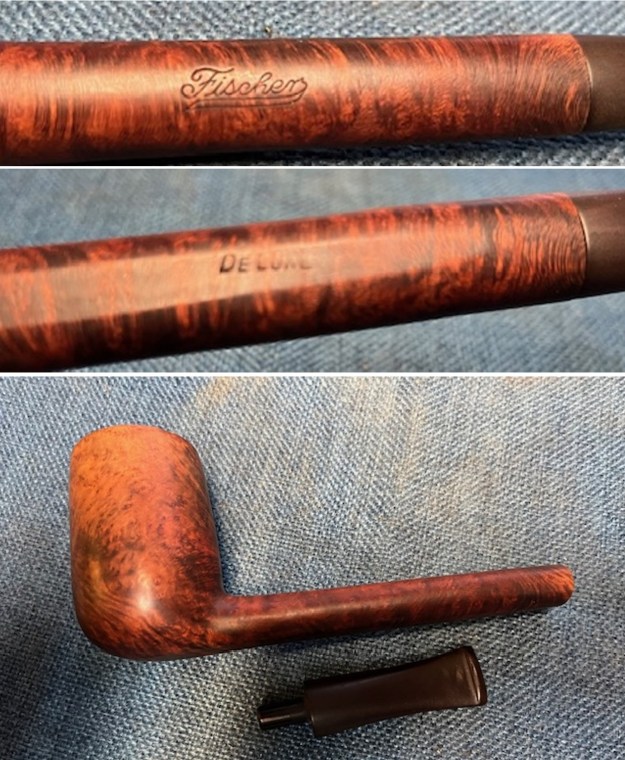
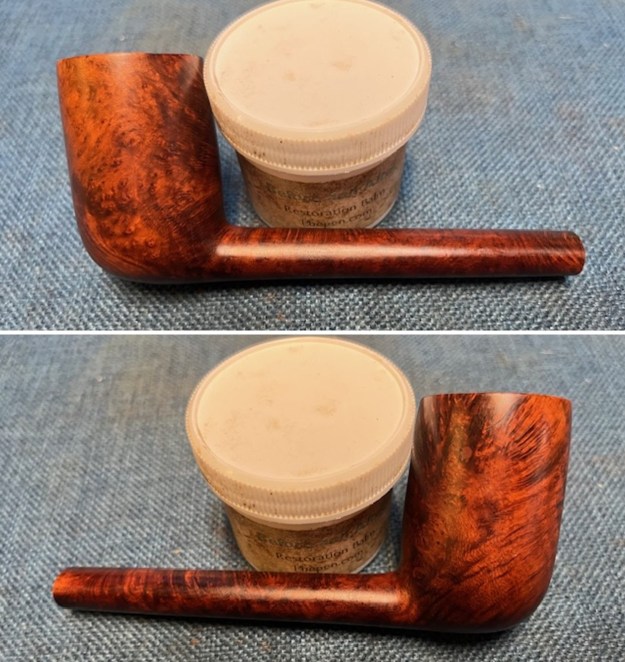
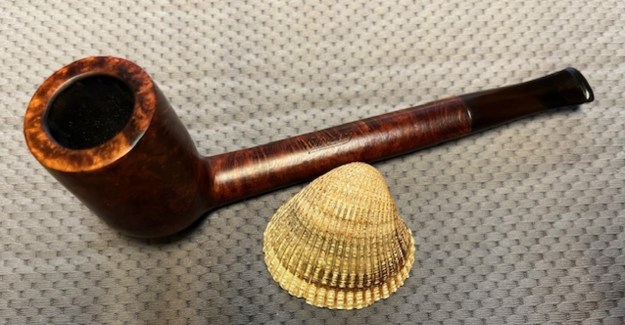
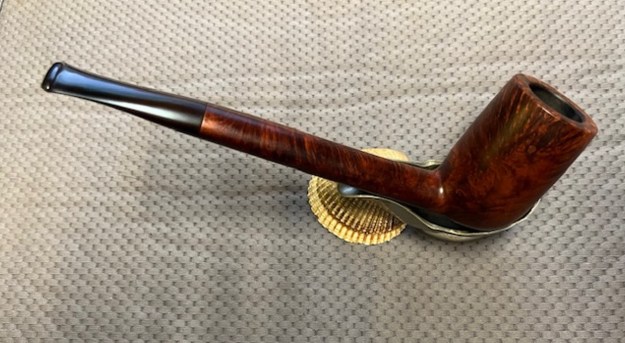
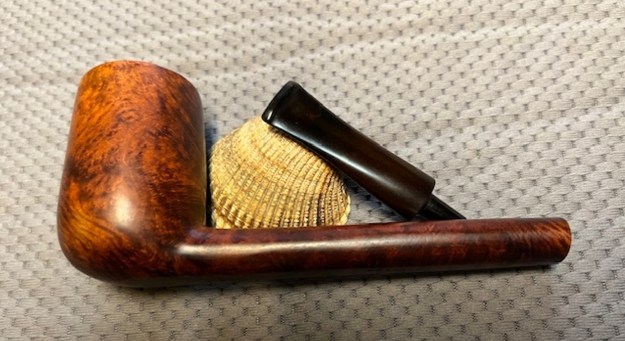
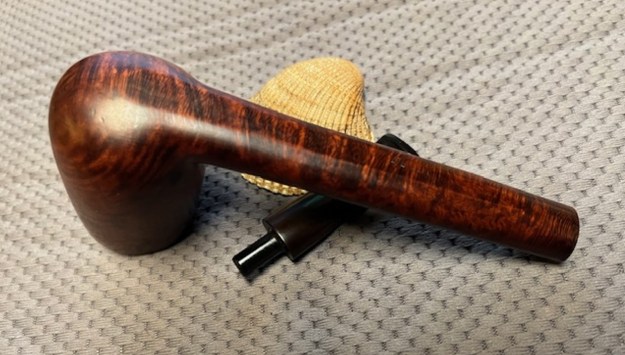
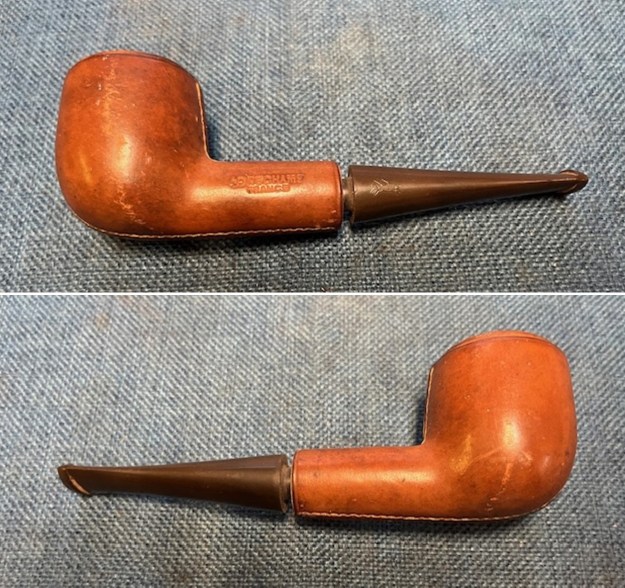
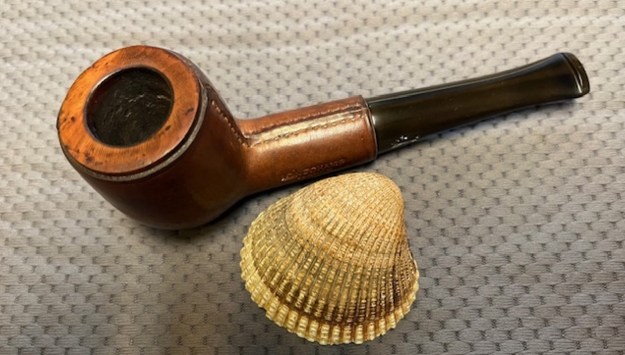
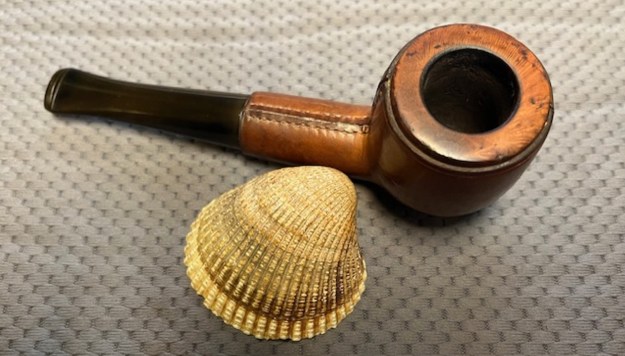
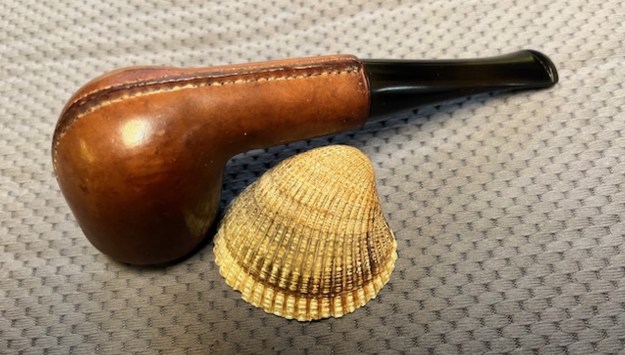
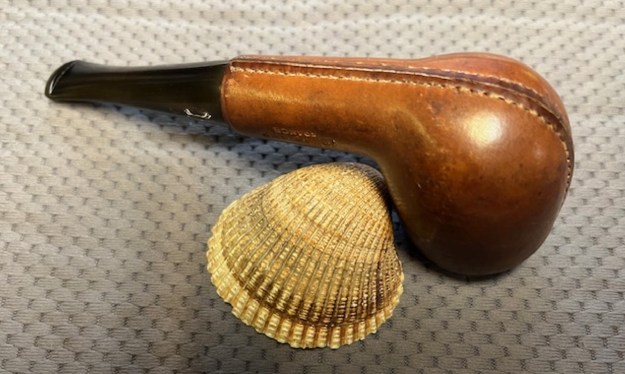
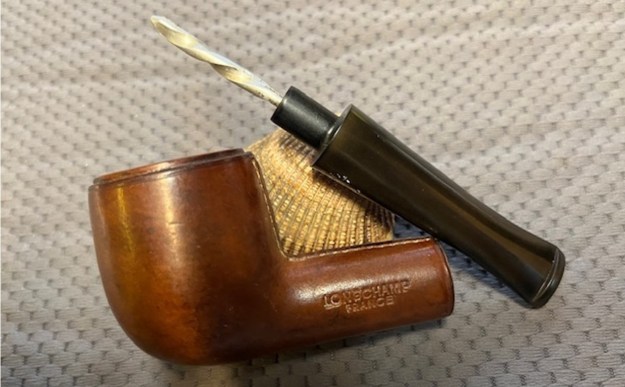
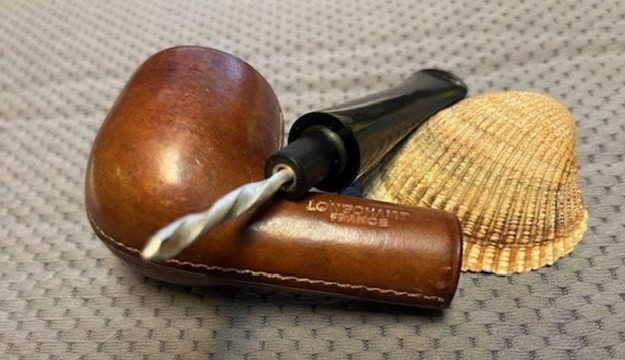
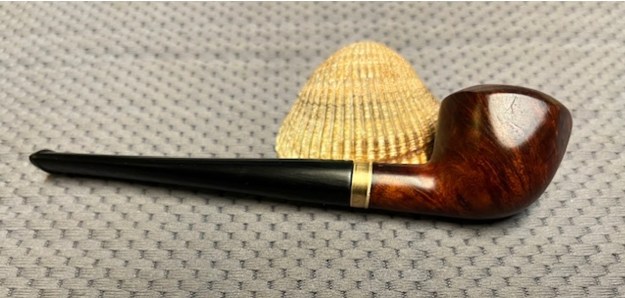
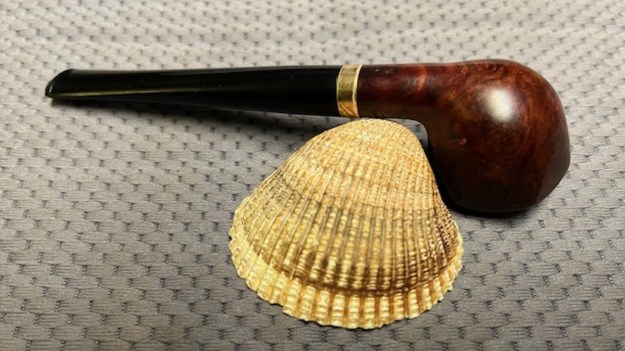
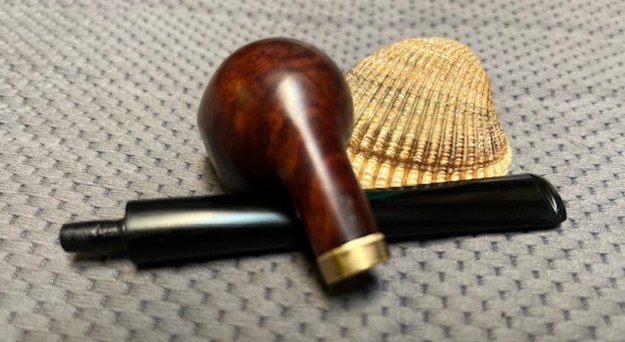
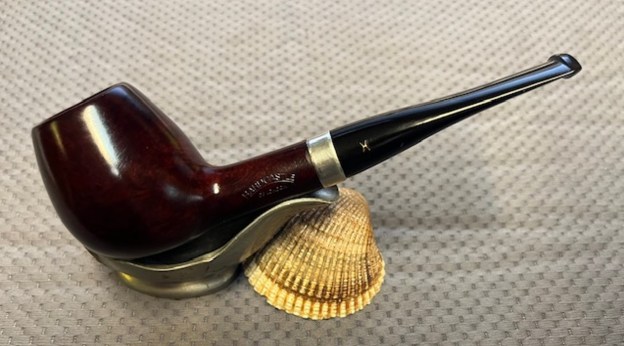
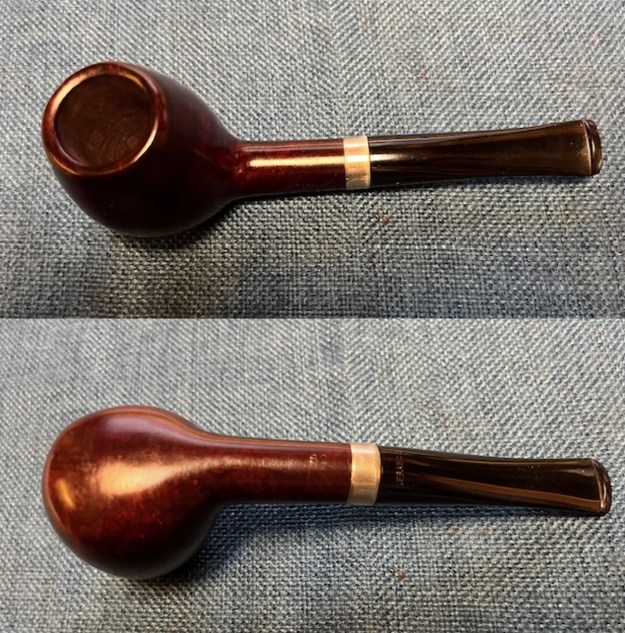
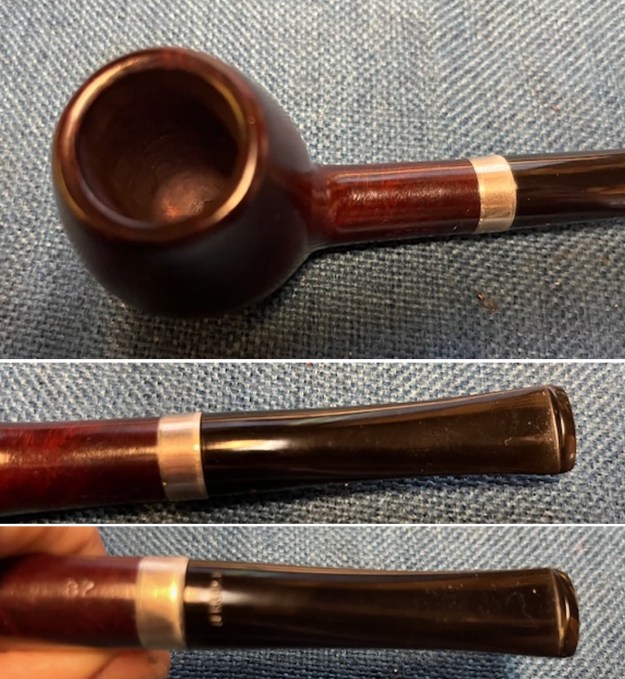
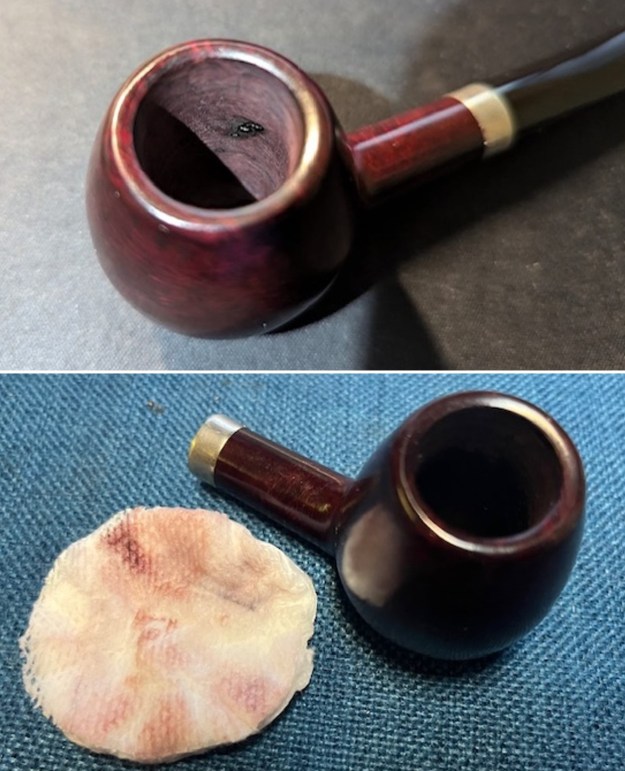
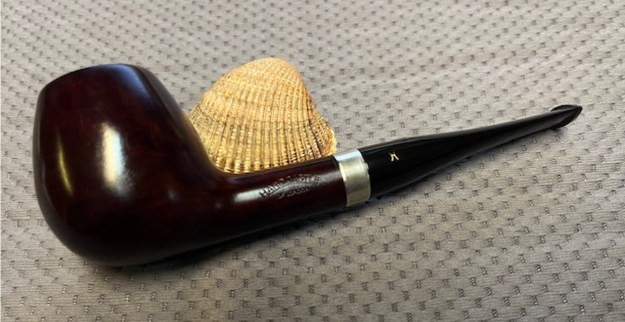
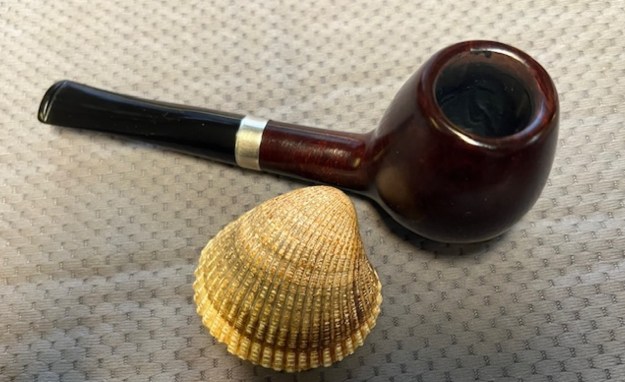
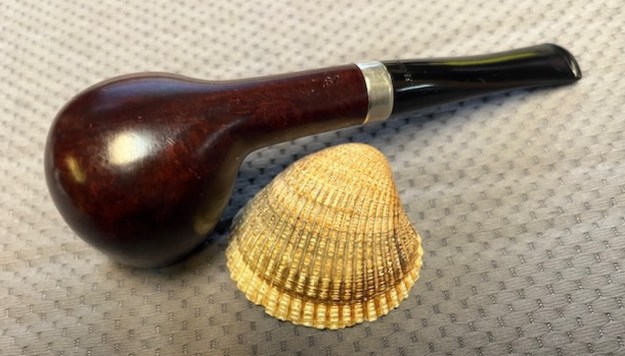
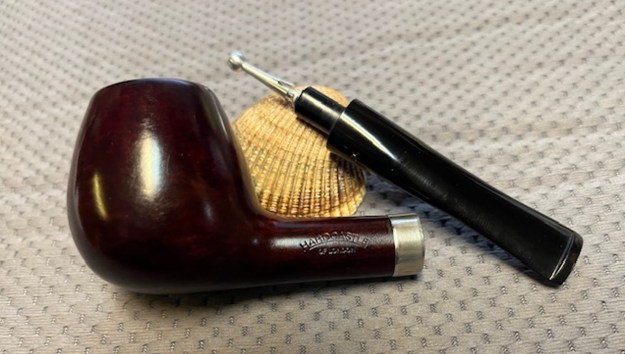
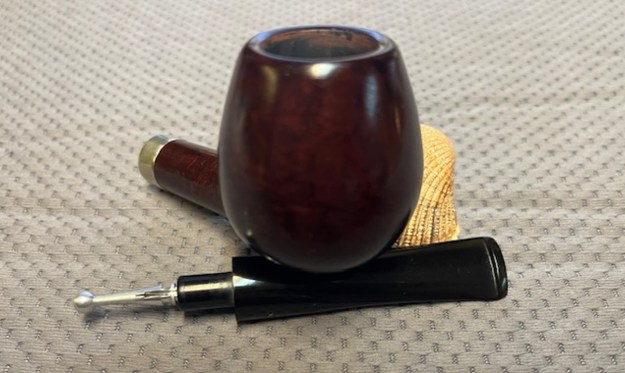
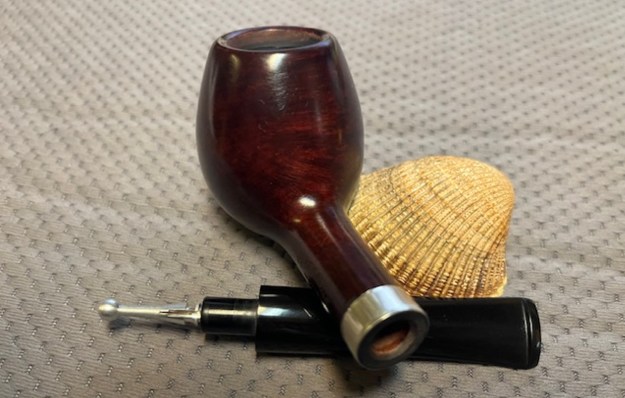
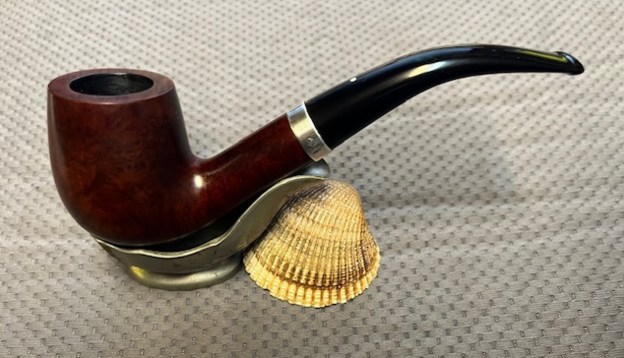
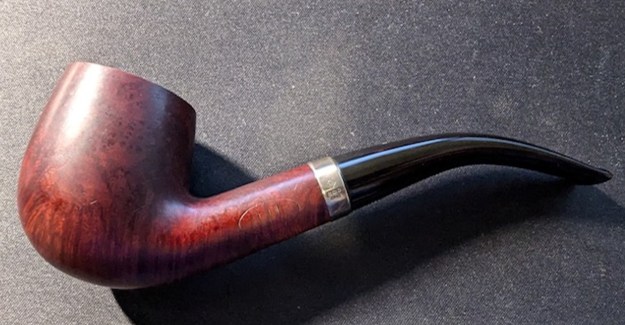
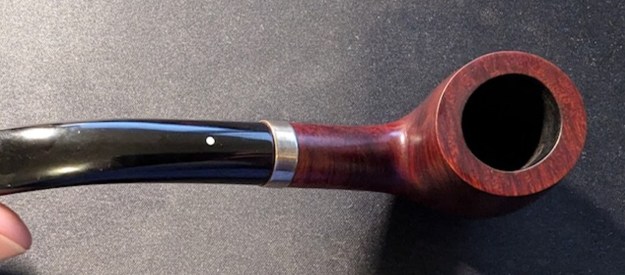
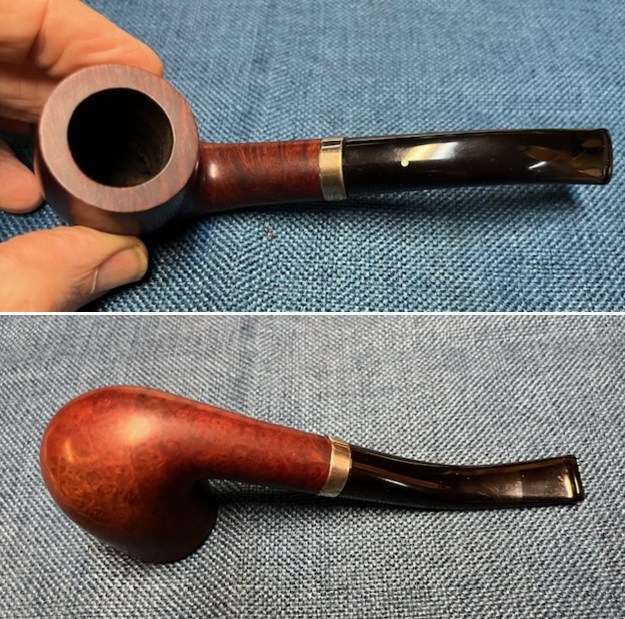
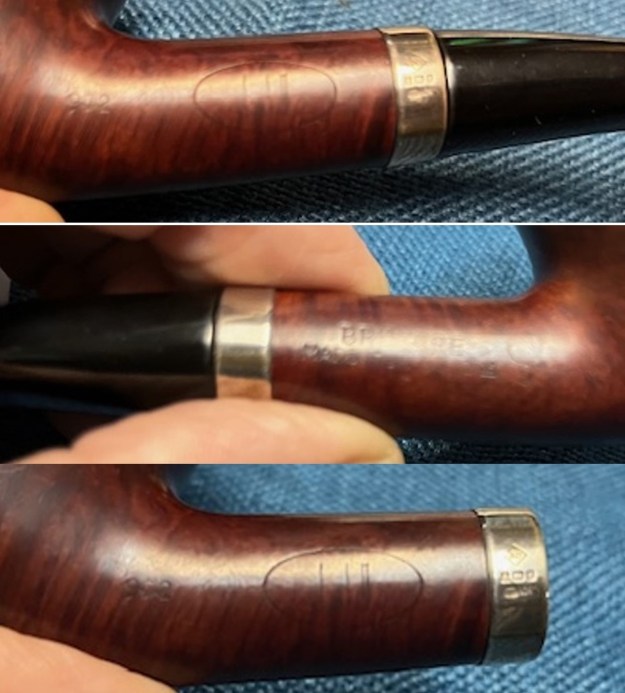
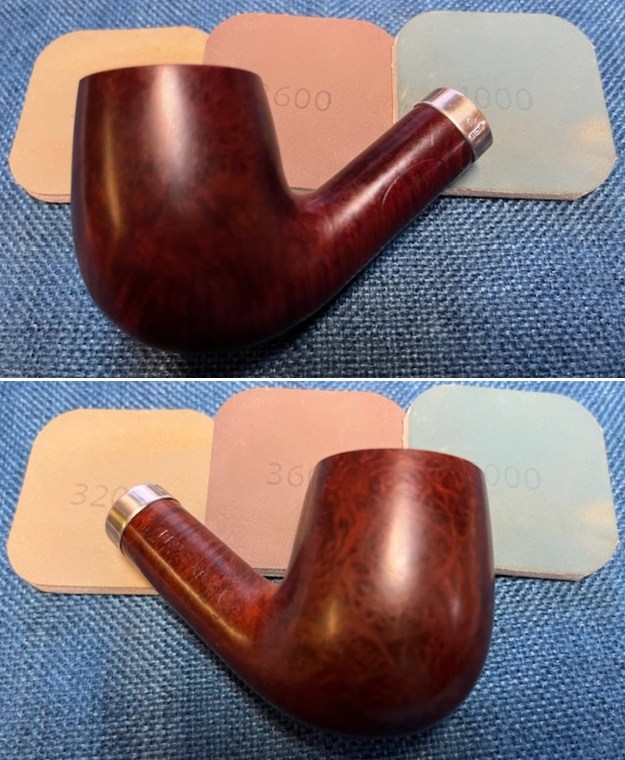
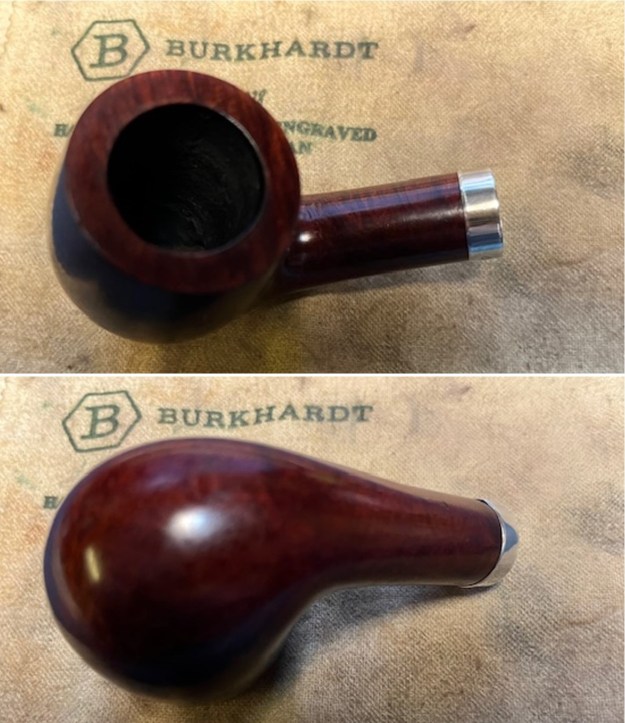
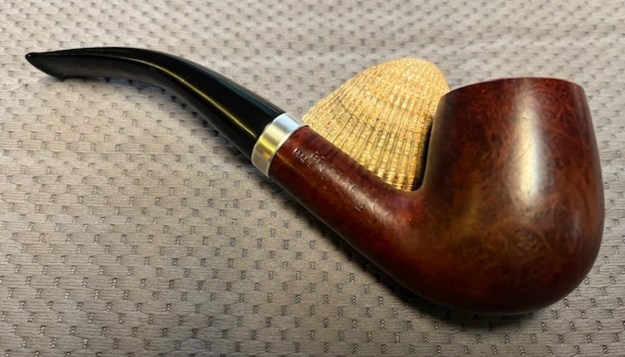
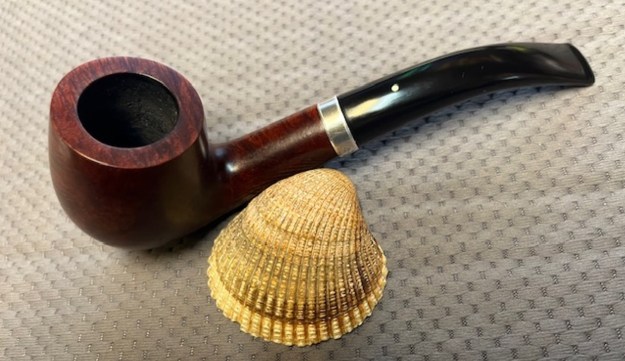
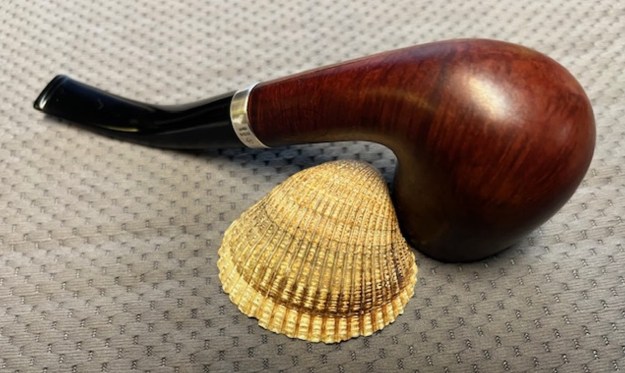
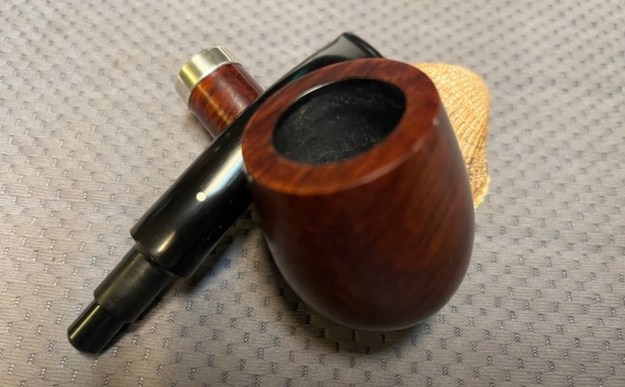
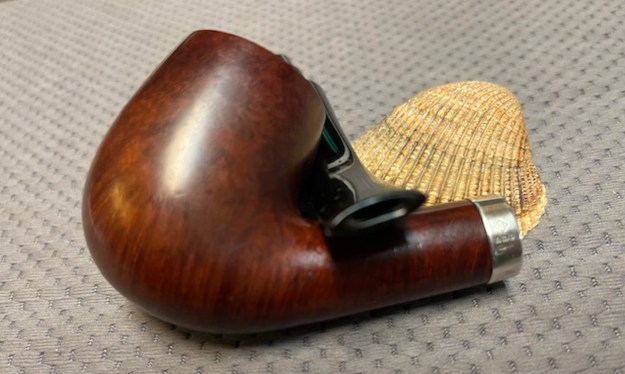
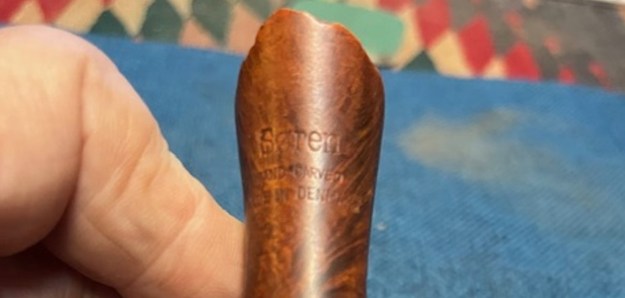
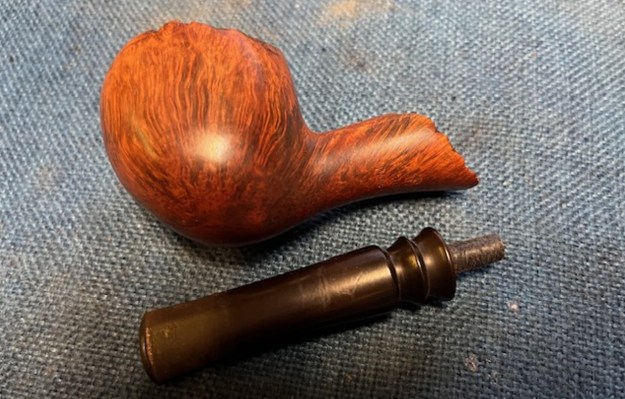
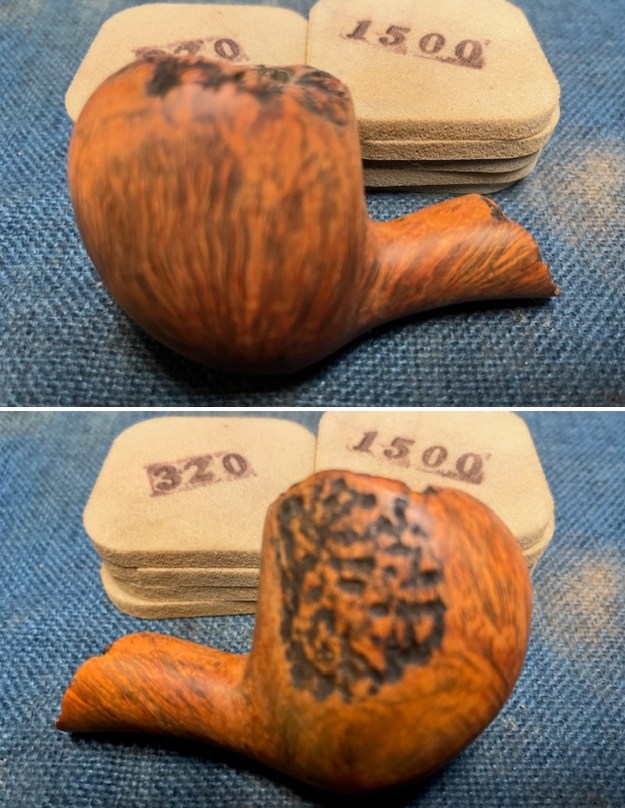
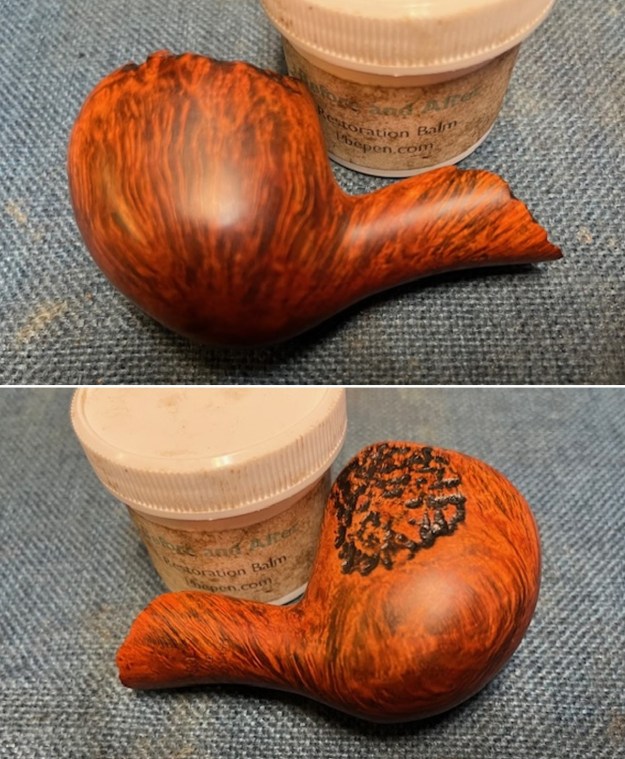
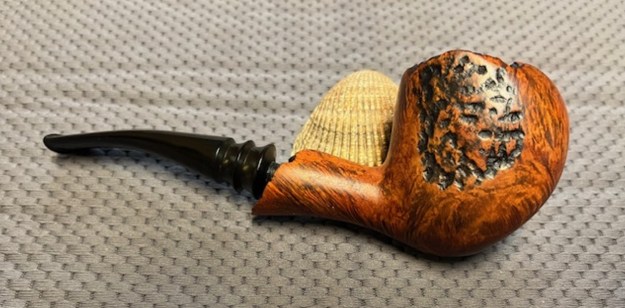
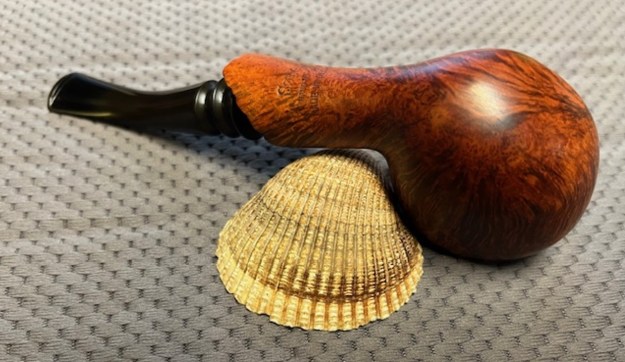
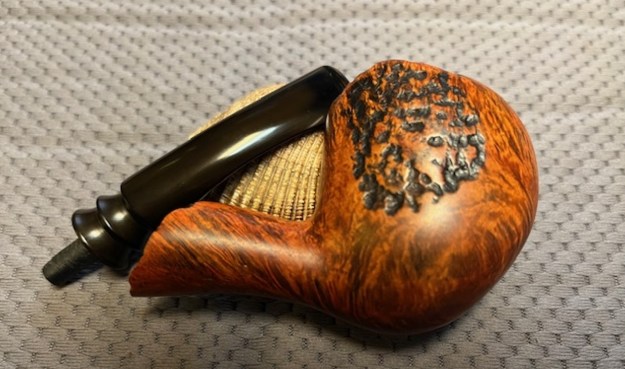
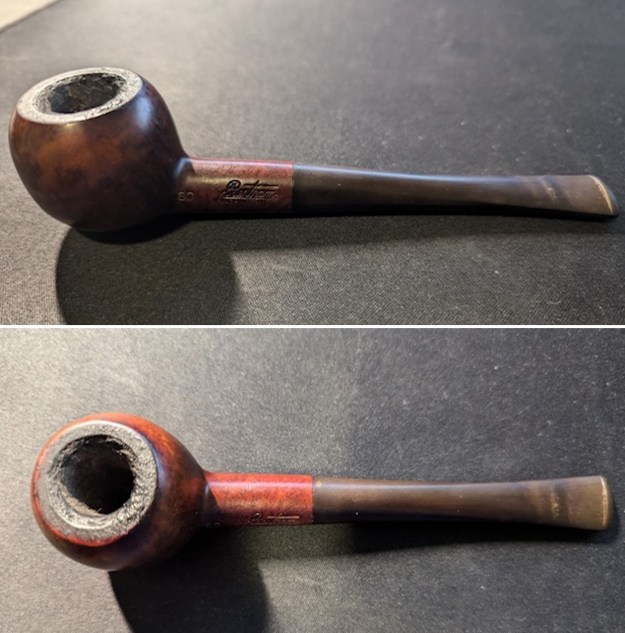
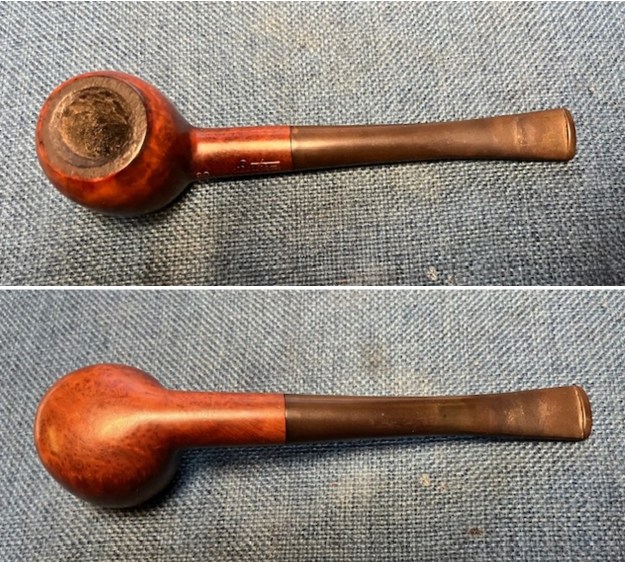
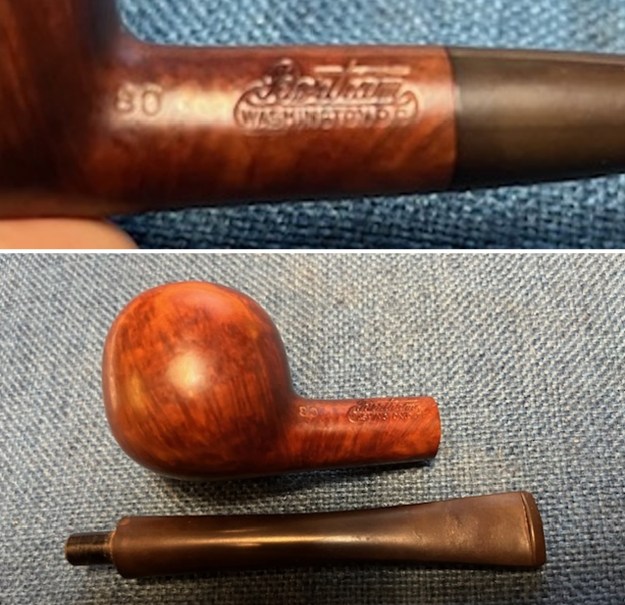
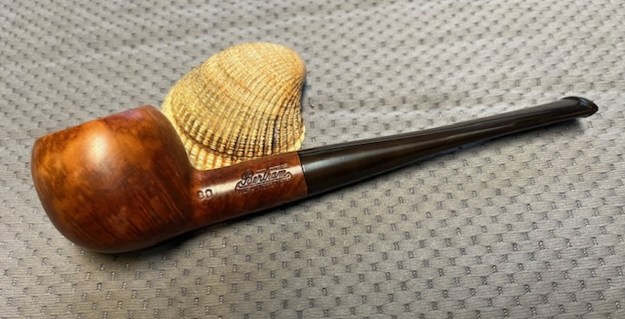
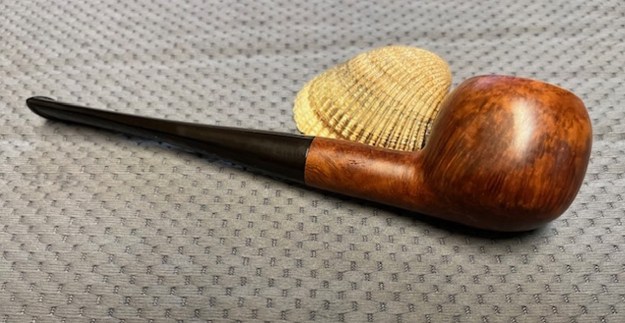
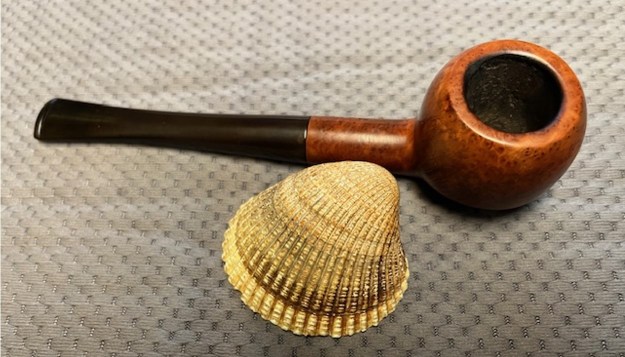
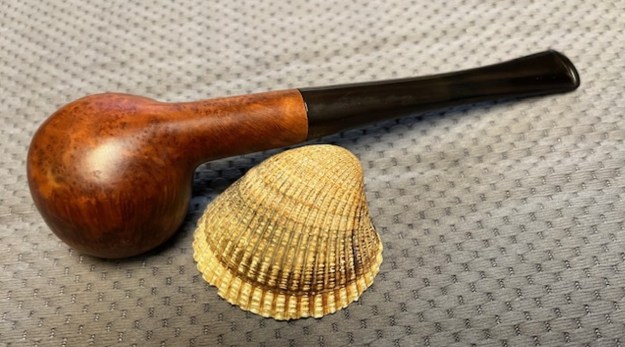
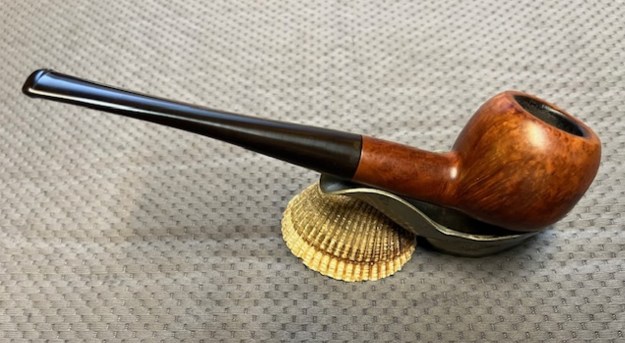
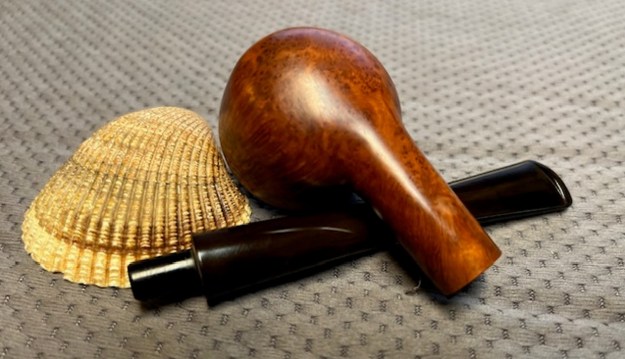
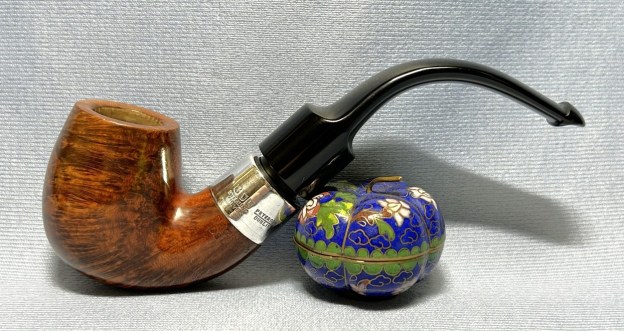
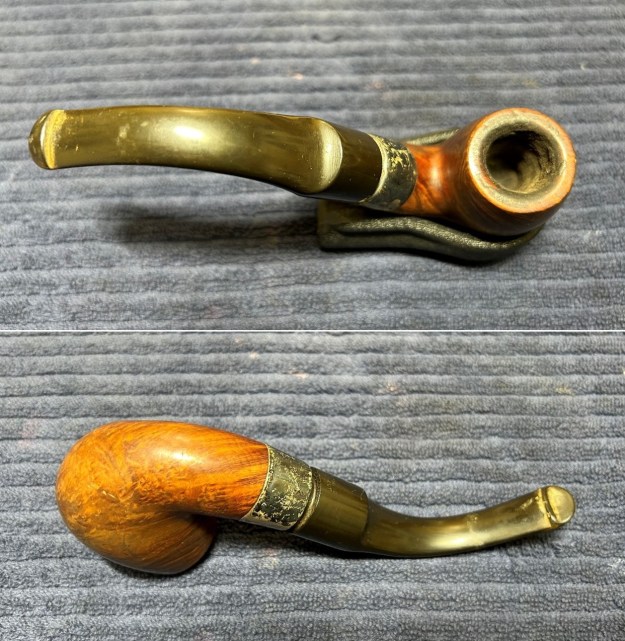 Our first Pete is this handsome fellow. It’s an 11S shape, has a smooth-finish, comes from the Republic era, and has the classic Peterson P-lip. Let’s have a look at the markings on this pipe. The left side of the stummel reads, Peterson’s [over] DeLuxe. The right side of the stummel reads, Made in the [over] Republic [over] of Ireland [over] 11S. The band has markings too. It has a set of faux hallmarks which read K&P. Over that are the words Sterling [over] Silver. To the right, are the words Peterson [over] Dublin. Finally, the stem reads Hand [over] Cut.
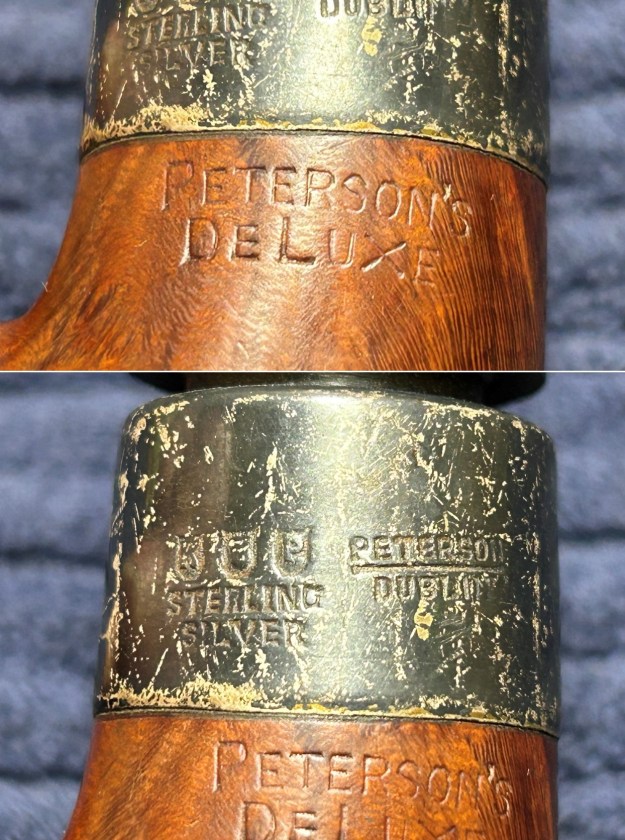
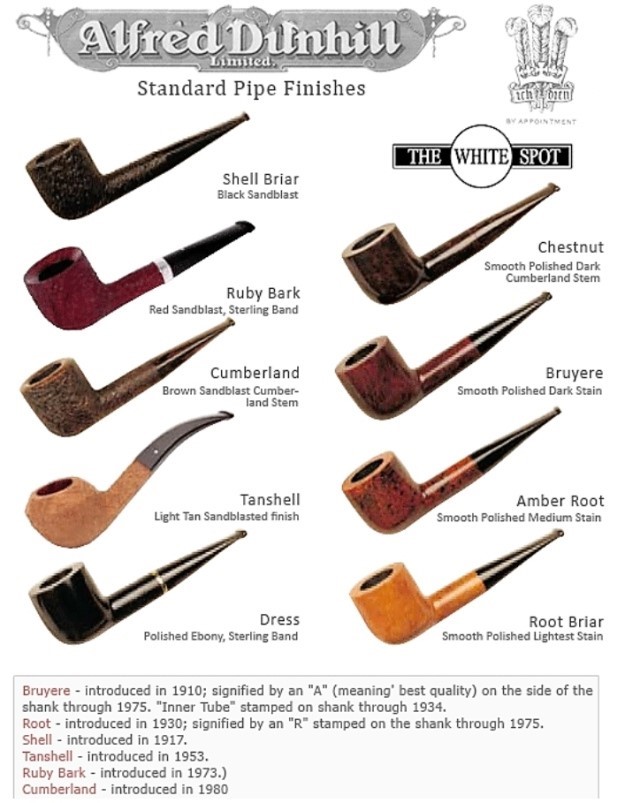
 In order to find out a bit more about the Deluxe System, I looked at Peterson’s own website and they furnished this information:
While the Deluxe stamp first appeared on our System pipes in 1940, the design itself dates to our 1896 and 1906 catalogues and, with the exception of the Supreme, has always marked our highest tier of System pipe. Like the System Standard and System Spigot lines, the Deluxe System pipe incorporates Charles Peterson’s patented System design, including a deep reservoir to collect excess moisture from the smoke; a graduated-bore mouthpiece that funnels the smoke and allows moisture to collect within the reservoir; a sturdy sterling silver military mount, which allows the pipe to be broken down and cleaned without damage or warping; and our patented P-Lip bit, which draws the smoke upward, thus reducing tongue bite. The Deluxe differs from those aforementioned lines, comprised of bowls with only the finest grain patterns and featuring a sterling silver mount and a push-gap stem, which was never designed to be flush-fitting, the space between the mount and stem base gradually decreasing with prolonged use. The Deluxe also elevates the System pipe by fixing each stem with a traditional chimney, an aluminum fitment that extends the tenon past the chamber’s airway for optimal System performance. Created for Peterson enthusiasts interested in acquiring the finest System pipe on the market, the Deluxe System will serve as the crown of any collection.
Then, over at Pipedia, there is the following commentary:
The handsome and very distinctive Deluxe system pipes, include the Darwin, Mark Twain and the Charles Peterson 140 year anniversary Pipe. These pipes are at the top of the ‘system’ series in terms of quality and finish. Each Peterson Deluxe is made from carefully selected, age mellowed root briar. In matt finish with hallmarked sterling silver mounts and a unique space fitting mouthpiece to allow for years of wear. They are available in a wide range of shapes numbered, as follows: 1s, 2s, 3s, 4s, 5s, 8s, 9s, 11s, 12.5s, 20s, XL5s, 20FB and 11FB. The pipes are well carved and construction, engineering and workmanship, is outstanding. The stems are well drilled and aligned. Silver work is excellent, finish very good, and the often maligned briar is of outstanding quality. The design is a very typically Peterson classic shape. Apart from the Darwin, the balance can be stem heavy, the bit is thick and chunky, especially in the larger versions. I also enjoy the sense of presence they give to the pipe, particularly if smoking in company with friends or strangers. They have a sophistication about them. The smoking qualities are excellent, dry and cool. The draw is good, and the flavour is particularly great in new pipes. The Mark Twains are outstanding in this department. As for the aesthetics and ergonomics, I find some shapes much more attractive than others. Favourites for me are the 1s, 2s, 3s, the Mark Twains and the Darwin deluxe. As a clencher most are very good to hang, except the beautiful Darwin which is more of a ‘hand holder.’ The one weakness I find is the modern orange/golden colour, (the so called natural) it is, in my opinion, less attractive than that found in the older Walnut finish of the eighties. As far as value and cost is concerned, for the excellent quality finish, these are competitively priced at around $135 to $250 depending on size and briar grade. For what it is worth, I reckon the Deluxes are probably the best value range of pipes that Peterson produce, both in terms of functionality and value. There is not a thing wrong with these pipes. Those who malign the brand because they’re made by the hundreds using machines, are very wrong, in my opinion. I like them a lot and the bang for the buck is the best I’ve ever seen for new pipes of this quality.The Deluxes are all excellent smokers. The Darwin, of course, is a truly outstanding pipe, its only “flaw” being that it’s not a clencher. One particular aspect of this pipe that appeals to me most is its physical beauty and presence. They are a pipe like no other. For me, they also offer a bowl capacity that I like and a balance in the hand that I appreciate. They are well named Deluxe s for giving that special experience.
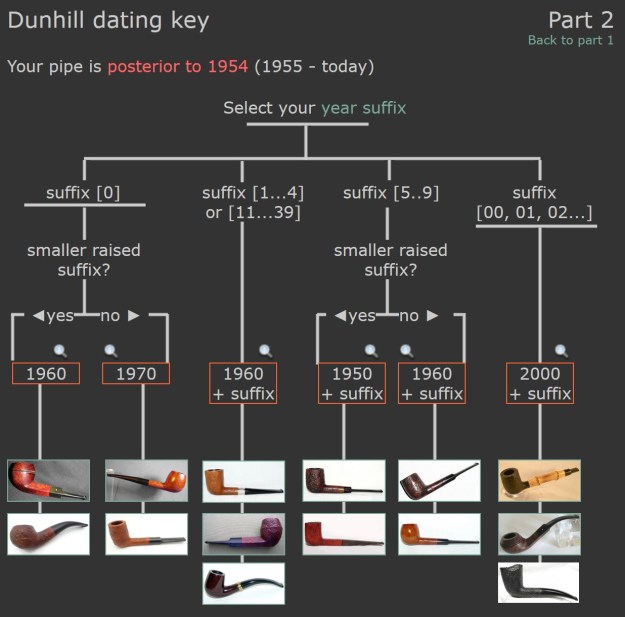
These Petes with the faux-marks are a bit tricky to nail down in date. Mark Irwin, who runs the great Peterson Pipe Notes blog, has a whole page here on this topic. He writes:
Pipe smokers new to Peterson sometimes wonder what the “K&P” stamp is all about, not realizing the company was known as “Kapp & Peterson” until the 1970s and is still referred to as “Kapps” by the old hands who work in the shop. Most Peterson pipes with metal mounts (and all nickel-mount Systems) have a “K & P” Maker’s Mark, also called a Sponsor’s Hallmark, which is used by The Company of Goldsmiths of Dublin (est. 1637) to identify the silversmith or goldsmith responsible for making the article. The “K & P” maker’s mark was registered at the assay office shortly after Kapp & Peterson’s incorporation and appears either in capital letters (on early sterling and later nickel mounts) or capital letters in shields (on sterling). The maker’s mark was later placed in shields, which may be flat or pointed at the top. After 1938, the K&P maker’s mark became a stand-in for the Company of Goldsmiths (aka Dublin Assay Office) date letter and was usually accompanied nearby by the STERLING over SILVER stamp. The practice of stamping sterling with the date letter wasn’t resumed at Peterson until 1969, for rather humorous reasons explained in the Peterson book.
Sadly, I don’t have the Peterson book, so I cannot enlighten you on the humorous reasons. It would seem from Mark’s words that this pipe falls into the period between 1938 and 1968. However, we can refine that a bit, as the pipe’s markings clearly indicate that it’s a republic-era pipe. Ireland became a republic in 1949, so a date range of 1950-1968 seems suitable for this pipe.
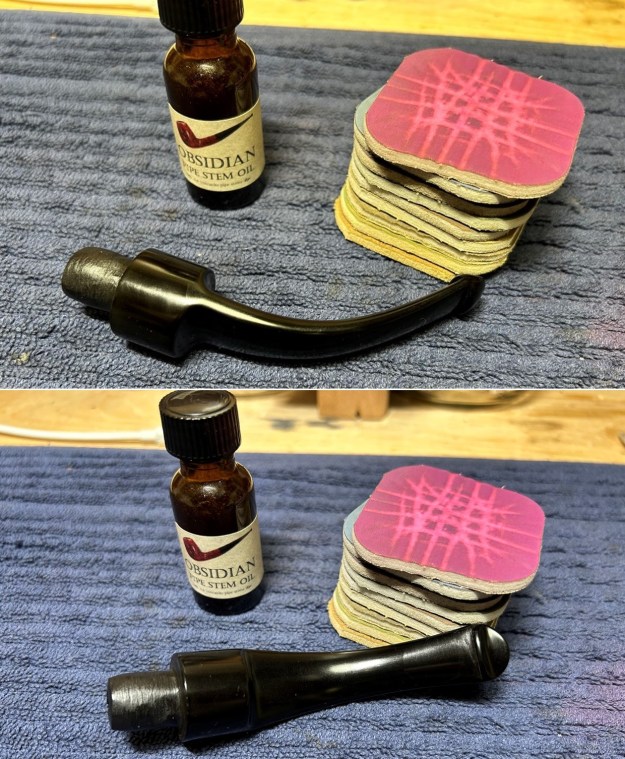
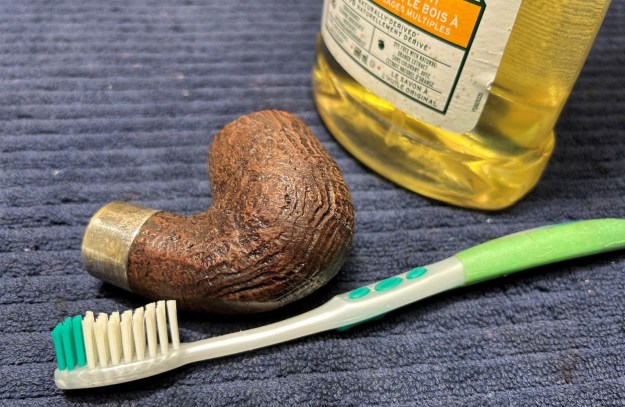
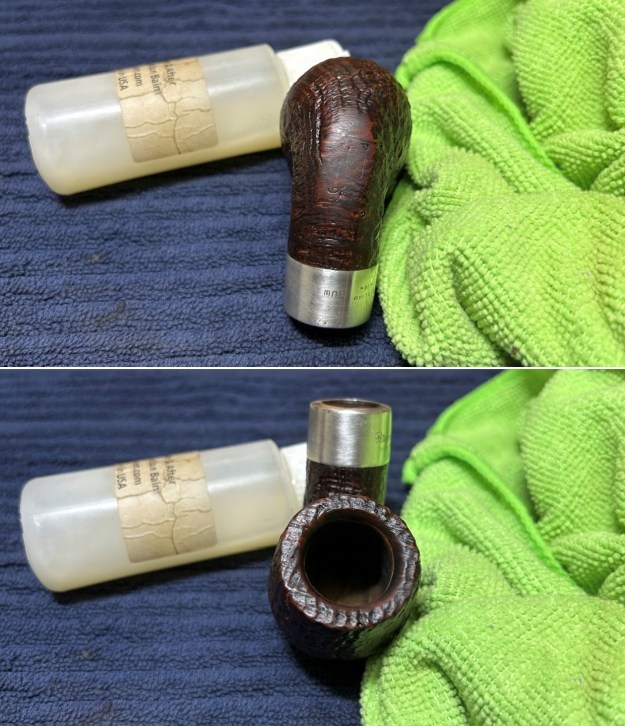
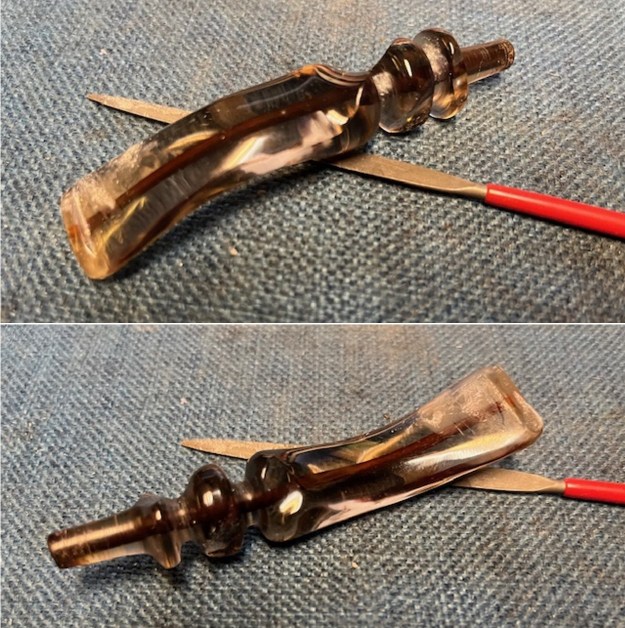
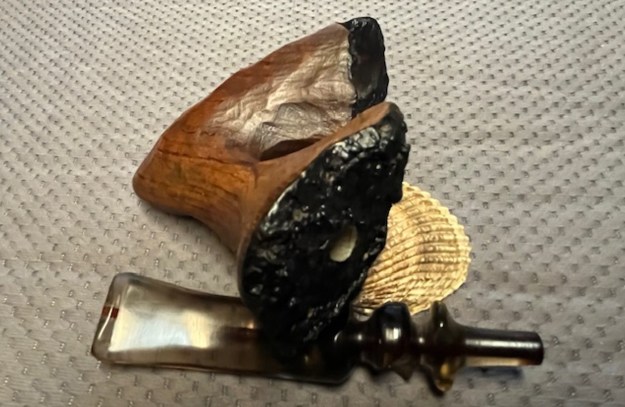
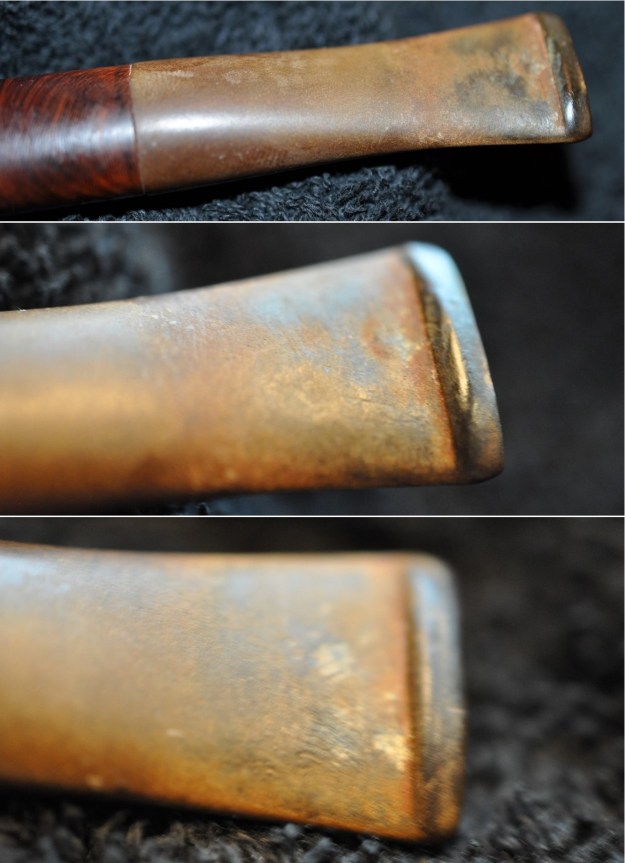
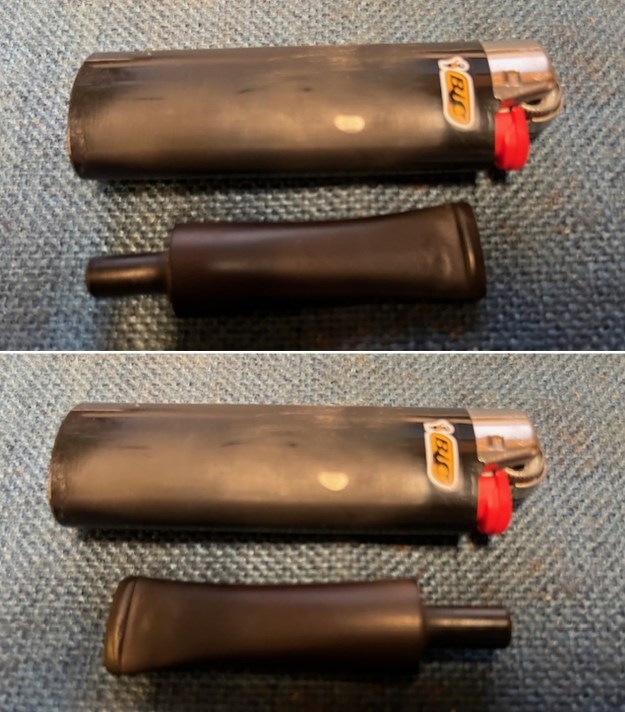
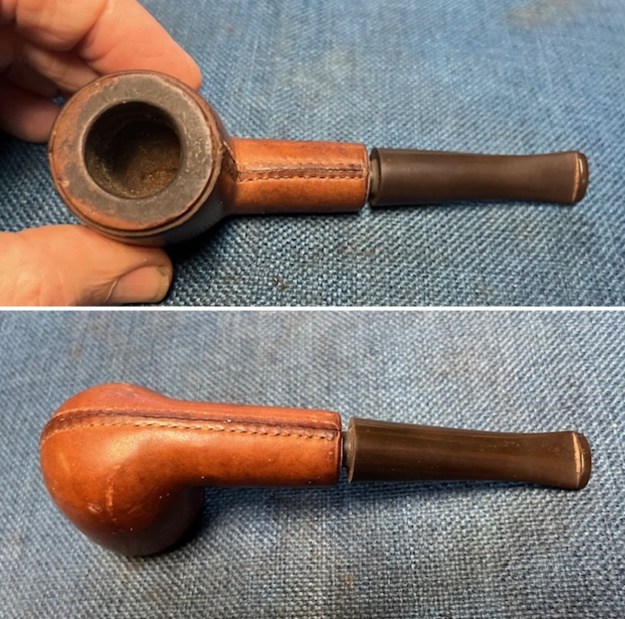
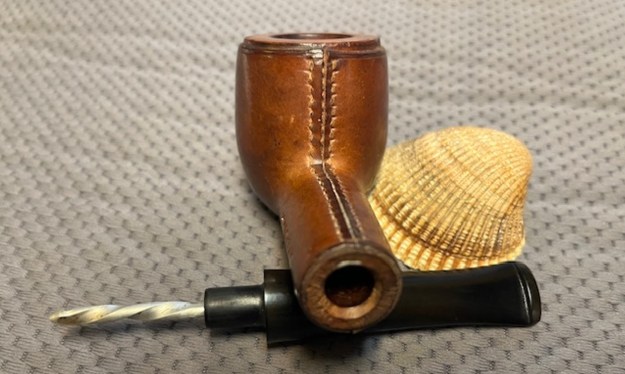
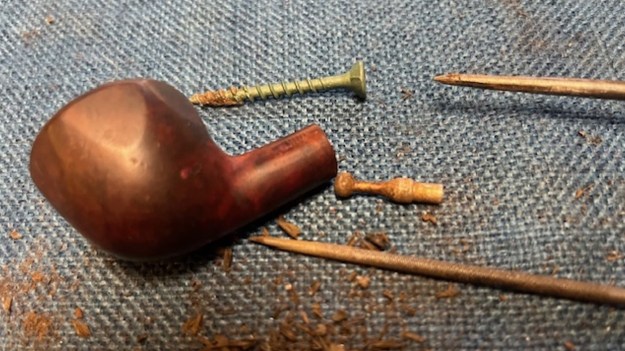
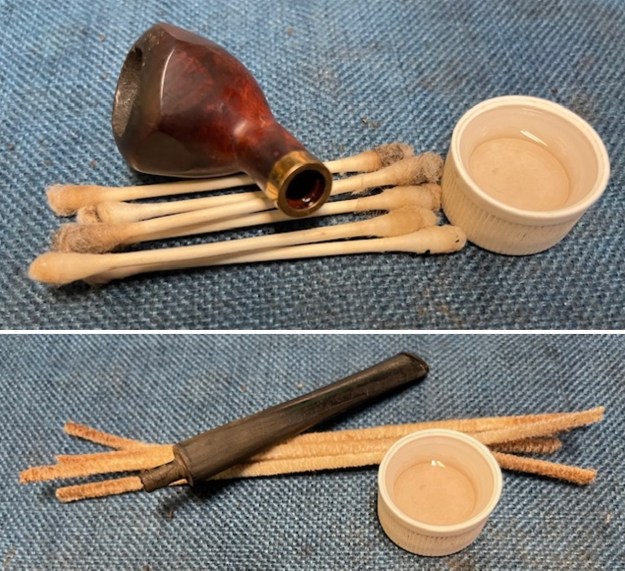
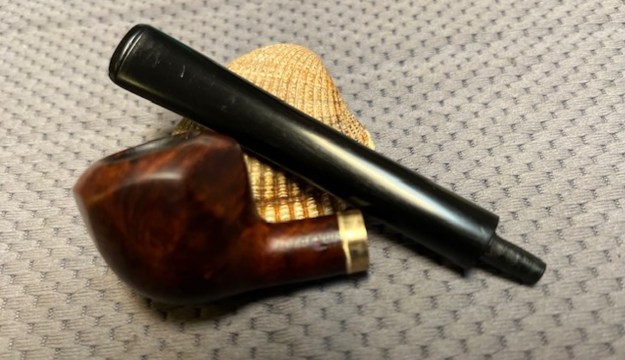
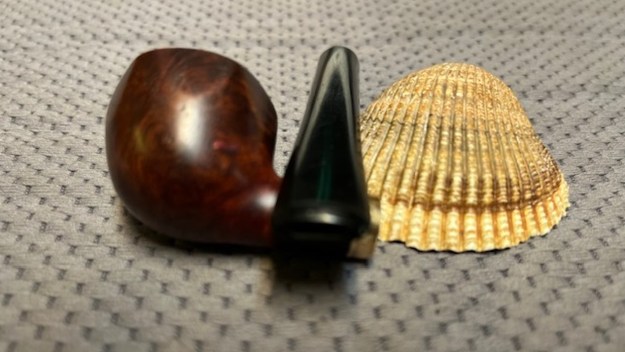
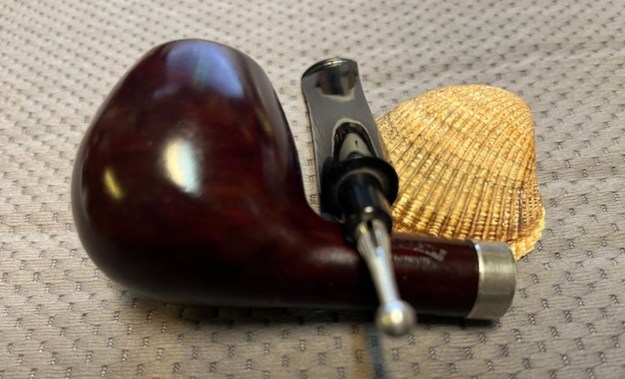
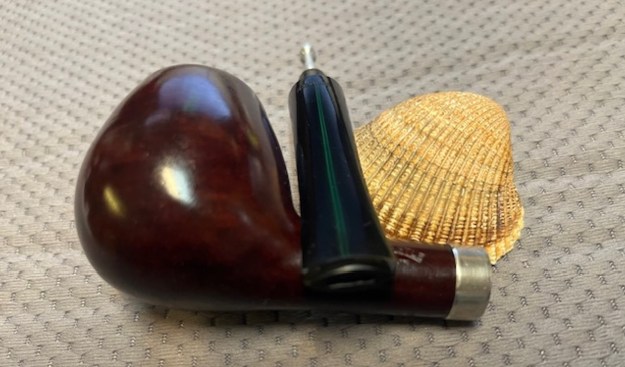
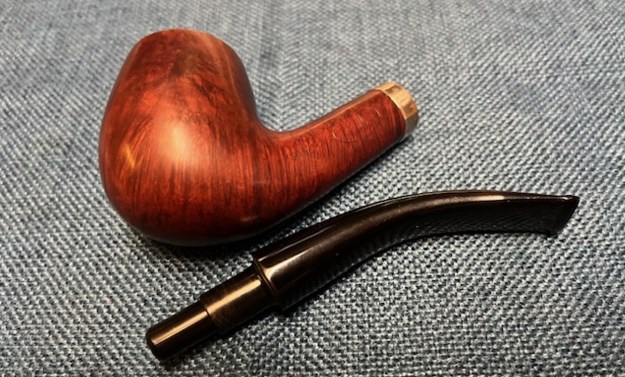
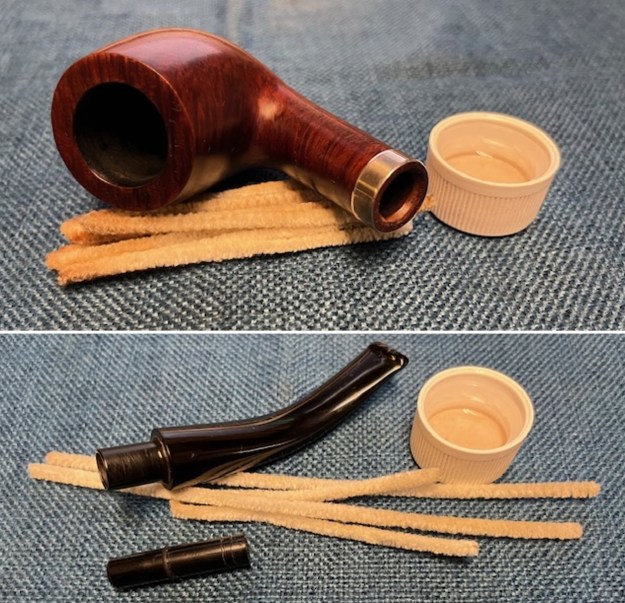
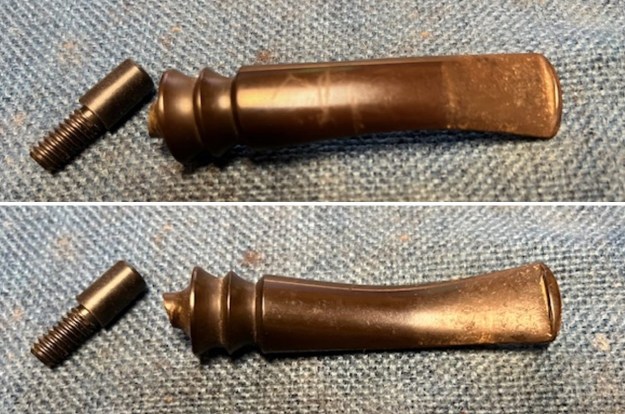
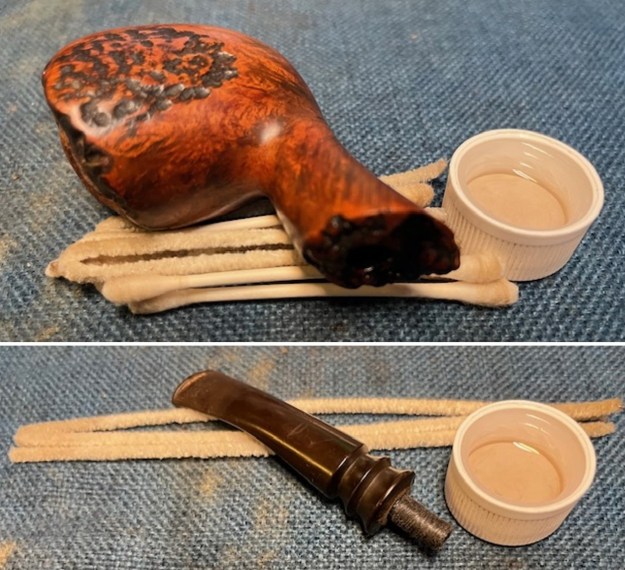
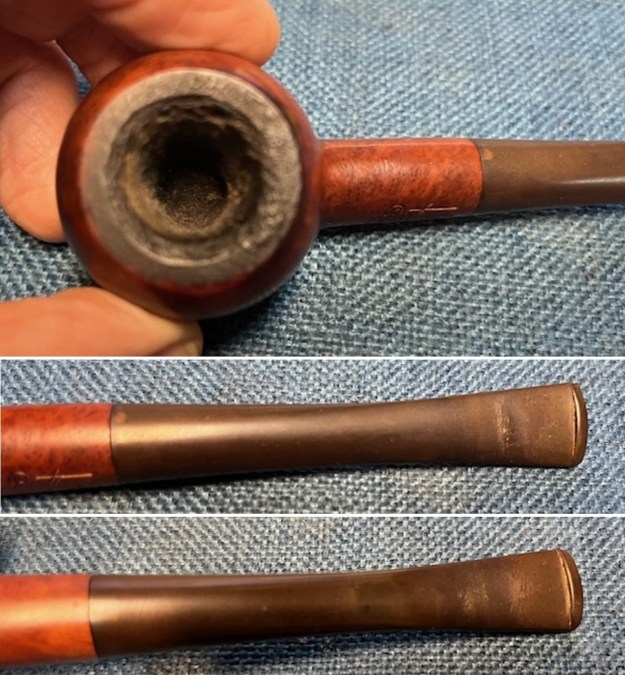
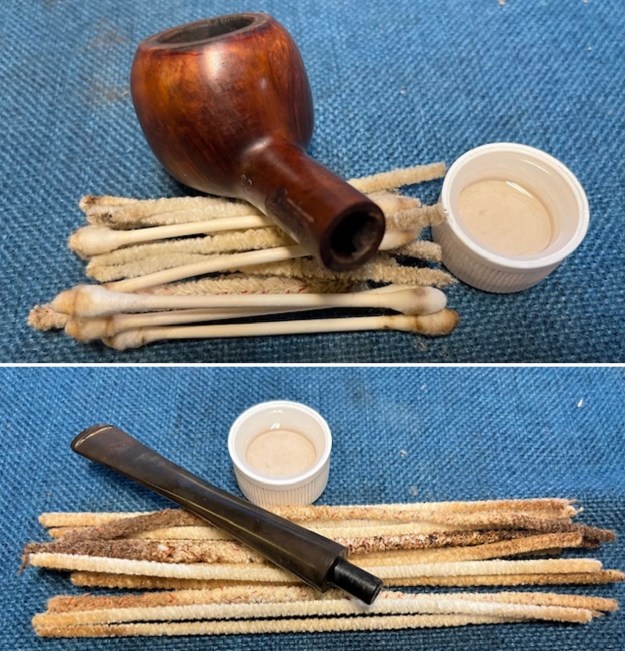
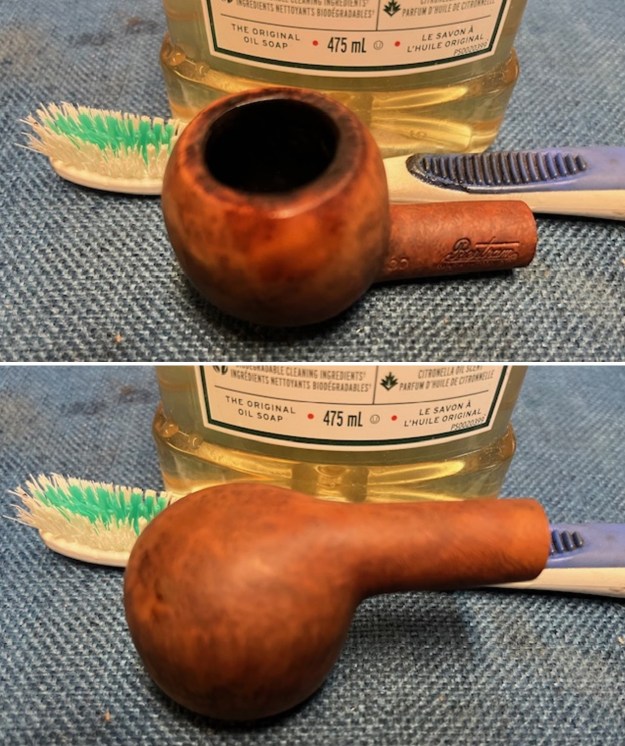
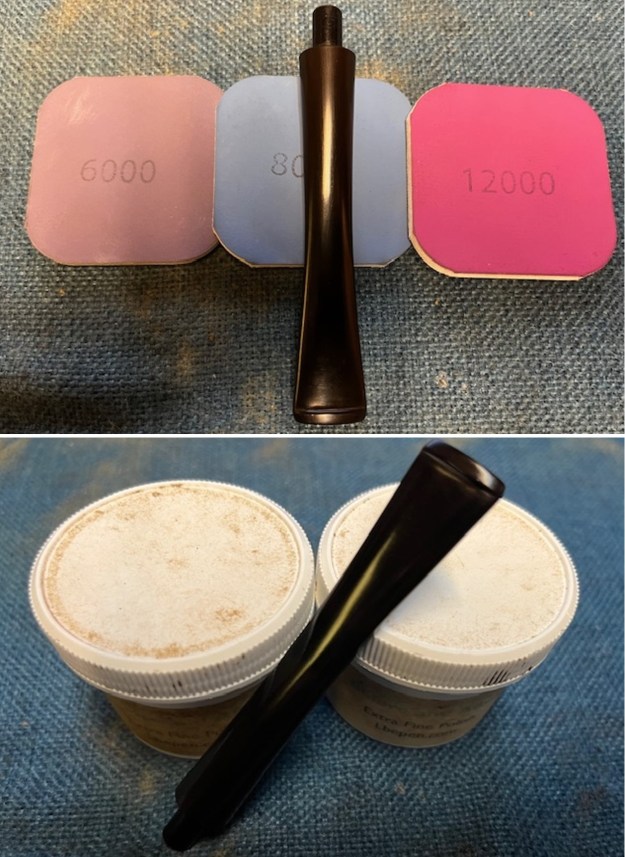
Time to get on with it! The stem was pretty dirty. It had some calcification on it and I used a sharp edge to carefully scrape that off. Once done, I scrubbed the stem with oil soap on some cotton pads. I also took a BIC lighter and ‘painted’ the stem with its flame in order to lift the few bite marks and dents. Then I cleaned out the inside with pipe cleaners and lemon-infused isopropyl alcohol. You can see just how filthy it was inside. Also, it’s worth noting that the aluminum chimney that often goes with these pipes is missing – but a replacement could be sought from Peterson’s.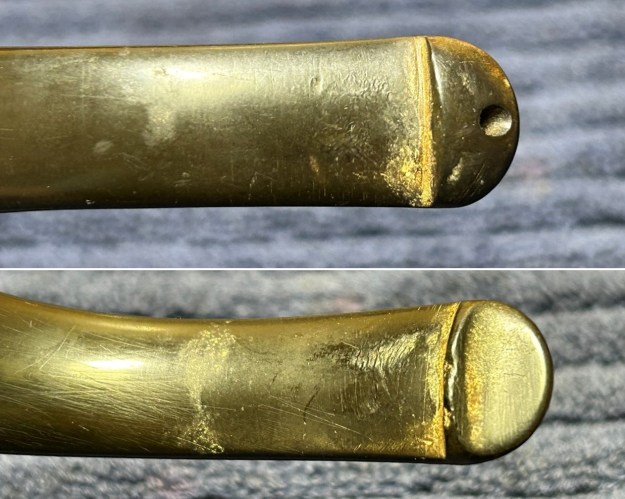
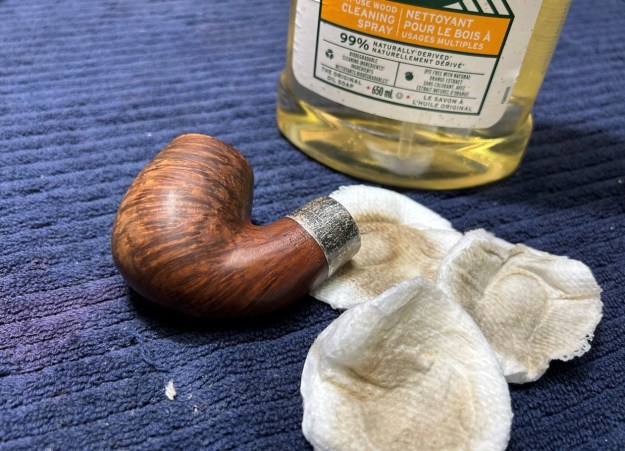
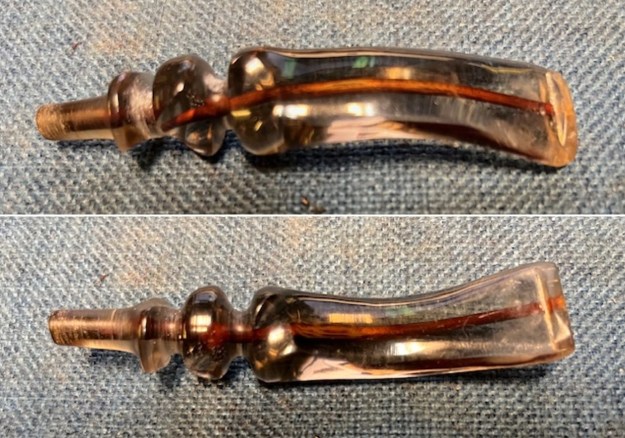
 I wiped down the stem with cleanser to remove surface oxidation. Then the stem went for an overnight soak in the Pipe Stem Oxidation Remover. The next day, I used the cleanser again with some cotton rounds.
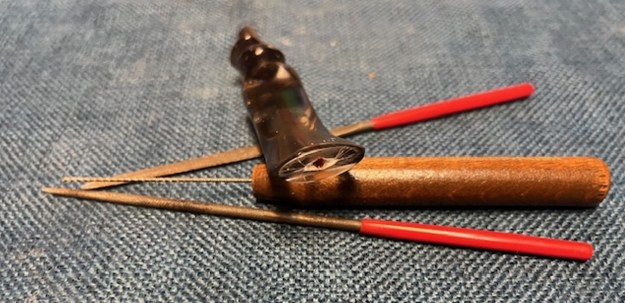
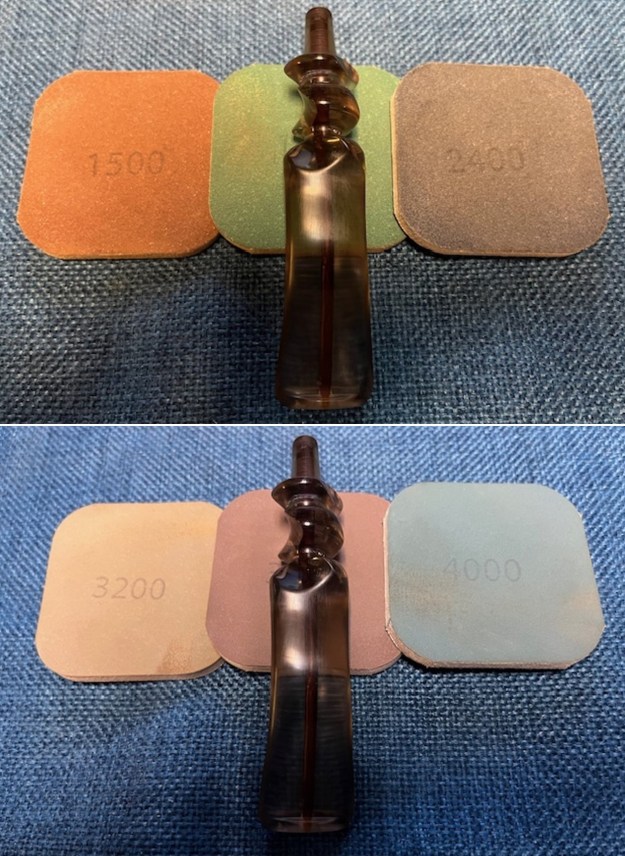
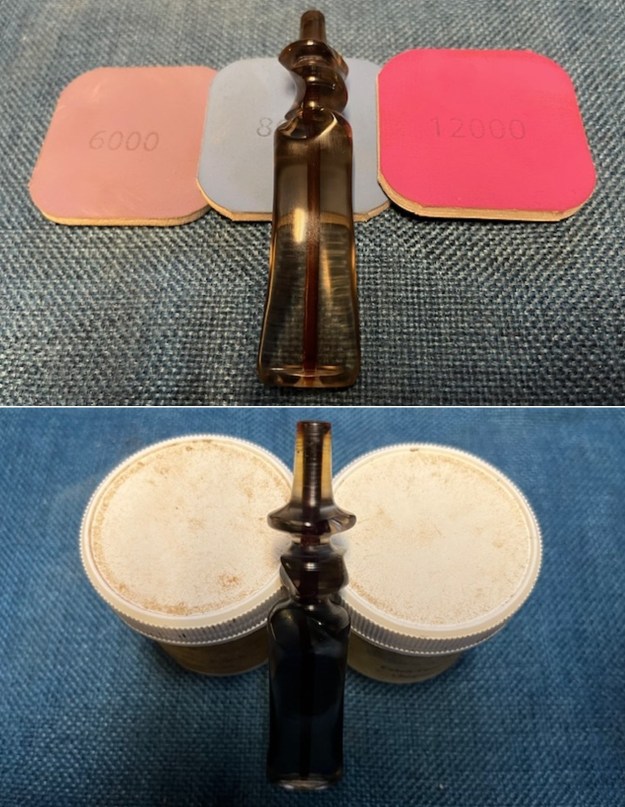
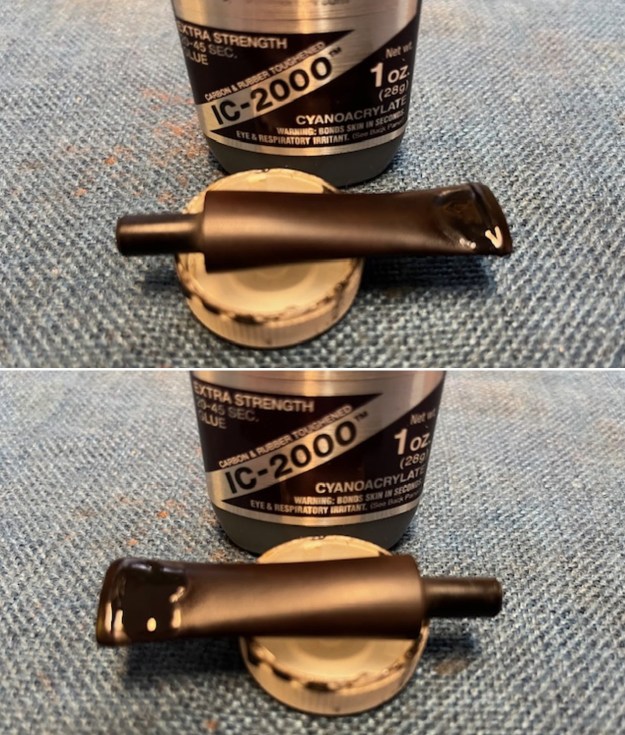
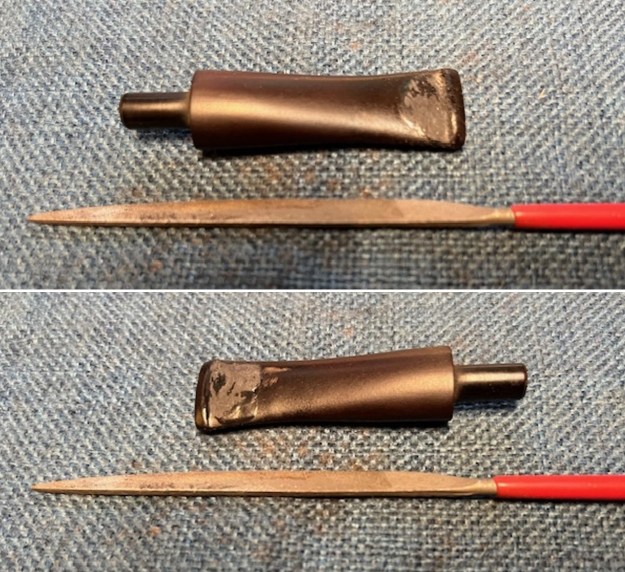
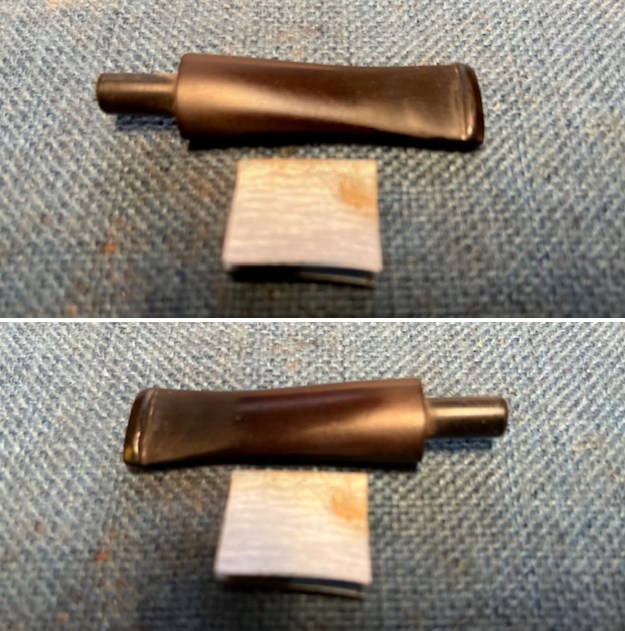
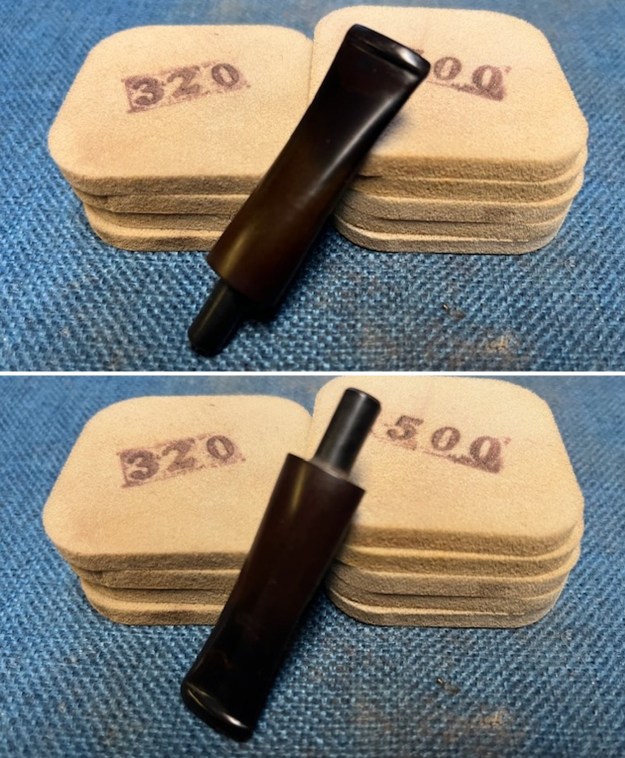
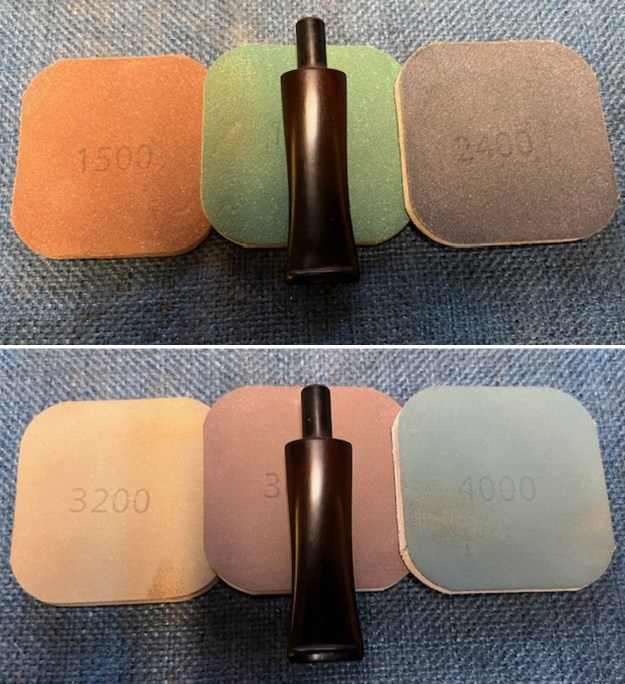
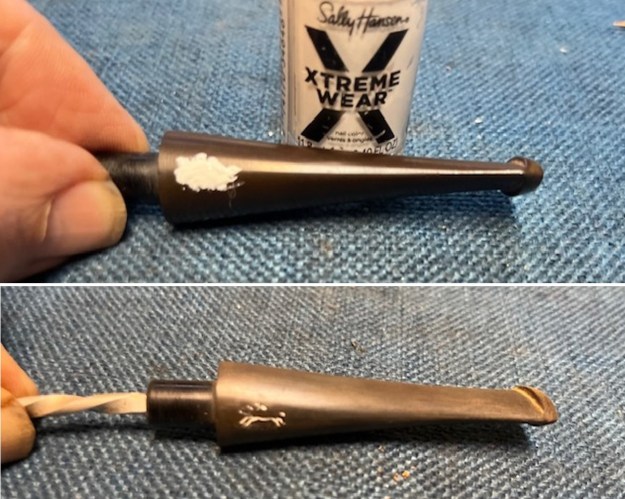
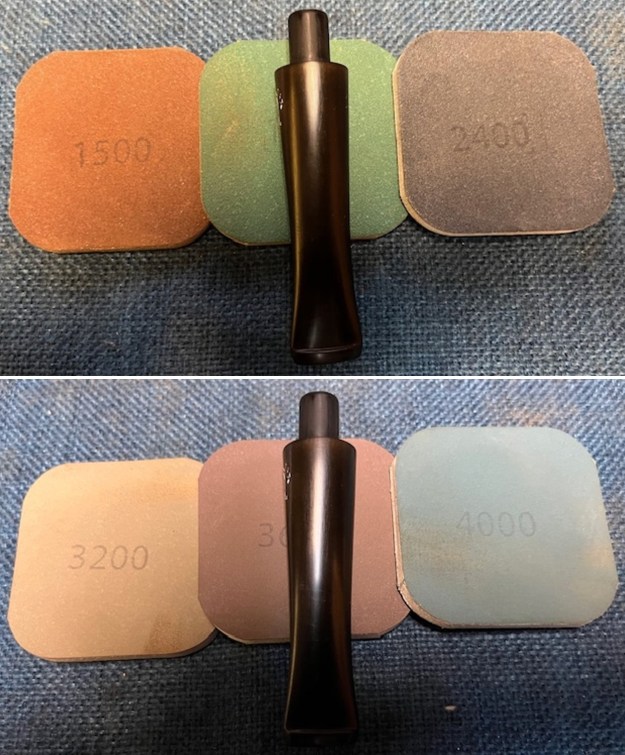
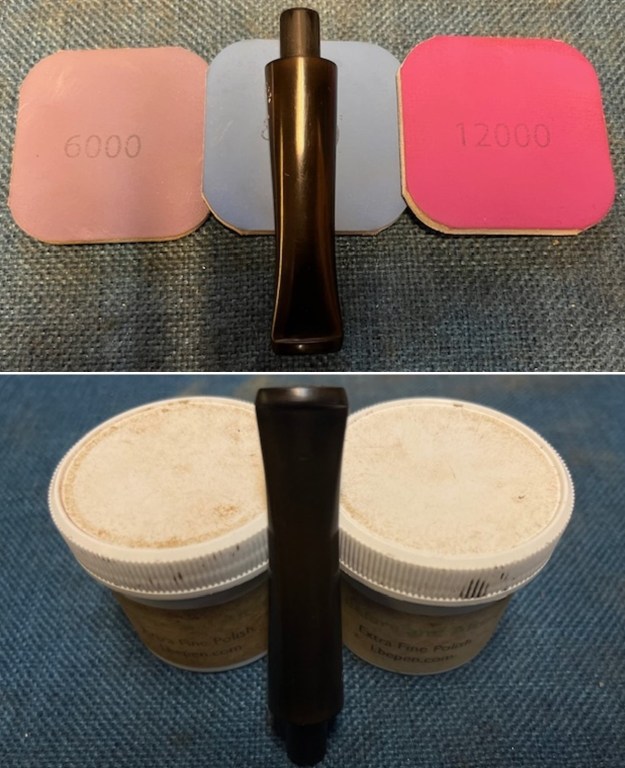
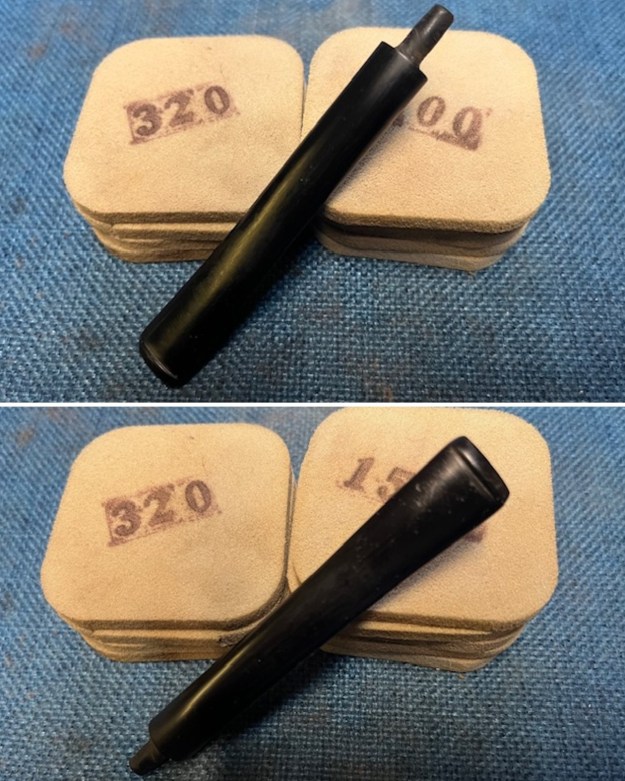
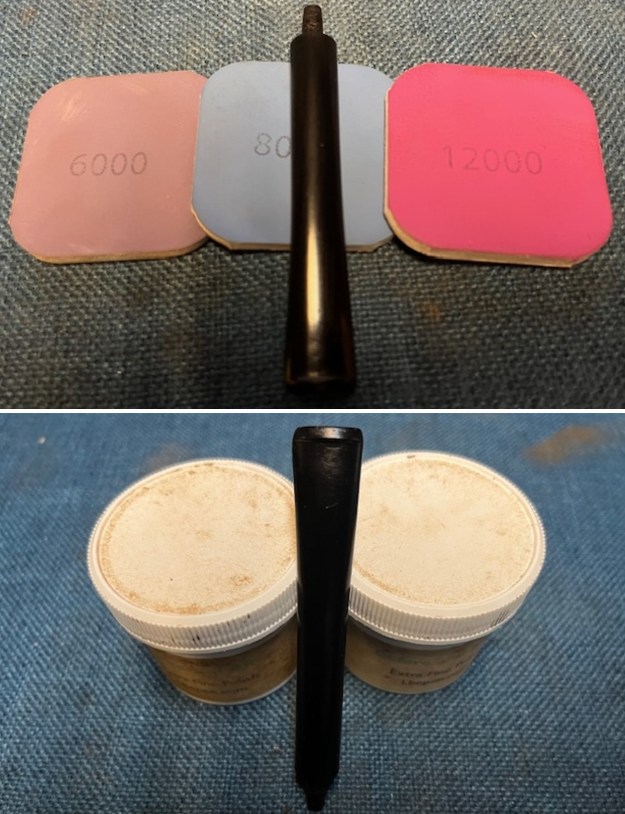
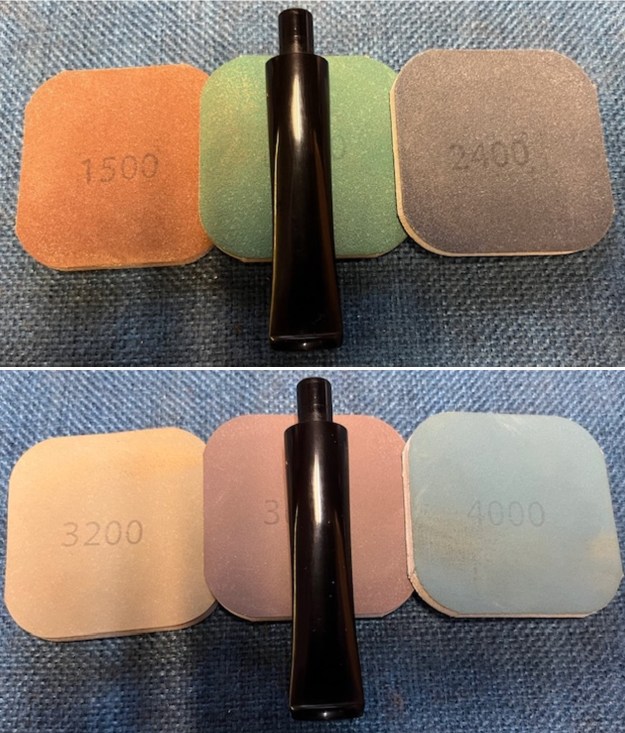
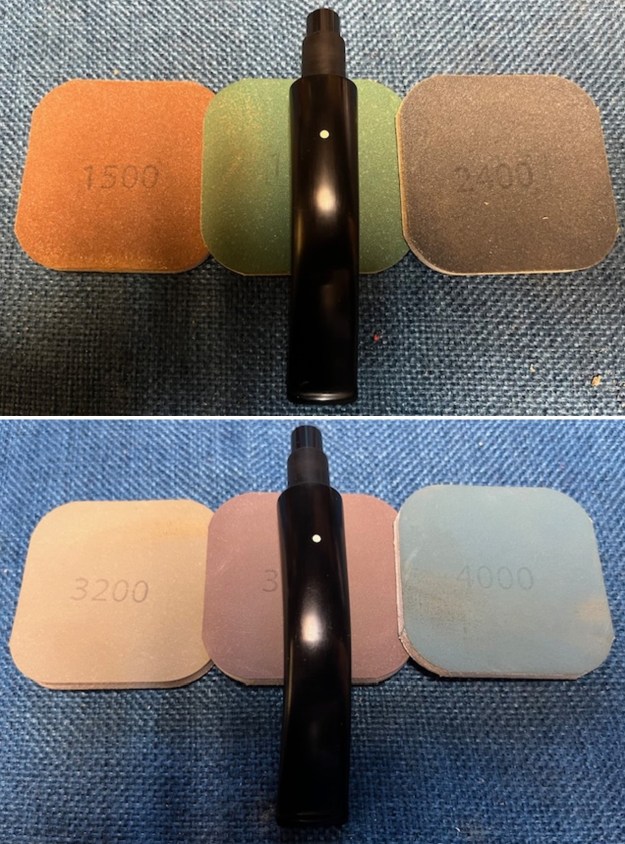
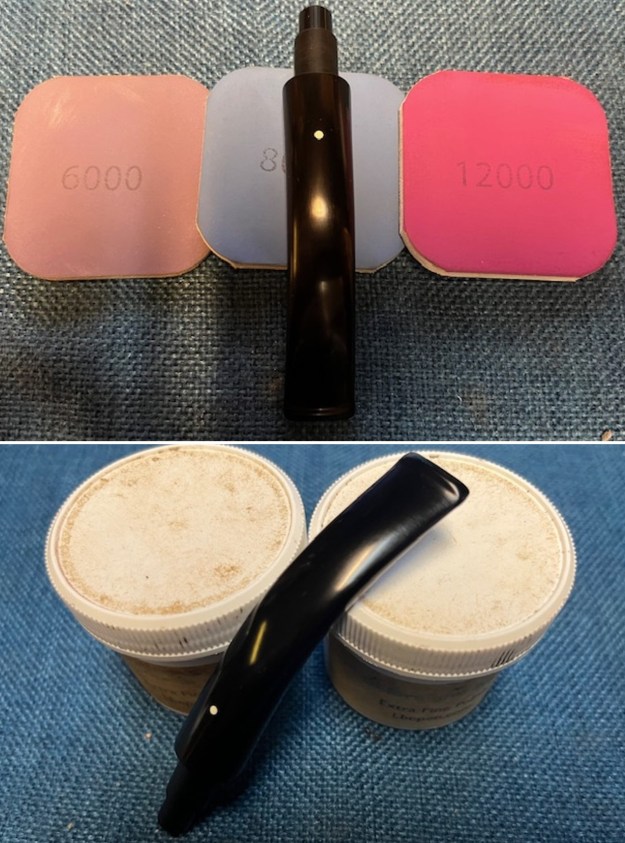
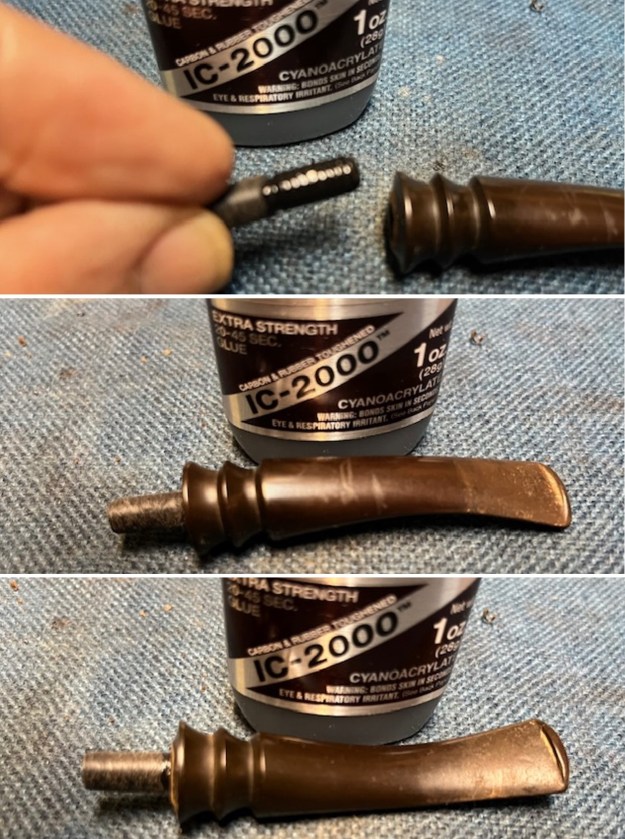
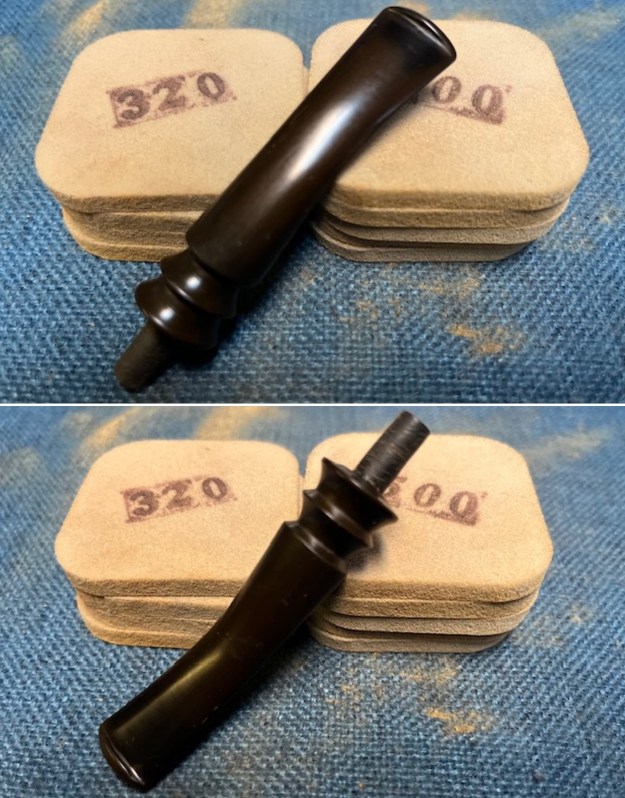
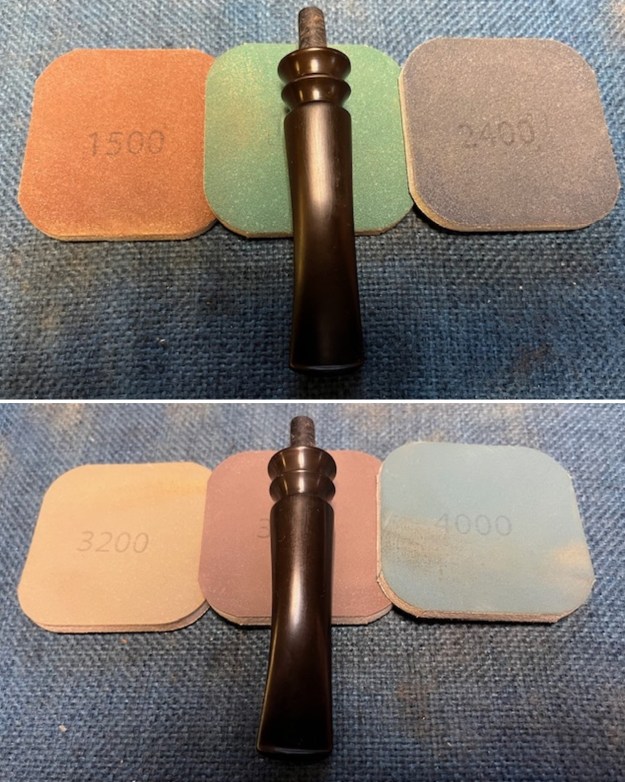
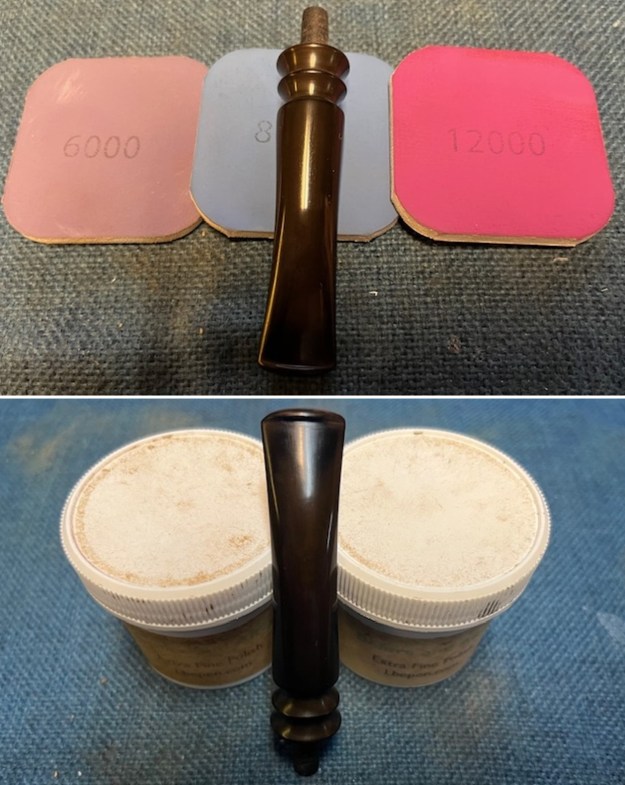
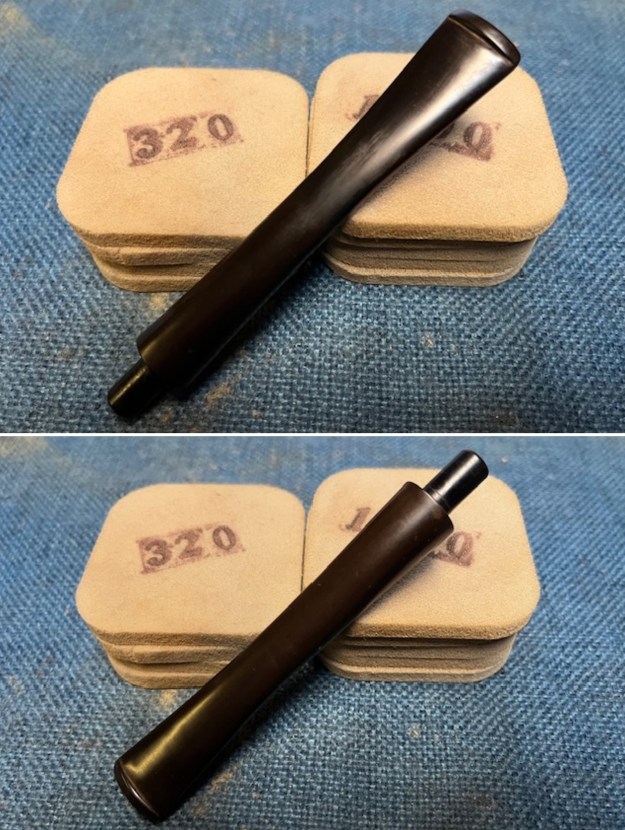
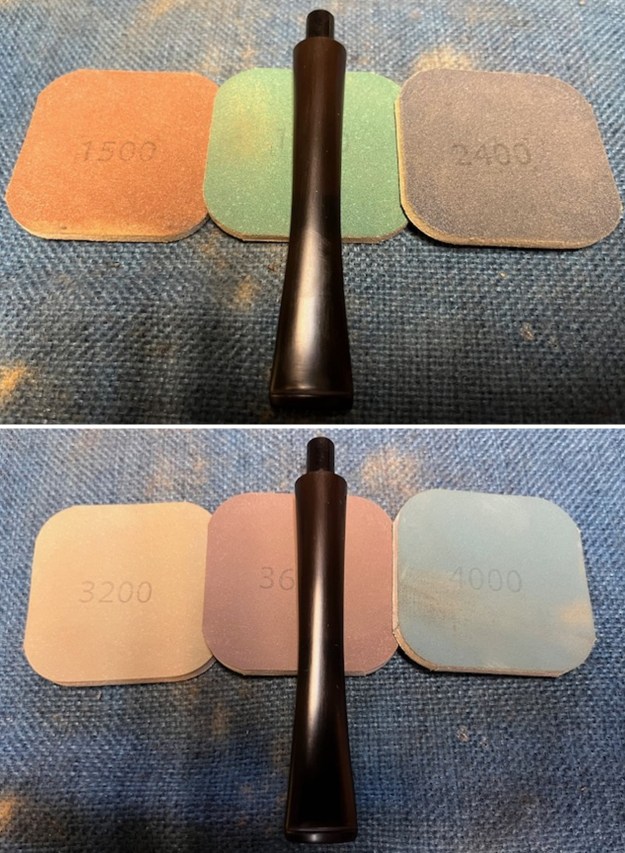
 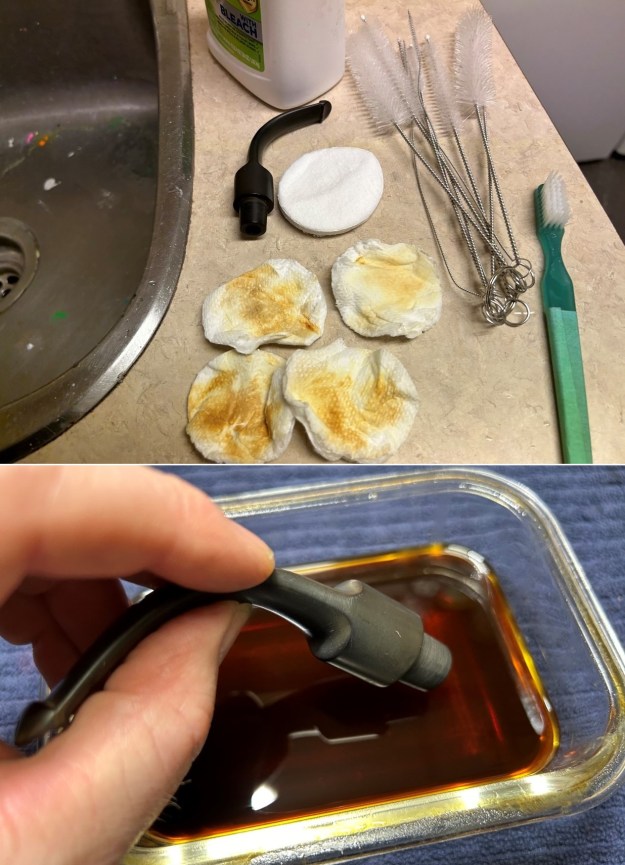 I built up the small tooth marks on the stem with black cyanoacrylate adhesive and let them fully cure. I put a tiny piece of hockey tape over the “Hand Cut” words, so I wouldn’t accidentally sand them. I then used my needle files, Micromesh pads and Obsidian Pipe Stem Oil to make it look great.
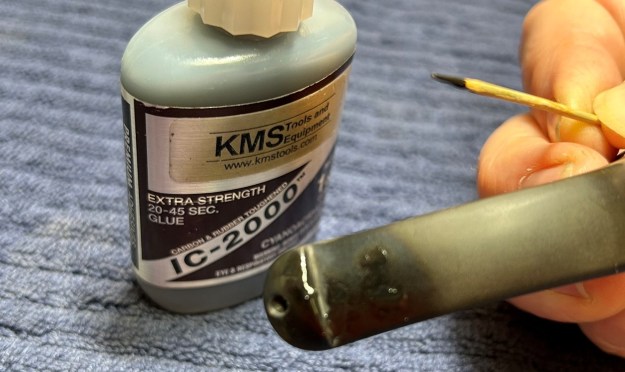
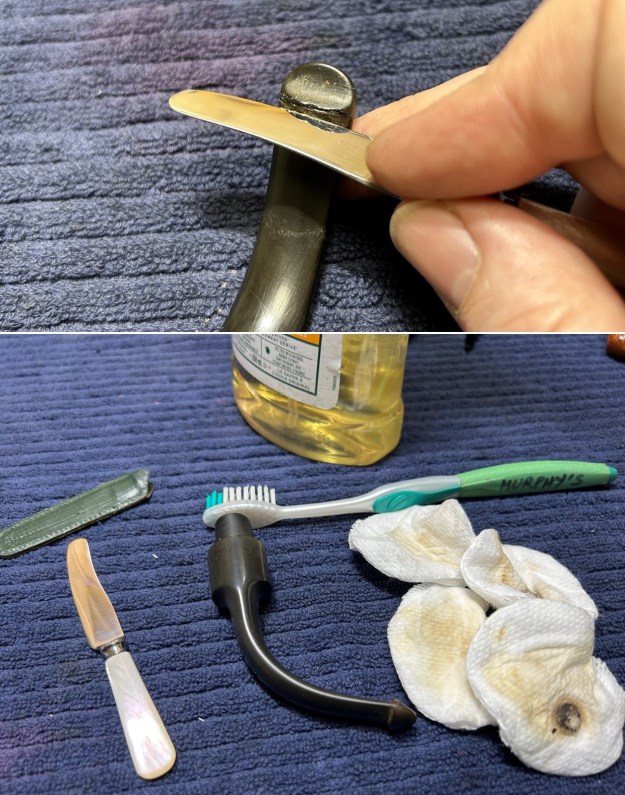
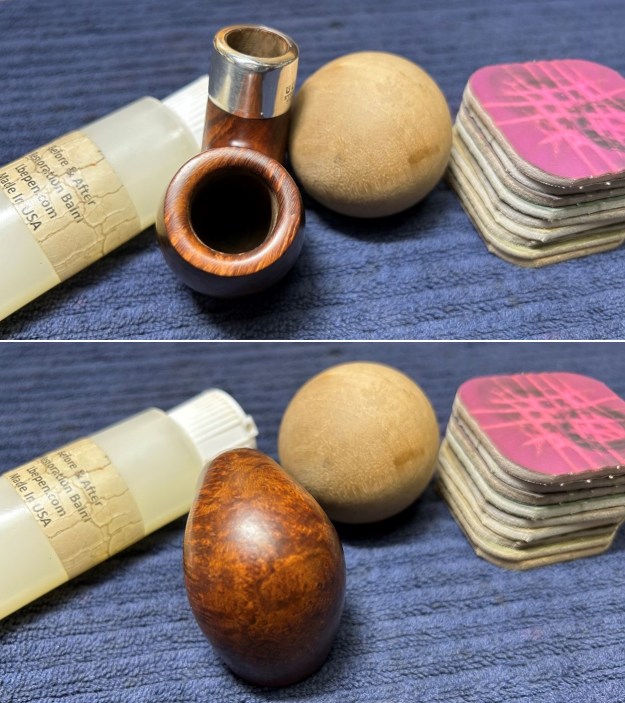
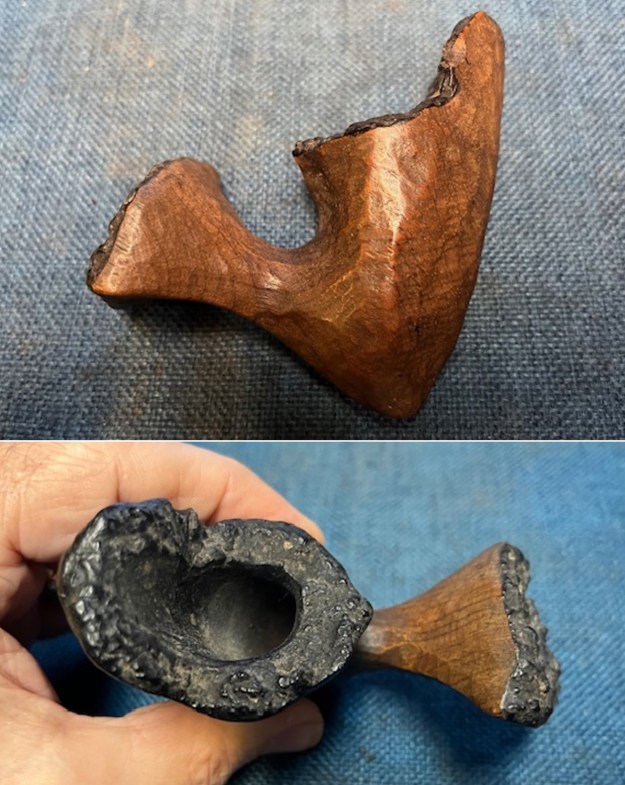
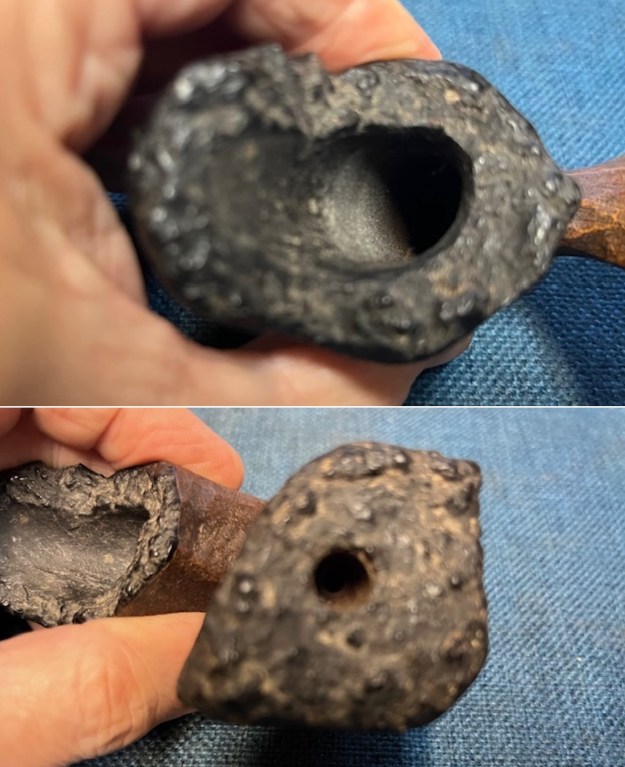
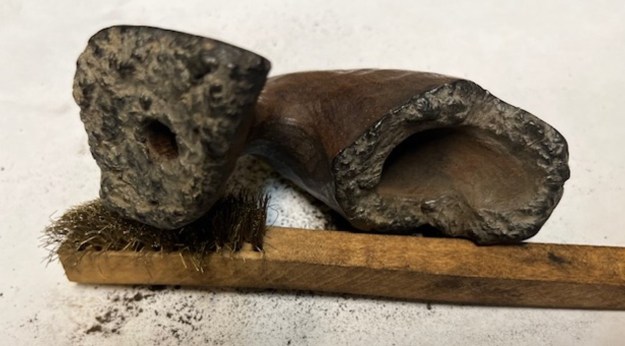
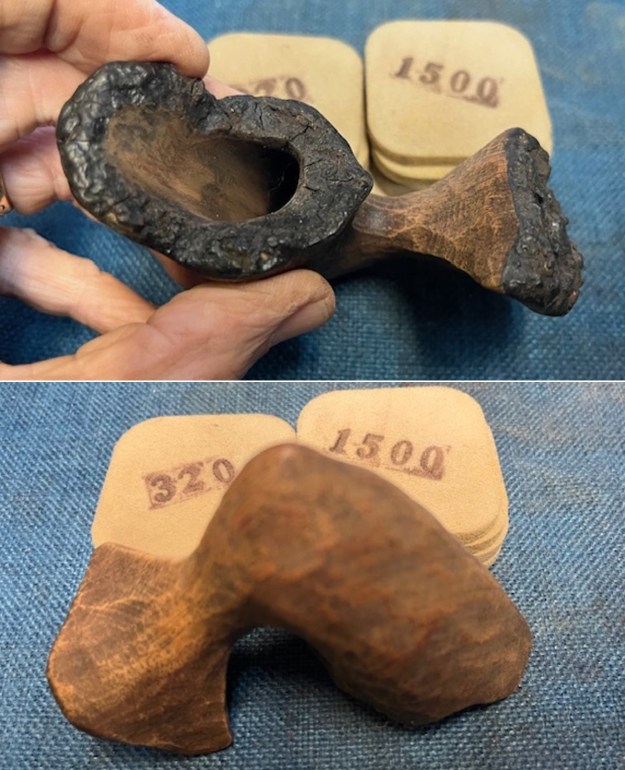
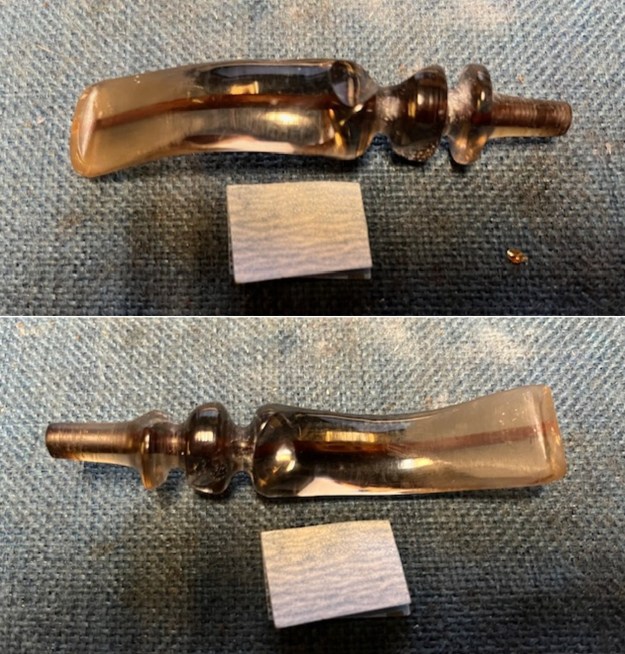
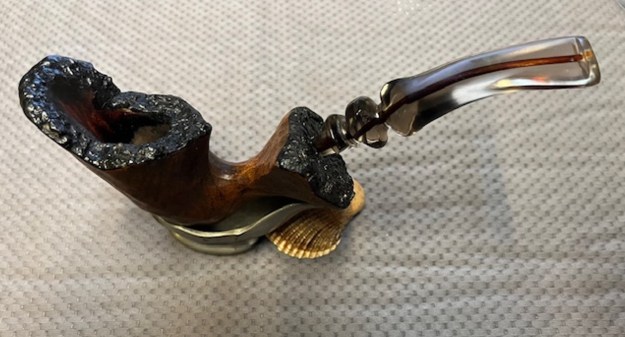
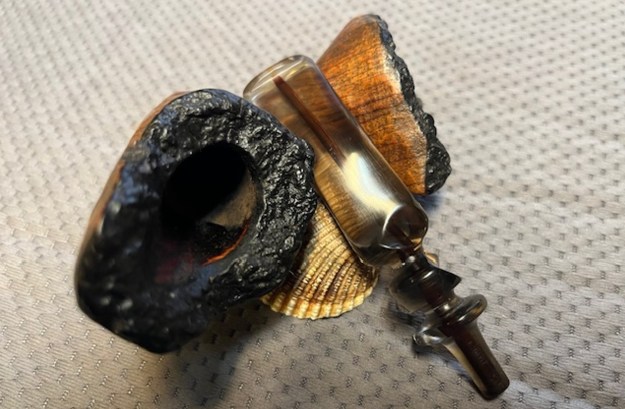
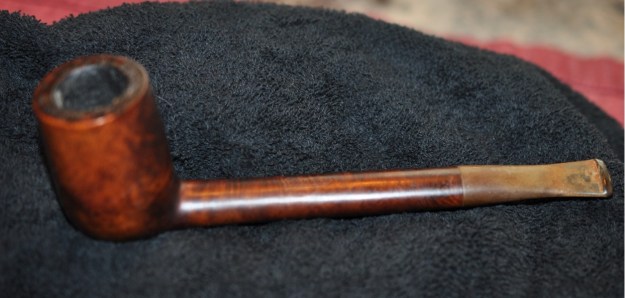
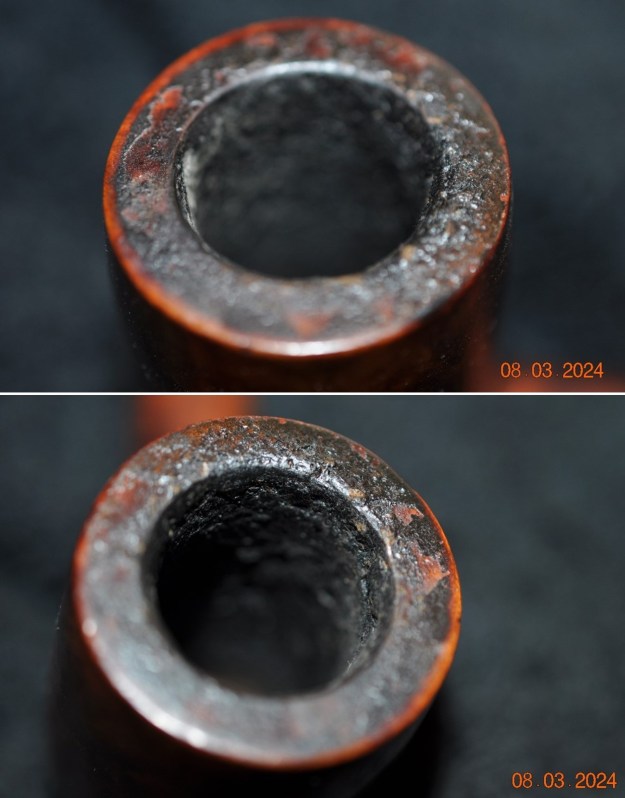
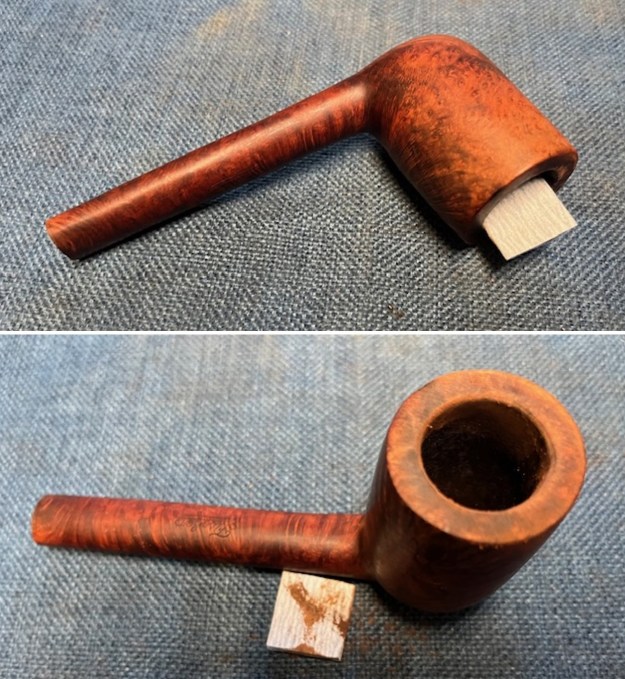
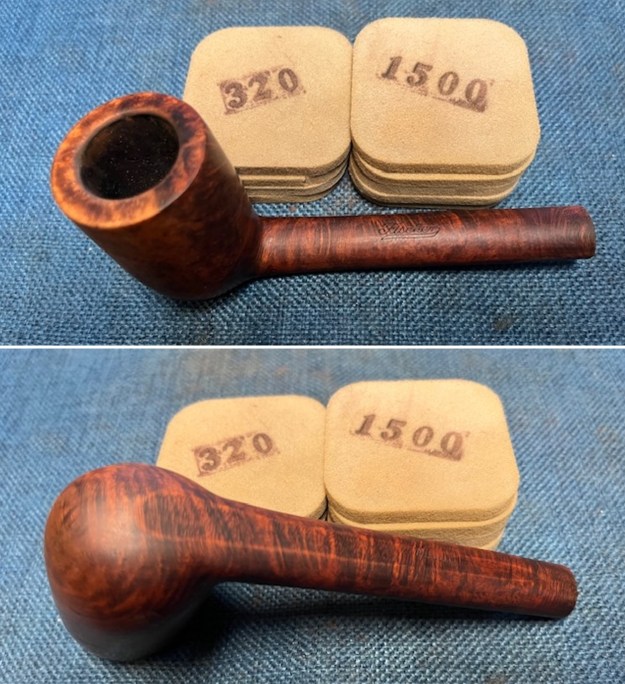
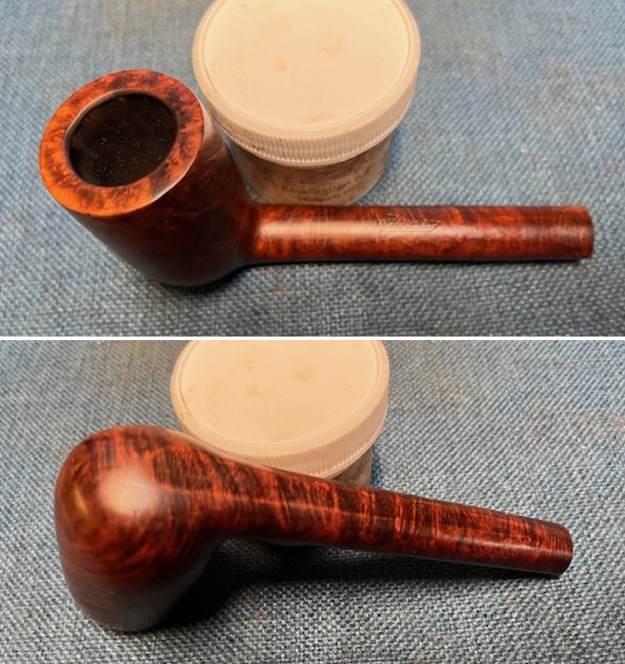
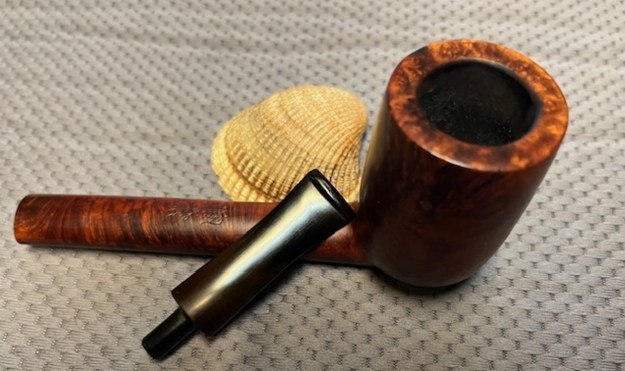
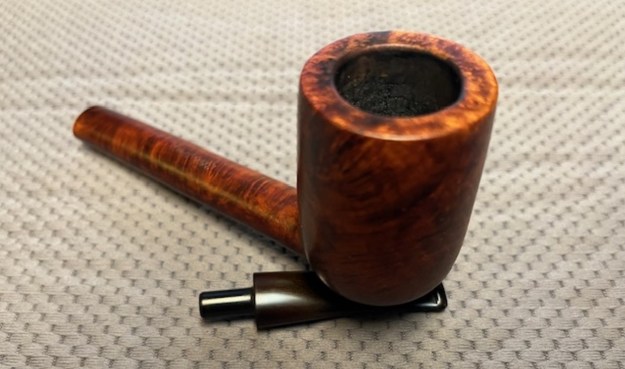
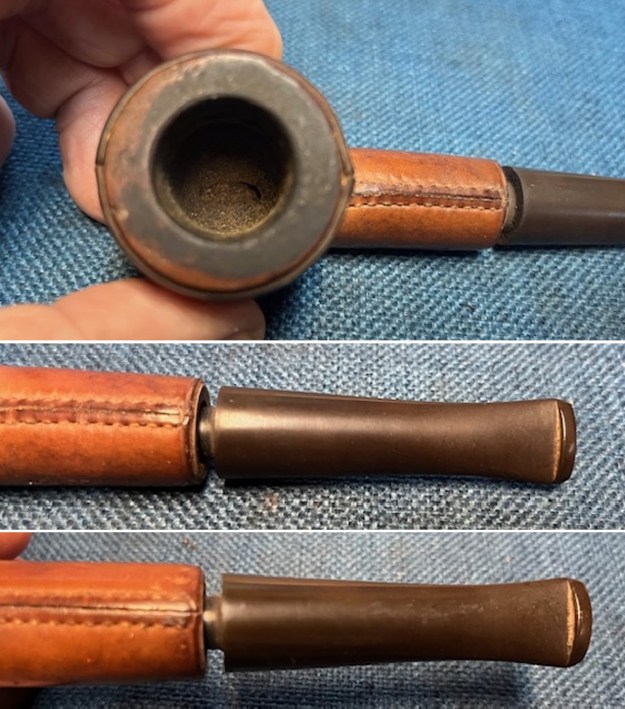
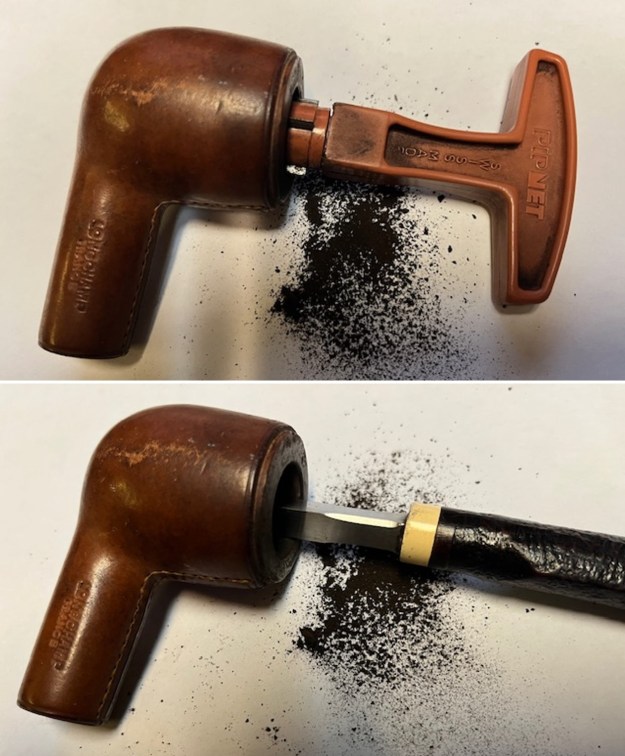
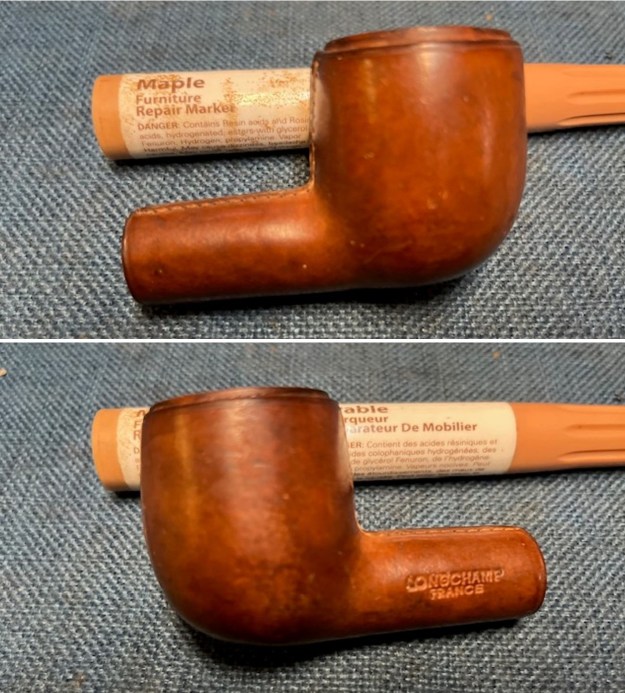
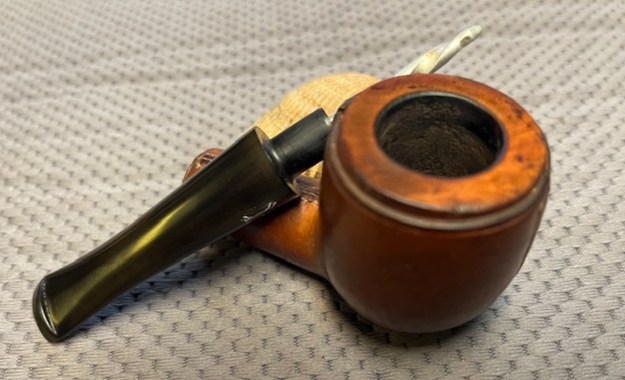
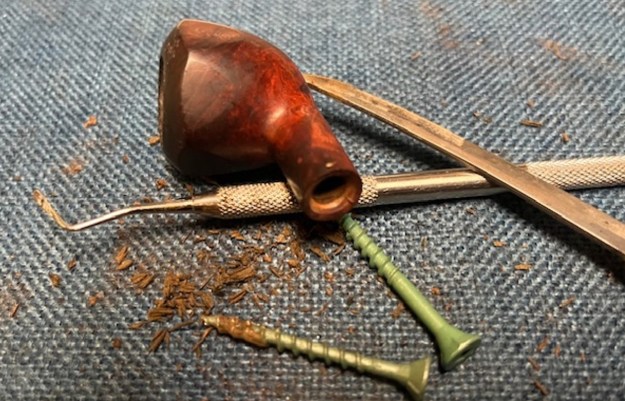
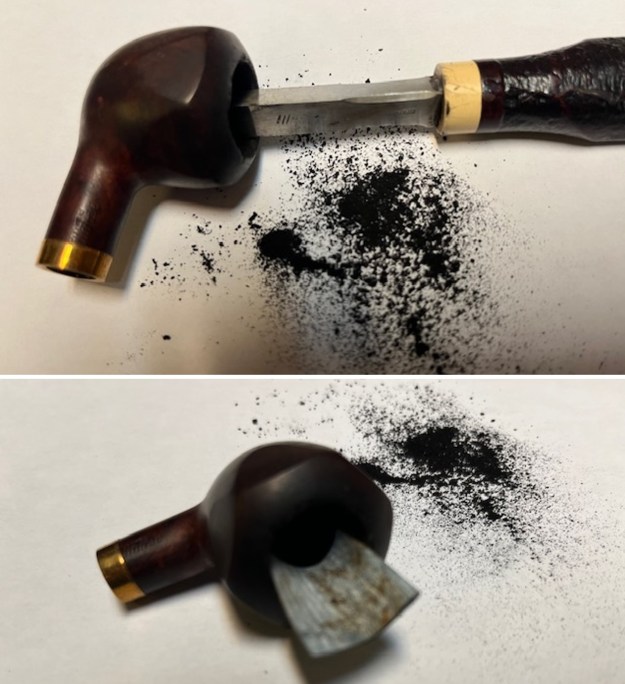
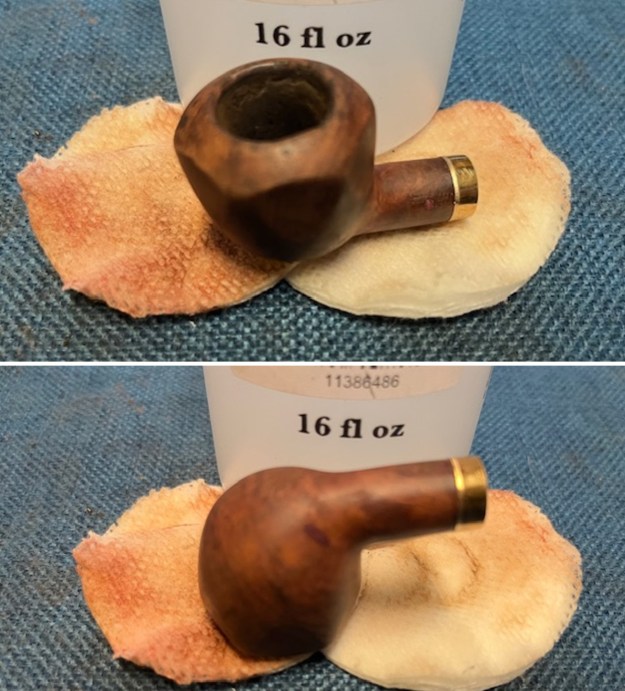
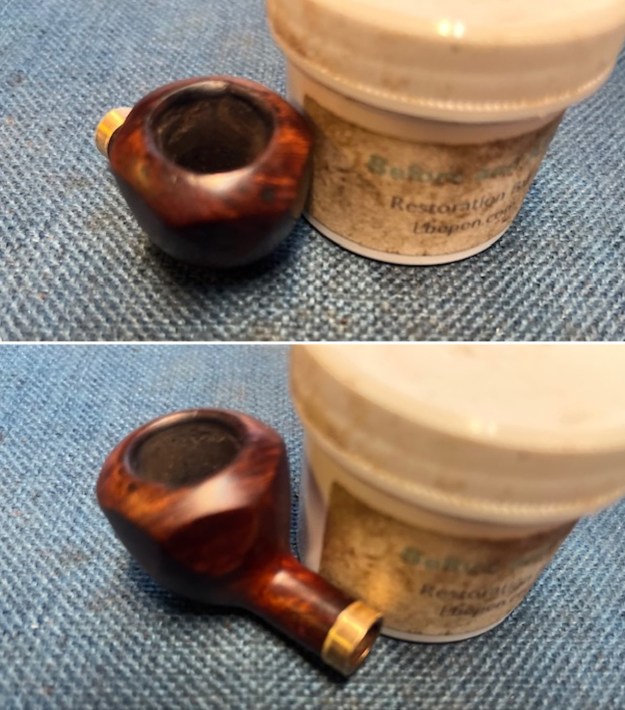
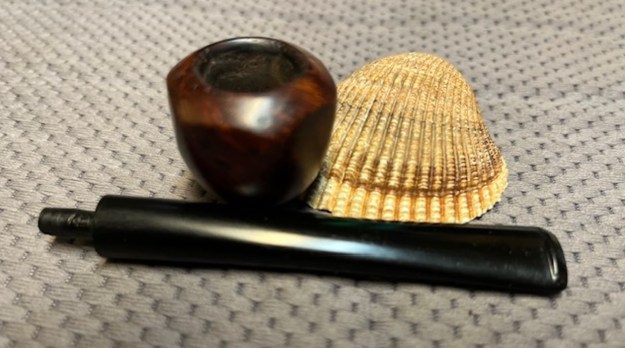
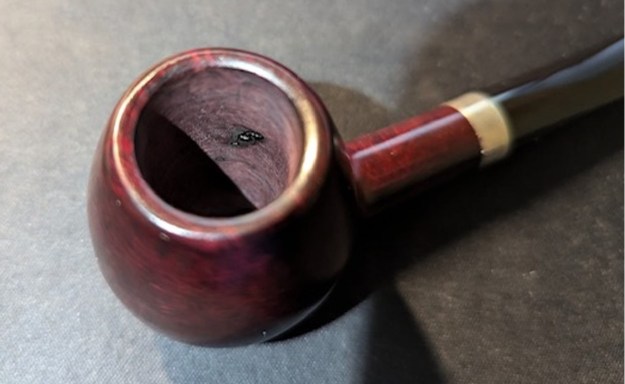
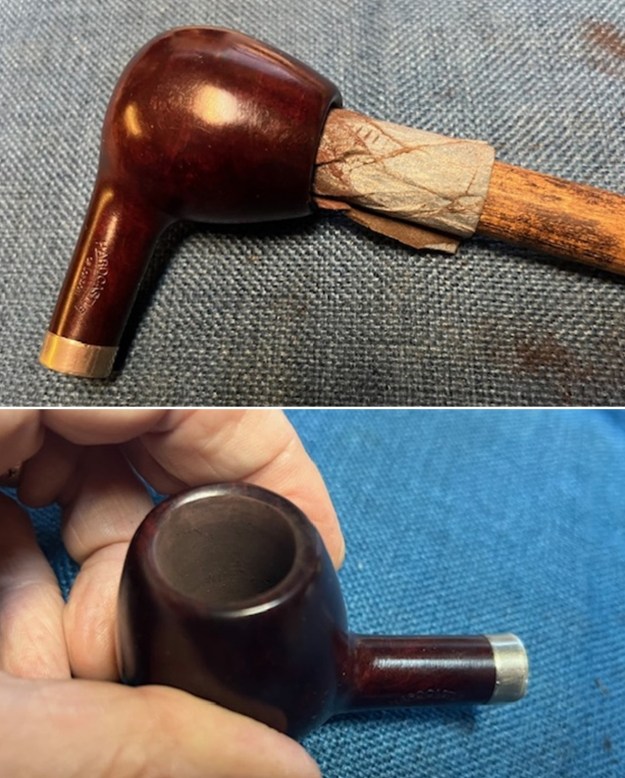
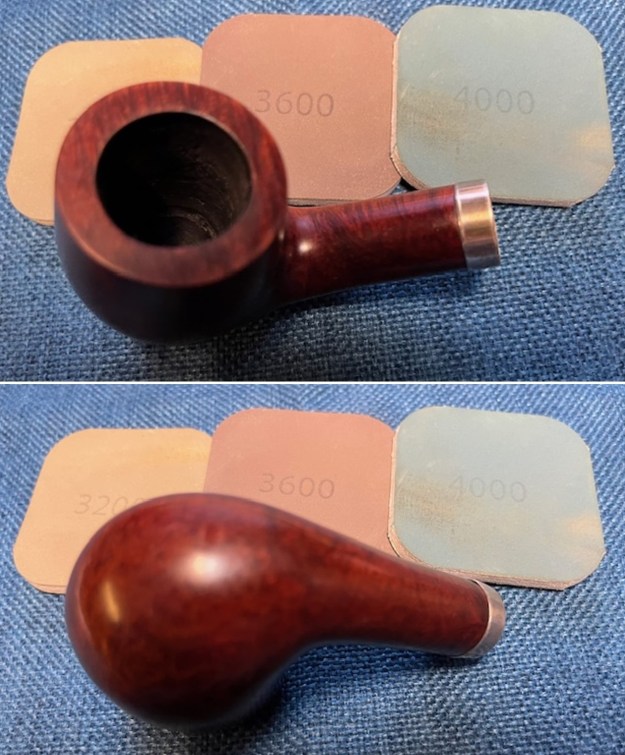
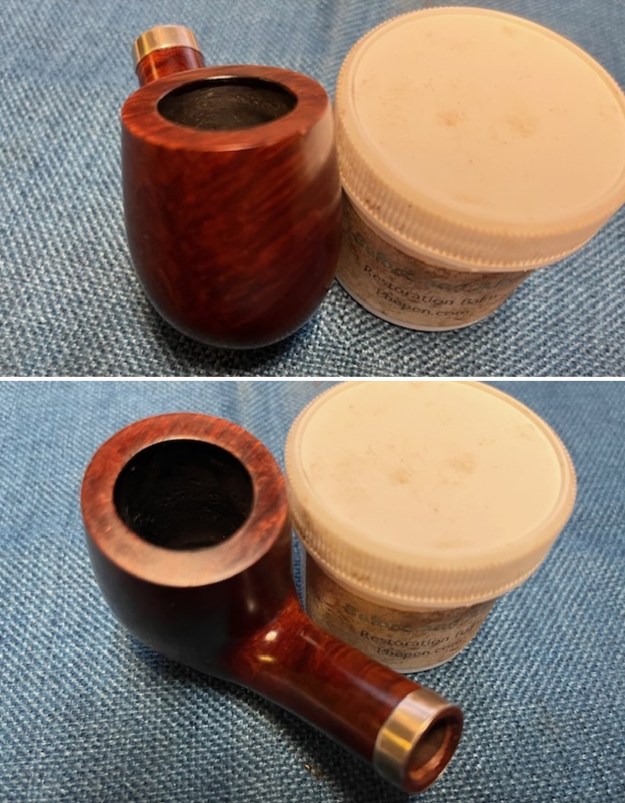
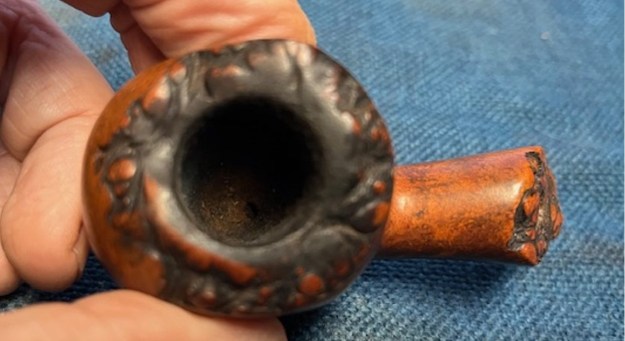
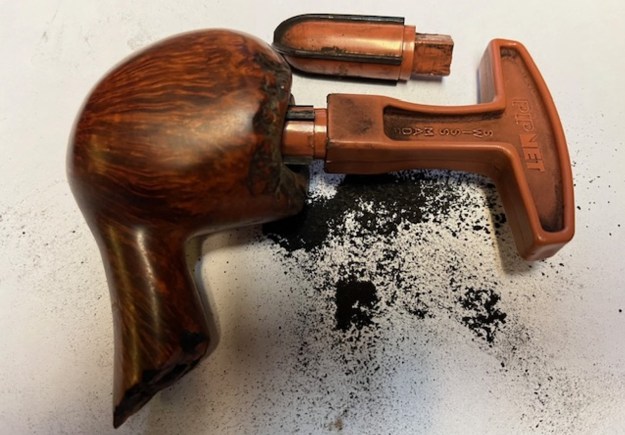
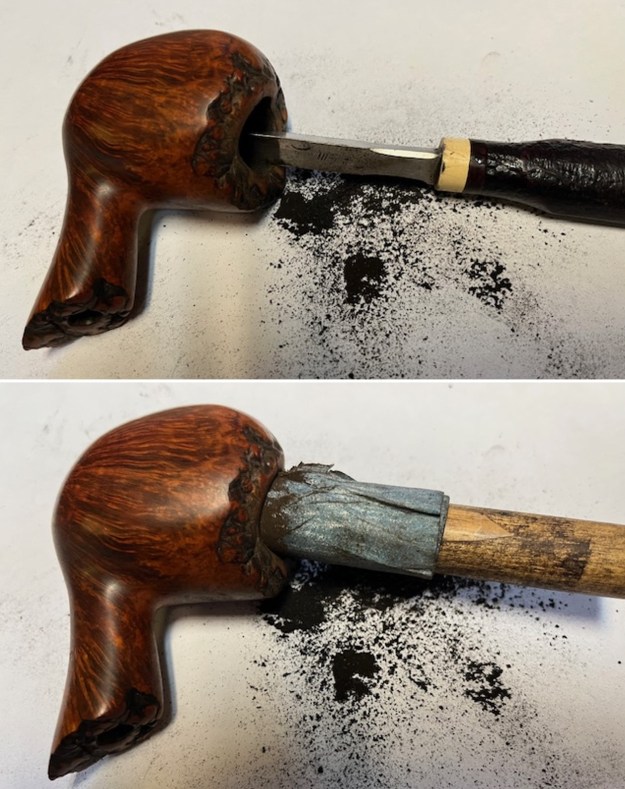
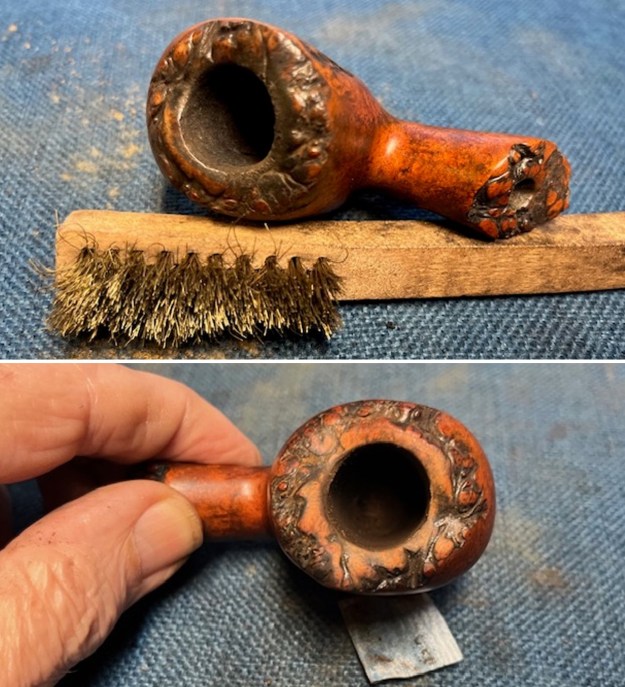
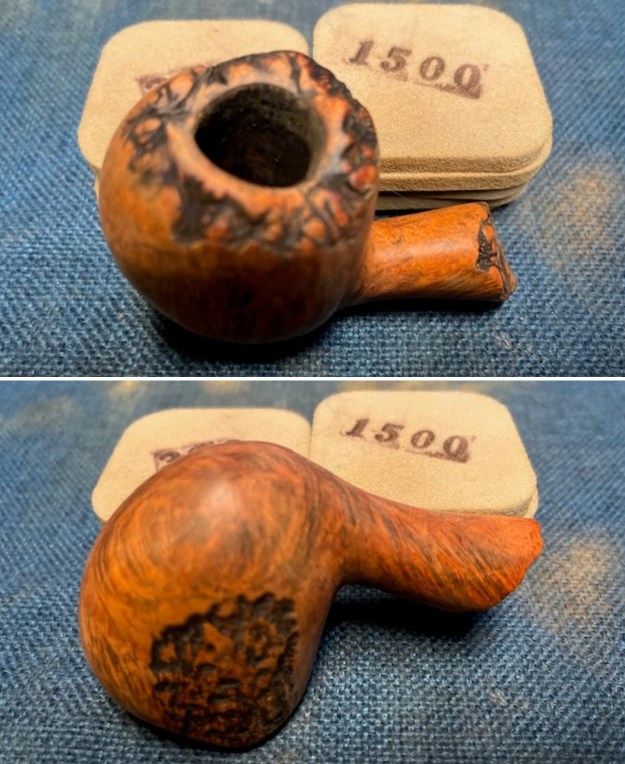
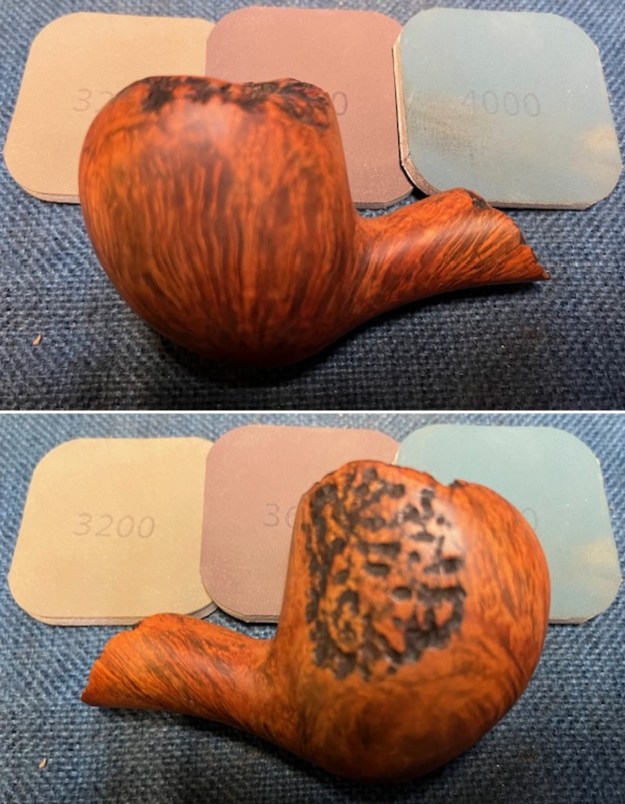
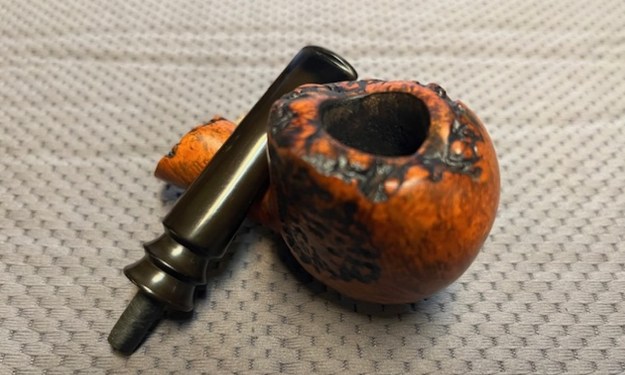
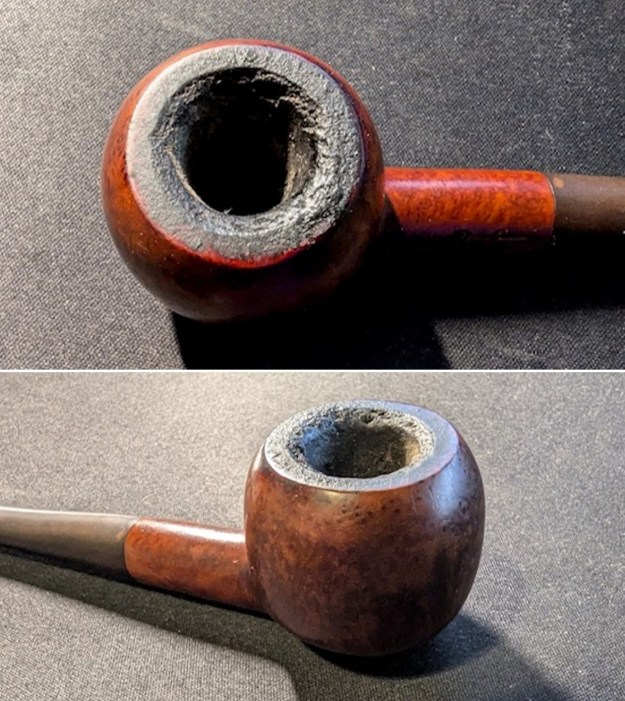
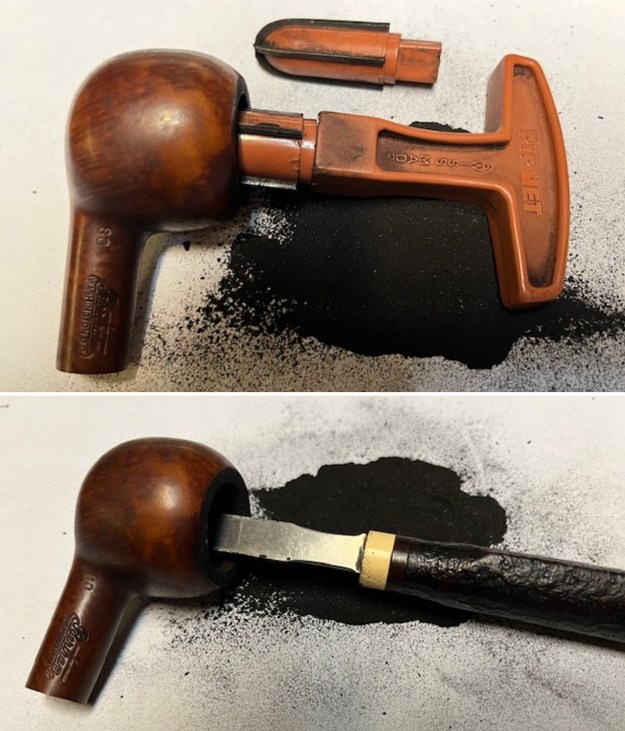
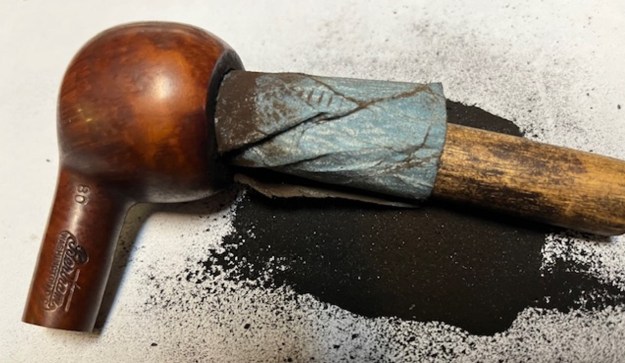
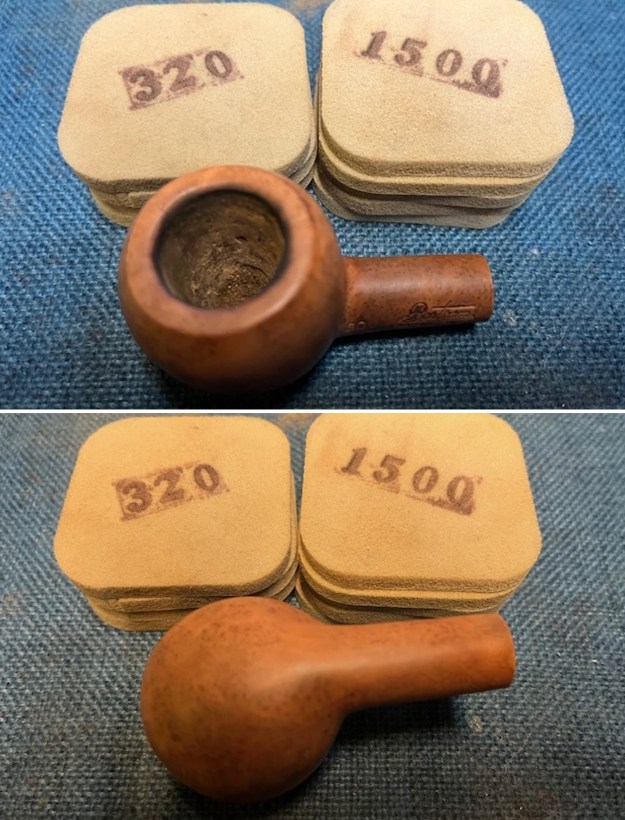
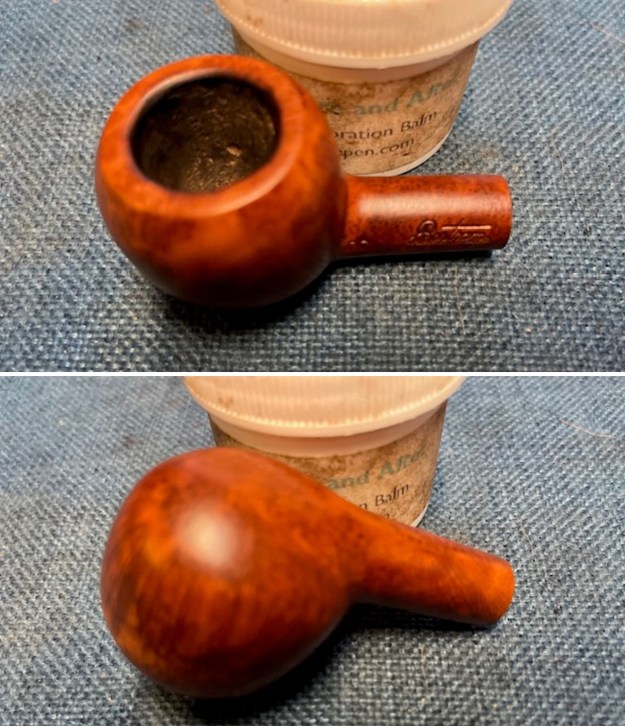
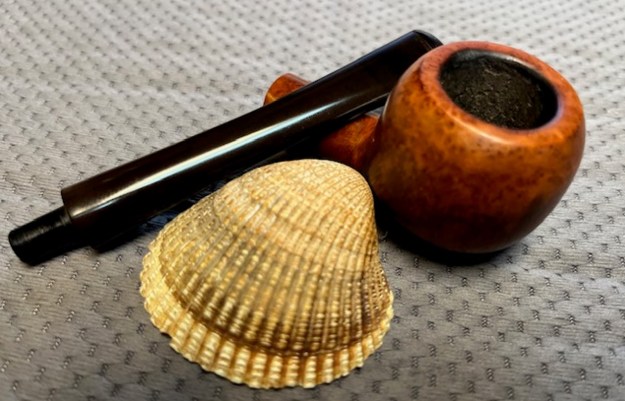
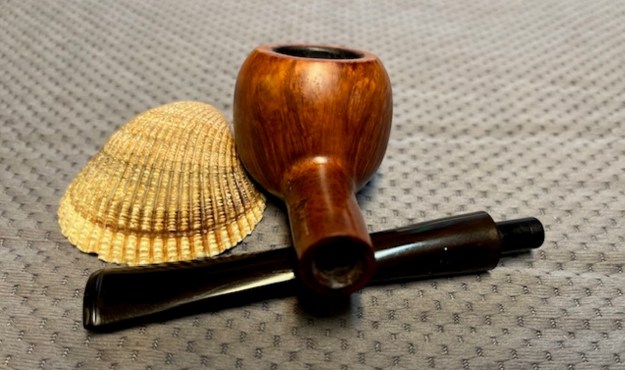
 Onto the stummel, and the first thing I did was to clean up the rim a bit. I took a piece of machine metal and meticulously scraped away the cake without affecting the finish of the wood.
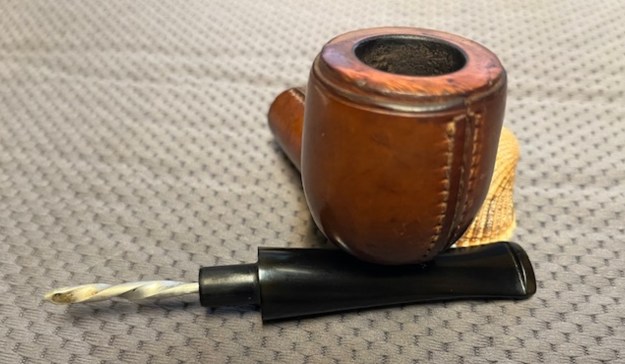
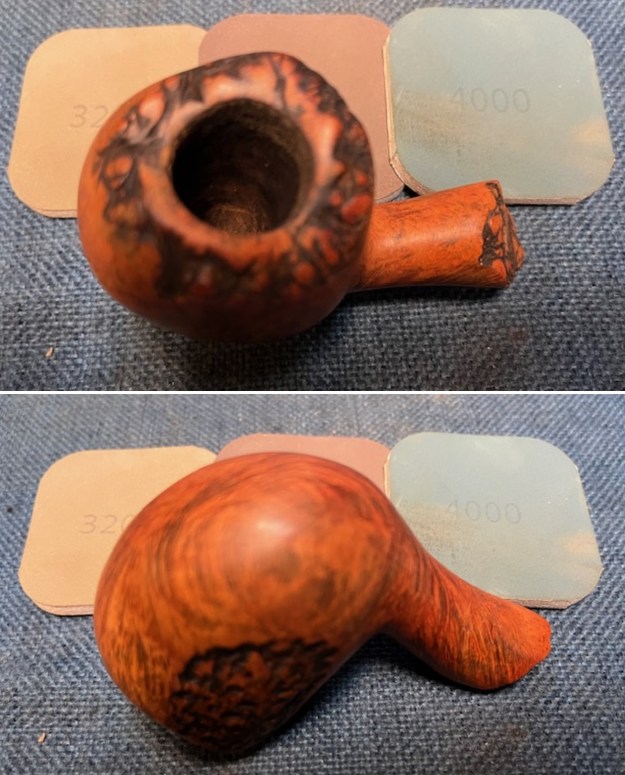
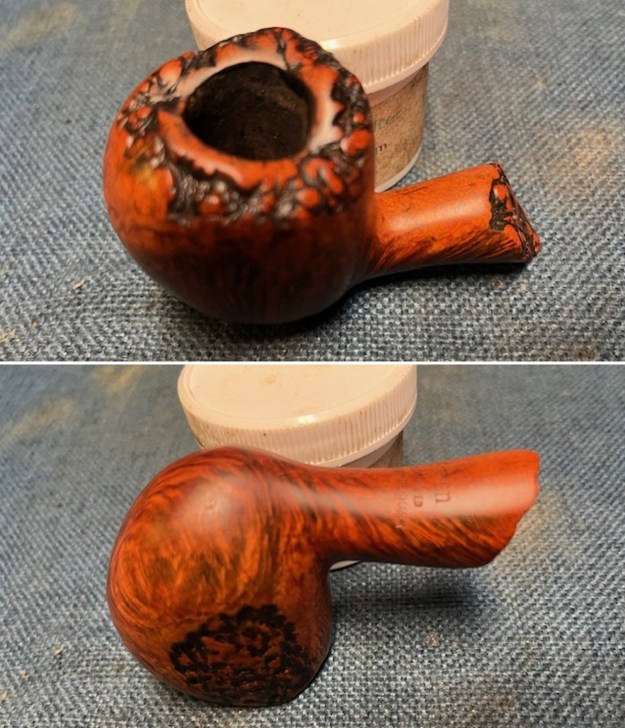
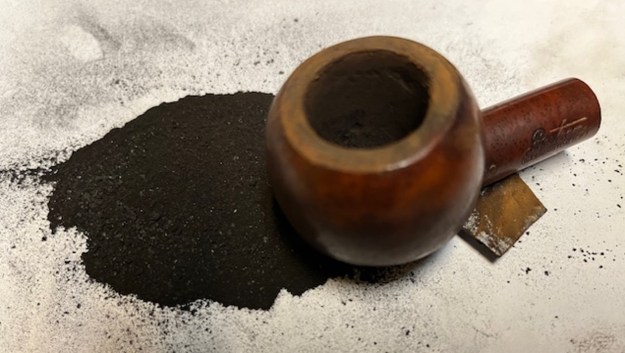
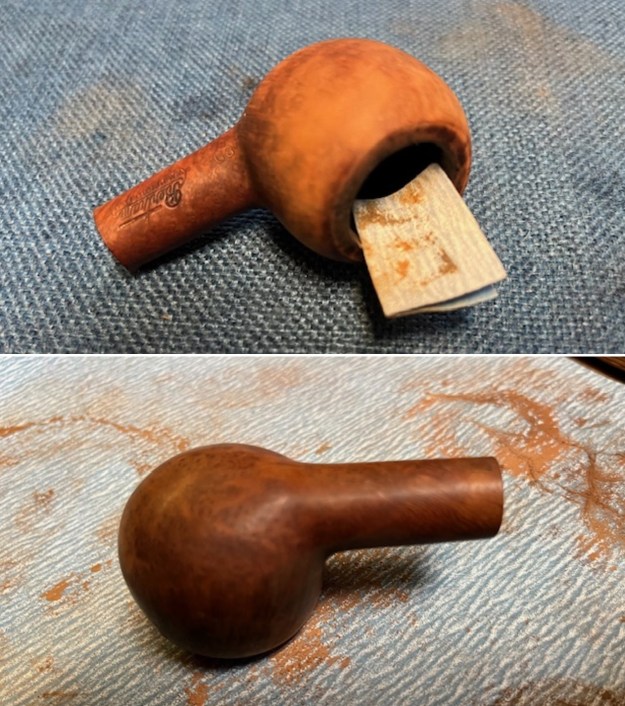
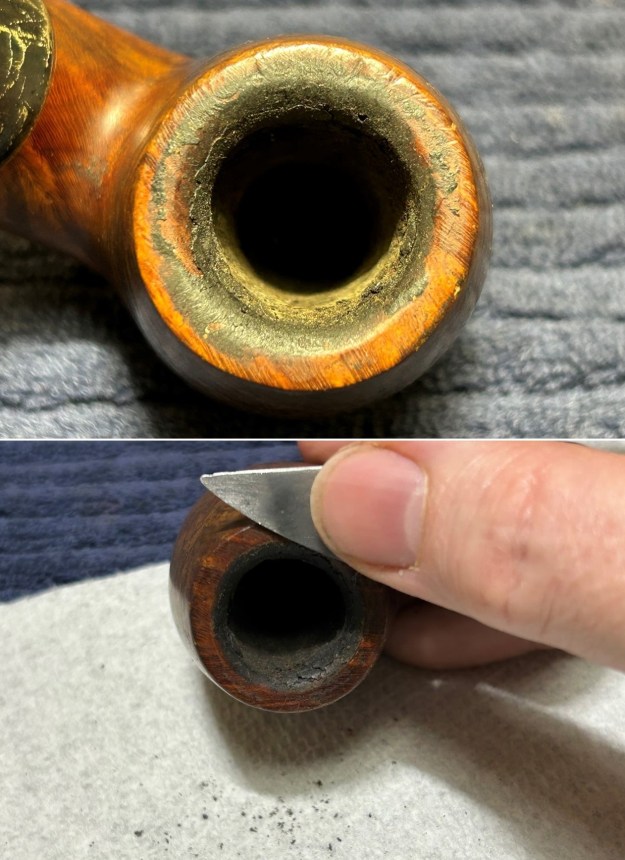 Then I reamed out the stummel and removed all the cake. I used a bit of everything to get it all out: PipNet, KleenReem, knife, sandpaper, etc. Fortunately, there was no damage to the interior walls. I used cotton rounds and some oil soap to scrub the outside of the stummel and a toothbrush with oil soap for the lava on the rim of the pipe.
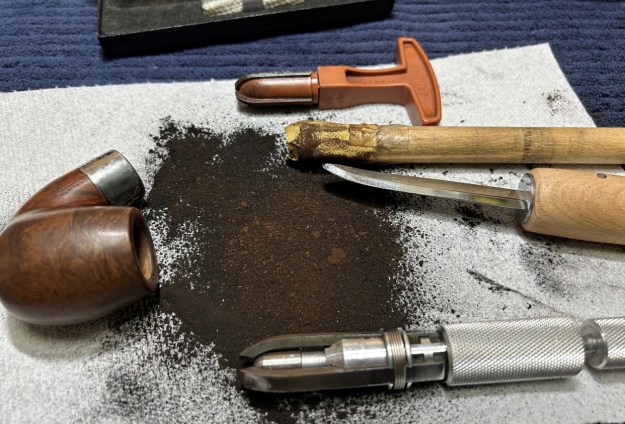
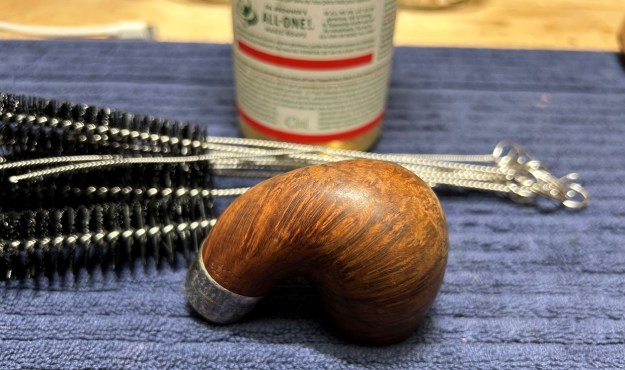
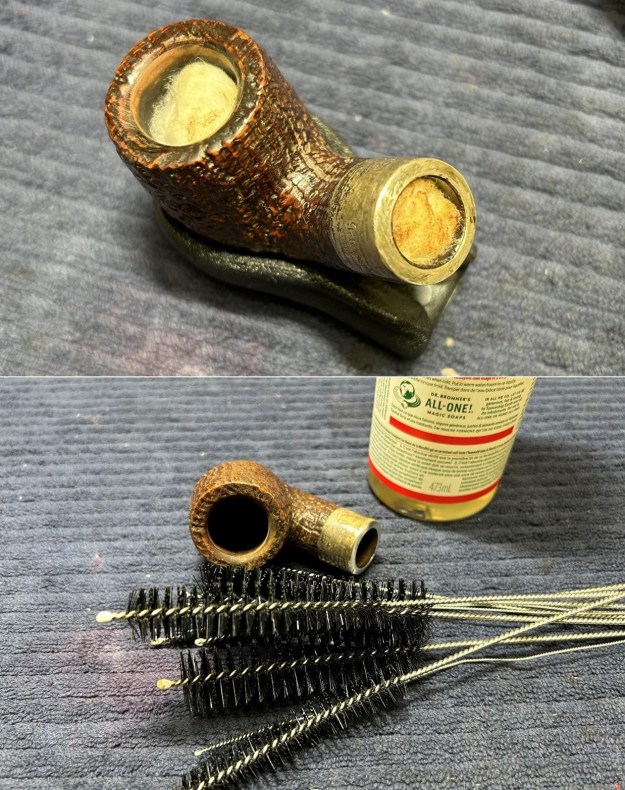
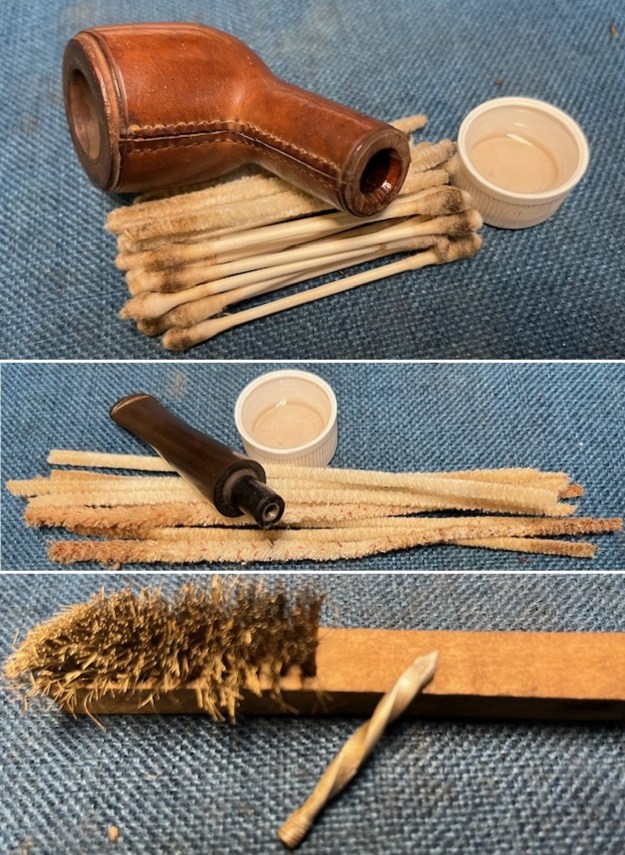
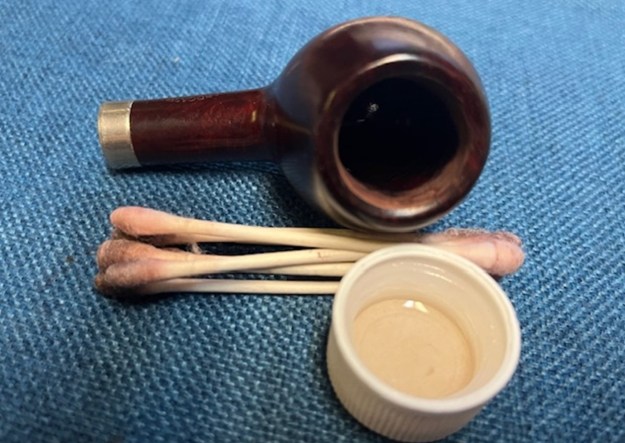
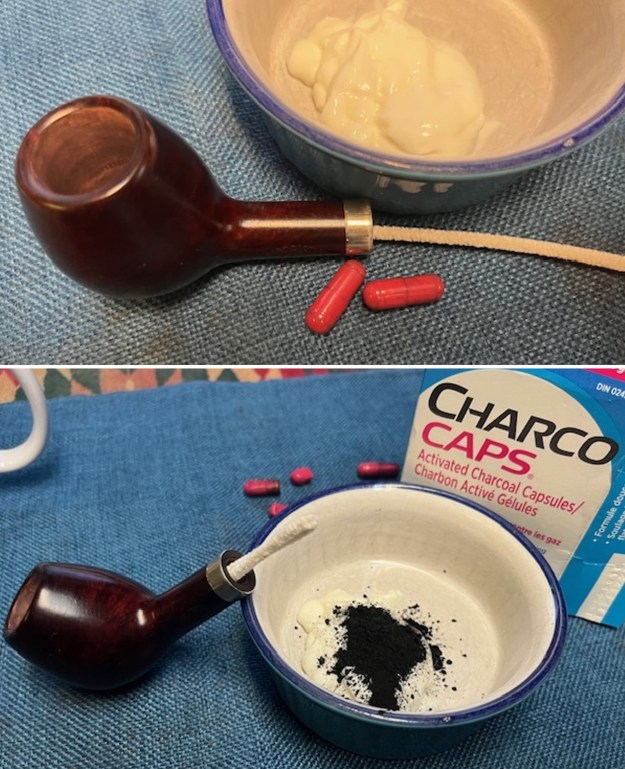
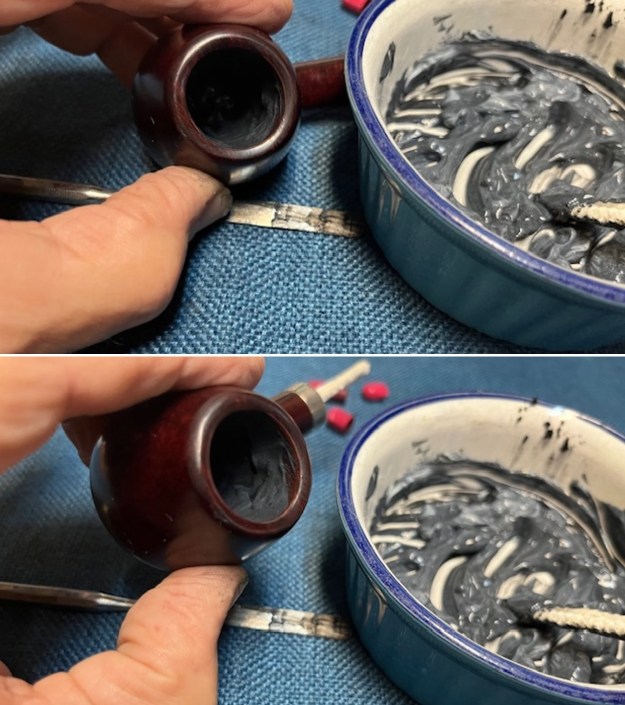
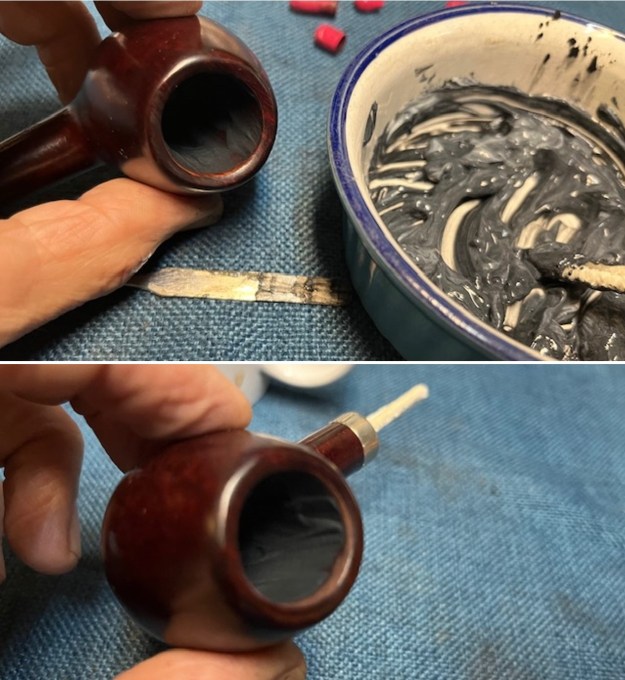
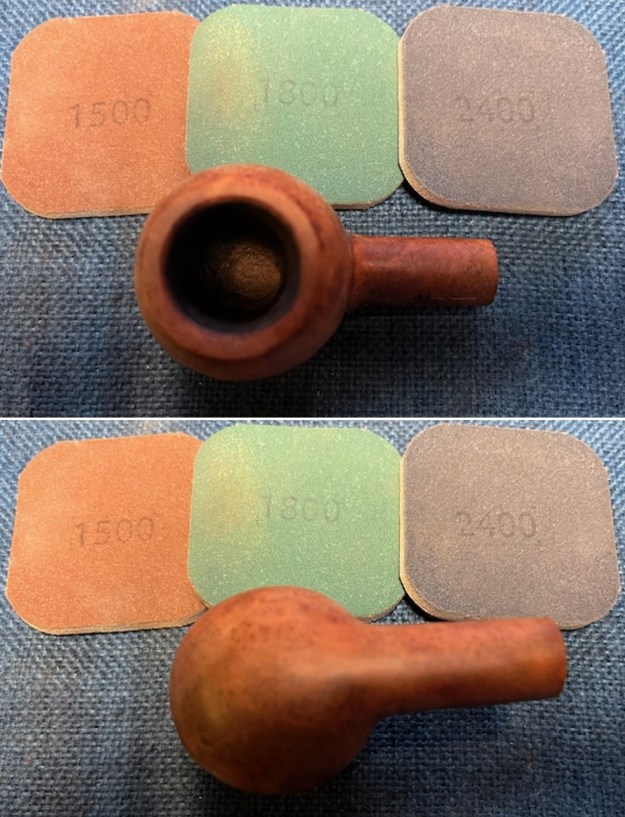
 I then proceeded to clean out the insides of the shank with Q-tips, pipe cleaners, and lemon-infused isopropyl alcohol. I followed that up by de-ghosting the pipe and the bowl was nice and clean after this. I then cleaned the insides with some dish soap and tube brushes.
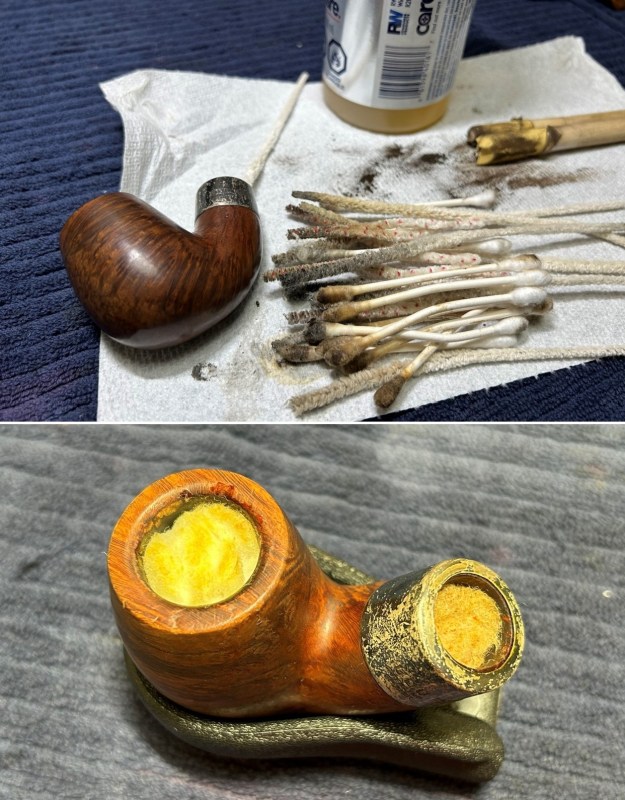
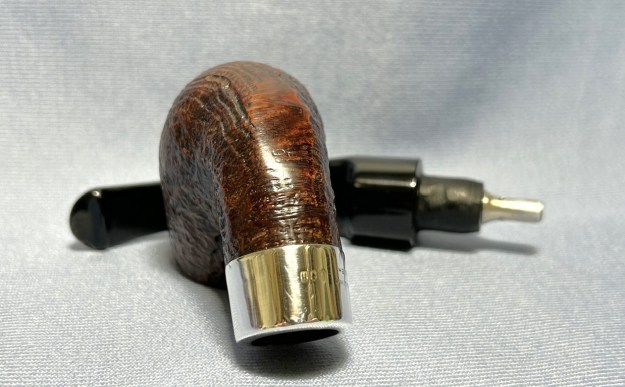
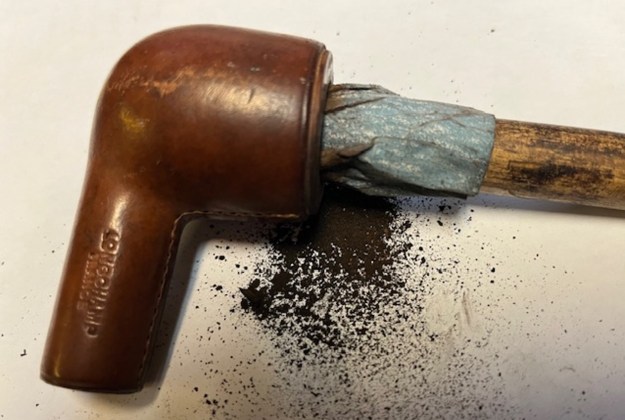
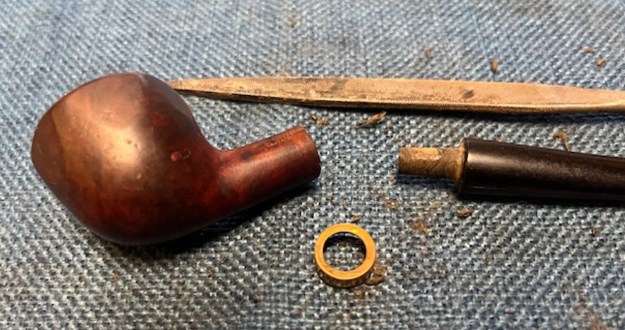
 I then worked on cleaning up the sterling silver band. I taped it off, as I didn’t want to damage the wood. This worked well and I was pleased.
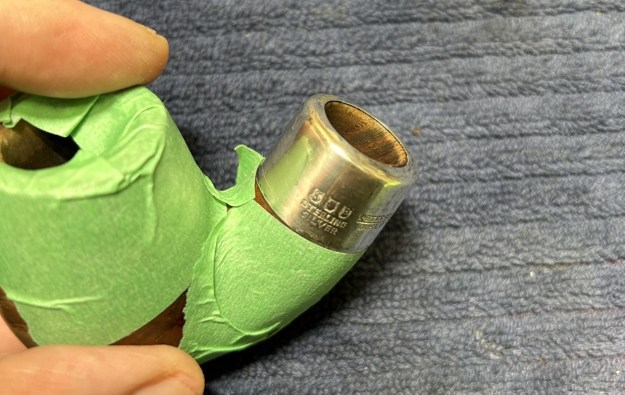
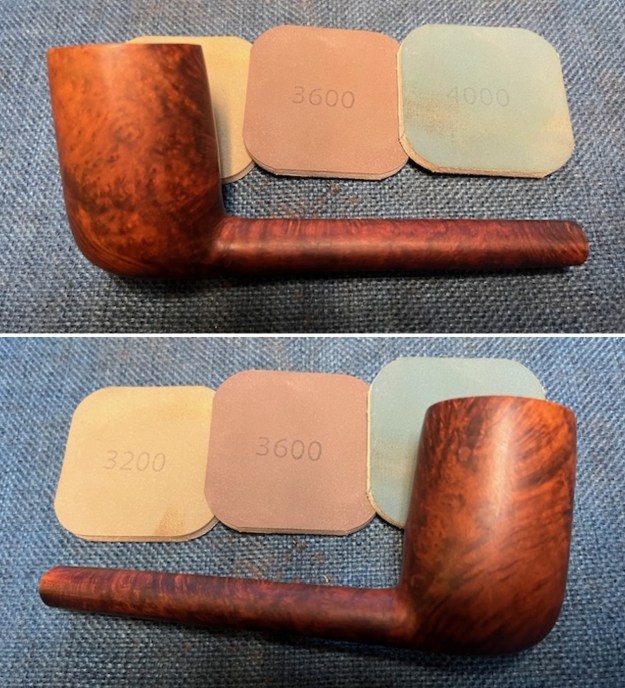
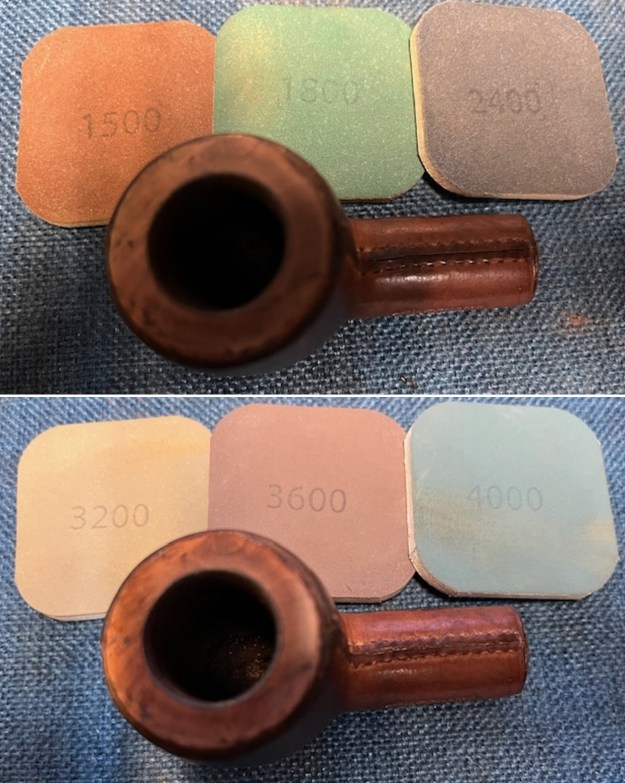
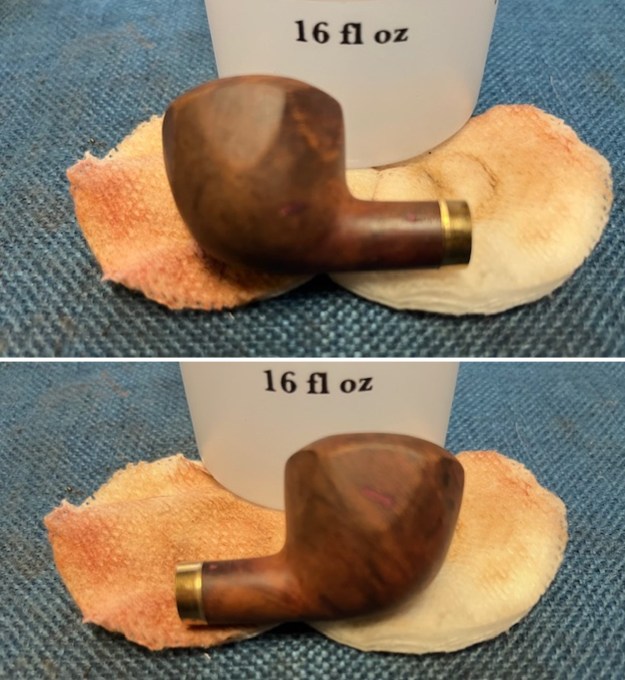
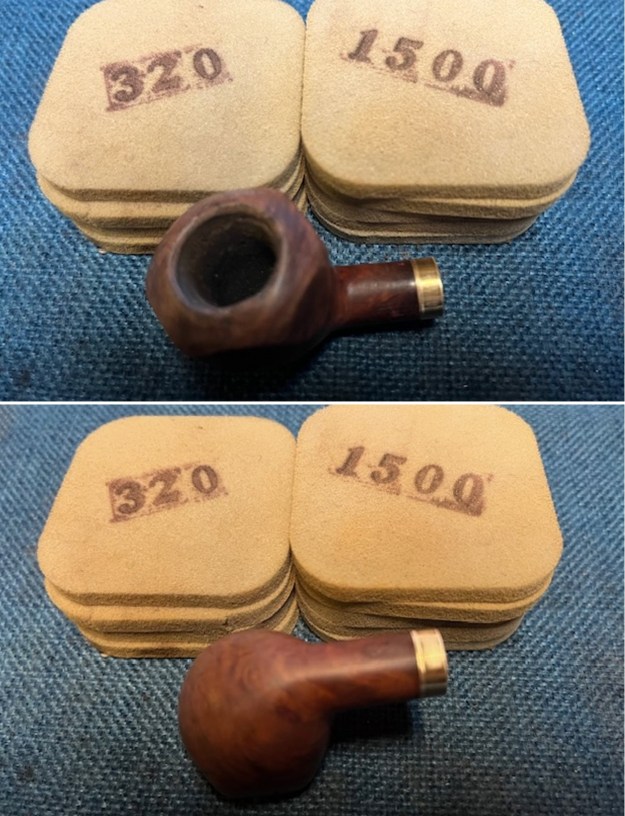
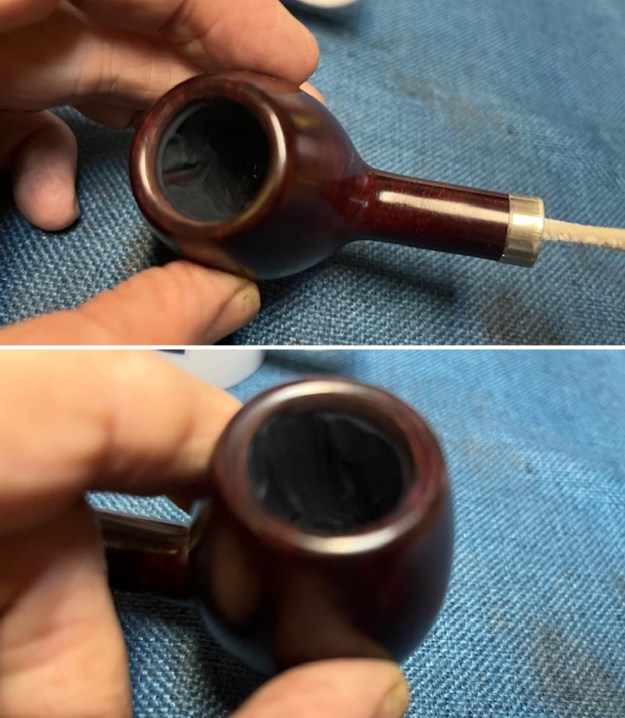
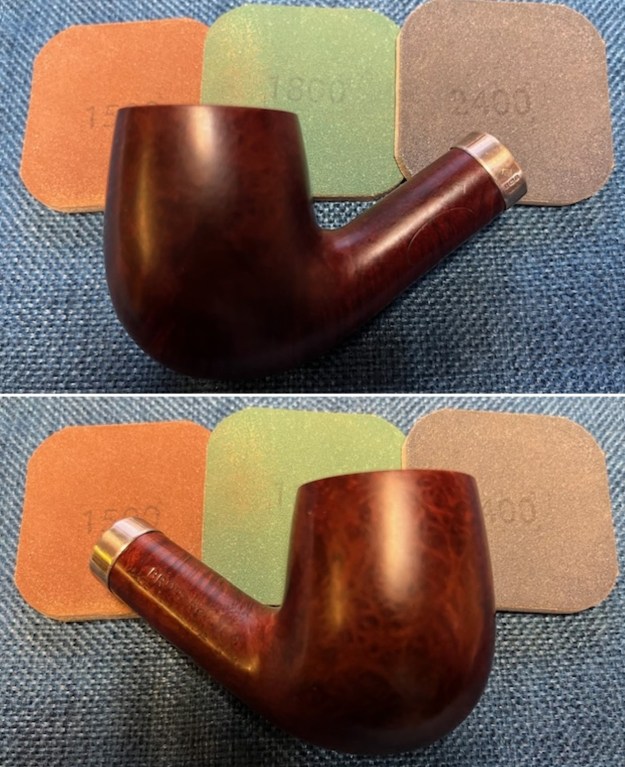
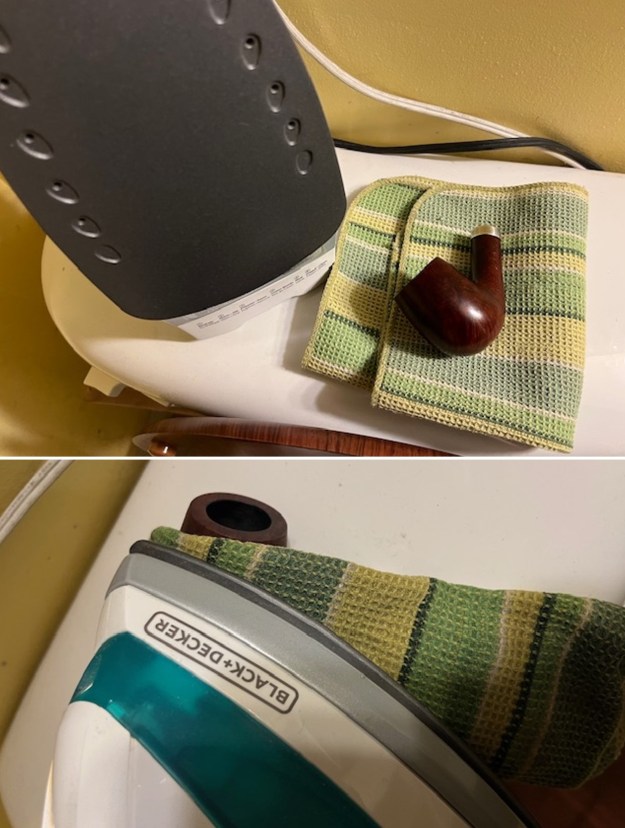
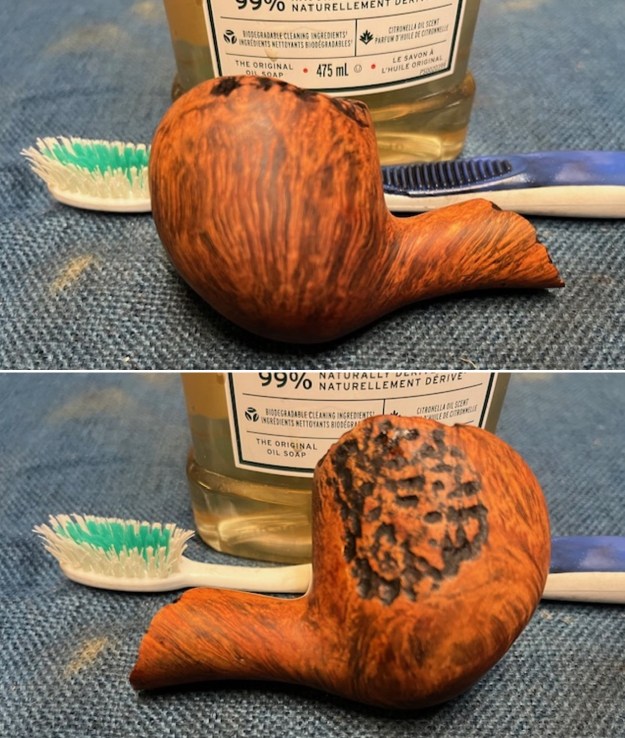
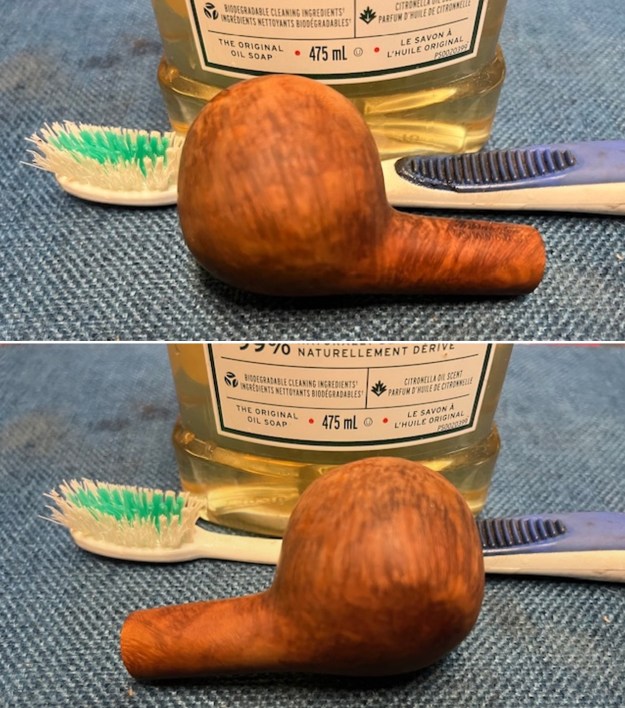
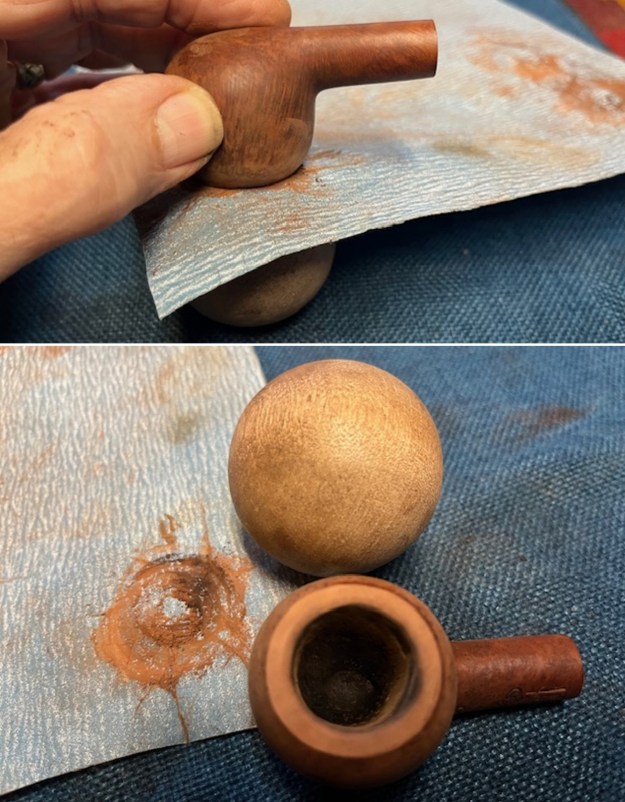
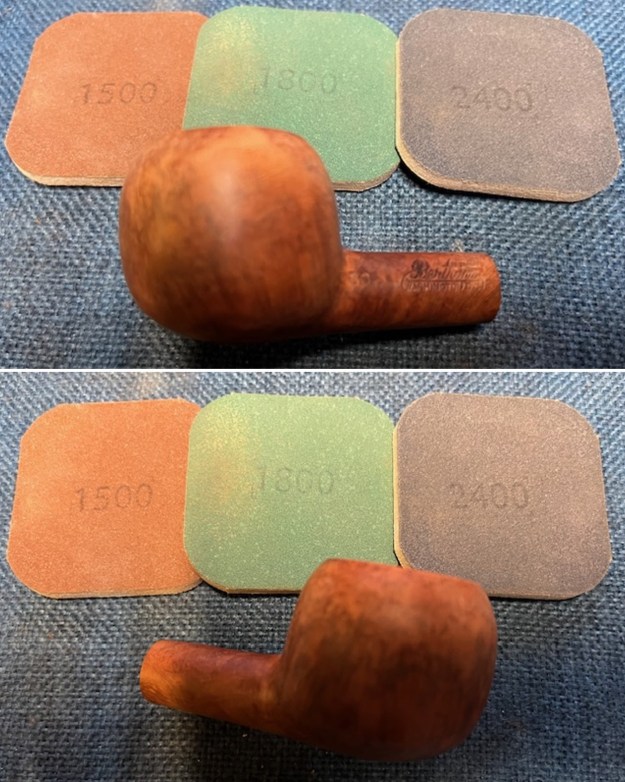
 There were a couple of very small knocks in the wood and I opted to use a damp cotton cloth and an iron to help. By laying the wet cloth over the affected area of wood and applying the hot iron, steam is generated in a way that can often swell the wood back into place.
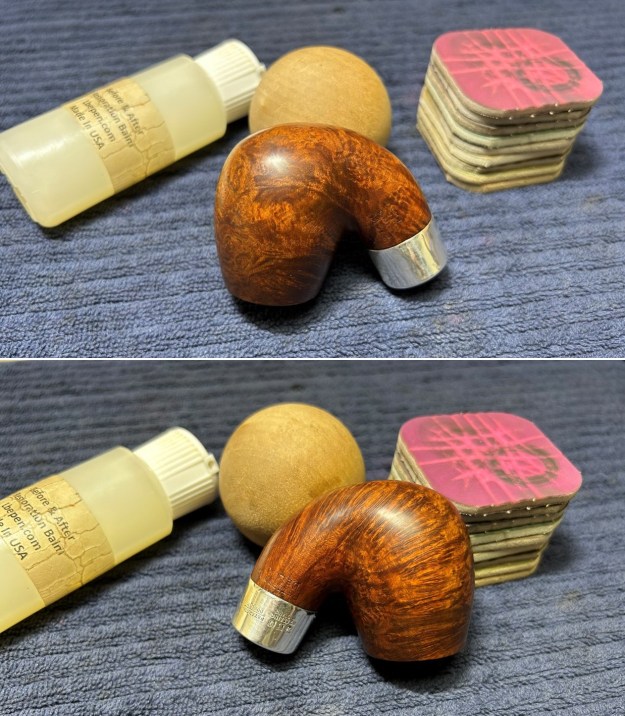
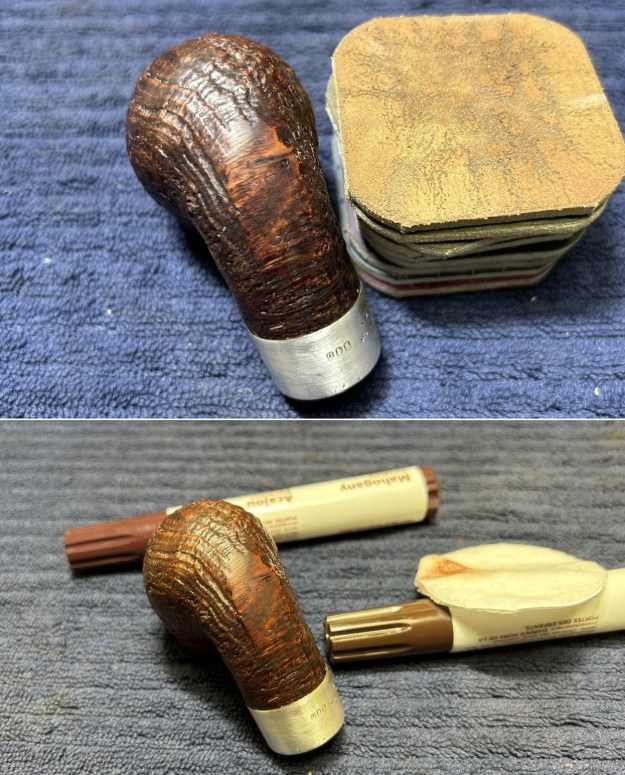
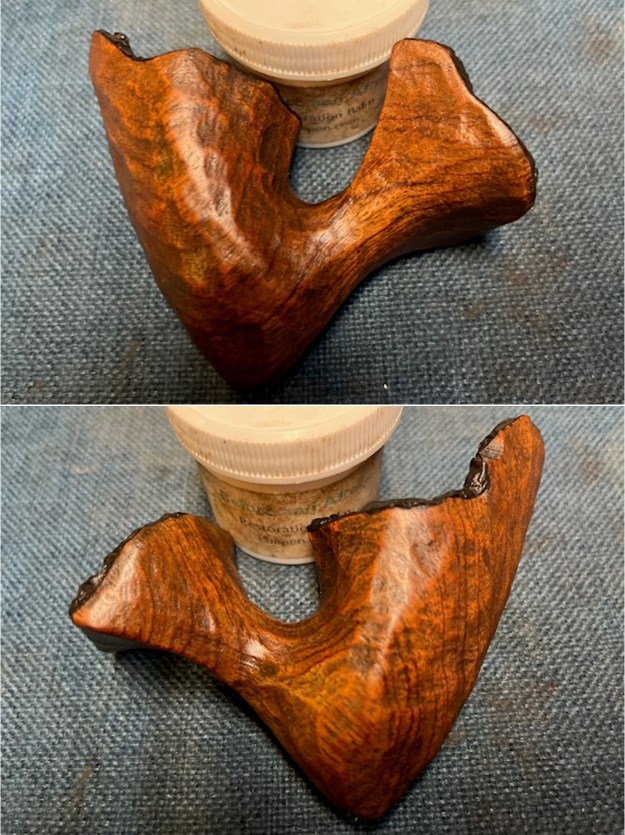
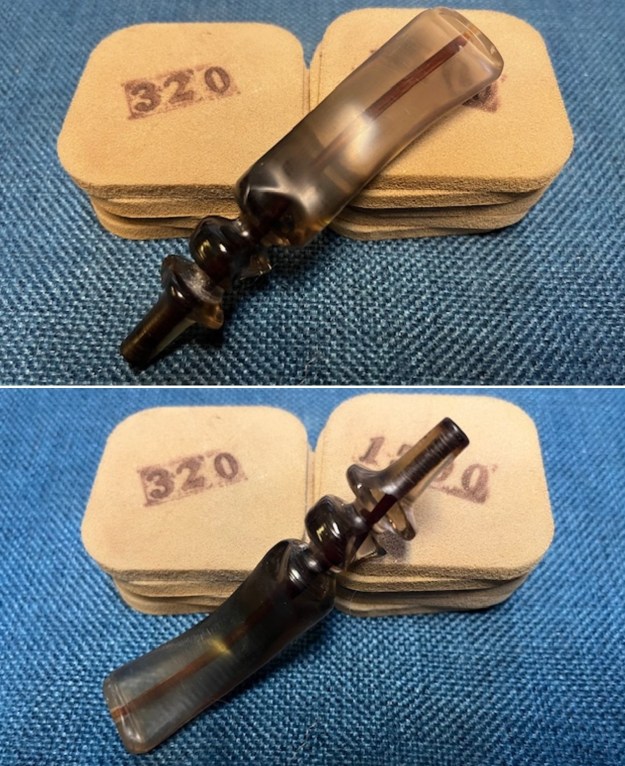
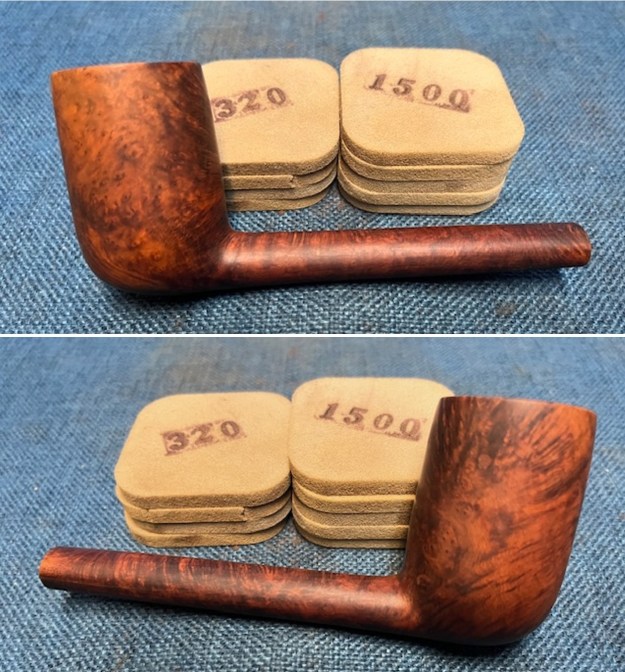
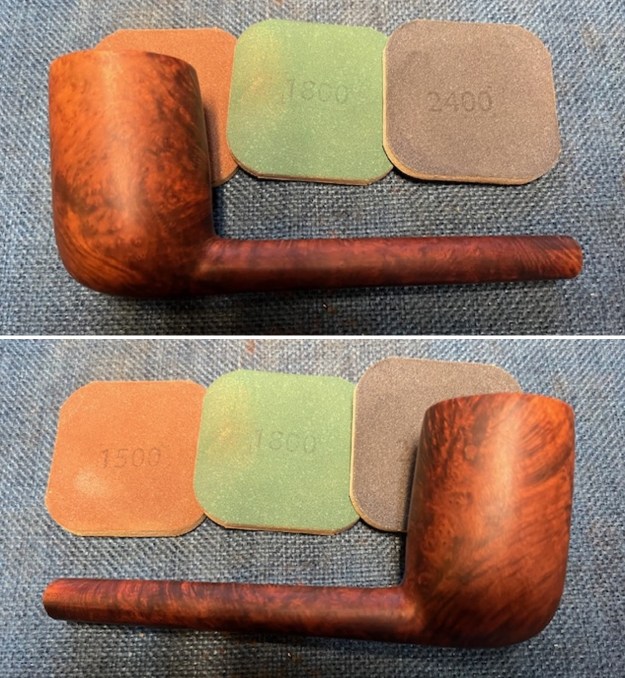
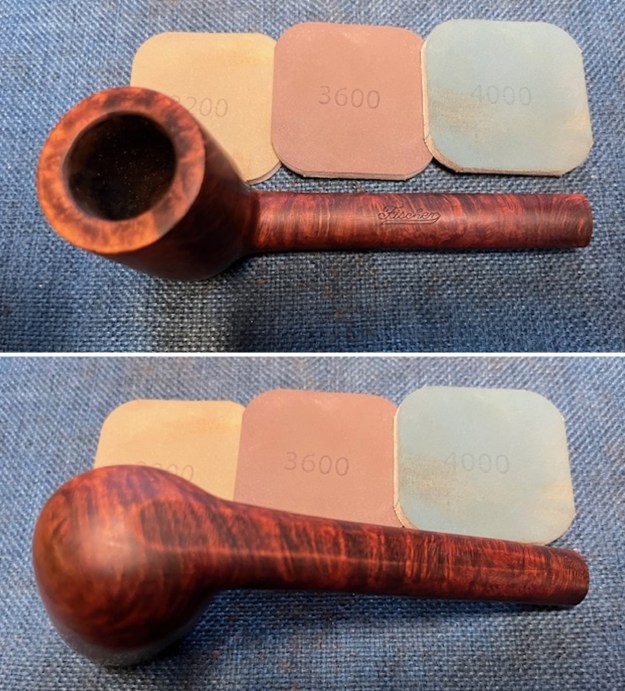
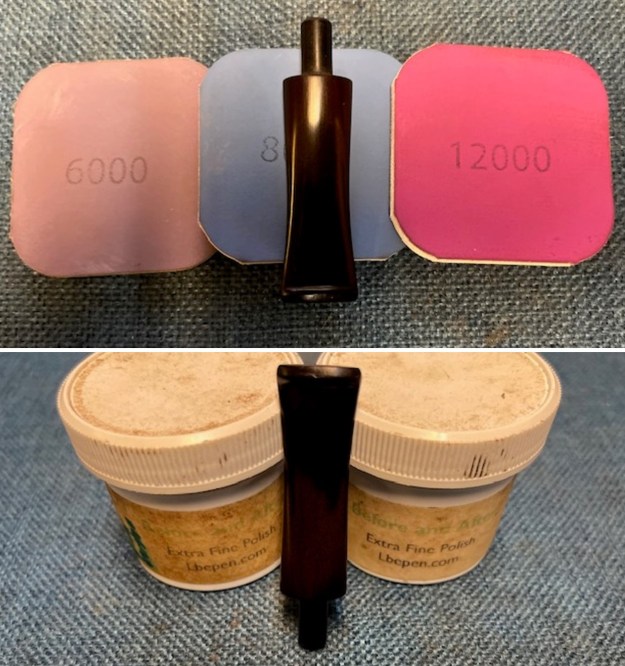
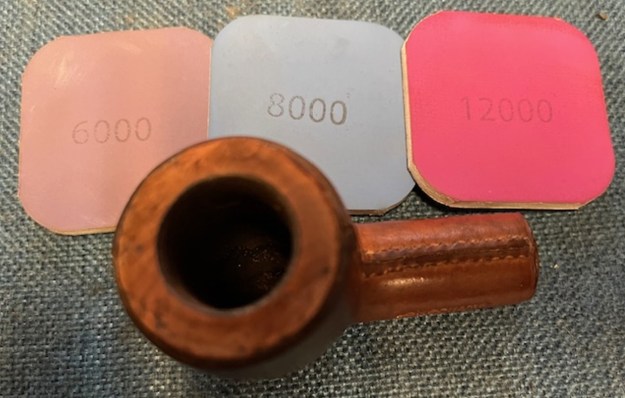
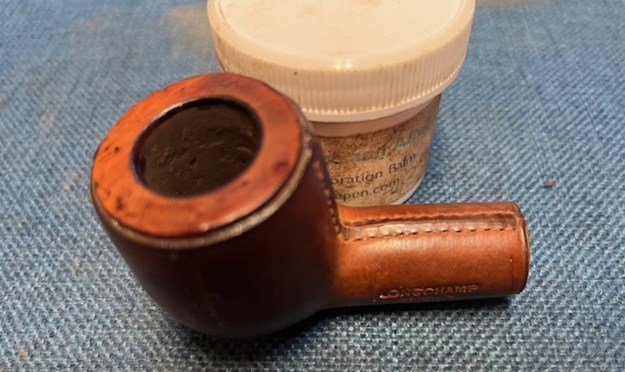
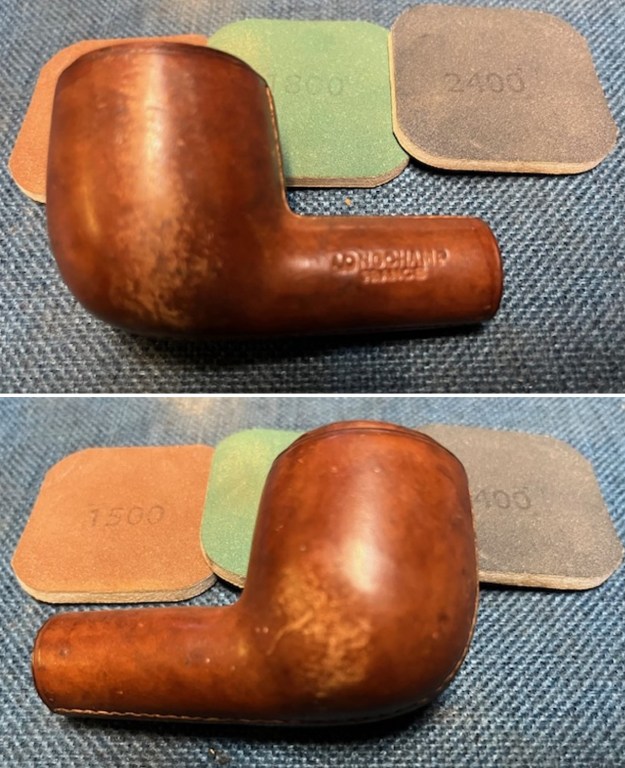
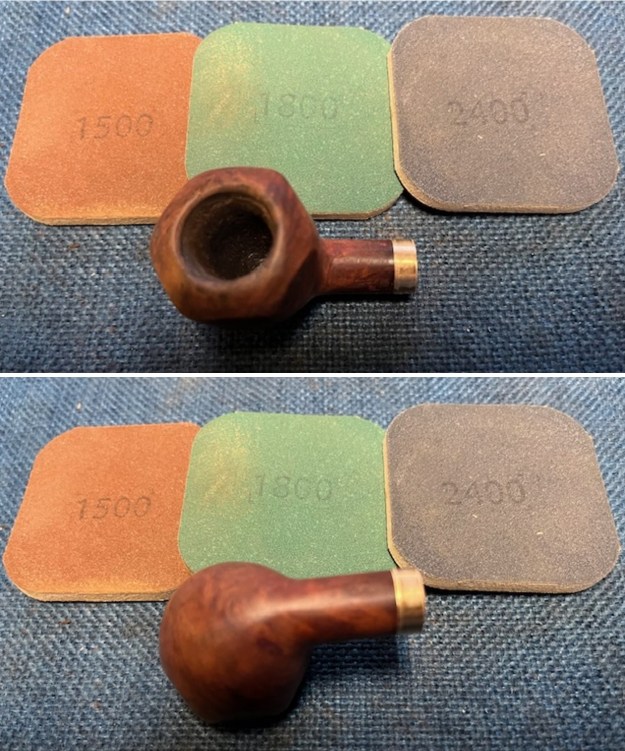
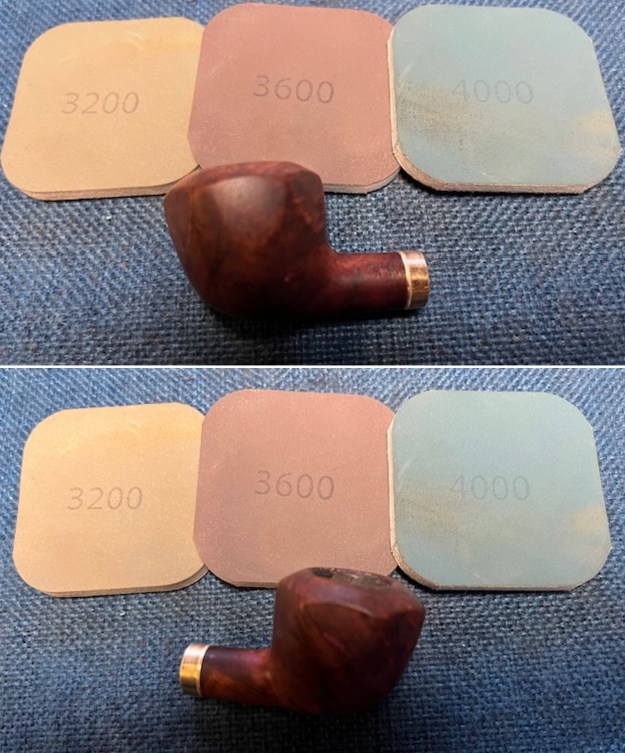
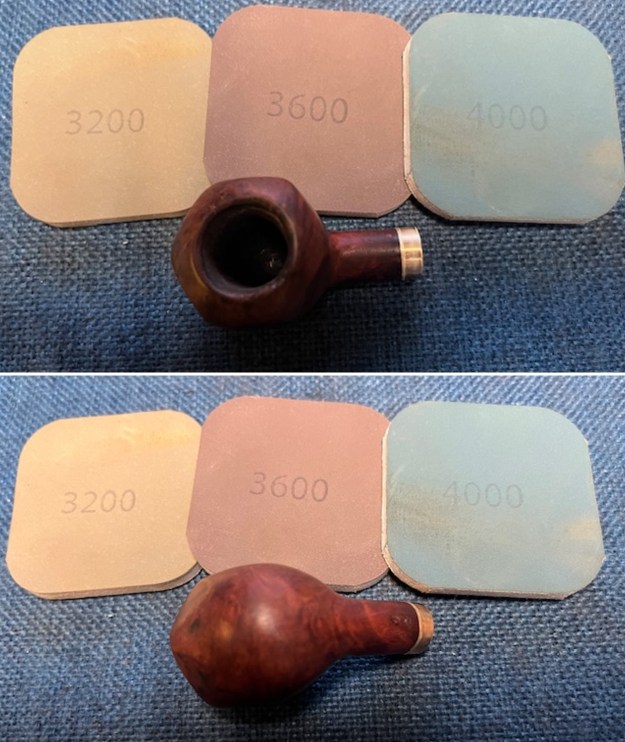
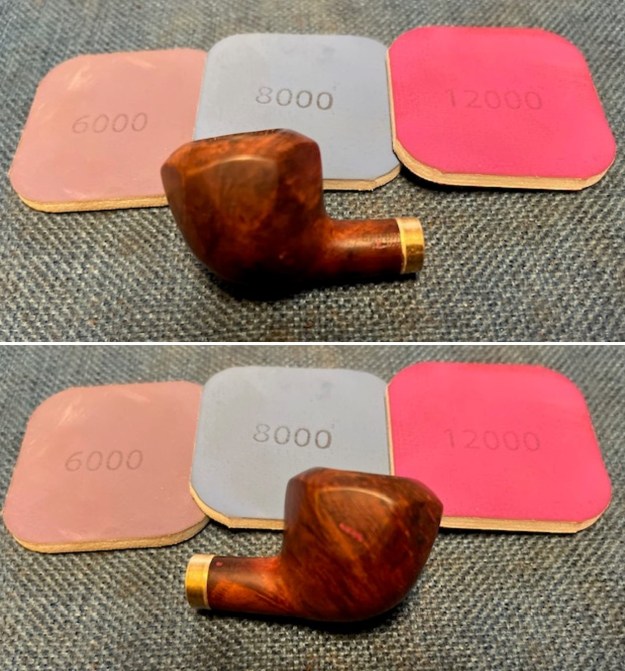
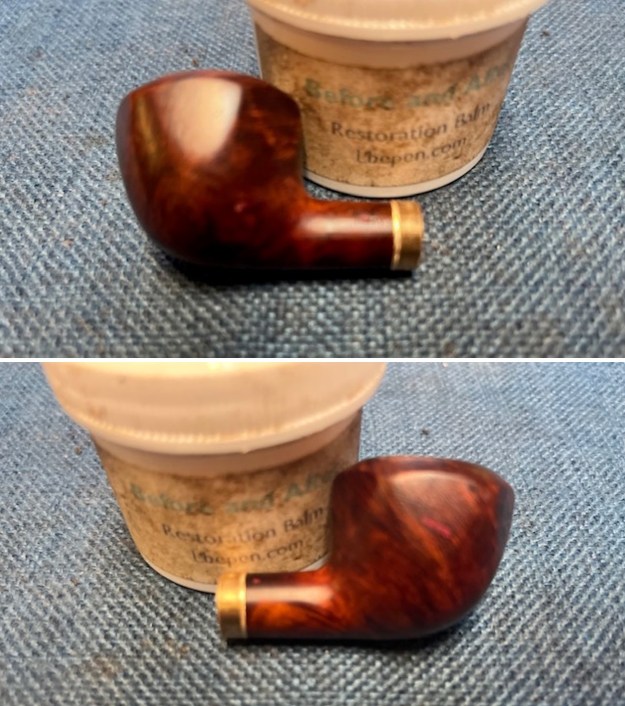
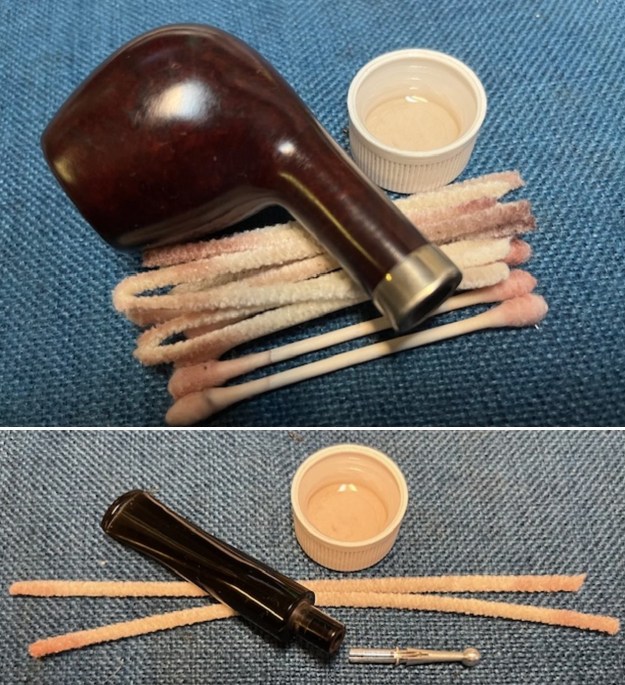
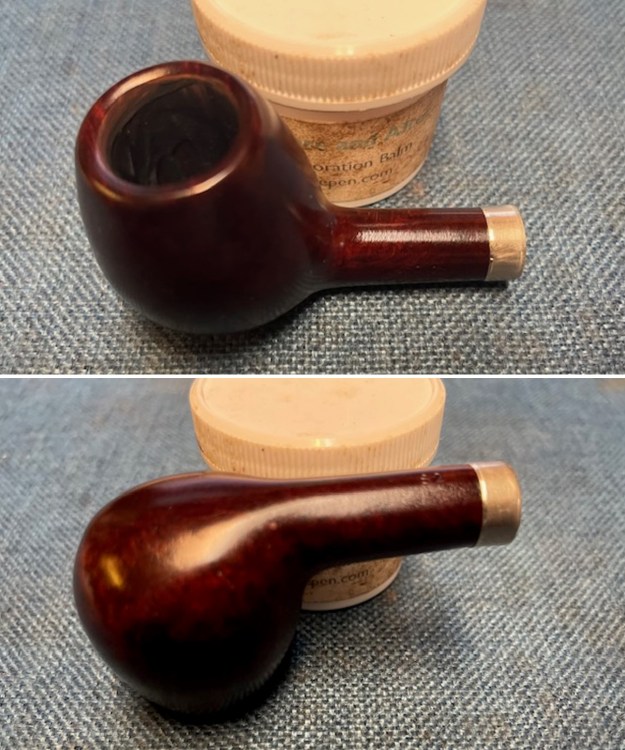
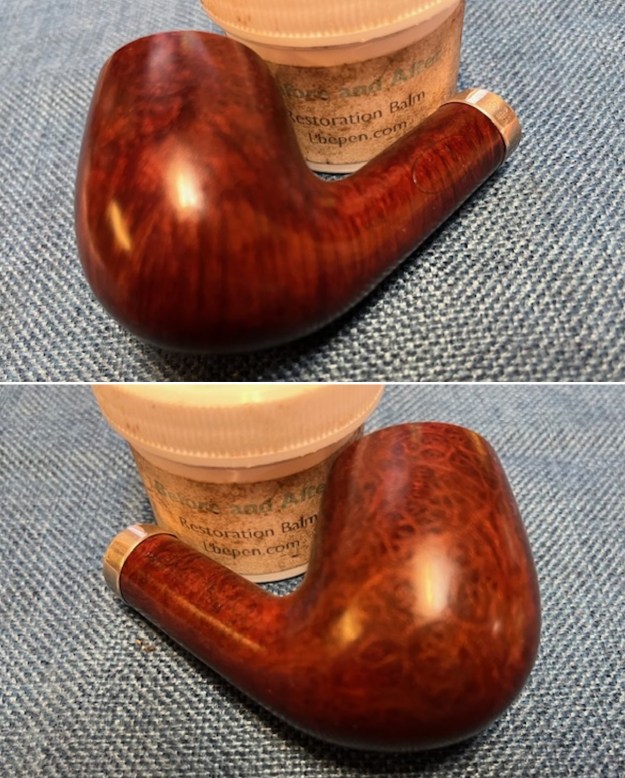
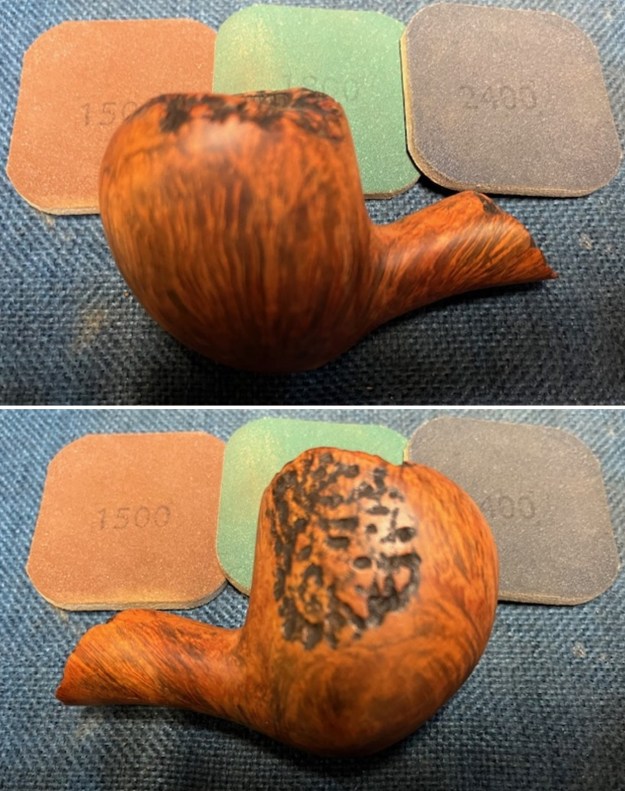
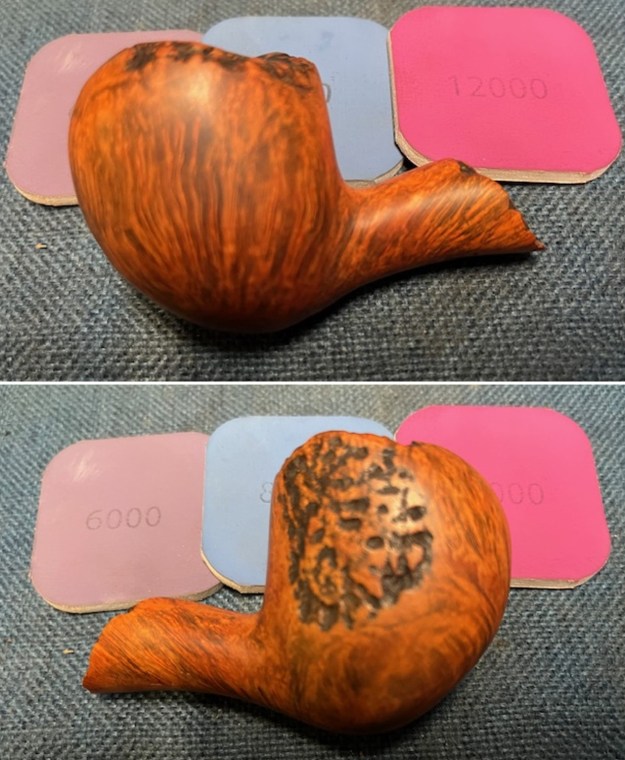
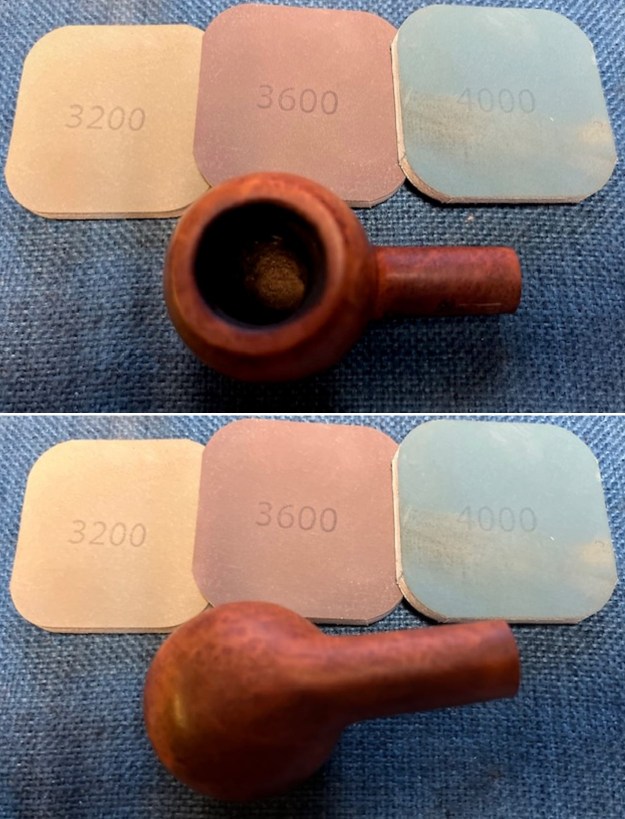
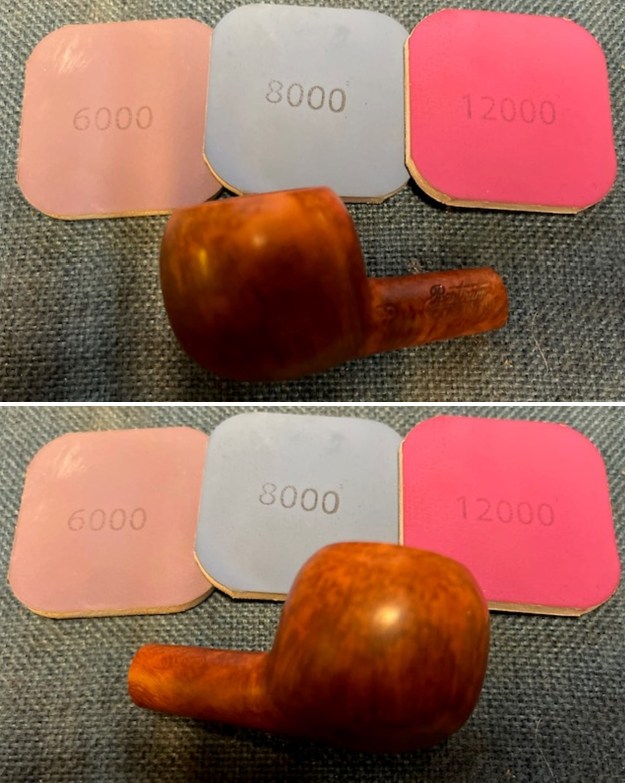
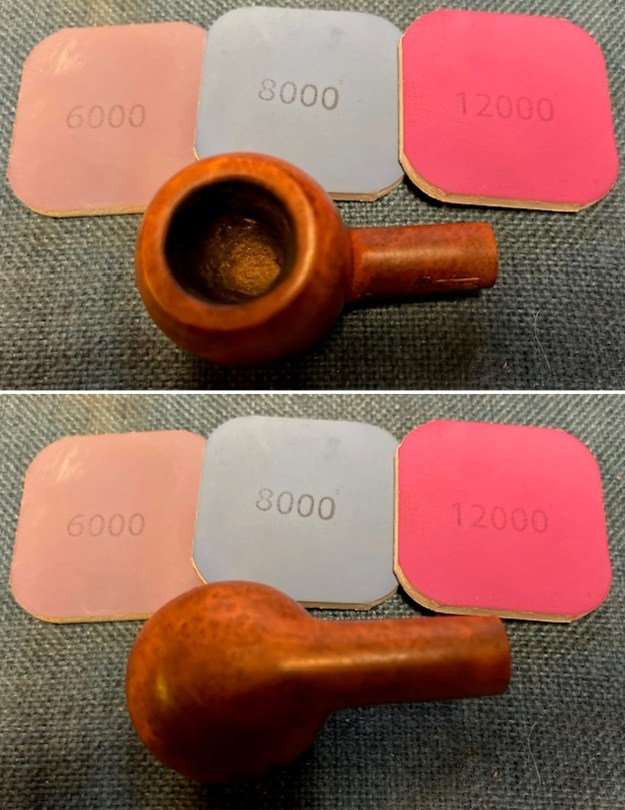
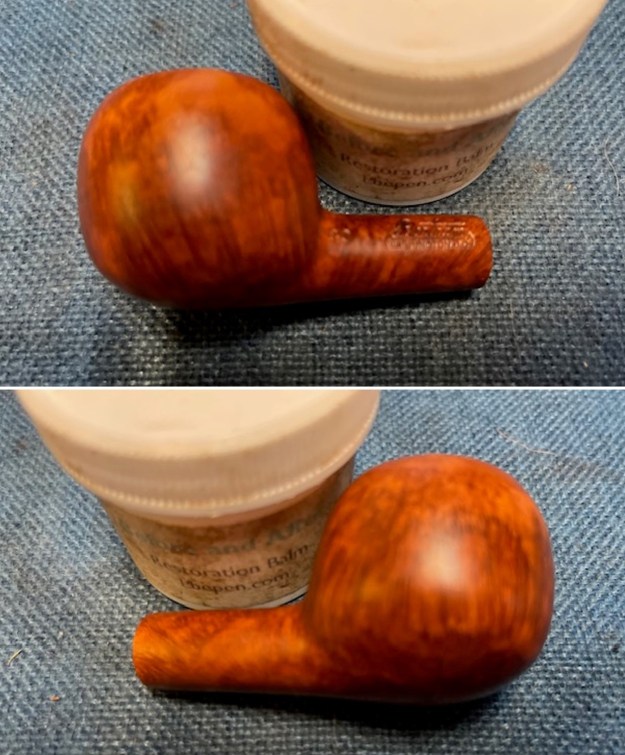
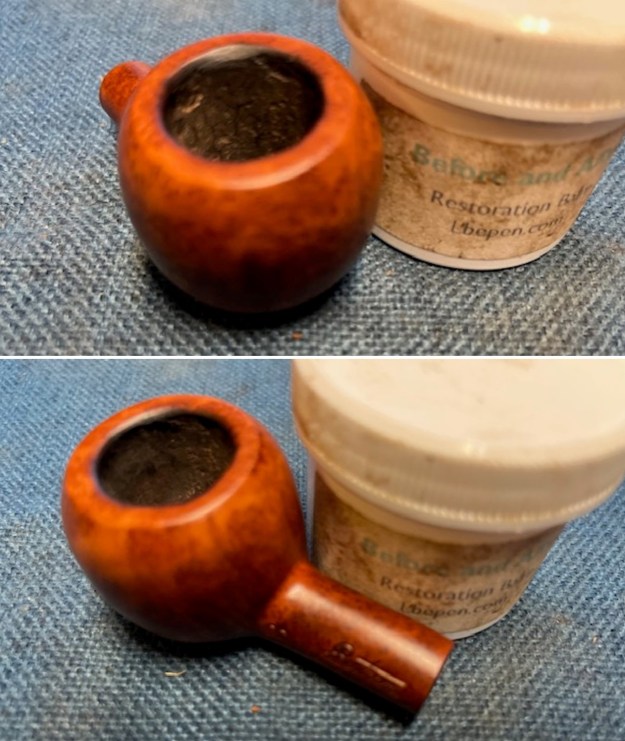
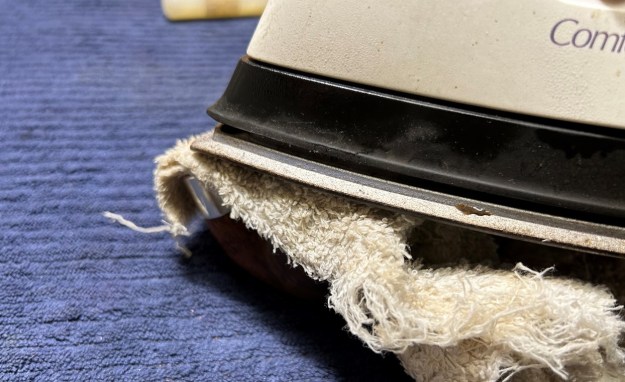 Next, I sanded all of the wood down with my Micromesh pads and made it lovely and smooth. I followed that up with some Before & After Restoration Balm. I let it sit on the wood for 20 minutes or so, then buffed it off with a microfibre cloth.
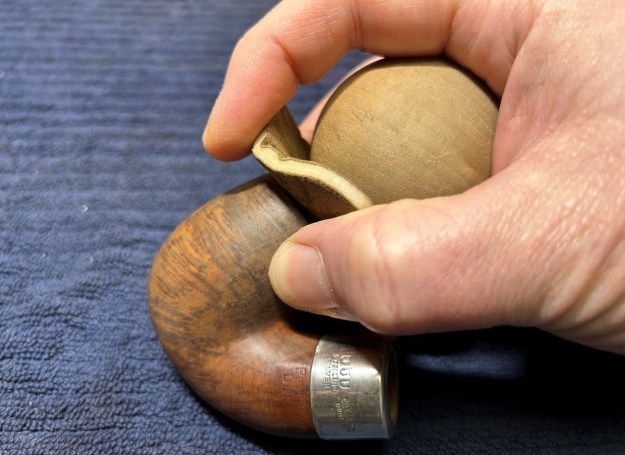
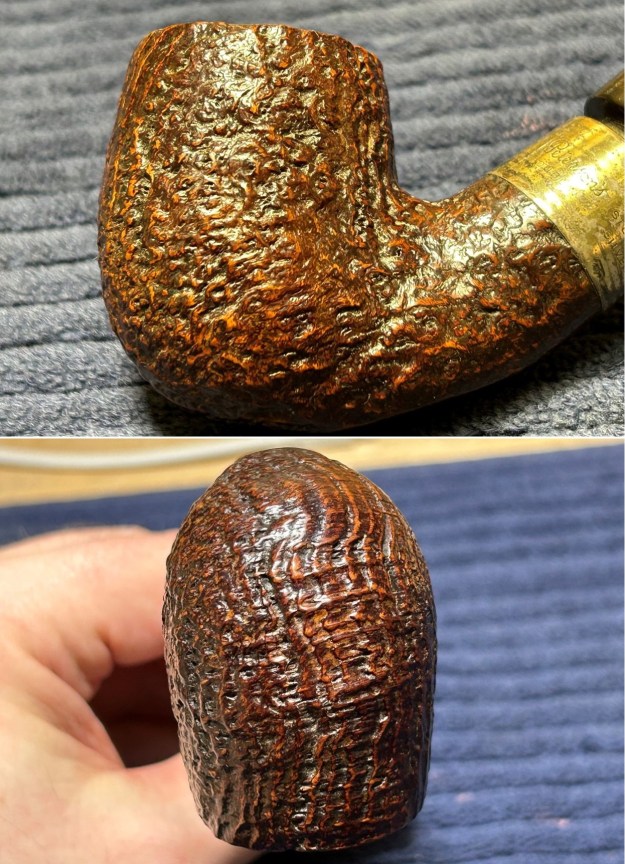
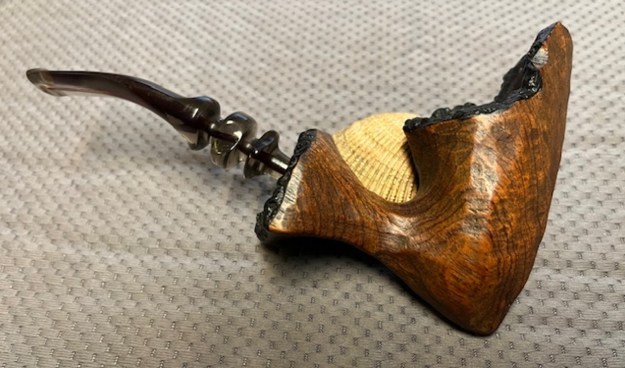
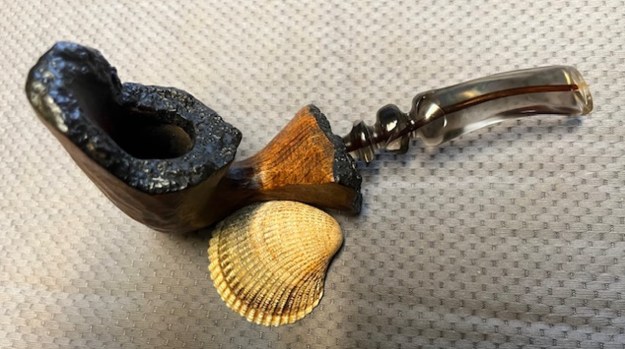
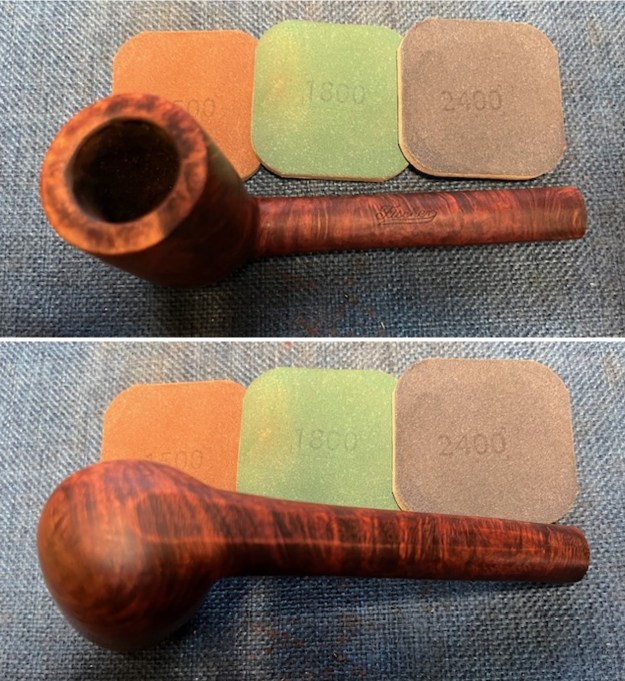
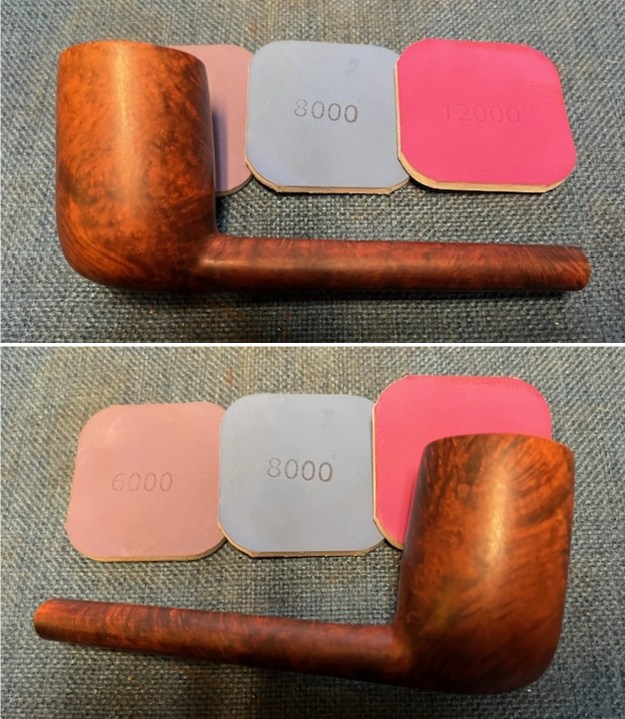
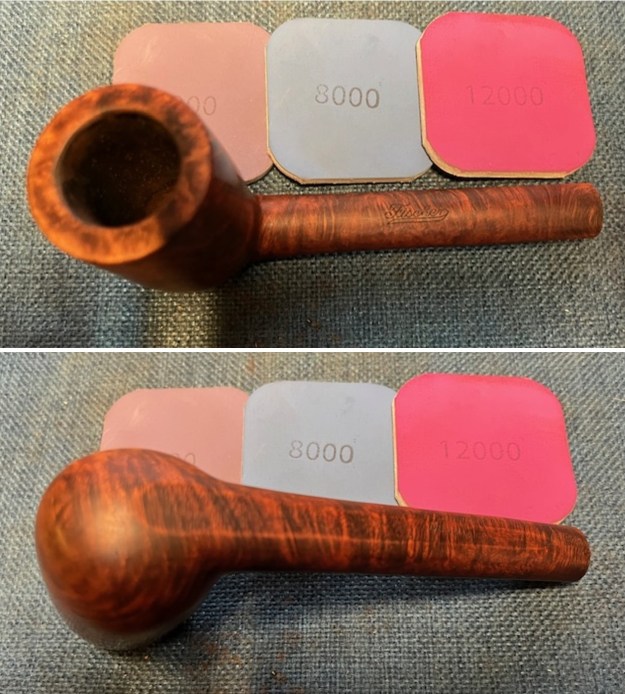
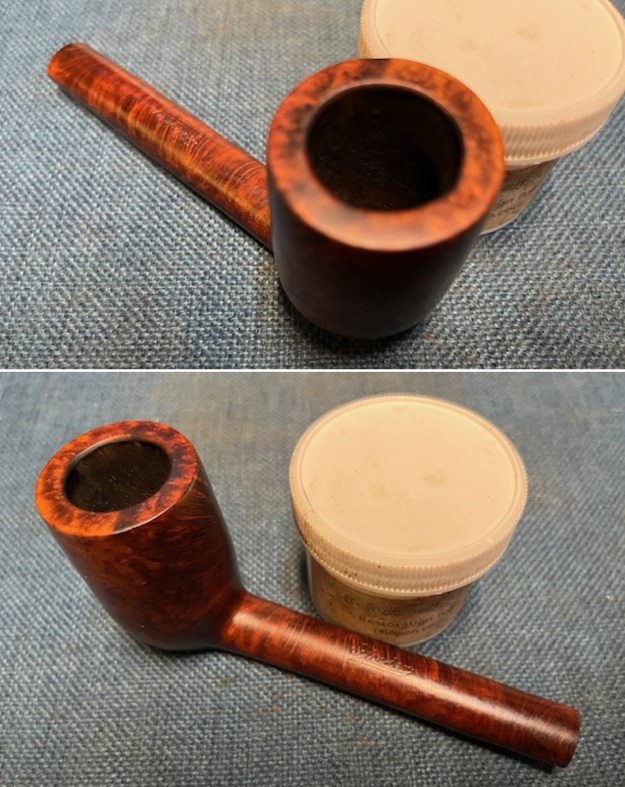
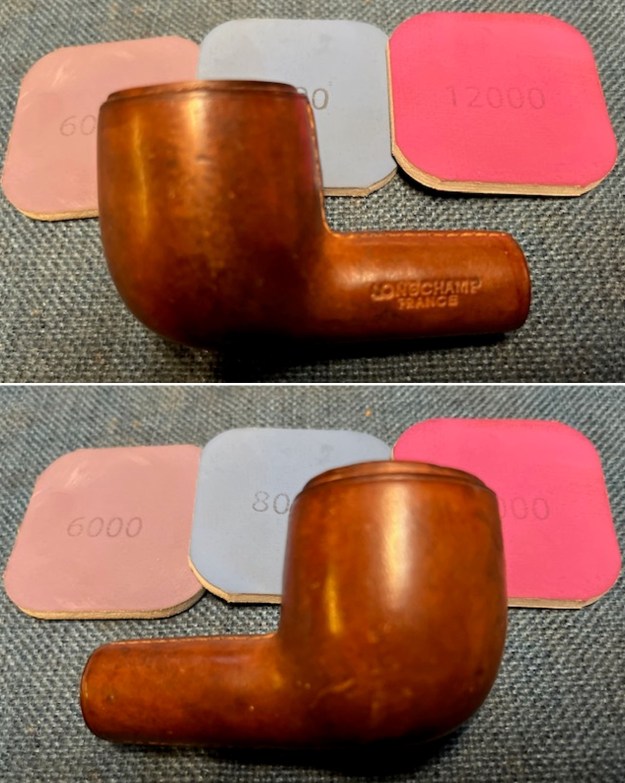
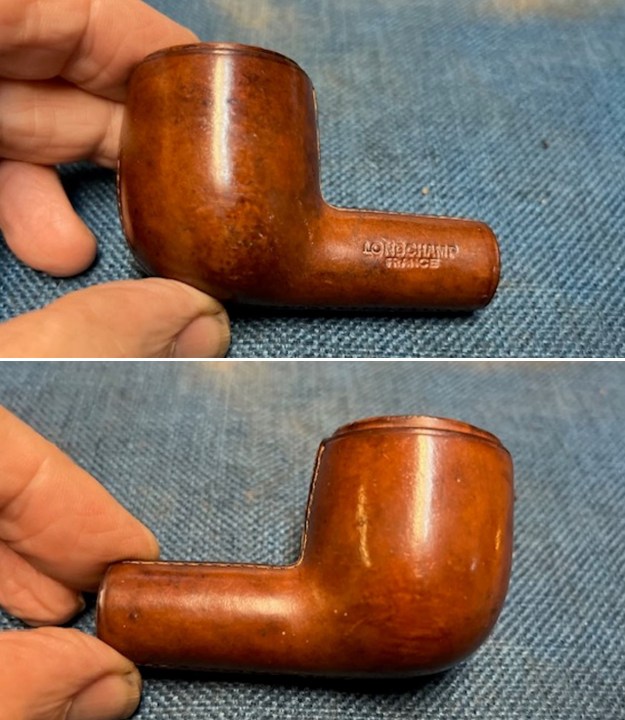
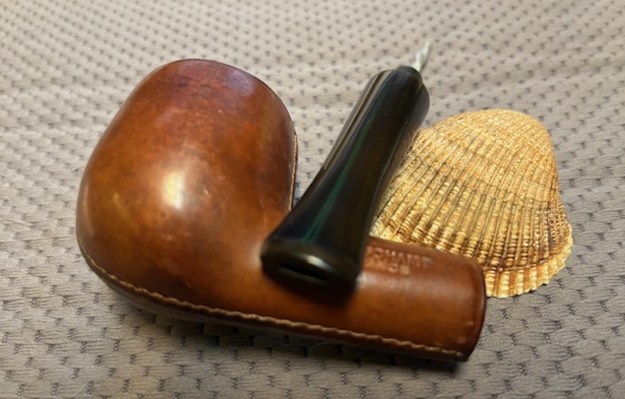
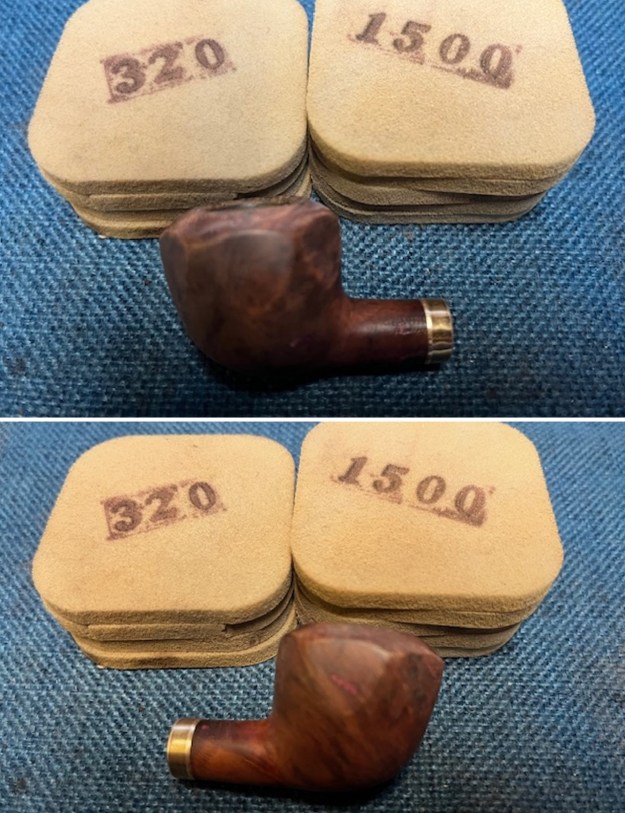
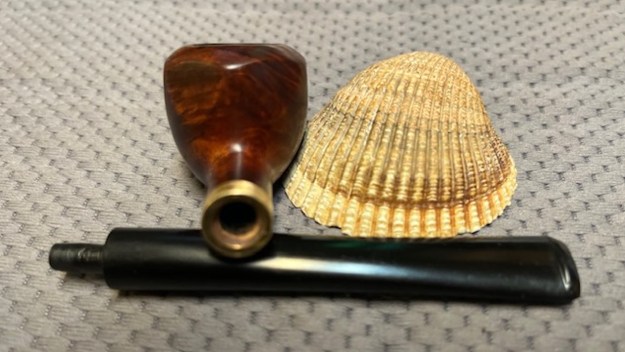
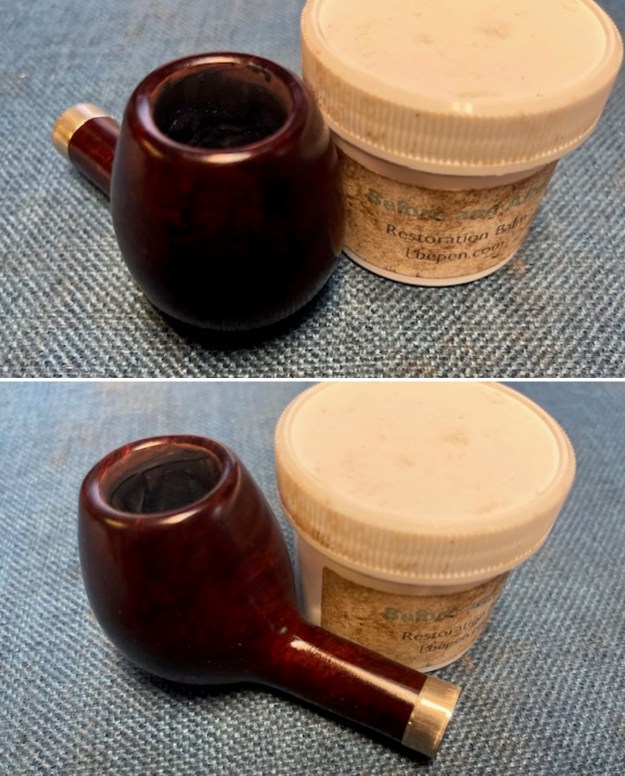
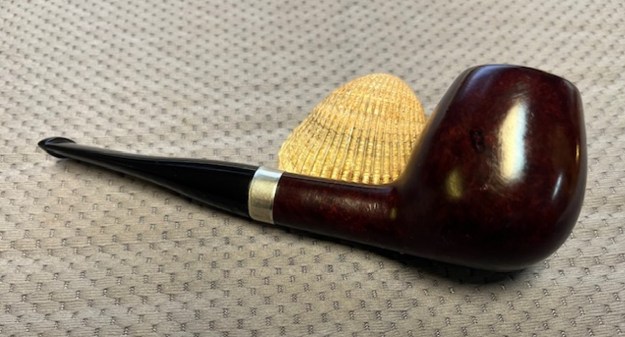
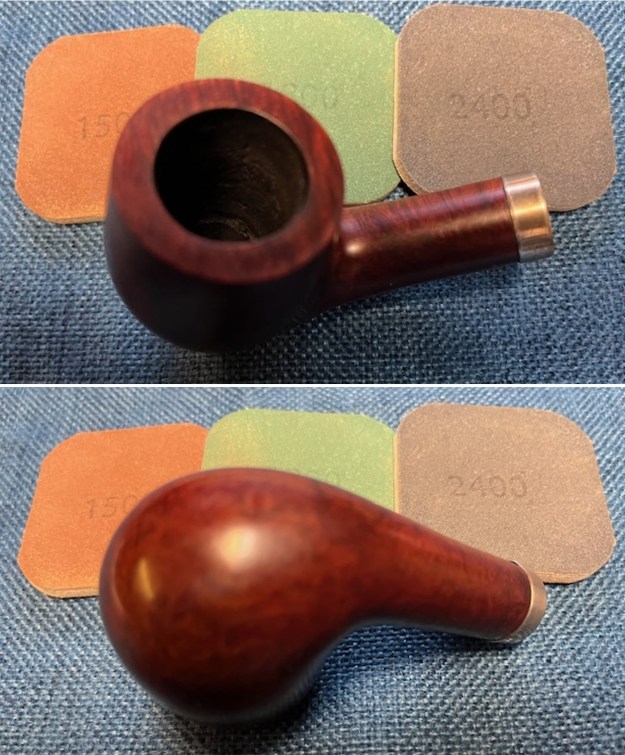
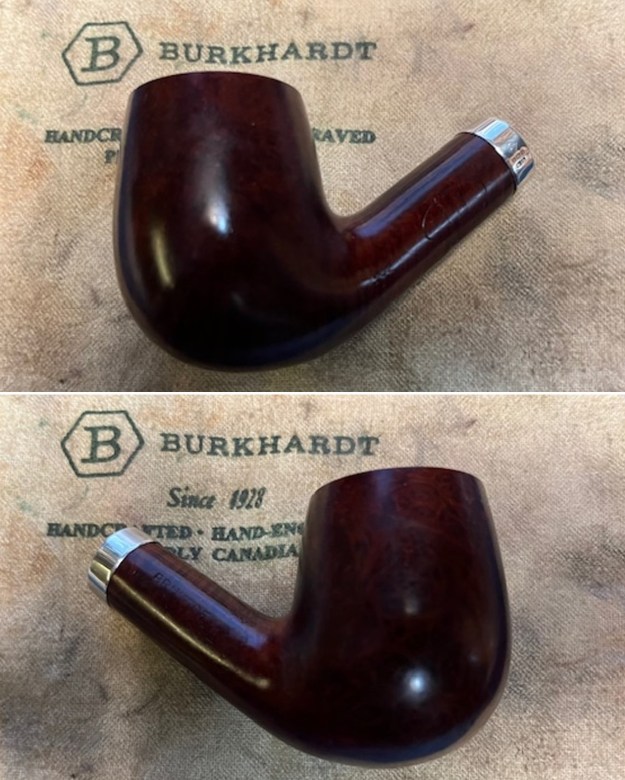
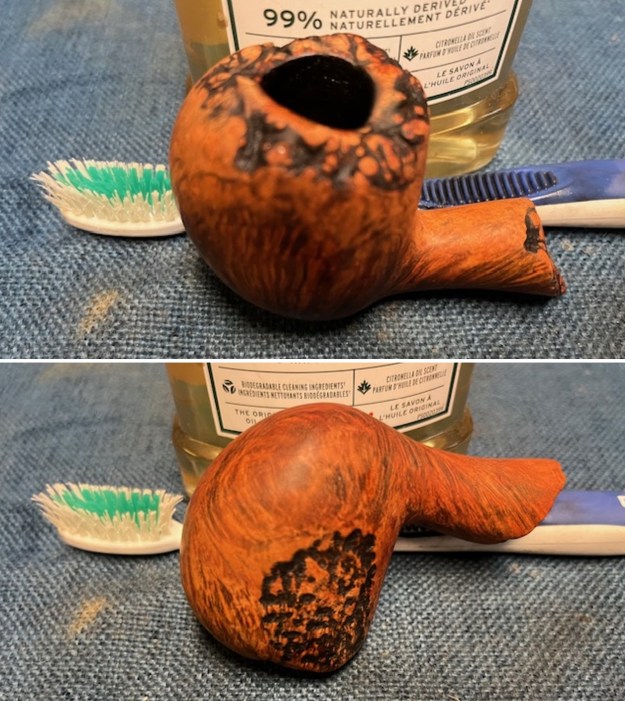
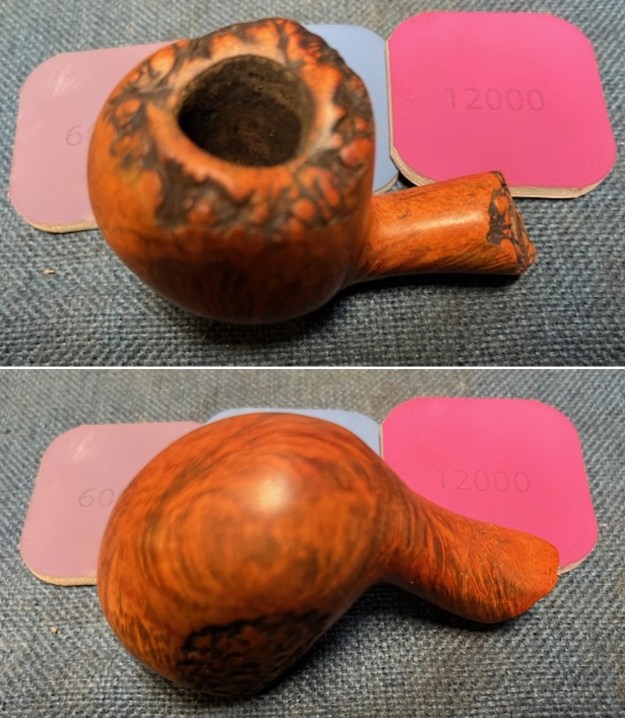
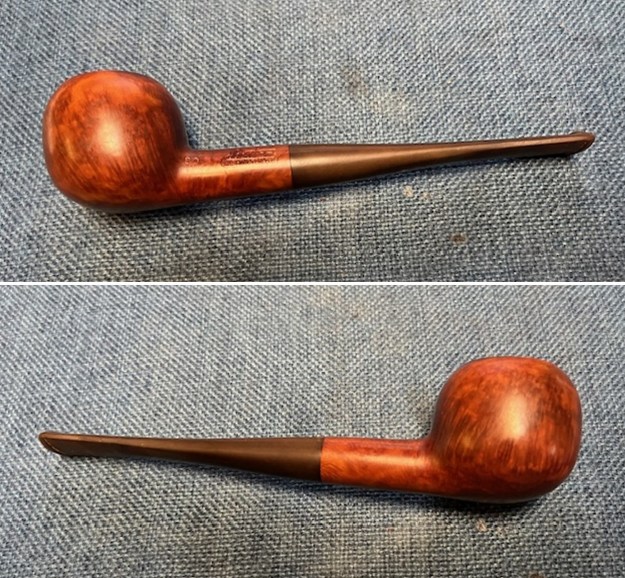
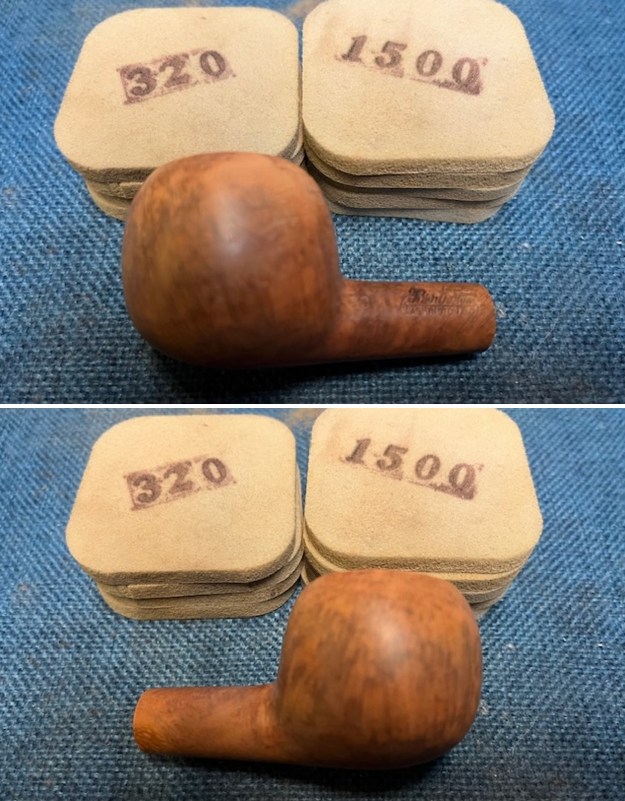
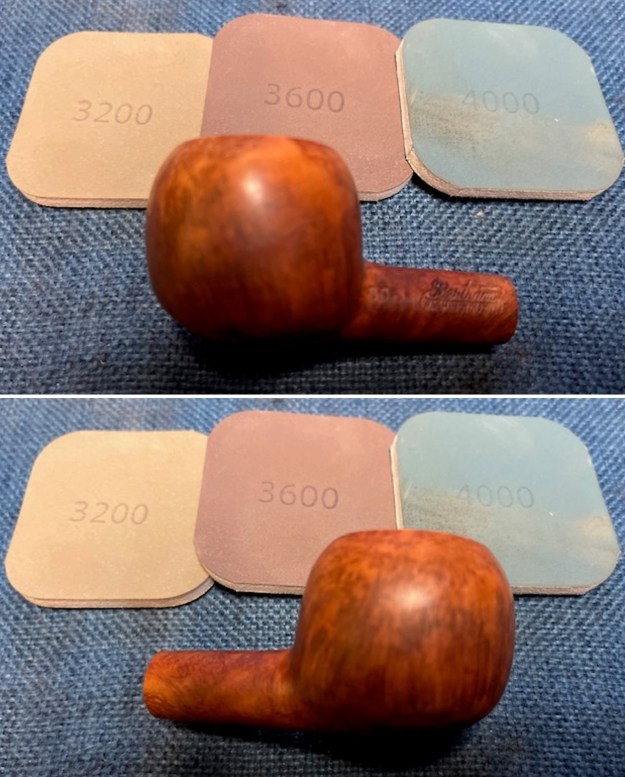
 I took the pipe to the buffer. I gave it a good application of White Diamond and a few coats of carnauba wax. This made all the difference. It really sparkled after that. I also polished the silver with my jewellery cloth.
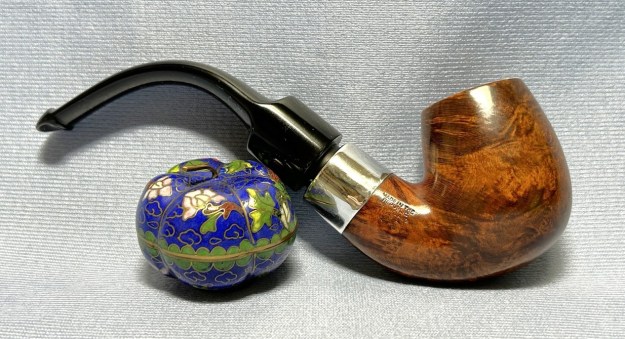
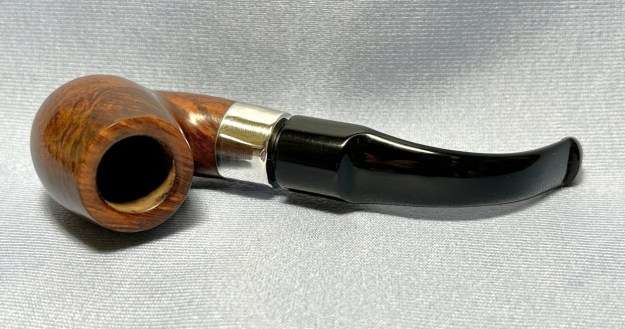
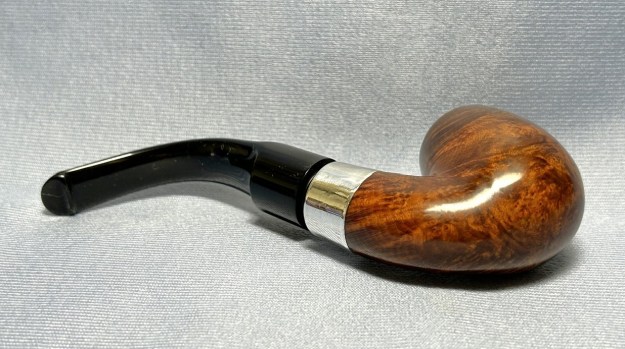
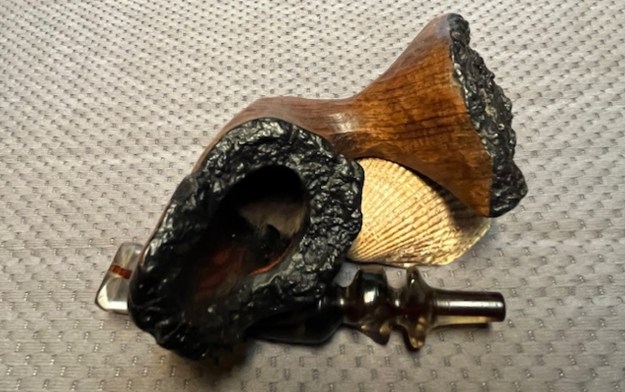
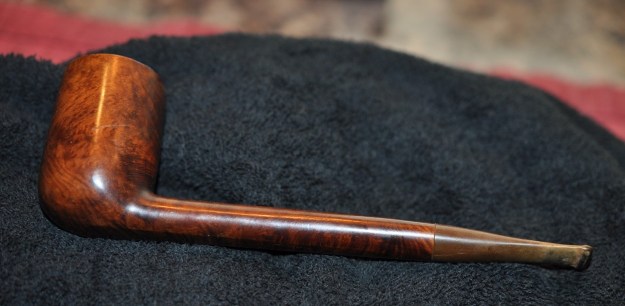
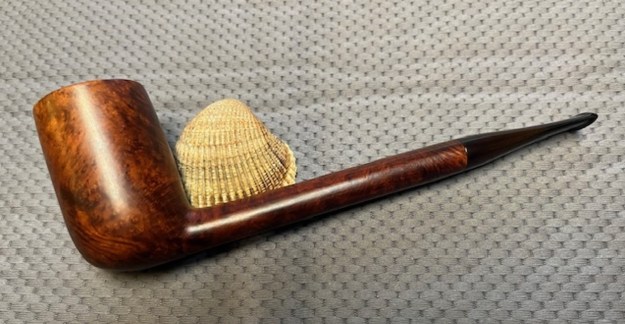
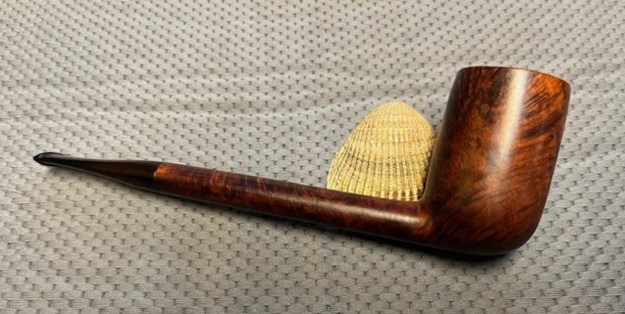
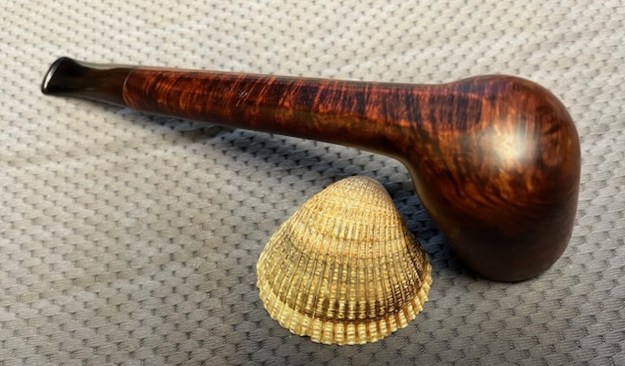
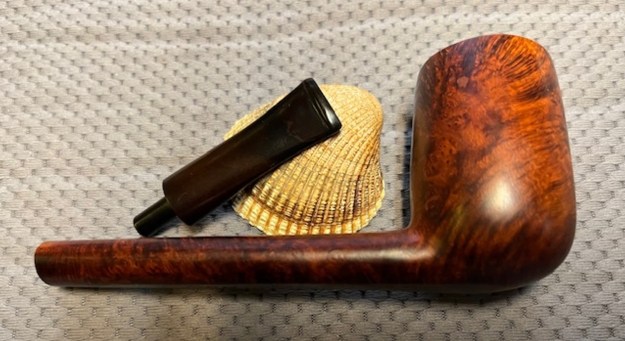
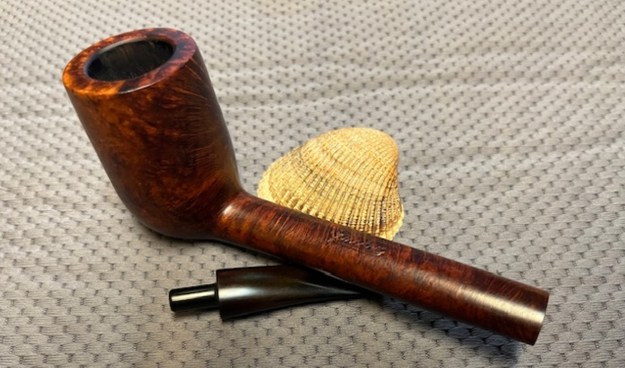
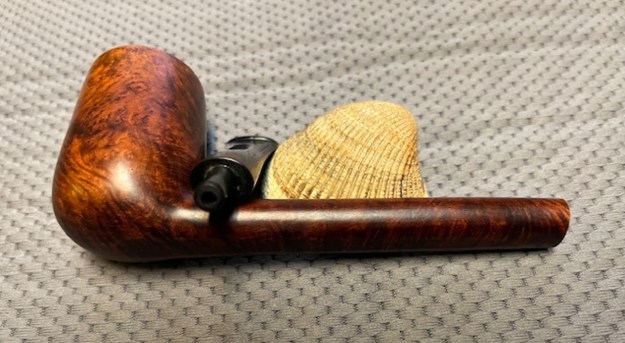
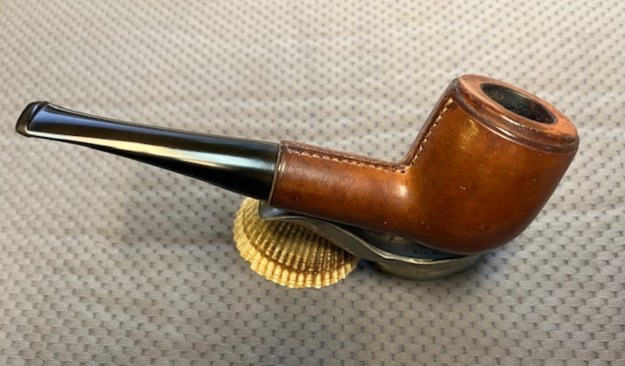
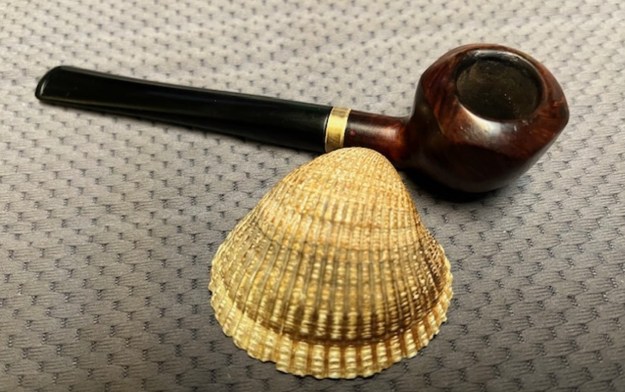
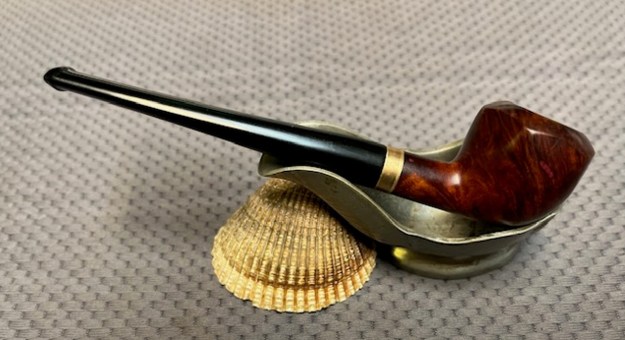
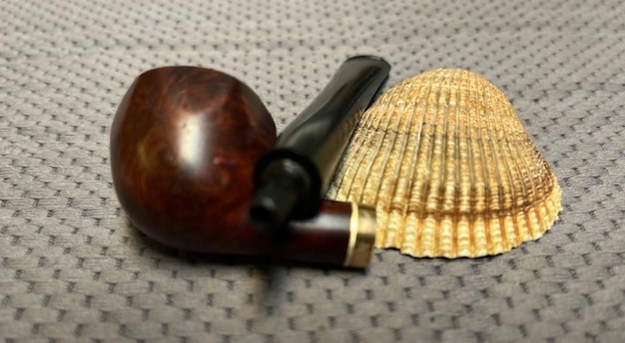
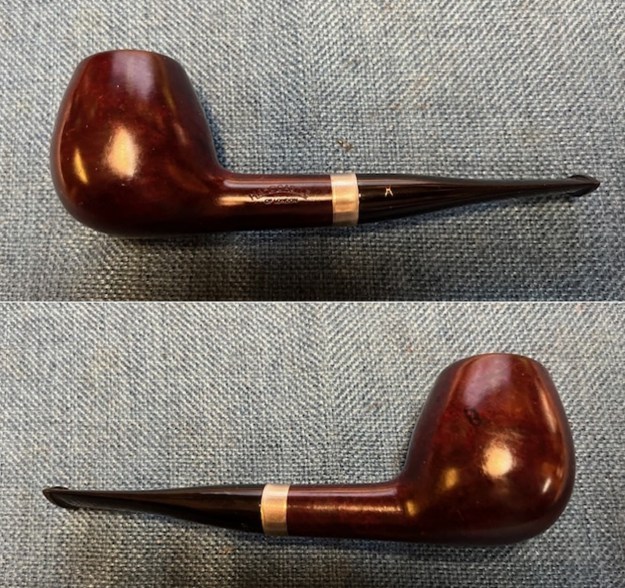
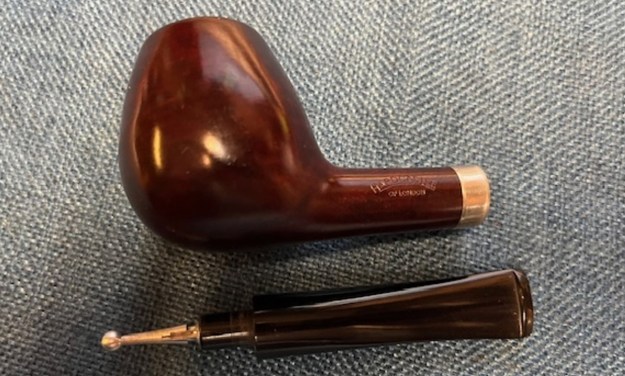
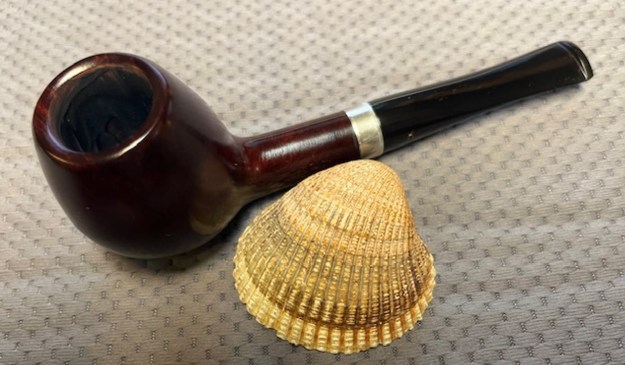
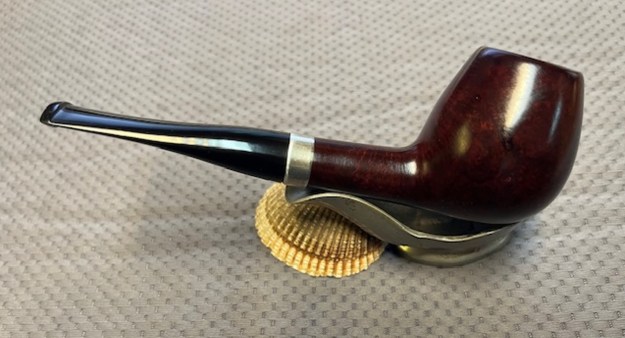
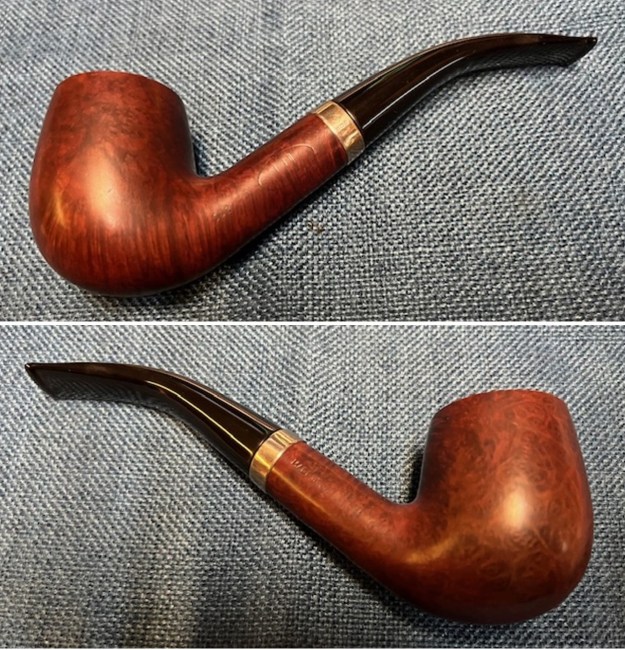
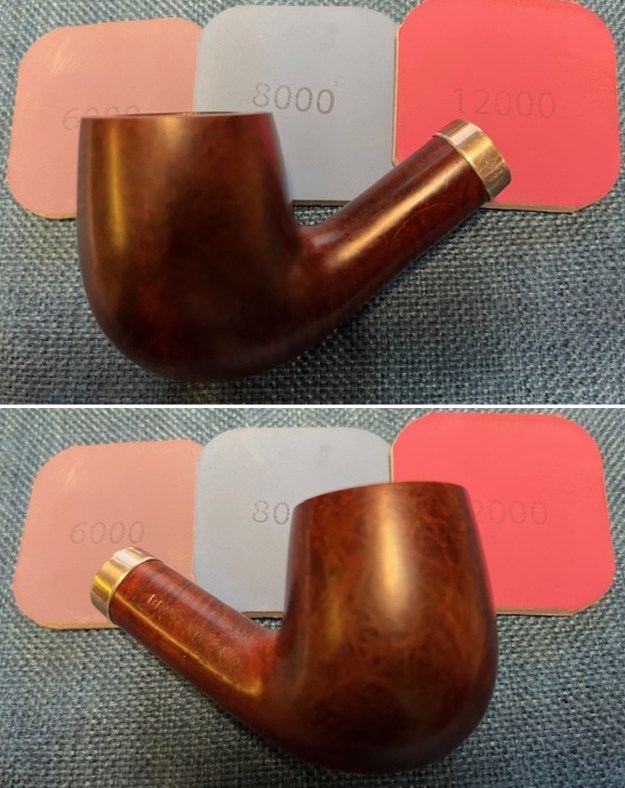
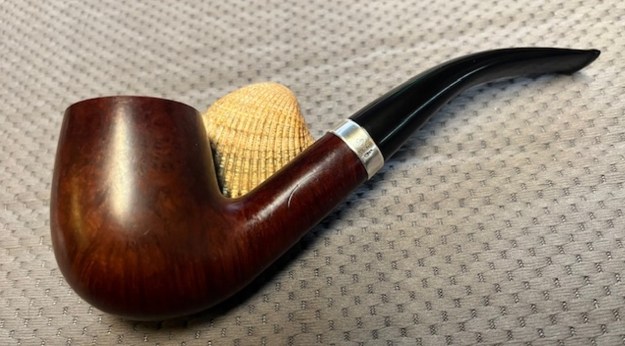
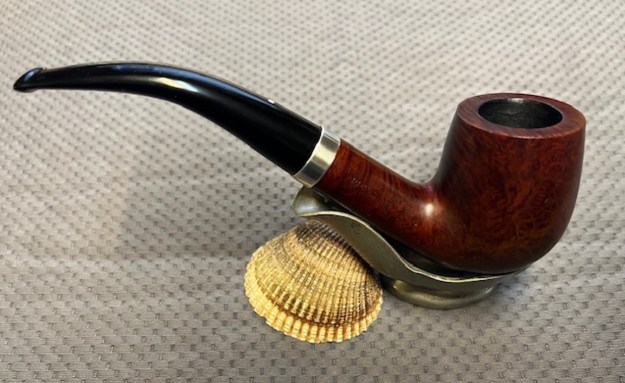
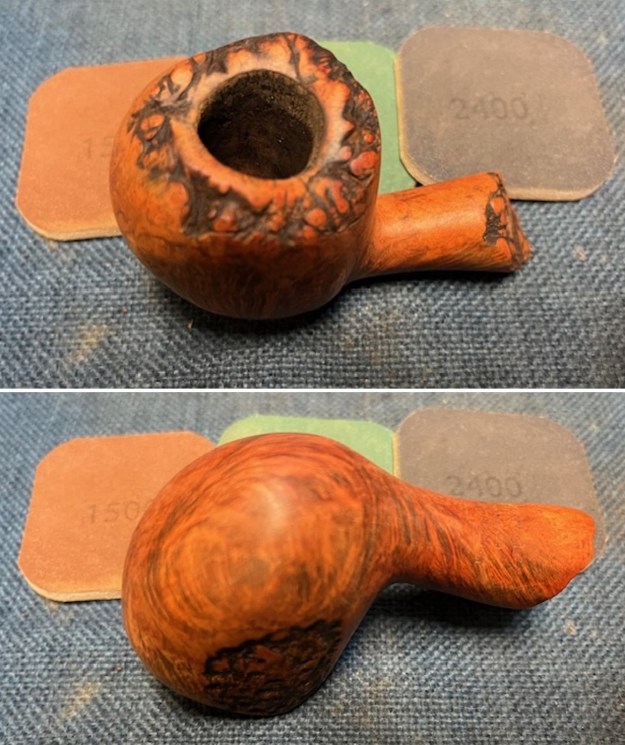
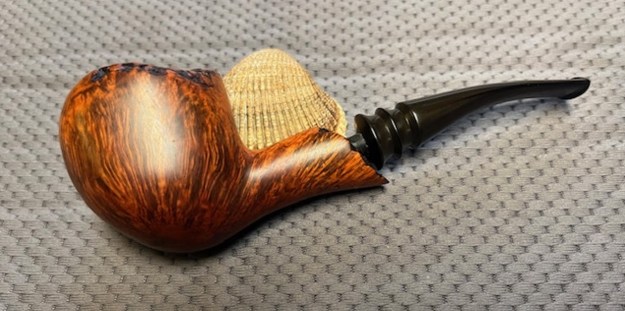
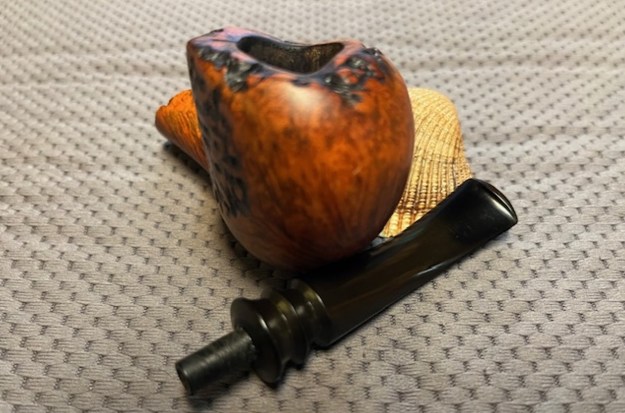
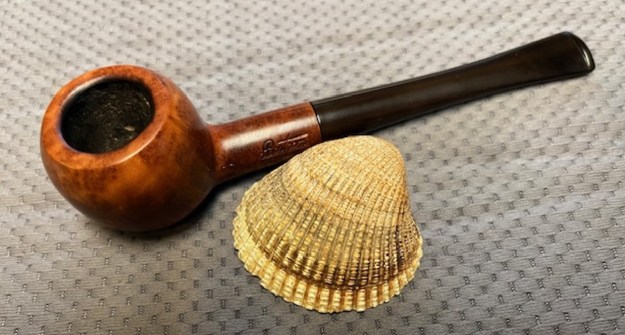
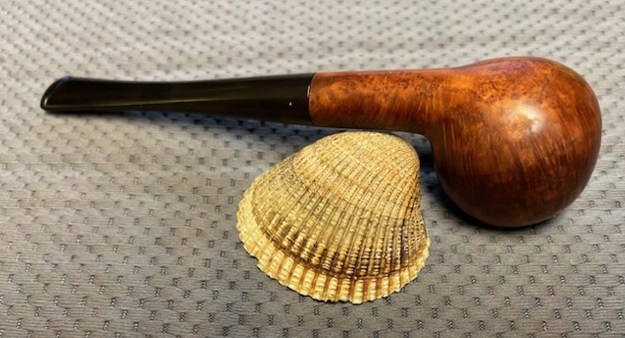
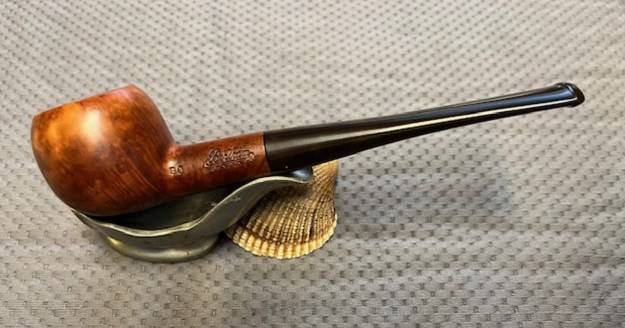
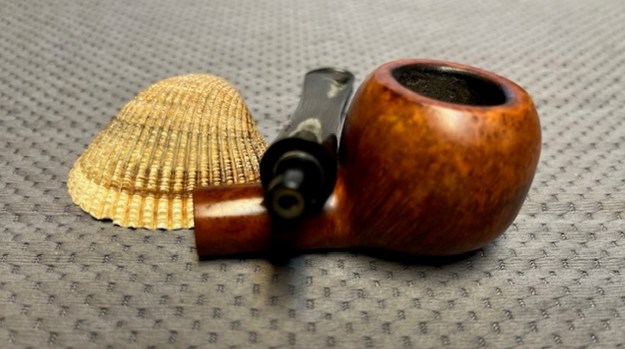
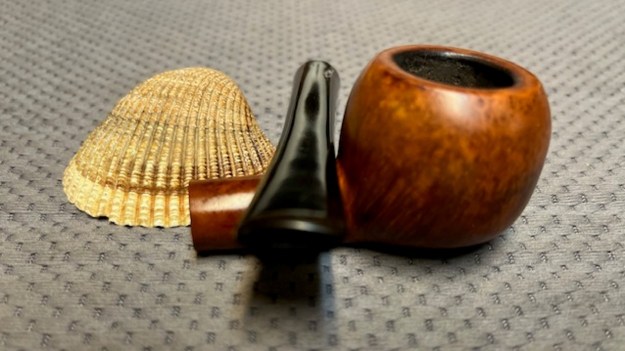
This Peterson Deluxe System 11S pipe looks amazing now. It’s really a beautiful pipe and it is ready to be enjoyed by the next owner! I am pleased to announce that this pipe is for sale! If you are interested in acquiring it for your collection, please have a look in the ‘Irish’ Pipemakers Section of the store here on Steve’s website. You can also email me directly at kenneth@knightsofthepipe.com. The approximate dimensions of the pipe are as follows: length 6 in. (152 mm); height 3⅔ in. (93 mm); bowl diameter 1½ in. (37 mm); chamber diameter ⅔ in. (17 mm). The weight of the pipe is 2¼ oz. (67 g). I hope you enjoyed reading the story of this pipe’s restoration as much as I did restoring it. If you are interested in more of my work, please follow me here on Steve’s website or send me an email. Thank you very much for reading and, as always, I welcome and encourage your comments.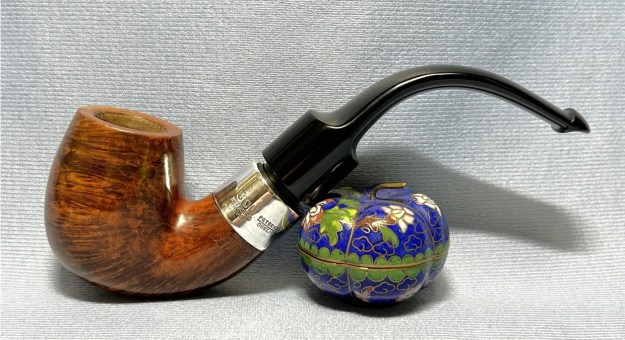


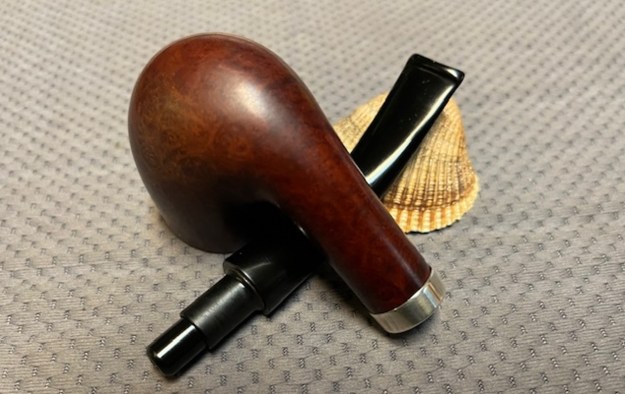
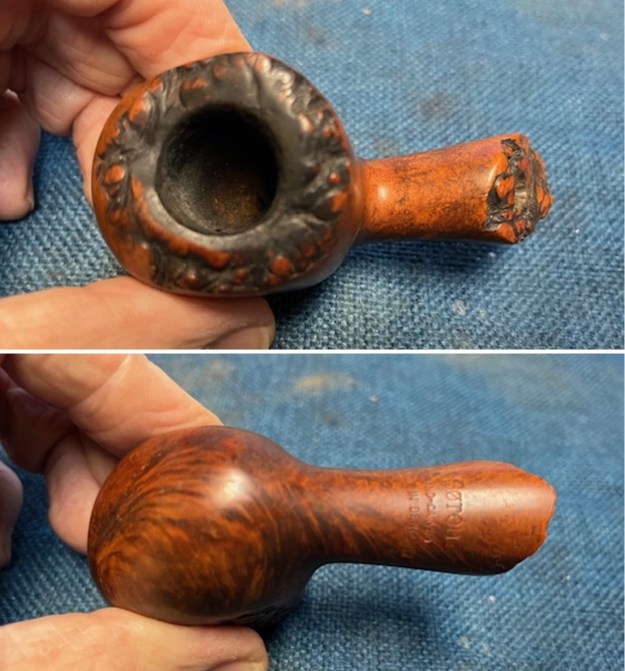
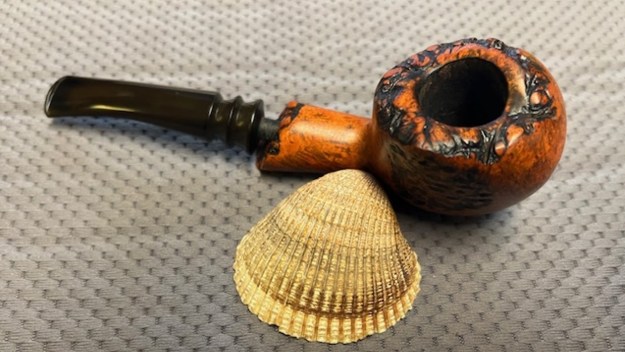
 Let’s have a look at the markings on this pipe. The underside of the stummel reads, Peterson’s [over] DeLuxe [over] Made in the [over] Republic [over] of Ireland. Next to that is the shape number, 9S. The band has markings too. First are the words Peterson [over] Dublin. Next to that are the words Sterling [over] Silver. Finally, it has a set of proper hallmarks: Hibernia, which indicated that it was made in Dublin. Next is the Harp Crowned, which indicates sterling silver. Third is the date letter. In this case, it’s a stylized H. Checking the Irish hallmarks chart tells me that this pipe dates from 1975 – almost fifty years ago.
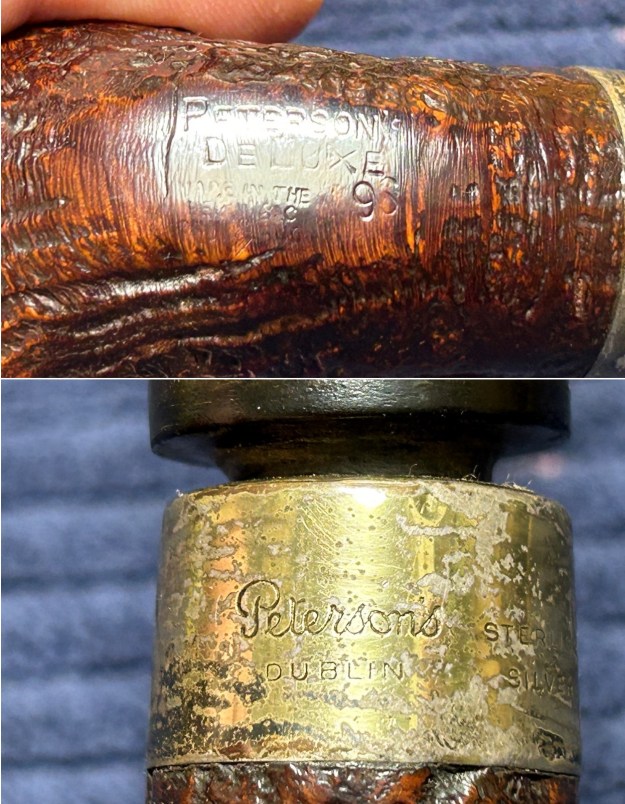
 For more information on Peterson Deluxe System pipes, click on the link to my previous article and it will provide some useful information.
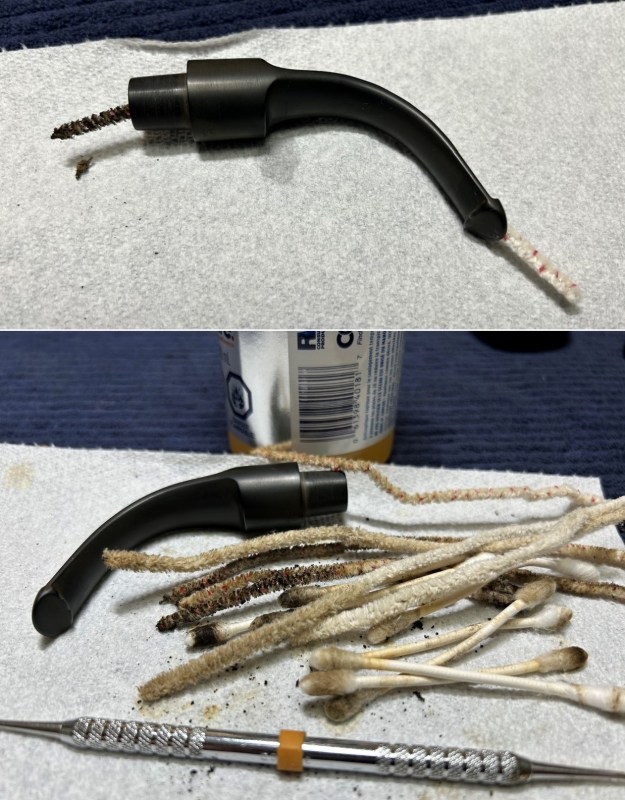
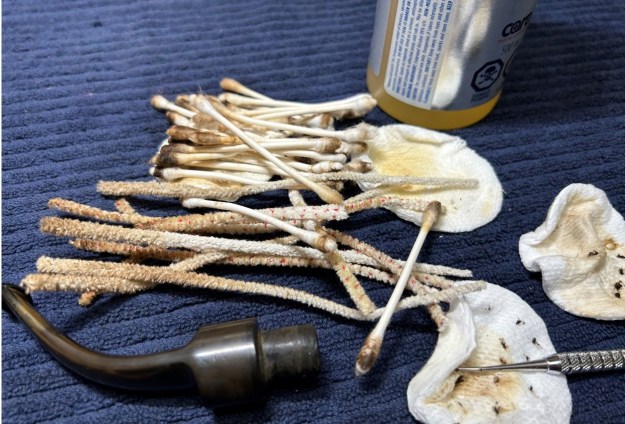
 Time to get on with it! The stem was pretty dirty. It had some calcification on it and I used a sharp edge to carefully scrape that off. Once done, I scrubbed the stem with oil soap on some cotton pads. I also took a BIC lighter and ‘painted’ the stem with its flame in order to lift the few bite marks and dents. Then I cleaned out the inside with pipe cleaners, cotton swabs, and lemon-infused isopropyl alcohol. You can see just how filthy it was inside.
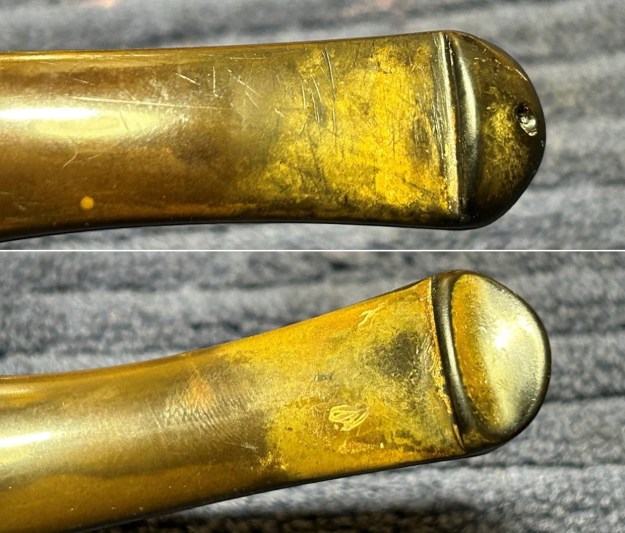
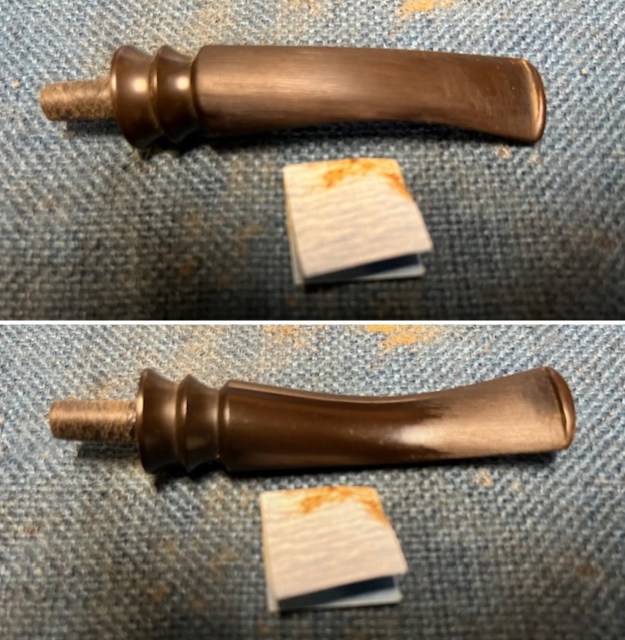
 I wiped down the stem with cleanser to remove surface oxidation. Then the stem went for an overnight soak in the Pipe Stem Oxidation Remover. The next day, I used the cleanser again with some cotton rounds.
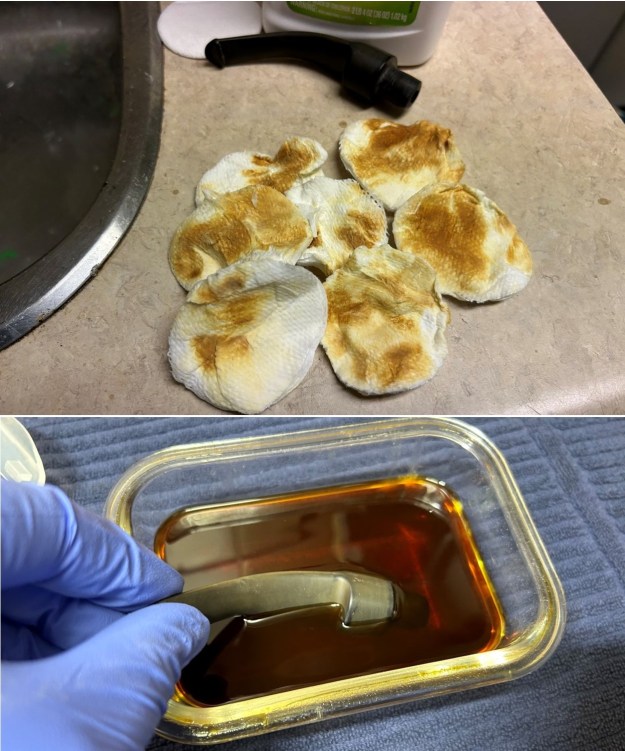 I also took the opportunity to clean up the aluminum chimney with some isopropyl alcohol, then sanded with some 0000-grit steel wool.
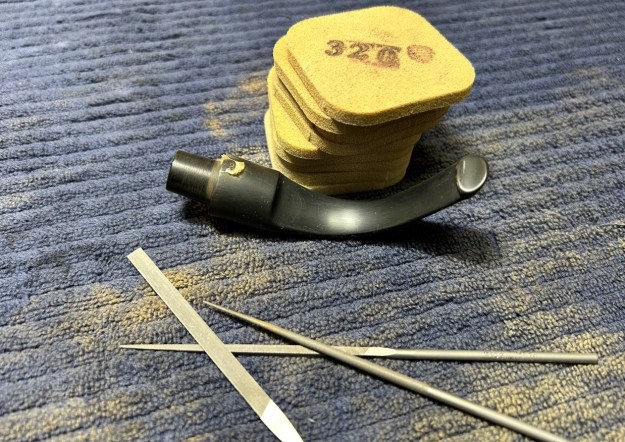
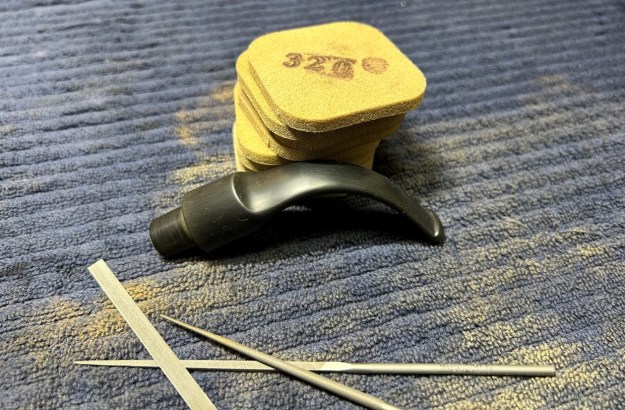
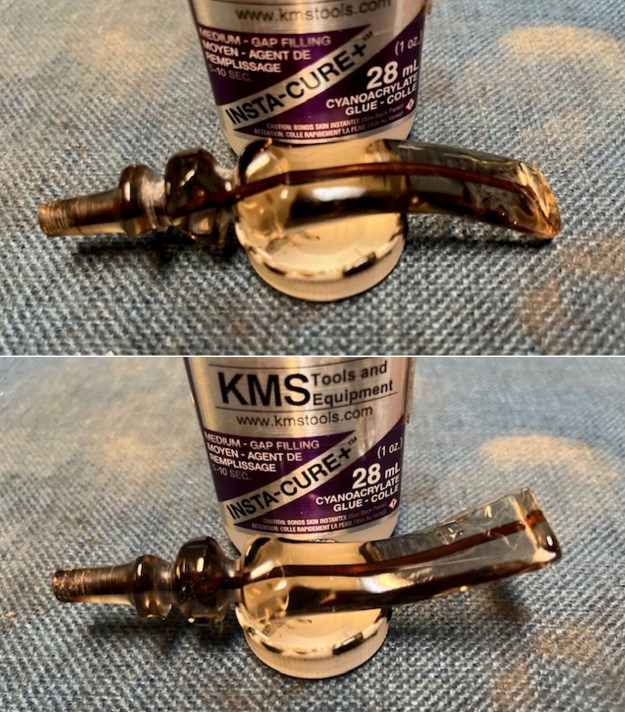
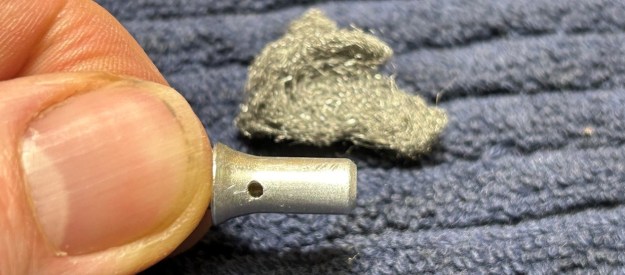 I built up the small tooth marks on the stem with black cyanoacrylate adhesive and let them fully cure. I then used my needle files, Micromesh pads and Obsidian Pipe Stem Oil to make it look great.
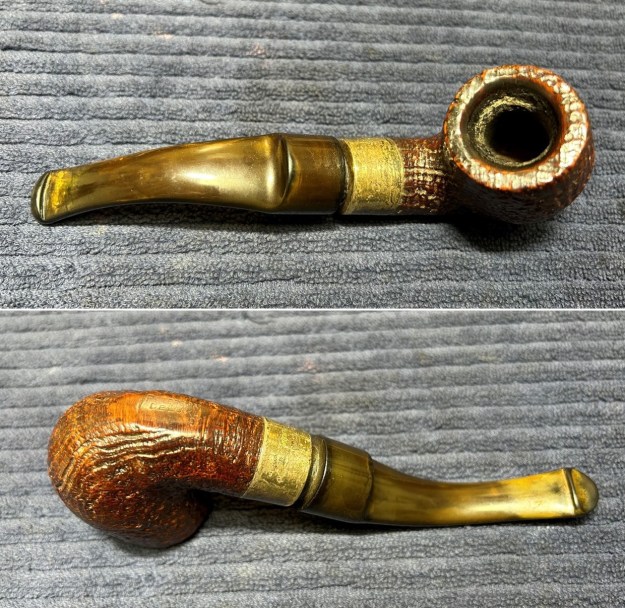
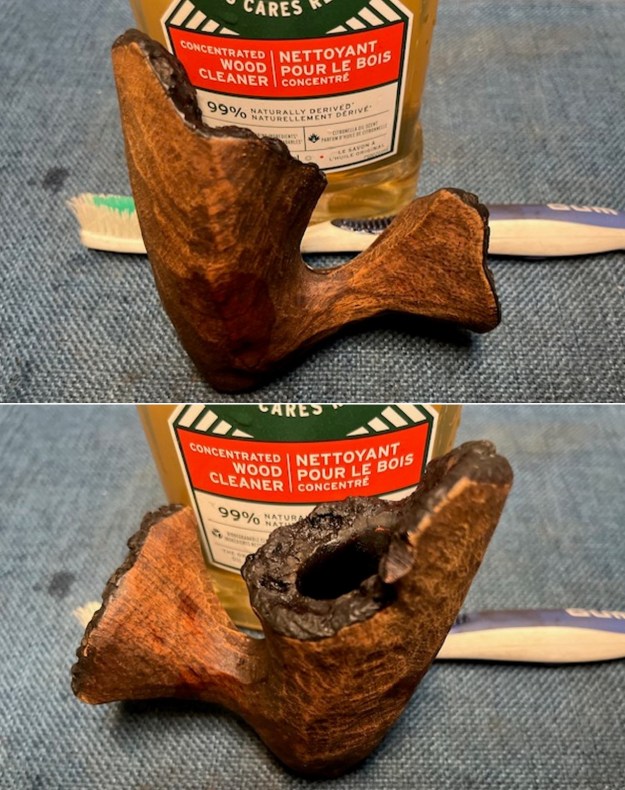
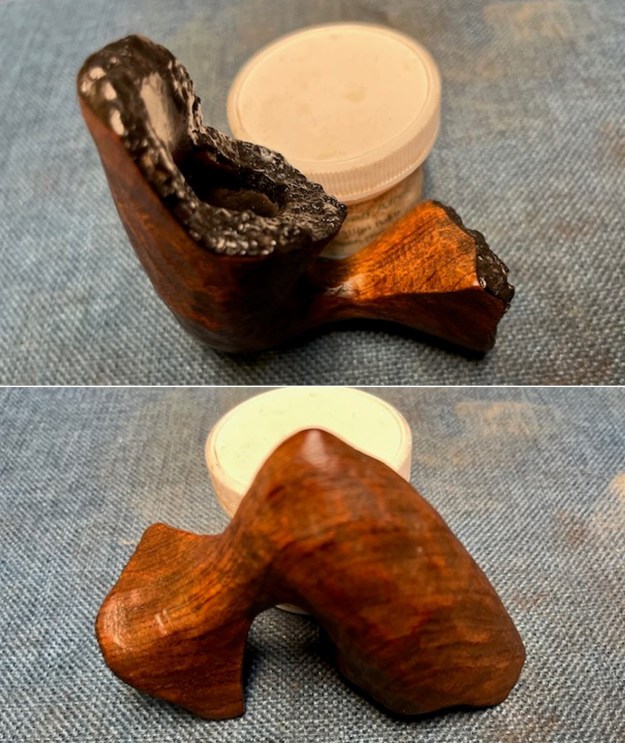
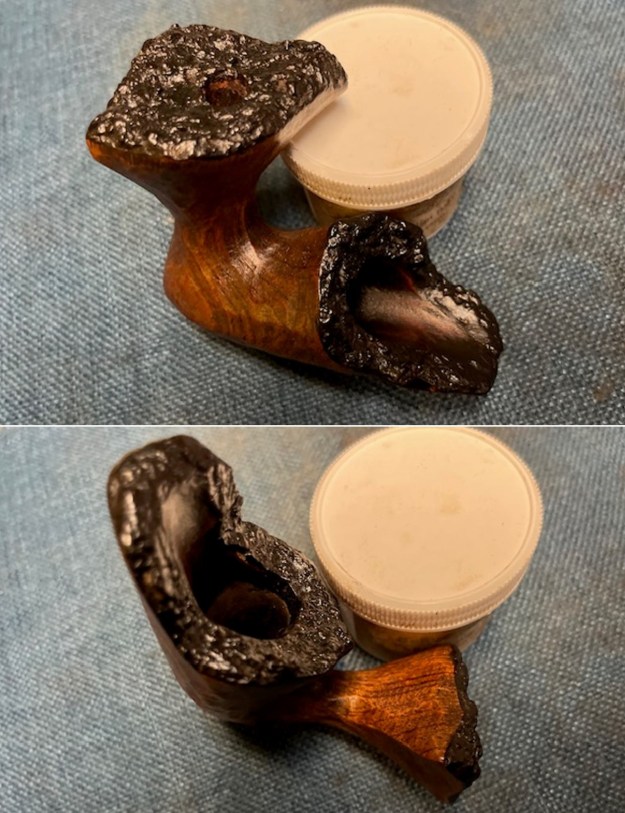
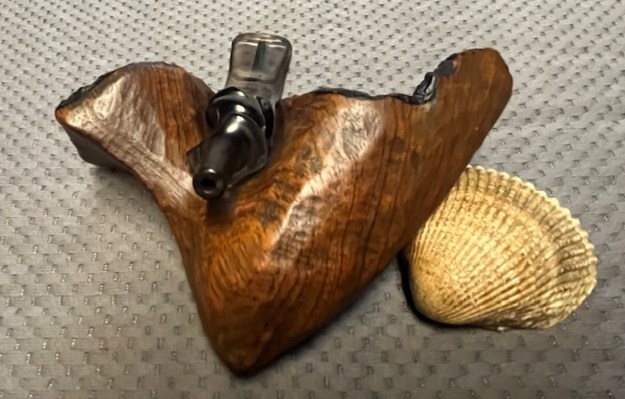
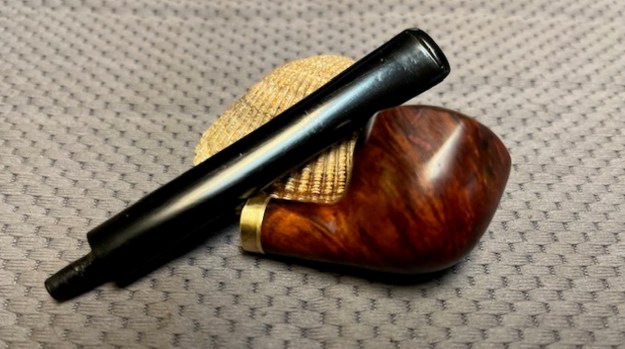
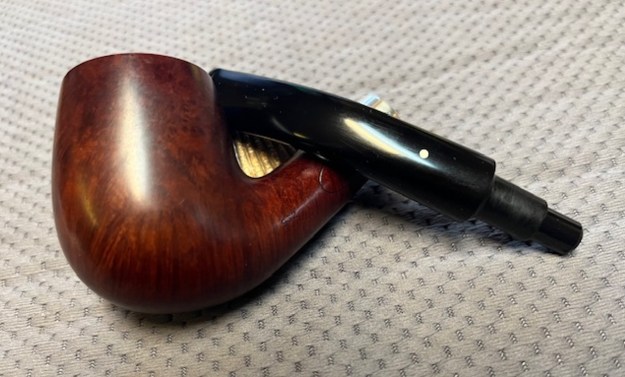
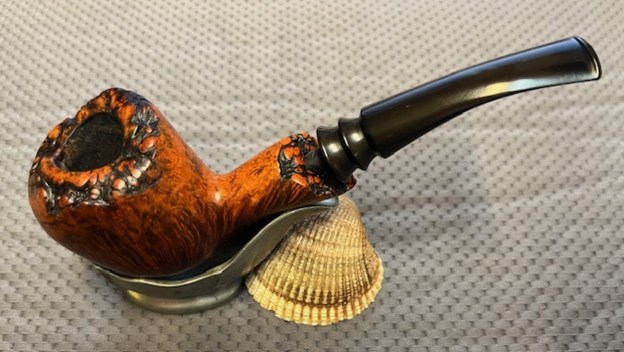
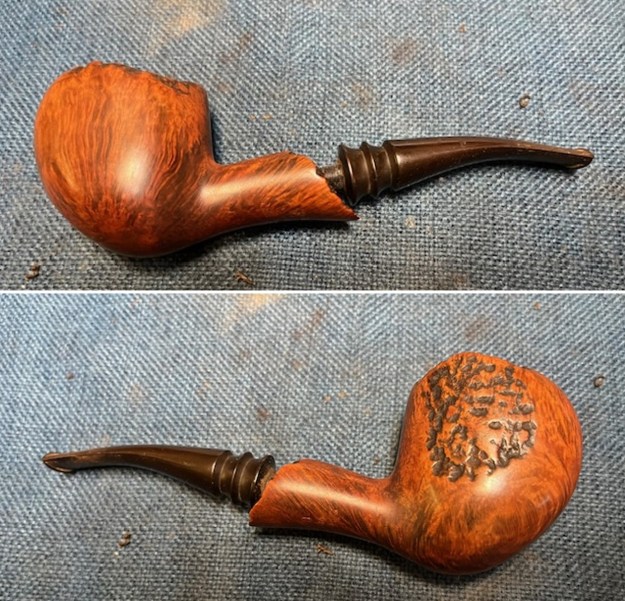
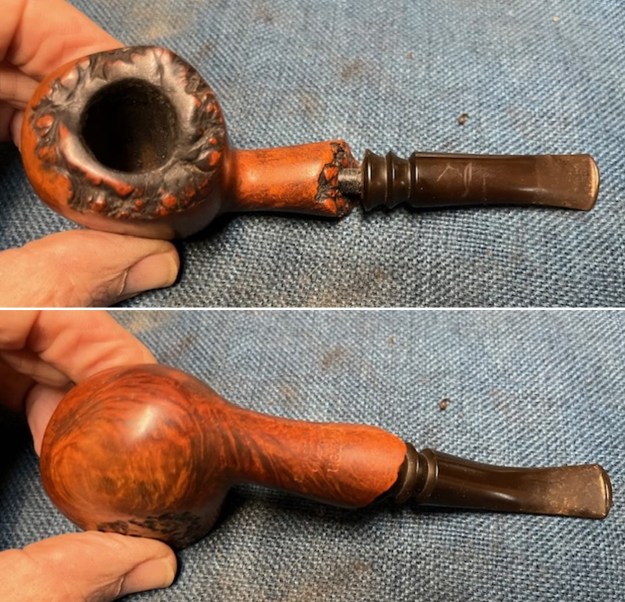
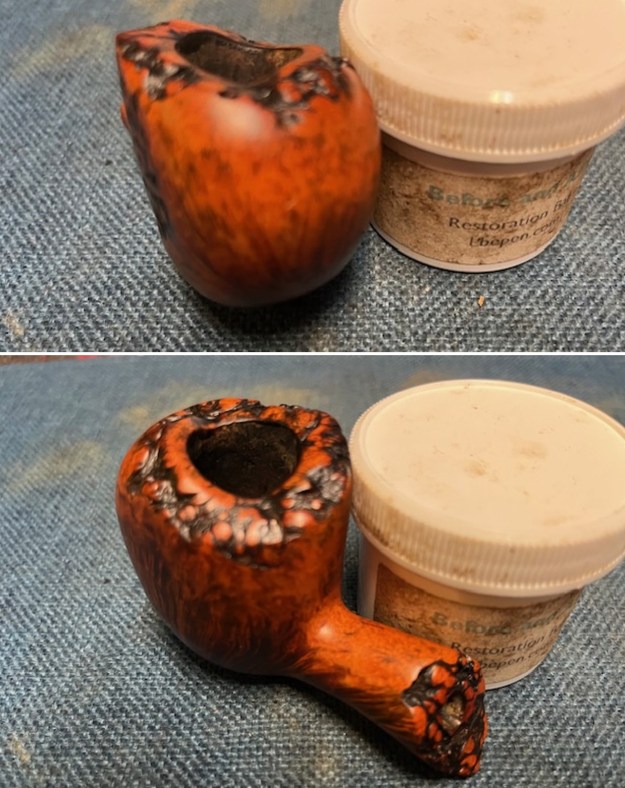
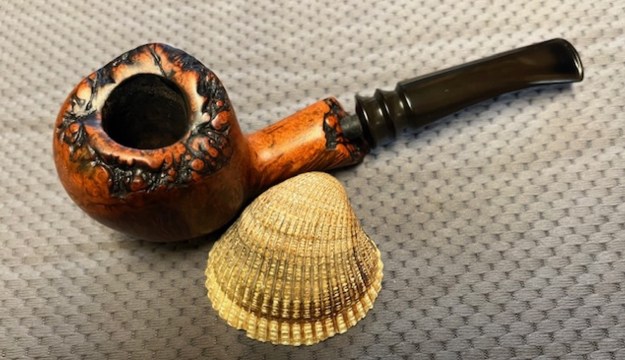
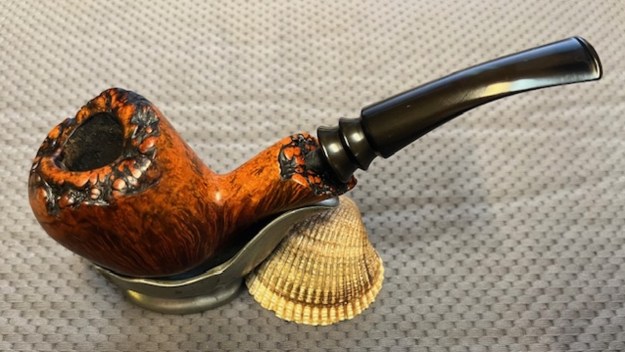
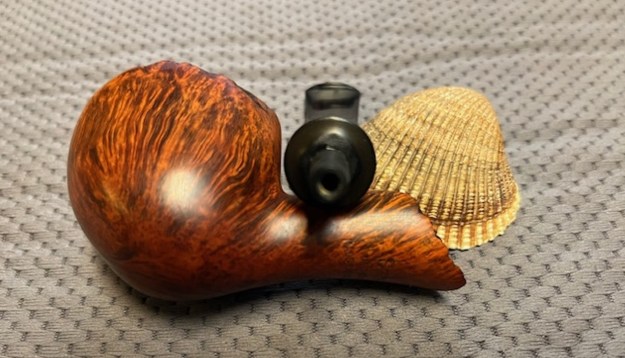
 Onto the stummel – it was both beautiful and a mess!
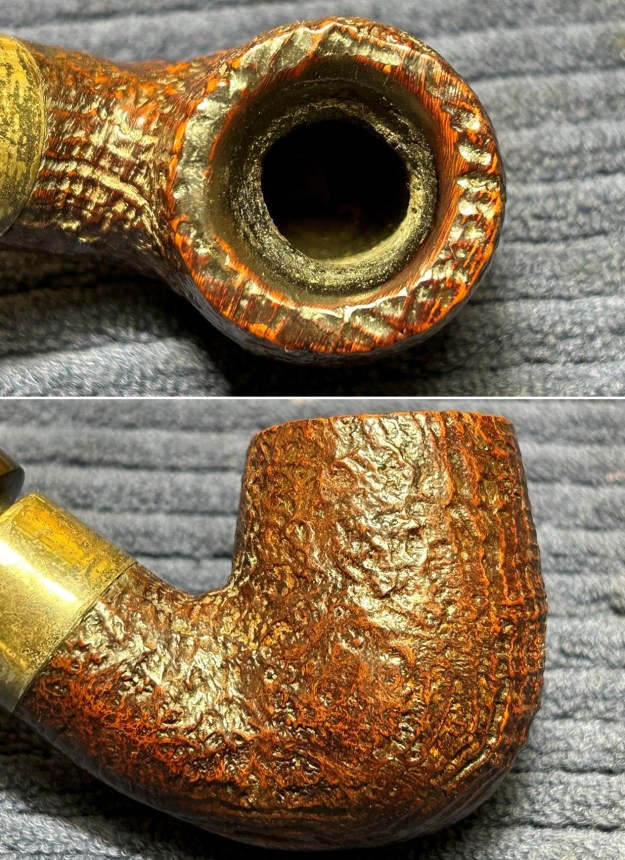
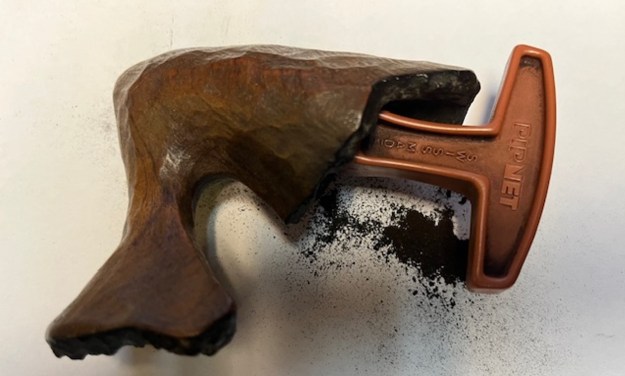
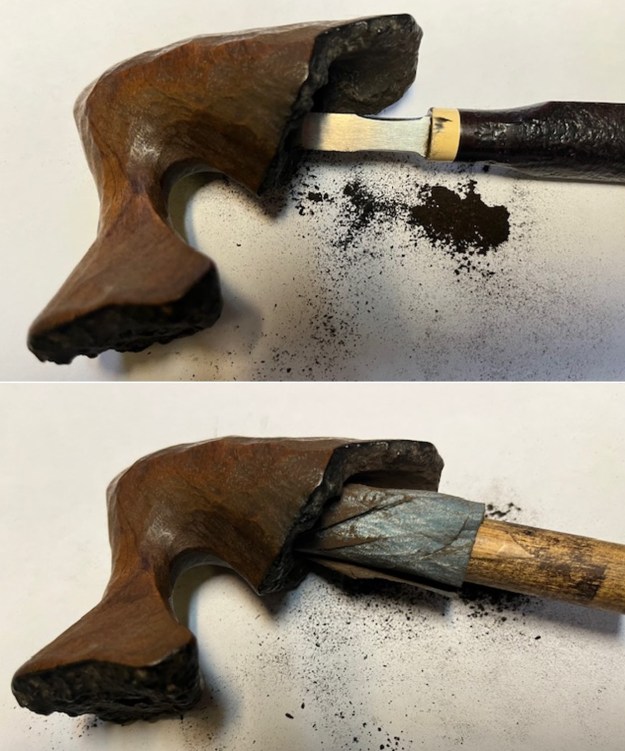
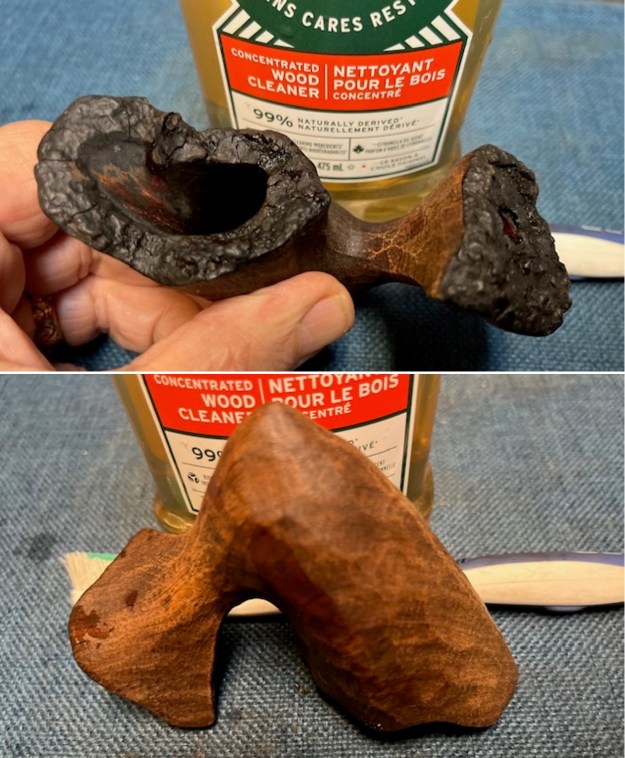
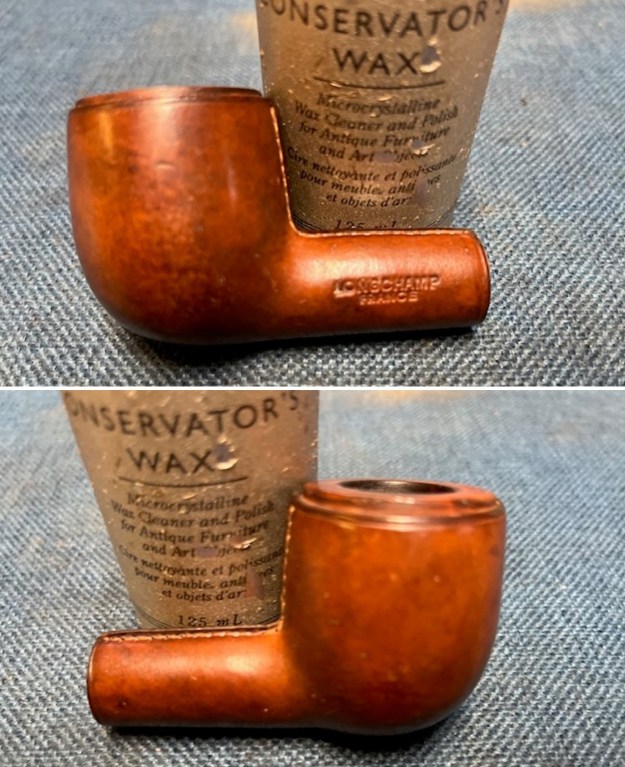
 The first thing I did was to ream out the mountain of cake inside the bowl. I used the PipNet, and some sandpaper taped to a dowel. Fortunately, there was no damage to the interior walls. I used cotton rounds and a toothbrush with some oil soap to scrub the outside of the stummel.
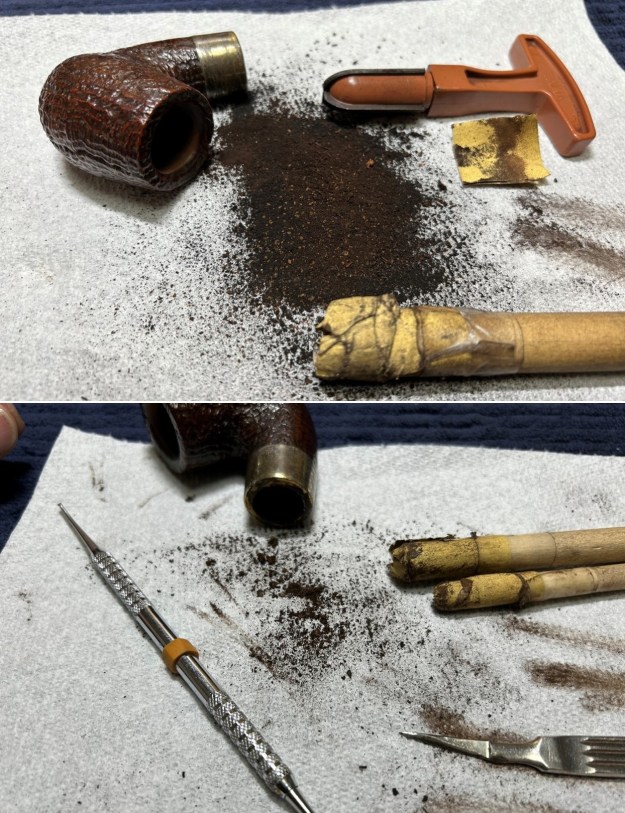
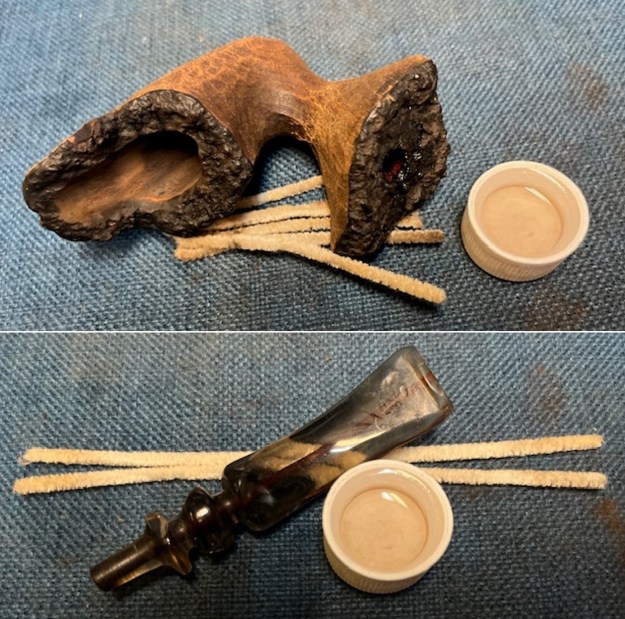
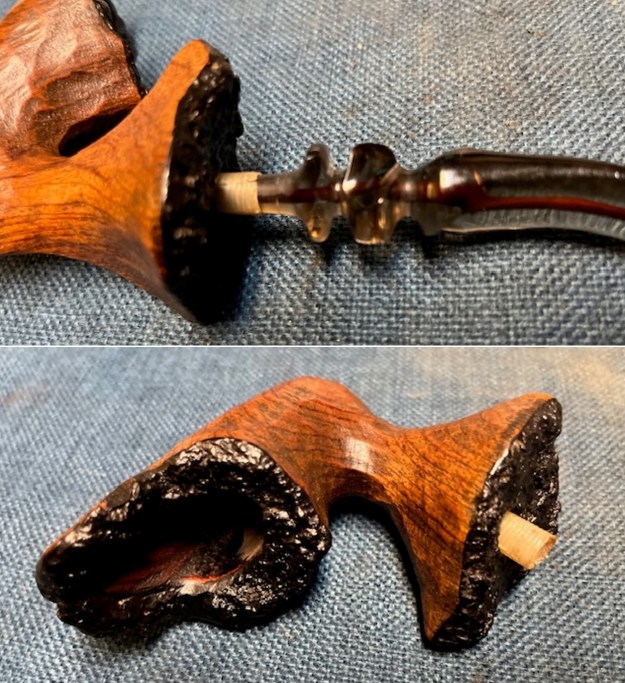
 I then proceeded to clean out the insides of the shank with Q-tips, pipe cleaners, and lemon-infused isopropyl alcohol. I followed that up by de-ghosting the pipe and the bowl was nice and clean after this. I then cleaned the insides with some dish soap and tube brushes.
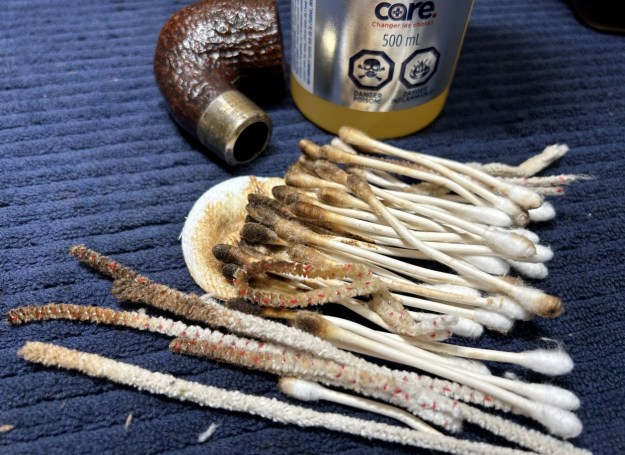
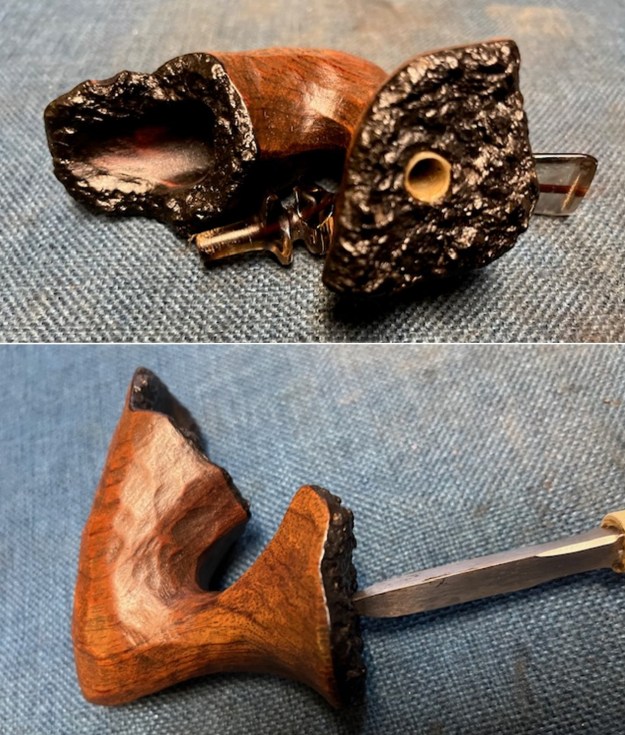
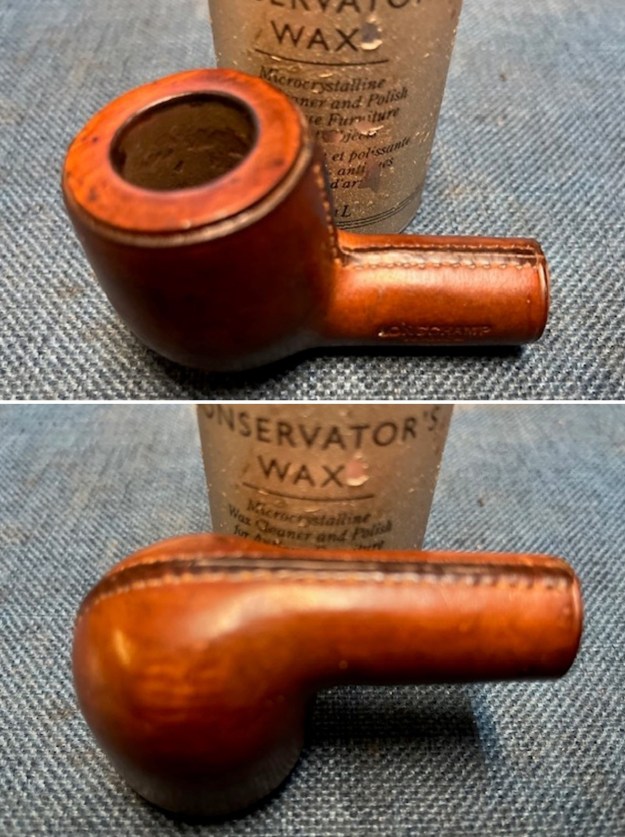
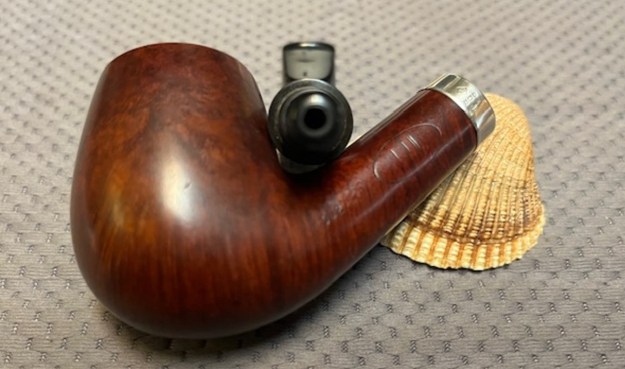
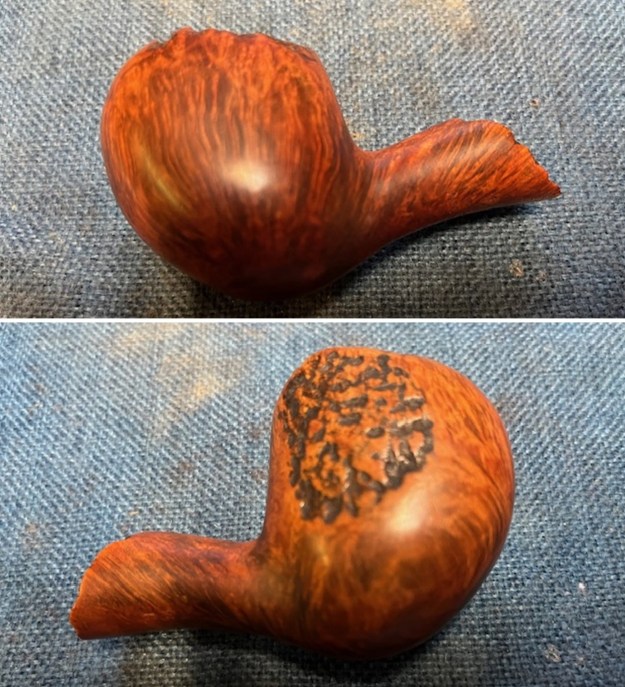
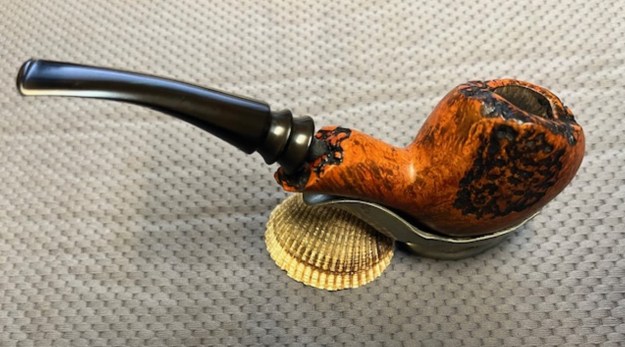
 In the process of cleaning, however, I noticed something unfortunate. The underside of the stummel has a small crack. After inspecting it closely, I saw that it wasn’t too serious at all and would be an easy fix.
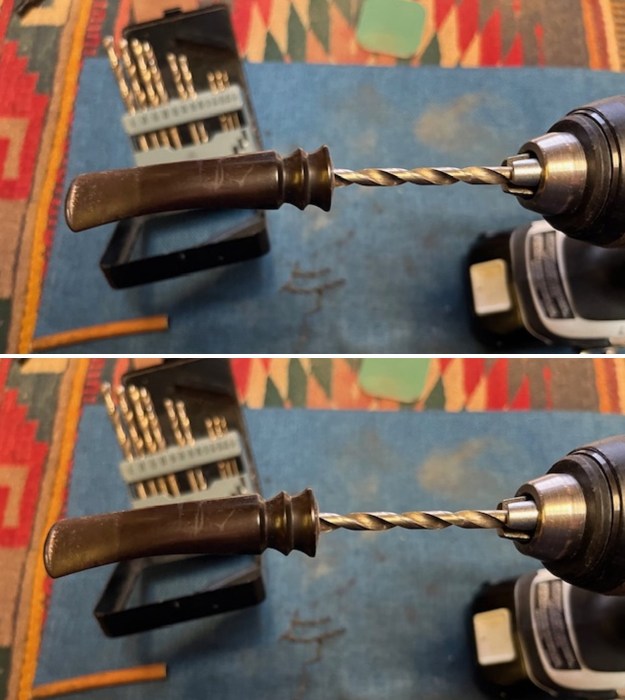
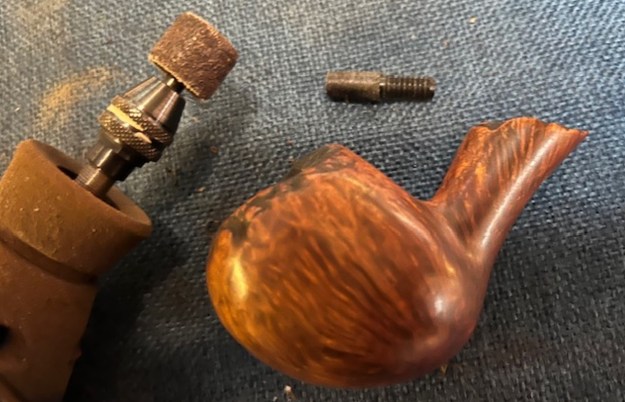
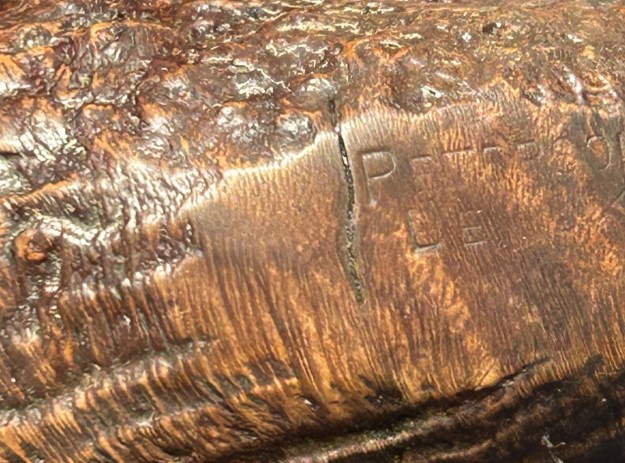 Repairing the crack first involves drilling a tiny hole at each end of the crack to stop it from elongating any further. I took my micro drill bit and delicately drilled a hole into the briar. I then administered a dose of CA glue (mixed with briar dust) along the crack and let it cure. It came out really well and, after sanding it smooth, I touched up the colour with my furniture pens.
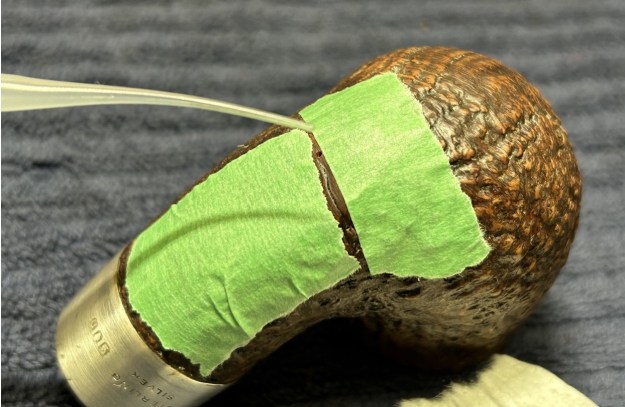
 I then worked on cleaning up the sterling silver band. I taped it off, as I didn’t want to damage the wood. This worked well and I was pleased.
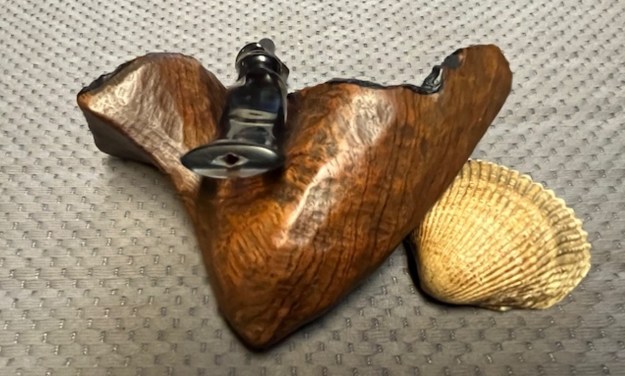
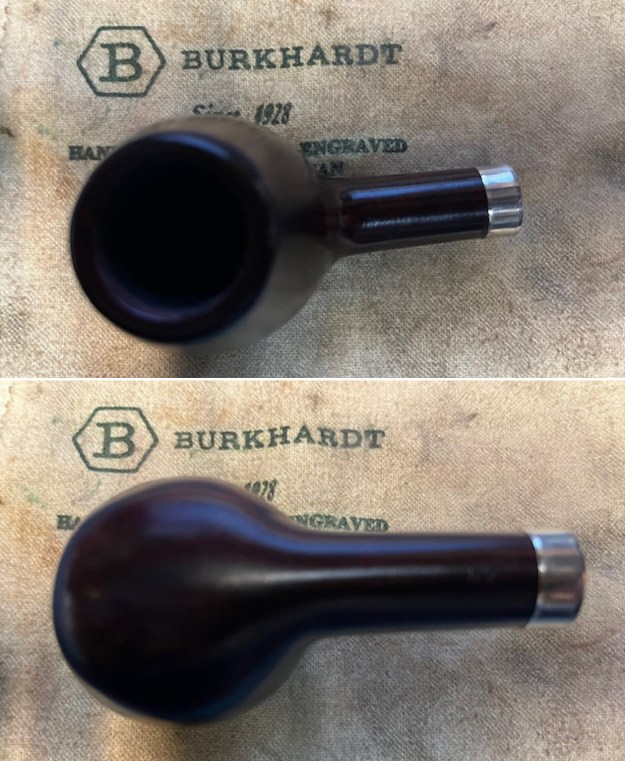
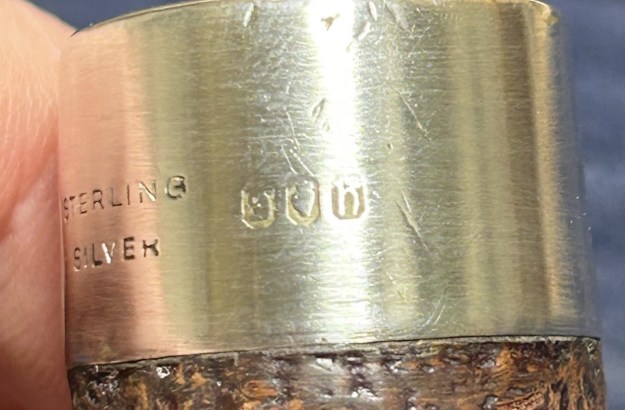 I followed that up with some Before & After Restoration Balm. I let it sit on the wood for 20 minutes or so, then buffed it off with a microfibre cloth. I took the pipe to the buffer. I gave it a good application of conservator’s wax, since carnauba wax will gum up in the grooves. This made all the difference. It really sparkled after that. I also polished the silver with my jewellery cloth.
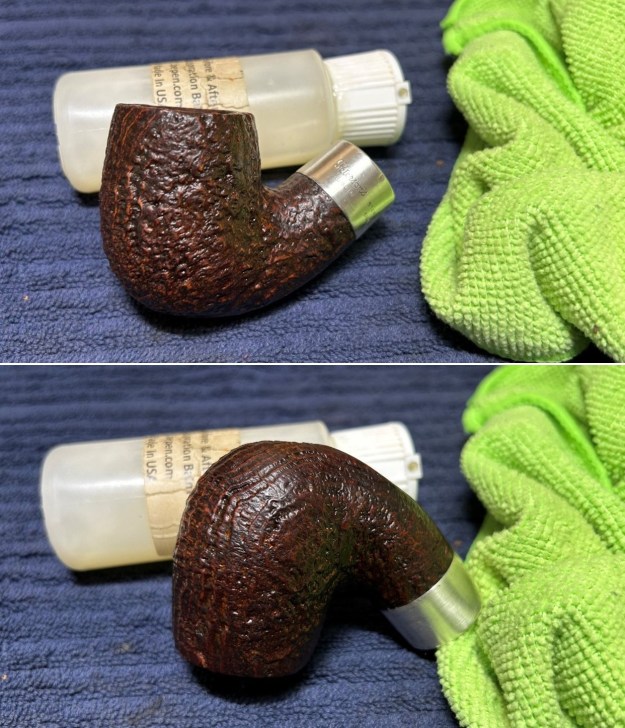
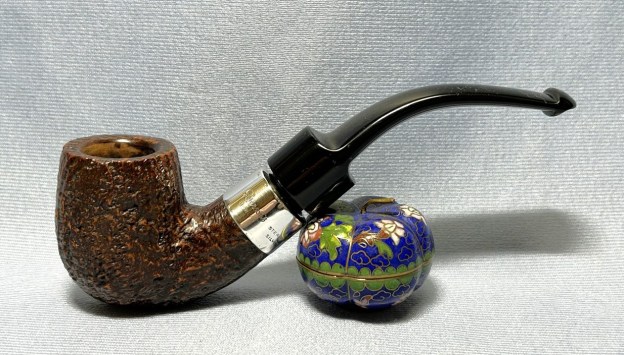
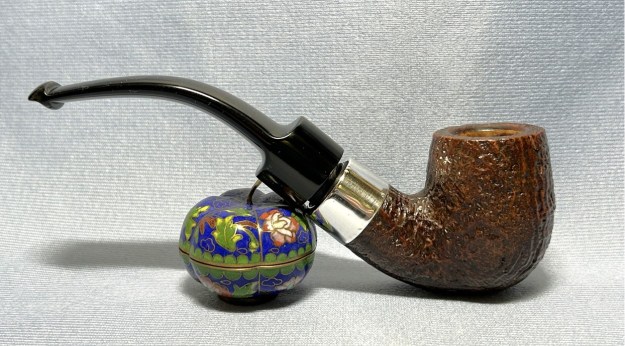
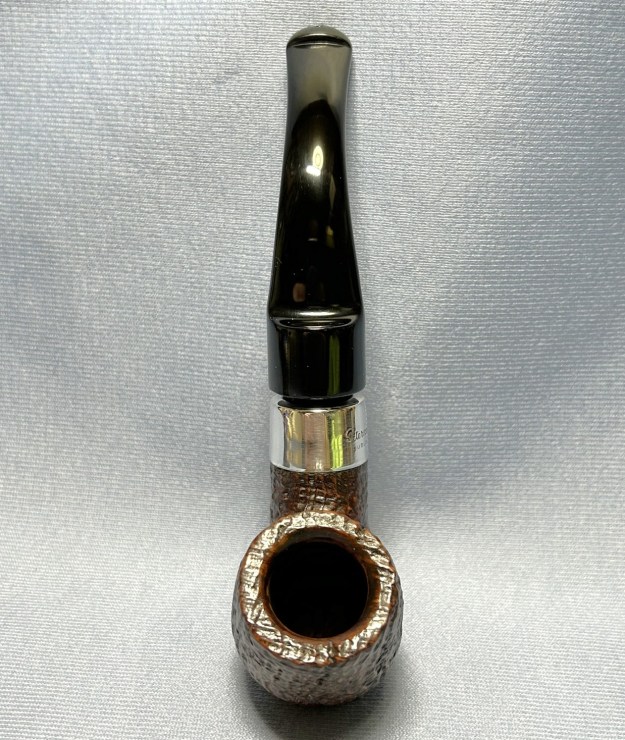
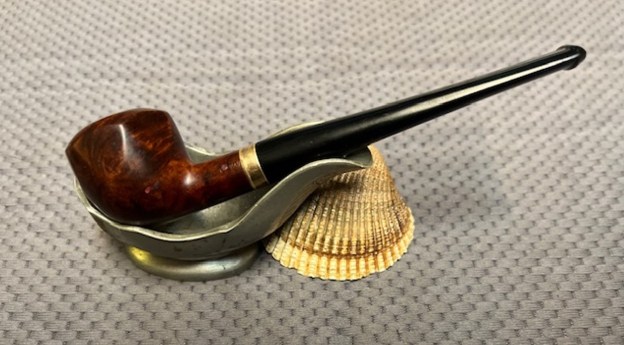
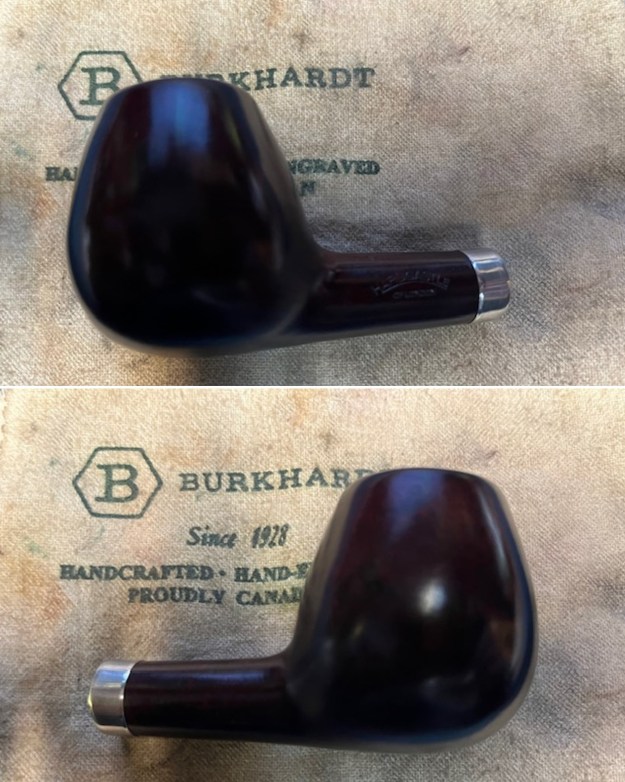
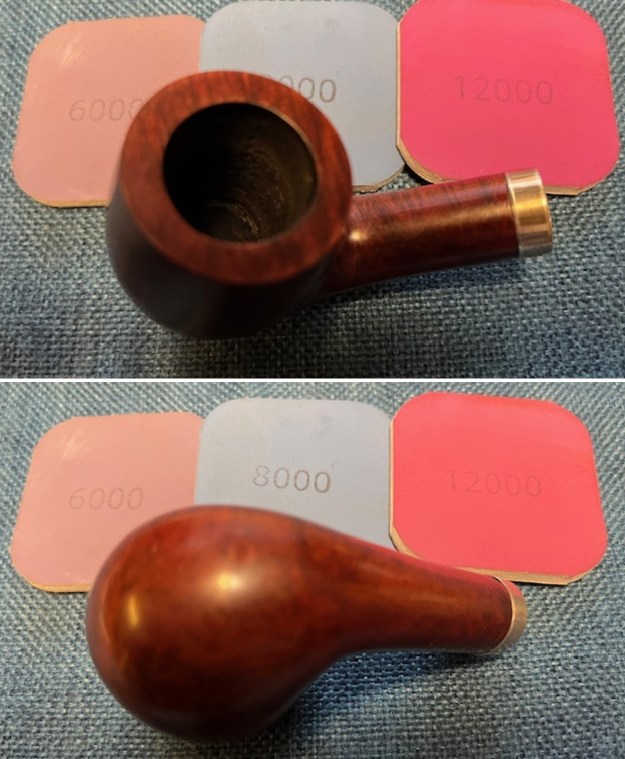
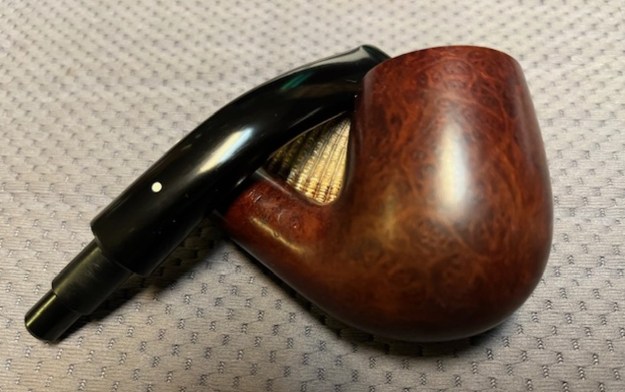
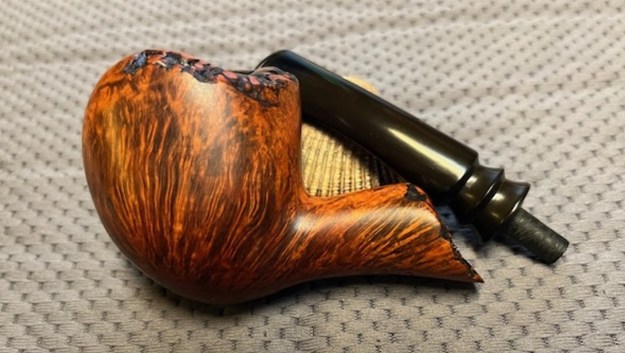
 This Peterson Deluxe System 9S Bent Billiard is such a good-looking pipe. I’m sure my customer will enjoy this one for many years. I hope you enjoyed reading the story of this pipe as much I as I did in restoring it. If you are interested in more of my work, please follow me here on Steve’s website or email me directly at kenneth@knightsofthepipe.com. Thank you very much for reading and, as always, I welcome and encourage your comments.
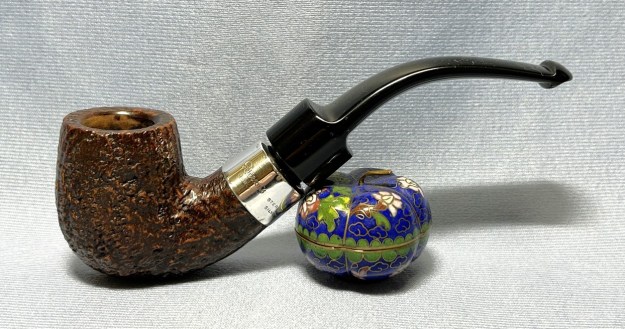


