by Kenneth Lieblich
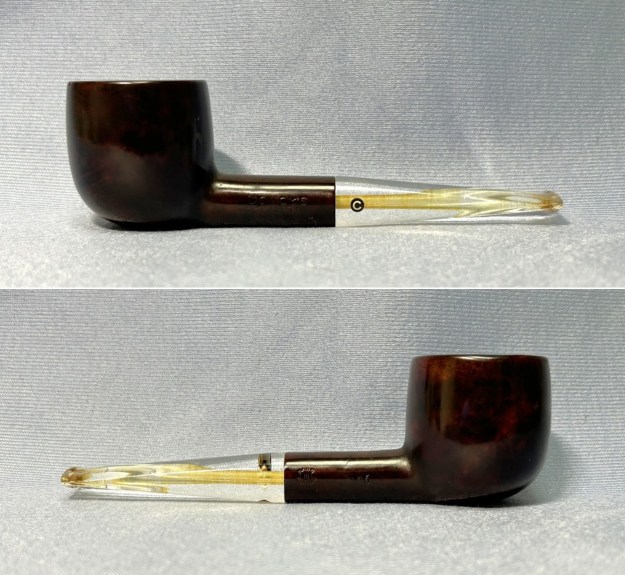
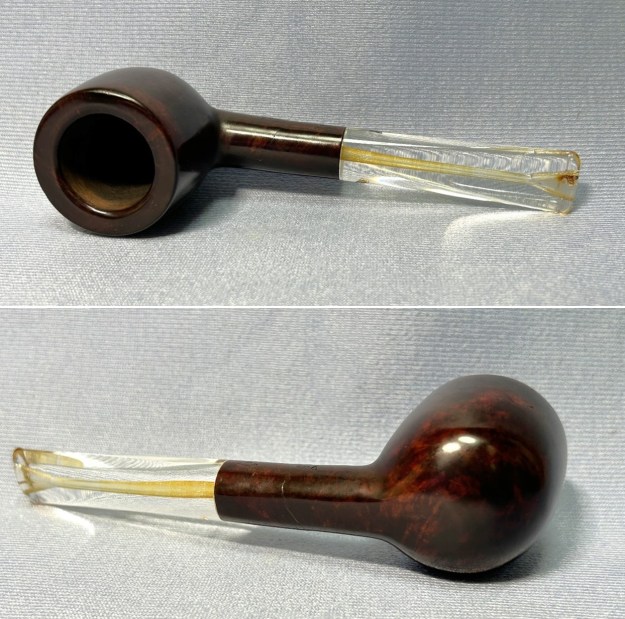
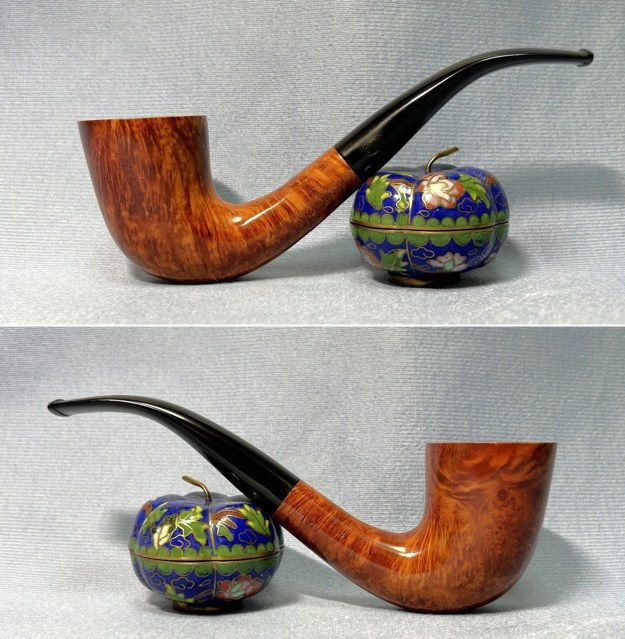
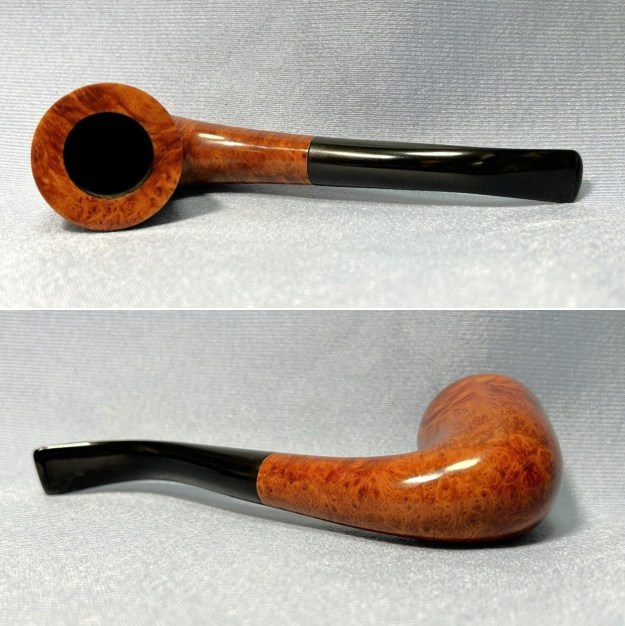
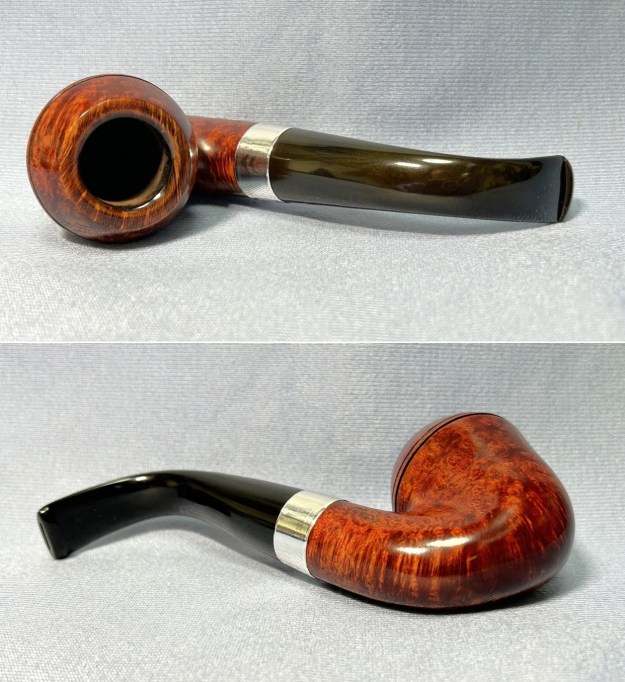
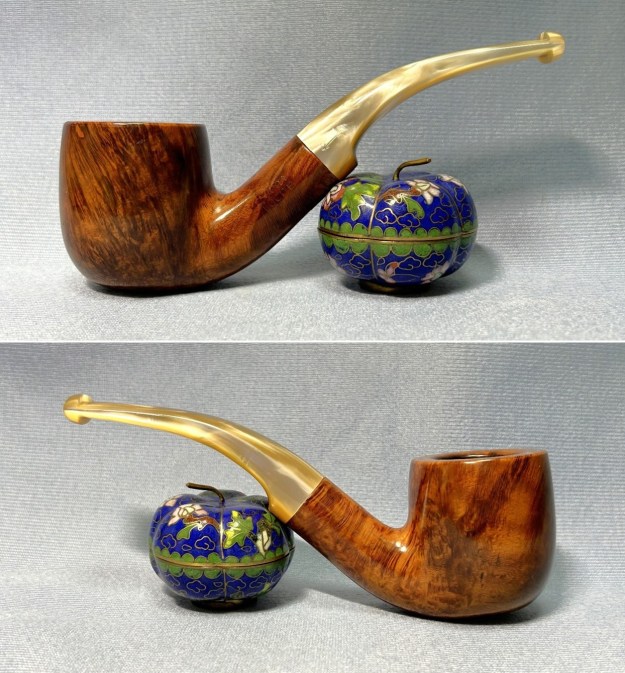
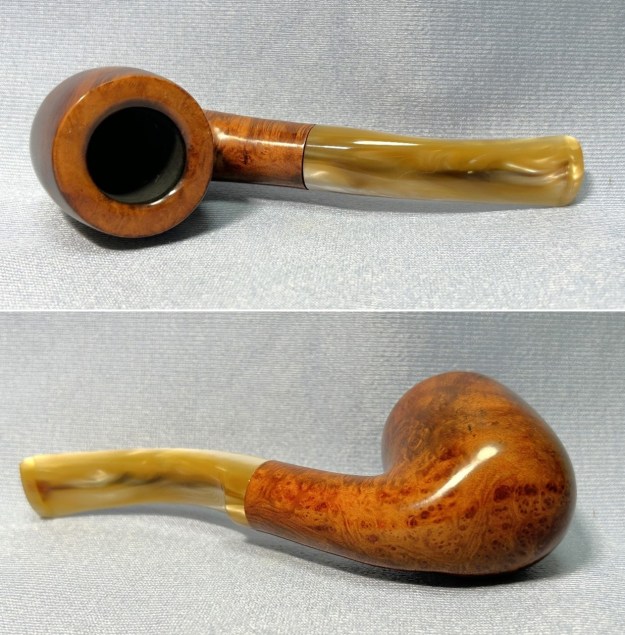
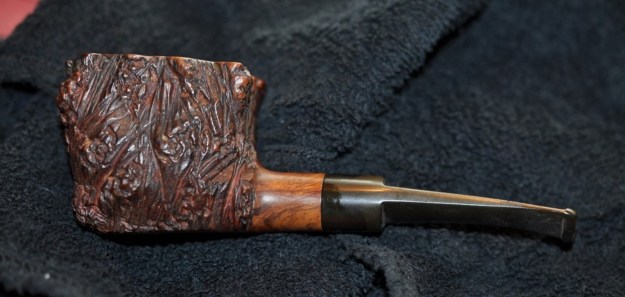
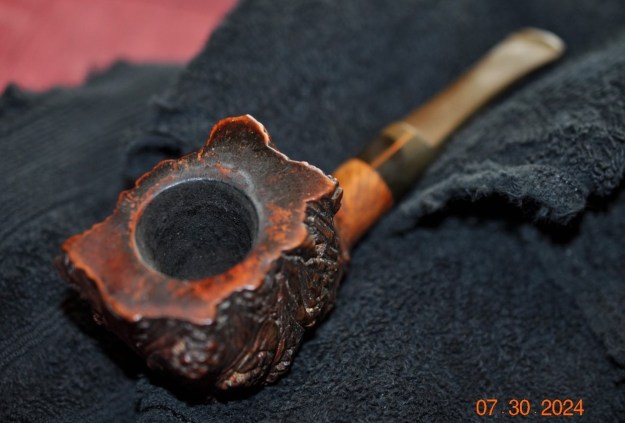
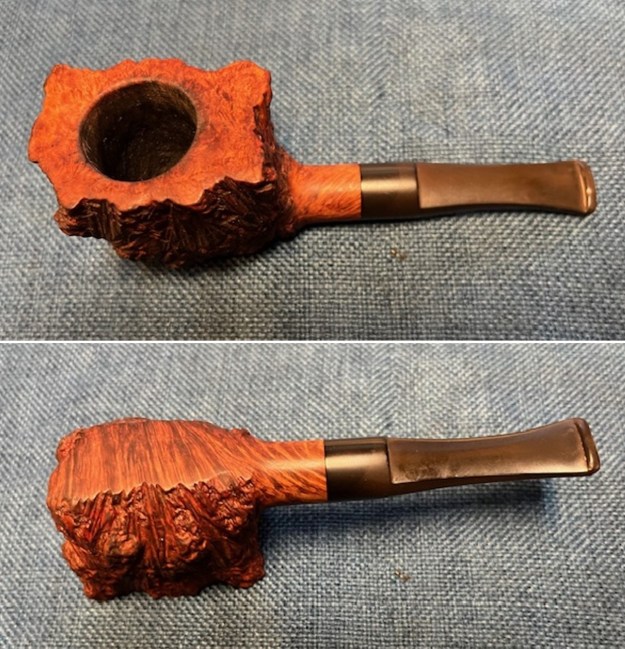
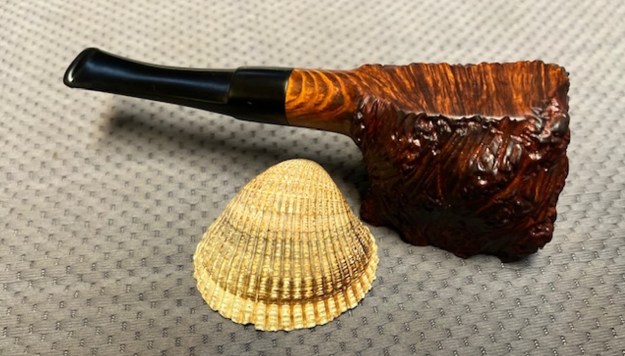
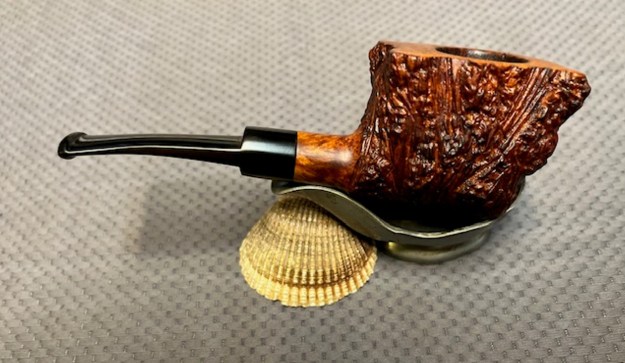
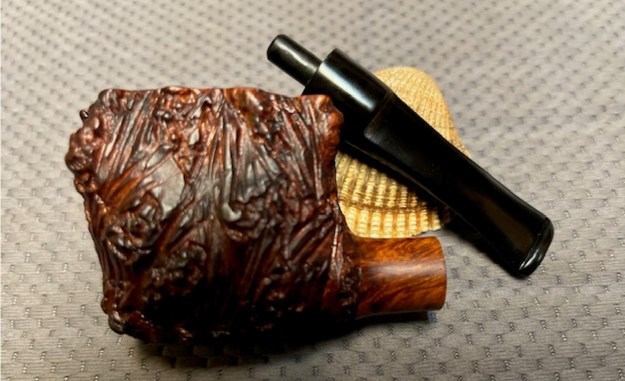
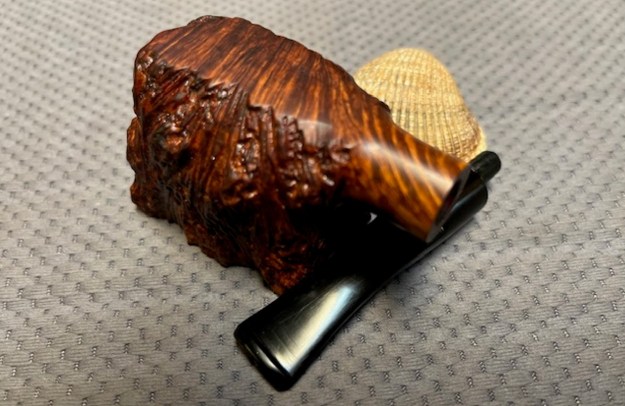
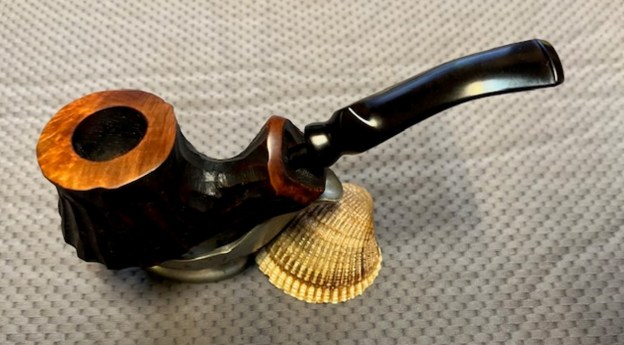
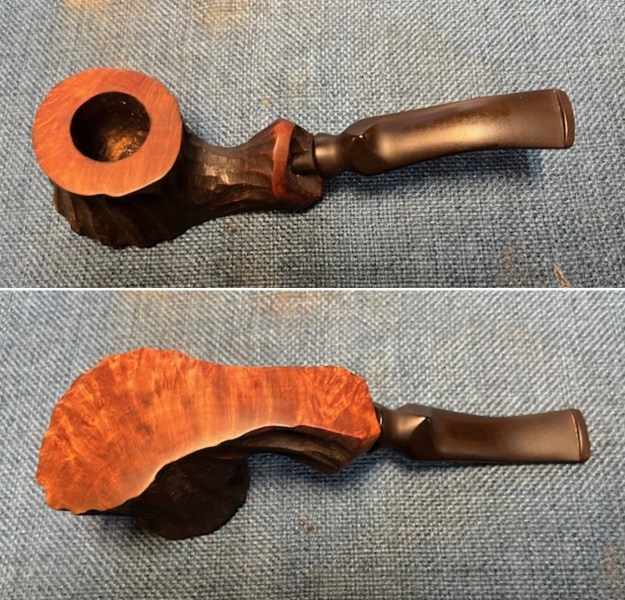
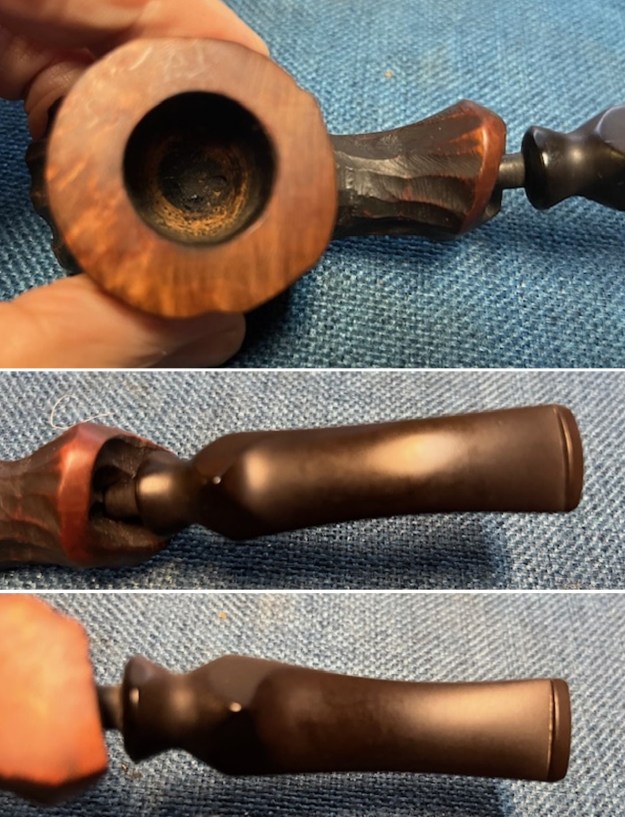
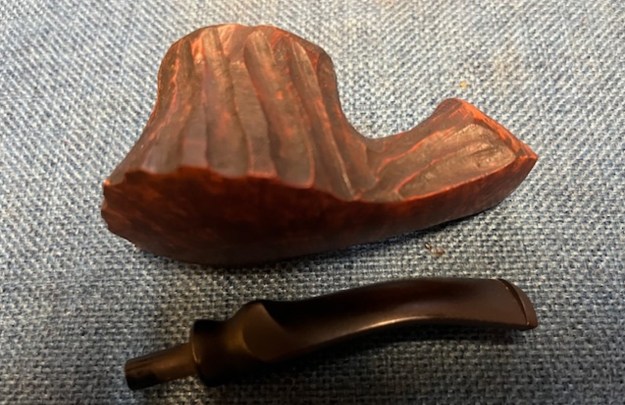
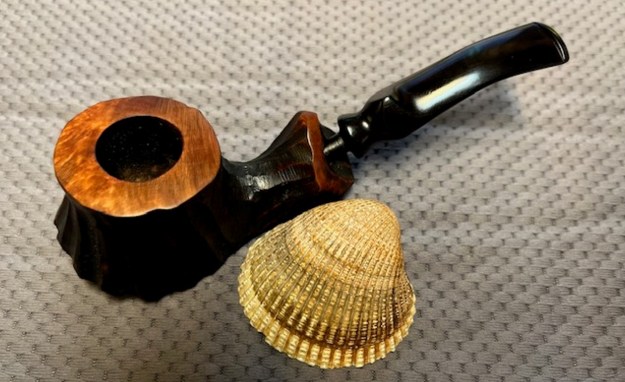
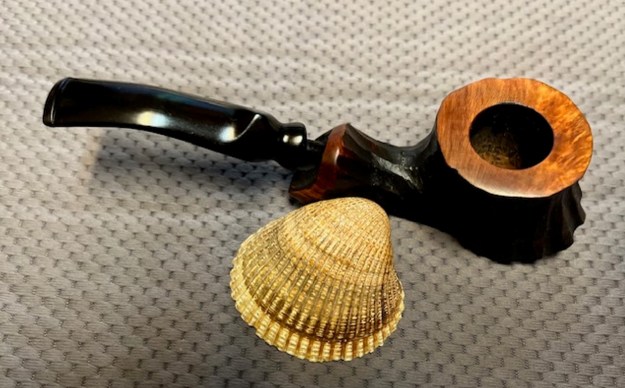
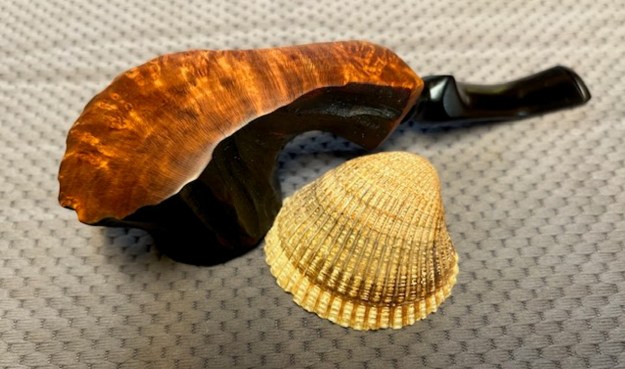
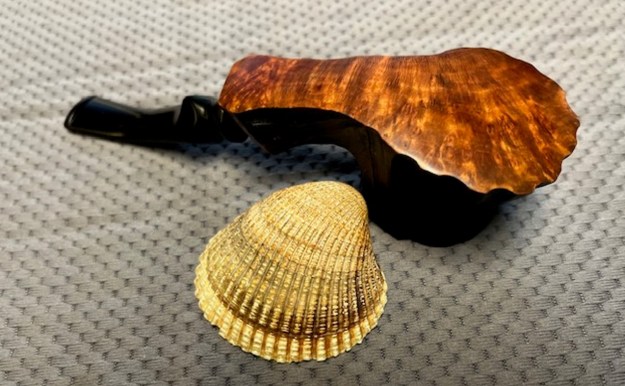
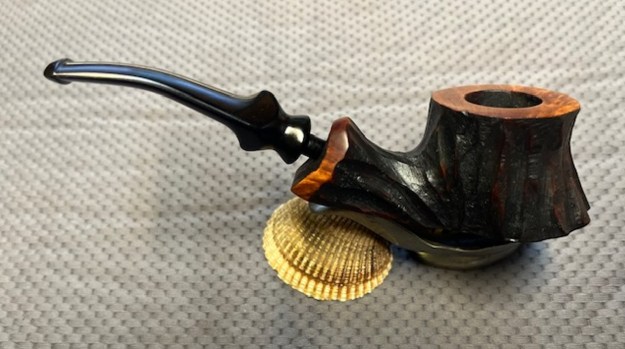
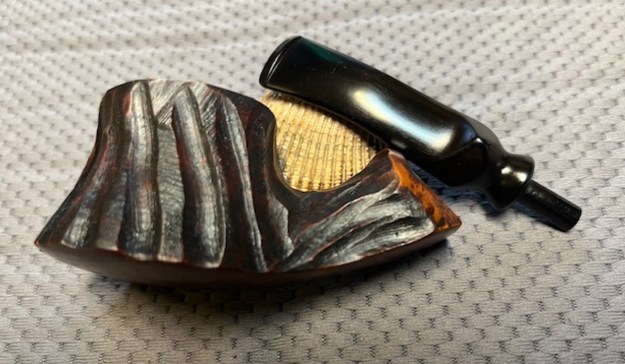
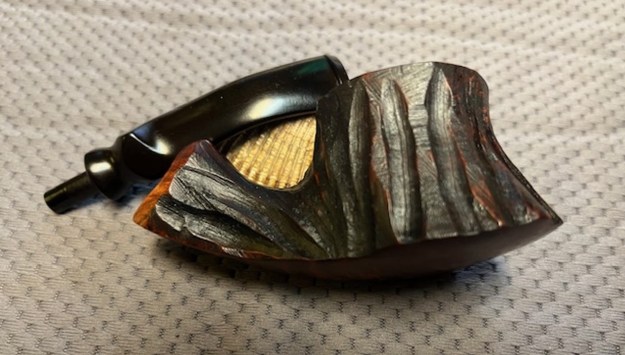
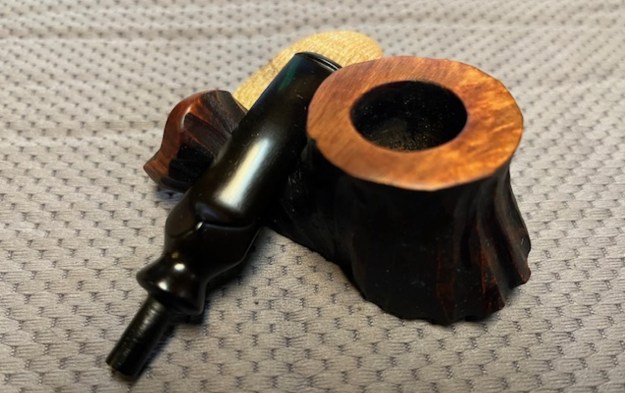
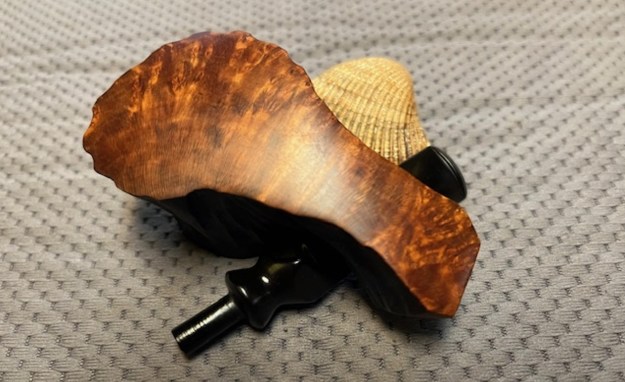
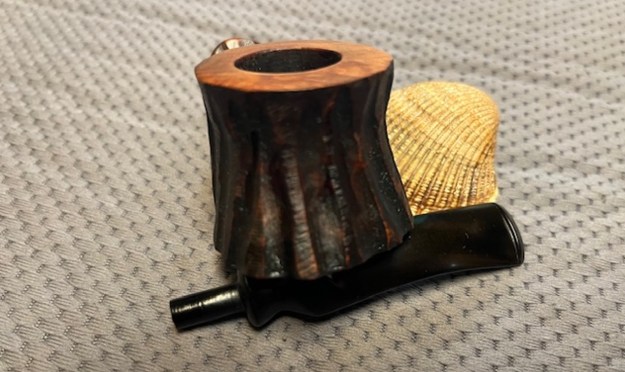
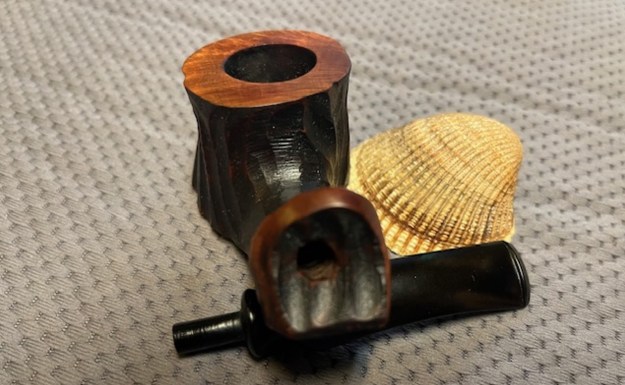
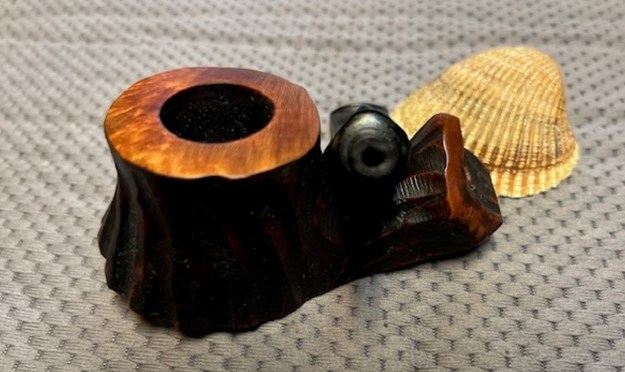
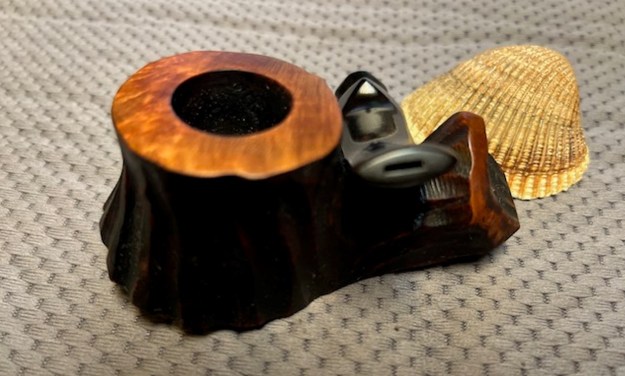
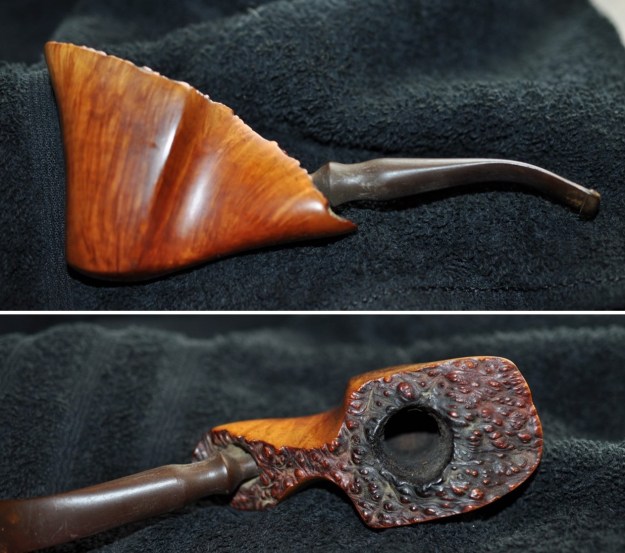
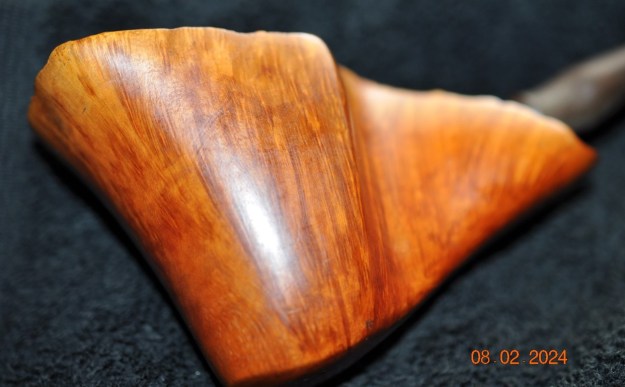
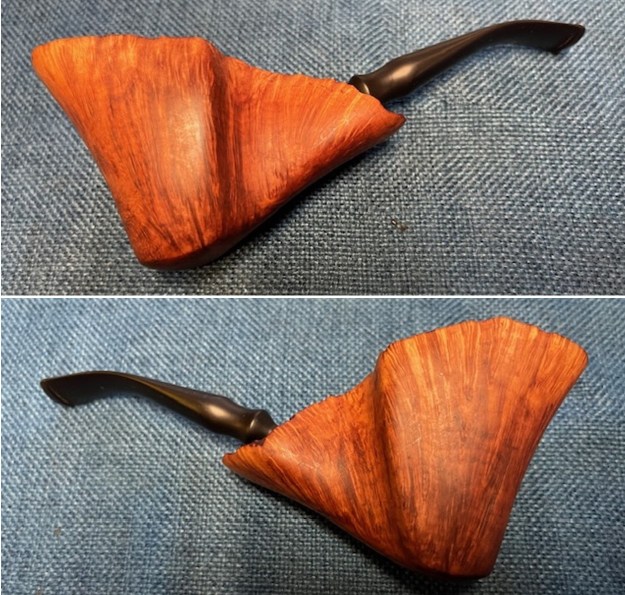
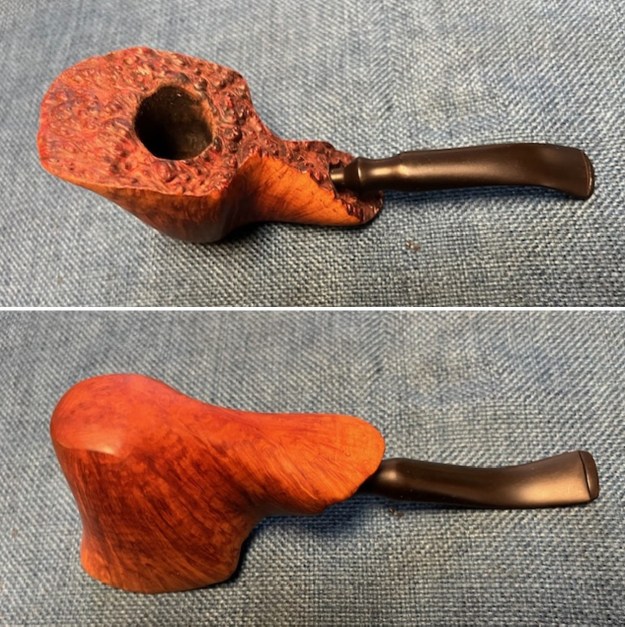
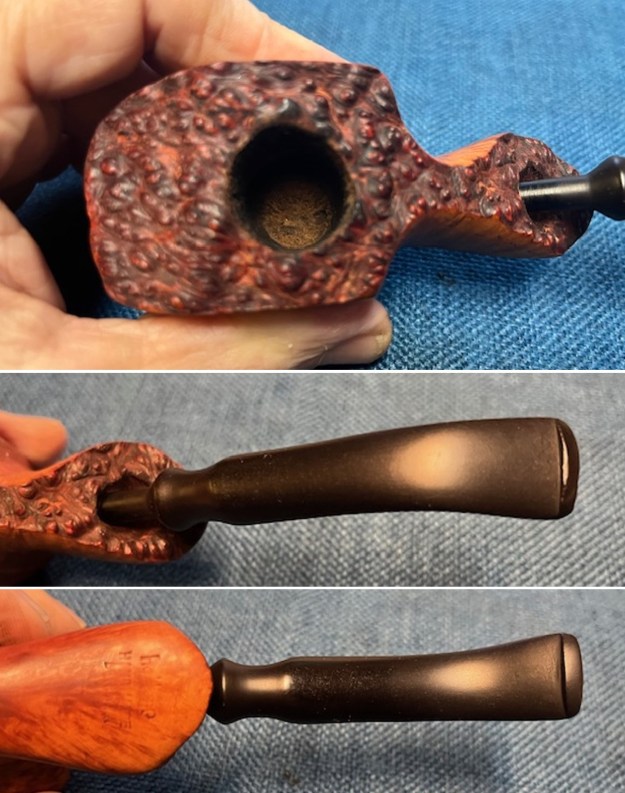
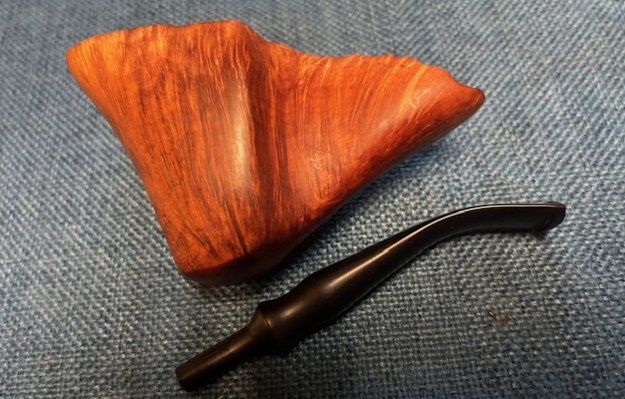
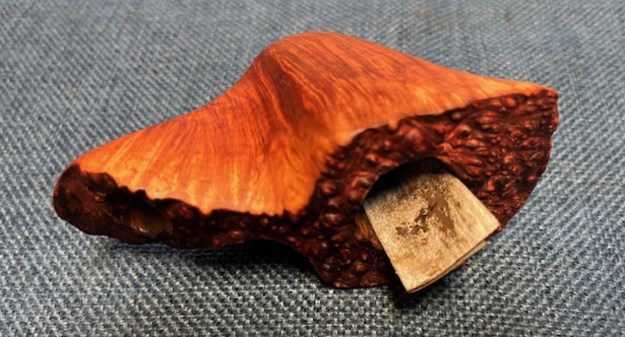
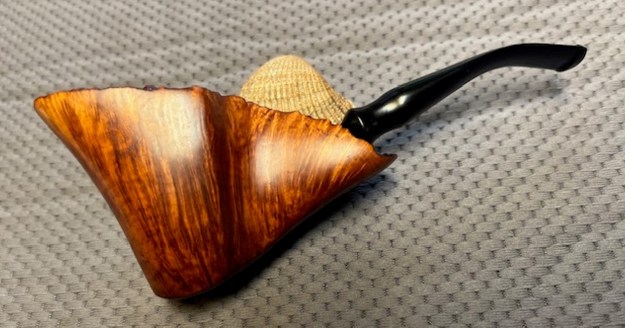
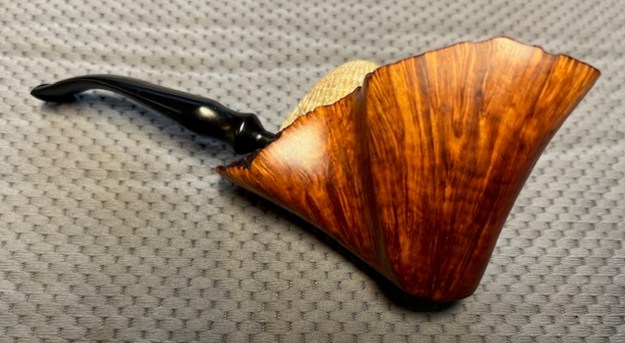
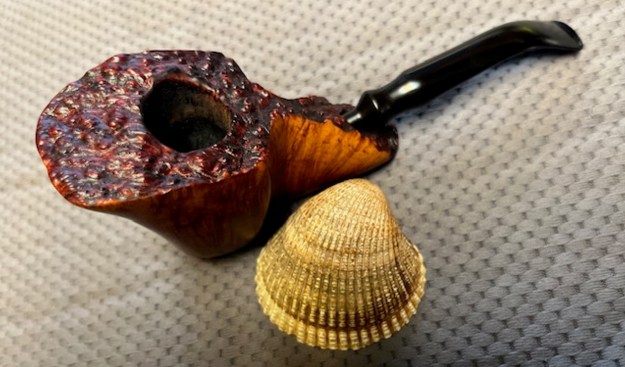
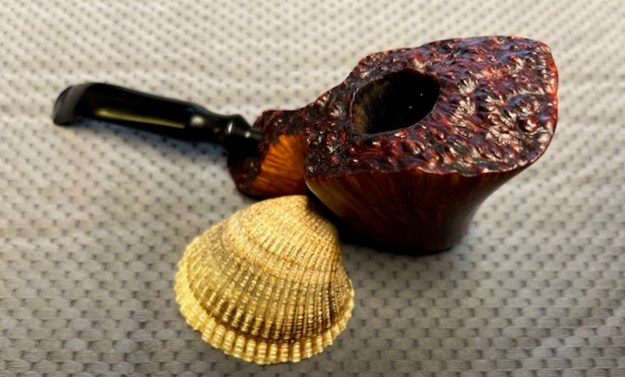
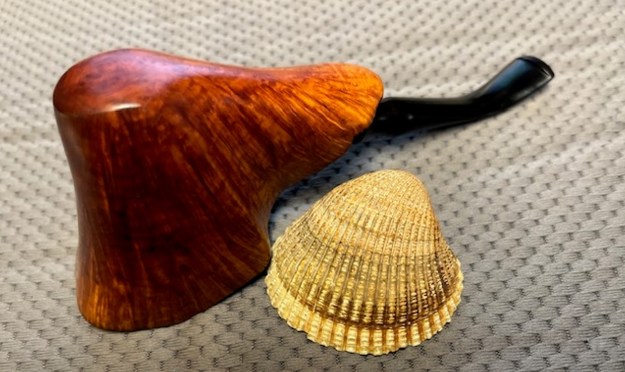
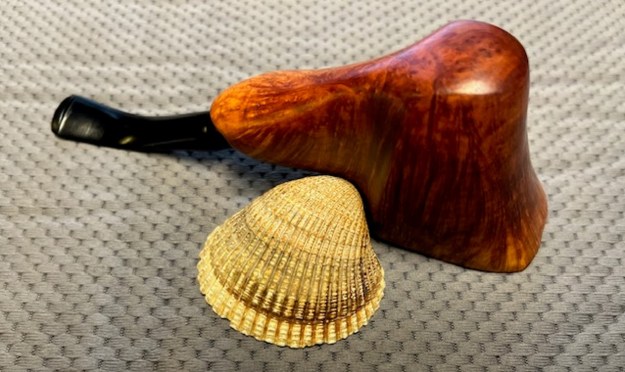
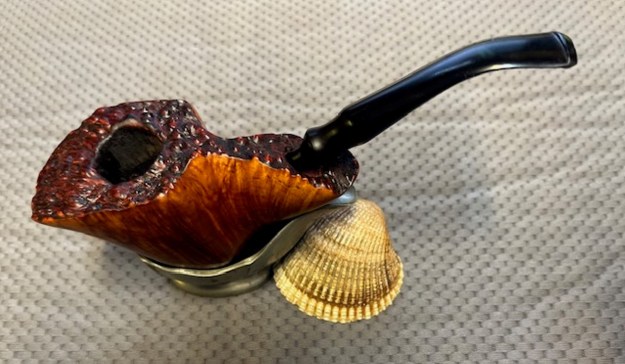
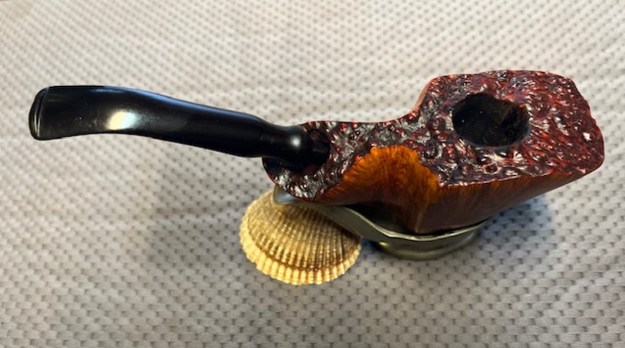
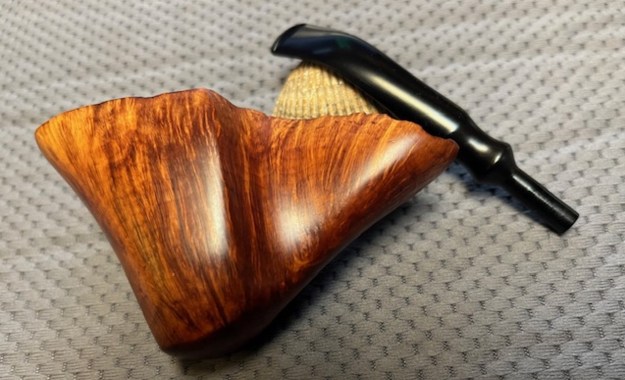
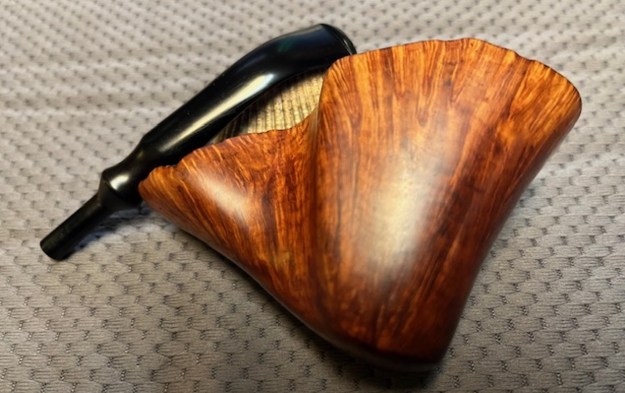
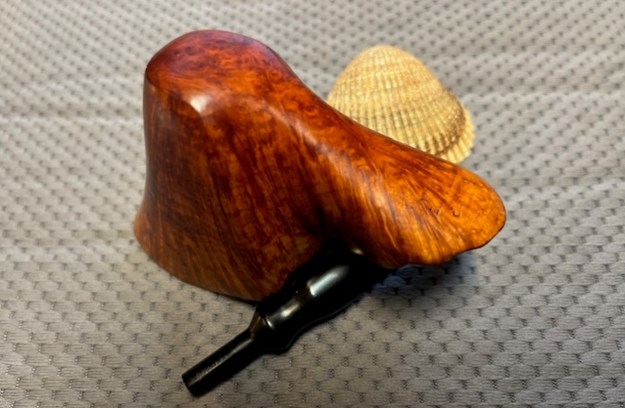
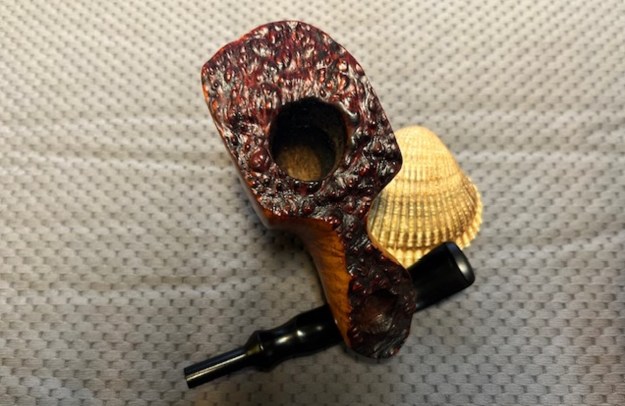
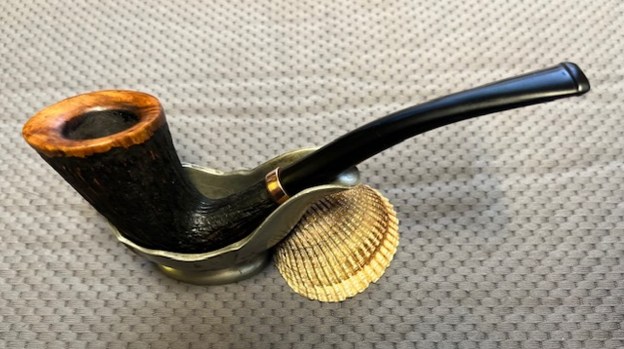
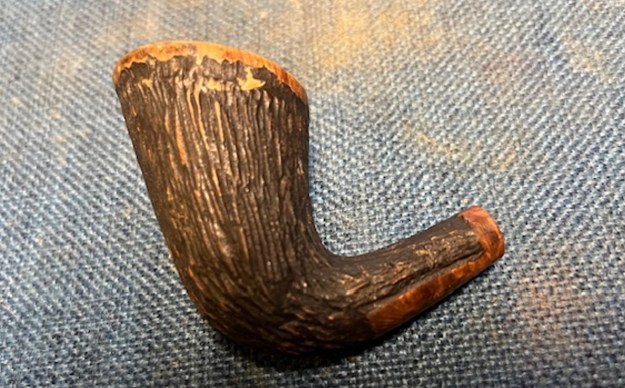
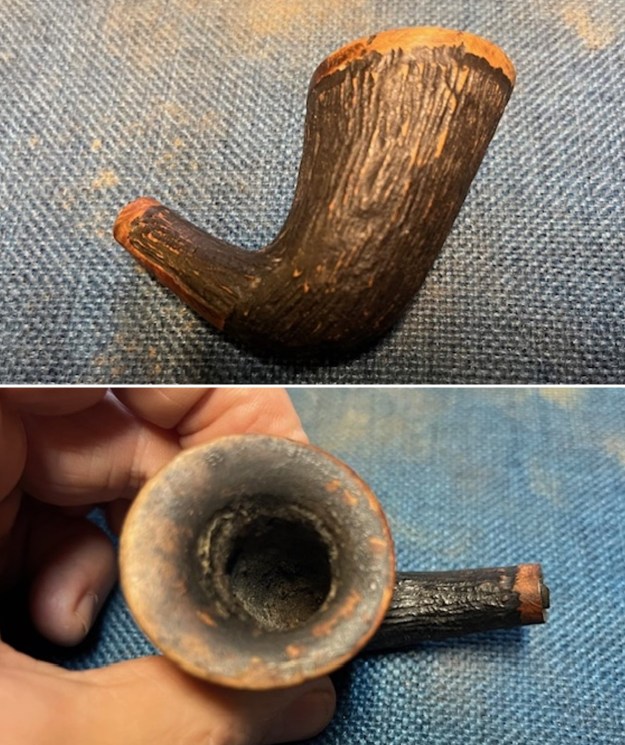
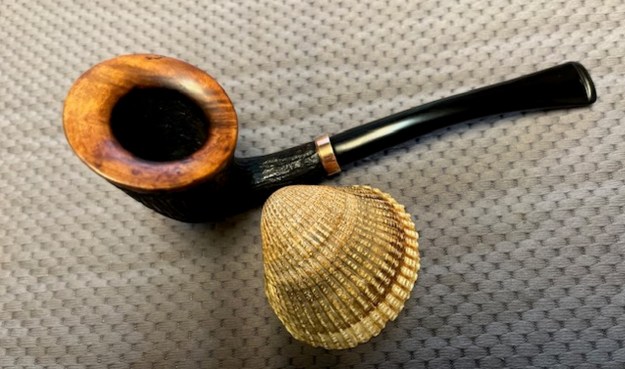
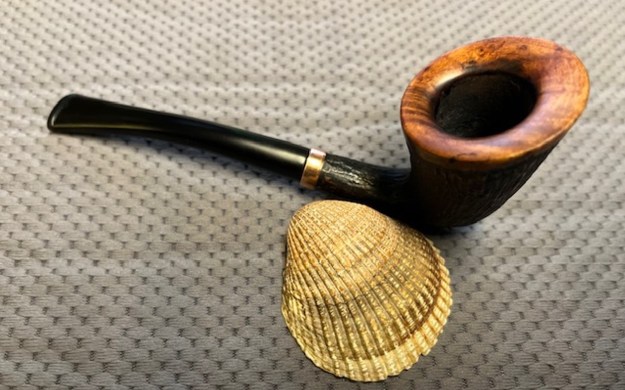
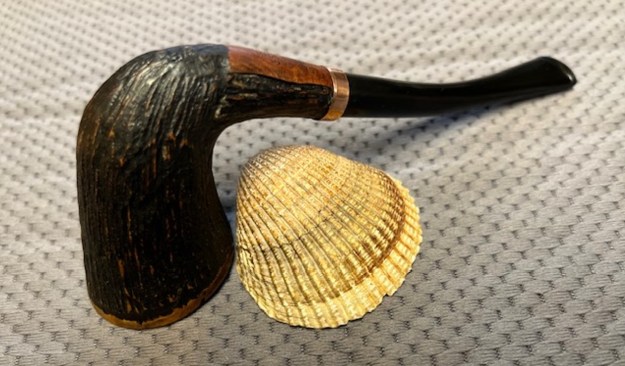
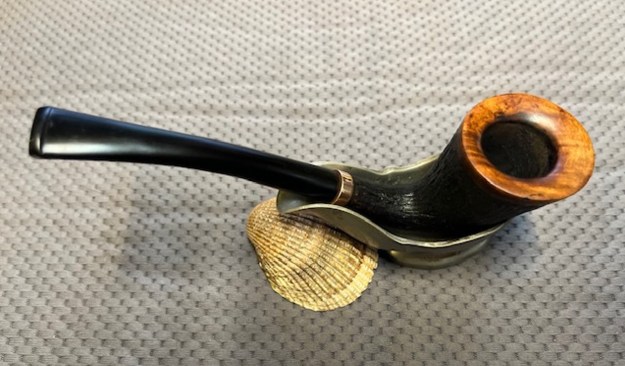
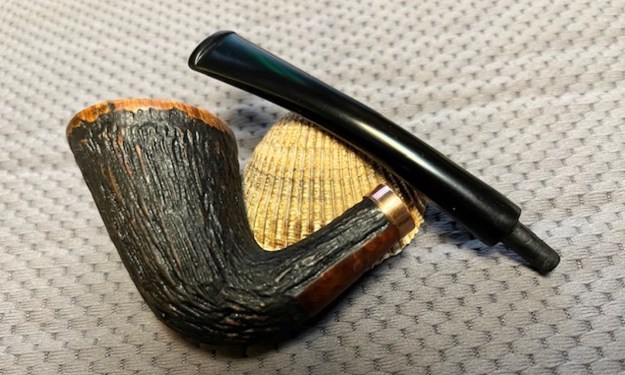
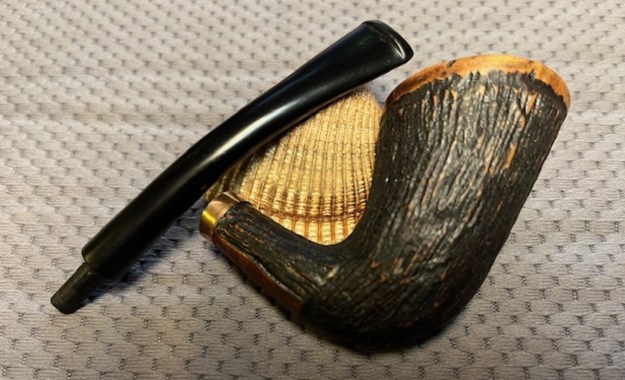
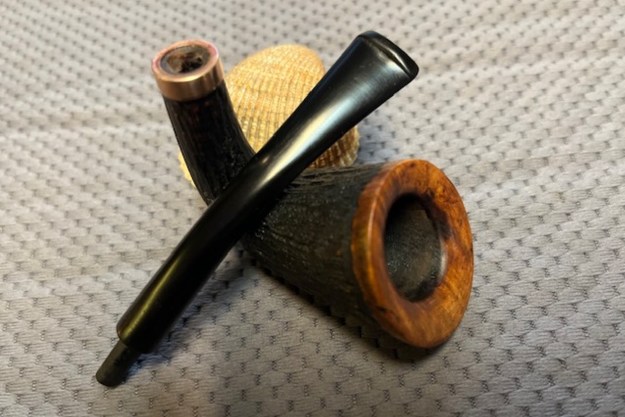
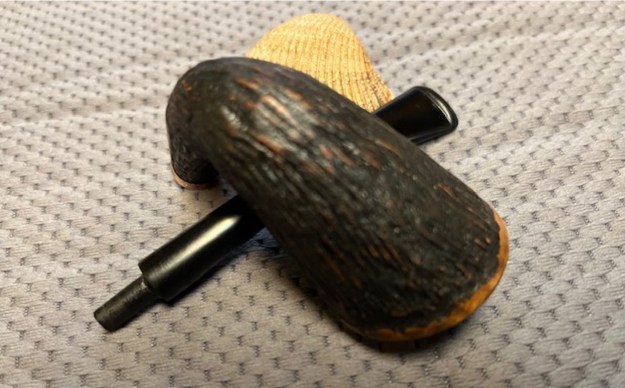
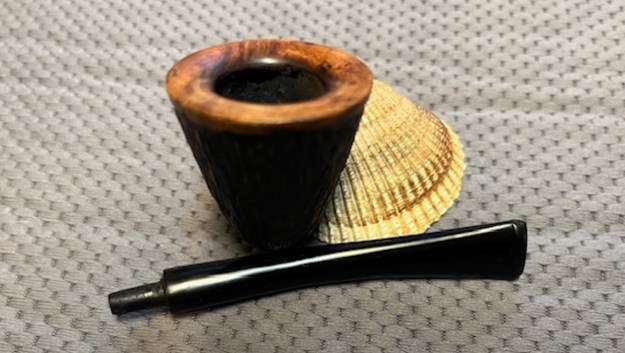
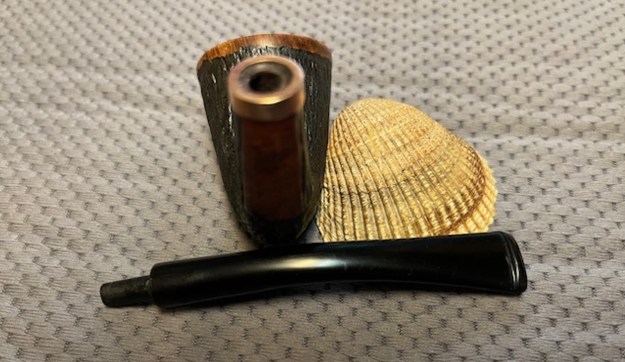
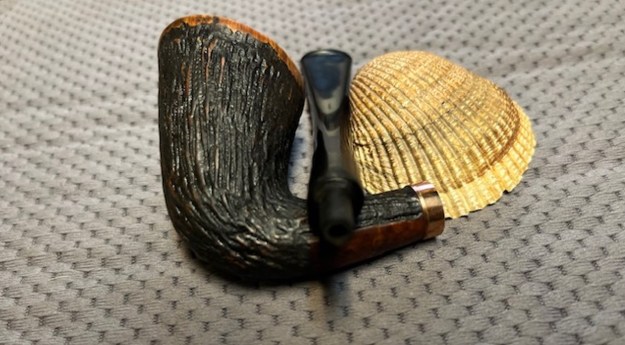
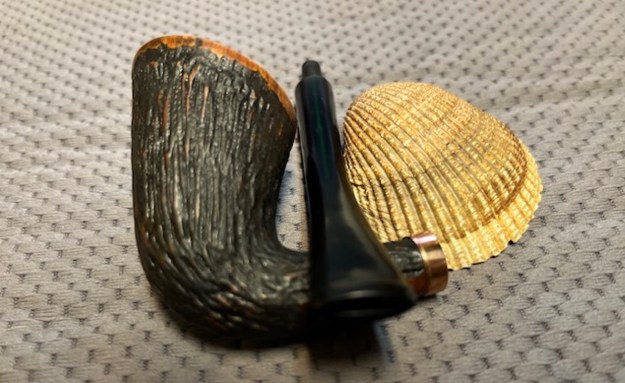
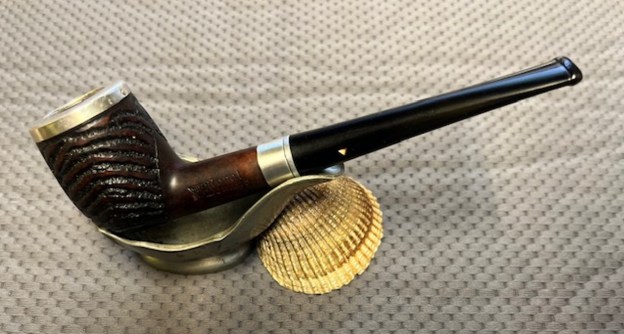
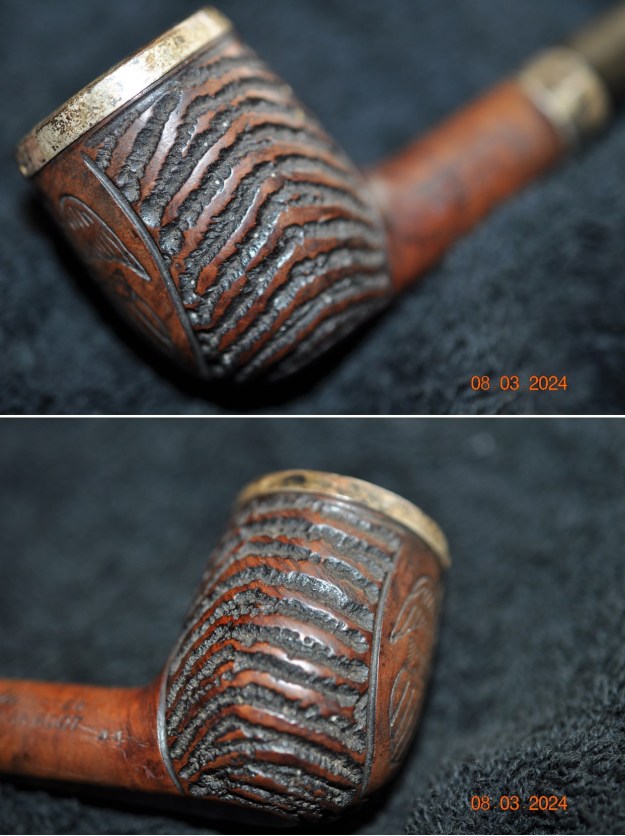
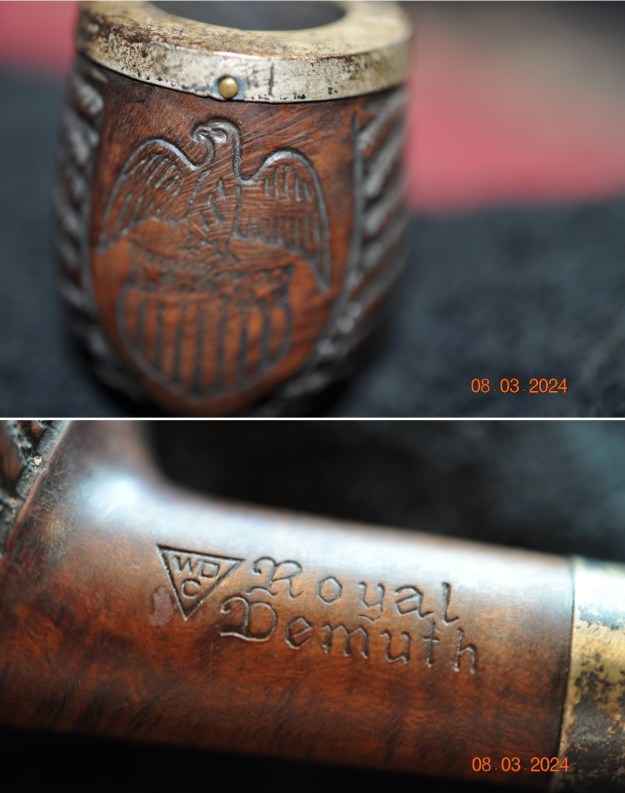
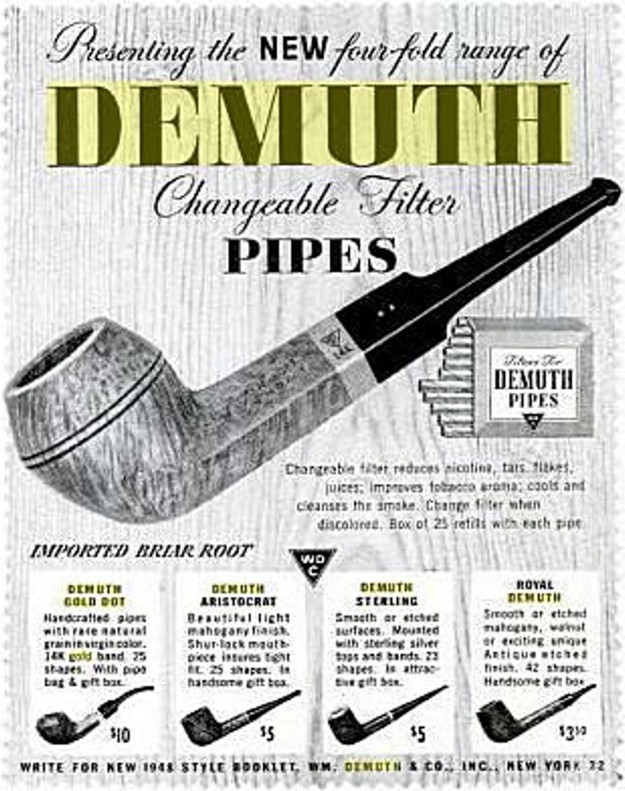
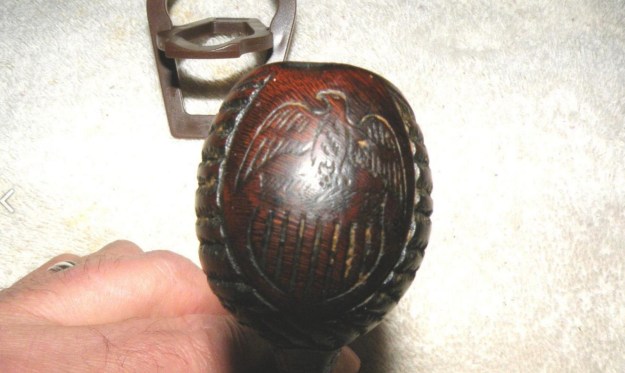
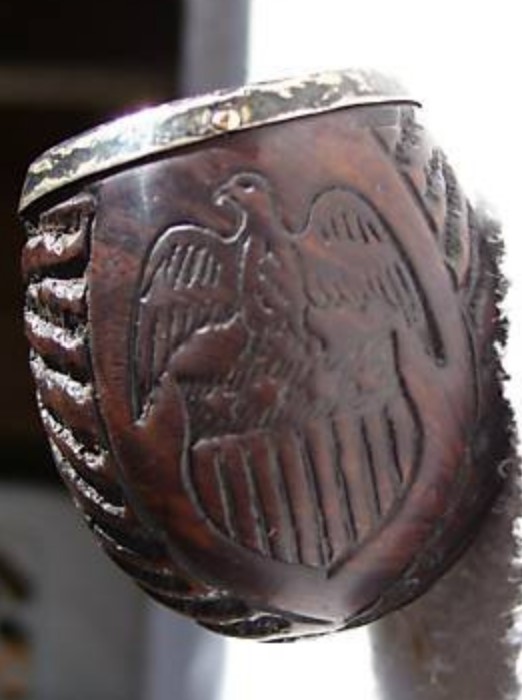
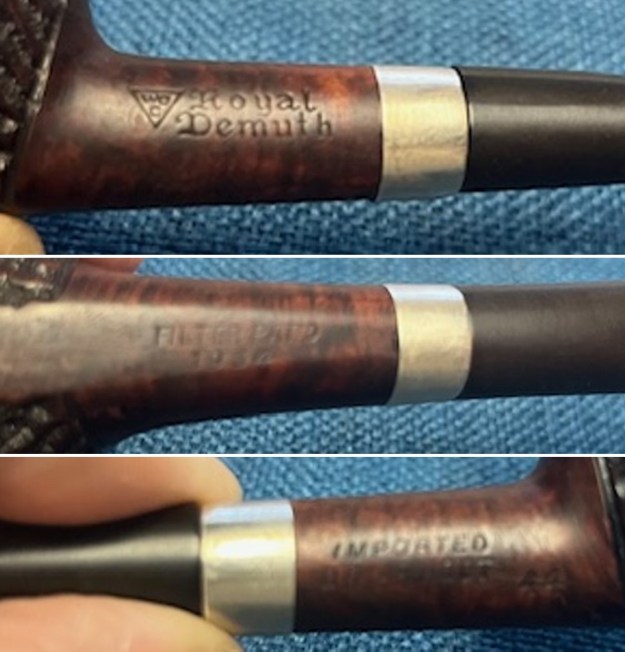
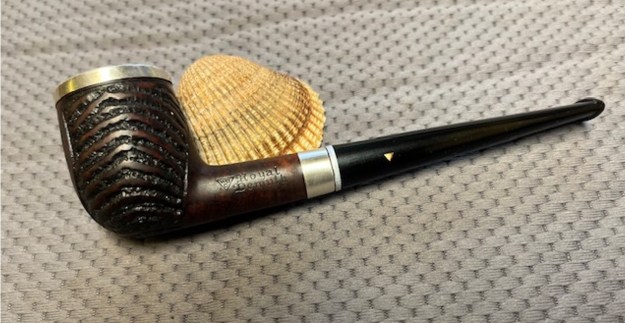
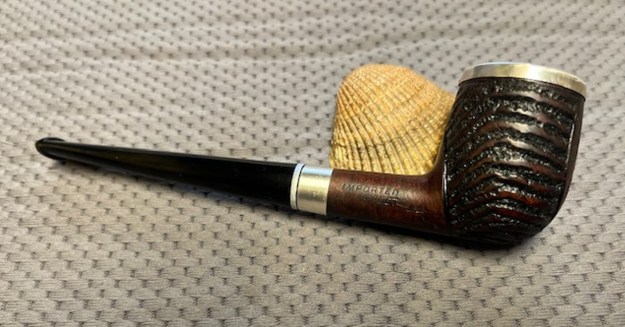
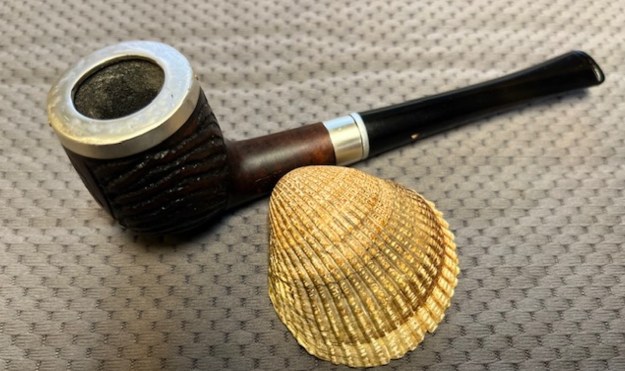
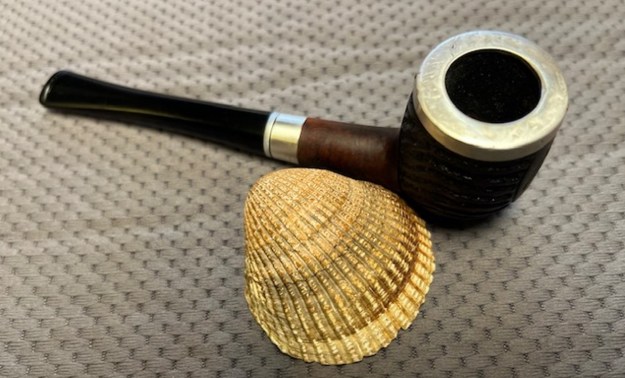
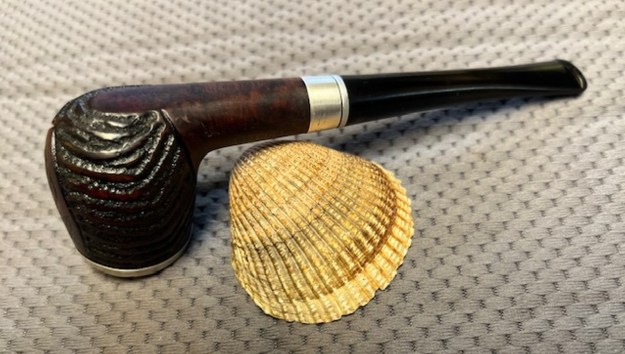
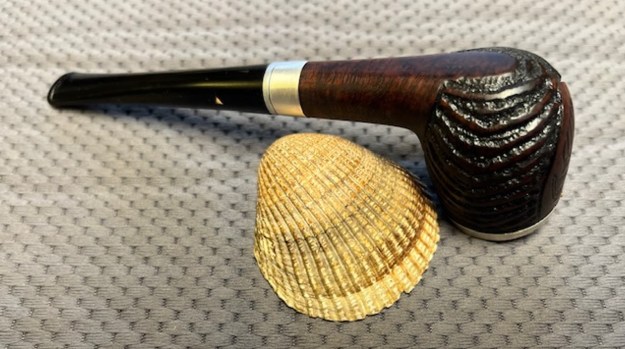
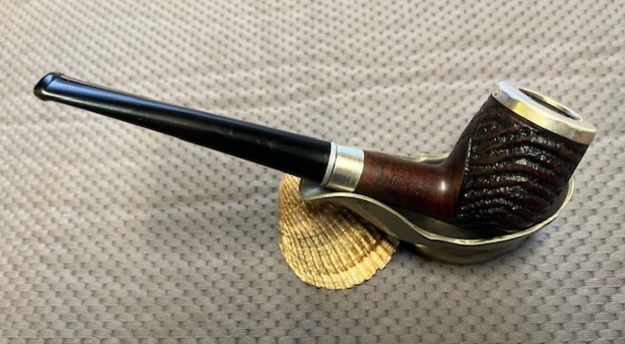
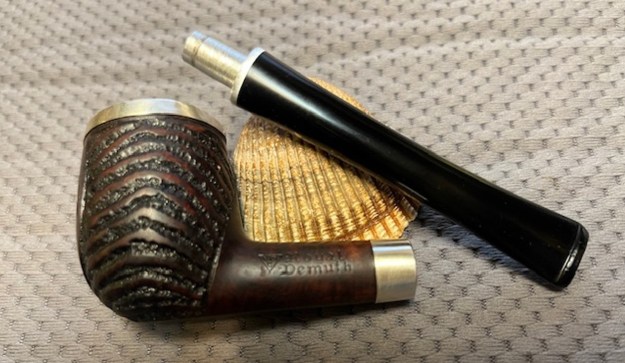
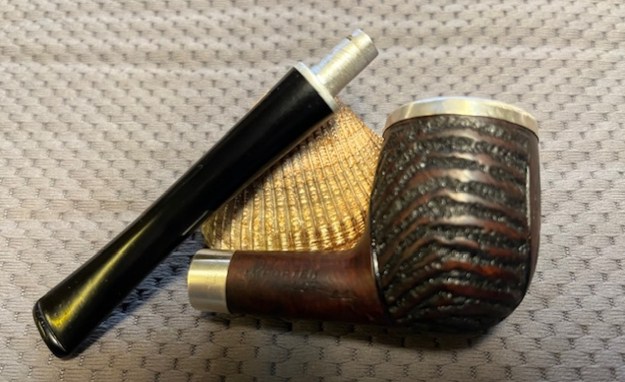
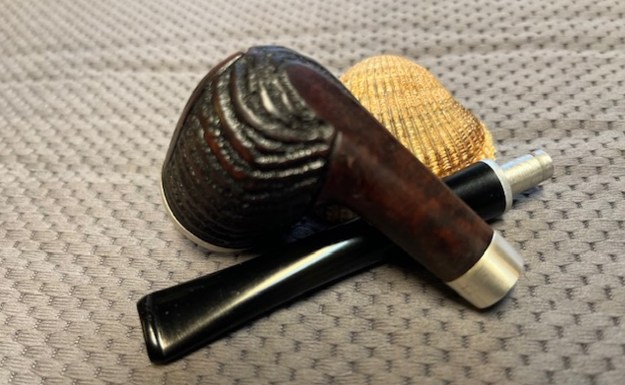
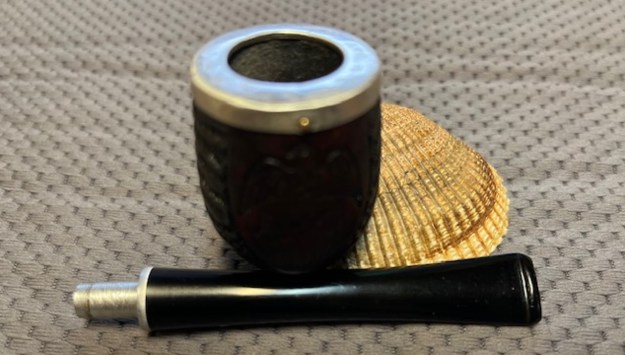
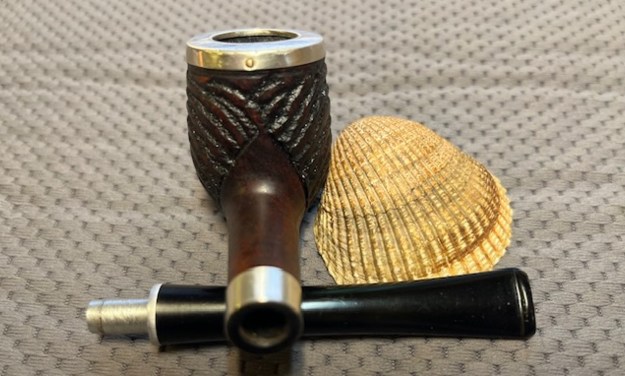
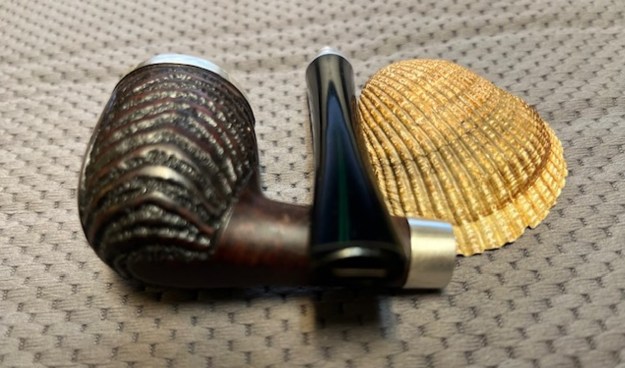
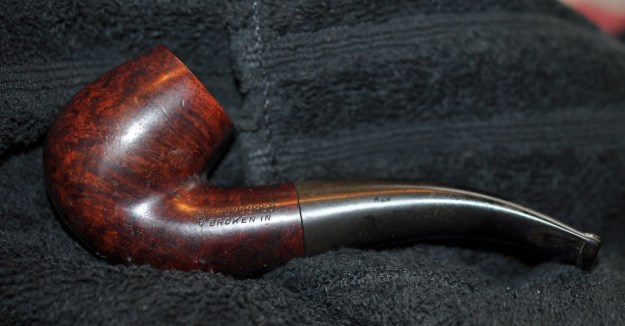
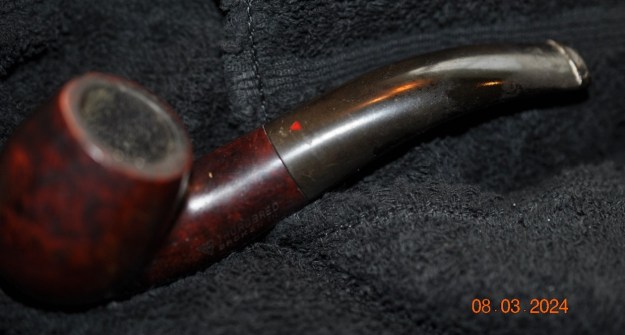
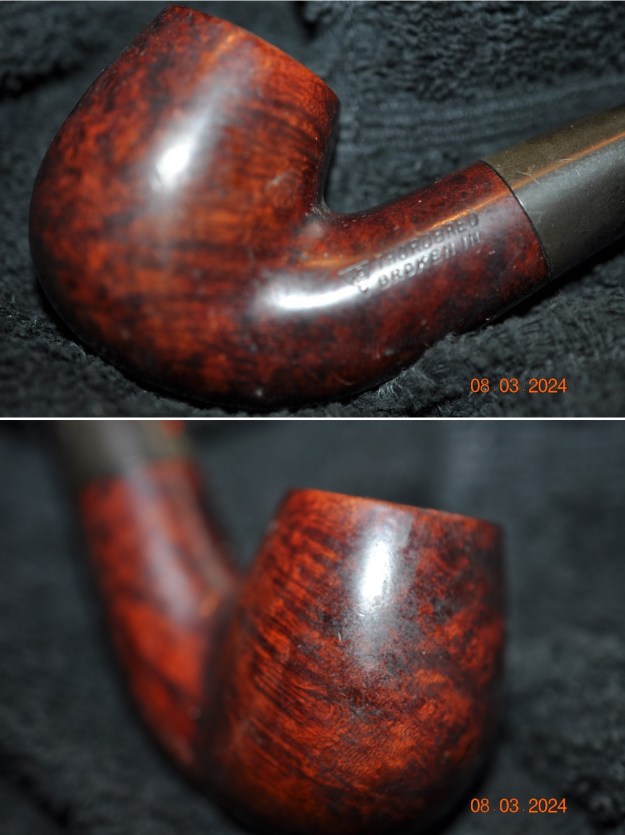
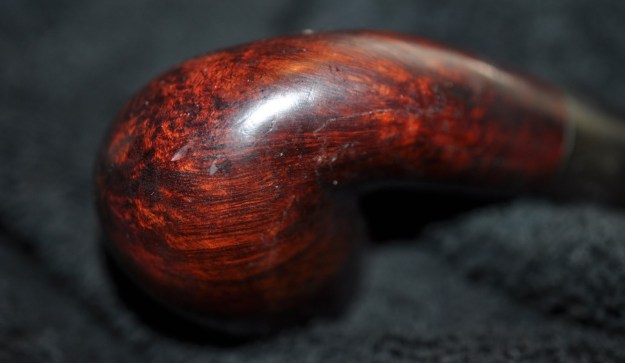
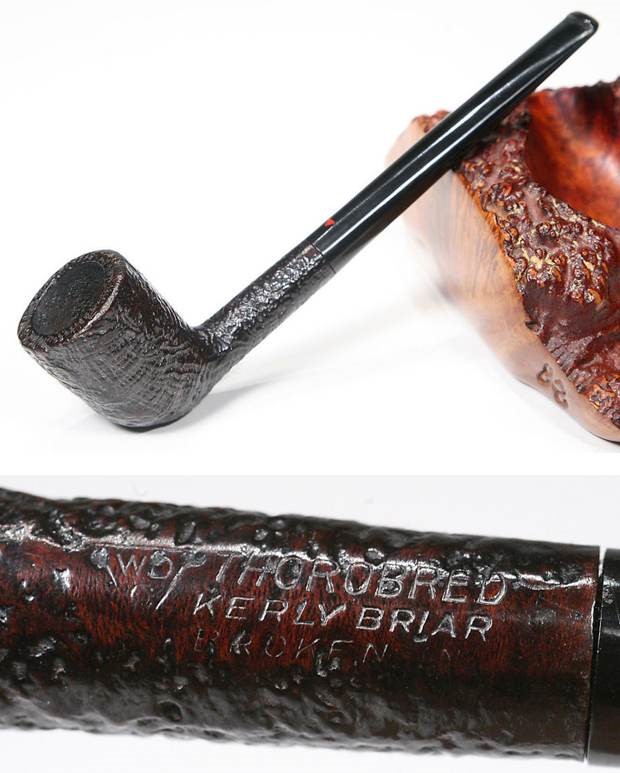
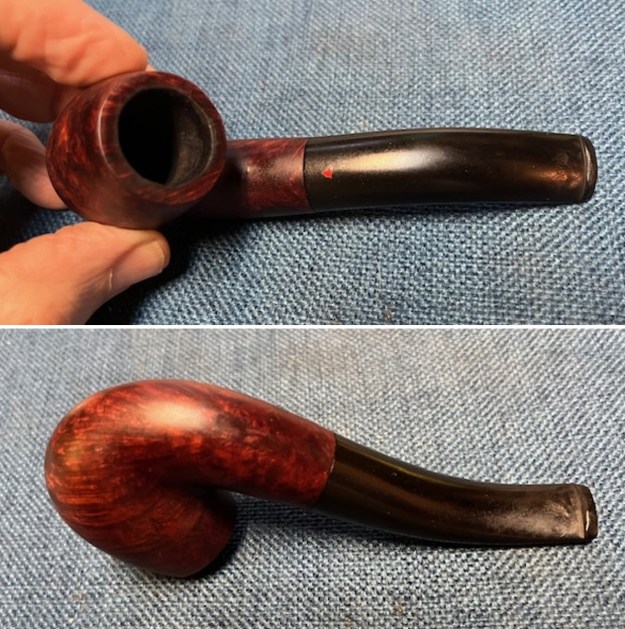
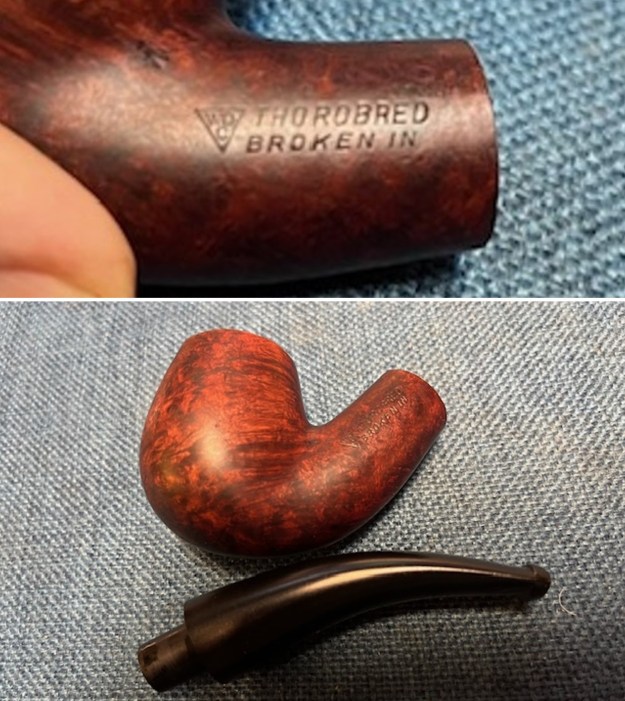
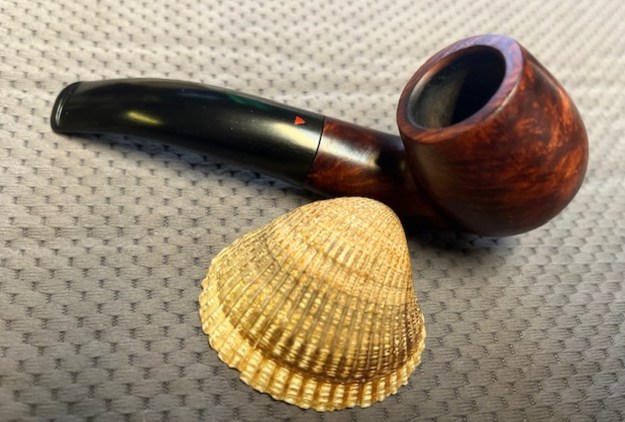
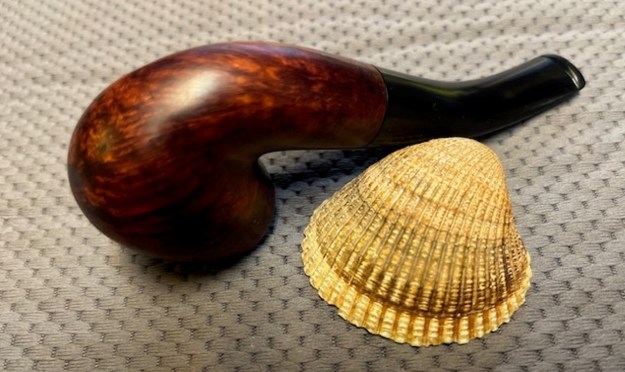
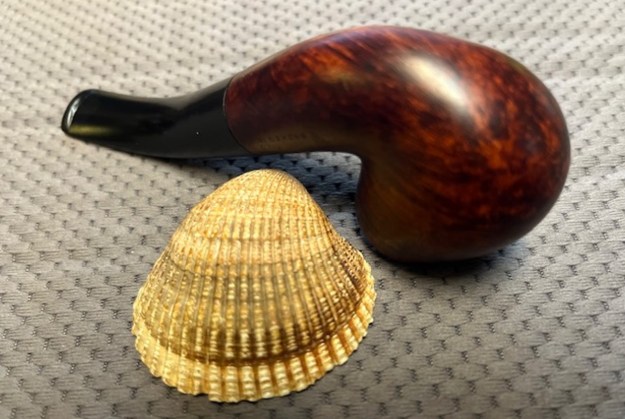
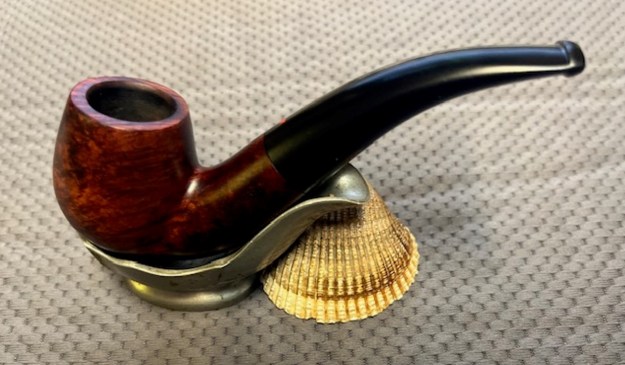
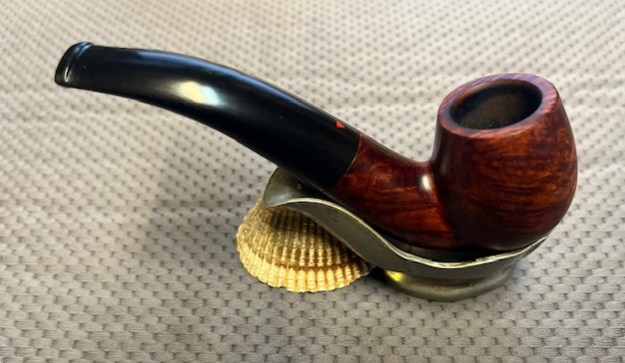
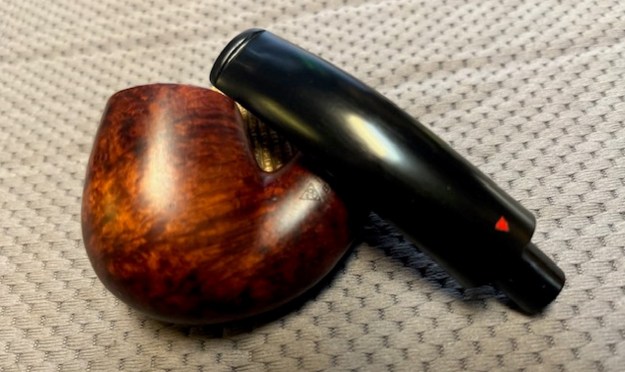
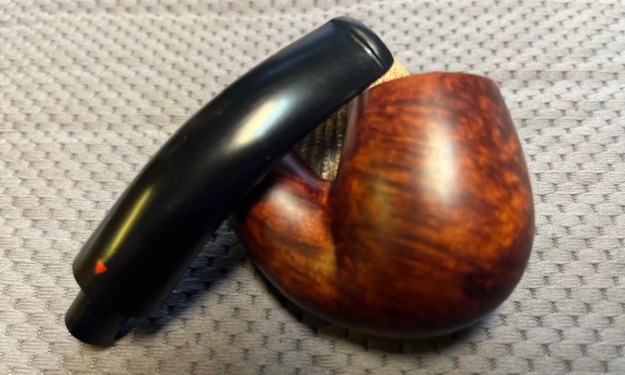
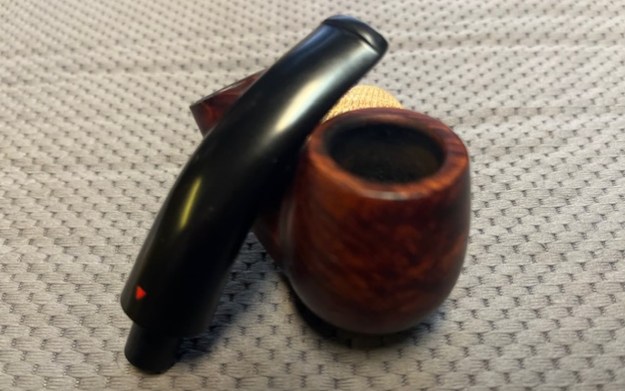
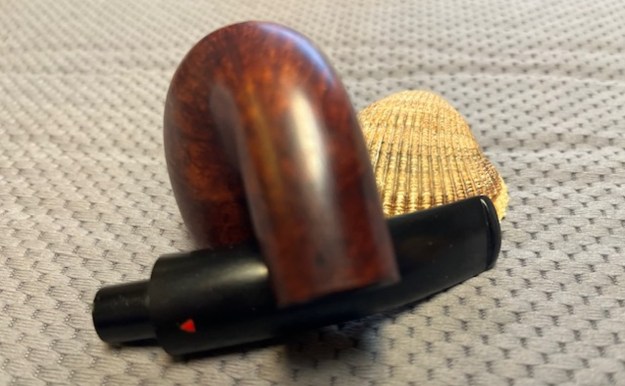
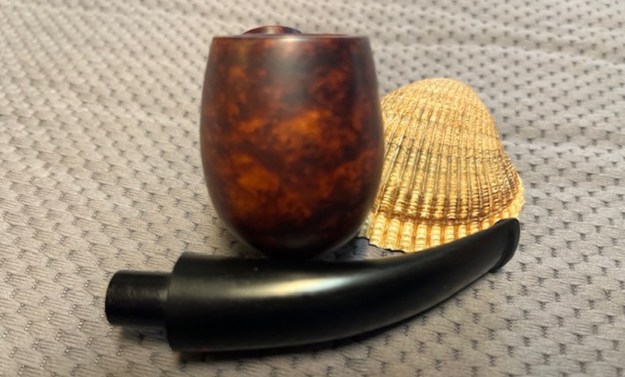
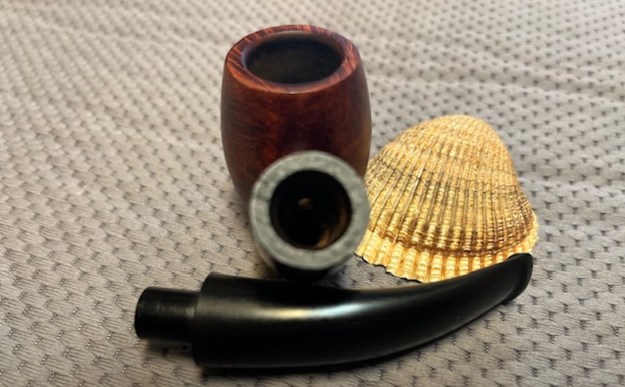
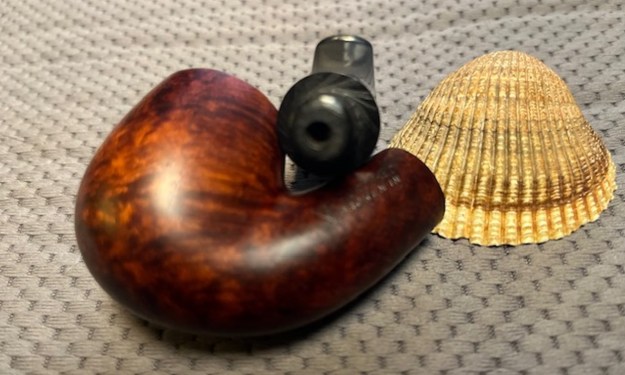
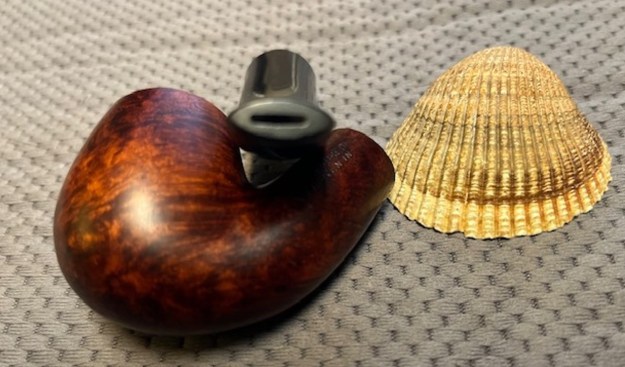
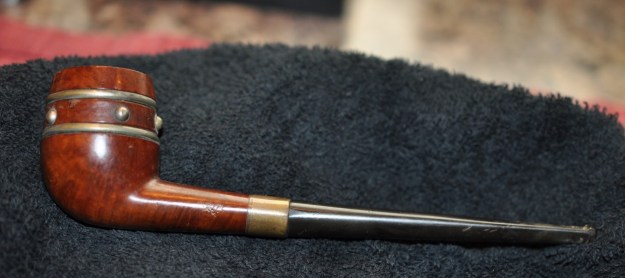
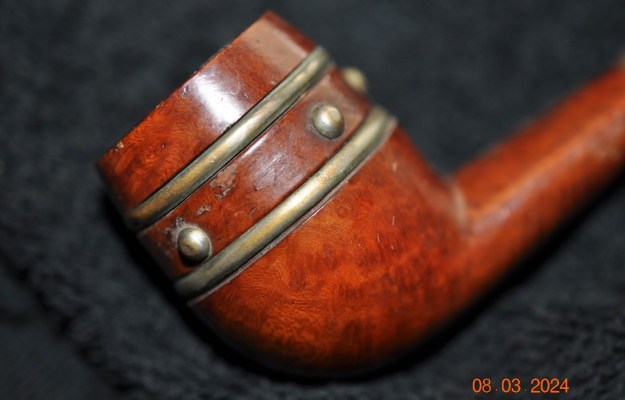
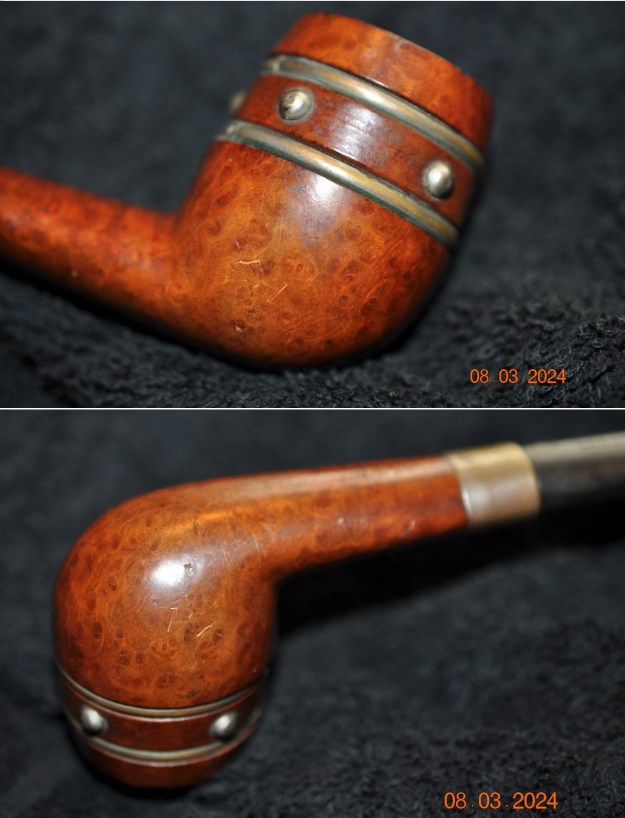
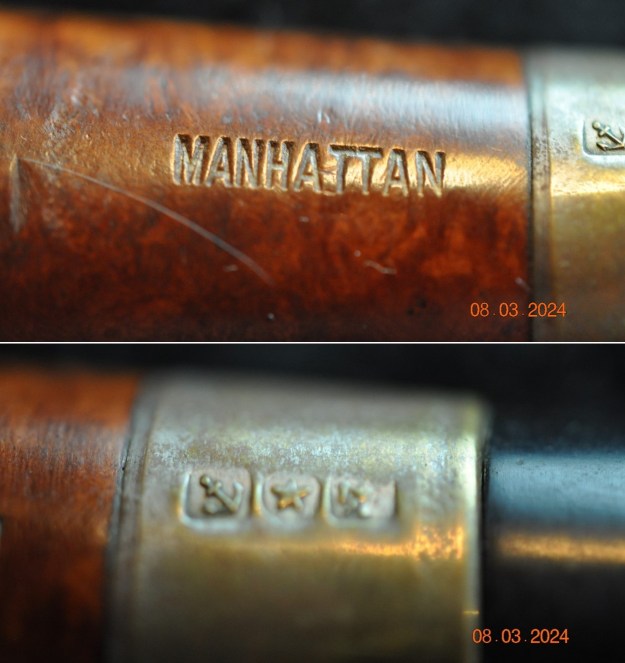
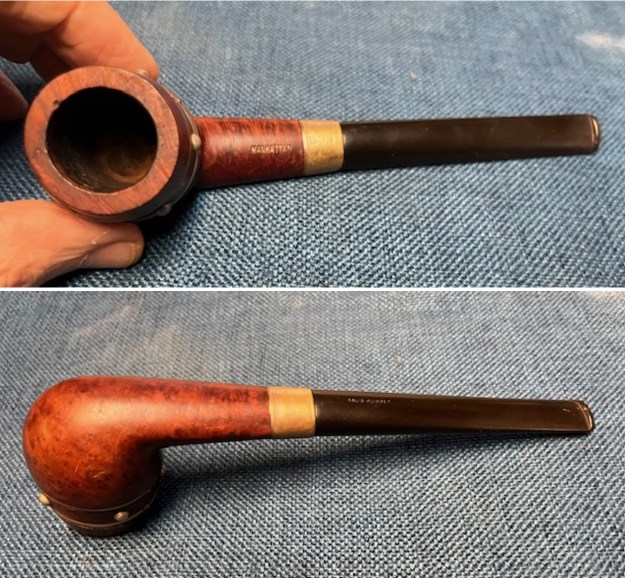
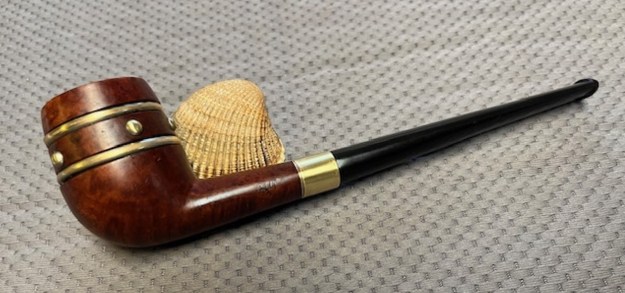
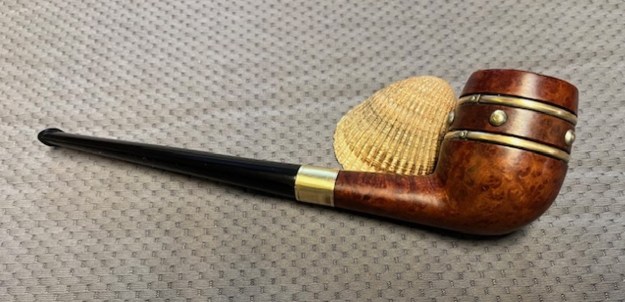
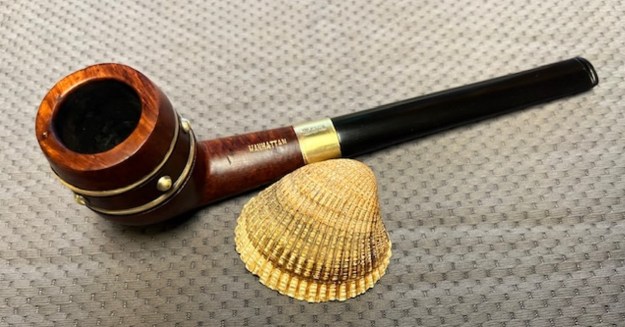
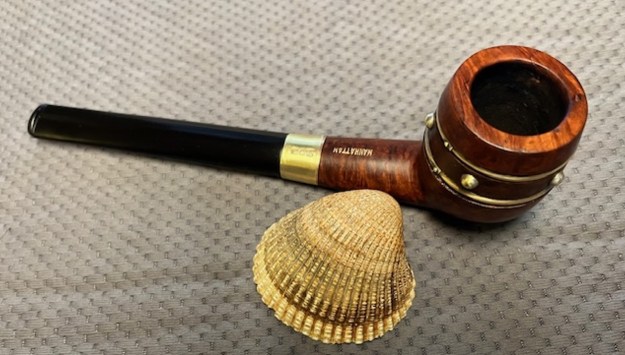
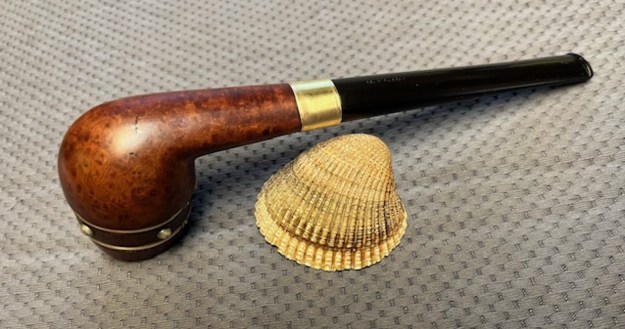
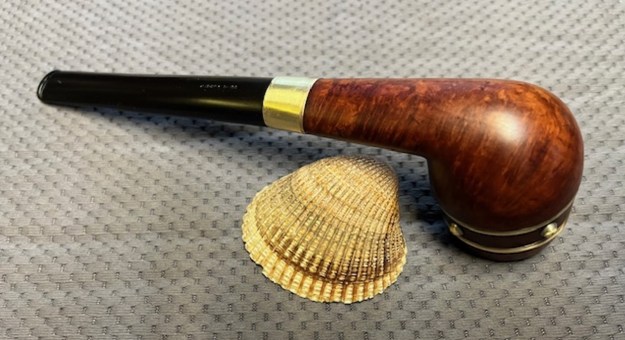
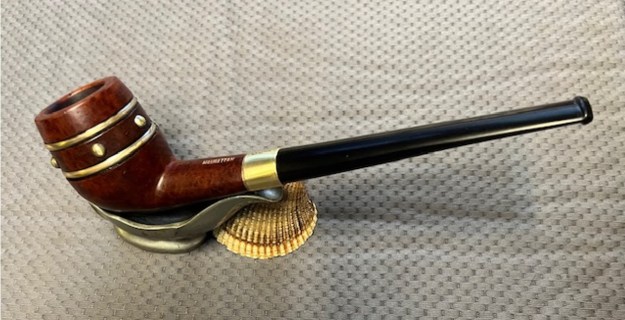
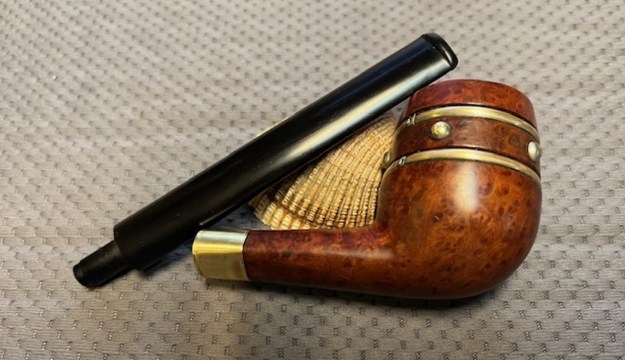
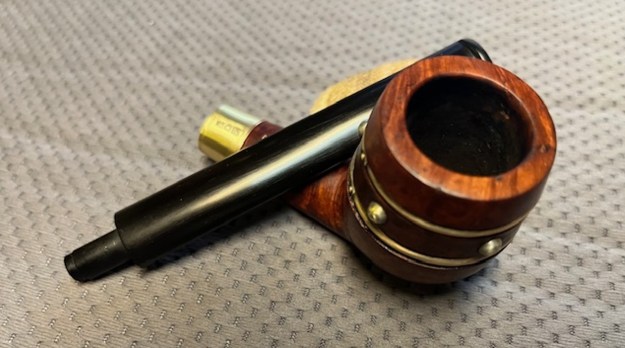
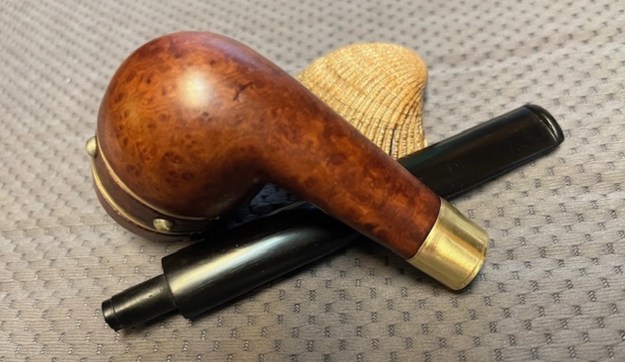
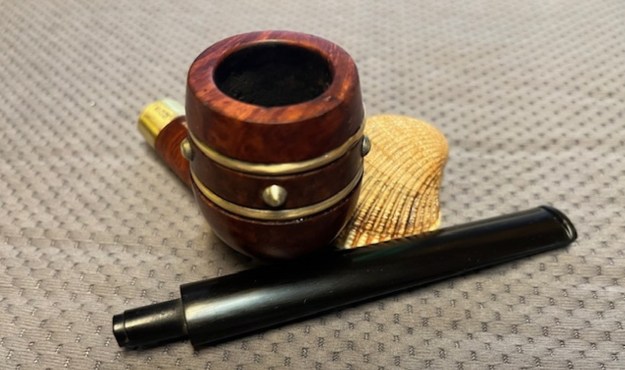
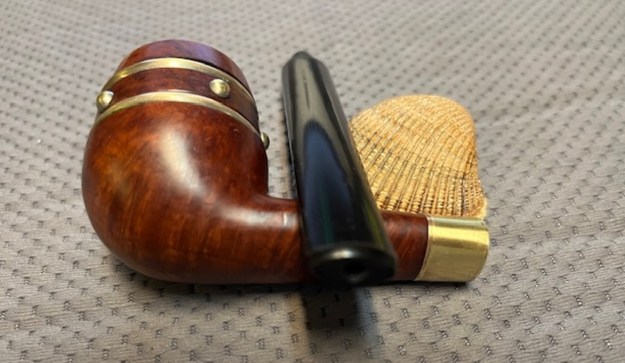
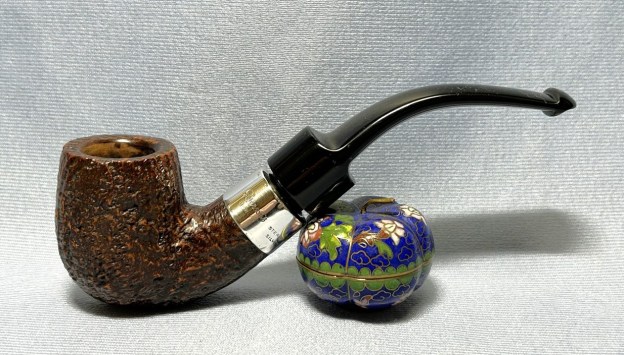
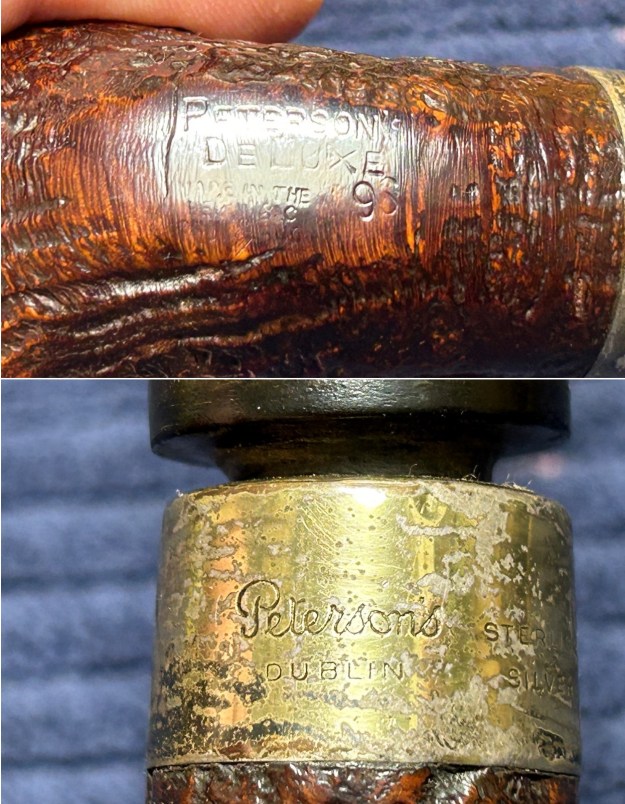
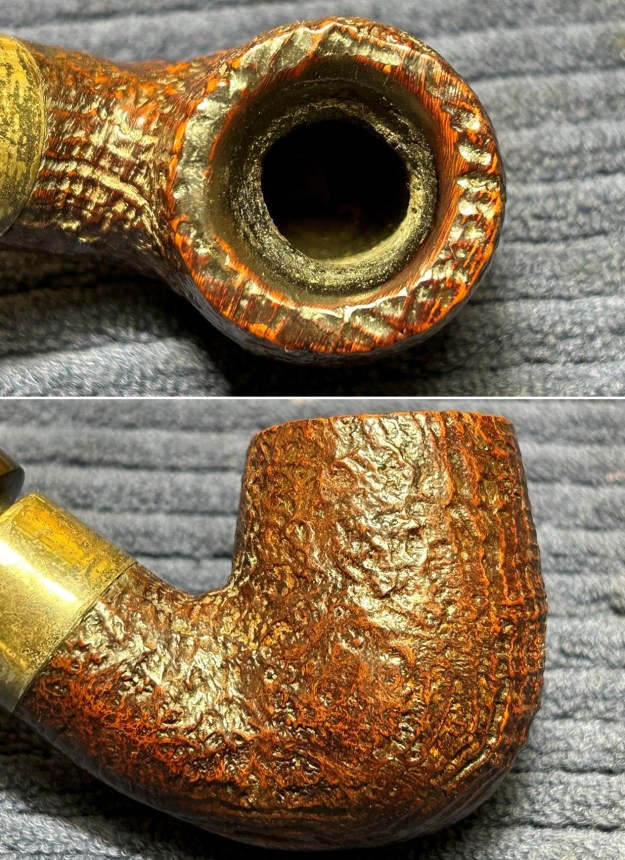
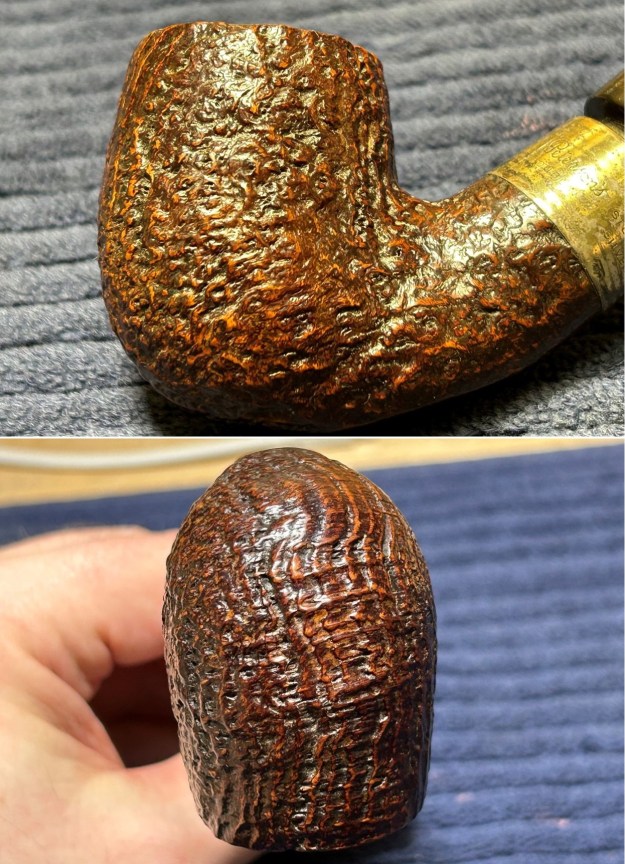
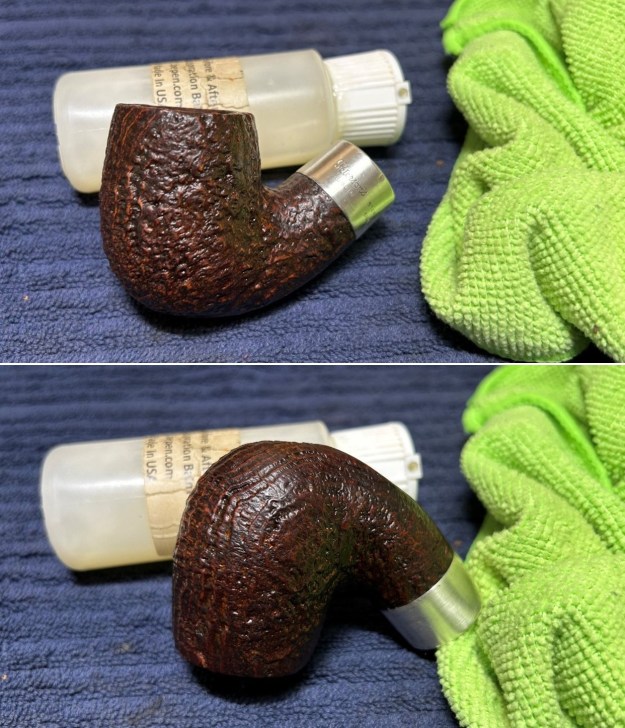
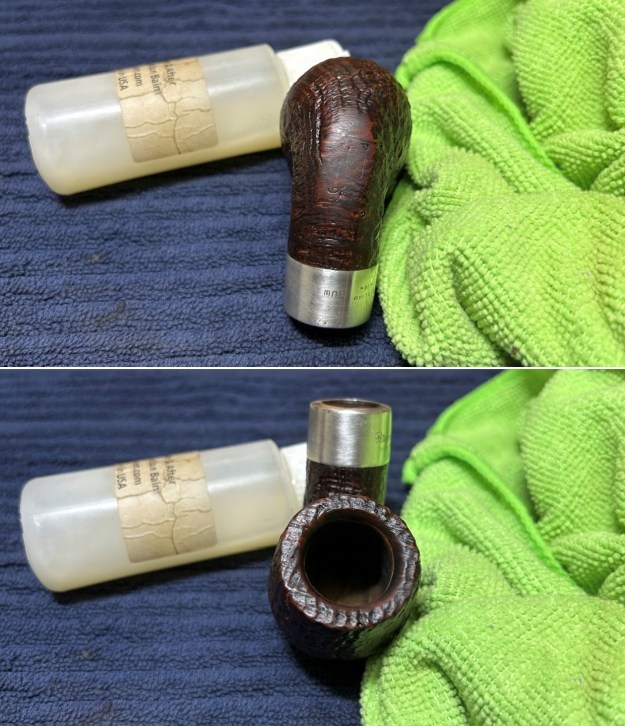
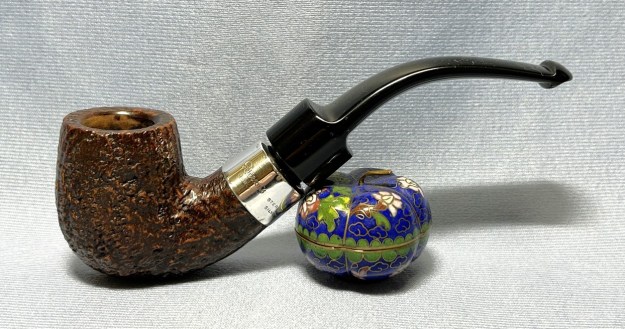
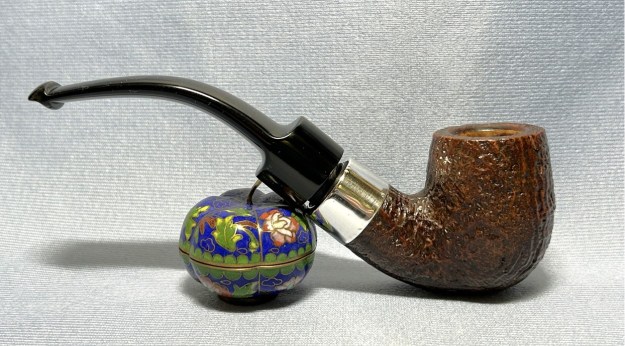
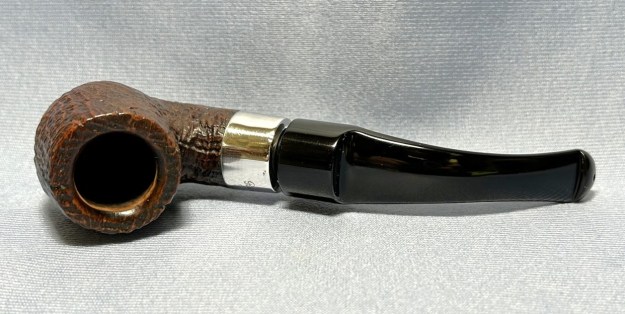
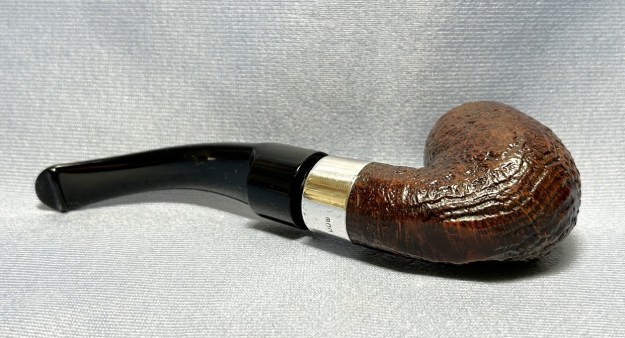
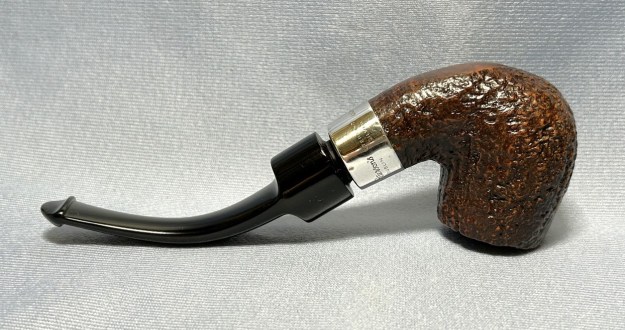
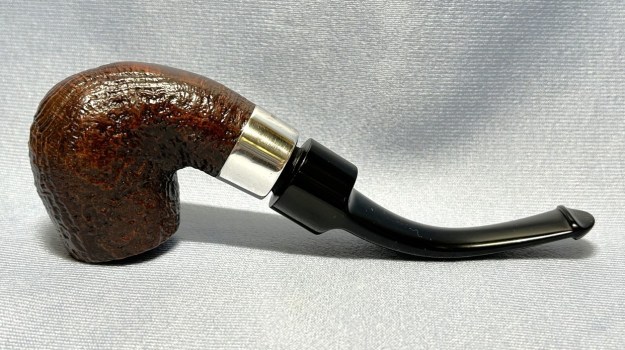
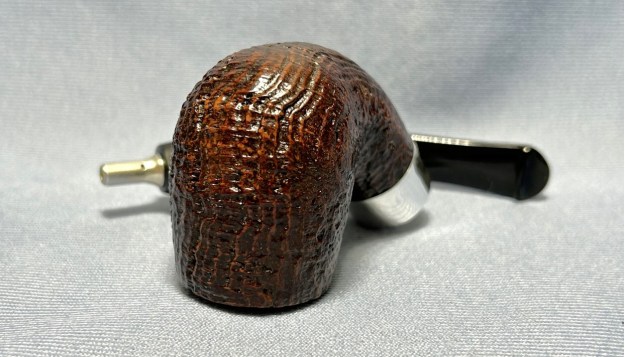
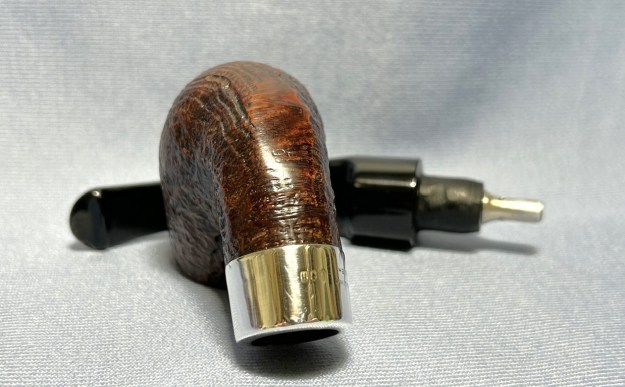
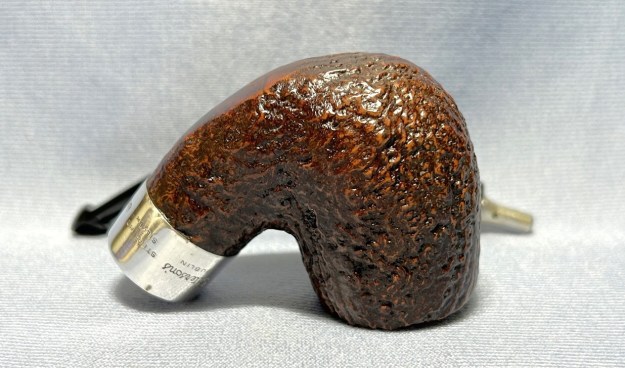
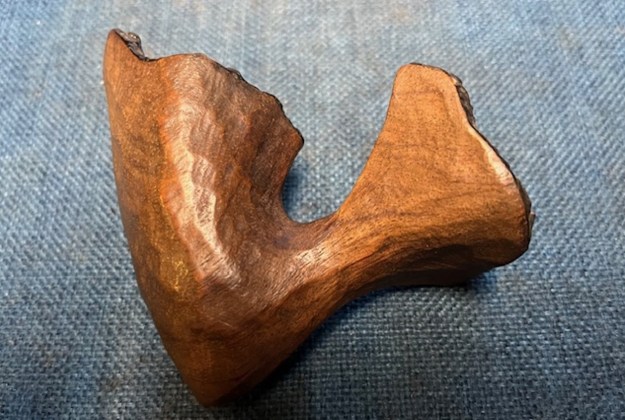
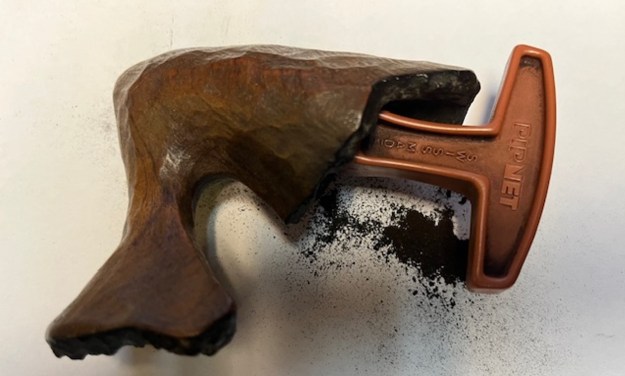
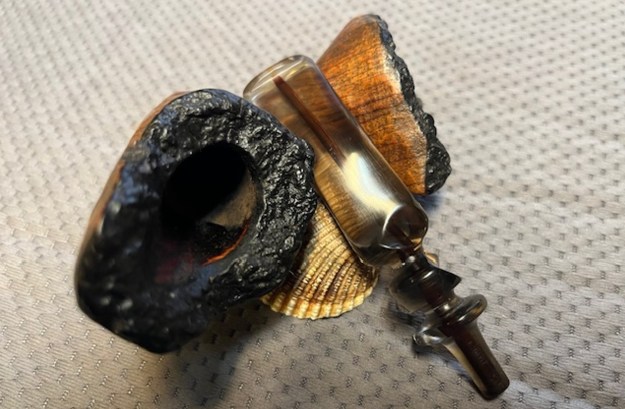
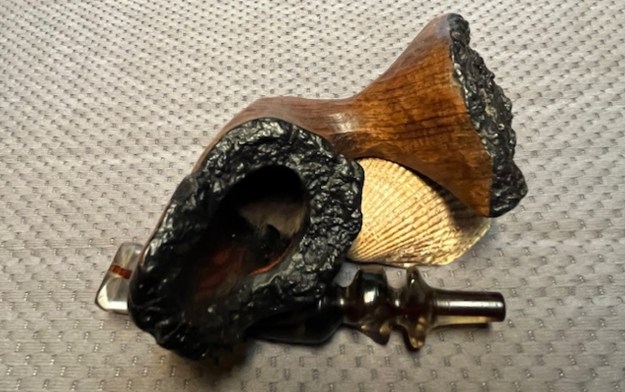
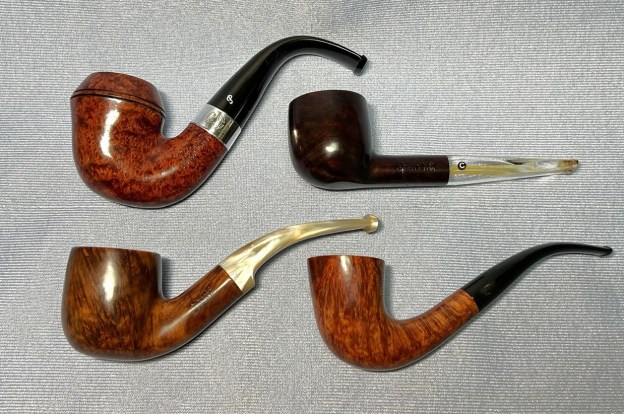
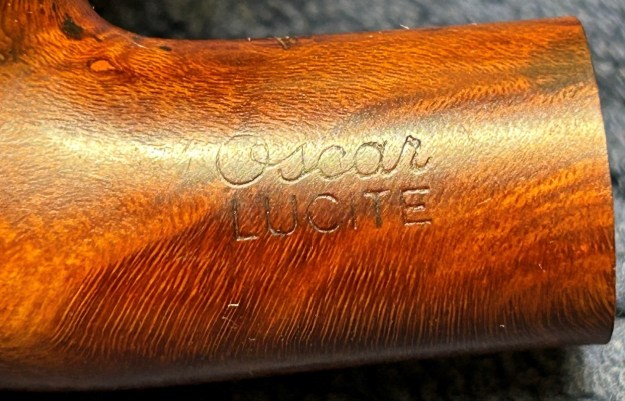
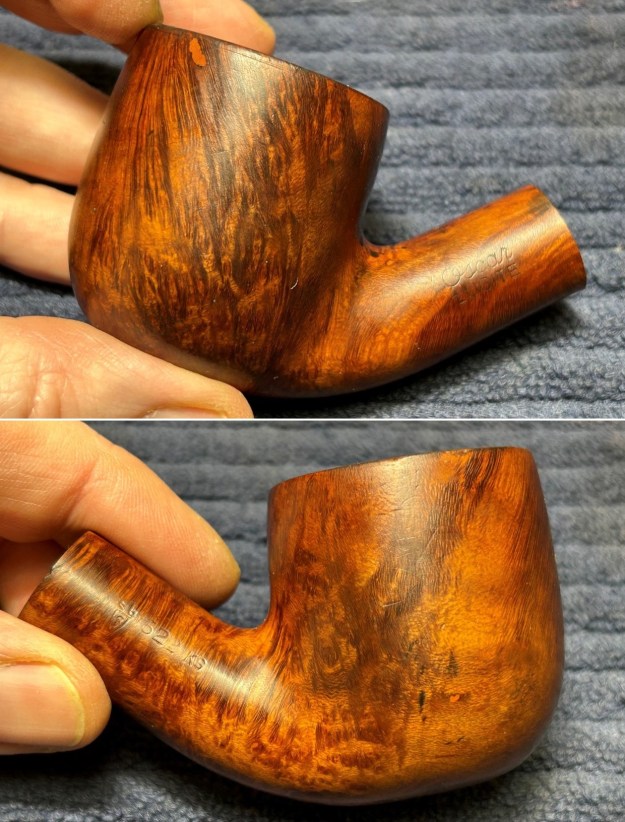
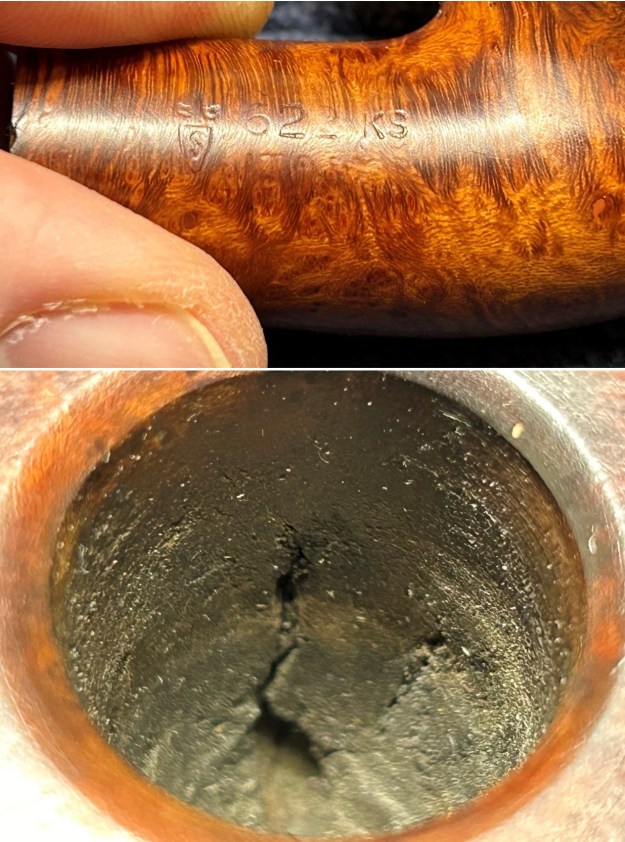
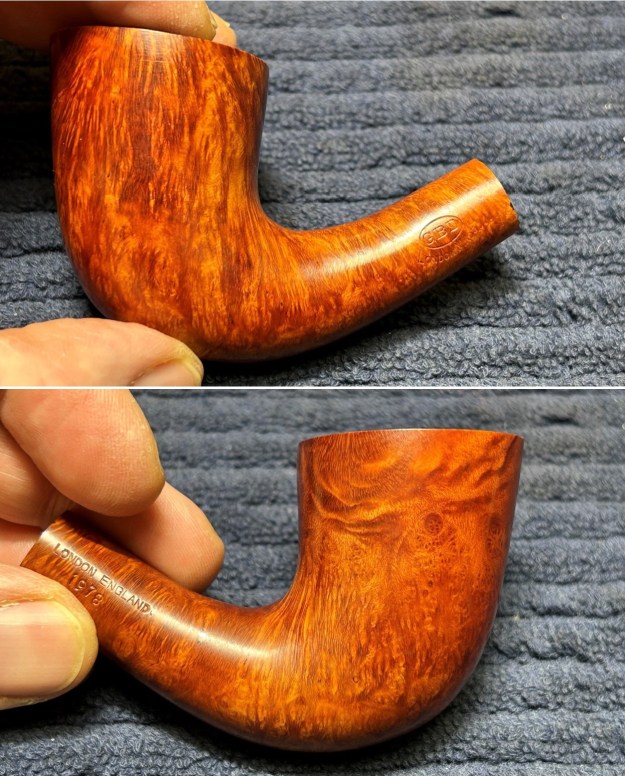
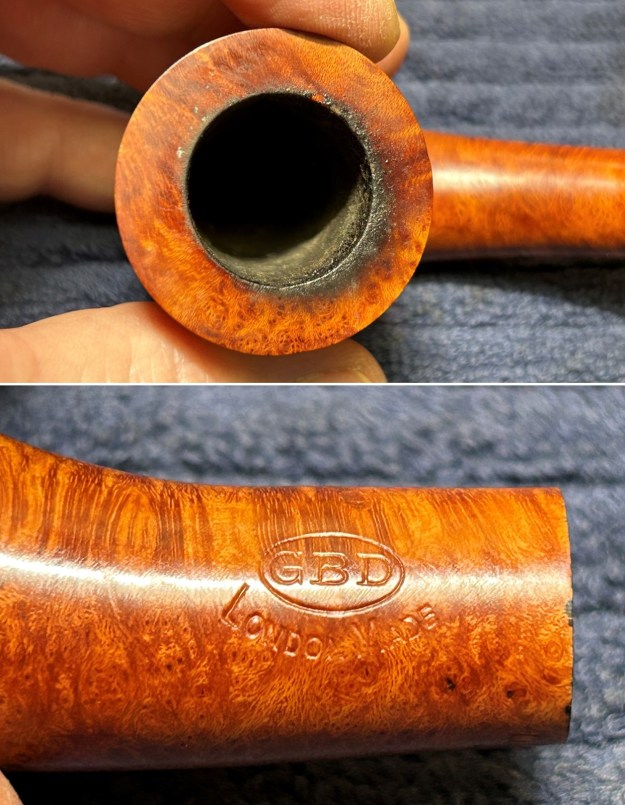
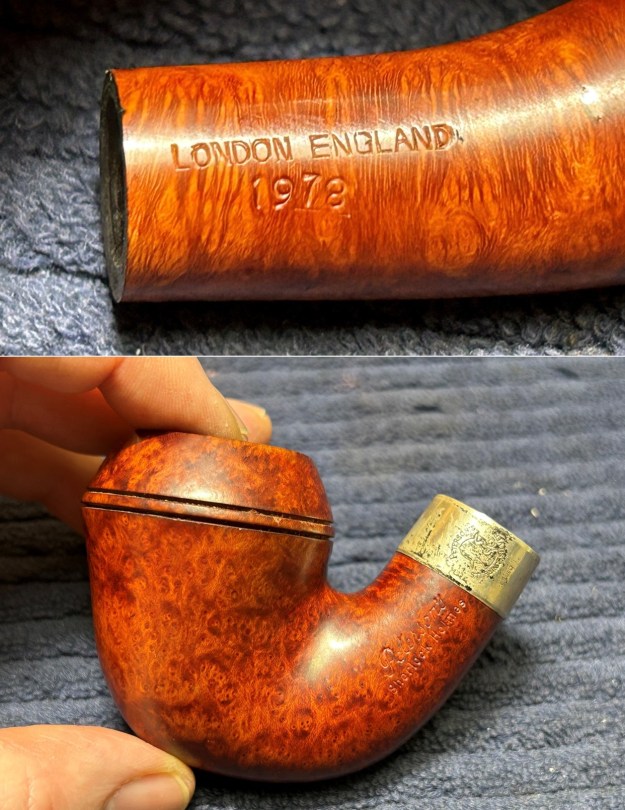
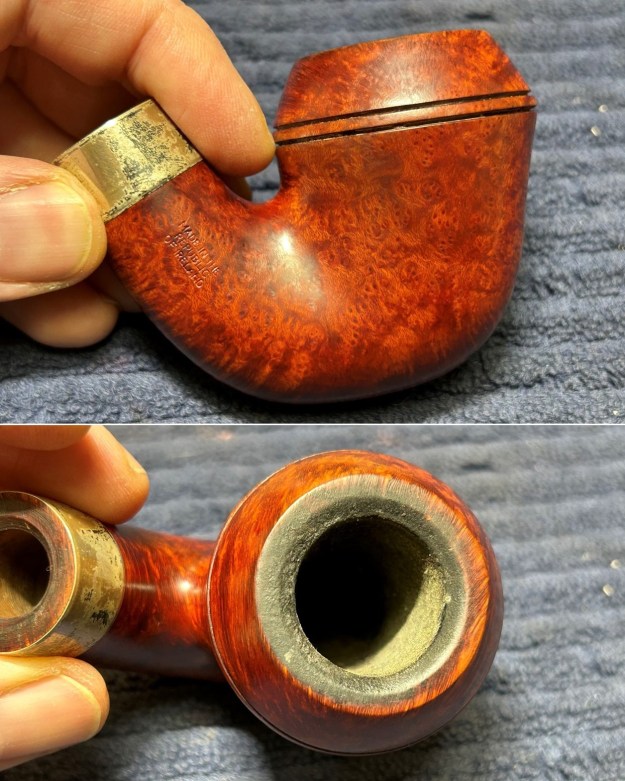
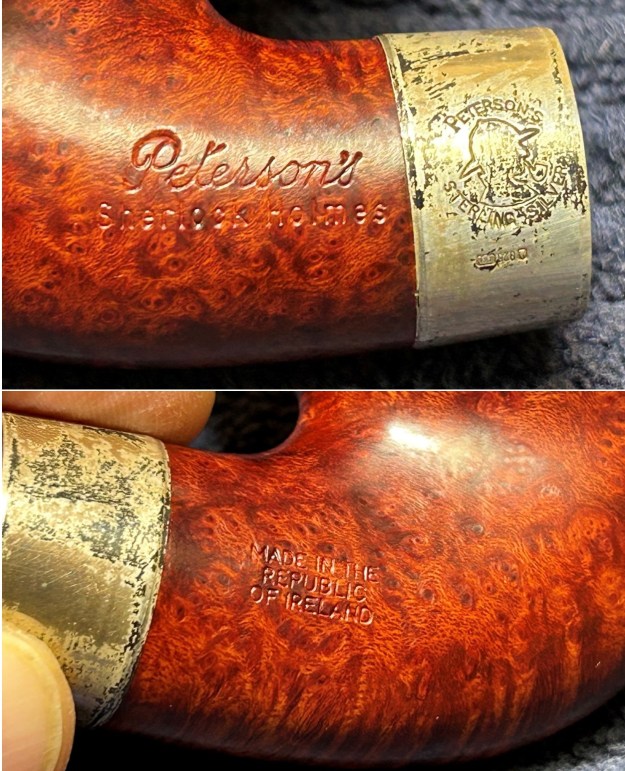
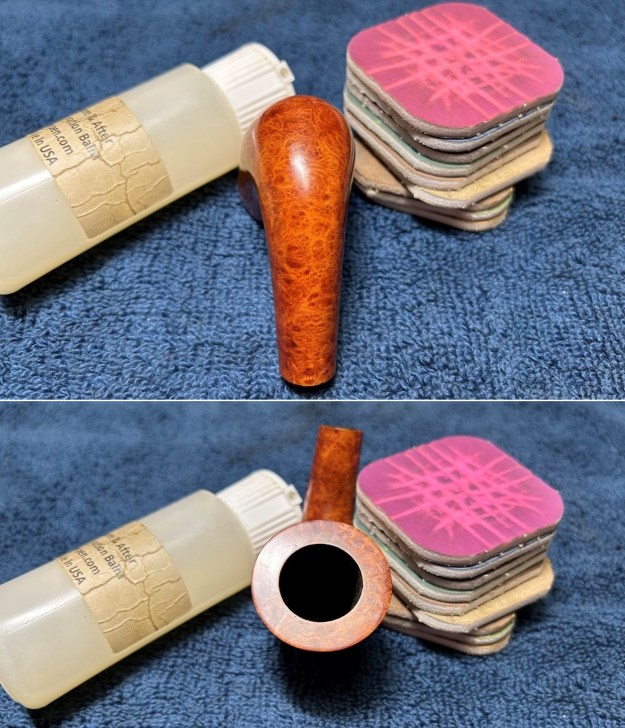
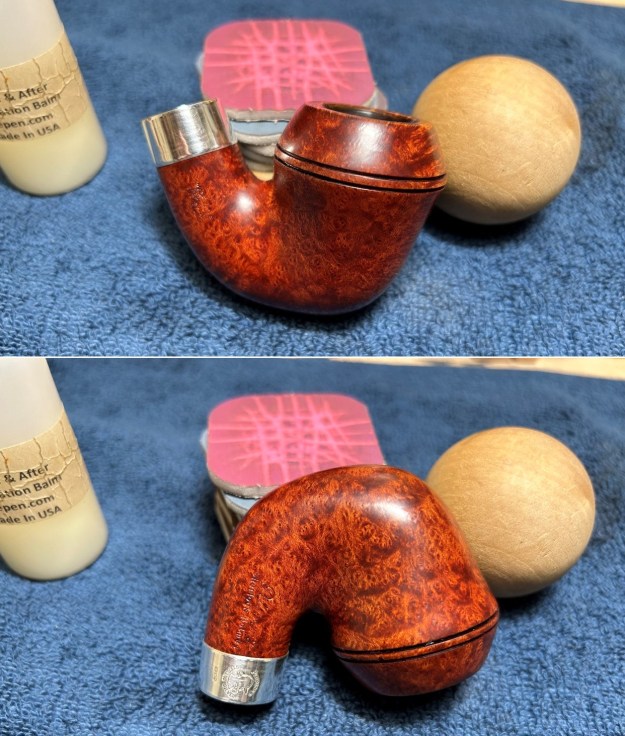
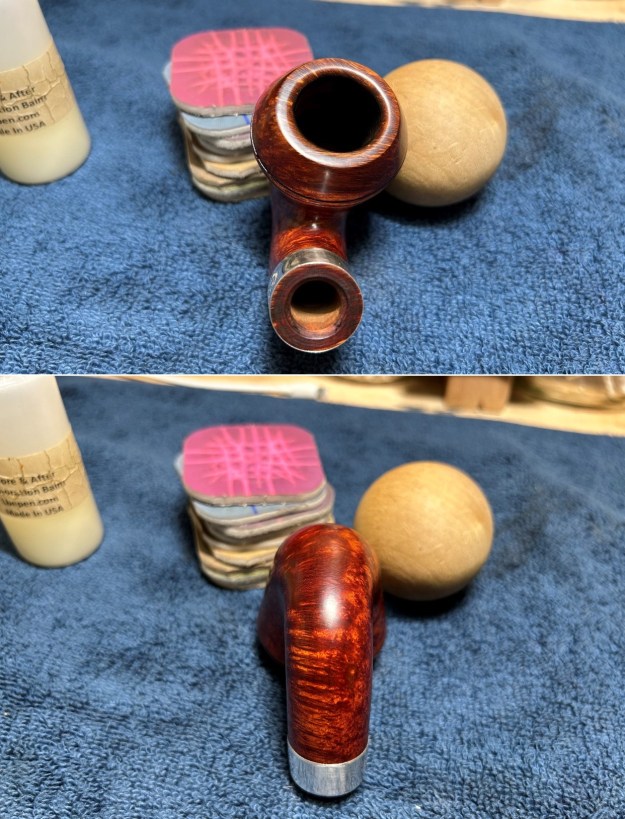
A great customer of mine recently sent me some pipes for repair and restoration. I was happy to help out and the pipes were sent to me post-haste. There were some surprises to be discovered and challenges to be overcome. On this occasion, I did something different than I usually do: I restored all four at once, rather than one at a time. This blog is more of a show-and-tell than my usual restoration stories. This blog post is going to give a good overview of the restorations but doesn’t need to provide detail on each individual pipe. Let’s jump right in and see what we’ve got.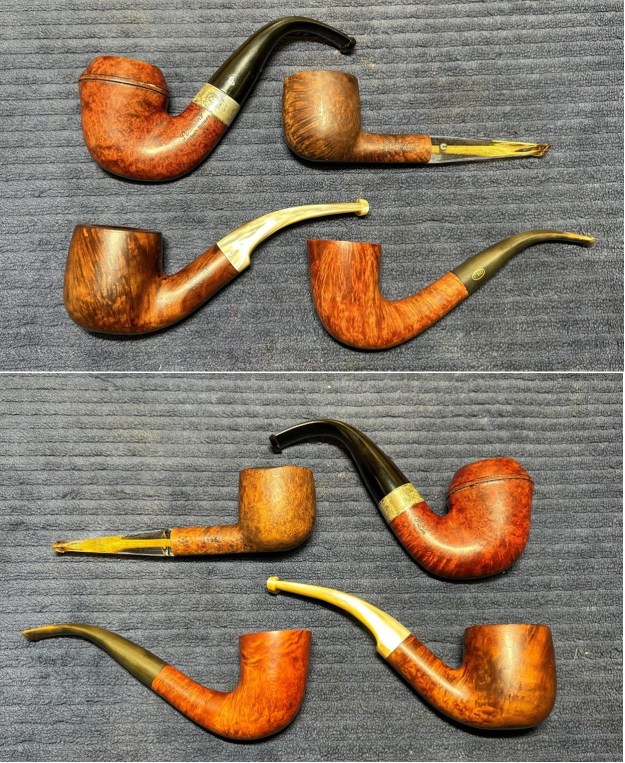 First is a Comoy’s Castleton 126 large straight pot. Second is a Savinelli Oscar 622KS Lucite king size bent pot. Third is a GBD London Made 1978 bent Dublin. Fourth is a Peterson Sherlock Holmes Watson P-lip. All four are very attractive and I’m sure will be good smokers. A first glace at them all suggests that everything is fine, but things are not always what they seem… As I was inspecting the Comoy, I noticed, to my chagrin, that the shank was completely snapped. Someone had glued it back together, but it wasn’t well done and I was going to have to redo it. Similarly, when I dug deeper into the Savinelli, I noticed that there was a lot of damage to the inside of the bowl. That’s a problem! But I’ve got a solution. Fortunately, the GBD and Peterson didn’t have any major issues. That was good news.
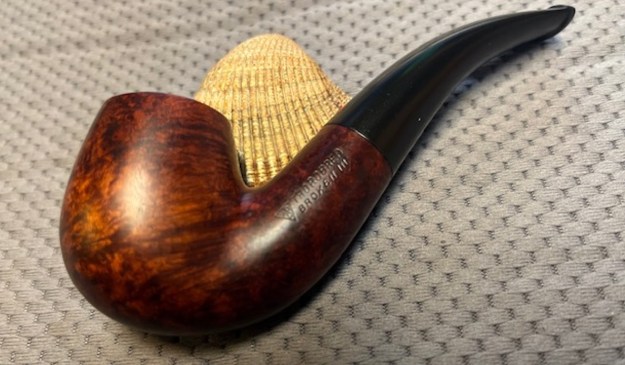
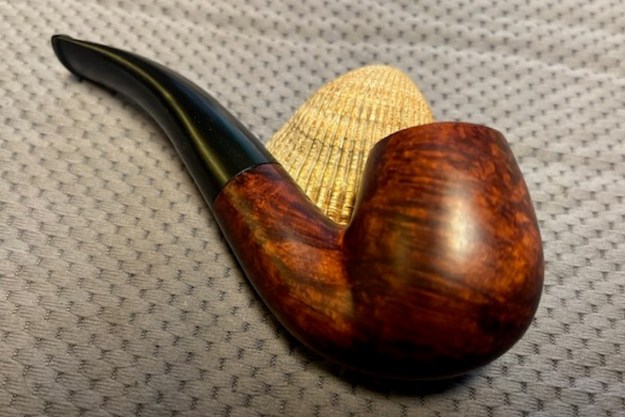
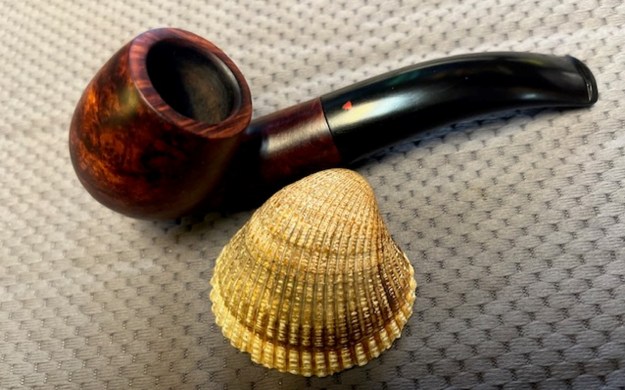
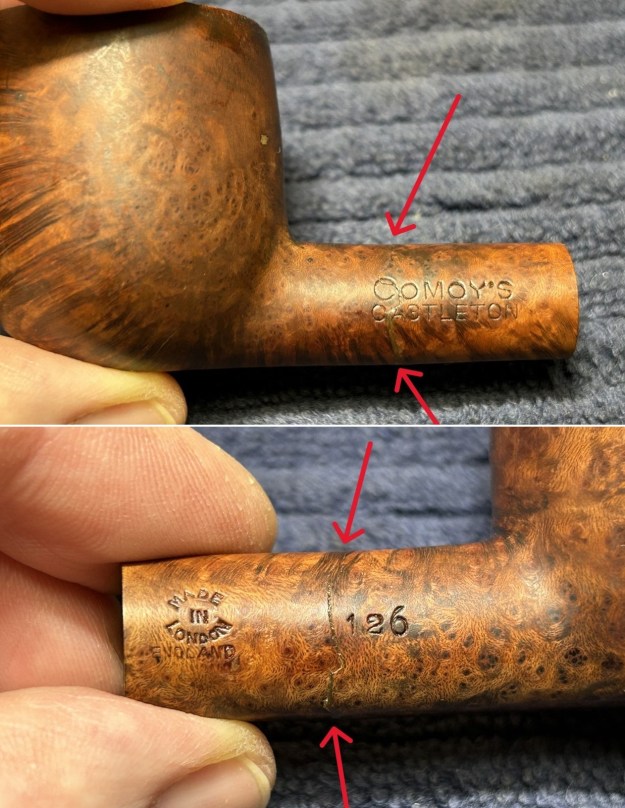
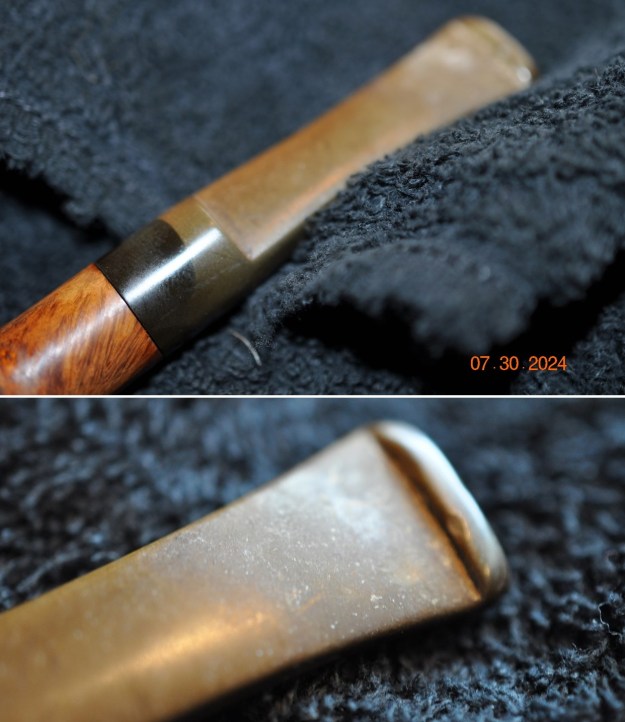
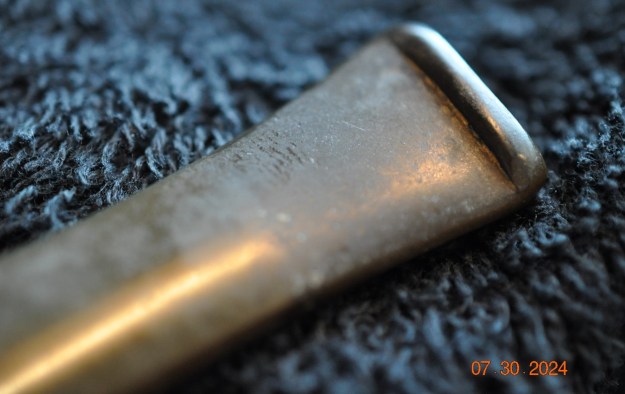
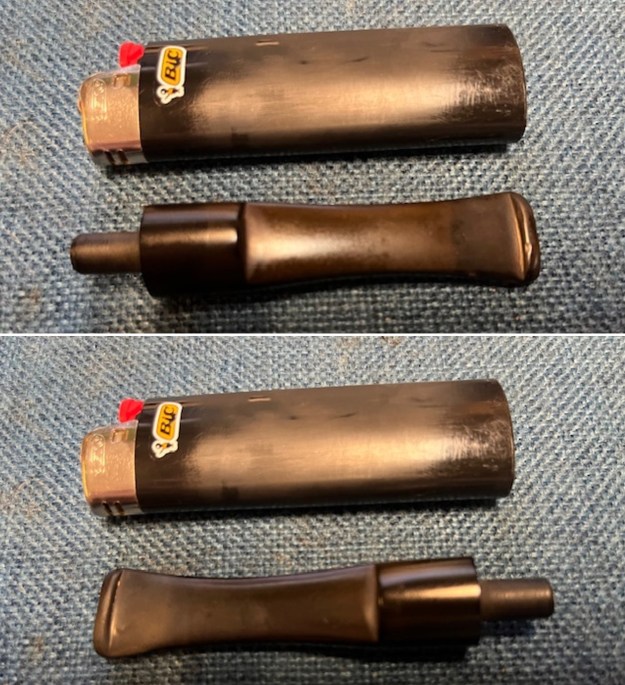
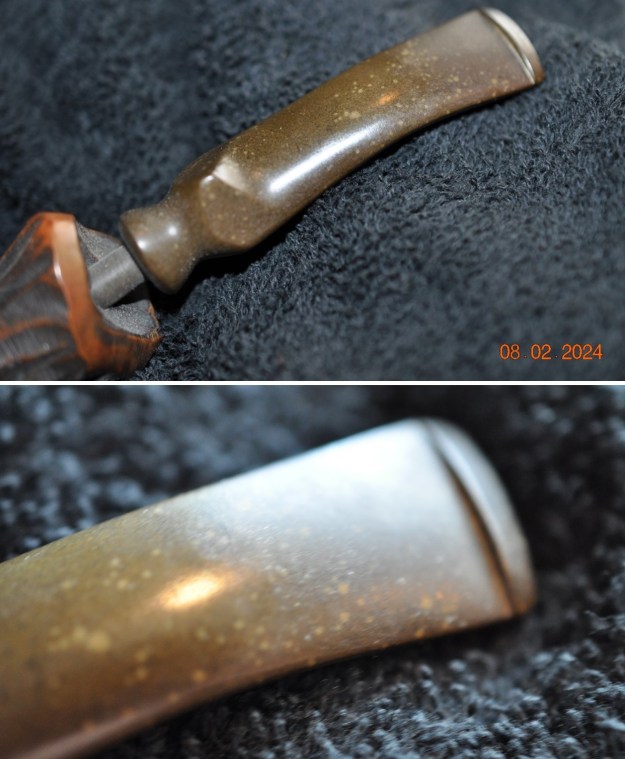
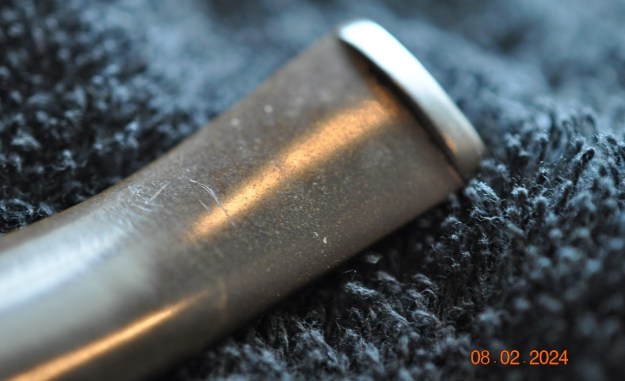
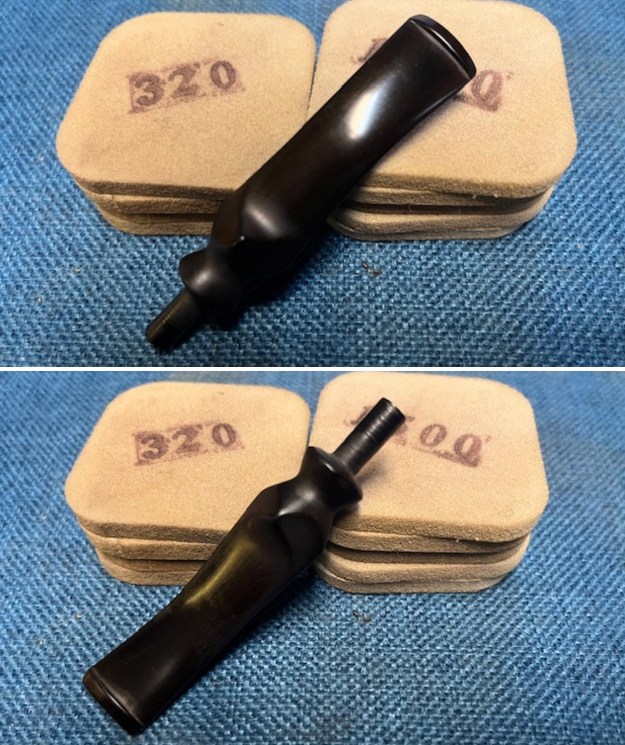
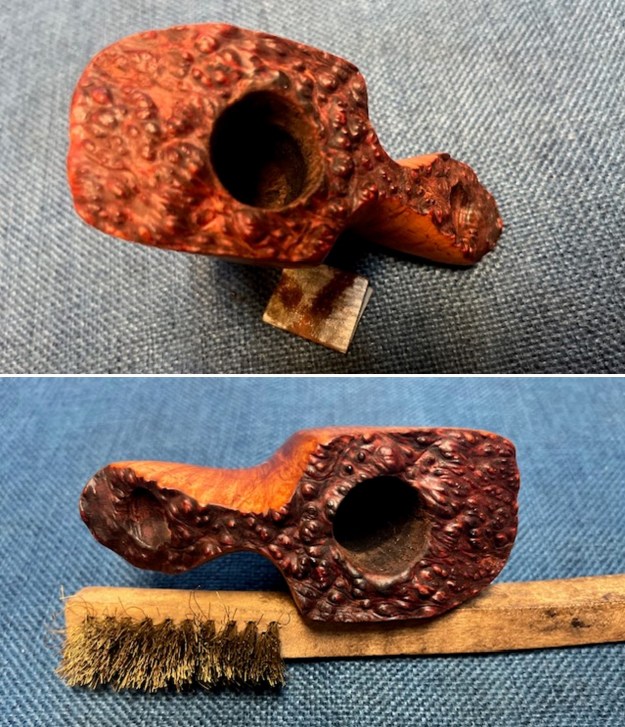
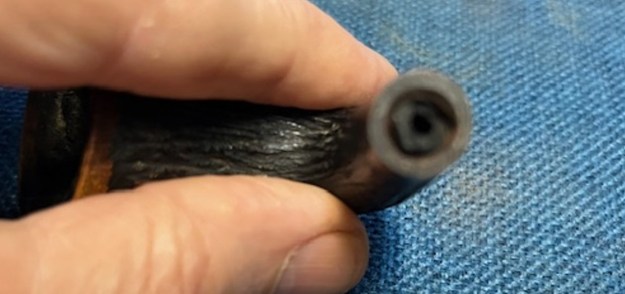
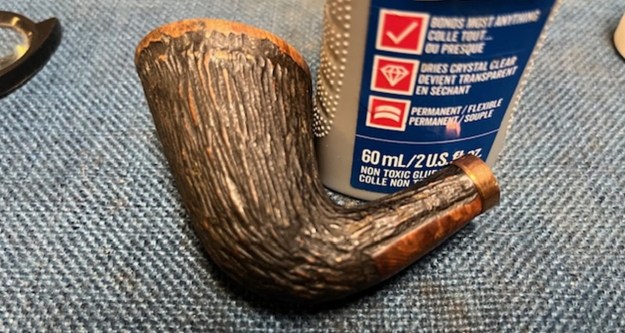
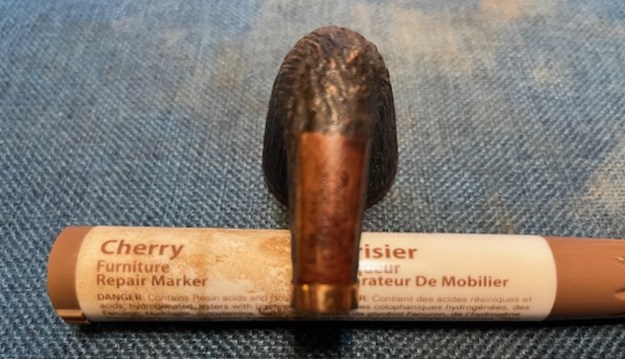
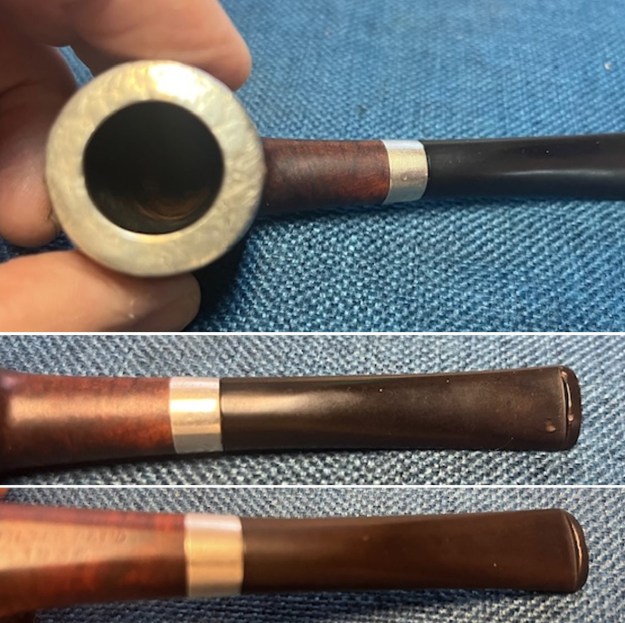
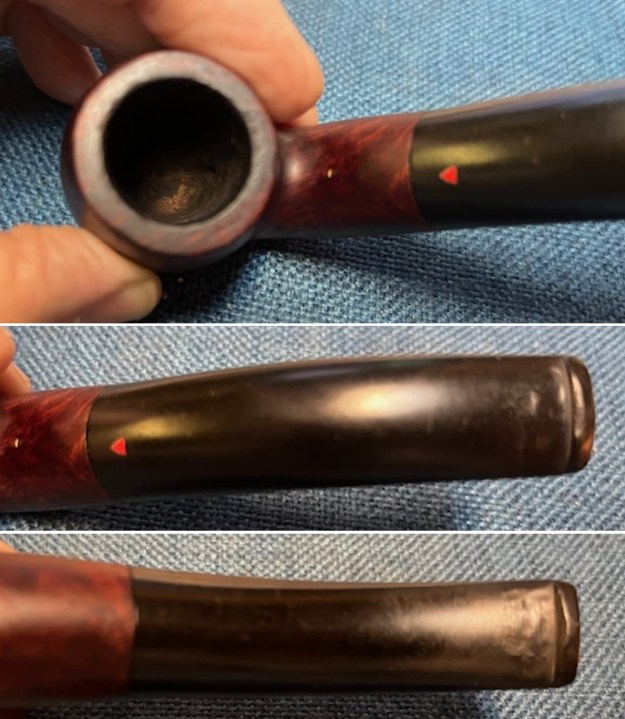
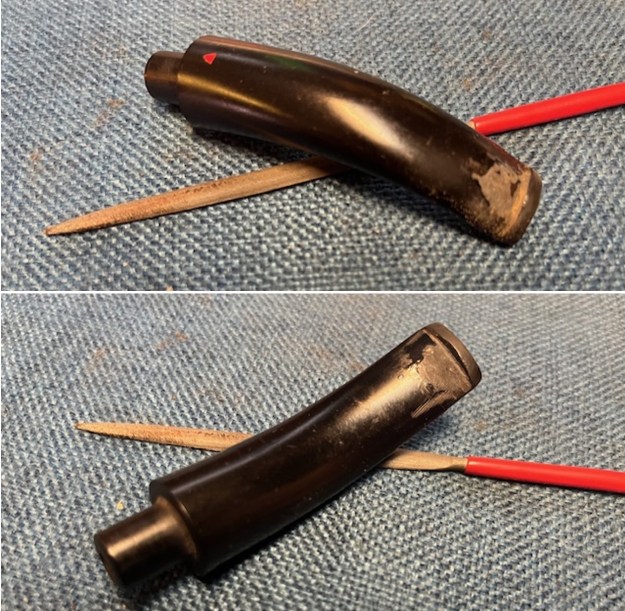
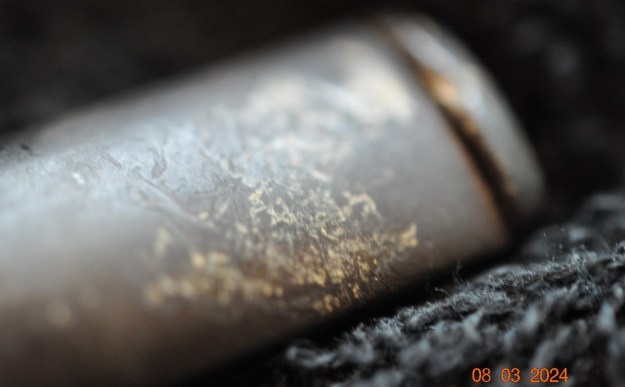
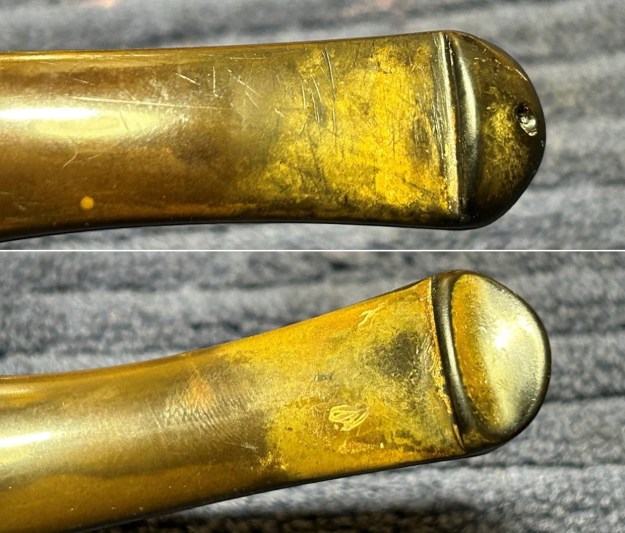
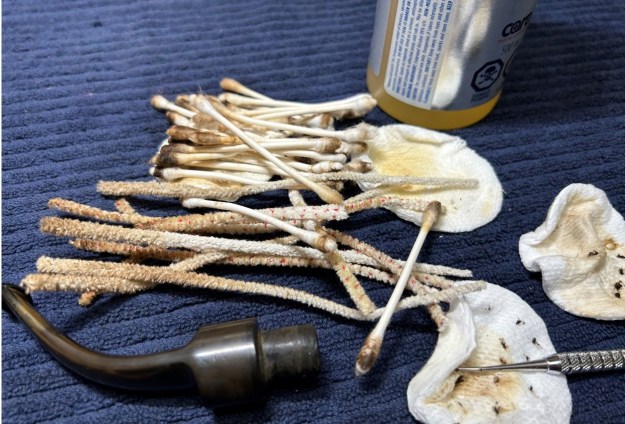
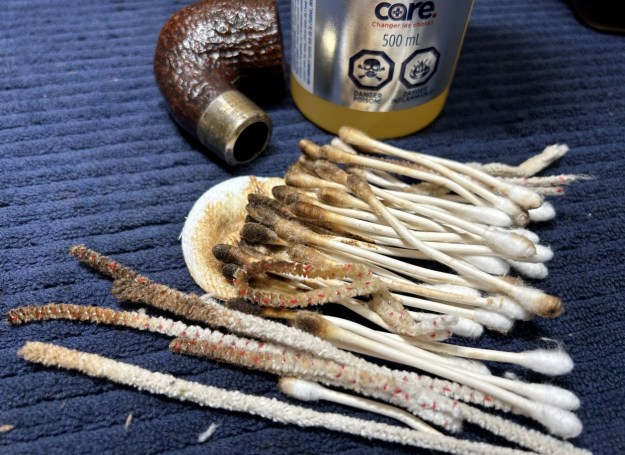
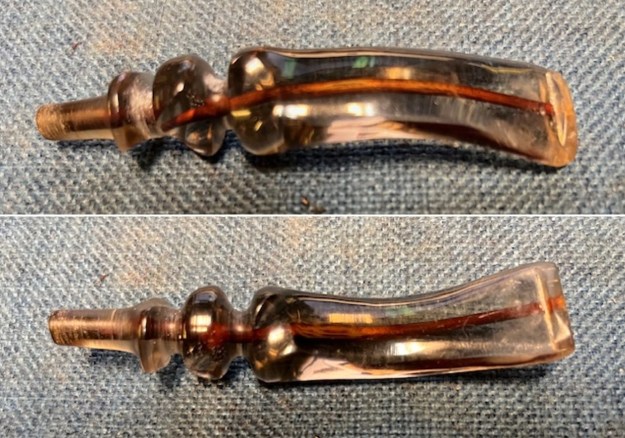
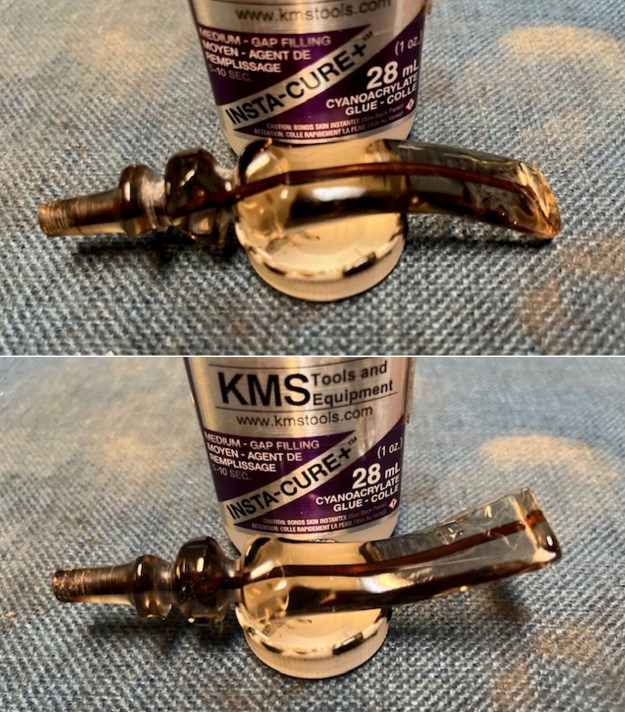
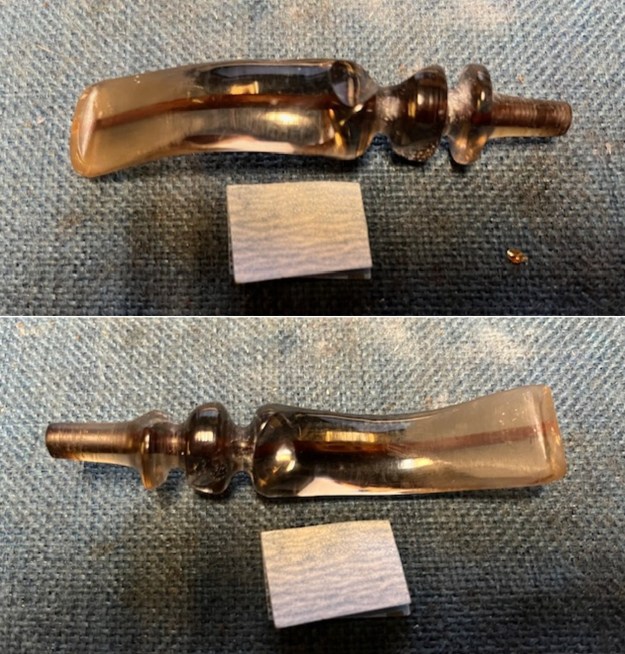
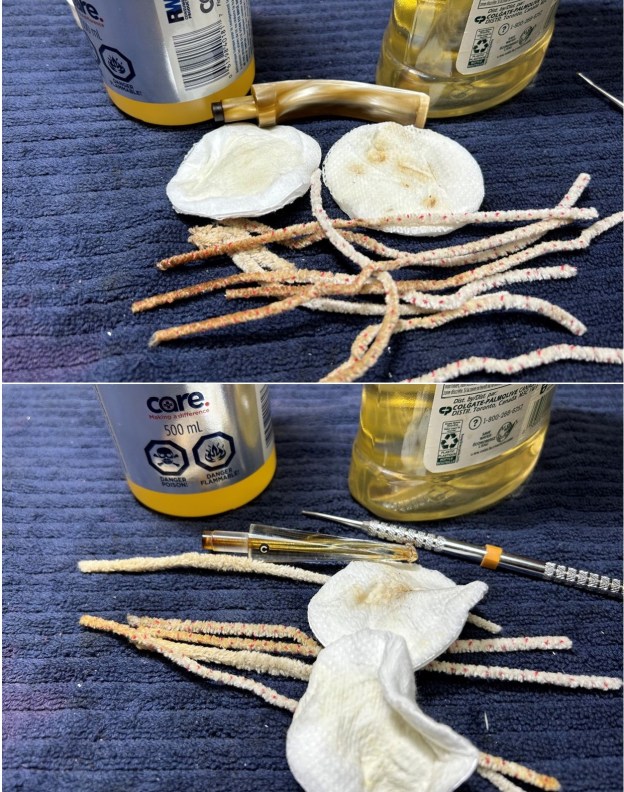
 With all four stems, I wiped down the outside with some oil soap on some cotton rounds. Naturally, the insides needed to be cleaned too, and I did that with some pipe cleaners and 99% isopropyl alcohol. Two of the stems were vulcanite and two were acrylic, so I only needed to soak the vulcanite stems in the deoxidizing liquid. When they were done, I wiped them down with some cleanser on cotton rounds.
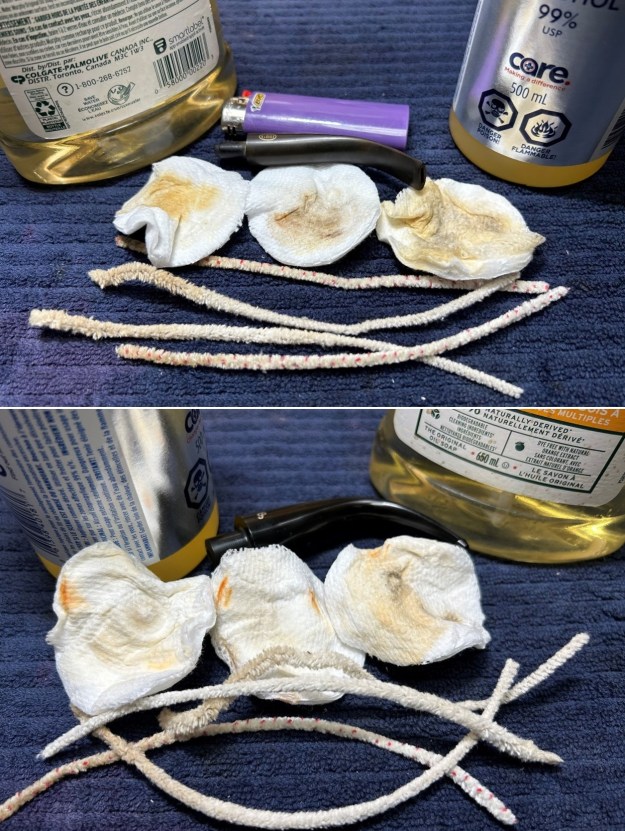
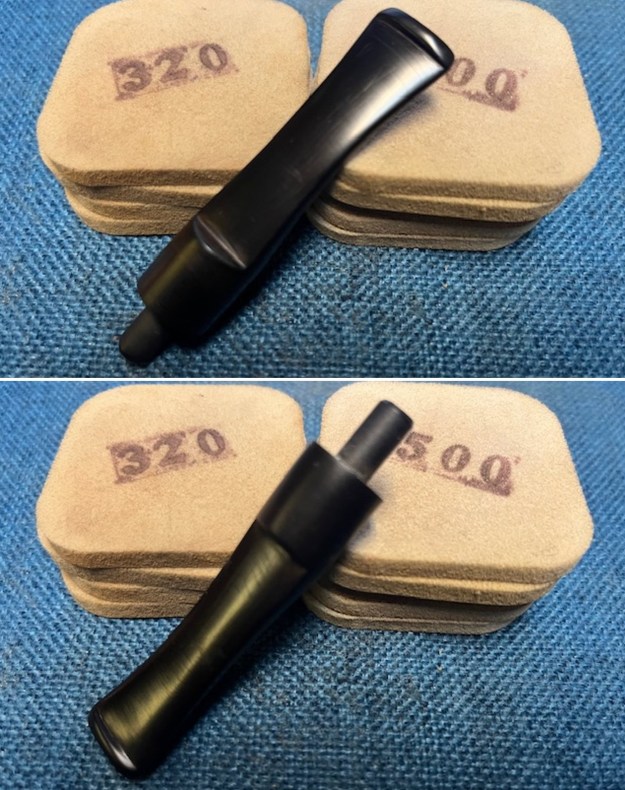
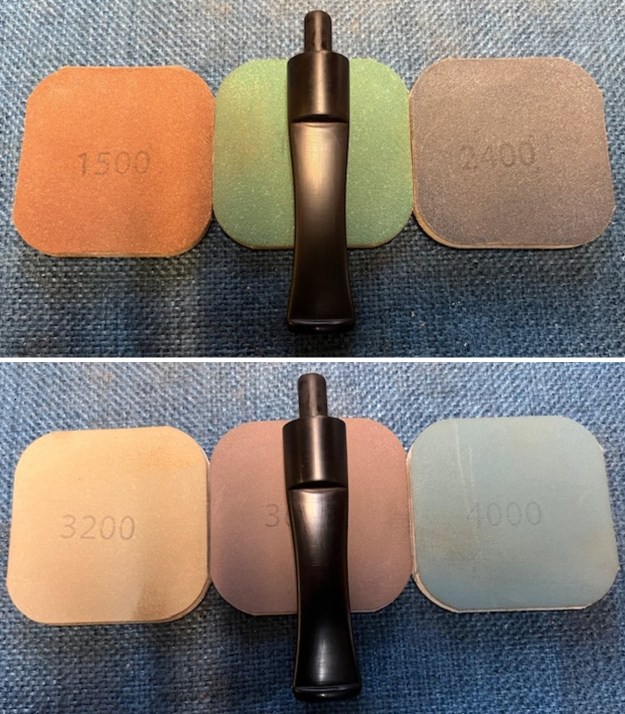
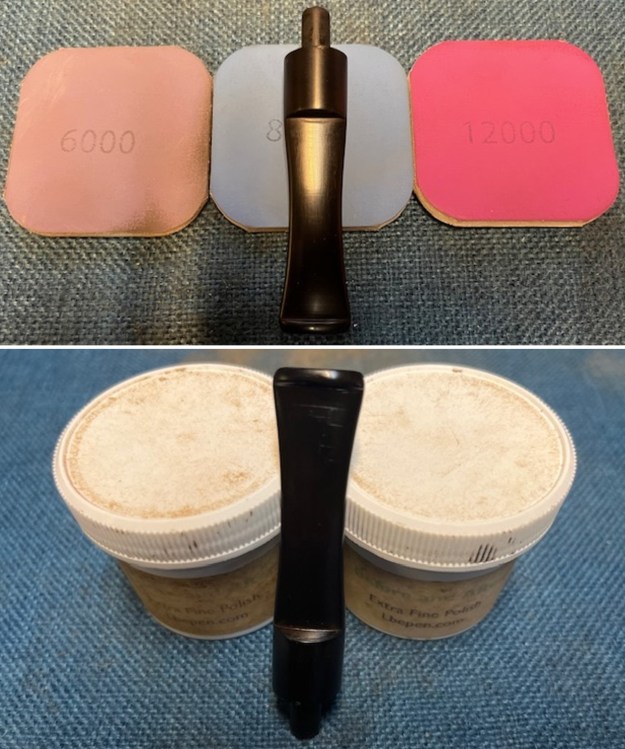
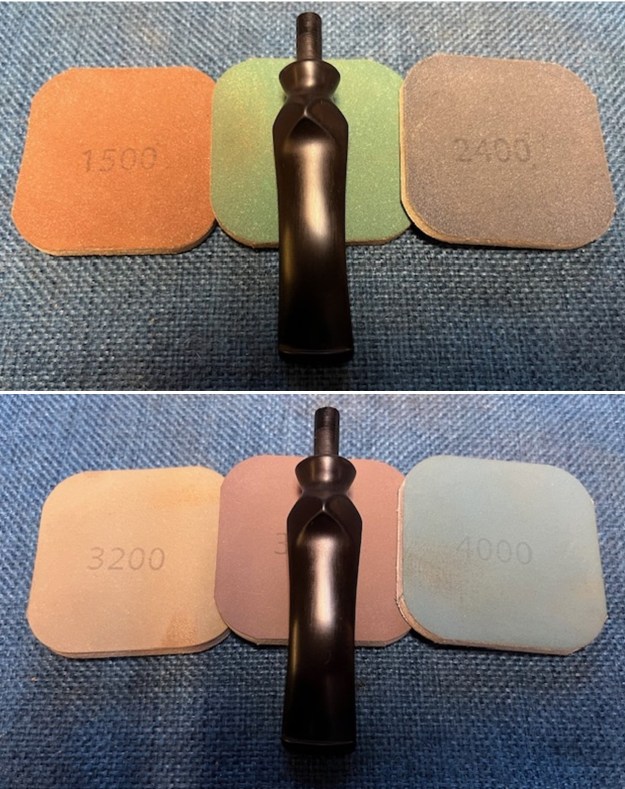
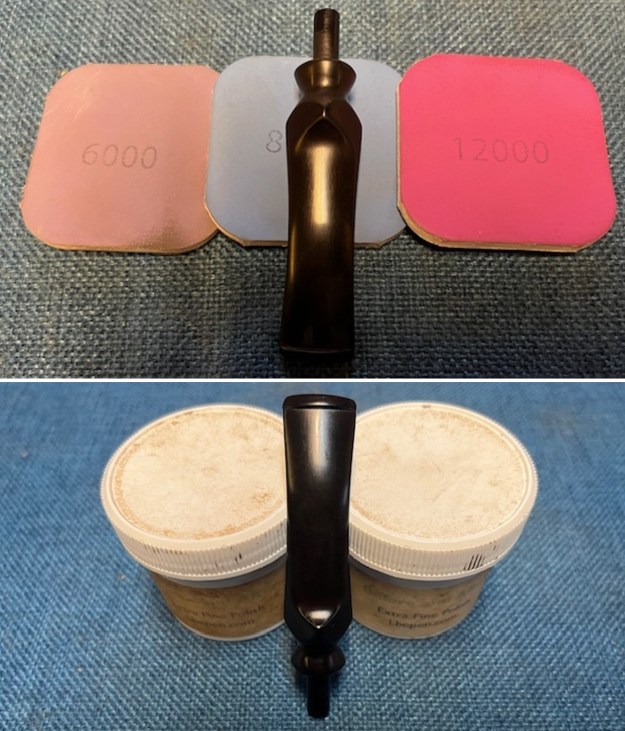
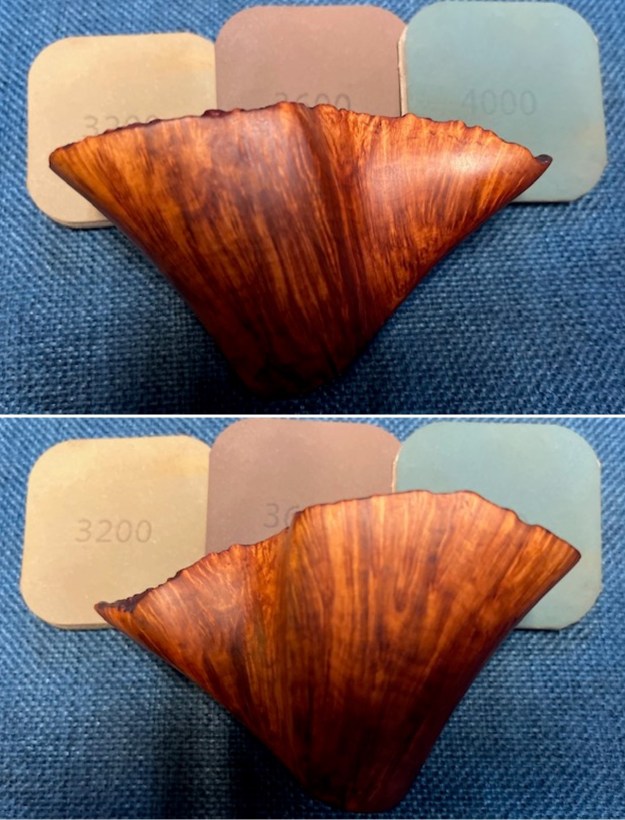
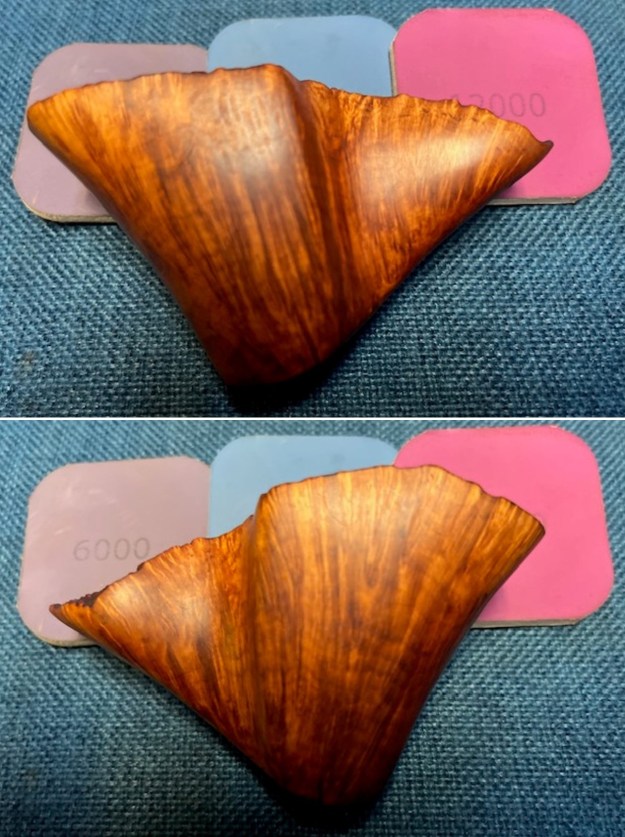
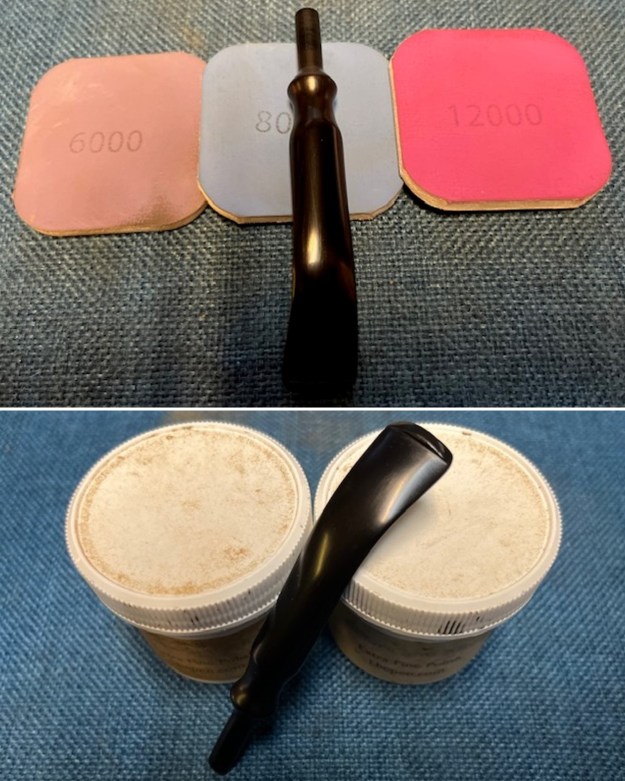
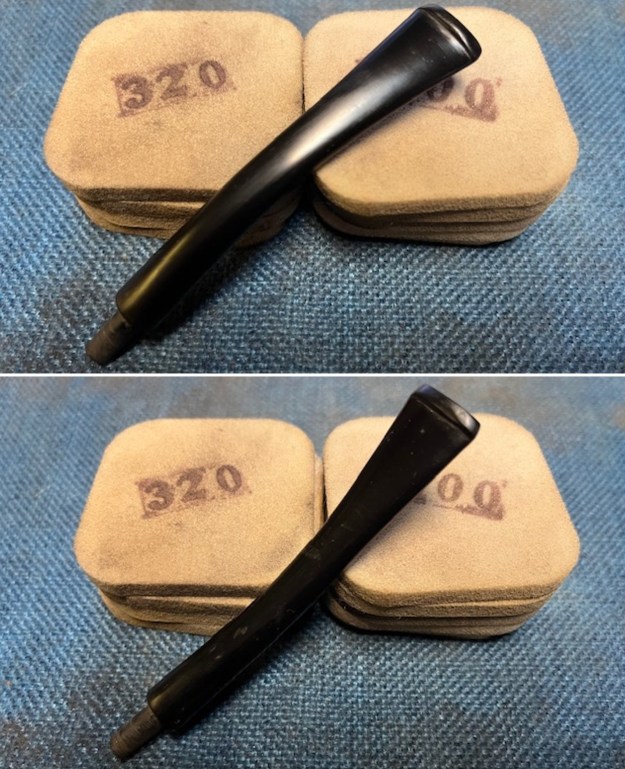
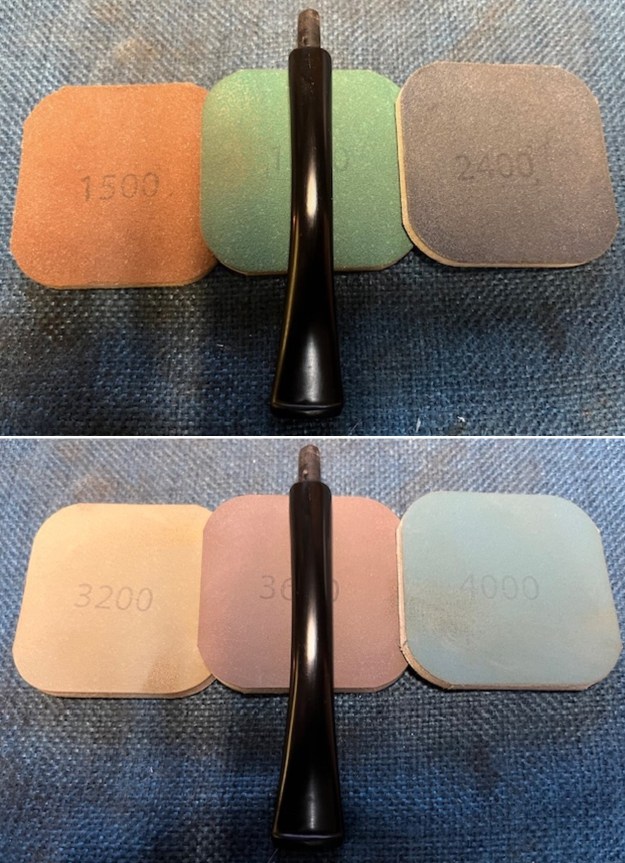
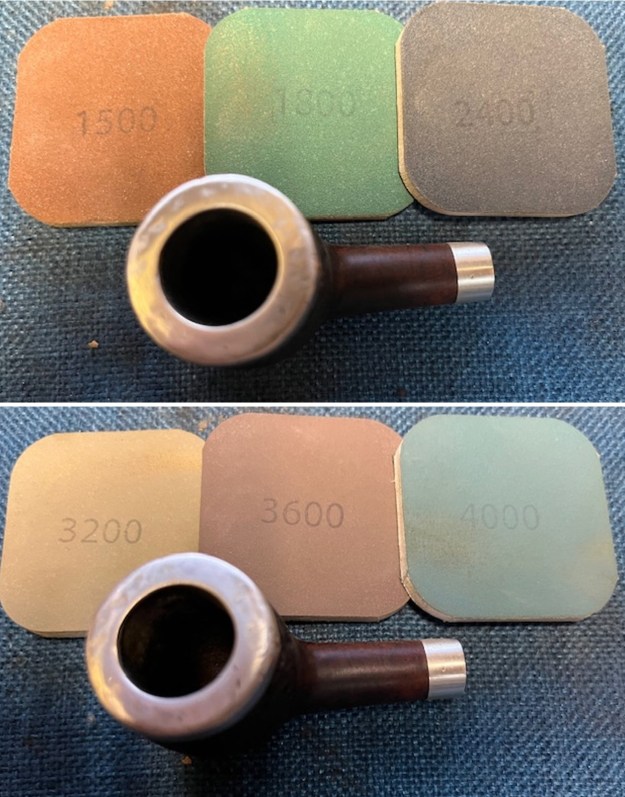
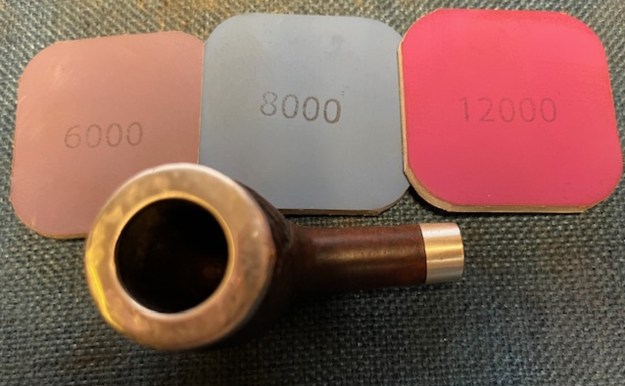
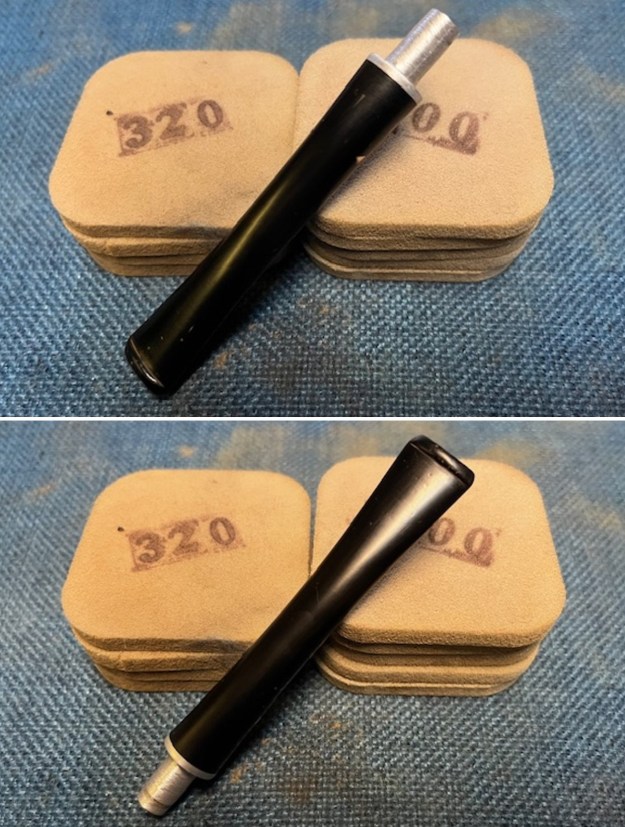
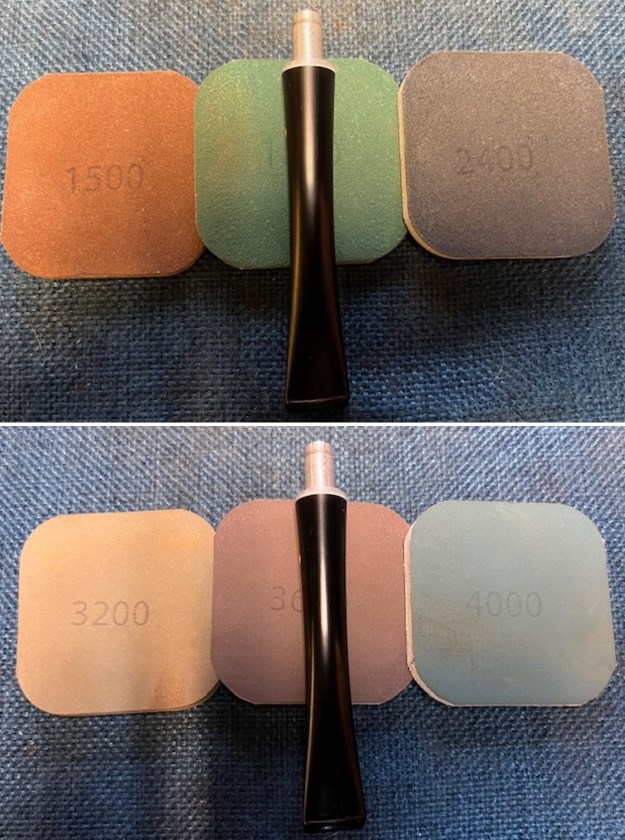
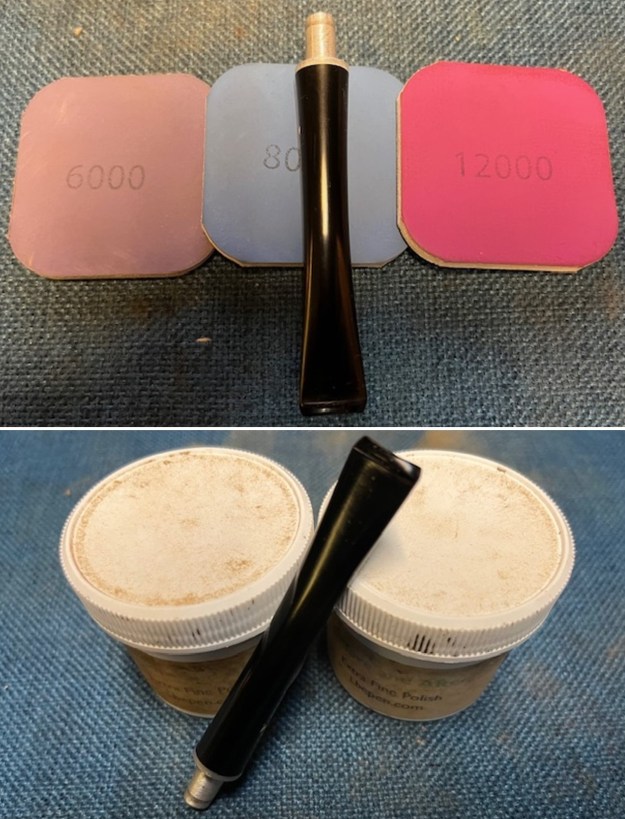
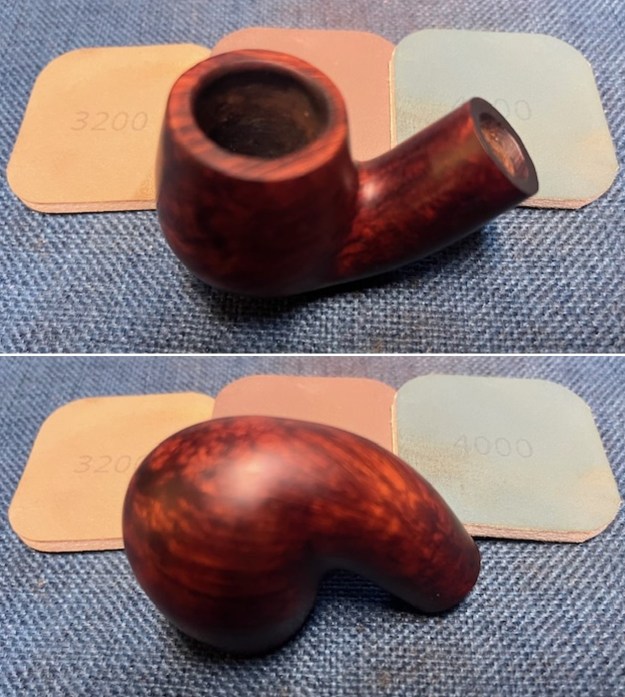
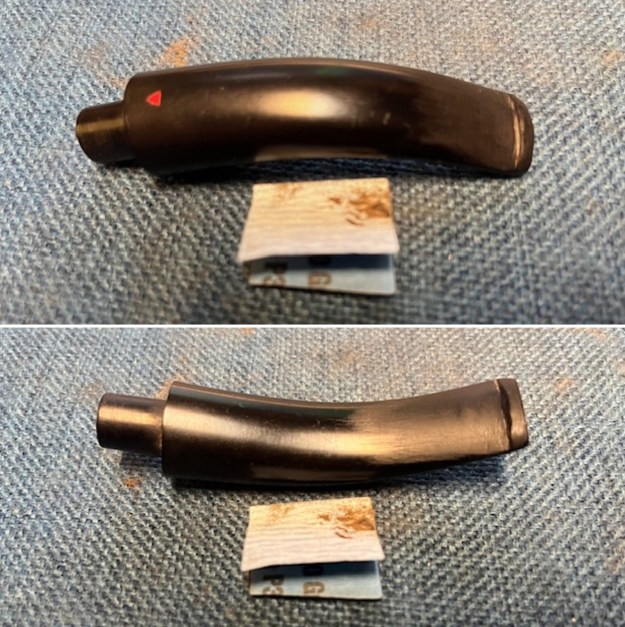
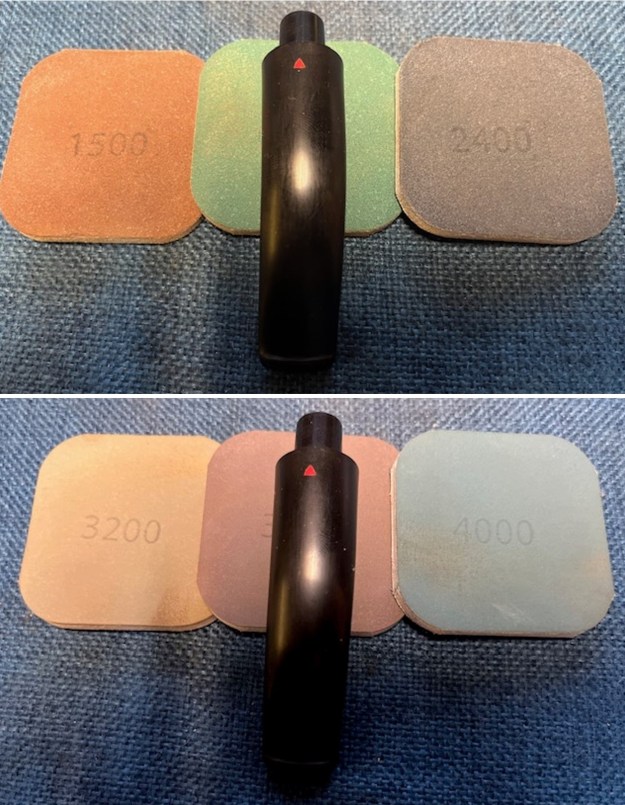
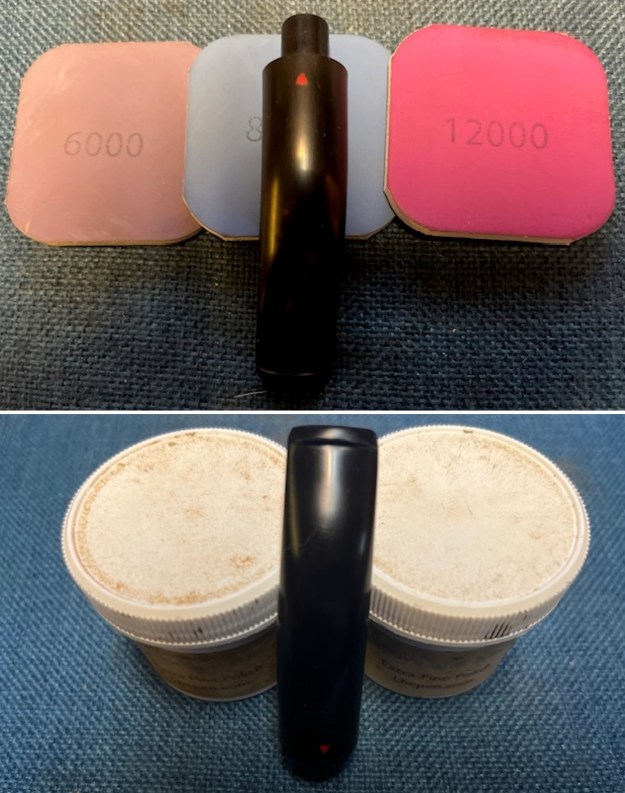
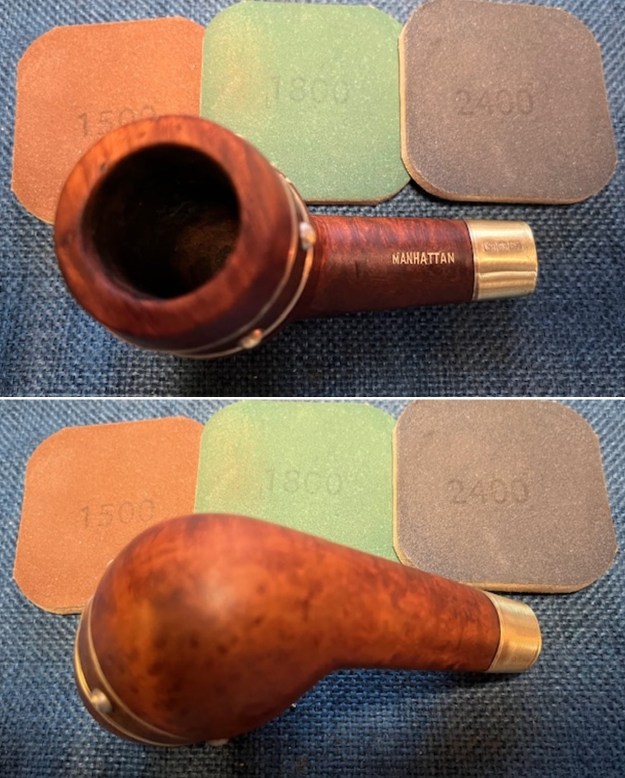
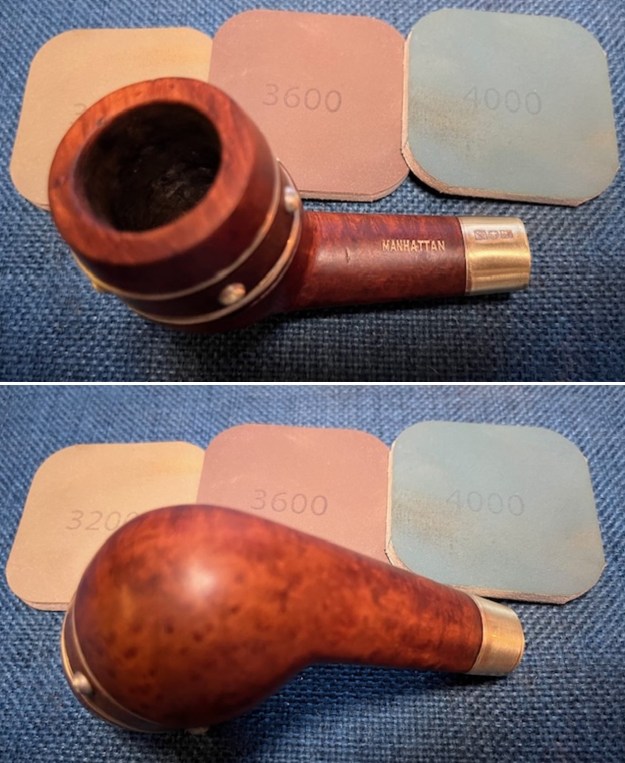
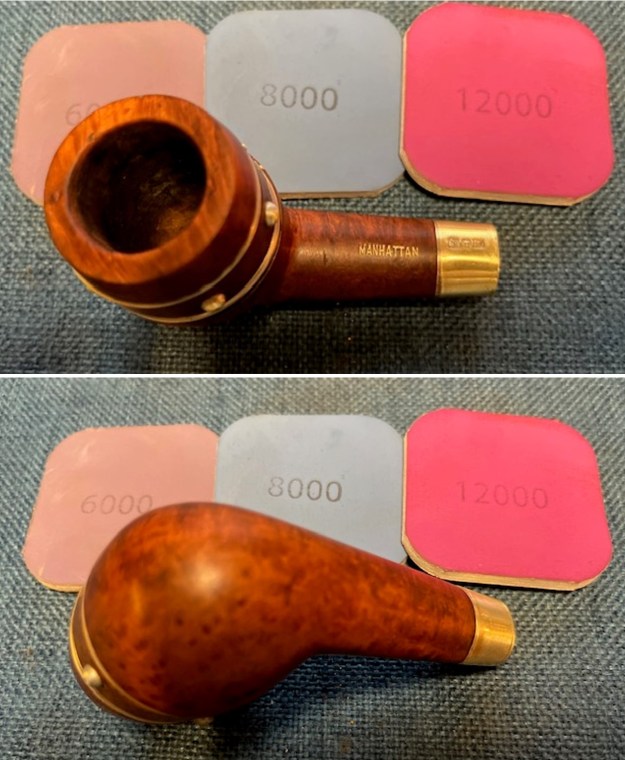
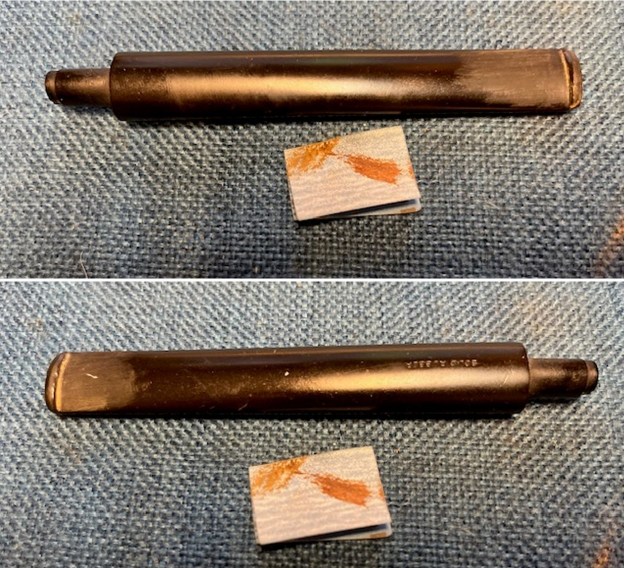
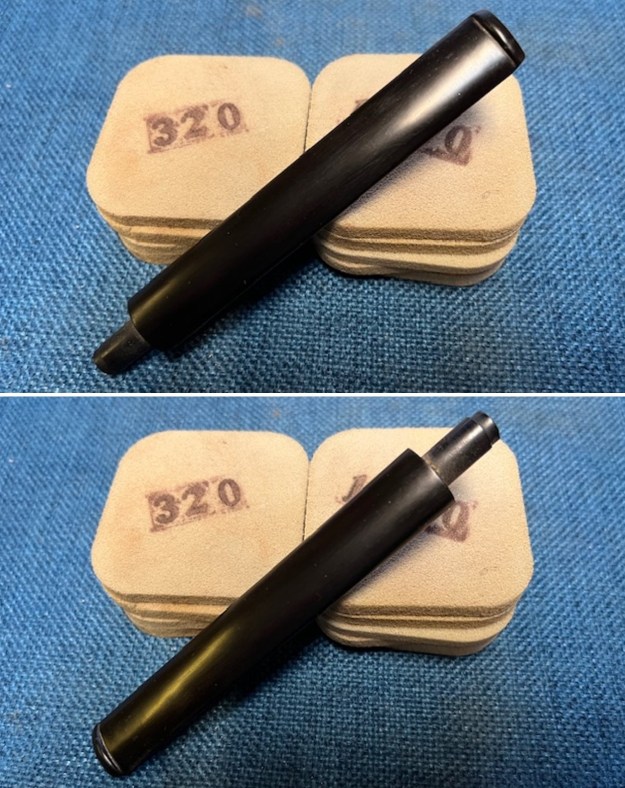
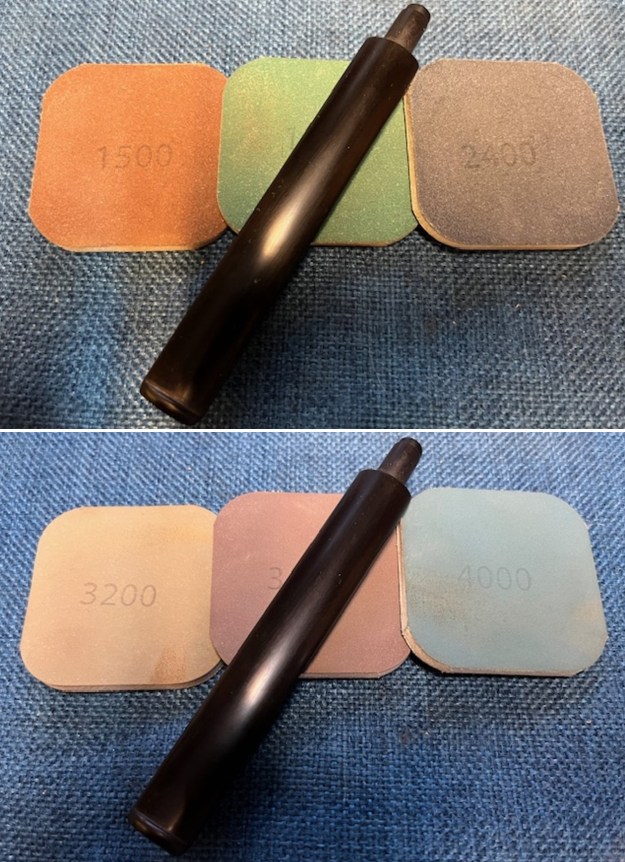
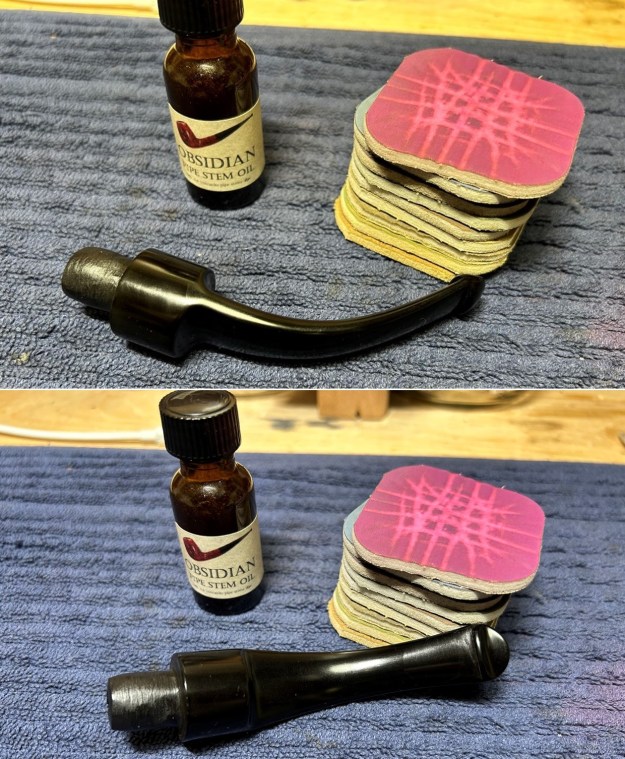
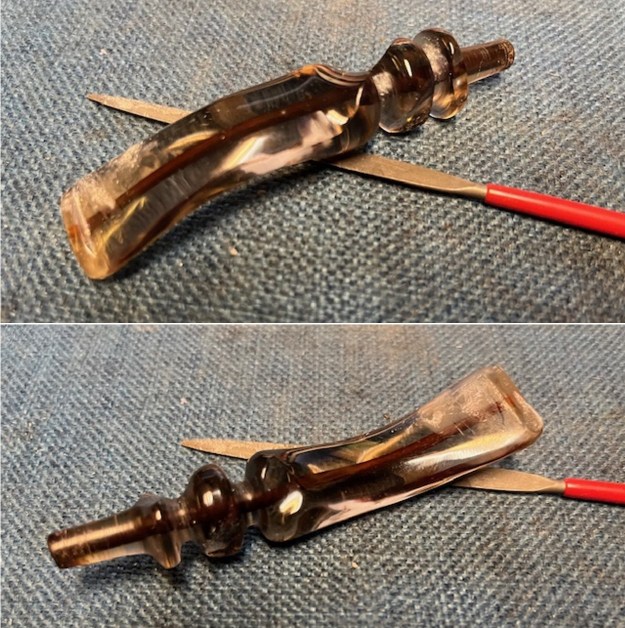
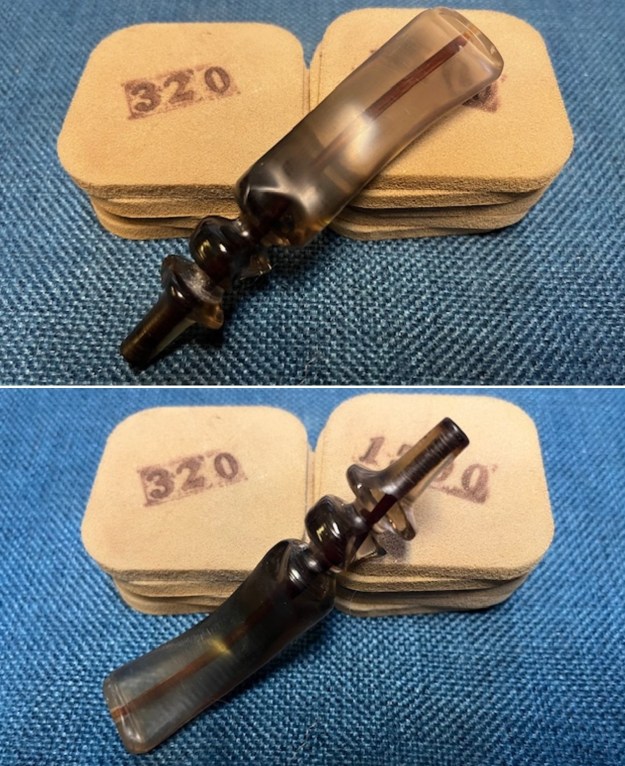
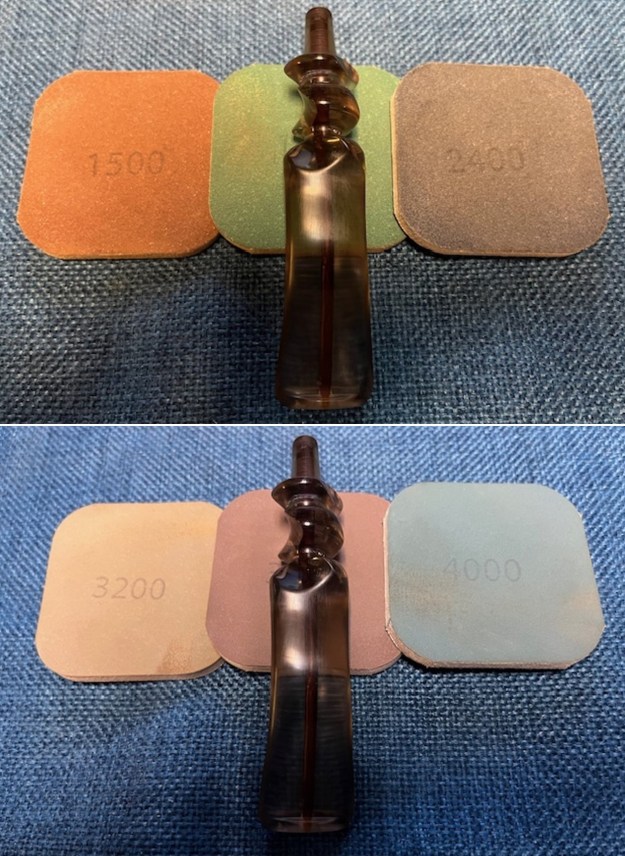
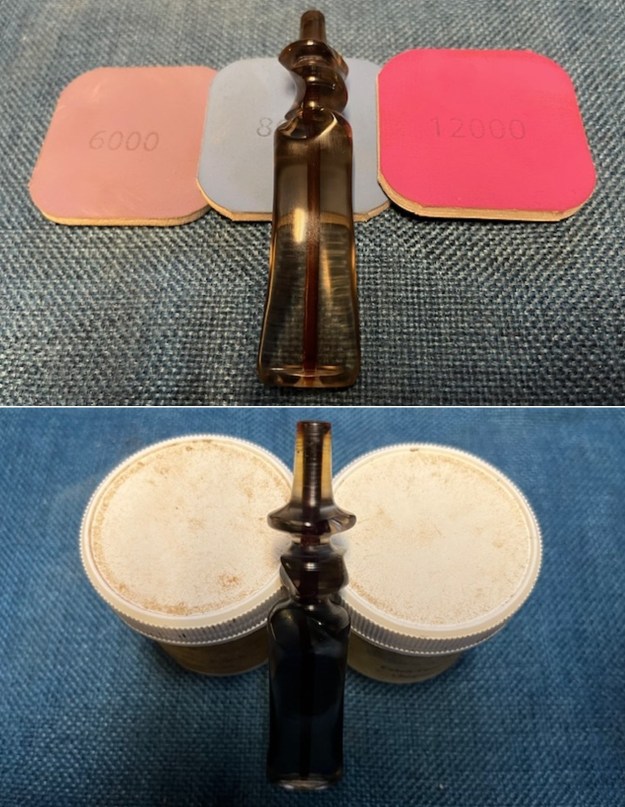
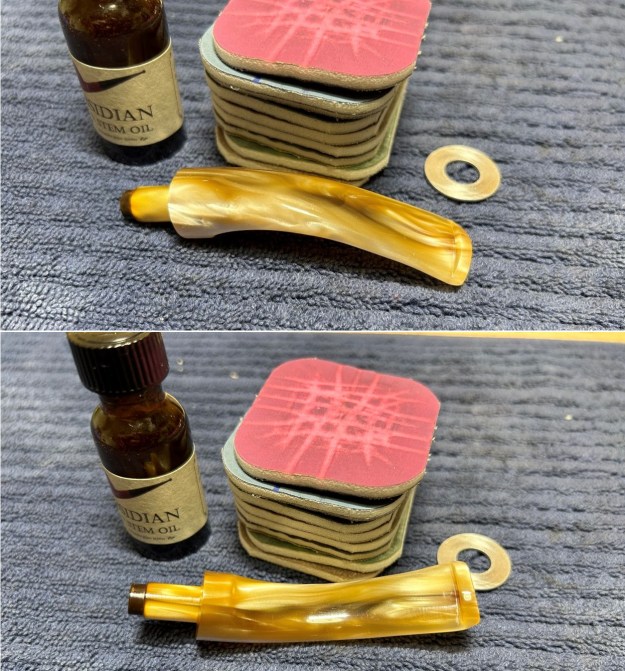
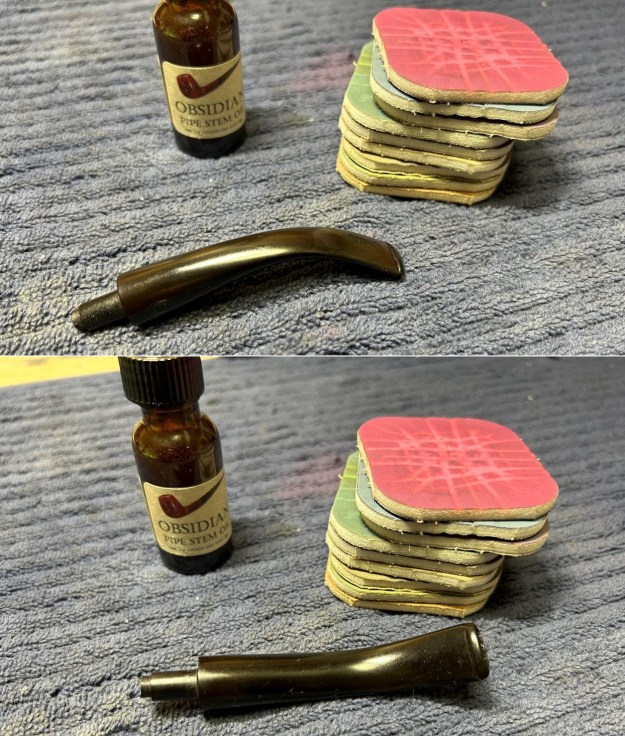
 After that, I sanded all four stems with my Micromesh pads – and I used the pipe stem oil towards the end of the sanding. They all looked so much better when I was done.
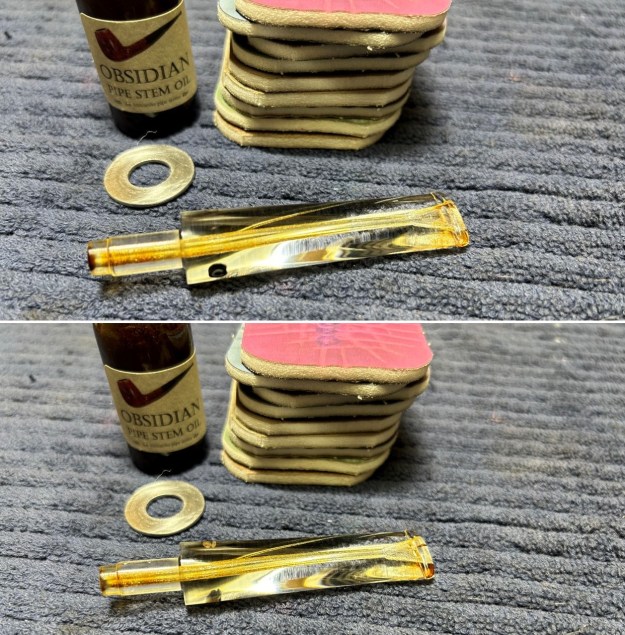
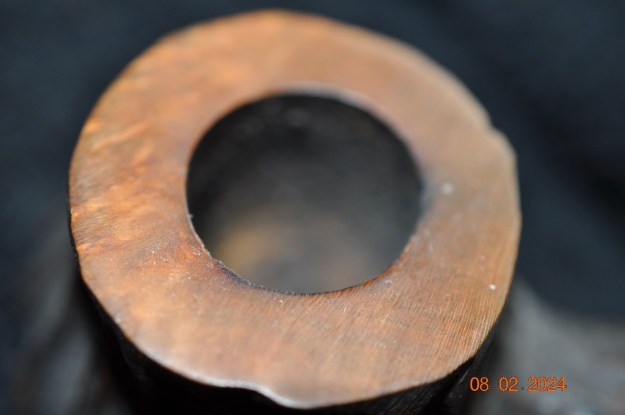
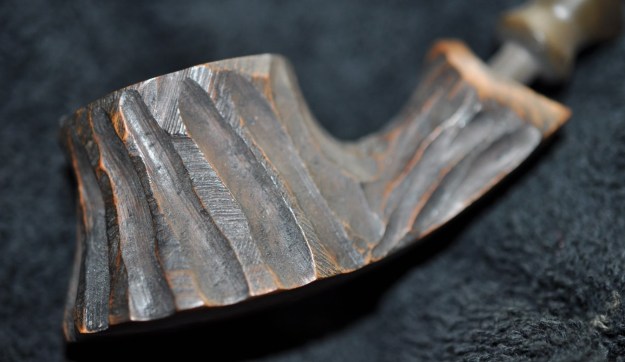
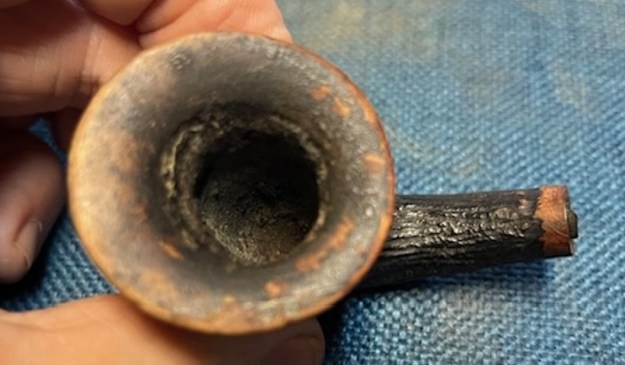
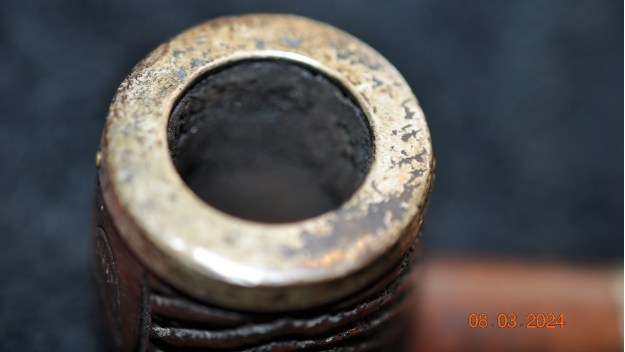
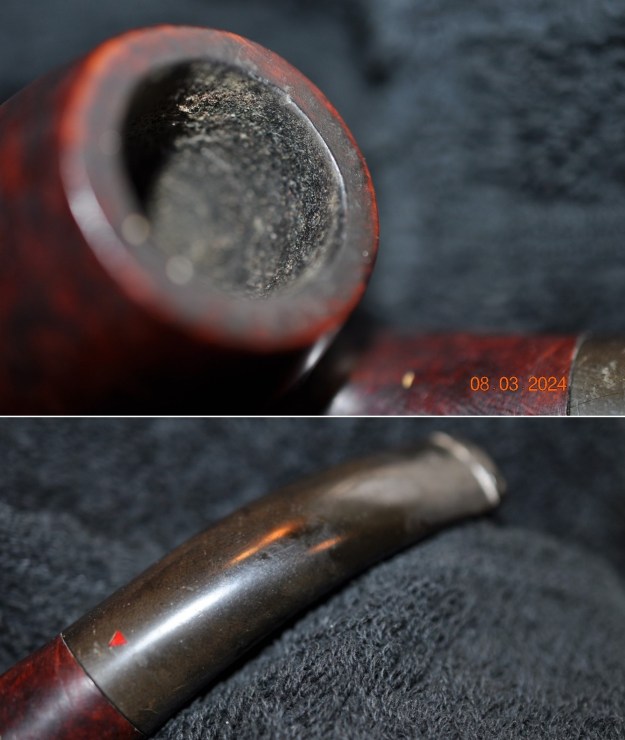
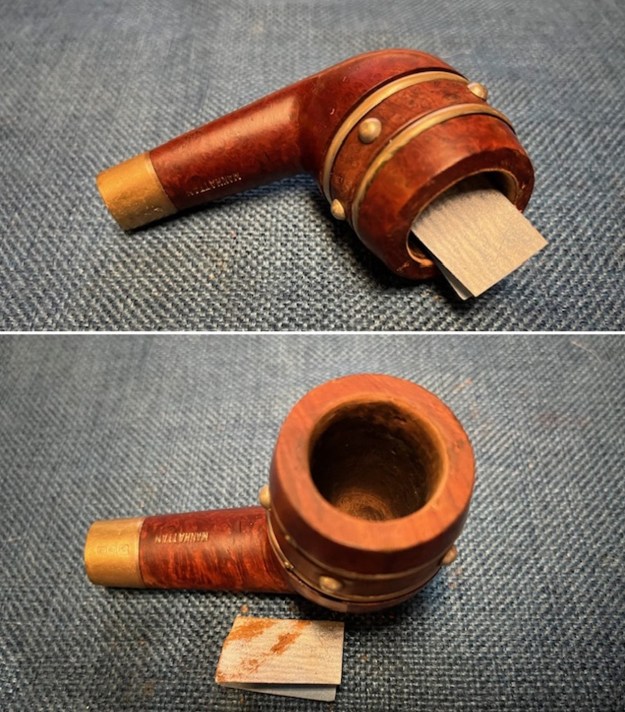
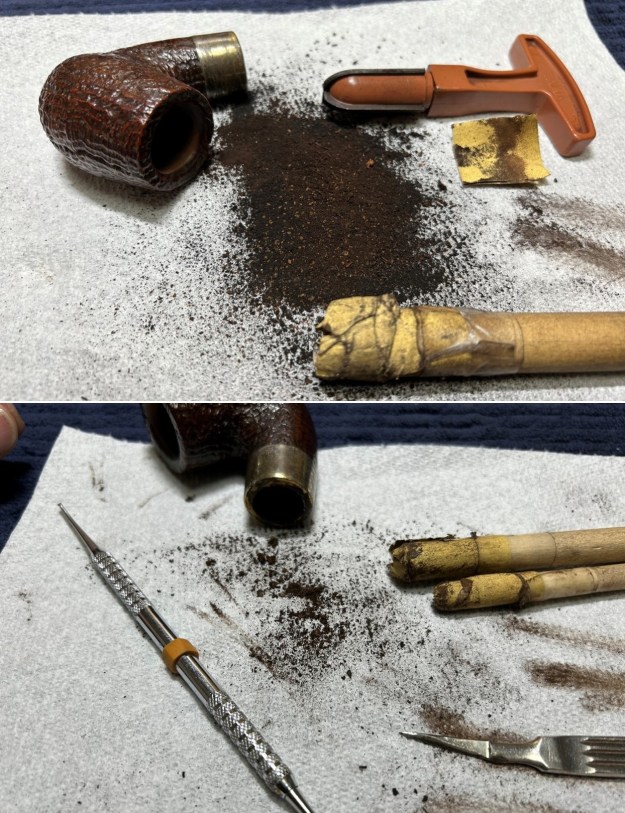
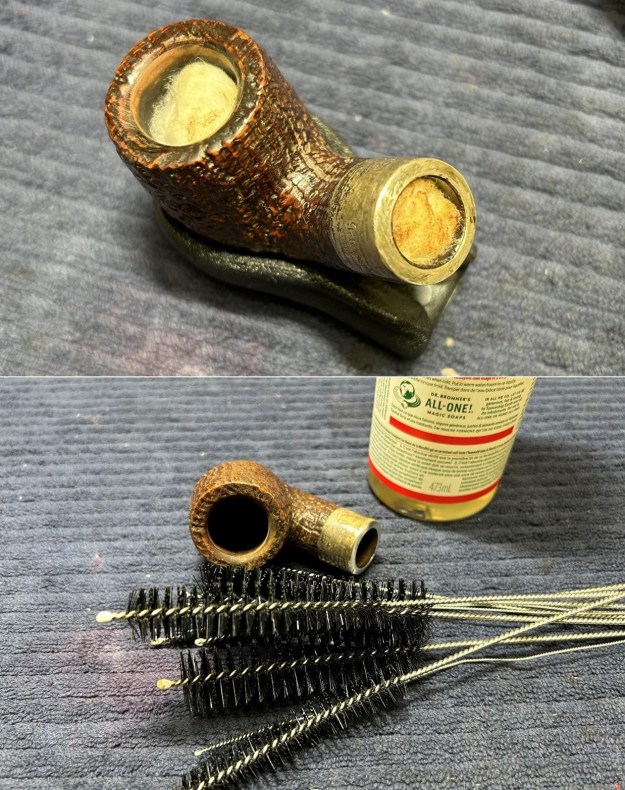
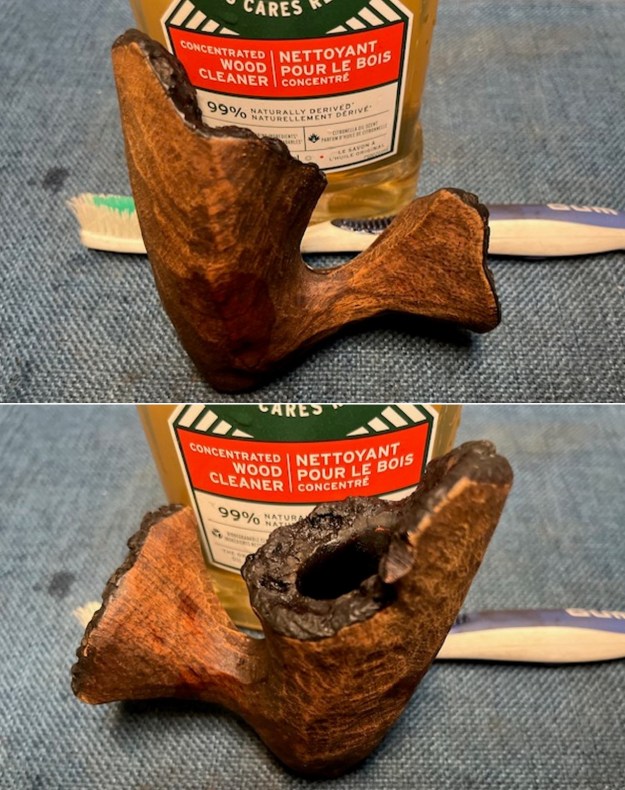
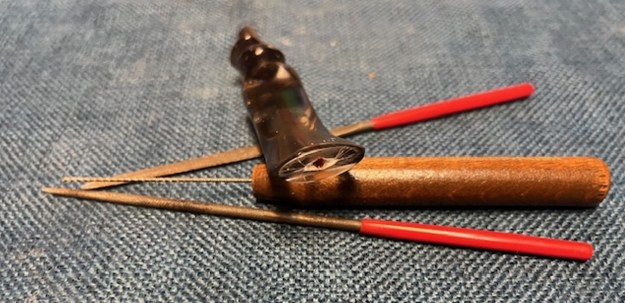
 Next step, of course, was removing all the cake from inside the bowls. I took out my PipNet reamer and my KleenReem and went to work. There was plenty of filth inside and it took a little while to get it all out of four bowls. I followed that up by sanding the insides with a piece of 220-grit sandpaper on a wooden dowel. I also gently scaped down the bowl rims in order to remove any lava there. Working through these pipes reminded me that most of my cleaning techniques for these pipes came from Steve and his brother, Jeff. They personify the standard for which all pipe restorers should strive. Thanks again Jeff and Steve for all your help to me.
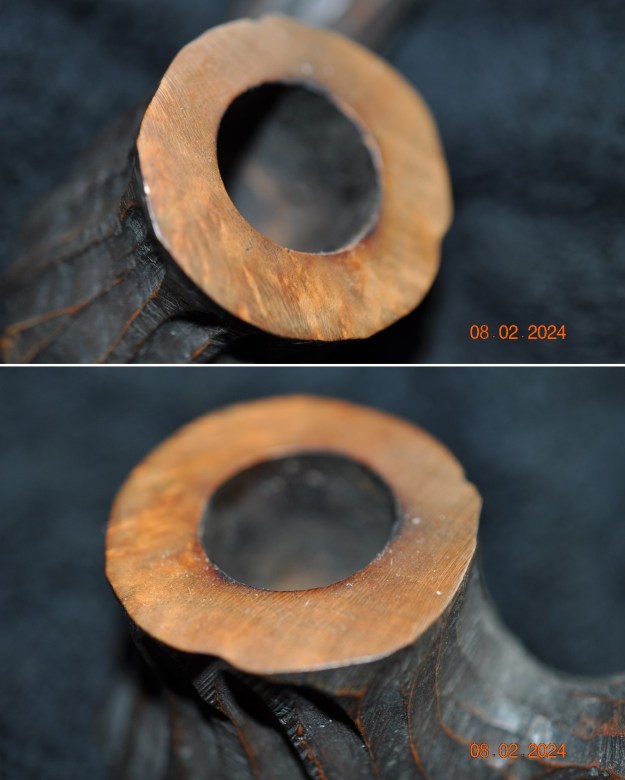
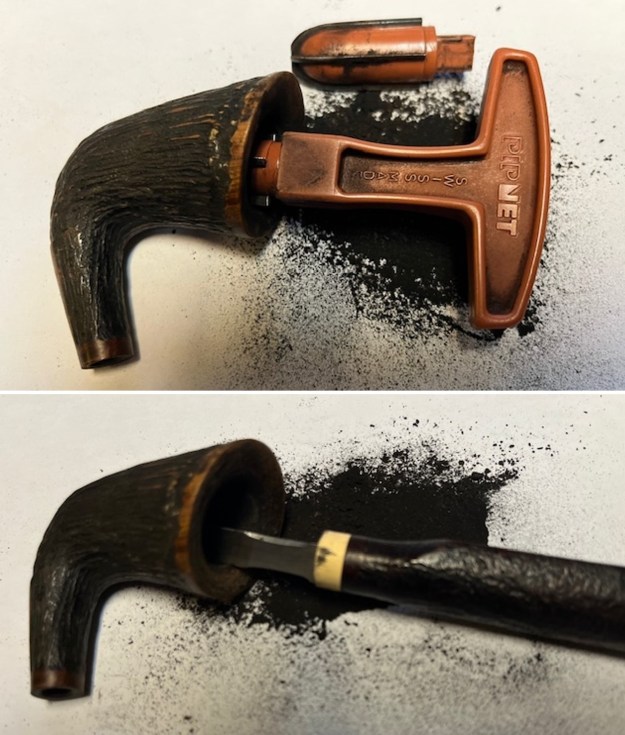
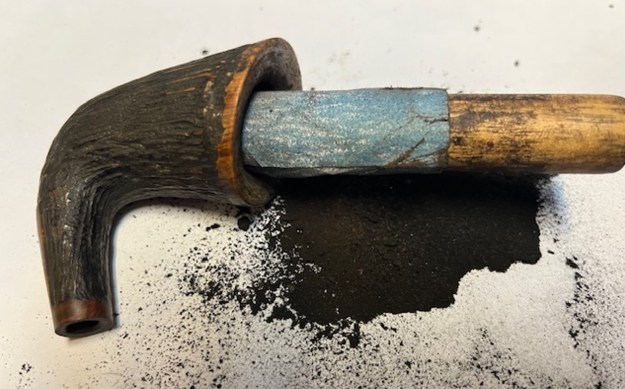
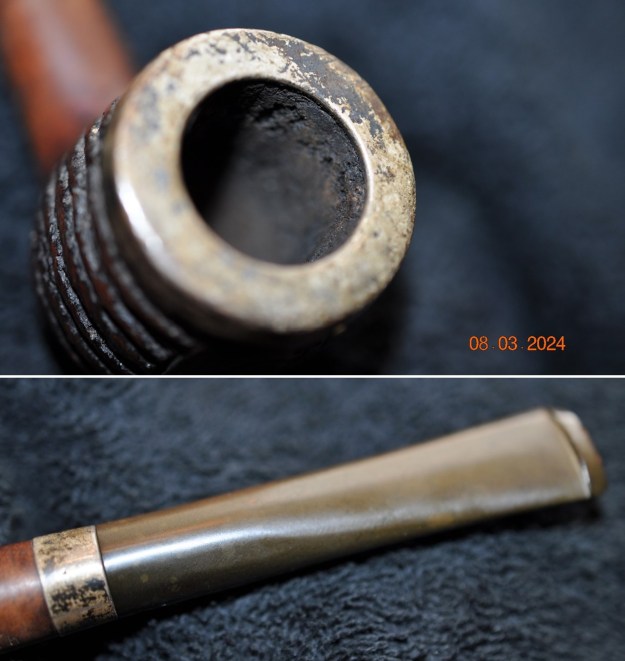
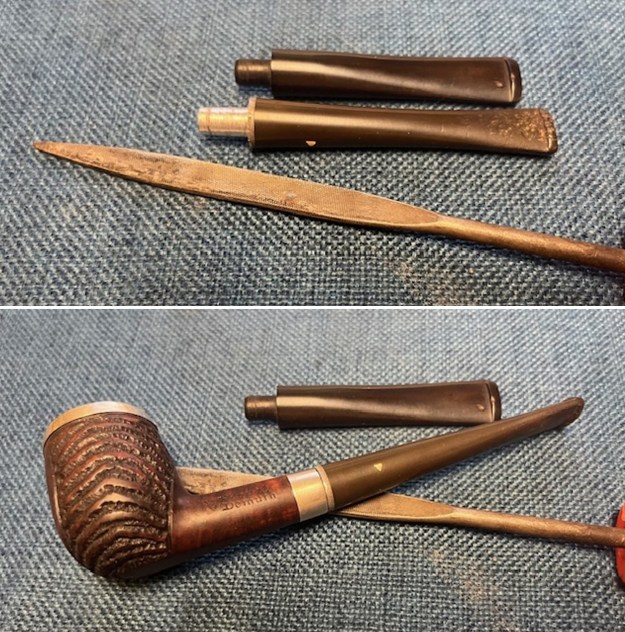
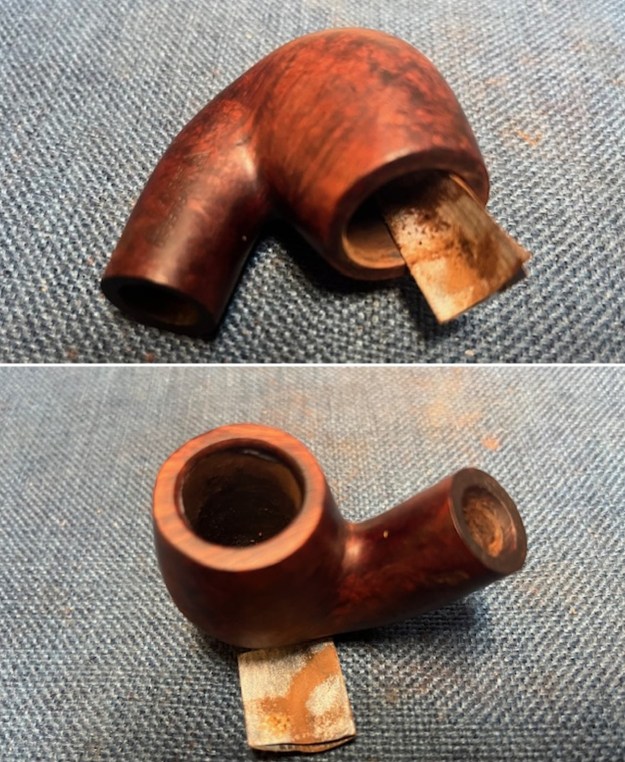
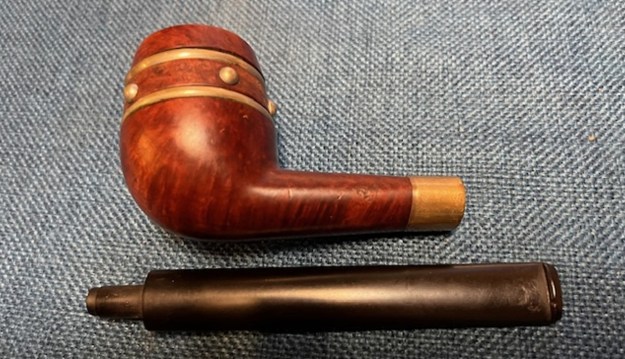
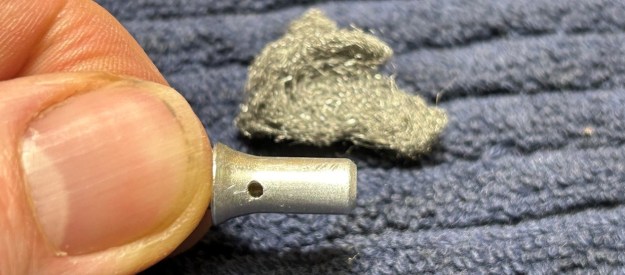
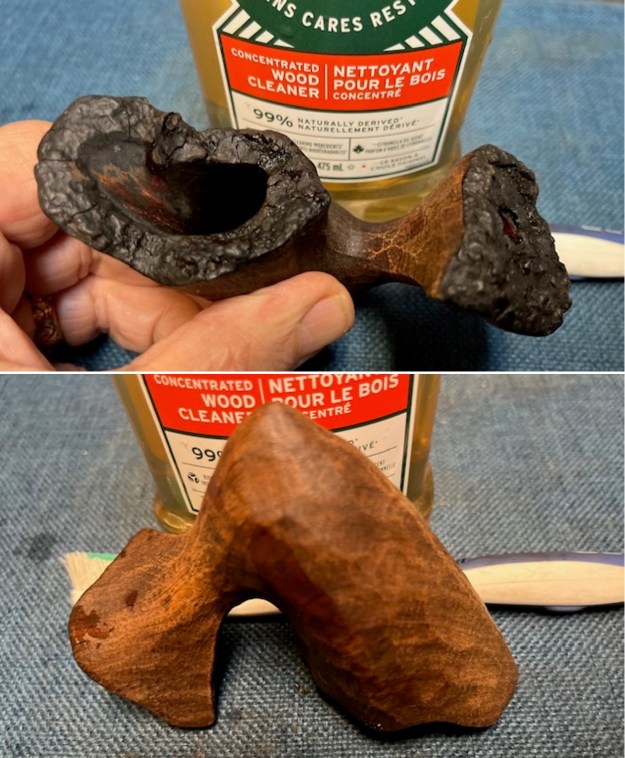
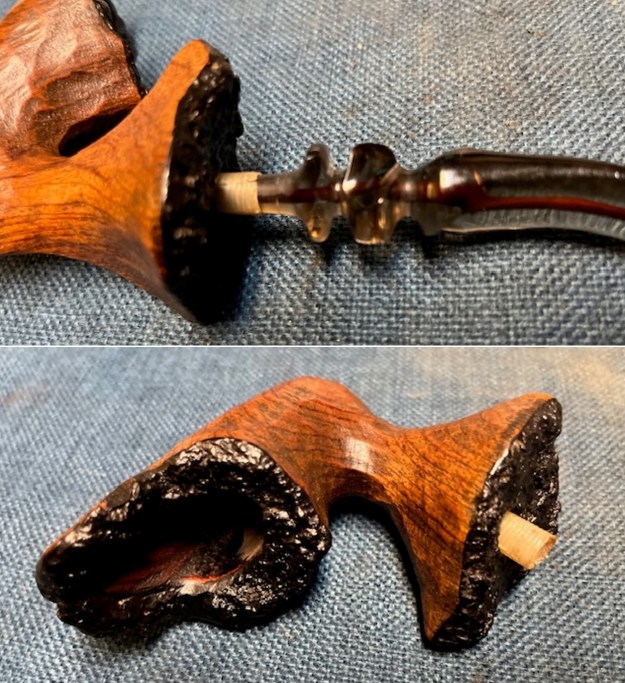
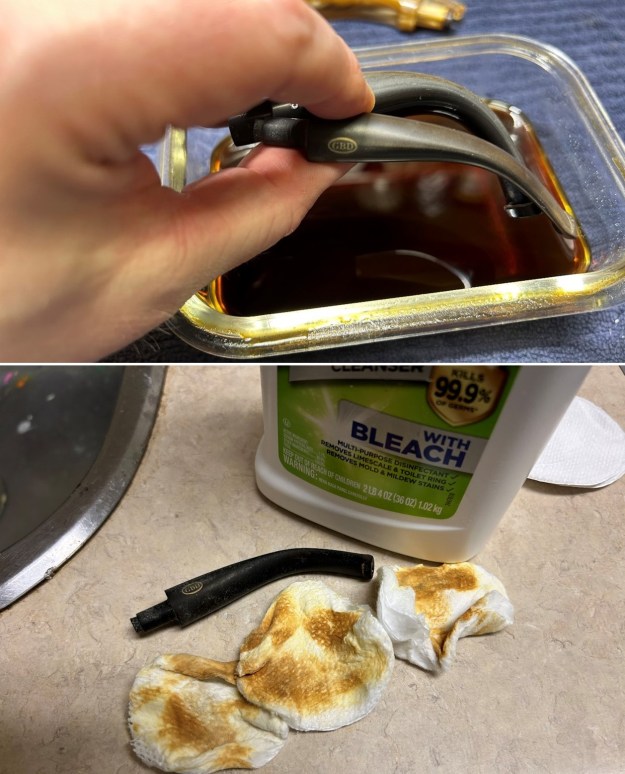
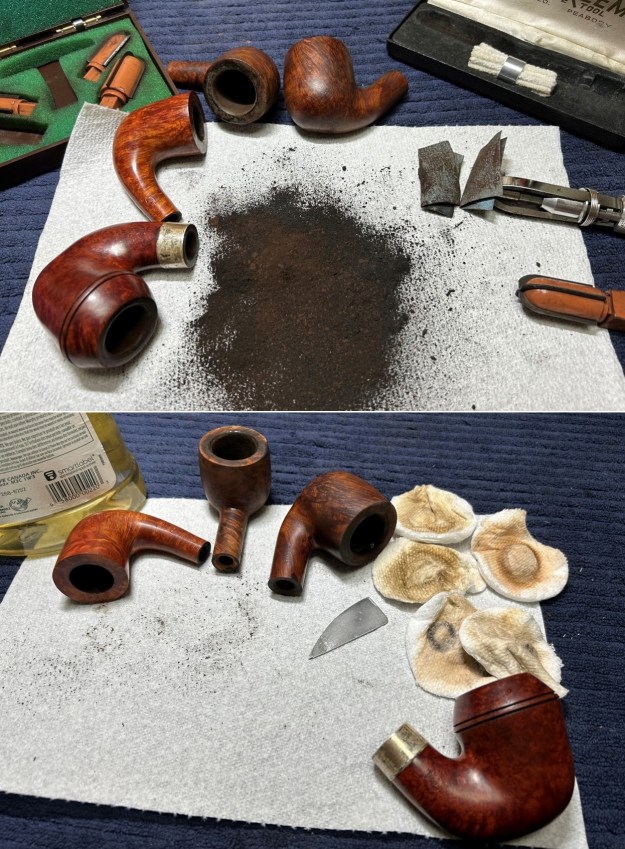 Before I moved on to cleaning the inside of the stummels, I decided that it made sense, at this point, to take apart the broken shank. This would make it easier to clean. I used my heat gun, softened the glue, and it came apart easily. I wiped down the ends with acetone to ensure that no glue remained.
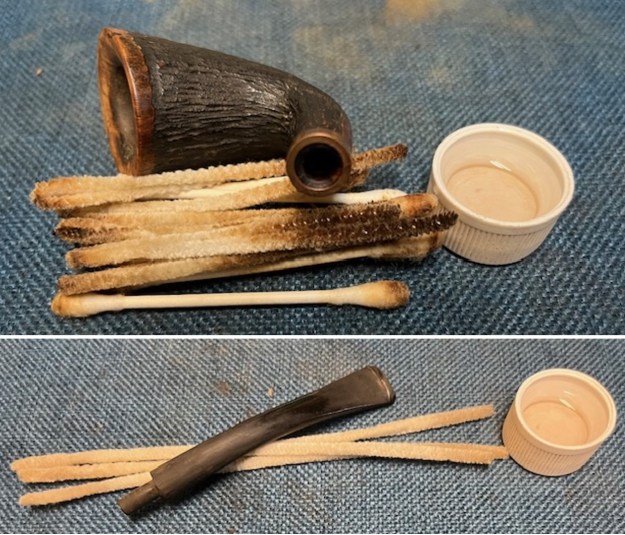
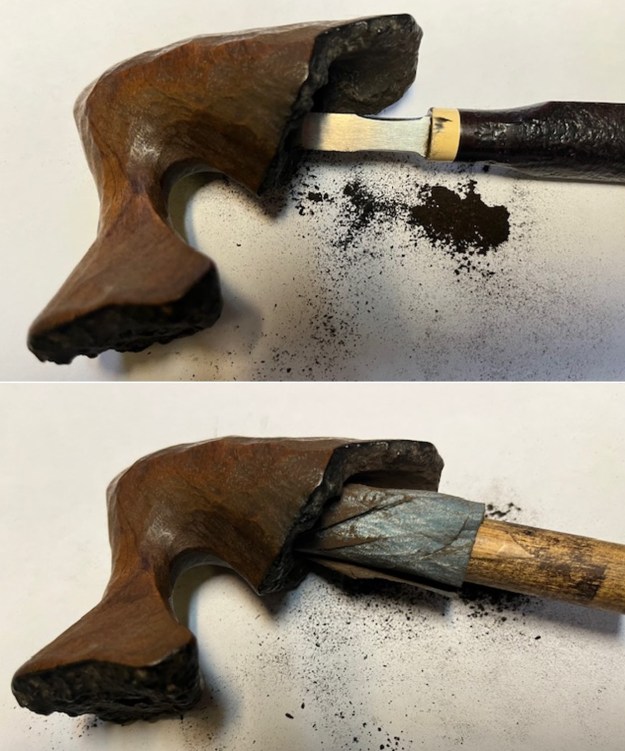
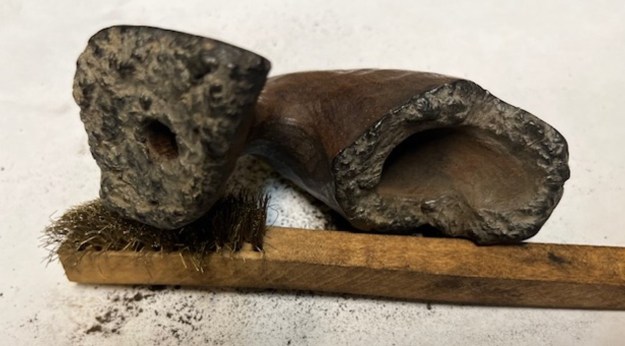
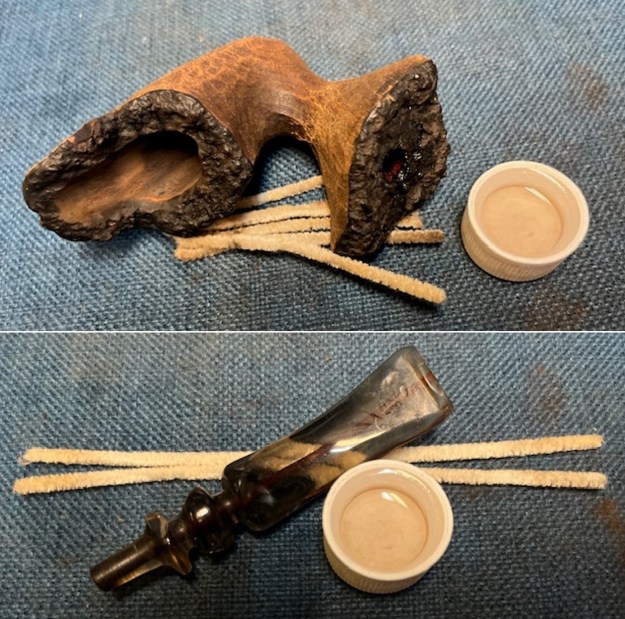
 Now, it was time to clean the insides. As usual, I used a truck load of pipe cleaners, cotton swabs, and isopropyl alcohol to get everything spick and span.
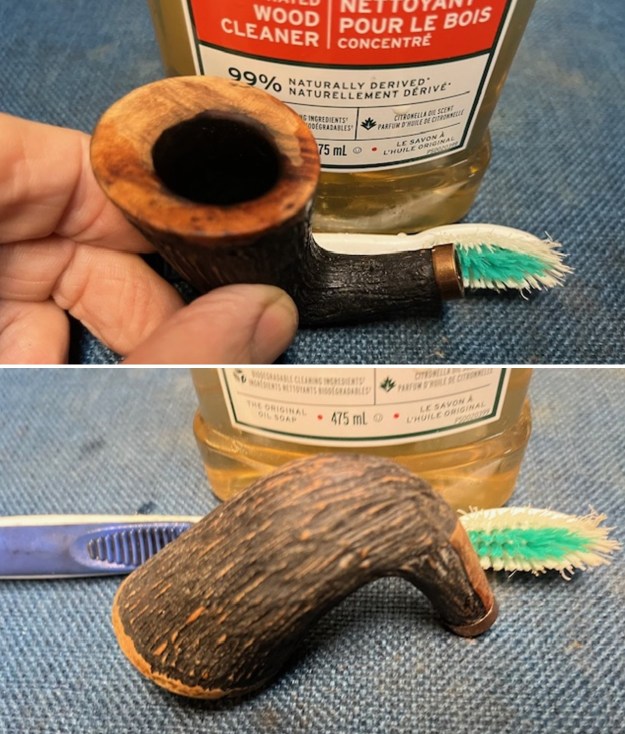
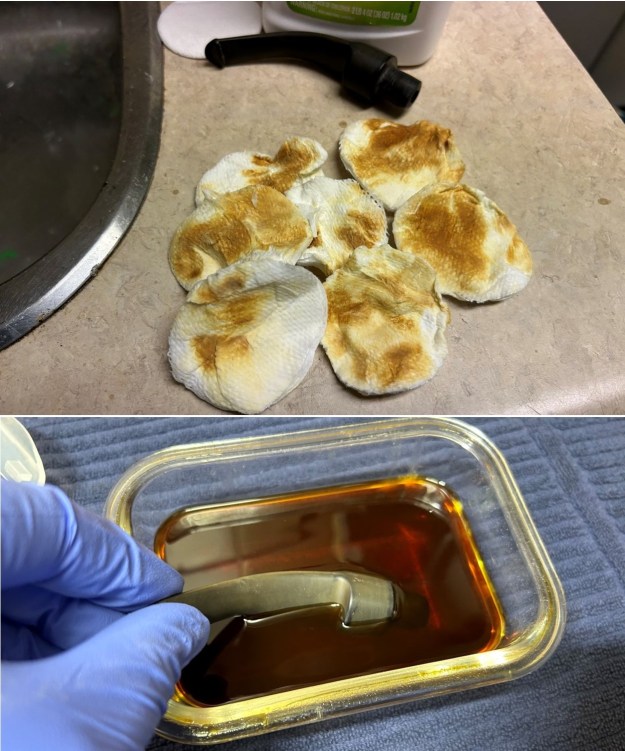
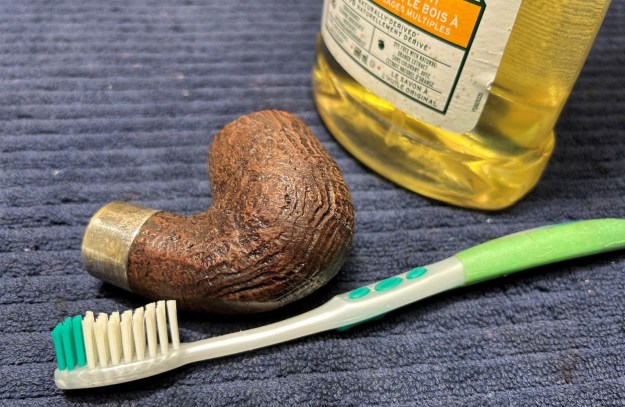
 Following that, I set all four stummels up for a de-ghosting session. The bowls were stuffed with cotton balls and then socked with alcohol. This works to draw out any remaining filth. It really makes things look and smell better. When that was done, I used some soap and tube brushes and scoured the insides. They looked fabulous. I also cleaned the outsides with some oil soap on some cotton rounds.
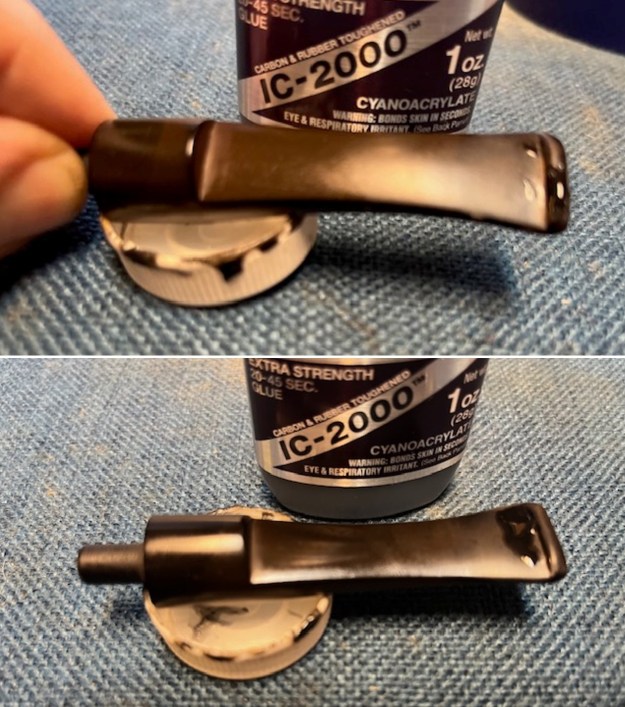
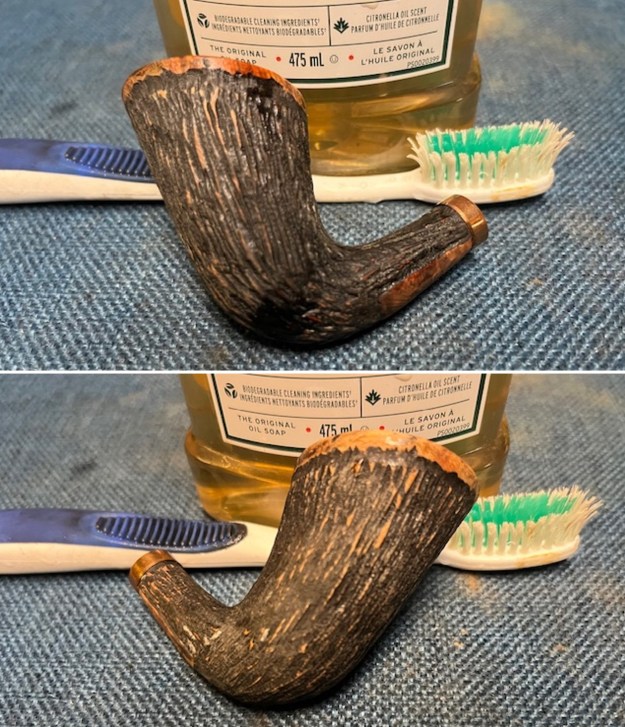
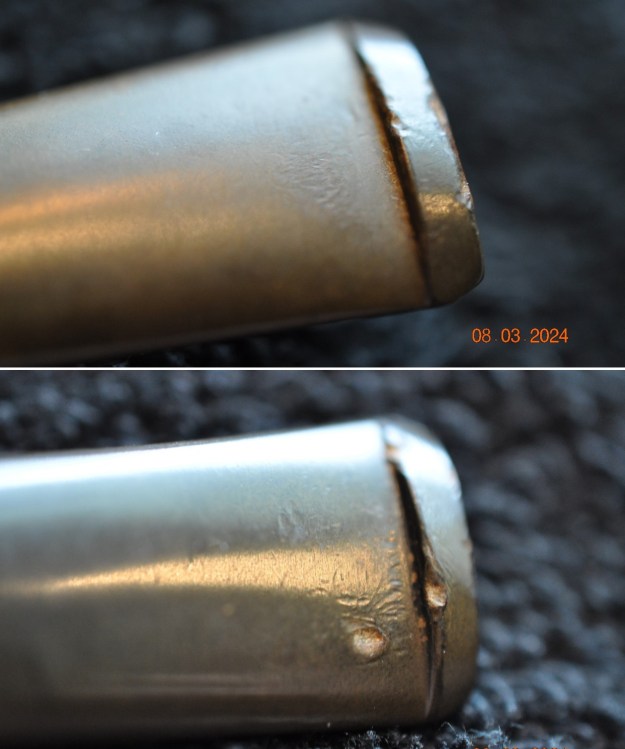
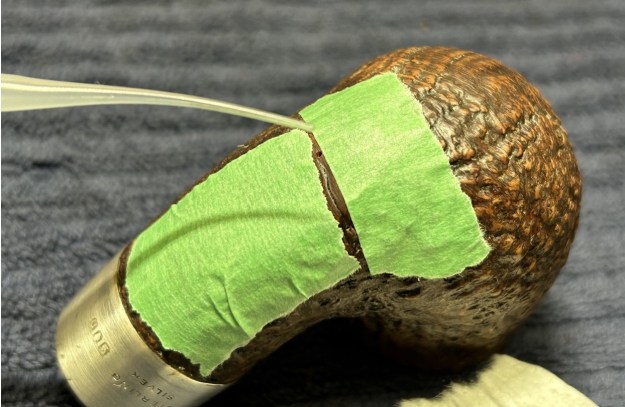
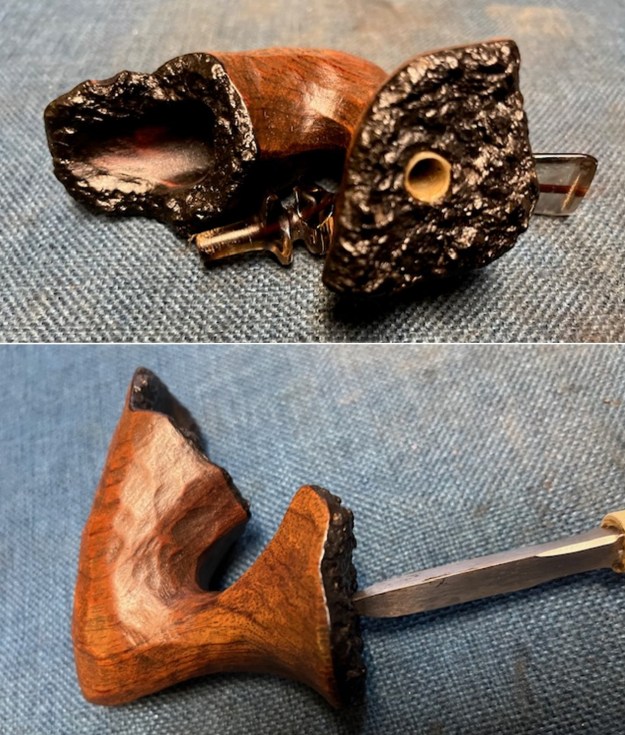
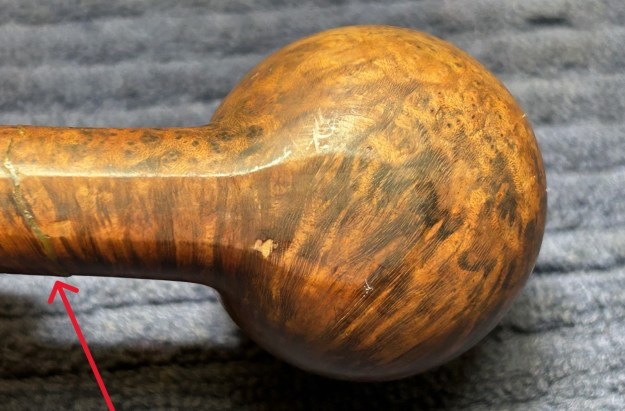
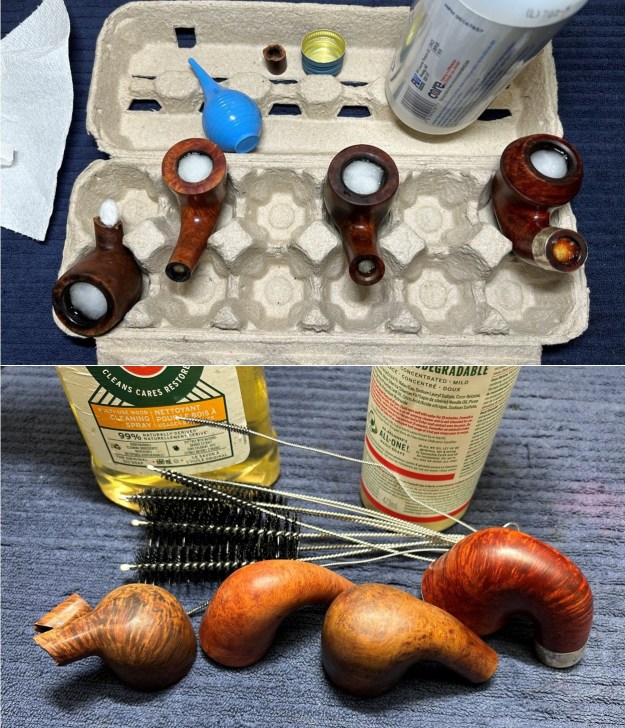 Next, I needed to repair the broken shank on the Comoy and the gouges in the Savinelli. The location of the break on the shank was awkward and wouldn’t allow for a strengthening tube to be installed. So, I simply had to glue it with great care. I used wood glue, as it has the best strength for what was needed. I also coated a couple of cotton swabs with petroleum jelly and shoved them down the shank to prevent any glue from dripping into the shank. I clamped the two parts together and left them overnight. I was quite pleased with the results.
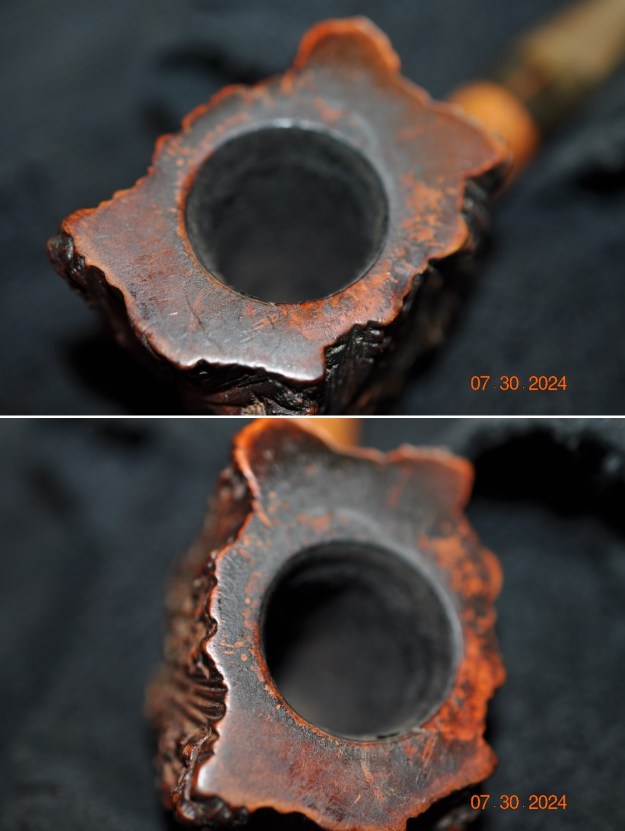
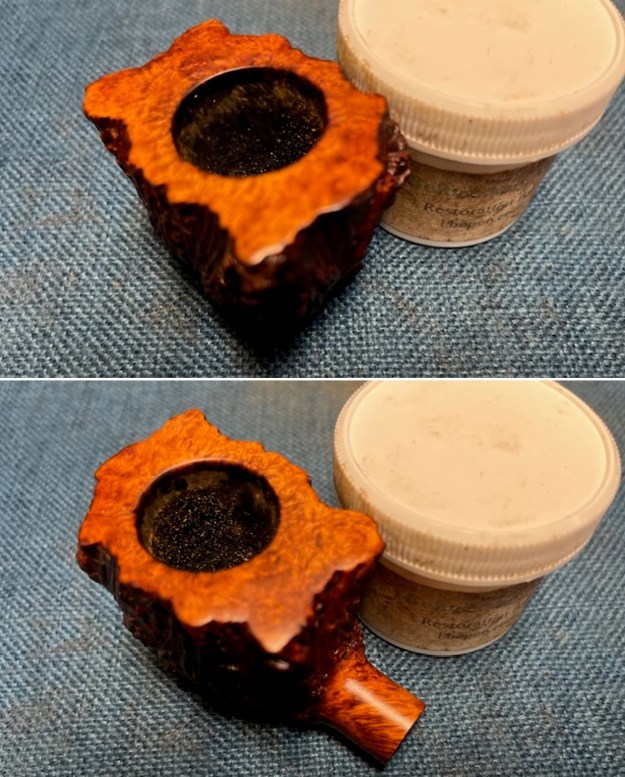
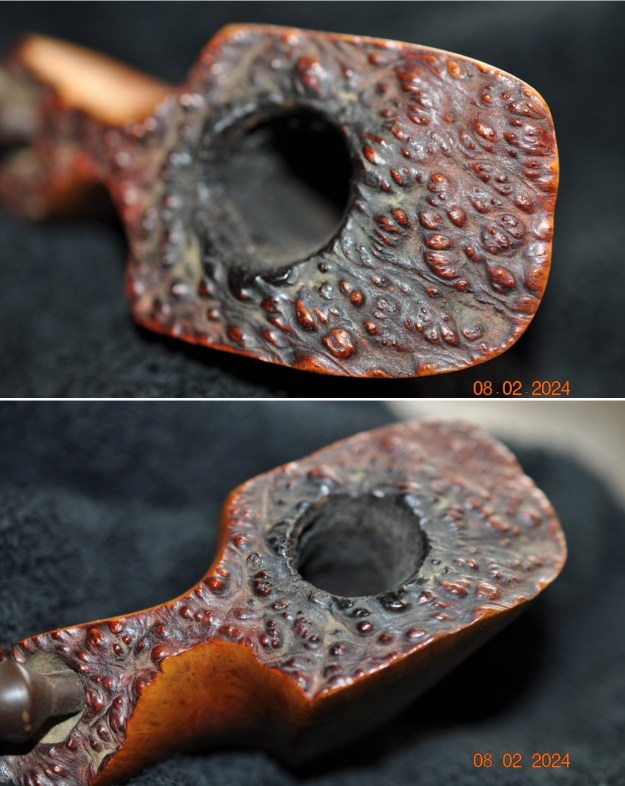
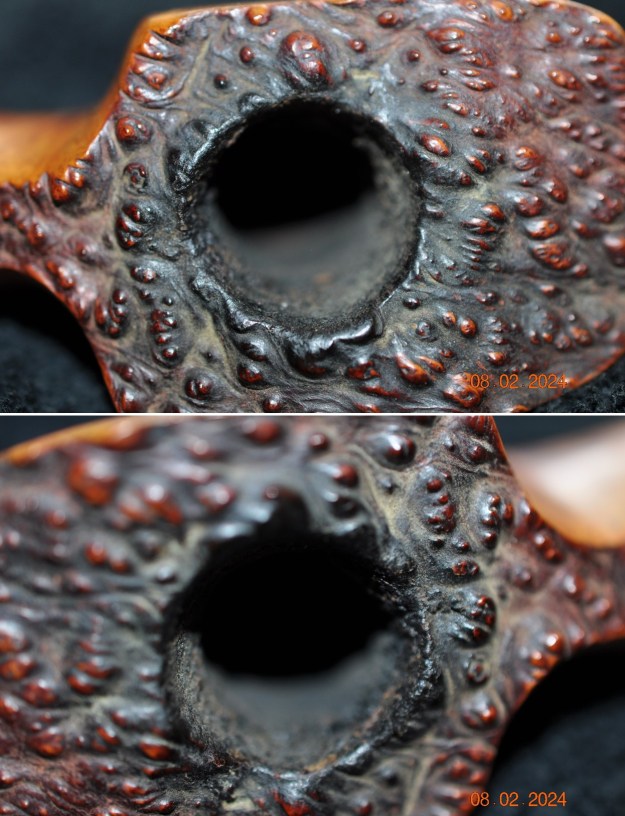
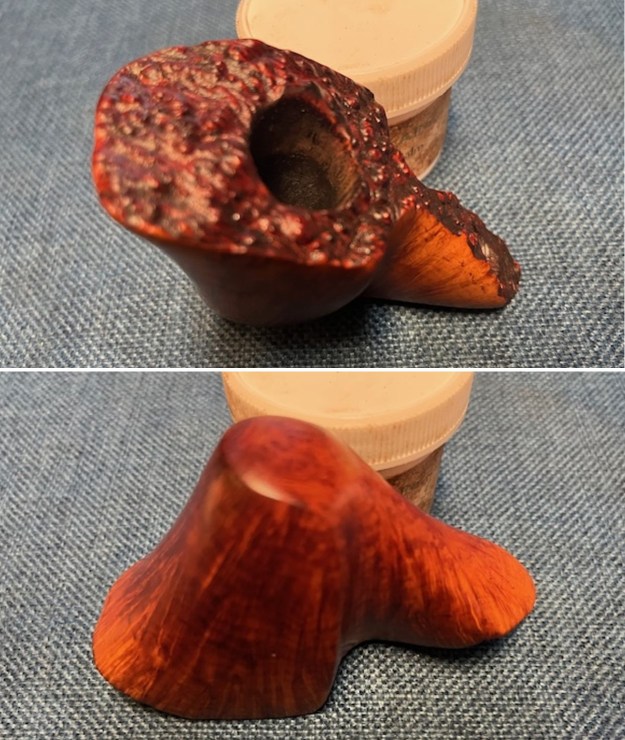
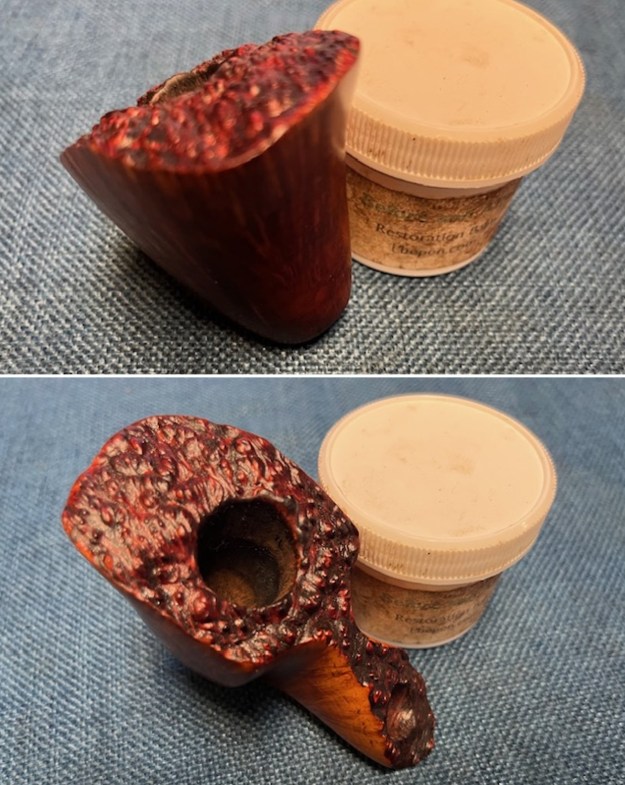
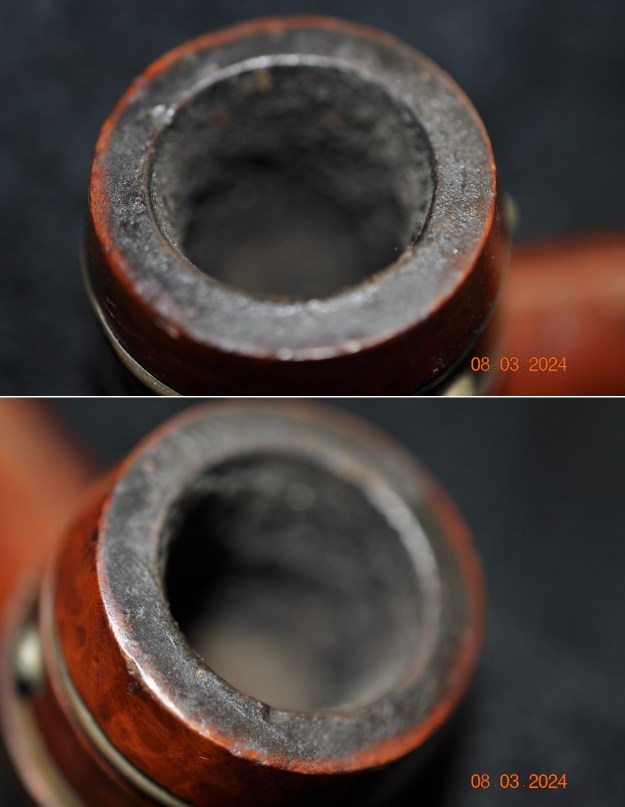
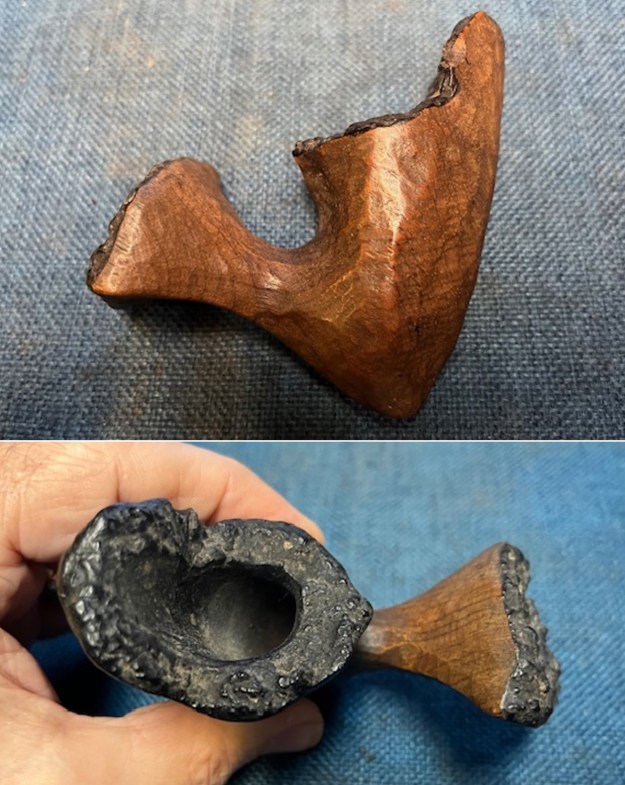
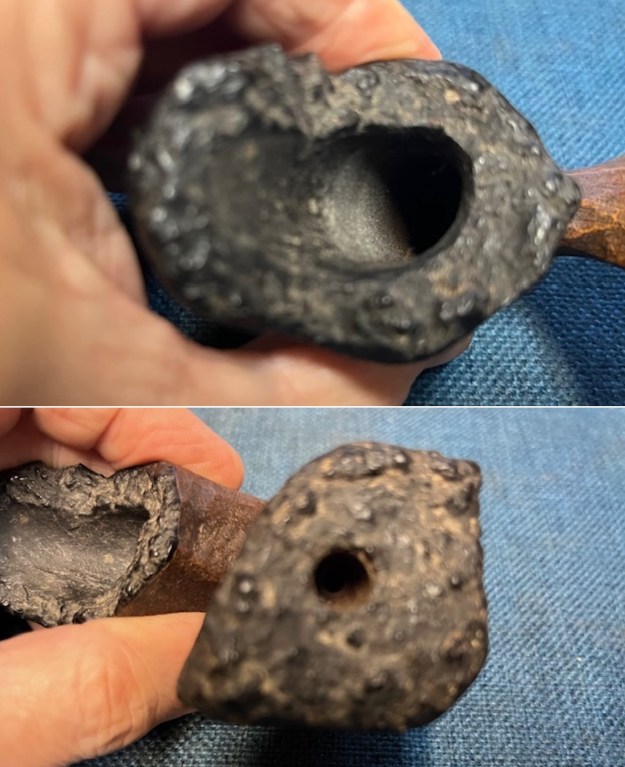
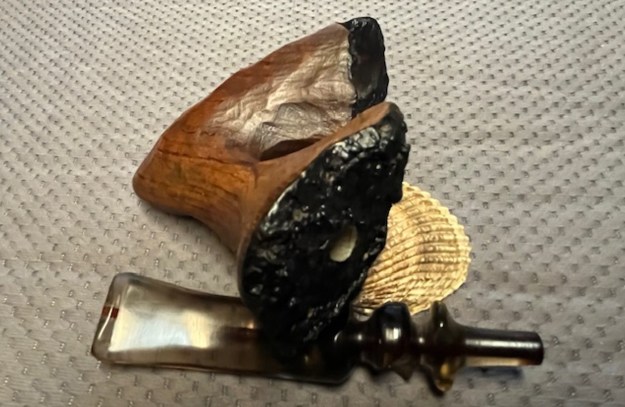
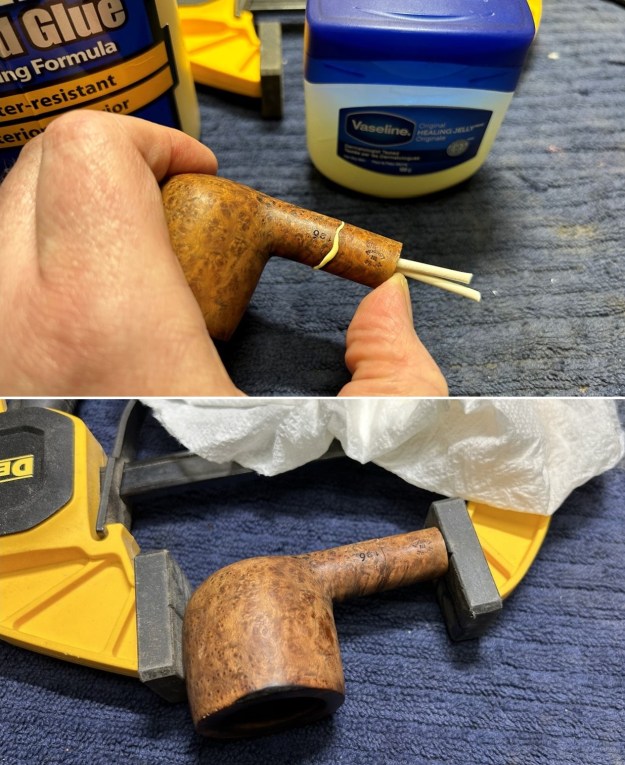 Meanwhile, I needed to mix up some heat-resistant epoxy for the Savinelli. I stuck a petroleum-jelly-coated pipe cleaner into the draught hole of the pipe and applied a thin layer of epoxy. I also let this cure overnight. I then sanded down the excess and made the bowl a new coating – a mixture of yoghurt and activated charcoal. This also sat for some hours to try and it makes a wonderful coating for a new cake to build on.
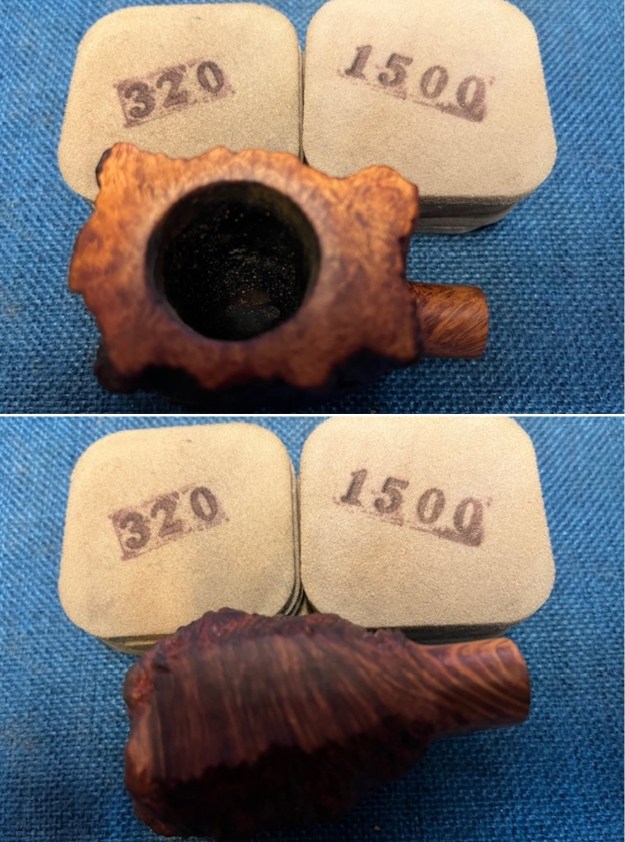
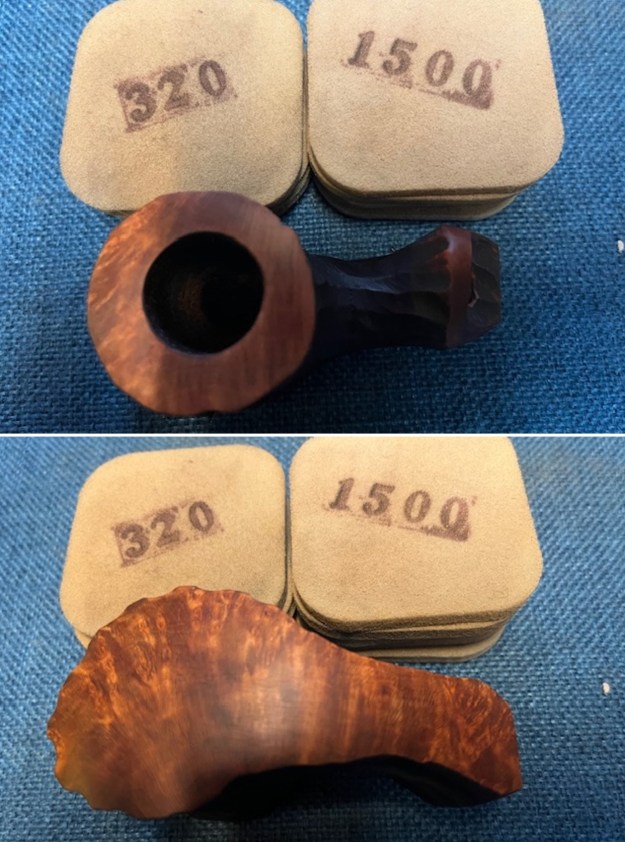
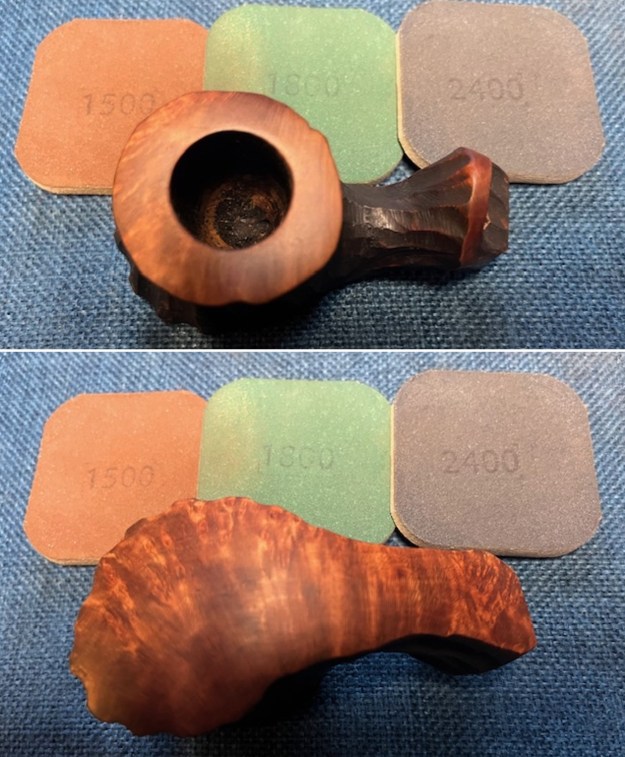
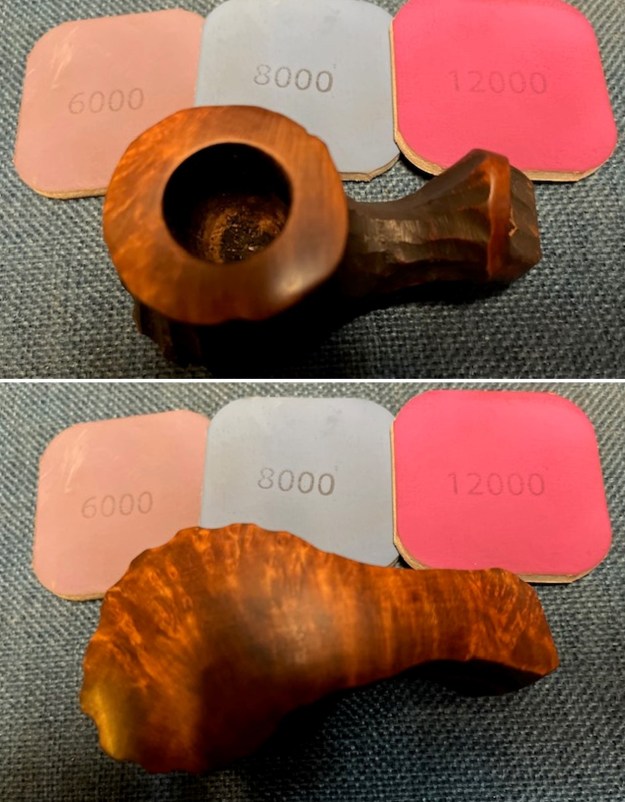
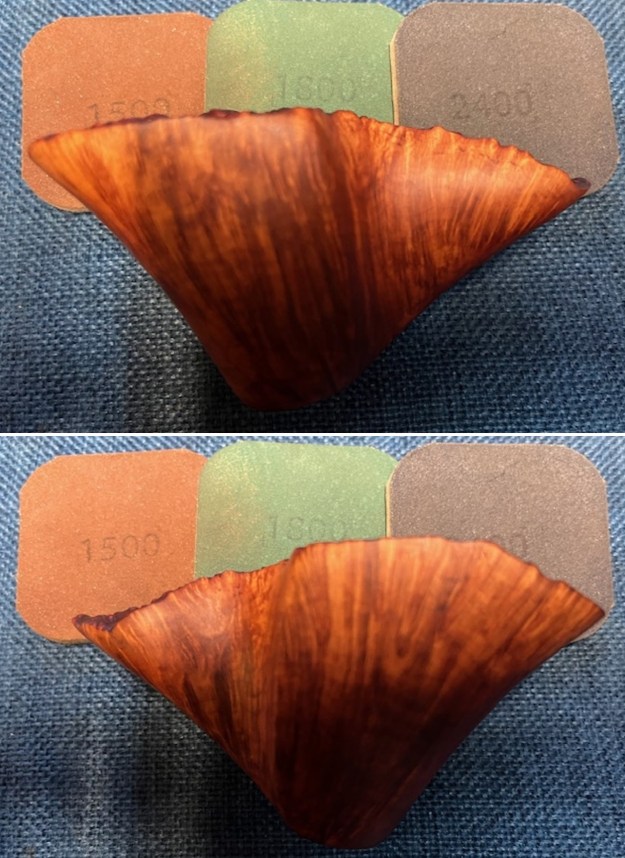
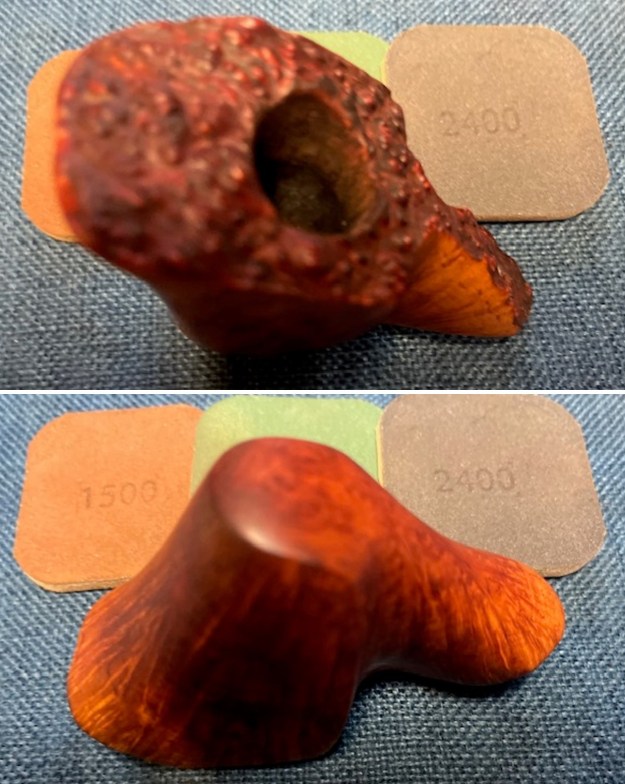
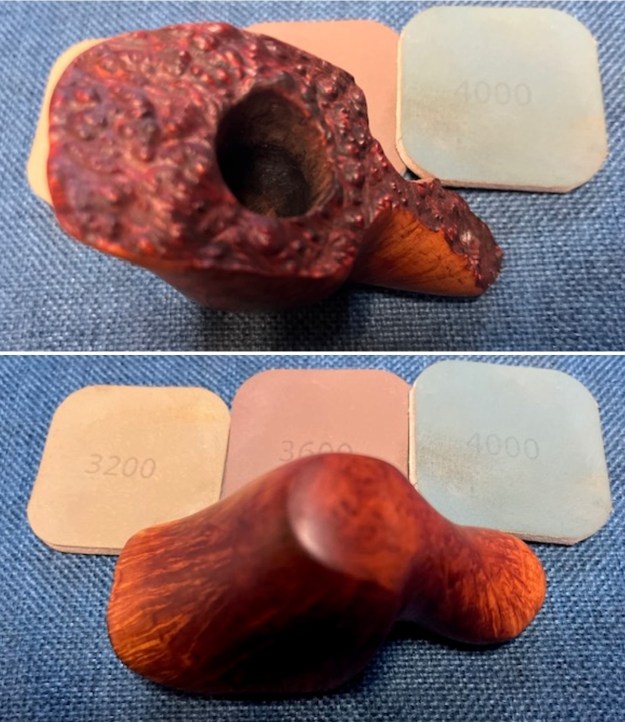
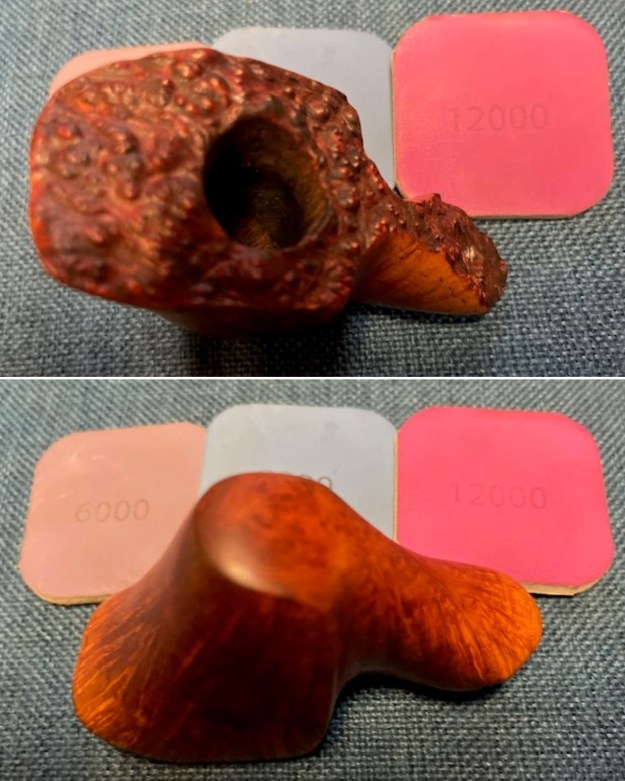
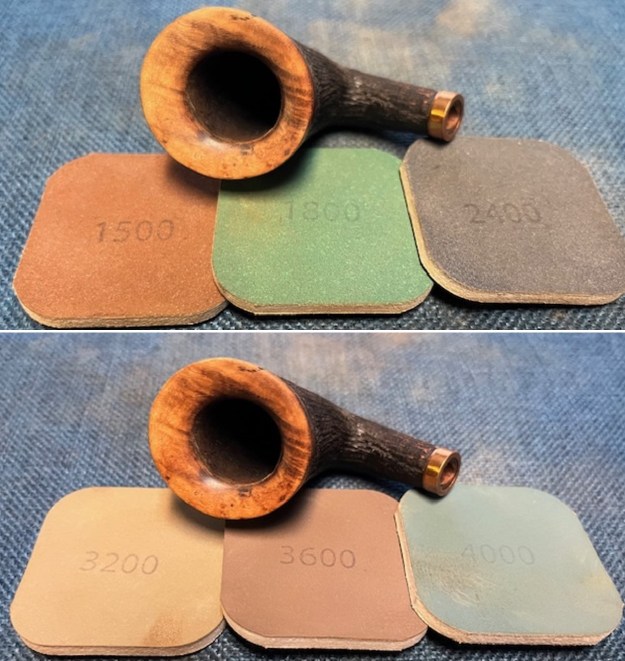
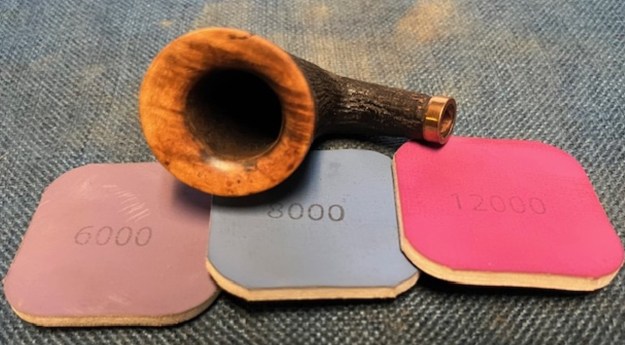
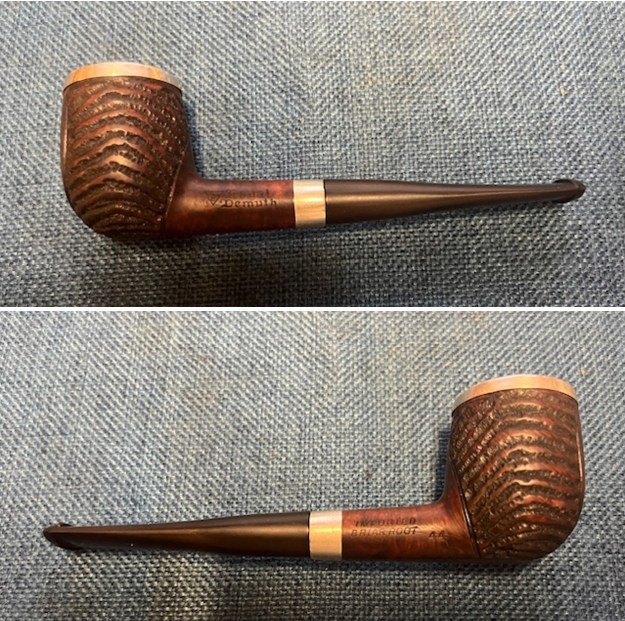
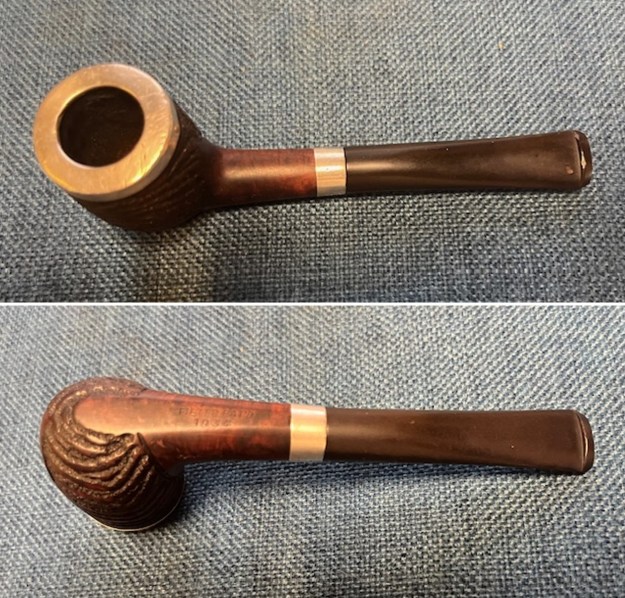
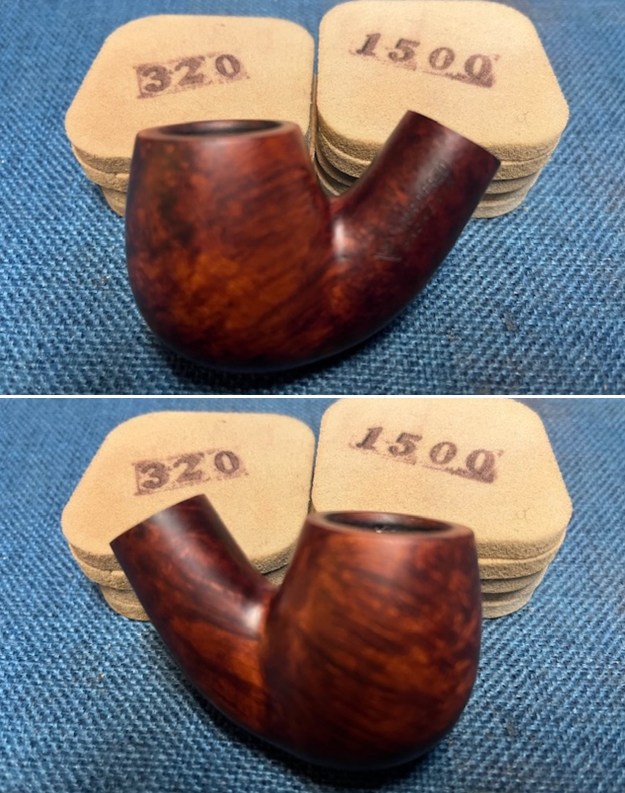
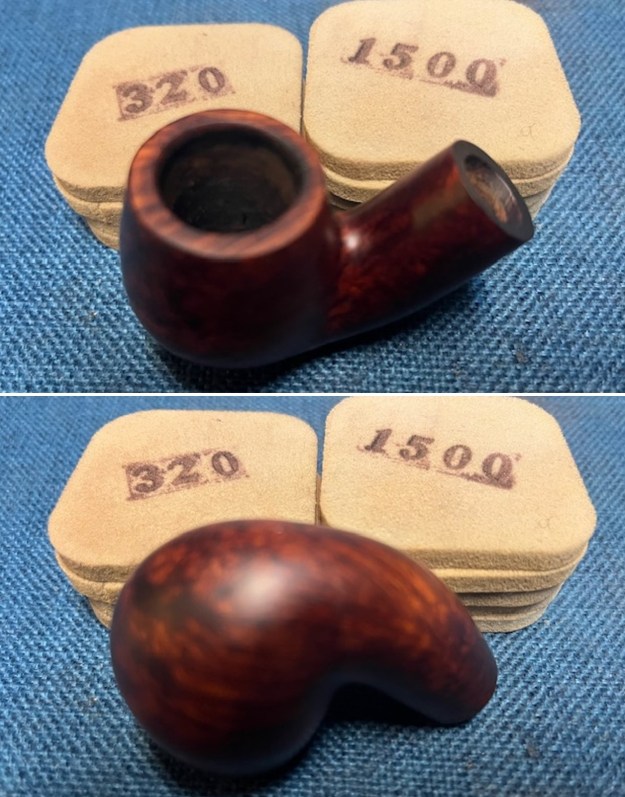
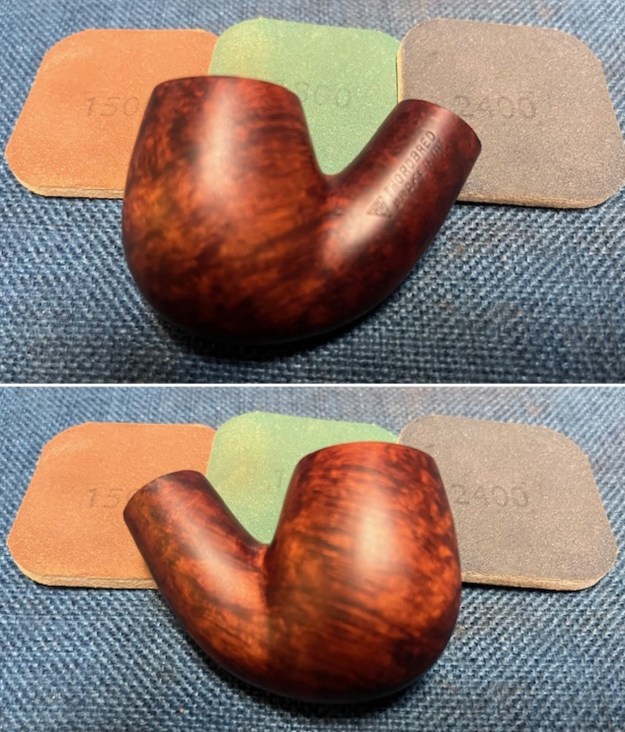
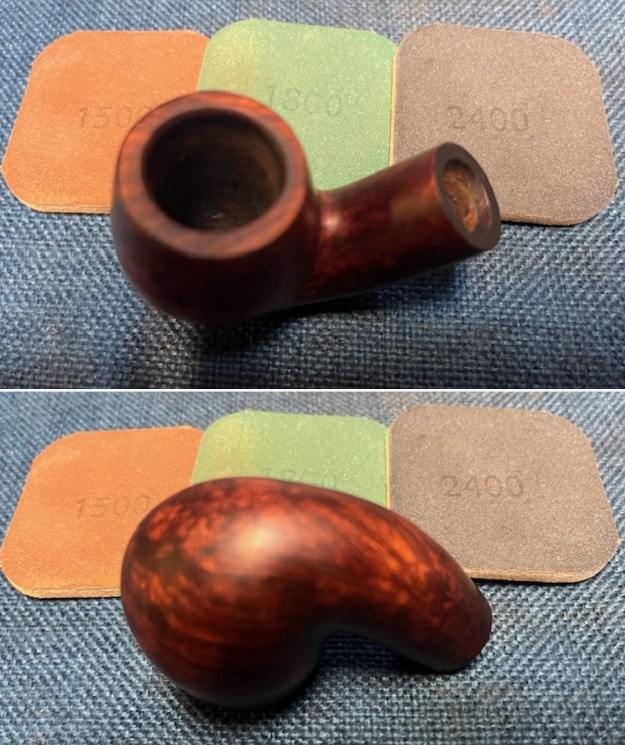
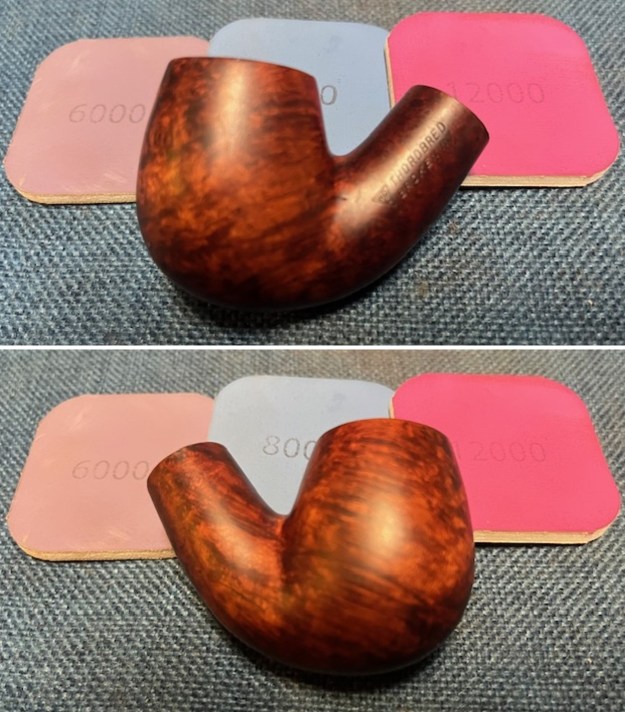
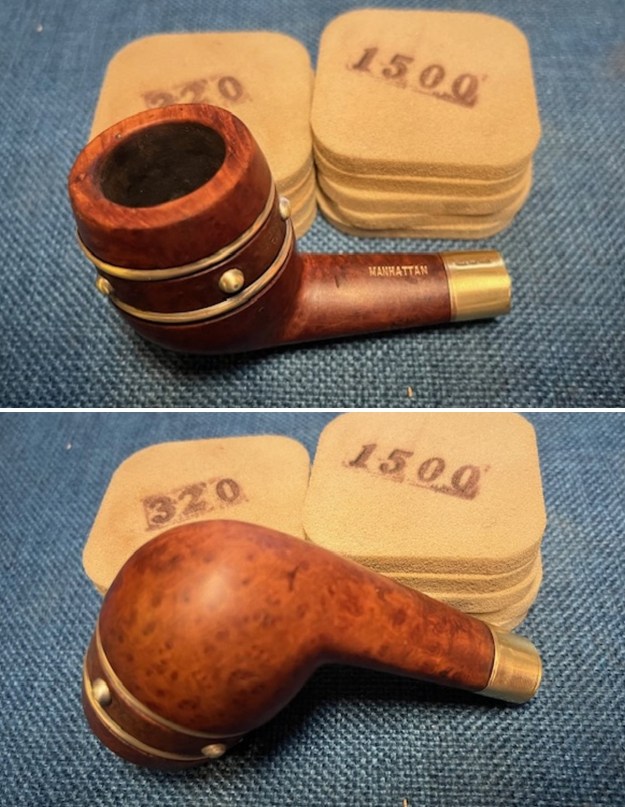
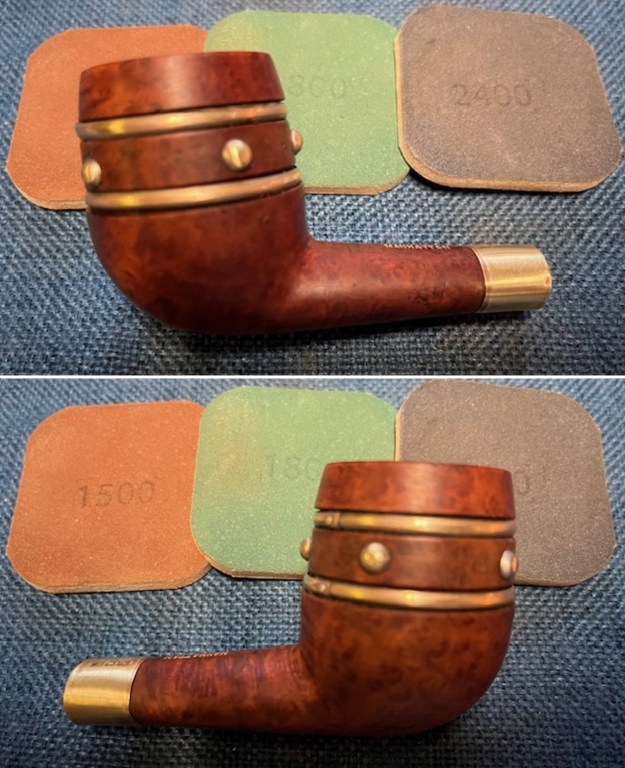
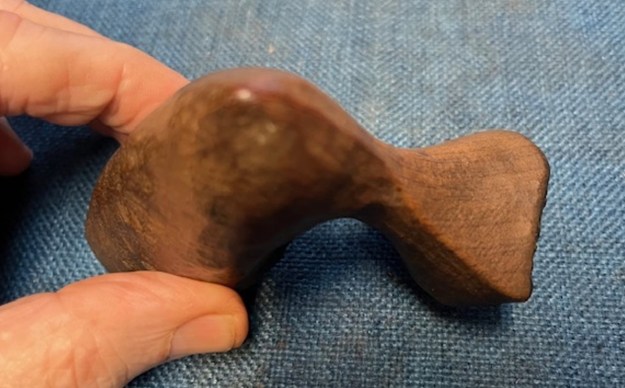
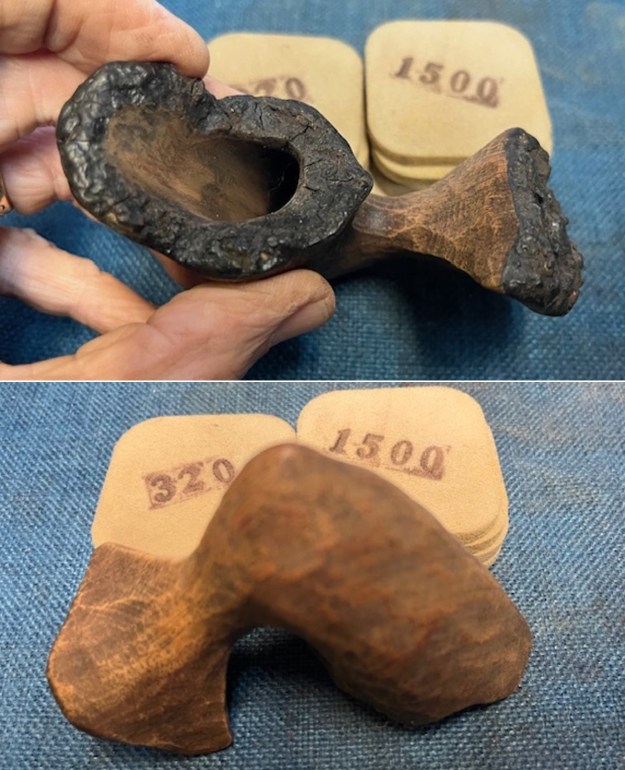
 I then moved on to sanding down the wood on all four stummels. I used all of my Micromesh pads and endured that everything was smooth and lovely.
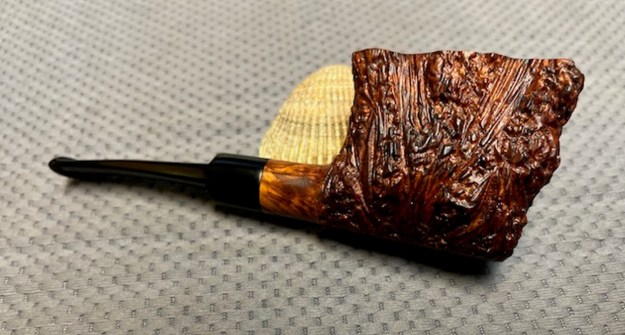
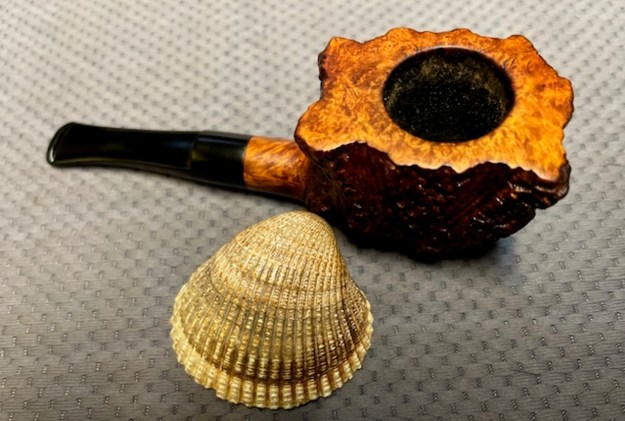
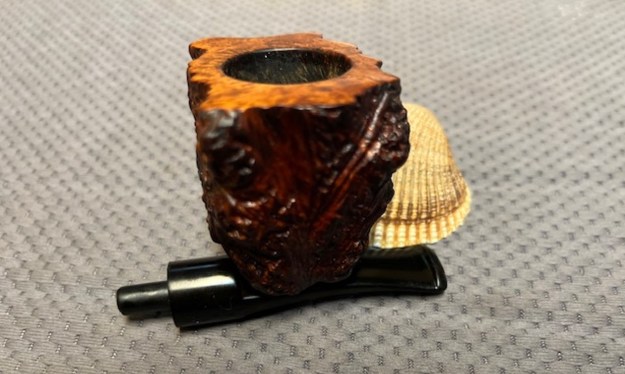
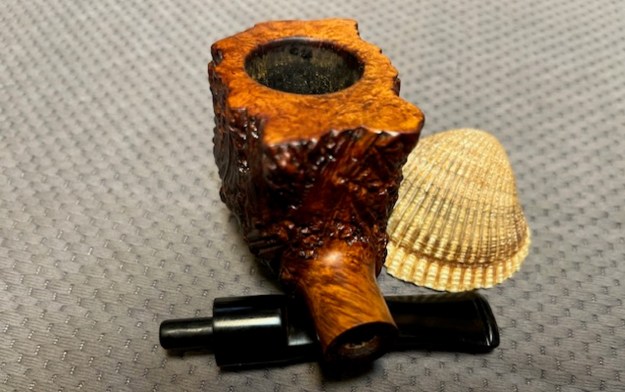
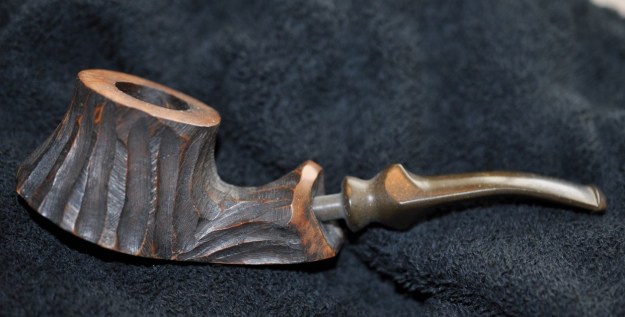
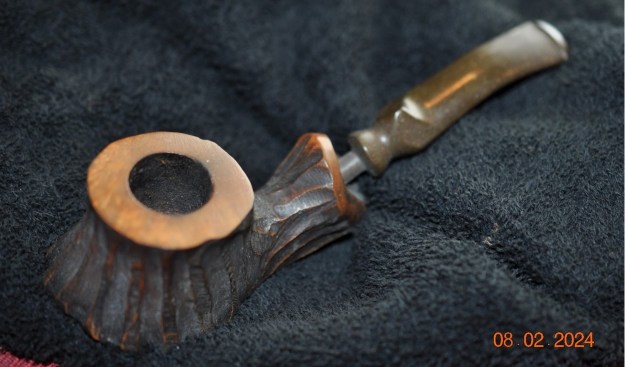
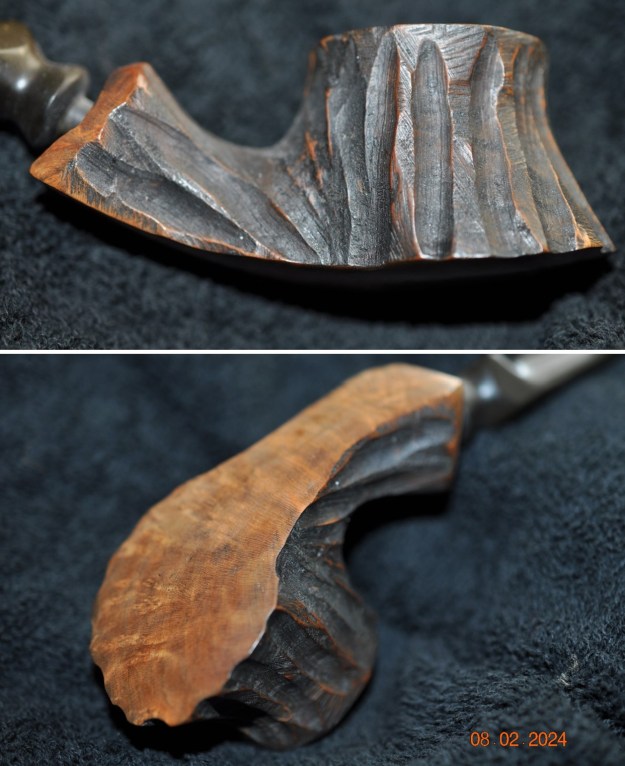
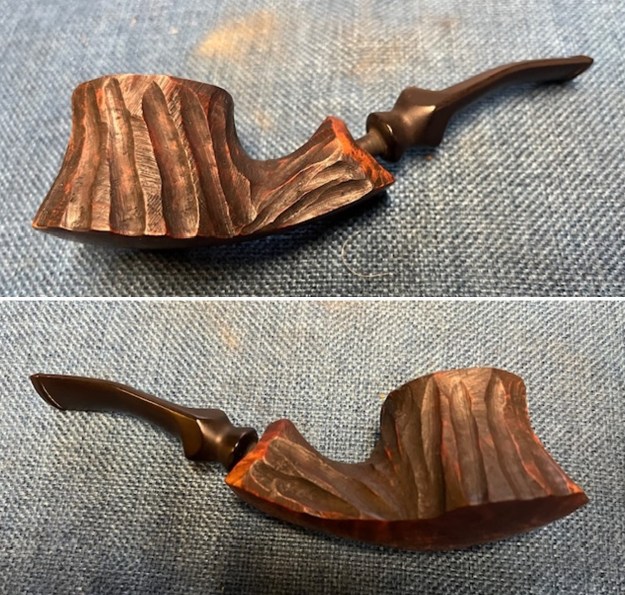
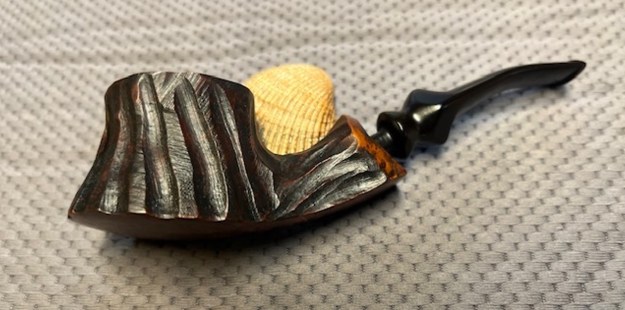
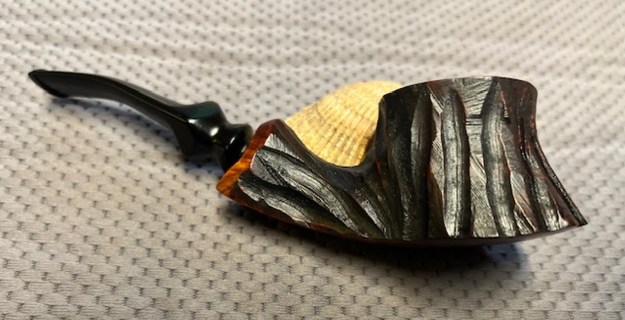
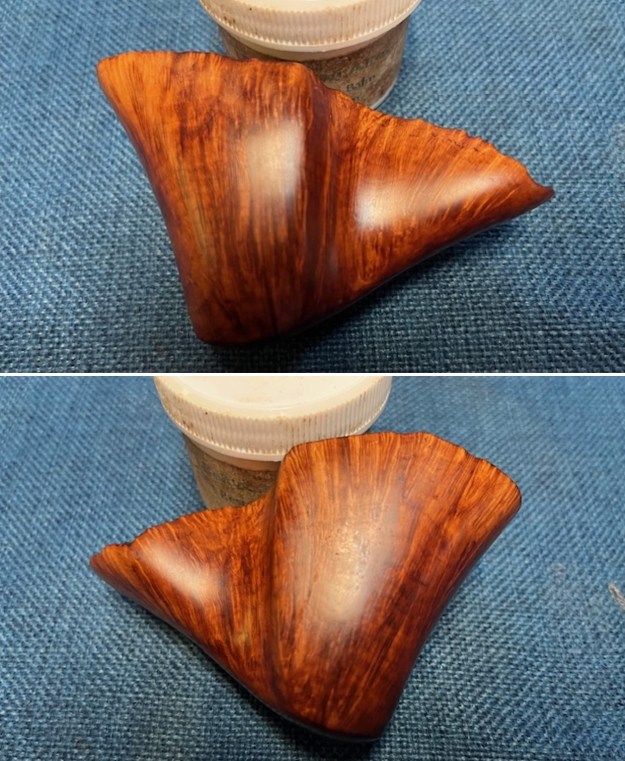
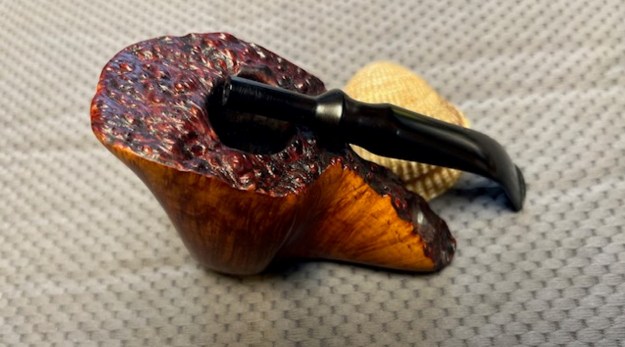
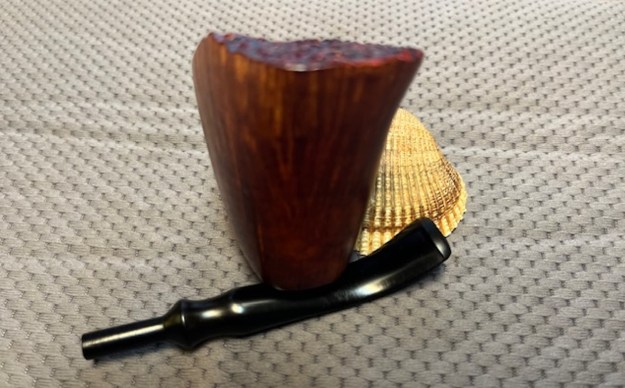
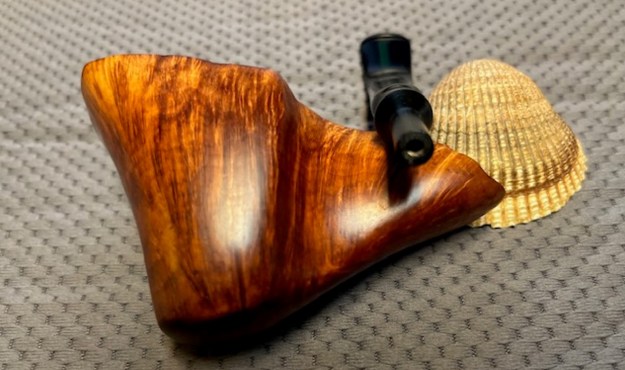
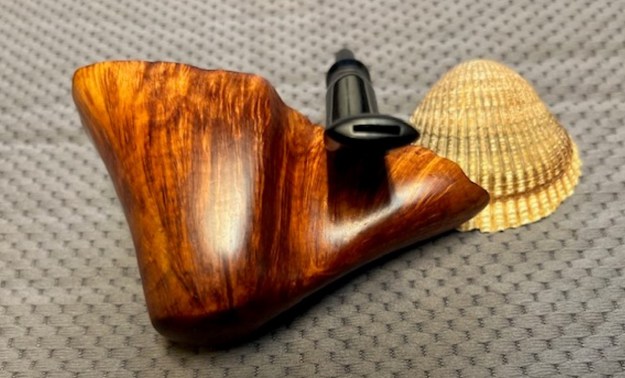
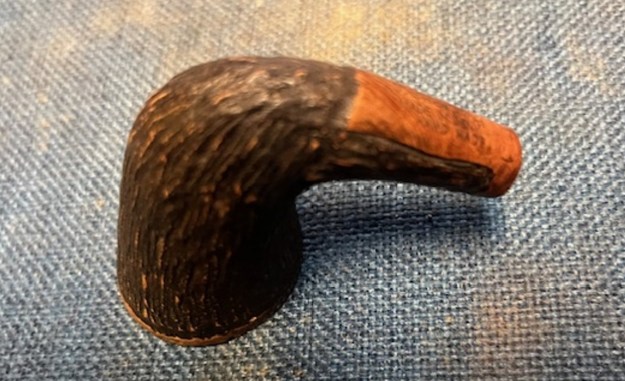
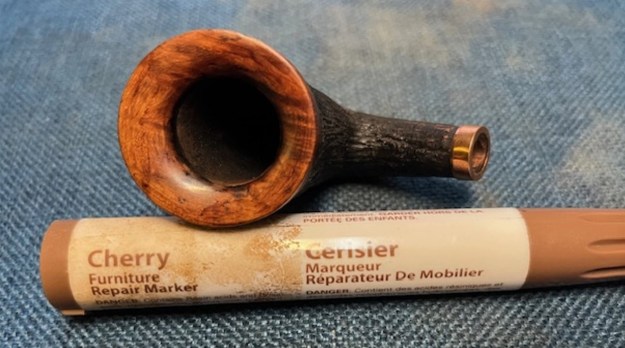
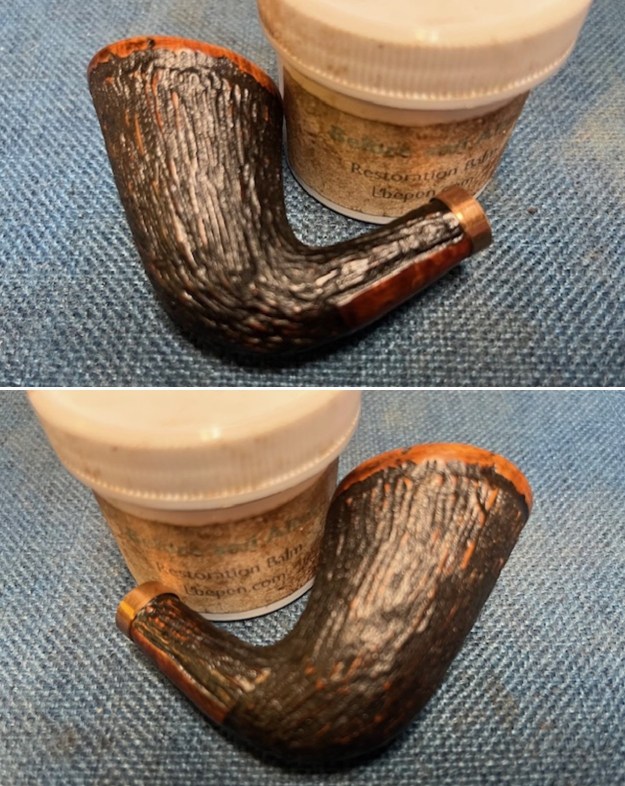
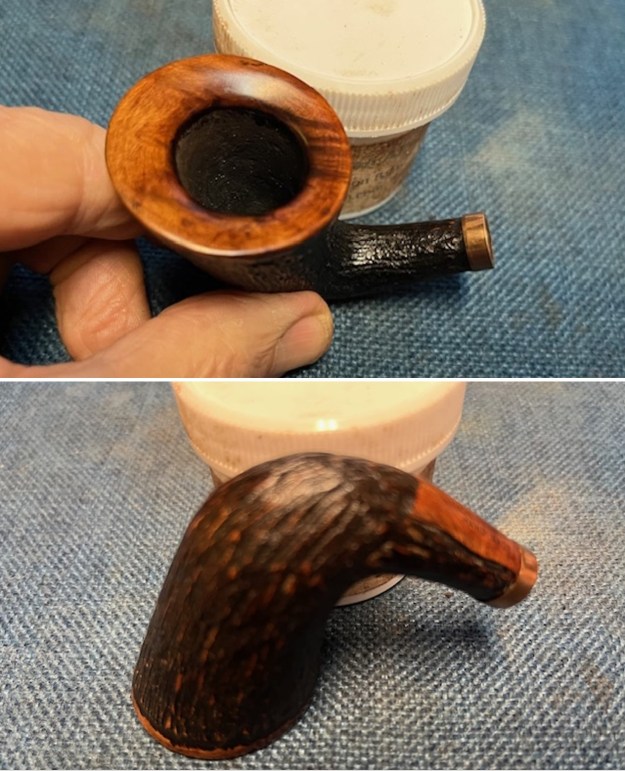
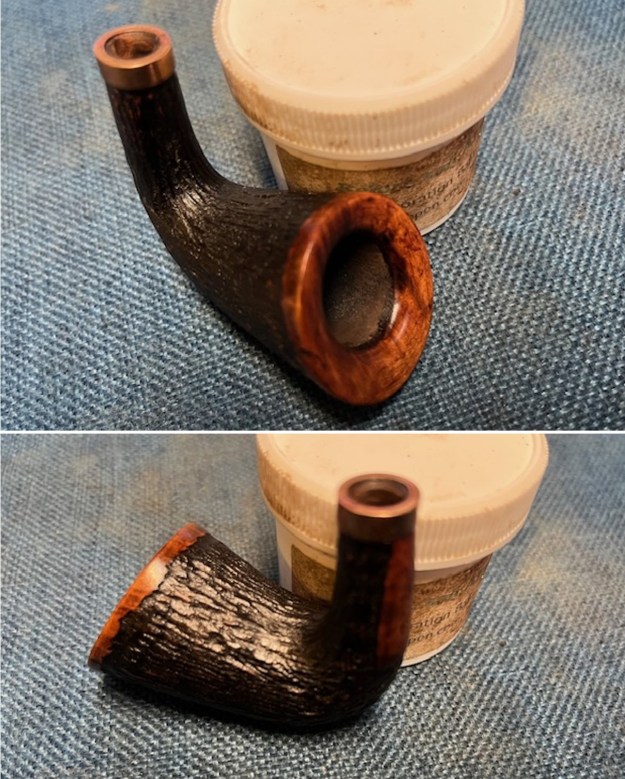
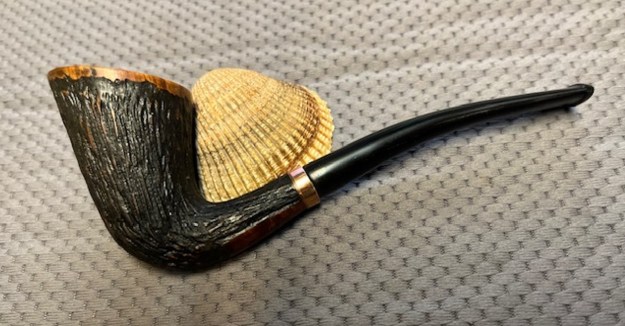
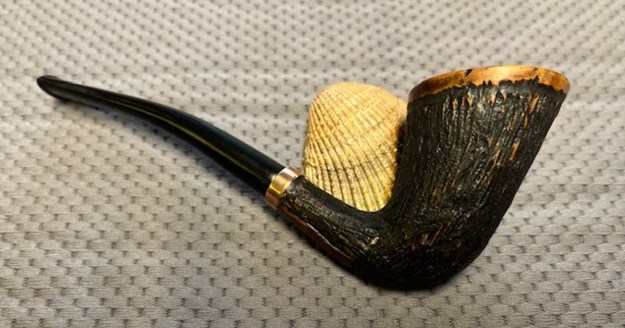
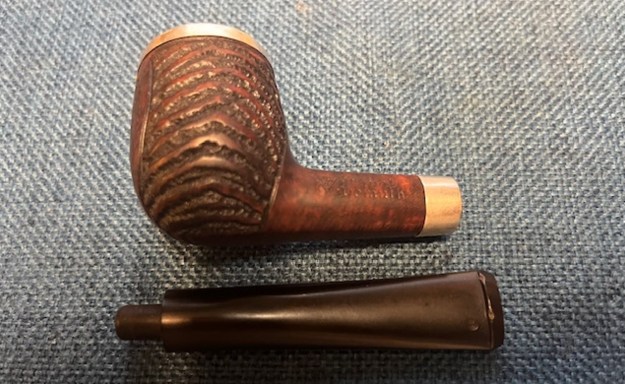
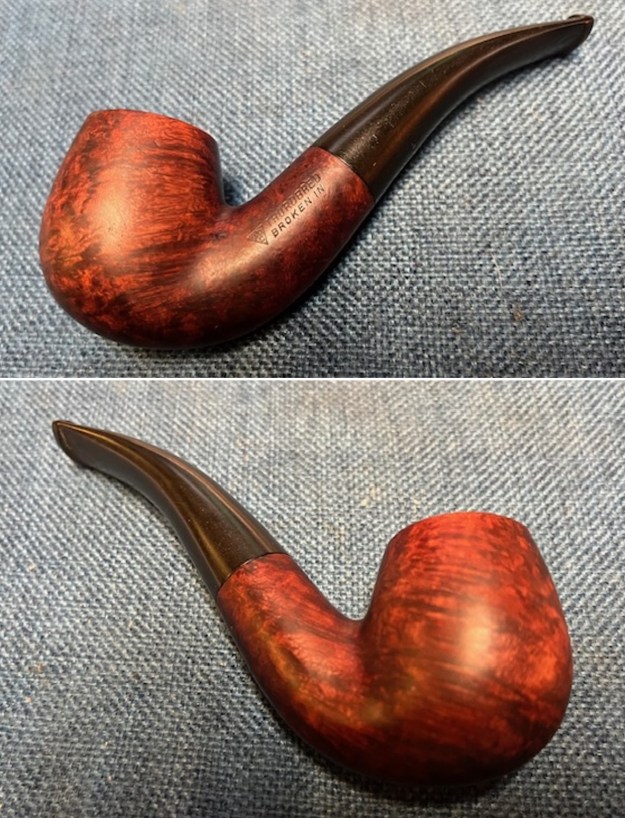
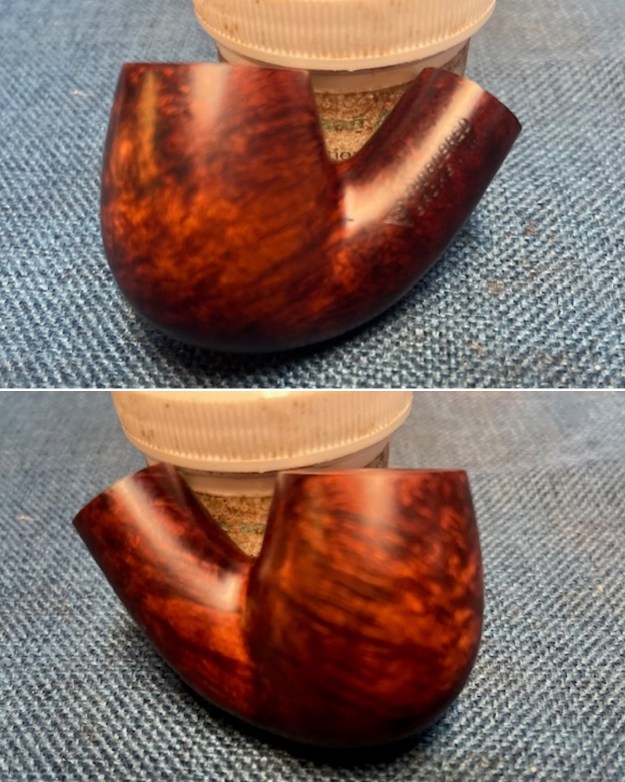
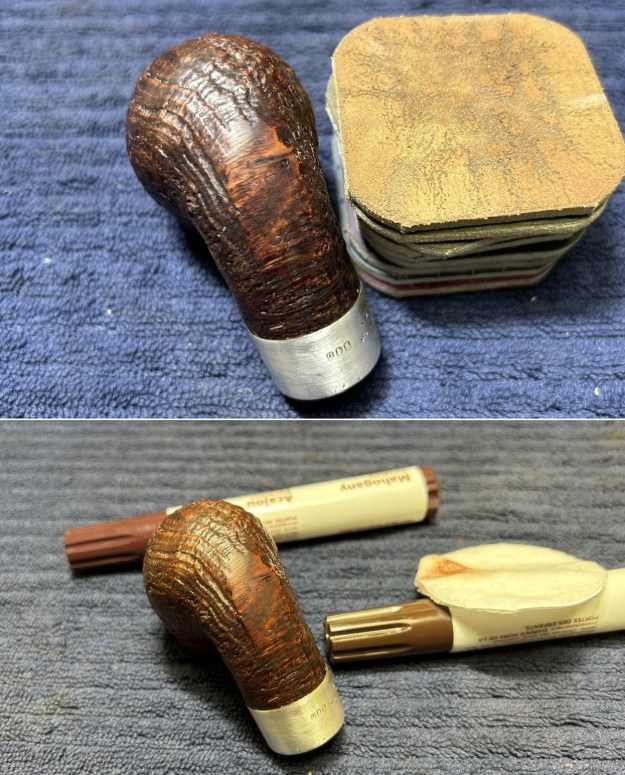
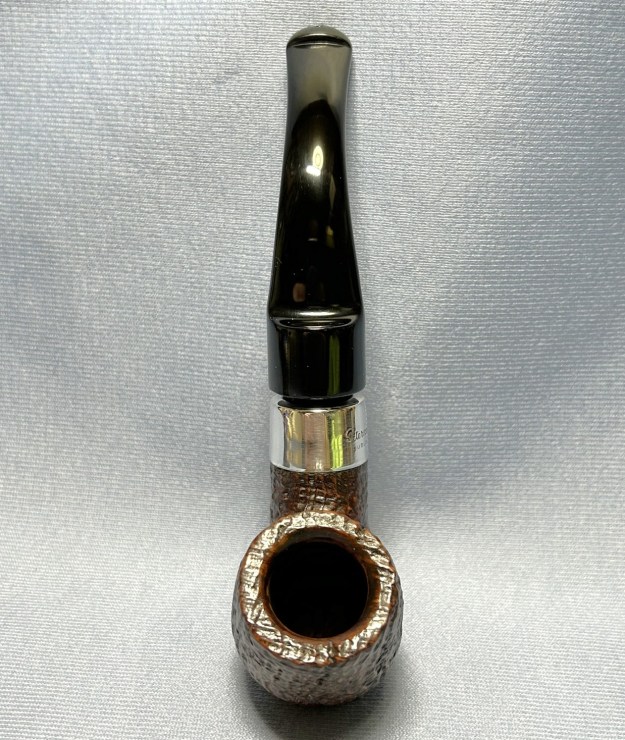
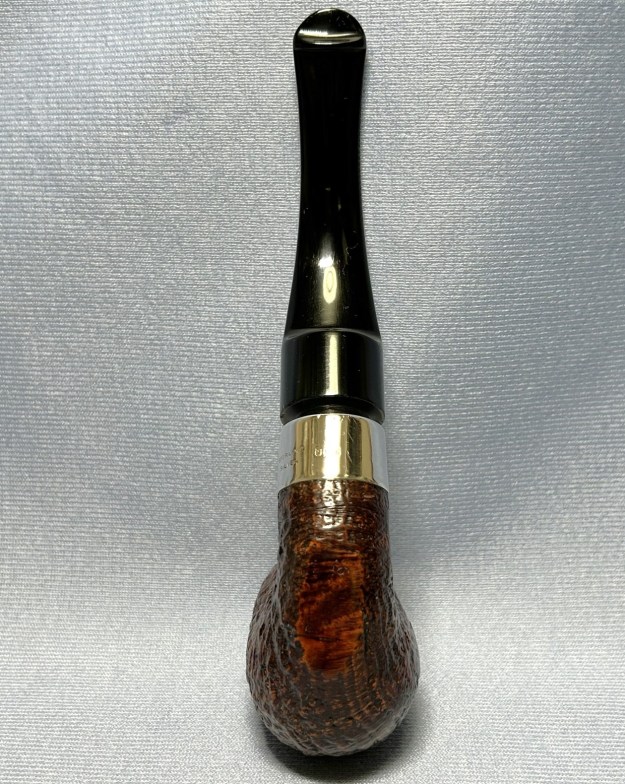
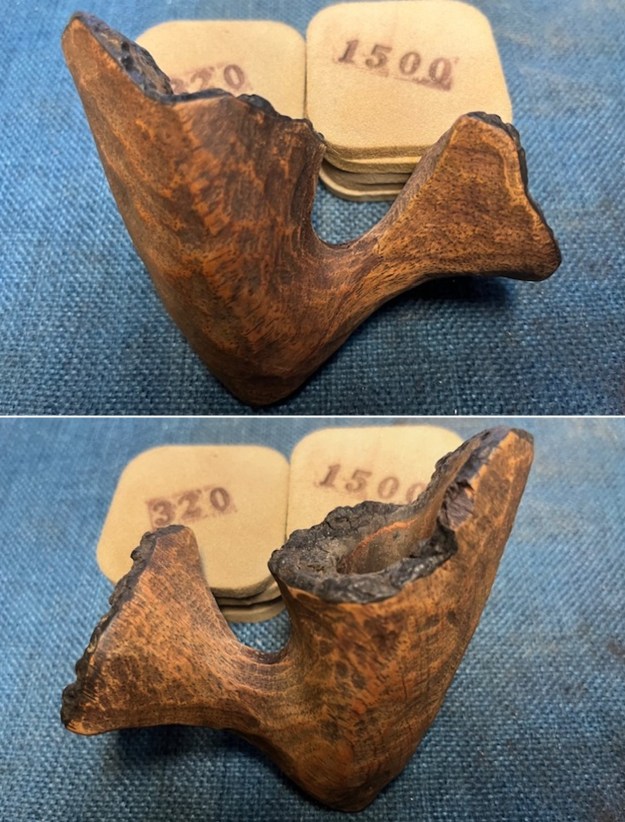
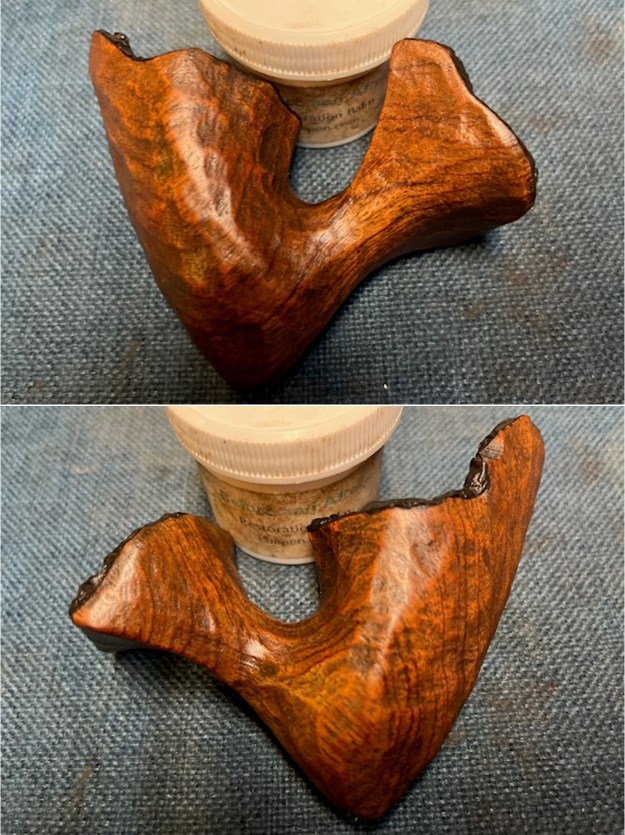
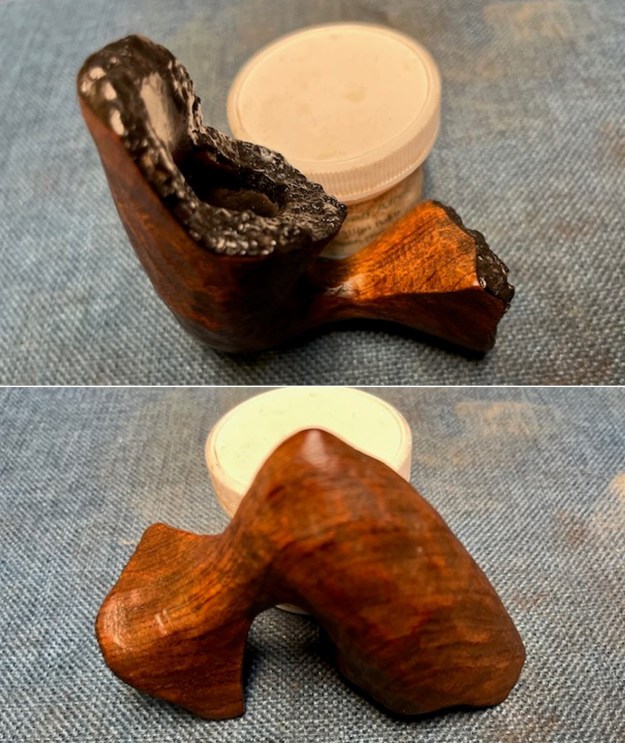
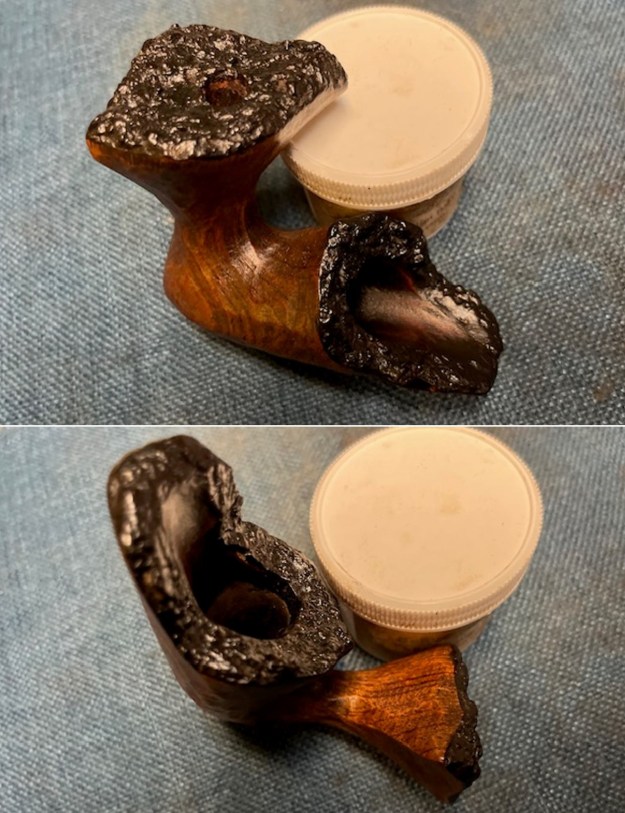
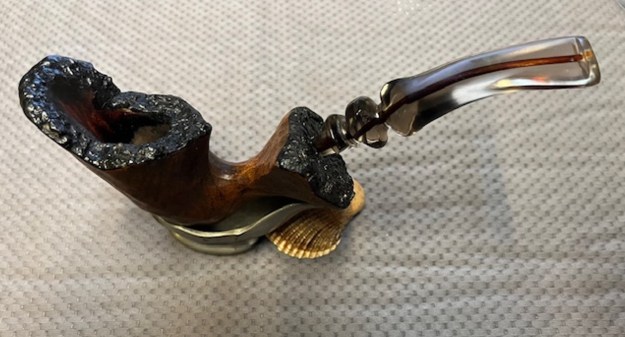
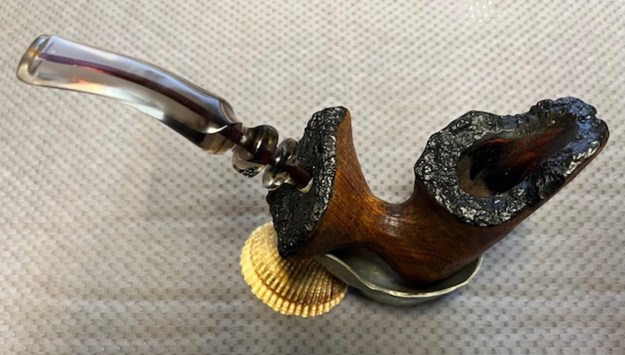
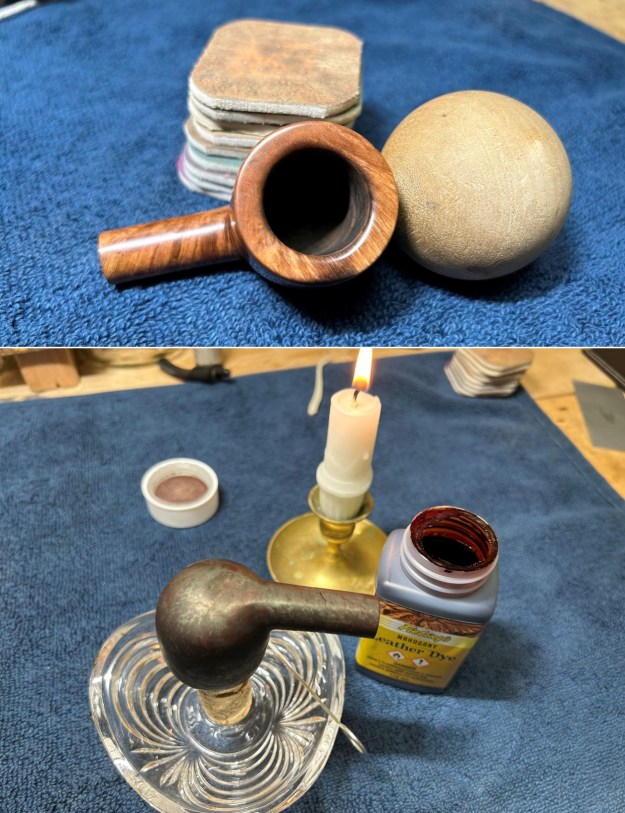
 There was, however, considerable burn damage on the Comoy. After topping the pipe and reshaping it, I decided that this one needed a new stain on the wood. With the broken shank, burns on the rim, and topping, it needed a beauty treatment. I ended up staining this one with Fiebing’s mahogany stain – it turned out absolutely beautifully, but, for whatever reason, the photos here show it as being much darker than it is in person. Trust me: in person, it looks great.

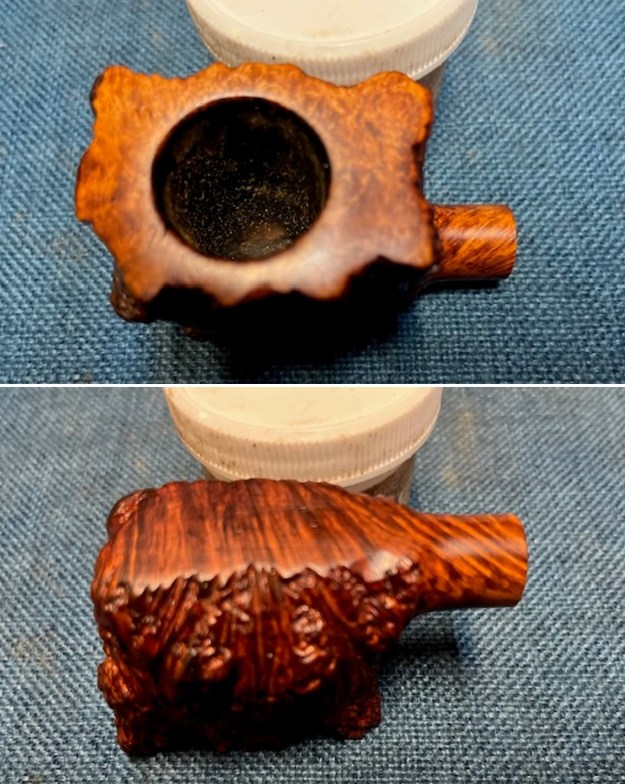
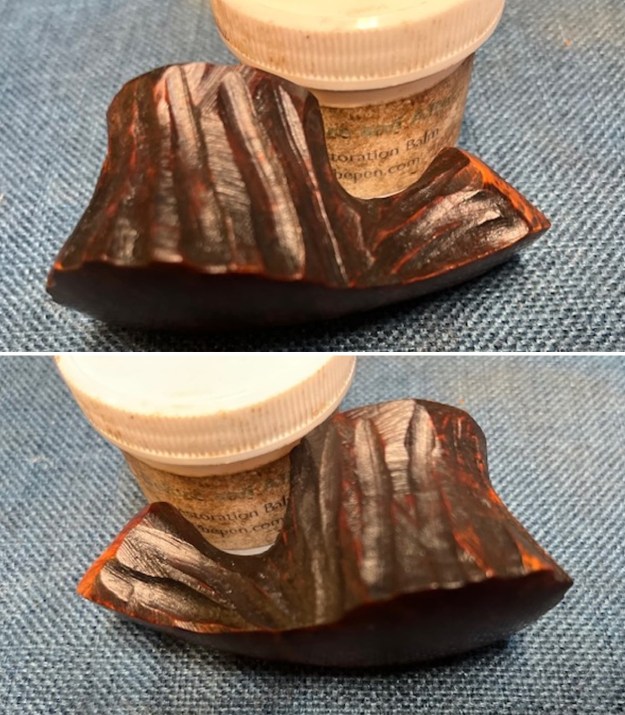
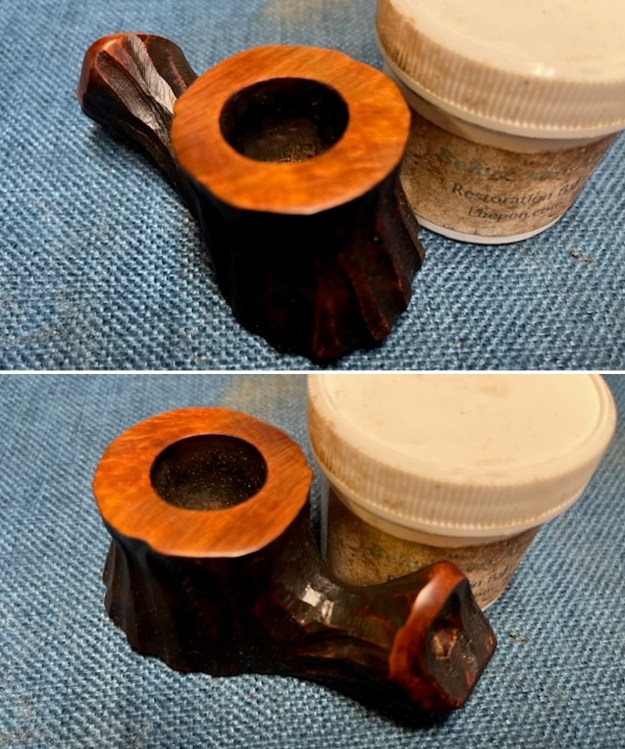
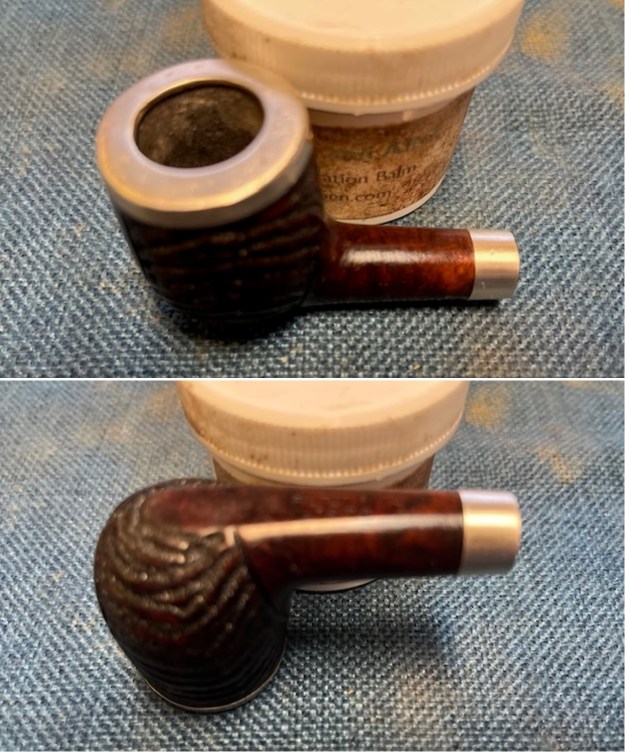
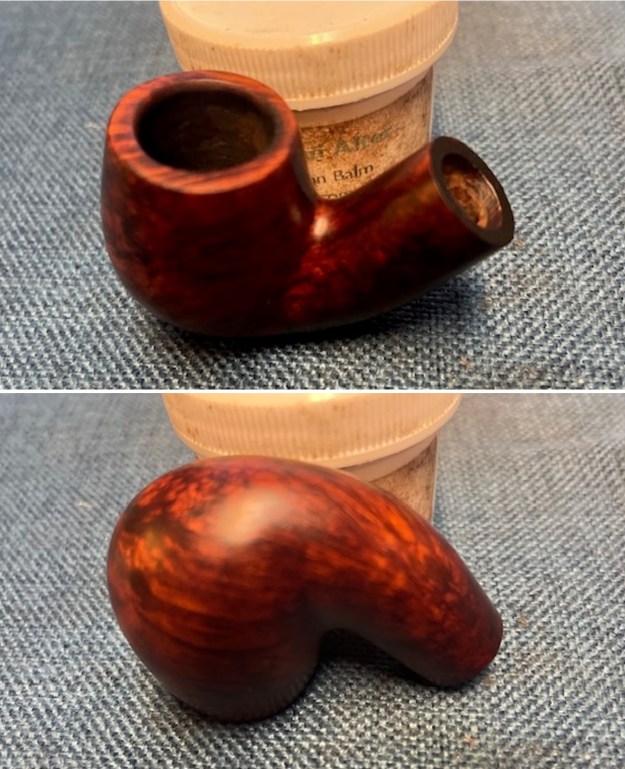
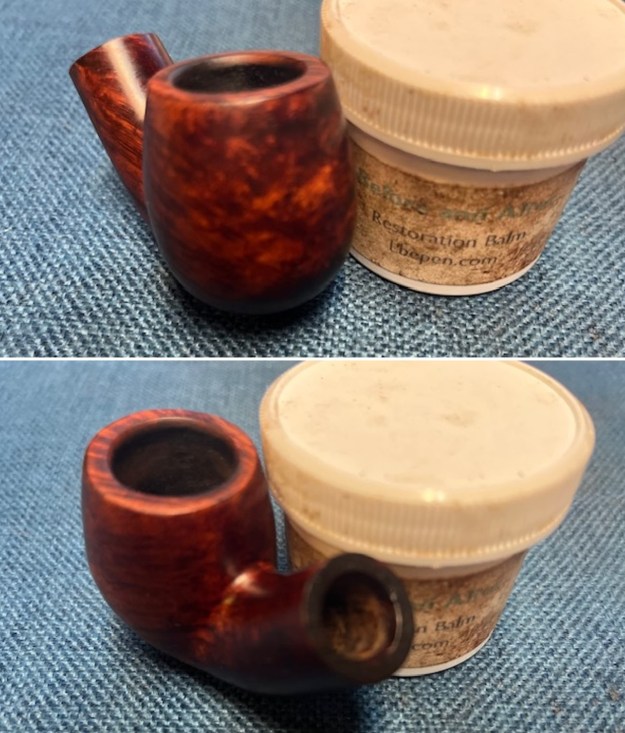
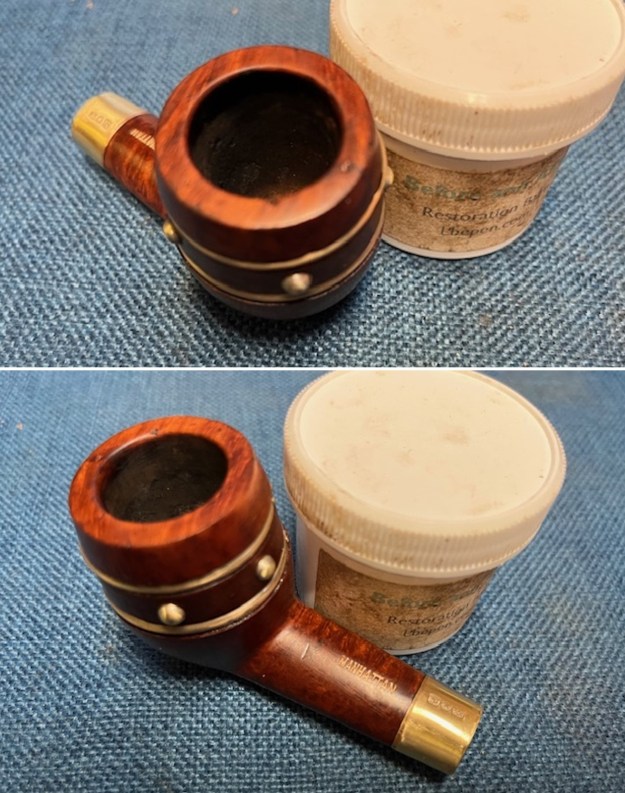
 All four pipes got a nice coating of the restoration balm and were left to sit for 20 minutes or so. I then buffed them by hand with a microfibre cloth.
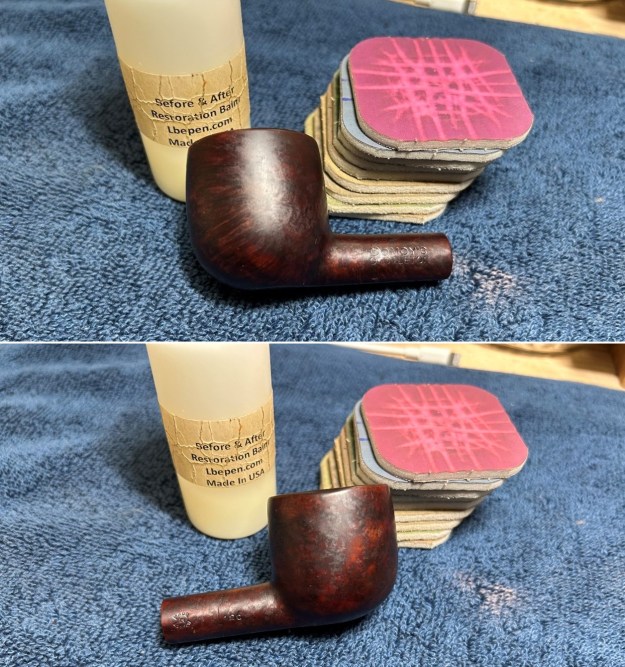

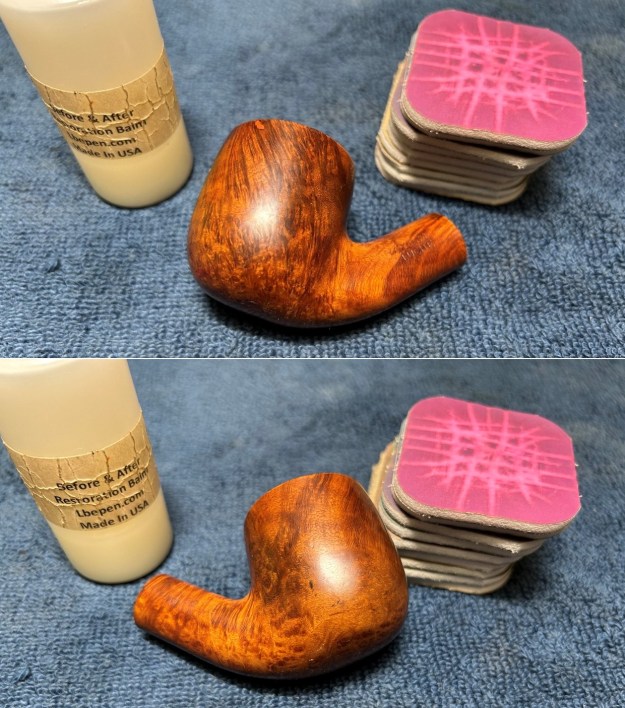
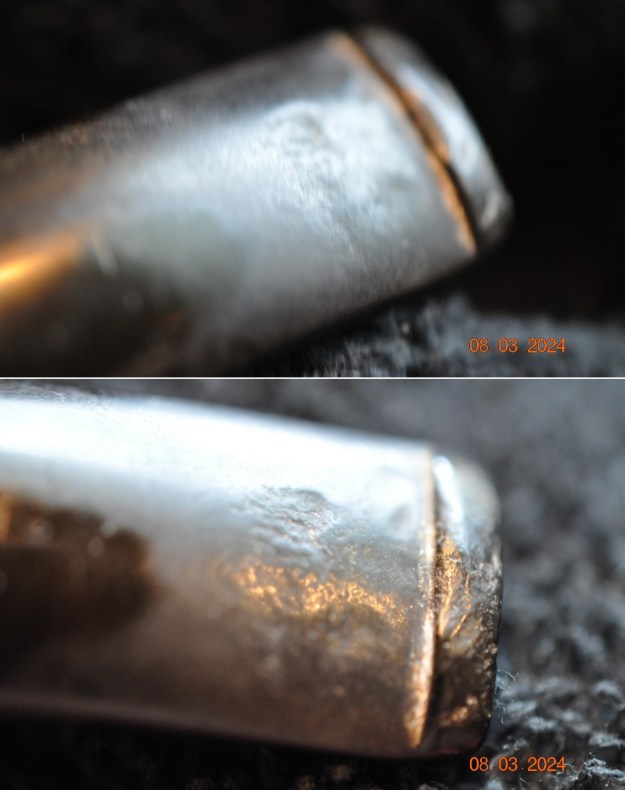
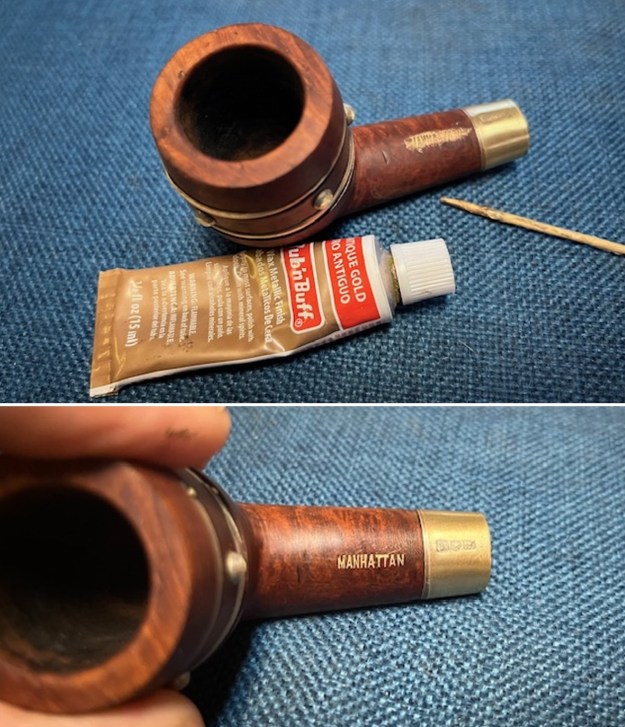
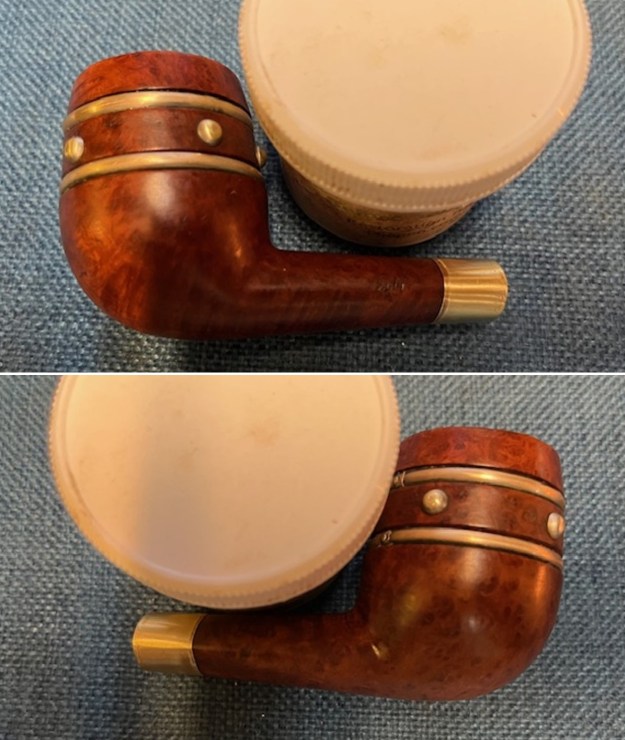
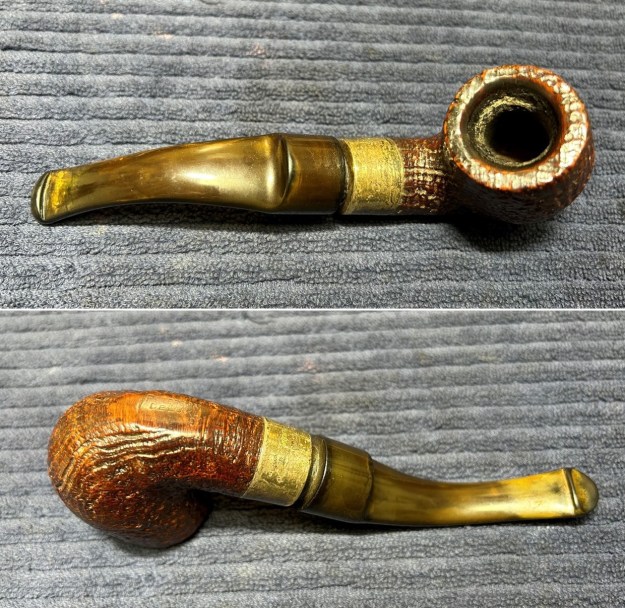
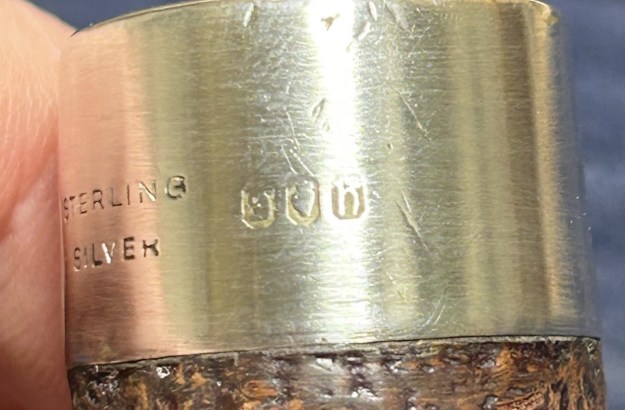
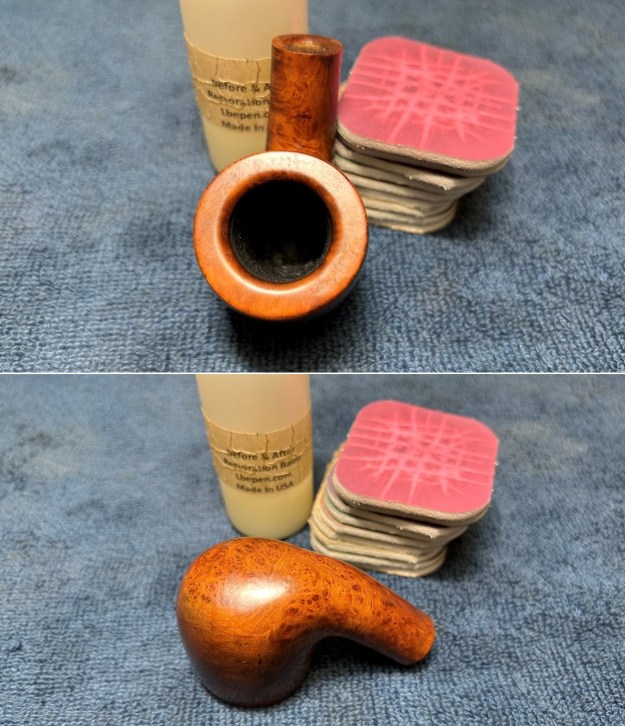 I took the pipes to my bench buffer and spiffed them all up with some White Diamond and carnauba wax. My last step was to polish the sterling silver band on the Peterson with my jewellery cloth. And voilà! These beauties are already on their way back to their owner. I trust that he will enjoy their new and improved status. I hope you enjoyed reading this quick write-up of this lovely bunch of pipes. If you are interested in my work, please follow me here on Steve’s website or email me directly at kenneth@knightsofthepipe.com. Thank you very much for reading and, as always, I welcome and encourage your comments.