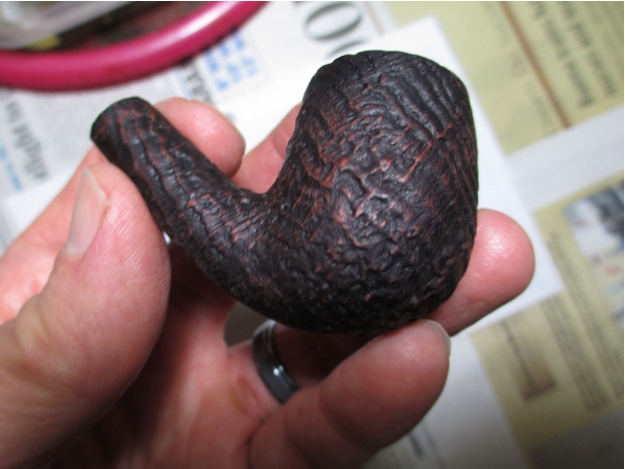
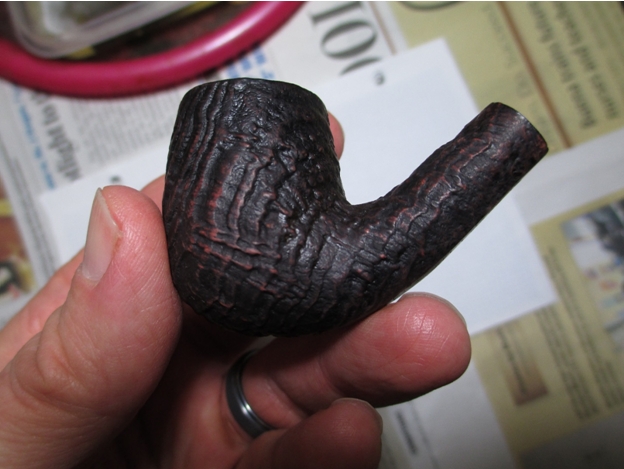
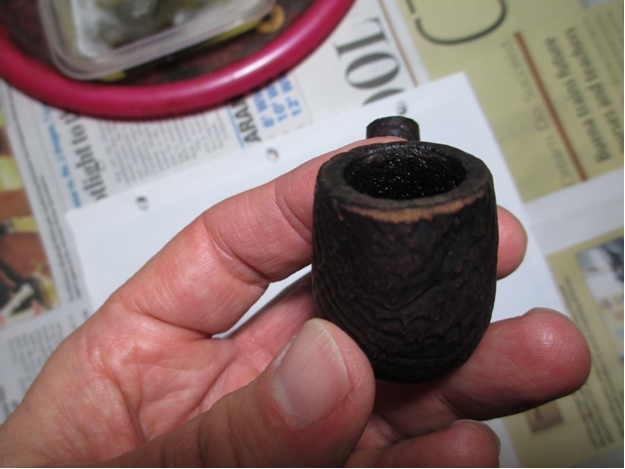
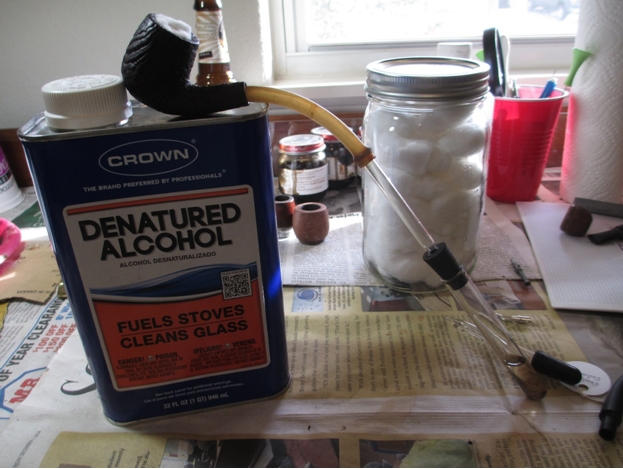
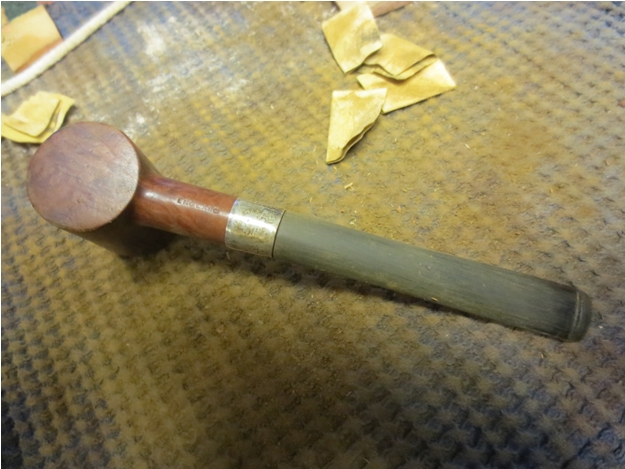
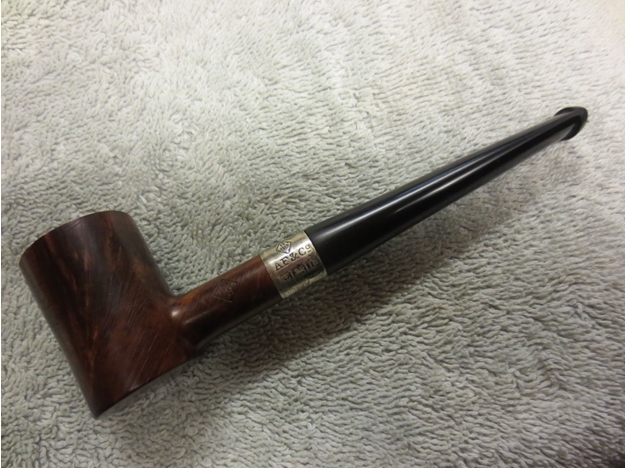
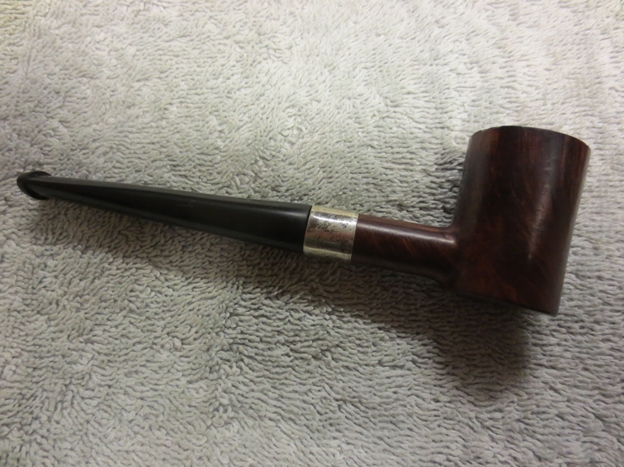
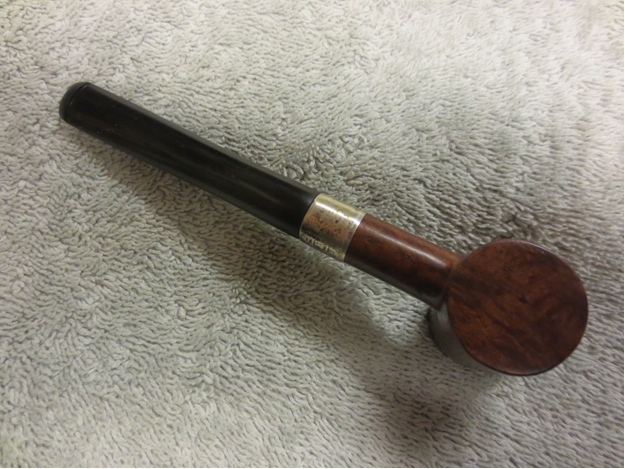
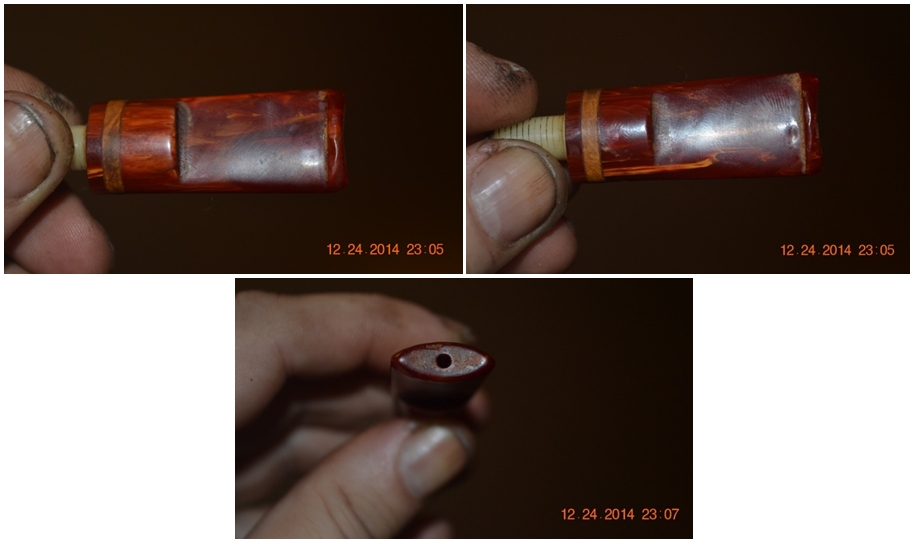
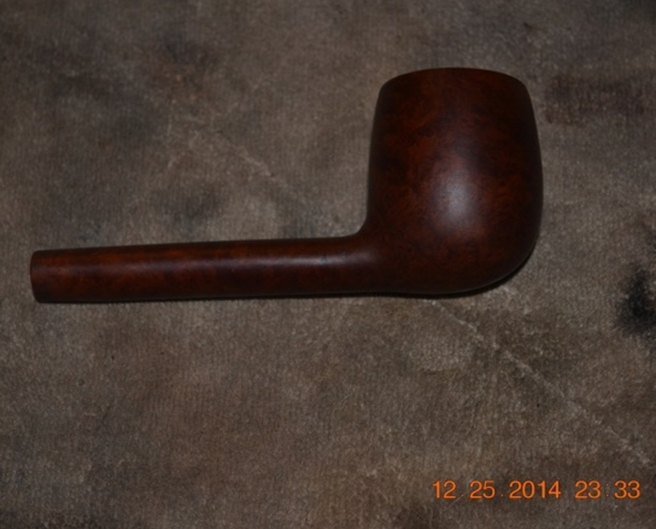
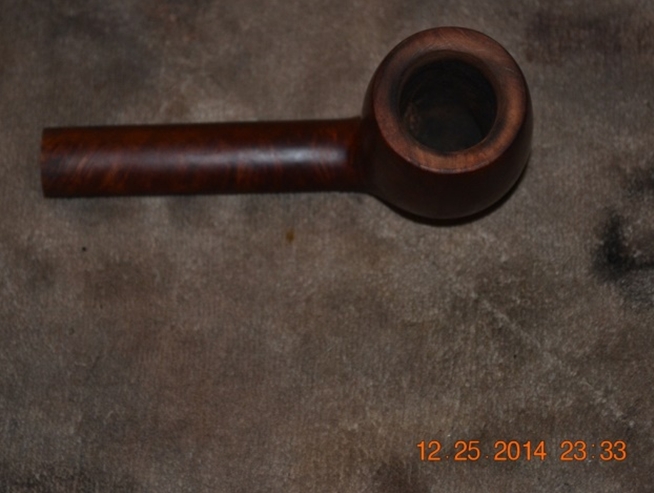
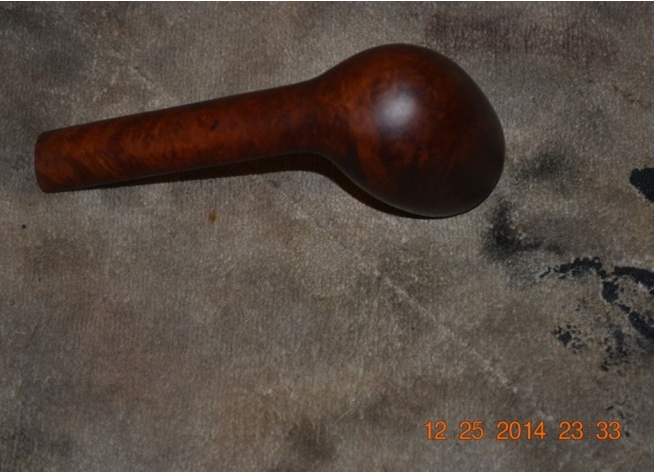
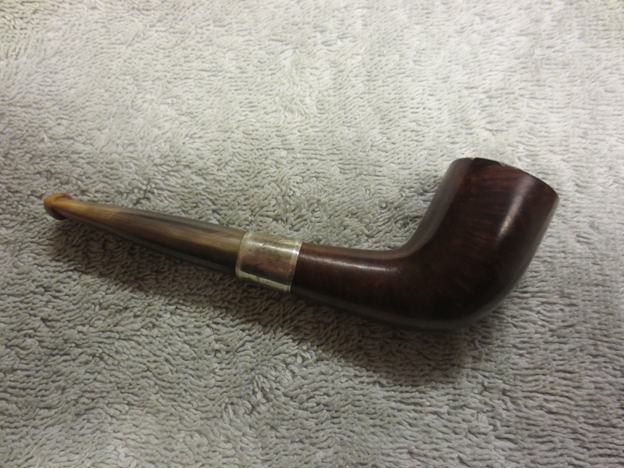
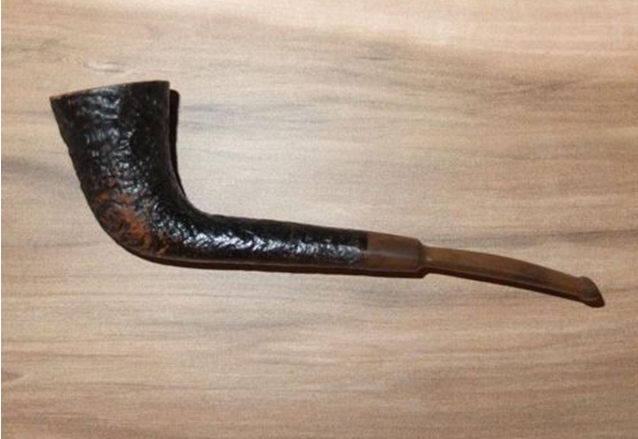
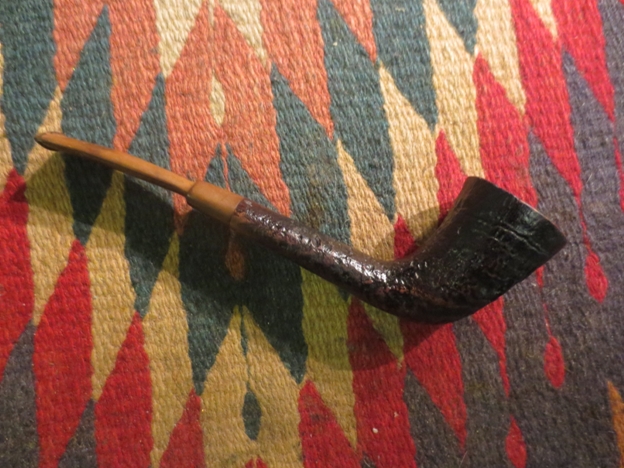
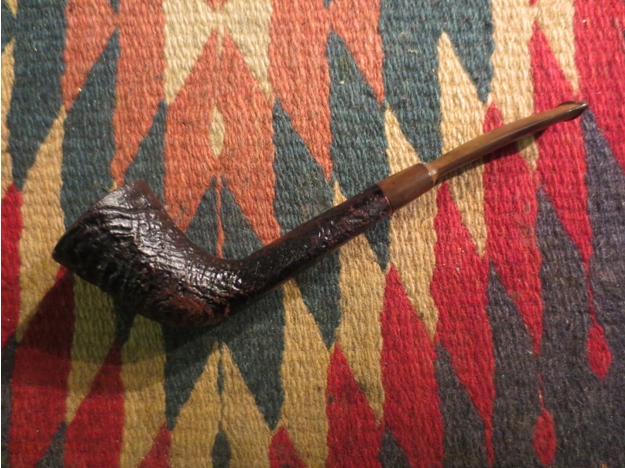
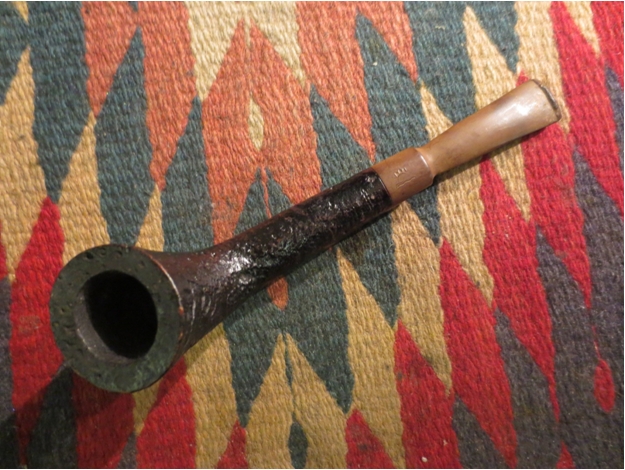
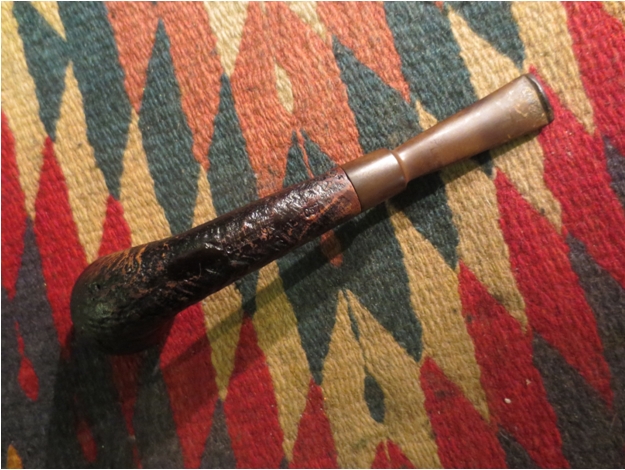
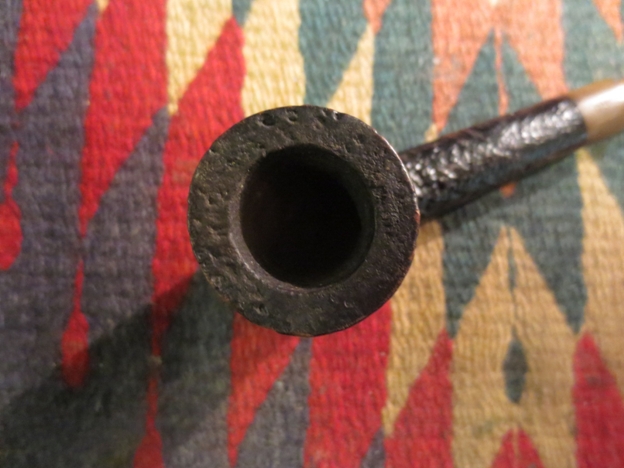
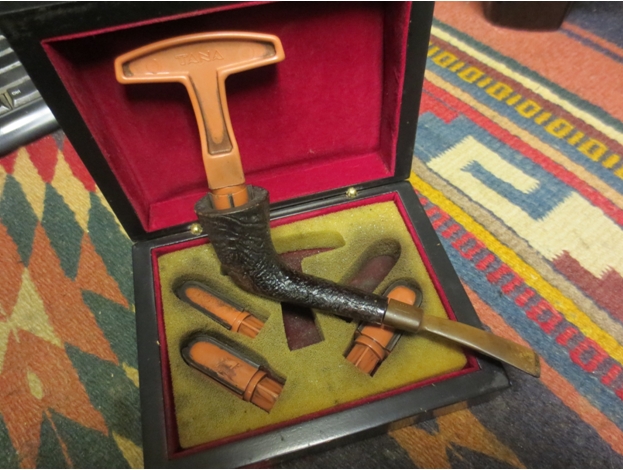
Category Archives: Pipe Refurbishing Essays

Essays and pictorial essays on the art of refurbishing

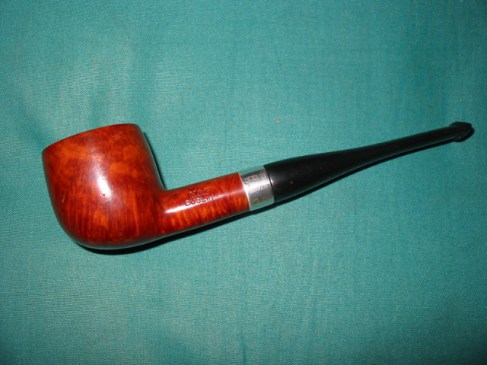
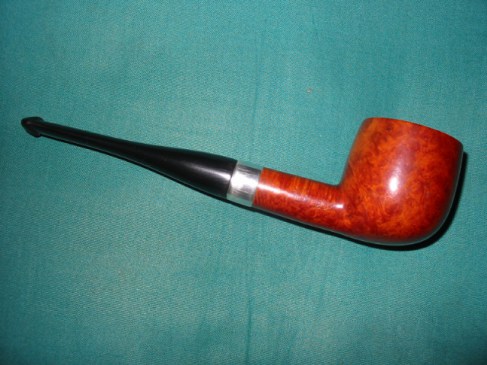
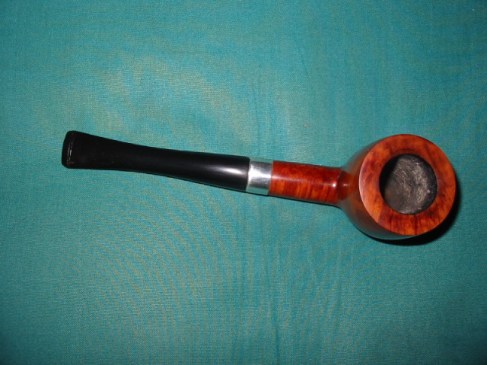
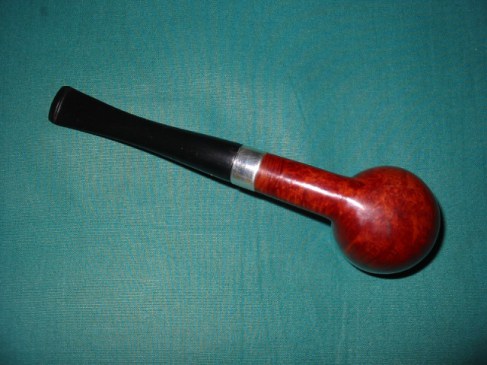
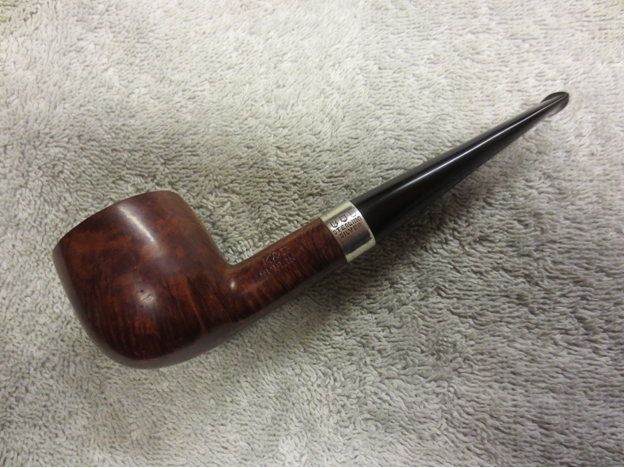
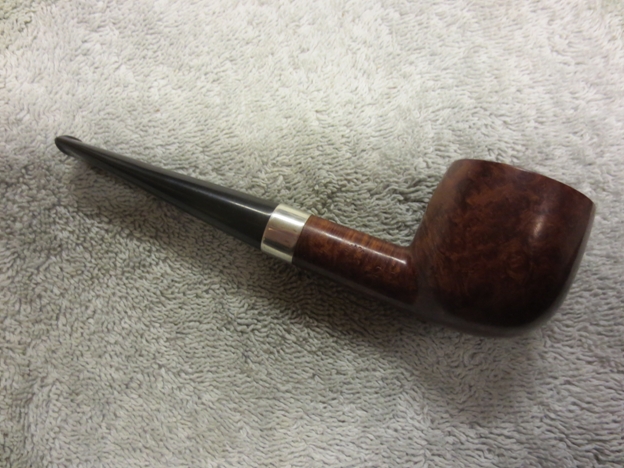
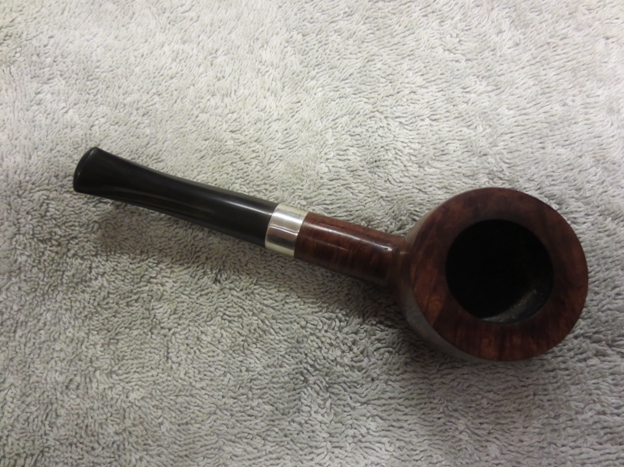
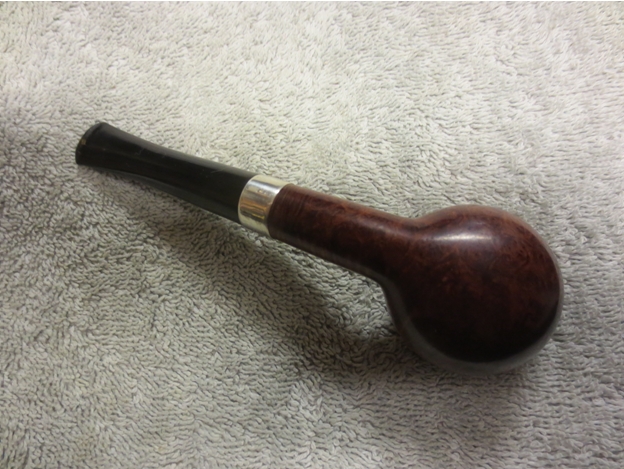
Giving New Life to a MasterCraft Custom De Luxe Bent Billiard


Blog by Steve Laug

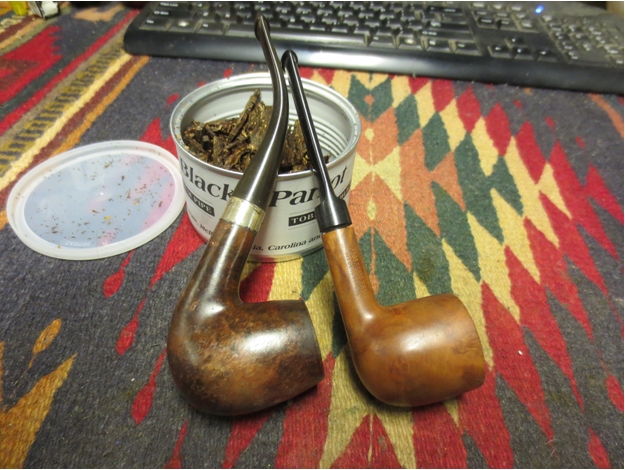
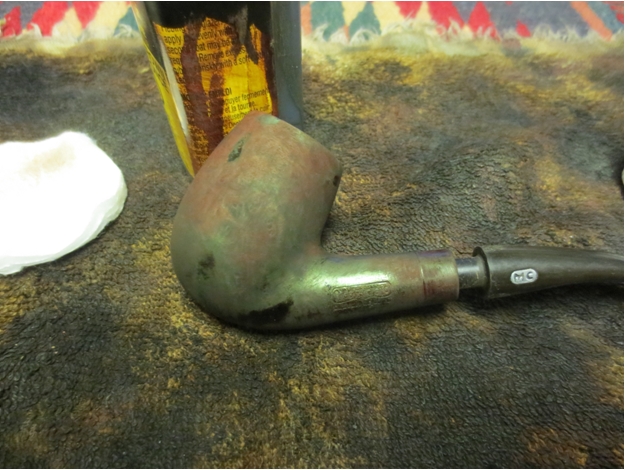
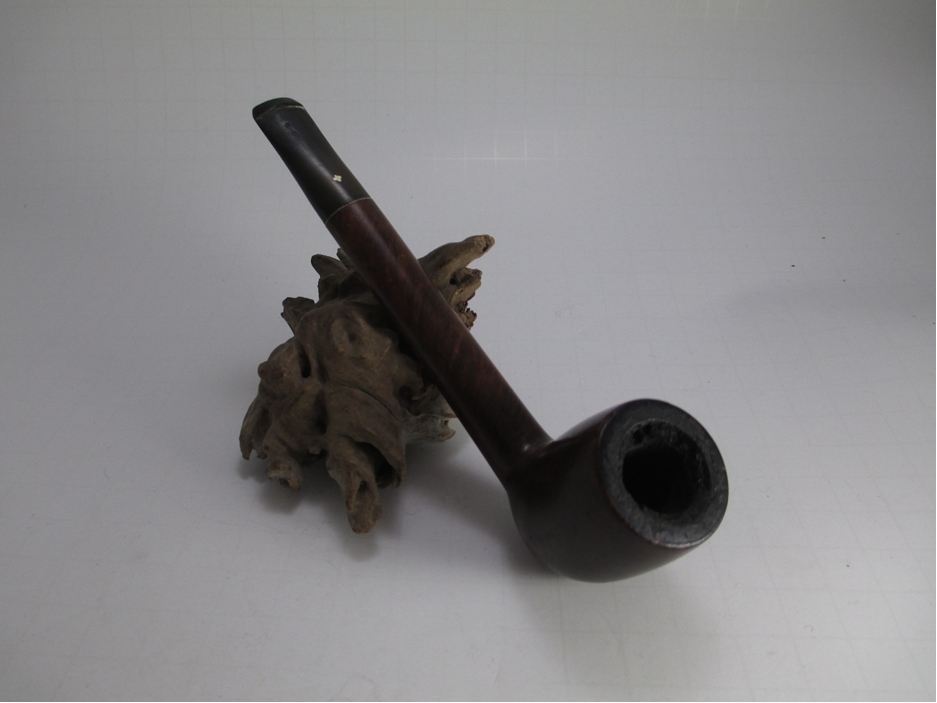
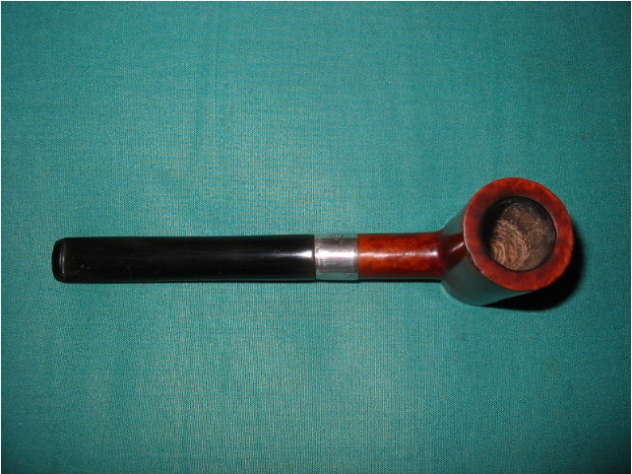
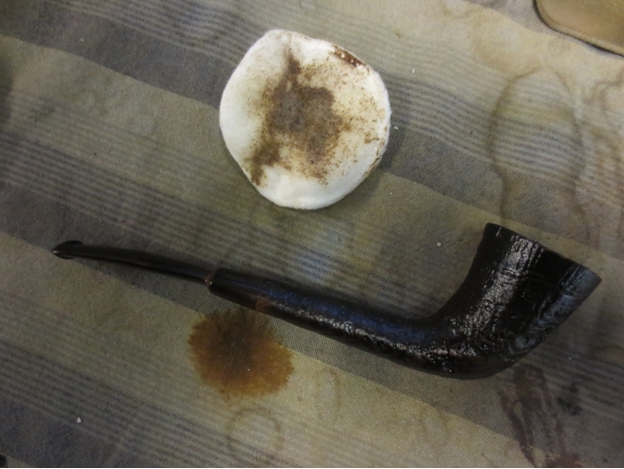
Yesterday morning my wife, three of our daughters and I made our after Christmas trek to the US, crossing the border at Blaine, Washington. After a great breakfast I dropped them off at the shopping mall and I made my way down to my favourite hunting grounds for pipes. I made a quick stop at Senate Tobacco Shop and sorted through some of the tins of tobacco he had in stock, though Washington prices are high they are still lower than Canada. I picked up a nice tin of McClellands Black Parrot, a Virginia, Carolina and Perique flake tobacco dated from May of 2010. I went from there to look for pipes. I went through three of my normal stops and found nothing of interested. I stopped at the last spot, figuring I would go home empty handed but the shopkeep had just picked up a few pipes. I was able to get the MasterCraft pipe on the left below and an Algerian Briar pot that had been made in France.MC1
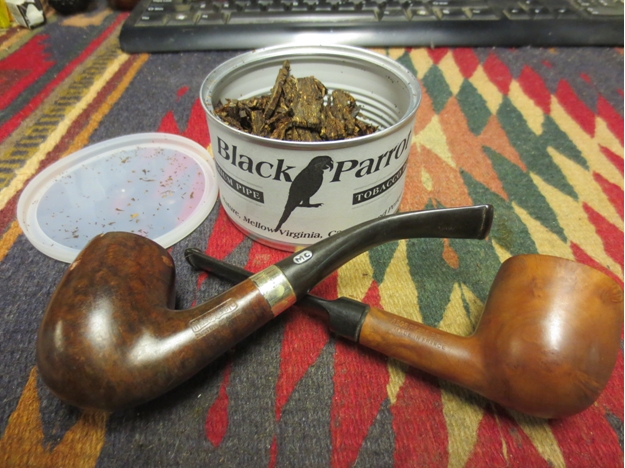
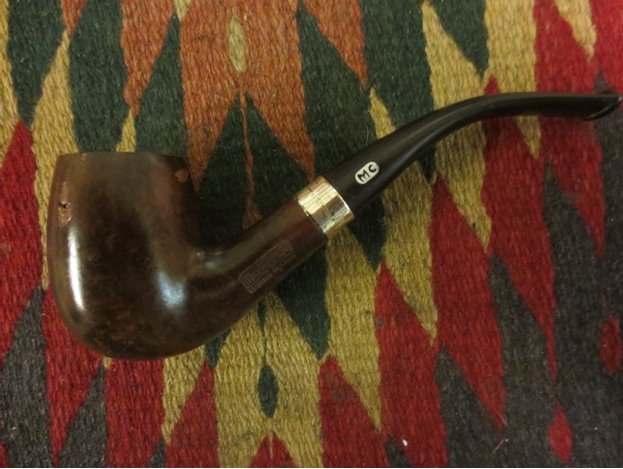
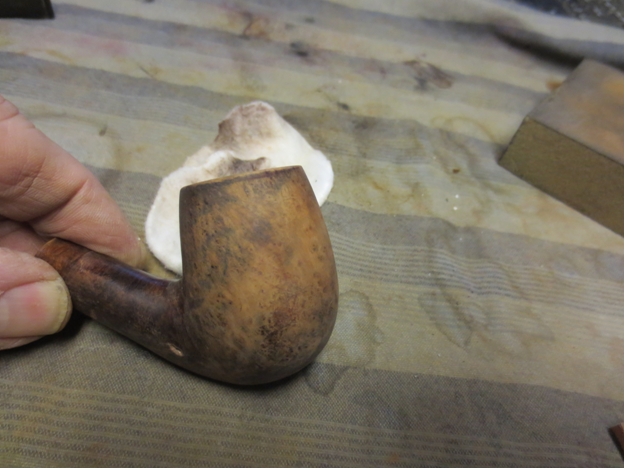
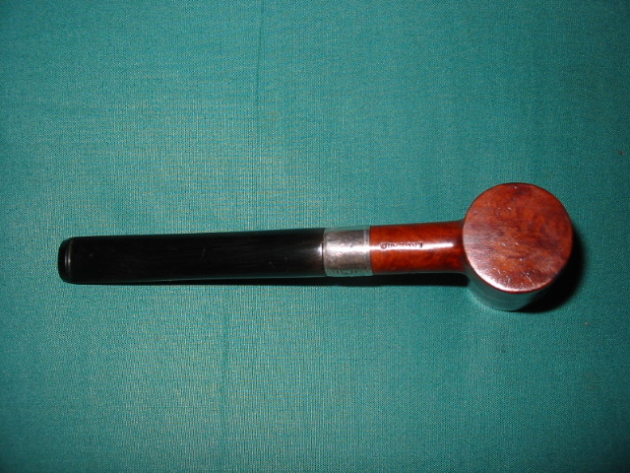
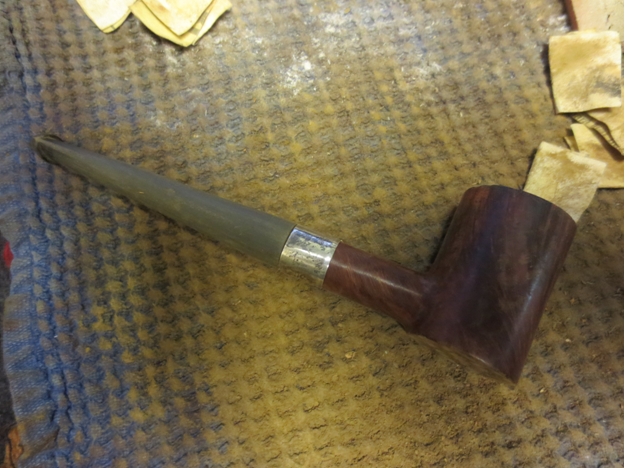
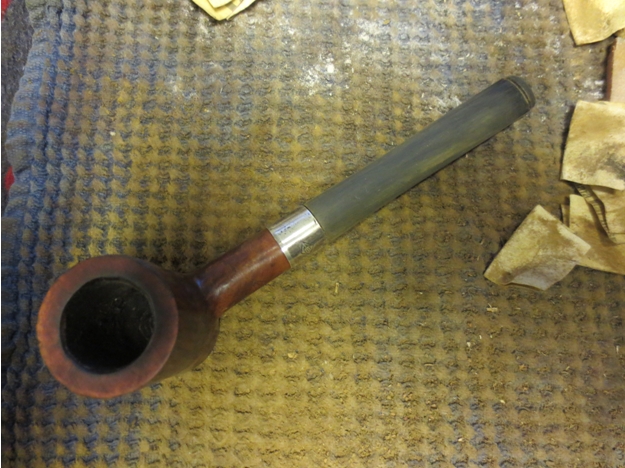
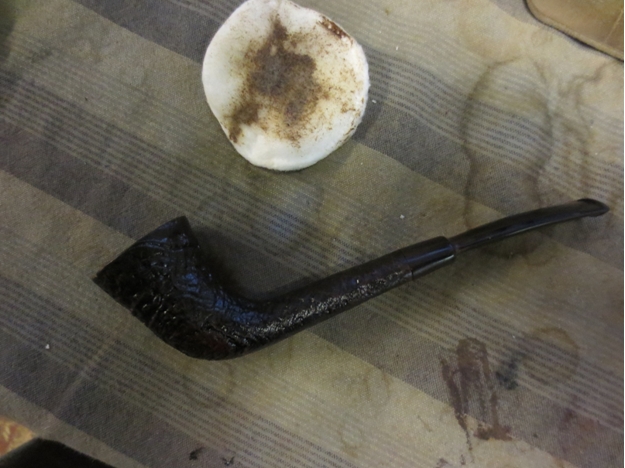
MC2 I really liked the shape of the old MasterCraft. The original stem was in excellent shape with no tooth marks or damage and the MC stem logo was intact. The briar had some nice spots but the pipe had a lot of fills on the bowl and shank that had fallen out and left pits in the briar. The finish was shot with peeling varnish on the sides, back and front. The stamping was sharp and read MasterCraft in the usual shield and underneath that it read Custom De Luxe. There was no other stamping on the bowl.MC3

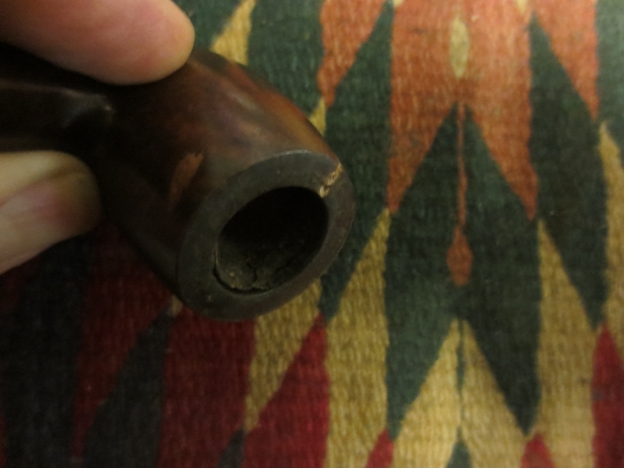
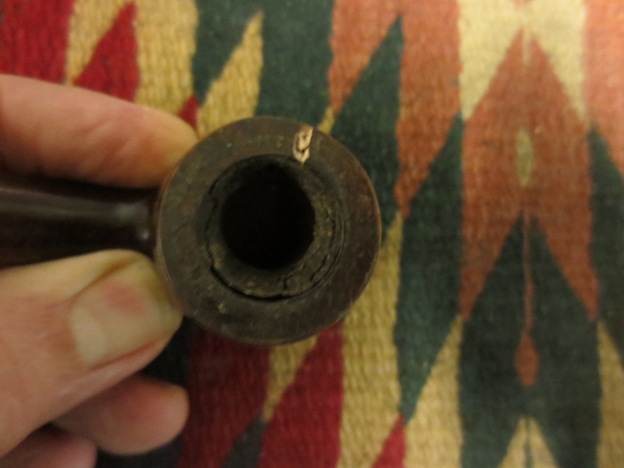
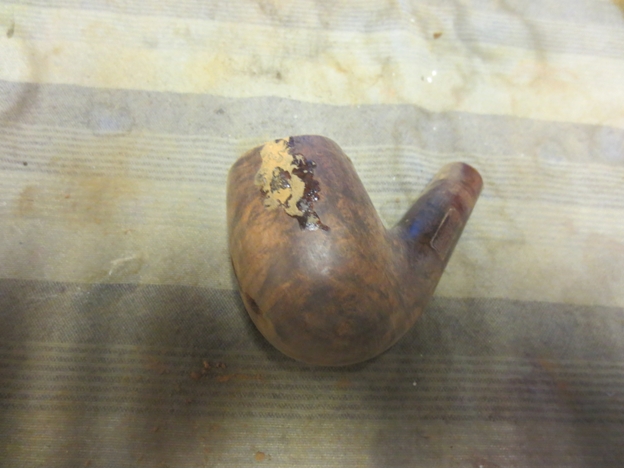
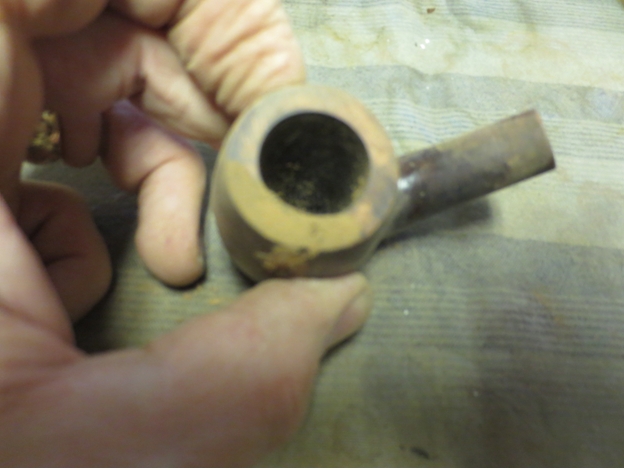
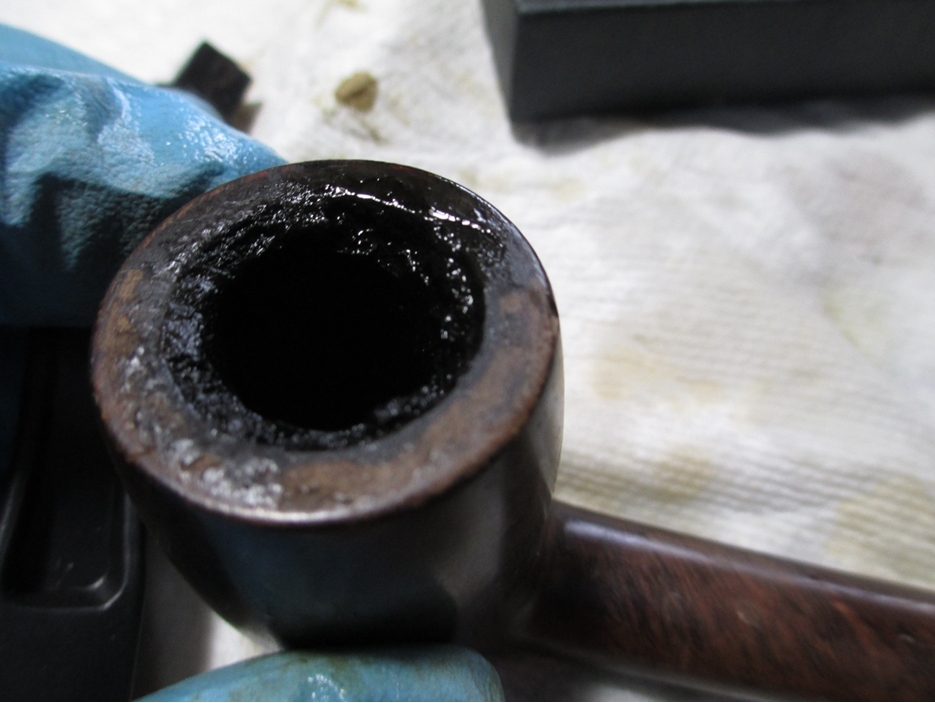
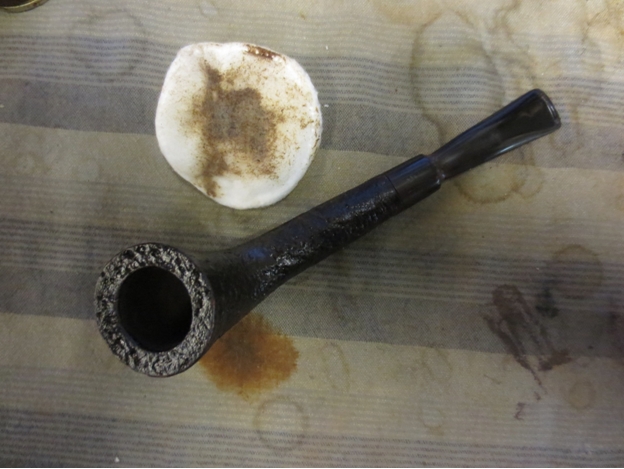
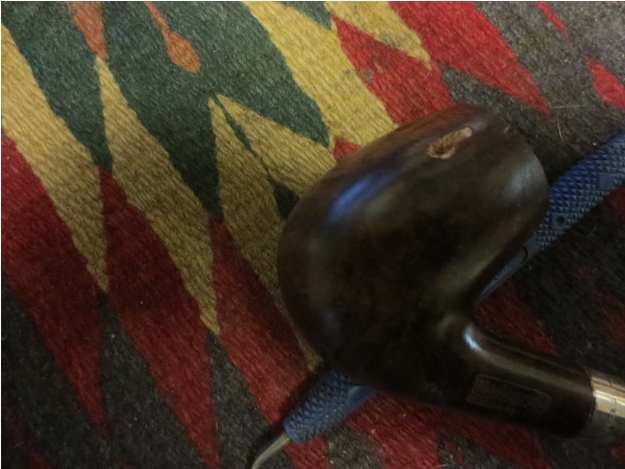
MC4 There was one large fill on the rim that went ¾ of the way from the outside of the bowl inward but did not enter the bowl. The putty fill on that one had shrunken and portions of it had fallen out. The bowl had a thick hard cake that was like rock. The band was stamped STERLING and was oxidized and worn. It was also loose on the shank so it was amazing that it still was with the pipe when I found it.MC5
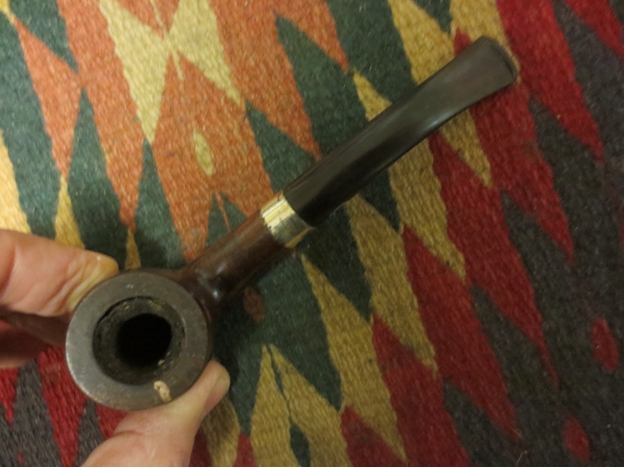
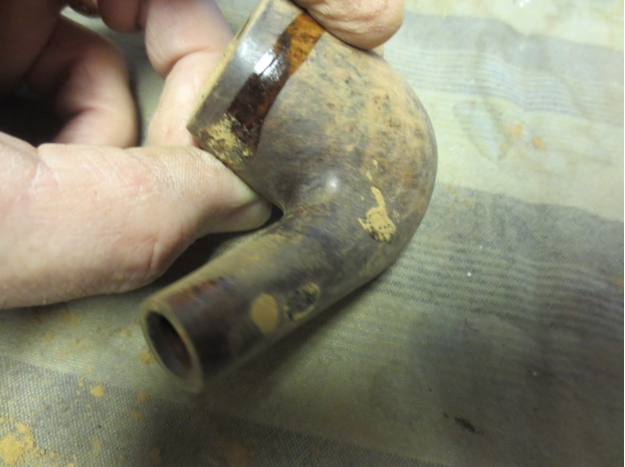
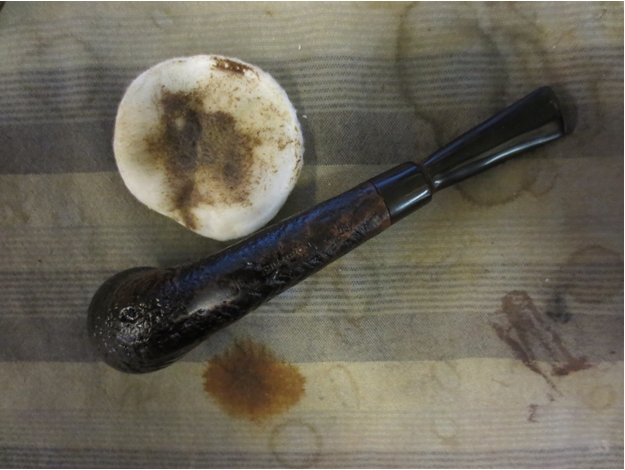
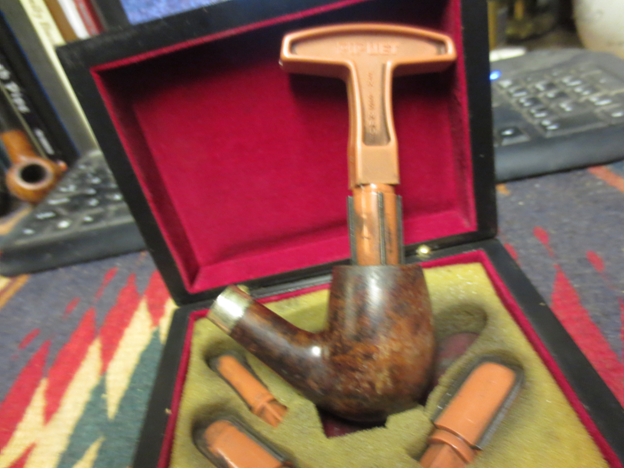
MC6 I took the next three photos to show the status of the fills on the bowl and shank. They were broken and loose and would take very little to remove them.MC7

MC8

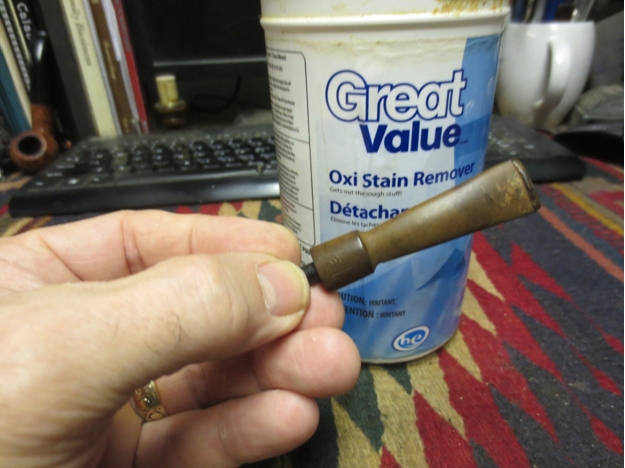
MC9 To soften the fills and the cake I took the stem off the bowl and dropped the bowl in an alcohol bath to soak while I cleaned up the stem. It was not in bad shape so I did not need to soak it in oxyclean. There was no oxidation on the stem only dirt and grime build up that would scrub off quite easily.MC10
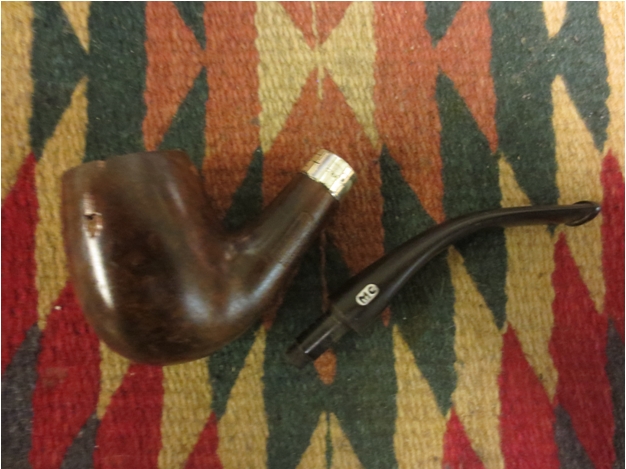
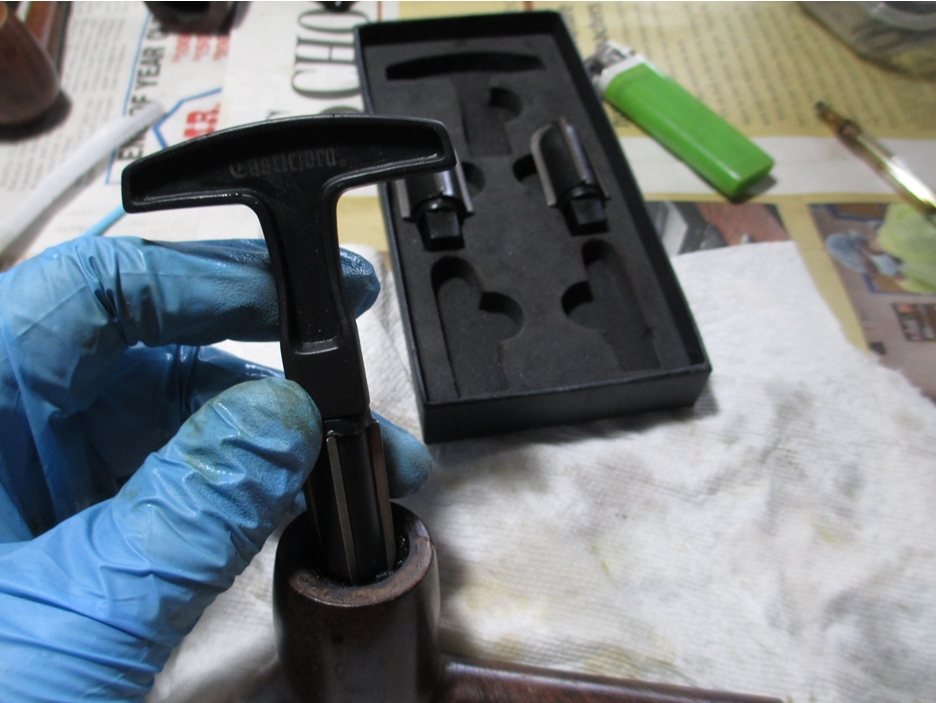
MC11 I removed the bowl after soaking for 30 minutes and used my PipNet reamer with the number 2 cutting head to ream the cake back to the briar.MC12 I used a dental pick to pick out the remaining putty fills from the bowl and shank. The alcohol bath had sufficiently softened them so that removing them was quite simple.MC13
MC14

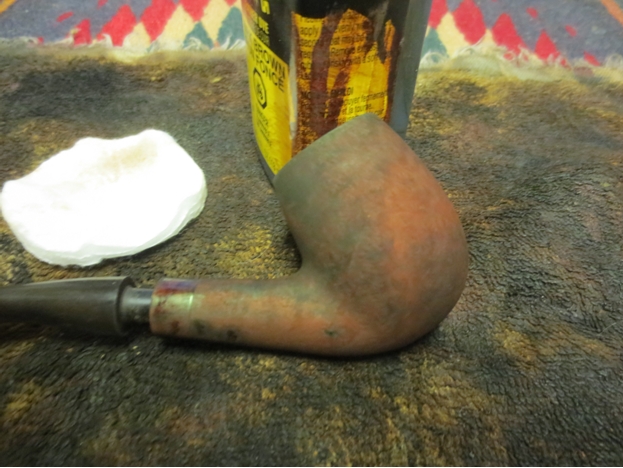
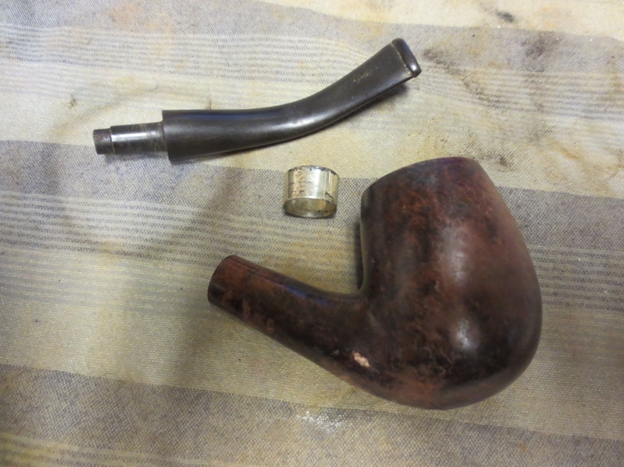
MC15 I took the band off the shank and wiped the bowl and shank down with acetone on cotton pads to remove the remaining varnish.MC16
MC17

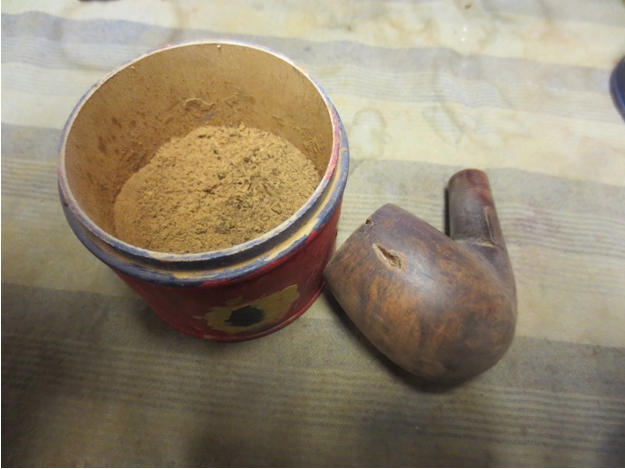
MC18 With the finish removed I took out my canister of briar dust and used the dental pick to fill each of the pits in the bowl. I put the dust in them one at a time, tamped it down so that the dust was well compacted and then dripped super glue into the repair. I packed in more briar dust and then more glue. Even though the glue hardens and dries dark I find it far better than the white and pink putty fills that had been there before. I always overfill the holes as I have found in the past that to skimp on the process inevitably means that I repeat it.MC19
MC20

MC21

MC22 I sanded the bowl and repaired fills with 220 grit sandpaper, medium and fine grit sanding sponges and then wet sanded the bowl and shank with 1500-2400 grit micromesh sanding pads. Once I had the surface of the fills blended into the surface of the briar I stained the bowl with a dark brown aniline stain. I decided to use the stain straight without cutting it to lighten it. I wanted to have the rim and top edges near the fills dark so that they would blend in with the fills well and hide them. I then stained the rest of the bowl and shank, flamed the stain and restained it until I had a good even coverage.MC23
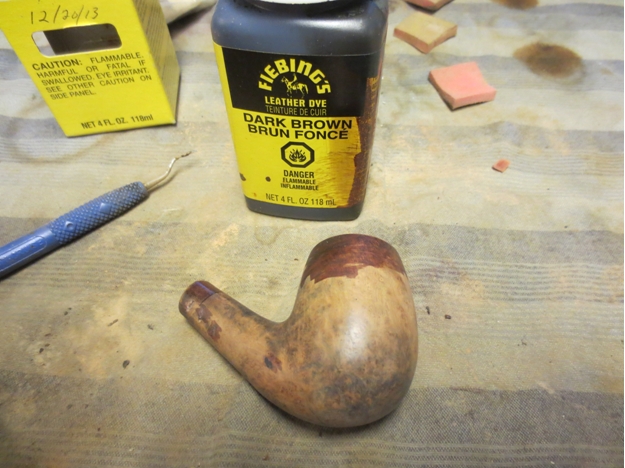
MC24

MC25 I buffed the bowl and shank with red Tripoli and White Diamond and brought it back to the work table. I glued the silver band on the shank and polished it with a silver polishing cloth and 4000-6000 grit micromesh sanding pads. I rubbed the bowl and shank down with a light coat of olive oil to prepare it for sanding with micromesh sanding pads.MC26

MC27

MC28

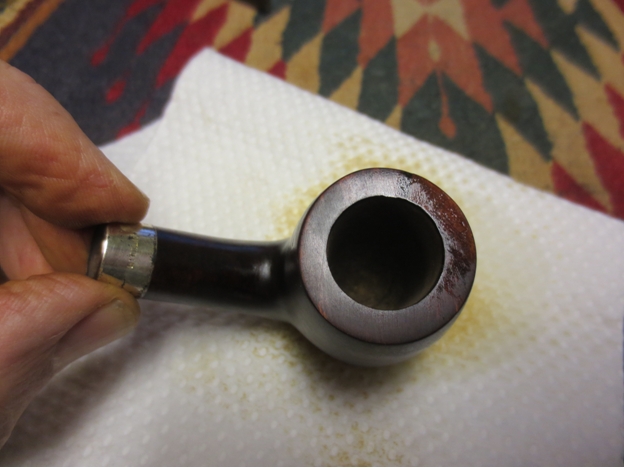
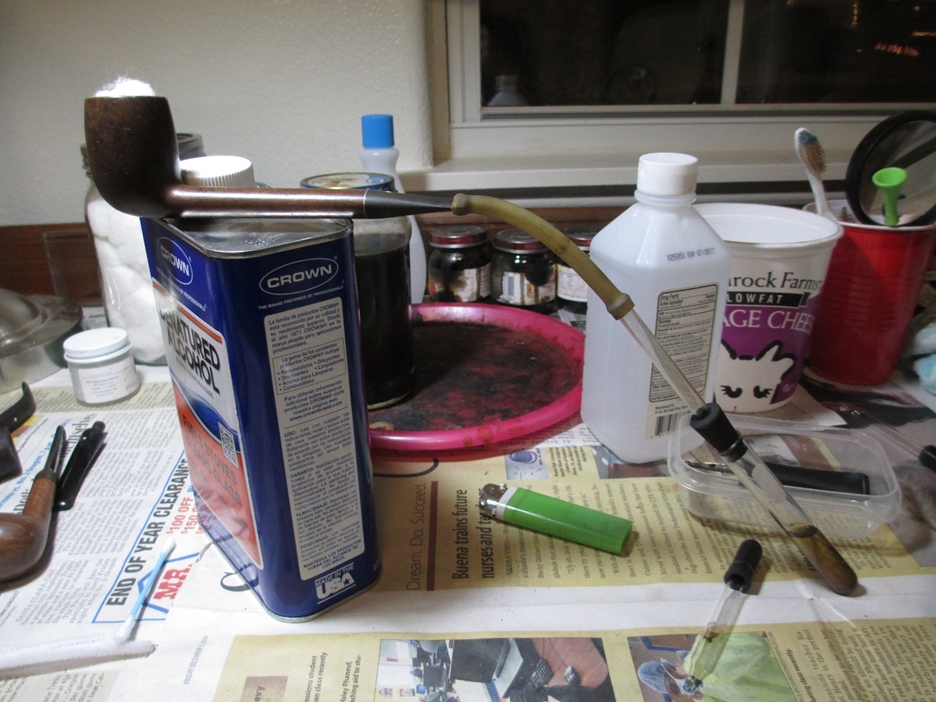
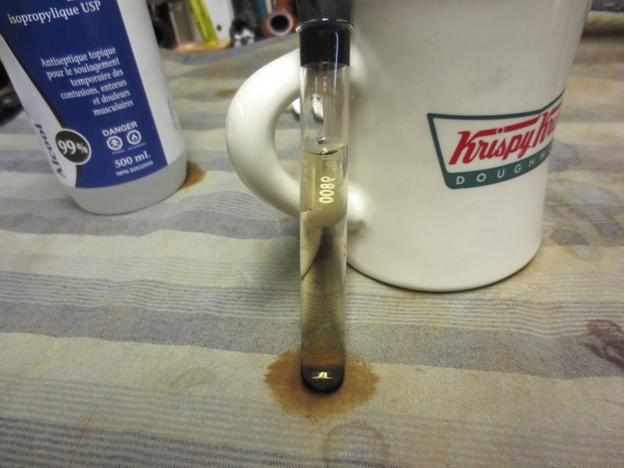
MC29 The coverage on the fills was quite good. They were still there but the darker stain coat hid them and made them blend into the briar. I sanded the bowl and shank with micromesh sanding pads to lighten the stain slightly and to bring up the shine. I wanted a bit more of the grain to show through the stain so the sanding would allow that to happen. The oil on the surface helped the micromesh to cut into the briar and really smooth things. Once I had finished sanding the bowl, I set up my retort to clean out the shank and stem. I had to run three tubes of alcohol through the stem and shank before it came out clean. It was one dirty pipe.MC30
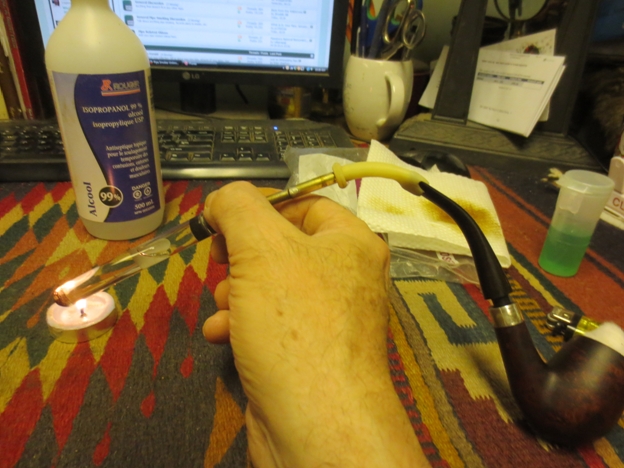
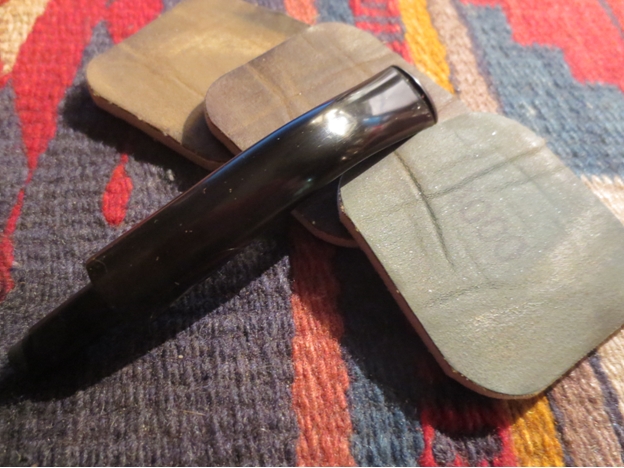
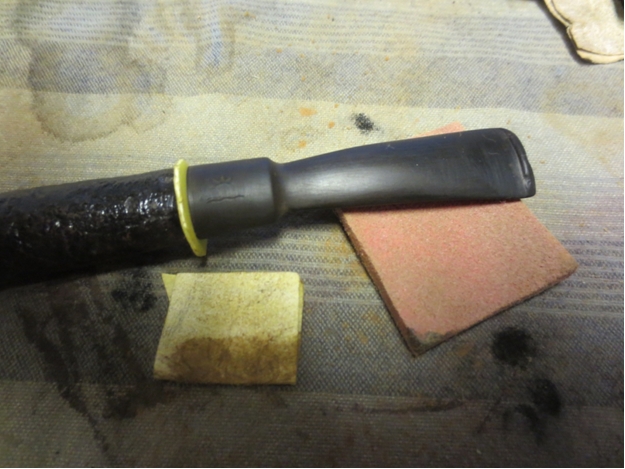
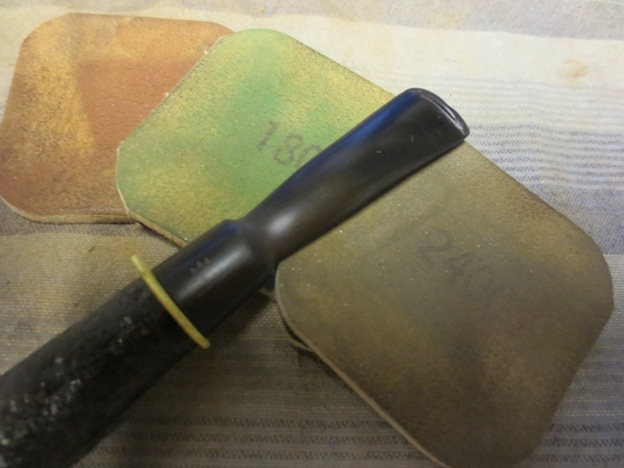
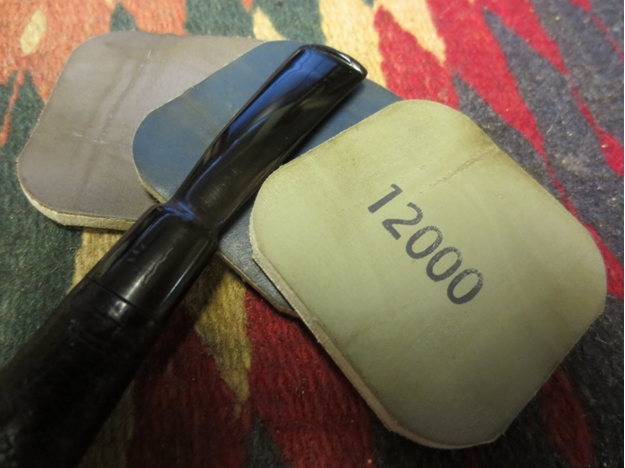
MC31 When I removed the retort I cleaned out the shank and stem with a minimum of pipe cleaners and cotton swabs and with very little effort they were spotless. I sanded the stem with micromesh sanding pads – wet sanding with 1500-2400 grit pads and dry sanding with 3200-12,000 grit pads. I rubbed the stem down between each set of three pads with Obsidian Oil. I gave the stem a final coat of oil and once it dried buffed the stem with White Diamond and gave it several coats of carnauba wax to protect.MC32
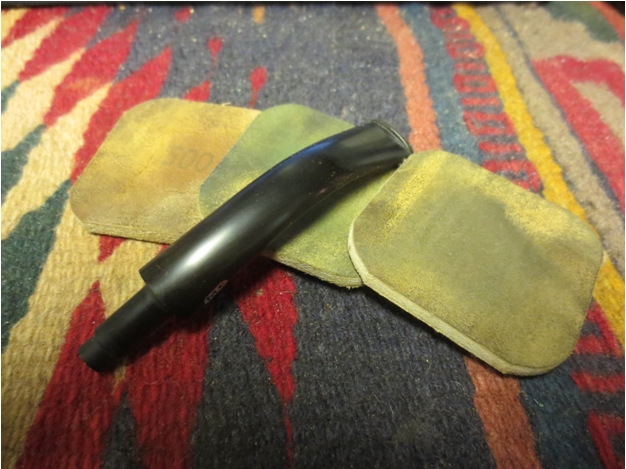
MC33

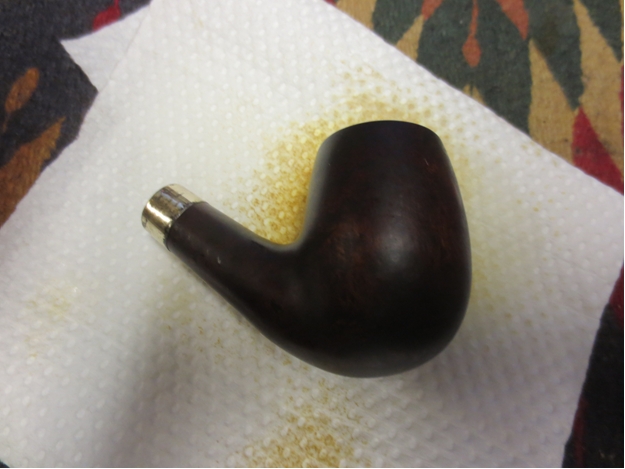
MC34 I put the stem back on the shank and then buffed the entire pipe with White Diamond and gave it multiple coats of carnauba wax. I buffed it with a soft flannel buff to raise the shine. The finished pipe is shown below.MC35
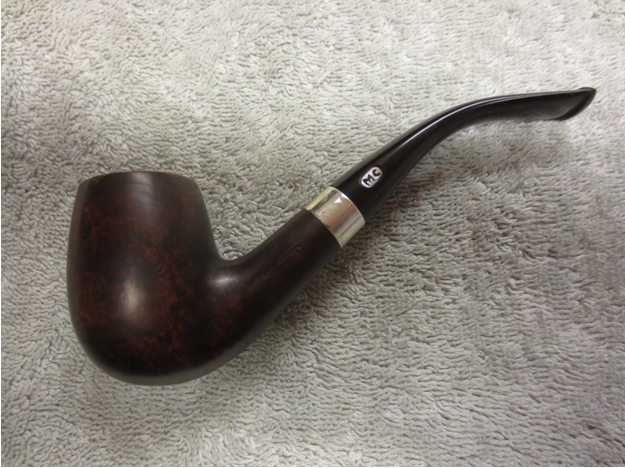
MC36

MC37

MC38

MC39

MC40

Restoring a Four-Digit Kaywoodie Canadian


Blog by Andew Selking

I have a weakness for Kaywoodies, especially those from the 1940’s or earlier; the briar is just amazing. I read somewhere that Kaywoodie was the largest pipe maker prior to WWII and used 100-year-old briar. I don’t know if that’s true or not, but this pipe was one of their mid-range pipes, yet it doesn’t have a single fill. Additionally, it weighs exactly the same as my Heritage Heirloom with the same shape number. (As an aside, the Heritage pipes were made in the 1960’s to compete with Dunhill. According to their brochures, only one pipe out of 300 made the cut.)

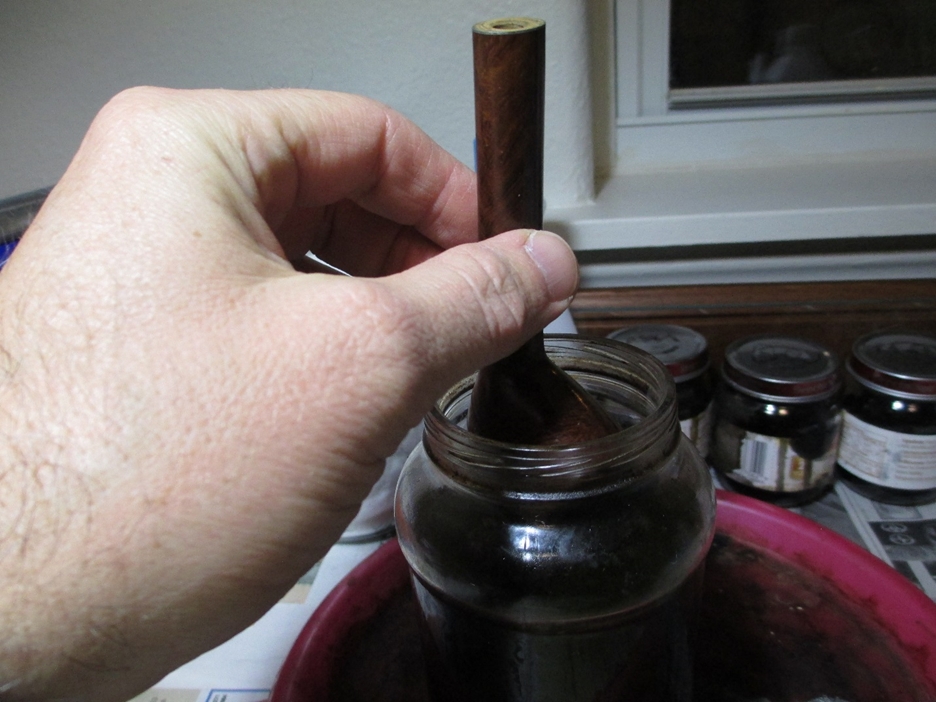
Here is a picture of the pipe when I received it. It had some heavy cake, tar build up on the rim, and a few dents in the stem. Cake doesn’t scare me, my reamer makes quick work of it, and tar build up often protects the rim from damage. The only problem from a collector’s standpoint was the stinger had been cut. I think pipes smoke better without the stinger, so that wasn’t a huge issue for me.KW1 One of the things that I do to make reaming heavy cake easier is soak the bowl in alcohol. Here’s the bowl getting dropped into the bath.KW2 After a good long soak, it was time to remove the cake.KW3 My Castleford reamer effortlessly removed the cake.KW4 I like to multi-task, so while the bowl was working, I soaked the stem in Oxyclean. I used a fuzzy stick and Oxyclean solution to get the worst of the gunk out of the stem. Here is the first pass.KW5 Although I usually retort the shank and stem separately, the screw in stem prevented that. I ended up retorting the whole pipe.KW6 The inside of the shank and stem were nasty.KW7 Next I turned my attention to the rim. It had some scars that necessitated topping.KW8

KW9 I used 150 grit sandpaper on a piece of glass to remove the damaged section.KW10 To fix the dents in the stem, I used a three-pronged approach. First I used steam to raise the dents as much as possible. I have an old kitchen knife that I heated with my heat gun. I placed a wet cloth over the area and pressed the hot knife blade onto the stem. It raised it a little bit.KW11 This is after the application of steam.KW12 Next I used 400 grit sand paper.KW13 The underside of the button was kind of messed up, so I dressed it with a file.KW14 I still had a small dent, so I filled it with clear super glue and applied a drop of accelerator. The accelerator comes in a spray bottle, which I find makes a mess. My solution is to take the sprayer out and use the end as an applicator. I also use a thumb tack to apply a small amount of glue. I’m not very neat when using glue straight from the bottle and using a thumb tack gives me more control (it also means less material to sand after the glue dries).KW15 Once I had the stem sorted out, I used 400 grit wet/dry with water followed by 1500-2400 grit micro mesh with water.KW16 I used a progression of 1500-12000 micro mesh on the bowl. Next I used Pimo Pipe Supply medium walnut stain, cut with 50% de-natured alcohol, to make the rim match the bowl.

After an uneventful spin on the buffer (anyone who ever used a buffer to shine pipes understands the drama that can occur when the pipe gets away from you) this is the result.KW17

KW18

KW19

KW20

KW21

Restoring a 1967 Dunhill 54 F/T Group 2


Blog by Andrew Selking

I’ve had some good luck bidding on Dunhill pipes recently. This little Group 2 came in a lot of five pipes that included four Kaywoodies. With the exception of minor wear on the front of the rim and some oxidation, it looked very nice. Here’s what it looked like prior to restoration.Andrew1

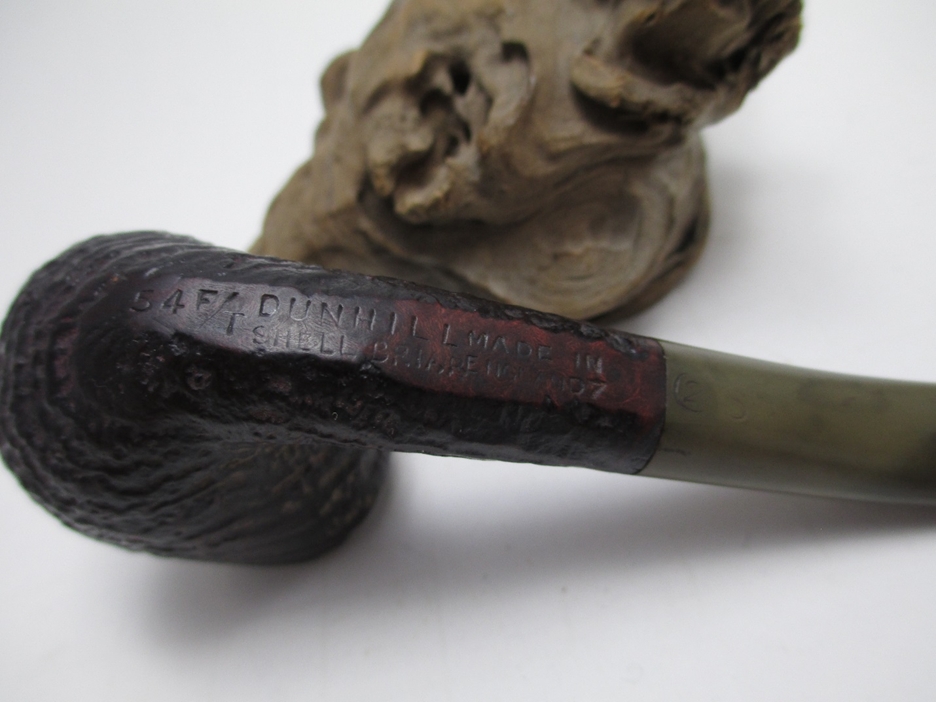
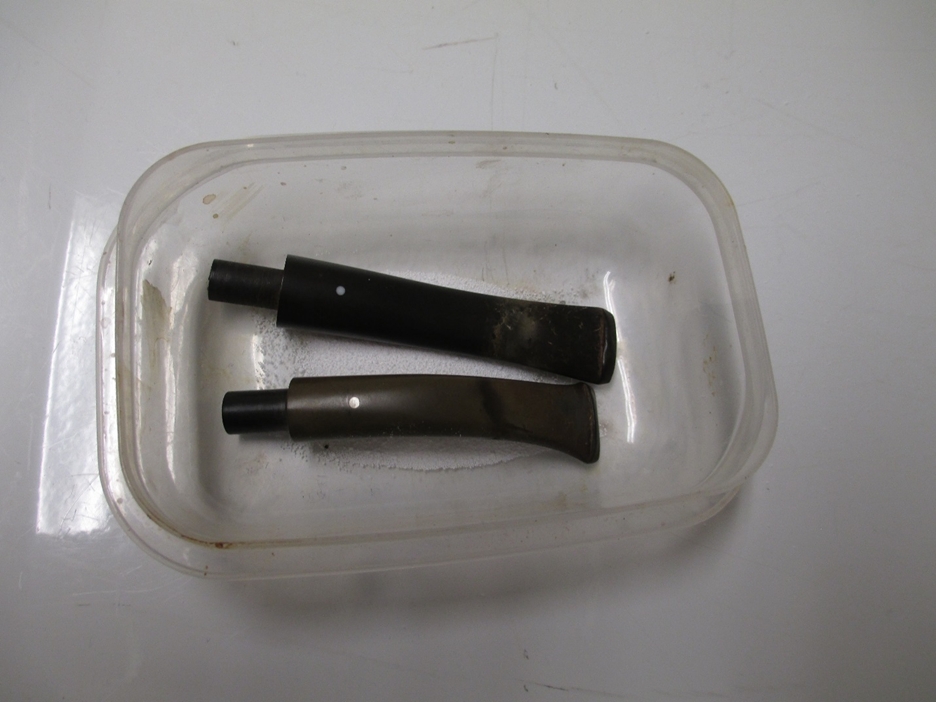
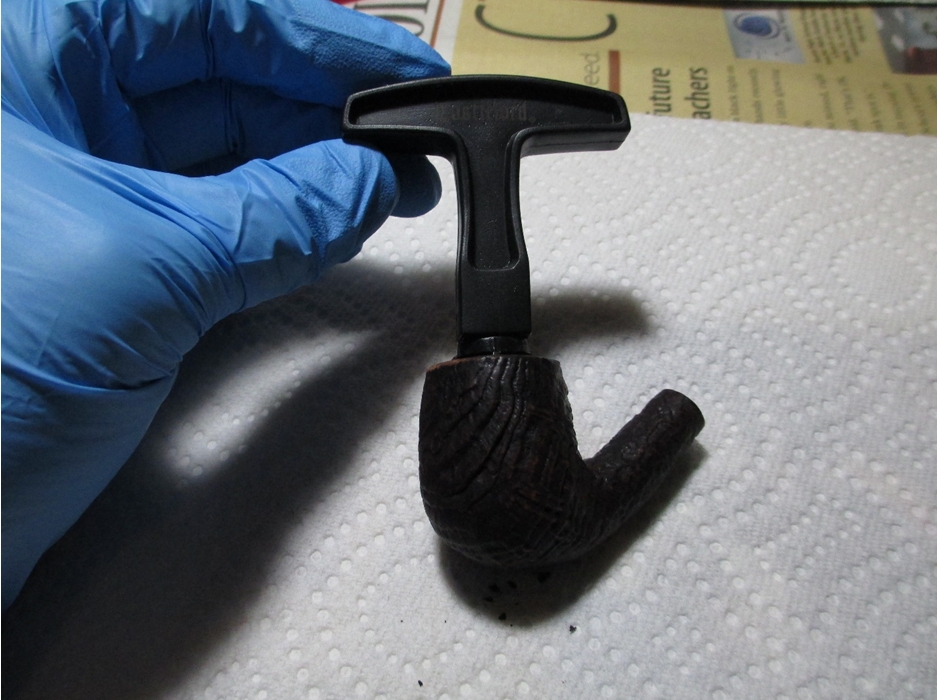
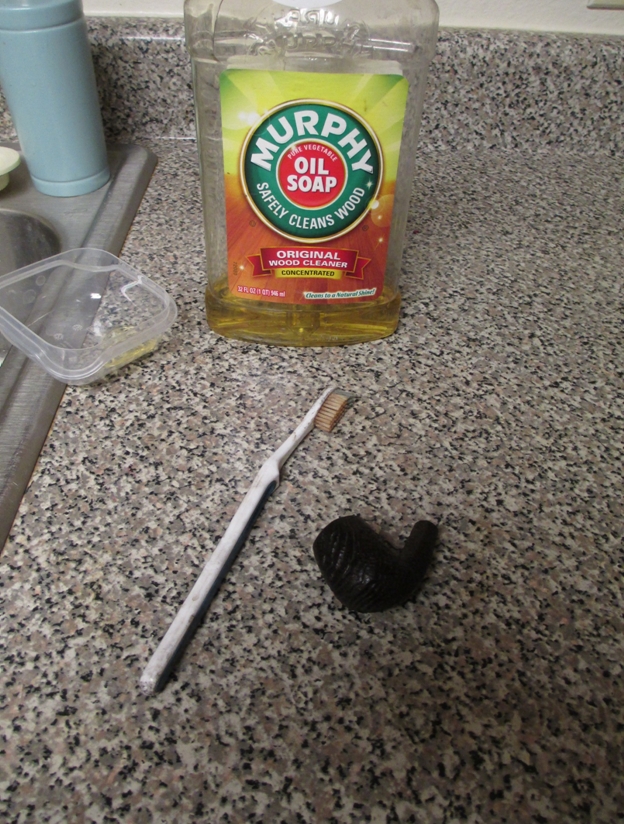
Andrew2 The pipe is so small they stamped the group size on the stem.Andrew3 I began the restoration process by soaking the stem in Oxyclean.Andrew4 While the stem soaked I reamed the bowl with the smallest head of my Castleford reamer. It had a loose cake that came out easily.Andrew5 Next I used undiluted Murphy’s Oil Soap (an all-natural vegetable oil based soap specifically formulated for cleaning wood) with a tooth brush to get the grime out of the blast.Andrew6 This is what the bowl looked like after cleaning.Andrew7

Andrew8 My biggest concern with this pipe was the damage to the front of the rim. I decided to use a furniture touch-up marker (thanks for the tip Steve) to see if I could make it look better.Andrew9 It worked like a champ, the marker was a color match to the rest of the pipe.

Now that the bowl was taken care of, I turned my attention to the stem. As usual, I used a fuzzy stick (that’s the politically correct term for pipe cleaners sold in the craft section of Walmart) to remove as much of the gunk while I still had the Oxyclean solution. If you’ve ever cleaned a black powder rifle it’s the same concept; stick one end in the liquid and draw the fuzzy stick back and forth. When it gets loaded with tar, I swish it in the liquid and wring it out. Here’s what the fuzzy stick looked like after the first pass. The inner tube did a good job of preventing excess tobacco build up.Andrew10 Next I tackled the shank. I use a retort filled with de-natured alcohol to loosen the gunk in the shank and the stem. I usually do the stem and shank separately for two reason, first it works very well and second when you have a wide button (like the one on this pipe) it’s difficult to fit the rubber tube over the end of it. I do the retort until the alcohol that goes back into the eye dropper looks relatively clean. In the case of this pipe, I did it three times.Andrew11 After the retort, I used a brush to scrub out the shank. This is why I like to retort the shank separately.Andrew12 I then used q-tips and fuzzy sticks dipped in isopropyl alcohol to remove the remaining gunk.Andrew13 Next I used the retort on the stem. If you do this make sure to plug the end of the stem, otherwise you will get boiling brown alcohol everywhere.Andrew14 After a couple of fuzzy sticks, the inside of the stem was clean.Andrew15 With the bowl and shank cleaned, my next step was to remove the oxidation from the stem. Any time I do a pipe that has inlays or stamping on the stem, I use 1000 grit wet/dry and water to remove the oxidation. Especially this pipe, with the group size stamped on the bottom of the stem. It takes a while, but the results are worth the effort. When removing oxidation with wet/dry sand paper and water, periodically dry the stem to make sure you’re getting everything. When it’s wet the stem tends to look really good, but when it dries out that’s when you notice everything you missed. After the 1000 grit, I used 2400 grit micro mesh with water.Andrew16 I used a progression of micro mesh pads, from 3200-12000 to prepare the stem for final polishing.Andrew17 I also polished the flat spot with the nomenclature with a progression of 5000-12000 grit micro mesh. I used Halcyon II wax on the bowl, which I buffed out with a shoe brush, and carnauba wax on the buffing wheel for the stem. Here is the final result.Andrew18

Andrew19

Andrew20

Andrew21

Andrew22

Putting another new stem on a Peterson’s K&P Dublin 207 Pot


Blog by Steve Laug

I have had this 1940s era Peterson’s pot for quite a while now (stamped with a com circle Made in Ireland). I found it at a flea market here in Vancouver. It was a mess and missing a stem when I found it. There was a spring windcap welded to the top of the bowl by the carbon and the cake buildup. I did a write up on the restoration and how I made the stem that is on it in the photos below. You can read about it by clicking on the link below.
https://rebornpipes.com/2012/06/07/fitting-a-pipe-with-a-new-stem-photo-essay-20/ pete1

pete2

pete3

pete4 From the moment I finished restemming it in June of 2012 I did not like it. It went into my box of pipes for sale. It is a beautiful piece of briar and the original band is clean and readable – it says K&P Sterling Silver. But the stem – even though it looked okay – did not do it for me. Since I am on this binge of reworking old pipes these days, pipes that just did not make the rotation even though they were workable and smokeable, this one was next on the hit list. I held in hand and looked it over. I was going to do some work on the stem shank fit but even as I looked at it I knew that would not change my mind.

Then the lights came on and I understood what it was that bugged me about this pipe. The stem was just too long to my liking. No amount of reshaping it would change that overall feel for me. The stem would need to go. I remember going through my can of stems when I restemmed it and this was the only one that I had that was even remotely close to working. However, recently I had purchased some old stems that only needed to be cleaned and repurposed. I was certain there was one in the can that would work. There was one that was about ½ inch shorter than the existing one. It was the perfect diameter for the shank. The tenon was a little big but a quick work over with the Dremel and sanding drum followed by hand sanding with 220 grit sandpaper took care of that problem. The stem fit well. It needed to be cleaned up and the oxidation removed from the surface but it was going to be a better looking stem in my opinion once I finished working it over.pete5

pete6

pete7

pete8

pete9 I sanded the stem with 220 grit sandpaper, medium and fine grit sanding sponges and then a fine grit sanding block to remove the oxidation on the stem. I could have let it soak in oxyclean but chose not to as I wanted to work on it without waiting. I also did not have any stamping on the stem that I wanted to preserve so sanding would do no harm. I worked on the button edges to sharpen them. I then sanded the stem with micromesh sanding pads – wet sanding with 1500-2400 grit pads and dry sanding with 3200-12,000 grit pads. I buffed the stem in between the 4000 grit pad and the 6000 grit pad with White Diamond. I rubbed the stem down with Obsidian Oil and when it was dry gave it several coats of carnauba wax and buffed it with a soft flannel buffing pad. The finished stem is shown in the photos below. I really like the new look of the pipe and am glad I replaced my first replacement stem. It will probably stay in the rotation for awhile now.pete10

pete11

pete12

pete13 You may be wondering when this “urge” to rework previous work will end. I am not sure I can give you a clear answer to that question. I am going through the pipes I am preparing to sell so there may well be others that come under scrutiny. As I rework them I will let you all know. Maybe it will end when I get the pipes I have picked up on Ebay finally arrive. It may well be a case of too much time during the holidays and the ladies in my life disappearing to do shopping that keeps me looking for ways to stay busy.

2014 in review


I thought I would share the WordPress 2014 In Review Annual Report on the workings of rebornpipes. It is because of each of you the readers and contributors that we continue to grow and offer the content we do. Lets see what we can do in the year ahead. We are always open to contributions from you the readers. All you need to do is send me an article with photos to post in Word Format to slaug@uniserve.com

Thanks Again
Steve Laug

The WordPress.com stats helper monkeys prepared a 2014 annual report for this blog.

Here's an excerpt:

The Louvre Museum has 8.5 million visitors per year. This blog was viewed about 190,000 times in 2014. If it were an exhibit at the Louvre Museum, it would take about 8 days for that many people to see it.

Click here to see the complete report.

Reshaping another one that needed a bit more work – a 1912 BBB Poker


Blog by Steve Laug

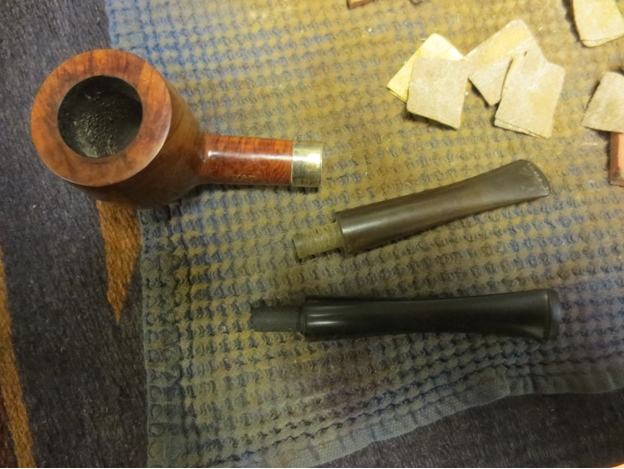
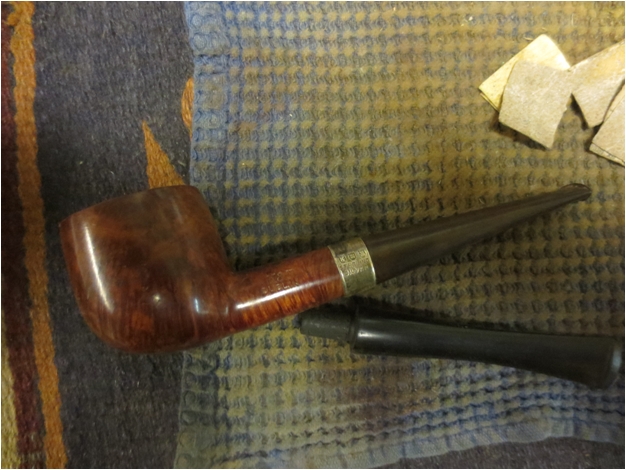
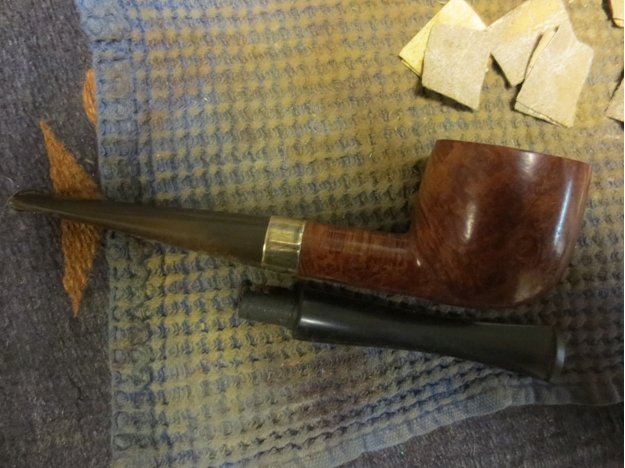
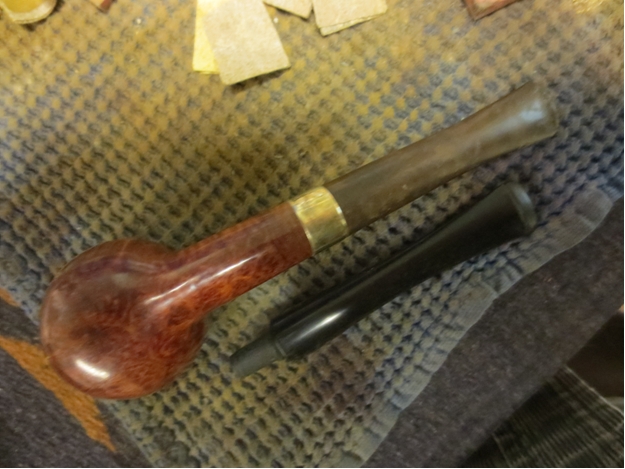
I was going over some early blog posts and cleaning up the photos and adding an author line to each of them. Doing some end of year maintenance on the blog. As I was doing this I came across this blog that I wrote on a 1912 BBB Poker https://rebornpipes.com/2012/06/13/the-1912-bbb-poker/. While I like old pipes this one just never quite made it to the rotation. Not sure why until I took it out and looked at it today. Several issues are evident in just looking at the photos below. The briar is beautiful. The silver shank band is factory silver. The stem is a restem that I did earlier in my refurbishing days. The diameter of the stem at the silver band junction is too thick. It seems to bulge around the band instead of just flowing from the band smoothly. The taper was also thick at the button. Though it had an orific button on it the stem was still too thick at that point. The button also lacked the rounded edges of the early orific buttons that were on these old pipes. With those issues obvious to me today was the day that I needed to work on it.bbb1

bbb2

bbb3

bbb4 I took it apart and blew through the shank – the airway was constricted. I blew through the stem it too was constricted. I used my KleenReem drill bit to open the shank airway and cleaned out and opened the airway. Blowing through the airway was no wide open. The stem was a different story. The tenon was nice and open. The issue lay in the round airway in the button. It was significantly smaller than the airway in the stem. I used a needle file on the airway in the button to open it up and flare it around the edges – while still maintaining the round look. Once that was complete the draw on the stem and shank were both open. Now I needed to work on the taper, the shape of the button and the diameter of the stem at the shank junction.

I sanded the stem with 220 grit sandpaper to shape the taper and to reduce the diameter of the stem. It took a lot of sanding to remove what in the pictures looks like very little overage of vulcanite. I did all of the sanding and shaping with the stem removed from the shank. I checked frequently to make sure that I did not over do the sanding and shaping by putting the stem back in place on the shank. The issue for me with this stem was not to round the edges at the shank while at the same time removing the excess evenly in terms of slope, width and diameter. It took me three hours to just shape the stem. At that point I had sanded with the 220 grit sandpaper and a medium and a fine grit sanding sponge. I used a medium grit sanding block to keep the edges and slope straight so that I did not create waves or valleys in the top and bottom surfaces of the stem. The photos below show the stem after the shaping work is completed.bbb5

bbb6

bbb7

bbb8 I worked the stem over with my usual array of micromesh sanding pads, wet sanding with 1500-2400 grit pads and dry sanding with 3200-12,000 grit pads. (Note to self – pick up some more of the 1500-2400 grit pads as I go through them far more quickly than the higher grit pads. Must be the water!) I wiped the stem down with Obsidian Oil and when it had dried, gave it multiple coats of carnauba wax and buffed it with a soft flannel buff. The newly shaped stem is shown in the photos below. The draw is open, the shape more comfortable in the mouth and the lines look far better.bbb9

bbb10

bbb11

bbb12

The Christmastime Joy of Refurbishing an Old Peterson


Guest Blog by Robert M. Boughton
Member, North American Society of Pipe Collectors
http://www.naspc.org
http://www.roadrunnerpipes.com
http://about.me/boughtonrobert

Photos © the Author

“Smoke your pipe and be silent; there’s only wind and smoke in the world.” – Irish Proverb

INTRODUCTION
Many of the pipe lots I purchased during the past few months were to spruce up and sell at my online restored pipe site, although I admit to liberating a few of the choicer finds here and there for my own collection. However,this fine example of a vintage classic Peterson and a number of other brands I bought as singles in more recent weeks were intended with lust a forethought for my own ultimate and lifelong use. As far as the Pete I just received is concerned, my decision to keep it was not based on the Peterson brand name, 22 of which I already owned.

In fact, I expected to add one of the Pete’s I ordered near the end of November to the trove, which seems to increase at an exponential rate and counts 23 now of this brand alone.I chose instead to list the fine pipe for sale for disparate reasons even I find difficult to explain. My penchant for anything Peterson is so well known that my announcement on the Smokers Forums of my plan to sell the K&P System Standard brought a humorous reply: “I thought you’d never say ‘Enough Petersons.’ ”

My decision to sell the basic K&P System Standard full bent which, when I at last held it in my hands, was similar to some I already have, was based in part on that factor but, more to the point, it somehow lacked the certain element of instant overwhelming attraction which is too complicated to describe in this forum, and besides, I am sure anyone who reads this already knows the butterfly effect all too well. I am also adding higher-end pipes to my site and concluded a shiny new-looking Peterson would provide a nice incentive to someone out there in Cyberland who possess the essential sense of captivation to give it the loving home it deserves and not enjoy it once or twice only to put it in the rack and almost never again give it a serious thought.

Robert1And I should add how any potential rarity or value of the engaging pipe shown here pre-restored is irrelevant to my sentiments for it. No, I reserved the Peterson Dublin Republic Era straight billiard for my own caring use even despite its mixed grain because it, well, possesses the right stuff as defined by my personal sensibilities. Who knows? Maybe the System Standard full bent is an extraordinary find. I just don’t have eyes for every pipe that comes my way as I do for the subject of this blog.Robert2

Robert3

Robert4

Robert5

Robert6

Robert7

Perhaps the strongest tug at the curious side of me was the stem, which is perfect except for one tell-tale sign that it is not the original for this Made in the Republic of Ireland Peterson. Clear as day on the left side is the symbol that identifies it as a Peterson stem made for a pipe manufactured in France: Robert8

Now that’s one kind of oddity that always endears a pipe to me on first sight.

REFURBISH
First, as the word refurbish suggests, this was, for the most part, not a difficult task. The only actual problem was removing the cake buildup from the chamber, where I started.

For the most part, in my experience at least, even cake this bad comes free without a fight and leaves the chamber relatively smooth. The third photo above does not do service to the way the cake tapered downward from more to less. This turned out to be one of the ordeal varieties, not a piece of cake at all. (I know, and tender my apology now.) I started with the 19mm reamer since most of the carbon mess was at the top, and it fit about halfway down with snugness. Several laborious full turns later, applying just enough force to see the reamer moving a bit lower, I paused to dump the carbon dust. Seeing the huge amount that fell out, I took another close look into the chamber and was amazed to see not only that the upper bowl needed much more work, but that the bottom was unfazed.

And so I switched to the 21mm reamer that was barely able to clear the inner diameter and gave the entire area a go with several more intense turns, using pressure again to reach the real bottom. Another massive amount of carbon fled the chamber as I turned it upside-down over a proper receptacle. Then, sticking with the bigger reamer, I engaged the entire enemy for the first time. The biggest load of carbon so far emptied out, and after I blew through the shank, a thick dark cloud of dust flew through the air, reminiscent of Victorian Era London skies as described by Charles Dickens with much greater skill.

I soaked a couple of small squares of cotton cloth with Everclear and folded them around my middle finger to insert into the chamber and scrub away much of the residual grime. I did this with both sides of the cloths. Waste not, want not and all that. Of course the wet cotton came out soaked solid black along with part of my finger, but I allowed the alcohol to dry a little as I halfway cleaned my begrimed digit before sticking my clean index finger all the way in and feeling the walls. They were pocked all over.

Reattaching the 19mm blades, I angled them first against the upper half of the chamber before adjusting them to favor the lower half. Much more carbon was loosened, and more alcohol-soaked cotton cloths wiped away the excess. Again I inserted a clean finger and used it to dig out little chunks of carbon. The chamber was better but still needed work.

I turned to a small piece of 200-grit sandpaper long enough to reach the bottom of the chamber with a little above the rim and wide enough to cover half of the wall. With whatever finger fit inside the chamber leaving enough room to press down against the paper and turn it with roughness 360 degrees a few times, I heard that old familiar fingers-on-chalkboard screech the entire time. But I felt the wall smoothing. The paper came out black, and I wiped it over a rag to remove the dust. Still again, a small mountain of carbon fell from the inverted chamber. Feeling the wall with a bare finger, I knew I had to get rough at last.

A perfect old piece of 150-grit paper presented itself for my use, and I went at the chamber again with real gusto. The fact that another pile of carbon was removed dismayed and discouraged me. I repeated the process several times, cleaned the chamber with cotton cloths and Everclear, and believe it or not, got the reward I had awaited with a clean, smooth finger inspection. So that’s my page and a half on fixing the dang chamber.

Next up on my itinerary was beginning the cleaning process of the shank. After about ten minutes of running a wire-handled bristle cleaner dipped in alcohol over and over through the inner shank, I saw it was having an effect and stopped to prepare for the retort.

At this point I remembered the small stem was Lucite, which can be warped and ruined by alcohol. However, finding the task of attaching the rubber tube of the retort kit directly over the wide shank opening, and also locating no suitable temporary stem, I saw no choice but to take a chance. And so I connected the rubber over the lip of the stem and commenced the retort process.

Several test tubes of Everclear later, the shank at last came clean. Removing the stem as fast as I could and inserting a stem cleaner into it, where I let it stay long enough to dry, I found that it was intact. I completed the retort by removing the cotton balls from the chamber and using more cotton cloth to scour the chamber clean and dry and doing the same to the shank with a soft cleaner.

The stem, as nice as it was, still had a couple of minor bite marks and other blemishes I might have ignored with a pipe I was keeping, but I couldn’t do it.Robert9The ease of removing the bitemarks and other marks with 400-grit paper came as a happy surprise. While the sandpaper was handy, I cleaned the shank opening, as you will see below. After that all I needed to do was micromesh the bowl and shank with 1500, 2400 and 3200.

I was more reluctant than ever before to remove any of the original stain, but had no choice with the rim, which was blackened beyond the help of purified water, steel wool or micromesh. I chose 400-grit paper, which eliminated the blackening, before a three-step micromesh using 1500, 2400 and 3200. That done, I considered which of my modern day stains would best approximate the original, and decided to go with the medium brown. I flamed it and set it aside to cool. After a few minutes, I took out my 2400 micromesh pad and gently rubbed away the ash, followed by a quick wipe with a soft rag.

I’d have to say the greatest surprise with this old pipe was the flawless condition of the bowl and shank, with the exception of the rim as described. Based on the general design, the less familiar shade of brown and the grain that is not as uniform as pipe enjoyers today expect, I estimate that this pipe dates to the 1940s or 1950s. At first I believed the pipe was never waxed until I gave it a good wash with purified water and cotton cloth and was able to make out a couple of thin, shiny streaks on the top of the shank, where it appears its long-time previous owner seldom if ever touched the faithful companion.

Still, to assure its readiness for a smooth buffing, I prepared the wood with micromesh progressing from 1500 to 2400 to 3200 and at last 4000.Robert10

Robert11

Robert12

Robert13

Robert14 Eager to try out this wondrous pipe that, as I noted, was created before I was, I found myself filled with more excitement than usual as the moment to buff the beauty with waxes arrived. Leaving the stem behind, having waxed it with red and white Tripoli followed by White Diamond while the new rim stain dried, I carried the smooth piece of old briar into my workroom. Wanting to bring out as much of the varied grain as possible, I decided to use the whole ball of wax. (I know, I know! Again, I apologize.) Starting with the red Tripoli wheel, I coated it with an easy, light touch before moving to the white Tripoli, followed by White Diamond, and to finish it off, carnauba.Robert15

Robert16

Robert17

Robert18

Robert19 CONCLUSION
I could never describe what it is about a pipe that attracts me to it. My tastes are too eclectic. But when I see it, it is always like love at first sight. I mean that in the literal sense, as with two or three times in my life when I took one look at someone and was instantly light-headed with my stomach full of butterflies and found myself tongue-twisted. Alas, none of those relationships worked out in the end. With pipes, at least, love is forever – and perhaps a bit lecherously, I have quite the stable of mistresses.

The author enjoying the pipe.

The author enjoying the pipe.

Reworking a horn stem on a Regent Pipe


Blog by Steve Laug

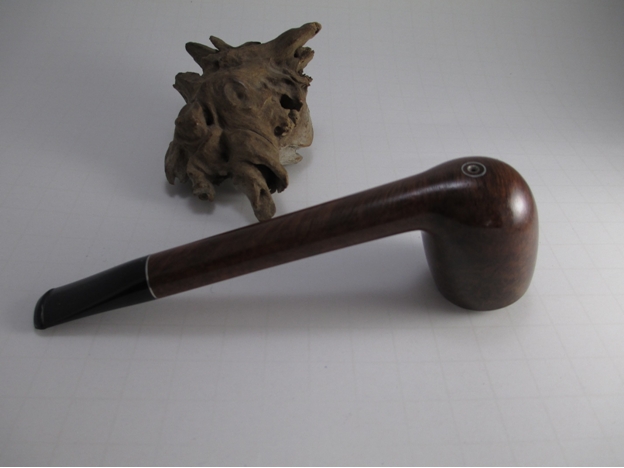
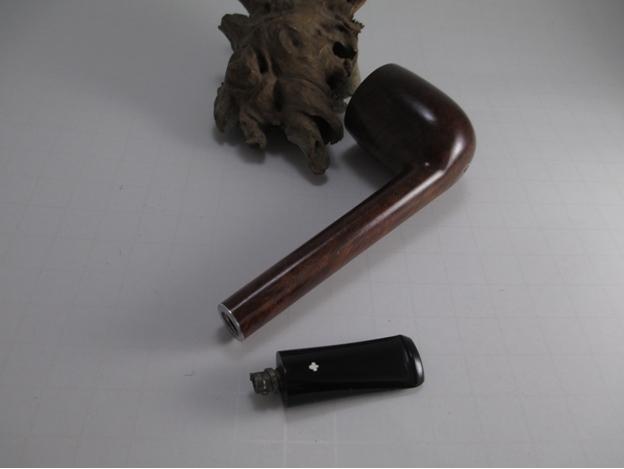
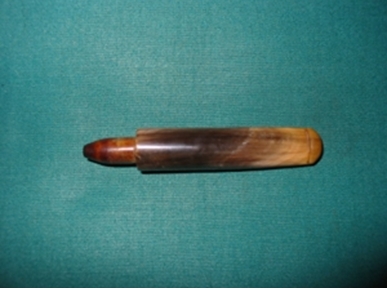
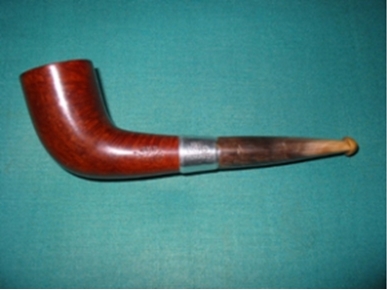
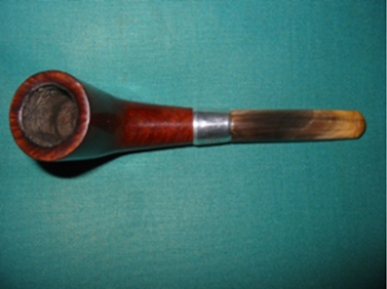
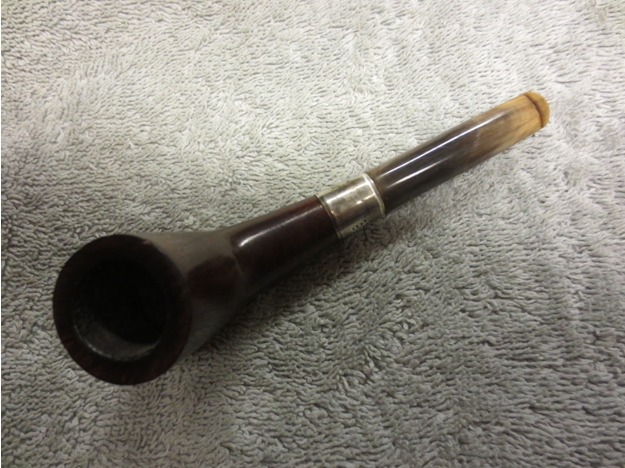
I restored this old horn stem on June 9, 2012 and fit it to an old horn-shaped bowl I had in my box. The bowl is stamped The Regent arched around a star. I wrote about the restoration of the stem and the bowl previously in this post: https://rebornpipes.com/2012/06/09/refurb-on-an-old-the-regent-fit-a-horn-stem-7/ I love the translucence of the horn material. I trimmed off excess horn material to fit the end of the shank. The first photo shows the stem when I started.Regent1 The next three photos show the stem after I had trimmed it to match the diameter of the shank band.Regent2

Regent3

Regent4 This holiday season I find that I am out of pipes to restore – I have finished the last of the ones in my box. So during the doldrums of no pipes to refurbish I spent time looking through my collection. I took on the horn stem pipes to look at. I posted on PSU – Pipe Smokers Unlimited – Forum about horn stem pipes. I have quite a few in my collection as I really like the look and feel of a well restored horn stem. I posted the above photos and really did not like the overall look of the stem. It did not seem to flow with the lines of the bowl. In those days I was just starting out on restoring horn stems and I was fearful of ruining the old stem so I did not shape it as aggressively as I do now. I don’t know if it fearlessness or just stupidity but I still am not careless in the work.

I took the pipe out of the cupboard and reworked the stem. I sanded the stem with 220 grit sandpaper to match the angle of the shank – top and sides. I wanted to take out the bulging look, the pinch at the shank stem union. I took off quite a bit more material until the flow looked better and the bulge was gone. I worked to also straighten the sides of the stem from that junction to the button on the end of the stem. I sanded it with medium and fine grit sanding sponges and a fine grit sanding block to flatten angles from shank to button. I finished by wet sanding with 1200-3200 grit sanding pads and then buffed the stem with White Diamond. I took it back to the work table and dry sanded it with 3600-12,000 grit micromesh sanding blocks. I rubbed it down with Obsidian Oil and then gave the bowl and pipe several coats of carnauba wax. I finished by buffing it with a soft flannel buff until it shone.

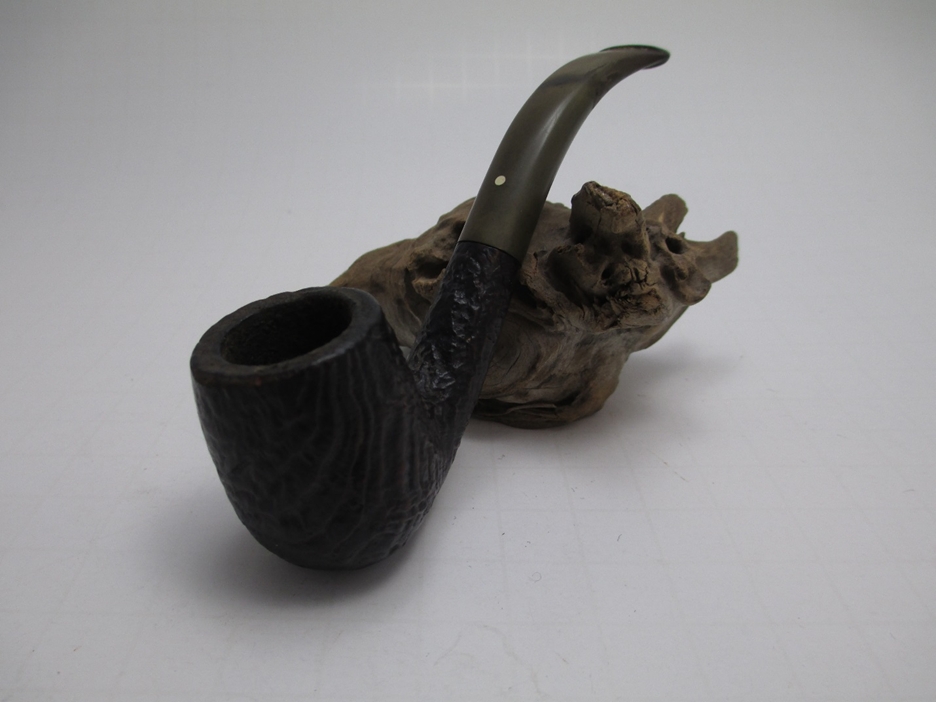
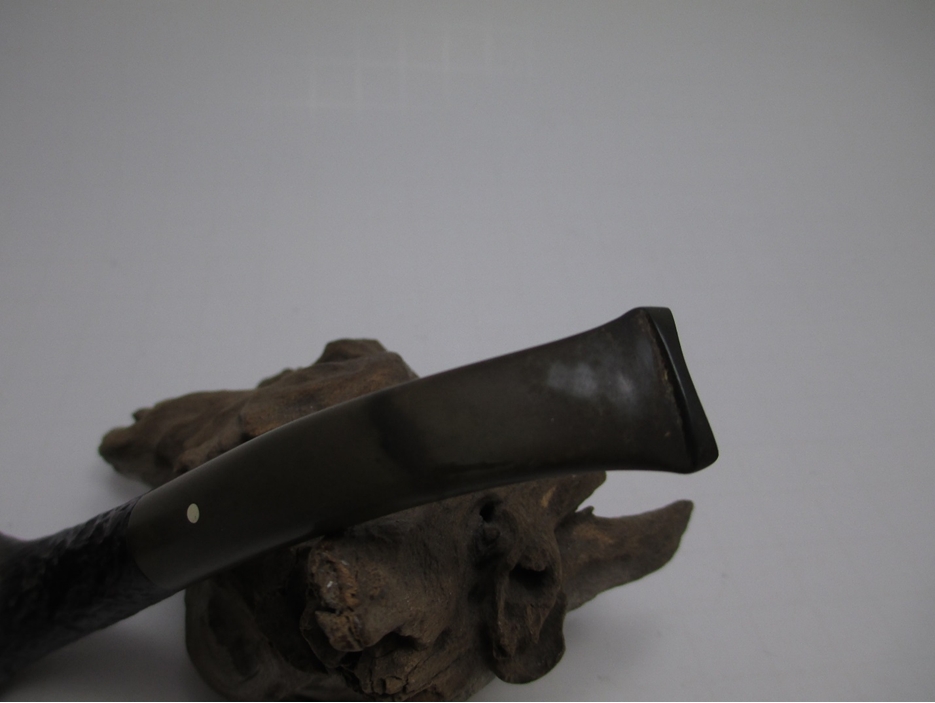
The finished pipe is shown below. I like the new look of the stem far better than the previous fitting. The pipe is sitting on my desk now and will be in my rotation for this weekend.Regent5

Regent6

Regent7

Regent8

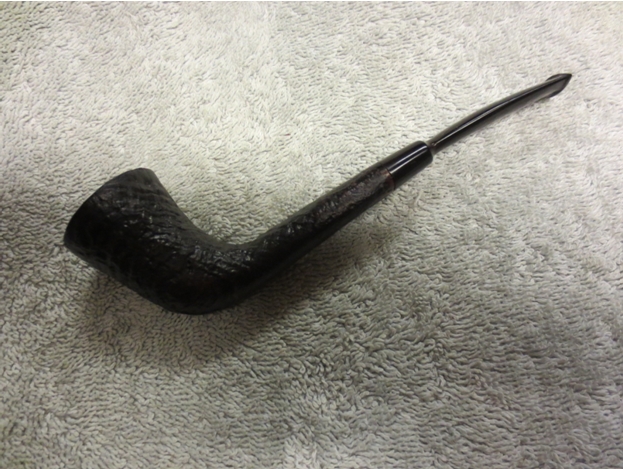
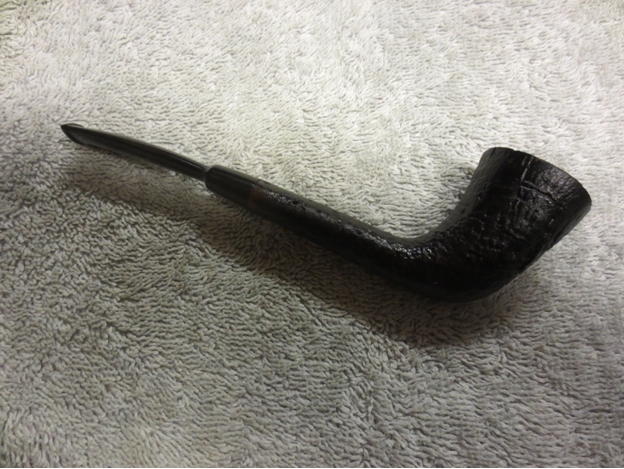
The Little Champion 057 Horn Reborn


Blog by Steve Laug

When I saw this old timer it reminded me of a Dunhill shape that I had seen though that one had had a taper stem. The seller was from Germany and the only photo included is the one below. The stem was badly oxidized in the photos and the finish on the bowl that showed was worn. I had no idea what the rim or the rest of the pipe looked like. The seller did not include any information on the stamping on the pipe so it was a bit of a blind bid. I decided to go for it and put in a low bid and won the pipe.Horn The pipe arrived this week and I was nervous when I saw the package that the postie delivered. It was totally smashed with the corners blown out on two sides. Someone had reconstructed the box with strapping tape but the crushed box was not repaired. I cut the tape and opened the box with fear and trembling. I was wondering if the pipe inside would be in pieces of if it would be unscathed. Inside the box were many crumpled newspaper pages. I dug through the pages and in the very middle was a bubble wrapped object. The stem was still in the shank of the pipe and looking through the bubble wrap it appeared unbroken. I cut the tape on the wrapping and took out the pipe. What I found is shown in the next four photos below.Champ1

Champ2

Champ3

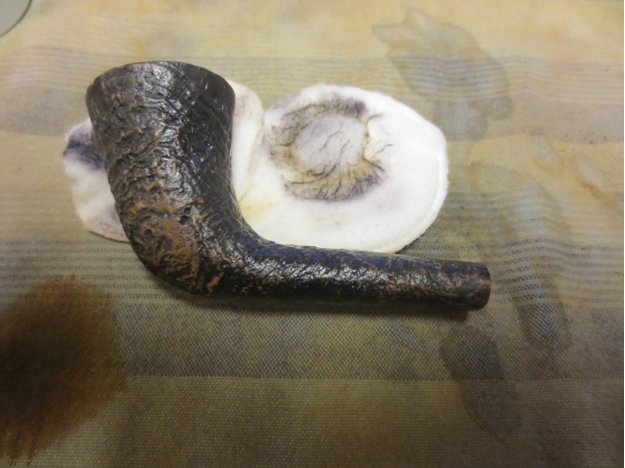
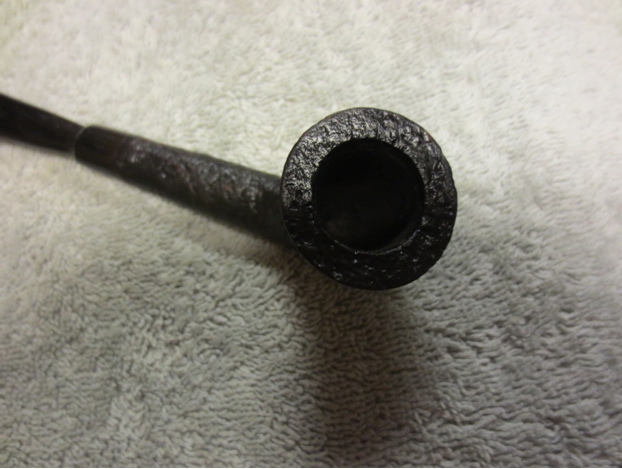
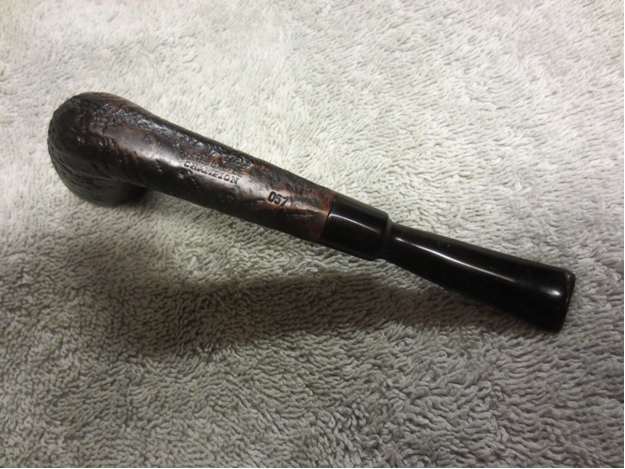
Champ4 The finish was much worn with much of the black overstain worn off. Someone had put a coat of varnish over the worn finish so it was very shiny. There was very little of the sandblast that was not worn. The odd thing was that the blast was still quite rugged and not flattened in the worn portions. The stem was oxidized and dirty. There was a faint logo on the stem of the pipe – a rising sun over a wavy line like a sun over water. On the bottom of the shank it was stamped “The Little Champion”. The bowl had some remnants of broken cake in the V shaped bowl. The rim had a build up tars and oils that had filled in the blast. The rim was slightly slanted inward and gave a dapper look to the old pipe.Champ5 I reamed the bowl with a PipNet reamer. For the upper portion of the bowl I used the second cutting head in the set and the smallest cutting head for the lower portion of the bowl. I evened out the section where the two cutting heads over lapped with a small pen knife.Champ6 Once the bowl was reamed I put the stem in jar of oxyclean to soak and the bowl in an alcohol bath to soak. I wanted to loosen the oils on the rim top and also see if the alcohol would begin to remove the varnish coat.Champ7

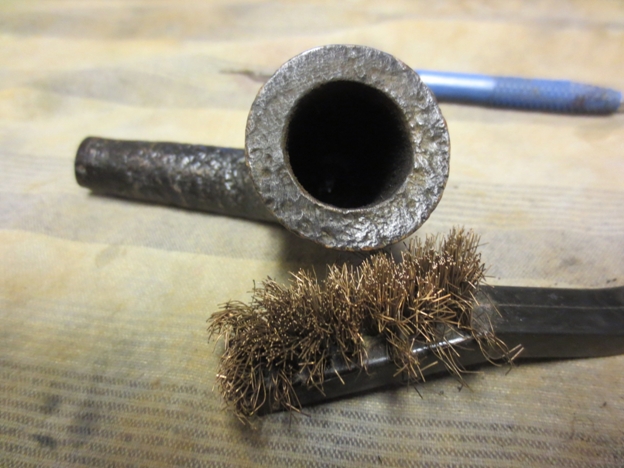
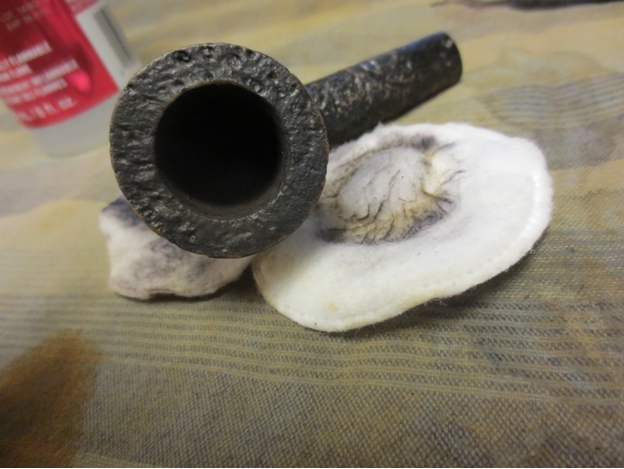
Champ8 Later in the day, after the bowl had soaked in the bath for several hours I took it out of the bath and dried it off with a cotton cloth. I used a soft bristled brass tire brush to scrub the rim and loosen the buildup.Champ9

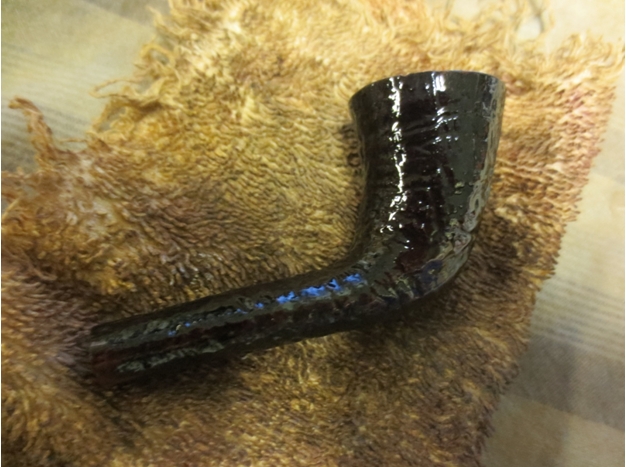
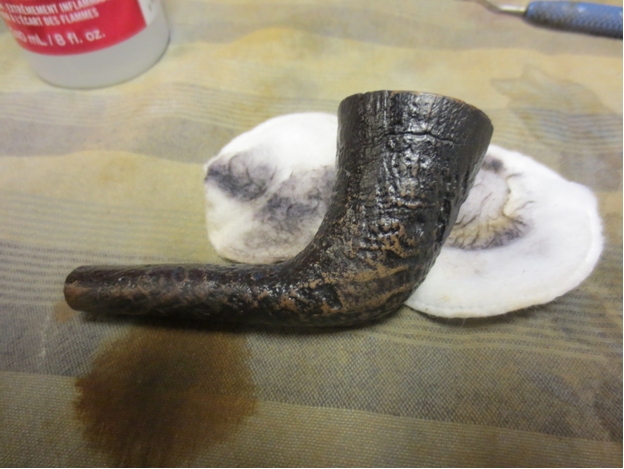
Champ10 I wiped down the bowl with acetone on cotton pads to further remove the varnish. Using the acetone I was able to take of the varnish coat and prep the bowl for restaining.Champ11

Champ12

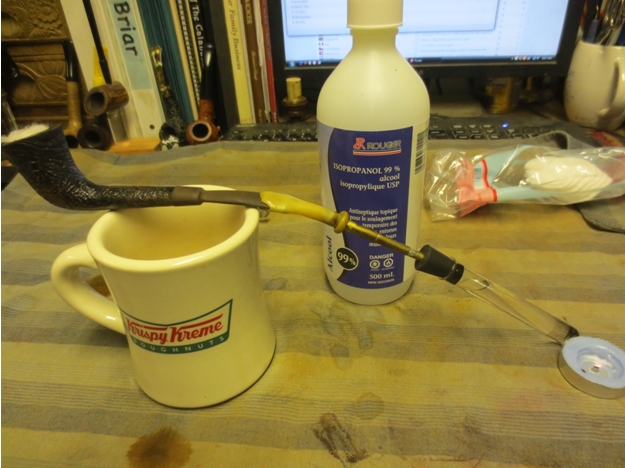
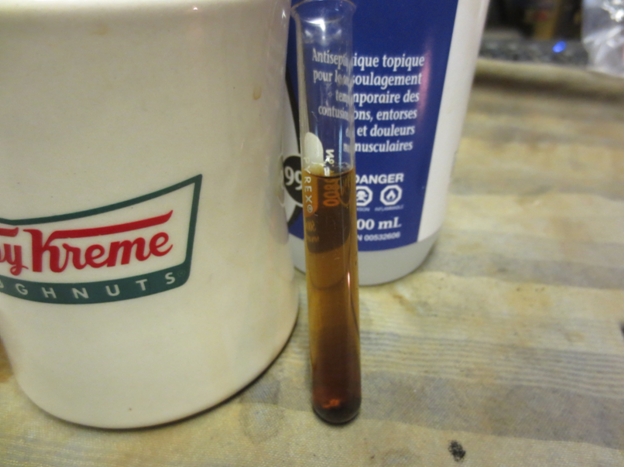
Champ13 I took the stem out of the oxyclean and dried it off. I put it back on the bowl and then set up a pipe retort to boil out the shank and stem. I put a cotton ball in the bowl and the surgical tube over the mouth piece. I heated the alcohol with a tea light candle.Champ14 The first boil through came out brown. The photo below shows the colour of the alcohol after the first tube boiled through. I dumped the alcohol out of the test tube and refilled it and repeated the process.Champ15

Champ16 I removed the stem and cleaned out the shank and stem with alcohol, pipe cleaners and cotton swabs. It took very little time to clean out what remained. I put a plastic washer in place between the shank and the stem and then sanded it lightly with 220 grit sandpaper to loosen the oxidation. I followed that by sanding with a medium and a fine grit sanding sponge.Champ17 I wet sanded the stem with 1500-2400 grit micromesh sanding pads and rubbed it down with Obsidian Oil when finished. I dry sanded with 3200-4000 grit pads and again rubbed it down with Obsidian Oil. I buffed the stem with red Tripoli and then finished sanding with 600-12,000 grit micromesh pads. I rubbed the stem down a final time with Obsidian Oil and then when dry buffed it lightly with White Diamond.Champ18

Champ19

Champ20 I stained the bowl with a mix of 50/50 alcohol and dark brown aniline stain. I applied it with a cotton swab, flamed it and then wiped it down with a cotton pad. The dark brown stain settled deeply into the blast. Some of the higher spots remained a lighter brown. The contrast came out looking quite nice.Champ21

Champ22

Champ23

Champ24 Once the stain had dried I buffed the bowl and stem lightly with White Diamond. I then gave both the stem and the bowl several coats of Halcyon II wax and buffed it with a shoe brush to raise the shine. The finished pipe is shown below. The pipe is ready to load and enjoy. I am planning on loading it up on Christmas morning with a bowl of Pilgrim’s Muse from the Country Squire shop in Jackson.Champ25
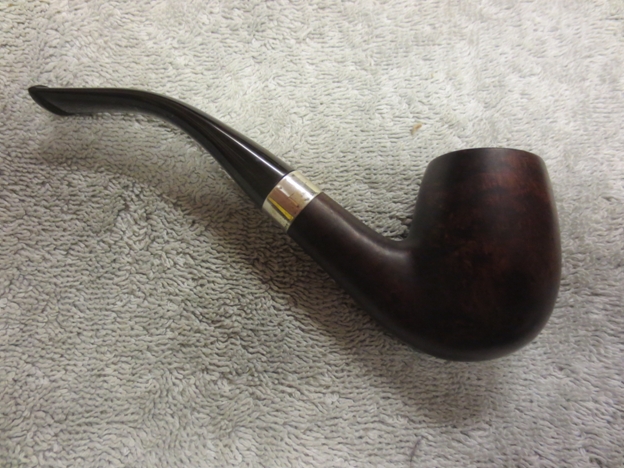
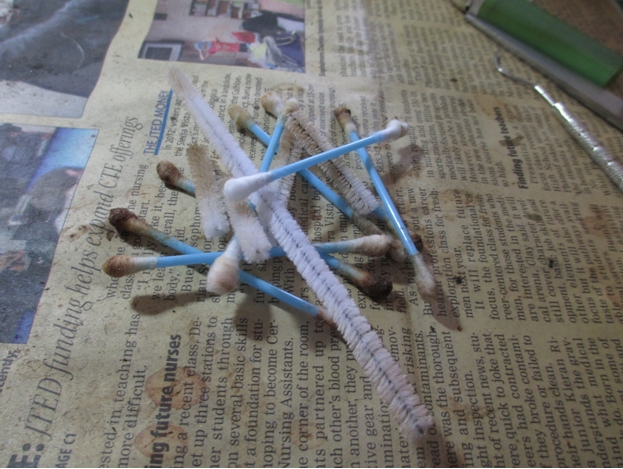
Champ26

Champ27

Champ28 The final photo shows the bottom of the shank and the stamping is very readable. Anyone with information on the brand please let us know in the comment section below and I will add it to the blog. Thanks ahead of time.Champ29
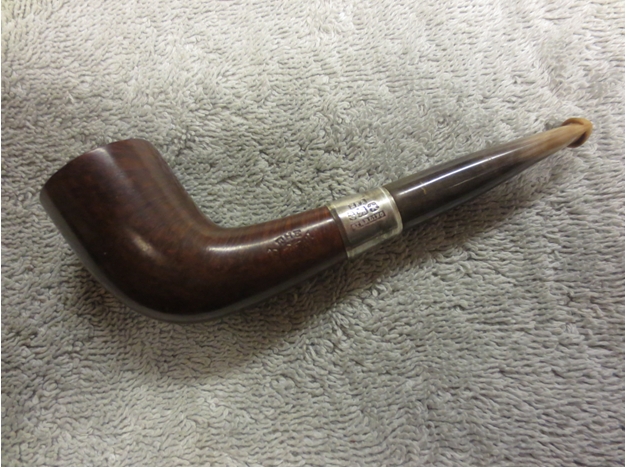
UPDATE:
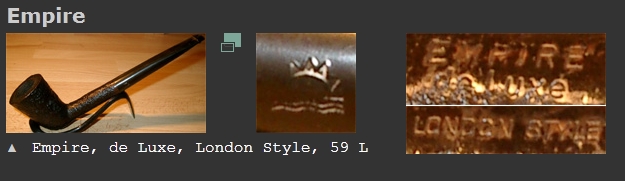
Yohanan sent me a note that he had found the same logo on PipePhil’s Logo site http://www.pipephil.eu/logos/en/logo-e3.html and once I checked it out it matches the stem logo exactly. Here is a photo.Noname