Blog by Steve Laug
The Heritage brand was on I had no familiarity with until Andrew wrote up this blog for us https://rebornpipes.com/2014/12/23/refurbishing-a-heritage-heirloom/ He gave background, history, line information and the classic brochure from the company. I want to give a brief summary of what he found in the next two short paragraphs to set the stage for the one that I found once he highlighted the brand for me.
Heritage pipes were Kaywoodie’s answer to Dunhill. According to one of their brochures, Heritage pipes were made from “briar burls seasoned and cured for up to 8 months,” with only “one briar bowl in over 300 selected to bear the Heritage name.” “Heritage stems are custom fitted with the finest hand finished Para Rubber stems. Mouthpieces are wafer thin and concave.”
The Heritage line began in the early 1960’s, with the trademark issued in 1964. The line was started at the request of Stephen Ogdon, (who worked for Kaywoodie in 1962). Mr. Ogdon had previous experience working for Dunhill, either running the New York store or working for Dunhill North America. Mr. Ogden was made President of Heritage Pipes, Inc., Kaywoodie Tobacco Co.,Inc. and Kaywoodie Products Inc. as well as a Vice President of S.M. Frank & Co. Heritage Pipes were produced from 1964 until 1970 (Source Kaywoodie.myfreeforum.org).
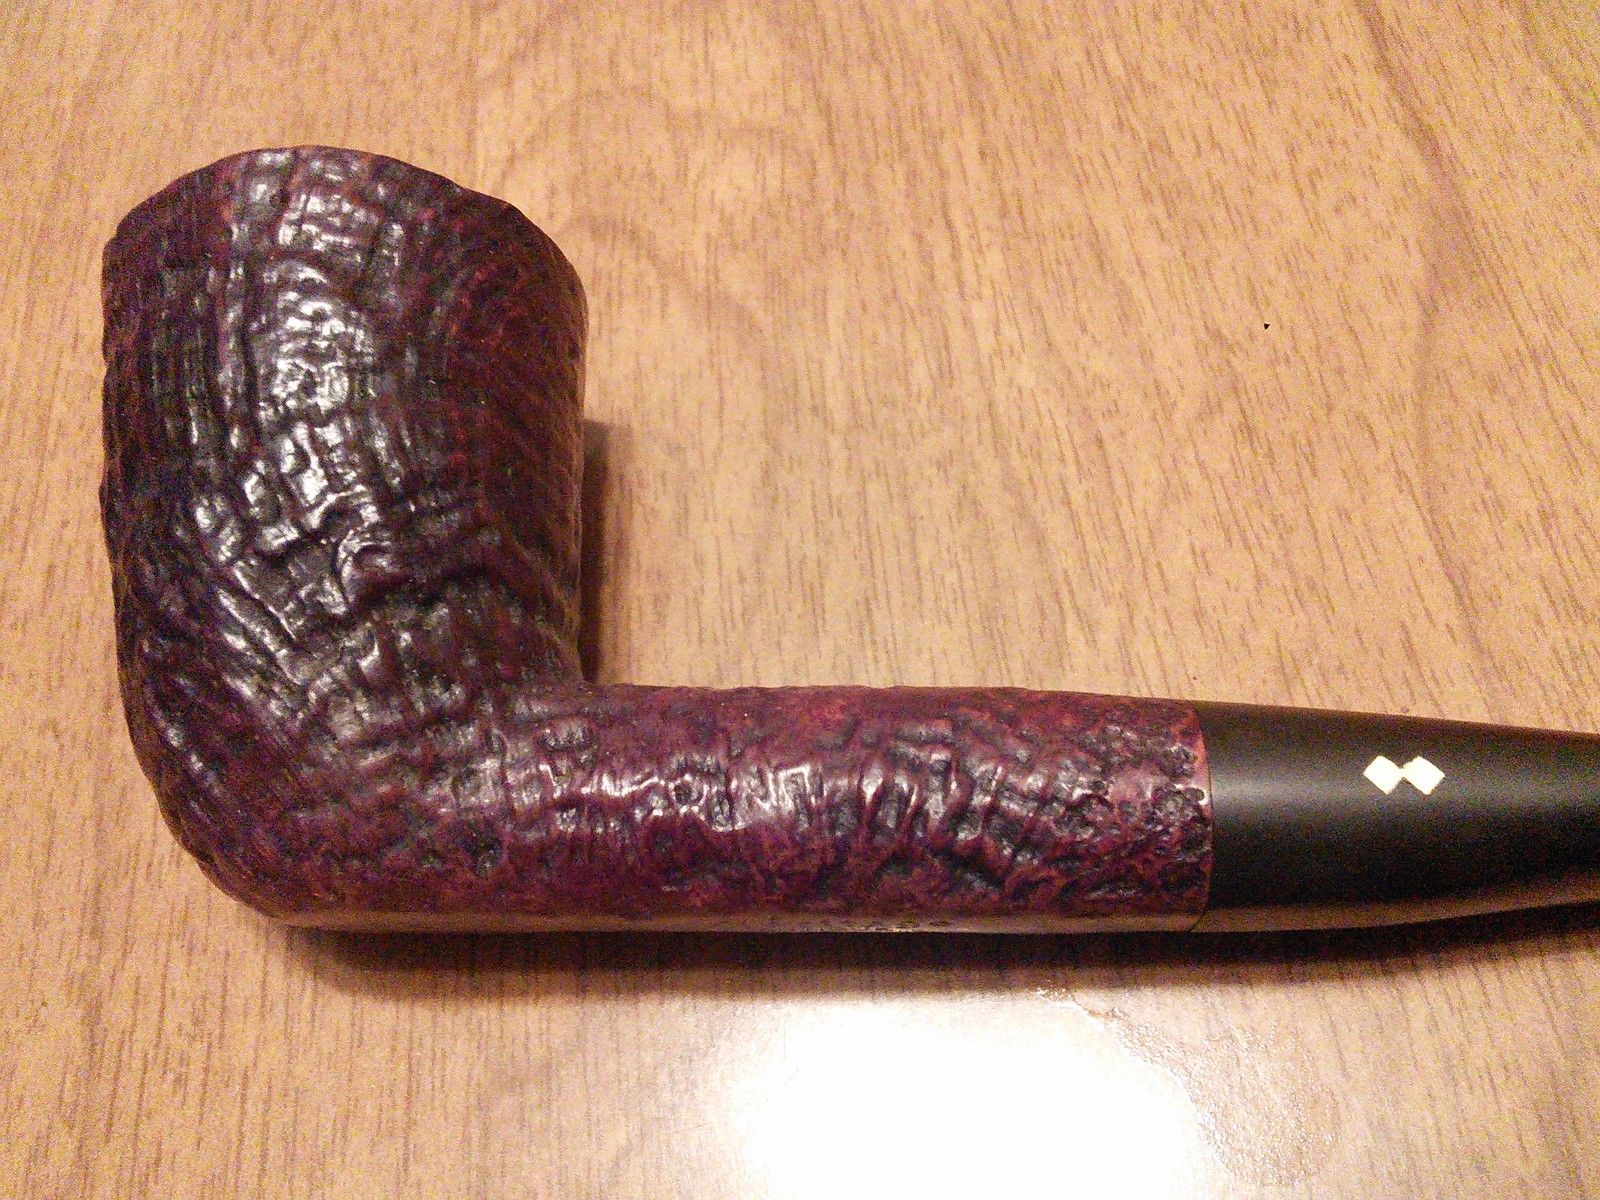
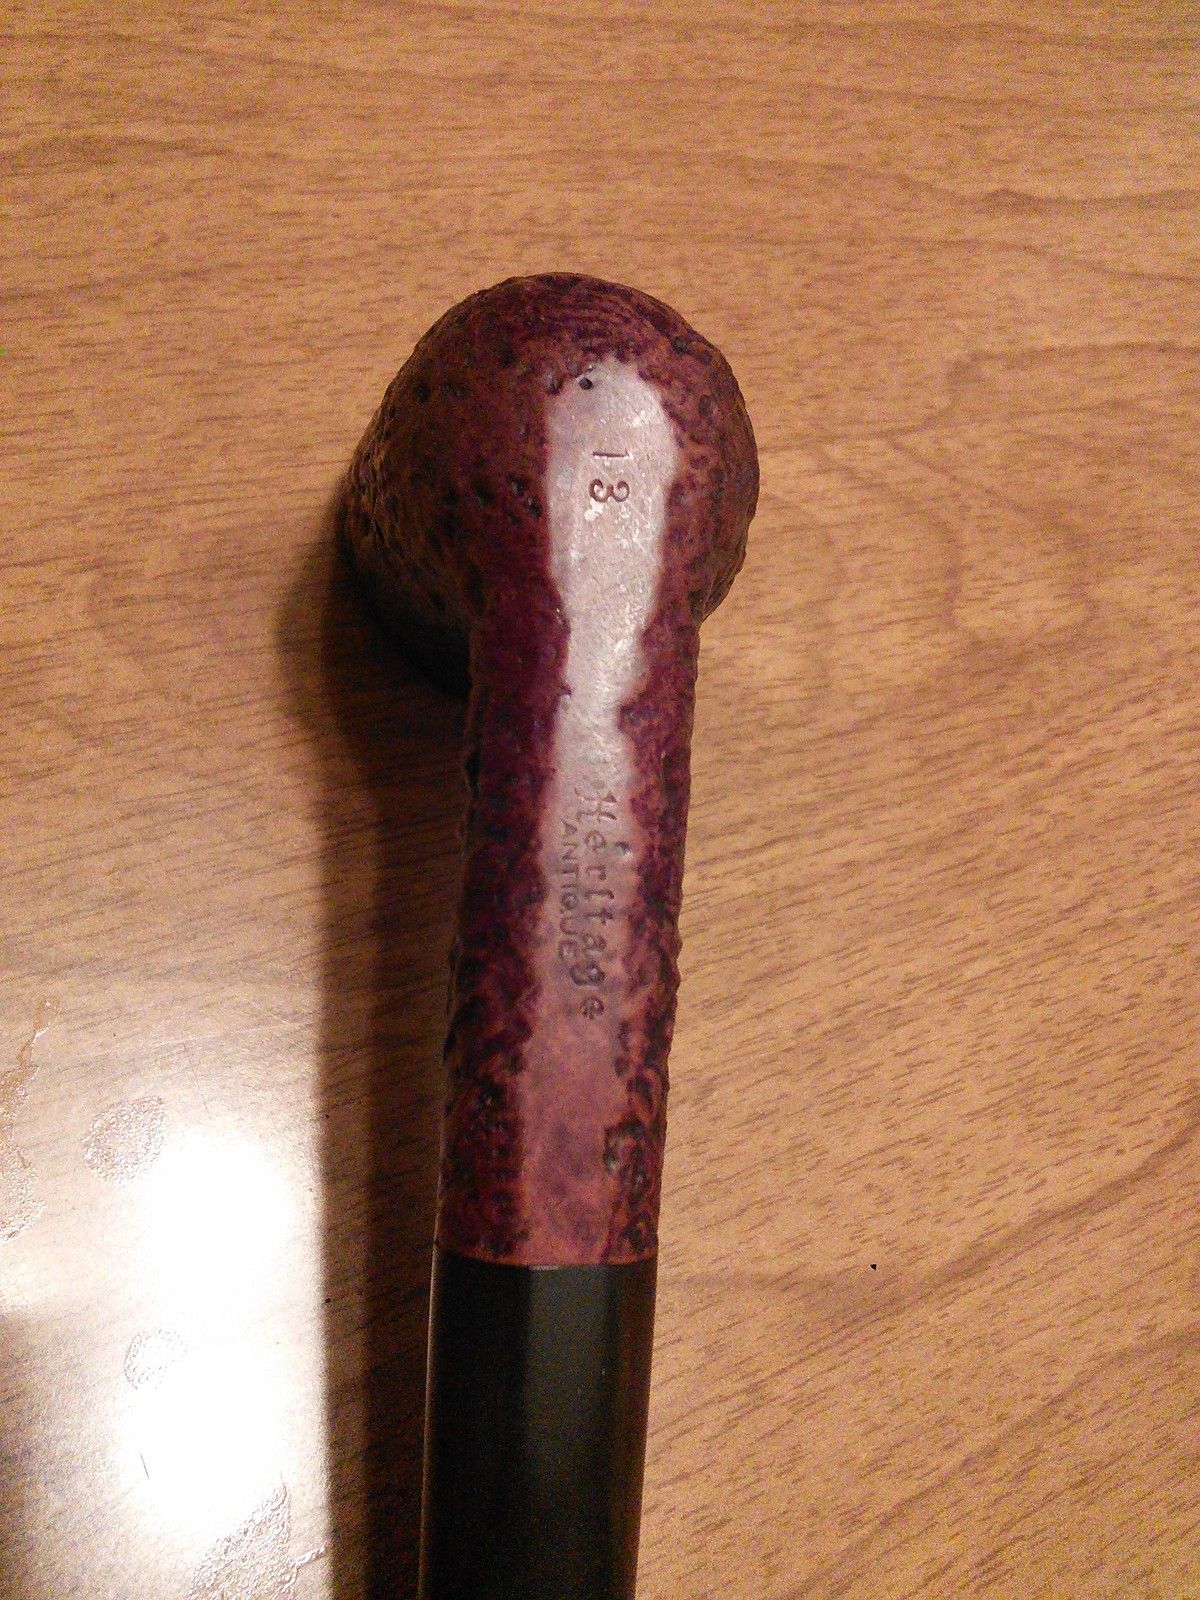
I found one online on Ebay that was stamped Heritage Antique 13. I scanned the brochure that Andrew provided and found this regarding the Antique Line: The Heritage Antique line is characterized by “Rustic Grain stands out in rugged relief.” “This pipe is so bold-looking, yet so light and smooth-smoking. A special sandblasting process exposes a greater surface area on the bowl, giving a cooler, more satisfying smoke. Centuries-old Heritage Antique is strikingly masculine in appearance.”The number 13 is the shape number for the Dublin shape. It can be seen in the first coloumn second pipe down on the left side of the brochure page below. The seller of the pipe I picked up on EBay included some basic information on the pipe. The said the stamping was Heritage Antique with a 13 on the bottom of the shank. The stem has an inlaid double white diamond on the left side. It is out of a Kansas City estate. It measures:
5-1/2 inches Long
1-3/4 Inches High Bowl
1-1/4 inches Bowl Width
3/4 inch of a Bowl Bore
3 inch long stem
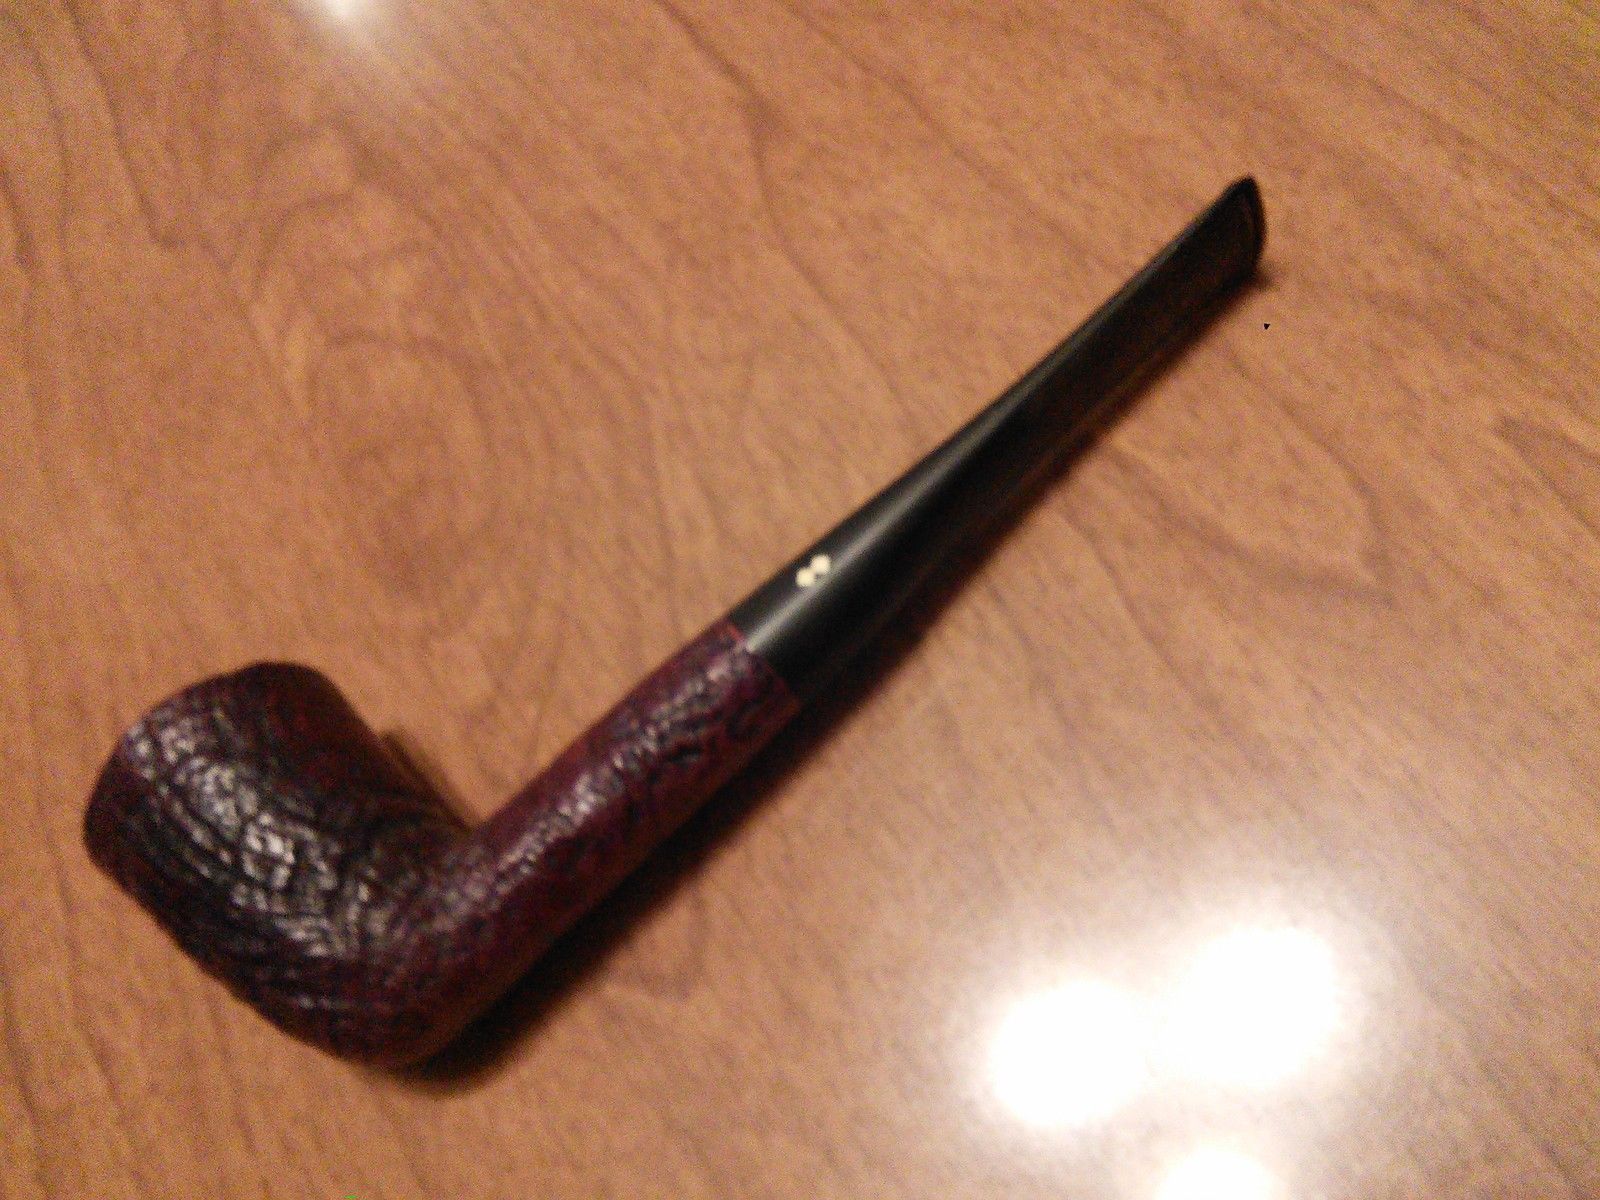
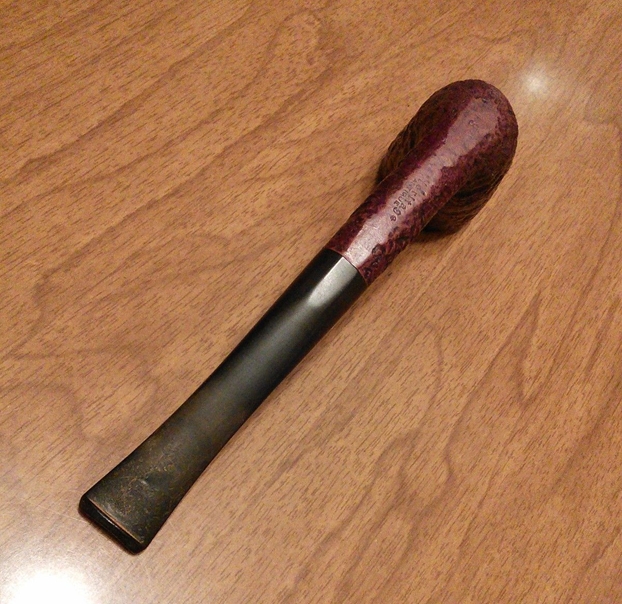
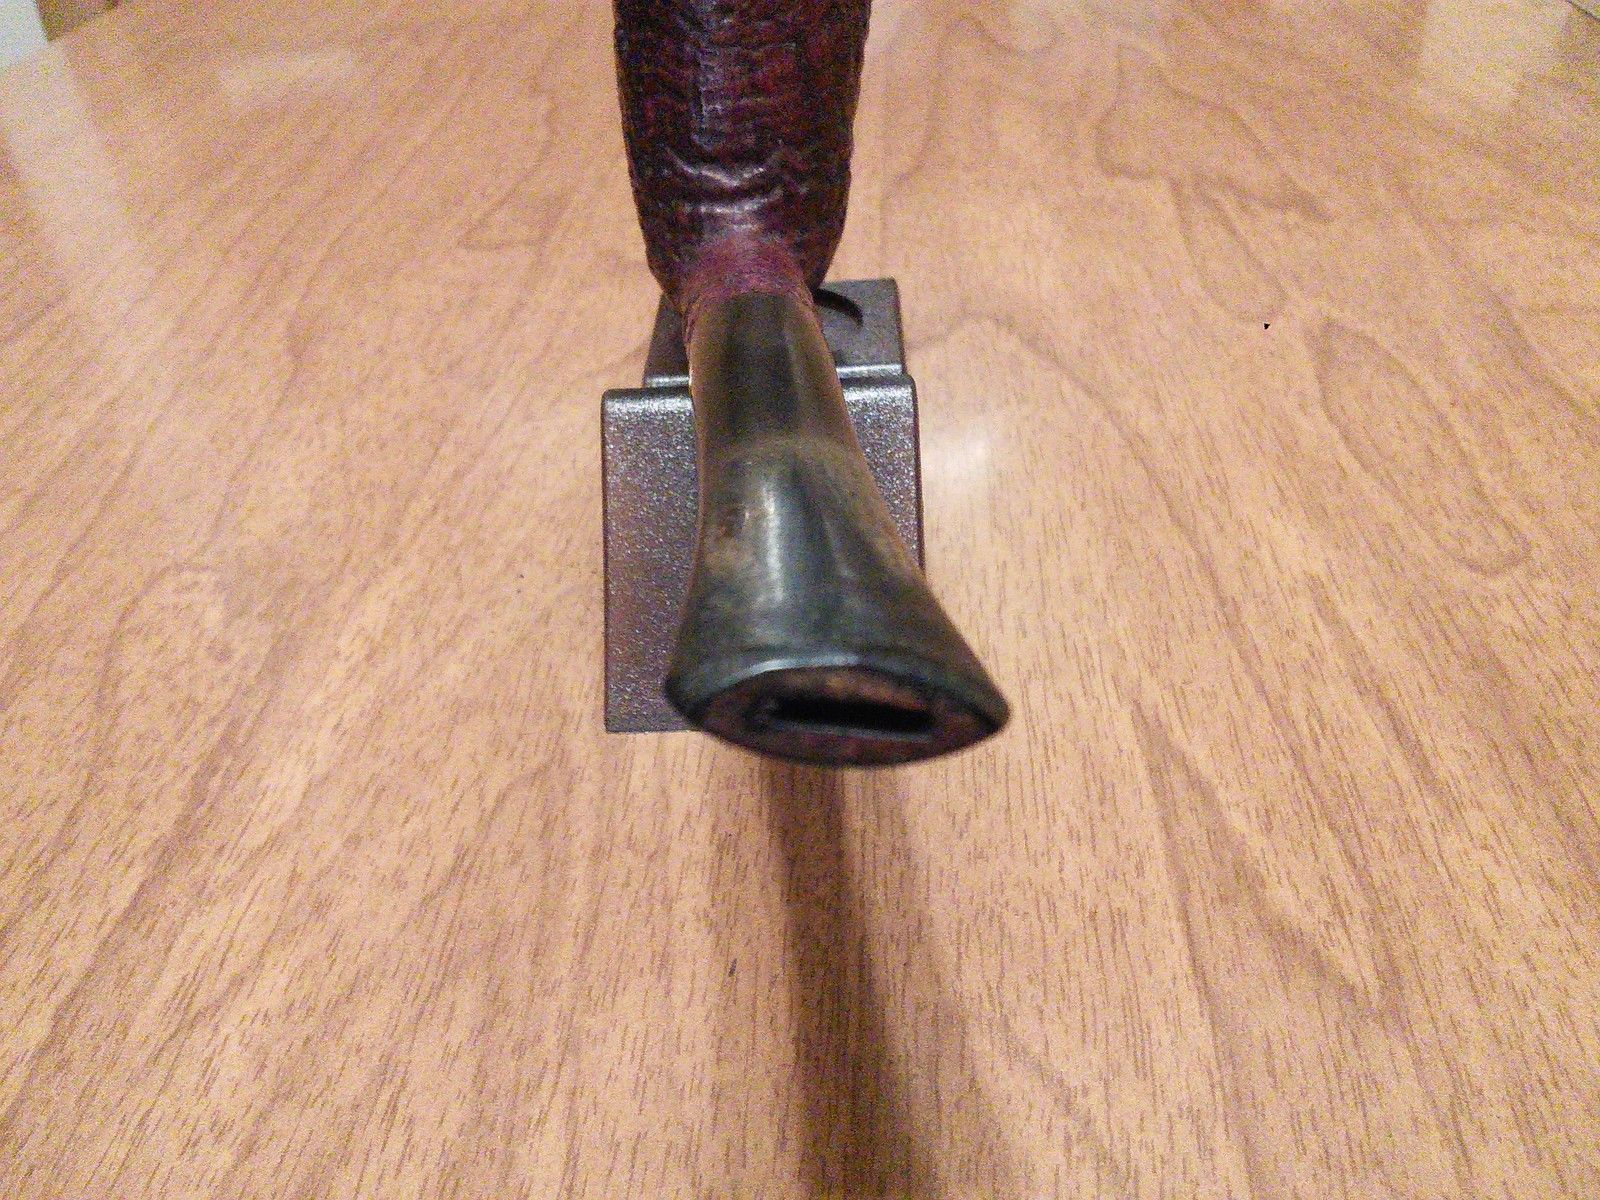
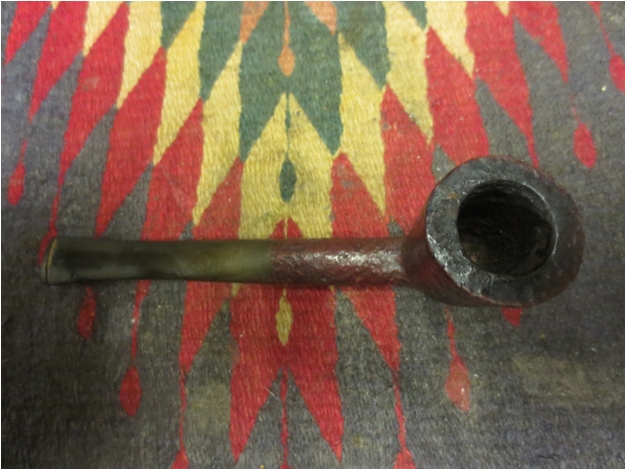
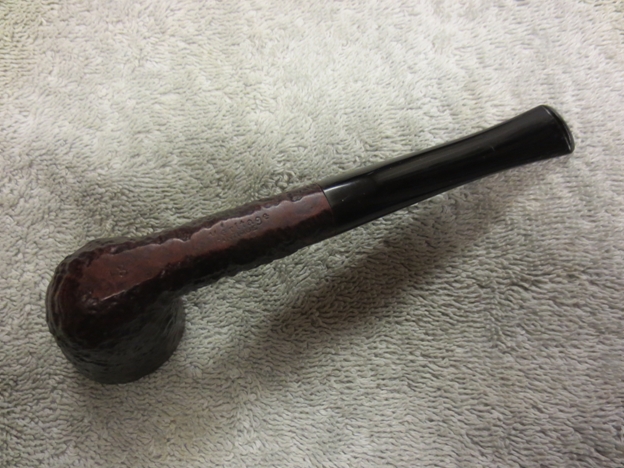
The next eight photos were included with the EBay advert and give a pretty good idea of the type of blast on the briar as well as a good picture of the state of the stem. The pictures show the colour of the pipe in a more red hue than it actually appeared when it arrived. In reality the stain is a brown tone similar to that of the Dunhill Shell Briar.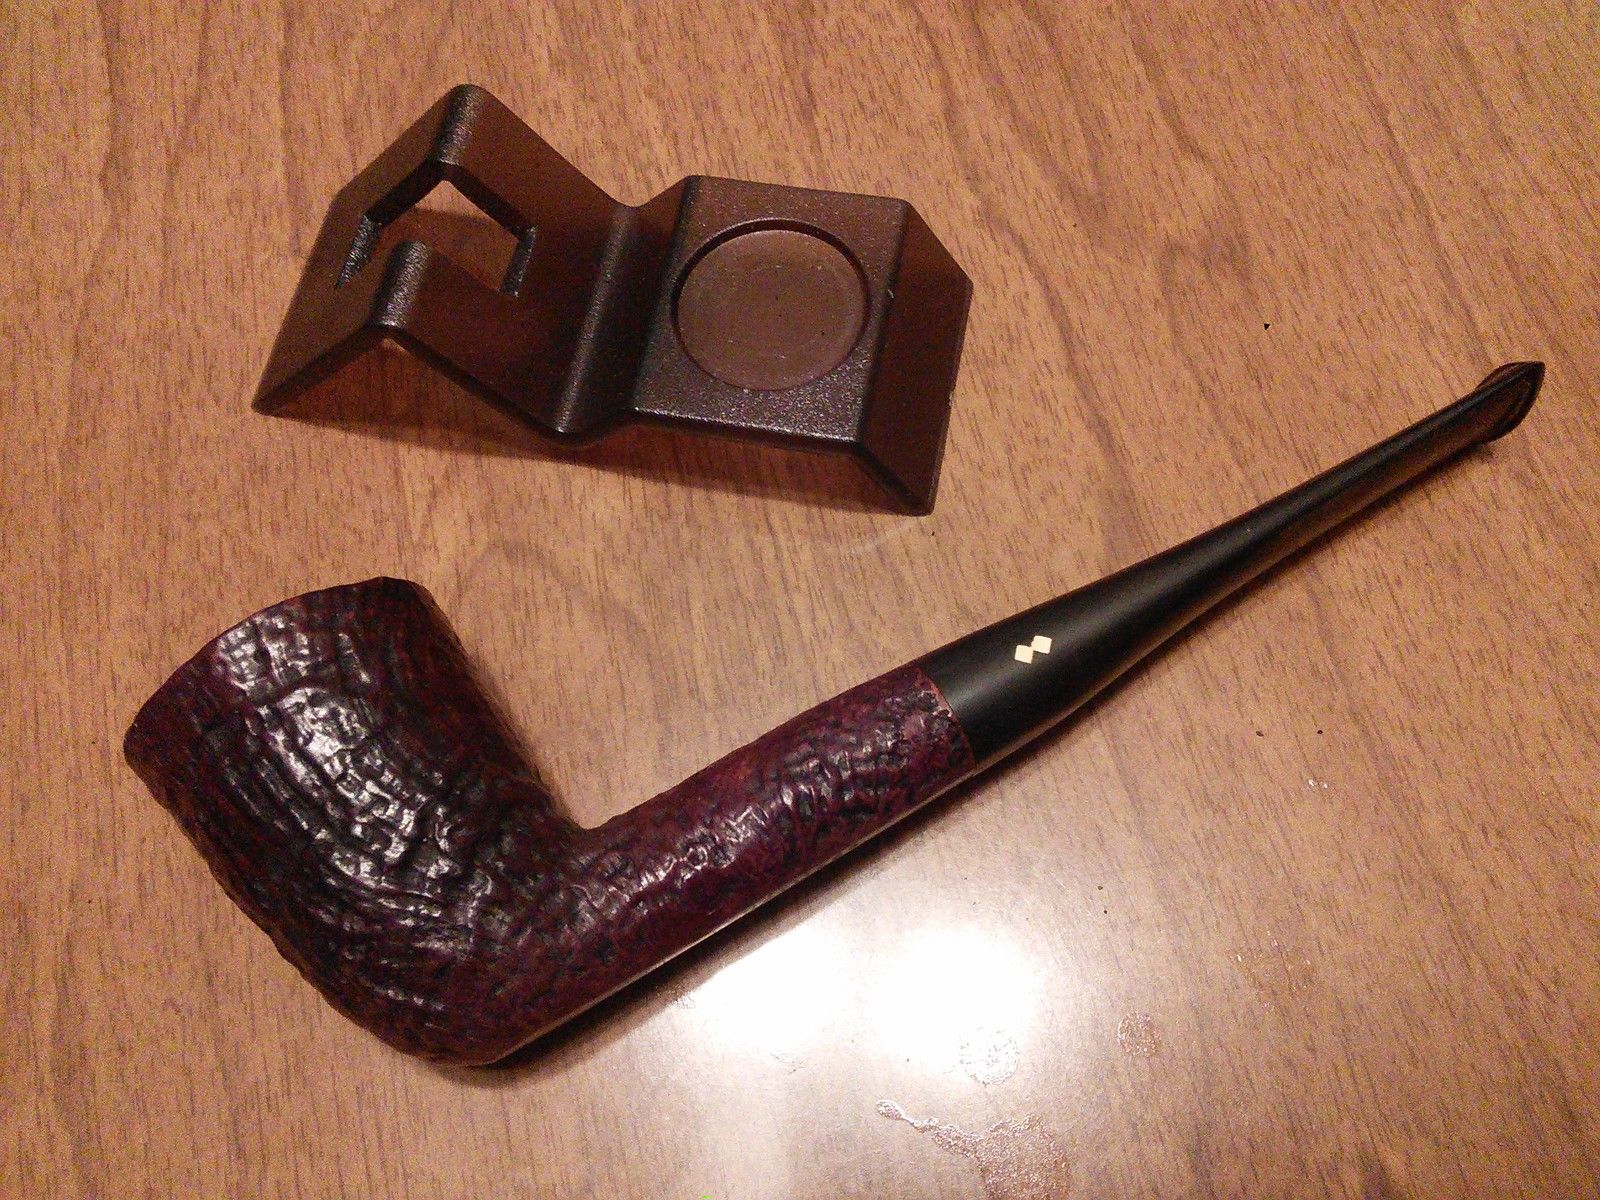
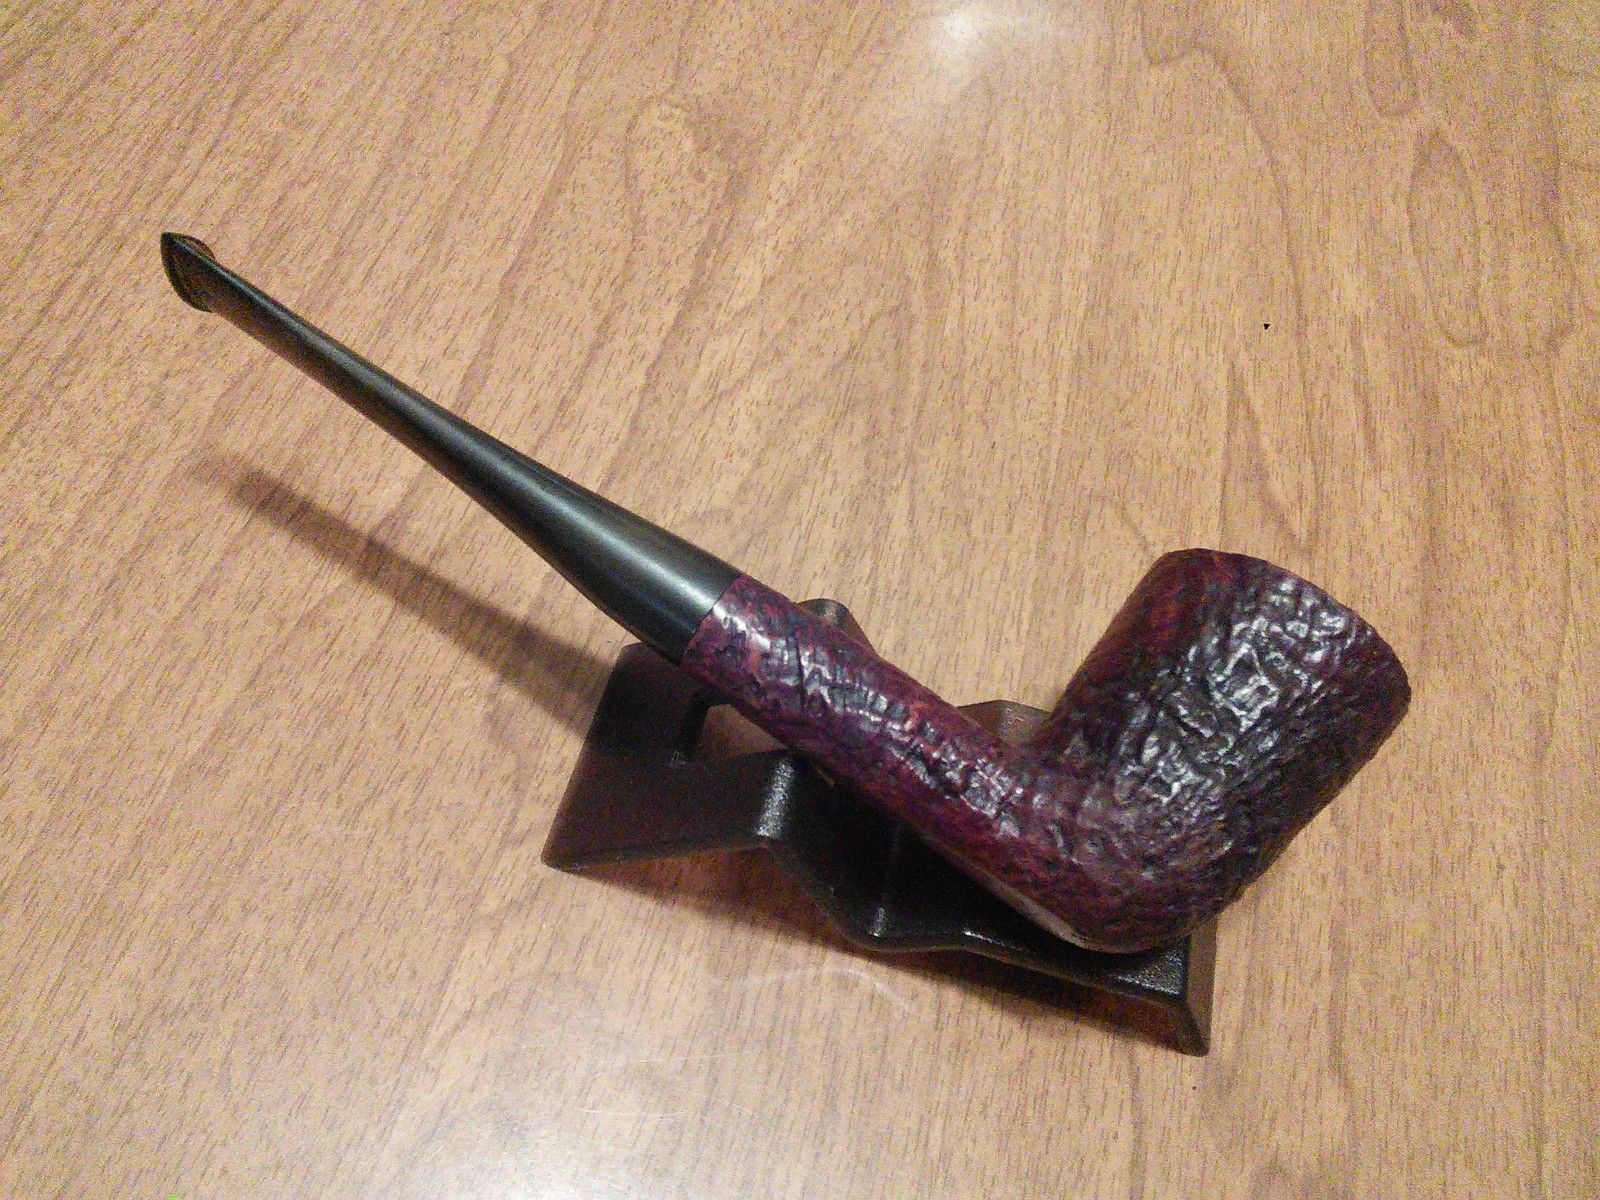

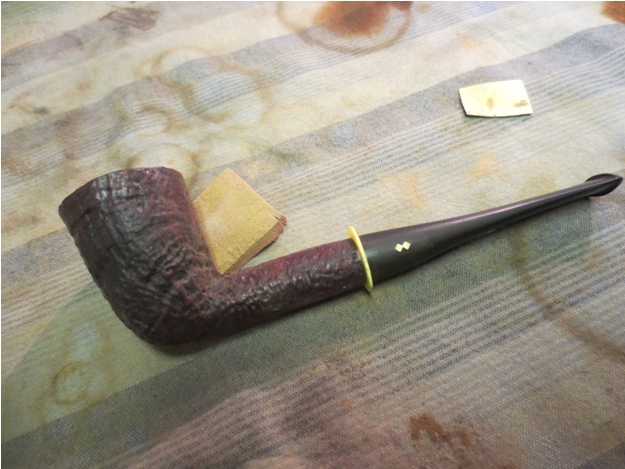
 When the pipe arrived in Canada I was very pleased when I opened the box. The briar was in good but dirty condition and it appeared that the finish was in great shape under the grime and tars. The blast was amazing and craggy – very much like that on my older Shell Briars. The rim had some buildup on it that was flaking off but the bowl was in round and there was no damage to the edges of the rim.
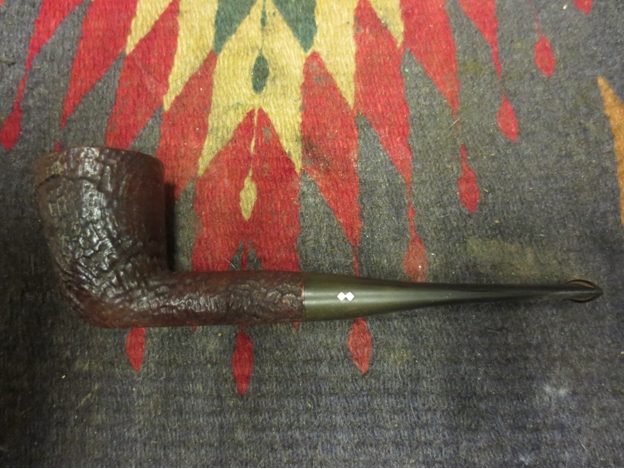

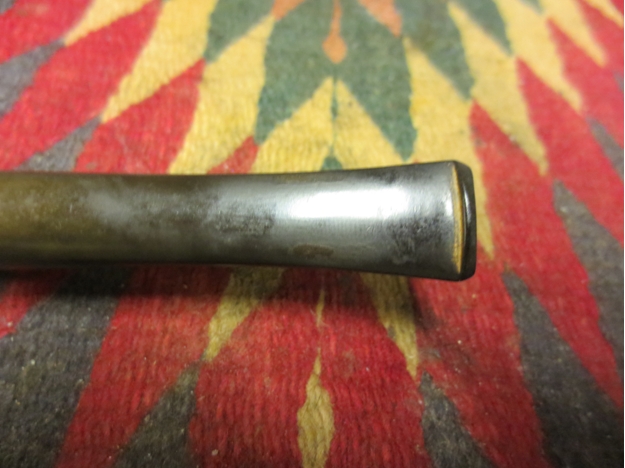
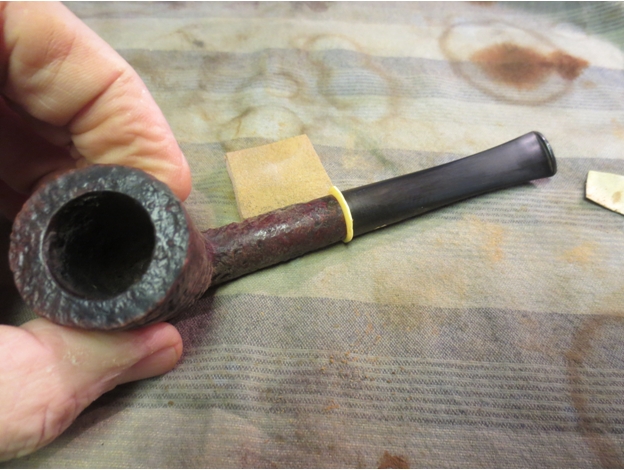
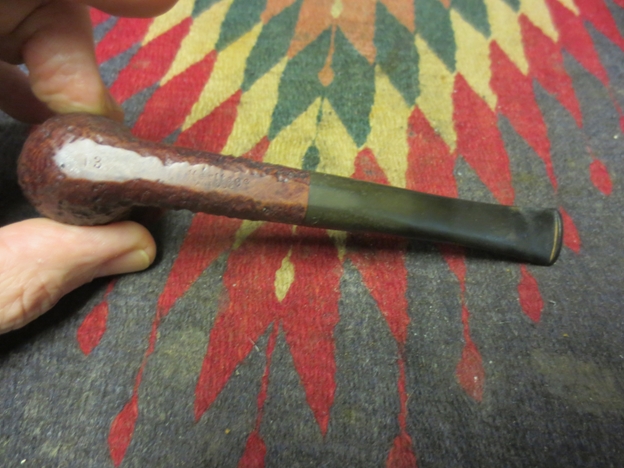 The stem was thin and quite clean. It was oxidized and had some waxy substance on the top side. There were two tooth marks – almost pin prick marks, on the underside of the stem visible in the first photo below. The second photo shows the waxy buildup on the surface of the stem and the oxidation.
 The rim of the pipe, shown in the photo below had a thick buildup of tars that were flaking off the surface of the rim. I picked at it with a dental pick and could see that the sandblast surface was undamaged underneath. The bowl was in need of a reaming to smooth out the uneven cake on the sides and bottom of the bowl.
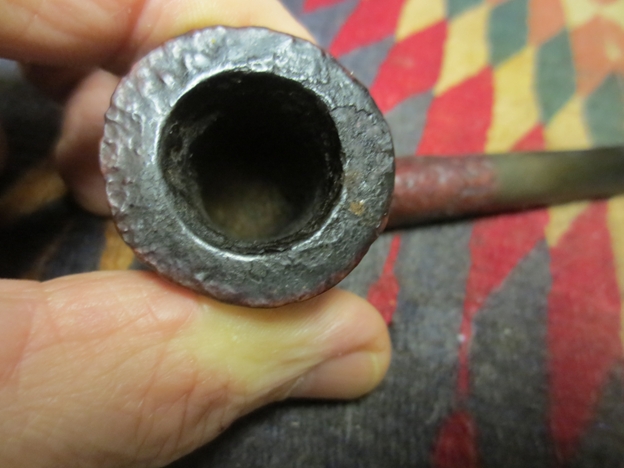 The stem was frozen in the shank so a short time in the freezer and the stem was easily removed from the shank. The step down tenon was in great shape and showed no damage and the tenon itself was not tarry.
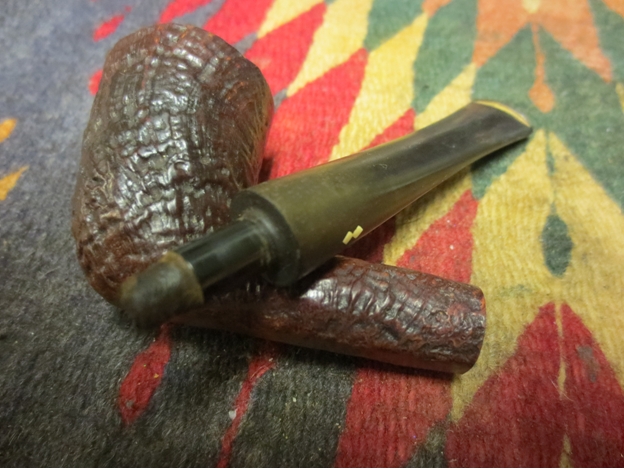 I reamed the bowl with a PipNet Reamer beginning with the first cutting head and finishing with the size 2 cutting head. I reamed it back to bare wood to restart the cake build up.
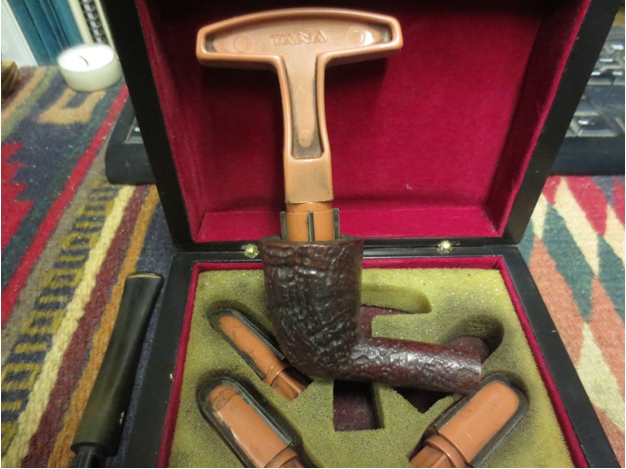
 I picked the flaky buildup on the rim with a dental pick and the scrubbed it with a soft bristle brass tire brush to remove all the grit and take it back to the surface of the rim. I have used this method over years as the bristles remove the tars without damaging the sandblasted surface.
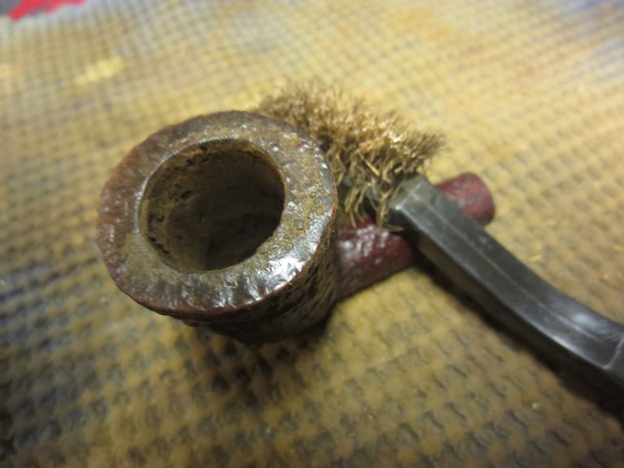 Once I had the surface brushed clean with the wire brush I scrubbed the entire bowl and shank with undiluted Murphy’s Oil Soap and a tooth brush to get the grime out of the crevices of the blast and remove the oils from the previous owners hands. Once I had scrubbed it I put my thumb in the bowl and rinsed it off with cool water and dried with a cotton cloth.
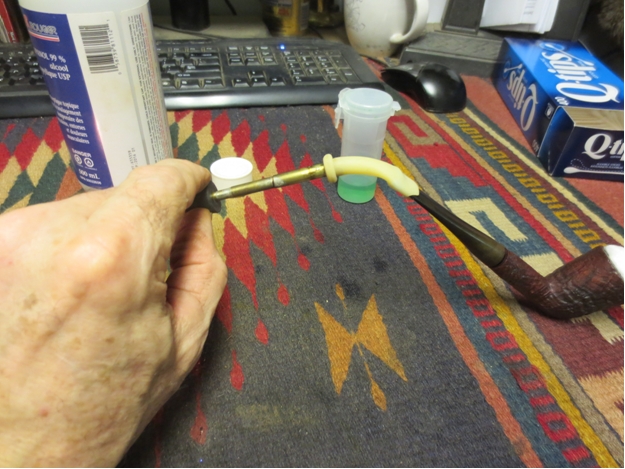
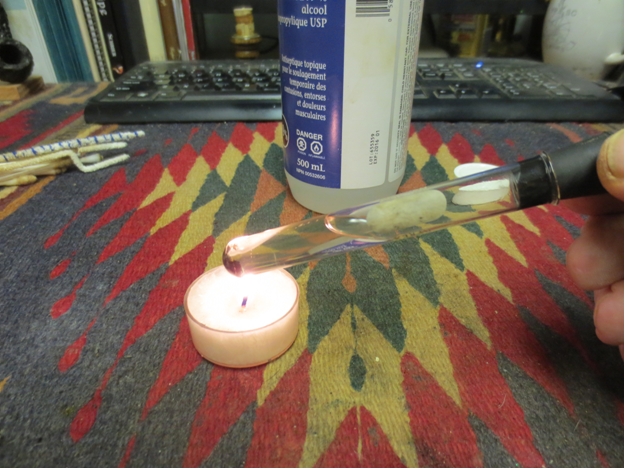
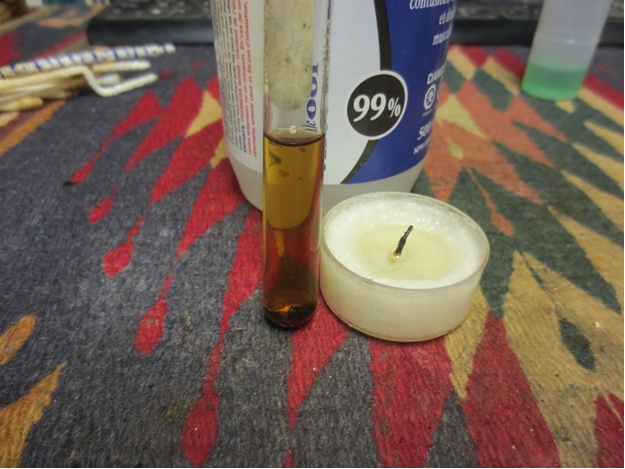
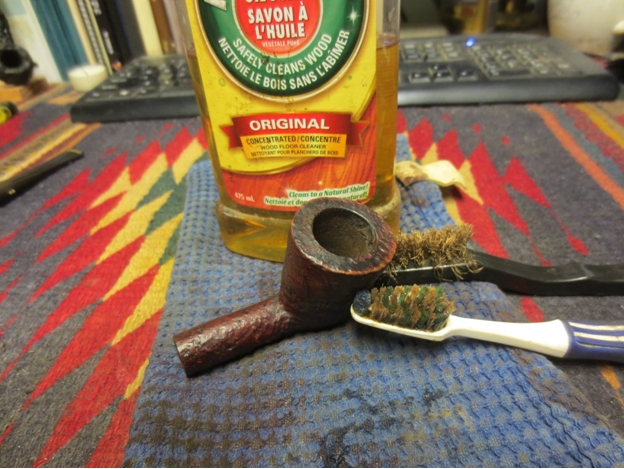 I put the stem back in place and set up the retort. I filled the test tube half full of 99% isopropyl alcohol and heated the alcohol over a tea candle. The alcohol boiled through the pipe and cleaned out the tars and oils in the stem and shank. The alcohol also rinsed the inside of the bowl which was plugged with a cotton ball.
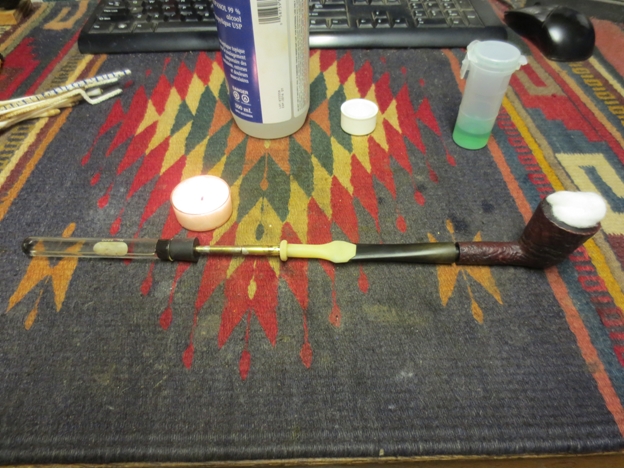
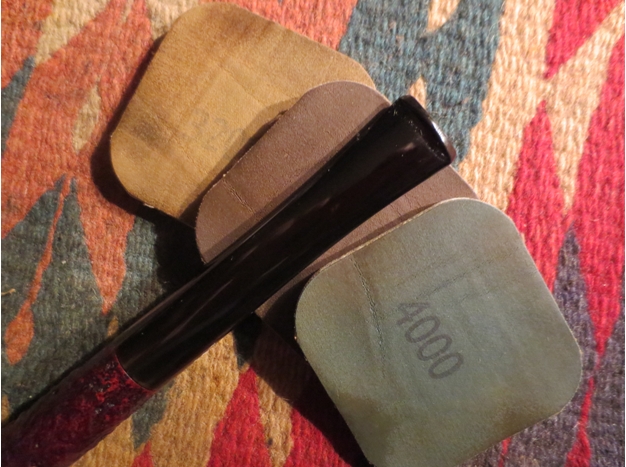
 With the inside of the pipe cleaned and the exterior of the briar scrubbed it was time to address the oxidation and the marks on the stem. I put a plastic washer between the stem and shank so that I could sand the stem right up to the shank without worrying about rounding the shoulders of the stem. I sanded it lightly with 220 grit sandpaper to remove the waxy buildup on the stem (turns out it was a varnish) and also loosen the surface oxidation. I followed that by sanding with a medium and fine grit sanding sponge to remove scratching and oxidation.
 Once the stem was sanded, I wiped it down with a cotton pad and alcohol in preparation for repairing the two tooth marks. I filled these with black super glue and set aside the stem to let the glue cure.
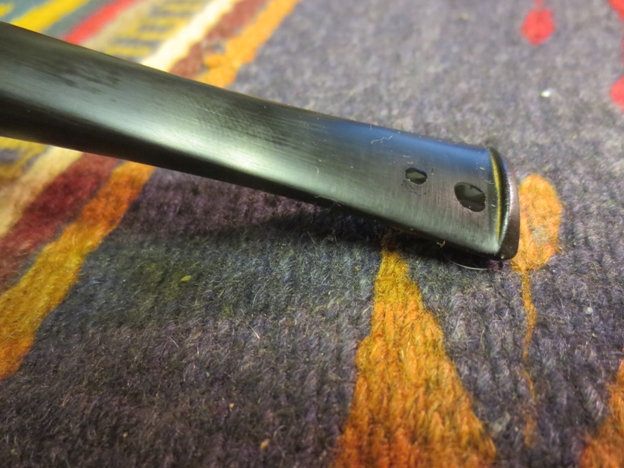 When the glue had dried I sanded the two spots with 220 grit sandpaper and the two sanding sponges to smooth out the patches and blend them into the vulcanite. I then sanded the stem with micromesh sanding pads – wet sanding with 1500-2400 grit pads and dry sanding with 3200-12,000 grit pads. I rubbed the stem down with Obsidian Oil between each set of three pads and also at the end of the sanding process.
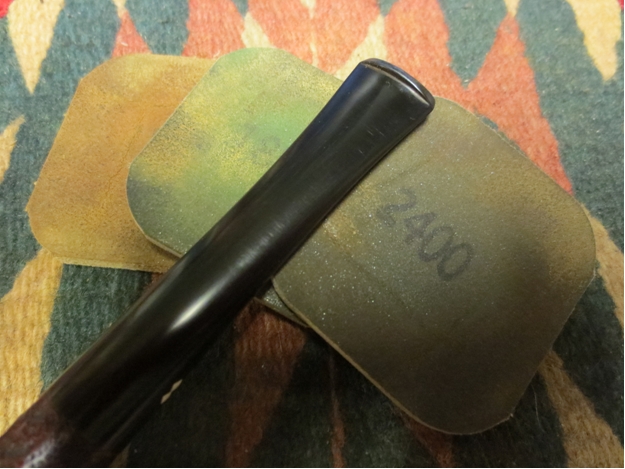
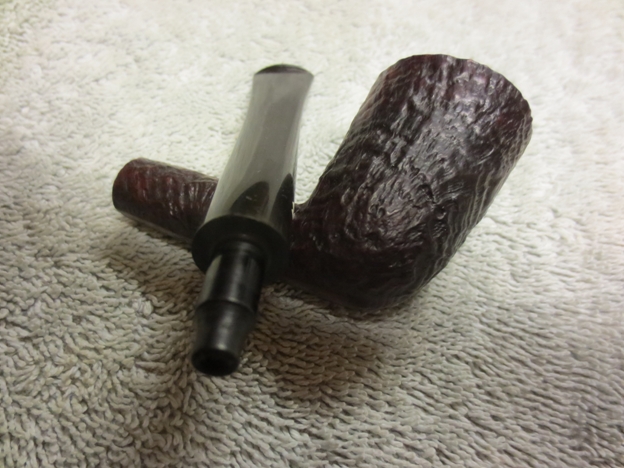
 I buffed the stem with White Diamond and gave it multiple coats of carnauba wax. I rubbed two coats of Halcyon II Wax on the sandblast of the bowl and then gave the pipe and stem a light buff with a soft flannel buff to raise the shine. The next photos give a clear picture of the finished pipe.
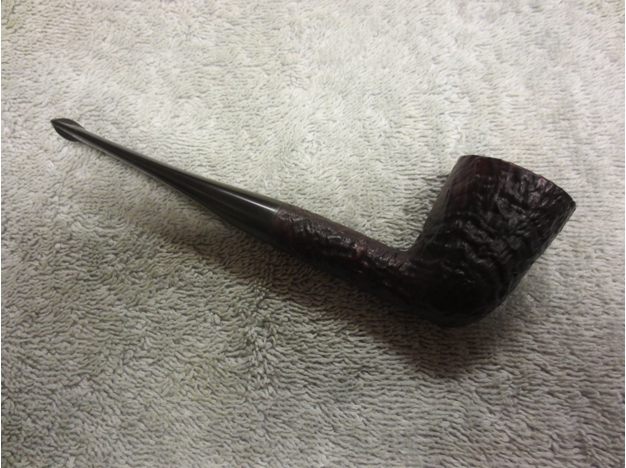
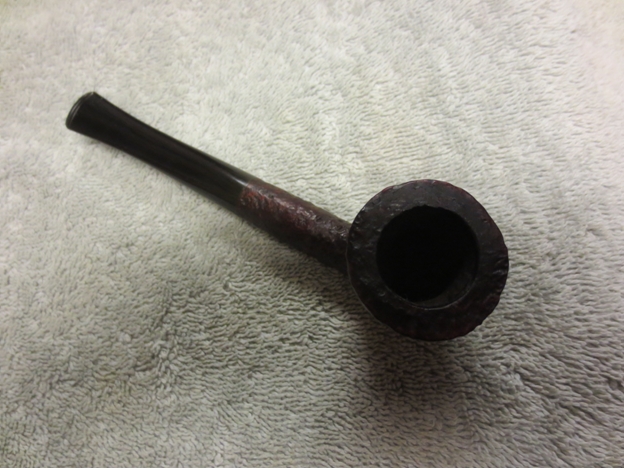
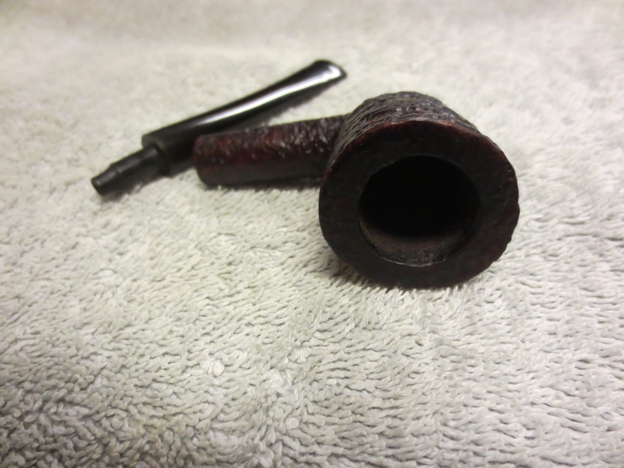
 I end with three close-up photos of the bowl to give a good idea of the quality of the sandblast on this piece of briar. It is a stunning pipe with a blast that rivals that found on the Dunhill Shells that are in my collection. I intend to fire up this old pipe and enjoy its trust for many years to come.
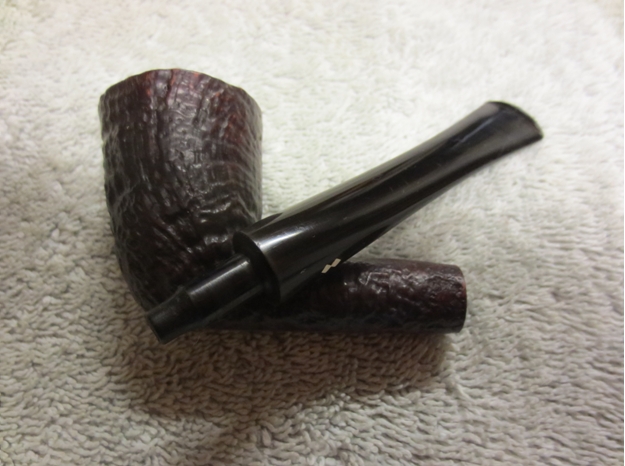

Pingback: Repairing a Cracked Shank and Restoring a Heritage Embassy 98S Bulldog | rebornpipes
Great looking pipe Steve. It’s nice to see the Heritage line getting the recognition it deserves. Of course that will make it harder for me to pick them up on eBay for $10.00. 🙂
LikeLike
Great find. Once you worked your magic, it looks like new. I hope you have a speedy recovery’ I look forward to your report whether it smokes as good as it looks.
LikeLike
What a fantastic pipe. That Heritage line is really intriguing and you can definitely see the comparison to Dunhill pipes of that era. That blast is also Dunhill-worthy. Have you fired it up yet?
LikeLike
Thanks Al. It is a beauty. Have not fired it up yet as I have been fighting a nasty viral infection – respiratory so I am just getting back on my feet after a week of being sick…. still coughing so I figure by the weekend I should be fine.
LikeLike
Get well soon! That will be a fine way to enjoy feeling better.
LikeLike