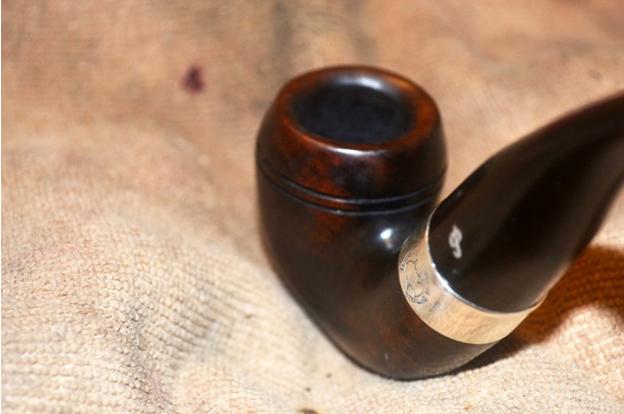
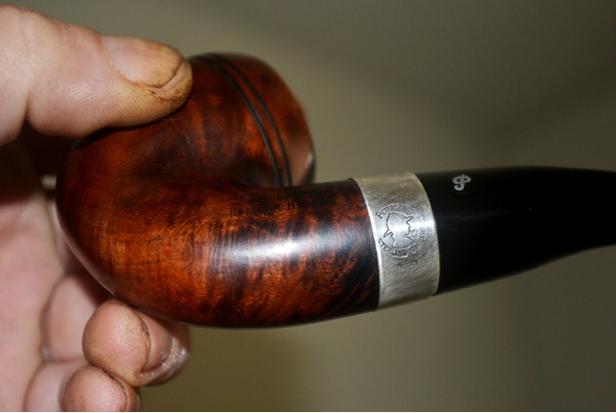
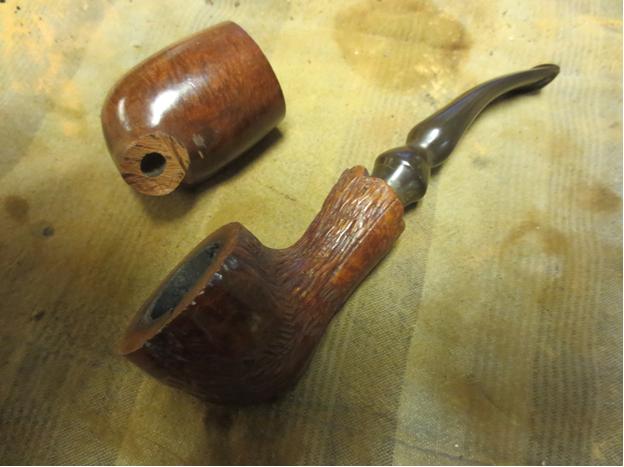
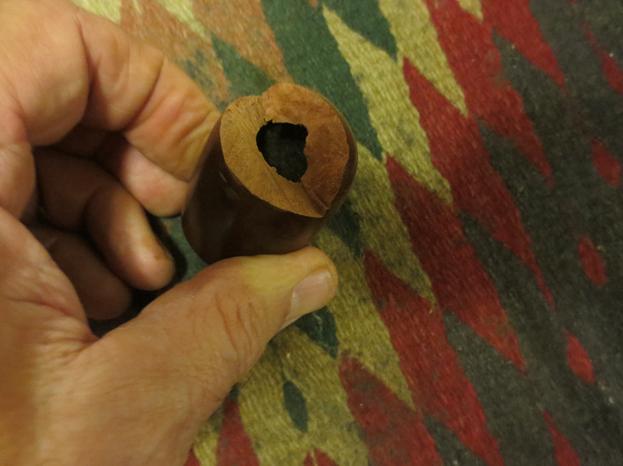
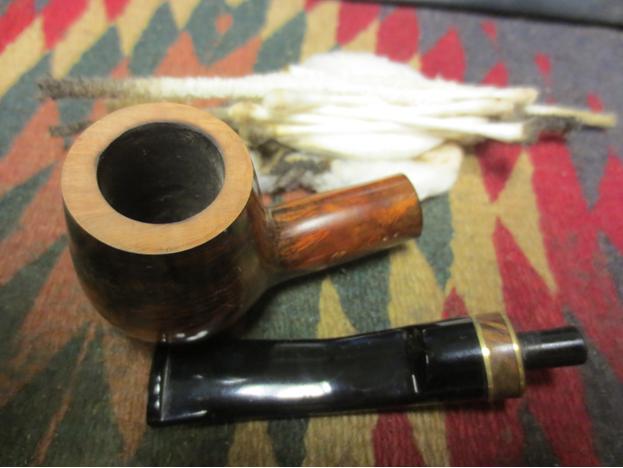
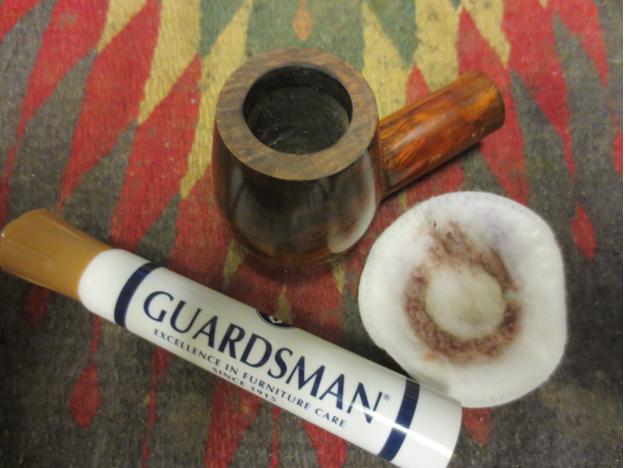
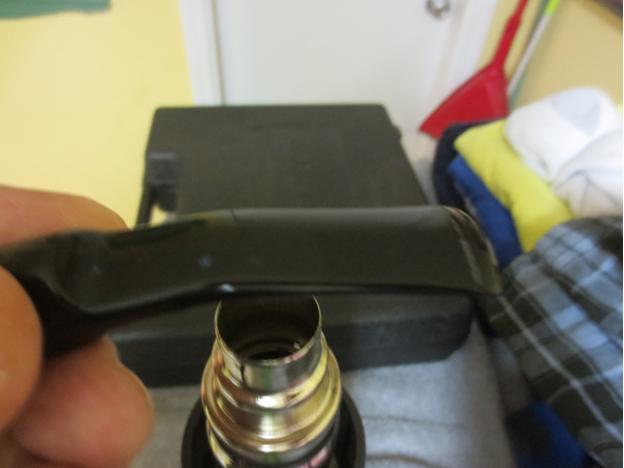
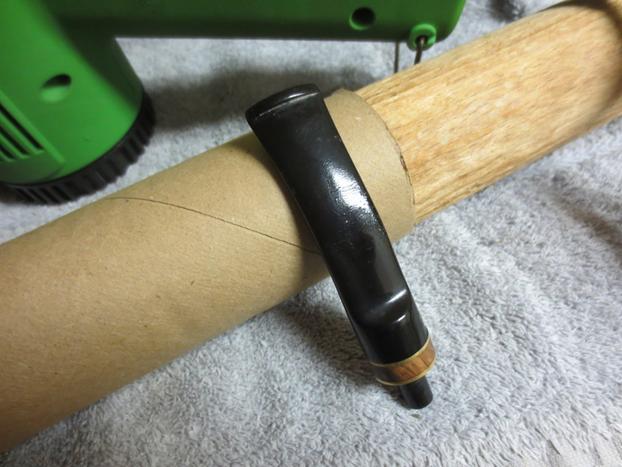
Category Archives: Pipe Refurbishing Essays

Essays and pictorial essays on the art of refurbishing

Cleaning up an LHS Sterncrest Lovat with a Bakelite Stem


Blog by Steve Laug

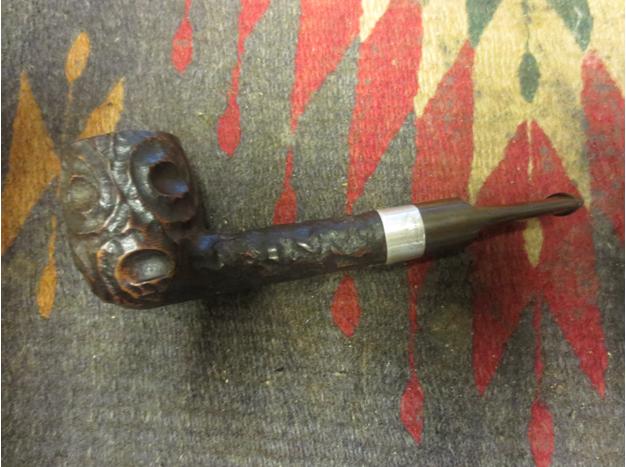
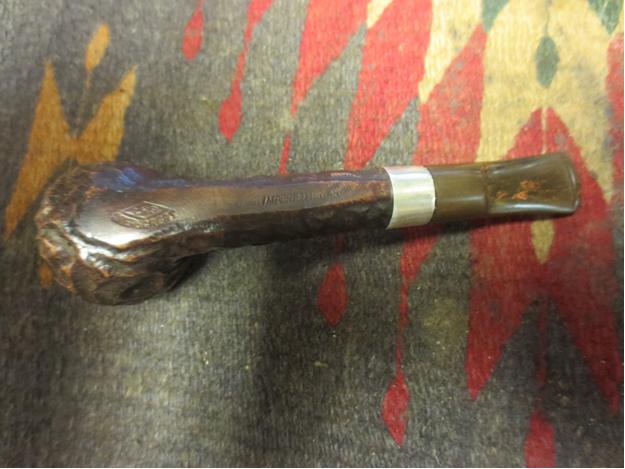
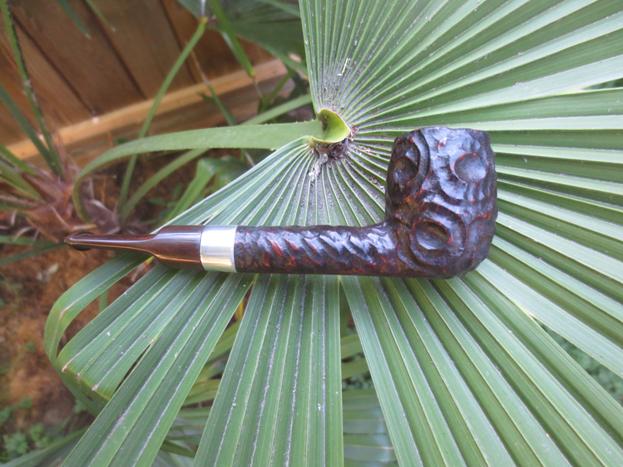
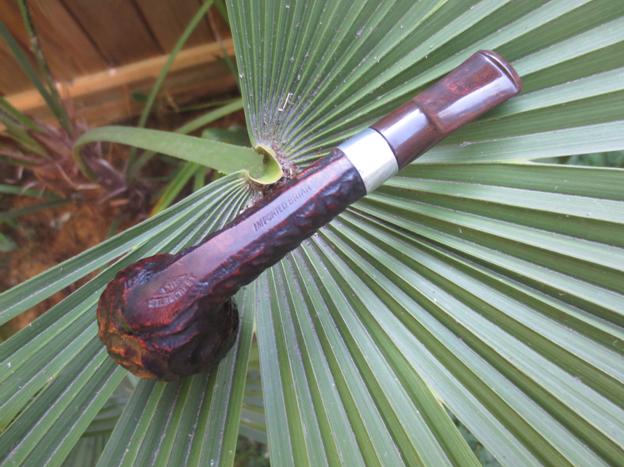
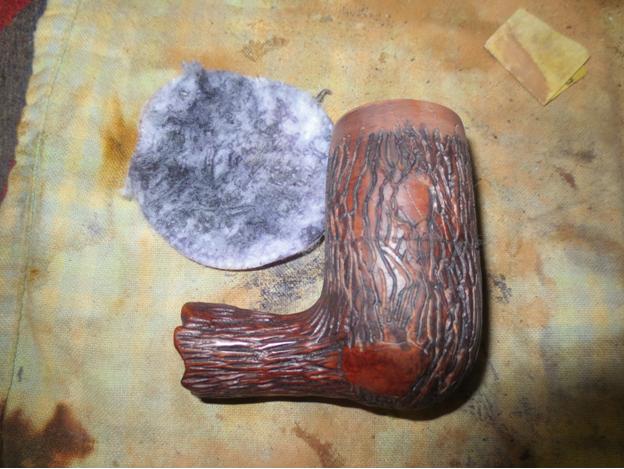
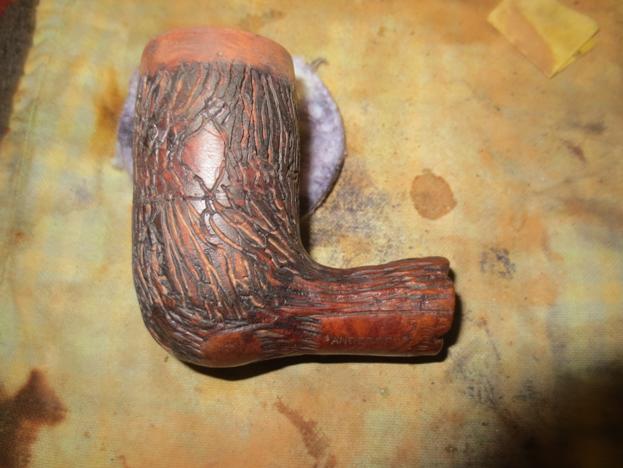
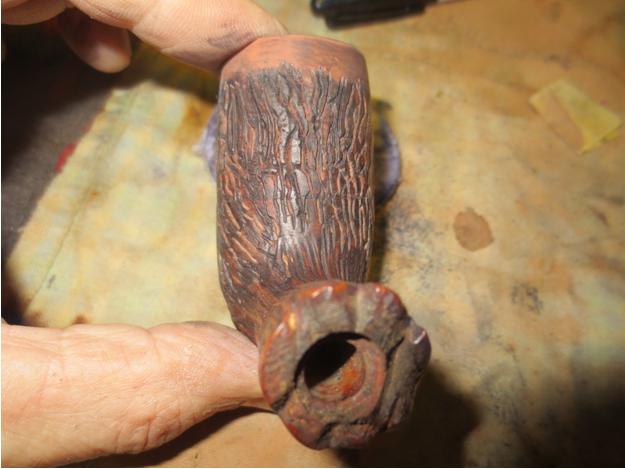
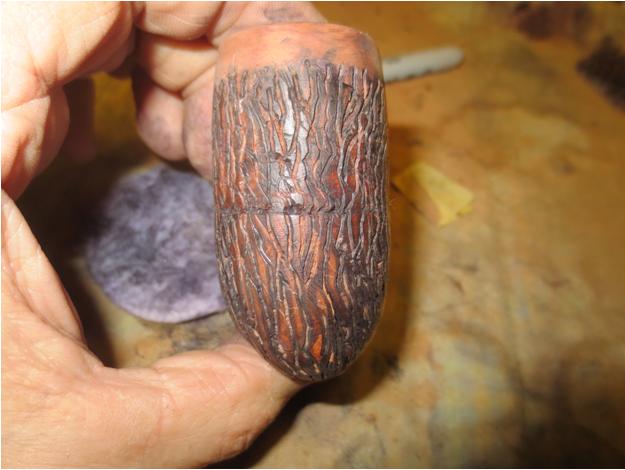
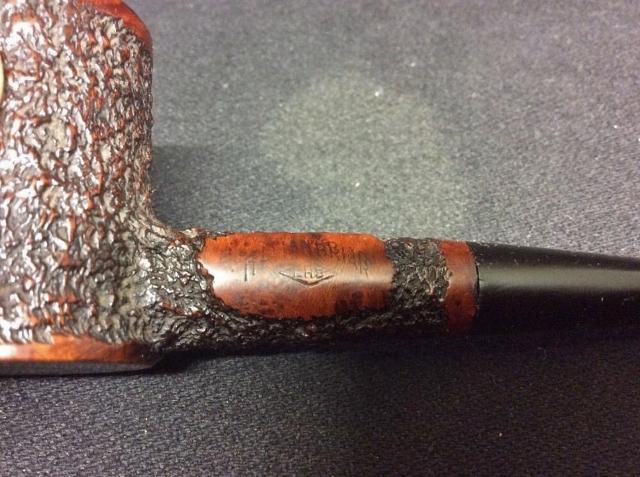
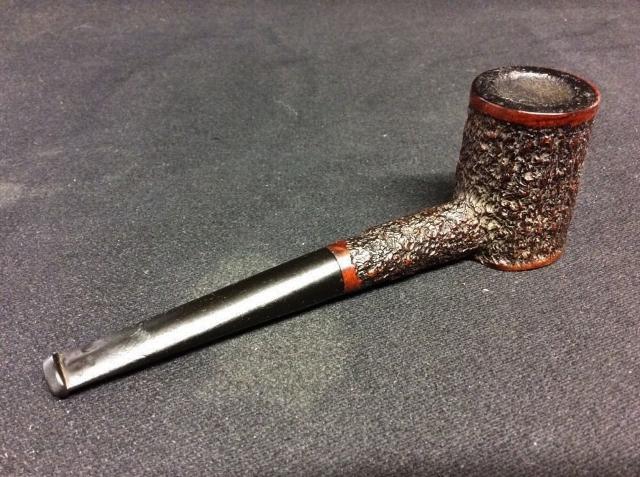
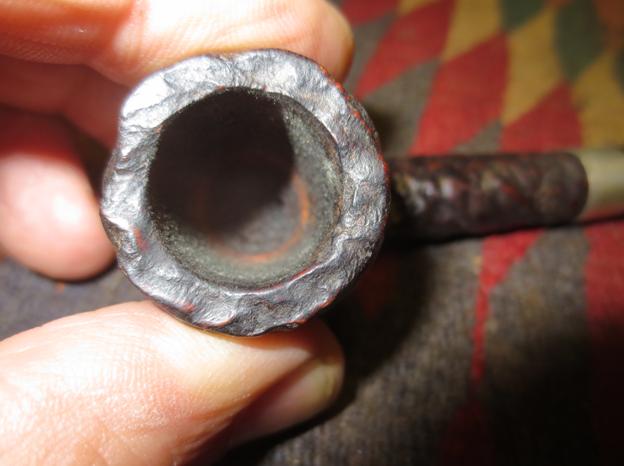
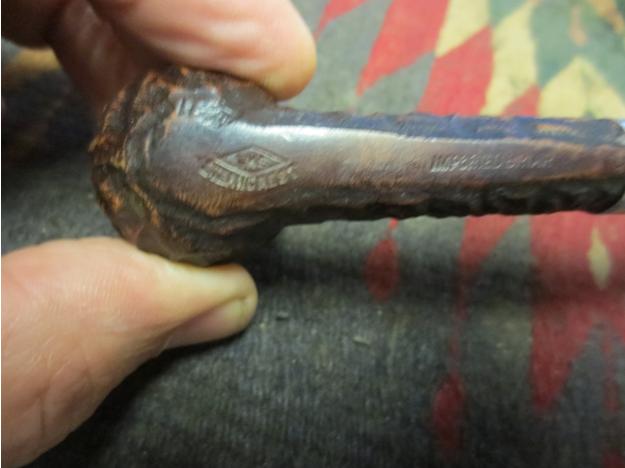
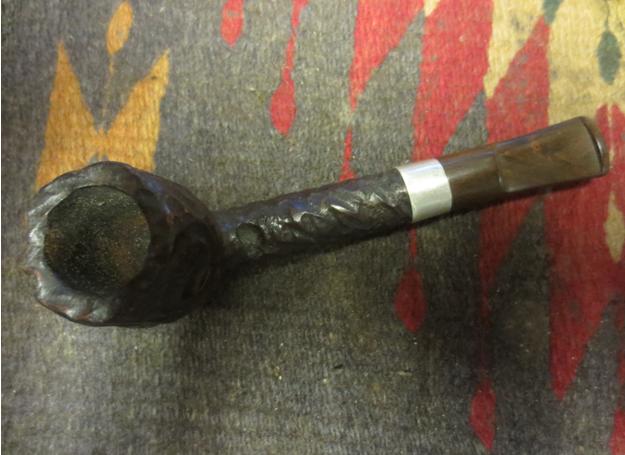
The next pipe on my work table is a little 4 ¾ inch Lovat with a rusticated finish and a two tone stain. The rustication looks like craters and swirls. Even the top of the bowl is rusticated.LHS14 The stem looked to be oxidized but once I worked on it I was in for a surprise. The band was stamped Sterling Silver arched over the LHS in a Diamond logo and under that was stamped Rhodium. The underside of the shank was flat and smooth and was stamped with the LHS in a Diamond logo with the word Sterncrest arched under the diamond. Toward the stem end of the shank it was stamped Imported Briar.LHS13
LHS9

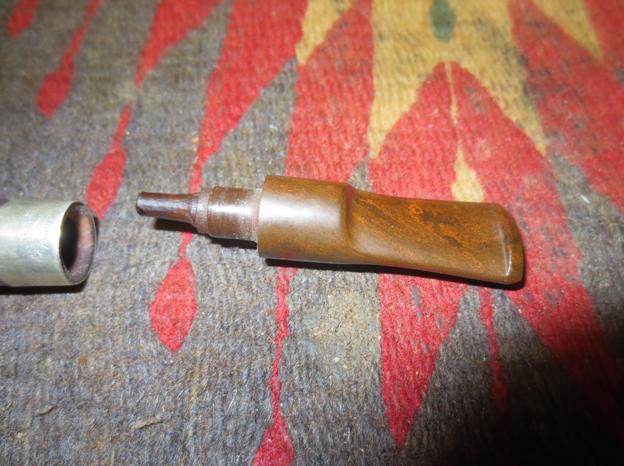
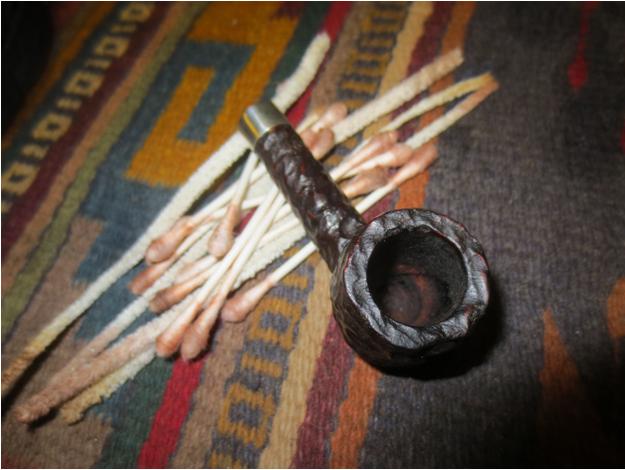
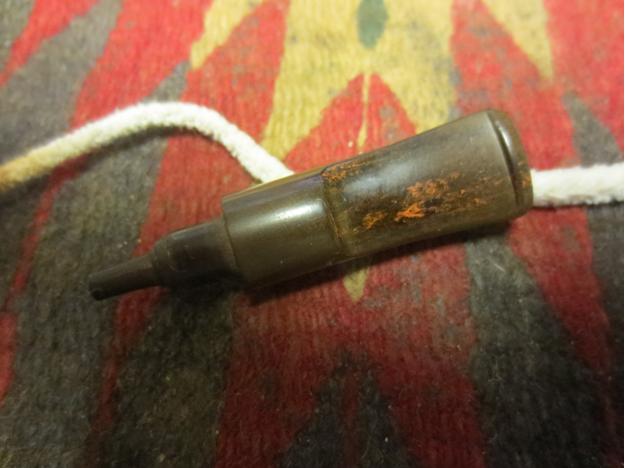
LHS10 As I looked at the stem more closely I could see swirls of red running through it and the material was a reddish brown colour. It had a similar appearance to Cumberland but was harder and heavier. The patterns in the swirls was not uniform at all and made me think of other things that I have around made of a similar looking material. This would become more clear when I cleaned up the stem.LHS11
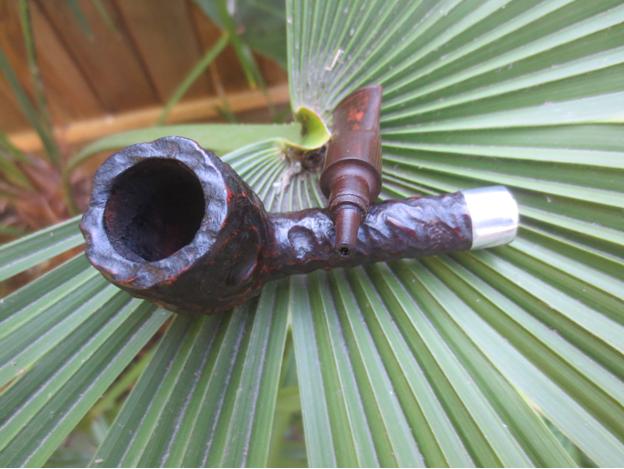
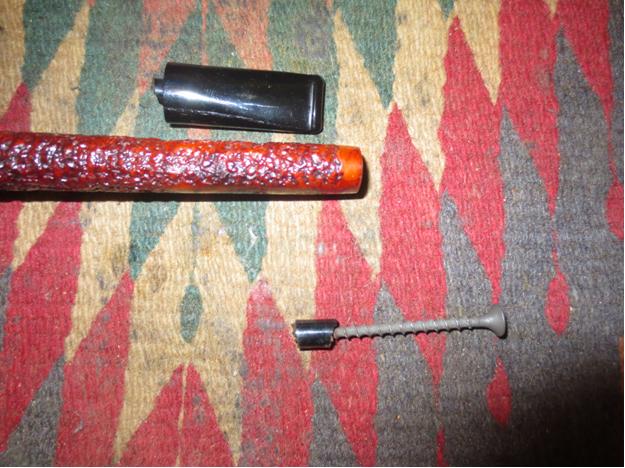
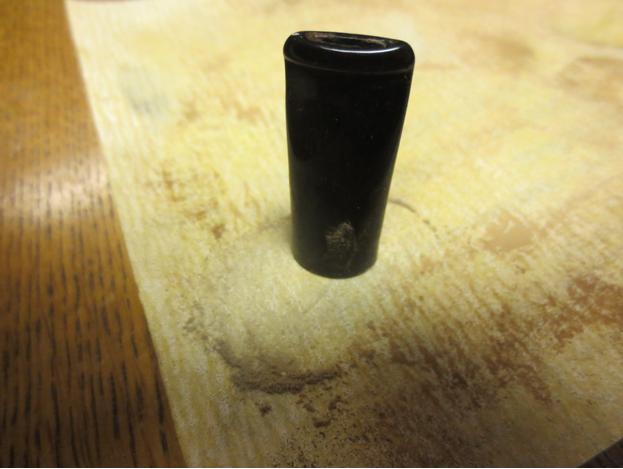
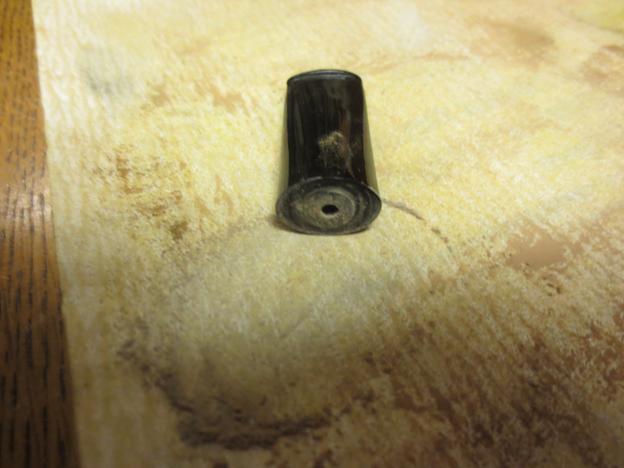
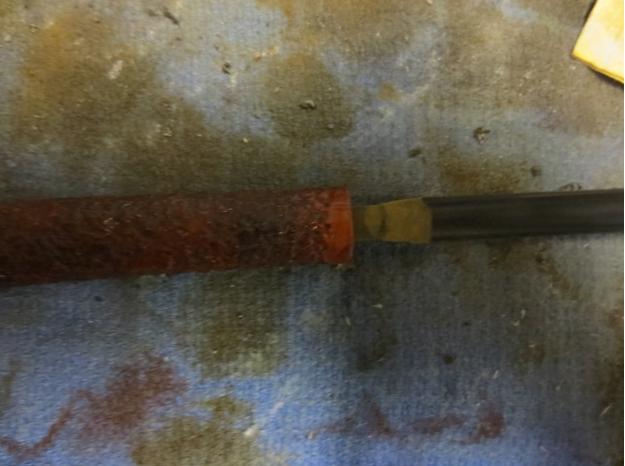
LHS12 I took two close-up photos of the stem and the extension that was in the end of the tenon and extended into the bowl. It was an integral part of the stem and I was not able to remove it.LHS15
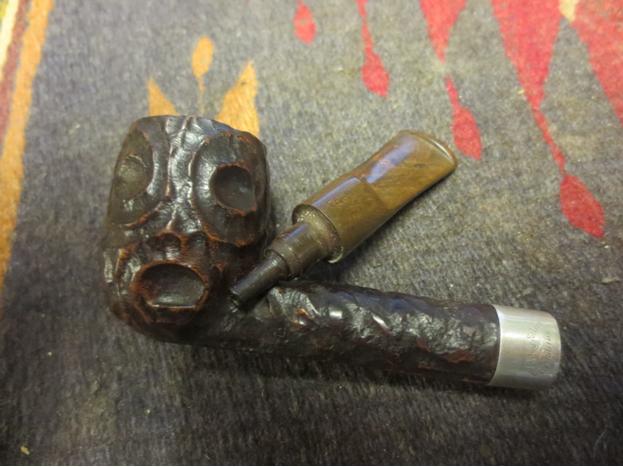
LHS16 Once I got this far in the process I wanted to know a bit more of the history of the brand. I was trying to find out when the pipe potentially was made. The stem had me fascinated. The extension tube in the tenon was different from any other LHS Sterncrest pipe that I had seen. All of the patent information I could find from the early 1900s through 1936 showed a more typical ball and point stinger apparatus. There was nothing to date this in the patent information. That combined with the unique stem material seen clearly in the photo above made me very curious about the pipe.

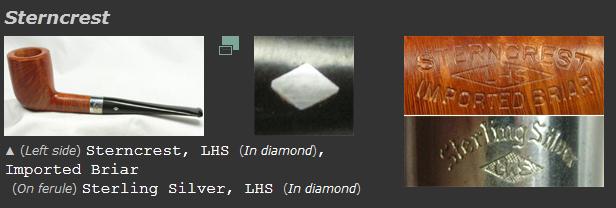
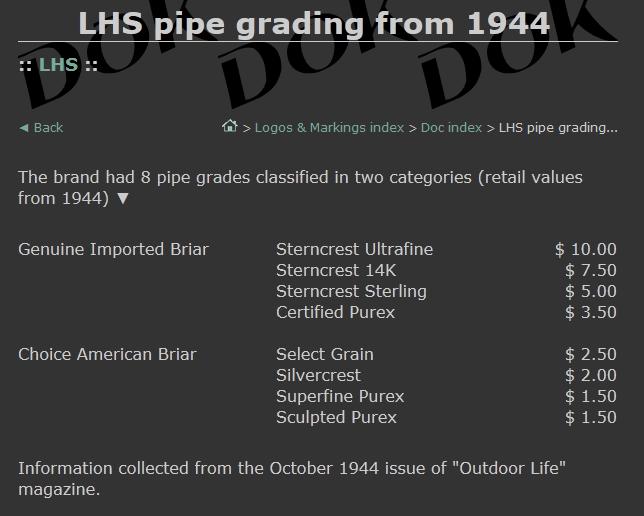
I looked on the PipePhil site which is a go to site for me when digging out information and I found some helpful material. Here is the link – http://www.pipephil.eu/logos/en/logo-lhs.html. The first item below is a copy of the photo from his site which gives some simple information. The Strencrest stem that I had did not have the inset silver diamond in the side on the top of the saddle. The stamping on the pipe was different as well. Mine was stamped LHS in a Diamond (like the one on the briar inset below) but STERNCREST was underneath the Diamond. Imported Briar was on the opposite end of the shank. The inset of the band is identical in terms of what is shown. The band on mine has one additional feature below the LHS diamond and that is the word RHODIUM.LHS1 I followed the links on the site and found the following grading guide from 1944 there as well. It lists the Sterncrest Sterling as the third highest grade of pipe. The issue for me is whether the pipe I have is a Sterling. It only bears the Sterncrest stamp and that does not appear on the chart below.LHS2 I read some more on the site and found that the L&H Stern Inc. was established by Ludwig Stern (1877-1942) in 1911. His brother Hugo (1872-?) acted as vice-president & secretary. The firm moved to 56 Pearl St. Brooklyn in 1920. It closed down in the 1960s. LHS was one of the main pipe suppliers for US soldiers during WWII. That was the short version of the information. With that I knew that my pipe was made between 1911 when the company opened and before the 1960’s when it closed.
I googled for more information to see if I could find company advertising that showed the pipe I was working on and gave more definitive information on the brand. I found the following quote that helped to fit the Sterncrest into the scheme of things. “LHS is L & H Stern Pipe Making Co. that was based out of Brooklyn N.Y. Their most common lines seem to have been their Sterncrest pipe models. The company made pipes from 1900-the 1950’s.”

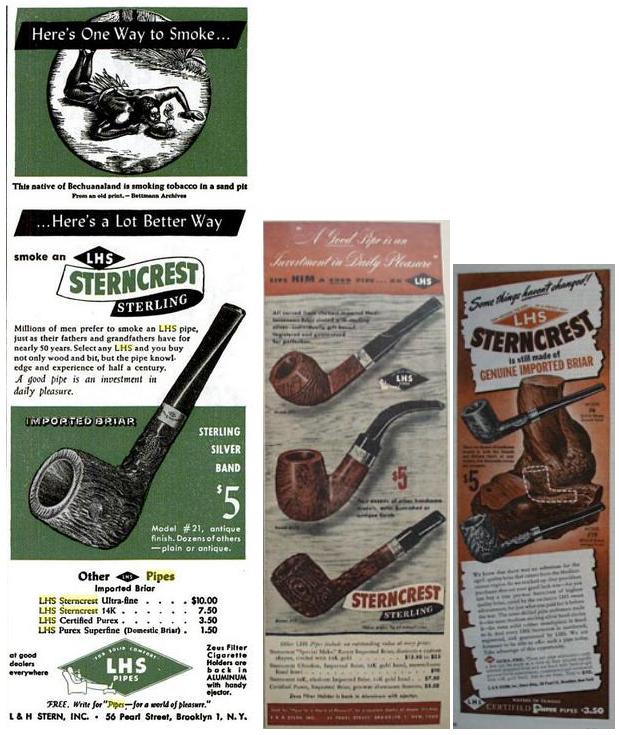
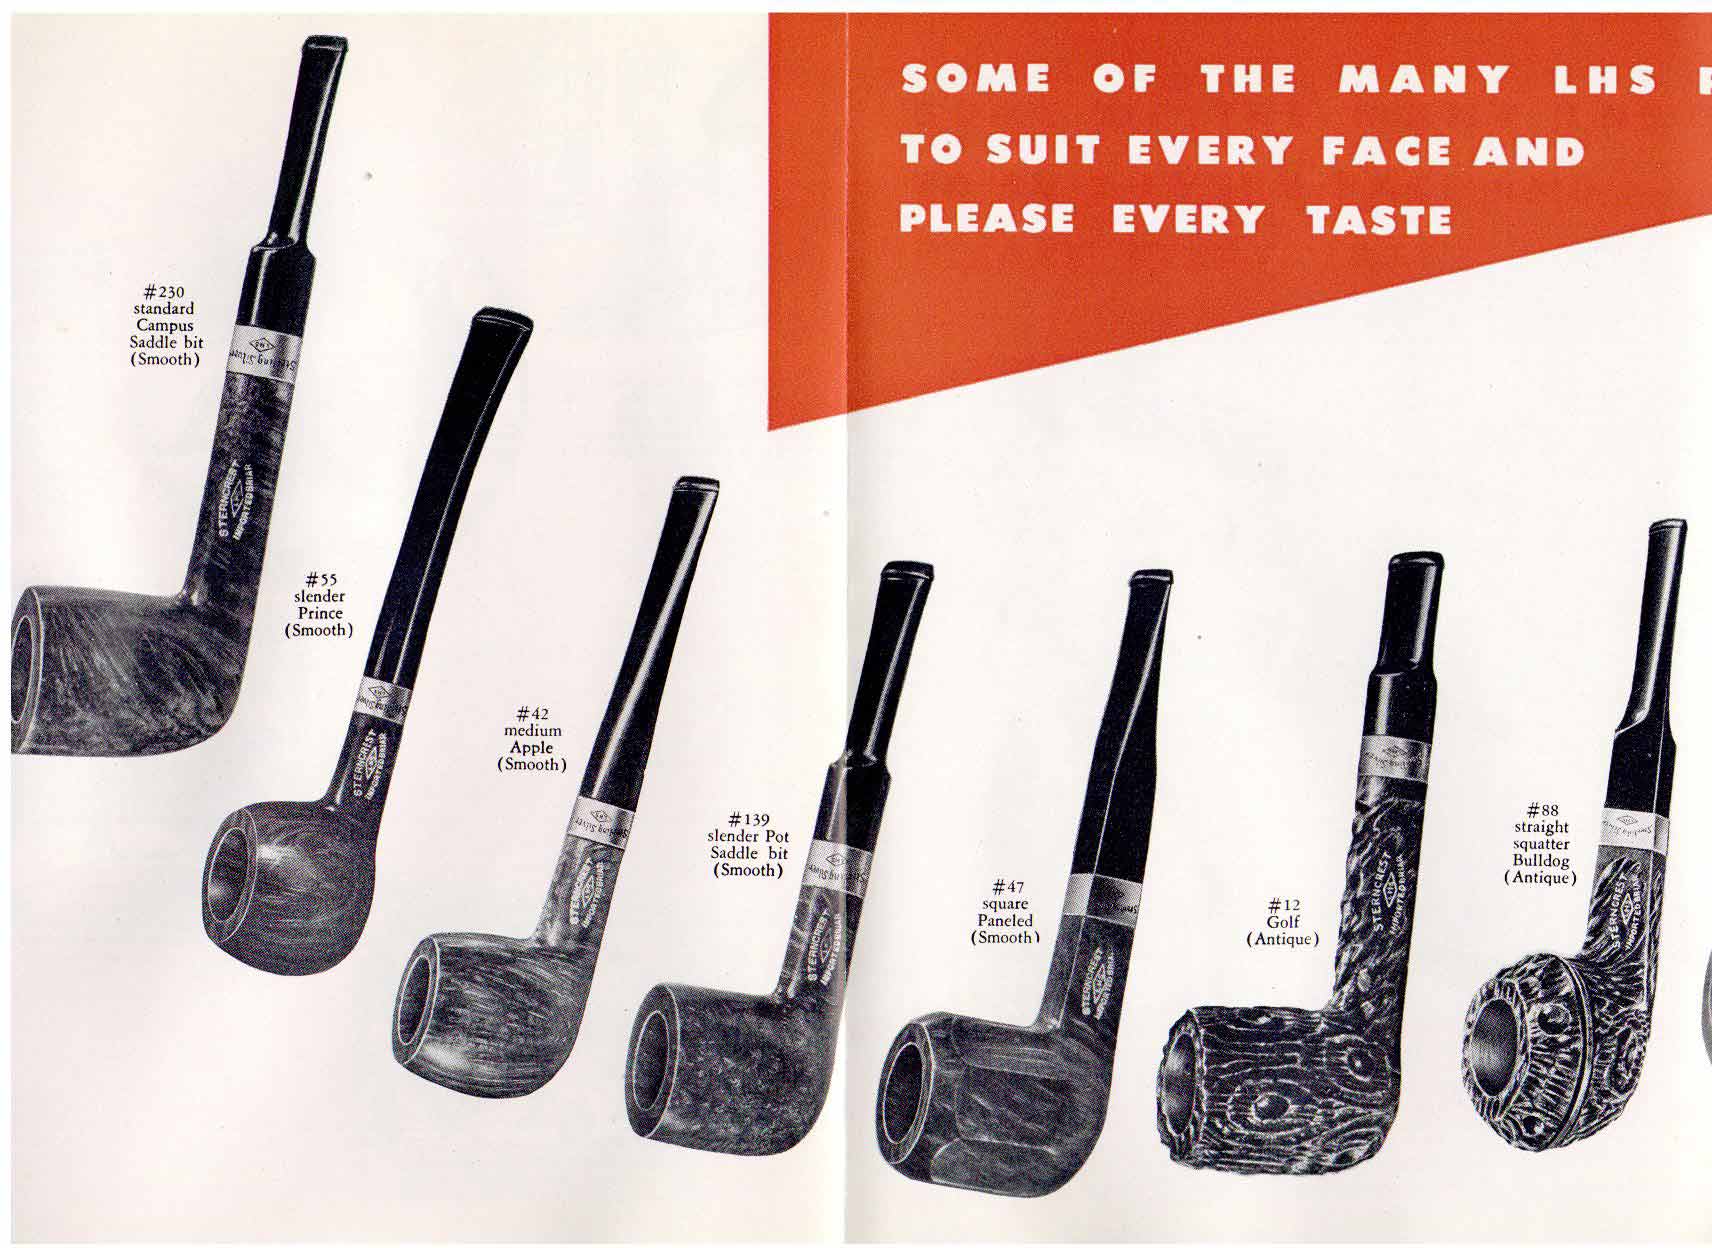
I also found some advertising which I have posted copies of here. Three of the magazine advertisements are shown below. All three show a similar pipe to the one that I have in hand. The rustication on mine is more crater like than tree bark like but the patterns are similar.LHS7 I have also included a page from a Sterncrest Catalogue from 1946 that shows the line and the second pipe from the right, the lovat is identical in shape to the one that I have. The rustication pattern in the picture is similar but also more tree bark like and the stamping is on the side of the shank rather than the underside.LHS8 Now I knew that the pipe I was working on came from a more narrow time period – 1910 to sometime in the 1940s. That was all the information I could readily find on the pipe. I was still left with a bit of a mystery that would become somewhat clearer as I cleaned up the pipe and stem.
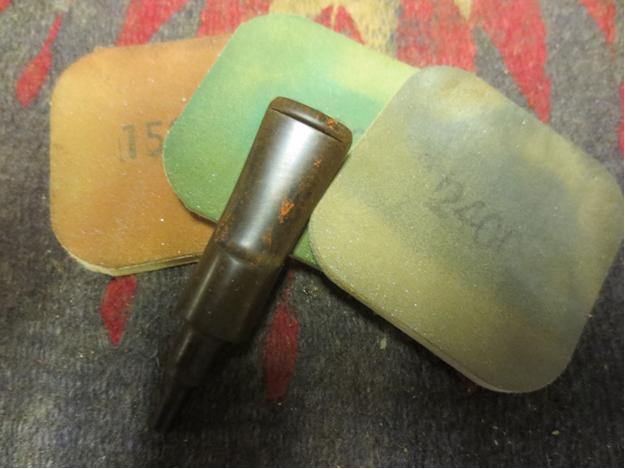
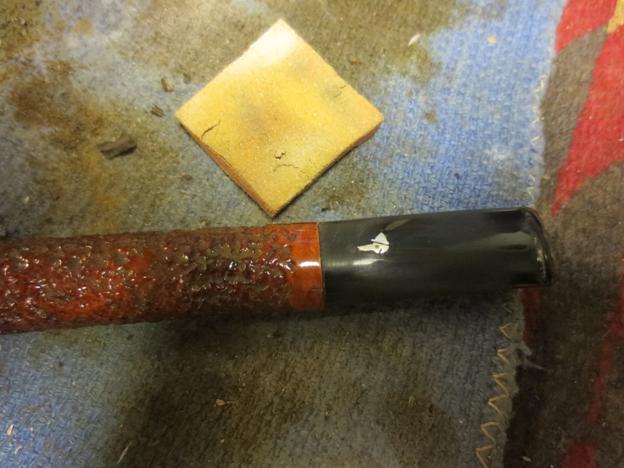
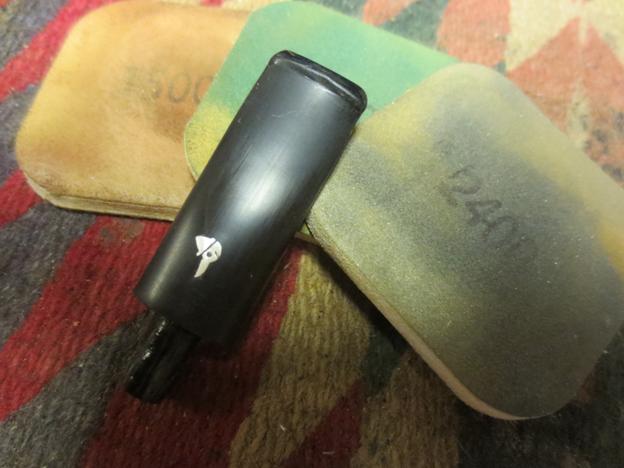
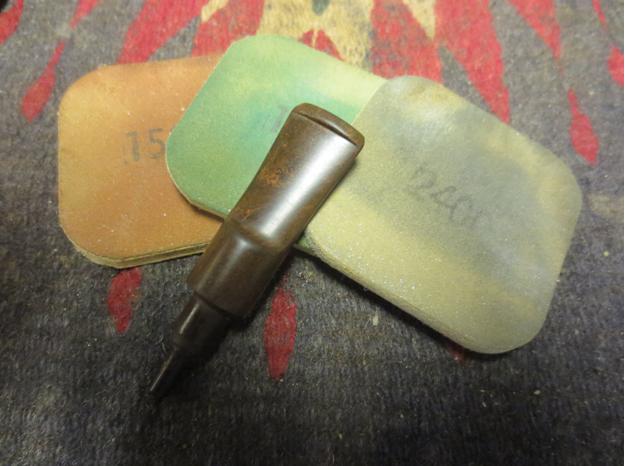
The pipe was lightly smoked and I was able to wipe out the dust and debris from the bowl quickly. The shank was dirty but what came out of the shank was not tobacco debris or tars but rather a red stain. The inside of the shank had some stain left in it. The bowl must have been dip stained when in the factory and the pipe had not been smoked enough to burn off the stain that was there. Obviously the previous owner never ran a pipe cleaner into the shank to find what I found in my clean up with alcohol, cotton swabs and pipe cleaners.LHS16a I also cleaned out the airway in the stem and tenon extension. I was careful as I did not want to chip or damage the extension. The more I worked with the stem the more I was beginning to get an idea of what the stem material was.LHS17 I worked on the stem with micromesh sanding pads. I wet sanded it with 1500-2400 grit pads and then rubbed it down with Obsidian Oil. I was uncertain whether the oil would be absorbed or not but either way it would give some teeth to the micromesh pads as I worked with them. I took photos of both sides of the stem to show the pattern that started to show up as I polished it.LHS19
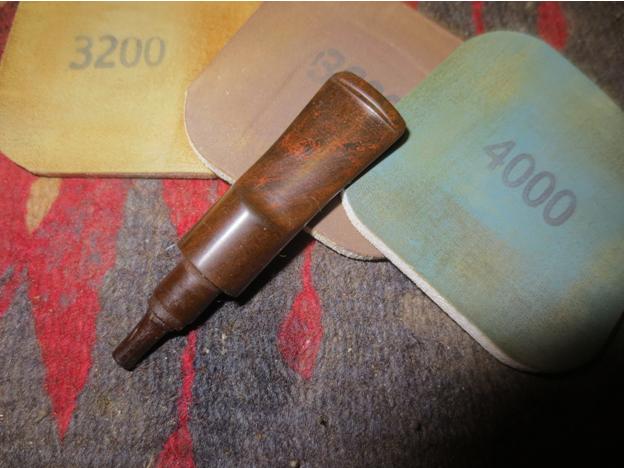
LHS20 I dry sanded with 3200-4000 grit micromesh sanding pads to further polish the stem. I rubbed it down with Obsidian Oil once again.LHS22
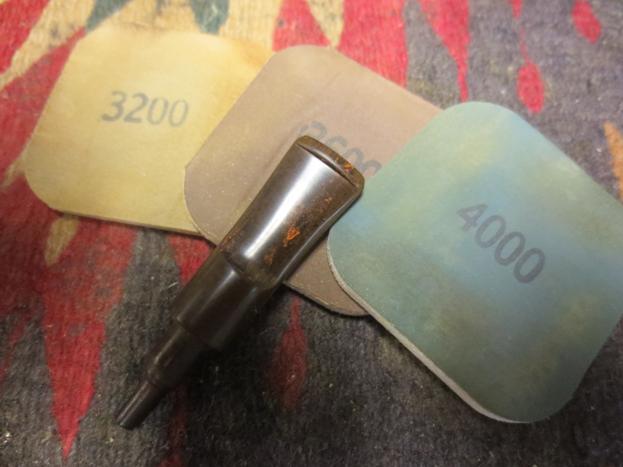
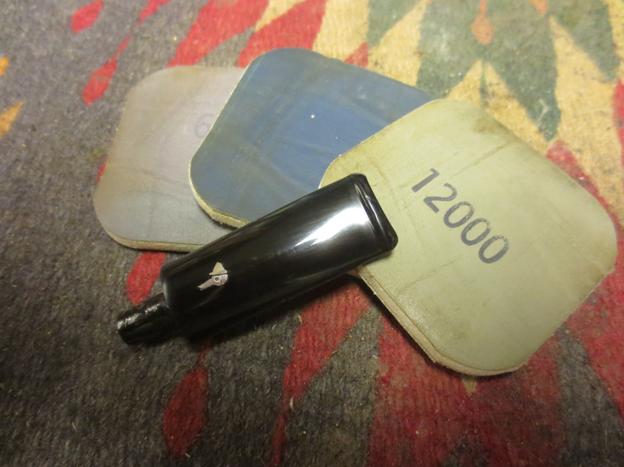
LHS23 The more I polished the stem the more clear it became what the material I was working with was. I dry sanded with the final three grits of micromesh and then buffed the stem with Blue Diamond polish before giving it a final coat of oil. Once the oil dried I buffed it with some carnauba wax and then with a clean flannel buff before giving it a final hand buff with a microfibre cloth.LHS24 Once I finished polishing the stem I knew without a shadow of a doubt that the stem was made of Bakelite. It was exactly like several of the Bakelite tobacciana items that I have collected. The mottled brown and red look of the polished stem proved it to me.

I decided to do a bit of research on Bakelite to both make certain I was working with that and to see if I could narrow the date for this pipe down even further. I am including some of the information that I found in my search.

From the New World Encyclopedia online I got some basic information on the material. Here is the link if you want to see the original source. http://www.newworldencyclopedia.org/entry/Bakelite

I found that Bakelite is a material based on a thermosetting phenol formaldehyde resin developed in 1907–1909, by the Belgian-American chemist Leo Baekeland. It was the first plastic made from synthetic components. It was used for its electrically nonconductive and heat-resistant properties in radio and telephone casings and electrical insulators, and was also used in such diverse products as kitchenware, jewelry, pipe stems, and children’s toys…

Bakelite is a phenol formaldehyde resin with the chemical name polyoxybenzyl methylene glycol anhydride. It was formed by the reaction under heat and pressure of phenol, a toxic, colorless crystalline solid, and formaldehyde, a simple organic compound, generally with wood flour filler. The combination of the mixture with the wood flour makes the material hard and dense.

The company, The Bakelite Corporations was formed, in 1922, from the consolidation of three companies: the General Bakelite Co., the Condensite Corp. and the Redmanol Chemical Products Company, an early plastics manufacturer formed in 1913, by chemist L.H. Baekeland. The American Catalin Corporation acquired the Bakelite formulas, in 1927, and currently manufactures Bakelite cast resins.

Bakelite Limited was formed, in 1926, from the amalgamation of three suppliers of phenol formaldehyde materials: The Damard Lacquer Company Limited of Birmingham, Mouldensite Limited of Darley Dale, and Redmanol Chemical Products Company of London. Around 1928, a new factory opened in Tyseley, Birmingham, England. (The building was demolished in 1998.) The company was acquired by the Union Carbide and Carbon Corporation in 1939.

From the Wikipedia I found out more information. Here is the link for the source should you want to read more. I have included a few clips from that source. https://en.wikipedia.org/wiki/Bakelite

Bakelite is not extensively used for general consumer products any more, due to the cost and complexity of production and its brittle nature. However, it was used in the past in myriad applications, such as saxophone mouthpieces, cameras, solid-body electric guitars, rotary-dial telephones, early machine guns, and appliance casings. It was at one point considered for the manufacture of coins, due to a shortage of traditional manufacturing material.

An exception to the overall decline is the use in small, precision-shaped components where their specific properties are required, such as molded disc brake cylinders, saucepan handles, electrical plugs and switches, and electrical iron parts. Today, Bakelite-type materials are manufactured and produced in the form of sheets, rods and tubes for many industrial applications in the electronics, power generation, and aerospace industries, and under a variety of commercial brand names.

Many companies stopped using Bakelite in the early 1940s as the need for World War II related products took hold. By the end of the War, new technologies in the world of plastics had made Bakelite obsolete.

A final source of information I found was on jewelry specifically but the dates coincide with the information above and help narrow the dates for my pipe stem.

The source is as follows: http://www.teeda.com/history-of-bakelite-jewelry.html

The height of Bakelite jewelry was the late 1930s, up until the end of the Art Deco period. The designs were quite popular in mass merchandise stores such as Sears and Roebuck. However there were also some famous names working with the material and creating Bakelite jewelry including Chanel and Van Cleef and Arpel. Oddly enough Bakeland allowed the patent to expire and the Catalin Corporation bought it. They began creating their own Bakelite jewelry marketed as Bakelite-Catalin. The pieces were sold in both expensive stores like Saks Fifth Avenue and smaller stores such as Woolworth’s.

Bakelite jewelry was available in a variety of colors, but brown, green, red, and white were the most popular color choices. Over time though, exposure to the light and particles in the air have caused many of these colors to change. A good example is a bracelet that was once white, but now looks pale brown in color.

Given the information on Bakelite I think I can safely narrow down the date on the stem to between 1930-1949 when the war ended. That may be as close as I can get to pinning down a date on the pipe unless someone who knows a bit more of the history of LH Stern can be more specific regarding the apparatus at the end of the tenon.

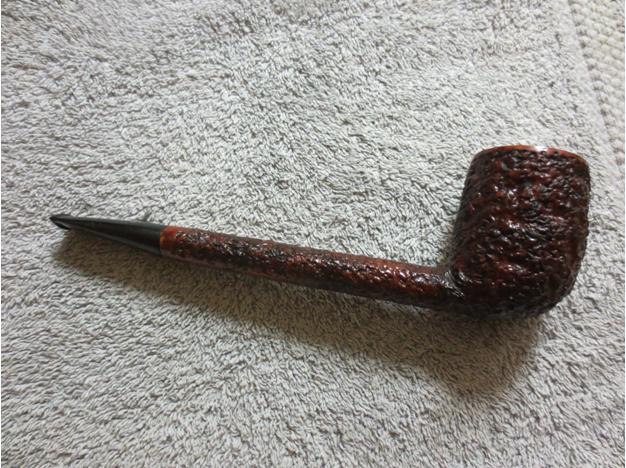
I returned to finishing up my work on the pipe. With the stem completed, I polished the stem with a silver polishing cloth and was able to remove all of the oxidation and give the silver band a sheen that looked like new.LHS18 I rubbed down the bowl and shank with Halcyon II wax and then buffed it with a shoe brush and then with the microfibre cloth to raise the shine. The finished pipe is shown in the photos below. It is ready to load up and smoke a bowl. It will probably be the first bowl that has been run through the pipe since the end of the war. I am looking forward to reintroducing the pipe to a nice bowl of Virginia or Virginia Perique. It is so light weight that it should be a great smoking pipe.LHS25
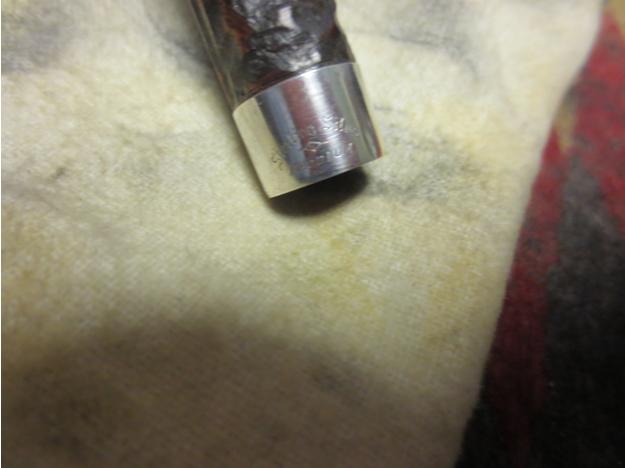
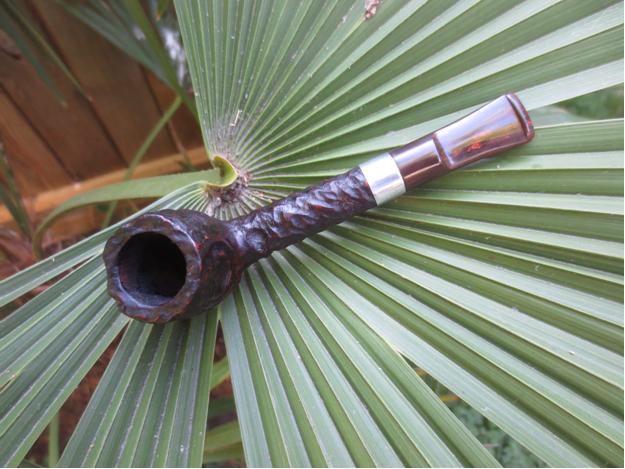
LHS26

LHS27

LHS28

LHS29

LHS30 Thanks for looking.

The Pipe of the Baskerville


Guest Blog by Robert M. Boughton
Member, North American Society of Pipe Collectors
http://www.naspc.org
http://www.roadrunnerpipes.com
http://about.me/boughtonrobert
Photos © the Author

“There is nothing more stimulating than a case where everything goes against you.”
― Sir Arthur Ignatius Conan Doyle (1859-1930), Scottish author, in “The Hound of the Baskervilles,” 1902

INTRODUCTION
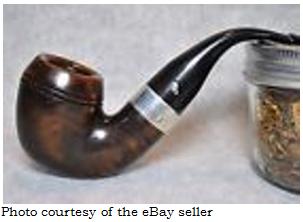
The first time I had occasion to suspect some force was working against me on the subject of this essay, restoring a Peterson’s Sherlock Holmes Baskerville smooth, was my belief that the pipe offered for sale was, in fact, not authentic. The discovery that my fear was misplaced was, of course, a happy relief and led me to purchase the distinctive Hungarian shaped model from an eBay seller. The desired confirmation was the result of an email I sent to Peterson’s of Dublin doubting the legitimacy of the pipe shown due to the absence of the Baskerville name on the nomenclature. In every other respect – its overall appearance, apparent beauty and shape – the pipe seemed right, but these days any online buyer cannot be too careful. I included in my query a link to the eBay listing and soon received the following reply from a gentleman named Glen:

“I can tell you this is a genuine item. It has discoloured due to smoking over the years and there are variations on stampings throughout the years of the lines.”

This brings me to my conclusion that the pipe I bought is from the original Sherlock Holmes Collection in 1987. Later issues tend to include the more common stamping of Peterson’s of Dublin/Sherlock Holmes/Baskerville, while mine is abbreviated to Peterson’s/Sherlock Holmes. The newer designs also have the inset sterling band, while the shape of my older Baskerville is smooth and uniform up the shank leading to the bit.

Pete1The other problems I faced with the restoration will be discussed in the order of their occurrences.

The Baskerville makes the second pipe from the several Peterson’s Sherlock Holmes series I have so far acquired. I expect someday to own the entire collection, in all of the other finishes that include the same number of rustics/sandblasts and eight ebony versions, not to mention one variety that really revs my engine. But that can wait. Here is my other SH pipe.Pete2 A great fan of the riveting published adventures of the brilliant if fictional mystery sleuth, I never tire of re-reading them or watching the various movie and TV adaptations, in particular the BBCs recent modern-day “Sherlock” with Benedict Cumberbatch in the title role. And as I noted in a previous blog, Holmes, despite the myth born of generations of portrayals by many talented if misled actors, did not smoke a gourd calabash or churchwarden. The most common type or shape of pipe mentioned by his loyal chronicler, in fact, is cherry wood (with six references). See https://www.gutenberg.org/files/1661/1661-h/1661-h.htm – or better yet, re-visit the stories themselves – for details.

I came across some curious similarities in the life of the celebrated creator of Mr. Sherlock Holmes of 221B Baker Street in London and the crime solver himself. Despite early stabs at writing, one of which was published, Doyle surprised his family by deciding to pursue a degree in medicine, which he received from the University of Edinburgh in 1881. [http://www.biography.com/people/arthur-conan-doyle-9278600#synopsis]

At least two real persons, both medical doctors contributed to Doyle’s ultimate creation of Sherlock Holmes: one of his professors and mentor, Dr. Joseph Bell, a renowned forensic scientist, had keen powers of observation, and Dr. Henry Littlejohn, a surgeon of police who for almost half a century consulted with Edinburgh police on medical issues related to crimes, both later contributed to Doyle’s unique detective character. [http://www.todayifoundout.com/index.php/2014/04/real-life-sherlock-holmes/]

After Doyle completed his third year of medical school, he signed on a ship’s surgeon for a vessel bound for the arctic circle. This experience gave him a zest for adventure.

And then there is the Watson connection. Not only was Watson a physician, but take a look at this photo of the author himself and compare the likeness.Pete3 RESTORATION
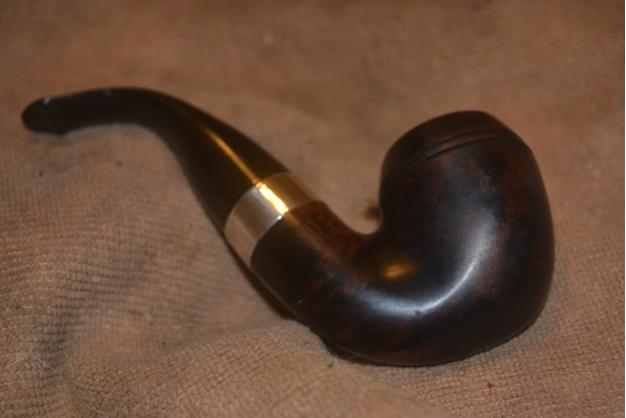
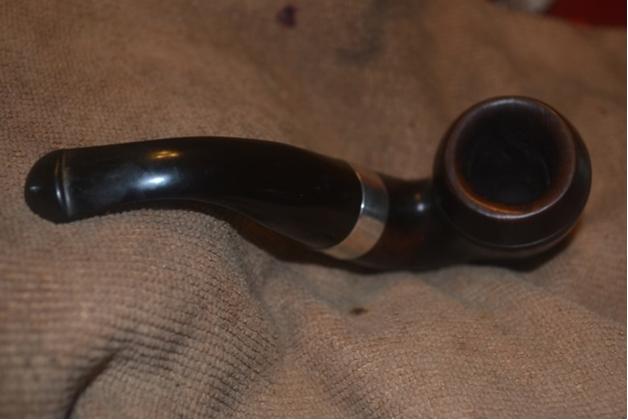
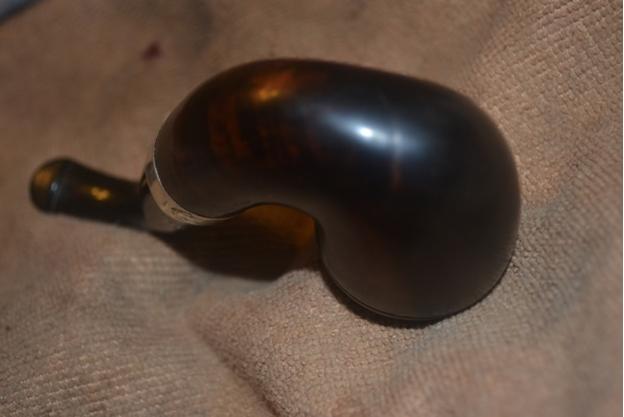
These photos of the Baskerville as I received it show how the picture in the eBay listing was a bit forgiving of the effects of age and smoking on the pipe, as noted by Glen from Peterson’s.Pete4

Pete5

Pete6

Pete7

Pete8

Pete9

Pete10

Pete11 Here, in brief, is where everything truly began to go against me, although I might state the process that unfolded with greater accuracy and brevity as being my own fault, pure and simple. I actually reached the end of a full “restoration” and took what I thought would be the photos of the finished pipe when, upon closer scrutiny, I noted with a sick feeling in my heart and gut that the Baskerville was not up to my standards, even though I knew I was not about to offer this potential beauty for sale. One-dimensional pictures tend to reveal the flaws with unforgiving accuracy. Check out these two angles alone, which are representative of the whole as it was.Pete12

Pete13 For the most part, I’ll leave the criticism to the readers, but I will point out the most noticeable flaws, including unfixed scratches and other blemishes, not to mention the awful look of the chamber in the first photo above. Most disturbing to me was my failure to remove certain black areas caused, as noted before, by age and use, as well as the general lack of discernible graining I had intended to enhance.

And so, as the traditional children’s song goes, “Finnegan, begin again.”

Removing the newly-applied waxes and stain, this time with 500-grit paper for a slow, gentle approach, proved much easier and faster than the far more laborious work I did the first time around. I only had to focus on the unresolved scratches and black areas. The paper alone was perfect for the small but pervasive scratches and a good deal of the blackened briar.Pete14

Pete15

Pete16

Pete17

Pete18

Pete19 The dark patches were the most difficult to remove, and when I reached the point where the sandpaper wasn’t up to the task, I finished with the finest grade steel wool. This part required considerable effort around the bottom, front and back of the bowl as well as the shank, but it worked. At last, the wood was the right shade and with no more serious dark spots.

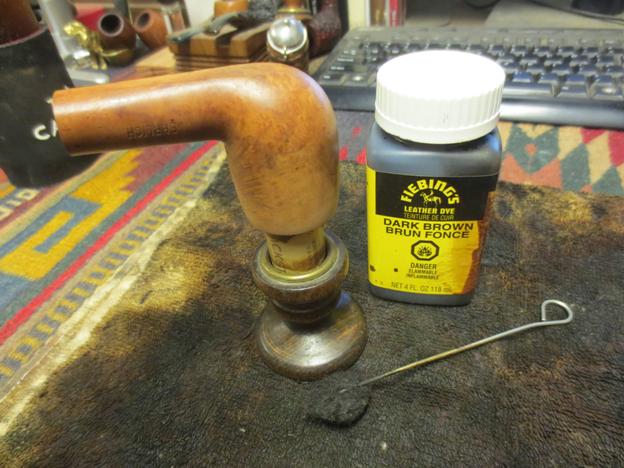
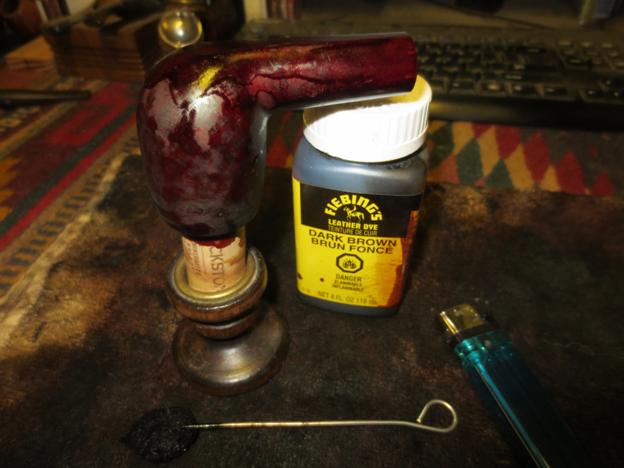
Having enjoyed a few bowls of tobacco in the Baskerville (well, more than a few), I sanded out the small amount of carbon with 320 paper and retorted the pipe once more. Then I stained the outer wood with Fiebing’s Brown and flamed it.Pete20 I took off the char with 4000 micromesh and buffed from 1500-4000.Pete21

Pete22

Pete23

Pete24

Pete25

Pete26 The stem, almost perfect, only wanted gentle micro-meshing in a few spots, with 3200 and 4000. I buffed it with red Tripoli and then again on the clean wheel. I buffed the bowl and shank with white Tripoli, White Diamond and carnauba.Pete27

Pete28

Pete29

Pete30

Pete31

Pete32

Pete33

Pete34 But remember how I was describing how everything turned against me, only it was really my own fault? Well, then, that brings me to the final error: one I have learned to avoid so often in the past but this time spaced until it was a single stroke too late. In my enthusiastic sanding with the 500-grit paper, I took off a little of the Peterson’s/Sherlock Holmes stamps – not all, but part.Pete35

Pete36 CONCLUSION
For this blog, I attempted considerable research into the various Peterson’s Sherlock Holmes pipe series. I use the word various because of the three main groups that are commonly known to connoisseurs of the great Irish pipe company established in Dublin in 1865: the Sherlock Holmes Original Collection (with the word Original added only after the decision to add another and then a so-called final series was made), the Return of Sherlock Holmes Collection and the Adventures of Sherlock Holmes Collection. My goal was not only to identify the differences in the several lines’ designs and names but to determine the date(s) of manufacture. Despite my previous knowledge of the incredible difficulty of dating pipes in general and Peterson’s in particular, I thought these tasks would be easier than usual. I have almost never been more mistaken.

Starting at the source, so to speak – in this case, http://www.peterson.ie/CatalogueCOMP.pdf – I found, on pages 10-13 of the catalogue, listings for the first two collections, but nothing concerning the Adventures pipes. And although this catalogue did give the date of the SH Original Collection as “First produced in 1987 to honour the most famous character in fiction, Sherlock Holmes,” the term “first produced in” was vague. Well, for this small amount of help I was grateful, although almost every other website on the subject repeated the same general year. Also, I am sure that no matter how popular Sir Arthur’s brilliant mystery sleuth may be, the notion that Mr. Holmes deserves the high place in all of literature that Peterson’s bestows upon him would be readily accepted by Holmes himself were he real and alive but hotly debated in scholarly circles.

Furthermore, the official Peterson’s catalogue showed only the smooth versions of that series with a note that the series was of seven pipes, one for each day of the wee, with shapes “most favoured by Holmes.” [Again, see my proof of the erroneous nature of this claim above.] Almost as an afterthought, the catalogue reveals that all of the smooth designs shown are also available in rustic, sandblast and ebony versions, and a gold band can be substituted for the sterling silver.

As for the Return of Sherlock Holmes Collection, no date(s) of manufacture is given, and Peterson’s again shows only the smooth versions and notes the availability of gold bands but makes no reference to the same alternative rustic, sandblast and ebony versions. But it does mention and show these a couple of pages down.

The greatest surprises are the absence of the Adventures of Sherlock Holmes Collection altogether but the inclusion of beautiful pure white, sterling banded Sherlock Holmes Meerschaums in the same designs as the Original Collection, but again undated.

Therefore, searching far and wide for a list of the Adventures of SH Collection, I came across another Peterson’s of Dublin site showing the seven newest designs, mixed among smooth, rustic and sandblast. [http://www.peterson.ie/c/164/adventures-of-sherlock-holmes] Again, no date(s).

Finally, as a last measure before finishing this blog, I thought of the obvious and Googled “dating peterson sherlock holmes pipes.” I was rewarded with a site [http://thepetersoncollector.blogspot.com/2010/07/welcome-to-my-new-blog.html] providing almost all of the hard-sought data:

Sherlock Holmes Original Collection 1987-c. 1989
Return of Sherlock Holmes Collection c. 1991
Sherlock Holmes Meerschaums 2006

And so, would anyone out there who knows when the Adventures of Sherlock Holmes Collection came to be please reply to this blog with the coveted information…and if possible, a URL to verify it?

Sure as there be five-leaf clovers, I will sleep better having read the end of the mystery.

Crafting another Frankenpipe – one plus one equals three


Blog by Steve Laug

I have wanted to do some more experimenting and learning new ways of doing things for a while now. That is why I love refurbishing, there is always something new to learn. I was sent some pipes as a gift to either scrap out or clean up. In this lot was an Israeli Anderson freehand pipe. The bowl had been cut off and what was left was not much different from a Falcon base. There was no way it would hold any tobacco that would even make it worth smoking and it was in pretty rough shape. The stem was great the base was solid but the finish was done. I also had a pipe that I had cut the shank off of and repurpose on another project so the bowl was left. It had a lot of large fills on the side that were full of pink putty. I thought maybe with a little imagination I could join the two parts together and get a workable pipe. Let’s see what I can do with the parts.Franken1

Franken2 I don’t have a table saw or a band saw so any kind of cutting briar needs to be done by hand. In this case I used a hacksaw to cut the bottom of the bowl off so that I could splice the bowl and the base together. I figured it would work and I might get a half way decent pipe out of the blend.Franken3

Franken4

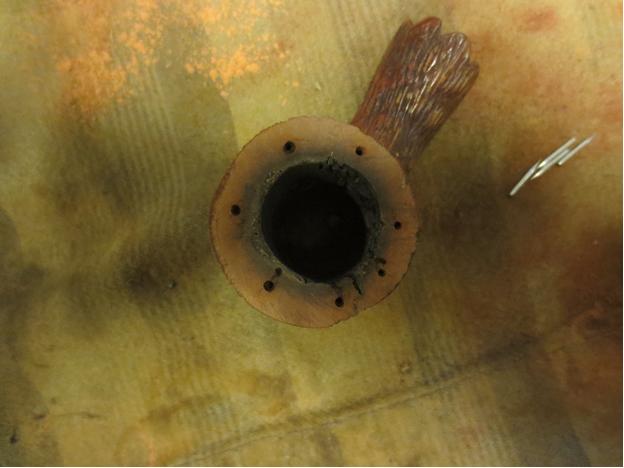
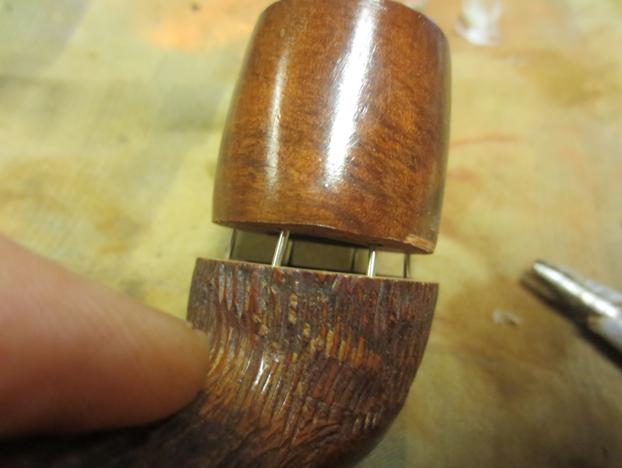
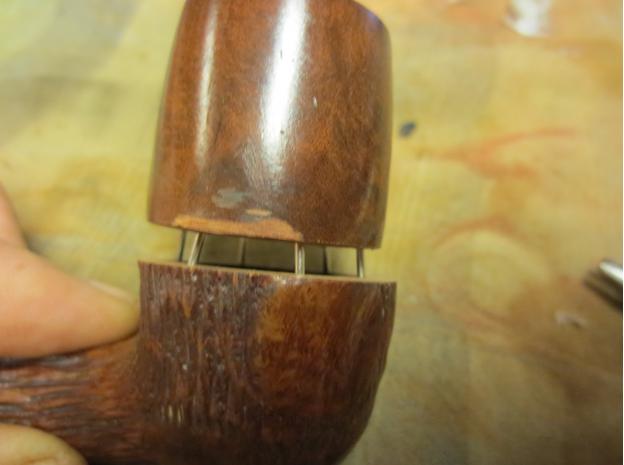
Franken5 I used a small drill bit to place six small holes around the base and the bowl. I stabilized the small cracks with wood glue and briar dust. I planned on putting a bowl coating on the interior so I was not too concerned with the walls of the base. I had some small stainless steel pins that I had found that would work well to join the two parts together.Franken6 I inserted the pins in the holes in the base and glued them in place. When the glue had set I put glue on the top of the base and the bottom of the bowl portion and set it on the pins as well.Franken7

Franken8 I pressed the bowl onto the pins in the base until the two surfaces connected. I clamped it in place until the glue dried. Once it was dry I put a ring of super glue around the joint on the two and pressed briar dust into the remaining crevices in the joint.Franken9

Franken10

Franken11

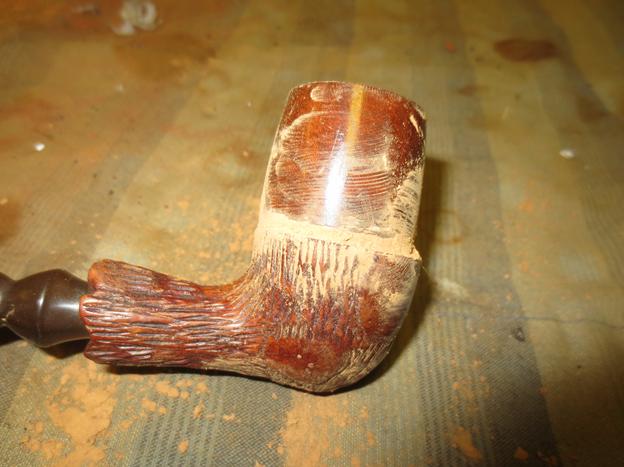
Franken12 I used a Dremel and sanding drum to remove the excess briar on the front of the base and bring it into alignment with the bowl. I did the same on the sides and back of the bowl.Franken13

Franken14

Franken15

Franken16 I sanded the bowl and base union with a medium grit emery paper and then with 180 grit sandpaper to smooth out the surface of the two parts and to work on making the junction smooth between the two. I followed that by sanding it with 220 grit sandpaper to further smooth out the walls of the new pipe. The photos below show the new “Stack” that had been fashioned from the two parts – one plus one did in this case render a third.Franken17

Franken18

Franken19

Franken20 I sanded the exterior of the bowl and base with a coarse grit sanding block and then with a medium grit block. The photos below show the state of the bowl after much sanding with the blocks. The surface of the bowl and base junction is smooth to touch. The large fills on the side of the bowl and the dark ring of the glue and briar dust patch around the middle were going to take some work to make them “disappear”.Franken21

Franken22

Franken23

Franken24 I sanded the bowl with a fine grit sanding sponge to further smooth things out while I decide on how to proceed next with the finish on the bowl.Franken25

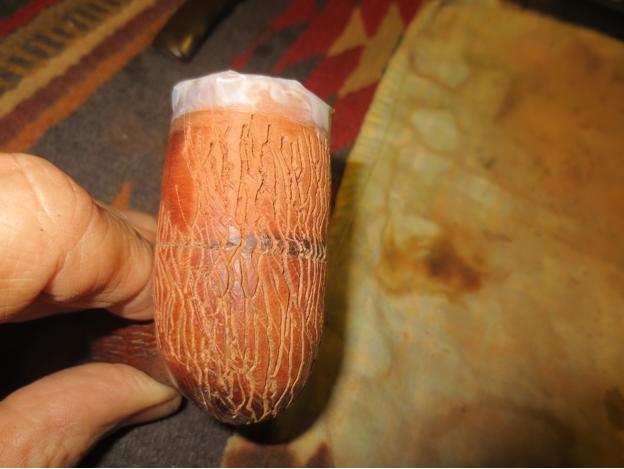
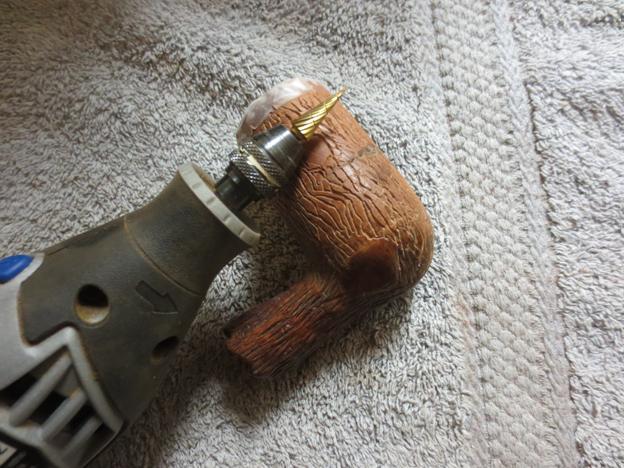
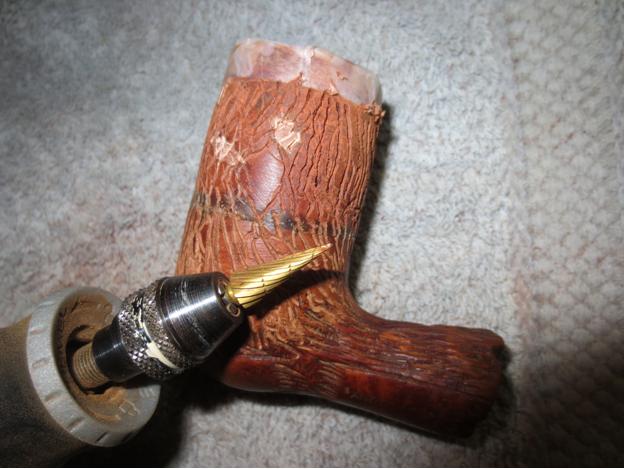
Franken26 The internal junction of the bowl and base needed some work as well. The bowl I had used was slightly conical on the base so the internal walls came in at an angle. The base walls were straight. I needed to sand the joint from the inside to smooth out the junction. I used the Dremel and the sanding drum to smooth out the junction. I proceeded slowly and carefully and was able to smooth out the walls. The photo below shows the inside of the bowl after the first work over with the Dremel and sanding drum. More needs to be done but you can see the progress.Franken27 When I got back from the office I decided to rusticate the new bowl with the same tree bark rustication pattern that the Anderson Freehand had. I used a pointed dental burr with striations through the shape of the cone. I held it like a pencil and worked on the surface of the briar. I followed the pattern on the lower portion of the pipe and worked to match it and continue it to the top of the rim.Franken28

Franken29

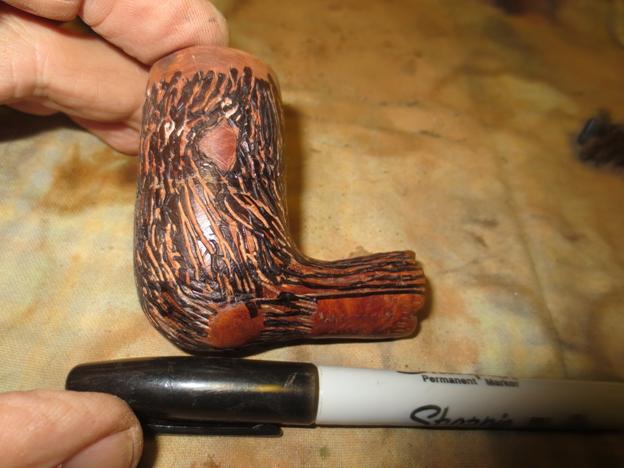
Franken30 As I got closer to the top of the bowl I wrapped the edge with several layers of cellophane tape and folded it over the rim as well. I continued to use the burr until I had carried the pattern all the way to the edge of the tape. The original bowl also had some smooth spots in the midst of the rustication. These looked like the ends of cut off branches. I put several of them on the sides of the new bowl as well to match the lower portion.Franken31

Franken32 The next two photos show the conical burr that I used for the rustication pattern.Franken33

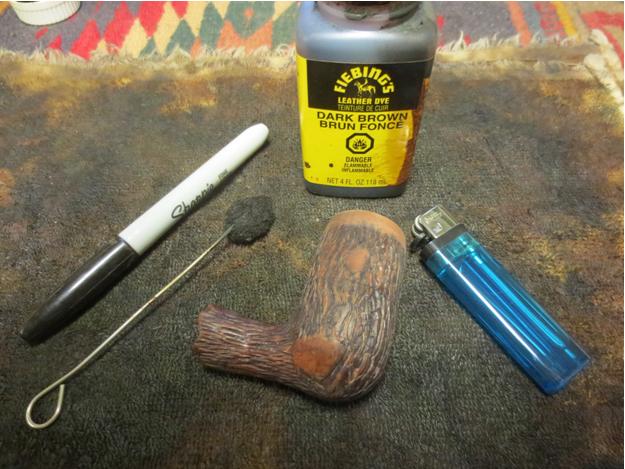
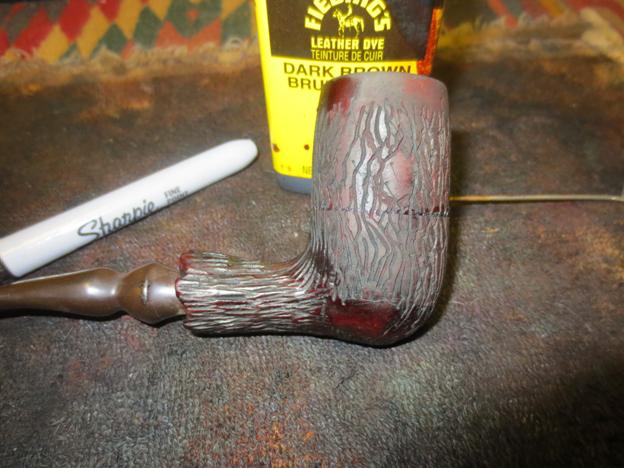
Franken34 To highlight the barklike nature of the rustication I used a black Sharpie permanent marker to colour in the trails in the briar.Franken35

Franken36 I wiped the bowl down with alcohol on a cotton pad to even out the black and to set it in the bottoms of the lines.Franken37

Franken38

Franken39

Franken40 I stained over the black marker with a dark brown thinned 50% with alcohol. I applied the stain and then flamed it. I repeated the process until the coverage was even.Franken41

Franken42

Franken43 I then gave the bowl a coat of oxblood stain thinned 50/50 with alcohol and set it on the cork stand to dry.Franken44

Franken45

Franken46

Franken47 To protect the newly sanded bowl and the joint between the bowl and the base until a cake had a chance to form I mixed a batch of organic bowl coating that I have used for years. It sounds like it would smell and make things a mess but it does not. I use sour cream and activated charcoal powder. I put a dollop of sour cream in a bowl and empty the contents of three or more charcoal capsules into the sour cream. I mix it until it is a grey pasted. At this point there is very little smell to the mixture.Franken48

Franken49 I painted the inside of the bowl walls and bottom with a folded pipe cleaner. I want to give the bowl a coating on all sides. I insert a pipe cleaner in the airway so I do not get the mixture in the airway. I put on the coating in several layers letting the one underneath get a little set. I paid special attention to the area around the junction of the two parts.Franken50 I set the bowl aside to dry. When it dries the coating will be a charcoal black colour and provide a base for the formation of the cake. While it dried I worked on the stem. I sanded it with a medium and a fine grit sanding sponge and then moved on to sanding with micromesh pads. I wet sanded with 1500-2400 grit pads and rubbed the stem down with Obsidian Oil. I dry sanded with 3200-4000 grit pads, rubbed it down with oil again and then dry sanded with 6000-12000 grit pads. I gave it a final coat of Obsidian Oil and when it dried I buffed the stem with Blue Diamond.Franken51

Franken52

Franken53 I lightly buffed the stem and the bowl with carnauba – spending more time on the stem than on the bowl. I then took it back to the work table and hand buffed it with a microfiber cloth to raise the shine. I did not want too much of a shine as I think the matte finish looks good on the tree bark rustication. The finished pipe is shown below. Once the bowl coating has dried for several days it will be ready to smoke. I am still mulling over what I will pack it with for the inaugural smoke. Thanks for looking.Franken54

Franken55

Franken56

Franken57

Franken58

Franken59

Franken60

Preserving Two LHS Advertising Pokers


Blog by Troy Wilburn
Troy originally posted this to the Dr. Grabow Collectors Forums. You can read the original post and the responses to his work at the following link: http://drgrabows.myfreeforum.org/sutra129300.php#129300

I picked up both of these rare early 20th Century (I would guess just after WW1 to mid-20’s) LHS pokers made for companies to advertise their services and goods. I imagine few of these survived as they were given away to the public and most likely company employees. They were smoked until they were worn out or broken and then thrown away.

The first poker model is one that I have seen before on an old post from 2010 on Tamp and Puff (http://tampandpuff.com/viewtopic.php?f=9&t=1119). I have drooled over that for a couple of years now hoping to find one and I did . Mine is not as nice as that one but happy to have it just the same. I have not found any more pictures of or posting of another before or since. When this one came on EBay I knew I had to have it. Luckily there wasn’t much interest because of the way the seller posted it.

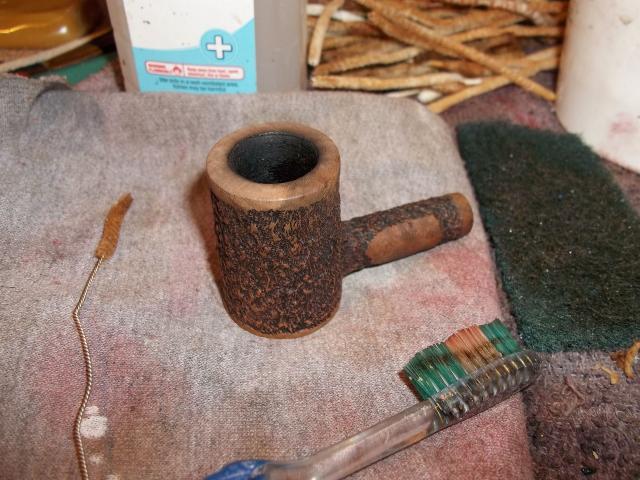
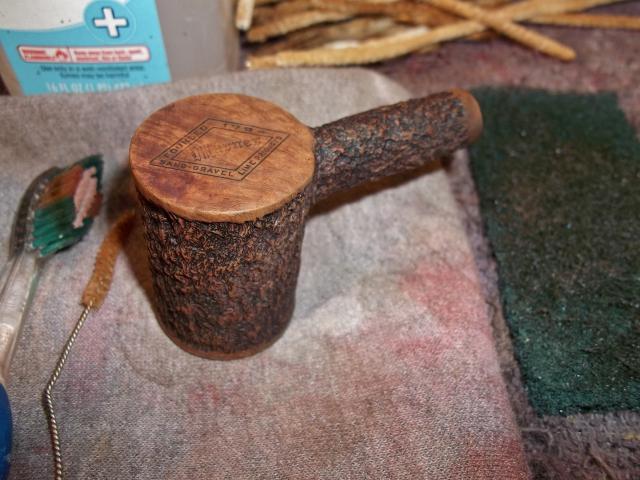
The first poker is marked Warner Sand Gravel Lime Products Est 1794. The shank is stamped Italian Briar (mine is double stamped) with LHS logo.LHS1

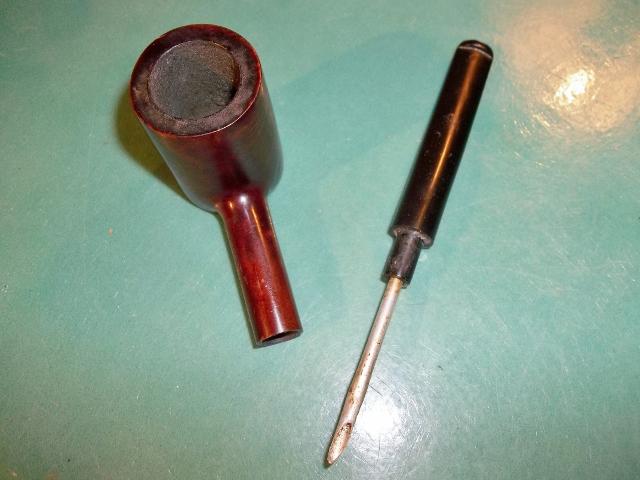
LHS2 More pics of the pipe as it arrived to me. Worst condition problems of pipe were bad tooth marks on the stem and shank’s stampings are worn. It was also really greasy and dirty but not caked up and in otherwise good shape with no major damage.LHS3

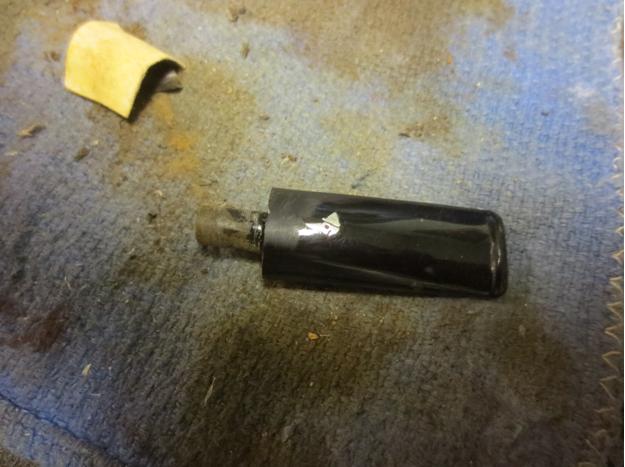
LHS4 It’s missing its unique stinger that luckily was still in the other poker I acquired. With the rarity of the pipe I decided to preserve what I had and do little more than just a good cleaning. The pipe really had a lot of grime and greasy feel. I gave it a good cleaning inside and out and removed most of the rim scorching with Oxy Clean and Scotch Brite pad. It could have used a slight topping but I decided not to as I’m preserving the pipe not restoring it. Plus I was afraid it would mess up the symmetry of the pipe rim design. I also gave the rest of the bowl several scrubbings with mild detergent and a soft bristle tooth brush. Wiping it down after with paper towels till the paper towels wiped clean afterwards.LHS5

LHS6 I gave the stem a good scrubbing as well Oxy Clean and water as I dipped the end of the tenon in alcohol to test it and it acted like it would melt the rubber. After cleaning I dipped the button end of stem in very hot water to raise the tooth marks best I could. I then filed the stem to get rid of almost all the tooth marks without compromising the structure of it.LHS7 After wet sanding stem to sand out file marks I sanded rim and stem with 2500 grit and mineral oil and wiped rest of pipe down with mineral oil as well.LHS8 After some light buffing and wax.LHS9

LHS10

LHS11

LHS12

LHS13

LHS14

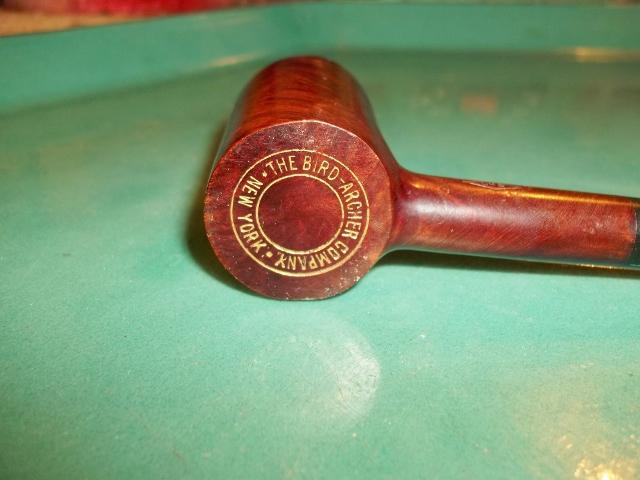
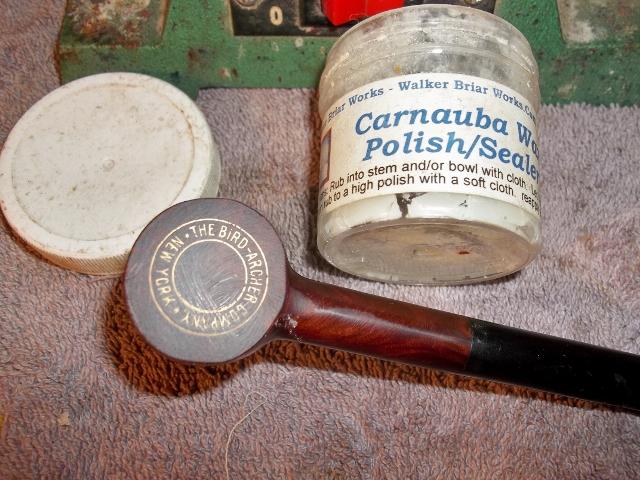
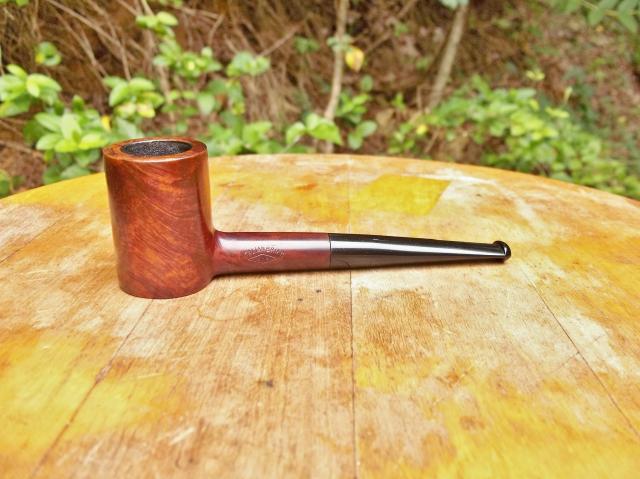
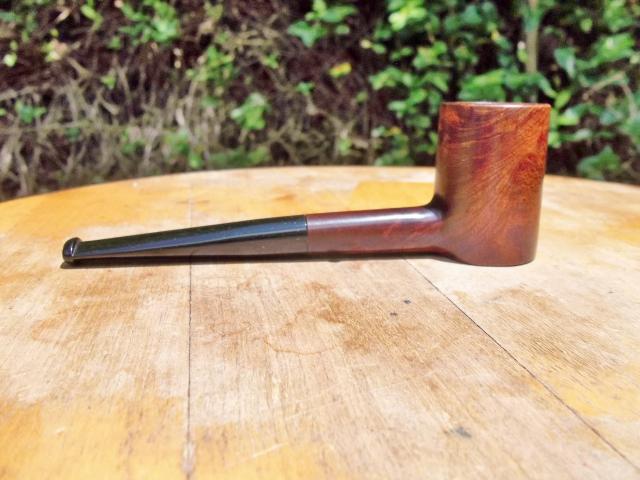
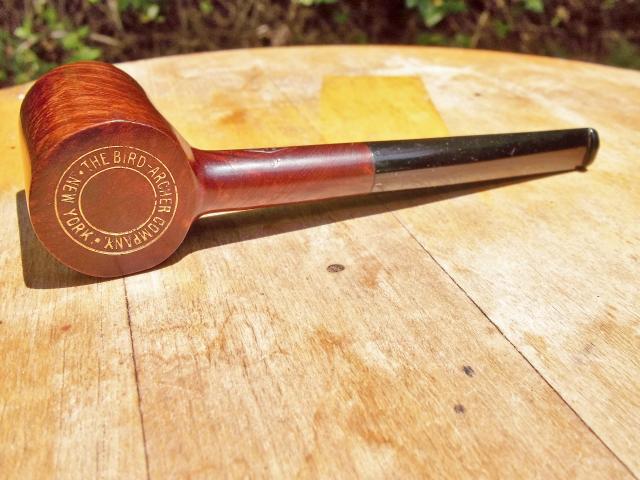
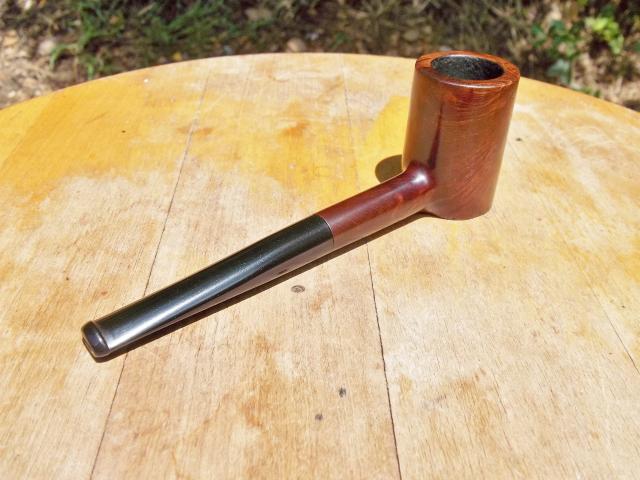
LHS15 The second Poker is marked Bird Archer Co. NY. It’s a company that sold chemicals that was used in water for steam locomotives. They were in business from around start of 20th century till end of WW2. Shank stamped same as other – Italian Briar over LHS logo.LHS16

LHS17

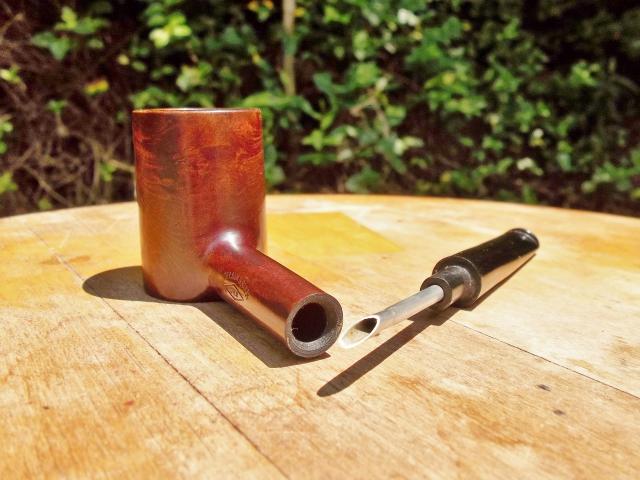
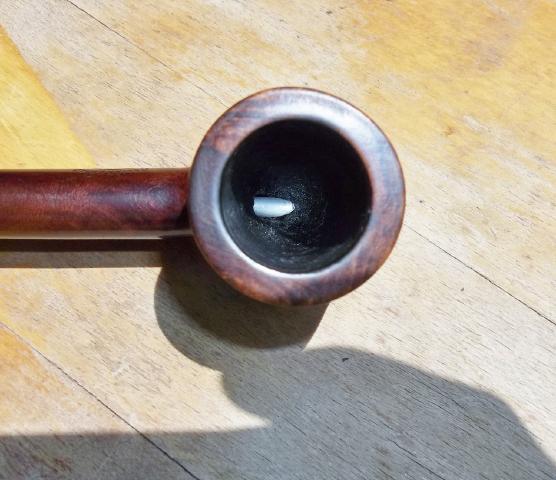
LHS18 This one has the unique stinger. I can tell you it made cleaning the shank and stem a breeze as most all the tar was in the stinger. It runs from the bottom of the bowl to about center of the stem.LHS19 The pipe pretty much got the same cleaning treatment as the above pipe with less work on the stem as there were not bad tooth marks. When I buffed the pipe I did not use the buffer on the embossed stampings but instead hand buffed to avoid causing any damage to them.LHS20 Finished Bird Archer pipe.LHS21

LHS22

LHS23

LHS24

LHS25

LHS26

LHS27

LHS28 I had been looking for an all original LHS poker for a long time and to find both of these original ones at once was very lucky.

NEPAL PROJECT PIPE SALE 15 – From Ugly Toad to Handsome Prince. Converting an Ehrlich Special Grain Stack into a Beautiful Billiard


Blog by Steve Laug

This is the fifteenth pipe that I have cleaned up and restored. It is a new addition to the box of pipes that I was gifted by a good friend of mine. He brought several more by the house last week with the same instructed purpose. I was to clean them up and sell them with all of the proceeds going to the aid of earthquake victims in Nepal. So far we have raised over $300 dollars for the Nepal project. All the funds that continue to be raised from the sale of these pipes will go to the SA Foundation, and organization that has worked in Nepal for over 15 years helping provide recovery, housing and job training for women who are victims of sexual exploitation and trafficking. The Nepalese are hard at work restoring their country and there is much to do. The SA Foundation Project there was able to find new housing for the women and help the staff as well. Every dollar raised from the sale of these pipes will go to the work in Nepal.

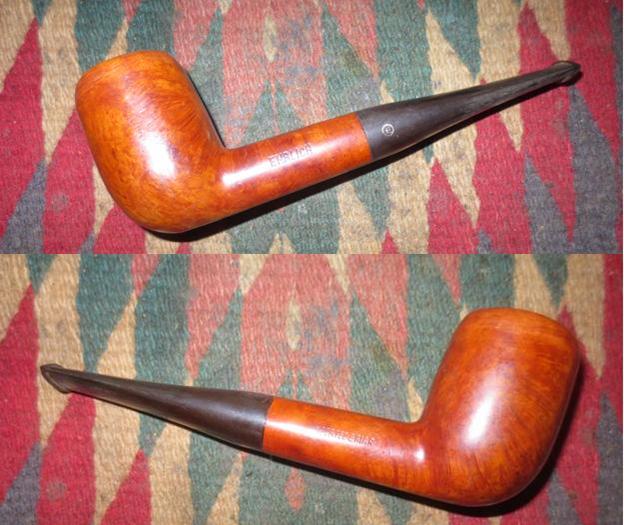
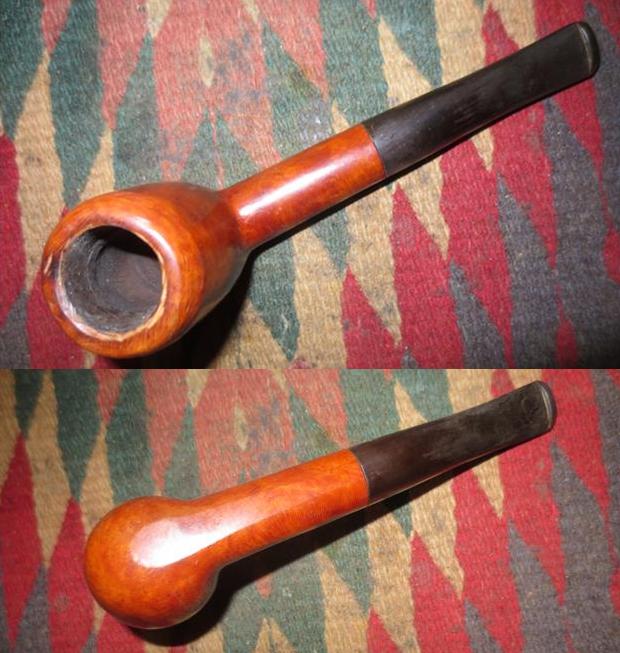
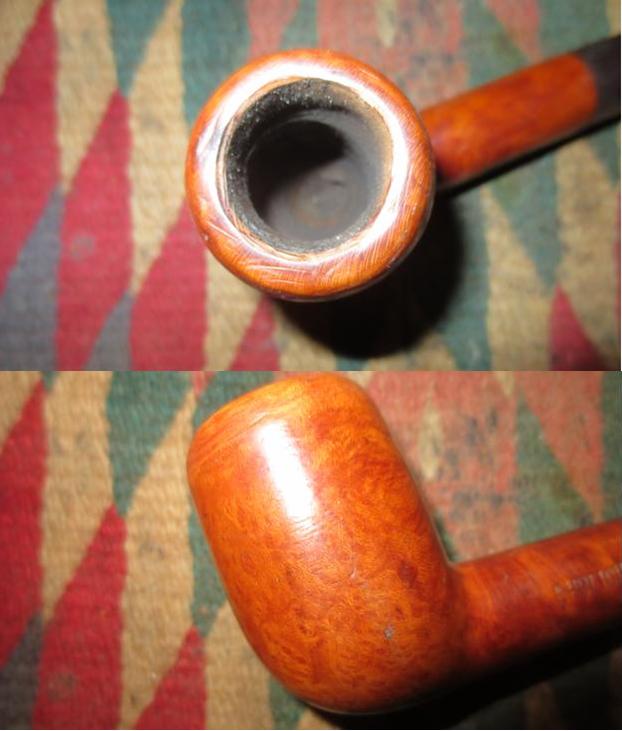
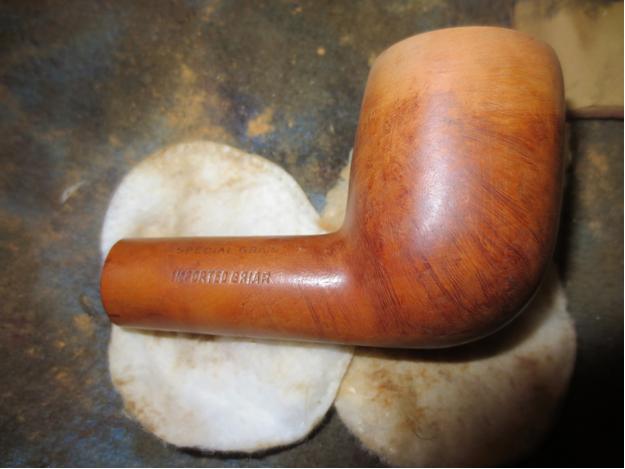
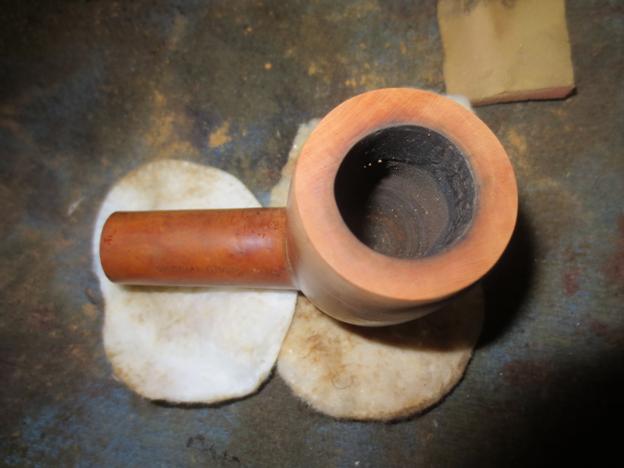
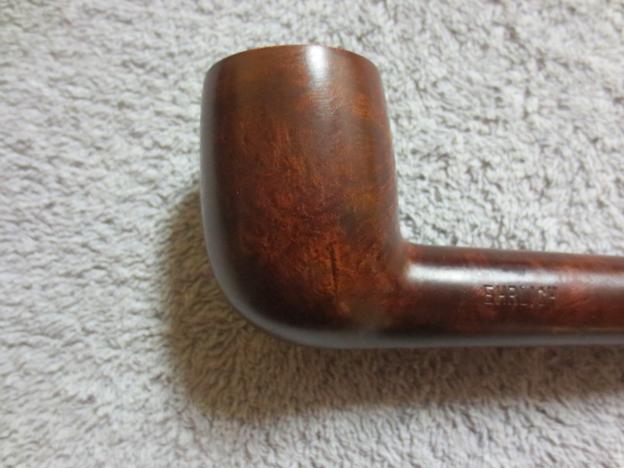
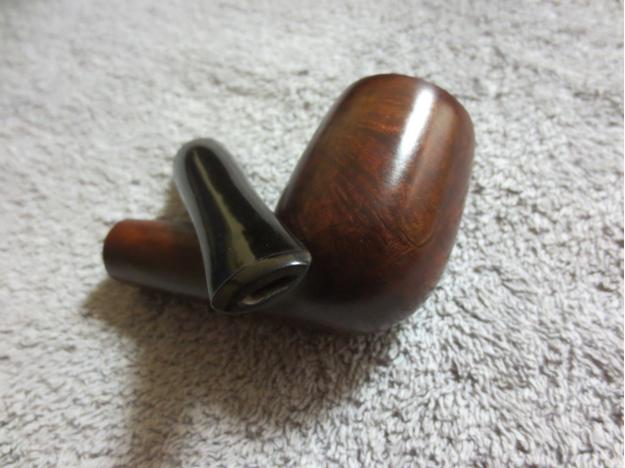
This one is an Ehrlich Special Grain. I think that when it was originally made it was a tall billiard or a stack. Whoever had it before it came to my friend really did a job messing up the rim and the top ¼ inch to ½ inch of the top of the bowl and rounding it. This would not have been bad if it was done evenly but it was done with what looked like a carving knife. It left the briar hacked and damaged. It was almost as if the owner had tried to round the top edges of the bowl to take care of damage to the rim. The pipe is stamped EHRLICH on the left side of the shank. On the right side it reads IMPORTED BRIAR. Just above that almost on the top of the shank it is stamped SPECIAL GRAIN. The stem was oxidized and also had some file marks in the surface on the top and bottom sides. The slot in the end of the stem was very narrow and hard to get a pipe cleaner through from that end. I had to clean the stem from the tenon end. That would need to be taken care of. The E in the circle that is the Ehrlich logo was in decent shape on the stem.Ehrlich1 The top of the rim was very rough. The inner edge was no longer round. The flat top was cut and damaged with the carving knife that had been used on the outer edge of the rim to round it out. The underside of the shank was in good shape but the bowl sides and bottom had some dings and dents in it from knocking it about.Ehrlich2 I took a series of close up photos of the rim and the sides of the bowl to show the knife damage that had been done. You can see from the first photo how the inner edge had been beveled with a knife and was quite uneven. The top of the rim was scratched and had deep grooves from where the knife had slipped. The second and third photo shows the sides of the bowl and how the outer edge of the rim had been rounded haphazardly with a knife. The front and back side also was rounded and hacked. It was very poorly done and left the pipe a mess. The finish was worn and had been covered with a coat of varnish that was bubbling.Ehrlich3

Ehrlich4 I decided to top the bowl first. It would need to be topped quite a bit to take out the rounded and cut sides of the bowl. The damage was significant and I would need to bring the top down at least a ¼ inch to repair it. I used the topping board and 220 grit sandpaper to remove the damaged wood. It took probably 30 minutes of continuous sanding to bring it down. I had to press the rim against the sandpaper to keep the rim flat and horizontal.Ehrlich5

Ehrlich6 Once the top was flat and most of the damaged outer edge removed I used a folded piece of 220 grit sandpaper to smooth out the taper from the bowl side up to the outer edge of the rim. It took a bit of time to smooth out the transition and remove all of the nicks and dents in the briar.Ehrlich7

Ehrlich8

Ehrlich9

Ehrlich10

Ehrlich11 I wiped down the bowl with acetone on cotton pads to remove the finish and sanded the bowl sides until the transition to the rim was smooth.Ehrlich12

Ehrlich13

Ehrlich14

Ehrlich15

Ehrlich16 When the transition was smooth and the sides of the bowl flowed evenly to the top I wiped the bowl down with isopropyl alcohol to clean off the remaining finish and the sanding dust. I sanded the bowl with a medium and a fine grit sanding sponge and then took the following four photos to show the new look of the bowl.Ehrlich17

Ehrlich18

Ehrlich19

Ehrlich20 I sanded the bowl and rim with 1500-2400 grit micromesh sanding pads and then prepped it to be stained. I put a cork in the bowl so that I could stand it in the candle holder that I used for drying my stained bowls. I stained the bowl with a 50-50 mixture of alcohol and dark brown aniline stain. I flamed it, repeated the stain and the flame and set it aside to dry.Ehrlich21

Ehrlich22 Once it dried enough to pick up I wiped it down with acetone on cotton pads to thin the dark coat and make the grain stand out better.Ehrlich23

Ehrlich24

Ehrlich25

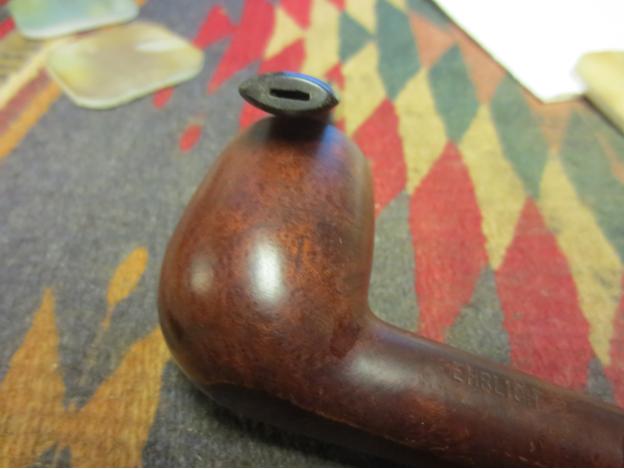
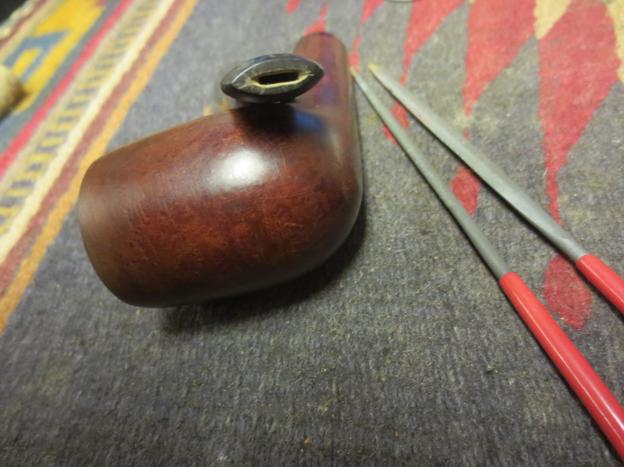
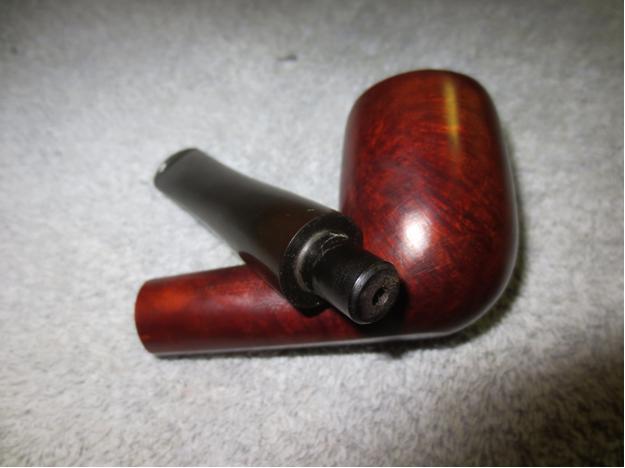
Ehrlich26 I cleaned out the shank and stem with alcohol, cotton swabs and pipe cleaners. I lightly reamed the bowl with a pen knife to remove the debris from the sides of the bowl.Ehrlich27 I sanded the stem with medium and fine grit sanding sponges. I followed that by sanding it with micromesh sanding pads – wet sanding with 1500-2400 grit pads and then rubbing it down with Obsidian Oil.Ehrlich28 After the wet sanding I decided to open up the slot to make it easier to clean out the stem and shank with a pipe cleaner. I used a flat oval needle file to start the work and finished it with a thicker oval file. Once I had it opened I used a folded piece of sandpaper to smooth out the opening.Ehrlich29

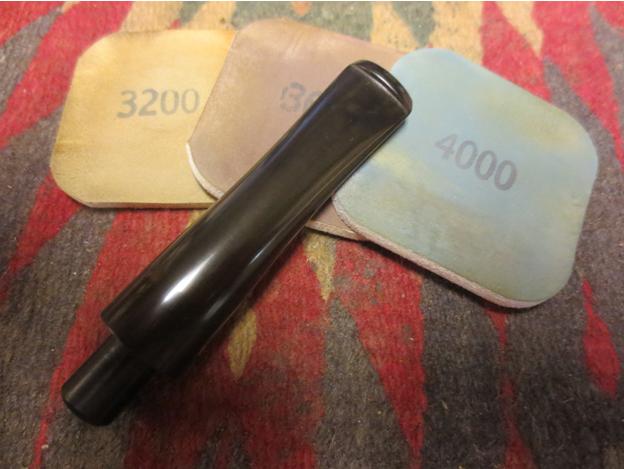
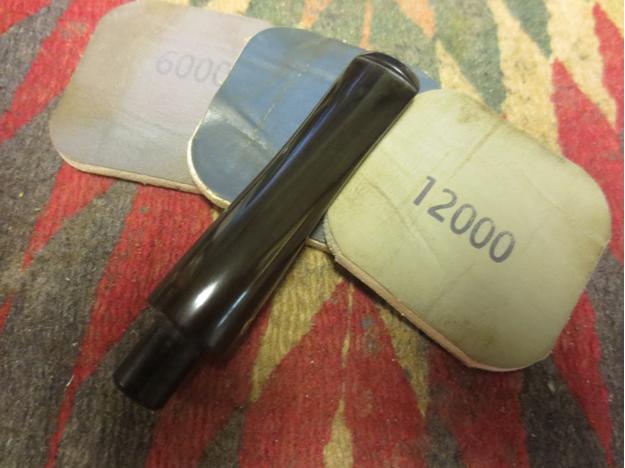
Ehrlich30 I dry sanded the stem and the end of the button with 3200-4000 and rubbed it down with oil a second time. I finished with the micromesh pads by sanding with the 6000-12000 grit pads, rubbed it down with Obsidian Oil. Once it dried I buffed it with Blue Diamond on the buffer.Ehrlich31

Ehrlich32 The reborn Ehrlich Billard is shown in the photos below. I was able to clean up the mess of the bowl and rim and open the stem for a better draw. The bumbled job on the rim and bowl had disappeared and a sharp billiard took its place. The slightly darker colour of the stain adds richness to the billiard that I really like. It is now ready to be sold into the hands of its next owner.Ehrlich33

Ehrlich34

Ehrlich35

Ehrlich36 The next three photos give a clear picture of the rim top and sides of the bowl to show the grain.Ehrlich37

Ehrlich38

Ehrlich39 The last two photos show the tenon and slot on the stem.Ehrlich40

Ehrlich41 This Ehrlich billiard is a chubby shank larger sized pipe, probably the same size as a Group 4 in Dunhill terms. The grain is quite nice and the thinned dark brown stain allows the grain to show through to its advantage. It should make someone a great addition. If you are interested in this pipe email me with an offer at slaug@uniserve.com and we can discuss it. The entirety of the sale price will go to the Nepal project. I will pay the postage so that does not get taken off the proceeds. If you are interested in reading about the SA Foundation you can look at their website at http://www.safoundation.com.

Thanks for looking.
Bringing New Life to a Gift Pipe – a Gasparini MGM Elegante Brandy


Blog by Steve Laug

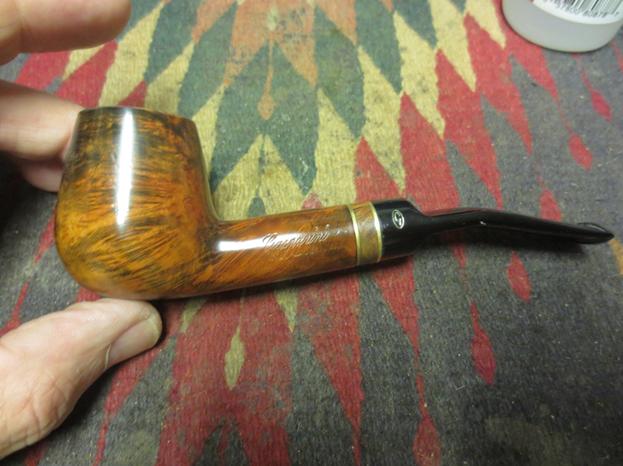
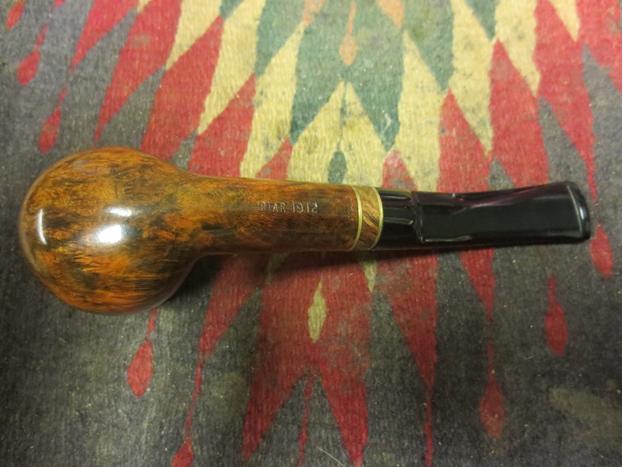
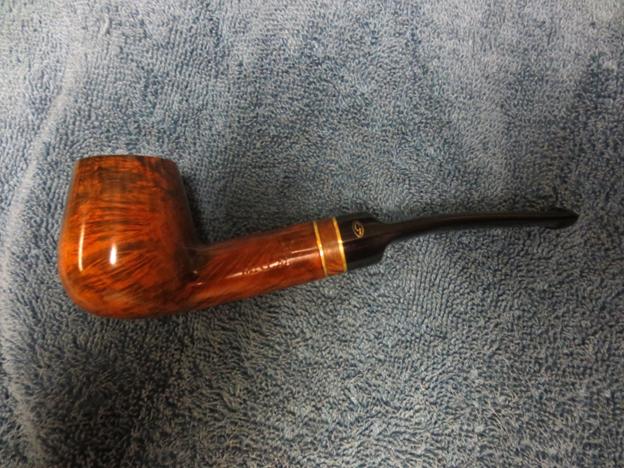
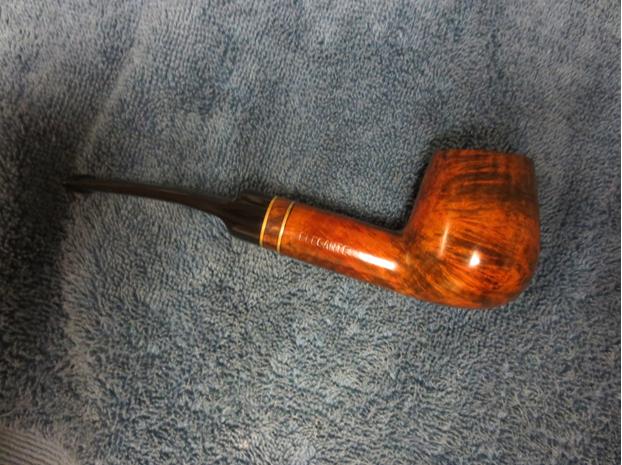
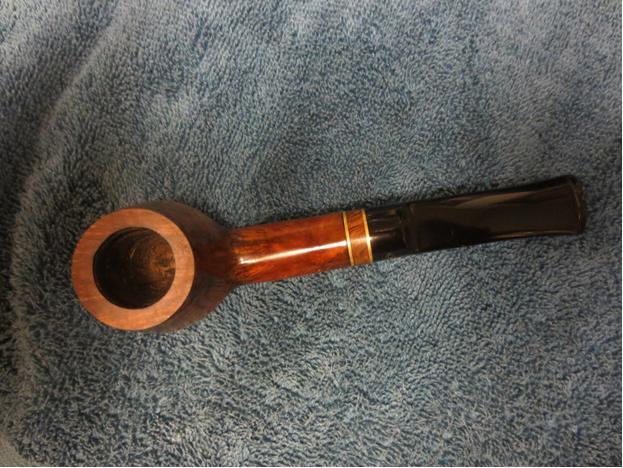
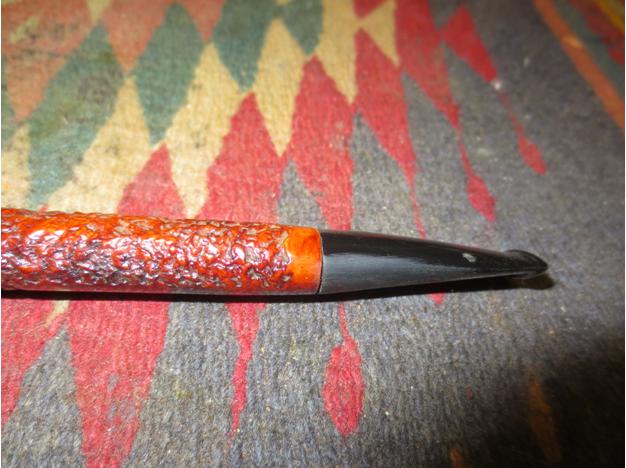
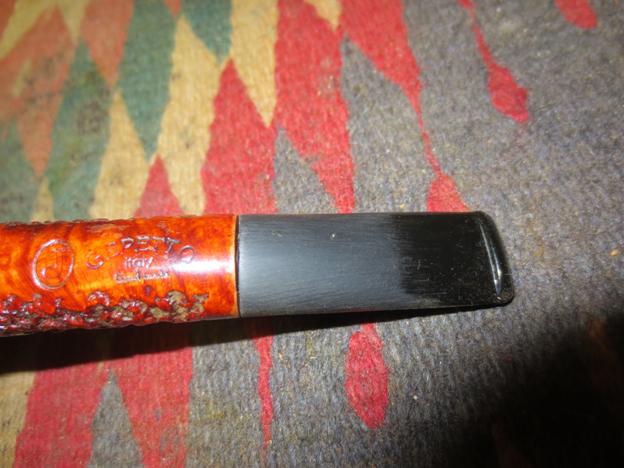
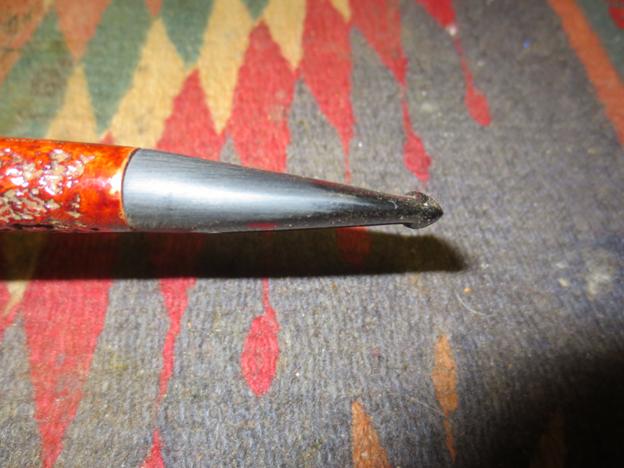
A few evenings ago my friend John stopped by to drop off some pipes for repair and to visit. We loaded up our pipes and sat on my porch while we chatted. He pulled a pipe out of his pocket and said it was a gift to me. It was a nice Brandy shaped pipe that was stamped Gasparini MGM on the left side of the shank and Elegante on the right side. On the underside it is stamped Briar 1912 and Italy. John had purchased the pipe and smoked it for awhile. He wanted to pass it on to me. I am honoured to have received his gift. Being an obsessive refurbisher I decided to clean it up and make a few modifications that I thought would make it look even better. I don’t know why I think like that but it is what goes through my eye every time I look at a pipe. It is like a small voice says, “hmmmm I could change that and tweak that and…. When I am done it will be better. Sometimes that voice gets me into trouble and sometimes it works.Gas1 When John gave me the pipe these are some of the things that I saw. The bend in the stem was too sharp of an angle. It needed to be gentler in its curve. The rim was slightly out of round and the inner edge was damaged on the back right side and the right front it had some nicks in the edge. The stain on the rim had worn off and it no long had a shine. It did not match the rest of the bowl. There was a thick urethane finish on the bowl. Other than those few small things it was a nice looking pipe. It had a lot of promise. I really liked the contrast stain on it and the mix of birdseye grain and cross grain.Gas2

Gas3

Gas4

Gas5 I decided to address the rim damage first. It would not take long and a light topping of the bowl would take care of the damage. I set up the topping board and some 220 grit sandpaper to do the job. I twisted the bowl against the sandpaper and removed the damaged part of the rim. It did not take long and the rim was flat and looked clean.Gas6

Gas7 I sanded the newly topped bowl with a medium and a fine grit sanding sponge and then with 1500-2400 micromesh sanding pads to remove the scratches from the briar. I coloured the top with a black permanent marker to get the black undertones, wiped it down with acetone and then used two different stain pens – a medium and a dark brown – to match the bowl colour.Gas8 With the bowl cleaned, repaired and restained I set it aside to work on the stem. I would buff the whole pipe once I finished the stem work. I set up the heat gun and straightened the bend in the stem first. Once it was straight I would then heat it a bit more and bend it over a rolling pin to get a gentle curve.Gas9

Gas10I put the newly bent stem into the shank and took a few photos to see the new look of the pipe.Gas11

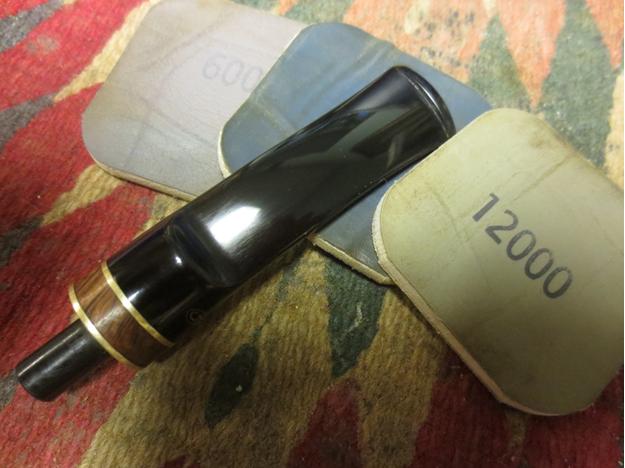
Gas12 With the bend done it was time to polish the stem. Even with the stem held 6 inches above the heat gun there was some slight bubbling in the surface of the Lucite. I sanded it with 220 grit sandpaper and then with a medium and a fine grit sanding sponge to remove the bubbling and smooth out the surface of the stem. Once the bubbling and rippling were removed I went on to polish the stem with micromesh sanding pads. I wet sanded with 1500-2400 grit pads and then dry sanded with 3200-12,000 grit pads to return it to its original shine.Gas13

Gas14

Gas15 I buffed the bowl and stem with Blue Diamond Plastic Polish on the buffer and then gave them both a few coats of wax. I buffed it with a clean flannel buff and then with a microfibre cloth to raise a good shine. I was unable to permeate the urethane finish and since it was in decent shape I left it alone. The finished pipe is shown in the photos below. It is cleaned and ready to be loaded and smoked. I hope to do that later today. Thanks for the “new pipe” John. I know I am going to really like this one.Gas16

Gas17

Gas18

Gas19

Replacing a Broken Tenon on a Gepetto Canadian 37


Blog by Steve Laug

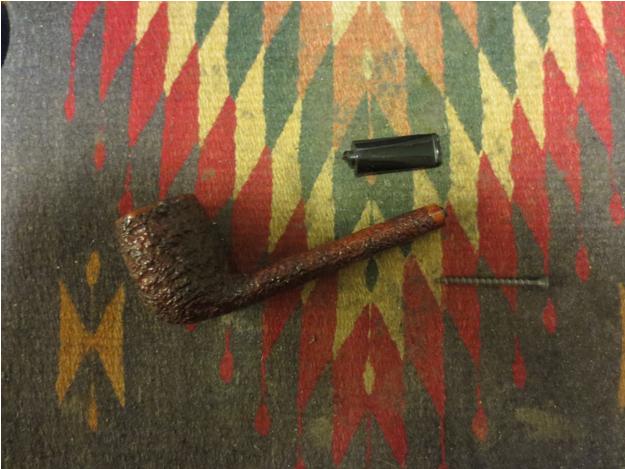
A good friend of mine stopped by for a bowl the other day and to drop off some pipes he was donating to the Nepal Pipe Project. He has given quite a few already and some of you have benefited from his generosity. This time he had a couple of surprises with him as well. He had two of his favourite pipes with him that needed some attention. The first was a handmade Gepetto Canadian made by Ser Jacopo. It was a shape #37 and had a rusticated finish. It was a beautiful pipe. He had been twisting the stem out of the shank and it was stuck. One little twist too much and the tenon snapped in the shank. It broke off quite deep in the shank and was solidly stuck in place. I would need to pull the tenon, drill out the stem and insert a new tenon.Gepetto1

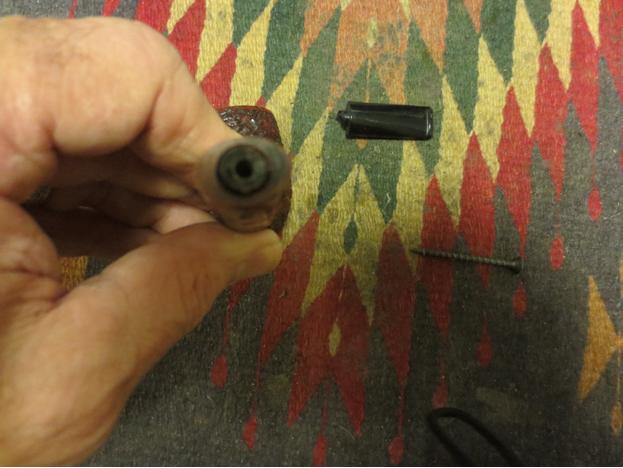
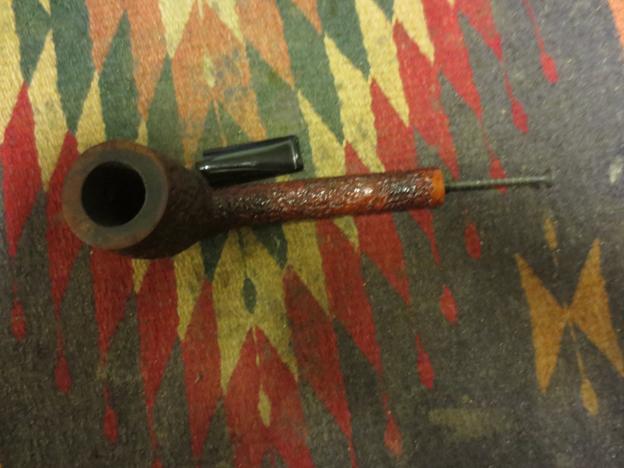
Gepetto2 I used my drywall screw and twisted it into the airway of the broken tenon until it caught hold and then wiggled it loose. With careful wiggling and pulling the broken tenon came free of the shank.Gepetto3

Gepetto4 I used the Dremel and sanding drum to take off the majority of the remaining broken tenon on the stem itself. I faced it on the topping board with 220 grit sandpaper until it was flat against the rest of the stem face.Gepetto5

Gepetto6 The stem is Lucite and the original tenon was an integral part of the stem. I did not have any Lucite tenon and also no Delrin tenons. So once again I decided to do some improvisation. I turned down the tenon on an old thin vulcanite stem that I had in my stem can until it was a snug fit in the mortise of the shank. I wanted it to sit as deeply as the previous tenon so I turned it down accordingly with the Dremel and sanding drum. When the fit was correct I left it in place in the shank and carefully cut off the stem with a hacksaw. I left enough of the new tenon to sit in the hole I would drill in the stem face.Gepetto7 I set up a drill and turned the stem onto the drill bit by hand until it was deep enough to hold the new tenon but not too deep because of the sharp taper of the stem. If it was too deep it would have broken through the top and bottom side of the taper. I measured the depth I had to work with and drilled only that depth in the stem. I started out using a drill bit slightly larger than the airway in the stem and worked my way up to a ¼ inch bit. I used a round needle file to clean up the inside edges of the drilled out stem. I turned the end of the tenon down until it slid snugly into the hole. Once I had a good fit I coated the end of the tenon with super glue and pressed it into the hole. I did this carefully to keep the tenon straight both horizontally and vertically. Gepetto8 Once the glue set on the new tenon I cleaned it up with some sandpaper and then pushed it into the mortise of the pipe. The fit was good and the taper lined up correctly on the top, sides and bottom of the shank. The stem needed to be sanded to clean it up and polish it. I sanded it with 220 grit sandpaper to smooth out the edges and around the button.Gepetto9

Gepetto10

Gepetto11

Gepetto12 I continued to sand it with a medium and a fine grit sanding sponge. The fit against shank on the underside had a slight gap so I needed to do some adjustments. I heated the tenon and then pushed it in place and held it against the shank until it cooled and set. The fit was better.Gepetto13 I wet sanded the stem with 1500-2400 grit micromesh pads and then used some mineral oil to give the next grits of micromesh some bite. I then dry sanded with 3200-4000 grit pads and repeated the oil and then finished with 6000-12000 grit pads. I put the stem on the pipe and buffed it with Blue Diamond.Gepetto14

Gepetto15

Gepetto16 The rim had some build up of tars on the back top edge so I cleaned that off and then buffed the rim the rim to polish it. I lightly buffed the entire bowl. I used carnauba wax on the rim and the smooth portions of the pipe as well as the stem. I buffed it with a clean flannel buff and then buffed it by hand with a microfibre cloth. The finished pipe is shown below. It should be back in my friend’s hands soon and he can enjoy it once again. Thanks for looking.Gepetto17

Gepetto18

Gepetto19

Gepetto20

Gepetto21

Gepetto22

My Introduction to the World of Estate Pipes


Blog by Steve Laug

Many years ago, when I picked up the pipe again after leaving it aside for a time, I purchased a Medico billiard. I remember that I bought it from a 7-Eleven Convenience Store on the morning my oldest daughter was born in 1982. To me it was a thing of beauty, long and slender and light weight. It had a shine and it felt smooth in the hand. It was made out of Brylon – a mixture of briar and resin and had a nylon/plastic stem. I had no idea of what Brylon meant and how it would smoke but I did not care. I was ecstatic over the birth of my daughter and wanted a pipe to celebrate the event. It smoked hot for the longest time but eventually built a cake that cooled things down a lot. It was the only pipe I had and I never even thought of rotating pipes. I smoked Borkum Riff Whiskey flavoured tobacco as well as Captain Black Blue. I used pipe cleaners because somewhere along the way I had learned that they were necessary but I never let the pipe rest before loading it again and smoking a few more bowls. The only time it rested was when I did! I still have that old pipe – 33 years later. I have restemmed it with a churchwarden stem and still smoke it on occasion.MedicoWarden I can tell you when I changed my habits and bought more pipes and some better grade tobacco. I can’t tell you the date of that momentous event but I can tell you the story behind it. I visited a small tobacco shop near where I worked in Vista, California to pick up some more pipe cleaners and some tobacco. When I went into the shop there was an older gent was sitting behind the counter smoking an interesting pipe and the tobacco he was smoking smelled great. We got to talking and I showed him the pipe I had – the old Brylon. I have to give him credit because he did not laugh at or mock me. He just said that he thought I needed to think about picking up another pipe or two so that I could give this one a rest. He was very gentle with me, knowing full well just how green I was to pipe smoking. He asked me what kind of budget I had to work with and like all young fathers my response was a laugh and a question. “Budget?” I asked. He chuckled and did a midstream adjustment in his path to take me to the estate pipe rack.
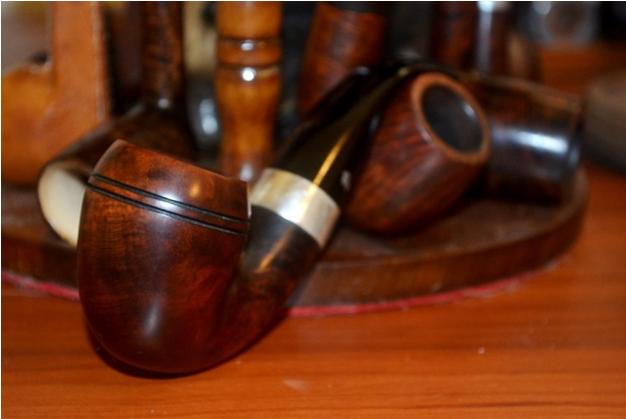
From the many pipes on the rack he chose two pipes for me that he thought would work well for me. They would give me some variety as well as value for the money. They were very differnet from my Medico. The first was an Alpha Comfit in a modified Prince shape. It was smooth briar and dark and rich looking made in Israel. It had thick walls, a thin saddle stem (with a comfit dental bit) and was clean and ready to smoke. I immediately fell in love with the hand feel and the shape of this pipe. That was my second pipe. The Medico had a rack mate. At that point I had no inkling of the difference a briar pipe would make to smoking when compared with Brylon. It was all about how they looked – their shape and feel – to me. The old gent did not mock me but shook his head approvingly. He truly had my number.AlphaComfit2-1 The second pipe he chose for me was a sandblast Ben Wade Preben Holm made freehand. It was a piece of art to my eyes – almost what I have come to know as a Dublin shape, but had no idea of that then. The body of the pipe was a beautiful sandblasted briar. Then end of the shank and the rim were what he described as plateaux but to me just looked rough and craggy. It was very light weight. The stem was thin as well. I held the pipe and knew that I had to have this one as well. It too felt amazing in the hand.Ben wade
I told him I would take them both. Now, understand I had no idea what they cost or if I could afford them. I was in “love” with them and had to have them. He laughed when he saw the “teenage boy in love” look in my eyes. He gave me a price that fit well into what I could afford. I have no idea what I paid for those two pipes but looking back I know he gave me a very good deal. He led me over to the tobacco bar and handpicked two tobaccos for me – not packaged drugstore tobaccos but two of his own blends – I don’t remember the names and the shop is long gone now but I do remember that one was a Virginia and the other was an aromatic that he said smelled like plum pudding. He gave me 2 ounces of each blend to go with the pipes. He cleaned each pipe with a pipe cleaner and wiped them down with a cloth and put them in a pipe sock that he had for them – a no name felt sock. He put some pipe cleaners in the bag along with the tobacco and the pipes.

Then to my surprise he asked if I wanted to smoke one of them before I left the shop. He would guide me in the packing and lighting to make sure I had it right so I would get the most out of my `new` pipes. I remember choosing the Ben Wade and packing it up. He checked my load and then added a bit more. He had me feel the springiness and then showed me how to light it with a match. Then he relit his own pipe and we smoked a bowl together. I will never forget that old gent and the first two good pipes I purchased. The pipe smoked like a dream.

I put away the old Medico and smoked those two pipes for quite a few years. I frequented that shop for as long as I lived and worked in Vista. I went back to see if it was still there a few years ago but it was gone. However, it still lives in my memory. I still have those two pipes. I still smoke them, 33+ years later and I still relive the story with every good smoke that they deliver. The Ben Wade looks tiny now in comparison to the newer freehands that are on the market. The old Alpha has been restemmed by none other than Lee von Erck many years ago now. Both will continue with me through my life.

That was my introduction into estate pipes. Is it any wonder that I still have far more estate pipes than pipes I have purchased new? Somehow, that initial experience set the bar for me to be on the lookout for estate pipes and to add them to my collection. Today not only do they make up the majority of my collection but I have added to that the hobby of restoring and refurbishing estate pipes. I have been doing that for over 15 years now and love the feel of old briar and bringing it back to a life of usefulness. At this point in my life I don’t think my love of estate pipes will ever die. The hunt for them is a part of every holiday and trip that I take. Even my kids take part in the hunt now.

I read a post on one of the forums on this topic that included a quote from Kris Kristofferson that I remember hearing when I was growing up. It is an apropos way to end this blog. “I’d trade all my tomorrows for one single yesterday.” The author talked about the nostalgia of old briar and what a great addition that is to the value of the pipe. To me though the thing that makes estate pipes even interesting to me are the stories that come attached to the old pipe. Sometimes you can ferret out the stories of the pipe other times you have to use your imagination and create a story that fits the pipe. But in either case the memories that come along with these old pipes (if you can find them) and the ones you add over the years give these estate pipes a patina of dignity that it will take many years for a new pipe to gain. Do you buy estate pipes? Why? What are your reasons for buying estate pipes? If you do not, what keeps you from these dignified old timers?
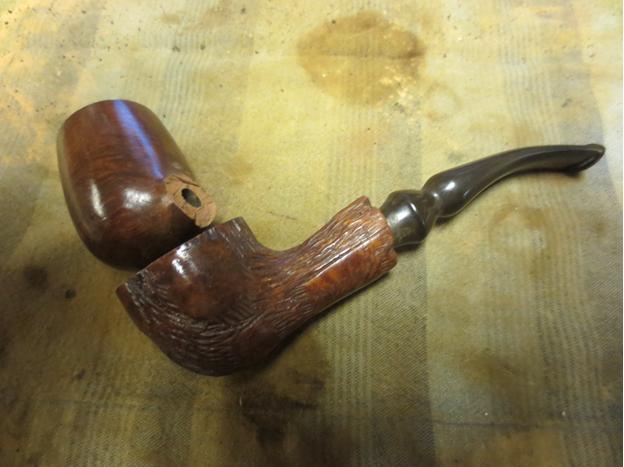
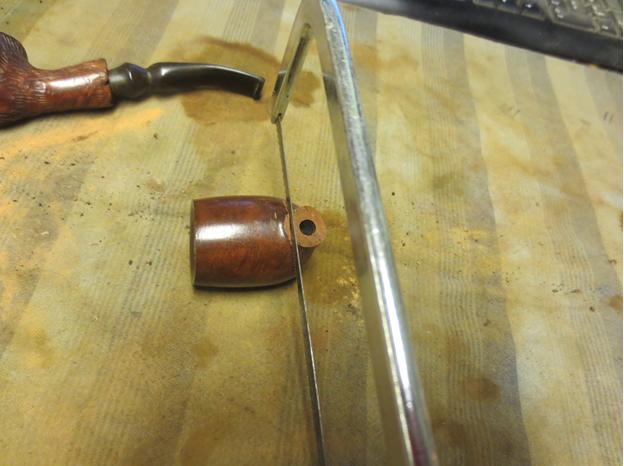
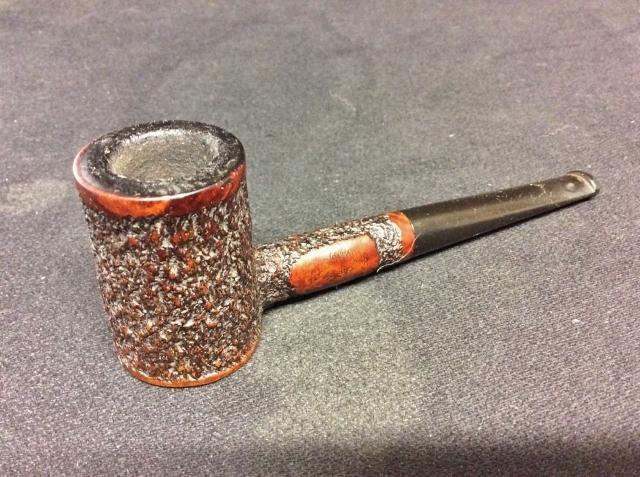
Peterson 1910 Patent Reproduction Bulldog


I’ve been a fan of the Peterson reproduction pipes since reading about them on Mark Irwin’s “Peterson Pipe Notes” and Jim Lilley’s “Peterson Pipe Connoisseur” blogs.

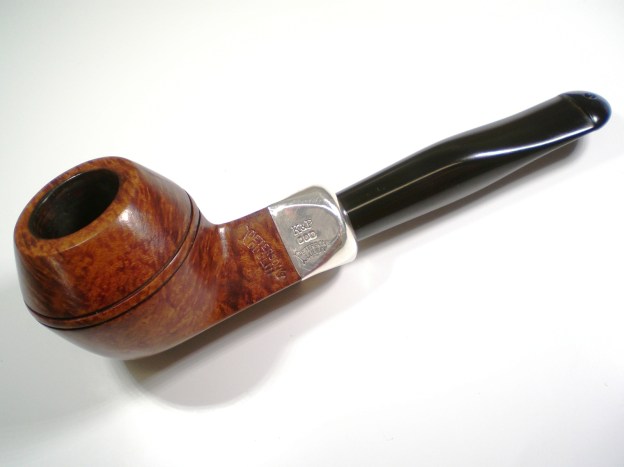
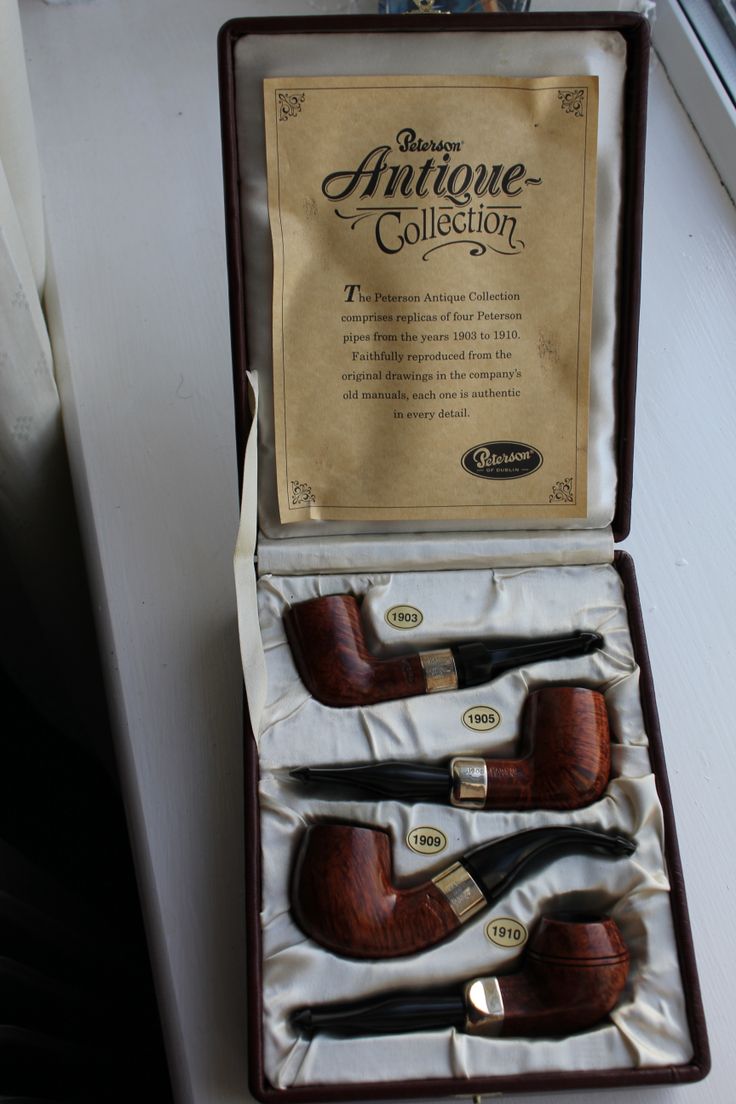
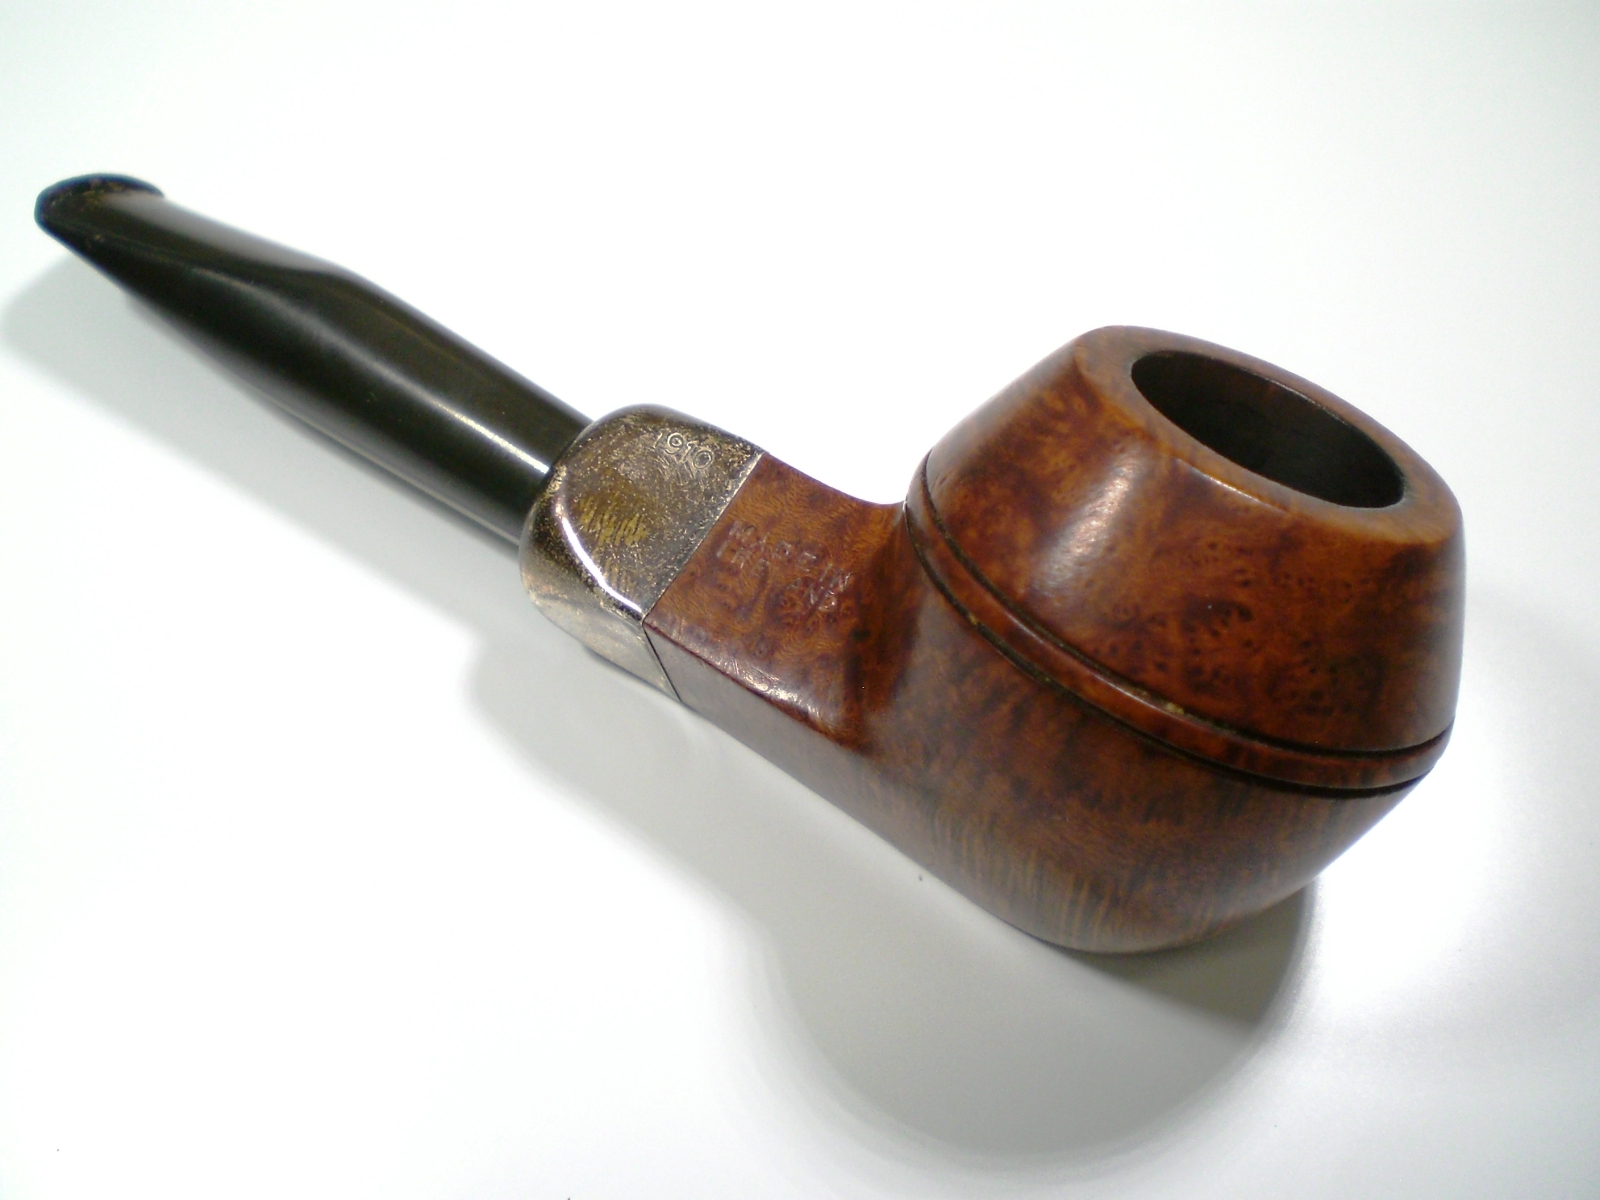
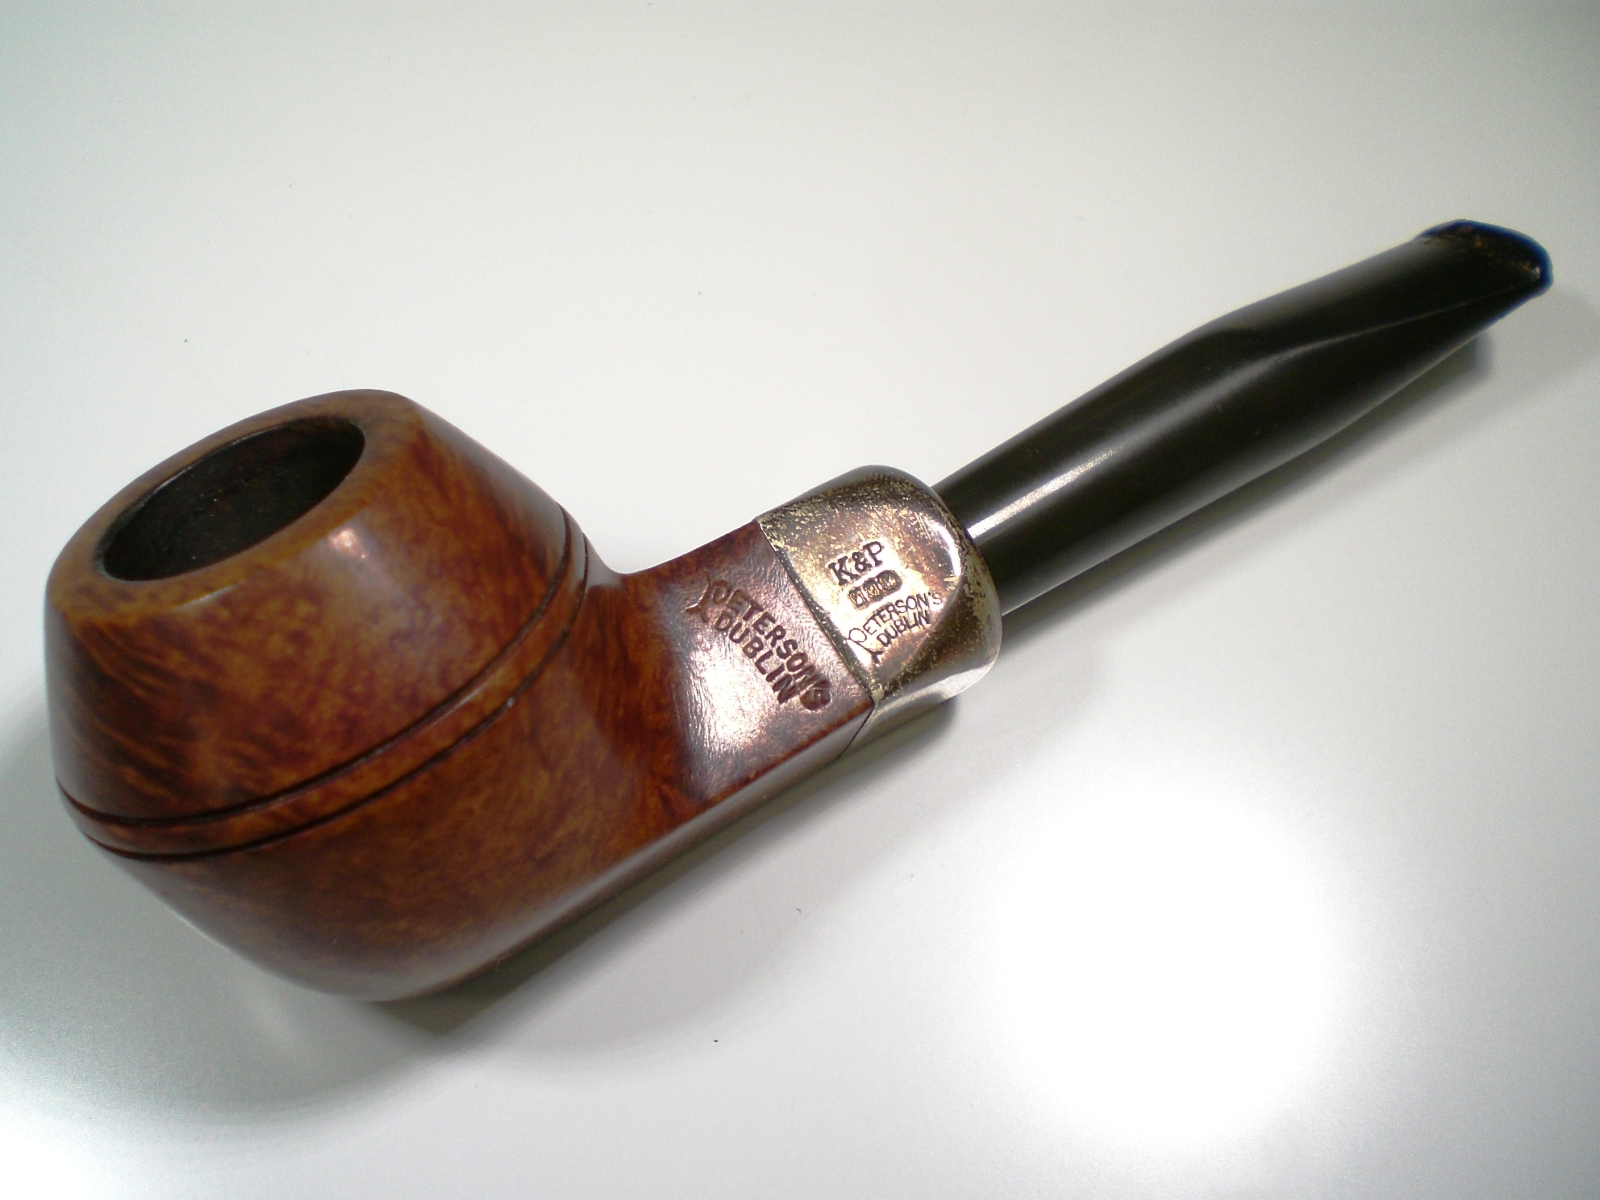
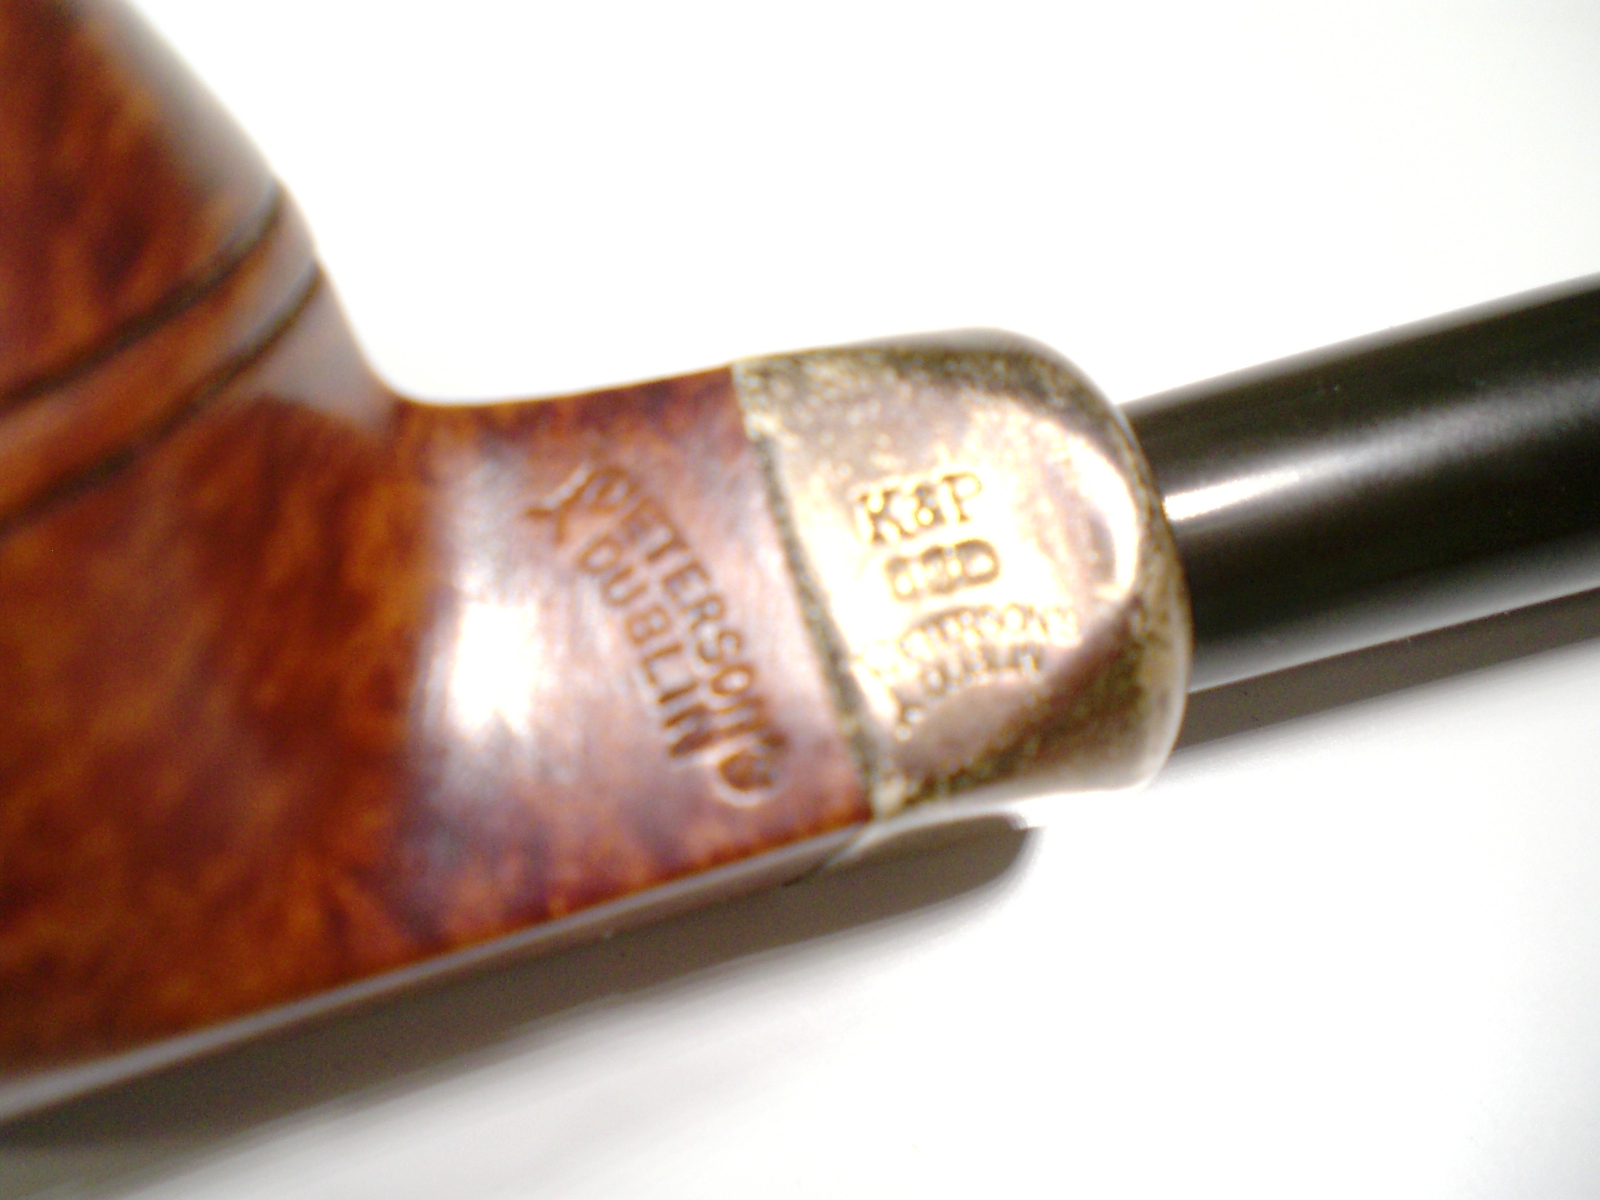
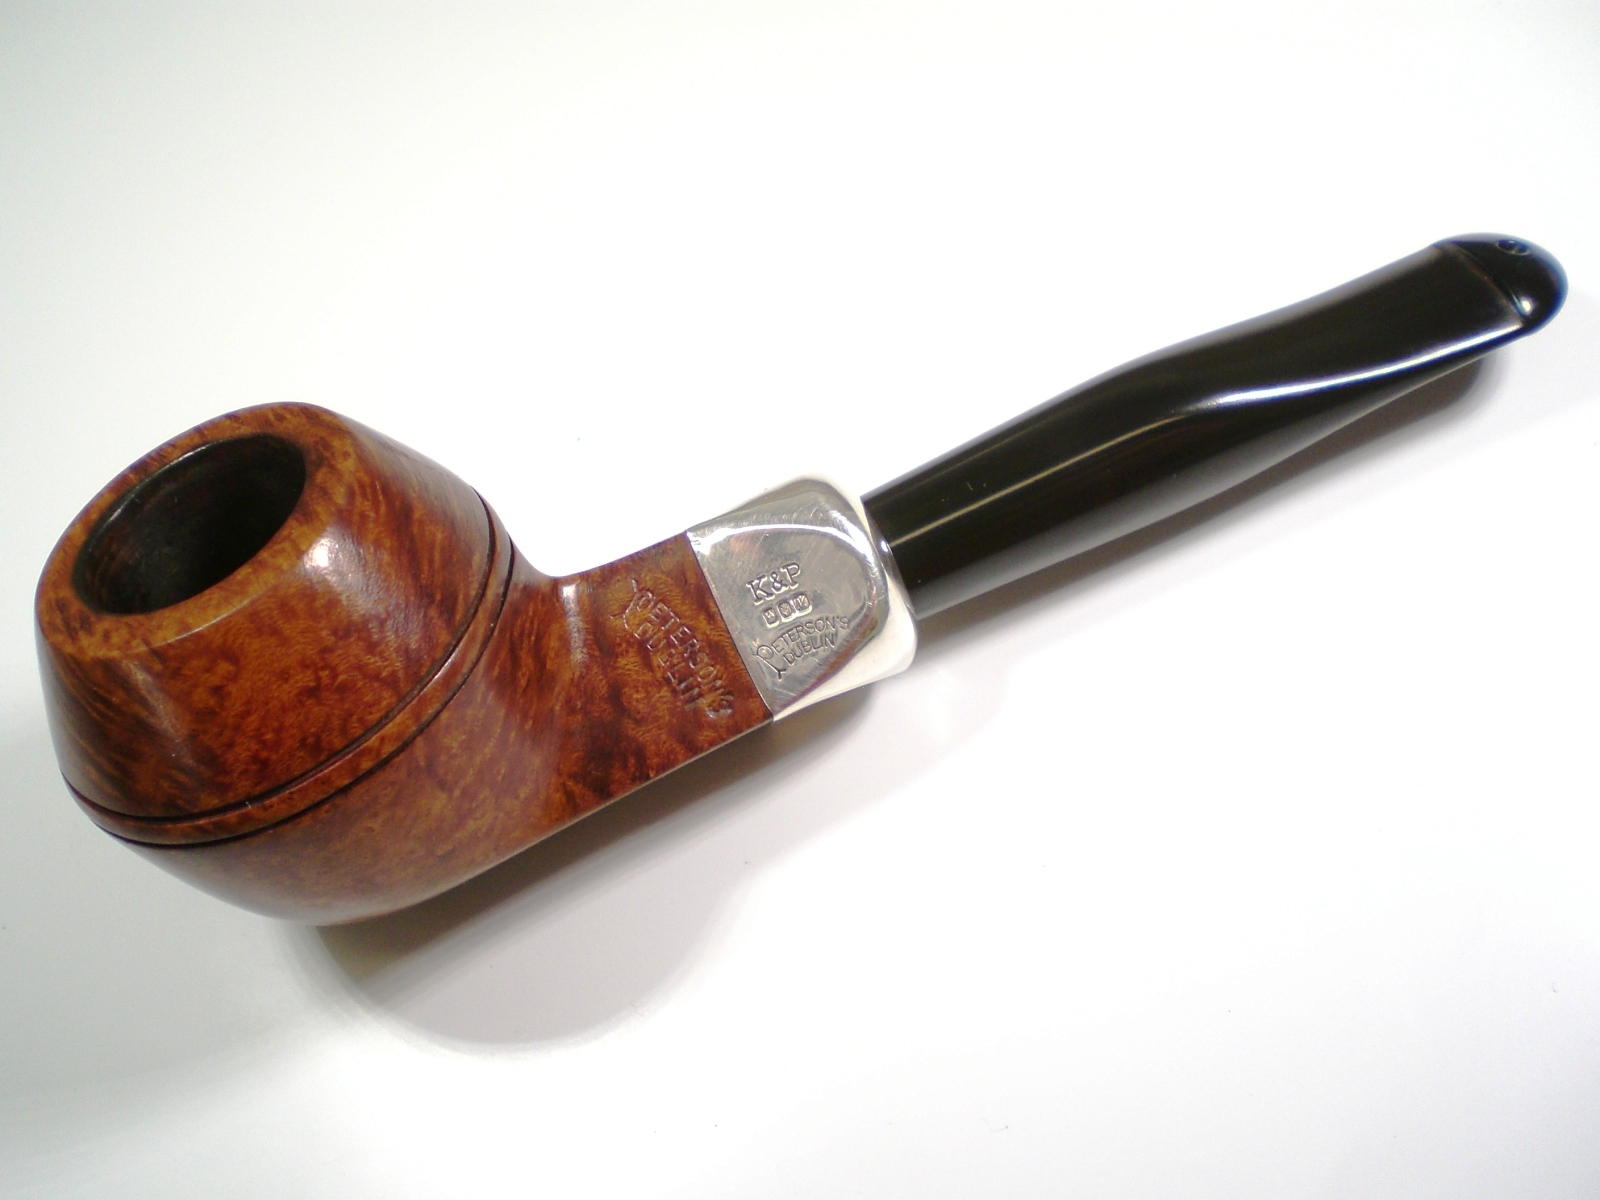
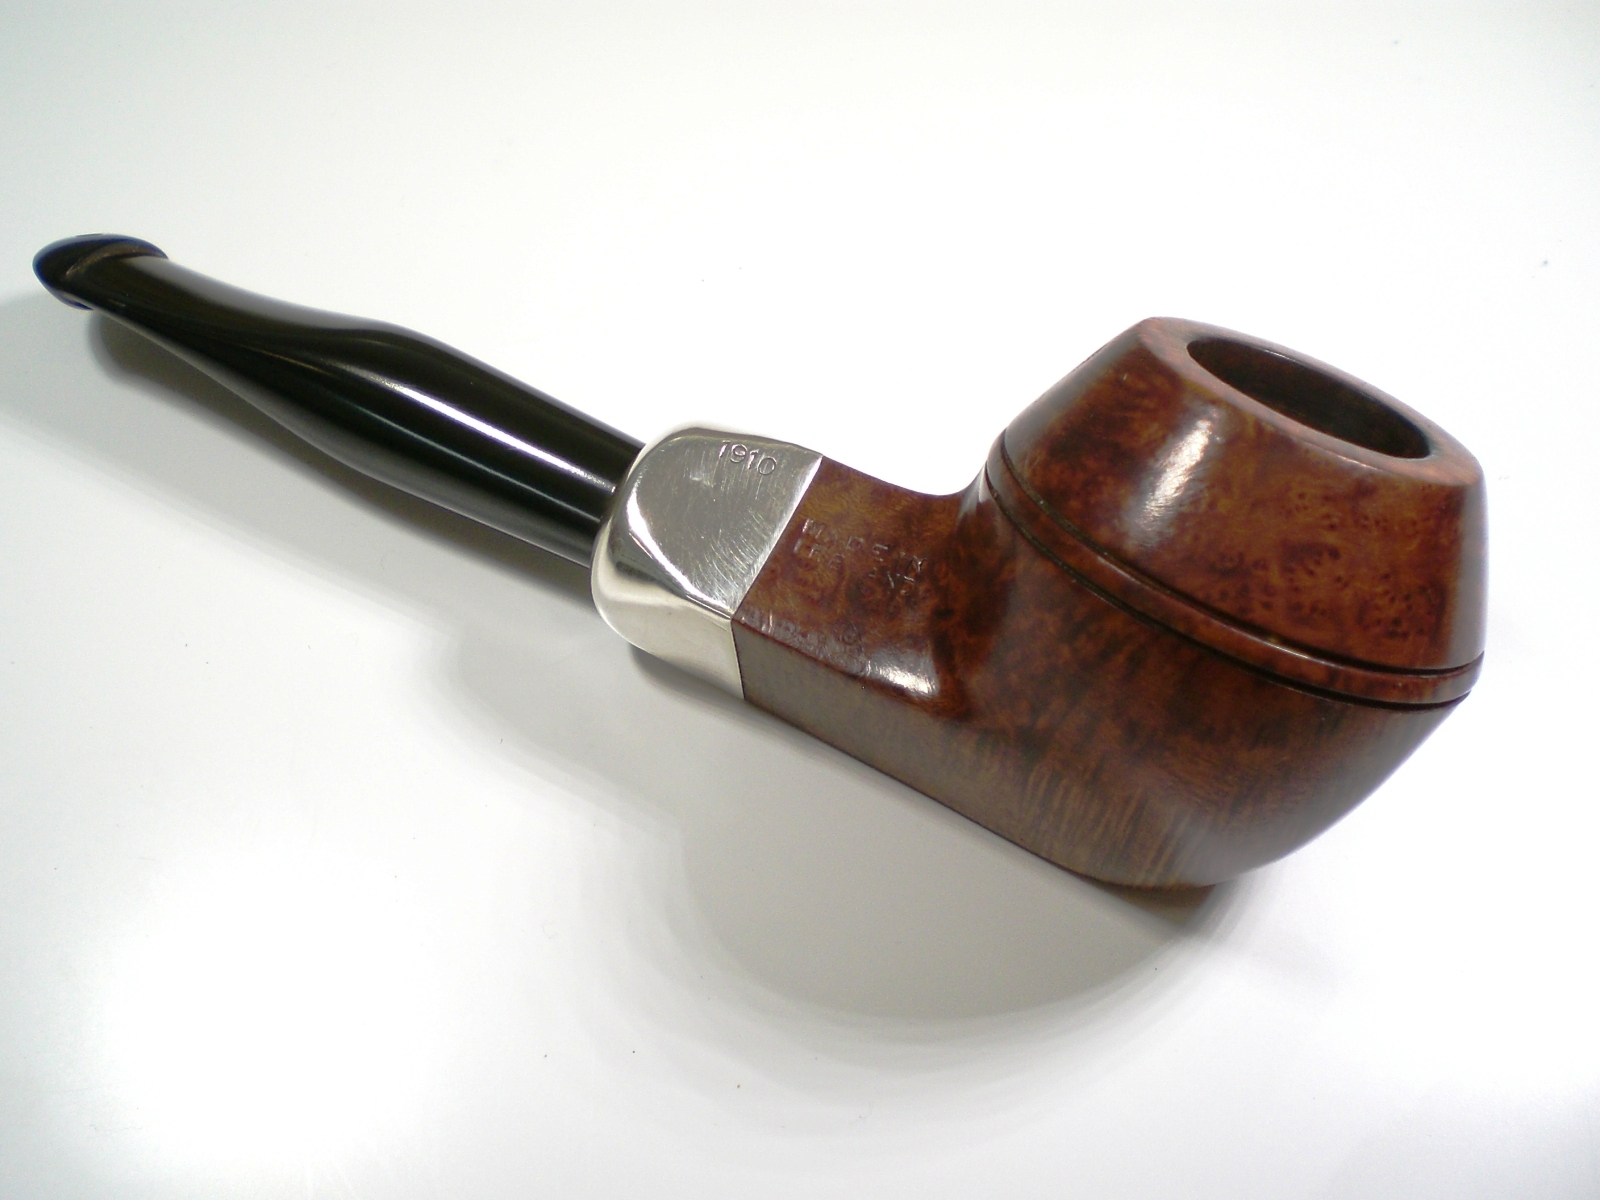
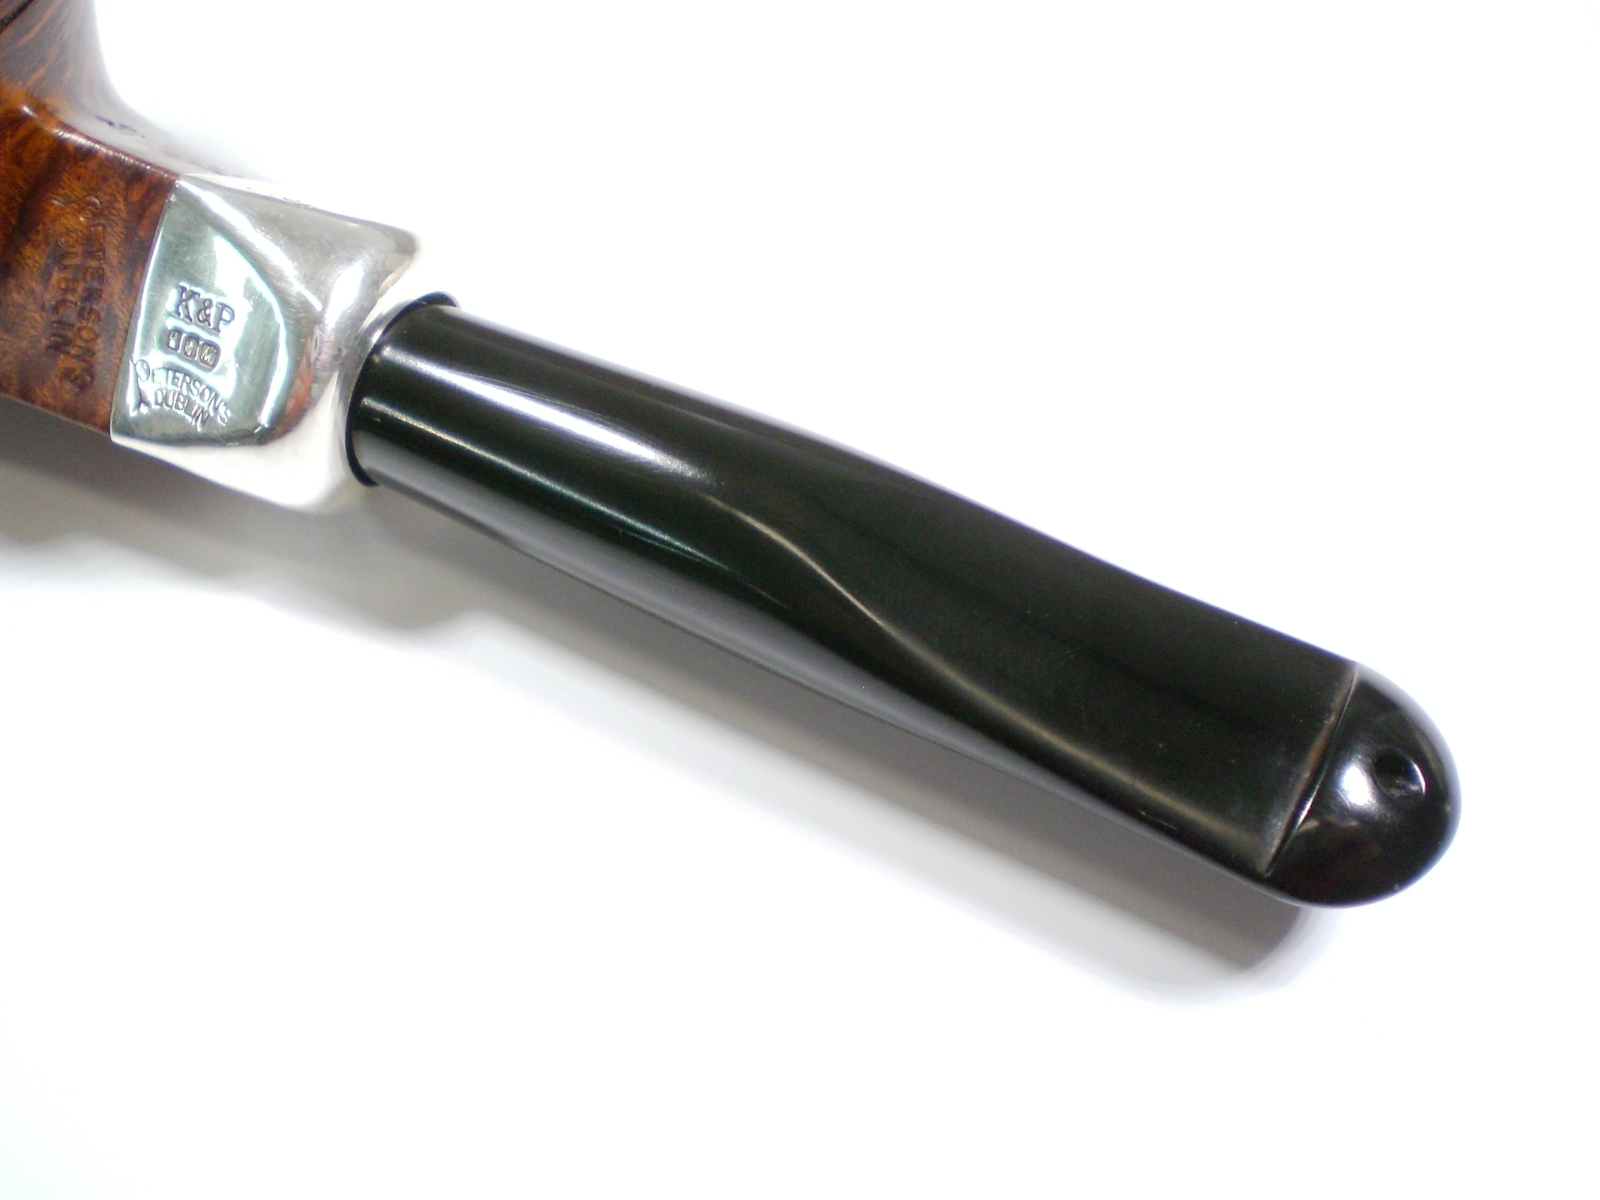
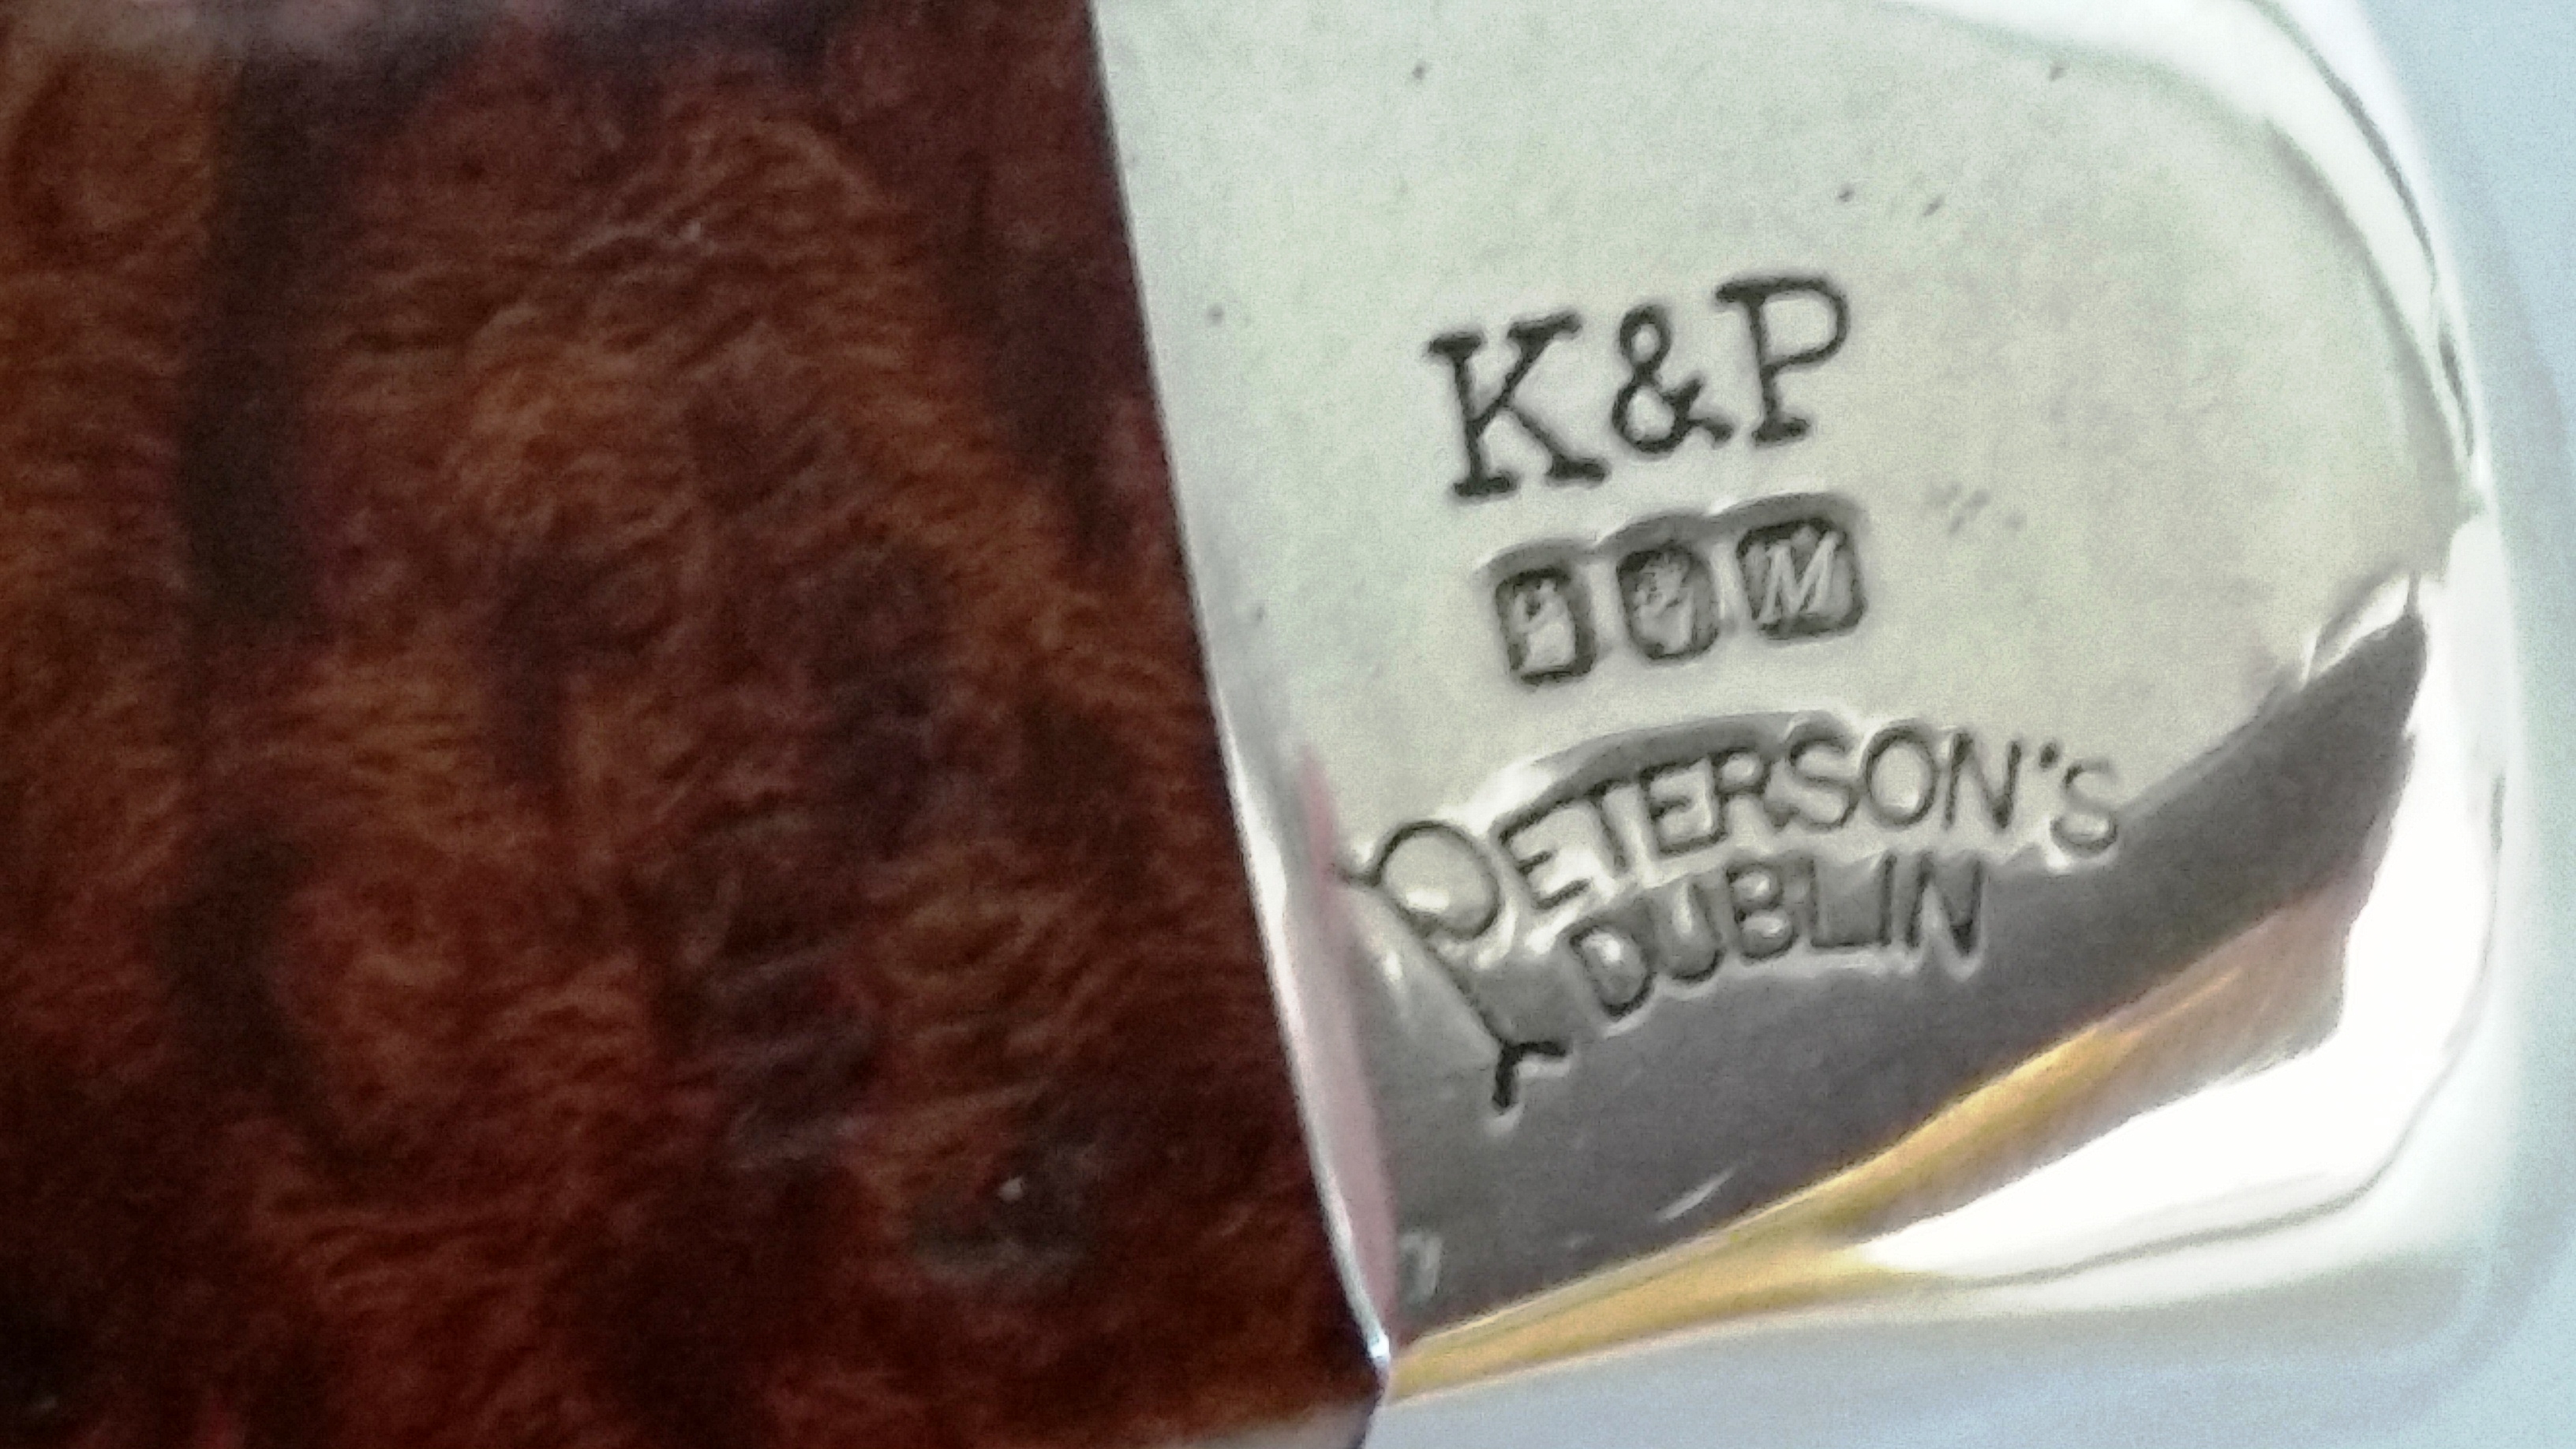
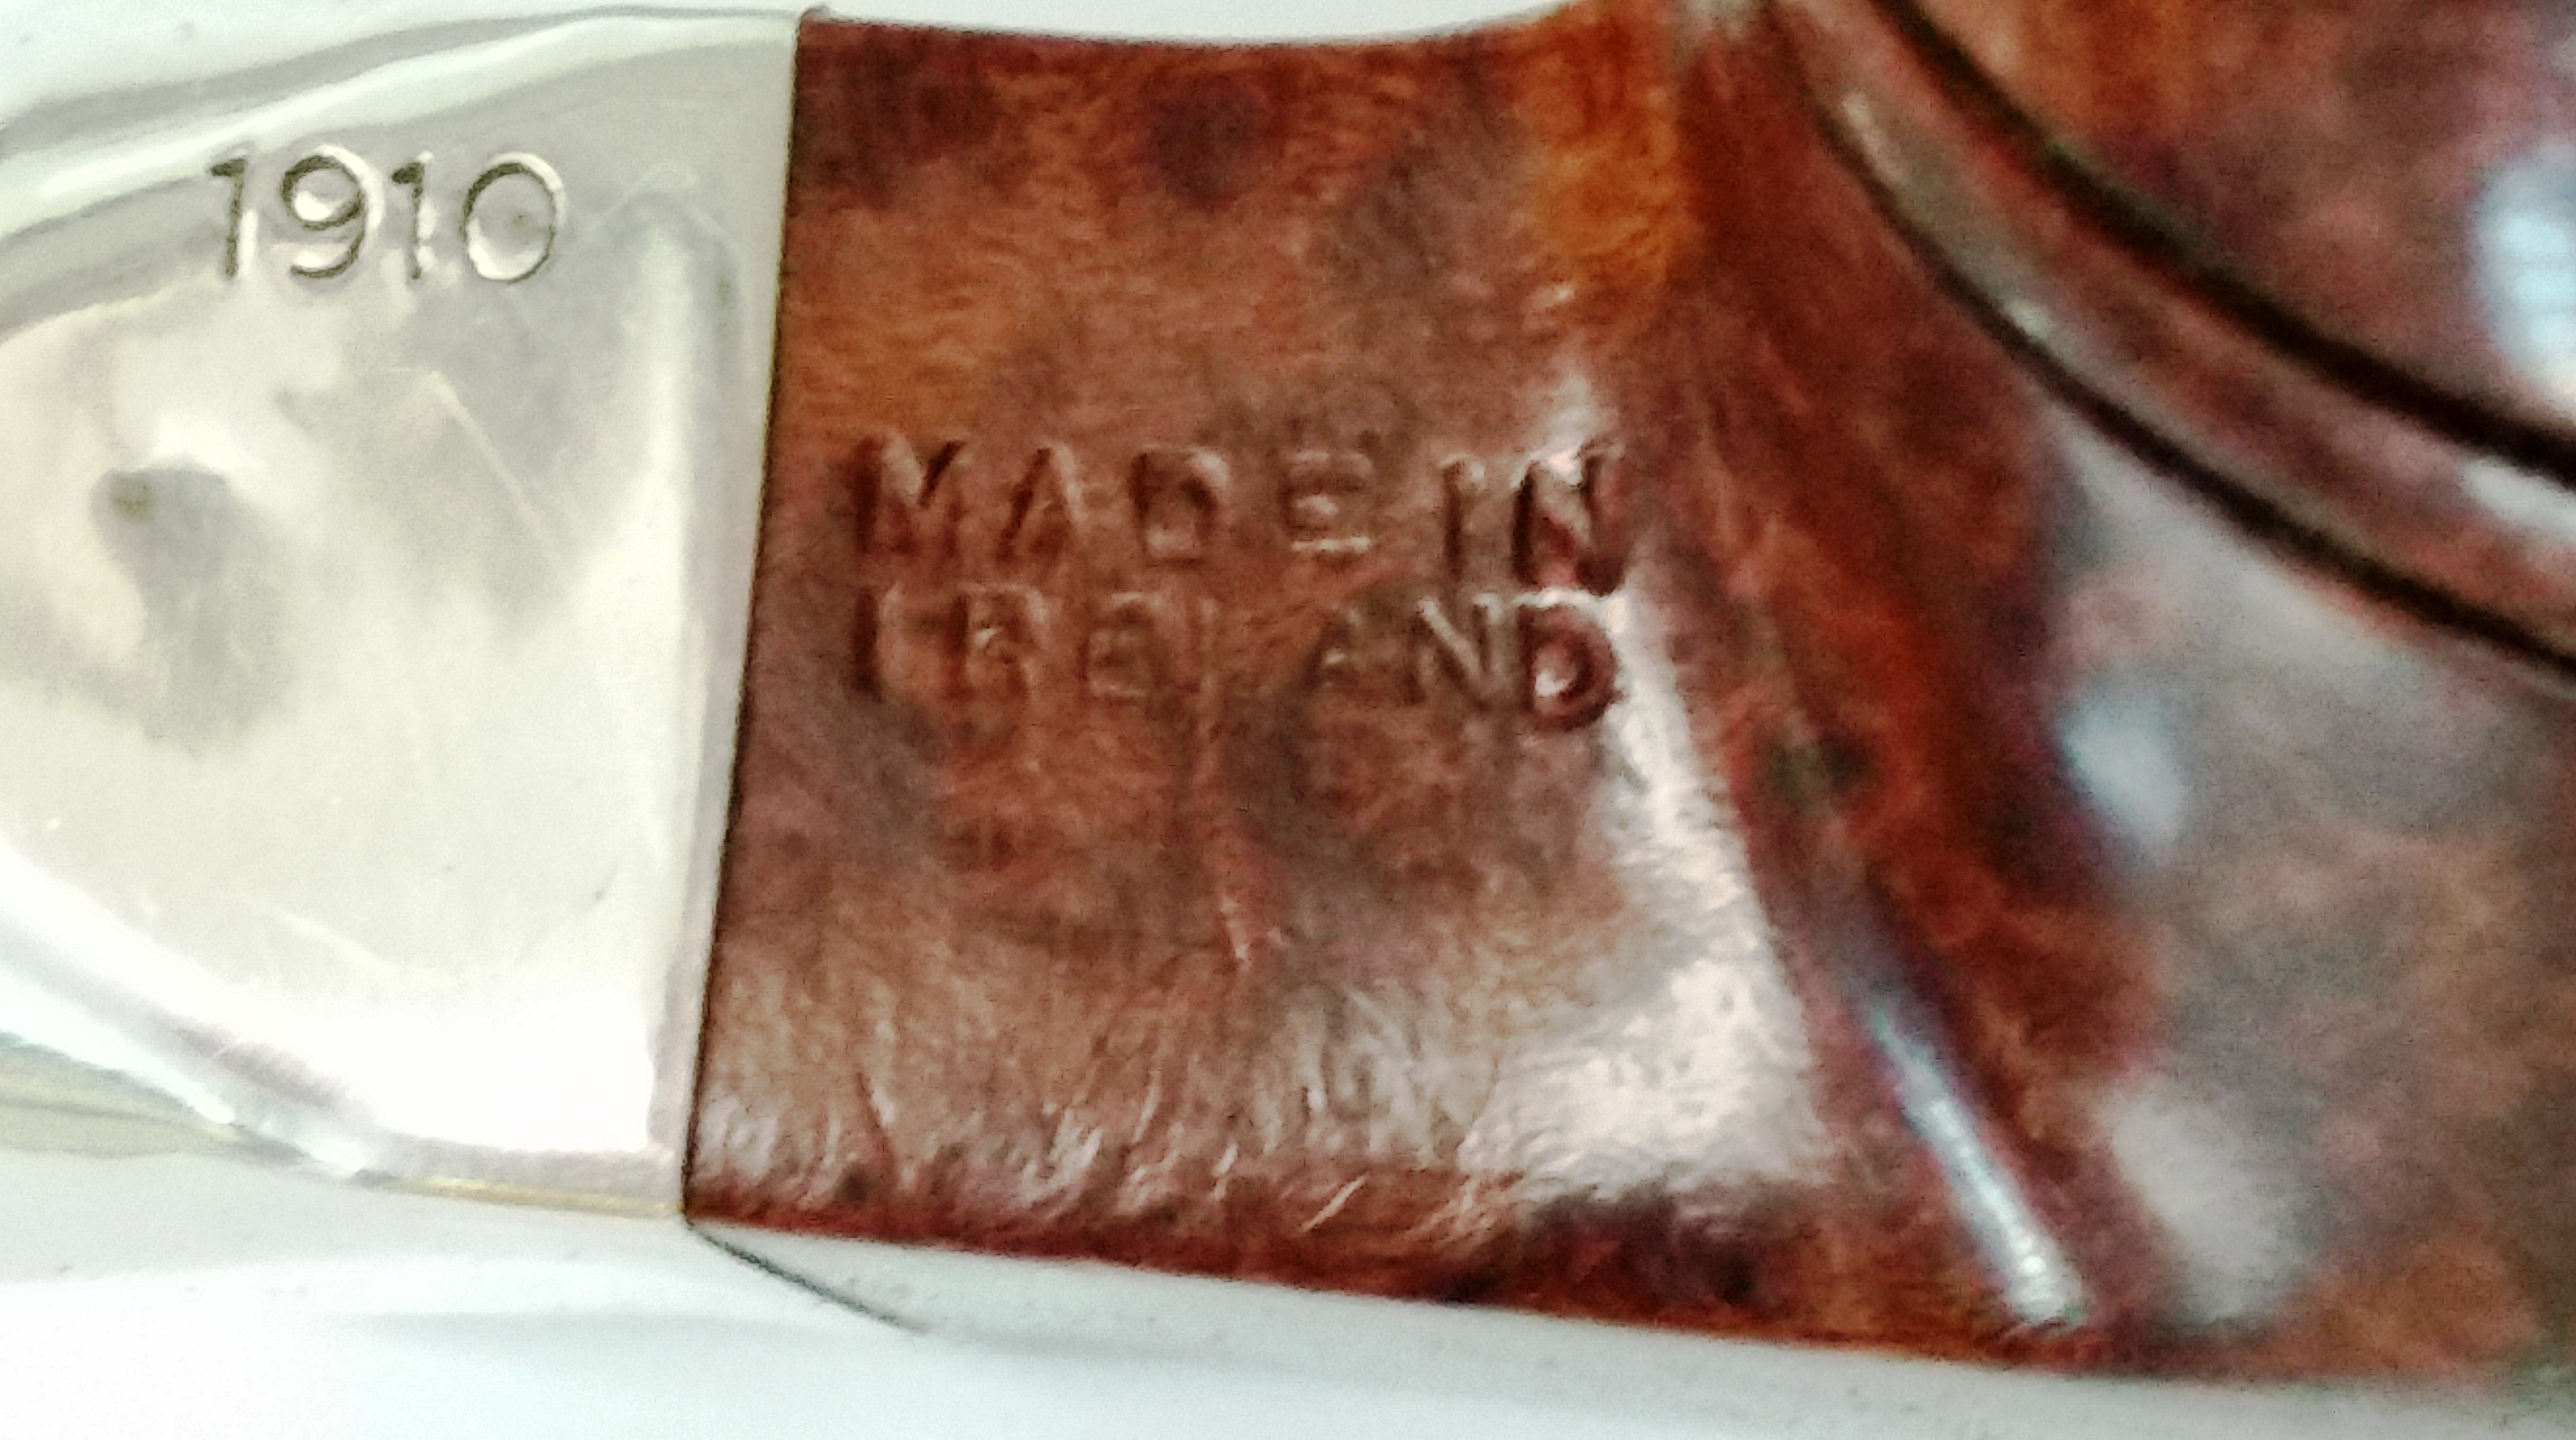
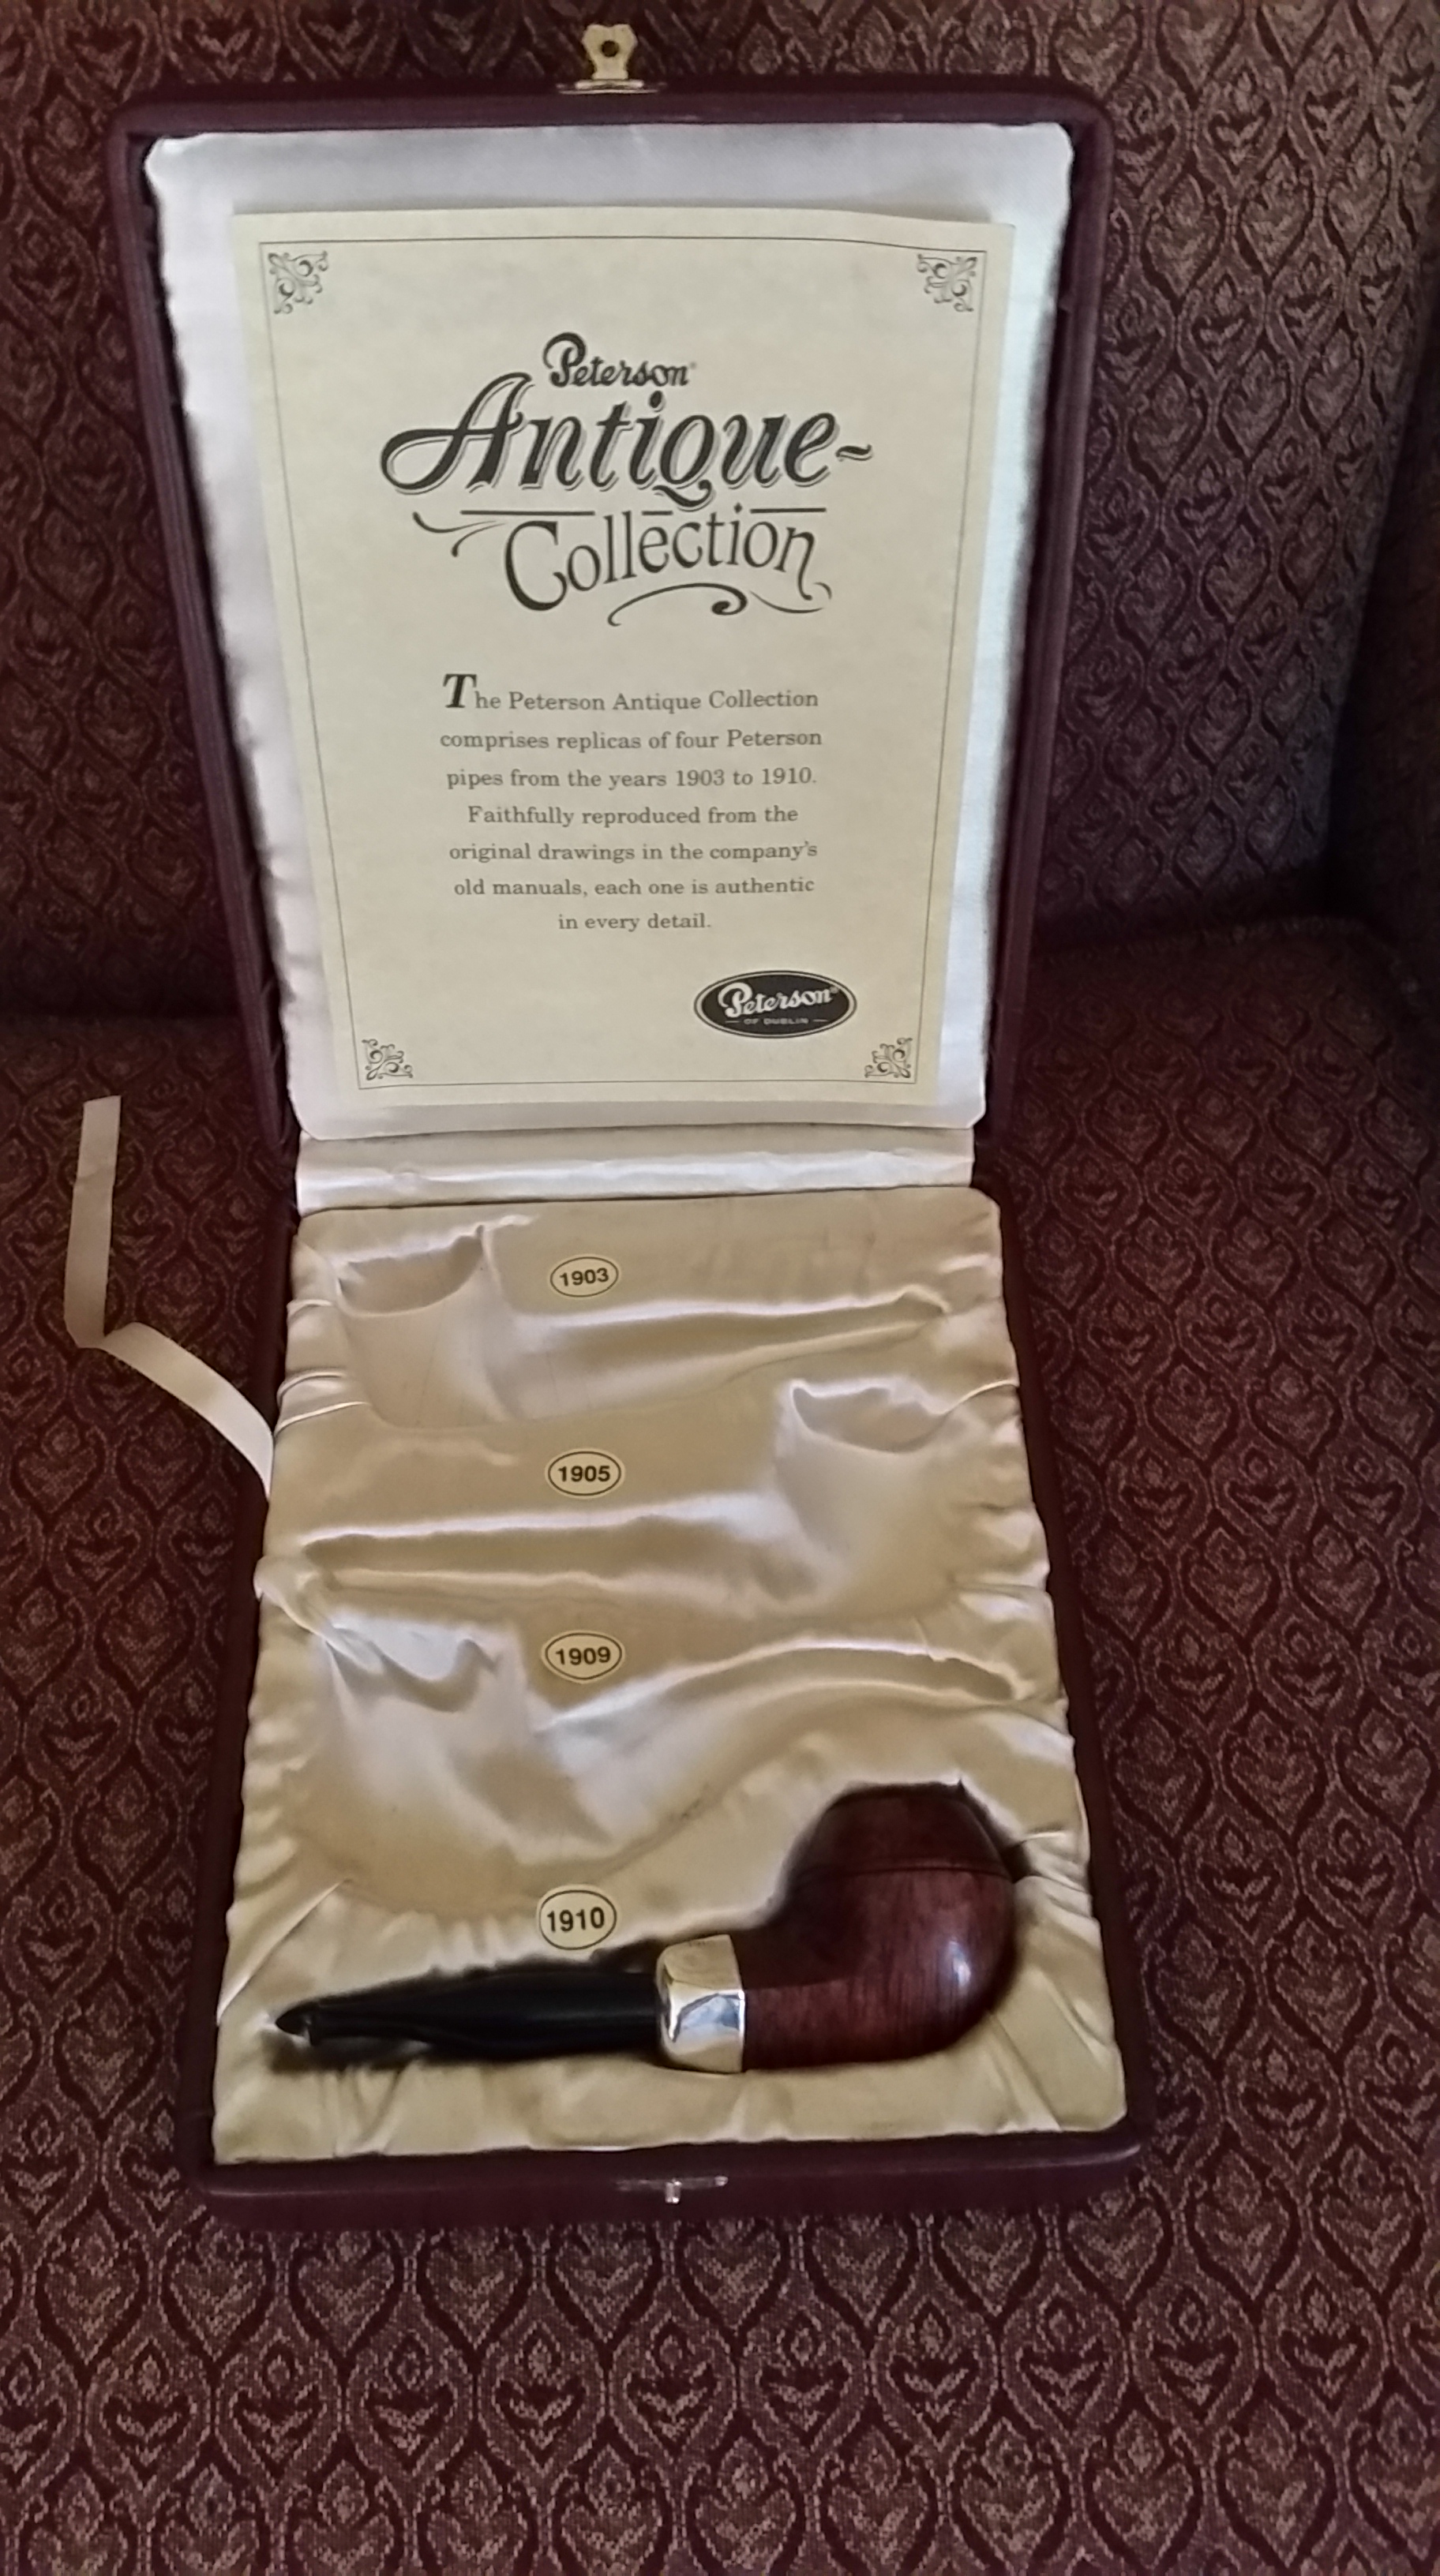
While visiting one of my favorite Virginia shops, JB Hayes in Winchester VA, I spied this chubby beauty in the bottom of their estate case. The briar was in excellent shape, but the oddly, the stem was pretty much destroyed at the P-lip button end. While the pipe has “Made in Ireland” COM stamping, and the silver was stamped “1910” I was pretty certain it was a Reproduction pipe. The silver was tarnished, but I could make out the letter “M”. I keep a copy of the Peterson hallmark dates chart in my Drop-Box account and opened it up via my Smart Phone. The letter M was for 1998, which confirmed that the pipe was a Reproduction piece. The stem was so bad, I put it back in the case. After thinking about it overnight, I drove back down and struck a deal on the pipe. I thought perhaps it could be repaired and at the worst, I thought that I could acquire a new stem from Peterson. In fact I emailed Peterson and they quickly confirmed a replacement stem could be had for around $50 shipped from Ireland. I found this picture of the Reproduction set, which came with four pipes from 1903, 1905, 1909, 1910.

Peterson_Patent_Collection(4 Pipes)

Here is the pipe as it was found at the shop.

Peterson_1910_Patent_Before (4)

Peterson_1910_Patent_Before

Peterson_1910_Patent_Before (1)

Peterson_1910_Patent_Before (3)

I posted the pipe to the PipesMagazine.com forum (where I’m a moderator) in the British Pipes section. Of our the members, George Dibos, of Precision Pipe repair replied that he had the matching billiard Reproduction pipe. He prefers fishtale stems and had made a replacement for his pipe. He retained the original P-lip stem and I gladly took him up on his offer to send it to me.

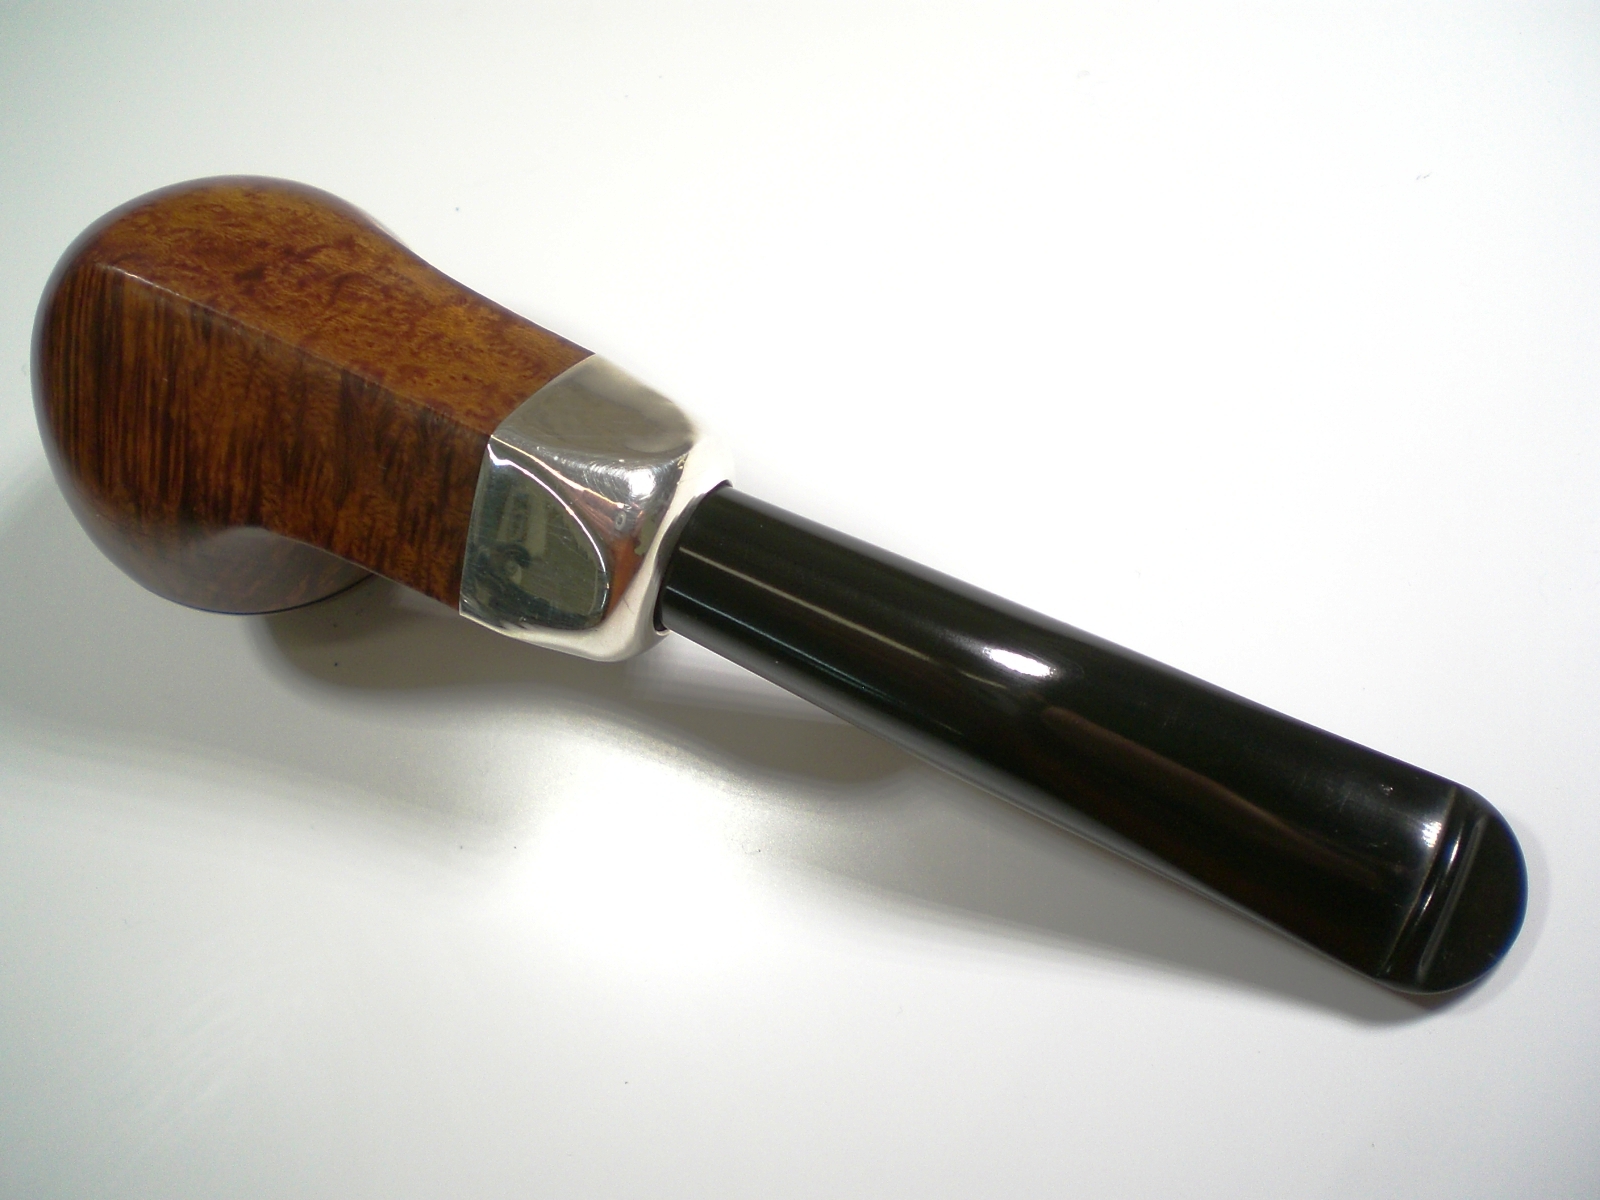
The briar only required a light sanding of the bowl interior and I soaked it with alcohol and sea salt. The bowl was buffed with several coats of carnuba wax. I used a jewelers cloth to remove the oxidation on the silver collar. The replacement stem was in like new condition and it fit perfectly.

Now the hunt is on to locate the other three pipes in the collection.

Peterson_1910_Patent_Gallery

Peterson_1910_Patent_Gallery (4)

Peterson_1910_Patent_Gallery (1)

Peterson_1910_Patent_Gallery (3)

?

?

?

Update – 8/2/15
Mark Irwin was kind enough to contact me and offer the four pipe case for the Patent Reproduction set and I received it last week.  Thanks for your thoughtfulness Mark!  If you know me, I love a collecting challenge, so the hunt begins.

20150802_080316