Blog by Dal Stanton
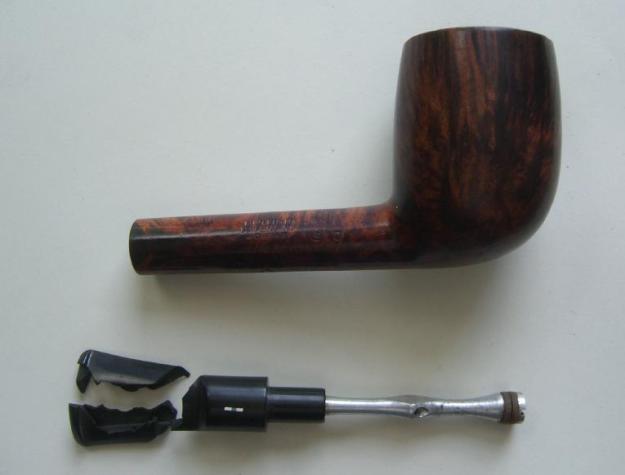
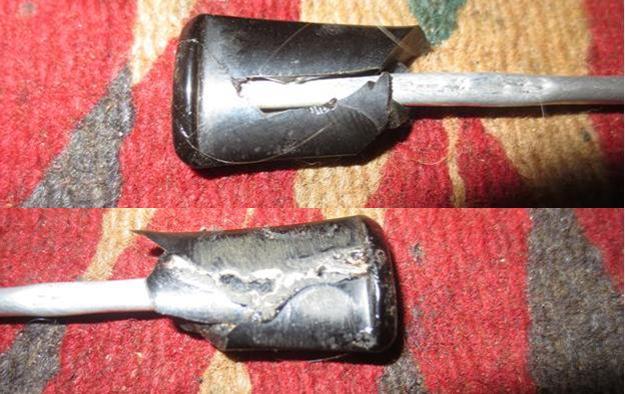
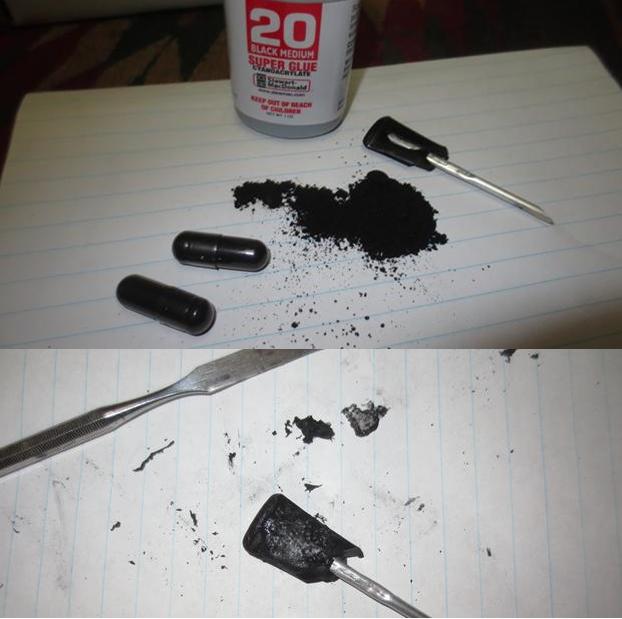
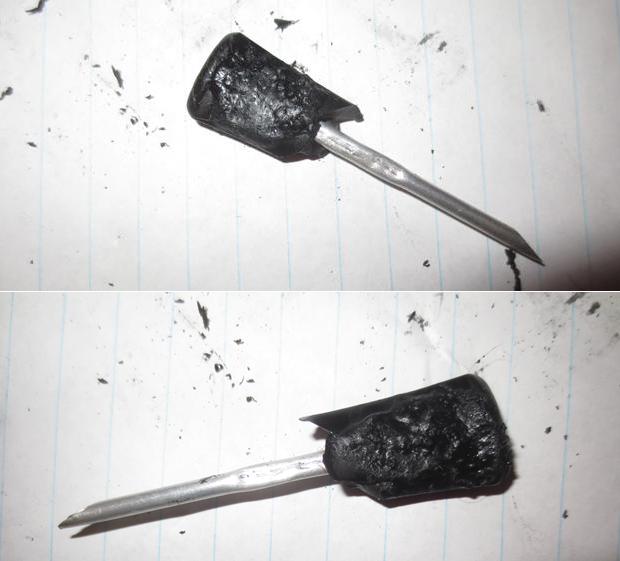
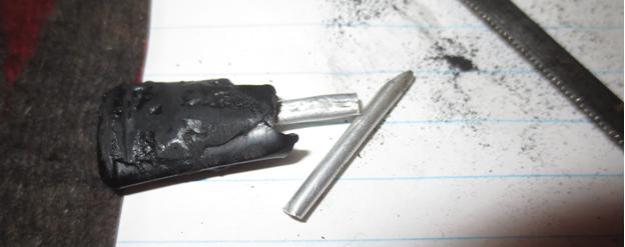
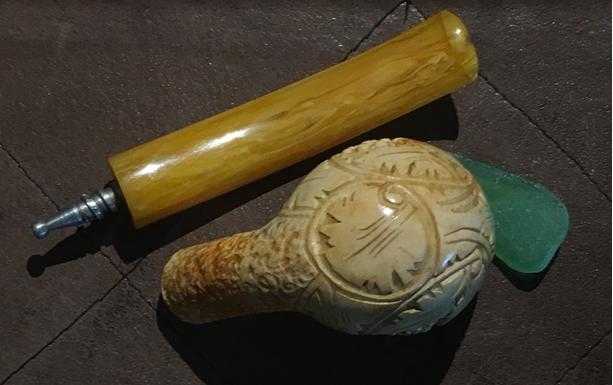
This is the third pipe I’m restoring for Jen, a colleague working here in Bulgaria. She handpicked, with great care and deliberation, several pipes from my ‘Help me!’ basket (and boxes) that she desires to present as gifts to the men folk in her family when she returns to the US this summer. What makes it better, each pipe Jen culls as a gift benefits the Daughters of Bulgaria, our work here with women and girls who have been trafficked and sexually exploited. Thank you, Jen! The Meerschaum now before me caught her eye very quickly as she trolled through the many hopeful pipes! I remember acquiring this pipe from eBay last year after communicating a few times with the seller from North Carolina about bundling a few pipes she had on the auction block. One of those was an attractive French made, Pickwick Arms Bulldog along with the Meer. This is what I saw, first the Bulldog, still awaiting his turn in the ‘Help me!’ basket and the hand carved Meerschaum.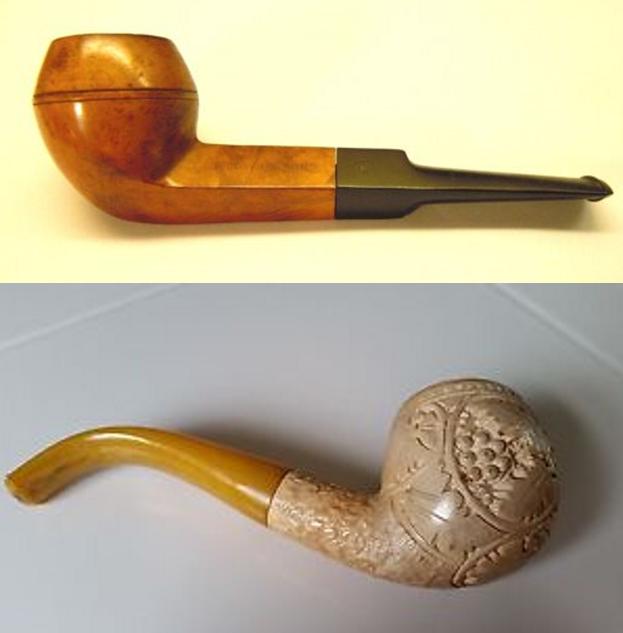 The last restoration I did on a Meerschaum was my first (LINK), when I was challenged with the rebuild of the Bakelite stem using a somewhat experimental method – mixing powdered furniture dye and CA glue to rebuild the stem and most of the button. Since it was experimental, Steve encouraged me to put it to the test before putting it in The Pipe Steward Store. I did, the patch has held true, and the beautiful Meerschaum continues as a regular friend in my rotation. So, the patch works! And a picture of that eye-catching Meerschaum restoration.
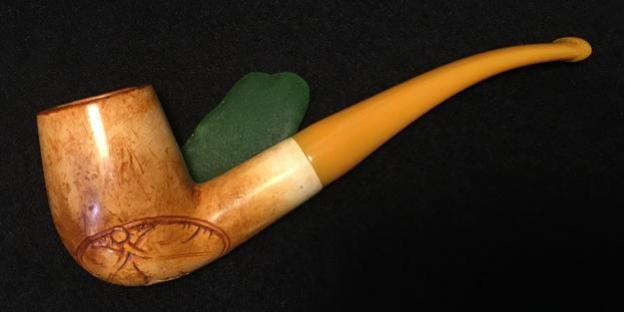 With Jen’s Meerschaum on my worktable, I take several pictures to fill in the gaps.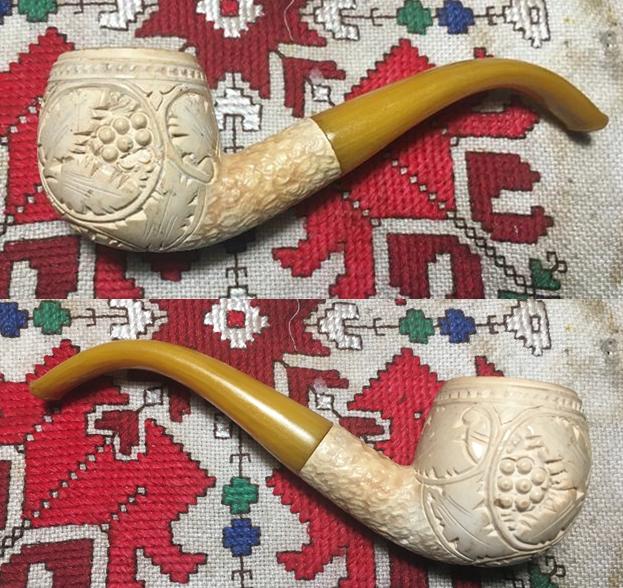
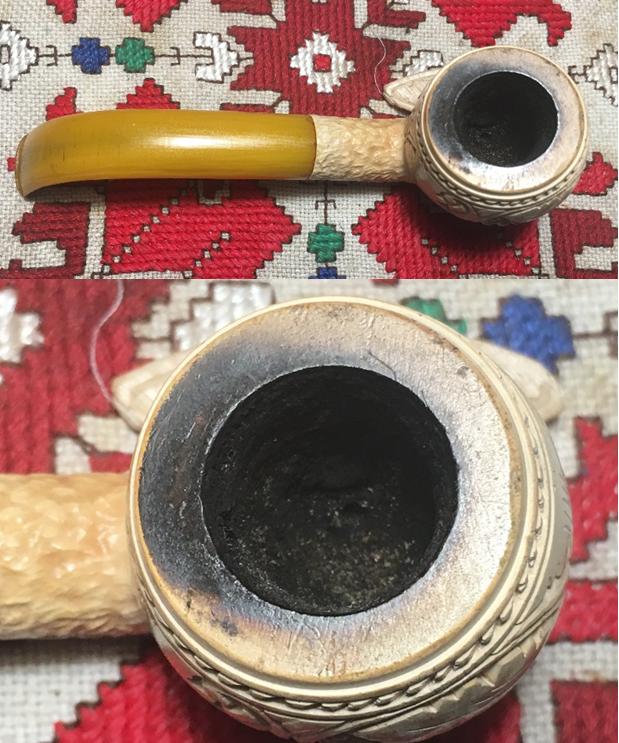

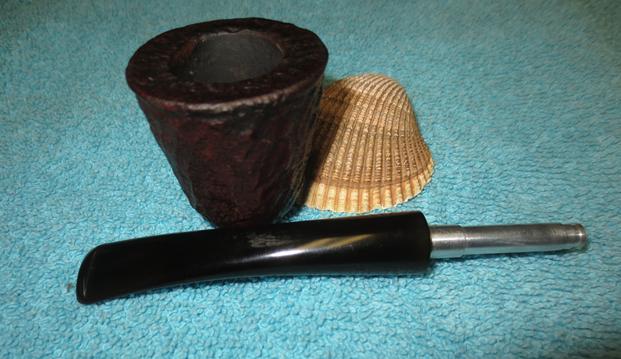
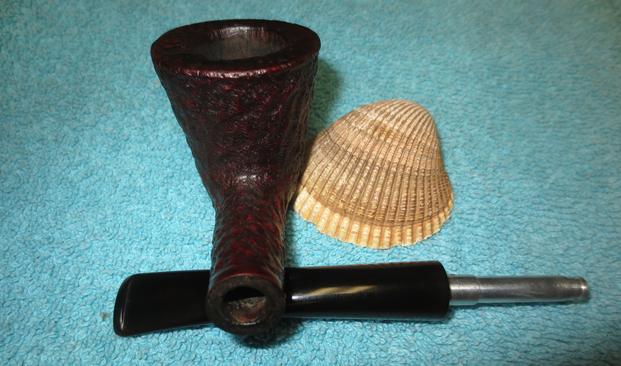
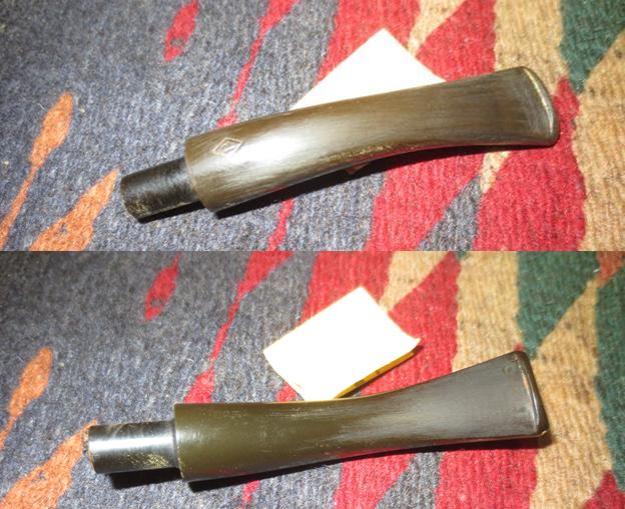
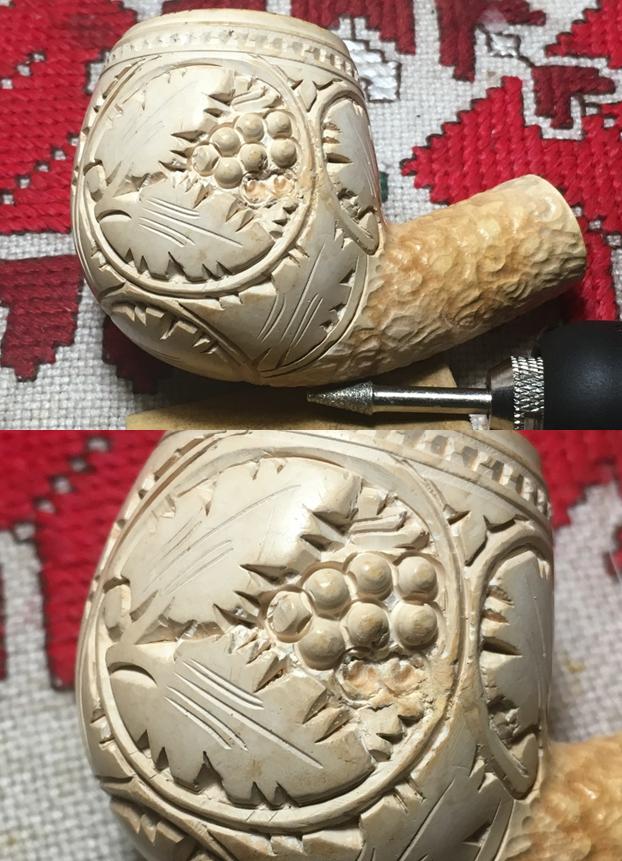
 The scorch on the rim shows the former steward probably used a lighter over the back to light his tobacco. The carbon cake buildup in the fire chamber is moderately thick – for a Meerschaum no cake is needed or desired unlike briar pipes. Meers are popular for this reason – they do not need to be broken in nor do they need to be rested between use. Smoke a bowl, reload it and he’s ready to go! I’ll remove the cake bringing it down to the Meer surface. When I first saw this Meer on eBay, something wasn’t right. It didn’t take long to determine what was not resonating. The bend of the Bakelite stem is too much for my taste. I will see if I can straighten it out a bit – better symmetry! While there’s no way to tell how old this Meerschaum is, I note that the pipe is fitted with an orific stem – the airway in the button is rounded rather than a horizontal slot. These stems were mainly used before and during the 1920s when they gradually were replaced by the horizontal slot style. The vineyard carving is very attractive and a classic Vineyard design. However, I see some damage to a grape cluster ensconced in the rounded fresco on the left side of the stummel. I take a close-up picture to show this. The missing grapes aren’t very noticeable – the damage blends quite well as part of the fresco, but I will try to mask it a bit more by doing a bit of Meer sculpting myself.
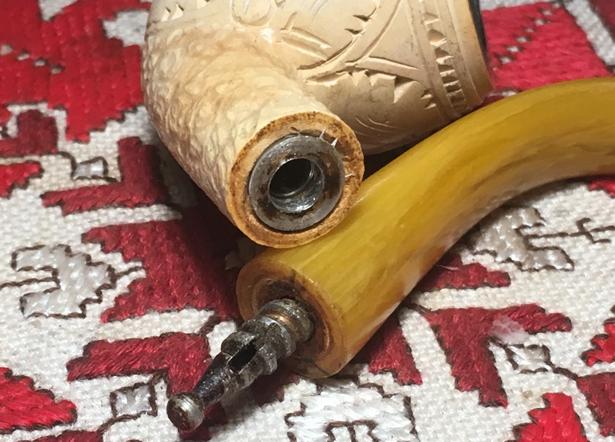
  The other potential challenge is the metal tenon/mortise system. This shows that this pipe has some age as most new Meerschaum pipes I see now in my trips to Istanbul’s markets, are the acrylic push/pull systems. For the sake of ease of future cleaning, I may go in that direction, but I need to look more closely. One last thing I see that is good news – there is a bit of the coveted patina developing around the scalloped shank and climbing toward the back of the bowl. This is good. This brief description from Meerschaum.com that I’ve previously cited is helpful:
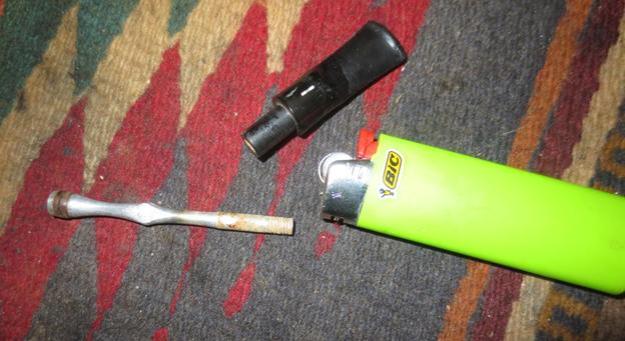
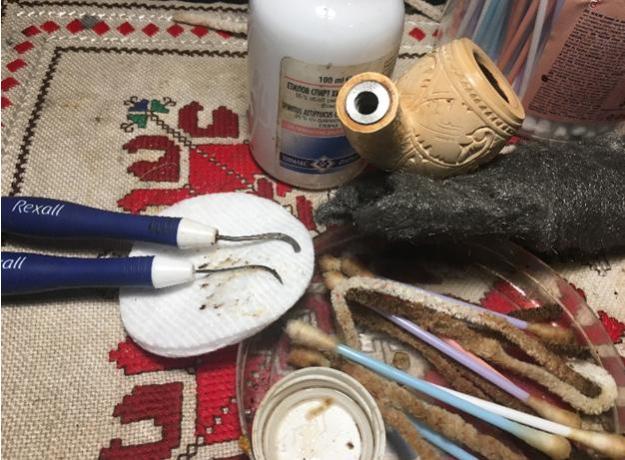
Meerschaum is a very rare mineral, a kind of hard white clay. Light and porous structure of the pipe keeps the smoke cool and soft. The pipe itself is a natural filter which absorbs the nicotine. Because of this peculiarity, meerschaum pipes slowly change their colors to different tones of gold and dark brown. This adds an esthetic enjoyment to its great smoking pleasure. The longer a pipe is smoked the more valuable it becomes due to the color change. Today many old and rare meerschaums have found a permanent place in museums and private collections.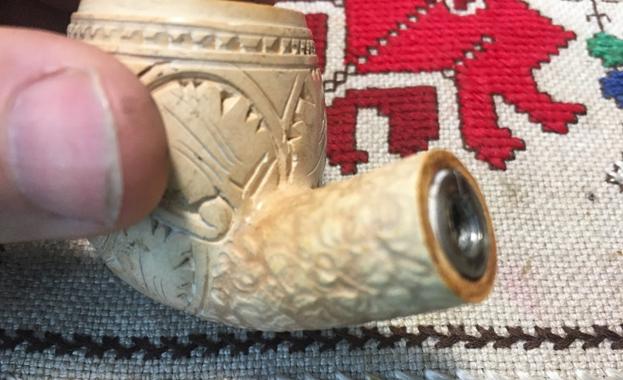 I first start with the metal screw in tenon. I want to see if I can easily remove it and clean it before I try to remove the more difficult mortise receptor. Carefully, I heat the tenon with a lit candle and counter clock the tenon with needle-nose pliers. I wrap the tenon with a cloth to protect it from metal on metal scratches. With little trouble, the heating of the tenon loosens the grip and it easily unscrews holding the tenon/stinger stationary with the pliers and rotating the stem. Examining the tenon, I can see daylight through it but the slot is very small and clogged with gunk. I’m not sure it’s possible to run a pipe cleaner through it. I drop it in alcohol to soak it a bit and then clean it. I dig gunk out of the slot using a dental probe and run a bristled pipe cleaner in it to clean the internal. The pipe cleaner will go through the slot but not without a good deal of coaxing. I use a brass brush on the stinger with alcohol and then shine it us with 0000 steel wool. Since it cleaned up well and a pipe cleaner will pass through it, I will leave well enough alone and use the stinger system.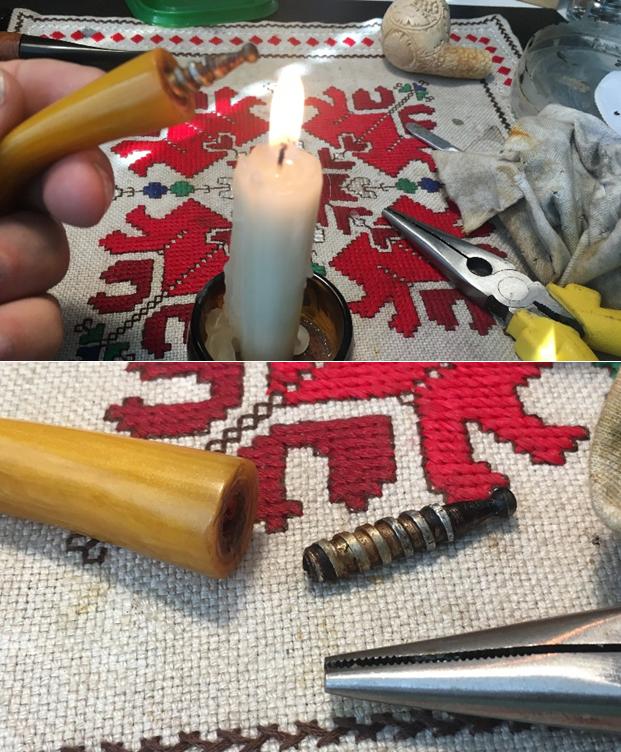
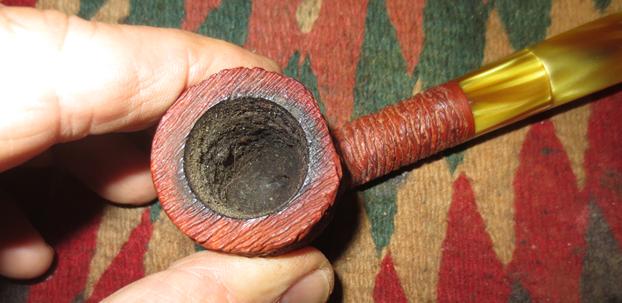
 I now turn to removing the carbon cake in the fire chamber. I insert a pipe cleaner through the draft hole because it was covered by debris. I discover that the drilling of the draft hole is a bit off center, but this should not be any trouble. I use the Savinelli Pipe Knife to scrape the carbon buildup off the chamber walls. It does a great job getting down to the smooth Meerschaum surface. I follow the reaming by sanding the chamber walls with coarse 120 grade paper wrapped around a Sharpie Pen and then with 240 grit paper. To remove the carbon dust left behind I clean the chamber out with a cotton pad wetted with isopropyl 95%. The surface in the fire chamber looks great – I can see no problems. The pictures show the progress.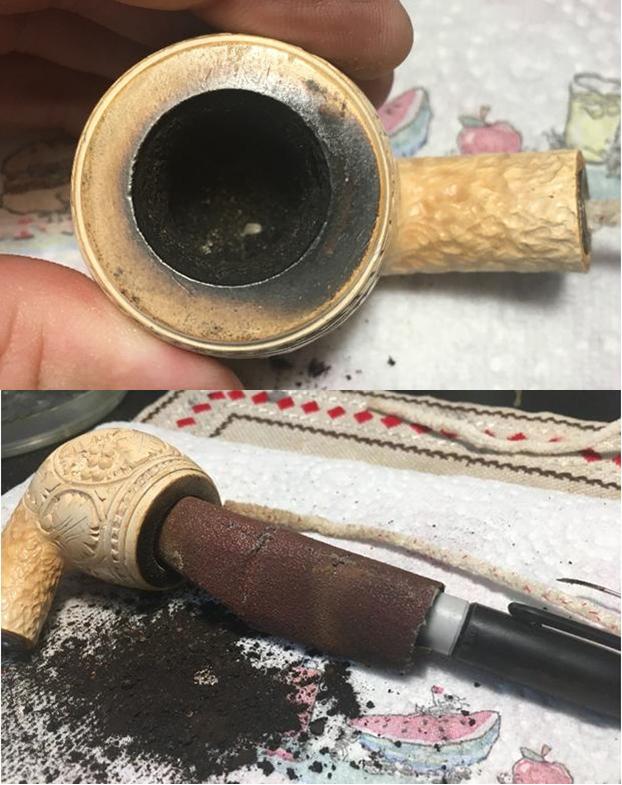
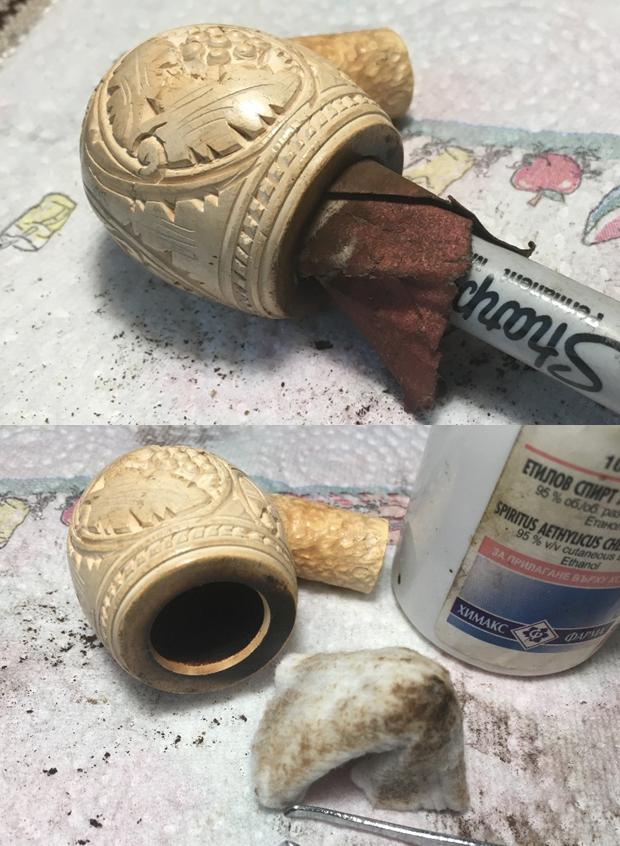 Turning now to the rim. The backside of the rim is scorched from flame being pulled over it in lighting. I first use the spittle test to see if I can make a dent by rubbing my own spittle over the surface with my finger. No progress. I then use a cotton pad wetted with isopropyl 95% but with results close to spittle. I then use a medium grade sanding sponge and lightly (very lightly) top the stummel to break up the carbon. This did the trick. There is a bit of the carbon scorching left on the inner lip of the rim. I role a piece of 240 grip paper to cut an internal rim bevel to remove the last of the scorch stain from the Meer. I like the inner bevel on the rim and I’m pleased with the progress. The pictures show the progress from the original state.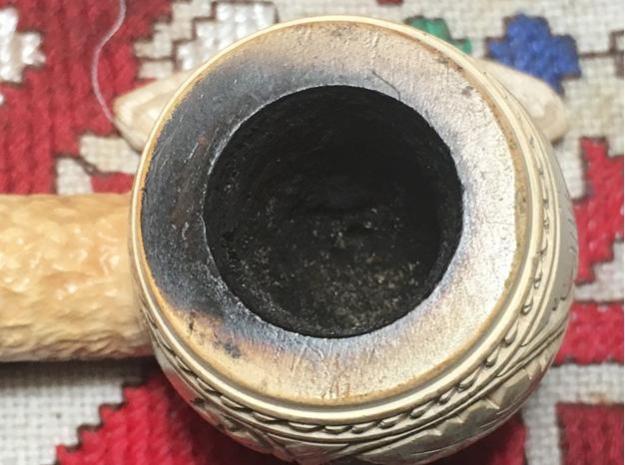
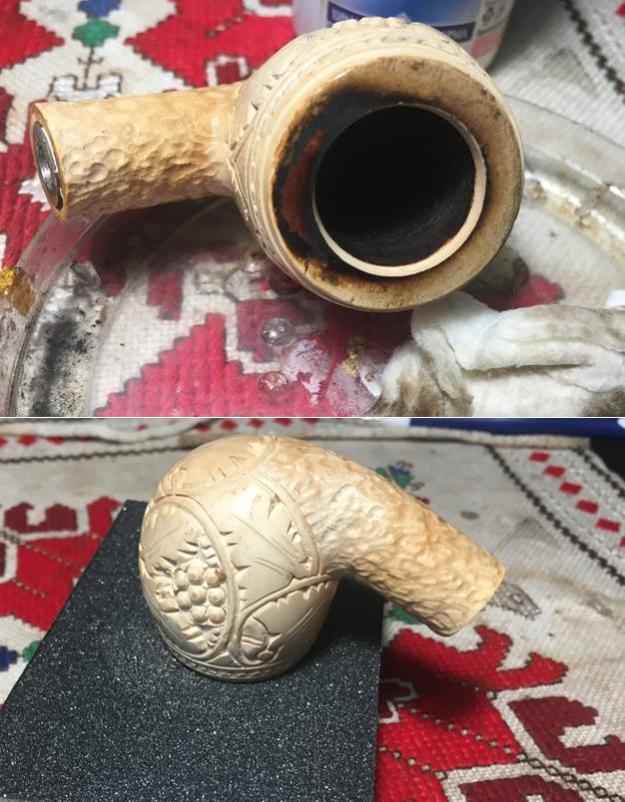
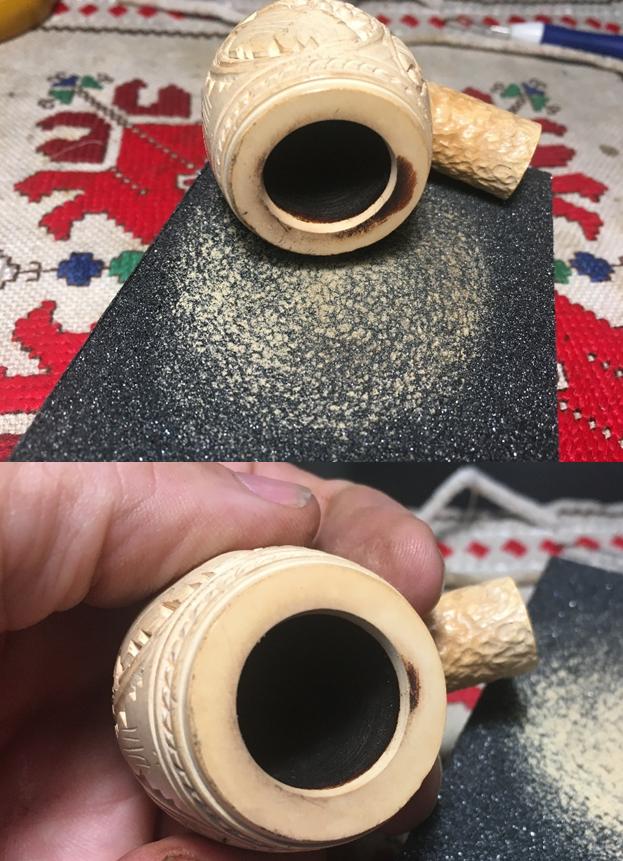
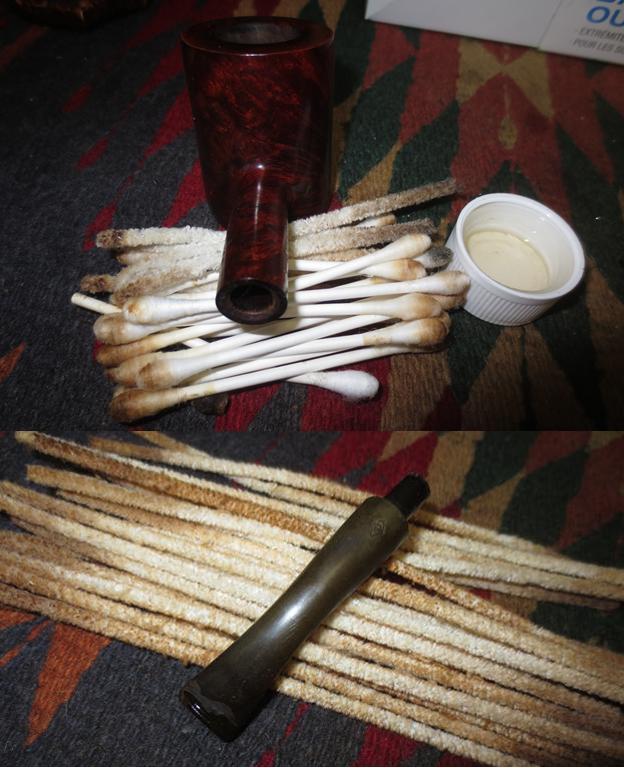
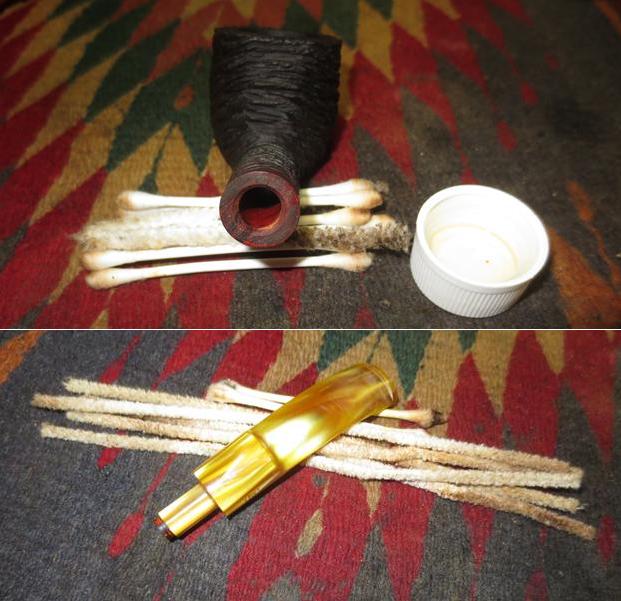
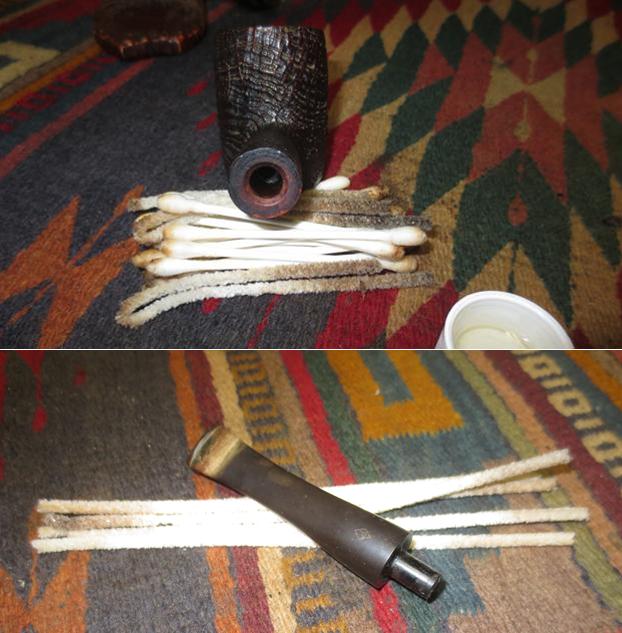
 I like working on a clean pipe so I turn now to the internals of the stummel. I use cotton swabs dipped in isopropyl 95% and pipe cleaners to do the work. After a bit of effort, also digging and scraping with a spaded dental tool, the cotton swabs and pipe cleaners start emerging clean. Just a word here that I’ve heard from others, never clean the internals of a Meerschaum using an alcohol/salt soak. This will have adverse effects on the Meer. I finish up by shining up the metal mortise receptor with 0000 steel wool. The picture shows the cleaning.
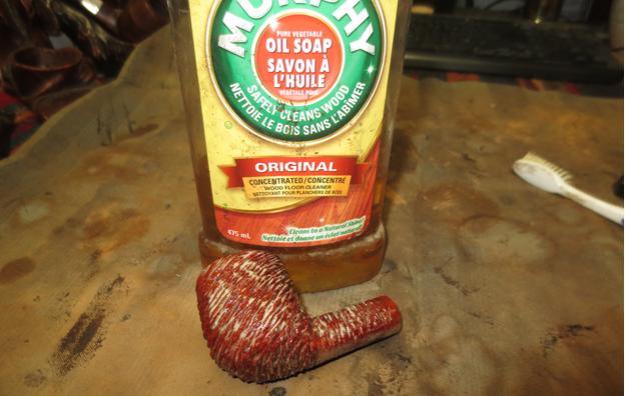
 With the internals of the stummel clean, I now clean the external Meerschaum surface. I use undiluted Murphy’s Oil Soap with cotton pads and a bristled tooth brush. I use the brush to clean the sculpted carving lines of the vineyard frescoes. I then rinse the stummel with cool tap water using the bristled brush as I rinse. Wow! I didn’t expect cleaning the surface would result in the patina of this Meer Vineyard to pop! The honey brown patina around the shank is more distinct now. The picture shows the results.
 With the stummel cleaned, I take a closer look at the damaged cluster of grapes. The Meer took a hit somewhere along the line. I think that all I want to do is to smooth out the inside of the damaged grapes. The round external shaping of the grapes remain and I want to keep them intact. I know I need to be very careful. I mount a pointed shaping instrument on the Dremel. I will use the Dremel carefully to remove the rough area and blend it more. Ok, I’m not a Meer carving master! What I did was use the Dremel tool to hone out the center of the grapes, then I use a 470 grade piece of sanding paper and ‘feather’ the edges around the damage. The sand paper has the effect of smoothing the edges around the damage and blending the trauma. I decide ‘less is more’ and leave it and not fiddle with it too much. I don’t want to make things worse! The pictures show my Meer sculpting debut.
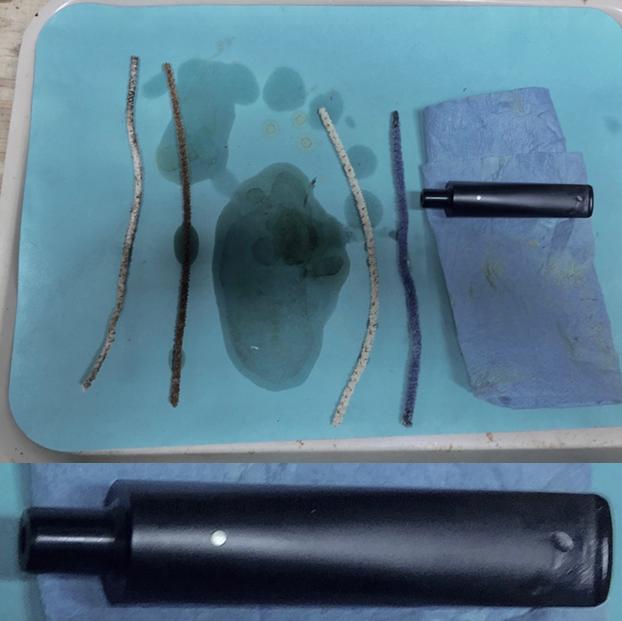
 Now I turn to the Bakelite stem and clean the internals first using different sizes of long, wired bristle brushes. This set of brushes has come in very handy to ‘plow’ the airway when pipe cleaners won’t break through – usually when stems are clogged up and have more severe bends. I begin by deploying the long-bristled brushes dipped in alcohol to do the heavy lifting. Then I follow with pipe cleaners. After they are coming out clean, I reattach the screw-in stinger and reattach the stem to the stummel to see where things are. The pictures show the progress.
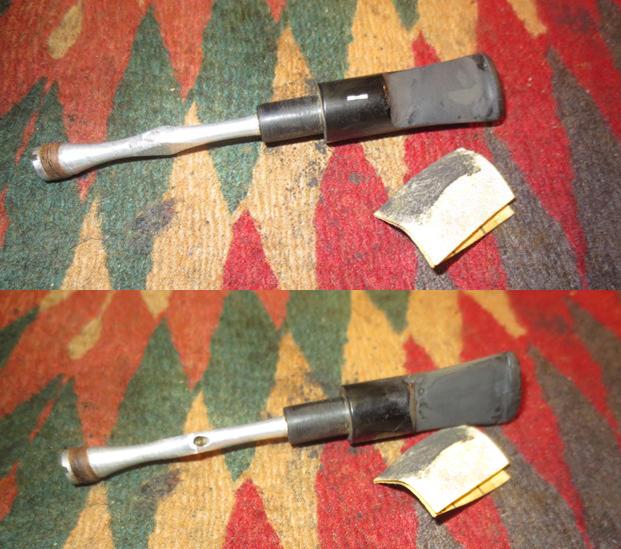
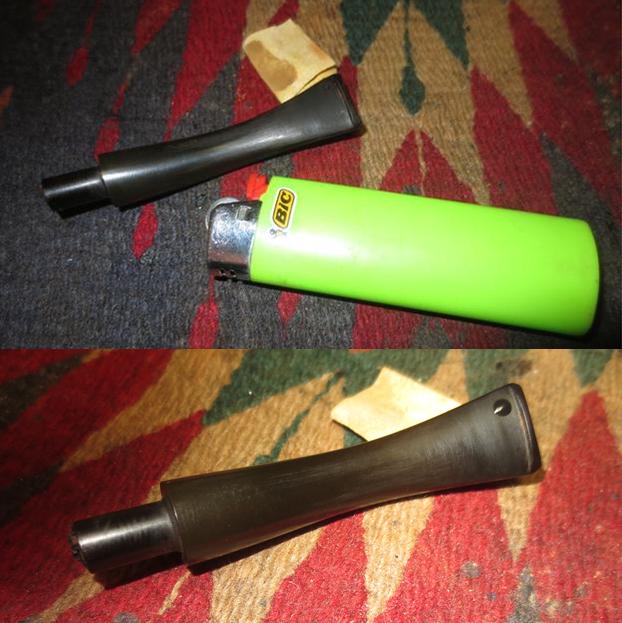
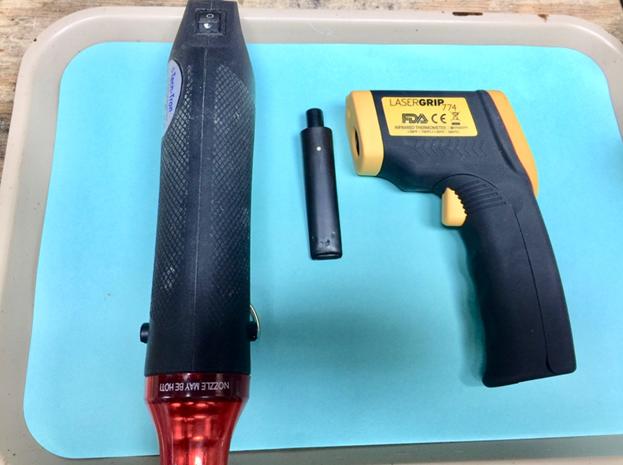
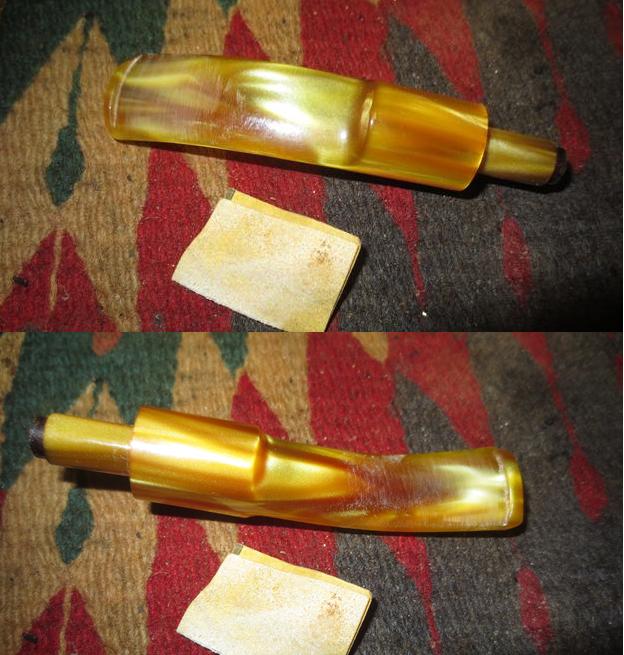
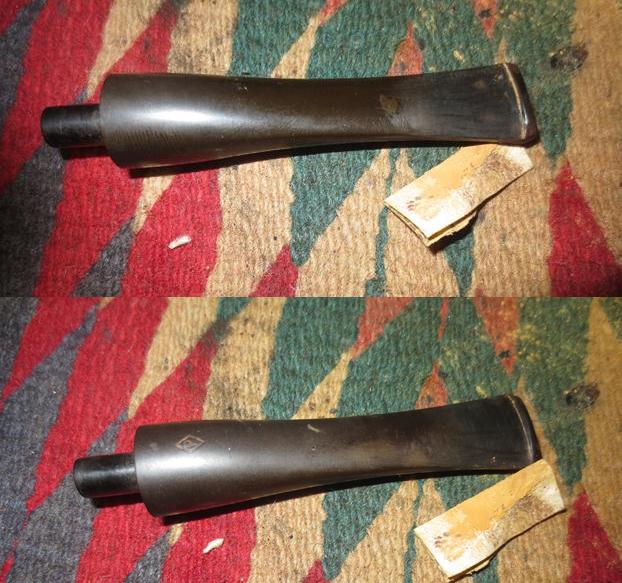
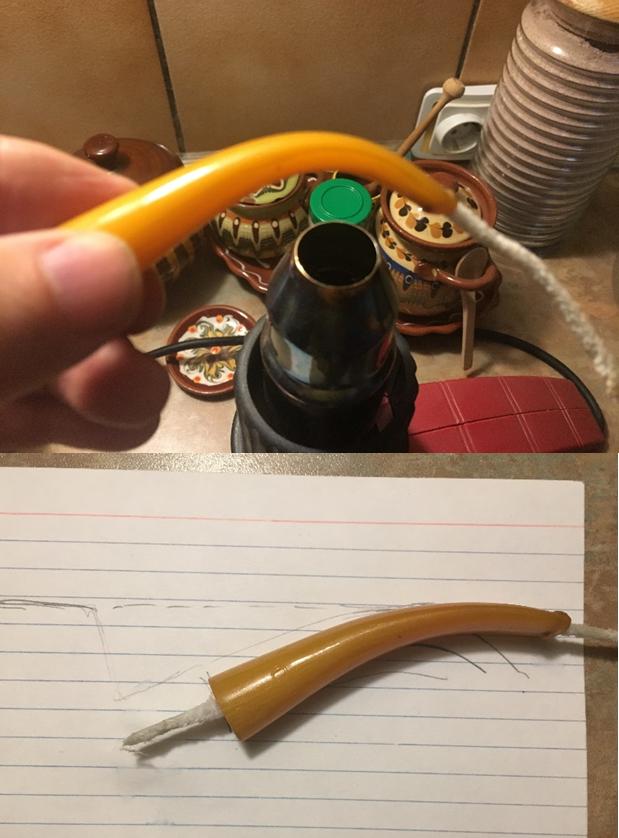
 I mentioned earlier that I believed the stem was over bent. The stem’s bend should flare out and be close to parallel with the plane of the rim. I will heat the stem up and bring it closer to this ideal. To keep the airway integrity, I insert a pipe cleaner through the stem. To help achieve the right angle, I make a sketch on a lined index card to help as a template. I also notice that the bit is over-clocked just a bit. I’ll try to straighten that as well. Since the hour is late, and my workstation is adjacent to where my wife has turned in for the night, I take my heat gun to the kitchen and set up on the counter. I insert a pipe cleaner through the airway which also serves as a handle to help manipulate the stem as it heats. With the heat gun on, I rotate the stem over the heat focusing on the bend area. After a short time, the Bakelite becomes supple and gradually I begin to straighten it while I rotate. I find too, that pulling on the two ends of the pipe cleaner helps facilitate this. After reaching where I think I need to be with the bend, I hold the stem under cool tap water to set the bend. The first time I did this, and compared to the template, I decided I needed a bit less bend. I repeated the process, cooled with tap water and compared with my make-shift template. I reassemble the Meer Vineyard and it’s looking good! I’m happy with the new look of the stem. The pictures show the process.
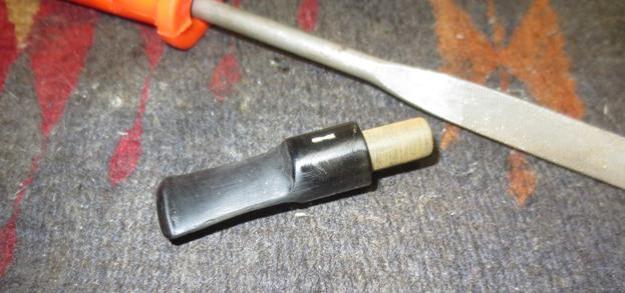
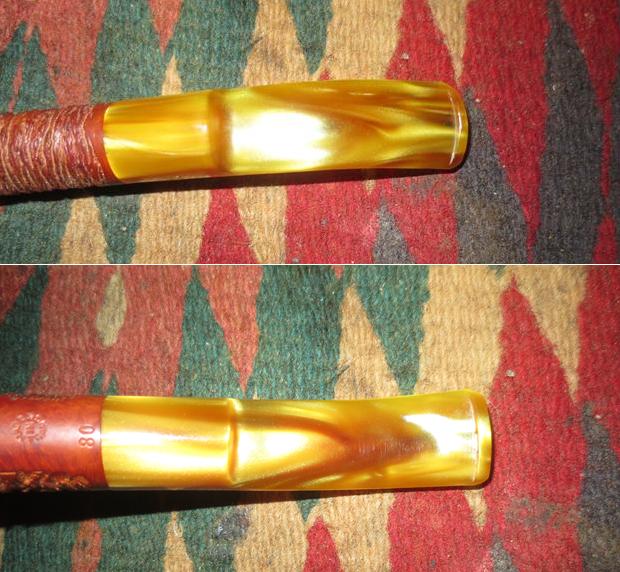
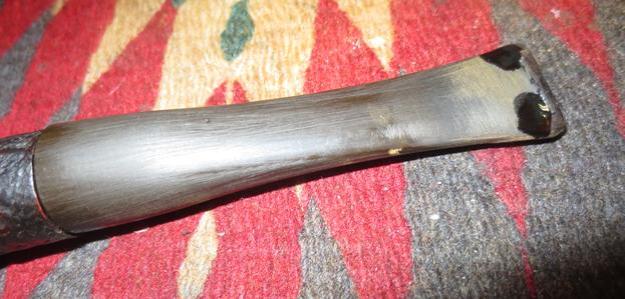
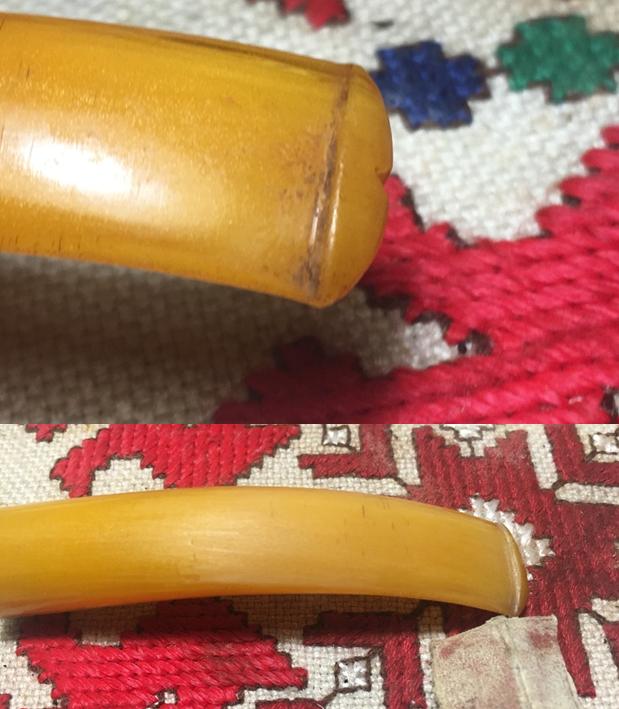
 I want to complete work with the Bakelite stem. There is some very light tooth chatter around the upper bit area and there are ‘stretch marks’ along the area where the tight bend had been previously. Using 240 grit paper, I work on the ‘stretch marks’ on the upper side as well as the teeth chatter. I follow the 240 by wet sanding with 600 grit sanding paper and then with 0000 steel wool.
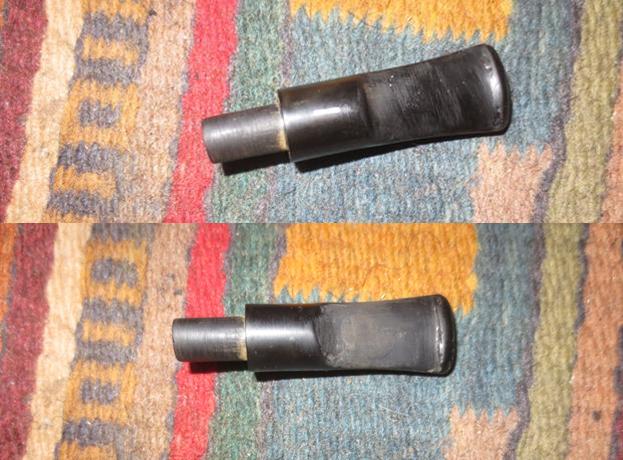
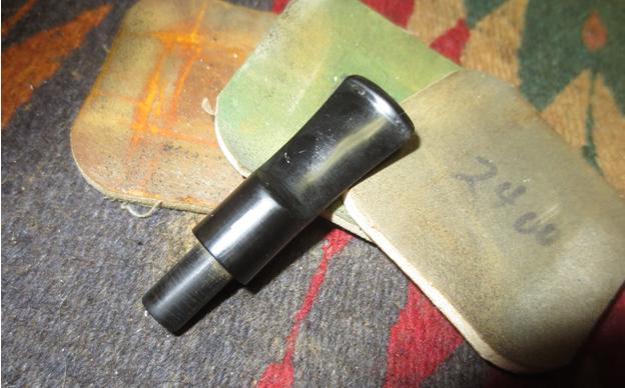
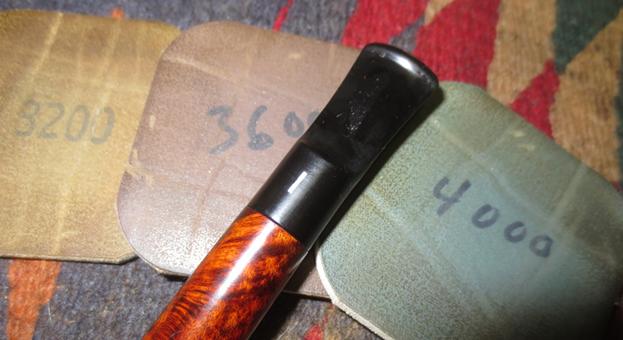
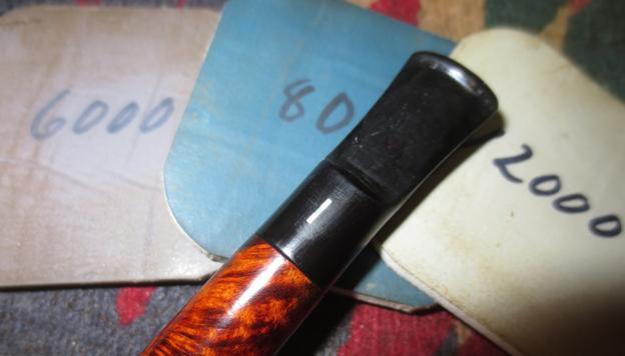
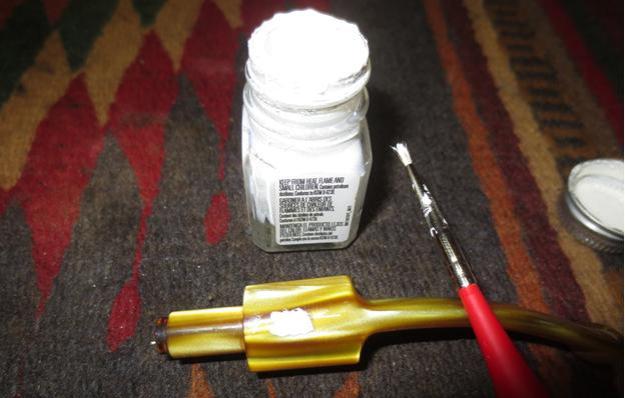
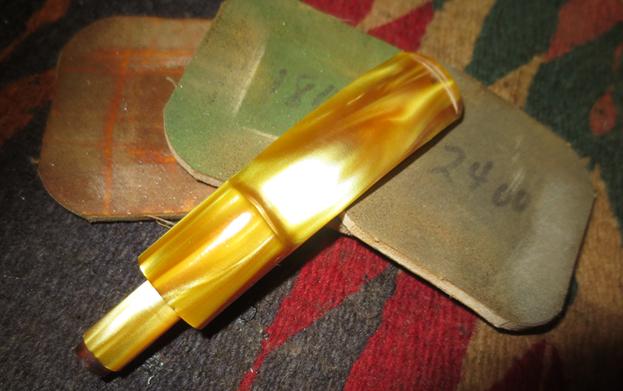
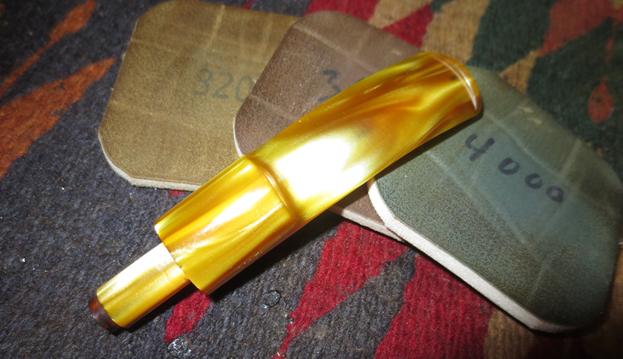
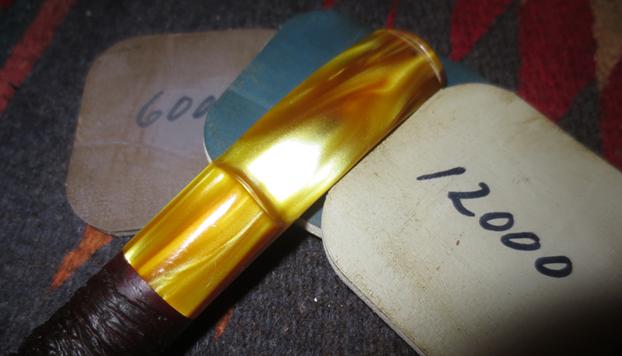
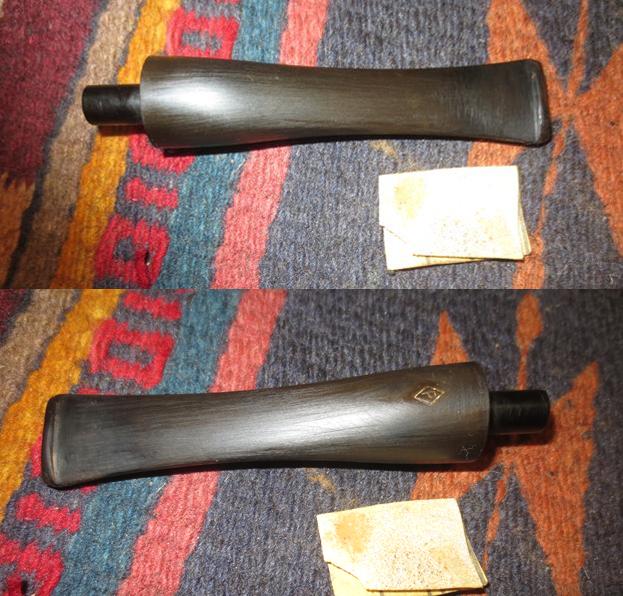
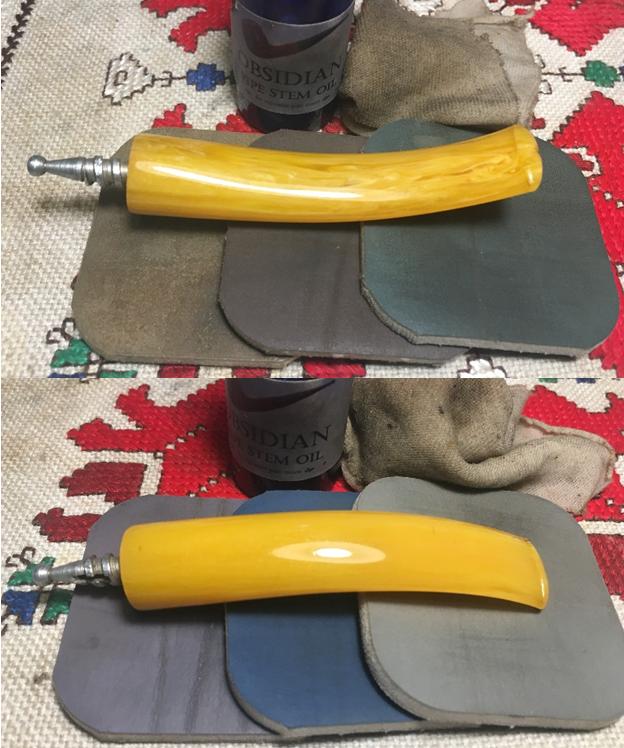
 At this point I wet sand using micromesh pads 1500 to 2400 then I follow with dry sanding with pads 3200 to 4000 and 6000 to 12000. After each set of three micromesh pads I apply Obsidian Oil to the Bakelite stem to revitalize it – and now that I am writing that this is what I’ve done, I’m not at all sure if Obsidian Oil has the same effect on Bakelite as Vulcanite! Creature of habit. Following the micromesh cycles, I mount the Dremel with a cotton cloth buffing wheel and apply Blue Diamond compound to the Bakelite stem for a very fine abrasive polishing. I complete the stem work by applying carnauba wax with a cotton cloth wheel mounted on the Dremel set and speed 2, one notch up from the slowest speed. The pictures show the stem progress.
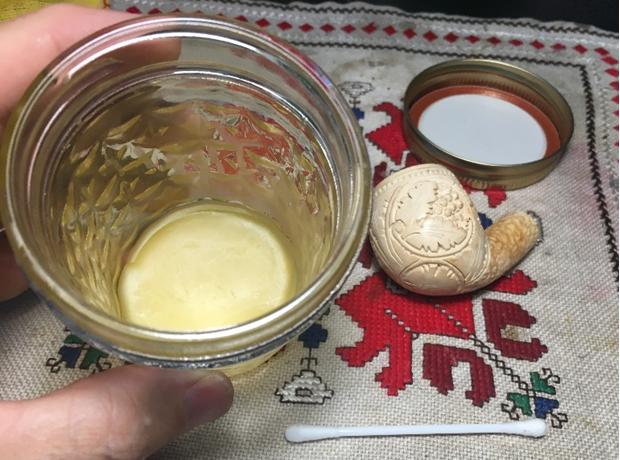
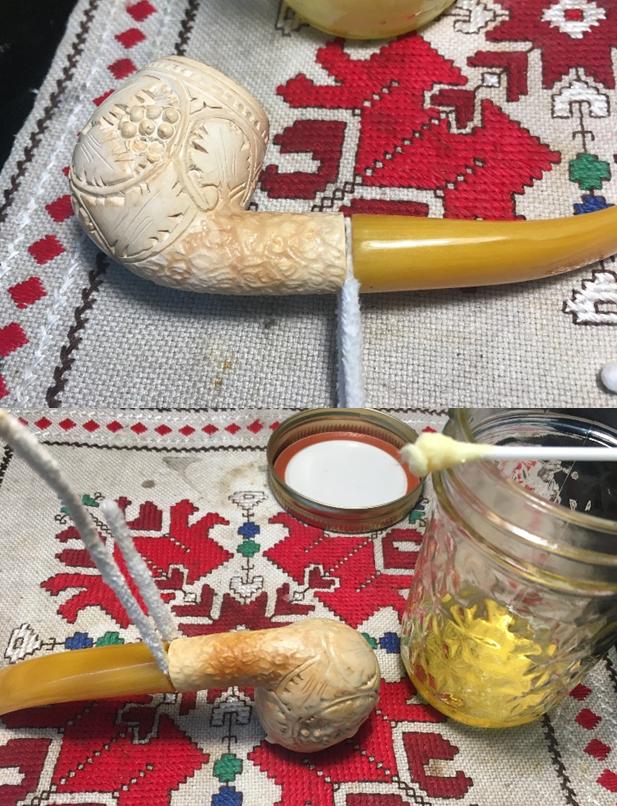
 Turning now to the stummel, unlike briar pipes, Meerschaum does not use carnauba wax to finalize the finish. The practice of using bees’ wax to shine the Meer is the standard practice. I went back to a post from Charles Lemon at Dad’s Pipes that I filed to use as my guide (See: Quick Clean-up of a Tulip Meerschaum Sitter). I mentioned before how Meerschaum pipes change color as they are smoked and this patina increases the value of the pipe. Not only does bees’ wax shine the Meer but it also enhances the growth of the patina as one smokes the pipe and the tobacco oils are absorbed. I reattach the stem to the stummel, but place a pipe cleaner between the stem and shank to tighten against – creating a gap so that I don’t get wax on the stem and the stem acts as my handle. From the last time I did this, I had congealed bees’ wax that I had melted in a mason jar. I use the hot air gun and reheat the wax until it liquifies, and then I warm the stummel with the air gun. Using a cotton swab, I paint the stummel with the liquified bees’ wax and am careful to work it into all the nooks and crannies of the vineyard frescos carved into the Meerschaum. After this is completed I put the stummel down on a cloth for it to dry. I must say, this time was much easier than the last time when it was in the middle of the Bulgarian winter and the wax cooled and congealed before I could apply it! I use a clean cloth to remove gently the excess wax then I buff up the shine using a micromesh cloth. The pictures show the bees’ wax application.
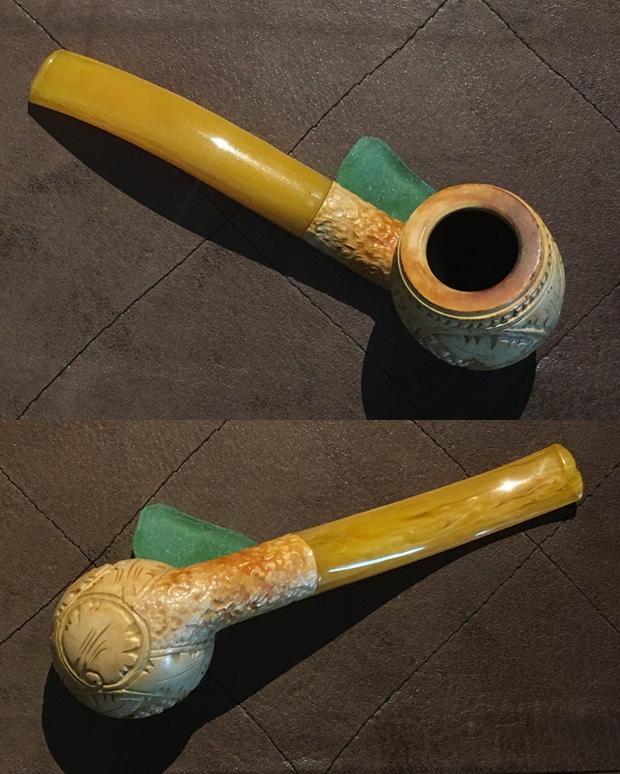
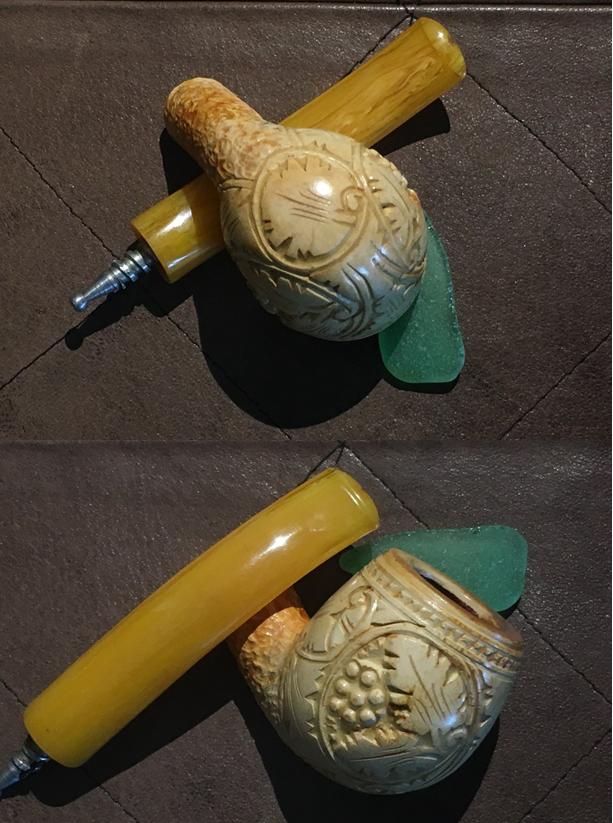
 I’m pleased with the bees’ wax application. The Meerschaum absorbed and colored in ways that I wasn’t expecting. The rim absorbed a great deal and the patina looks great around the stummel. This Meerschaum hand carved Vineyard has a bit of wear and tear character, with some missing grapes, but he’s ready to go. With time, his patina will only deepen and increase the attractiveness of this classic Meerschaum carving. I’m glad that this Meer will be put back in service with one of Jen’s family members. Her gift benefits the Daughters of Bulgaria, our work with women and girls who have been trafficked and sexually exploited. For more information, check out my blog, The Pipe Steward. Thanks for joining me!


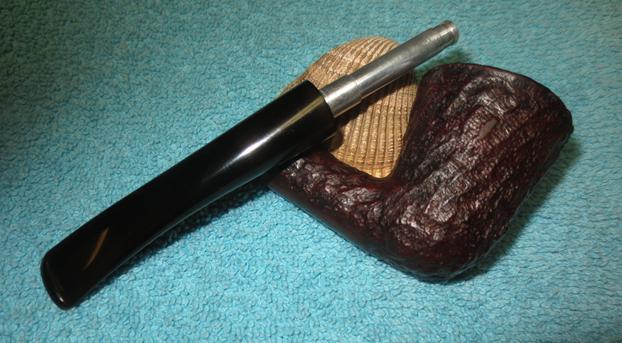
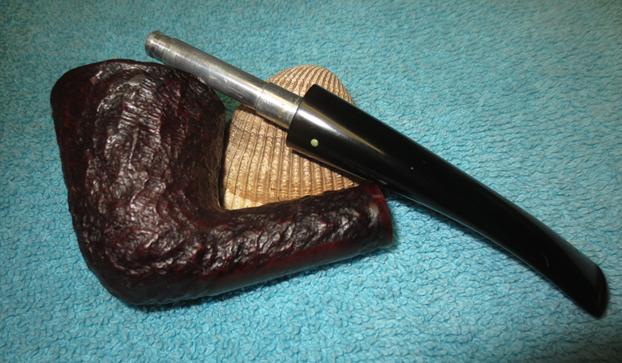
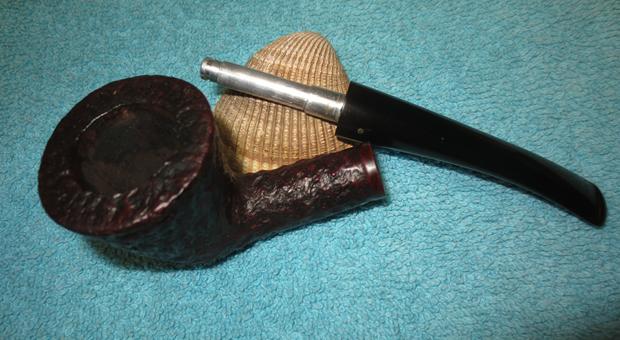
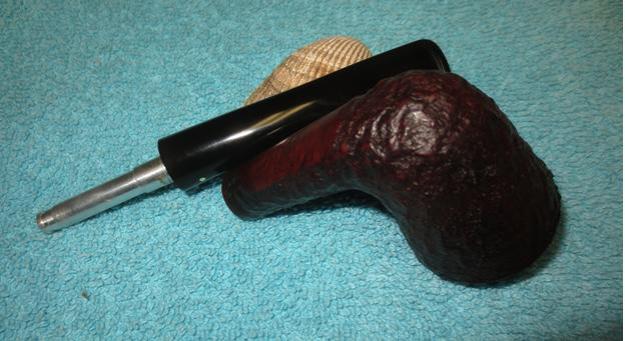
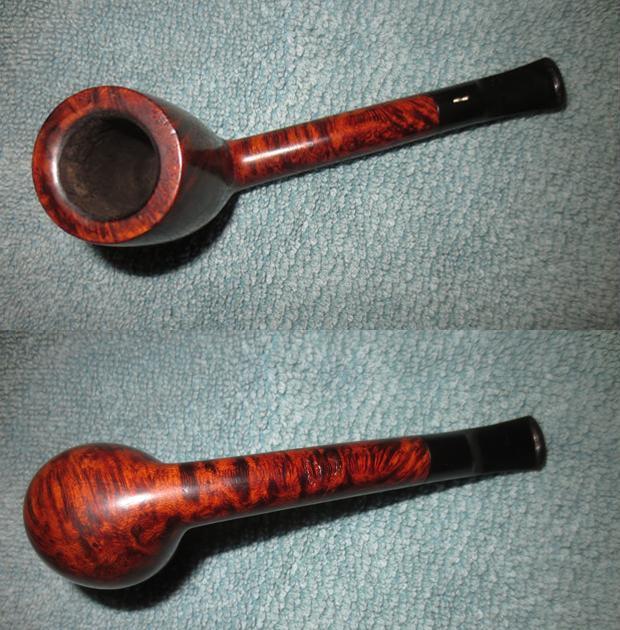
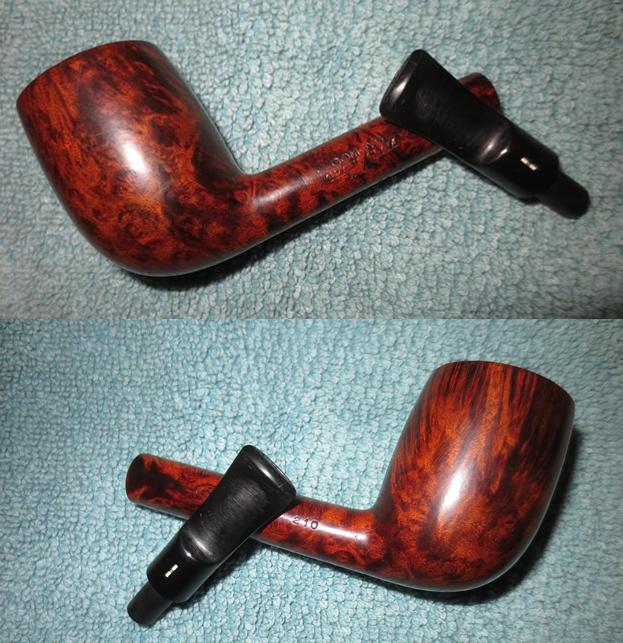
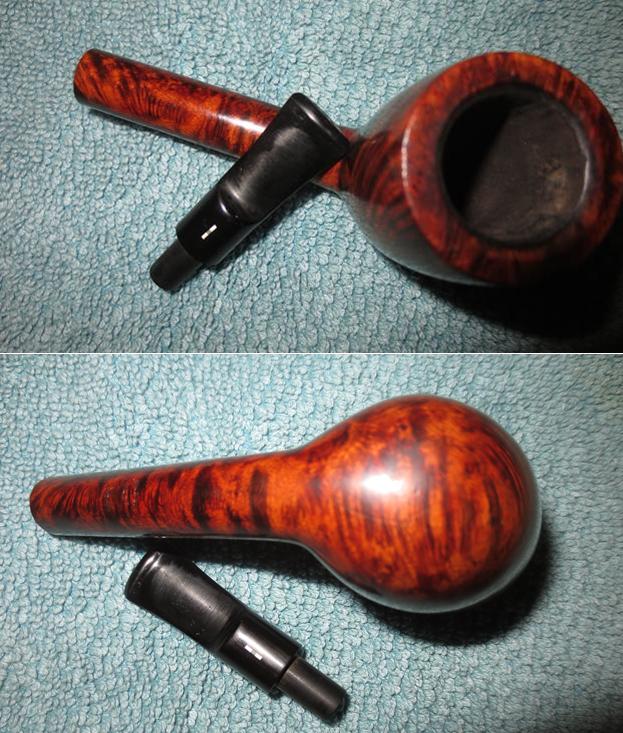
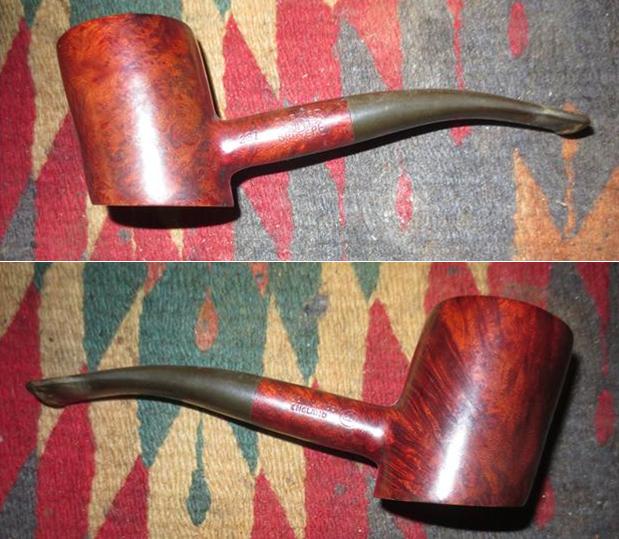
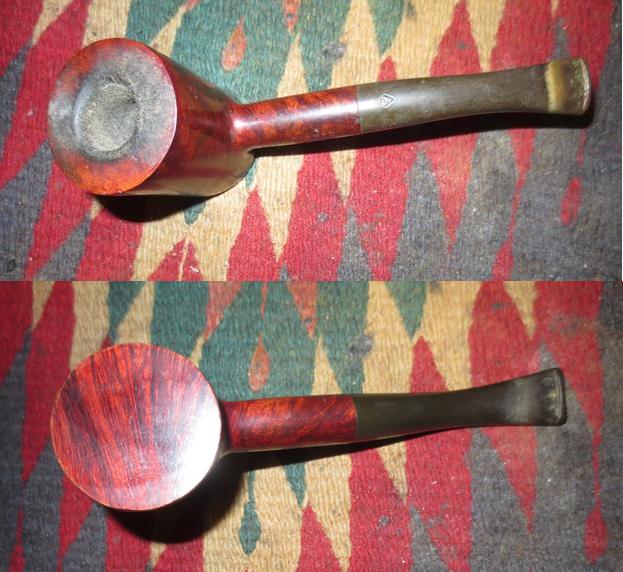
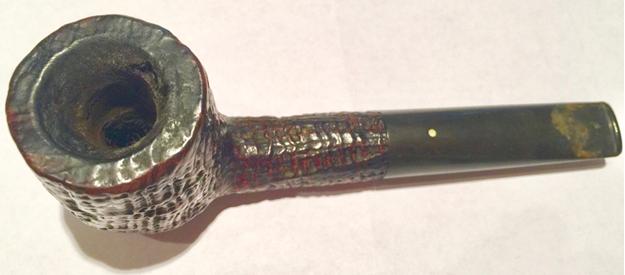
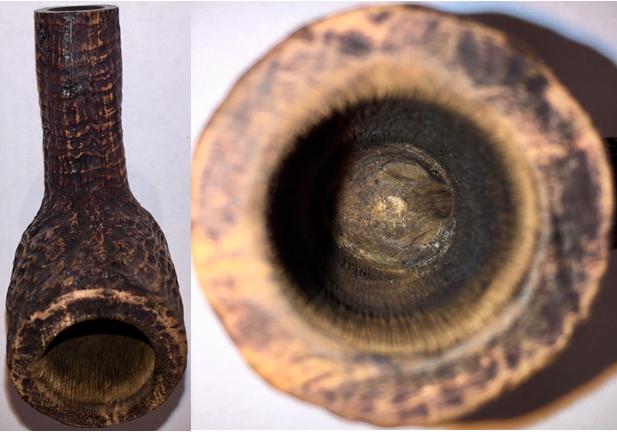
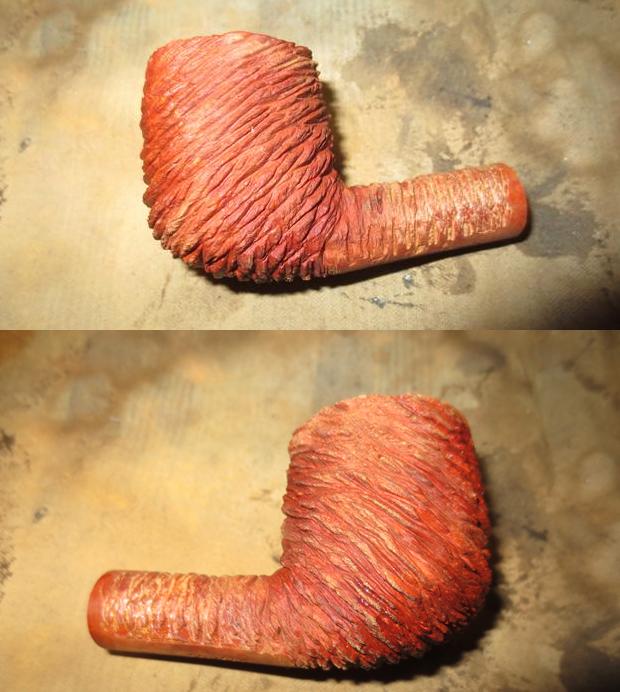
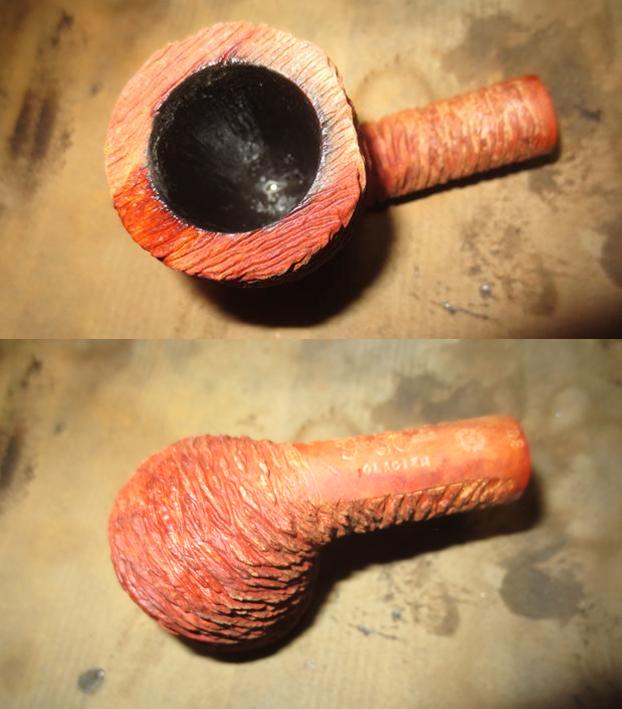
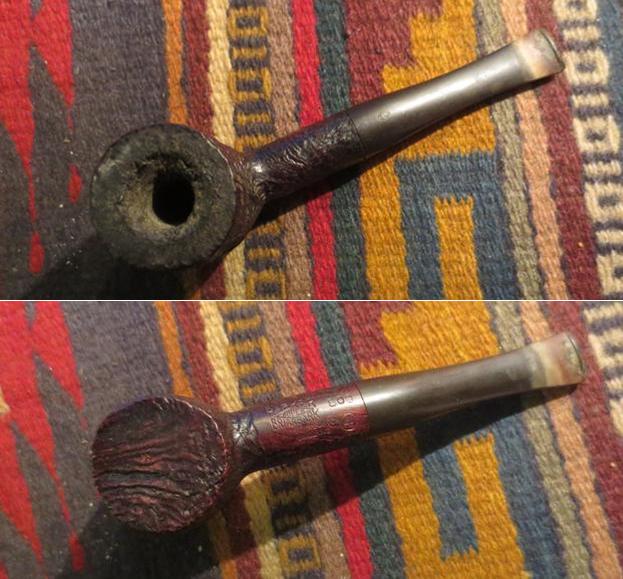
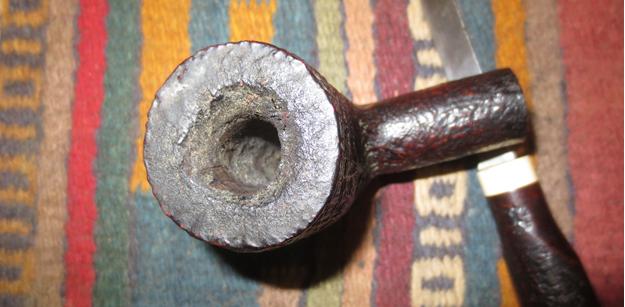
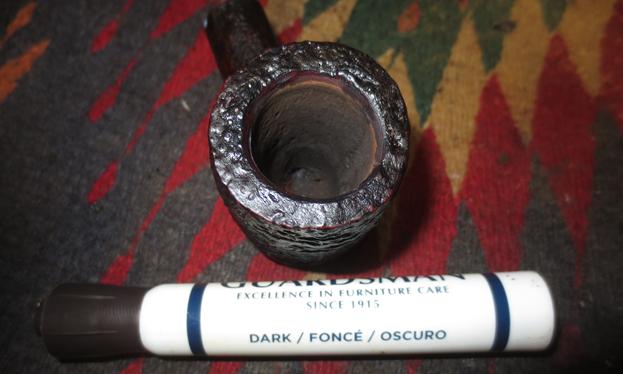
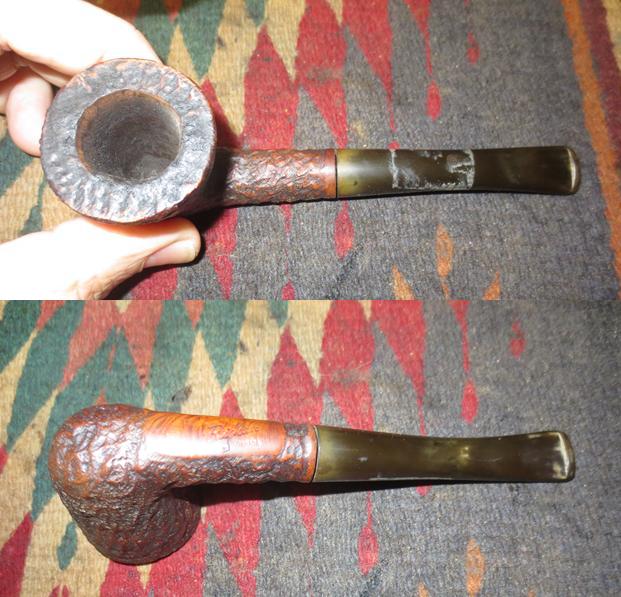
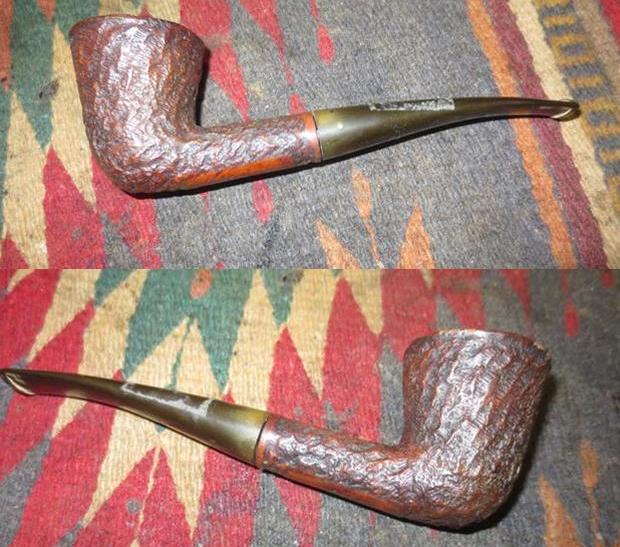 The finish was very worn and the outer edges of the rim showed wear and damage. The inner edge worn as well but the bowl was still in round. The rim had a thick buildup of tars and oils that filled in the grooves and ridges of the rim top. The rim had some darkening of the finish as well. The stem was oxidized and had a sticky residue left behind by a price sticker. There were no tooth marks on the stem surface on either side next to the button.
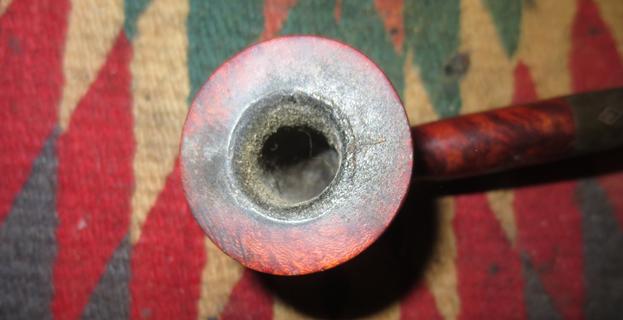
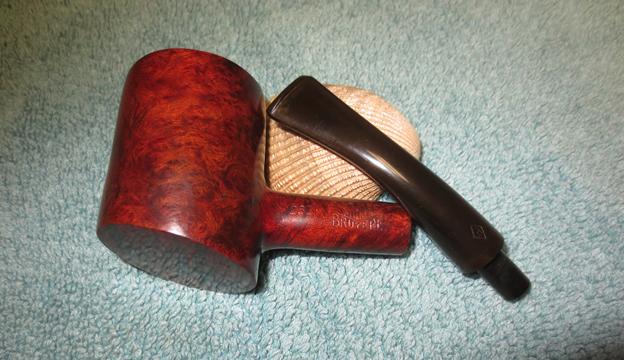
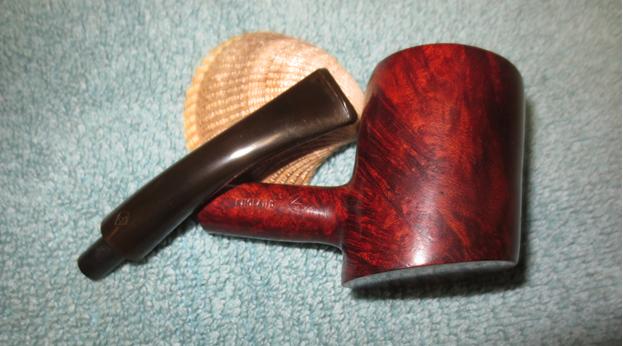
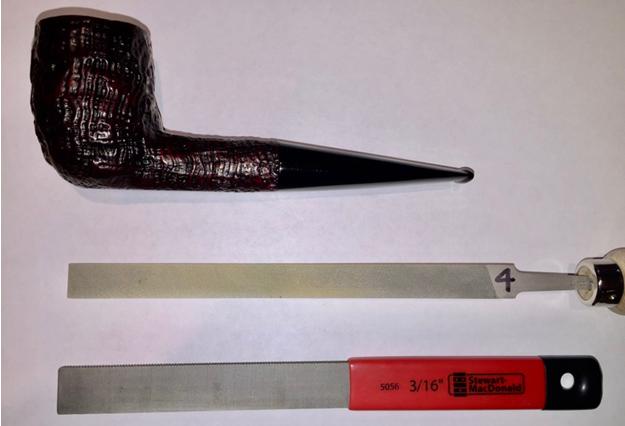
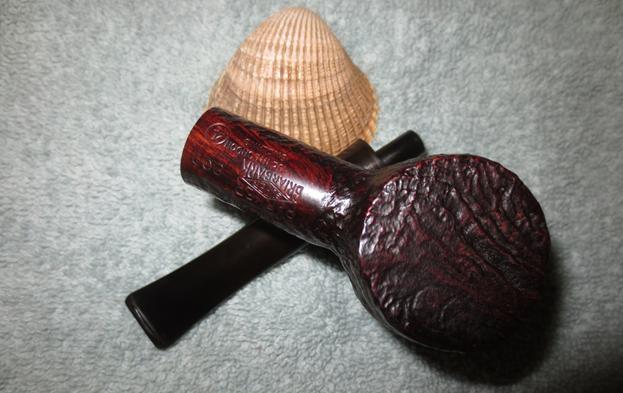
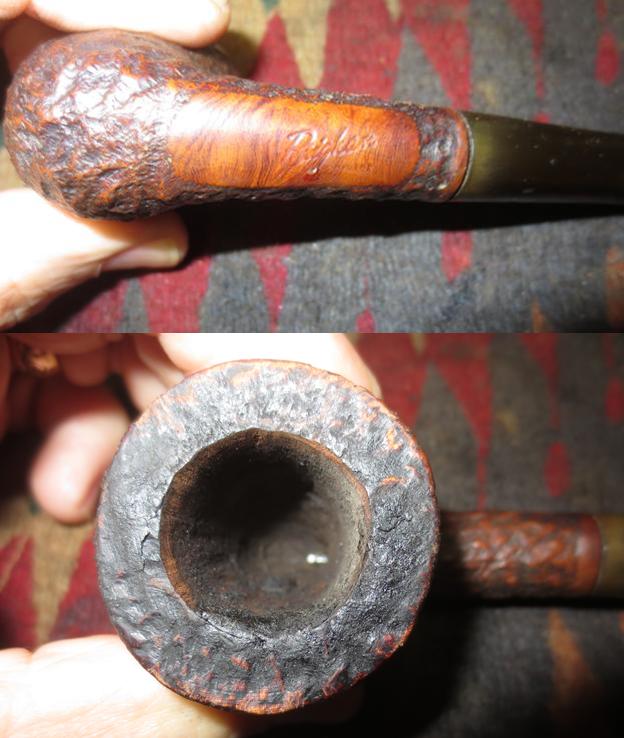
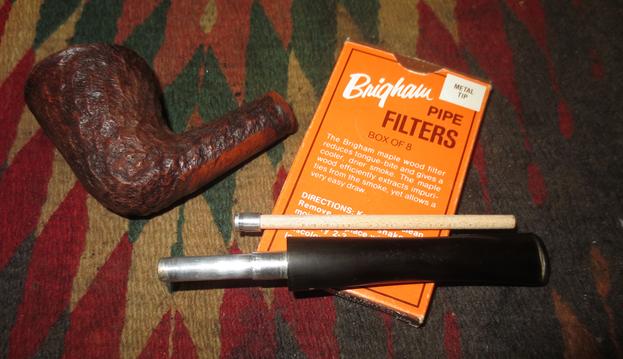
 The stamping on the underside of the shank was clear but slightly worn. It reads Brigham in script at an angle from left to right and block letters, CANADA underneath. Charles Lemon of Dadspipes has written a helpful blog about dating Brigham Pipes by the style of the stamping on the shank. I turned to that blog to look up information on this particular pipe and see if I could identify the time period. Here is the link; https://dadspipes.com/2016/10/03/brigham-pipes-a-closer-look-at-dots-dates-and-markings//. According to that info this pipe comes from the late Canadian Era 1980-2000. The second close up photo below shows the rim and the cake in the bowl. The end of the Brigham system can be seen poking out of the airway in the photo as well.
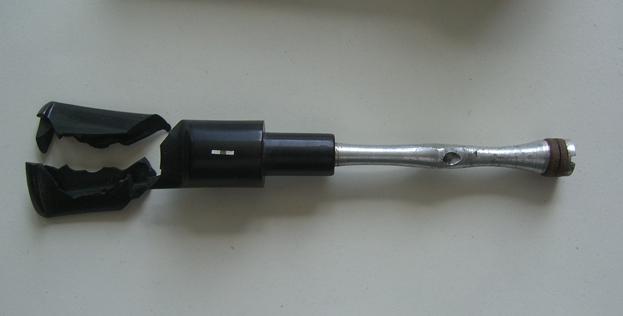
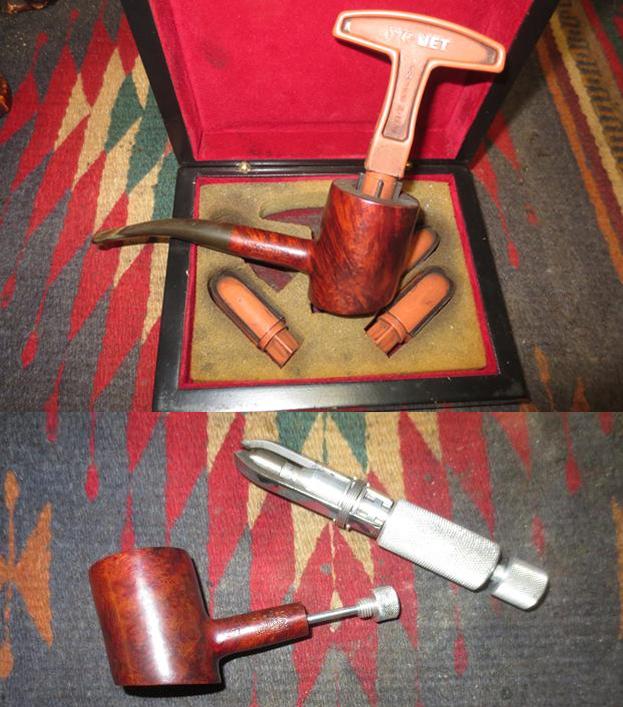
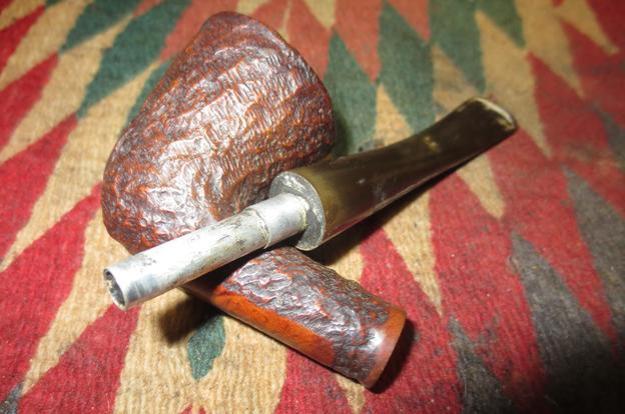
 The next photo shows the tenon and system tube. It was incredibly dirty with a lot of tar and oil on the inside. The pipe had been smoked a long time without the filter in place and there was a lot of buildup in the tube and stem. The shank was also very dirty.
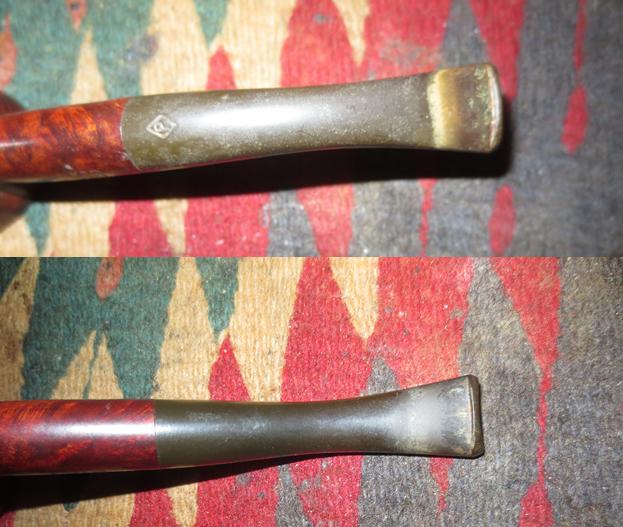
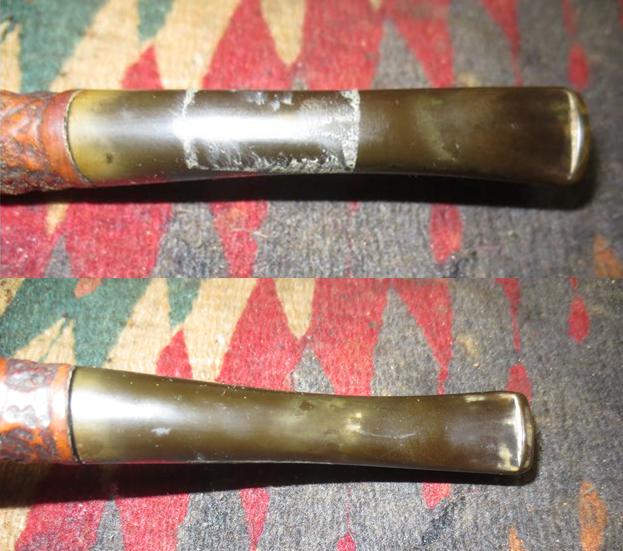
 The next two photos show the condition of the stem. The oxidation pattern and the sticky label gum on the surface are very visible on the stem. The stem is also clear of tooth marks or chatter on the surface near the button.
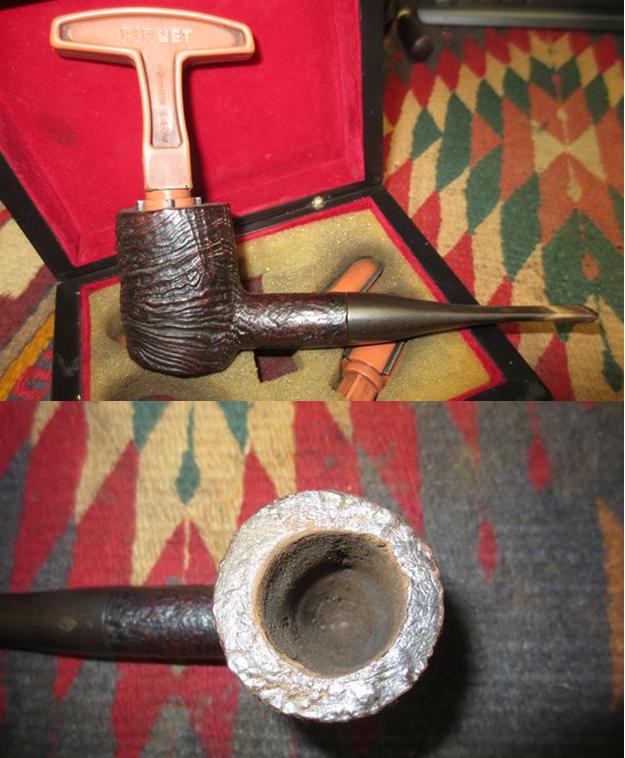
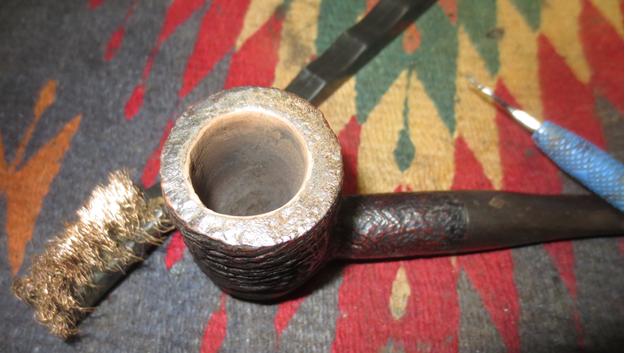
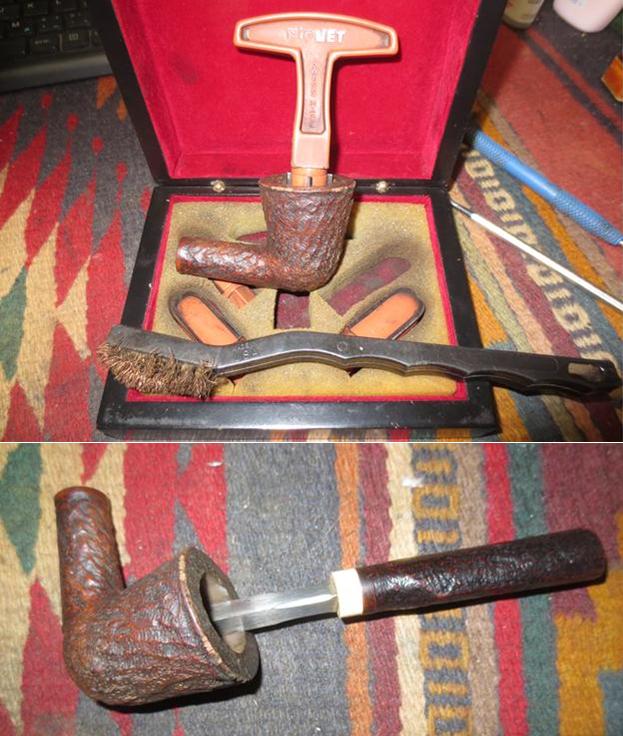
 I reamed back the cake with a PipNet reamer and a Savinelli Fitsall pipe knife. I used a brass bristle brush to knock off the tarry buildup on the rim top and clean out the crevices and grooves in the rustication.
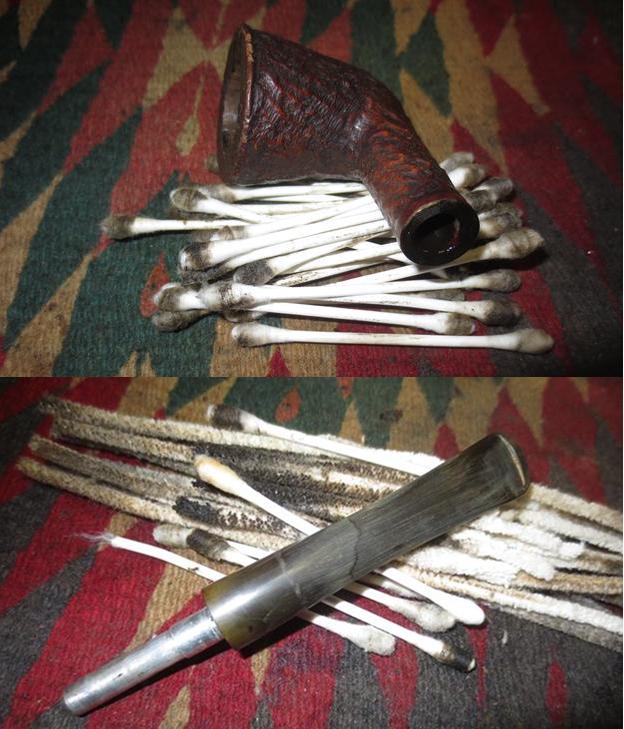
 I decided to clean out the interior of the mortise, shank and airway in the shank and stem before going any further with the exterior. I used alcohol, pipe cleaners and cotton swabs to scrub out those areas and scrubbed until the pipe was clean. I wiped down the surface of the stem to remove the sticky gum left behind by a label on the top side of the stem.
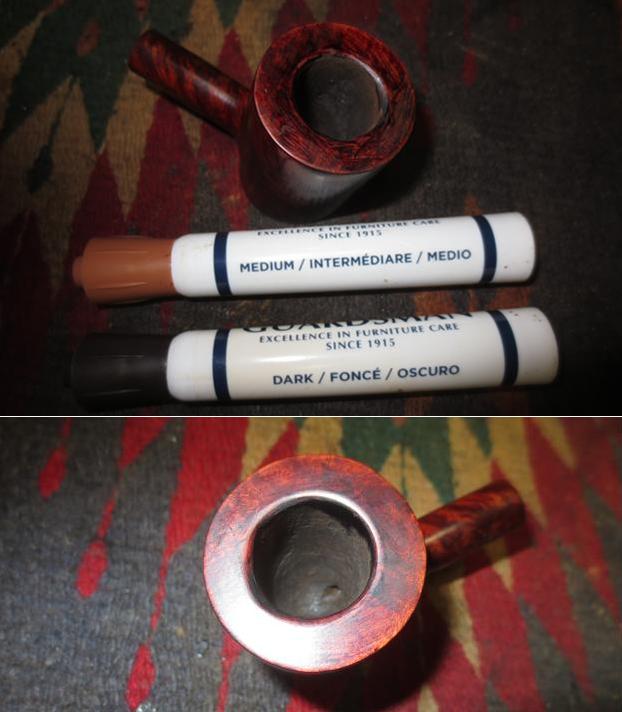
 I scrubbed the surface of the briar with Murphy’s Oil Soap, toothbrush and a brass bristle brush to clean out the grooves and cleaning off the dirt, oil and debris on the briar. The bowl and the rim looked significantly better once I had rinsed it off with running water. It was dry and the stain was lightened but it was clean.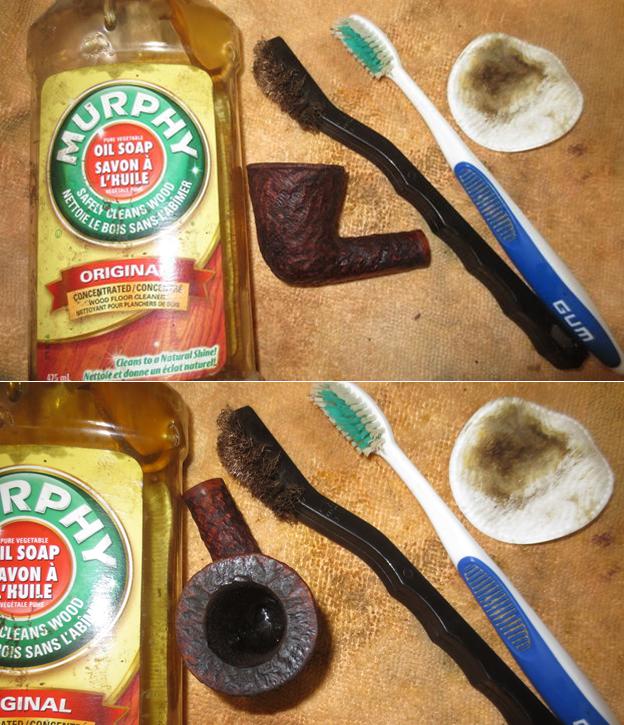
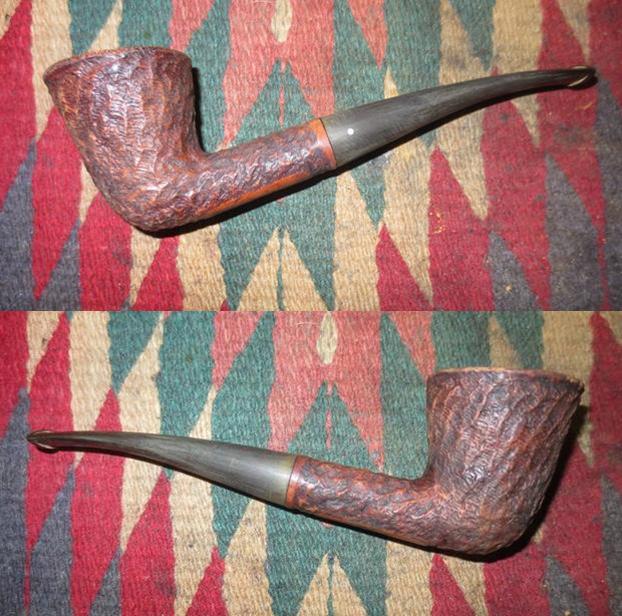
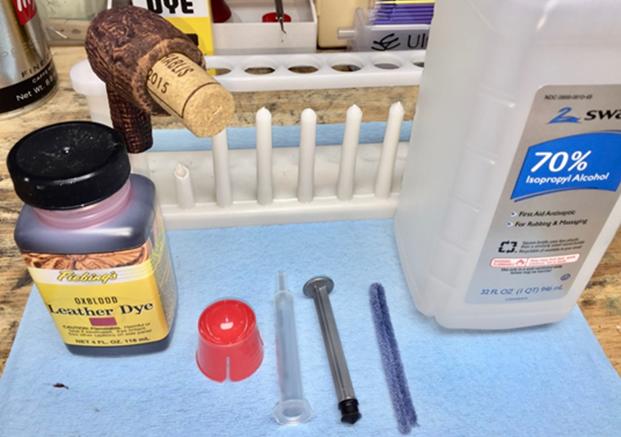
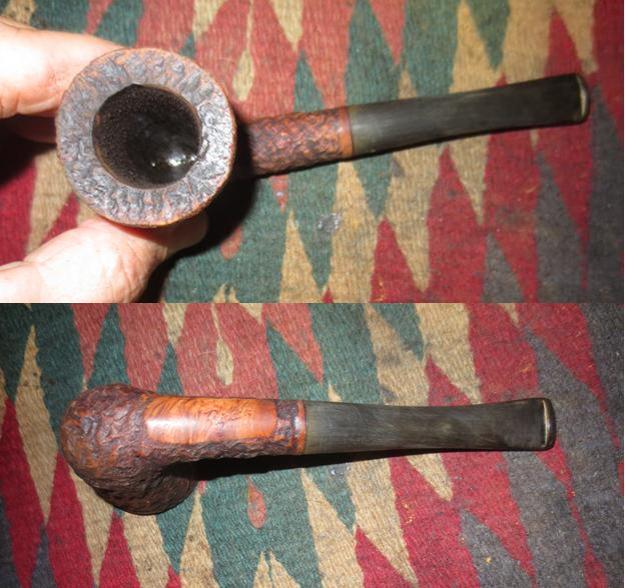 I decided to work on the stem first so while I did I stuffed the bowl with cotton balls and used an ear syringe to fill the bowl with alcohol. I folded a pipe cleaner and plugged the airway so that the alcohol could draw out the oils in the briar. The second photo shows the cotton after it had been sitting for four hours. When I took the cotton balls out at the 6 hour mark they were exactly as they looked at the 4 hour mark. I was a bit surprised that they were not darker. But then again my old friend smoked primarily Virginias – in fact I don’t think he ever smoked aromatics in the time I knew him.
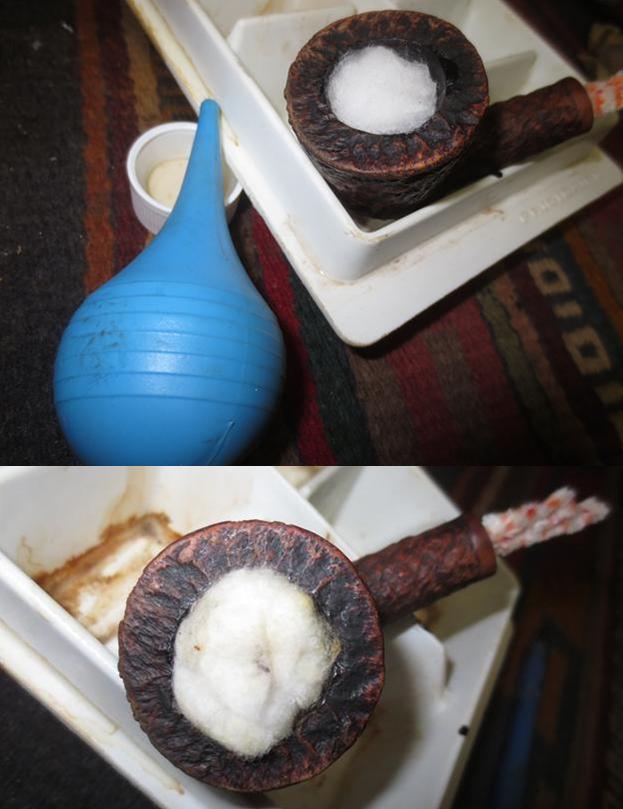 I took out a new maple wood Brigham filter for the system and took a photo of the pipe at this point in the process. I still need to stain the bowl but it was looking better and it smelled and looked clean.
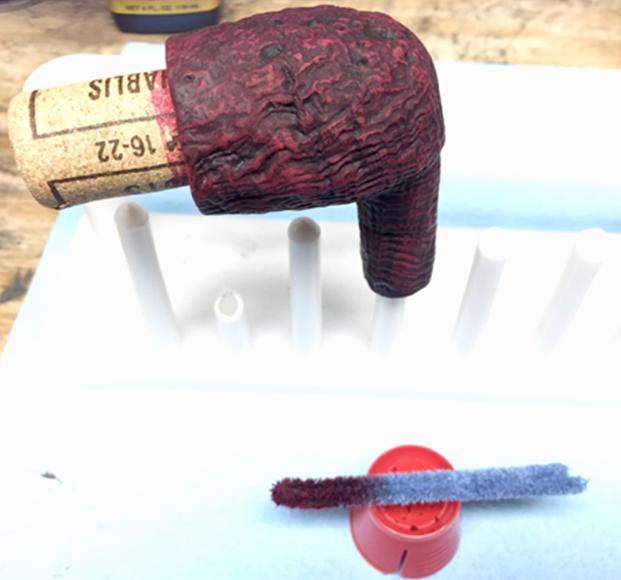
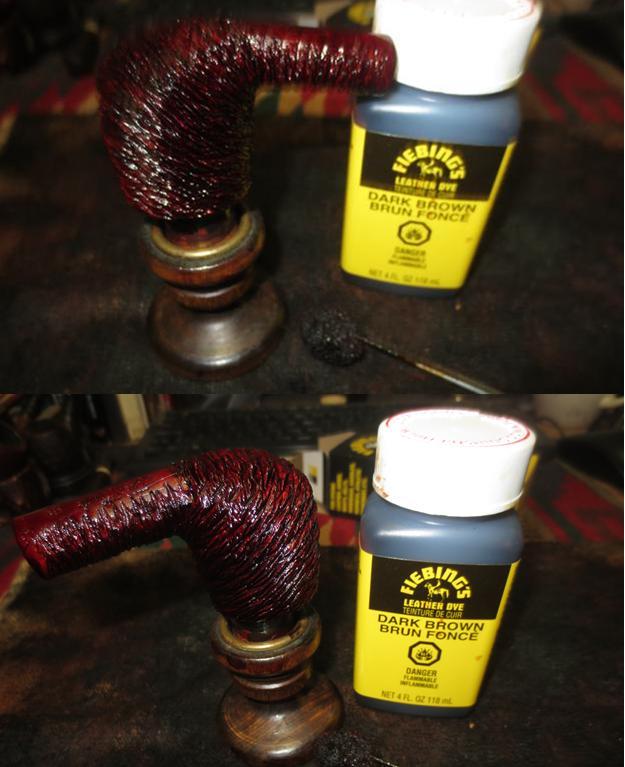
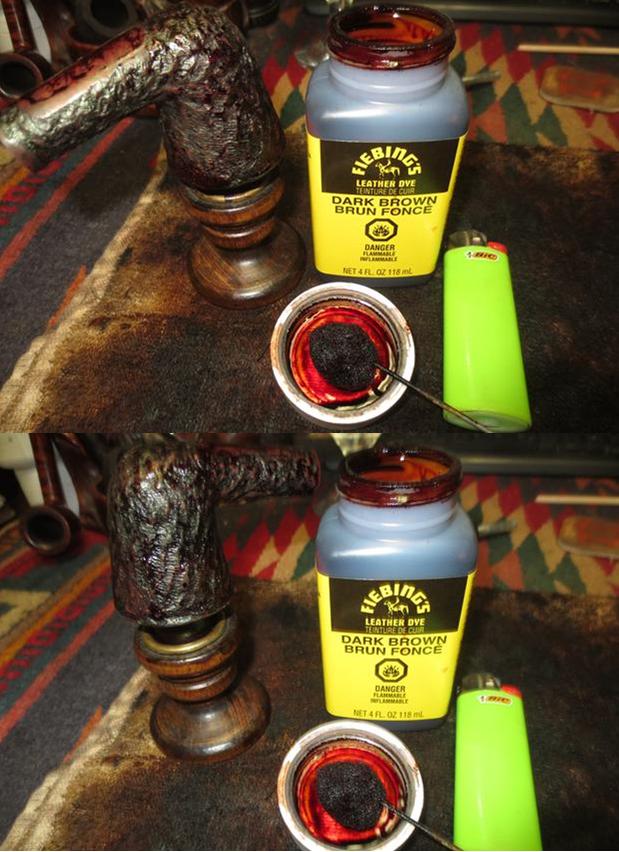
 I stained the bowl with a dark brown aniline stain and flamed it to set it in the grain. The characteristic blue flame that burns the alcohol out of the stain setting it deep in the grain is a beautiful site to my eyes. I repeated the process several times until the coverage was correct.
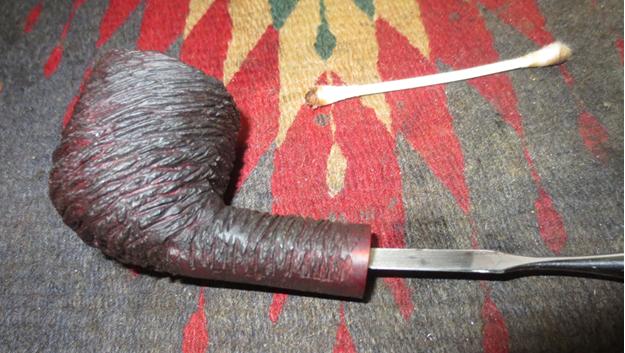
 I wiped the bowl down with alcohol on cotton pads to make a bit more transparent. I wanted the contrast that had originally been on these old Brighams to show through. There was enough dark stain in the deep grooves of the finish to contrast nicely with the new stain coats I gave the pipe.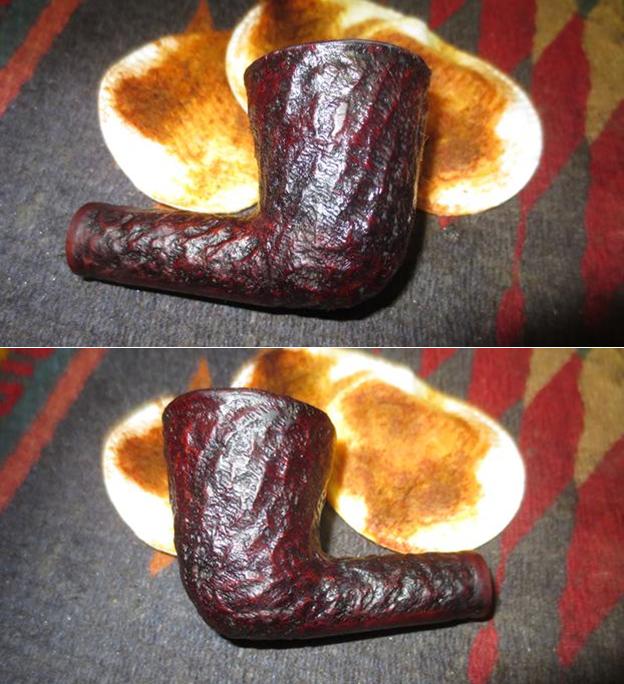
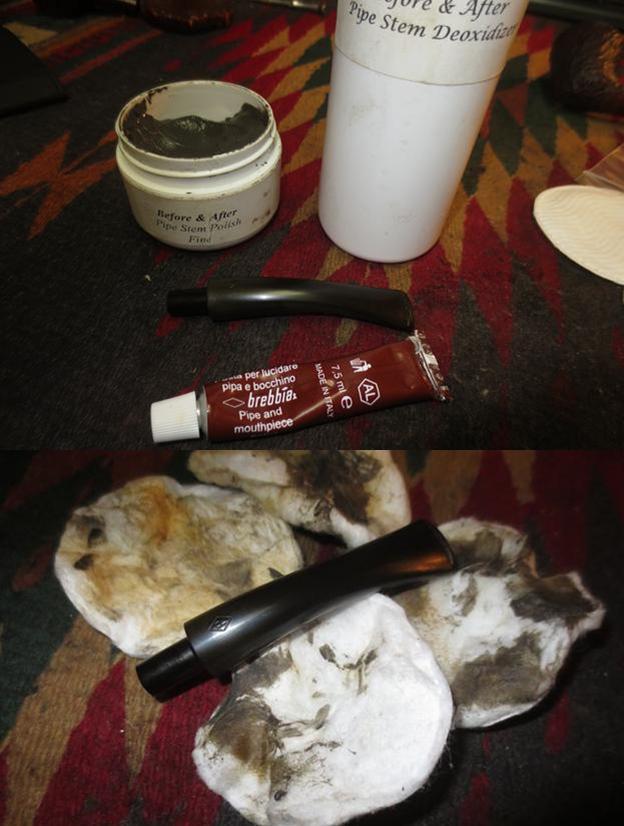
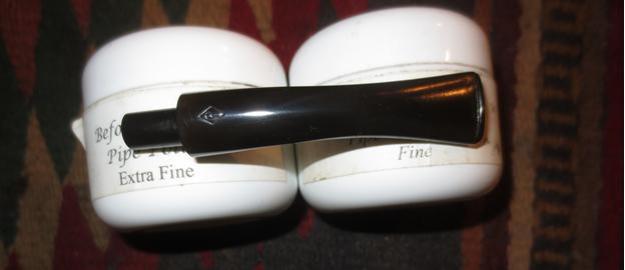
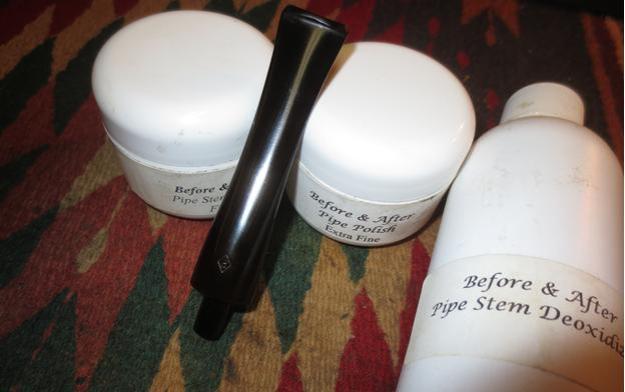
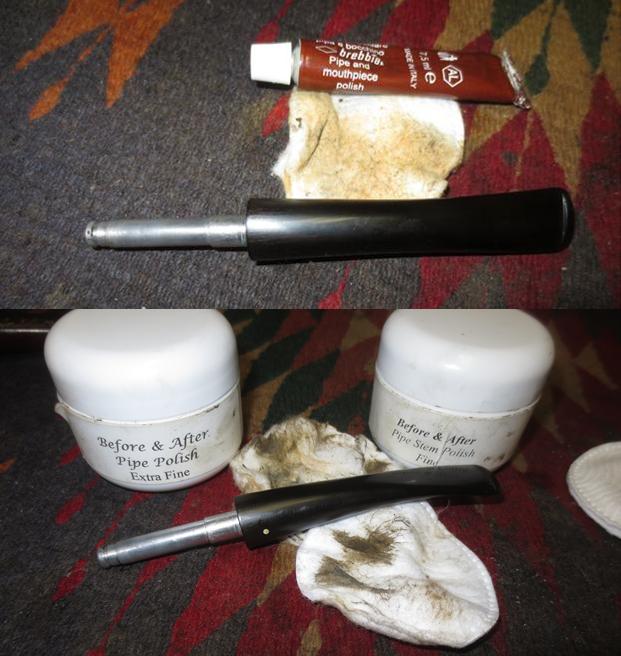
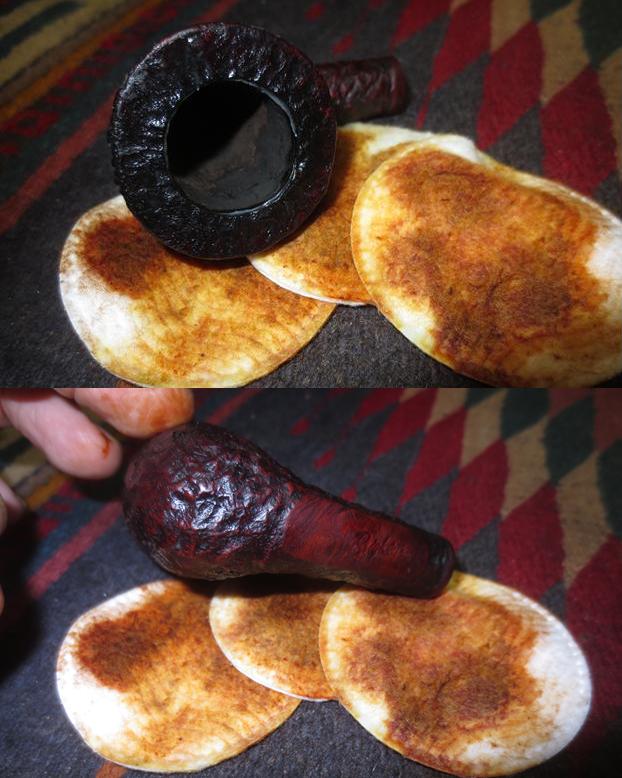 I rubbed the stem down with Brebbia Pipe and Mouthpiece Polish and some Before & After Pipe Stem Polish to remove the oxidation in the vulcanite. It lifted a lot of the oxidation and what was left behind was minor.
 I polished the stem with micromesh sanding pads – wet sanding with 1500-2400 grit pads and dry sanding with 3200-12000 grit pads. I rubbed the stem down with Obsidian Oil after each pad and gave it a final coat of oil after the 12000 grit pad. I set the stem aside to dry.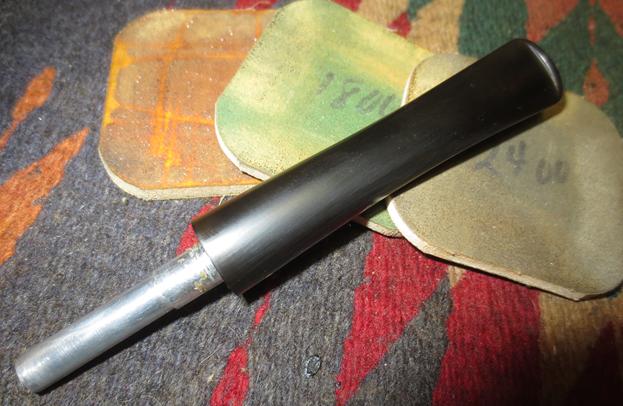
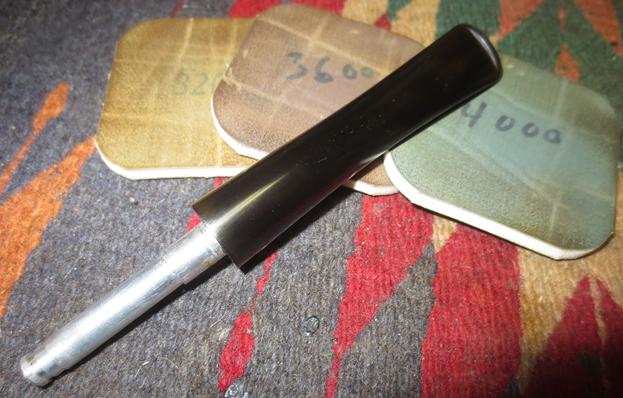
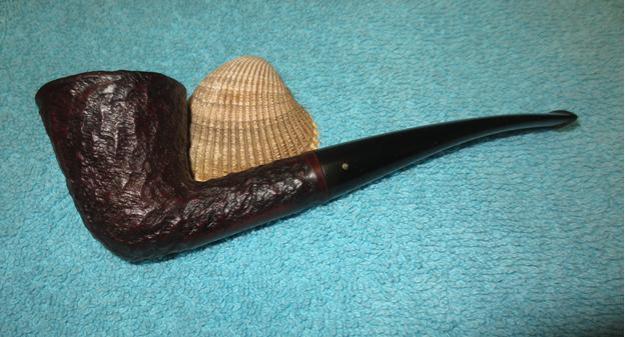
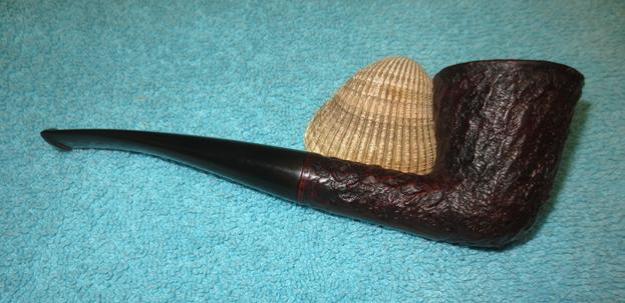
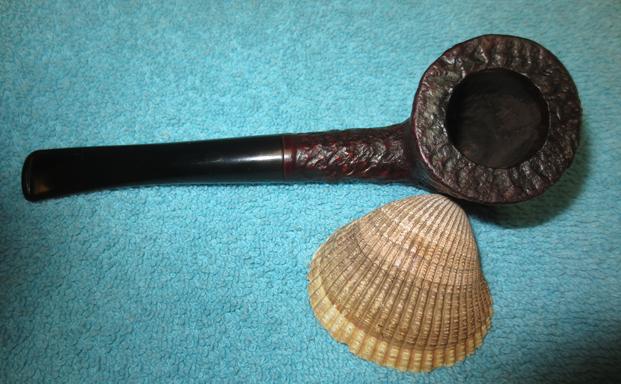
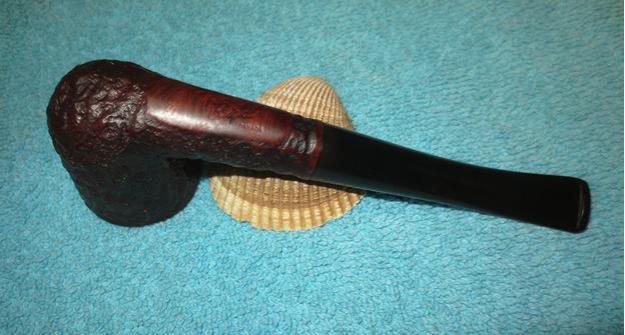
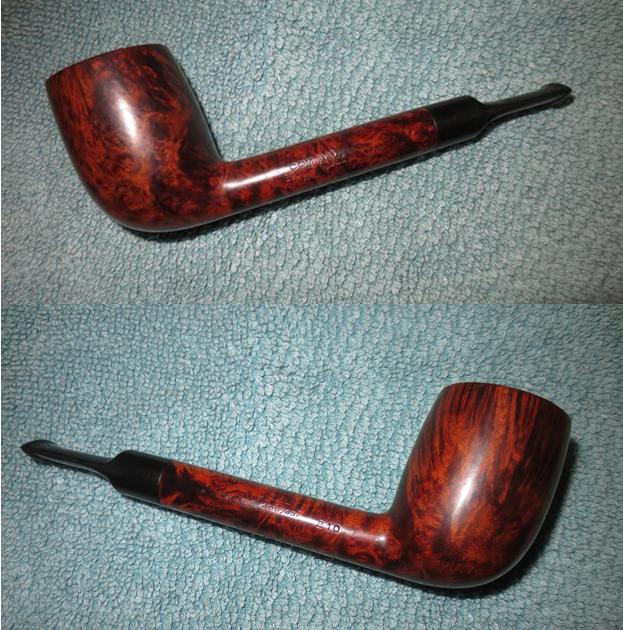
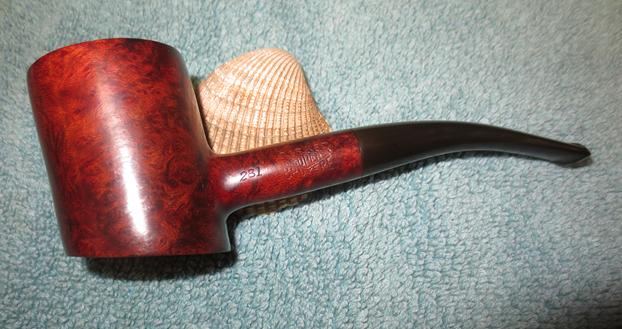
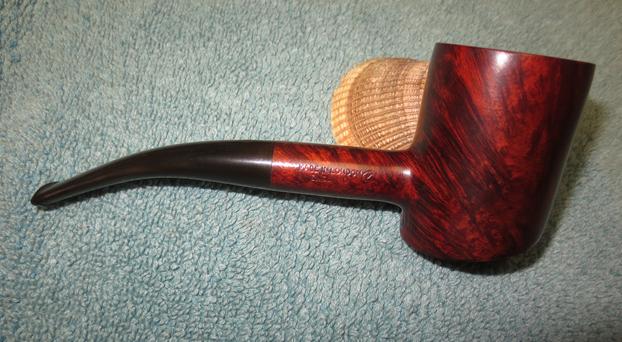
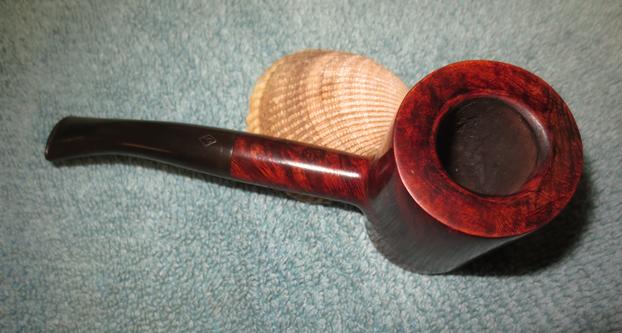
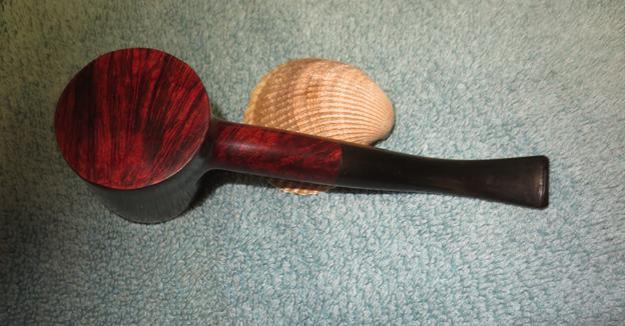
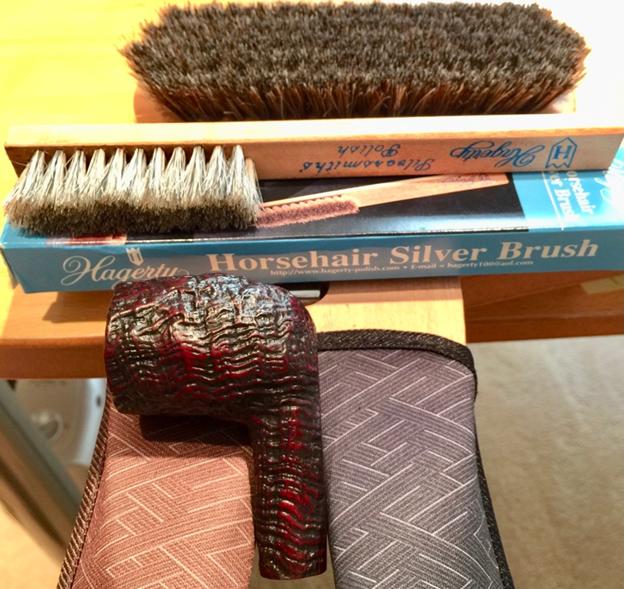
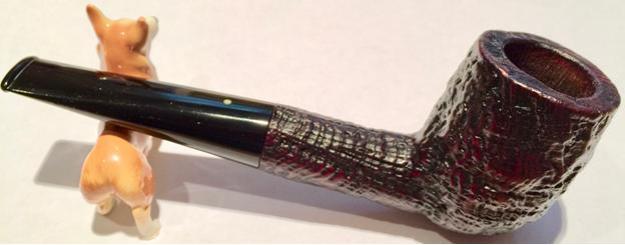
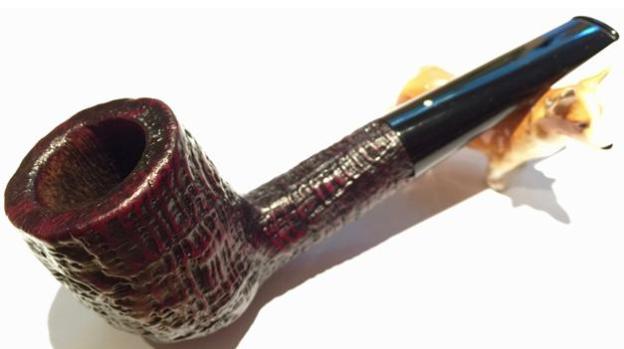
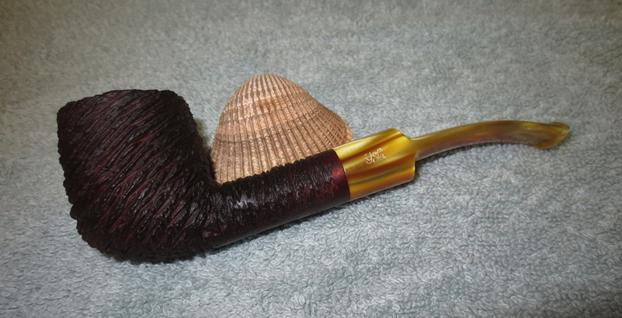
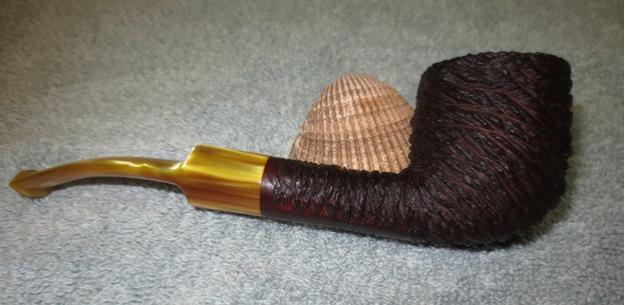
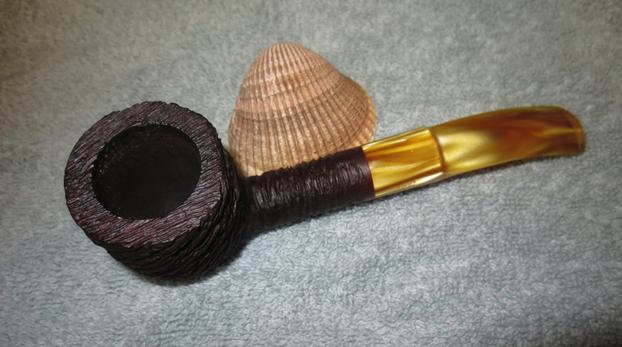
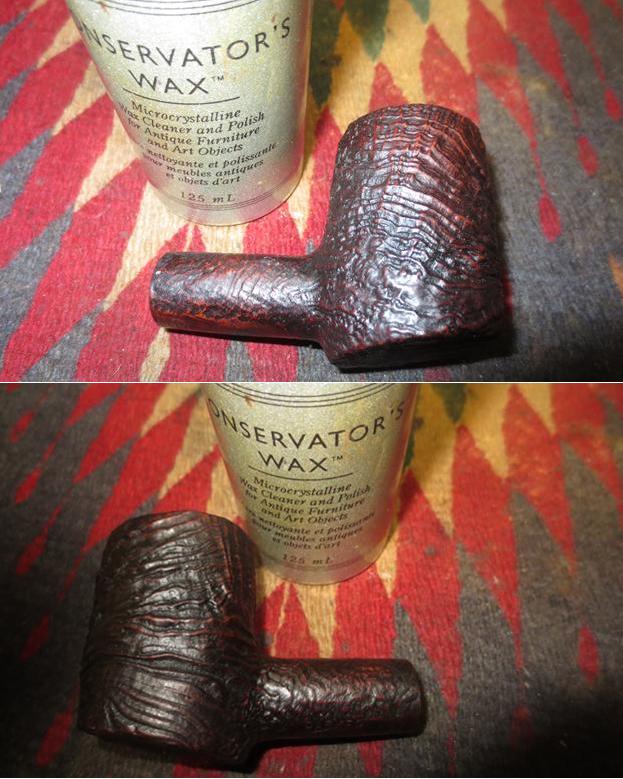
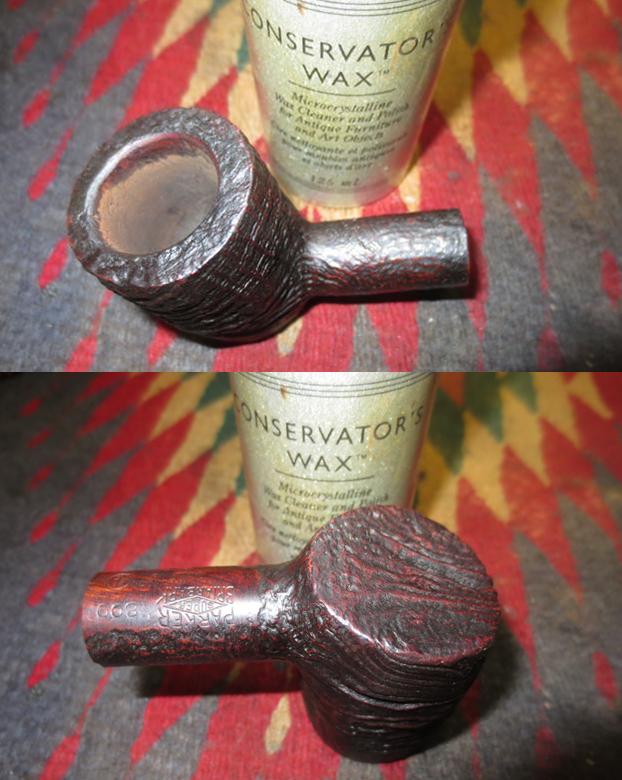
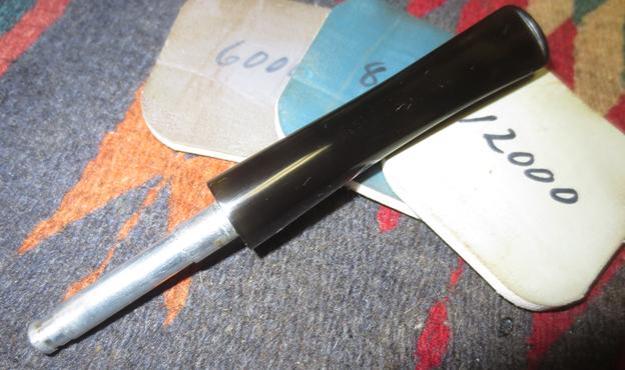 When I finished there still appeared to be a little oxidation at the tenon end of the stem. I was not sure if it was the light from the flash or reality so I took it to the buffer and buffed that area with red Tripoli and repeated the last three micromesh pad grits. I buffed the pipe and stem with Blue Diamond to further polish it. I buffed the stem with carnauba wax and gave the bowl multiple coats of Conservator’s Wax. I buffed the pipe with a clean buffing pad to raise the shine and with a microfibre cloth to deepen it. The finished pipe is shown in the photos below. It is a beautiful pipe and even better in person. Thanks for looking.