Blog by Steve Laug
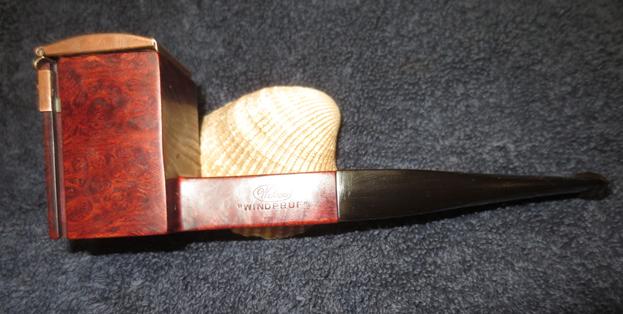
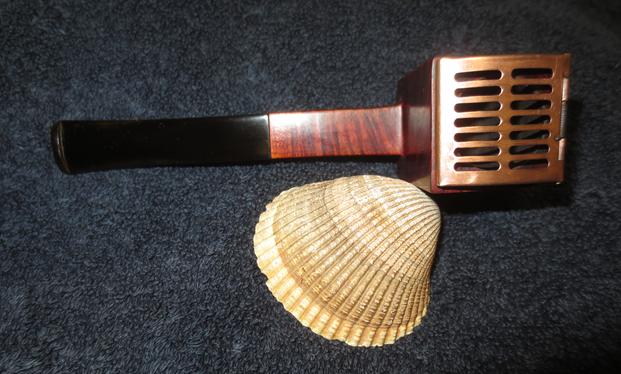
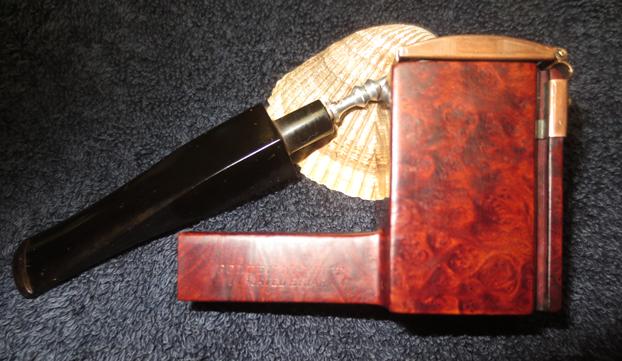
My brother sent me a link to a Weber “Windpruf” pipe. I have had a few different windproof pipes in the past but most had a domed top that swiveled on a pin or a screw in the back of the rim top. The cap rotated to either side for lighting and tamping. This one was different and when I went on-line to look at it I was hooked. It was stamped on the left side of the shank Weber in an oval over “Windpruf” and on the right side it read Golden Walnut over Imported Briar. The pipe was a square panel. The right and left sides of the front of the bowl were grooved and a copper coloured wind cap was anchored in those grooves. The lid was spring loaded on both the base on the bowl front and on the cap itself. It sat on top of the bowl rim and let air flow into the bowl from the top and the sides. The stem was oxidized but otherwise undamaged by tooth chatter or marks on either side. The first seven photos come from the EBay seller. The briar looked pretty clean in the photos and the copper cap was in good shape.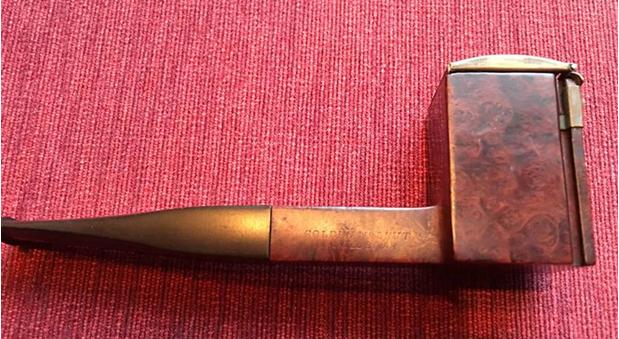

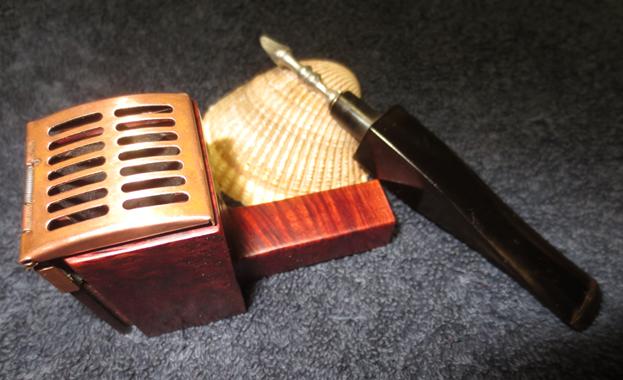
 The seller included some close up photos showing the rim cap closed and open. The inside of the cap and the top of the rim were dirty and there was some lava build up on both.
 The seller also showed the stinger apparatus that was in the stem. It had a lacquer build up that turned it a golden colour. My brother put the bid in and won the pipe. It did not take too long for the pipe to travel to his house.
 When it arrived in Idaho he took some photos of the pipe before he cleaned it up. The briar had some nice birdseye and cross grain on the shank and the bowl. The stem was dirty and the interior of the bowl had a light cake and the lava on the rim and inside the cap was not thick and would be easier to clean up.
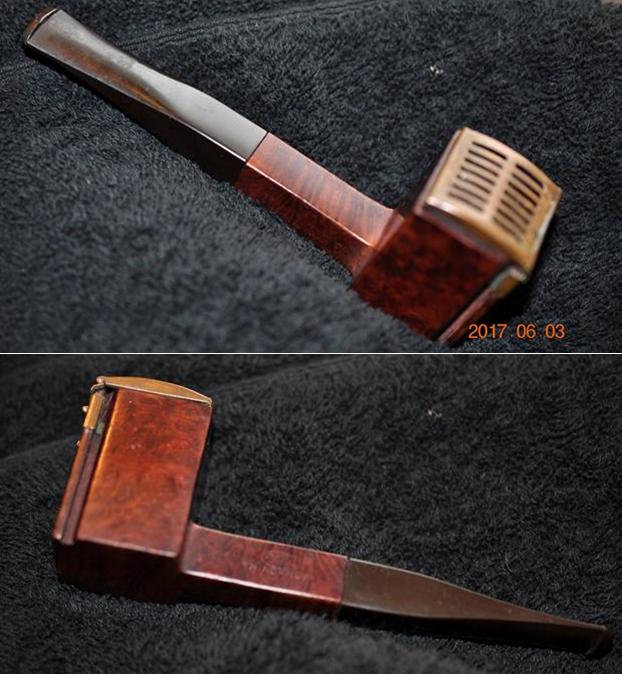
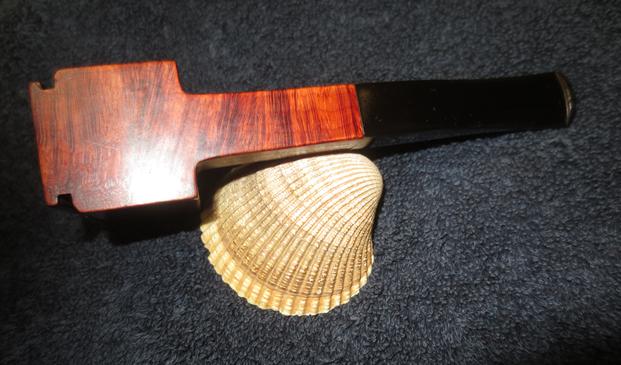
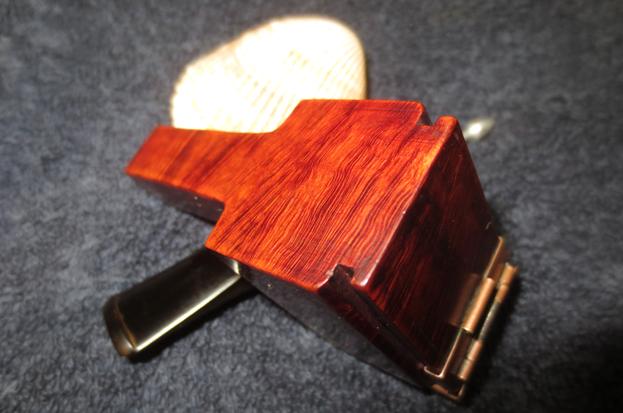
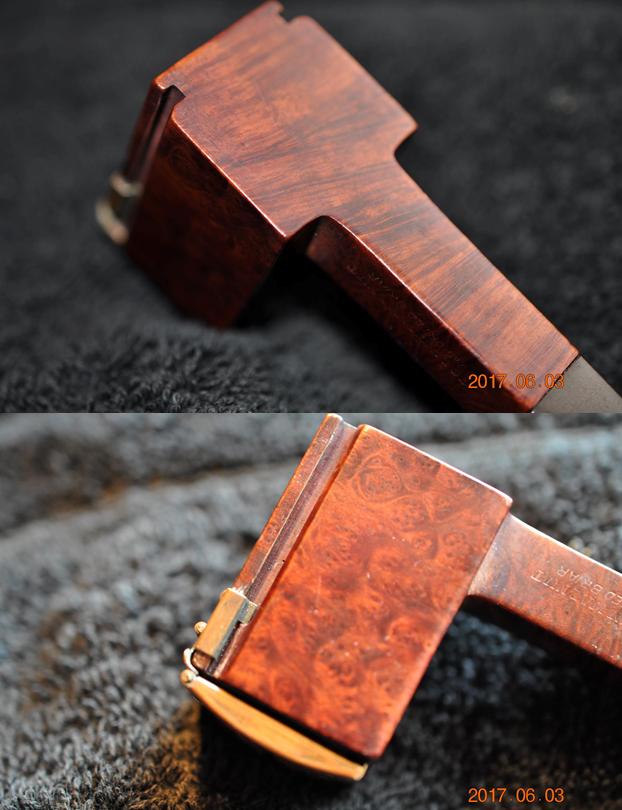
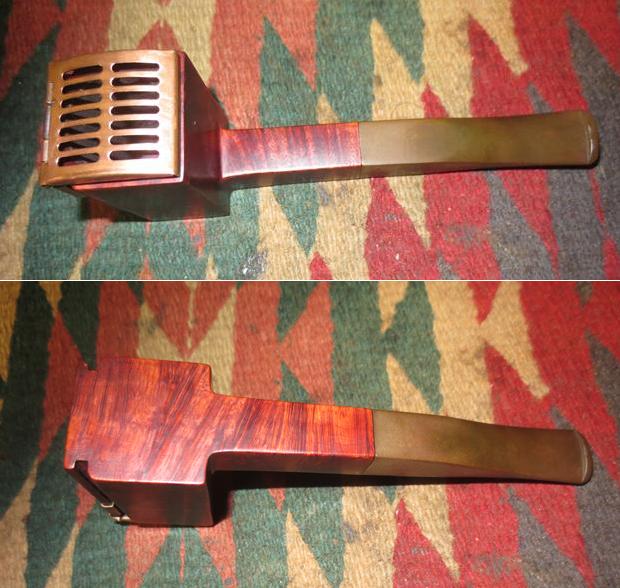
 Jeff took some close up photos of the sides of the bowl. There was some pretty birdseye grain on the sides. The front of the bowl was worn and dirty. It appeared that the lid could be slid down the front of the bowl if one held the lid open. It evidently had been moved up and down the front side as it left marks behind on the briar. The underside of the bowl had some great cross grain that stood out really well with the nice brown contrast stain.
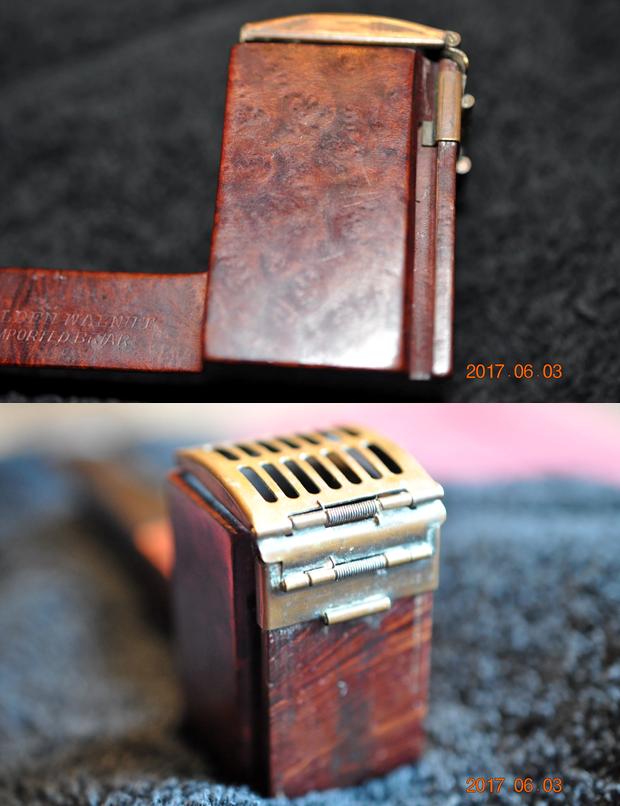
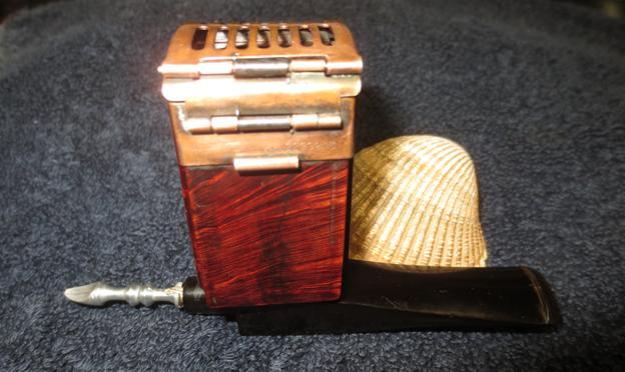
 The next two photos Jeff took show the rim top, cap inside and the cake in the bowl. You can see from the next two photos the thickness of the lava on the rim top and the cake in the bowl.
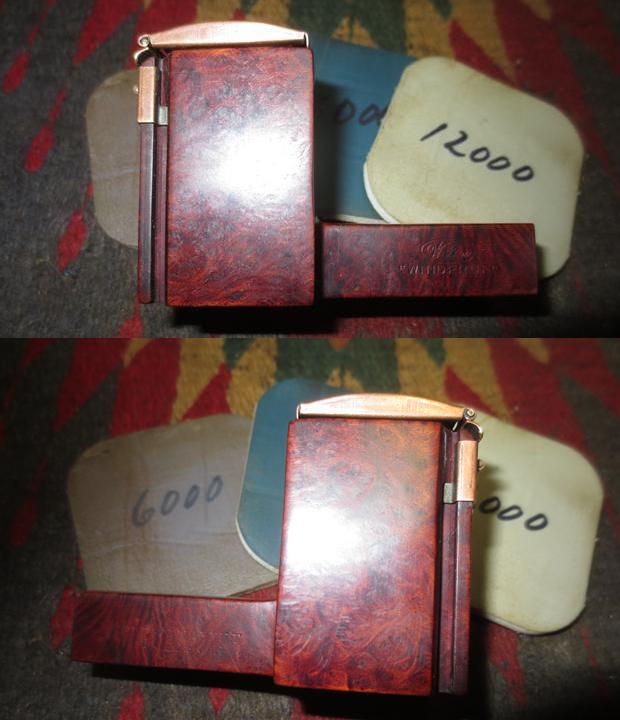
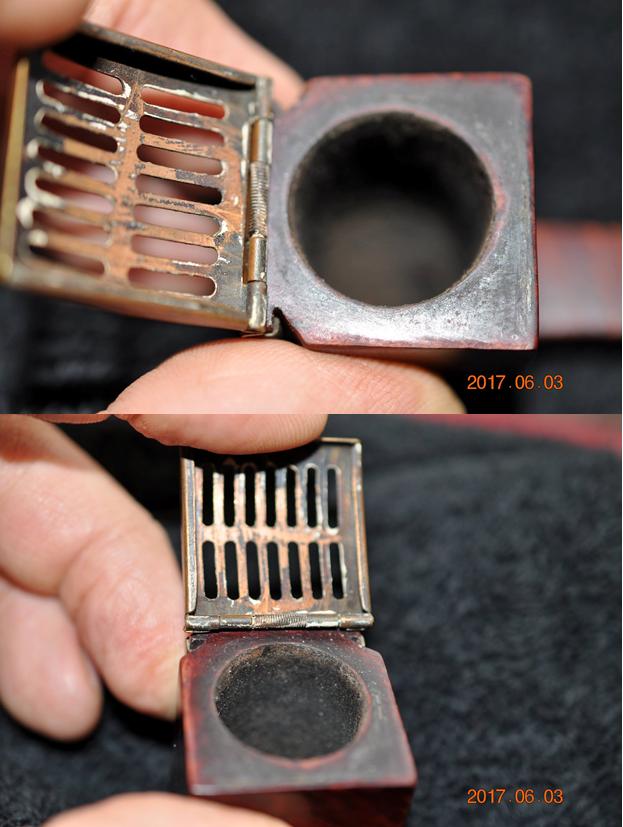 The next two photos show the stamping on the sides of the shank. The top photo shows the left side of the shank and the second shows the right side of the shank.
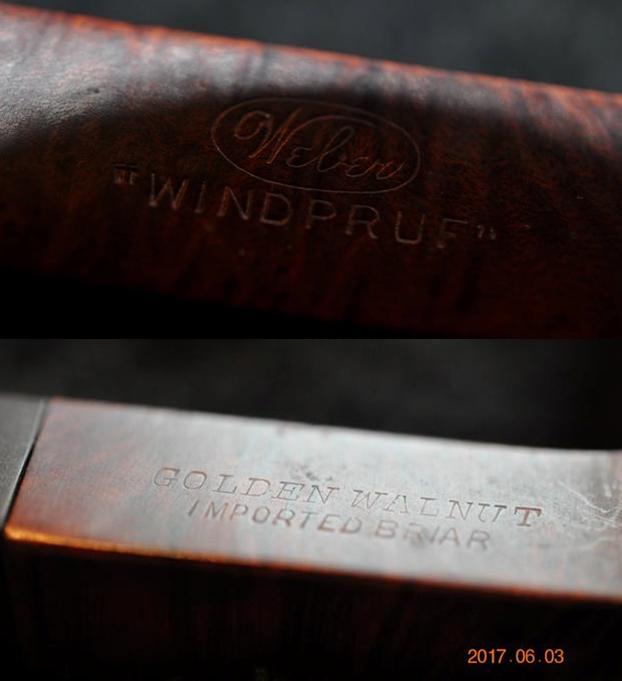 The stem was in good shape other than oxidation and dirt on the surface. There were some worn spots on the button edge on the top and the underside of the stem.
 Once again I am thankful for the cleanup work that my brother is doing on these old pipes we are reworking. He does a really good job cleaning the interior and exterior. He reamed and cleaned the bowl and the rim and scrubbed the exterior with Murphy’s Oil Soap and rinsed the briar with water. He soaked the stem with Oxyclean and rinsed and cleaned it with a soft cloth. He cleaned out the mortise and airway in the stem and shank with pipe cleaners, cotton swabs and alcohol. He did not remove the stinger so I would need to do that. The next four photos show what the pipe looked like when it arrived in Vancouver.
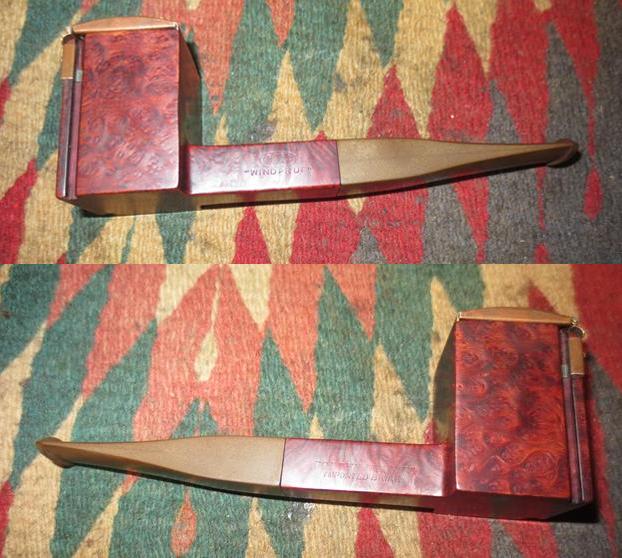
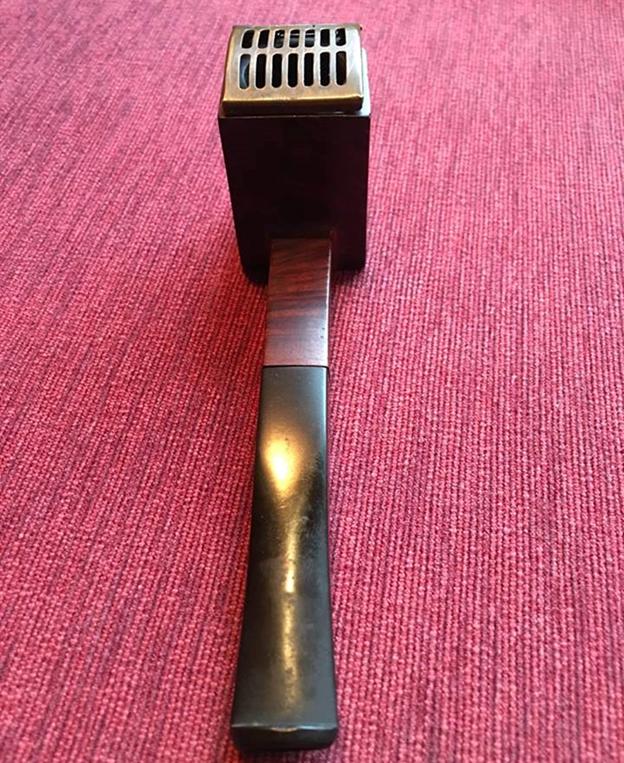
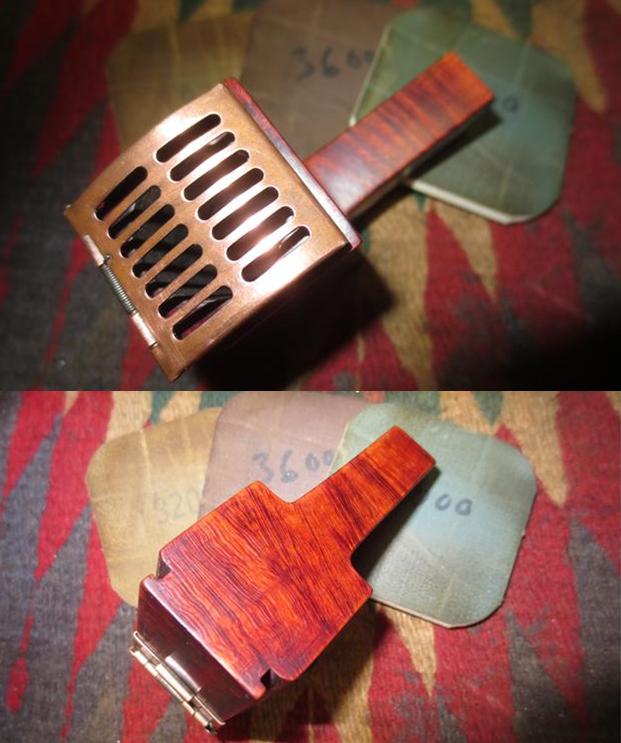
 I took some close up photos of the top with the rim cap closed and with it open to show how well the pipe had cleaned up.
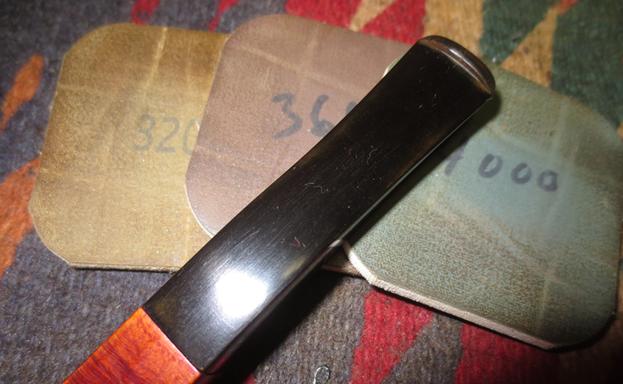
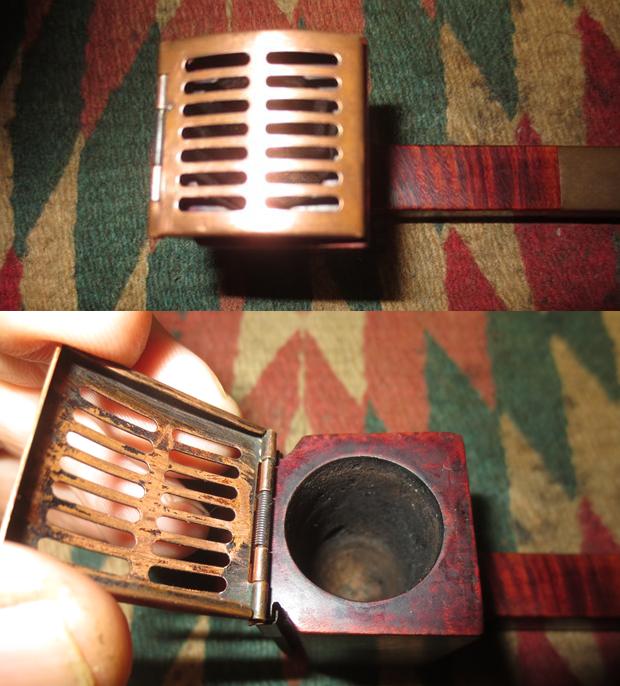 The next two photos showed the condition of the oxidized stem and the small tooth marks on the button top on both sides of the stem.
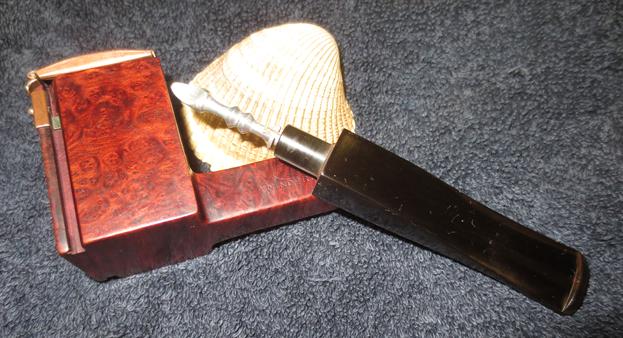
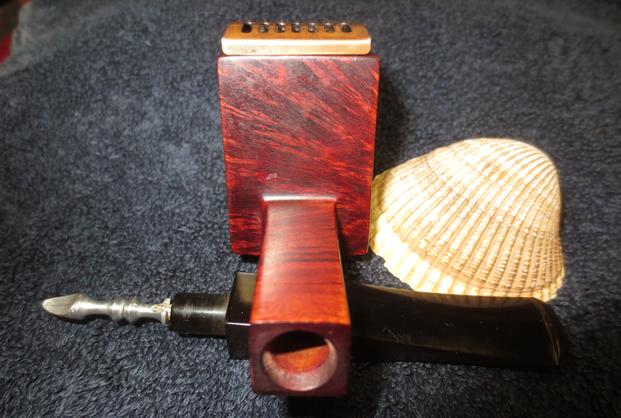
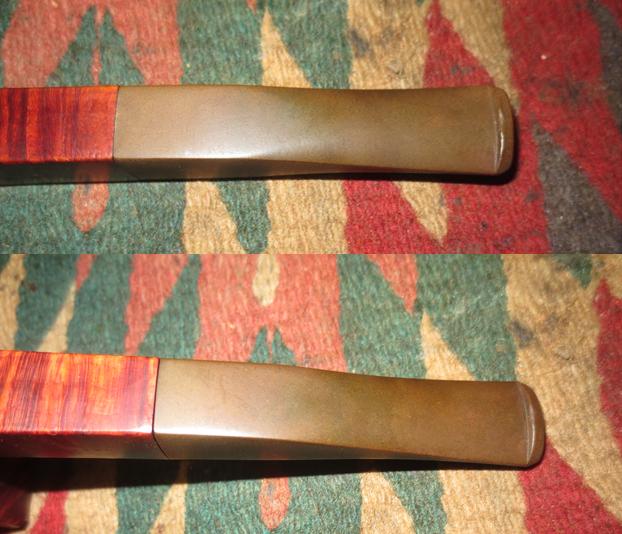 I removed the stem from the bowl and took a picture of the stinger apparatus. It was shiny and clean but I could see that it had not been removed before the stem had been cleaned. I would need to do that.
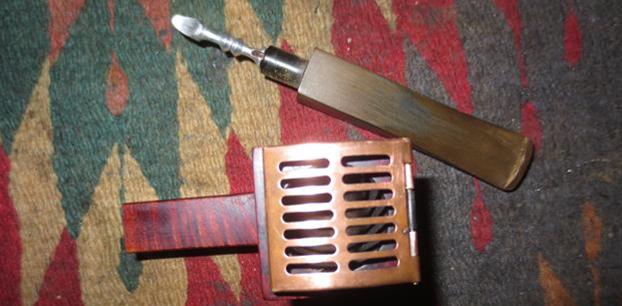 I sanded the stem with 220 grit sandpaper to break up the oxidation. I wiggled the stinger out of the tenon and cleaned out the stem with alcohol and pipe cleaners. I cleaned the sting airway with pipe cleaners, dental pick and alcohol. I sanded some of the marks that were on the top and underside of the stinger to smooth them out and wiped down the stinger with a cotton pad and alcohol. I cleaned out the airway in the shank – particularly next to the entry into the bowl. It was surprising how much grime came out of the airway.
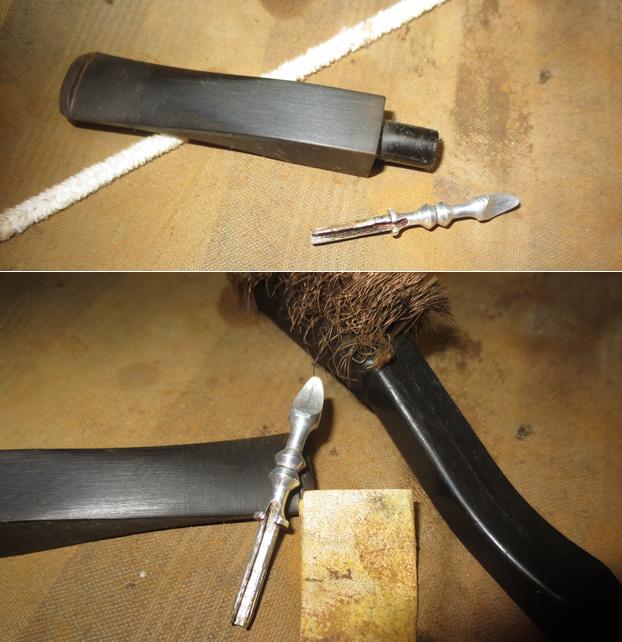
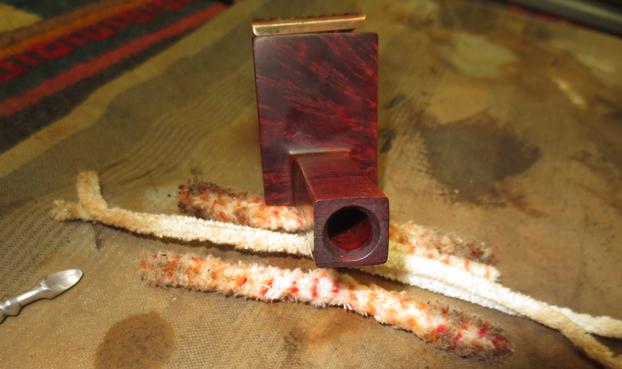 With the internals double checked and cleaned I worked on the outside of the briar. I moved the rim cap up the front of the bowl to align it with the top and make the gap even all the way around the rim top. I sat evenly on a metal edge against the back side of the bowl. I polished the briar with micromesh sanding pads – wet sanding with 1500-2400 grit pads and dry sanding with 3200-12000 grit pads.

 I polished the stem with micromesh sanding pads – wet sanding with 1500-2400 grit pads and dry sanding with 3200-12000 grit pads. I rubbed the stem down with Obsidian Oil after each pad. The oil provided the medium for polishing with each higher grit. After the final 12000 grit pad I gave it a final coat of oil and set it aside to dry.
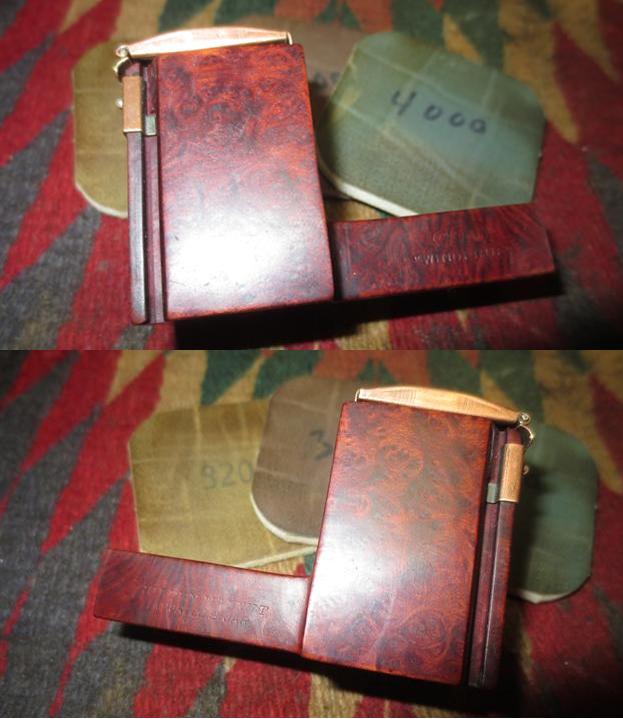
 I buffed the stem with red Tripoli to try to remove some of the more stubborn oxidation marks around the shank stem junction. Then I buffed the briar and the stem with Blue Diamond polish on the buffing wheel. I avoided the copper rim top and hinge area as I did not want to damage it with the polishing compound. I gave the bowl and stem multiple coats of carnauba wax and buffed it with a clean buffing pad. I hand buffed it with a microfiber cloth to deepen the shine. The finished pipe is shown in the photos below. It is a unique piece of pipe history that is for sure and looks good as well! Thanks for walking through the refurbishment process with me.