Blog by Dal Stanton
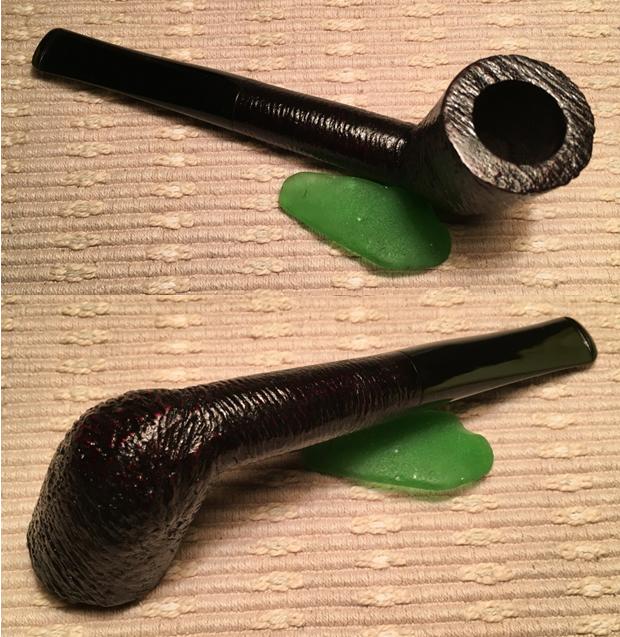
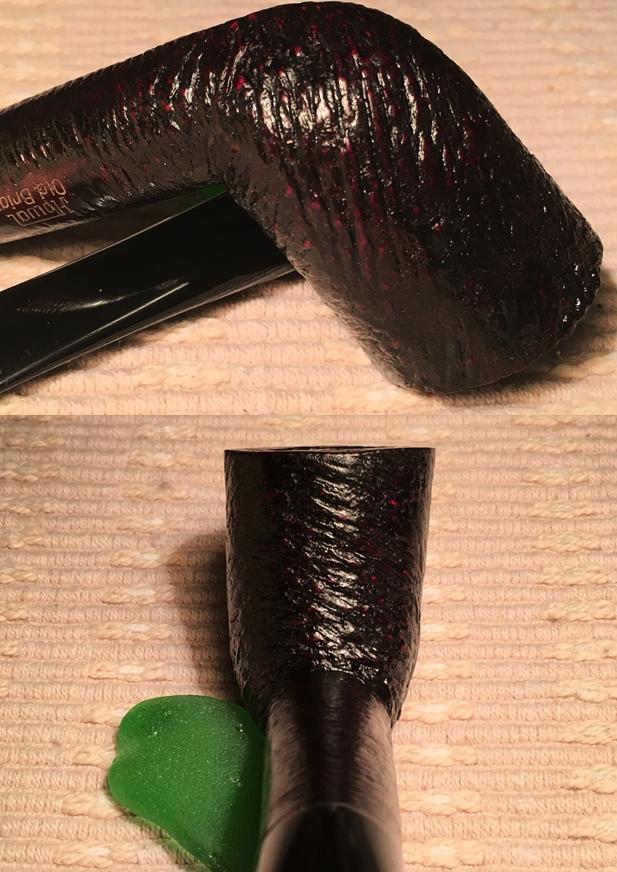
Finally, a ‘simple’ clean up! Or, so I hope. The Howal has been in my ‘Help Me!’ basket for some time. I bought him from a vendor in an antique market, in the shadow of Nevski Cathedral in downtown Sofia, Bulgaria. It was from the same young man I purchased, out of his bag of pipe parts, an orphaned stummel which became my maiden restoration project published on Reborn Pipes. I titled it, A Newbie Restore of a Dr. Plumb 9456 Oom Paul – only it wasn’t an Oom Paul. Al Jones’ (aka, Upshallfan) comment to my first blog observed correctly: “the 9456 is a classic GBD shape, although it is considered to be a Bent Billiard (rather than a Oom-Paul).” I’m thankful for much ‘newbie’ grace I have received! Though, the pipe’s name is still Chicho Pavel, Bulgarian for Uncle Paul! He continues to be a favorite in my rotation and a special friend. The Howal (over Old Briar) Rustified Dublin now before me is of interest to me partly because of its origins. The pictures from my work table give an overview of the pipe itself.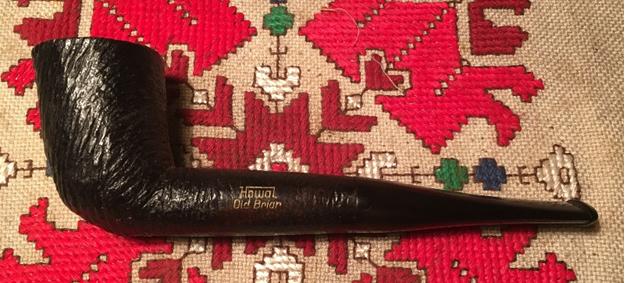
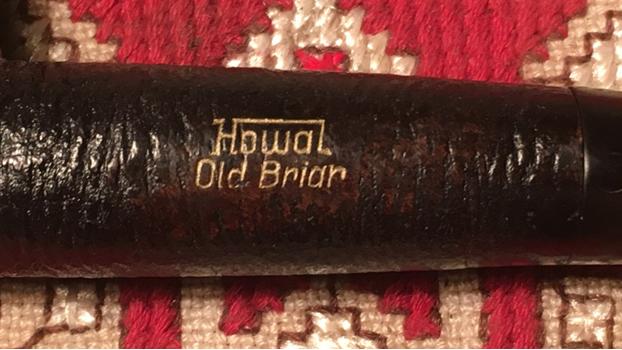
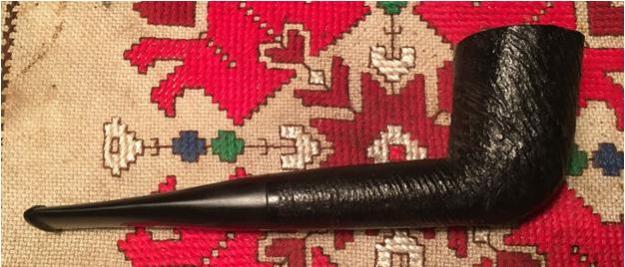
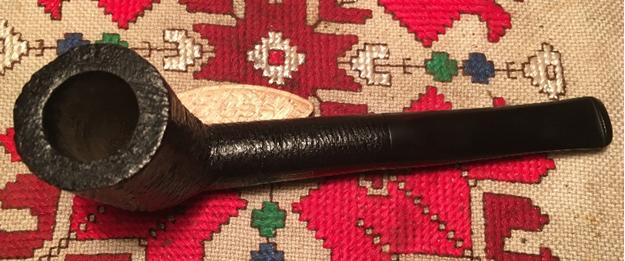
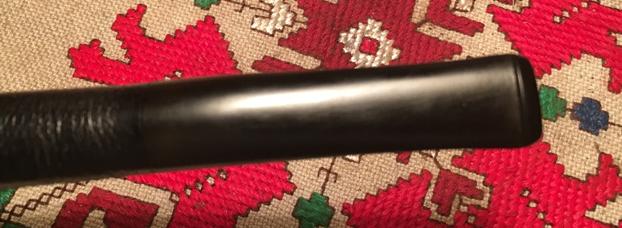
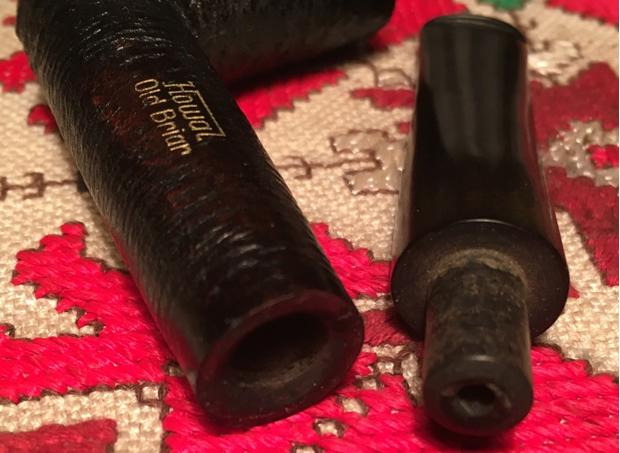 The Howal name is of interest to me because it originated from behind the former ‘Iron Curtain’ in East Germany during a geopolitical climate rife with change and human tragedy. My wife and I have spent over two decades living behind what was formerly the Iron Curtain and this is the second Howal I’ve found in the same Antique Market here in Bulgaria. The question that comes to my mind is whether Howals are more commonly found in Eastern Europe where perhaps, they were circulated under the old USSR in an enforced socialist, command economy? Pipedia’s article was both interesting and helpful in understanding the predecessor of and origins of the Howal name:
C.S. Reich 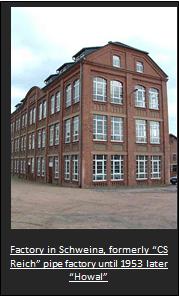 was founded by Carl Sebastian Reich in Schweina, Germany in 1887. By its 50th jubilee in 1937 C.S. Reich was the biggest pipe factory in Germany. In 1952, however, the owners of the company were imprisoned and the company itself was nationalized as Howal, an abbreviation of the German words for “wood products Liebenstein” or “Holzwaren Liebenstein”. By the 1970’s Howal, after acquiring many other smaller pipe making firms, was the sole maker of smoking pipes in East Germany. In 1990, with the fall of the Berlin Wall and reunification of the Germanys, the company was closed.
While helpful for a broad sweep, I discovered much missing from this summary and it raises more questions. From another interesting source, Edith Raddatz’s lecture on tobacco pipe production in Schweina at the Tobacco Pipe Symposium in 2003, it describes a history of pipe production in this central German village that was reminiscent of my research into France’s pipe mecca, St. Claude. A strong development of the pipe making industry can be traced in the 1800s to the apex of the C.S. Reich Co. being Germany’s largest pipe producer in 1937, but Raddatz’s lecture reveals that other producers of pipes were also based in the German village of Schweina. Pipedia’s article above describes how the owners of the C.S. Reich Co. were arrested and imprisoned followed by the nationalization of the Reich Co. and becoming ‘Howal’, an acronym for “Wood Products Liebenstein” – Bad Liebenstein was the town that bordered and absorbed the village of Schweina. The question begs to be asked – which, unfortunately introduces the human tragedy wrapped around the name ‘Howal’ – Why were the owners arrested? In an unlikely source, the website of the ‘Small Tools Museum’ adds the names of those imprisoned: shareholders Robert Hergert and Karl Reich.
Edith Raddatz’s lecture (referenced above) brings more light to the difficult geopolitical realities these people faced (Google translated from German – brackets my clarifications):
By 1945 the company, which had meanwhile [passed to] the next generation – Kurt Reich And Walter Malsch – [had] about 100 employees. Among them were many women who mainly did the painting work. At the beginning of the 1950s, an era ended in Schweina. The first [oldest] tobacco pipe factory in Schweina closed their doors. There were several reasons for this. Kurt Reich passed away in 1941, [and] Walter Malsch [in] 1954. The political situation in the newly founded GDR made the conditions for private entrepreneurship difficult. The heirs of the company “AR Sons” [Reich family] partly moved to West Germany. The operation was nationalized and later toys were made there.
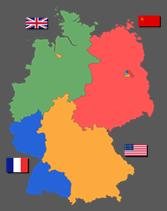 In post WWII occupied Germany, the Soviet occupied section was declared to be a sovereign state and the German Democratic Republic (GDR) was established in 1949 (See link). With a rudimentary understanding of Marxism and the economic philosophy undergirding it, it is not difficult to deduce what brought the demise of the C. S. Reich Co. and the formation of Howal. Solidification of the FDR’s hold on power paralleled the necessity to nationalize private ownership and to institute a State-centered command economy. These efforts gained momentum and forced companies/workers to work more with no additional pay. In 1952, the year that the owners of C. S. Reich Co., were arrested, this edict was advanced (See link):
In July 1952 the second party conference of the Socialist Unity Party of Germany (SED) took place in East Berlin. In SED General Secretary Walter Ulbricht‘s words, there was to be the “systematic implementation of Socialism” (planmäßiger Aufbau des Sozialismus); it was decided that the process of Sovietization should be intensified and the importance of the state expanded. The party was acting on demands made by Soviet premier Joseph Stalin.[2]
 As a result, Germany remembers the Uprising of 1953 which started in East Berlin, as factory workers revolted against the repression of the GDR, and spread to all East Germany. Many lost their lives as Moscow responded to squelch the unrest with tanks on the streets. In play also, was the mass exodus of people fleeing to West Germany, which included, per Edith Radditz’s lecture, the Reich family, who would have been heirs of the family’s legacy and company – pipe making. Also in 1953, completing the State forced abolition of any Reich claim, the largest pipe making company of Germany was seized, nationalized, and changed from C. S. Reich Co. to Howal. As ‘Howal’, pipes continued to be produced, undoubtedly with the same hands and sweat of the people of Schweina, along with other wooden products, such as toys. In the Pipedia article I quoted above, it said:
By the 1970’s Howal, after acquiring many other smaller pipe making firms, was the sole maker of smoking pipes in East Germany. In 1990, with the fall of the Berlin Wall and reunification of the Germanys, the company was closed.
My curiosity piqued, what does it mean when it says that Howal acquired many other smaller pipe making firms? Should we question whether these words can be understood in the normal free market enterprise way we are accustomed? Doubtful.
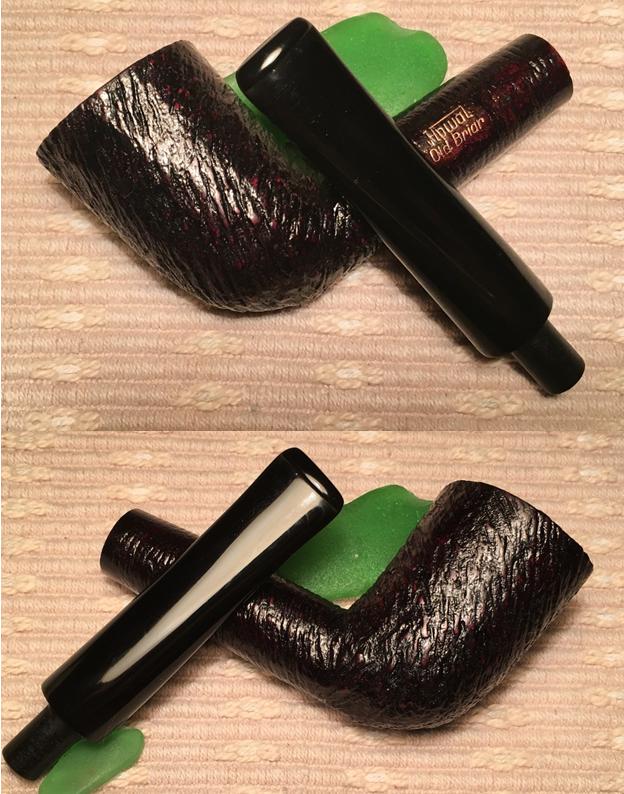
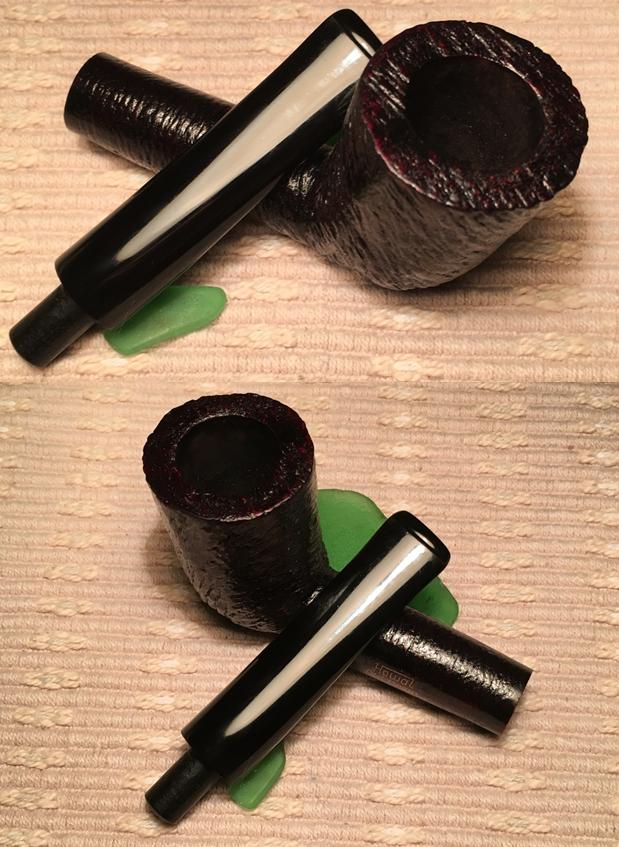
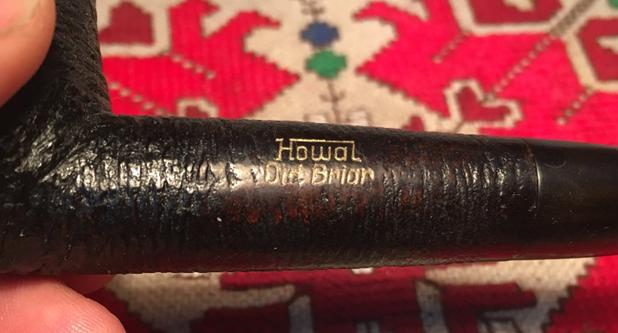
As I now look at this Howal before me, it is with a greater connection to its checkered past, the people of Germany’s pipe making heritage, and specifically, to the hands that drilled, shaped and finished the pipe. The possible dating of this Howal spans from 1953 to 1990, when the Howal factory was closed for good with the fall of the Berlin Wall and the old USSR (See link). The Howal markings on the left side of the shank are in very good shape. The rustification is very attractive in the Dublin style – definitely an ‘olde world’ feel. There are some marks on the rim. The bowl is totally free of cake – someone did some clean-up work before coming to me. The dark color of the stummel appears to be paint or a black stain – I can see brown around the nomenclature on the shank. I will clean the stummel with Murphy’s and see what happens. There is no oxidation on the stem nor teeth chatter or dents. So, could this Howal be only a simple cleaning and freshening?
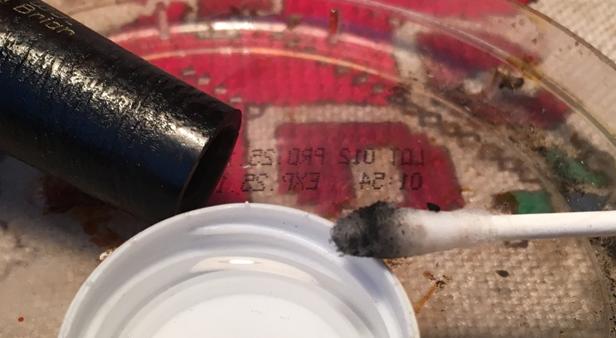
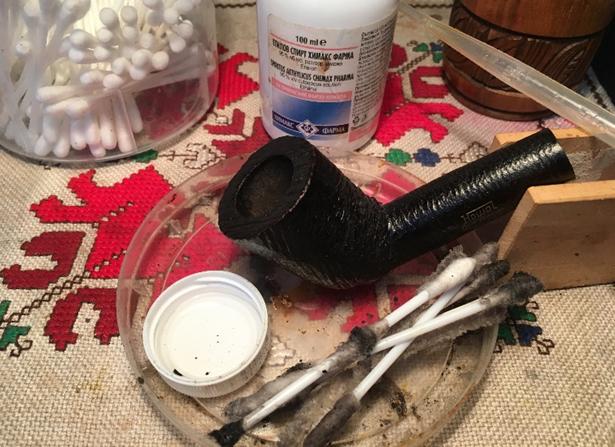
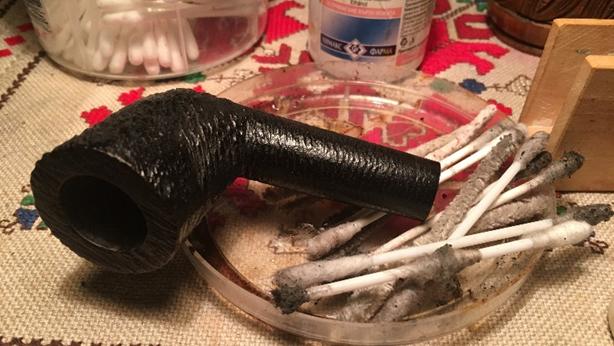
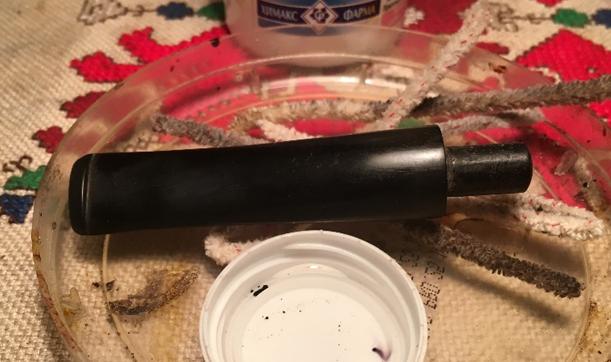
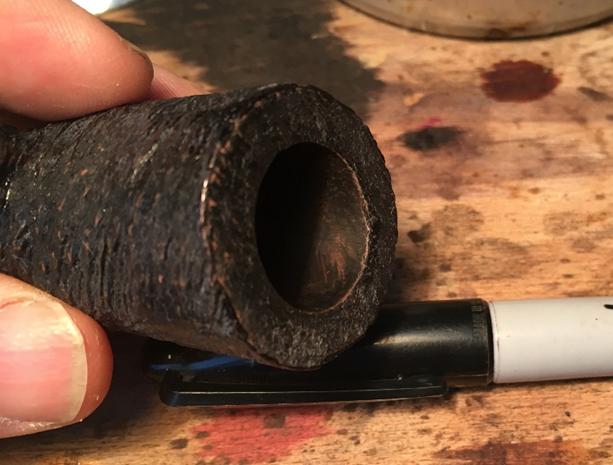
I start by taking a picture of the rim and markings to take a closer look at areas of question. Then using Q-tips and pipe cleaners with isopropyl 95% I start cleaning the stummel internals. After only one plunge of a Q-tip, I see that the mortise is full of the black finish that is also on the external surface. I find no tobacco gunk in the mortise, only black dye – or whatever it is. After several Q-tips and some pipe cleaners, I decide simple to fill the mortise with isopropyl and let it soak for a few hours. This did the trick. After pouring off the dirty isopropyl the Q-tips, after the soak, started coming out clean very quickly. Stummel done. The stem required very little effort. The pictures show the progress.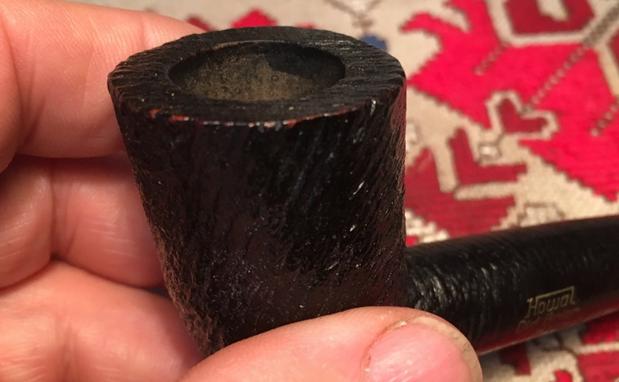
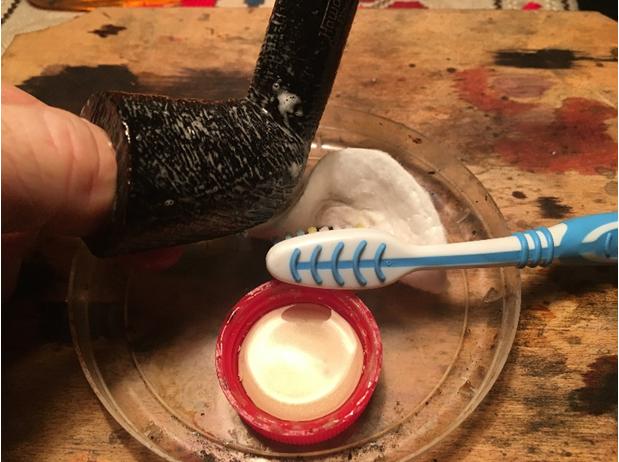
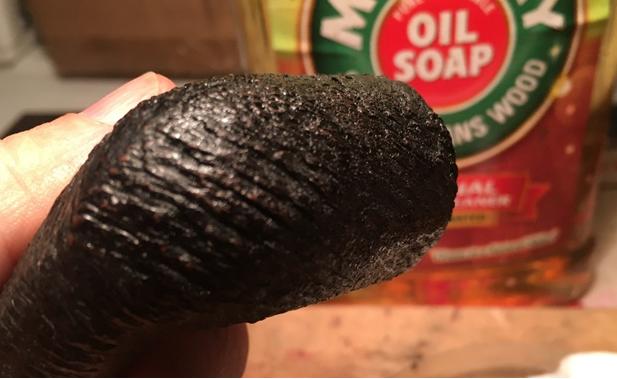
 I take undiluted Murphy’s Oil Soap and scrub the stummel surface with cotton pads and a bristled brush. I want to test the finish to see how solid it is as well as clean the grime out of the rustification ridges. After a good scrub, I rinse the soap of the stummel with tap water, careful not to allow water inside.
  After drying, I have two impressions of the black finish. First, the splotched glossy areas left over from the Murphy’s scrub remind me of the acrylic finishes that I’ve seen on smooth briars. Secondly, the finish now is speckled where the briar is coming through. Decision time. A plan starts formulating in my mind. I like the rustification of the Howal Dublin and I very much like the feel of the Dublin in my hand – it has a good ‘meditation’ appeal, which is a good quality for a pipe J. Yet, truth be known, I’m not a fan of the black finish. To me it is plain and stark – it lacks depth and interplay with the tight, crisp rustification patterns. I decide to continue scrubbing the surface with Murphy’s Soap to remove the remaining glossy spots but to leave the black hue in place. After Murphy’s, I use some isopropyl 95% with a cotton pad and work on the glossy areas. While not 100% gloss free, the last picture shows sufficient progress. I will give more thought to the plan at this point. The pictures tell the story.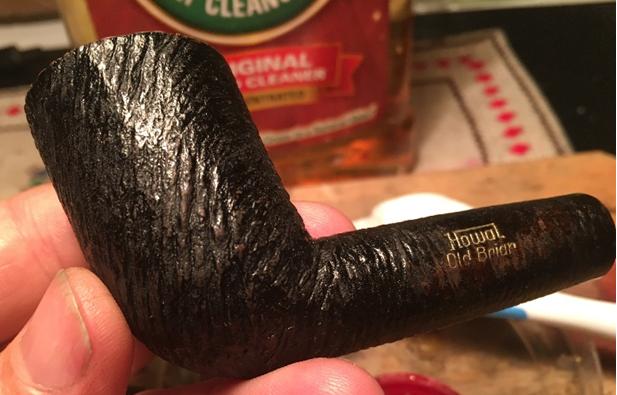
 With a night of rest now fueling the thoughts, I decide to use the dark stain on the stummel as a back coat for a subtle Oxblood over-coat. My goal is to create more depth in the rustification by introducing another hue. I begin preparation of the stummel by very lightly sanding the top peaks of the rustification ridges with a 1500 grade micromesh pad. I do this to create entry points for the new dye in raw briar opened by the sanding. I’m thinking of the restoration I did with the classic rustified Lorenzo Rialto for the basic approach I’m now employing. I want the surface to be clean so I follow the sanding by wiping the surface with a cotton pad and isopropyl 95%. I use a black Sharpie pen to darken the worn ring of bare briar around the rim of the Dublin for better blending. I included a picture of the Lorenzo Rialto to get an idea of where I’m hopefully heading!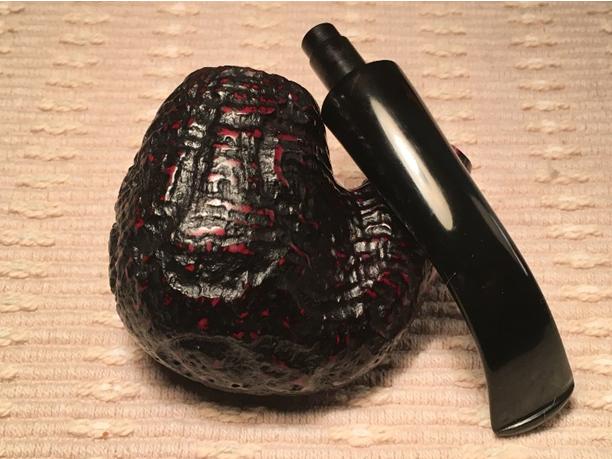
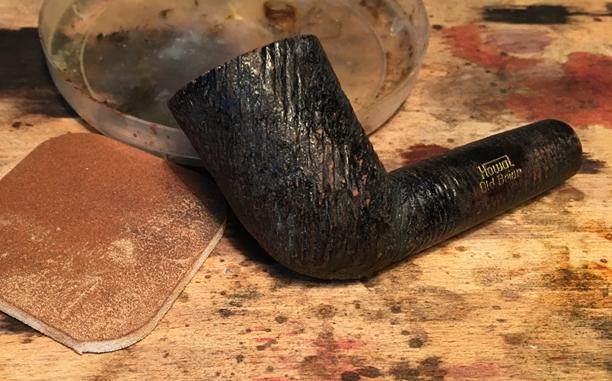
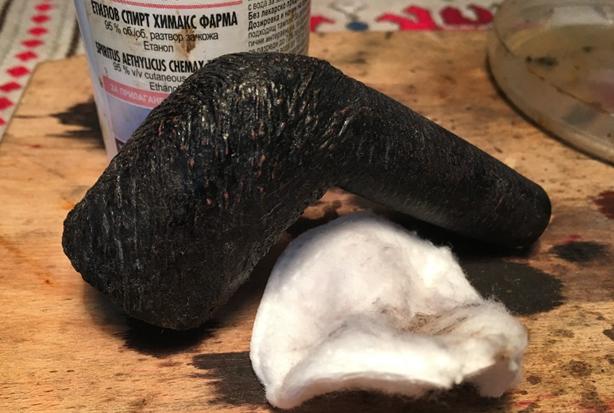
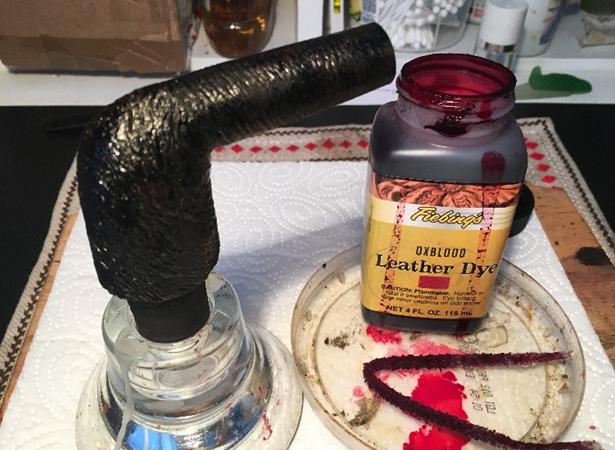
 In preparation to apply the stain, I cover the Howal gold lettering stamping with a bit of Petroleum Jelly to protect it. Using my wife’s hair dryer, I warm the stummel to open the briar to the new dye. Using a cork inserted in the bowl as a handle, I liberally apply Fiebing’s Oxblood Leather Dye to the surface of the stummel with a doubled pipe cleaner – careful to cover the entire stummel and rim. After the initial application, I fire the aniline dye and the alcohol burns off quickly setting the hue in the briar. After a few minutes, I repeat the process to assure an ample coverage and put the stummel aside to rest. The pictures show the progress.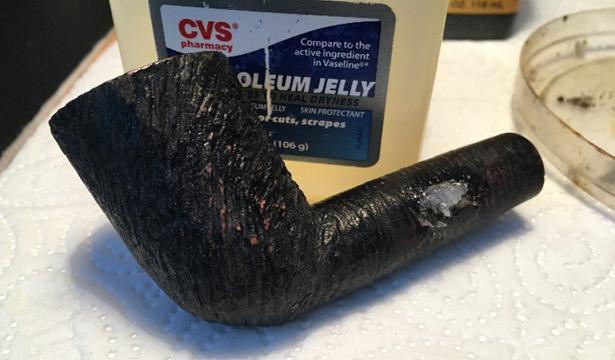
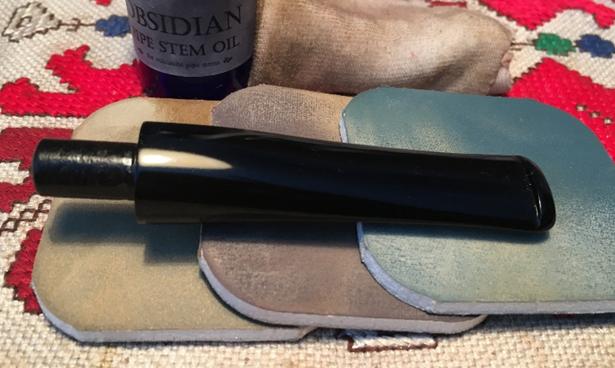
 With the newly dyed stummel resting, since the Howal’s stem came to me in good condition – no tooth chatter or dents, I start wet sanding the stem using micromesh pads 1500 to 2400. I follow the wet sanding with an application of Obsidian Oil on the hungry vulcanite. I then dry sand with micromesh pads 3200 to 4000 and then 6000 to 12000 – following each set with an application of Obsidian Oil. The stem looks great – that newly polished vulcanite pop is very nice. I put the stem aside to dry. The pictures show the progress.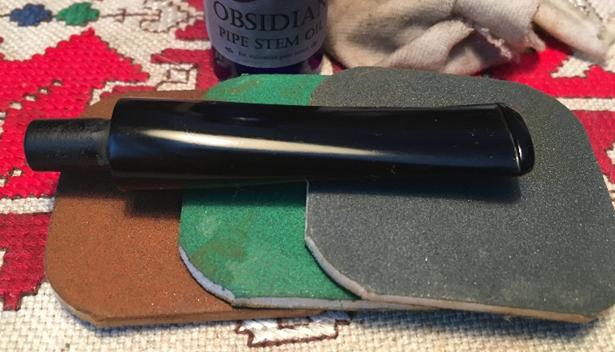
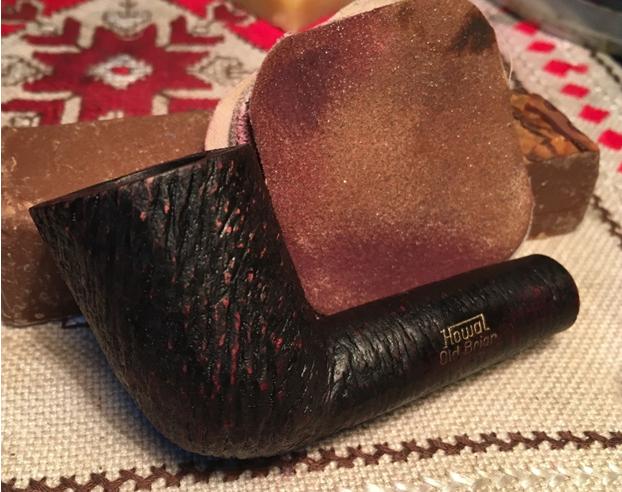
 Time to ‘unwrap’ the fired, crusted Oxblood dye I applied to the dark stummel. I mount a new felt polishing wheel on the Dremel and set the speed to the slowest setting and utilize the fine abrasion of Tripoli compound to take the crusted layer off. Patiently, I move the wheel across the surface in a circular motion, allowing the RPMs of the Dremel and the compound to do the work – I apply little downward pressure on the briar. As the results started to appear, I see the Oxblood speckling I was hoping to see, but not as much. I decide to follow by lightly sanding the rustified surface with a 1500 micromesh pad. This resulted in the direction I wanted to go, but I wanted the Oxblood hints, beginning to peek out, to be a few shades darker, richer. Even though I had already put away the stain and cleaned up, I decide to repeat the staining as before – hopefully to realize the results I can envision in my mind. The bottom picture in the set shows the stummel after the second staining with Frieberg’s Oxblood Leather Dye – not looking much different than before but simply to chronicle my procedure. The first picture, after the Tripoli then after, the sanding show the developing motif with the Oxblood and the rustification.
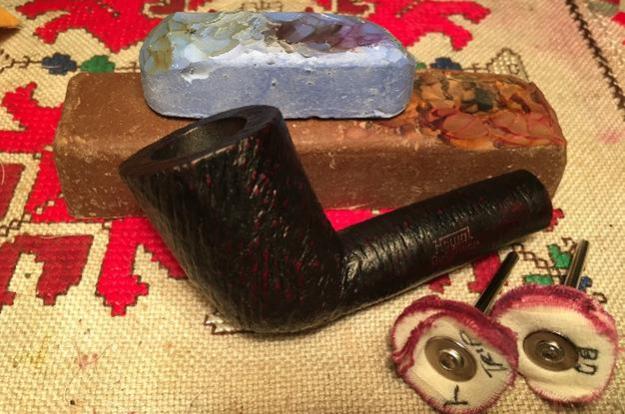
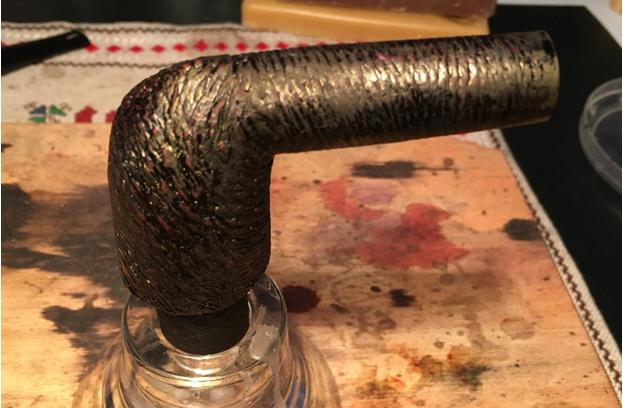 After several hours, admittedly, I was a bit impatient to unwrap the fired crust the second time around. In the time in between, I had some time to think about the next step. My usual approach is to use a felt polishing wheel with the application of Tripoli compound to smooth briars. A felt wheel is flatter and firmer than a cotton cloth wheel and therefore, more abrasive than the cotton cloth wheel. With use on a rustified surface, I’m thinking that the felt wheel might possibly ride more naturally on the peeks of the raised ridges and possible do its work unevenly – at least in theory. My usual approach with the Dremel is to use a cotton cloth wheel when coming to the carnauba wax polishing stage. I decide to mount a cotton cloth wheel for both compounds I employ, Tripoli and Blue Diamond, and see how it goes. With the new cotton cloth wheel mounted on the Dremel, I’m ready to put theory into practice first with the Tripoli compound. The only problem breaking in a new cotton cloth wheel is that loose fibers run amuck and I’m covered! I continue to use the slowest speed the Dremel can offer for the compound. After the Tripoli, again with a new cotton cloth wheel, I apply Blue Diamond compound. I am truly amazed at the subtle Oxblood texturing that emerges – it is working! I find that I spent more time with the Tripoli as the Tripoli was the abrasive that created the effects of the Oxblood speckles. Where there were none or few Oxblood accents, I focused the Tripoli wheel at that area and the highlights would begin to appear. With the Blue Diamond I spend much less time as it was shining what was already revealed not bringing out more. I take a picture after the compound phase.
 After the compounds, I hand buff the stummel with a cotton cloth, not so much as to shine the stummel but to remove residue compound powders left over. I do this before the application of carnauba wax, also with a cotton cloth wheel, but with the Dremel increased to number 2 of 5 (being the fastest). After reuniting the stummel and stem, I give both several applications of carnauba wax. The only difference in technique with the wax is that with a small, Dremel polishing wheel, I am able strategically to apply the wax so it doesn’t get gunked up in the ridges of the rustification. I keep the wheel parallel with the grain and follow the ridges/valleys as I apply the carnauba. With the compounds, you are still sanding and ‘taking off’ from the finish, even though it’s shining things. With the wax, you’re not taking but leaving something behind – the wax has the purpose of polishing and protecting the finish. After applying the carnauba, I decide to do one more thing to recommission the rustified Dublin. With Rub ‘n Buff European Gold Wax Metallic Finish, which I just acquired during my Christmas visit to the States, I spruced up the Howal nomenclature. I applied the Rub ’n Buff with a pointed Q-tip and carefully wiped the excess. After dried, again I spruced up the area with a few passes of the carnauba wax wheel. A few pictures show the before and after.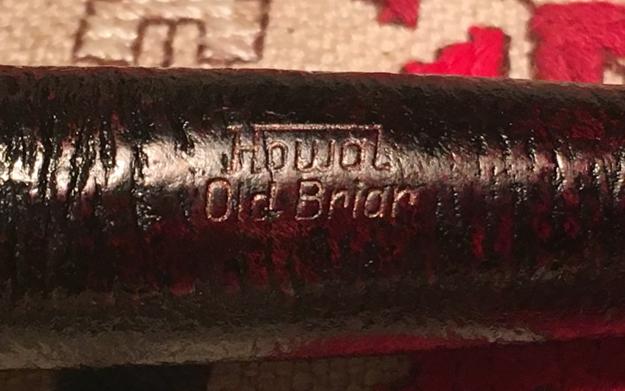
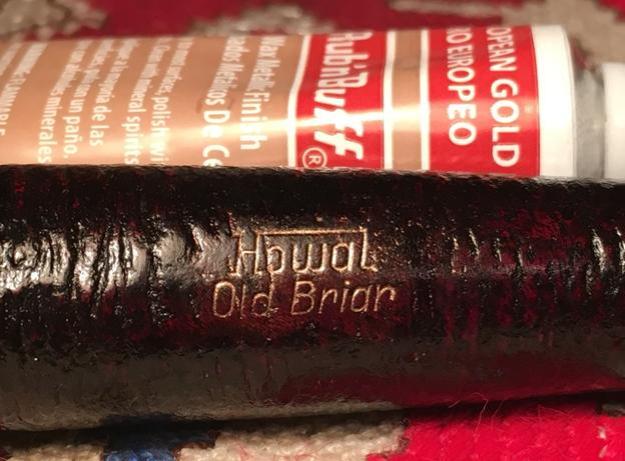 To finish, I give the stummel and stem a rigorous hand buffing with a micromesh cloth to bring out and deepen the shine.
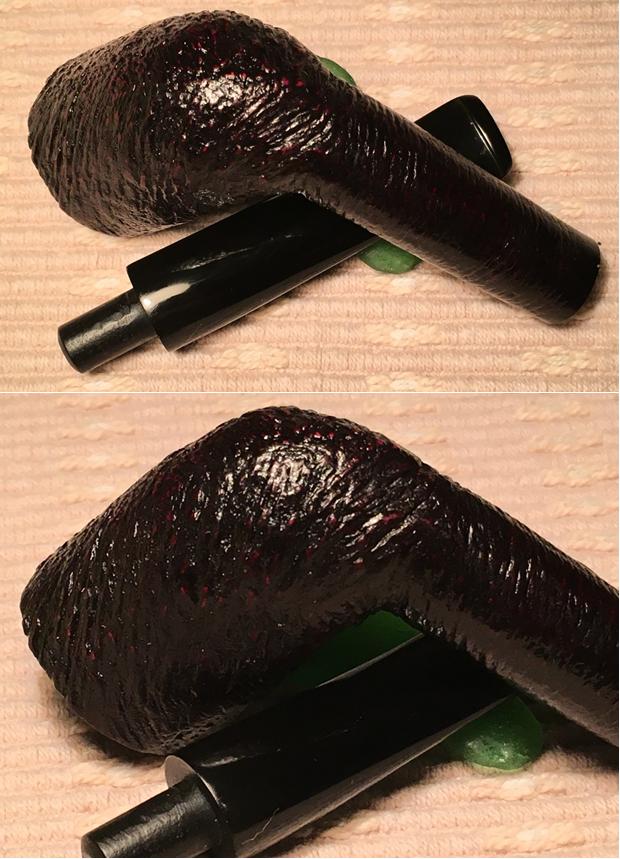
I have a deeper appreciation for the name this rustified Dublin carries. Understanding the past helps us to stay rooted in the present. I appreciate better the legacy of the Howal name and the journey of the Carl Sebastian Reich family beginning in Schweina, Germany in 1887. I’m very pleased with the results of the Oxblood finish. In the presentation pictures below, I had to take some unusually close shots to see the subtle Oxblood highlights hidden by the reflection of the light. To me, the finish adds depth and texture to the attractive rustified Dublin. If you would like to add this Howal Old Briar to your pipe collection and stories, see my blog at The Pipe Steward. Thanks for joining me!