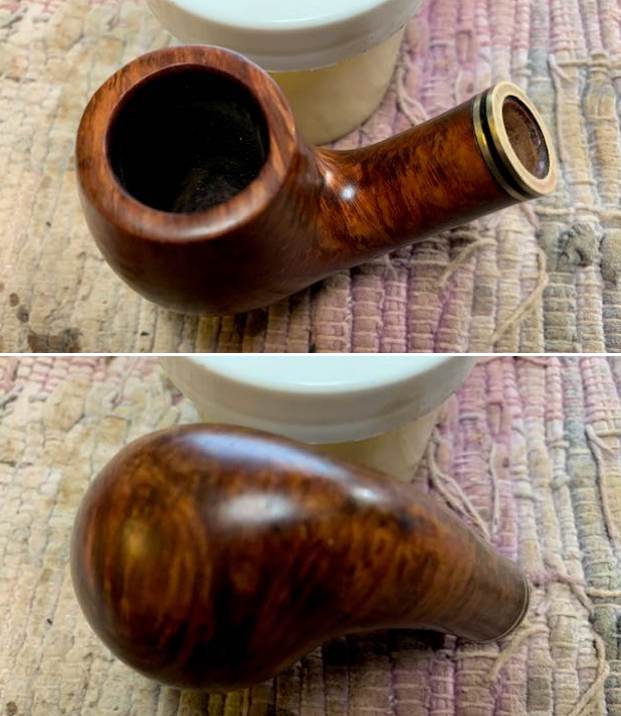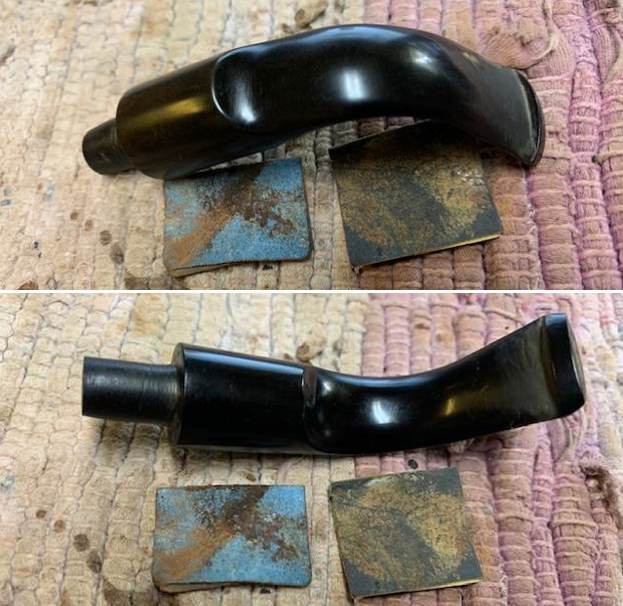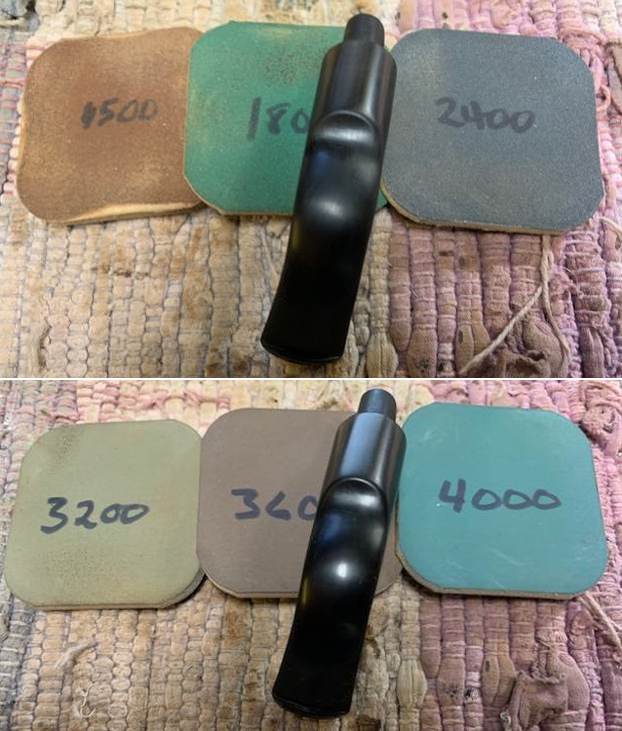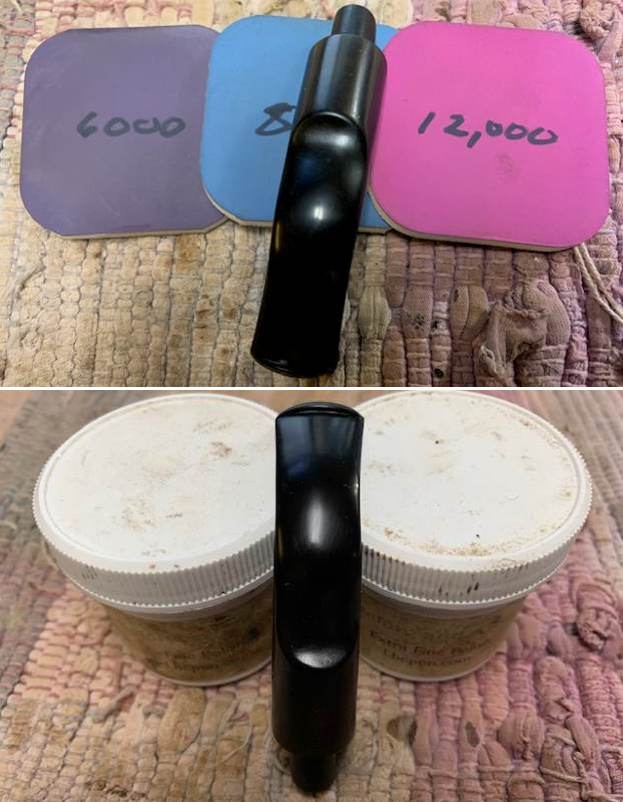
Author Archives: rebornpipes

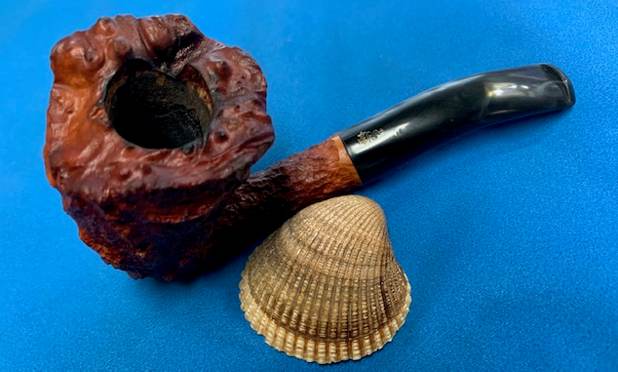
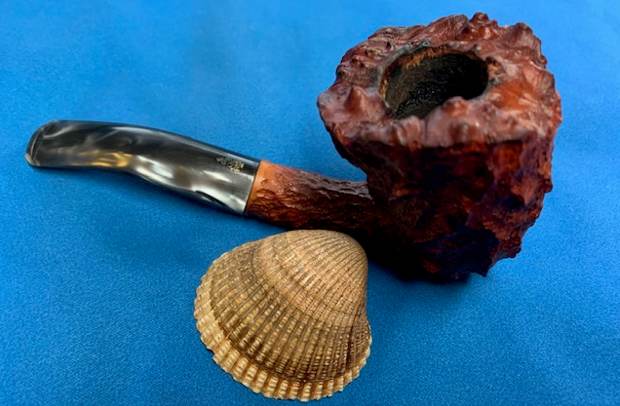
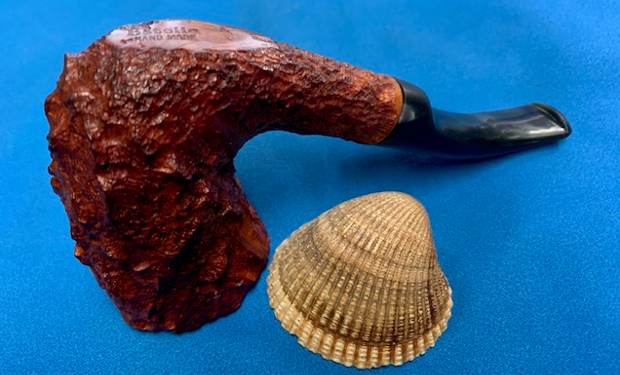
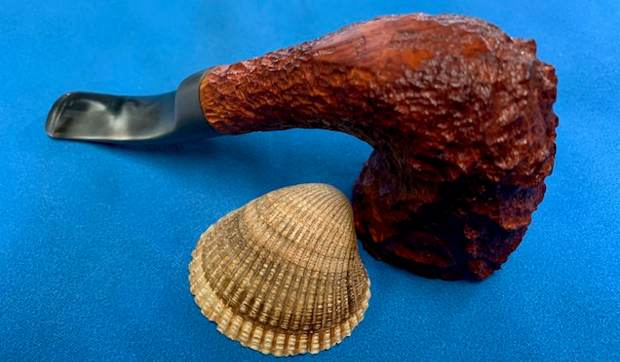
Replacing a Broken tenon on a Savinelli Estella Hand Made Freehand


Blog by Steve Laug

Last week I received a from Curtis, a gentleman who had been referred to me by City Cigar. I asked him to email me some photos of his pipe so I could see what I was dealing with before I took on the project. He sent the following email and photos:

I was referred to you by Ben at City Cigar.  I was curious if I could send my pipe to you for repairs. Here are some photos of it, I know you probably can’t give a proper estimate until it’s in your hands.  Forgive my ignorance on pipe repair but I’ve never had any work done before.  If possible, after viewing my photos, would a “ballpark” estimate be possible ?  I don’t know if I’m looking at 100.00 or 1000.00.  The pipe might  not be “worth” much but my son gave it to me and it has sentimental value to me.  I’m just looking to get a new or used or repaired stem for the pipe, if possible.

Thanks for you time,

Curtis

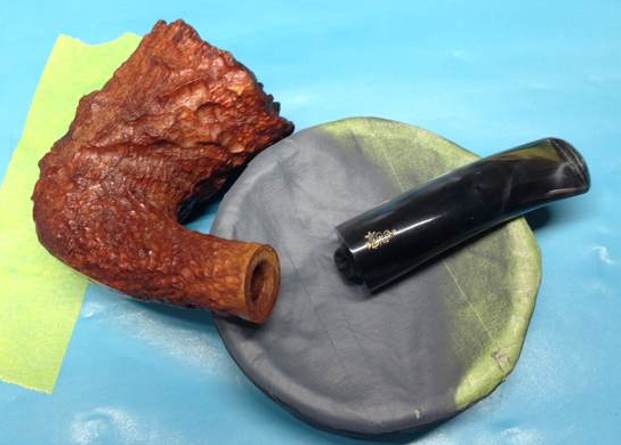
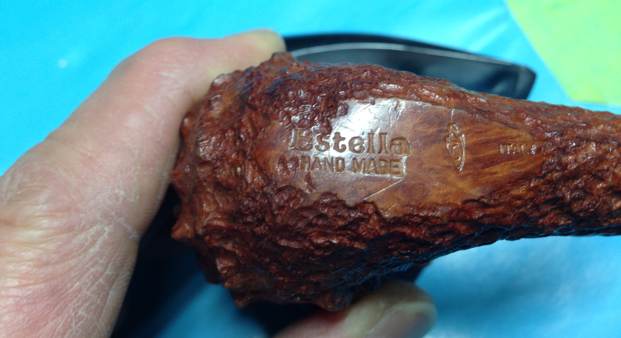
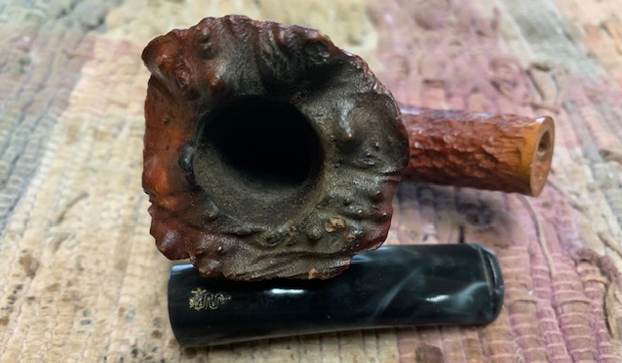
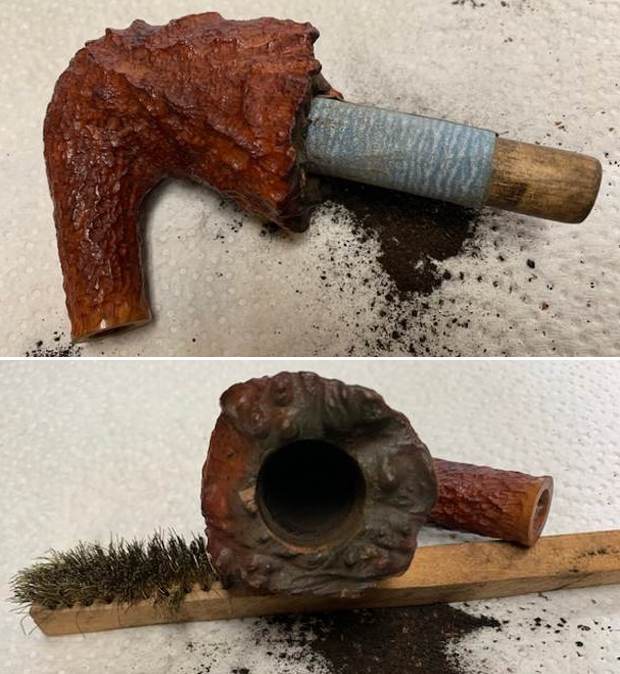
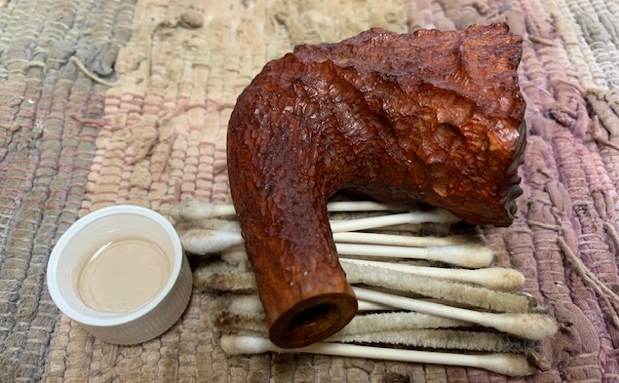
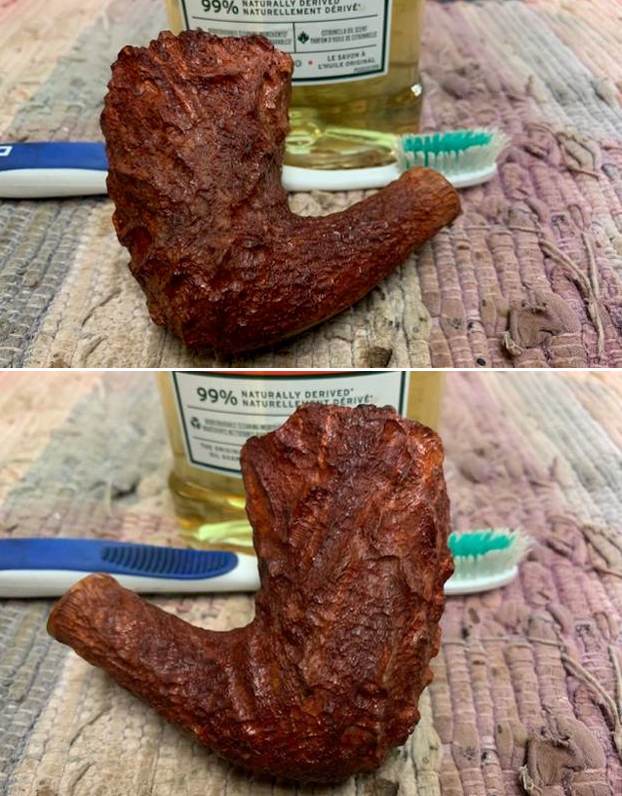
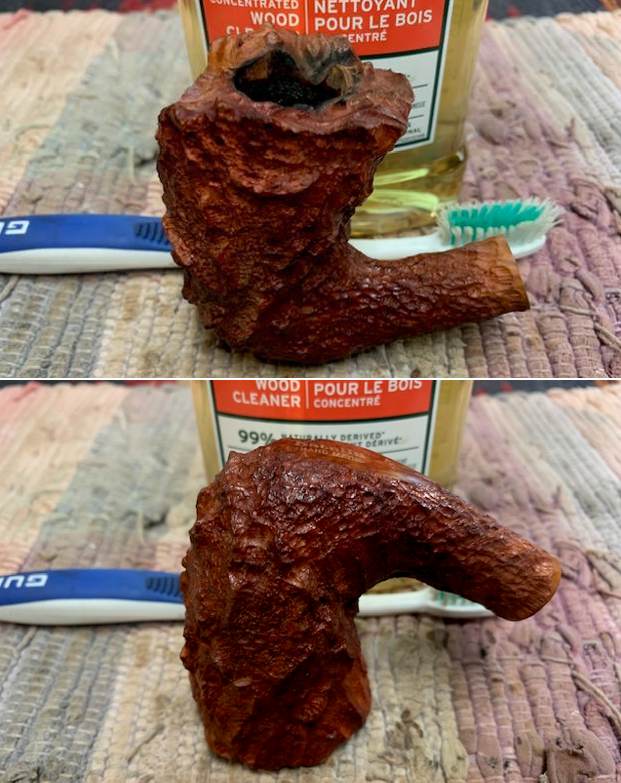
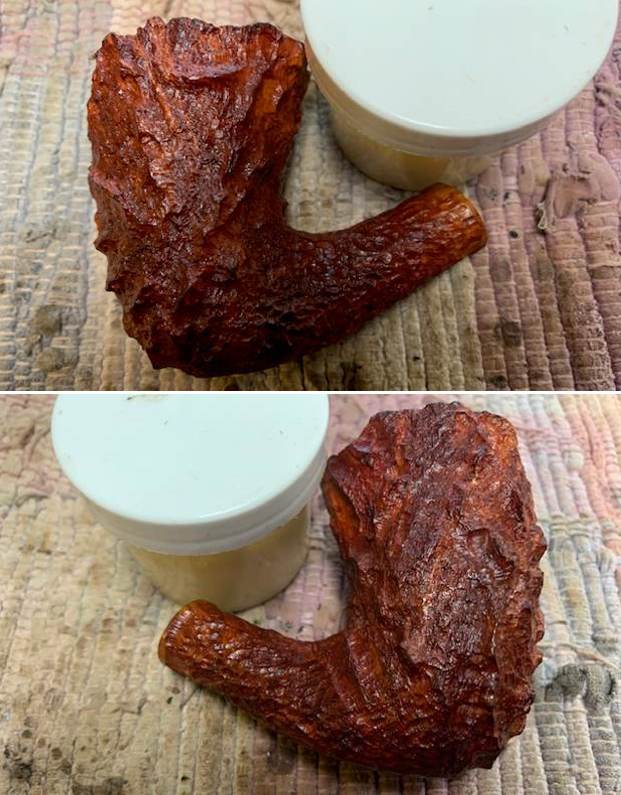
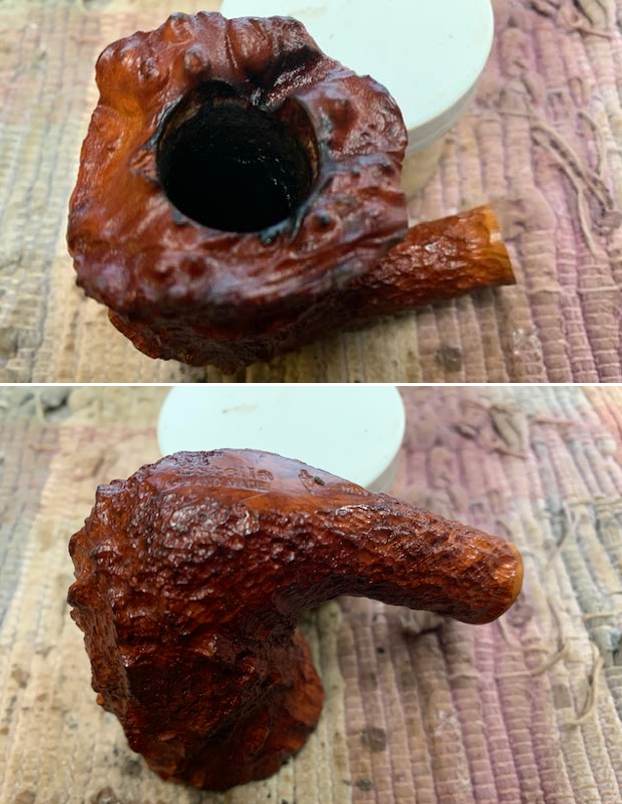
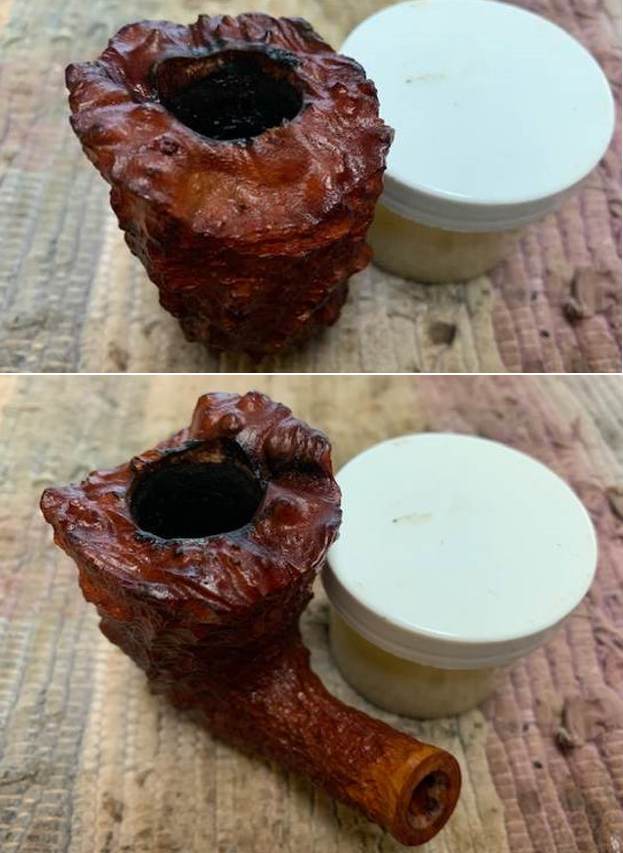
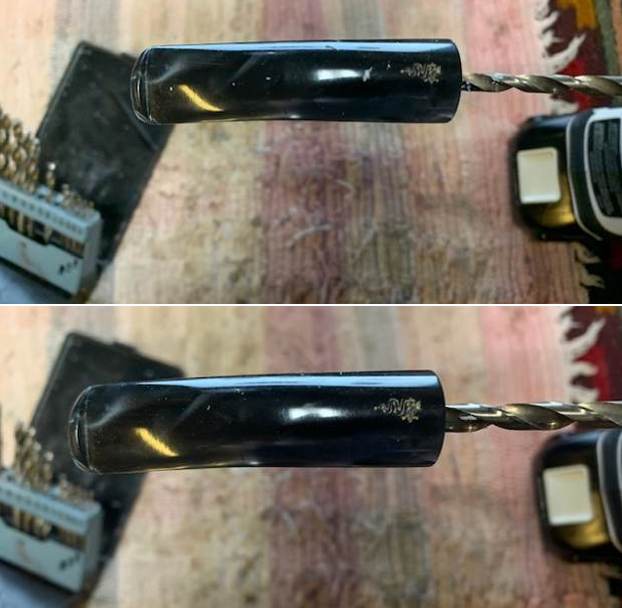
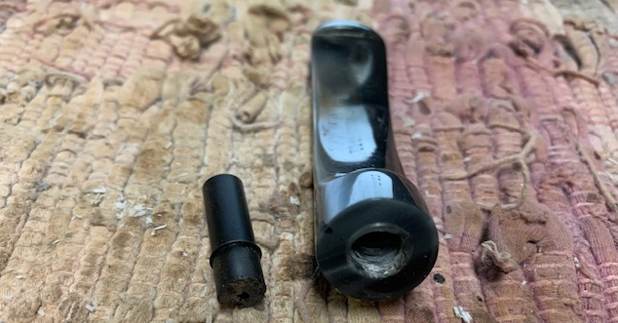
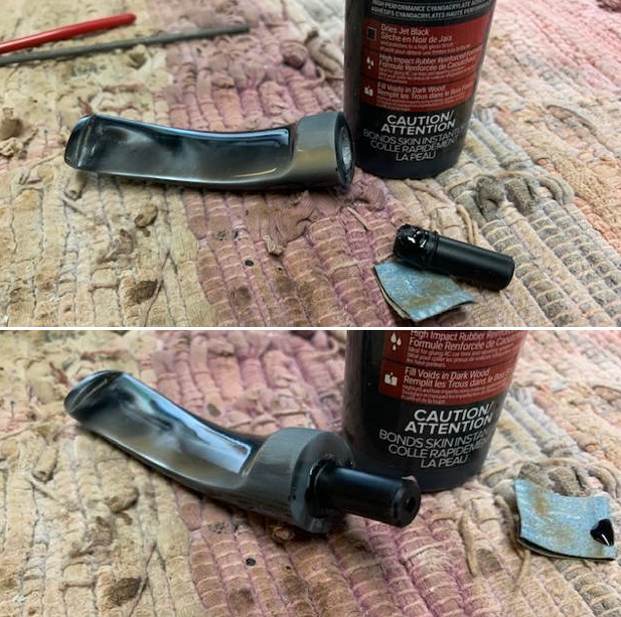
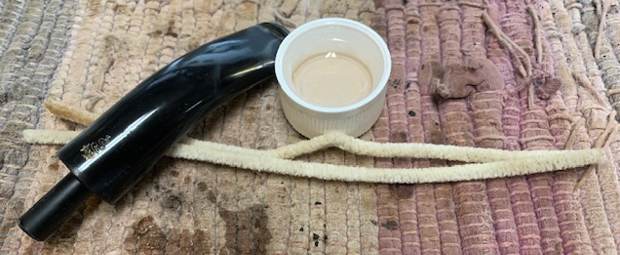
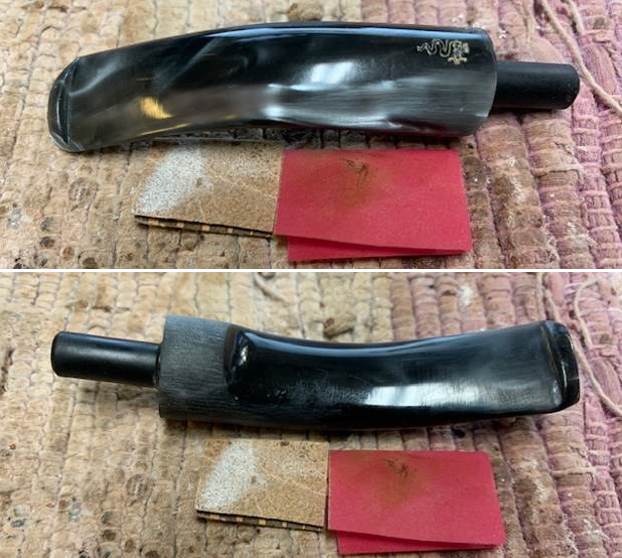
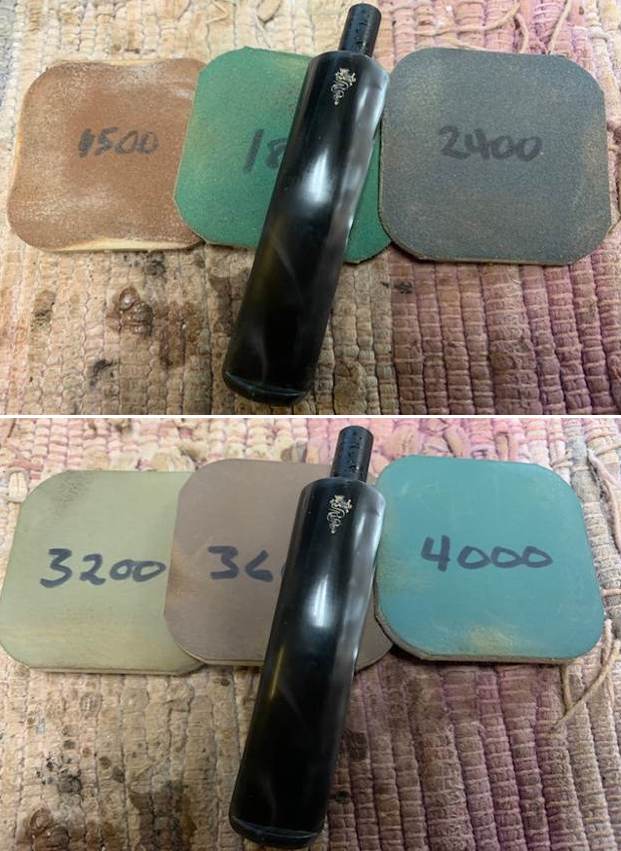
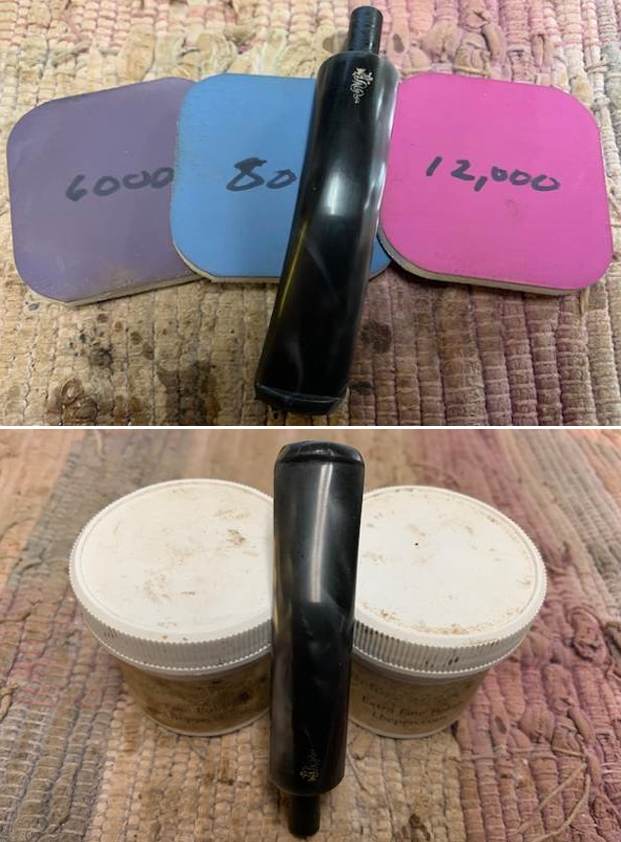
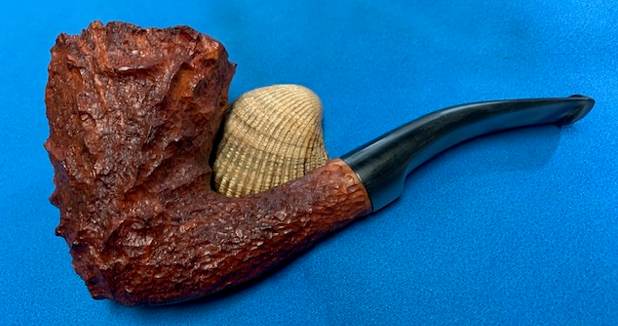
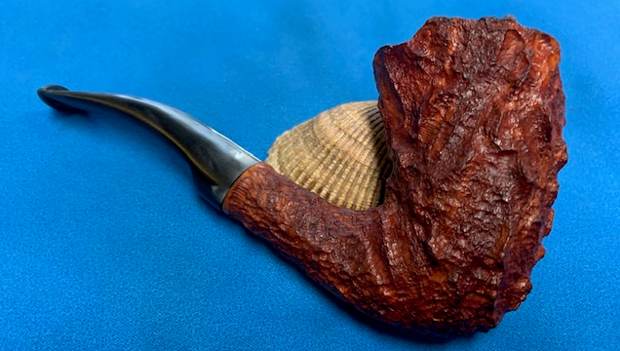
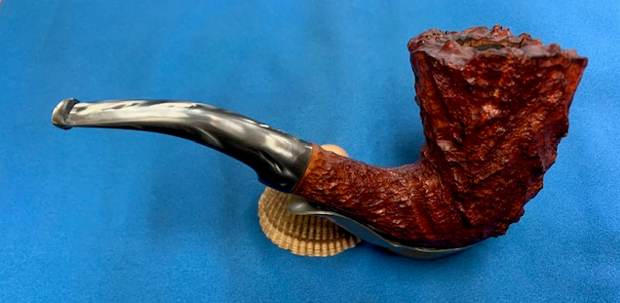
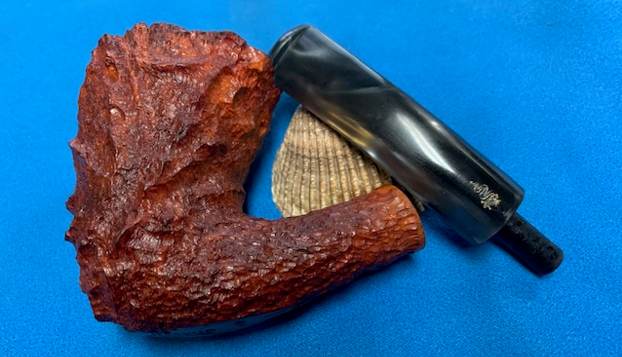
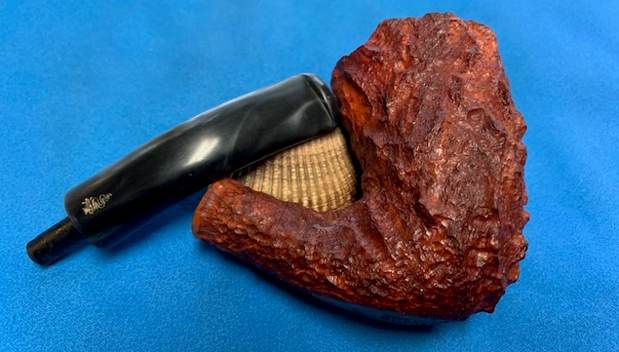
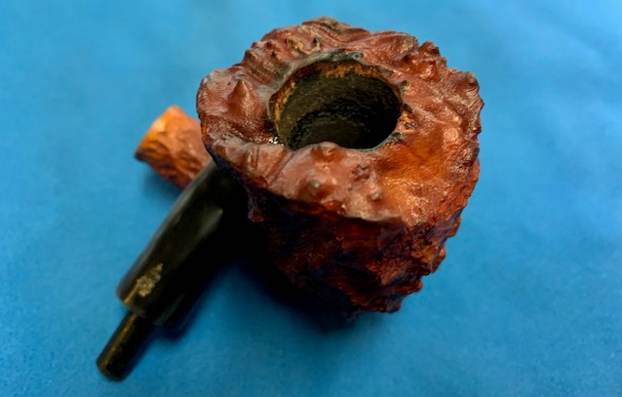
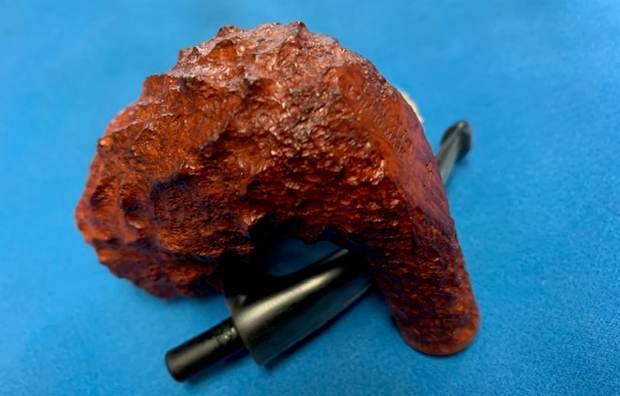
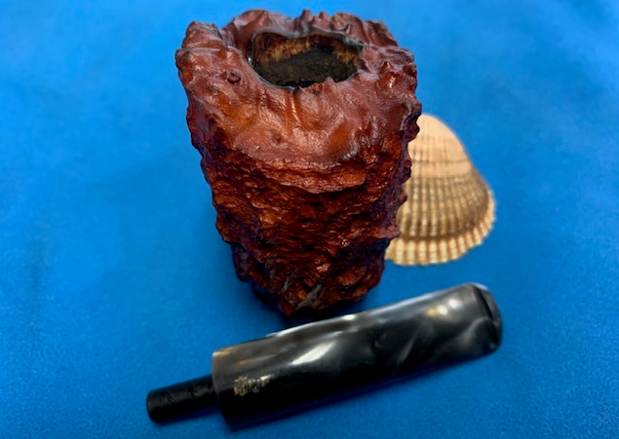
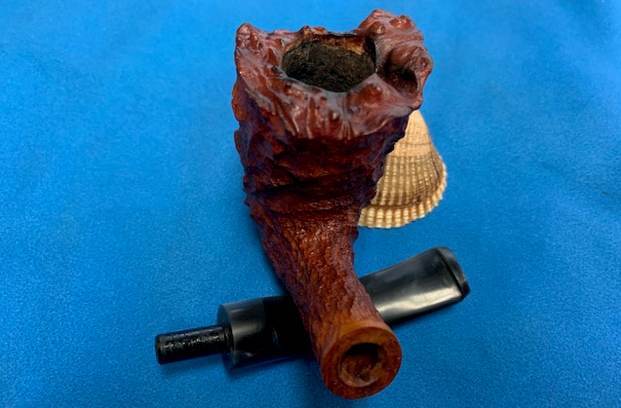
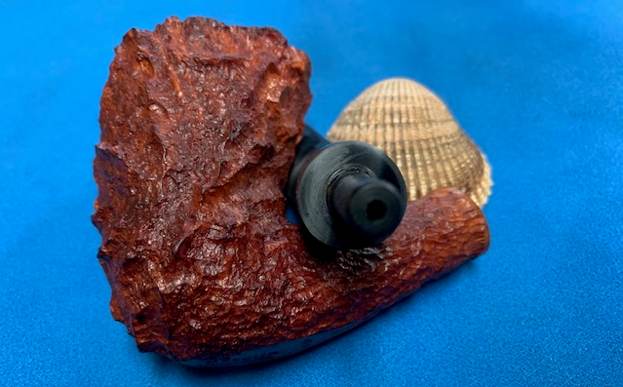
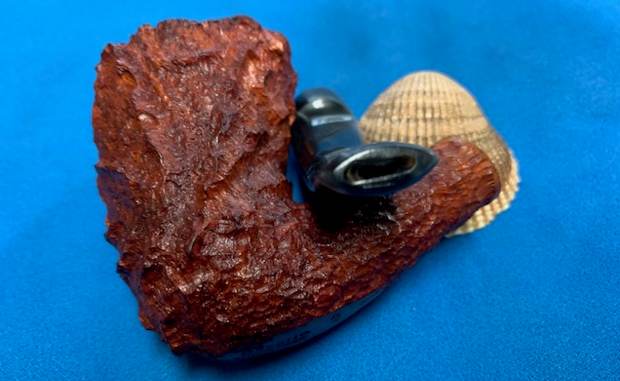
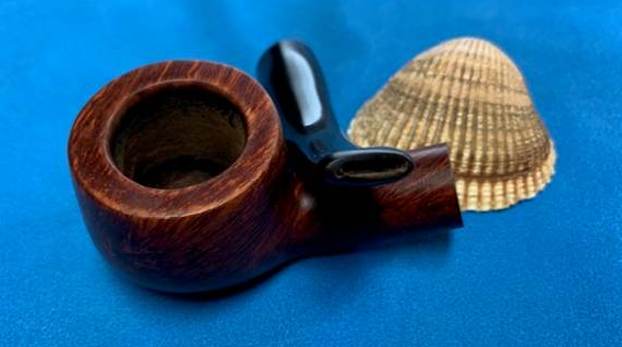
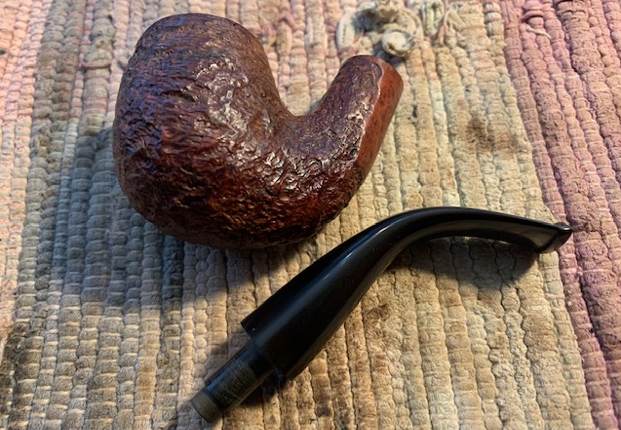
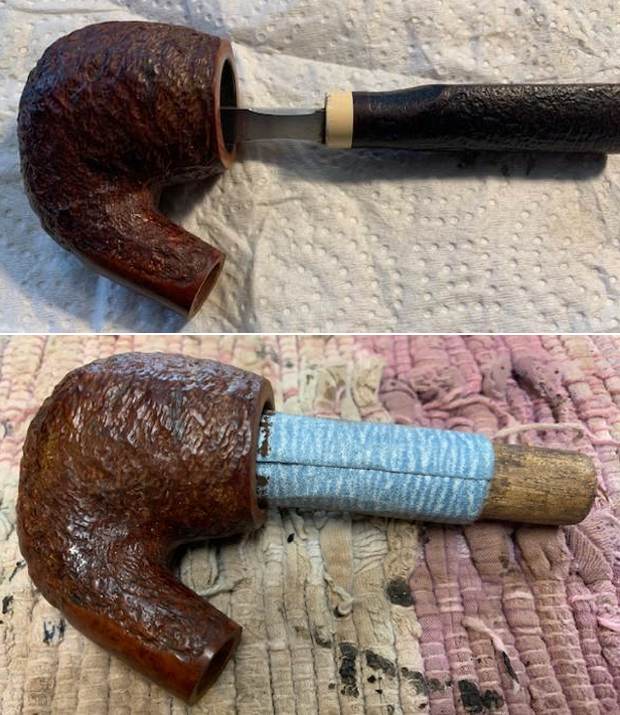
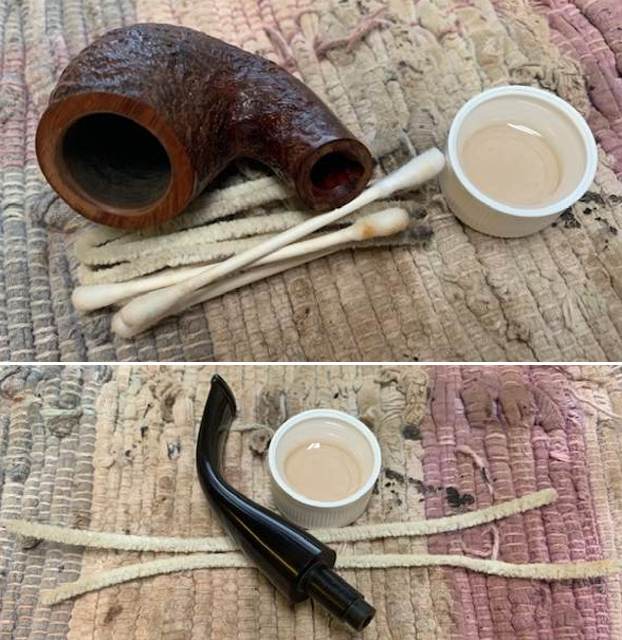
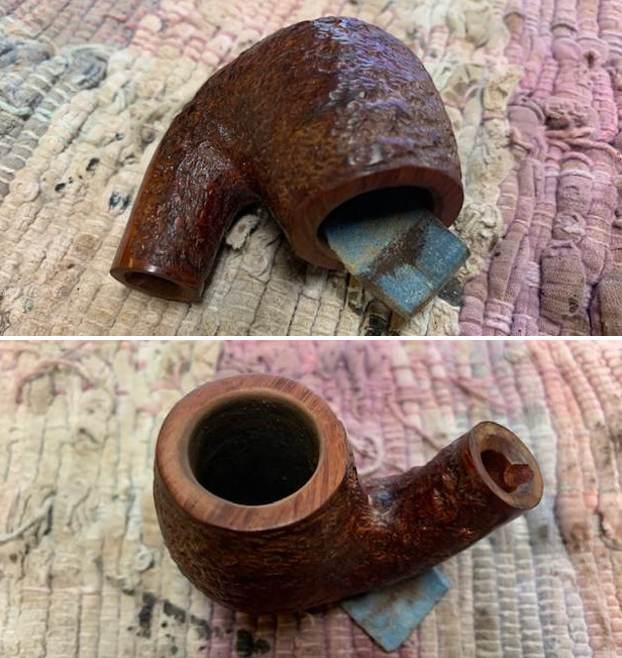
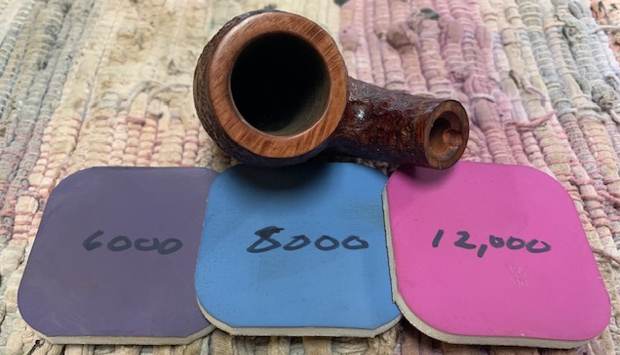
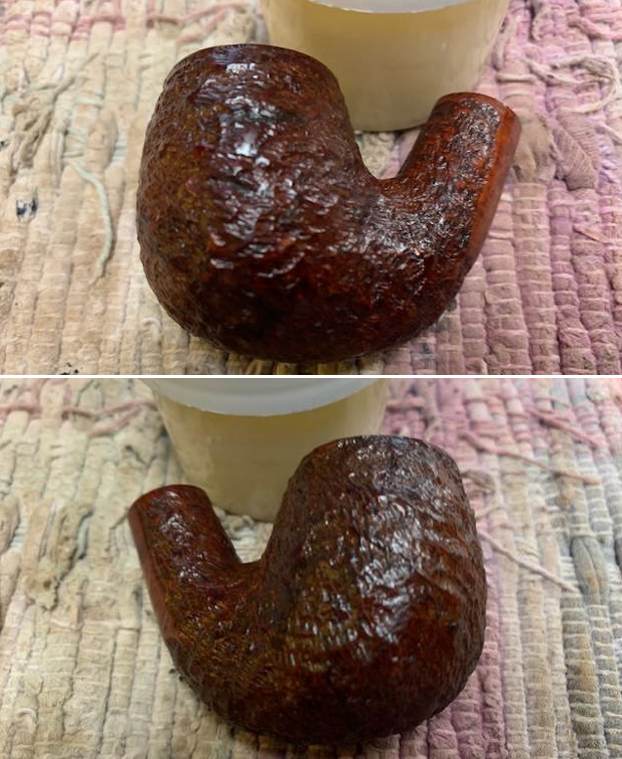
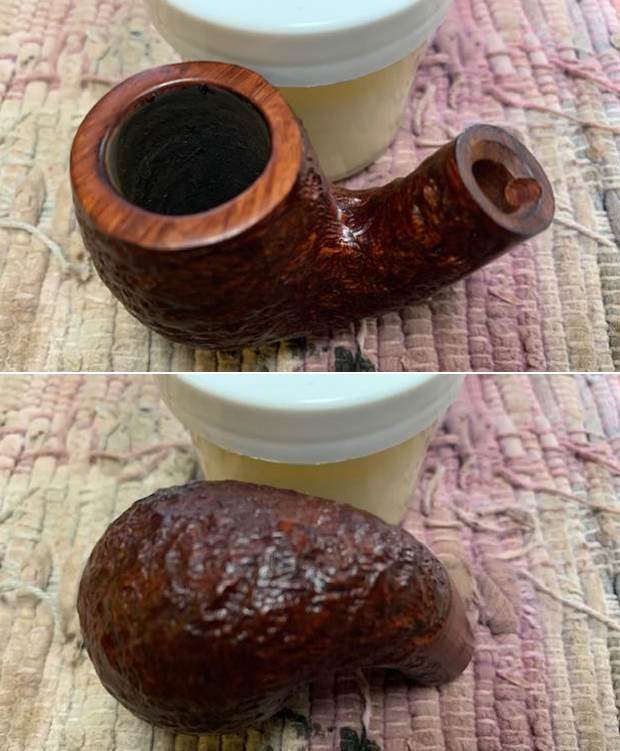
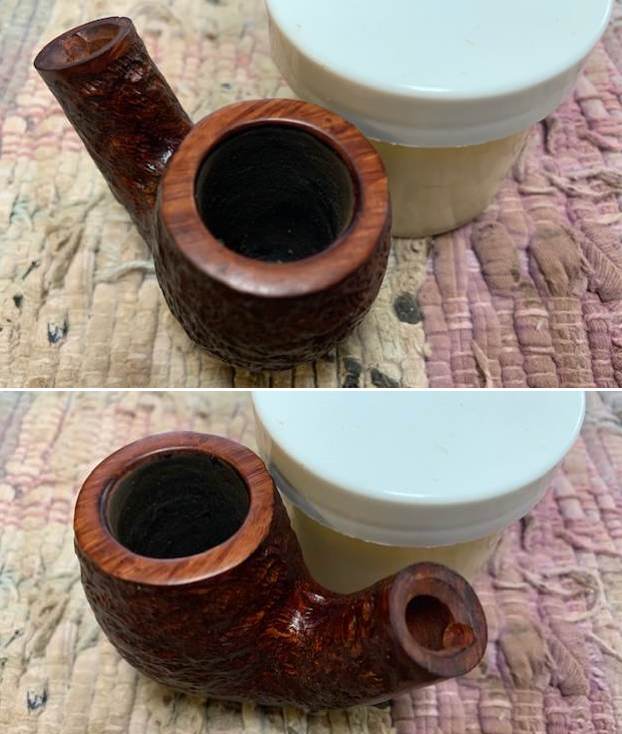
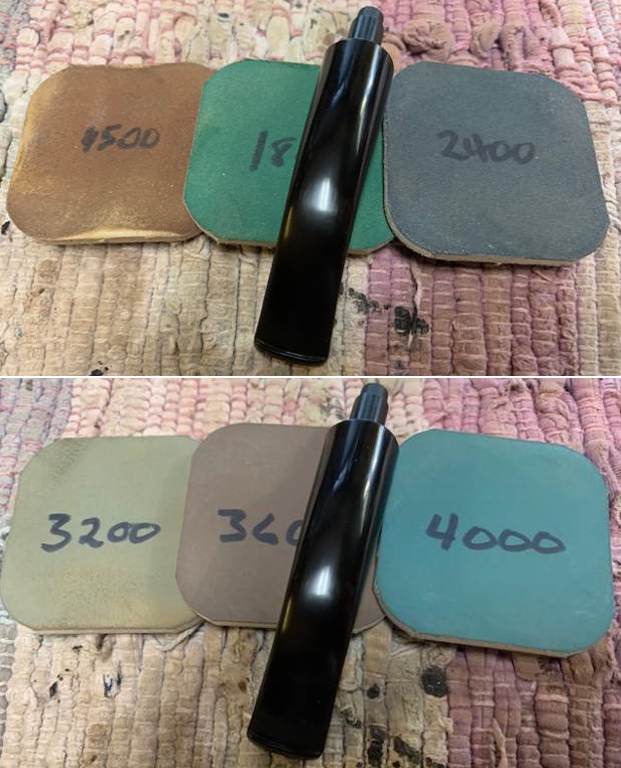
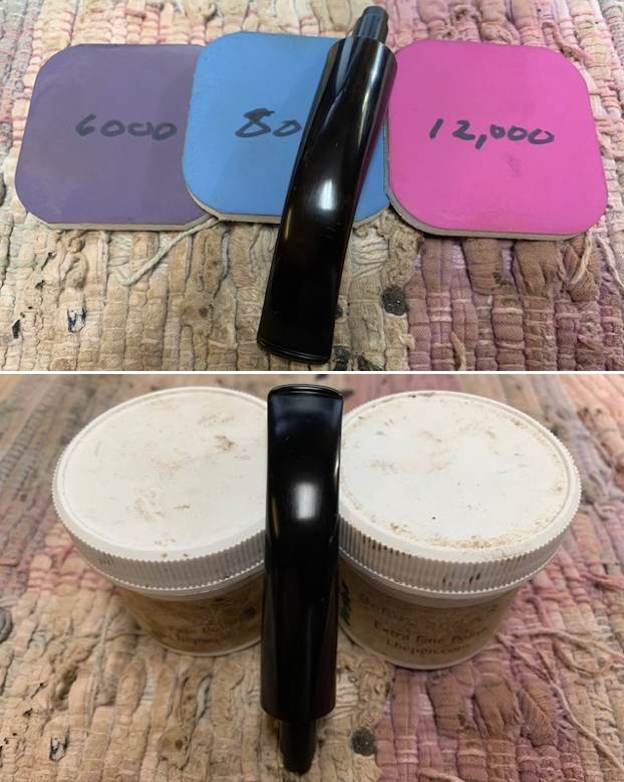
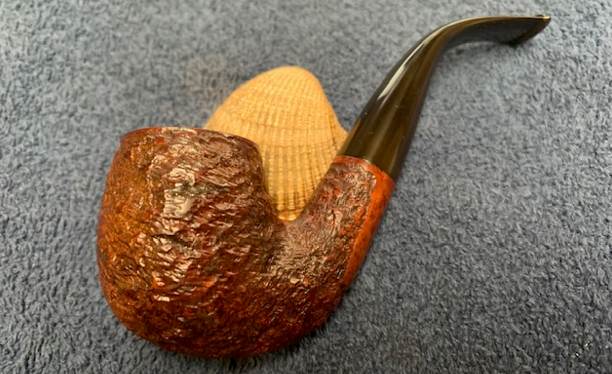
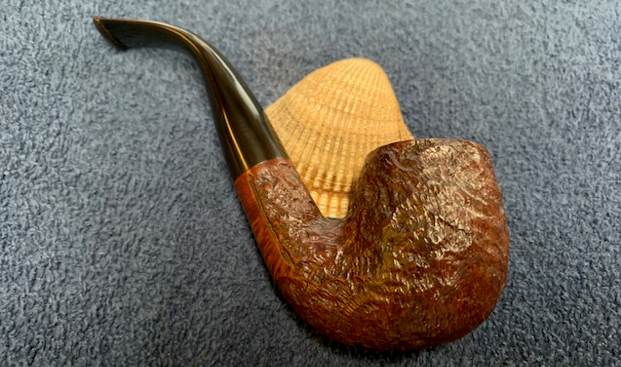
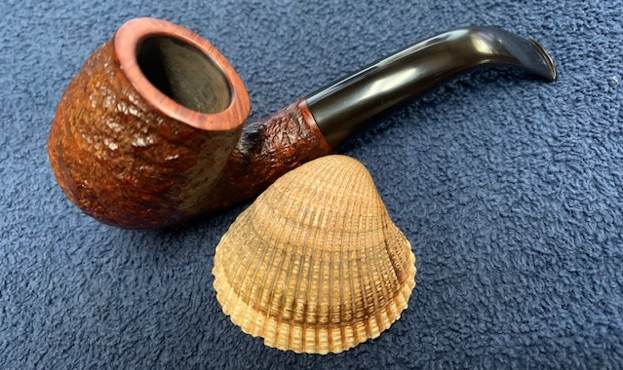
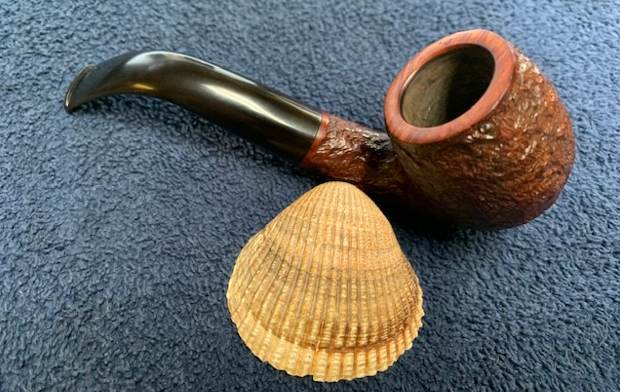
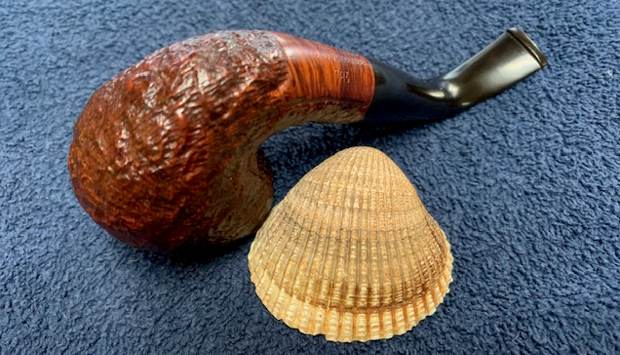
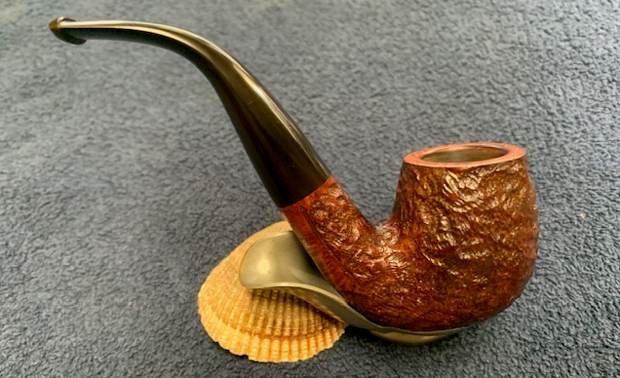
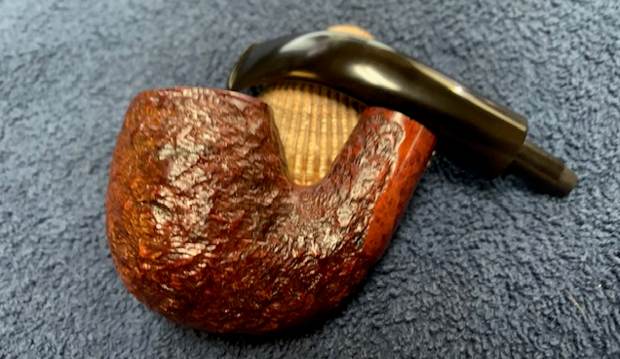
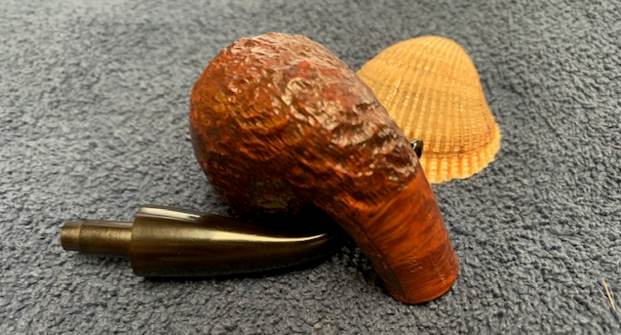
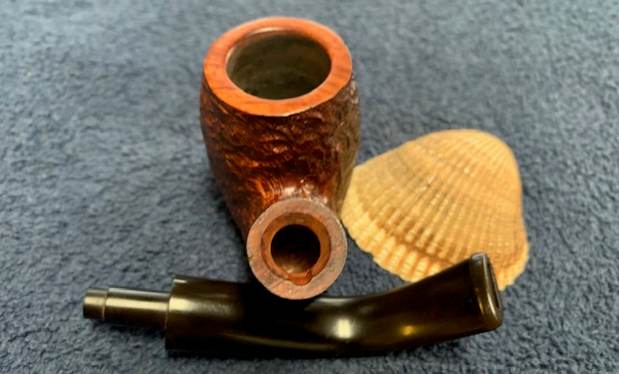
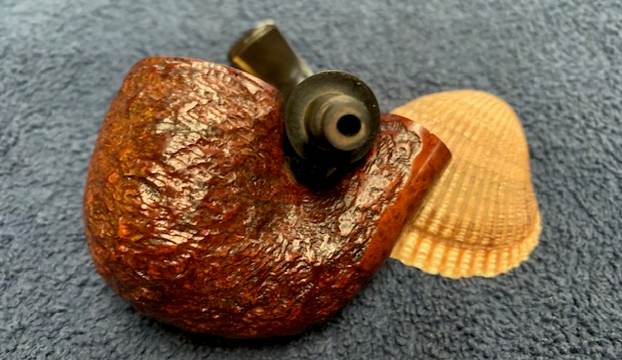
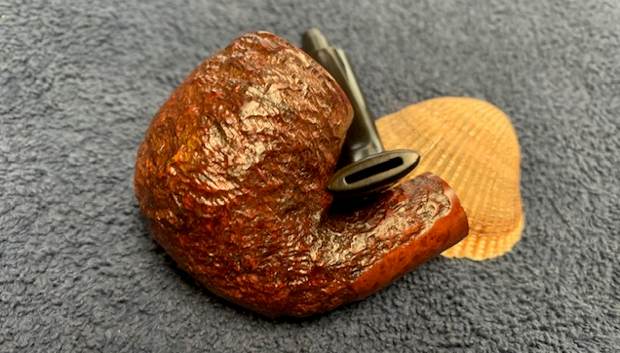
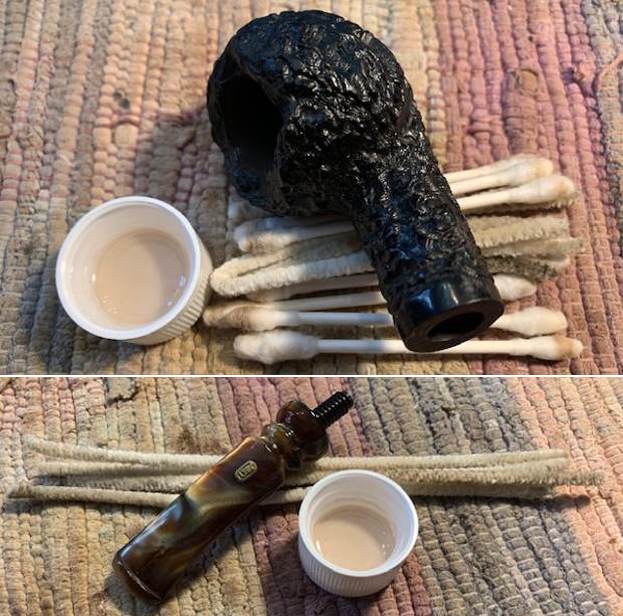
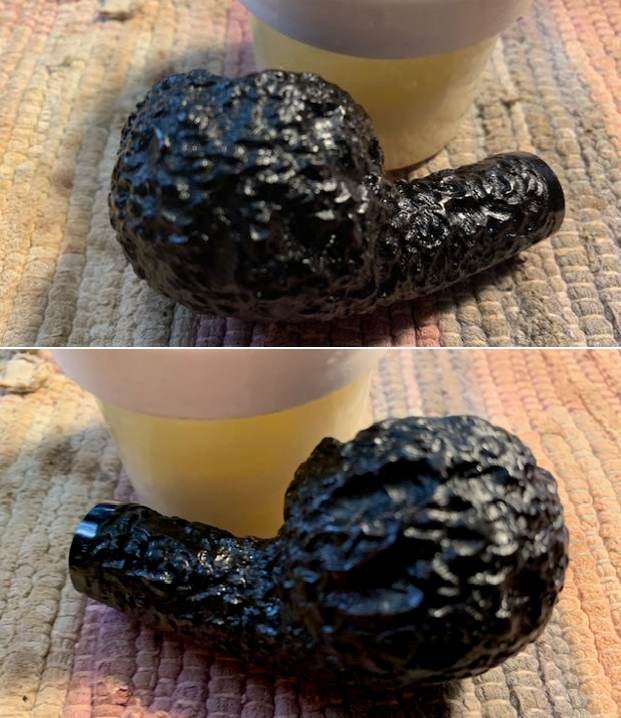
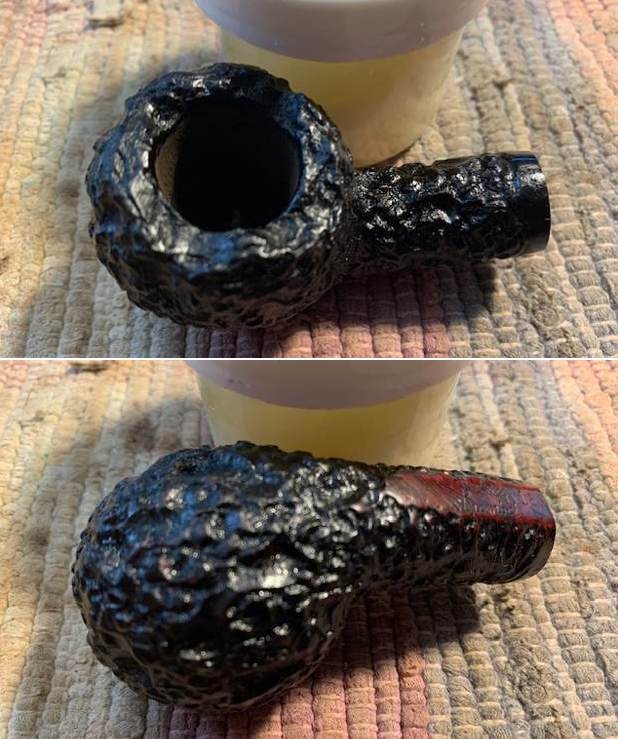
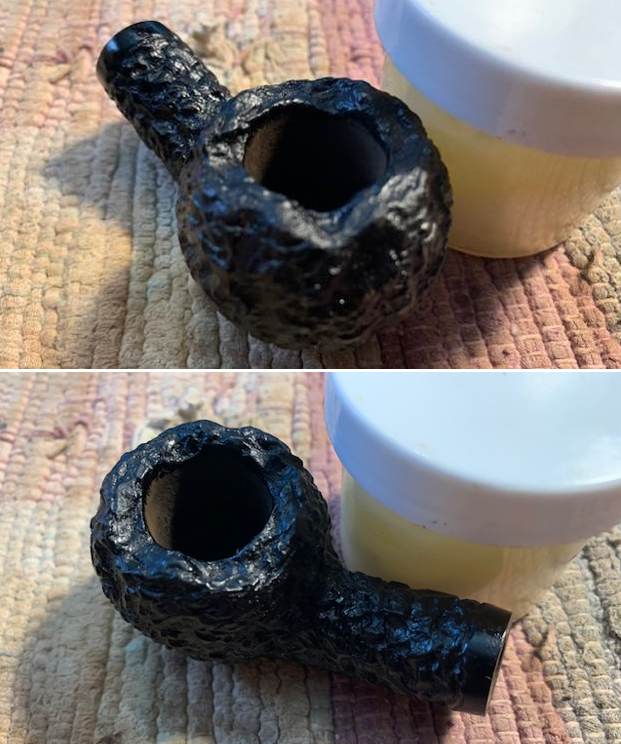
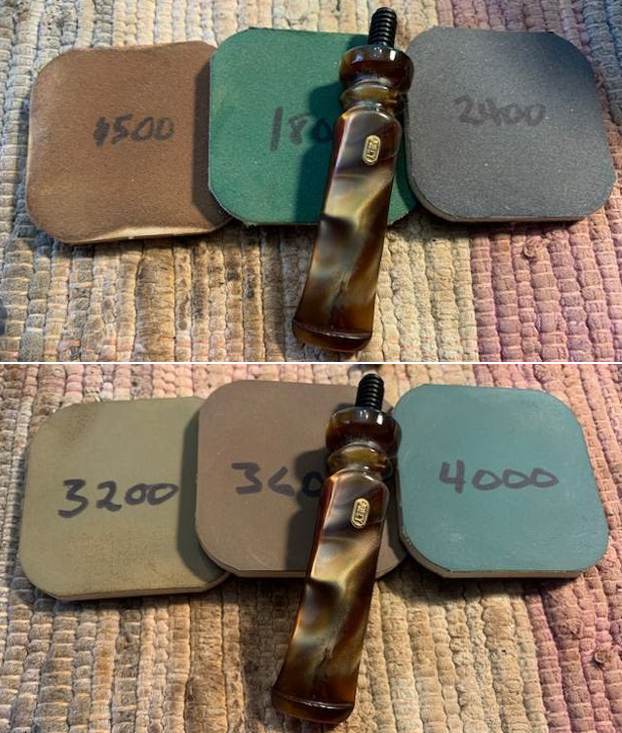
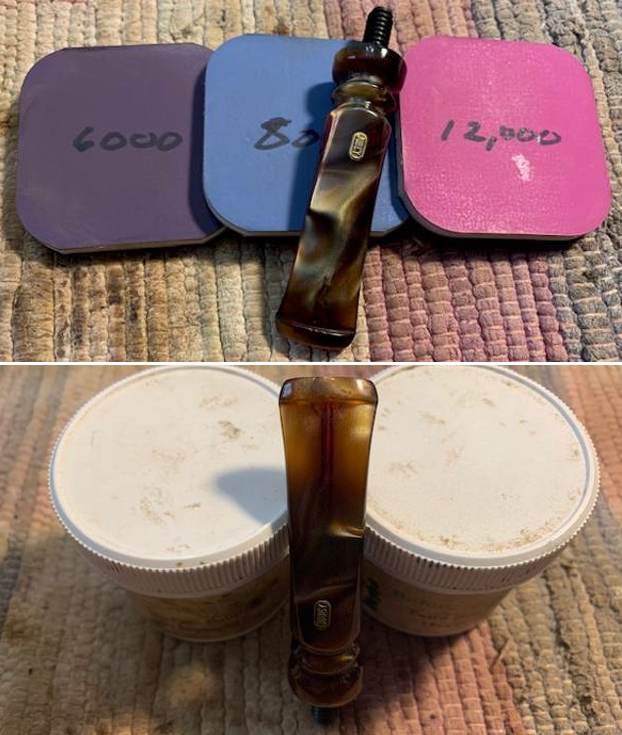
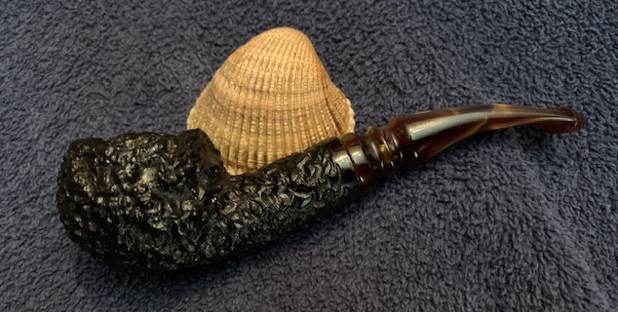
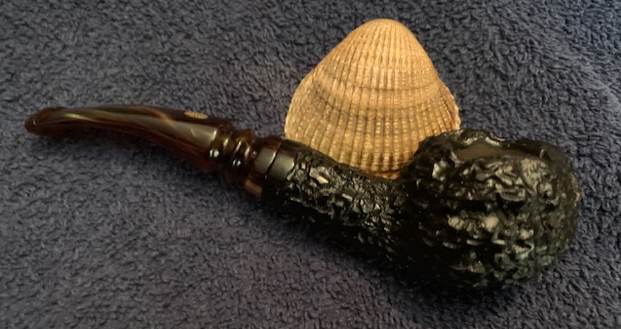
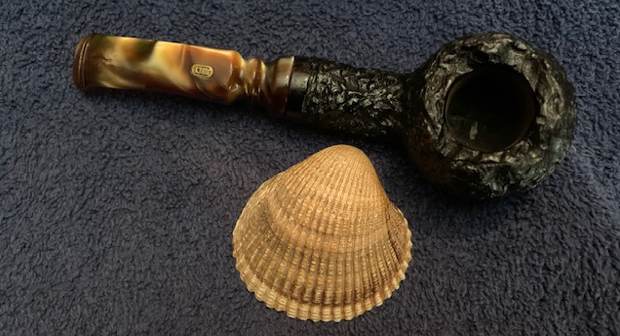
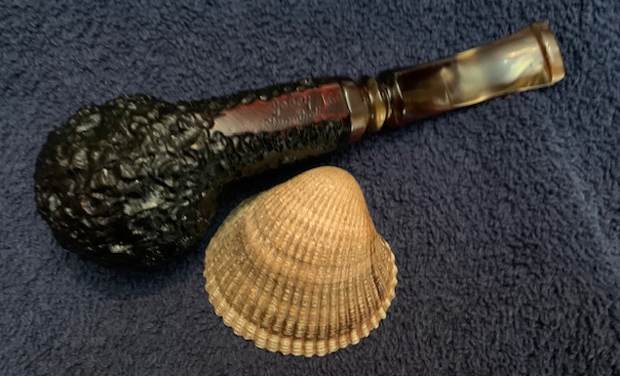
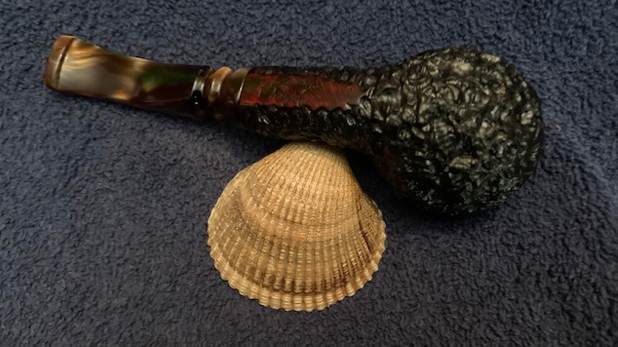
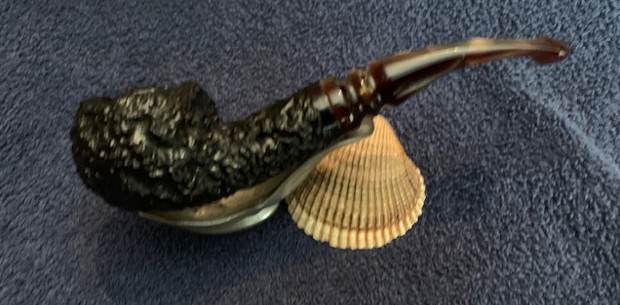
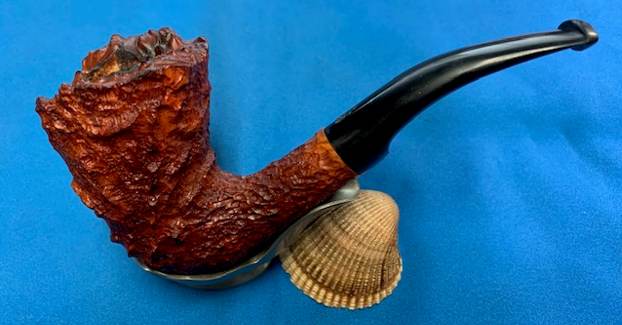
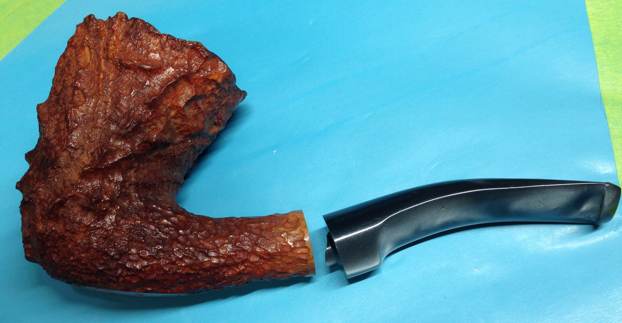
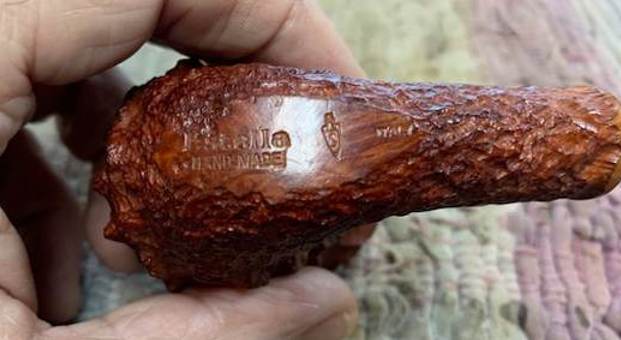
I called him back and we arranged for him to mail the pipe to me. It was a very heavily rusticated Estella Hand Made with an acrylic stem with a tenon that had snapped off fairly close to the saddle on the stem. It is a bit of a bent Dublin with a fancy half saddle acrylic in variegated silver and grey colours. The stem is in pretty decent condition. The bowl has a light cake and the rim top has some lava in the valleys. It will need to be cleaned up as well as having the tenon replaced. He sent the pipe to me through Canada Post and when it arrived it looked just as Curtis had photographed it.The pipe is a heavily rusticated Freehand with a plateau rim top. It is stamped on the smooth heel of the bowl and onto the shank on the underside of the pipe. It reads Estella [over] Hand Made followed by Savinelli S Shield logo then Italy. The stem was a variegated grey and silver half saddle. The tenon had snapped very close to the spot at the end of the stem. The stem itself was quite clean with some light tooth marks and chatter on both sides ahead of the button. There was a moderate cake in the bowl that went half way down the bowl. There was a lava overflow on the rim top and some nicks on some of the high spots. There was also some grime on the bowl at the midpoint where it is held in the hand. It was a nice looking Freehand pipe that showed great promise. I took photos of the pipe before I started my work on it. I took a close up photo of the bowl and rim top to show the thickness of the cake and the condition of the stem when I received the pipe. It was a bit of a mess. You can see the lava overflow on the rim top and the inner edge of the bowl. The stem looked good other than having a broken tenon. There were some light tooth marks and chatter on both sides ahead of the button.The next photo shows the stamping on the underside of the shank. It is clear and readable as noted above.I reamed the bowl with a PipNet Pipe Reamer to remove the cake from the bowl – using the #1 and #2 cutting heads to take out the majority of the cake in the bowl. I cleaned up the reaming with a Savinelli Fitsall Pipe Knife and a piece of dowel wrapped with some 220 grit sandpaper. I cleaned up the lava on the rim top with a brass bristle wire brush and was able to remove much of the build up. I cleaned out the mortise and airway in the bowl and shank with isopropyl alcohol, cotton swabs and pipe cleaners until the shank and airway were clean.I scrubbed the bowl with Murphy’s Oil Soap and a tooth brush on the rustication on the bowl and rim top. I rinsed the bowl with warm running water to rinse off the soap and the grime left behind. It looked better. I rubbed the bowl down with Before & After Restoration Balm. I worked it into the rustication with my fingertips and a horsehair shoe brush to get it deep in the valleys of the rustication. I let it sit for 15 minutes and buffed it off with a soft cloth.  I set the bowl aside and turned my attention to the stem. I went through box of replacement tenons. I found one that was the right fit for the mortise. It was a little long for insertion into the end of the stem once drilled it. I would need to shorten the tenon in order to not have it break through the underside of the half saddle.I flattened the broken edges of the original tenon with a Dremel and sanding drum. I used a penknife to create a funnel in the stem end to guide the drill bit straight. I drilled it with a series of drill bits from one slightly larger than the airway in the stem and finished with a ¼ inch bit that was the same size as the tenon end. I cleaned up the drilled out stem with a round file and a half round file. I smoothed out the walls of the drilled out area. I roughened and rounded the end of the tenon that was going to be inserted in the stem. I coated it with some black superglue and twisted it in place in the stem end. I aligned it with the shank end to make sure the fit was correct.I cleaned out the airway in the stem shank with pipe cleaners, cotton swabs and isopropyl alcohol to remove the tars and oils. I sanded out the tooth marks and chatter with 220 grit sandpaper and started the polishing with 400 grit sandpaper. The marks are smooth and blended in. I also sanded the diameter of the stem slightly on the right side and underside to adjust the fit to the shank. I polished the stem with micromesh sanding pads – dry sanding with 1500-12000 grit sanding pads. I wiped the stem down after each sanding pad with a cloth impregnated with Obsidian Oil. The oil both preserves the rubber and also provides some needed friction for the micromesh pads. I polished it with Before & After Fine & Extra Fine Polish. I rubbed it down a final time with the oil and set it aside. This Estella Hand Carved Rusticated Freehand by Savinelli combines a great looking piece of rusticated plateau briar with a variegated grey/silver acrylic stem to make a beautiful pipe. The cleaned rustication on the bowl came alive with the polishing and waxing. I put the stem back on the bowl and carefully buffed the pipe with Blue Diamond on the buffing wheel. I gave the bowl multiple coats of Conservator’s Wax and the acrylic stem multiple coats of carnauba wax on the buffing wheel and followed that by buffing the entire pipe with a clean buffing pad. I hand buffed the pipe with a microfiber cloth to deepen the shine. The finished Estella Hand Carved Freehand really is a beauty and fits nicely in the hand and looks very good. Give the finished pipe a look in the photos below. The dimensions of the pipe are Length: 6 inches, Height: 2 ¾ inches, Outside diameter of the bowl: 1 ¾  x 2 inches, Chamber diameter: ¾ of an inch. The weight of the pipe is 2.05oz./58grams. It is the second pipe I have finished for Curtis. Next week I will put it in the mail and send it back to him. Thanks for reading this blog and my reflections on the pipe while I worked on it. There are many more to come!
New Life and New Look for a Neerup Made in Denmark Bulldog


Blog by Steve Laug

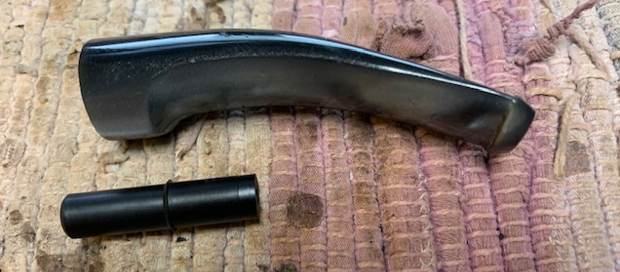
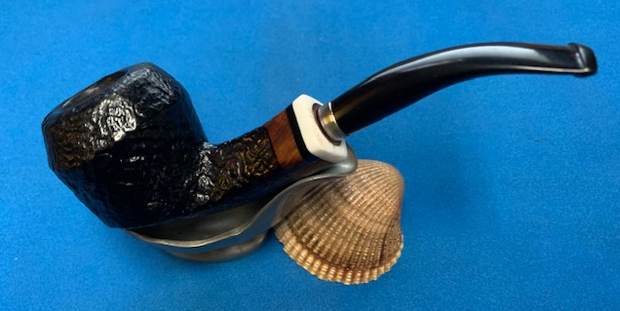
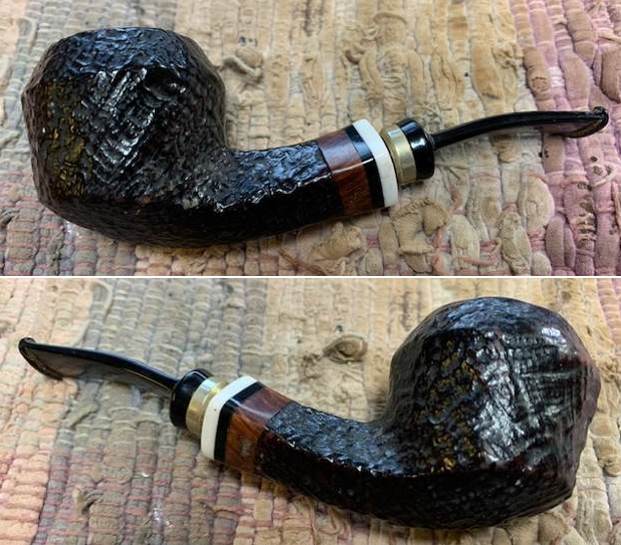
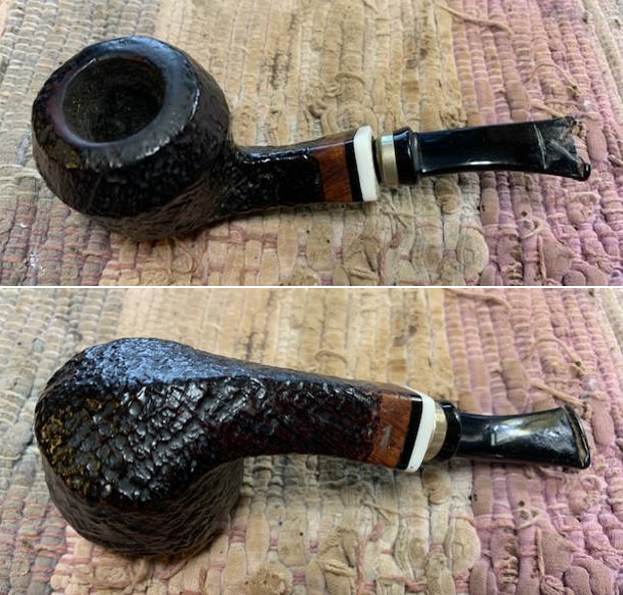
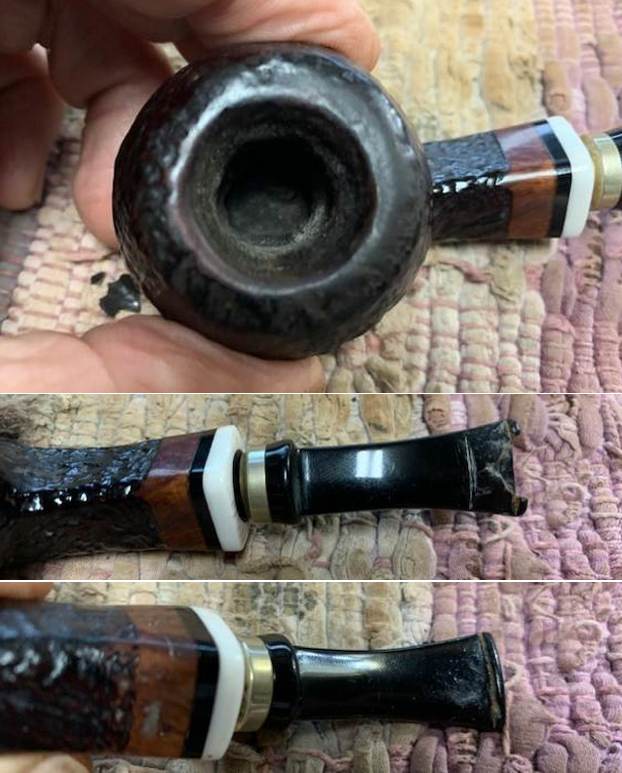
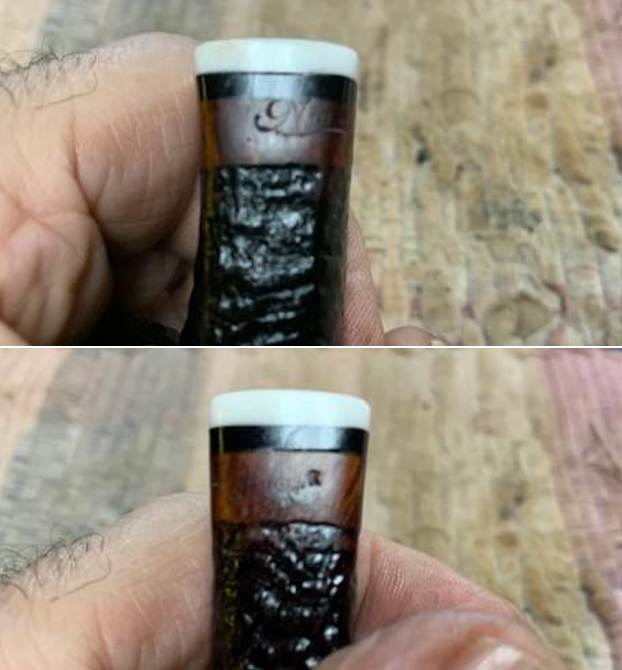
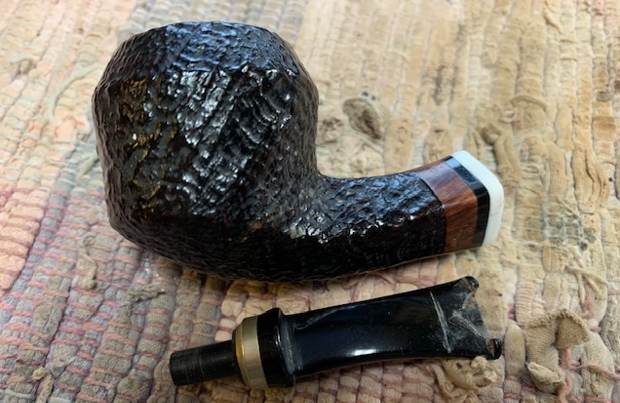
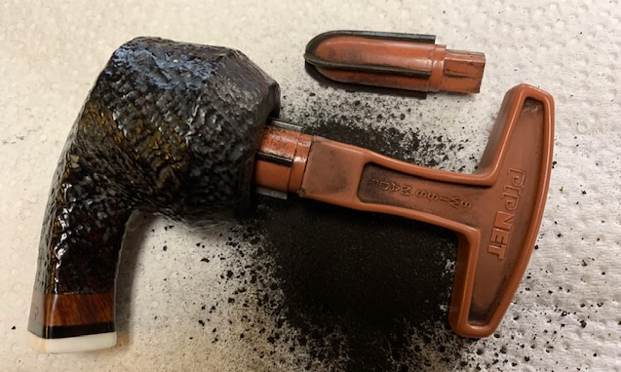
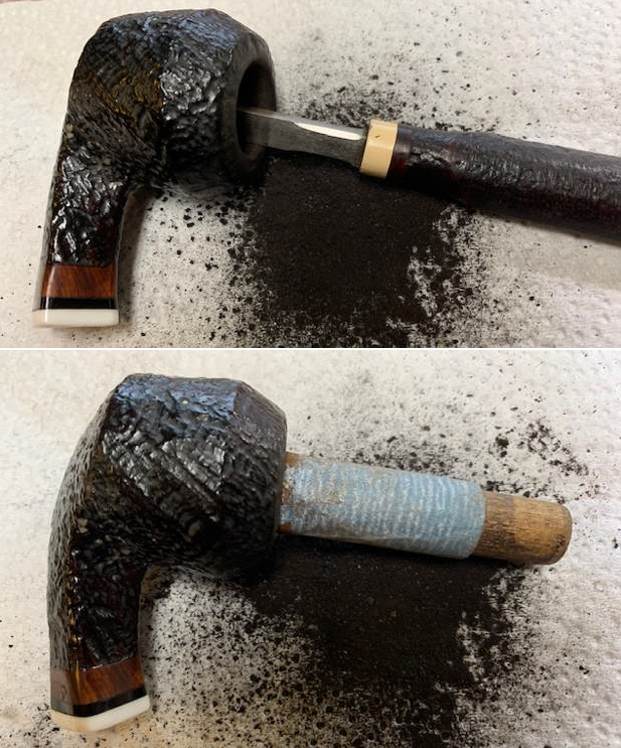
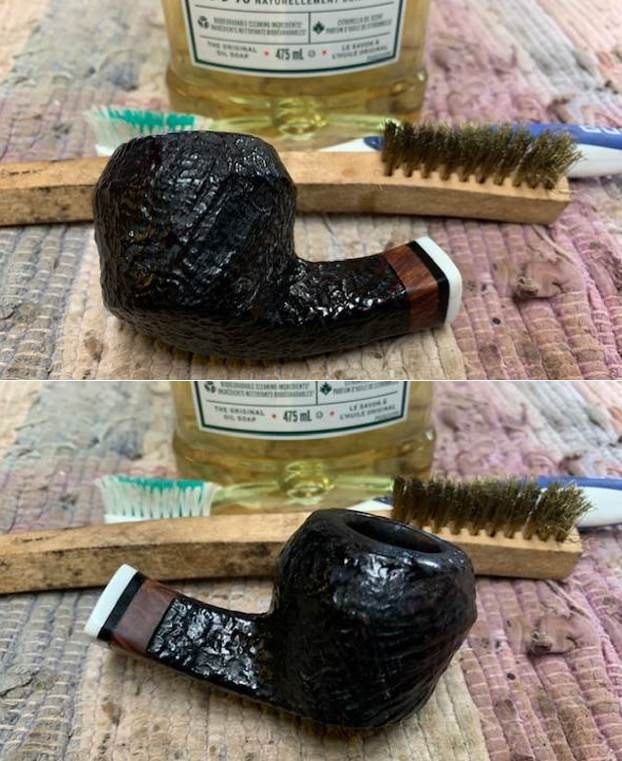
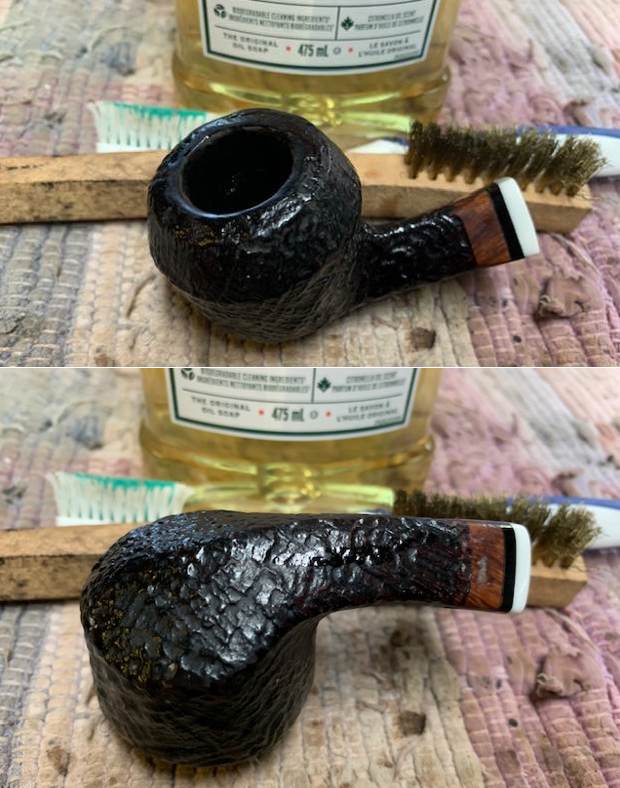
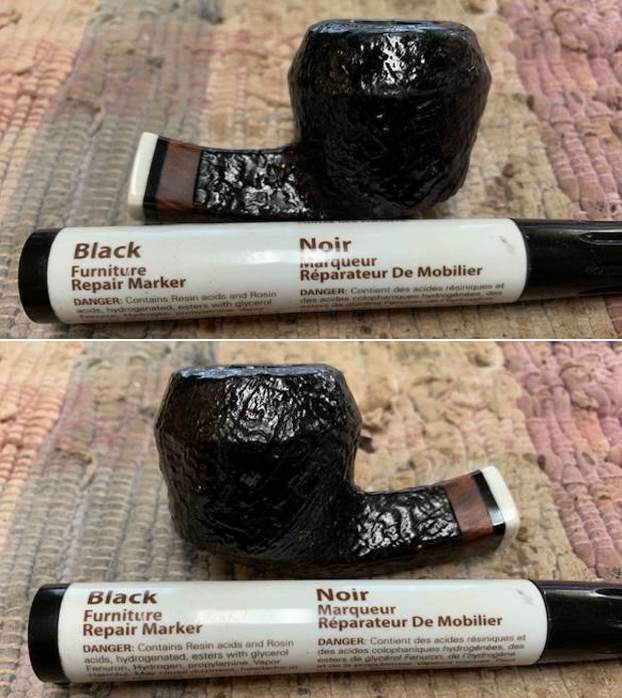
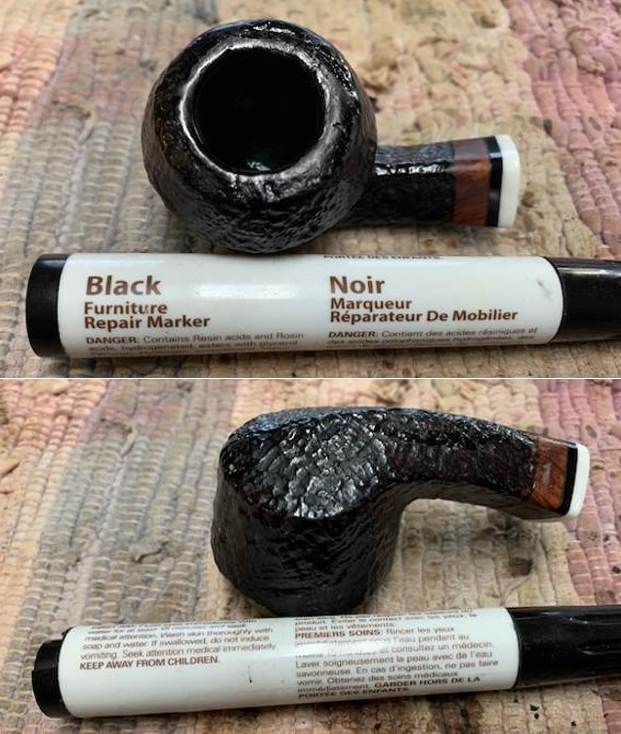
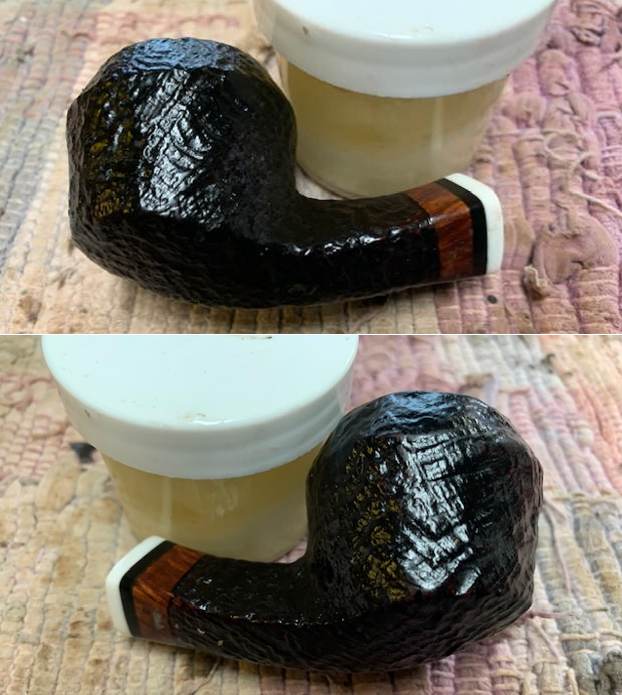
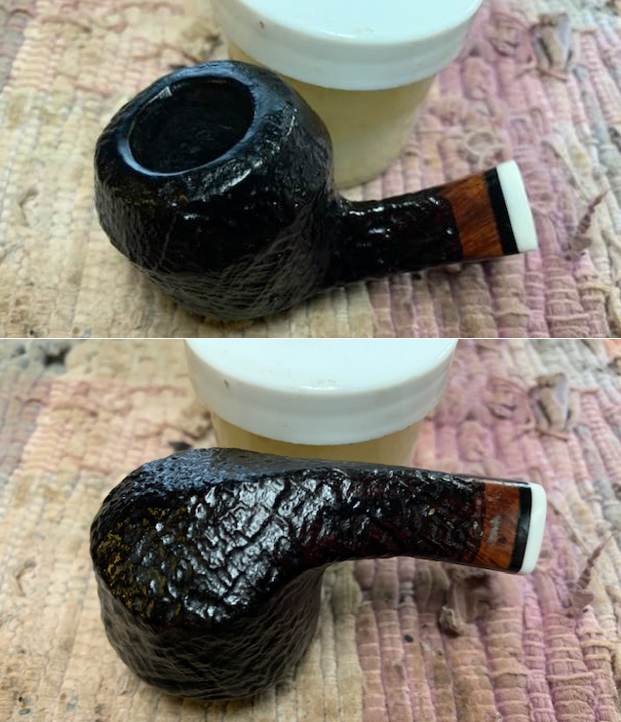
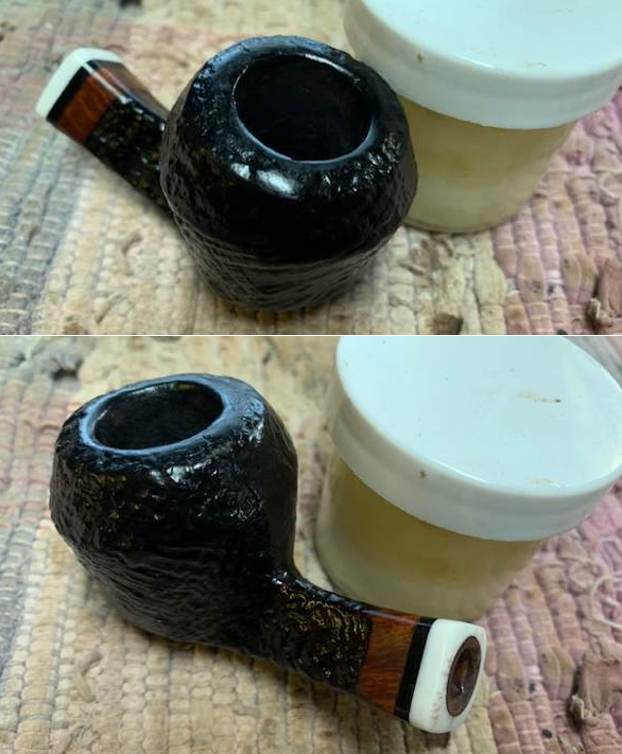
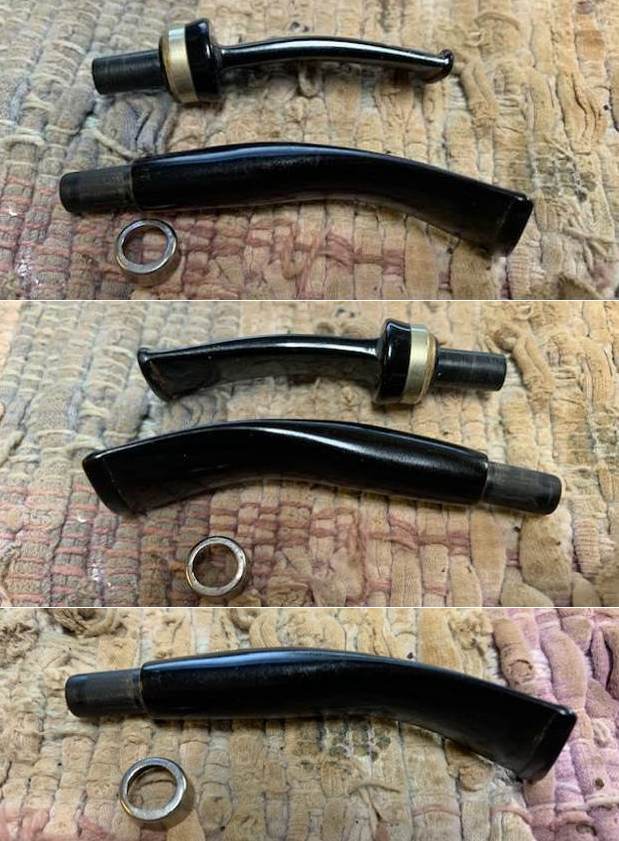
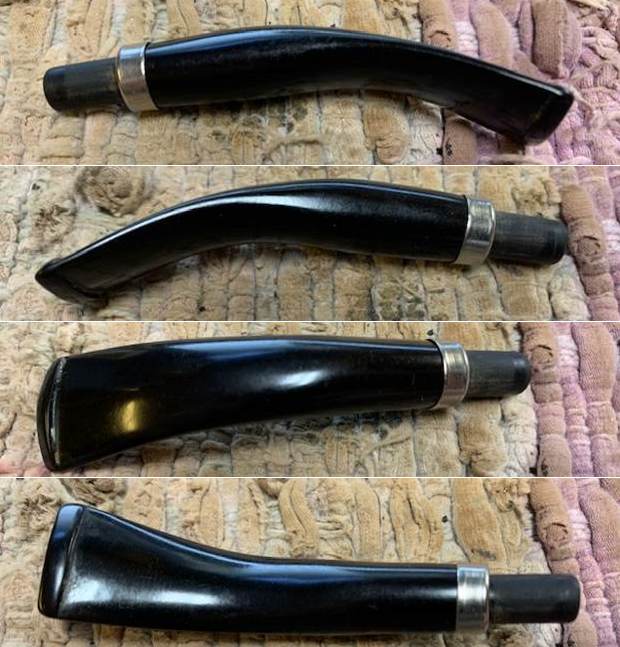
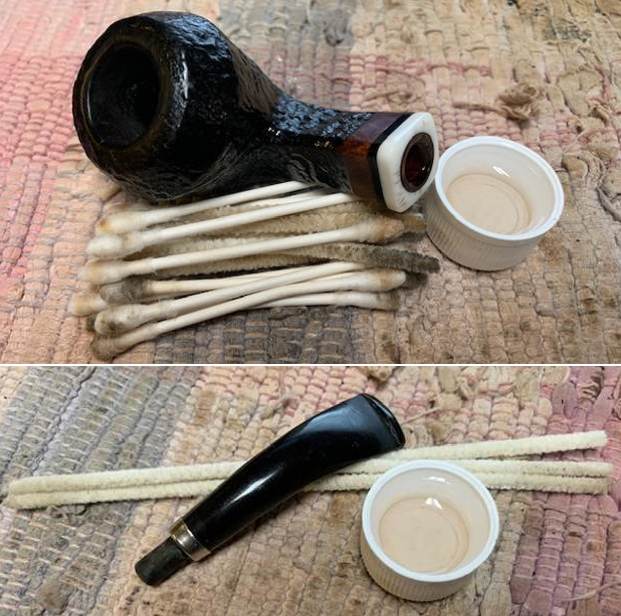
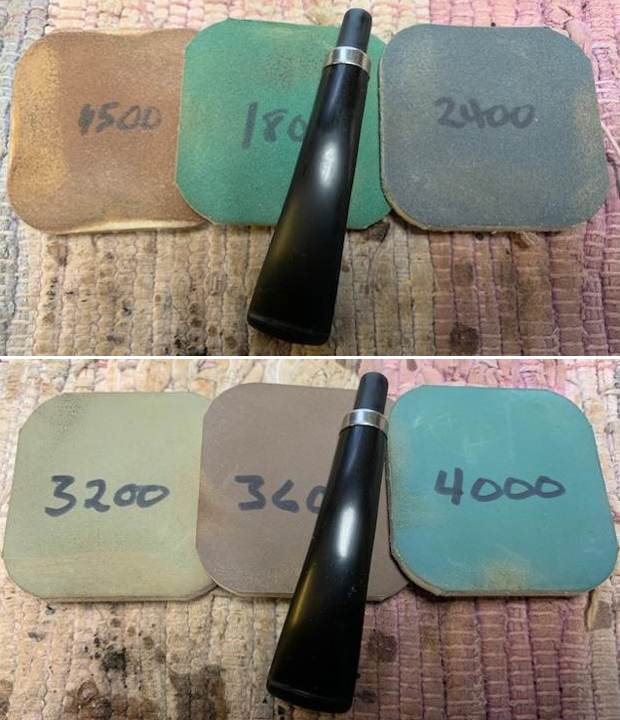
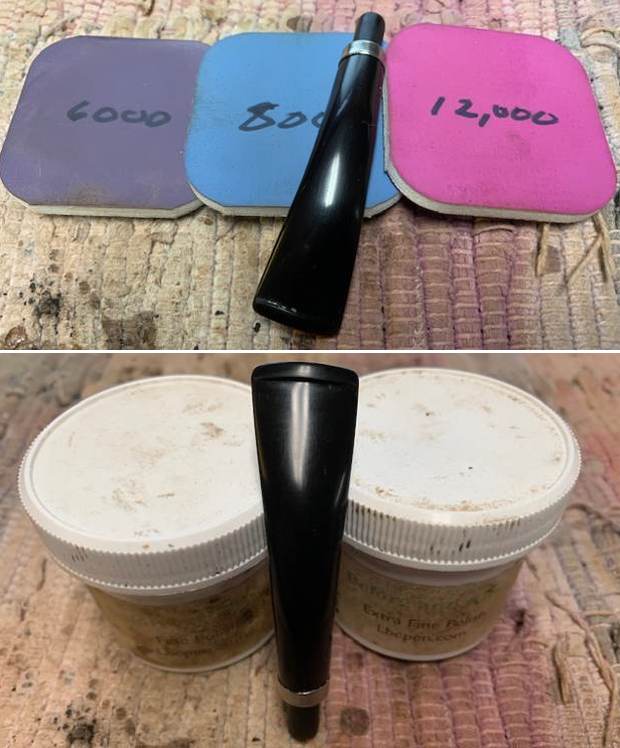
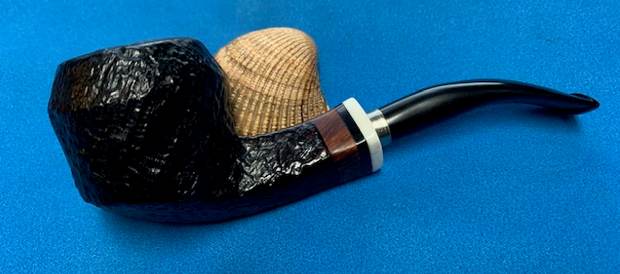
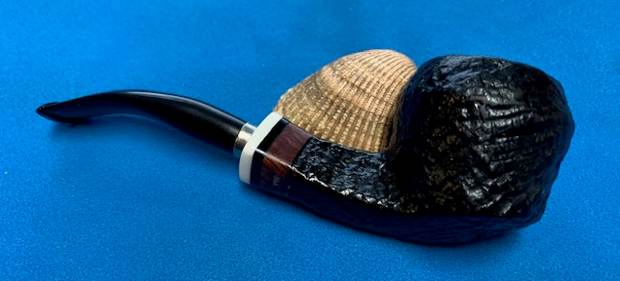
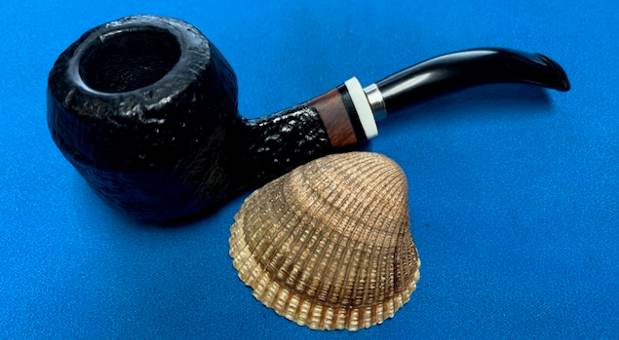
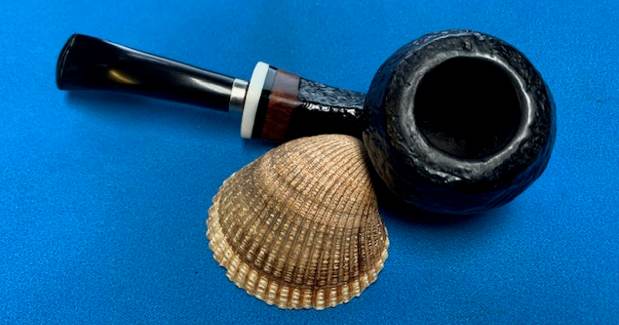
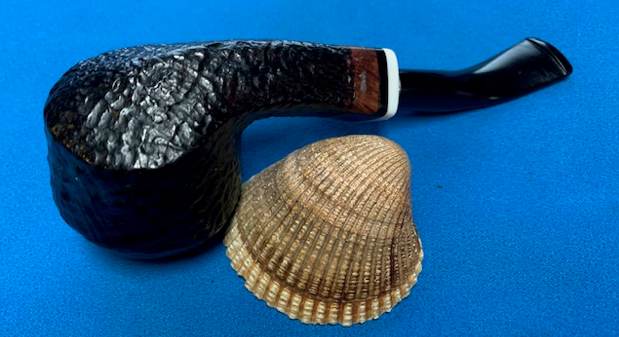
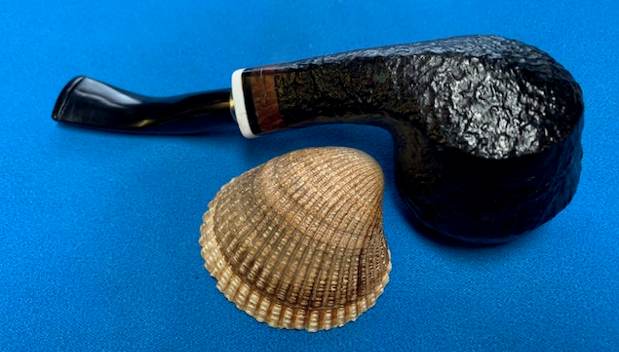
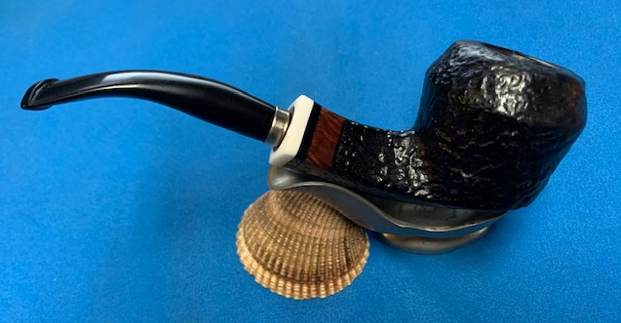
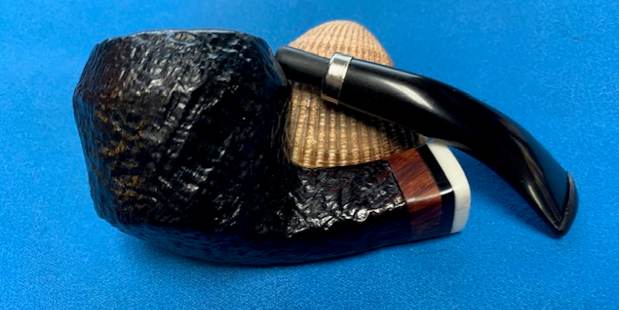
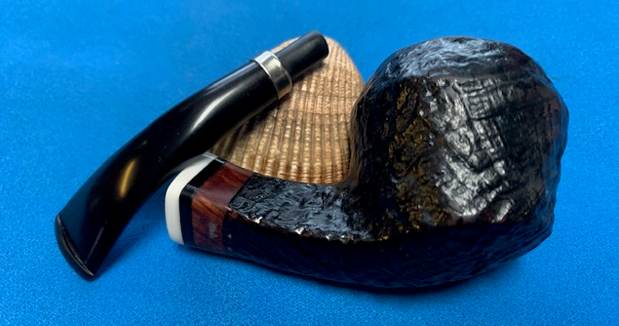
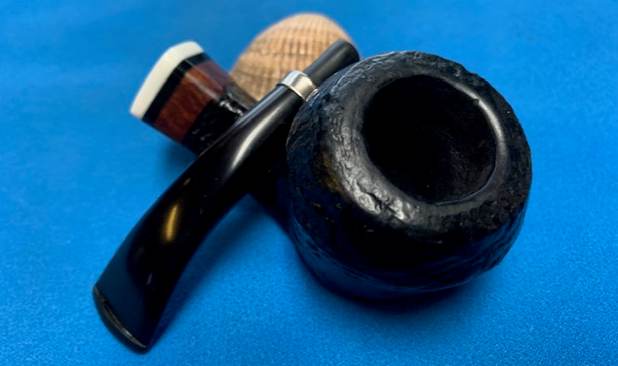
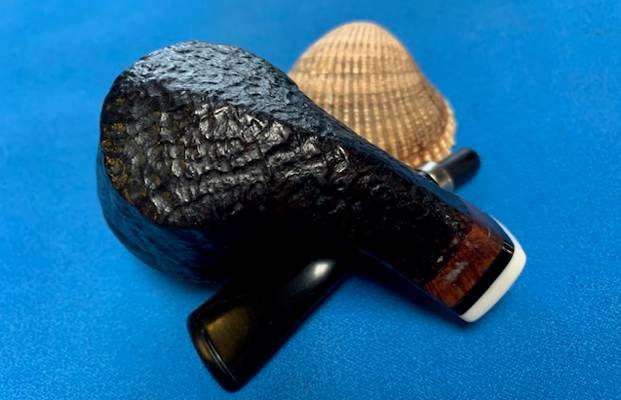
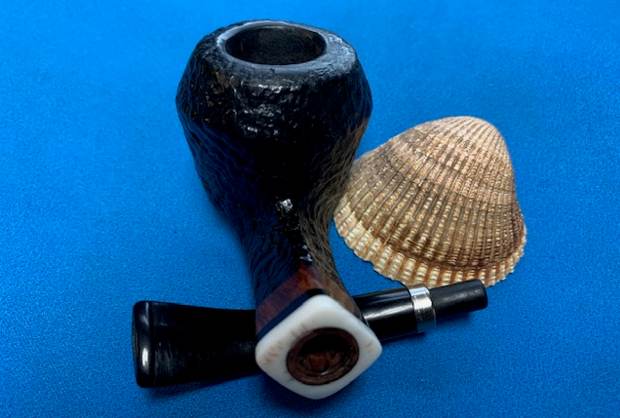
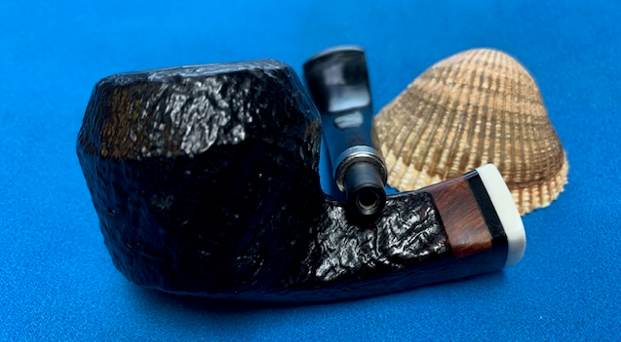
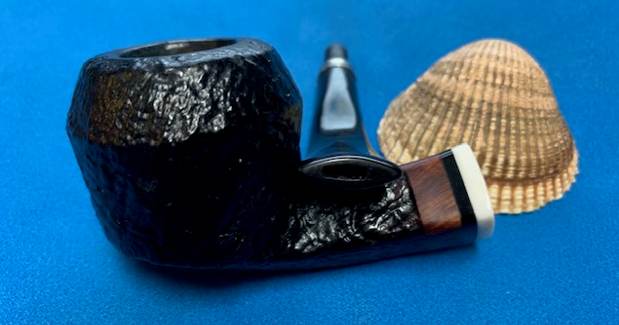
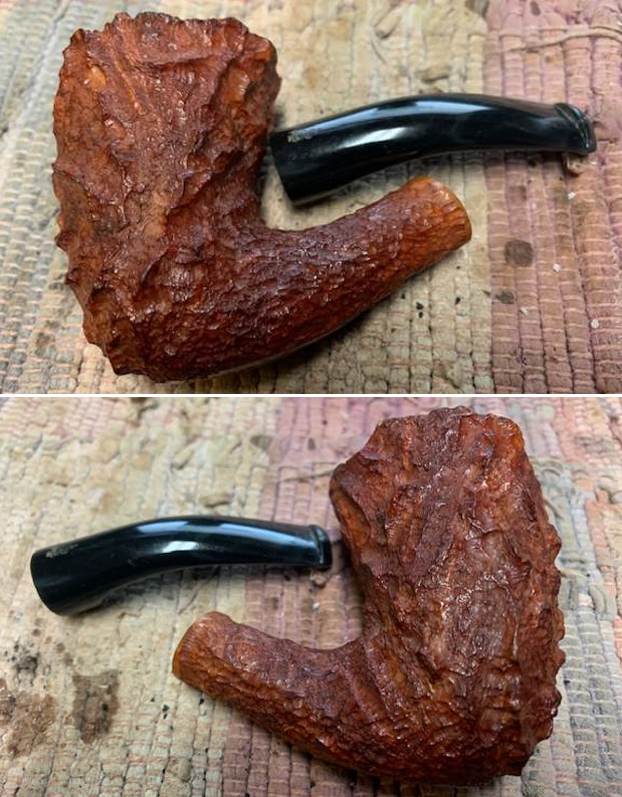
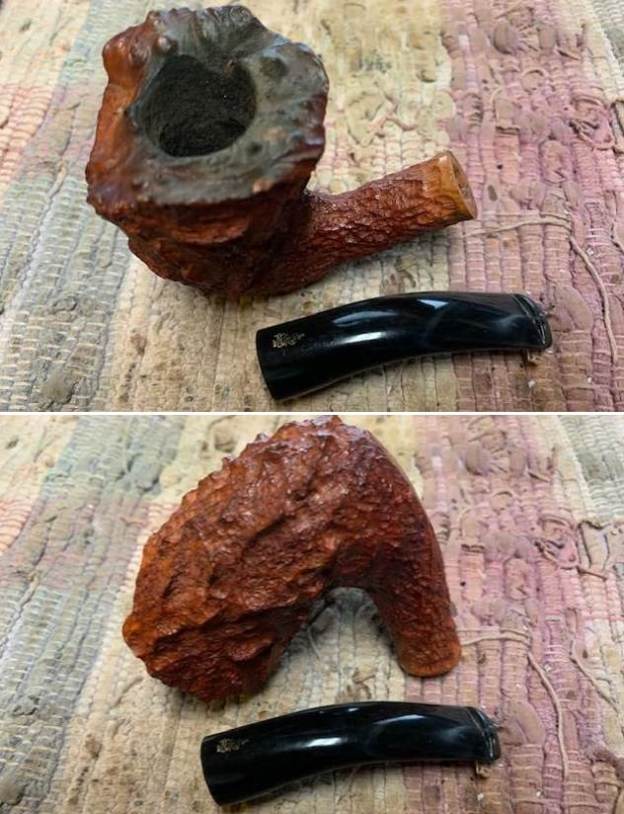
Last week I received a call from Curtis, a gentleman who had been referred to me by City Cigar. He called to inquire if I could repair a broken tenon on a Savinelli Hand Made Estella that was gift from his son and he had dropped it and snapped the tenon off. We chatted and he sent photos and eventually agreed on the repair. He sent the pipe to me through Canada Post and when the box arrived on Monday it also included a second pipe. I talked with Curtis about the second pipe and we decided to restem it as the chip on the top button edge and stem were too big for a repair. The pipe is a sandblast Freehand style Bulldog with a smooth briar band, a black acrylic band and a white acrylic band. It is stamped on the smooth underside of the briar band and reads Neerup followed by Made in Denmark. The stem was vulcanite and had a fitted brass cap above the tenon. It was a slight saddle stem with a gentle bend. It was seriously damaged. There was a large wedge missing from the topside and just ahead of that there was a carved line like a dental bit to facilitate holding it in the teeth. There was a very thick cake in the bowl that took up over half of the diameter of the bowl and the shank was filled with gummy tars and oils. There was an overflow of lava on the rim top and some damage on the back right outer edge from knocking out the pipe. It was a pretty little pipe that looked great. I took photos of the pipe before I started my work on it. I took a close up photo of the bowl and rim top to show the thickness of the cake and the condition of the stem when I received the pipe. It was a bit of a mess. The stem was in rough condition as noted above. You can see the damage on both sides of the stem – the chipped and broken top of the stem and button as well as the tooth damage on the underside of the stem. Looking at it you can see why we chose to restem it.The next two photos showed the stamping on the underside of the shank. It is faint but readable as noted above.I removed the stem and took a photo of the pipe to give a sense of perspective to the parts.I reamed the bowl with a PipNet Pipe Reamer to remove the cake from the bowl – using the #1 and #2 cutting heads to take out the majority of the cake in the bowl. I cleaned up the reaming with a Savinelli Fitsall Pipe Knife and a piece of dowel wrapped with some 220 grit sandpaper. I scrubbed the bowl with Murphy’s Oil Soap and a tooth brush on the sandblast and the a brass bristle brush on the rim top. I rinsed the bowl with warm running water to rinse off the soap and the grime left behind. It looked better. I touched up the nicks and marks on the sandblast bowl and rim top with a black stain pen to blend them into the rest of the bowl. I rubbed the bowl down with Before & After Restoration Balm. I worked it into the sandblast with my fingertips and a horsehair shoe brush to get it deep in the grooves of the sandblast. I let it sit for 15 minutes and buffed it off with a soft cloth. I went through my stem and found this slightly longer taper stem that would need very little adjustment to fit in the shank. I also found a metal ferrule cap in my collection that would fit on the end of the stem and approximate the one that was on the original stem. I took pictures of the old stem with the replacement stem in the photo to show the difference.I glued the polished aluminum ferrule onto the end of the stem – sliding it over the tenon to give a metal end decoration and create a metal look to the stem. I cleaned up the excess glue and took a photo of the finished look of the stem. I liked it.Then I remembered that I had not cleaned out the shank and the internals of the pipe or the new stem. I did it now. I cleaned out the shank and the mortise with pipe cleaners, cotton swabs and isopropyl alcohol to remove the tars and oils. I also cleaned out the airway in the stem I had chosen to use as well.I polished the stem with micromesh sanding pads – dry sanding with 1500-12000 grit sanding pads. I wiped the stem down after each sanding pad with a cloth impregnated with Obsidian Oil. The oil both preserves the rubber and also provides some needed friction for the micromesh pads. I polished it with Before & After Fine & Extra Fine Polish. I rubbed it down a final time with the oil and set it aside. This Neerup Made in Denmark Freehand Bulldog carved by Peder Jeppesen combines a great looking piece of sandblast briar with a multi-banded shank extension and a vulcanite stem to make a beautiful pipe. The removal of the thick shiny coat allows the grain to come alive with the polishing and waxing. I put the stem back on the bowl and carefully buffed the pipe with Blue Diamond on the buffing wheel. I gave the bowl and the stem multiple coats of carnauba wax on the buffing wheel and followed that by buffing the entire pipe with a clean buffing pad. I hand buffed the pipe with a microfiber cloth to deepen the shine. The finished Neerup Made in Denmark Bulldog really is a beauty and fits nicely in the hand and looks very good. Give the finished pipe a look in the photos below. The dimensions of the pipe are Length: 5 1/2 inches, Height: 2 inches, Outside diameter of the bowl: 1 ¾ inches, Chamber diameter: ¾ of an inch. The weight of the pipe is 1.80 ounces/51 grams. Once I finish the second pipe this one will be going back to Curtis to enjoy. Thanks for reading this blog and my reflections on the pipe while I worked on it. There are many more to come!
Bringing Life to a Whitehall Gulf Stream Imported Briar Sculpted Dublin


The next pipe on the worktable came from the US auction block in January of 2018, from a seller in Warsaw, New York.  I was attracted to this pipe …

Bringing Life to a Whitehall Gulf Stream Imported Briar Sculpted Dublin

Moving yet another one of my own – Harriss 863 Bent Billiard


Blog by Steve Laug

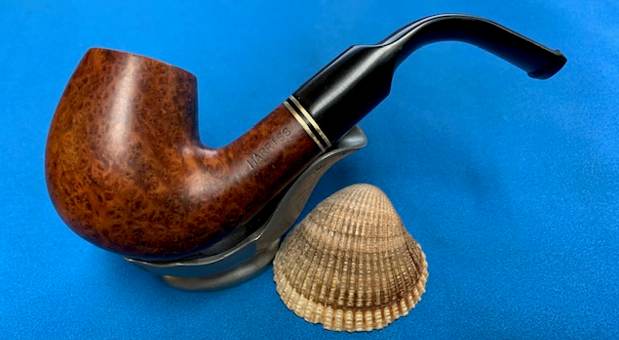
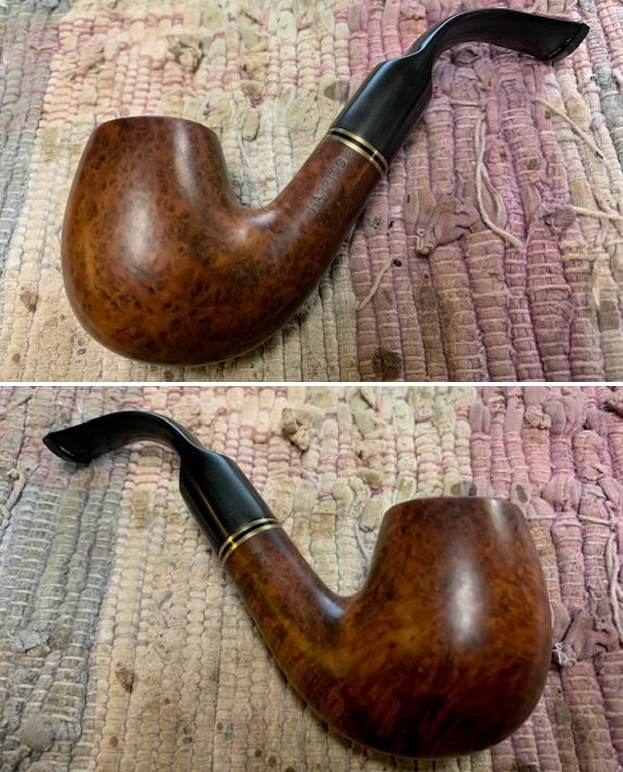
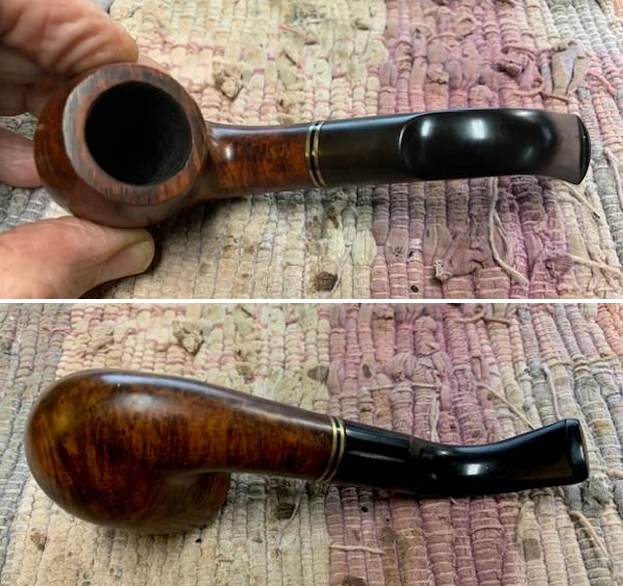
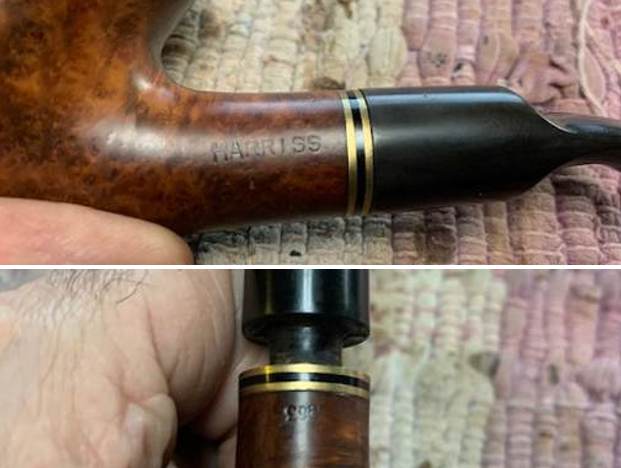
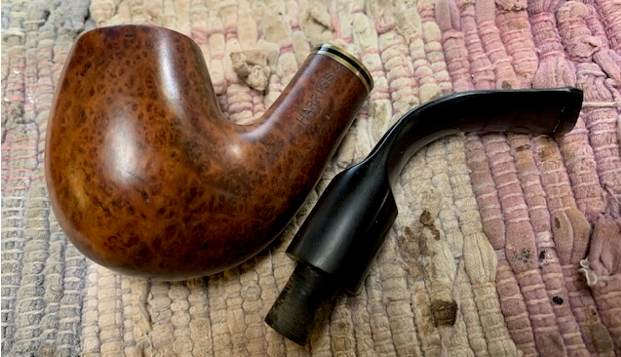
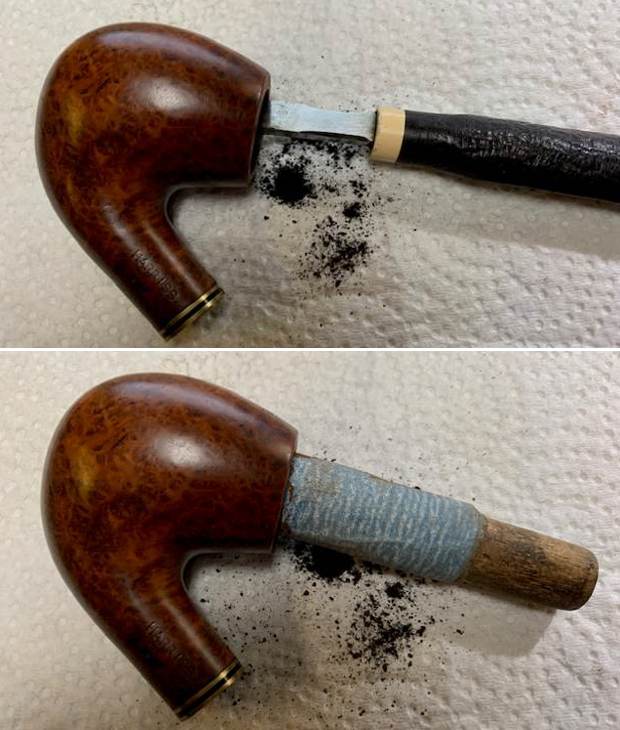
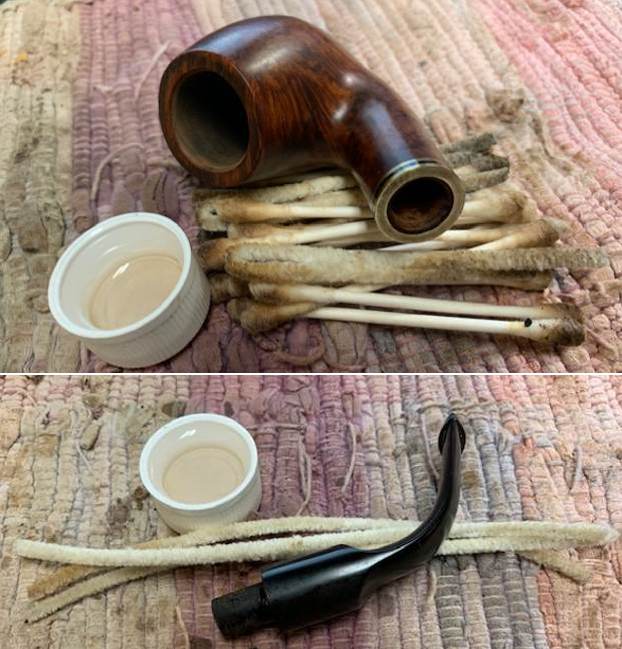
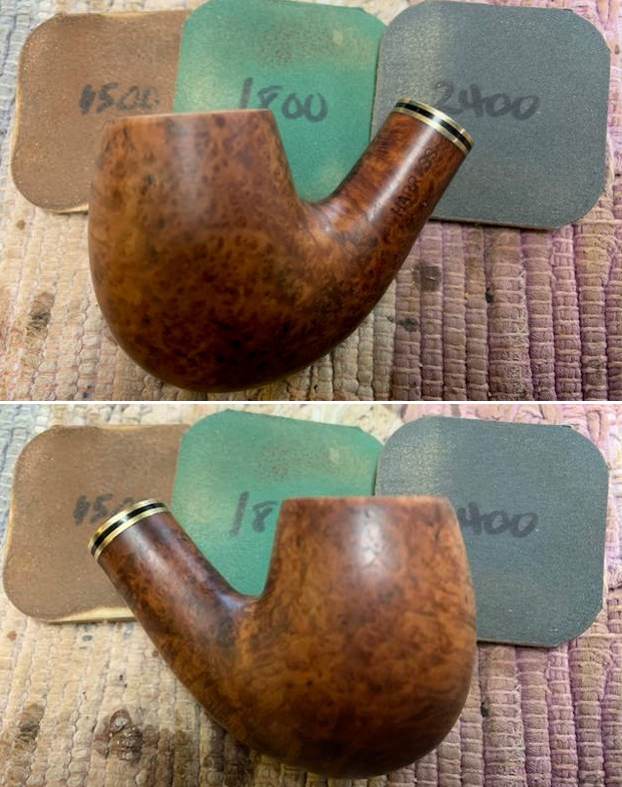
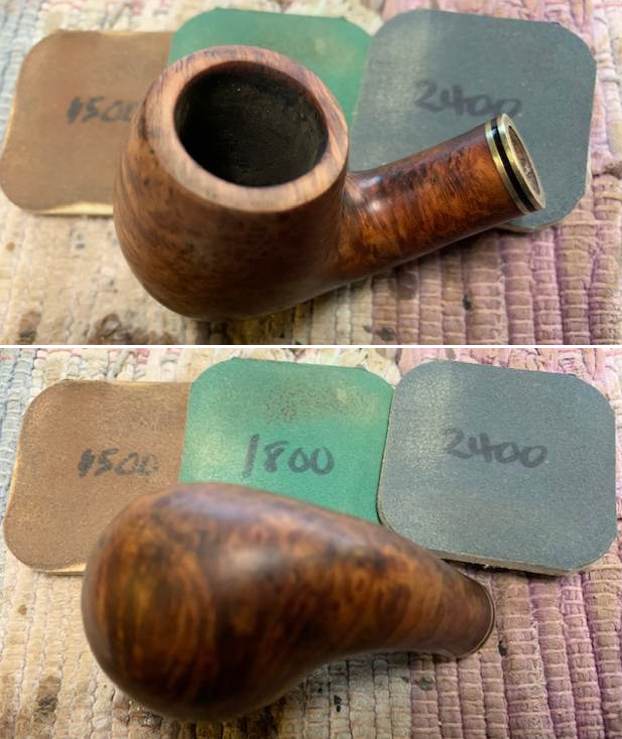
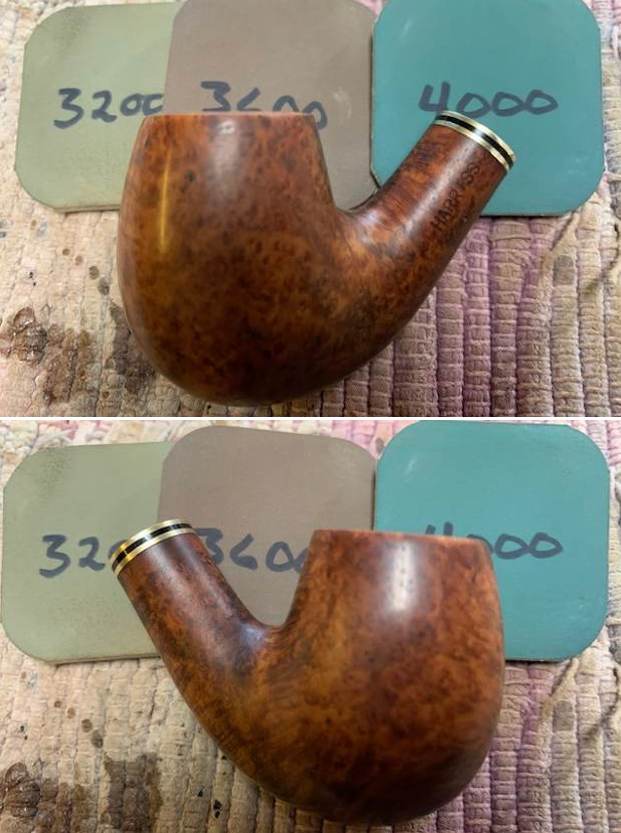
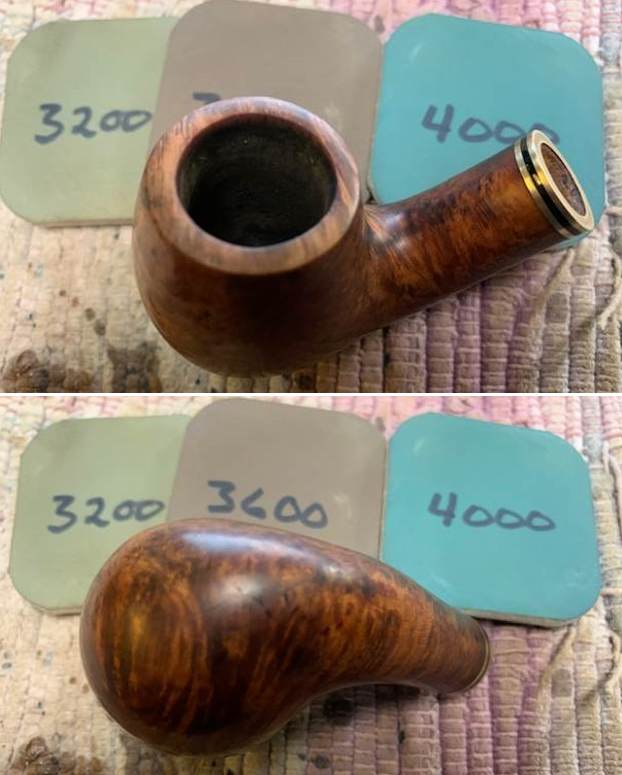
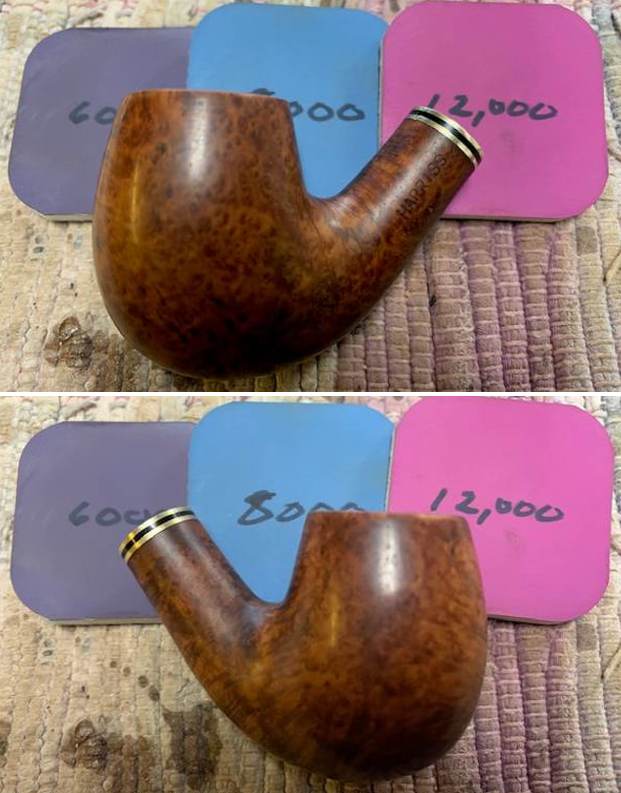
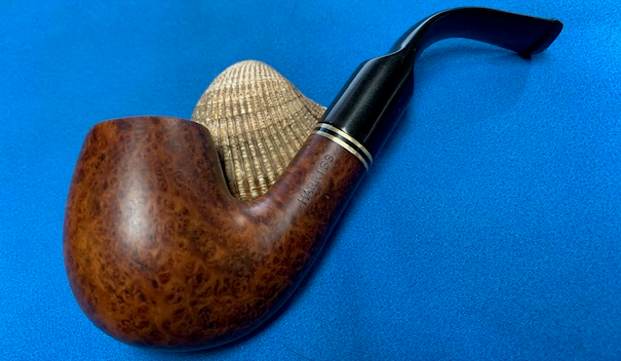
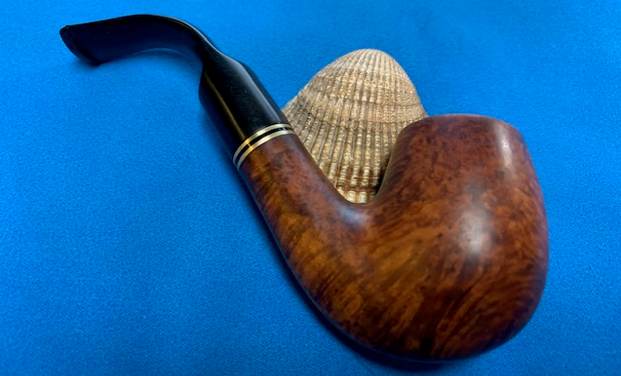
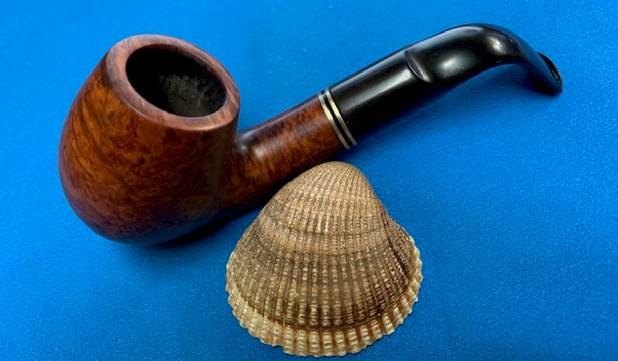
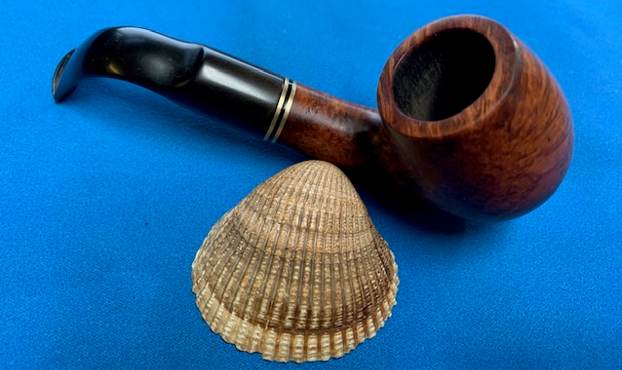
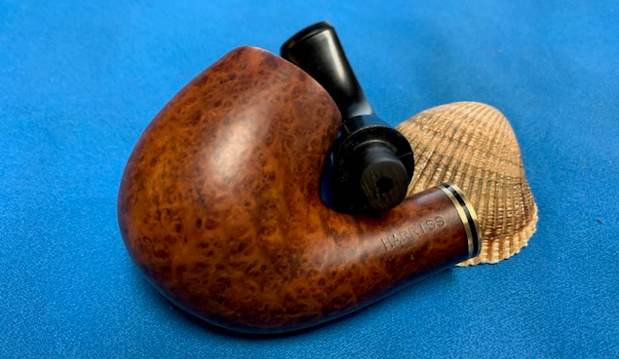
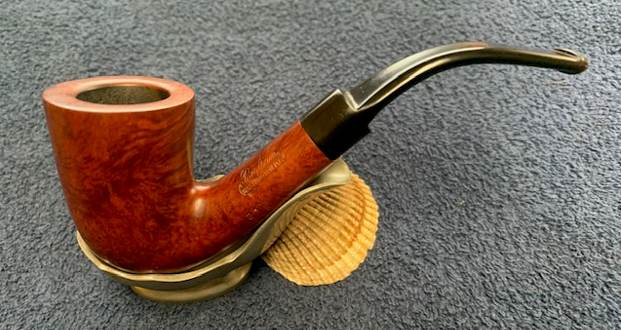
This is another pipe that I have taken out of my personal collection as I just do not use enough to warrant keeping it. This pipe was one that I purchased on a pipe hunt many years ago. I honestly can’t remember when or if I even smoked it. But I know from its condition it has not been smoked much. The airway in the shank and the mortise were quite clean. The smooth finish and rim top were in good condition. There was some damage to the inner edge of the bowl and it was slightly out of round. The stamping on the pipe is very simple on the left side of the shank it is stamped Harriss in block letters. On the underside it is stamped with a shape number 863. There nothing stamped on the stem on either side or the top. The rich brown finish goes well with the vulcanite saddle stem. It is in good condition with some light tooth chatter and some tooth marks ahead of the button on both sides. I took photos of the pipe before I did my clean up work on it. I took a photo of the bowl and rim top to verify the description above. I also took photos of the stem surface showing the light chatter and tooth marks on both side. I took a photo of the stamping on the sides of the shank. It is clear and readable as noted above.  I took the stem off the bowl and took a photo of the pipe to give a sense of proportion of the pipe. You can also see the deep and rugged rustication on the briar and it is a beauty.Now it was time to work on the pipe. I worked on the inner edge of the bowl 220 grit sandpaper to give the inner edge a slight bevel and clean up the damage that was present there. The rim came out looking quite good. I reamed the light cake in the bowl with a Savinelli Fitsall Pipe Knife. I sanded the walls of the bowl to smooth them out with a piece of 220 grit sandpaper wrapped around a dowel.I cleaned the mortise and airways in the shank and stem with cotton swabs, pipe cleaners and isopropyl alcohol to remove the debris and tars from my smoking. You can see that it was not too bad as I tend to keep my pipes clean. I polished the rim top and the briar with micromesh sanding pads – dry sanding with 1500-12000 grit pads. I wiped the bowl down with a damp cloth after each sanding pad to remove the dust and debris. The rim top polished out and matched the oil cured look of the bowl and shank. The bowl was in such good condition that decided to give the bowl and shank a coating of Before & After Restoration Balm. I worked it into the surface of the briar with my fingertips to clean, enliven and protect the briar. I let the balm sit for 15 minutes and then buffed with a cotton cloth to raise the shine. The photos show the bowl at this point in the restoration process. I set the bowl aside and sanded out the tooth marks and chatter on the stem surface and button with 220 grit sandpaper. I started polishing the stem with 400 grit wet dry sandpaper. I was able to smooth out the marks on the surface of both sides.I polished the stem with micromesh sanding pads – dry sanding with 1500-12000 grit pads. I rubbed it down between pads with Obsidian Oil. I polished it with Before & After Fine and Extra Fine Pipe Stem Polish. I wiped it down with some Obsidian Oil and buffed it off. It is a beautiful stem. I am excited to put the final touches on the Harriss 863 Bent Billiard. I put the pipe back together and buffed the stem with Blue Diamond on the buffing wheel. I gave the bowl and the stem multiple coats of carnauba wax. I hand buffed the pipe with a clean buffing pad to raise the shine. It is fun to see what the polished bowl looks like with the beautiful grain, the triple sandwiched brass and black acrylic band on the shank end and the polished vulcanite saddle stem. This smooth Harriss Bent Billiard is great looking and the pipe feels great in my hand. It is light and well balanced. Have a look at it with the photos below. The dimensions are Length: 5 inches, Height: 2 inches, Outside diameter of the bowl: 1 1/8 inches, Chamber diameter: ¾ of an inch. The weight of the pipe is 52 grams/1.80 ounces. It is a beautiful pipe that I will soon be putting on the rebornpipes store in the English Pipe Makers Section. If you are interested in adding it to your collection send me an email or a message. Thanks for walking through the restoration with me as I worked over this pipe. Thanks to each of you who are reading this blog.
When Repair Doesn’t Work, Make a New Stem


Nice work on this one Charles.

The art of estate pipe restoration is constantly evolving as creative restorers come up with inventive techniques and test new products, but sometime…

When Repair Doesn’t Work, Make a New Stem

Moving yet another one of my own – Churchill’s Matt Grain ¼ Bent Pot


Blog by Steve Laug

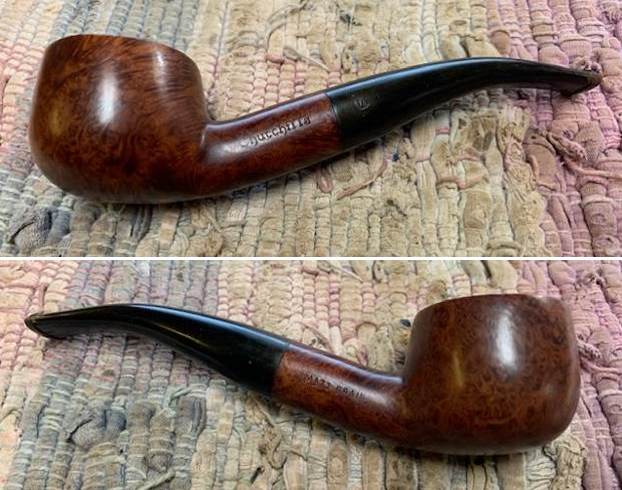
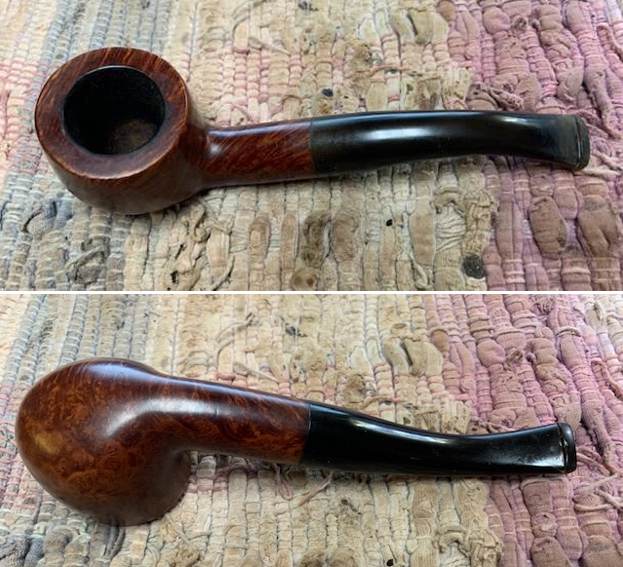
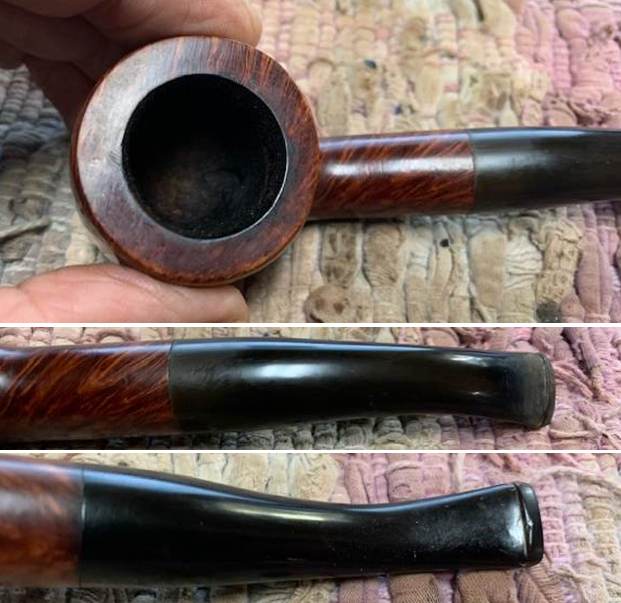
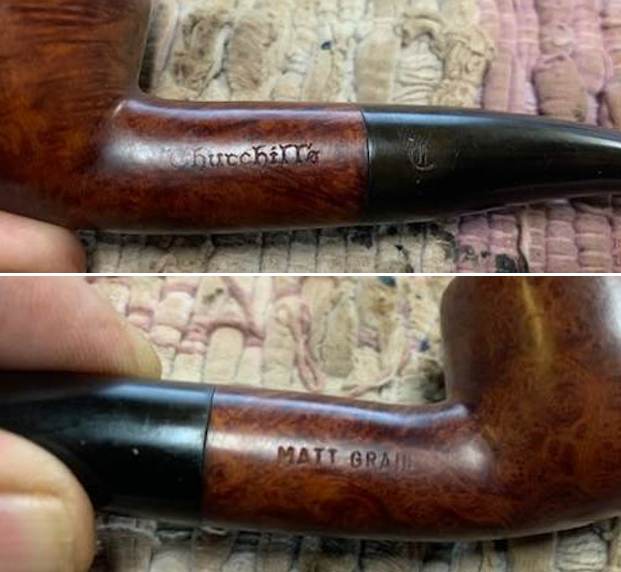
This is another pipe that I have taken out of my personal collection as I just do not use enough to warrant keeping it. This pipe was one that I kept from a group of pipes Jeff and I purchased a few years ago. It was not used very often but when I smoked it I used it solely for Virginia tobaccos so there is no real ghost in the pipe. The airway in the shank and the mortise were quite clean. The smooth finish and rim top were in good condition. There was some darkening on the inner edge of the bowl. The stamping on the pipe is very simple on the left side of the shank it is stamped Churchill’s and on the right side it is stamped Matt Grain. There was an old English style C stamped on the stem (faint but still readable). The finish is a natural brown with just time and some light  polishing adding colour. The rich brown finish goes well with the vulcanite taper stem is in good condition with some light tooth chatter and some tooth marks ahead of the button on both sides. There was some oxidation on the stem near the shank. I took photos of the pipe before I did my clean up work on it. I took a photo of the bowl and rim top to verify the description above. I also took photos of the stem surface showing the light chatter and tooth marks on both side. I took a photo of the stamping on the sides of the shank. It is clear and readable as noted above.  I took the stem off the bowl and took a photo of the pipe to give a sense of proportion of the pipe. You can also see the deep and rugged rustication on the briar and it is a beauty.Now it was time to work on the pipe. I worked on the inner edge of the bowl 220 grit sandpaper to give the inner edge a slight bevel and clean up the damage that was present there. The rim came out looking quite good. I cleaned the mortise and airways in the shank and stem with cotton swabs, pipe cleaners and isopropyl alcohol to remove the debris and tars from my smoking. You can see that it was not too bad as I tend to keep my pipes clean. I polished the rim top and the briar with micromesh sanding pads – dry sanding with 1500-12000 grit pads. I wiped the bowl down with a damp cloth after each sanding pad to remove the dust and debris. The rim top polished out and matched the oil cured look of the bowl and shank. The bowl was in such good condition that decided to give the bowl and shank a coating of Before & After Restoration Balm. I worked it into the surface of the briar with my fingertips and a horsehair shoe brush to clean, enliven and protect the briar. I let the balm sit for 15 minutes and then buffed with a cotton cloth to raise the shine. The photos show the bowl at this point in the restoration process. I set the bowl aside and sanded out the tooth marks and chatter on the stem surface and button with 220 grit sandpaper. I was able to smooth out the marks on the surface of both sides.I scrubbed the oxidized portions of the stem from the shank end back almost an inch using some Soft Scrub cleanser. I was able to remove the oxidation from the vulcanite. It was quite dirty and the majority of it was gone. I polished the stem with micromesh sanding pads – dry sanding with 1500-12000 grit pads. I rubbed it down between pads with Obsidian Oil. I polished it with Before & After Fine and Extra Fine Pipe Stem Polish. I wiped it down with some Obsidian Oil and buffed it off. It is a beautiful stem. I am excited to put the final touches on this great looking Churchill Matt Grain ¼ Bent Pot I put the pipe back together and buffed the stem with Blue Diamond on the buffing wheel. I gave the bowl and the stem multiple coats of carnauba wax. I hand buffed the pipe with a clean buffing pad to raise the shine. It is fun to see what the polished bowl looks like with the beautiful grain and the polished vulcanite taper stem. This smooth Churchill Matt Grain Pot is great looking and the pipe feels great in my hand. It is light and well balanced. Have a look at it with the photos below. The dimensions are Length: 6 inches, Height: 1 ½ inches, Outside diameter of the bowl: 1 ½ inches, Chamber diameter: 1 inch. The weight of the pipe is 44 grams/1.55 ounces. It is a beautiful pipe that I will soon be putting on the rebornpipes store in the English Pipe Makers Section. If you are interested in adding it to your collection send me an email or a message. Thanks for walking through the restoration with me as I worked over this pipe. Thanks to each of you who are reading this blog.

Moving yet another one of my own – A Bertram 30 Bent Dublin


Blog by Steve Laug

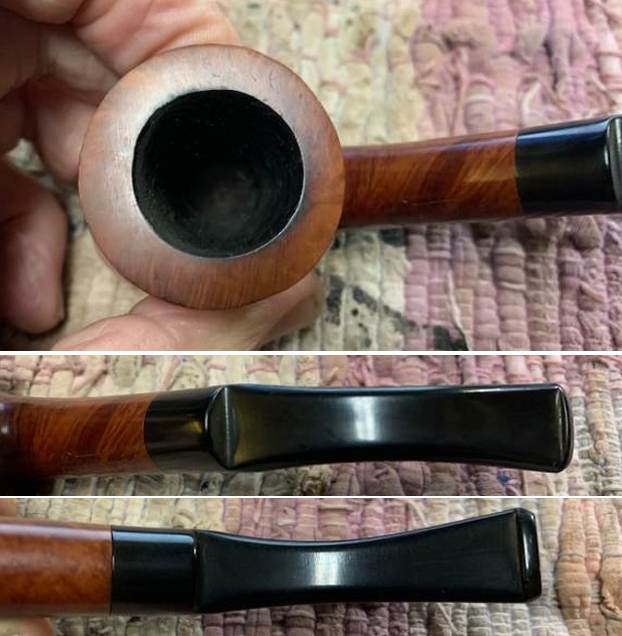
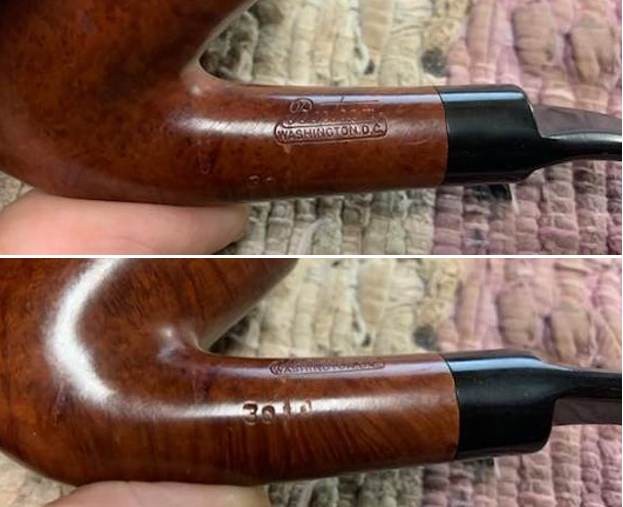
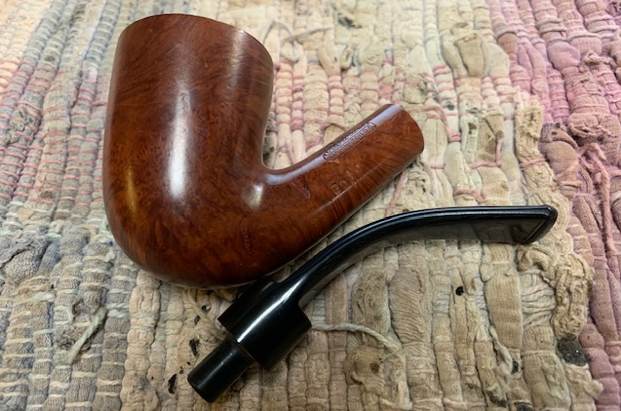
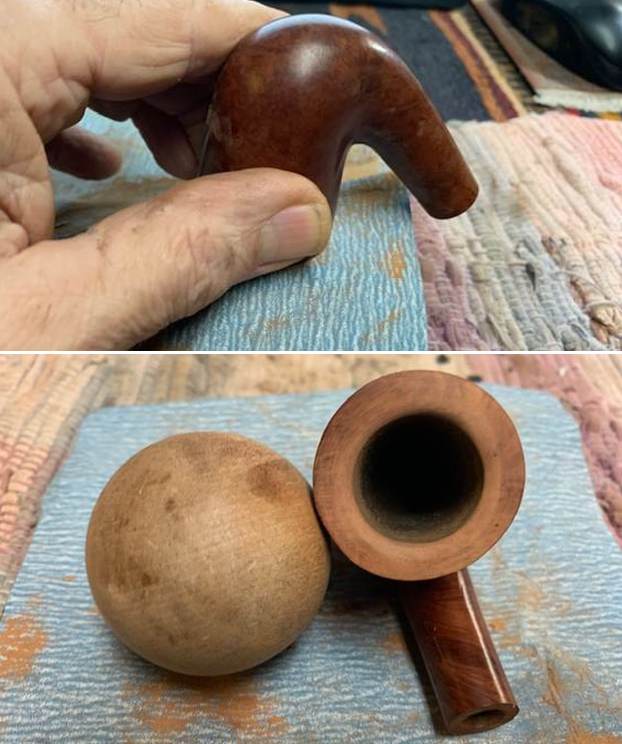
This is another pipe that I have taken out of my personal collection as I just do not use enough to warrant keeping it. This pipe was one I picked up in a lot of over 100 Bertrams that Jeff and I purchase a few years ago. It was used solely for Virginia tobaccos so there is no real ghost in the pipe. The airway in the shank and the mortise were quite clean. The smooth finish and rim top were in good condition. There was some darkening/burning on the front right and rear of the inner edge of the bowl. It is stamped on the left side of the shank and reads Bertram in script [over] Washington, D.C. [over] the grade number 30. The finish is a natural brown with just time and some light  polishing adding colour. There are a few small flaws and fills in the shank and heel of the bowl. There was a light cake in the bowl but the top and inner edge of the bowl clean of lava. The rich brown finish goes well with the vulcanite saddle stem is in good condition with some light tooth chatter ahead of the button on both sides. I took photos of the pipe before I did my clean up work on it. I took a photo of the bowl and rim top to verify the description above. I also took photos of the stem surface showing the light chatter on either side. I took a photo of the stamping on the underside of the shank. It is clear and readable as noted above.  I took the stem off the bowl and took a photo of the pipe to give a sense of proportion of the pipe. You can also see the grain of the briar and it is a beauty.Now it was time to work on the pipe. I worked on the inner edge of the bowl 220 grit sandpaper and a wooden ball to give the inner edge a slight bevel and clean up the damage that was present there. The rim came out looking quite good.I cleaned up the light cake in the bowl with a Savinelli Fitsall Pipe Knife. I sanded the bowl walls with a piece of dowel wrapped in 220 grit sandpaper.  I cleaned the mortise and airways in the shank and stem with cotton swabs, pipe cleaners and isopropyl alcohol to remove the debris and tars from my smoking. You can see that it was not too bad as I tend to keep my pipes clean. I polished the rim top and the briar with micromesh sanding pads – dry sanding with 1500-12000 grit pads. I wiped the bowl down with a damp cloth after each sanding pad to remove the dust and debris. The rim top polished out and matched the oil cured look of the bowl and shank. The bowl was in such good condition that decided to give the bowl and shank a coating of Before & After Restoration Balm. I worked it into the surface of the briar with my fingertips and a horsehair shoe brush to clean, enliven and protect the briar. I let the balm sit for 15 minutes and then buffed with a cotton cloth to raise the shine. The photos show the bowl at this point in the restoration process. Since the stem was in quite good condition other than tooth chatter I polished out the chatter with micromesh sanding pads – dry sanding with 1500-12000 grit pads. I rubbed it down between pads with Obsidian Oil. I polished it with Before & After Fine and Extra Fine Pipe Stem Polish. I wiped it down with some Obsidian Oil and buffed it off. It is a beautiful stem. I am excited to put the final touches on this great looking Bertram Washington, DC Grade 30 Bent Dublin I put the pipe back together and buffed the stem with Blue Diamond on the buffing wheel. I gave the bowl and the stem multiple coats of carnauba wax. I hand buffed the pipe with a clean buffing pad to raise the shine. It is fun to see what the polished bowl looks like with the beautiful grain and the polished vulcanite saddle stem. This smooth Grade 30 Bertram Bent Dublin is great looking and the pipe feels great in my hand. It is light and well balanced. Have a look at it with the photos below. The dimensions are Length: 5 ½ inches, Height: 2 inches, Outside diameter of the bowl: 1 ½ inches, Chamber diameter: 5/8 of an inch. The weight of the pipe is 48 grams/1.69 ounces. It is a beautiful pipe that I will soon be putting on the rebornpipes store in the American Pipe Makers Section. If you are interested in adding it to your collection send me an email or a message. Thanks for walking through the restoration with me as I worked over this pipe. Thanks to each of you who are reading this blog.

318. Ken Siegel, CPG: “And So Begins My Peterson Pipe Journey…”


While revisiting places in Dublin from her college days, my wife Sarah Kelly and I came upon the Peterson Store. Once inside, odd pieces and parts …

318. Ken Siegel, CPG: “And So Begins My Peterson Pipe Journey…”

Ken has begun a friend who is great to chat with and enjoy working on pipes with. This a great piece. Thanks for posting it Mark.

Moving yet another one of my own – an Old Port “Avant Garde” Rusticated Bent Billiard


Blog by Steve Laug

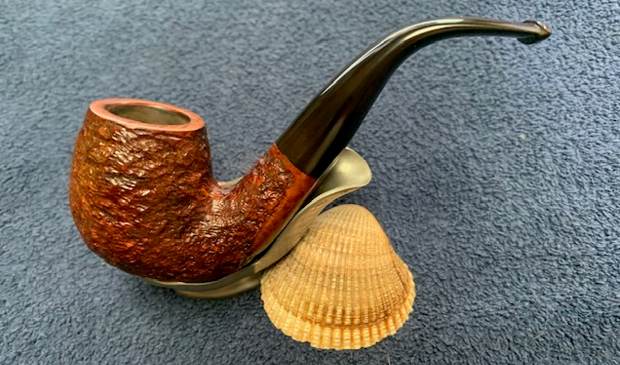
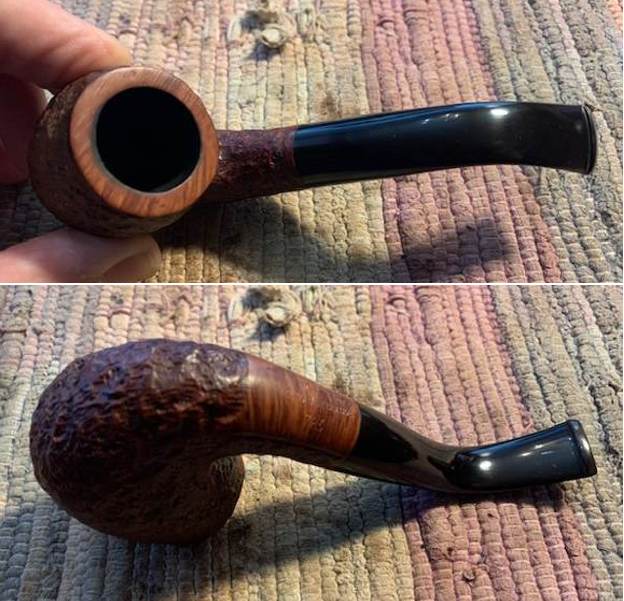
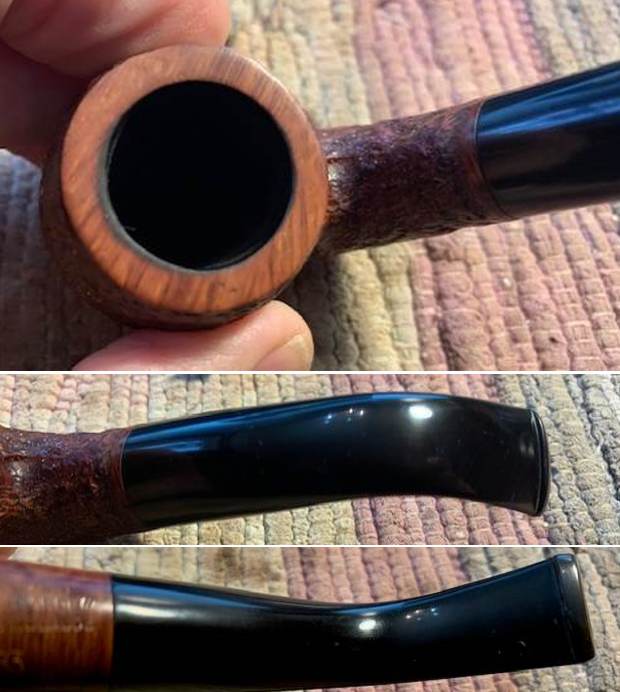
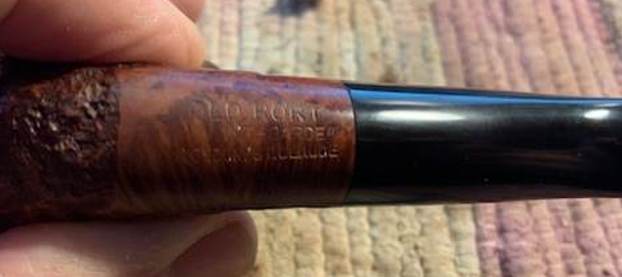
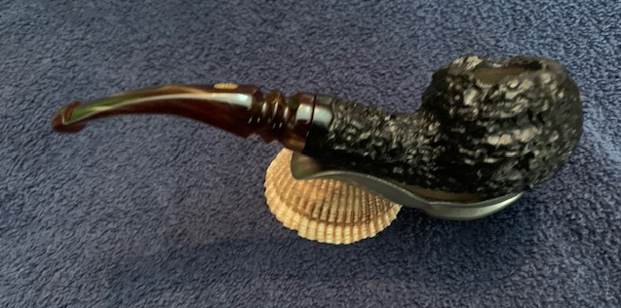
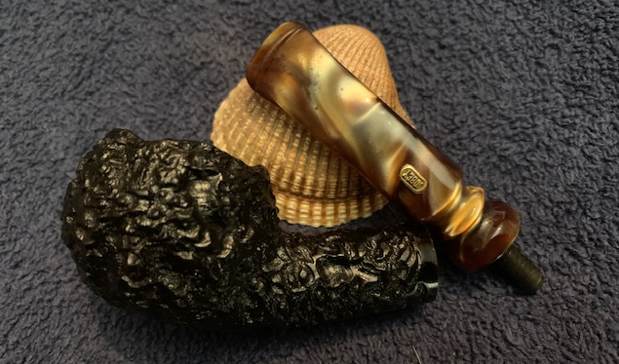
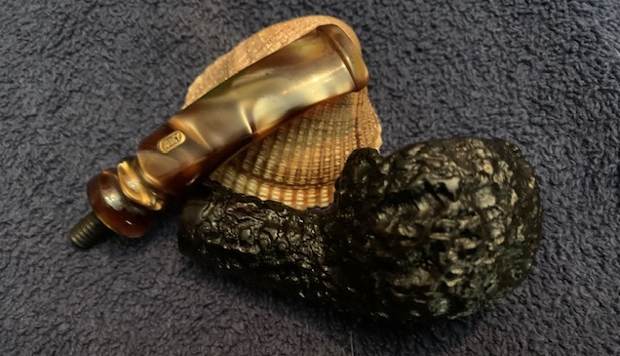
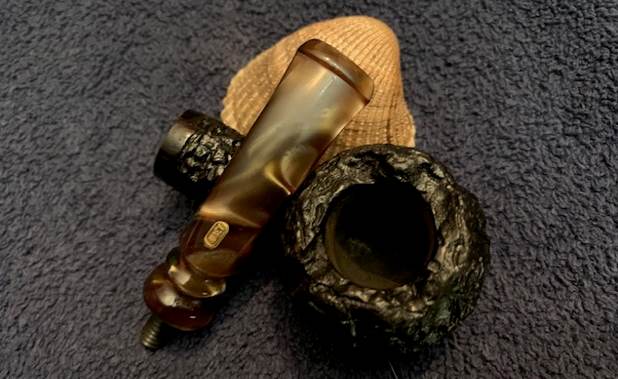
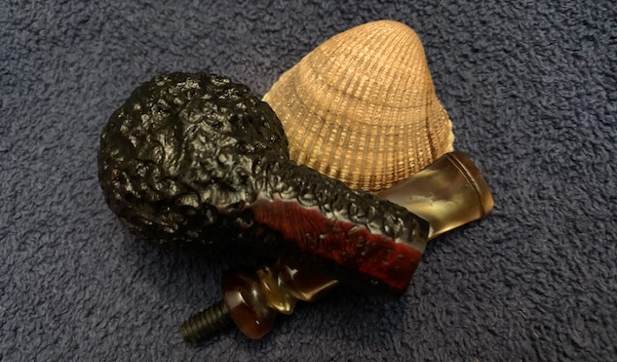
This is another pipe that I have taken out of my personal collection as I just do not use enough to warrant keeping it. This pipe was one I picked up in some of my pipe hunting adventures. It is from a period of my journey where I smoked solely Virginia tobaccos so it is quite clean. The airway in the shank and the mortise were quite clean. The rusticated finish and smooth rim top were in good condition. There was some darkening/burning on the front inner edge of the bowl. It is stamped on the underside of the shank and reads OLD PORT [over] “AVANT GARDE” [over] London/St. Claude [over] the shape number 783. The shape number and research confirms that this is a Comoy’s Made pipe. There was a light cake in the bowl but the top and inner edge of the bowl clean. The rich brown finish goes well with the vulcanite taper stem is in good condition with some light tooth chatter ahead of the button on both sides. I took photos of the pipe before I did my clean up work on it. I took a photo of the bowl and rim top to verify the description above. I also took photos of the stem surface showing the light chatter on either side.I took a photo of the stamping on the underside of the shank. It is clear and readable as noted above.  I took the stem off the bowl and took a photo of the pipe to give a sense of proportion of the pipe. You can also see the deep and rugged rustication on the briar and it is a beauty.Now it was time to work on the pipe. I cleaned up the light cake in the bowl with a Savinelli Fitsall Pipe Knife. I sanded the bowl walls with a piece of dowel wrapped in 220 grit sandpaper.  I cleaned the mortise and airways in the shank and stem with cotton swabs, pipe cleaners and isopropyl alcohol to remove the debris and tars from my smoking. You can see that it was not too bad as I tend to keep my pipes clean. I worked on the inner edge of the bowl with a folded piece of 220 grit sandpaper to clean up the burn damage on the front inner edge. I gave it a light bevel to blend it into the rest of the bowl edges. I polished the rim top with micromesh sanding pads. The rim top looks very good. The bowl was in such good condition that decided to give the bowl and shank a coating of Before & After Restoration Balm. I worked it into the surface of the briar with my fingertips and a horsehair shoe brush to clean, enliven and protect the briar. I let the balm sit for 15 minutes and then buffed with a cotton cloth to raise the shine. The photos show the bowl at this point in the restoration process. Since the stem was in quite good condition other than tooth chatter I polished out the chatter with micromesh sanding pads – dry sanding with 1500-12000 grit pads. I rubbed it down between pads with Obsidian Oil. I polished it with Before & After Fine and Extra Fine Pipe Stem Polish. I wiped it down with some Obsidian Oil and buffed it off. It is a beautiful stem. I am excited to put the final touches on this great looking Comoy’s Made Old Port Avant Garde 783 Bent Billiard. I put the pipe back together and buffed the stem with Blue Diamond on the buffing wheel. I gave the bowl multiple coats of Conservator’s Wax and the stem multiple coats of carnauba wax. I hand buffed the pipe with a clean buffing pad to raise the shine. It is fun to see what the polished bowl looks like with the rugged rustication all around it. Added to that the polished brown/ gold/tan acrylic stem combined with the bowl and make a stunning pipe. This rusticated Old Port Avant Garde 783 is great looking and the pipe feels great in my hand. It is light and well balanced. Have a look at it with the photos below. The dimensions are Length: 5 inches, Height: 1 ¾ inches, Outside diameter of the bowl: 1 ¼ inches, Chamber diameter: ¾ of an inch. The weight of the pipe is 45 grams/1.52 ounces. It is a beautiful pipe that I will soon be putting on the rebornpipes store in the British Pipe Makers Section. If you are interested in adding it to your collection send me an email or a message. Thanks for walking through the restoration with me as I worked over this pipe. Thanks to each of you who are reading this blog.

Moving another one of my own – a Jobey Stromboli 160 Bent Author


Blog by Steve Laug

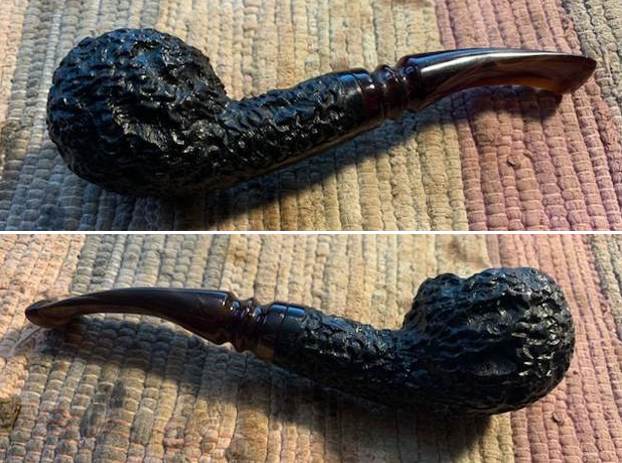
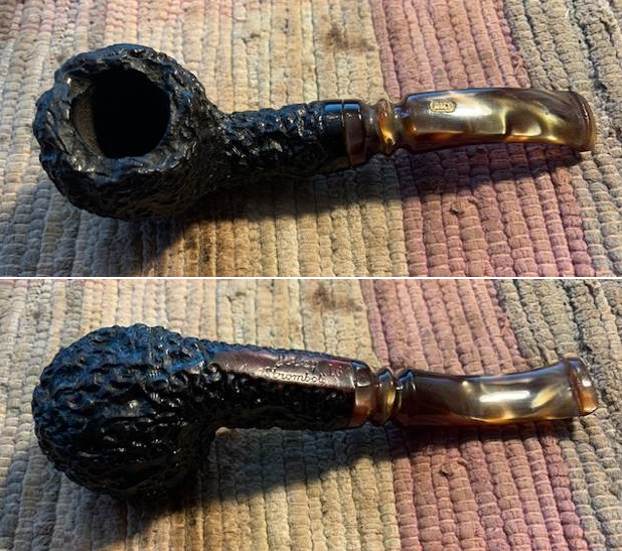
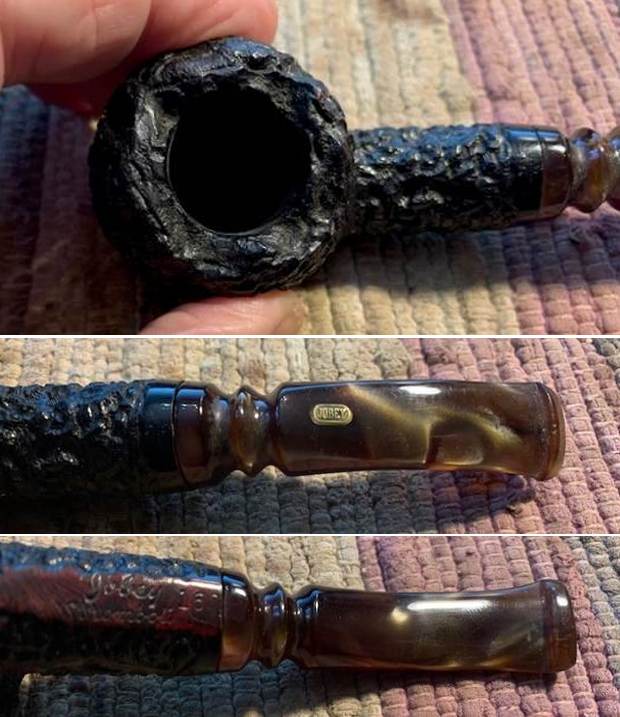
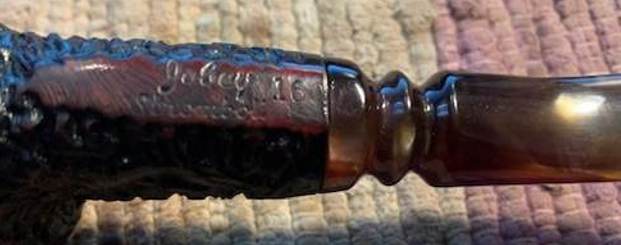
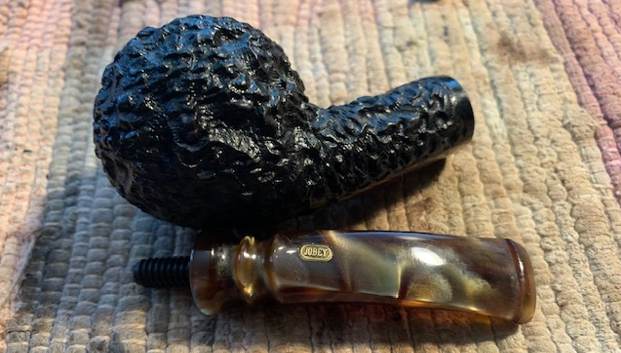
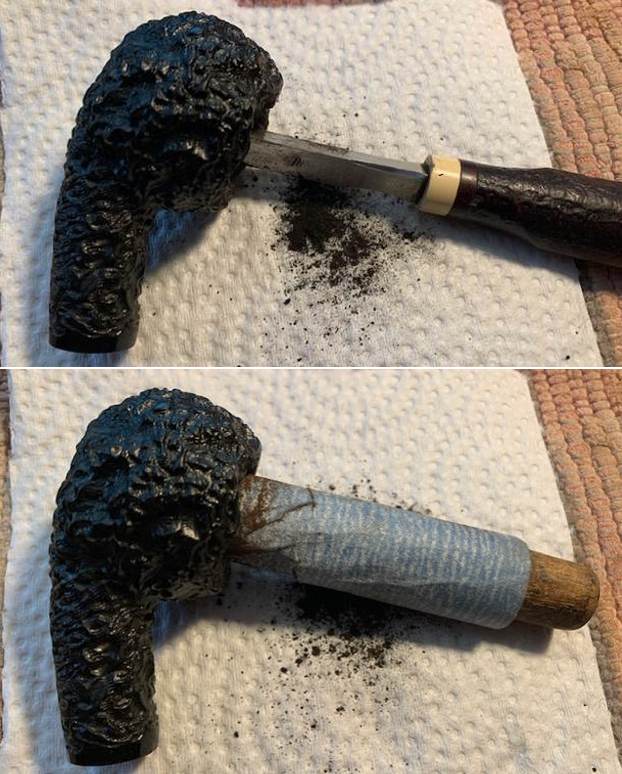
This is another pipe that I have taken out of my personal collection as I just do not use enough to warrant keeping it. This pipe was given to me in a group of pipes and I used it a bit when it came in. It is from a period of my journey where I smoked solely Virginia tobaccos so it is quite clean. The airway in the shank and the mortise were quite clean. The rusticated finish and rim top were in excellent condition. It is stamped on the underside of the shank and reads Jobey in script [over] Stromboli. The shape number 160 follows that. There was a light cake in the bowl but the top and inner edge of the bowl clean. The Jobey link system is in the shank and the stem slides on to it. The variegated brown/tan/gold acrylic stem is in good condition with some light tooth chatter ahead of the button on both sides. I took photos of the pipe before I did my clean up work on it. I took a photo of the bowl and rim top to verify the description above. I also took photos of the stem surface showing the light chatter on either side.I took a photo of the stamping on the underside of the shank. It is clear and readable as noted above.  I took the stem off the bowl and took a photo of the pipe to give a sense of proportion of the pipe. You can also see the deep and rugged rustication on the briar and it is a beauty.Now it was time to work on the pipe. I cleaned up the light cake in the bowl with a Savinelli Fitsall Pipe Knife. I sanded the bowl walls with a piece of dowel wrapped in 220 grit sandpaper.I cleaned the mortise and airways in the shank and stem with cotton swabs, pipe cleaners and isopropyl alcohol to remove the debris and tars from my smoking. You can see that it was not too bad as I tend to keep my pipes clean. The bowl was in such good condition that decided to give the bowl and shank a coating of Before & After Restoration Balm. I worked it into the surface of the briar with my fingertips and a horsehair shoe brush to clean, enliven and protect the briar. I let the balm sit for 15 minutes and then buffed with a cotton cloth to raise the shine. The photos show the bowl at this point in the restoration process. Since the stem was in quite good condition other than tooth chatter I polished out the chatter with micromesh sanding pads – dry sanding with 1500-12000 grit pads. I rubbed it down between pads with Obsidian Oil. I polished it with Before & After Fine and Extra Fine Pipe Stem Polish. I wiped it down with some Obsidian Oil and buffed it off. It is a beautiful stem. I am excited to put the final touches on this great looking Jobey Stromboli Rusticated Author. I put the pipe back together and buffed the stem with Blue Diamond on the buffing wheel. I gave the bowl multiple coats of Conservator’s Wax and the stem multiple coats of carnauba wax. I hand buffed the pipe with a clean buffing pad to raise the shine. It is fun to see what the polished bowl looks like with the rugged rustication all around it. Added to that the polished brown/ gold/tan acrylic stem combined with the bowl and make a stunning pipe. This rusticated Jobey Stromboli is great looking and the pipe feels great in my hand. It is light and well balanced. Have a look at it with the photos below. The dimensions are Length: 5 ½ inches, Height: 1 ½ inches, Outside diameter of the bowl: 1 ½ inches, Chamber diameter: ¾ of an inch. The weight of the pipe is 43 grams/1.52 ounces. It is a beautiful pipe that I will soon be putting on the rebornpipes store in the American Pipe Makers Section. If you are interested in adding it to your collection send me an email or a message. Thanks for walking through the restoration with me as I worked over this pipe. Thanks to each of you who are reading this blog.