Blog by Kenneth Lieblich
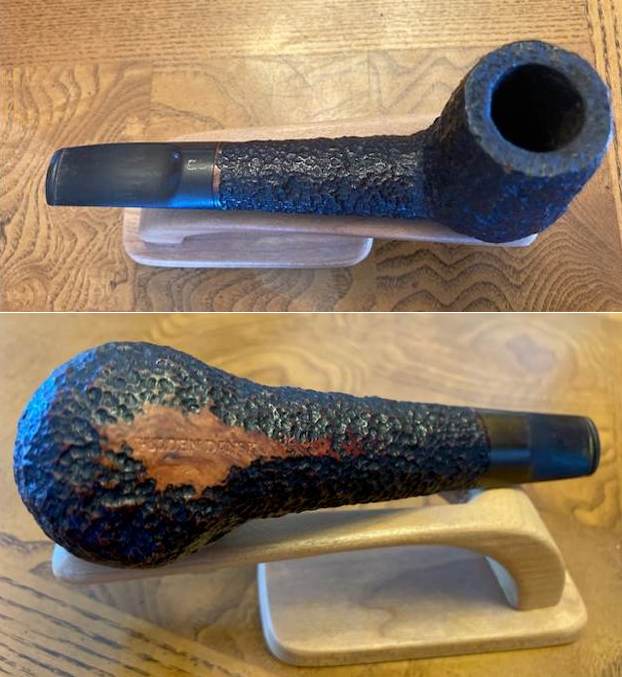
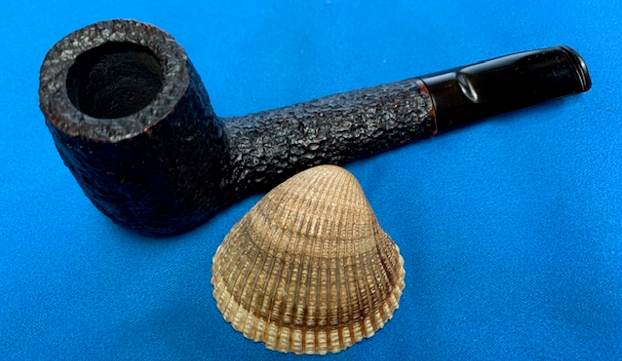
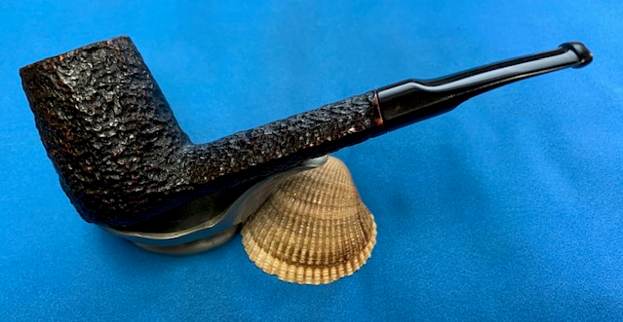
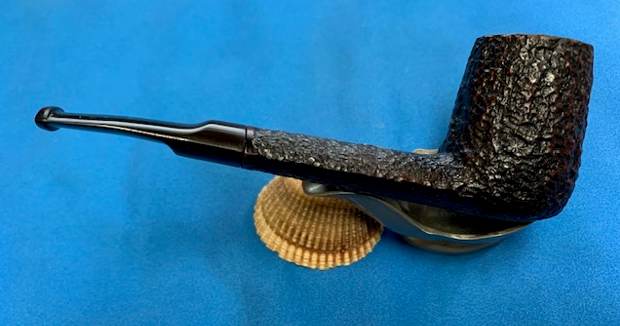
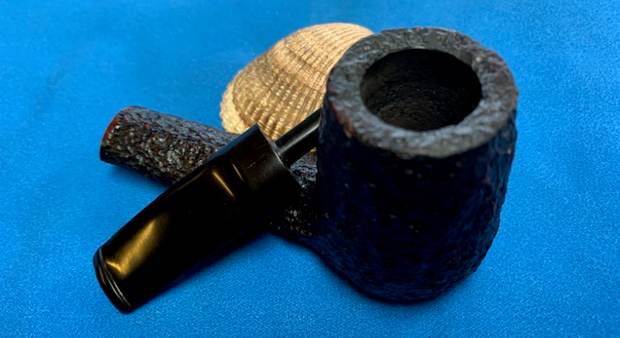
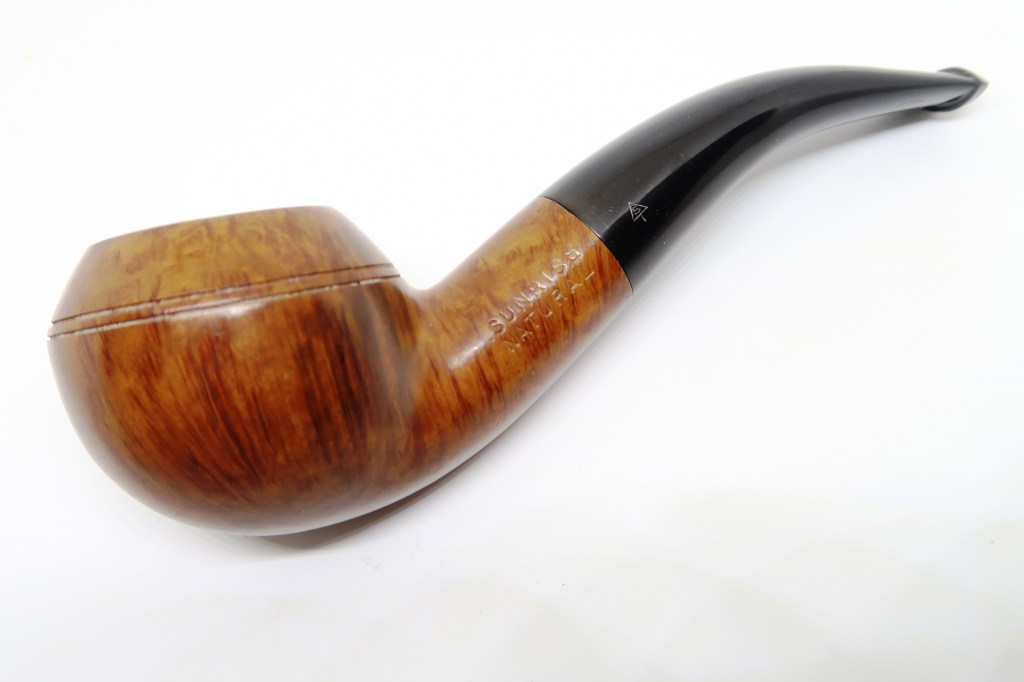
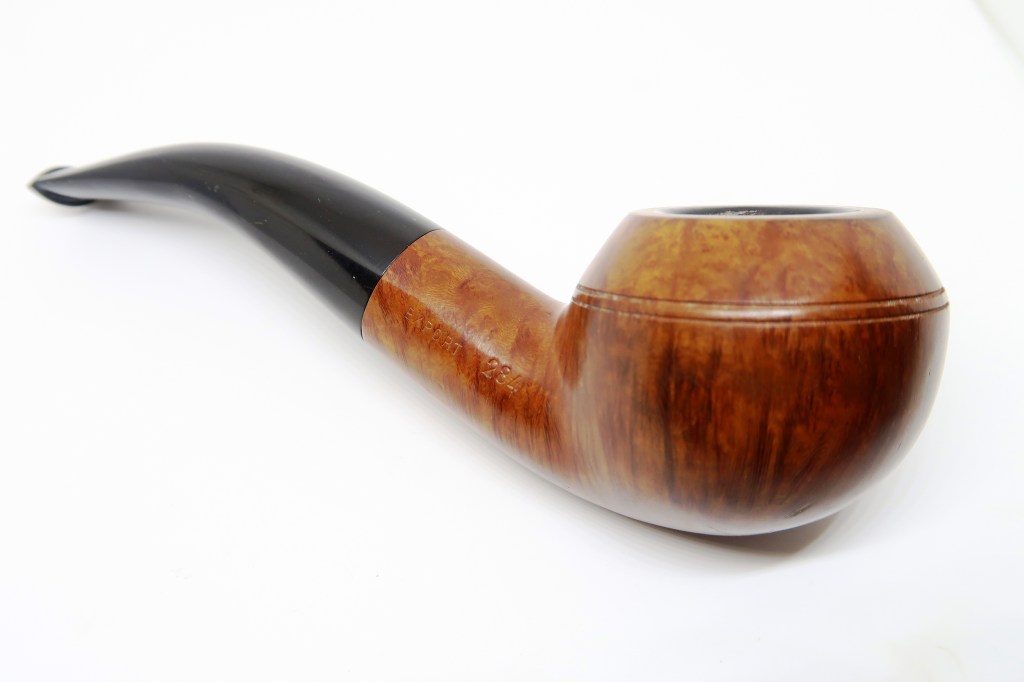
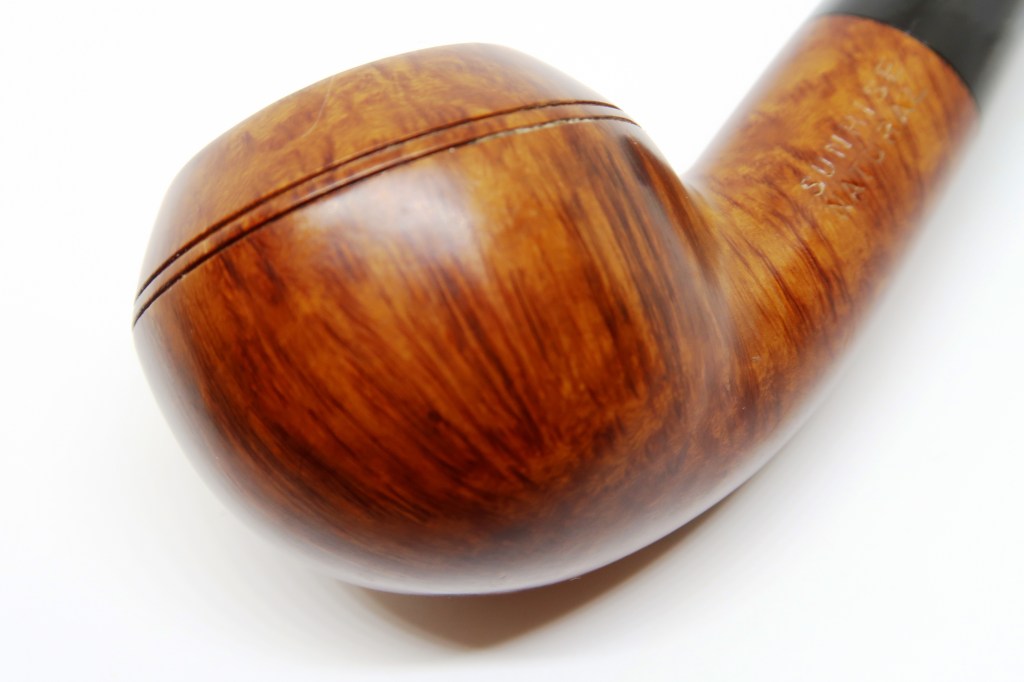
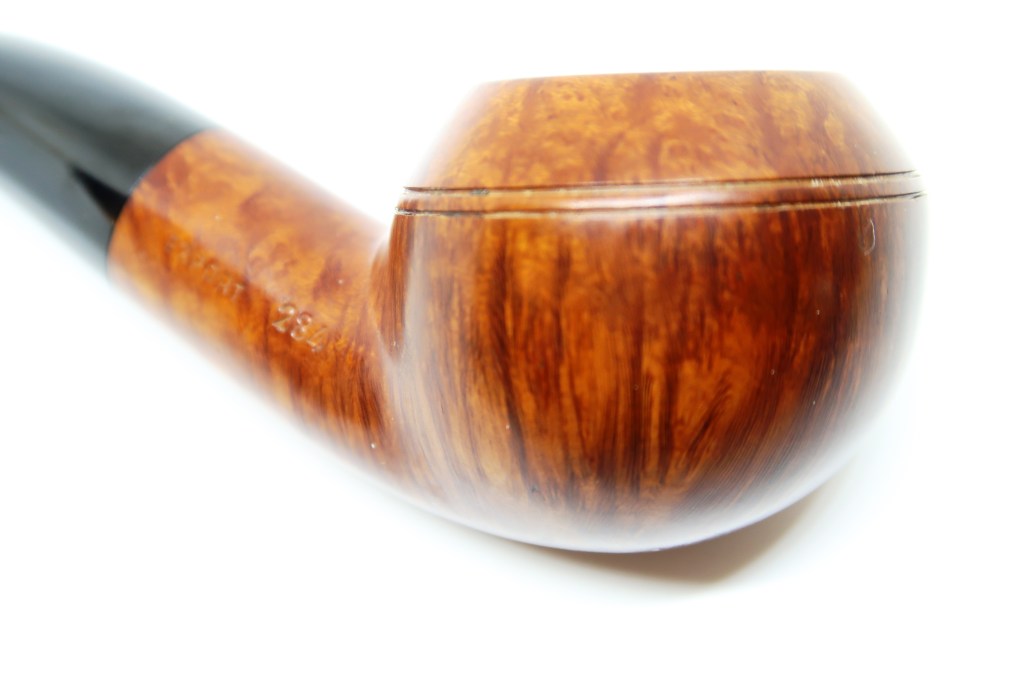
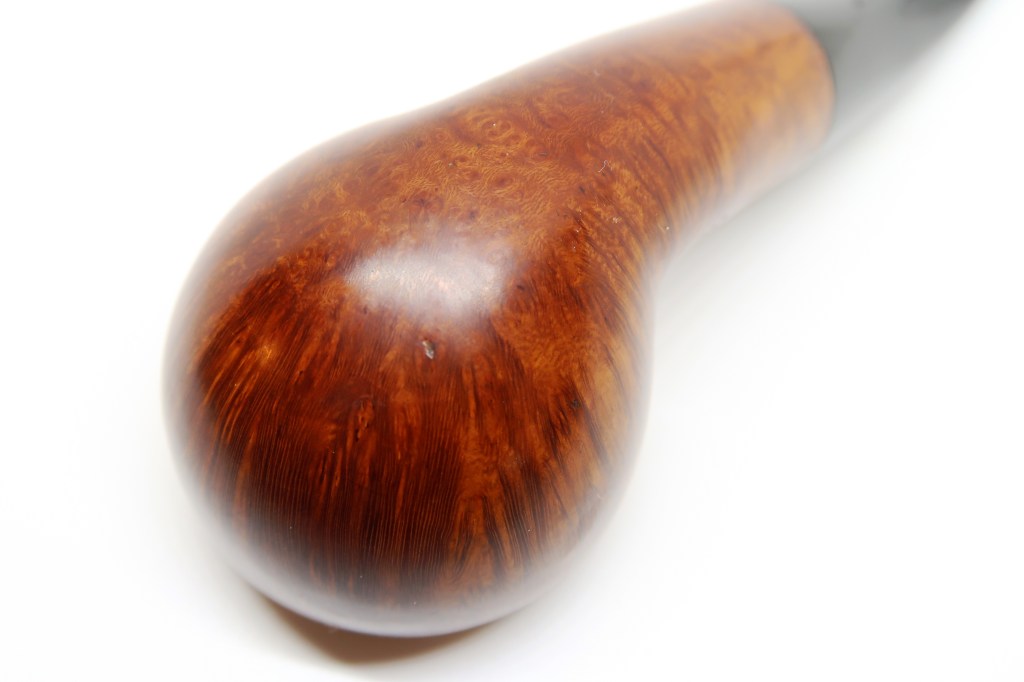
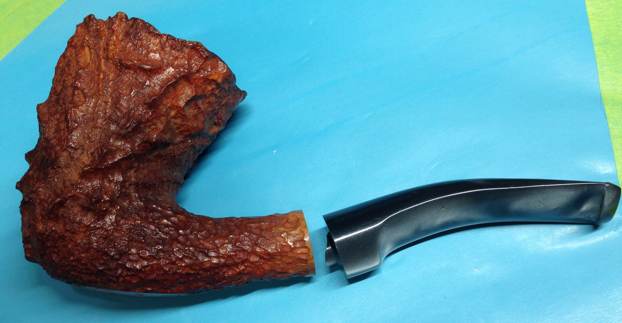
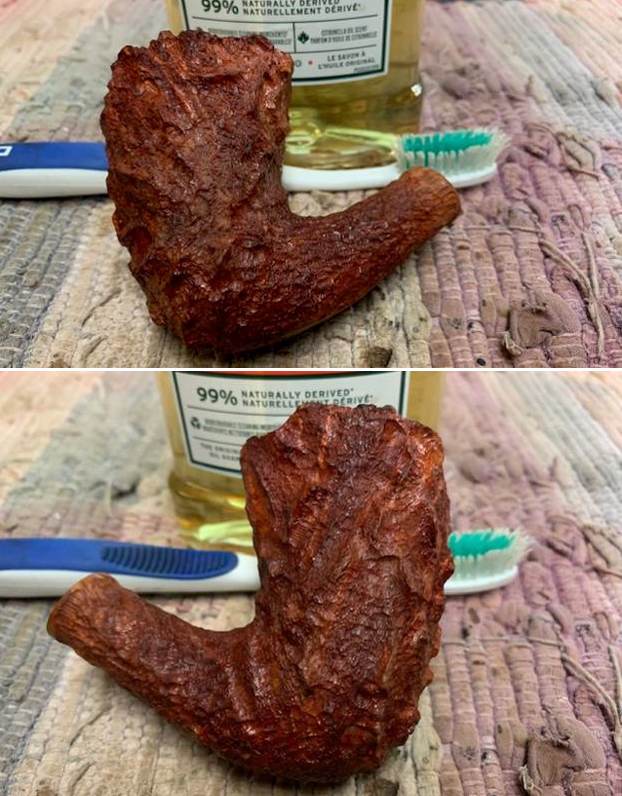
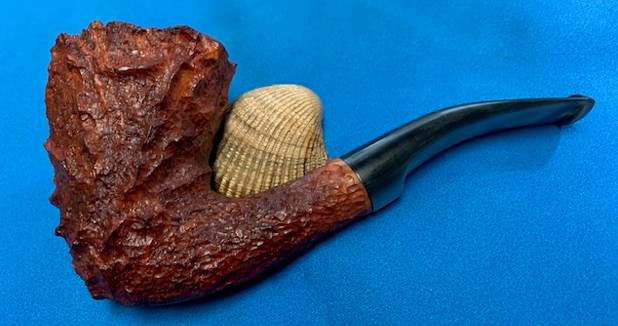
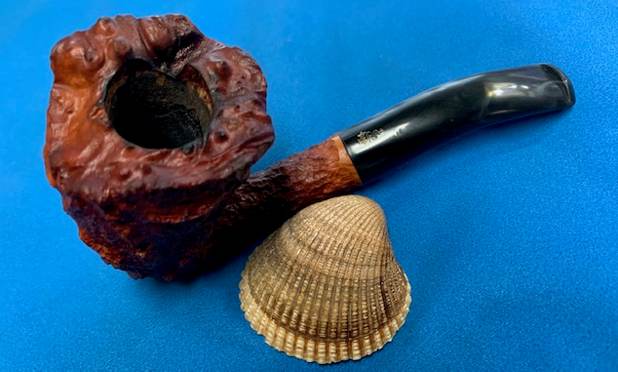
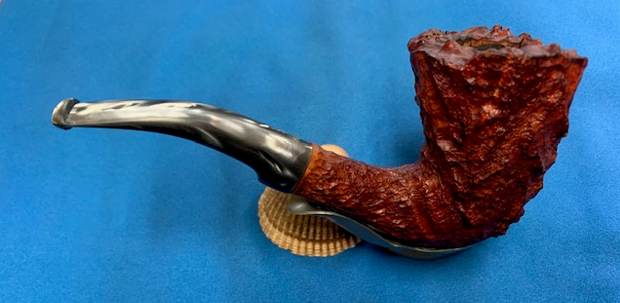
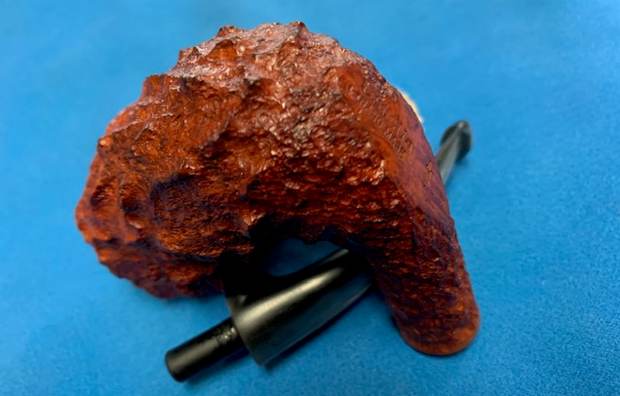
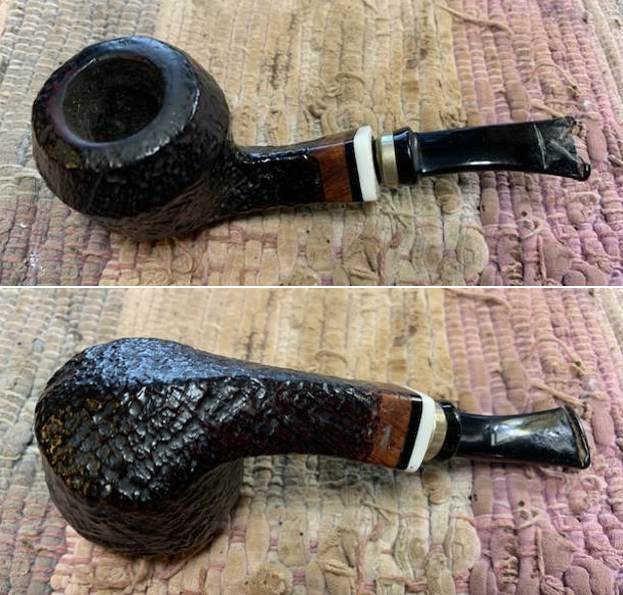
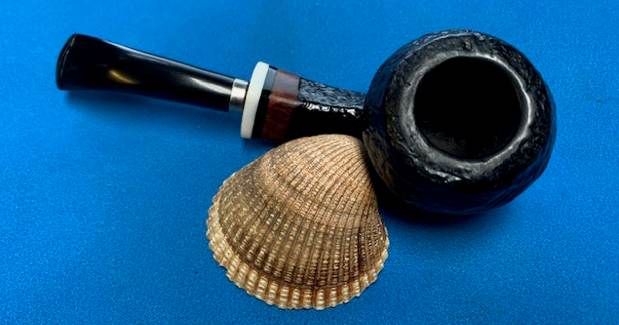
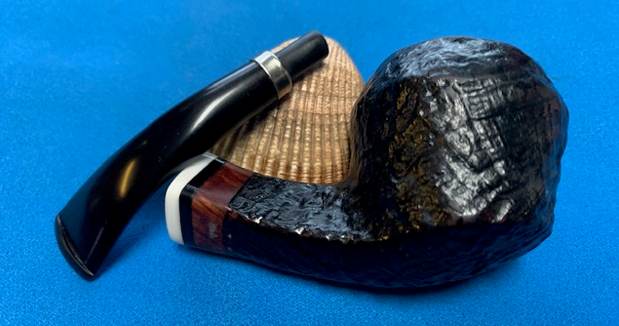
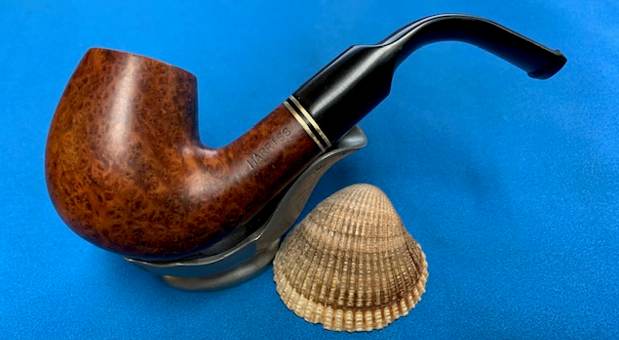
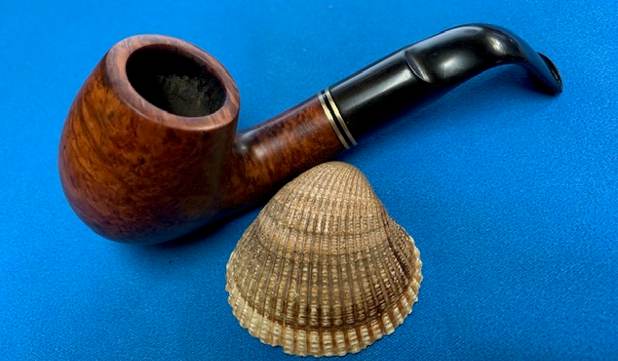
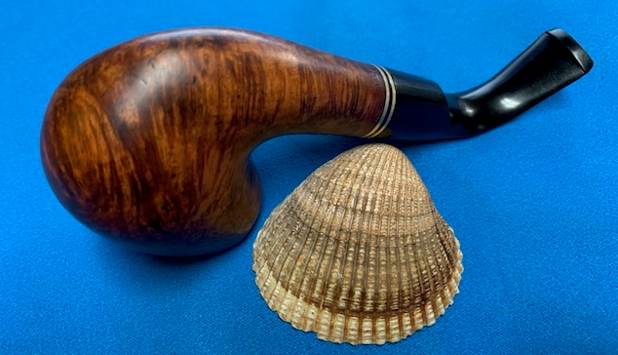
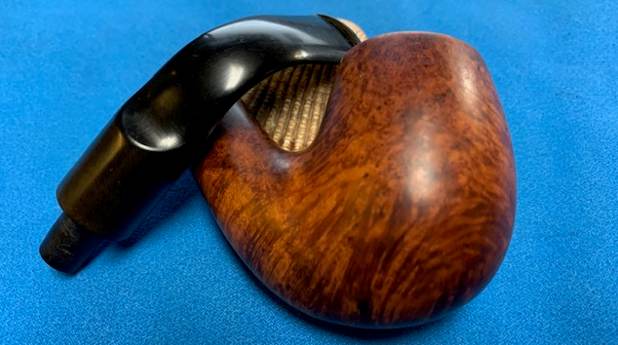
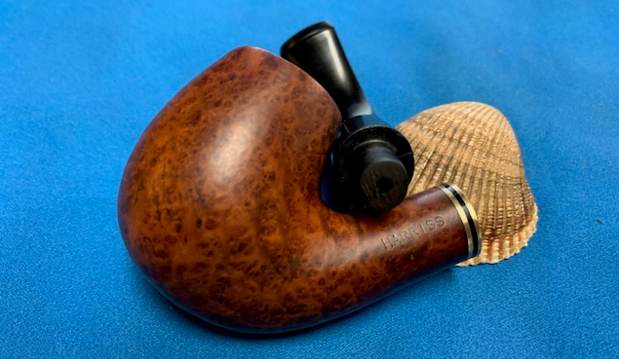
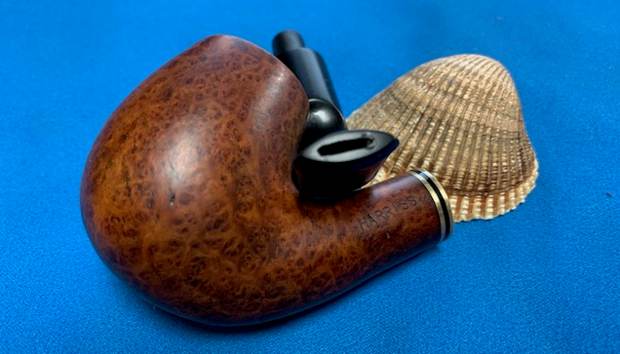
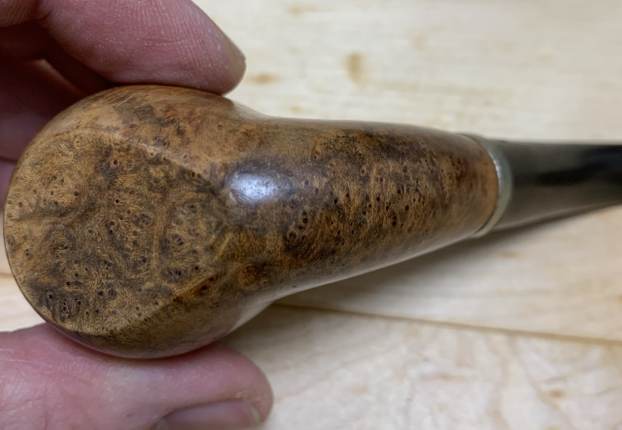
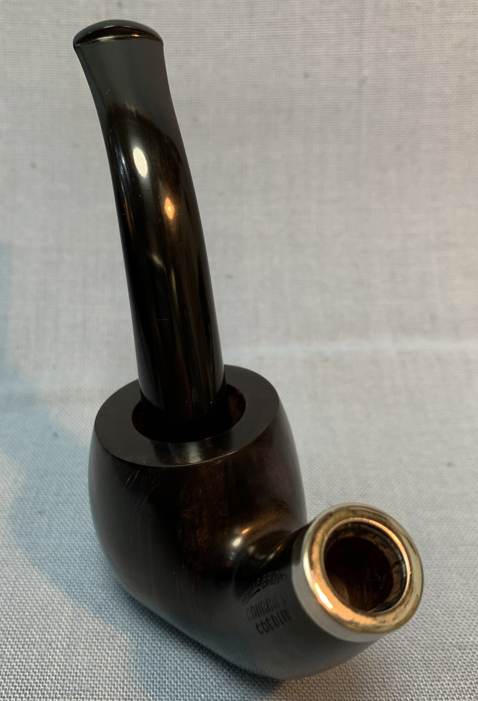
Next on the chopping block is a very pretty, unsmoked bent apple sitter from the French company, Courrieu, based in the Provençal town of Cogolin. A customer of mine wanted an attractive yet inexpensive pipe – he decided on this one, as it was both unsmoked but flawed, and therefore inexpensive. 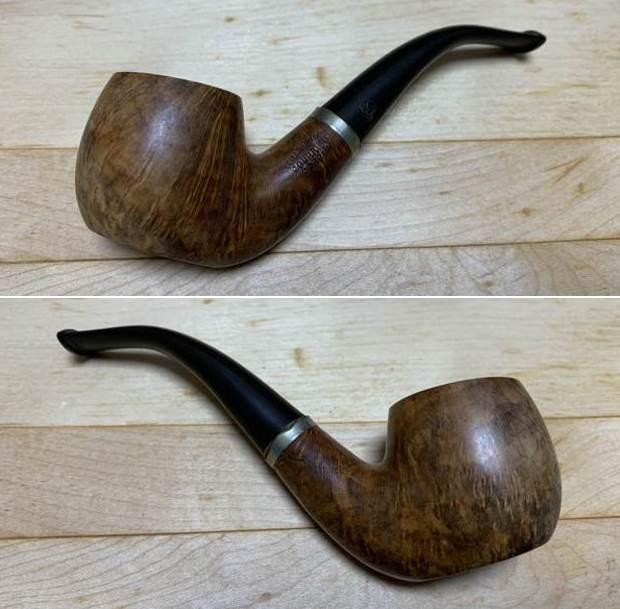

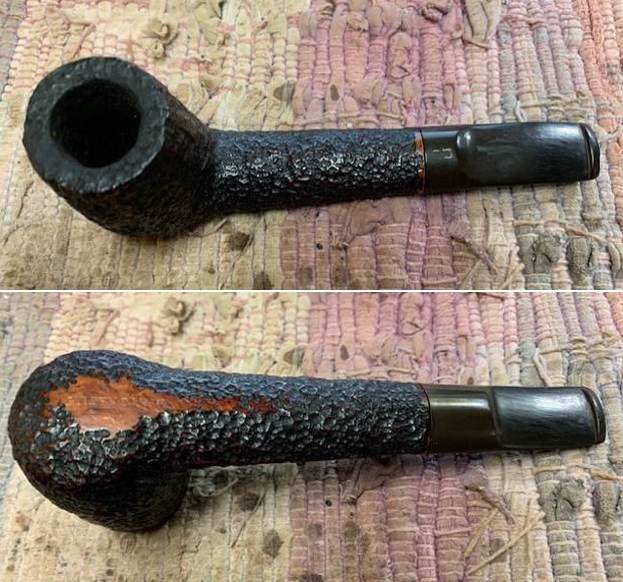
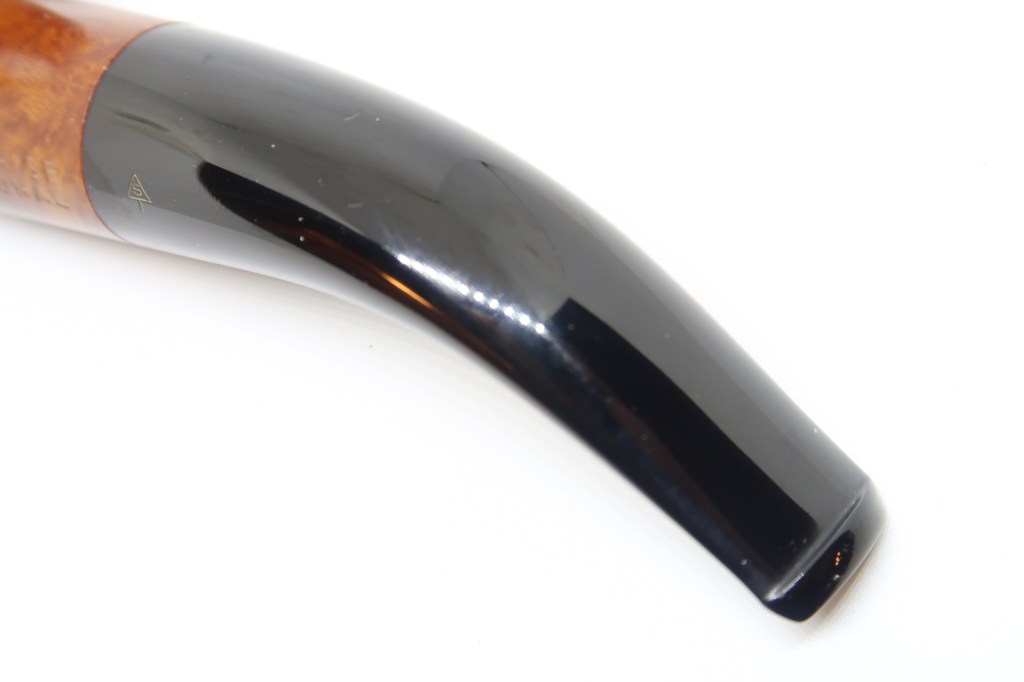
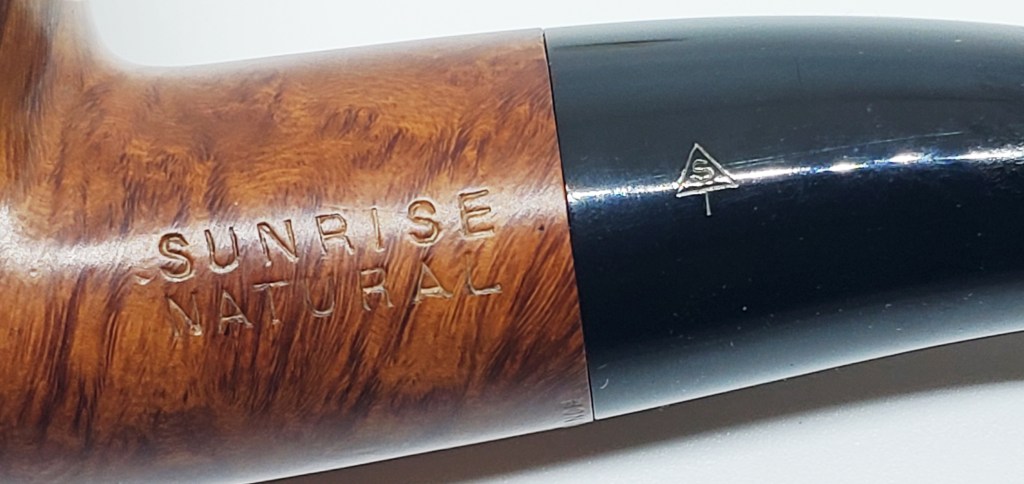
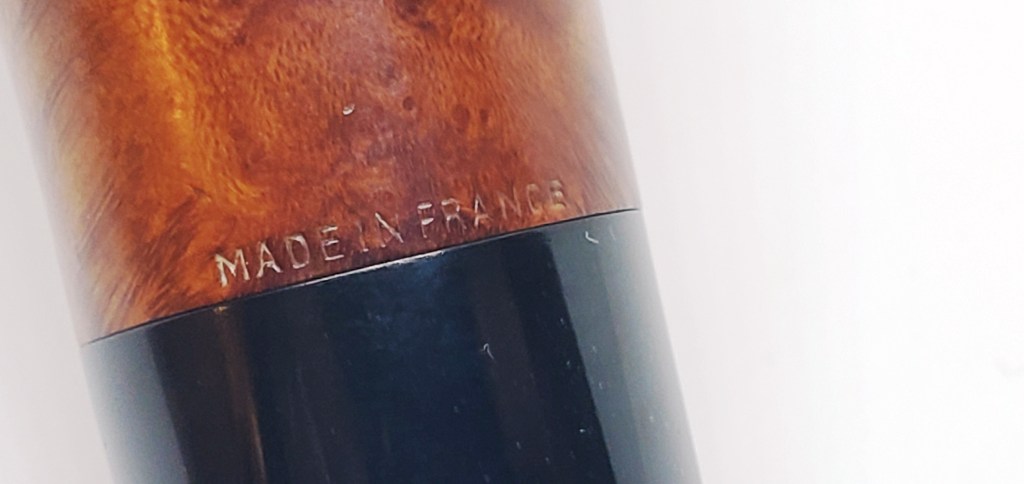
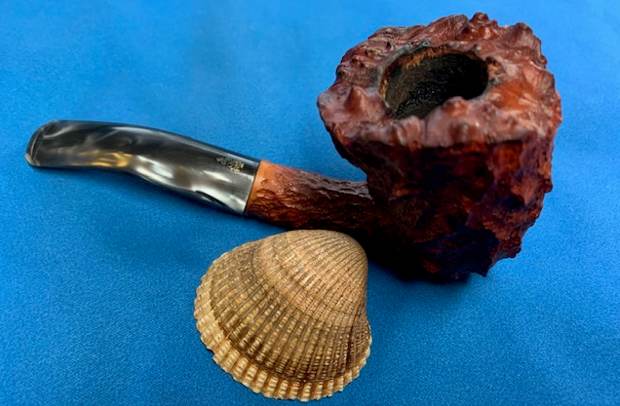
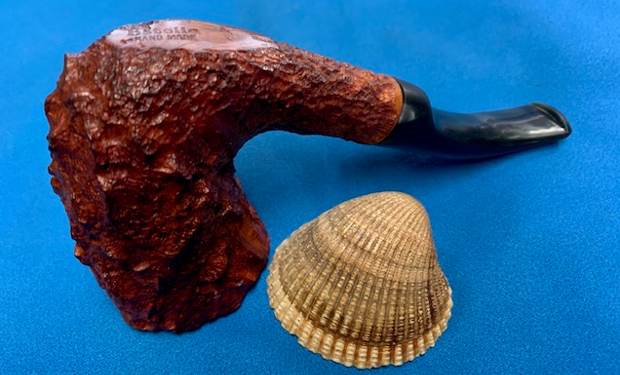
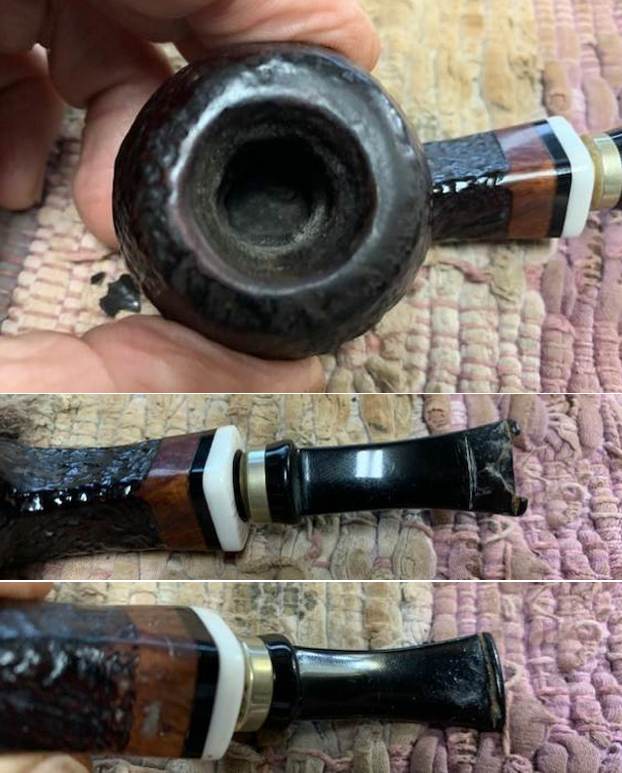
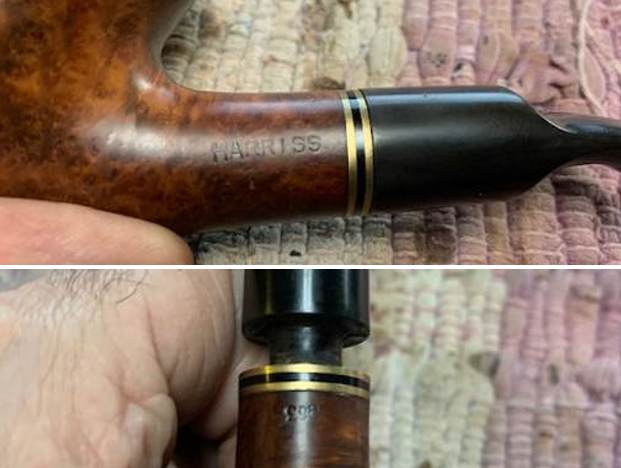
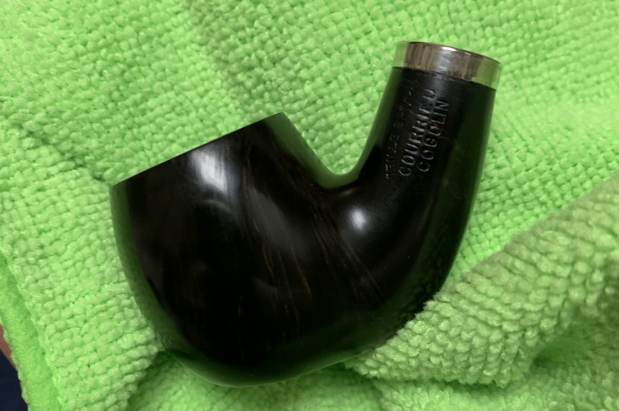
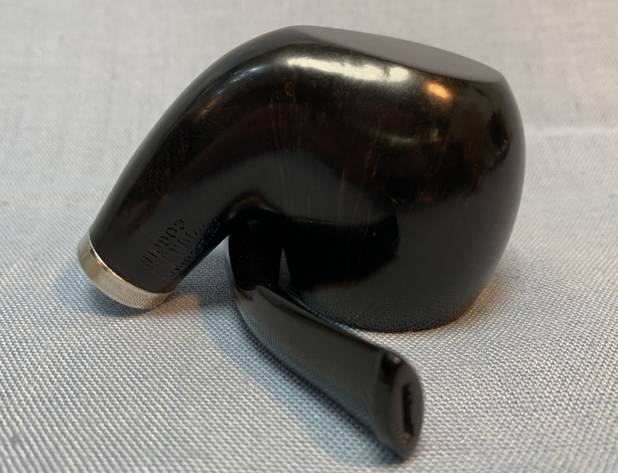
 The markings were as follows: on the left side of the shank were the words Vieille Bruyere [over] Courrieu [over] Cogolin. The right side had no markings, but the left side of the stem had the image of a Gallic rooster – a national symbol of France and, subordinately, traditionally associated with Courrieu.
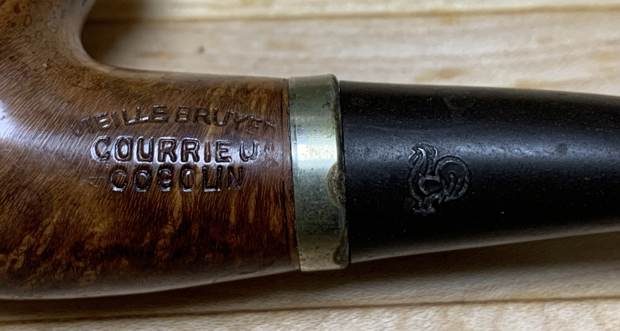 Pipephil gave me a brief overview of the Courrieu brand:
 Ulysse Courrieu started carving pipes in Cogolin in 1802. Courrieu certainly is the oldest French briar pipe factory. The family corporate is managed (2009) by René Salvestrini who married a Courrieu daughter.
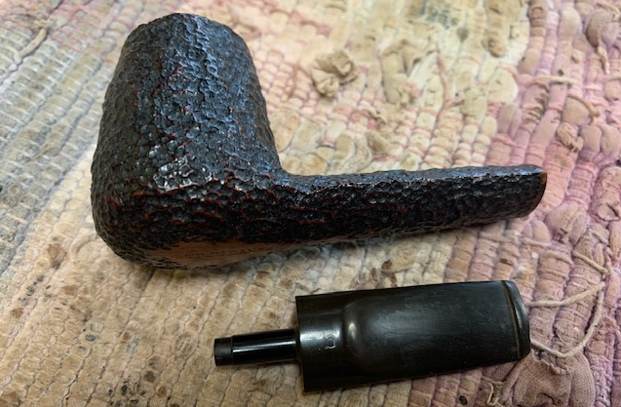
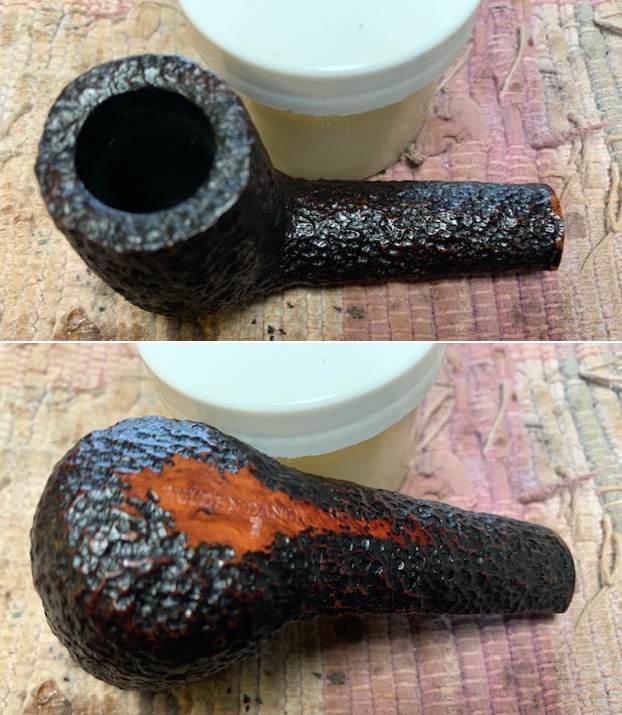
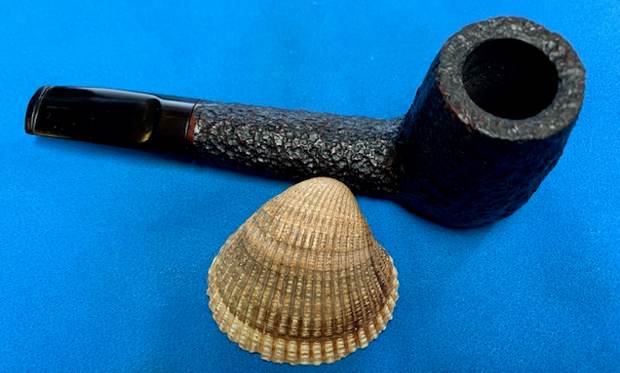
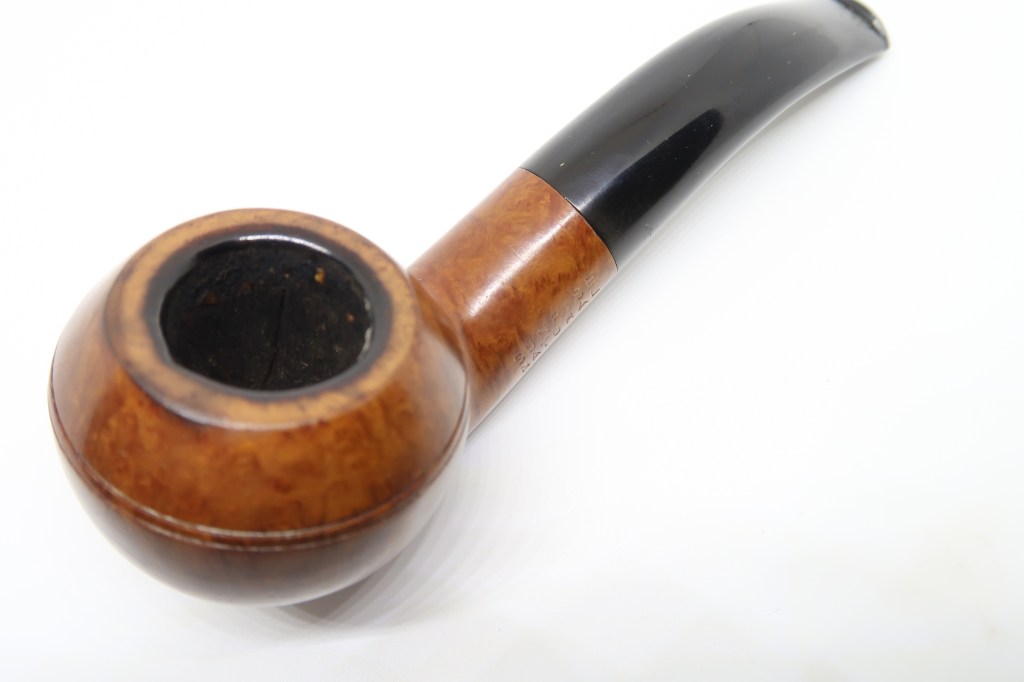
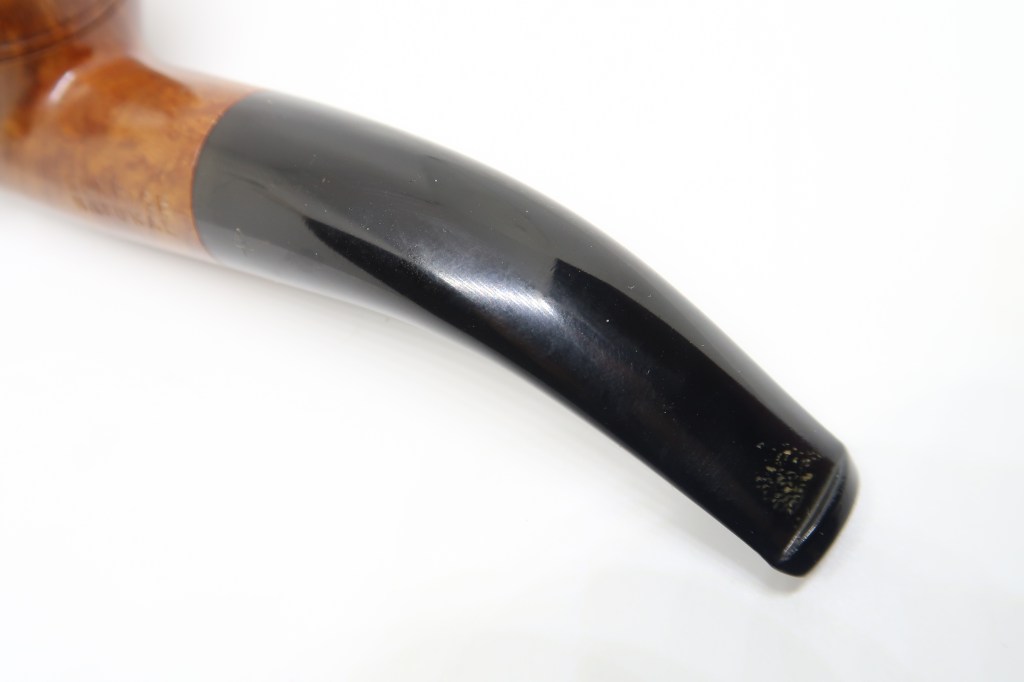
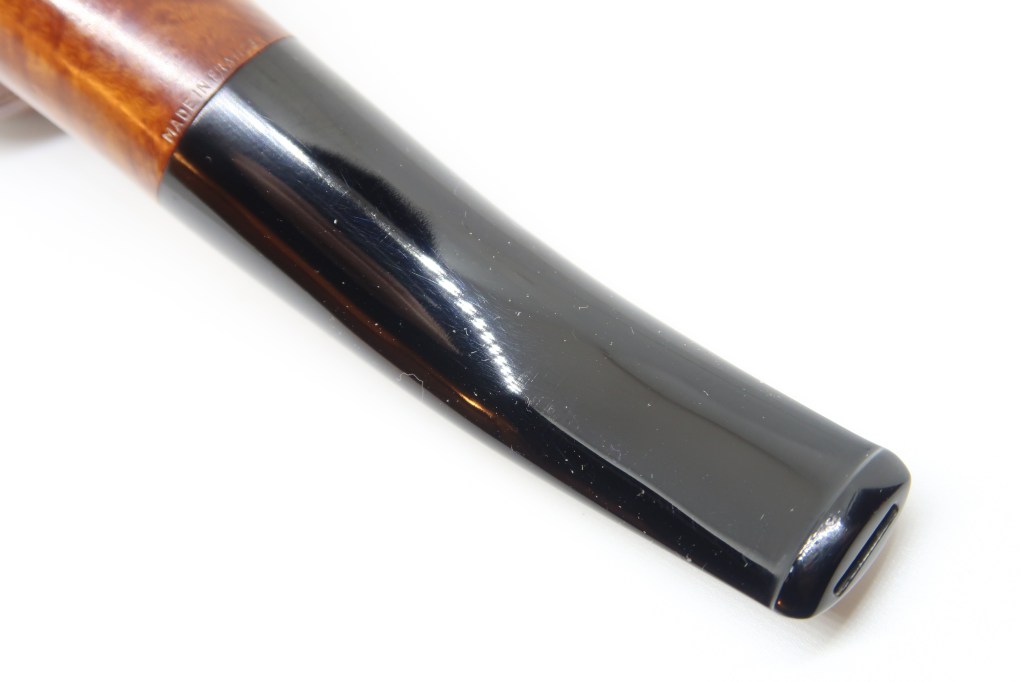
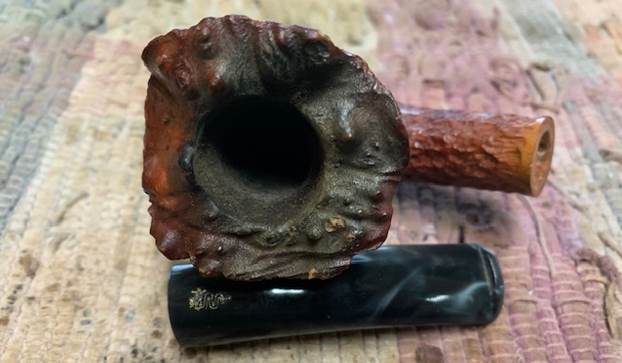
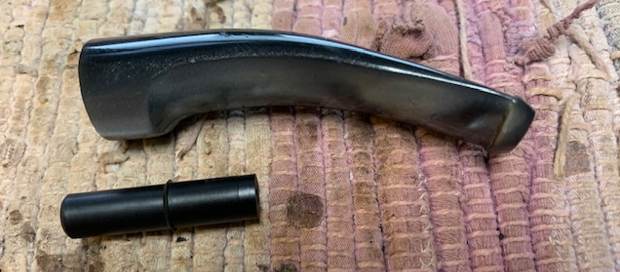
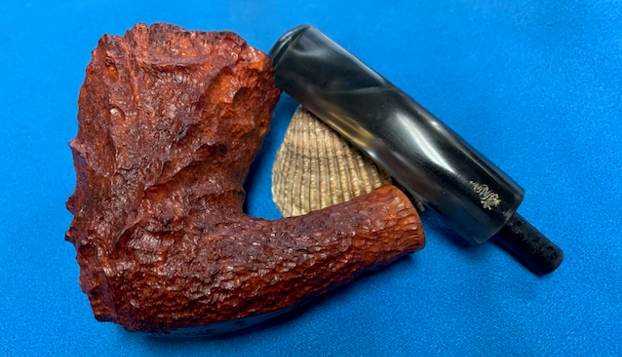
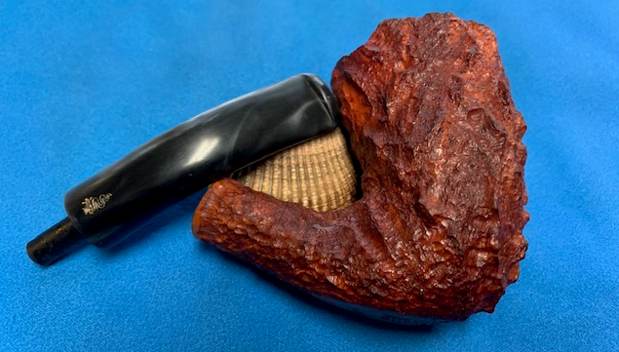
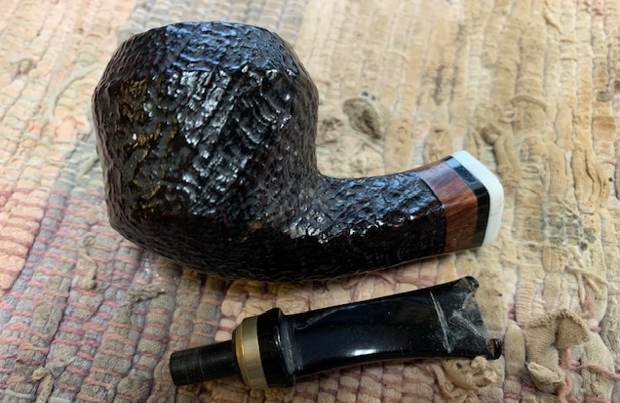
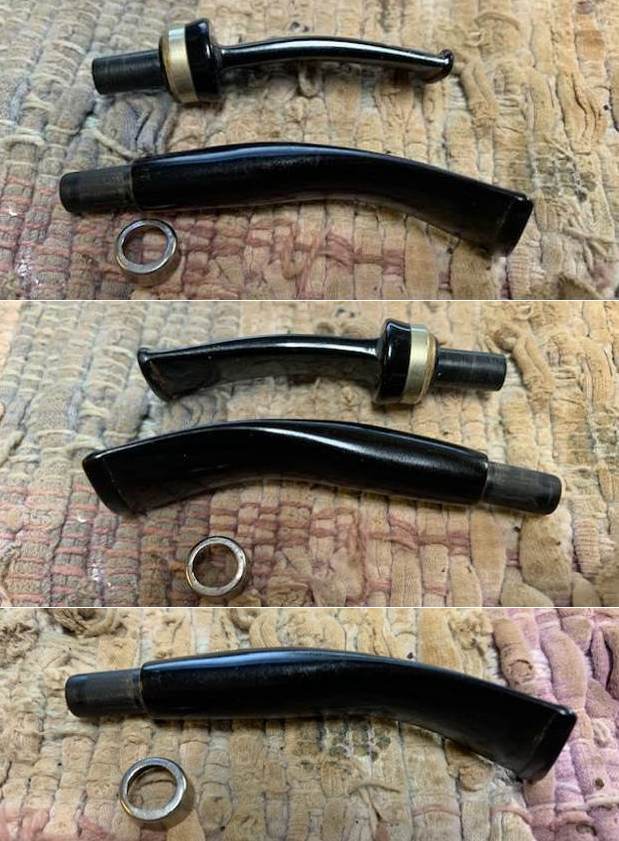
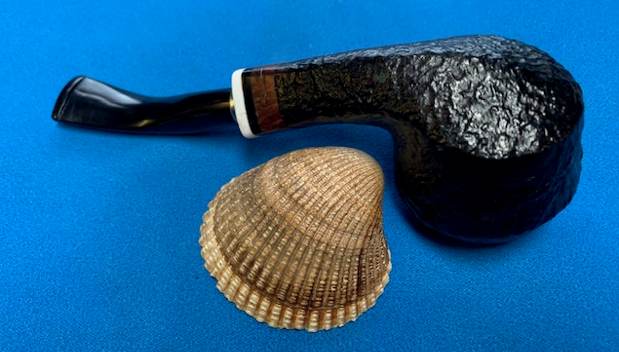
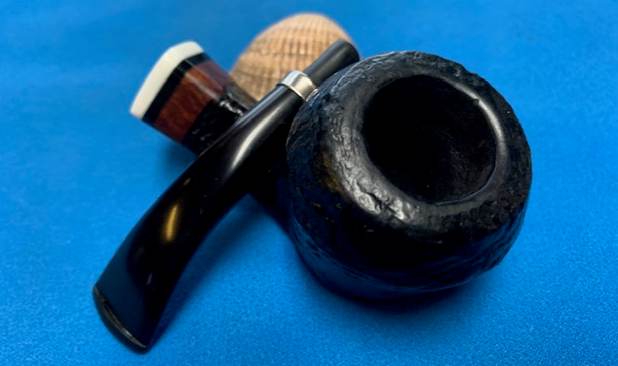
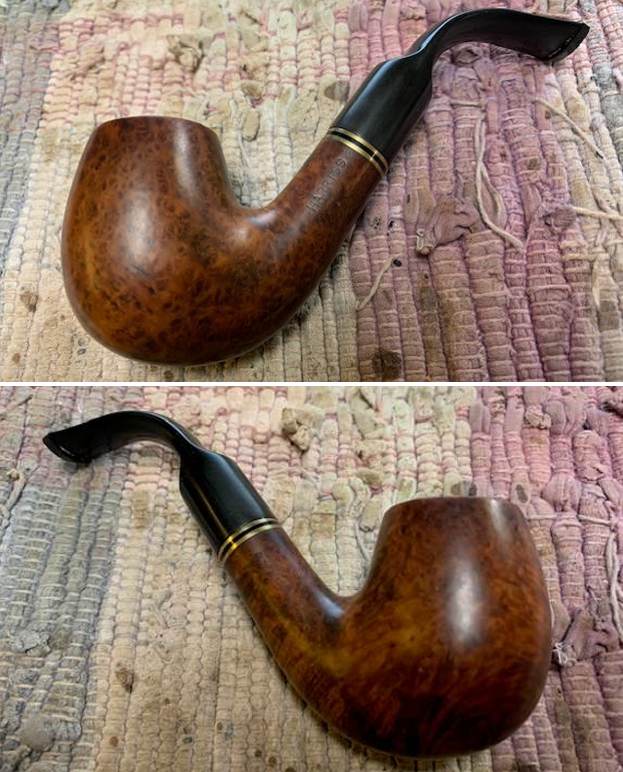
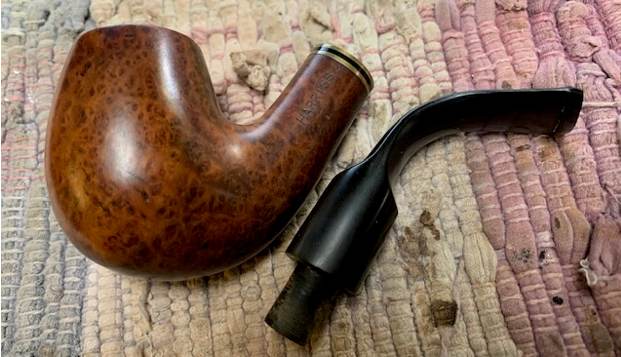
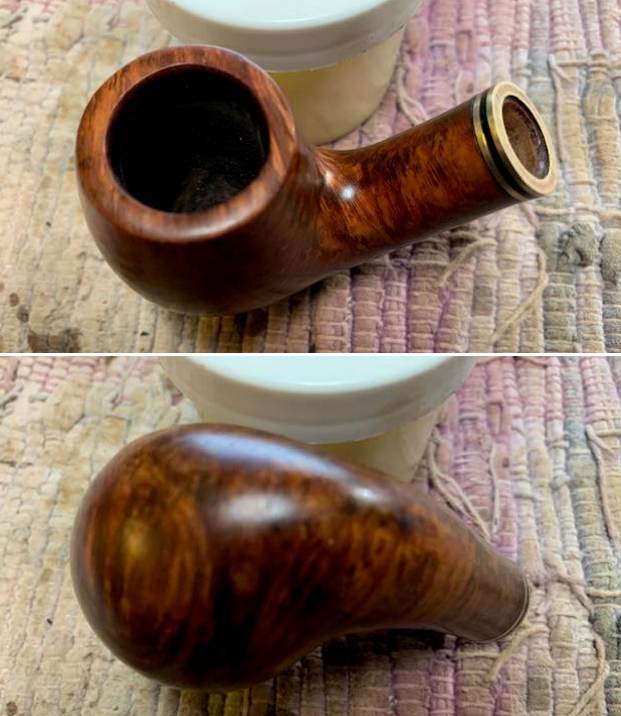
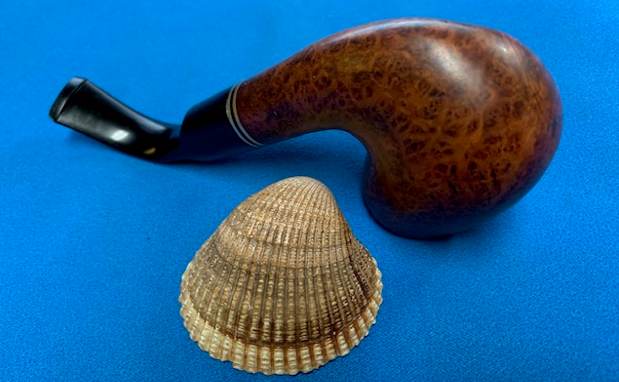
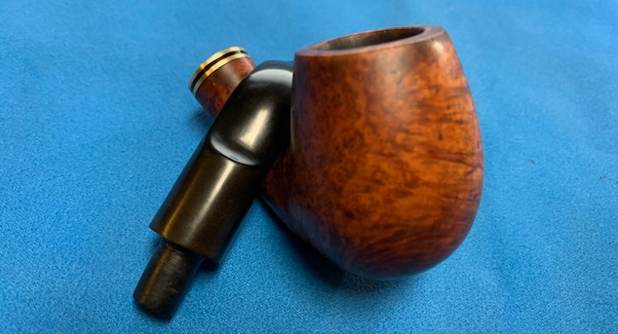
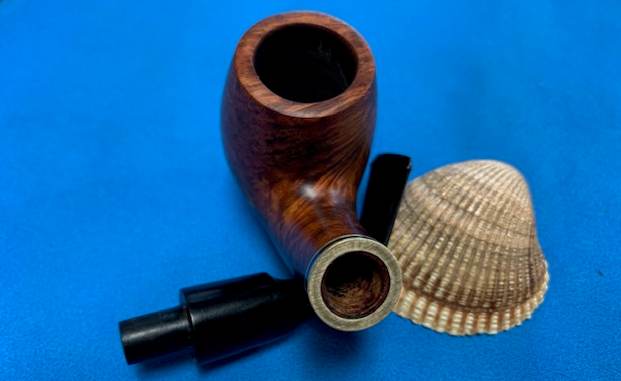
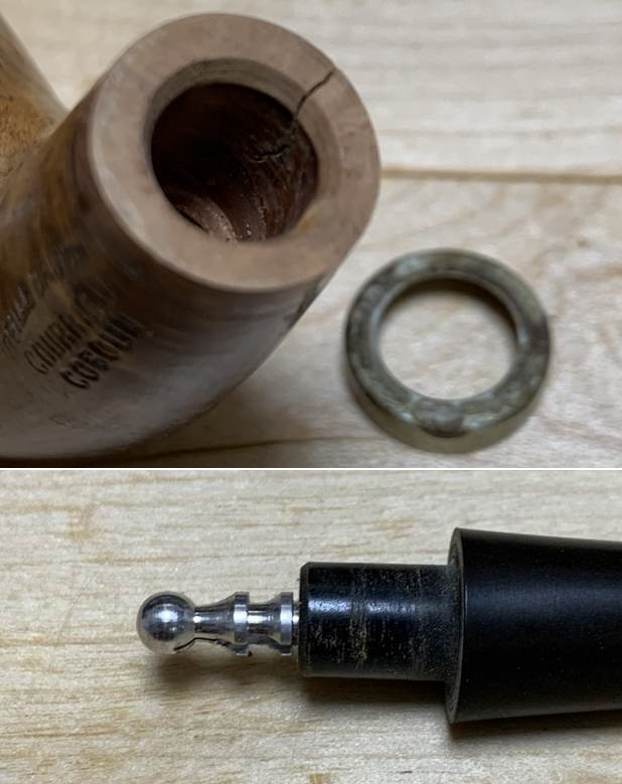
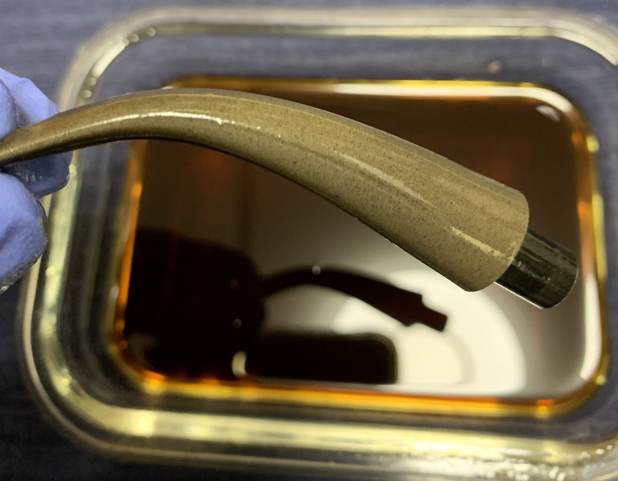
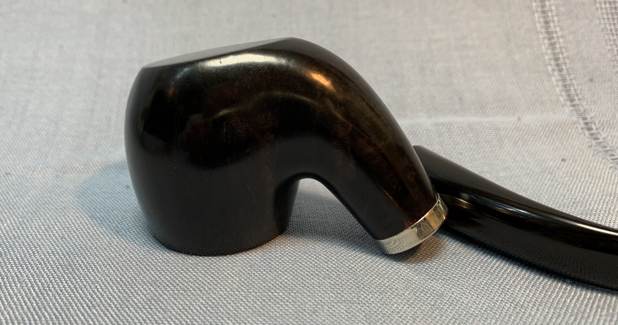
This pipe had some fine briar wood and looked like a well-made pipe. However, despite being unsmoked, this pipe still had some issues. The stem was clearly unused but had acquired some minor oxidation over time.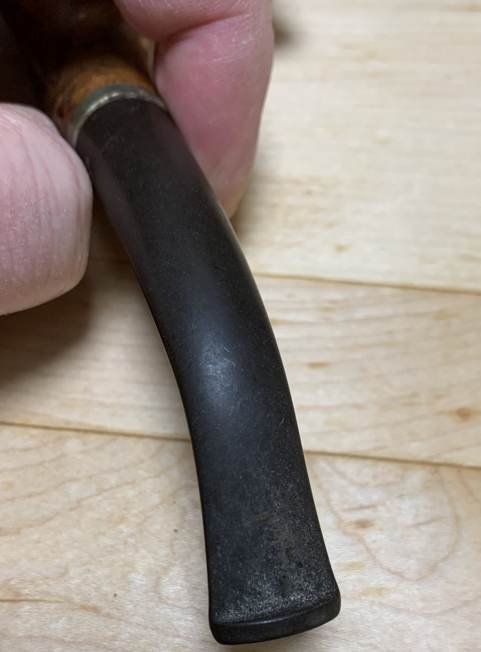
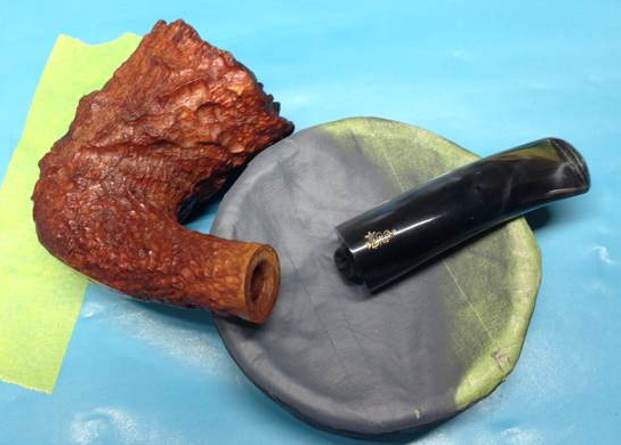
 The band around the shank was heavily tarnished; so much so that I was unsure if it was tarnished, or actually damaged, and if I would need a new band.
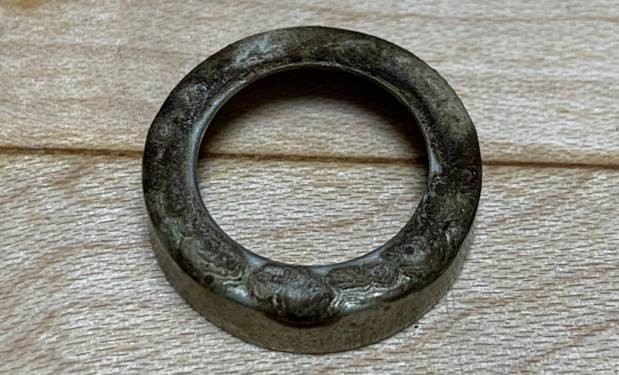 There were also some minor abrasions and staining.
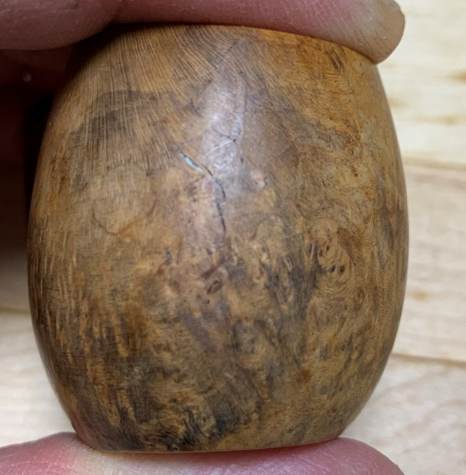
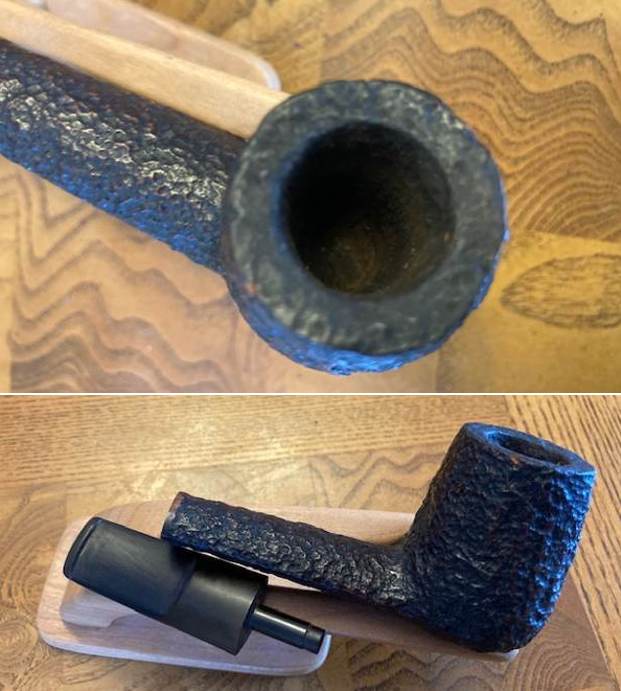
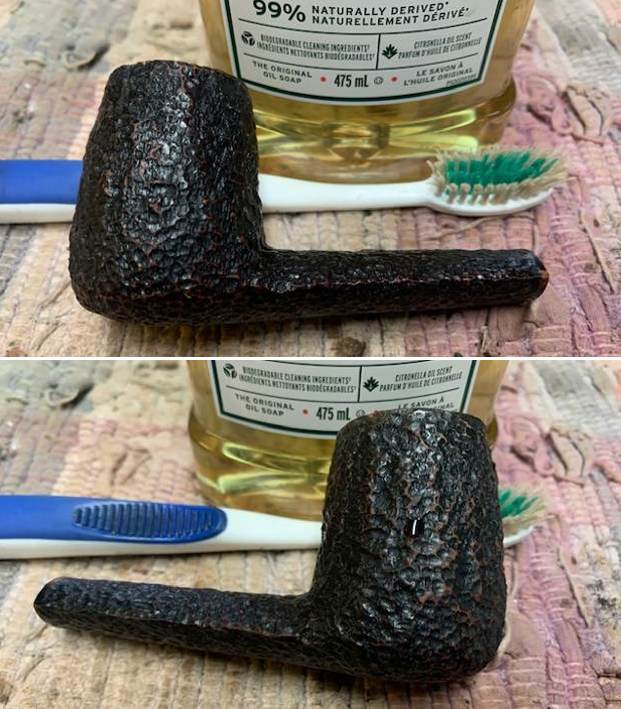
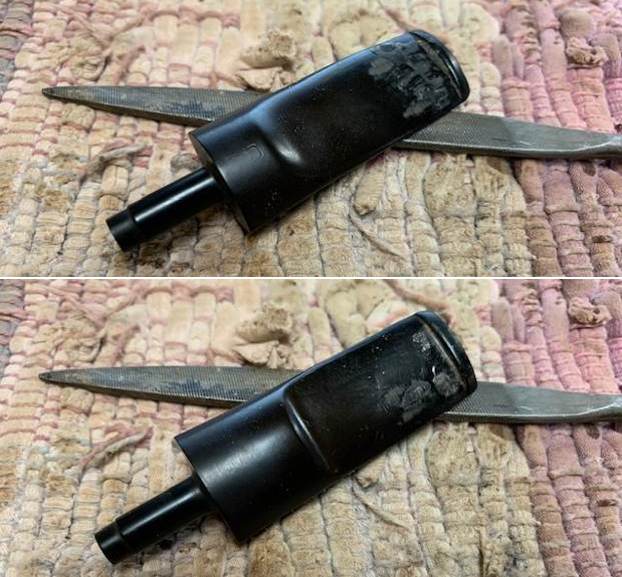
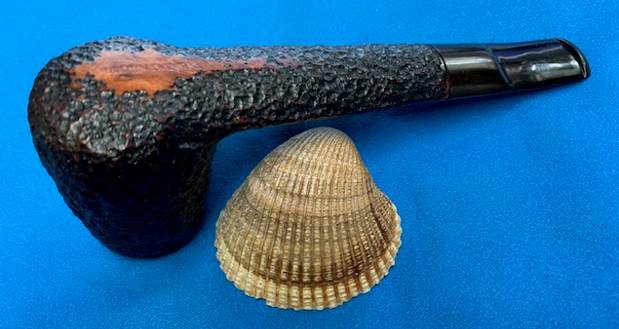
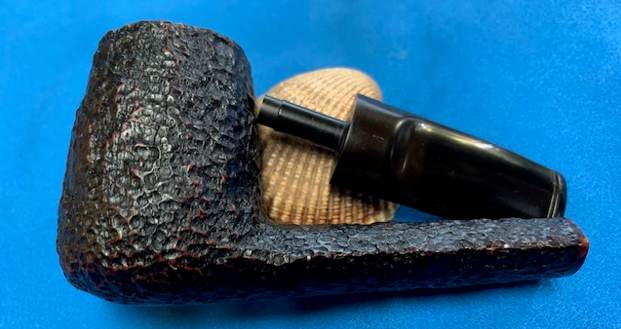
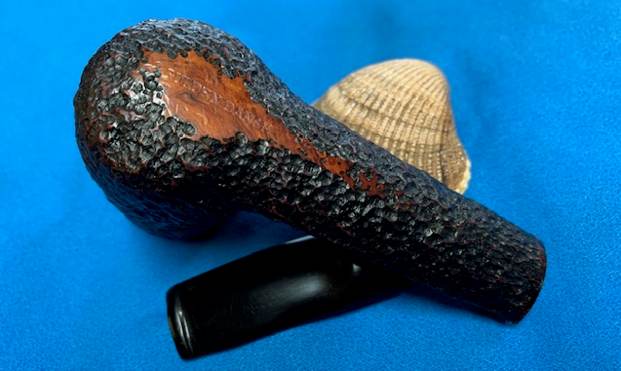
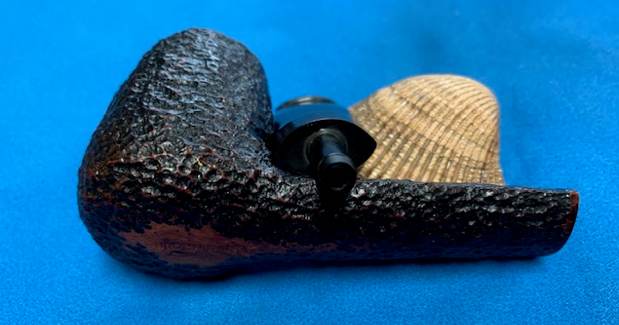
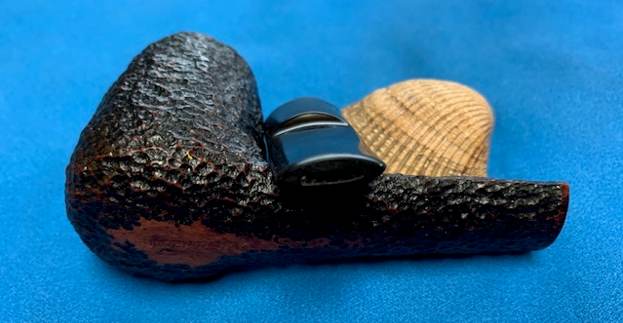
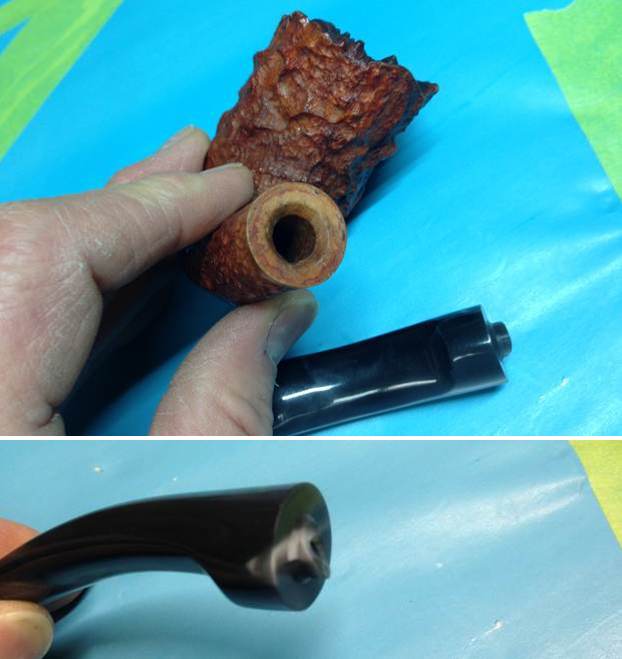
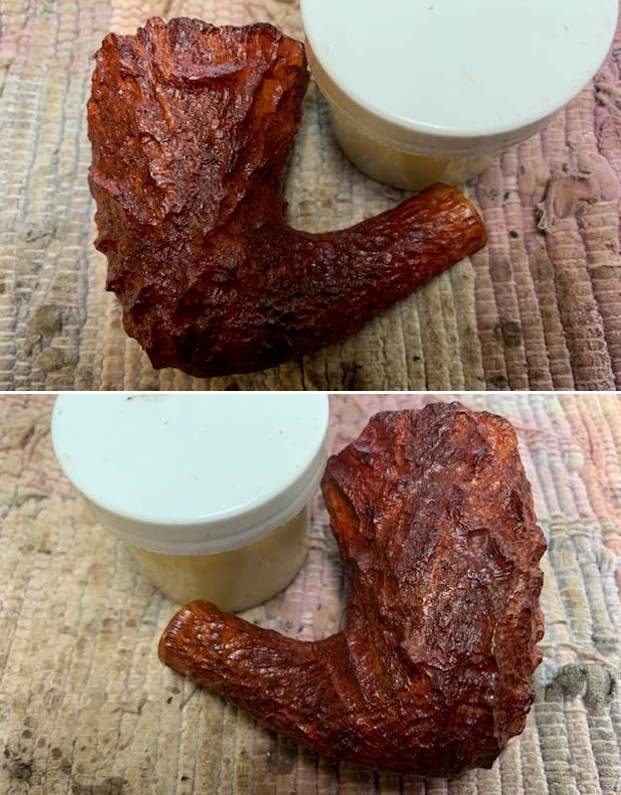
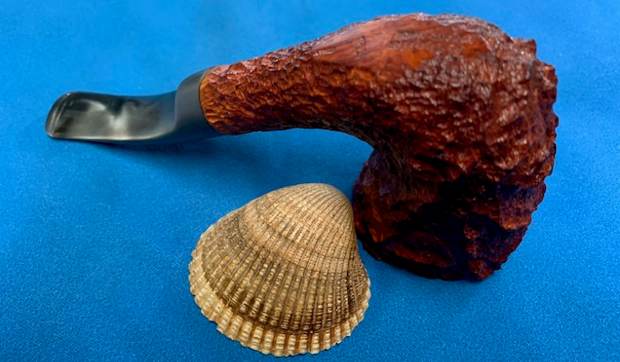
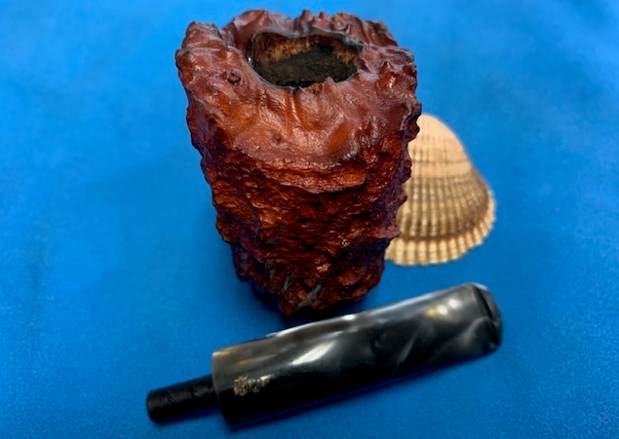
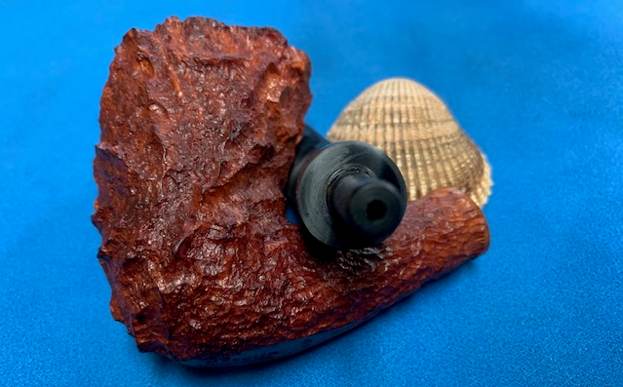
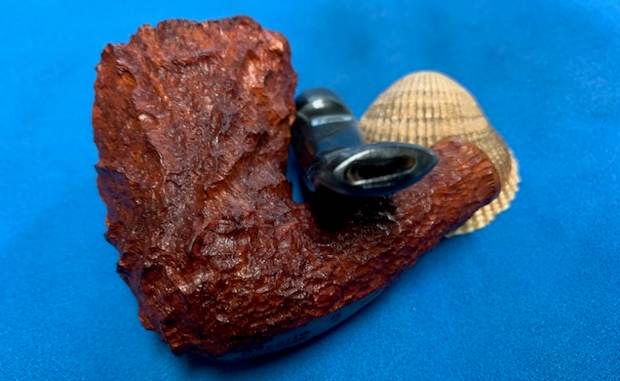
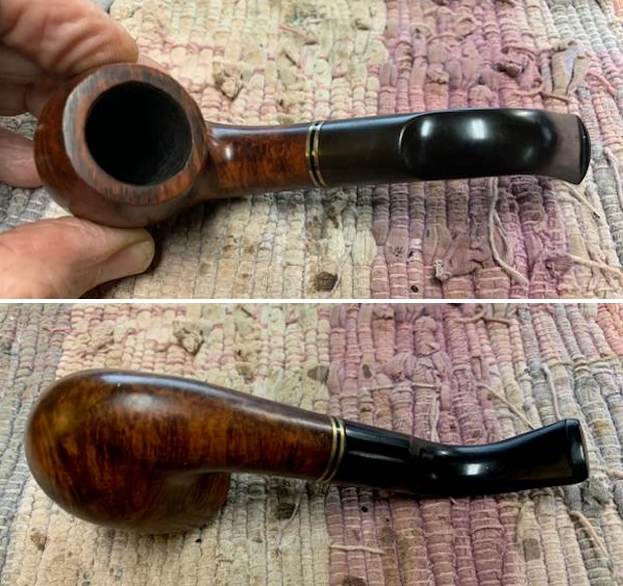
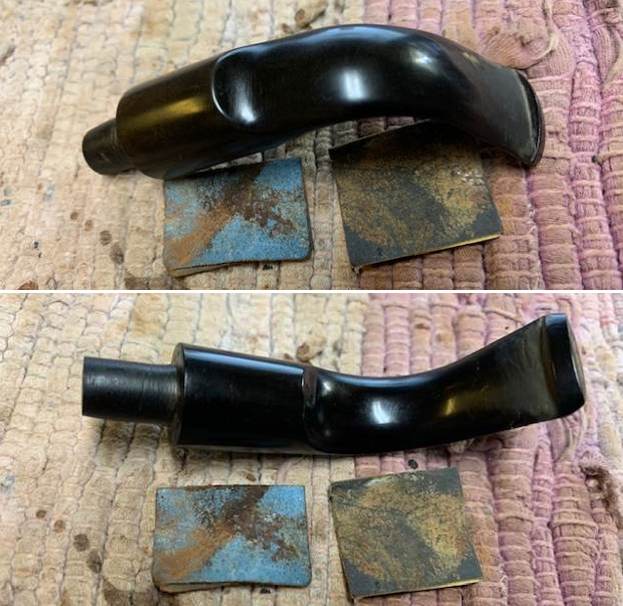
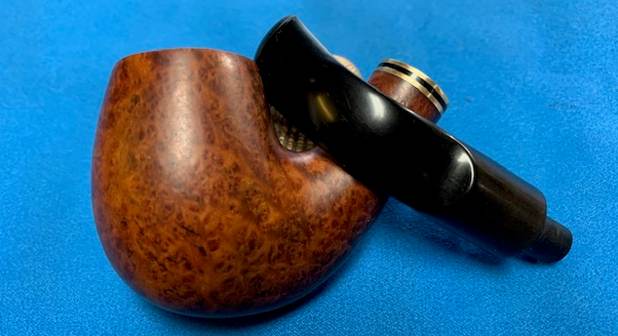
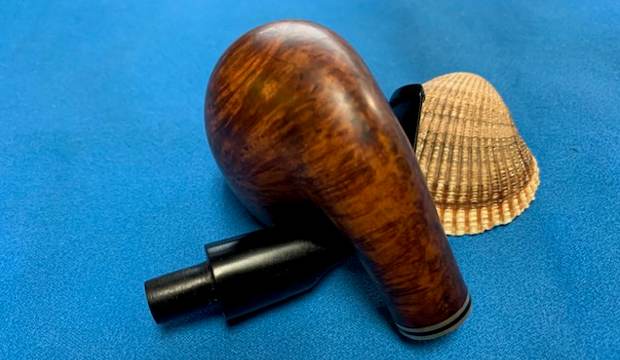
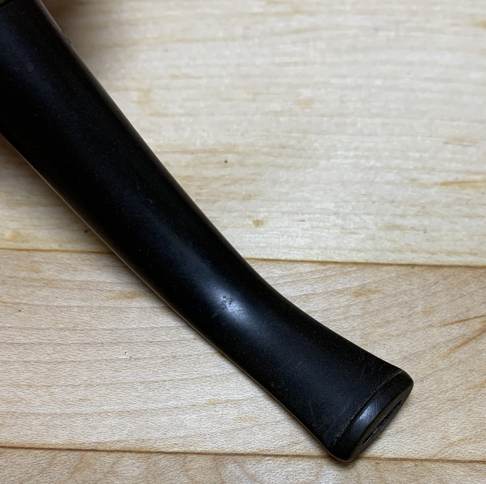
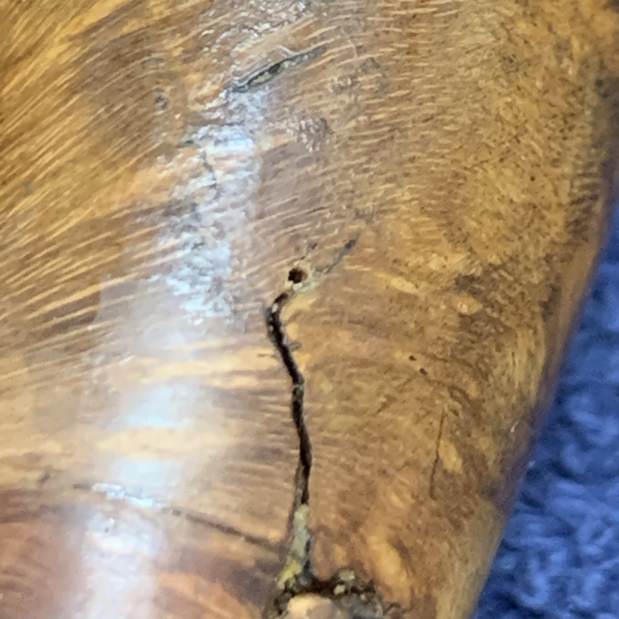
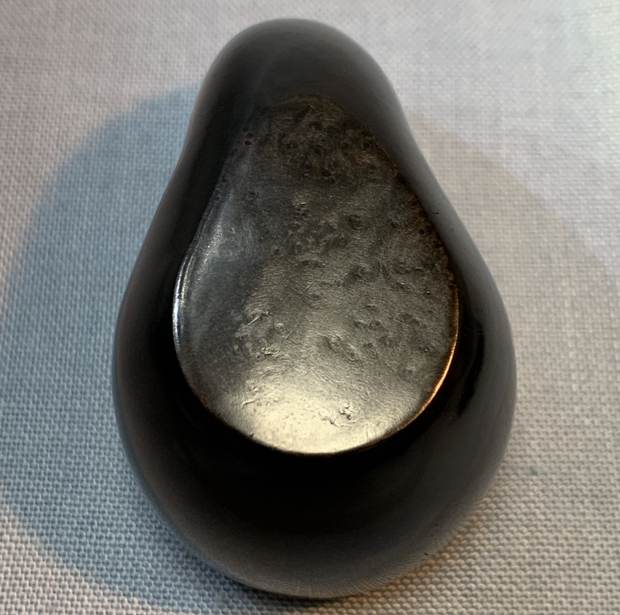
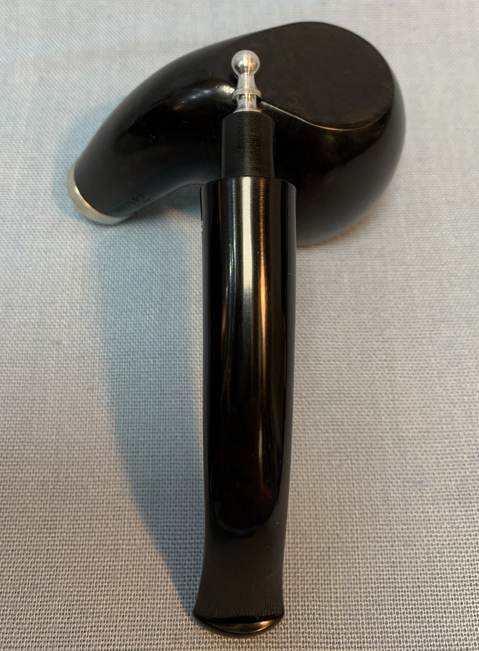
 Most notable, however, was a substantial crack in the shank, as shown in the photographs. The crack extended through the wood into the mortise and would require some careful work to repair successfully. On a pleasant note, the stinger was in immaculate condition. Other than buffing it with a microfiber cloth, it needed nothing else.
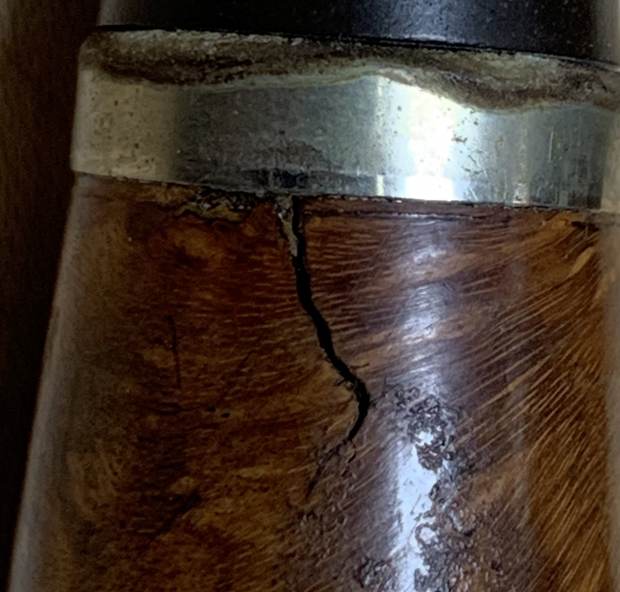
 One of my customer’s stipulations was to stain the pipe black. No problem as far as I was concerned. However, many people don’t quite understand what they will get when they request a black pipe. They often think that the pipe will end up as some sort of shiny lacquered item, but that’s not the way it works with me. I won’t use lacquer on pipes and I need to make it beautiful in other ways. Fortunately, my friend was aware of this and I endeavoured to make it as attractive as possible.
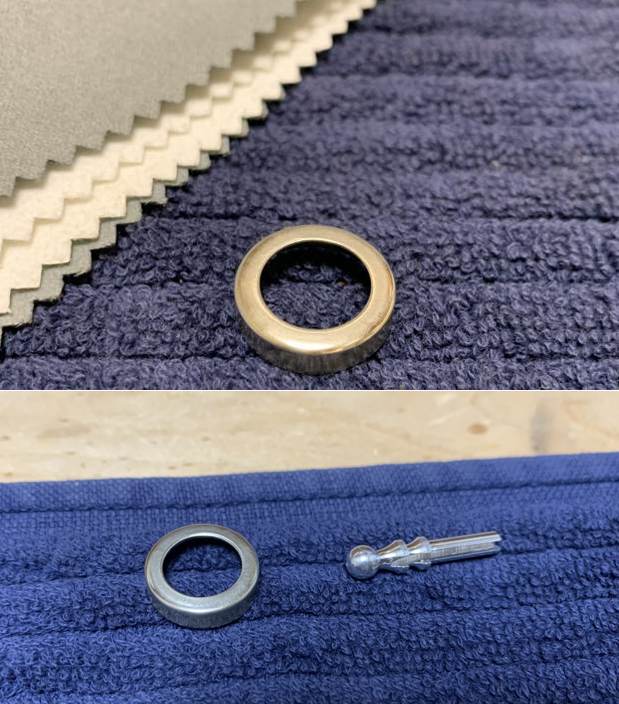
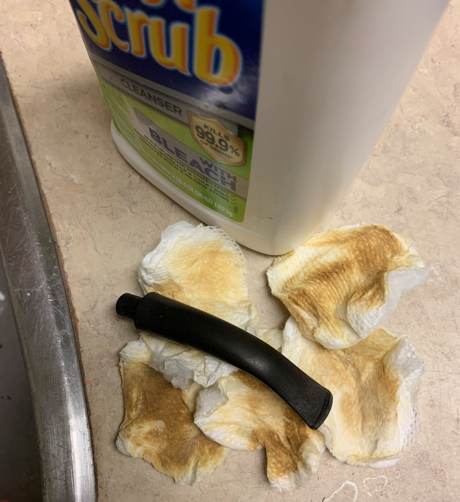
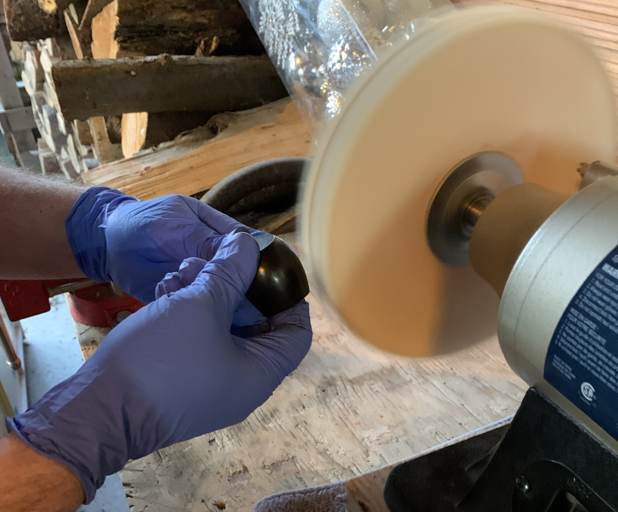
Now to work! As you saw, the band was pretty awful, so I brought out some SoftScrub on a cotton round and duly scrubbed away, taking care not to bend the soft metal. I was delighted at how well that turned out, as I had feared that the band was damaged beyond repair. Once clean, I buffed it with a jewelry polishing cloth and it looked like new. Hurray!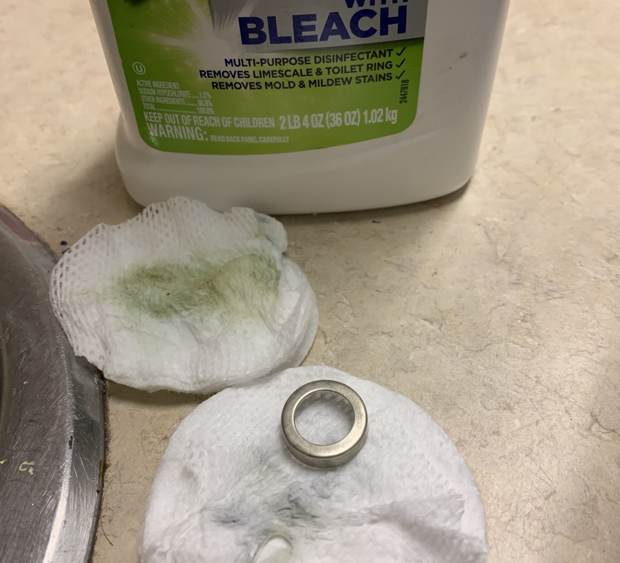
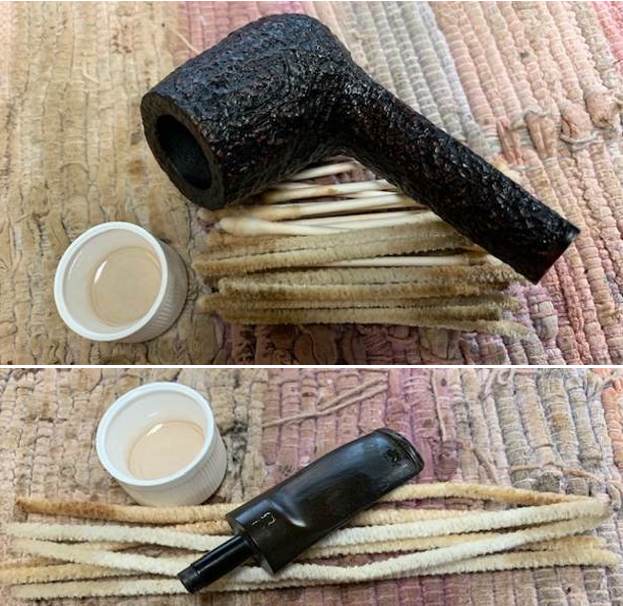
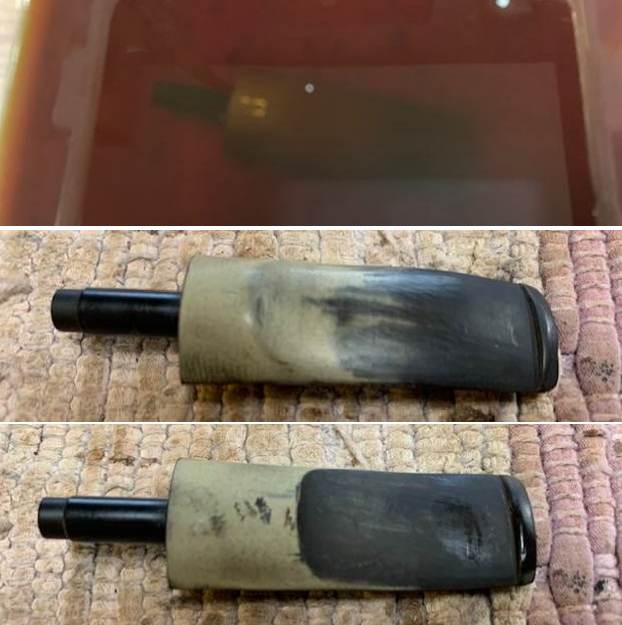
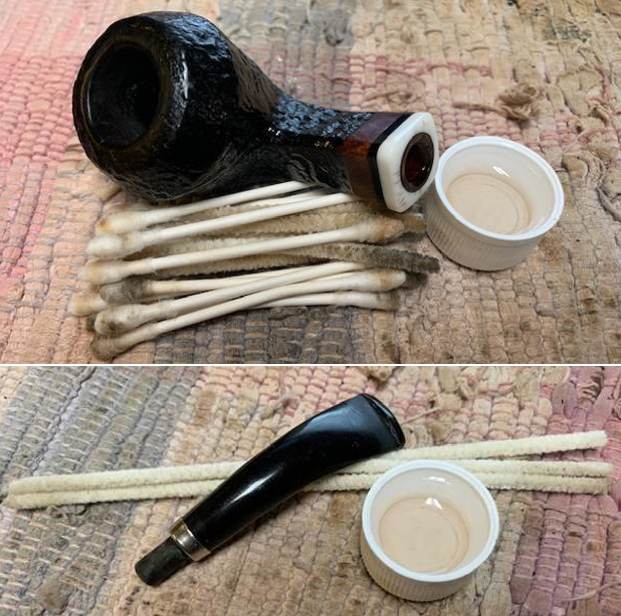
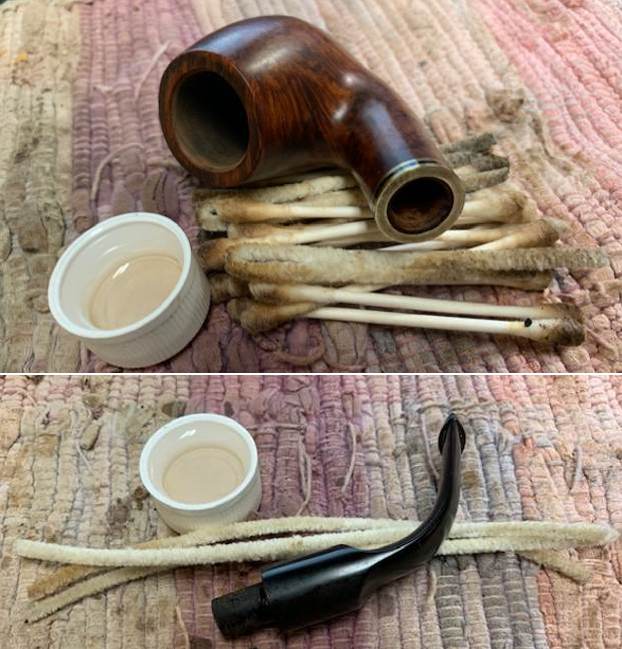
 Even though the stem had never been smoked, I ran a few pipe cleaners through it to ensure maximum cleanliness. There was some latent dust, but it was easily dealt with. I used some cotton rounds and Murphy’s Oil Soap to remove the top layer of oxidation.
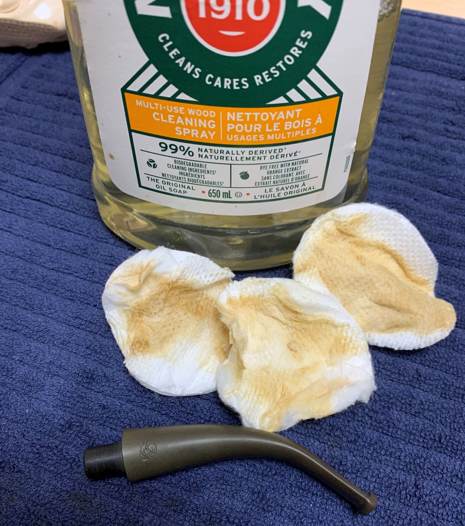
 Then the stem went for an overnight bath in the Pipe Stem Oxidation Remover. The following day, I cleaned all of the de-oxidizing mess off with alcohol, pipe cleaners, et cetera. The oxidation had migrated to the surface and would be straightforward to remove. I scrubbed with SoftScrub on some cotton pads to remove the leftover oxidation.
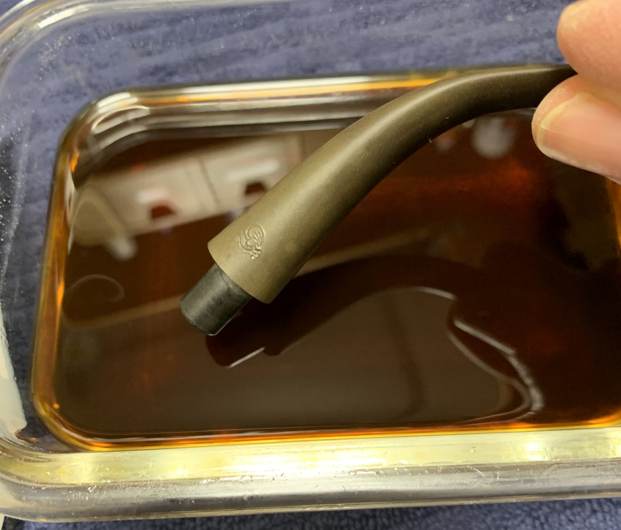
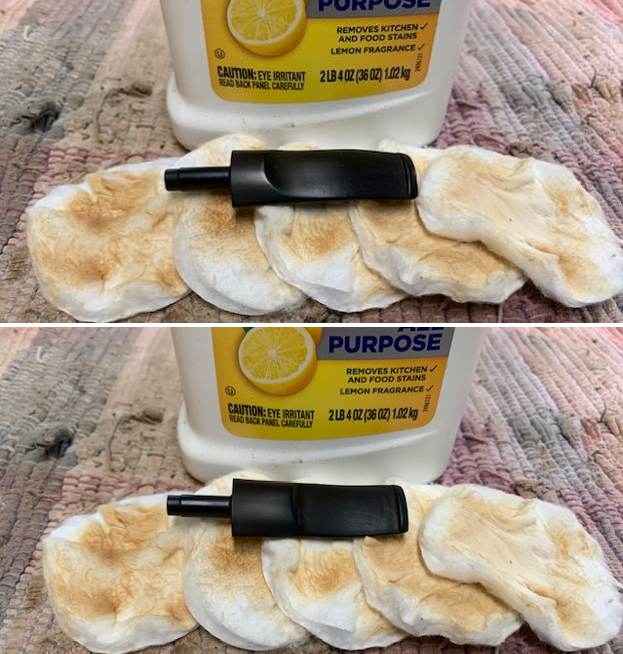
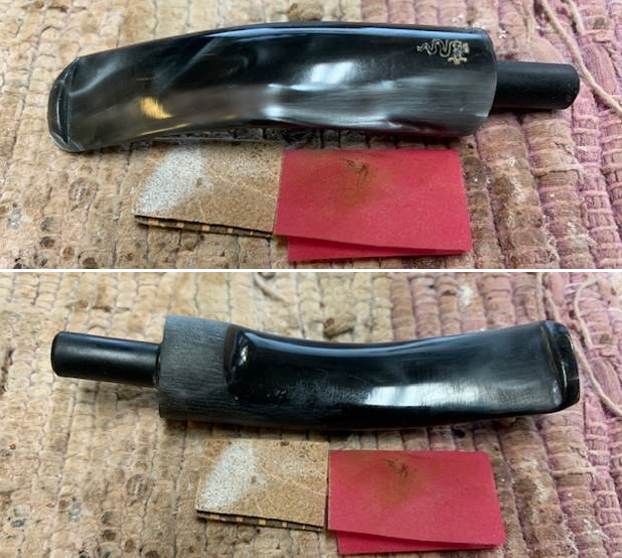
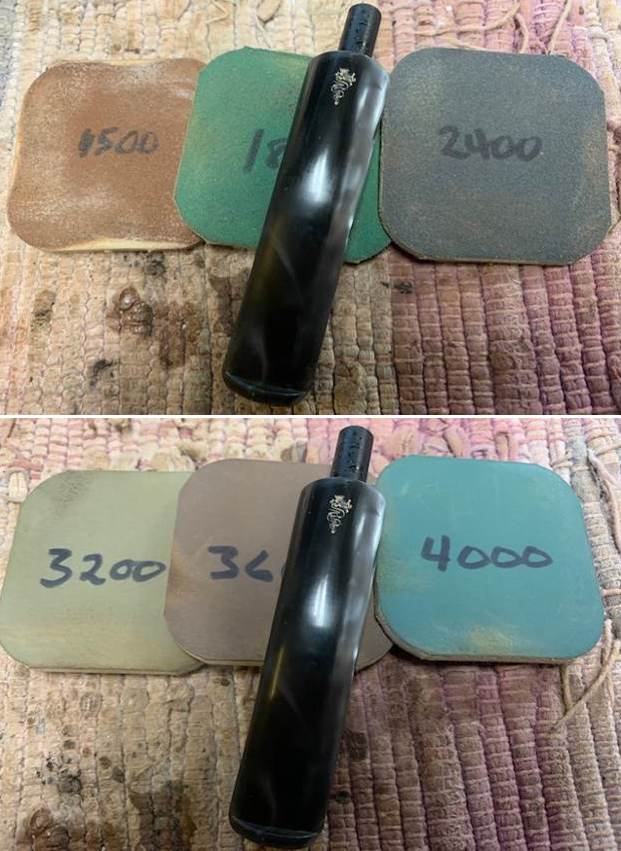
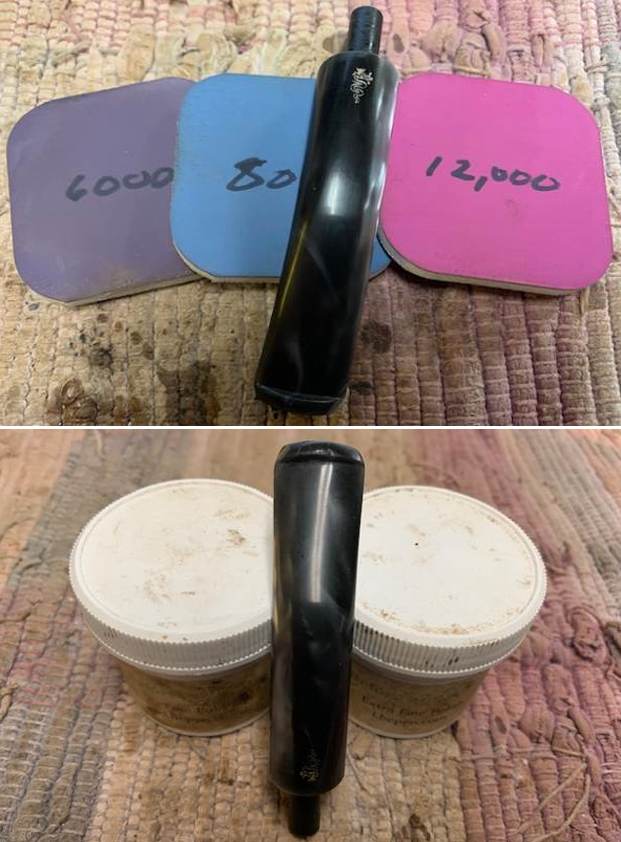
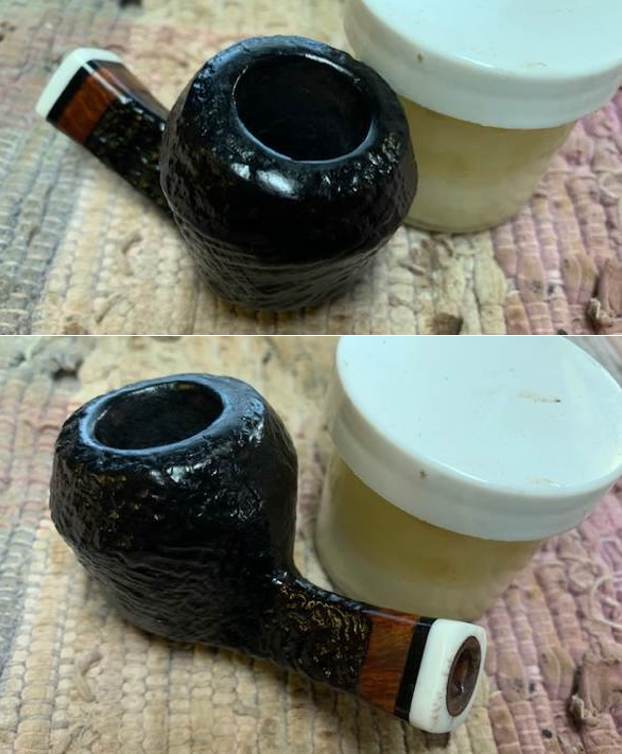
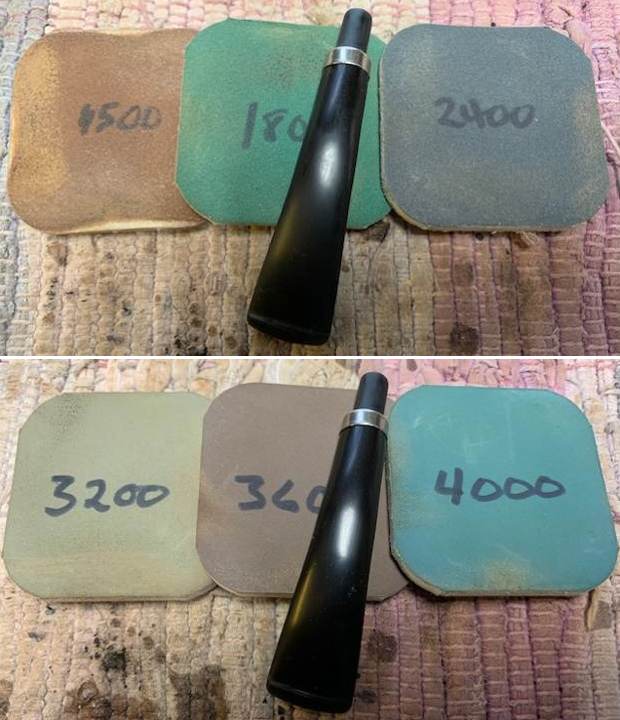
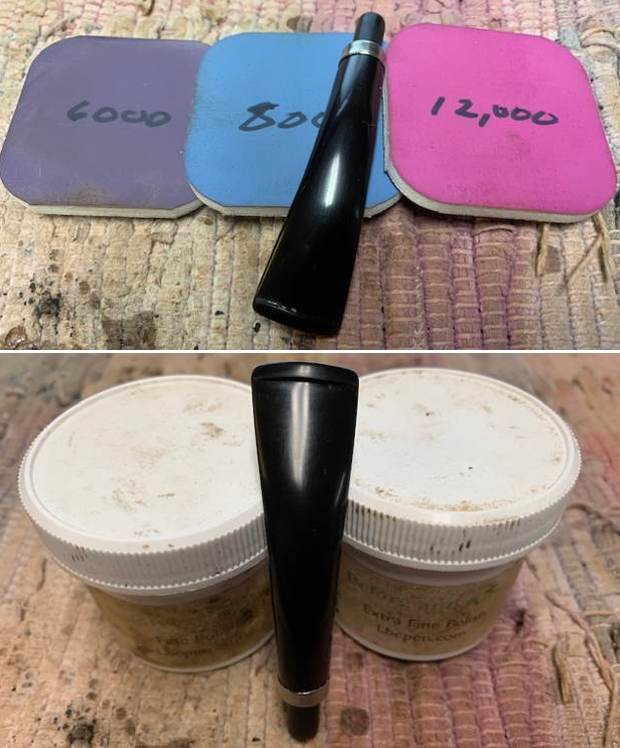
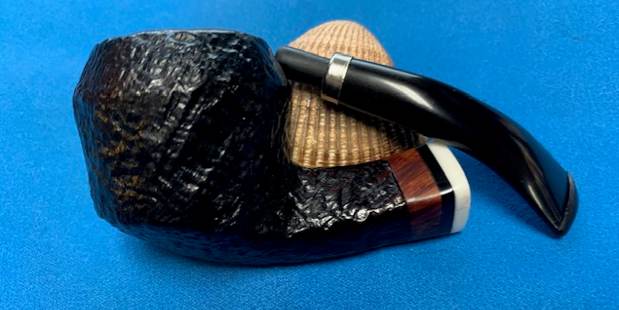
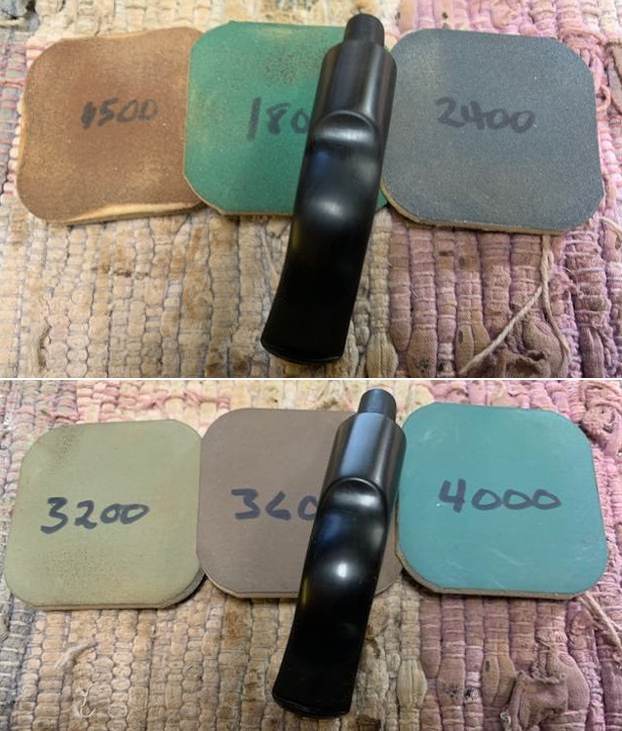
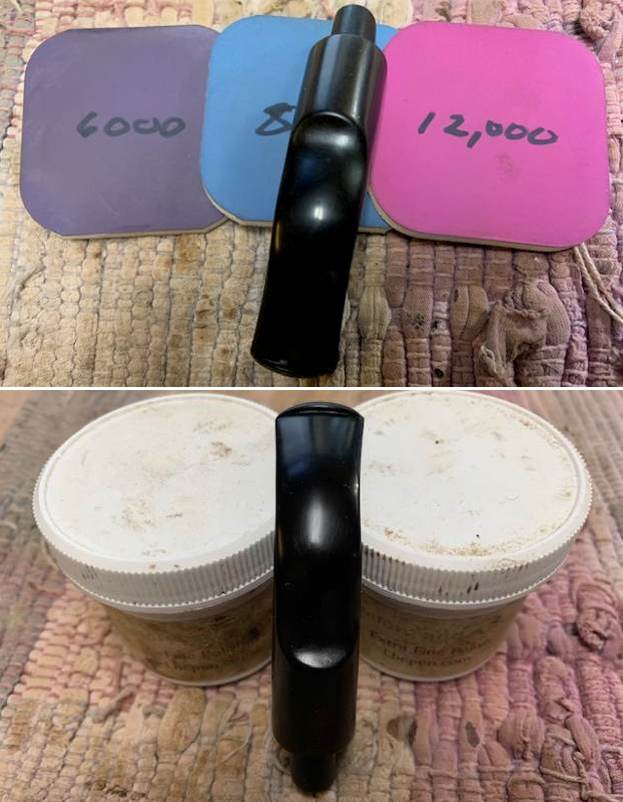
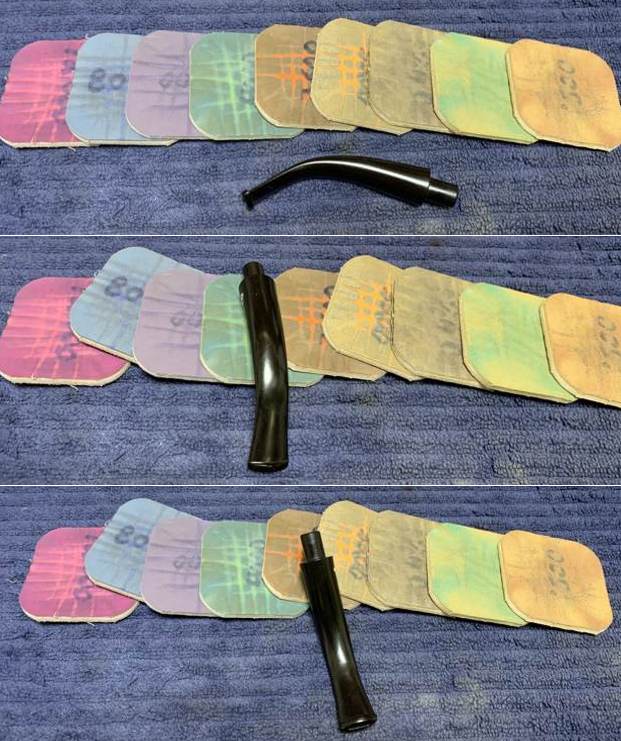
 After this, I used some white nail polish and carefully painted the embossed Gallic rooster on the stem. I painted the area carefully and let it set for a few minutes. I then used all nine Micromesh pads (1,500 through 12,000 grit) to bring out the lovely black lustre on the stem. I also used Obsidian Pipe Stem Oil in between each pad scrubbing. Then I set the stem aside and moved on to the stummel.
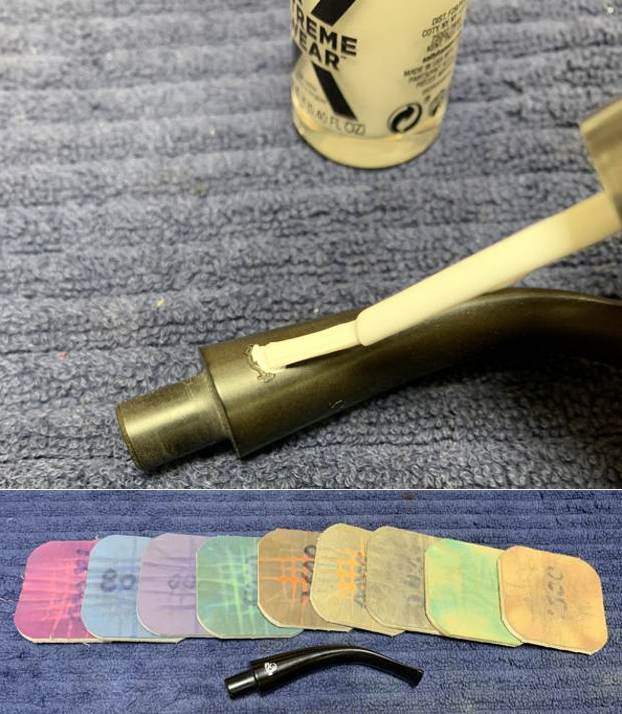
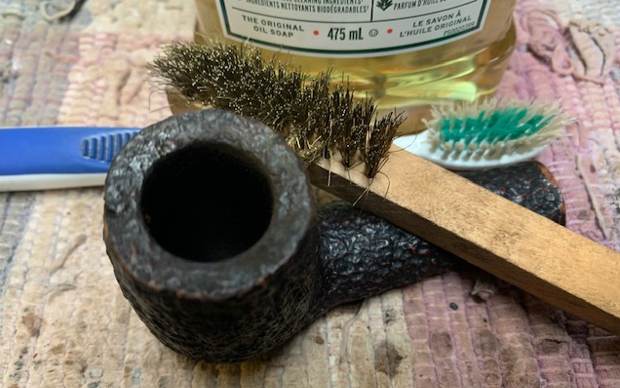
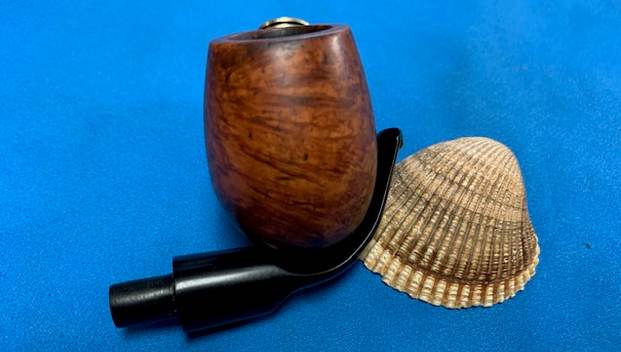
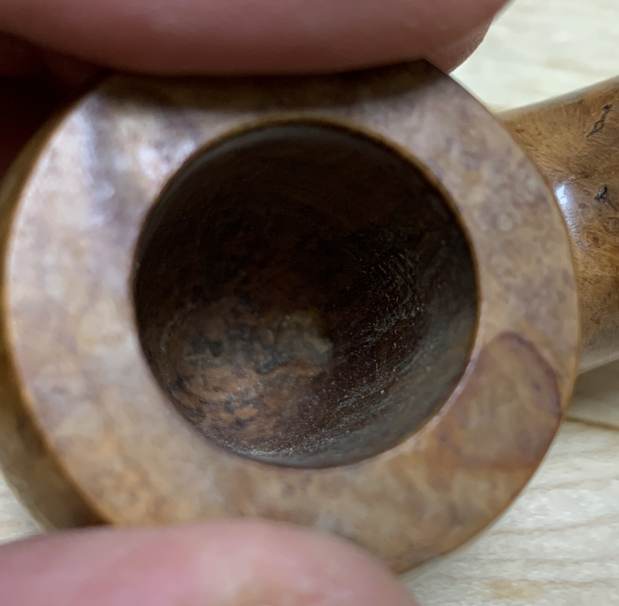
 The next order of business was to scrub the outside of the stummel with some cotton rounds and Murphy’s Oil Soap. Despite being unsmoked, the stummel was reasonably dirty from sitting abandoned for decades.
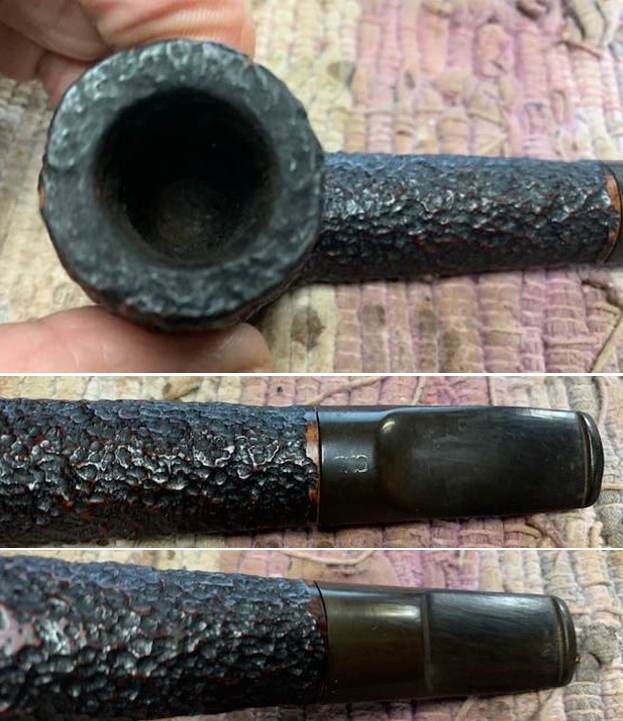
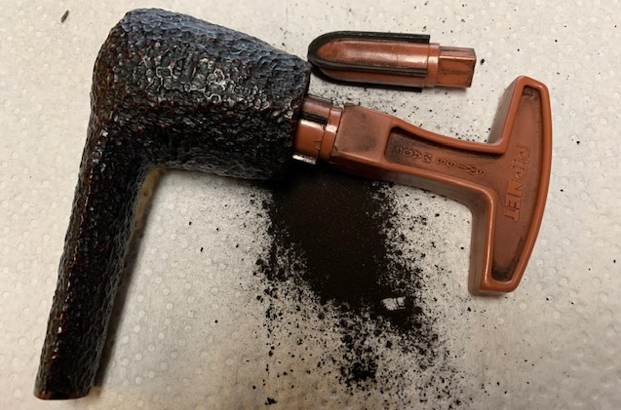
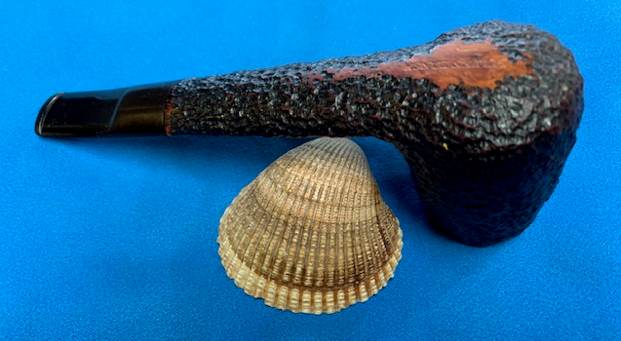
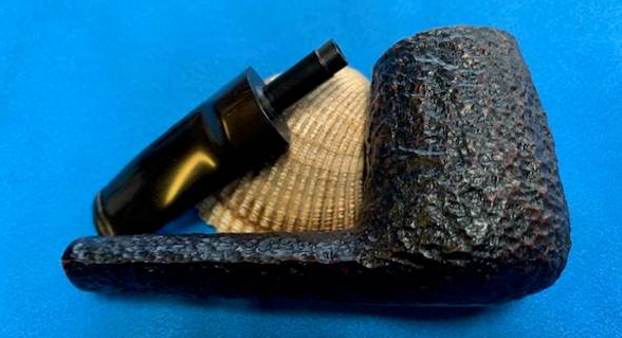
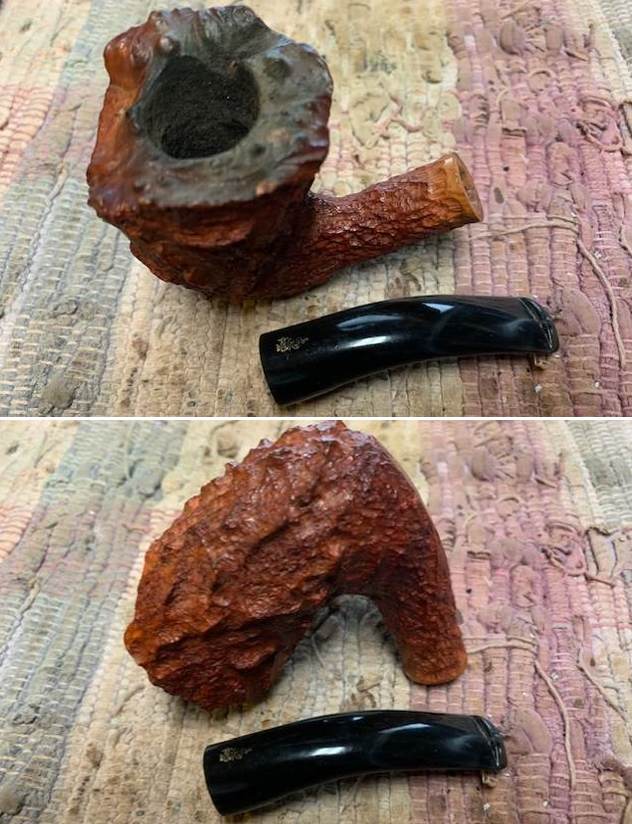
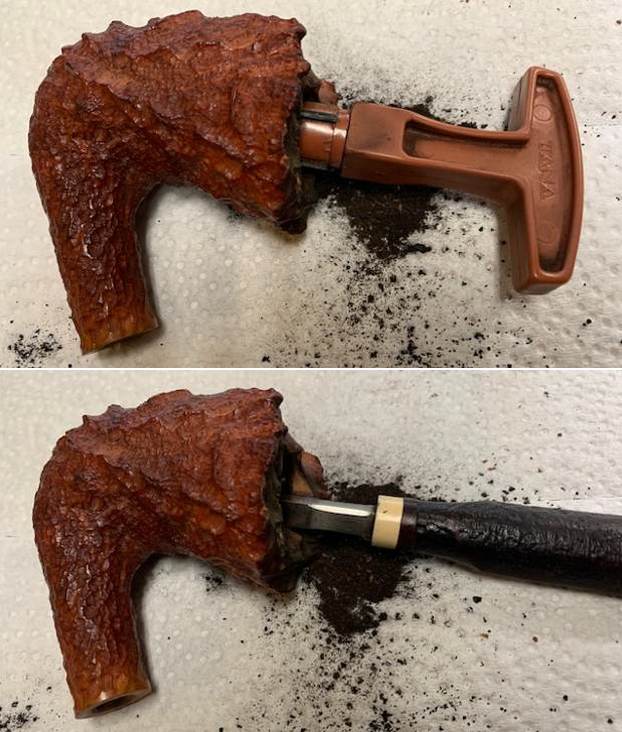
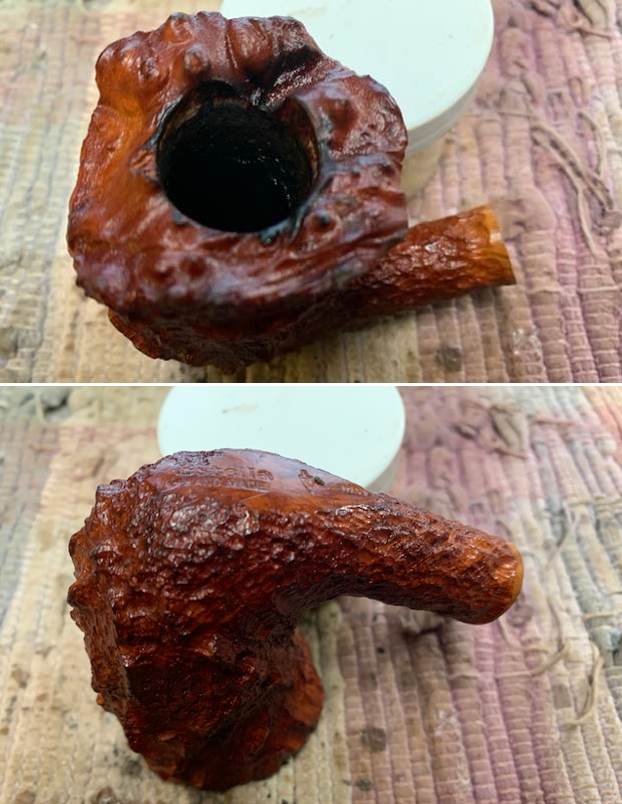
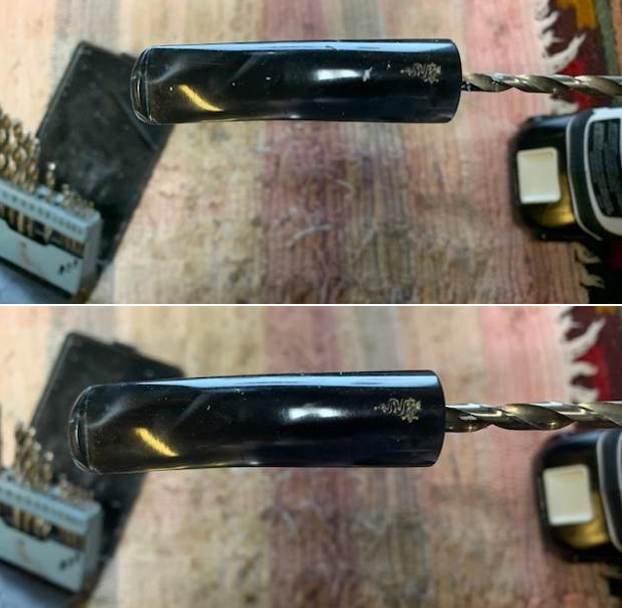
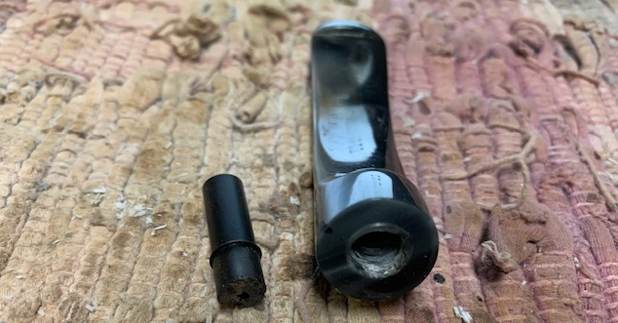
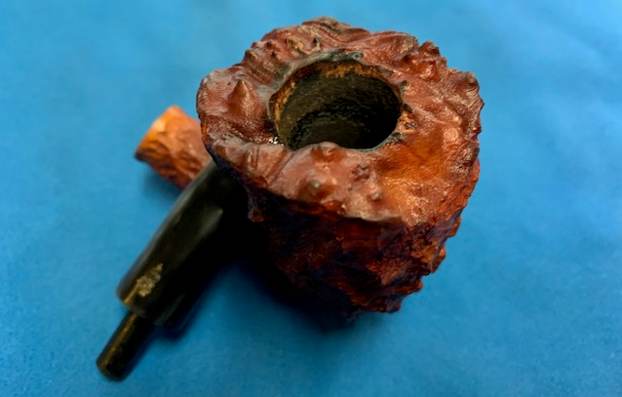
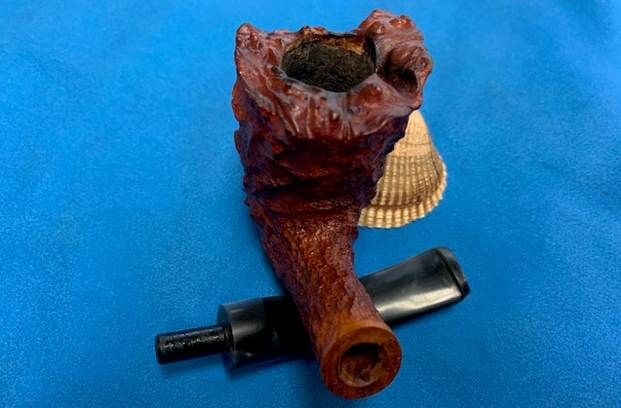
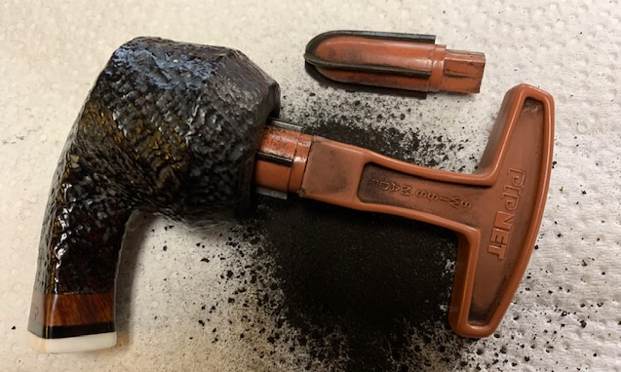
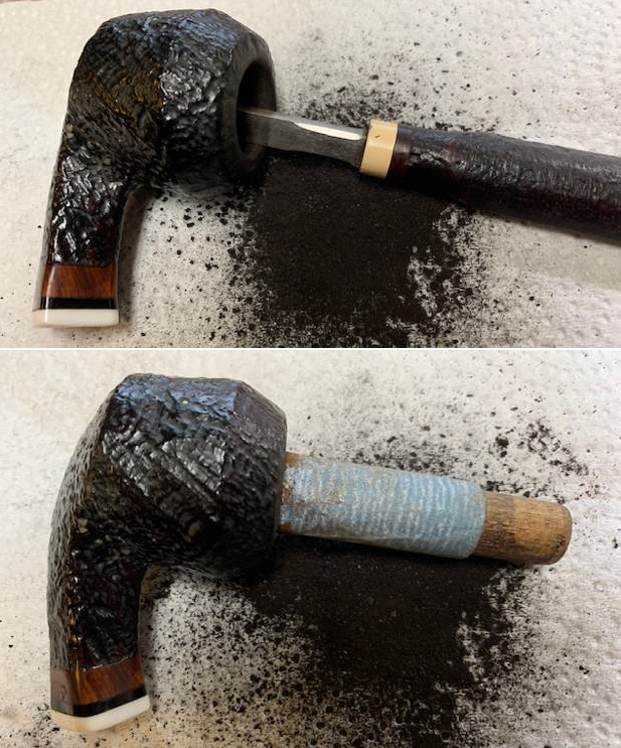
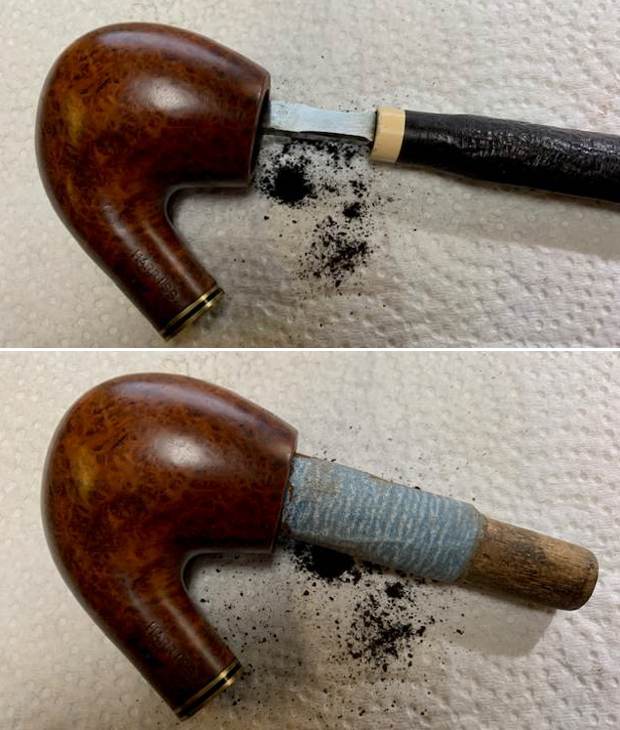
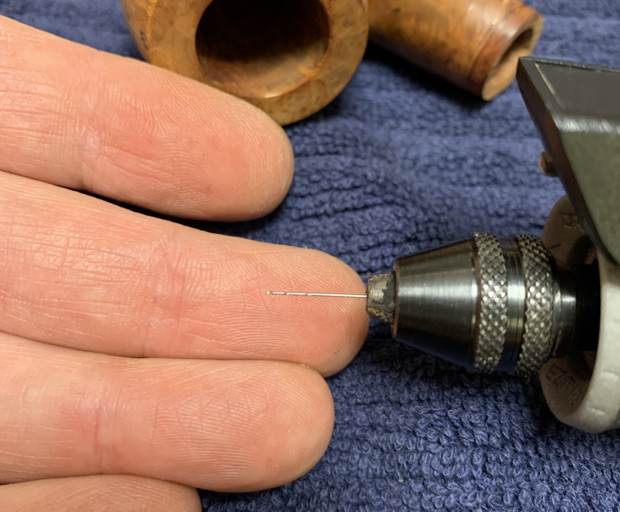
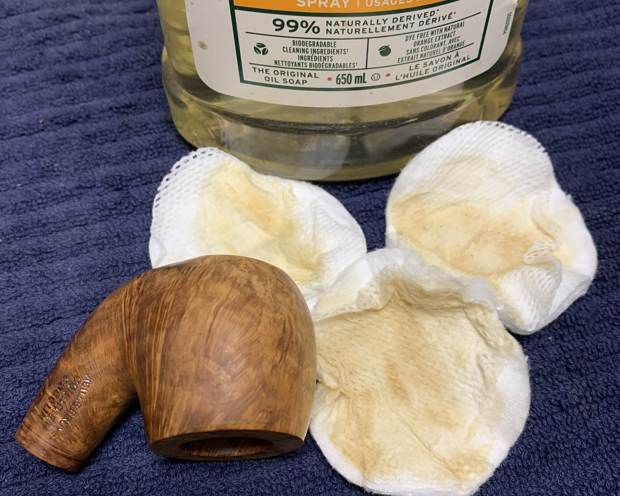 Then it came time to address the crack in the shank. To ensure that any crack repair is successful, I need to make sure that the crack won’t elongate. I took a micro-drill bit and drilled a hole through the wall of the shank into the mortise, at the very end of the crack. By doing this, I prevent the crack from growing any further. Look how tiny the drill bit is! You can also see the drilled hole at the end of the crack. I also removed the old yellow adhesive you can see below.
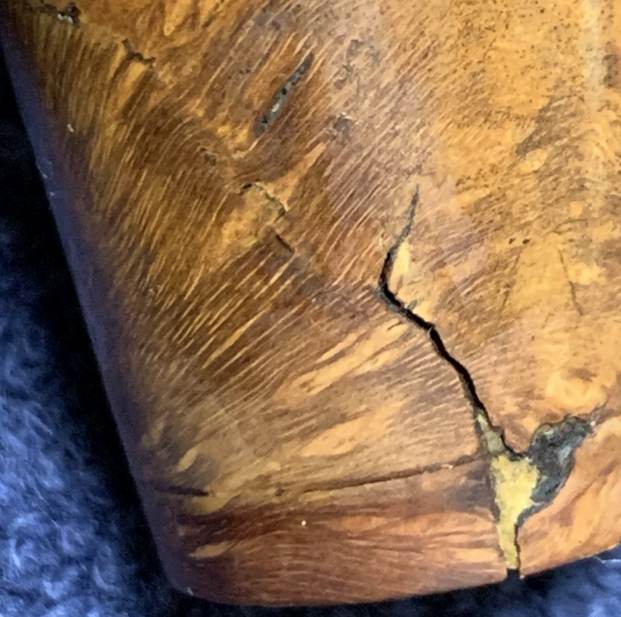
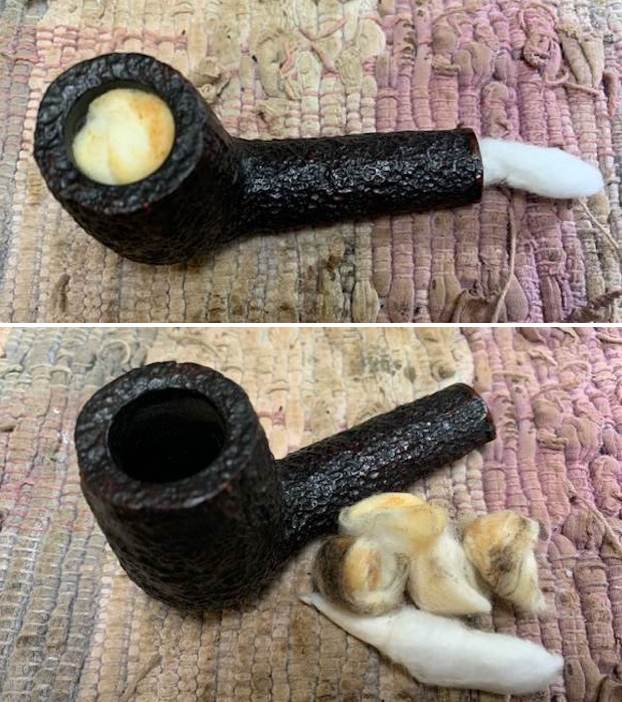
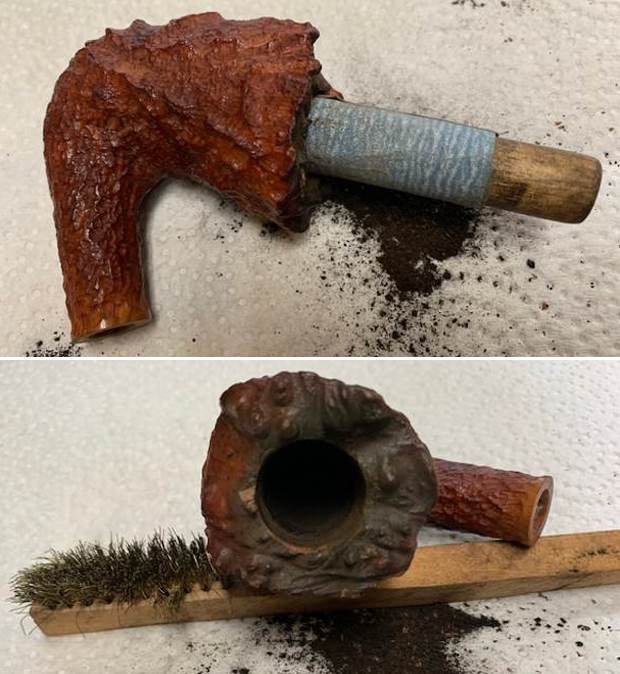
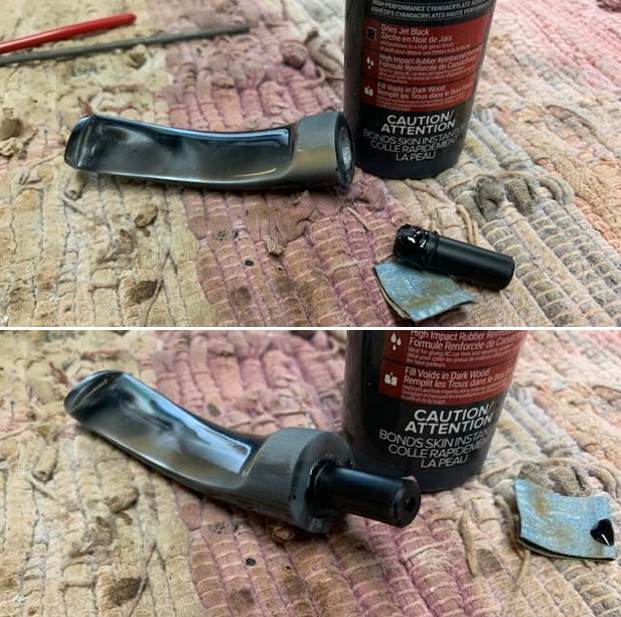
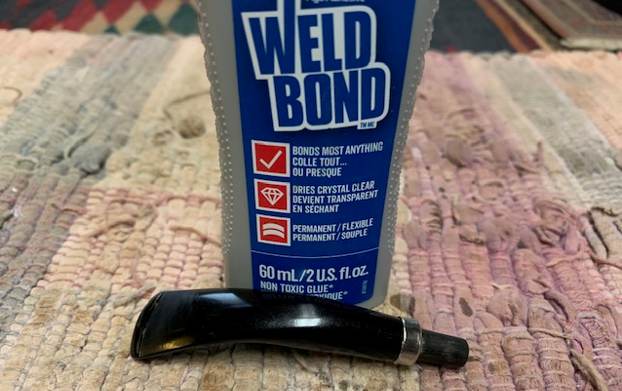
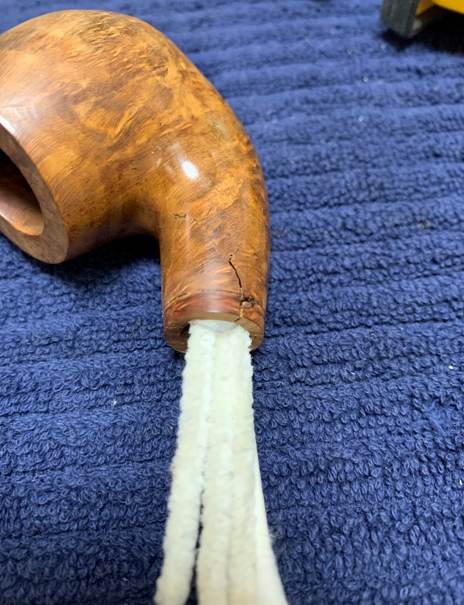
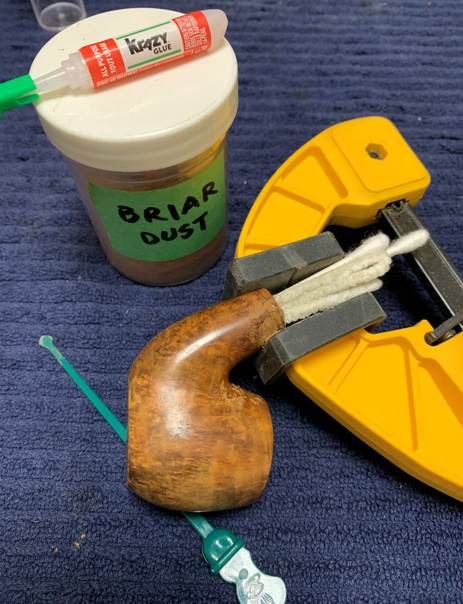
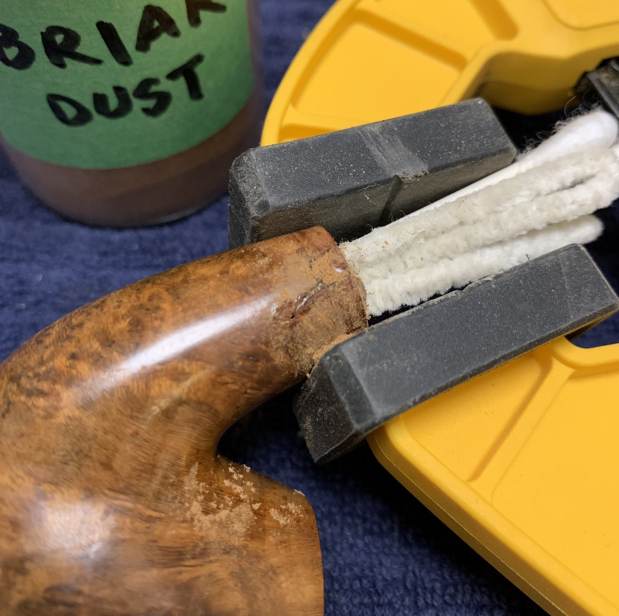
 I needed to apply cyanoacrylate adhesive to the crack to seal and repair it. First, however, I stuffed the mortise area with some folded pipe cleaners, coated with petroleum jelly. This would prevent the adhesive from dripping inside the shank and creating further problems. After that, I carefully applied a bead of adhesive to the tiny hole and the length of the crack. Finally, I clamped it shut and let it sit overnight to cure. This was a great success – obviously, the crack would always be there, but I was really pleased with how the repair looked.
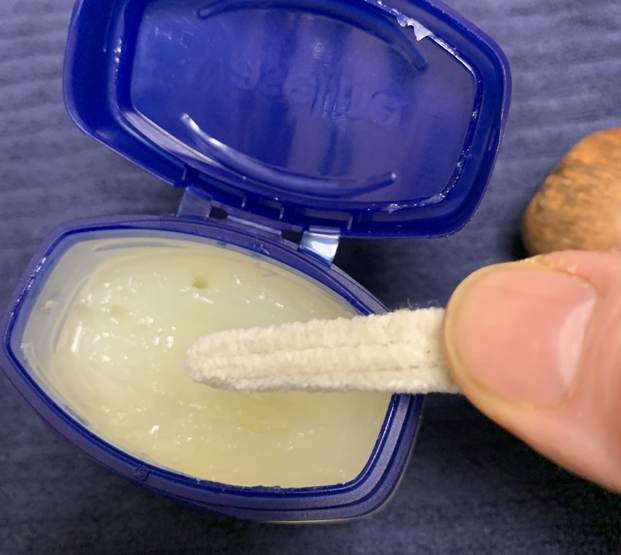
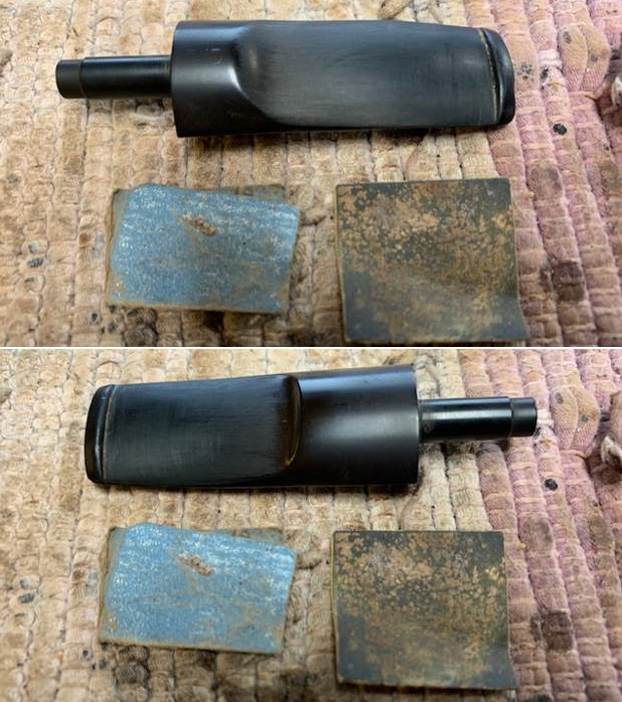
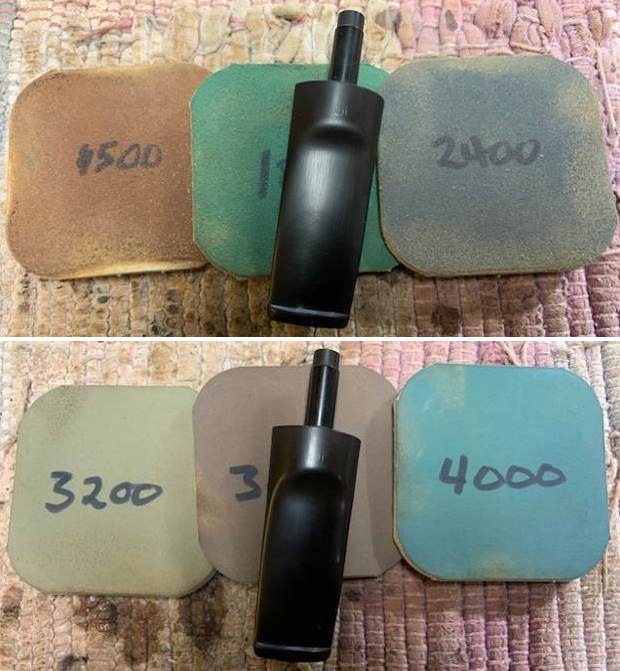
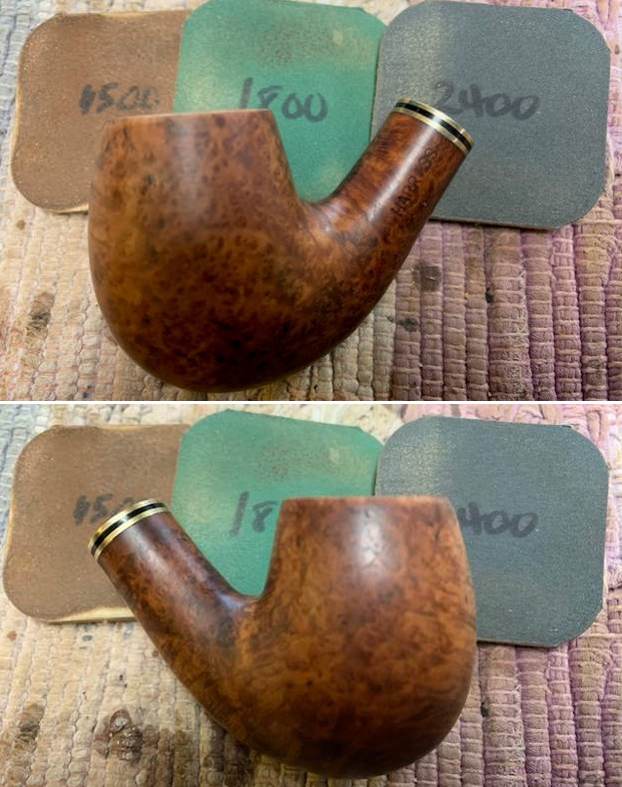
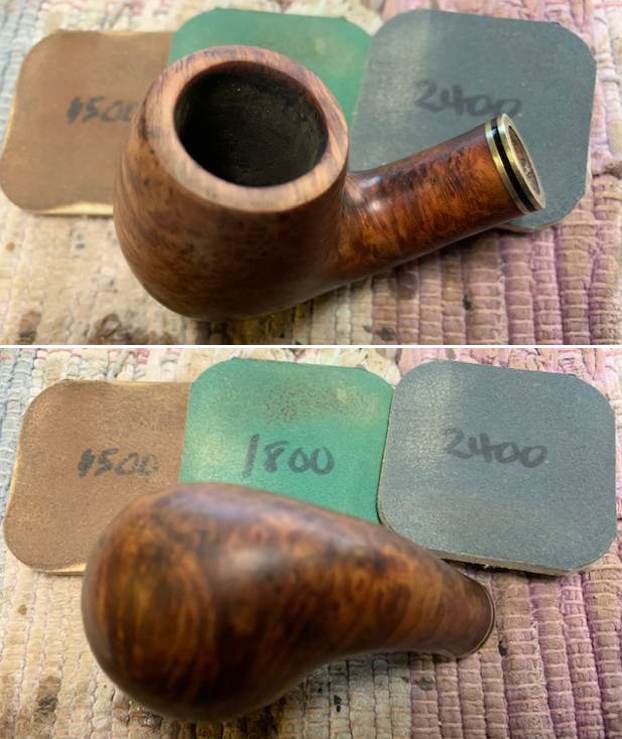
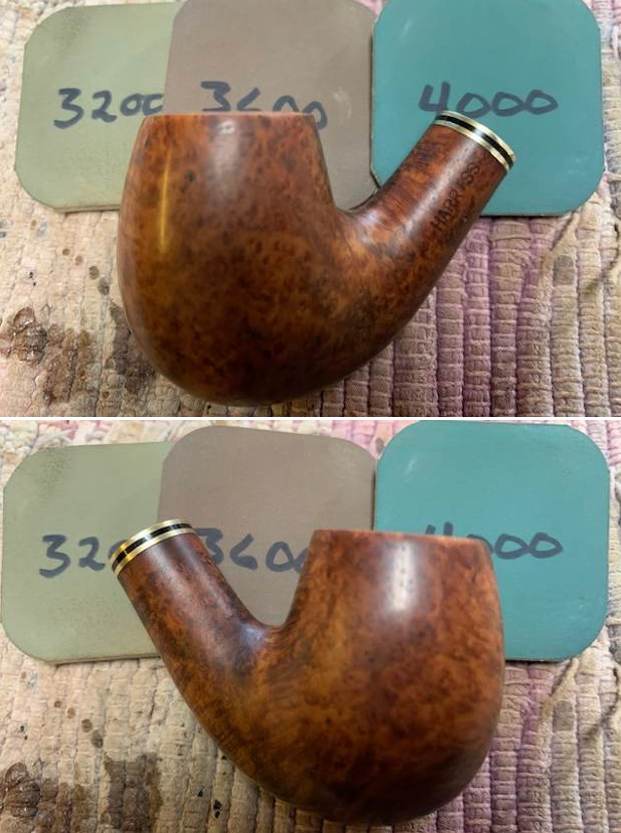
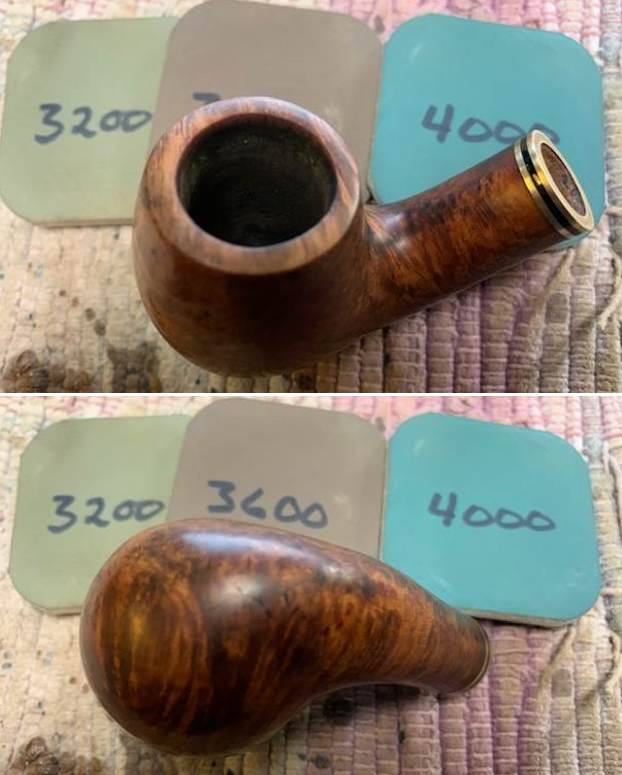
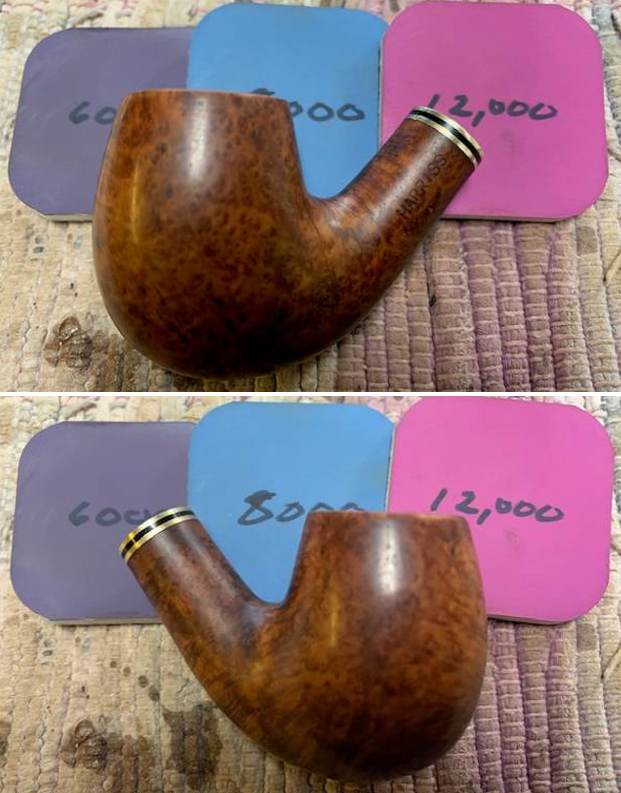
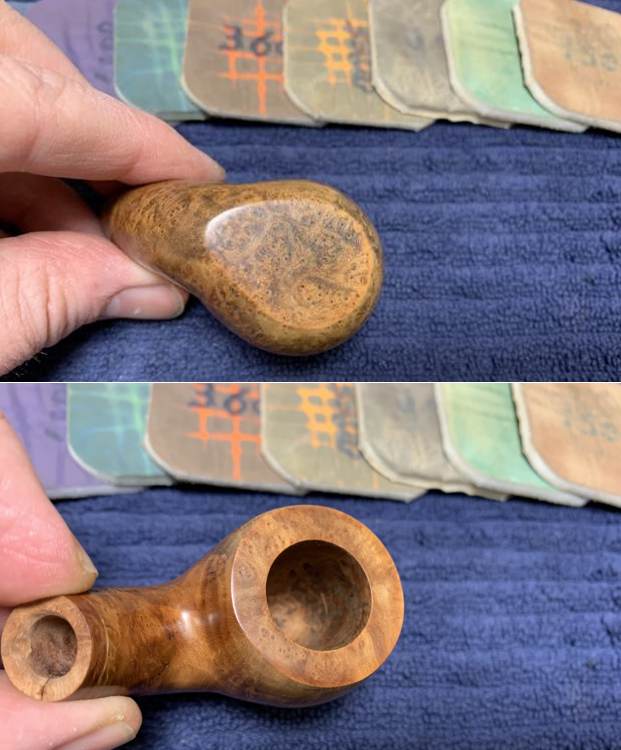
 I then sanded the adhesive down, as well as the stummel. Just like the stem, I used all nine Micromesh pads (1,500 through 12,000 grit).
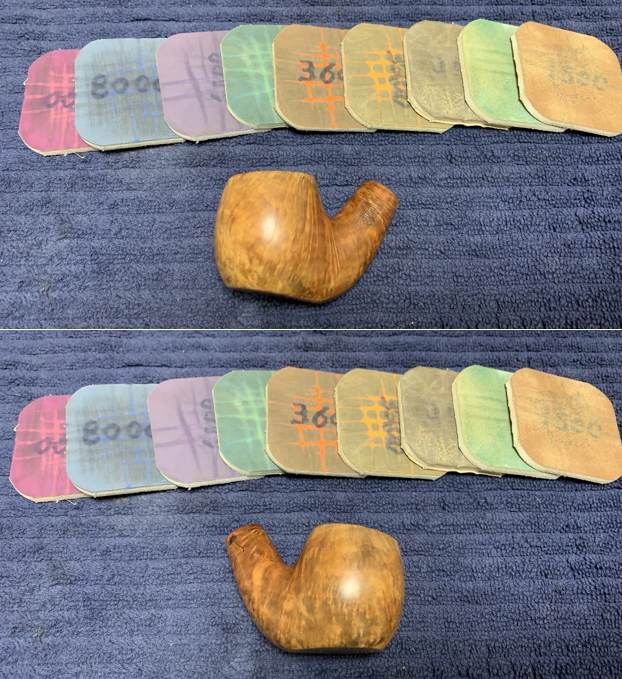
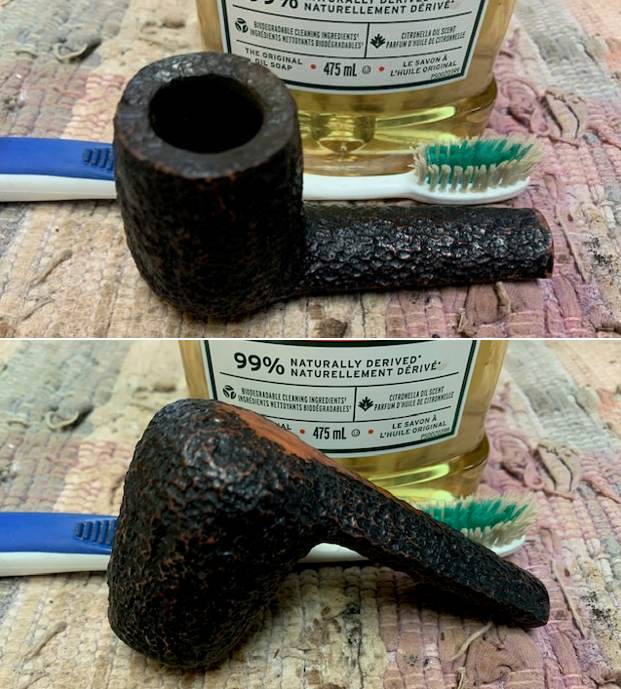
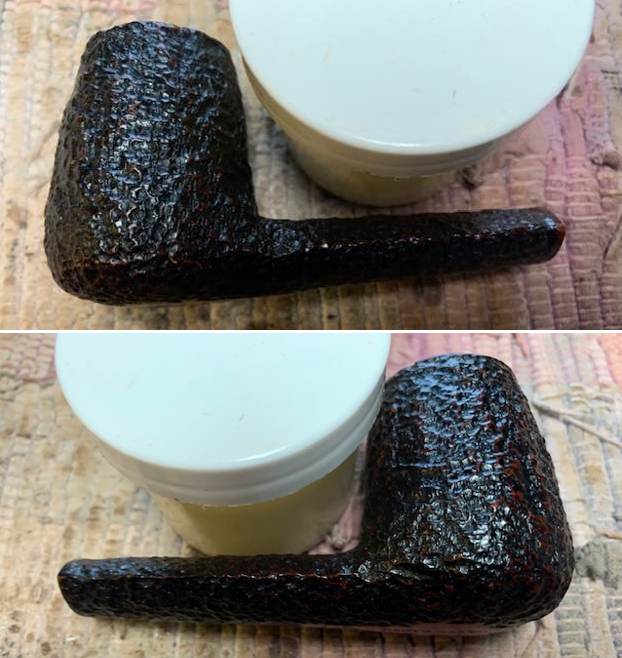
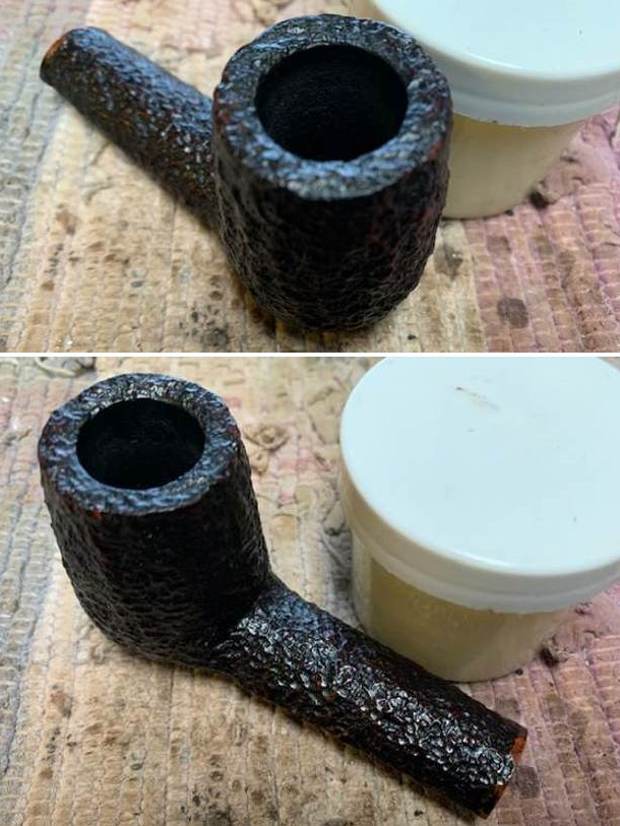
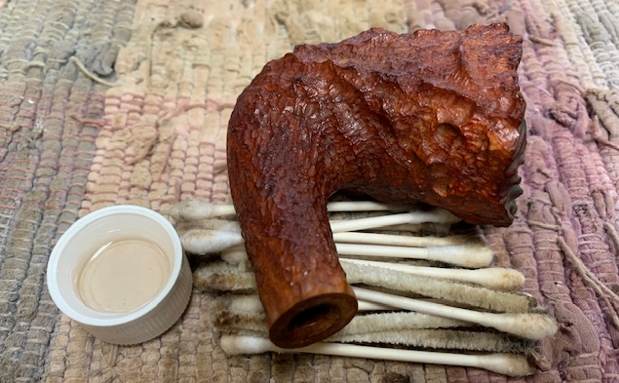
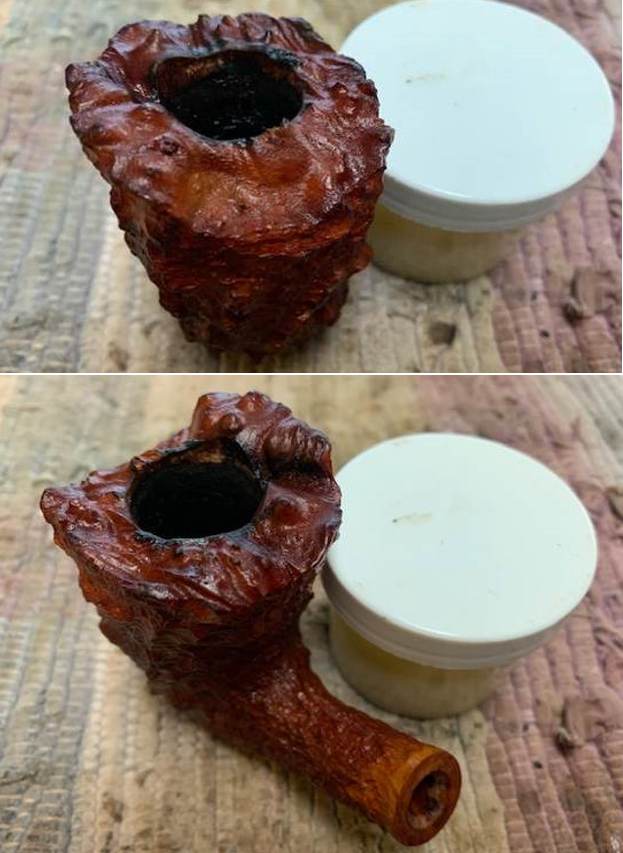
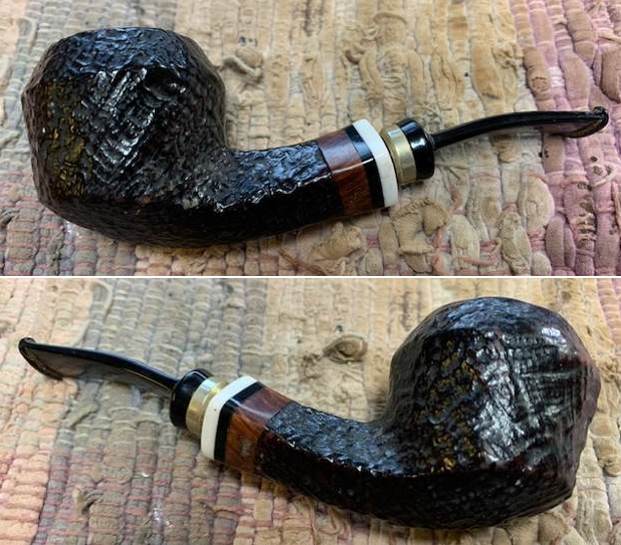
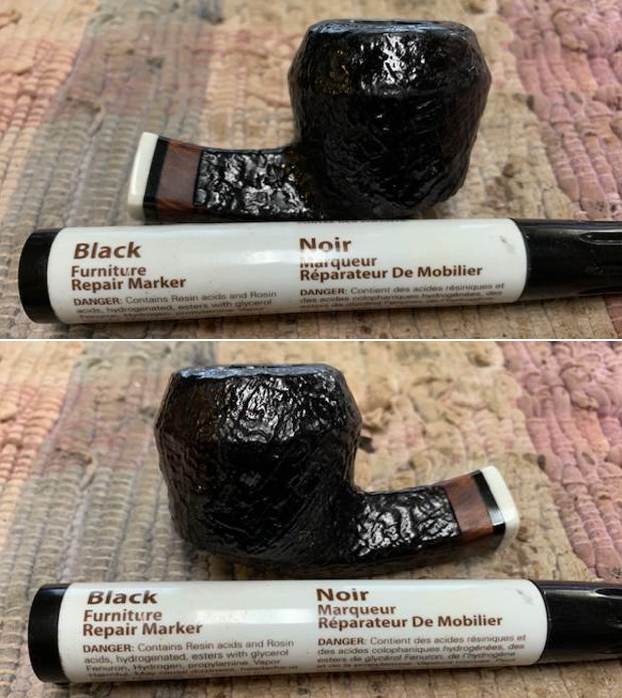
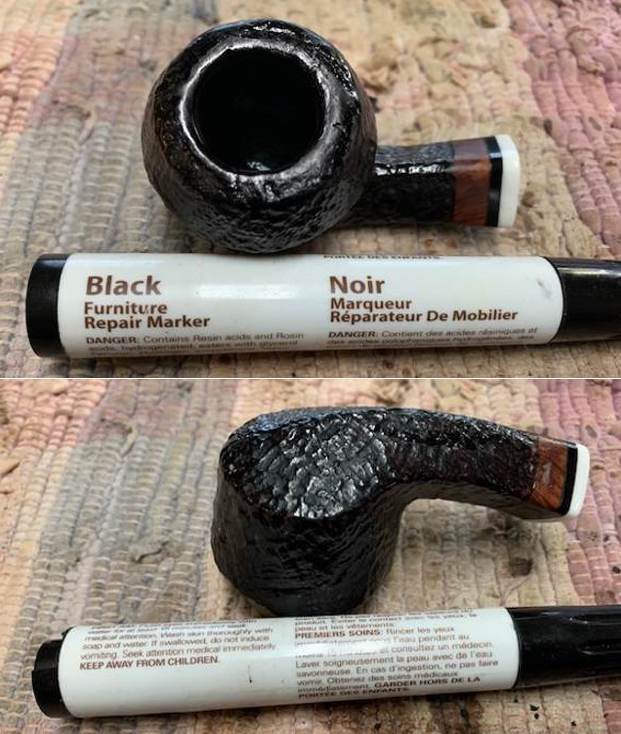
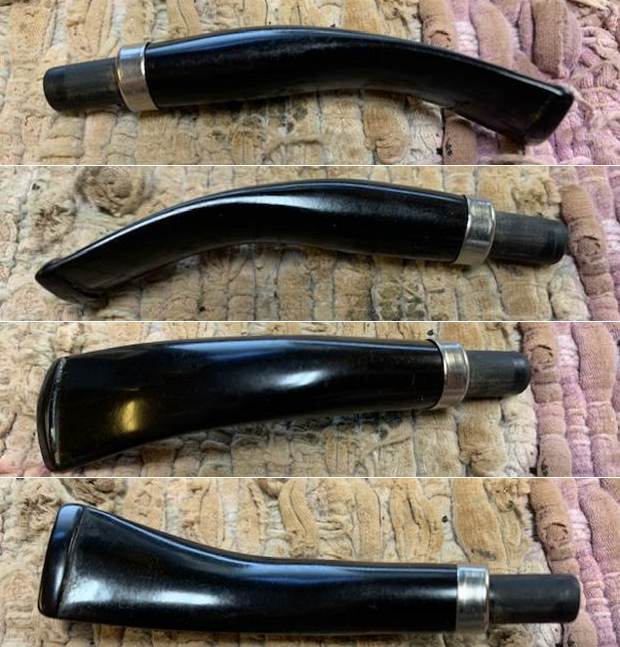
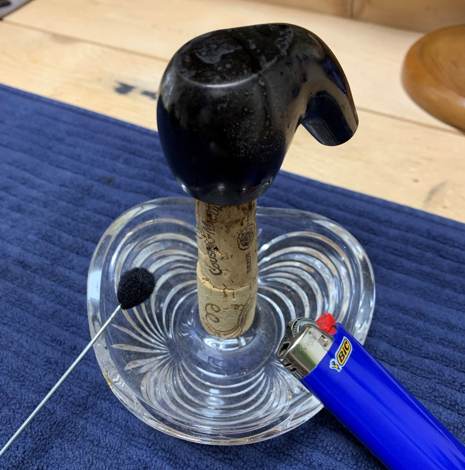
 Having completed that, it was time for the staining. First, I brought out my heat gun and spent a couple of minutes thoroughly heating the wood, so it would be as receptive as possible to the stain. I needed the black to penetrate well into the wood, to give the best results. I applied Fiebing’s Black Leather Dye with a cotton dauber. I flamed it with my Bic lighter, let it set, then coated it again with dye, flamed it again, and let that set too. I decided to let the pipe sit overnight. Upon the morrow, I stained and flamed the pipe another two times, always making sure I warmed the pipe with my heat gun first. This dye is alcohol-based, so I used isopropyl alcohol to wipe down the pipe and remove excess stain. I am very happy with the results.
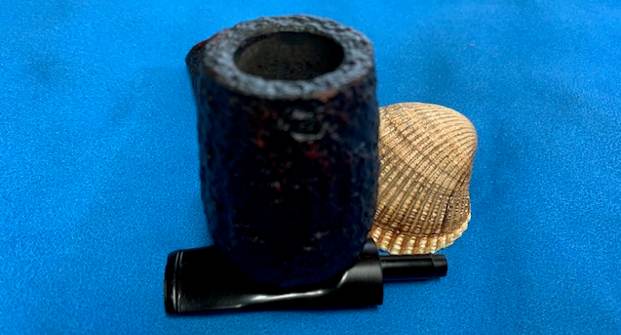
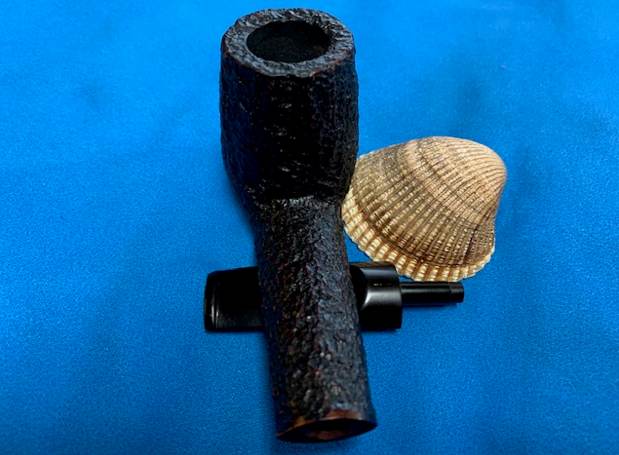
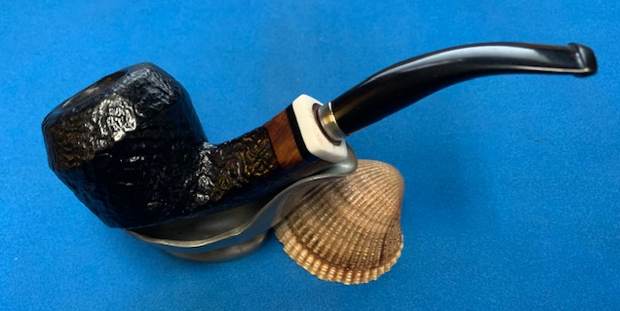
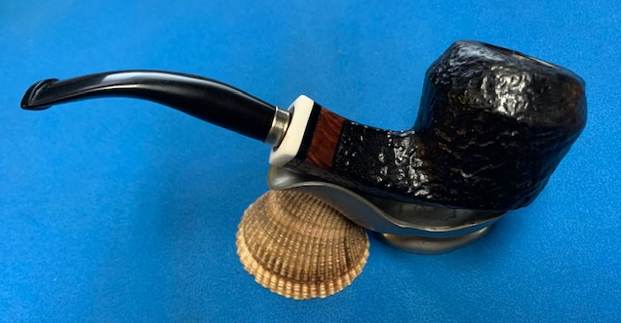
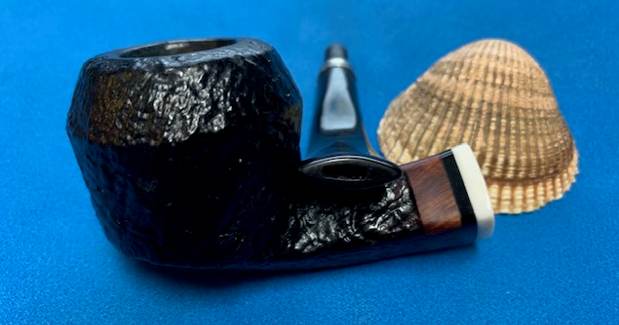
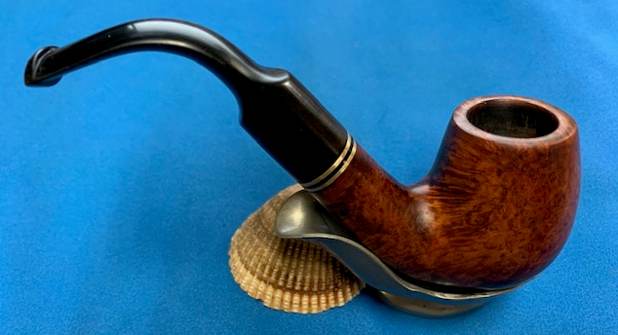
 Then it was off for a trip to the buffer. A dose of White Diamond and a few coats of carnauba wax were just what this pipe needed.
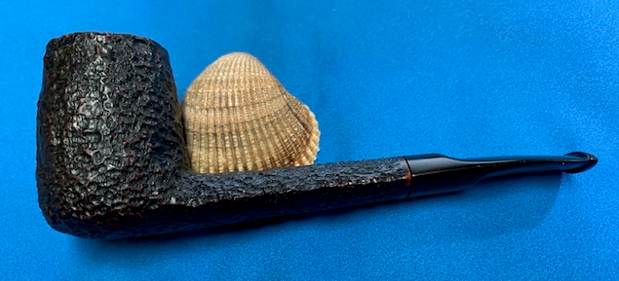
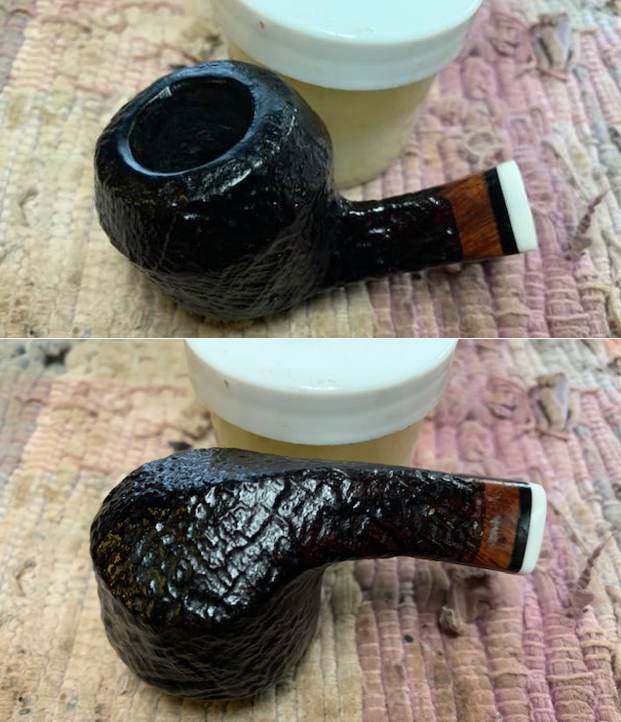
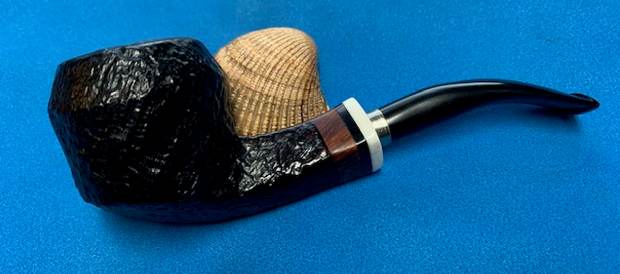
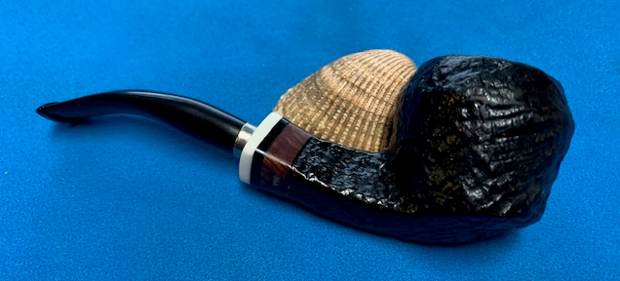
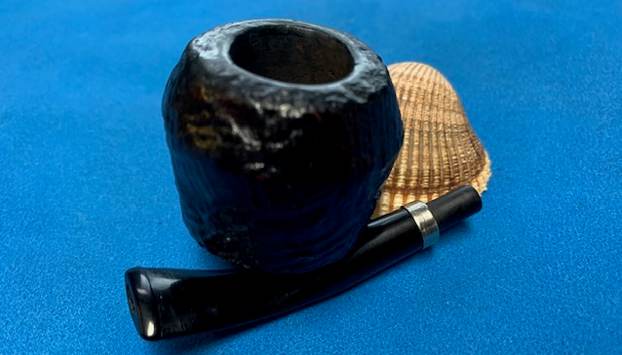
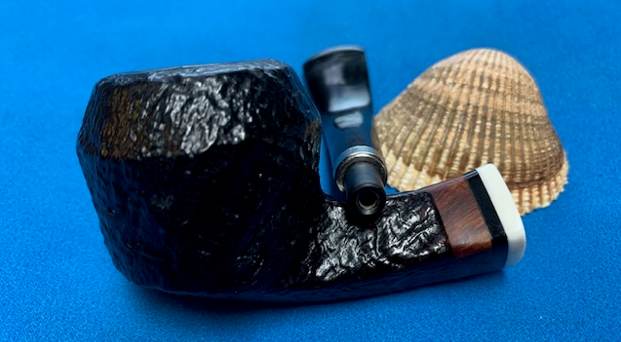
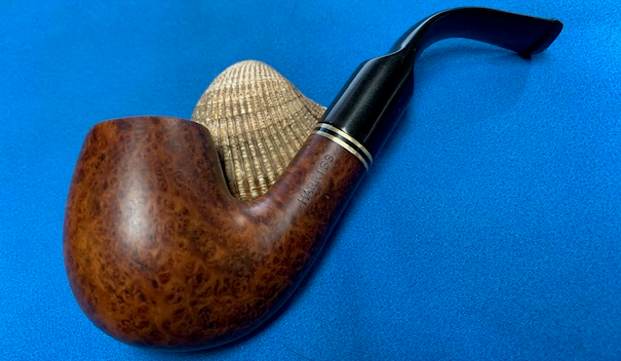
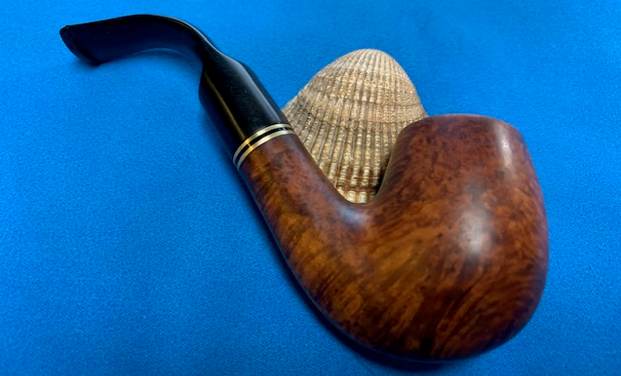
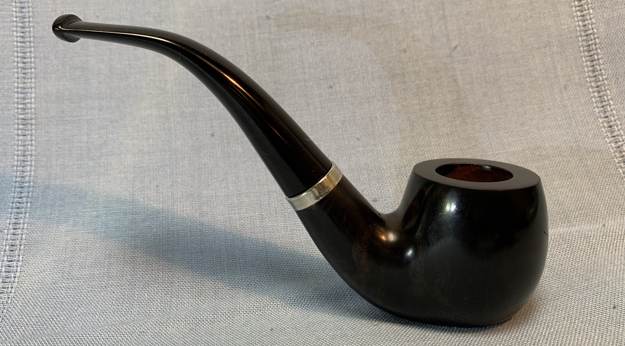
 I think the black came out very well on this pipe. I know that the new owner will enjoy smoking it for many years to come. I hope you enjoyed reading the story of this pipe as much I as I did restoring it. The approximate dimensions of the pipe are as follows: length 4½ in. (114 mm); height 3½ in. (89 mm); bowl diameter 1¼ in. (32 mm); chamber diameter ⅝ in. (16 mm). The weight of the pipe is 1½ oz. (43 g). If you are interested in more of my work, please follow me here on Steve’s website or email me directly at kenneth@knightsofthepipe.com. Thank you very much for reading and, as always, I welcome and encourage your comments.
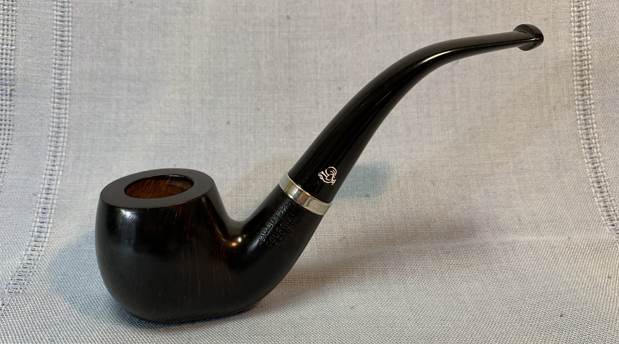


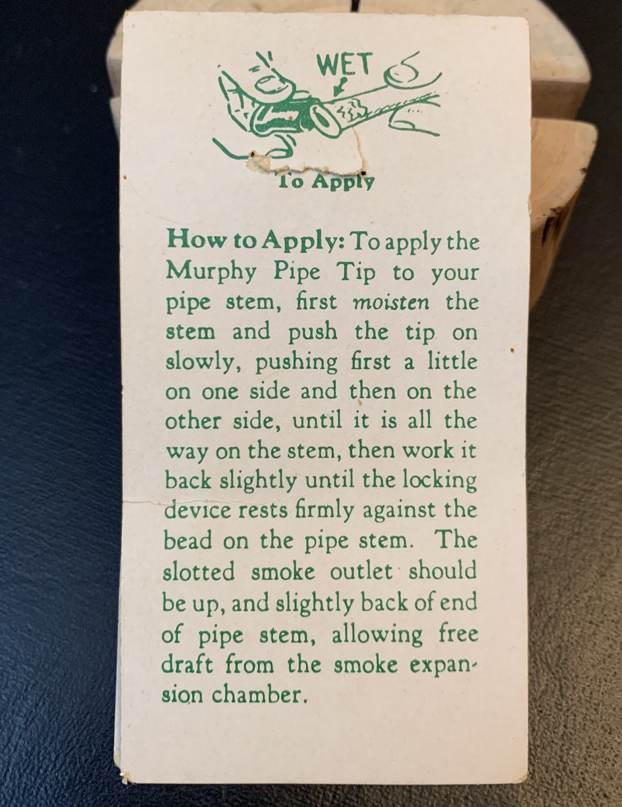
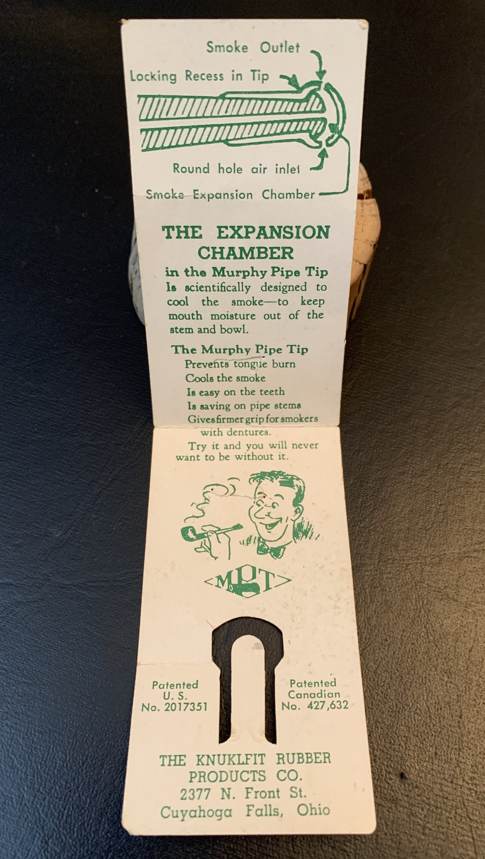
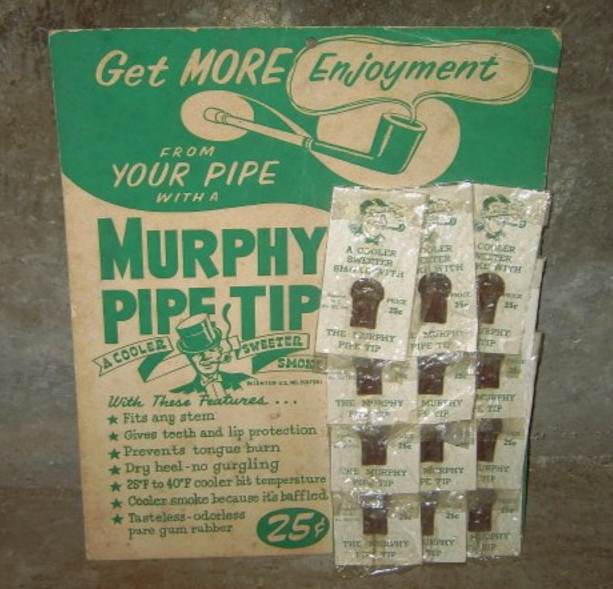
 Second is the tag/pamphlet that comes with a Murphy Pipe Tip. This was a bog-standard rubber tip for your pipe. I snapped photos of the front, back, and inside of the piece I have. I also included a photo I grabbed online of what a whole display would have looked like. I know that the patent on this item is from 1936, but I don’t know if this specific tag is from that date or not. It seems unlikely, as 25¢ in the late-30s is equivalent to about $5 today – but who knows. Cute little item.
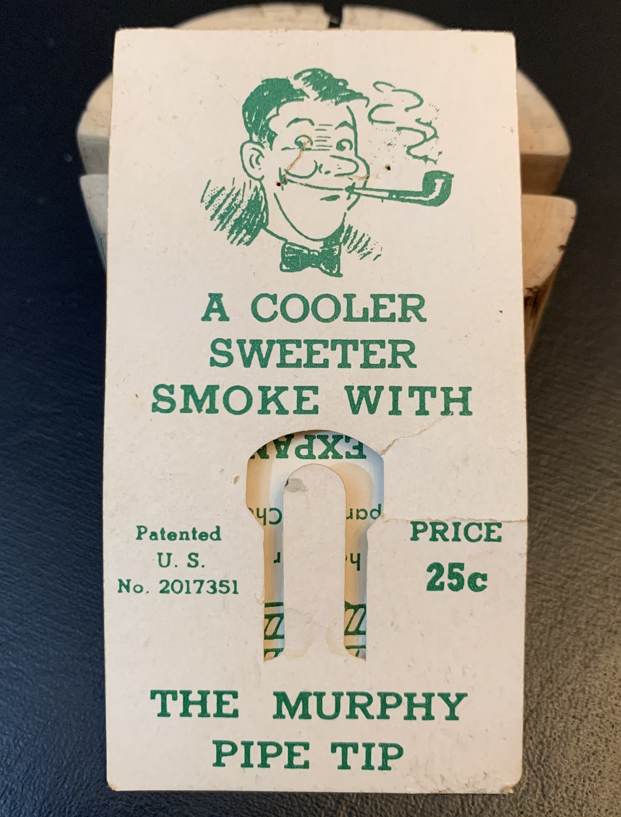
 Third is a package of Comoy’s of London Pipe Polishing Cloths. The package is complete, albeit used, in its original bag. It had two cloths in it, as you can see. One cloth for the stummel and one for the stem. Once again, I have no idea of its age and would welcome any information you might have. Just like the bottle above, I did a search online and found no useful information.
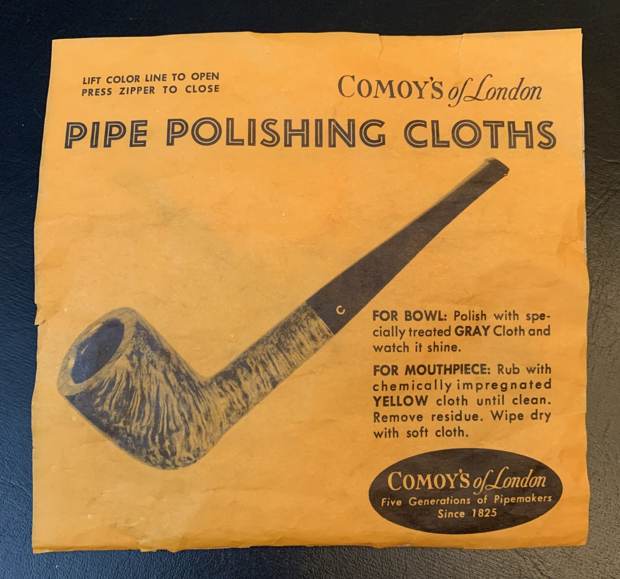
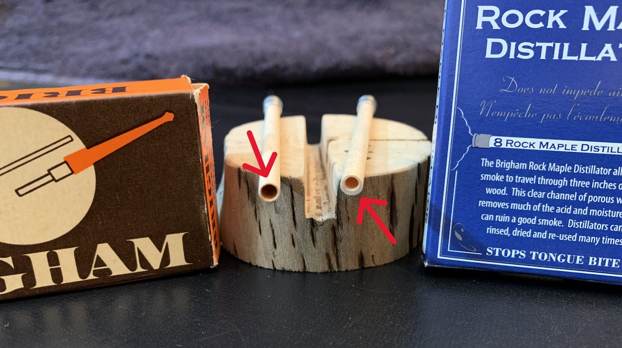
 Finally, I have a box of Brigham Maplewood filters. This has a 1960s/1970s feel about it, but I’m just guessing at this point. It just so happens that I have a new box of Brigham filters and I wanted to compare. So, I laid a new one and an old one side-by-side and saw two differences. First, the old filter was notably thinner than the new one. Second, all the new filters were drilled off-centre, as compared with the old filters. You can make of that what you will!
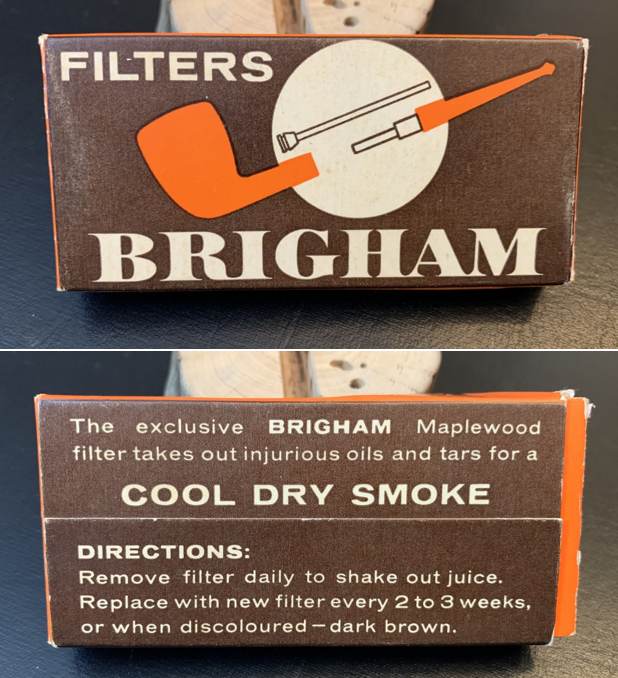
 As it is Christmas Eve, I would like to wish you and your loved ones a joyous Christmastide. I look forward to sharing more pipe tales with you in the new year. Please continue to follow me here on Steve’s website or email me directly at kenneth@knightsofthepipe.com. Thank you very much for reading and, as always, I welcome and encourage your comments.