Blog by Steve Laug
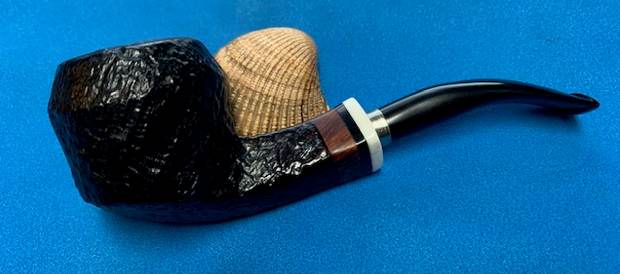
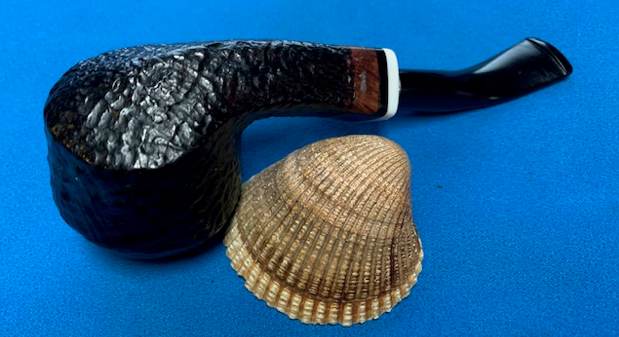
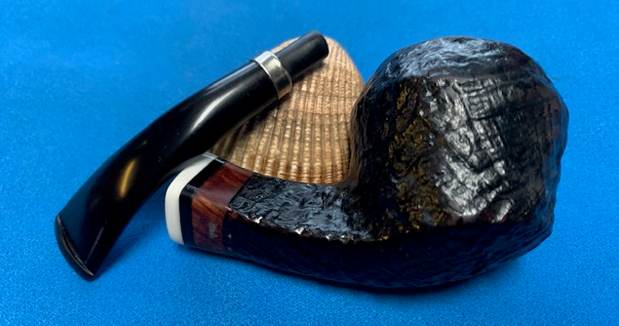
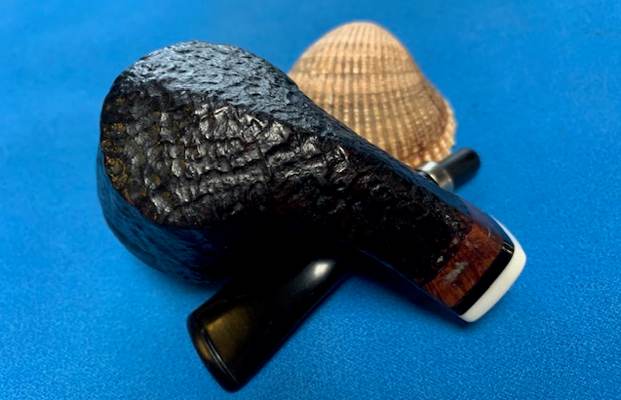
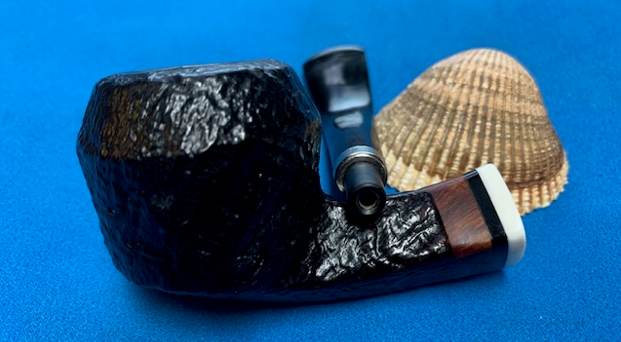
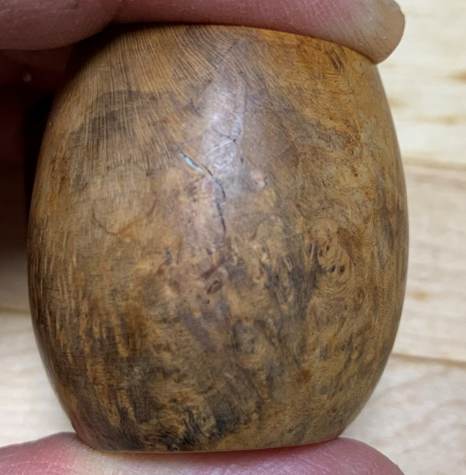
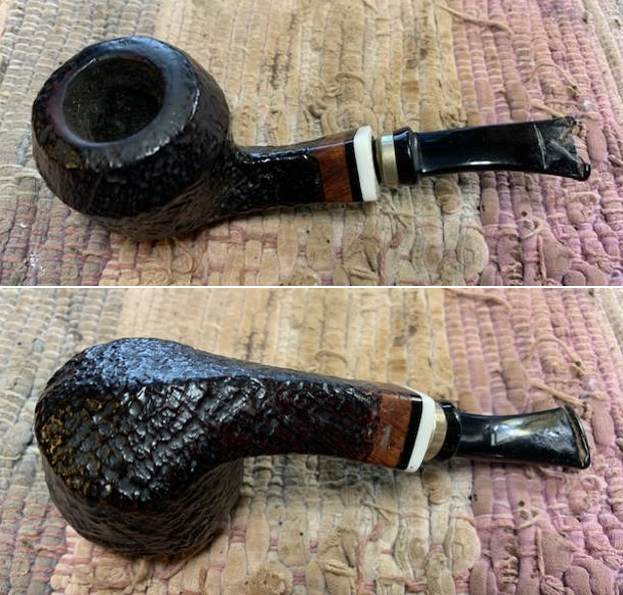
Last week I received a call from Curtis, a gentleman who had been referred to me by City Cigar. He called to inquire if I could repair a broken tenon on a Savinelli Hand Made Estella that was gift from his son and he had dropped it and snapped the tenon off. We chatted and he sent photos and eventually agreed on the repair. He sent the pipe to me through Canada Post and when the box arrived on Monday it also included a second pipe. I talked with Curtis about the second pipe and we decided to restem it as the chip on the top button edge and stem were too big for a repair. The pipe is a sandblast Freehand style Bulldog with a smooth briar band, a black acrylic band and a white acrylic band. It is stamped on the smooth underside of the briar band and reads Neerup followed by Made in Denmark. The stem was vulcanite and had a fitted brass cap above the tenon. It was a slight saddle stem with a gentle bend. It was seriously damaged. There was a large wedge missing from the topside and just ahead of that there was a carved line like a dental bit to facilitate holding it in the teeth. There was a very thick cake in the bowl that took up over half of the diameter of the bowl and the shank was filled with gummy tars and oils. There was an overflow of lava on the rim top and some damage on the back right outer edge from knocking out the pipe. It was a pretty little pipe that looked great. I took photos of the pipe before I started my work on it.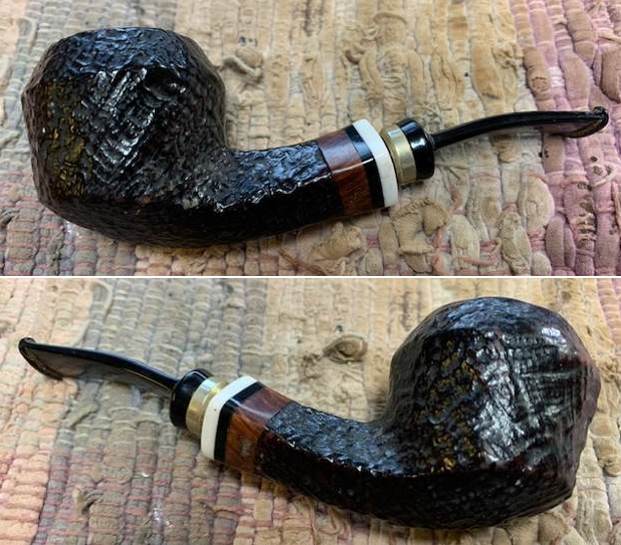
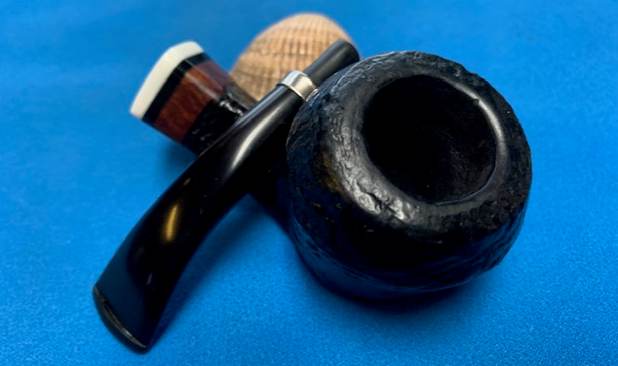
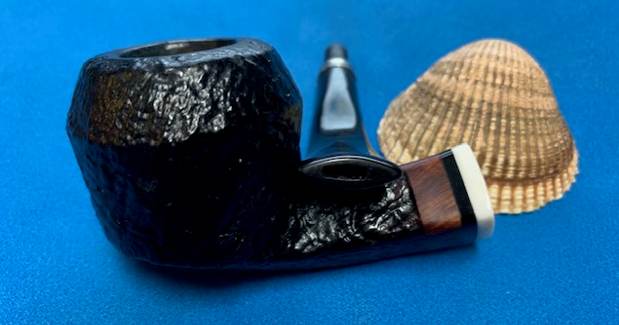
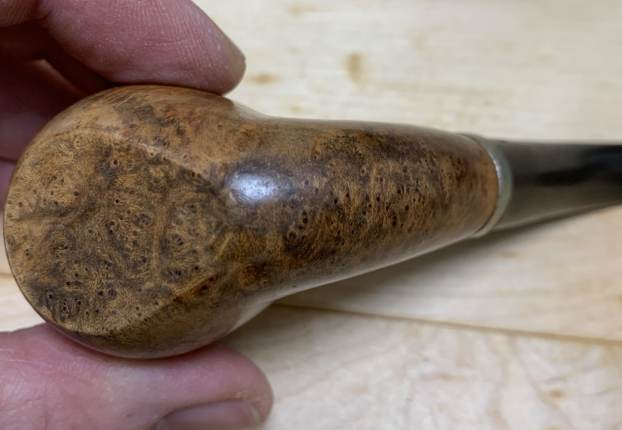
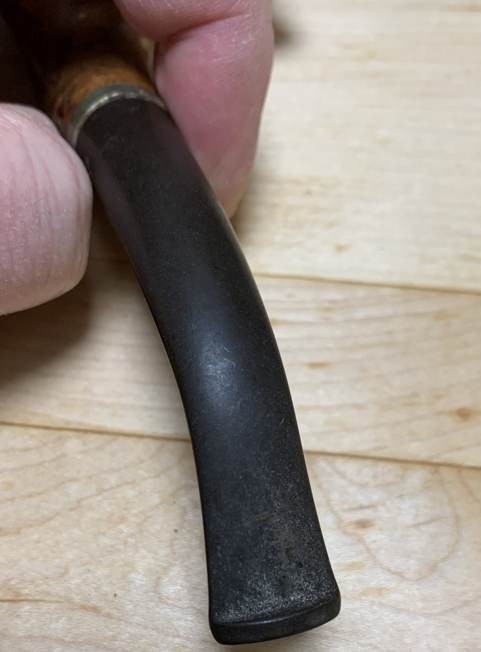
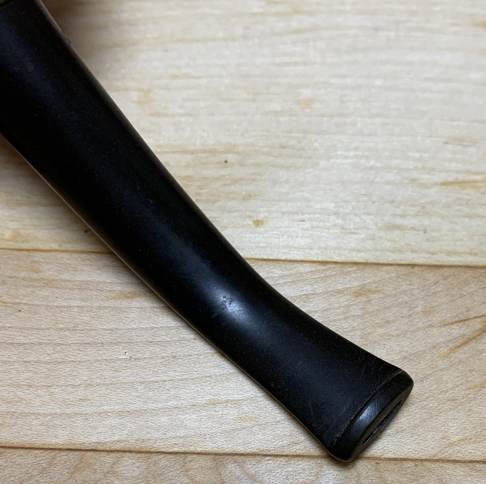
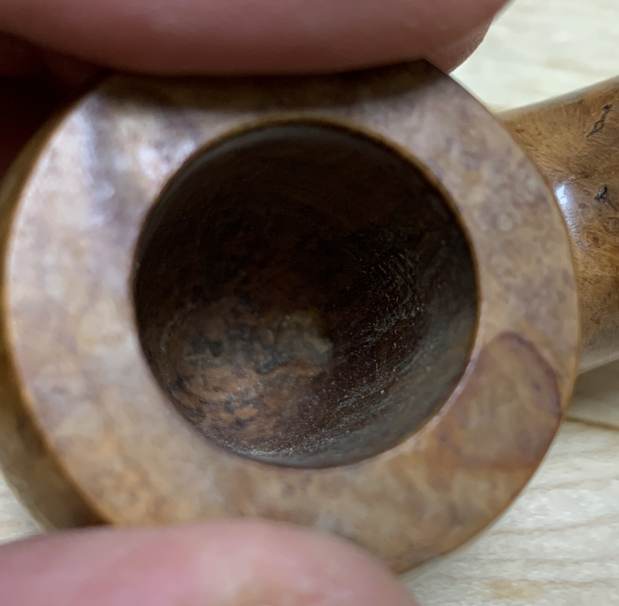
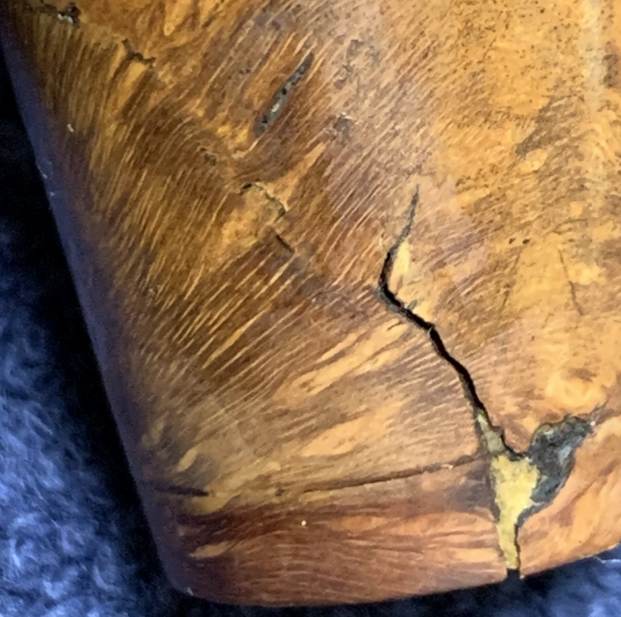
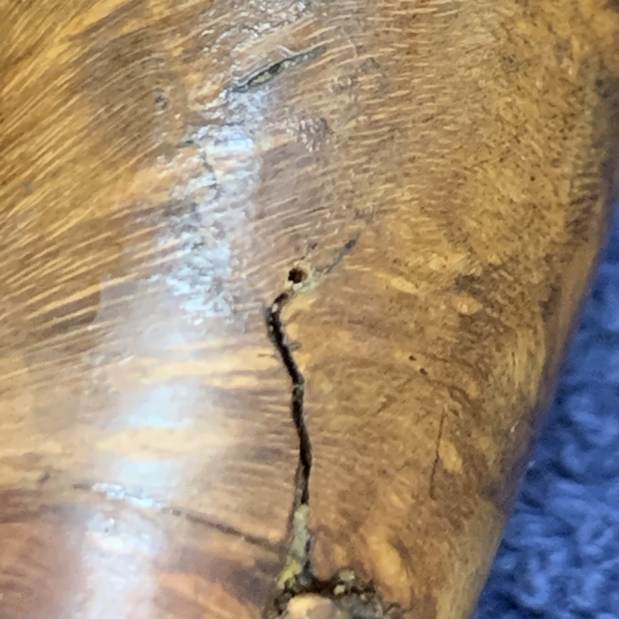
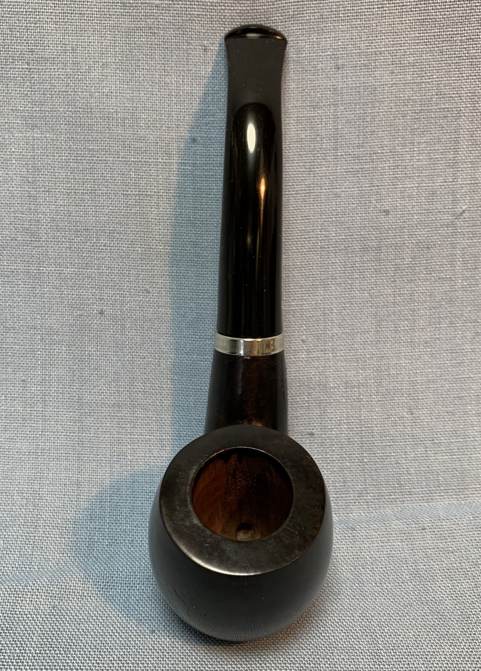
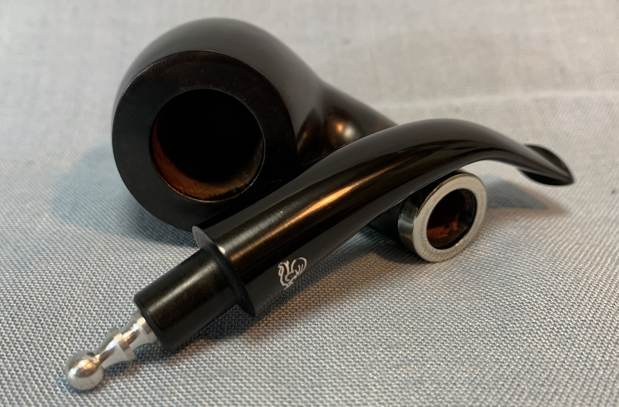
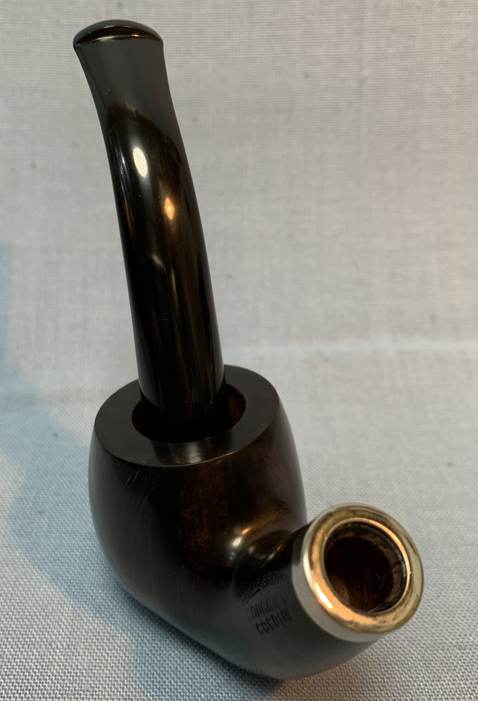
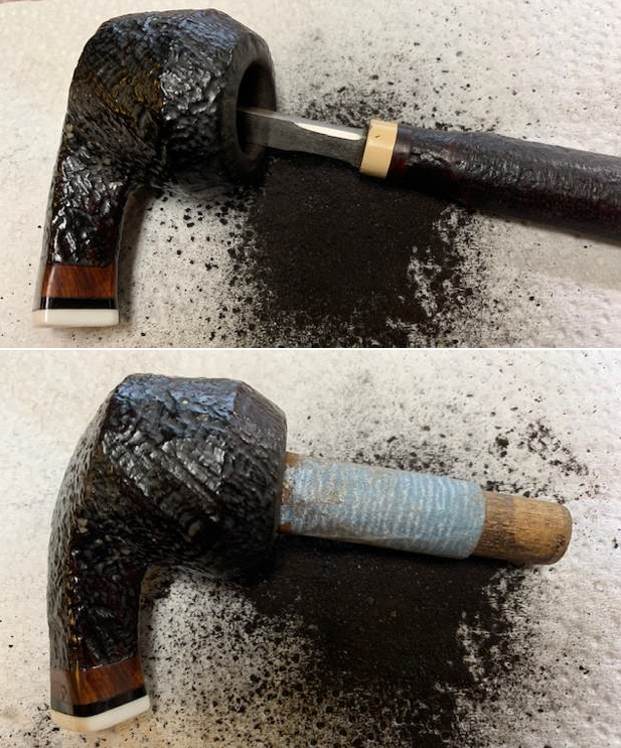
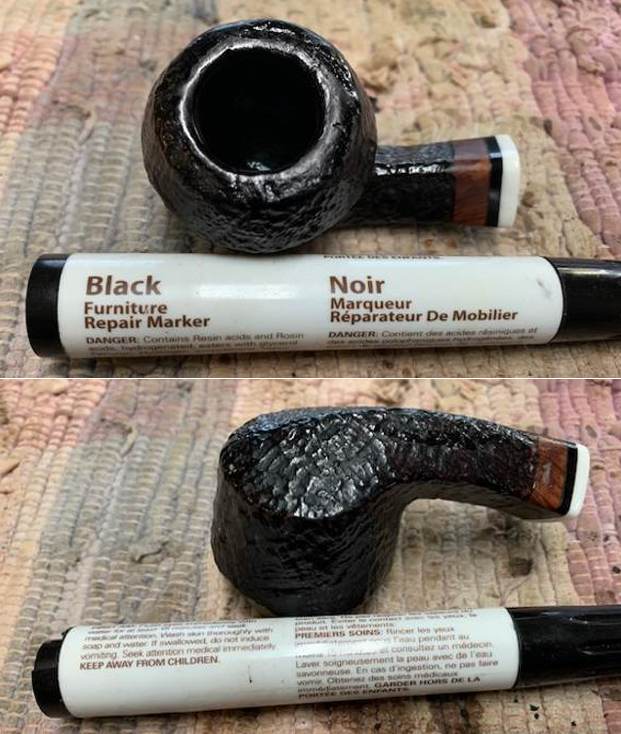
 I took a close up photo of the bowl and rim top to show the thickness of the cake and the condition of the stem when I received the pipe. It was a bit of a mess. The stem was in rough condition as noted above. You can see the damage on both sides of the stem – the chipped and broken top of the stem and button as well as the tooth damage on the underside of the stem. Looking at it you can see why we chose to restem it.
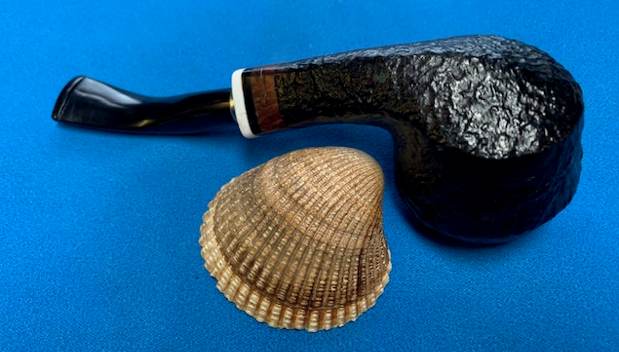
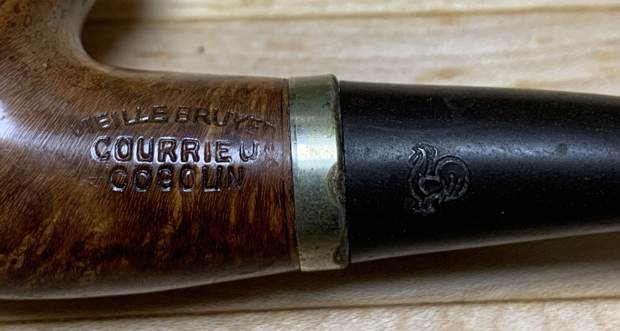
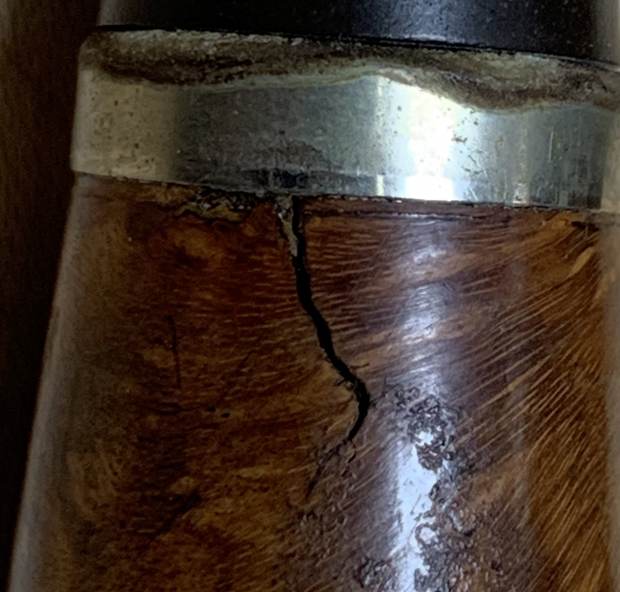
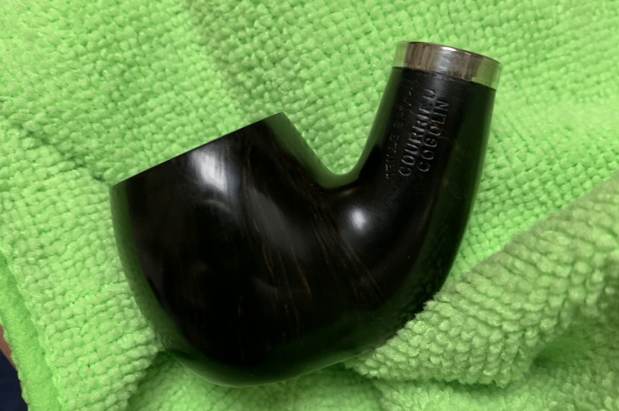
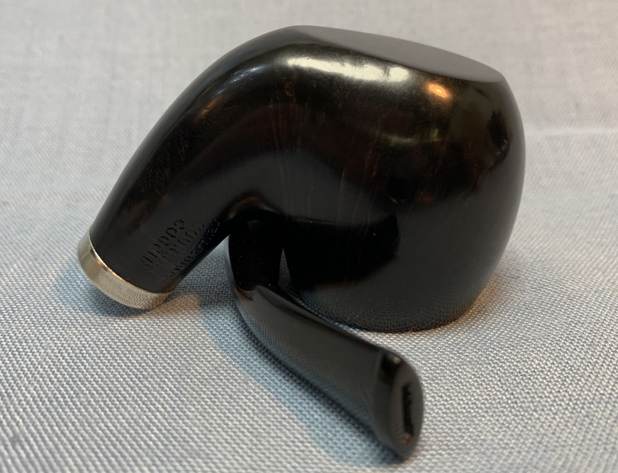
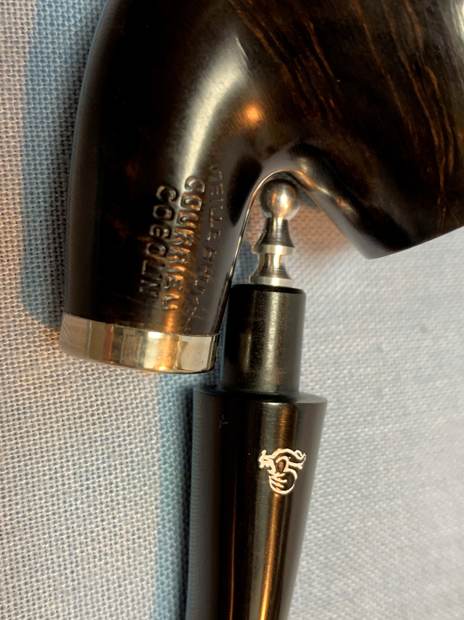
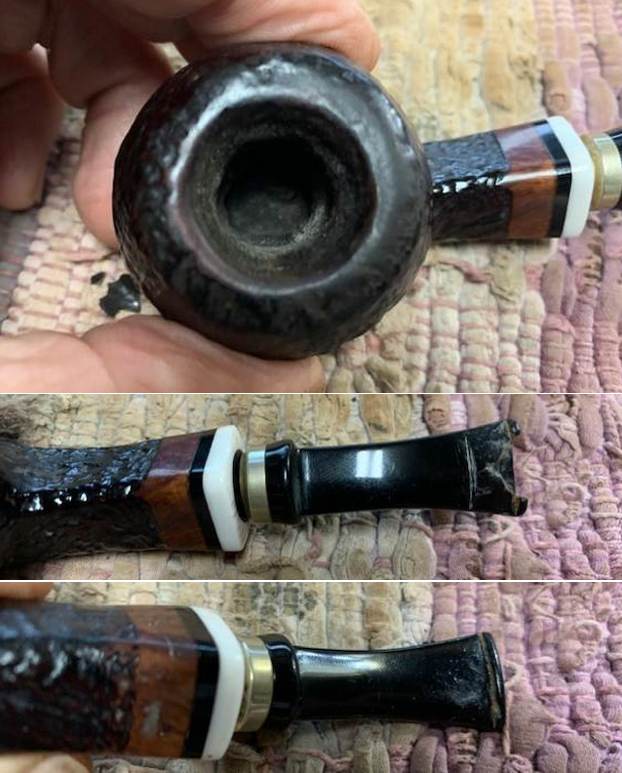 The next two photos showed the stamping on the underside of the shank. It is faint but readable as noted above.
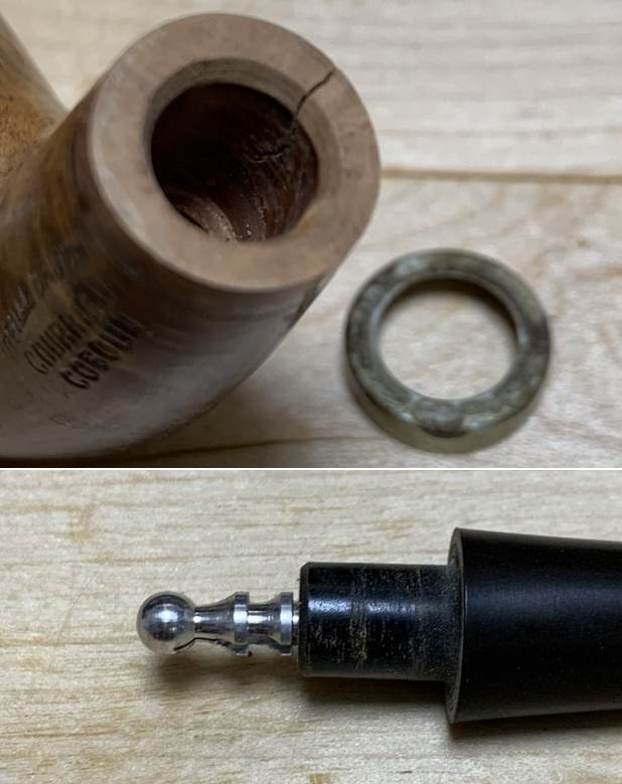
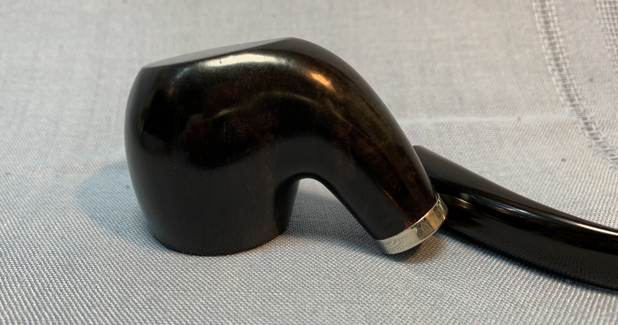
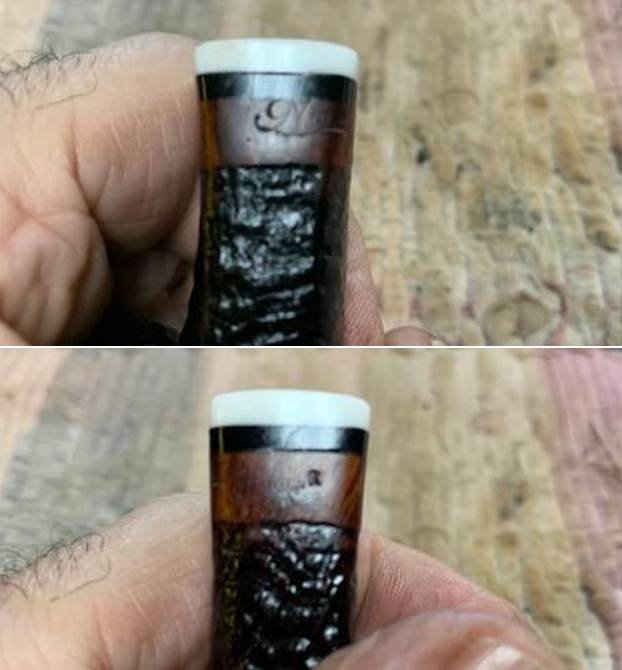 I removed the stem and took a photo of the pipe to give a sense of perspective to the parts.
 I reamed the bowl with a PipNet Pipe Reamer to remove the cake from the bowl – using the #1 and #2 cutting heads to take out the majority of the cake in the bowl. I cleaned up the reaming with a Savinelli Fitsall Pipe Knife and a piece of dowel wrapped with some 220 grit sandpaper.
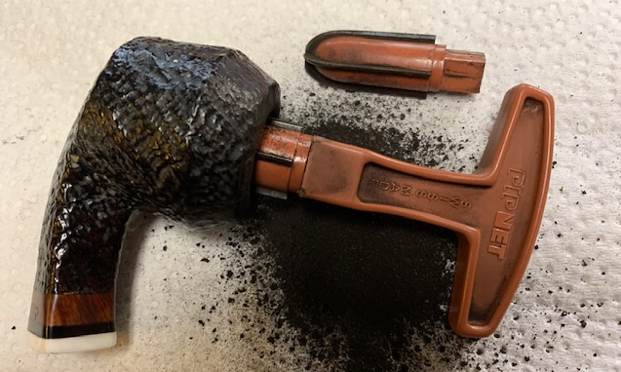
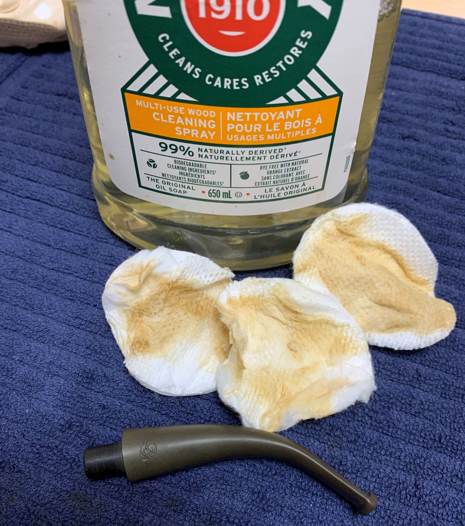
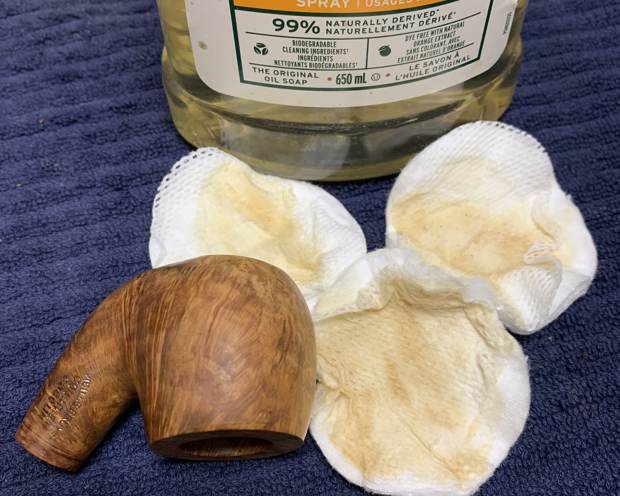
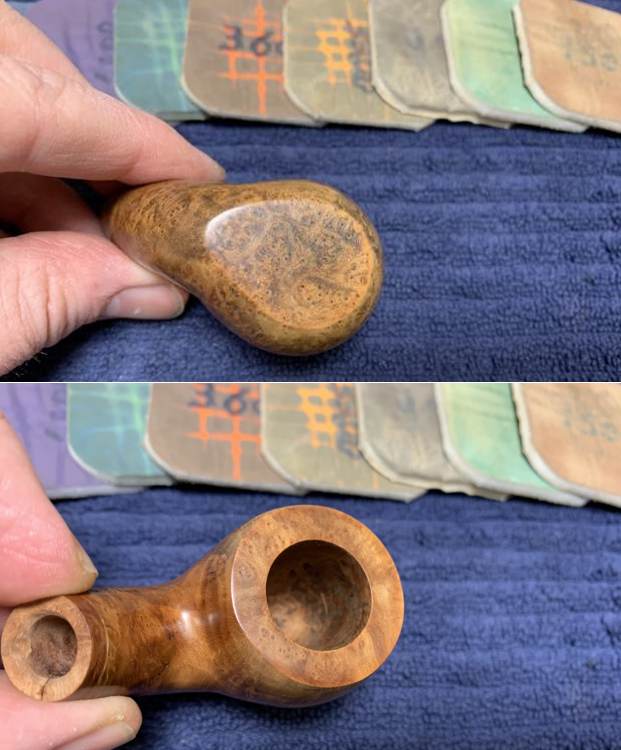
 I scrubbed the bowl with Murphy’s Oil Soap and a tooth brush on the sandblast and the a brass bristle brush on the rim top. I rinsed the bowl with warm running water to rinse off the soap and the grime left behind. It looked better.
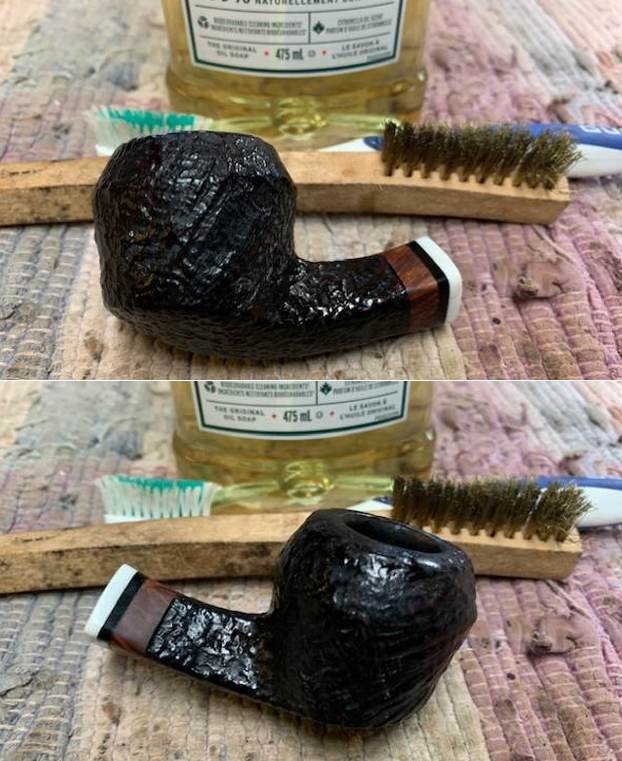
 I touched up the nicks and marks on the sandblast bowl and rim top with a black stain pen to blend them into the rest of the bowl.
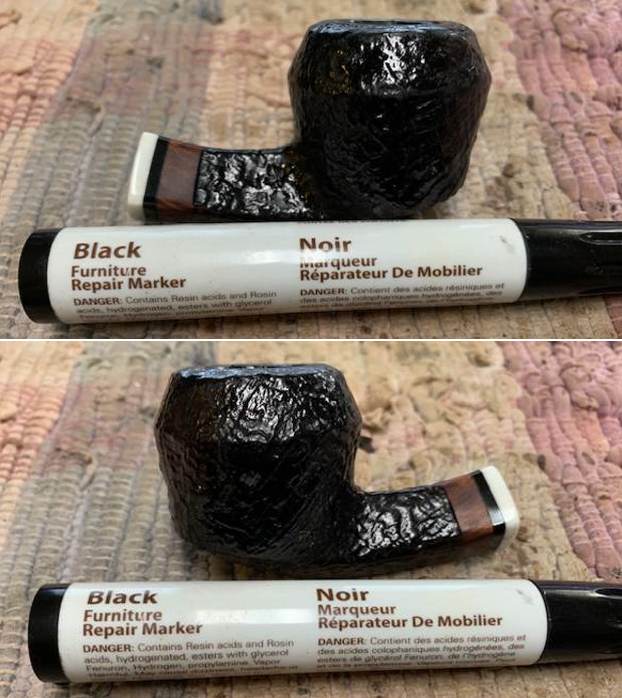
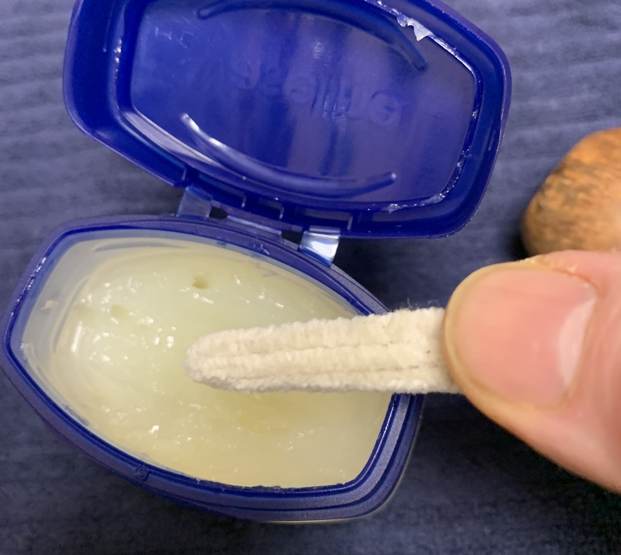
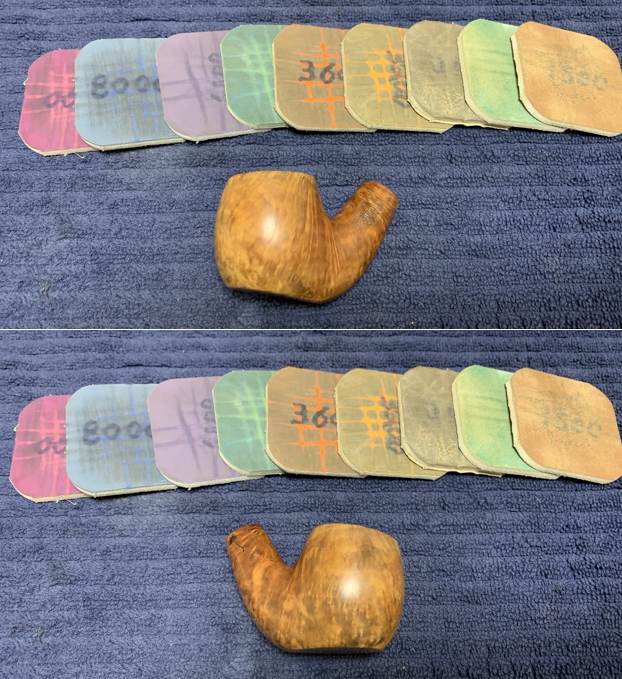
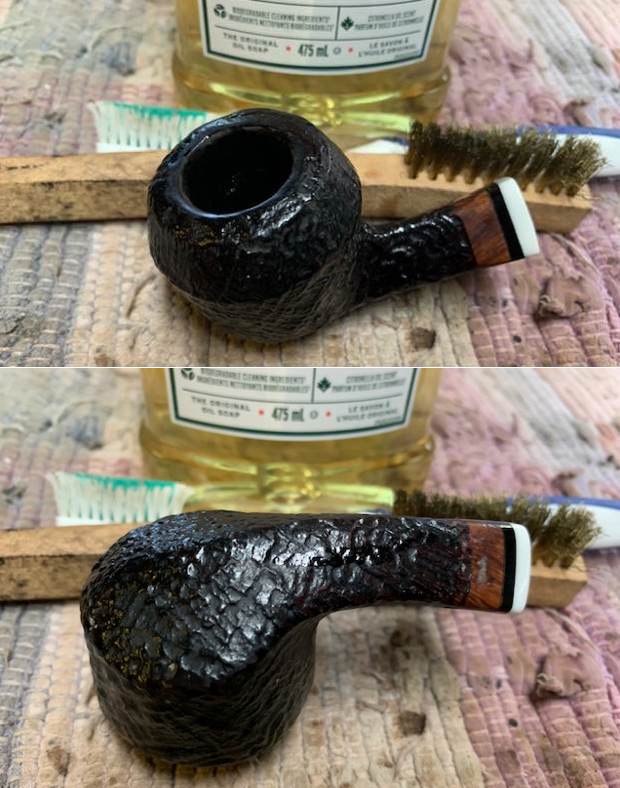
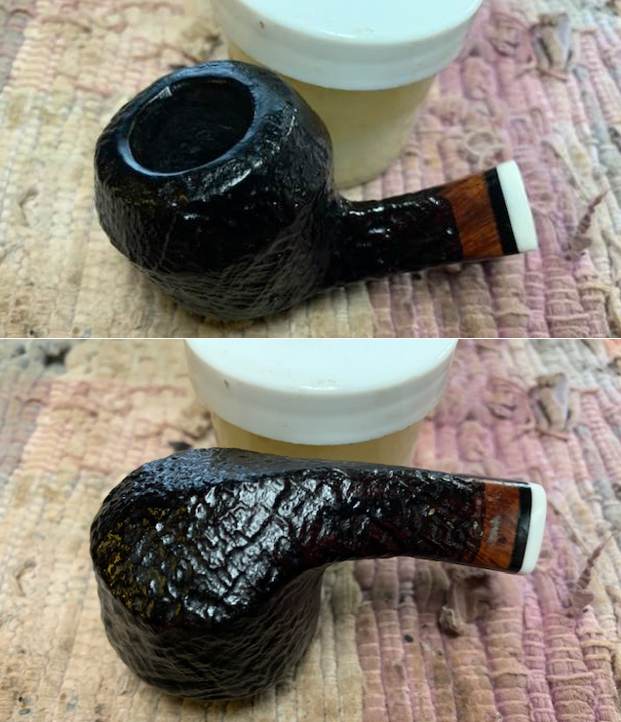
 I rubbed the bowl down with Before & After Restoration Balm. I worked it into the sandblast with my fingertips and a horsehair shoe brush to get it deep in the grooves of the sandblast. I let it sit for 15 minutes and buffed it off with a soft cloth.
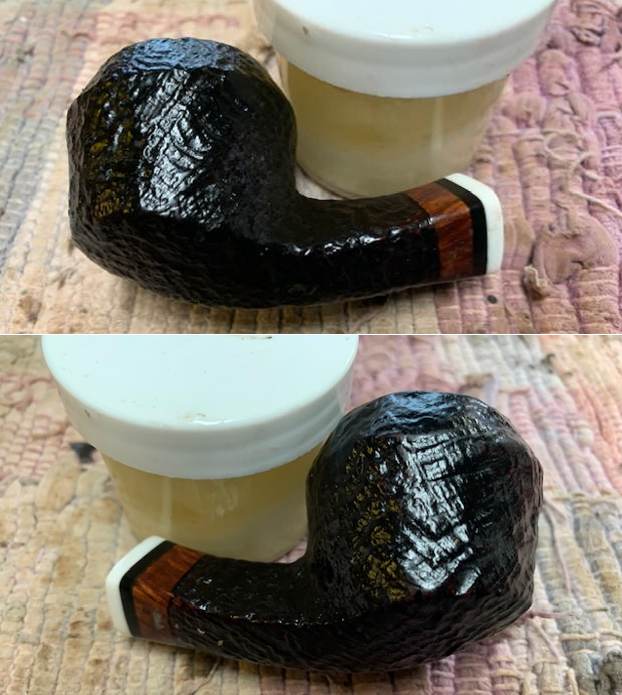
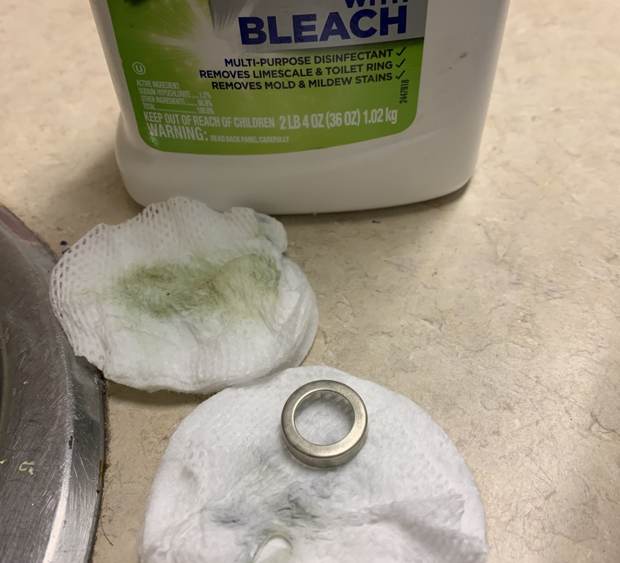
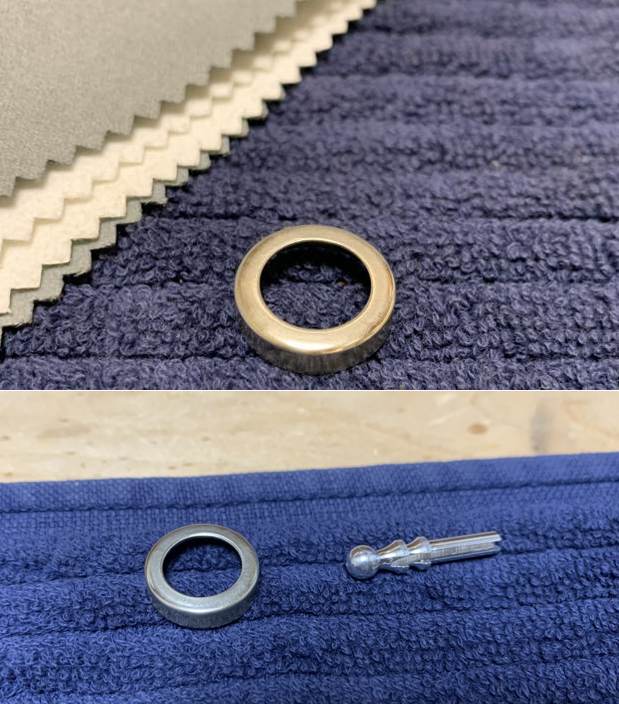
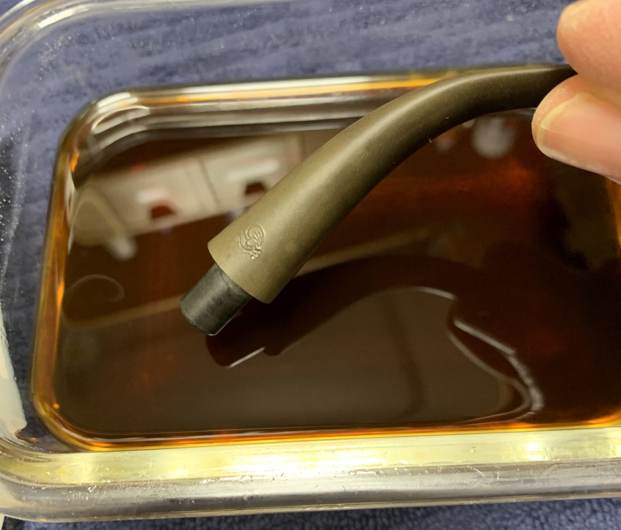
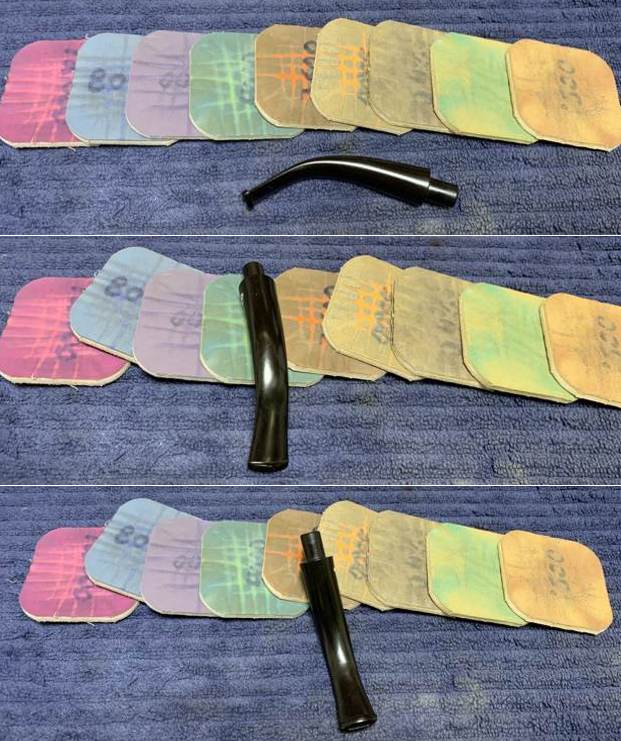
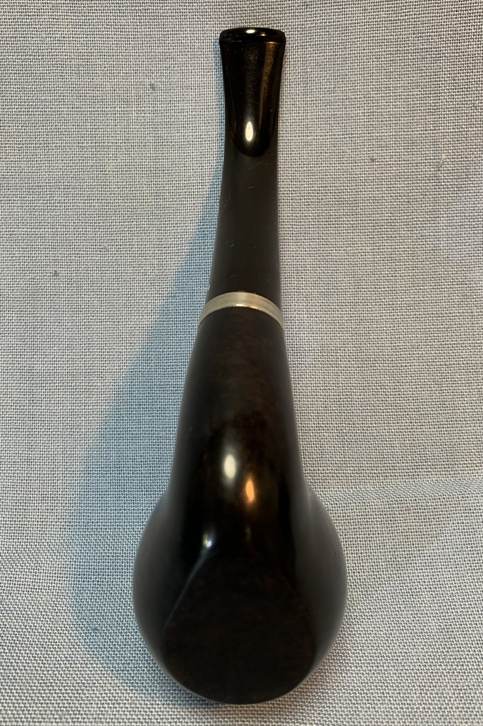
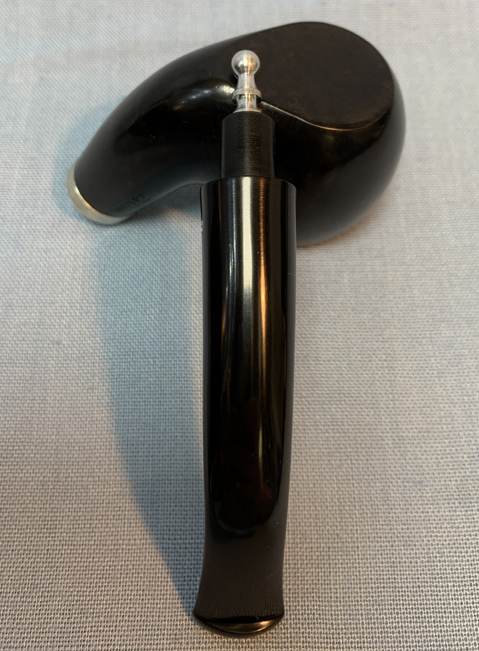
 I went through my stem and found this slightly longer taper stem that would need very little adjustment to fit in the shank. I also found a metal ferrule cap in my collection that would fit on the end of the stem and approximate the one that was on the original stem. I took pictures of the old stem with the replacement stem in the photo to show the difference.
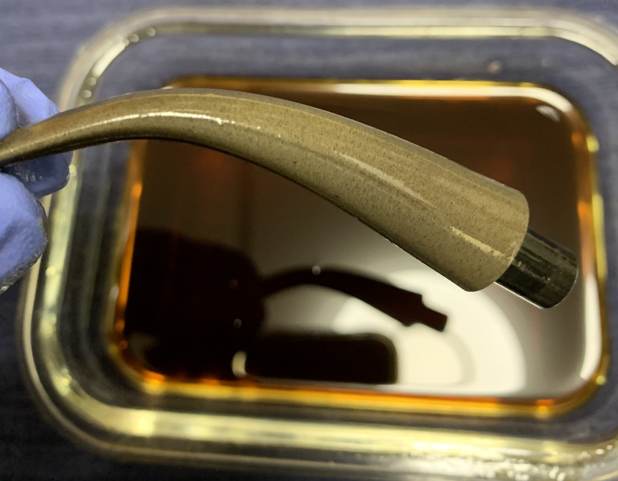
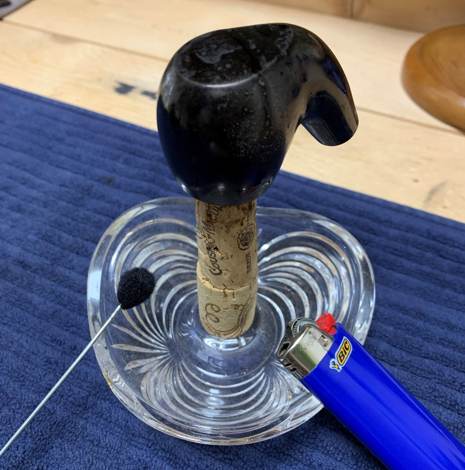
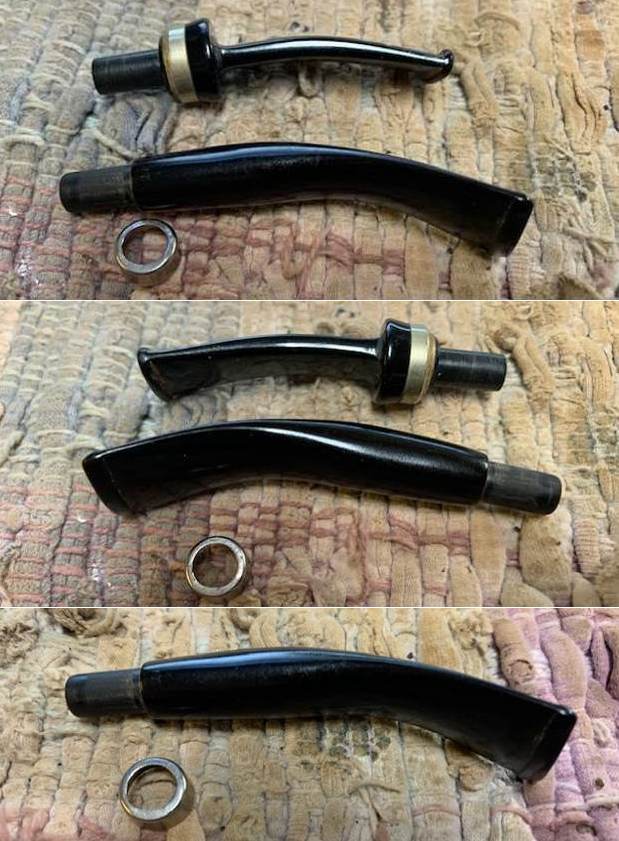 I glued the polished aluminum ferrule onto the end of the stem – sliding it over the tenon to give a metal end decoration and create a metal look to the stem. I cleaned up the excess glue and took a photo of the finished look of the stem. I liked it.
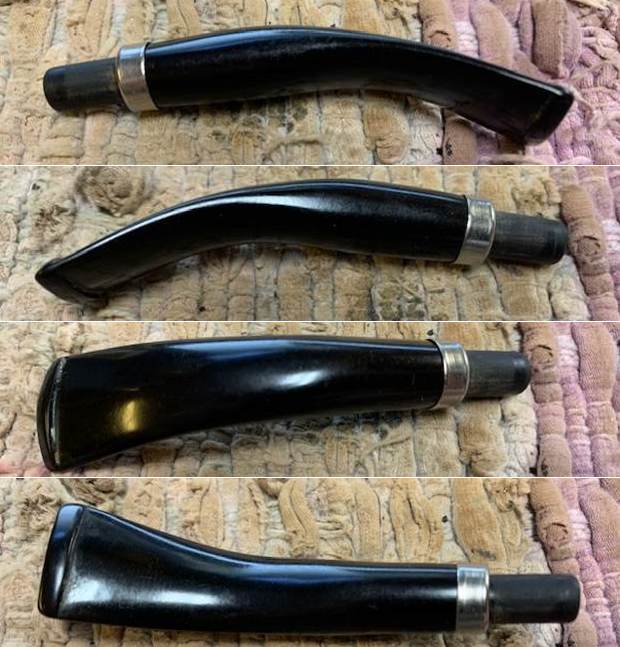
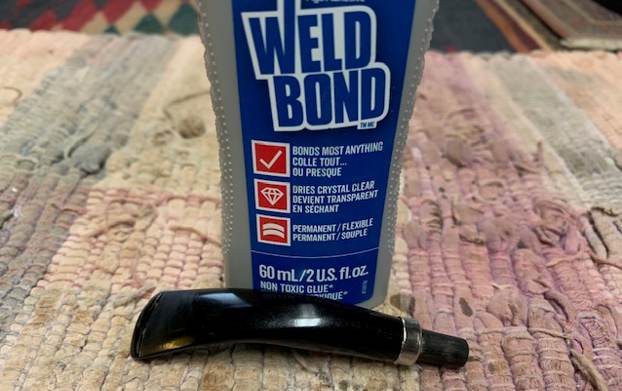
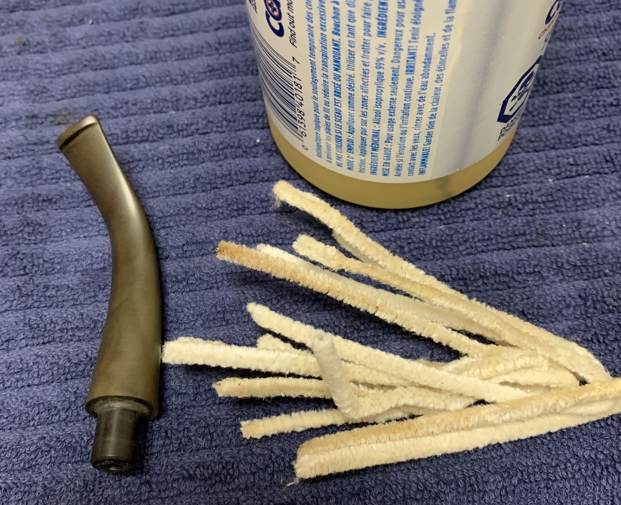
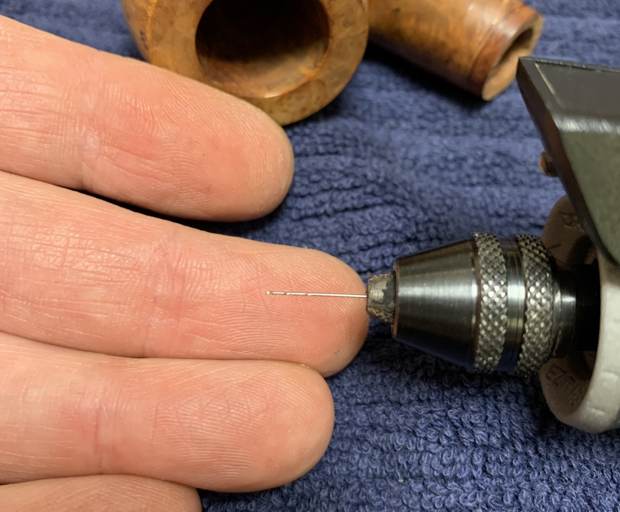
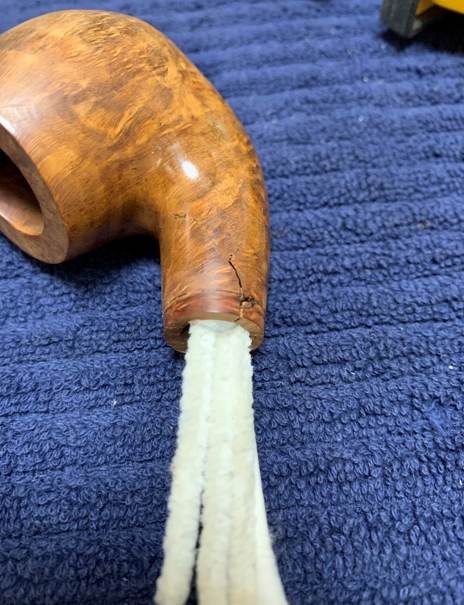
 Then I remembered that I had not cleaned out the shank and the internals of the pipe or the new stem. I did it now. I cleaned out the shank and the mortise with pipe cleaners, cotton swabs and isopropyl alcohol to remove the tars and oils. I also cleaned out the airway in the stem I had chosen to use as well.
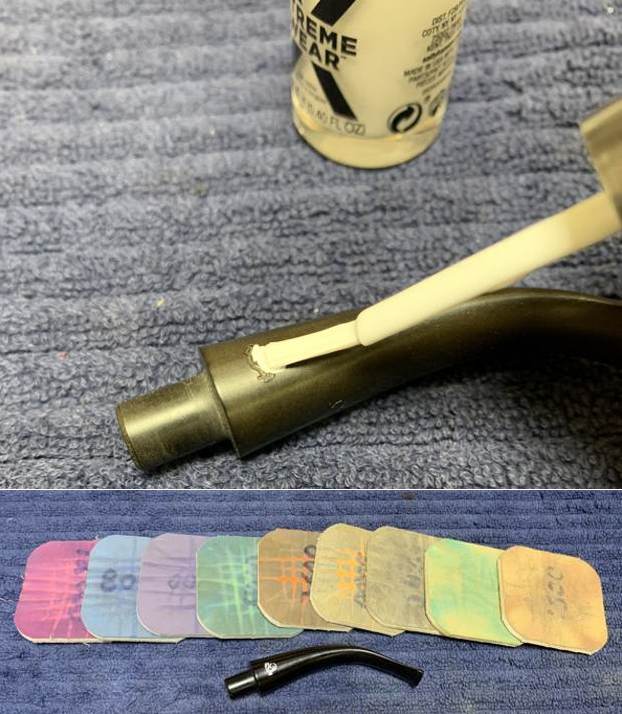
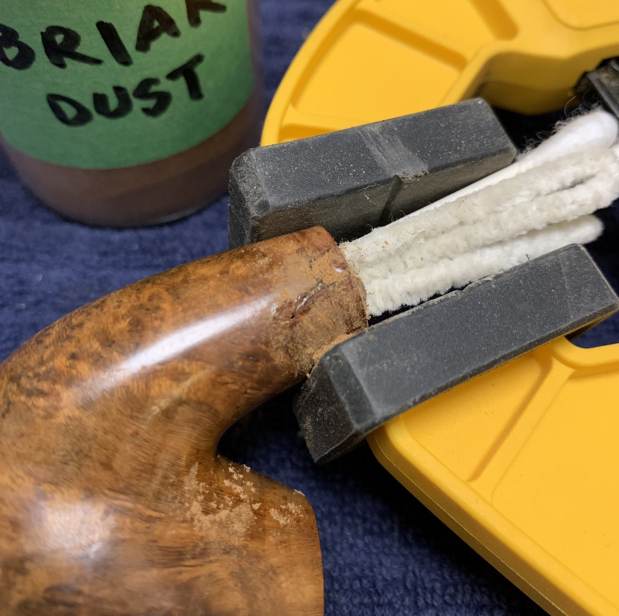
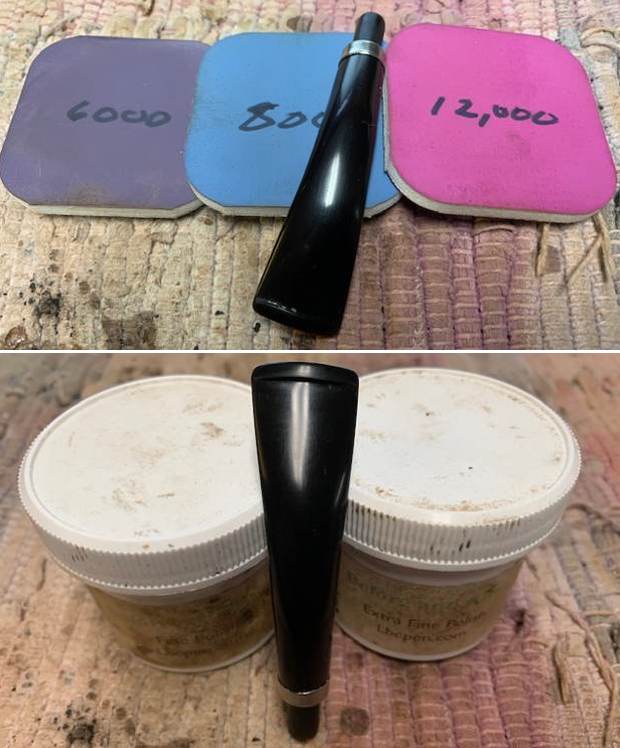
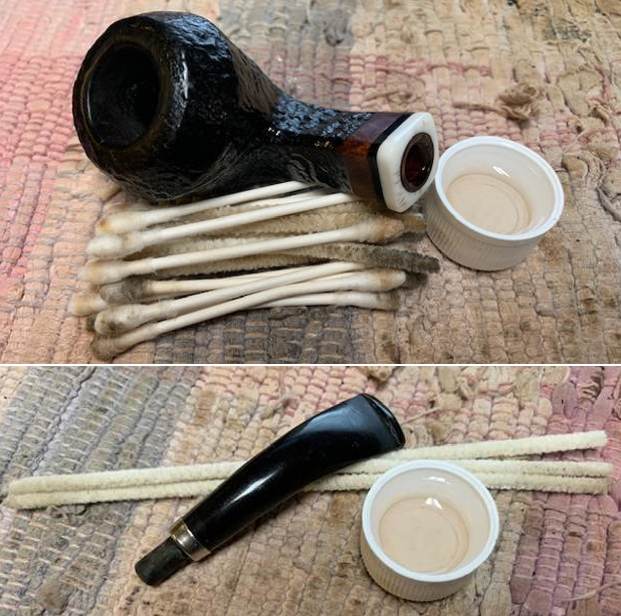 I polished the stem with micromesh sanding pads – dry sanding with 1500-12000 grit sanding pads. I wiped the stem down after each sanding pad with a cloth impregnated with Obsidian Oil. The oil both preserves the rubber and also provides some needed friction for the micromesh pads. I polished it with Before & After Fine & Extra Fine Polish. I rubbed it down a final time with the oil and set it aside.
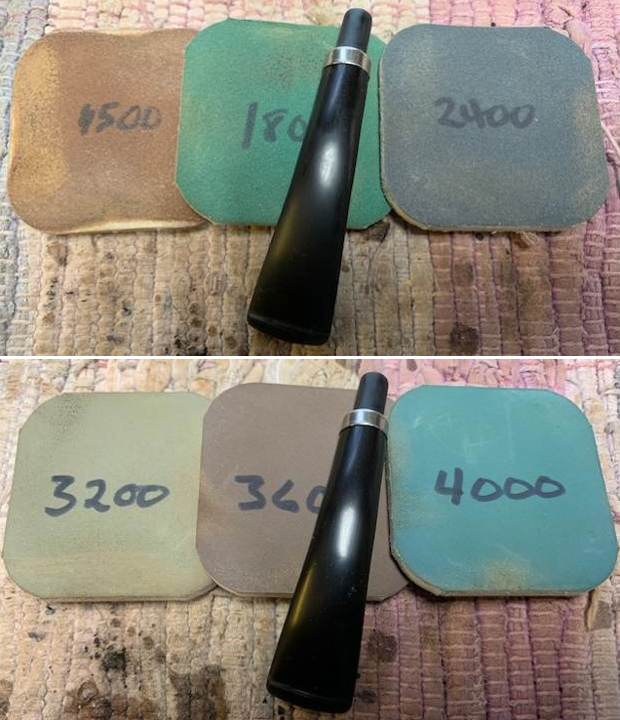
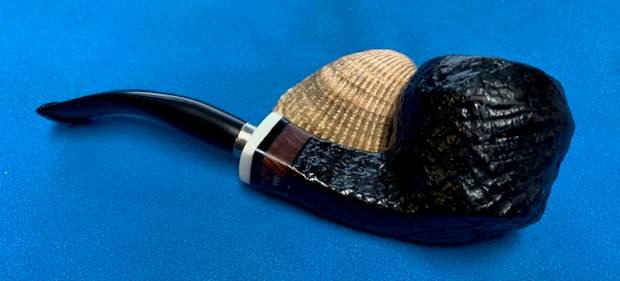
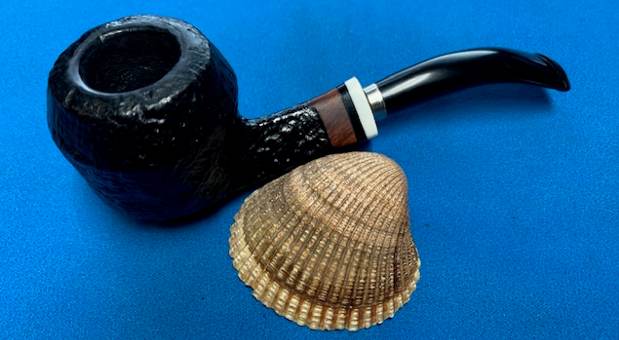
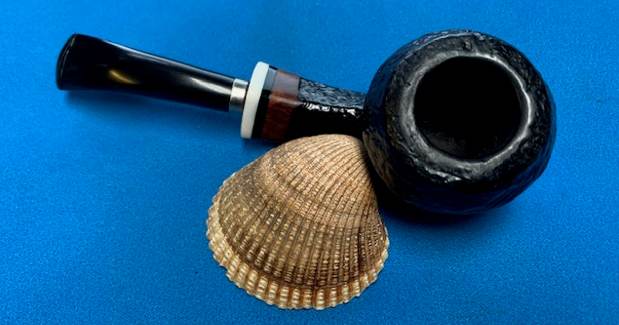
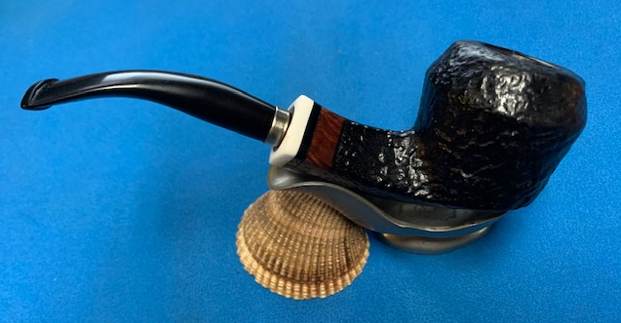
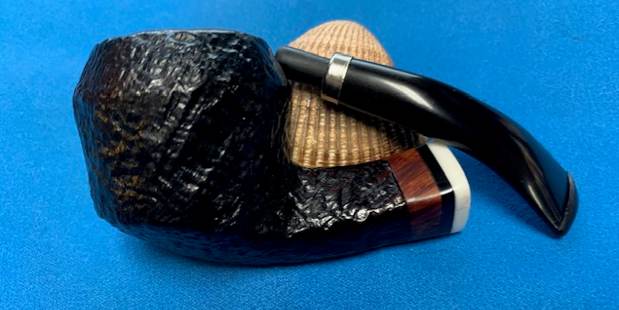
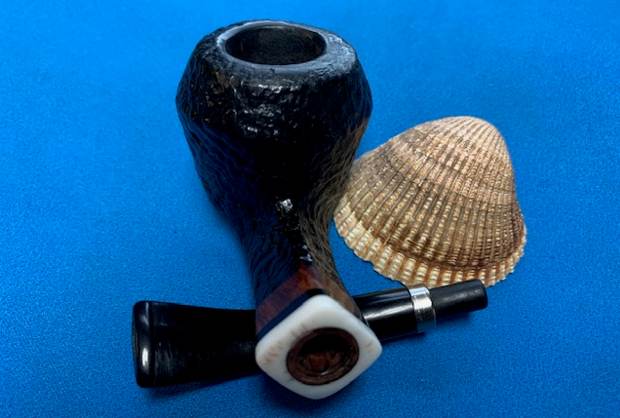
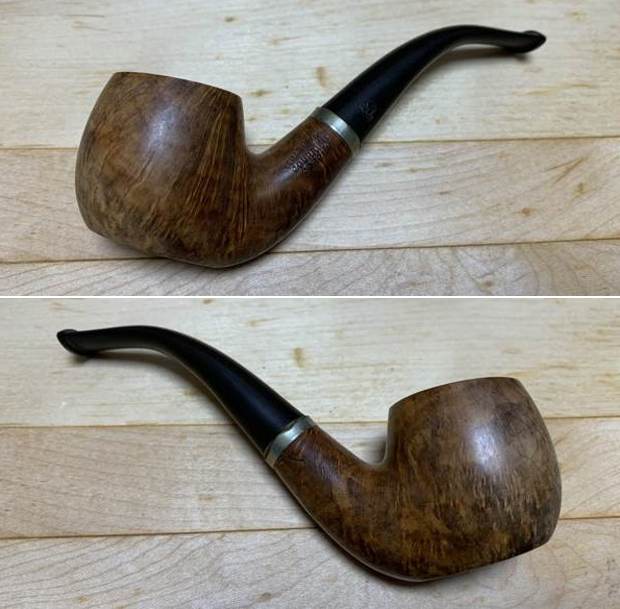
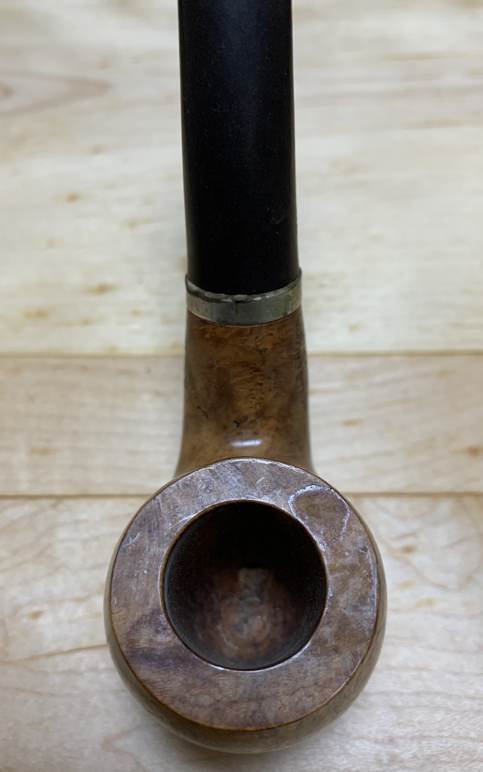
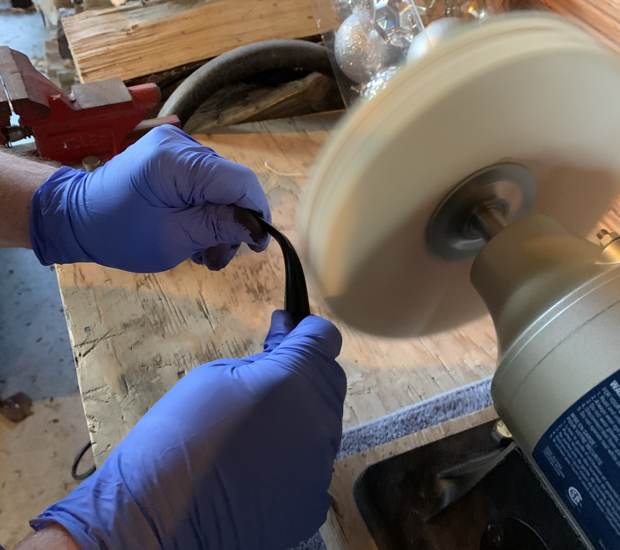
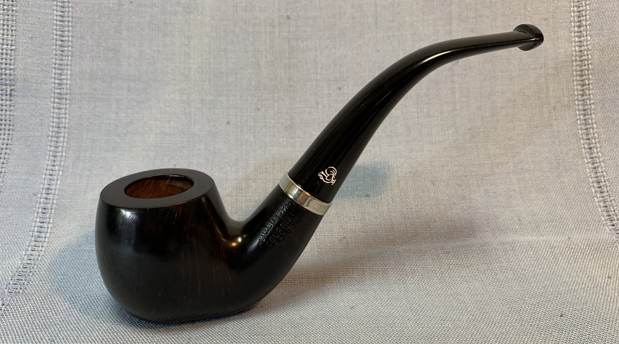
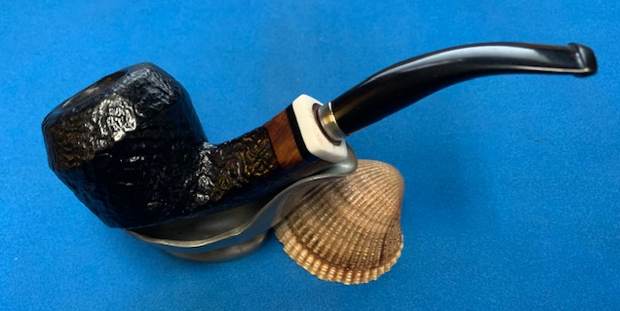
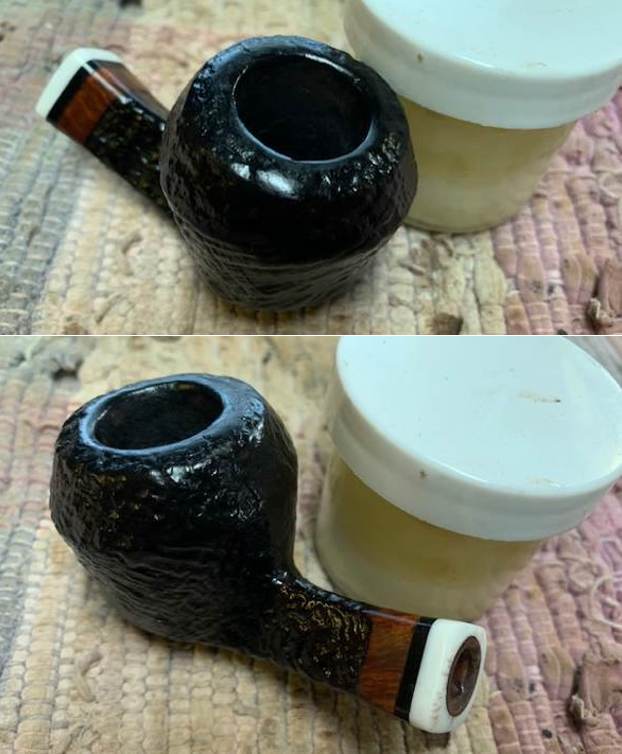
 This Neerup Made in Denmark Freehand Bulldog carved by Peder Jeppesen combines a great looking piece of sandblast briar with a multi-banded shank extension and a vulcanite stem to make a beautiful pipe. The removal of the thick shiny coat allows the grain to come alive with the polishing and waxing. I put the stem back on the bowl and carefully buffed the pipe with Blue Diamond on the buffing wheel. I gave the bowl and the stem multiple coats of carnauba wax on the buffing wheel and followed that by buffing the entire pipe with a clean buffing pad. I hand buffed the pipe with a microfiber cloth to deepen the shine. The finished Neerup Made in Denmark Bulldog really is a beauty and fits nicely in the hand and looks very good. Give the finished pipe a look in the photos below. The dimensions of the pipe are Length: 5 1/2 inches, Height: 2 inches, Outside diameter of the bowl: 1 ¾ inches, Chamber diameter: ¾ of an inch. The weight of the pipe is 1.80 ounces/51 grams. Once I finish the second pipe this one will be going back to Curtis to enjoy. Thanks for reading this blog and my reflections on the pipe while I worked on it. There are many more to come!