Blog by Steve Laug
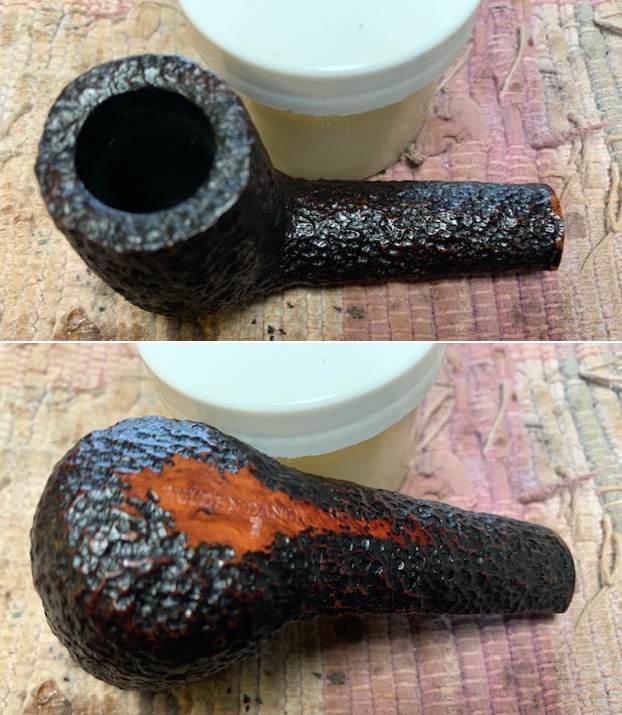
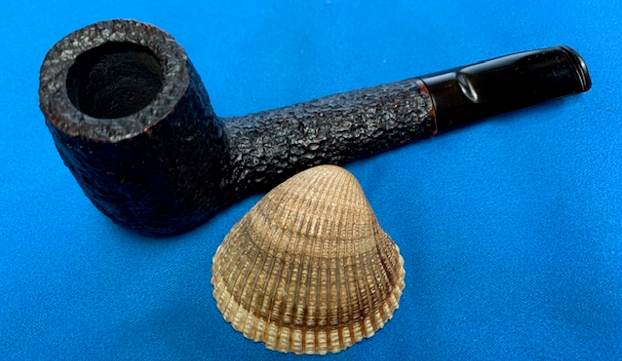
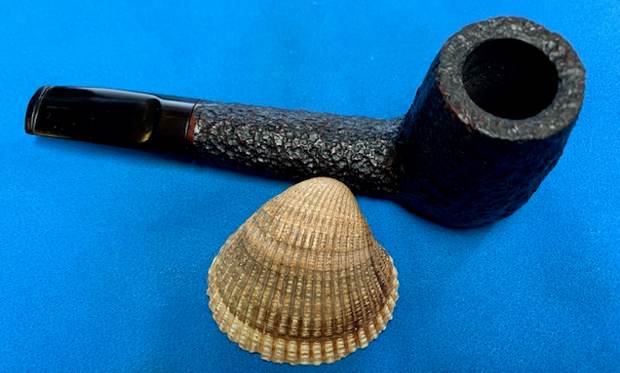
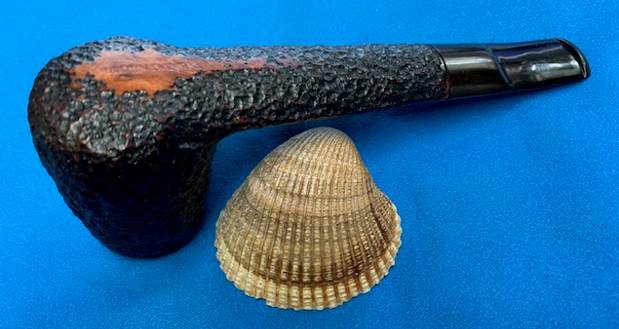
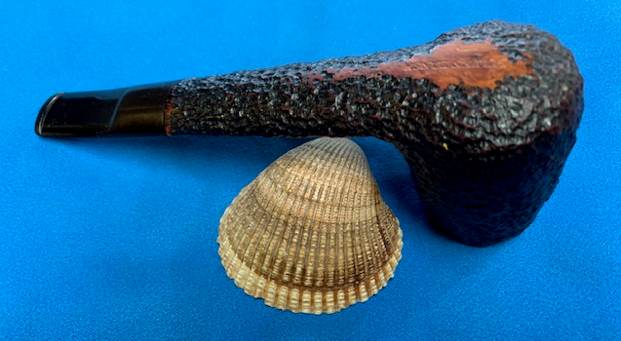
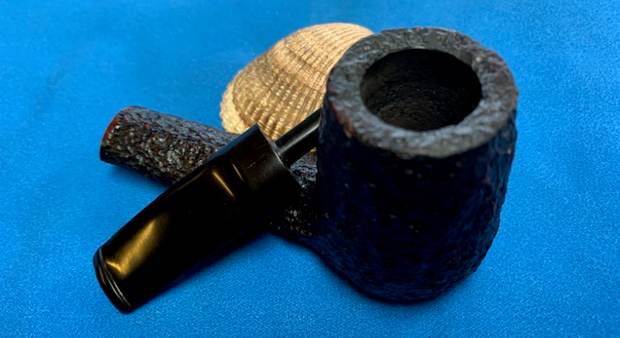
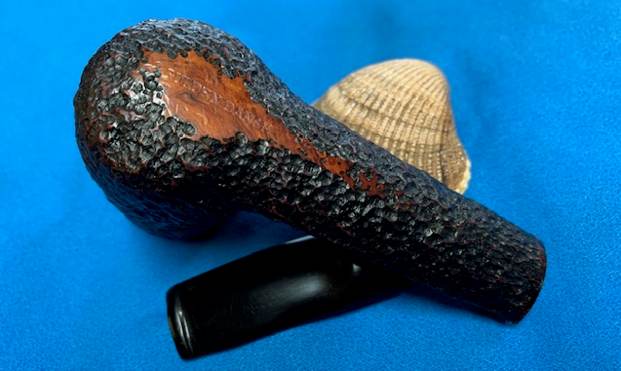
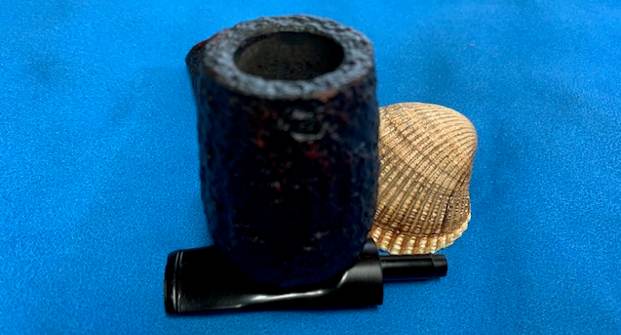
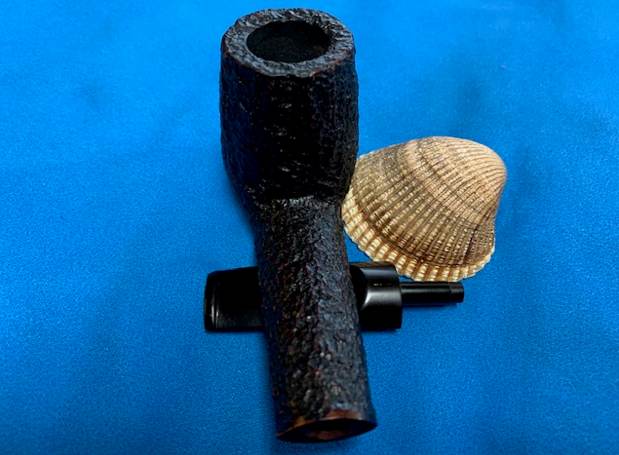
Last week I received an email from Sonny, the fellow I had restored the Gulden Dansk 9200 Freehand Dublin. He was sending me a package with what he called the brother to that Gulden Dansk pipe to work on that he wanted restored. It arrived this week and it was another old Gulden Dansk pipe made by Savinelli with a vulcanite saddle stem. He wanted me to restore it like I had the other one. It had the same rusticated finish with a tight pattern around the bowl. The finish was dirty with dust in the grooves but it was still quite pretty. The rim top was rusticated to match the bowl finish. The rim top was dirty with lava overflow filling in the grooves. The edges of the rim were very good. The pipe was stamped on the underside of the shank and read Gulden Dansk. It was quite lightweight and would clean up quite nicely. In chatting with him over email that he wanted the pipe cleaned up and restored. The stem was oxidized and the GD stamp was faded but the stamping looked to be deep enough to try to restain it. I am including the photos that Sonny sent me. It is an intriguing looking pipe. 
 When I received the pipe in the mail on this week, I went back to the previous blog I did for Sonny and reread what I had written there from a Blog that Kenneth wrote about a pair of pipes he had worked on – a Gulden Dansk and a Silveren Dansk. I turned to his blog and read through what he had written about the brands there (https://rebornpipes.com/tag/savinelli-made-gulden-dansk/). I quote the research that Kenneth did on the brand before I started my clean up work. It is very helpful and tied the pipe brand to Savinelli as I assumed looking at it.
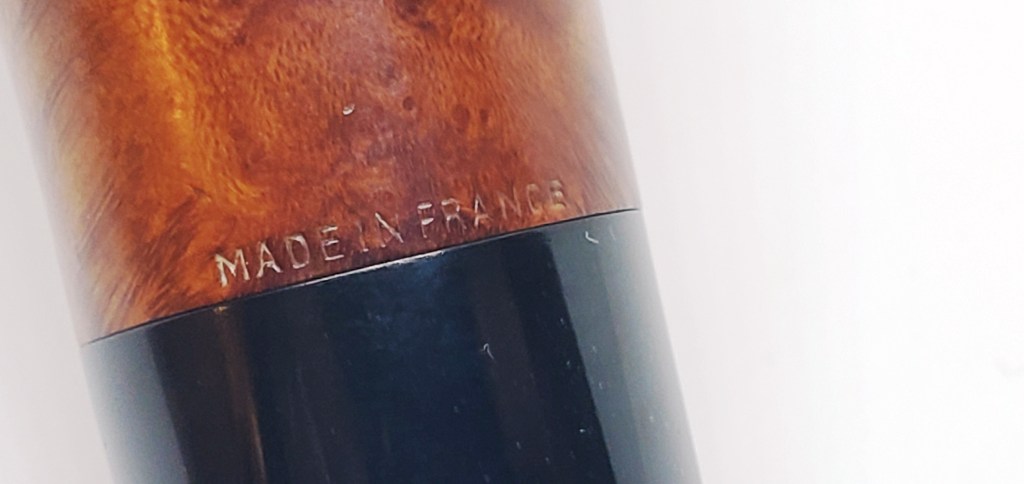
The brands Gulden Dansk and Silveren Dansk are ones about which there is very little information. I cobbled together as much information as I could, and I will do my best to record that here. Both brands are sub-brands of Savinelli, according to smokingpipes.com. You can see in the photo below that smokingpipes.com states this clearly, and they are quite knowledgeable.  Pipedia had no information at all regarding these brands. Meanwhile, pipephil.eu had precious little info (see below). One small clue is their reference to Italy in the Gulden Dansk image.
 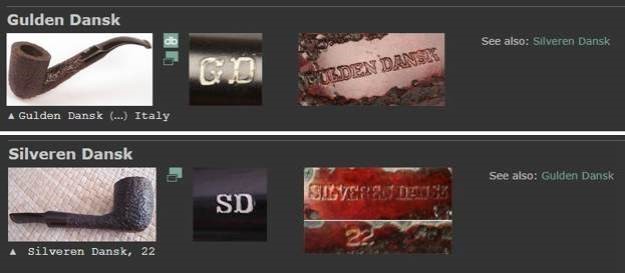 Comments from some old pipe forums suggest that the brand(s) might be made for the Canadian market and came to full prominence in the early 1980s. See below.
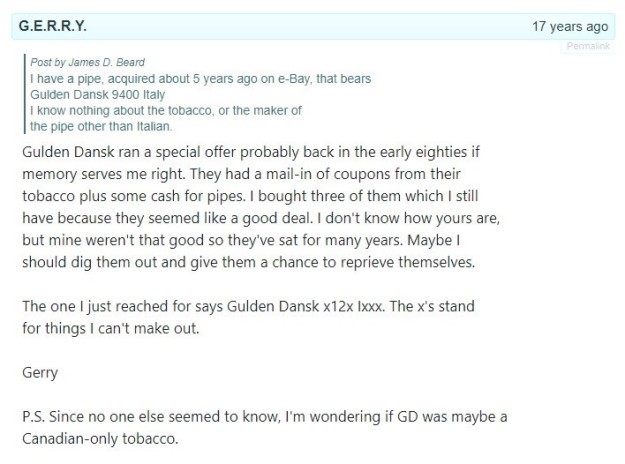 The newspaper ad above (sorry for the poor quality) is taken from the Montreal Gazette, November 1st, 1980. It shows that, in addition to pipes, they also sold tobacco.
 Furthermore, I found Canadian trademark registrations for both brands. I have shown some of that information below. For reasons unknown, the Silveren Dansk trademark is still active, whilst the Gulden Dansk one has expired. I also found an Australian trademark registration for the same, but it was noted on the Australian site that the origin of the application was Canada.
 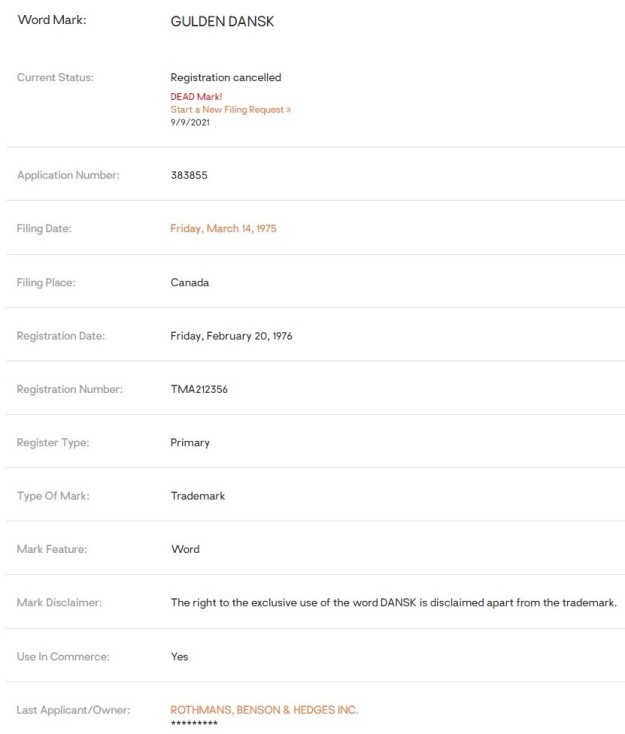 Kenneth concluded his work as follows:
In short, we can say a few things about both Gulden Dansk and Silveren Dansk. They were both made by Savinelli, probably for the Canadian market (and perhaps other markets). The Canadian connection obviously fits with the gentleman in Winnipeg. They made pipes and tobacco, and all the comments I could find on the quality of the pipes were very positive. If you have any further details on these brands, I would love to hear from you.
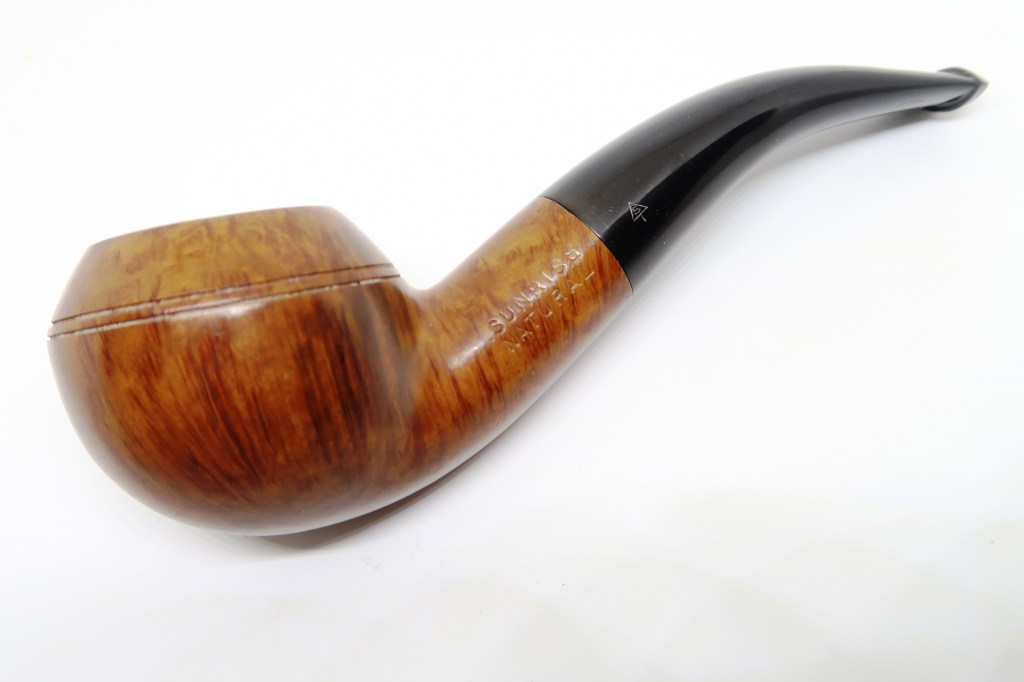
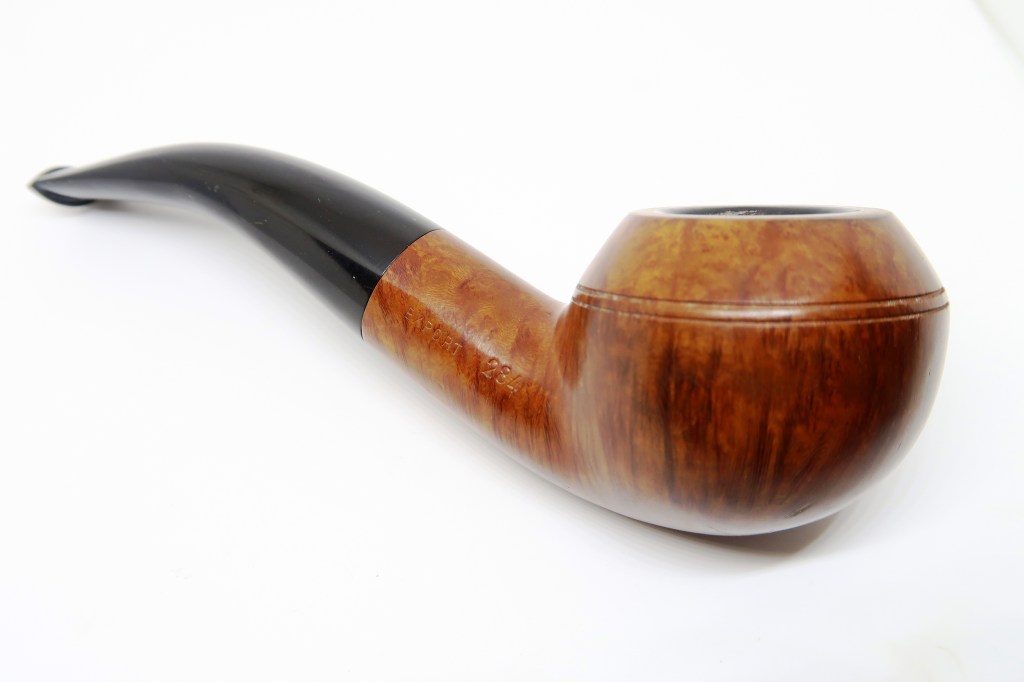
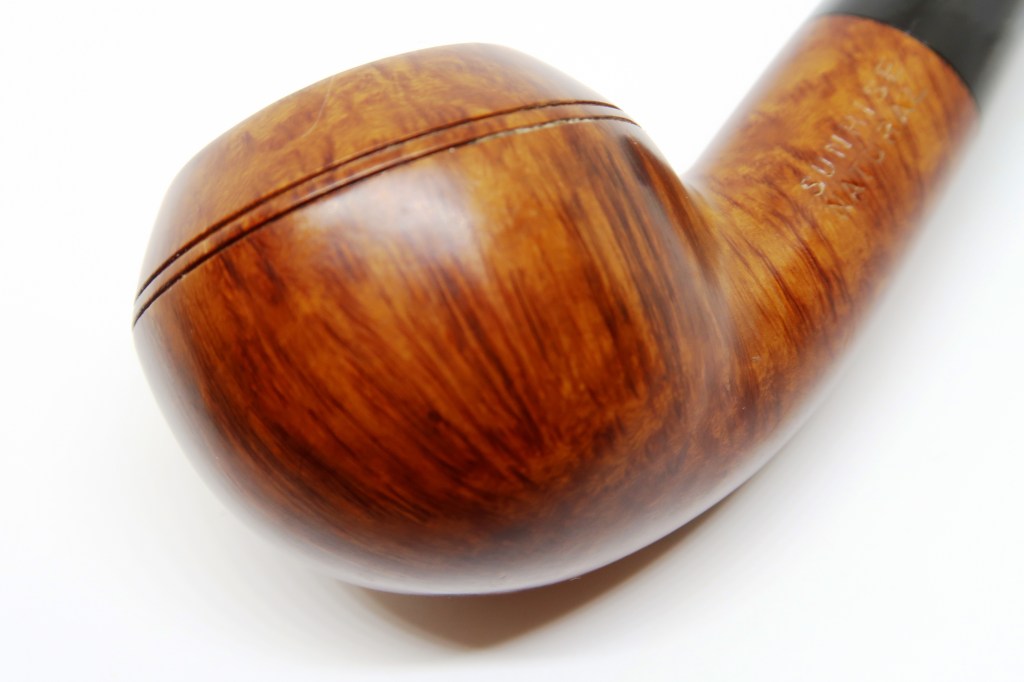
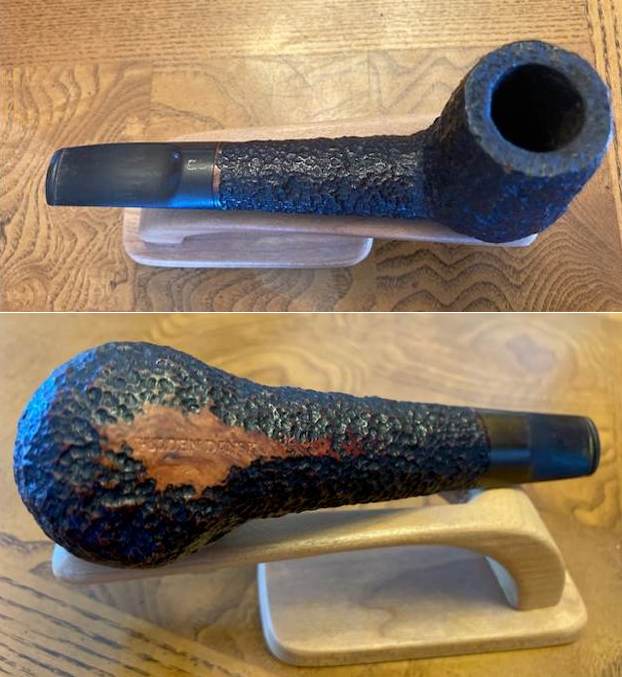
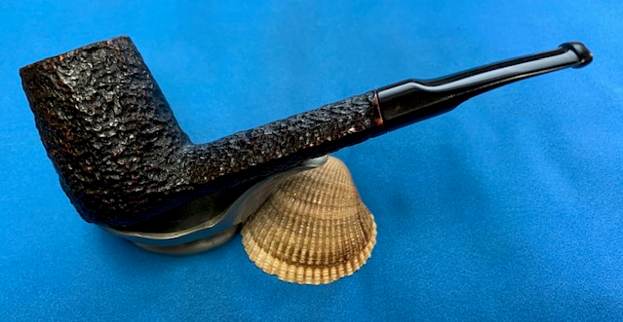
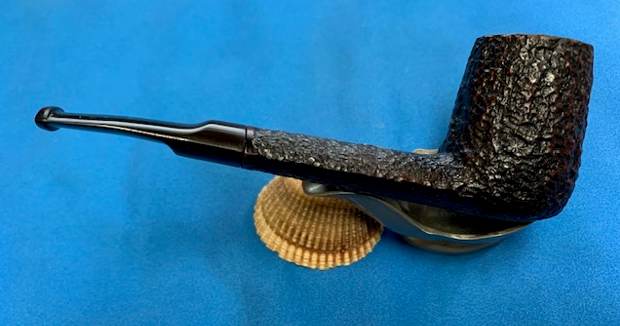
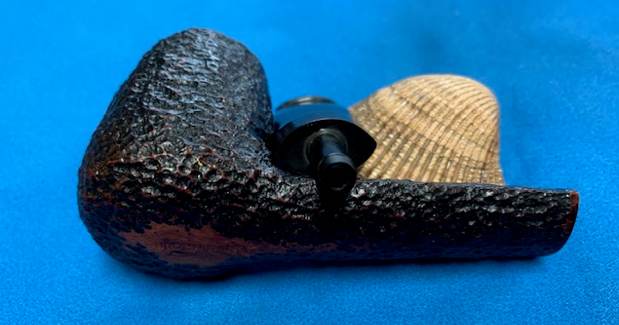
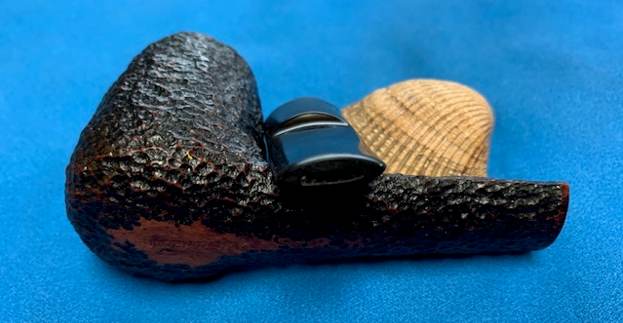
Now it was time to work on the pipe itself. I took photos of the pipe when I opened the box. It is a nice looking shape – a long, oval shanked Brandy with a saddle stem. It is a great looking pipe with a tight rusticated finish that was quite beautiful. The stem and shank have a slight cant and angle that looks good. You can see the finish as noted above and the oxidation on the stem as well. 
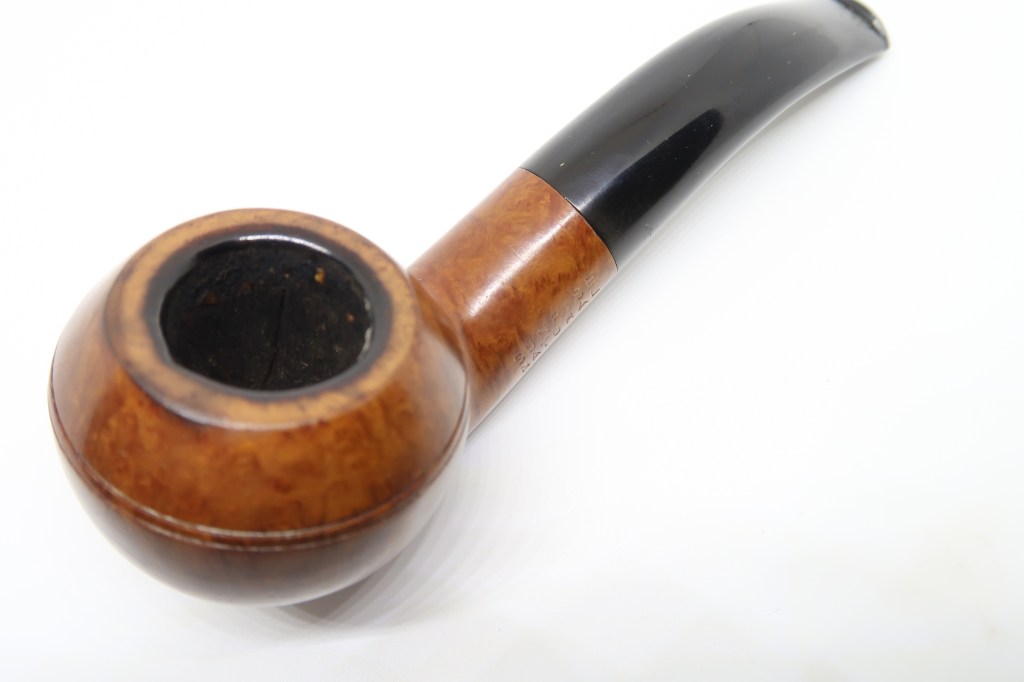
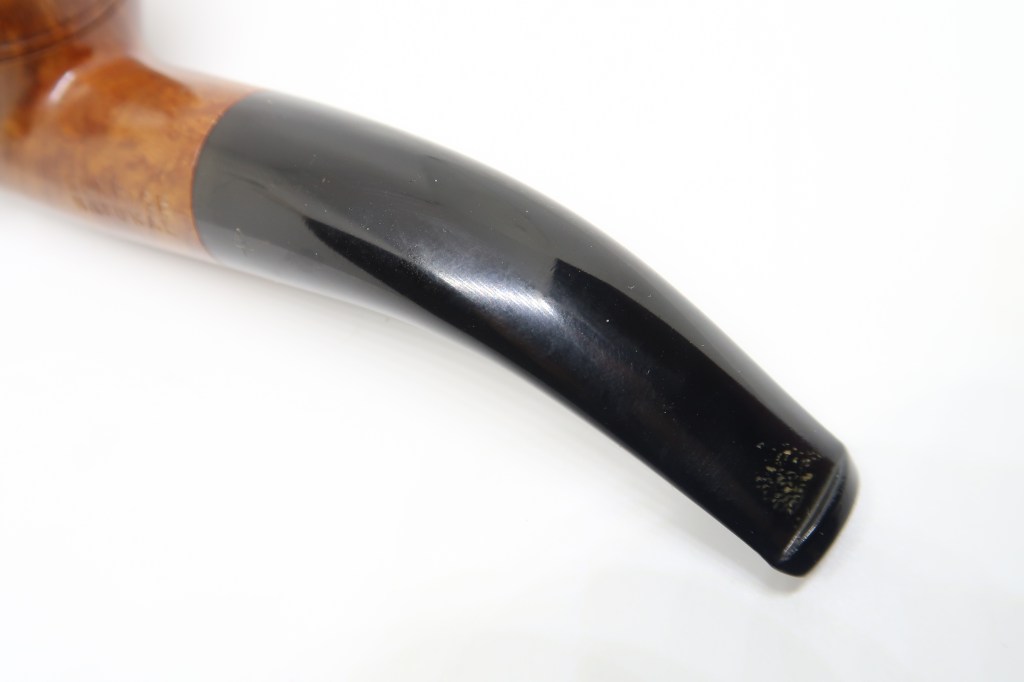
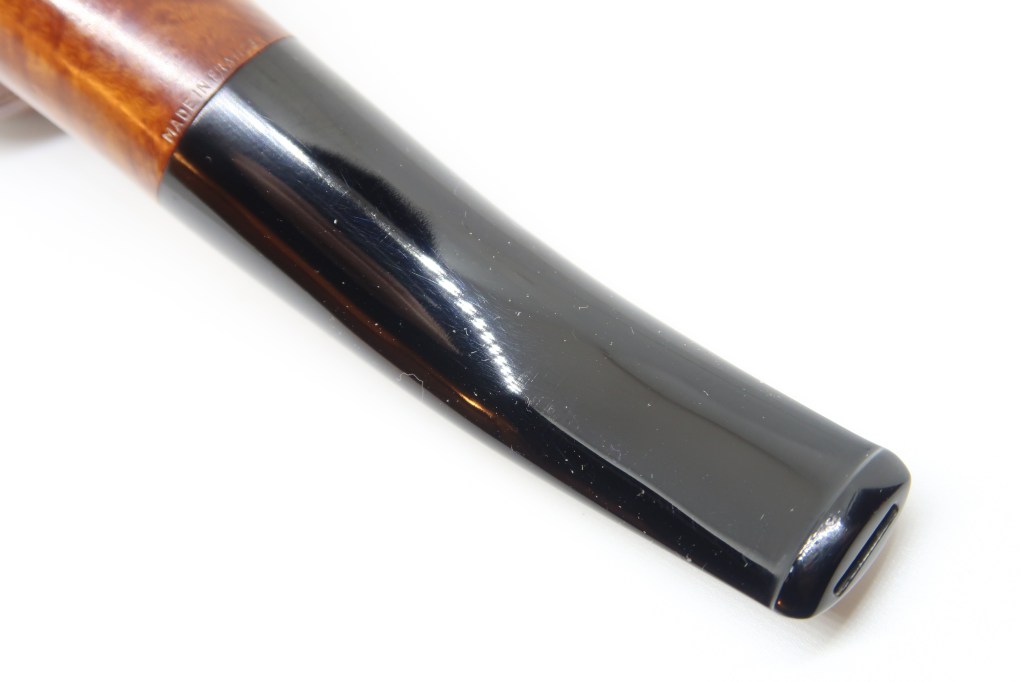
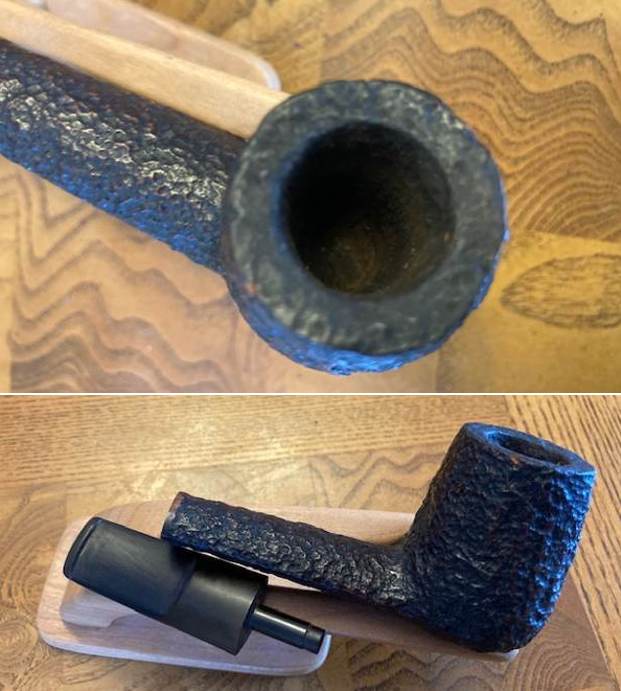
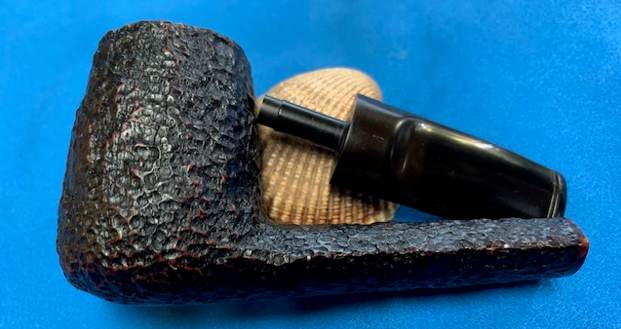
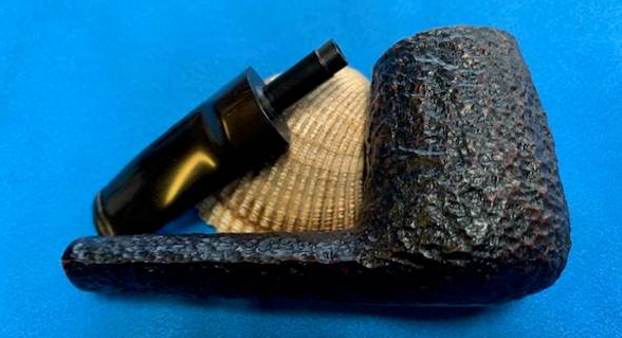
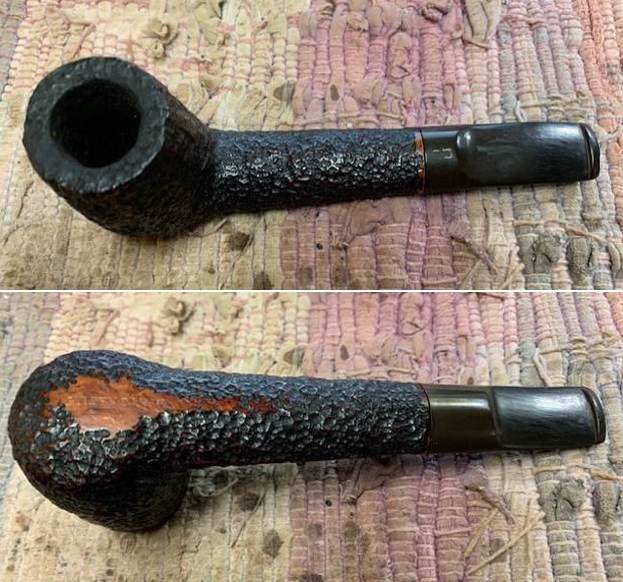 I took photos of the rim top and the top and underside of the stem. You can see how it fit against the shank. It is oxidized with light tooth chatter and marks on the surface on both sides. You can see the grime on the right side of the rim top and the moderate cake in the bowl. It is a nice looking pipe.
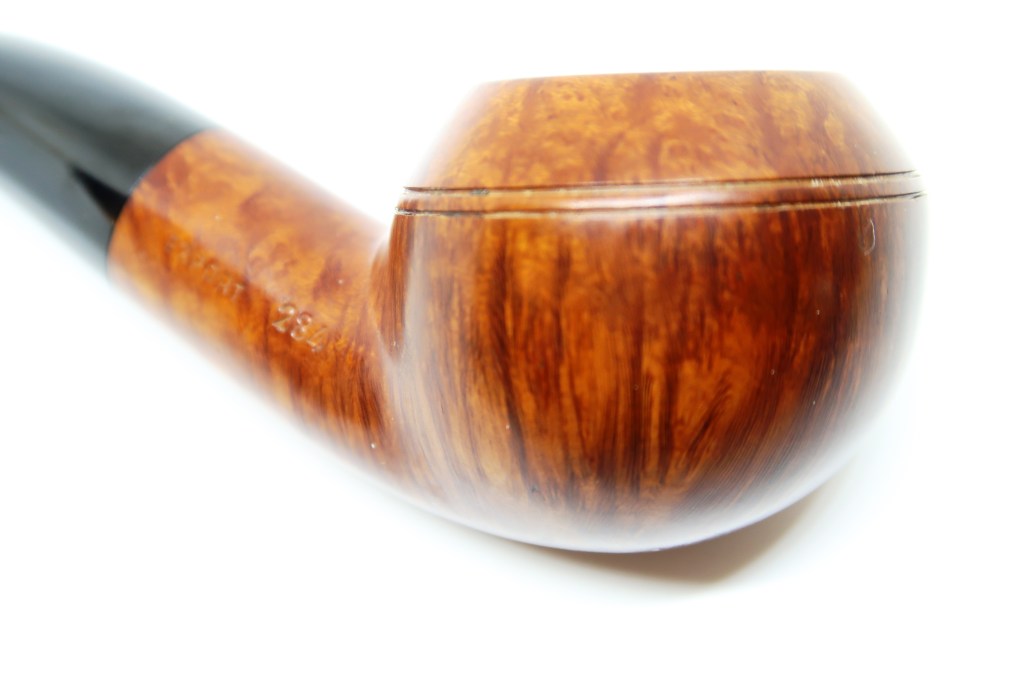
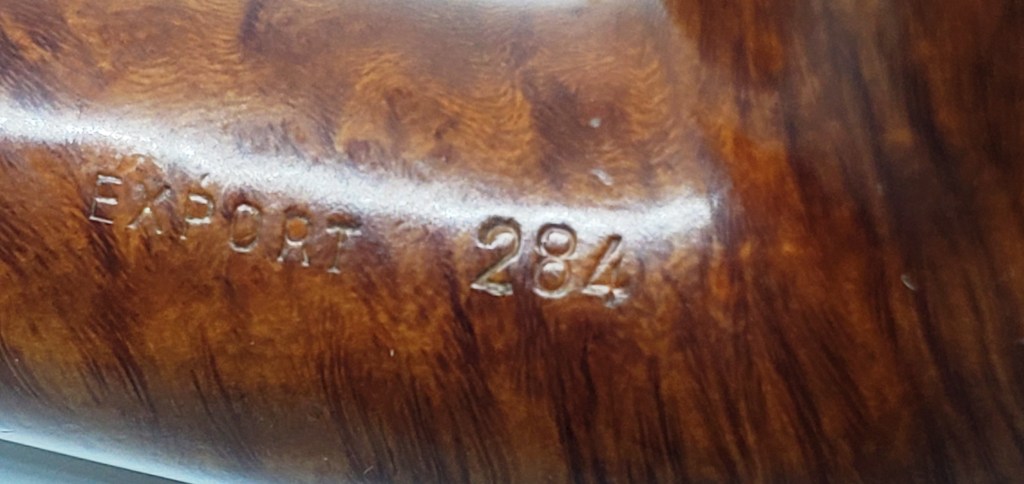
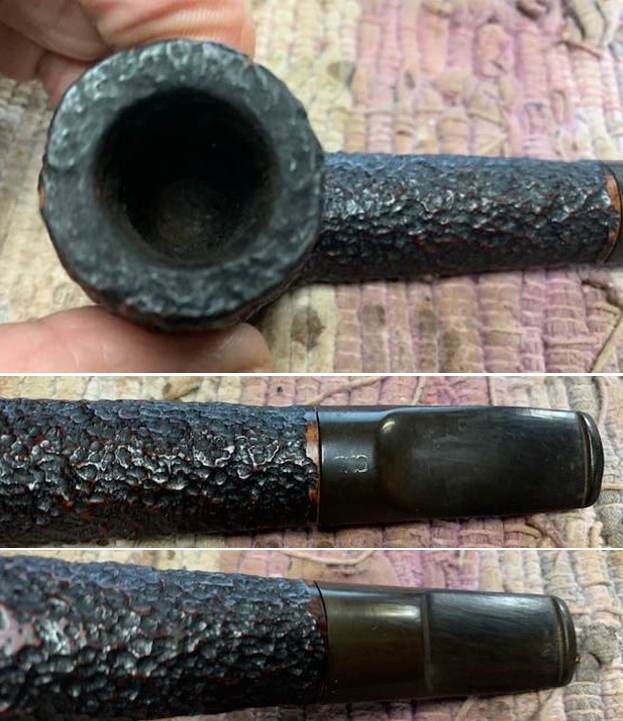 The next photo shows the stamping on the underside of the shank. It is clear and readable as noted above.
 I removed the stem from the shank and took a photo of the parts to give a sense of the overall look of the pipe. It is really a nicely designed looking bent Dublin that will look great once it is cleaned up.
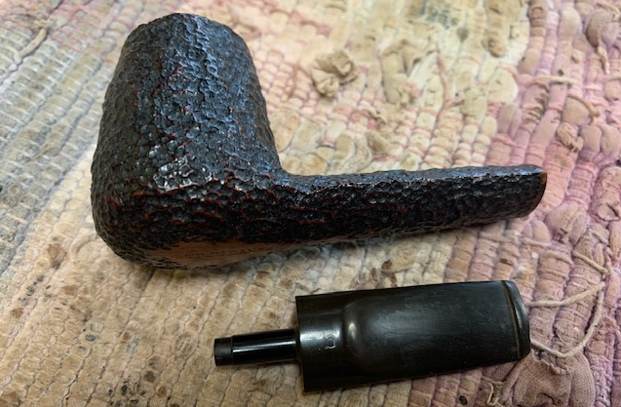 I reamed the bowl with a PipNet pipe reamer using the first two cutting heads to take the cake down to briar. I followed up with a Savinelli Fitsall Pipe Knife to clean up the remnants. I sanded the walls smooth with 220 grit sandpaper wrapped around a piece of dowel.
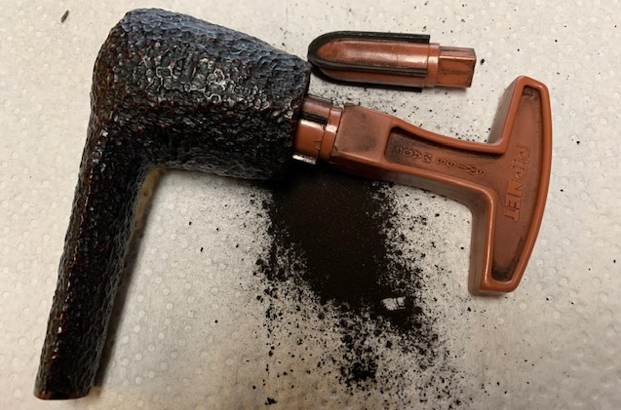
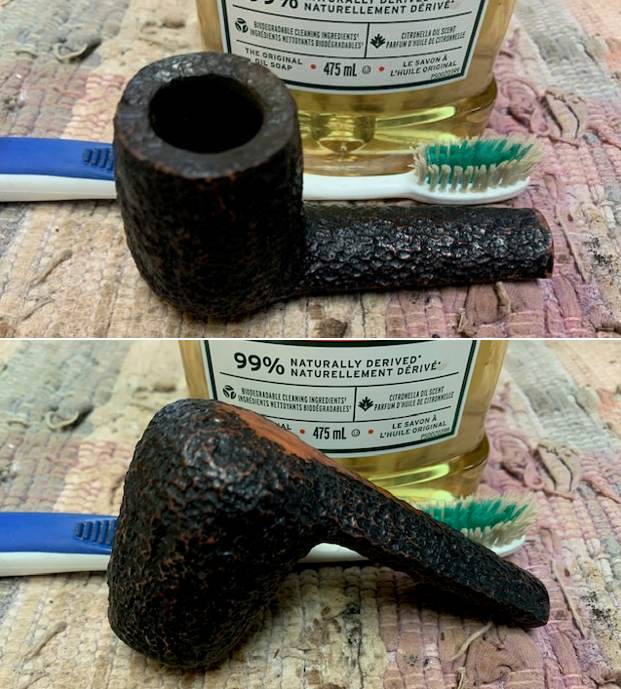
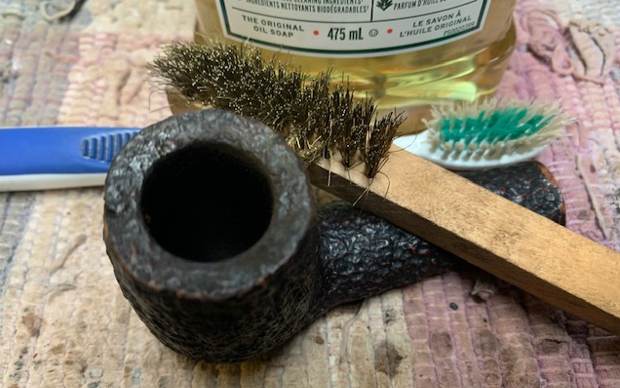
 I scrubbed the exterior of the bowl with a tooth brush and undiluted Murphy’s Oil Soap. I worked over the rim top and edges and rinsed it with warm water scrubbing it while rinsing it. I scrubbed the rim top with a brass bristle wire brush to loosen up the lava coat. I dried it off and took these photos.
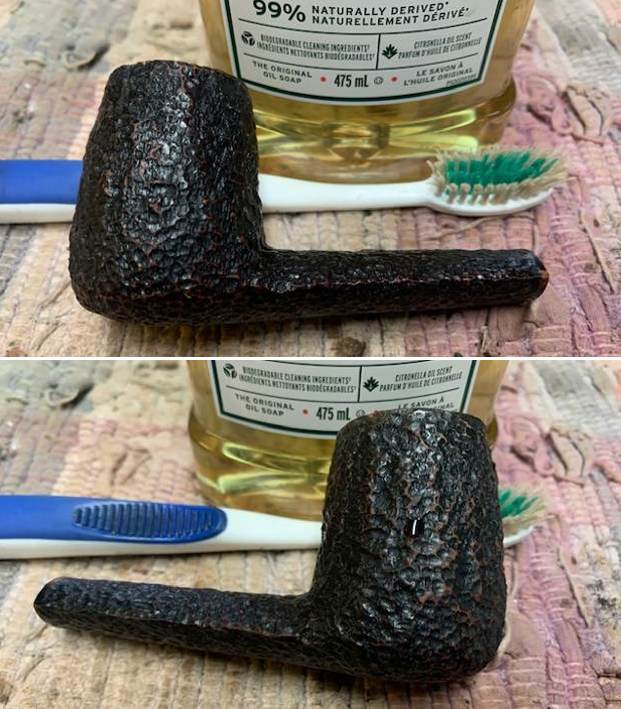
 I cleaned out the mortise and airway in the shank and the stem with cotton swabs, pipe cleaners and isopropyl alcohol until they came out clean.
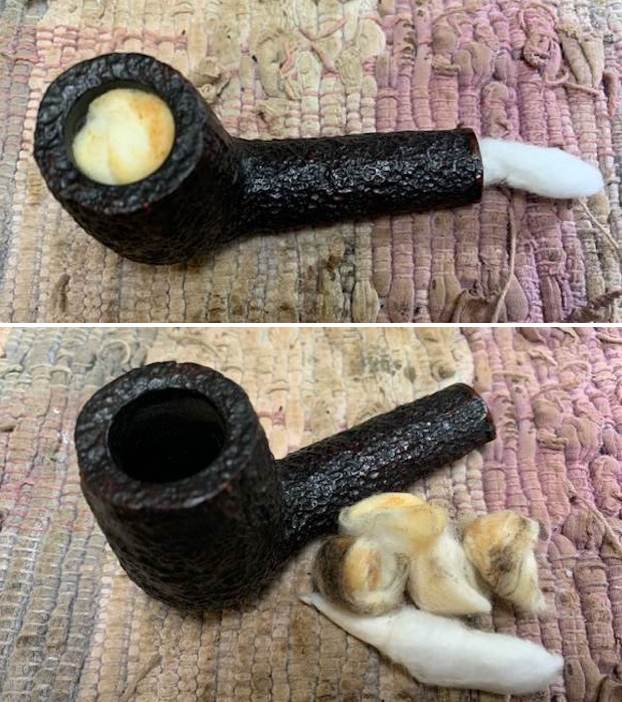
 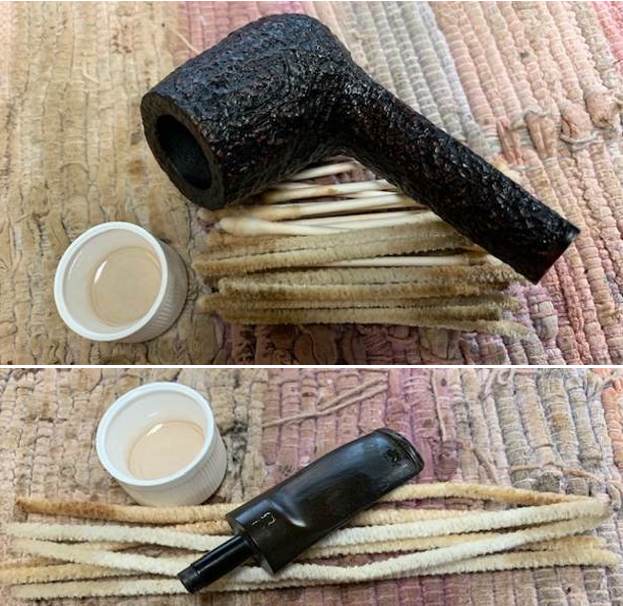 With the pipe cleaned it still had a ghost of a smell to it. It was a sweet aromatic smell with lingering smells of vanilla. I stuffed the bowl with cotton bolls and twisted a plug of cotton and turned it into the shank. I used an ear syringe to fill the bowl with isopropyl alcohol and set it aside in an old ice tray to let the deghosting happen! In the morning I woke up to find the cotton bolls in the bowl to be brown around the edges and the shank cotton was also brown at the shank end. I removed it and cleaned the shank once more. The bowl smelled better and the ghost had been exorcised to a large degree.
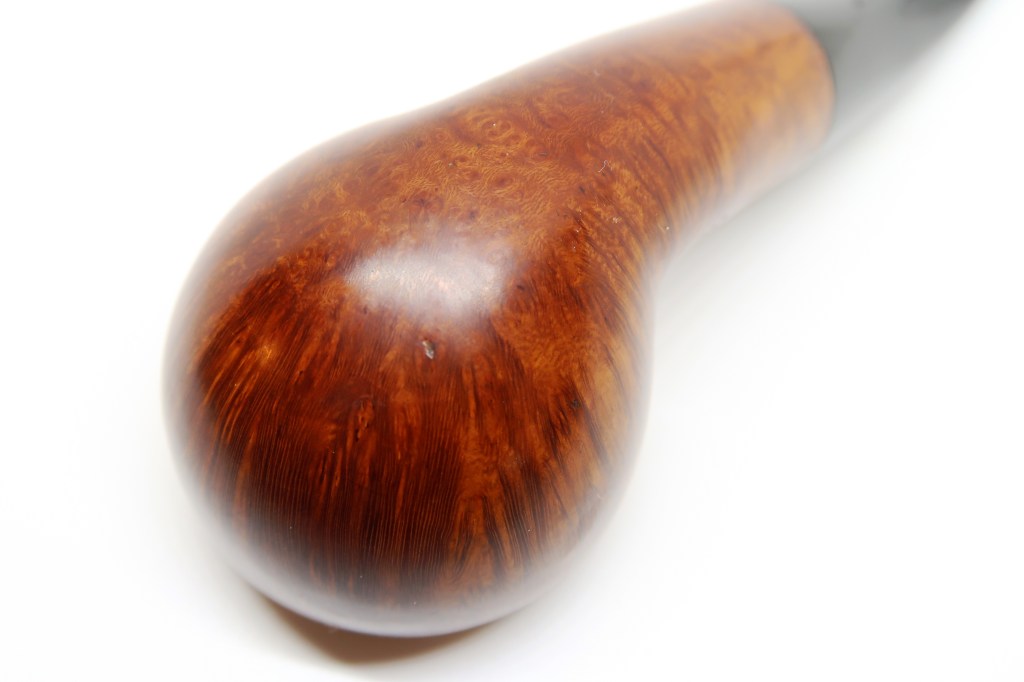
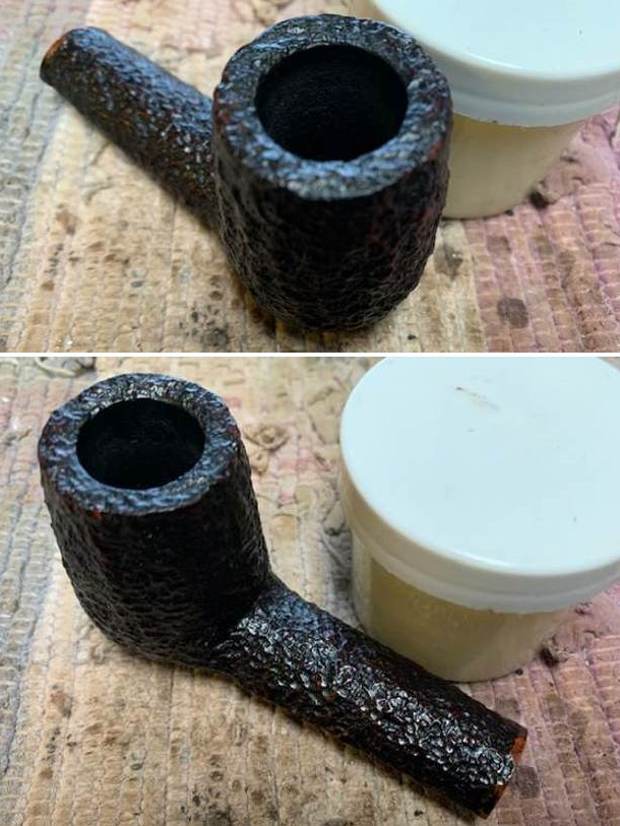
 I rubbed the bowl and shank down with Before & After Restoration Balm. I worked it into the finish with my fingers and used a shoe brush to press it deep into the crevices of the sandblast. The product works to deep clean the finish on the bowl and shank and enliven and protect the briar. After it sat for 15 minutes I wiped it off with a soft cloth. The briar really came alive with a rich shine. I took some photos of the bowl at this point to mark the progress in the restoration. It is a beautiful bowl.
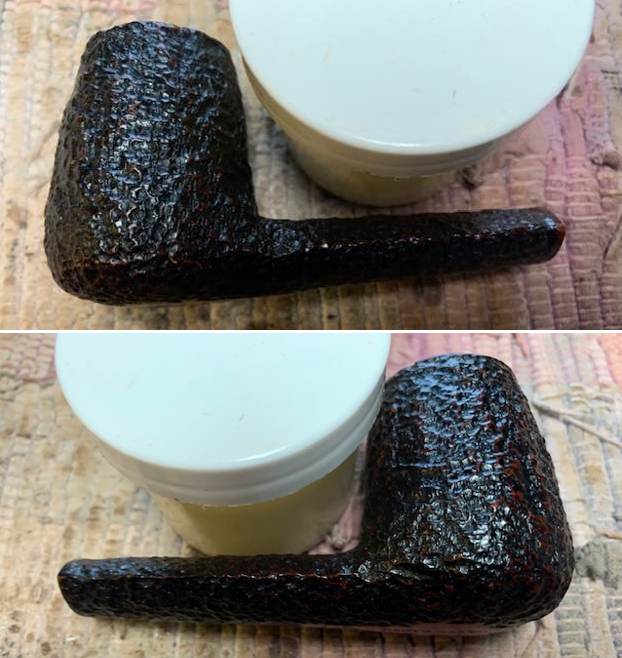
 While the bowl sat deghosting I put the stem in a Briarville Stem Deoxidizer soak. I let soak overnight. When I took it out in the morning the oxidation had risen to the surface of the vulcanite. The GD logo on the top lost its remaining colour and it is very faint.
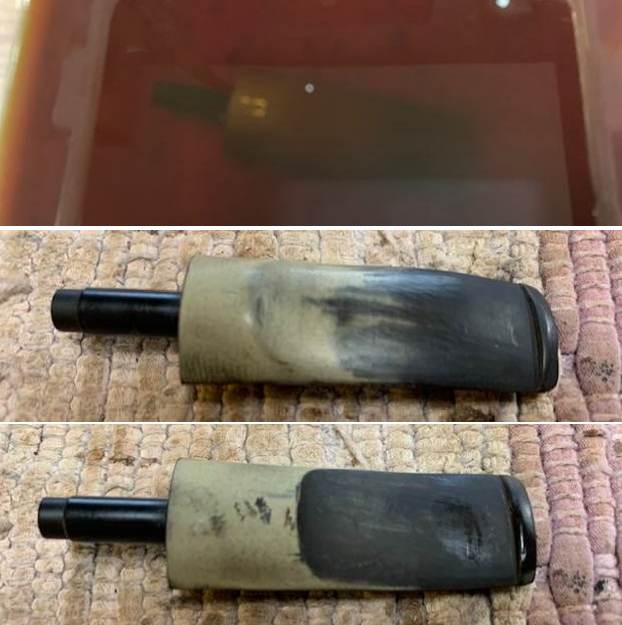 I scrubbed the vulcanite with Soft Scrub to remove the oxidation from the surface of the bowl. Once finished it looked much better.
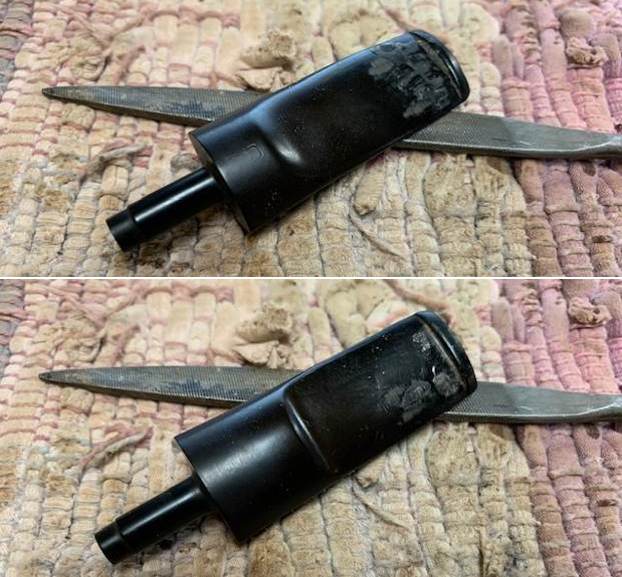
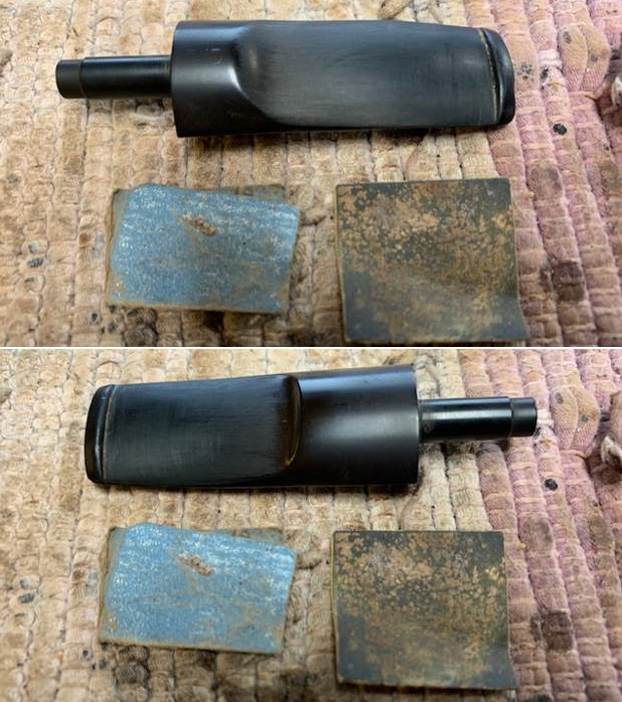
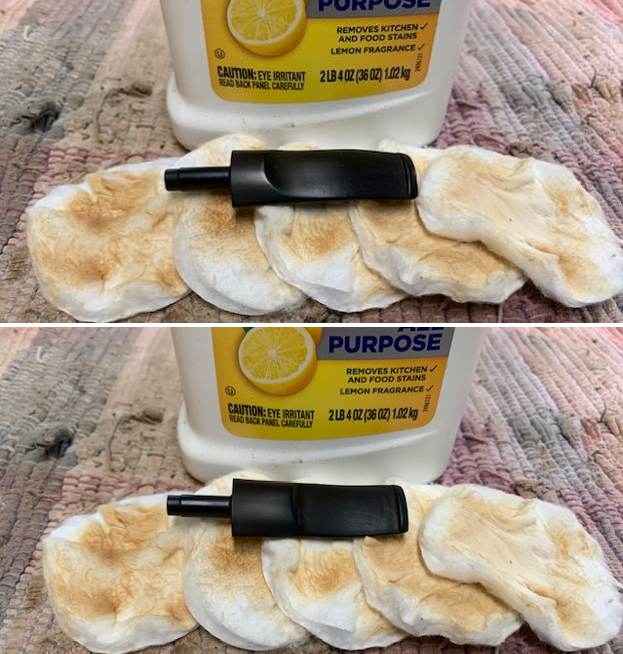 I “painted” the surface of the stem with the flame of a Bic lighter and was able to lift them a little. I filled in what remained with clear CA glue and set the stem aside to cure. I used a small file to flatten the repairs. I sanded them flat with 220 grit sandpaper and started the polishing with 400 grit wet dry sandpaper.
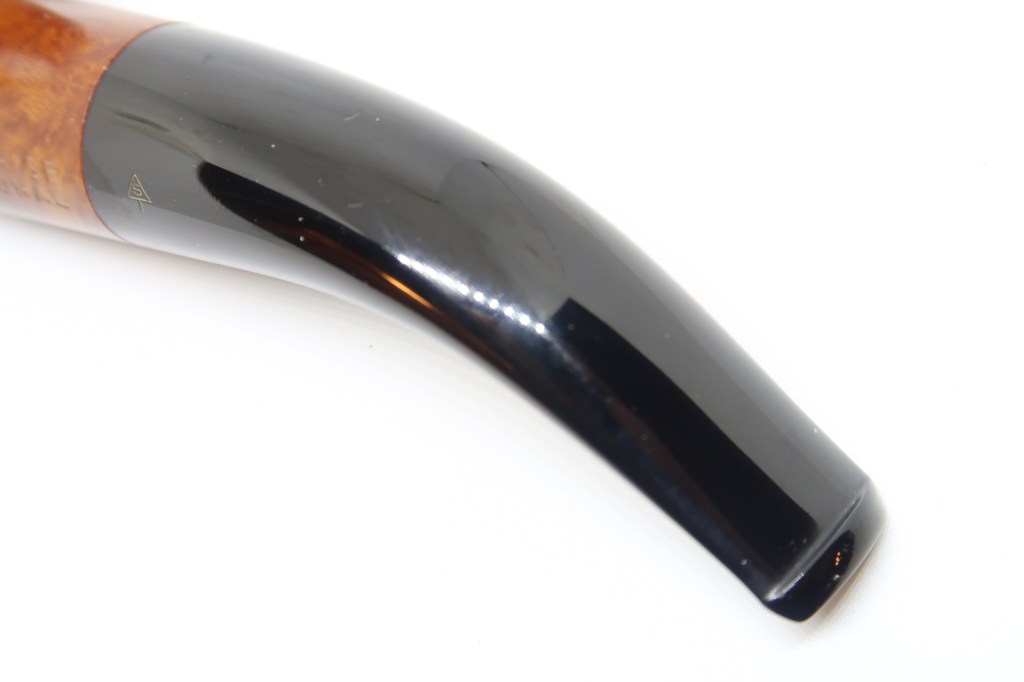
 I polished the stem with micromesh sanding pads – dry sanding with 1500-12000 grit pads. I wiped the stem down after each pad with Obsidian Oil to remove the sanding dust. I used the Before & After Pipe Polish to remove the small minute scratches left in the vulcanite. I finished by wiping the stem down with a final coat of Obsidian Oil and set it aside to dry.
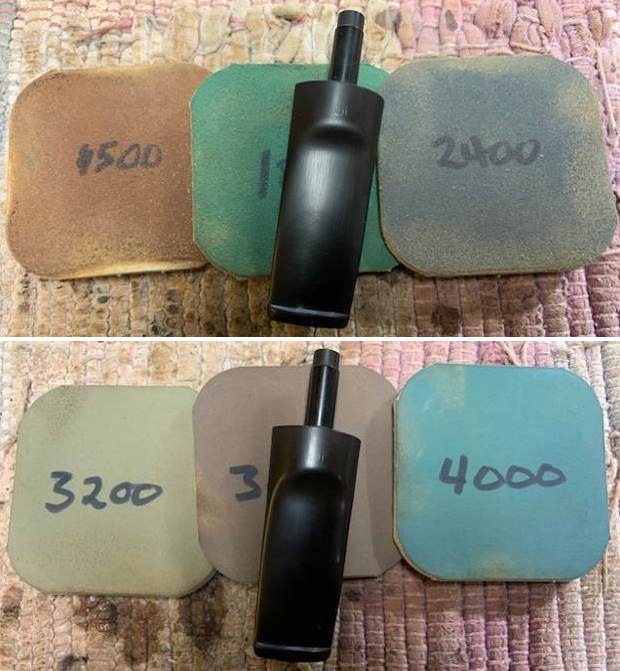
 As usual at this point in the restoration process I am excited to be on the homestretch. I look forward to the final look when it is put back together, polished and waxed. I put the Gulden Dansk Oval Long Shank Brandy back together. I polished the bowl and stem with Blue Diamond to polish out the scratches in the briar and the vulcanite. I gave the bowl and the stem multiple coats of carnauba wax. I buffed the pipe with a clean buffing pad to raise the shine. I hand buffed it with a microfiber cloth to deepen the shine. The pipe polished up pretty nicely. The grain really pops with the wax and polish. The shiny black vulcanite stem is a beautiful contrast to the dark browns of the bowl and shank. This rusticated Gulden Dansk Oval Long Shank Brandy was another fun pipe to work on. It really is a quite stunning piece of briar whose shape follows the flow of the grain on the briar. The pipe is comfortable pipe to hold in the hand. The finished pipe is shown in the photos below. The dimensions of the pipe are Length: 5 ¾ inches, Height: 2 inches, Outside diameter of the bowl: 1 ¼ inches, Chamber diameter: ¾ of an inch. The weight of the pipe is 1.80 ounces/ 51 grams. I will be sending this beautiful Gulden Dansk back to the pipeman who dropped it off. Thanks for reading my reflections on the pipe while I working on it.
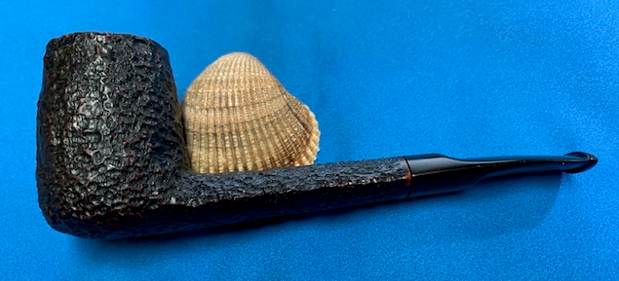


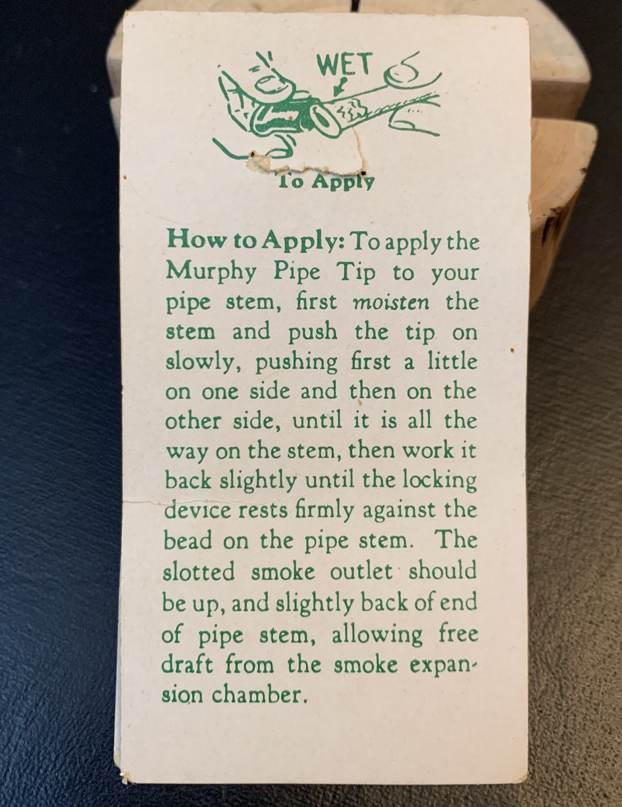
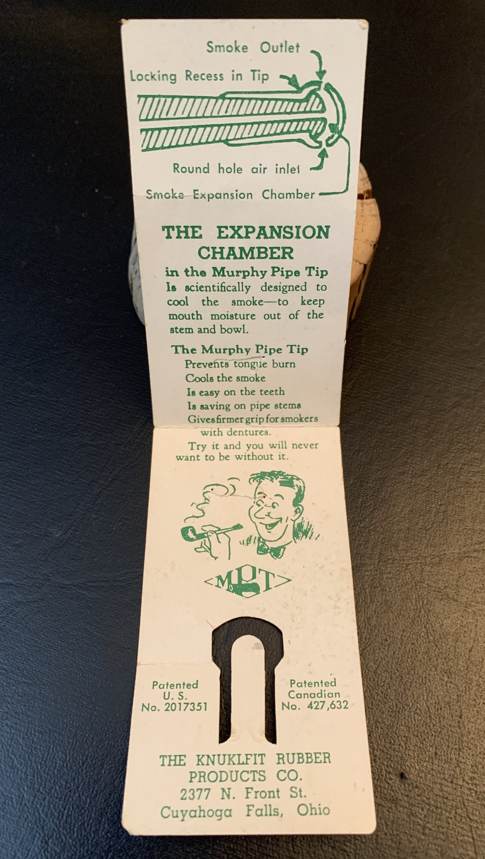
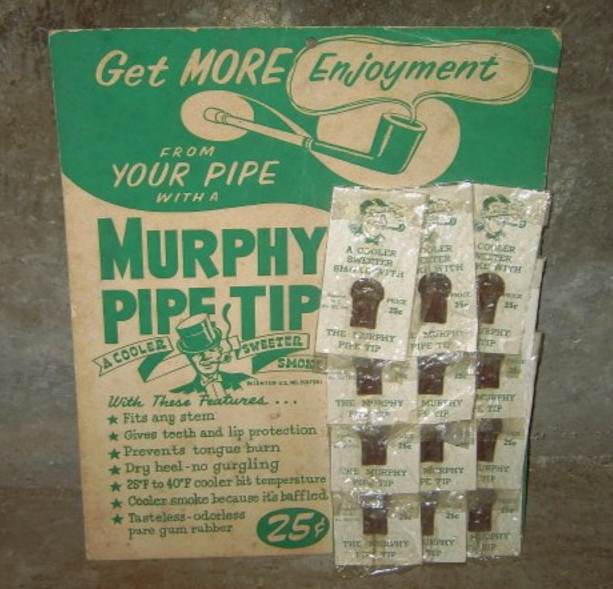
 Second is the tag/pamphlet that comes with a Murphy Pipe Tip. This was a bog-standard rubber tip for your pipe. I snapped photos of the front, back, and inside of the piece I have. I also included a photo I grabbed online of what a whole display would have looked like. I know that the patent on this item is from 1936, but I don’t know if this specific tag is from that date or not. It seems unlikely, as 25¢ in the late-30s is equivalent to about $5 today – but who knows. Cute little item.
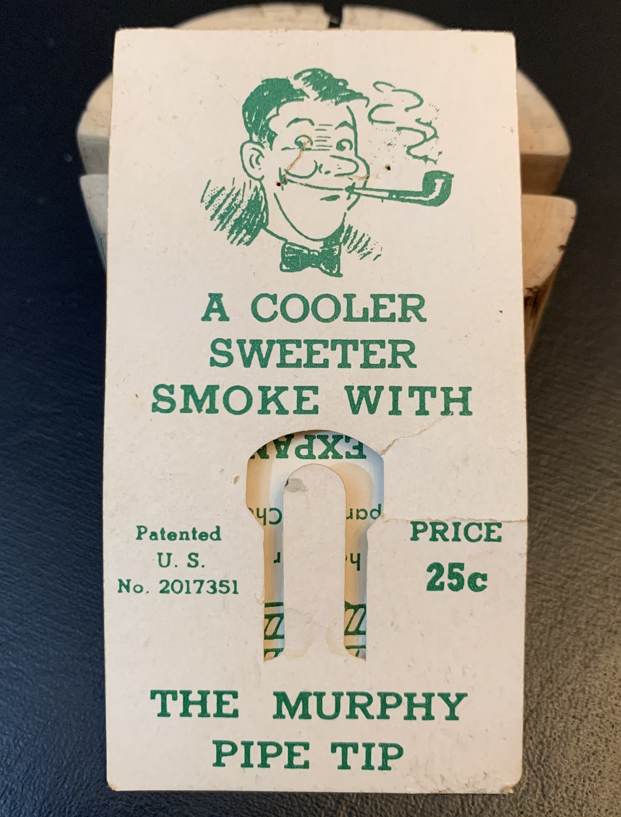
 Third is a package of Comoy’s of London Pipe Polishing Cloths. The package is complete, albeit used, in its original bag. It had two cloths in it, as you can see. One cloth for the stummel and one for the stem. Once again, I have no idea of its age and would welcome any information you might have. Just like the bottle above, I did a search online and found no useful information.
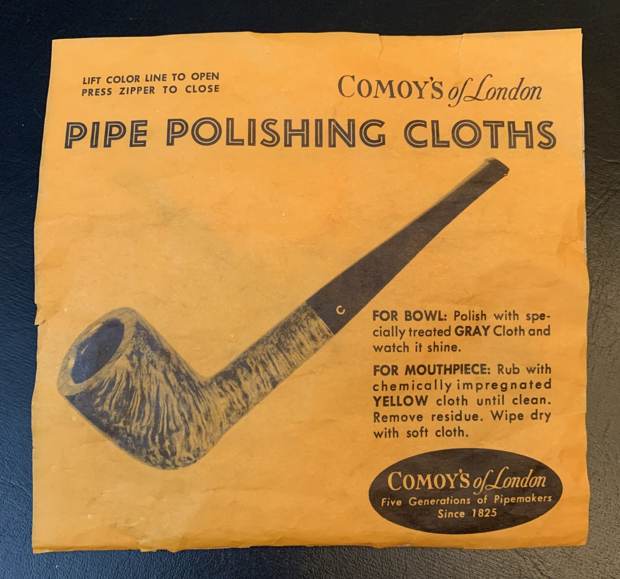
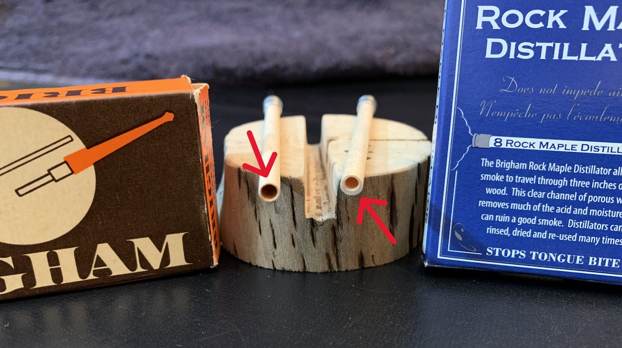
 Finally, I have a box of Brigham Maplewood filters. This has a 1960s/1970s feel about it, but I’m just guessing at this point. It just so happens that I have a new box of Brigham filters and I wanted to compare. So, I laid a new one and an old one side-by-side and saw two differences. First, the old filter was notably thinner than the new one. Second, all the new filters were drilled off-centre, as compared with the old filters. You can make of that what you will!
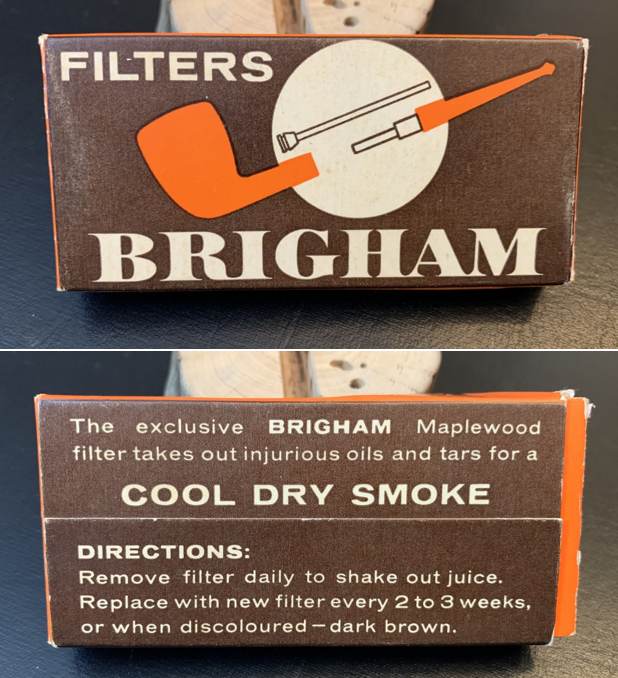
 As it is Christmas Eve, I would like to wish you and your loved ones a joyous Christmastide. I look forward to sharing more pipe tales with you in the new year. Please continue to follow me here on Steve’s website or email me directly at kenneth@knightsofthepipe.com. Thank you very much for reading and, as always, I welcome and encourage your comments.