Blog by Steve Laug
This morning I decided to work on another of the older cased pipes that I have here. This one is a cased Bent Bulldog. It has the brass (rolled gold?) filigreed rim cap and ferrule from the late 1800s and early 1900s of many of the other ones I have worked on previously. We bought this pipe from an online auction on July 30, 2019 from Oceanside, New York, USA. The pipe had no stamping on the shank or bowl but the case had a gold L.G.B. oval logo stamped inside the cover. The leather cover on the case was in was worn and in rough condition but still solid. There was heavy wear on the edges of the case but the hinges and lock still worked very well.  Don’t you want to know what is inside of this case? It really is another beauty though it has the marks of a hard journey. Well… I will get there. Jeff opened the case to show us what the pipe looked like inside. The lining of the case was far more worn and had a orange colour to it. It had L.G.B. stamped on the inside of the cover. The rolled gold (brass) cap and ferrule were ornate and filigreed. The finish on the bowl was quite dark and opaque but I am pretty certain that the bowl is made of meerschaum. The amber stem was cracked on three sides with a deep crack but it had been repaired sometime in its life from the look of it. It was a pretty pipe.
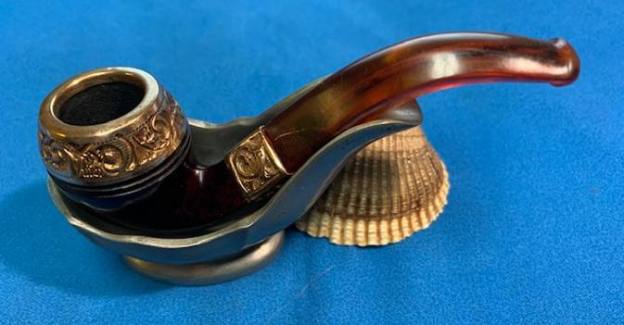
 It was another beautiful looking older pipe. The meerschaum is dark – almost cherry coloured and goes very well with the amber stem. The gold coloured rim cap and shank ferrule were dirty but in good condition. The cap was smooth and not dented which was quite surprising to me for an older smoked pipe. The stem was amber had a large repaired crack on the top and underside of the diamond shape. It was chipped and dirty as well. It still looked all right but definitely had the tooth marks and chatter of its previous trustee! Once again this was an old timer – a pipe from the late 1890 or early 1900s. The case has a gold stamped L.G.B. in an oval logo on the inside of the green fabric lid. The shank of the pipe bears no stamping on either side. Have a look at the photos of the case lid below.
 Jeff took the pipe out of the case and took photos of the pipe to show the look and the condition it was in when we received it. The bowl and the “gold” was in excellent condition. There was a cake in the bowl and the rim top had some spots of lava on it. The stem is beautiful but under the bright light of the flash appears to have a lot of crazing that is often in these old amber stems.
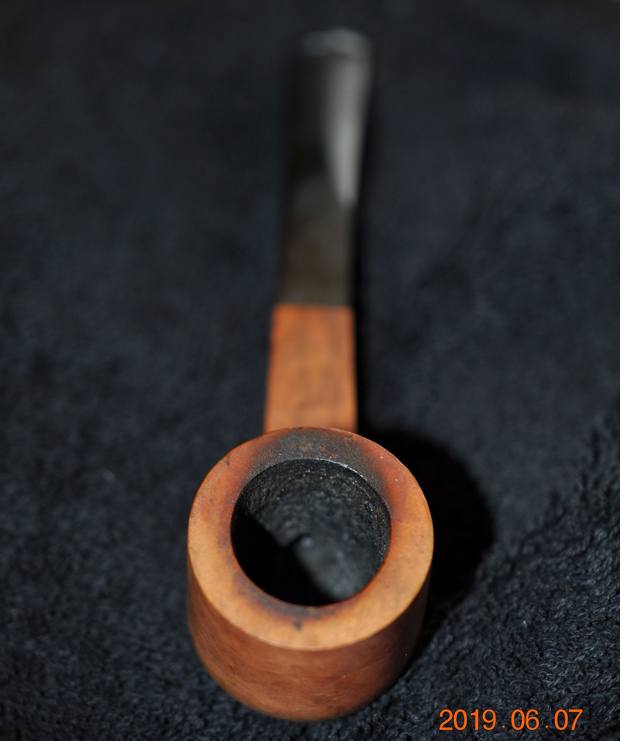
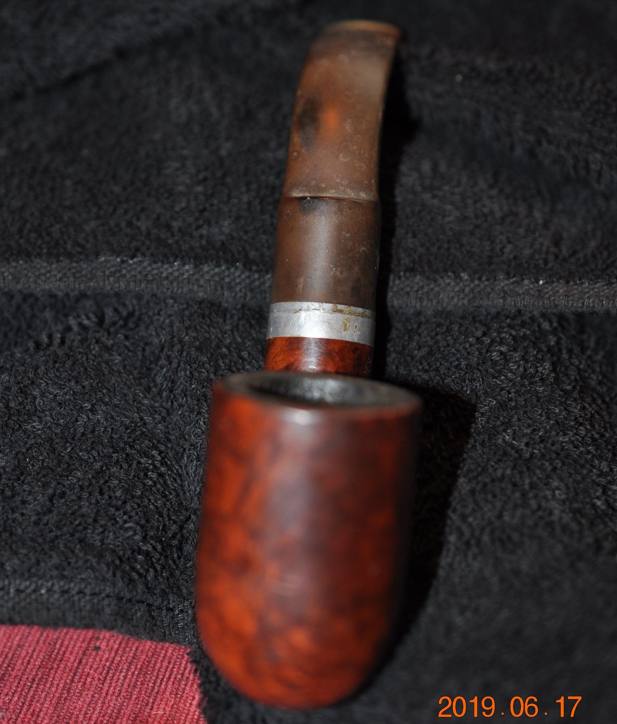
 He took close up photos of the bowl, rim and stem surfaces to show their condition. You can see the light cake in the meerschaum bowl and tars/oils on the rim top that tell the story of how the pipe was used by its previous caretaker. The bright flash of the camera shows the crazing in the amber on both sides of the stem. You can also see the tooth marks in the stem surface.
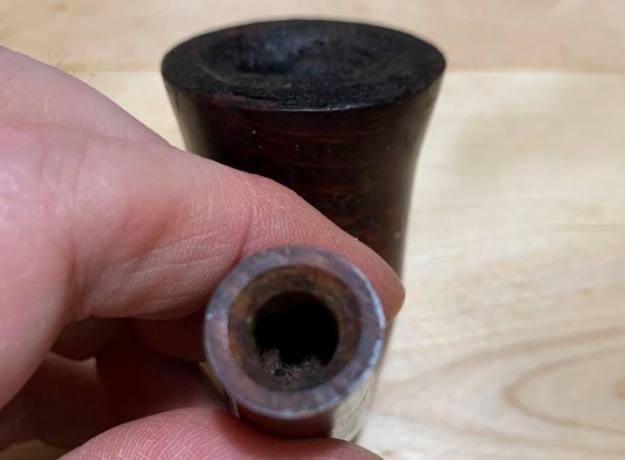
 He took photos of the metal tenon in the shank to show the tars and debris that had collected on the screws of the tenon. It was well used and filthy. It was anchored in the shank and the stem was threaded and screwed on to it. The end of the shank confirms that the pipe is meerschaum to me. You can also see the chips/cracks in the stem.
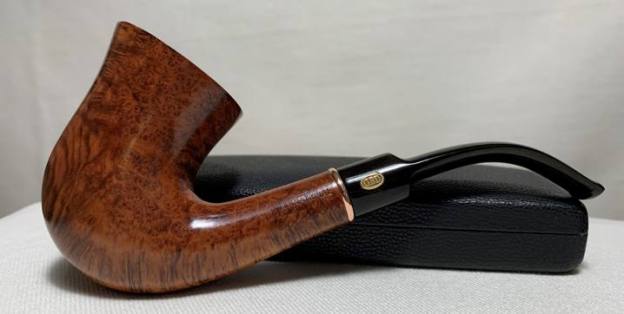
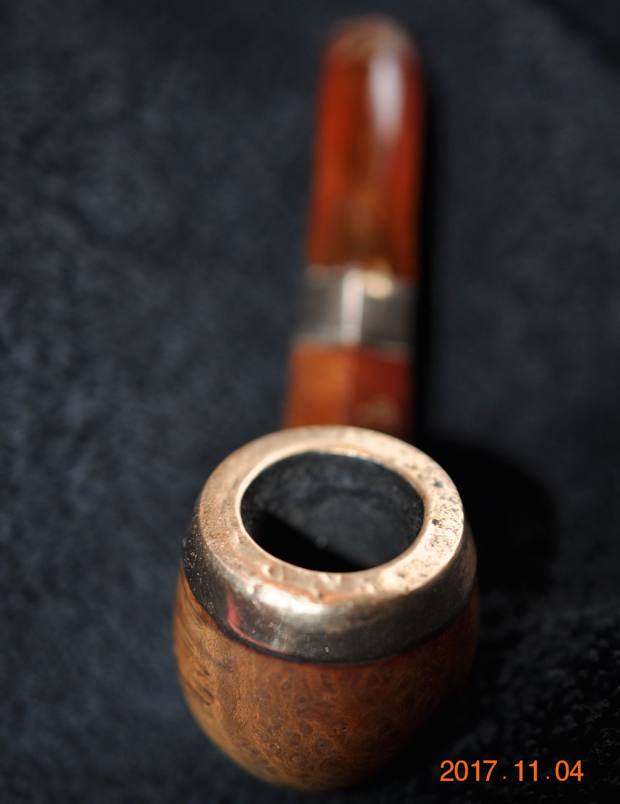
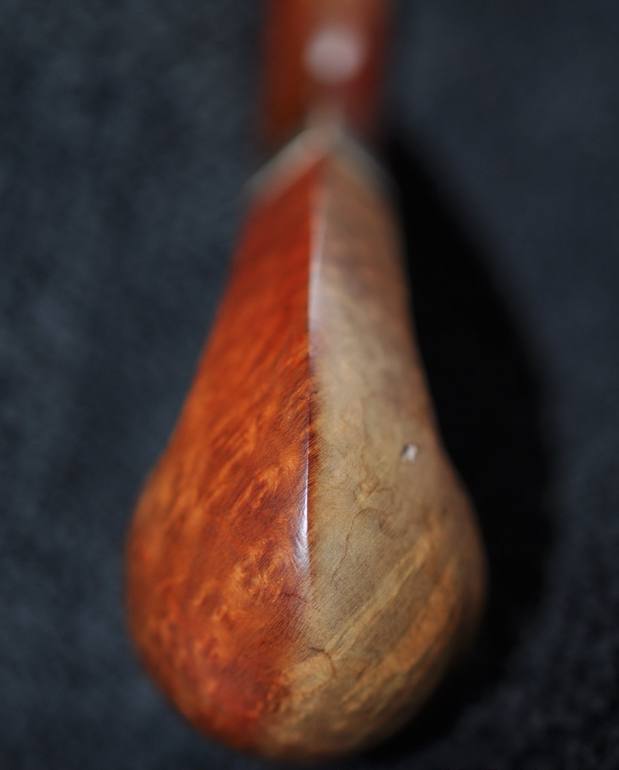
 He also captured the look of the bowl. When I first took it out of the case I thought it was briar but I don’t think it is. I am pretty sure that it is meerschaum. It actually looks quite amazing. The twin rings below the rim cap have dirt and grime in them but otherwise the bowl is in good condition.
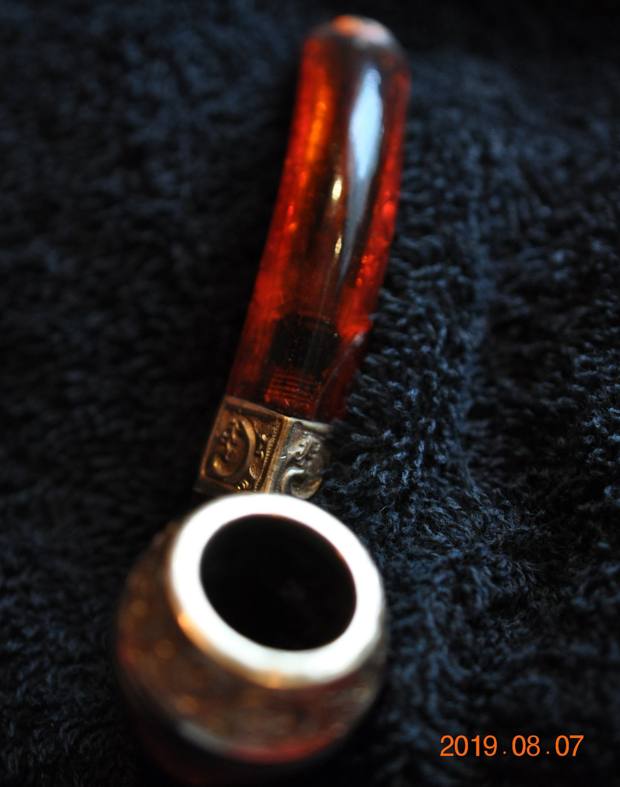
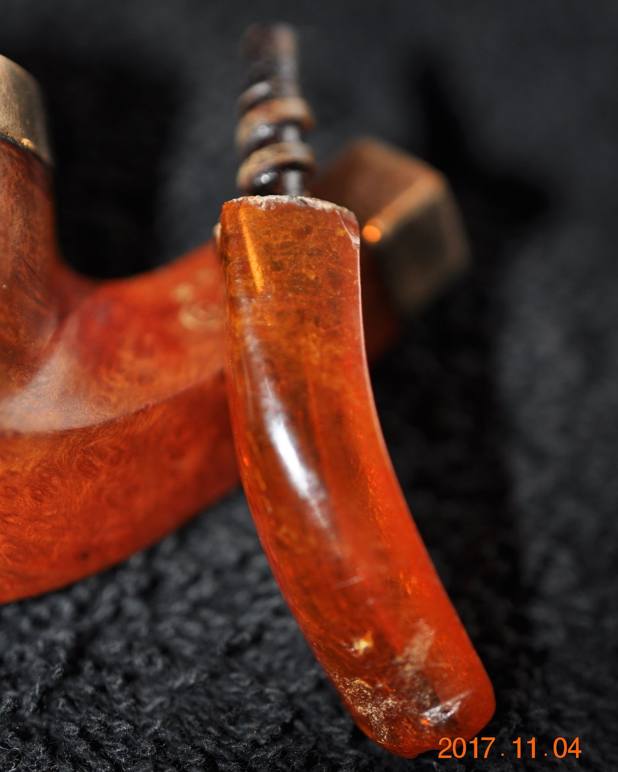
 He also took some photos of the crack in the stem. The first photo shows the stem from the top left side of the diamond stem. The second one shows the left underside of the stem. You can see that it is actually missing some chips in the second photo. Someone did a repair on the stem as you can see the glue marks on the first photo. It was a solid repair but would need to be revamped and cleaned up.
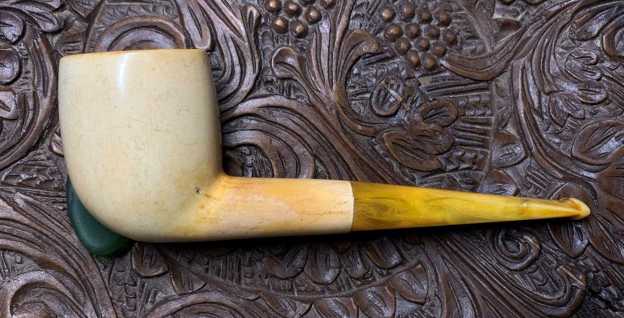
 I turned to the internet to see if I could find information on the L.G.B. brand and was not able to find anything about it. The only thing that came up was a link on Worthpoint for a carved figural meerschaum (https://www.worthpoint.com/worthopedia/large-meerschaum-smoking-pipe-bent-1799326507). I have included a screen capture of the pipe below.
 The seller described the pipe with the words below. It was the most information that I could find on the brand. I am not sure how applicable the information is but it is a possible link.
Beautifully hand carved! Length is about 7 inches. Real amber stem. Gold center ring. I have not cleaned this meerschaum. Leaving that to the new owner to do as he/she wishes. The original case has inscribed ‘Made In Austria’ and ‘L.G.B. Real Meerschaum Amber’.
Jeff had cleaned it thoroughly. He had reamed it with a PipNet reamer and cleaned that up with a Savinelli Fitsall Pipe Knife. He had scrubbed the exterior of the briar with undiluted Murphy’s Oil Soap. He cleaned out the interior of the shank and airway with alcohol, pipe cleaners and cotton swabs. He carefully cleaned out the amber stem with clean water and pipe cleaners to remove the debris and oils in the airway and the threads of the tenon. I took photos of the pipe when it arrived here. The first two photos show the worn case. The third one shows the pipe in the fitted case and the L.G.B. logo stamped on the lid of the case. While worn it is clear and readable.
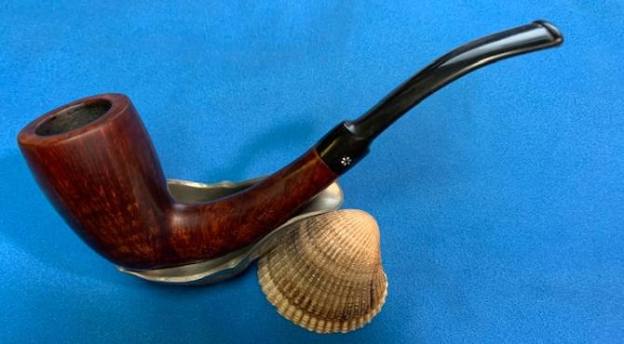
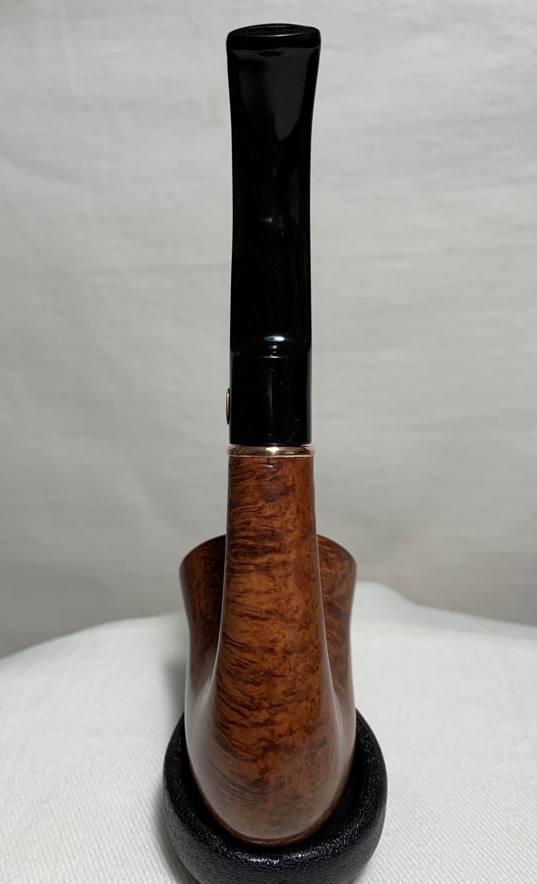
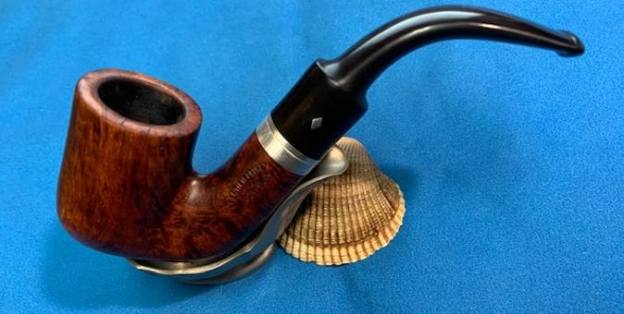
 The overall look of the pipe after cleaning shows the beauty of the meerschaum bowl. It looks amazing with the genuine amber stem. The crack in the stem is visible in the photos and it is solid and usable.
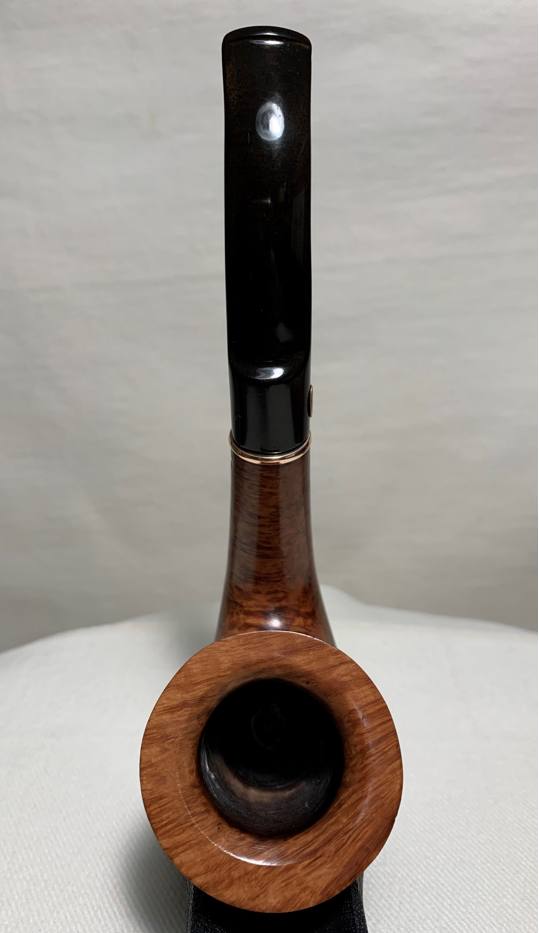
 I took a close up photo of the bowl and rim top to show the condition of the cleaned bowl and rim cap. You can see the clean bowl and the smooth and undamaged rim cap. I also took some photos of the amber stem to show how it looked. The crazing in the surface of the stem is visible deep in the photos. The crack in the stem surface is not visible in the photos but it is very present.
 I took a photo of the left side of the shank. There was no stamping on either side of the shank to identify the brand. You can also see the rolled Gold Plated Ferrule on the shank end in the photo. The photo also shows a crack in the amber stem on the left side. Even in its worn condition it still is a beautiful looking piece of pipe history.
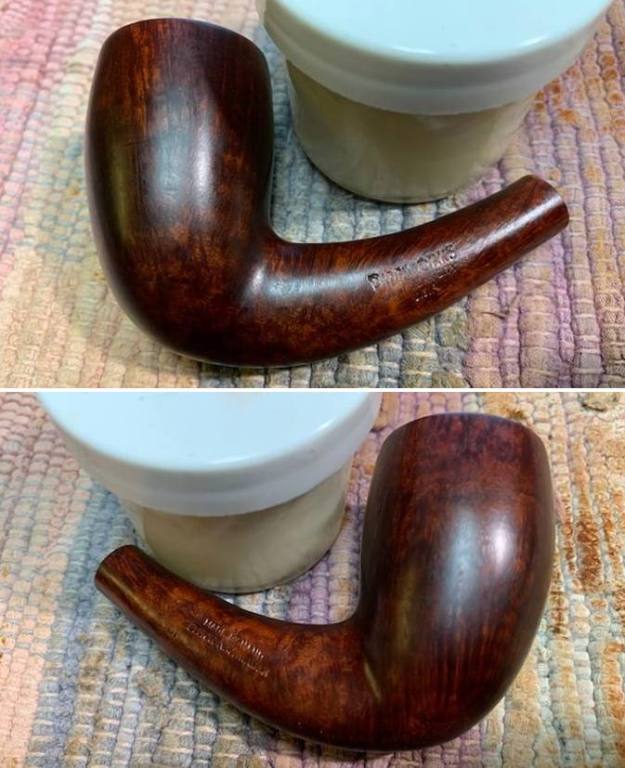
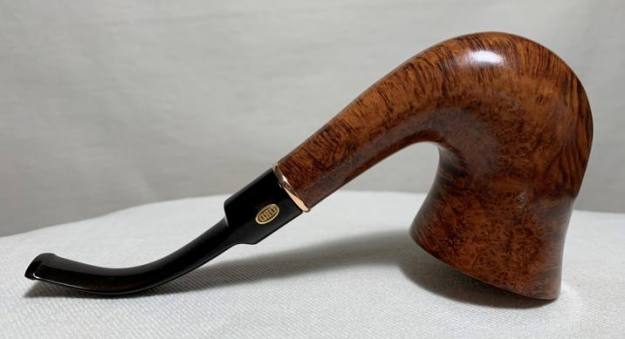
  I worked some Before & After Restoration Balm into the surface of the bowl and amber stem with my fingertips to clean, enliven and protect the briar and amber. I let the balm sit for 15 minutes and then buffed with a cotton cloth to raise the shine. The photos show the bowl at this point in the restoration process. It is definitely looking much better and more full of life.

 I put the bowl in the case for awhile and turned my attention to the stem. I started the process by filling in the cracks on the sides of the stem and tooth marks on the stem surface with clear CA glue. I set the stem aside to let the repairs cure.

 I sanded the stem with 220 grit sandpaper and followed that by polishing it with some 400 grit wet dry sandpaper. It really began to take on a shine.
 I polished the stem with micromesh sanding pads – dry sanding with 1500-12000 grit pads. I wiped the stem down after each pad with a cloth impregnated with Obsidian Oil. I finished polishing it with Before & After Pipe Stem Polish – both Fine and Extra Fine and gave it a final coat of Obsidian Oil.
 When the bowl and the stem were finished this L.G.B. Bent Diamond Shank Meerschaum Bulldog looked much better. I carefully hand buffed it with a microfiber cloth to raise and deepen the shine. It another beautiful pipe that is well over 100 years old. The dimensions of the pipe are – Length: 4 inches, Height: 1 ½ inches, Outside diameter of the bowl: 1 inch, Chamber diameter: 5/8 of an inch. The weight of this large pipe is .95 ounces/28 grams. This L.G.B. Meerschaum Bent Bulldog was another great find that goes with other older pipes from various brands that I have restored in the past. This is a pipe that will hold another special place in my collection. It is also one that will likely be smoked sometime along the way. It is another pipe that has the capability of transporting the pipe man or woman back to a slower paced time in history where you can enjoy a respite. Thanks for walking through my restoration of this great find.


 This was an offer I could not refuse. The St. Louis Lot of 26 was secured and I made my choice of a Christmas pipe of 2018. The box was wrapped and placed under the tree in Denver, where our family gathered that year. When the gifts were distributed, my name was on the wrapped package from Josiah. After unwrapping it, the…