Blog by Steve Laug
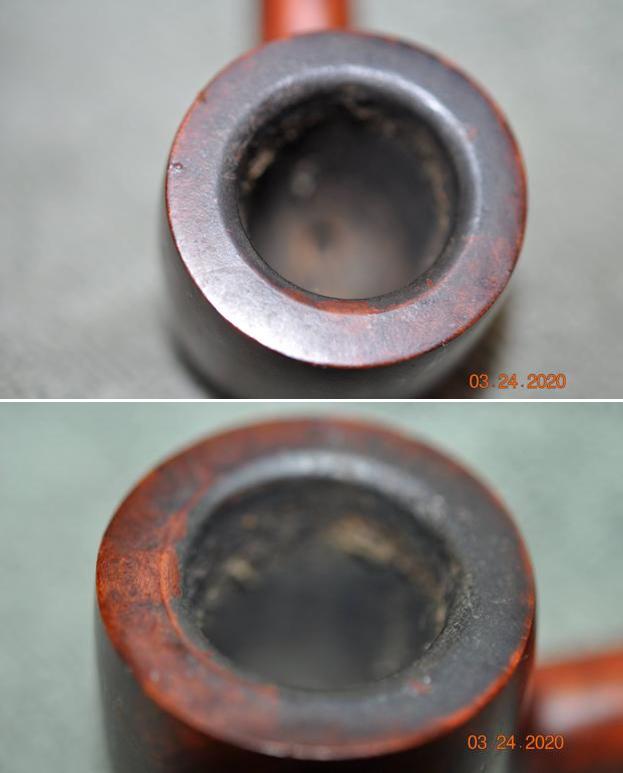
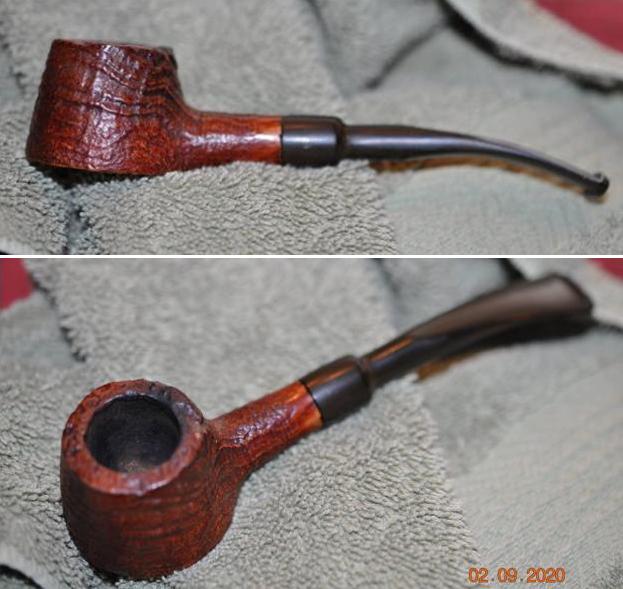
This July long weekend has been a bit of rest and relaxation for me as I have been able to take time in the basement at my work table and deal with pipes that have been piling up in the boxes around the table. I have posted two I have worked on already – both French Made – a Butz-Choquin Optima, a Chatham Volcano as well as a Savinelli Duca Carlo Pot. They were all interesting pipes because of the shape and style. This next one was more of a relaxed restoration because it was a classic shape and did not present too many challenges. Jeff purchased this pipe from an antique mall Ogden, Utah, USA. It had an interesting light brown finish on it that reminded me of a darkened natural briar. The bowl was classic Calabash shape. There was a thick cake in bowl and lava on the rim top and the inner bevel. The finish was filthy with grit and grime ground into the surface of the briar. The pipe is stamped on the left side of the shank Butz-Choquin at an angle [over] Cocarde and on the right side it was stamped St Claude in an arch over France [over] the shape number 1283. The stem was oxidized and had light tooth marks and chatter on both sides at the stem. The BC logo on the left side of the taper was faded and needed to be touched up. Jeff took photos of the pipe before he started his clean up work.
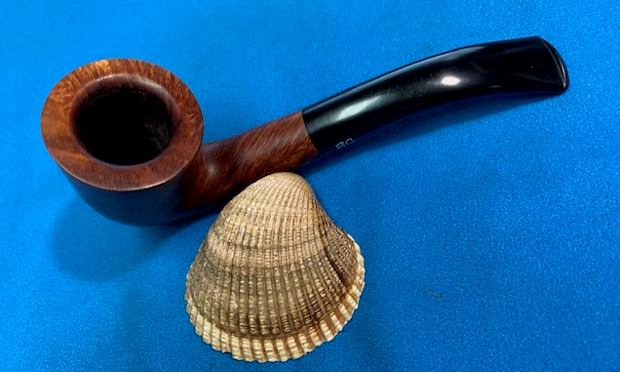
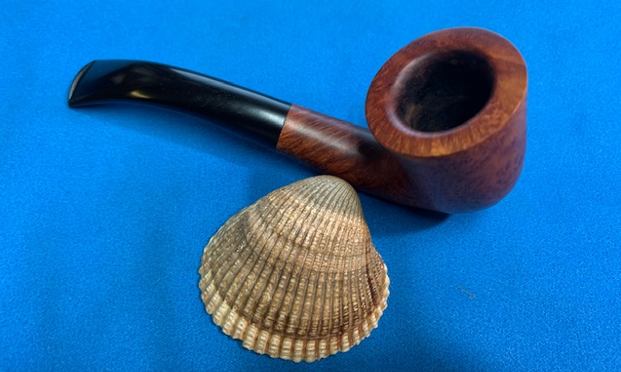
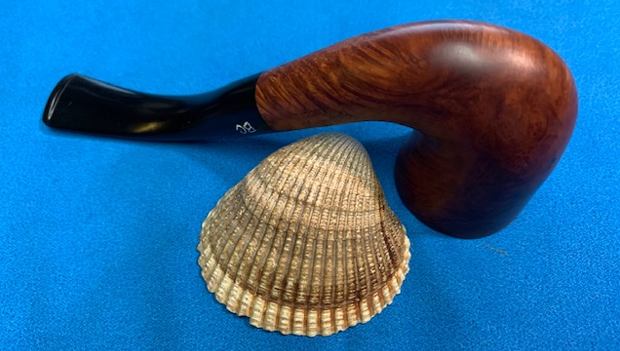
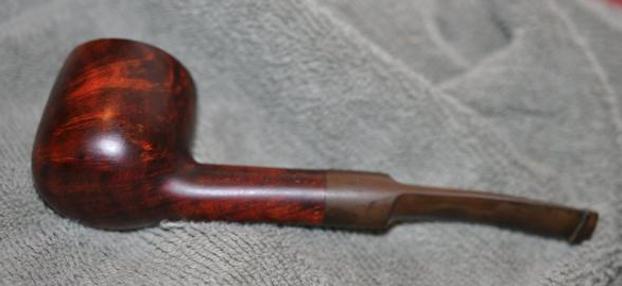
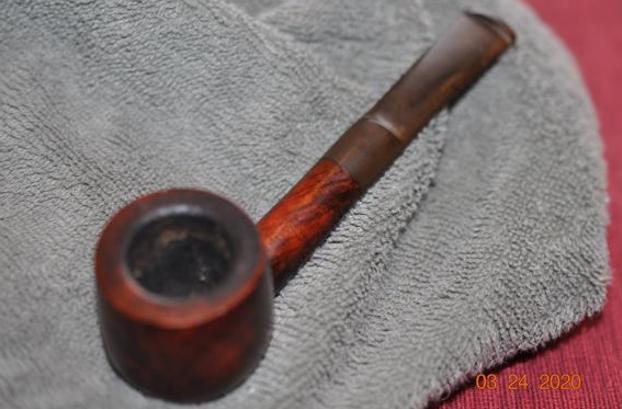
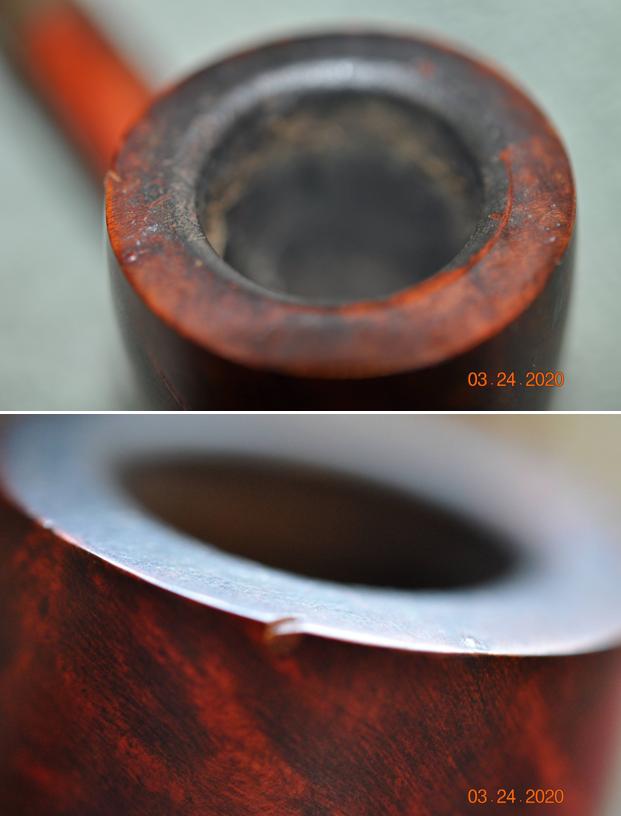
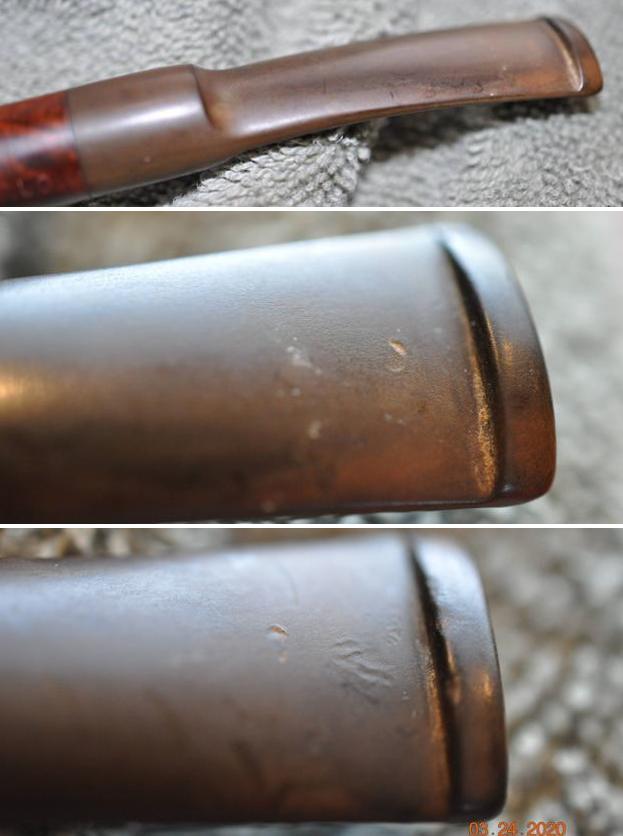
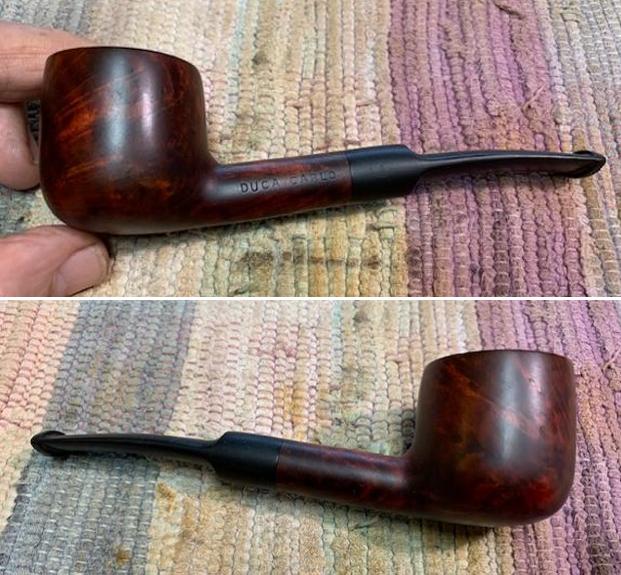
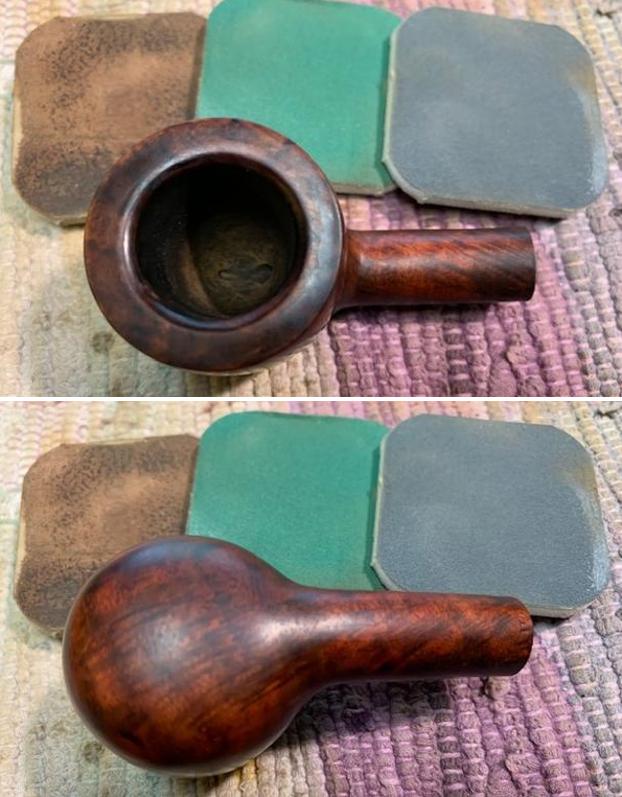
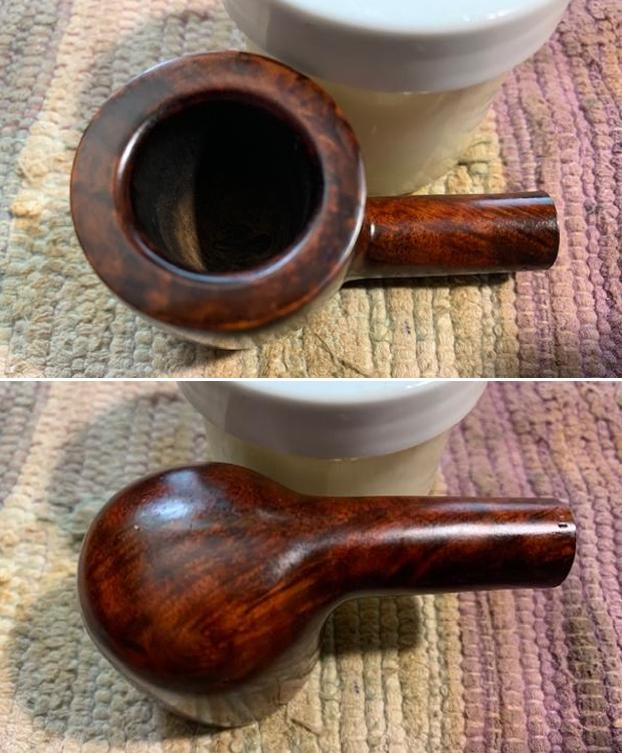
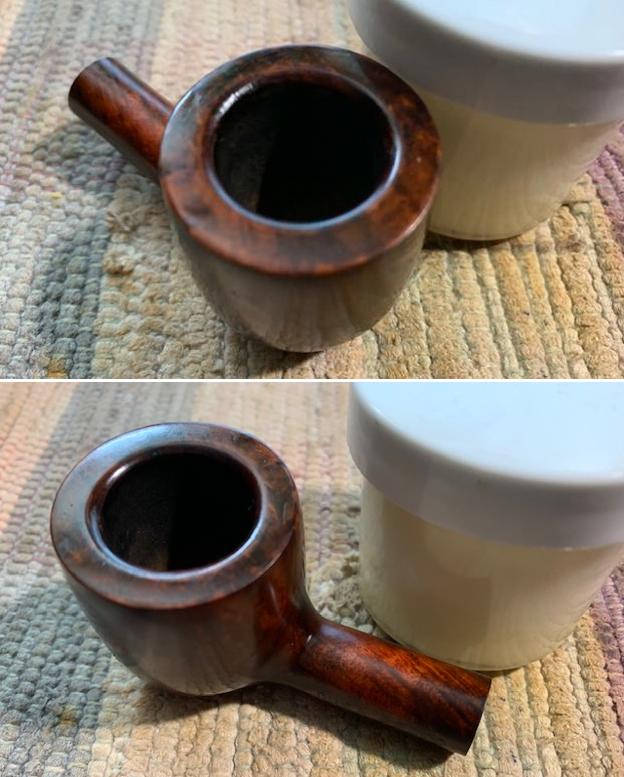
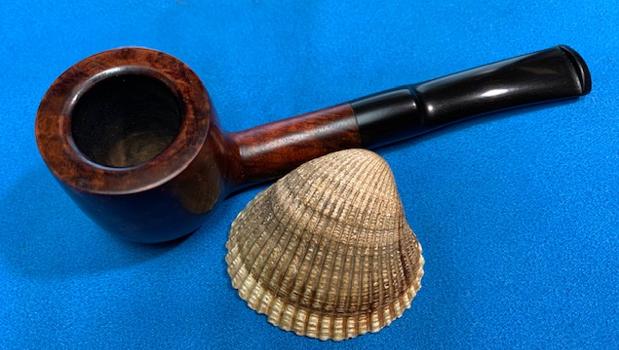
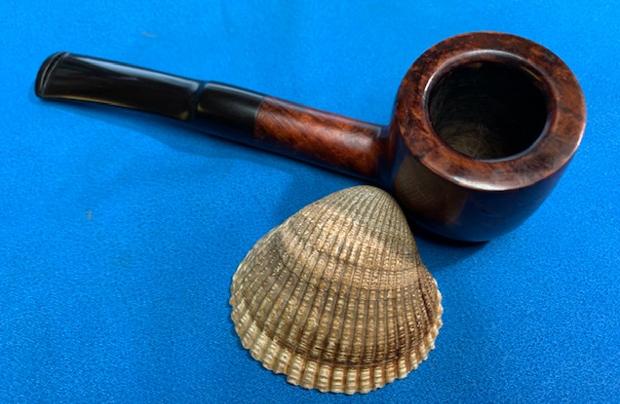
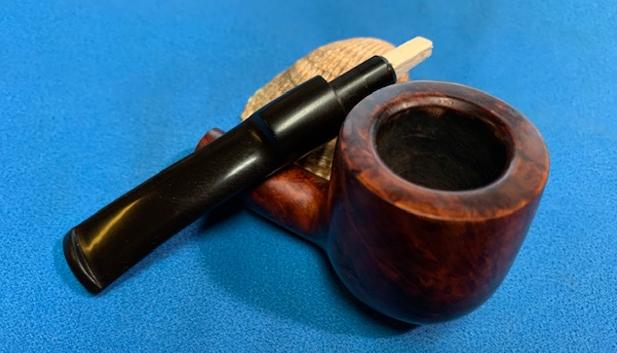
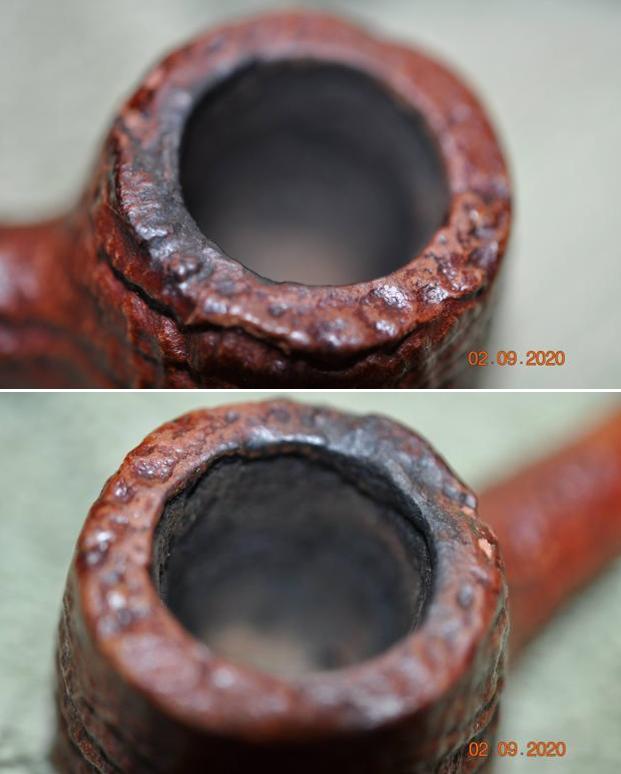
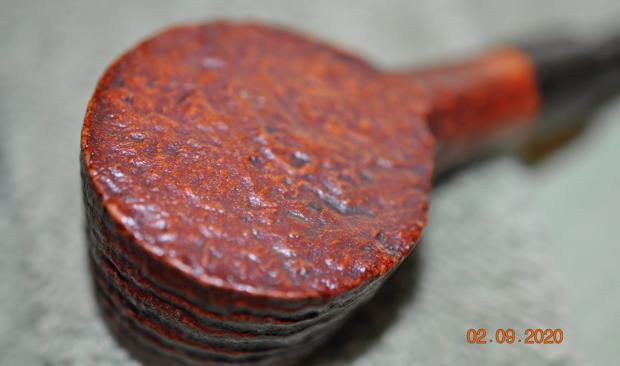
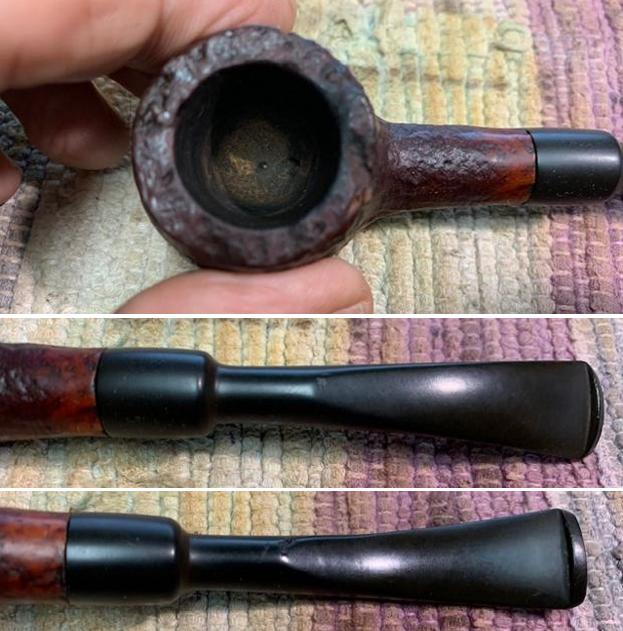
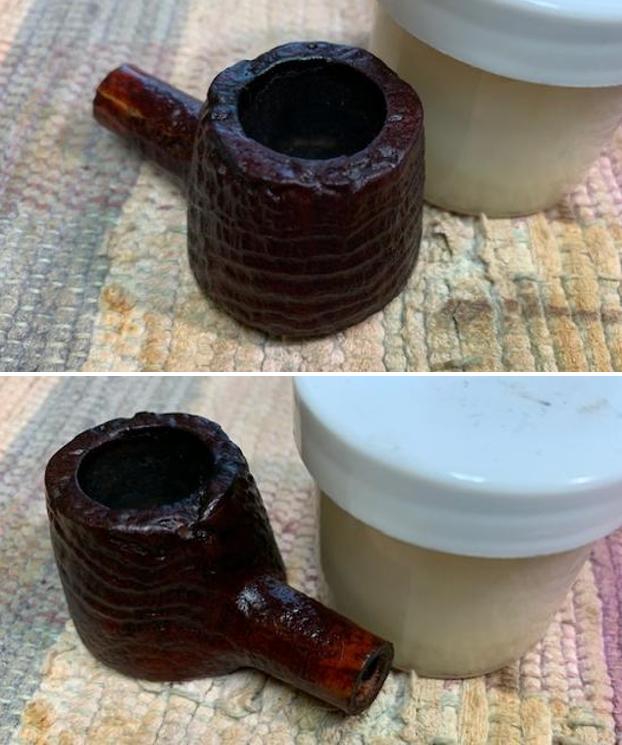
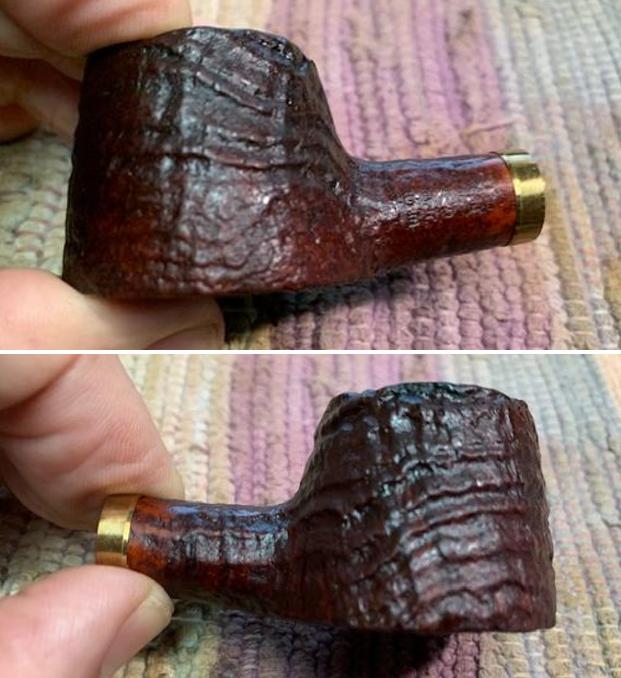
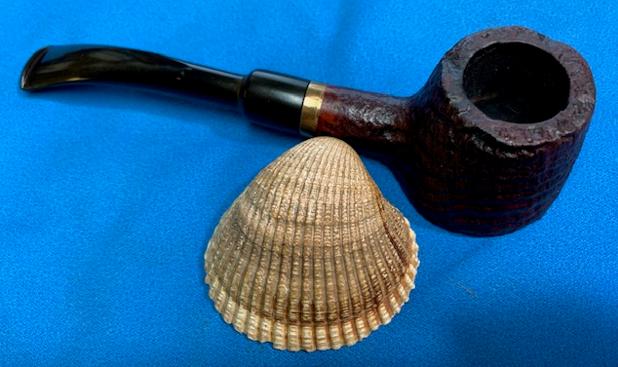
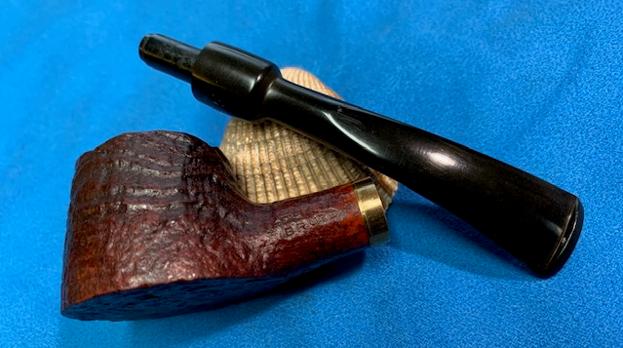
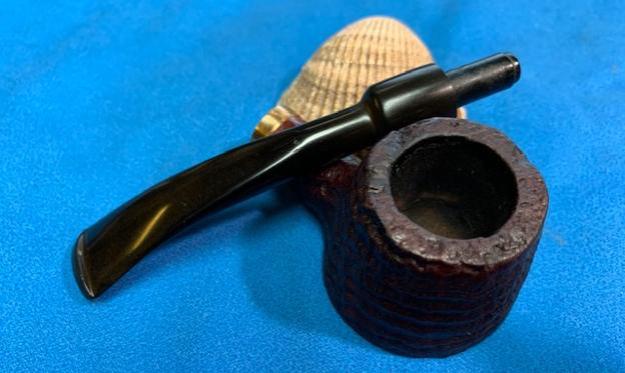
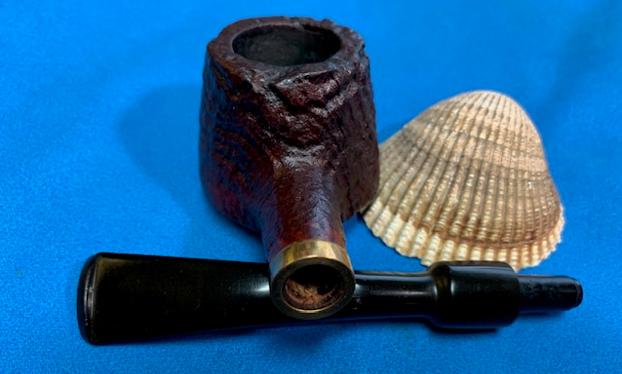
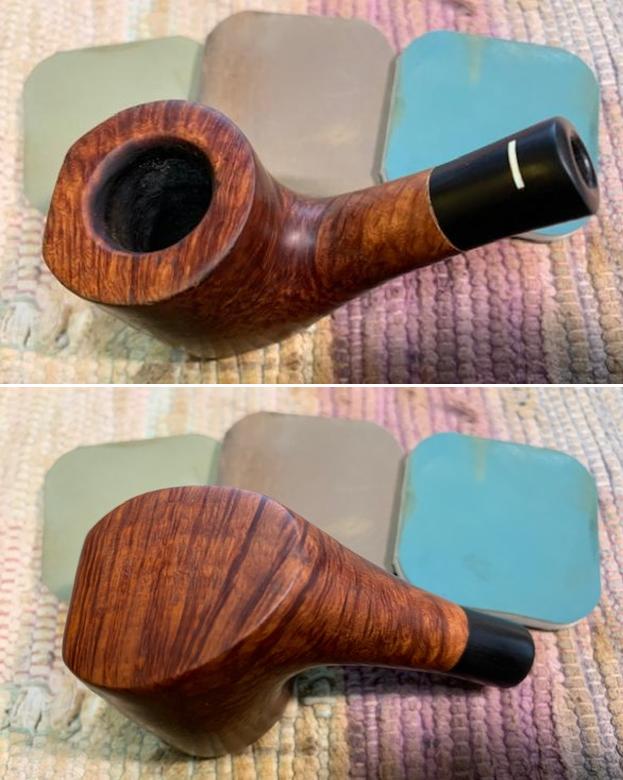
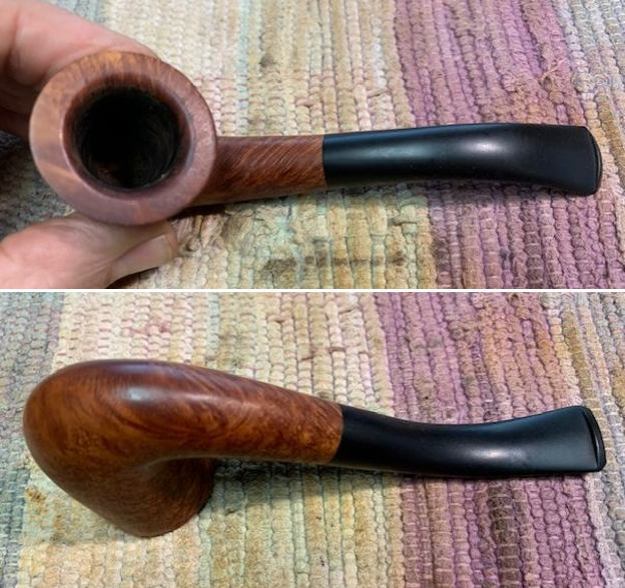
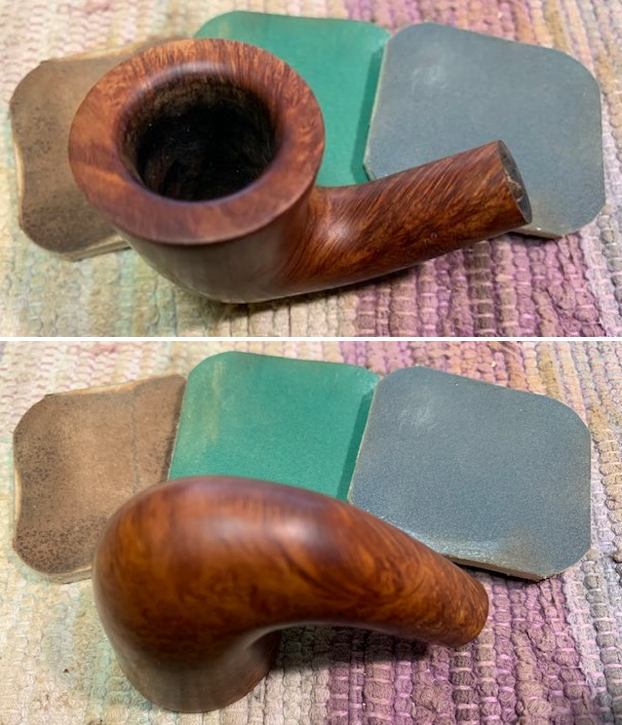
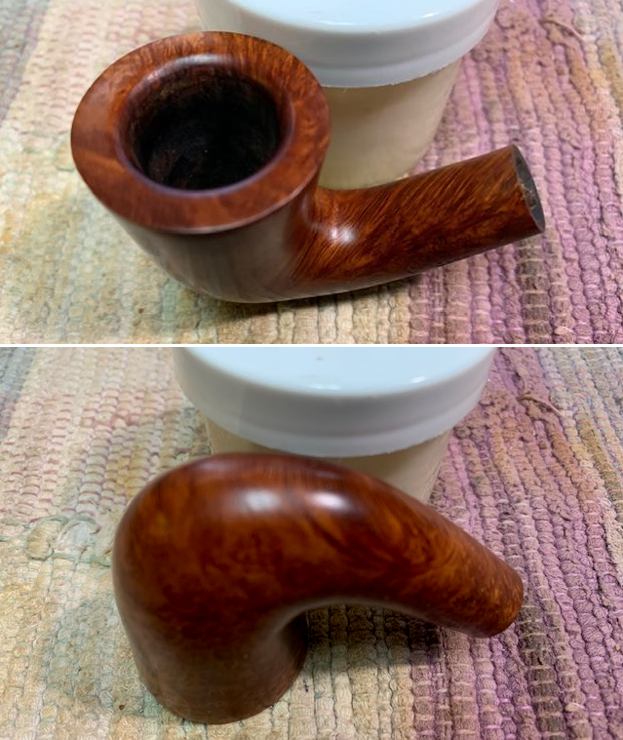
 I like to have an idea of how the pipe was smoked before we got it and what the bowl and rim top looked like. Jeff always takes some photos of the bowl and rim from various angles to show what it looked like. The stem looked very good under the oxidation.
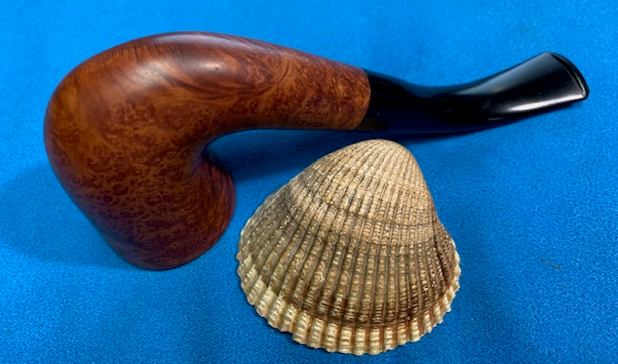
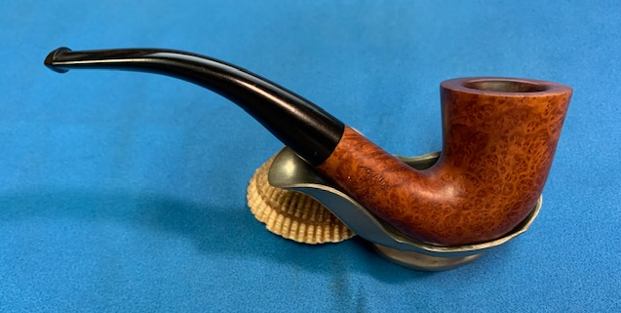
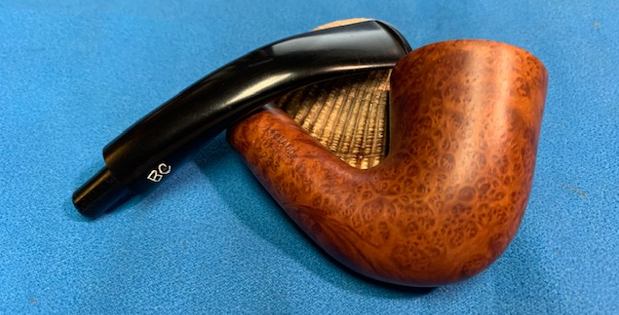
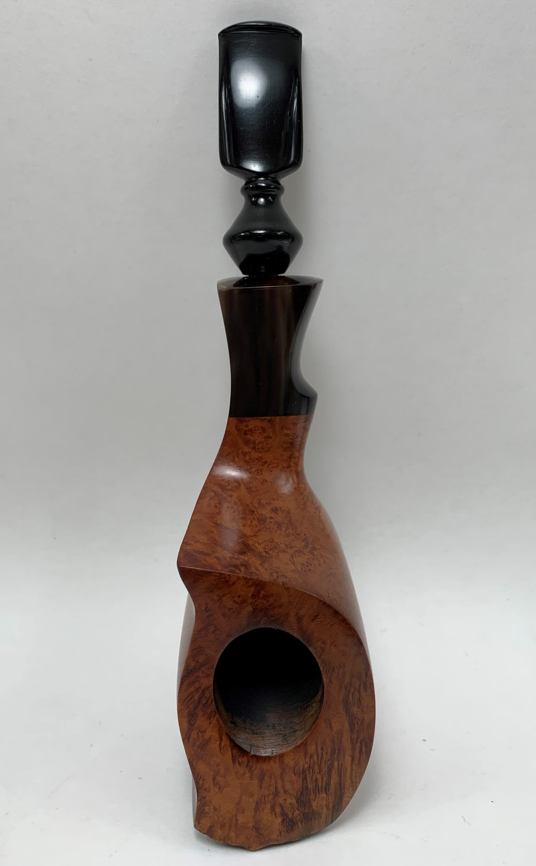
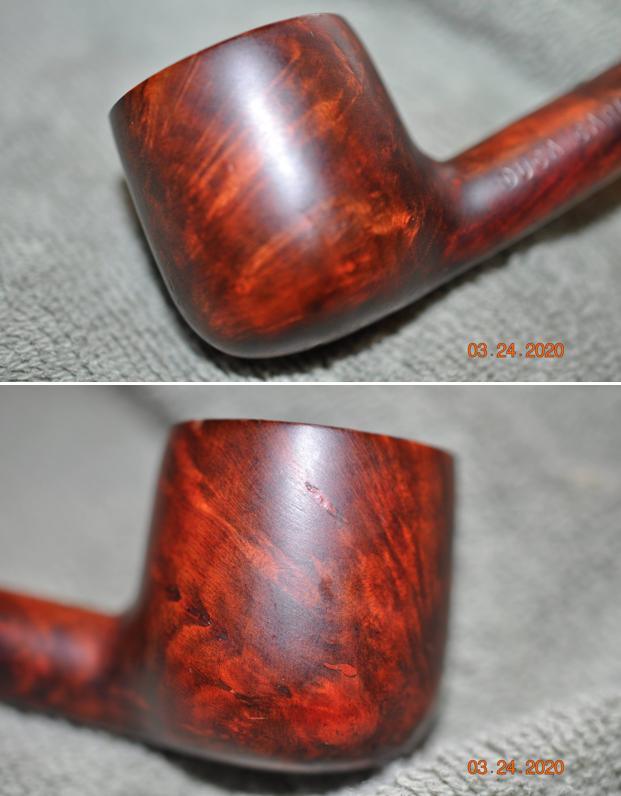
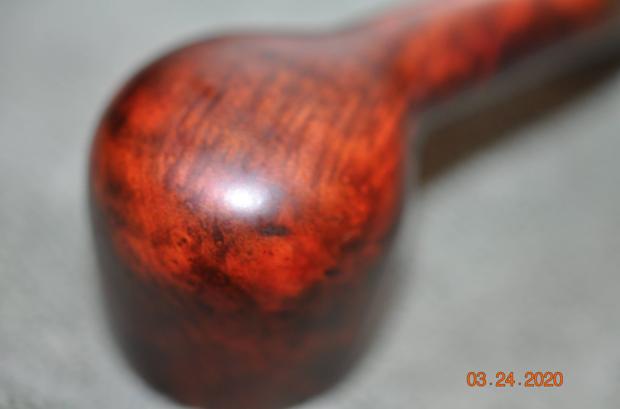
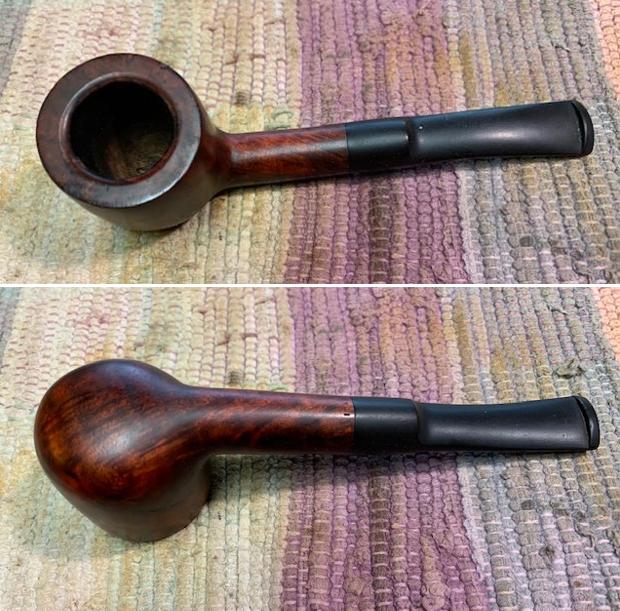
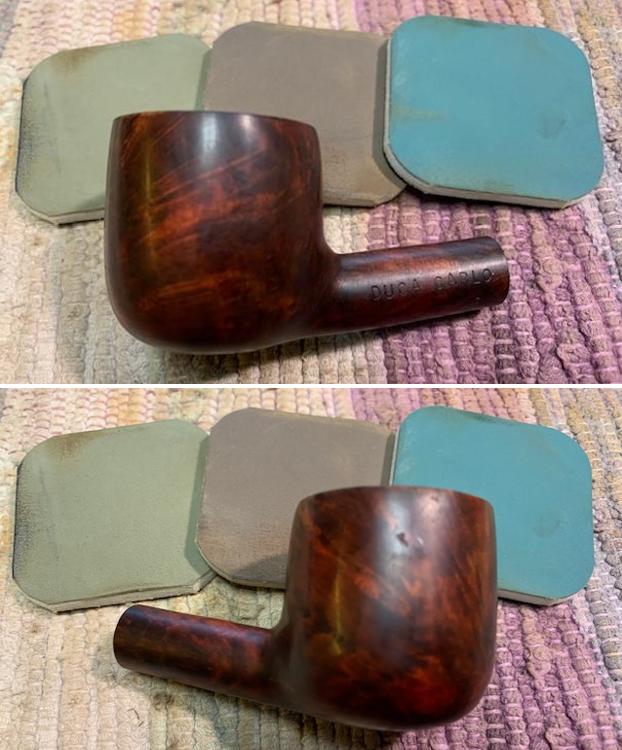
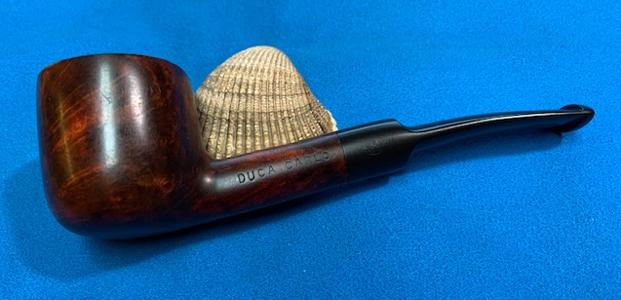
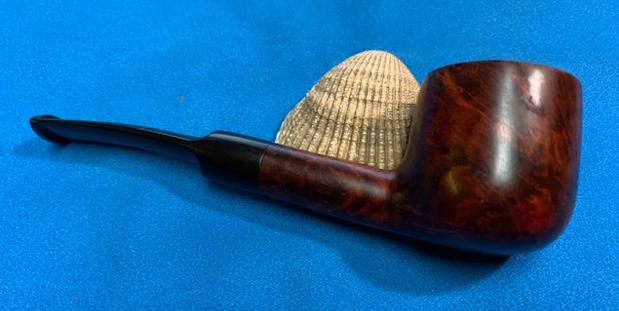
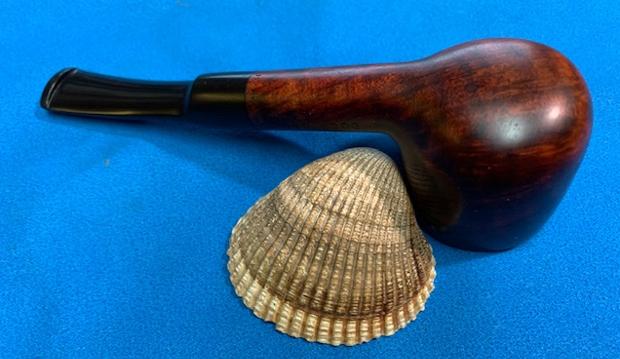
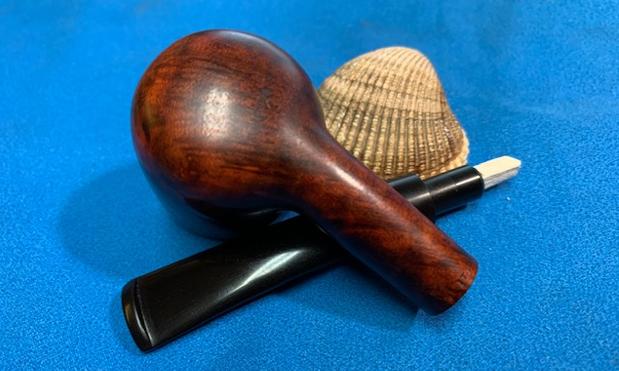
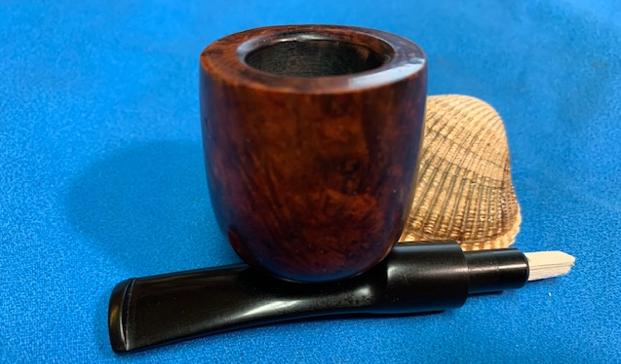
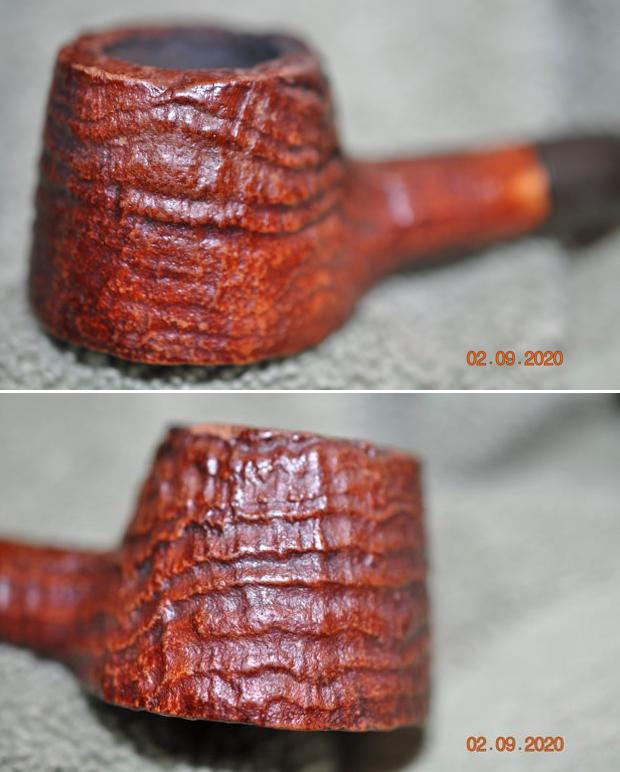
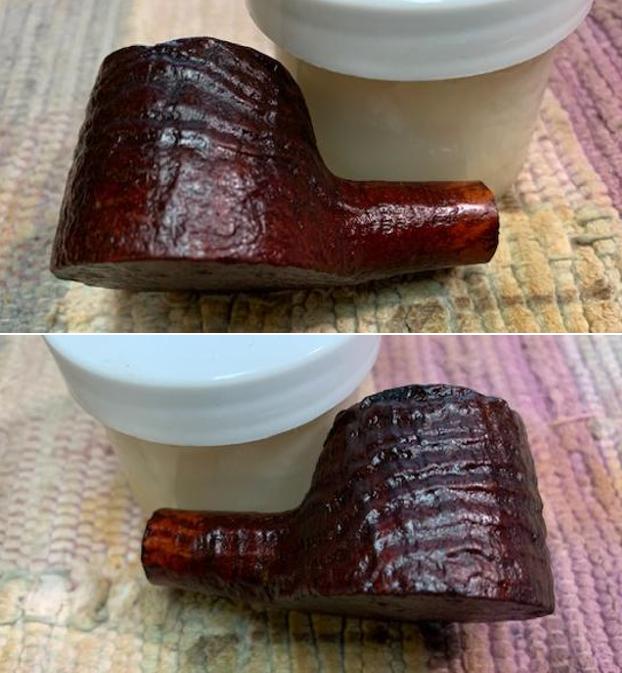
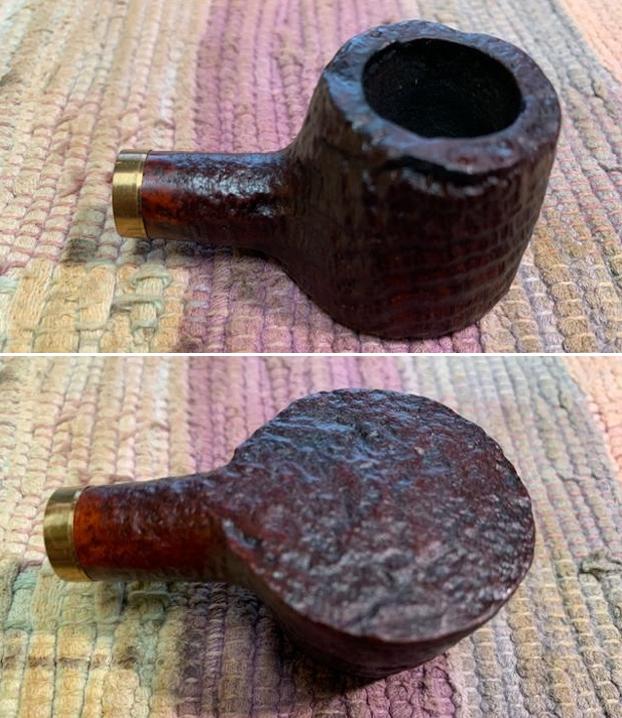
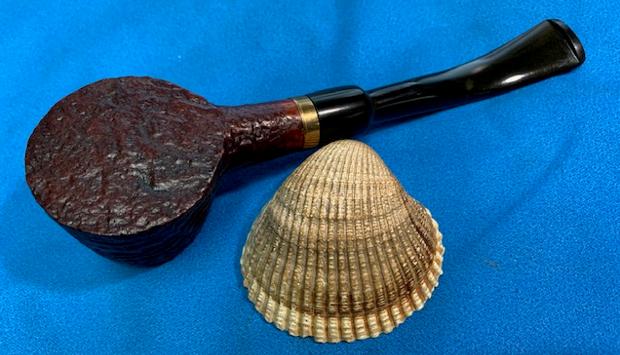
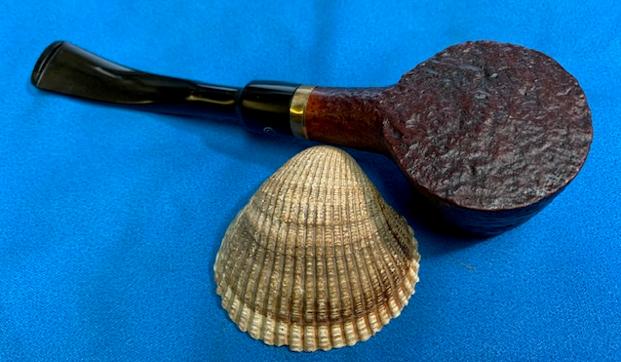
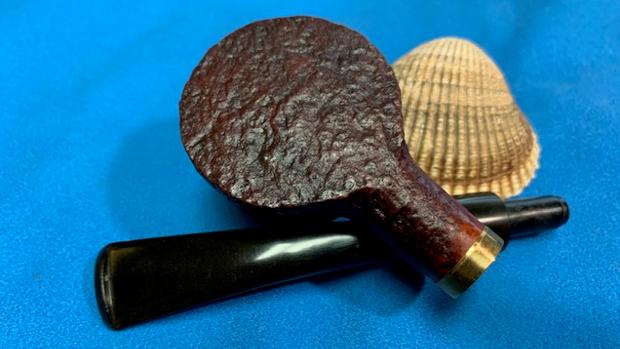
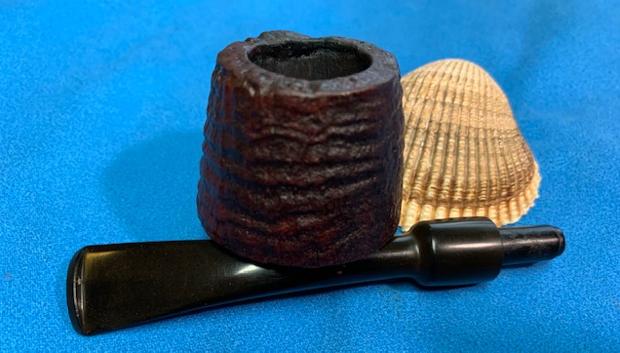
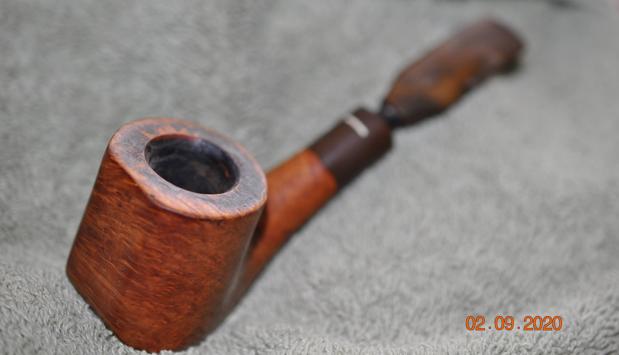
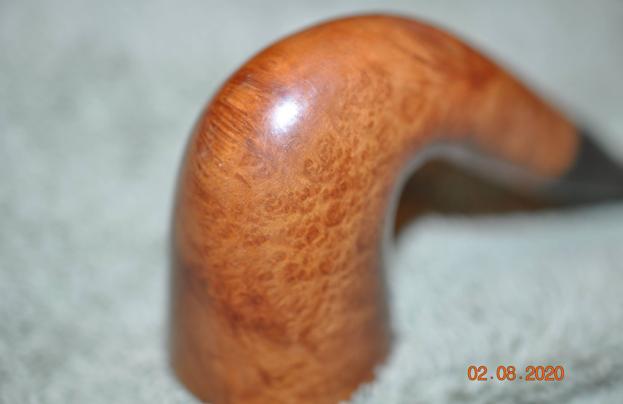
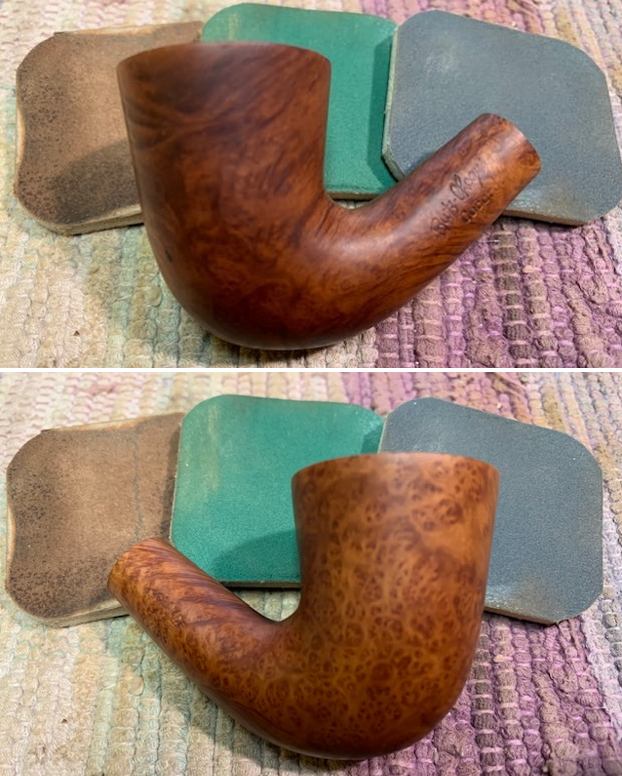
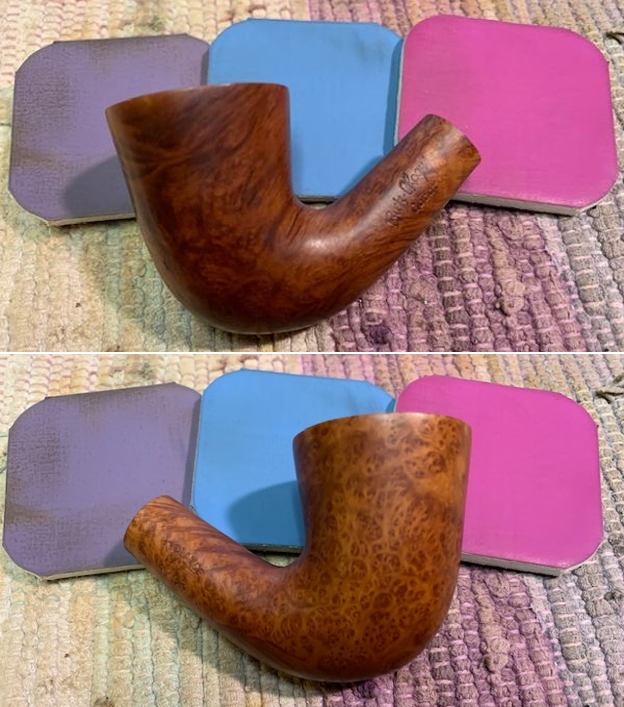
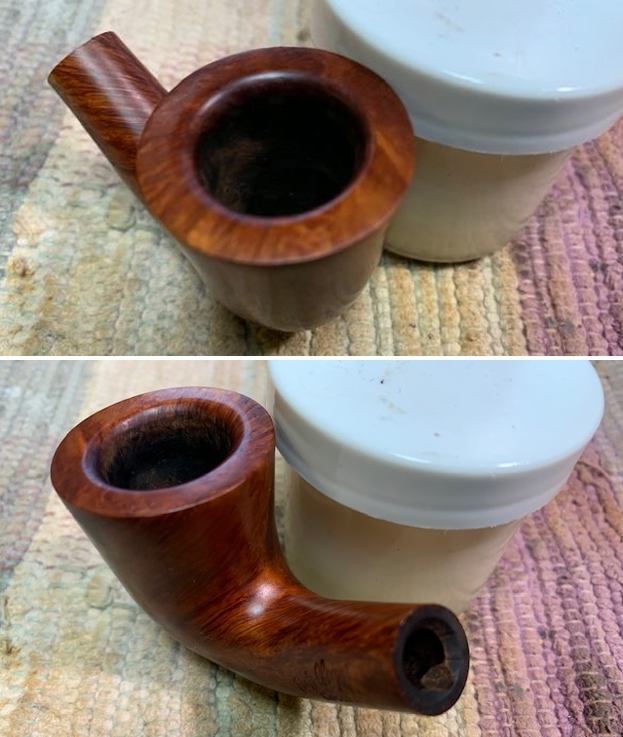
 He took photos of the sides and heel of the bowl to give a sense of the grain on the pipe.
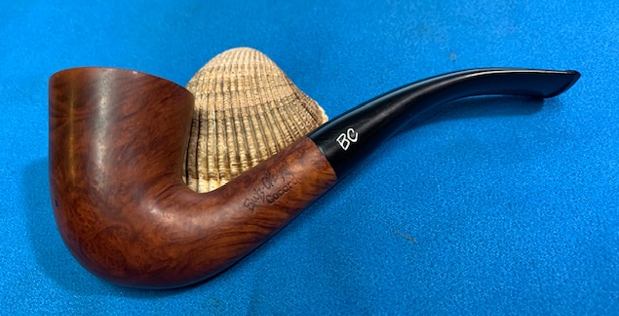
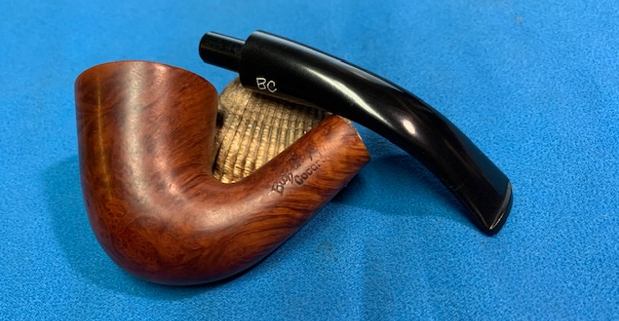
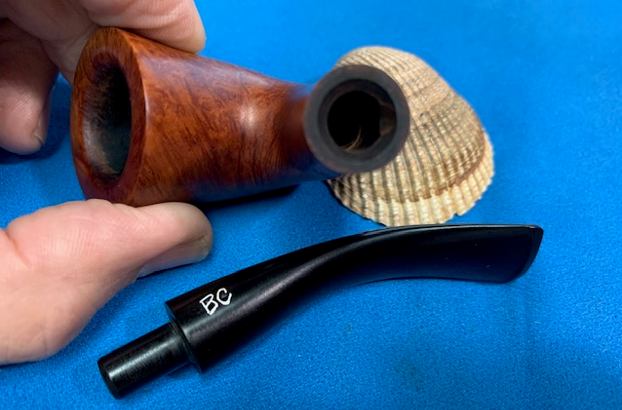
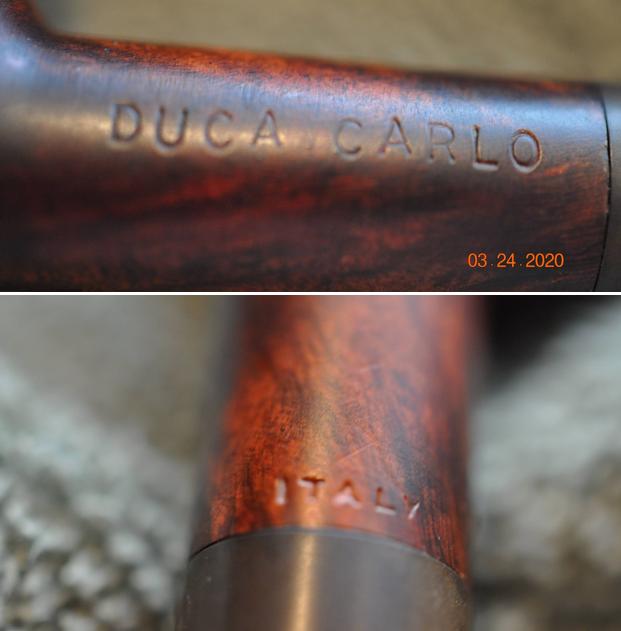
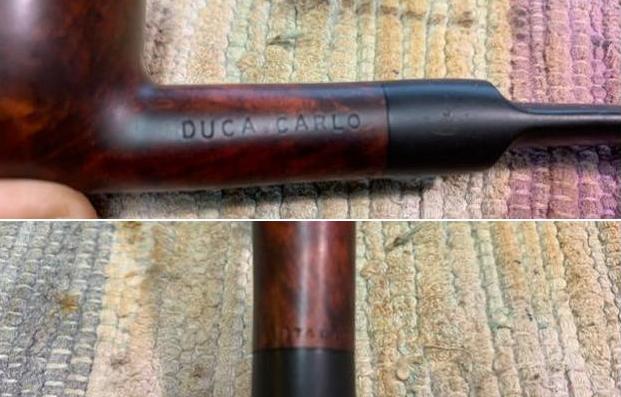
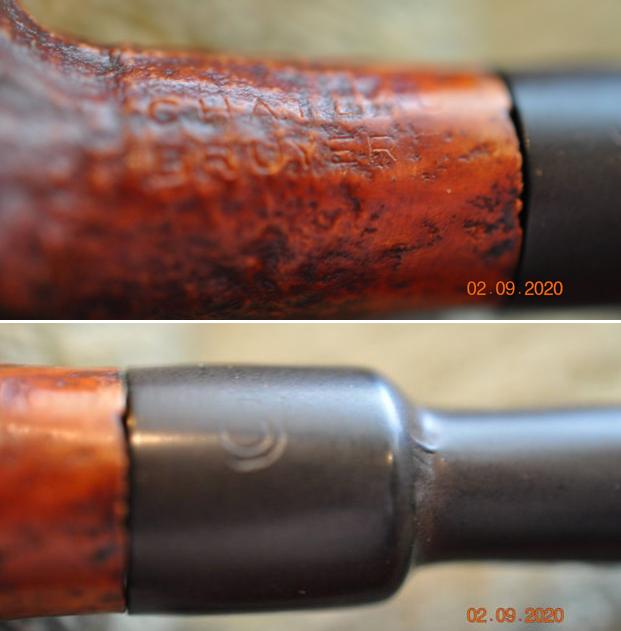
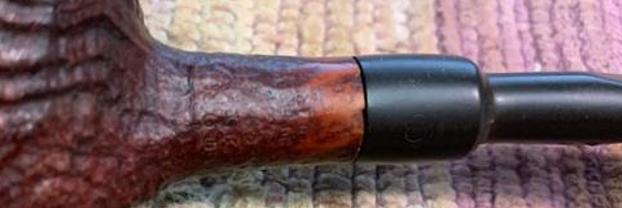
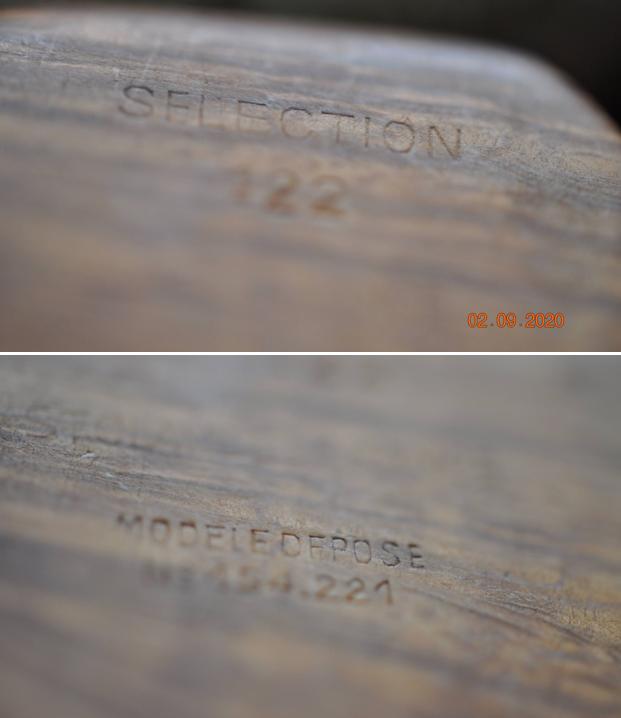
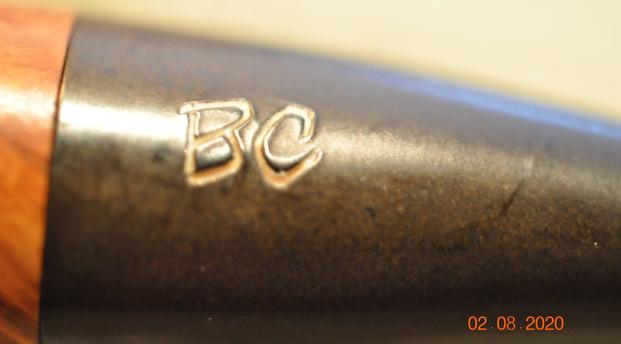
 The next two photos show the stamping on the left and right side of the shank. It is clear and readable as noted above. Jeff also captured the BC stamp on the left side of the taper stem.
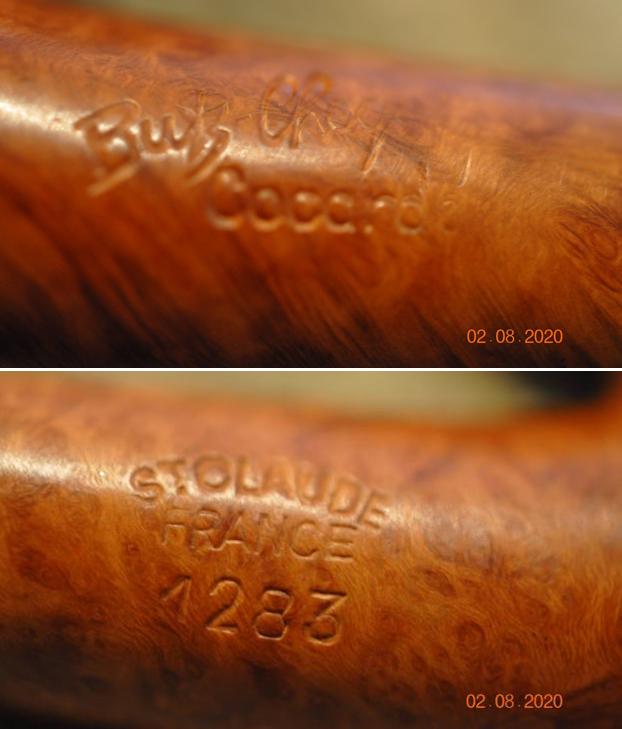
 I did a quick scan of the rebornpipes blog and found a link to the Butz-Choquin Cocarde pipe that Dal Stanton had restored (https://rebornpipes.com/2021/01/08/a-christmas-vacation-pipe-from-nashville-a-butz-choquin-cocarde-geante-plus-st-claude-france-1397-tabac-st-michel-paris/). I always appreciate the research that Dal does when he works on pipes because it is what I like doing when I am restoring the pipes on my table. I quote from the portion of the blog that gives the background information on the brand. (Thanks Dal for the leg work on this one!)
The history of the Butz-Choquin name is concisely put on Pipephil.eu and its helpful to me for the refresher.
The origin of the brand reaches back to 1858 when Jean-Baptiste Choquin in collaboration with his son-in-law Gustave Butz created their first pipe in Metz (France). Since 1951 Butz-Choquin is a brand of the Berrod-Regad group (Saint-Claude, France).
Jean Paul Berrod managed the company from 1969 to 2002 when he retired and sold the corporate to Mr Fabien Gichon. Denis Blanc, already owner of EWA, took over the S.A. Berrod-Regad in 2006.
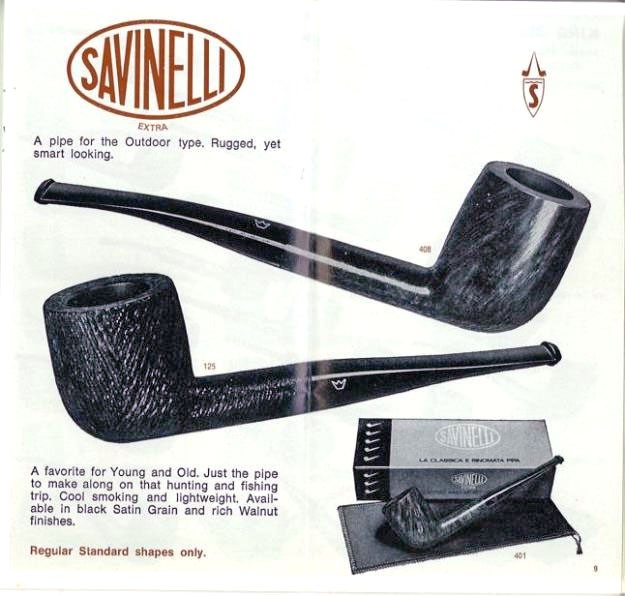
I could not find anything specific in Pipedia about the ‘Cocarde’ line, but a simple search on the internet will show many different shapes available in the Cocarde line from Butz-Choquin. I did find a shapes chart pictured in the Butz-Choquin Pipedia article that included the 1397 Geante Plus. Unfortunately, there is no reference to the date of the catalogue. A quick look at Google Translate gave a translation of the Geante Plus as ‘Giant More’ – which is no surprise. The photo below sets the Geante Plus apart with the 1397 shape number as unique to this designation. The Giant Billiard seems to be the unique bearer of this designation.
Dal had found a catalogue link for the pipe he was working on but the 1283 shape was not listed in the catalogues on the side.
On another blog he wrote Dal had some more information on the Cocarde line of Butz-Choquin pipes (https://rebornpipes.com/2017/02/21/hole-in-the-wall-gold-mine-butz-choquin-cocarde-major-rhodesian/).
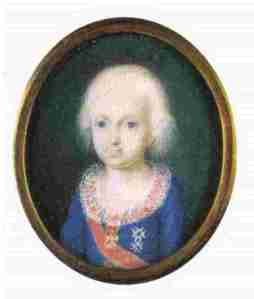
When I take the BC Cocarde Major out of the basket, I am anxious to recommission this nice-looking Rhodesian, I decide. The first thing I do is pull up Google Translator and insert Cocarde Major in the French to English machine. I did not study French in school so help is appreciated. I want to know if special meaning is attached to this St. Claude BC. Cocarde translated into English as the word, ‘Cockade’ which was defined as, a rosette, roundel or knot of ribbons worn in a hat as a badge of office or party, or as part of a livery. With a little looking on the internet, I found these interesting French examples of Cocardes. With this meaning for ‘Cocarde’ it put doubt in my mind regarding my original thought that ‘Major’ referred to large or big. Attaching Major to the idea of the French symbol of national pride, it is most likely pointing to a level of rank, or when ‘Major’ is attached to another rank (e.g., sergeant-major) it denotes the ranking of one superior among those of the same rank. I emailed a colleague living and working in Toulouse, France, whose command of the language could help. His comments confirmed what I was thinking:
The word cockade refers to a national symbol for the French, like “cocarde tricolore’ refers to the French flag which is, of course, one of the most important symbols of the French people and national pride. It has many meanings, but for example official cars or planes have this symbol on it. You are right about the word Major, referring to a military grade. Used as an adjectif, “majeur” it means big. I would conclude that this is simply the name of the pipe. You can’t translate it literally. The pipe’s name implies in my opinion that it is a symbol of French pride, like the French insignia for a general in the military.
With the symbols of French pride stamped on this BC Rhodesian, I have a greater appreciation for the pipe when I take more pictures now on my worktable.
Armed with the information that I had gleaned from Dal’s blog, I turned my attention to the pipe itself. Jeff had done a great cleanup on the pipe. He reamed the bowl with a PipNet pipe reamer and followed up with a Savinelli Fitsall pipe knife to remove the cake. He scrubbed out the mortise and the airway in the shank and the stem with alcohol, cotton swabs and pipe cleaners. He scrubbed the bowl exterior with a tooth brush and Murphy’s Oil Soap to remove the grime on the finish of the bowl and the lava from the rim top. He rinsed it under running water. One of the benefits of this scrub is that it also tends to lift some of the scratches and nicks in the surface of the briar. He dried it off with a soft cloth. He cleaned the internals and externals of the stem with alcohol, pipe cleaners and cotton swabs. He soaked the stem in Briarville’s Pipe Stem Deoxidizer and rinsed it off with warm water and cleaned out the airway in the stem with alcohol. When I received it the pipe looked very good. 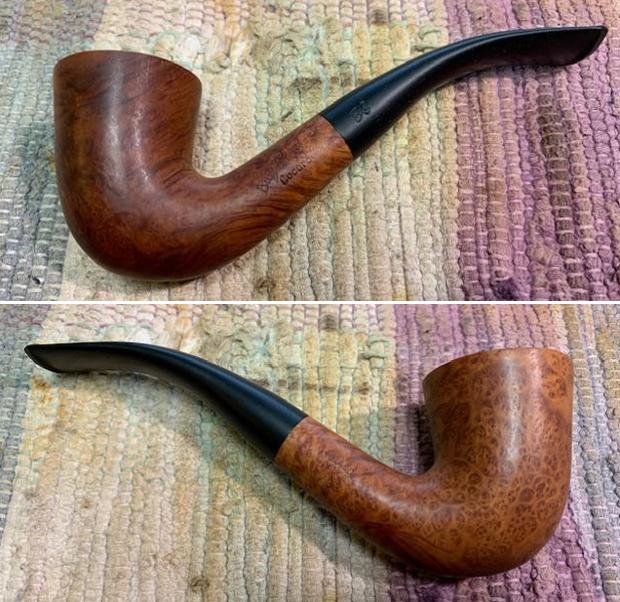
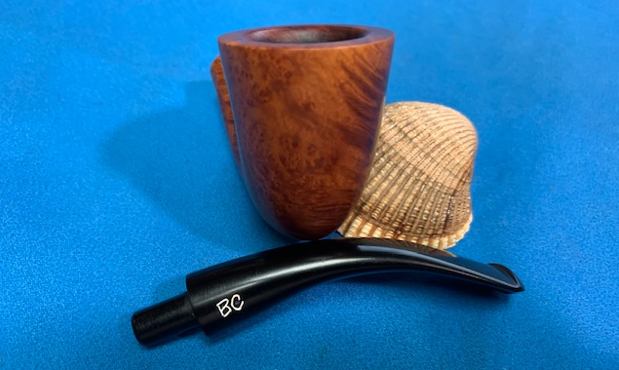
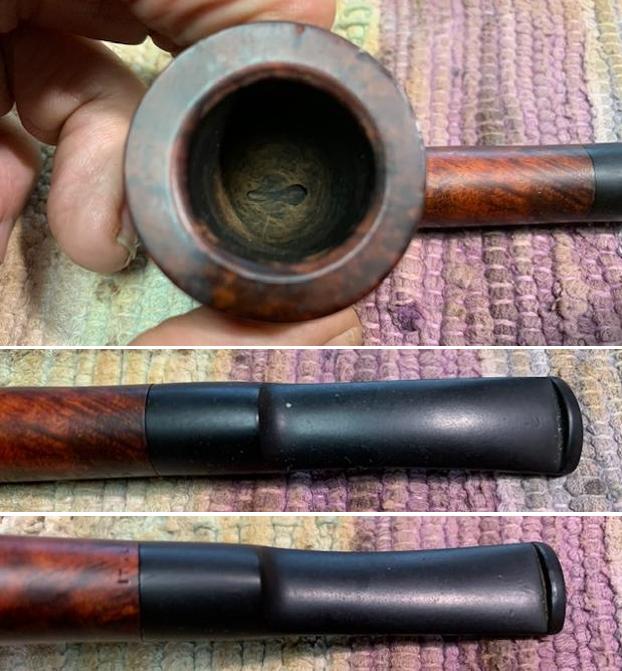
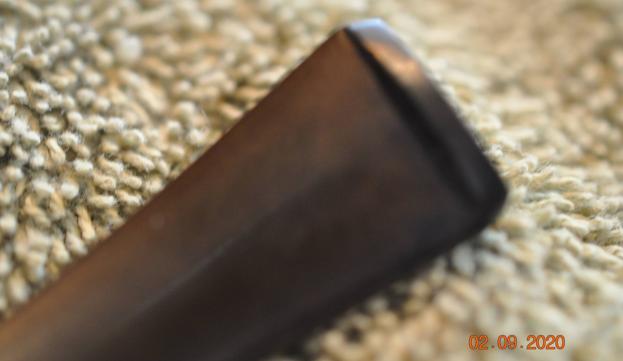
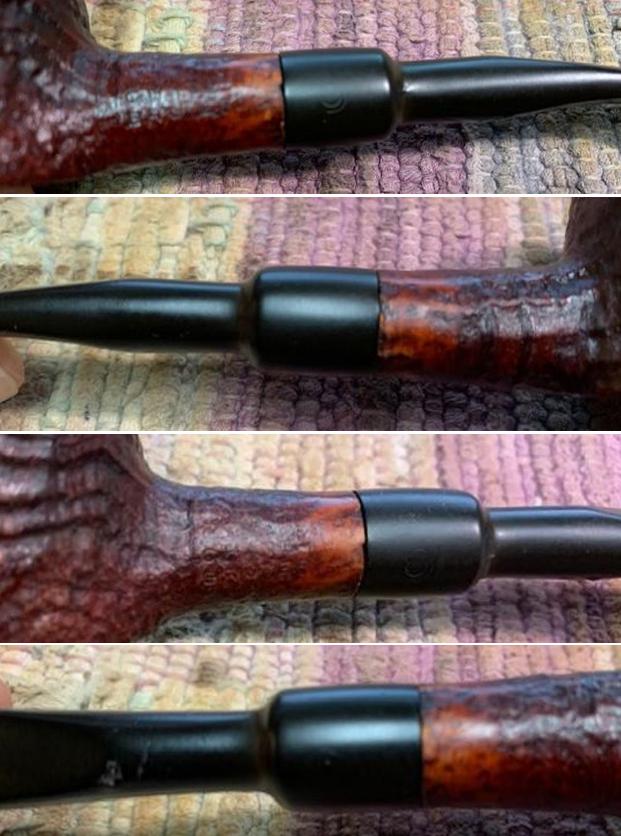
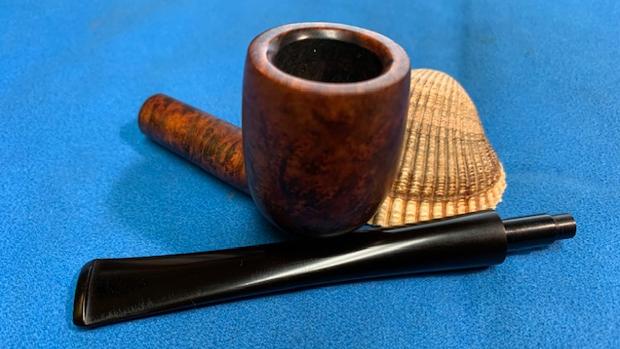
 I took a photo of the rim top and stem to show the condition. The rim top and the inner edge of the bowl were in good condition. The stem was vulcanite and there were some light tooth marks and chatter on both sides ahead of the button.
 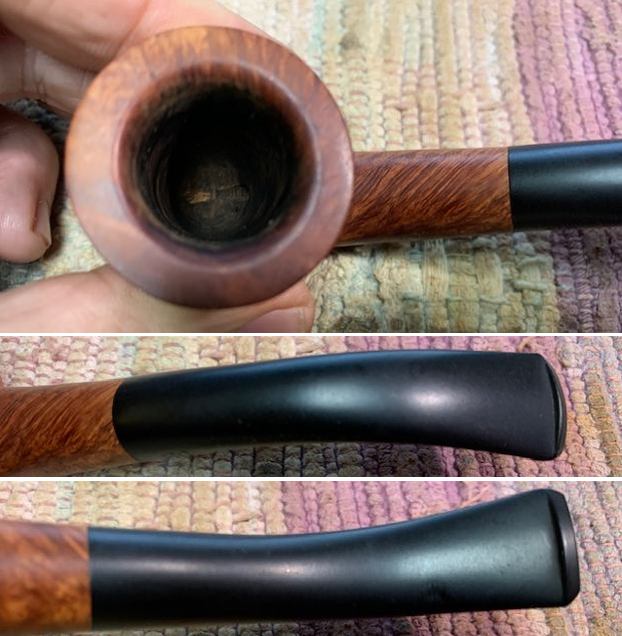 The stamping on the pipe is clear and readable as noted above. The BC logo on the stem is deep and needs to be repainted with white.
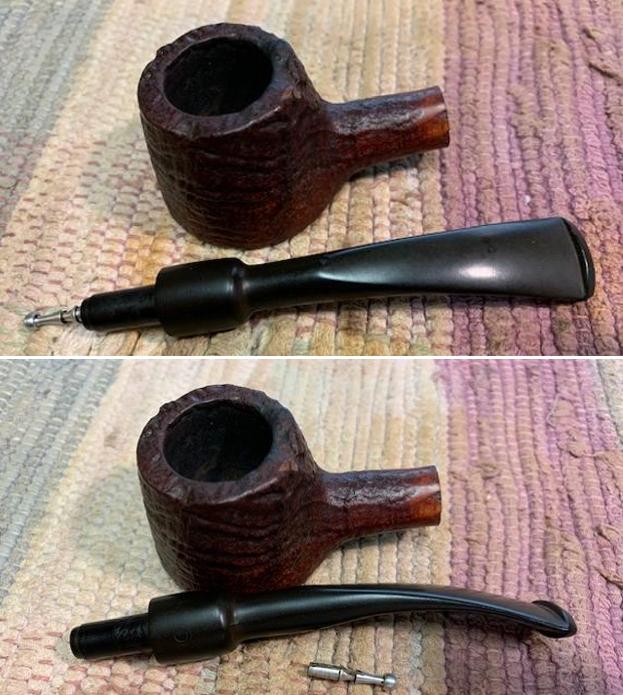
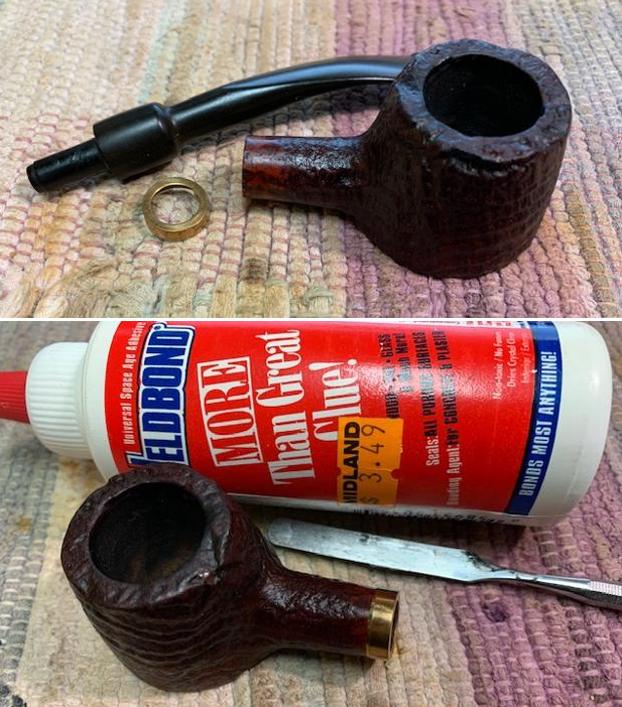
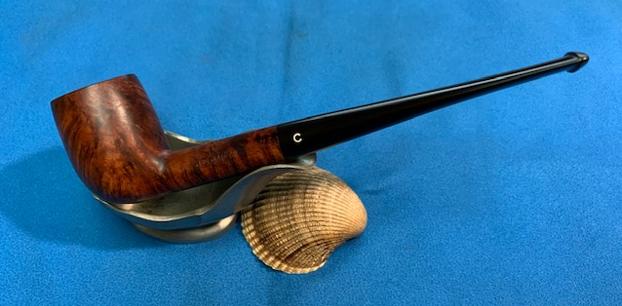
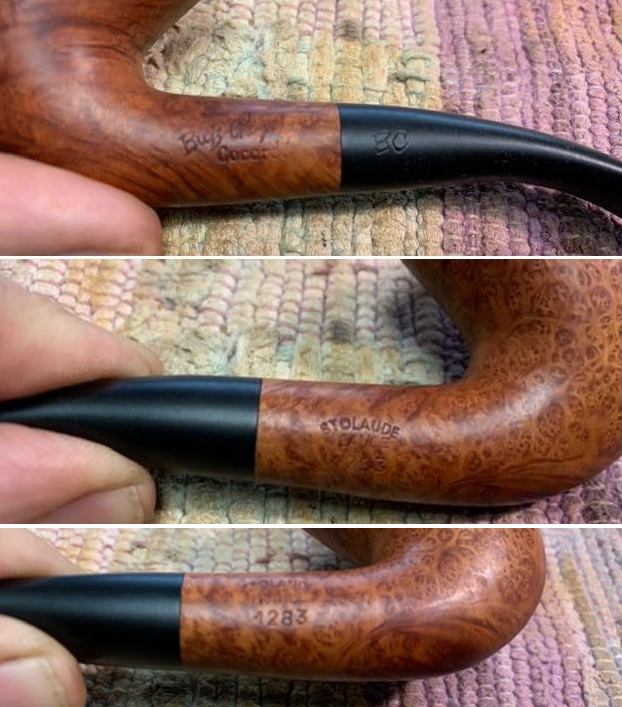 I removed the stem from the shank and took a photo of the pipe to give a sense of the whole.
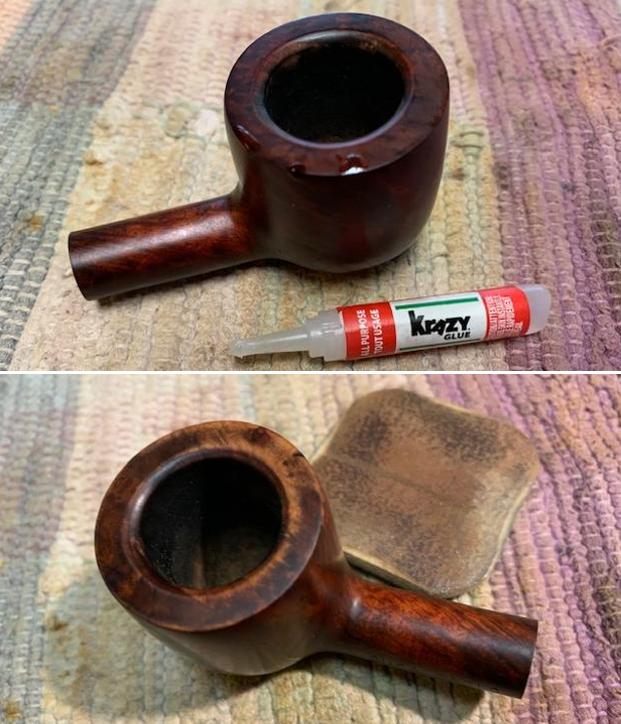
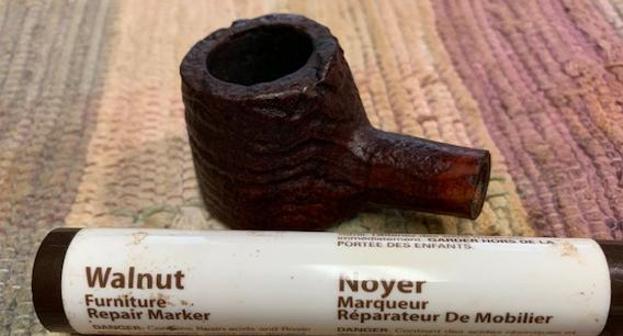
 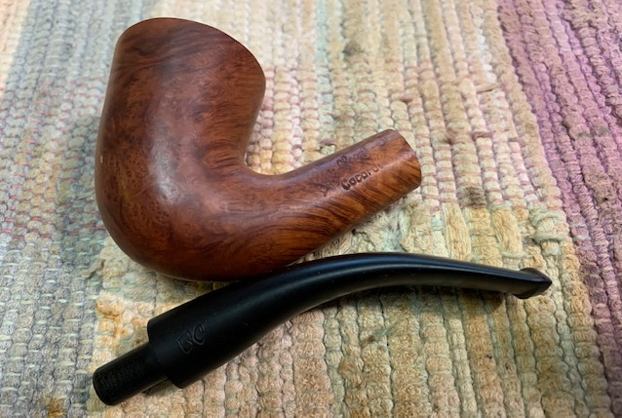 I started my work on this pipe by filling in a small chip on the left front of the bowl. Once the repair cured I polished the briar with 1200-1500 micromesh sanding pads and wiping it down with damp cloth after each sanding pad. As I worked through the cycle of pads the shine developed with each change of pad. The pipe looks very good.
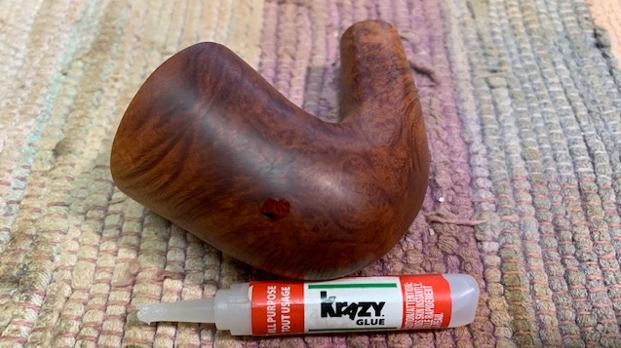
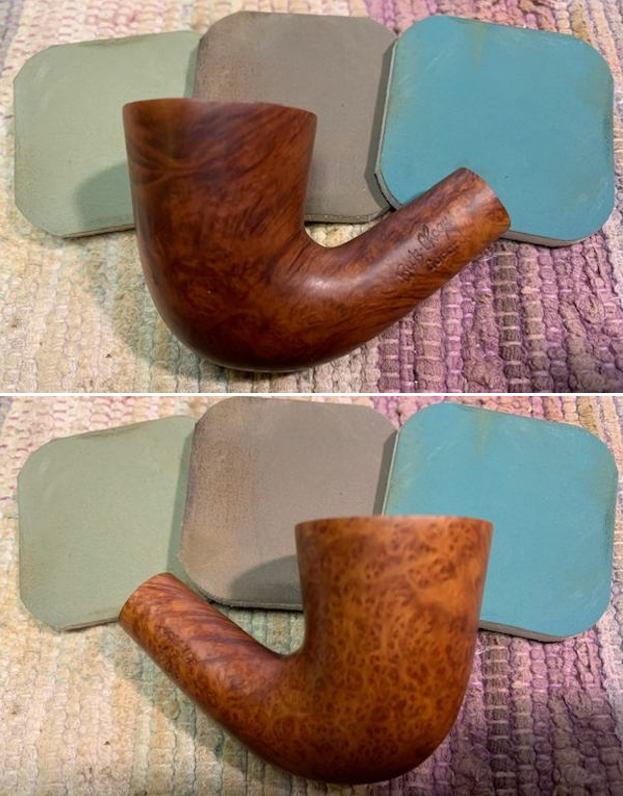
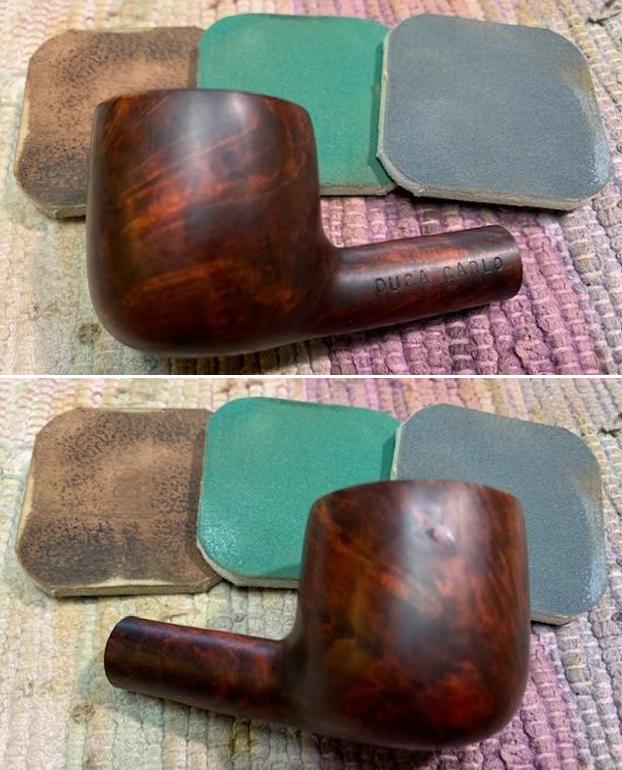
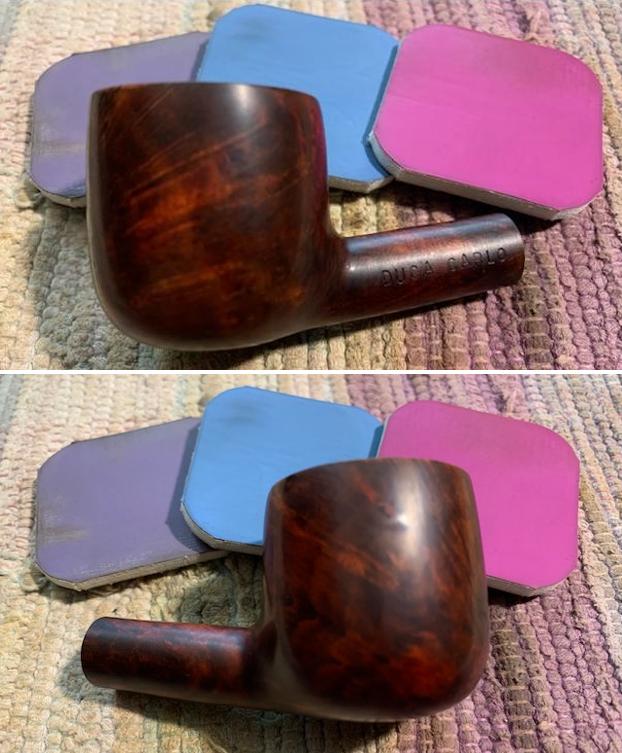
 I rubbed the bowl and shank down with Before & After Restoration Balm. I worked it into the surface of the bowl sides and shank with my fingertips to clean, enliven and protect the briar. I let the balm sit for 10 minutes, then buffed with a cotton cloth to raise the shine. The Balm did its magic and the grain stood out on the briar.
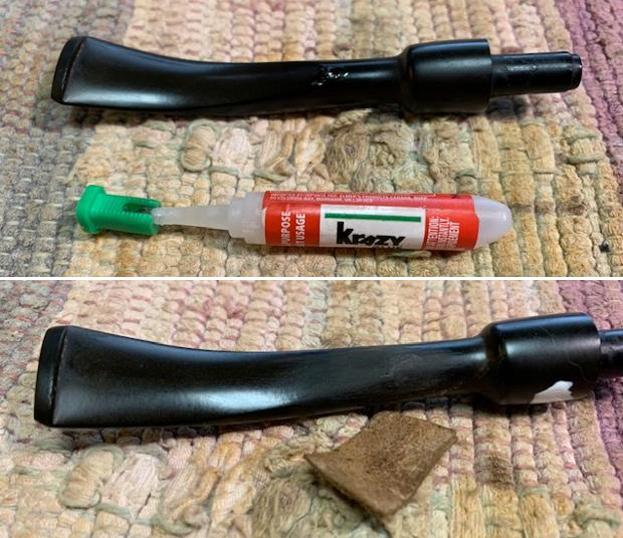
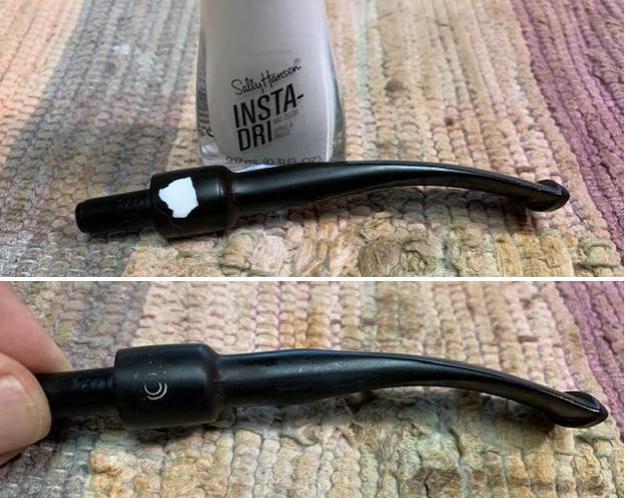
 I set the bowl aside and turned my attention to the stem. I touched up the BC stamp on the left side of the stem with white acrylic nail polish (thanks again for the reminder Al!). I worked it into the stamp with a tooth pick and then sanded off the excess once it had dried with a 1500 micromesh sanding pad.
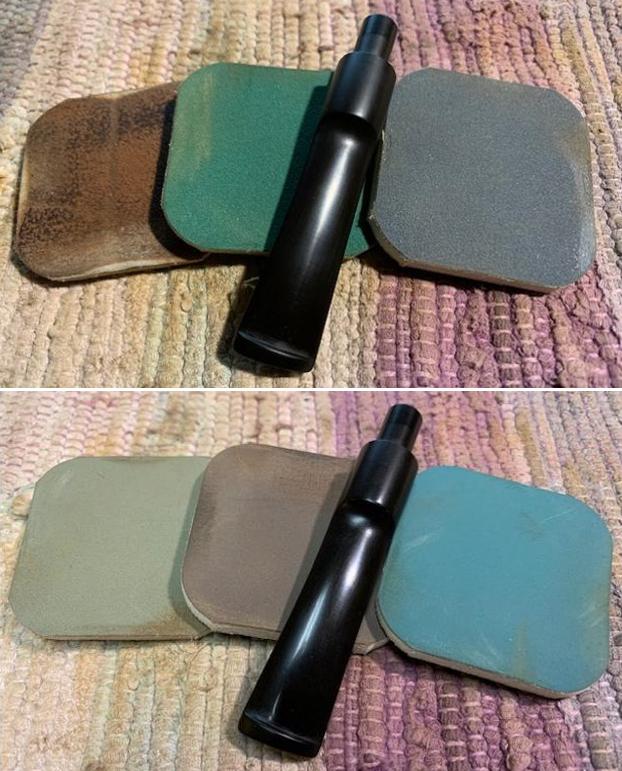
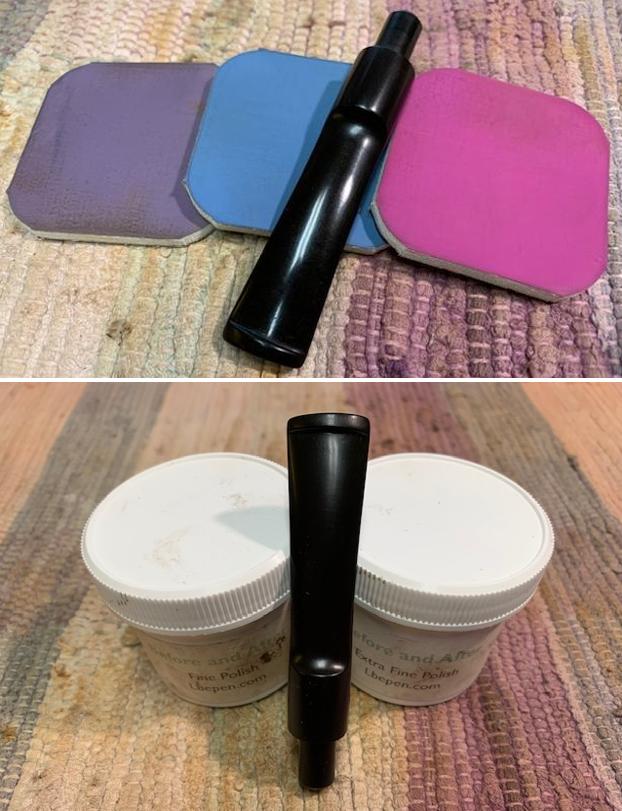
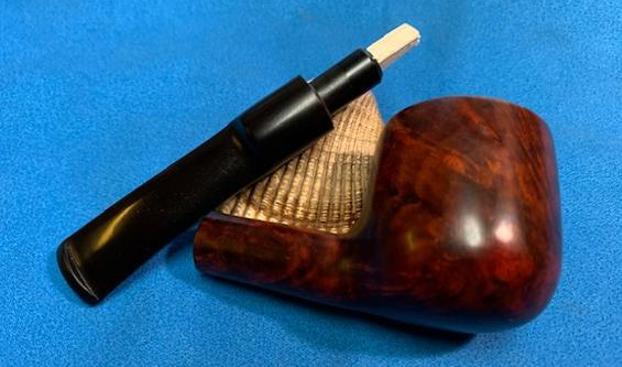
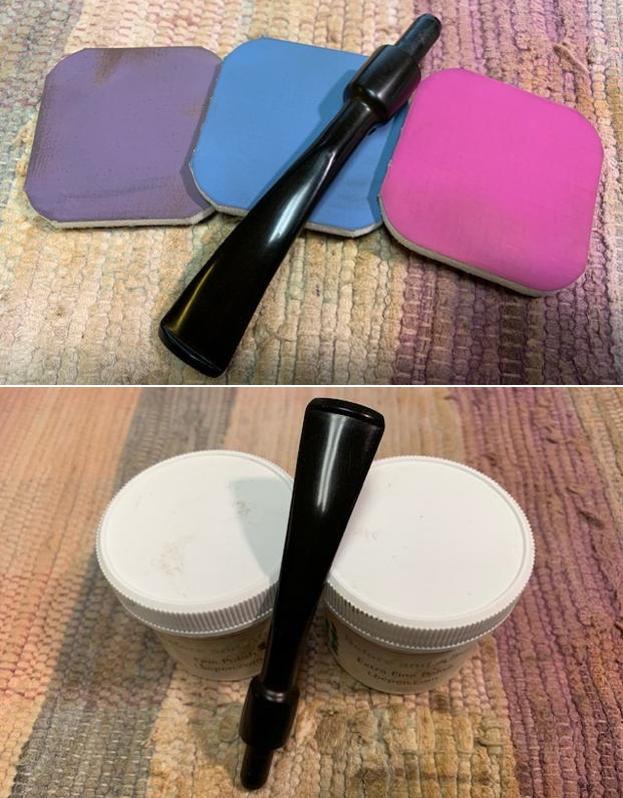
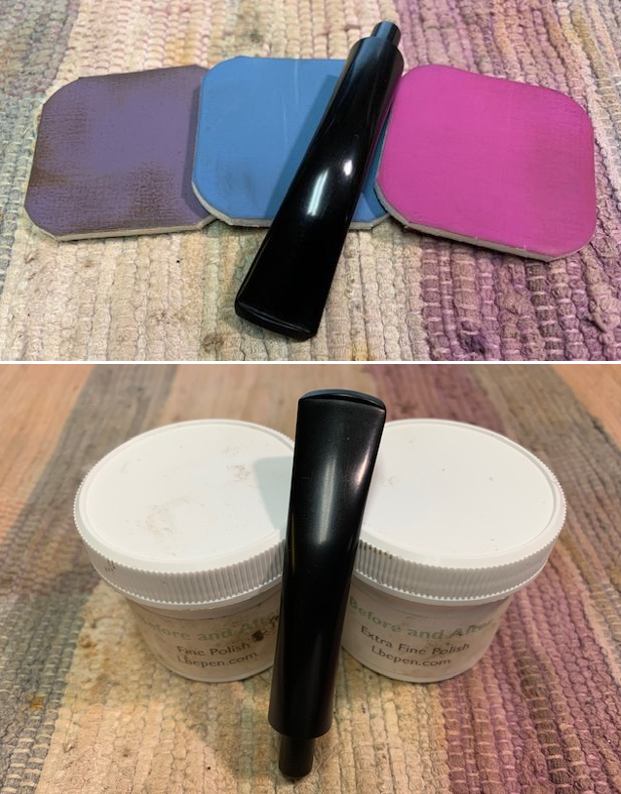
 I polished it with micromesh sanding pads – 1500-12000 grit pads. I wiped it down with Obsidian Oil after each sanding pad. I used Before & After Pipe Polish – both Fine and Extra Fine to further polish the stem. The photos below show the polished stem.
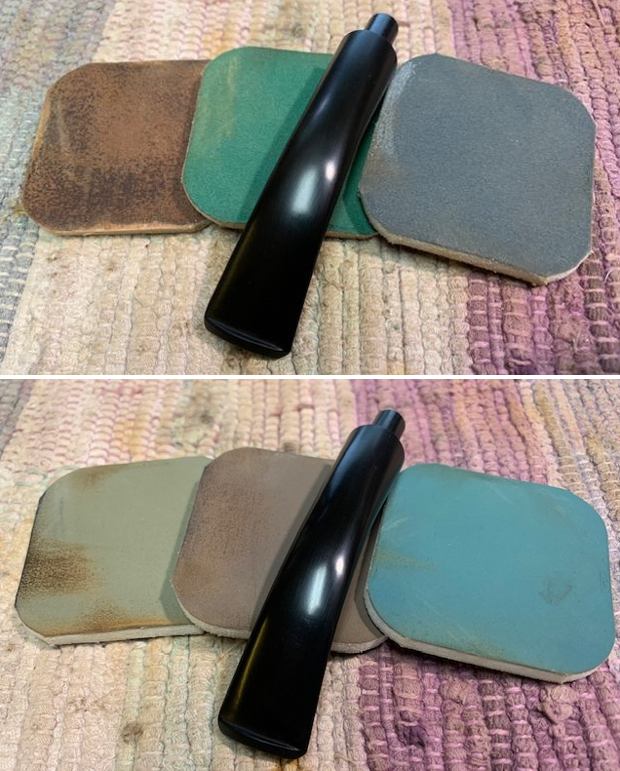
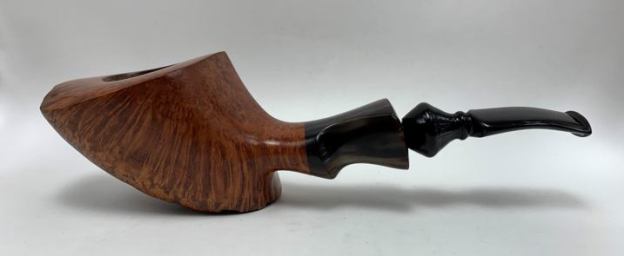
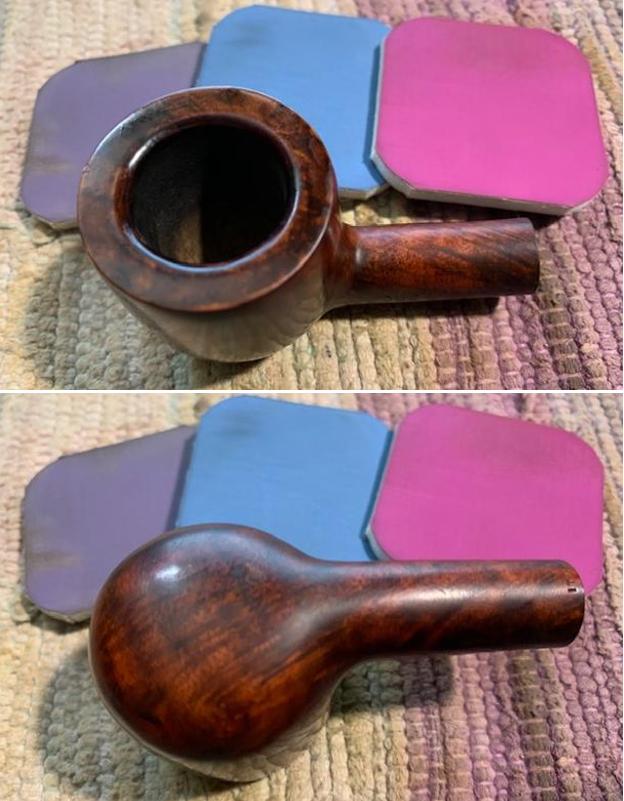
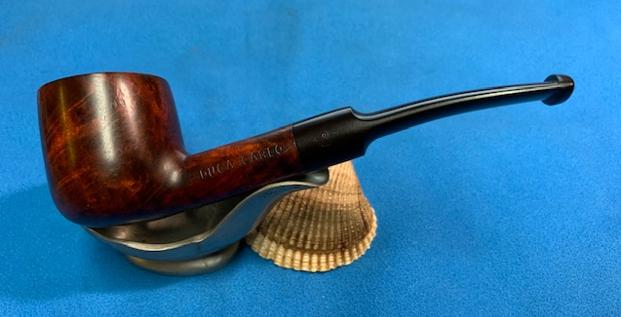
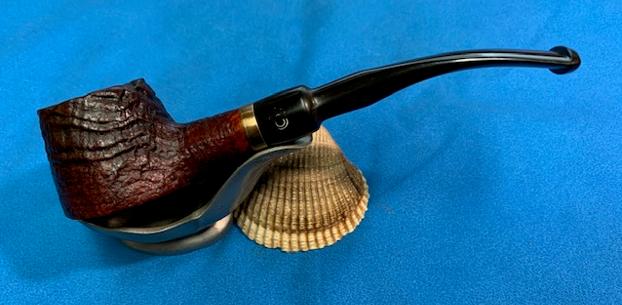
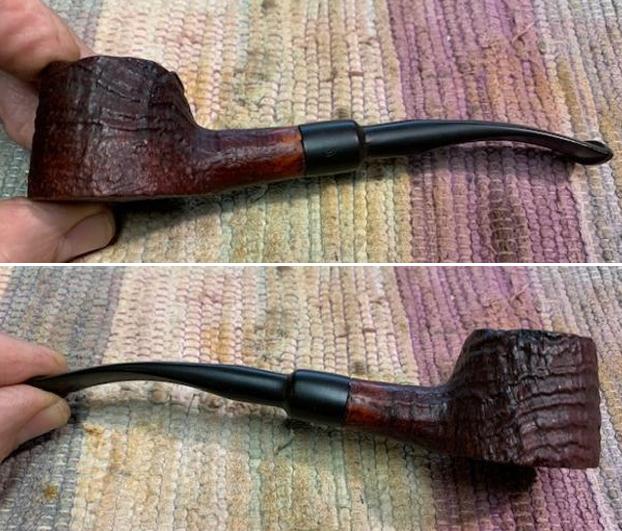
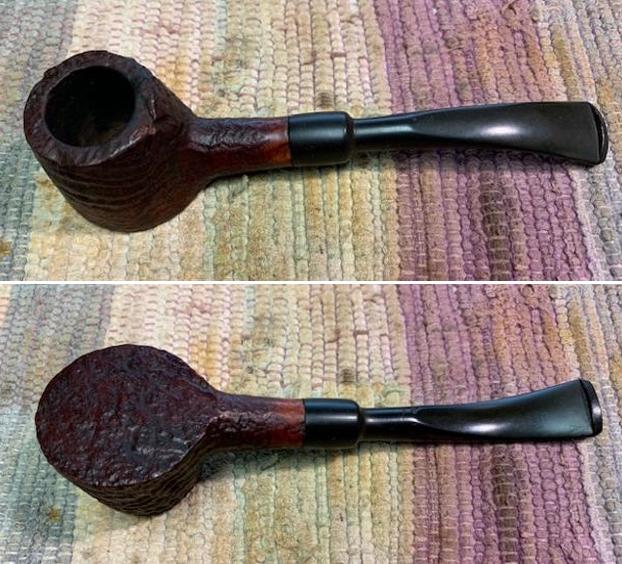
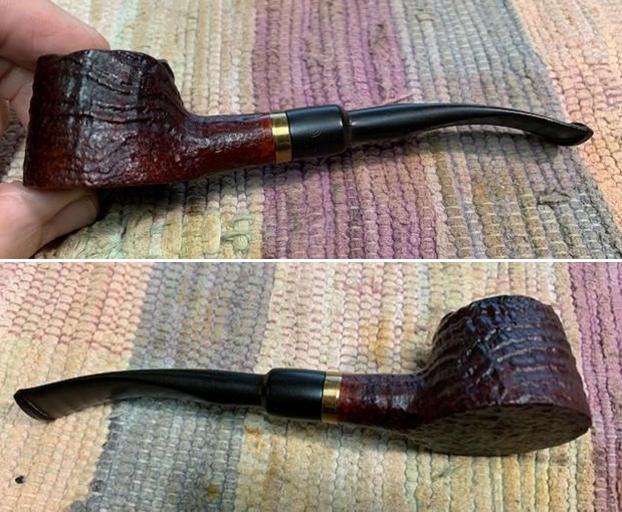
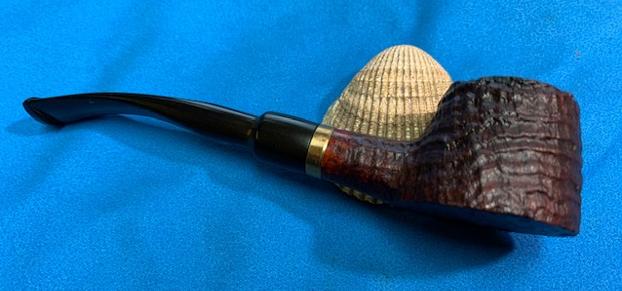
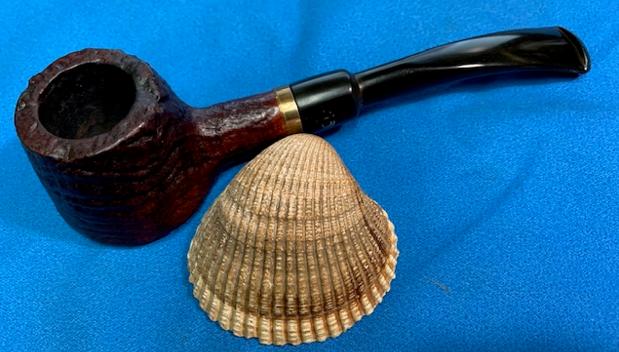
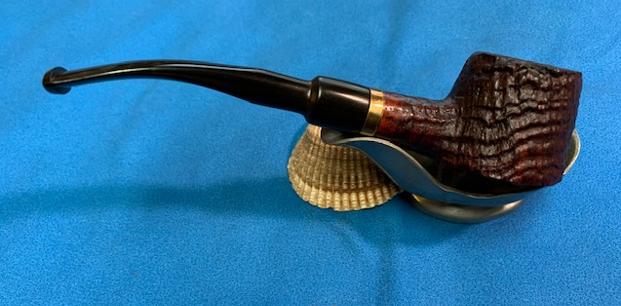
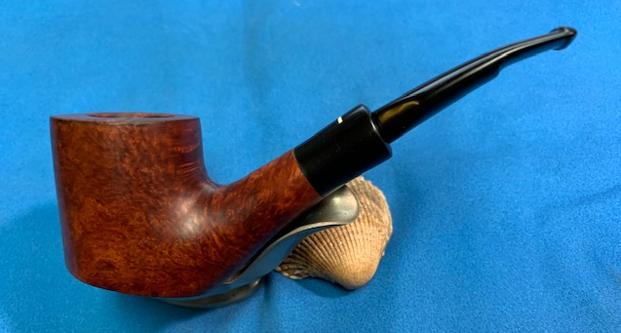
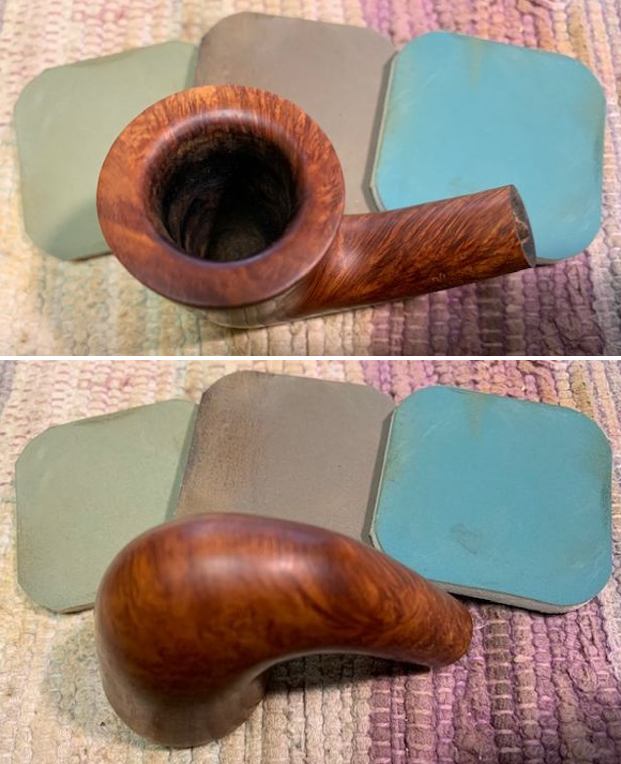
 This Butz-Choquin Cocorde 1283 Calabash with a vulcanite stem is a great looking pipe now that it has been restored. The rich browns of the stain made the grain come alive with the polishing and waxing. I put the stem back on the bowl and carefully buffed the pipe with Blue Diamond on the buffing wheel using a light touch on the briar. I gave the bowl and the stem multiple coats of carnauba wax on the buffing wheel and followed that by buffing the entire pipe with a clean buffing pad. I hand buffed the pipe with a microfiber cloth to deepen the shine. The finished BC Cocorde 1283 Calabash really is a beauty and fits nicely in the hand and looks very good. Give the finished pipe a look in the photos below. The dimensions of the pipe are Length: 5 ¼ inches, Height: 2 inches, Outside diameter of the bowl: 1 ¼ inches, Chamber diameter: ¾ of an inch. The weight of the pipe is 1.31oz./37grams. This beauty will be going on the rebornpipes store in the French Pipe Makers section. Let me know if you are interested in adding it to your collection. Thanks for reading this blog and my reflections on the pipe while I worked on it. There are many more to come!