Blog by Steve Laug
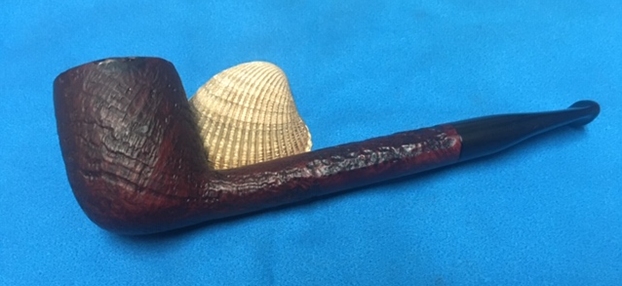
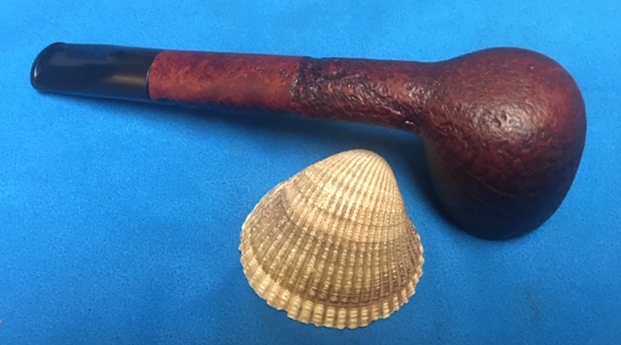
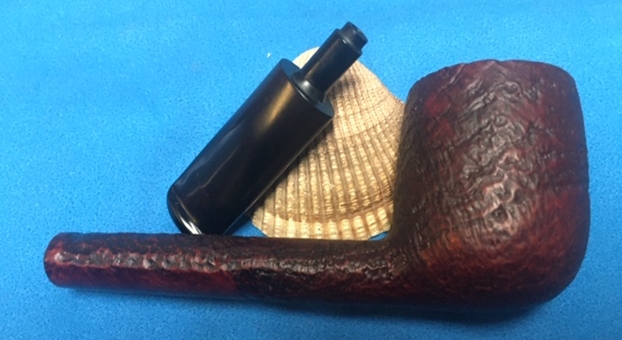
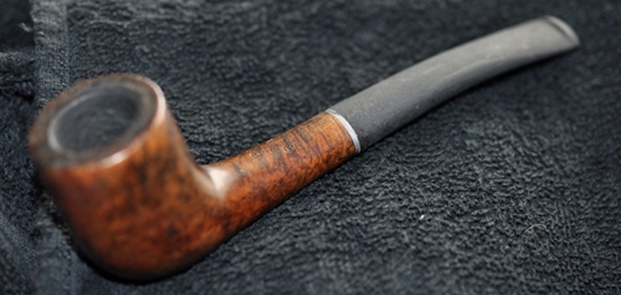
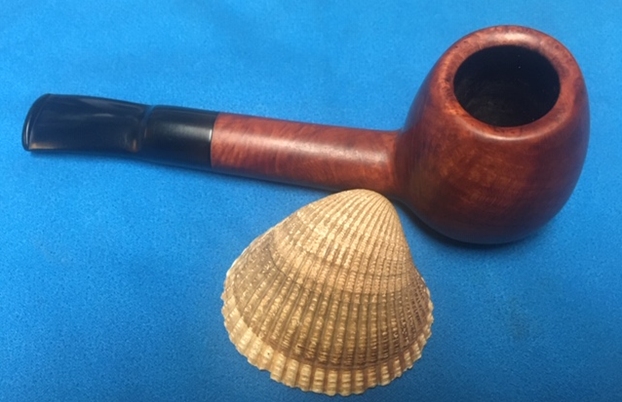
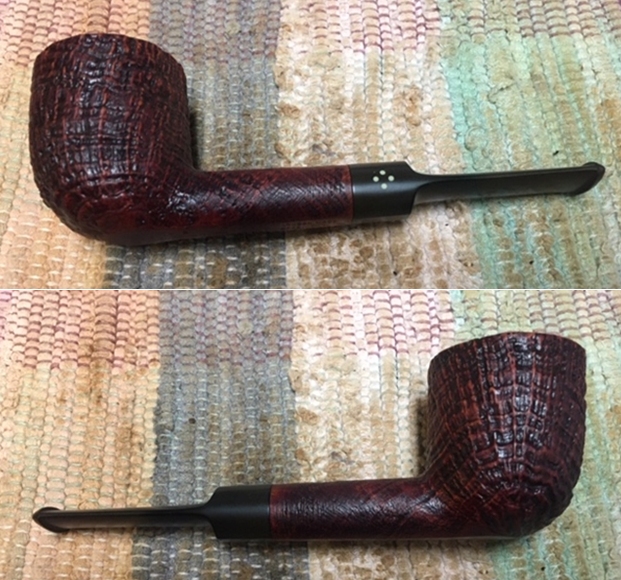
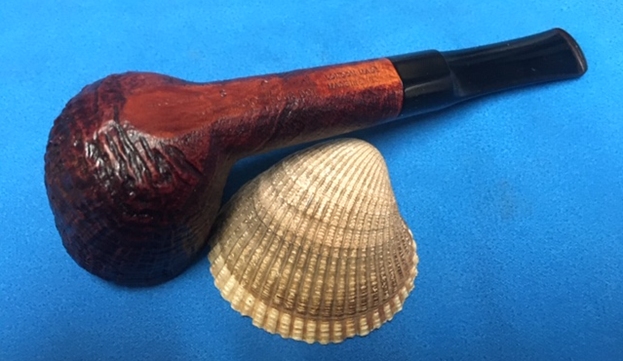
The next pipe on my table is nice sandblast thick shank Canadian. It is stamped on the underside of the shank with the Ben Wade over Made in London England. It also has the shape number 76 just ahead of the Ben Wade stamping. It has a nice sandblast finish that is in good shape under the dirt and even the rim top looks good. The inner edge of the rim is darkened but the bowl is in good shape. There was burn damage on the left outer edge and darkening on the inner edge of the bowl. There is a thick cake in the bowl and light lava build up on the rim top and inner edge. The taper vulcanite stem was oxidized and had some deep tooth marks and chatter on both sides ahead of the button. Jeff took these photos before he cleaned the pipe. He took photos of the rim top from various angles to give a clear picture of the condition of the bowl and rim. It is dirty but there is a light lava coat on the top and the rim edges have some darkening and buildup. There is also a deep burn mark on the left out edge toward the rear of the bowl.
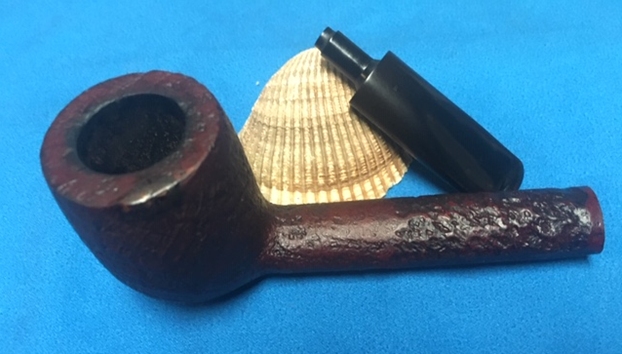
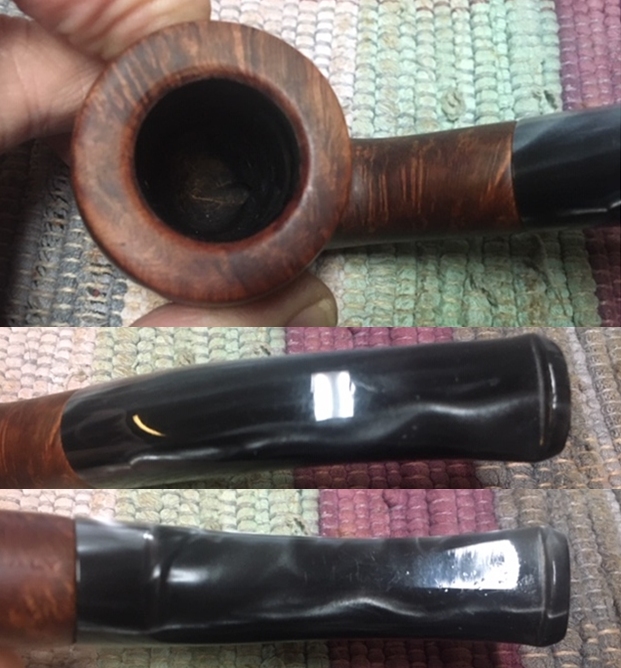
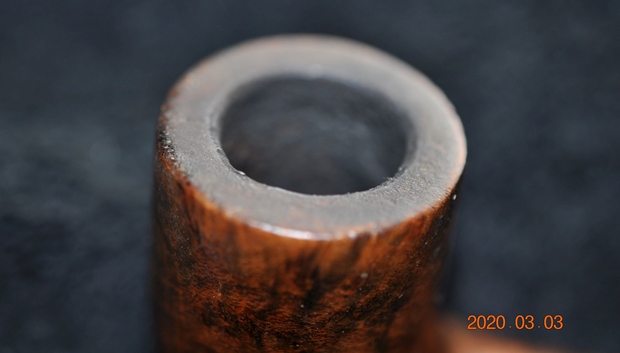
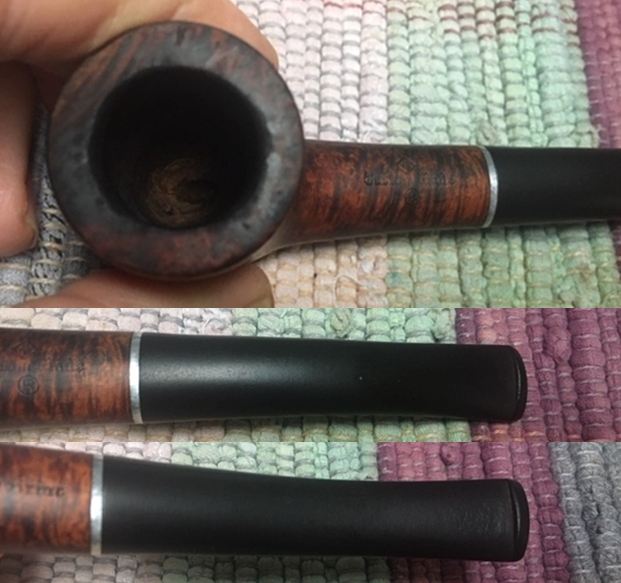
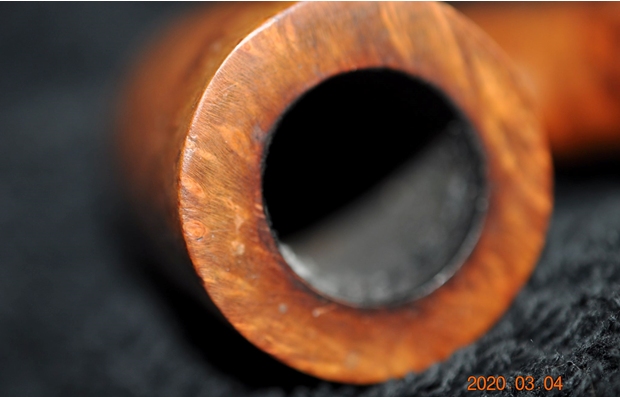
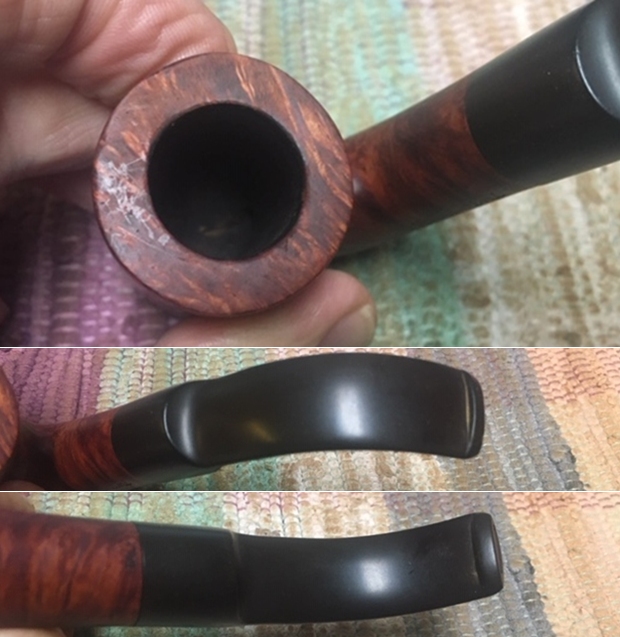
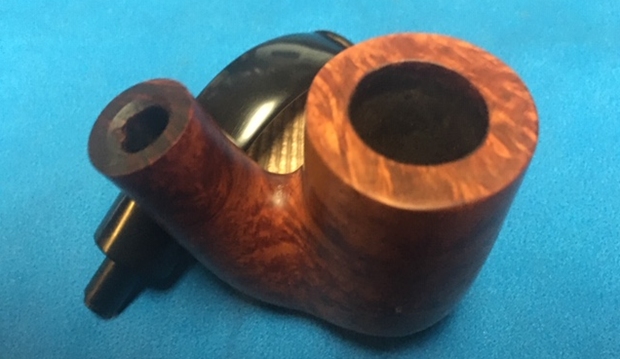
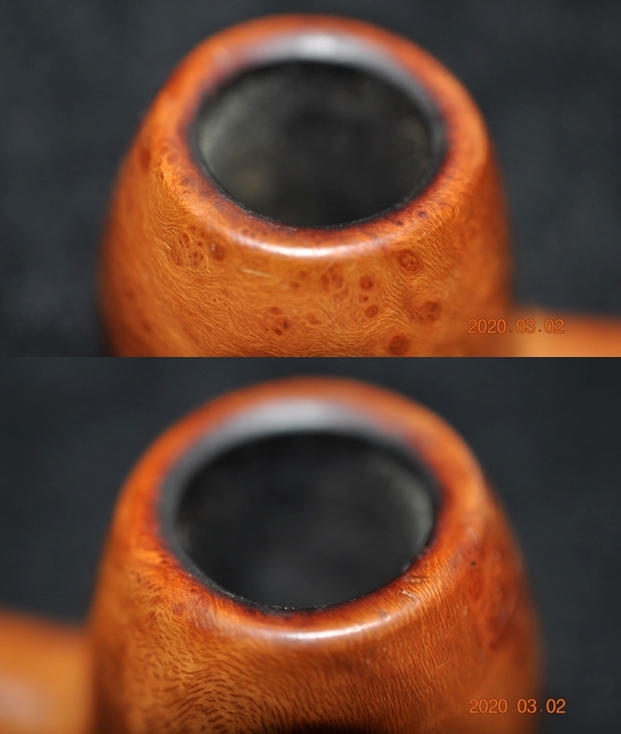
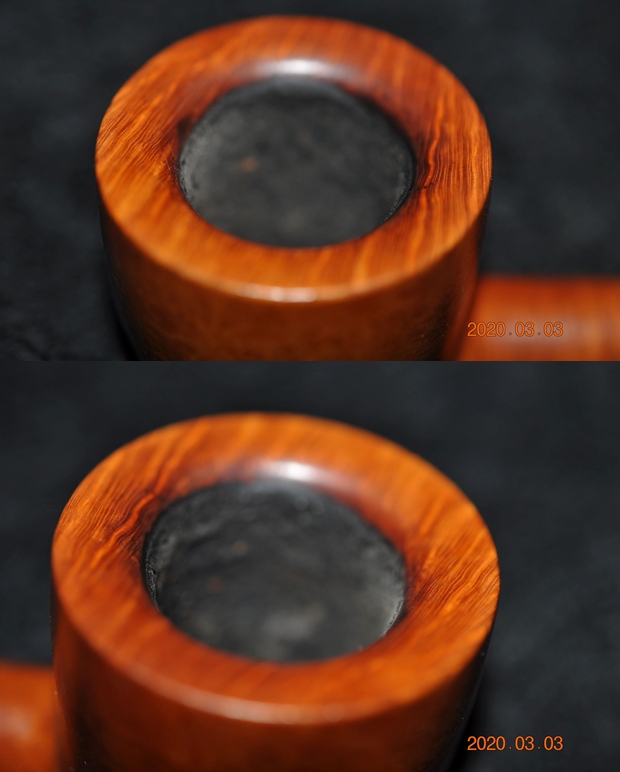
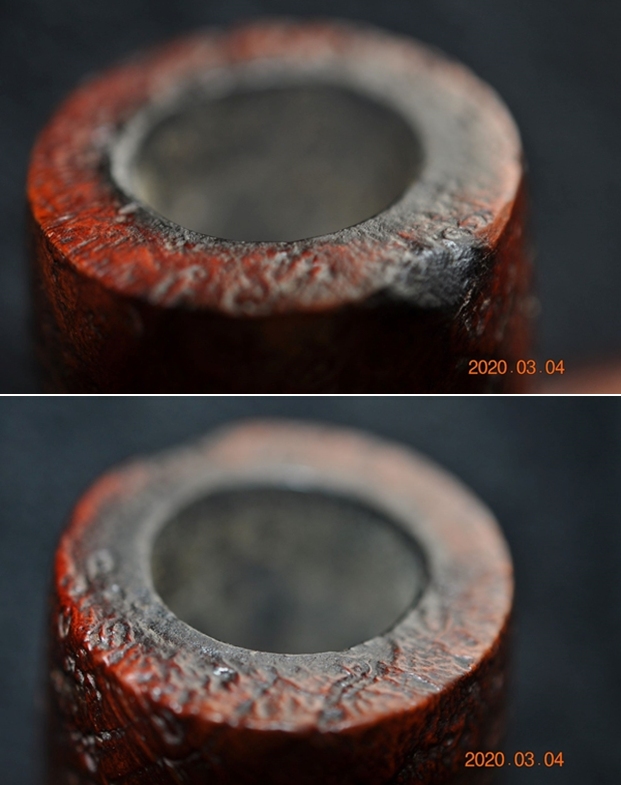
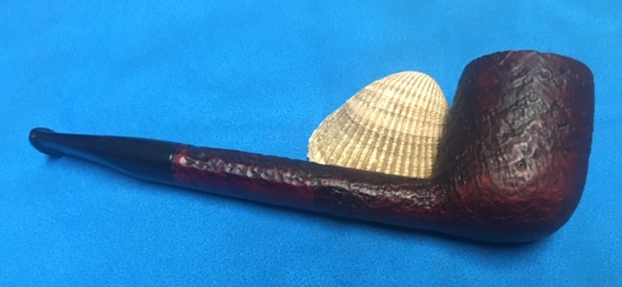
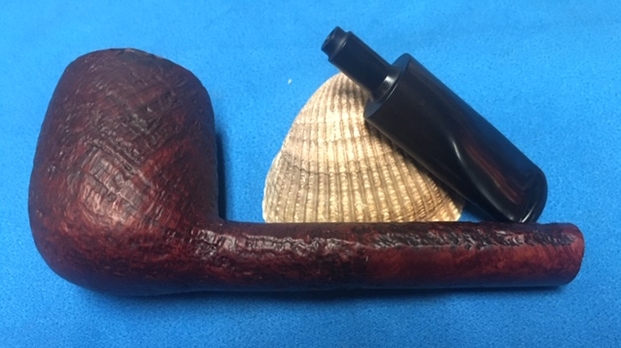
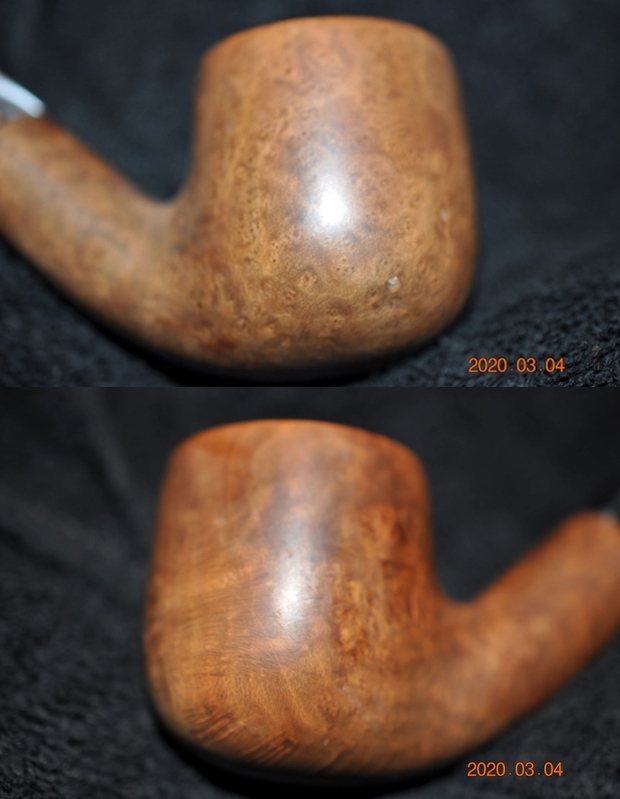
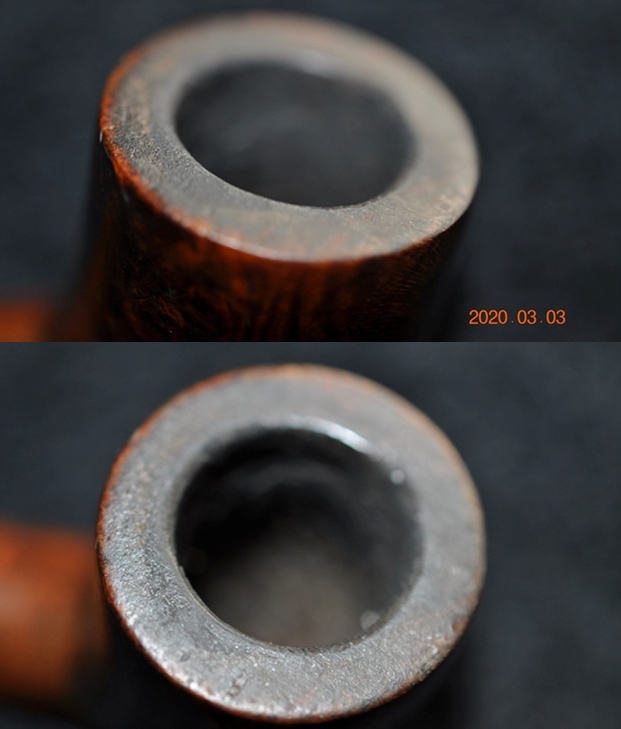
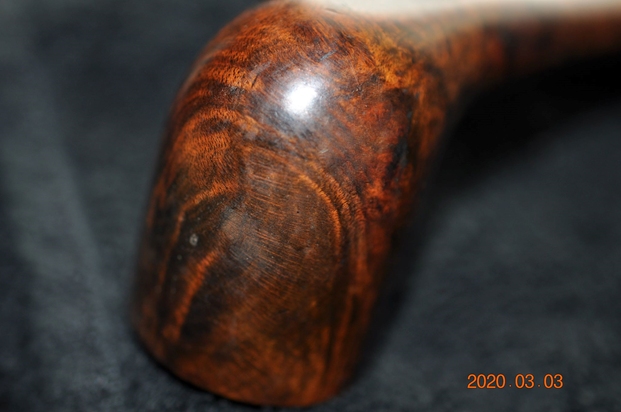
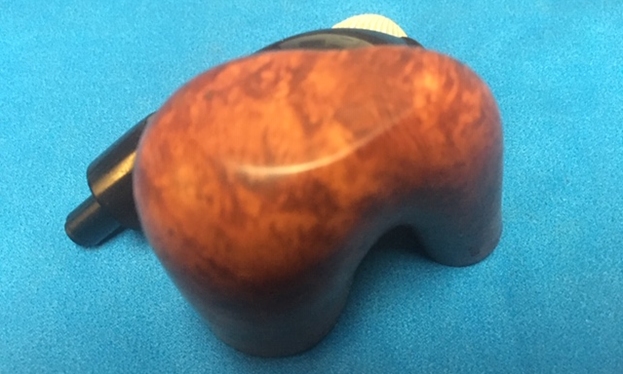
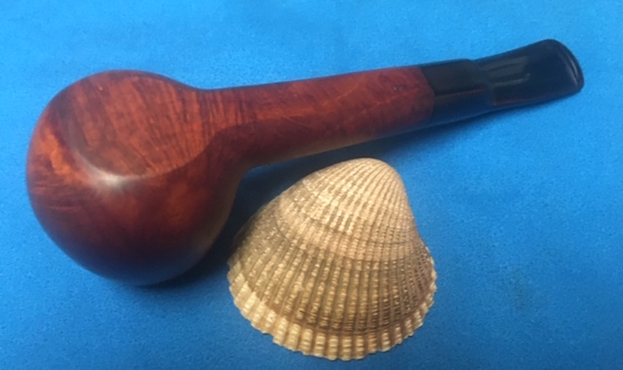
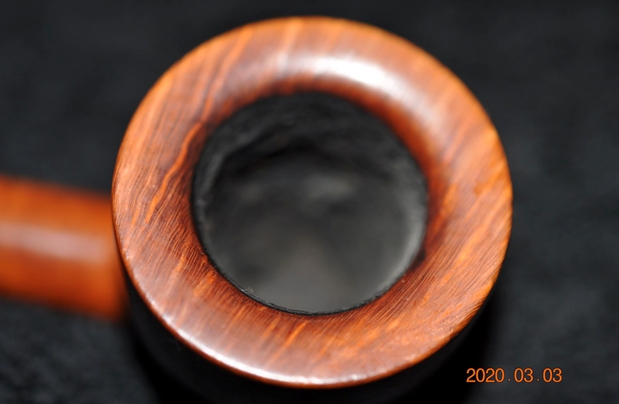
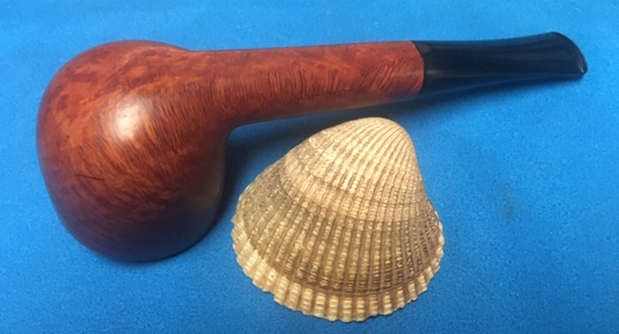
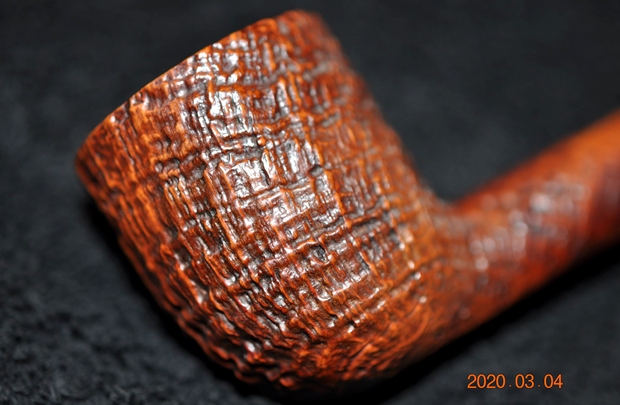
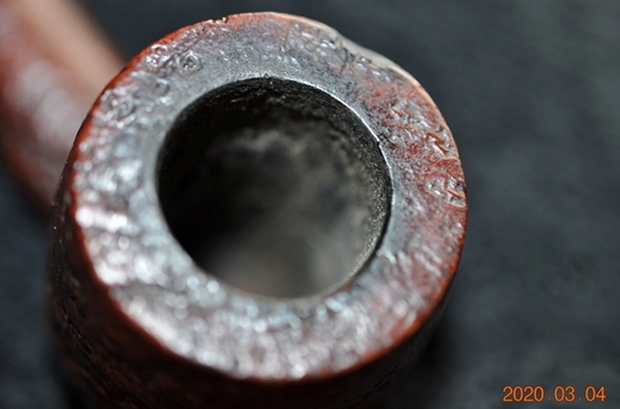 Jeff also took a closer photo of the burned area on the outer edge of the rim. It is visible in the photo below.
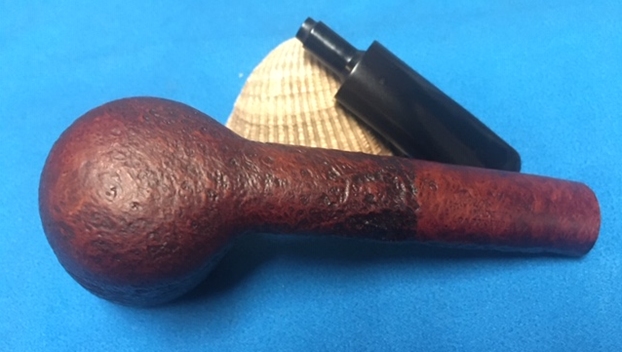
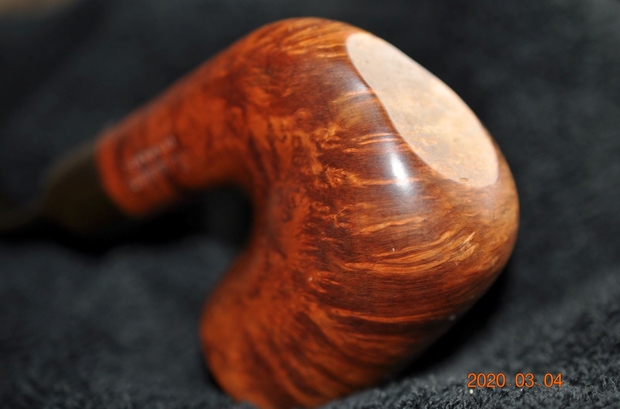
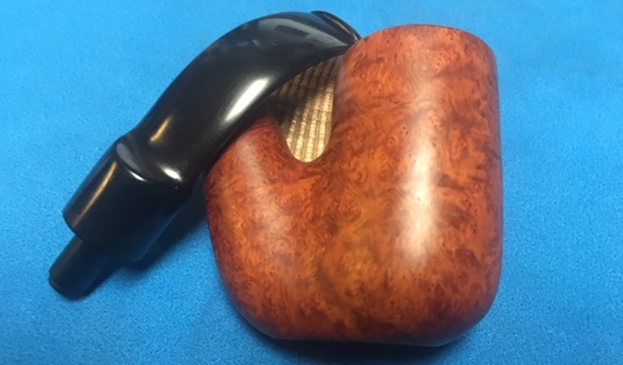
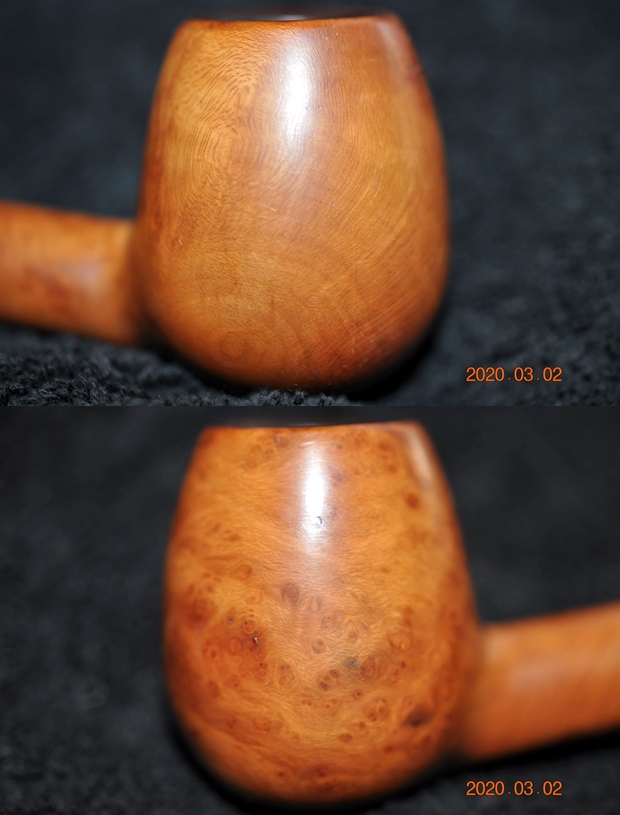
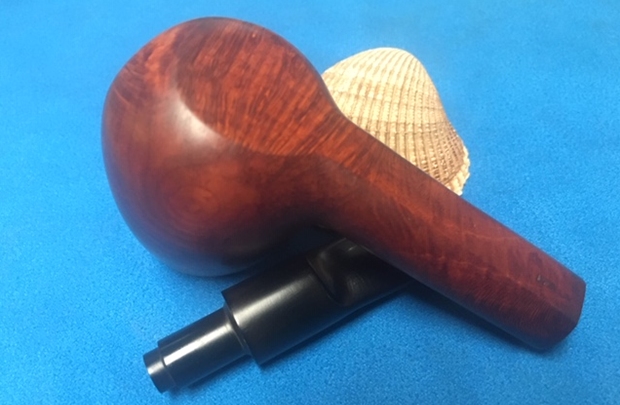
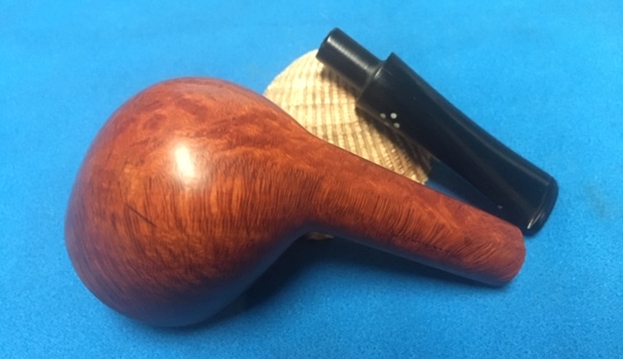
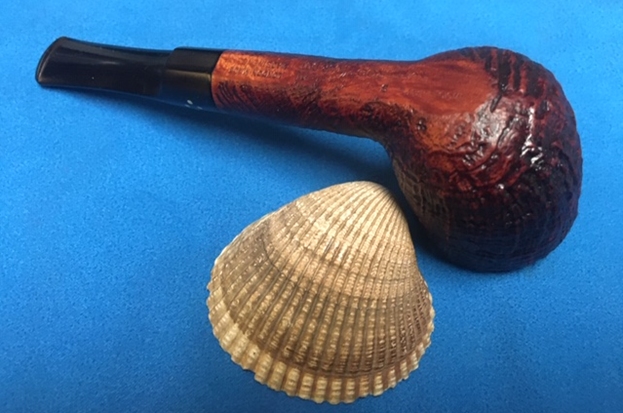
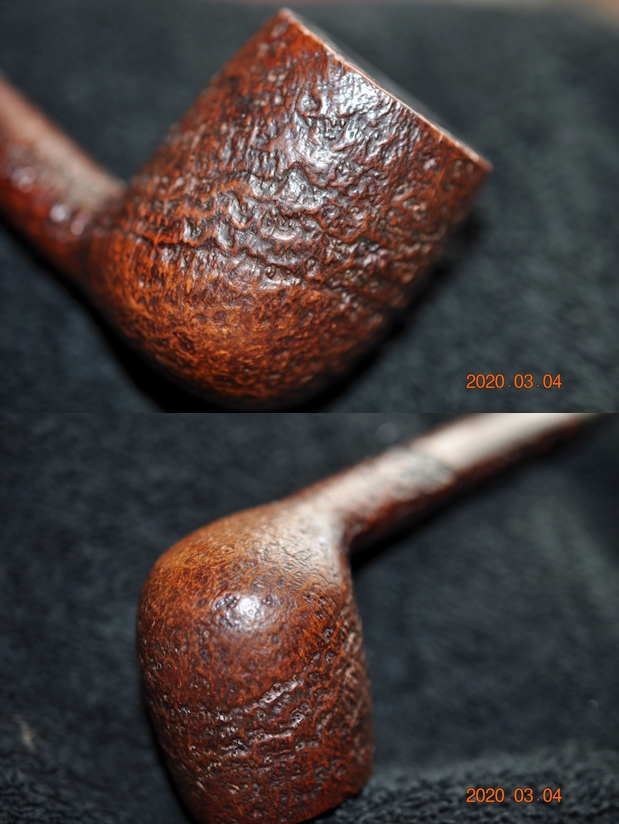
 The sandblast finish around the sides and heel of the bowl is quite interesting and reveals some different underlying grain.
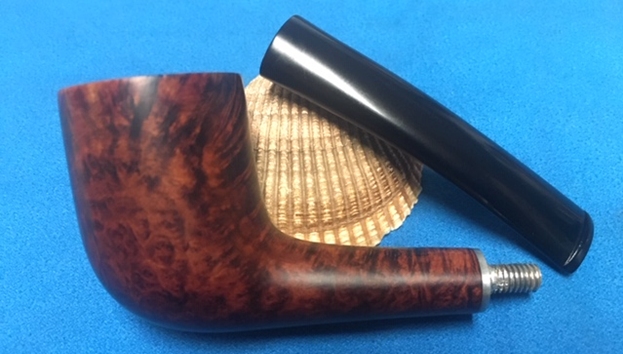
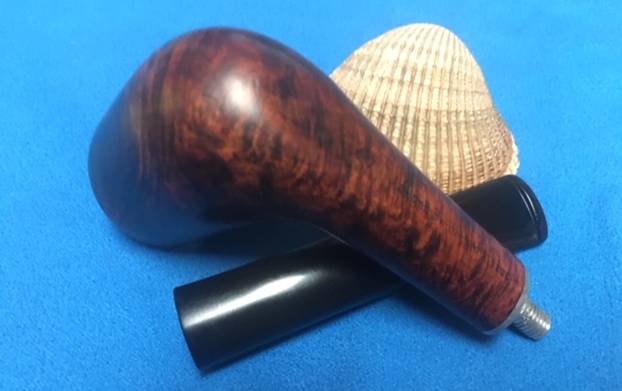
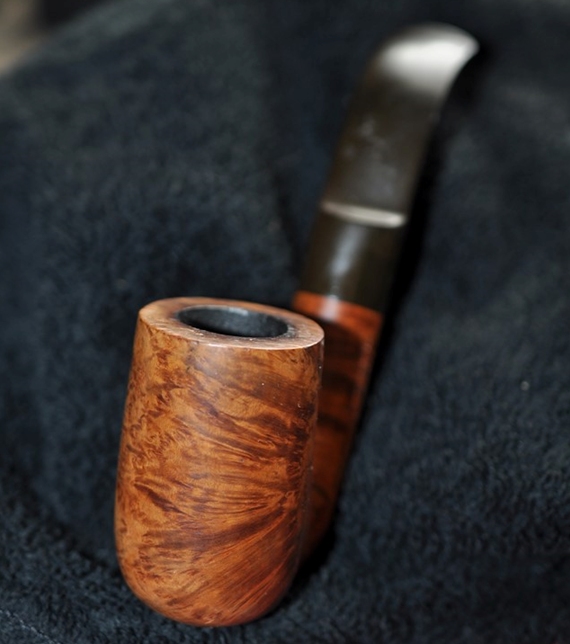
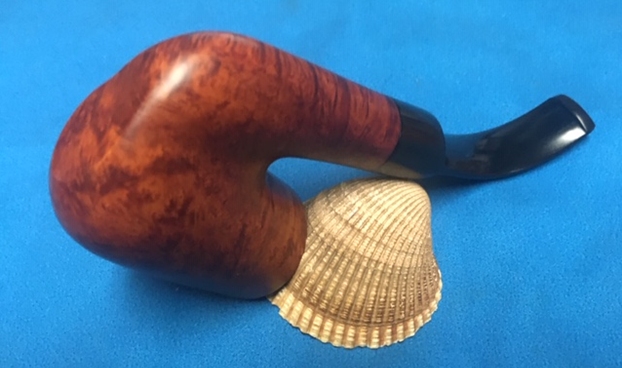
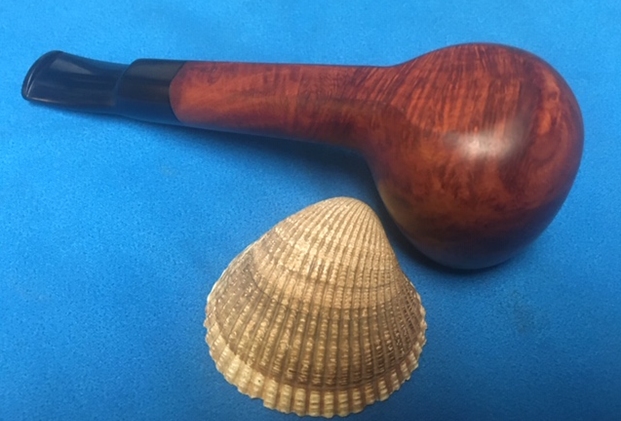
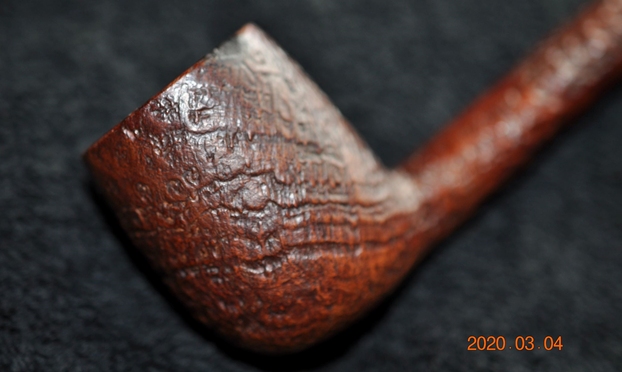
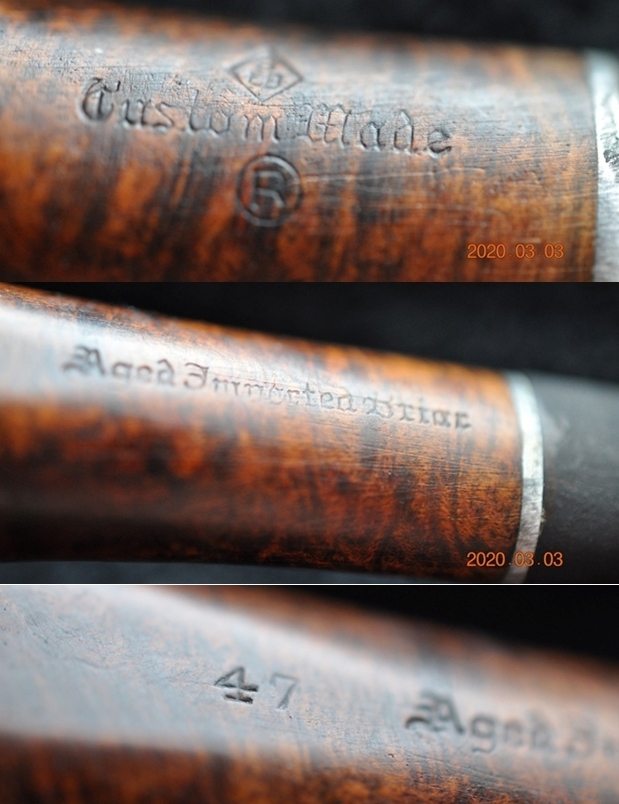
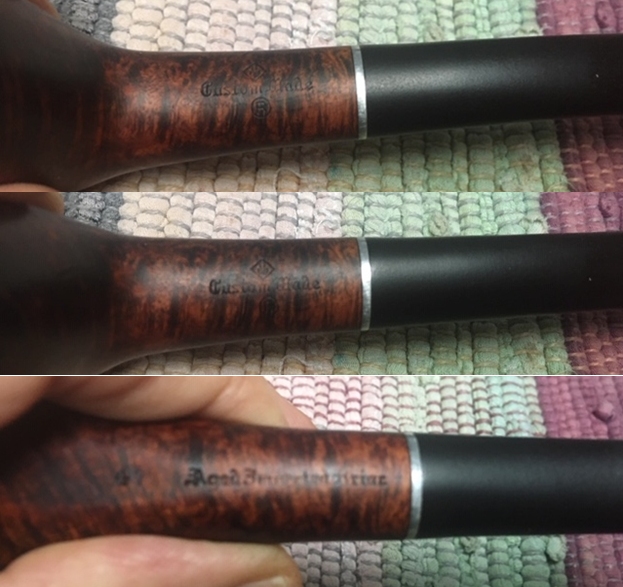
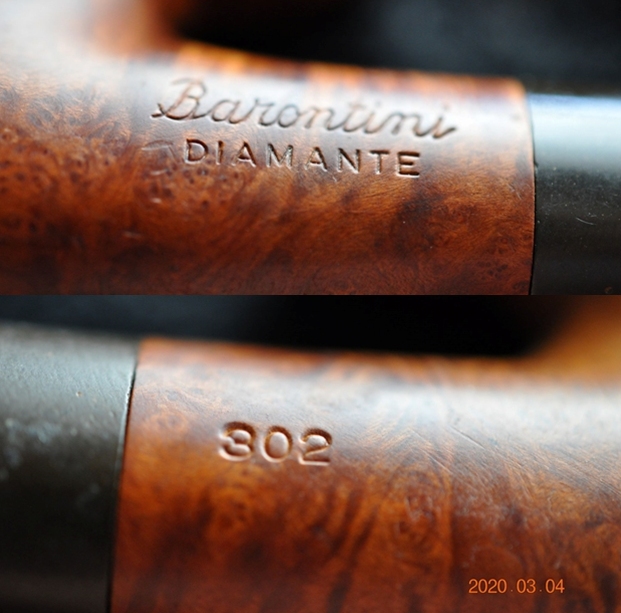
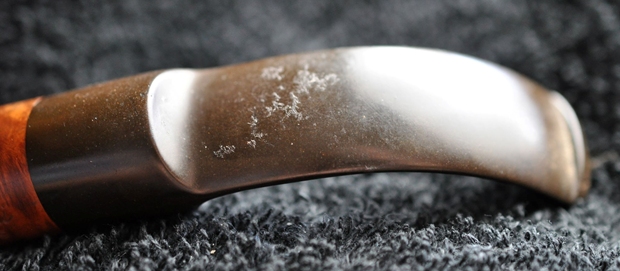
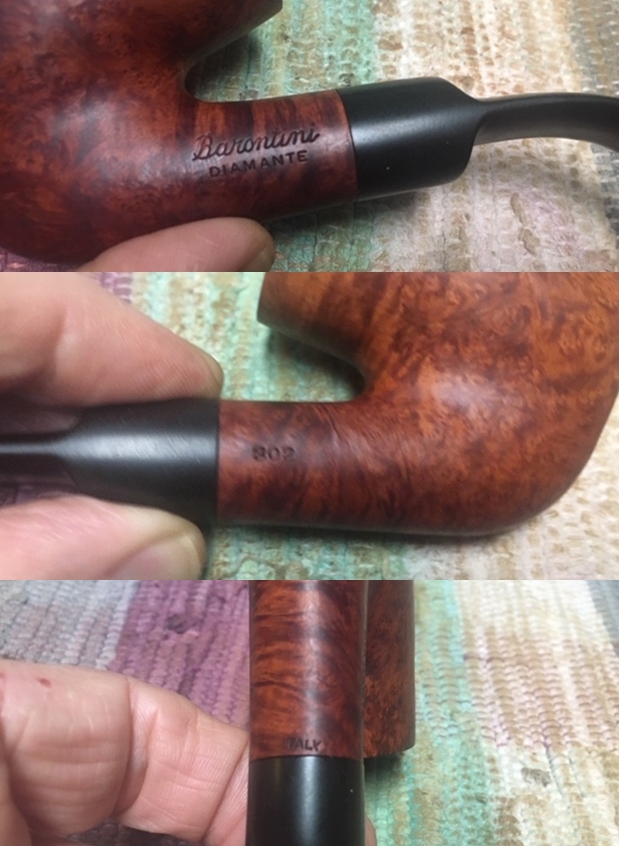
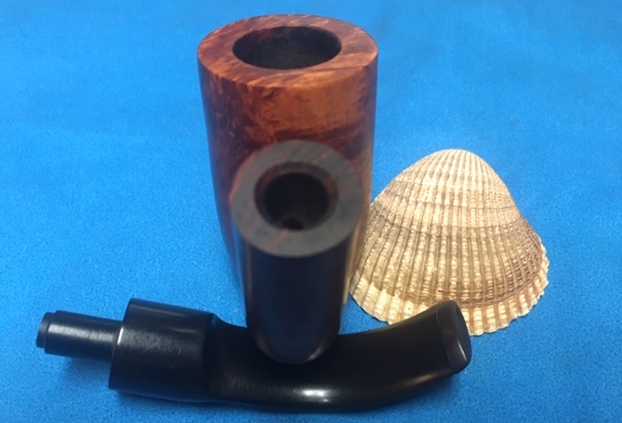
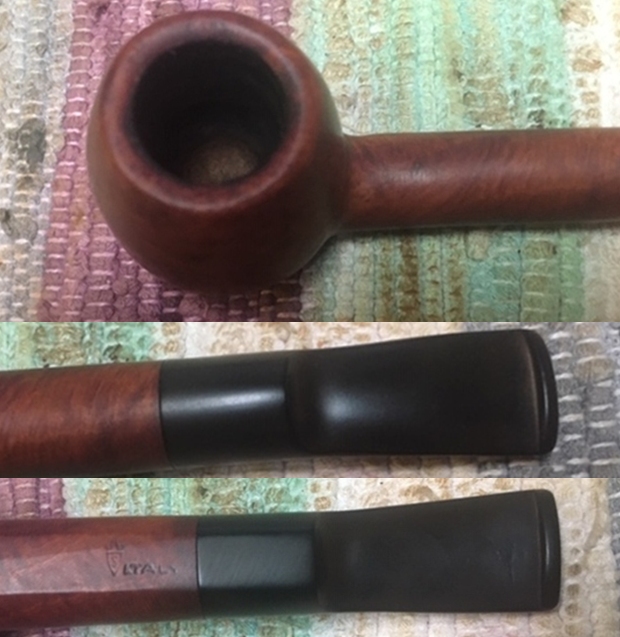
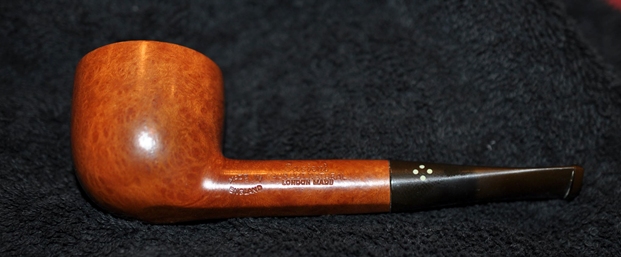
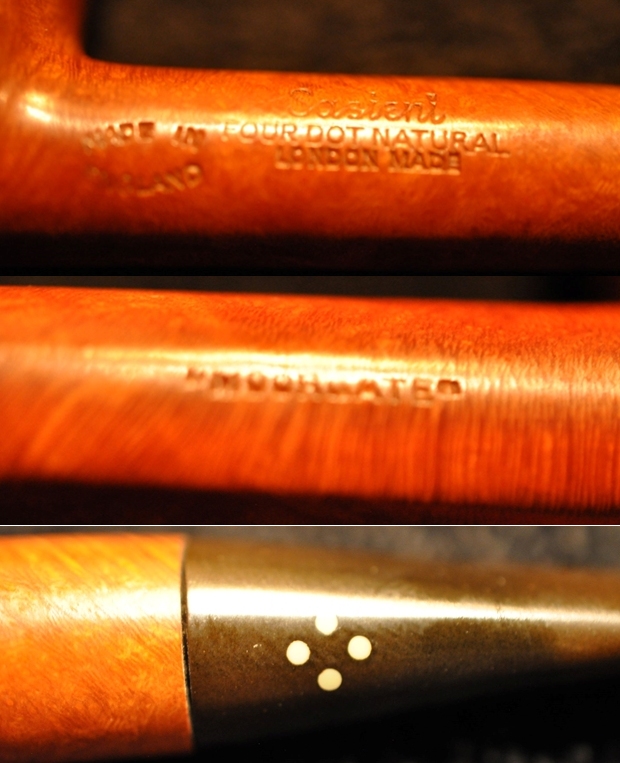
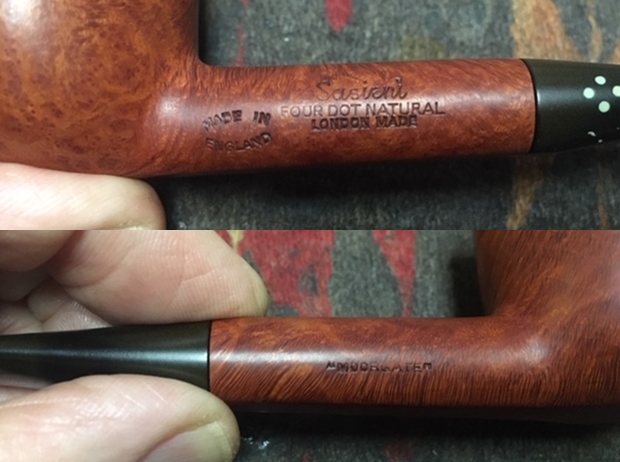
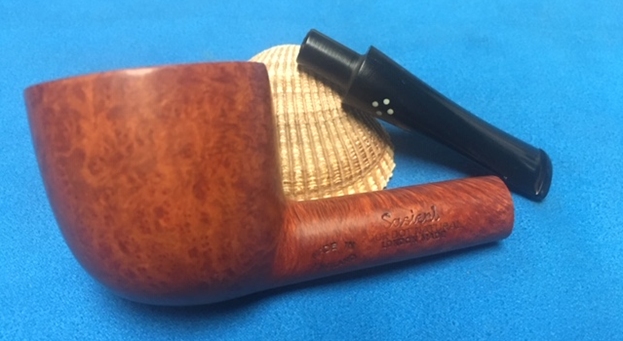
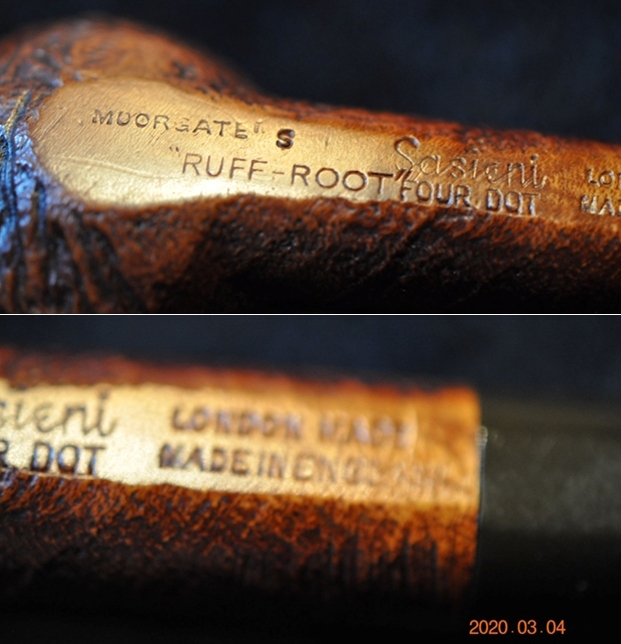
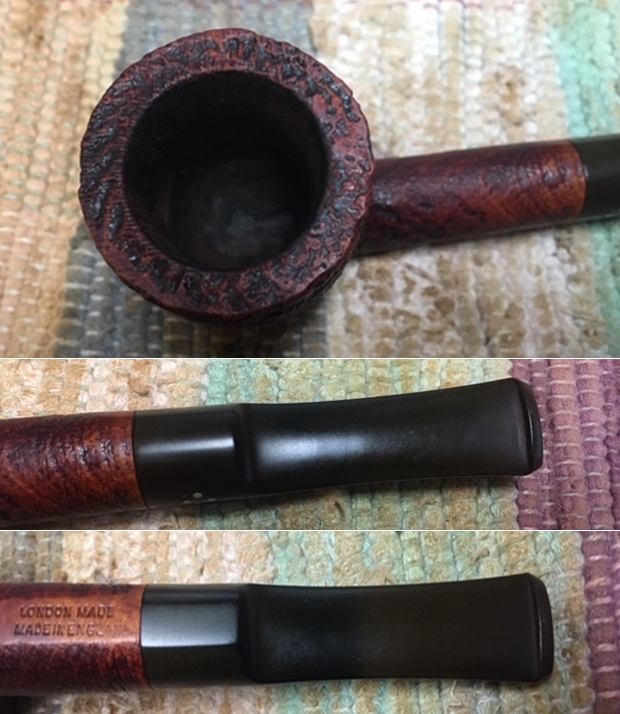
 The stamping on the underside of the shank is very readable as can be seen in the next photo.
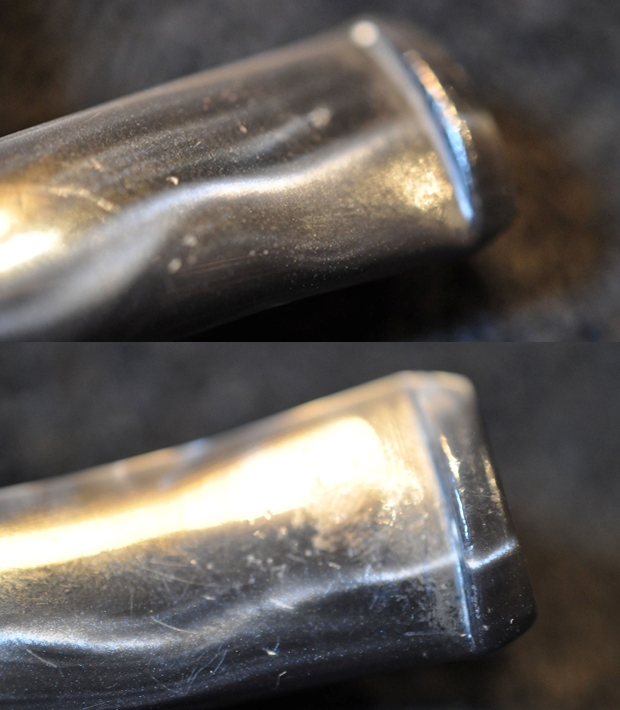
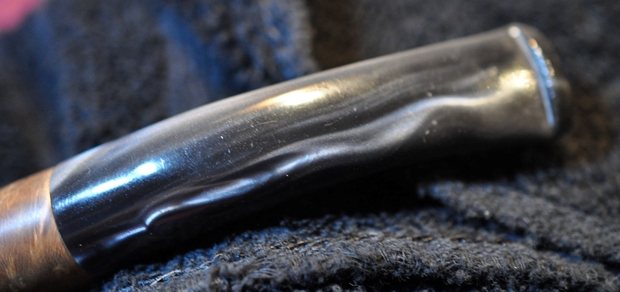
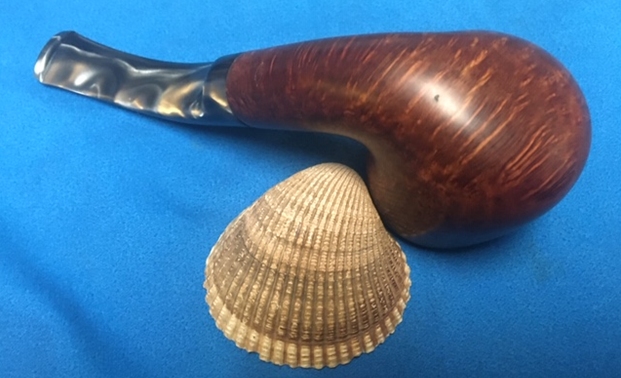
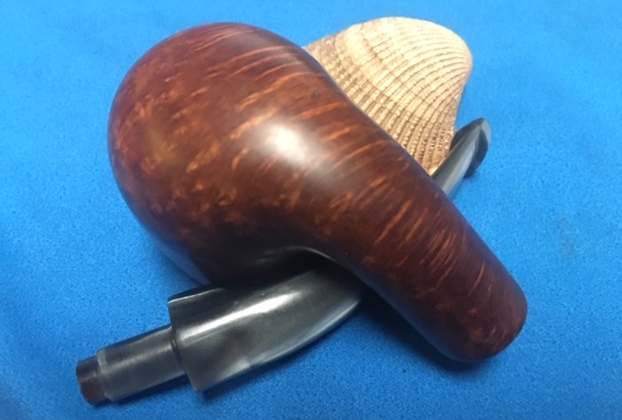
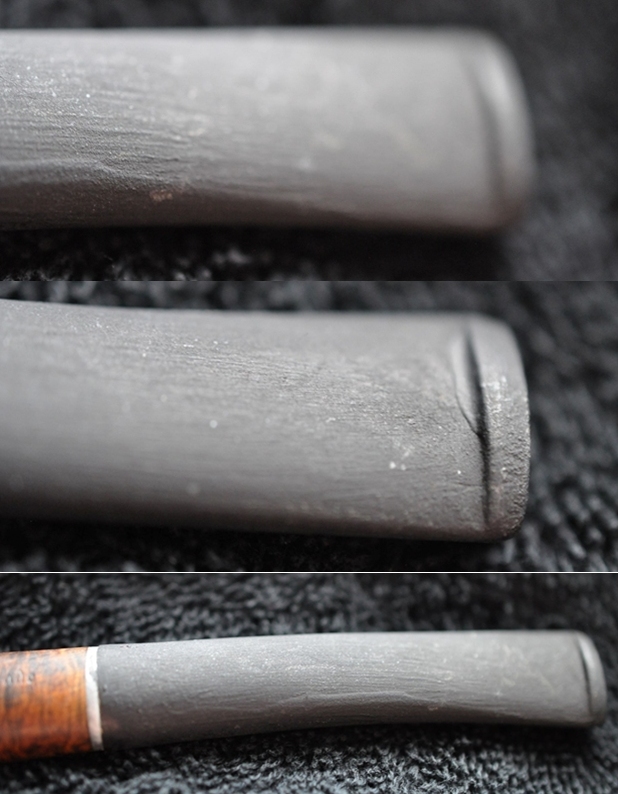
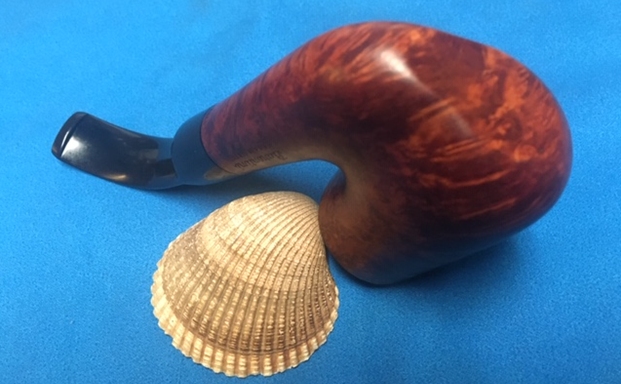
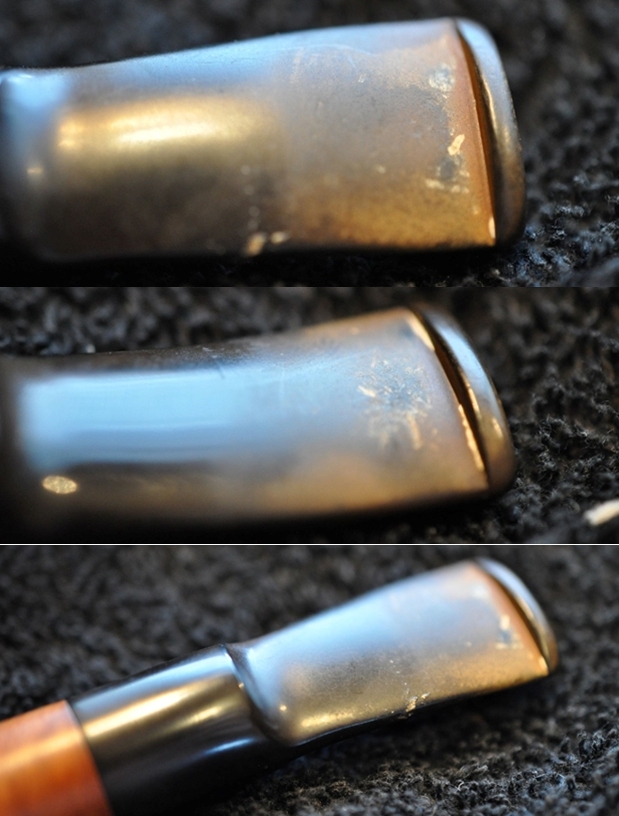
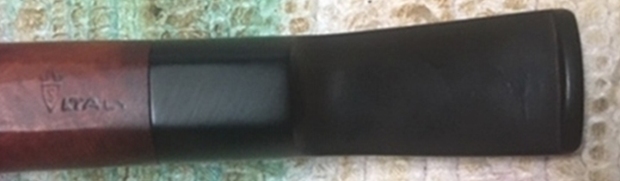
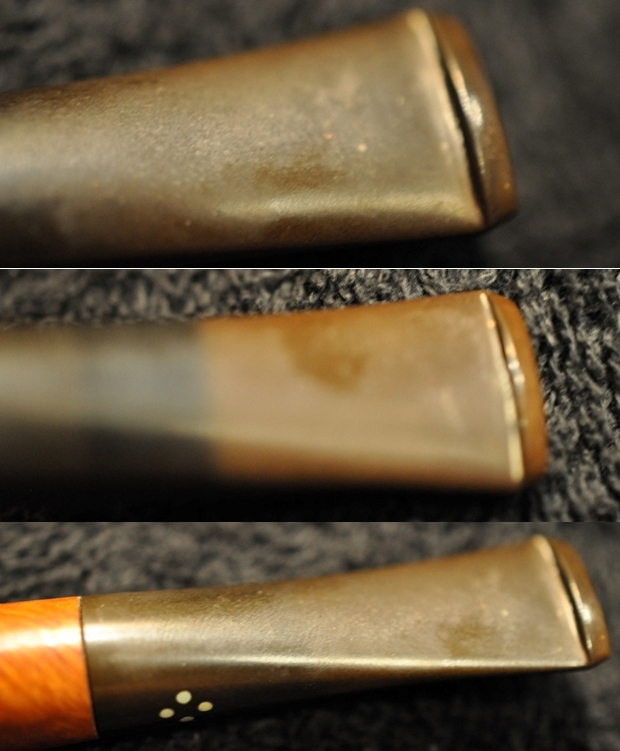
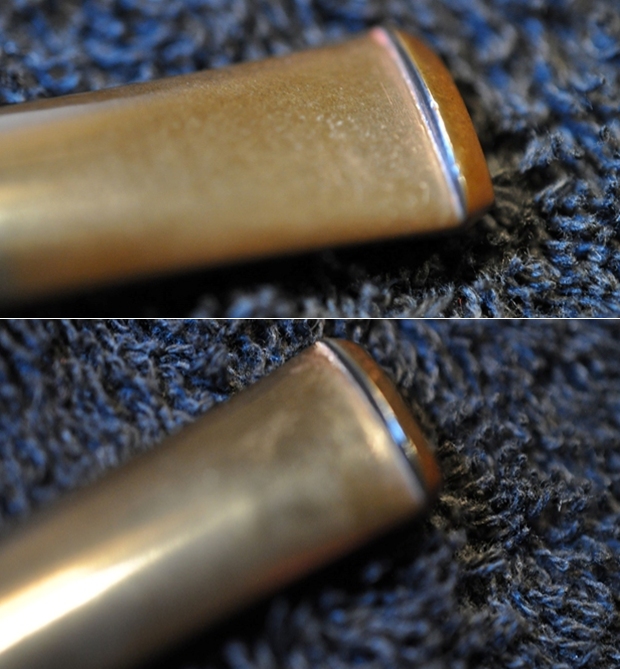
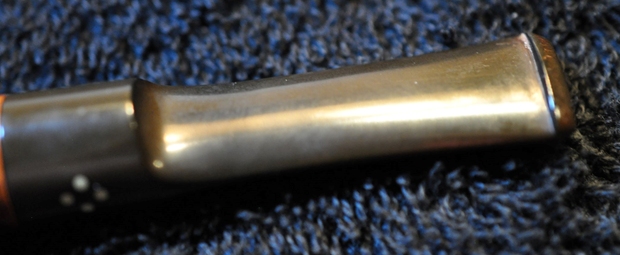
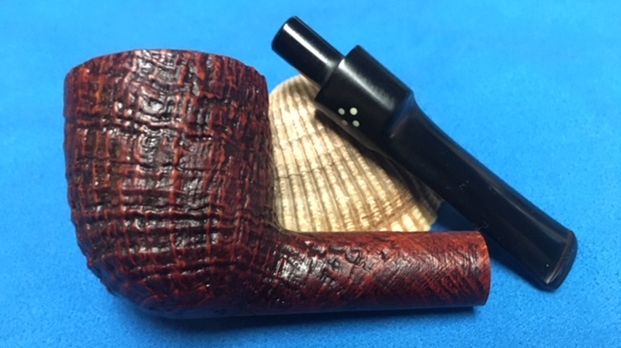
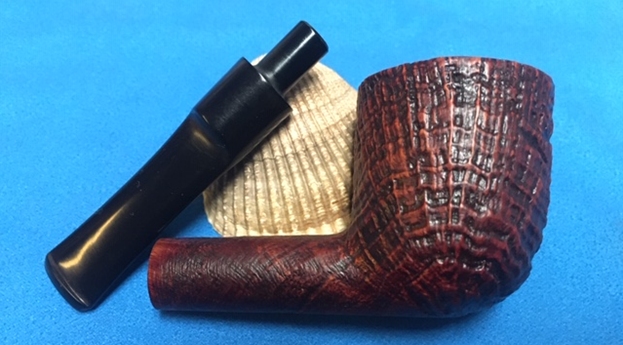
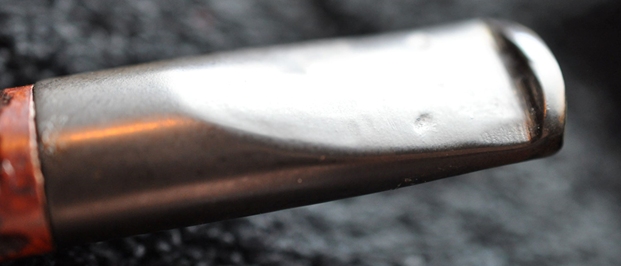
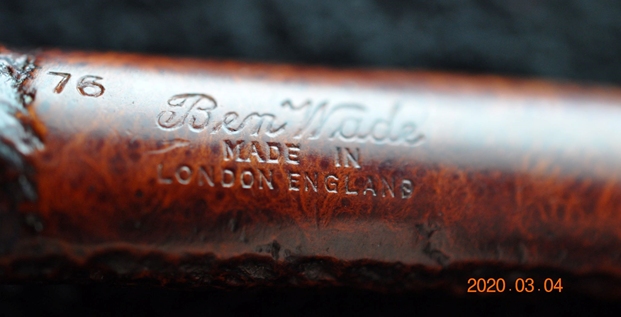 The next two photos show the deep tooth marks on the surface of the stem. They are actually quite high up the stem from the button. This pipeman had been a bit of a chomper. There is some wear on the edge of the button as well. The stem shows a great profile.
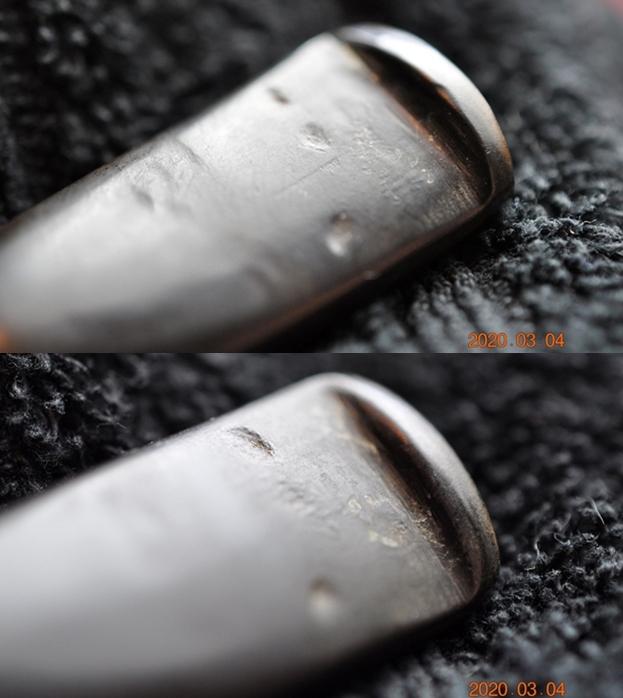
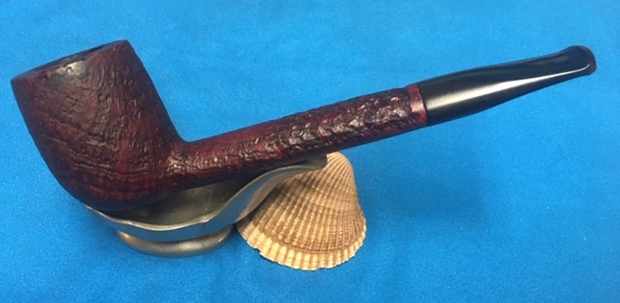
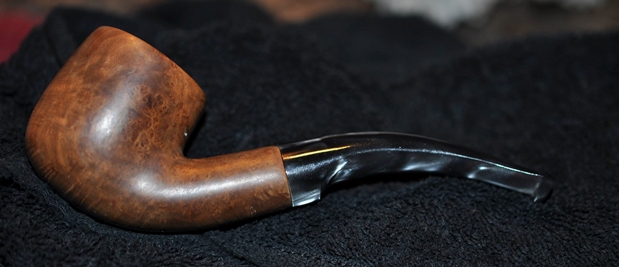
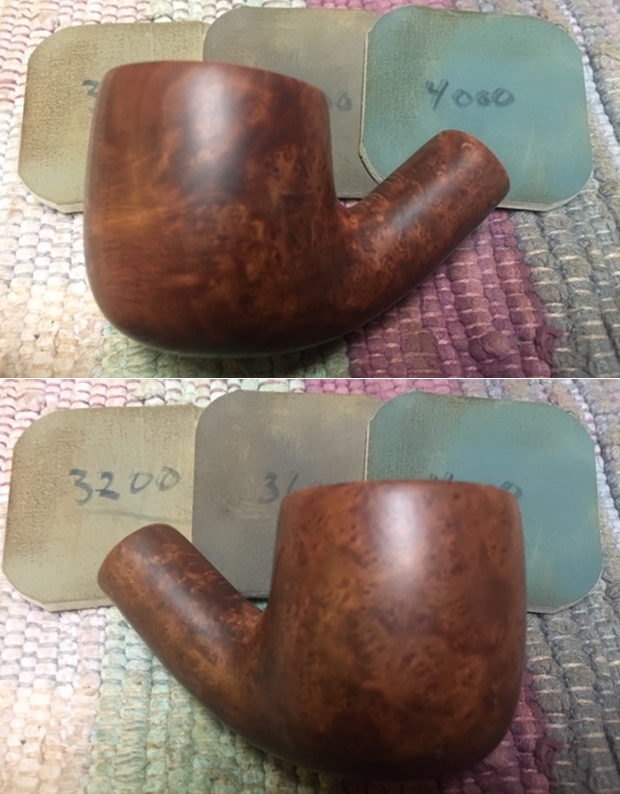
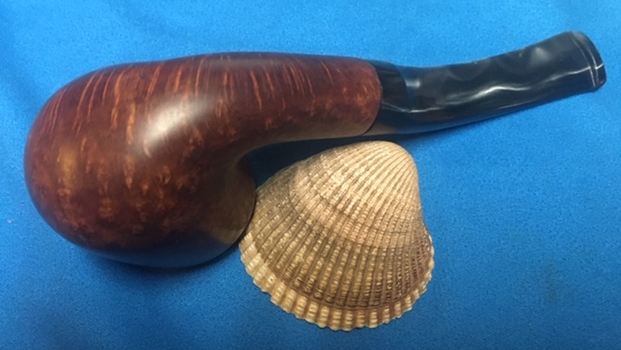
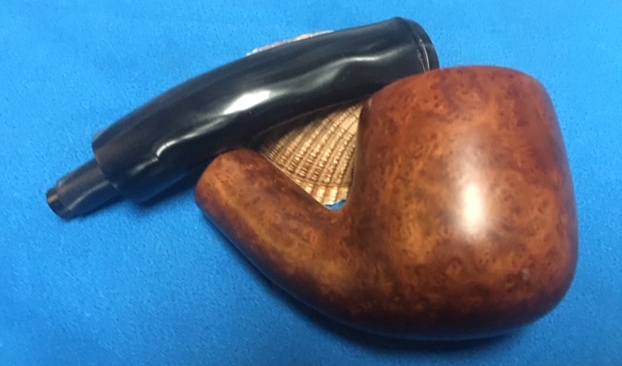
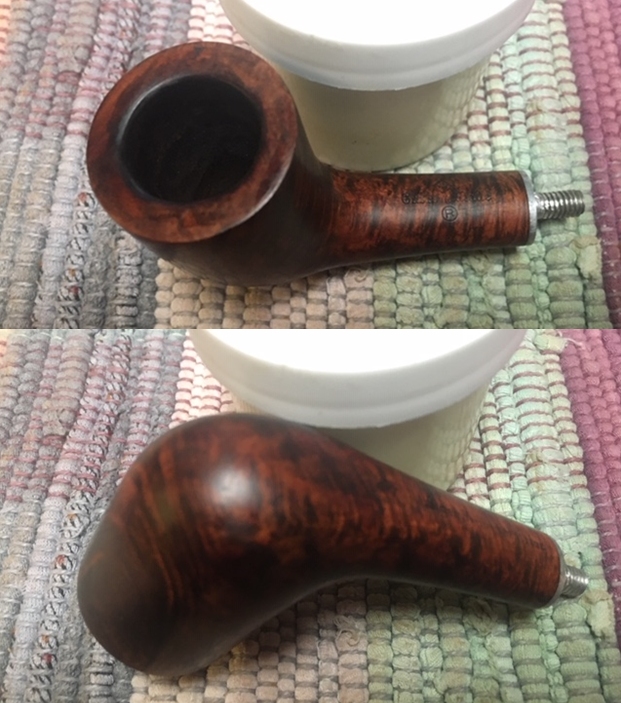
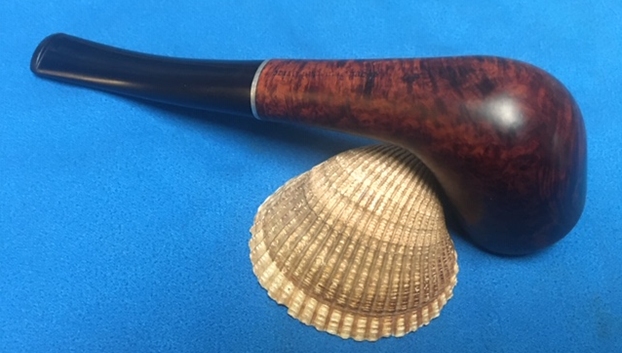
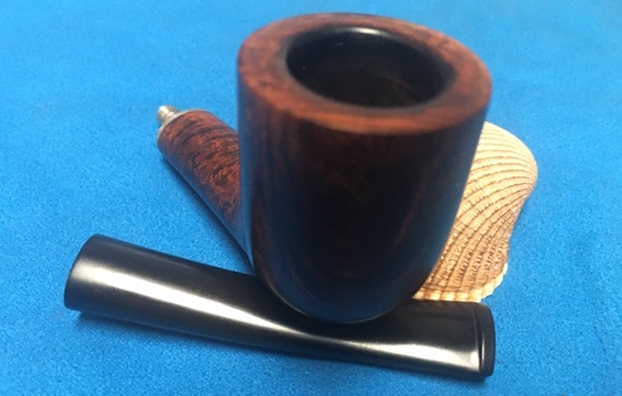
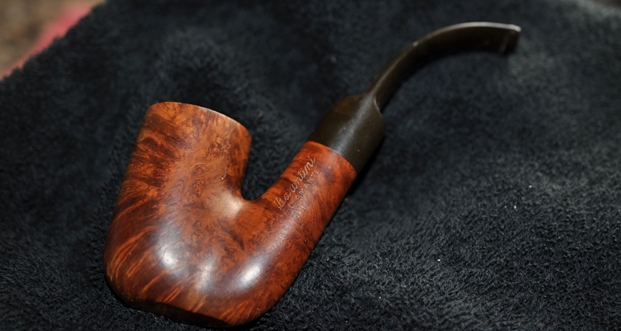
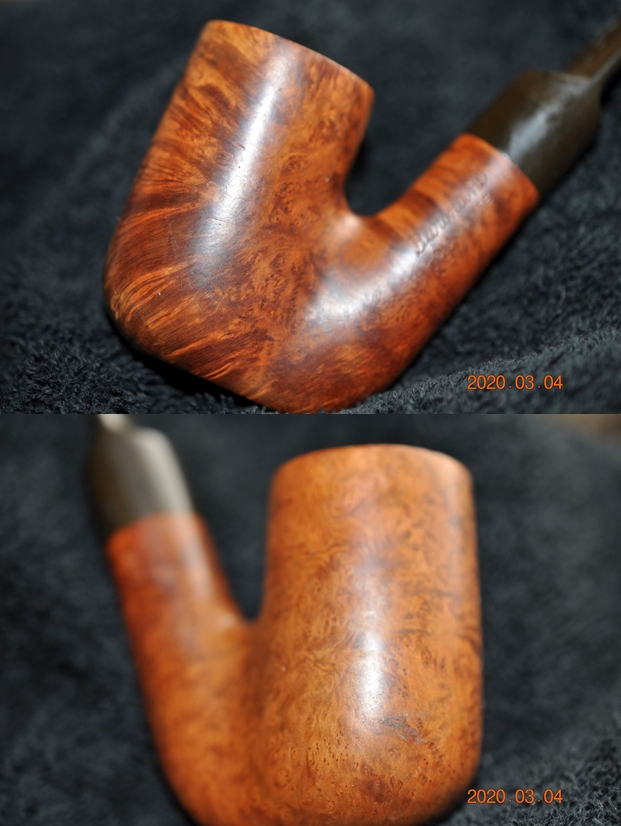
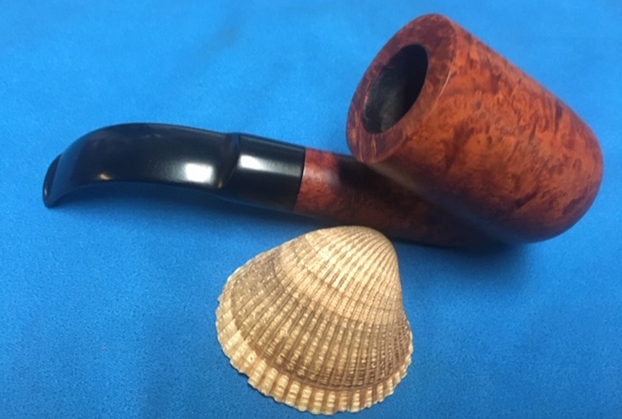
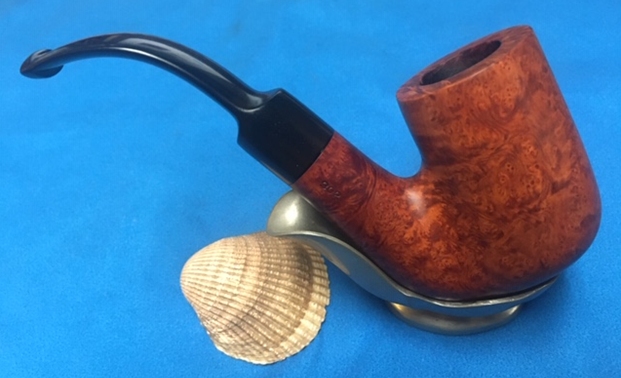
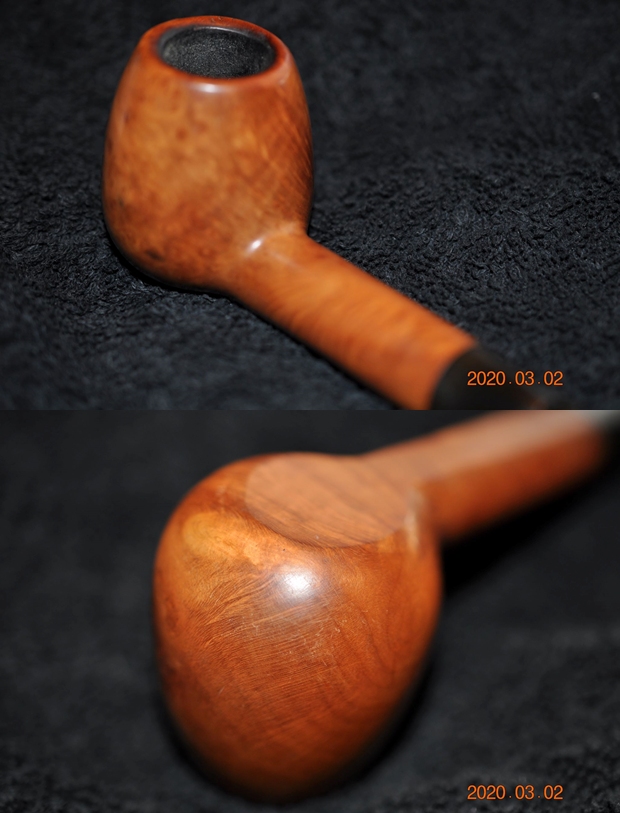
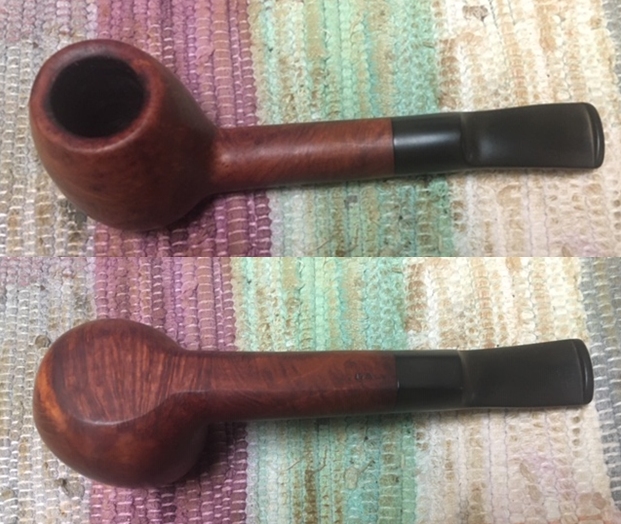
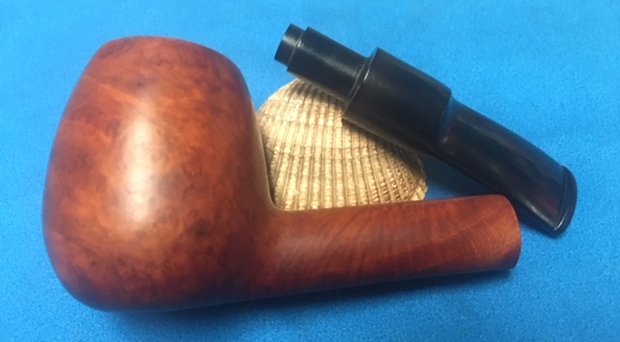
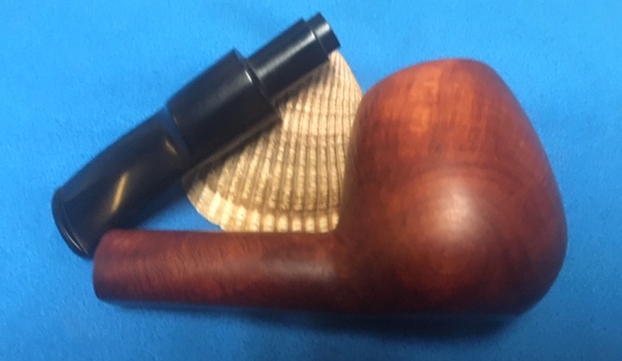
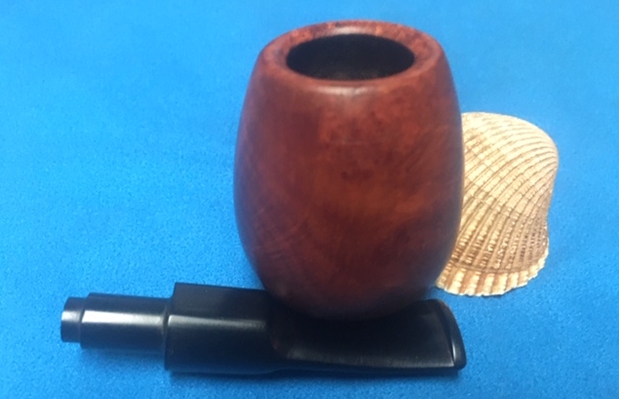
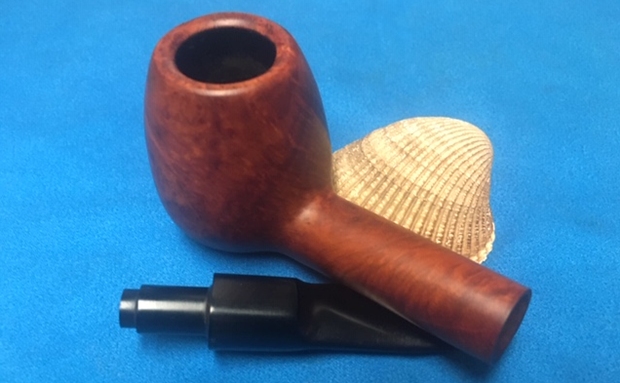
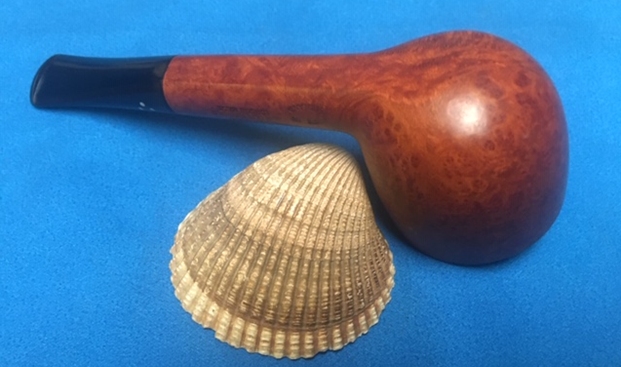
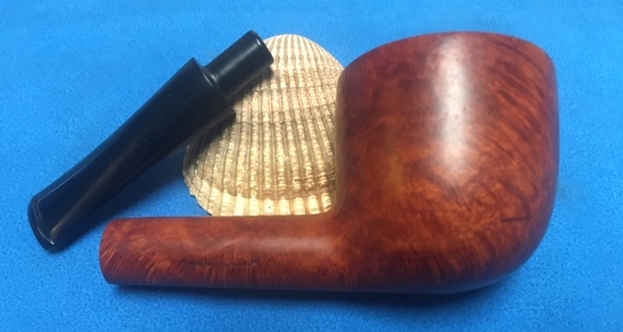
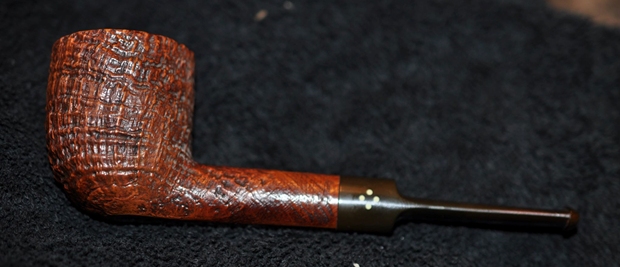
 I moved forward to work on the pipe itself and see what I had to do with it. It had come back amazingly clean. Jeff had done his normal thorough clean up – reaming, scrubbing, soaking and the result was evident in the pipe when I unpacked it. I took photos of the pipe before I started my work on it.
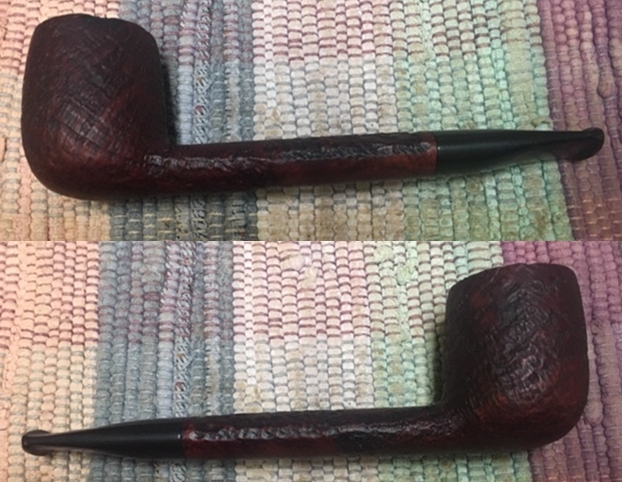
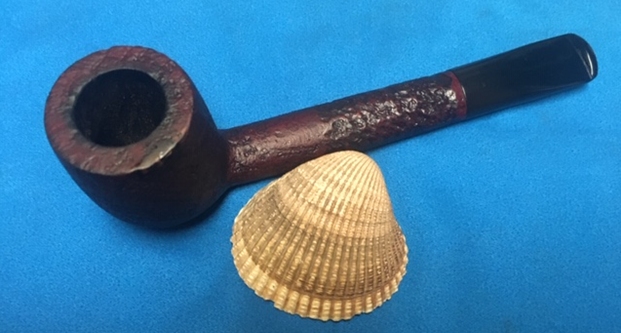
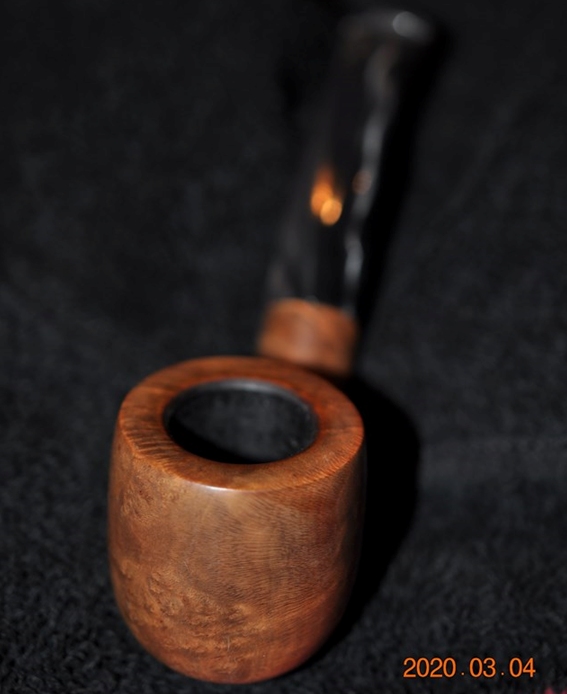
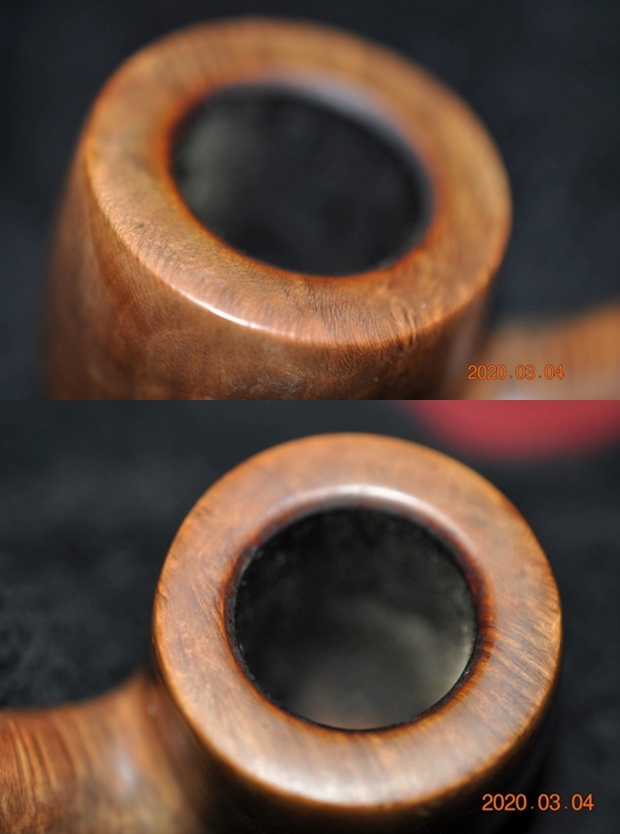
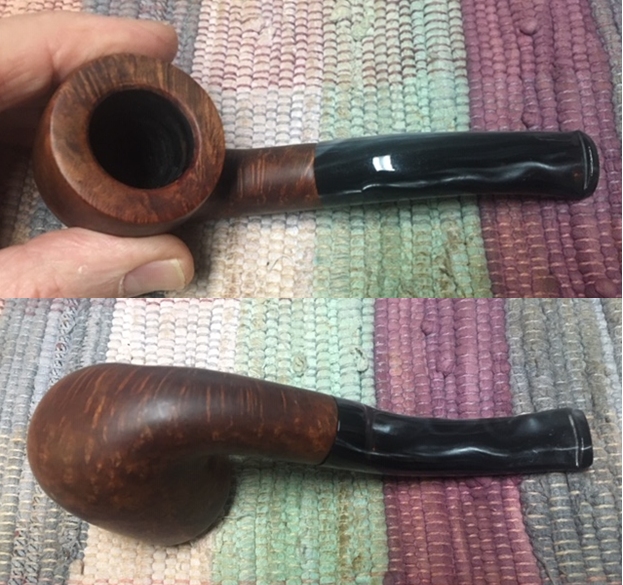
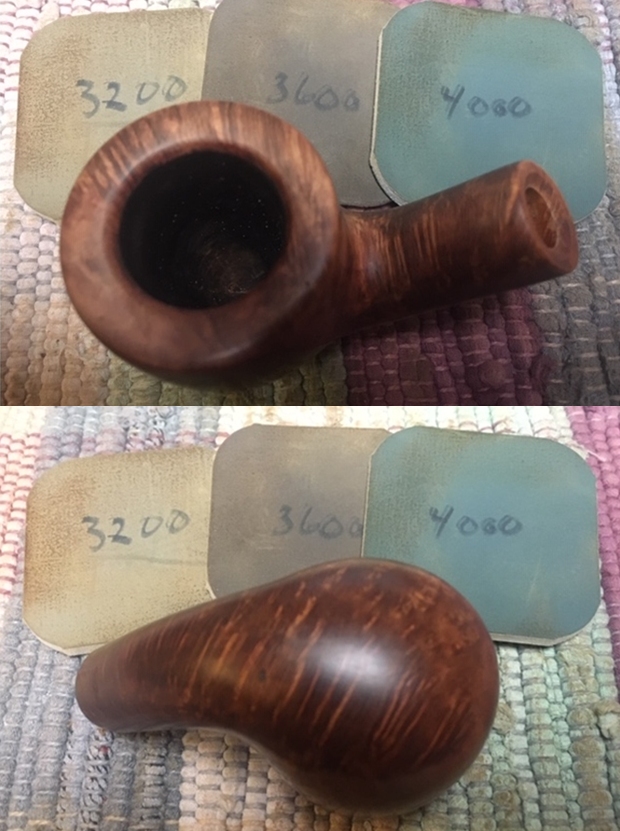
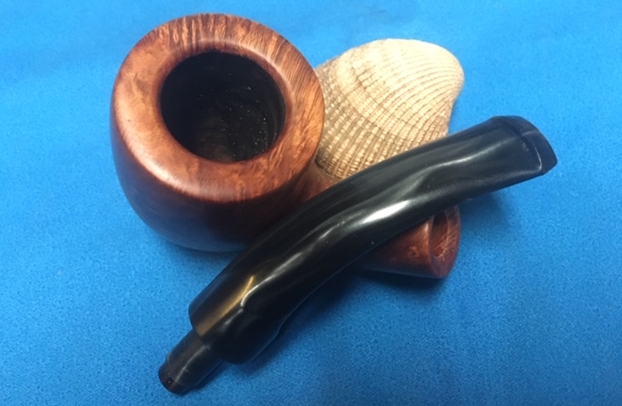
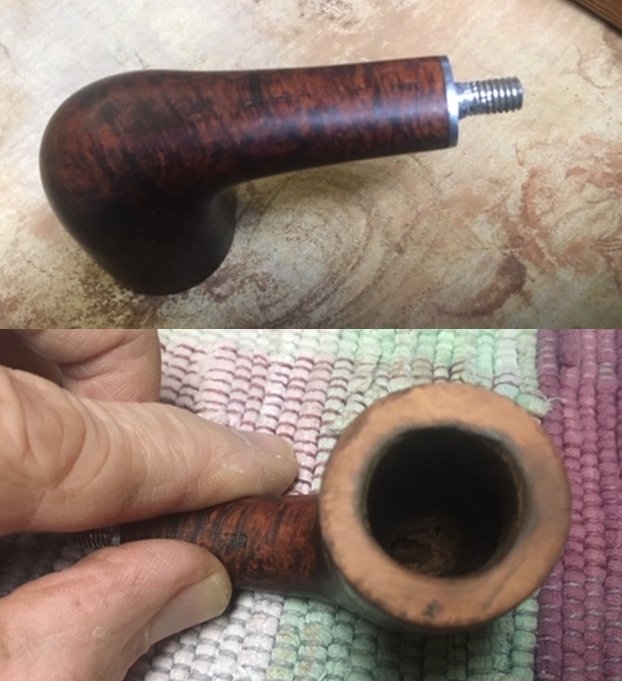
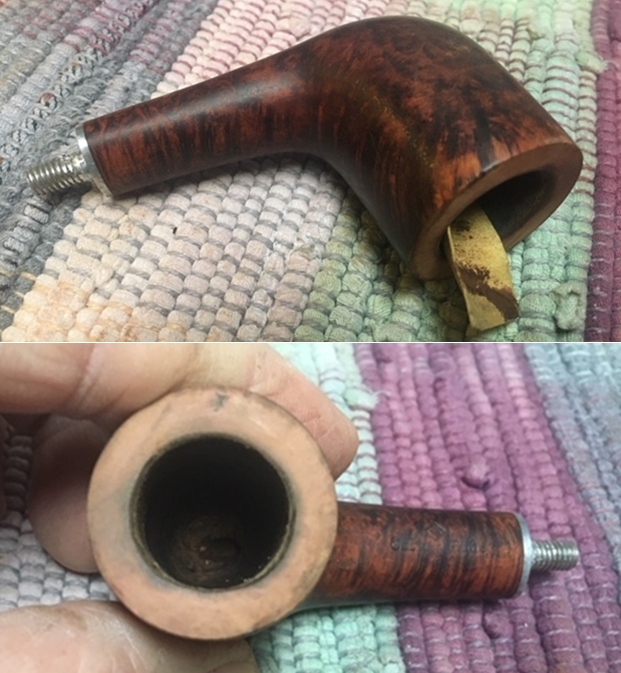
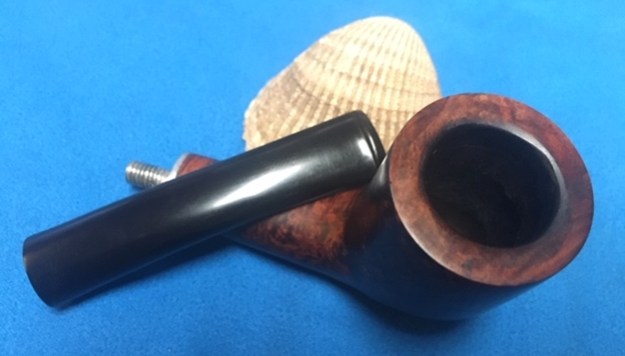
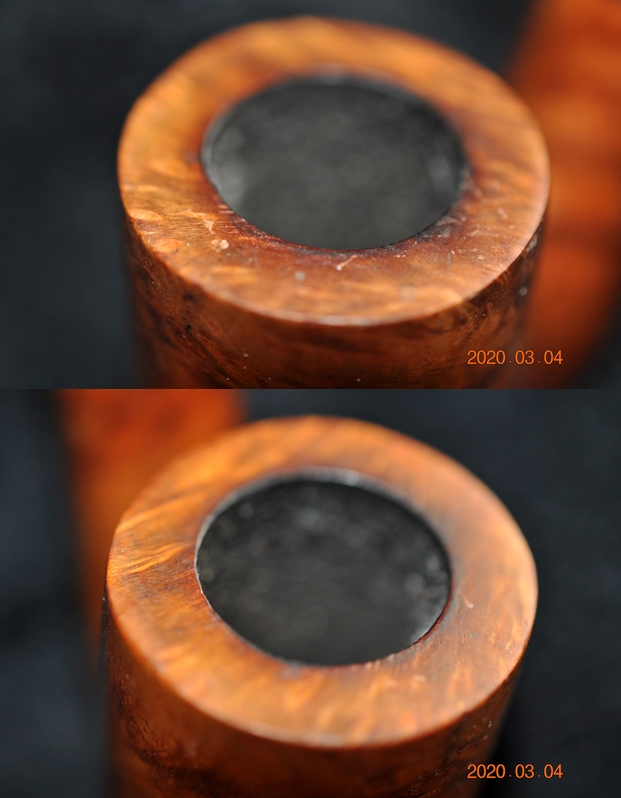
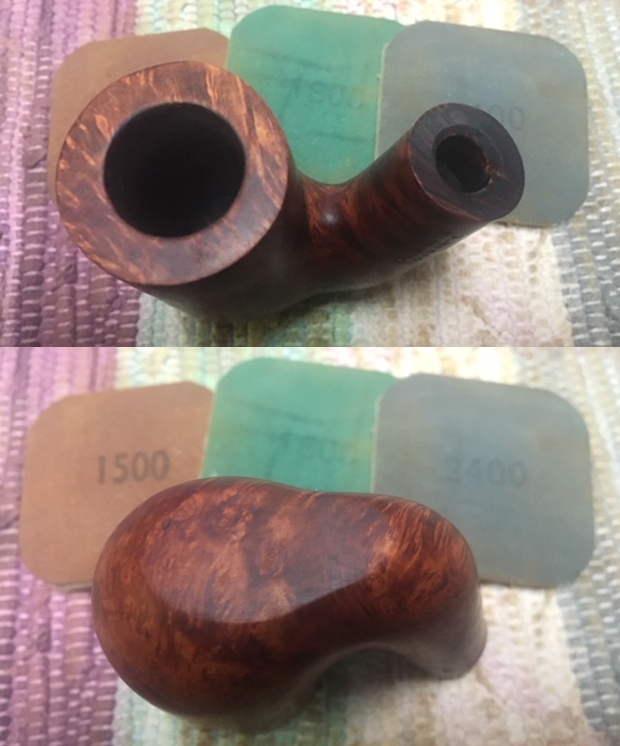
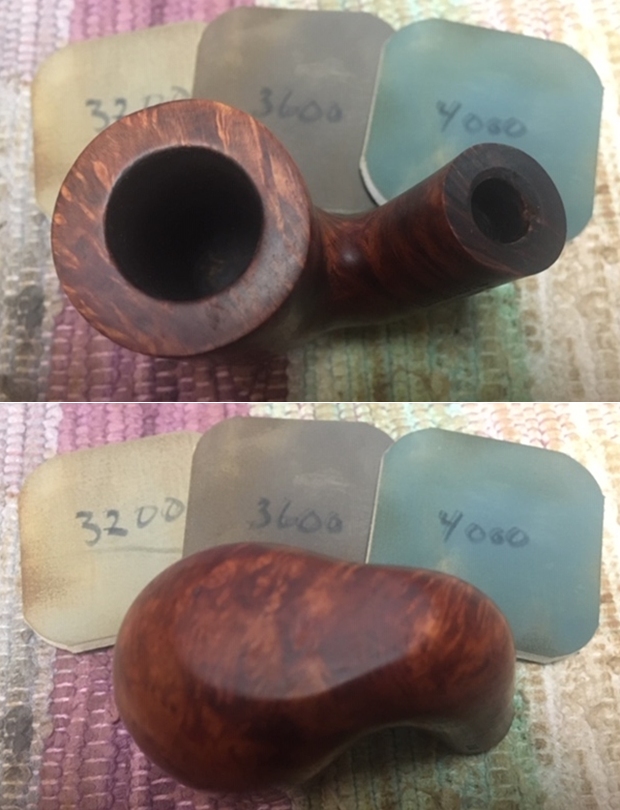
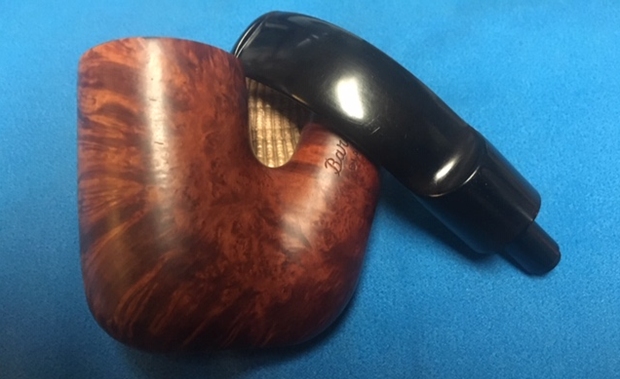
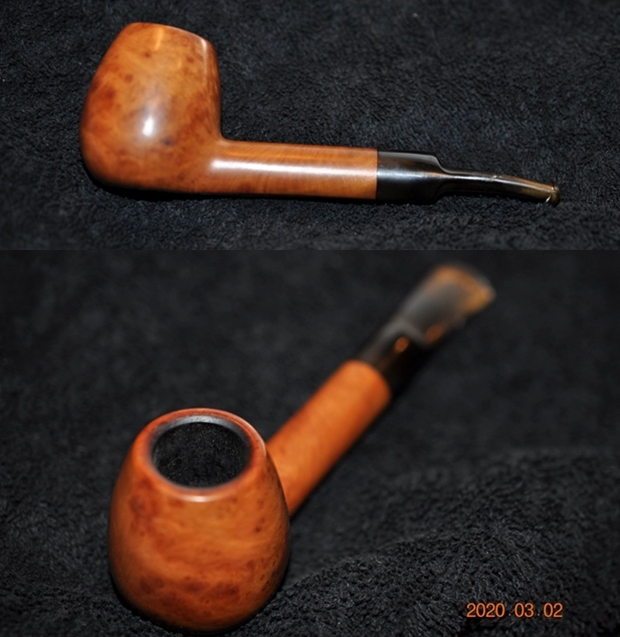
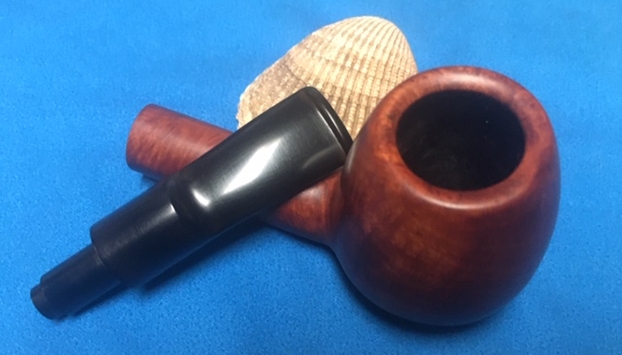
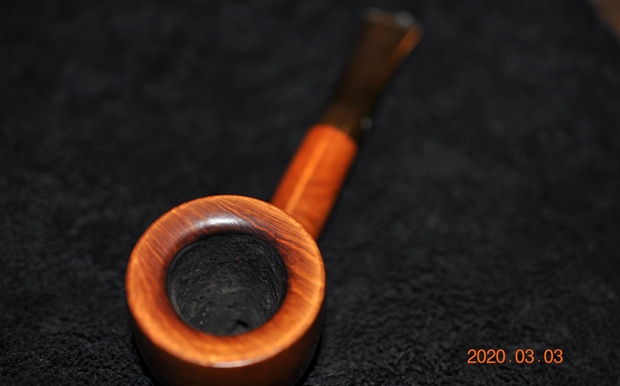
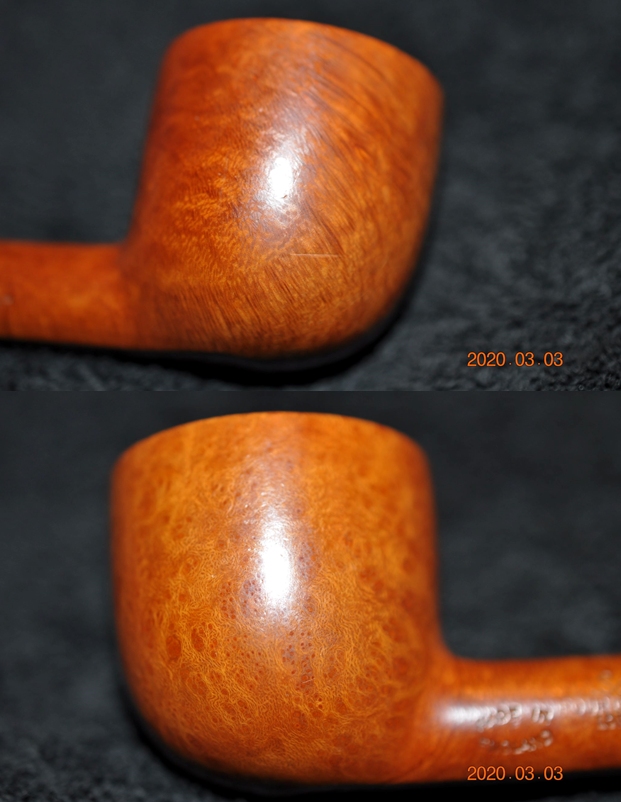
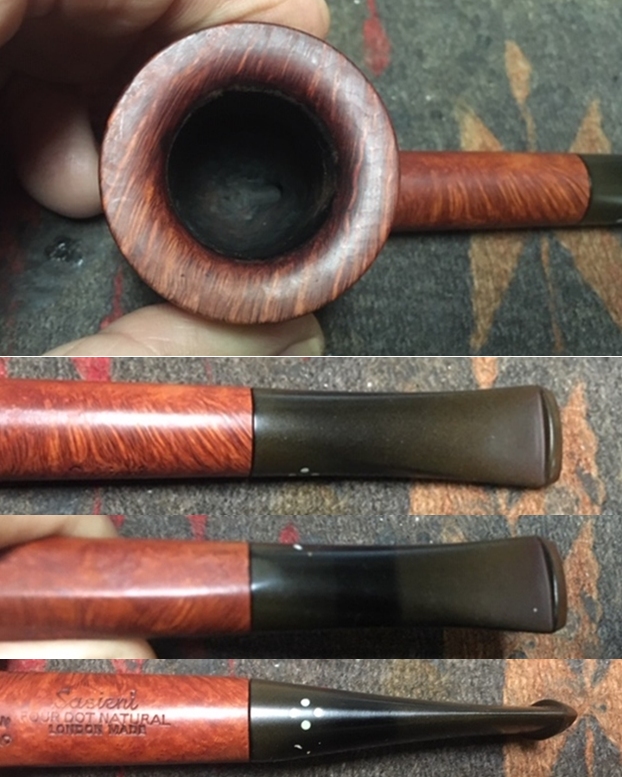
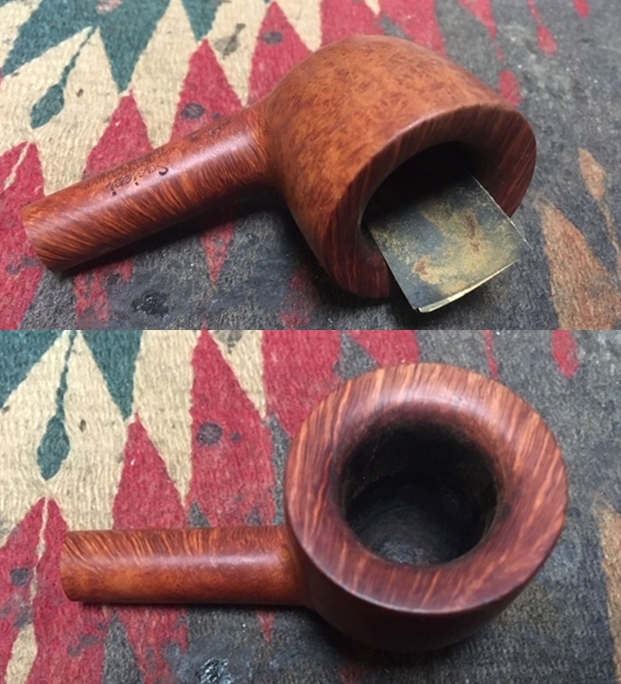
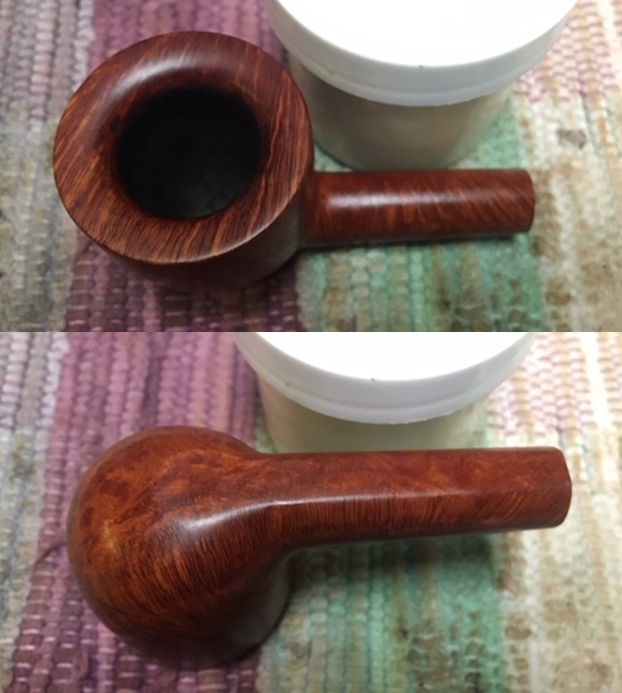
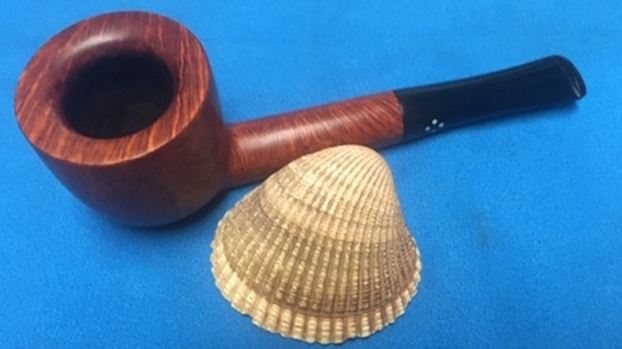
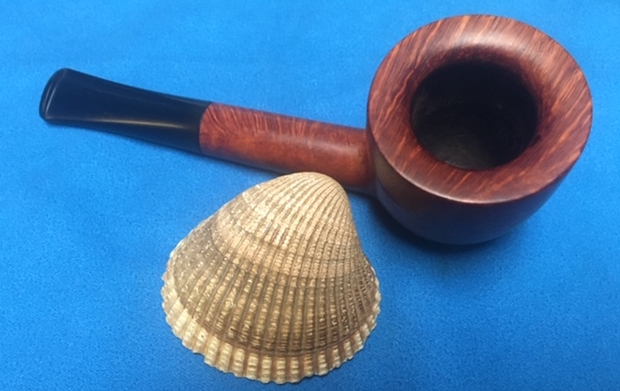
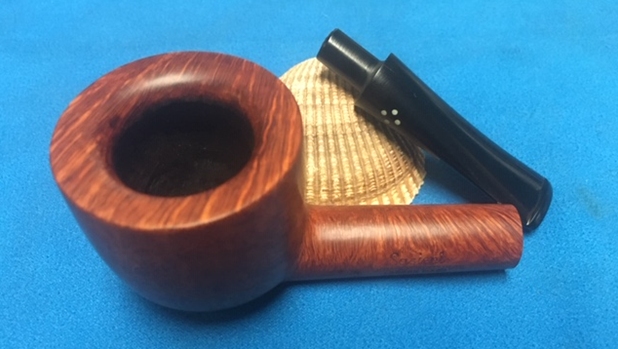
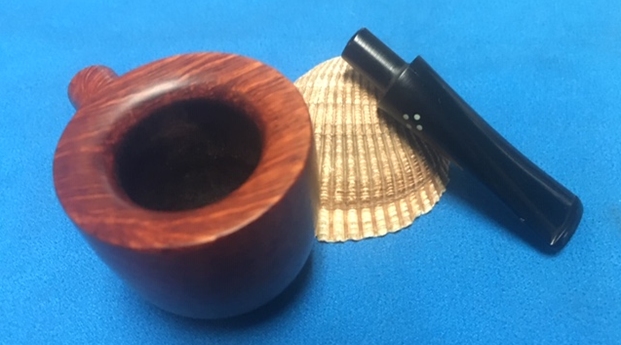
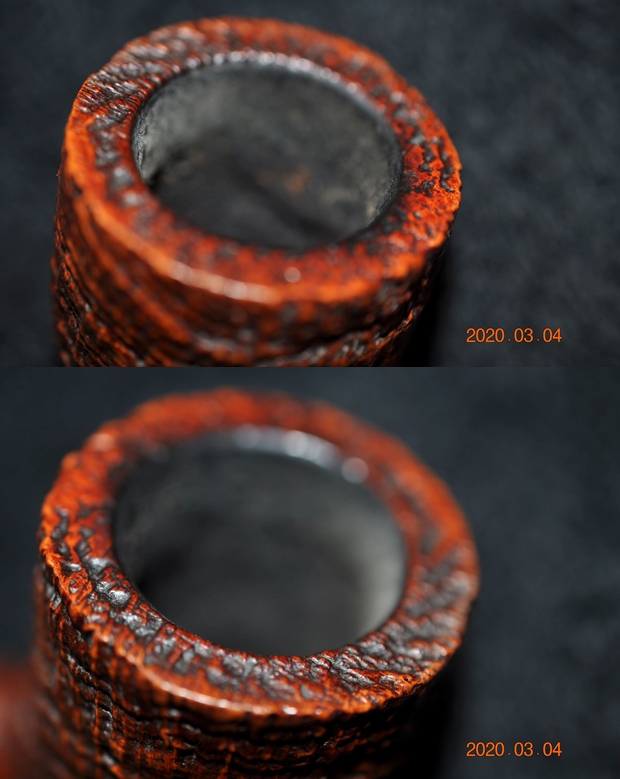
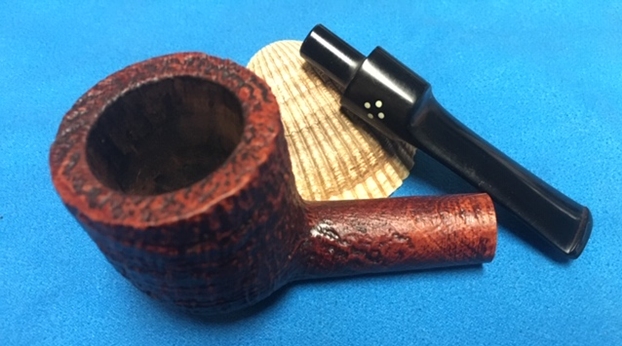
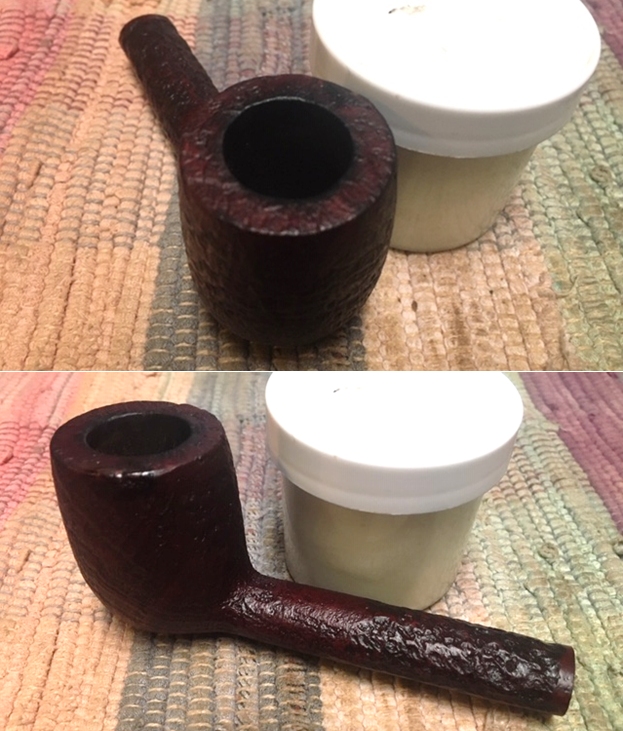
 I took some photos of the rim top to show the condition of the edges and the bowl. It looked very good. There is some darkening to the inner edge of the bowl. The second photo shows the damage from the burn on the left side of the rim top and side of the bowl. The stem had some deep tooth marks ahead of the button on both sides.
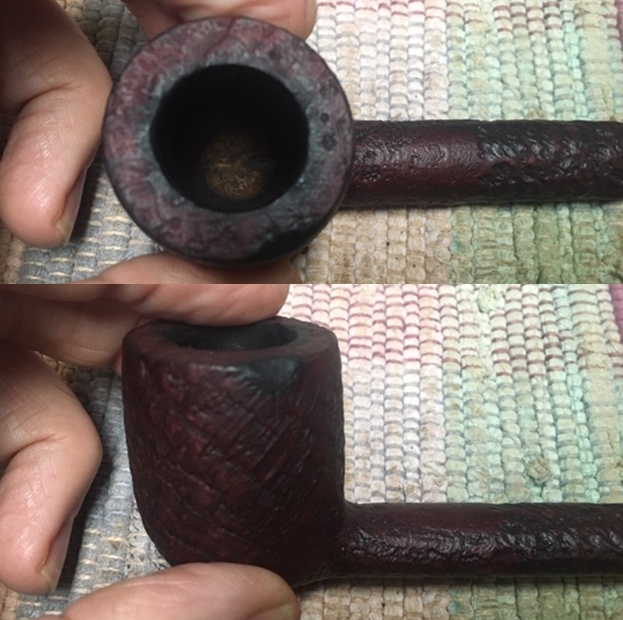
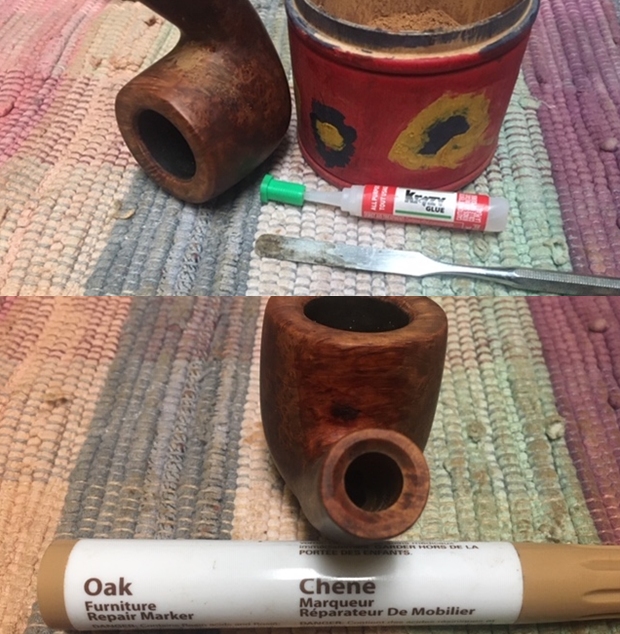
 The bowl was going to be straightforward to work on so I started with it. The burned spot on the left side of the bowl edge needed to be addressed. Since the bowl was clean I wiped off the damaged spot with alcohol on a cotton pad. I dried it of with a cloth. I then filled it in with layers of super glue and briar dust – repeating the process until the surface of the rim top and the side of the bowl were even. When the repair had cured I sanded it with a folded piece of 220 grit sandpaper to blend it into the surrounding briar.
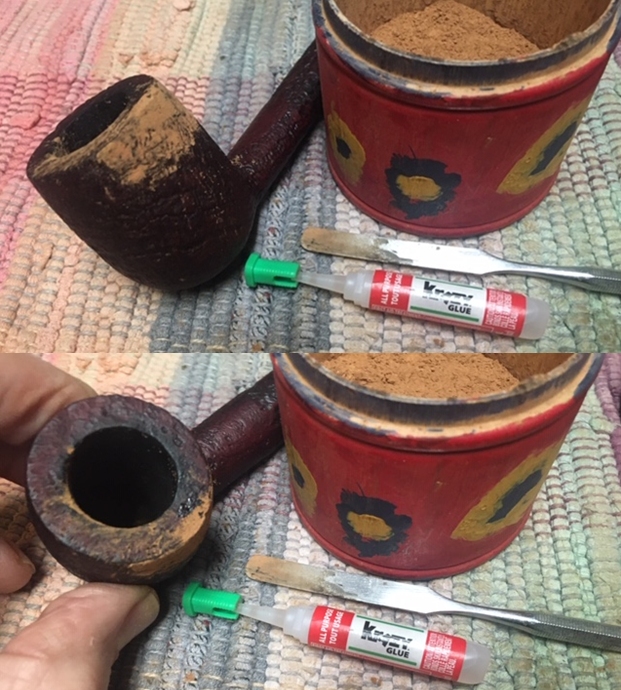
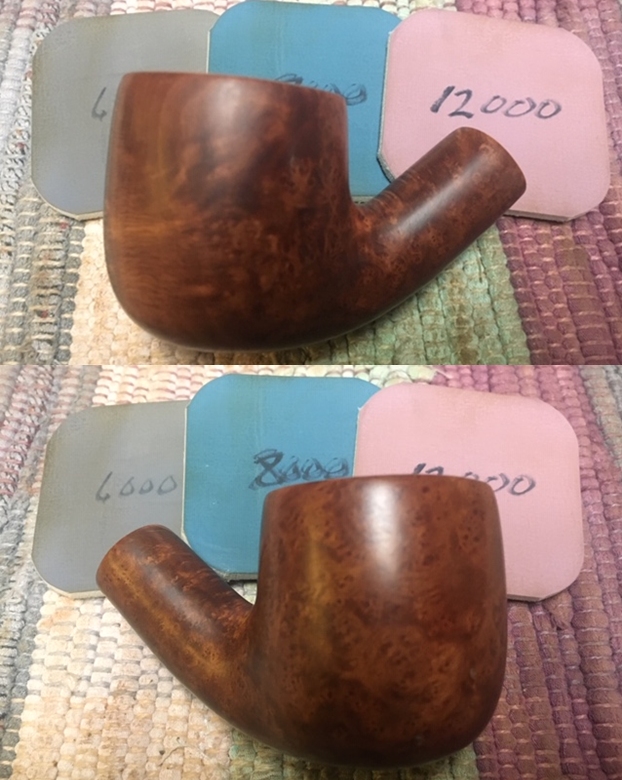
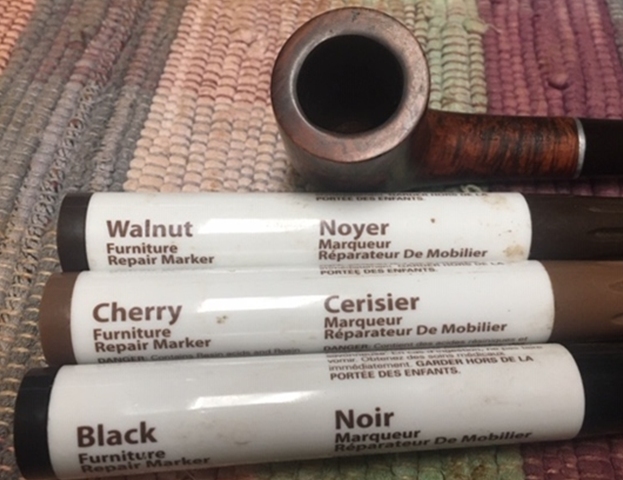
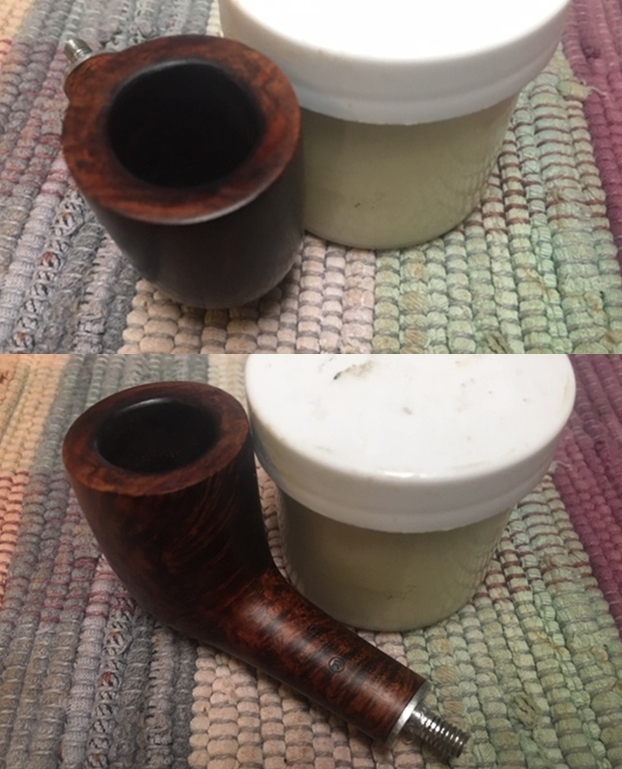
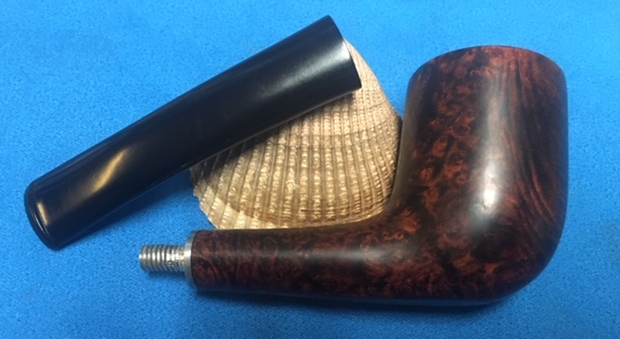
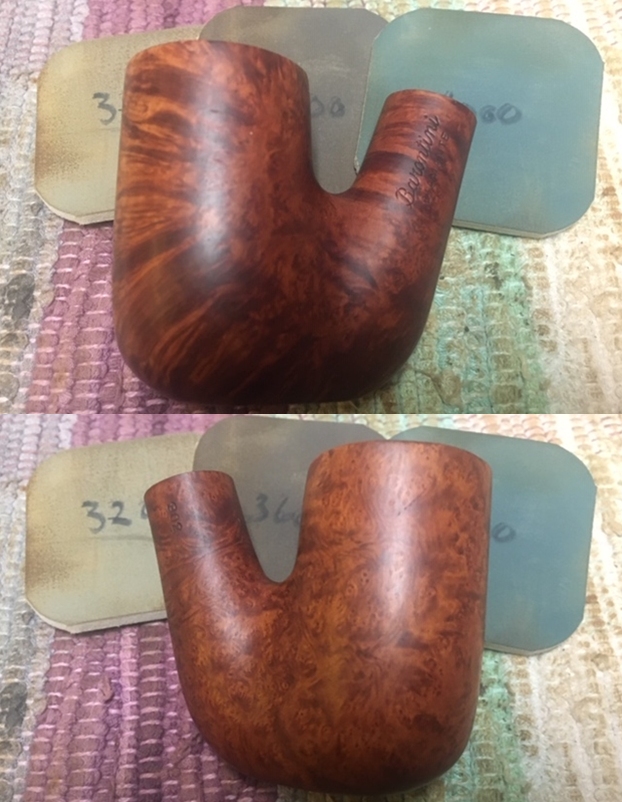
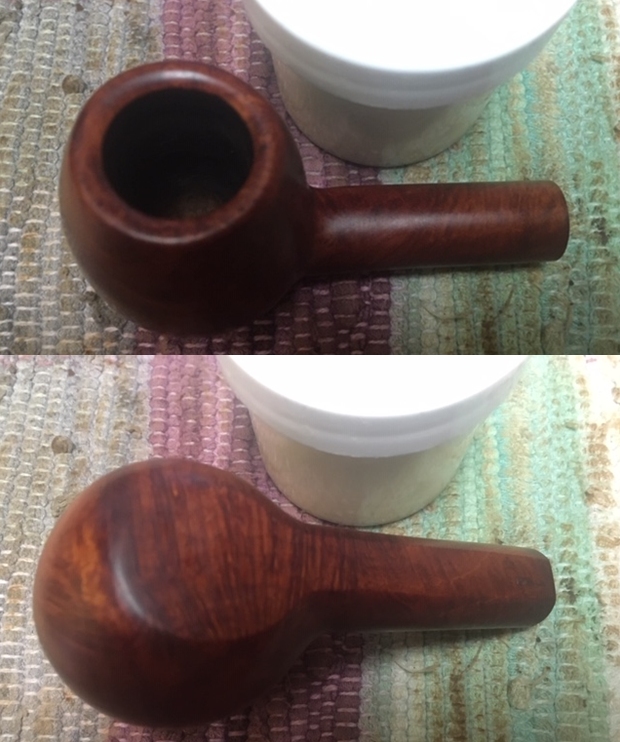
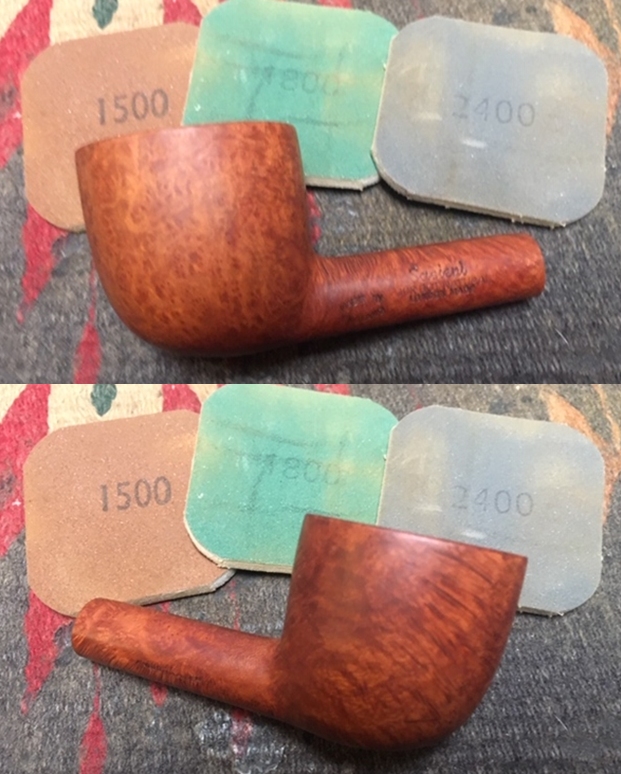
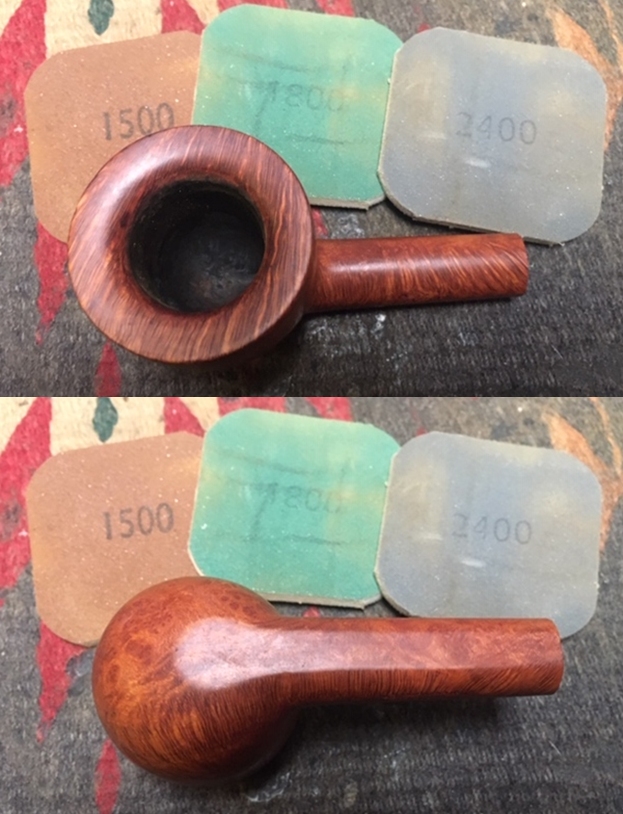
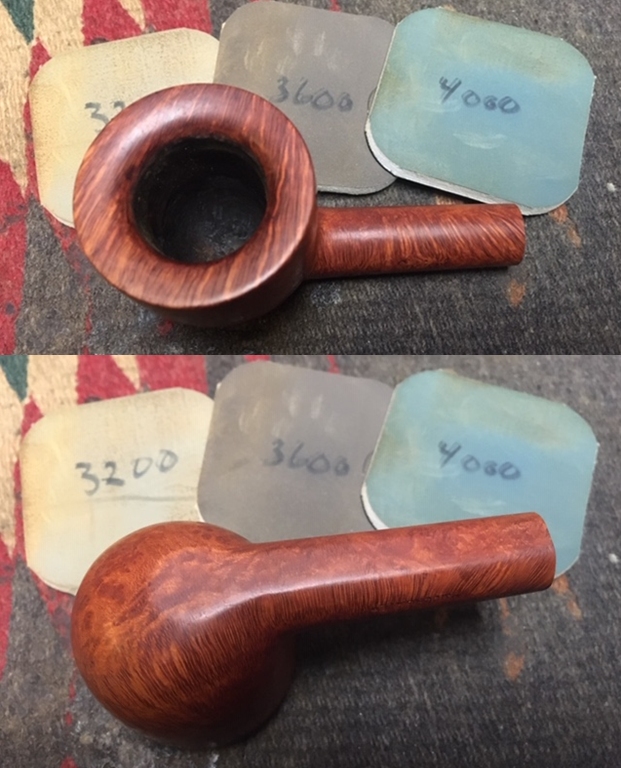
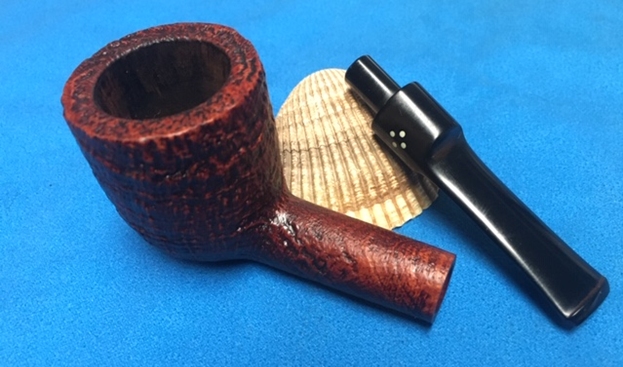
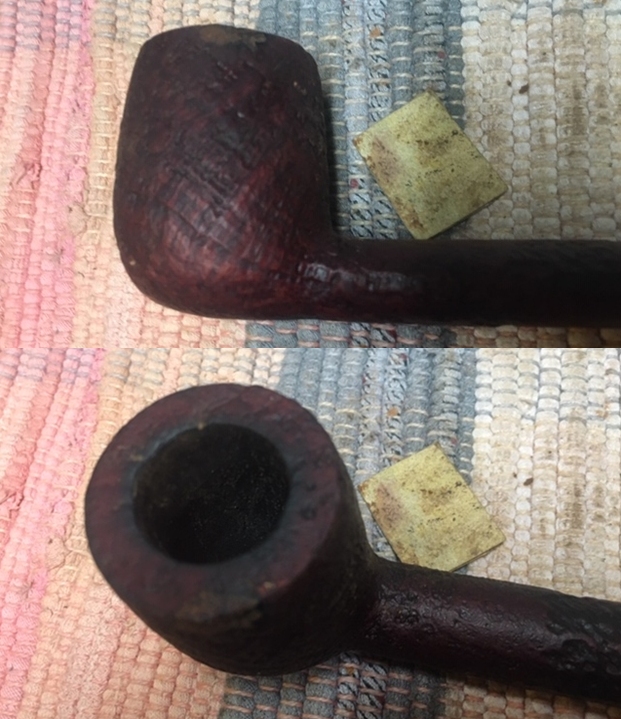 I used a brass bristle brush to roughen up the surface of the rim top and side of the bowl. I worked it over to achieve a similar pattern to the surround sandblast. I stained the repaired area with a Mahogany stain pen and blended it into the surrounding stained briar. I am pretty happy with the match. At this point in the process the bowl definitely looks better.
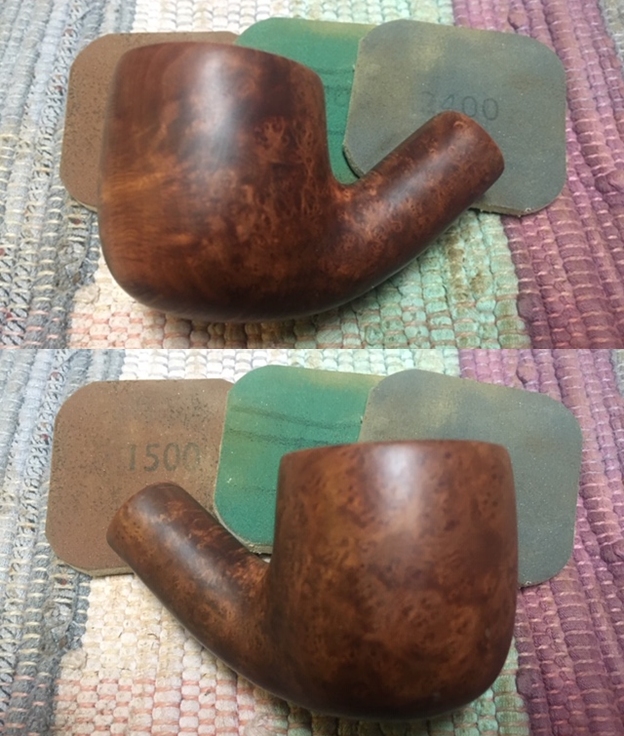
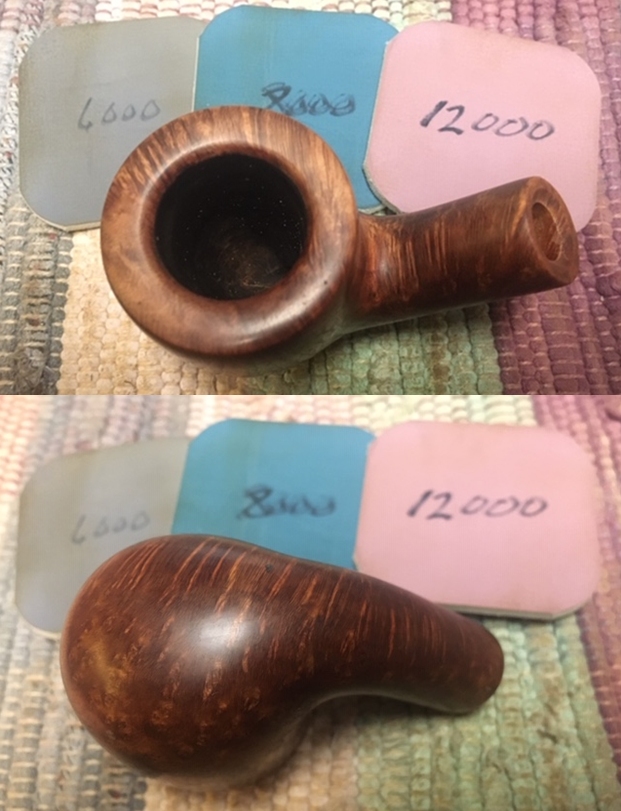
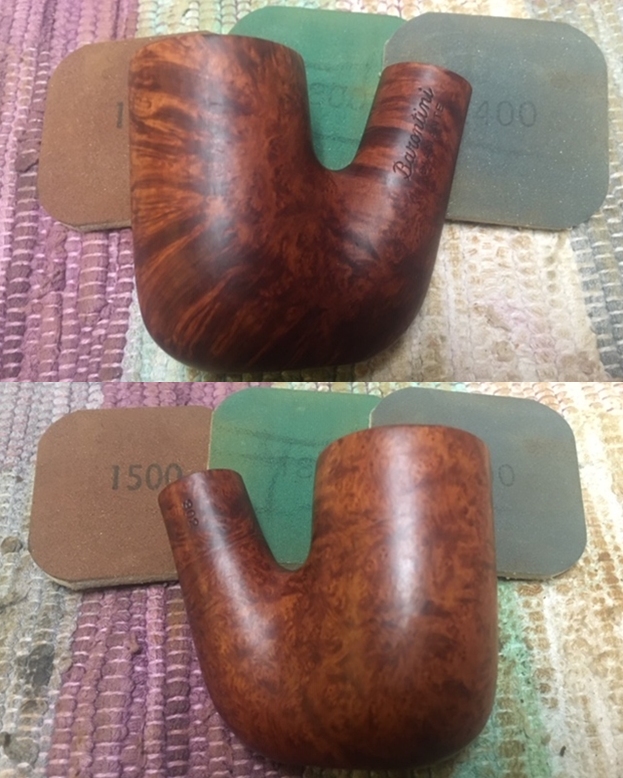
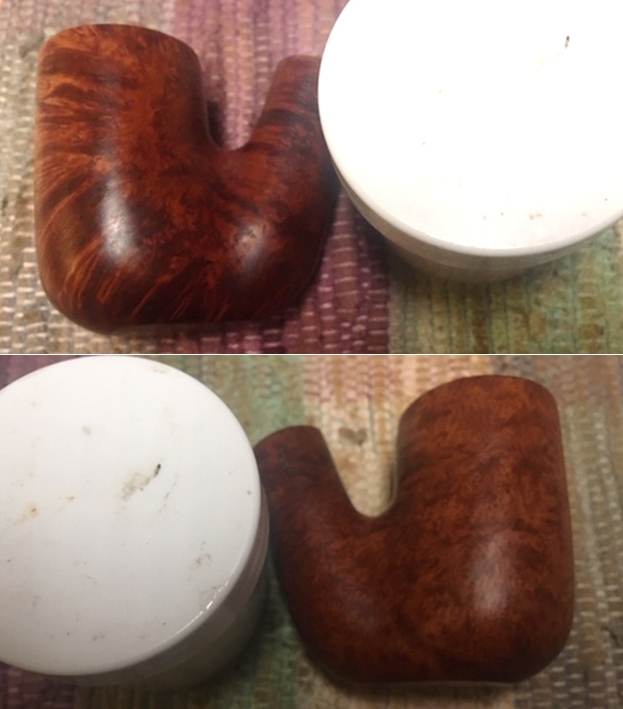
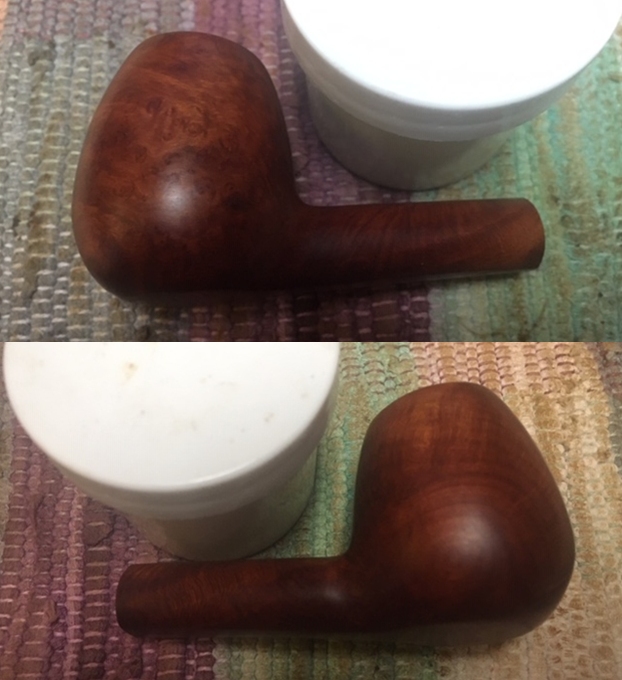
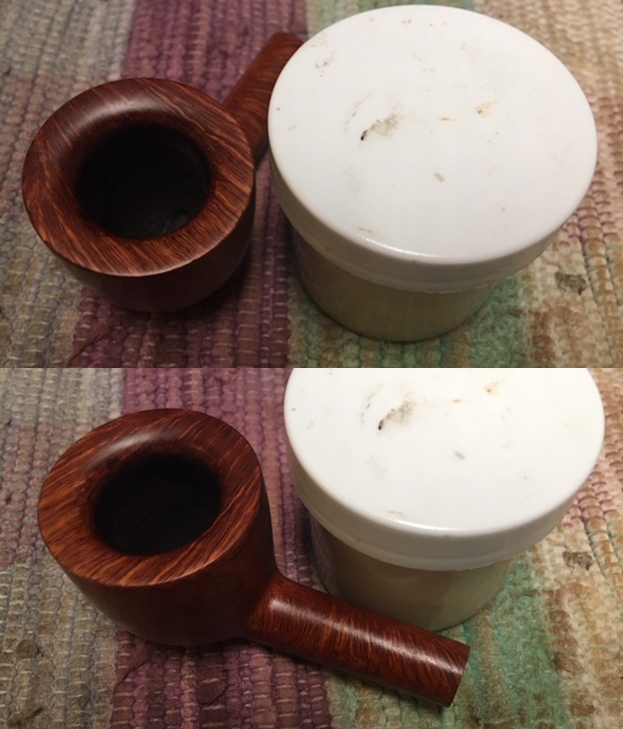
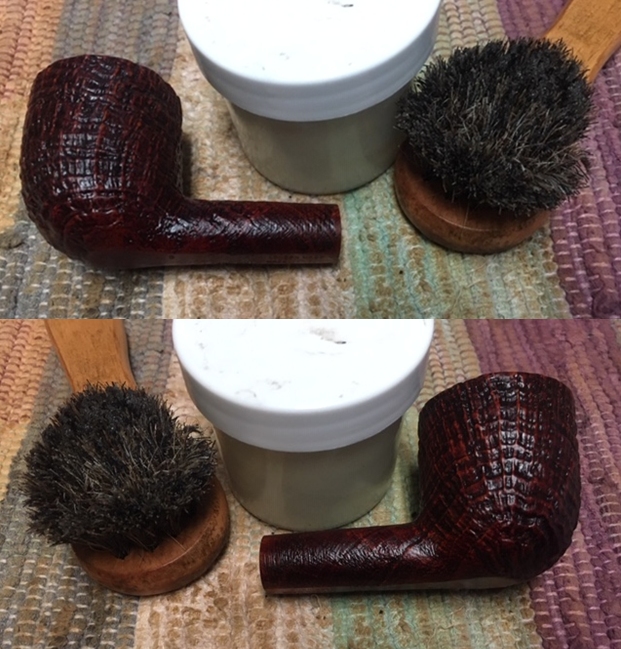
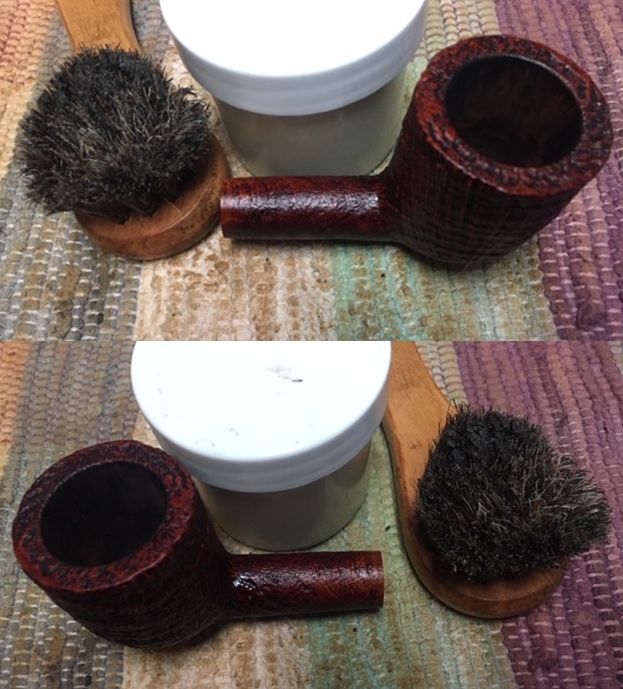
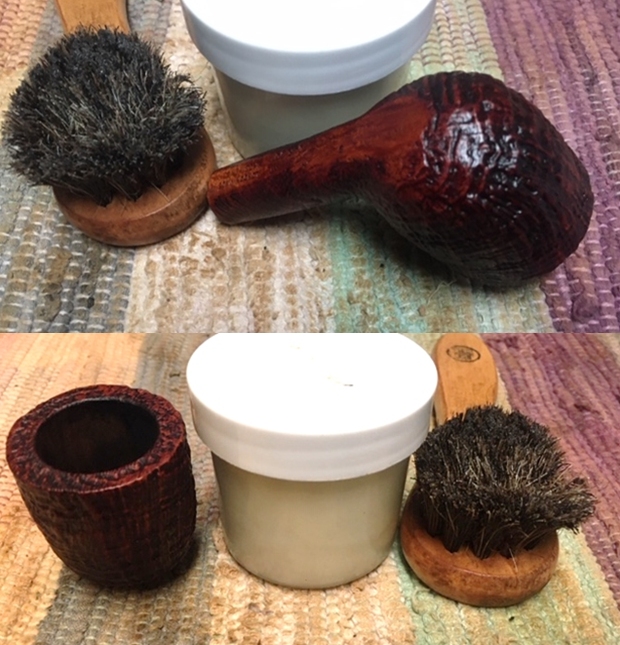
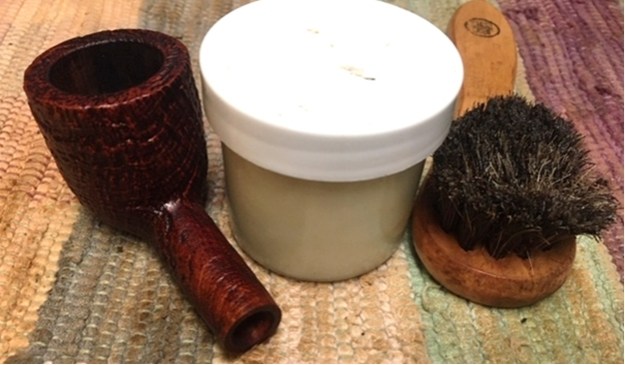
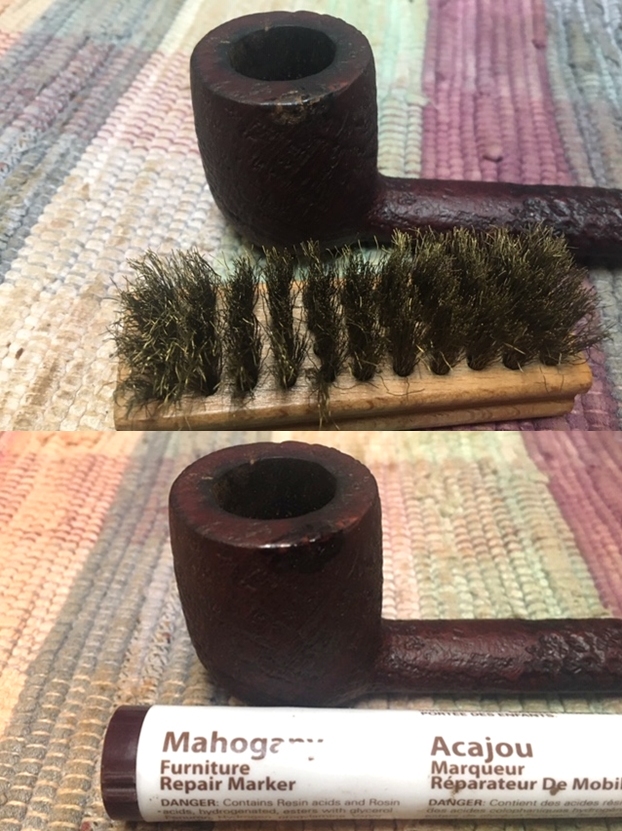 I worked some Before & After Restoration Balm into the briar with my fingertips. I let the balm sit on the briar for 10 minutes the buffed it off with a soft cloth. The balm enlivens, enriches and protects the briar while giving it a deep glow.
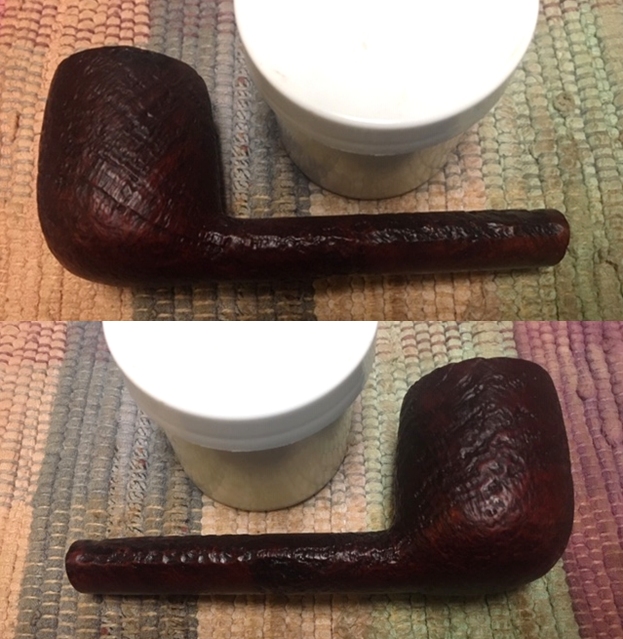

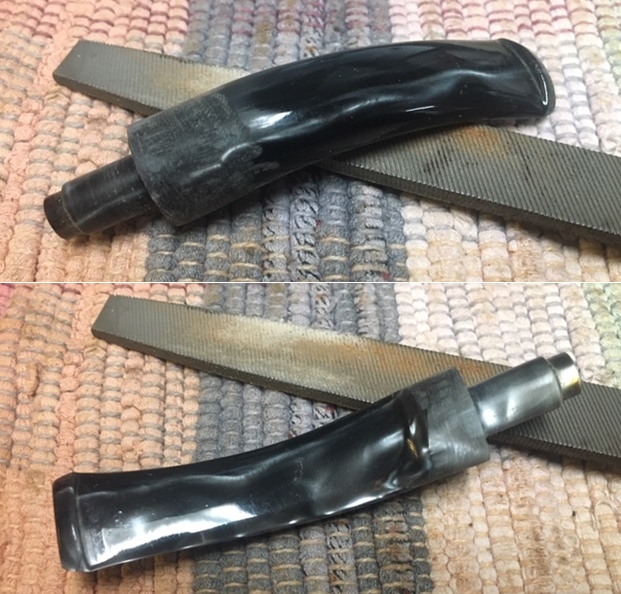
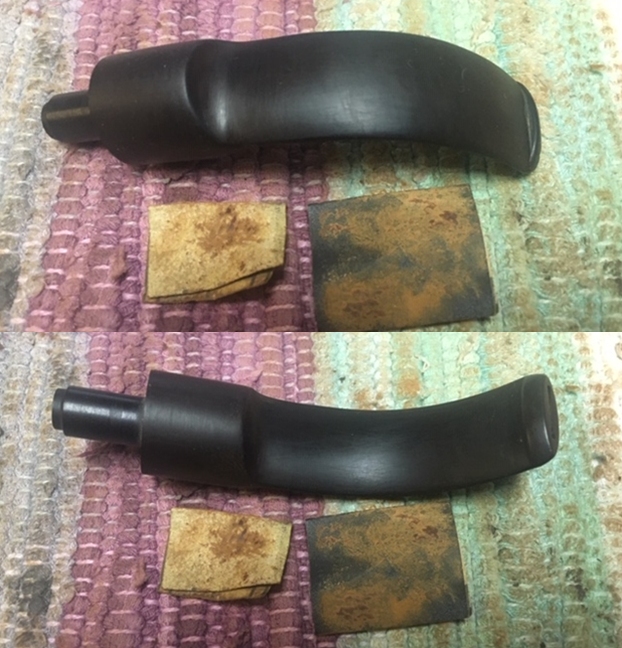
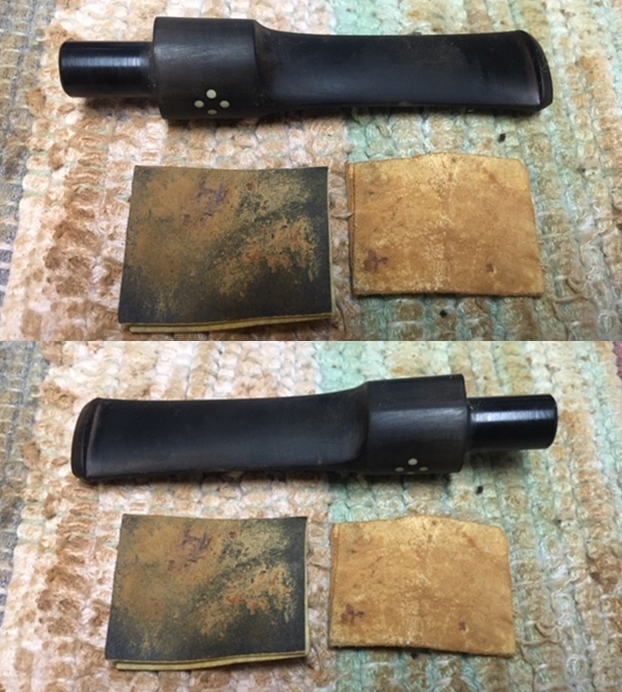
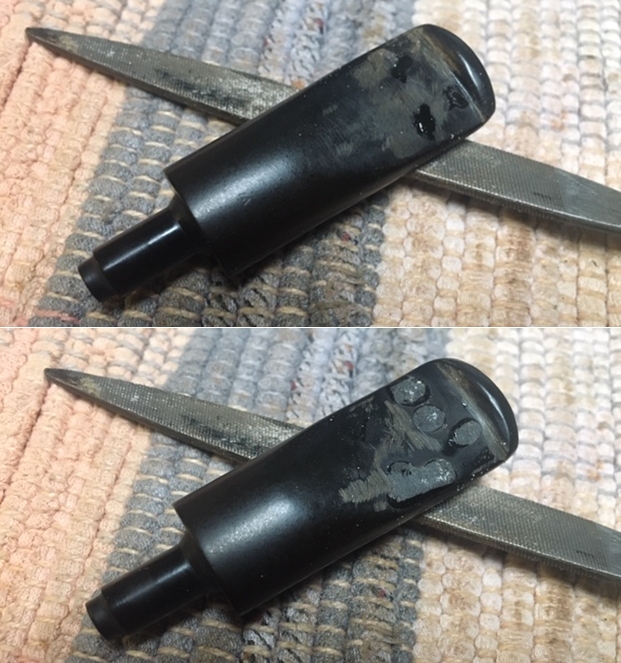
 I set the bowl aside and turned my attention to the stem. The stem was very clean so I filled in the tooth marks with clear super glue and set it aside to cure. Once it had cured I flattened out the repairs and sharpened the edge of the button with a needle file.
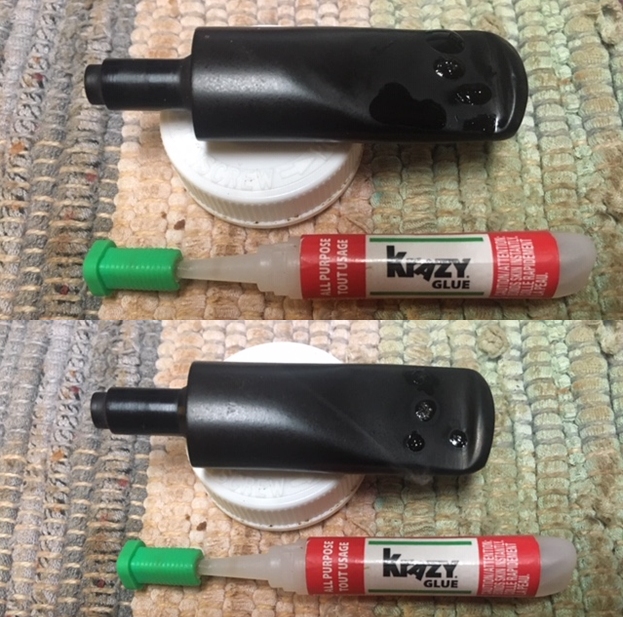
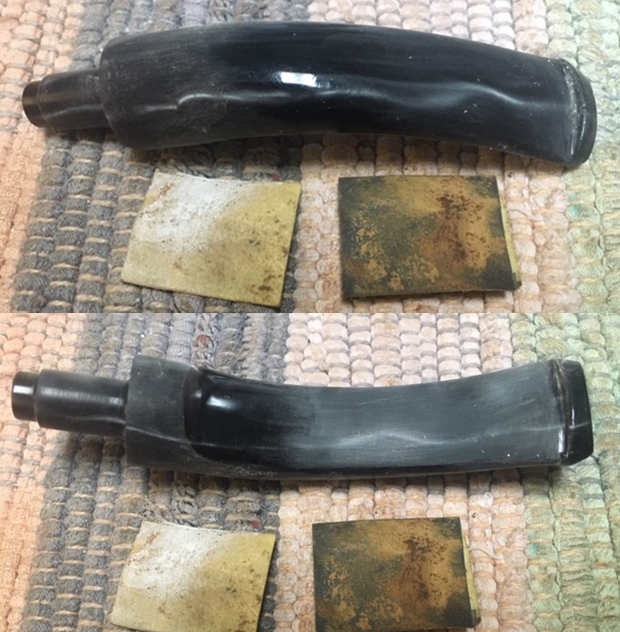
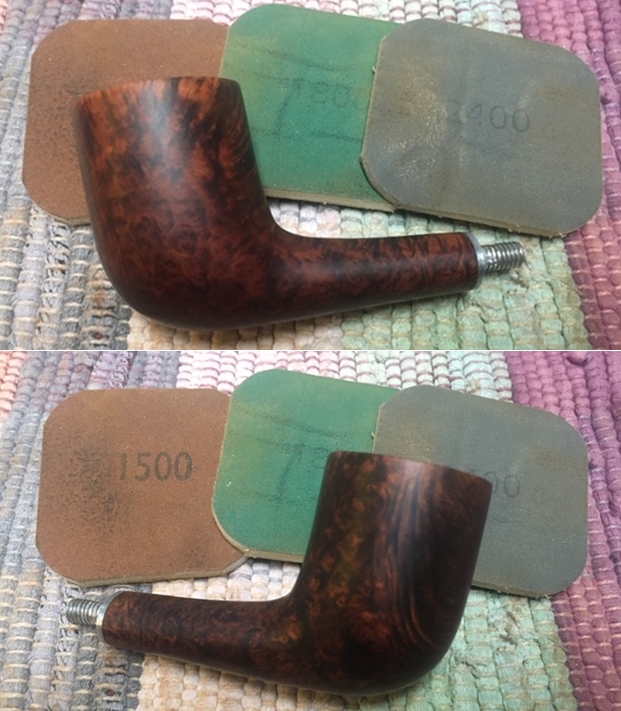
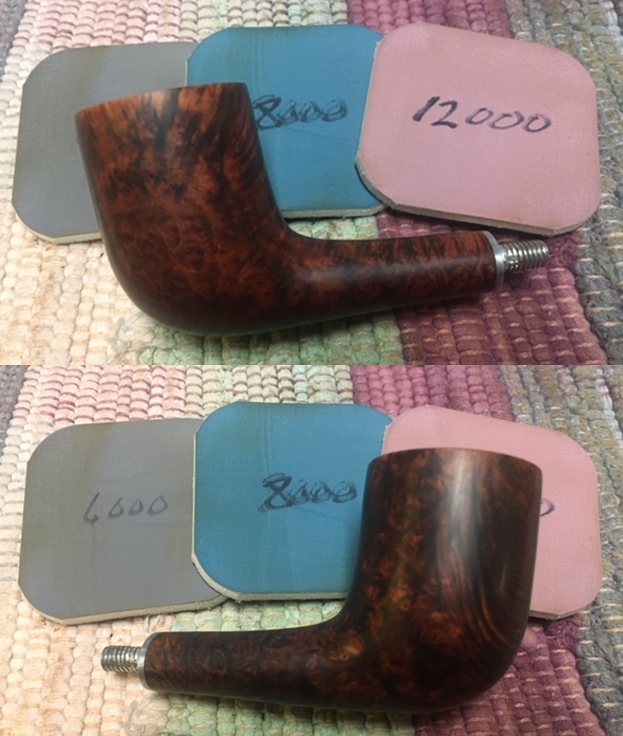
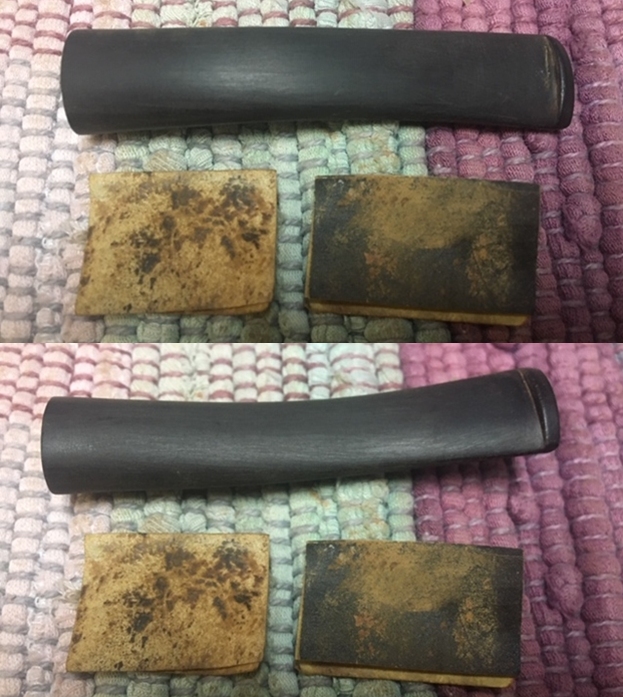
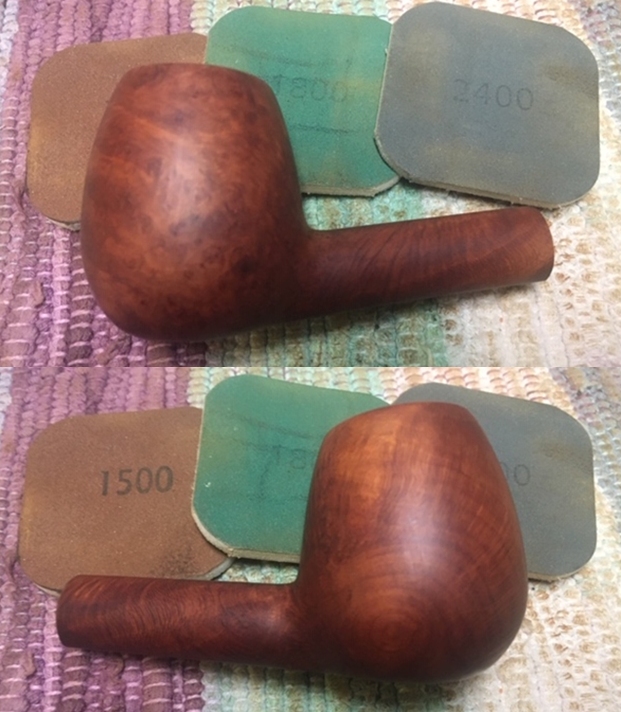
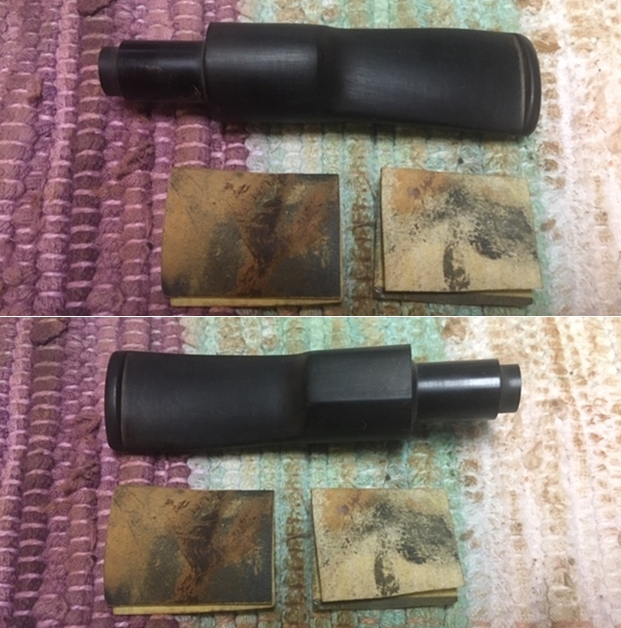
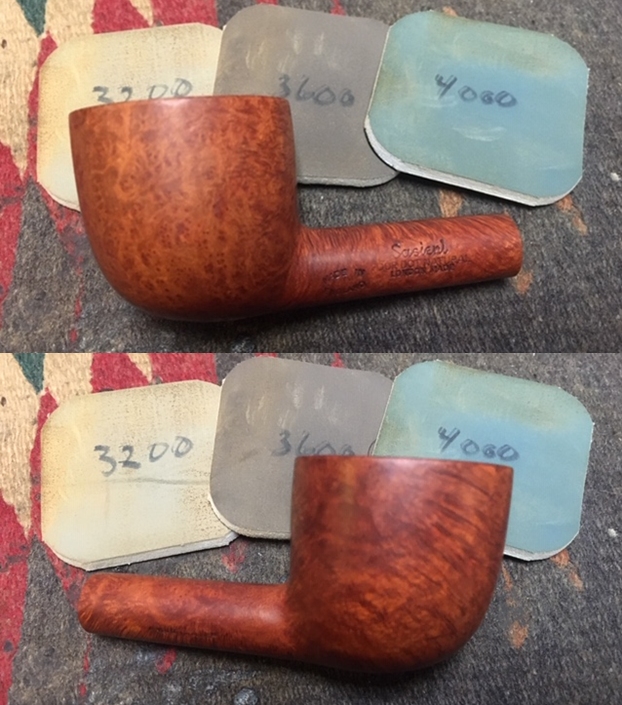
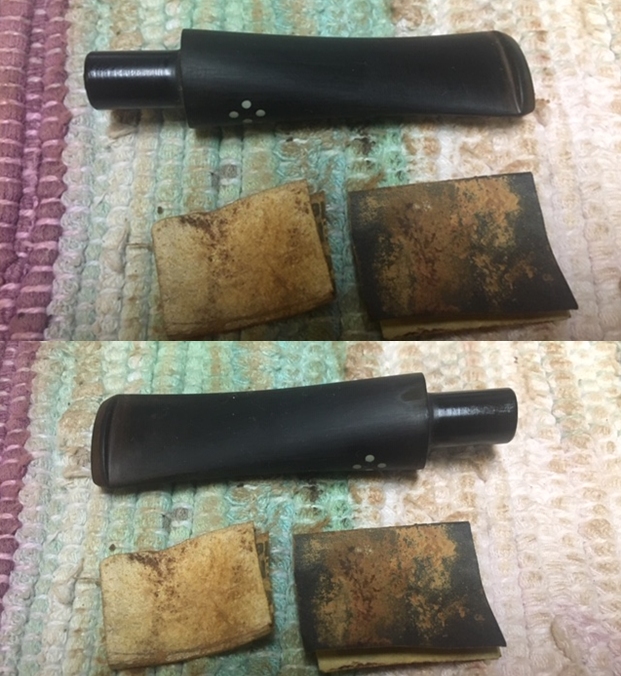
 I sanded the stem with 220 grit sandpaper to blend in the repairs with the rest of the stem surface. I started the polishing with 400 grit wet dry sandpaper.
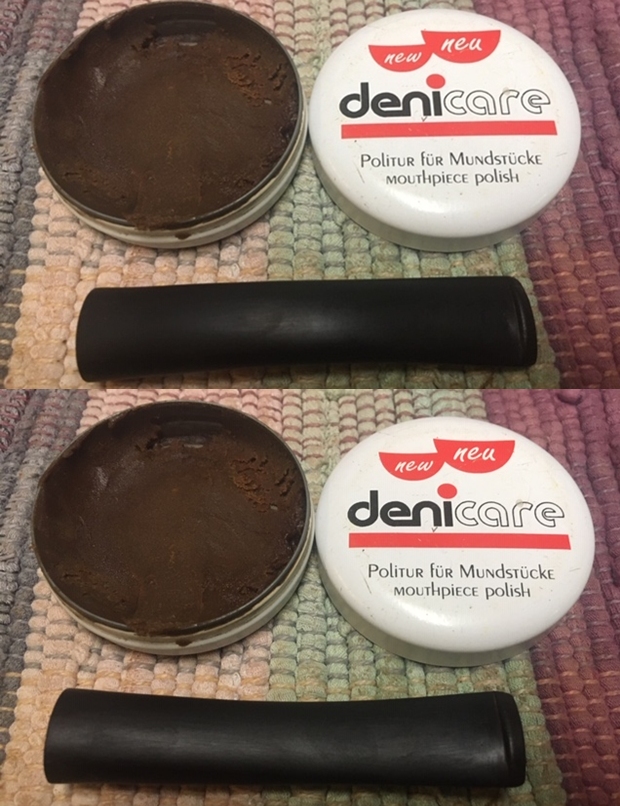
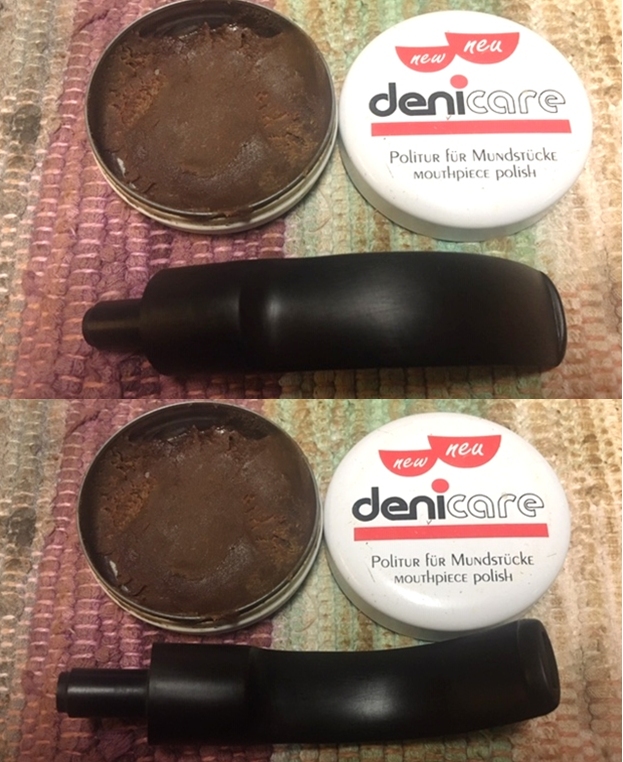
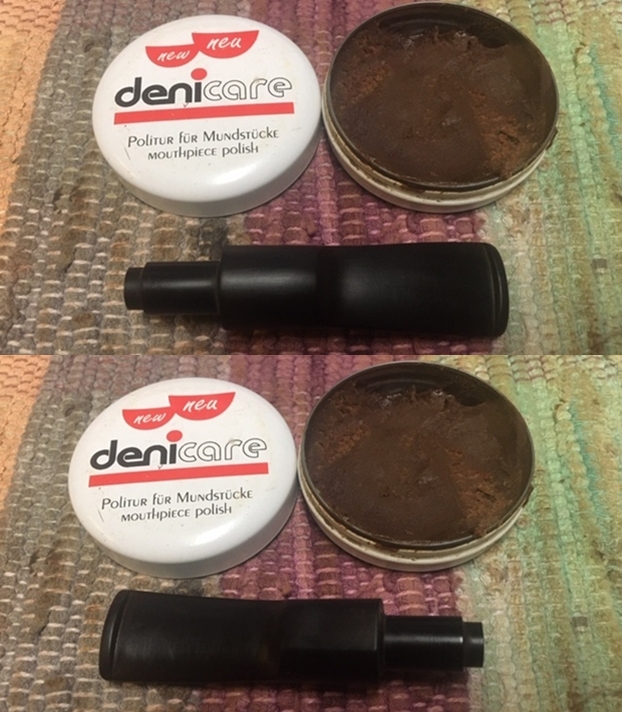
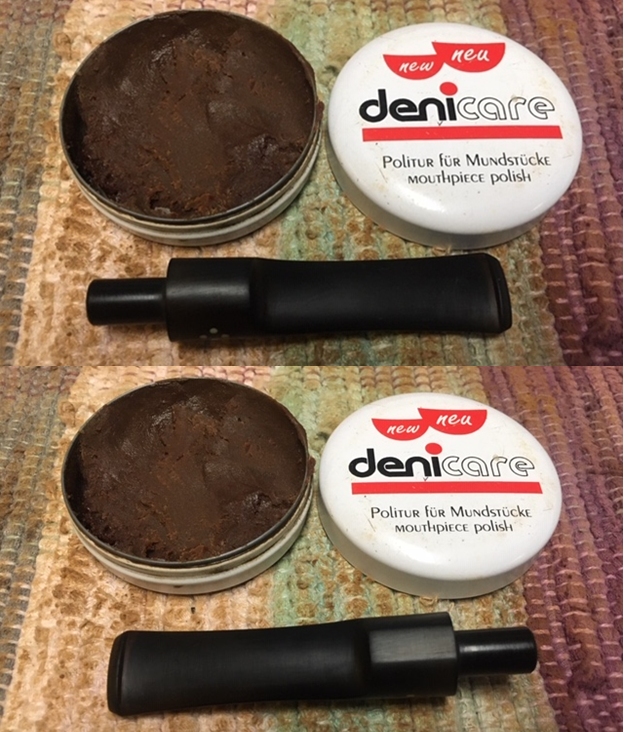
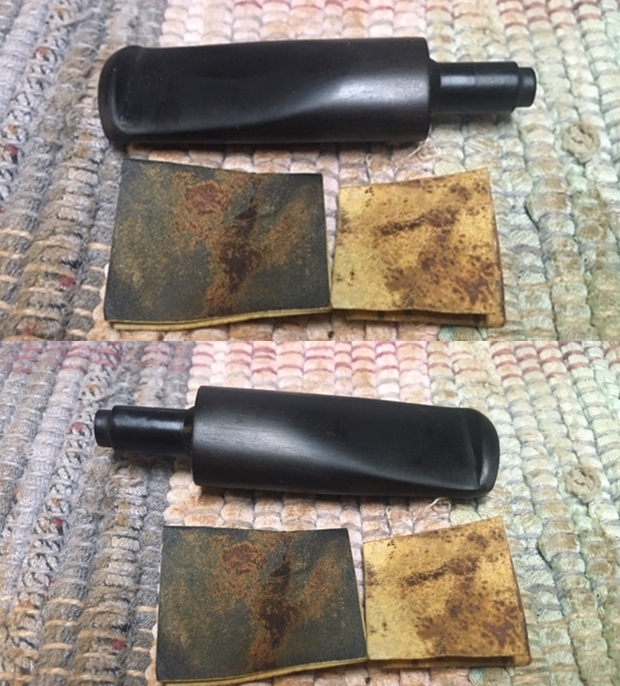 I polished the stem with Denicare Mouthpiece Polish. It is a gritty red paste (similar in grit to red Tripoli) that I rub on with my finger tips and work it into the surface of the stem and button and buff it off with a cotton pad. It gives me a bit of a head start on the polishing work.
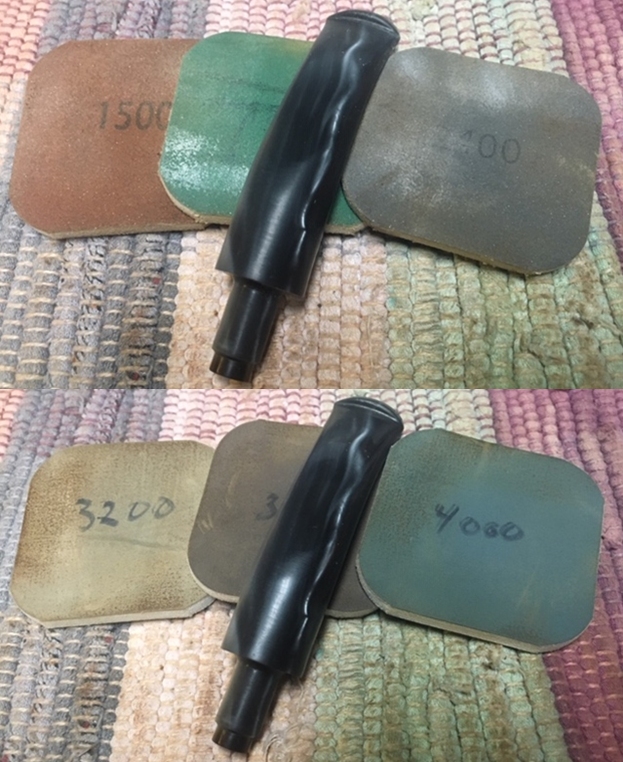
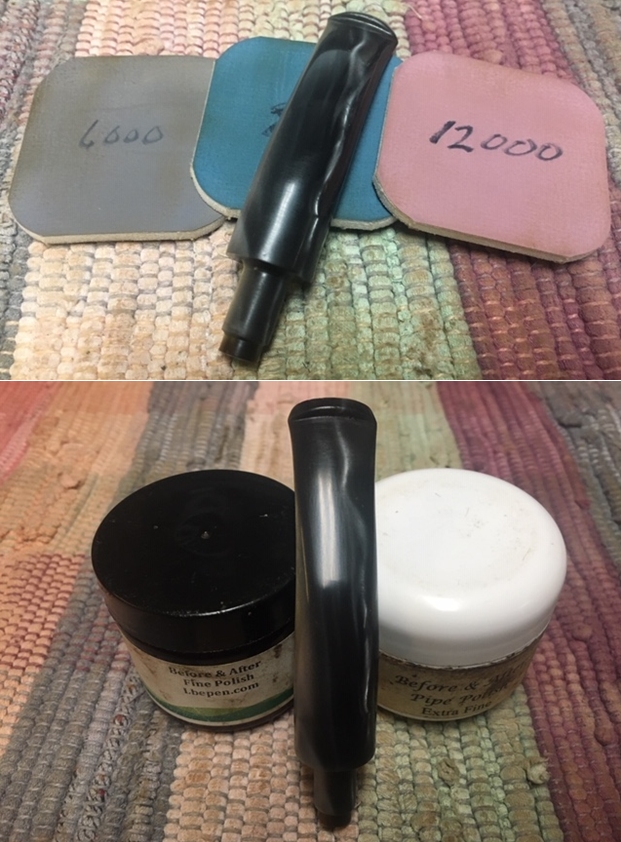
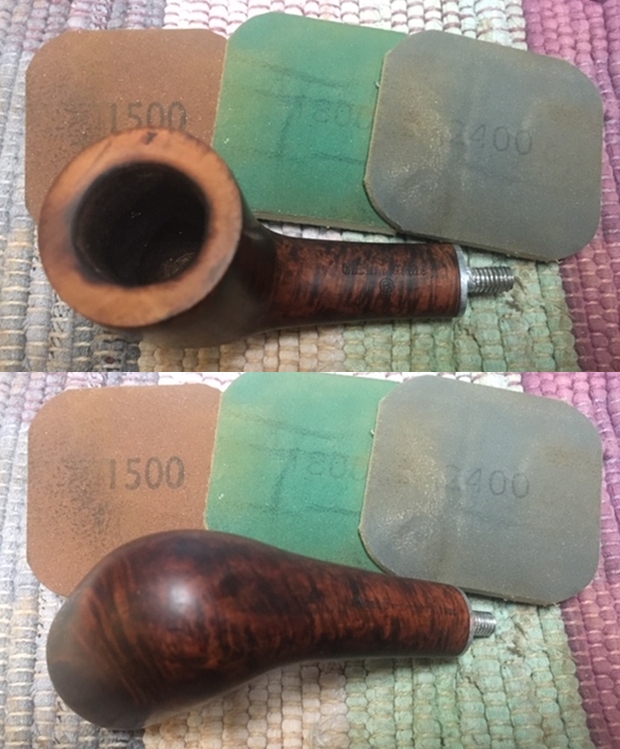
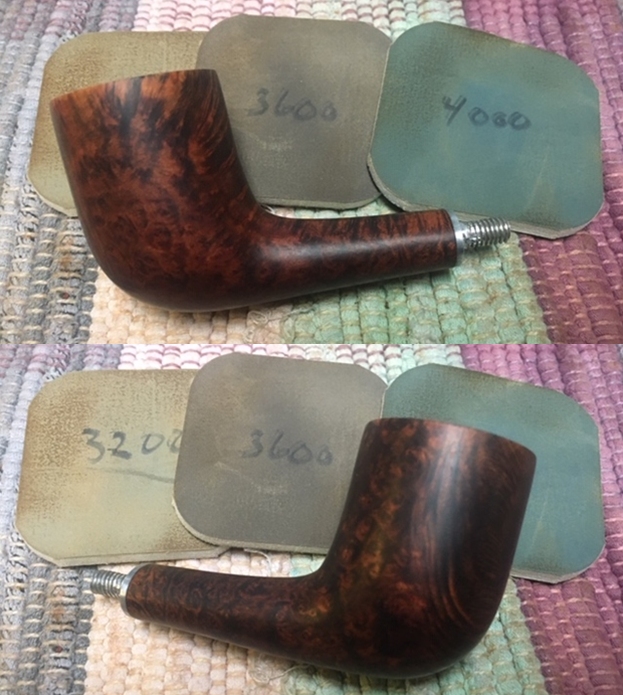
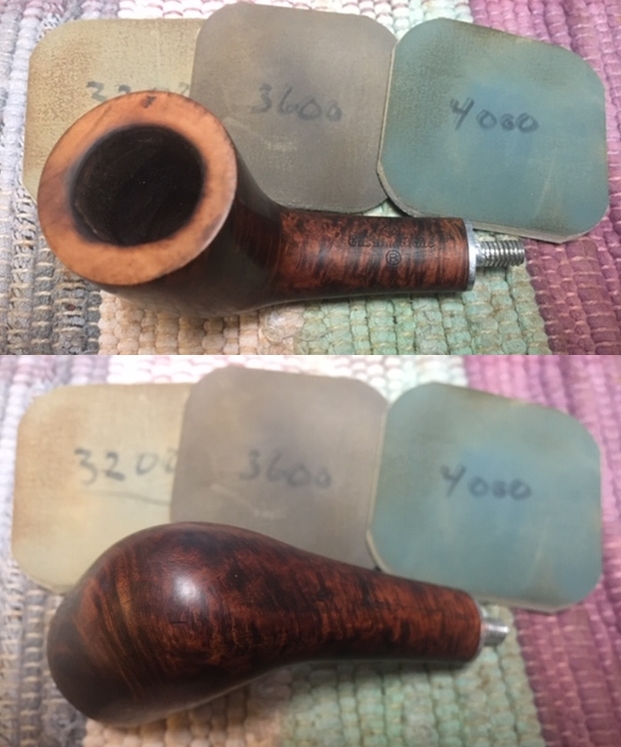
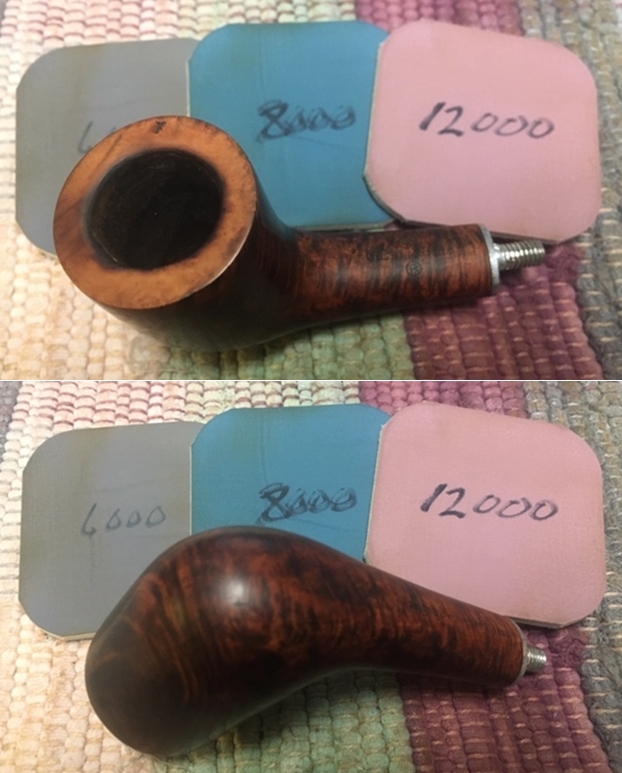
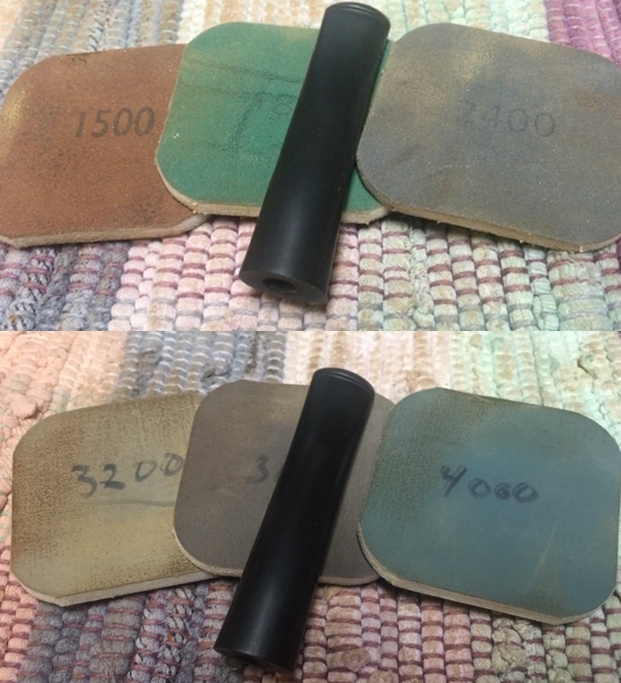
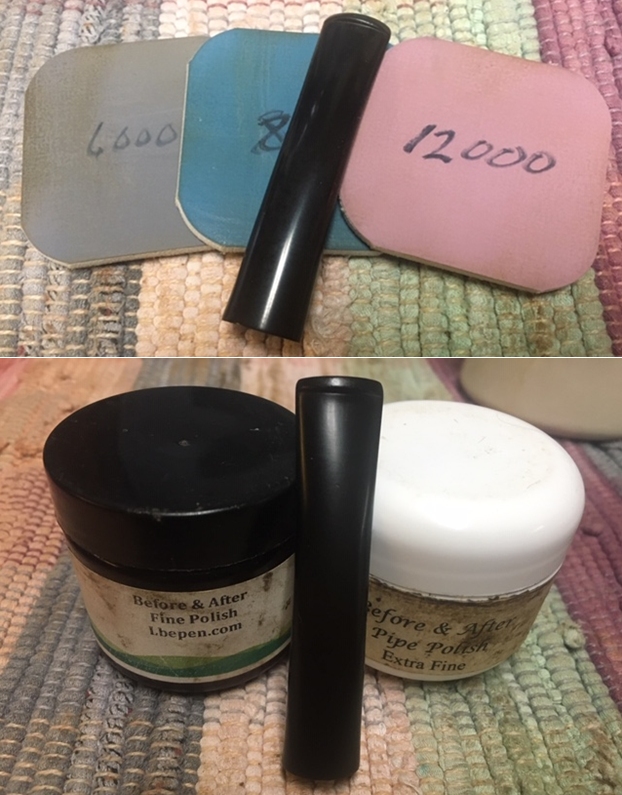
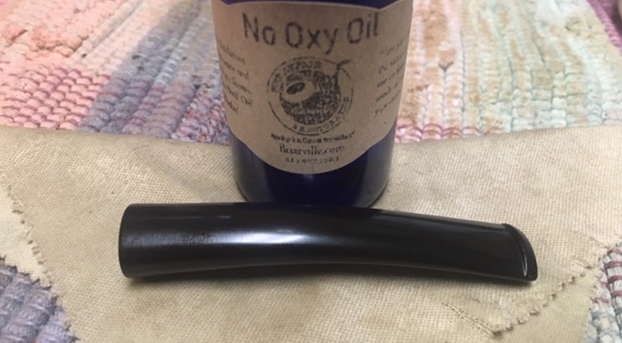
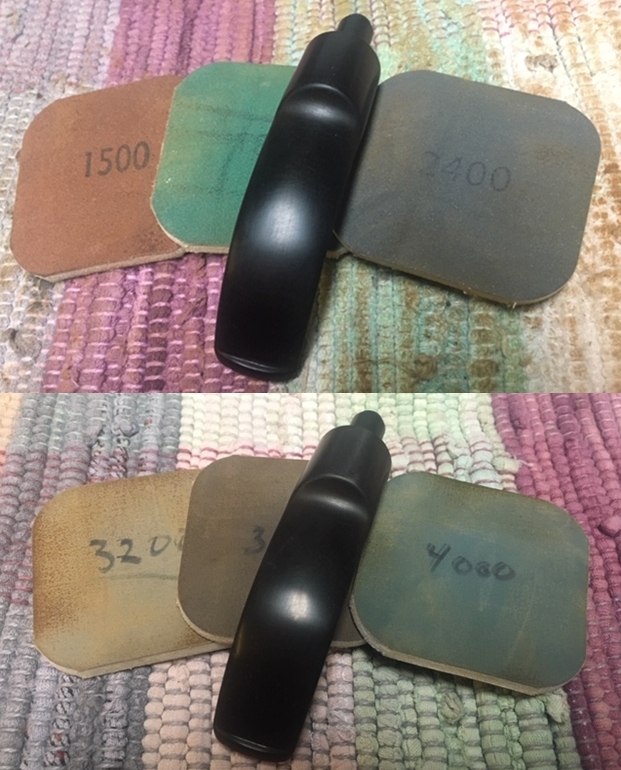
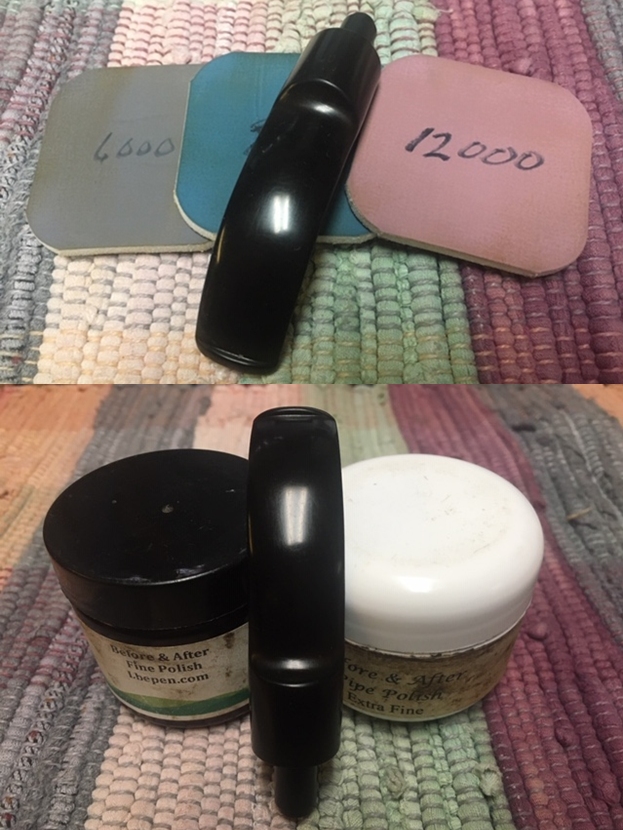
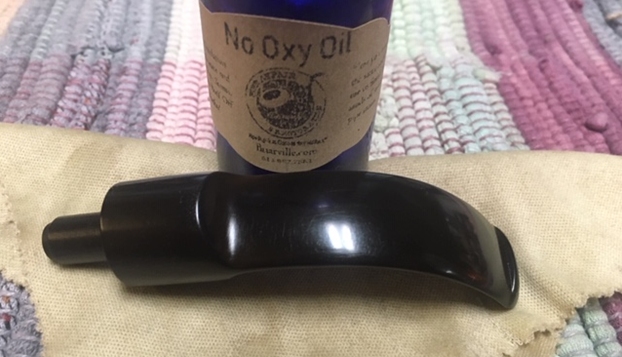
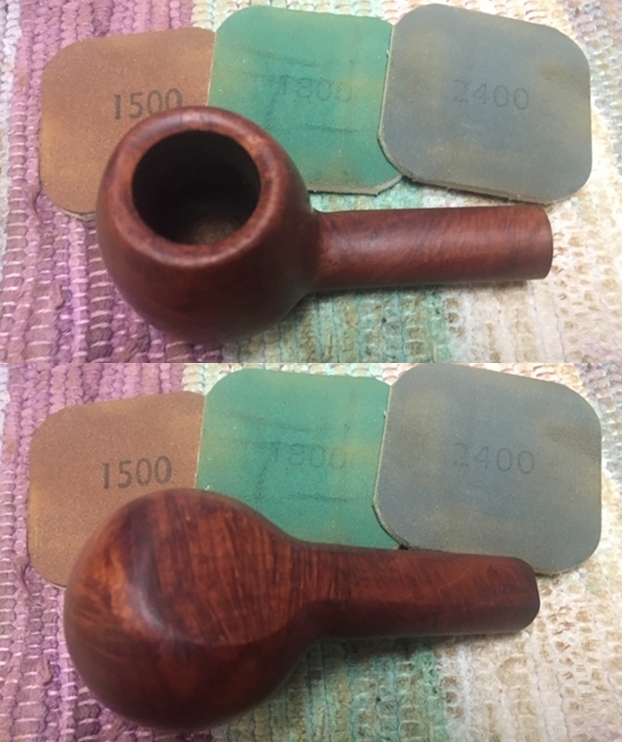
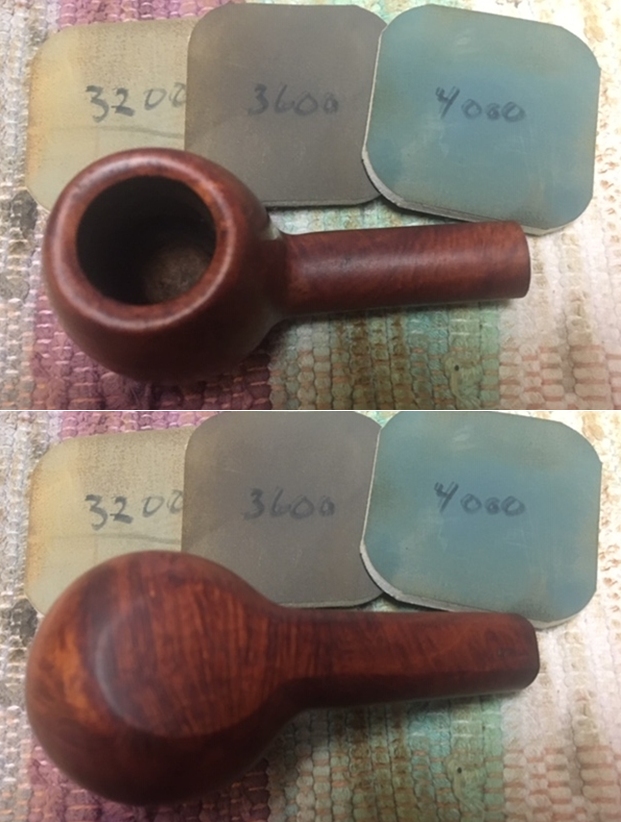
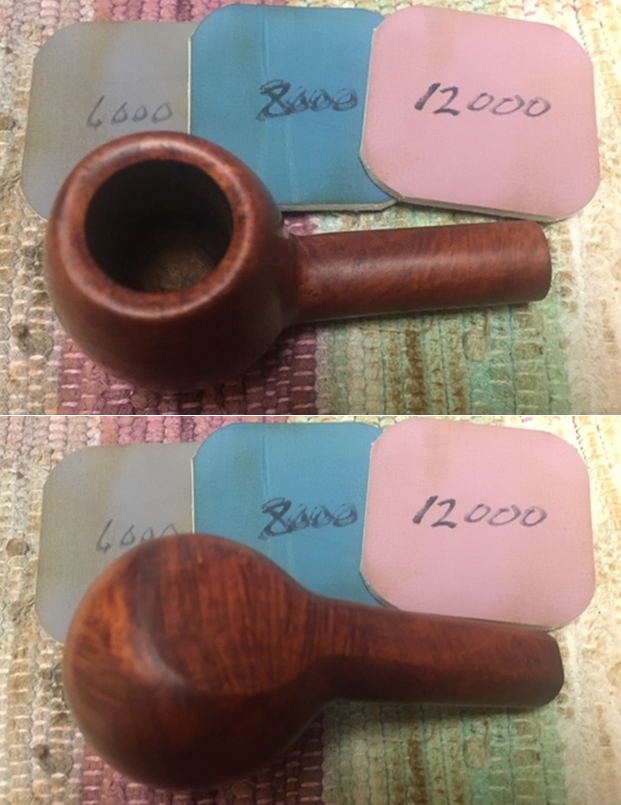
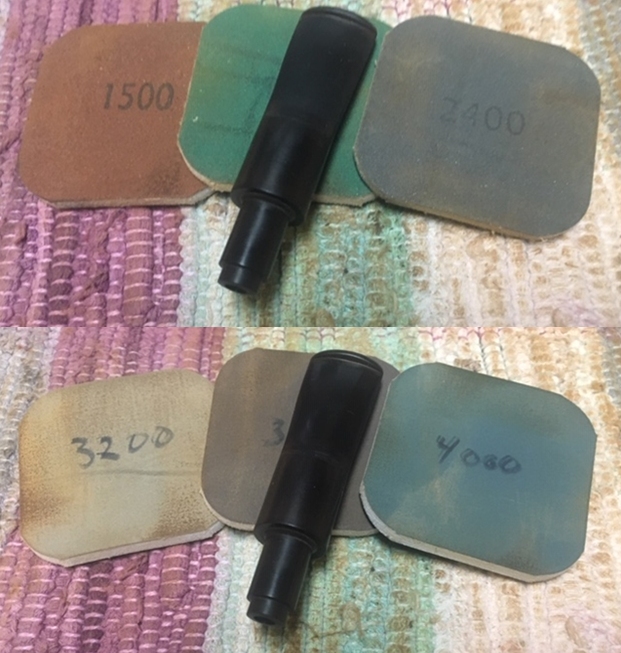
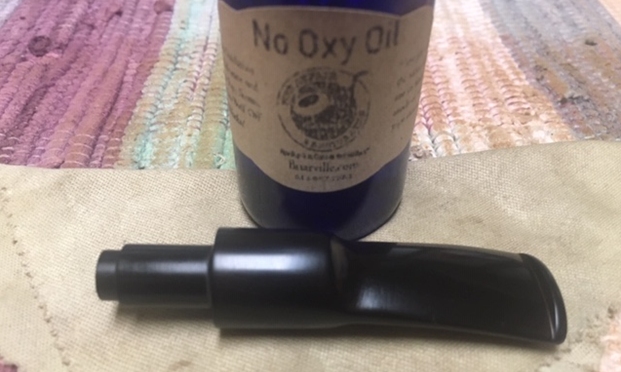
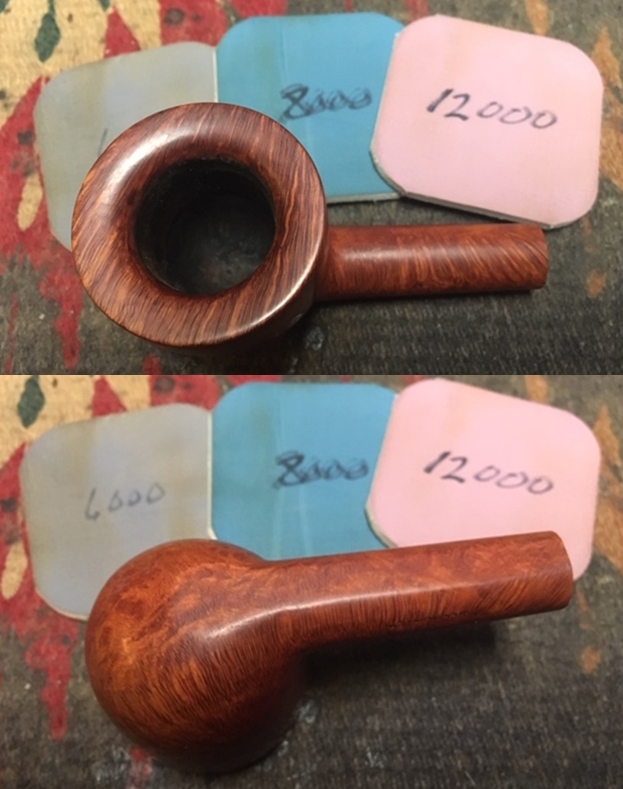
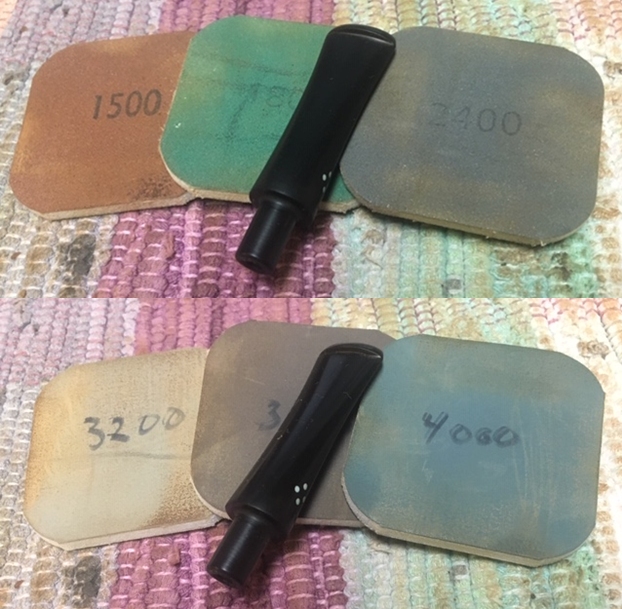
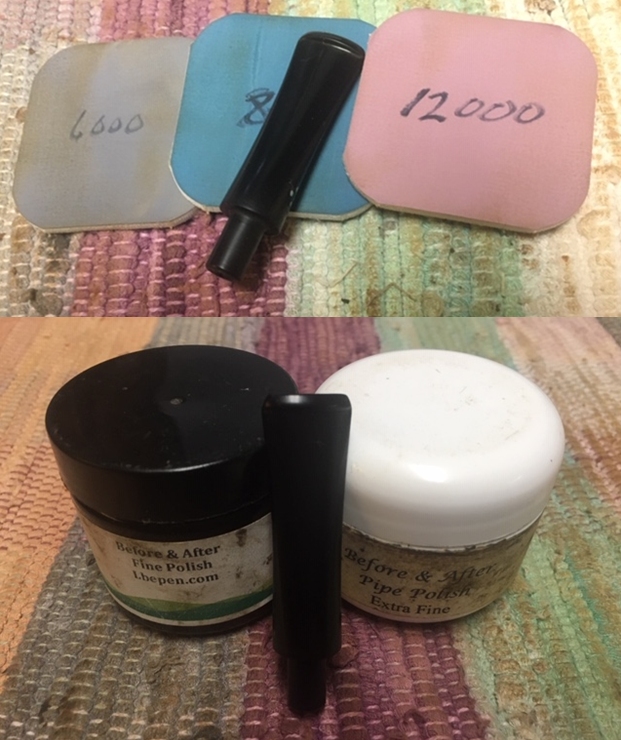
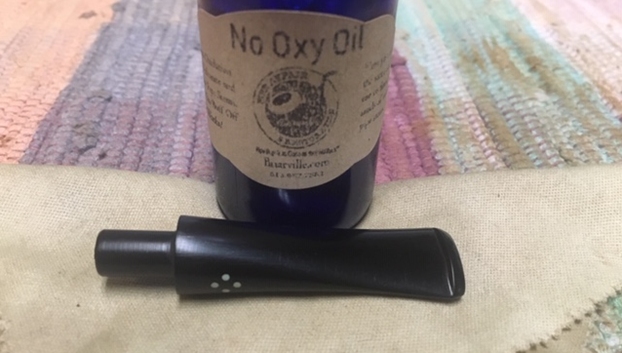
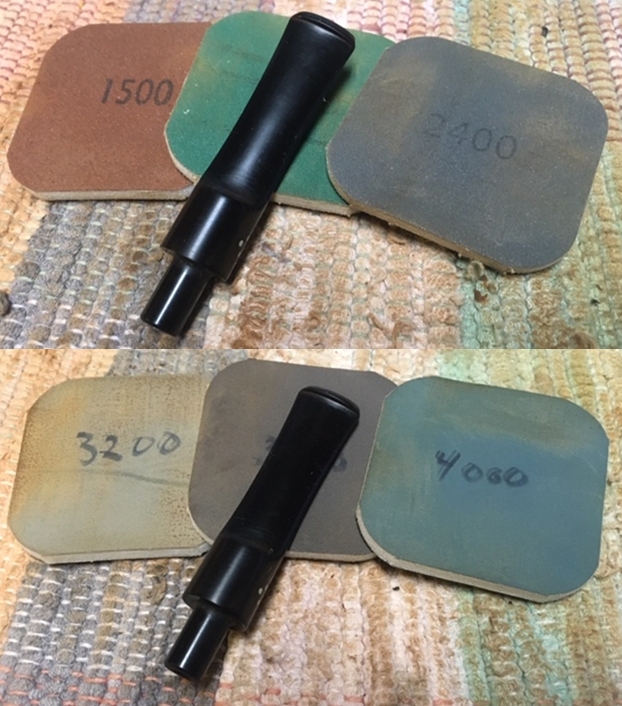
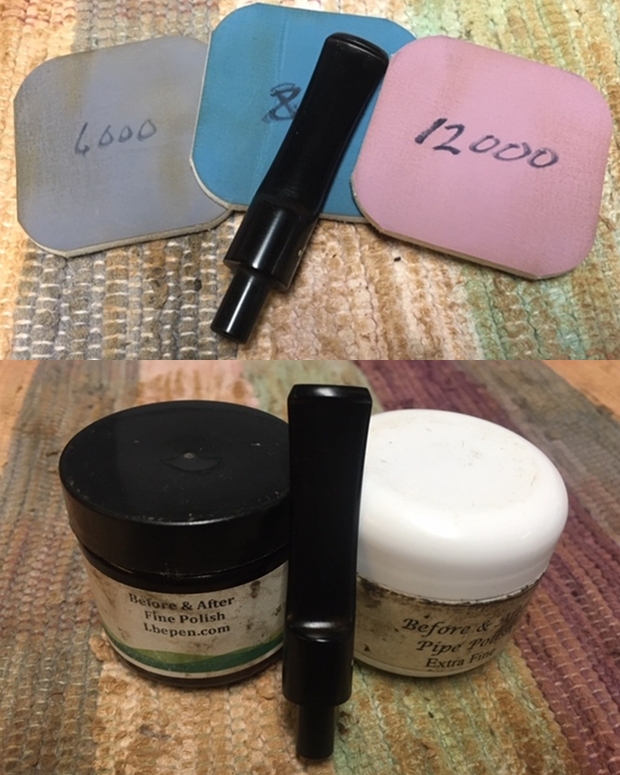
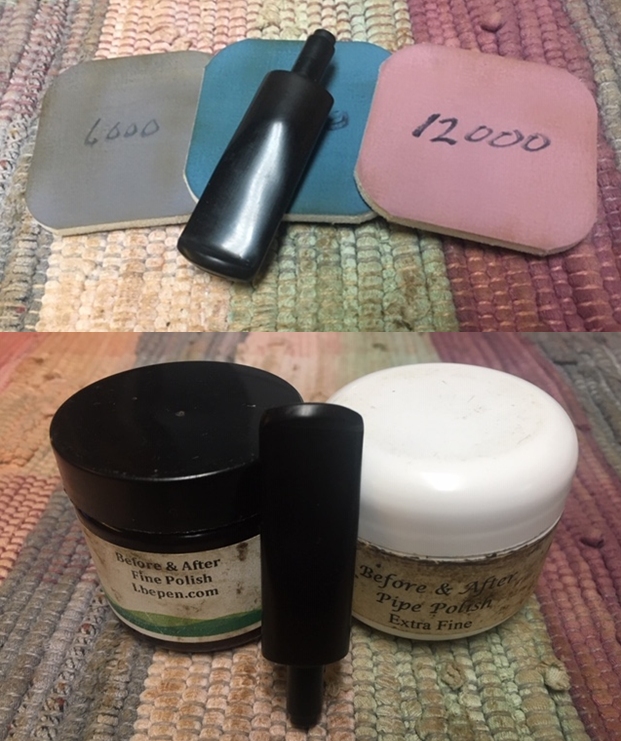
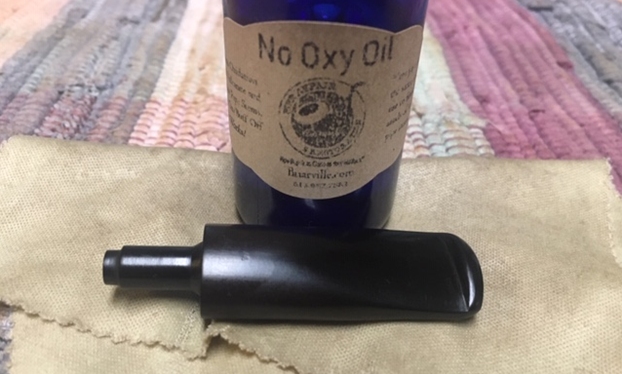
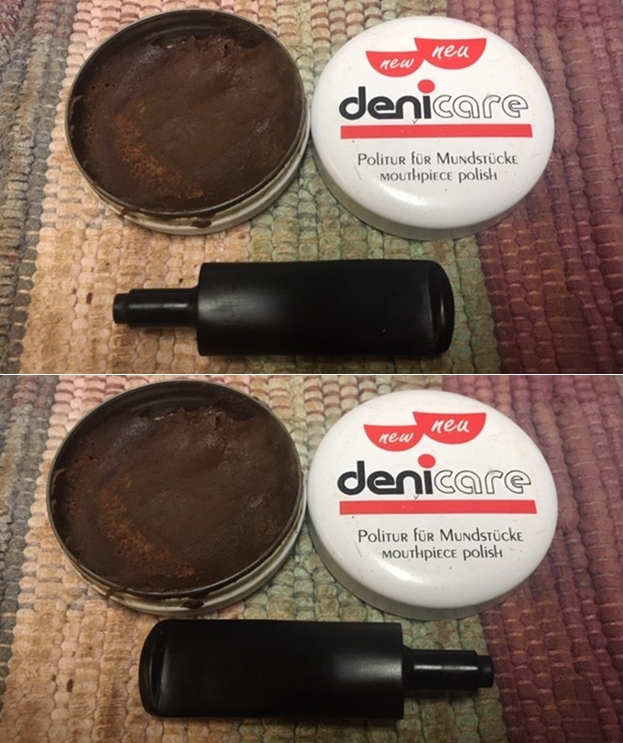 I polished the stem with micromesh sanding pads – wet sanding with 1500-12000 grit sanding pads. I wiped it down after each sanding pad with Obsidian Oil. I polished it with Before & After Pipe Stem Polish – both Fine and Extra Fine. I buffed the stem with a soft cloth to raise the shine. I wiped the stem down with Briarville’s No Oxy Oil to preserve and protect the stem surface.
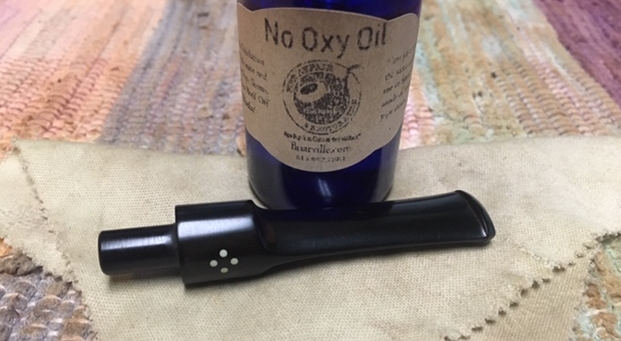
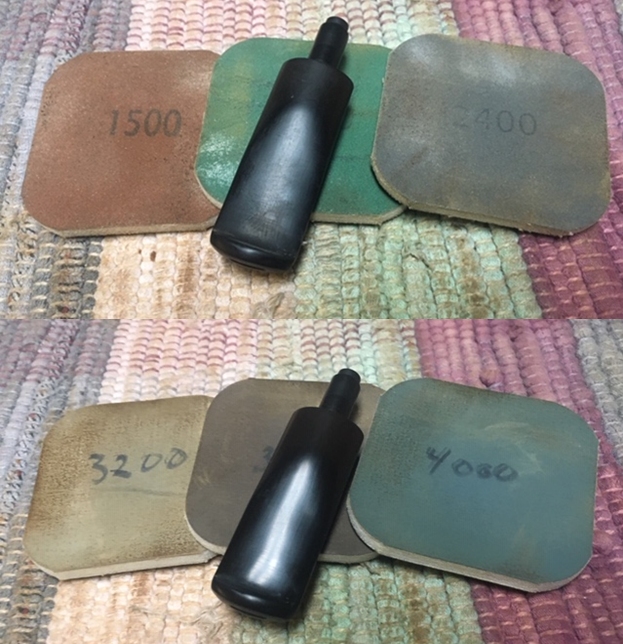
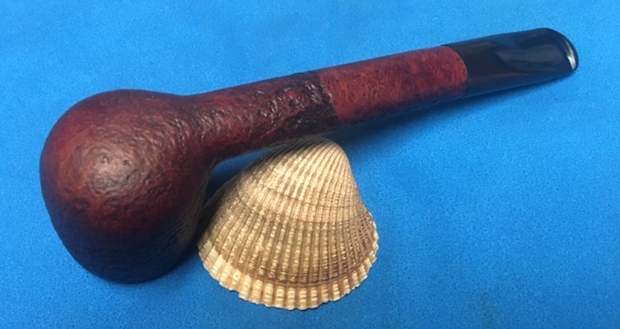
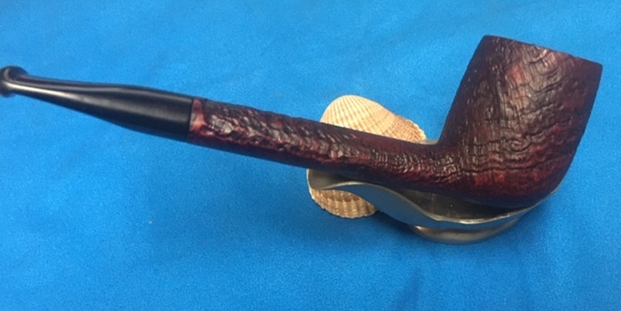
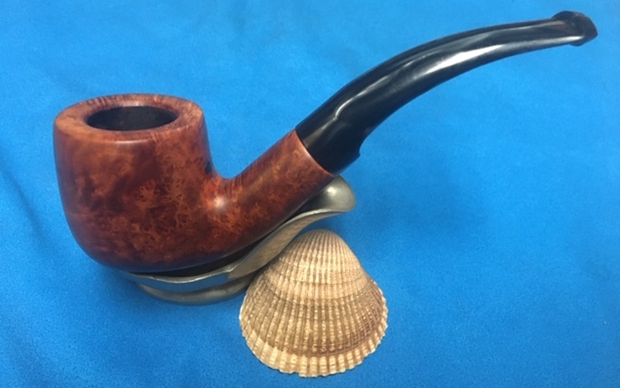
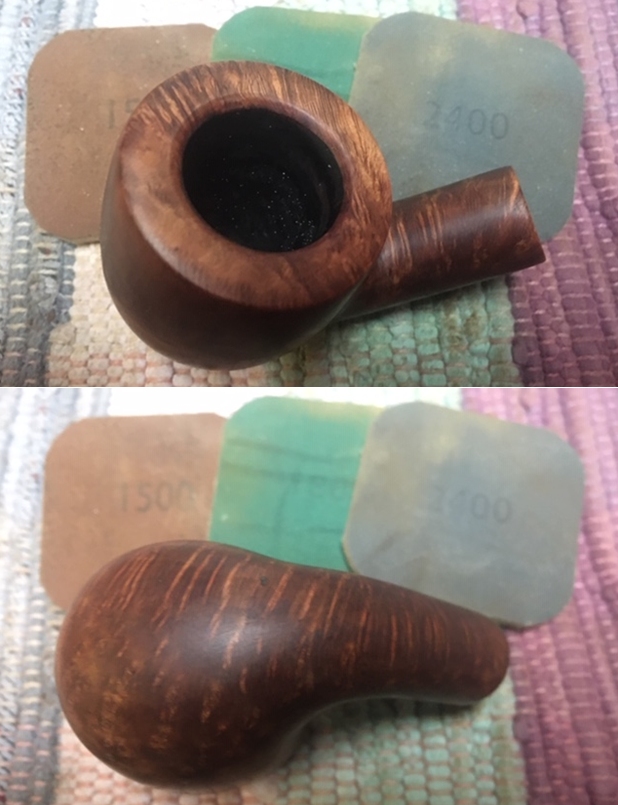
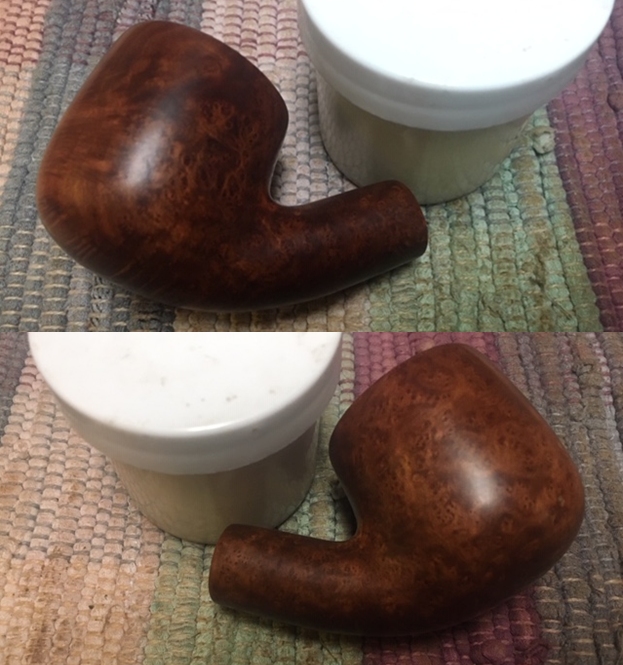
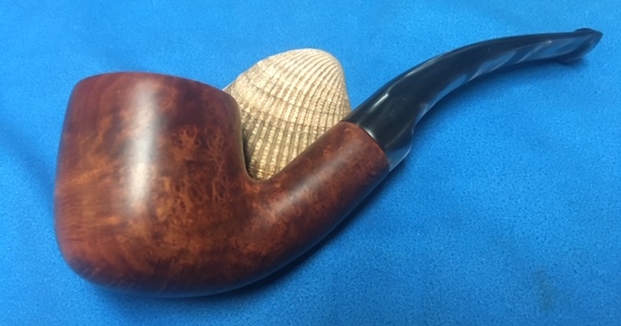
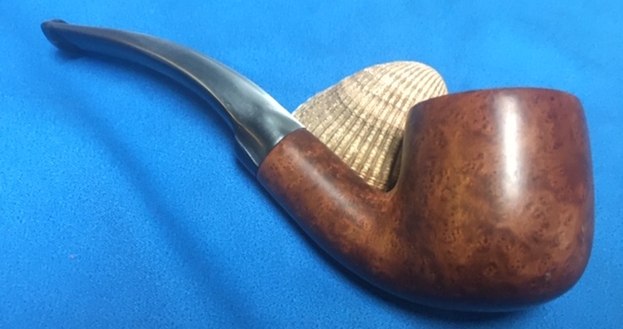
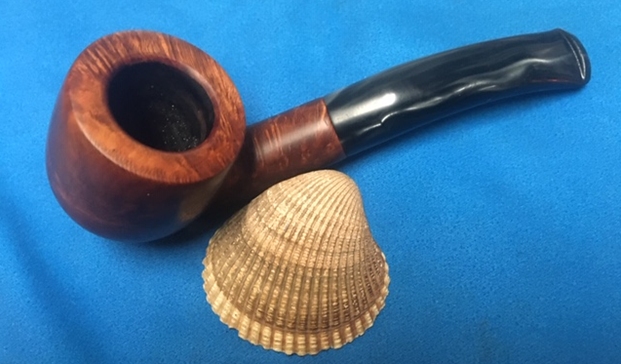
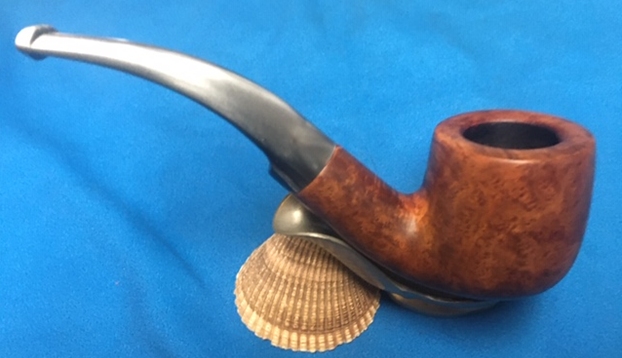
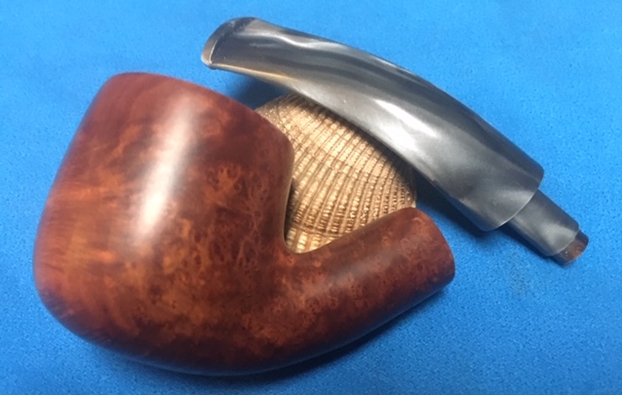
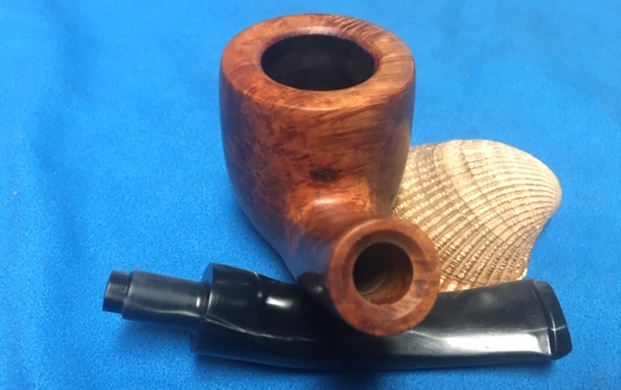
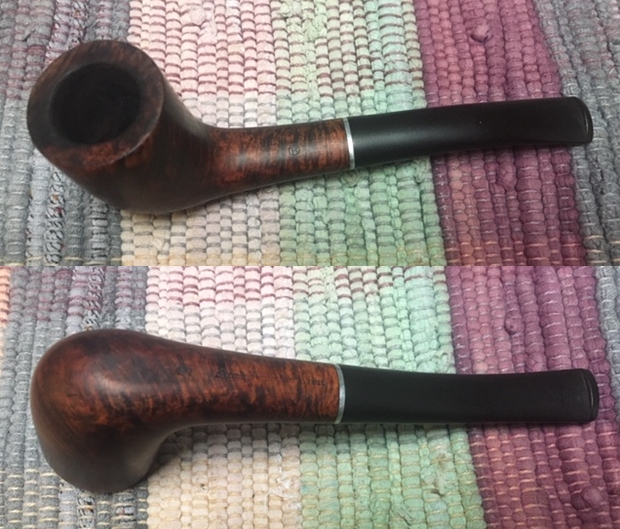
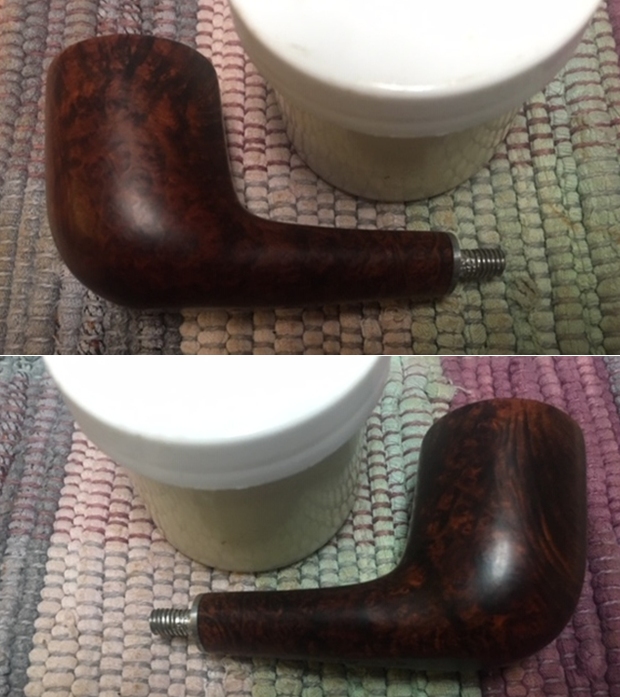
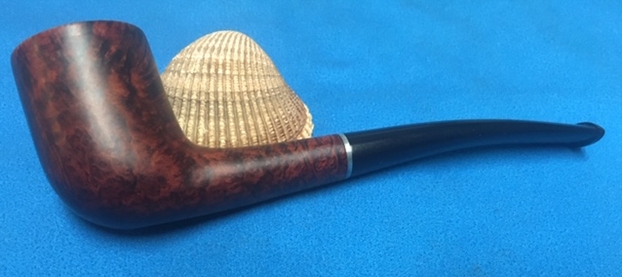
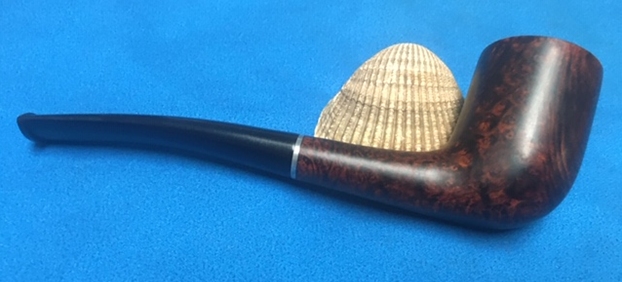
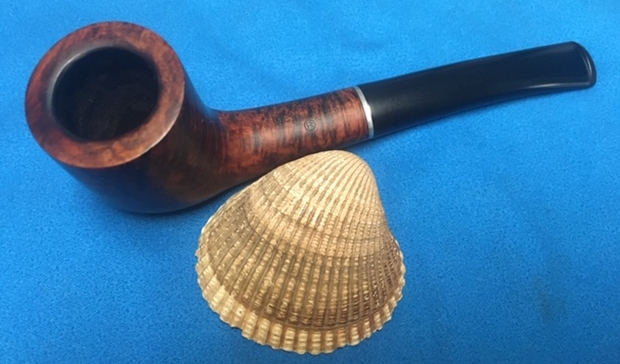
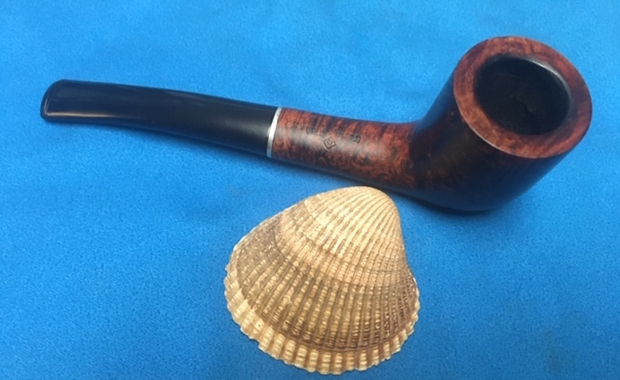
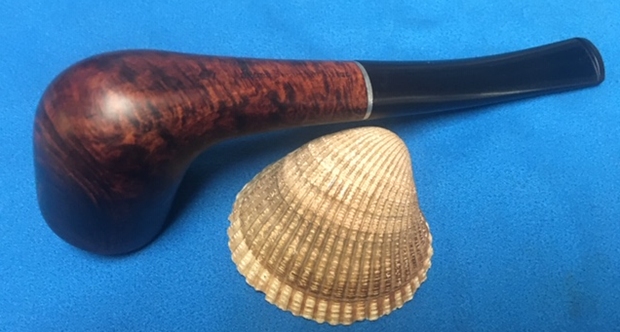
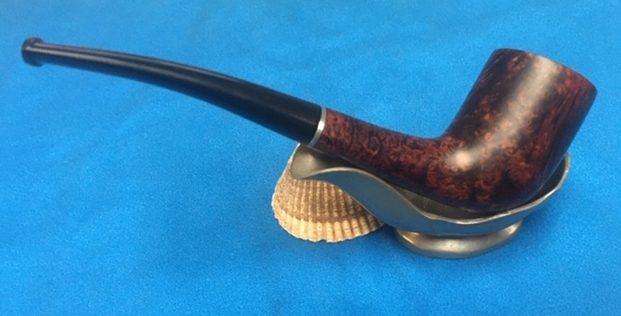
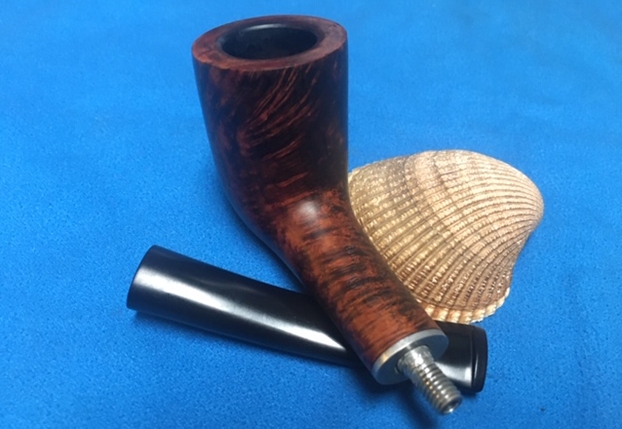
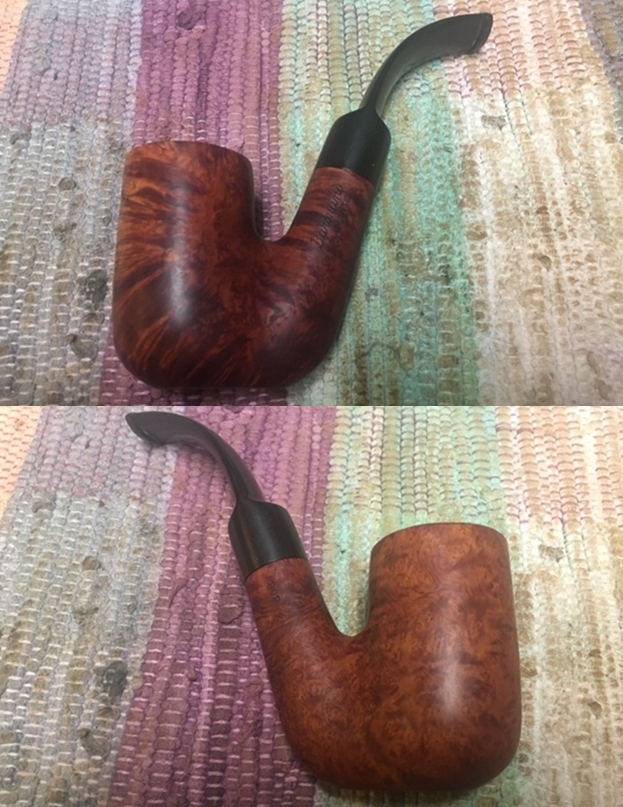
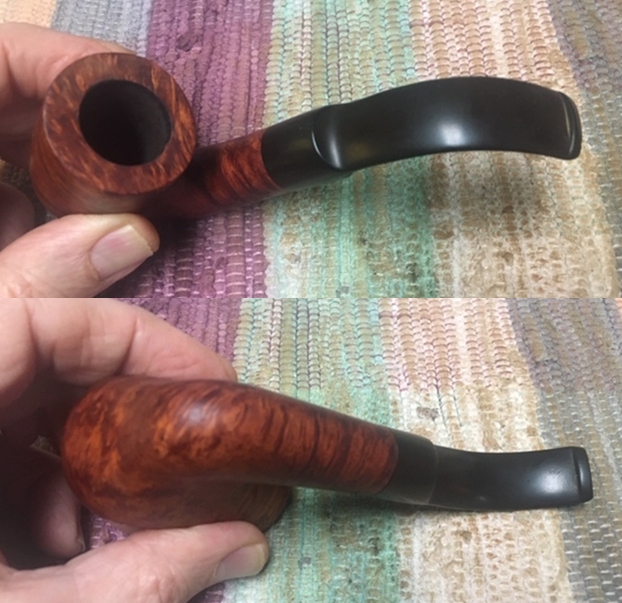
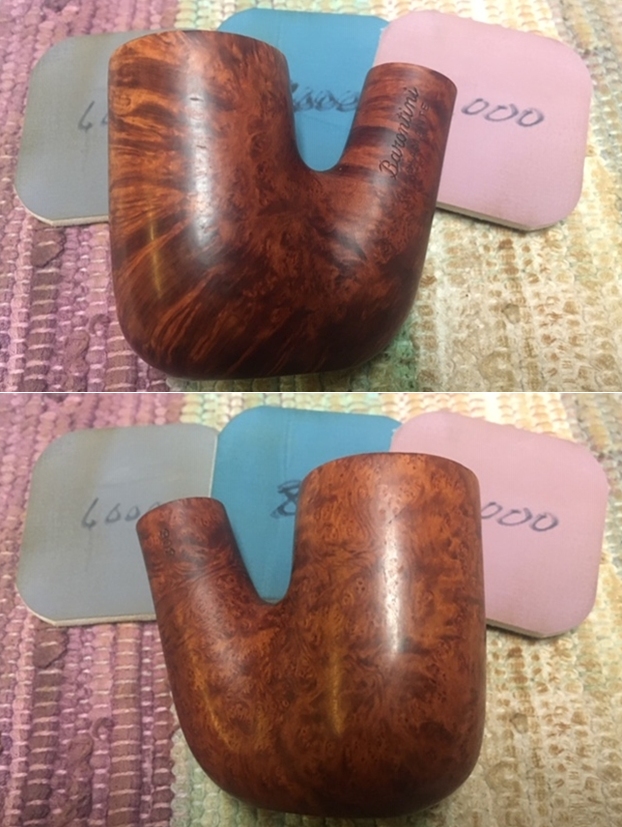
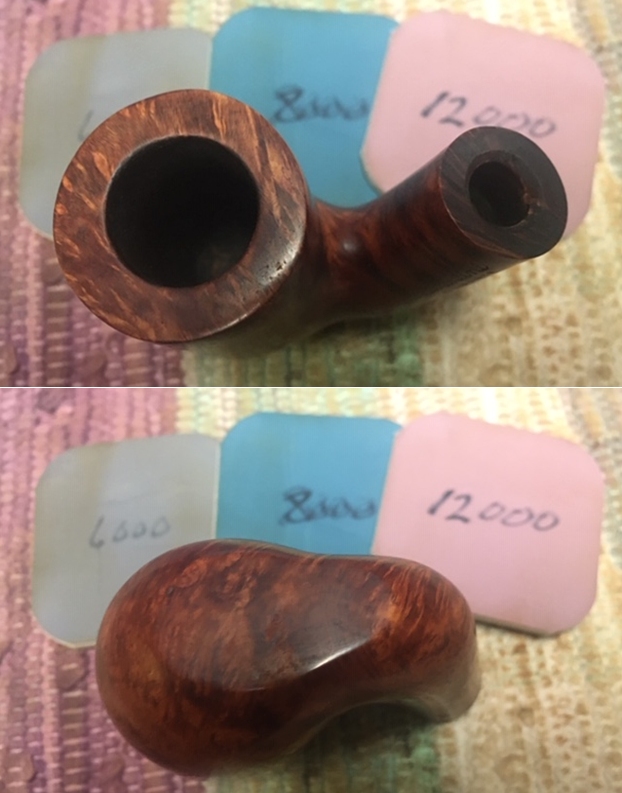
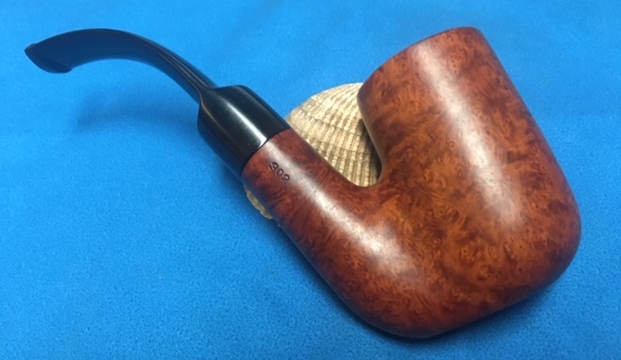
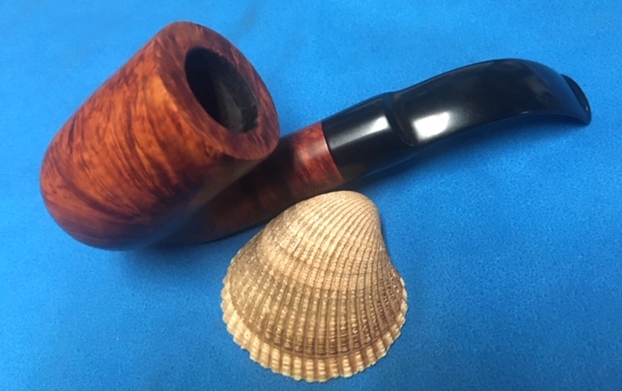
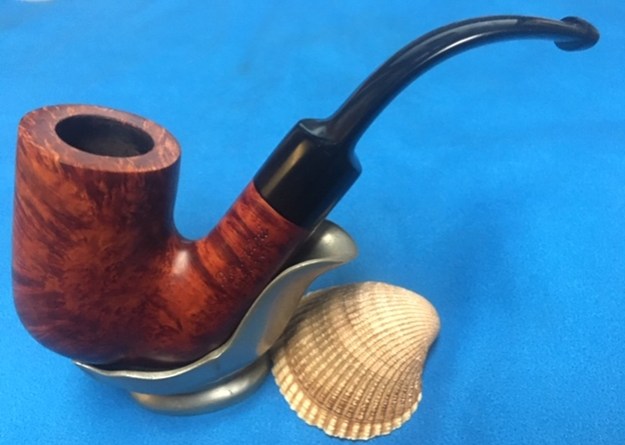
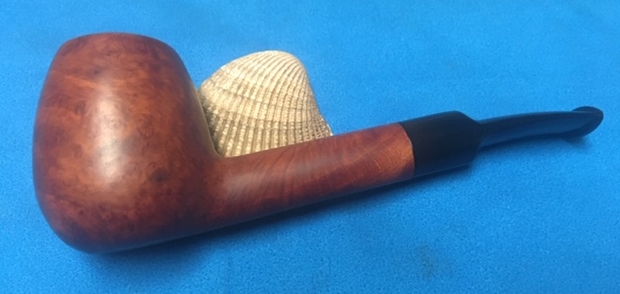
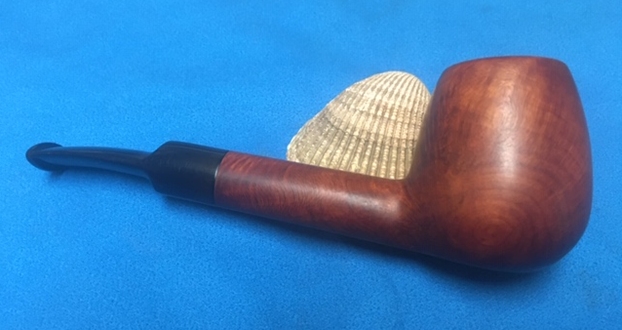
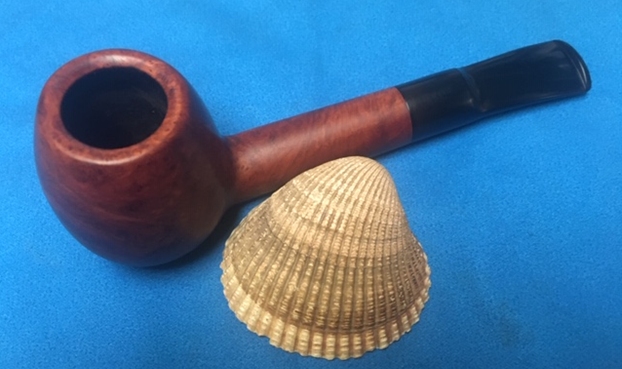
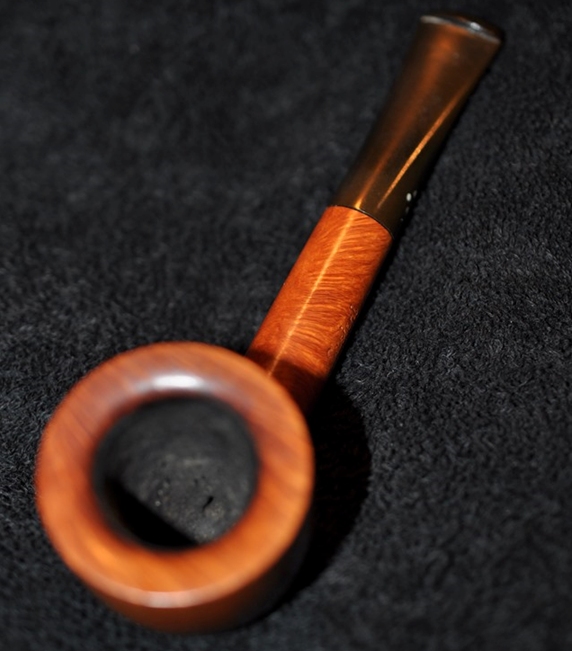
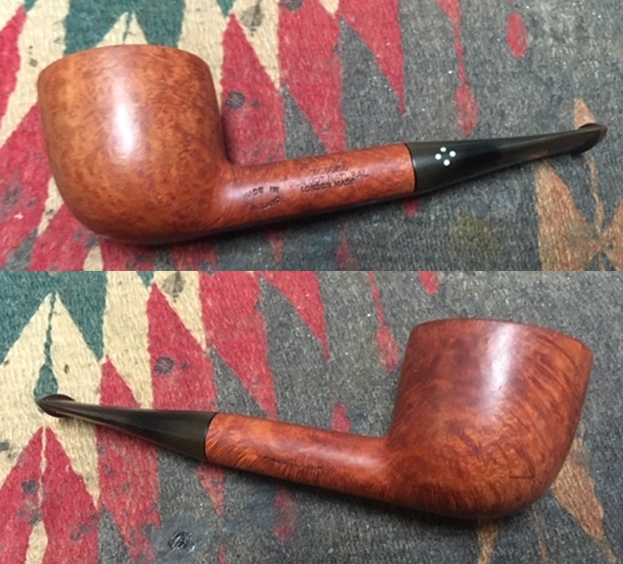
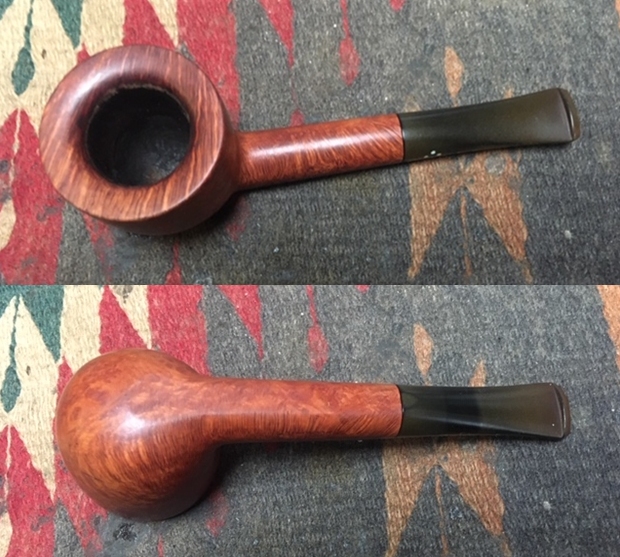
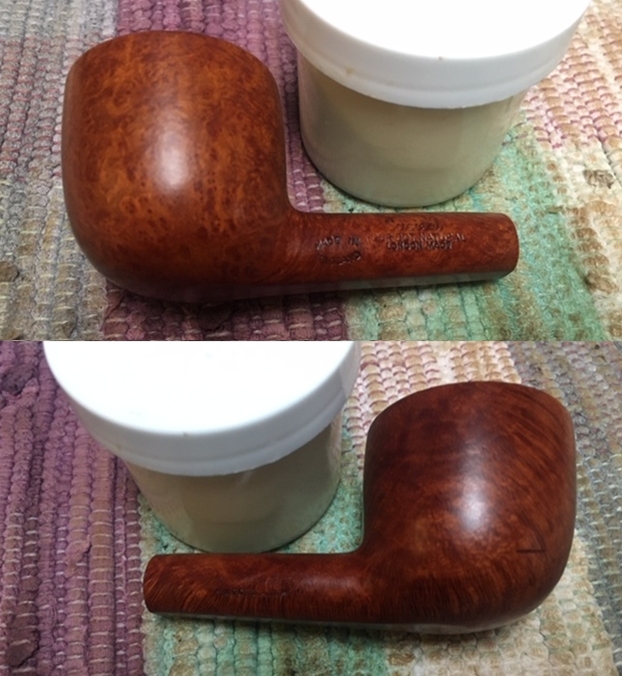
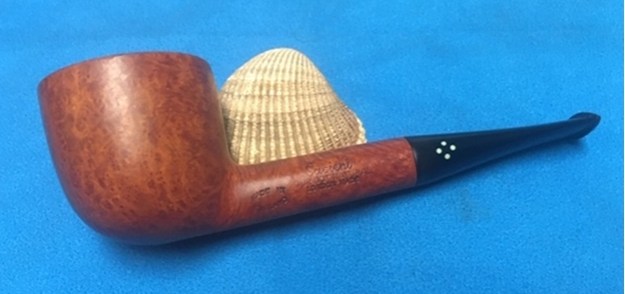
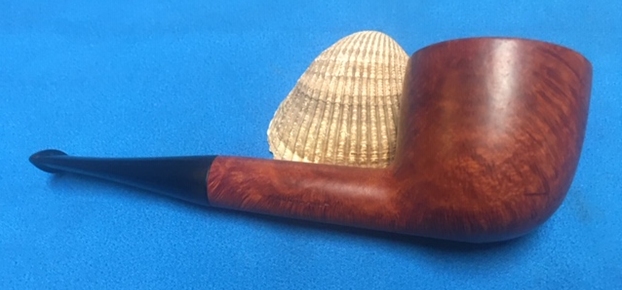
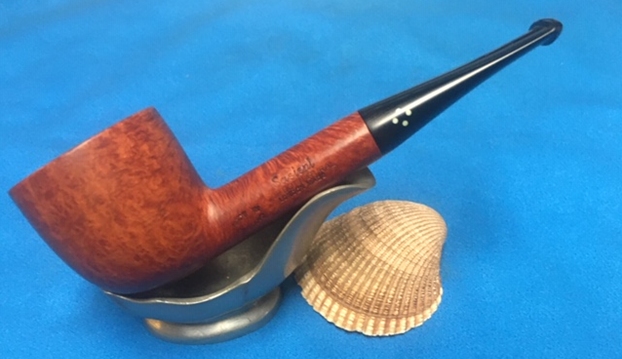
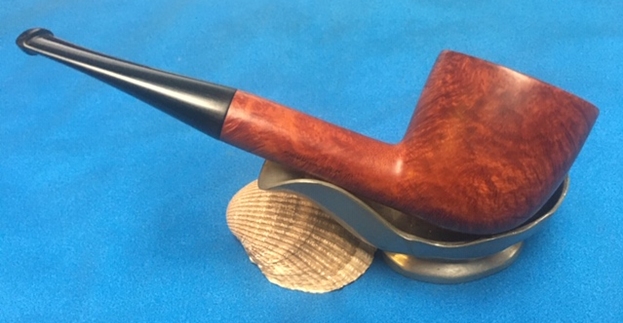
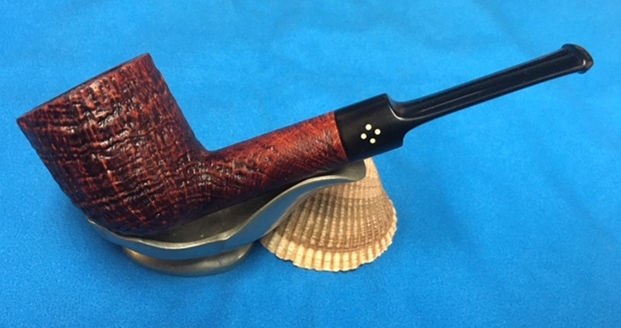
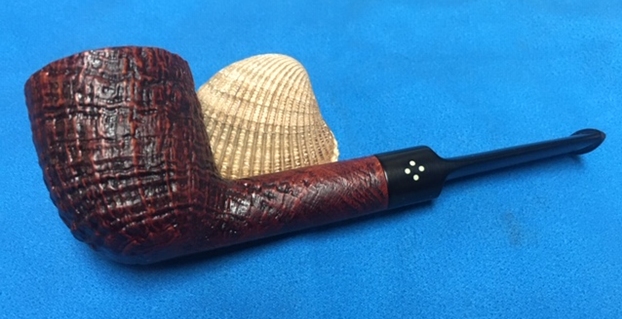
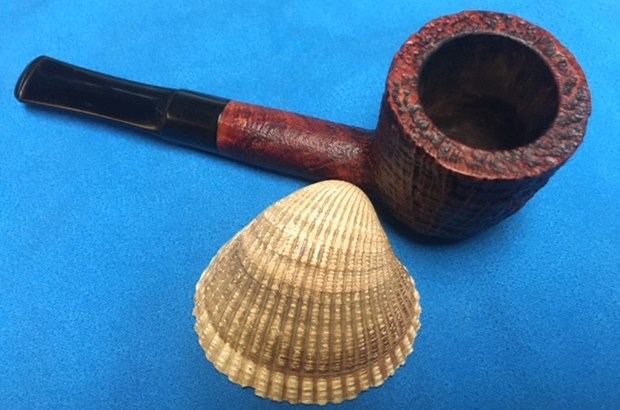
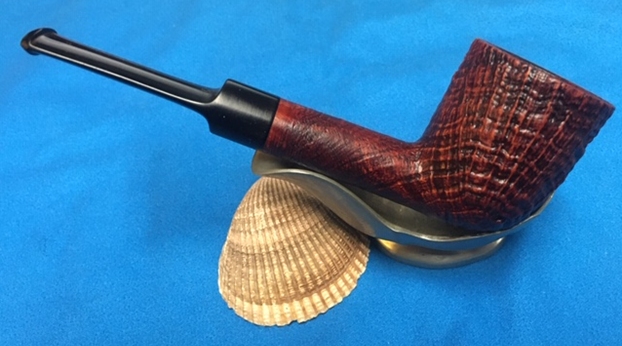
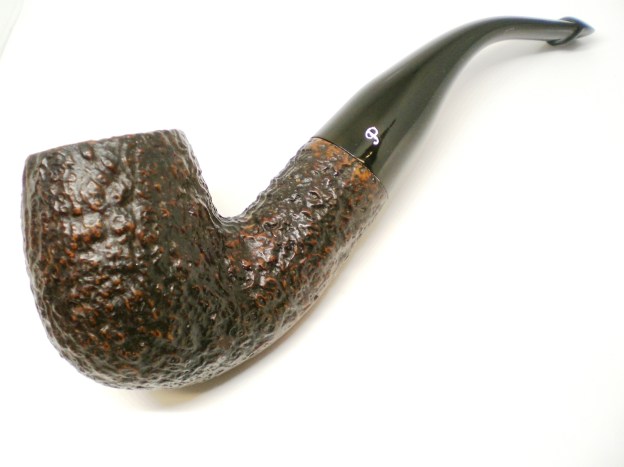
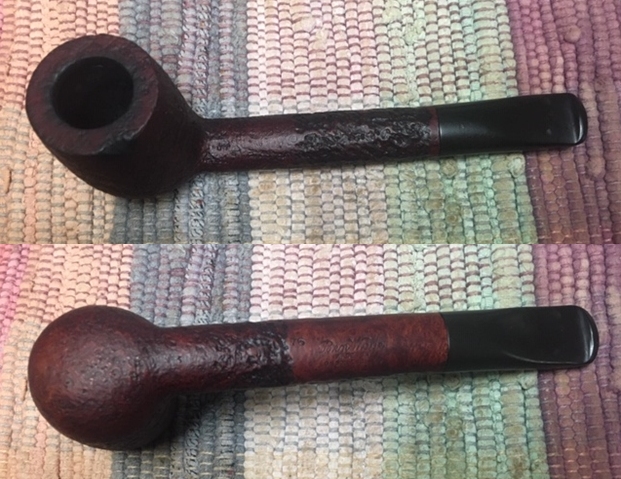
 Ahhhh…once again I am at my favourite part of a restoration – finishing up a pipe! This Ben Wade English made Canadian 76 came out really well considering the issues with the burned area on the side of the bowl and rim when I started. I put the pipe back together and buffed it with Blue Diamond polish on the buffing wheel. I polished the bowl with multiple coats of Conservator’s Wax and the stem with multiple coats of carnauba wax. I buffed it with a clean buffing pad and with a hand buff with a microfibre cloth. The mix of colours and the buffing made the sandblast stand out when it was waxed. The mixed grain is quite stunning. Thick oval shank and taper stem stands out in great contrast to the briar. It is a nice looking pipe. Have a look at the photos below of the finished pipe. Its dimensions are Length: 6 ¼ inches, Height: 2 inches, Outside Diameter of the Bowl: 1 3/8 inches, Diameter of the Chamber: ¾ of an inch. The long shank Canadian feels great in the hand. This one will be going on the rebornpipes store later today. You can add it to your collection and carry on the trust. Let me know if you are interested in adding it. Thanks for your time.