Blog by Steve Laug
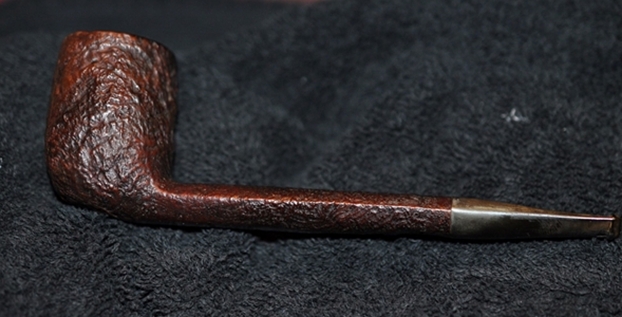
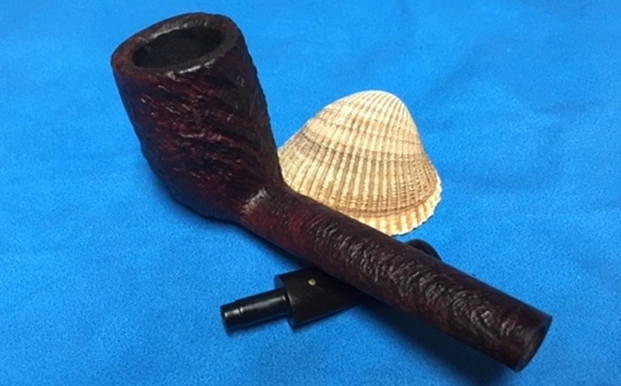
 I am working through a lot of the queue of pipes that are sitting in my repair bin this weekend. Next on the table is another Malaga from Alex that he dropped off for a restoration. It is what Malaga would have called one of their carved finishes. It is a Canadian with a double rusticated finish. The underfinish is almost Custombilt like in the deep worm trail grooves on the bowl and shank. The top finish is a wire rustication that covers the bowl sides and shank over the top of the previous finish. The rim top and a band on the shank end are smooth and stained with a contrasting lighter stain. It is an interestingly piece with a very unique finish that has grown on me as I worked on it.
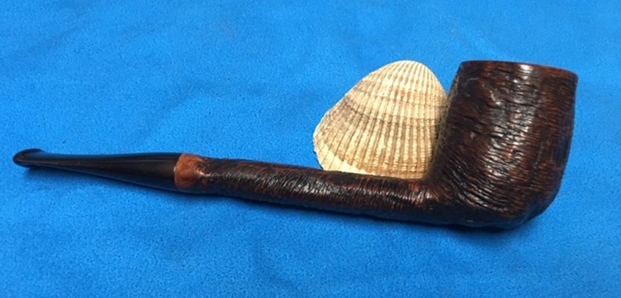
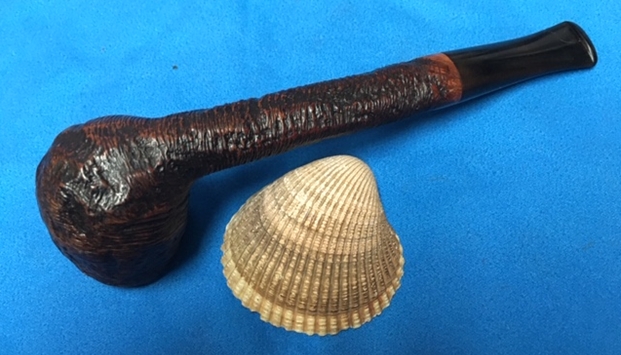
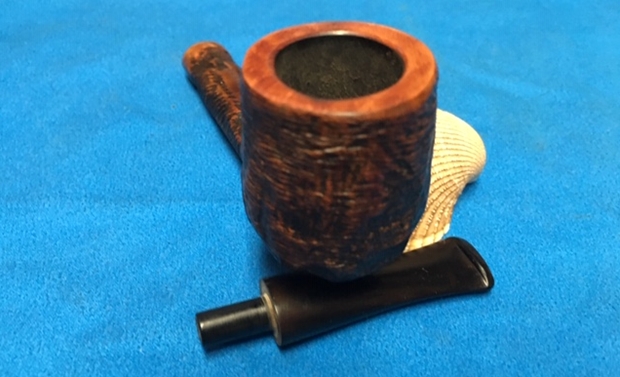
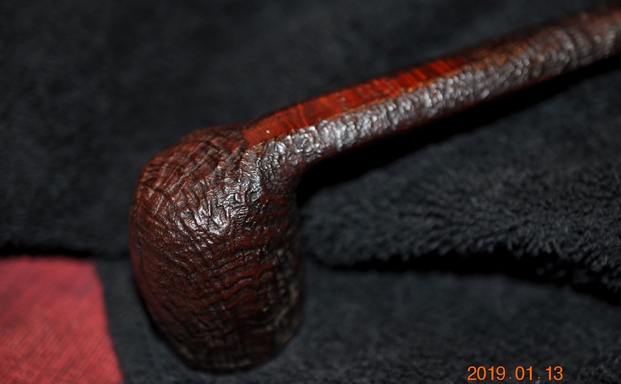
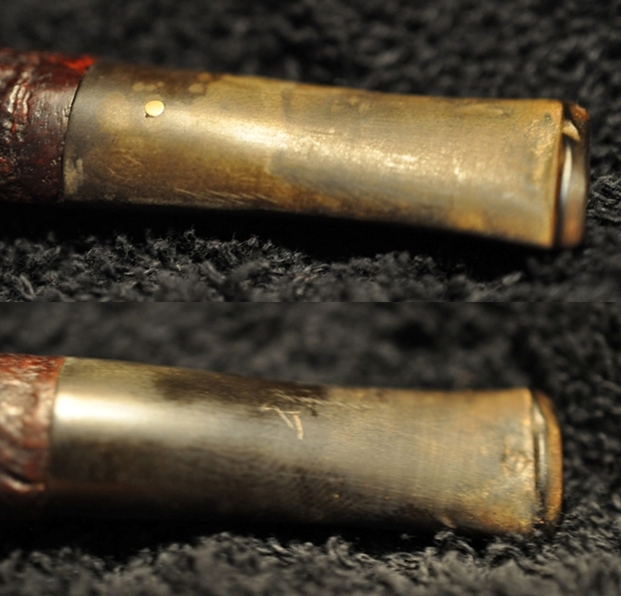
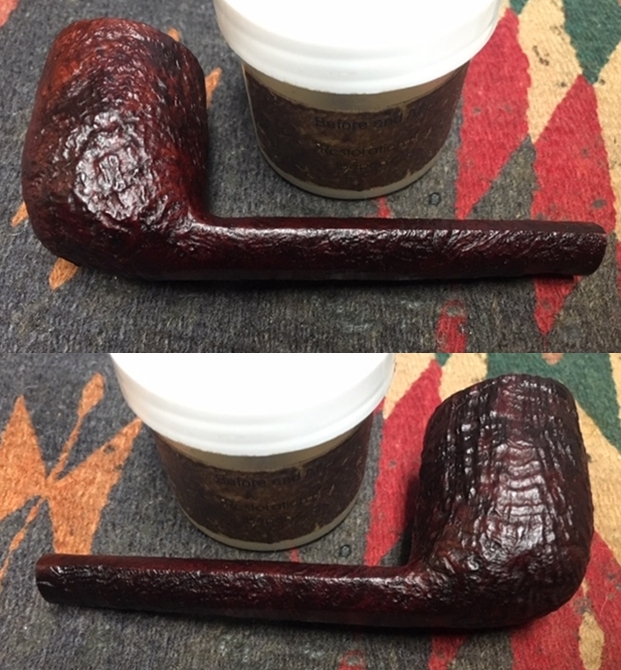
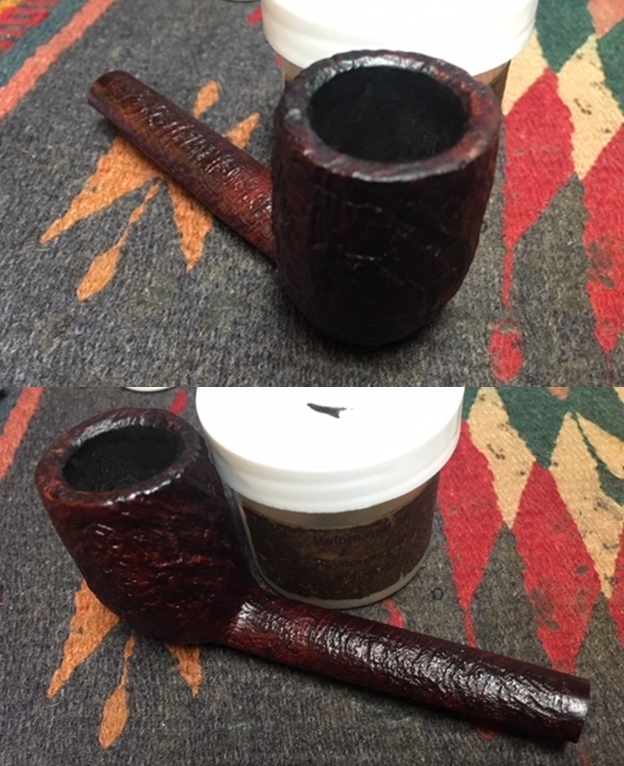
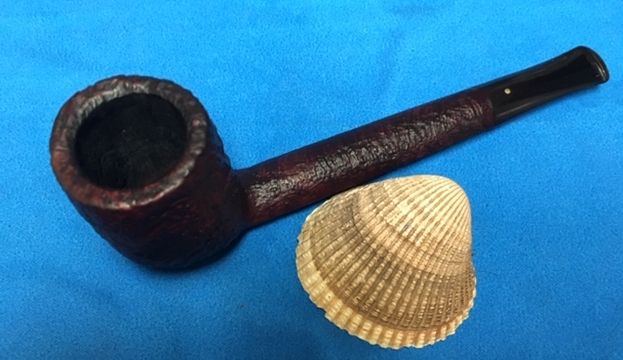
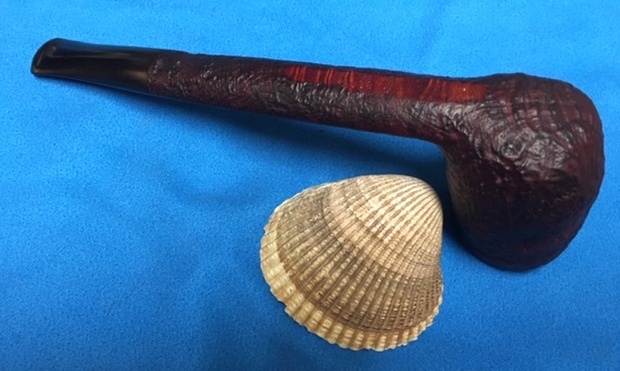
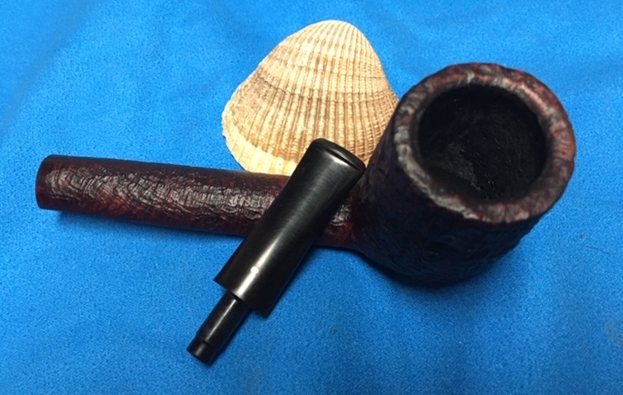
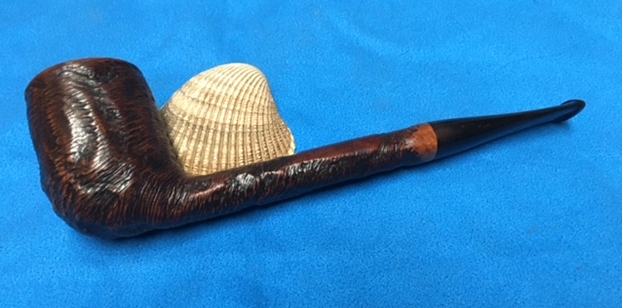
The pipe had been reamed and cleaned according to the seller. The bowl and shank were pretty clean bowl. The rim top had some damage on the top surface and a deeper burn mark on the right front inner edge. The pipe is stamped on the topside of the shank horizontally and reads MALAGA. The finish on the pipe is very in good condition with a lot of grime and dust in the finish. The stem was very deeply oxidized and polished over the oxidation. There were waves and marks on the surface of both sides at the button and tooth damage on the button itself. The photos give a pretty clear picture of the shape of the pipe and its general condition when I received it. I took a close up photo of the bowl and rim to capture the condition of the pipe before he started my restoration of the pipe. The rim top was clean but had some darkening and chipping on the surface at the back of the bowl. The right front inner edge and bowl top had some burn damage that was quite extensive. The stem itself was an interesting mess. It had been shinned and polished but there was still some very deep oxidation that is visible – with the shine is a cloudy red colour. There are also tooth marks on the button surface of the topside (shown in the second photo) as well as some general waviness to the stem just ahead of the button that spoke of some one trying to buff out the tooth marks. Also note the stamped C on the shank underside in the third photo. I believe this refers to the fact that the pipe has the Malaga Carved finish.
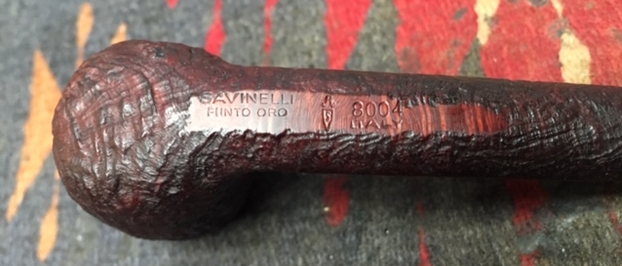
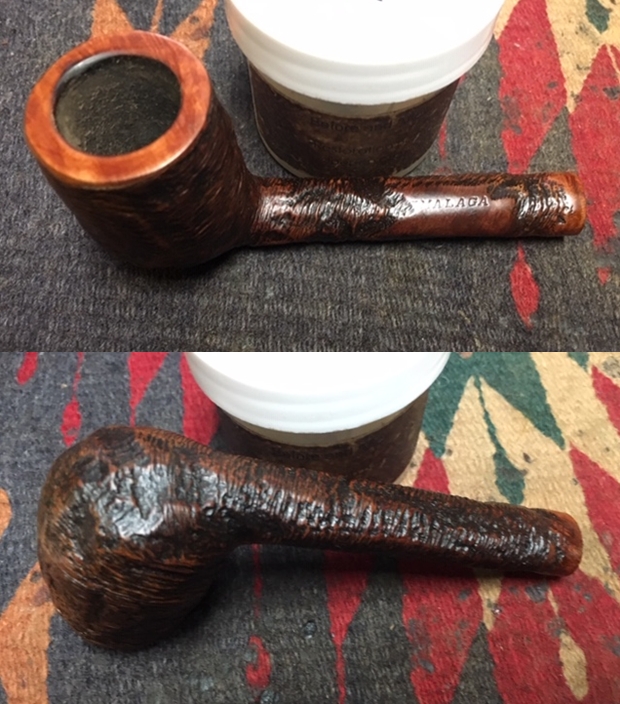
 I took a photo to capture the stamping on the topside of the shank. The photo shows stamping as noted above. The stamping on this pipe is clear and readable. Once again it does not include the quotation marks that show up on various Malaga pipes.
 For those of you who are unfamiliar with the brand, I am also including the link to a blog that I wrote that gives some of the history of the Malaga brand and the Malaga Pipe Shop in Royal Oak, Michigan in the USA. Here is the link – https://rebornpipes.com/tag/malaga-pipes/. That blog also includes links to a catalogue and the history of the pipemaker George Khoubesser. If you are interested to learn more then I invite you to follow the link to get a feel for the brand and the pipemaker.
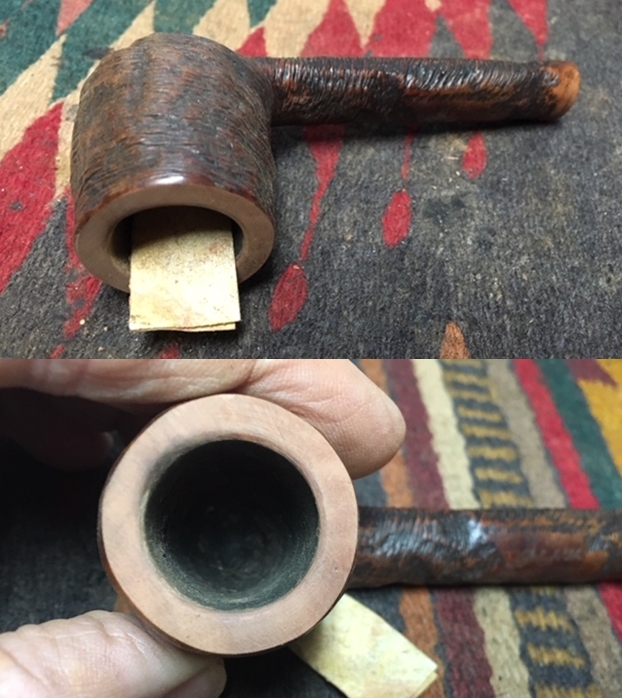
Since the bowl had been reamed and the pipe appeared to be clean I left the cleanup work until after I had reworked the shank and stem. I started my work on the pipe by working on the rim top and inner edge of the bowl. I started by topping the bowl on a topping board with 220 grit sandpaper. I wanted to remove as much of the damage to the rim top as possible and minimize the burn damage on the front edge of the bowl. What limited the topping was the smooth band around the top of the bowl. Even though it was thin I could safely remove some of the damage without compromising the band. Once I had it topped I used a folded piece of 220 grit sandpaper to give the inner edge a slight bevel to further hide the burn damage.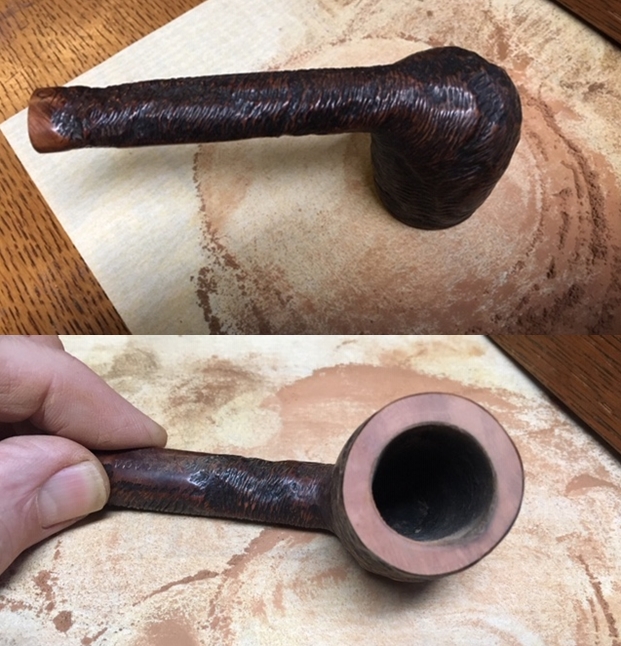
 I polished the freshly sanded briar with 2400-12000 grit micromesh sanding pads – wet sanding with 1500-2400 grit pads and dry sanding with 3200-12000 grit pads. I wiped the rim top down with a damp cloth after each pad. I found that with each successive grit of micromesh the grain stood out more and gave a shine to the pipe. I liked what I saw when I looked at it. While it was a close match to the smooth band on the shank and around the rim top it would need to be stained to give a more perfect match. I used an Oak Stain pen to touch up the rim top and the light spots on the band around the shank end.
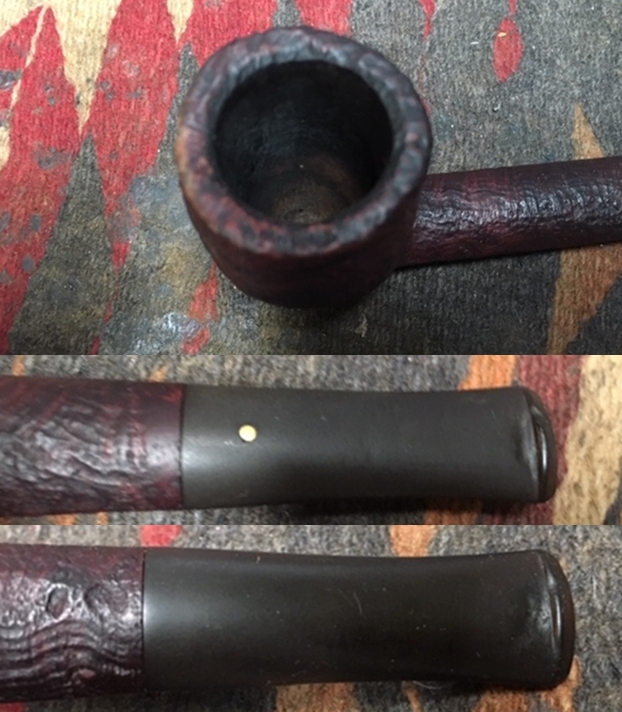
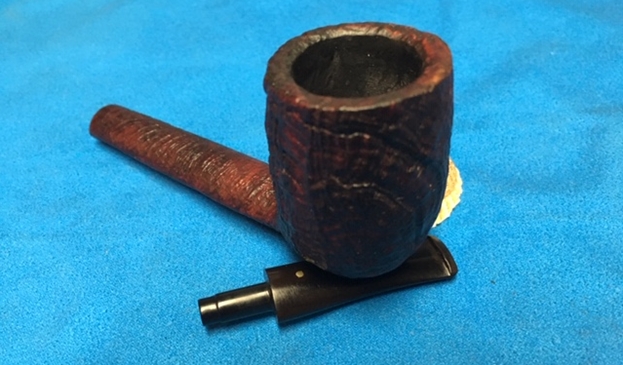
 I worked some Before & After Restoration Balm into the surface of the briar with my fingertips to clean, enliven and protect it. I let the balm sit for a little while and then buffed with a cotton cloth to raise the shine. The following photos show the bowl at this point in the restoration process. The bowl and the rim top look really good and the darkening is gone. The finish looks very good with the rich oil finish on the bowl and rim. I am very happy with the results.
 I cleaned out the airway in the shank and wiped out the bowl to make sure there was no debris left behind. The pipe had been well cleaned on the inside by the seller. Because of that most of what I got was the sanding debris that had drifted in the bowl and shank when I had topped the rim.
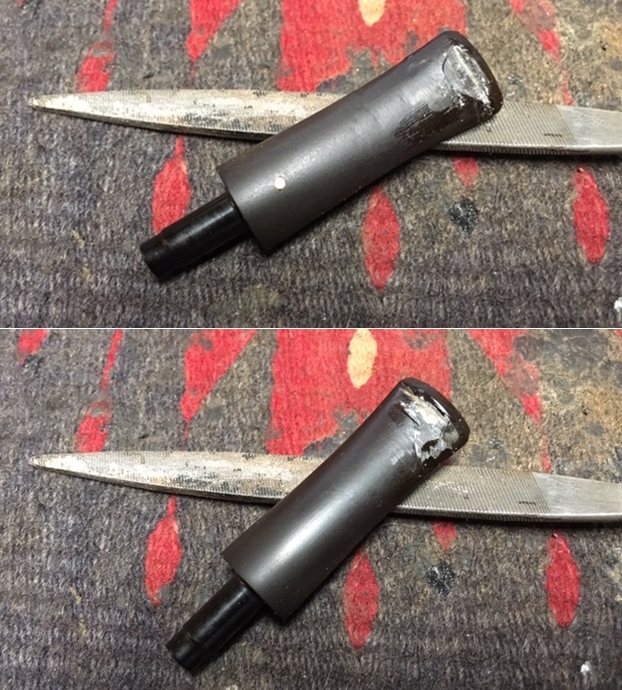
 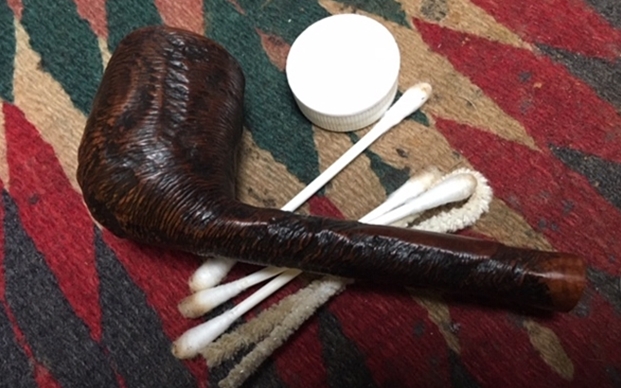 With the bowl finished I set it aside and turned my attention to the stem. I sanded the stem surface with 220 grit sandpaper to smooth out the waves, remove the oxidation and smooth out the tooth marks on the surface of the button. The oxidation and waviness of the stem surface was hardest to deal with in order to not accentuate the waves instead of removing them. I sanded with long strokes on the surface to blend in the high and low spots. I am happy with the stem surface once that was done. I started the polishing of the surface with 400 grit wet dry sandpaper.
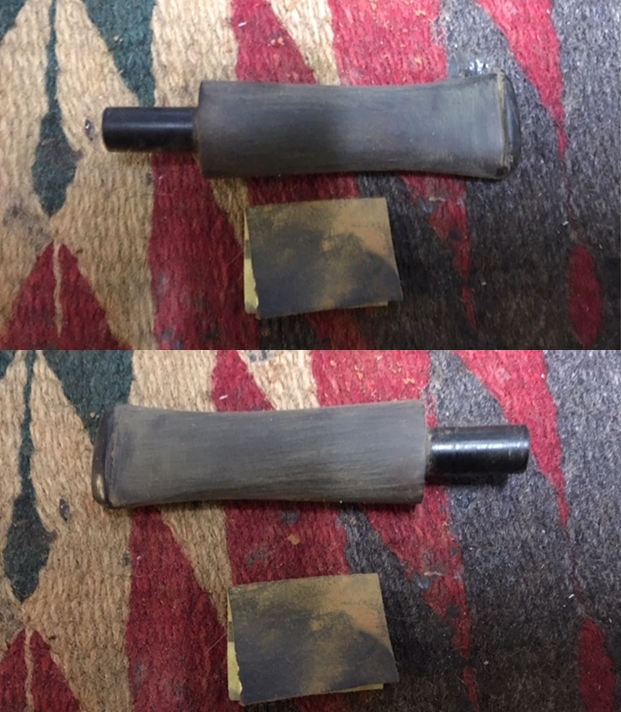
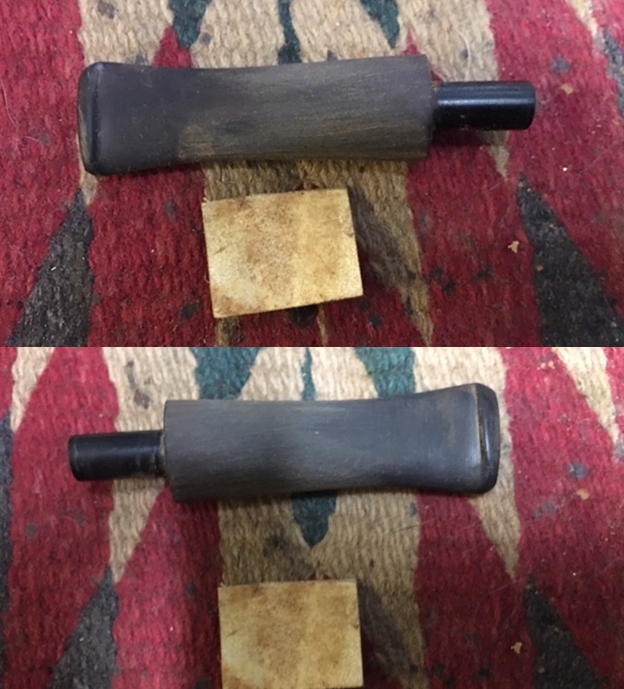
 I cleaned out the debris from the airway and slot in the stem after the sanding was completed. I used alcohol and pipe cleaners.
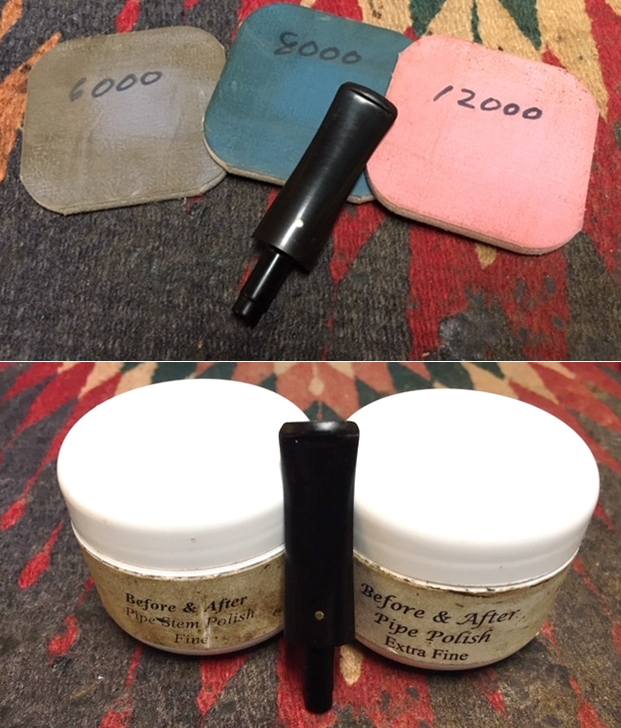
 I polished the stem with micromesh sanding pads – wet sanding it with 1500-2400 grit pads and dry sanding it with 3200-12000 grit pads. I wiped the stem down with a damp cloth after each pad. I further polished it with Before & After Pipe Polish – both Fine and Extra Fine. I wiped it down with a coat of Obsidian Oil and set it aside to dry.
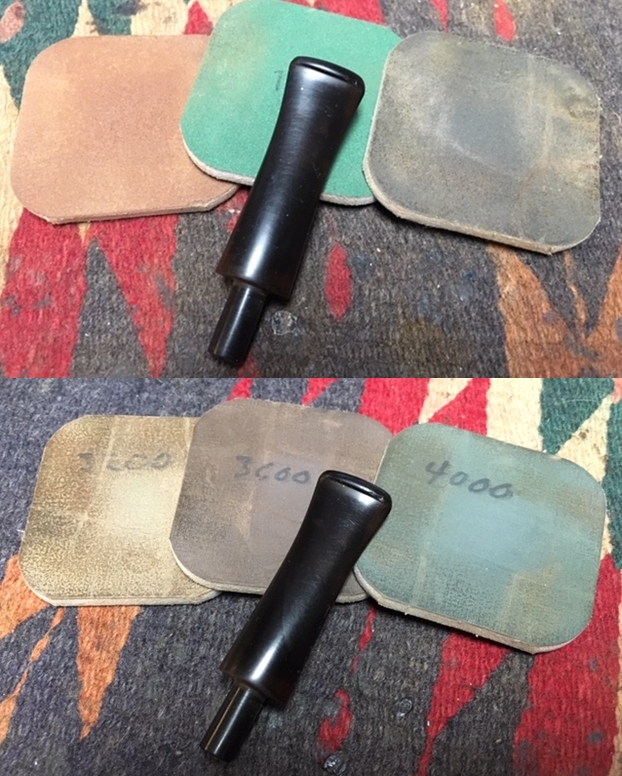
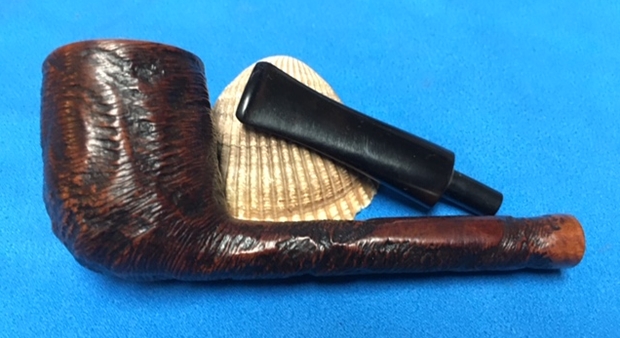
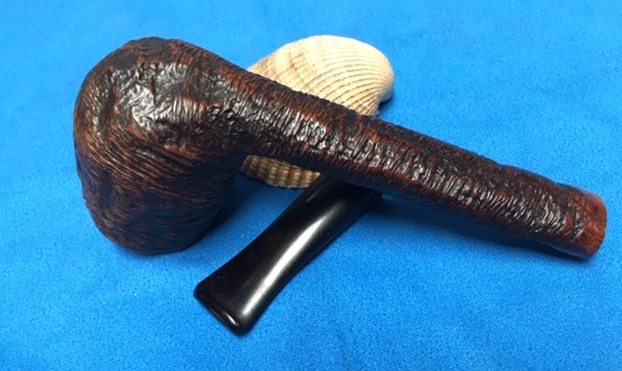
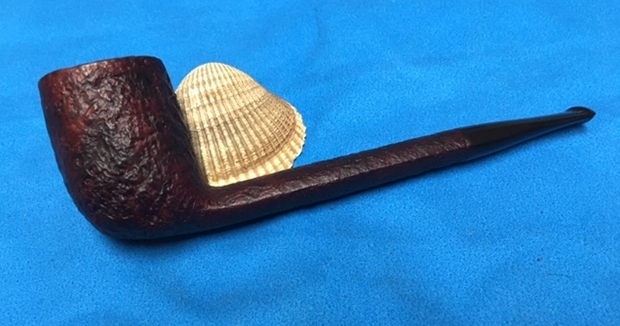
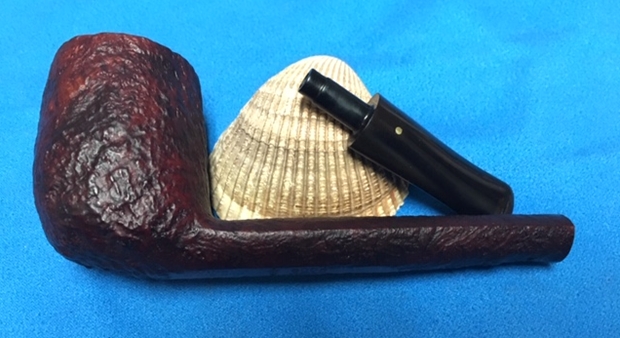
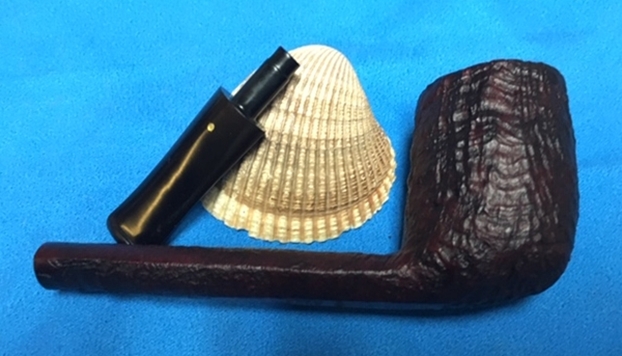
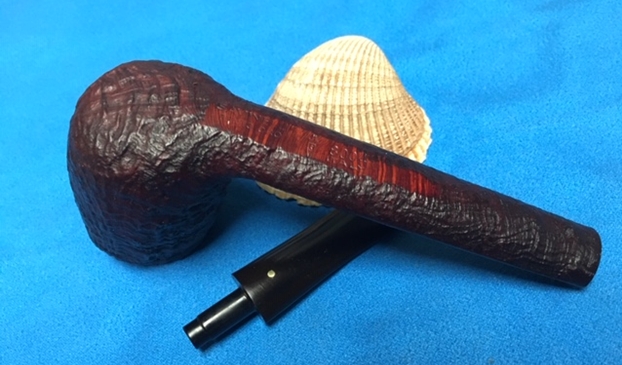
 Now with both parts of the pipe finished, I polished stem with Blue Diamond polish on the buffing wheel. I gave the bowl multiple coats of Conservator’s Wax and the stem multiple coats of carnauba wax. I buffed the pipe with a clean buffing pad to raise the shine. I hand buffed it with a microfiber cloth to deepen the shine. The pipe polished up pretty nicely. The grain under the double rustication came alive with the buffing. The rich oil finish on the briar works well with the new, polished black vulcanite stem. The finished pipe is a beauty and feels great in the hand. Have a look at it with the photos below. The dimensions are Length: 6 inches, Height: 1 3/4 inches, Outside diameter of the bowl: 1 1/4 inches, Chamber diameter: 3/4 of an inch. This one will be going back to Alex with the rest of his pipes that I am working on. Thanks for walking through the restoration and restemming with me on this uniquely carved Malaga Canadian.