Blog by Steve Laug
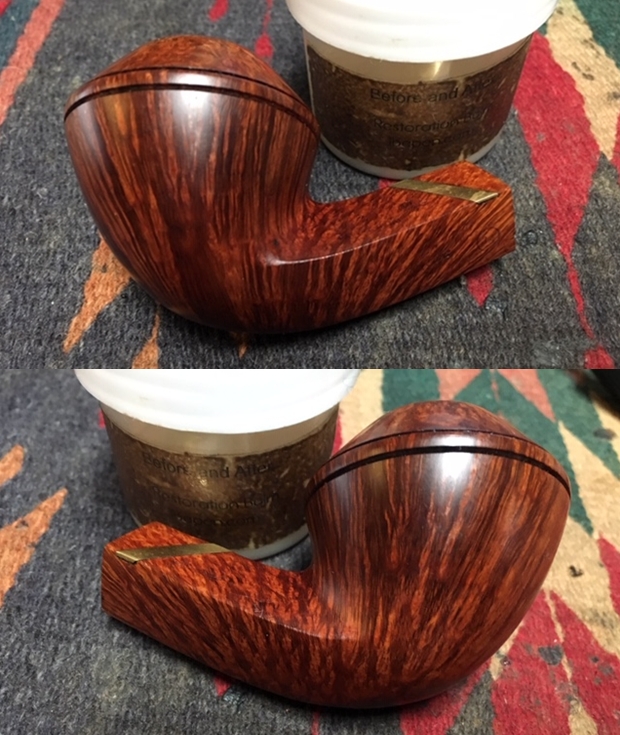
It is the second day of the New Year 2019 and I am continuing to work on pipes. My wife and kids are convinced it is an illness but at least it keeps me out of their way! I am continuing my break from the Bob Kerr estates that I have piled in boxes around my basement shop to work on another different pipe. I am still working under the watchful eye of my buddy and Shop Foreman, Spencer. His life is pretty much laying on a blanket by my feet while I am fiddling with pipes. At 14+ years old my fiddling does not faze him much him, he just wants to make sure I stay put with him in the basement. He snoozes, comes over to me now and then to smack my leg and beg for a treat and then retreats to nap again. He really is company in the shop and keeps me mindful to get up and move around now and then. As you might have figured out from the title I am continuing to work on Italian pipes. This is another one that I may have a hard time letting go of when I am finished. It is a Castello Sea Rock Briar. It is stamped on the smooth heel of the bowl and the shank bottom and reads Castello Sea Rock Briar. Next to that is stamped SC31 which I assume is the shape number. It is followed by Reg. No. 66171 No. That is followed by Made in Cantu over Italy with an oval containing the name Carlo Scotti next to the stem shank union. The Castello “diamond” inset is on the left side of the tapered stem. My brother Jeff picked this pipe up at an auction in Nampa, Idaho. It was in pretty filthy looking condition when he got it but still showed promise. He took the following photos of the pipe before he worked his magic on them.
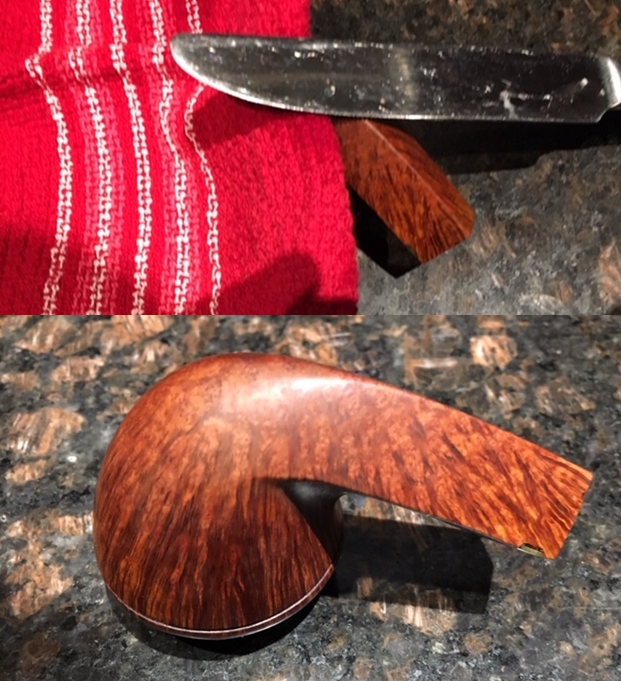
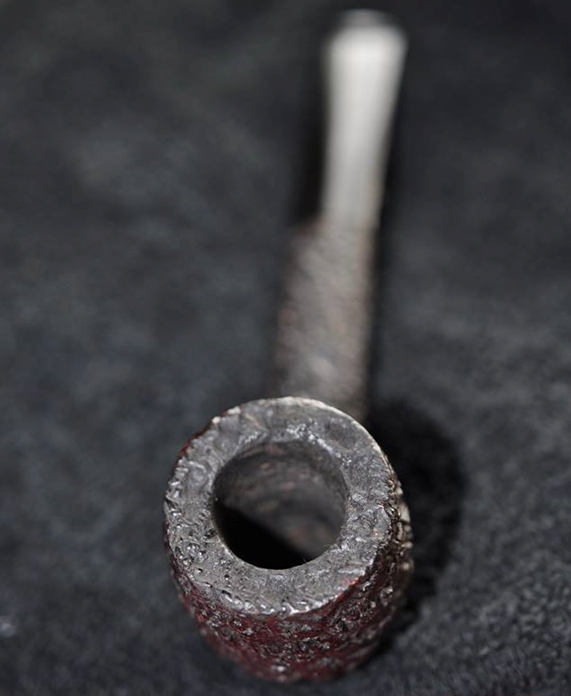 The pipe must have been another terrific smoker because the bowl was pretty clogged up with cake and lava flowing over the rim top. It really was a mess and the cake was hard from sitting. It was from an estate that was liquidating the belonging of a fellow in the area. In its condition it was going to take some work to clean out that bowl and be able to see what the rim looked like underneath the layer of lava. The rest of the bowl looked dirty but the photos give an idea of what Jeff saw before his cleanup revealed the condition of the pipe. The next photos show the side and bottom of the bowl to give a good idea of what it looked like.
 The next photos try to capture the stamping around the sides of the shank. They read as I have noted above.
 The acrylic/Lucite stem was in excellent condition. It was dirty and had light tooth chatter but no deep tooth marks in the stem surface. The Castello “Diamond” on the left side of the shank is quite nice and undamaged. The button also looks pretty good but I would know more once it arrived in Vancouver.
 Jeff cleaned the pipe with his usual thoroughness – reaming the bowl with a PipNet pipe reamer and cleaning up the remnants with a Savinelli Fitsall Pipe Knife. He scrubbed the internals of the bowl, shank and stem with alcohol, cotton swabs and pipe cleaners. He scrubbed the exterior with Murphy’s Oil Soap to clean off the dust and grime on the rusticated Sea Rock finish. The rusticated rim top looked very good under the thick lava coat. It was a bit dull and some lava still in the deep crevices that I would need to deal with but nothing in comparison to what it looked like when Jeff got it. The inside of the bowl itself looked great. The stem was in great shape other than a bit of tooth chatter. I took photos of the pipe when it arrived here.
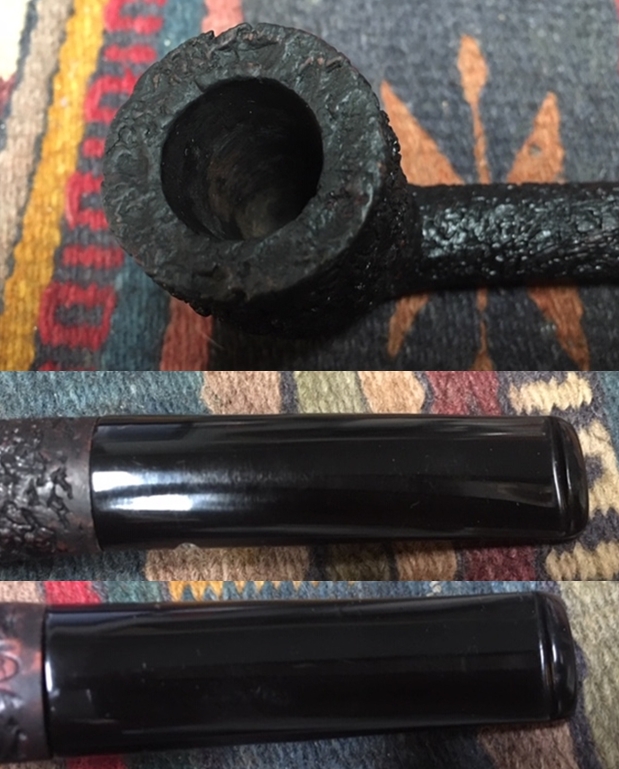
 I took some close up photos of the rim top, bowl and stem to show what they looked like after Jeff’s cleanup. It is a startling difference. The rim top will take some work to take care of the damage. The stem will take very little to polish out the tooth chatter on both sides and give it a deep shine.
 It has been awhile since I had cleaned up a Castello and the Reg. No. and the Carlo Scotti stamp left me with some questions that I need to answer before I began to work on the pipe. I turned first to the Pipephil site (http://www.pipephil.eu/logos/en/logo-castello.html) because of the general quick summary of information I get there. I quote:
Castello PIPA CASTELLO di Carlo Scotti & C. was founded in 1947 by Carlo Scotti († 1988). Franco Coppo (AKA “Kino”) who married Carlo Scotti’s daughter Savina, manages (2012) the corporate since 1985.
The site also gave a good summary of the grading and sizes of the pipes. I quote that in full.
Sizes (ascending):
1K to 4K, G (Giant) and GG (Extra large)
Rusticated grading: SEA ROCK, OLD SEA ROCK, NATURAL VIRGIN,
Sandblasted grading: ANTIQUARI, OLD ANTIQUARI
Smooth grading (ascending): TRADEMARK, CASTELLO, COLLECTION
Other stampings: Great Line (Non-standard or freestyle) Fiammata (Straight grain)
Production (2012): ~4000 pipes / year
I also found a note on the page that the Rhinestone logo was originally on pipes for the US market. It is occasionally used now.
I turned then to Pipedia for more information on the brand (https://pipedia.org/wiki/Castello). The majority of the information was what was already quoted above in abbreviated form. However there was a link to an article by Bob Hamlin that gave some interesting bits of information that I found helpful (http://www.pipes.org/BURST/FORMATTED/196.016.html). I quote in part from that article.
SEA ROCK [Carved Black or dark brown]: This is the lowest grade of the Castello line and is the most common in the USA. Sea Rocks are produced by taking a smooth bowl that has not been “final finished” and surface carving the finish with tools. This “carved” finish is then evened out using a steel wire brush, stained and then waxed. The Natural Vergin carved finish is left unstained and unwaxed as a rule, although we have seen waxed and partially waxed “Vergins”.
All carved Castello pipes are graded by the number of K’s that are stamped on each piece and are K-graded by SIZE. 1K is the smallest and fairly rare, 2K is small to medium, with 3K or 4K being the most common and ranges from medium to medium large. Large pieces are stamped “G” for giant and extra large pieces are stamped “GG” for double giant. In addition to the number of K’s on a carved Sea Rock piece the shape number is almost always added. As a rule a Sea Rock Castello is stained Black, although recently there have been quite a few coming in stained deep brown and still stamped “Sea Rock”. American Logo’d Sea Rocks are all priced the same to the consumer, although most are 2 or 3 K’ed models. G/GG models are charged at a higher price on American pieces and are basically the same as their European counterparts.
The Castello Sea Rock briar I was working on did not have the K stamping. It definitely was made for the American Market with the Rhinestone in the stem. It had the black finish. The shape number still needed to be determined.
Pipedia also gave a link to Mike’s Briar Blues site for help in dating and determining shapes (http://www.briarblues.com/castello.htm). I quote a piece on the Reg. No. that I found helpful.
1947 – Carlo Scotti begins the company. In the beginning ( 1947 – 1949, maybe 1950 ) the pipes were stamped Mi Reserva ( my reserve ). Later the Reg No was added. This Reg No has nothing to do with shape numbers, but is merely the Castello company trademark…
Shape numbers. Shape numbers are all 2 digits. A 2 in front indicates a “fancy” interpretation, a 3 in front means that the carving is somehow unique. I don’t know when the change was made, but currently, a π symbol is used instead of the 3xx. I’ve only seen this on Sea Rocks, but that doesn’t mean anything…
Pre K grading. Late 1950’s to mid 1960’s the pipe carried stamps which indicated sizes. These were as follows; SA, SB, SC, and SS. SA being the smallest and SS the largest.
Now I had more information to work with. The Castello in my hands was pre K graded. That told me that it came out in the late 1950s to mid 1960s. The SC stamp makes it a mid-sized pipe from that time period. The number 31 makes it a Canadian with an oval shank and a ¼ bent stem.
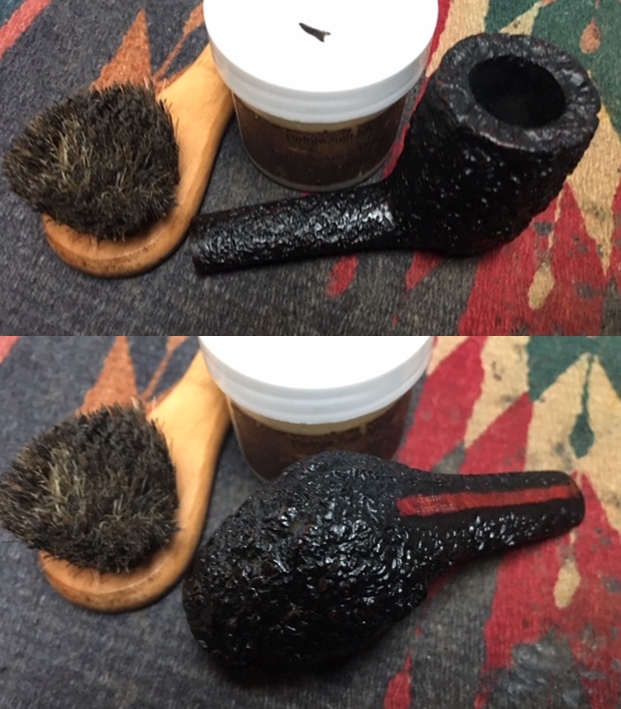
Armed with that information and renewing my knowledge of the brand it was time to work on the pipe. I decided to begin by addressing the deep lava and grime that made the rim top dull looking. I used a brass bristle wire brush to work over the nooks and crannies of the finish and a lot of dust and debris came out of the grooves. I used a tooth brush and some Murphy’s Oil Soap to clean up the remaining dust and rinsed of the rim with some tap water. I dried it off and gave it a light polish with the cloth. It did not take too long for the rim to look clean and debris free. I worked some Before & After Restoration Balm into the rusticated Sea Rock finish on the bowl and the rim top. I worked it into the surface of the briar with my fingertips to clean, enliven and protect the wood. I used a horse hair shoe brush to work it into the crevices and keep from building up in the valleys and crevices of the finish. Once the bowl was covered with the balm I let it sit for about 20 minutes and buffed it off with a soft cotton cloth and the shoe brush. I polished it with a microfiber cloth. I took photos of the pipe at this point in the process to show what the bowl looked like at this point.
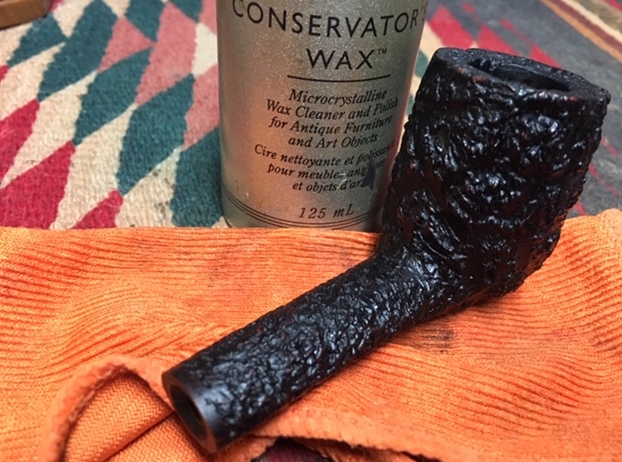
 I gave the bowl and shank multiple coats of Conservator’s Wax and buffed it with a shoe brush to raise the shine. The wax is great protection and I love using it on rusticated and sandblast finishes because it does not build up in the grooves and valleys like carnauba wax does. I buffed it by hand with a microfiber cloth to finish the shine.
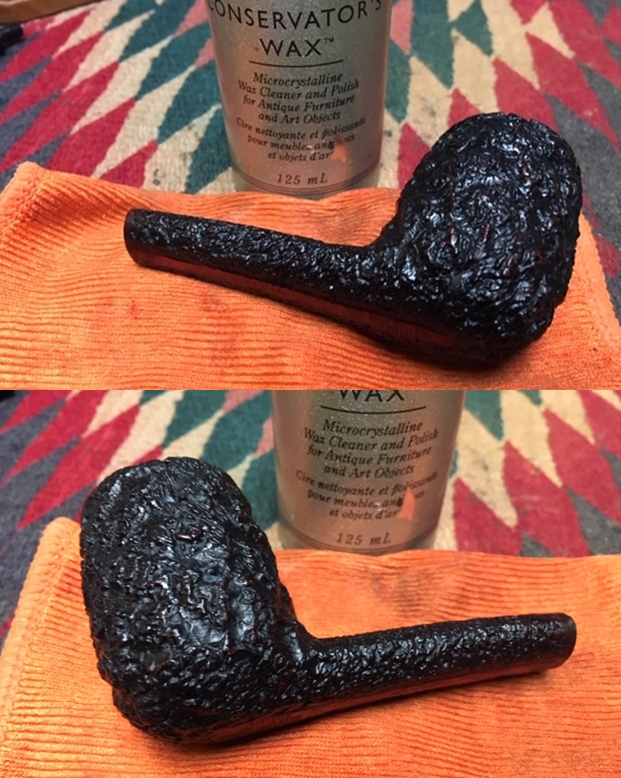

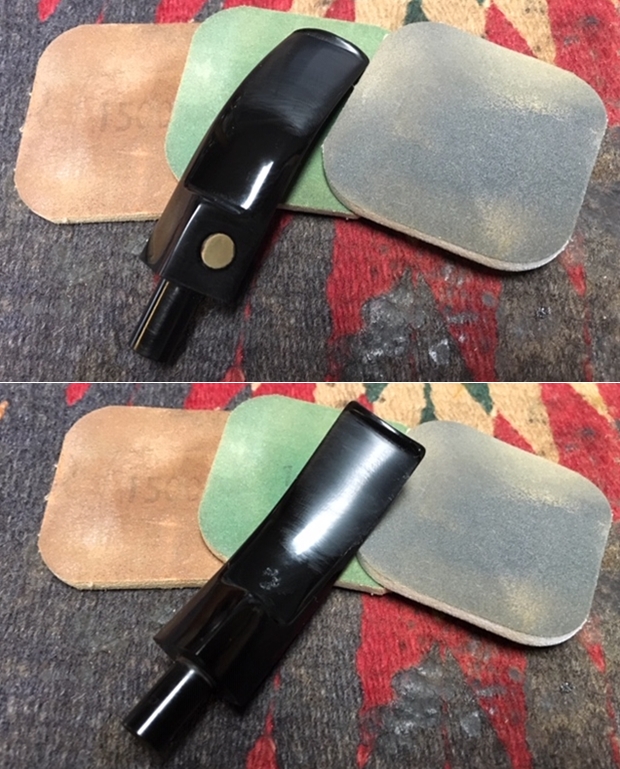
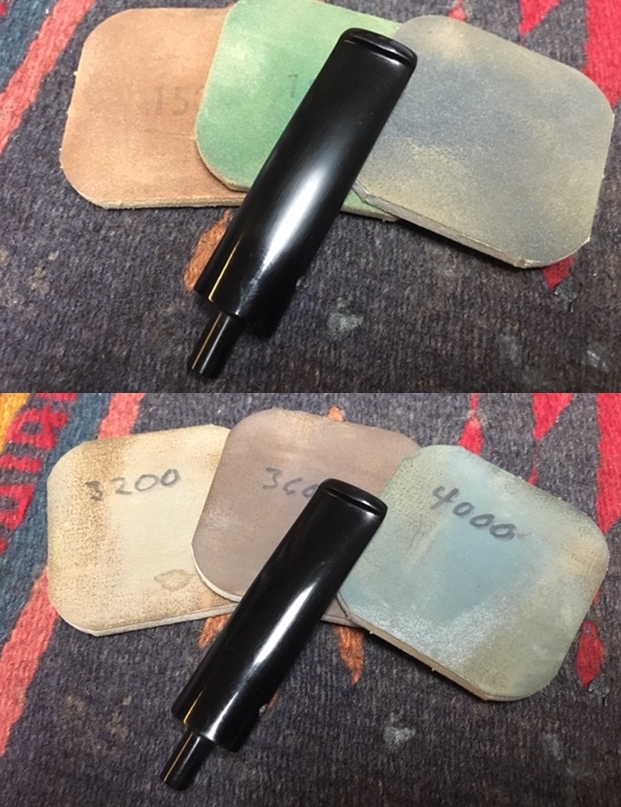
 I set the bowl aside and worked on the stem. I wet sanded the tooth chatter on both sides of the stem with 1500-2400 grit micromesh sanding pads. I was able to remove it. I dry sanded it with 3200-12000 grit pads to polish it further. I wiped it down with a damp cloth after each sanding pad. I finished polishing the stem with Before & After Pipe Polish – both Fine and Extra Fine polishes. I wiped the stem down with a damp cotton pad afterwards and buffed it with a soft microfiber cloth.
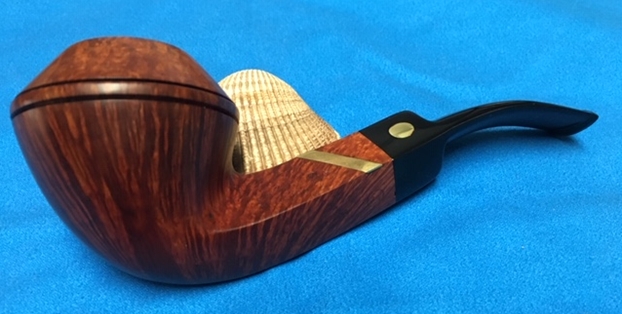
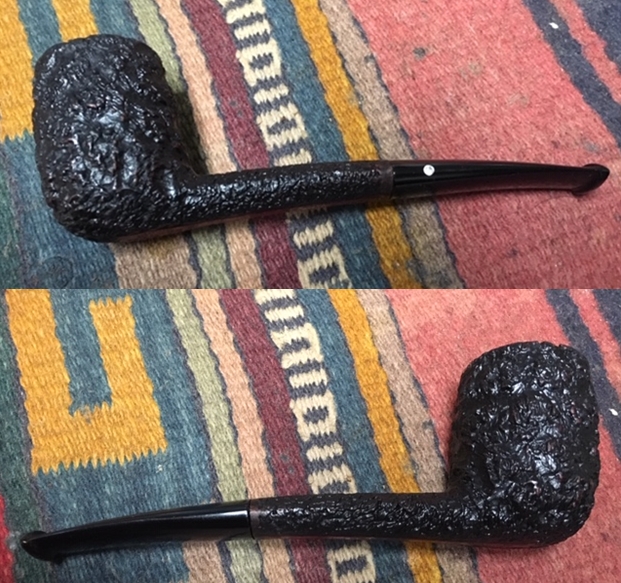
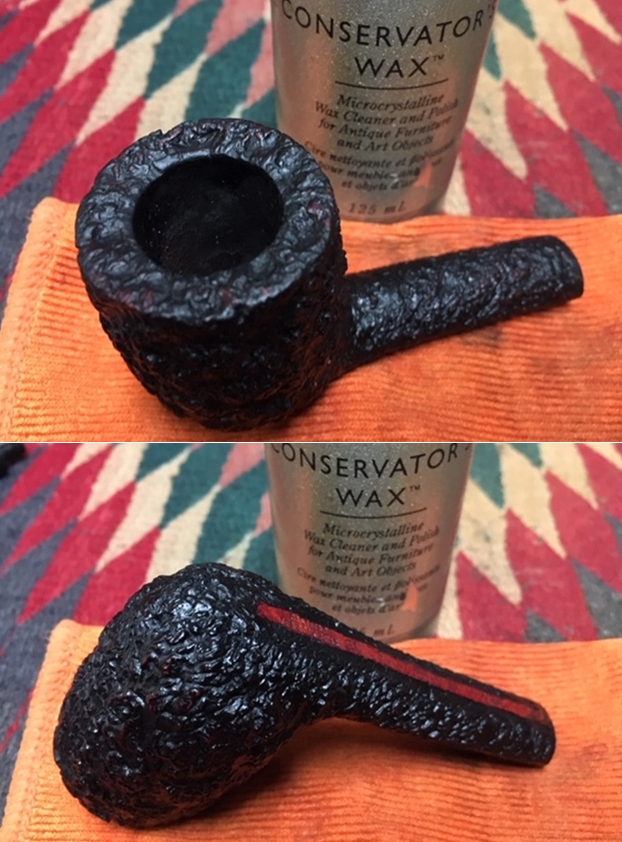
 I put the bowl and stem back together. I polished the stem with Blue Diamond to polish out the scratches in the Lucite. I gave the bowl multiple coats of Conservator’s Wax and the stem multiple coats of carnauba wax. I buffed the pipe with a clean buffing pad to raise the shine. I hand buffed it with a microfiber cloth to deepen the shine. The pipe polished up pretty nicely. The contrast of the blacks and dark browns of the briar with the polished black acrylic/Lucite is quite stunning. The dark and coral like rustication around the bowl and shank is quite remarkable and gives the pipe an incredible tactile presence. This is truly a beautiful pipe that is for sure and one that I think I will keep around for a while. The finished pipe is shown in the photos below. The dimensions of the pipe are Length: 6 inches, Height: 2 inches, Outside diameter of the bowl: 1 1/8 inches, Chamber diameter: 3/4 of an inch. I have a few Castellos in the collection that have come to me in a variety of ways. They have all been beautiful pipes and the look of this Canadian Sea Rock in the hand makes me pause. Thanks for walking through the restoration with me. It was a great break away from the estates that await me. Cheers.


