Blog by Steve Laug
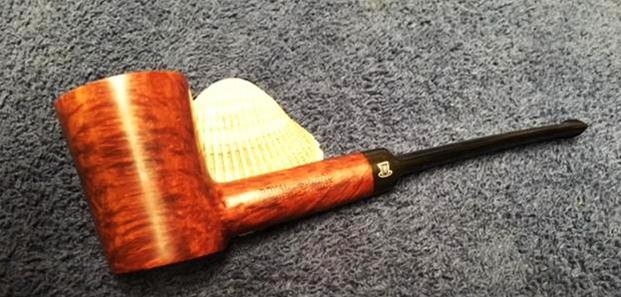
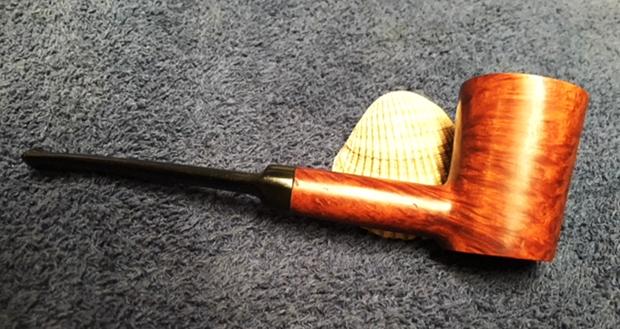
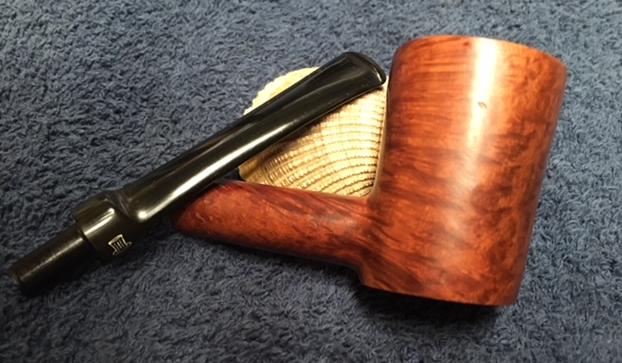
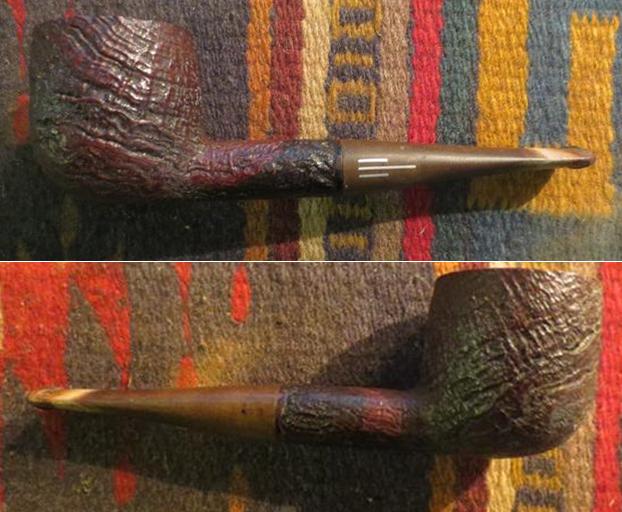
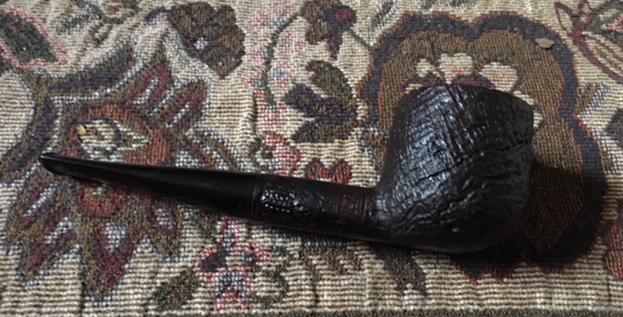
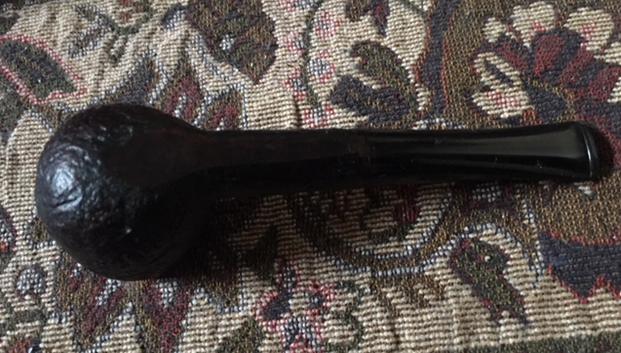
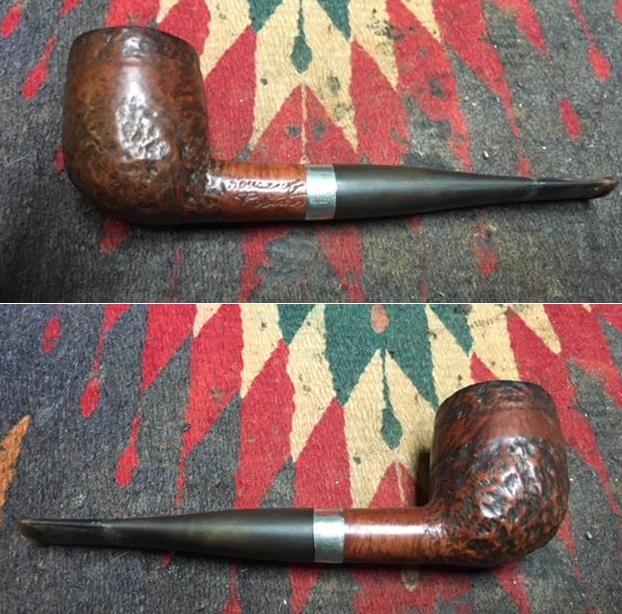
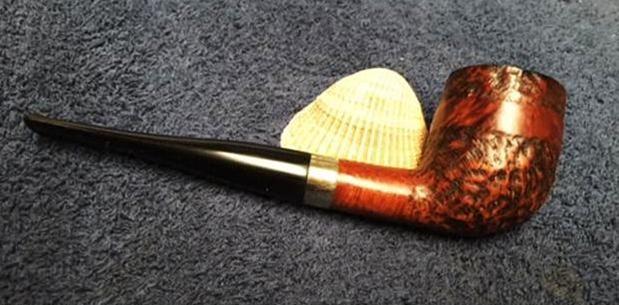
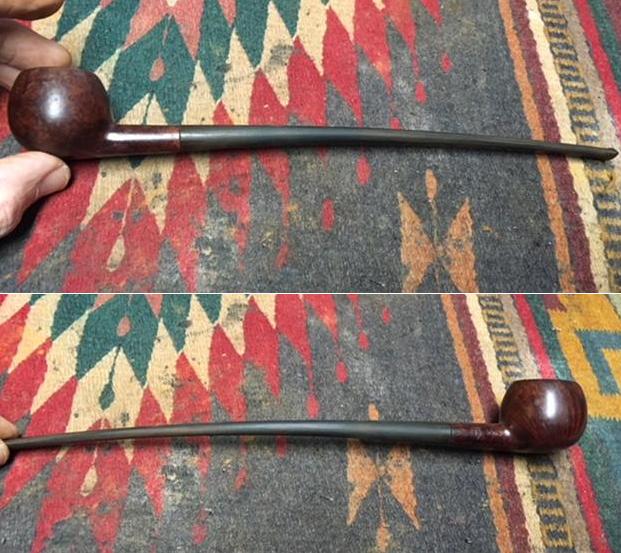
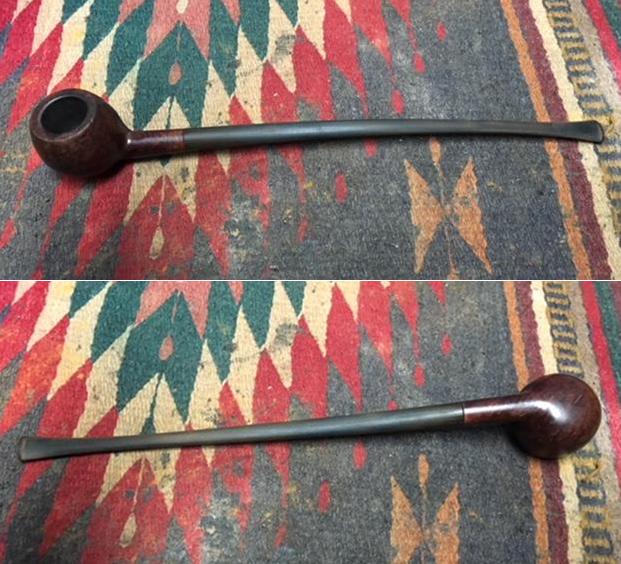
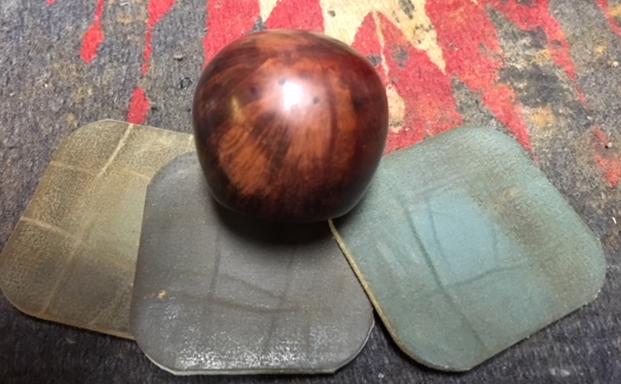
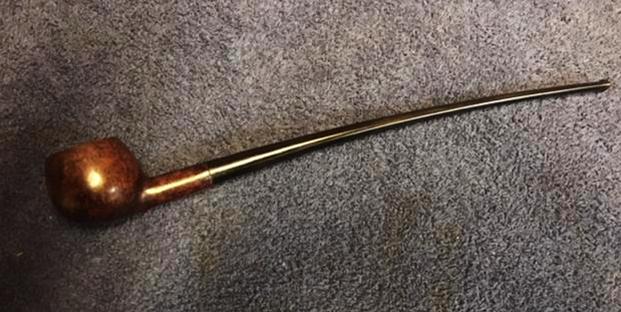
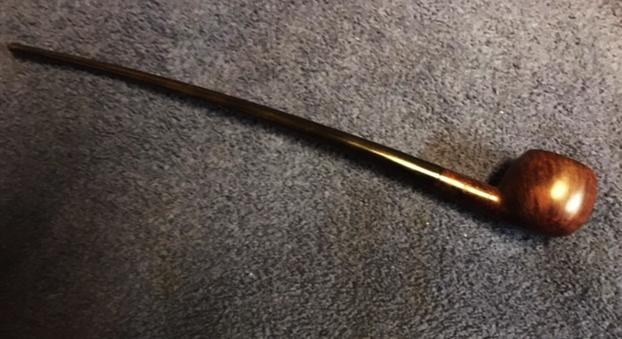
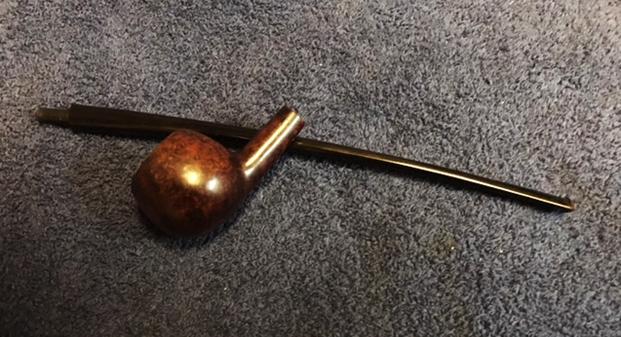
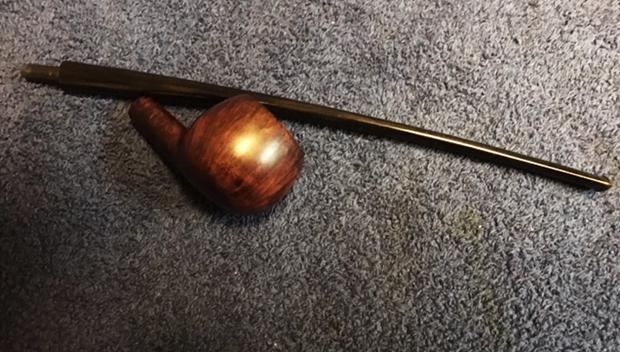
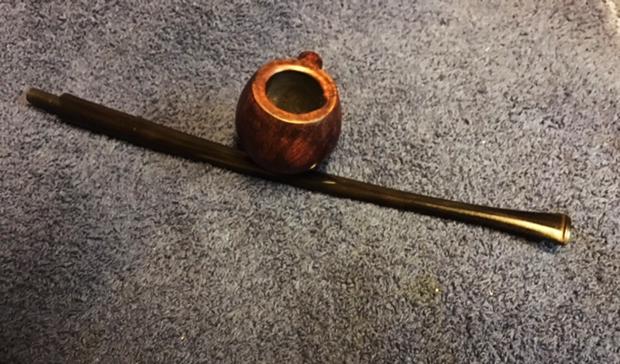
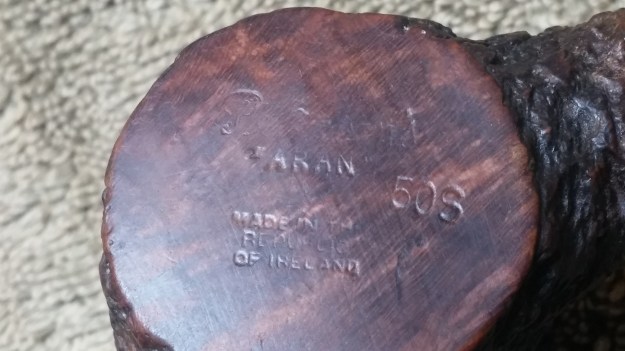
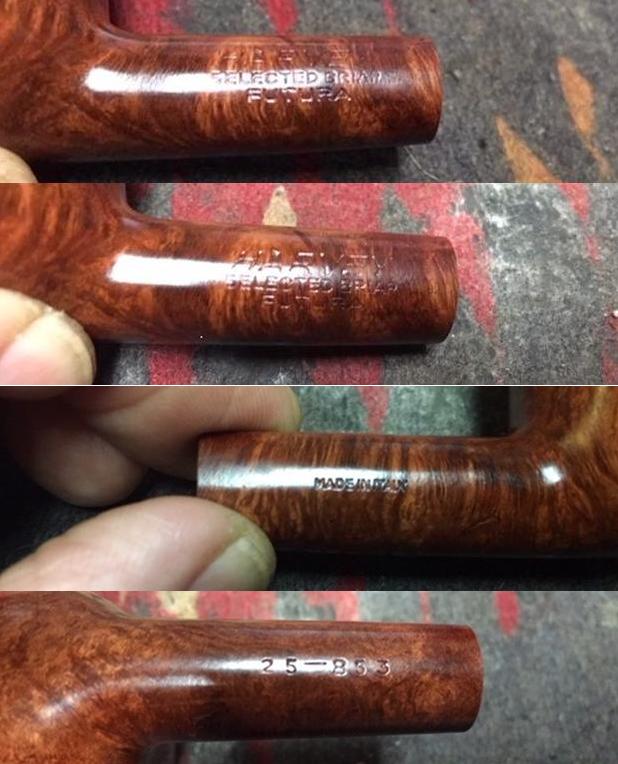
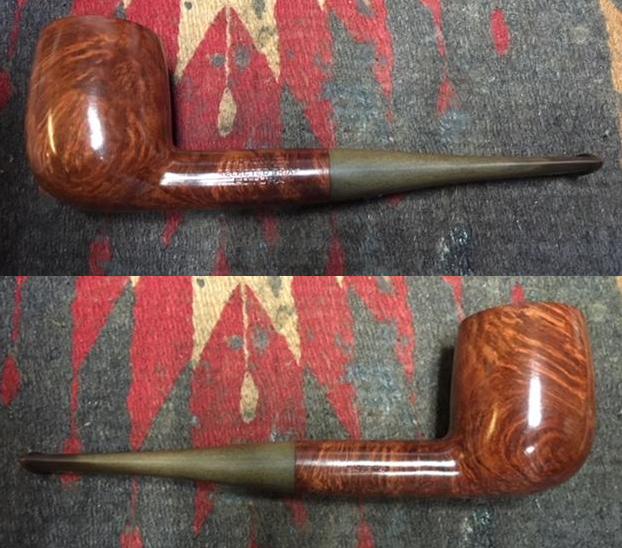
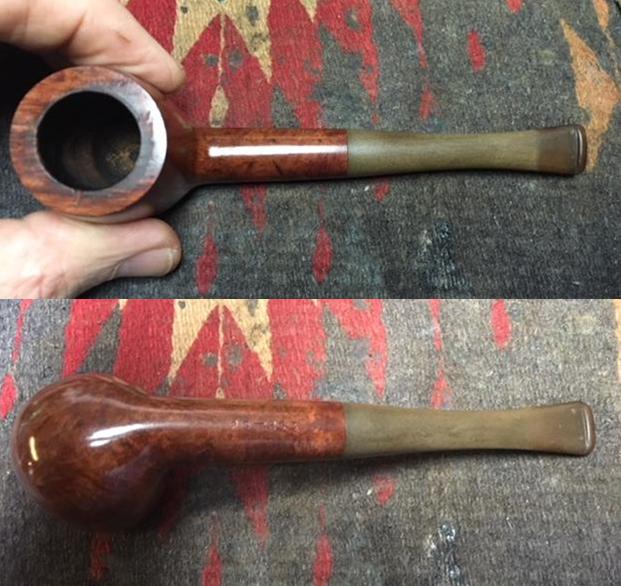
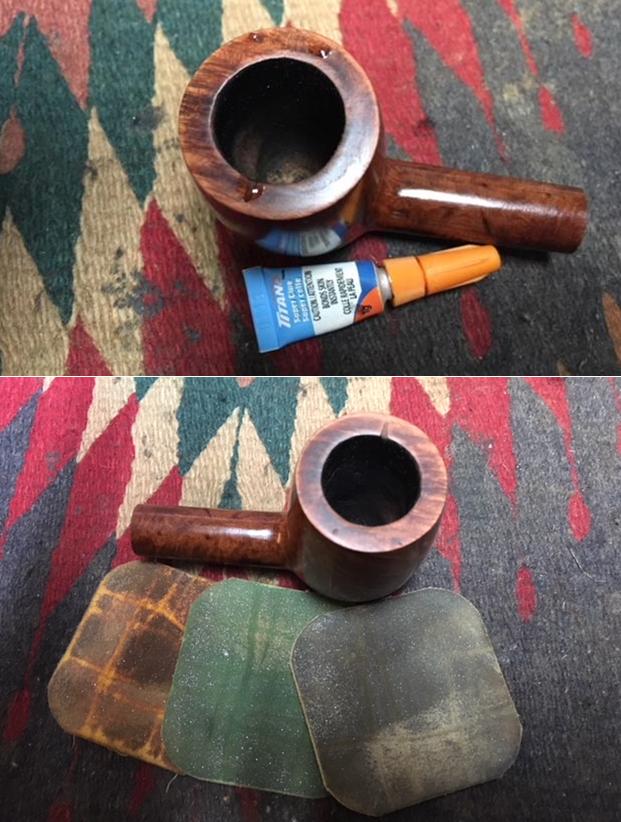
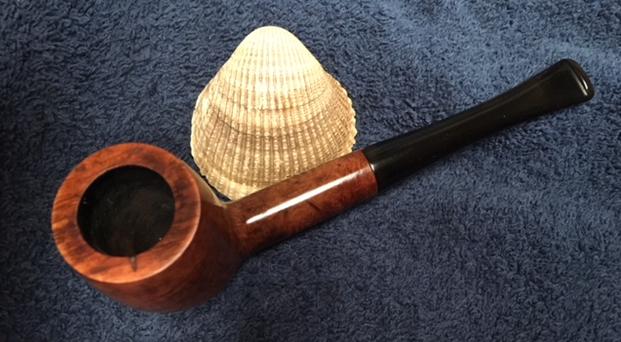
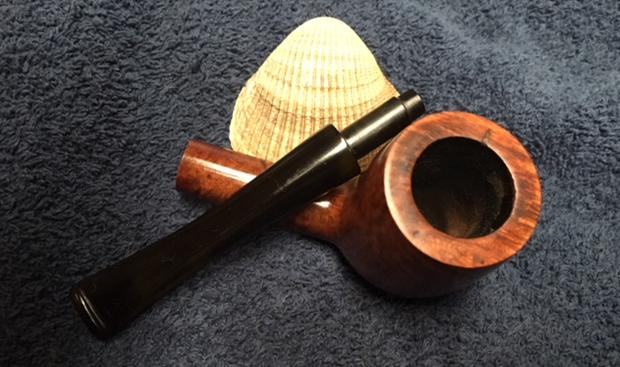
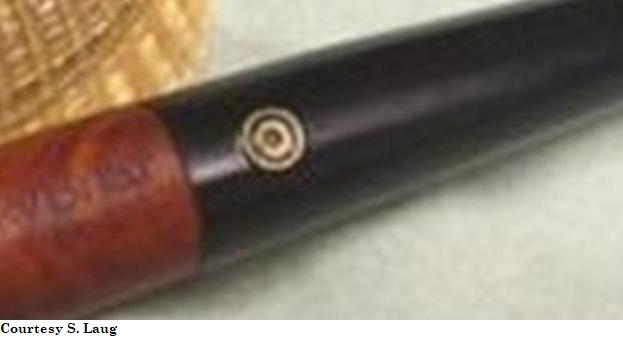
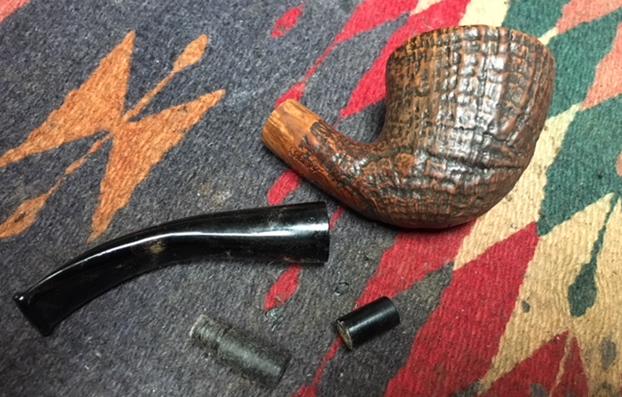
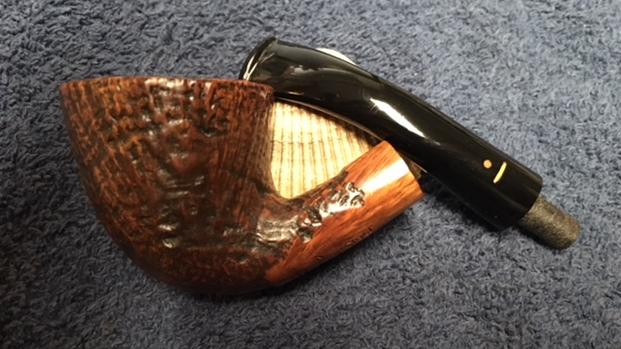
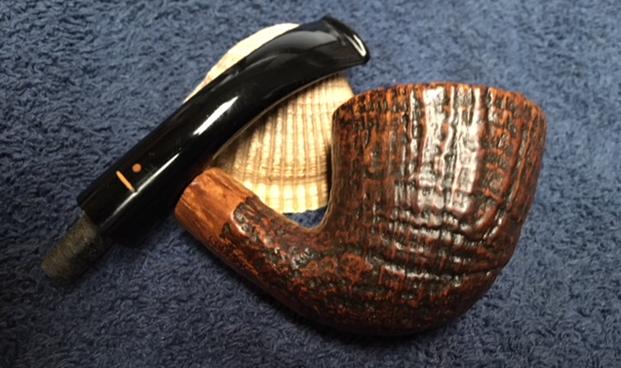
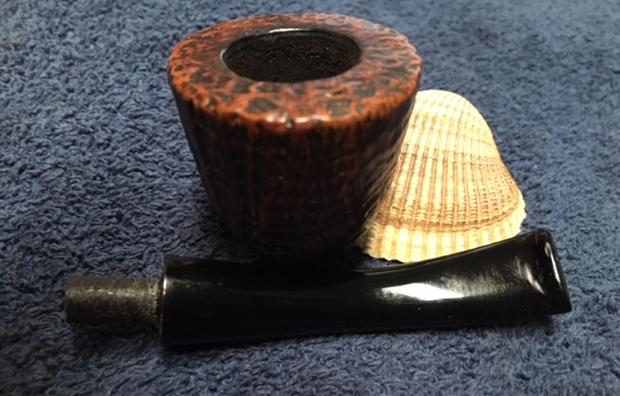
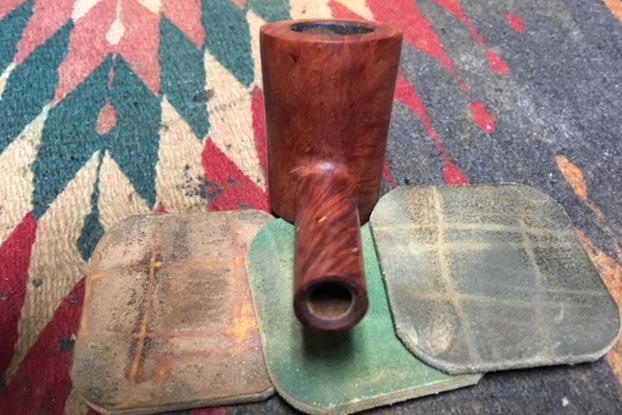
The next pipe on the work table is another pipe from the estate of a Vancouver pipe smoker whose widow left them with a local Pipe Shop. I was asked to clean them up and sell them for the shop after it closed. The photos show the pipe as it was when I brought it to my work table. It is a light weight Poker shape – with some interesting grain but the number of small putty fills in the bowl on the sides, back and shank detract from the cross grain on the bowl sides and birdseye on the front and back sides. The bowl was heavily caked with a lava coat on the top of the rim. It was hard to tell how the inner and outer edge of the rim actually looked until the bowl was reamed. The exterior of the bowl was dirty and covered with grime. The stem had the same tooth marks and chatter on the top and underside near the button as the rest of the pipes in this estate. There was calcification on the first inch from what looked like a Softee bit. The stem has a Top Hat logo on the left side of the saddle. The pipe is stamped on the left side of the shank with the words Royal Esquire over Made in France. There is no other stamping on the pipe. 
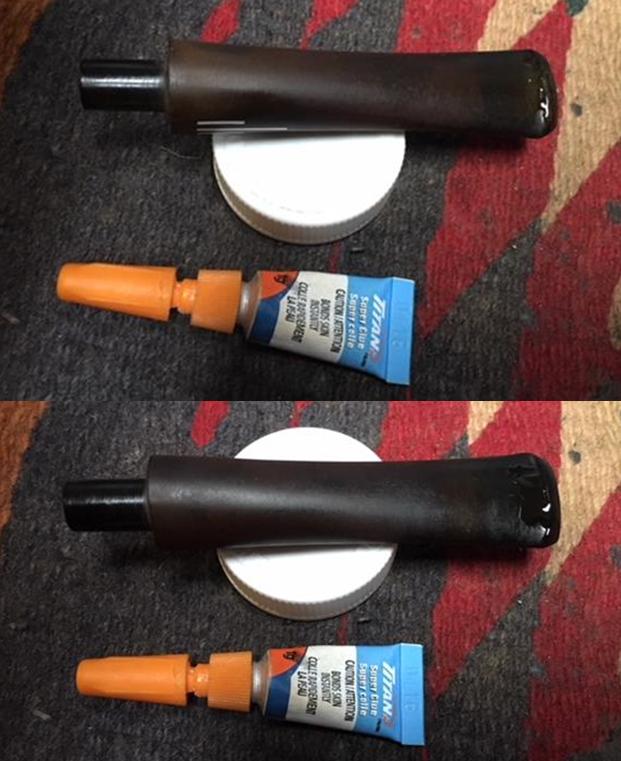
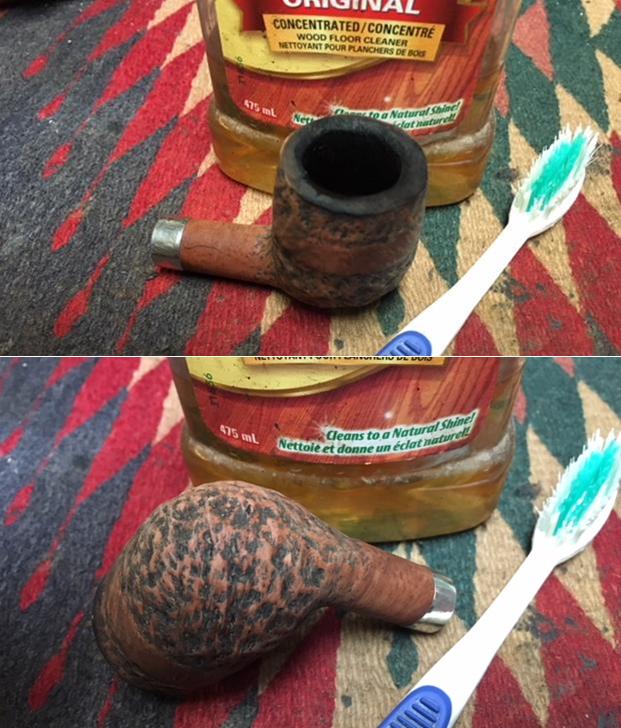
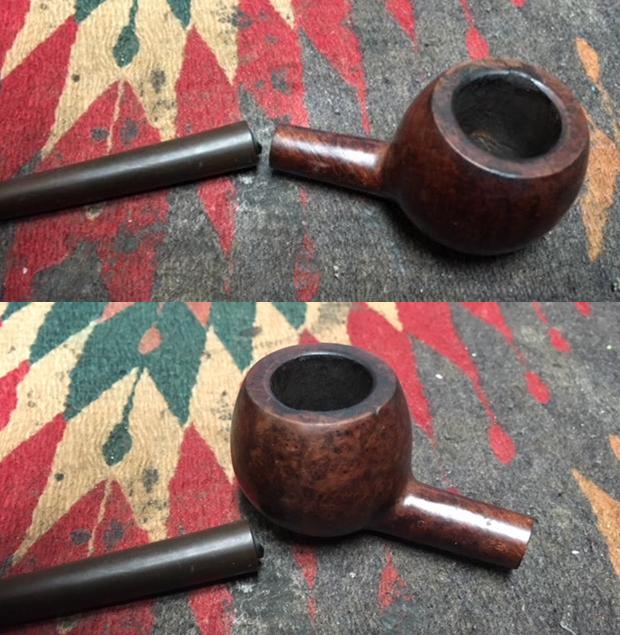
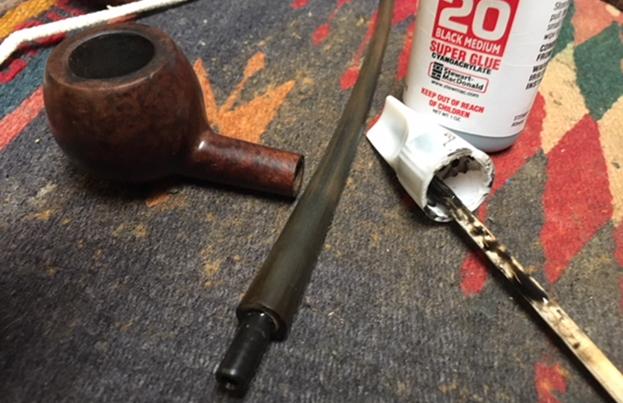
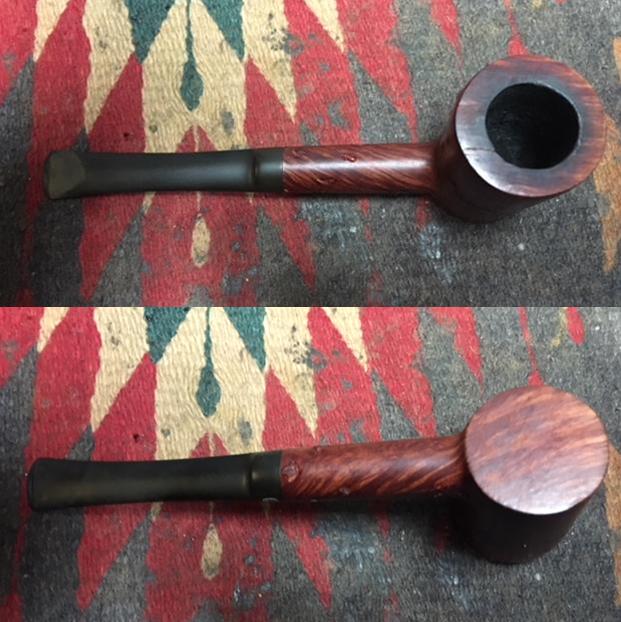
 When I went back to the States after Christmas to visit my parents and brothers I took a box of these pipes with me so that I could have Jeff clean them for me. When they came back to Canada they looked like different pipes. He reamed the bowl with a PipNet pipe reamer and cleaned it up with a Savinelli Fitsall Pipe Knife. He scrubbed the exterior with Murphy’s Oil Soap and a tooth brush to clean off the grime on the finish and the heavy overflow of lava on the rim top. He cleaned up the internals of the shank, mortise and stem with pipe cleaners, cotton swabs and alcohol to remove all of the oils and tars in the pipe. When it came back to Vancouver it was a quite different pipe. I was in a hurry this afternoon when I worked on this one and forgot to take photos of the bowl and stem before I started working on the pipe. There were so many fills and places where the putty had shrunk that I had a hard time even looking at it the way it was. I had already refilled the fills in the sides and shank with clear super glue and then remembered to take photos. You will have to imagine it without all the super glue freckles around the bowl.
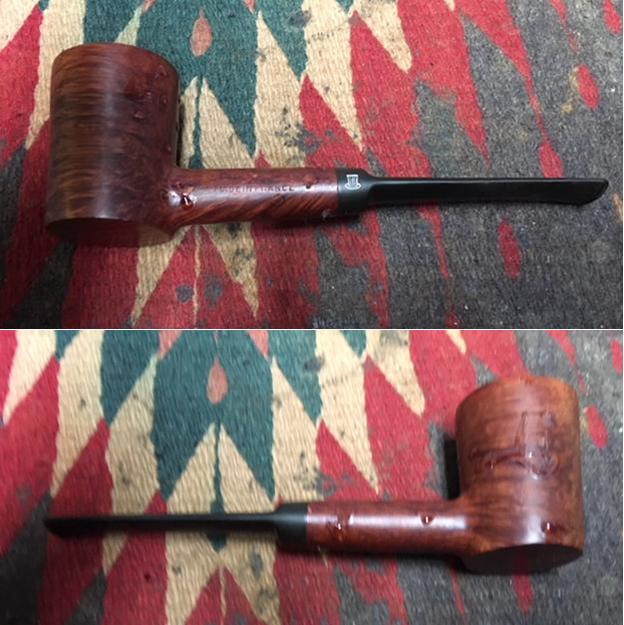
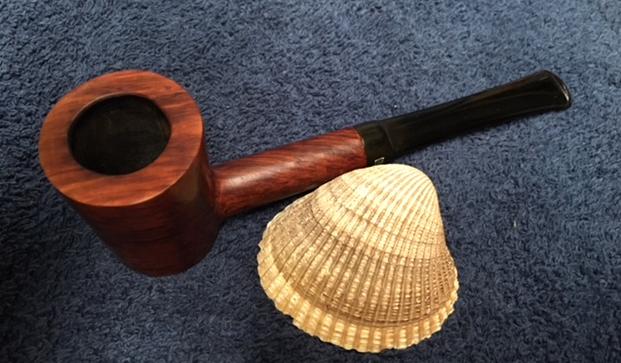
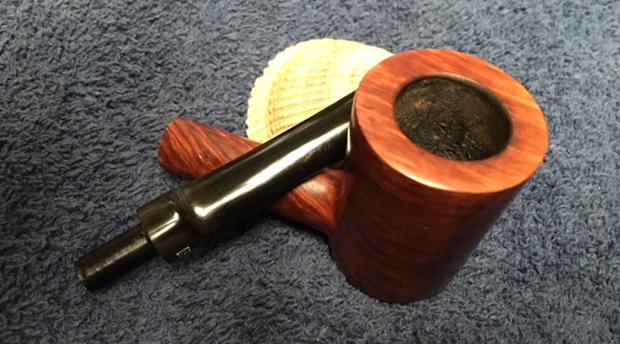
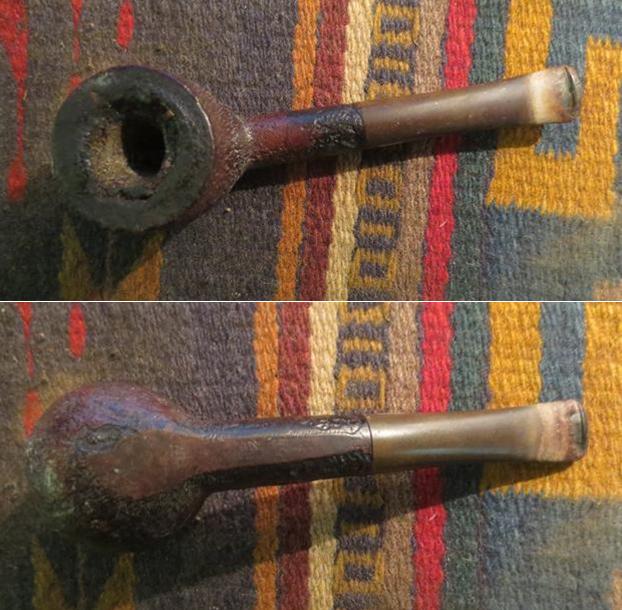
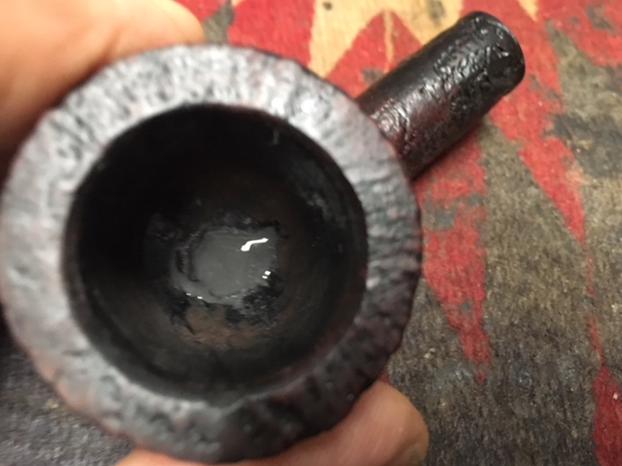
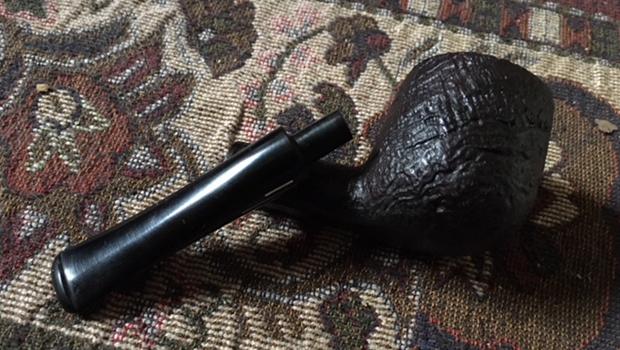
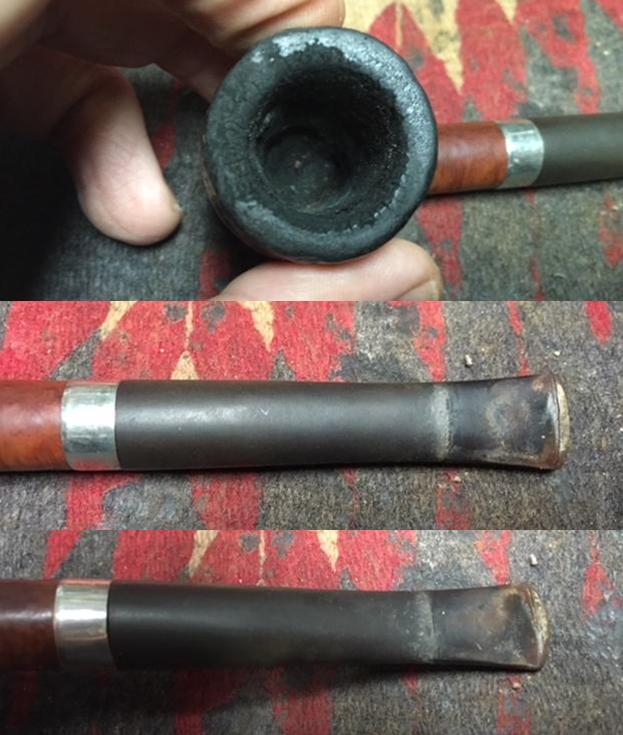
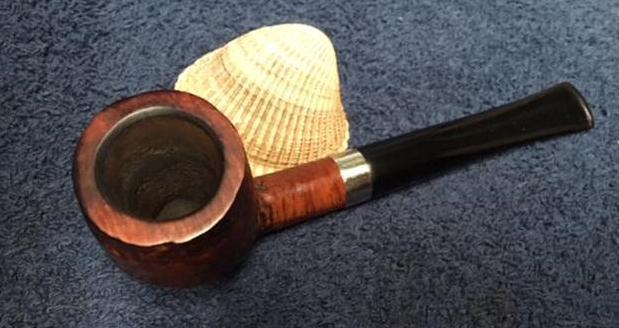
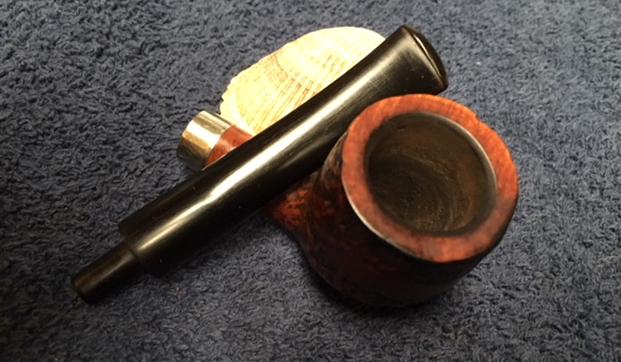
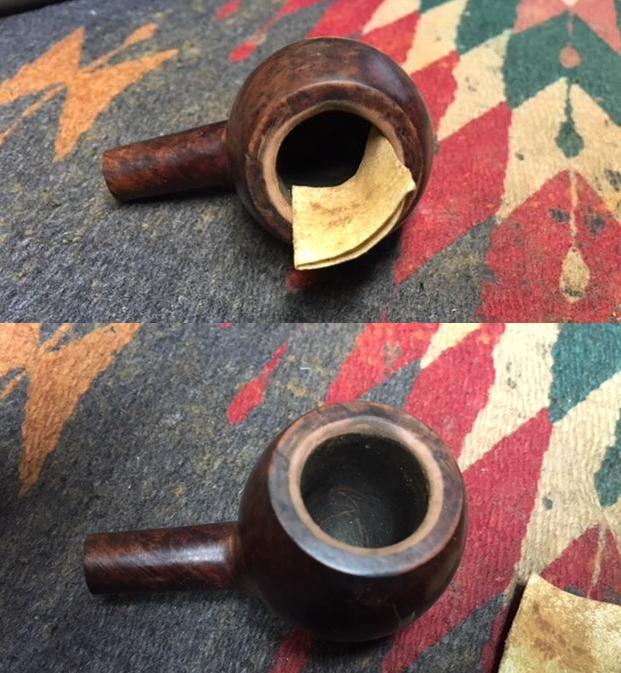
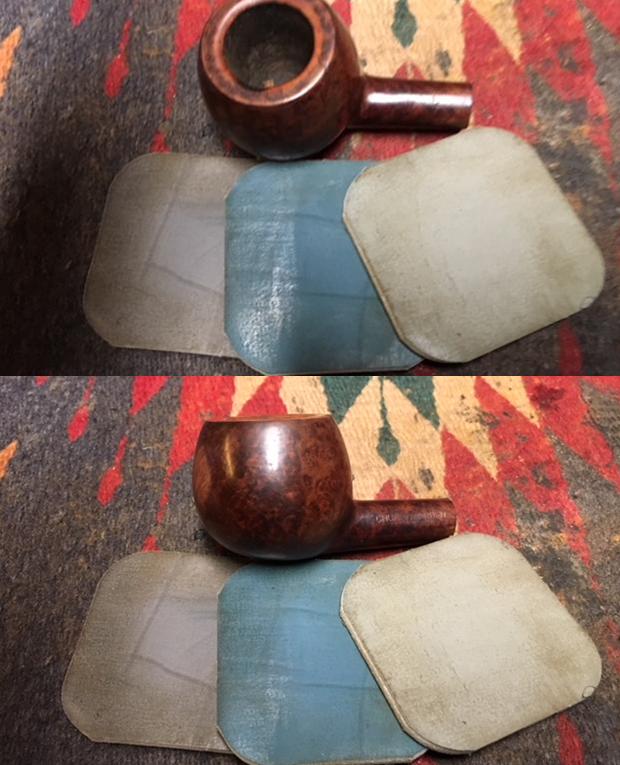
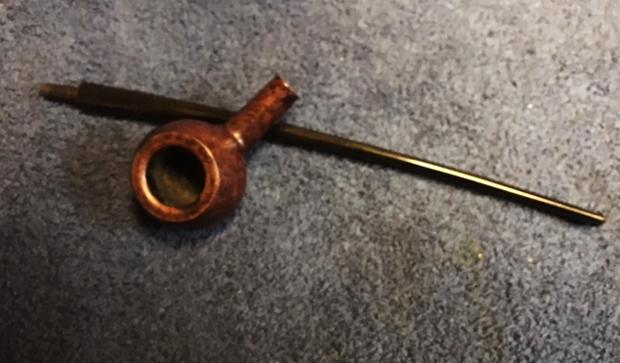
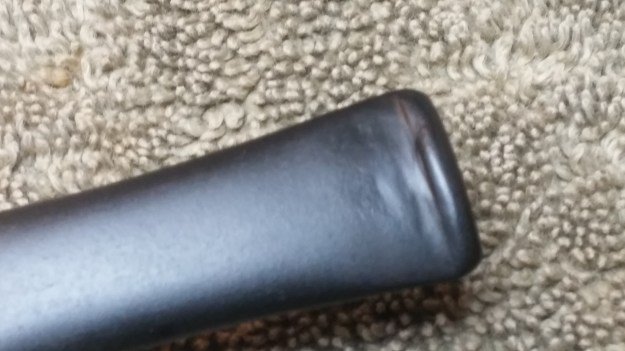
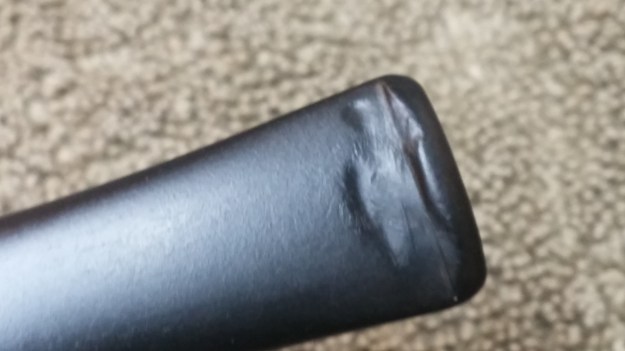
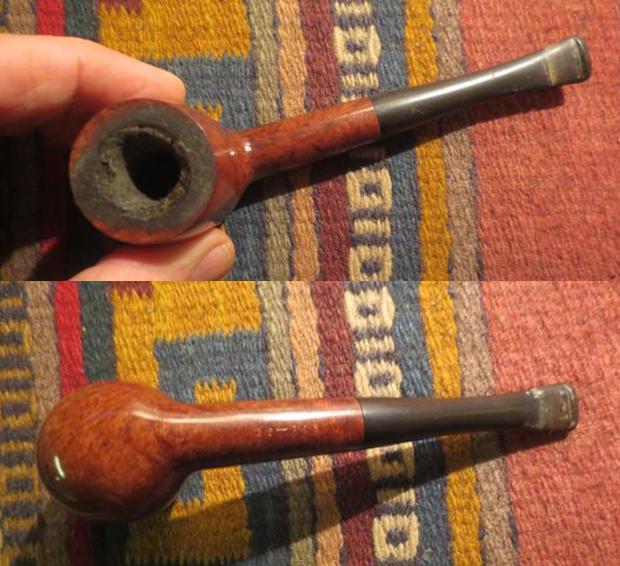
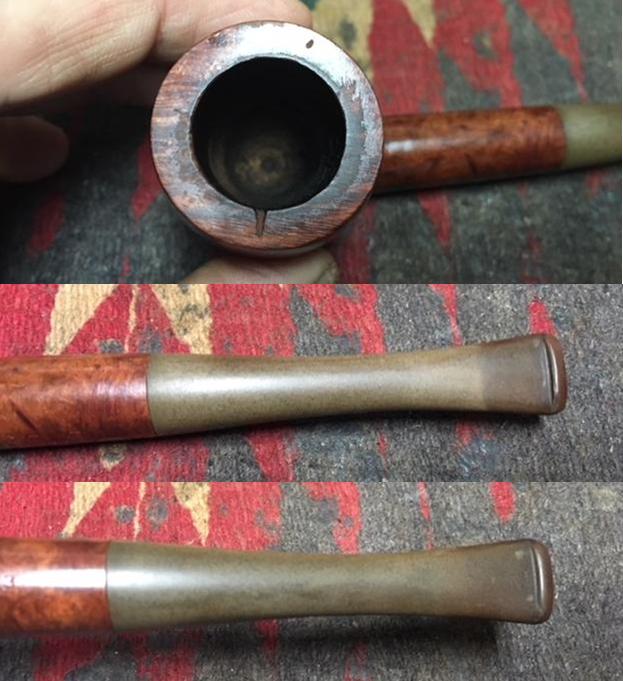
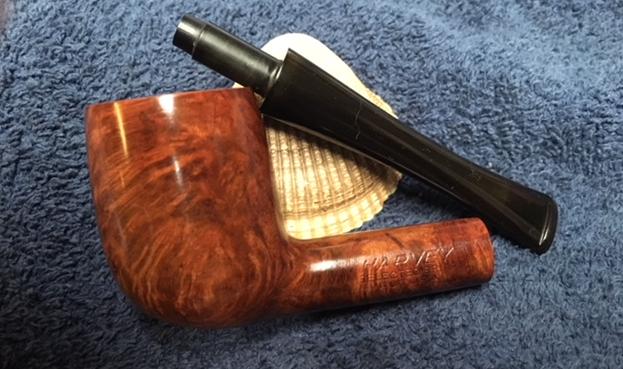
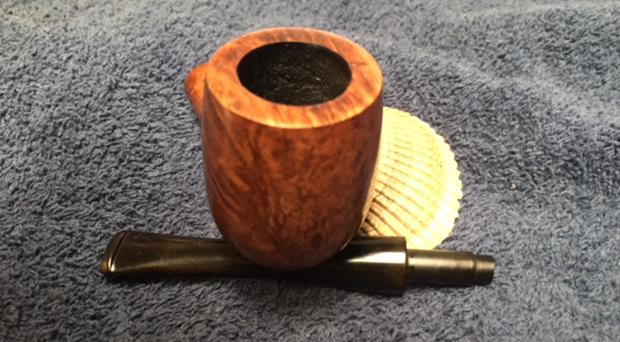
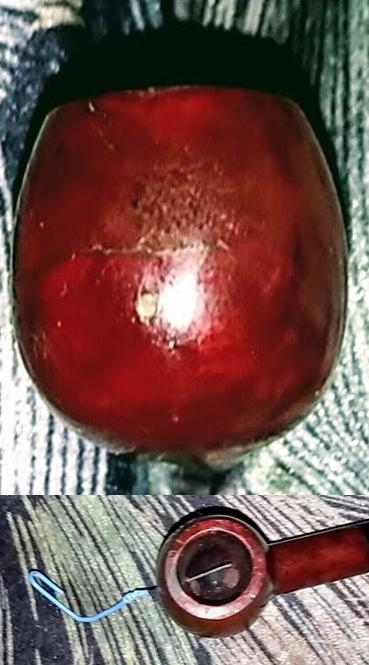
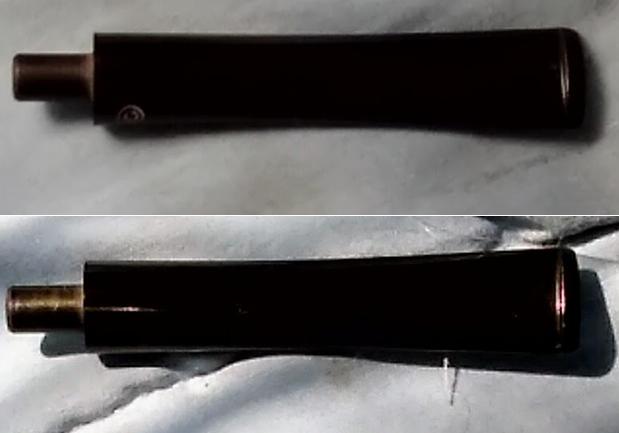
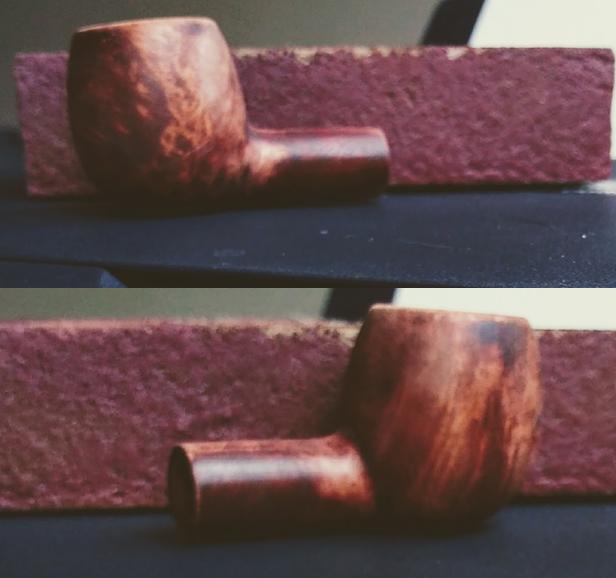
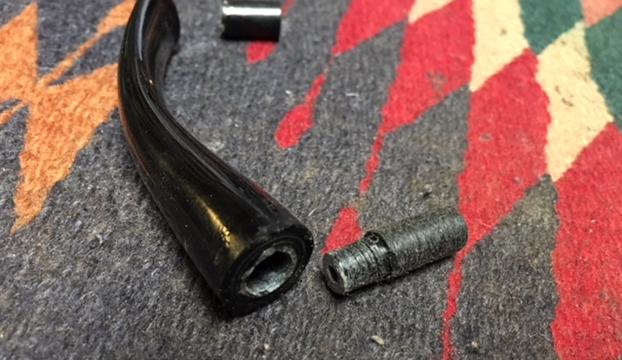
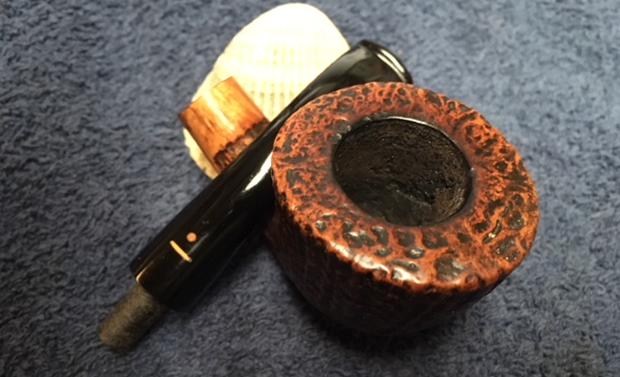
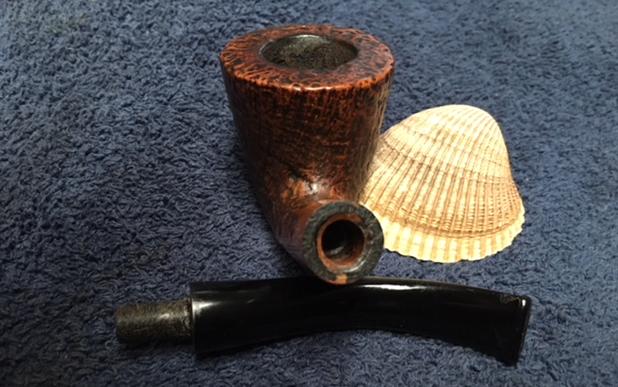
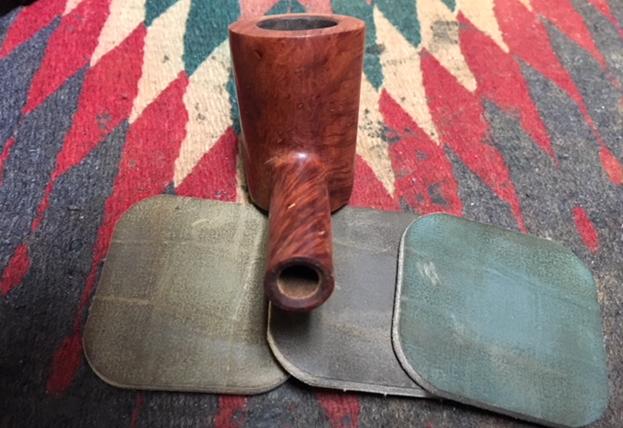
 I took photos of the rim top and the stem to show their condition. Jeff was able to clean out the bowl completely and the rim top. He removed the tars and lava and left behind a clean top that would need to be topped to remove some of the deep scratches and burn marks around the edges of the rim. The stem was lightly oxidized and there was tooth chatter and marks on both sides near the button and on the surface edges of the button itself.
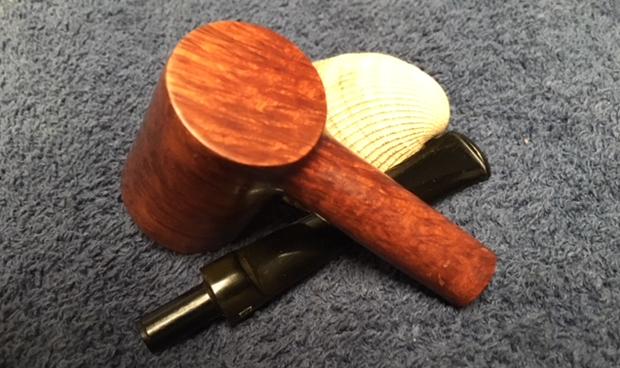
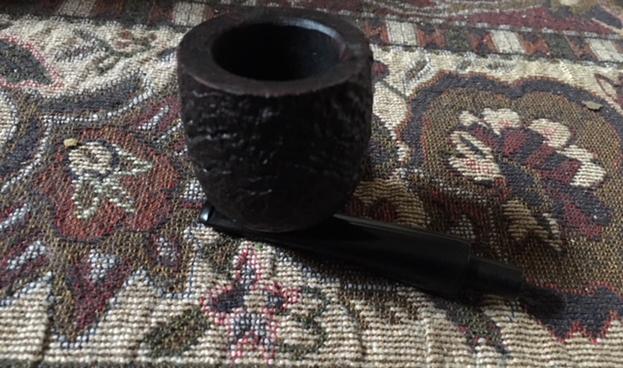
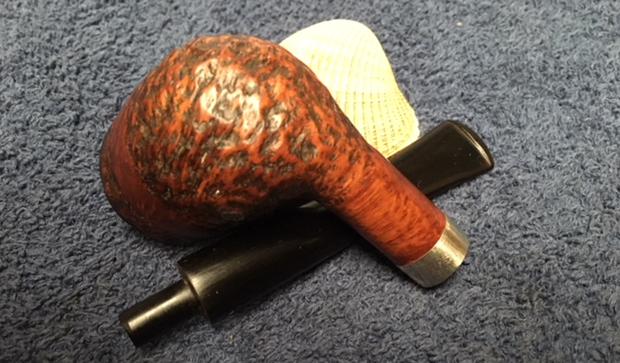
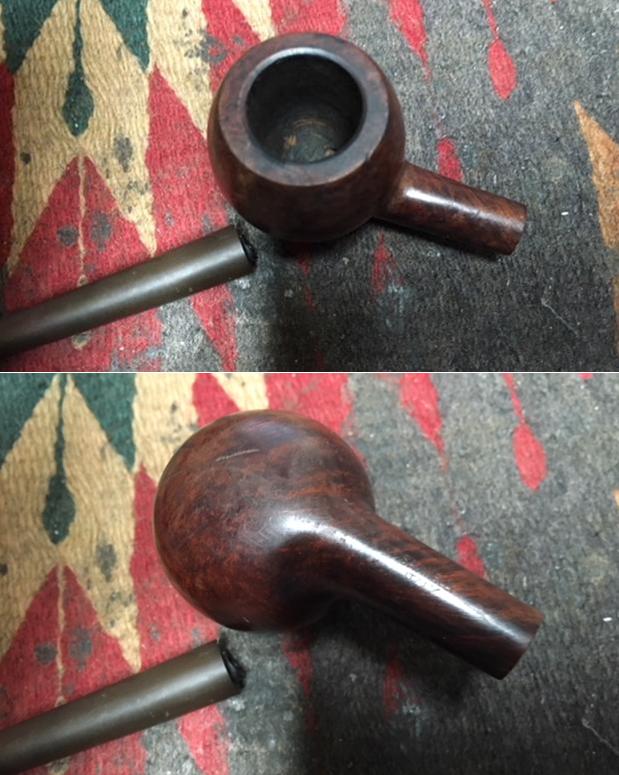
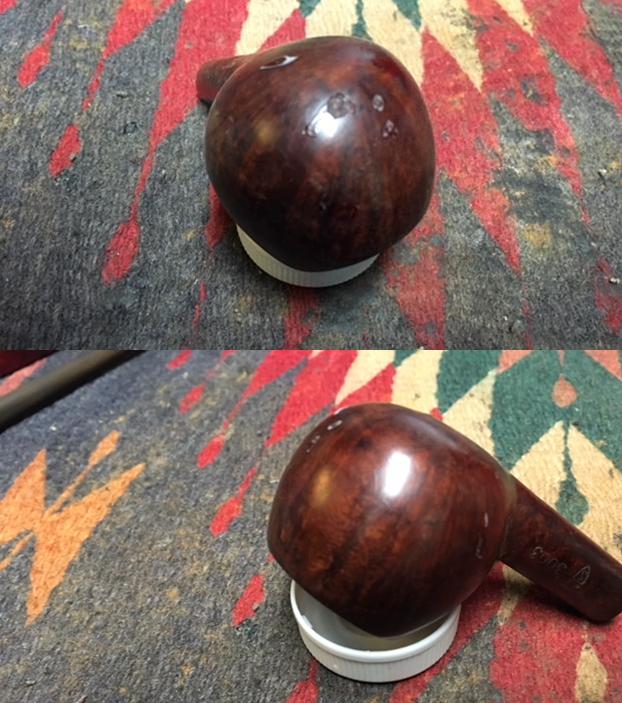
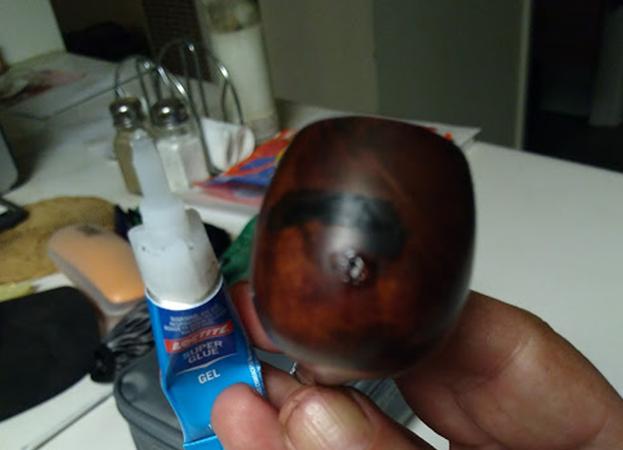
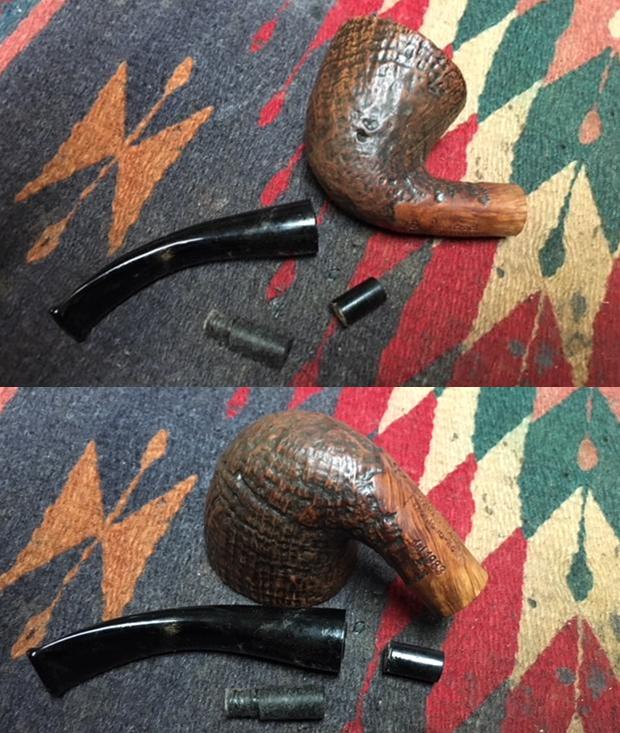
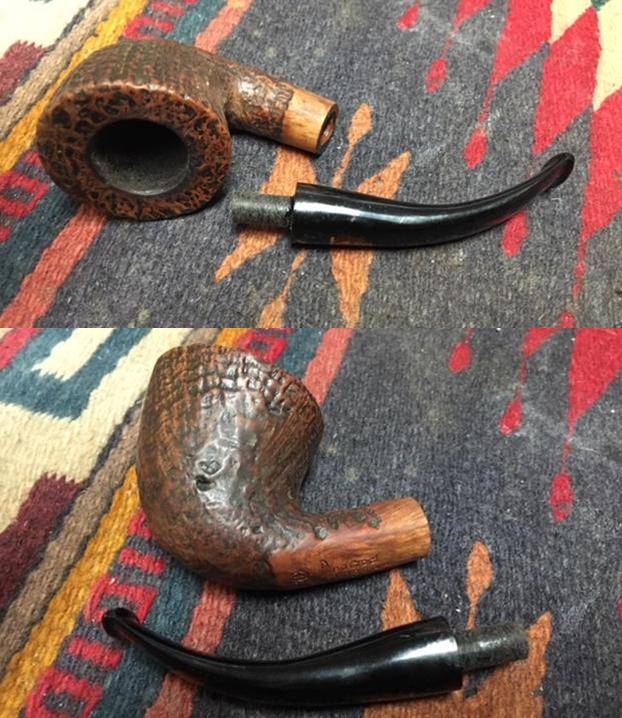
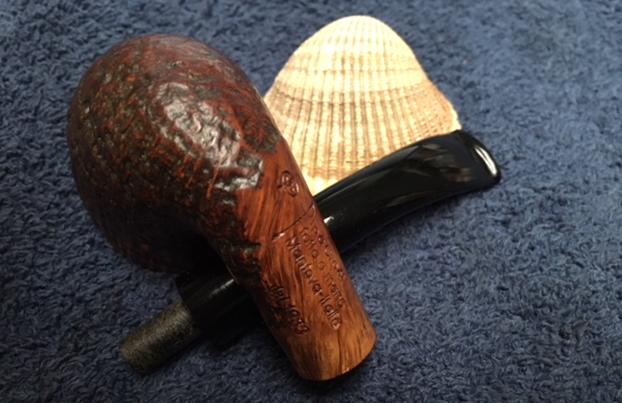
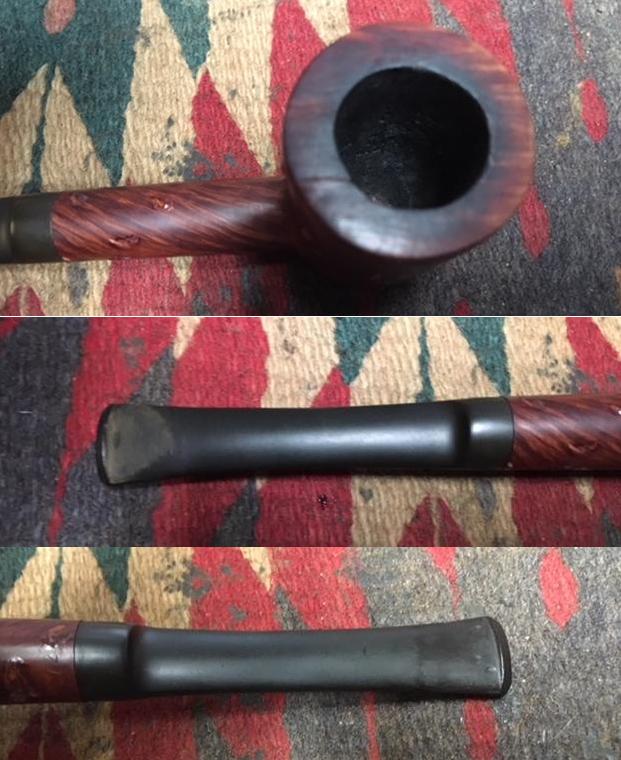 I took the stem off the bowl and took photos of the repaired fills all around the bowl and shank. Somehow the pink putty that was in them really stood out and made them highly visible. They look like pox marks.
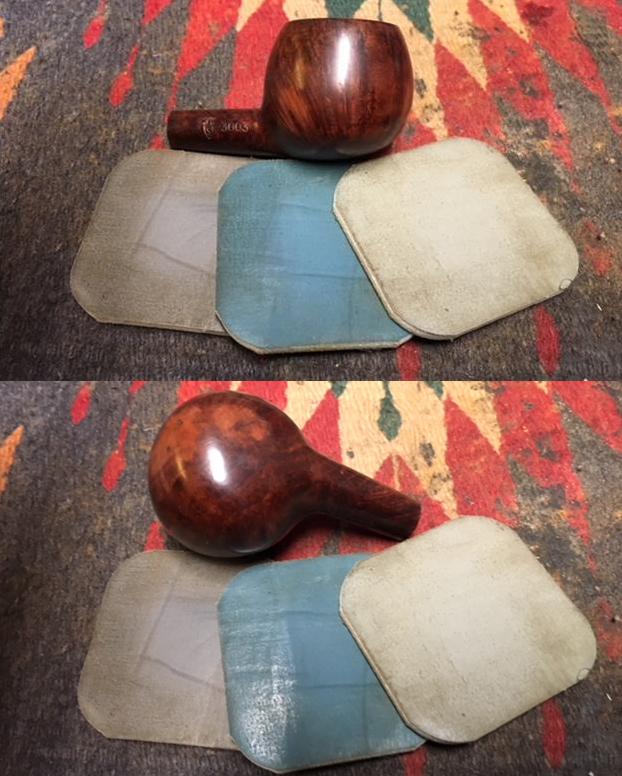
 Once the repairs had dried/cured I sanded them smooth with 220 grit sandpaper to blend them into the surface of the bowl. It took a lot of sanding to smooth them all out. I was careful around the stamping on the left side of the shank so I would not damage it.
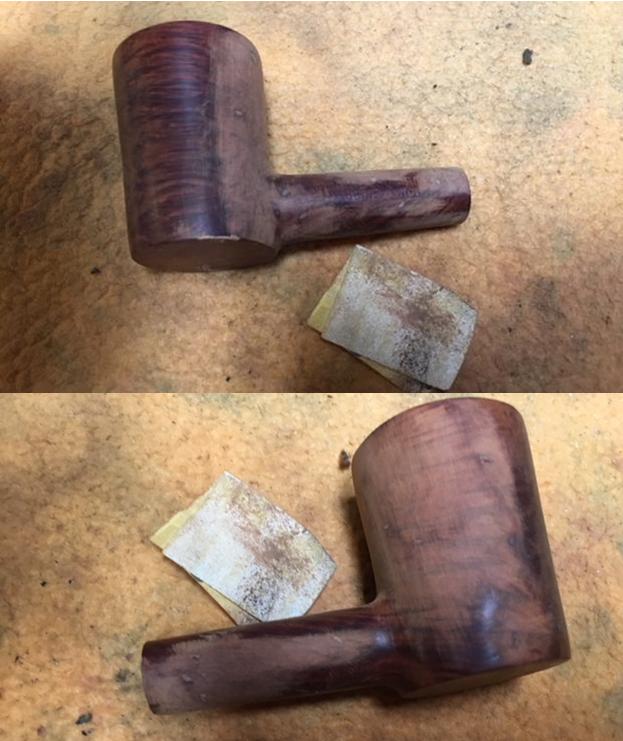
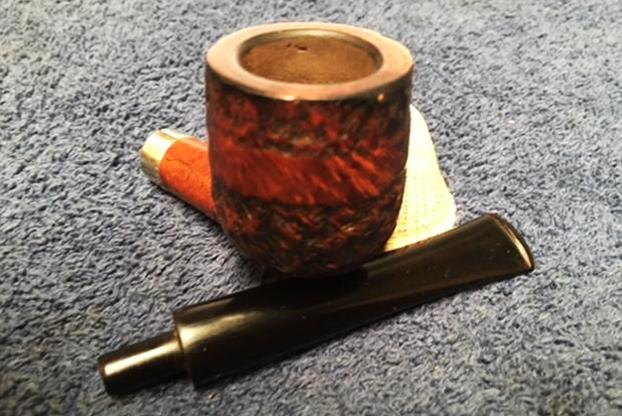
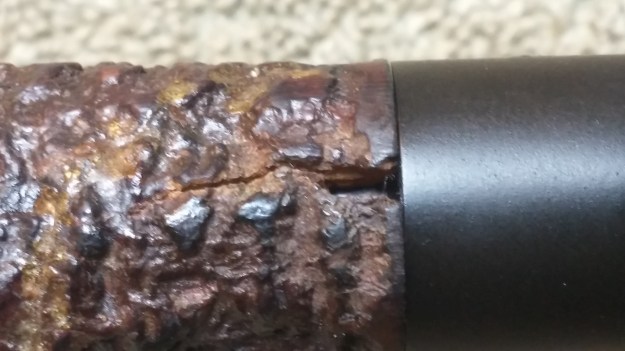
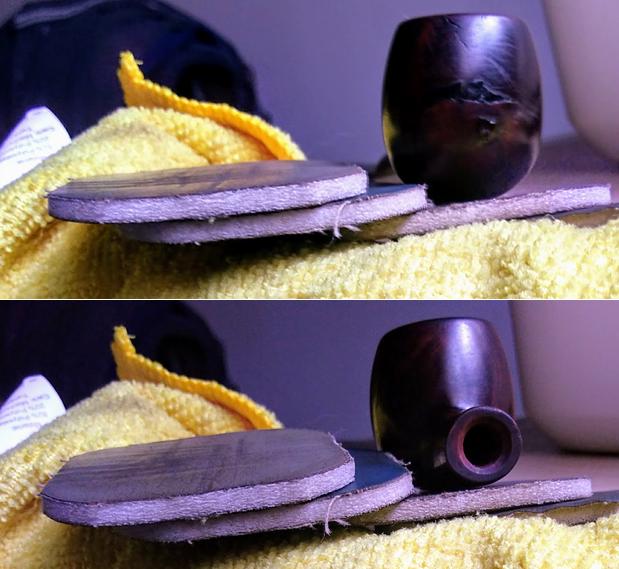
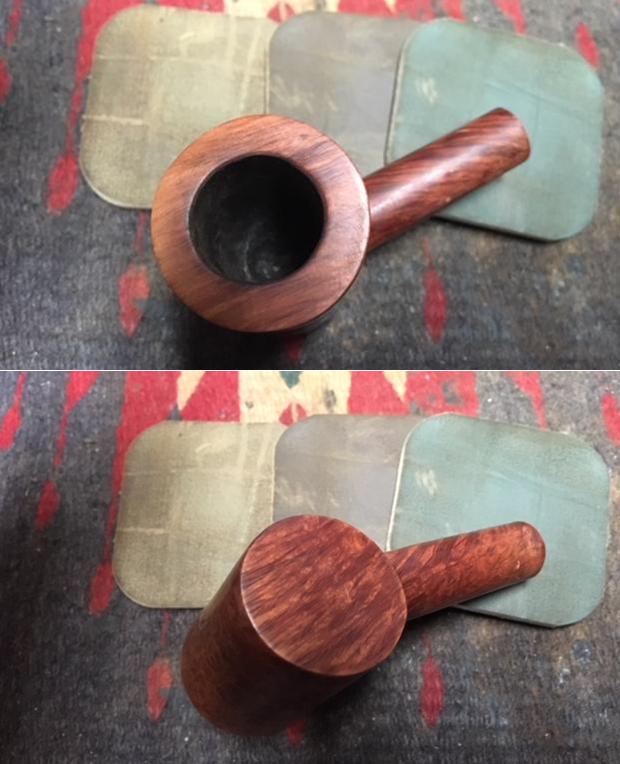
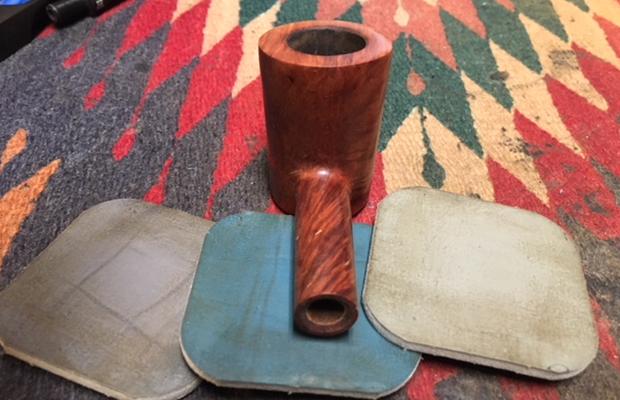
 To clean up the damaged rim top I used 220 grit sandpaper on a topping board. I topped the bowl until the surface was smooth and the damage was removed. It did not take too much work to remove the damaged areas.
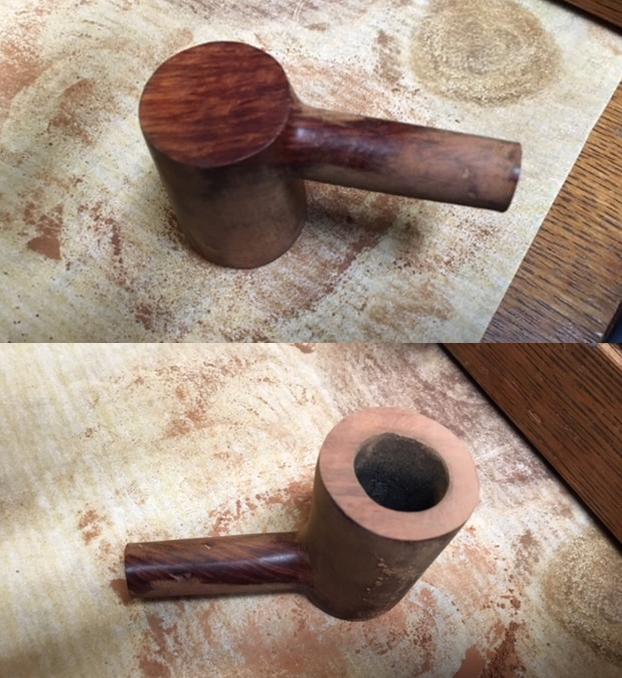 I cleaned up the inner edge and the slight bevel with a folded piece of sandpaper. I worked it around the bowl to smooth out the damage and minimize the darkening on the inner edge.
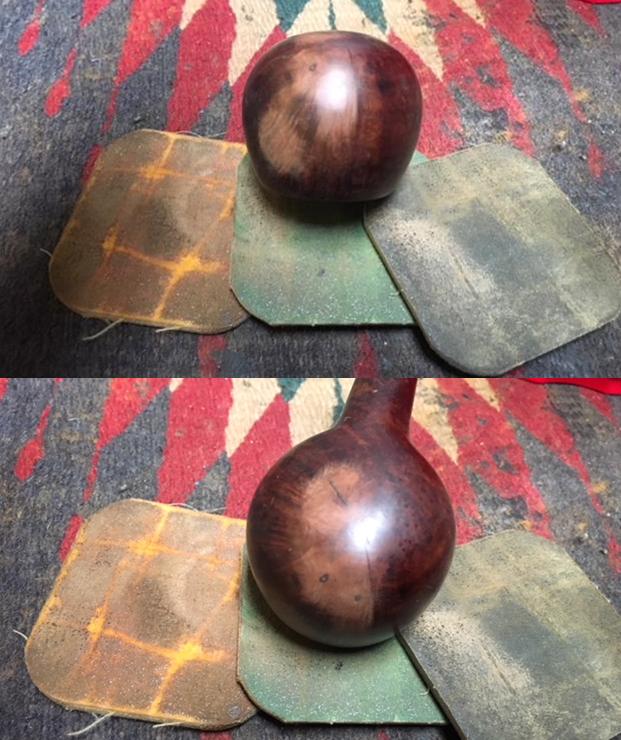
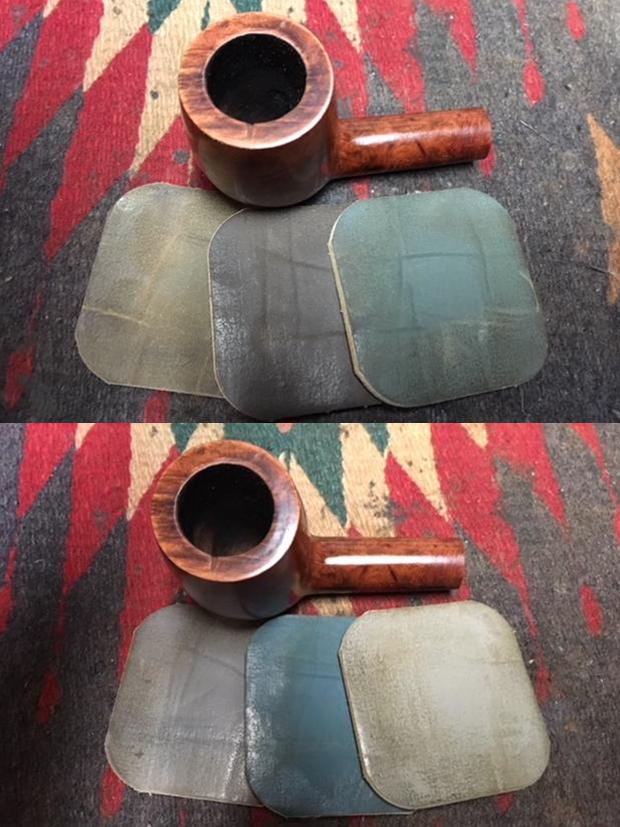
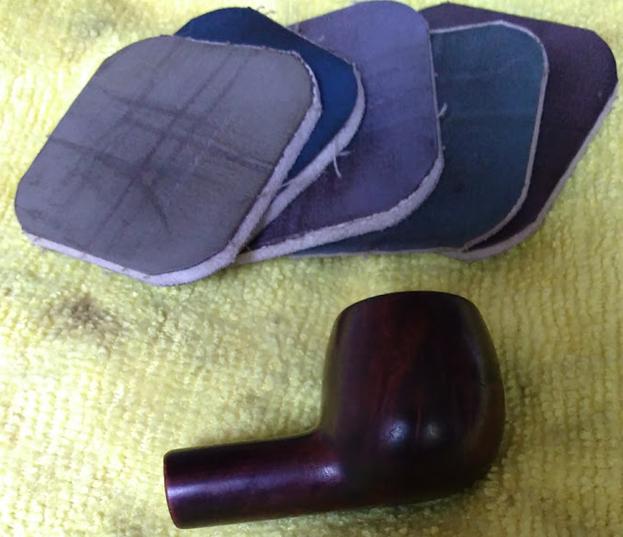
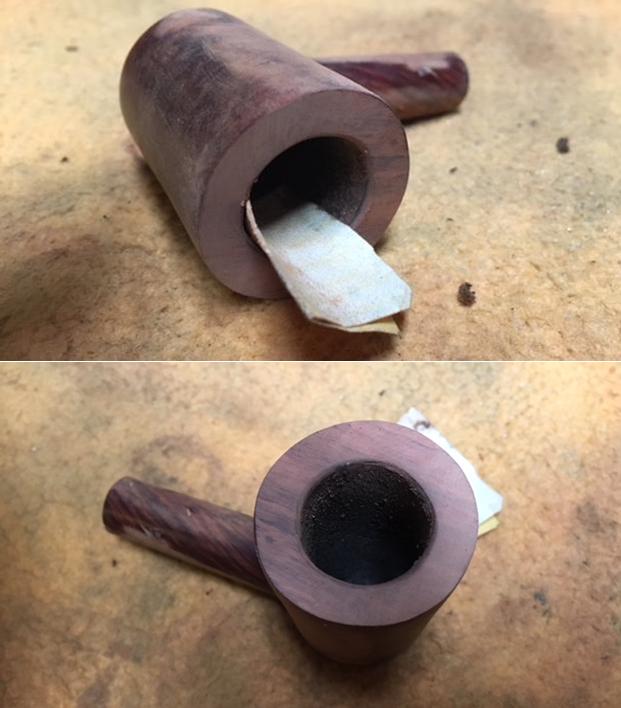 I polished the bowl top and sides with micromesh sanding pads – wet sanding with 1500-2400 grit pads and dry sanding with 3200-12000 grit pads. I wiped the briar down after each sanding pad with a damp cloth. I was amazed at how many of the fills blended into the finish of the bowl and virtually disappeared. There were still some showing on the shank but the overall effect of the polishing was really apparent.
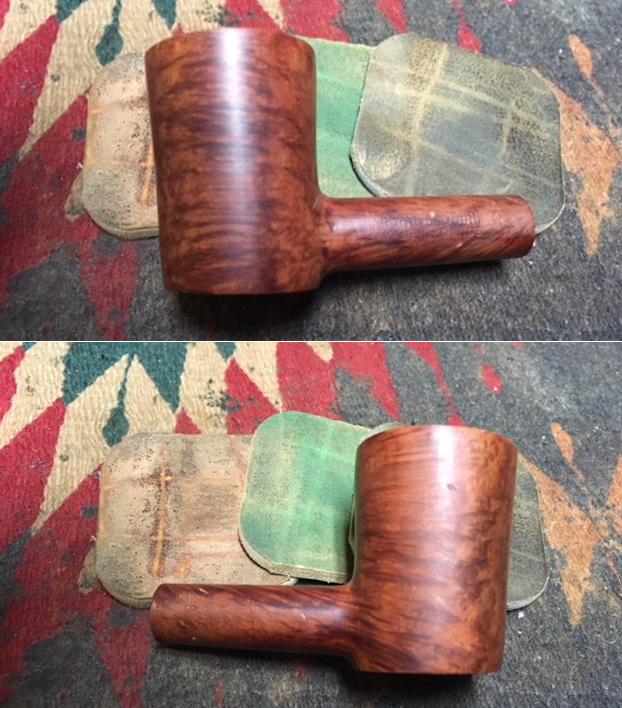
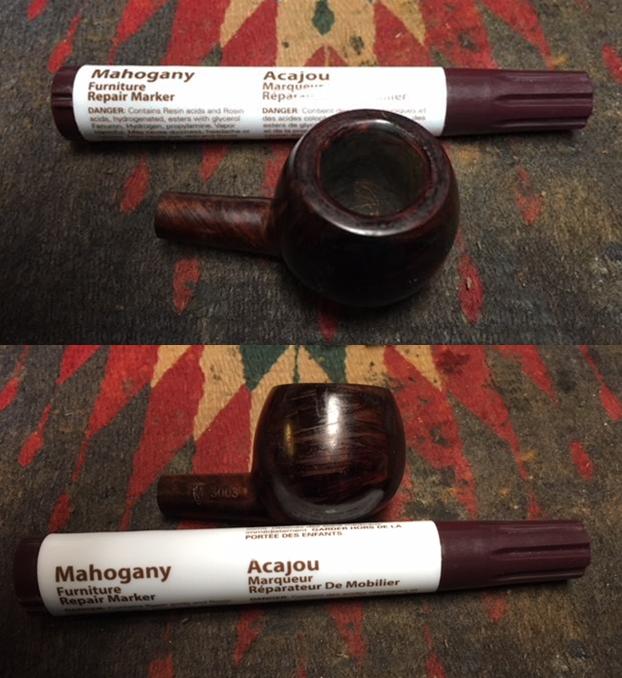
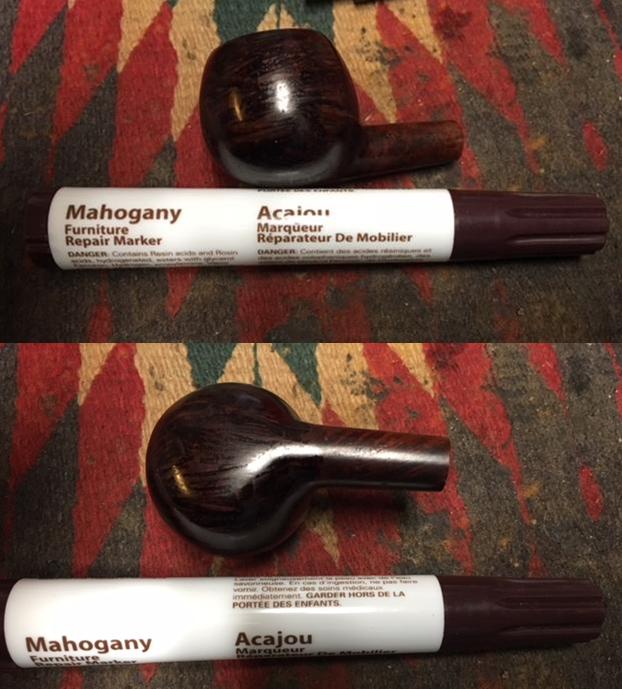
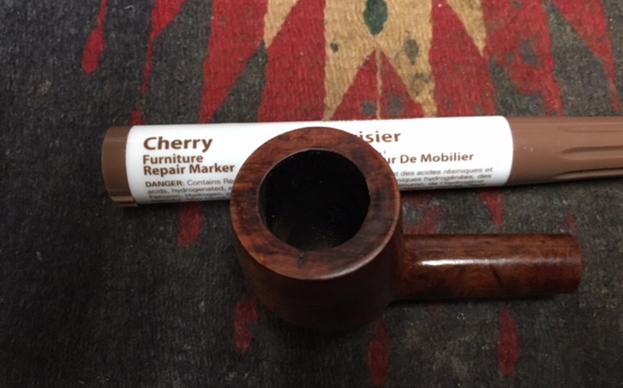
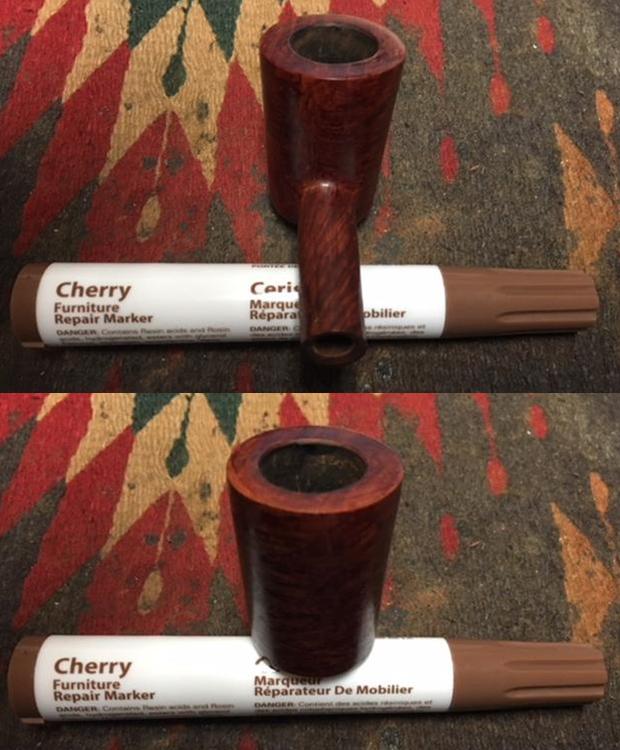
 I decided to stain the pipe with a Cherry stain pen to blend the repaired fills into the rest of the briar. The stain looks streaked and uneven but it will blend in nicely to the grain once I am finished with it.
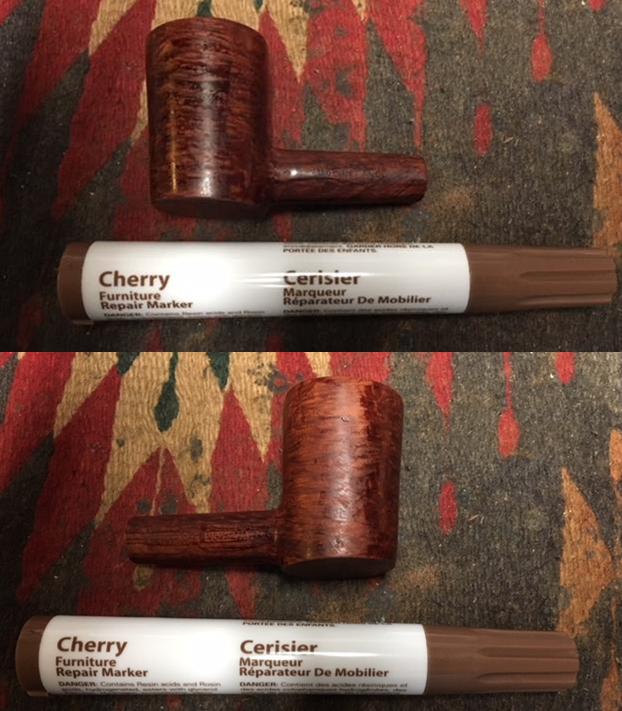

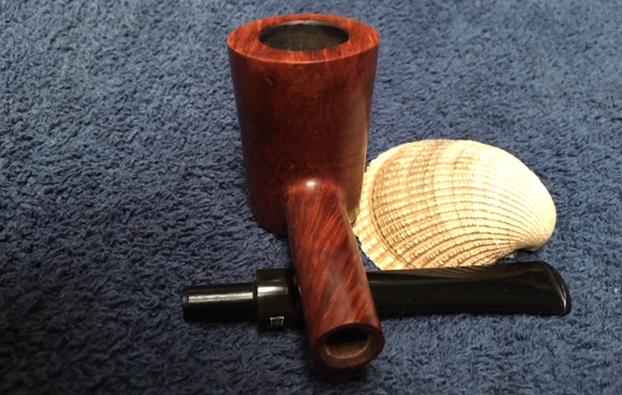
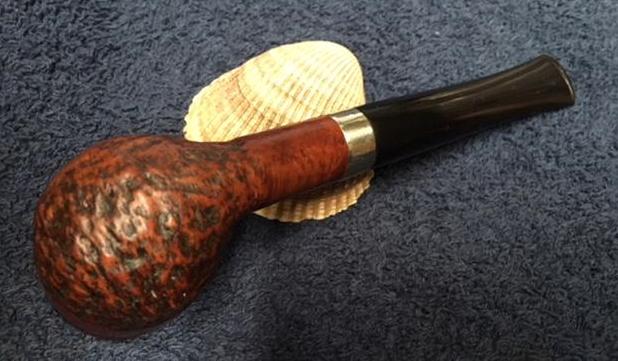
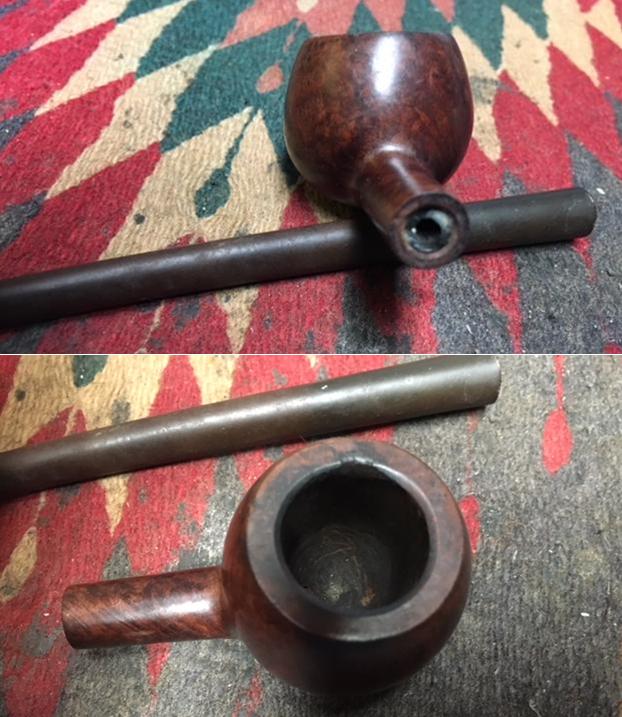
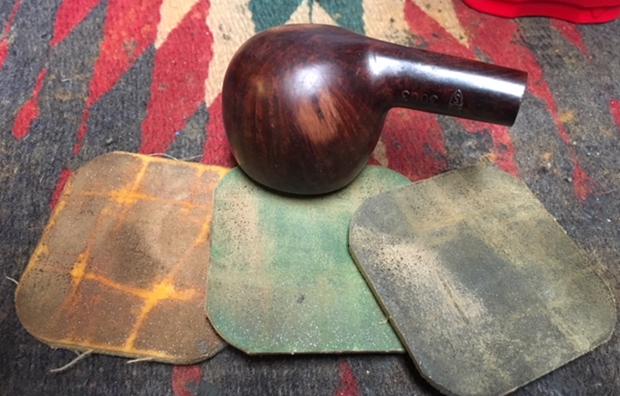
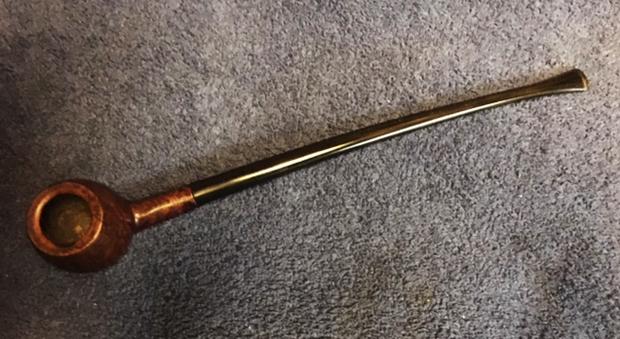
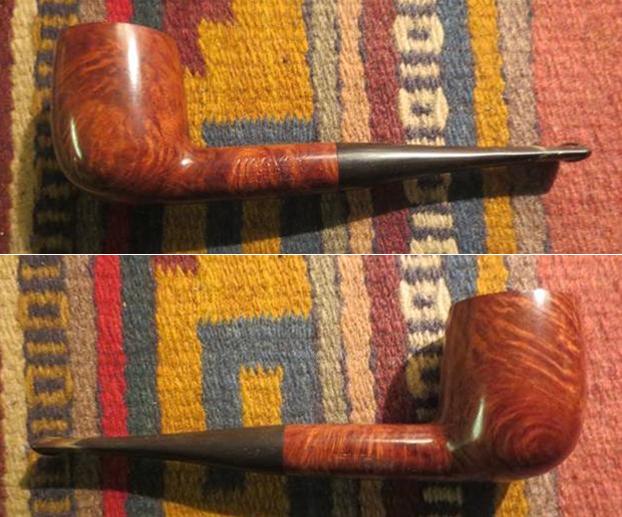
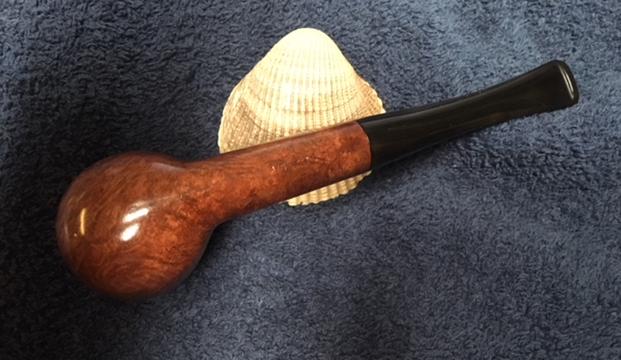
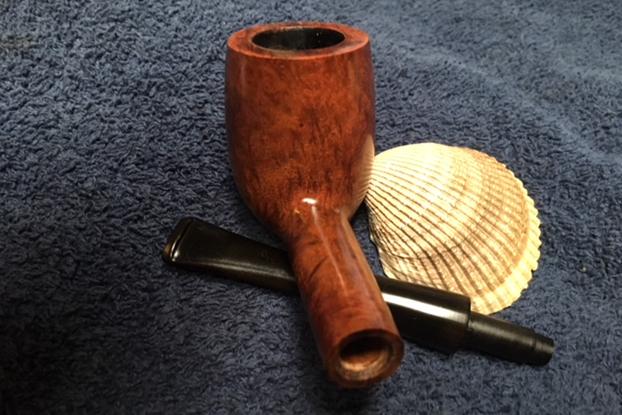
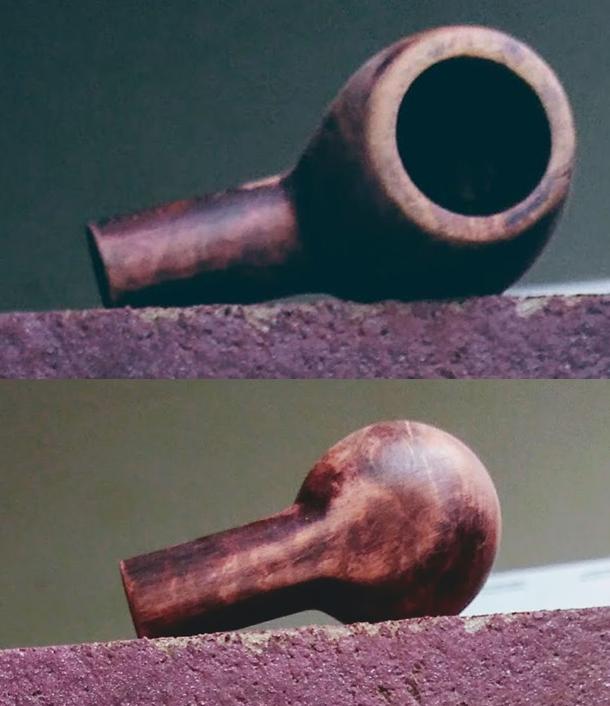
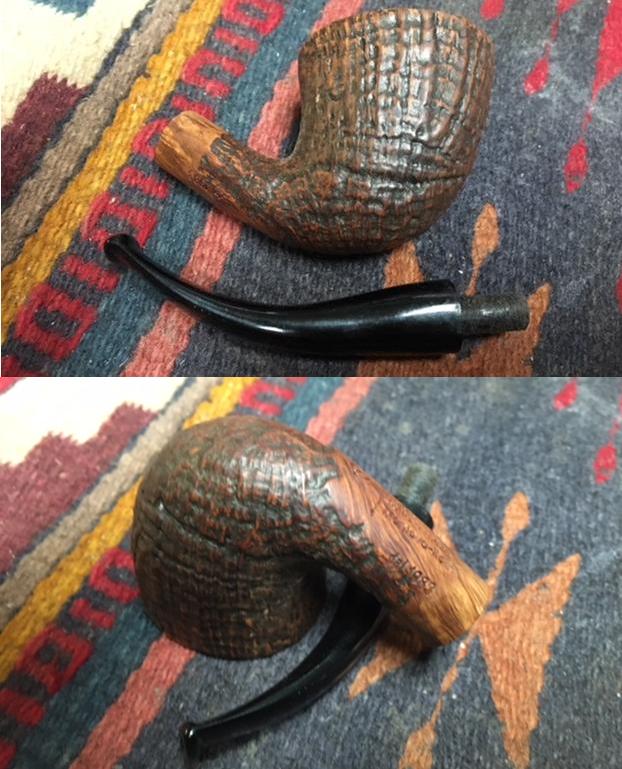
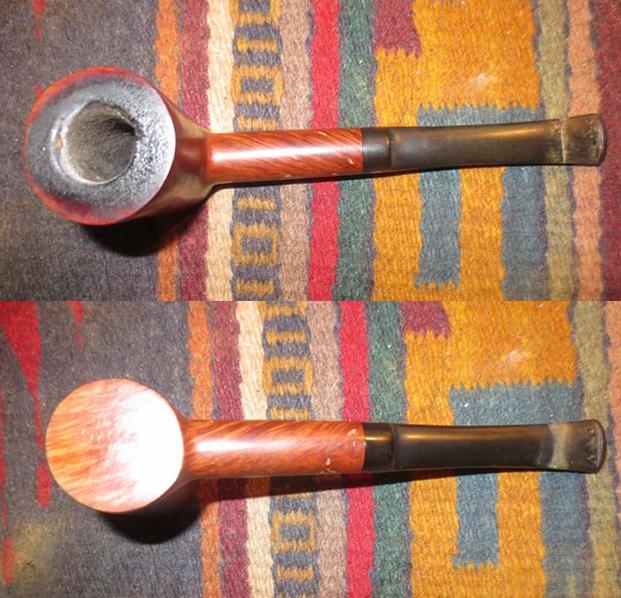
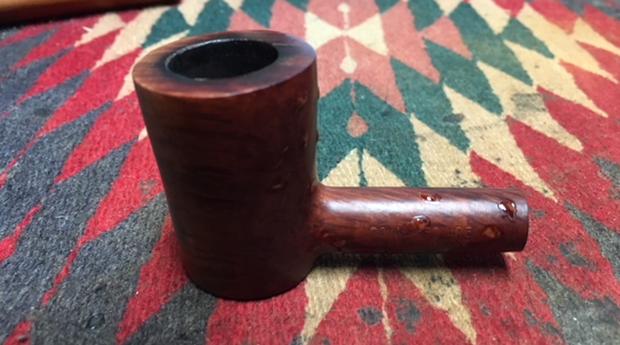
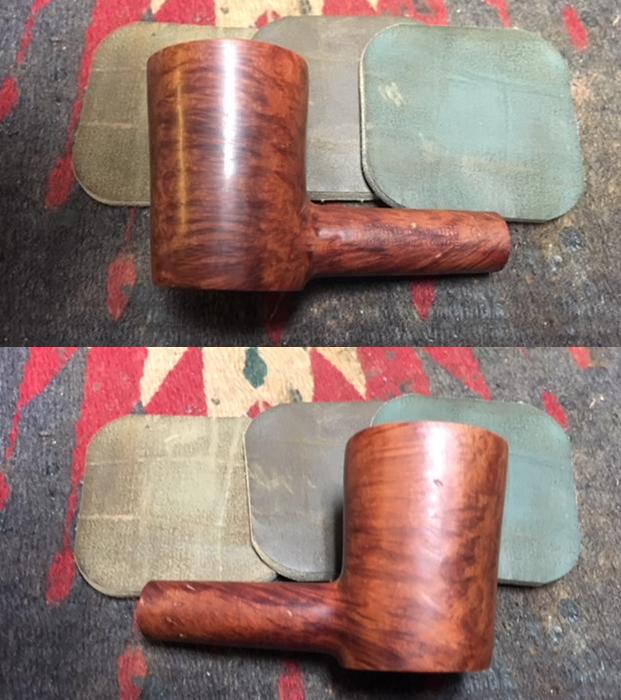
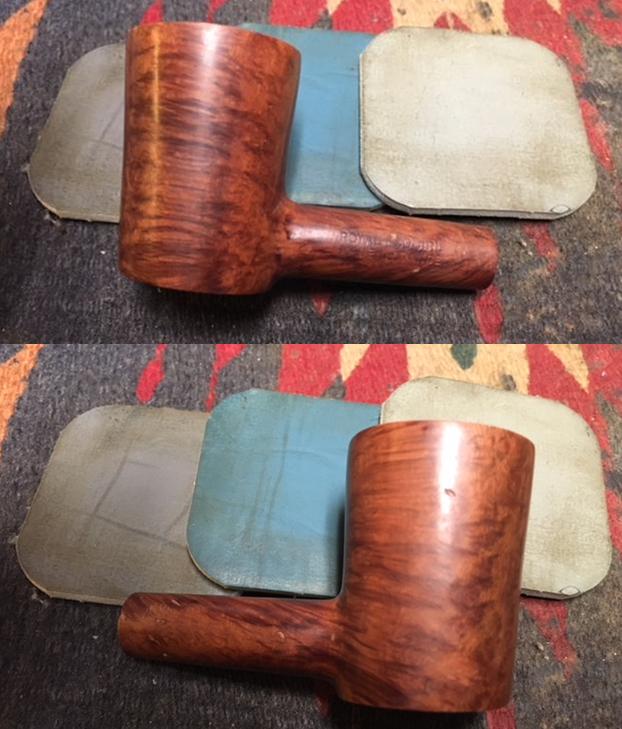
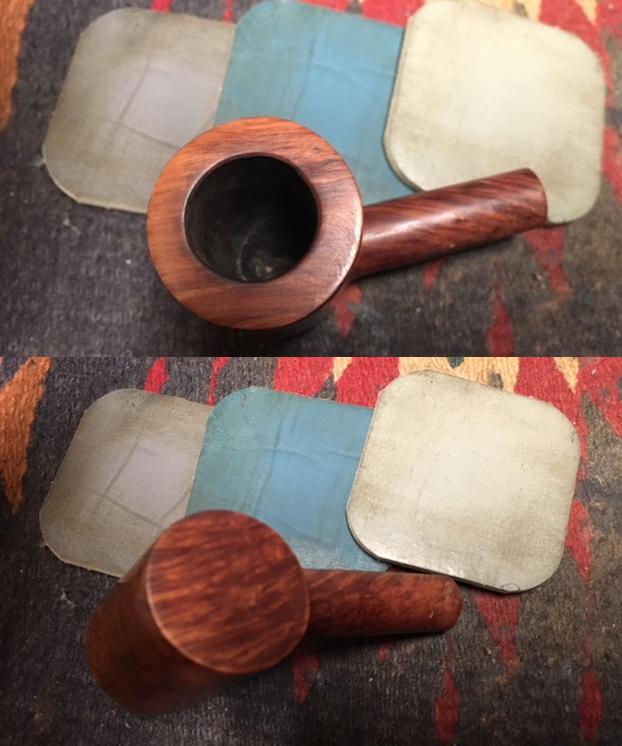
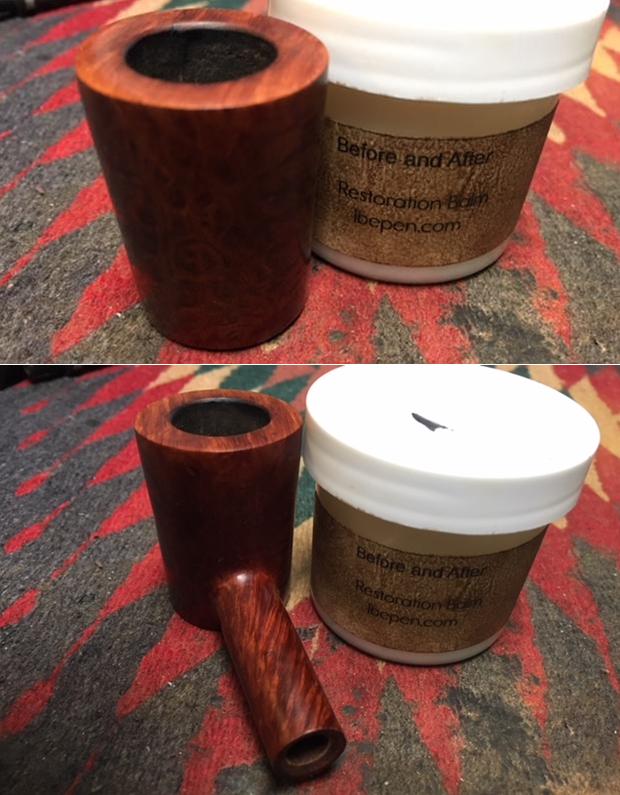
 Once the stain dried I wiped the bowl and shank down with alcohol on a cotton pad to remove the streaking and blend the colours on the briar. The pictures below show the pipe at this point in the process. The fills have all but disappeared into the stain. The pipe looks considerably better at this point.
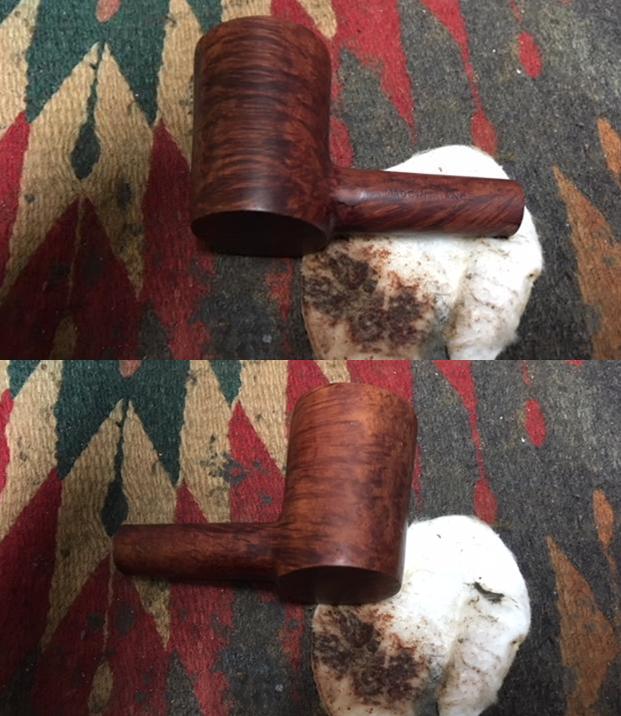
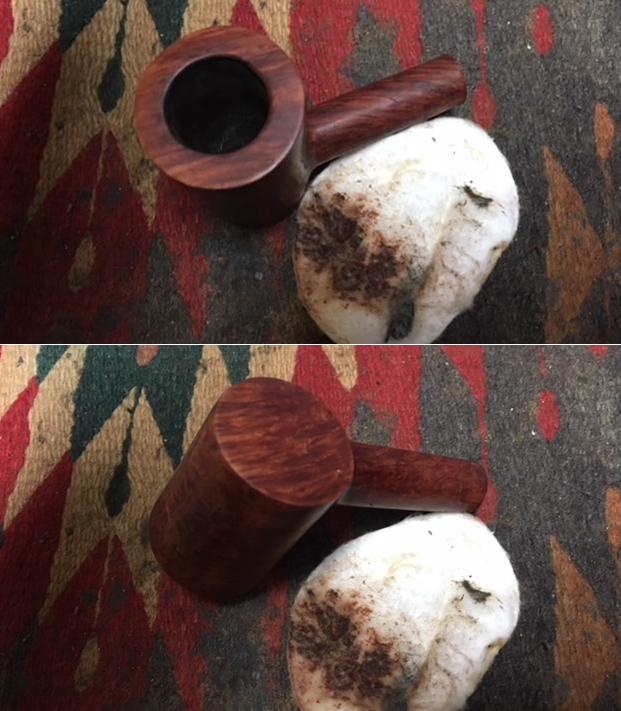
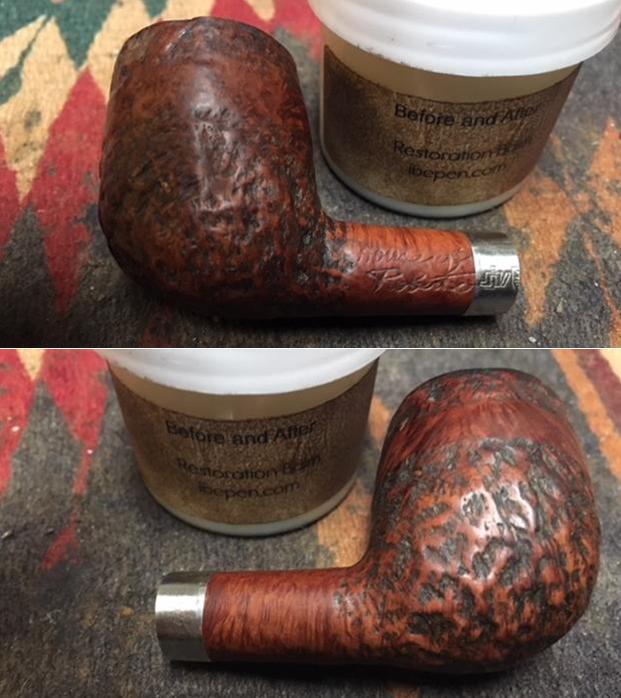
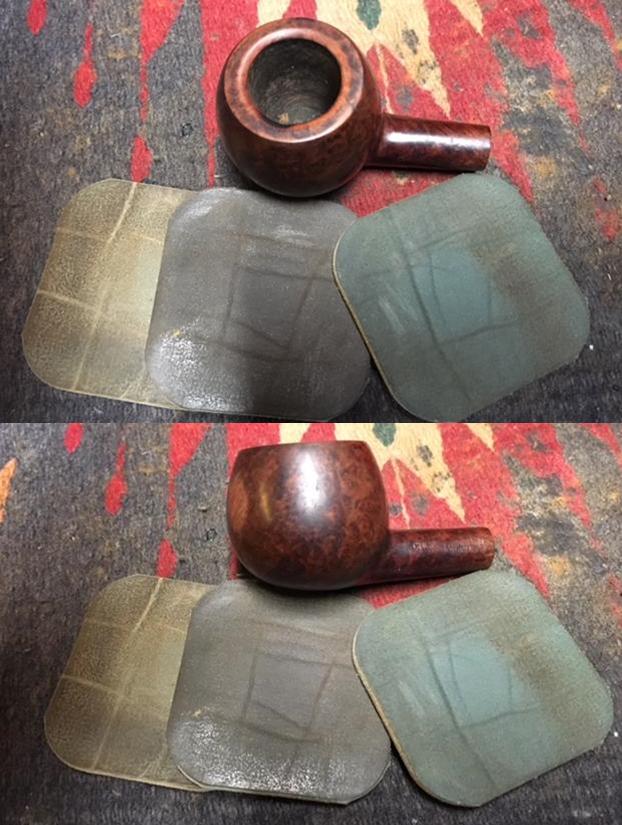
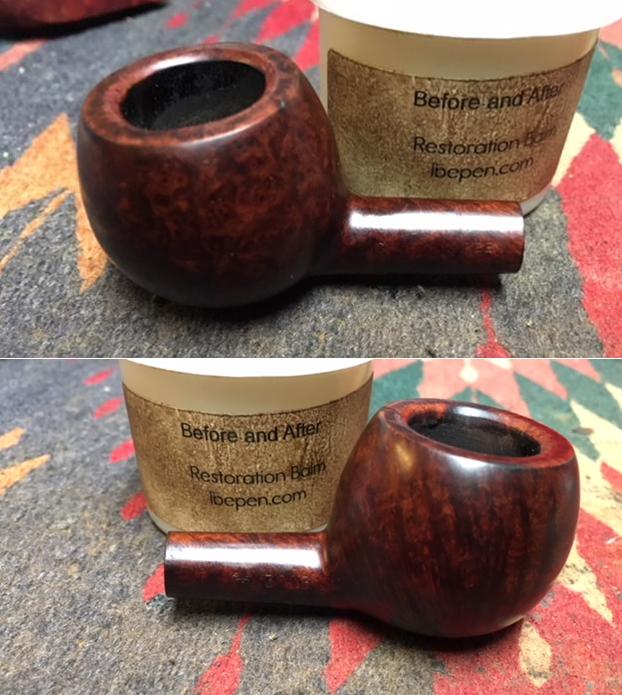
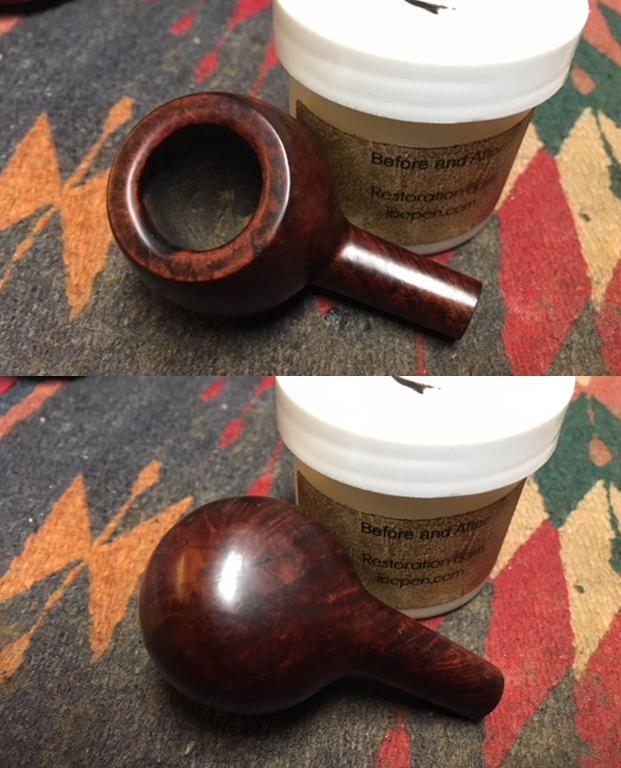
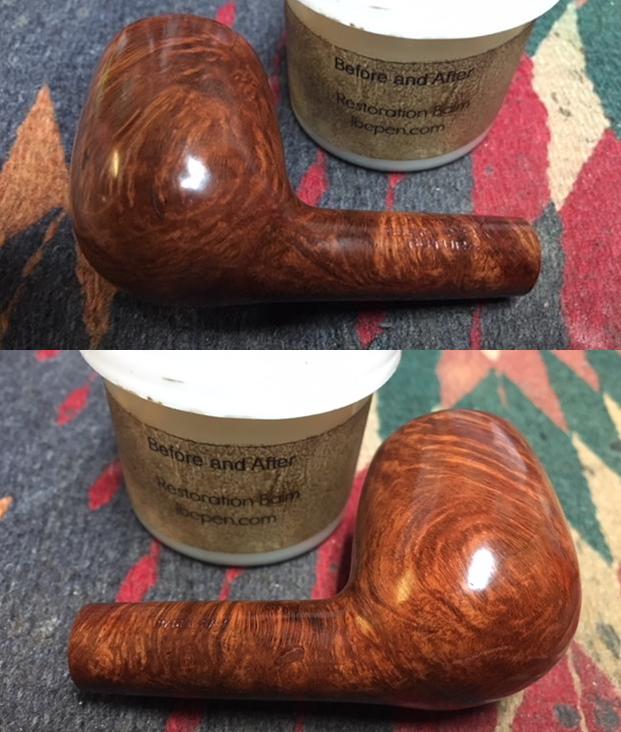
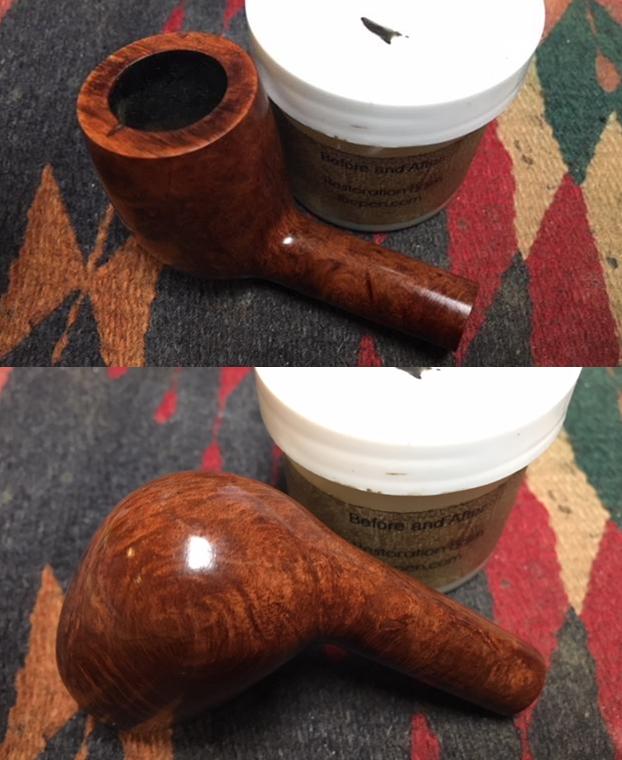
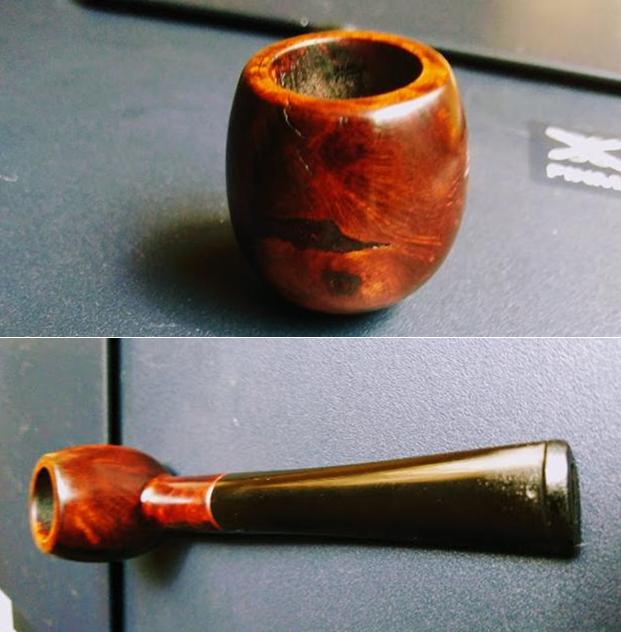
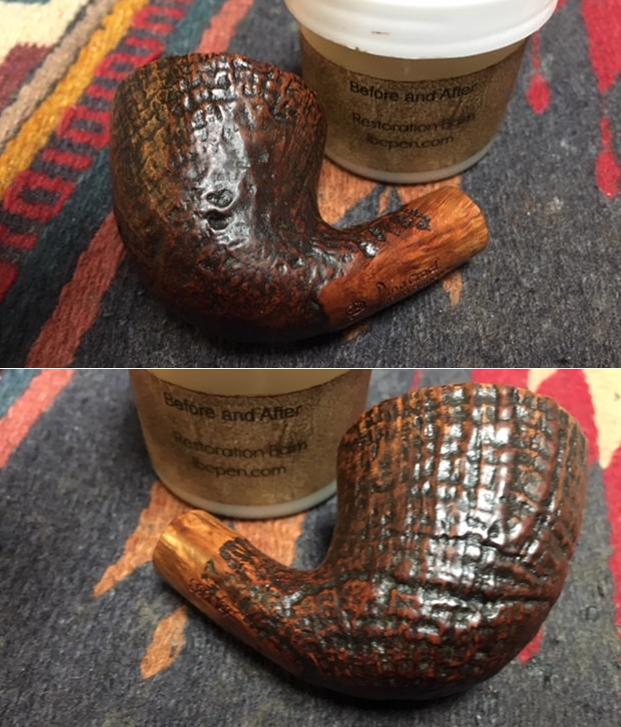
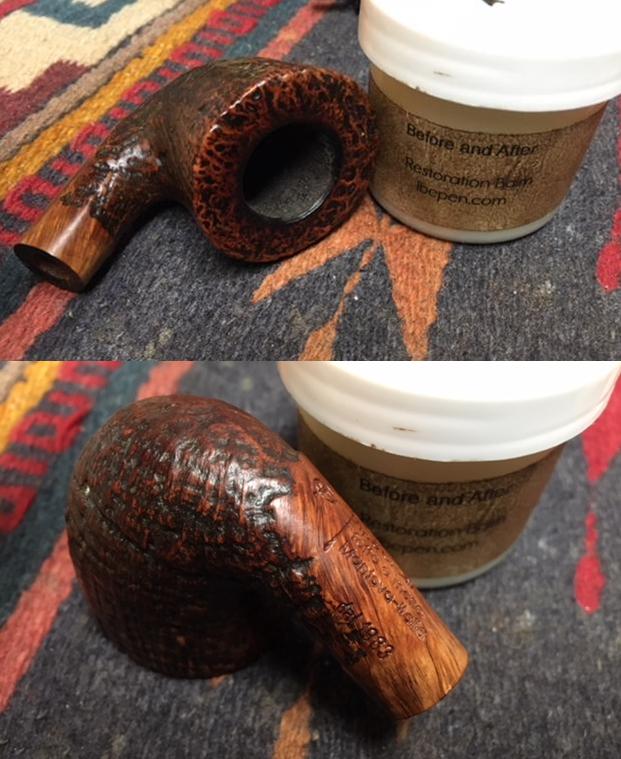
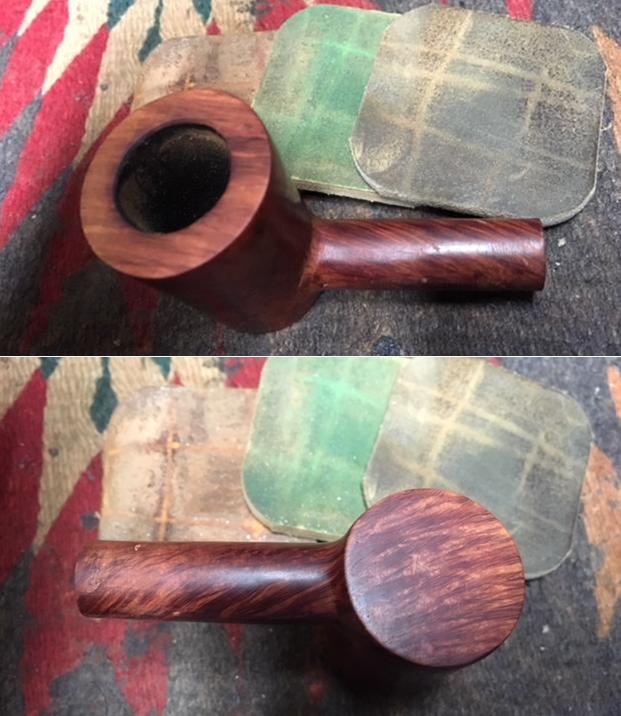
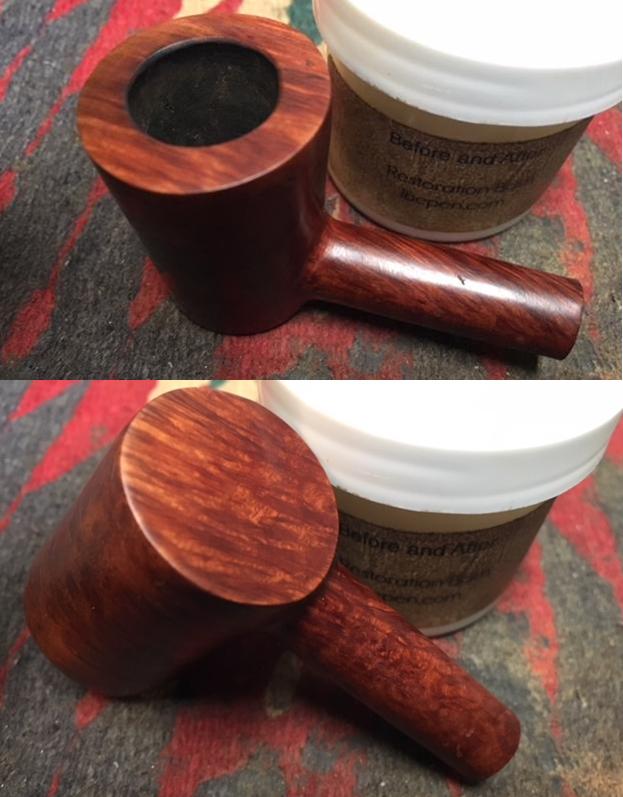
 I rubbed down the briar with Before & After Restoration Balm. I worked it into the surface of the briar to clean, enliven and protect the new finish. It also evened out the stain coat and gave the stain a multidimensional feel. I let the balm sit for a little while and then buffed it with a cotton cloth to raise the shine. The following photos show the bowl now. The fills are invisible.
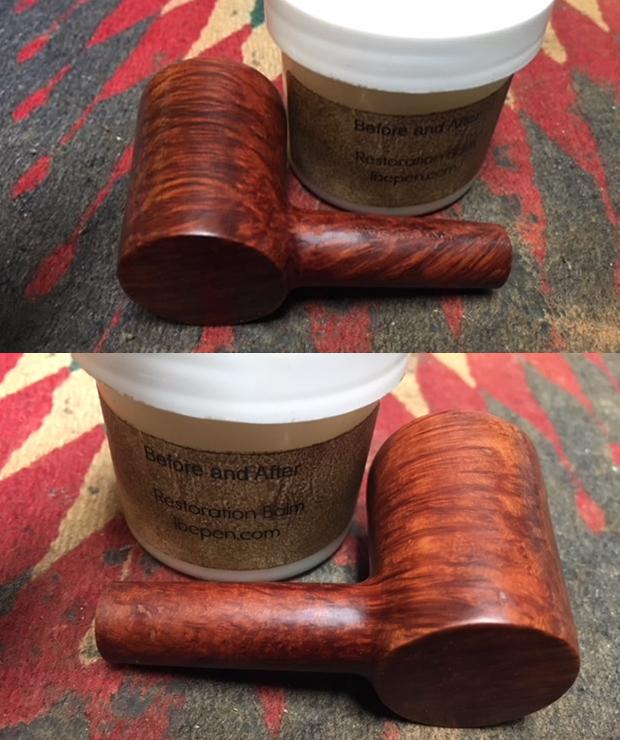
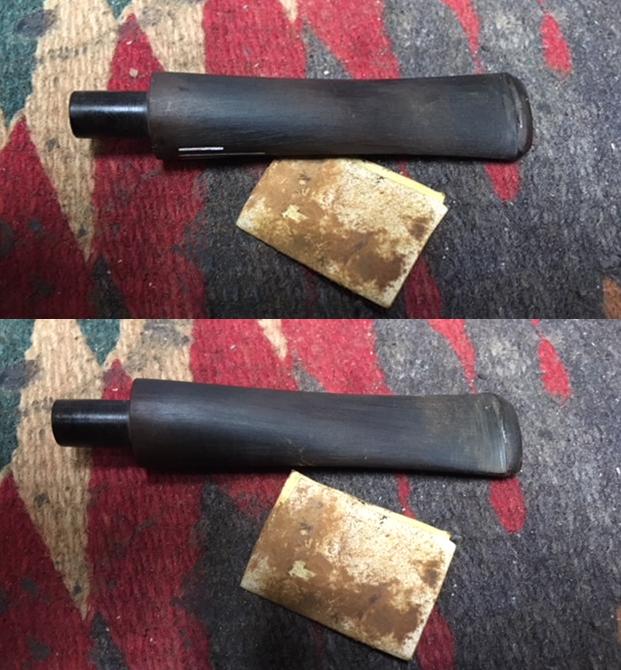
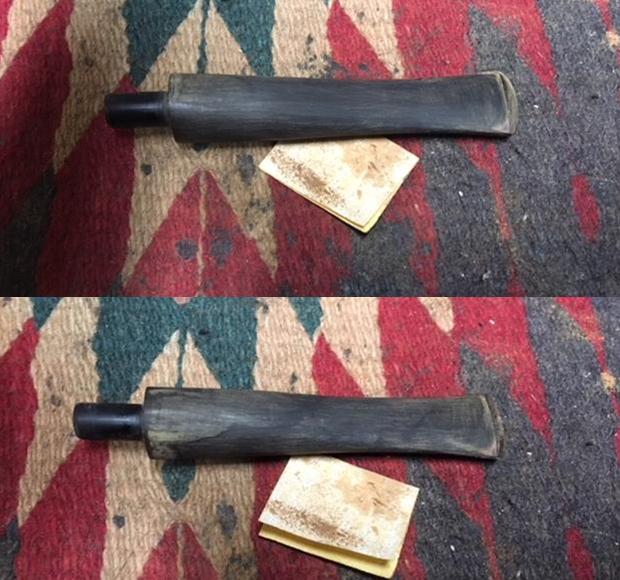
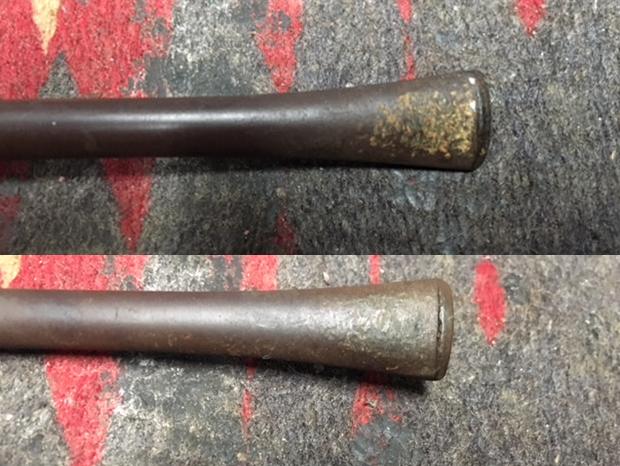
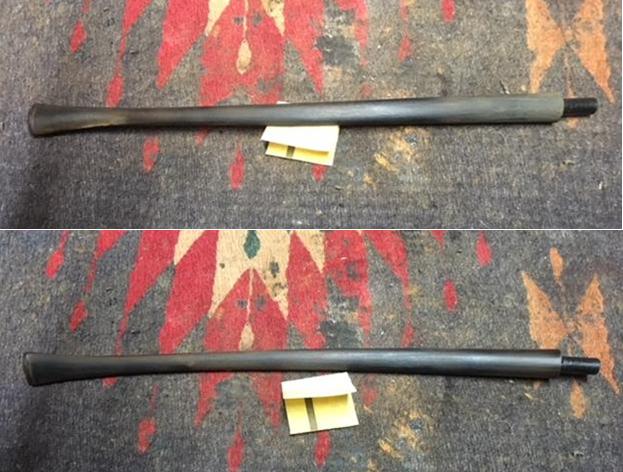
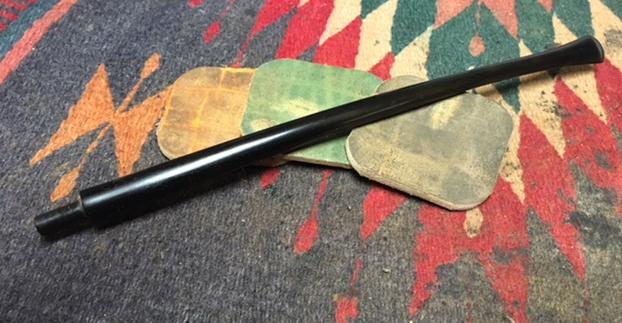
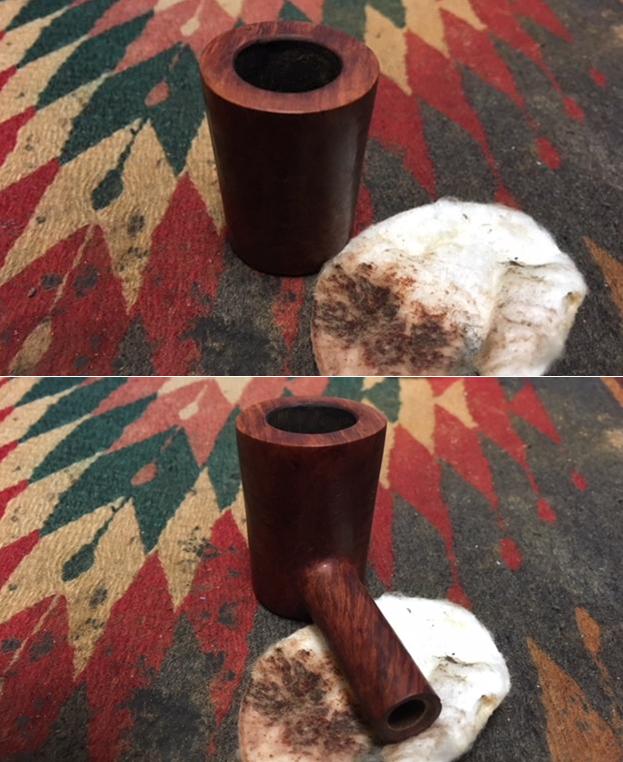
 The bowl is pretty well finished. I still need to wax and buff it but that will wait for the stem. I turned my attention to the stem and worked on the tooth marks and chatter near the button. I sanded it with 220 grit sandpaper until I removed the lighter marks on the surface of the stem.
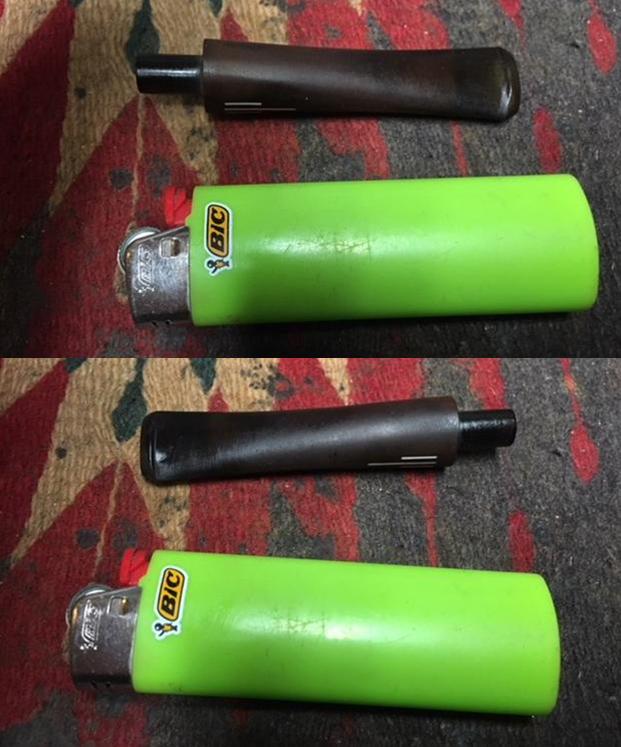
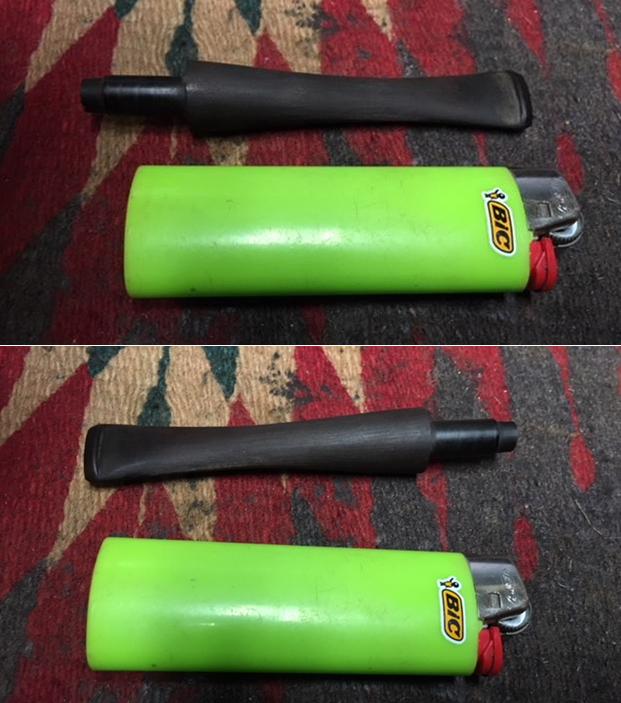
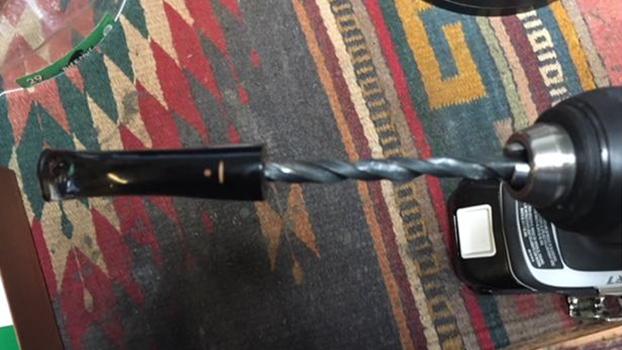
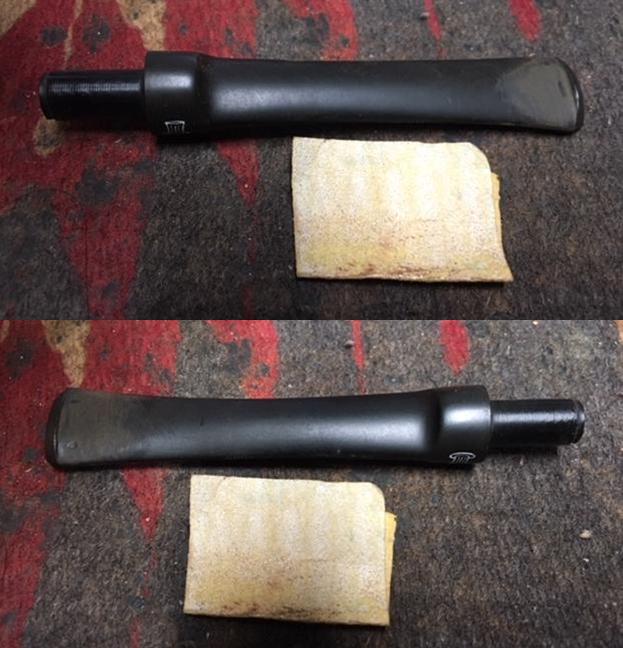 I painted the surface of the stem with the flame of a Bic lighter to lift the tooth marks. One of the benefits of the lighter is that it burned off the sulfur on the surface of the stem. The tooth chatter and marks lifted on both sides of the stem. A little sanding would smooth it out well.
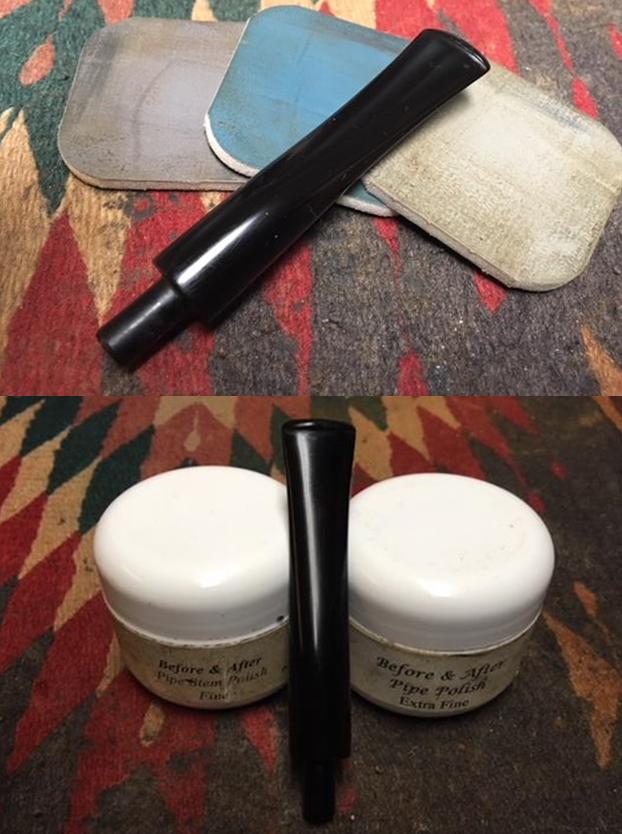
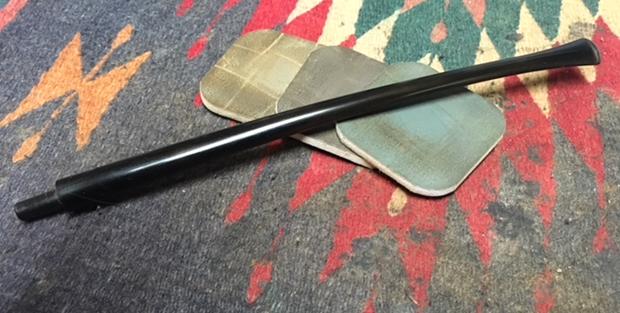
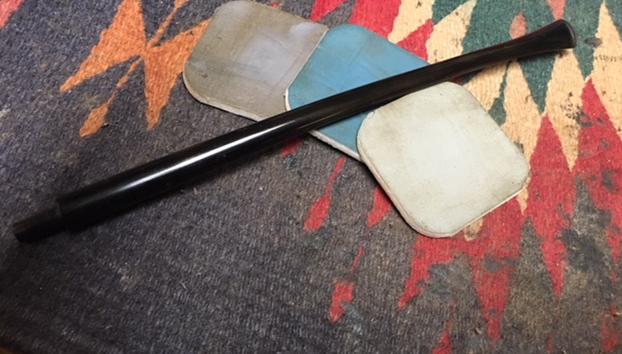
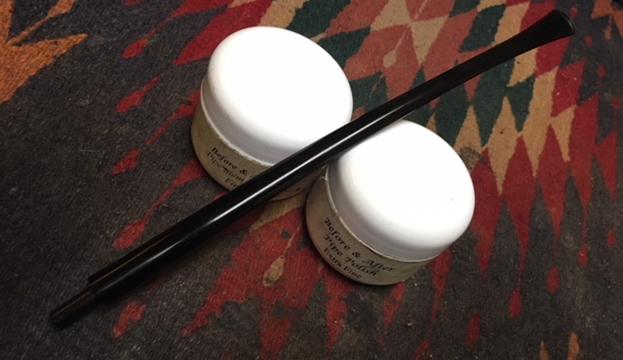
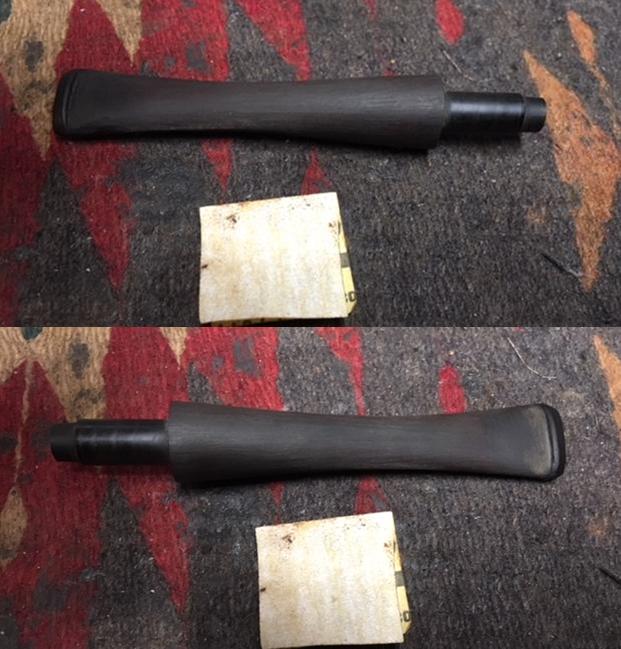
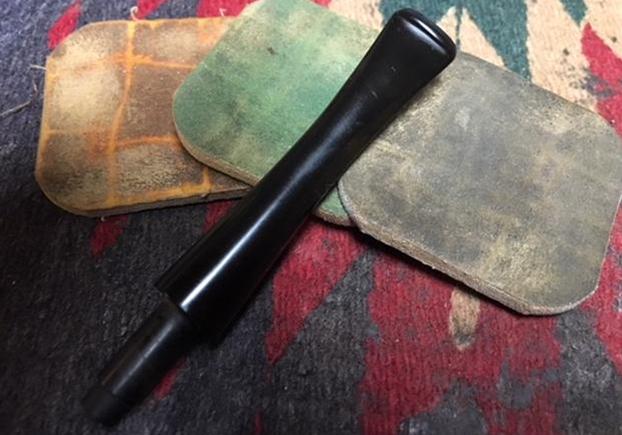
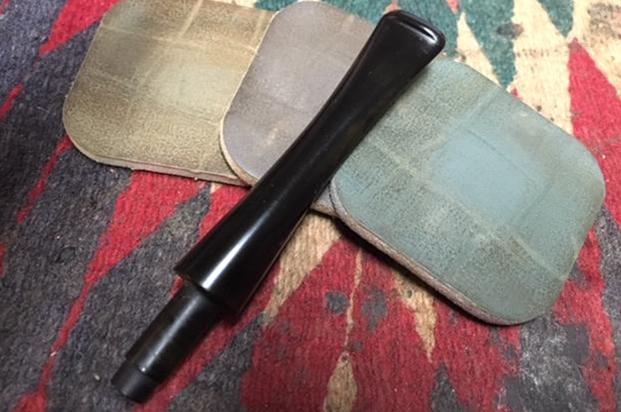
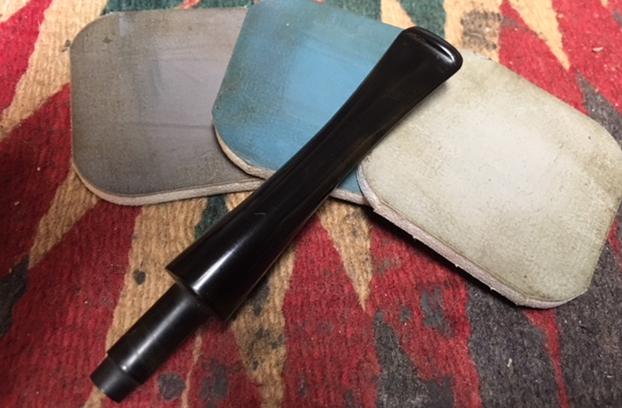
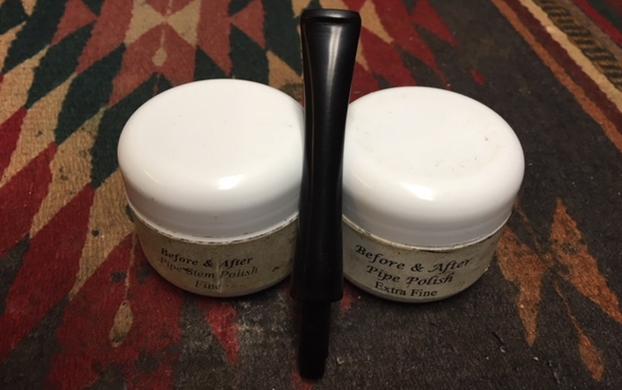
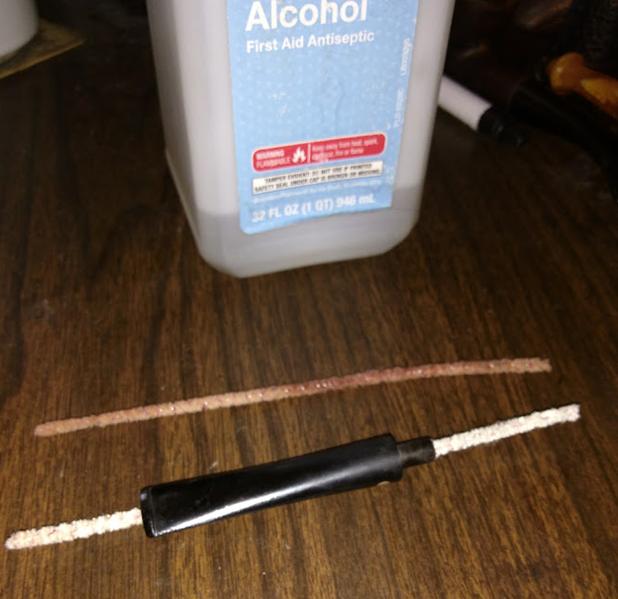
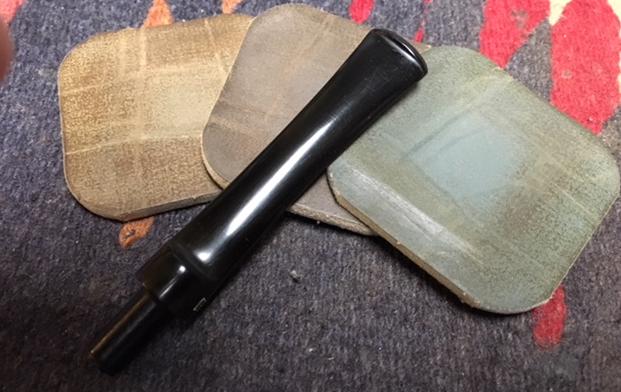
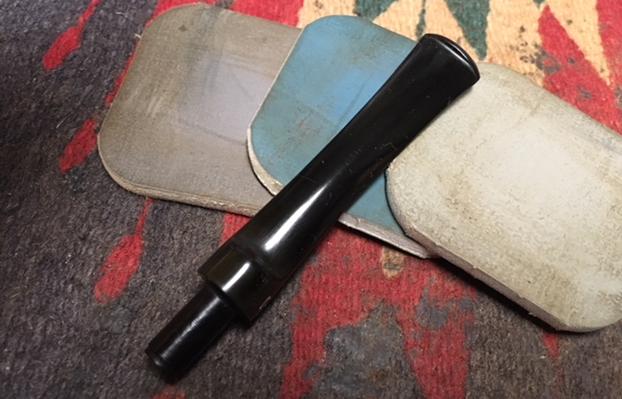
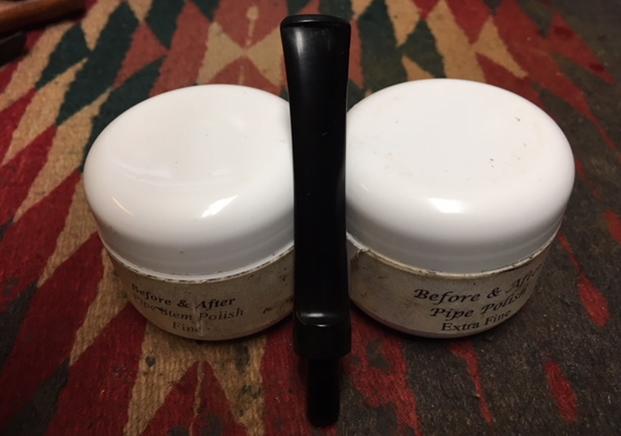
 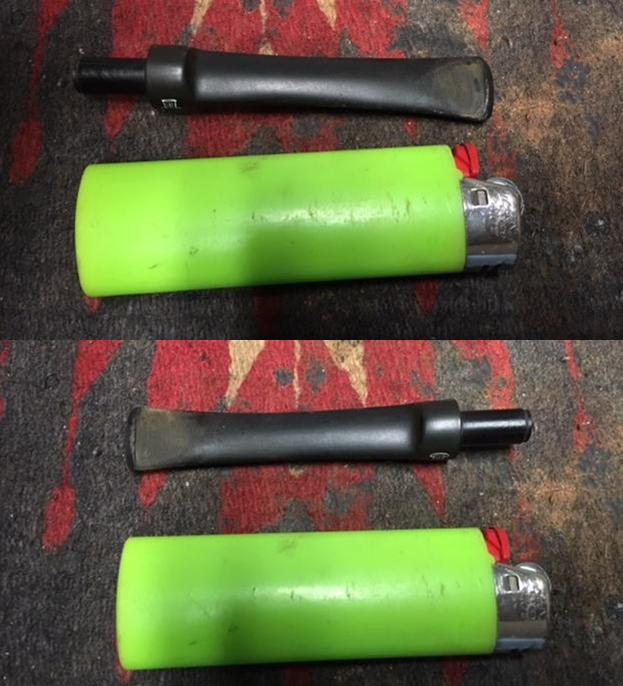 I polished out the scratches in the vulcanite with 400 grit wet dry sandpaper and with micromesh sanding pads. I wet sanded with 1500-2400 grit pads and dry sanded with 3200-12000 grit pads. I wiped the stem down after each pad with Obsidian Oil. After sanding with the 12000 grit pad I polished the stem with Before & After Pipe Stem Polish – both Fine and Extra Fine.
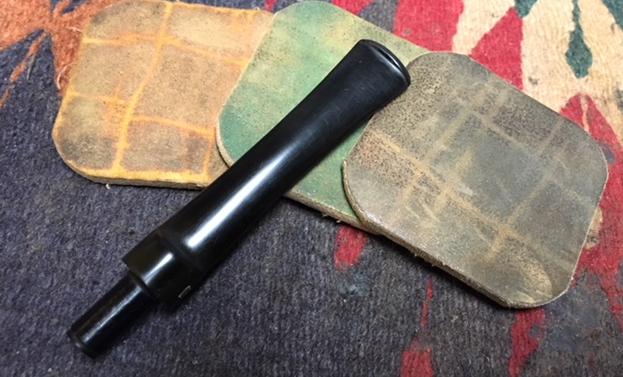
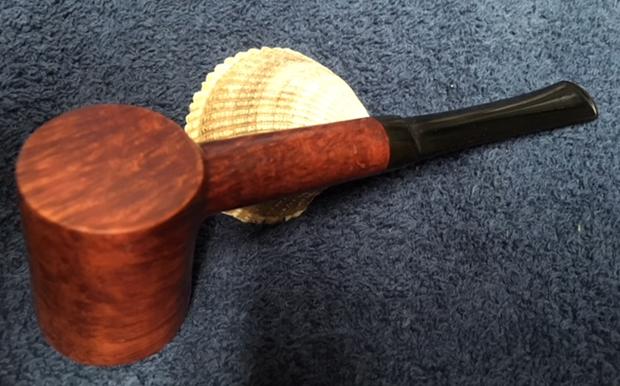
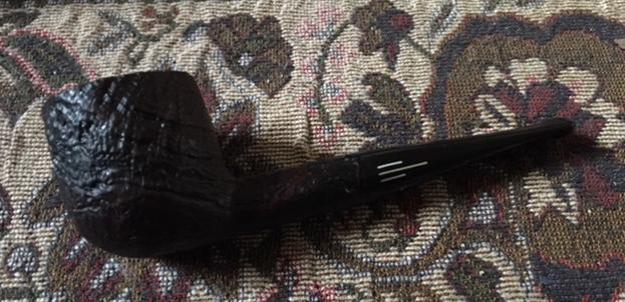
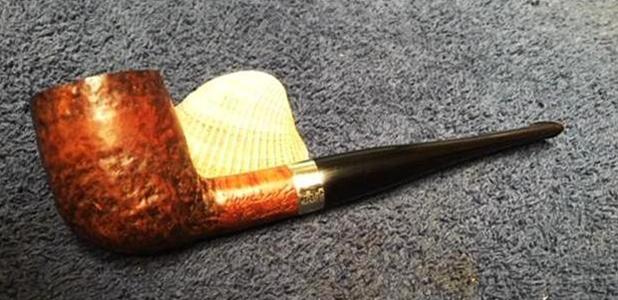
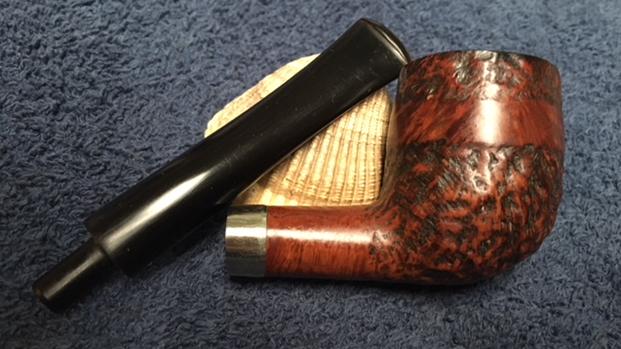
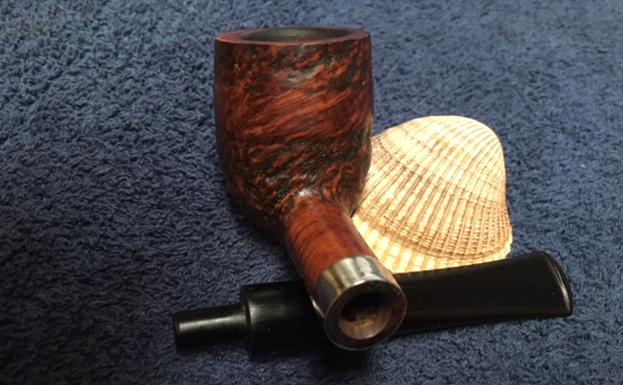
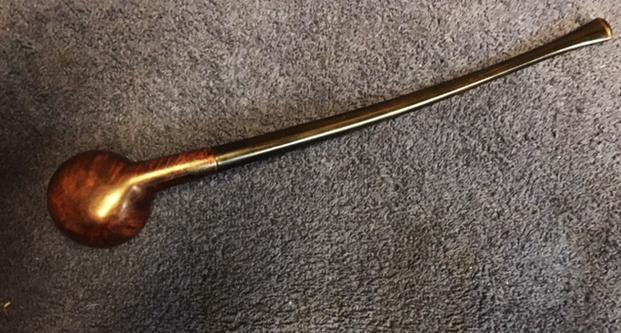
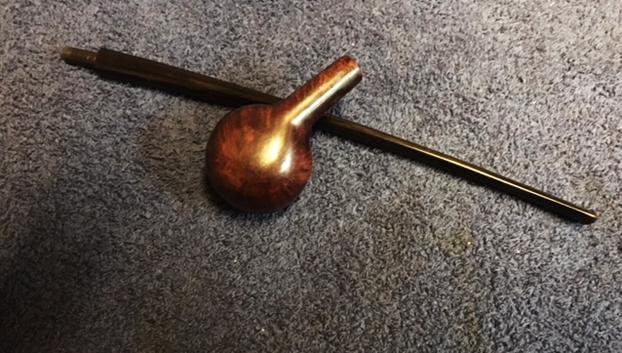
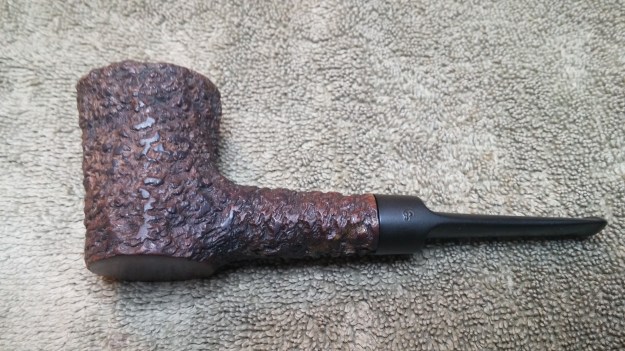
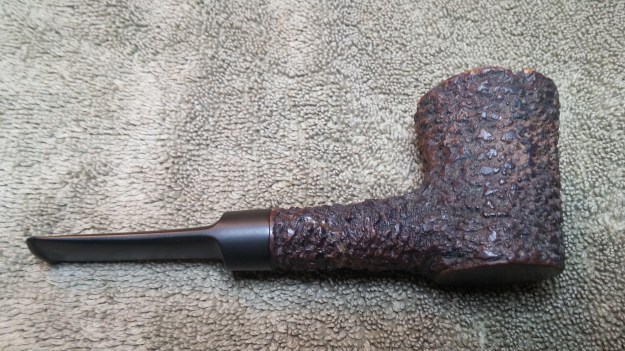
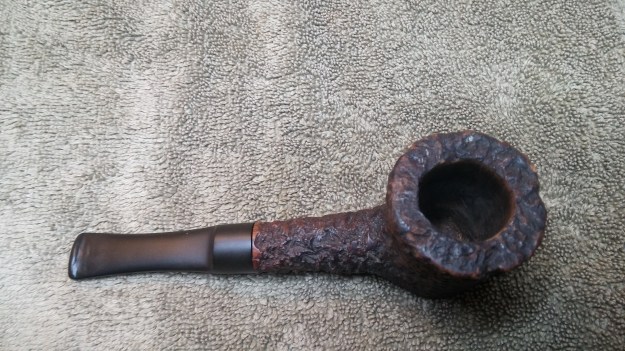
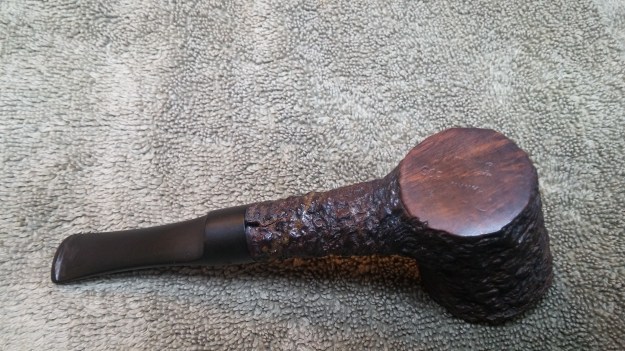
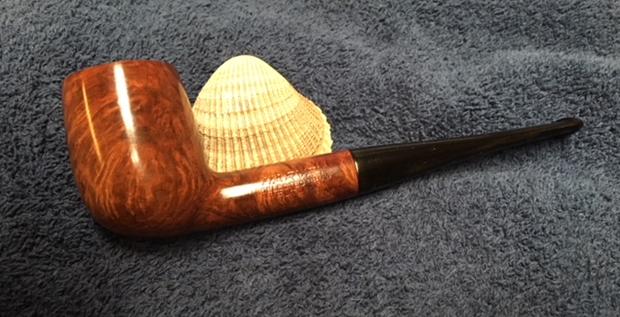
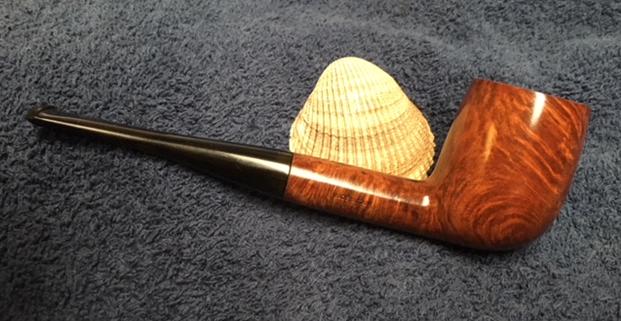
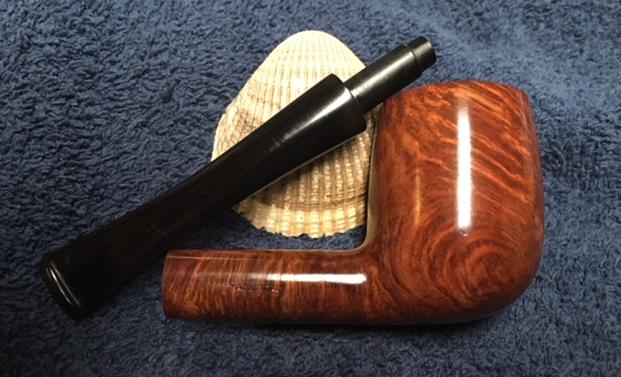
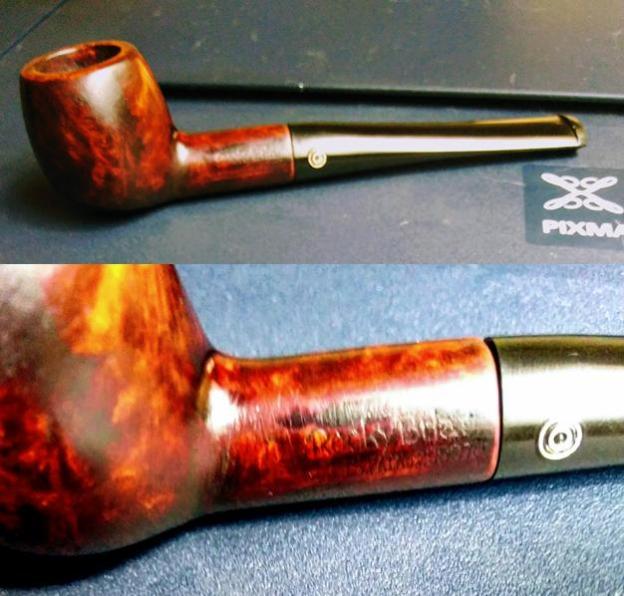
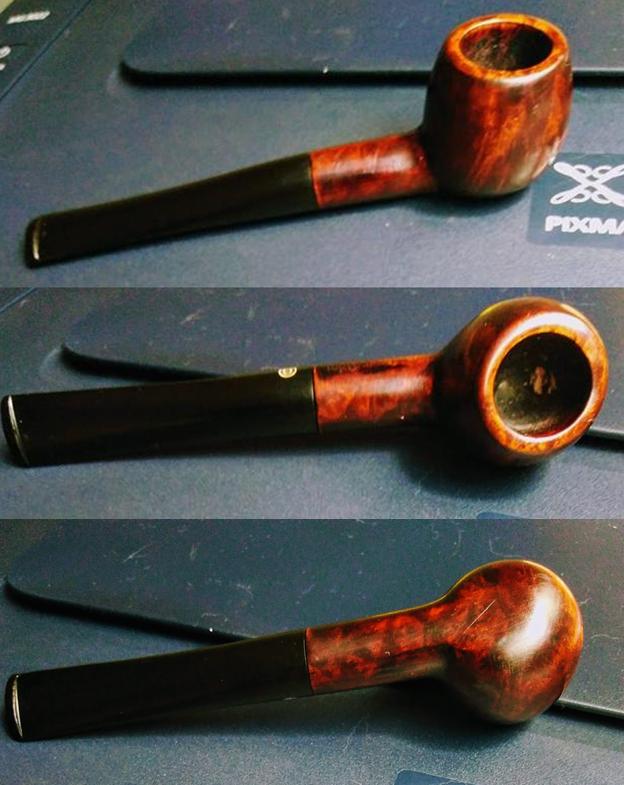
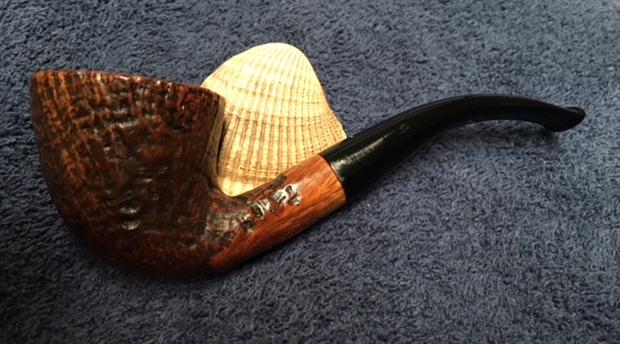
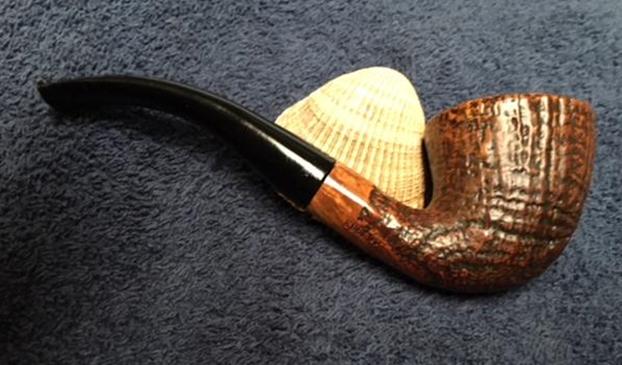
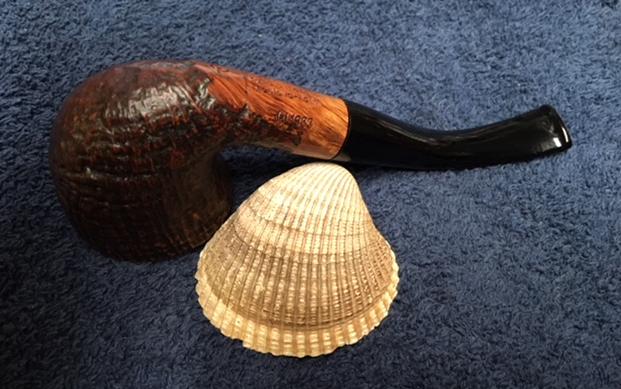
 With the stem polished I put it back on the pipe and lightly buffed the bowl with Blue Diamond. I buffed the stem with a more aggressive buff of Blue Diamond. I gave the bowl and the stem several coats of carnauba wax and buffed the pipe with a clean buffing pad to raise the shine. I hand buffed it with a microfiber cloth to deepen the shine. The pipe polished up pretty nicely and the many fills virtually disappeared with the new stain. The finished pipe is shown in the photos below. I will be posting it on the rebornpipes store very soon. It should make a nice addition to your pipe rack if you have been looking for a reasonably priced pipe that can be used as a yard or shop pipe. It should be a great smoking pipe with a good hand feel. The dimensions are Length: 5 1/2 inches, Height: 1 3/4 inches, Outside diameter of the bowl: 1 1/4 inches, Chamber diameter: 3/4 inches. Thanks for walking through the restoration with me as I worked this pipe over.