Blog by Steve Laug
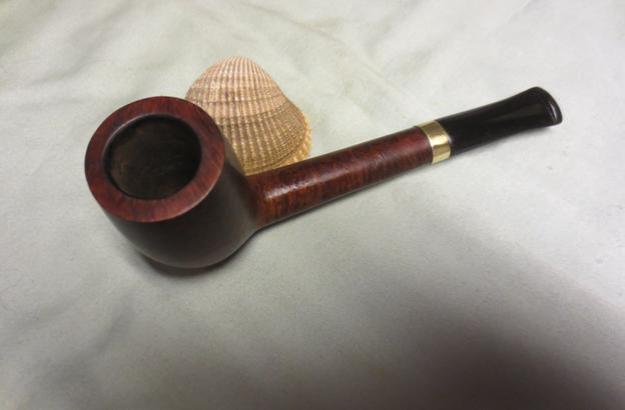
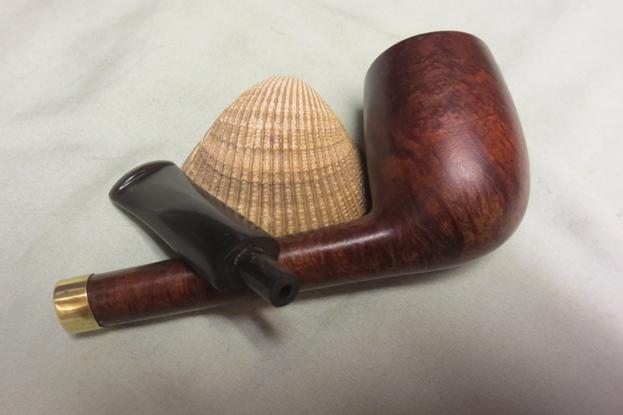
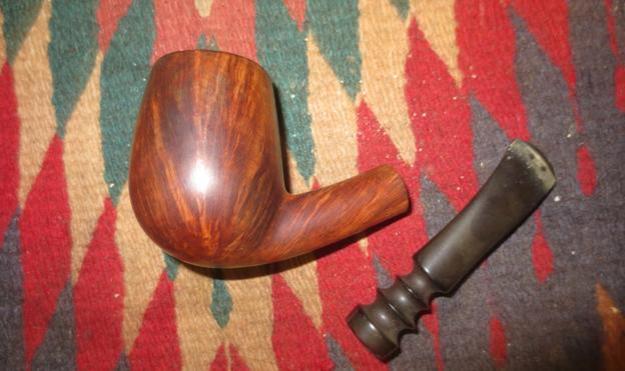
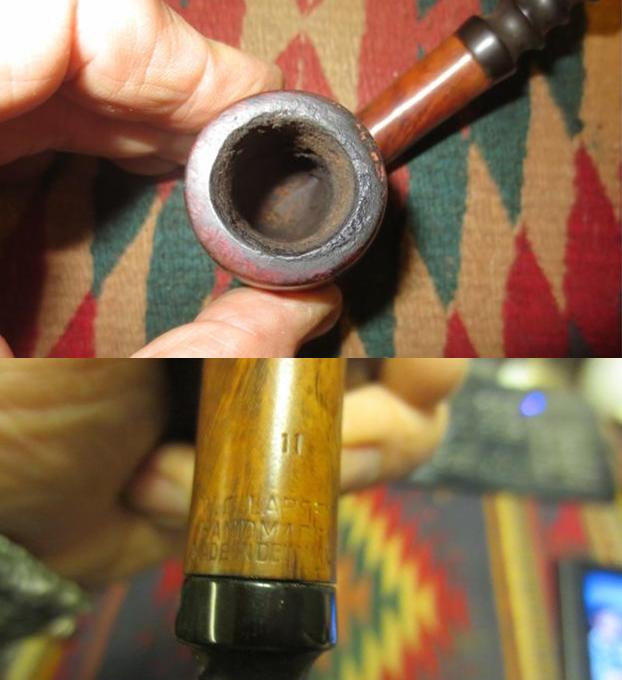
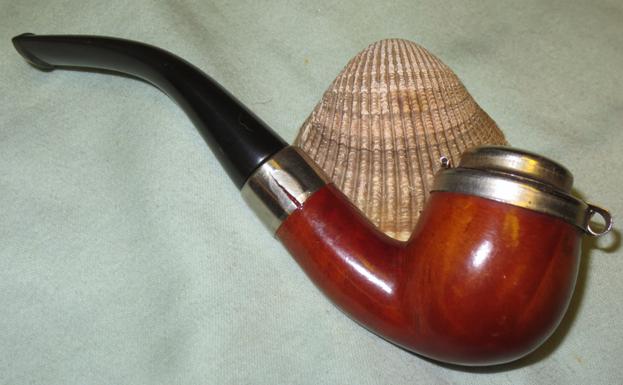
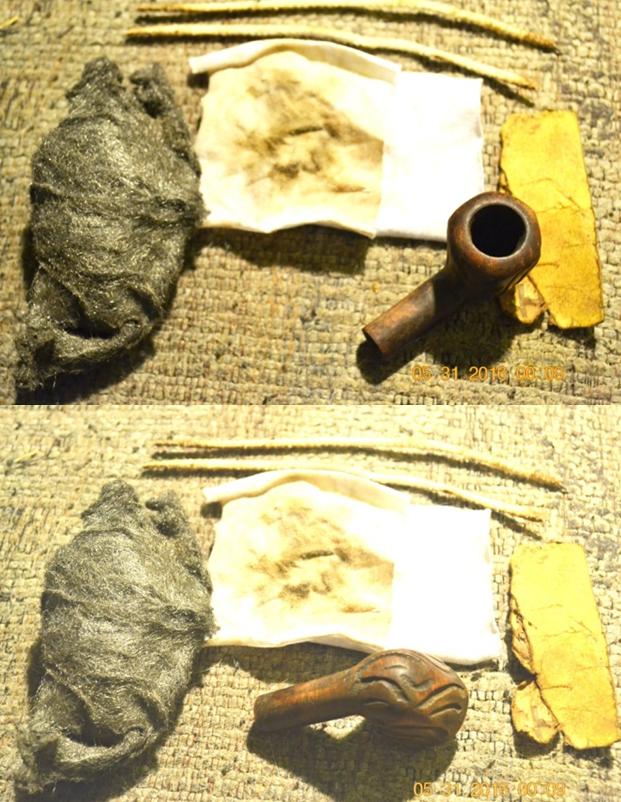
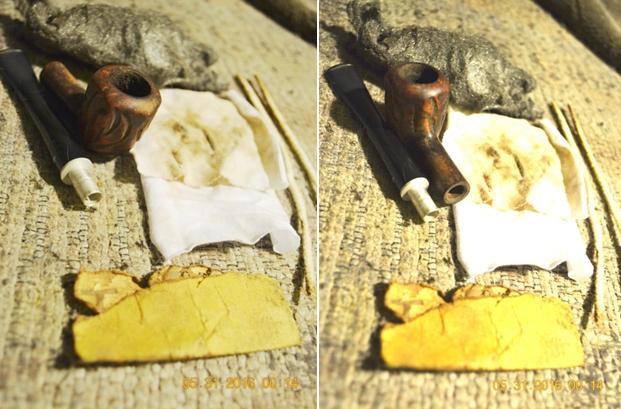
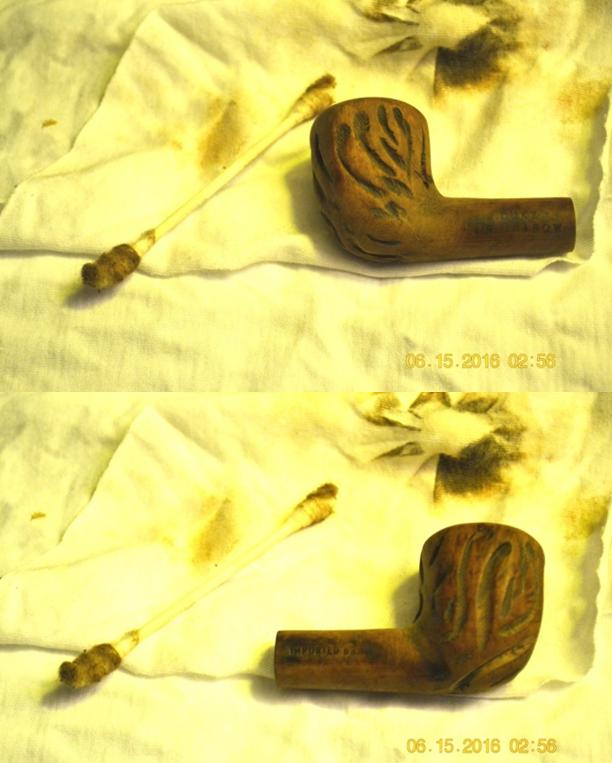
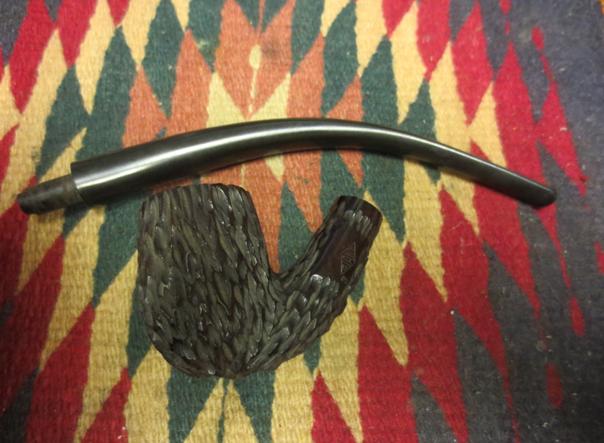
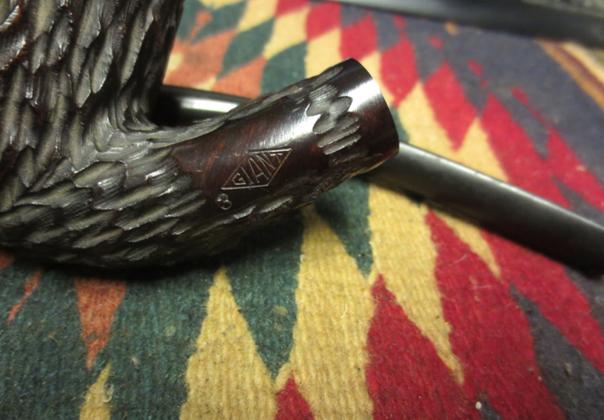
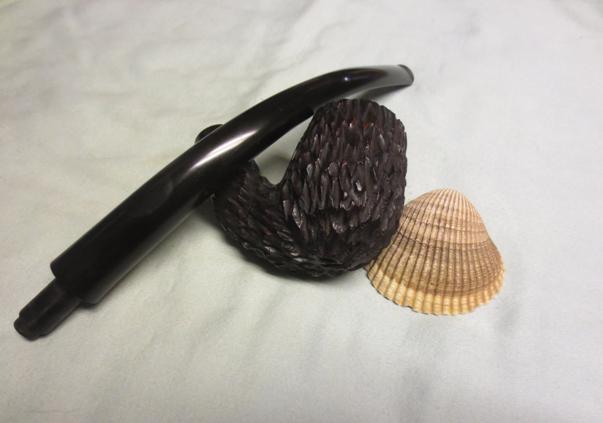
I have a routine when I visit in Bellingham. I take the ladies in my life to the mall and leave them to shop and I set out on my circuit of pipe haunts to see if I can find some likely object of my attention to repair. I rarely come home empty handed, though I don’t know if that is because I will work on many kinds of pipes or if it is because I generally find something. It may be hard for the observer to discern the difference, I know it is for my wife and daughters. I visited several of my haunts and finally in the last one I did a quick walk through and found nothing… this time it looked like I would come home empty handed. Just to make sure I asked at the counter if there were any old pipes in the shop. The seller pointed directly behind me and there in a case that I had totally missed were four pipes. I bought them all. They had a look of age about them so I jumped and paid the price. It turned out that one of them had a cracked bowl but I was able to cannibalize a sterling silver band for an old KBB Yello Bole from the 20s. Two of them were also older – one a GBD and one a Dr. Plumb. The fourth, a Canadian had a gold coloured band and was missing the stem. It looked pretty dirty and the finish was gone. I figured that it too might be one I cannibalized for parts. I paid for them and went out to my car. I went through them and looked them over. The first three showed no surprises. But the stemless bowl was a real surprise. There on the shank was the arced Barlings stamping and under that was the stamping Ye Olde Wood over 237 on the left top side of the shank and Made in England on the right top side. There is also a remnant of the word EXEL. Boy was I surprised. Suddenly it went from a potential victim for cannibalization to one that had some interest for me. It turned out to be the best of the lot.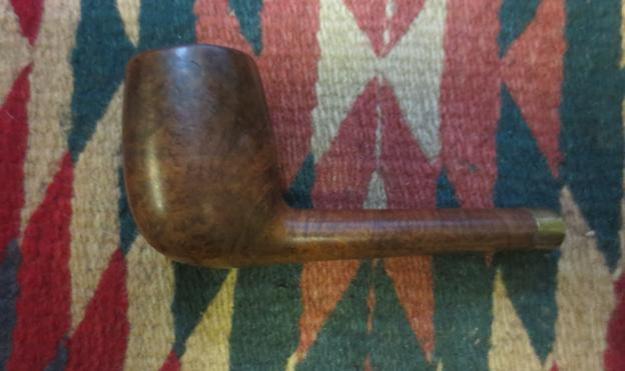

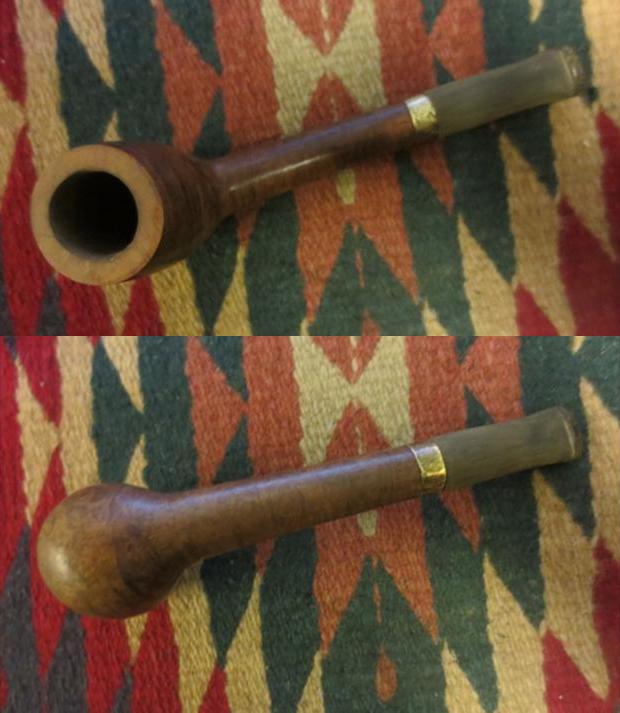
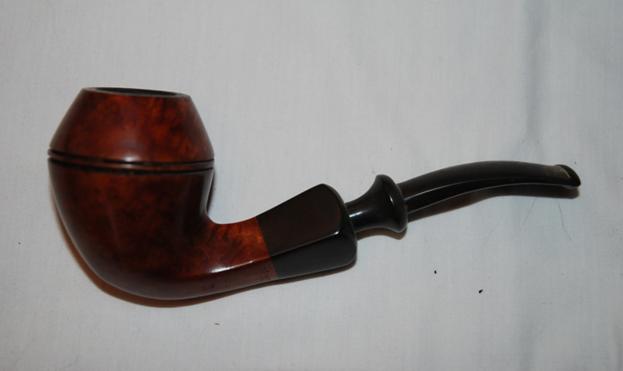
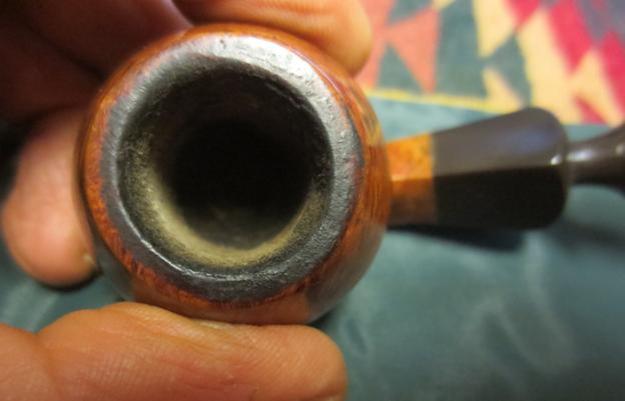
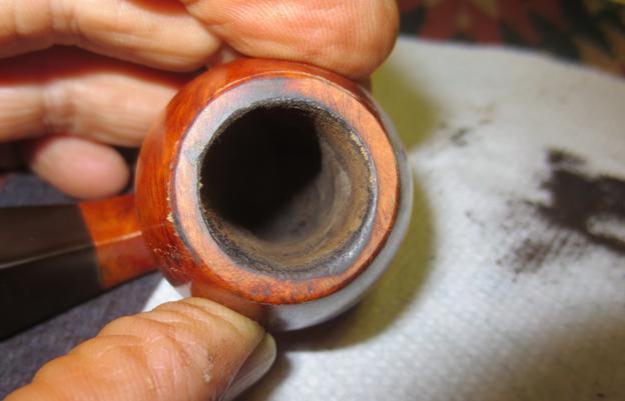
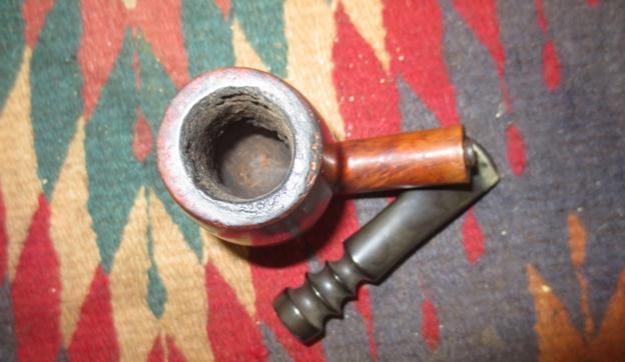
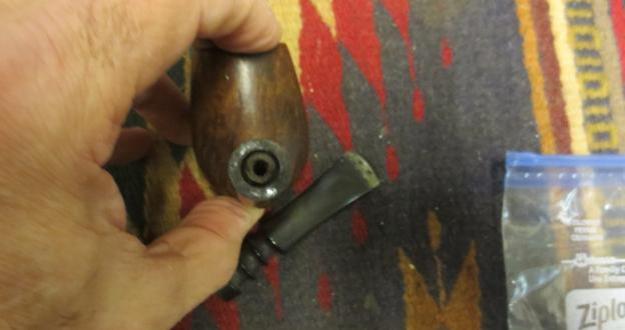
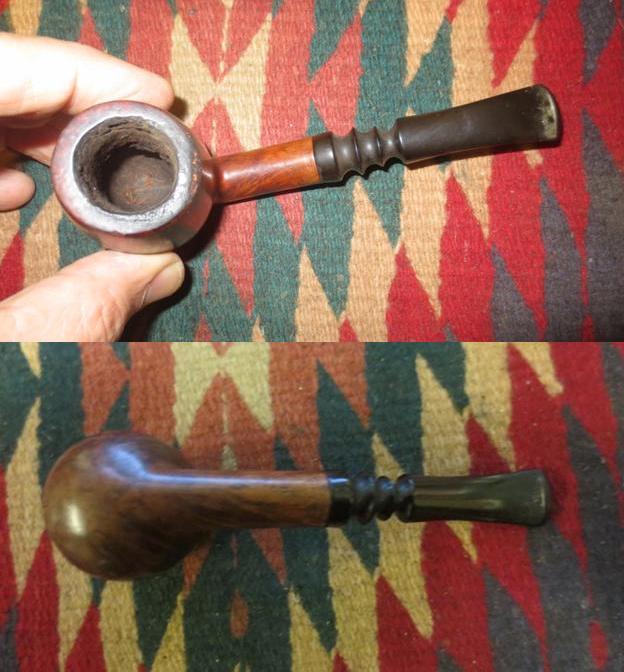
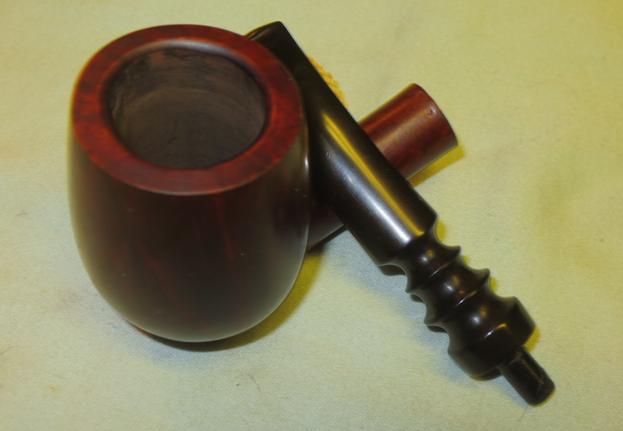
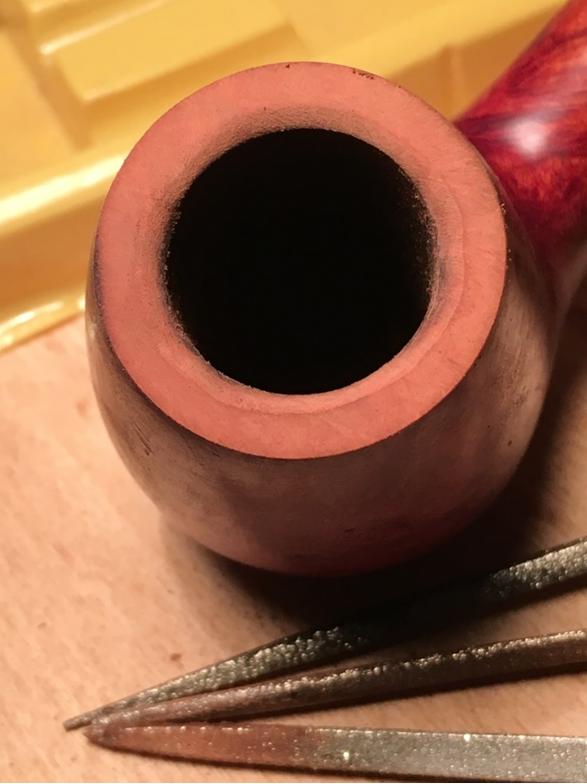
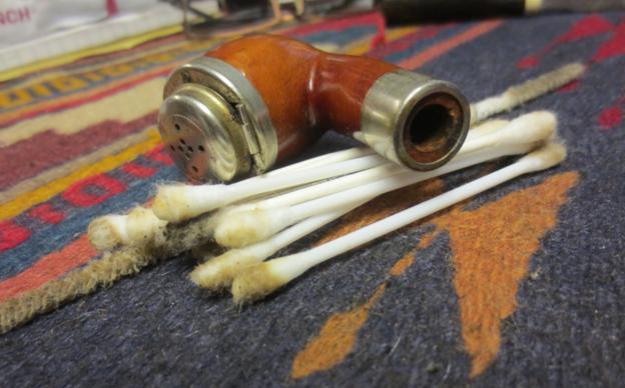
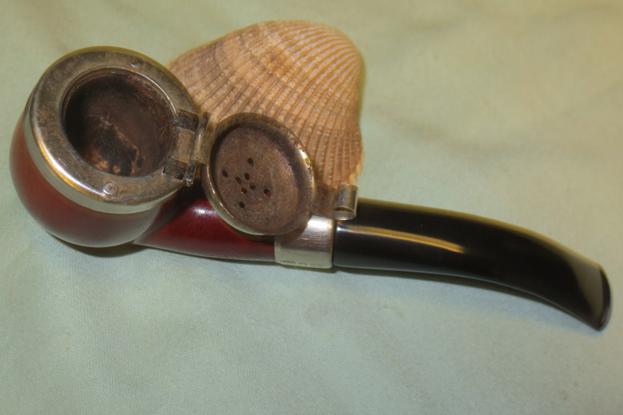
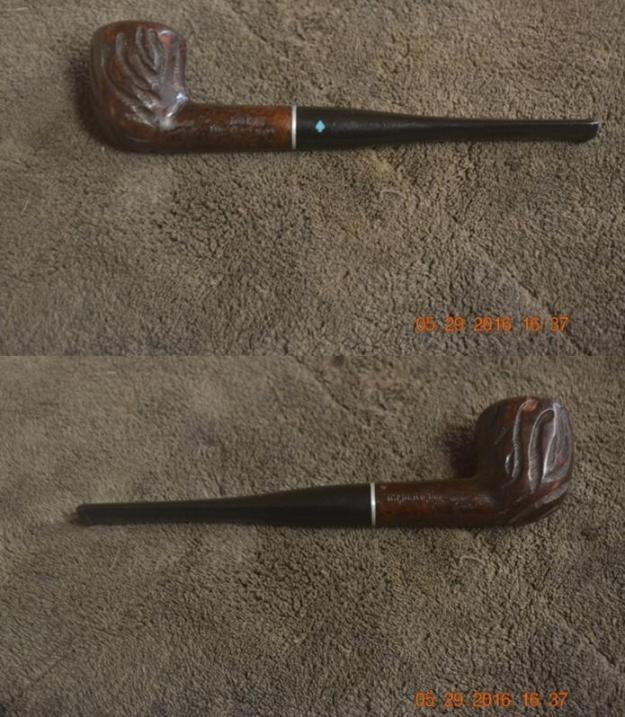
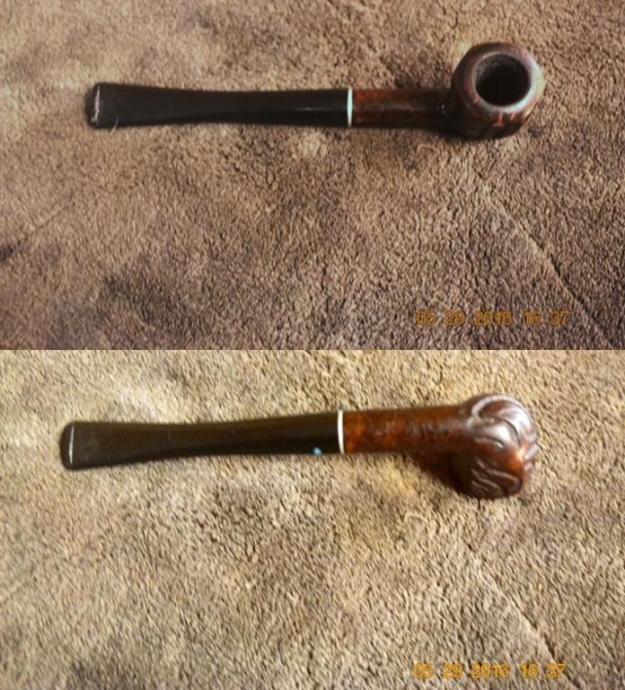
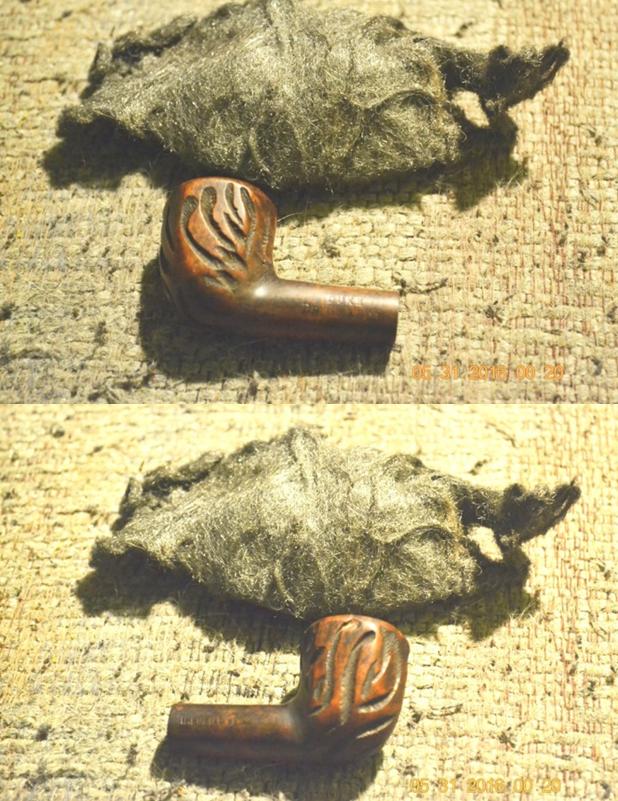
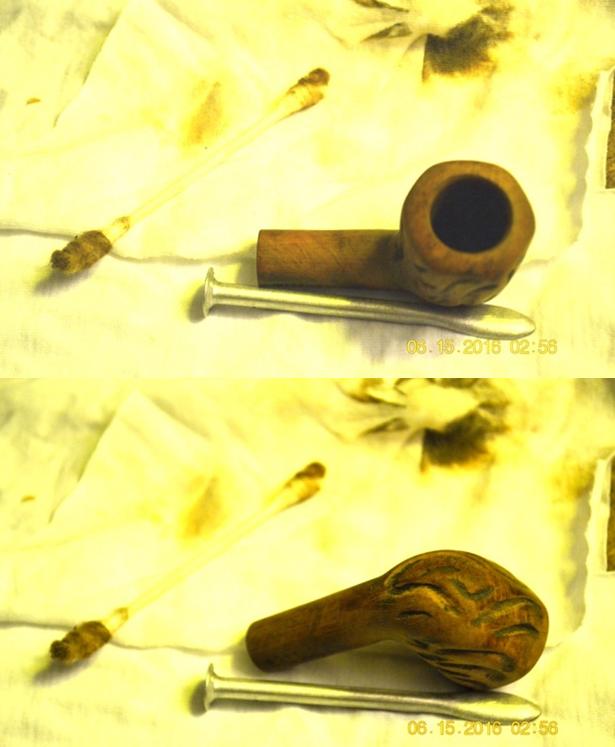
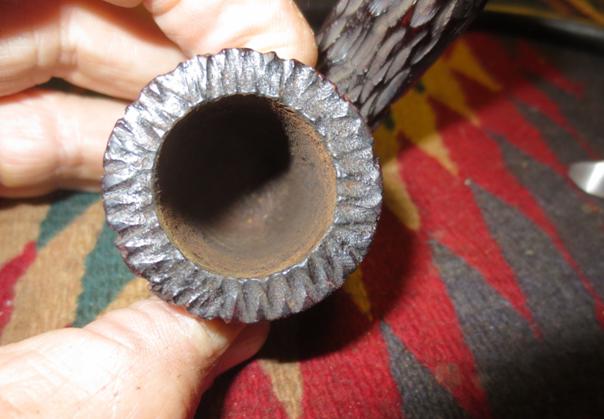
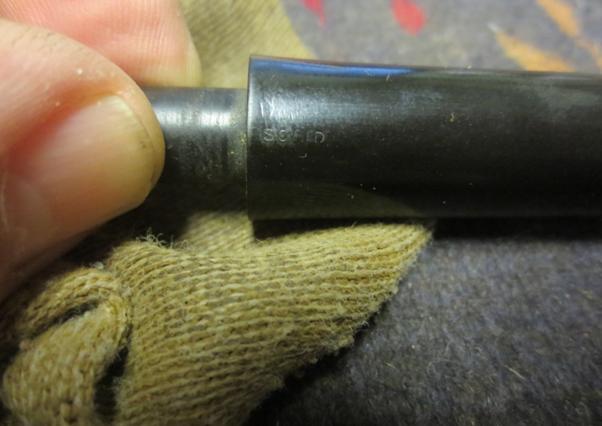
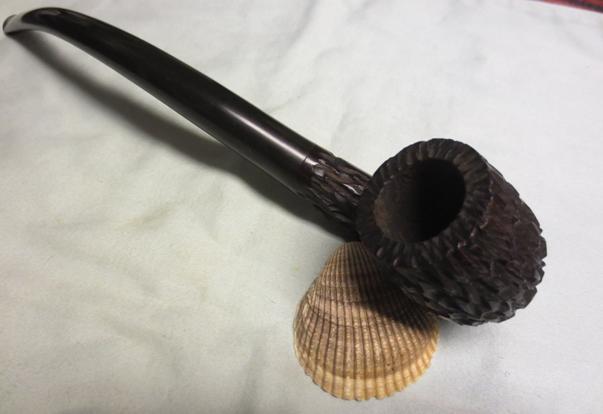
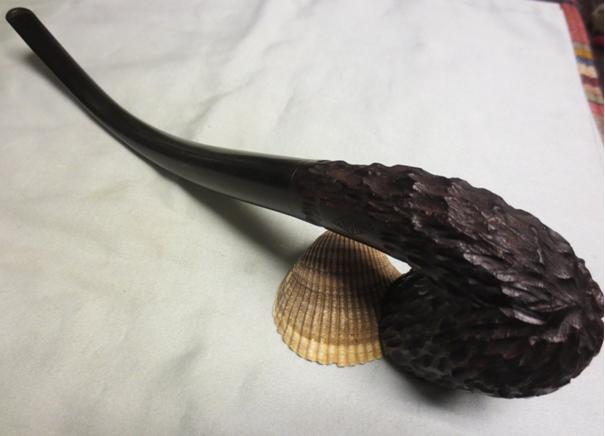
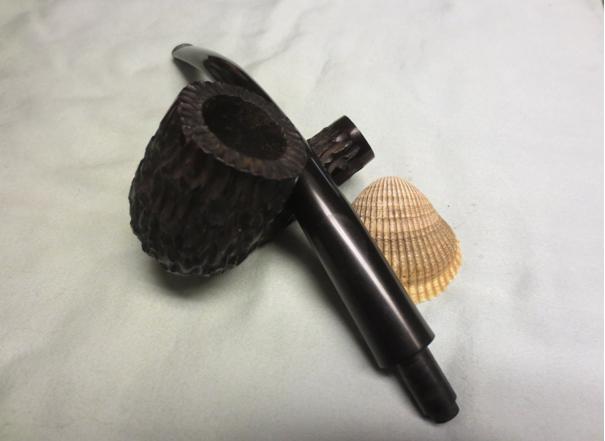
 I took a close-up photo of the rim to show the extent of the damage to that area. The cake in the bowl had flown over the top of the rim. There were also dings and dents that were quite deep. The outer edge was compromised and rounded over and the inner edge was out of round. I also included a photo of the stamping and the crack in the shank. This is the stamping that I saw in the bright daylight when I left the basement antique shop.
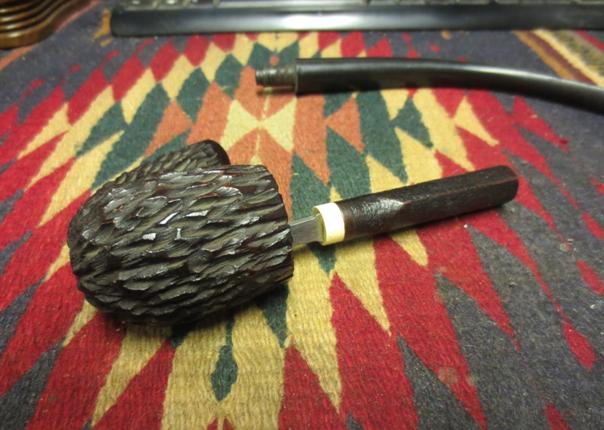
 I went through my can of stems and found one that would work on this shank. I had to go with a bit of an oversized stem in terms of diameter as the shank was thinner on the top than on the bottom. I would have to hand fit the stem to accommodate that idiosyncrasy.
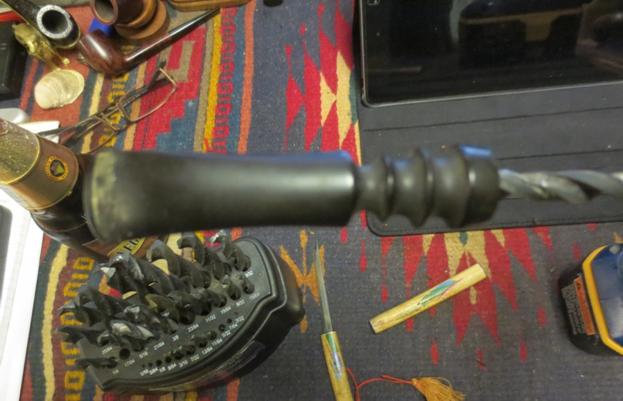
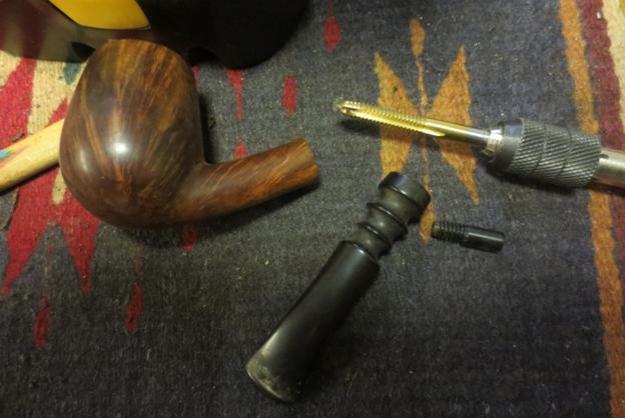
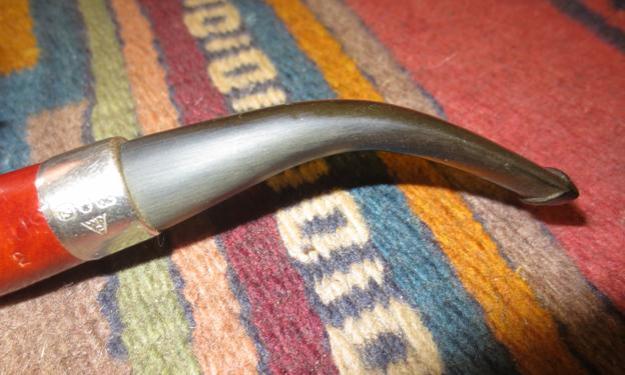
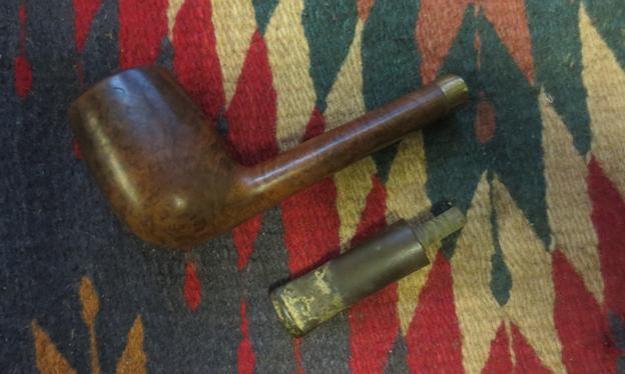 I used a microdrill bit to put a tiny pin hole at the end of the crack and then filled in the crack with super glue. The drilled hole would keep the crack from spreading and the glue would fill it in. The integrity of the shank was stabilized by the band as well.
 Once I had a good fit of the stem to the shank I used the Dremel and sanding drum to remove the excess vulcanite on the diameter of the stem. The fine tuning and flow of the stem would be done by files and hand sanding.
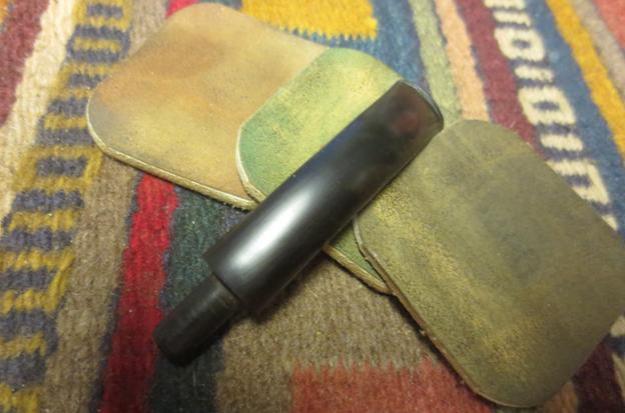
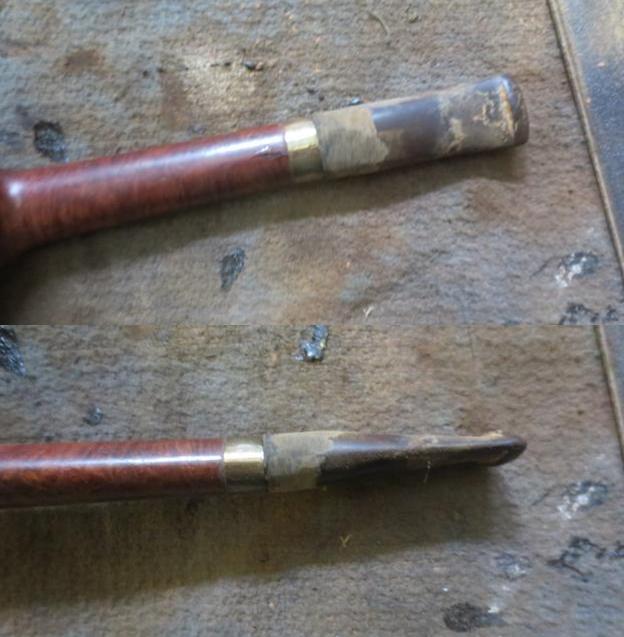
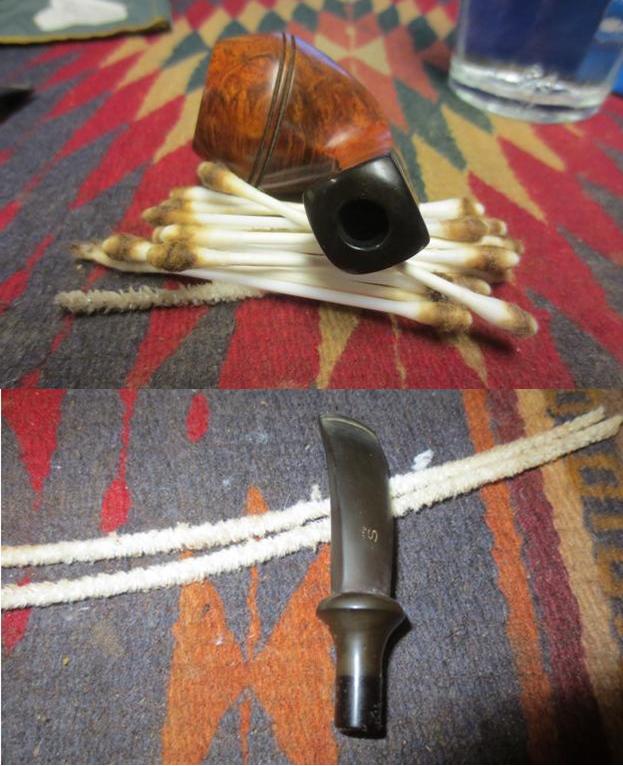
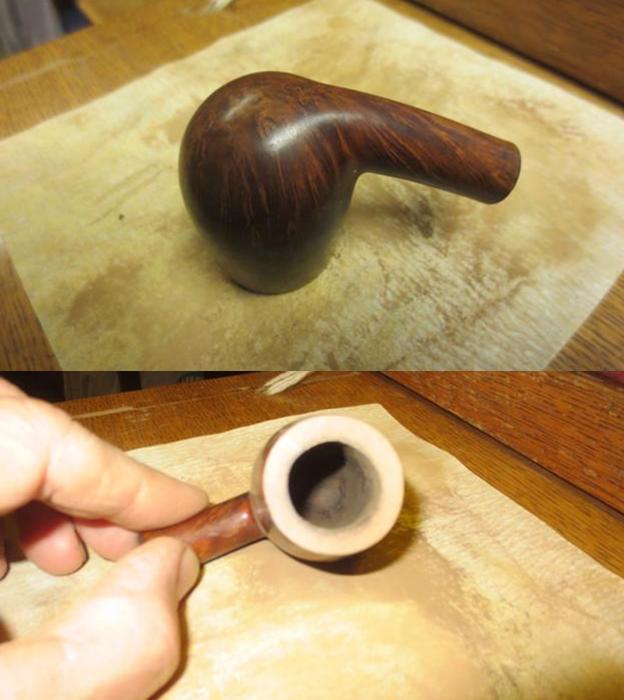
 I reamed the bowl with the PipNet reamer and took out the majority of the cake. I cleaned it up and took it back to briar with the Savinelli Pipe Knife.
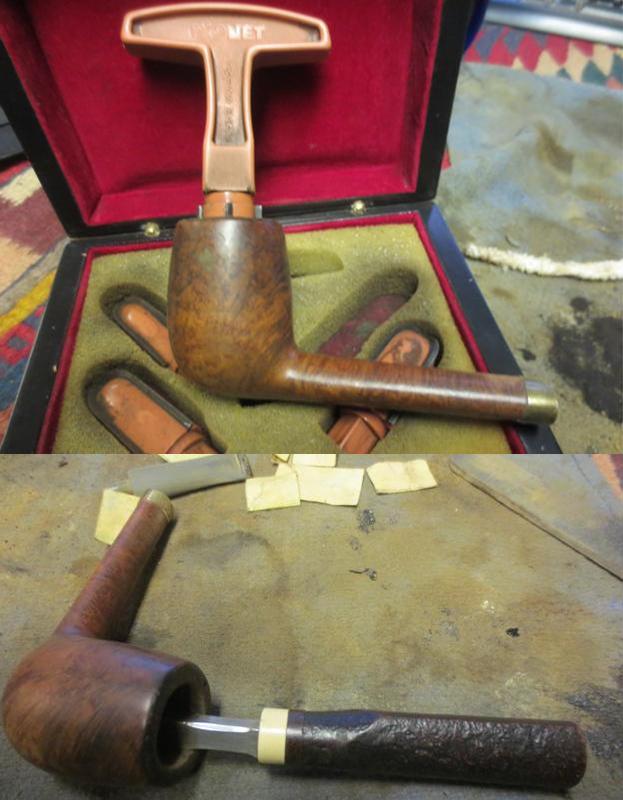
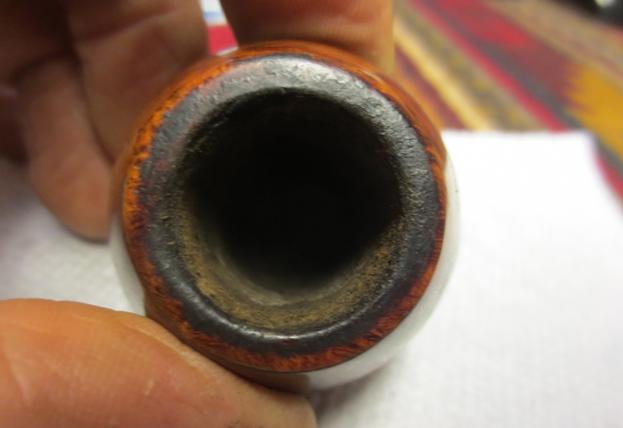
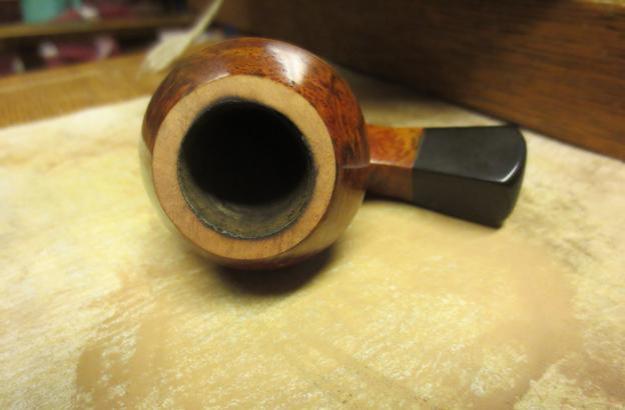
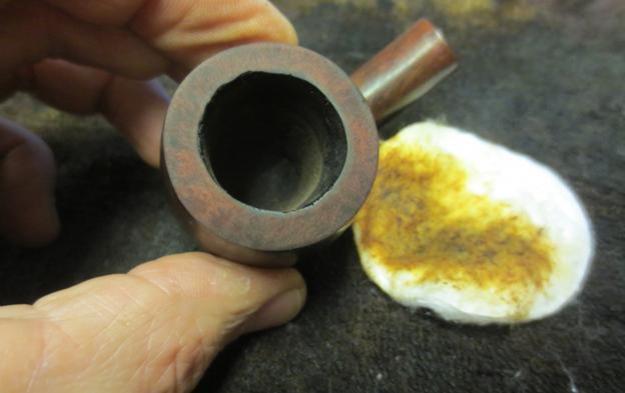
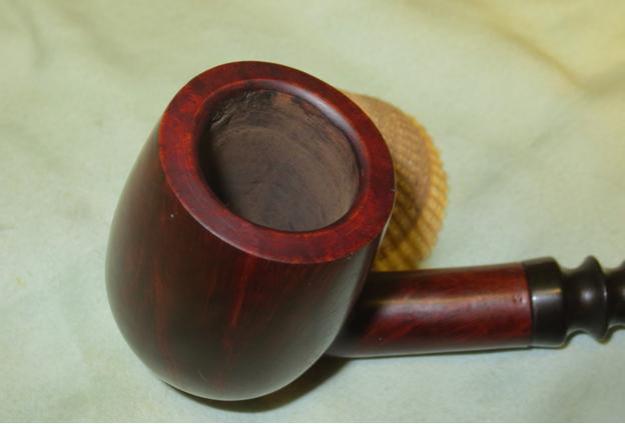
 I topped the bowl on a topping board using 220 grit sandpaper. I removed the damaged surface of the rim until the outer edges were sharp and there was no rounding.
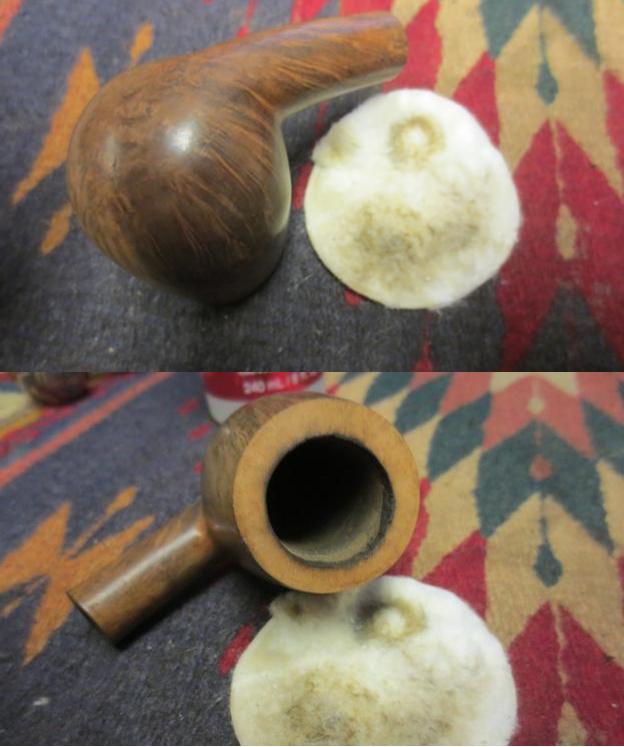
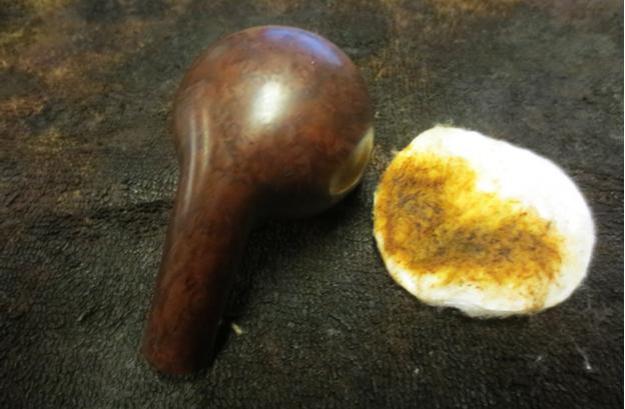
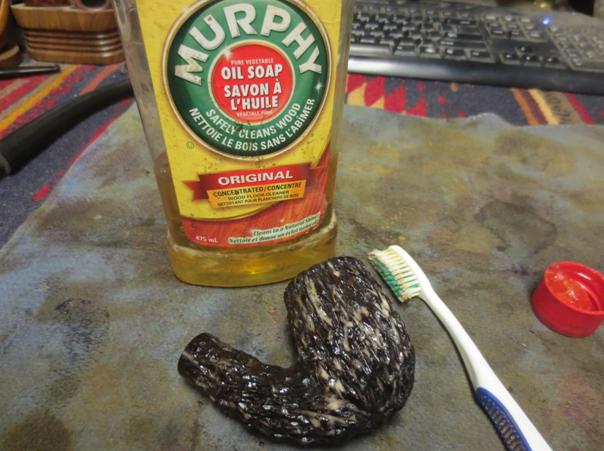
 I scrubbed the exterior of the bowl with acetone on cotton pads to remove the grime and wax that had built up and made the exterior dull and lifeless.
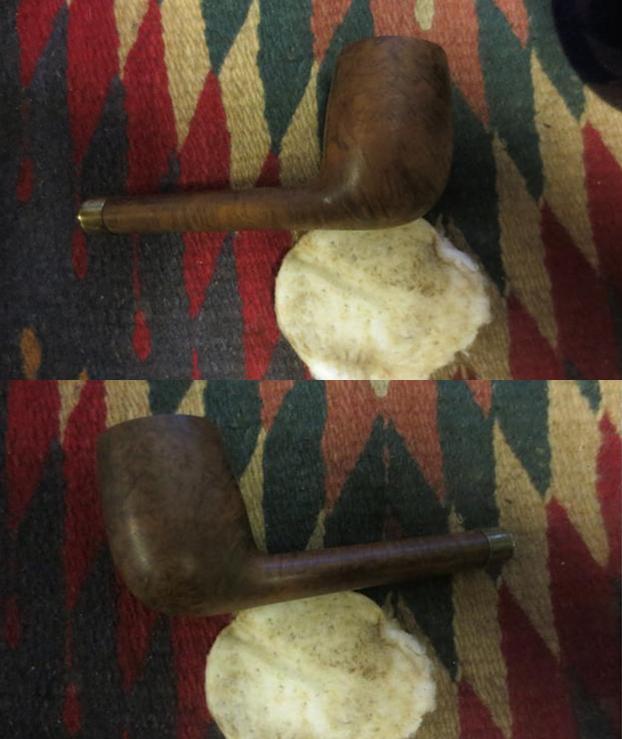
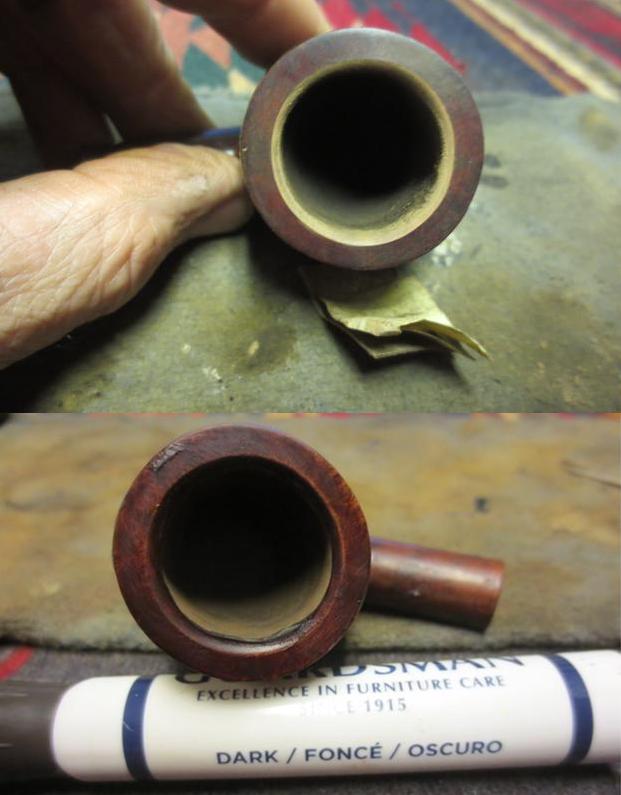
 I reworked the inner edge of the bowl to bevel it and bring it back to round using a folded piece of 180 grit sandpaper and then a piece of 220 grit sandpaper.
 I wiped the bowl down again with acetone to remove any remaining grit and also the sanding dust from the rim repairs.
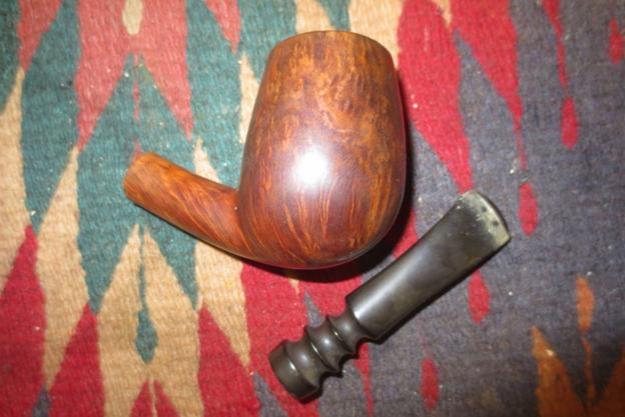
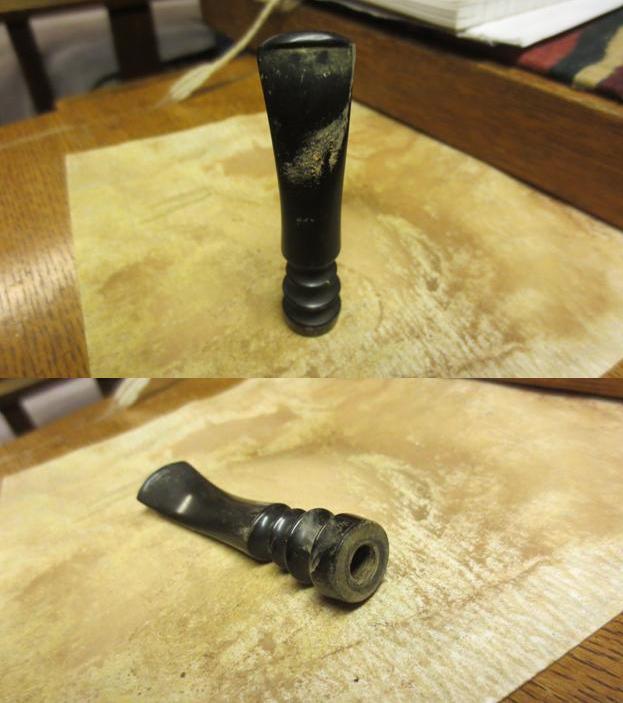
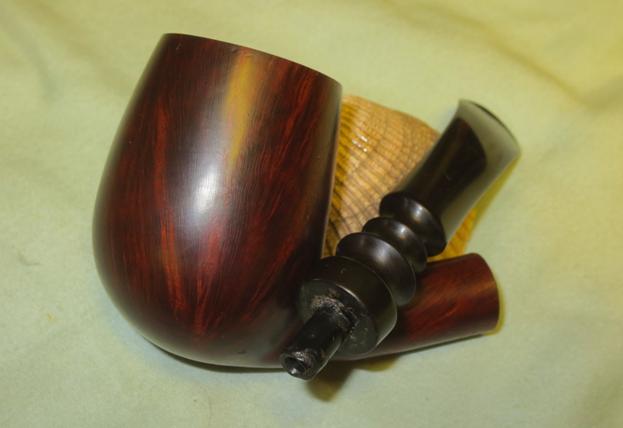
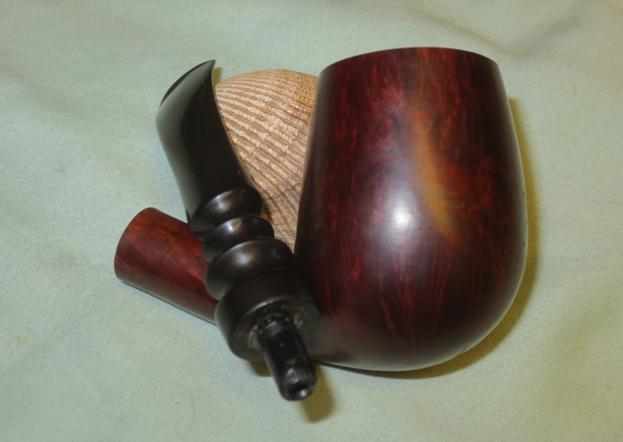
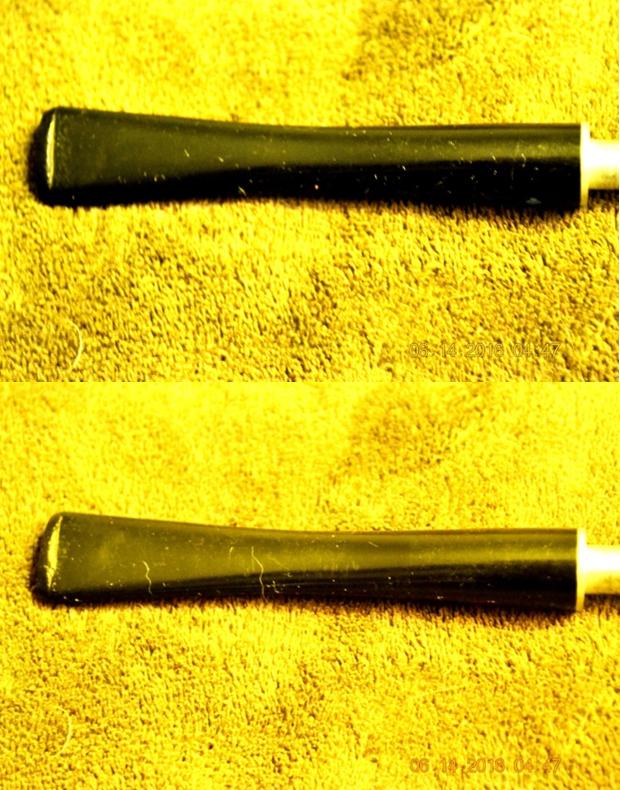
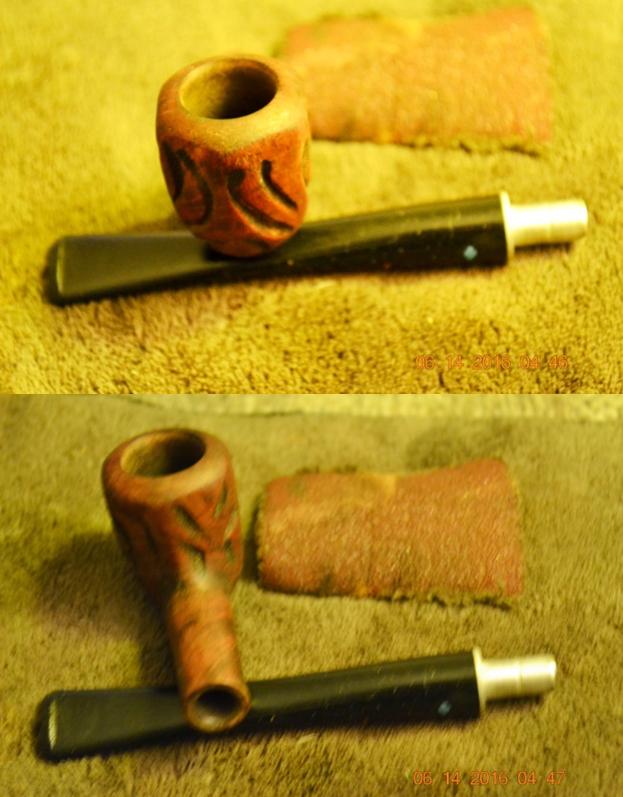
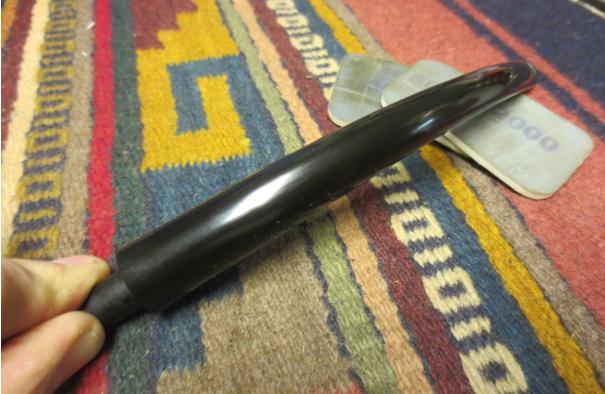
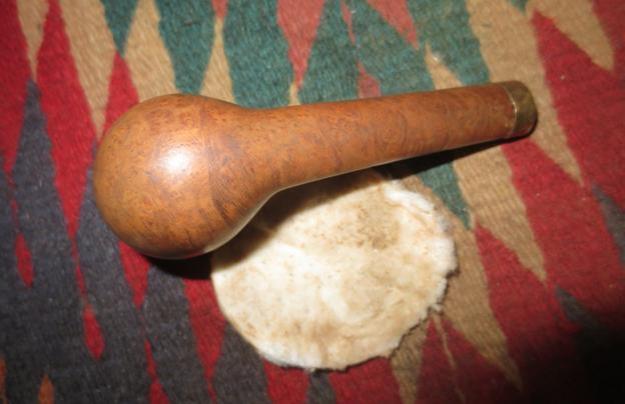 I put the stem in place and took some photos to be able to see what still remained to remove from the diameter of the stem and what shaping still needed to be done. There was some width to be removed from the top and bottom sides at the band and then the taper needed to be reduced as well to remove the slight hip. The width on the right and left side also needed a bit more work to make the flow seamless.
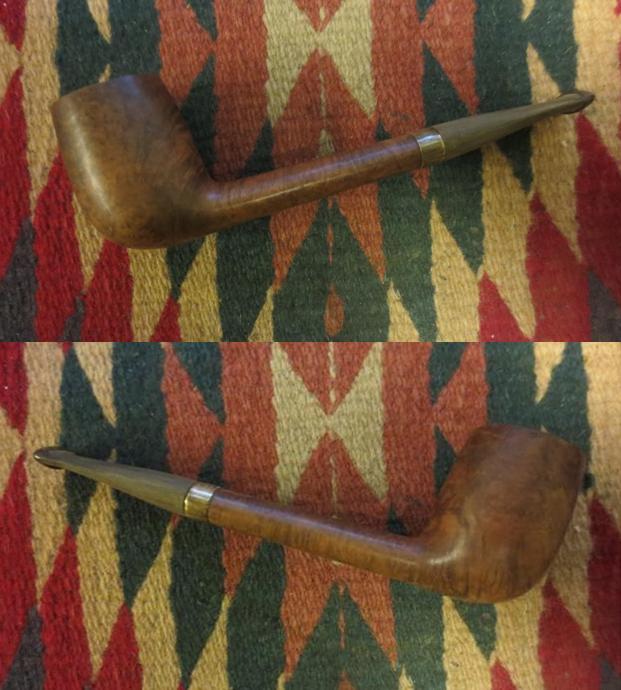
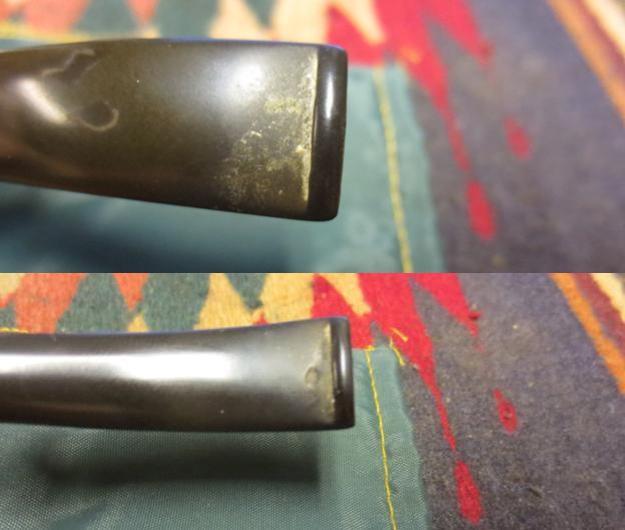
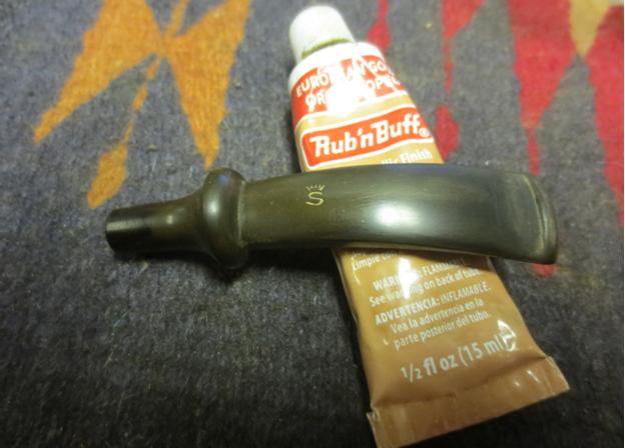
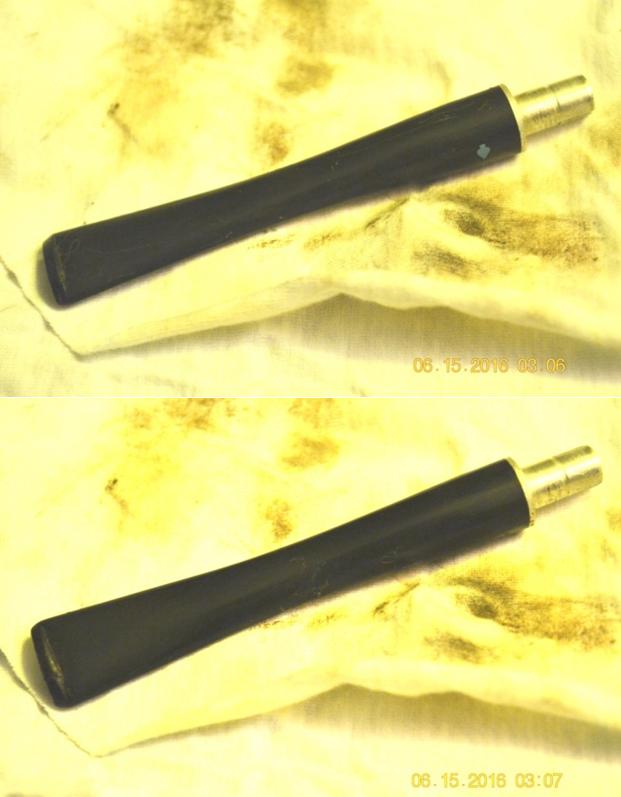
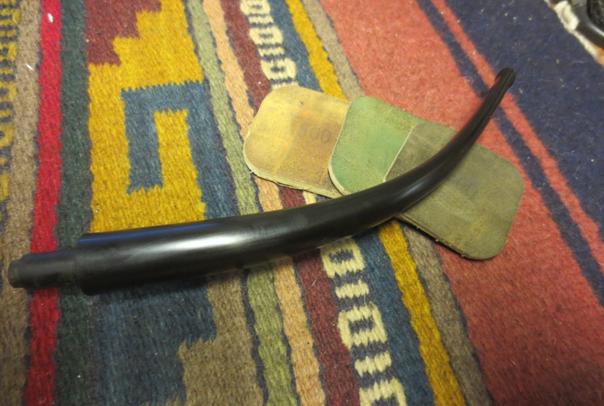
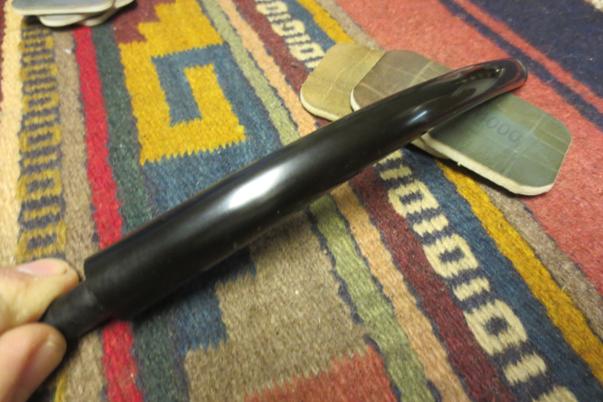
 I sanded the stem with 180 grit sandpaper to further shape it and clean up the flow from the shank to the button. It took a lot of sanding to get the angles and flow just right.
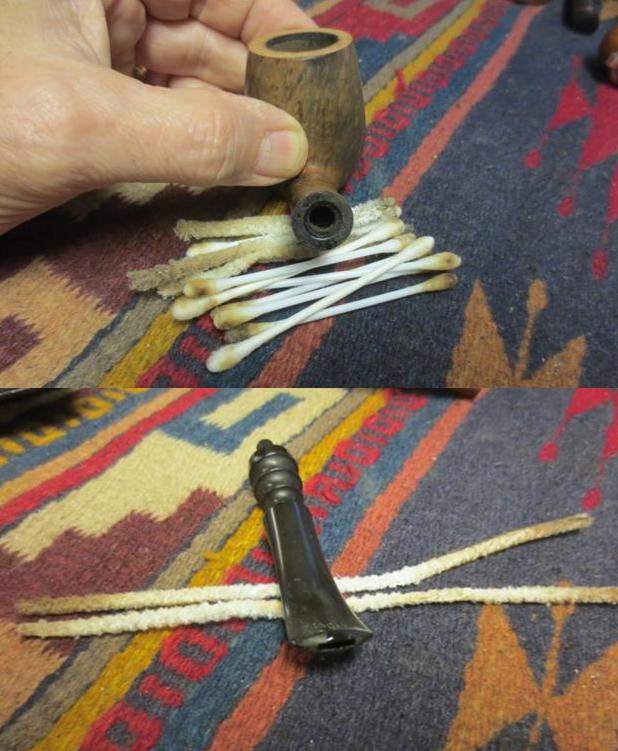
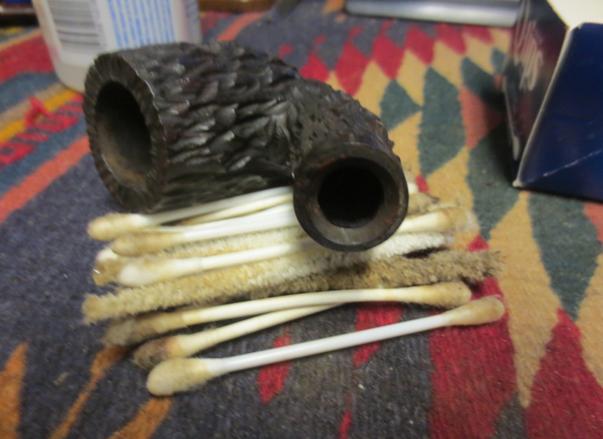
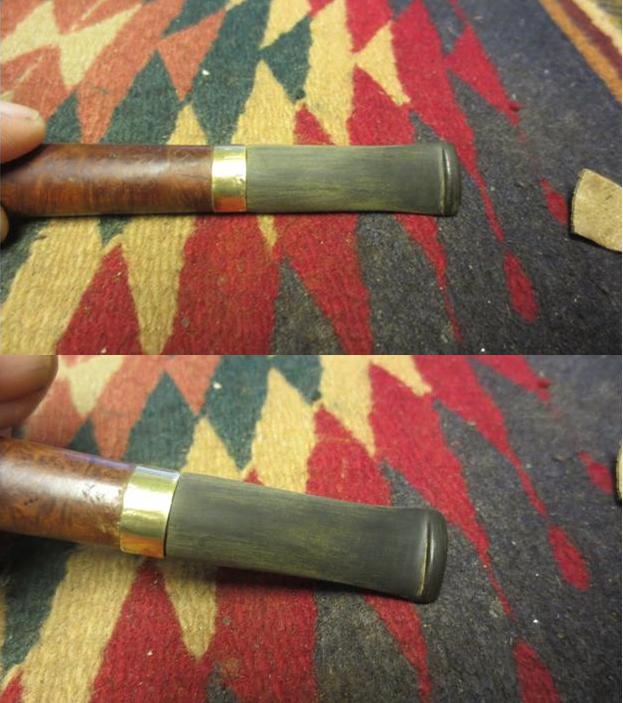 I scrubbed out the mortise and the airway in the stem and the shank with alcohol, cotton swabs and pipe cleaners.
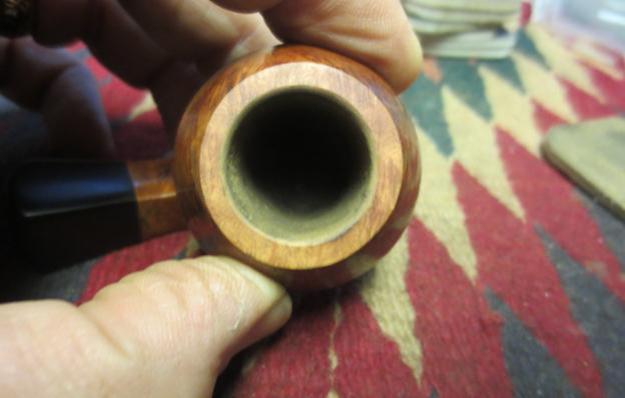
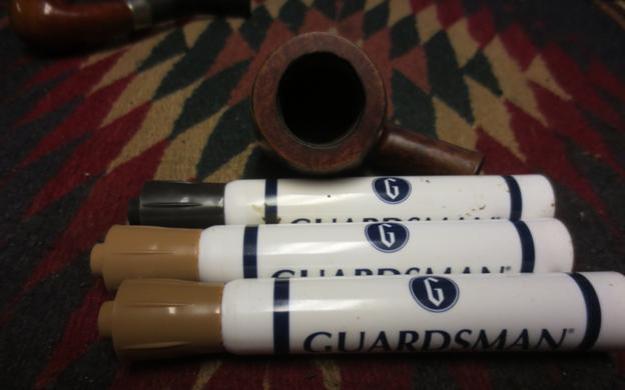
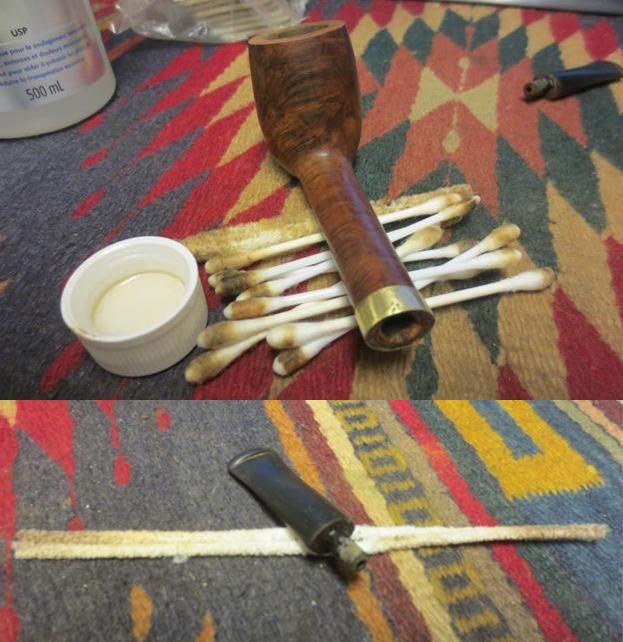 I sanded the rim with a medium and a fine grit sanding sponge to remove the scratches left behind by the topping and then stained it with a light brown stain pen to match the colour of the bowl.
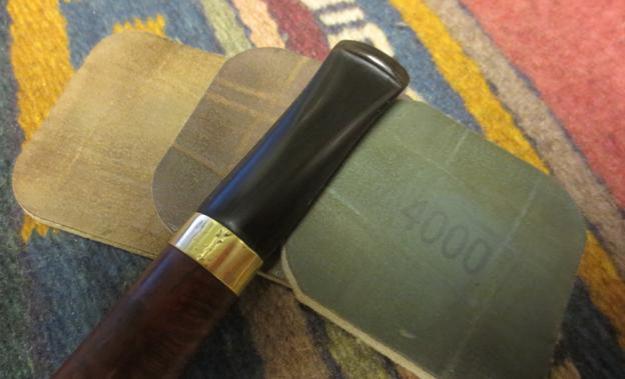
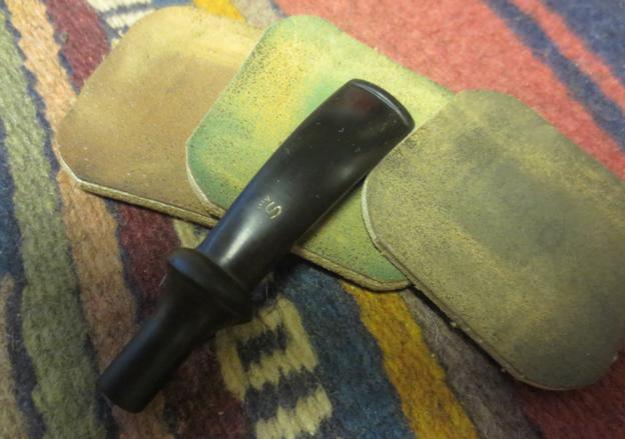
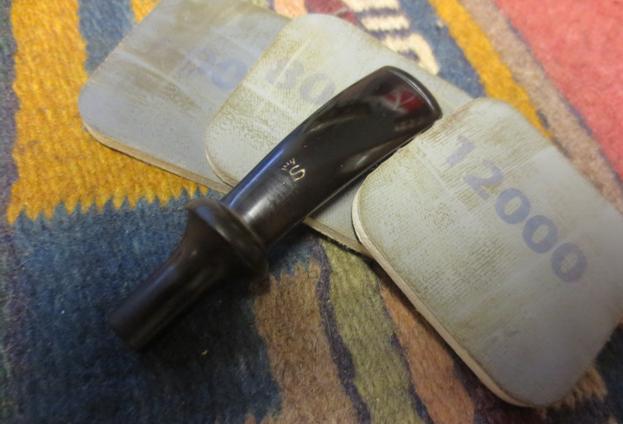
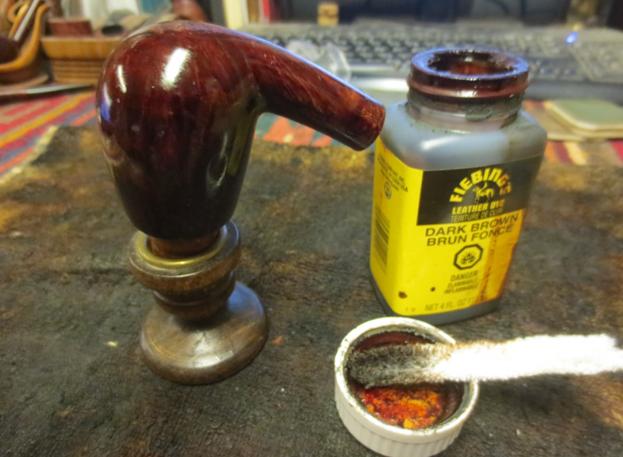
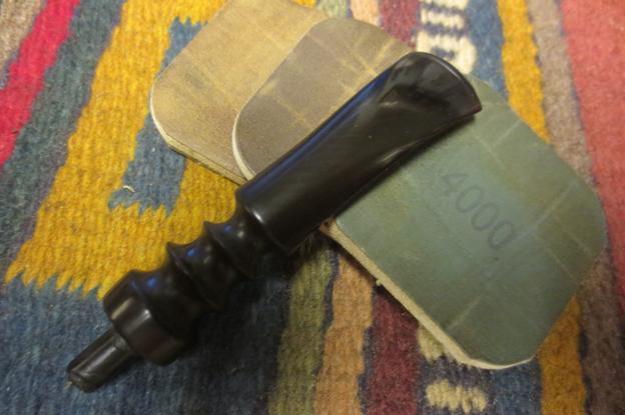
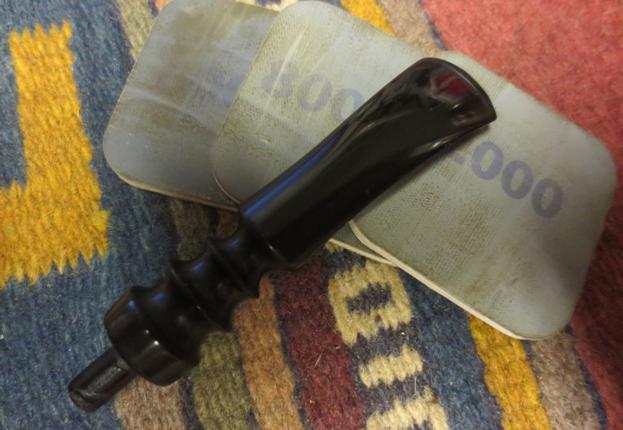
 I wet sanded the stem with 1500-2400 grit micromesh sanding pads and gave it a coat of Obsidian Oil. I dry sanded with 3200-4000 grit pads and gave it another coat of oil. I finished the sanding with 6000-12000 grit pads and gave it a final coat of oil. I set it aside to dry.
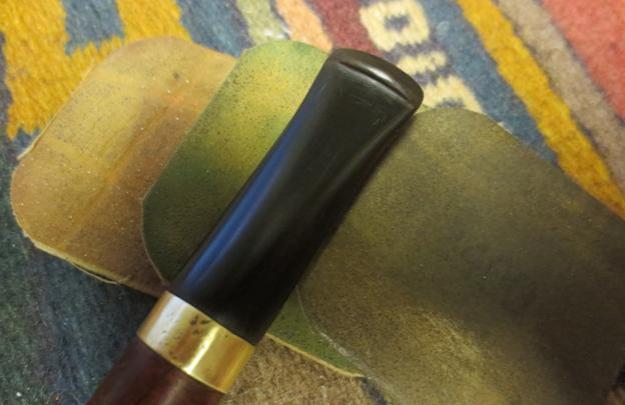
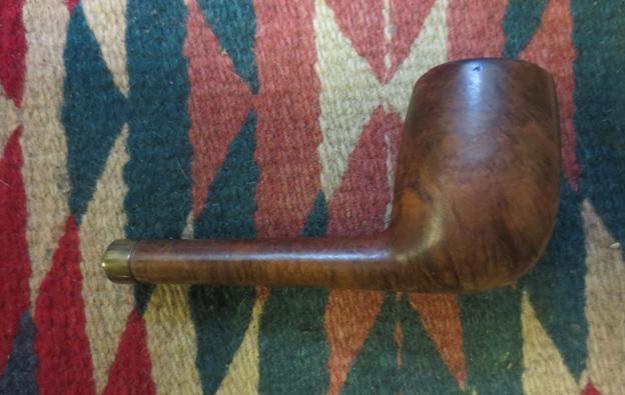
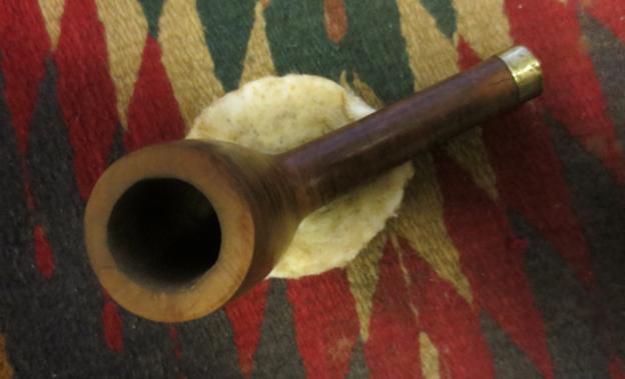
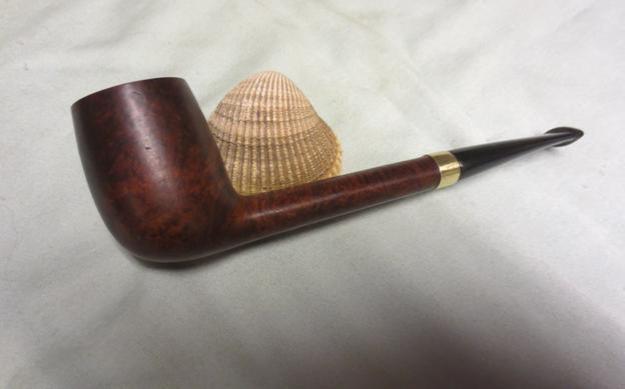
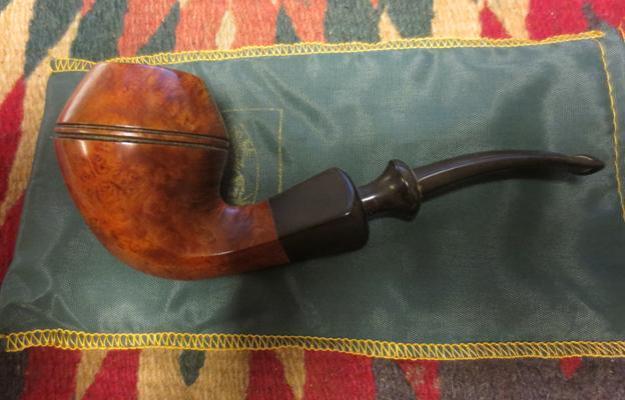
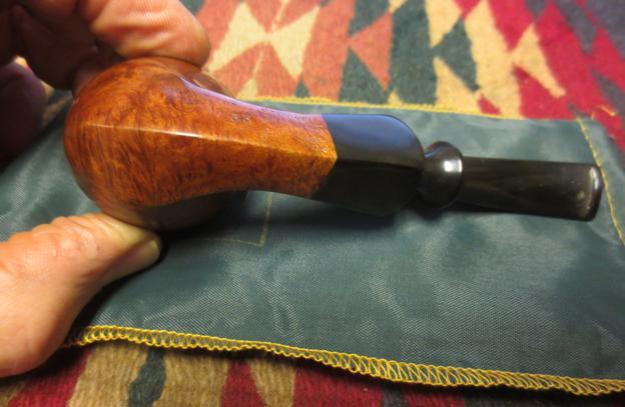
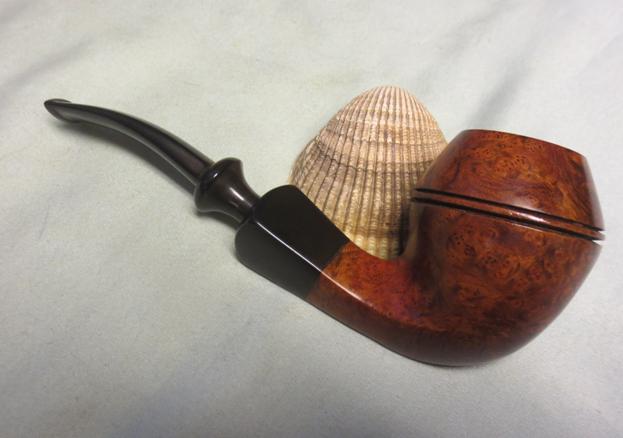
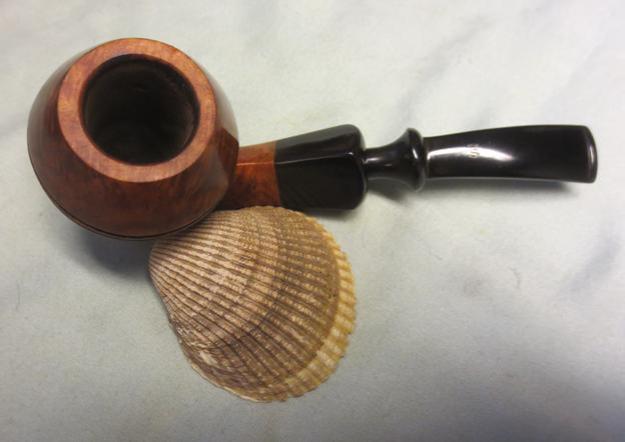
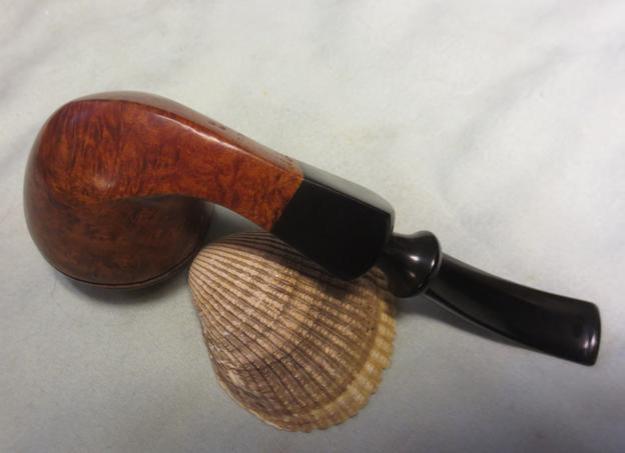
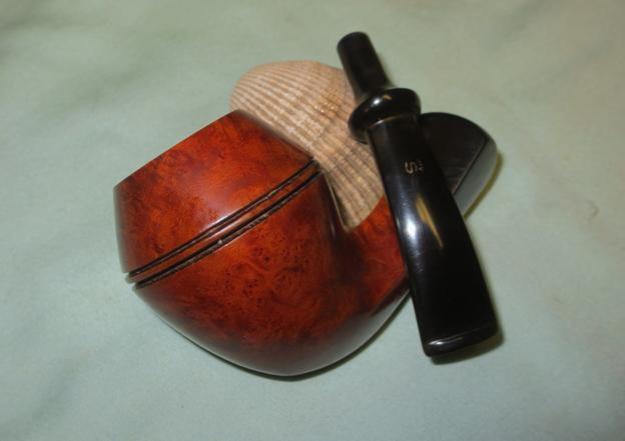
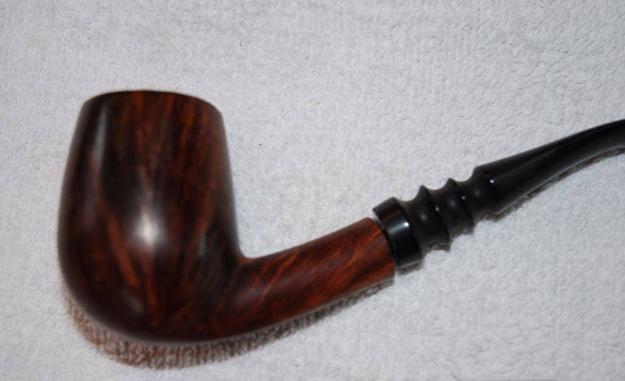
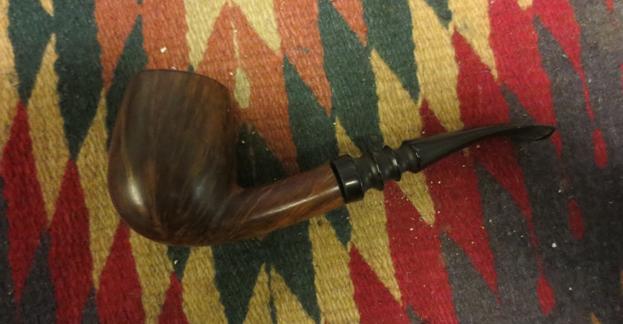
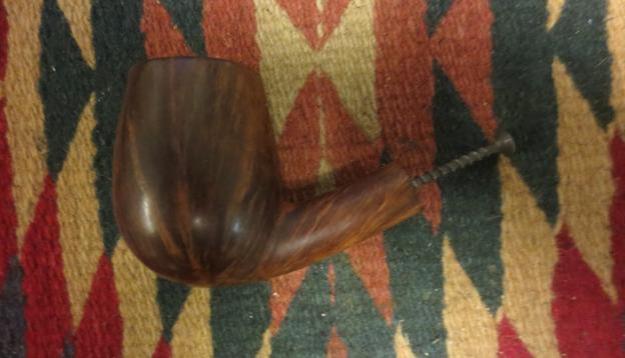
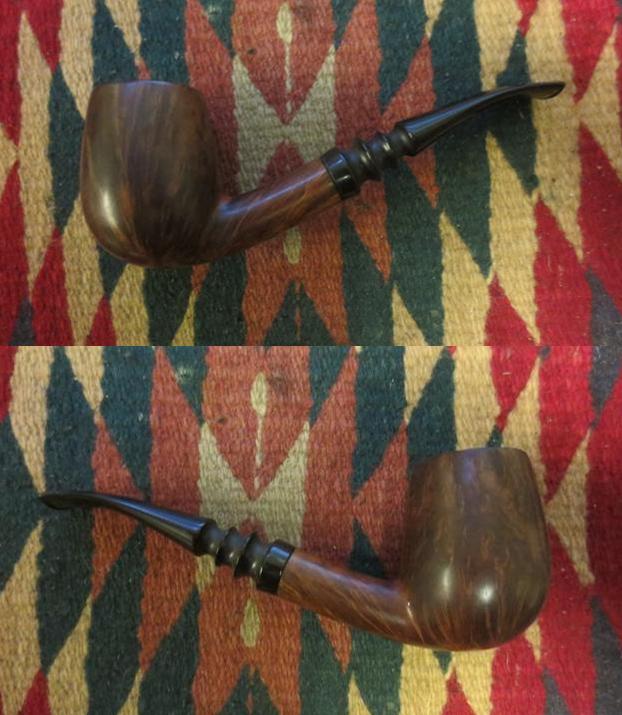
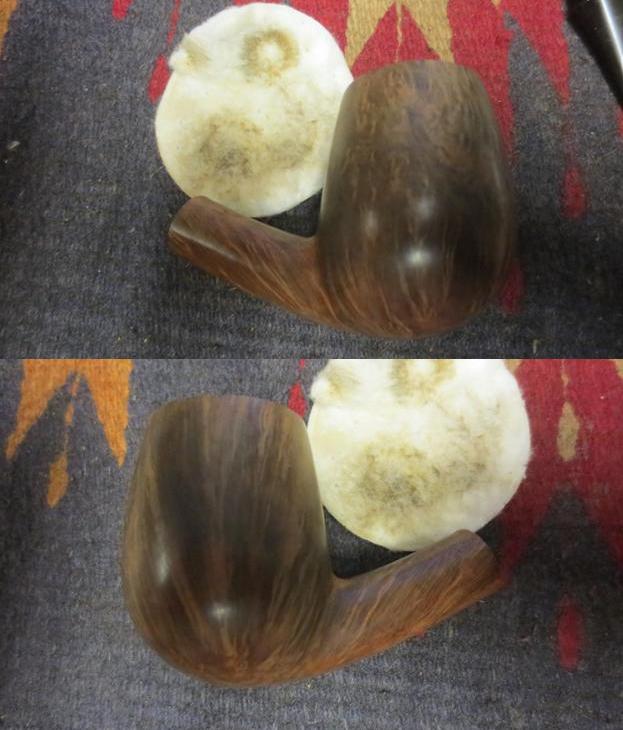
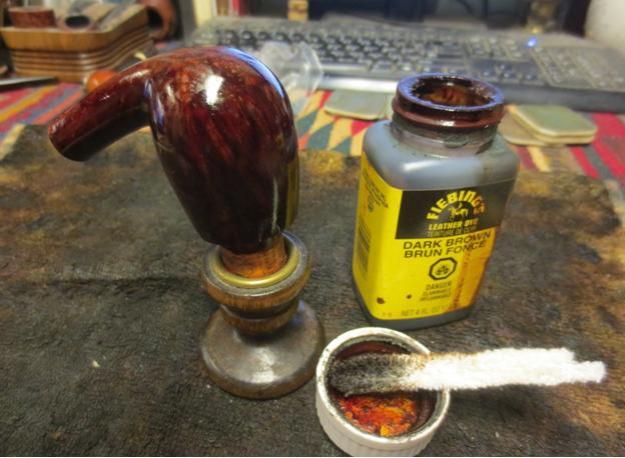
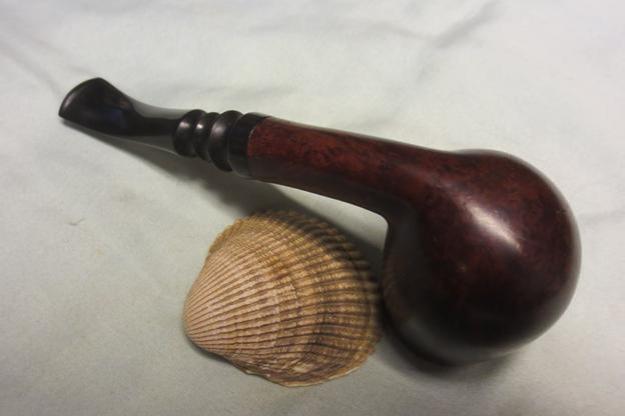
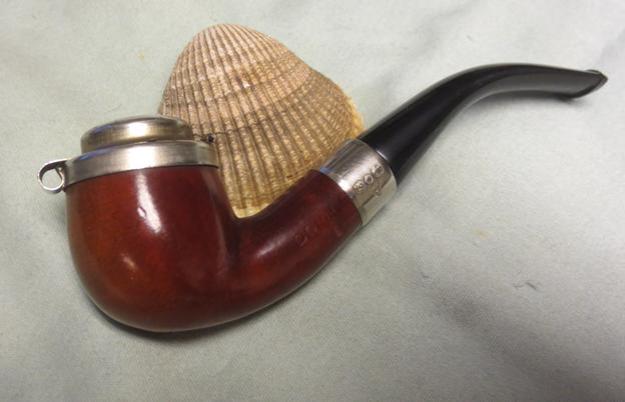
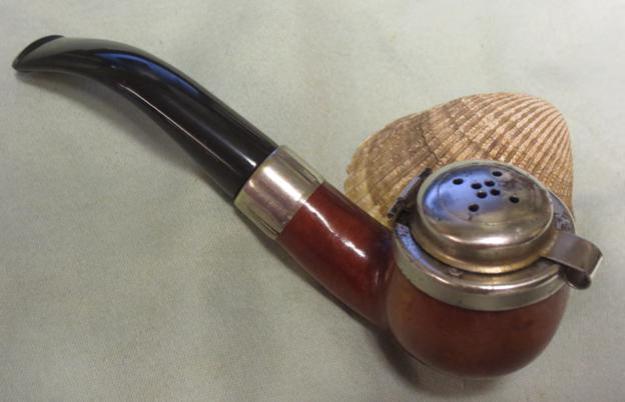
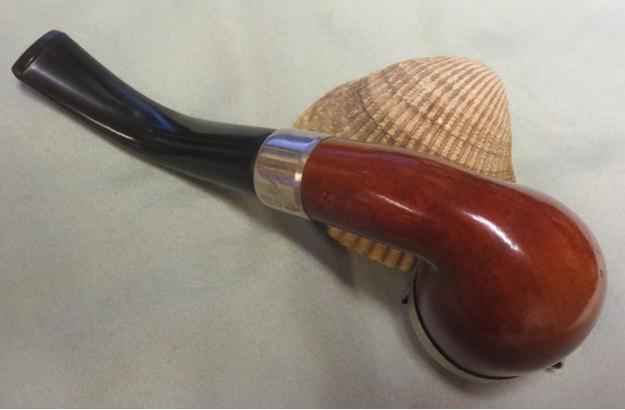
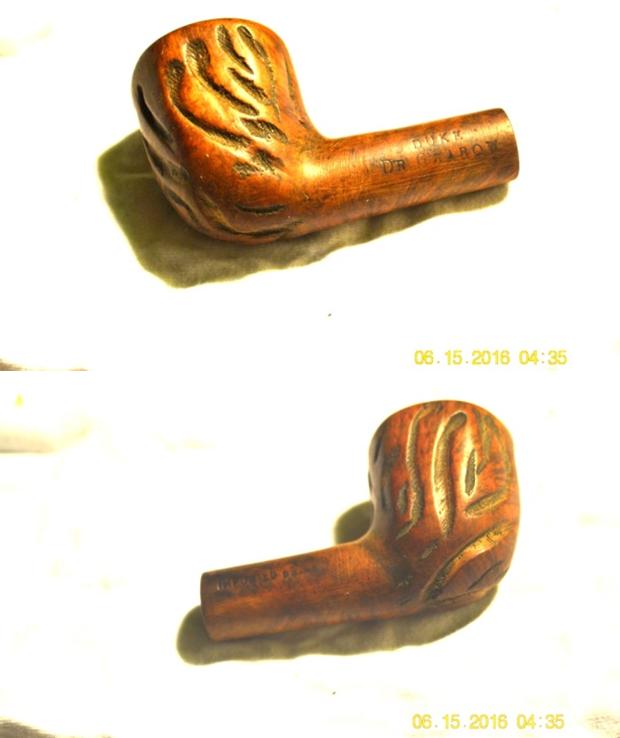
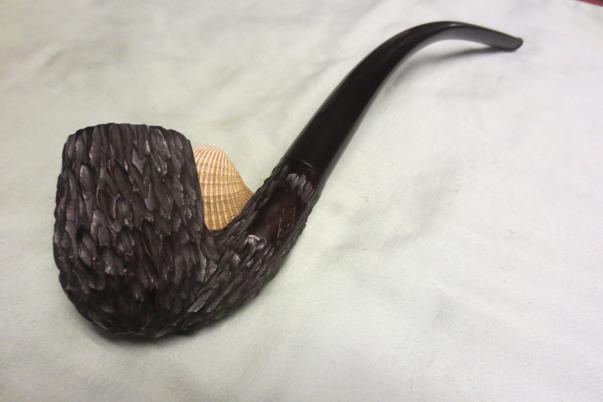
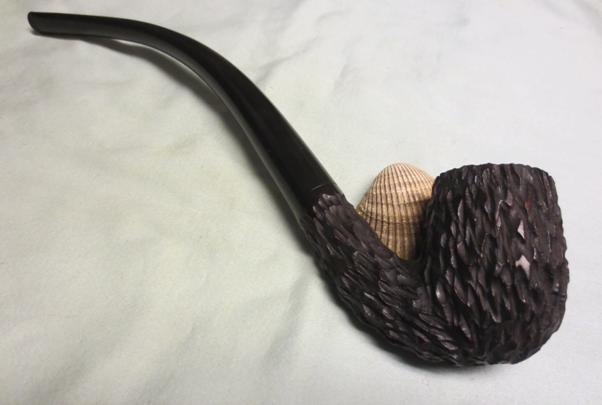
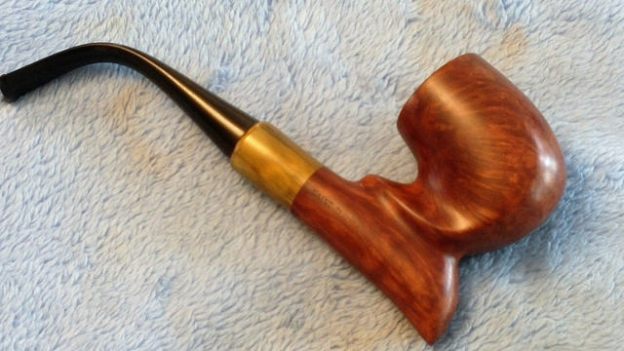
 I buffed the pipe with Blue Diamond and gave it multiple coats of carnauba wax. The colour darkened slightly with the wax. I buffed it with a clean buffing pad and then by hand with a microfibre cloth. The finished pipe is shown below. I am pleased with the way the fit and finish of the stem came out and also the overall look of the pipe. Thanks for looking.
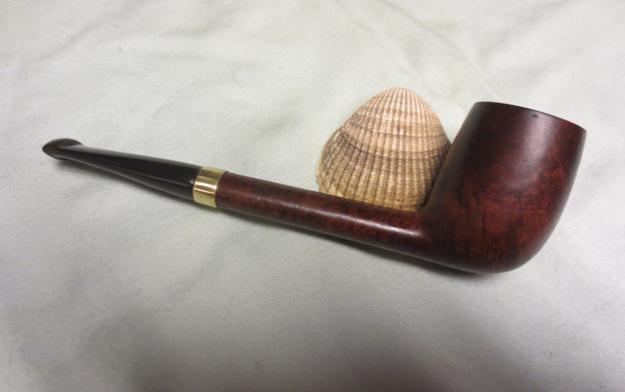


