Daily Archives: July 19, 2014

New Life for an old KBB Doc Watson Dublin


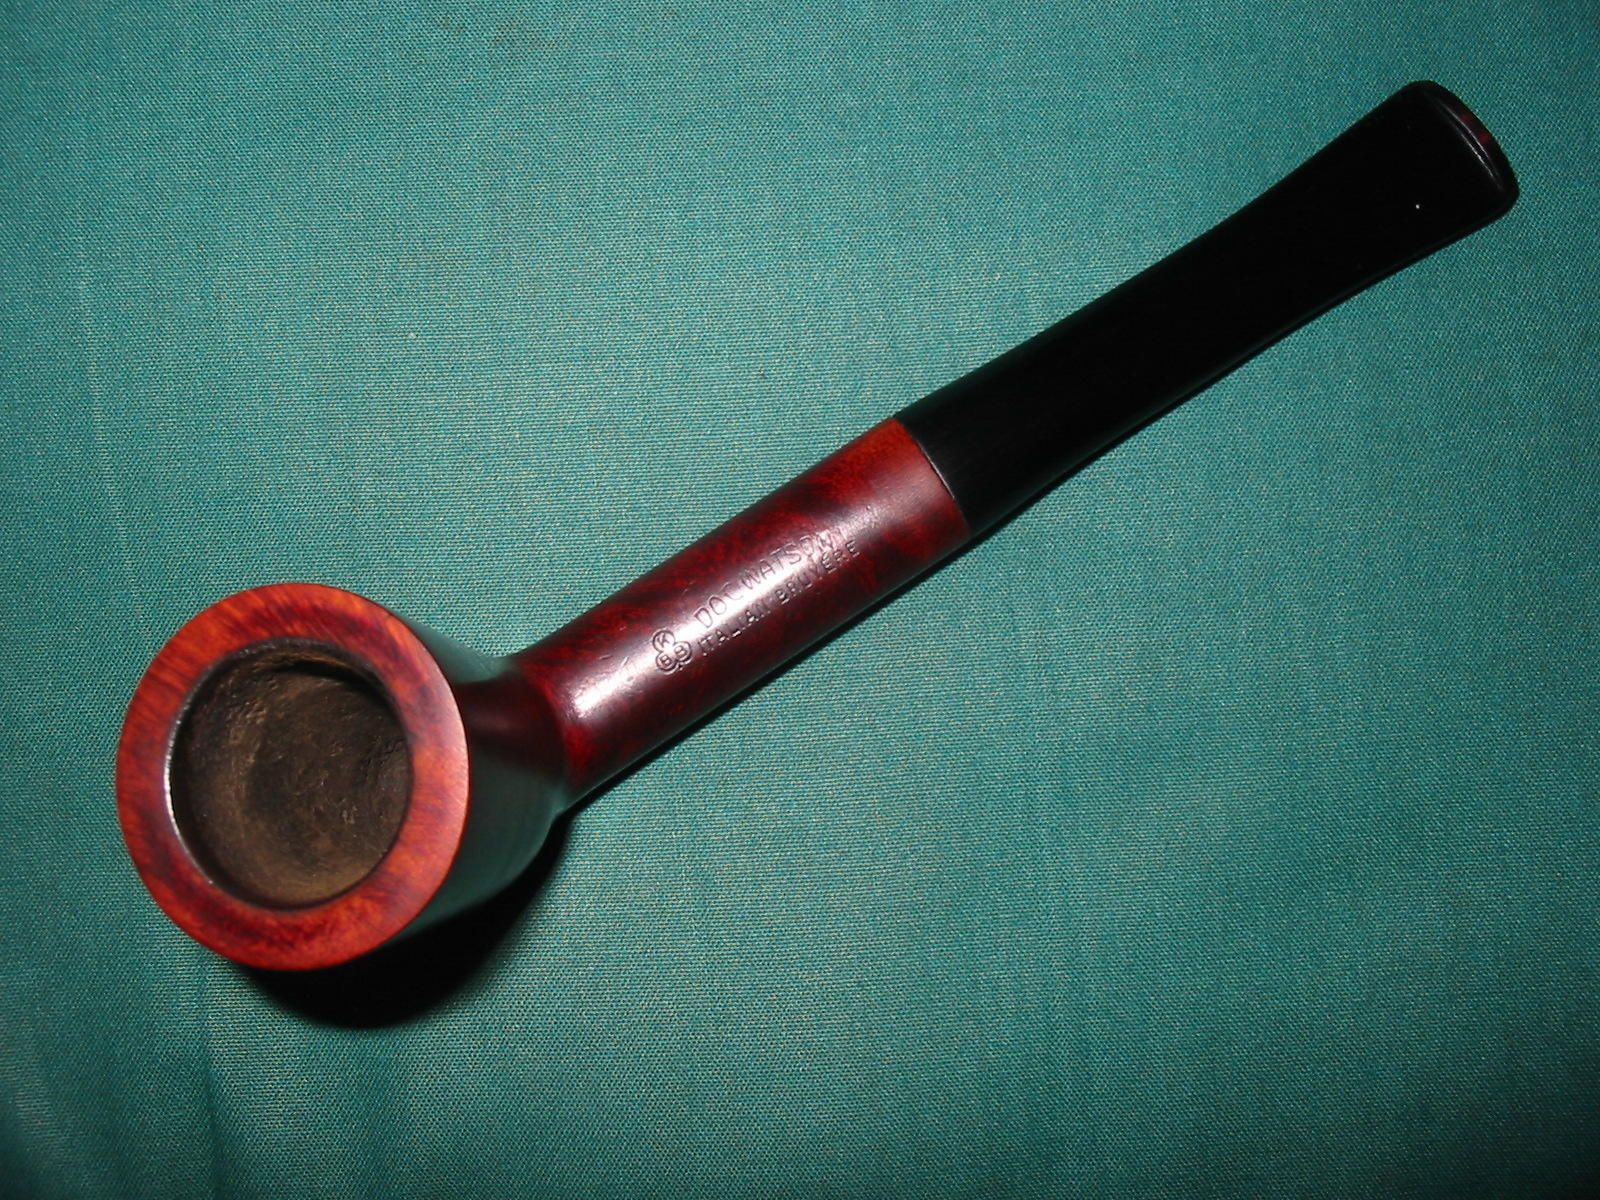
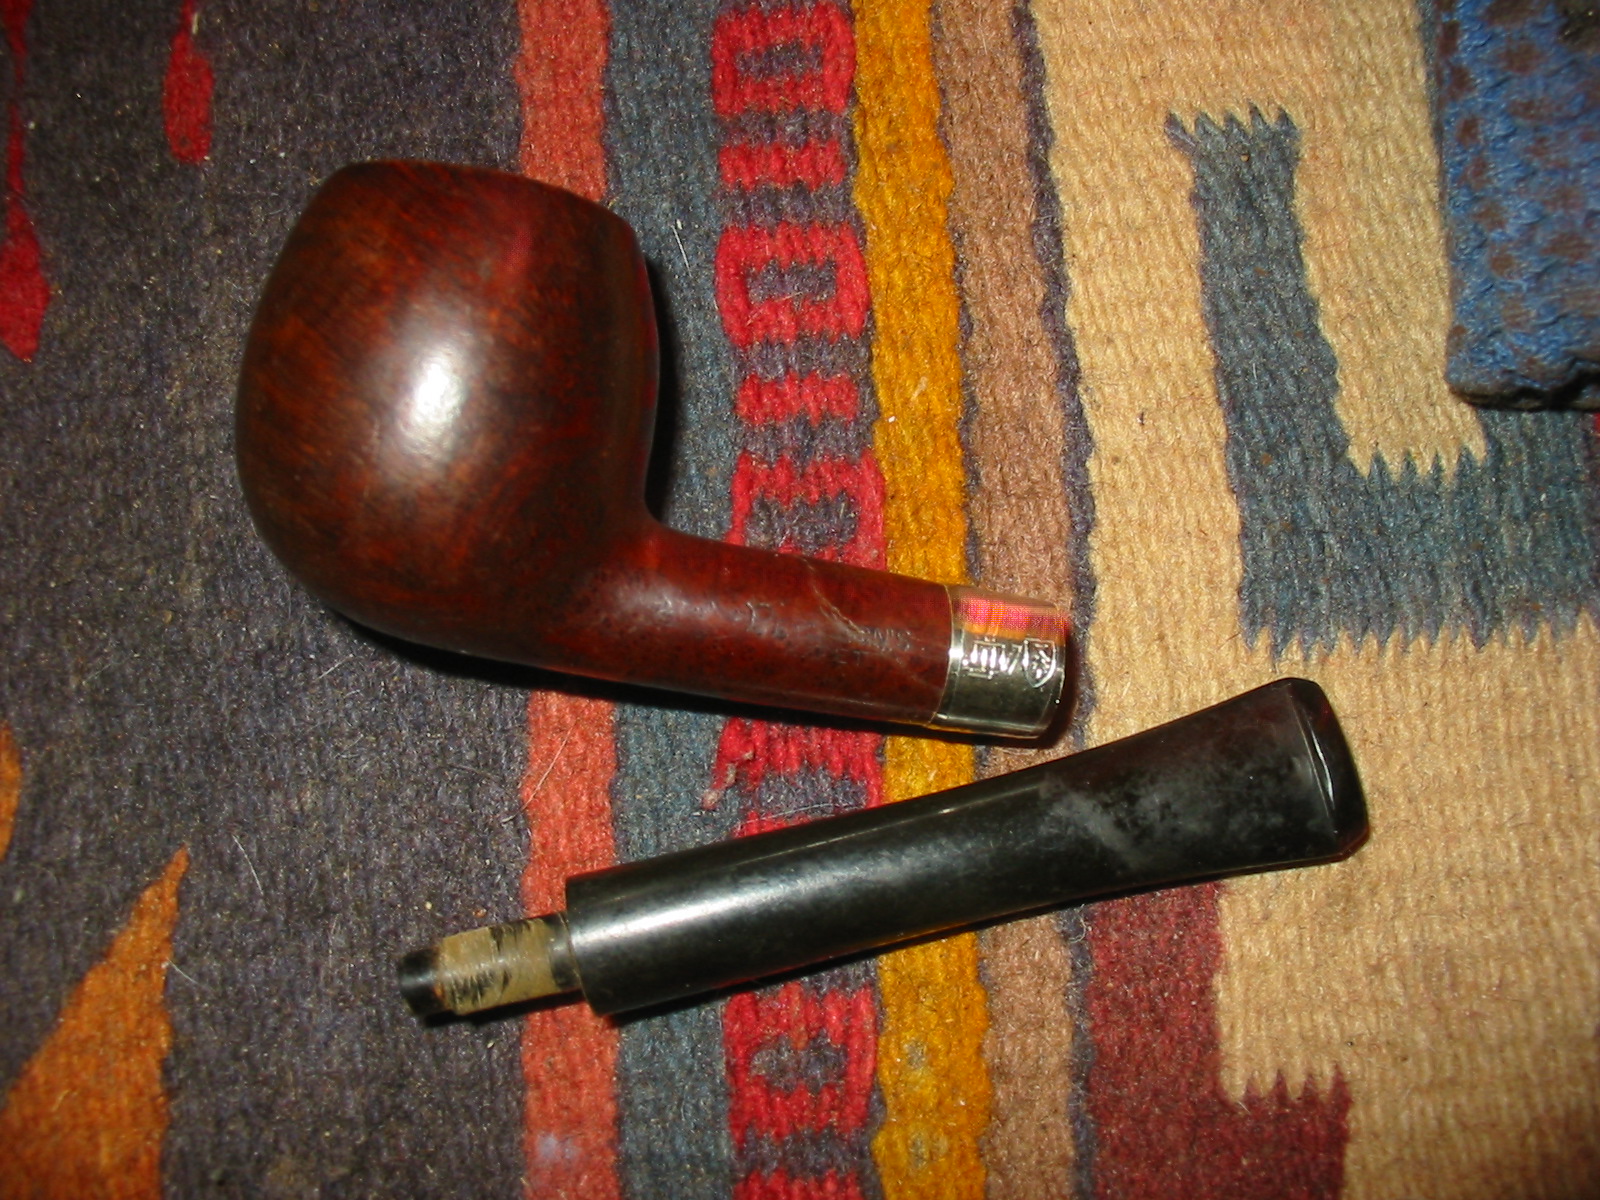
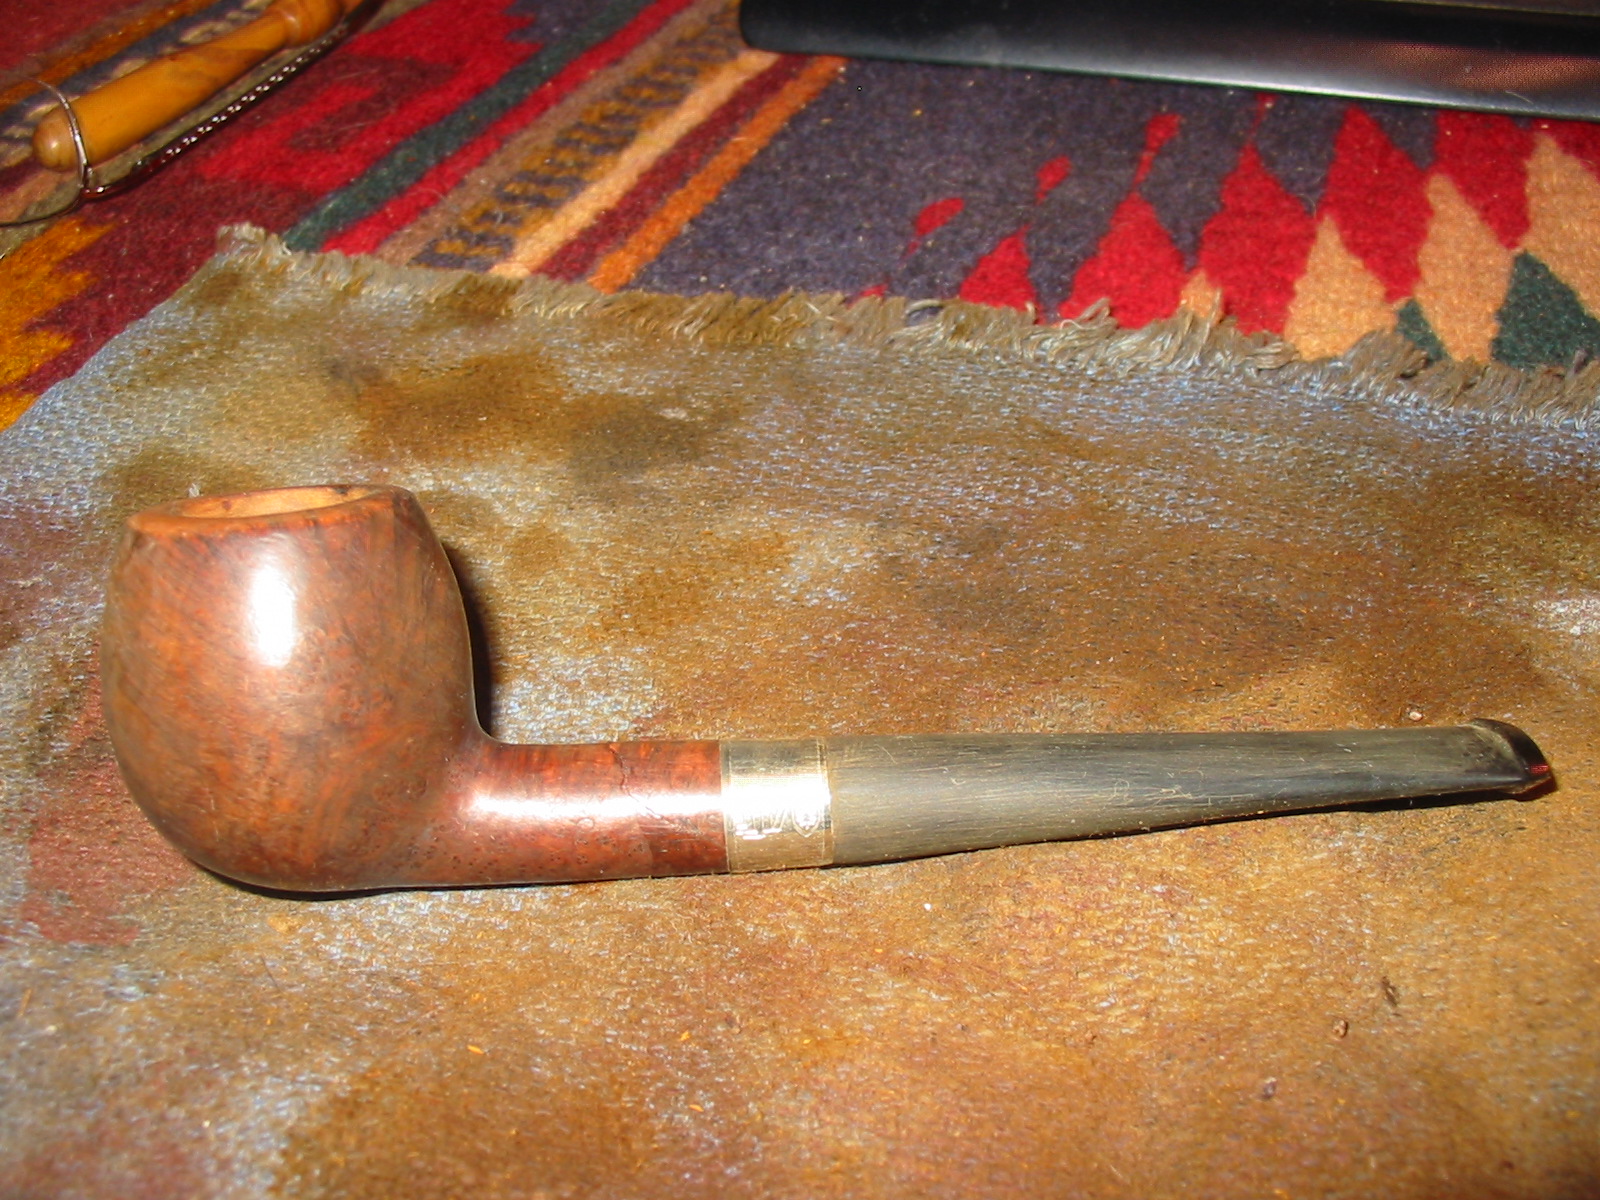
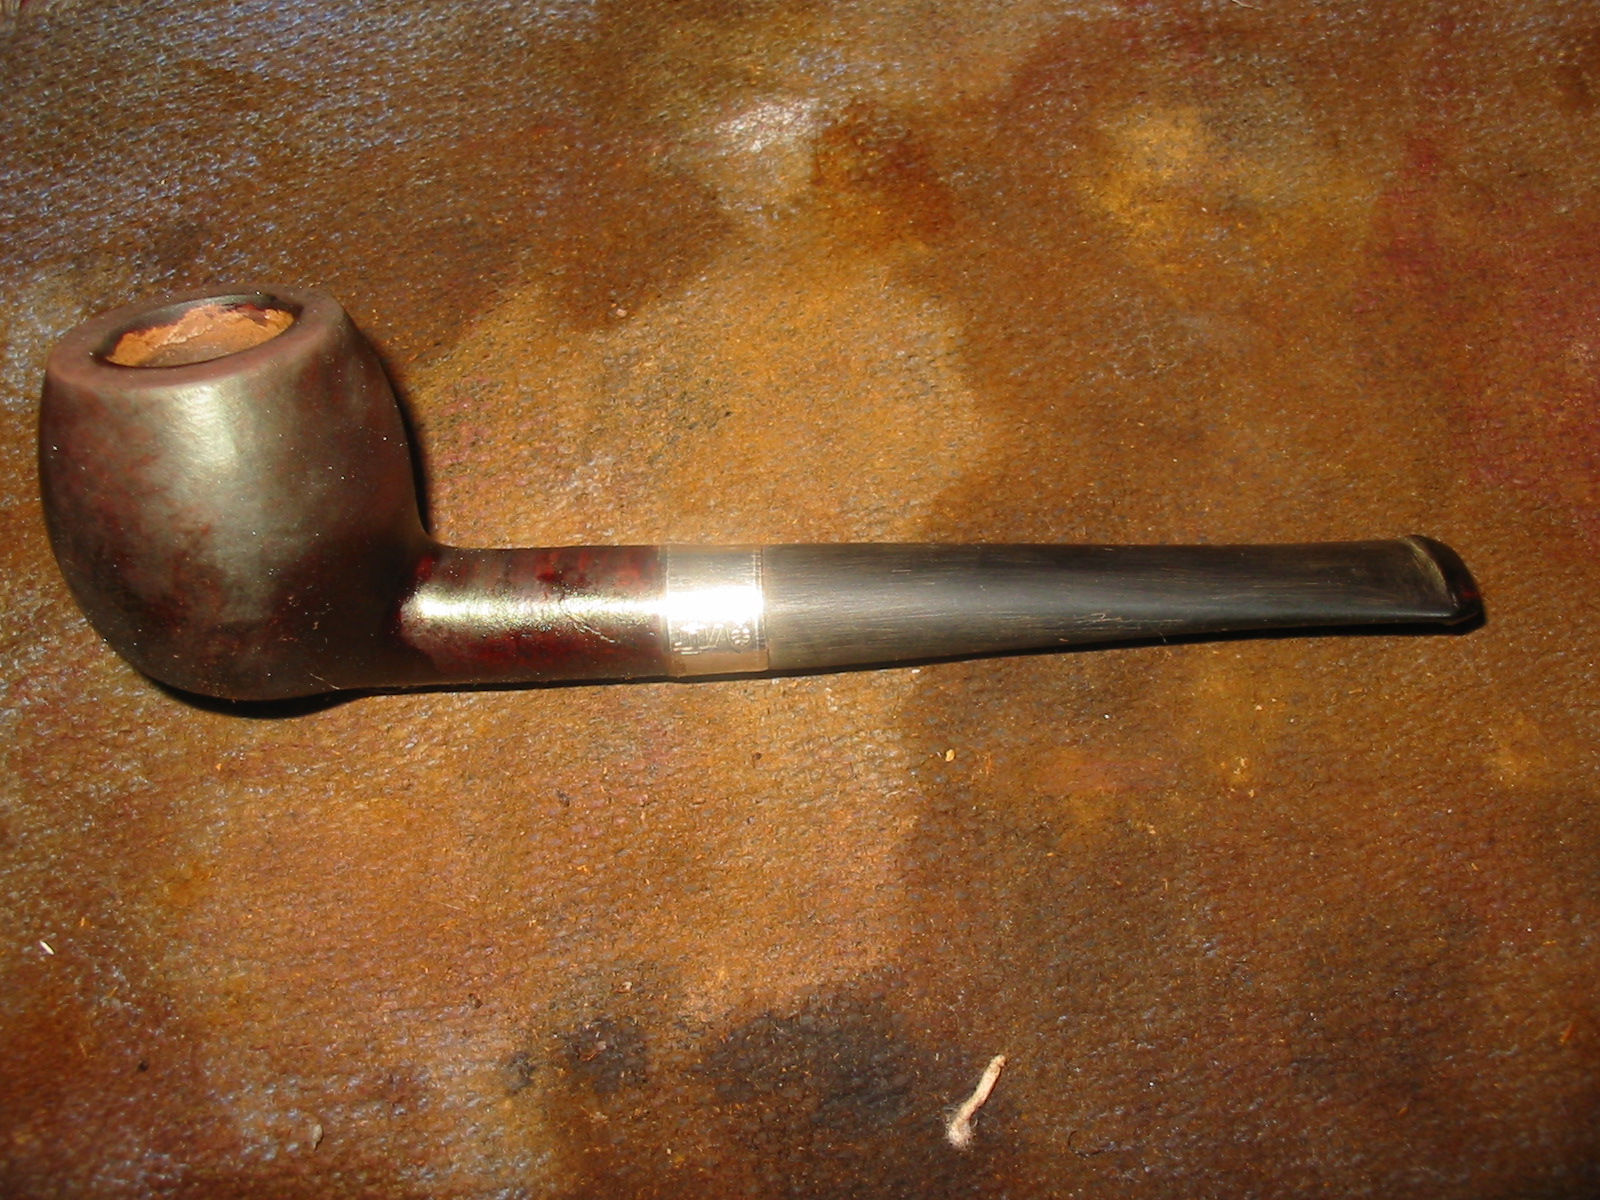
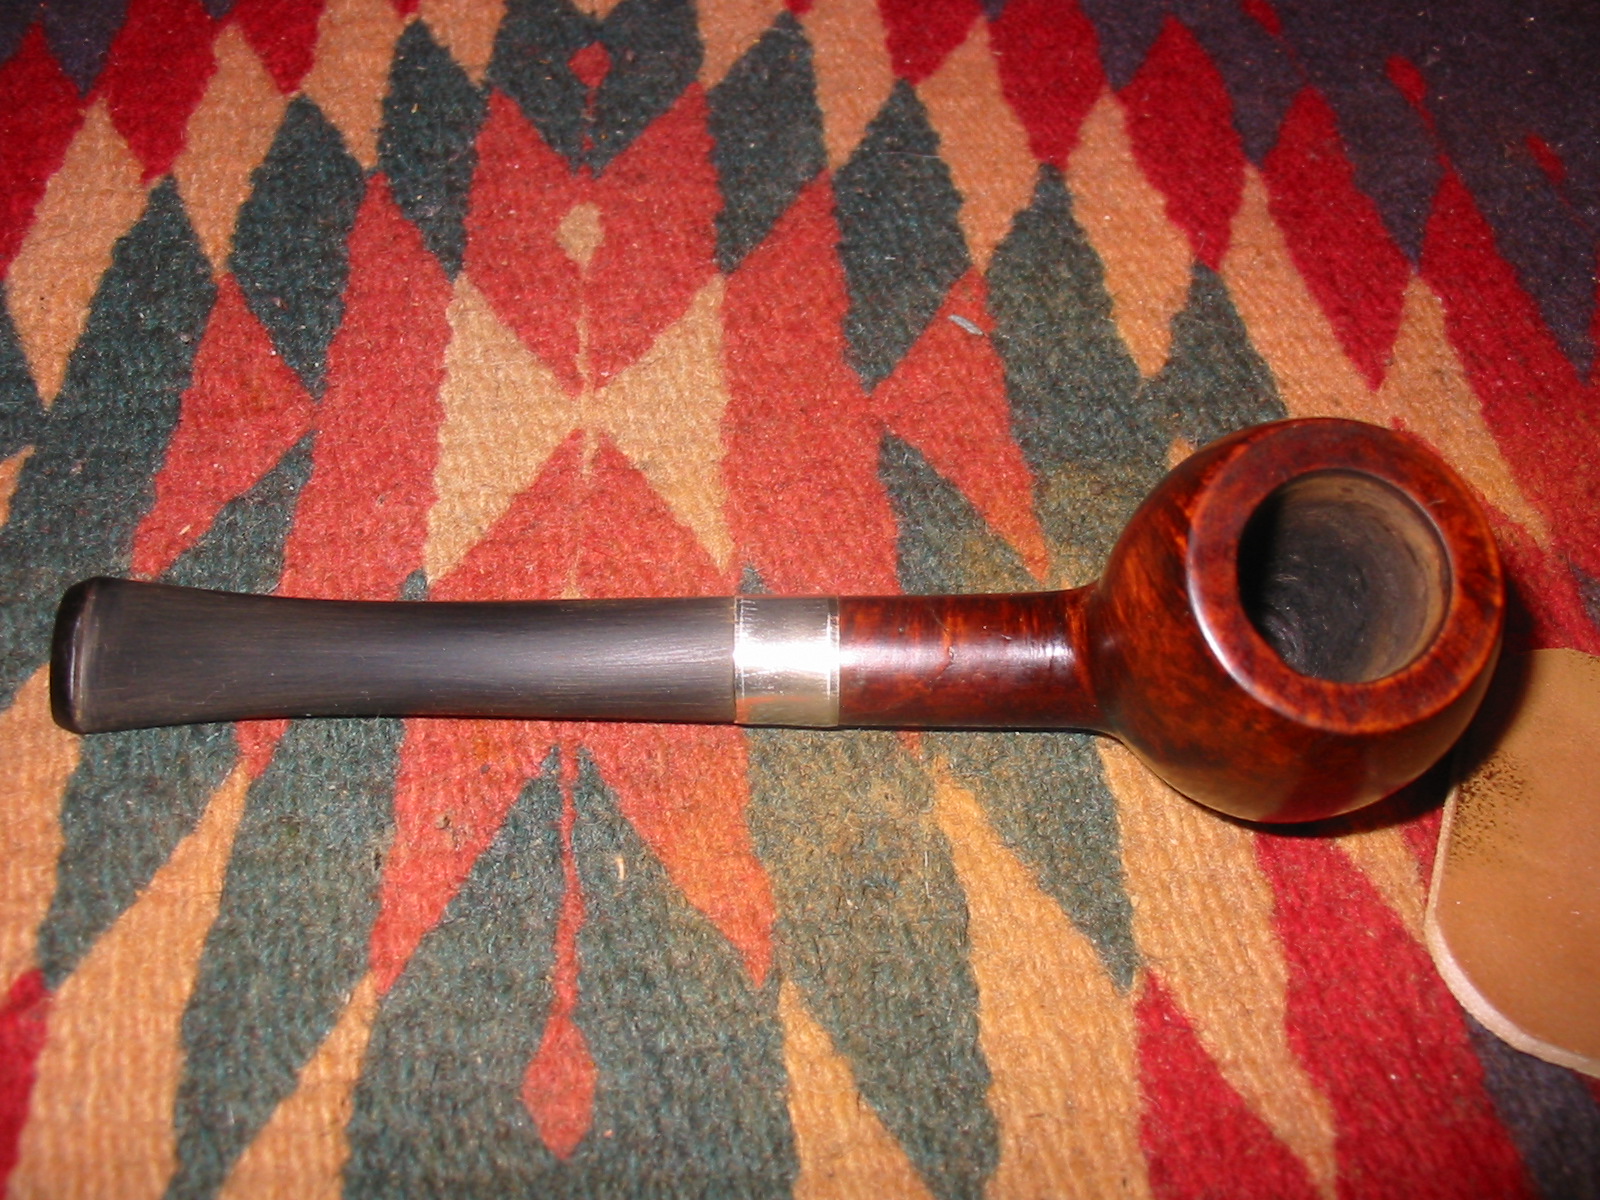
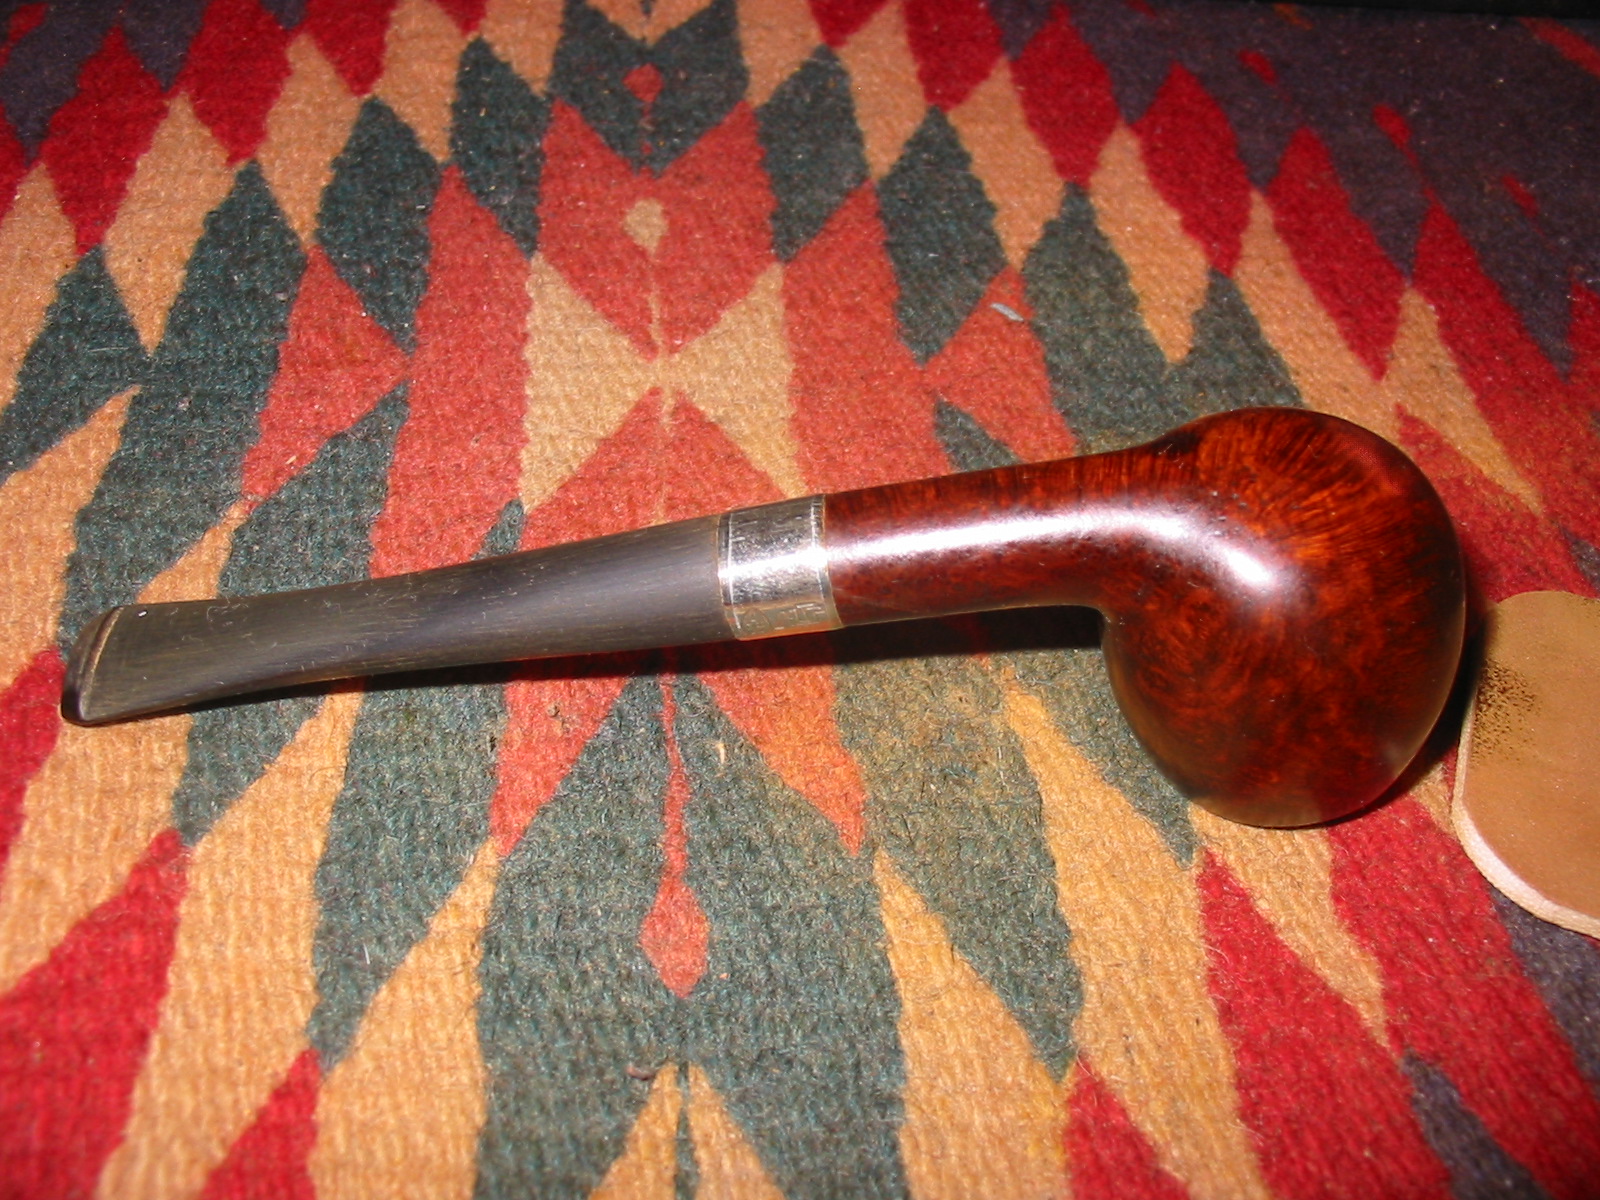
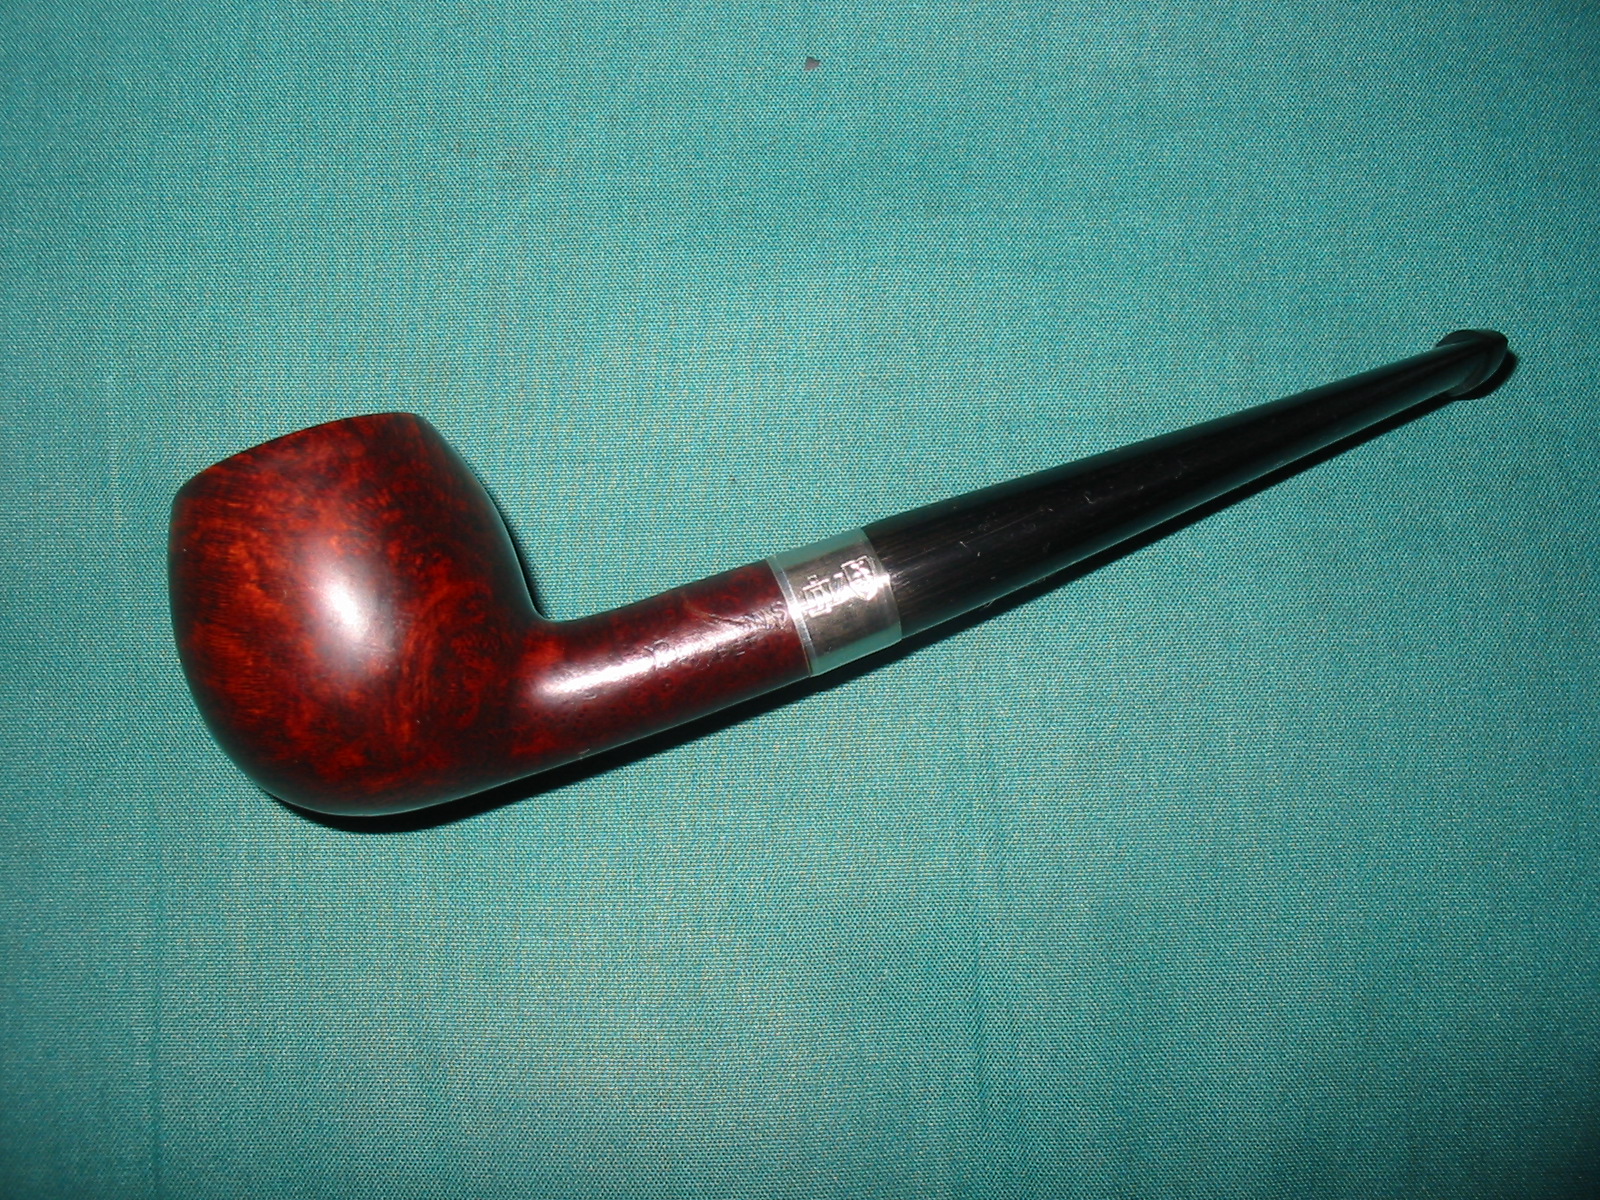
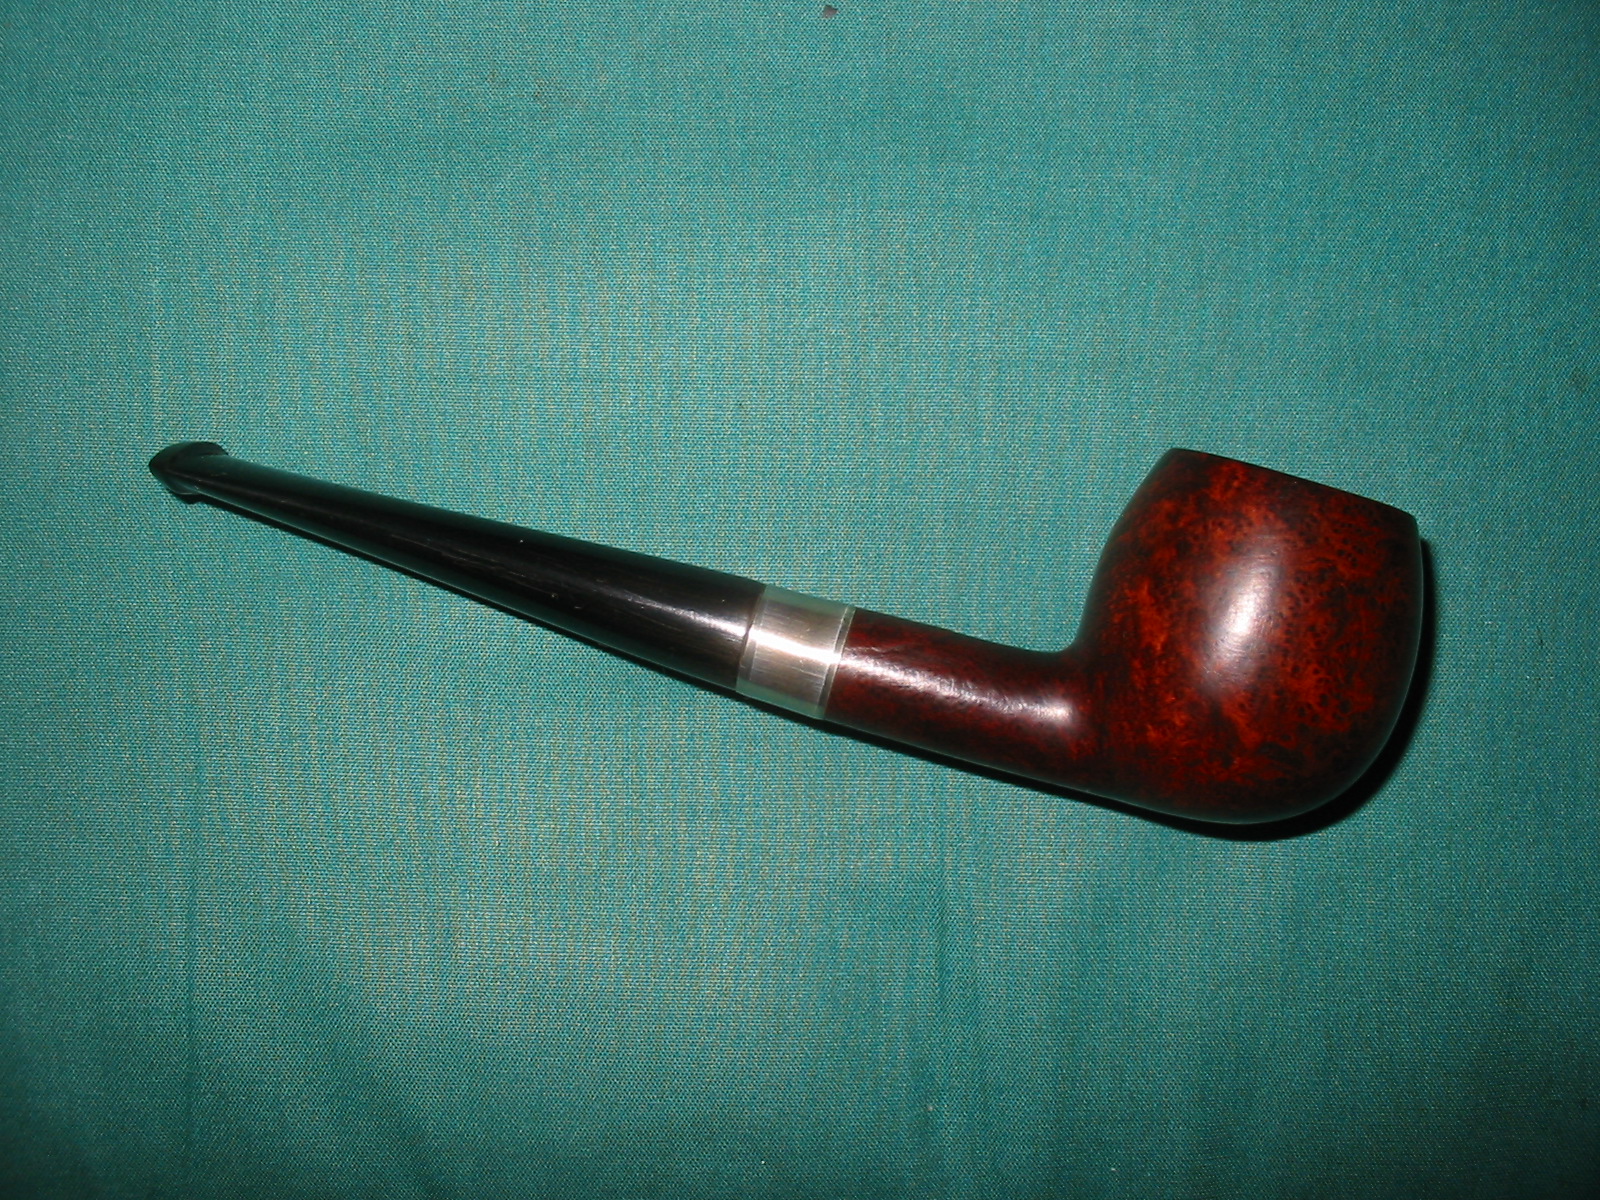
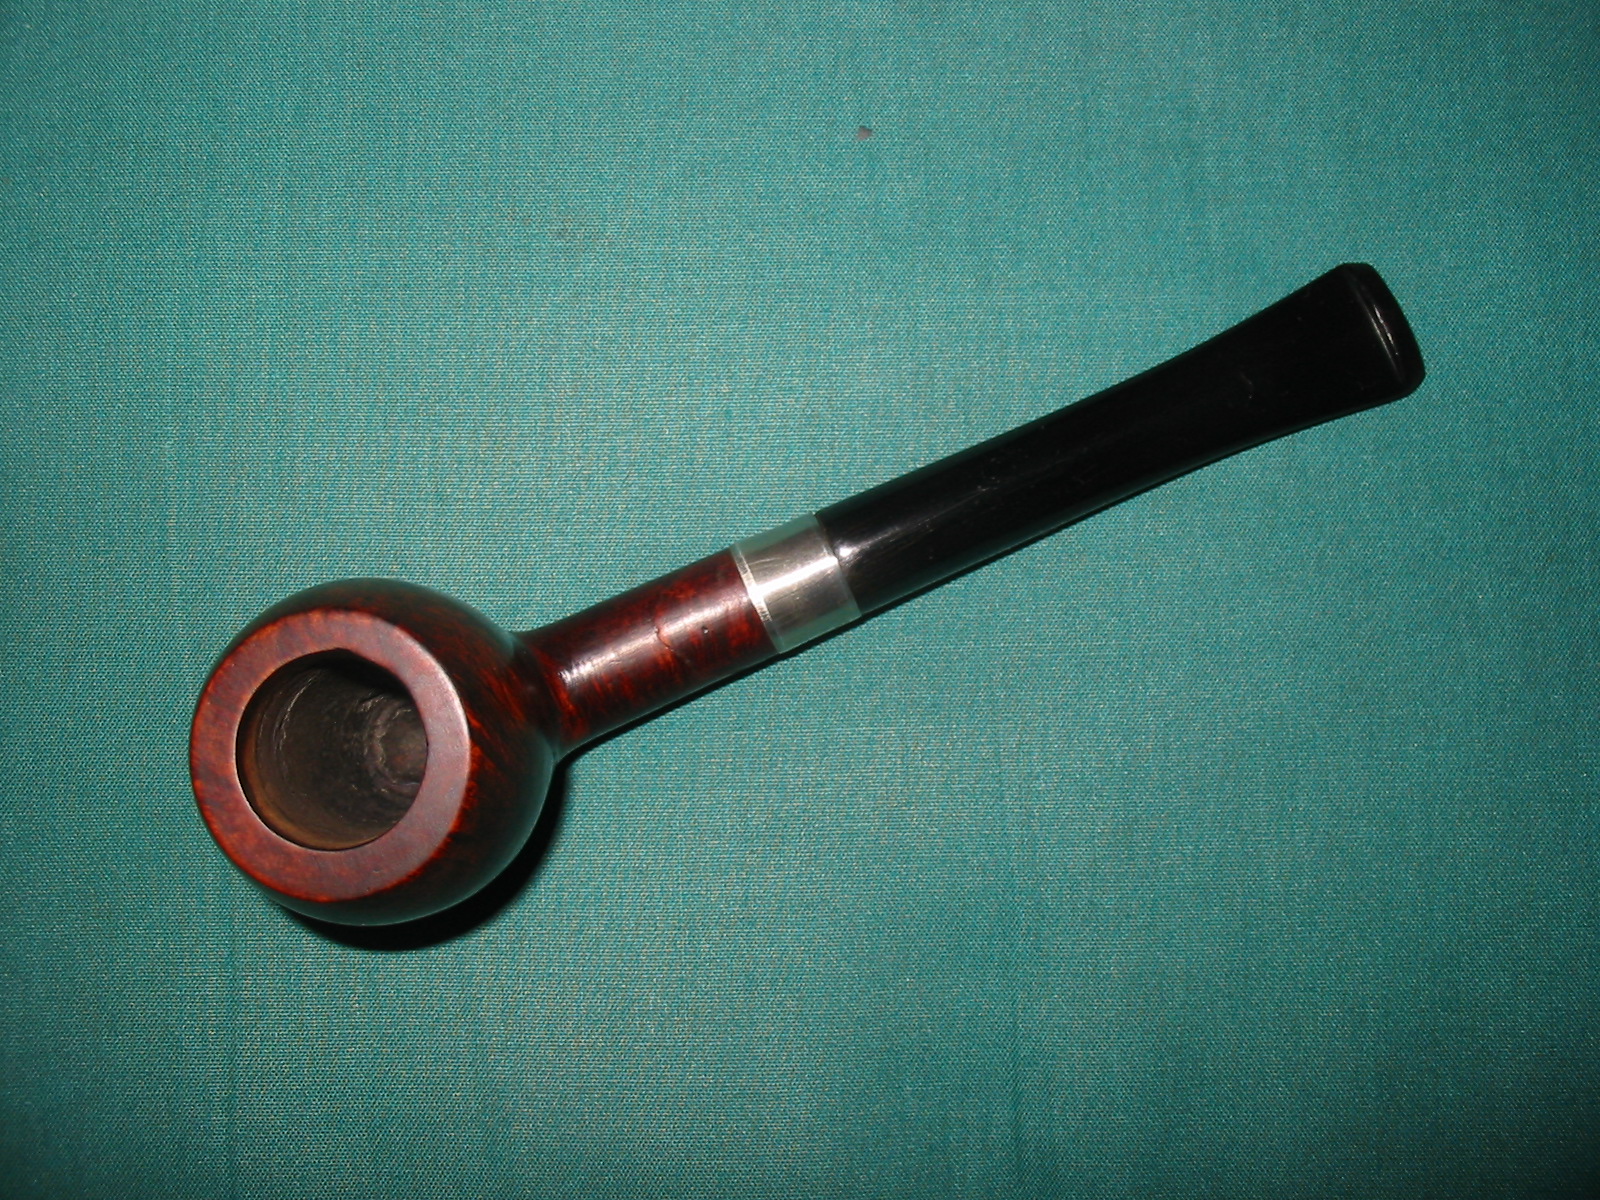
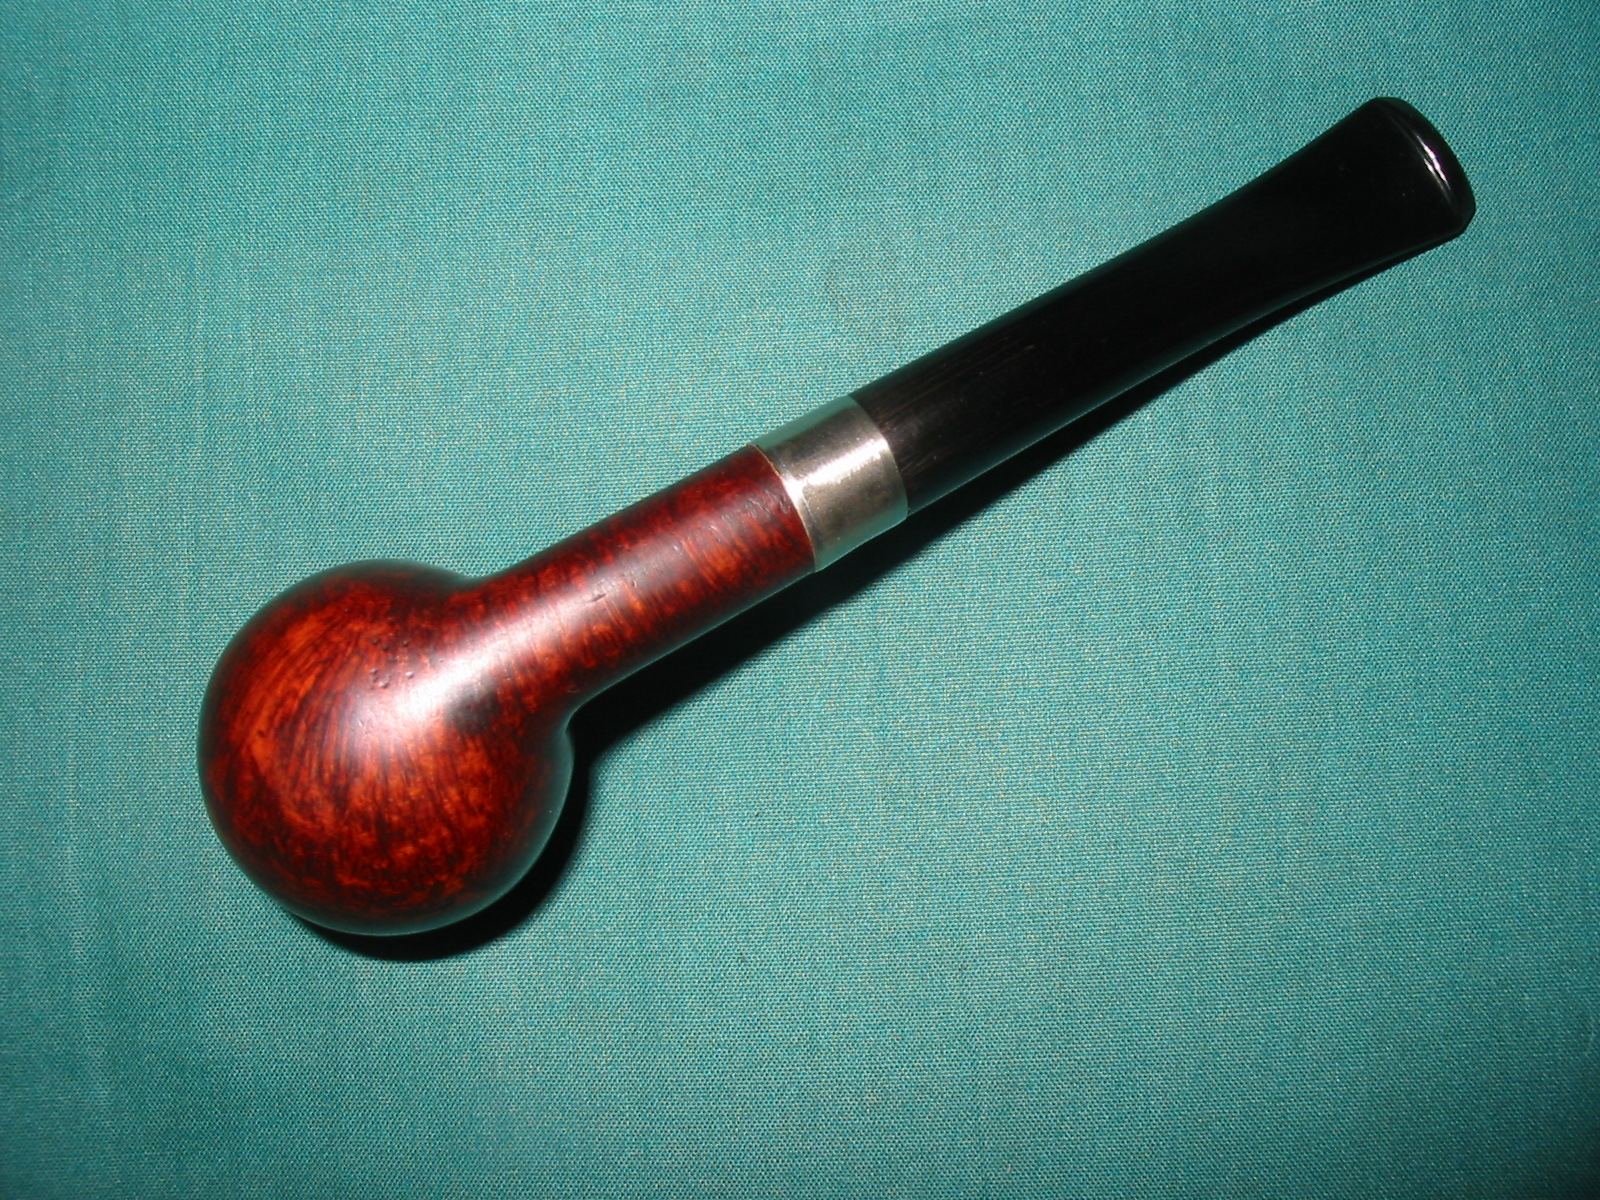
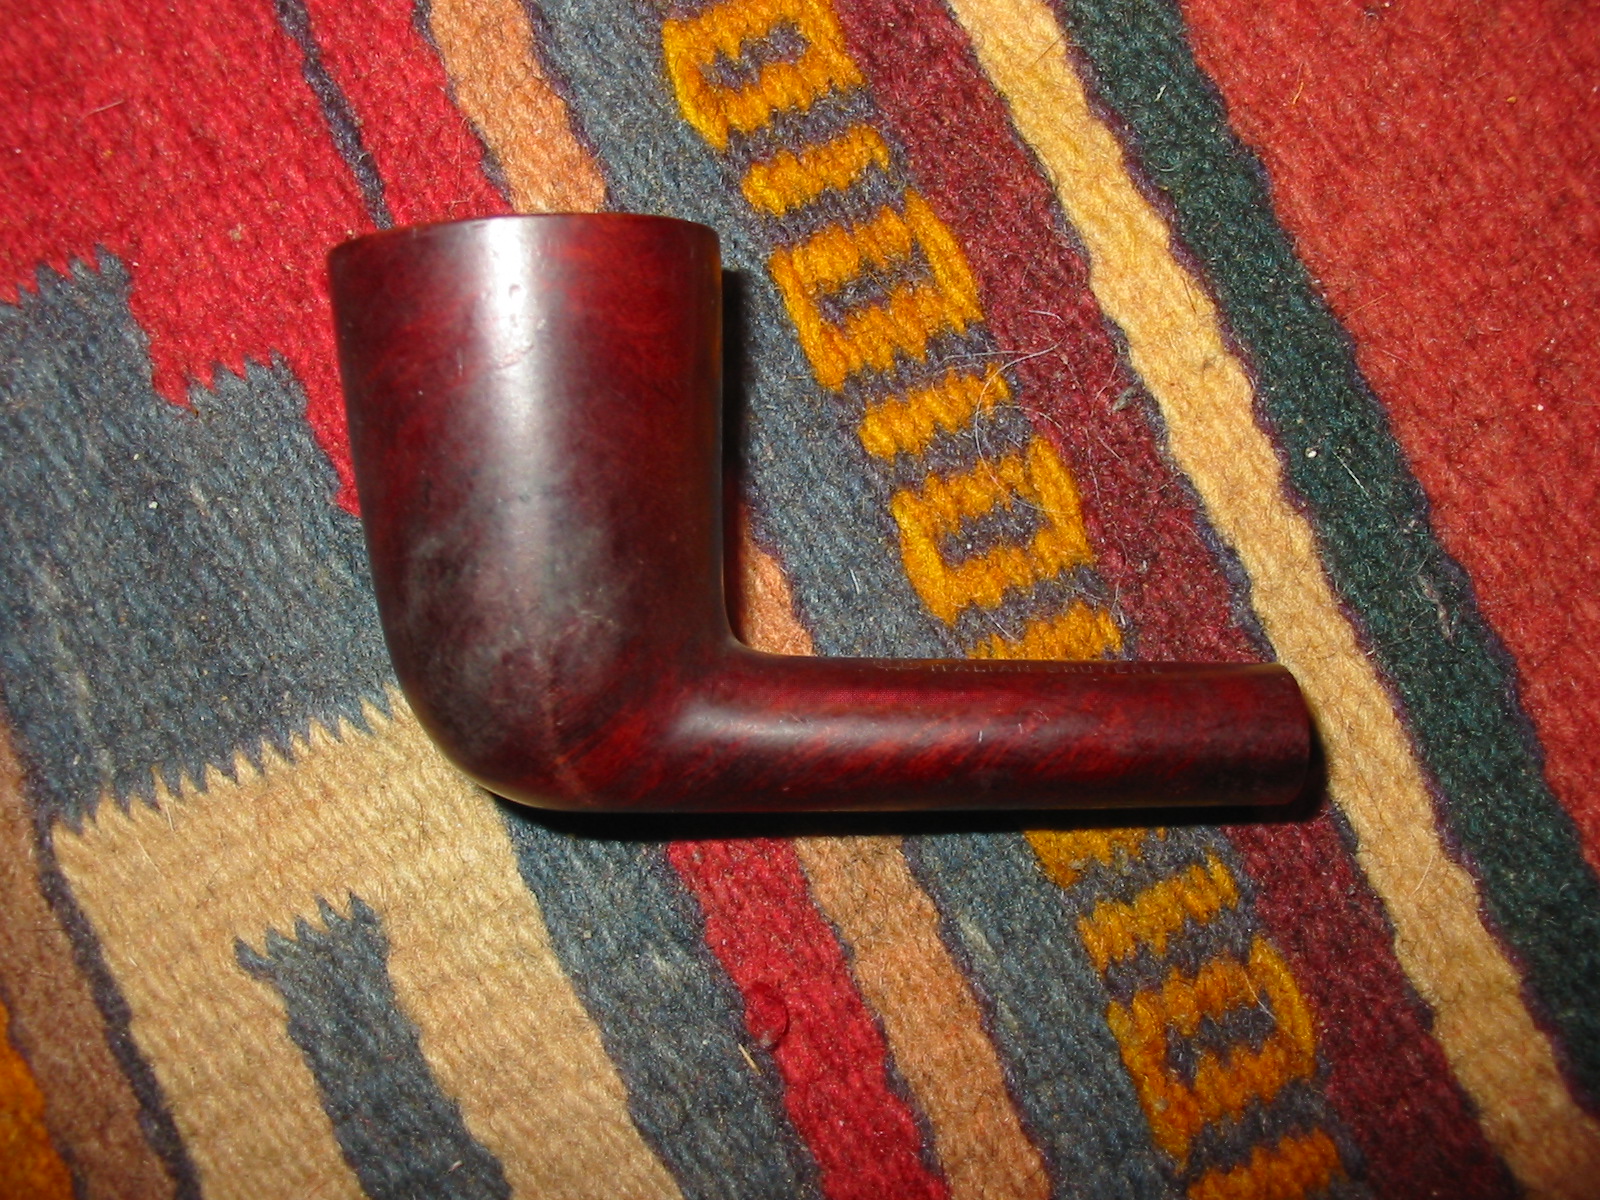
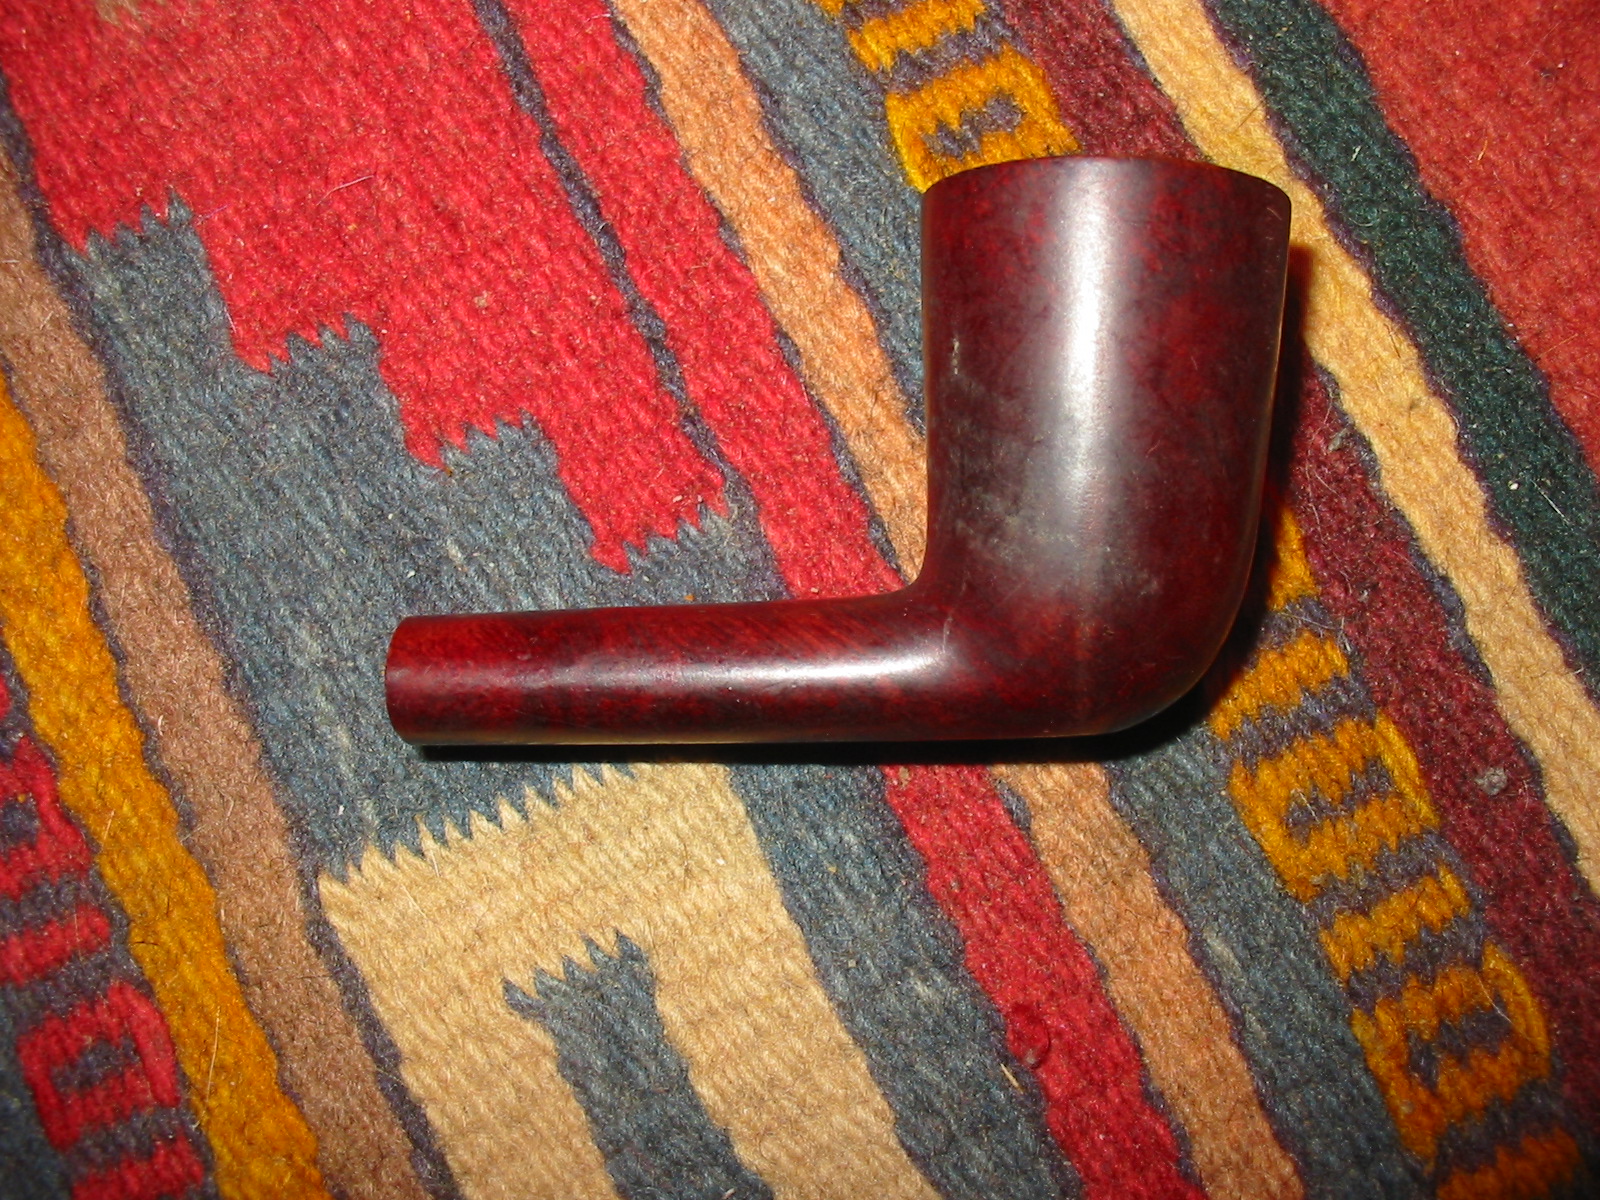
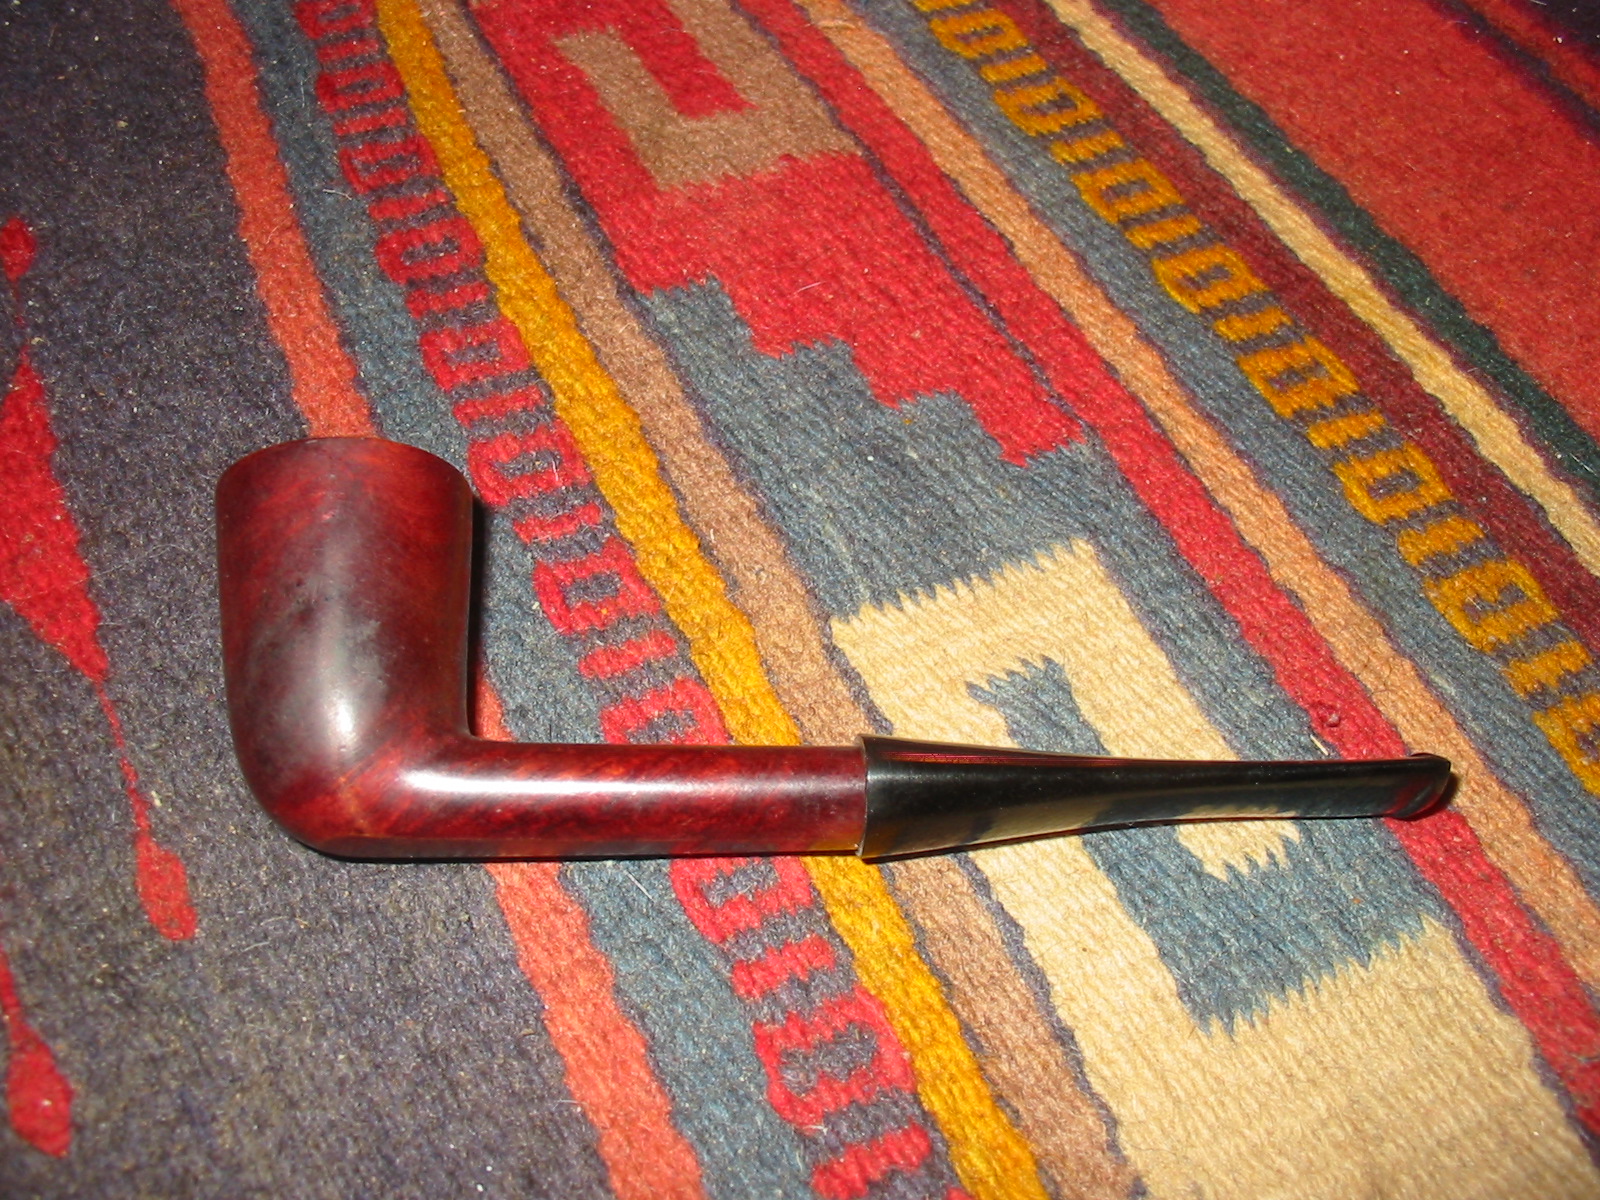
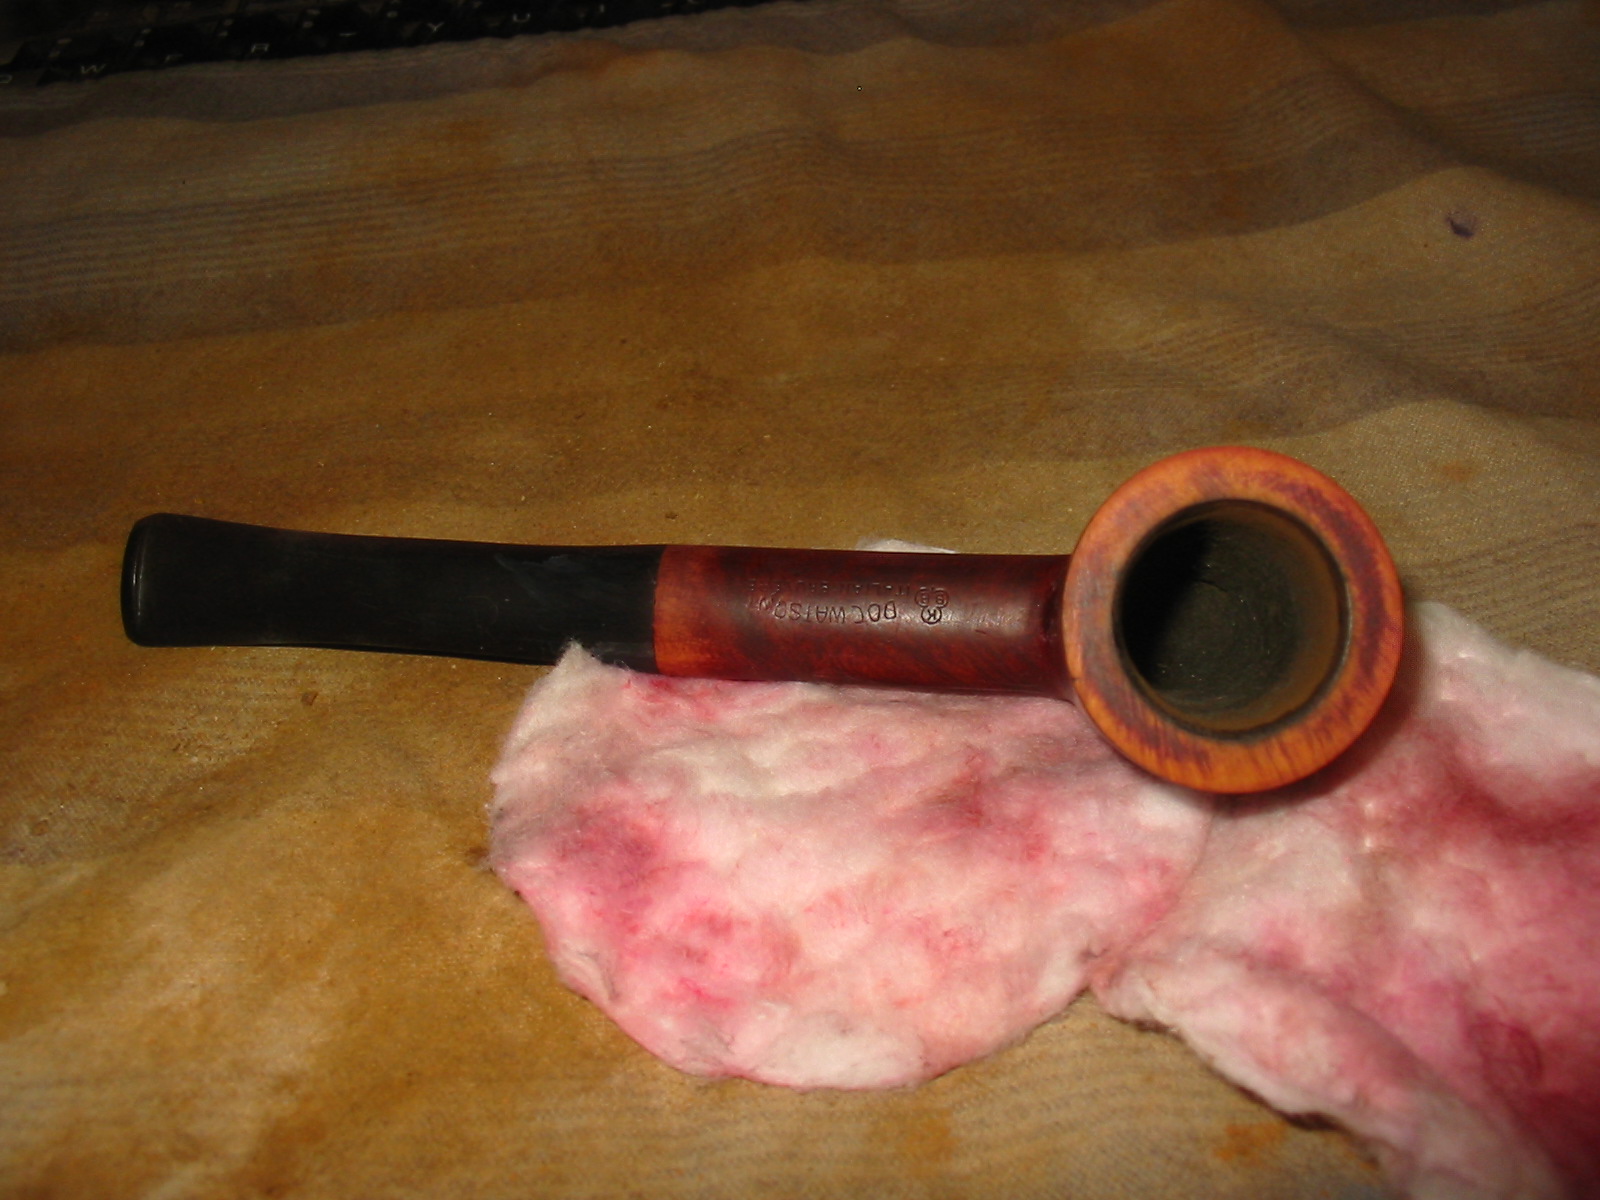
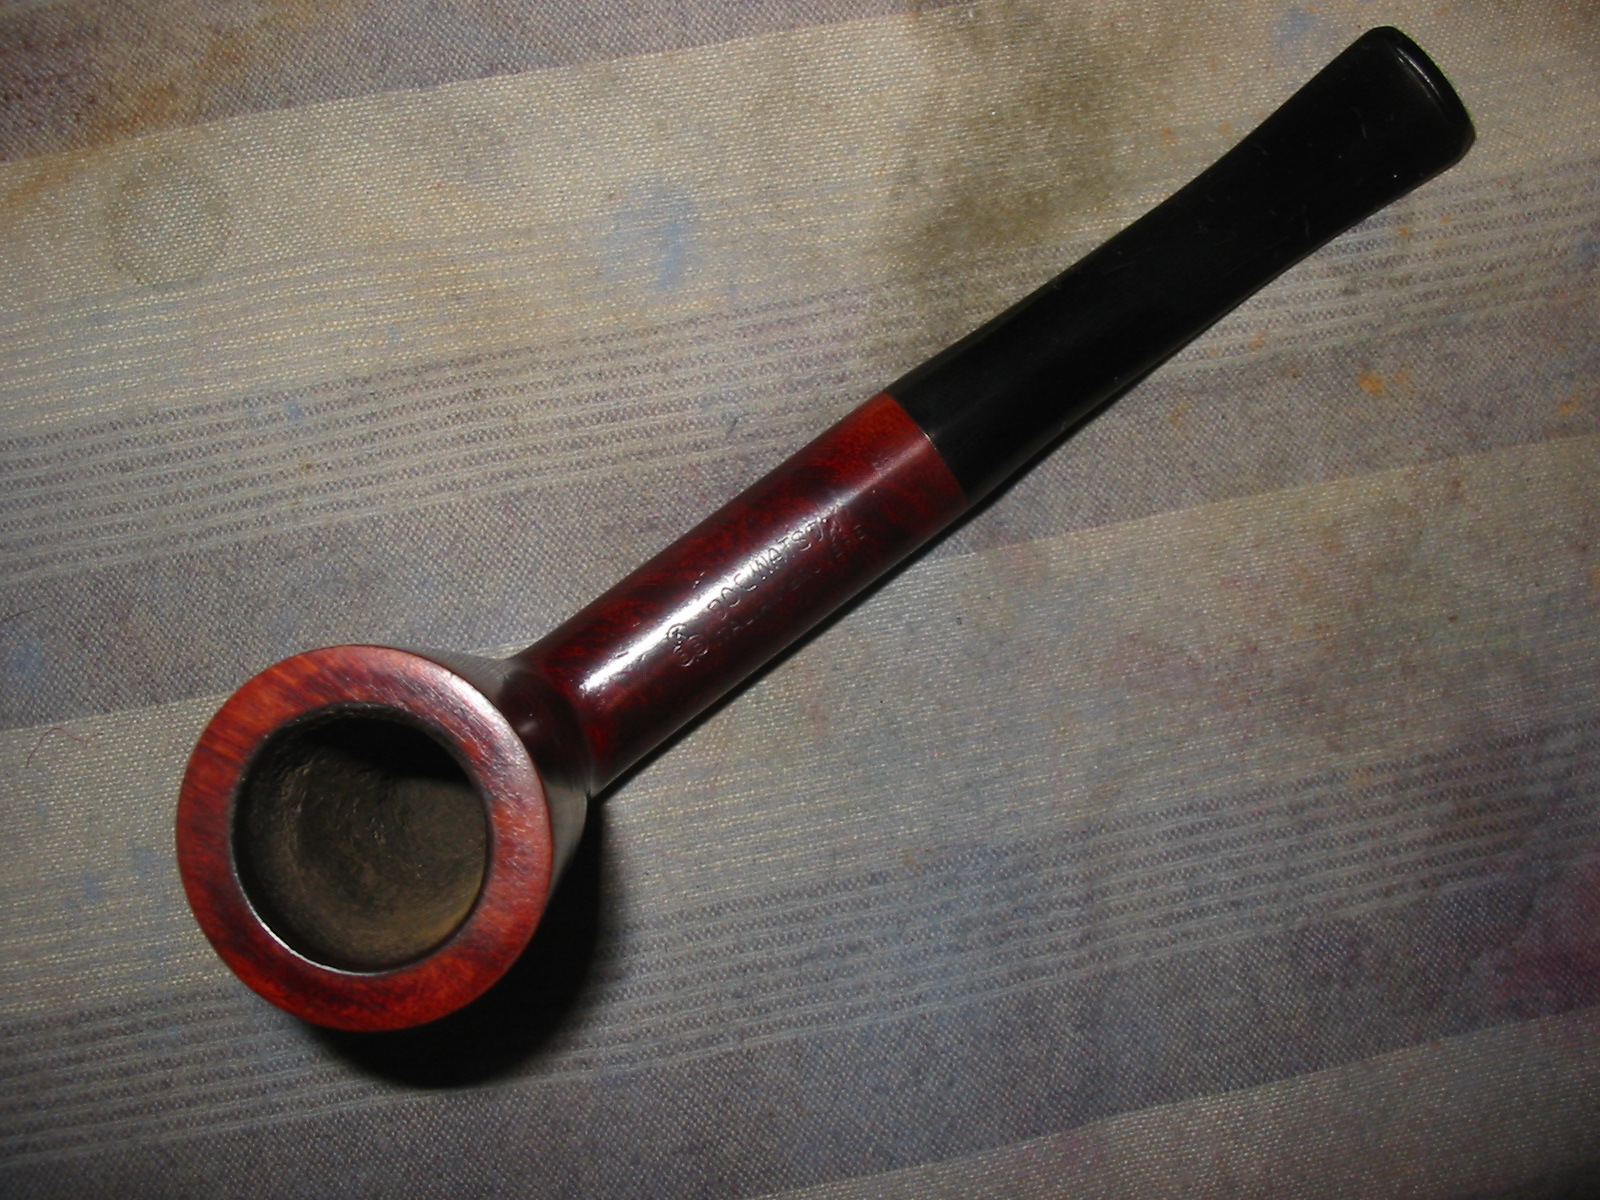
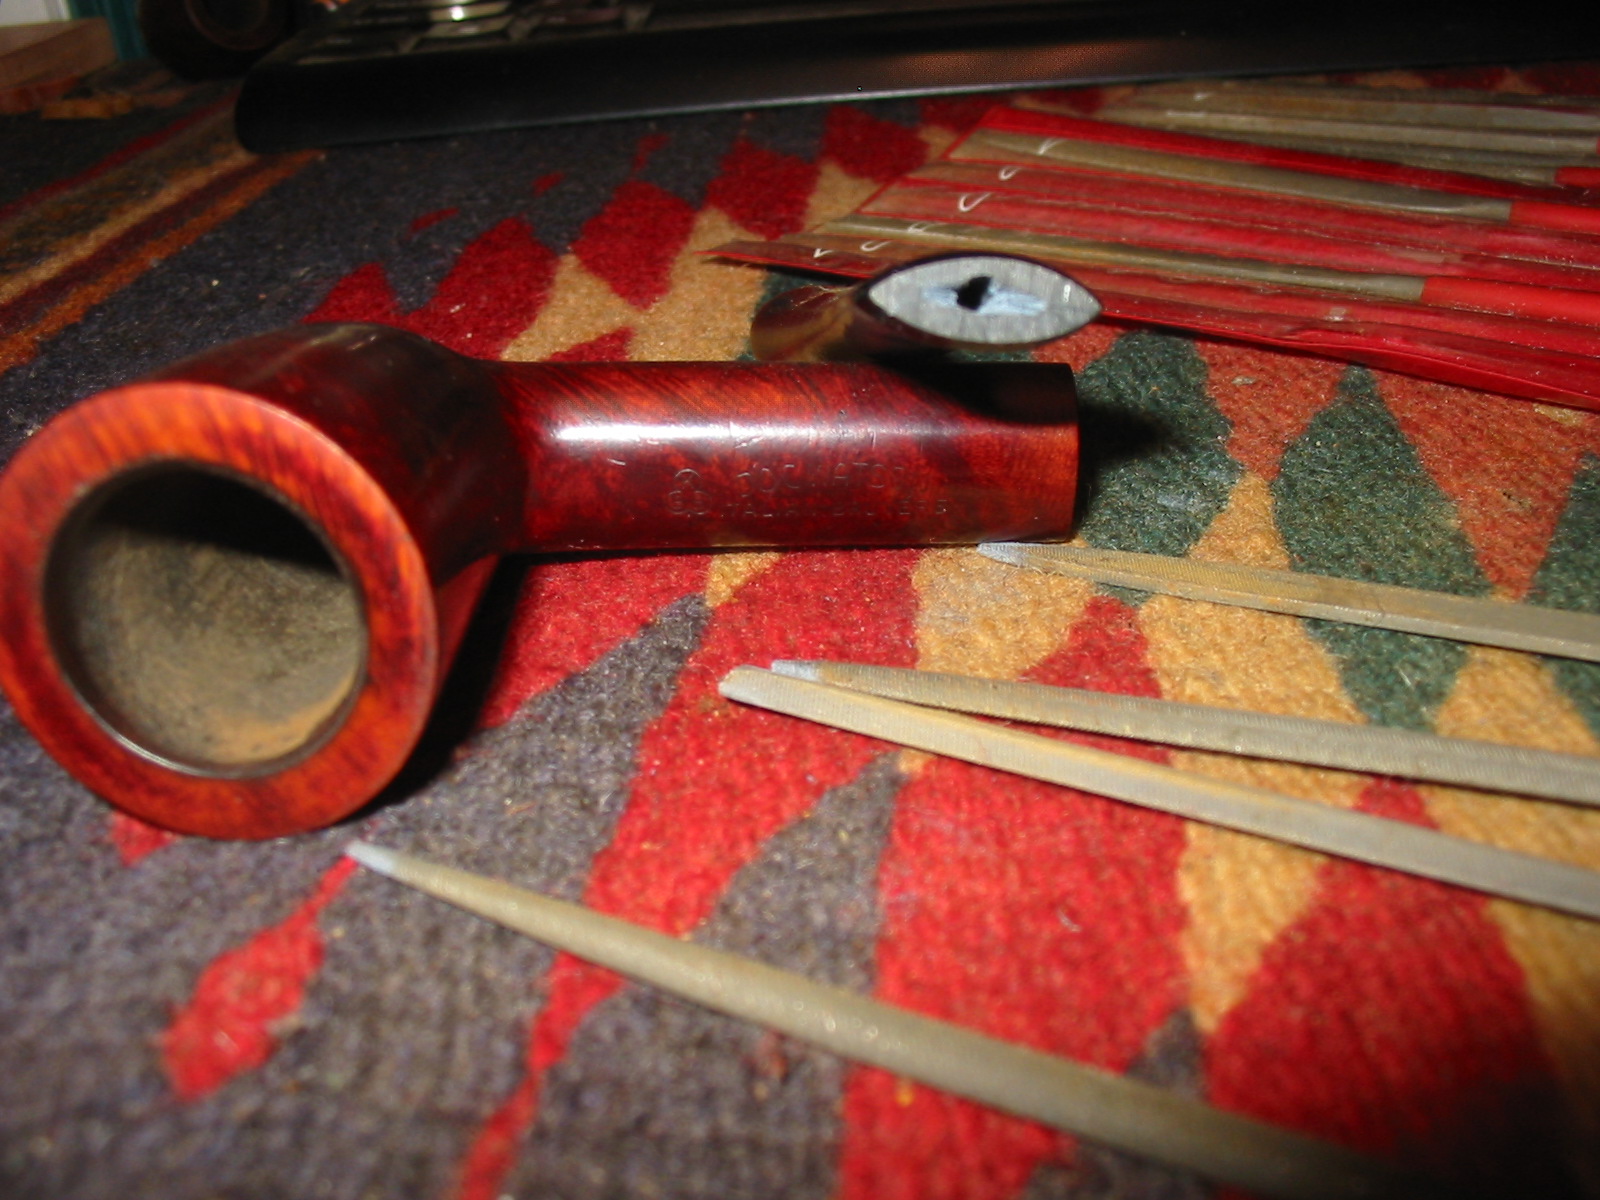
Yet another of the gift bowls was on the work table today. It a delicate Dublin shaped bowl that is stamped on the top of the oval shank with KBB in the cloverleaf and next that Doc Watson in an arc over Italian Bruyere. There are no other stampings on the bowl or shank. I was intrigue to work on this old pipe as Doc Watson was one of my favourite musician/singers. I enjoy his guitar playing and singing. I have no idea if this pipe is connected to him in any way but the name brought back memories of small concerts when I lived in Southern California. The finish was dirty and the briar darkened on the left and right side of the bowl where it was held in the hands. Oils and soil from the hands of the previous smoker had darkened the bowl. It had a dark oxblood stain that hid the grain of the briar. There was a small nick on the bottom front of the bowl that did not go too deep into the briar. The rim was darkened and had a buildup carbon and oils that would need to be cleaned. The bowl had a light uneven cake and the shank was dirty.
IMG_7445

IMG_7446

IMG_7447

IMG_7448
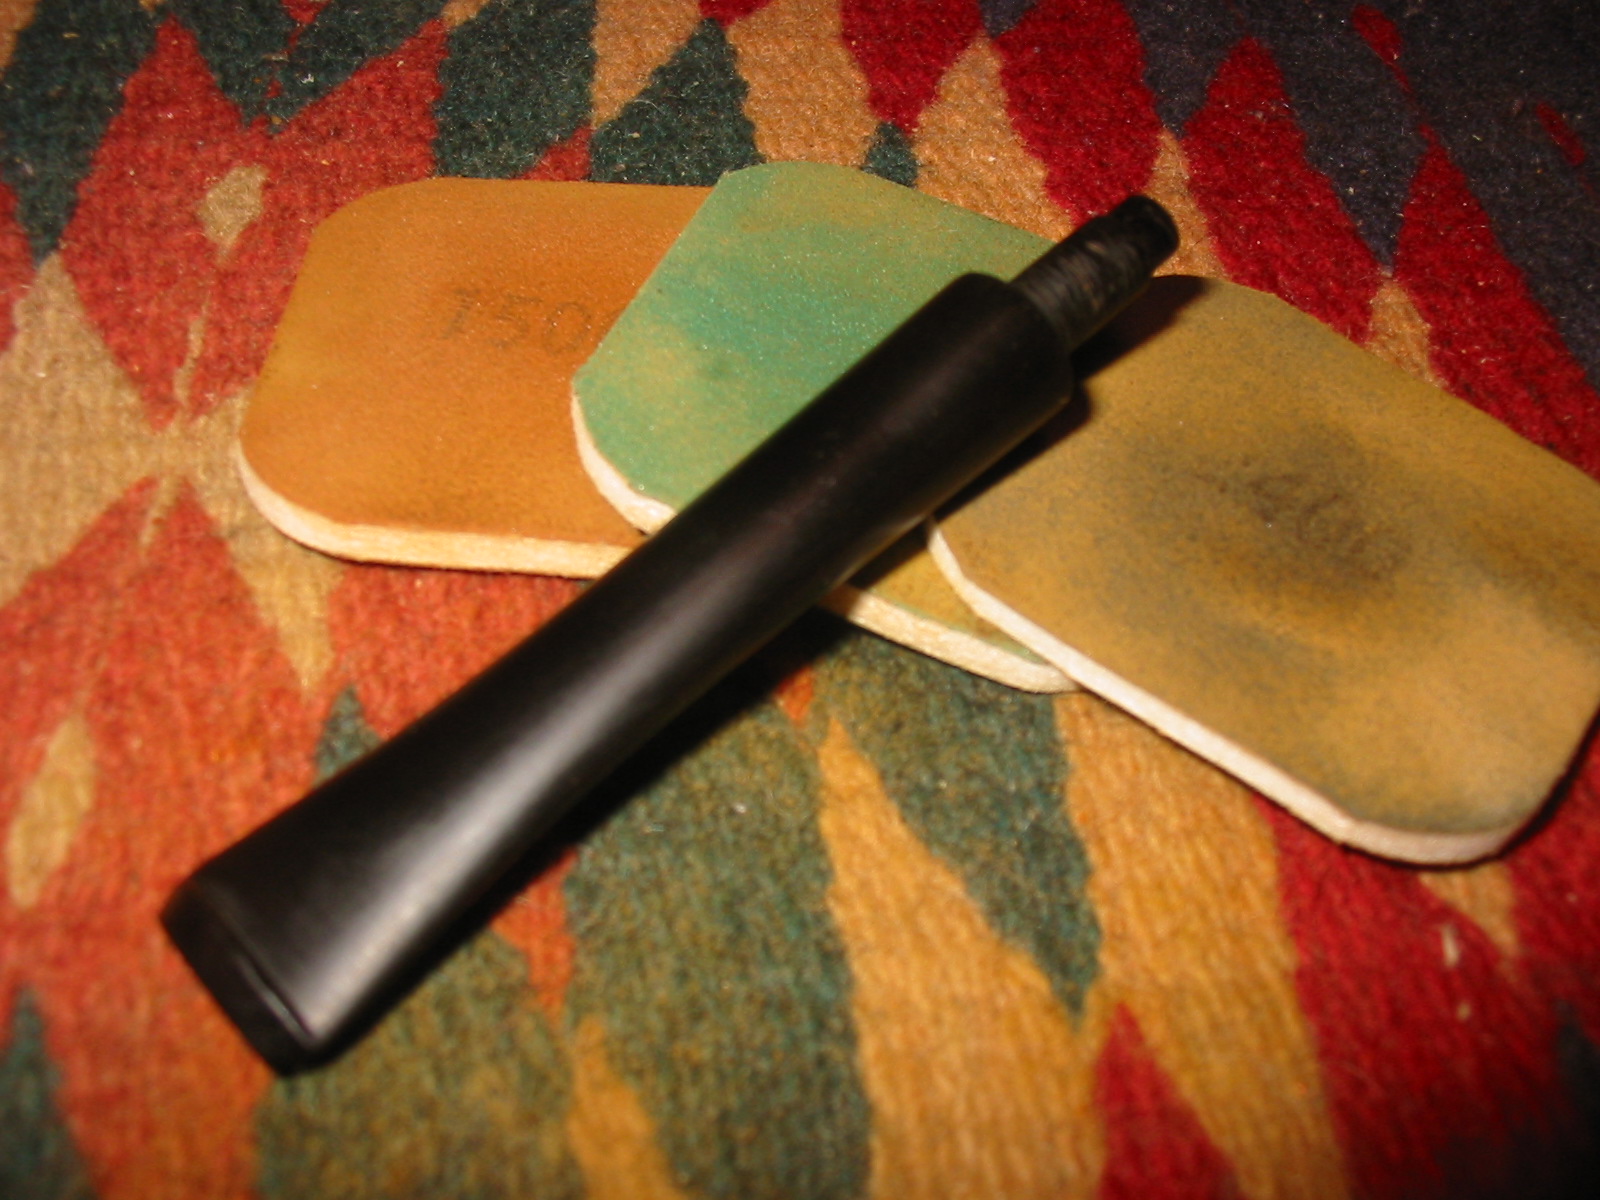
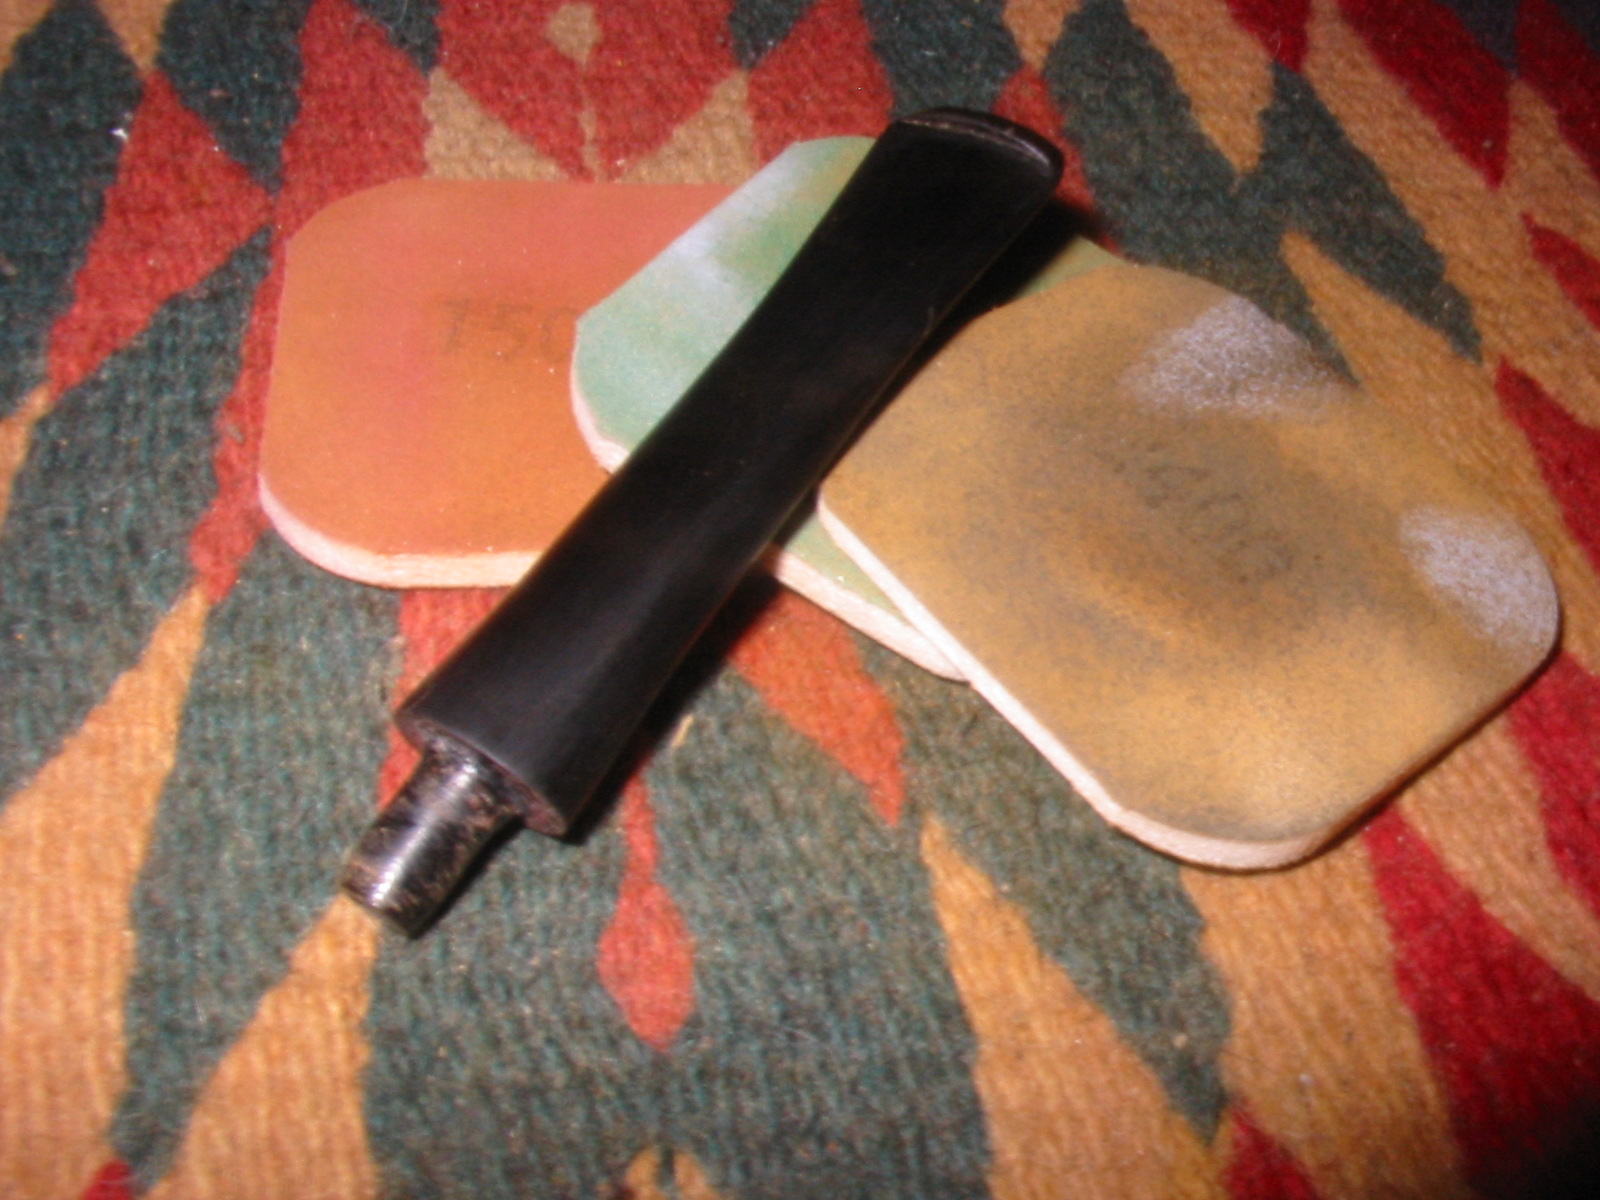
I had a new oval Lucite stem in my stem can that would work well for this bowl. The slot in the button had not been cut or shaped. The diameter of the stem was slightly larger than the shank so it would need to be shaped. The tenon was too longer so it would need to be shortened to fit in the shank.
IMG_7449

IMG_7450
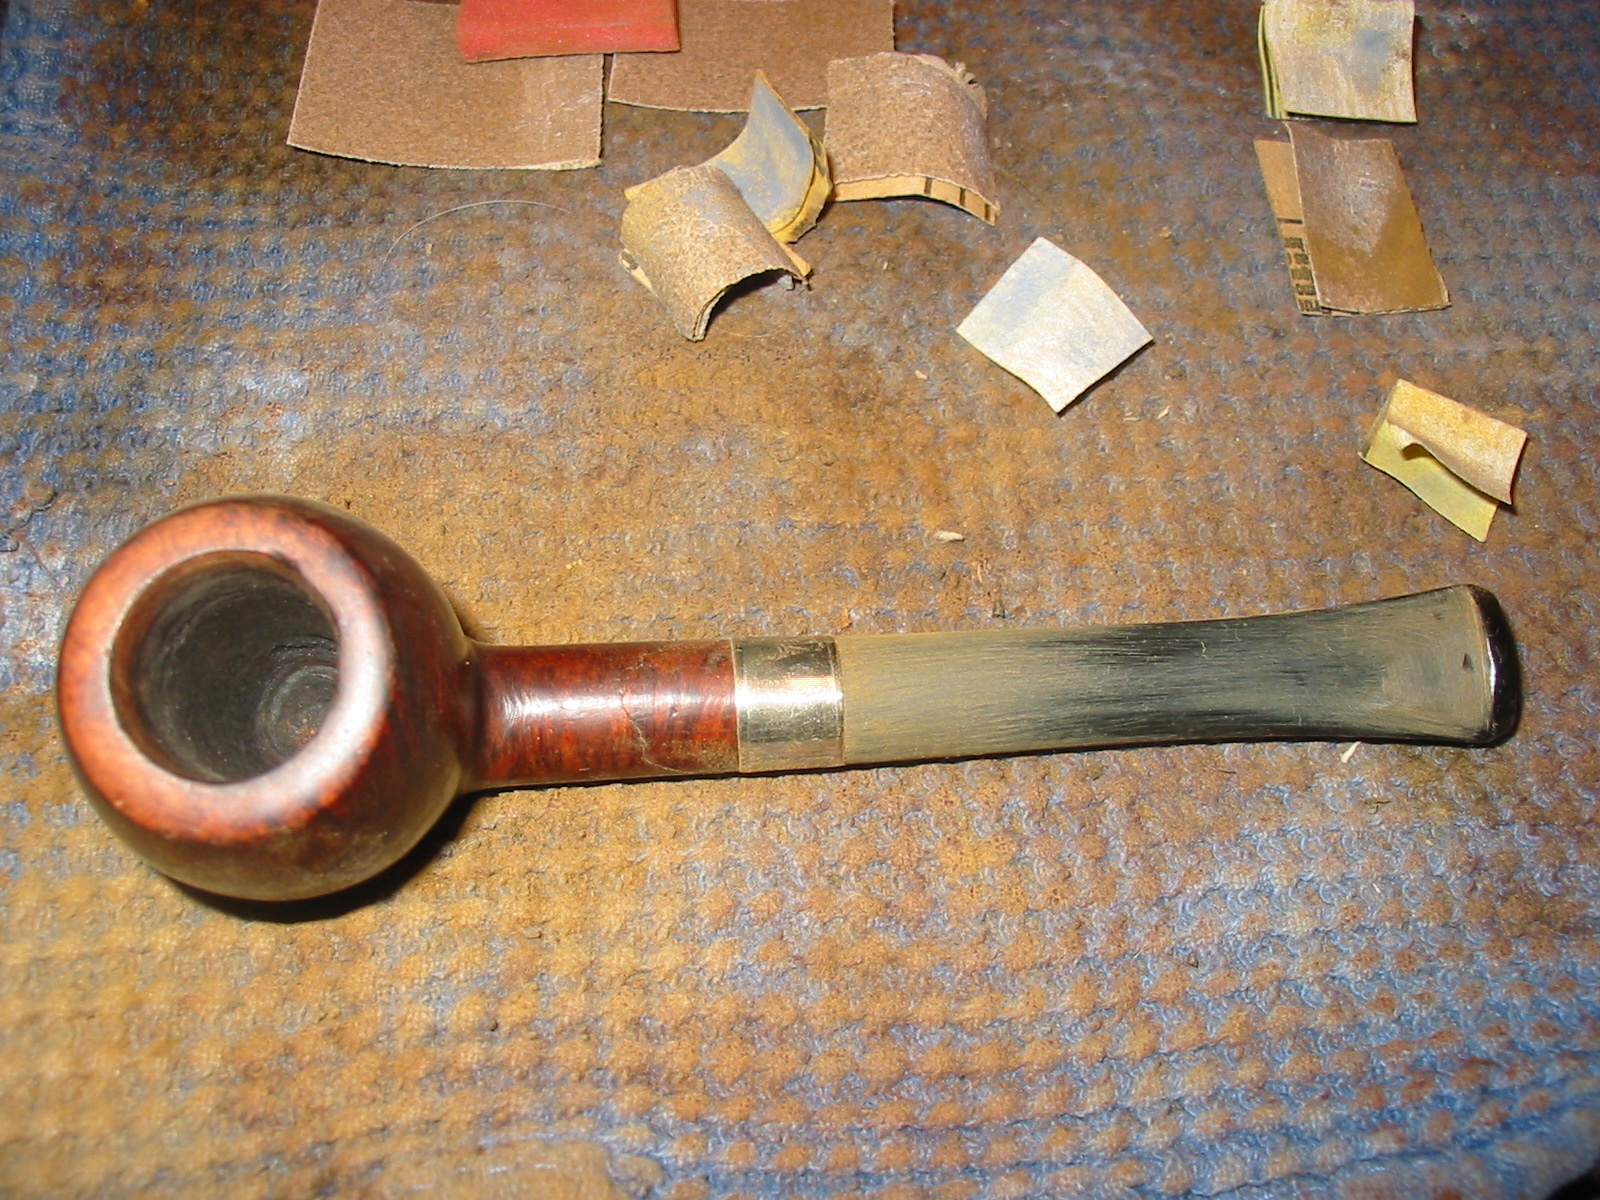
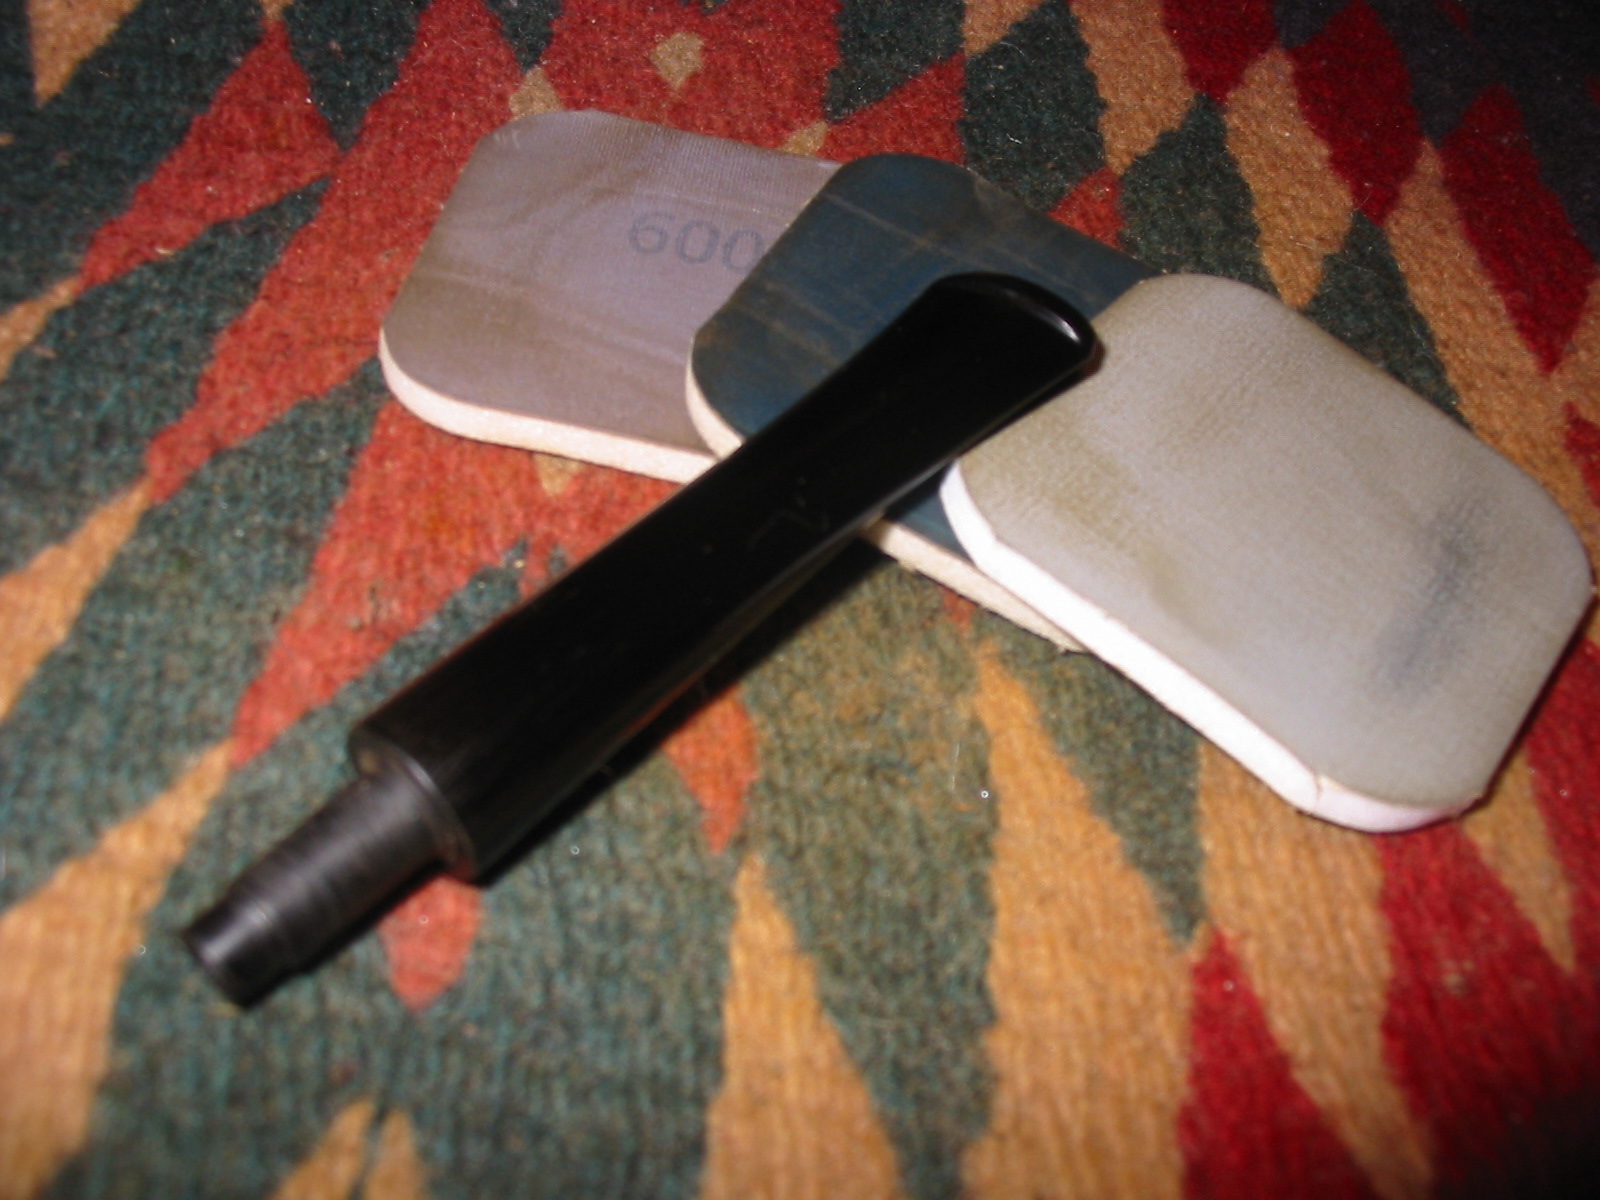
I used a Dremel to sand the diameter of the tenon and shorten it. When I had the fit close I sanded it by hand to assure a snug fit in the shank.
IMG_7451

IMG_7453
I initially sanded the excess diameter on the stem with the Dremel and a sanding drum. I followed that by sanding with 150 grit sandpaper to smooth it out and bring it closer to matching the stem. I When I had the fit close I sanded the shank and stem together with 220 grit sandpaper to make the transition absolutely smooth.
IMG_7454

IMG_7486

IMG_7487

IMG_7488

IMG_7489
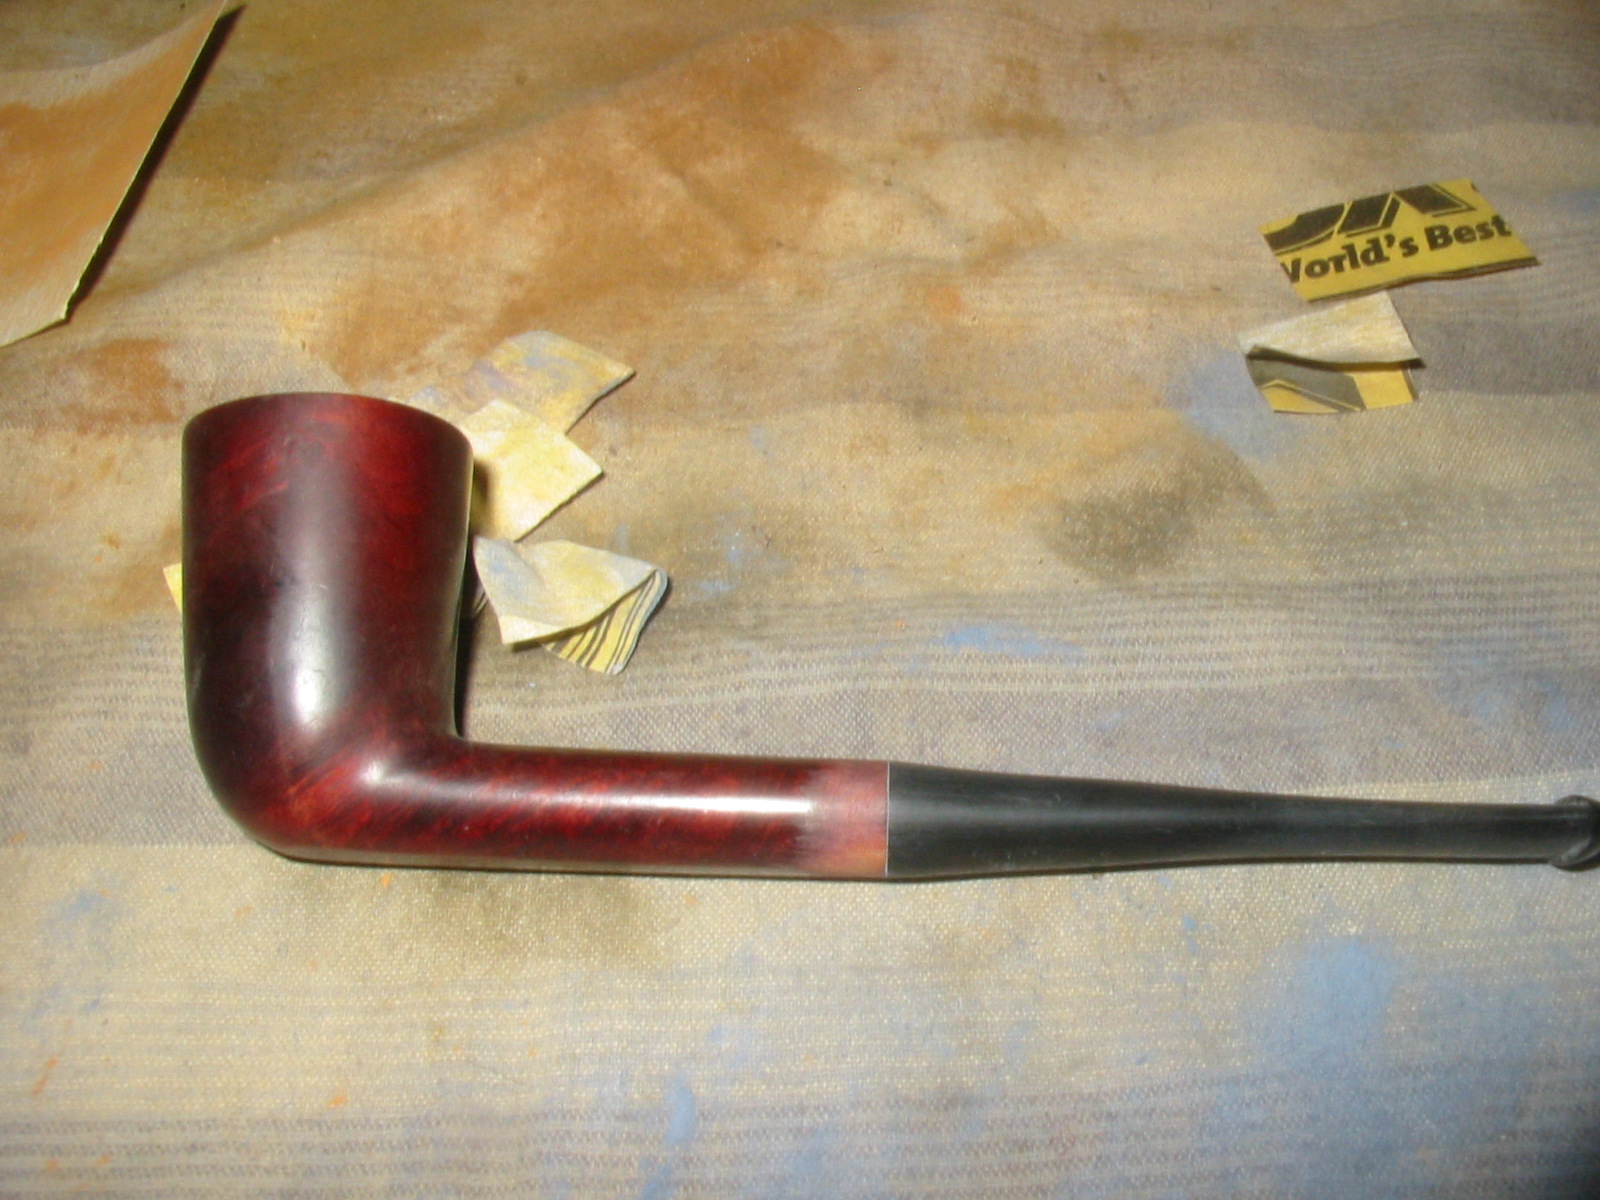
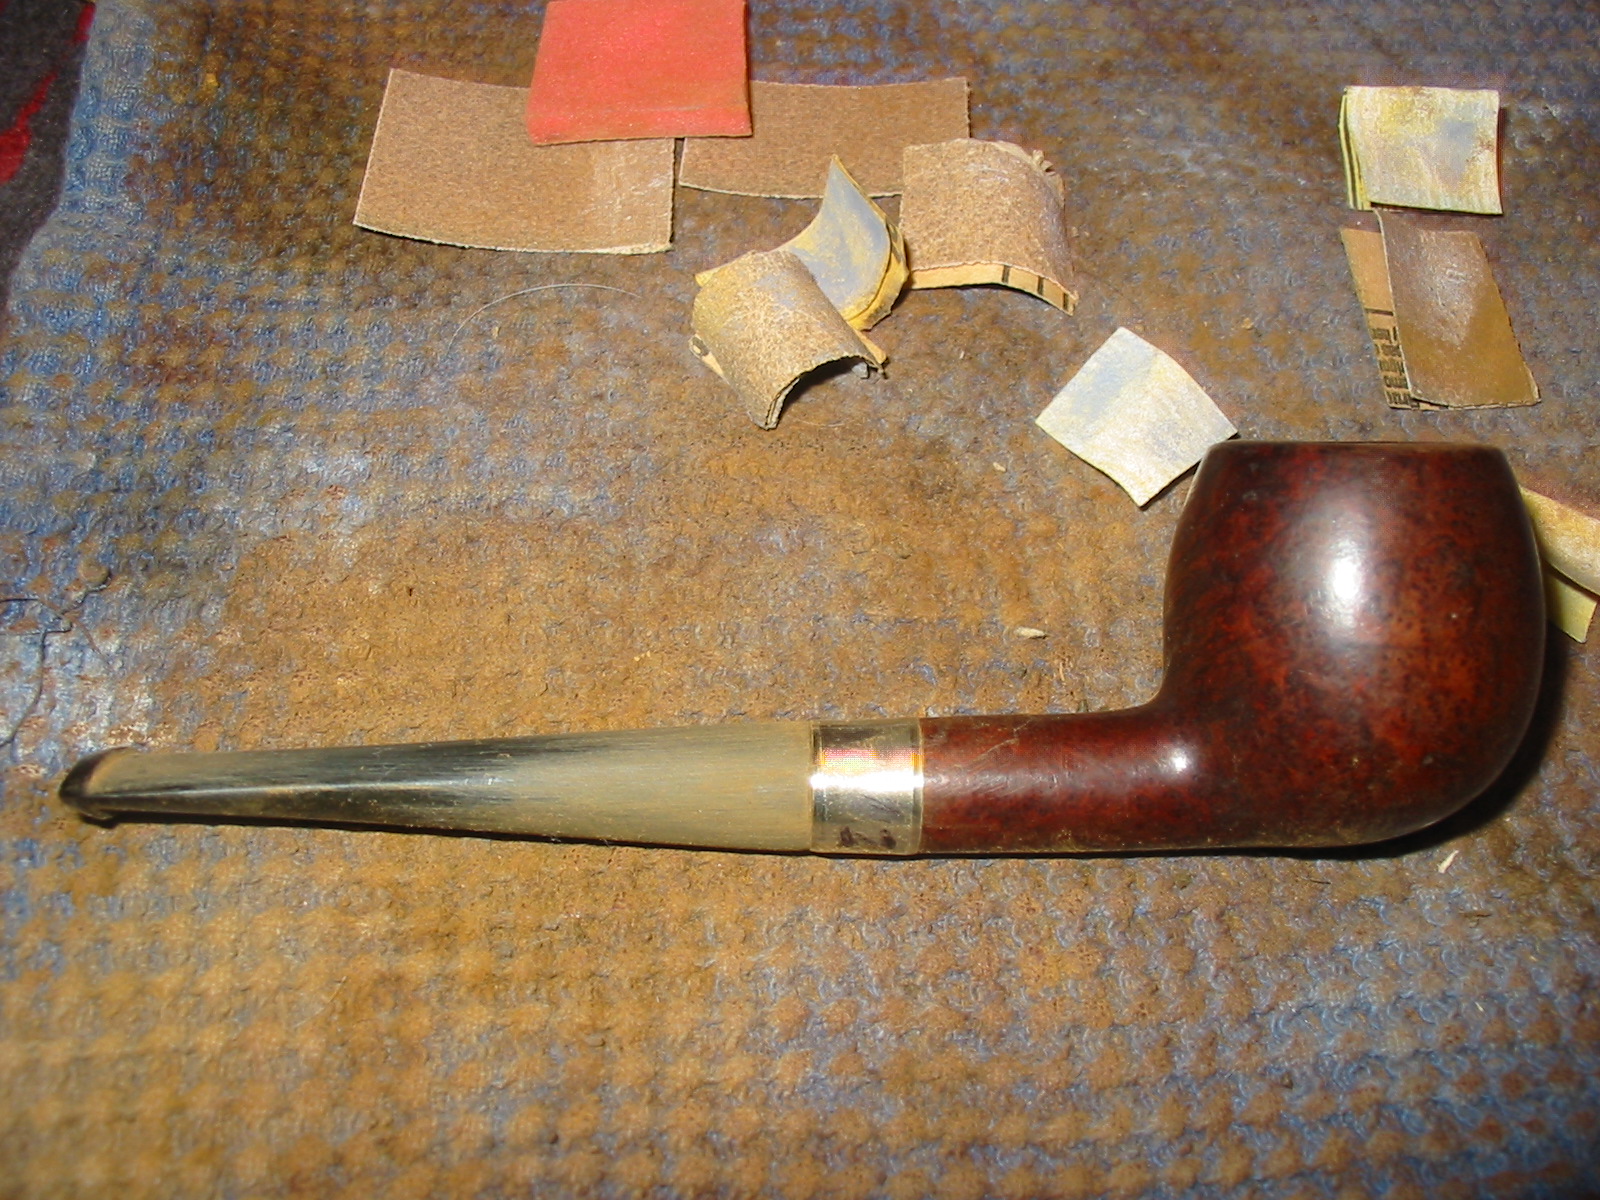
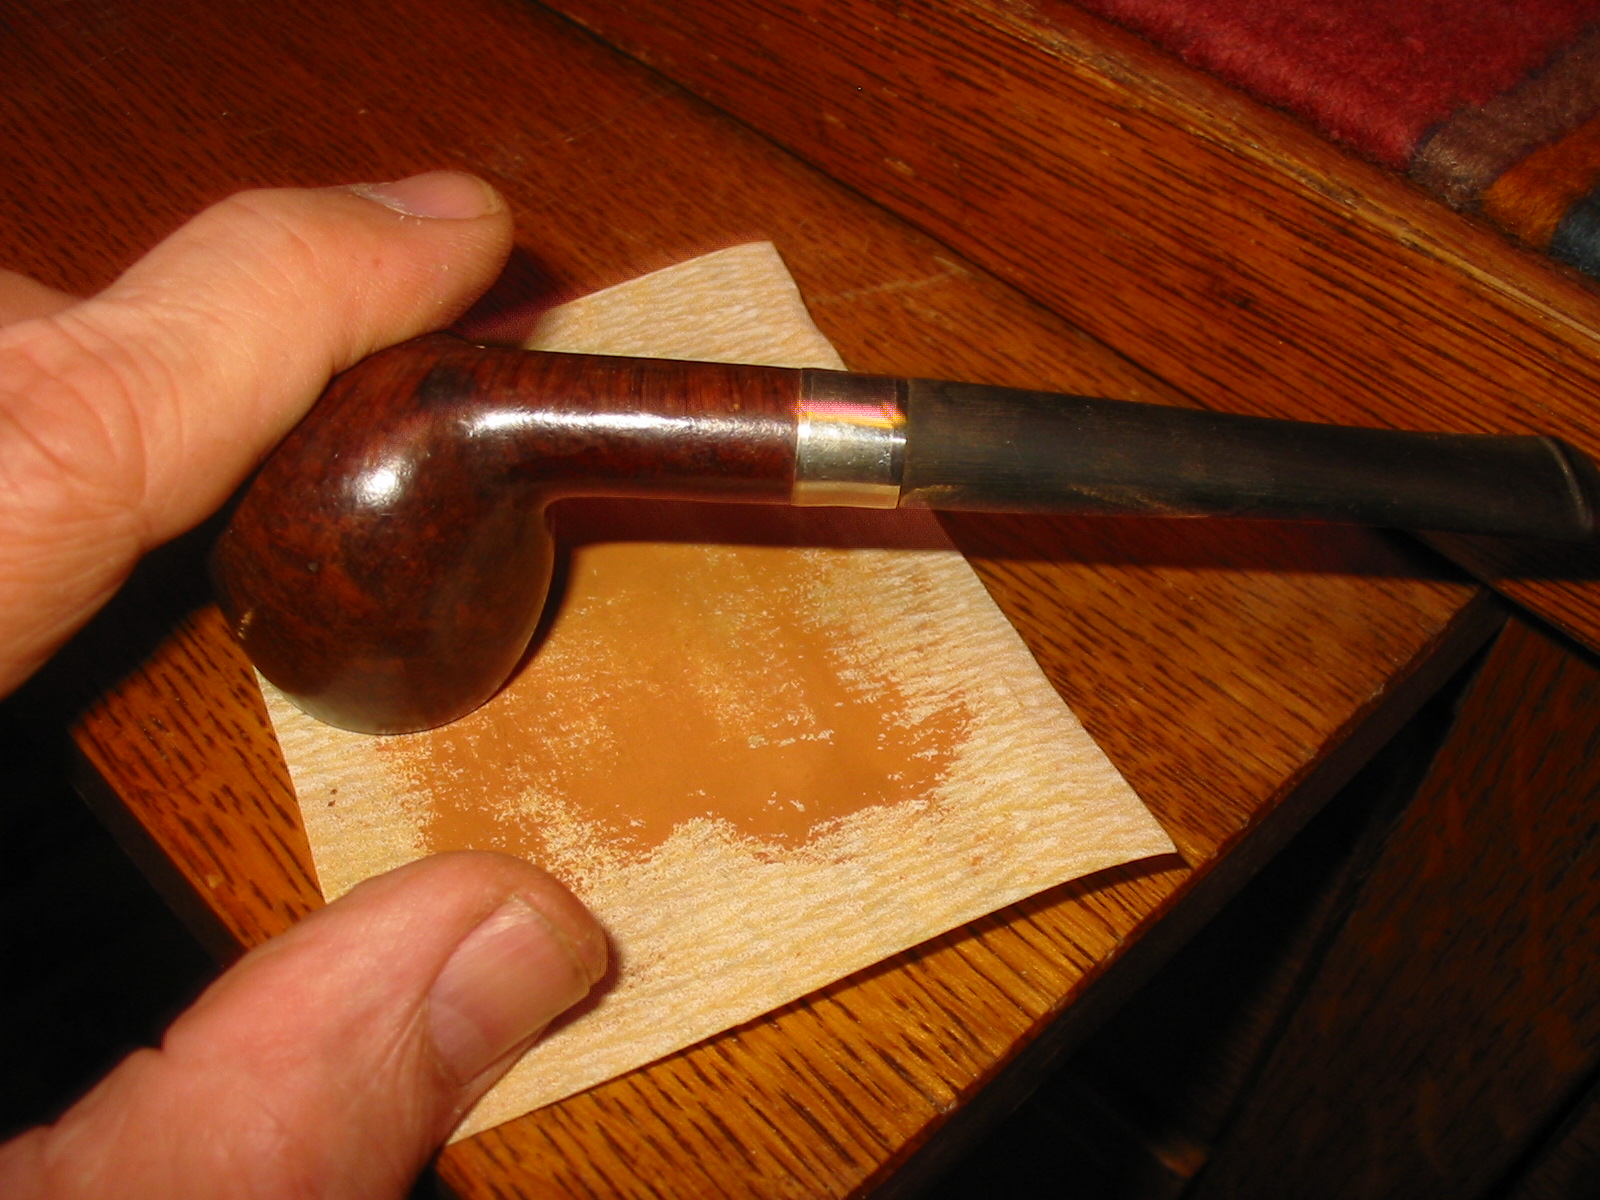
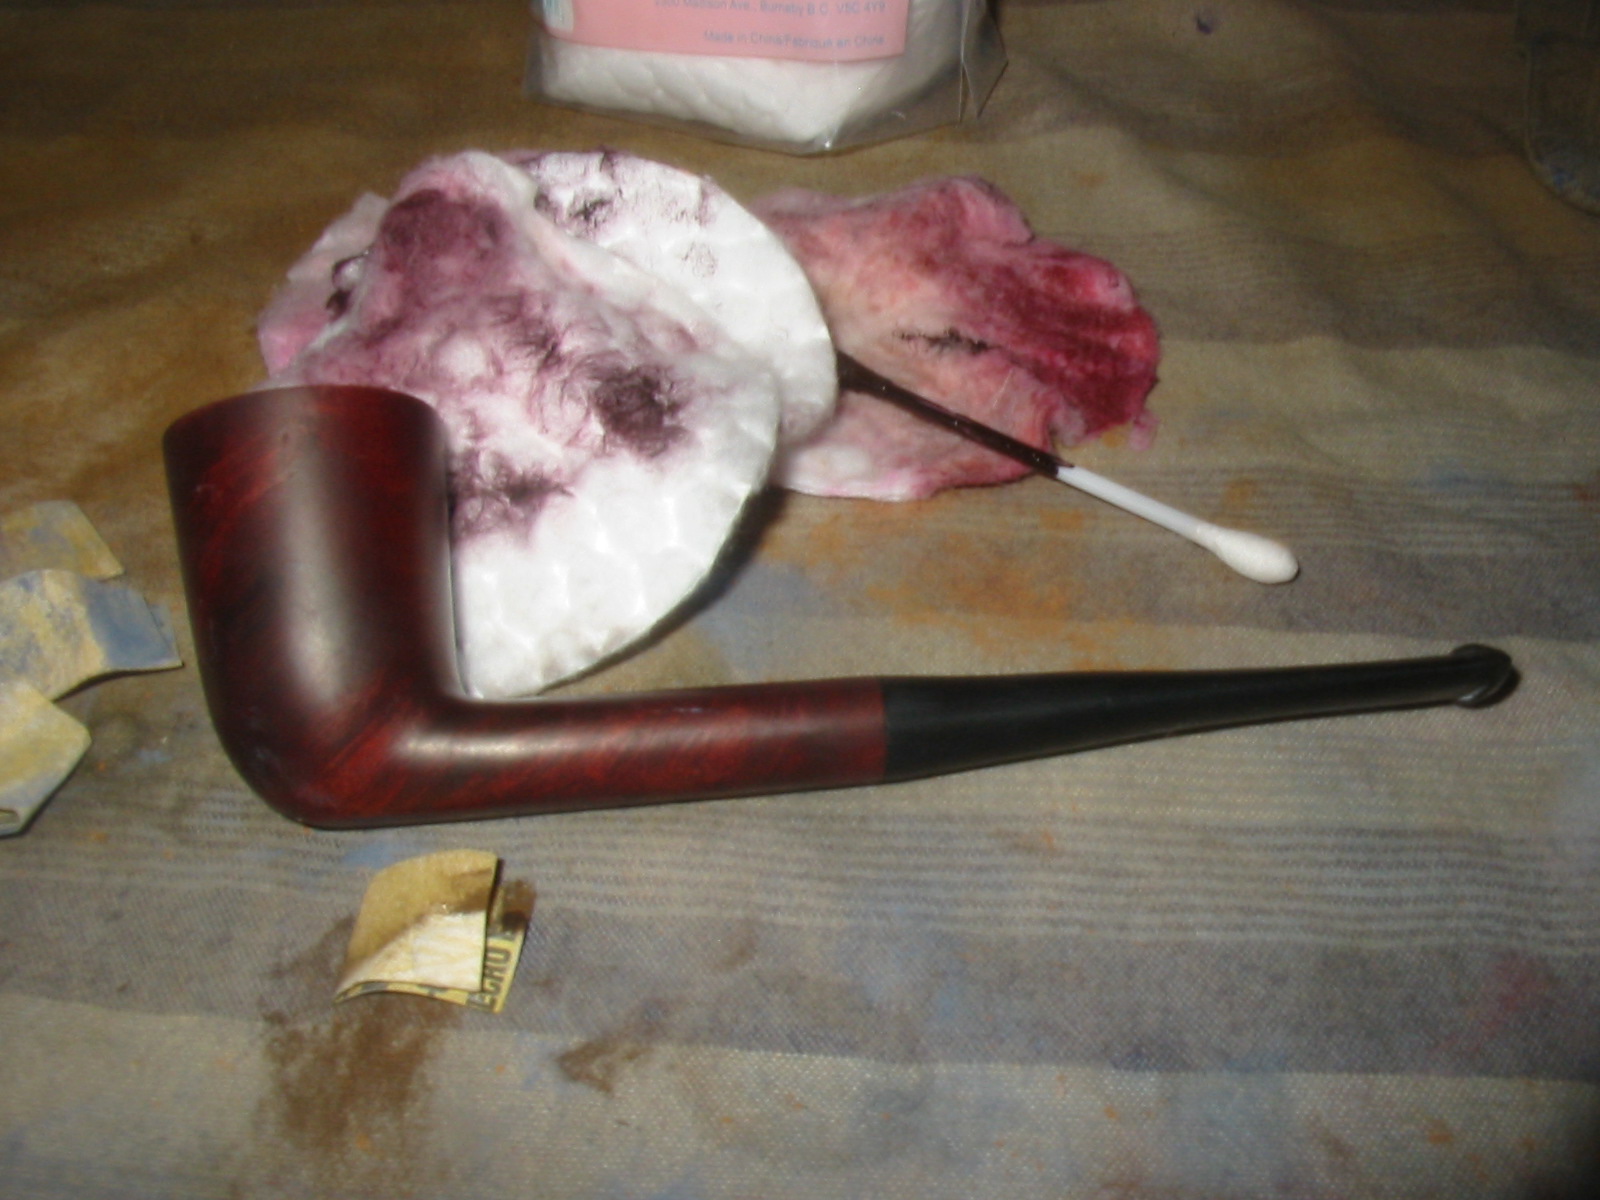
I wiped down the bowl with acetone on cotton pads to remove the finish. I find that when I break down the stain I can actually bleed it into the sanded portion of the shank. This colours the shank and makes it easier to apply the next coat to the whole bowl.
IMG_7490

IMG_7491

IMG_7492

IMG_7493
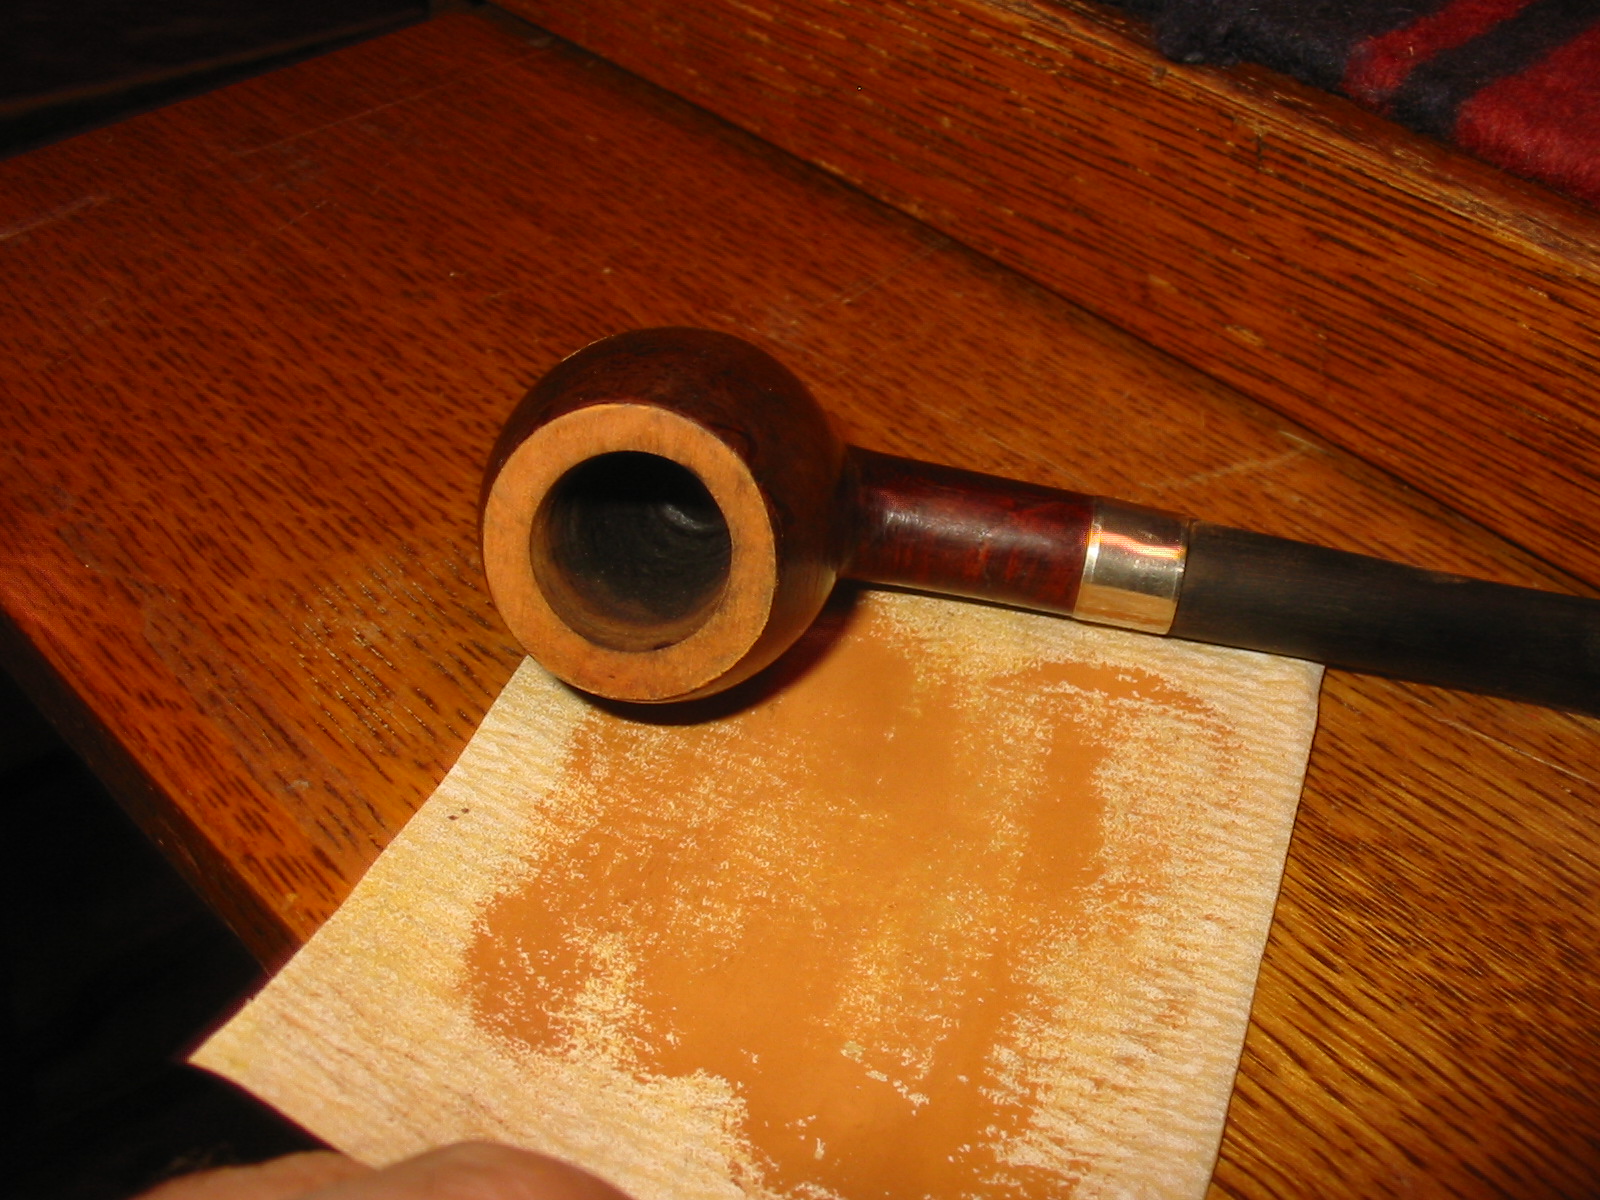
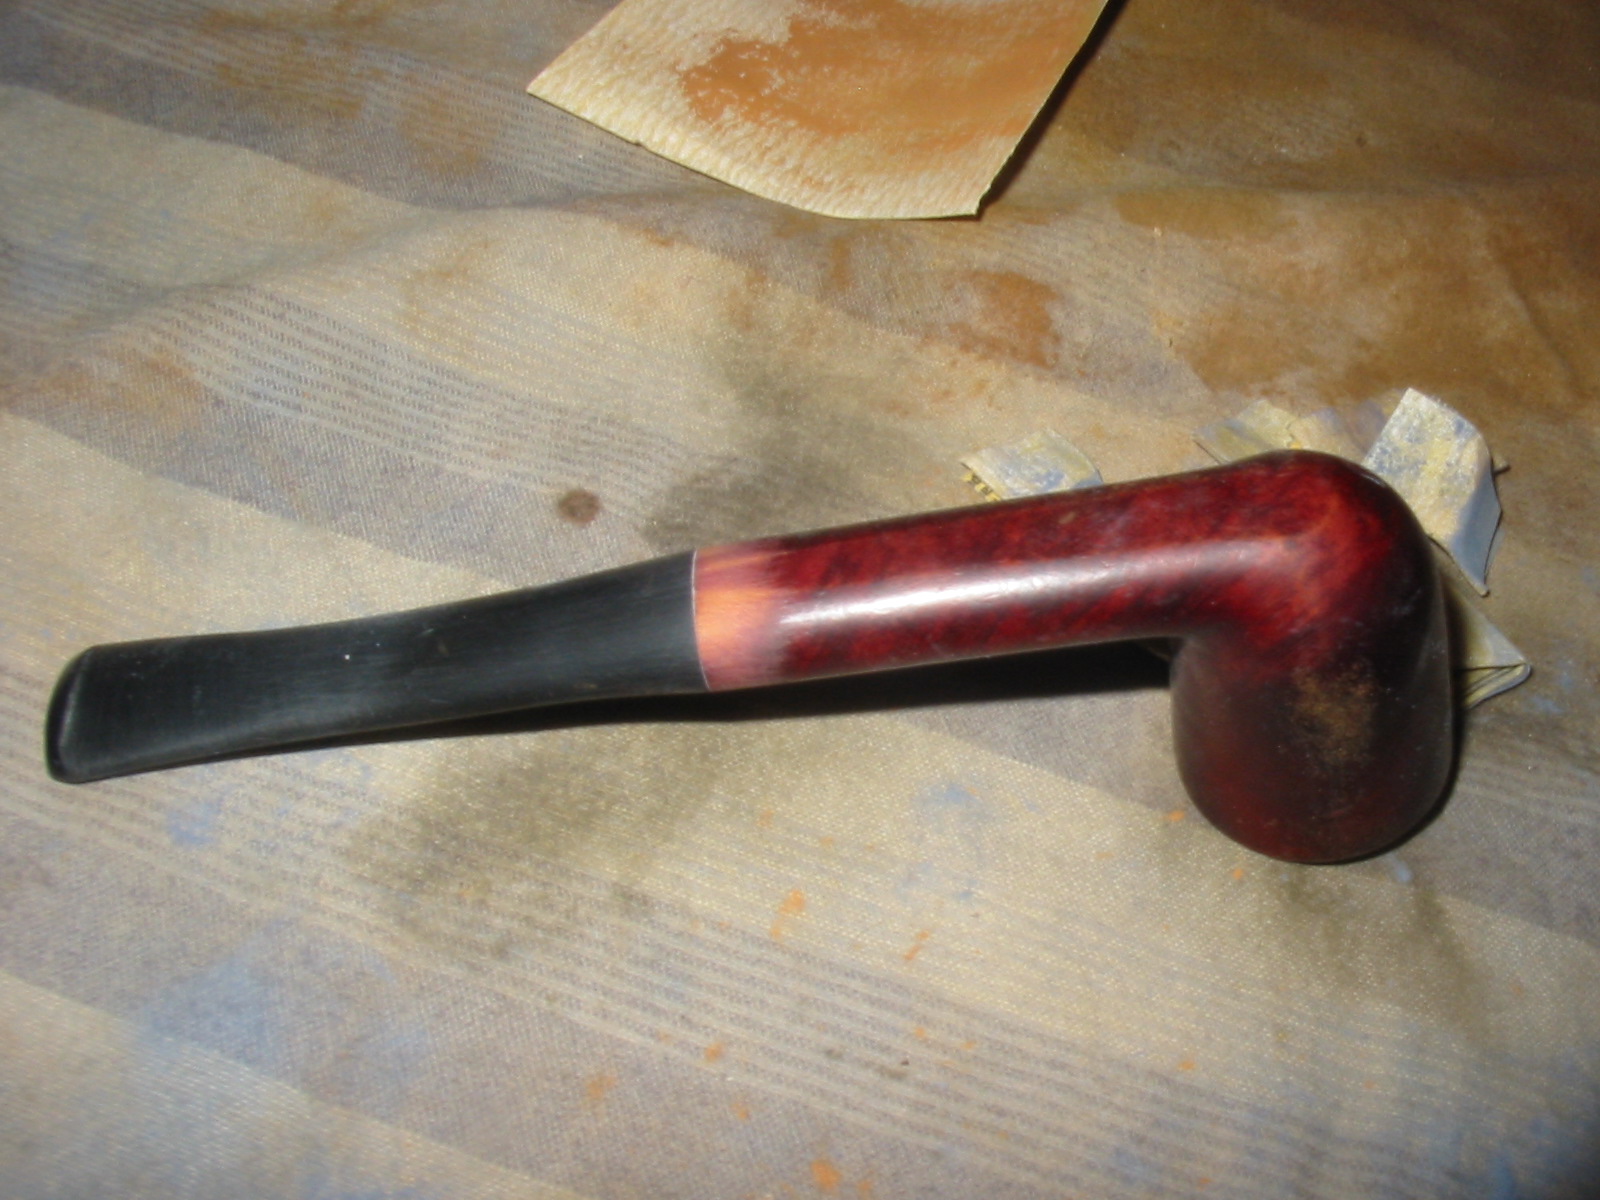
I sanded the bowl and shank with 1500-2400 grit micromesh sanding pads. Then wiped it down a final time with isopropyl alcohol.
IMG_7494
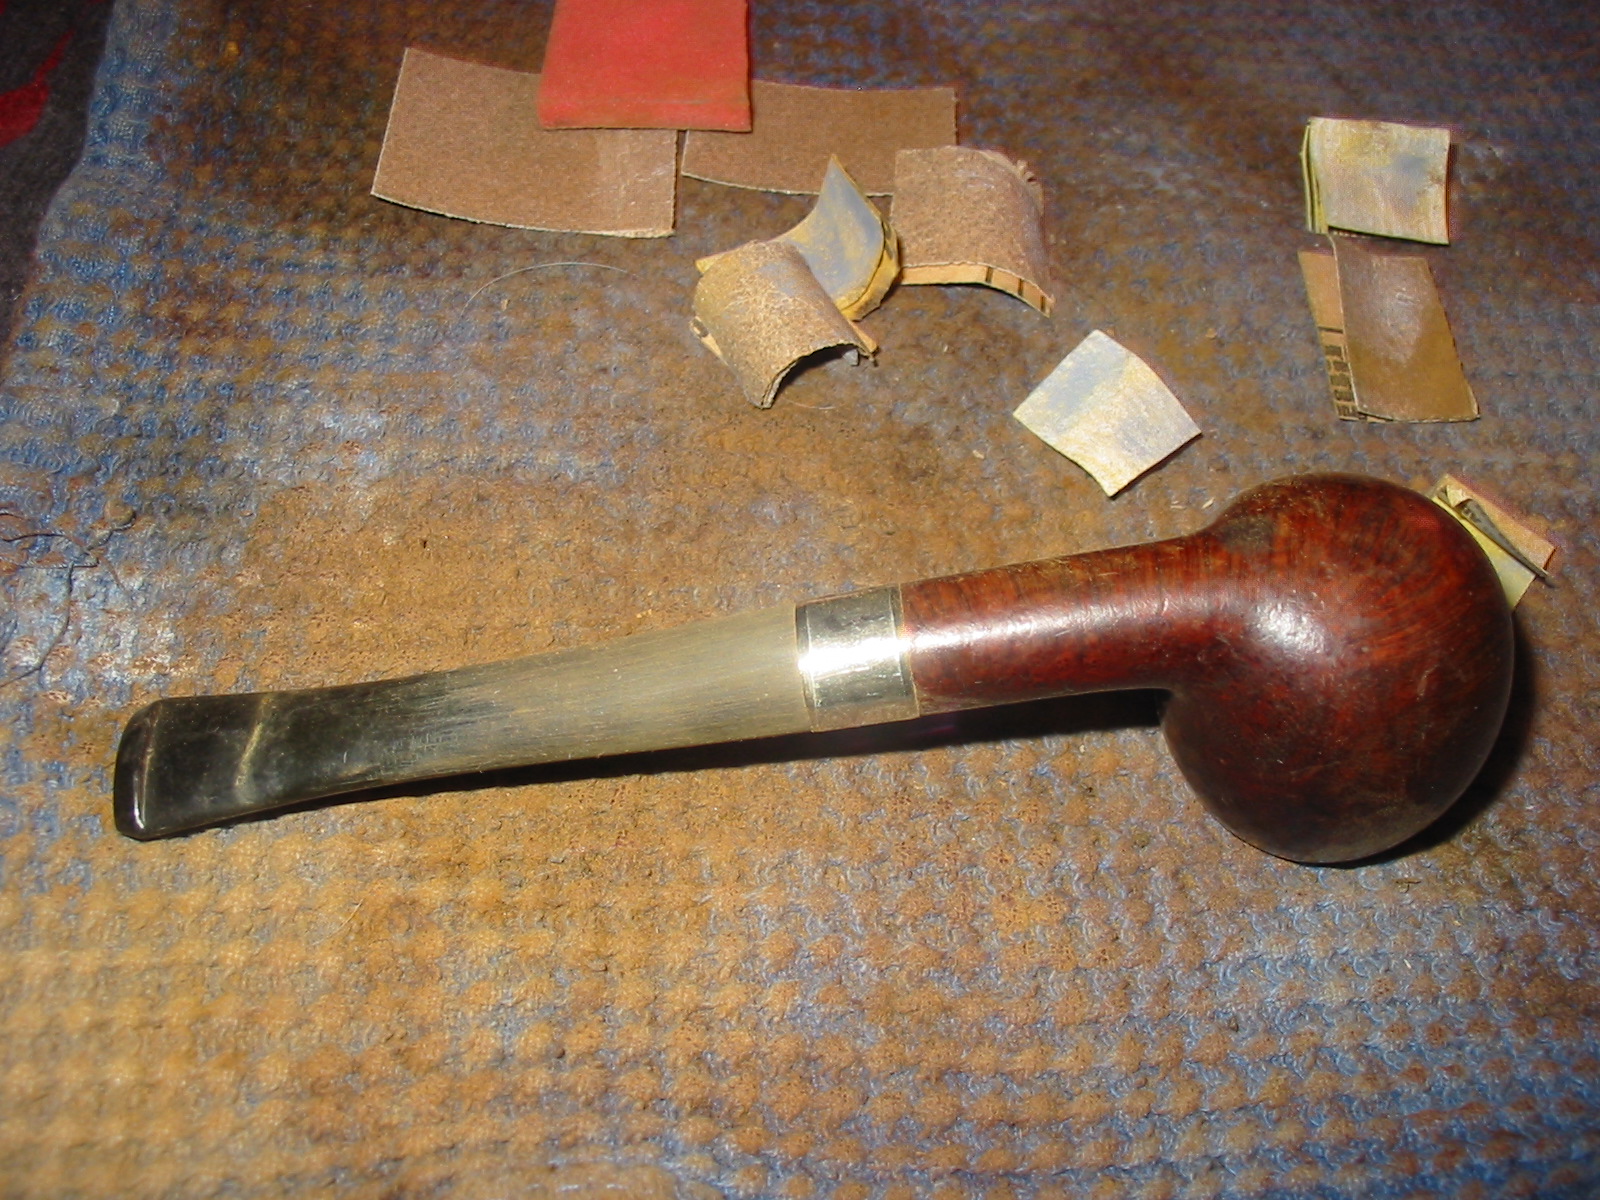
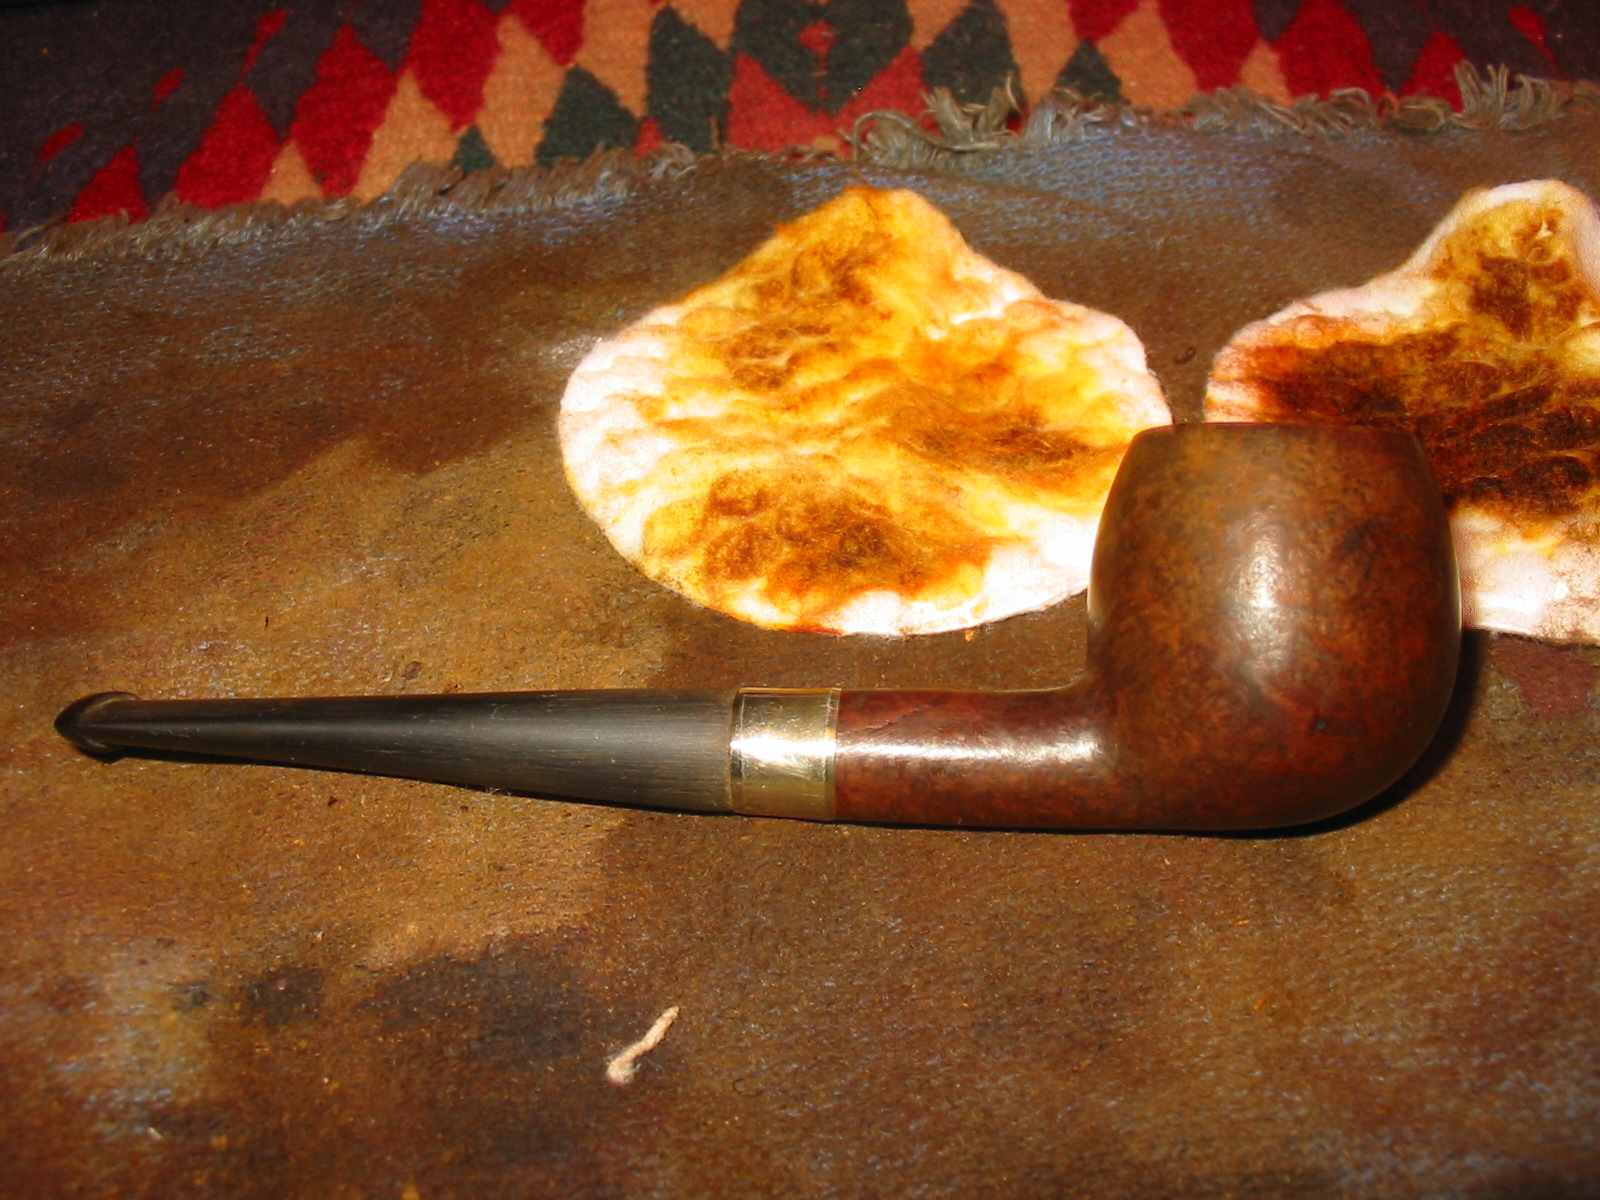
I stained the bowl with a oxblood aniline stain, flamed it and repeated the process. It covered the pipe very well.
IMG_7495

IMG_7496
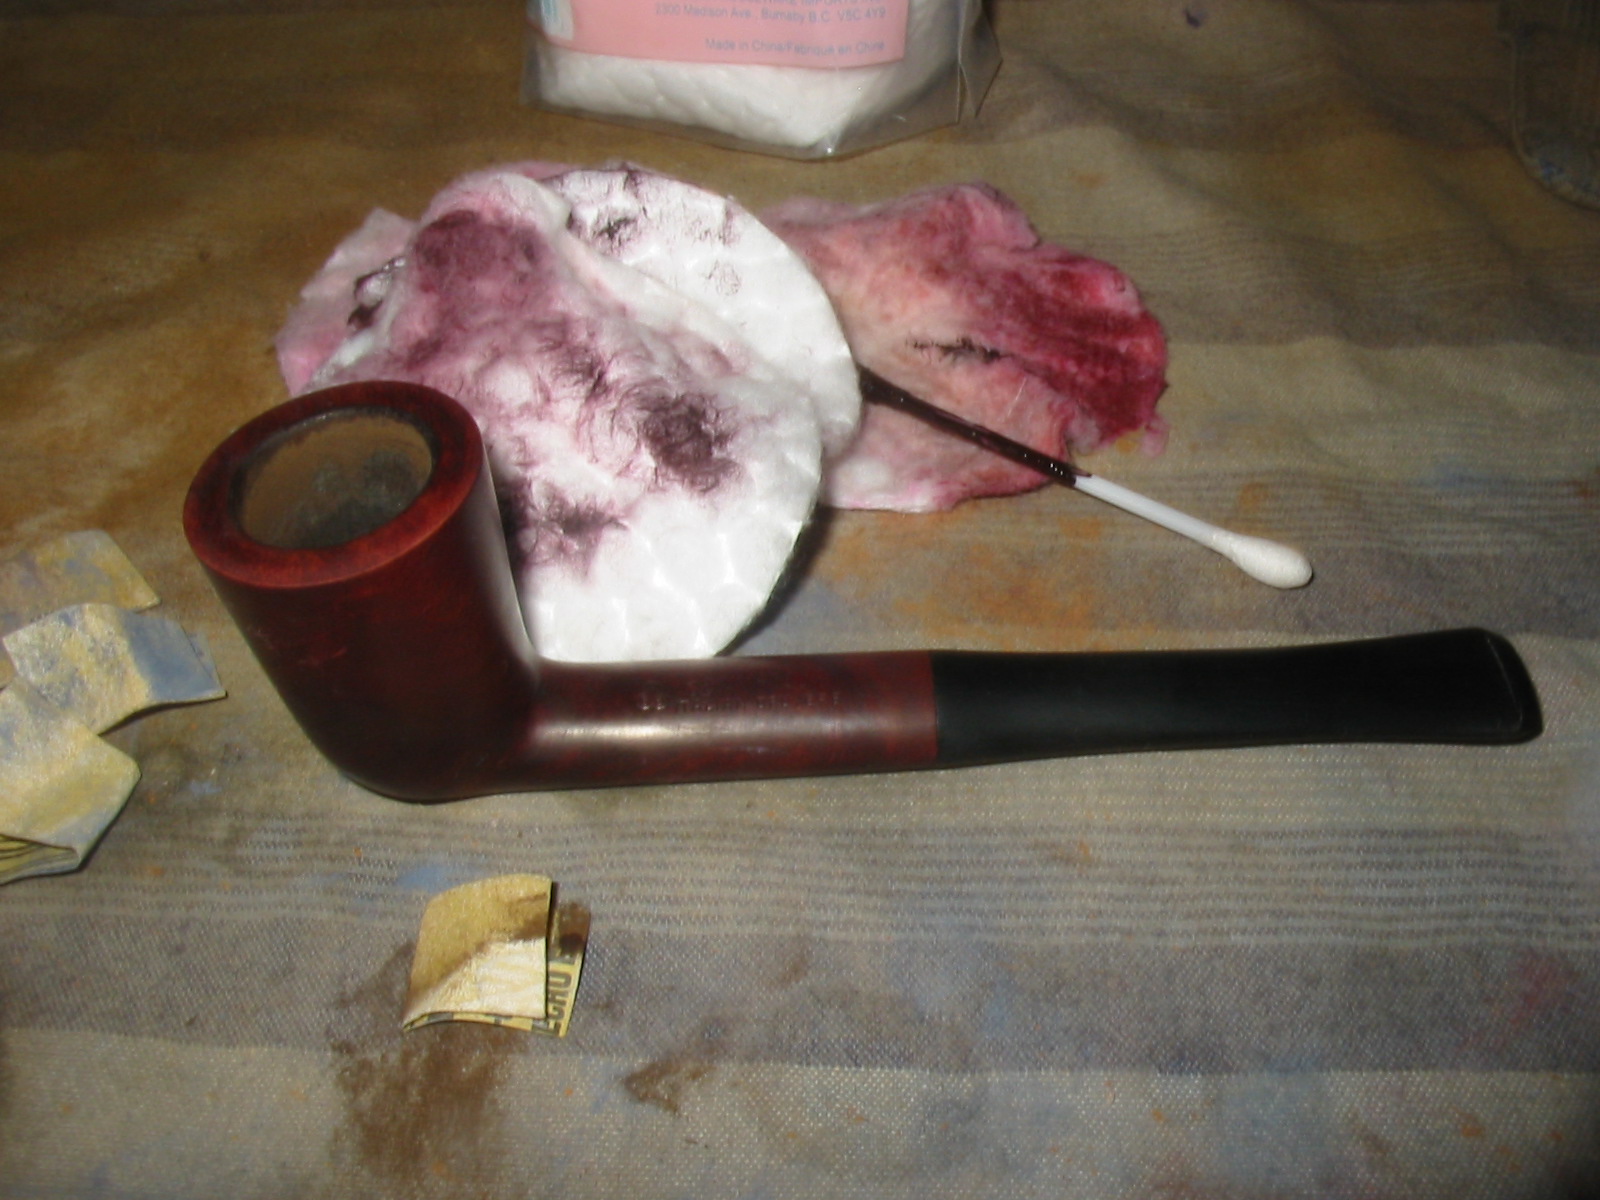
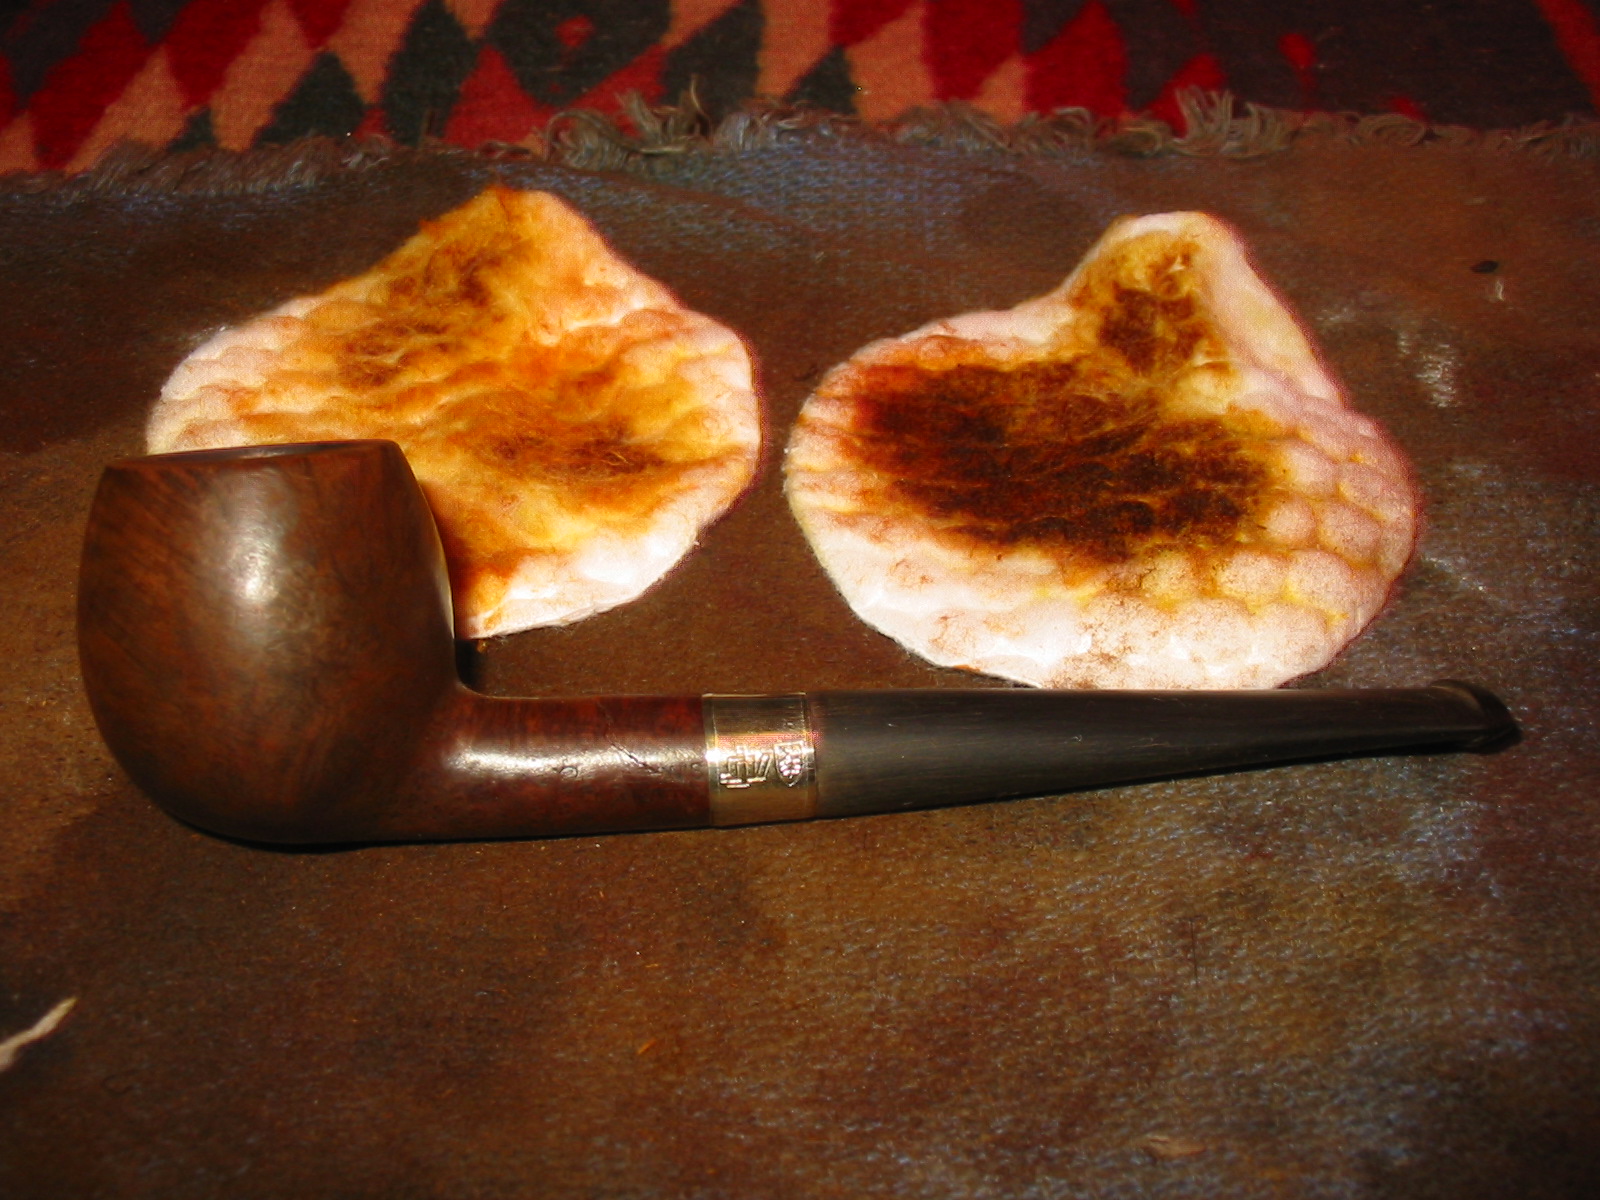
When it had dried I buffed the pipe with White Diamond to polish it. The bowl was ready to be buffed with carnauba but I waited until I had worked on the stem then I would buff them together.
IMG_7499

IMG_7500

IMG_7501

IMG_7502
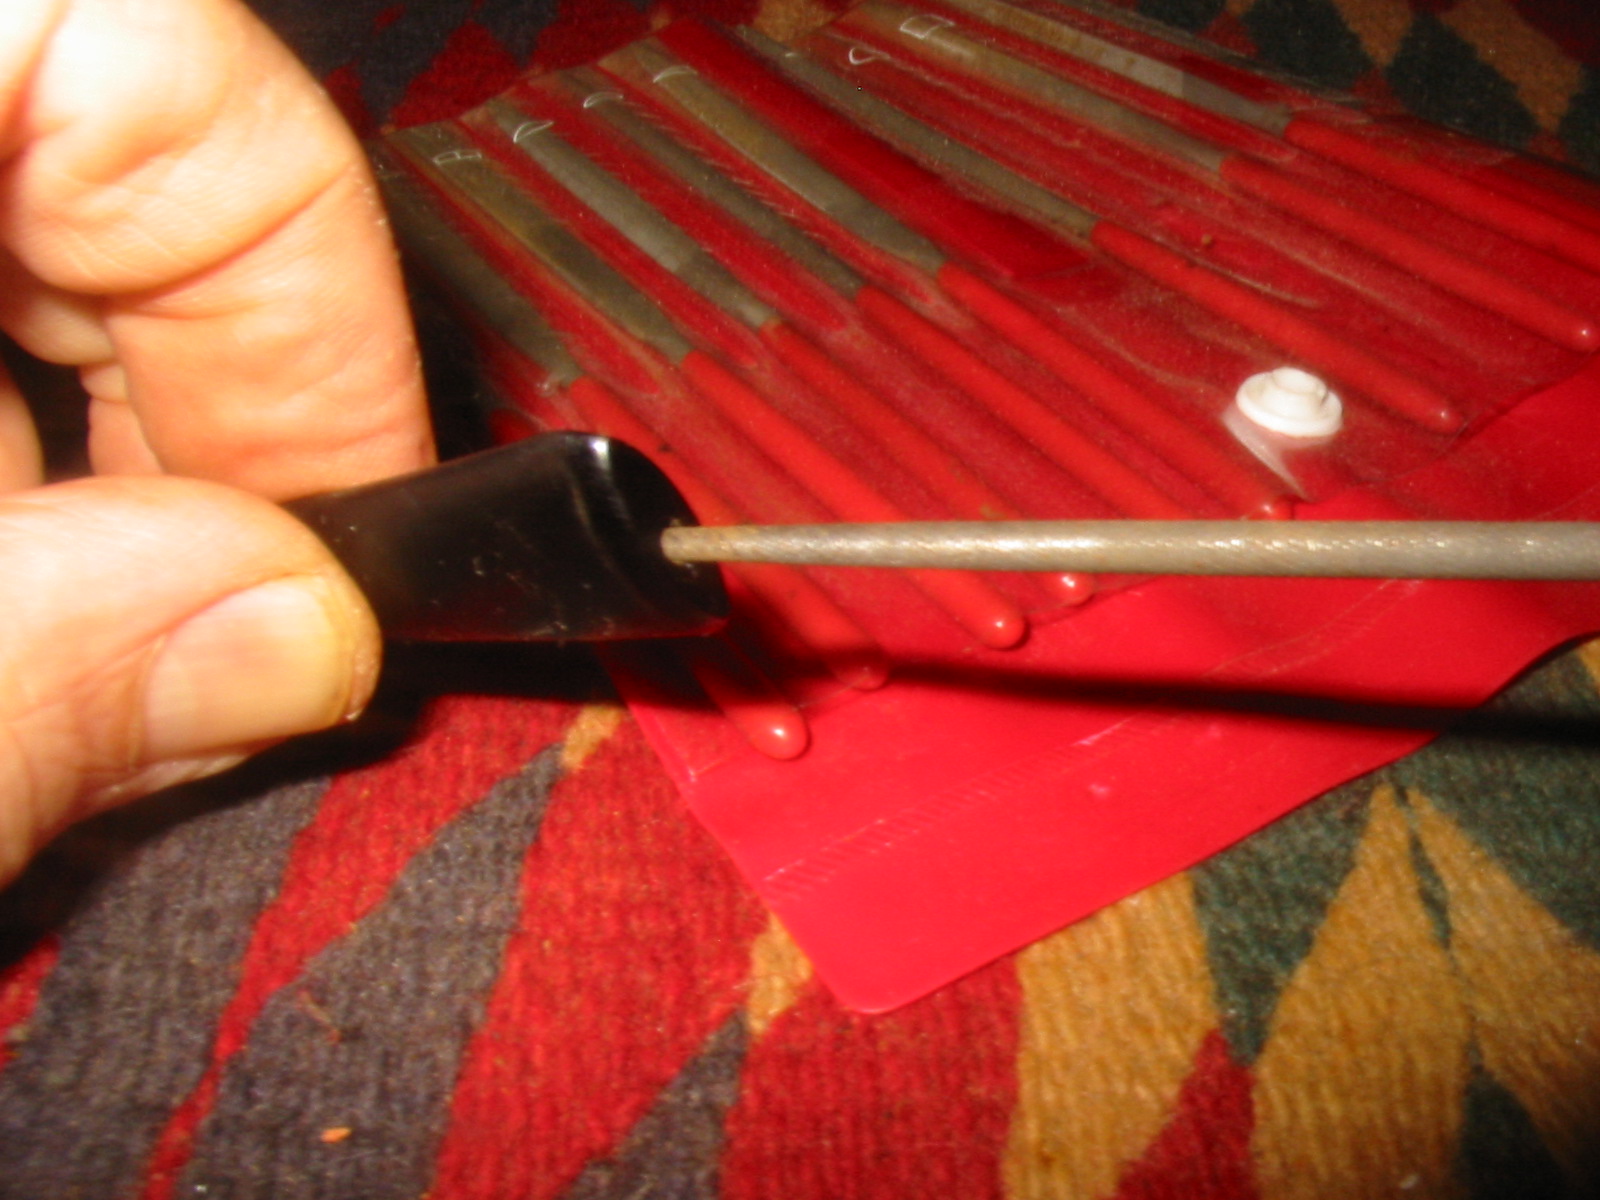
I sanded the stem with my usual array of micromesh sanding pads. I wet sanded it with 1500-2400 grit pads. I then worked on the slot. I wanted to have a wide open oval slot in the button so I used needle files to open the airway in the end of the stem. I used flat, round and oval files to open it and then a folded piece of sandpaper to polish after filing.
IMG_7503

IMG_7504

IMG_7507

IMG_7509

IMG_7512
I dry sanded the stem and the end of the button with 3200-12,000 grit pads. To remove some of the scratches left on the button I also started again and wet sanded with the 1500-2400 grit pads. When I had finished sanding I polished it with Obsidian Oil and let it dry. The Oil does not soak in like it does on vulcanite but provides a lubricant that works well when I buff the Lucite stem with White Diamond.
IMG_7513

IMG_7514
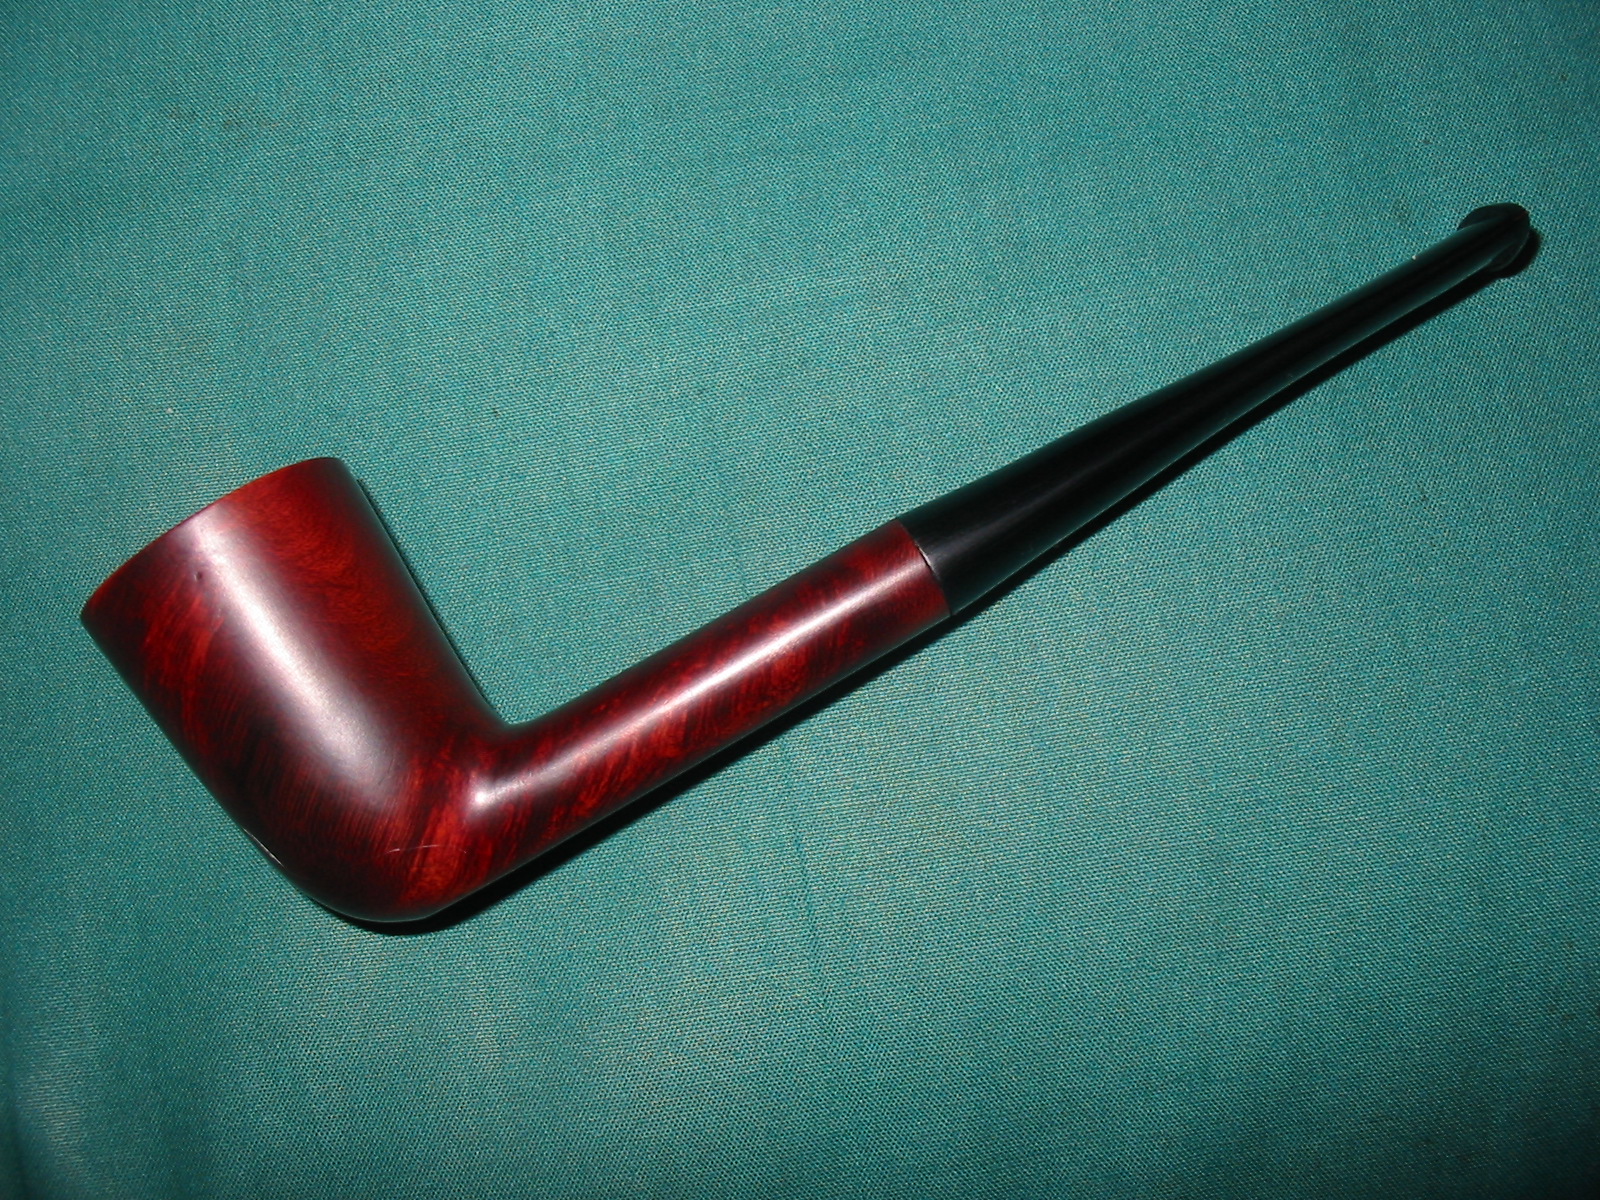
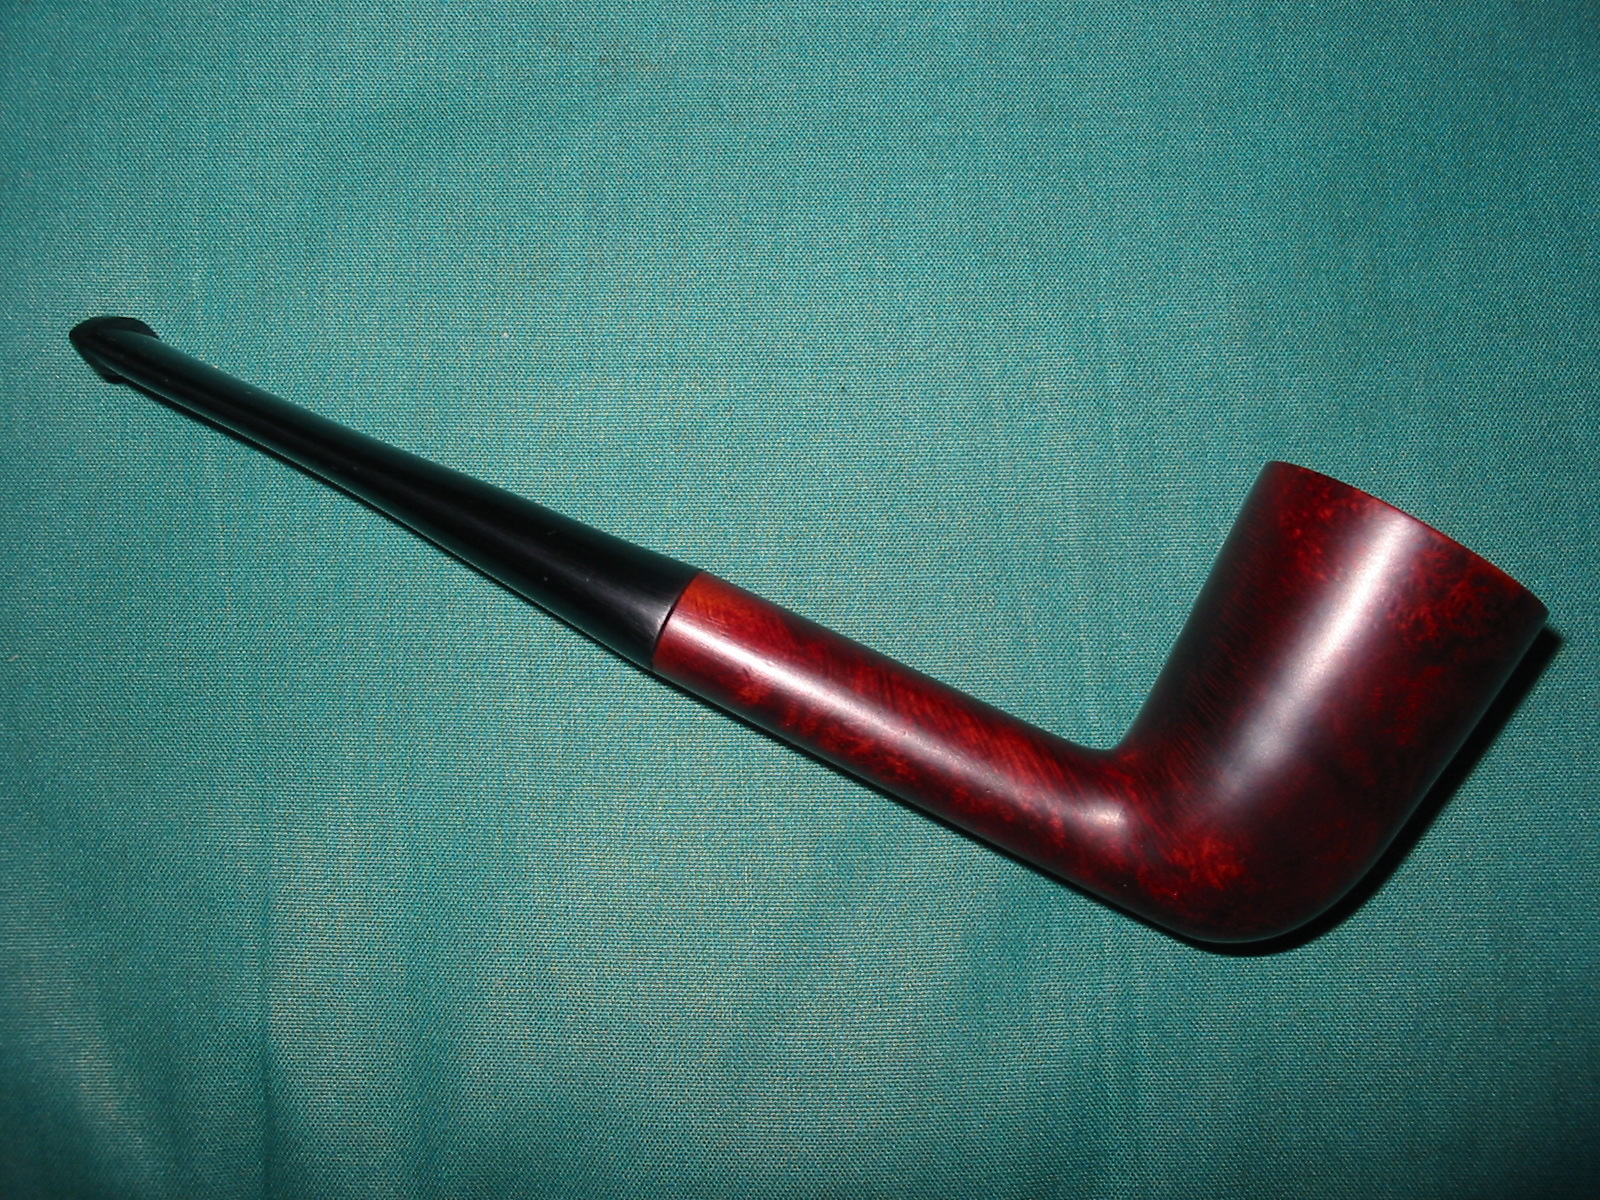
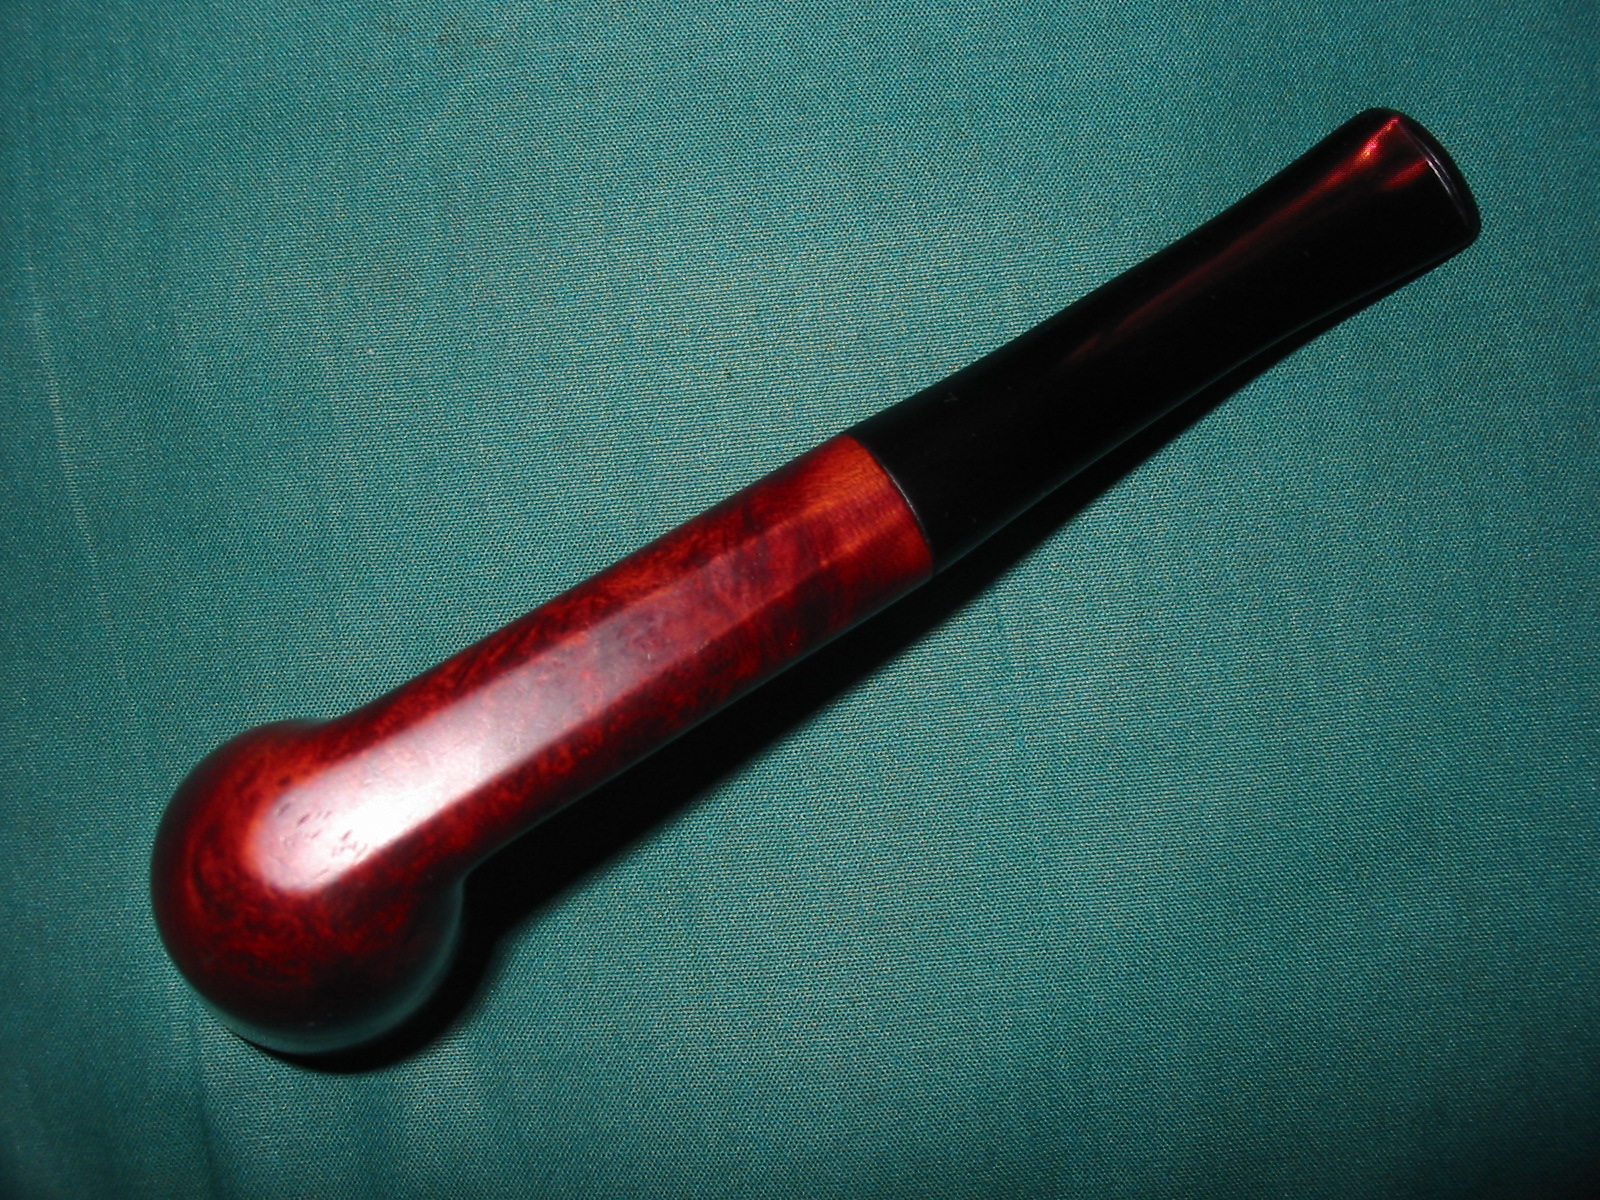
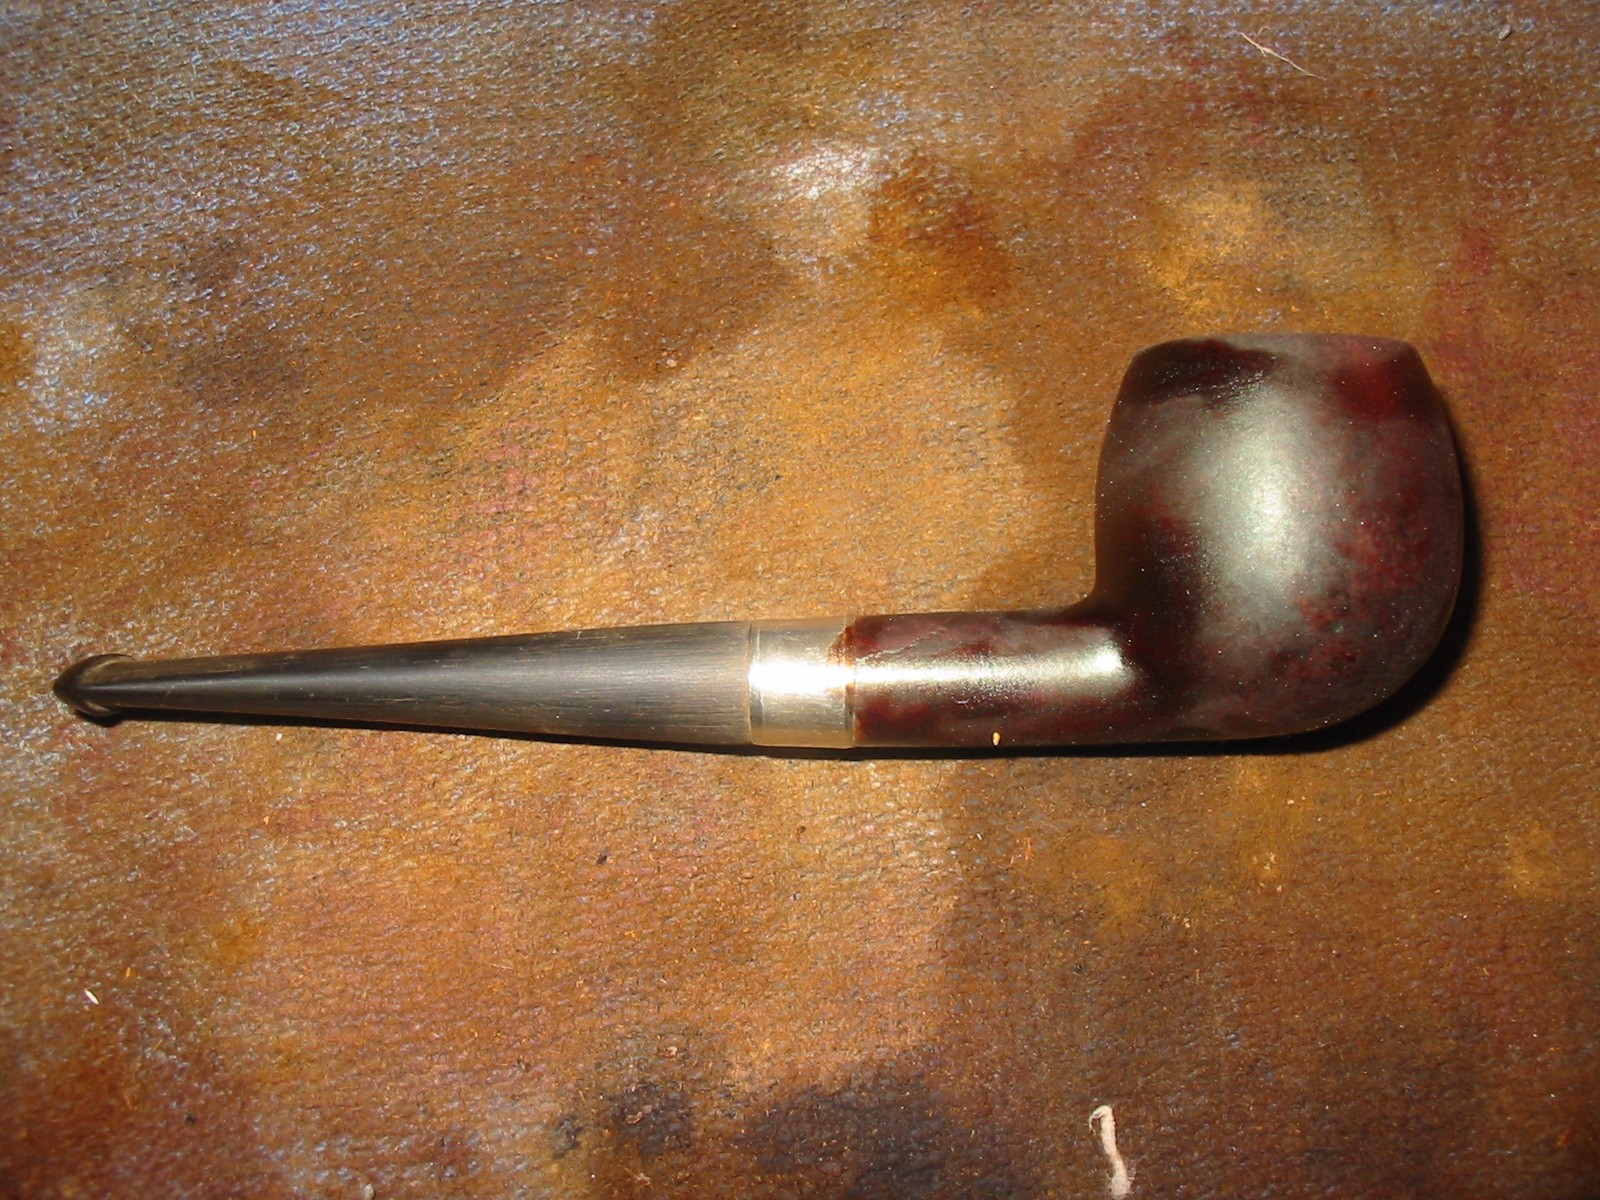
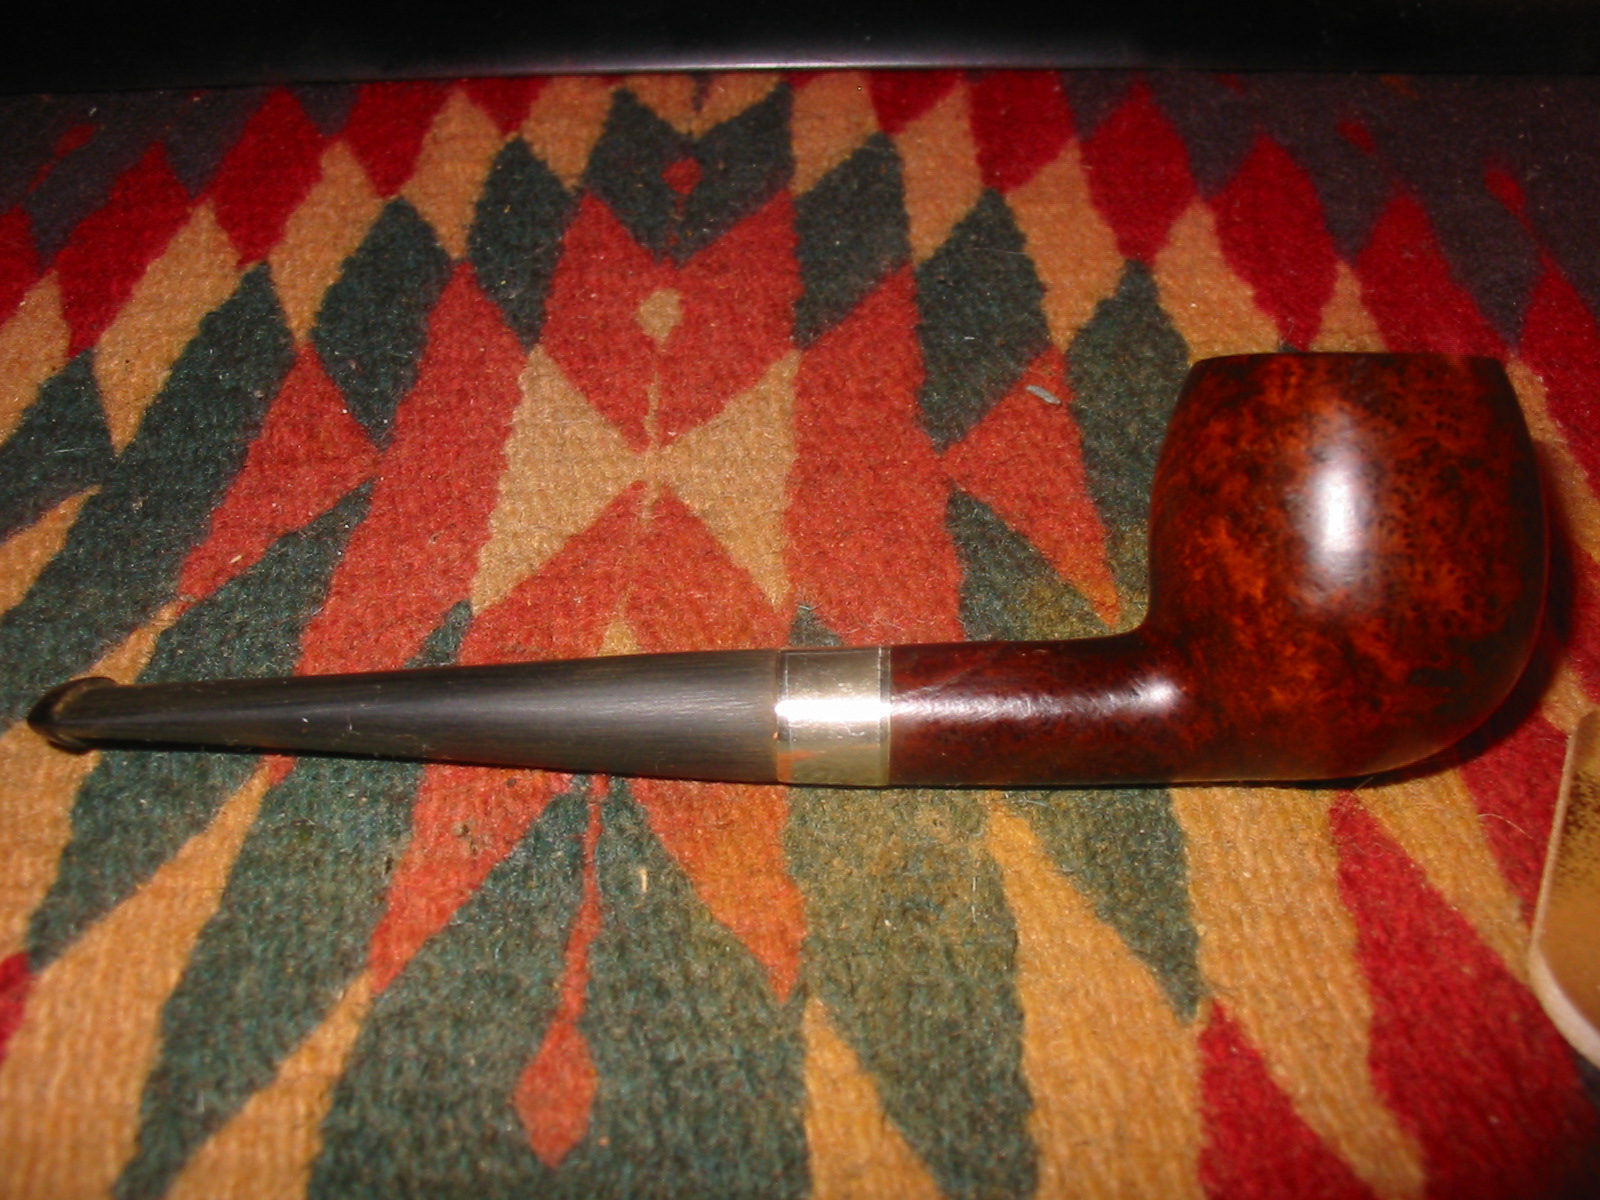
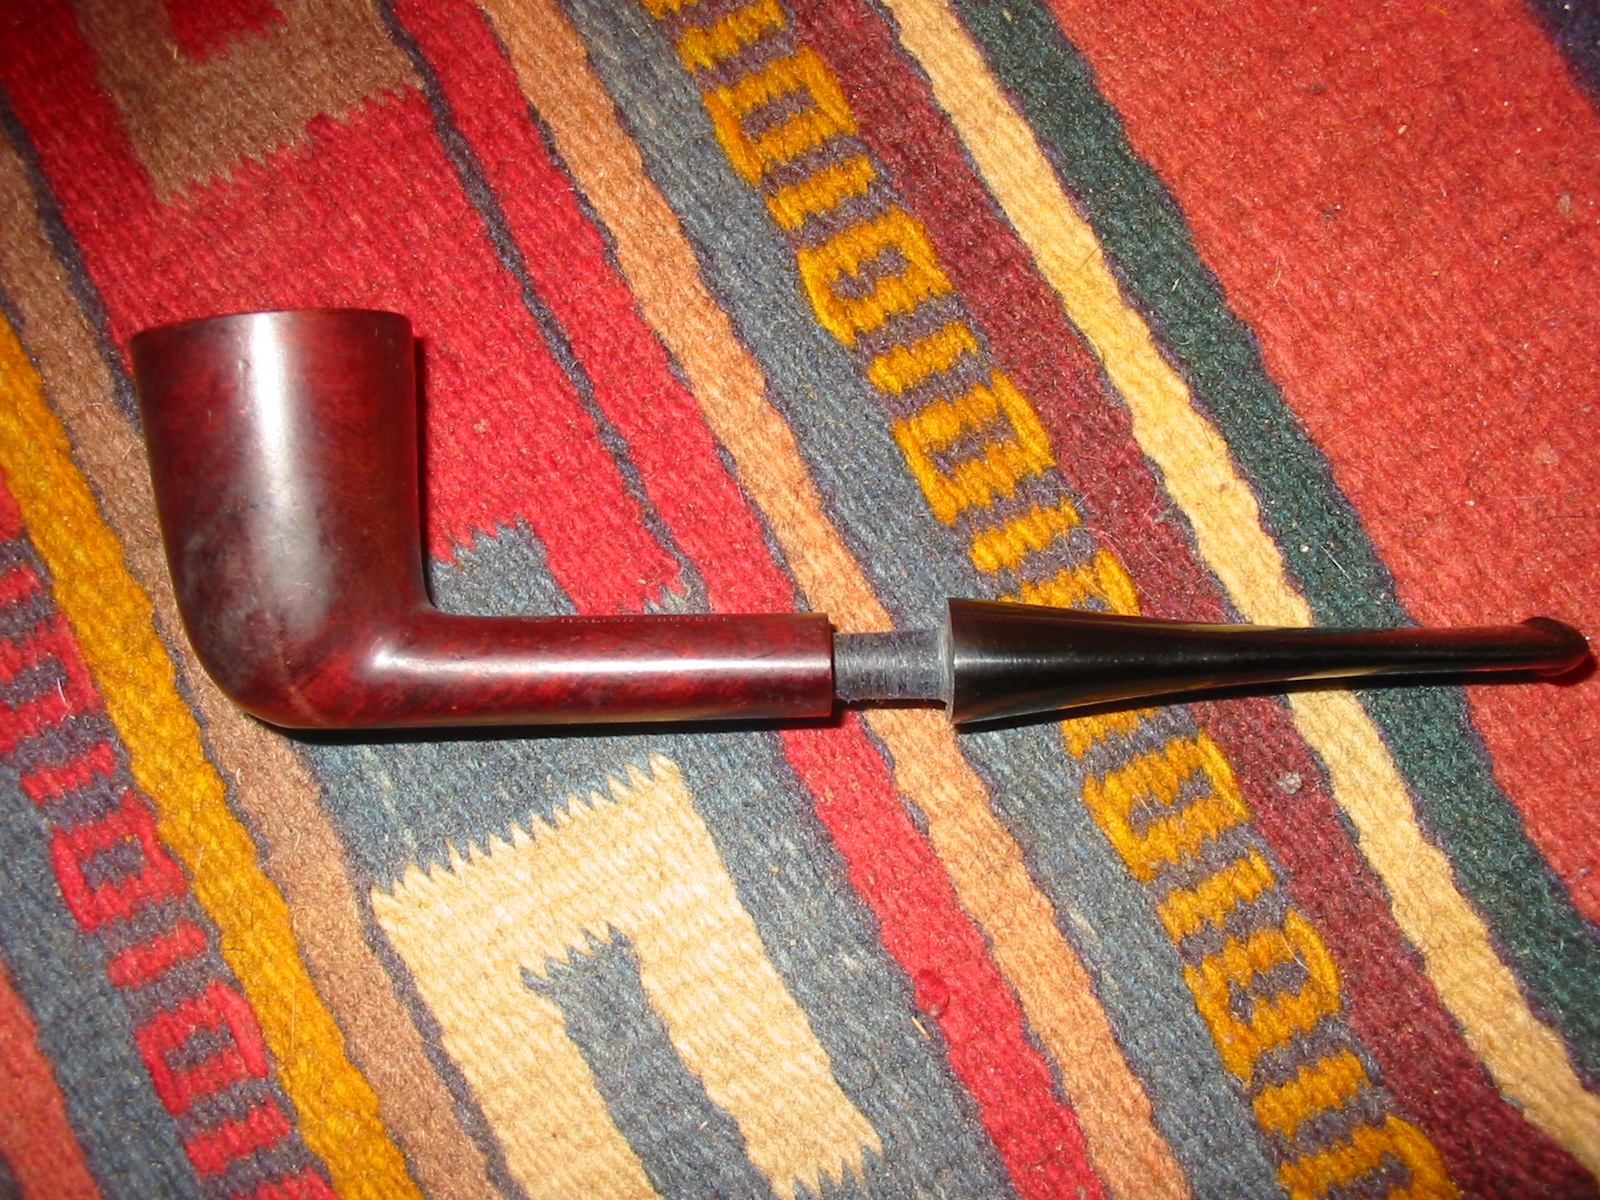
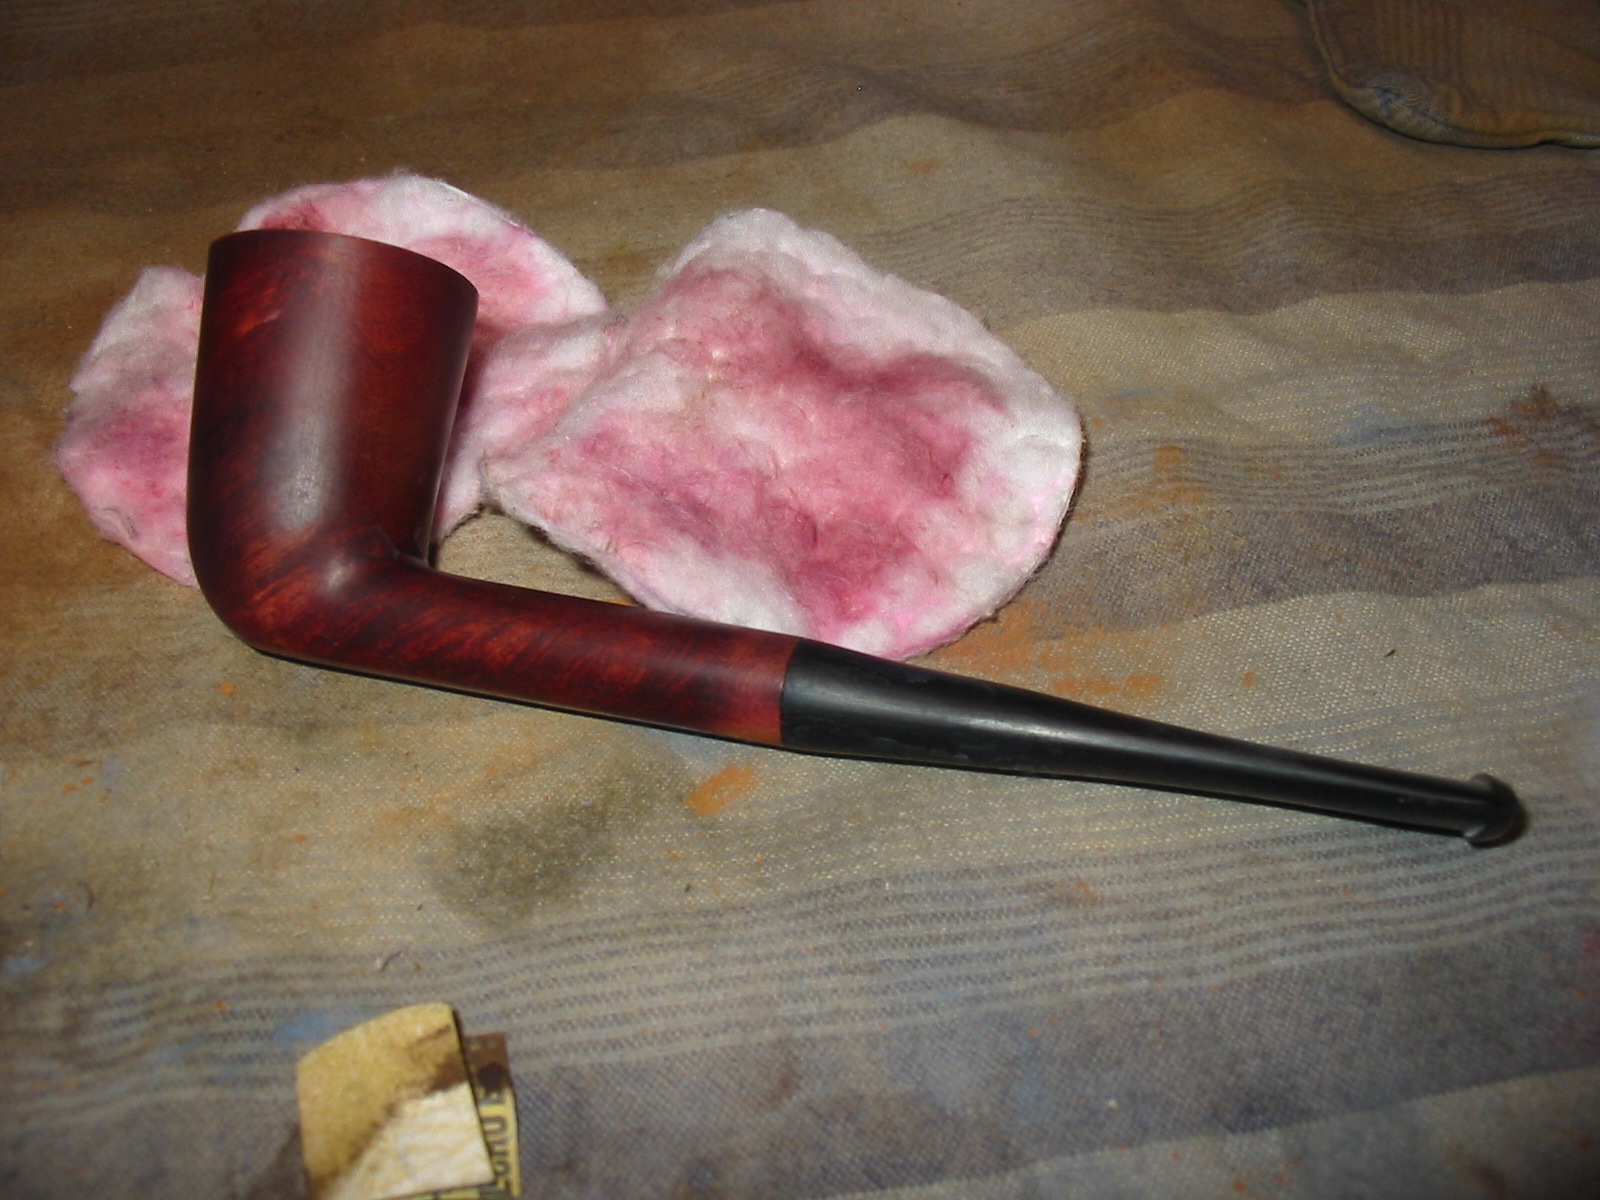
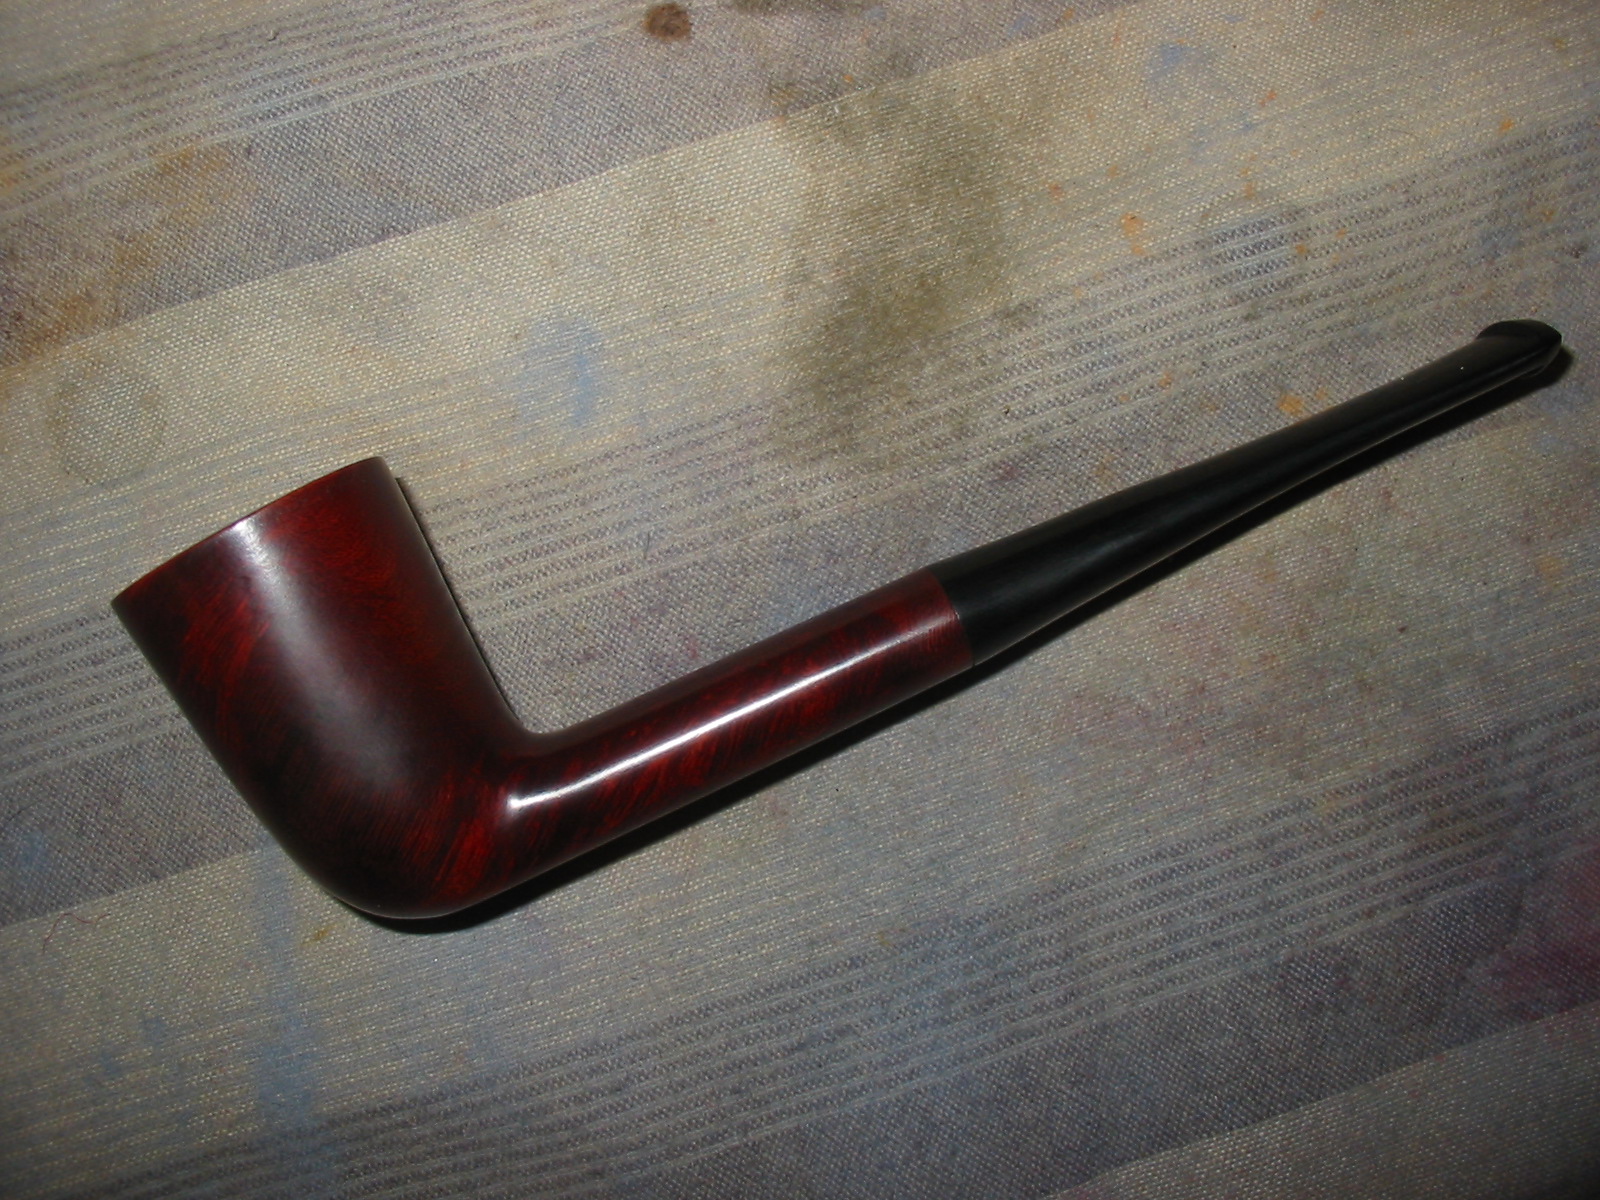
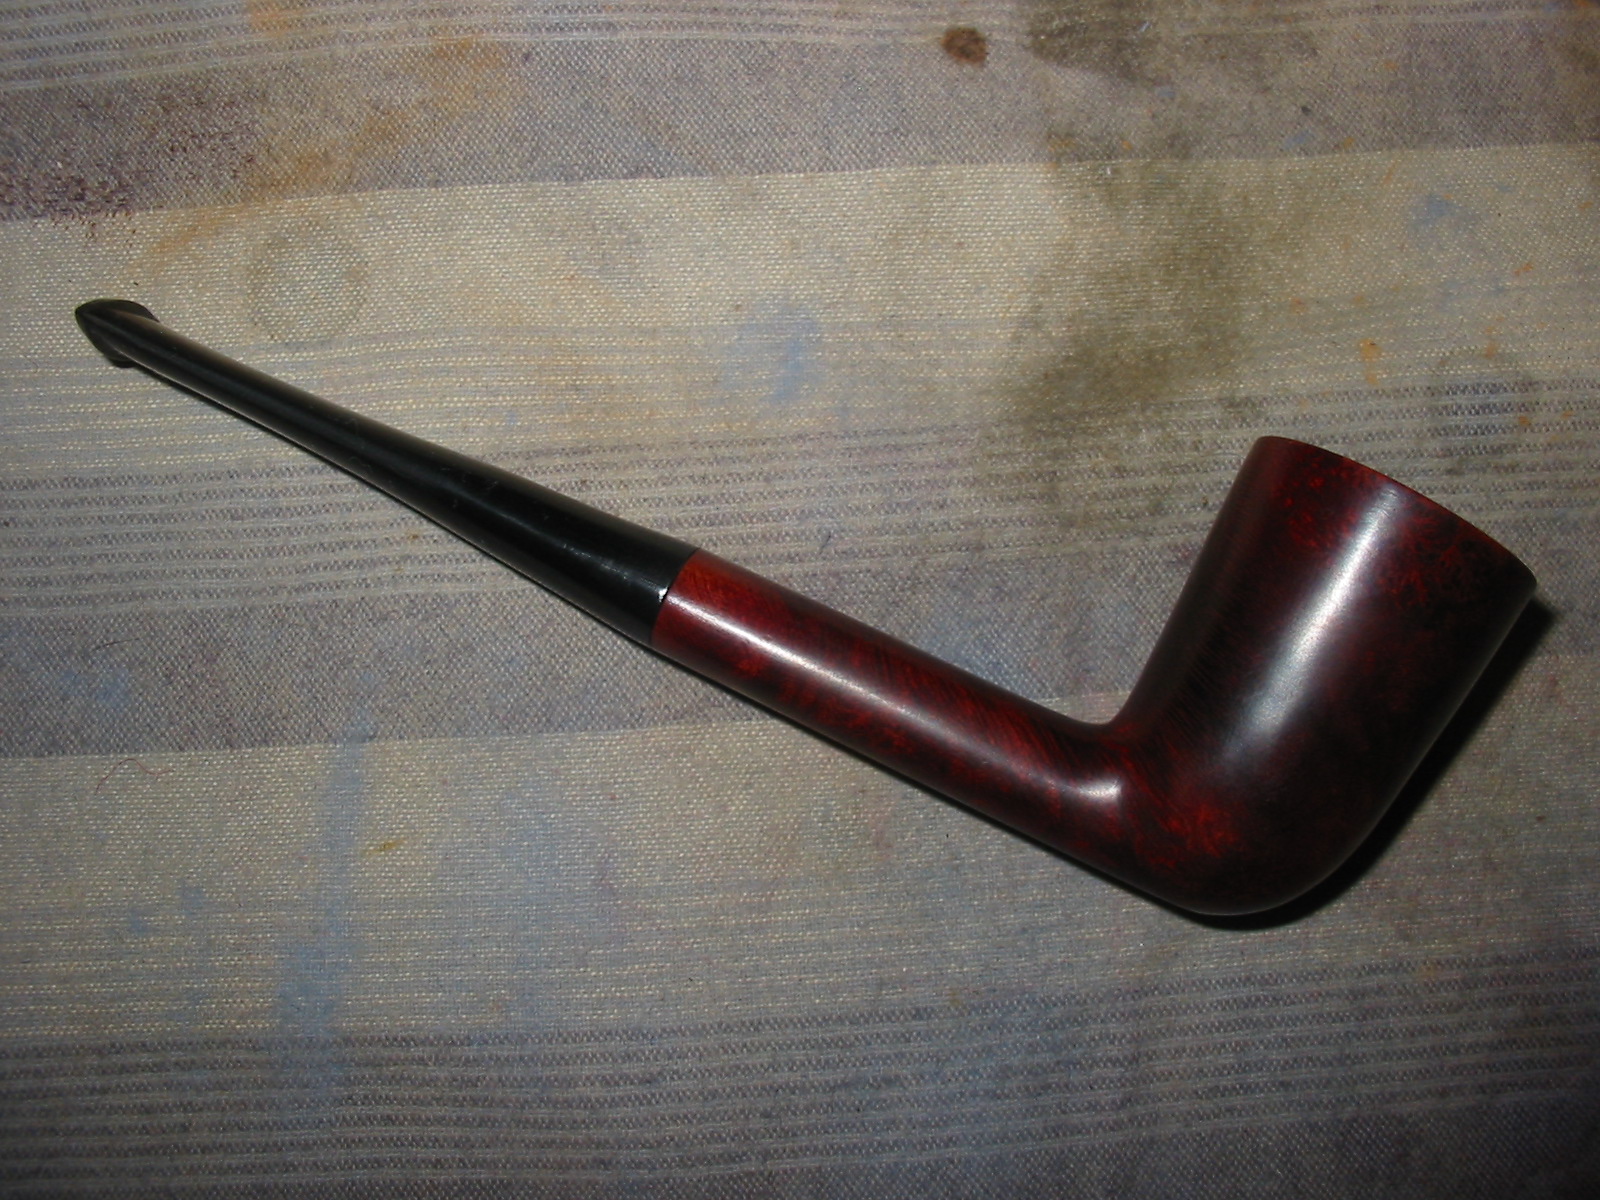
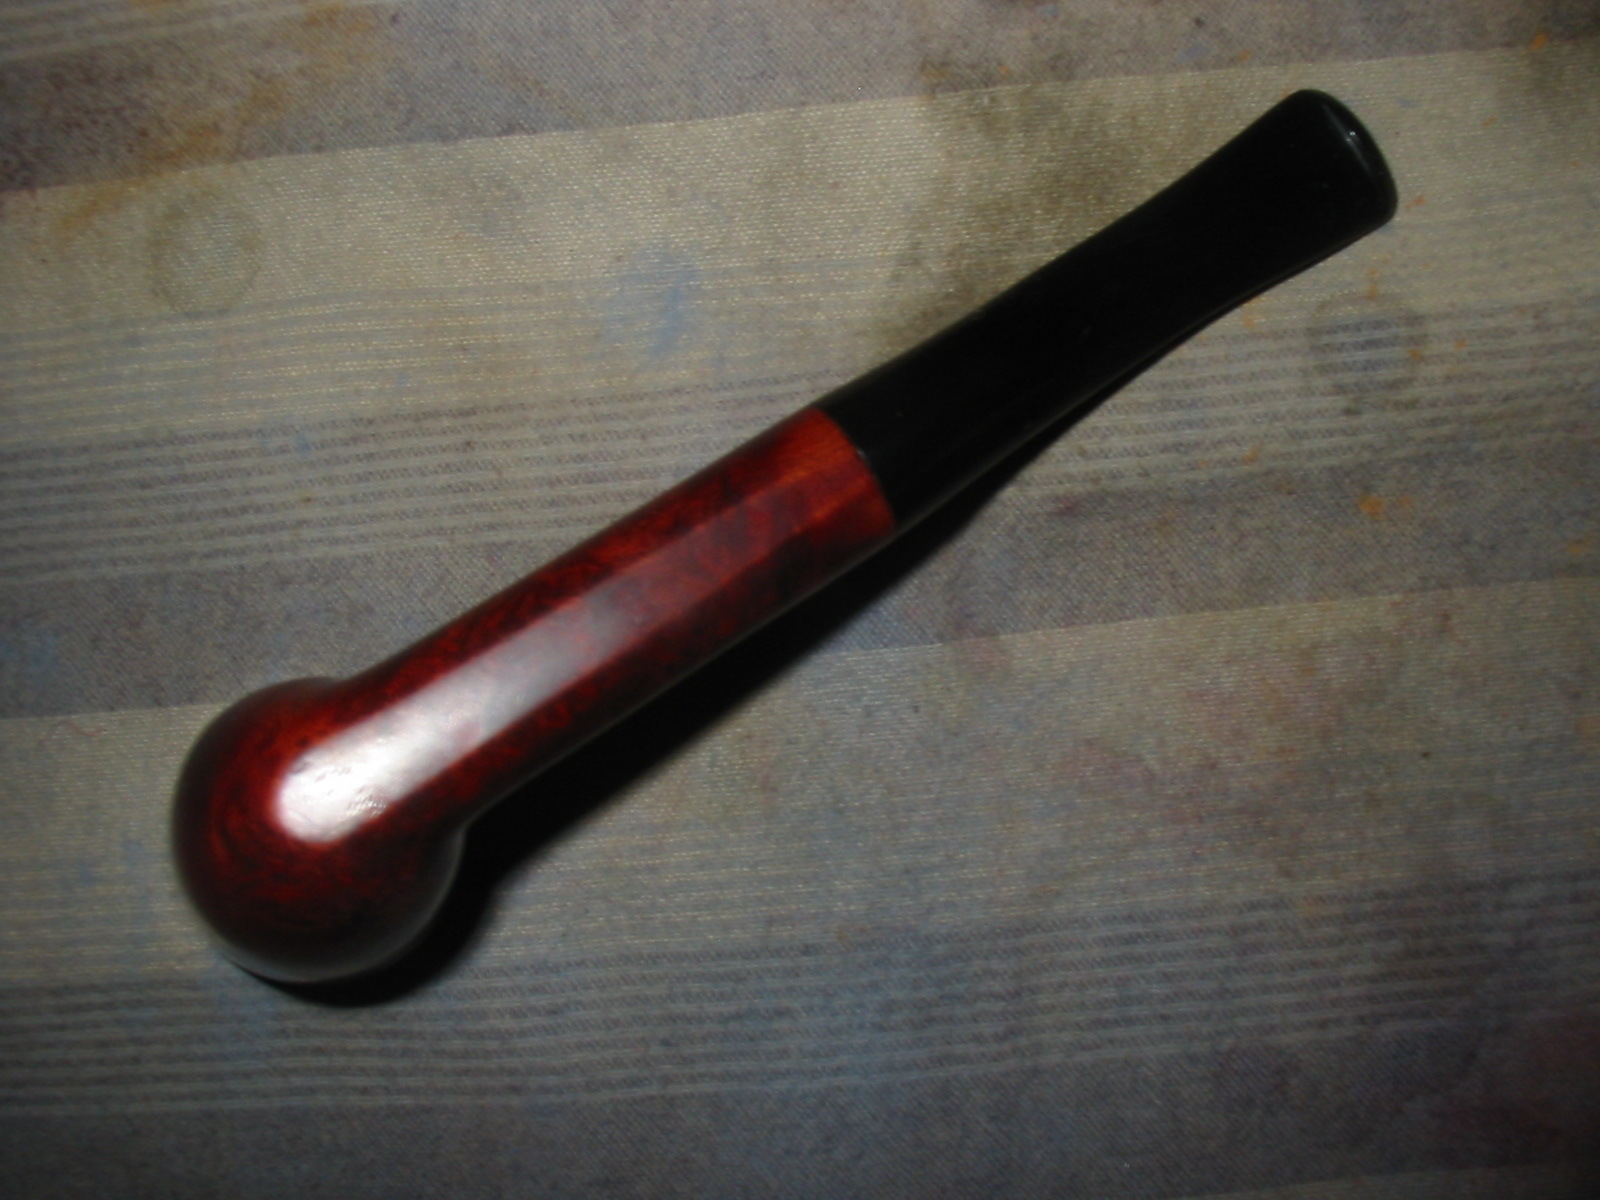
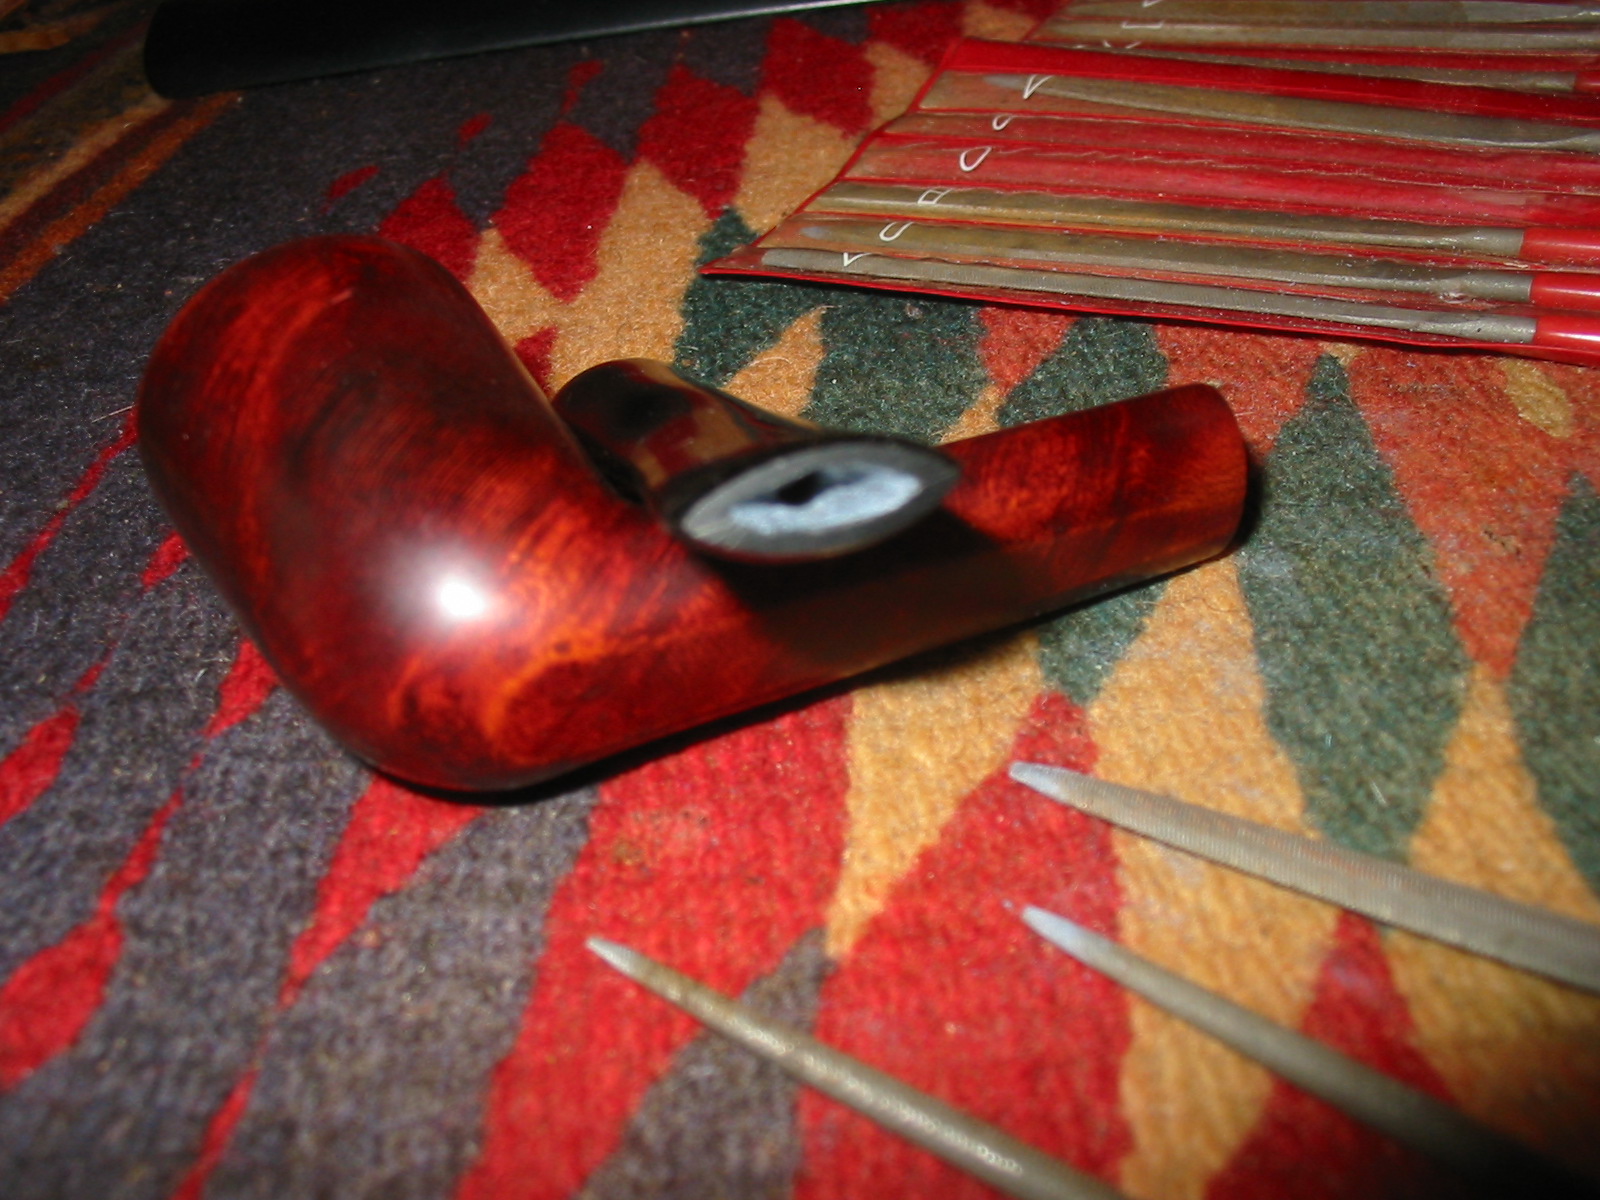
I buffed the bowl and stem with White Diamond and then gave it multiple coats of carnauba wax, polishing it with a clean flannel buff between coats. When finished the pipe looks like it must have the day it left the KBB factory. It is cleaned, restored and ready to smoke. The finished pipe is shown below.
IMG_7515

IMG_7516

IMG_7517

IMG_7518

A Non-descript Old Bowl turns out to be a Worthwhile Peterson


In the gift box that I received there was an old worn bowl that had a thick coat of grime on the finish. The shank was cracked and had been repaired but still showed. There was stamping on the shank but it was illegible without magnification. The bowl had been reamed but was out of round. It had been topped at some point but had not been flattened it had an odd crown and was quite a bit lighter than the rest of the bowl. The briar itself was quite nice under the grime. The right side of the bowl had some birdseye grain while the rest was mixed grain. The rim also had birdseye grain on it. I used a magnifying glass to look at the stamping – low and behold it was stamped Peterson’s (with a forked P) over Kapet on the left side of the shank. It was faint but clearly readable with light and magnification. The right side was even more worn but I was able to make out that it was stamped Made in London England. The shape number was not readable. There was not a stem with the bowl but I had one that would work in my box of stems.
IMG_7455
I cleaned up the shank area with a wipe down with acetone on a cotton pad. I wanted to avoid covering the remaining stamping with the band but wanted a band that would strengthen the repair that had been made to the cracked shank. I heat the band and pressed it into place on the shank. I also sanded the tenon on the stem so that it would fit the shank.
IMG_7456

IMG_7457
With the new band in place I cleaned up the tenon and pushed the stem into the shank. I sanded the stem with 220 grit sandpaper to remove the tooth chatter and also to adjust the diameter of the stem at the band. I wanted it to fit evenly against the band so that looking at the pipe from the end view there would we equal silver all the way around the stem junction.
IMG_7458

IMG_7459

IMG_7460

IMG_7461
When I had the fit against the shank and band correct I sanded the stem with a medium and a fine grit sanding sponge to clean up the scratch marks. I also used a folded piece of sandpaper to work on the inner edge of the rim to bring it back to round. I wiped down the bowl with isopropyl alcohol on a cotton pad to remove the grit and buildup on the bowl and lighten the bowl to match the current colour of the rim. Even though I would later end up topping the bowl I knew that the lightening of the stain would make the restain much simpler.
IMG_7462

IMG_7463

IMG_7464
I cleaned the inside of the shank and stem with cotton swabs, pipe cleaners and isopropyl alcohol until the cleaners went in and came out the same colour. The photo below shows some of the building pile of cleaners that were used to get the pipe clean.
IMG_7465
I set up the topping board and 220 grit sandpaper and twisted the rim into the sandpaper until I had the top of the bowl flat once again. I took out the rounded/crowned rim that had been done earlier and squared it up with sharp edges once more.
IMG_7466

IMG_7467
I sanded the rim with the sanding sponges and also with 1500-2400 grit micromesh sanding pads to remove the scratches. I stained the bowl with a dark brown aniline stain with several more applications of stain to the rim to achieve a match with the bowl. I applied, flamed and repeated the process of staining until I got an even coverage on the bowl and rim.
IMG_7468

IMG_7469

IMG_7470
To make the stain less opaque I washed it down with alcohol on cotton pads. I wanted to remove enough of the stain to make the grain visible.
IMG_7471

IMG_7472

IMG_7473
I sanded the bowl with 1500-2400 grit micromesh sanding pads to further lighten things. I buffed the bowl with White Diamond, while avoiding the light stamping. I rubbed the bowl down with a light coat of olive oil. The result was exactly what I was aiming for. The reddish brown tint of the briar came through beautifully.
IMG_7474

IMG_7475

IMG_7476

IMG_7477
I sanded the stem with the medium and fine grit sanding sponges and then went on to sand with my usual array of micromesh sanding pads. I wet sanded with 150-2400 grit pads and dry sanded with 3200-12,000 grit pads. I rubbed the stem down with Obsidian Oil between each of the three groups of micromesh pads. The Oil penetrates deeply into the vulcanite and makes the sanding simpler. The oil that sits below the surface lubricates the surface and the micromesh cuts into the vulcanite to clean up the scratches.
IMG_7478

IMG_7479

IMG_7480
I gave the stem a final coat of Obsidian Oil and when it dried I buffed the bowl and stem with White Diamond. I gave both multiple coats of carnauba wax and between the coats I buffed it with a soft flannel buff. I hand buffed the bowl with a shoe brush. The finished pipe is shown in the photos below. It is not a large pipe – a mere 5 ½ inches long and 1 3/8 inches tall. The bowl is in good condition and cleaned and ready to smoke. This should make a great little Virginia pipe.
IMG_7481

IMG_7483

IMG_7484

IMG_7485