Blog by Steve Laug
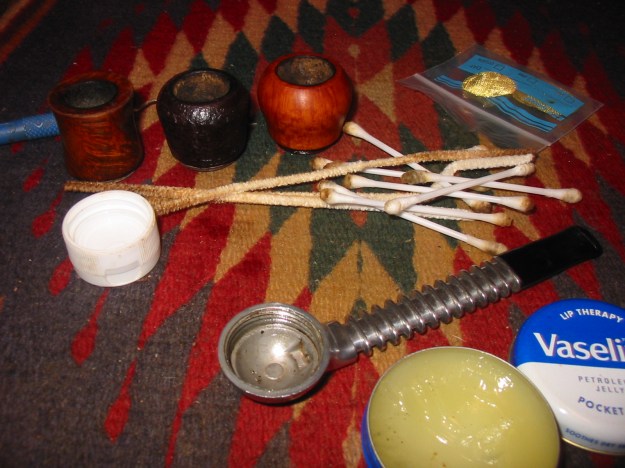
Those of you who have followed the blog for a long time will get the irony of the title. I have written quite a few Father Tom stories over the years and have had them on the blog. I am hoping that a book of these stories will be published in the near future. Anyway on the Pipe Smokers Unlimited Forum I posted that I was looking for a base unit/stem for some Yello-Bole Airograte pipe bowls that I had been gifted. I had refurbished the bowls and written of them here on the blog: https://rebornpipes.com/2014/07/17/restoring-a-couple-of-yello-bole-airograte-bowls/ Father Tom sent me a private message saying that he had one and would be glad to send it to me. We exchanged a few messages and settled on a trade. Last evening when I got home from work I was greeted by a package from him. The pipe had arrived. He had put a Grabow Viking bowl on the stem just for traveling and when I opened the box and removed the pipe from the wrappings I was excited to get to work on it. I removed the Grabow bowl and went to work cleaning the stem. I used pipe cleaners, cotton swabs and isopropyl alcohol to remove the buildup from the bottom of the base and the dental pick to clean out the threads.
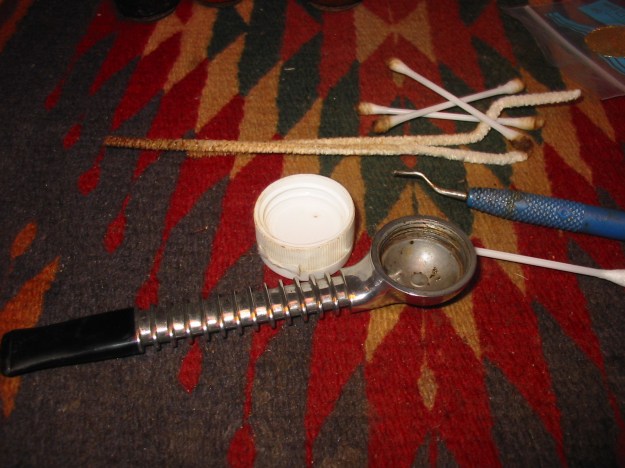 Once it was clean I used Vaseline to lubricate the threads so that the bowls would turn easily into the base. I applied it with cotton swabs to get it into the threads. In the background are some brass screens that Tom sent along that go in the base between the bottom and the bowls. The open bottom on the bowls sit against this screen. Tom has found that these brass screens work far better than the original metal plate with holes that originally formed the grate for the bottom of the bowls. He says they clog far less frequently.
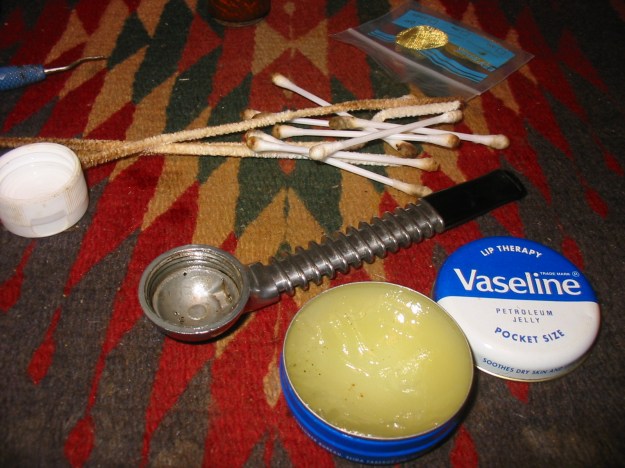
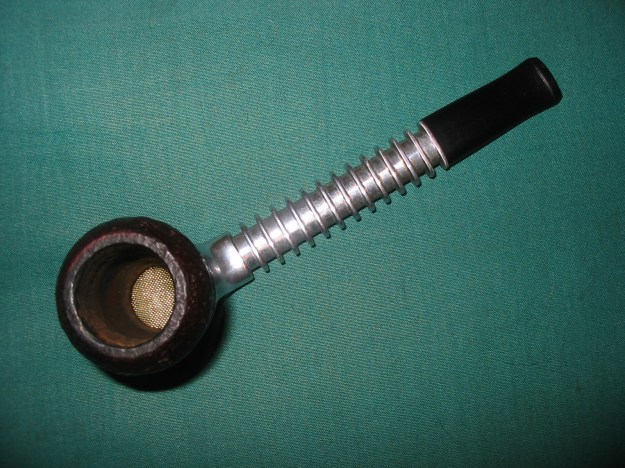
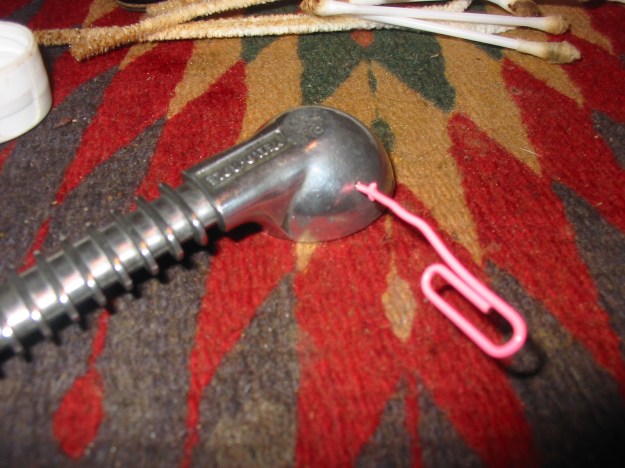
 The Airograte base has two small airholes in the sides of the bowl just below the ledge where the grate or screen sits. These tiny holes allow air to the bottom of the tobacco when smoked. When air is drawn in the bowl, it enters through these small airways. In this particular base the airways were clogged. I used an unfolded paper clip to open them again. I pushed out the clogs from both sides of the base from both the inside and the outside. The airflow is now unrestricted in those airways.
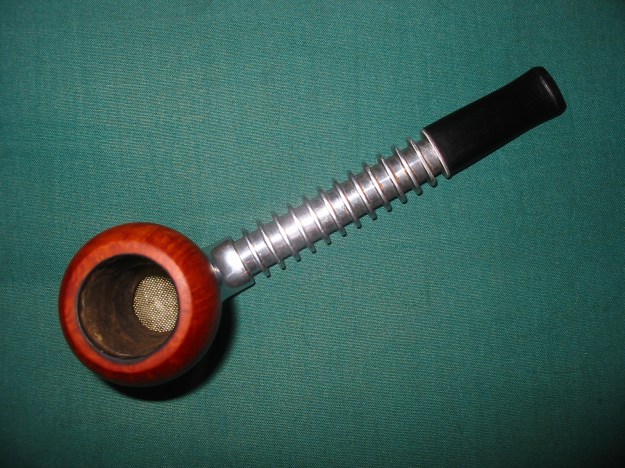
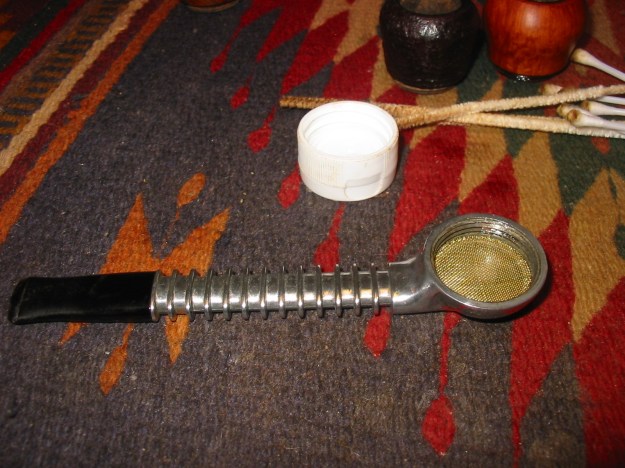
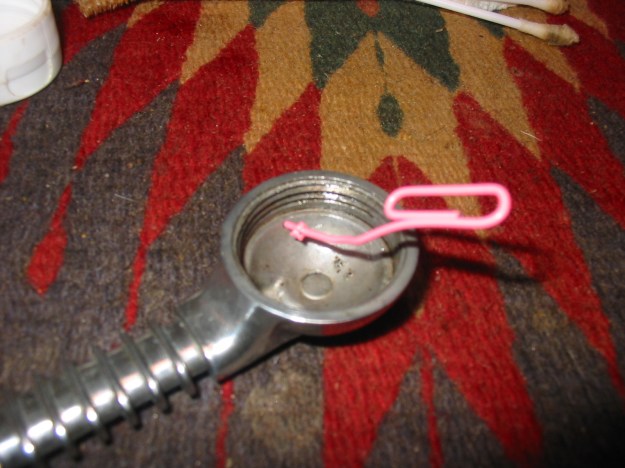 I put the brass screen in place in the base once I had the cleaning finished. The bowl will screw on top of the screen and the tobacco when loaded will sit on top of the screen.
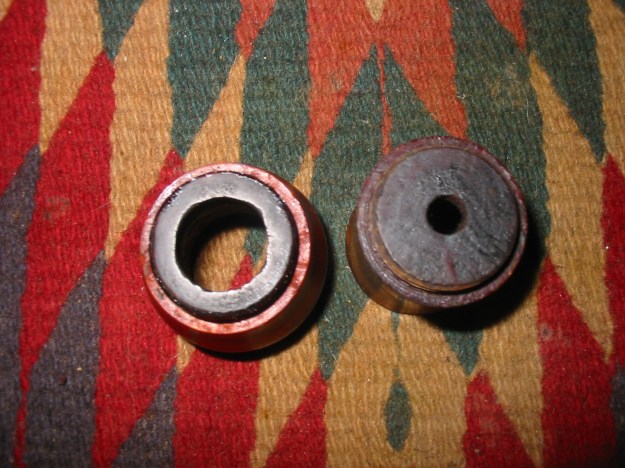
  With the above statement about the bowl sitting on top of the screen I thought that it might be helpful to take a photo of the two different bowls. The one on the left is the bowl for the Airograte while the one on the right is for Grabow Viking. The Airograte is more of a tube that sits on top of the grate. The tobacco burns on the grate.
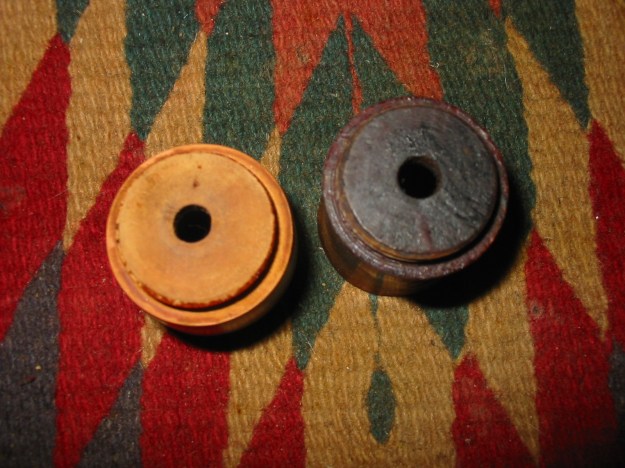
  The Viking bowl also fits perfectly on the nylon stemmed pipe I have written about earlier. I am pretty certain that the nylon one is also a Grabow though it is unstamped. The photo below shows the bowl from the nylon pipe and the Grabow bowl from the bottom.
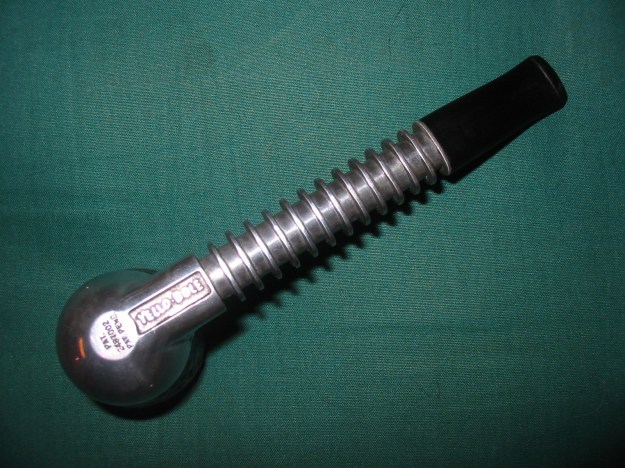
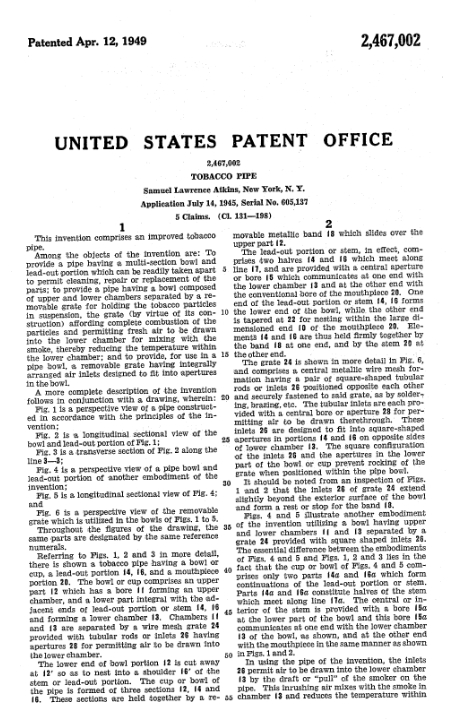
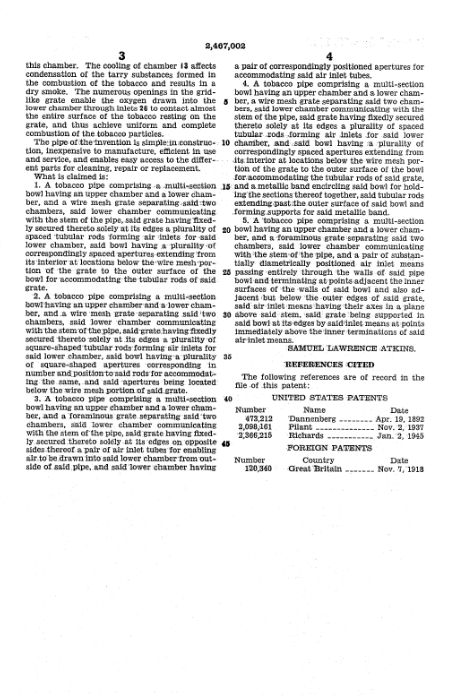
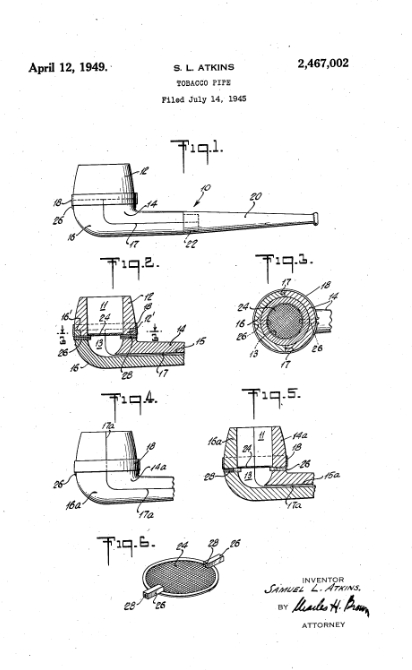
  While I was cleaning up the bowl base I noticed the Patent and Patent pending information on the bottom of the bowl. This made me curious to see exactly what was patented/patent pending. I went to the US Patent Office on line ( http://patft.uspto.gov/ ) and searched the number on the bottom of the base. I was able to find that the patent had been applied for in 1949 by Samuel Lawrence Atkins of New York City. The patent was for the airograte that sat between the airway in the bowl and the tobacco and the two small holes in the bottom sides of the bowl. It was designed to give a dry and even burning smoke and keep bits of tobacco from entering the airway and mouthpiece. I have included a copy of the patent document with a diagram below. I find that it is always interesting to read the pitch that is made in terms of purpose for the design. The ongoing hunt for the perfect pipe continues to this day.
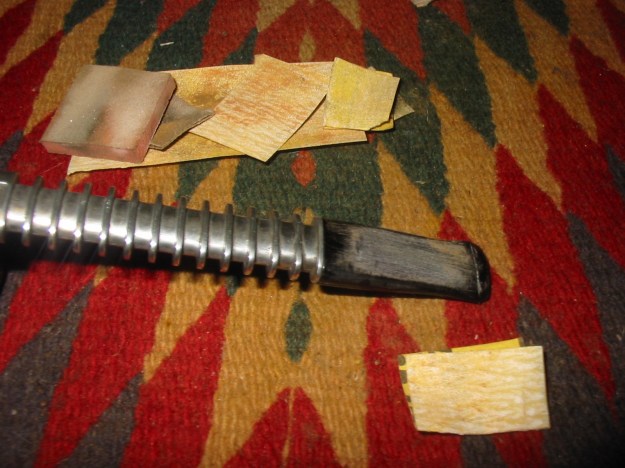
 With the bowl finished, the base cleaned and the airway opens and clean all that remained was to tidy up the stem. The nylon stem, though similar to the ones on Vikings and Falcons had a slimmer profile. The thinness made it very comfortable in the mouth. There was tooth chatter against the button on the top and the bottom of the stem as well as some deep tooth marks mid stem that had been poorly sanded out leaving dents in the flat surface of the stem midway up the stem on both sides. I sanded the stem with 220 grit sandpaper to remove the tooth chatter and to smooth out the flow of the taper. I followed that by sanding with a medium and fine grit sanding sponge to work on the scratches.
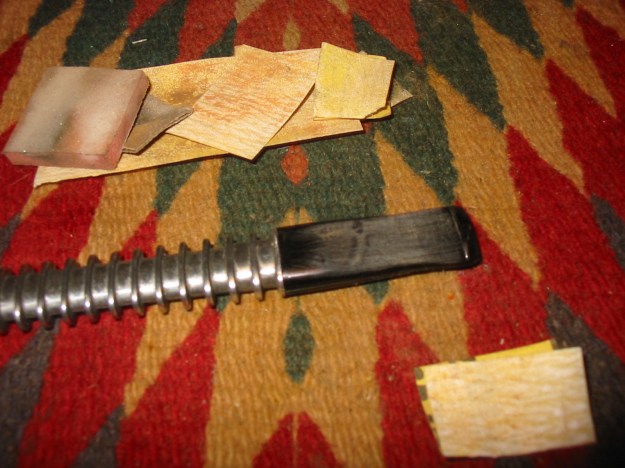 Once the dents and scratches were gone I worked on the stem with micromesh sanding pads. I wet sanded with 1500-3200 grit pads. I found it really frustrating work to try to remove the scratches and marks. Wet sanding did not seem to really do the job – so I started over with the pads and a drop of olive oil. The oil seemed to do the trick. It proved to be the right medium for the micromesh. It gave bite to the pads and really worked quite well.
 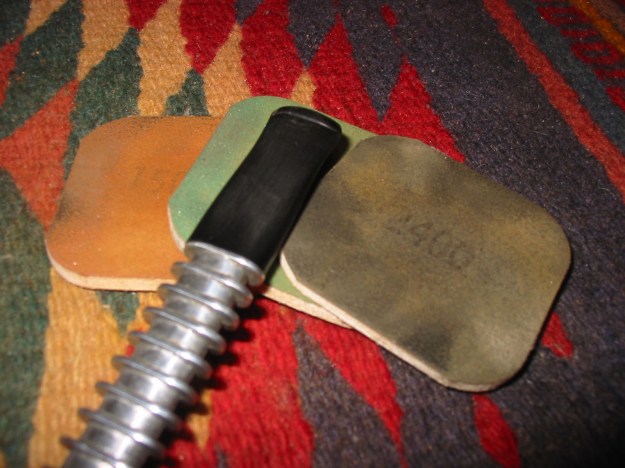 I continued to sand with the drop of oil through the 3200-4000 grit pads. The scratches really began to disappear and the stem was getting smoother.
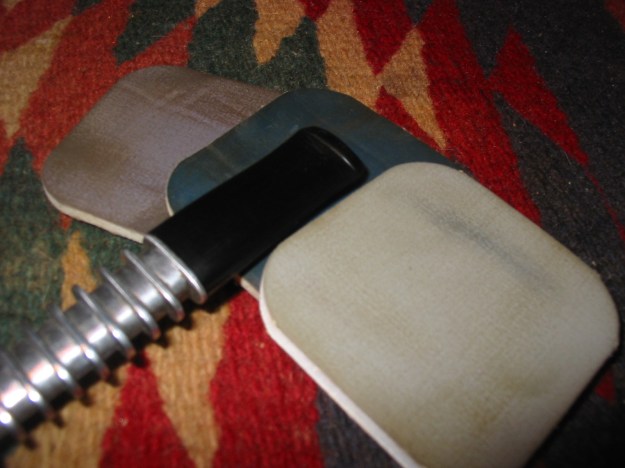
 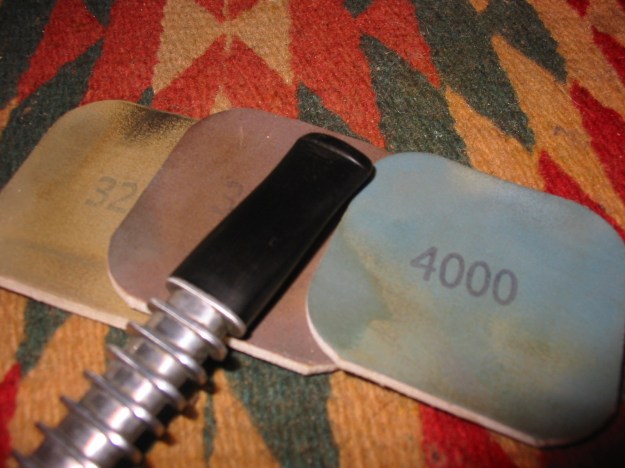 I did the same with the 6000-12000 grit pads and a drop of olive oil.
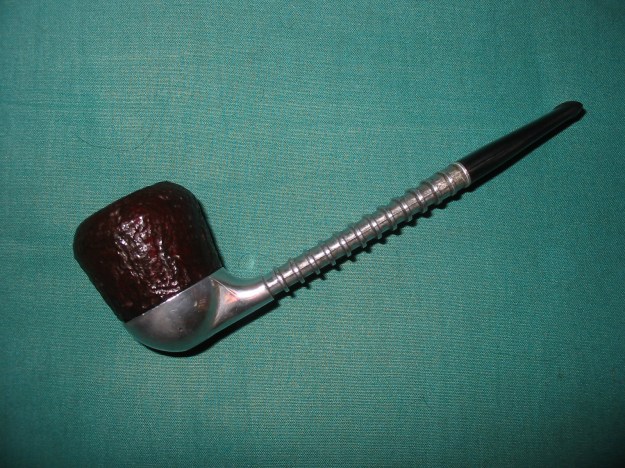
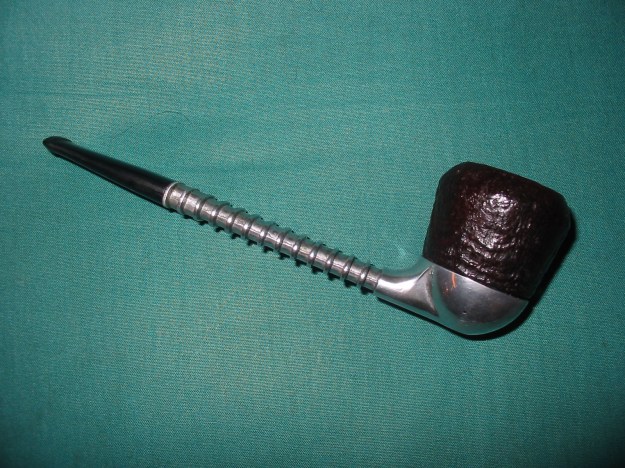
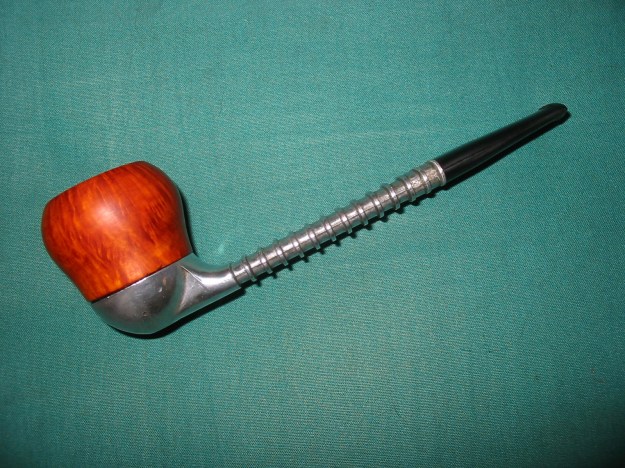
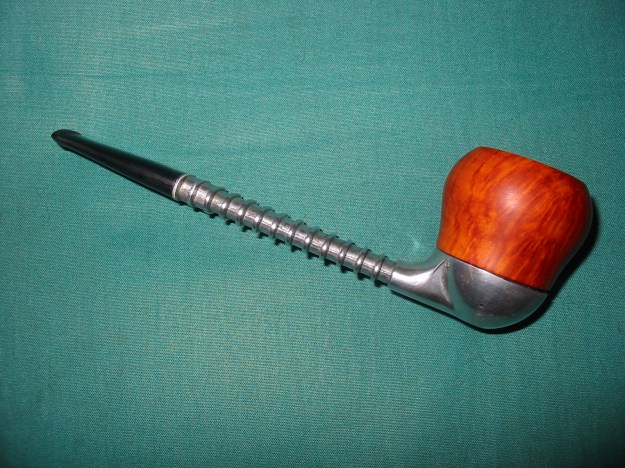
  Once I had finished sanding the stem with the micromesh I gave it a light buff with White Diamond. A light touch is essential when buffing nylon stems or you make more of a mess than you started with. I rubbed the stem down with Obsidian Oil and when dry I coated it with Paragon Wax and hand buffed it. Below are some photos of the pipe with each of the two bowls in place. I really like the looks of the finned shank on this one. The flat stem makes it very comfortable. I am looking forward to loading a bowl and trying out the patented “Airograte” screen that is on the bottom of the bowl.