Daily Archives: July 2, 2014

Waxing a Pipe Using Only a Dremel – Bill Tonge


Those who have read Bill’s previous two articles you have seen what he accomplishes with his refurbs. He does beautiful work. This third article that he has written is one that he wrote to me about. I was excited to read what he wrote as it challenges the common thinking of buffing with a Dremel. Thanks Bill for the interesting piece. Well done.

I thought I would ask Steve if I could do a little write up about waxing a pipe using only a Dremel, wool ball, fibre brush and Carnauba wax. I know there has been many a discussion about waxing this way and people say that you absolutely do not wax with a Dremel.

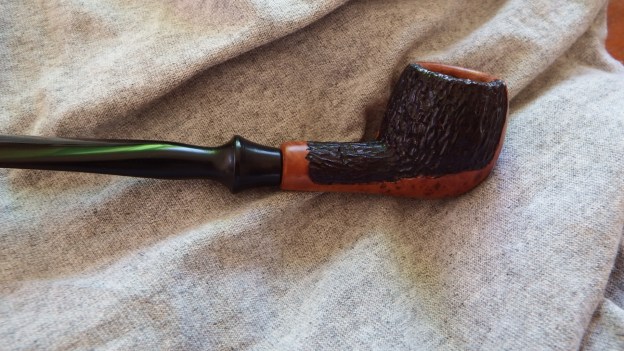
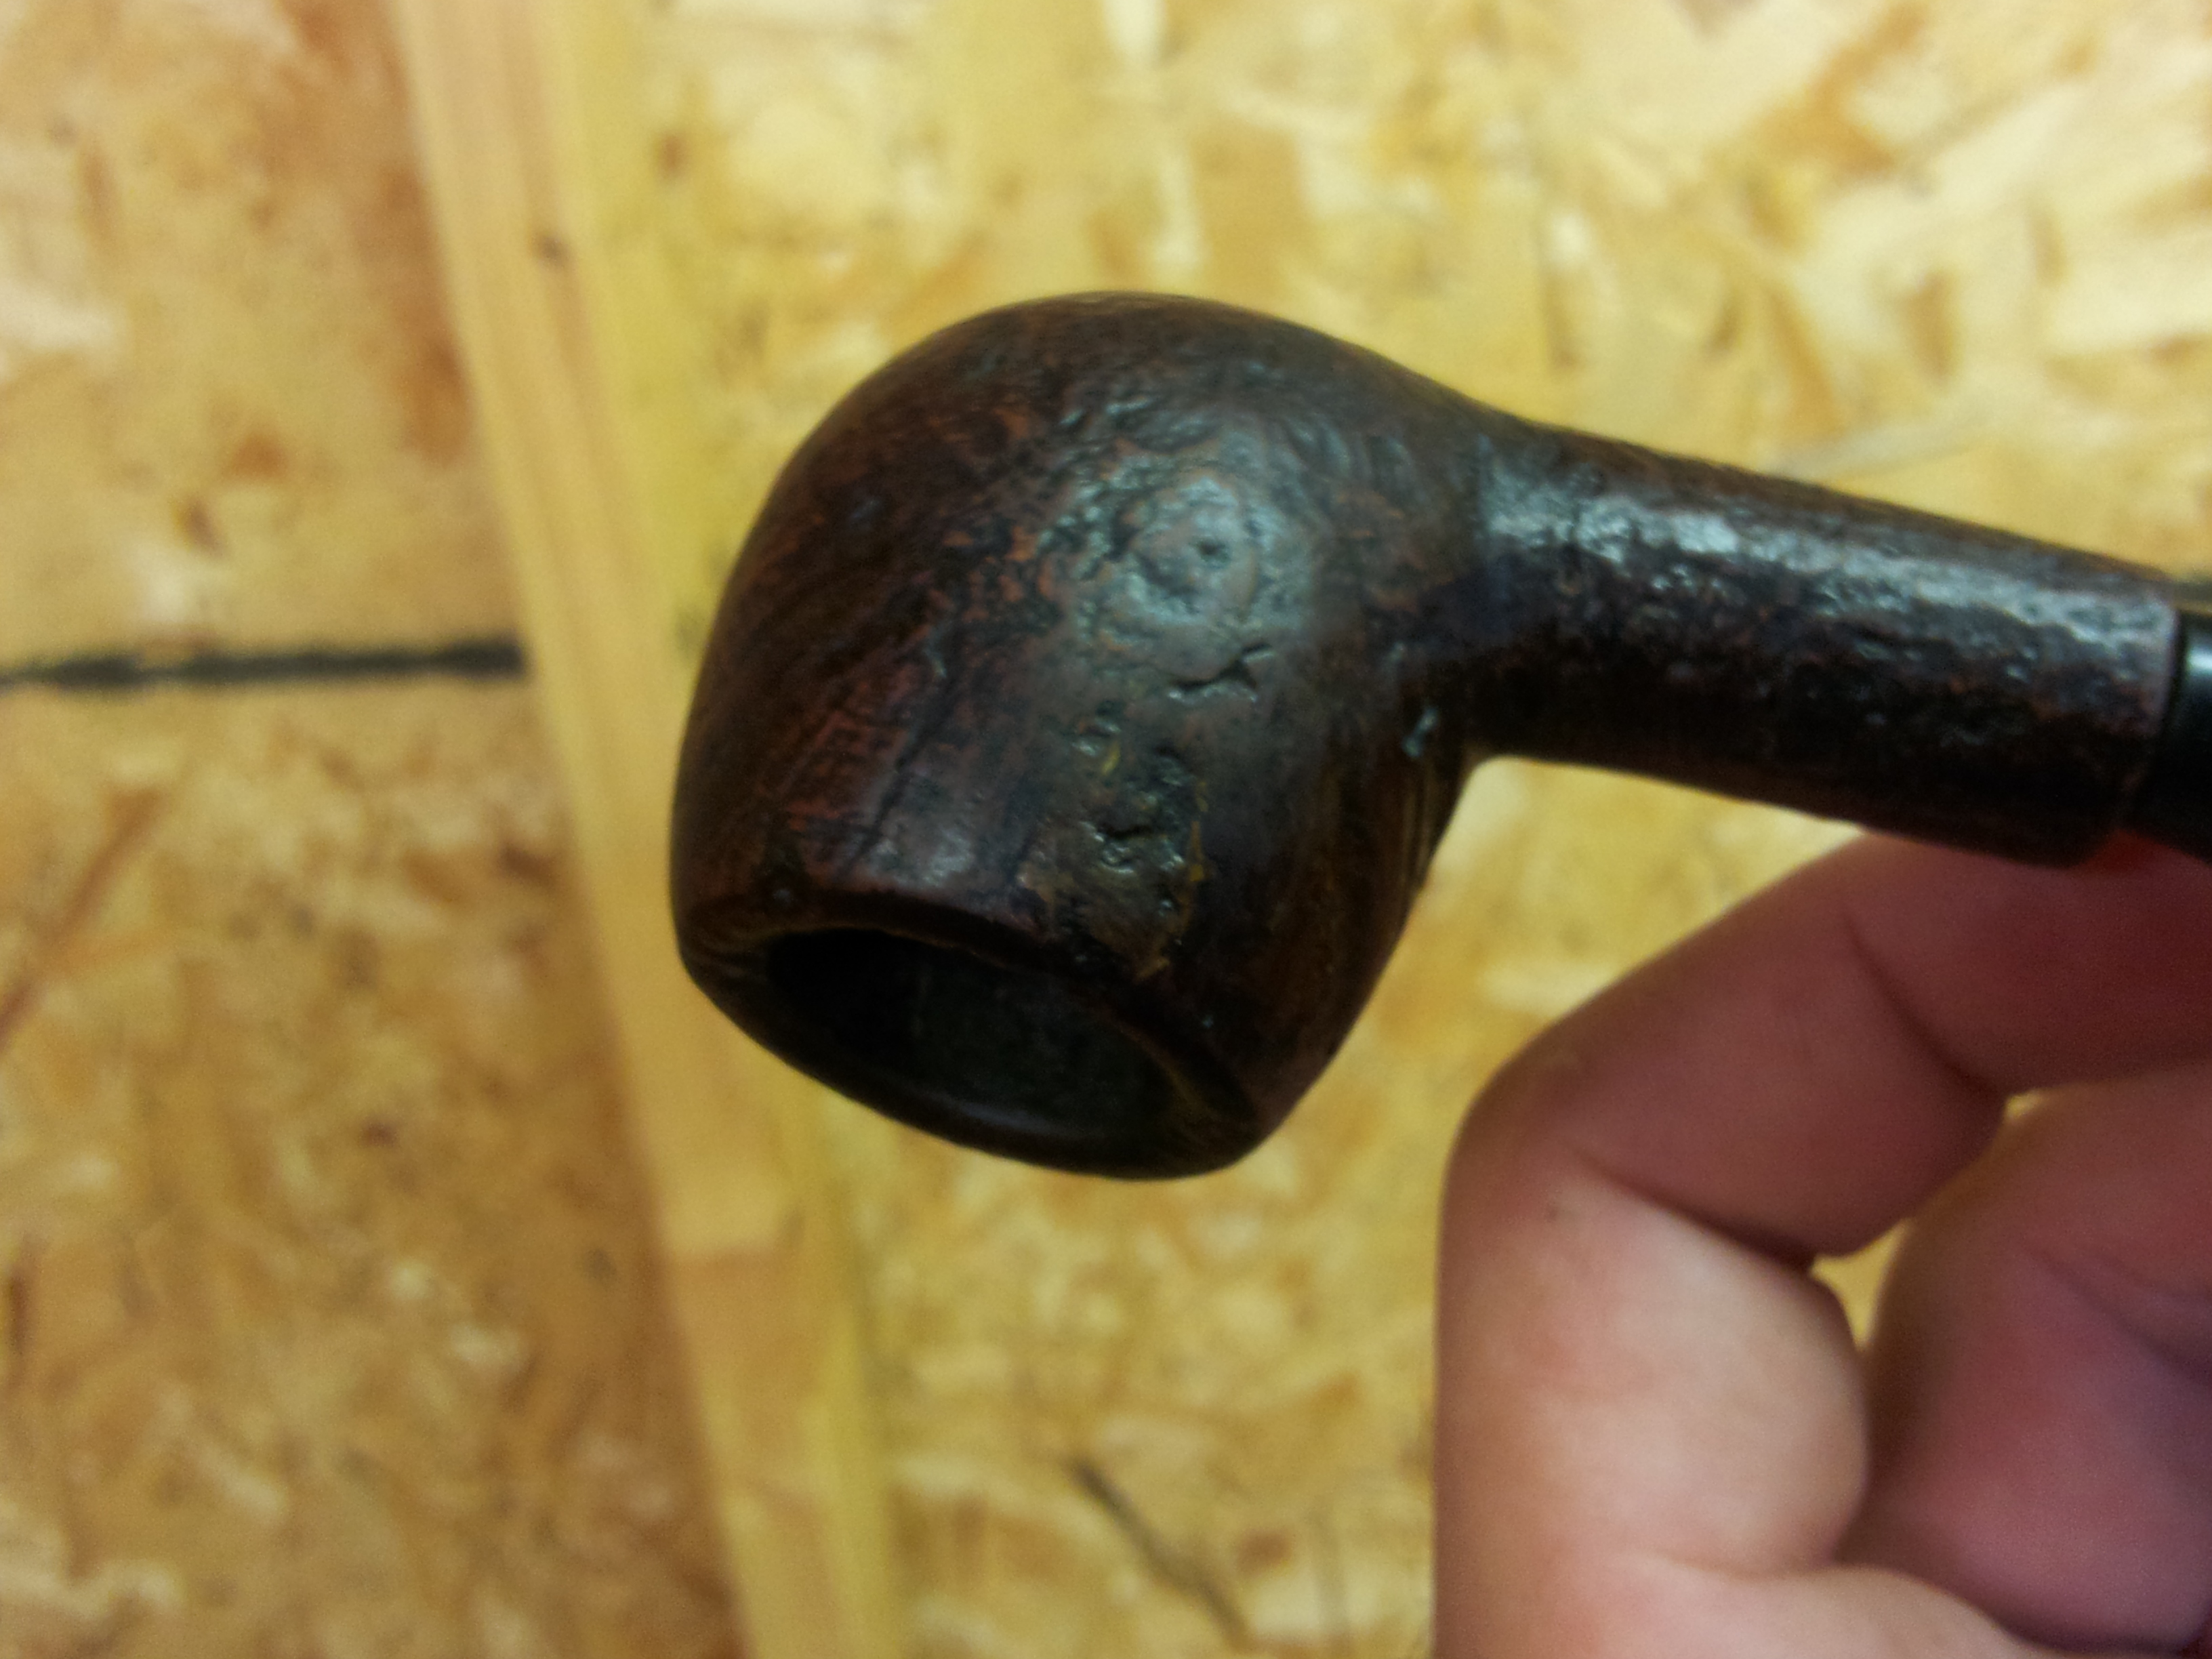
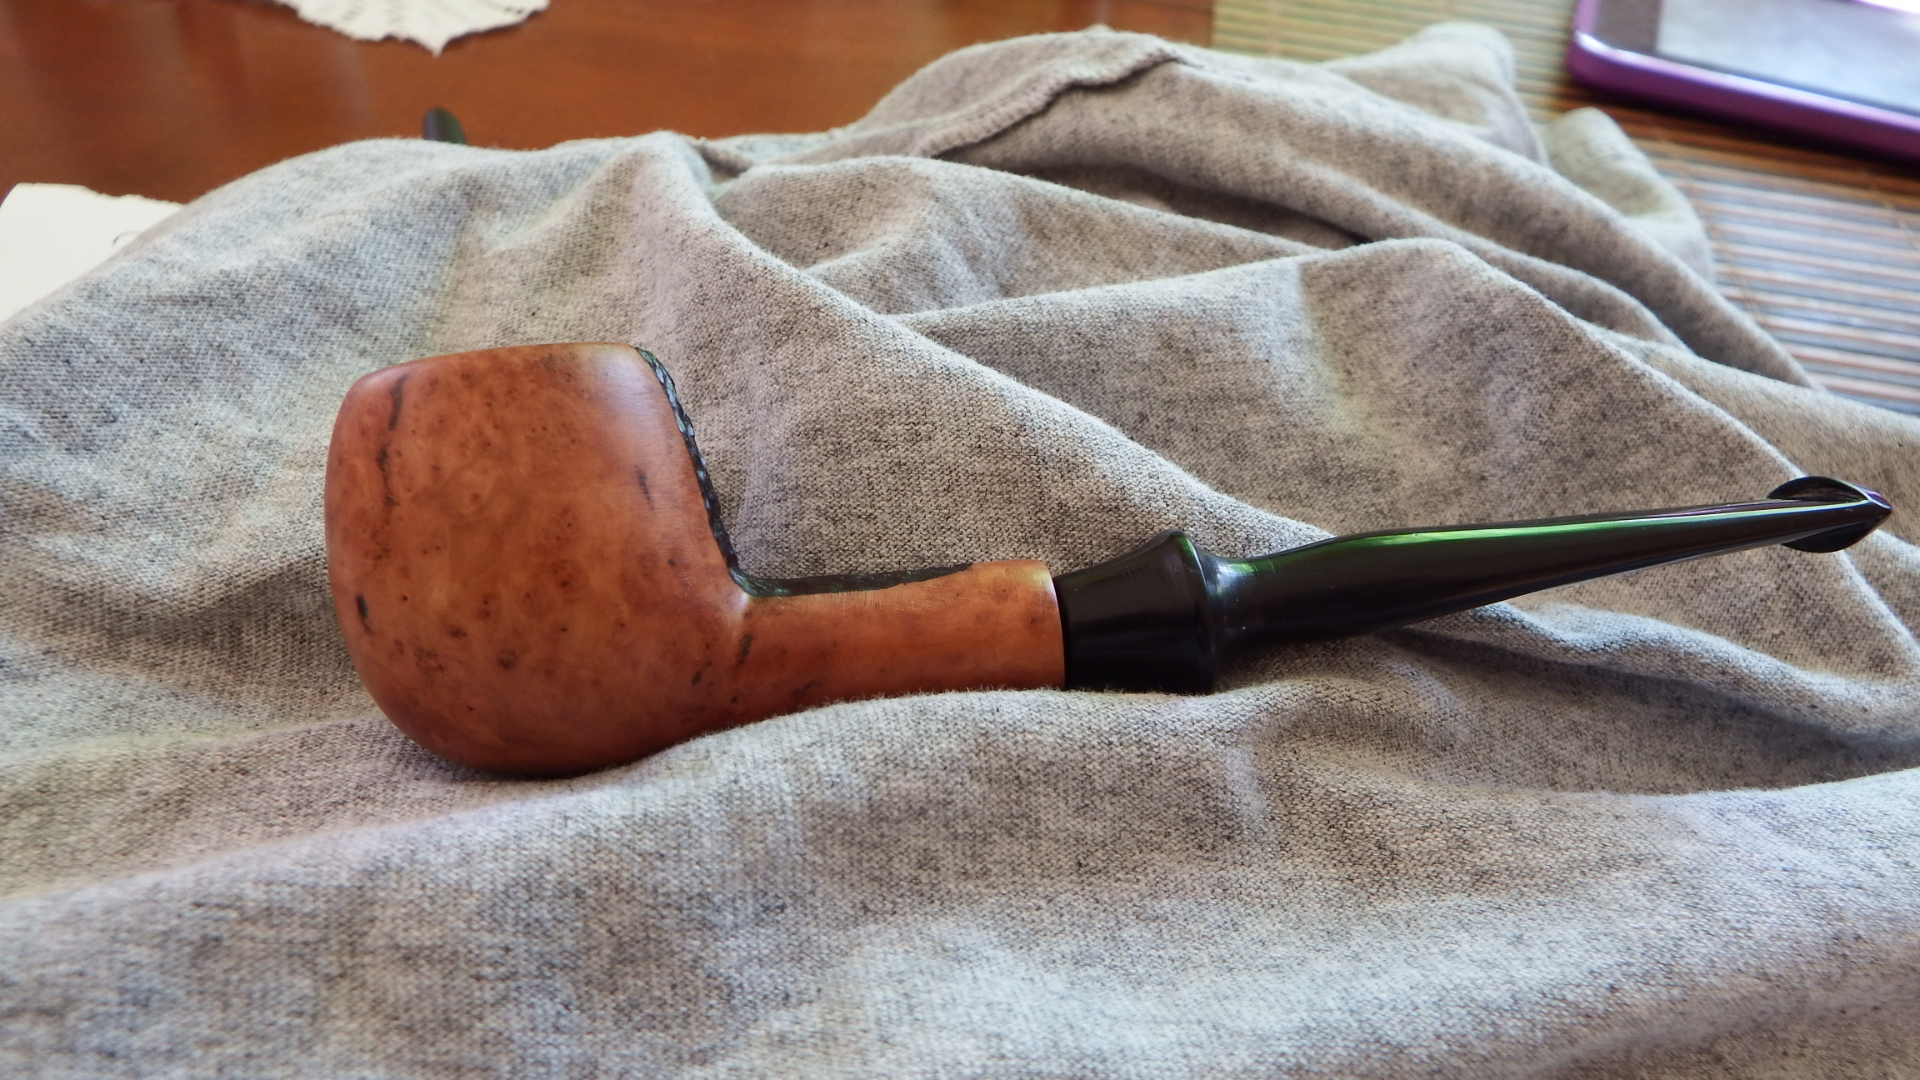
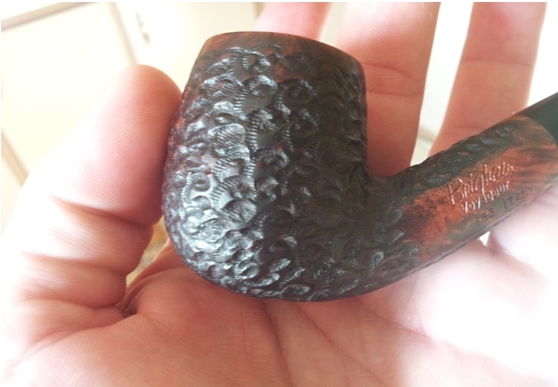
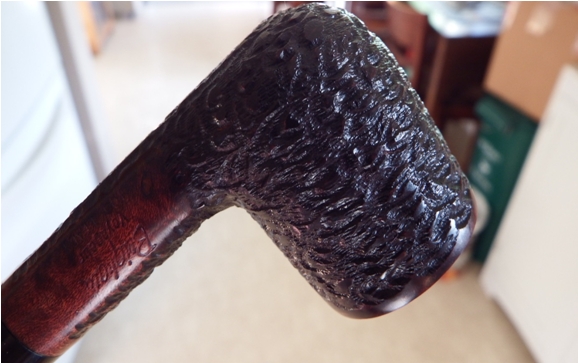
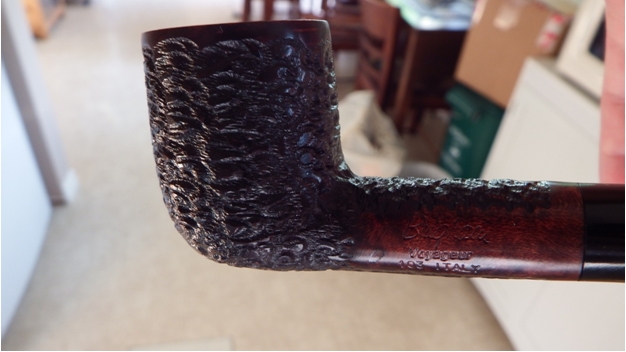
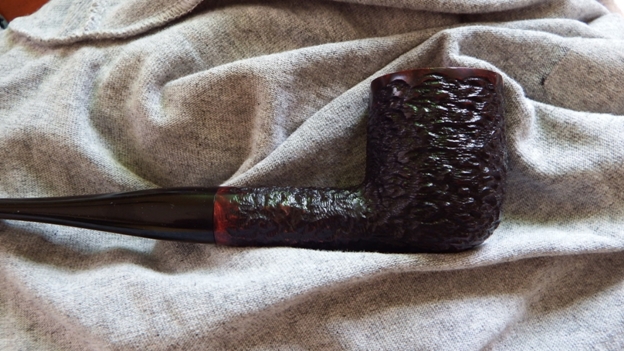
I want to show that with a little time, lots of patience and a steady hand, waxing any pipe especially a rusticated pipe is possible with a Dremel. This method may not be for everyone and please don’t try this for the first time on a good pipe. The first time I did this I melted an indent in a pipe stem. Practice, steadiness and constantly moving are the key. Do not worry about a build-up of wax because the step with the fibre brush will take care of that. Pictures are hard to show sometimes but hopefully you can see the difference from before to end. I am using a Brigham 103 Italy that I bought from Greg Wolford a little while back.
Billl1

Billl2

Bill3
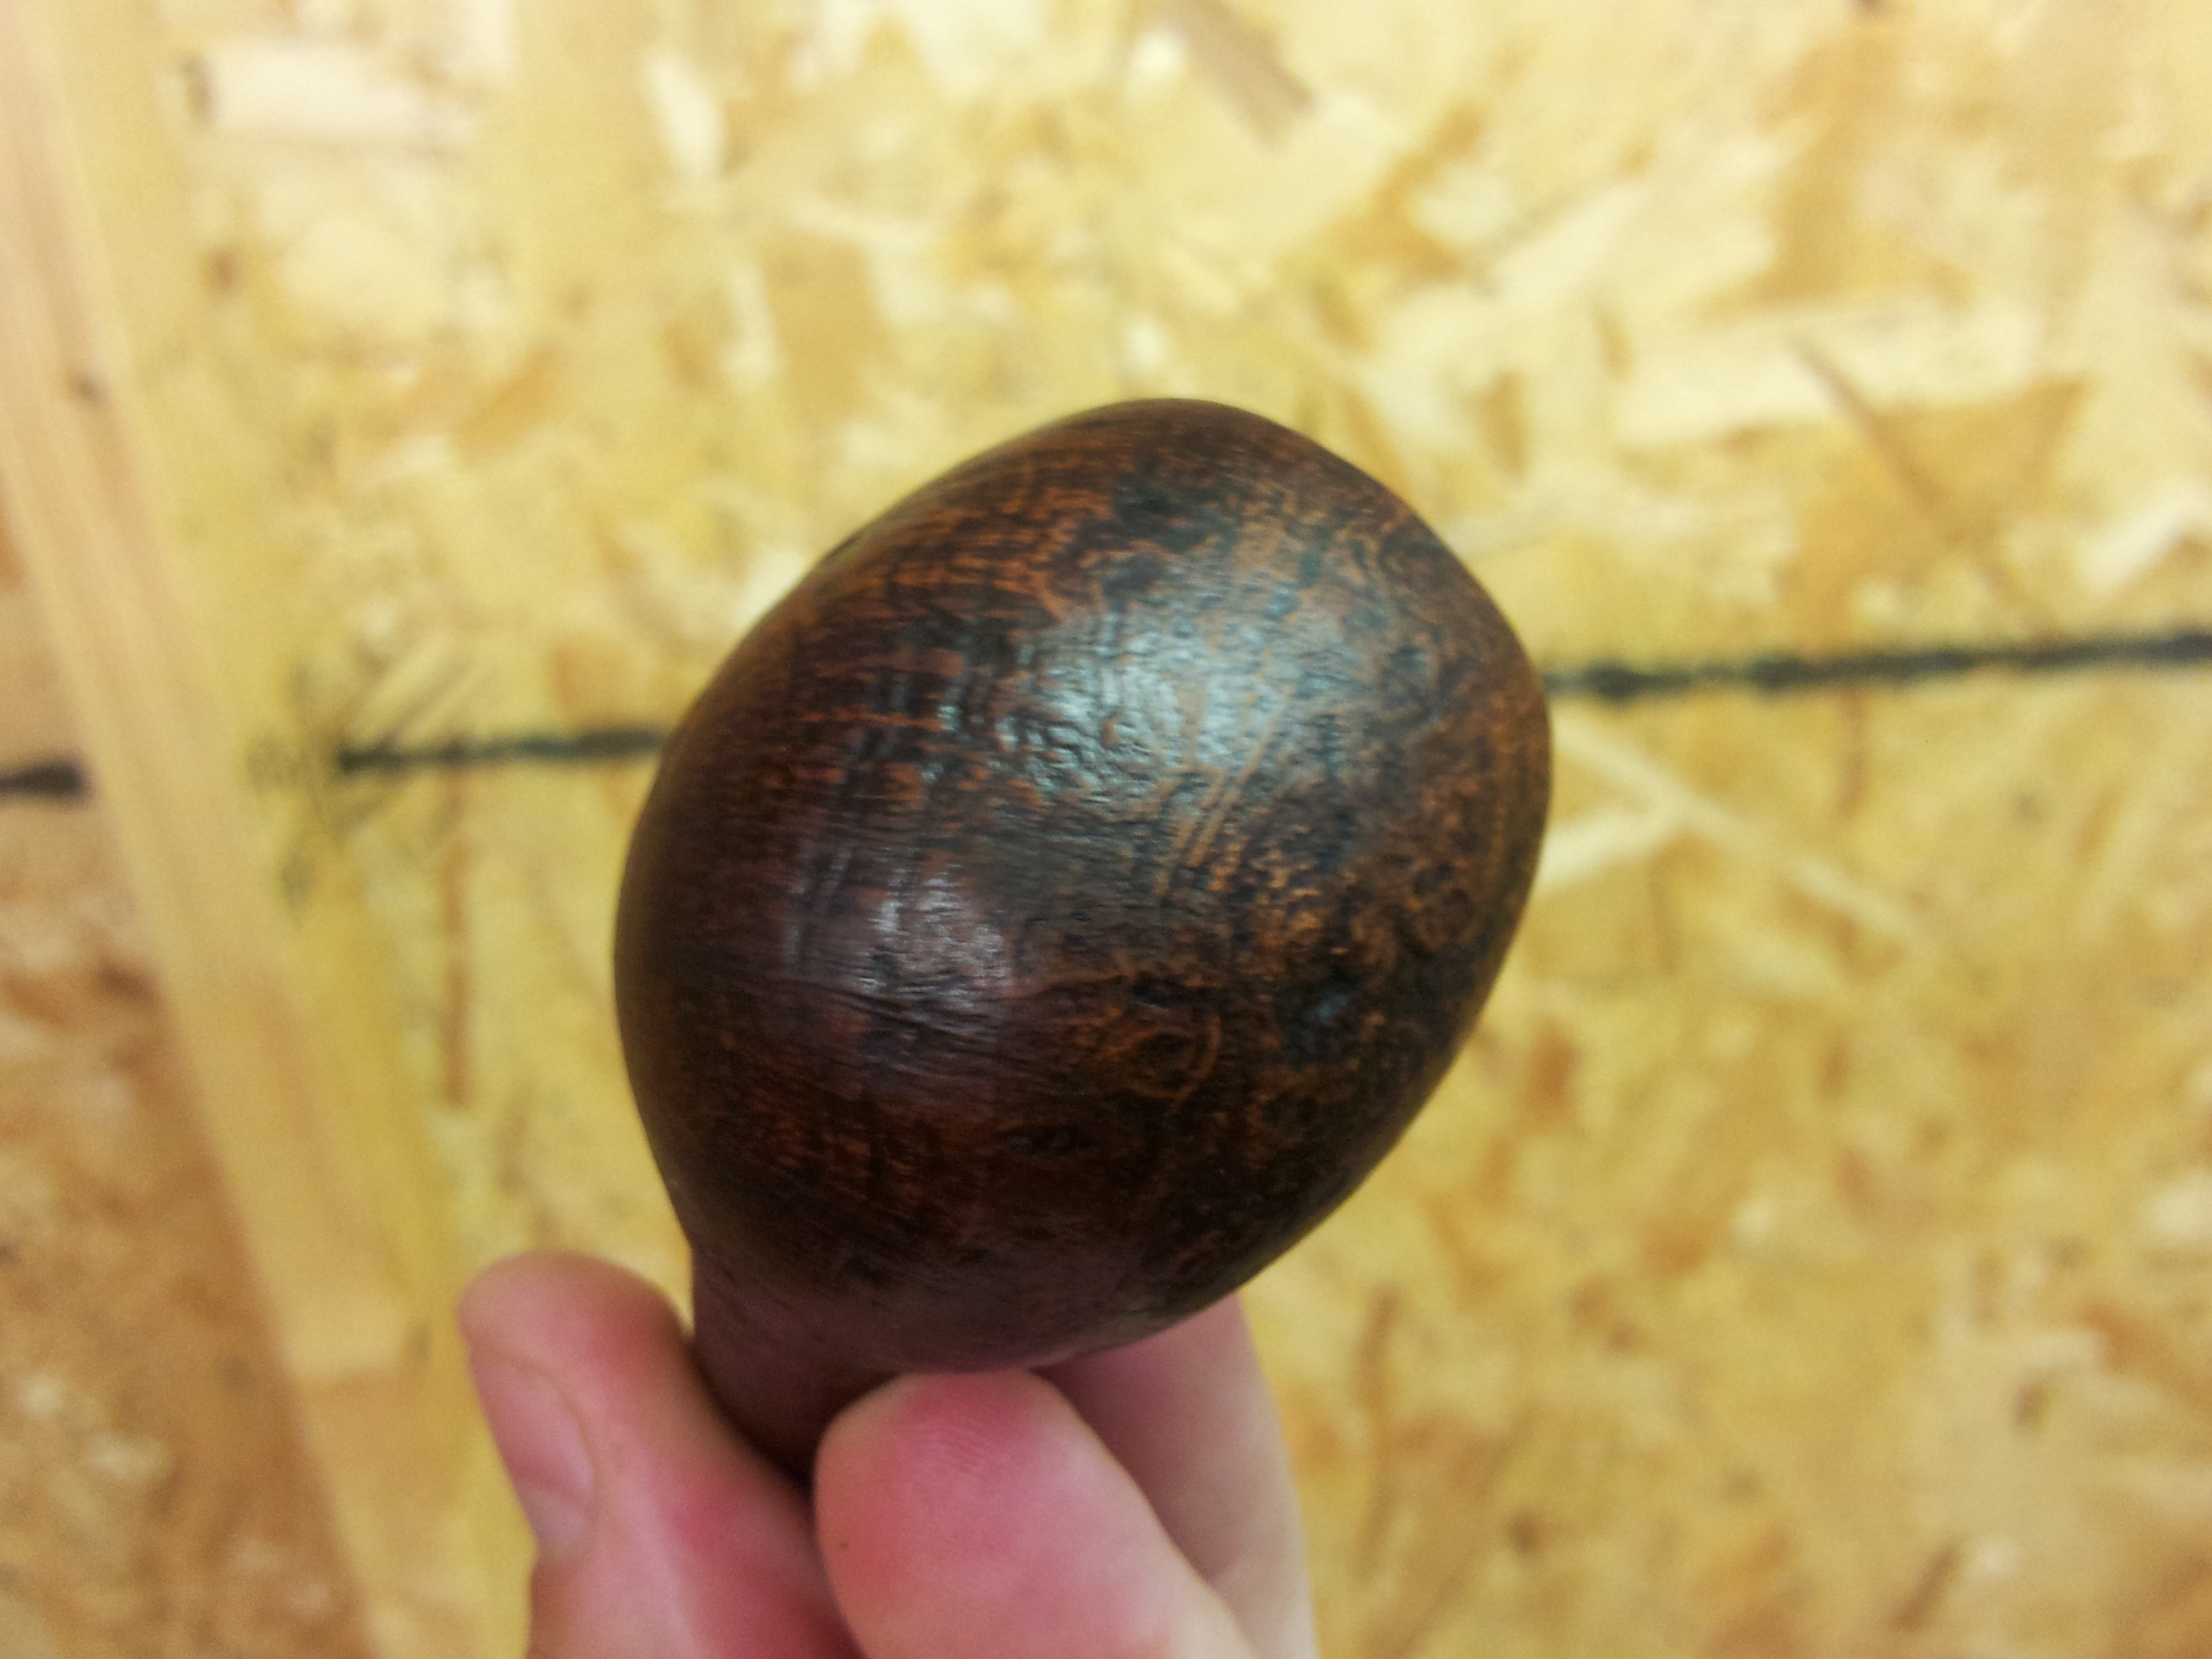
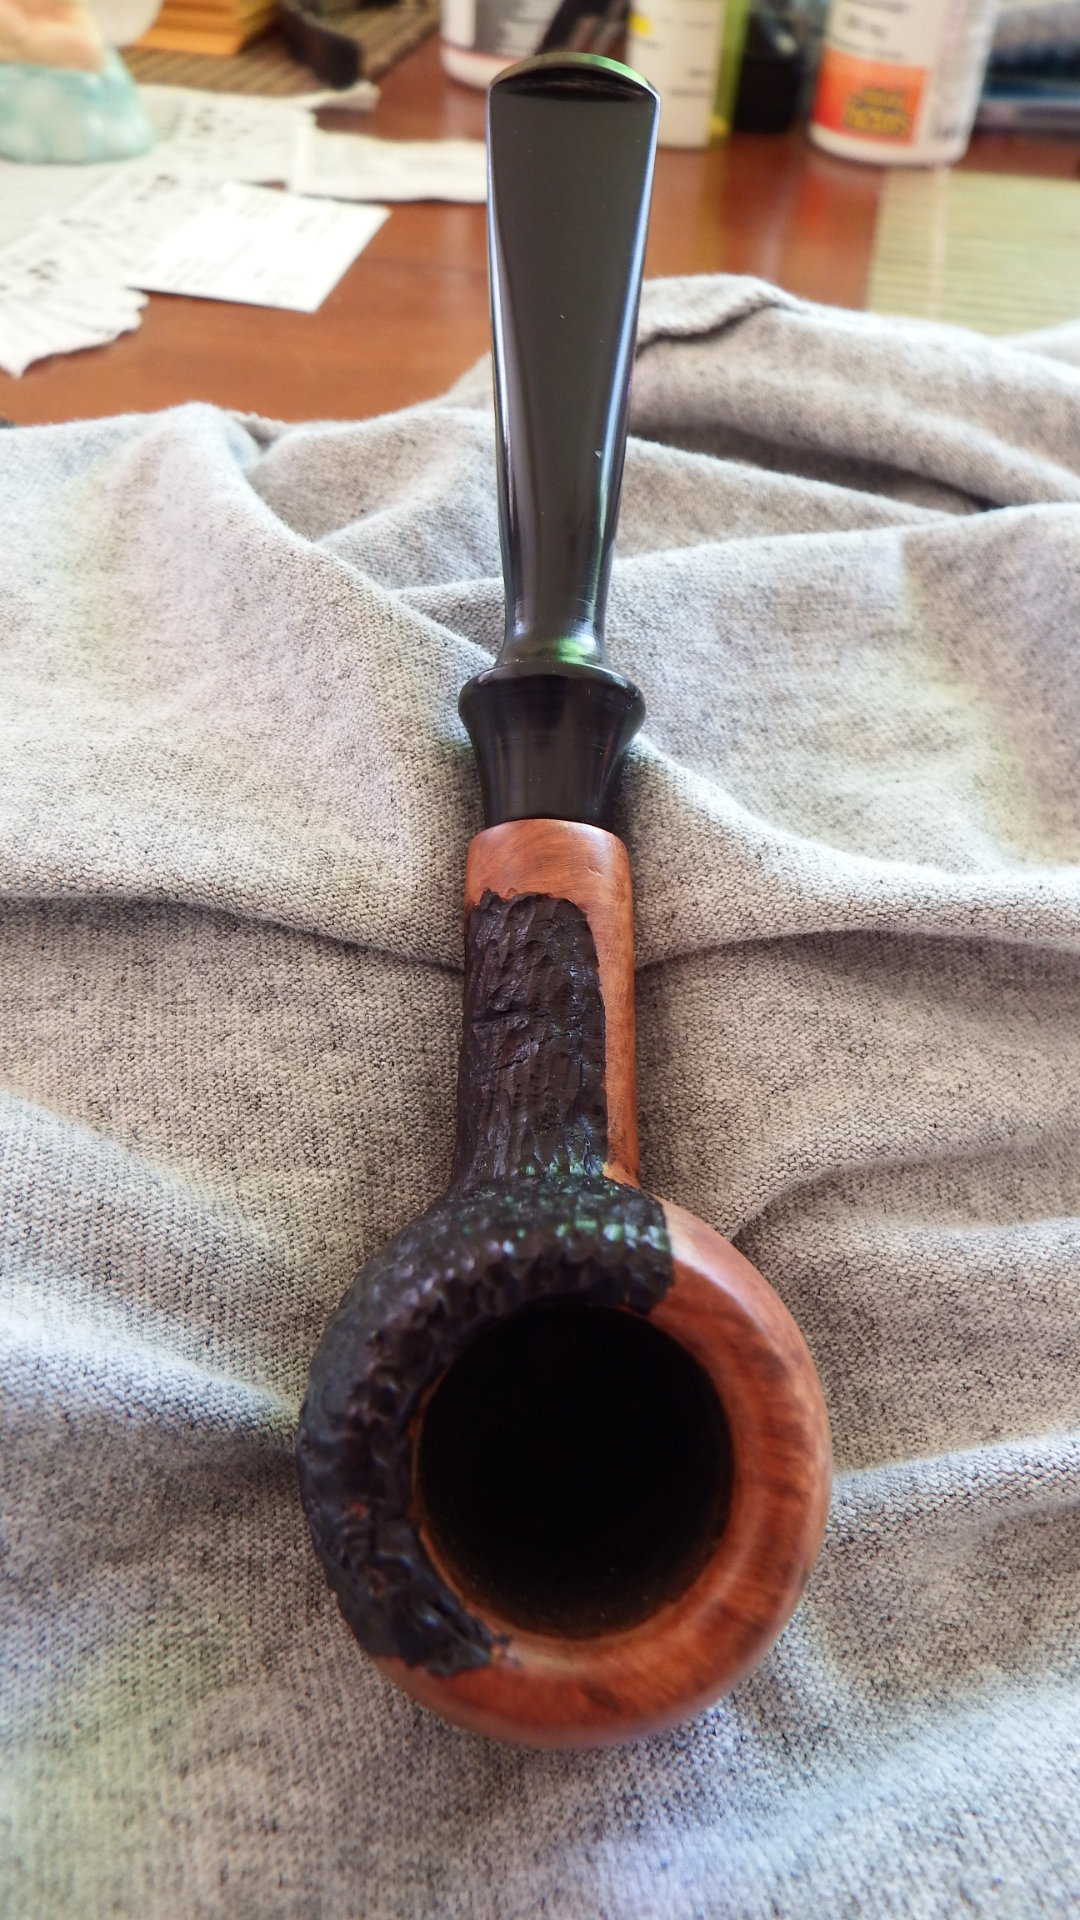
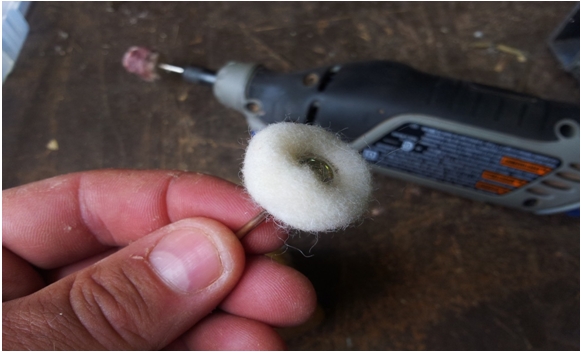
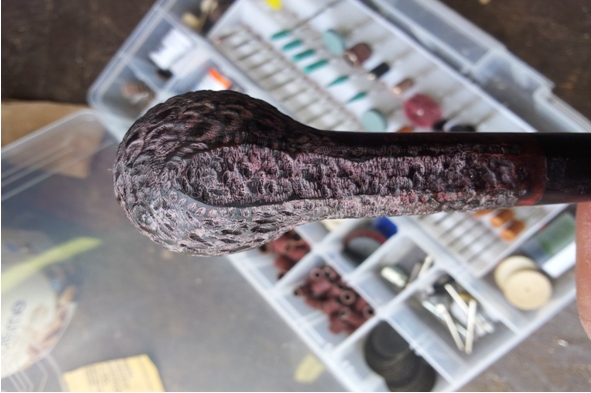
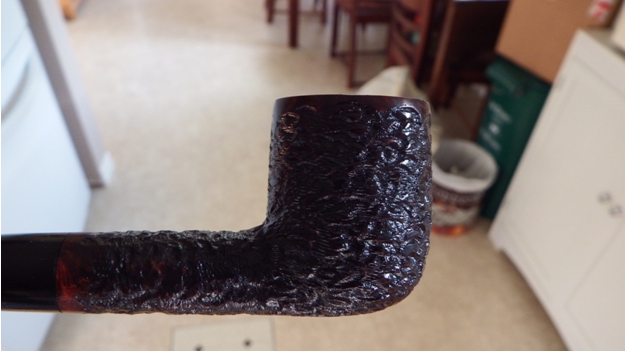
I take the wool ball and run it into the carnauba wax until the ball is layered. I then run it across the rusticated and smooth parts reapplying wax to the ball as needed.
Bill4

Bill5

Bill6

Bill7

Bill8
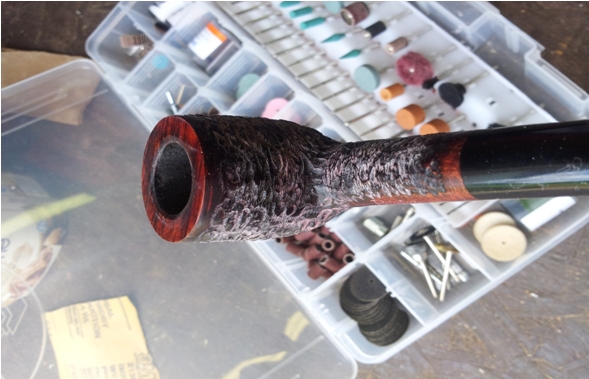
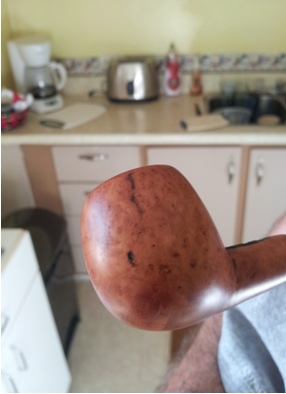
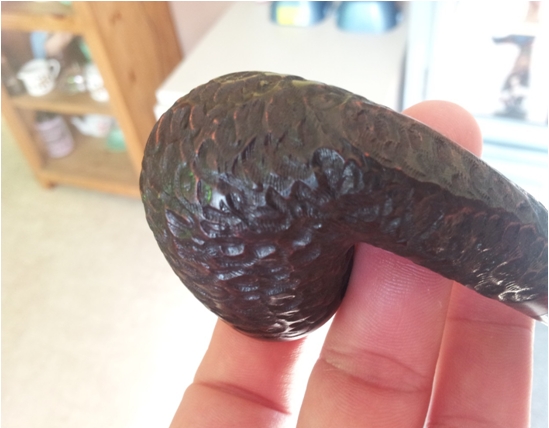
Don’t be worried by the reddish colour on my pipe. Some of the Brigham’s pipes are known to bleed their colour.

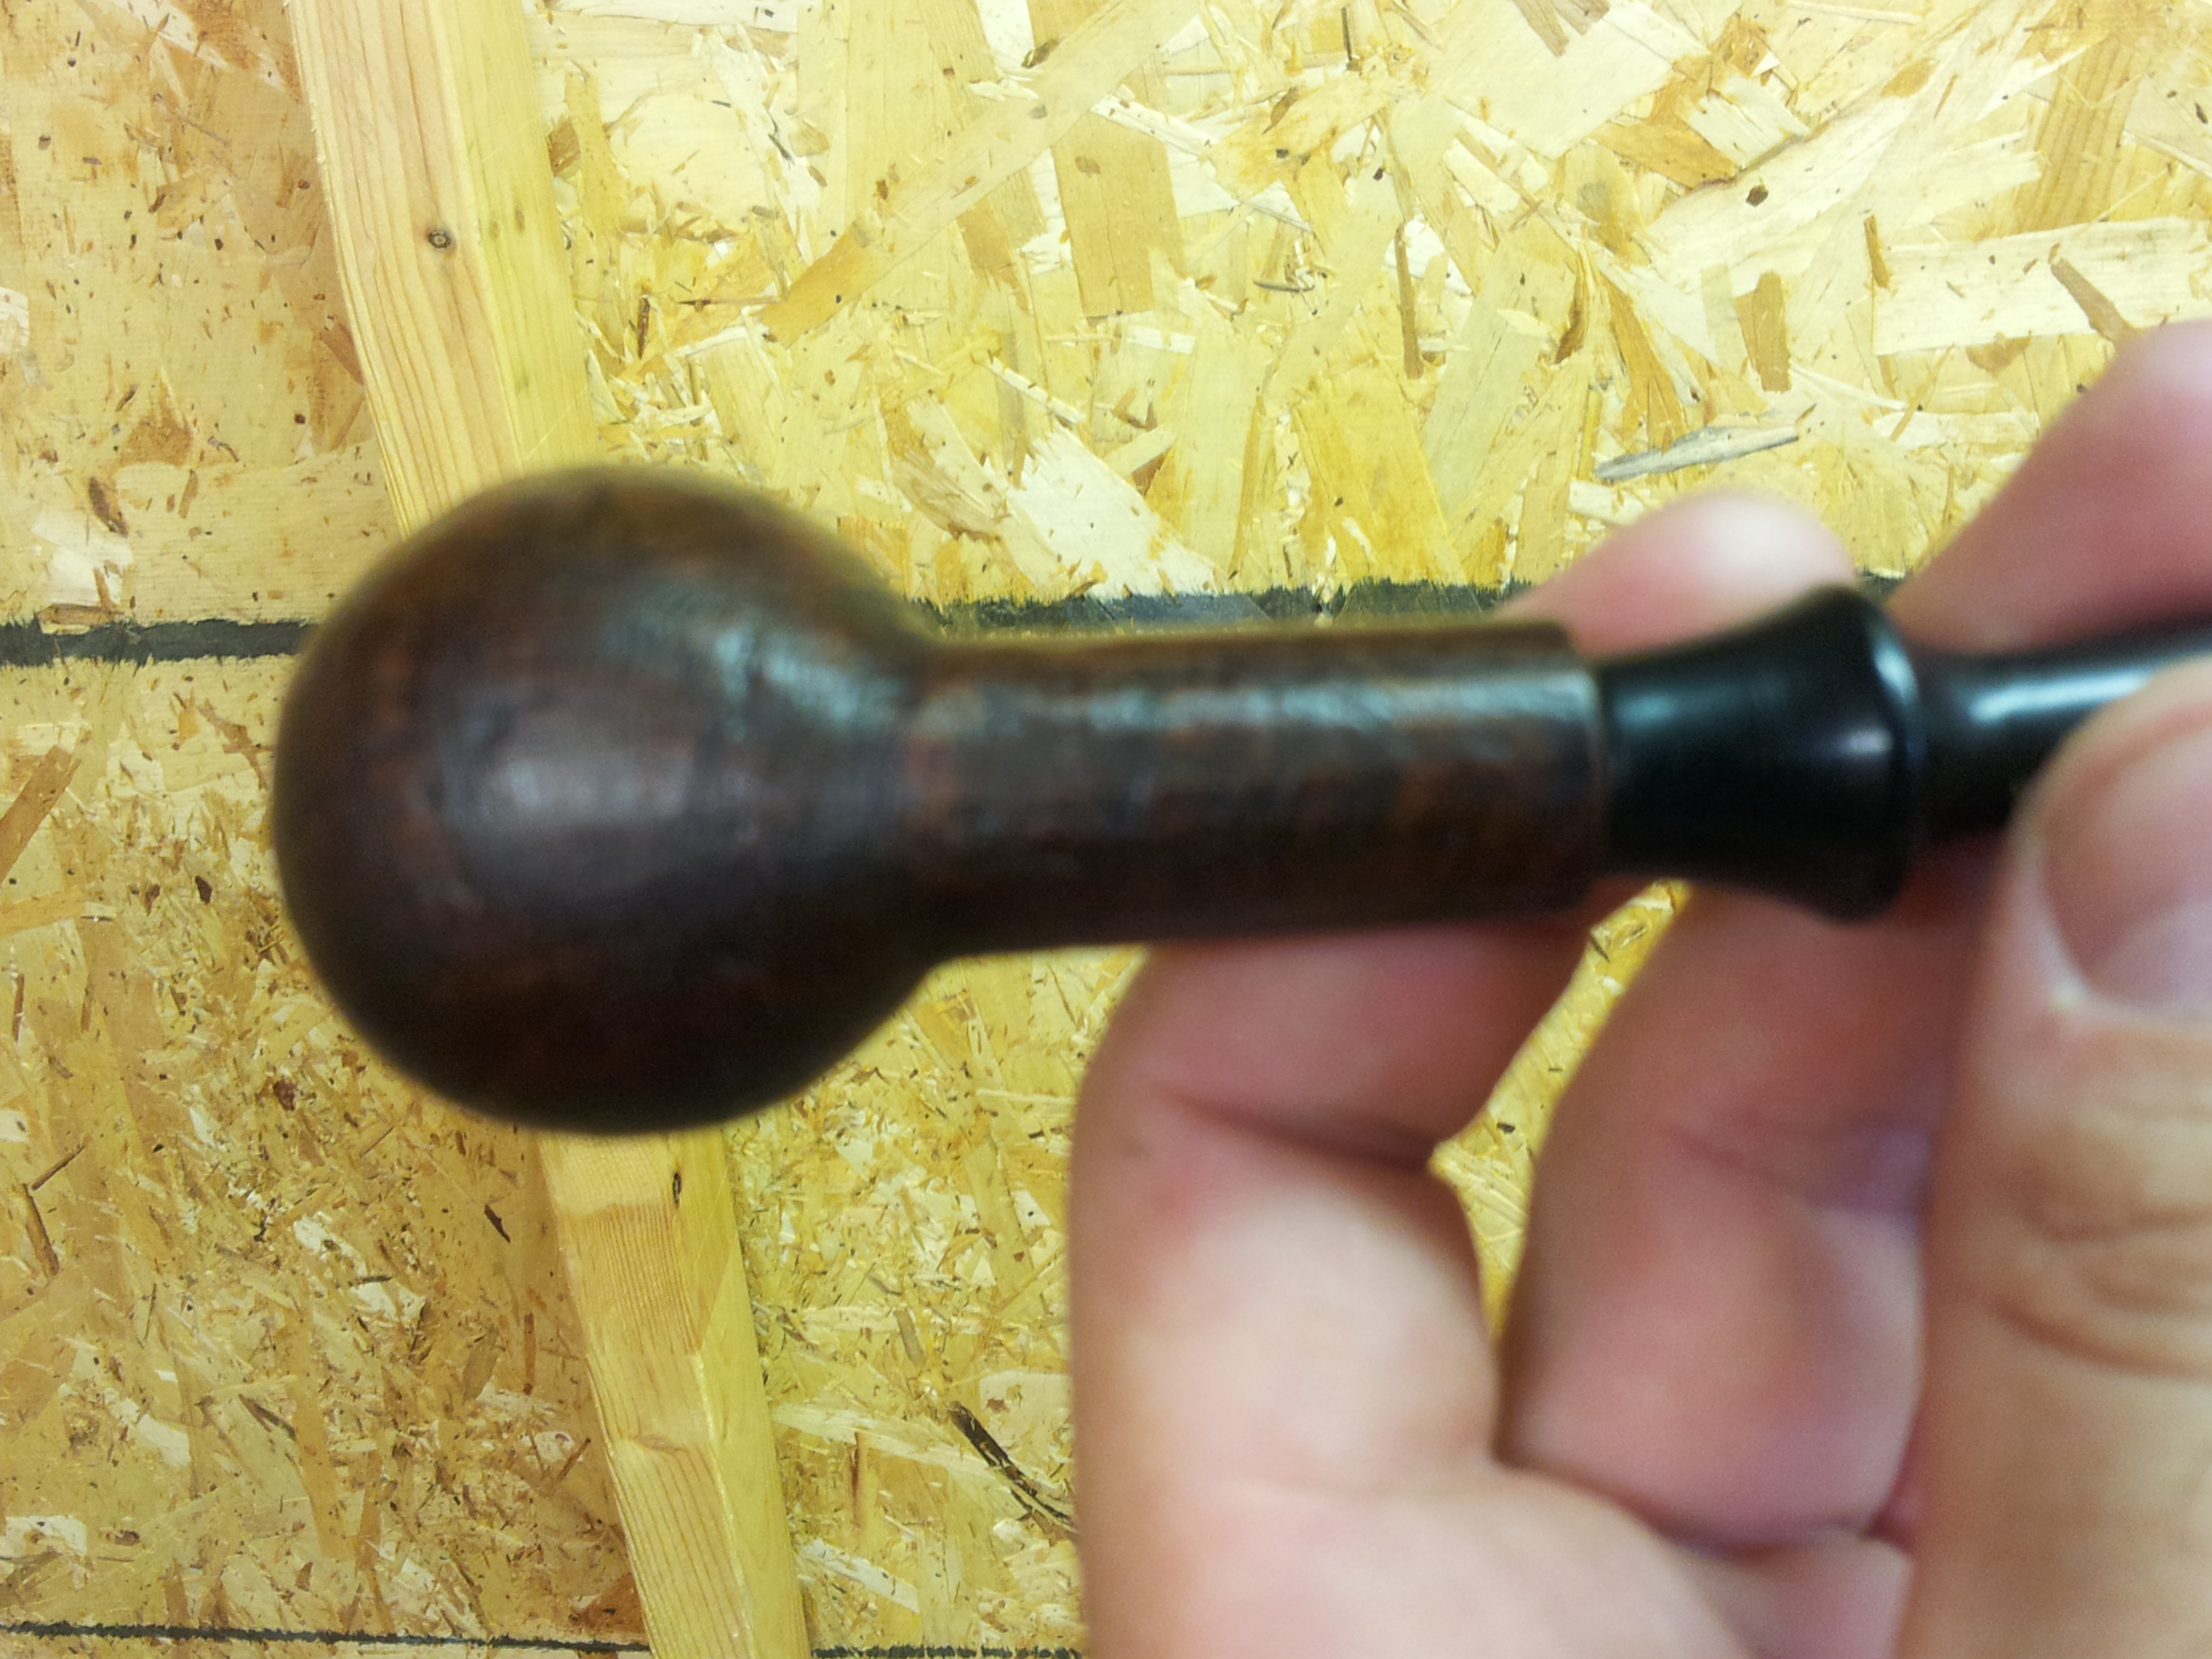
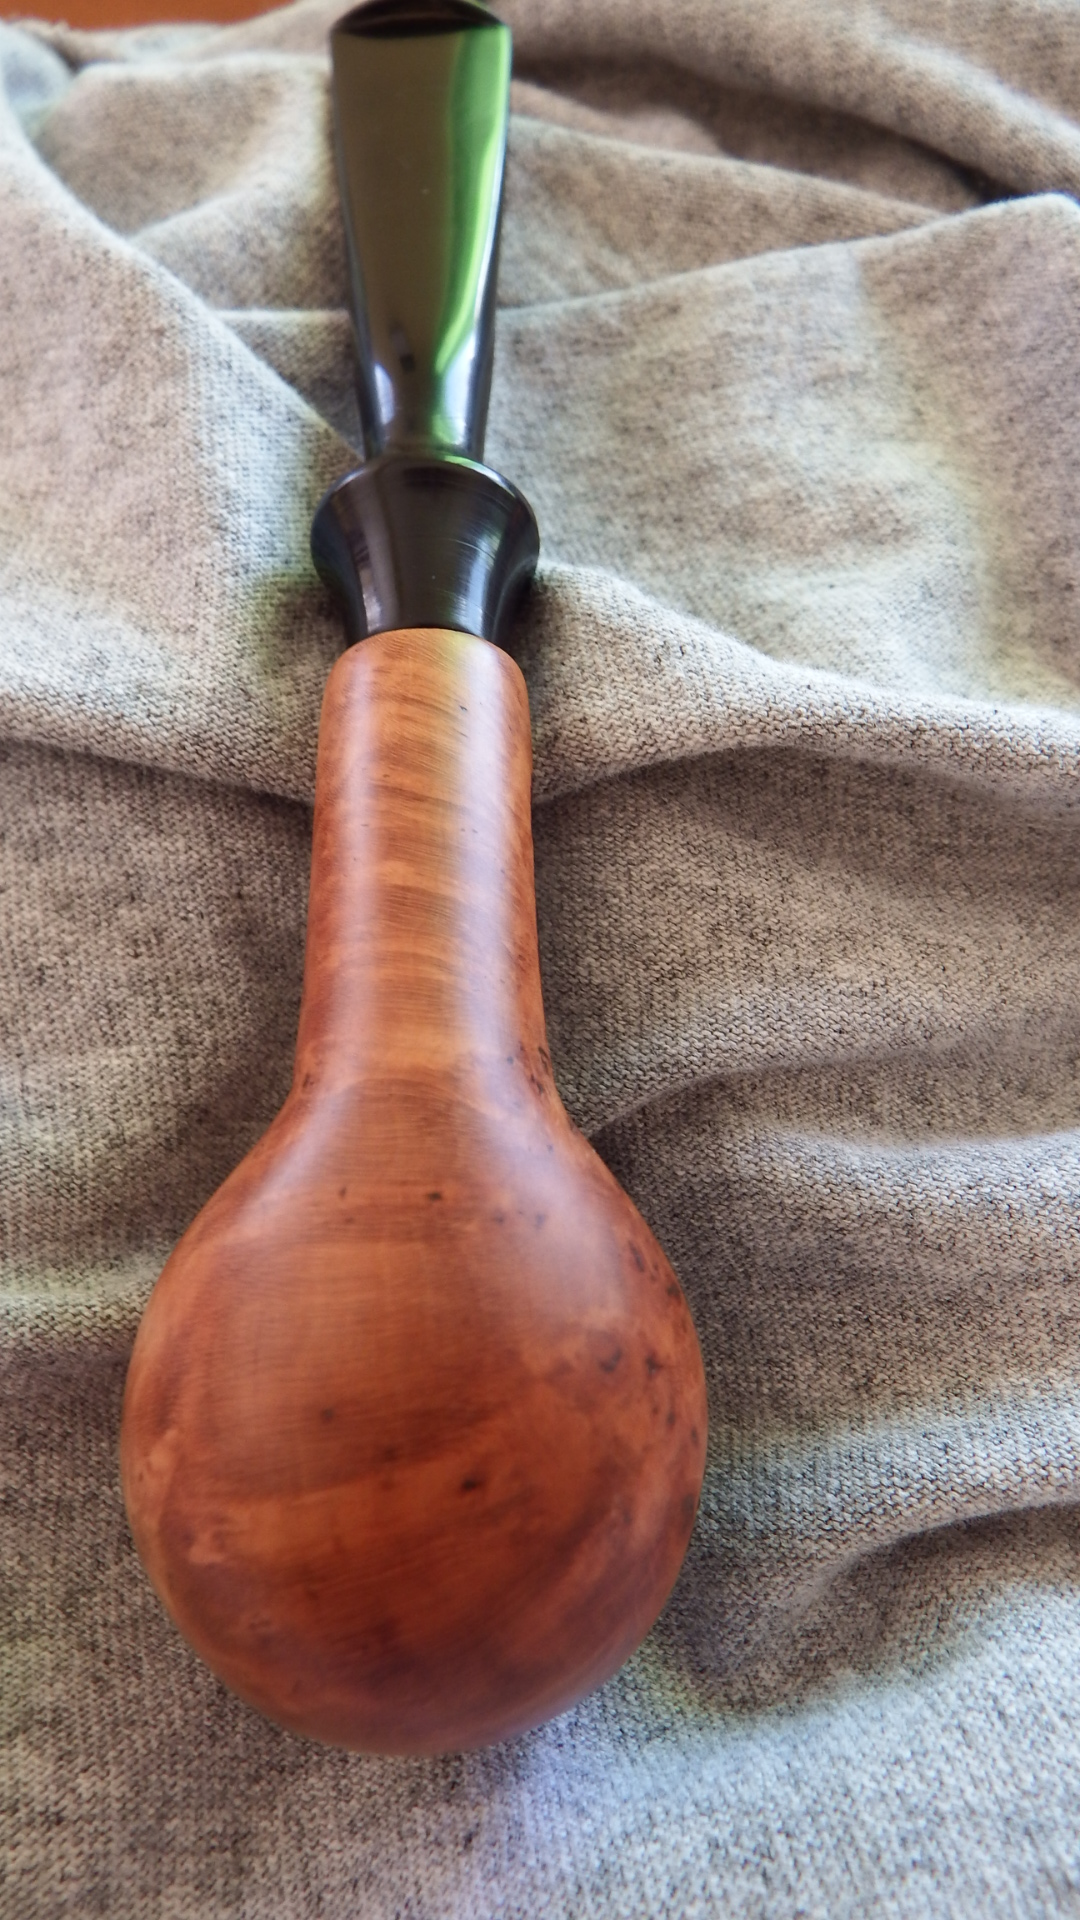
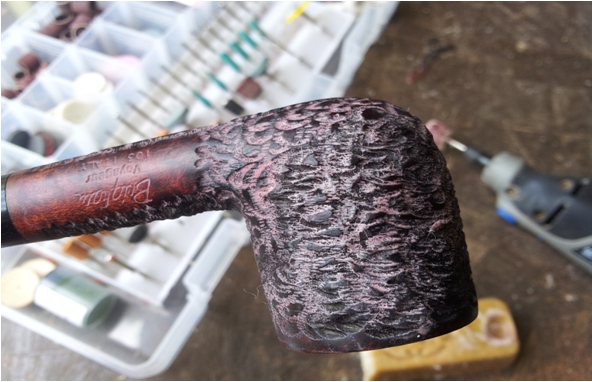
The next step is to take the fibre brush attachment and use it to remove the excess wax, hair from the wool ball and leave a nice shine. Afterwards you can hand polish with a clean rag and if necessary re-buff with the fibre brush after it has been cleaned. I use hot water &Oxi-Clean for soaking the fibre brush to clean it.
Bill9

Bill10

Bill11

Bill12

Bill13
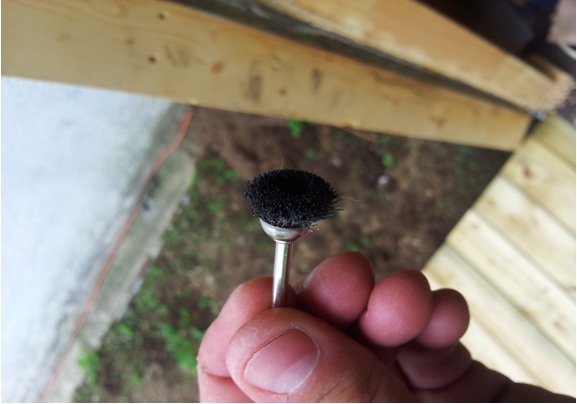
I use the Dremel set to the lowest speed. The wool balls are fairly cheap to buy. I bought a 15 pack on eBay from China for around $6.00 with free shipping.

I know there will still be people that say you can’t do it, but I say you can..…just have patience.

Reviving an Unknown Pipe – Bill Tonge


It is a pleasure to post this second blog piece by Bill Tonge. In this particular refurb what makes it of interest to me is that it was a pipe that I sent him. I figured it might be a good project for him to play around with. It had solid bones and a new stem that I had fit to the shank. There were definitely some issues with the pipe but I figured Bill would come up with something creative. And he certainly did. This reworking of a pipe epitomizes what I quoted Bill as saying in his first post. I am quoting it again here as it is very apropos to his old pipe: “As a person that is economically challenged, I enjoy fixing up the ugly ducklings. I take pride in taking that $5.00 pipe that no one else wants and converting it to something that fits beautifully in a pipe collection.” Here is Bill’s article on reviving or reimagining an old pipe. I think that he has indeed taken an ugly duckling and created something to be proud of. Thanks so much Bill, for sharing your work with us yet again.

I received this pipe in the mail from Steve. He thought it was an interesting project. He had turned a new stem as well as cleaned the bowl and shank.

This pipe had quite a rough texture on the outside, some very deep crevices, as well as what turned out to be a crack about a quarter of the way down the bowl.
20140630_134359

20140630_134405

20140630_134345

20140630_134412

20140630_134425
So I decided to sand this pipe down as smooth as it would go and then fill the crevices. After sanding it I filled the crevices with a Gorilla Glue & wood dust mixture. After it set up I sanded down the creviced area and applied the rustication. I then proceeded to sand the whole pipe down in stages starting at 100 grit and finishing with 1000 grit. Then I put the micro mesh pads to it and finished up with a wax and buff again only using a Dremel to apply the wax.
DSCF0614

DSCF0616

DSCF0619

DSCF0617

bill6
I have to say that I like the way this pipe turned out and that the other small blemishes add character to this pipe. I also like the grain on the bottom of the pipe. For anyone that is interested I do not own any dyes but rather use either a Sharpie marker or food colouring to colour my rusticated areas.

Thanks to Steve for the interesting pipe.

Bye-Bye, B2!


peterson pipe notes

B2 Aran
B2 Aran

The B shapes, which first appeared around the turn of the present century, are among the most interesting designs you’ll find anywhere in the pipe world today. I had hoped to be able to present a complete catalog of every B shape that K&P has issued for our book, but even Peterson seems a little at a loss to know how many have been issued. I know the B61 number was given to the Limited Edition for 2012, but there have been a number of new shapes since then, so the Bs must be nearing the 70s by now.

 2002 Limited Edition Obverse
Y2002 Limited Edition

Going back nearly to the beginning of the B series, a second shape deleted in 2013 was the B2, which first saw service as the Y2002 Limited Edition, aka the POY for 2002. Like other early Limited Edition pipes, it was issued in a blue…

View original post 437 more words

Dating (and Smoking) Rick Newcombe’s Peterson Deluxe Billiard 5.


peterson pipe notes

5 DeLuxe Billiard 1937 Catalog
Number 5 Billiard, 1937 Catalog

Rick Newcombe has written a wonderful introduction for the upcoming Peterson book, which some of you may have read in Pipes & Tobaccos a few issues back. In his article, he discusses a meerschaum-lined Peterson as among his favorite Petes, which he recently sent me to photograph for the book, along with an invitation to smoke it.

Rick picked up the pipe at a table at the Chicago show and told his friend Jess Chonowitsch he didn’t want to buy it unless he could smoke it as a briar pipe. Rick says, “Jess studied it carefully and then finally said, ‘As long as you smoke it slowly, the walls are thick enough that it will be fine.’ I then sent the pipe to Jim Benjamin and asked him to remove the lining.”

When Rick got the pipe back he says “the inside wood looked exactly…

View original post 755 more words