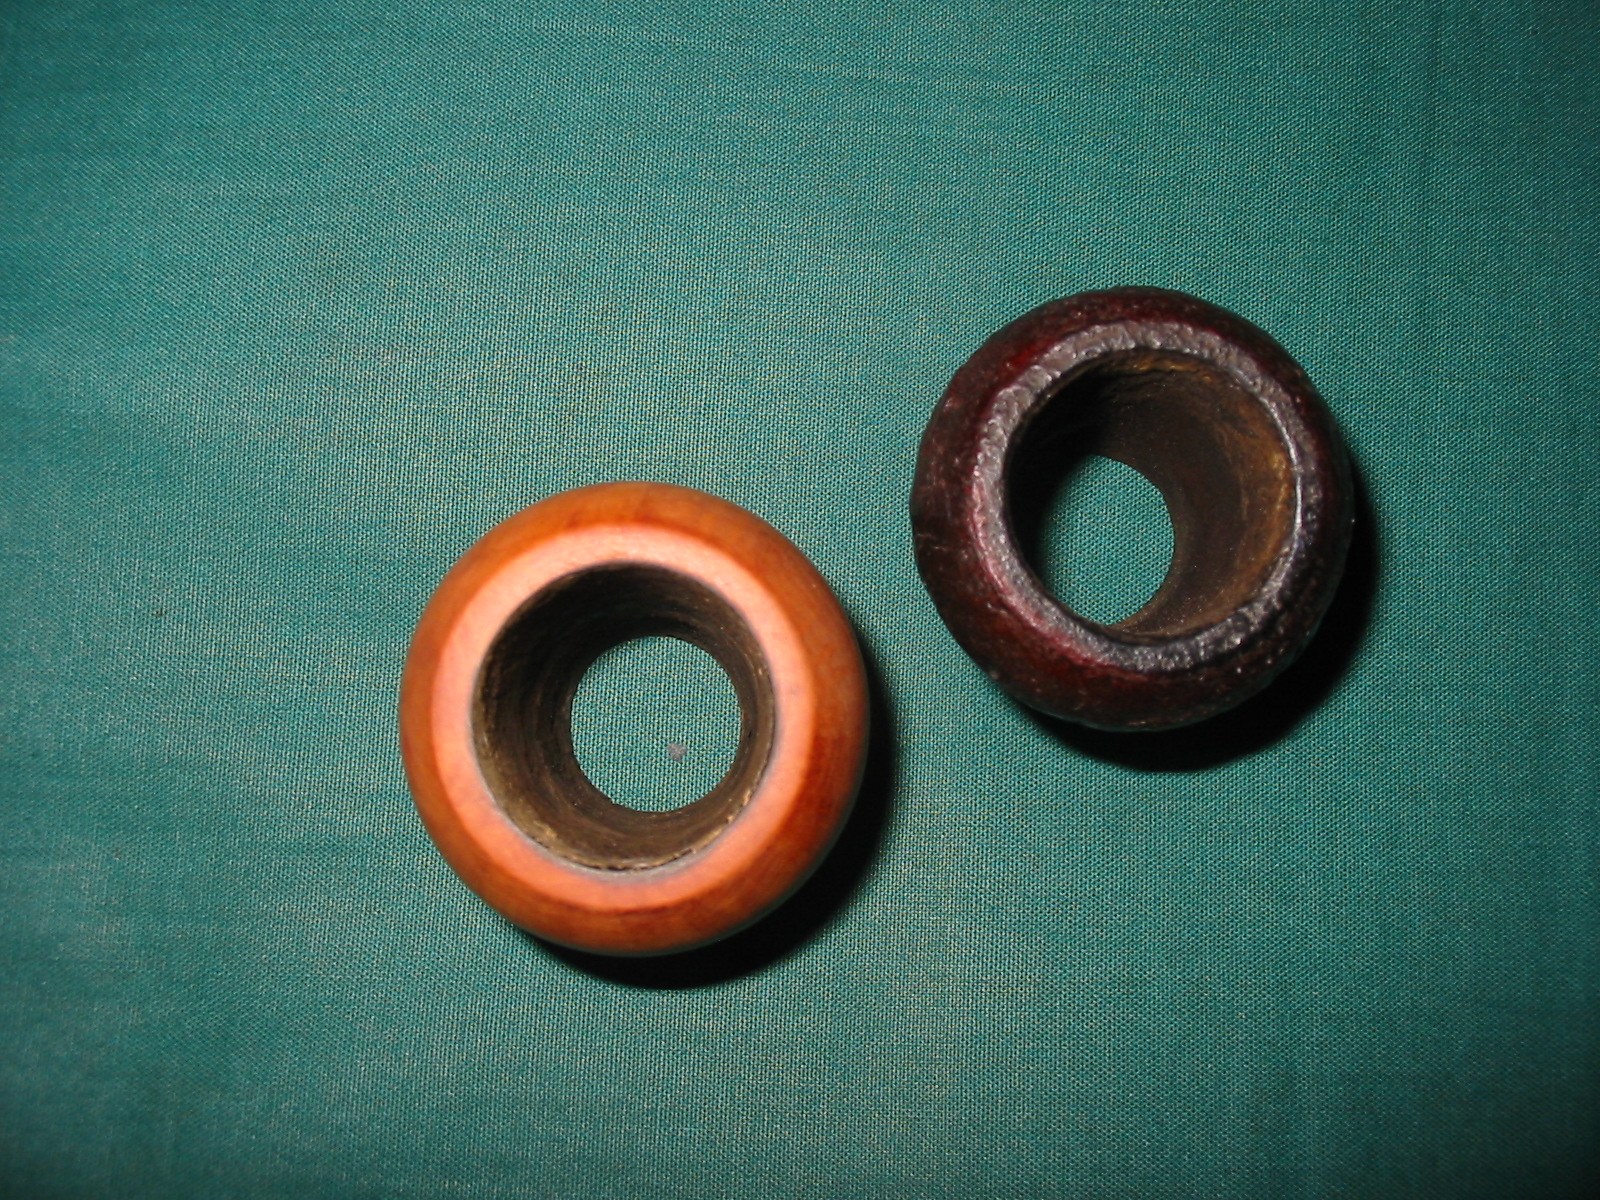
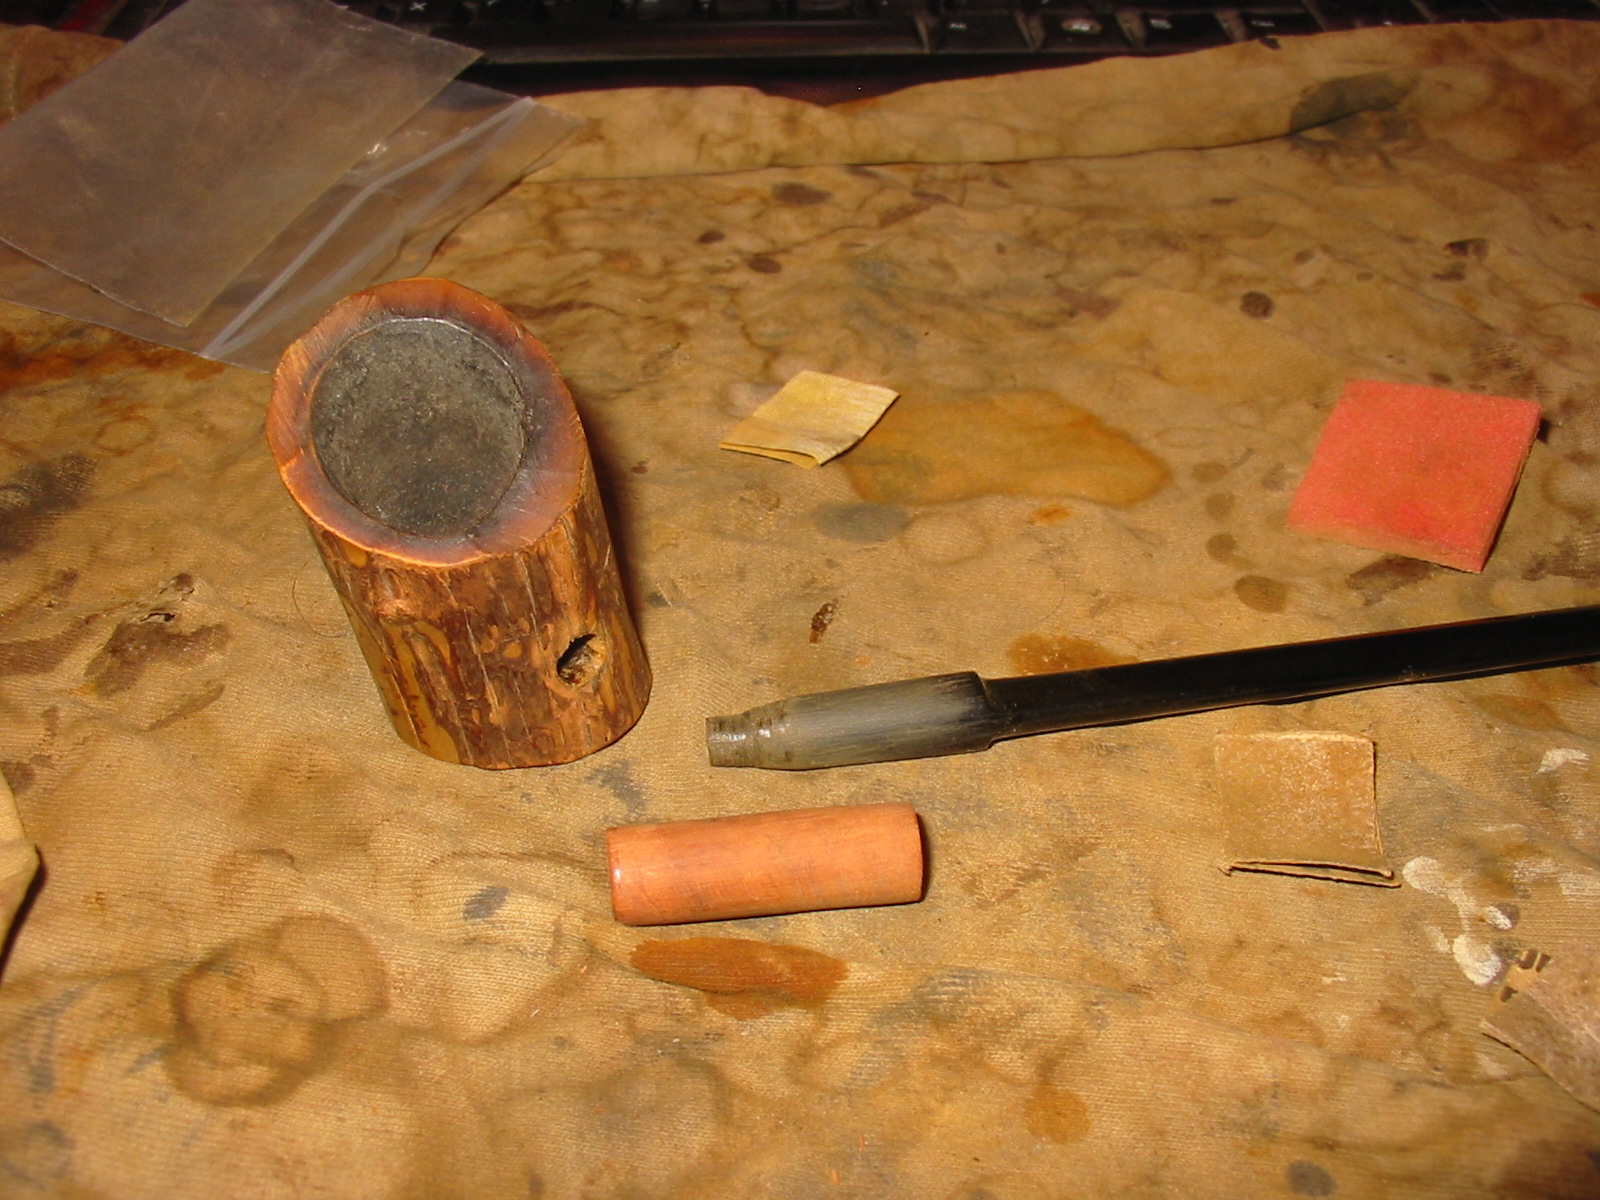
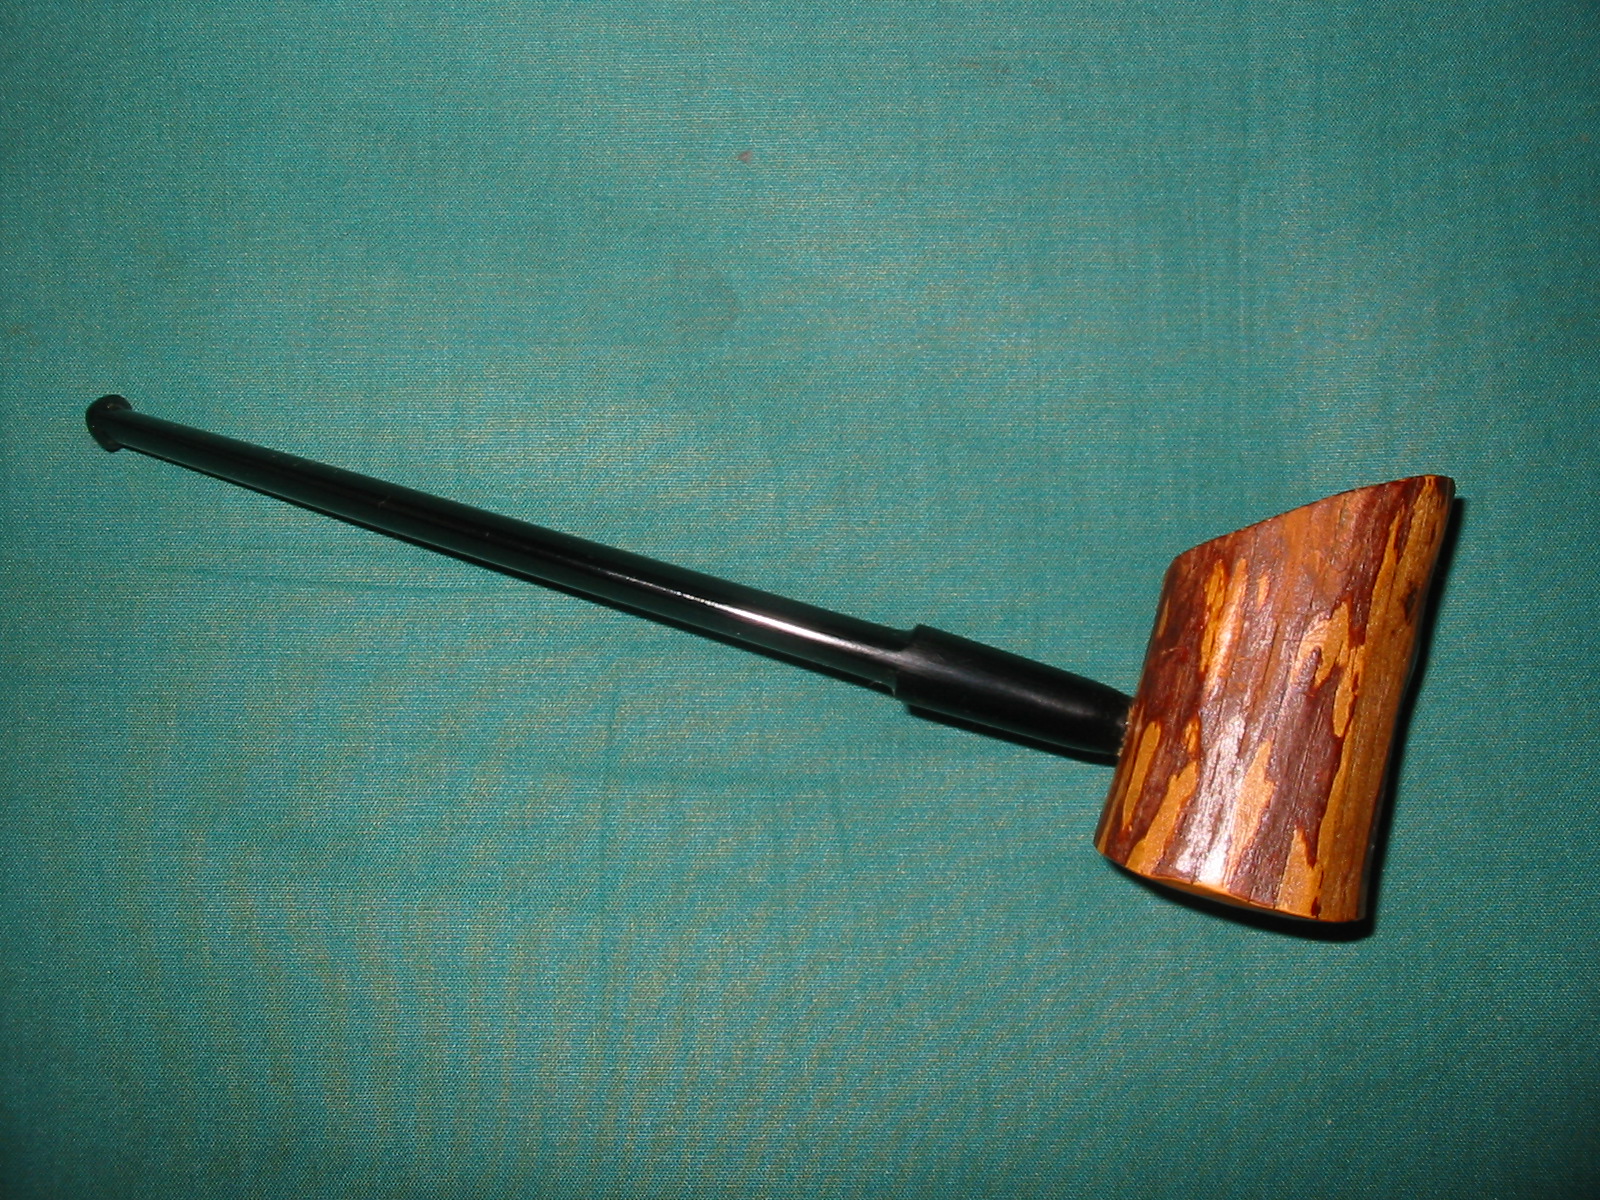
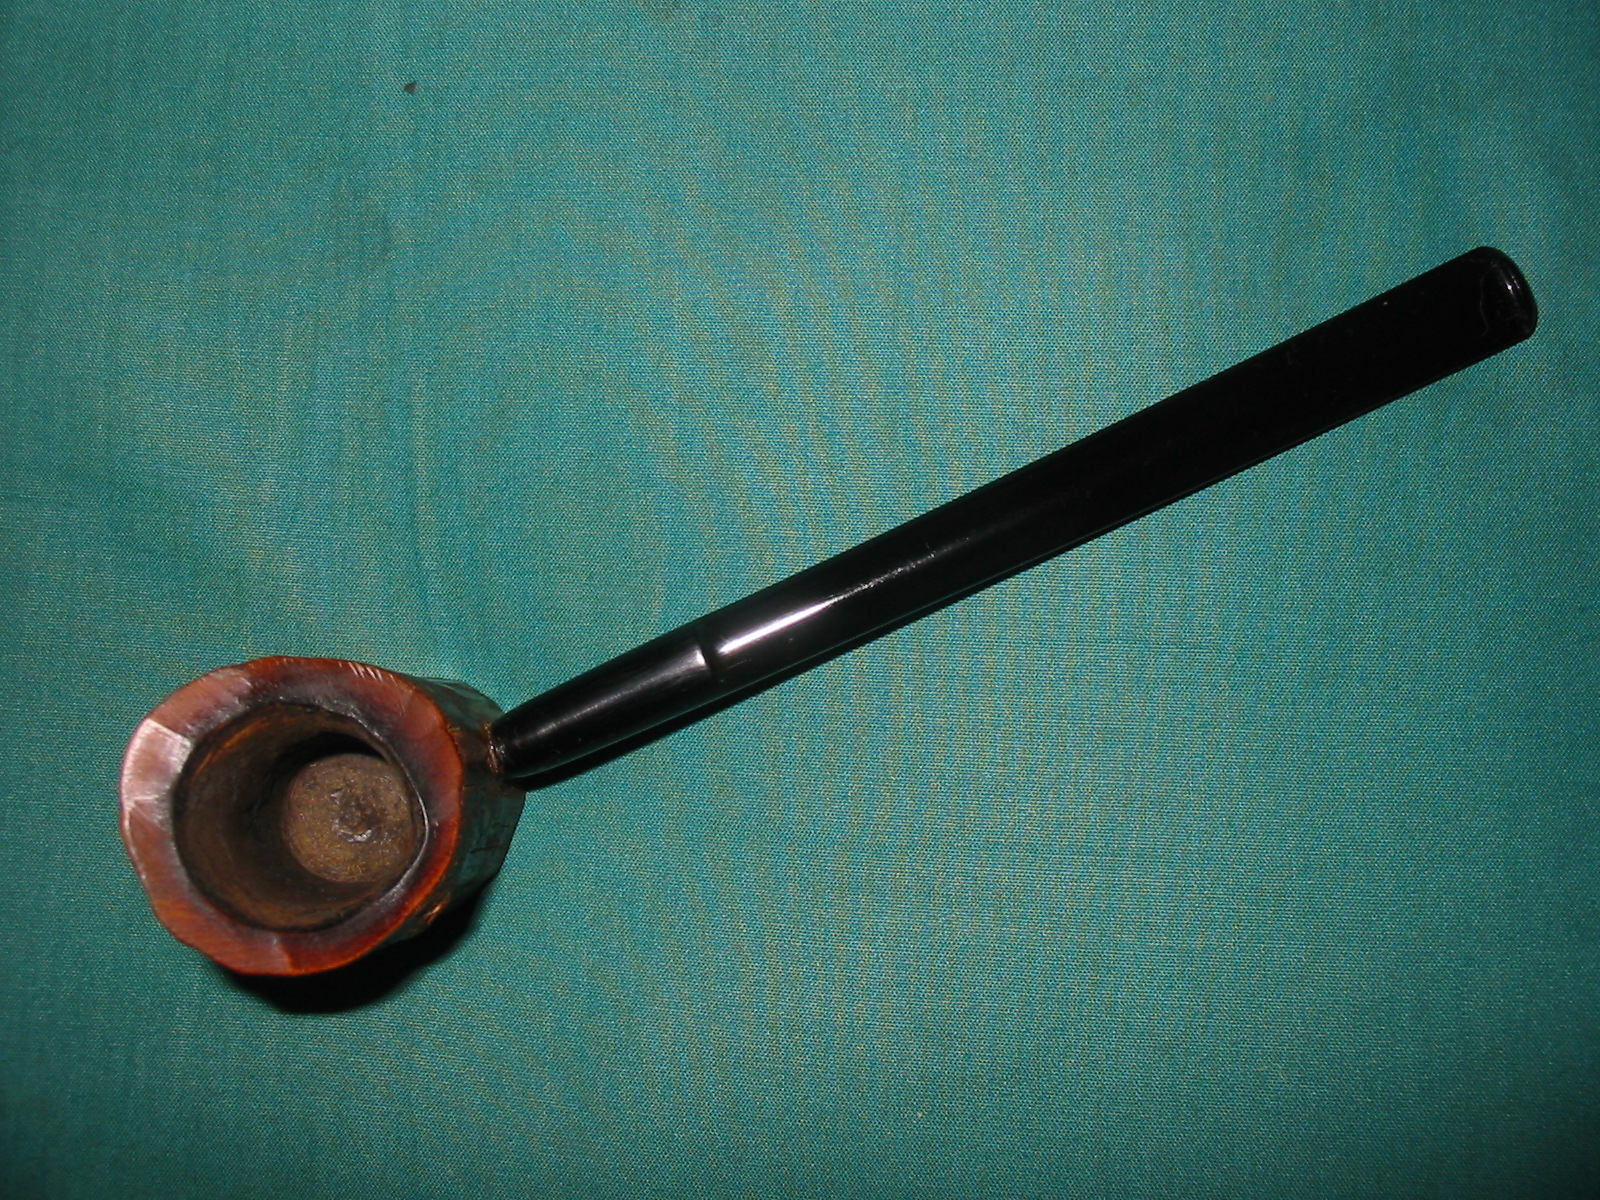
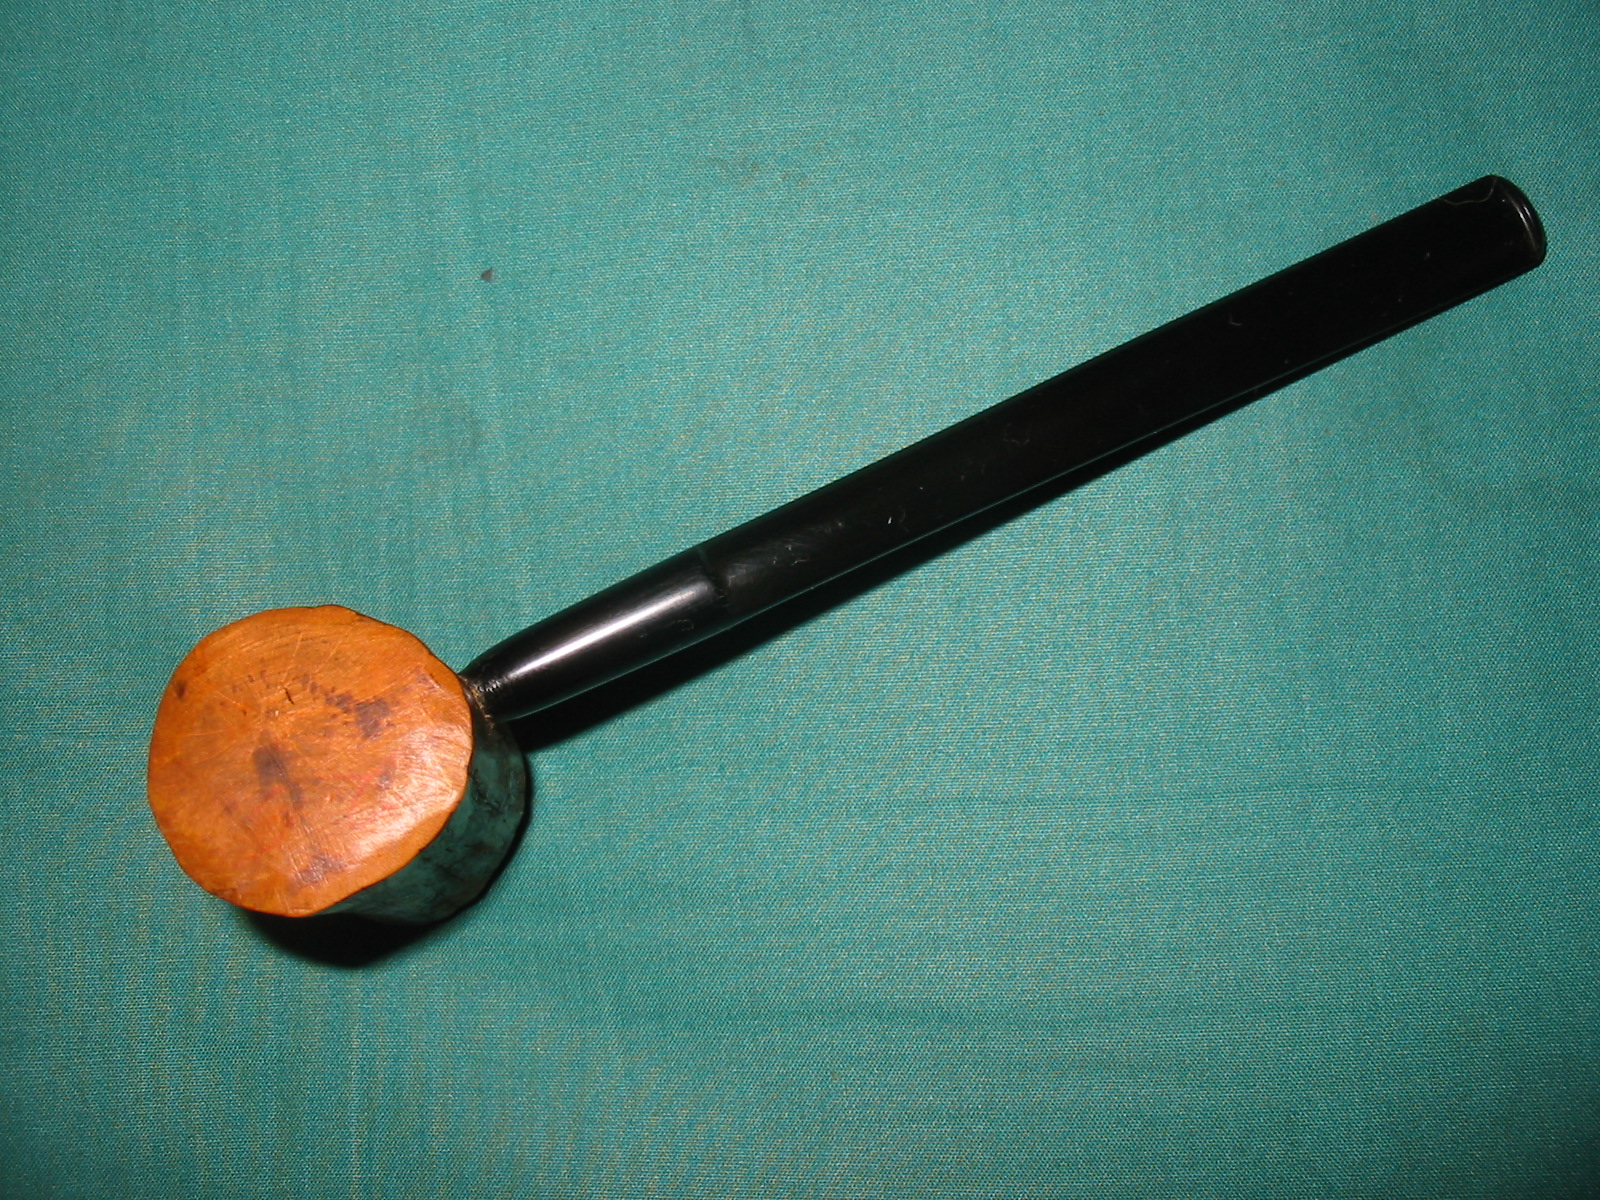
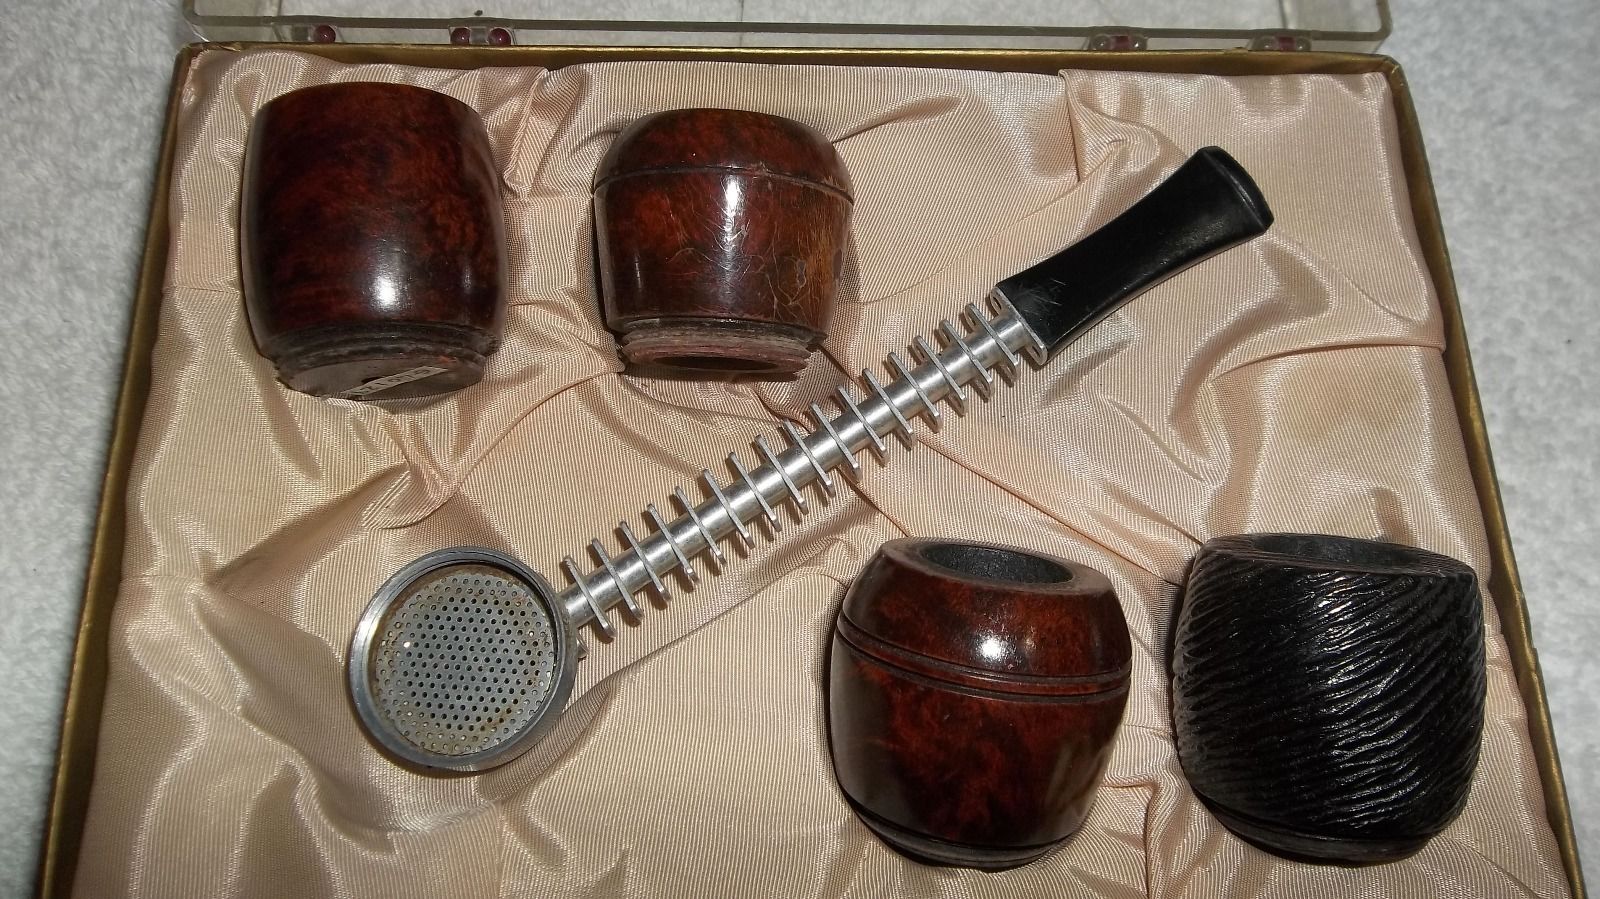
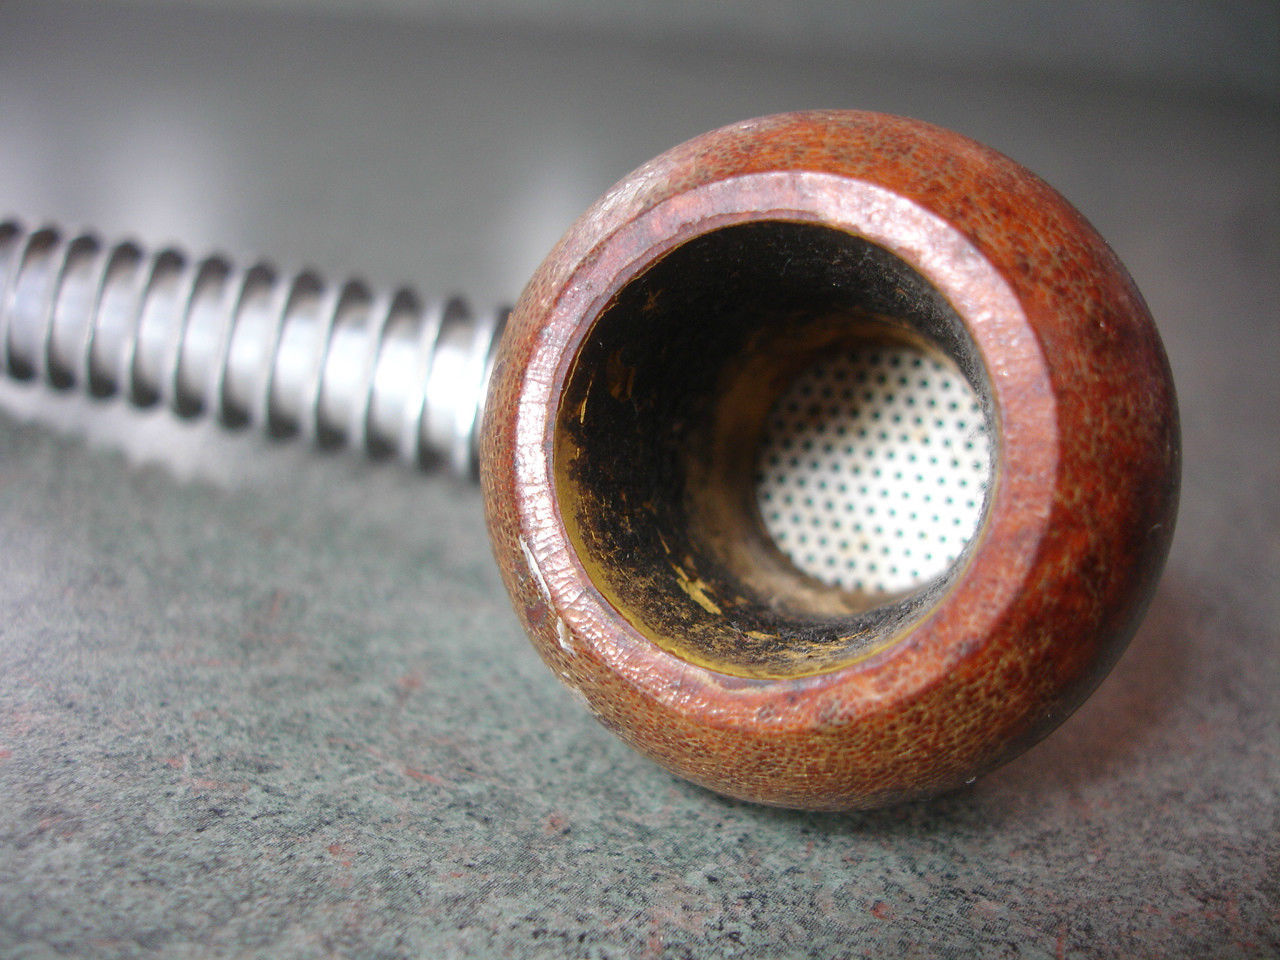
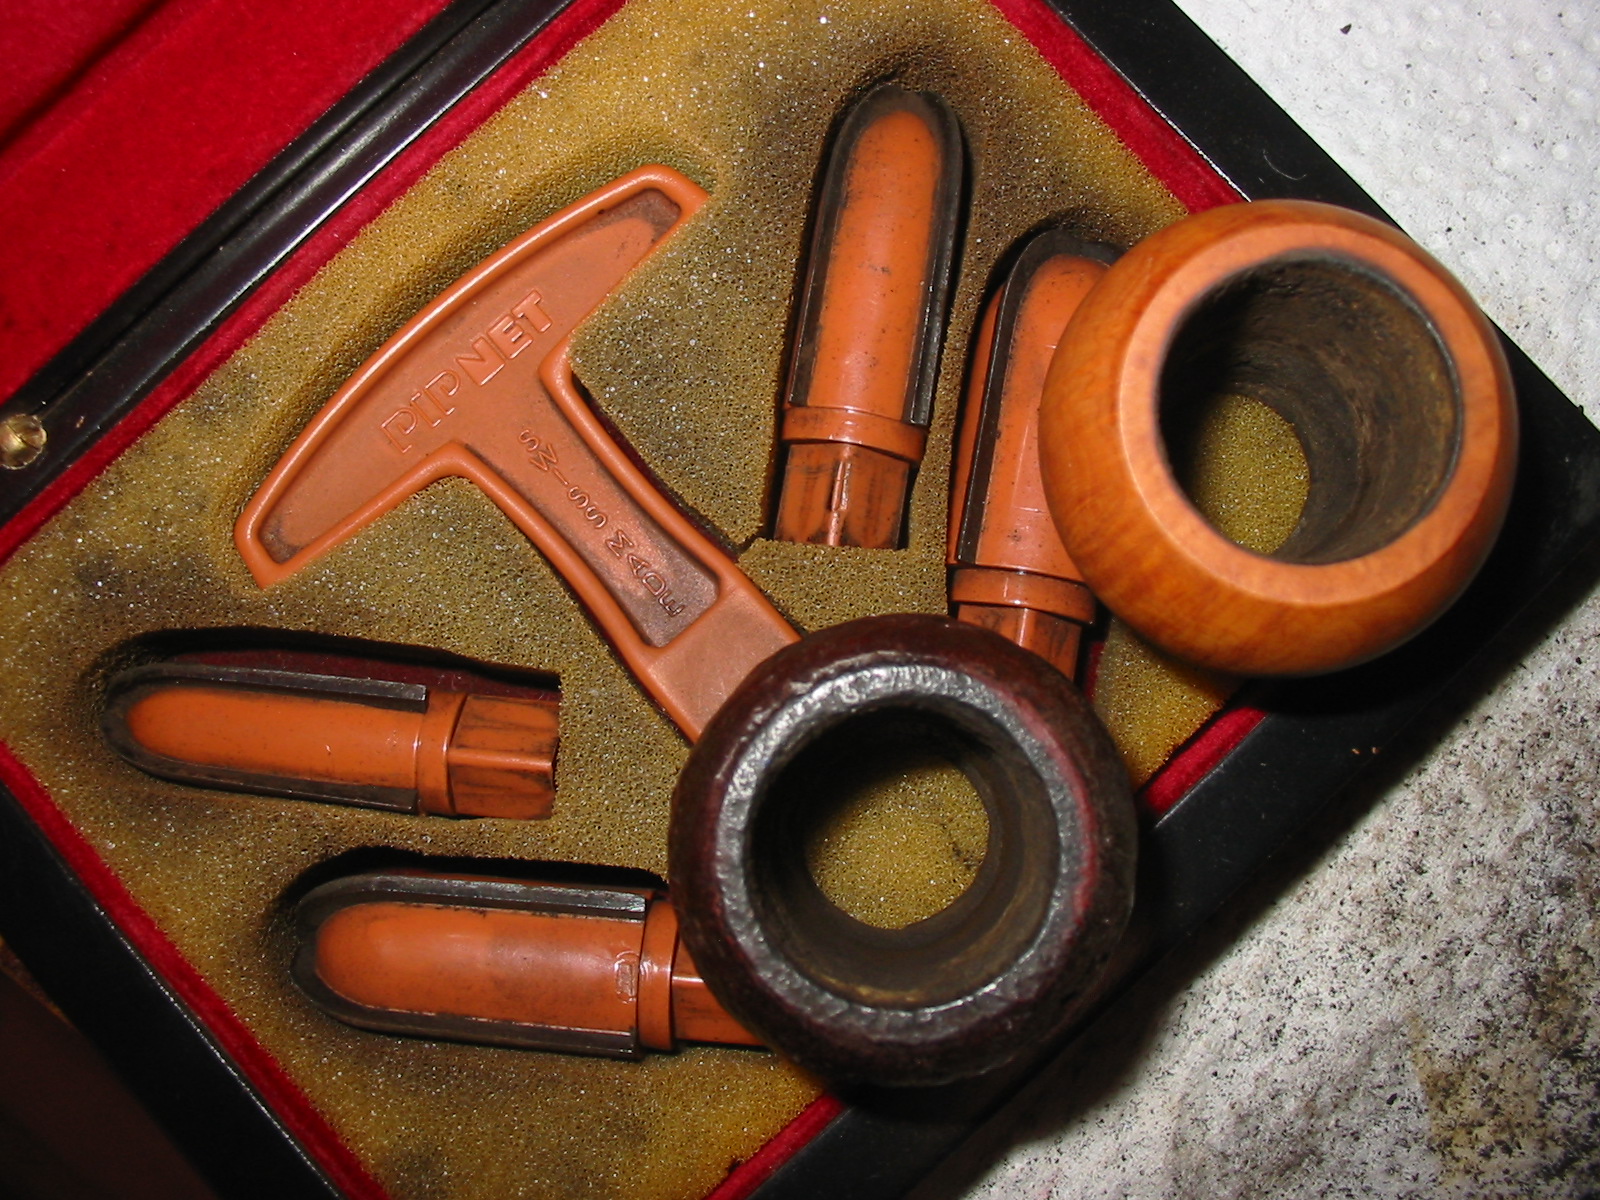
In my gift box were two pipe bowls that I initially thought were Falcon or Grabow Viking bowls but when I took them out and examined them I was surprised to see that instead of the usual bottom of the bowl found on those two brands there was a lack of a bottom of the bowl. That is correct there were just two briar tubes with a hole on the top and a hole on the bottom. I had not seen anything like that before and I have cleaned up a lot of different metal pipes. I had no idea what I was dealing with. I looked over the bottom hole to see if they had somehow been modified but it was clear that they had been manufactured this way. The bowls both had a cake but the cake on both was not even and it was crumbling. The rims on both were dirty and had a carbon buildup. The bottom threaded portion was tarry and dirty as well and the rim on the bottom of the bowl was also caked with carbon and tars. Both bowls had a varnish coat. The one on the sandblast bowl was in pretty good shape but the one on the smooth bowl was flaking. Both would need to be removed as I did not like thick varnish coats on the bowls I refurbish and smoke.

The fact that I had not seen these kinds of bowls before was motivation to me to see if I could find out what kind of pipe they came from. I wanted to see if I could then find a stem and base unit for them. I searched the net to see what I could find. My go to resource for metal pipes is Smoking Metal http://www.smokingmetal.co.uk/index.html . I use the resource when I am researching information on any metal or metal style pipe. Tony Pringle has done a masterful job of collecting and cataloguing as many metal pipe variations as he can possibly get his hands on. He continues to add pipes to the collection and is open to information sent by other metal pipe smokers and collectors. I turned to Tony’s collection for information. Since I did not know the name of the pipe I was looking for I went to the Photo Index. I went through many photos before I came to the end of the photos. There in the Y section I finally found what I was looking for – the Yello Bole Airograte pipe. There I saw photos of the bowl style that I had in my hands.
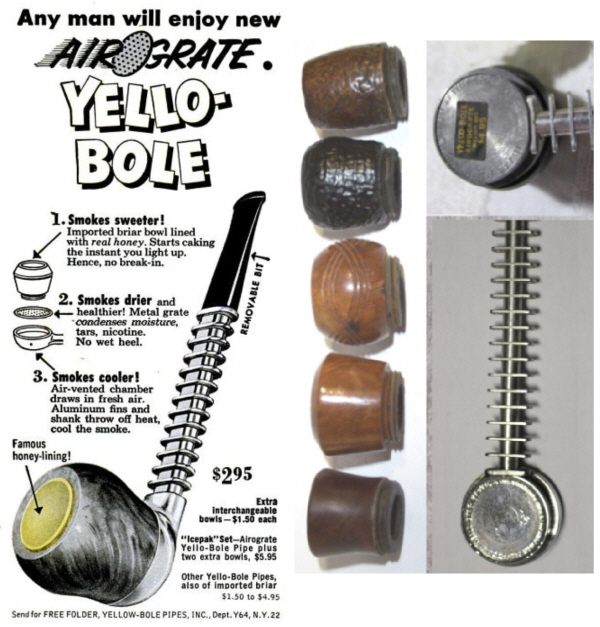
From there I did a Google search on Airograte pipes and found quite a bit of information. I found the advertisement below that showed the basic break down drawing of the way the bowl functioned. I also saw what the base and stem looked like. In the second photo below I saw more clearly how the system worked. A screen/grate sat on an inset shelf in the base and the bowl screwed over the grate and into the base. The grate was what the tobacco sat on when packed in the bowl and smoked. The holes in the grate kept the tobacco shards from going into the airway. The base collected the moisture from the smoke before delivering a smooth dry smoker the pipe man.

I posted on both Smokers Forums and Pipe Smoker Unlimited (PSU) Forums to see if anyone had a Yello Bole base unit that they would be willing to trade. I also searched on Ebay and found a few but all had extra bowls or were priced beyond what I wanted to pay for one. The one thing they did was show clearly the look of the pipe with the bowl in place.
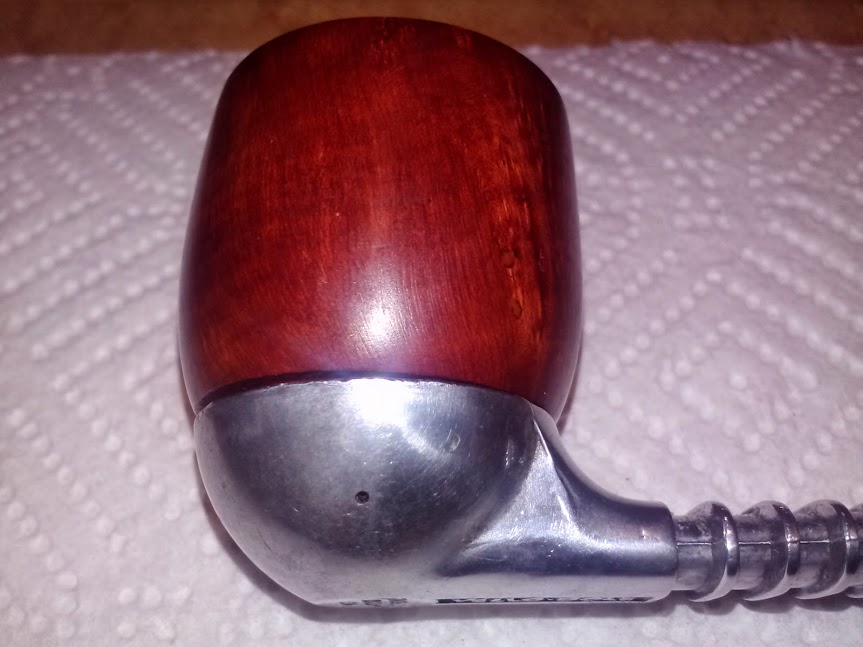
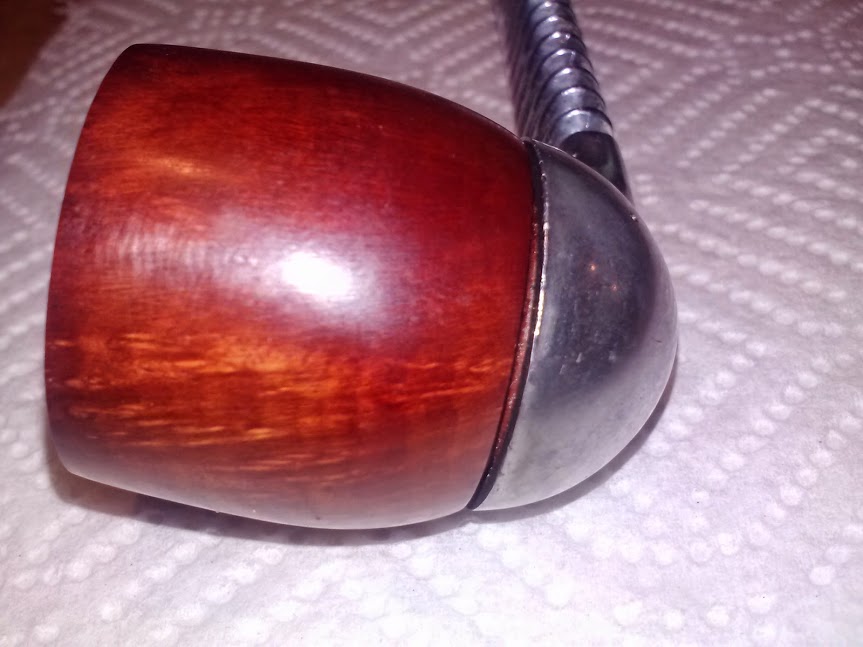
While I was prowling on Ebay one of the members on PSU, Father Tom no less, sent me a private message saying that he had one that I could have. We dickered back and forth and he shipped the base to me and I shipped a refurbished poker to him. I have included two photos of the pipe and base that Tom has sent. Now the wait begins. Thanks Tom, I look forward to seeing what this old-timer smokes like once I have the parts all in one place.
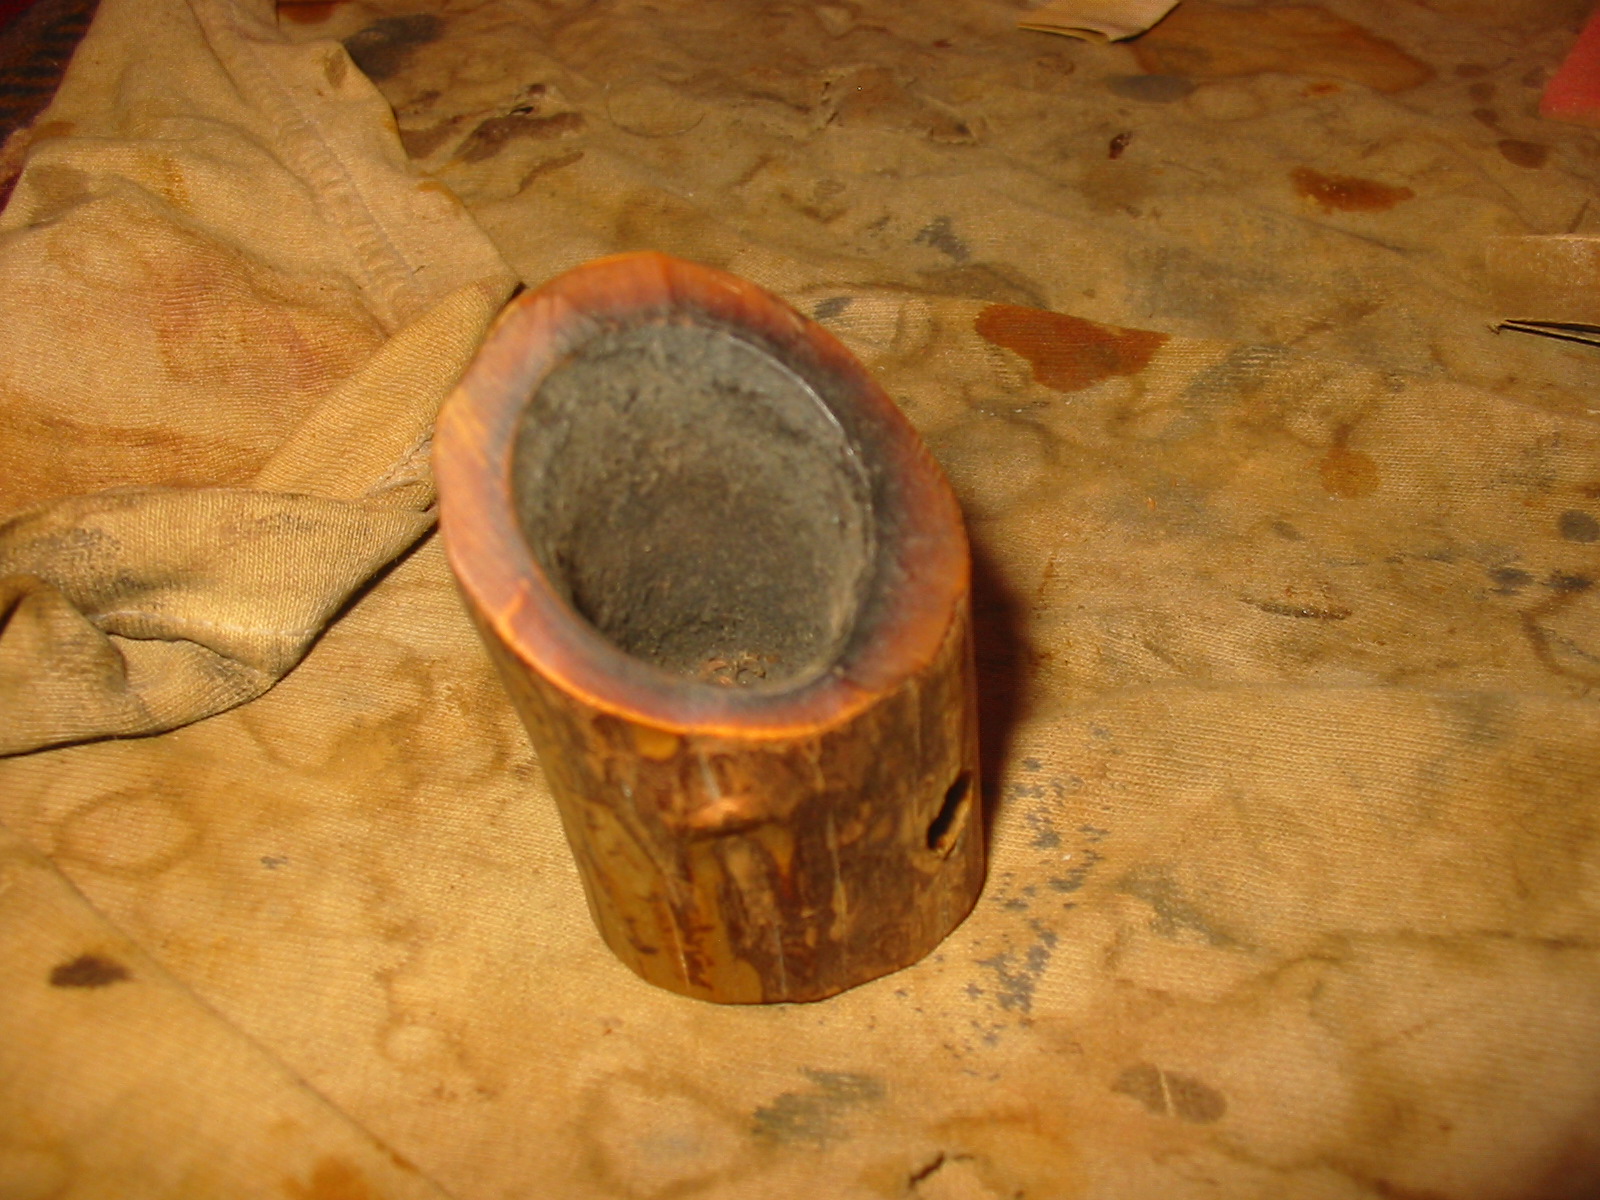
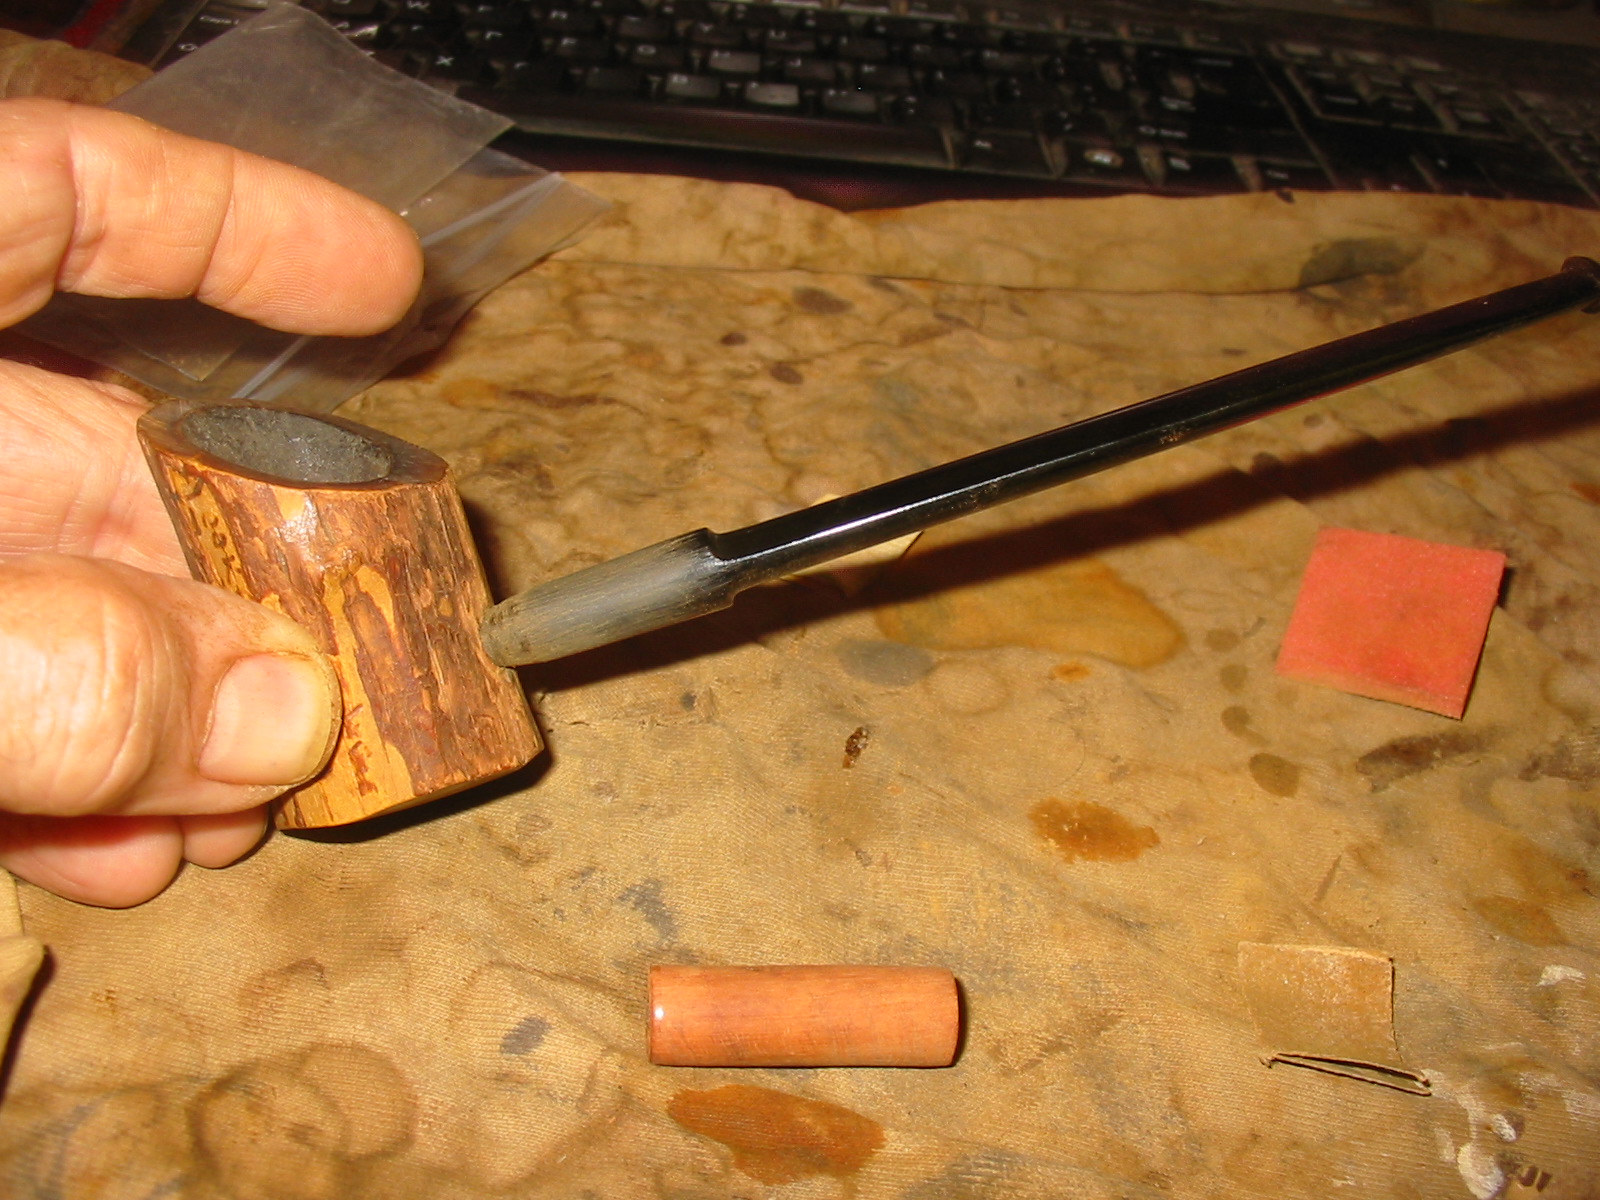
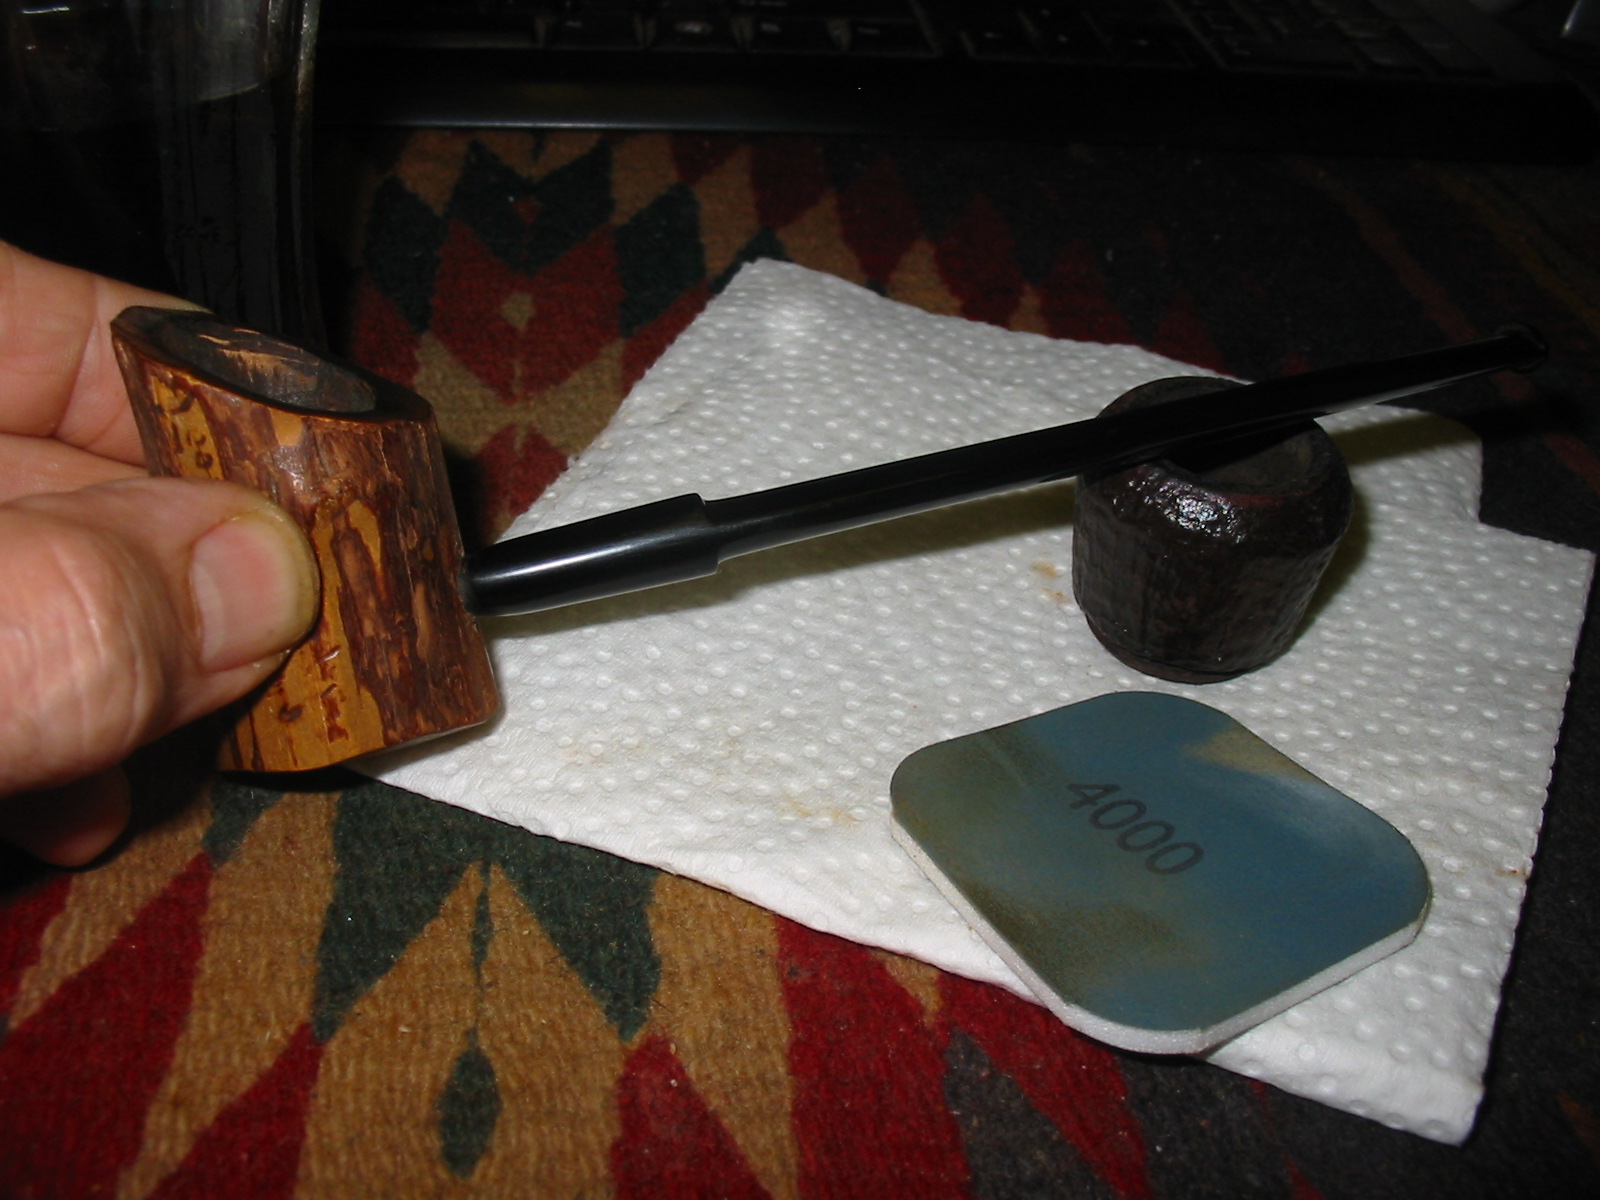
So while I am waiting I cleaned up the two bowls. I reamed them both with a PipNet reamer. That was an interesting experience. I held them over the ash can and twisted the reamer to scrape away the carbon. The ash fell out of the hole in the bowl bottom. I cleaned the rims with cotton pads and Murphy’s Oil Soap to remove the buildup and tars that covered both. I scrubbed the sandblast bowl with a soft bristle tooth-brush and cotton swabs. In the photo below the newly cleaned rims are visible.
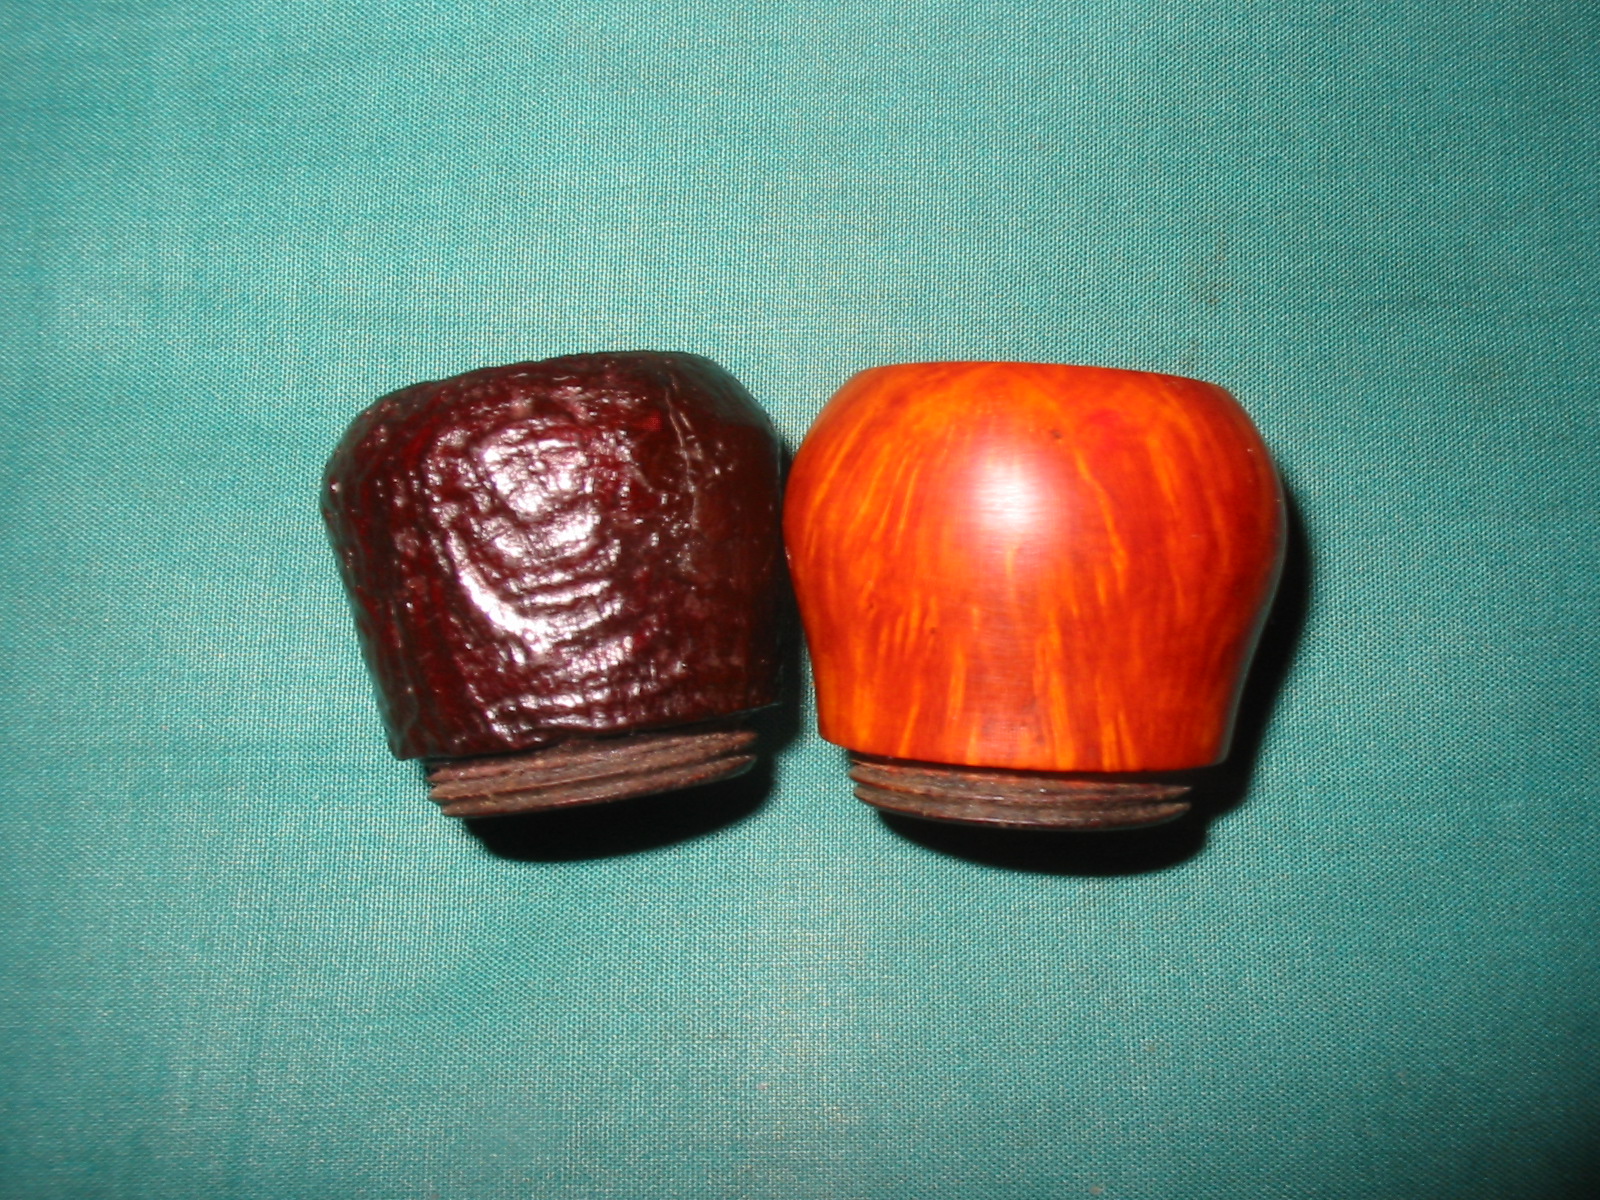
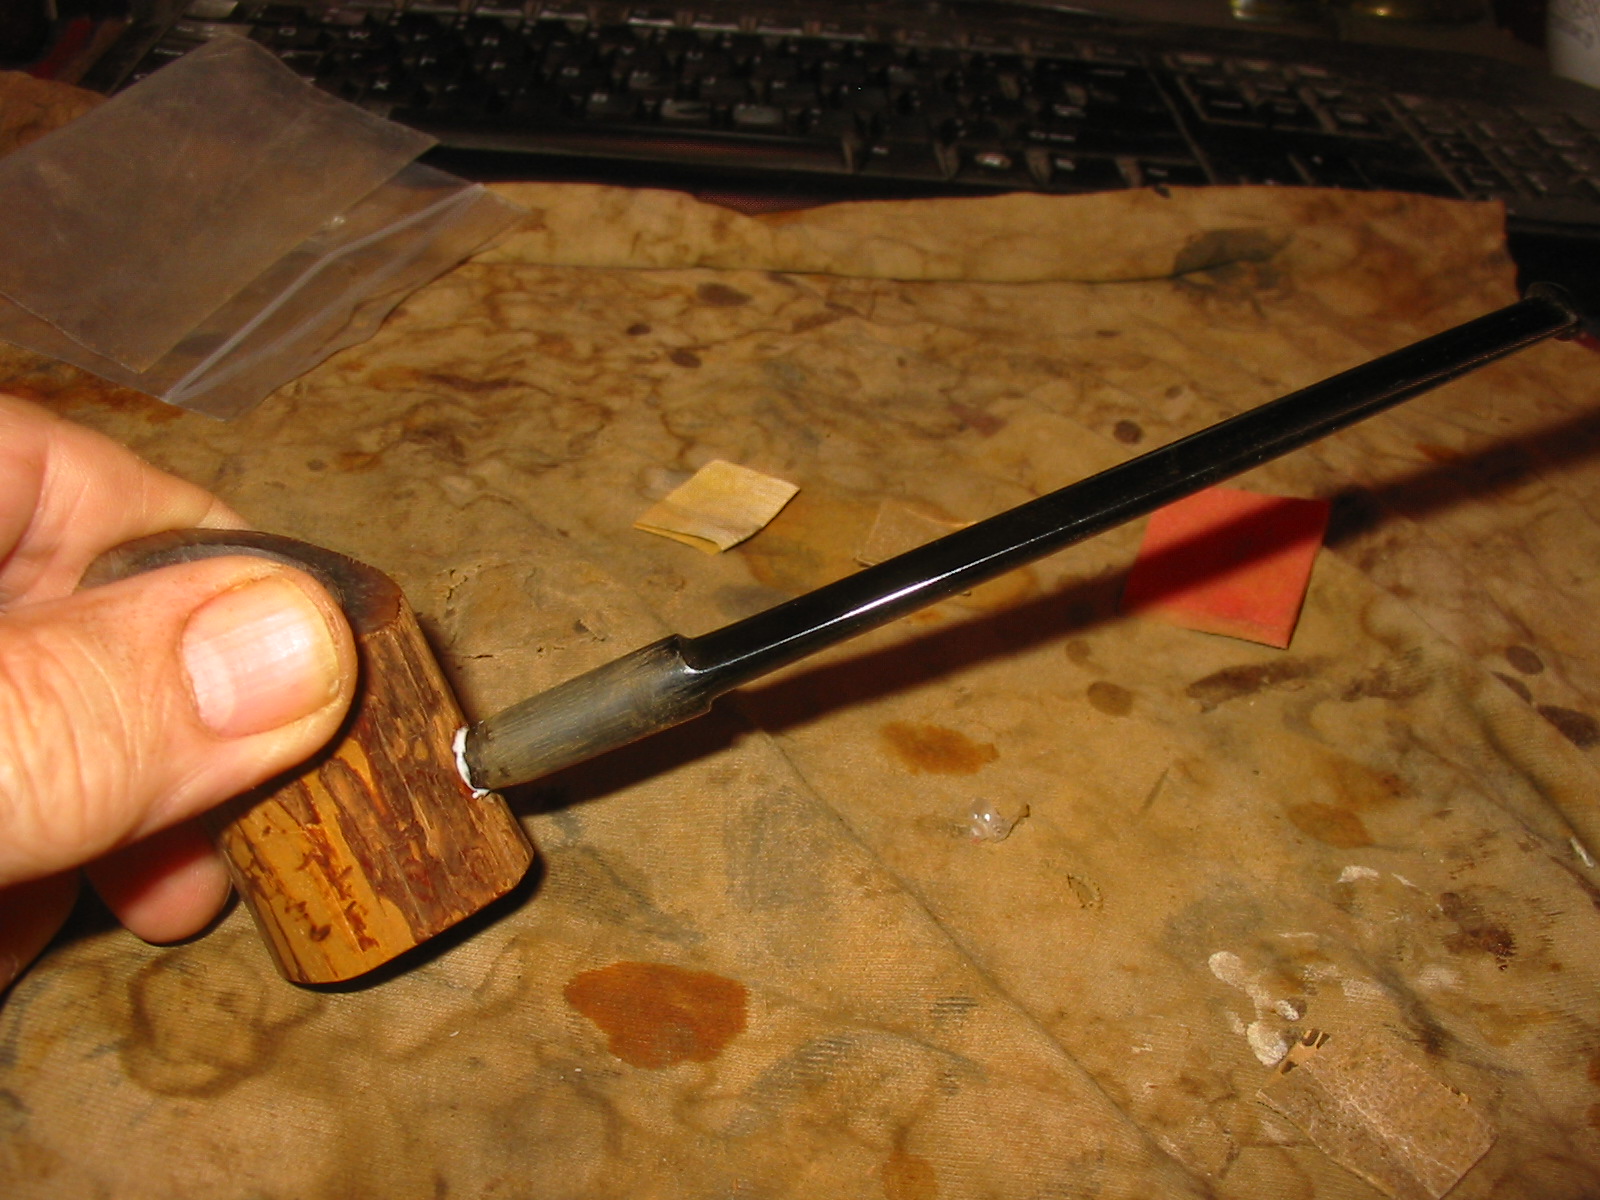
I scrubbed the bowls with acetone on cotton pads to remove the varnish coat. It took quite a bit of scrubbing but I was able to remove the varnish from both bowls. The briar on the smooth bowl is flawless and quite nicely grained. On the inside of both bowls once I had cleaned them the familiar yellow coating was visible and gave confirmation to my deduction that they came from a Yello Bole pipe.

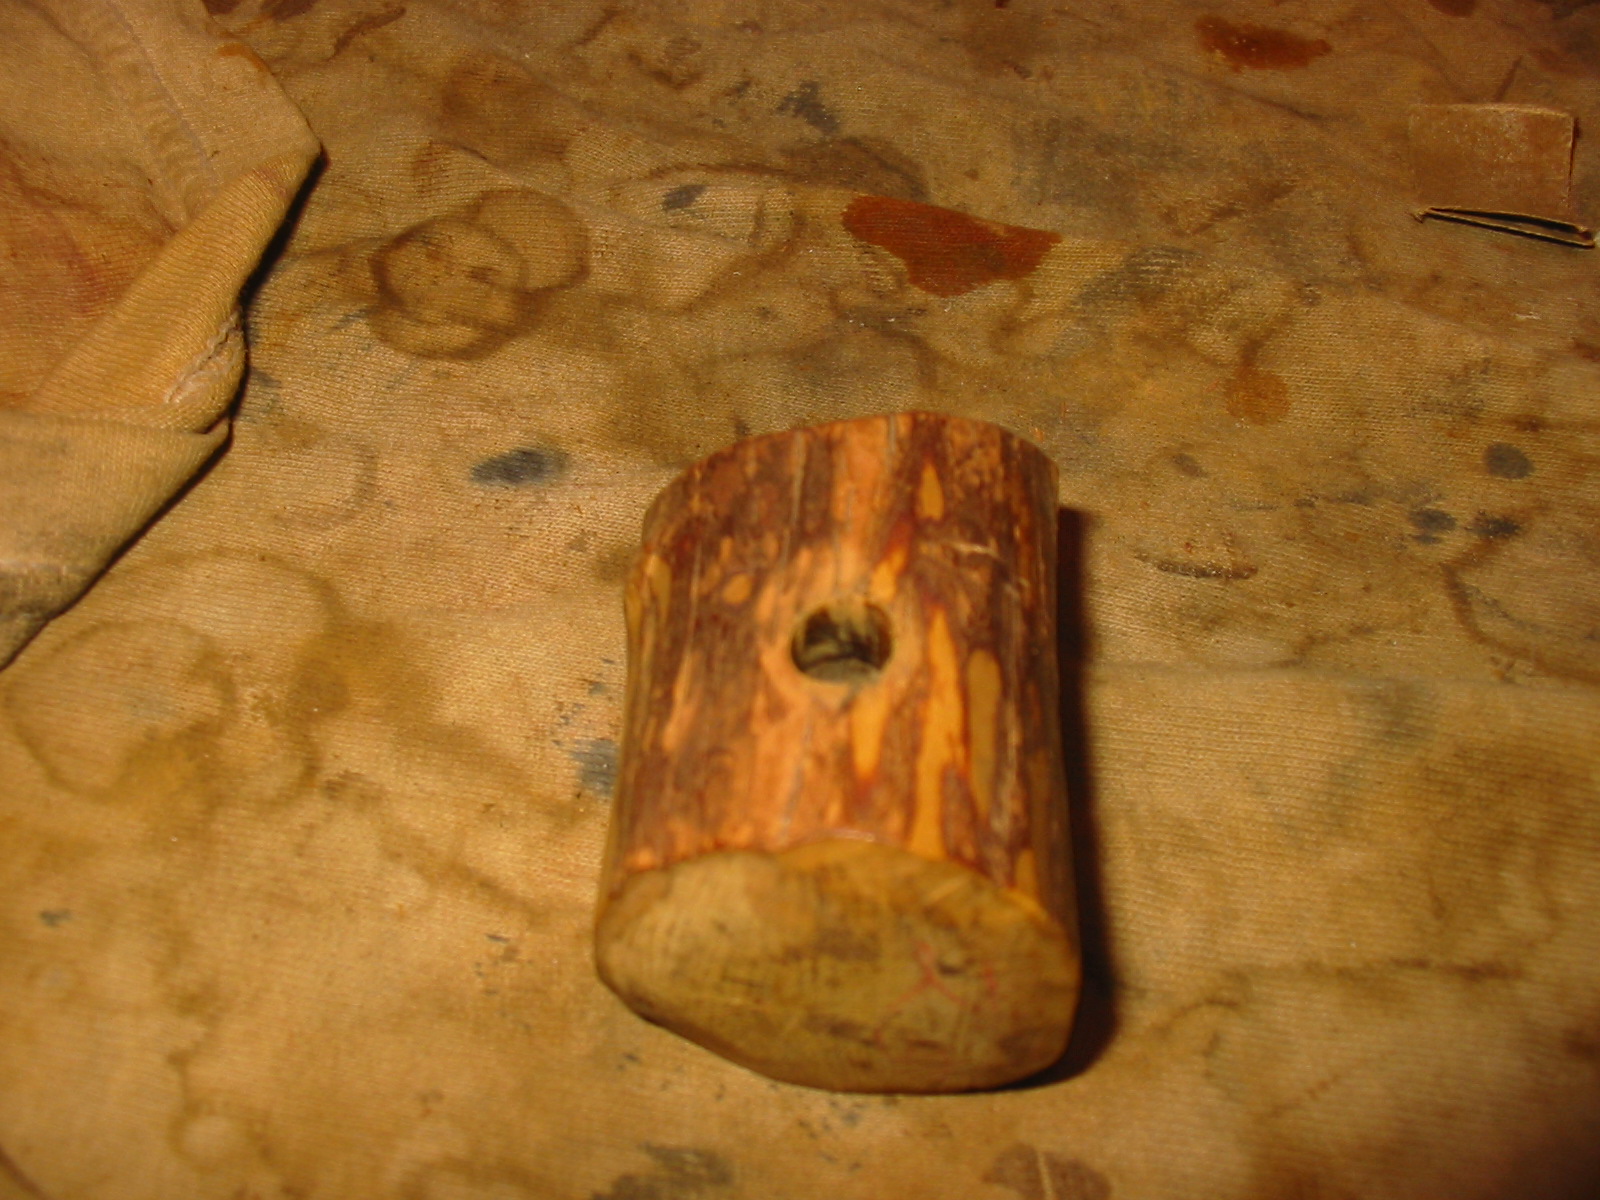
I scrubbed the bottom rims with alcohol on cotton swabs until they were both clean. I gave them both a light sanding with a medium and fine grit sanding sponge.

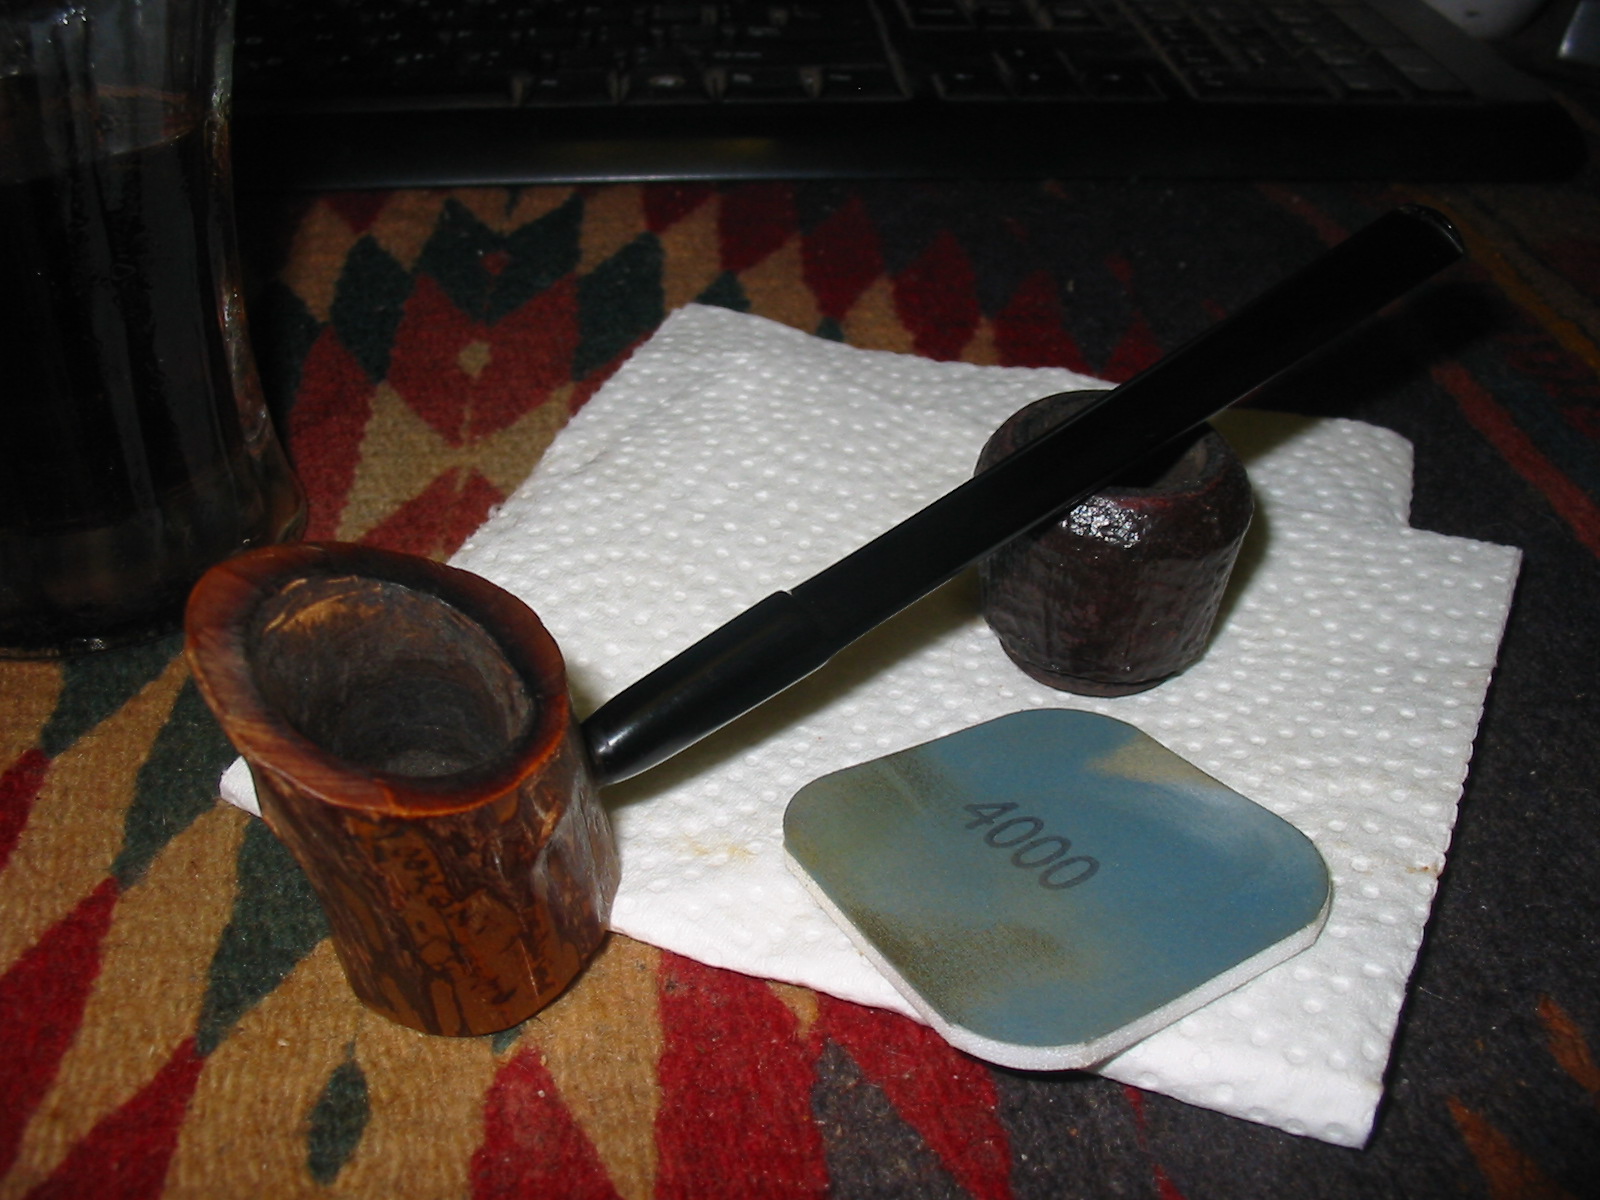
I buffed the bowls with White Diamond and gave the smooth bowl several coats of carnauba wax and buffed it with a soft flannel buff. I put Halcyon II wax on the sandblast and used a shoe brush to buff it once it had dried. The finished bowls are shown below. I decided to leave the smooth bowl unstained to see how it will colour during use. I couldn’t wait to work on them or to write this up until the base comes. But once the base arrives I will take some photos of the bowls in place. Until then I will wait – and try to be patient for Canada Post to get the package to me.