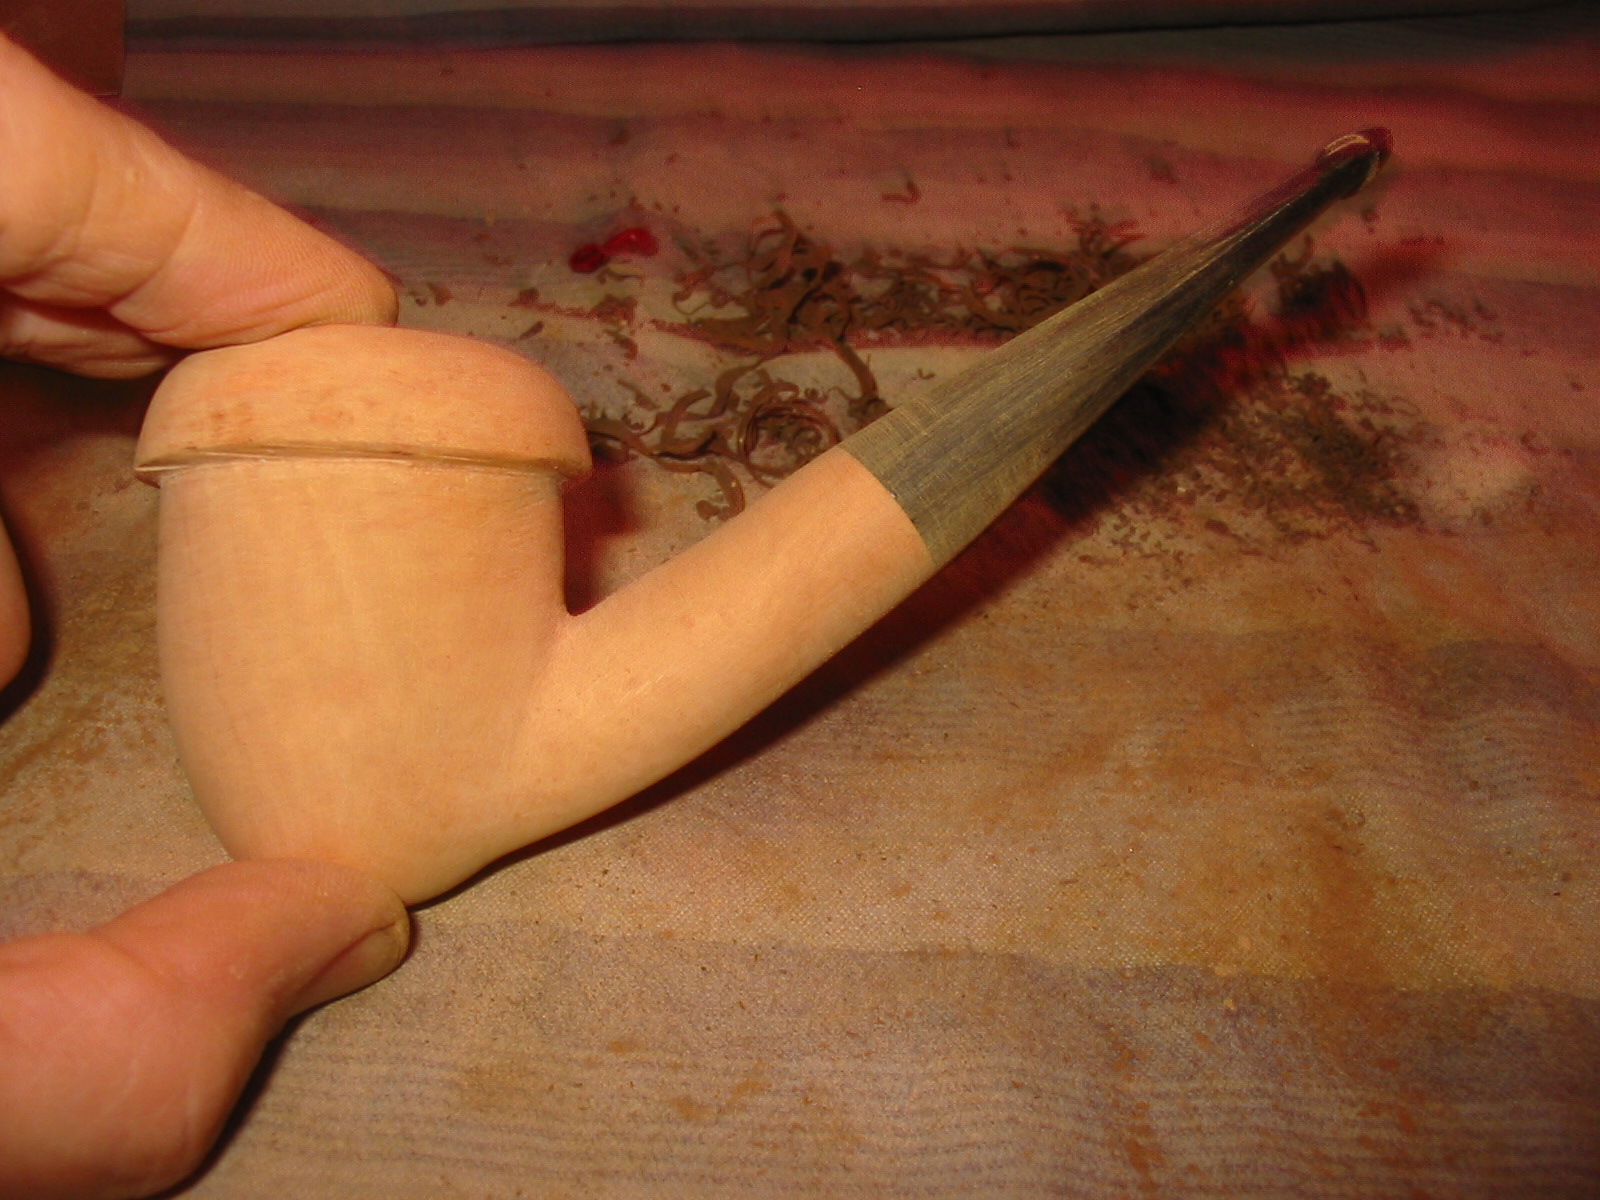
When I was traveling in the early spring I stopped by Burlington on Whyte Tobacconist in Edmonton, Alberta, Canada to pick up some tobacco and have a look at their stock. In the past I had purchased a pipe kit from them and found it to be a pretty decent piece of briar. It was the last pipe I had carved for myself. I looked through the lot and found one I like this time as well. I purchased it and carried it home. It sat on my desk for the past several months while I tried to figure out what I wanted to do with it. It was drilled to be a three-quarter bent pipe and had a vulcanite stem this time. The last one I has purchase had a Lucite stem. I thought it had potential and I just needed time to let it marinate in my brain until I decided what to carve.
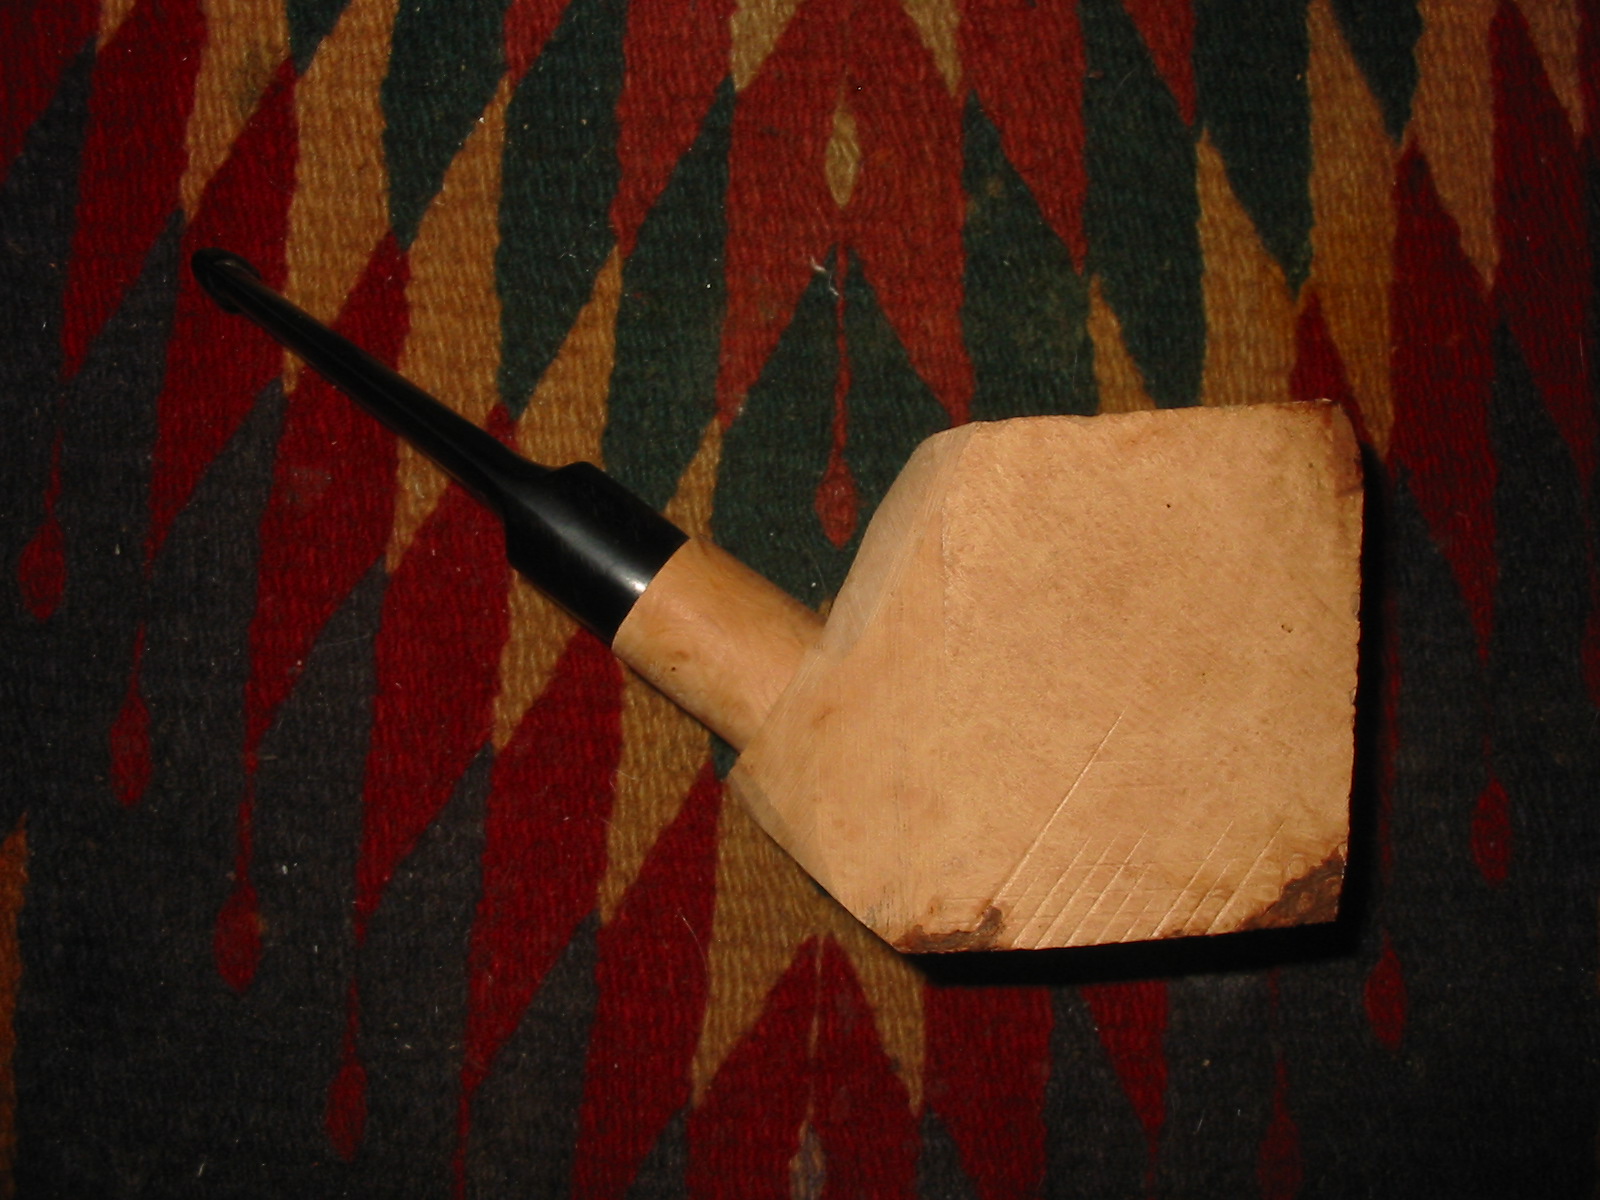
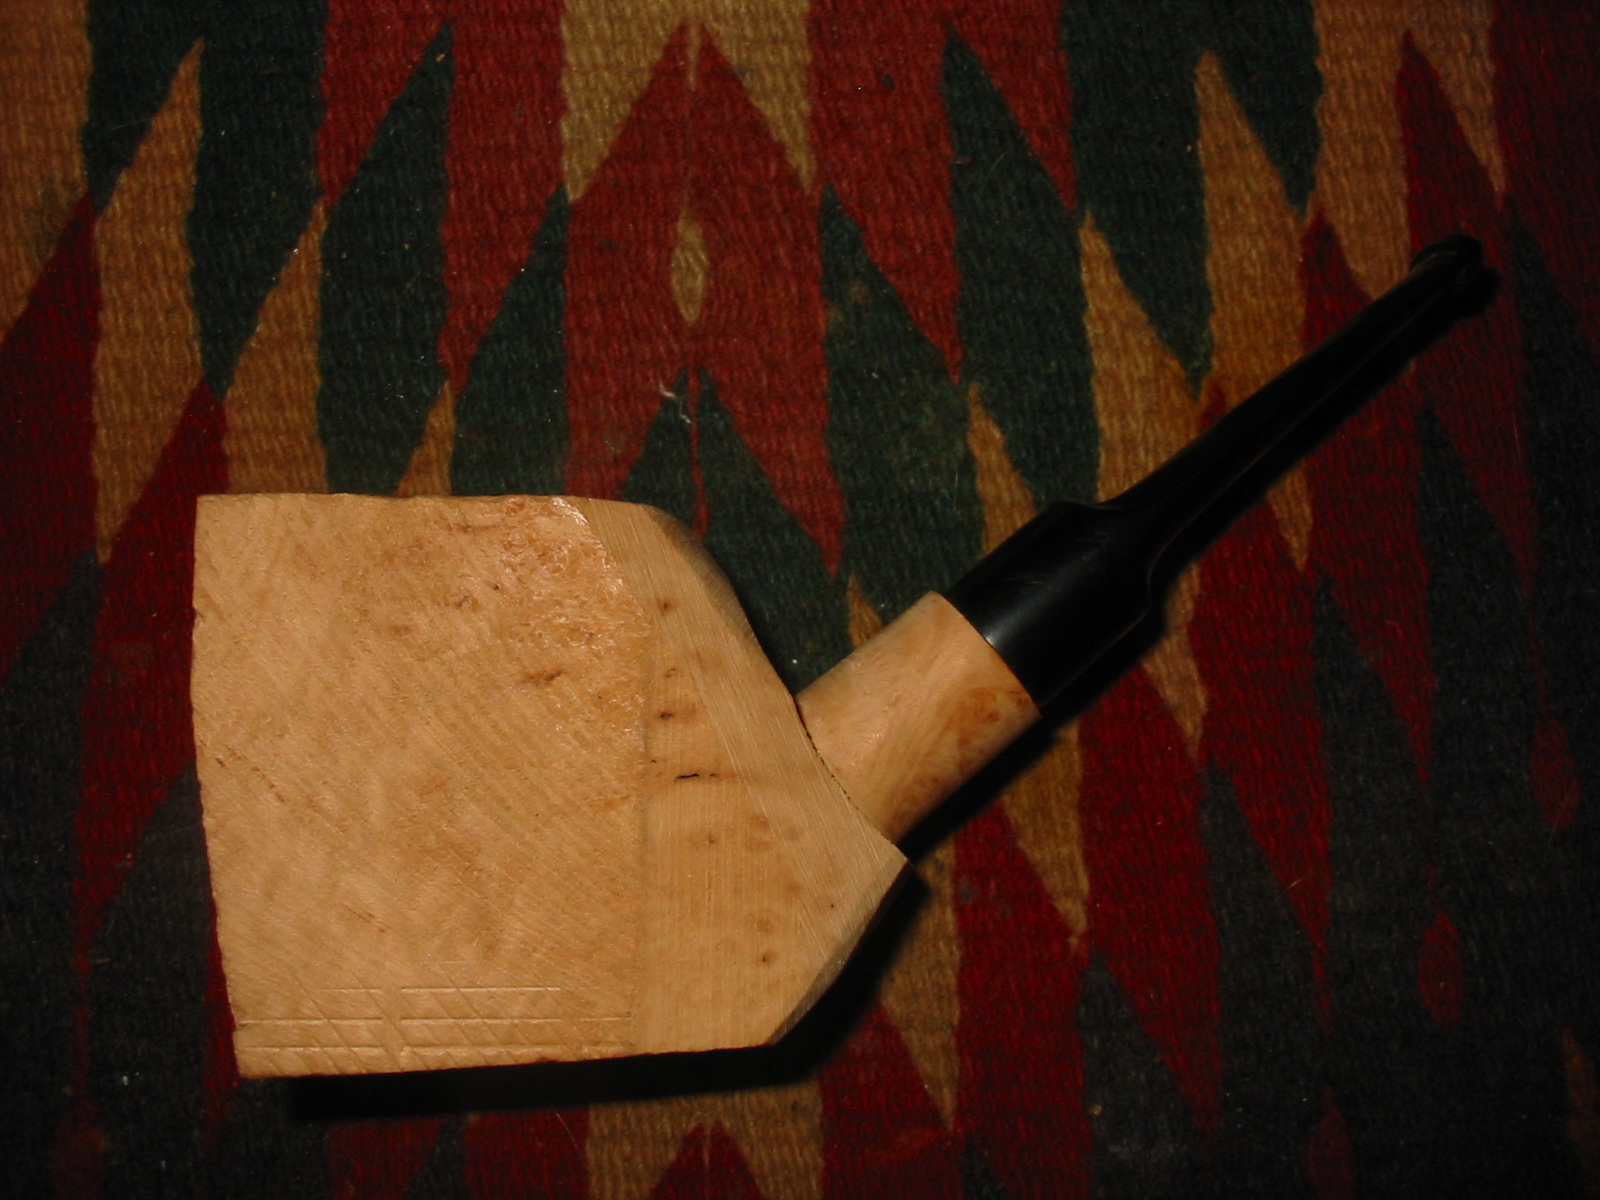


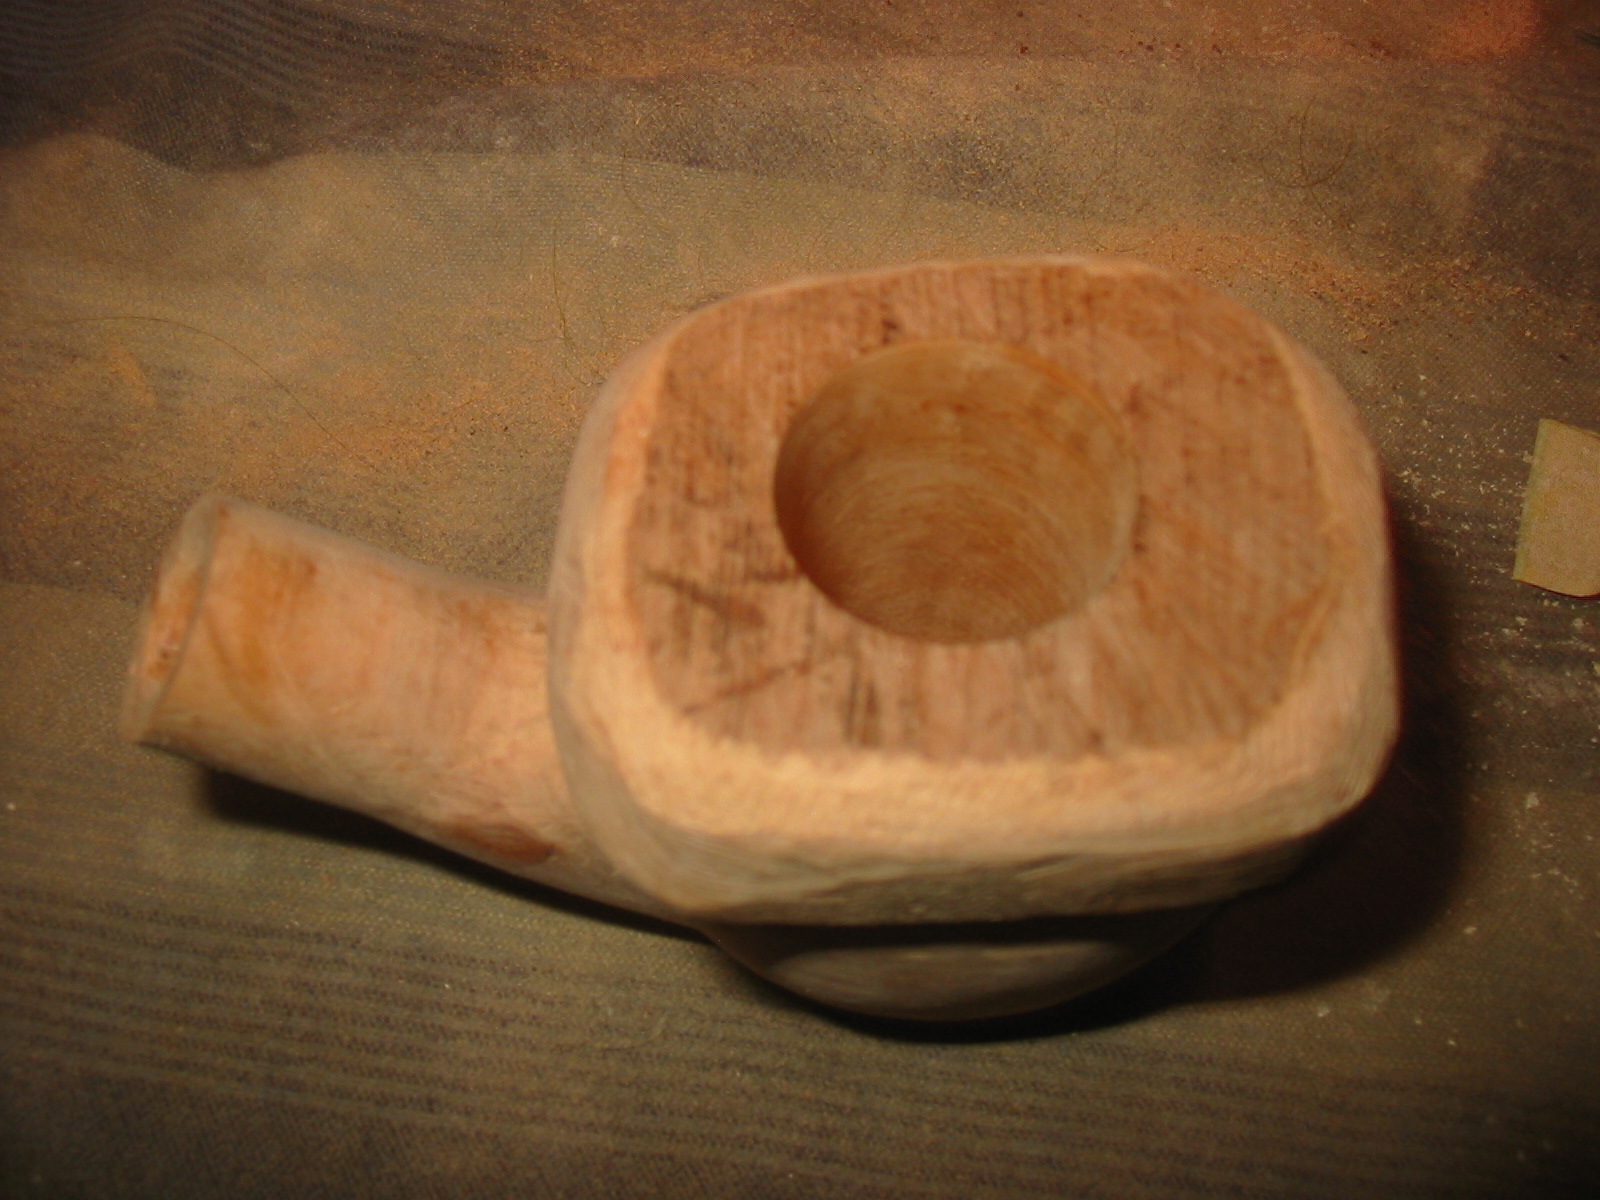
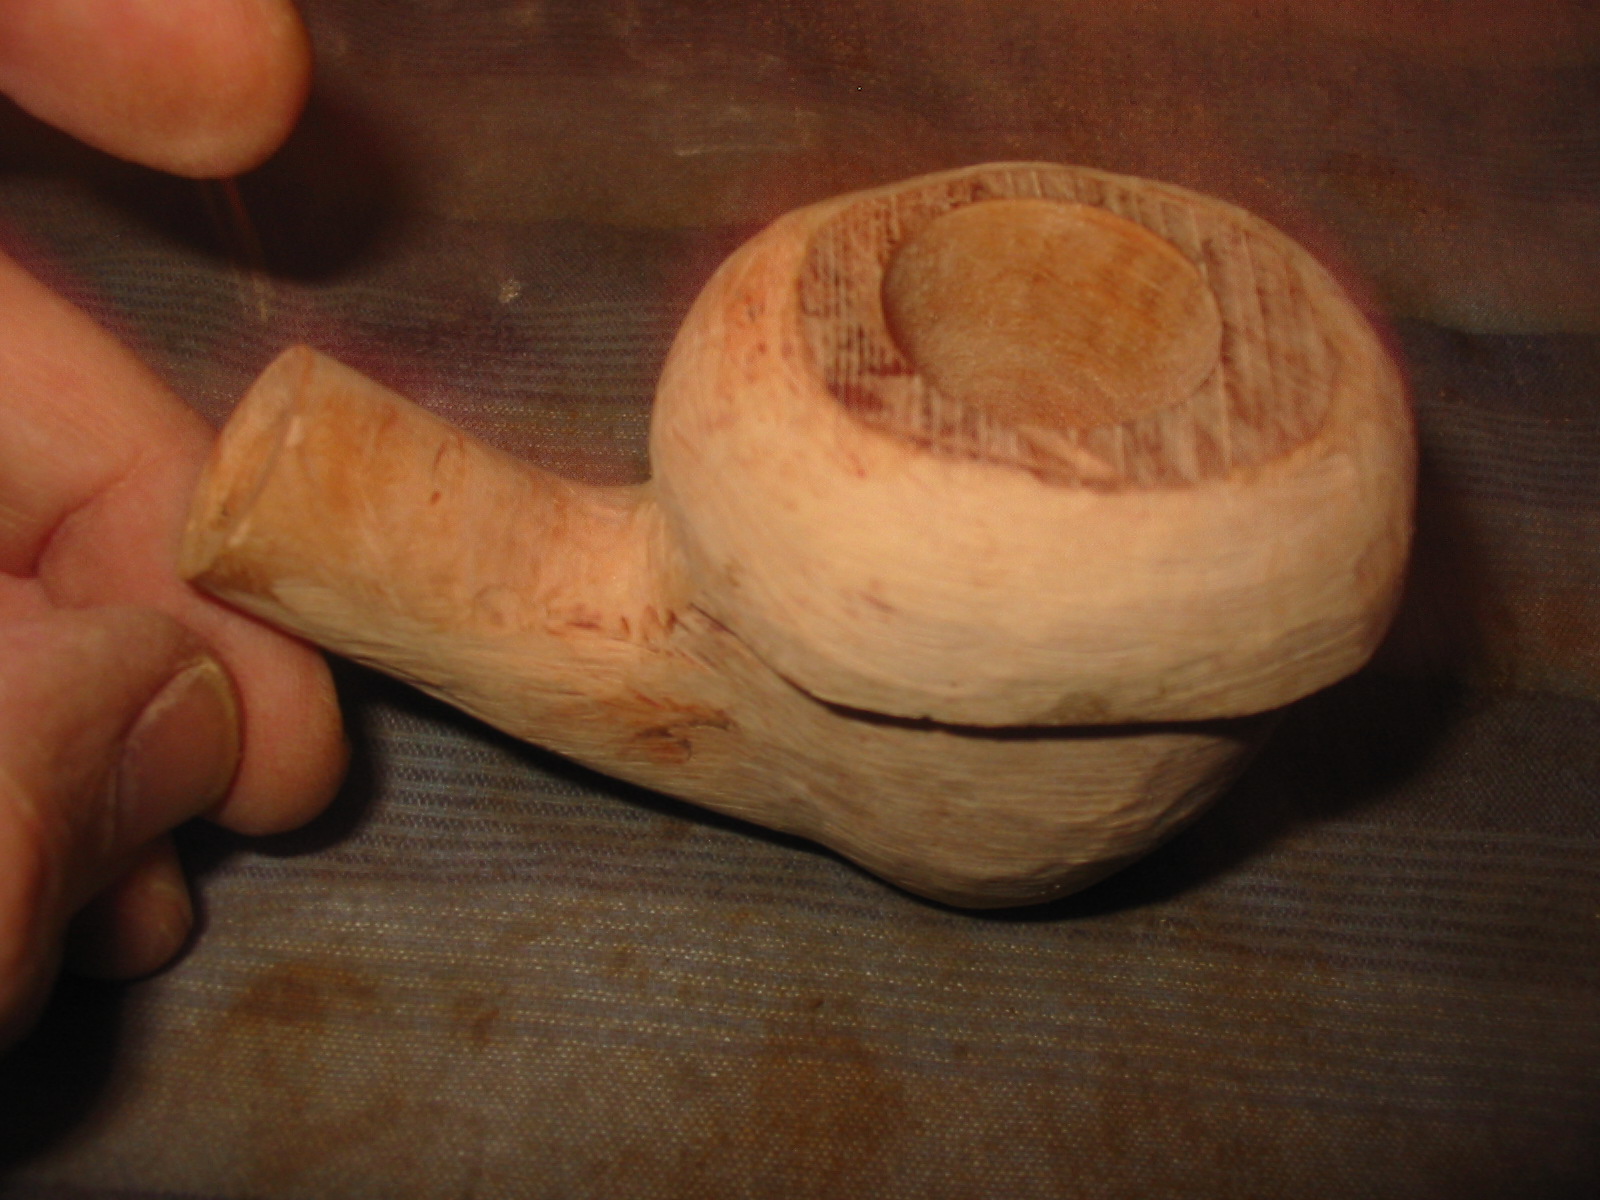
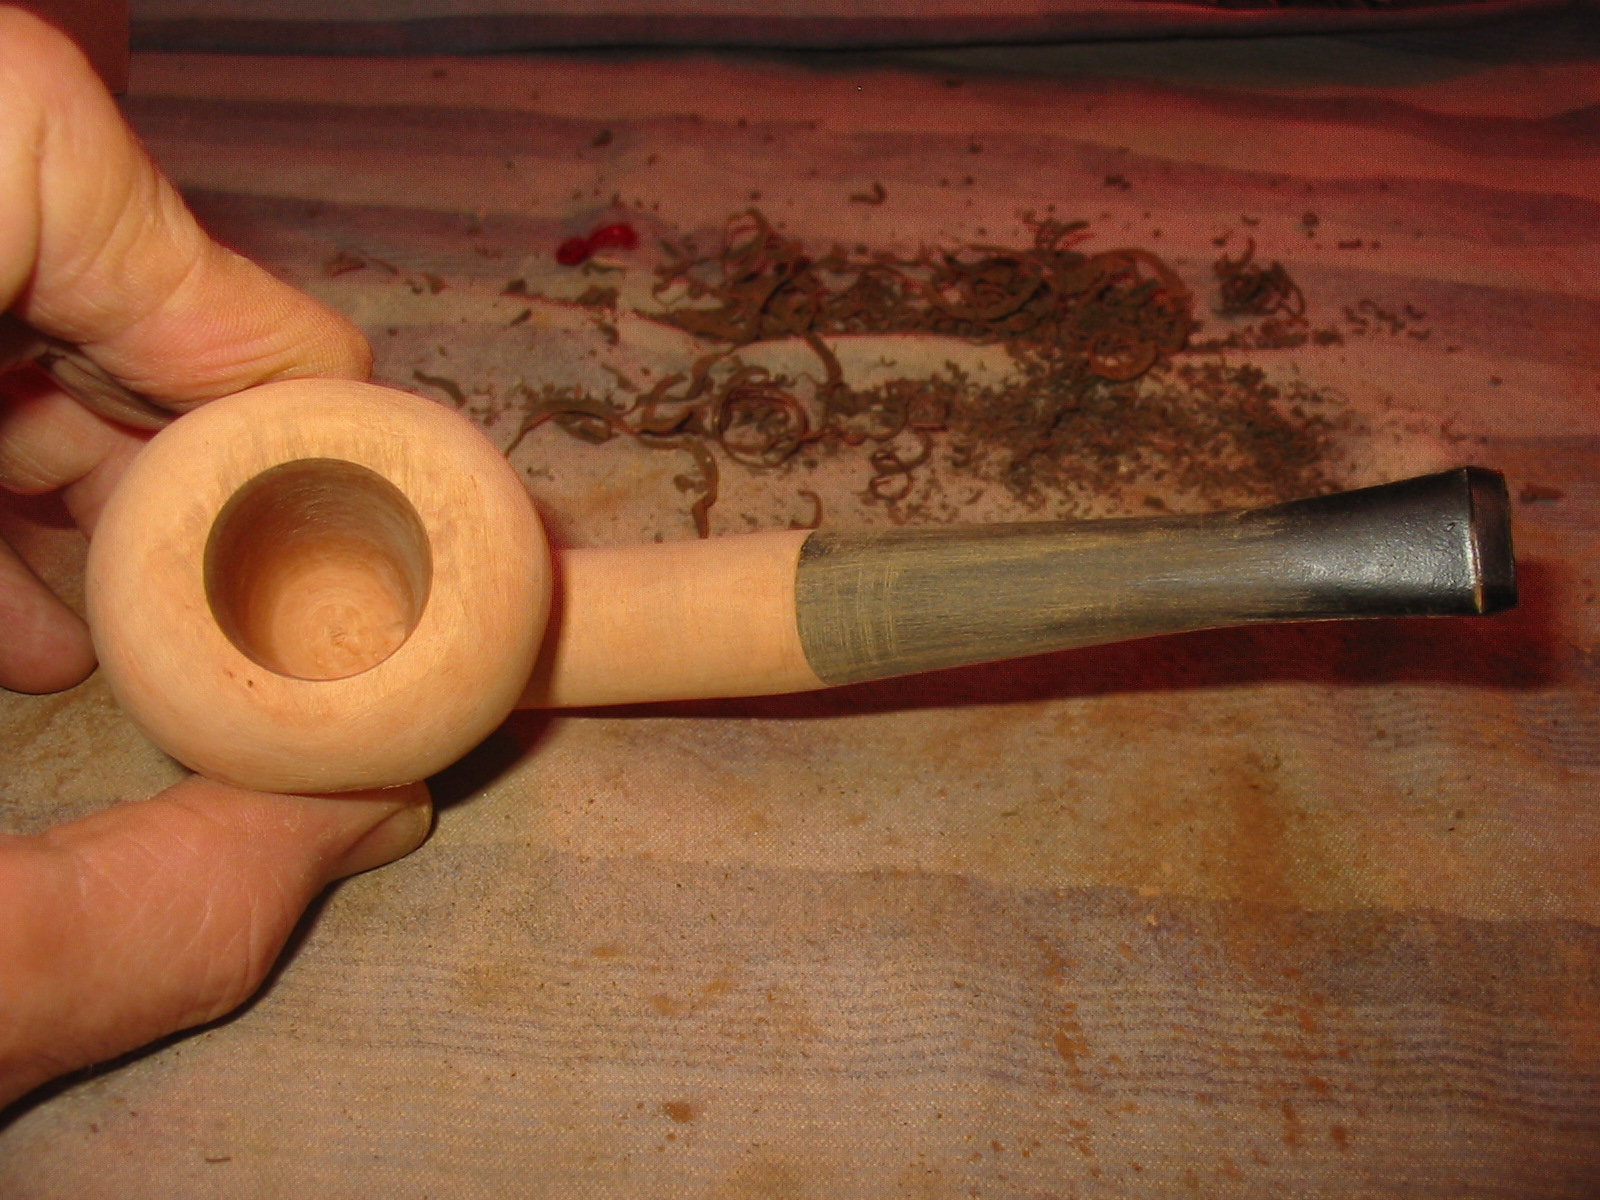
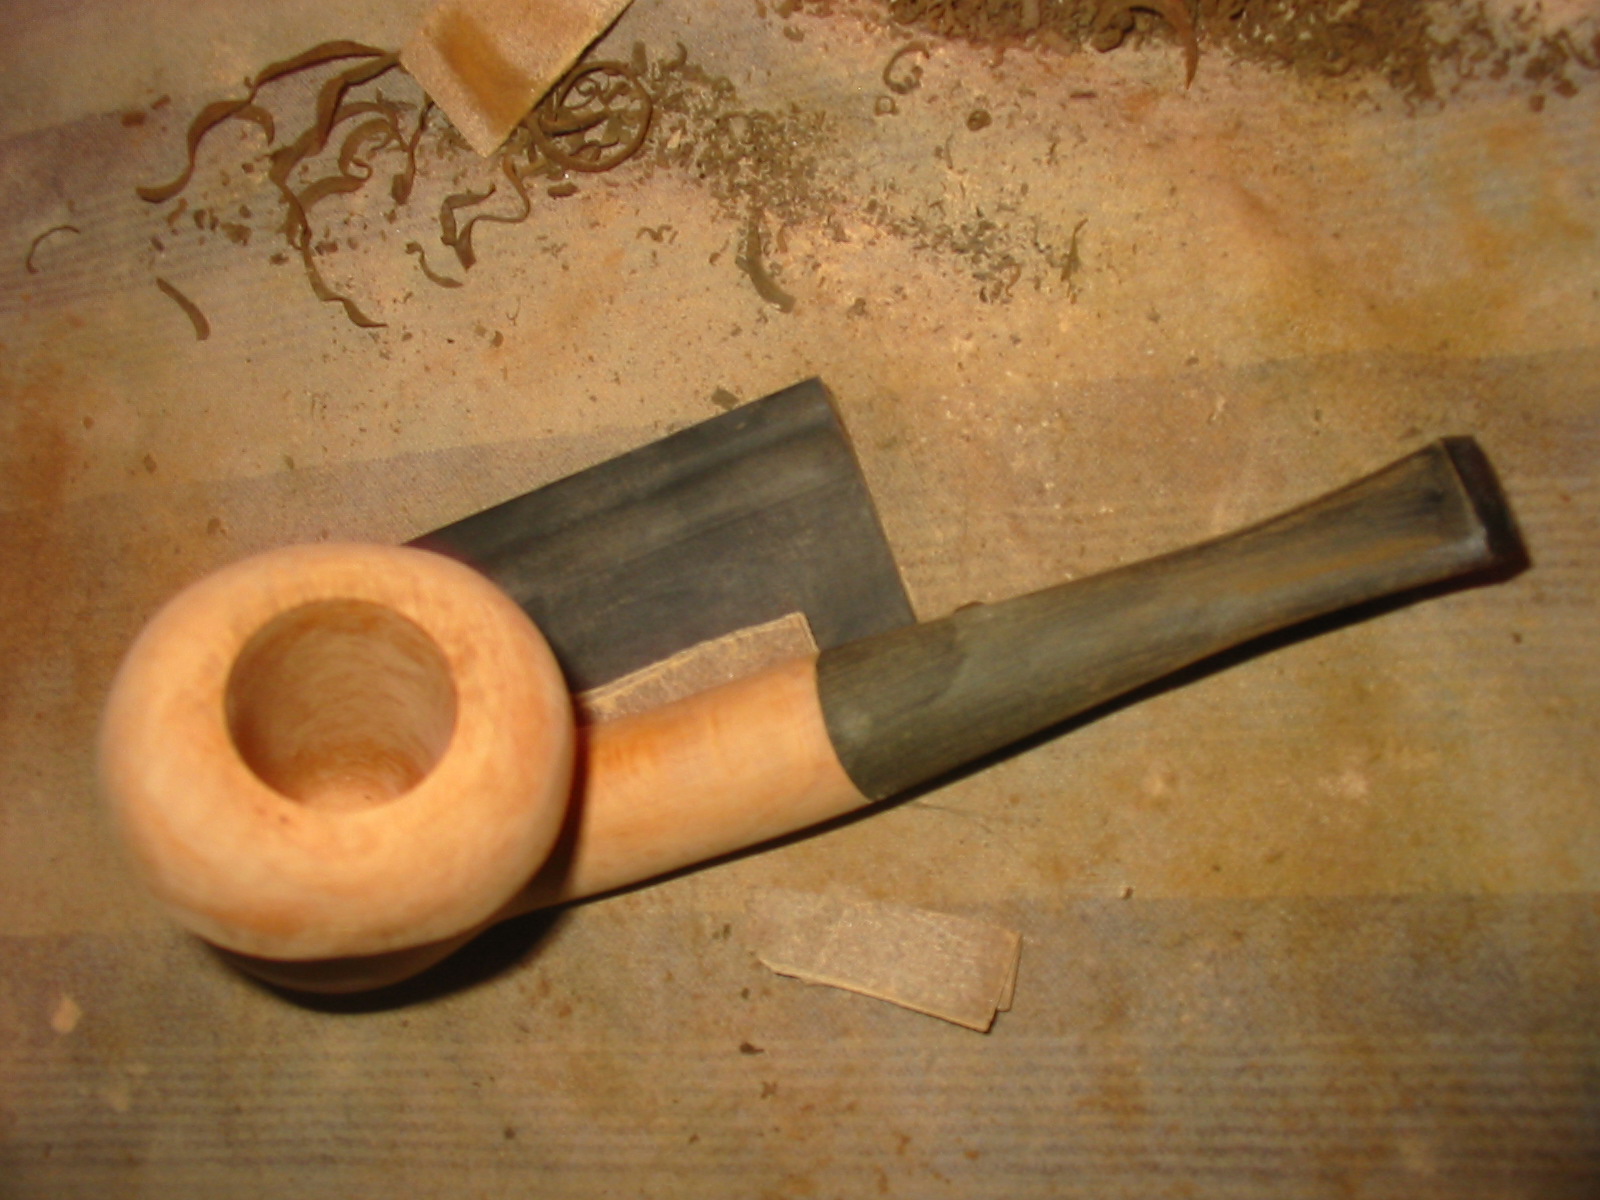
I had a long weekend with rainy days forecasted for the entire time so it was a perfect opportunity to work on the block and see what I could carve. I don’t have many power tools in terms of facilitating carving but I do have files, knives and a Dremel with many sanding drums. I sketched out an idea on the block and began to sand away the excess briar with the Dremel. I had drawn a calabash/acorn shaped pipe. I have an old 100+ year old oak tree in my front yard and every fall I fight the squirrels in picking up the acorns. I was cleaning up around the tree recently and came across one they had dropped. I had the thought that an acorn shape including the cap would make an interesting looking pipe. With that in mind I attacked the work of shaping the briar. I find that I always am reticent to remove briar because I know I cannot put it back once it is gone so it takes me awhile to get the pipe walls and shank the proper shape and thinness. This one was going to be a bit thicker that I wanted when I realized that the shank was drilled for a 9mm filter. That would mean that the diameter of the shank would be larger than I had hoped.
In the photos and words below I plan on taking you with me on the journey from block to pipe. You might well have made different decisions than I did in the shaping of the block. And you probably would use better/different tools to work the shape. However, I worked with the tools I had and really wanted to show that the shaping can be done with a few tools, persistence and lots of hard hand work. Thanks for coming along with me on this journey. If you want to skip the words, feel free to do so and enjoy the process shown in the photos.
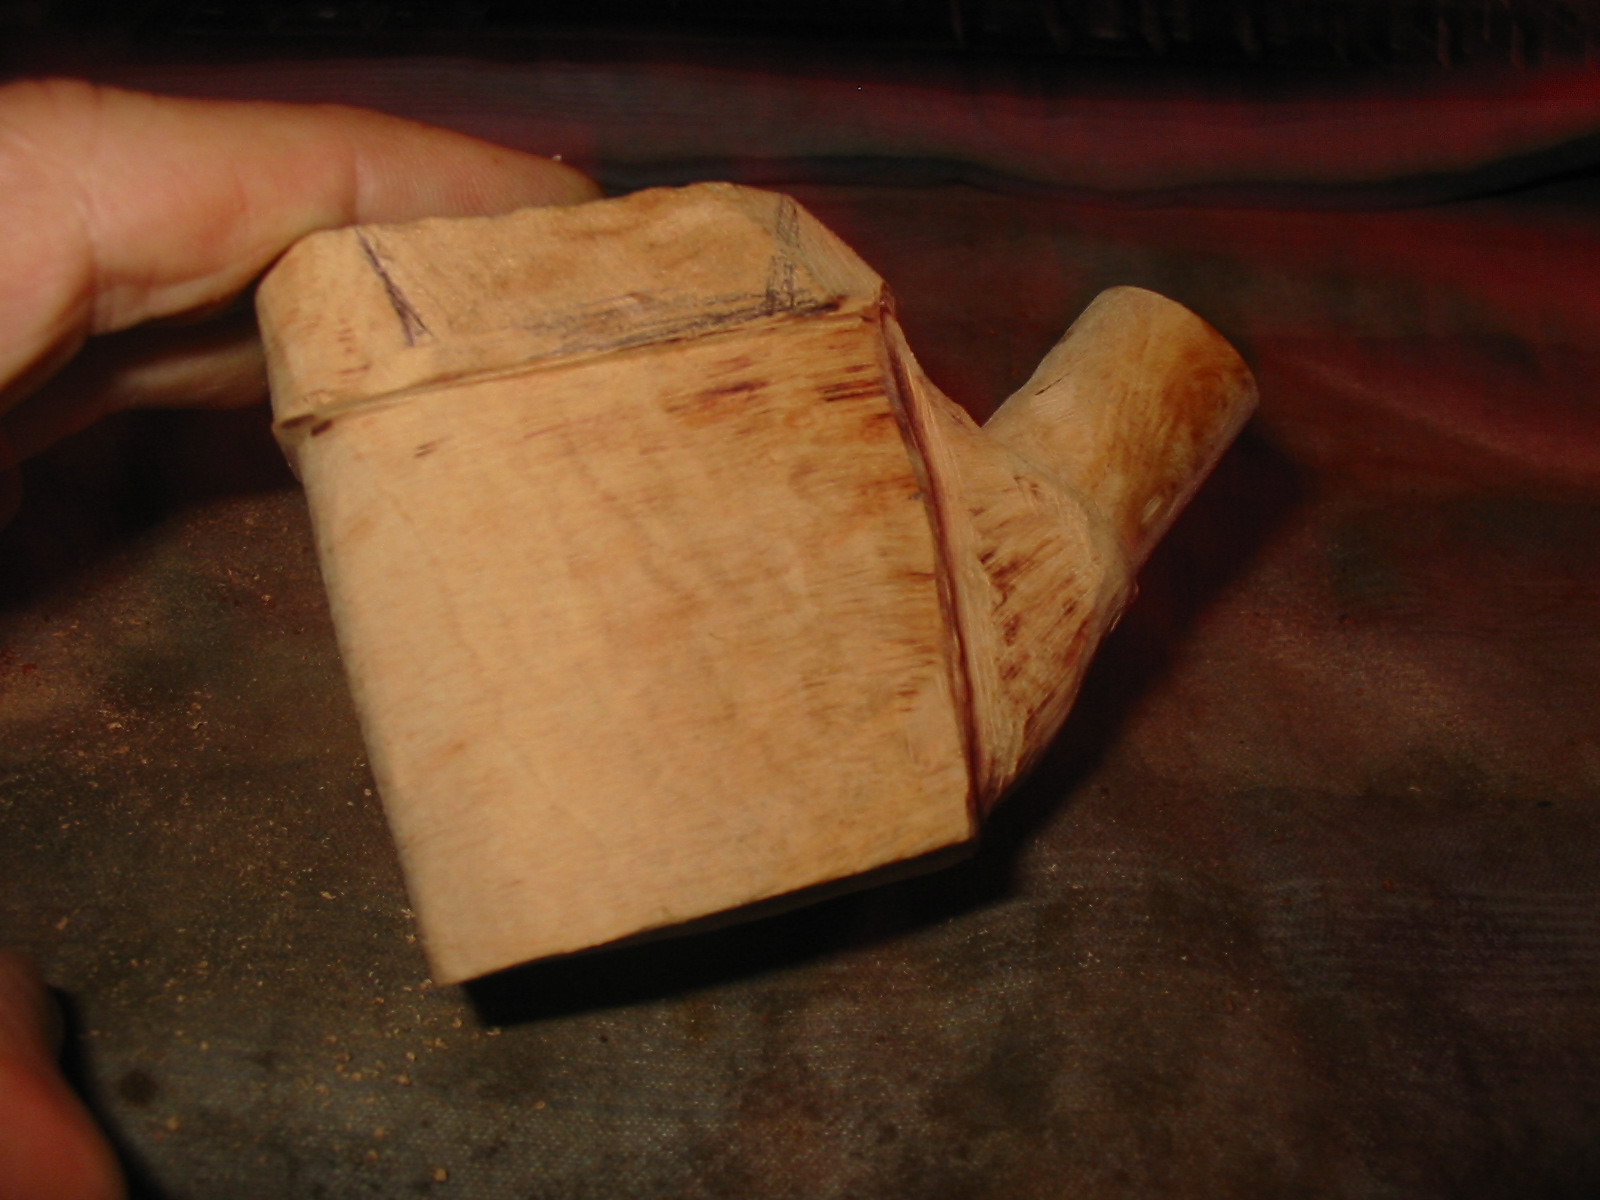
I used a Dremel tool with a sanding drum, several different wood rasps and files to cut away the excess material. I find that the Dremel works fairly quickly in removing the briar and the files and rasps work well in the area where the shank joins the bowl. In the past I have tried to do that work with sandpaper and sanding sponges and was not happy with the overall results. The files and rasps facilitate a more defined junction. I also used several carving knives that I have to further define the angles of the junction.
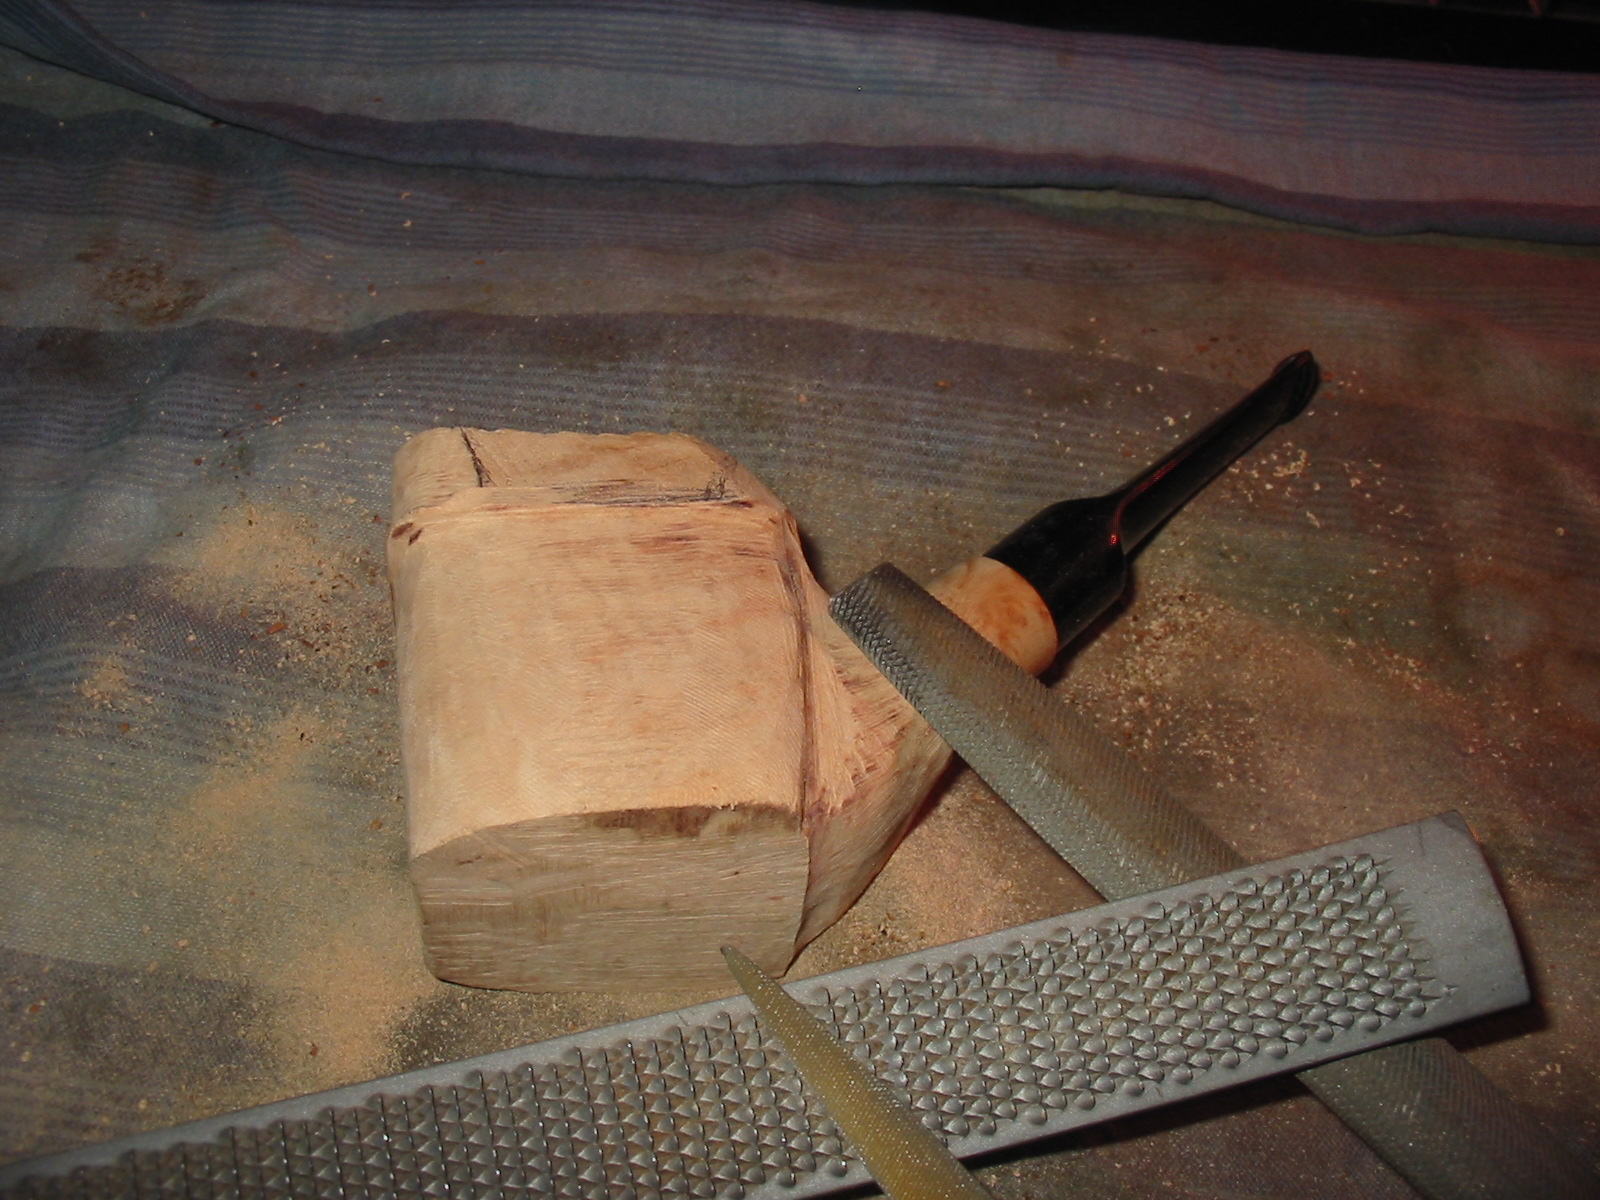
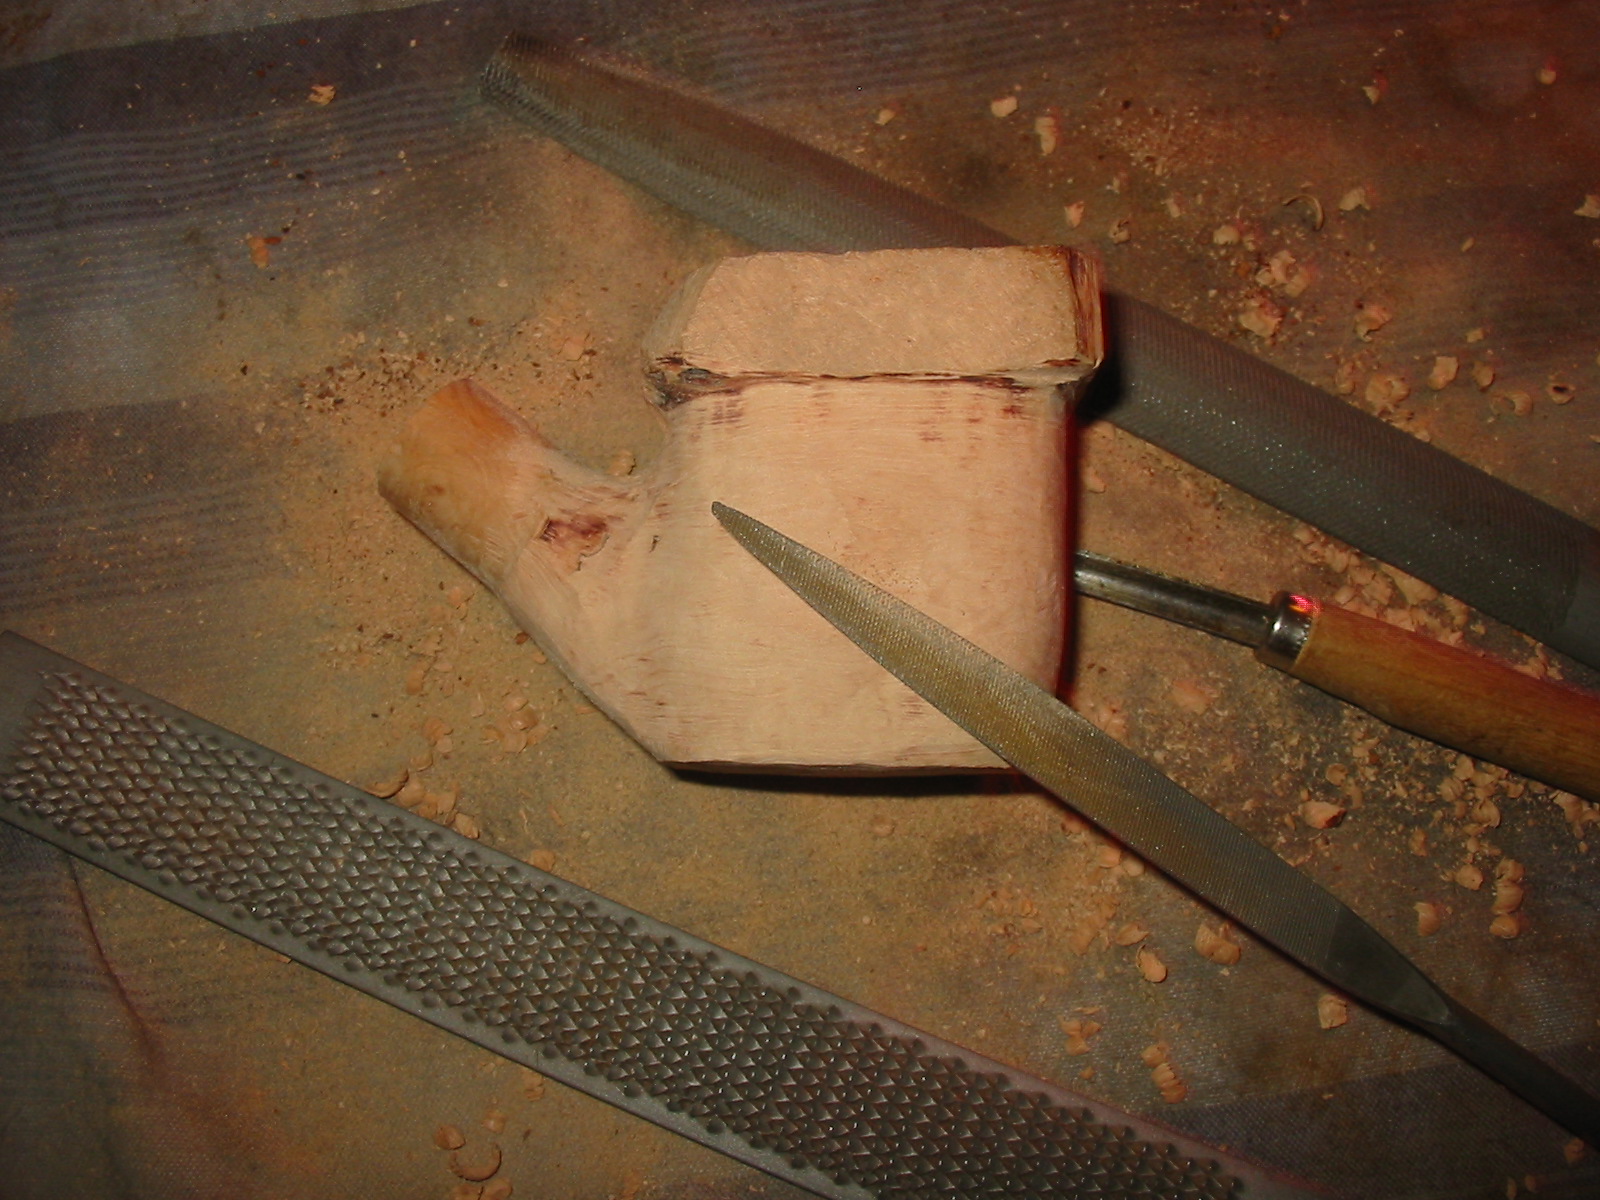


It took a lot of sanding with the Dremel and sanding drum to round out the corners on the block and remove the excess material around the shank. I worked to taper the bowl into the point at the bottom of the acorn and files and the Dremel to cut in the edge of the cap on the top of the bowl. I had spent approximately two hours to get the bowl to this point in the process. The photos below show that the shape is beginning to emerge from the block.


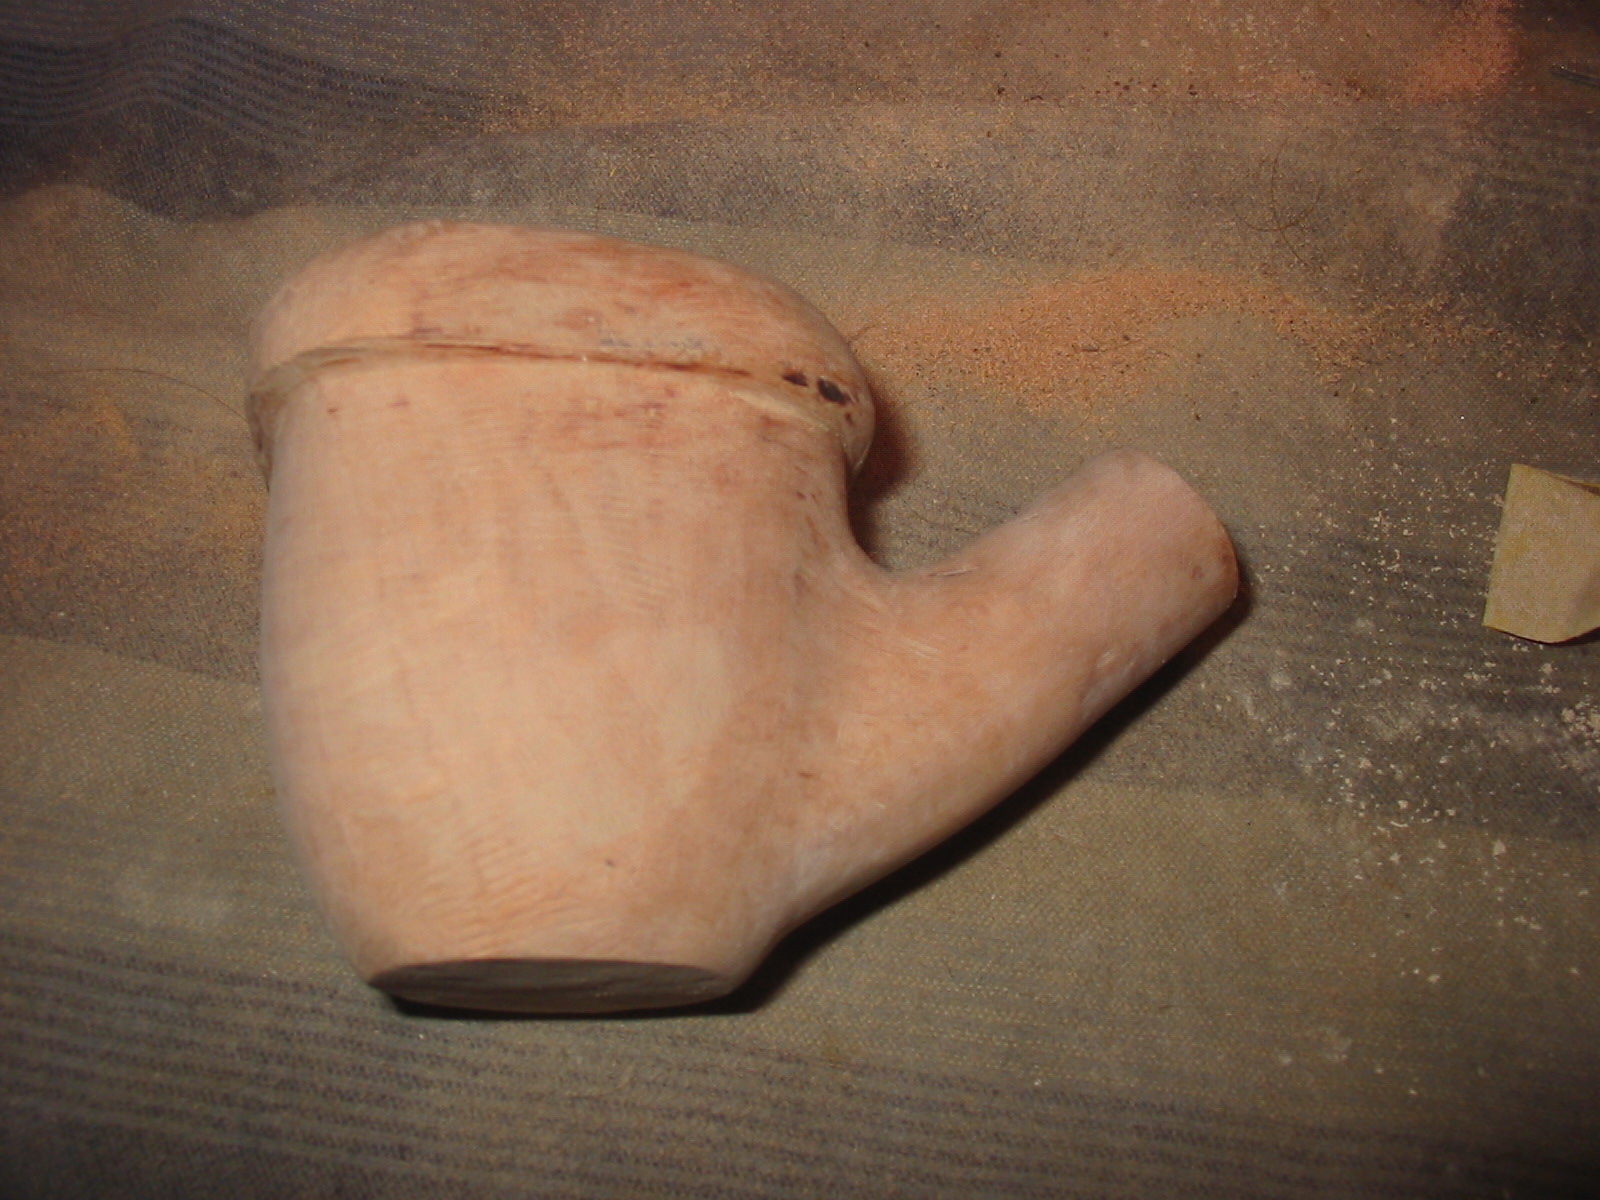
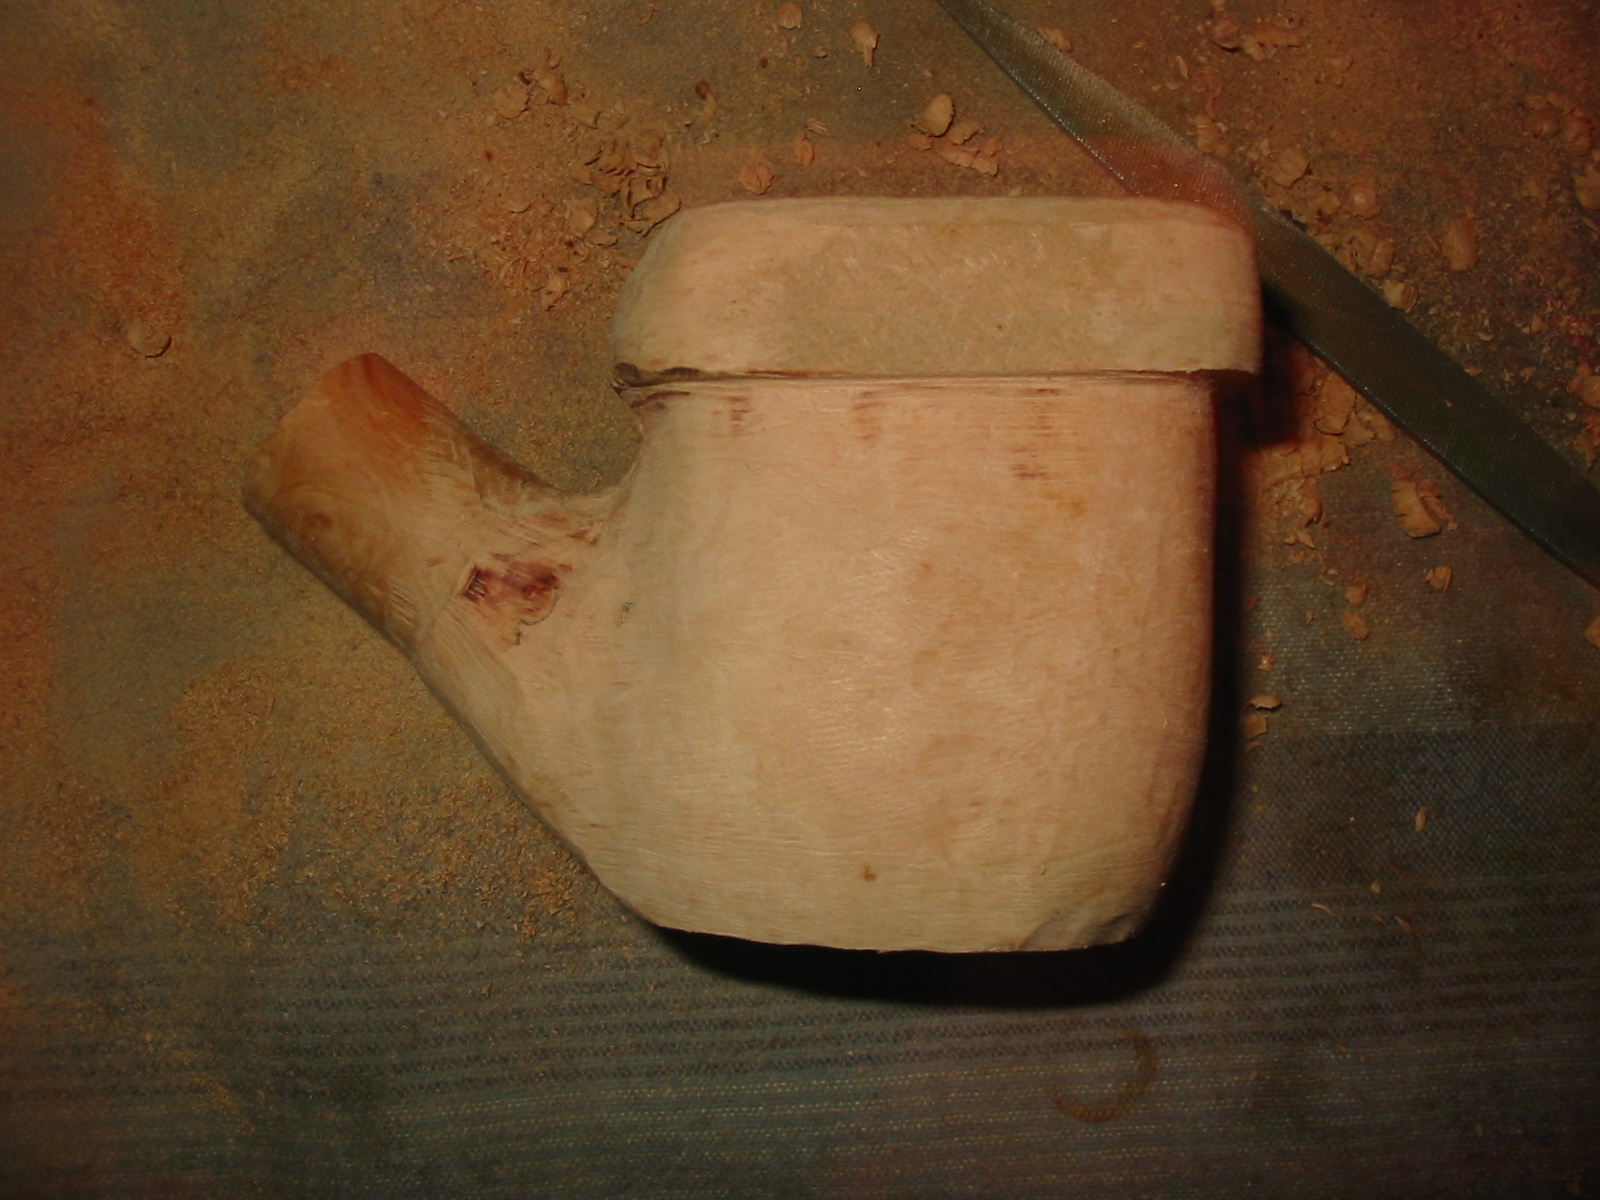
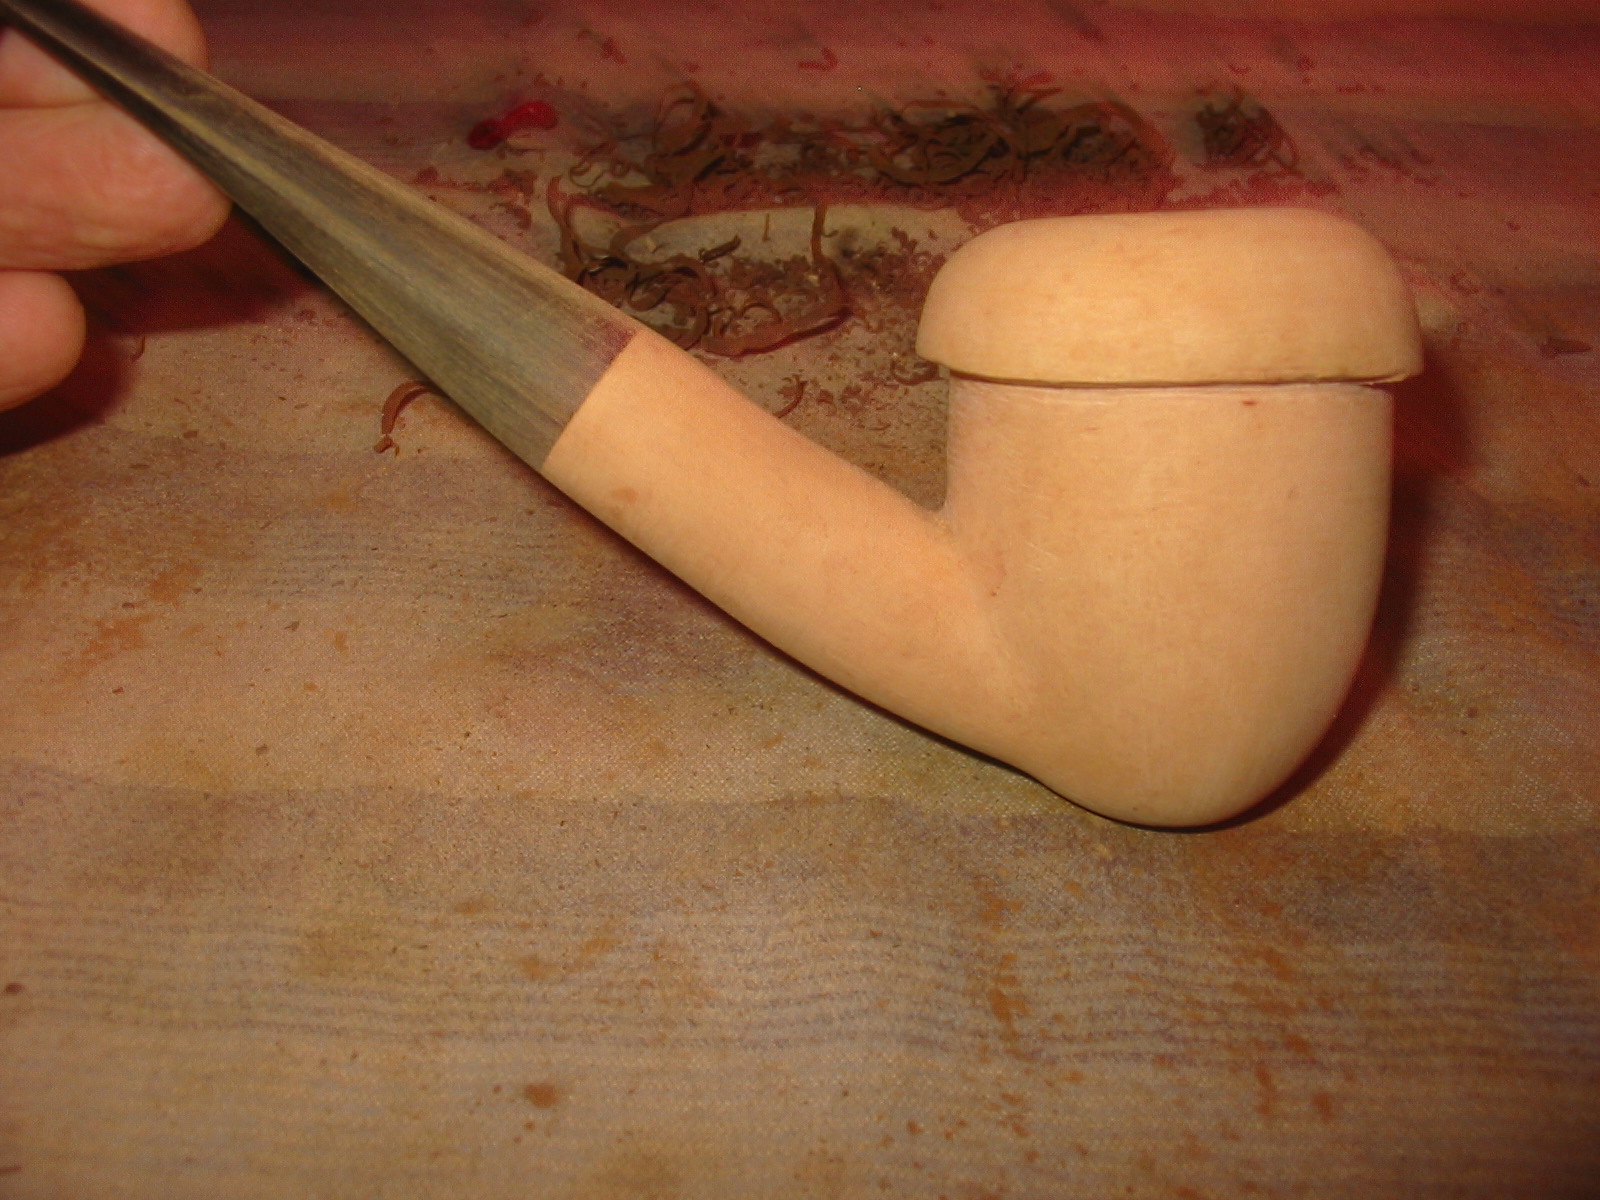
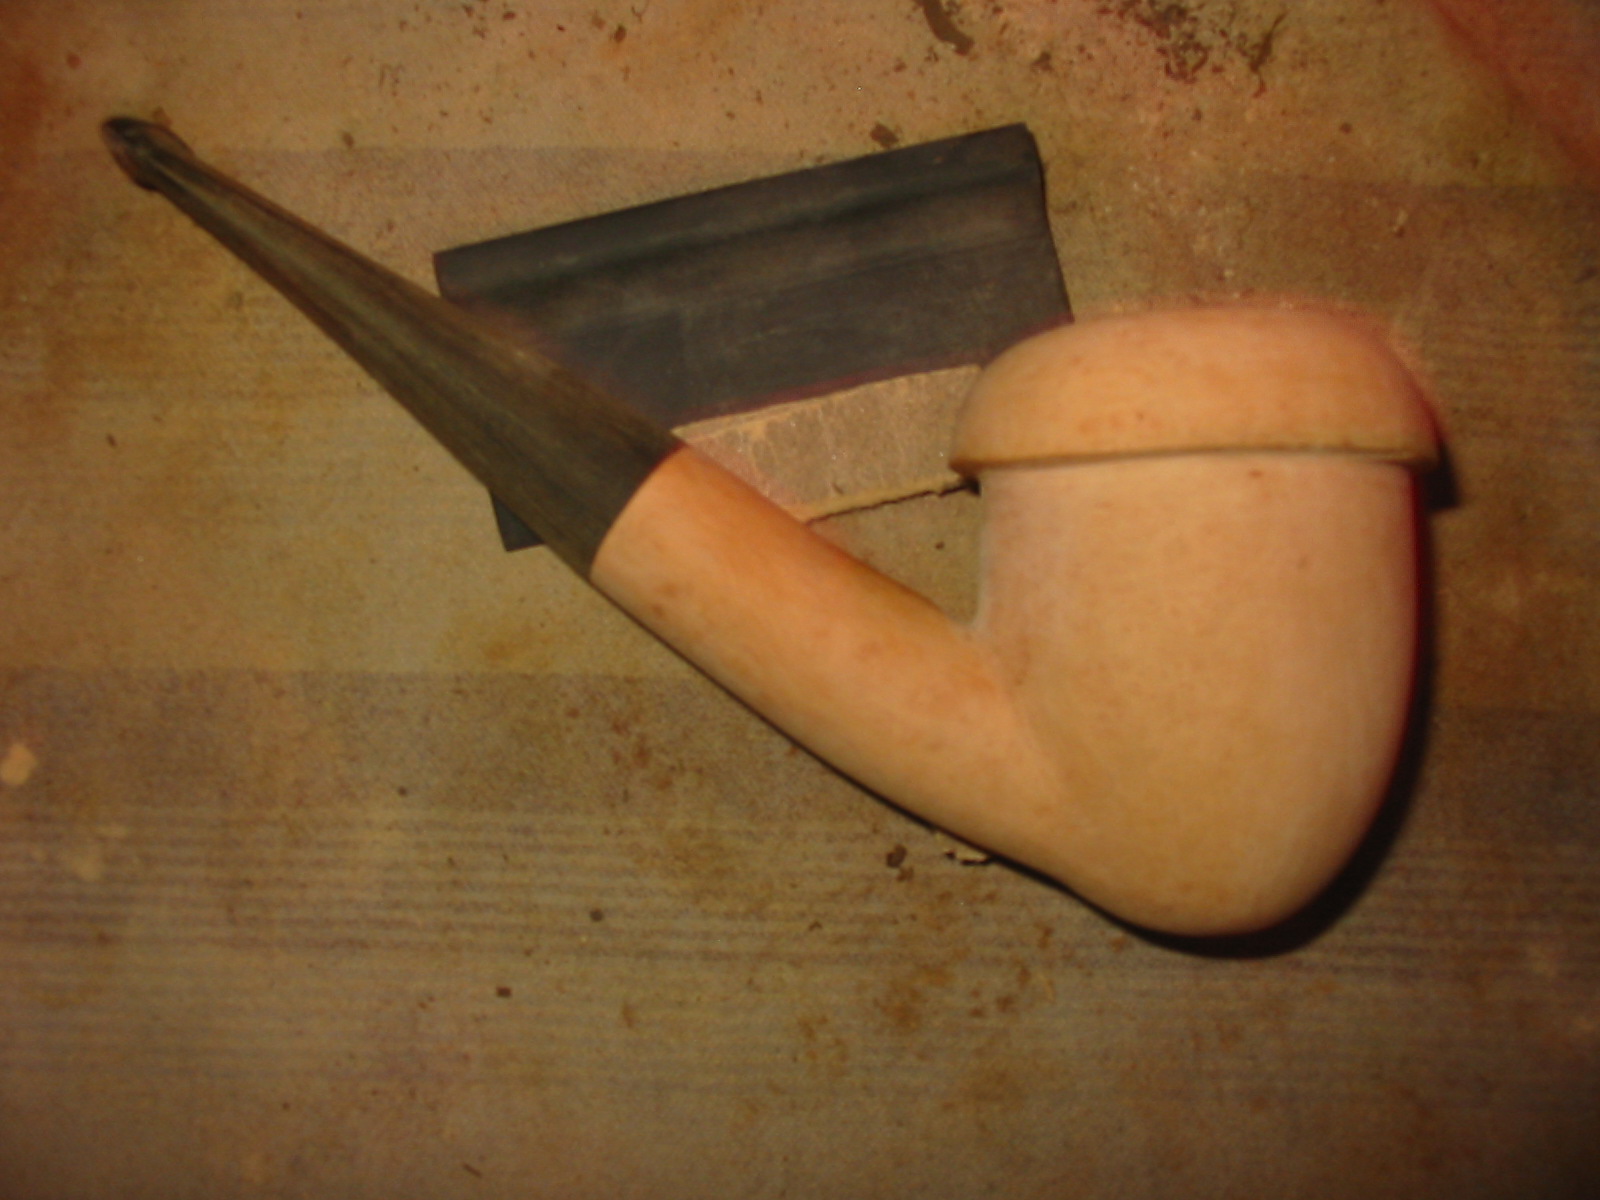
I worked on defining the shape of the bowl and differentiating the shank from the bowl. I continued to use the Dremel and sanding drum to taper the bowl and further define the shank/bowl junction. I also used it to increase the depth of the line between the cap and the body of the acorn as well as the curves of the cap. I was trying to shape the curves to resemble a meerschaum cup in a calabash.
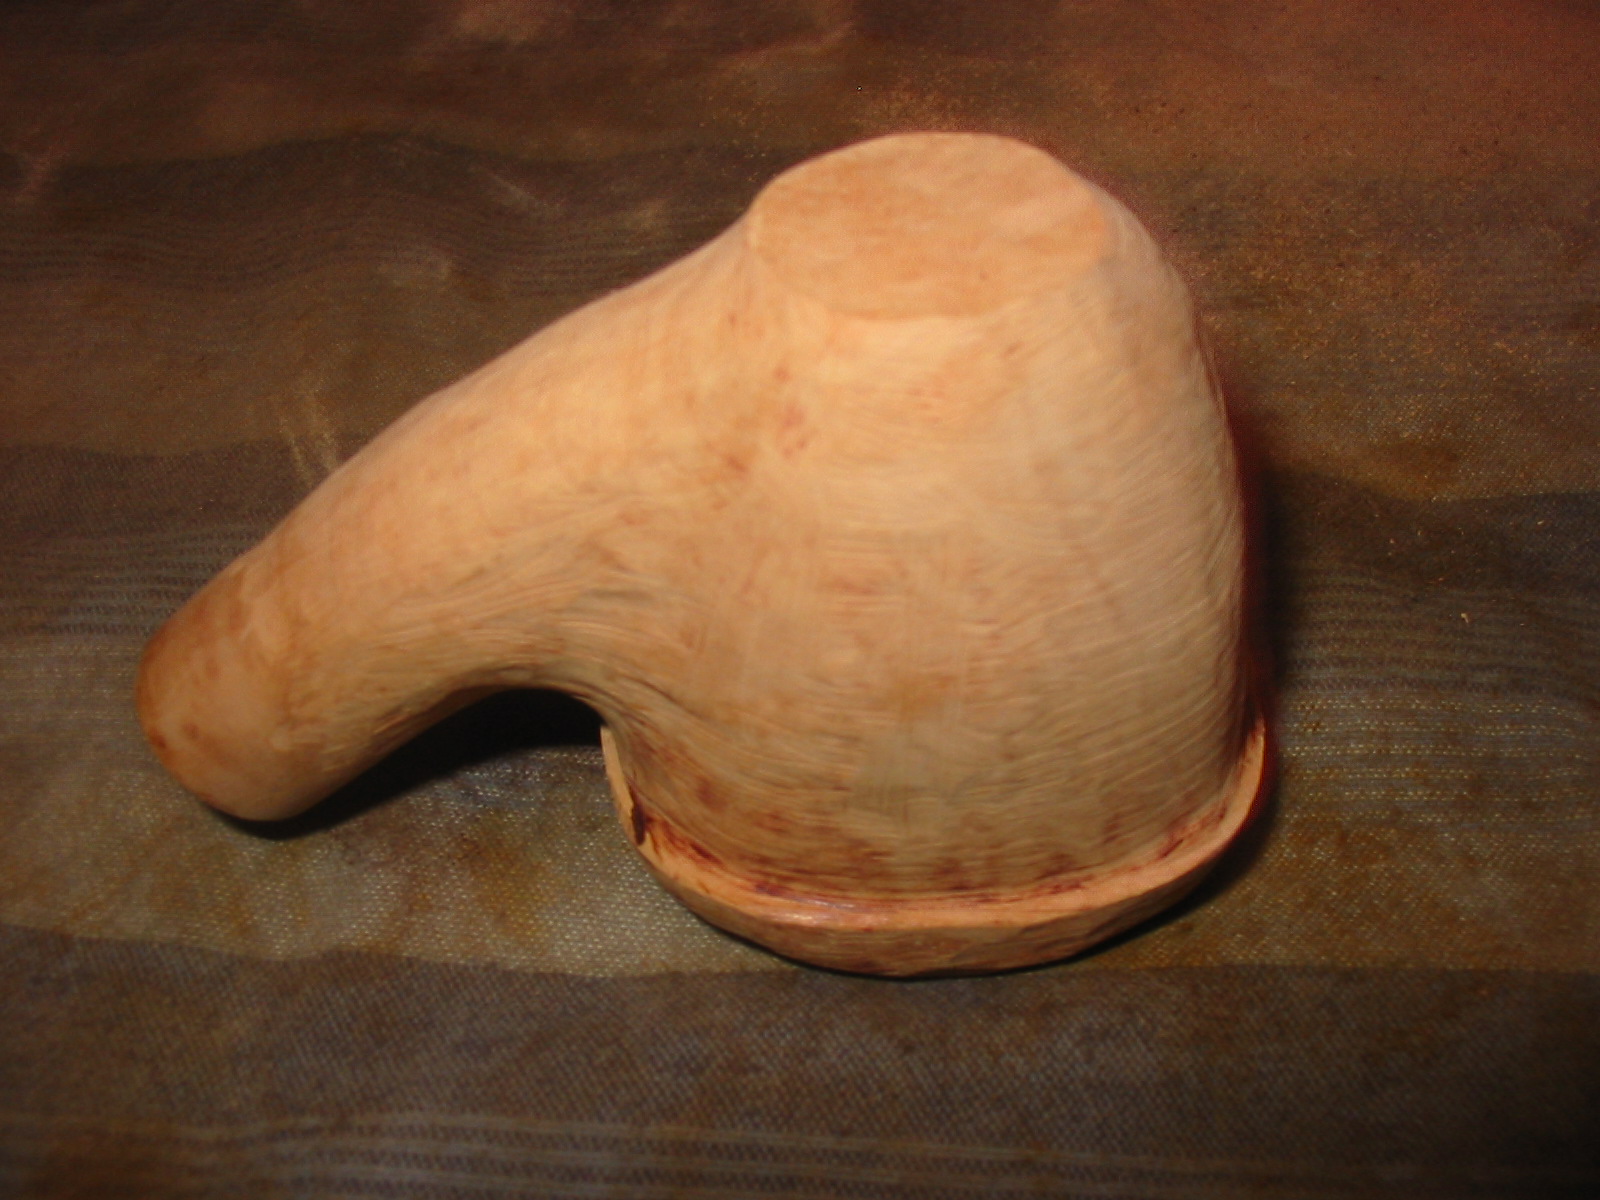
I worked on the block with 100 grit sandpaper to further refine the angles and shape. I used a sharp knife to clean up the shank and bowl junction and give it even a clearer definition.
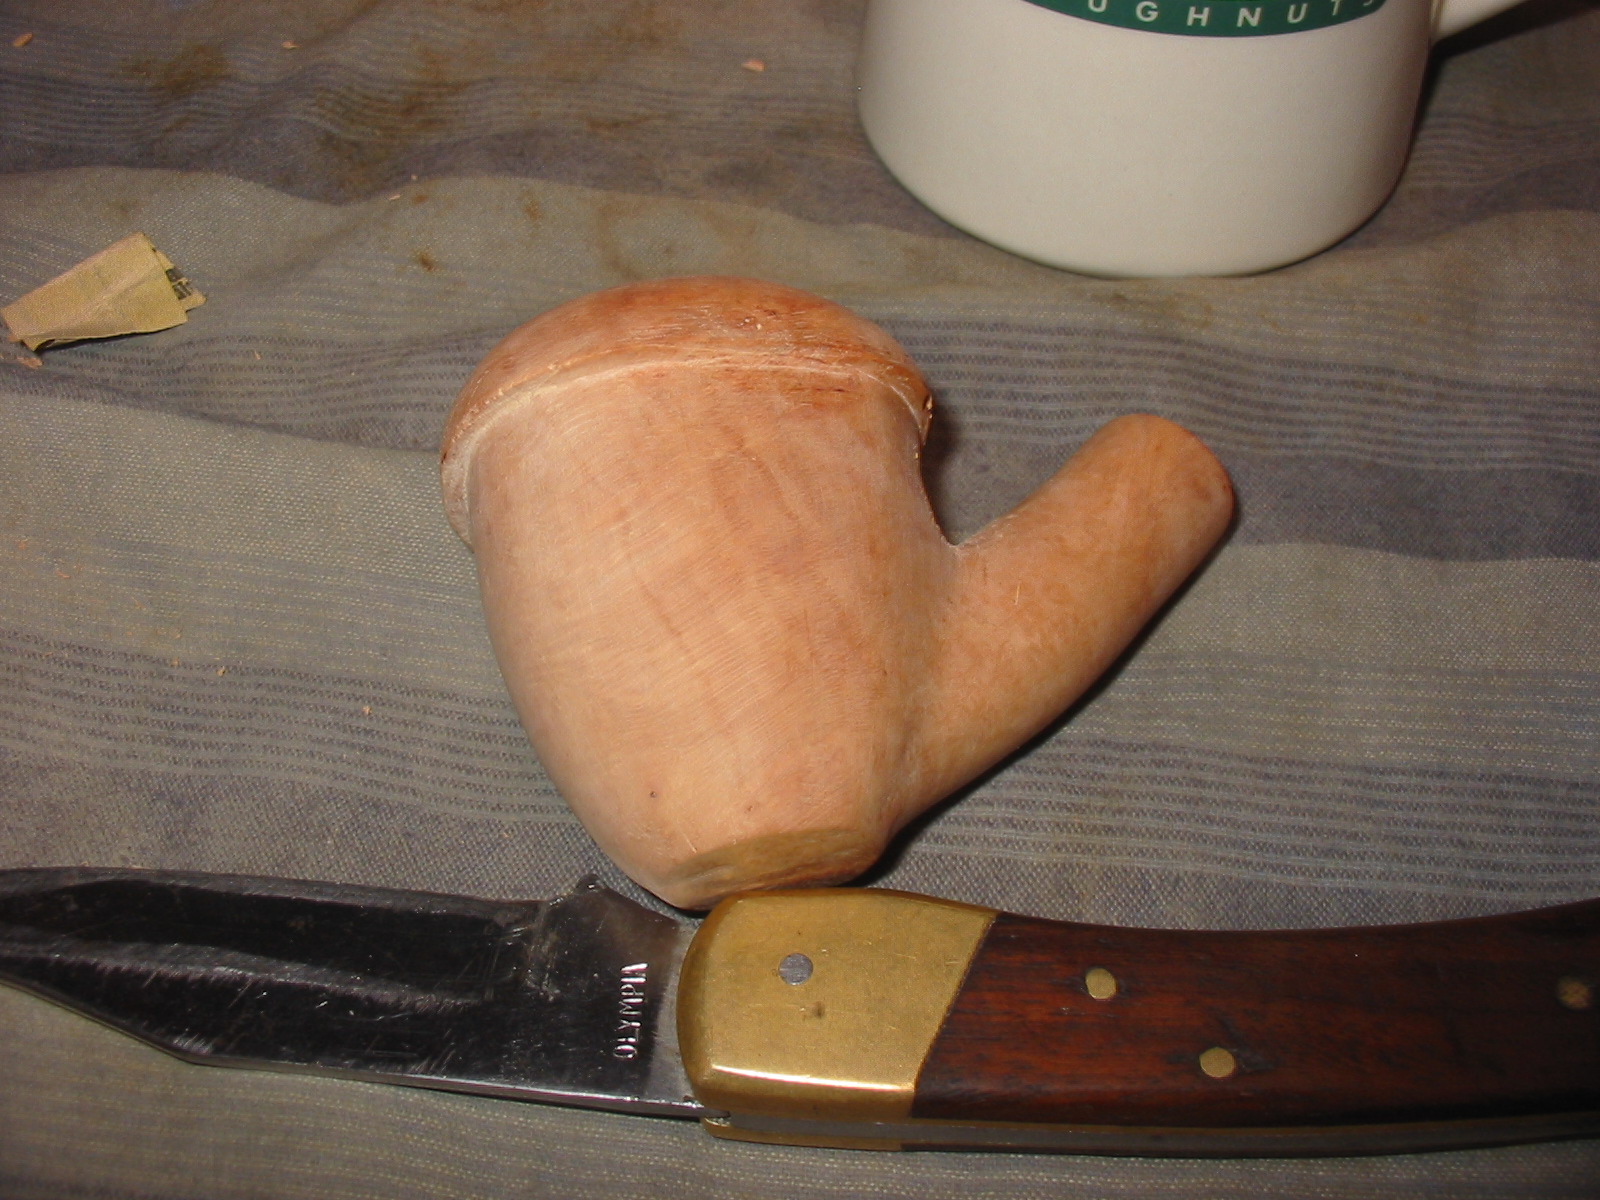
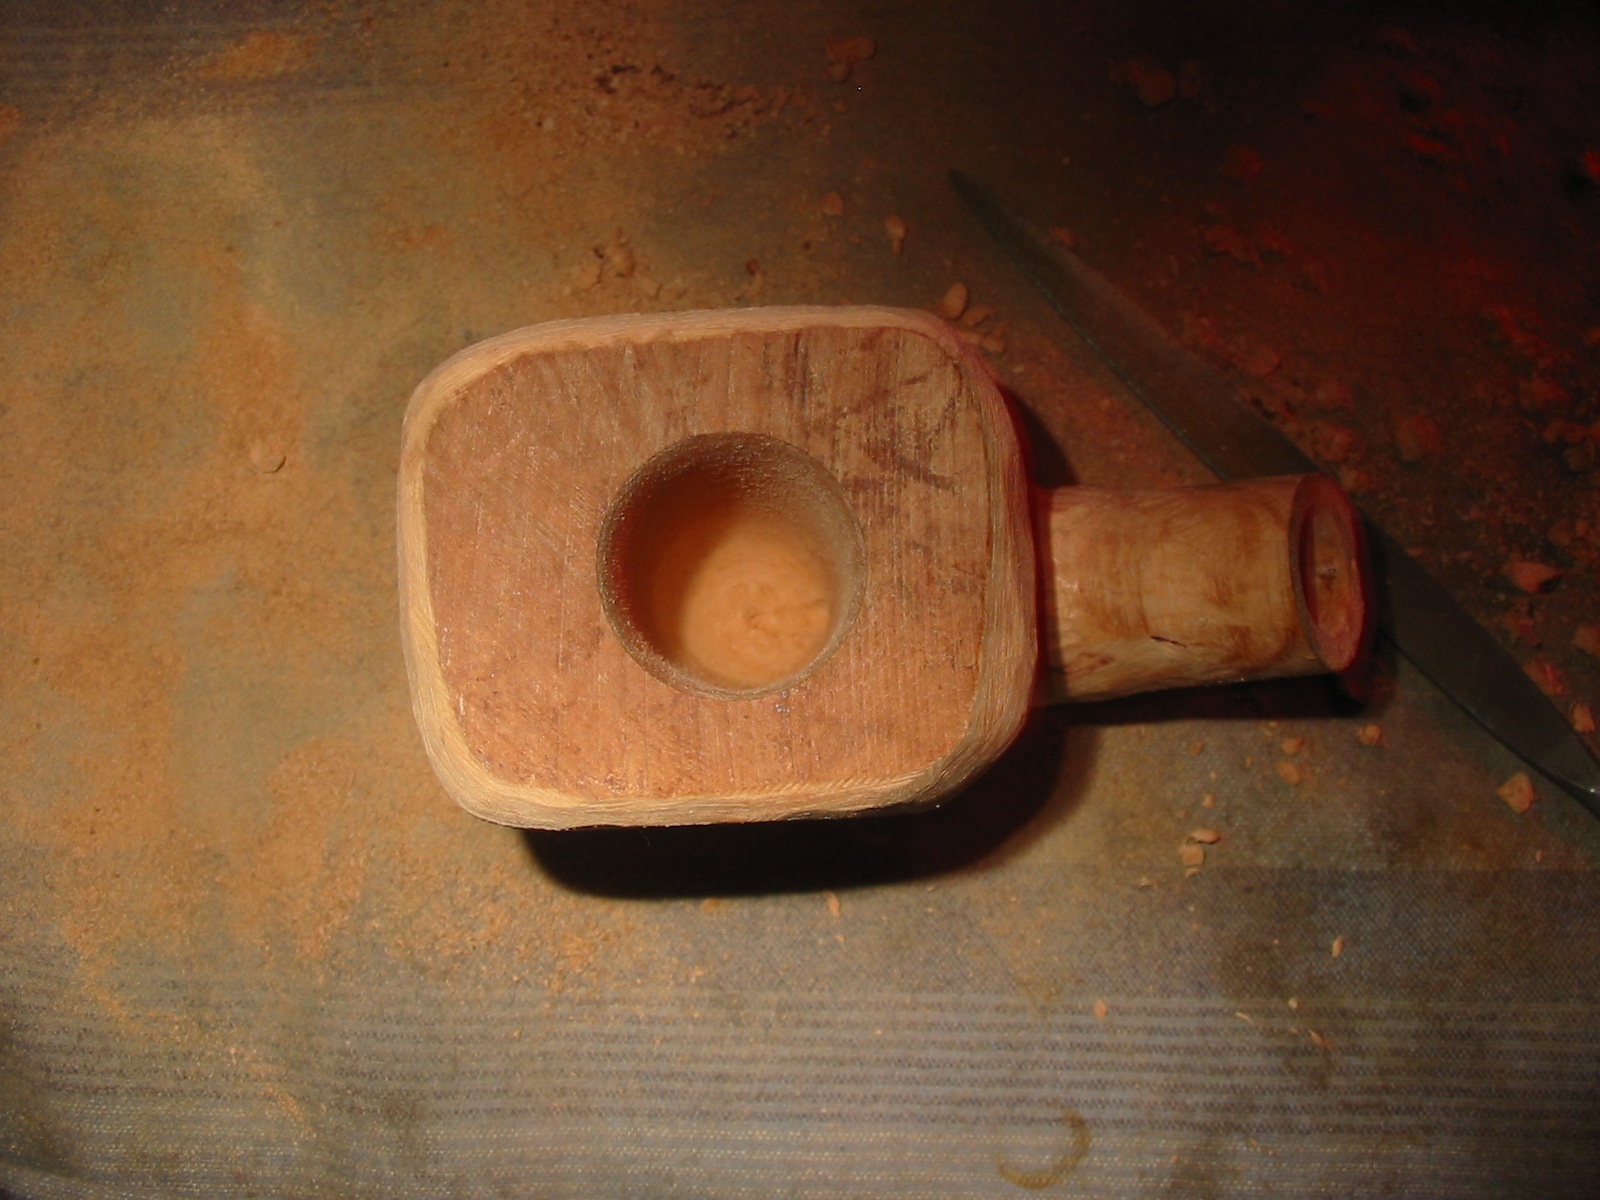
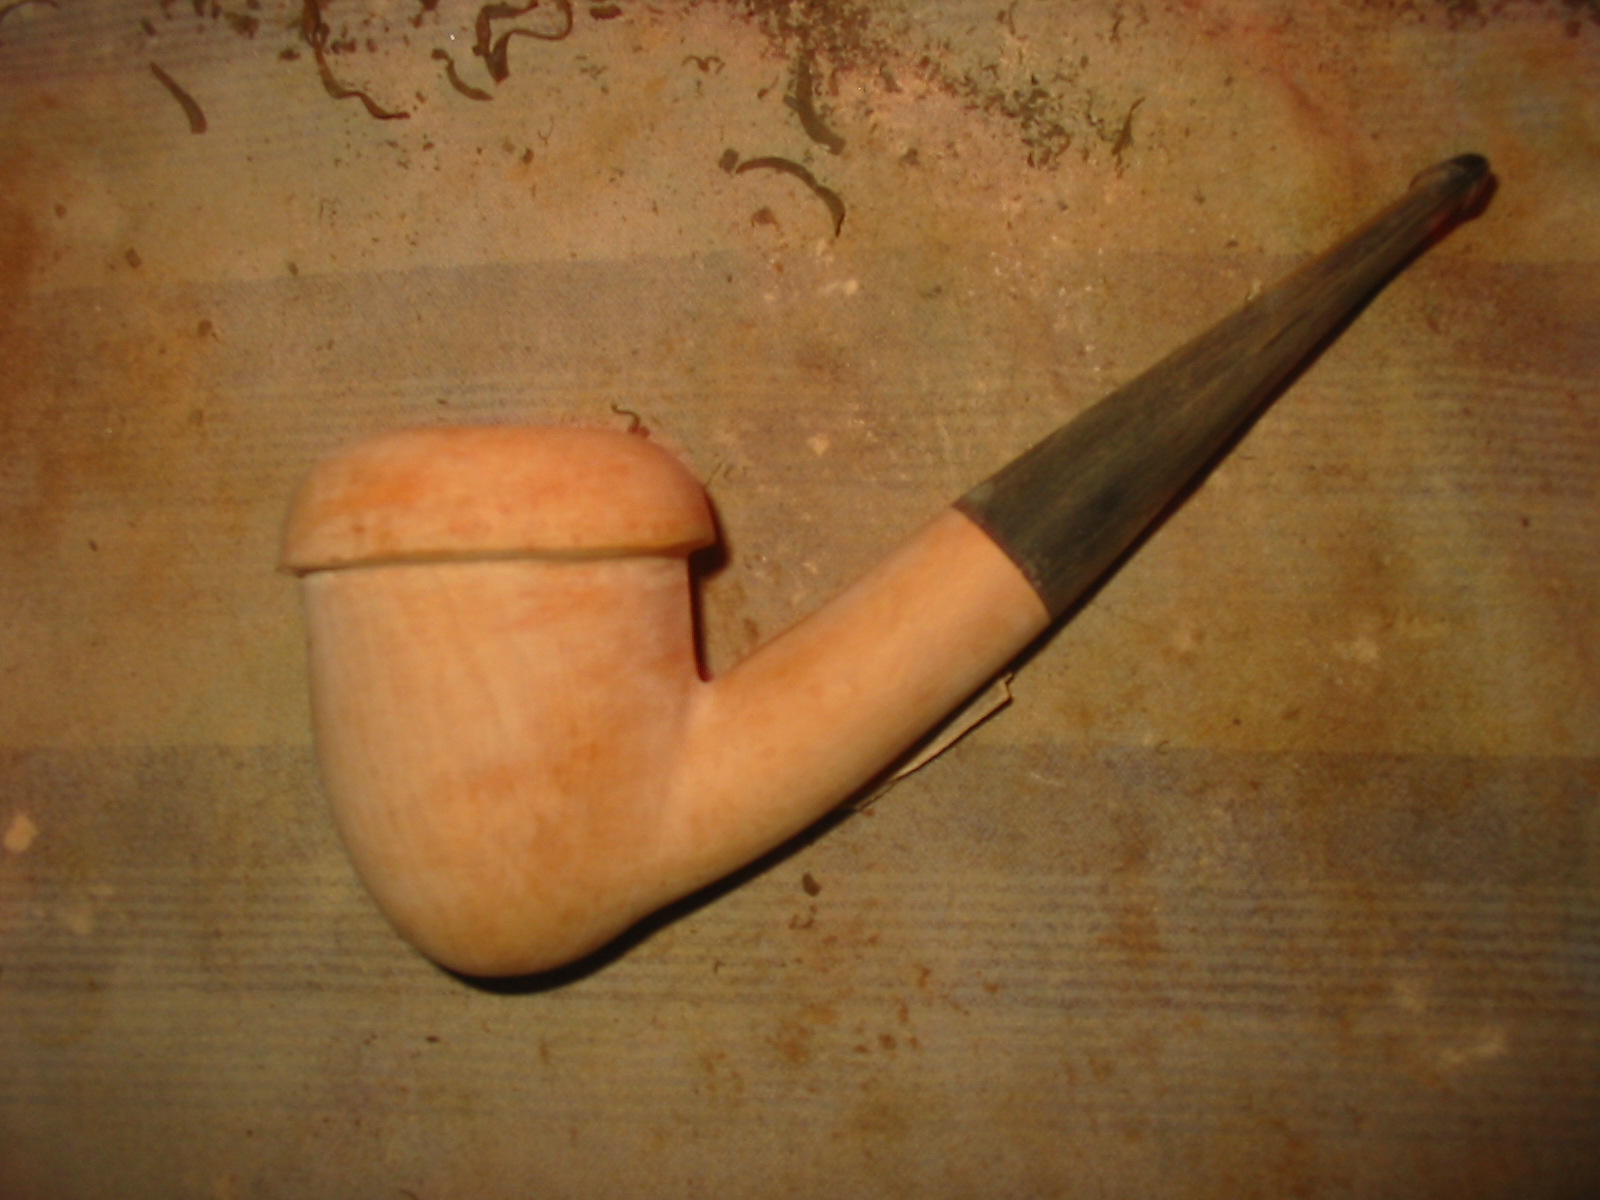
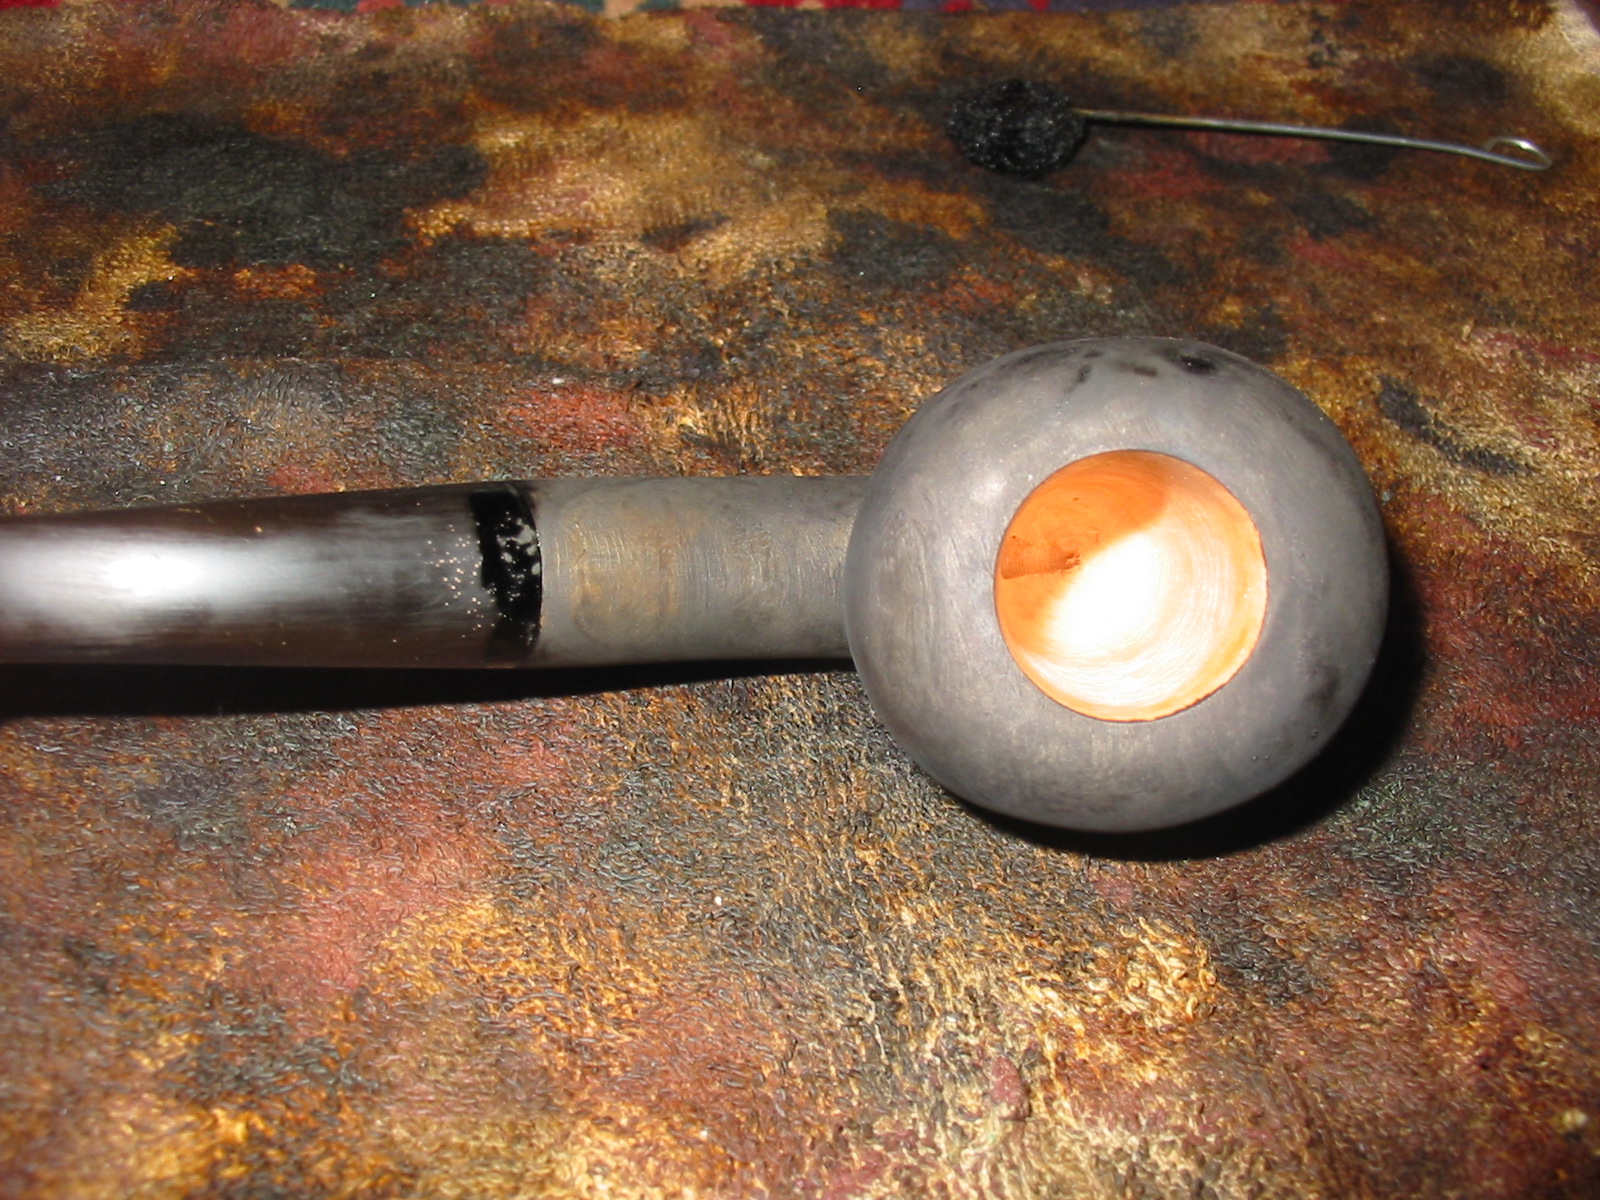
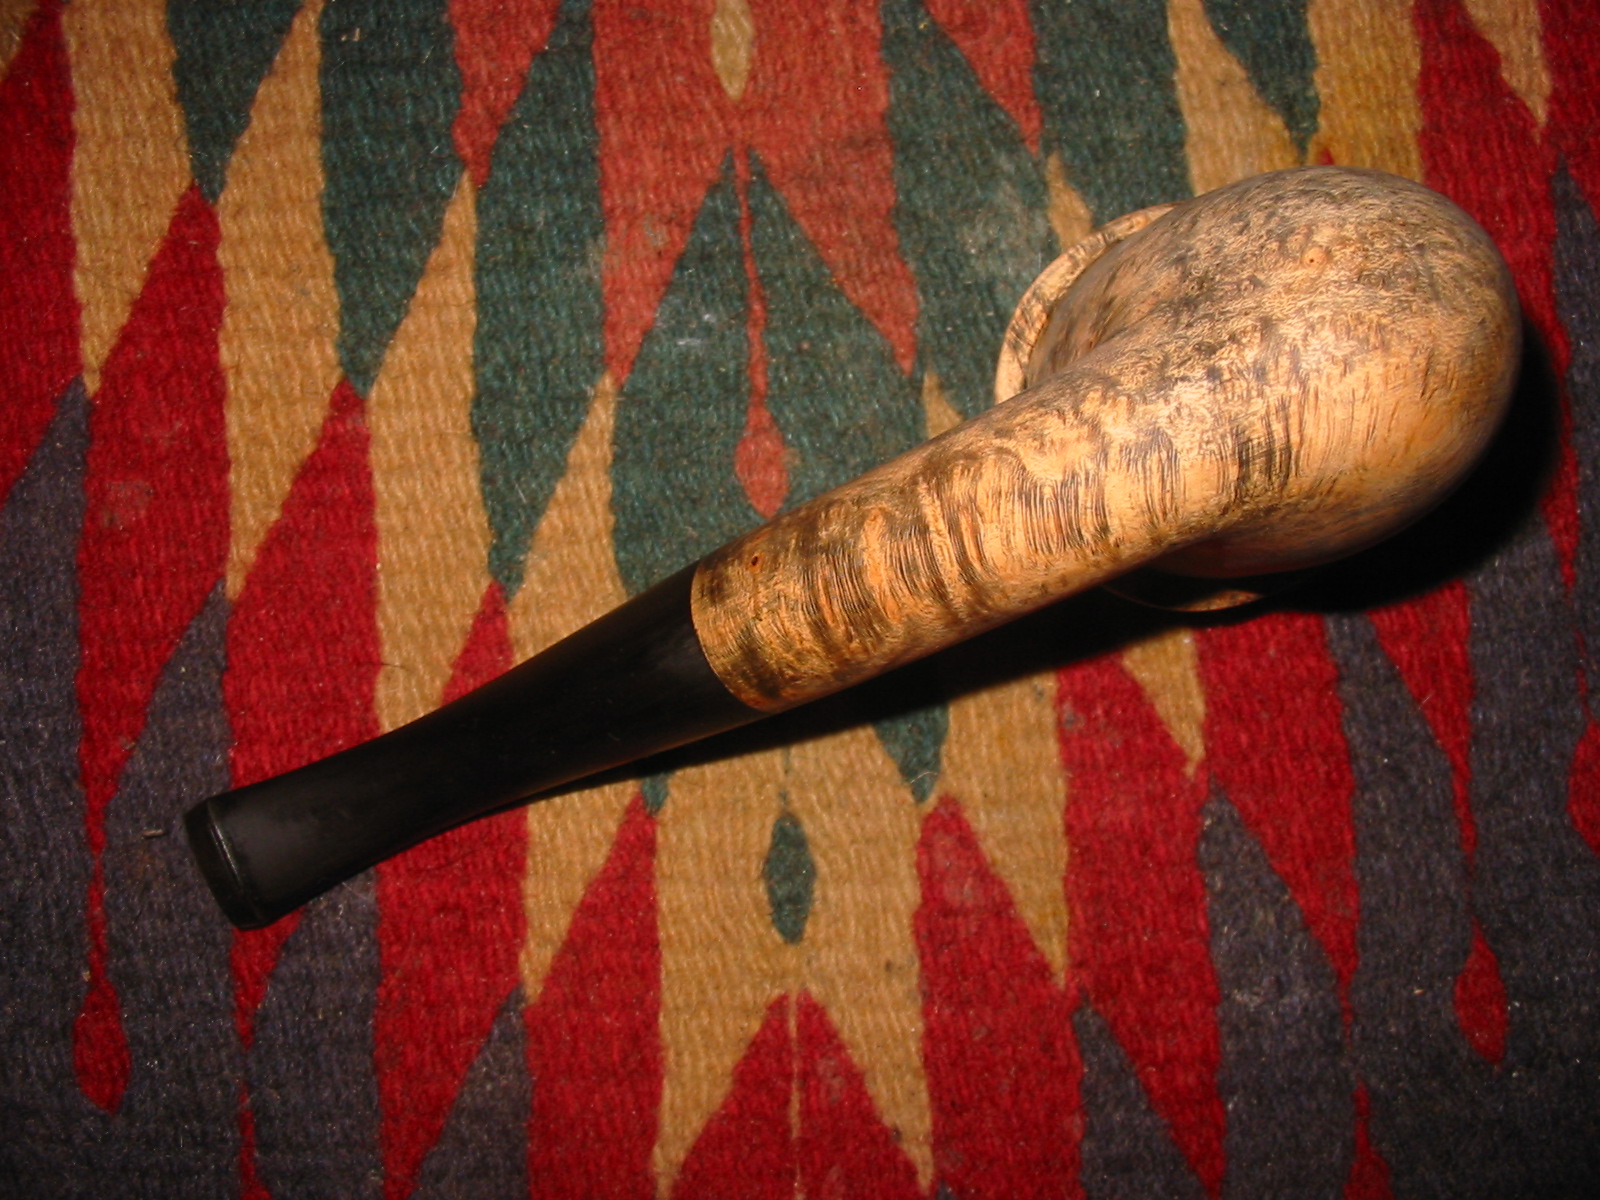
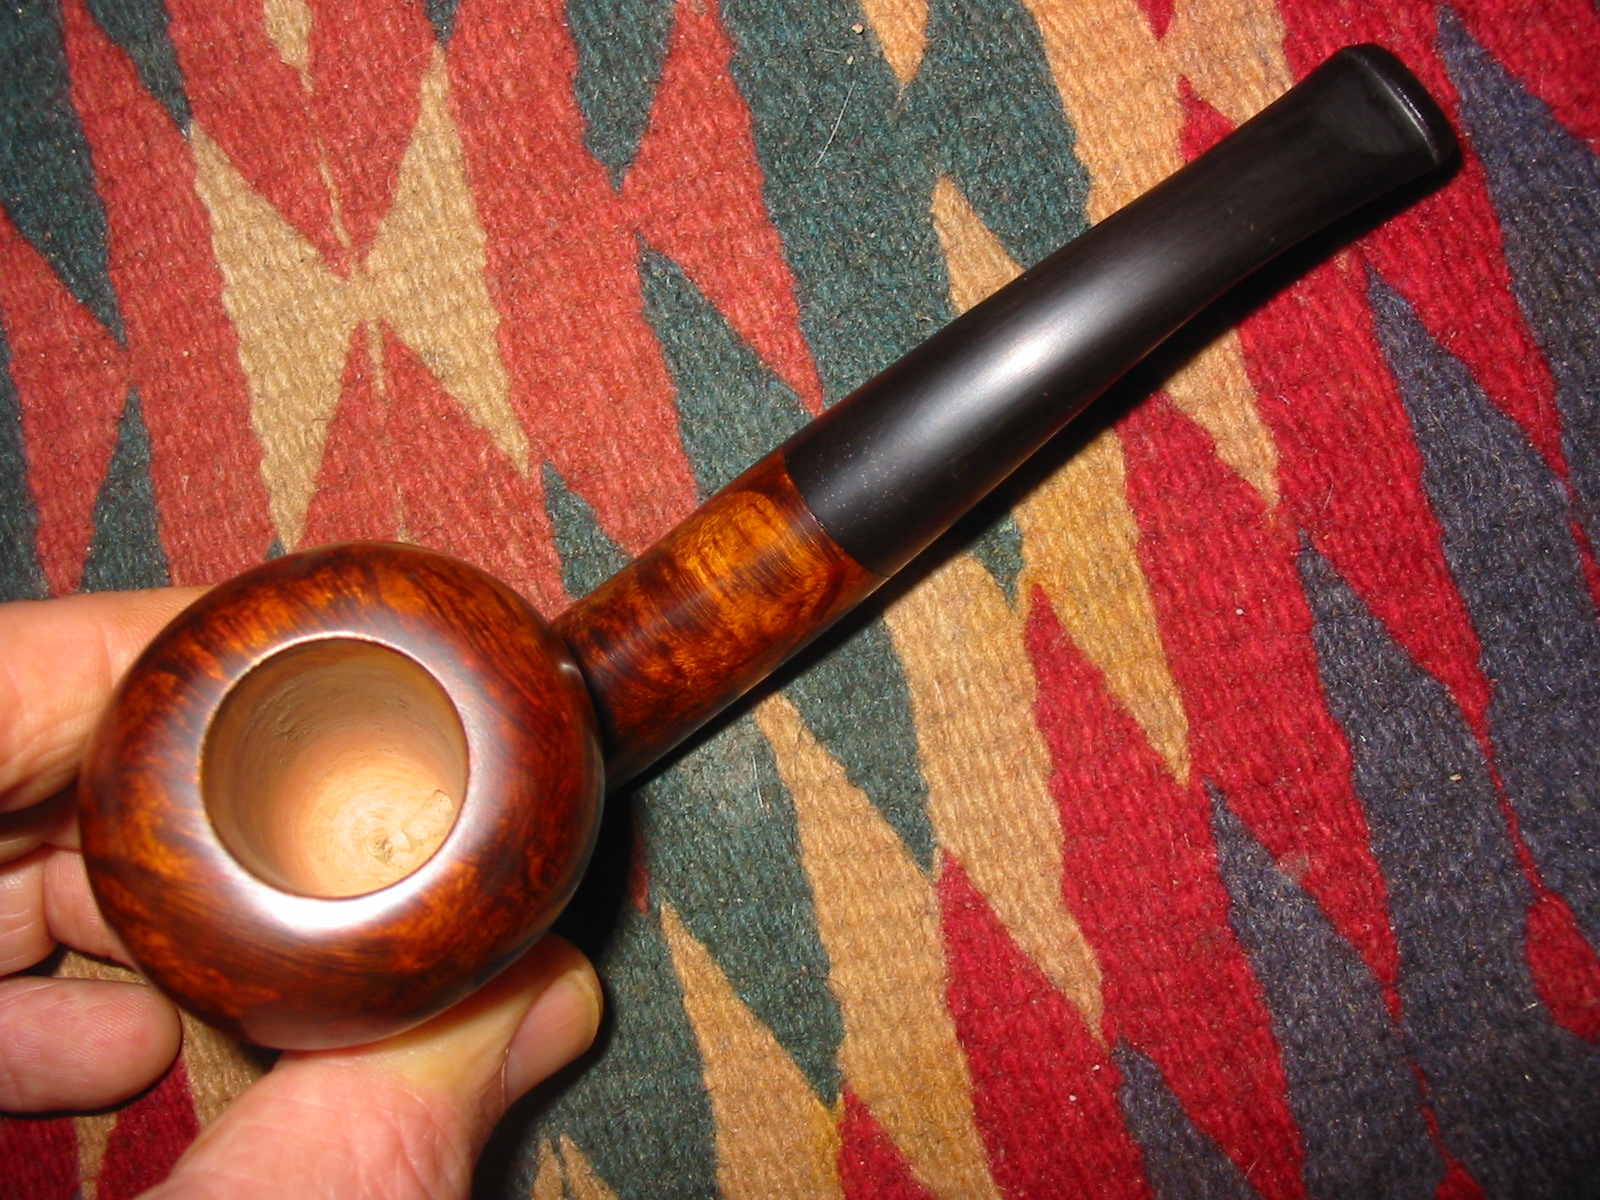
Before I took down more of the thickness of the shank I decided to make a new stem for the pipe. I wanted to get rid of the 9mm stem and put a tapered stem on the shank instead of the saddle stem. I turned the tenon with a PIMO tenon turning tool on a cordless drill and then hand fit it to the mortise. Once I had a good fit I sanded the shank and stem to get a smooth transition between the two materials. I used 100 grit sandpaper and then 220 grit to smooth it out. I continued to take down the taper on the bowl and round out the bottom of the bowl and the edges around the cap with the 100 grit and 220 grit sandpaper. The bowl was starting to take shape at this point in the process. It was still too thick to my liking and the cap was too blocky. A lot more sanding waits for me.
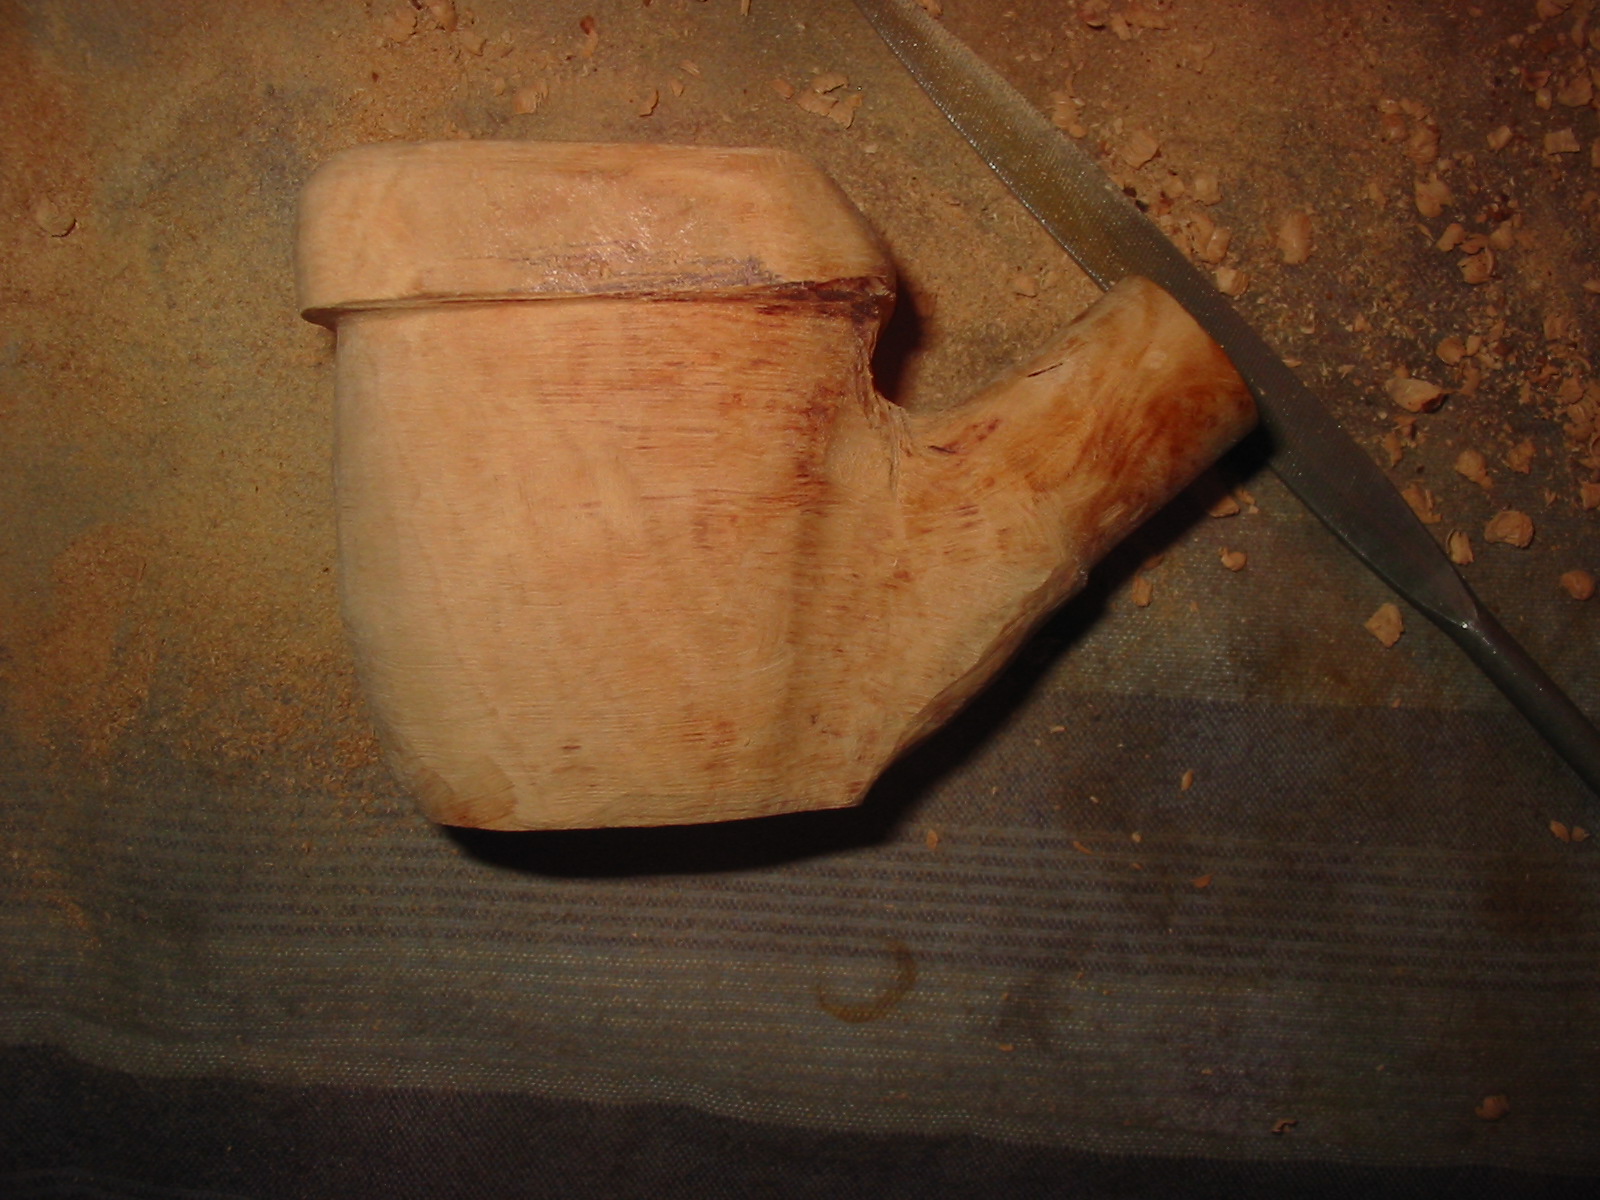
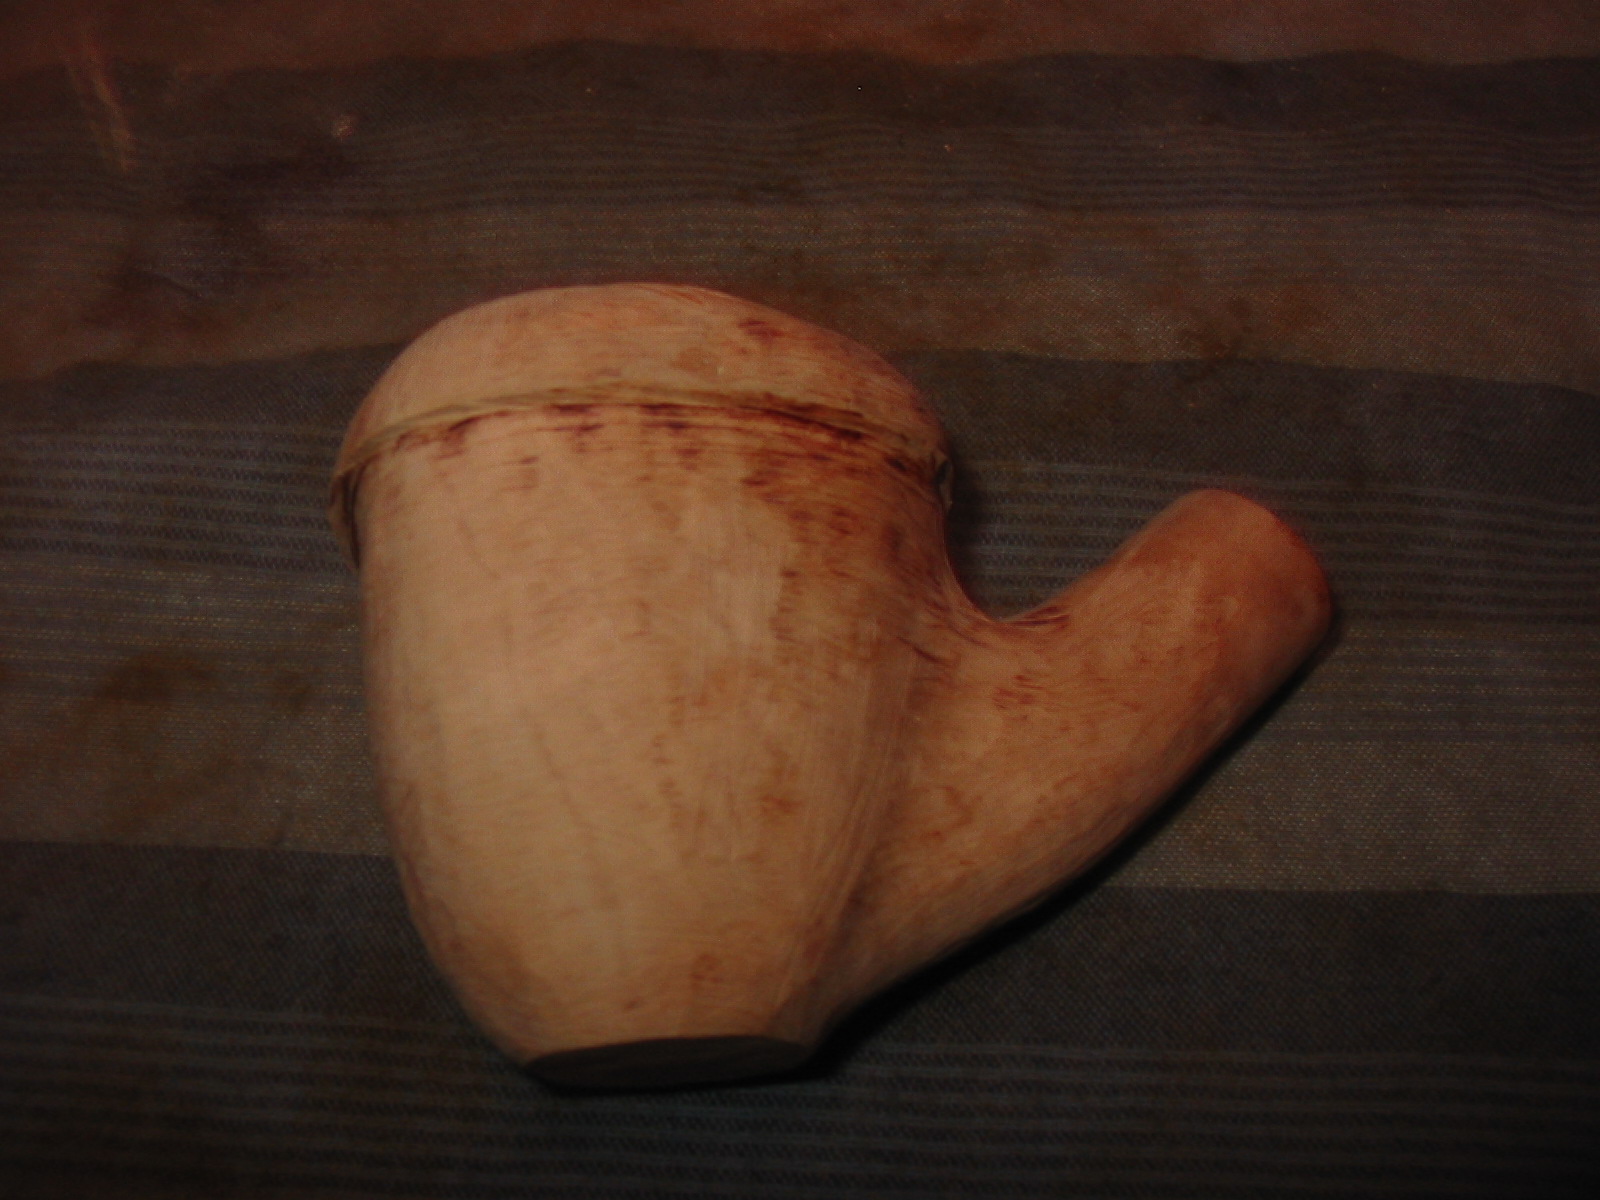
I used the Dremel and sanding drum to remove more of the briar and then hand sanded with the 100 grit sandpaper to further refine the shape. I used a sanding wedge to work on the angle at the junction of the shank and bowl and clean up the carving marks. I also want to flatten the bottom of the bowl slightly and minimize the dip at the shank and bowl on the bottom.
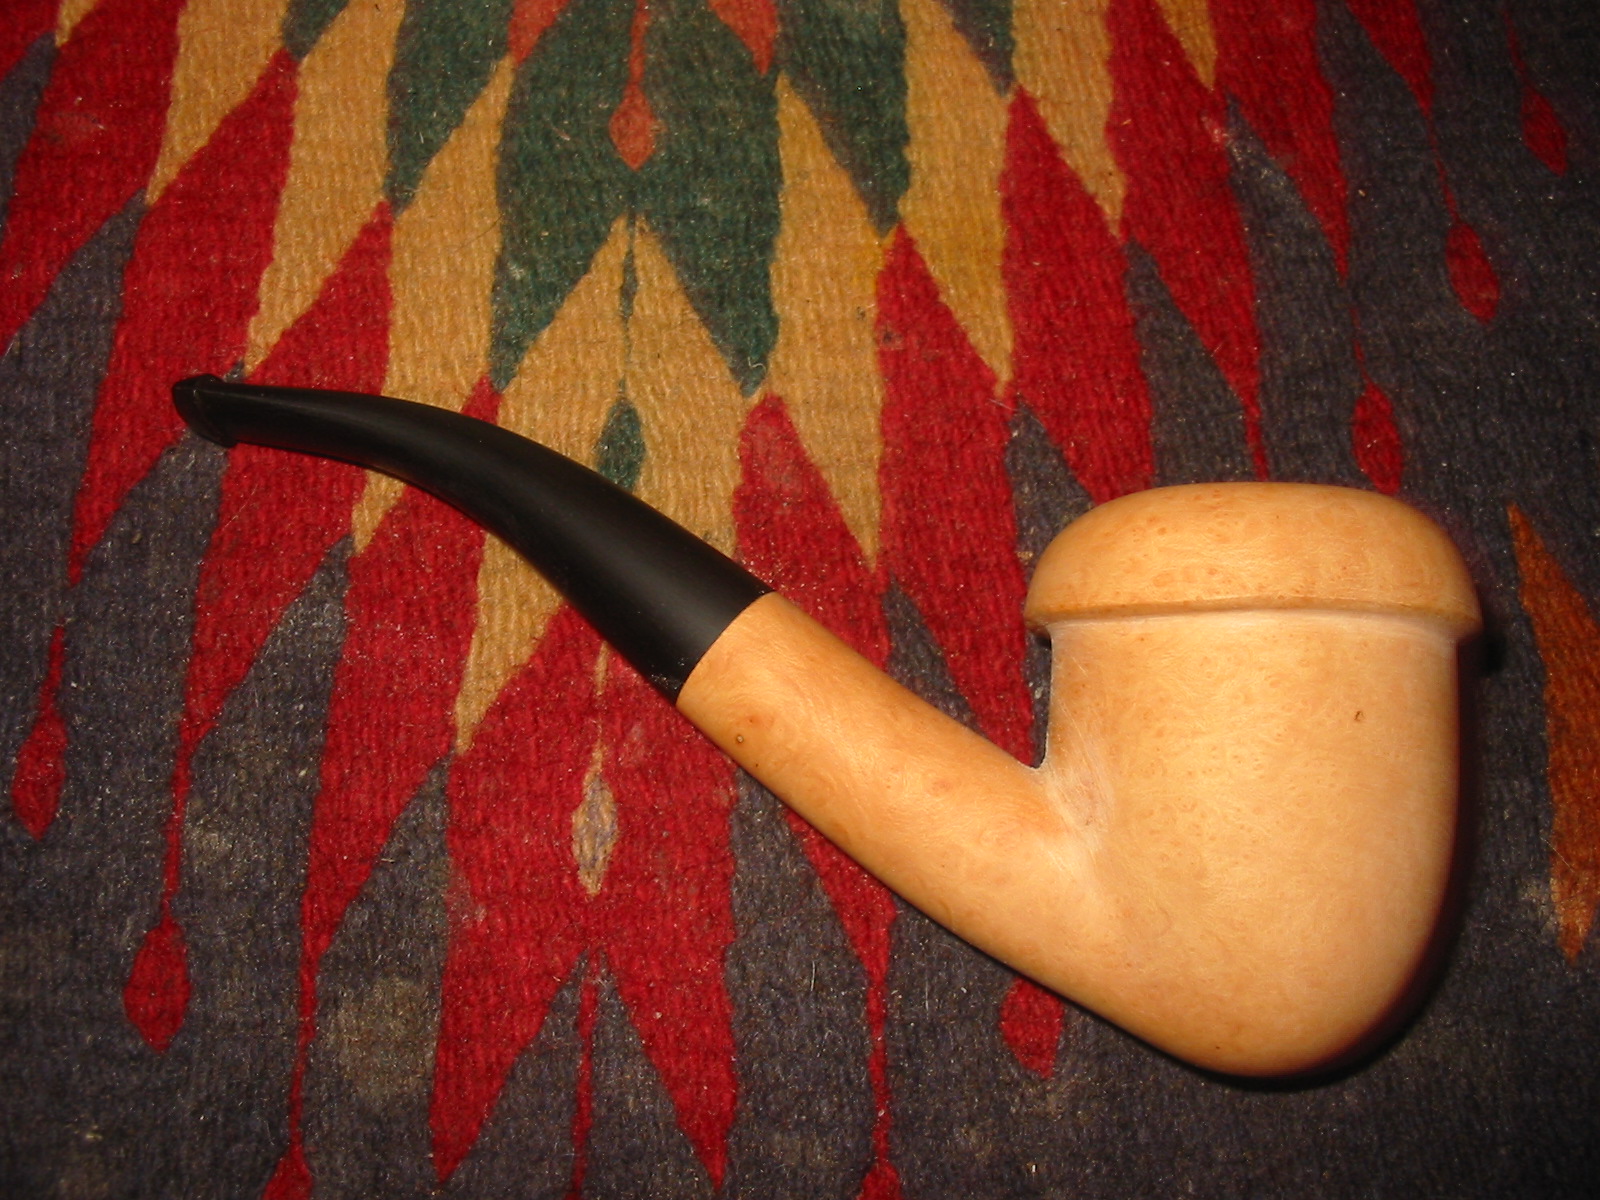
I continued to remove diameter from the shank and also work on the bottom of the bowl to give it a more rounded look and feel. I used 100 grit sandpaper to work on these areas. I sanded the stem as well to keep the taper and flow even between the two materials. I also sanded the curve on the cap to makes the angles less sharp.

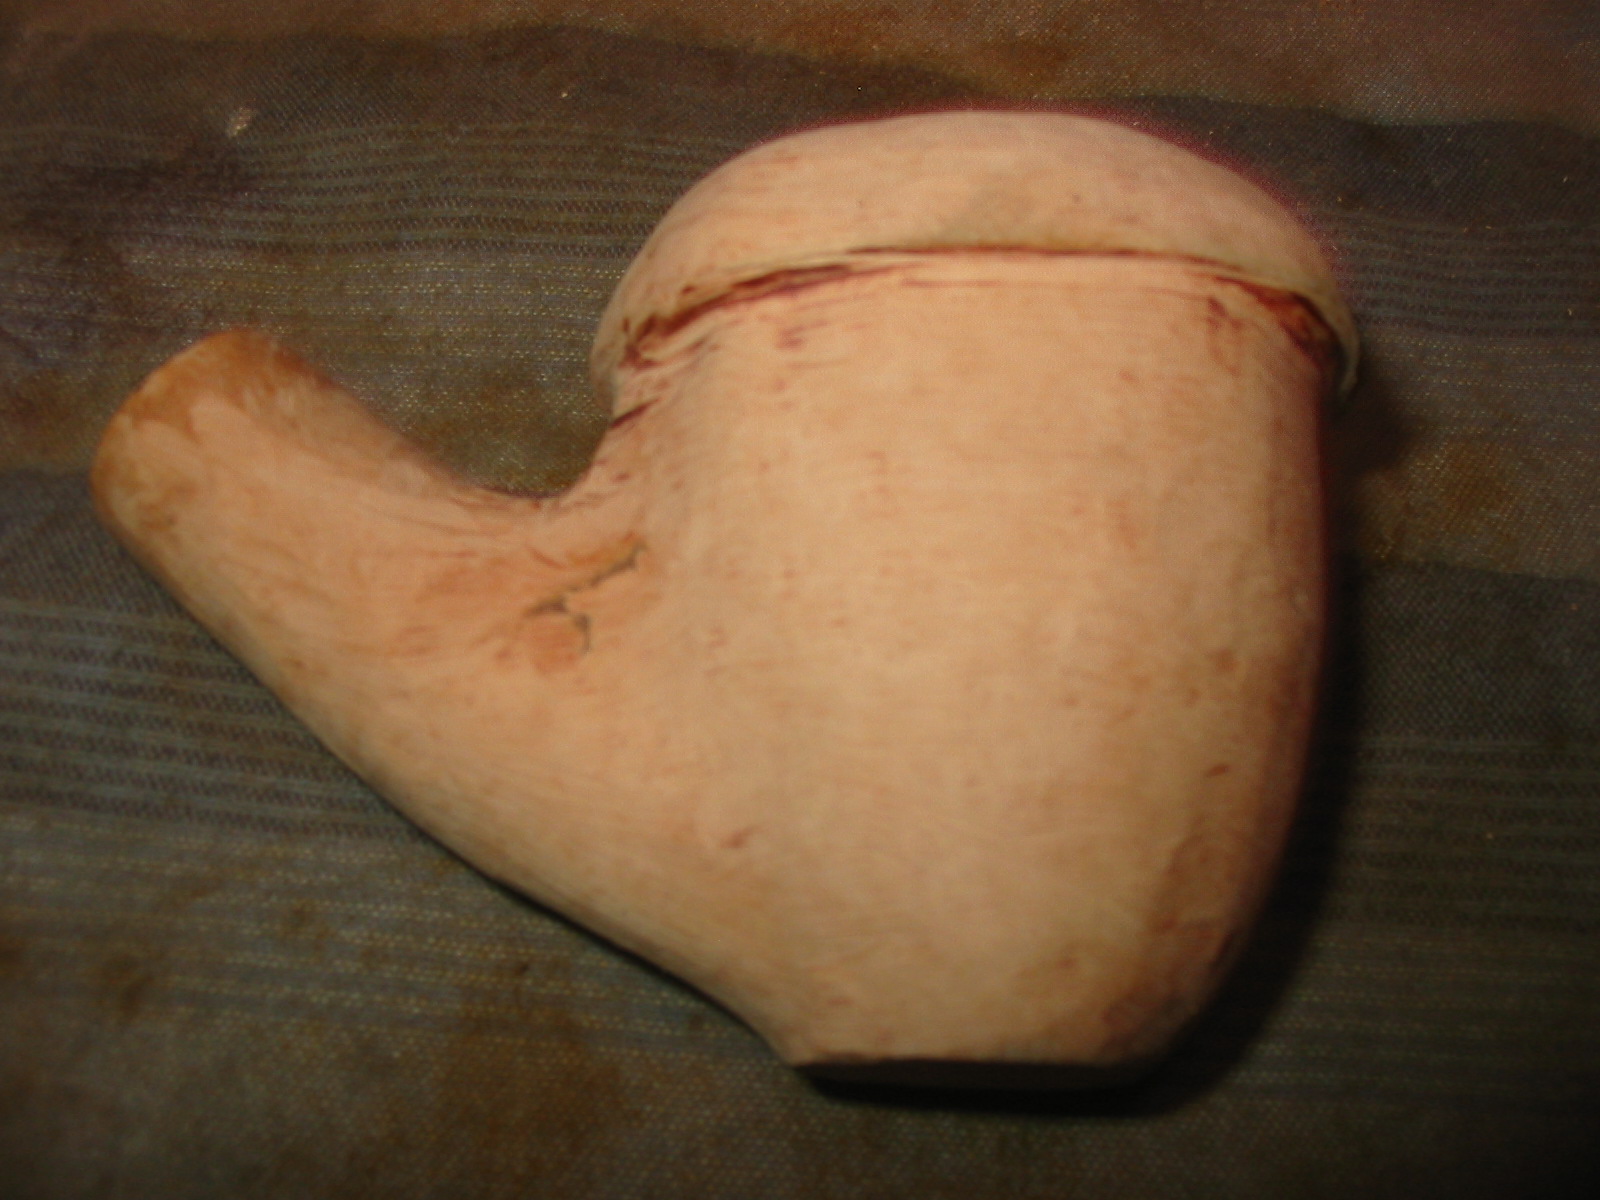
I used a heat gun to heat the stem and bent it over an old rolling pin I use for bending stems. I wanted the angle of the stem to approximate the angle of the curve on the bottom of the bowl so I needed to do a bit more sanding on the bowl. The next three photos show the progress on reducing the point on the bottom of the bowl.


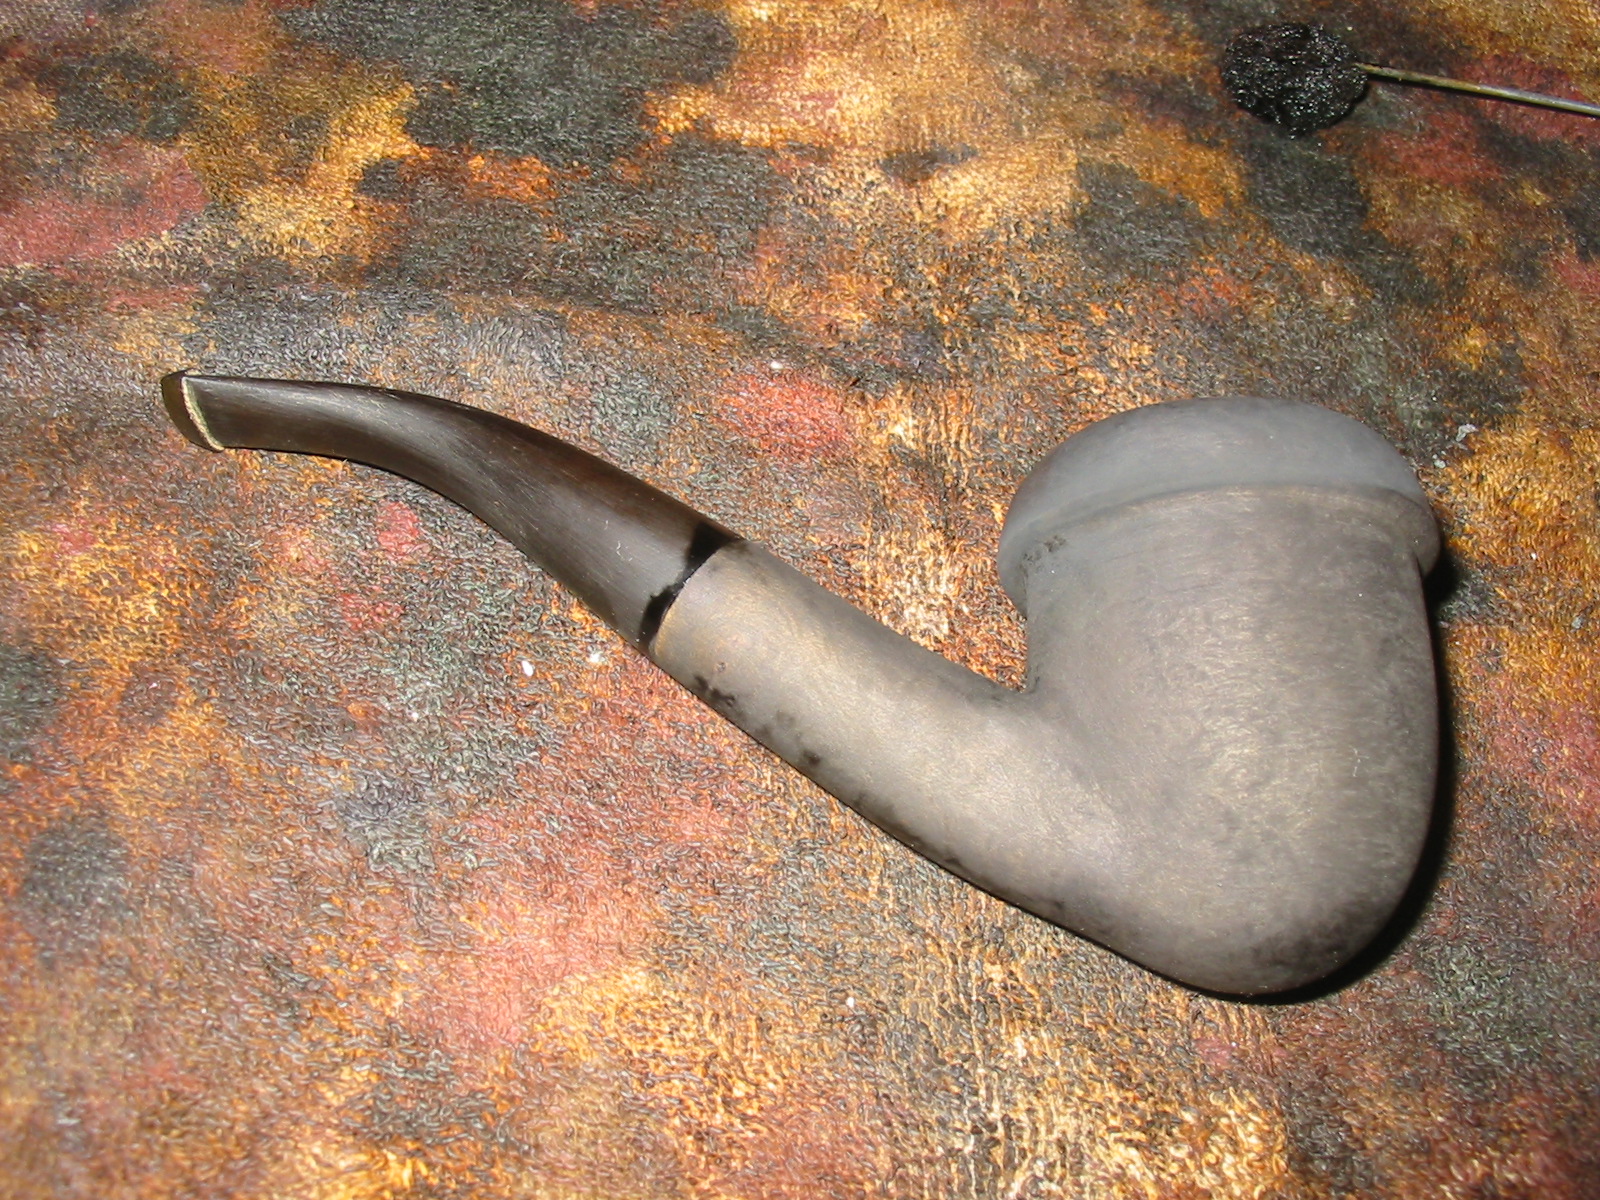
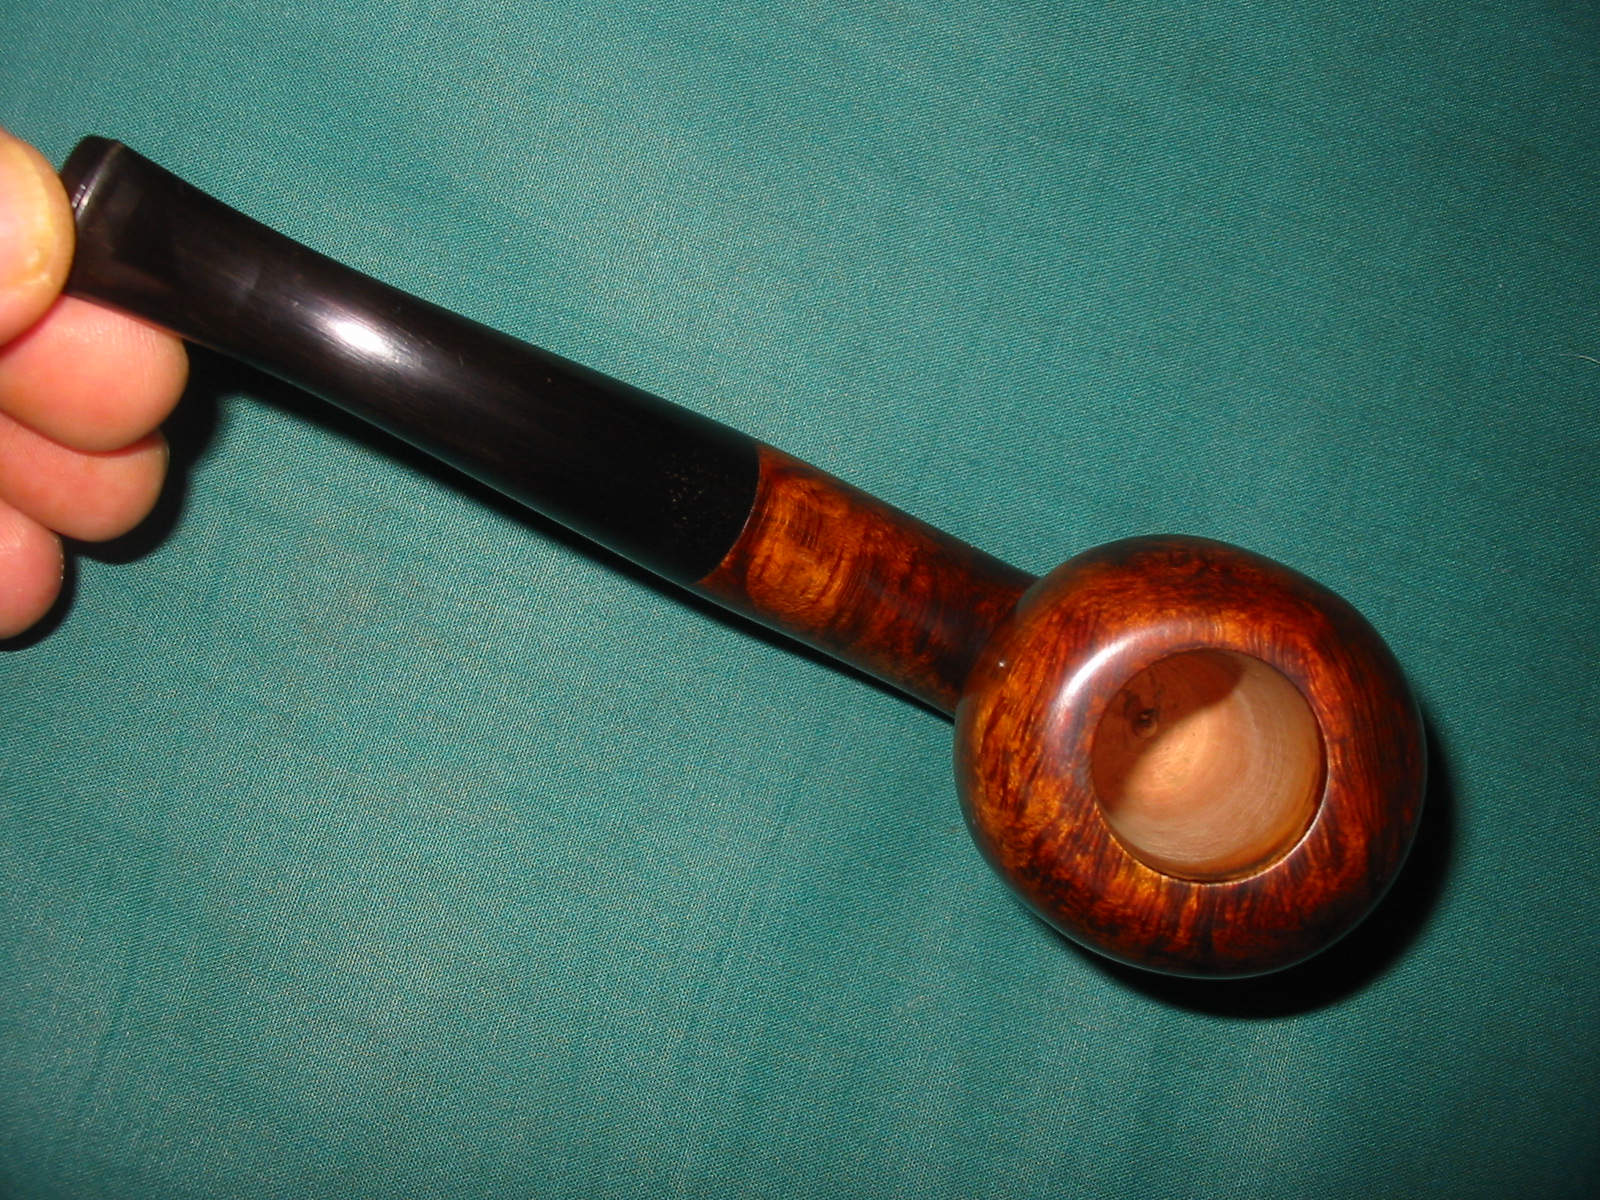
I decided to give the bowl a black under stain to highlight the grain. The right side of the bowl and shank had some great birdseye grain and the top and bottom of the shank had cross grain. The left side of the bowl had a mixed grain pattern but it was still quite nice. The black stain would permeate the grain and make it stand out. I heated the briar with the heat gun and applied a coat of black stain, flamed it and reapplied it repeating the pattern until the coverage was even. Once it had dried I wiped it down with acetone on cotton pads to remove the stain from the harder briar where it had not gone into the grain.

I sanded the bowl with a medium grit sanding pad to remove more of the stain and to help highlight the contrast between the grain and the lighter portions of the briar. I buffed it with red Tripoli. The photos below show the bowl as it stood after the buffing. There was still sanding to do to remove the dark scratch marks in the finish and further remove the black stain.
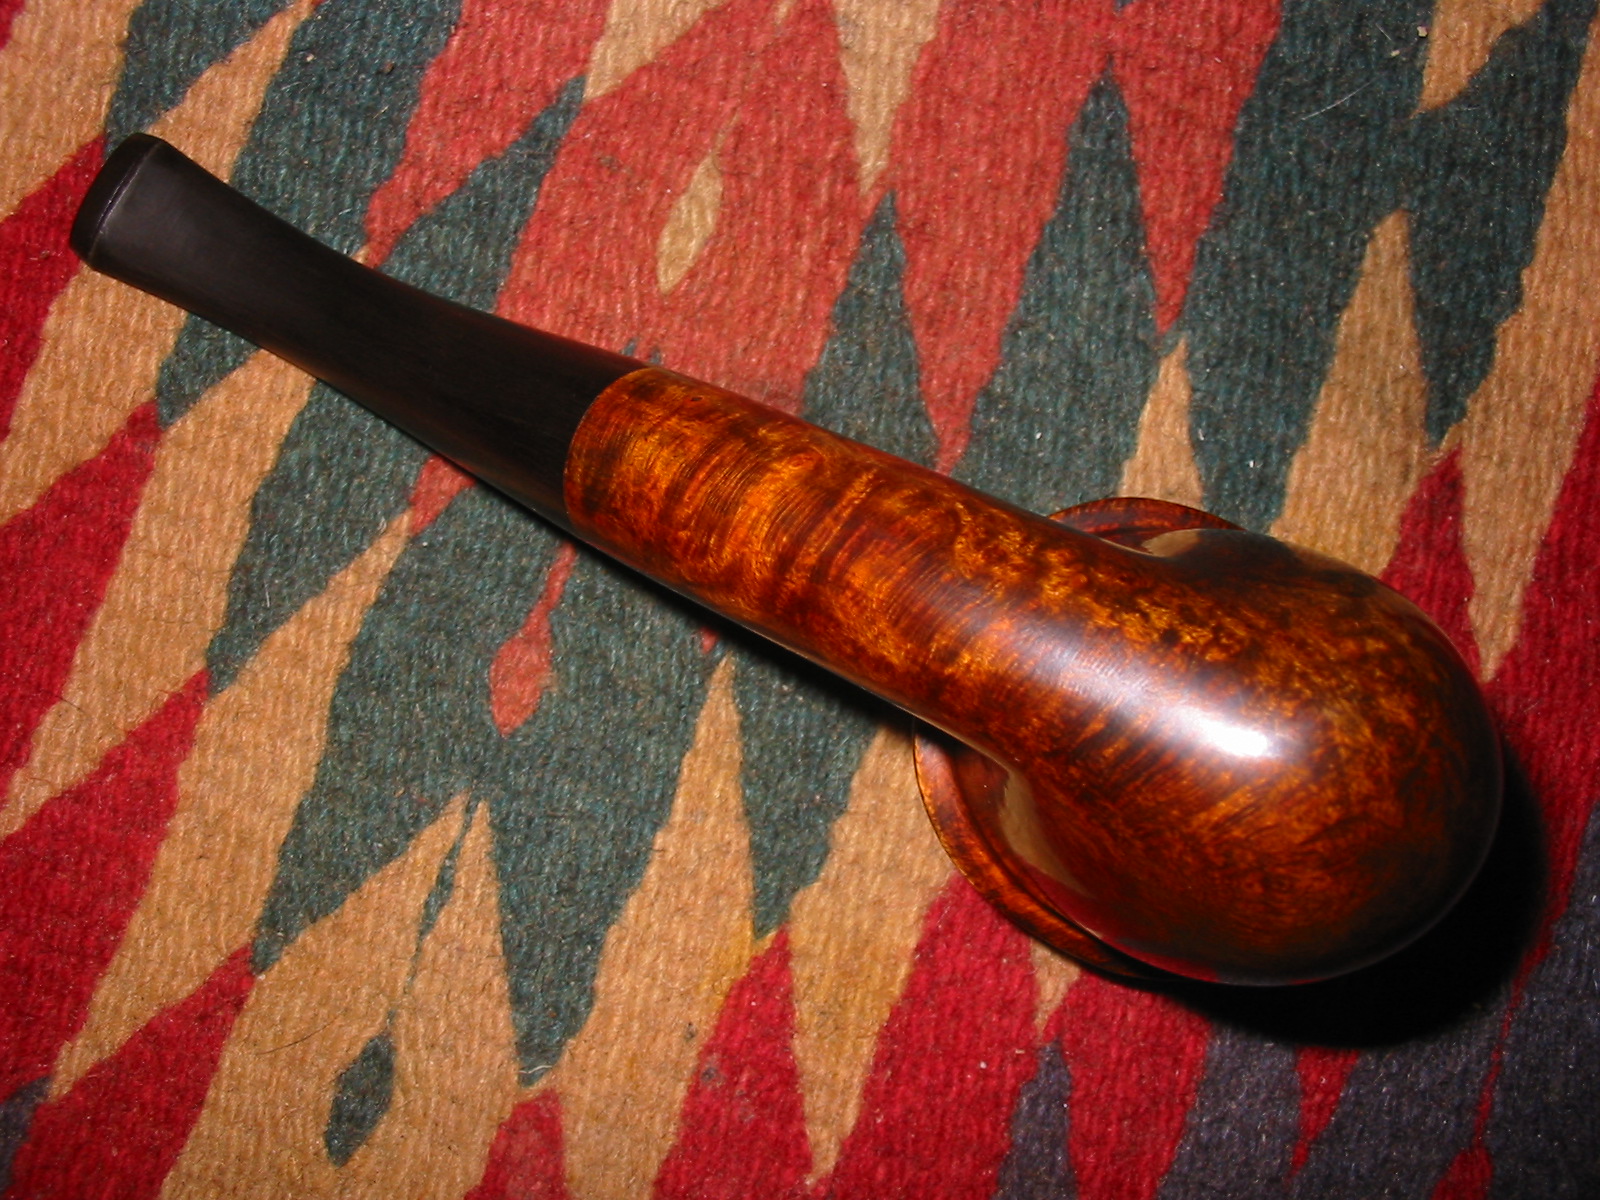
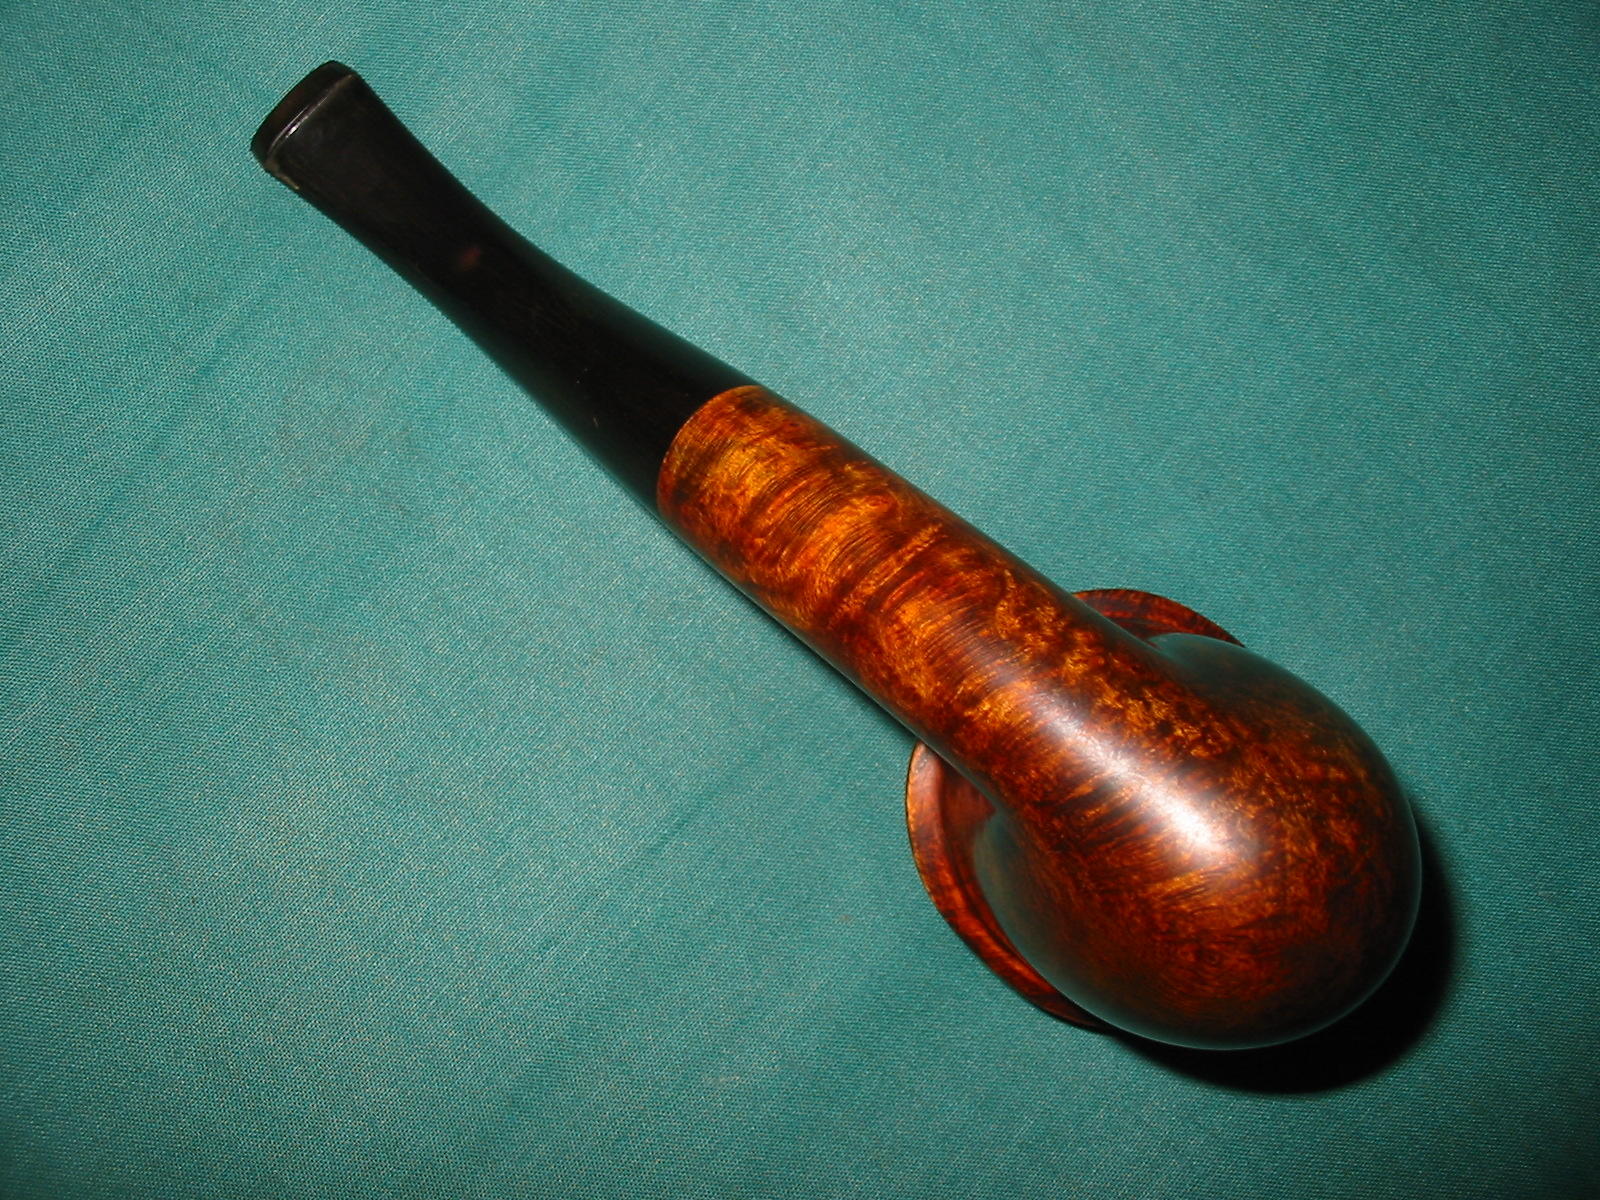
I wanted to add to the contrast of the grain so I stained the pipe with oxblood aniline stain and then buffed it with White Diamond. The contrast was evident and the grain stood out nicely against the second coat of stain but it was just too red for my liking. I wanted more of a reddish brown colour than the red it was after the stain.
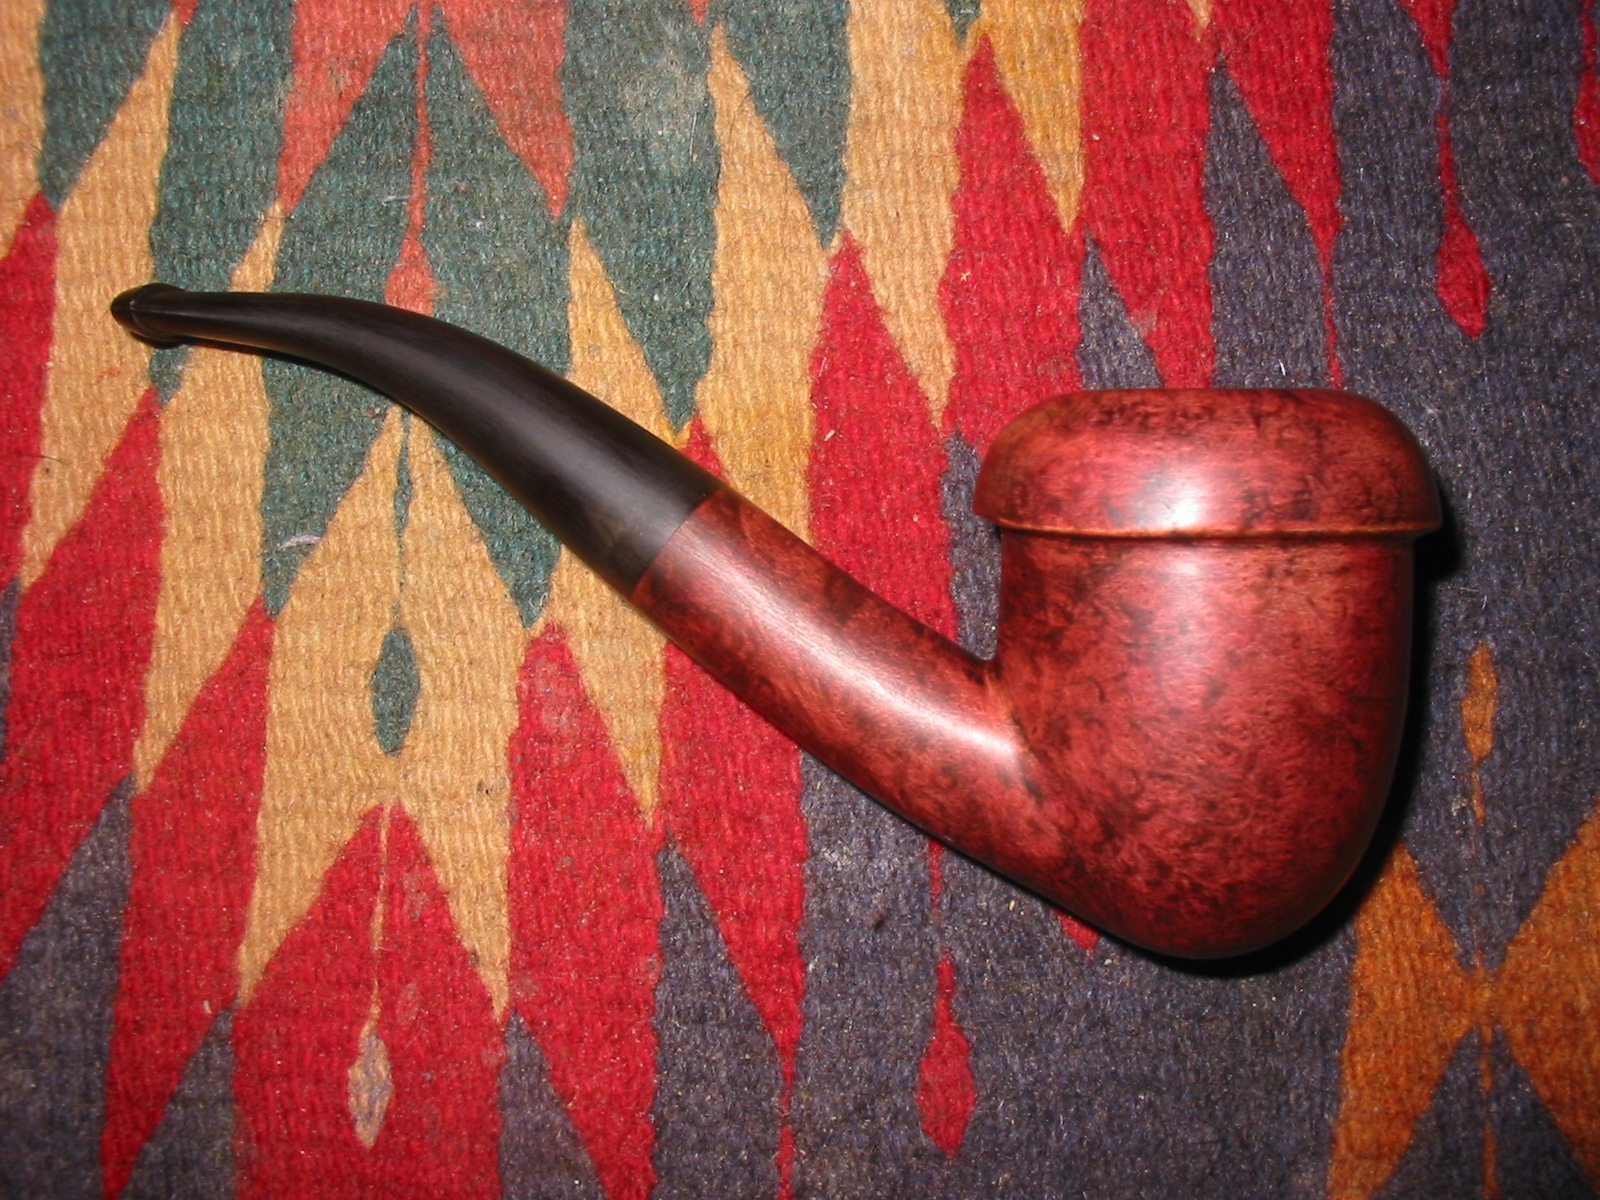

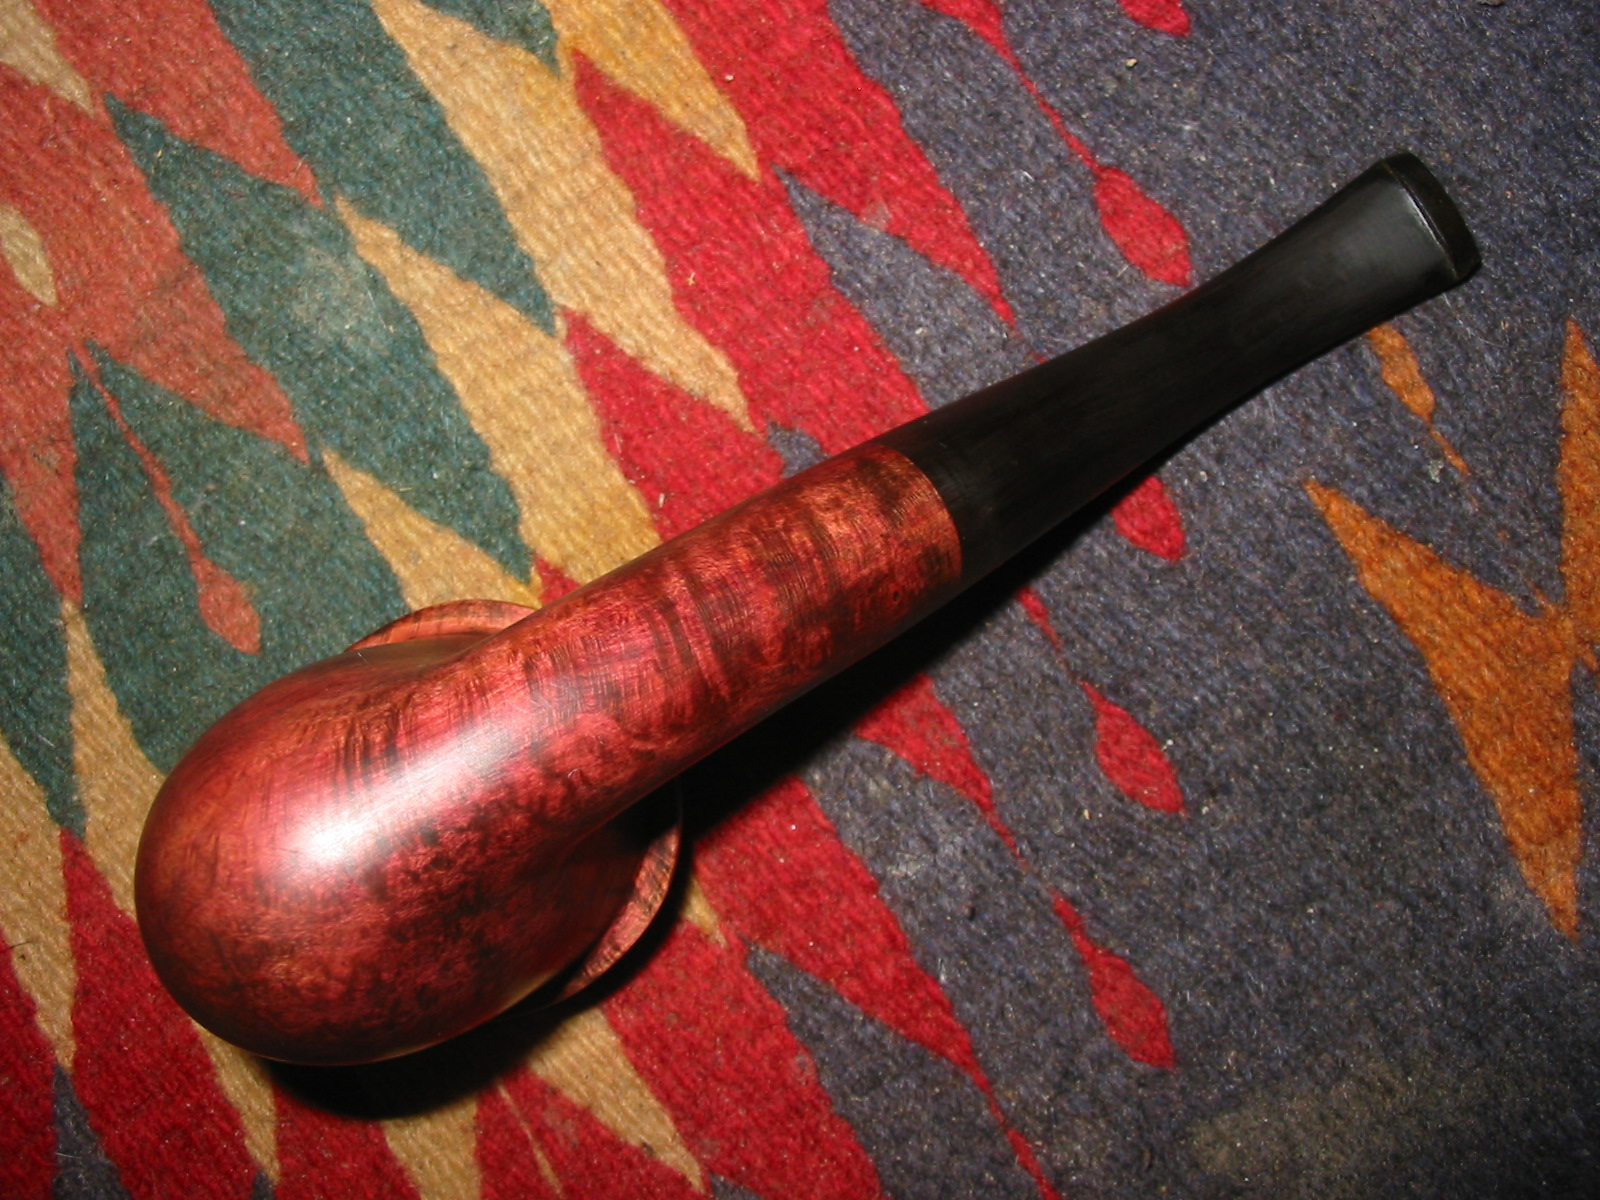

I rubbed bowl down with a cherry stain to lighten the red. It was still too red for me. The pipe in the photo below shows the cherry stain over coat on the oxblood.
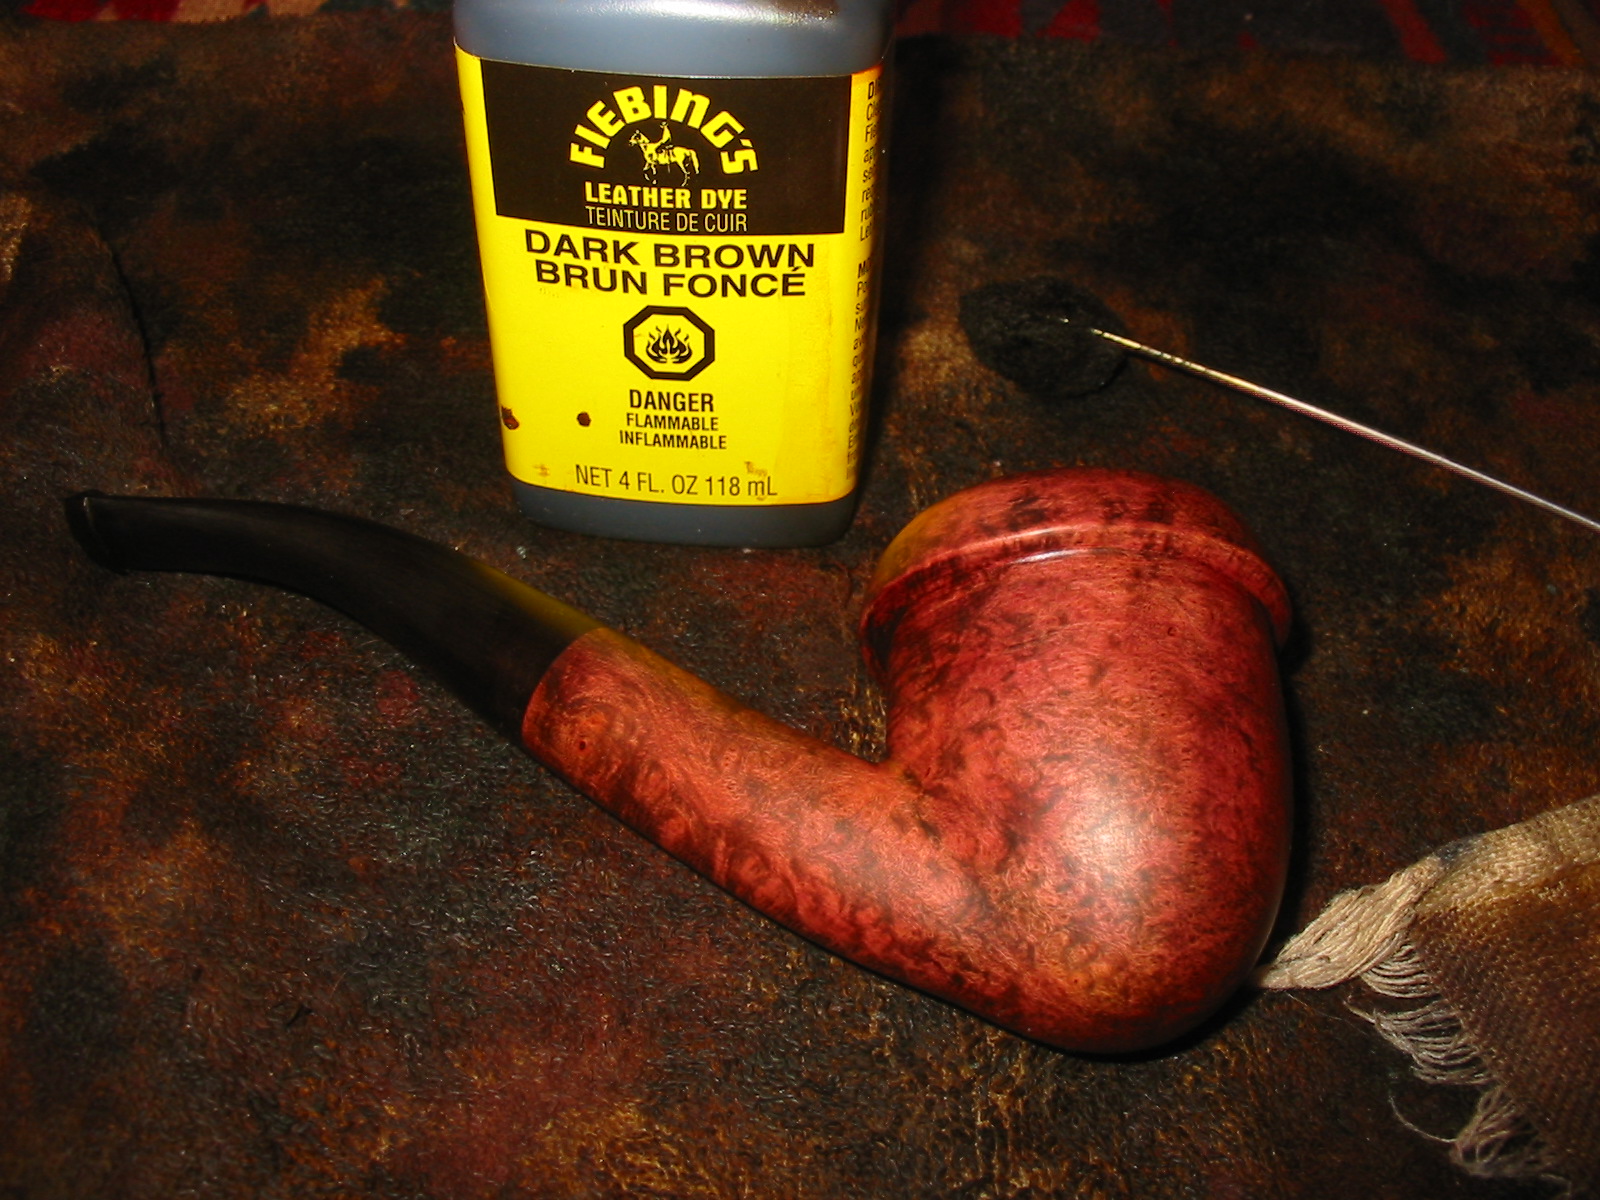
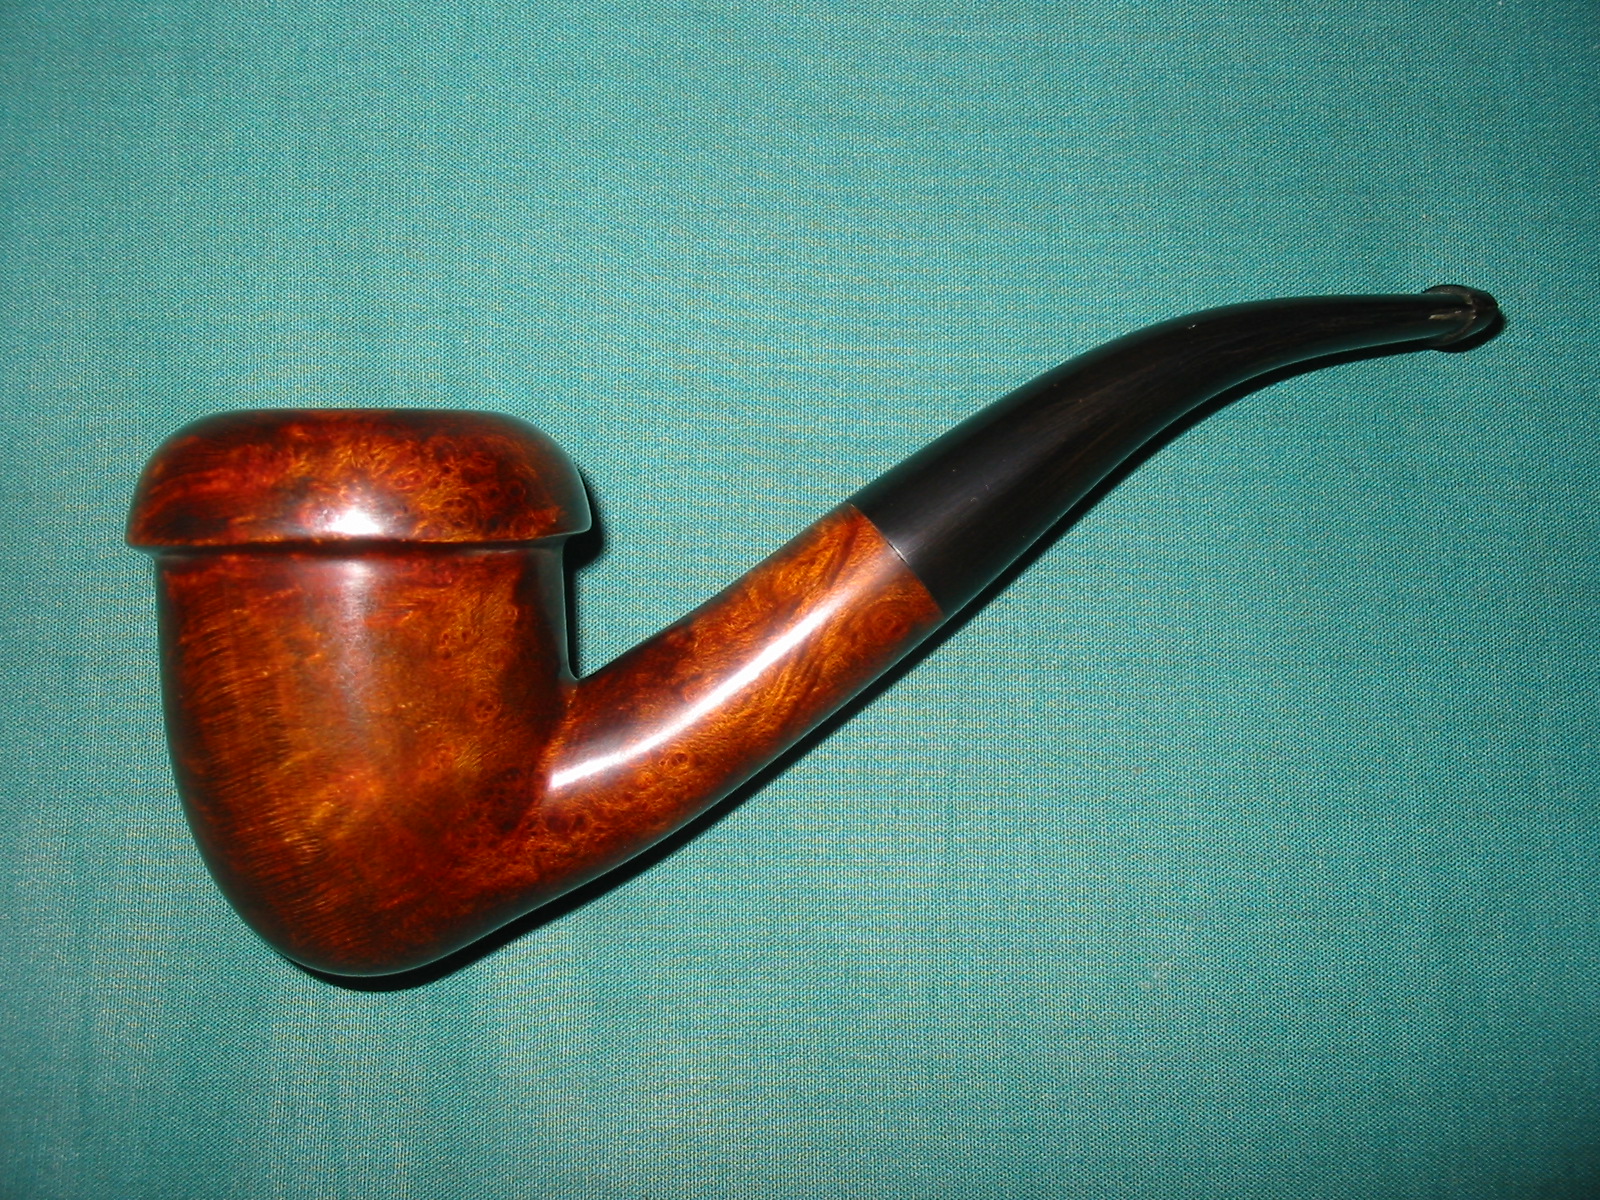
I decided to add a coat of dark brown stain to the bowl and give it a deeper, richer colour. I applied the dark brown stain and flamed it, reapplied, flamed it again and then buffed the bowl with White Diamond to polish it and make it more transparent. I wanted the grain to pop through the finish but I wanted it to be less obtrusive than the above photos.
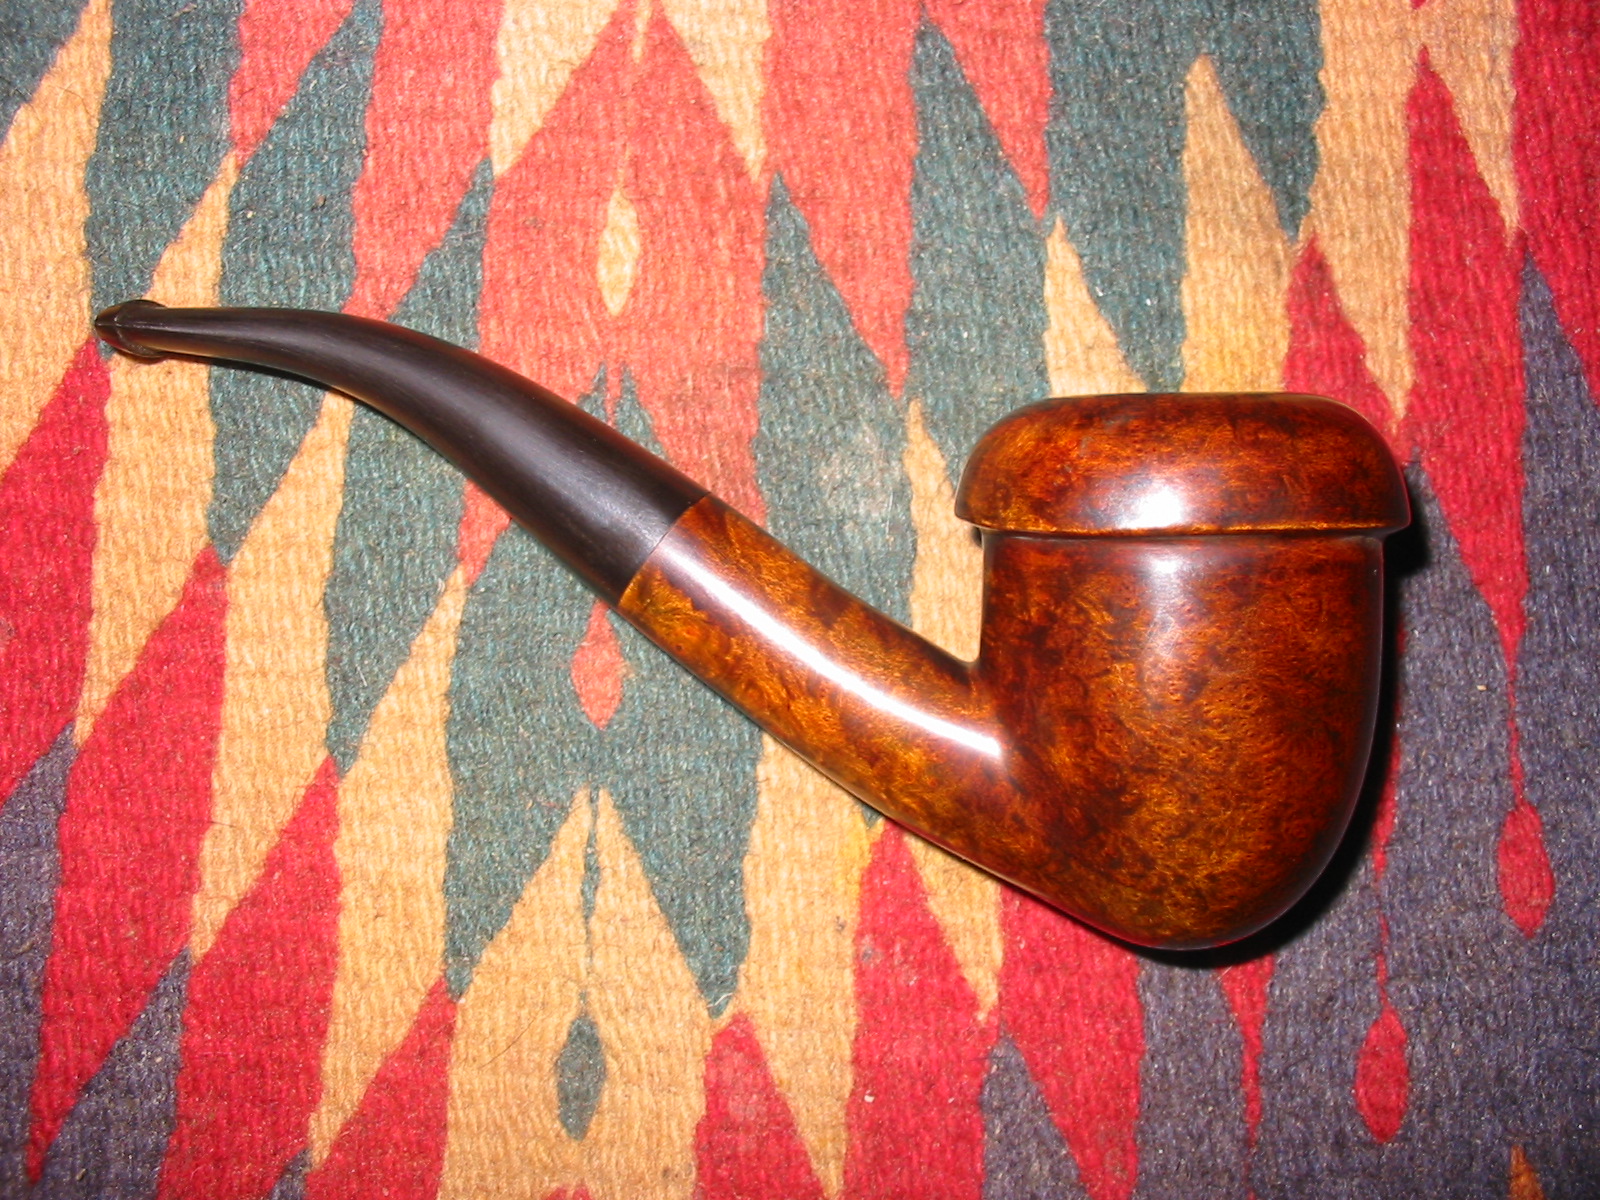

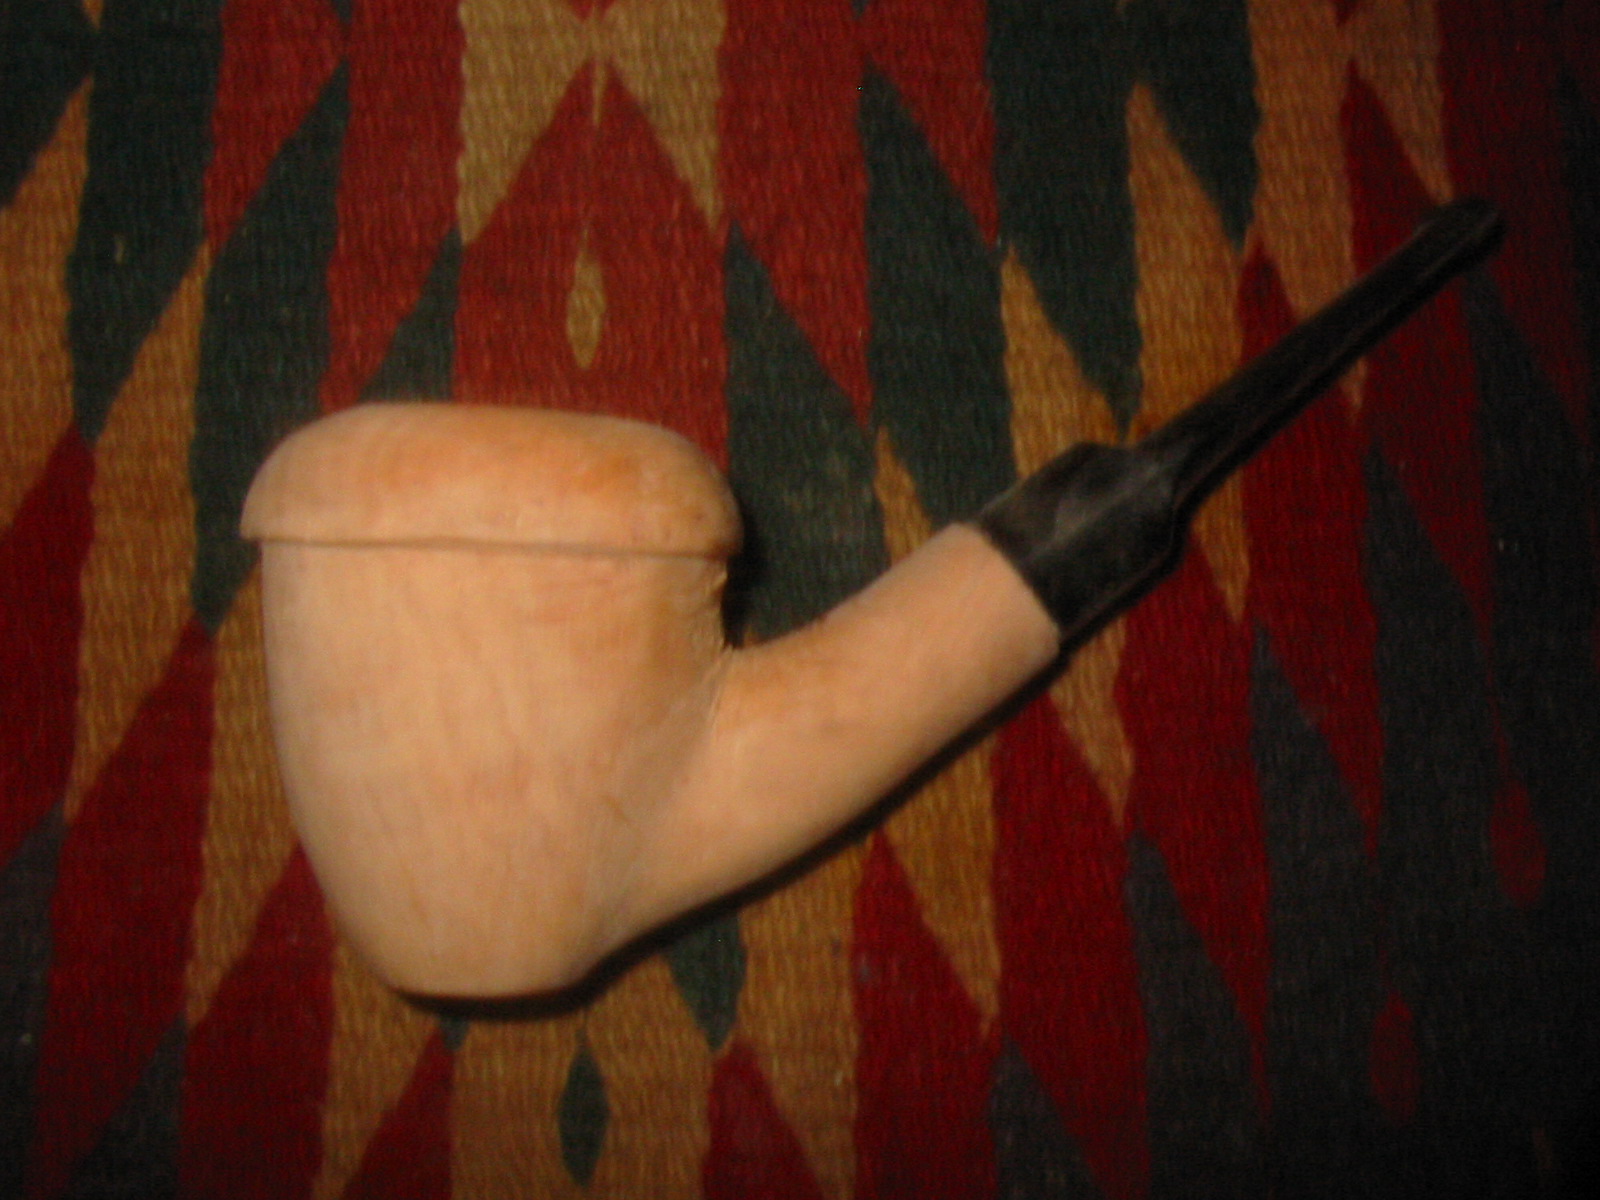
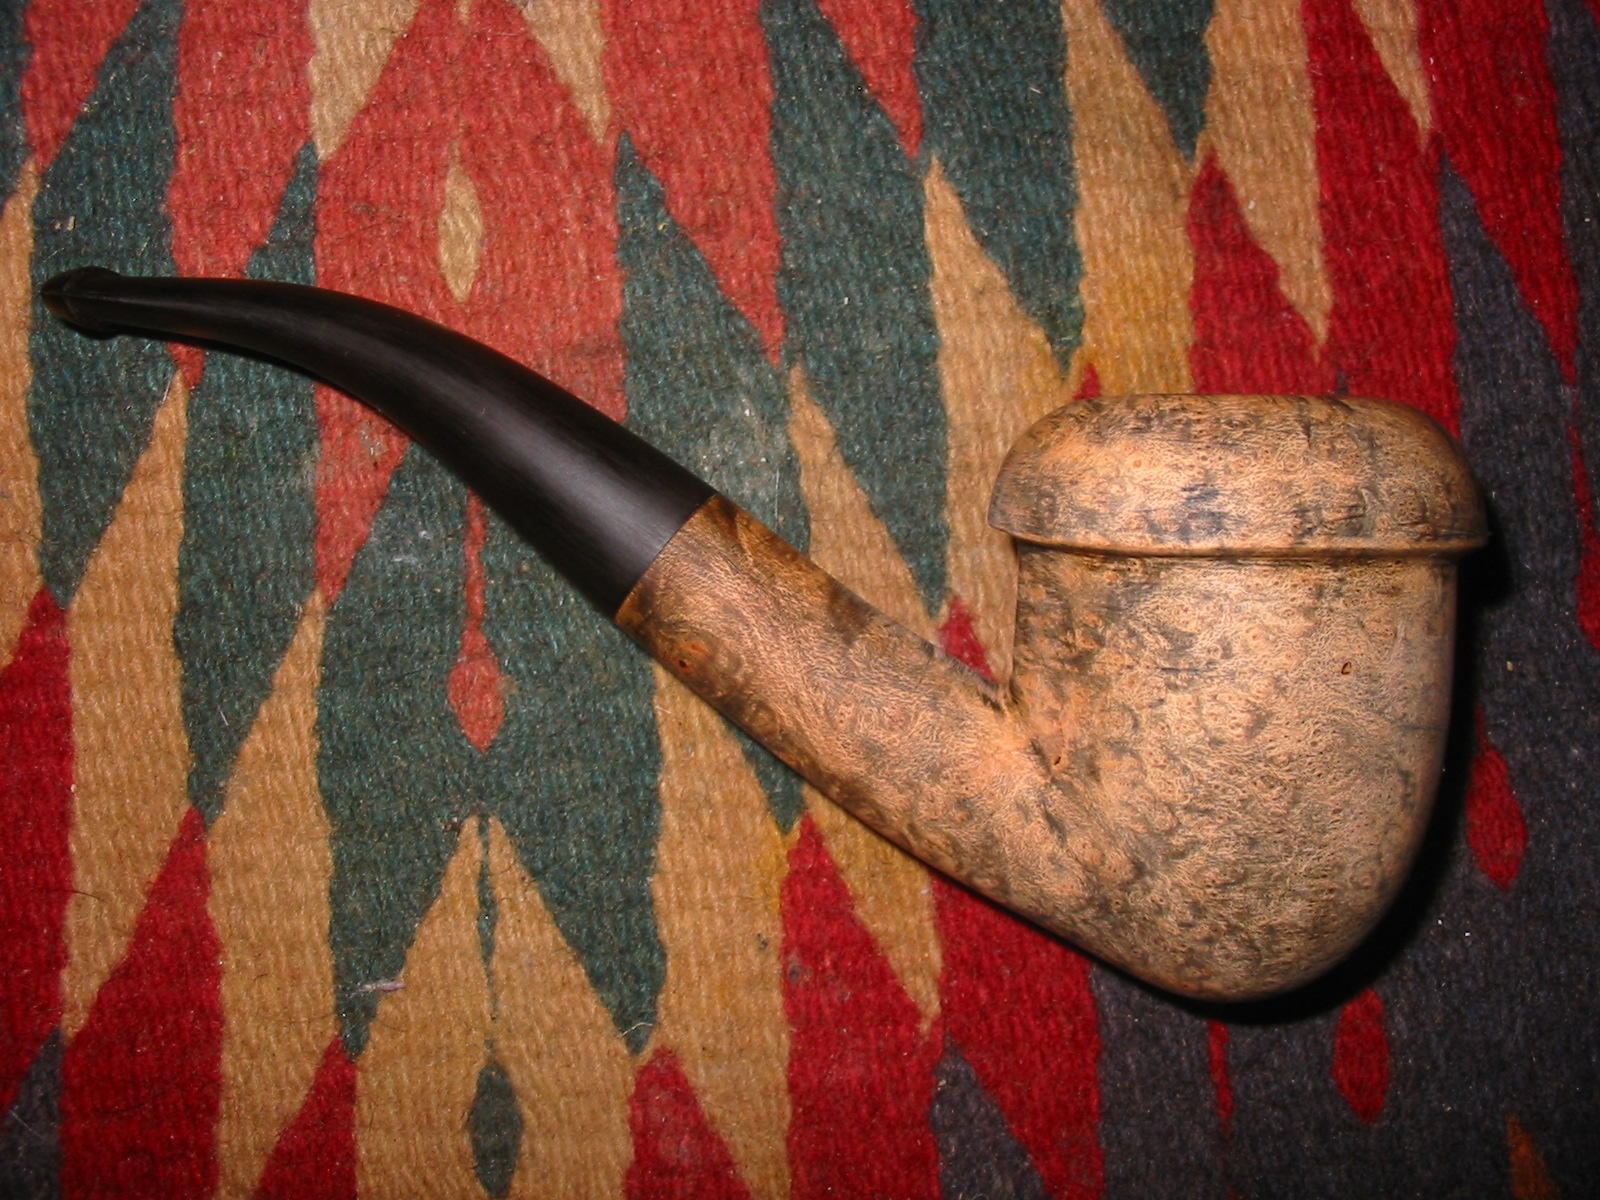
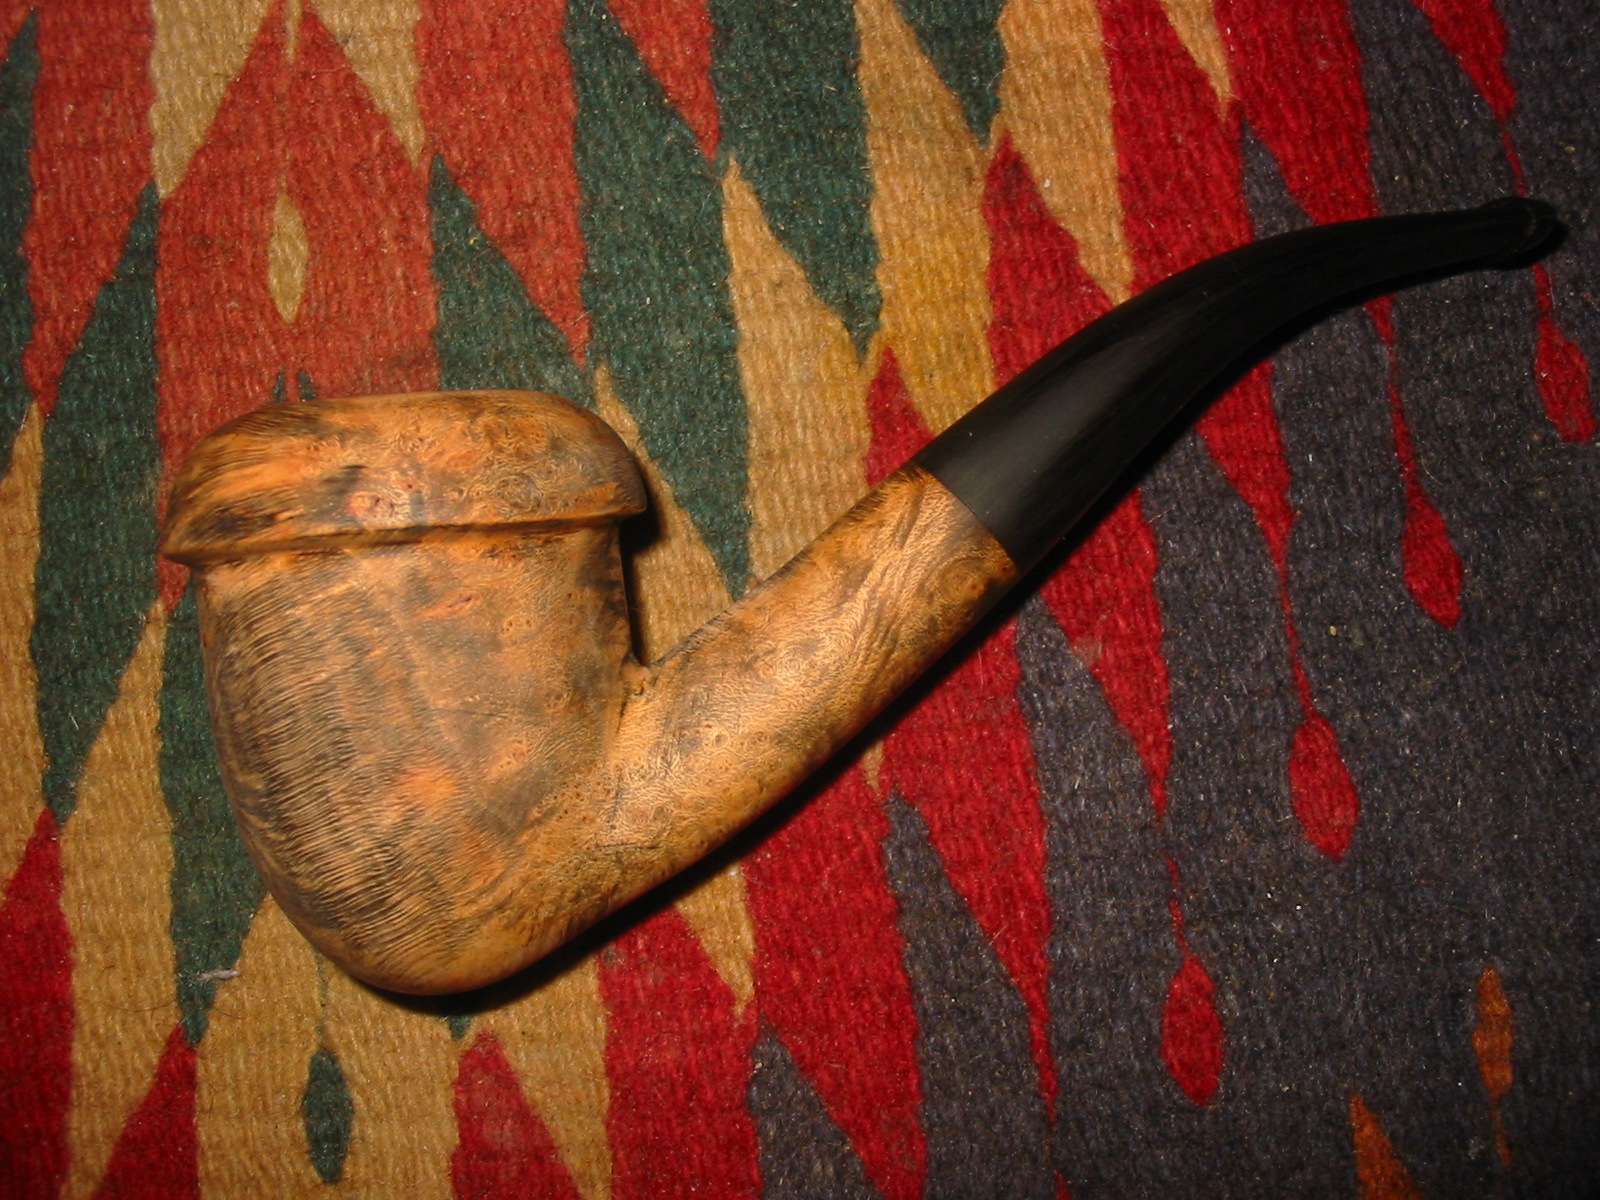
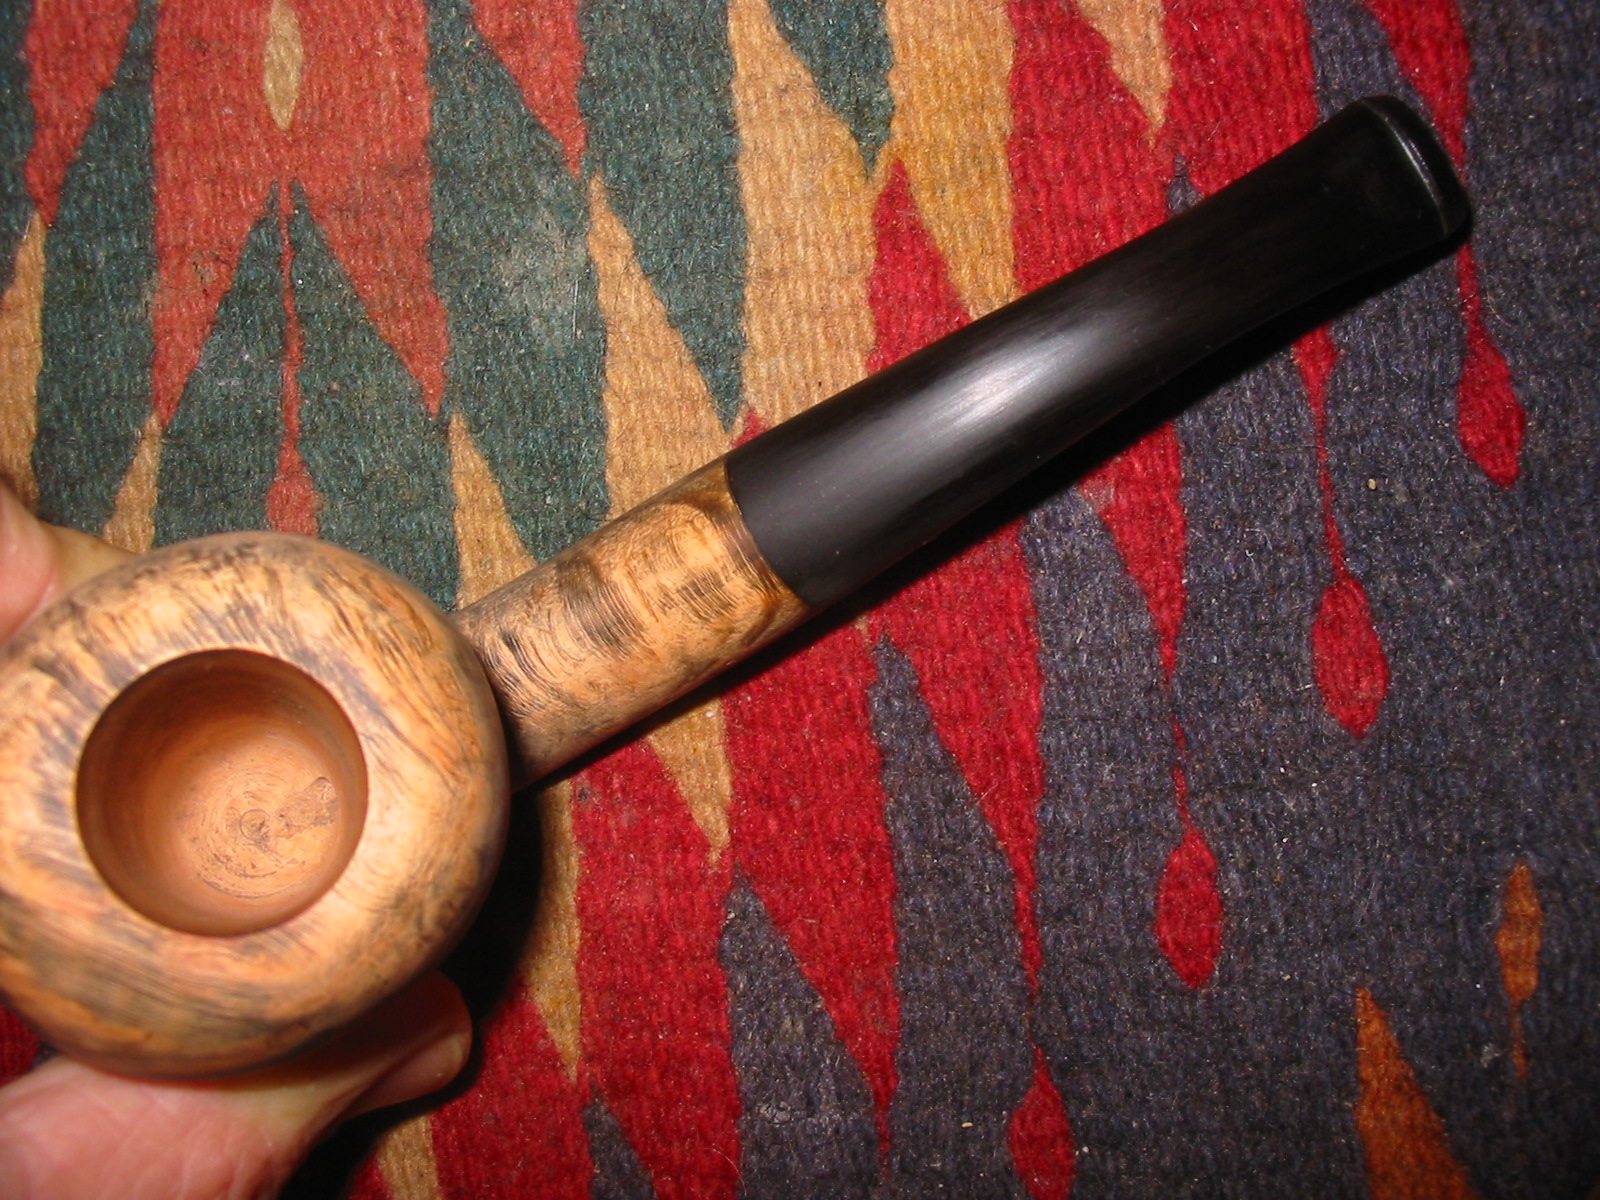
I sanded the bowl with micromesh sanding pads using 3200-6000 grit pads to even out the dark and light portions. I also wanted to polish the finish more before calling it finished. I buffed the bowl with White Diamond and gave it several coats of carnauba wax to give a shine. I polished the stem with the micromesh pads – wet sanding with 1500-2400 grit pads and dry sanding with 3200-12,000 grit pads. I rubbed the stem down with Obsidian Oil and when dry I buffed the pipe with White Diamond. I gave the bowl and stem multiple coats of carnauba wax, buffing with a soft flannel buff between applications of wax. The finished pipe is shown below. (However, there is one disclaimer – with any pipe I have made in the past I have always gone back after a time and changed the look. The odds are thus quite high that I will modify this one as well somewhere down the road.)
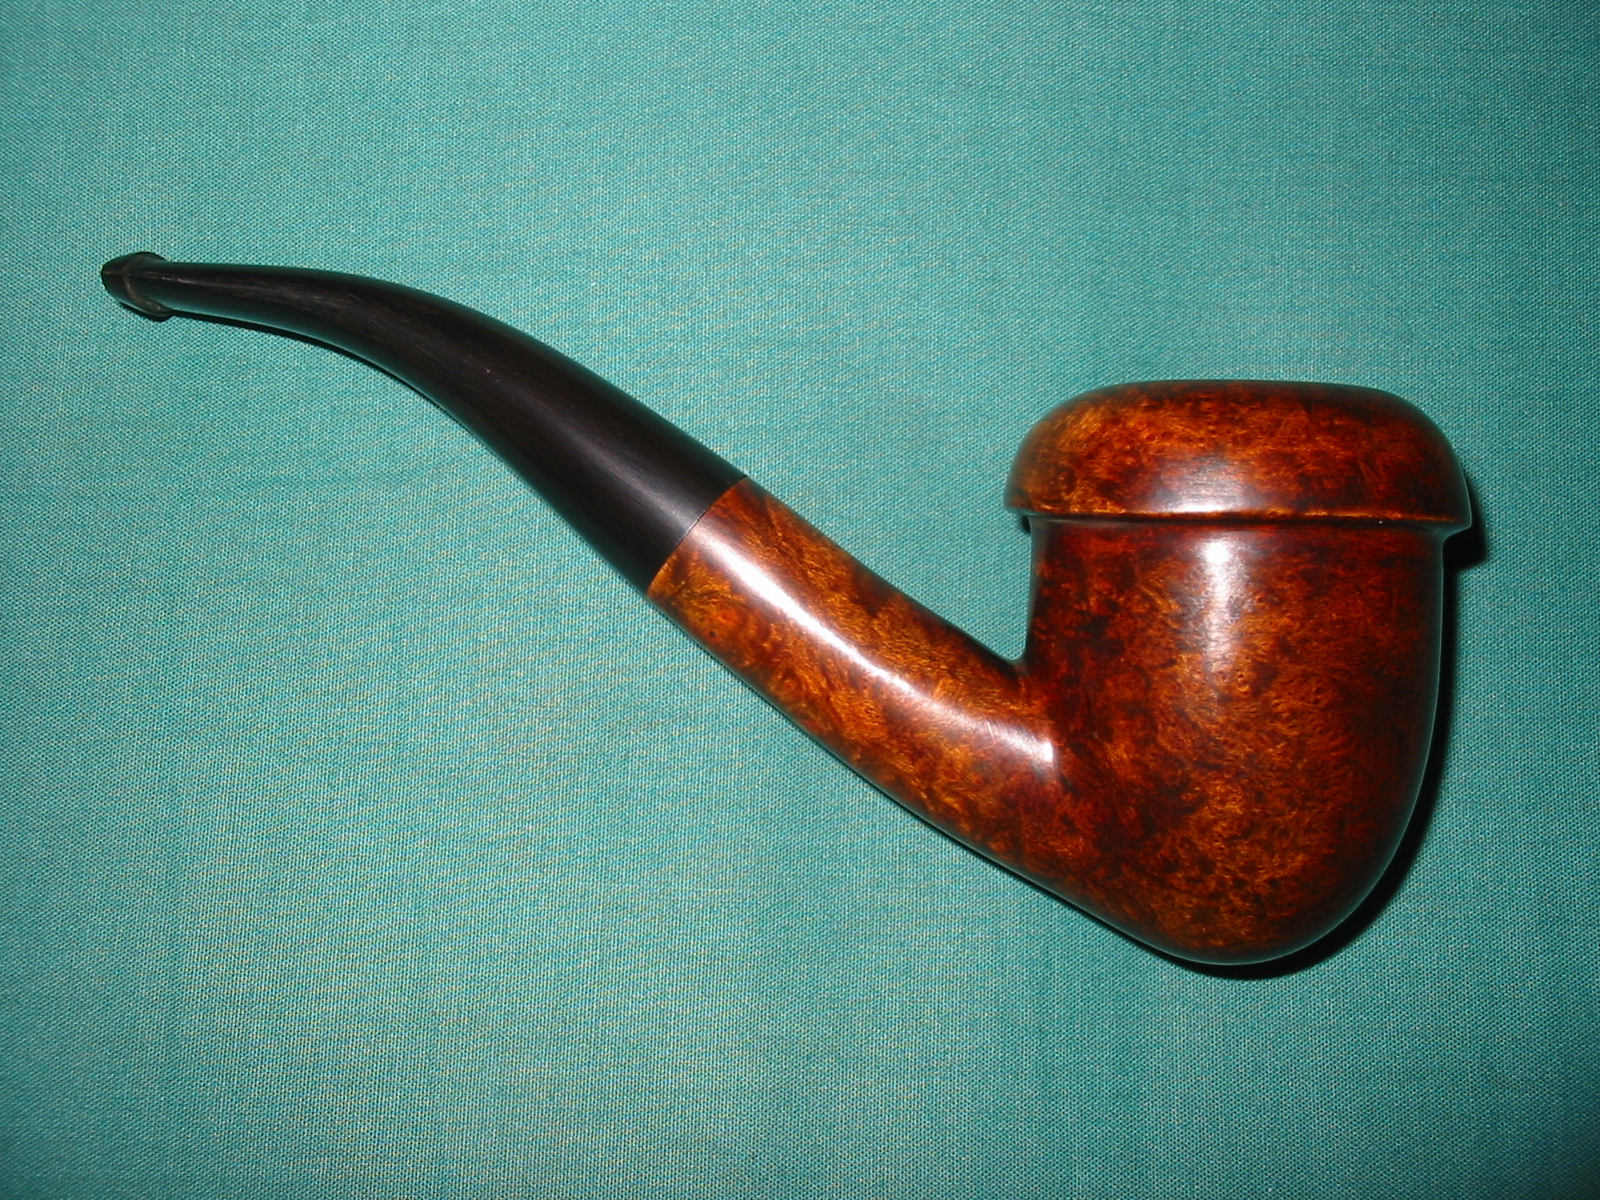
I took the new pipe with me to work yesterday and planned to take a walk and fire it up at my lunch hour. It actually worked out that I did just that! I packed a bowl of Hearth and Home Louisiana Red and enjoyed a good walk and contemplative time. The bowl got warm but not hot, the draw was very good and the feel in the hand and mouth was comfortable. It is bigger than the pipes I usually smoked but surprisingly it is not very heavy.
Thanks for taking the journey with me from block of briar to pipe.
