I worked on this chubby apple over the weekend. It was in rough shape when I started the stem had a bite through on the end and was missing a large chunk. It was badly oxidized and dirty. The pipe itself had many fills in the bottom side and small sandpit fills all over the bowl. The rim was dirty and damaged on the inner and outer edge. There were missing pieces from it as well. The finish was absolutely gone but it has some really nice looking grain on it and that is why I picked it up – that and it was a chubby apple which is one of my favourite shapes. The stamping on the left side is FORESTER over Made in England and on the right side reads PINECREST. There was a stinger in the tenon that was tarry and stained. I went digging on the web and could find nothing on the brand of pipe. PipePhil had photos and a question mark as to the maker. No one showed any information as to the manufacturer so this one will remain a mystery.
I have to apologize for the lack of detailed photos of the pipe before and during the initial stages of the refurb. I had some great photos of the pipe before and during these stages but sadly they are no longer available to me. During the course of last evening my dog died in our arms and somehow in the fog of that I erased the majority of the photos of this old timer. So… you will have to take my word for the work that needed to be done.
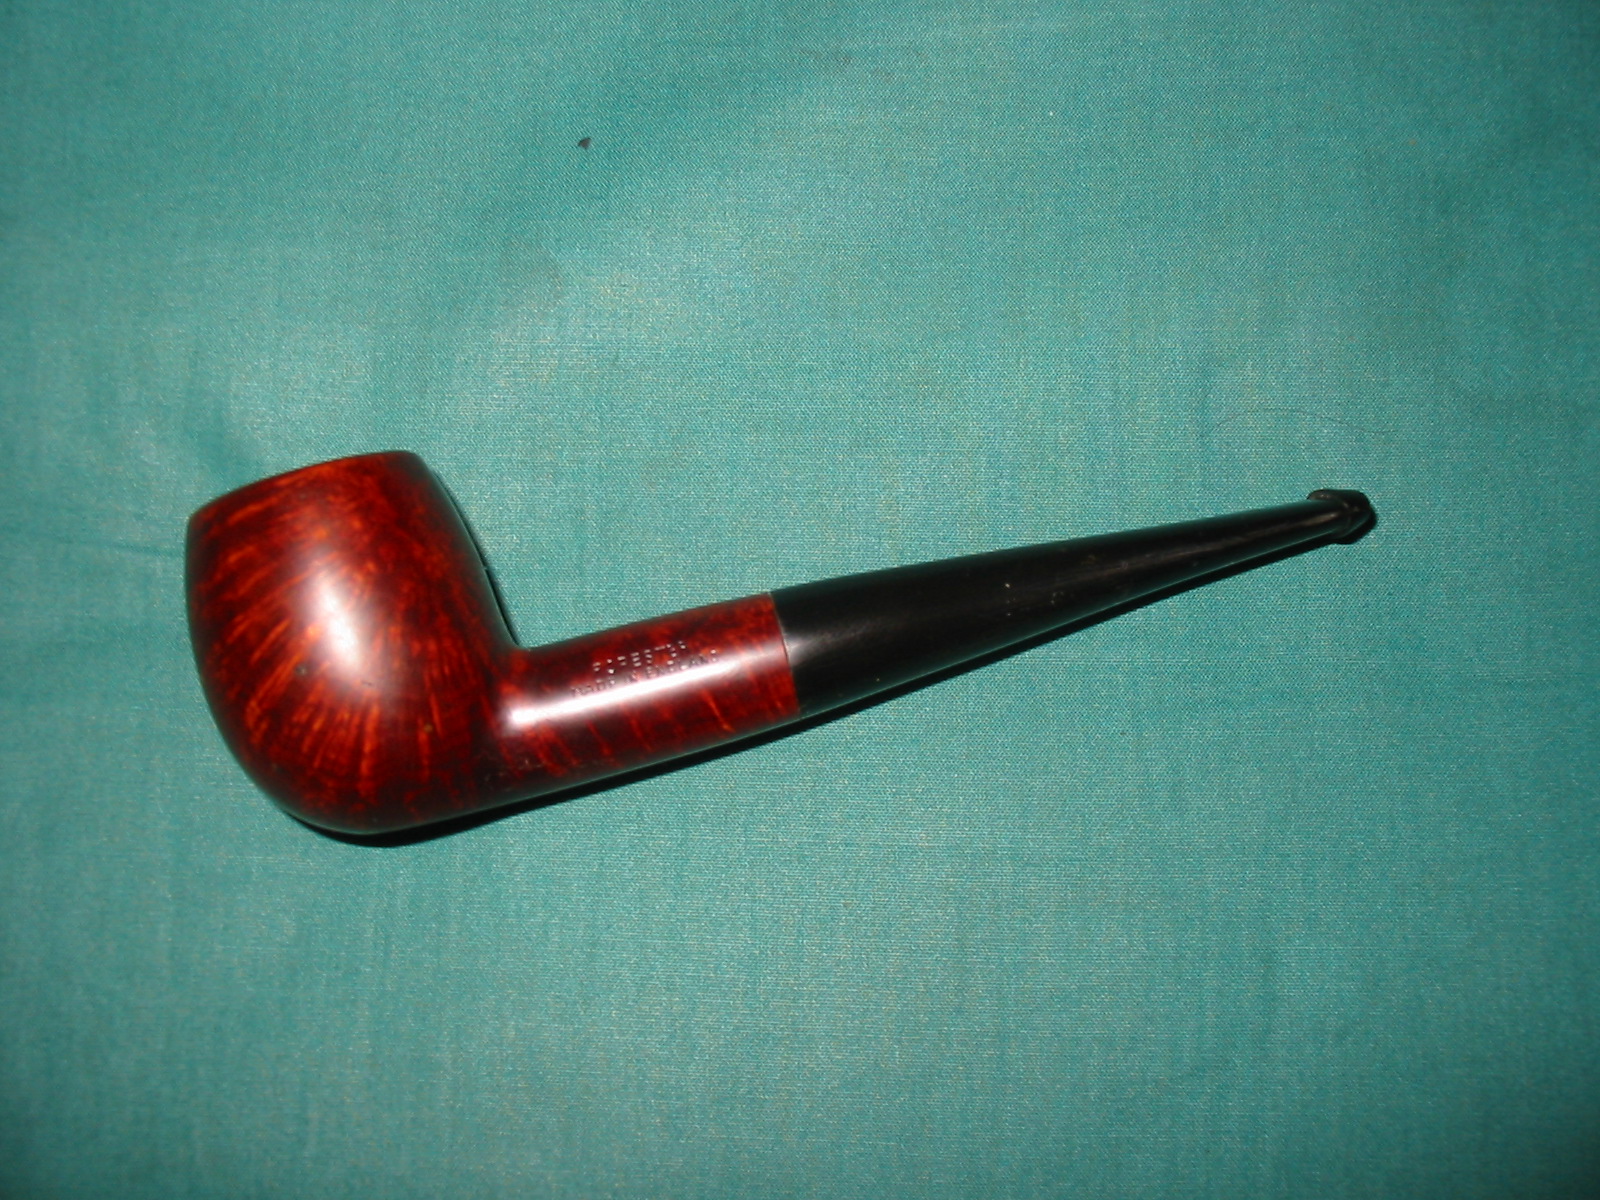
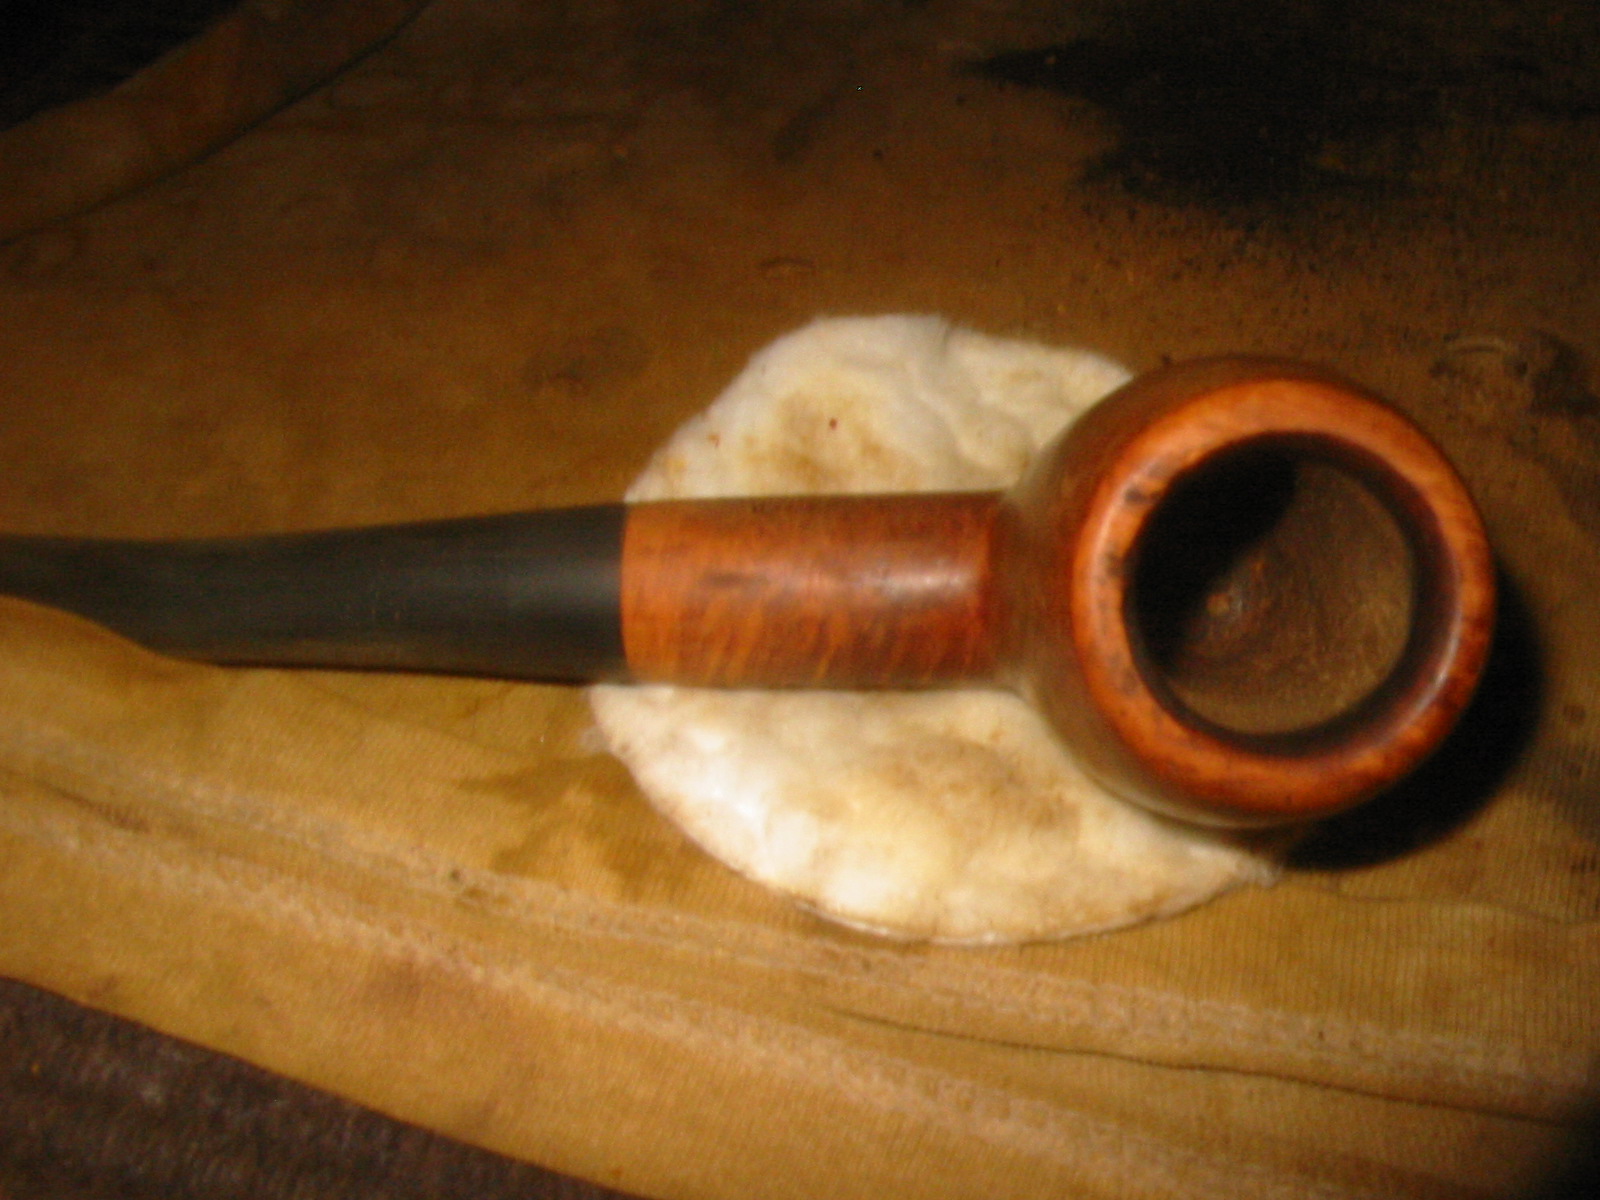
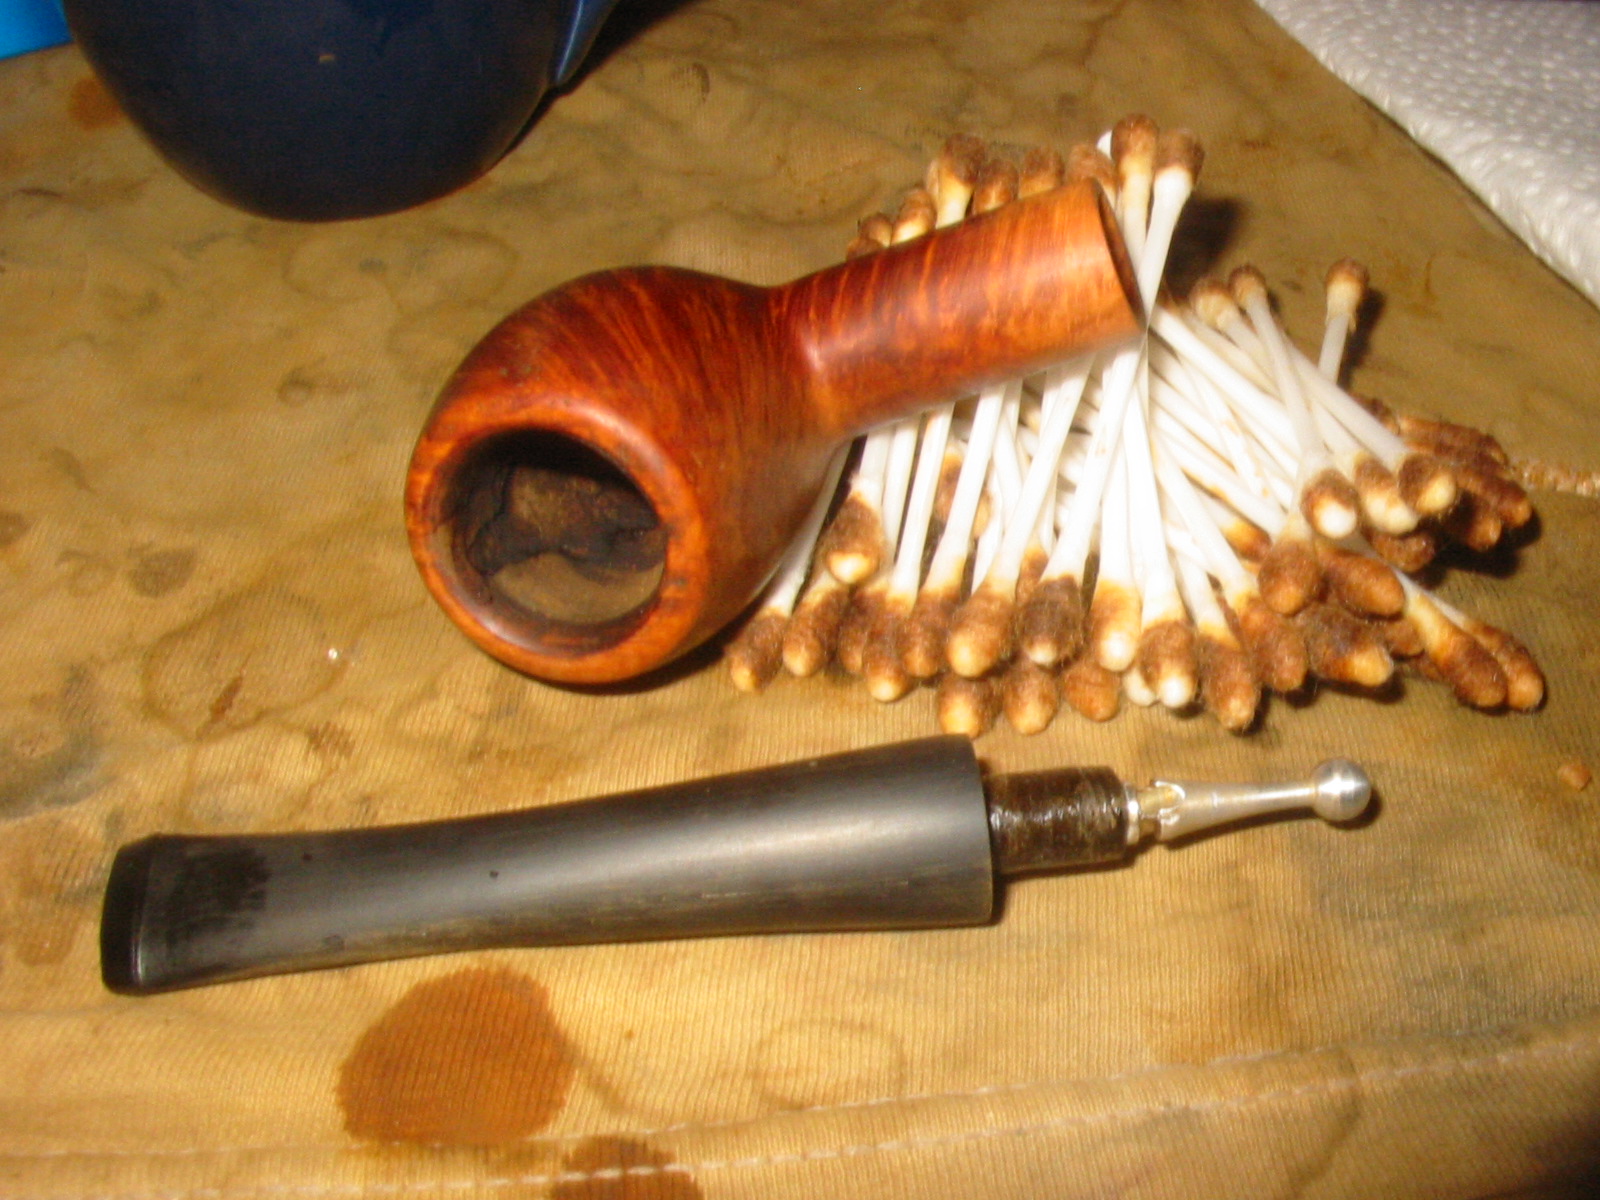
In the two photos below I show the bowl after I had fit the new stem. I had turned the tenon on my PIMO Tenon Turning Tool and then hand fit it. I had to shorten the tenon as I wanted to be able to use the stinger on the pipe. I sanded the stem and the shank to get a good fit against the shank. I wiped the bowl down with acetone on cotton pads to remove the finish that remained. I reamed the bowl with a PipNet reamer and then hand shaped the inner and outer edge of the rim with a folded piece of 220 grit sandpaper and then medium and fine grit sanding sponges. 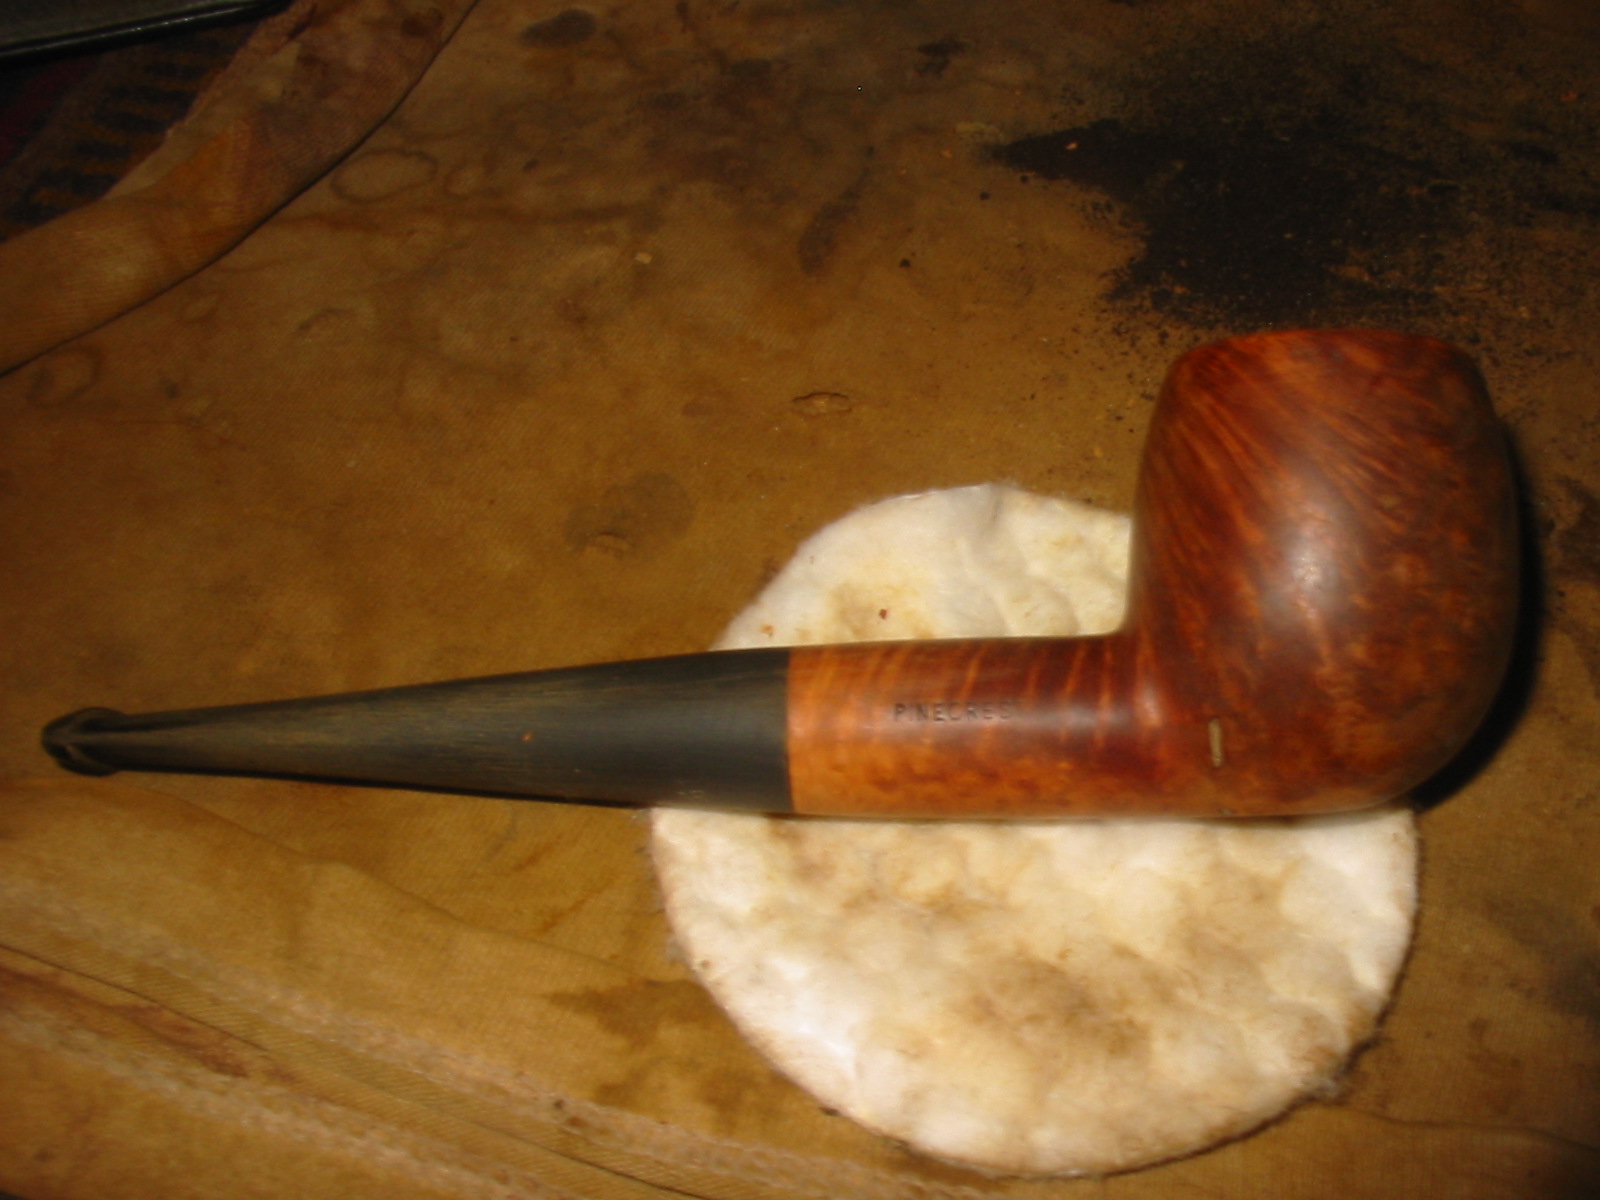
 I drilled out the tenon to receive the stinger apparatus and glued it in place with metal and wood glue. With heat it is removable. In the photo below you can see the old stem and the new one. I added about ½ inch of length to the new stem and made the taper more defined. I liked the added length to the stem and thought it would look good with the bowl.
 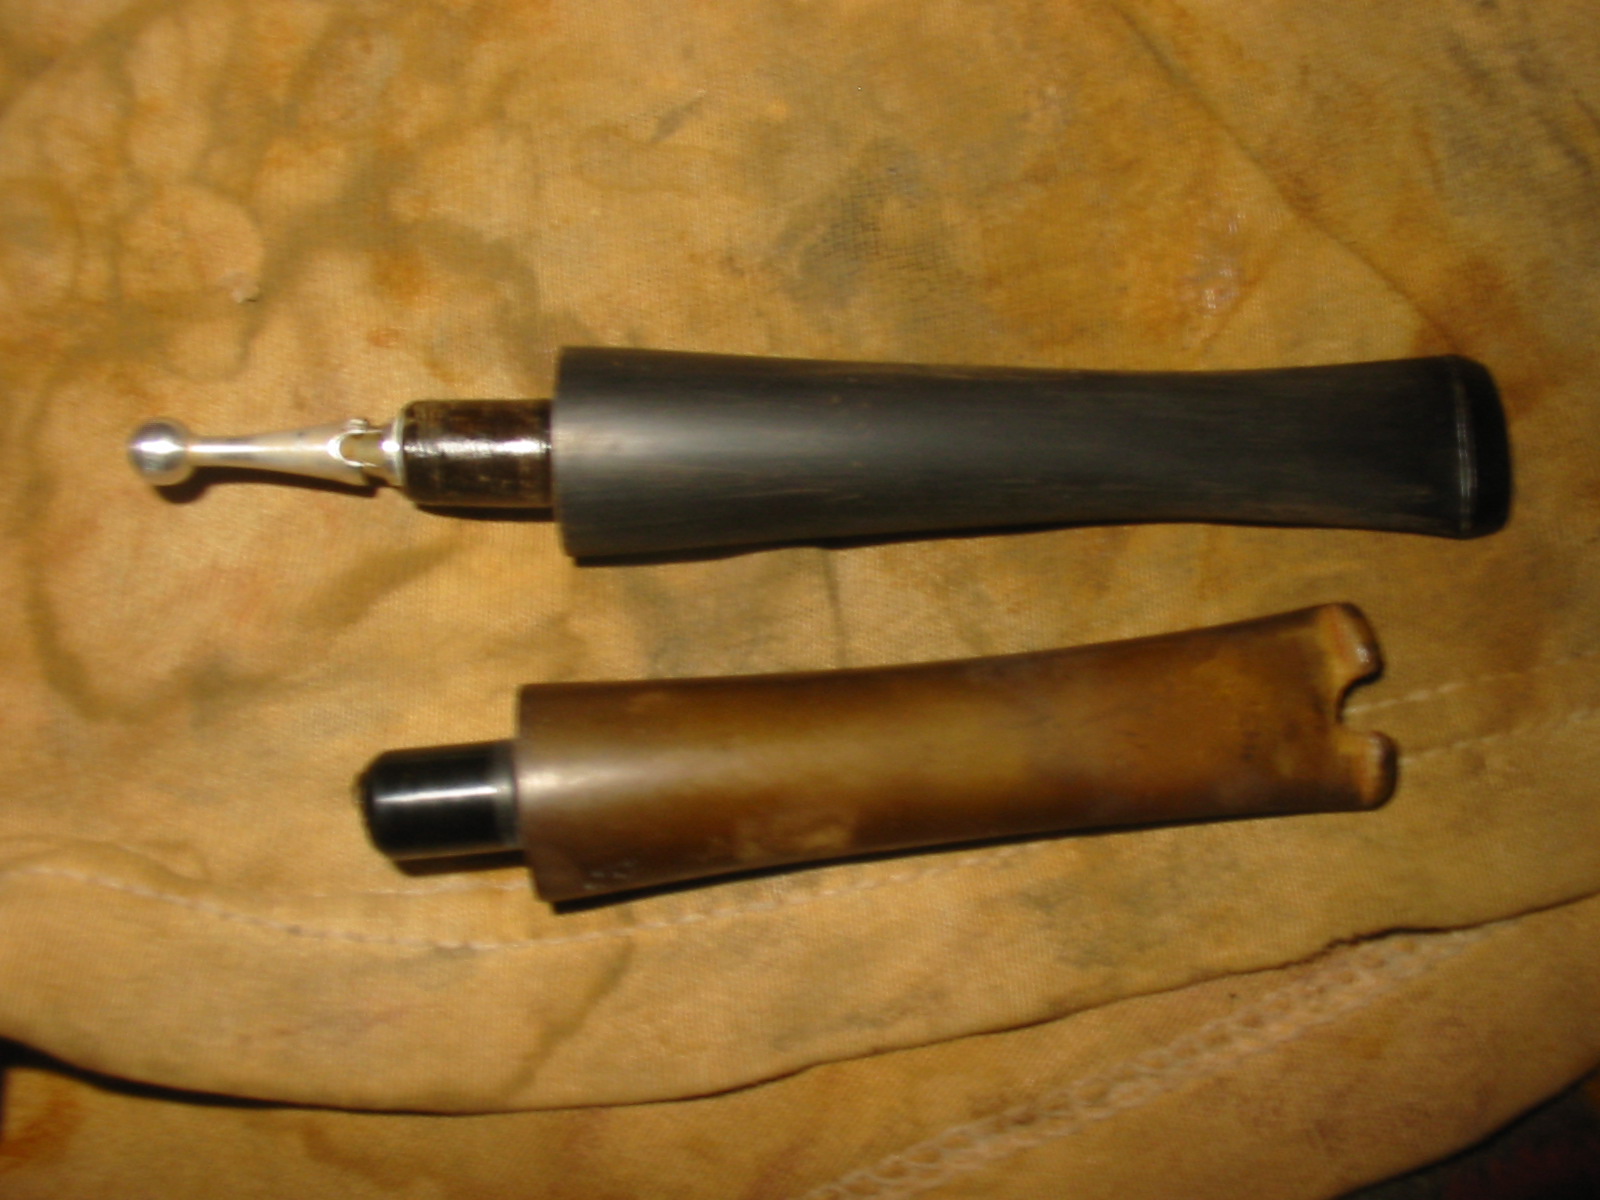 I cleaned out the shank with cotton swabs, pipe cleaners and isopropyl alcohol. I cleaned it until the swabs came out clean. The pile of pipe cleaners and swabs shown in the photo is about half the number it took to clean this old timer. Normally I would have used a retort but I needed the therapeutic repetitiveness after we buried our old spaniel.
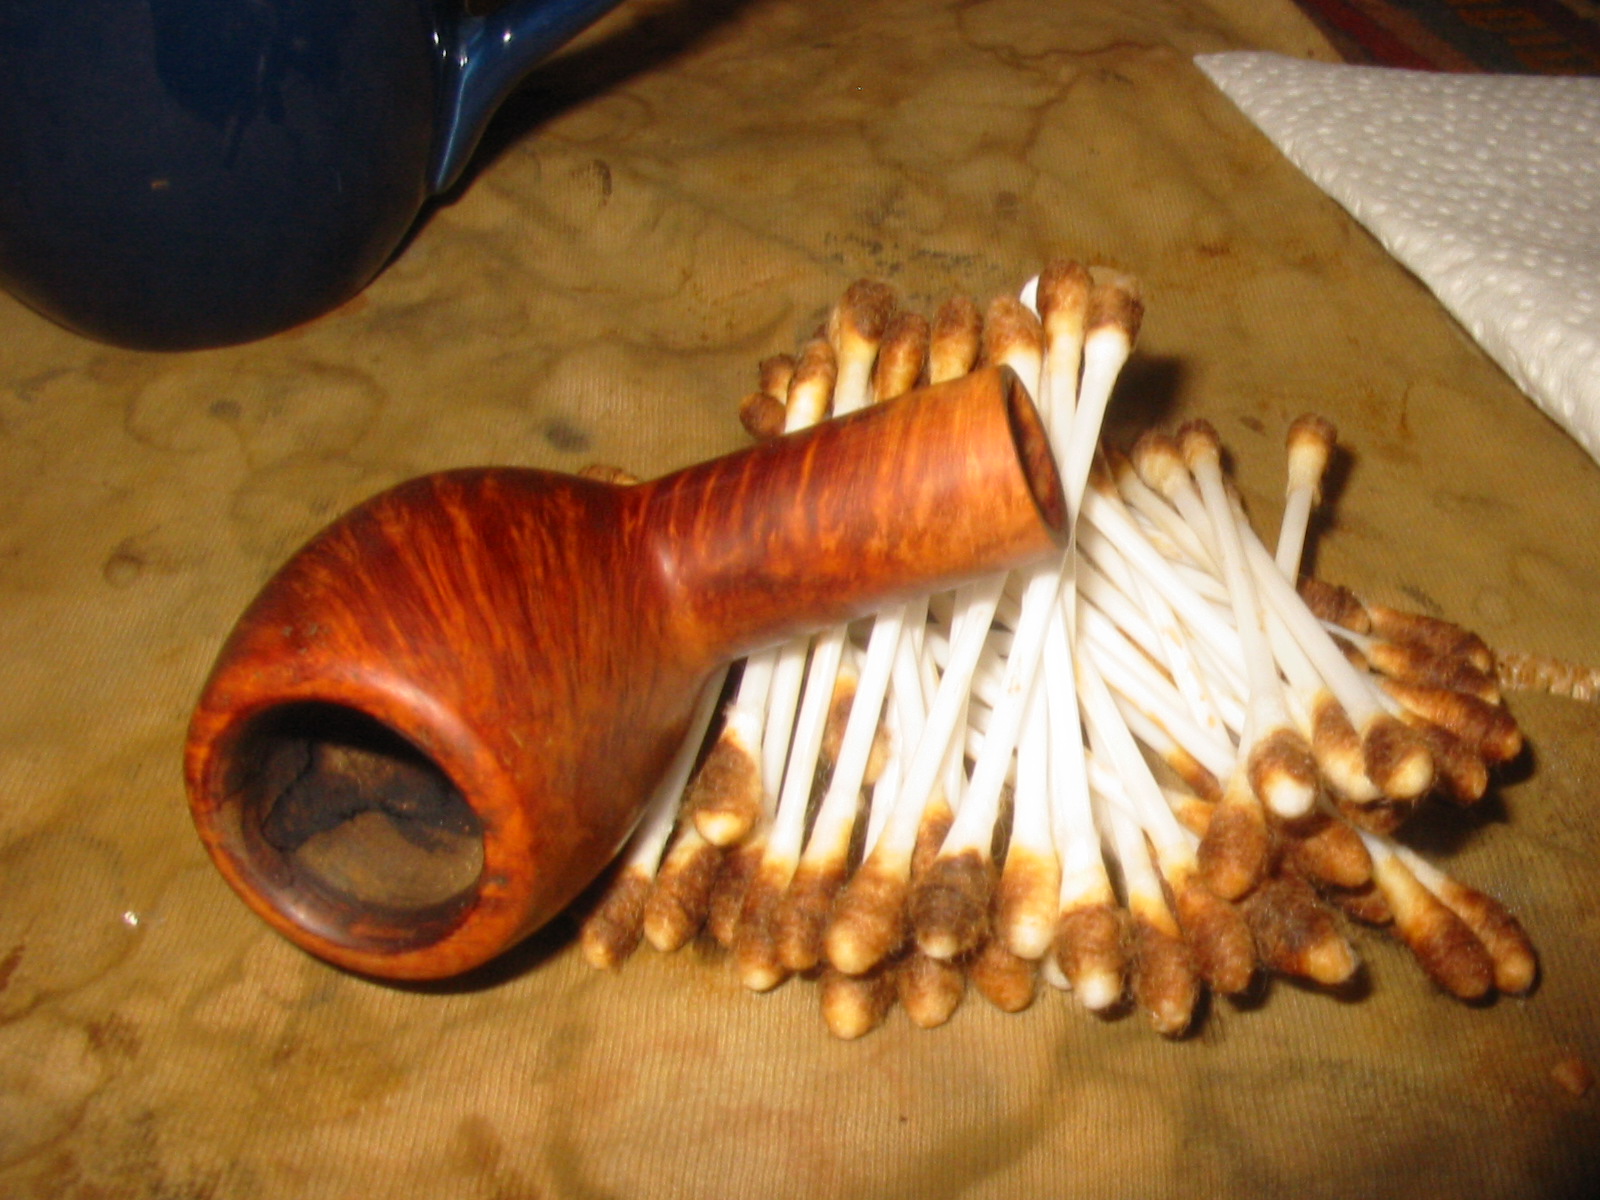
 I inserted the stem part way into the shank so I had something to hold onto while I stained it. I used a dark brown aniline stain and stained, flamed and repeated the process until the coverage was sufficient. I then wiped the bowl down with isopropyl alcohol on cotton pads to help the grain stand out through the stain.
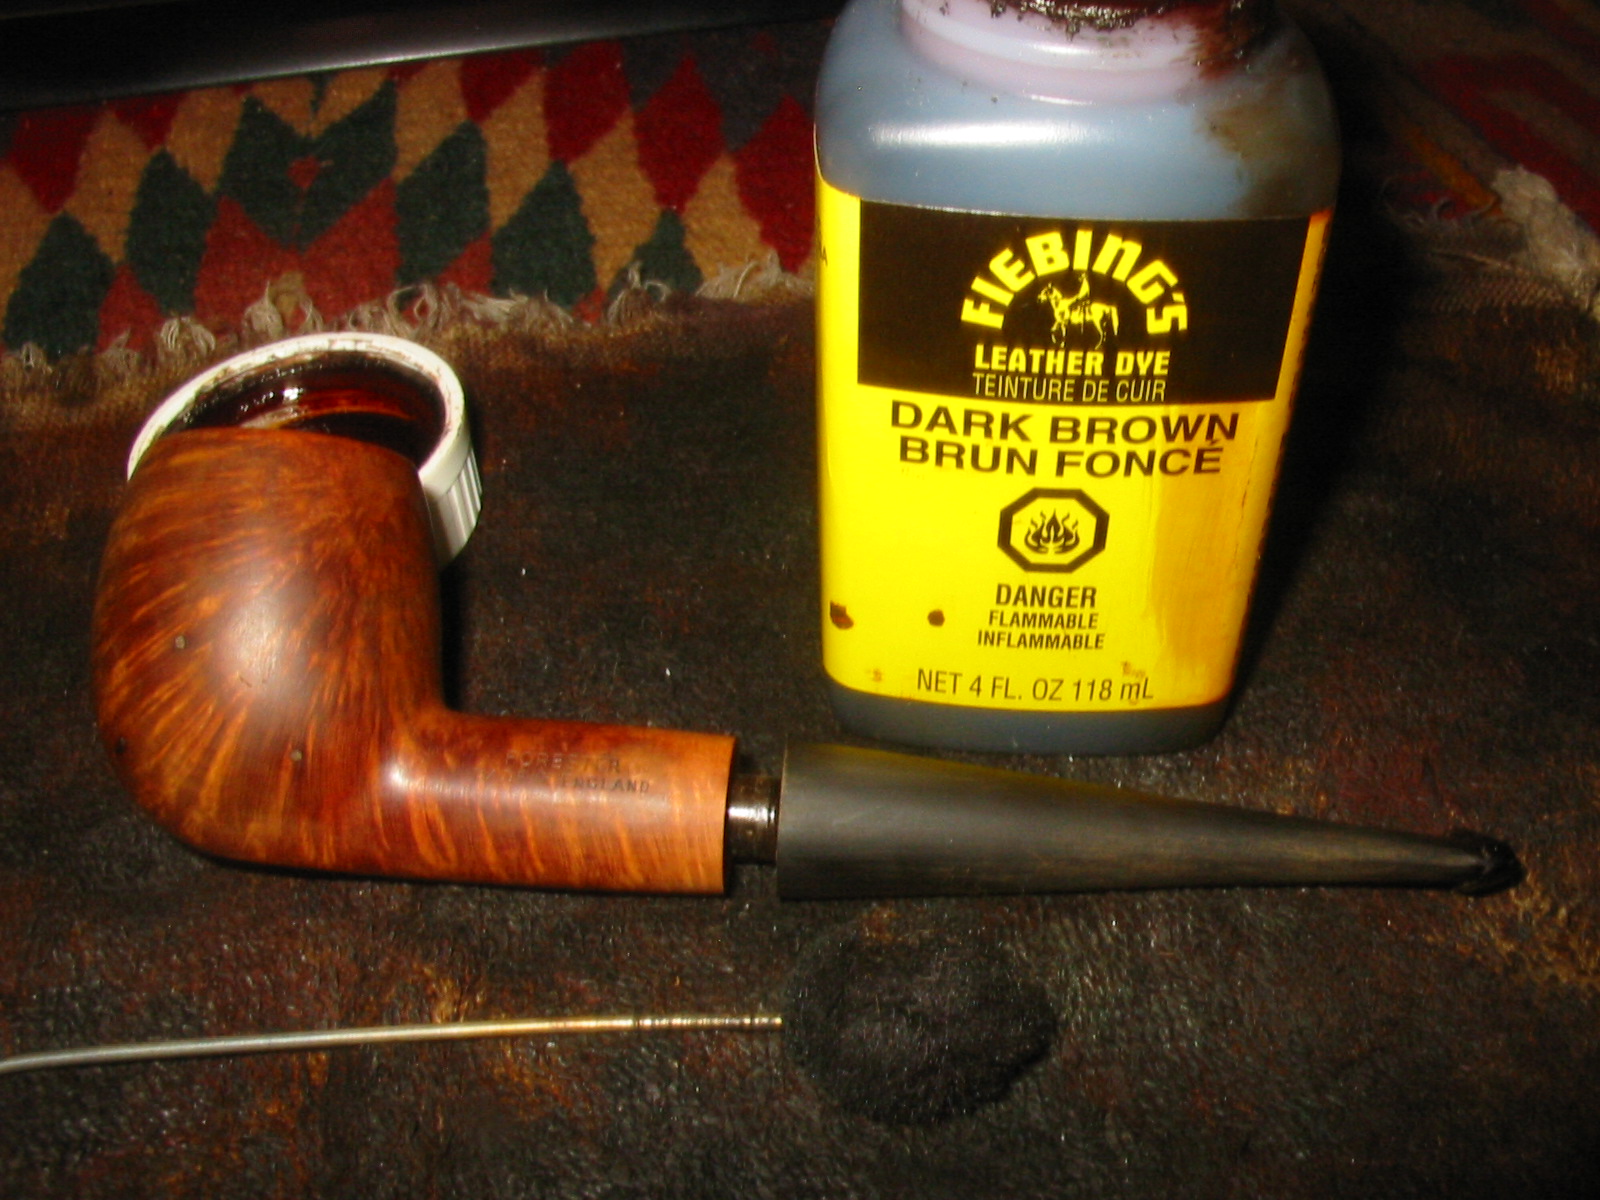
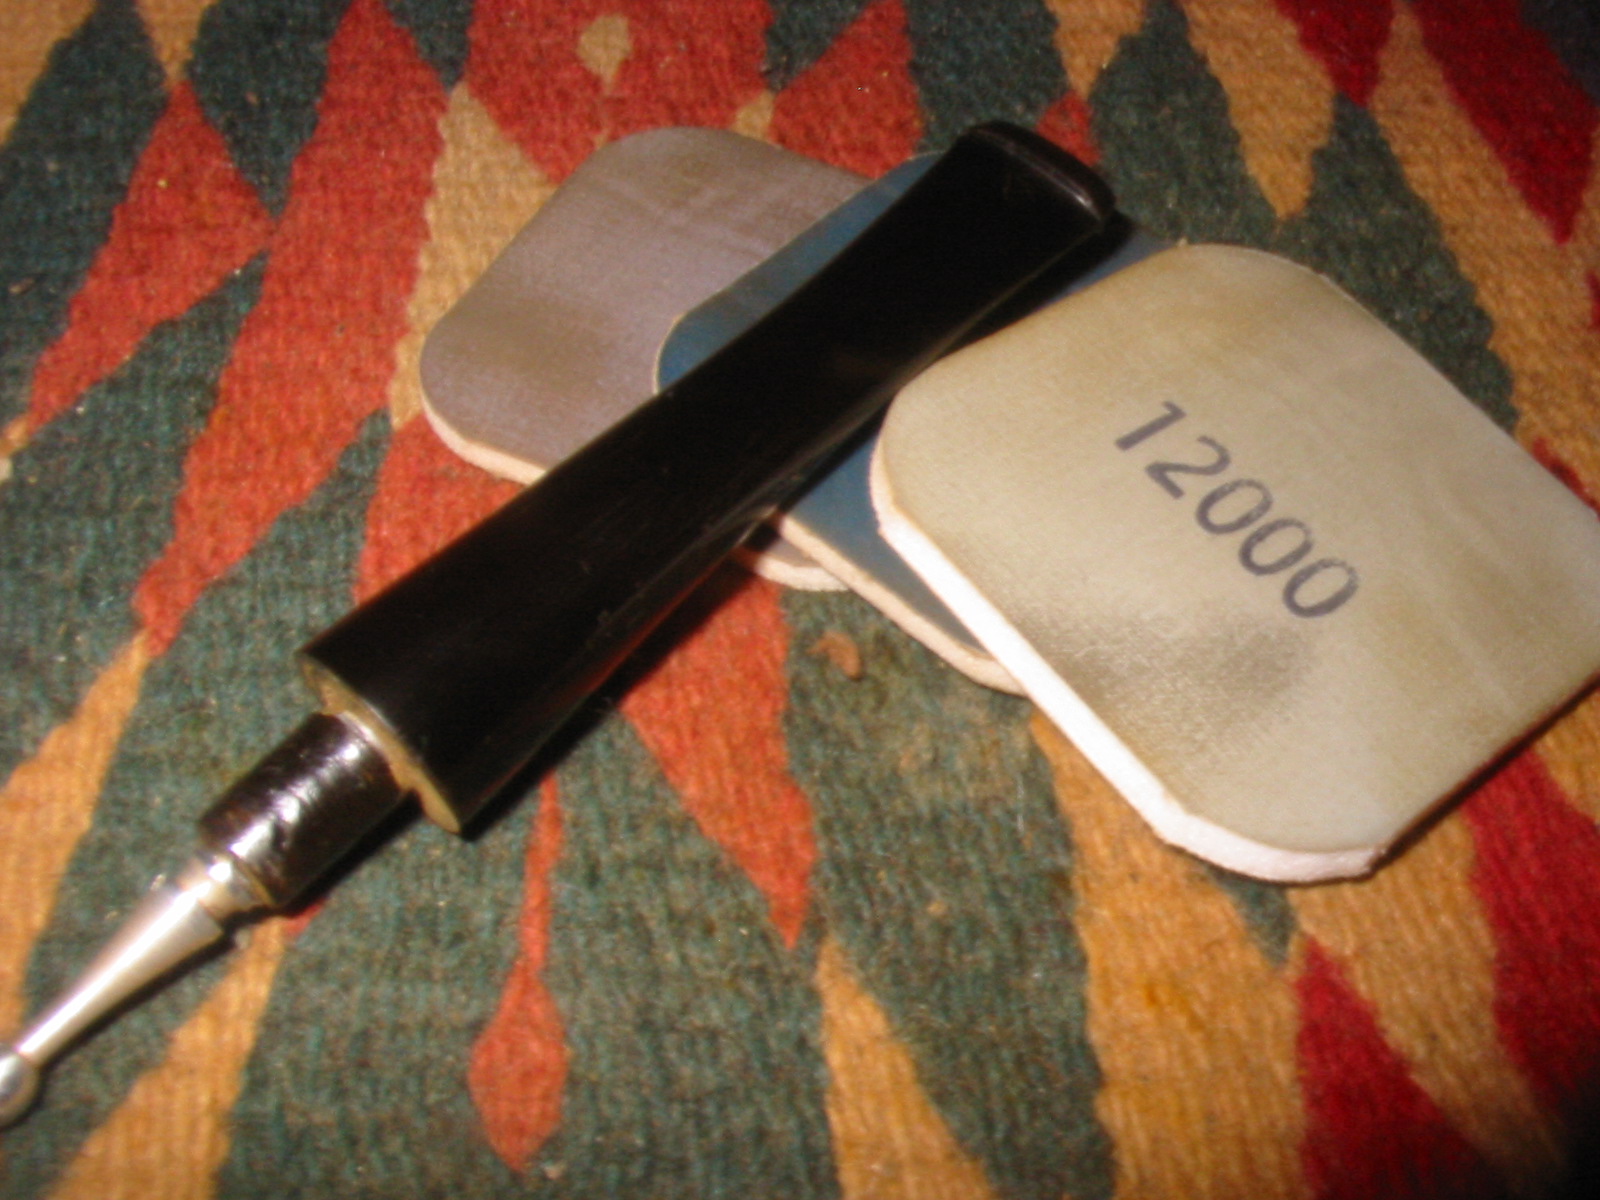
 I sanded the stem with fine grit sanding sponges and then with the usual array of micromesh pads. I wet sanded with 1500-2400 grit pads and then dry sanded with 3200-12,000 grit pads. I rubbed the stem down with Obsidian Oil between each set of three pads. I also sanded the bowl and shank with the higher grades of micromesh from 6000-12,000 grit.
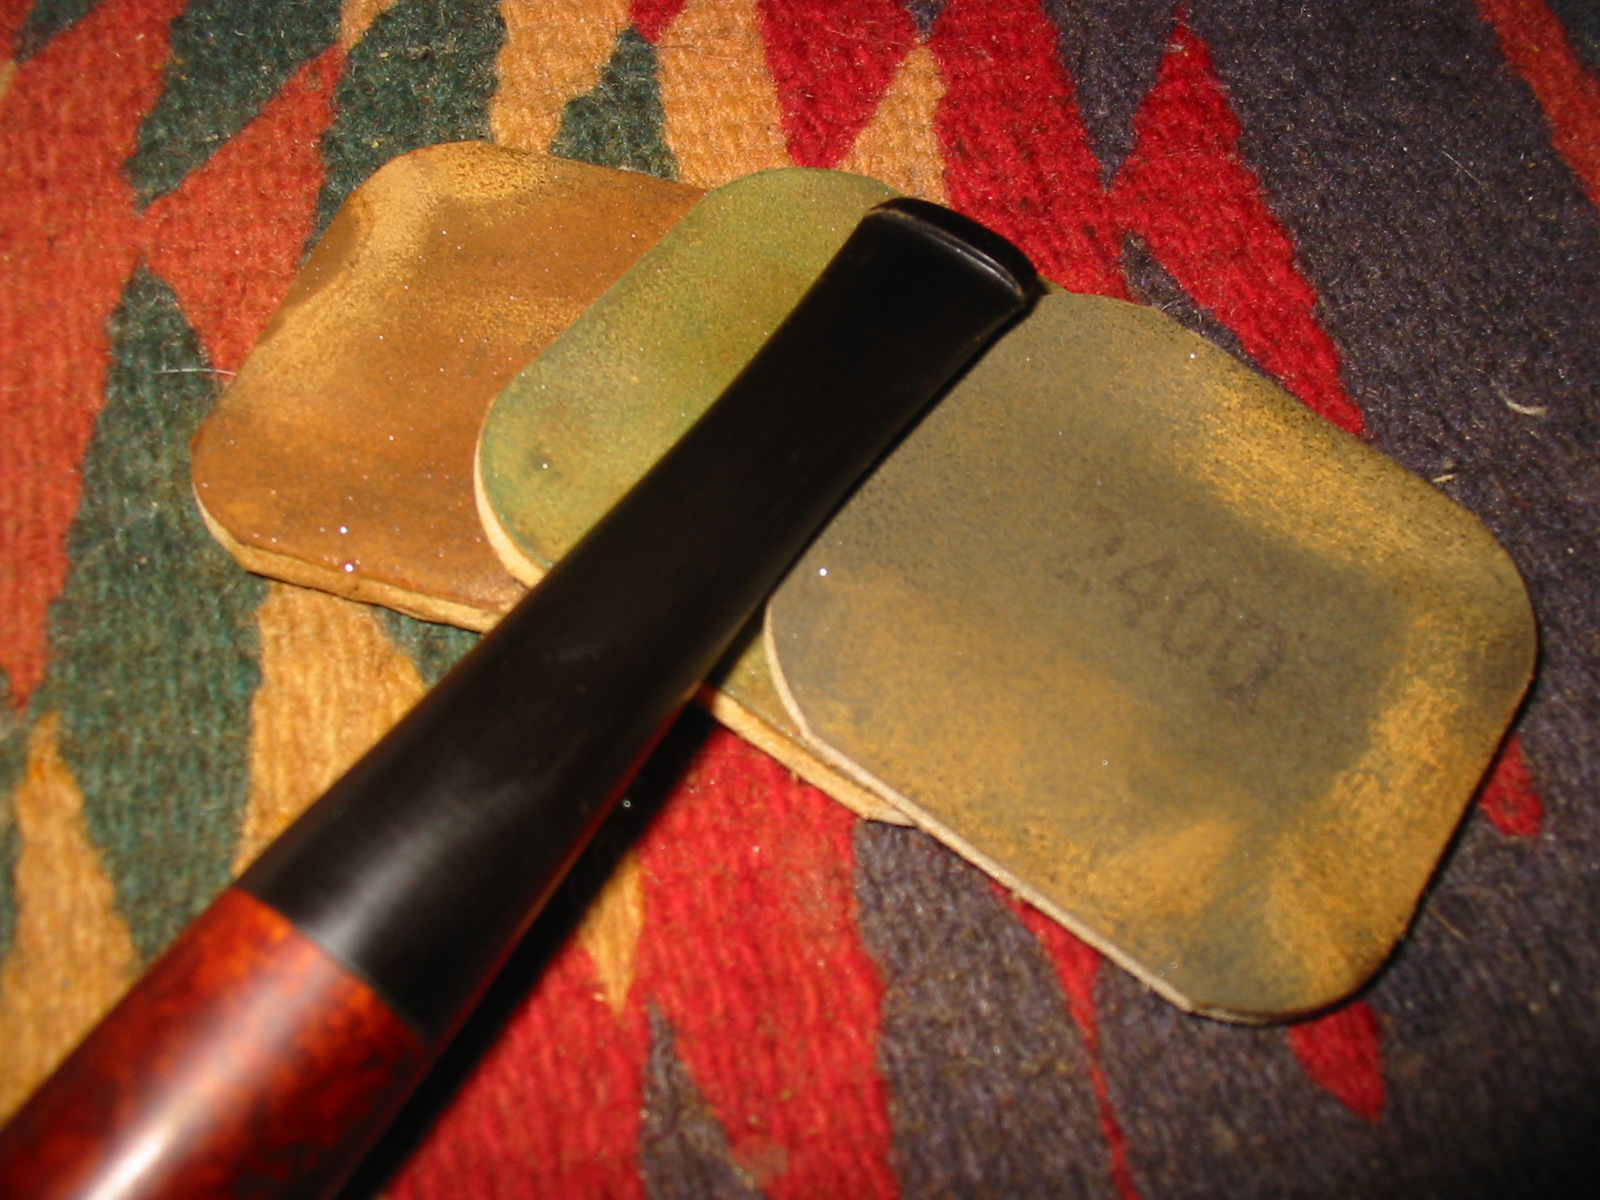

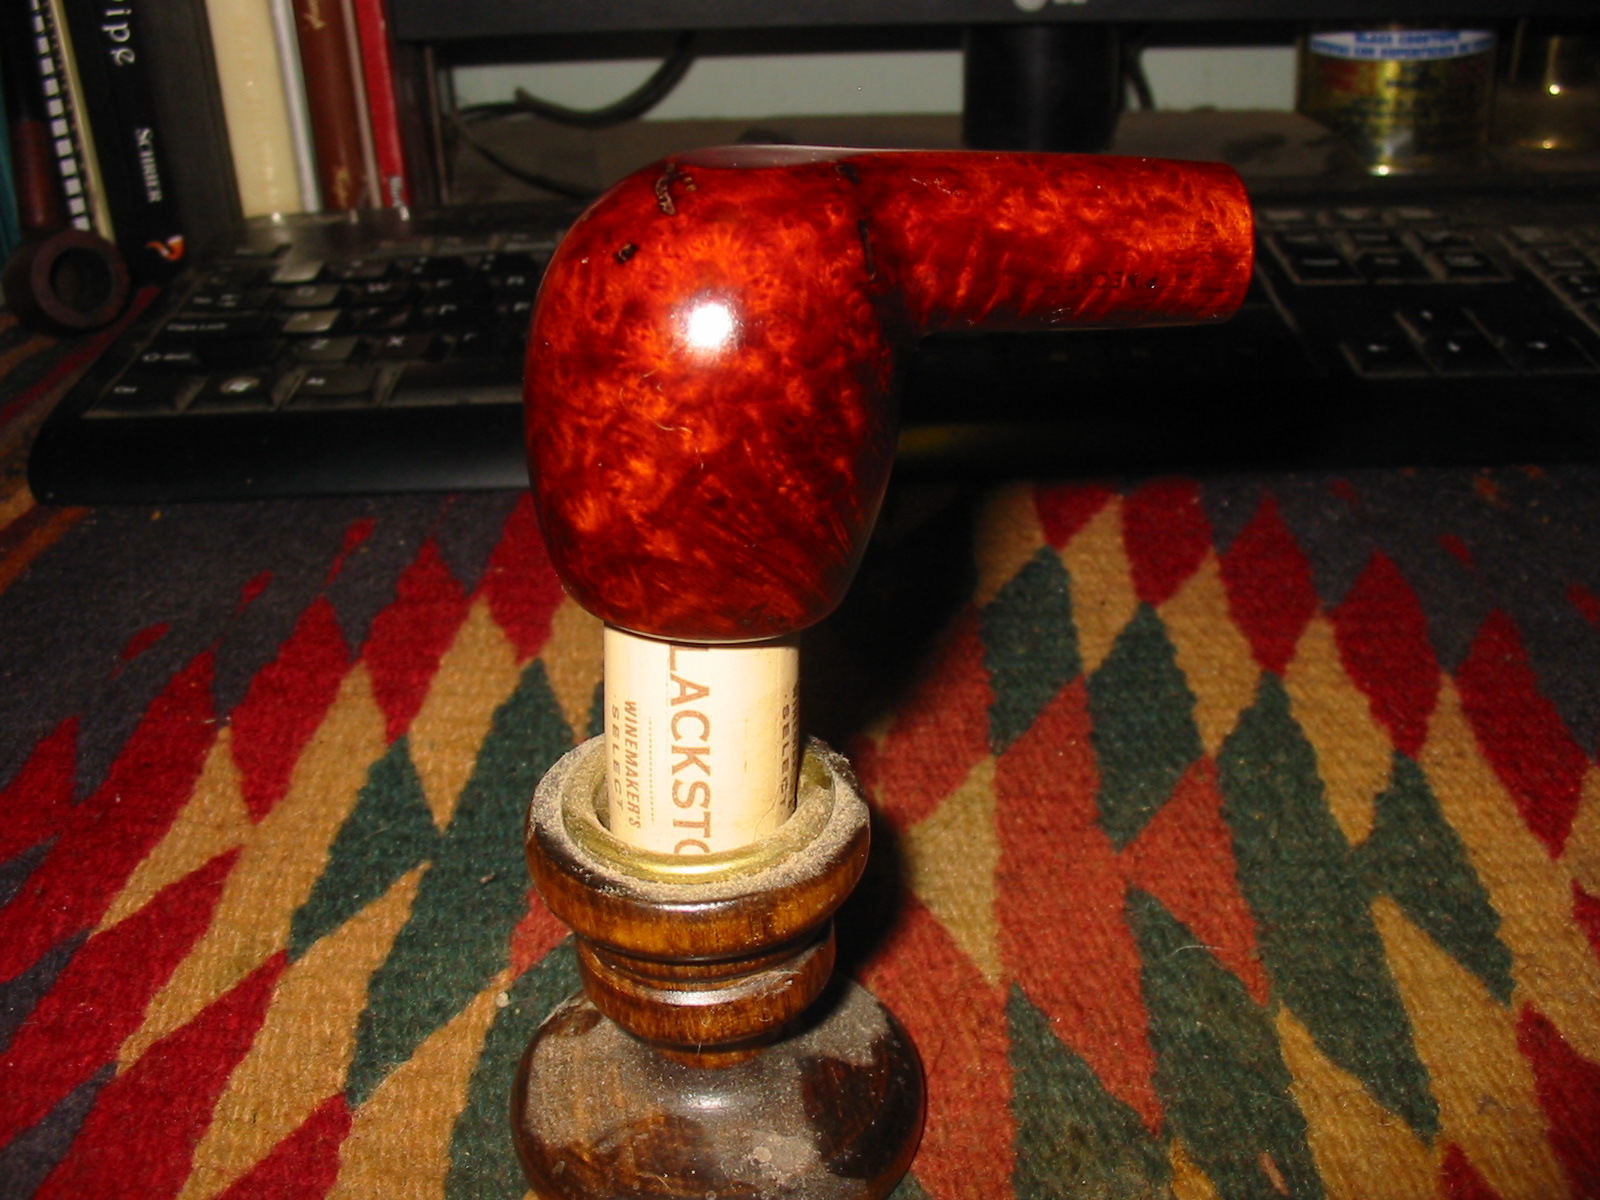
 Once the bowl was dry I used a black permanent marker and used it to darken the fills – spots and larger ones on the bowl sides and bottom. I then gave the bowl a coat of Danish Oil with a walnut stain in it. I know that using this product bothers some folks but I like the way it seals the black touch ups on the fills and helps to mask them and blend them into the finish. I used a wine cork in a candle holder to hold the bowl until it dried. The grain on this old pipe really pops now and the birdseye and cross grain look quite stunning with the top coat.
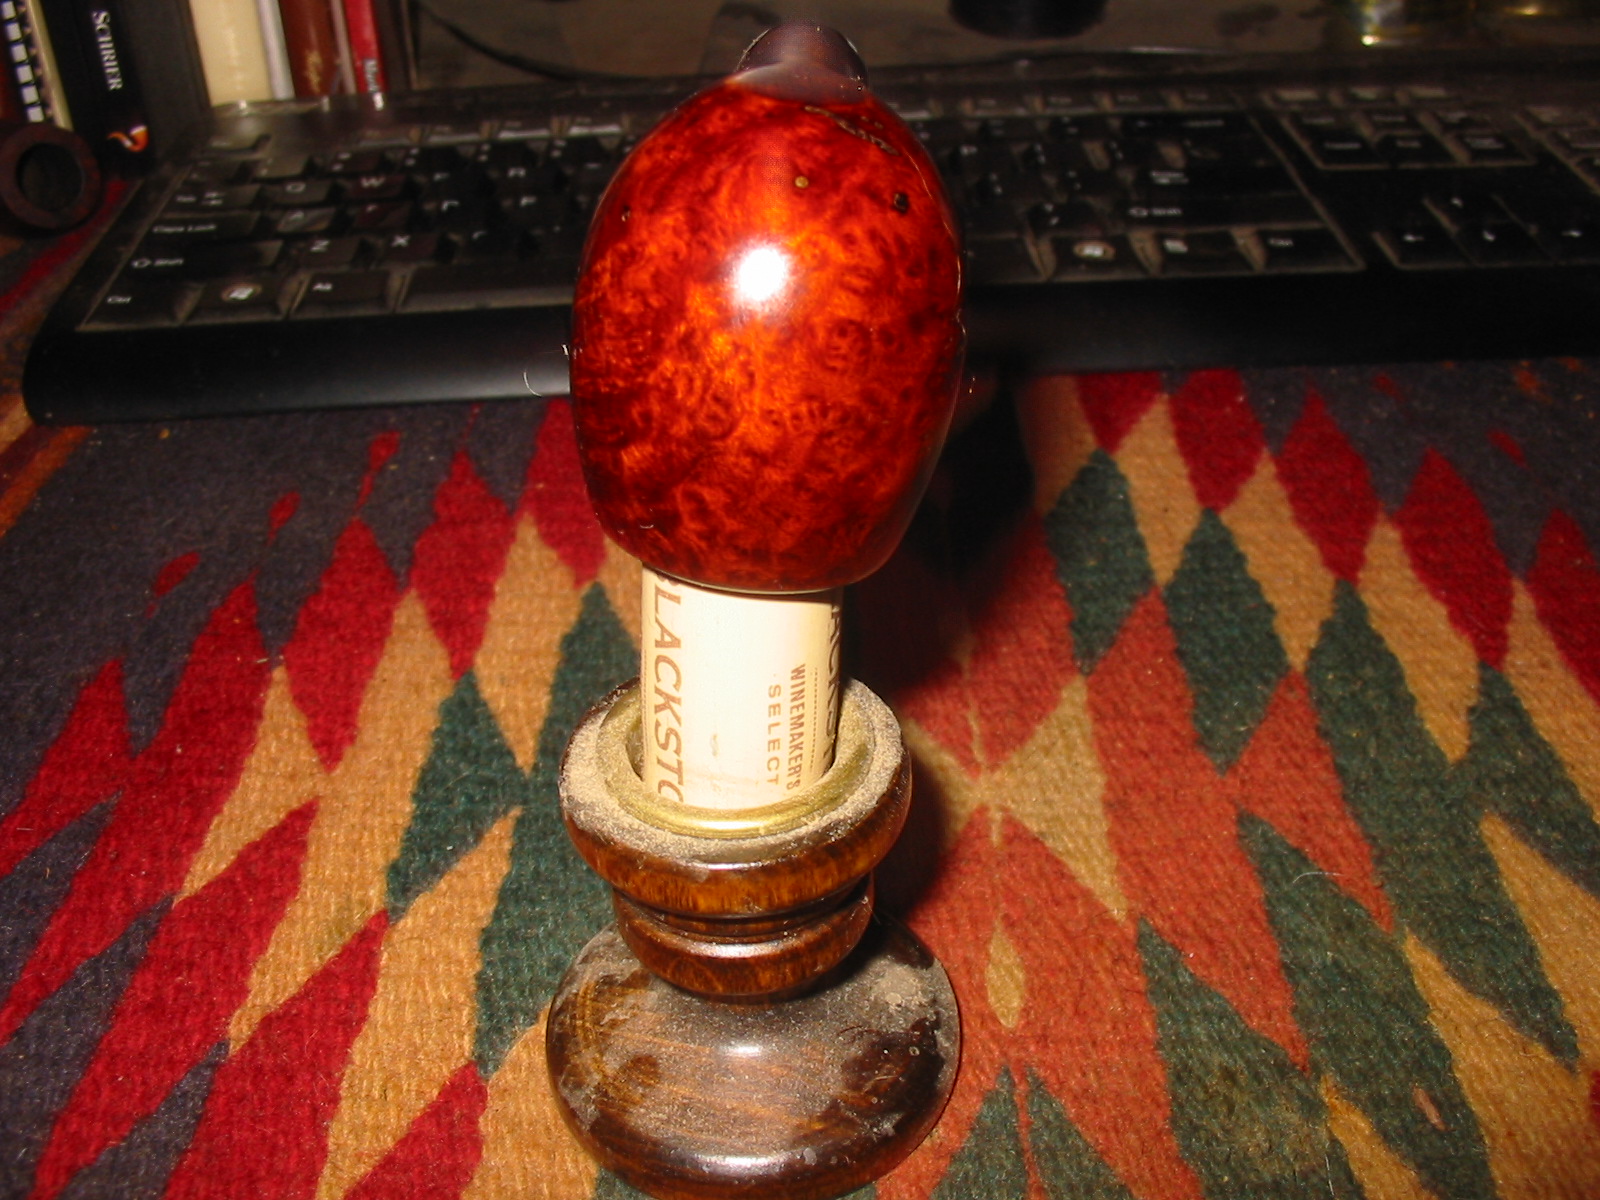
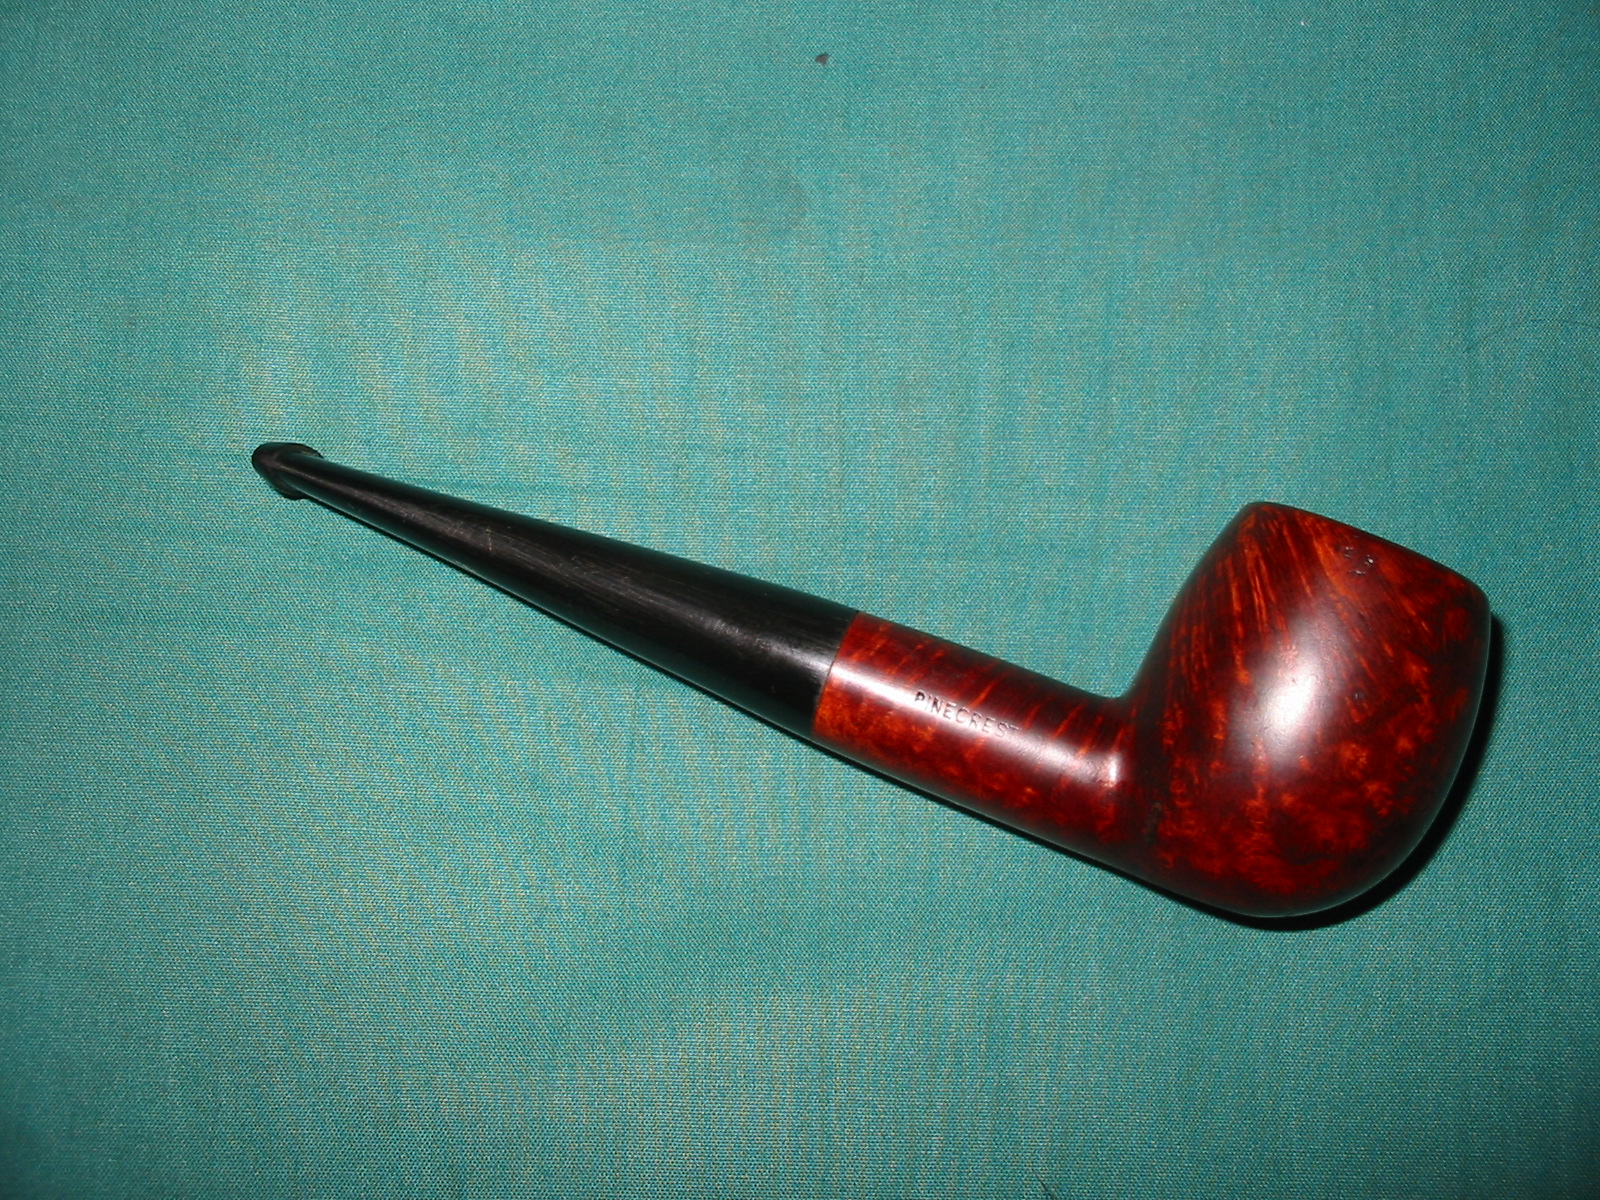
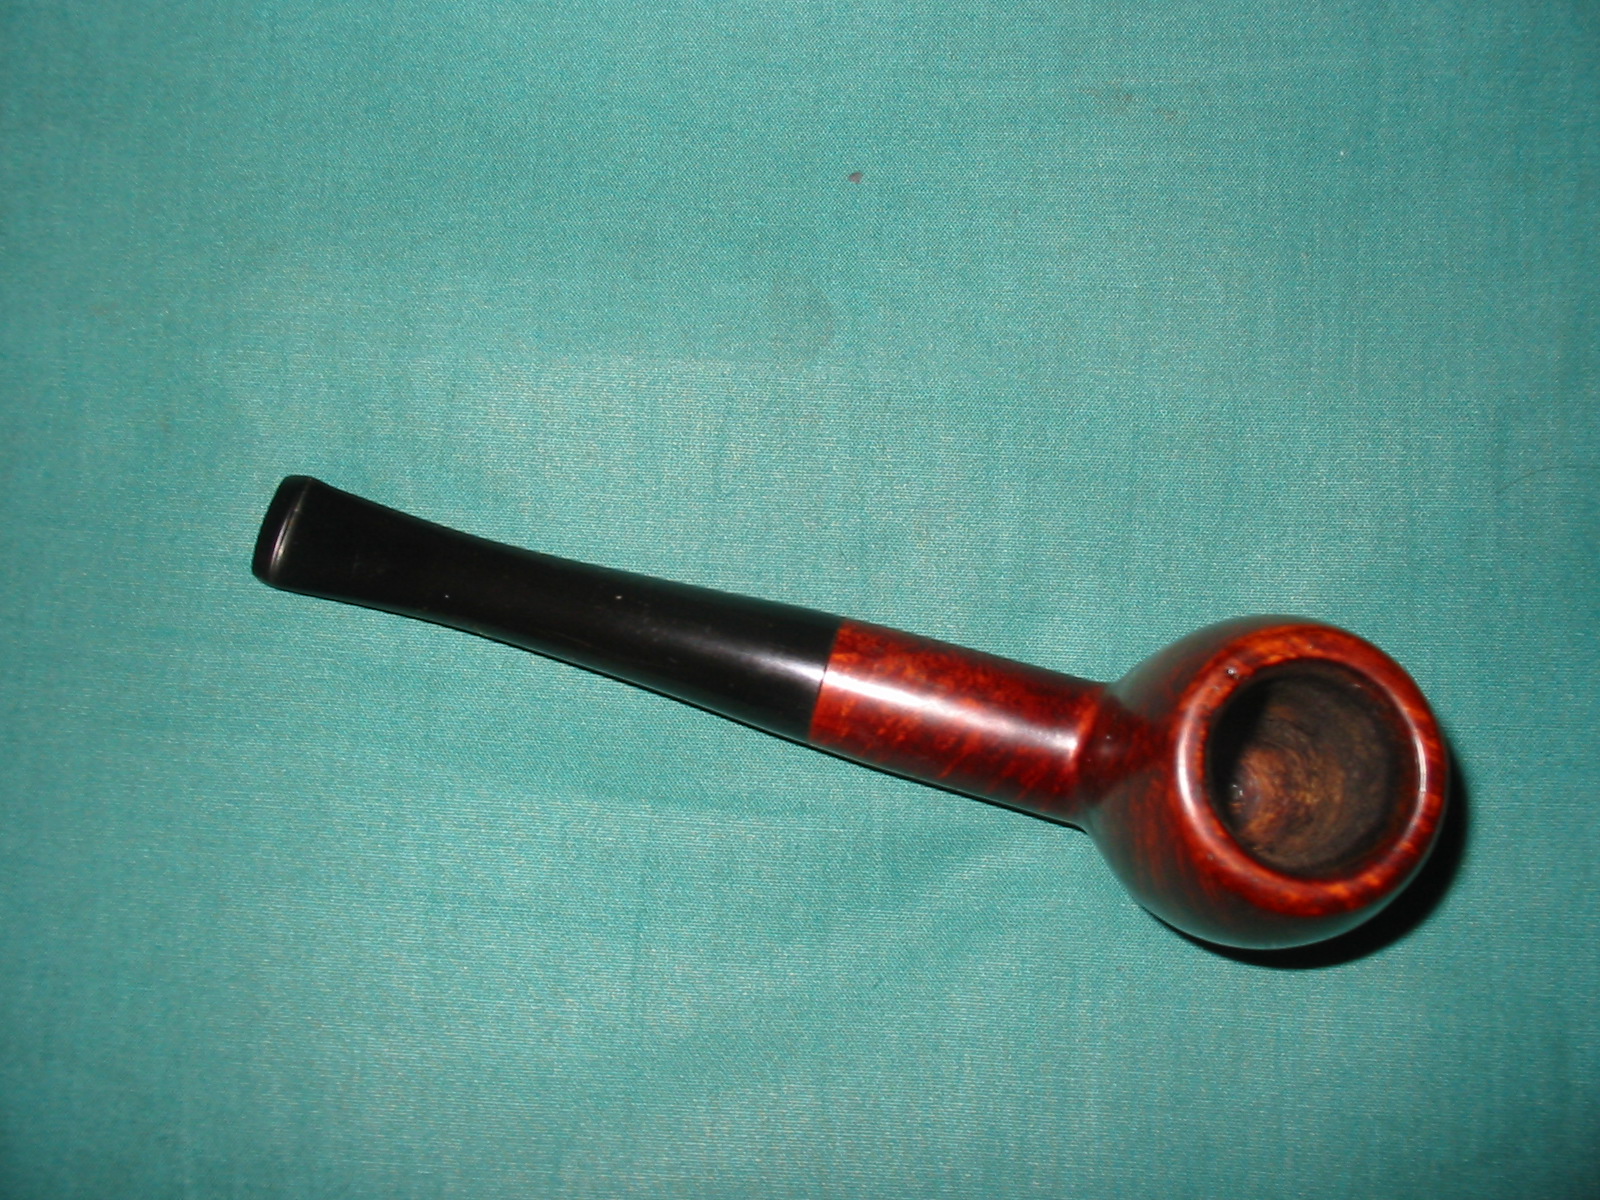
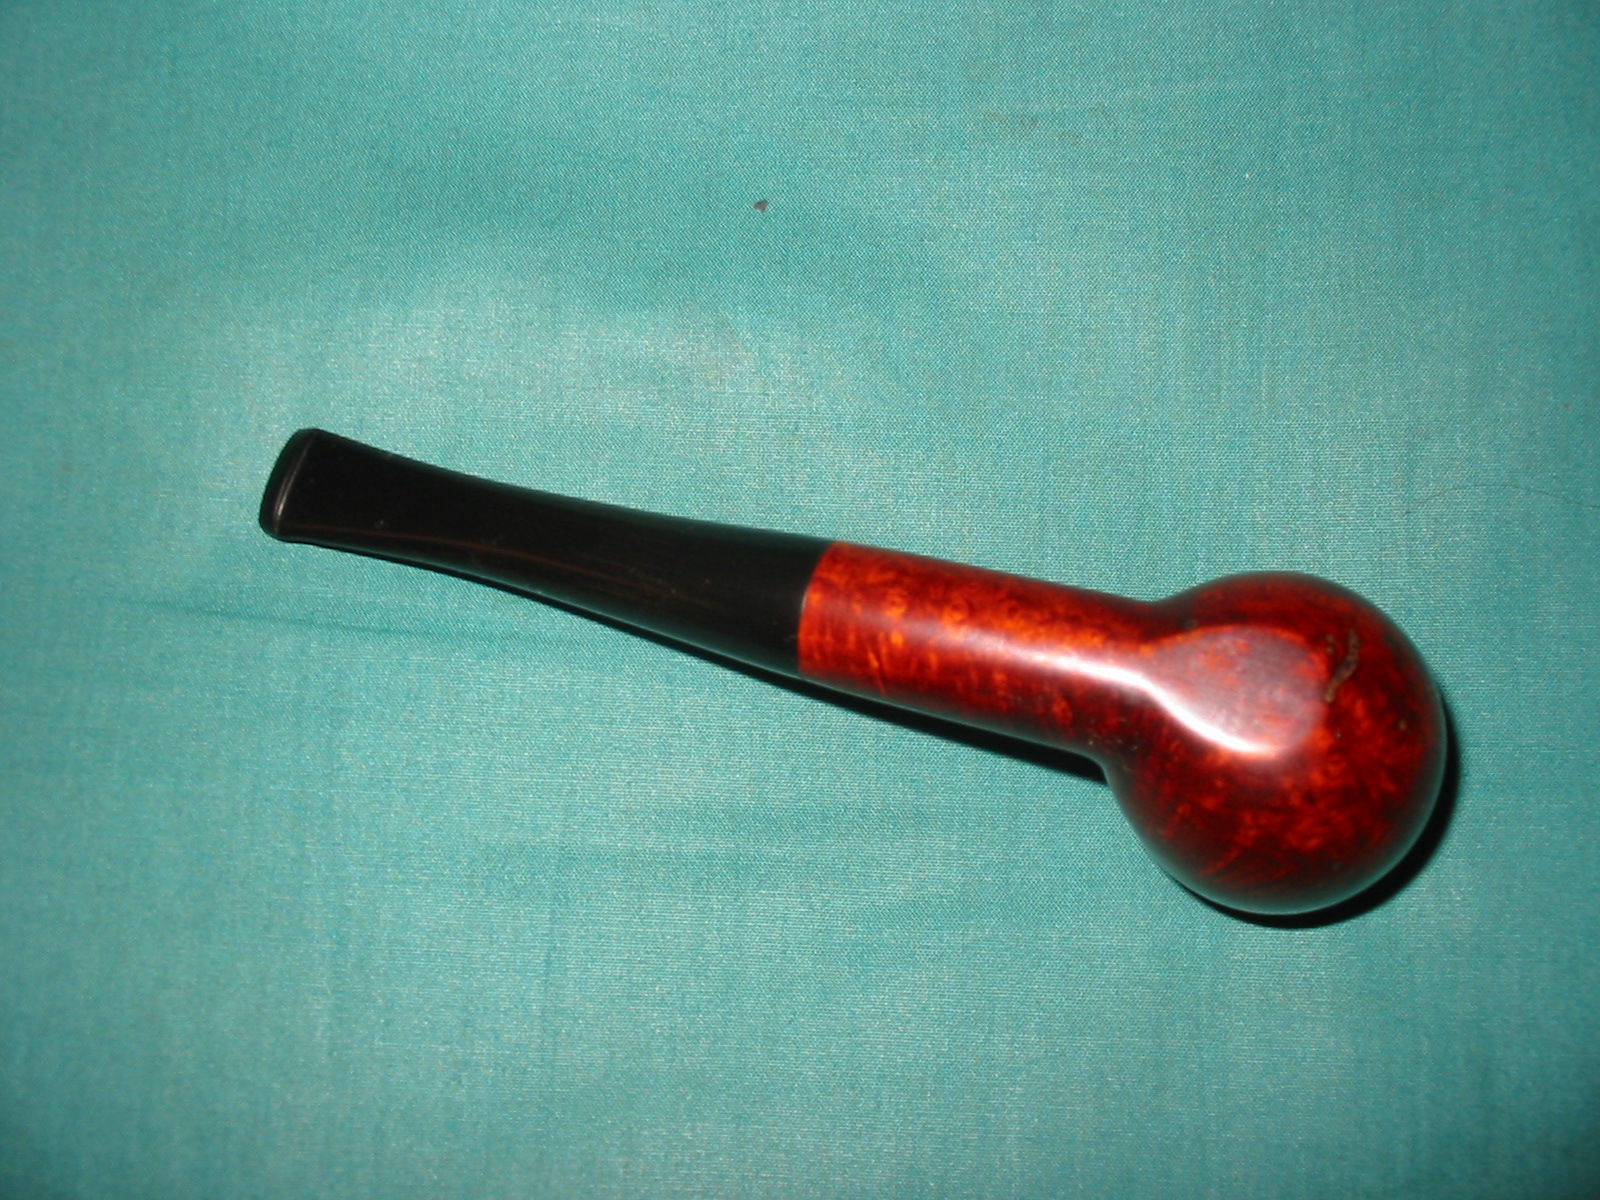
 When the pipe dried I gave it a light buff with White Diamond and buffed the stem more rigorously. I gave the entire pipe a buff with multiple coats of carnauba wax and buffed with a soft flannel buff between coats. The finished pipe is shown in the next series of photos below. The new stain and stem give it an attractive and rather elegant look.