Blog by Greg Wolford
I’ve been hoping to add a Kaywoodie Regent to my collection for some time now. A month or so ago we were out-of-town on vacation when I happened upon one in an antique store. There were actually several pipes in this vendor’s case, most of which I wasn’t interested in. Other than the Regent, there were also two other Kaywoodies I was interested in: a Relief Grain and an extra long Canadian. They all looked to have pretty good bones in the dark little store so I made them mine.
When I got them back to where we were staying I eagerly opened them up to see what I had. I found that they were a lot dirtier and caked up than I thought. I also now got a really good look at the damage to the Regent’s stem; this was going to take some trail and error I knew.
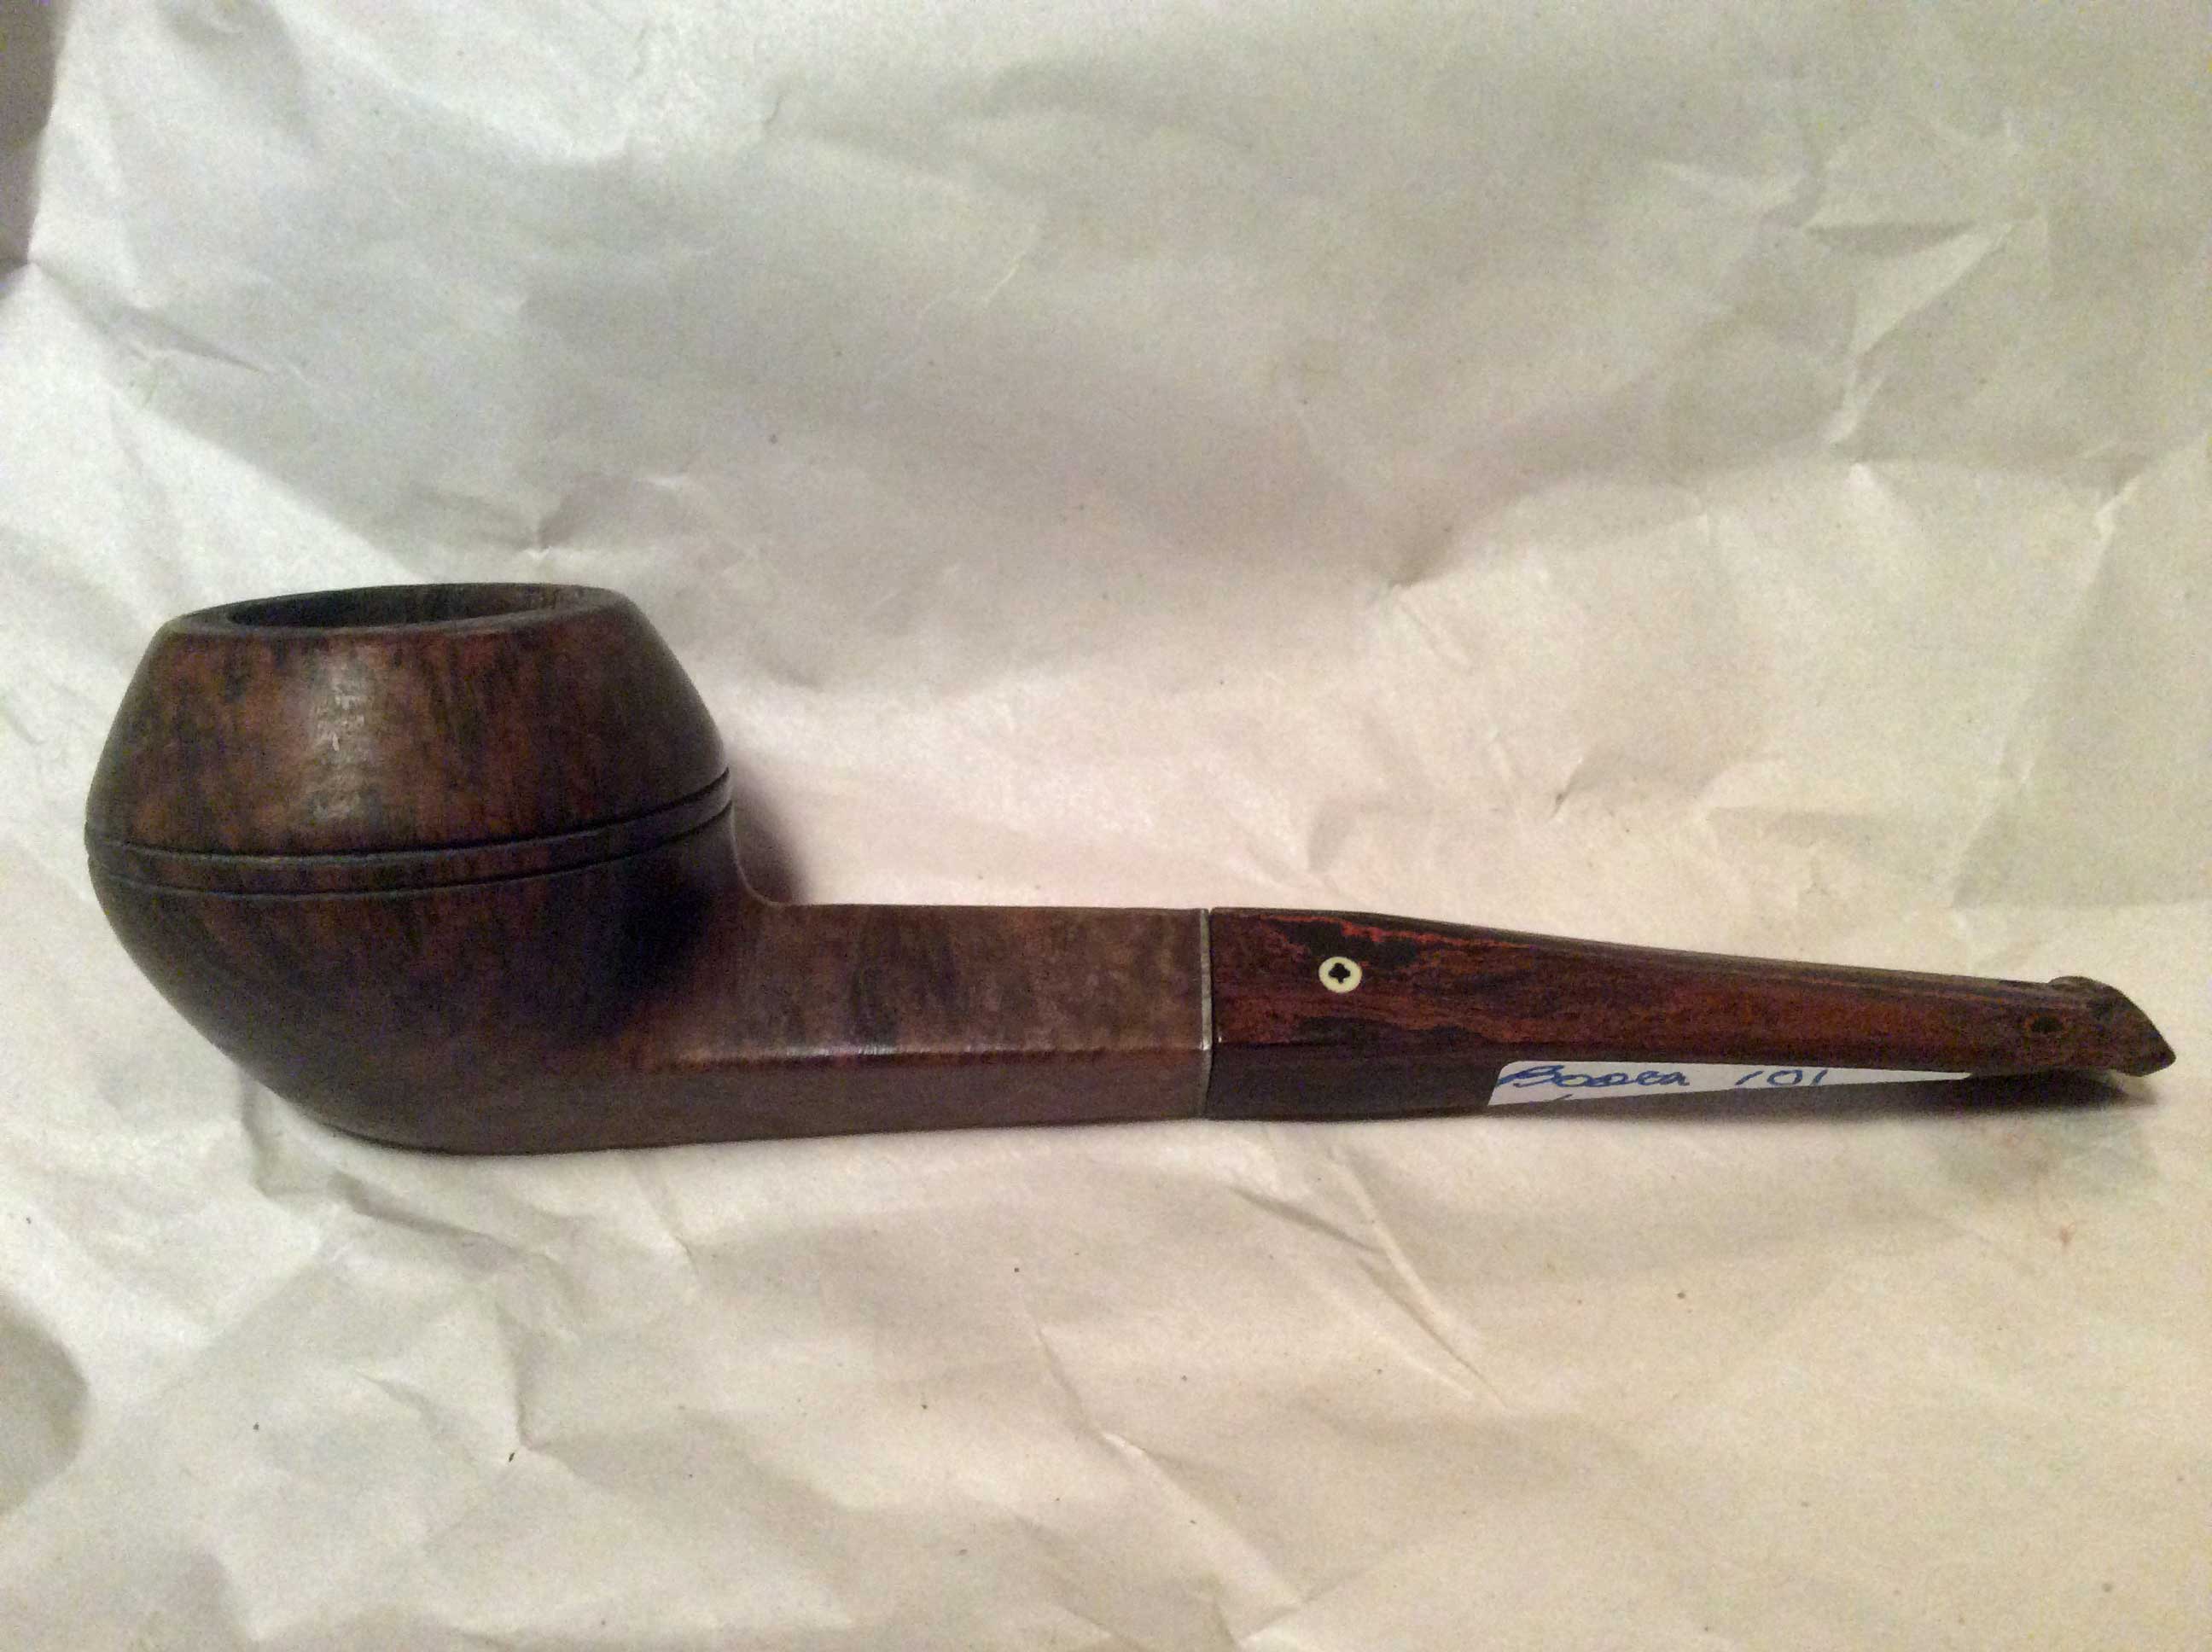
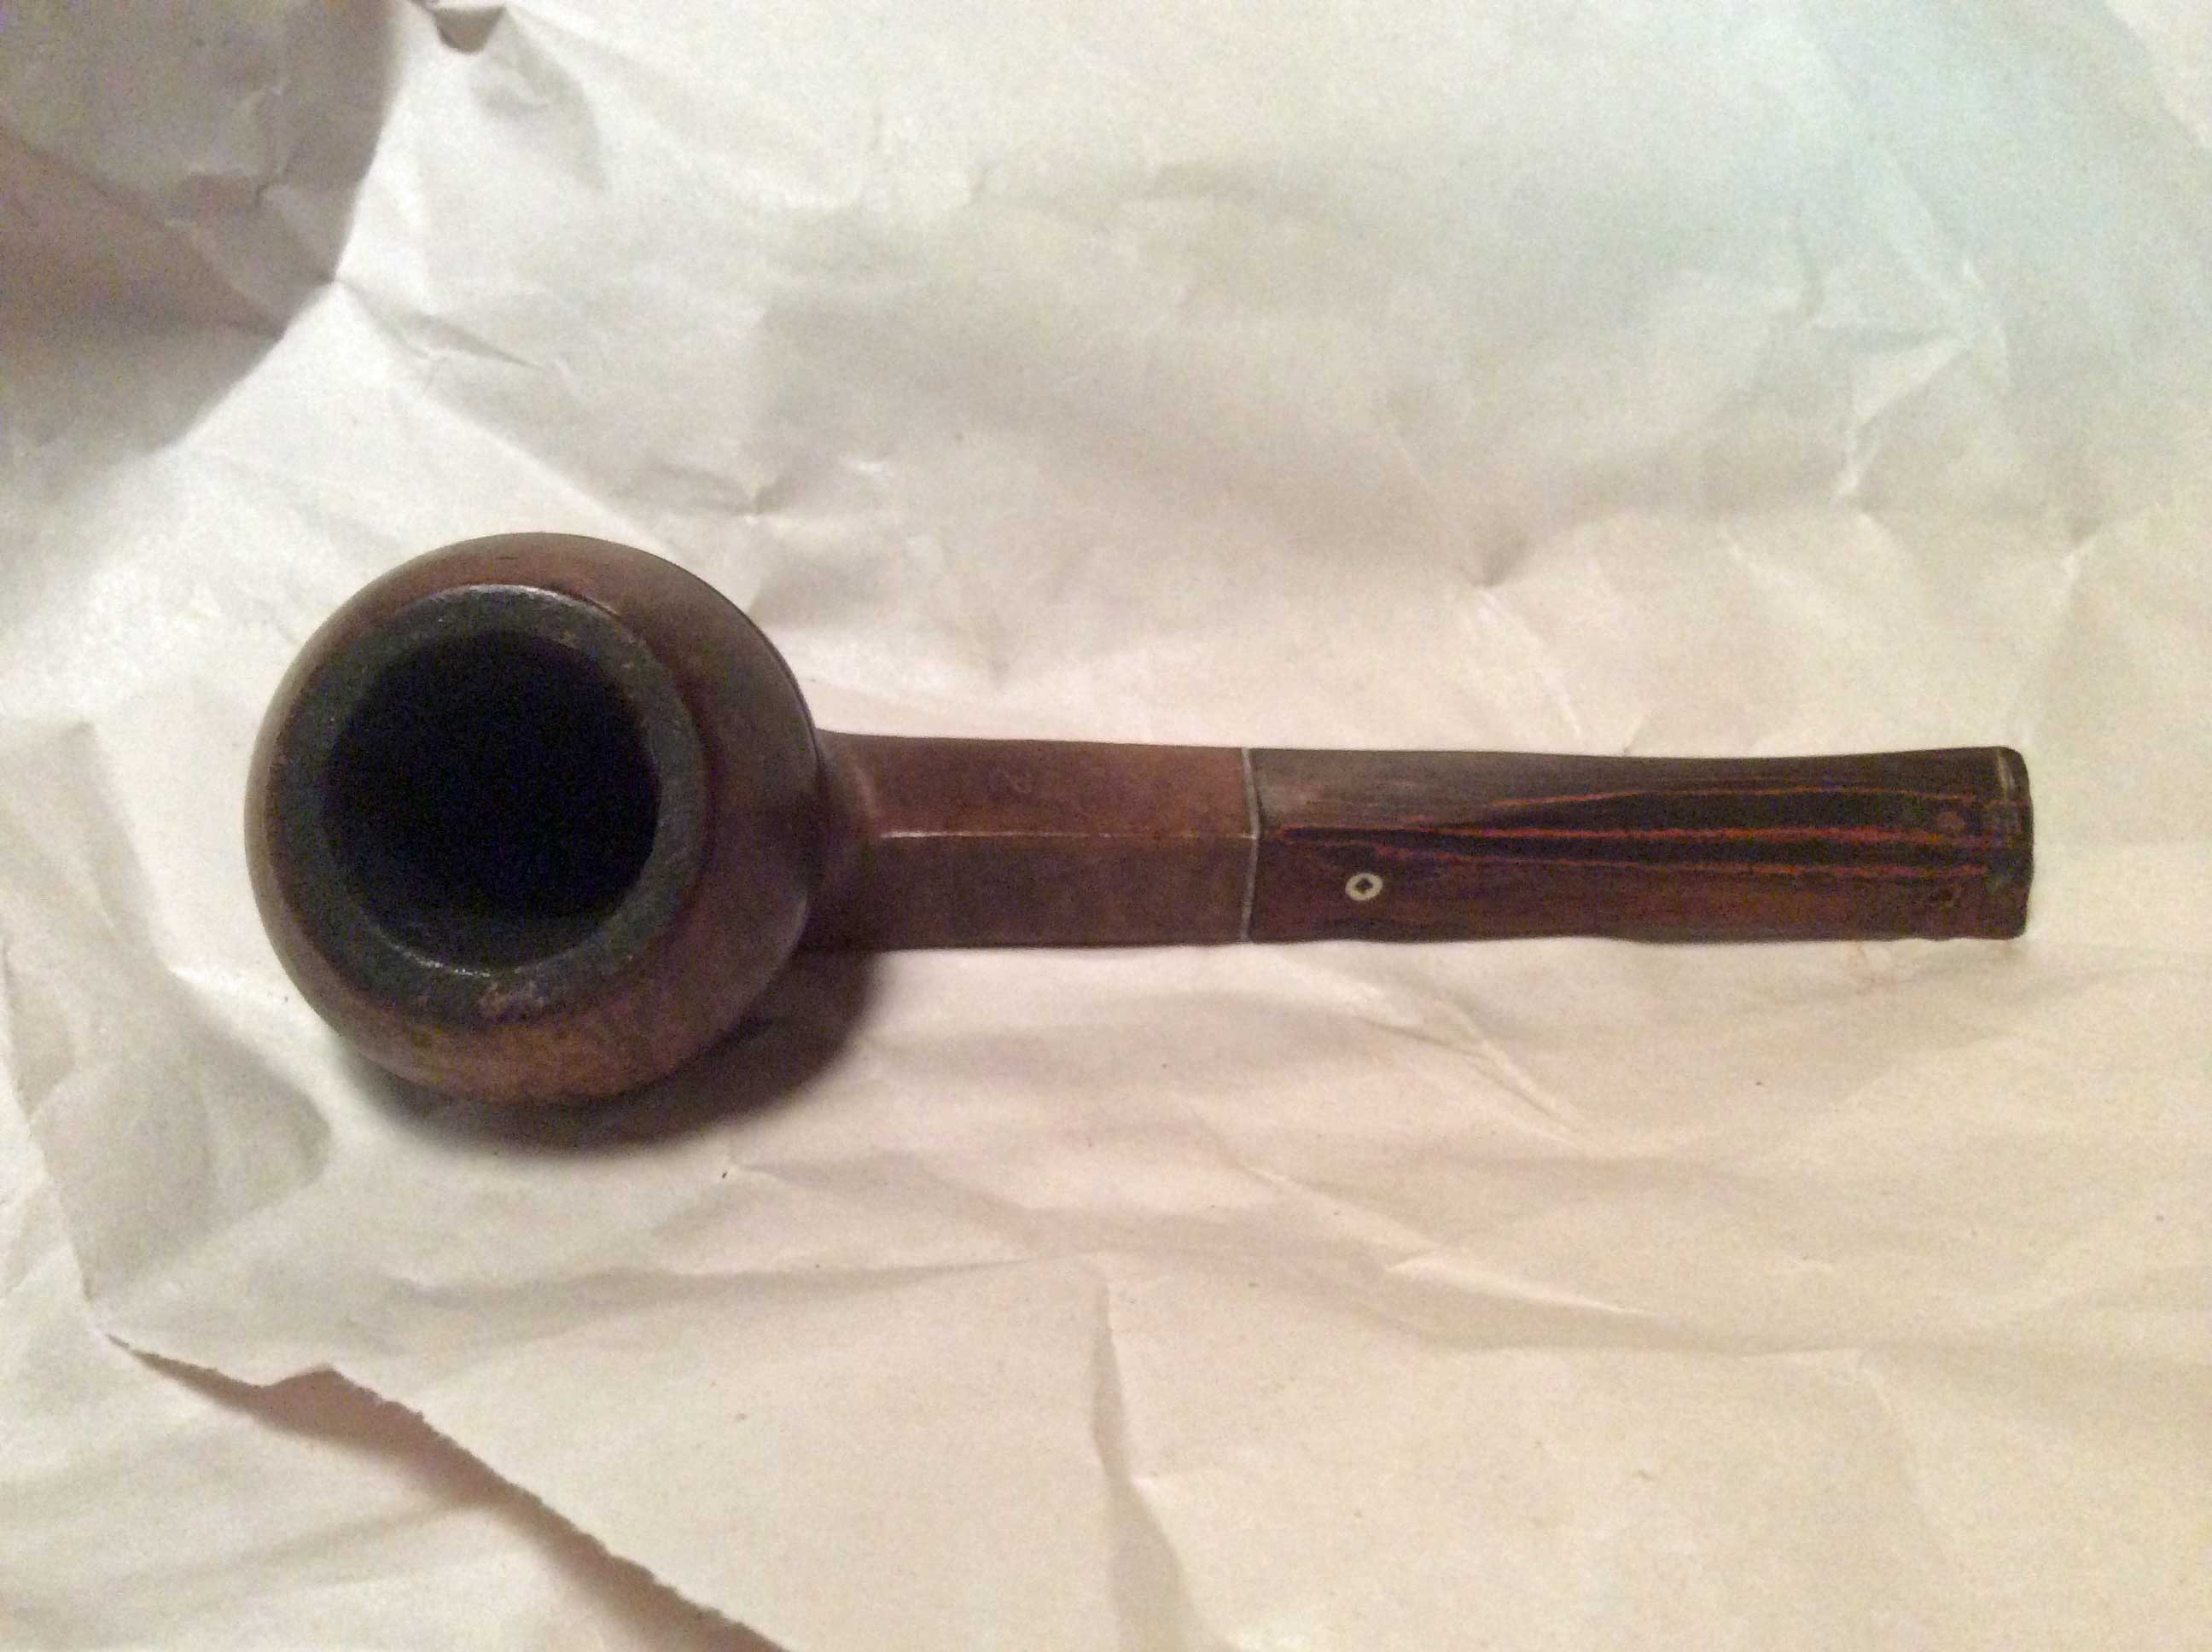
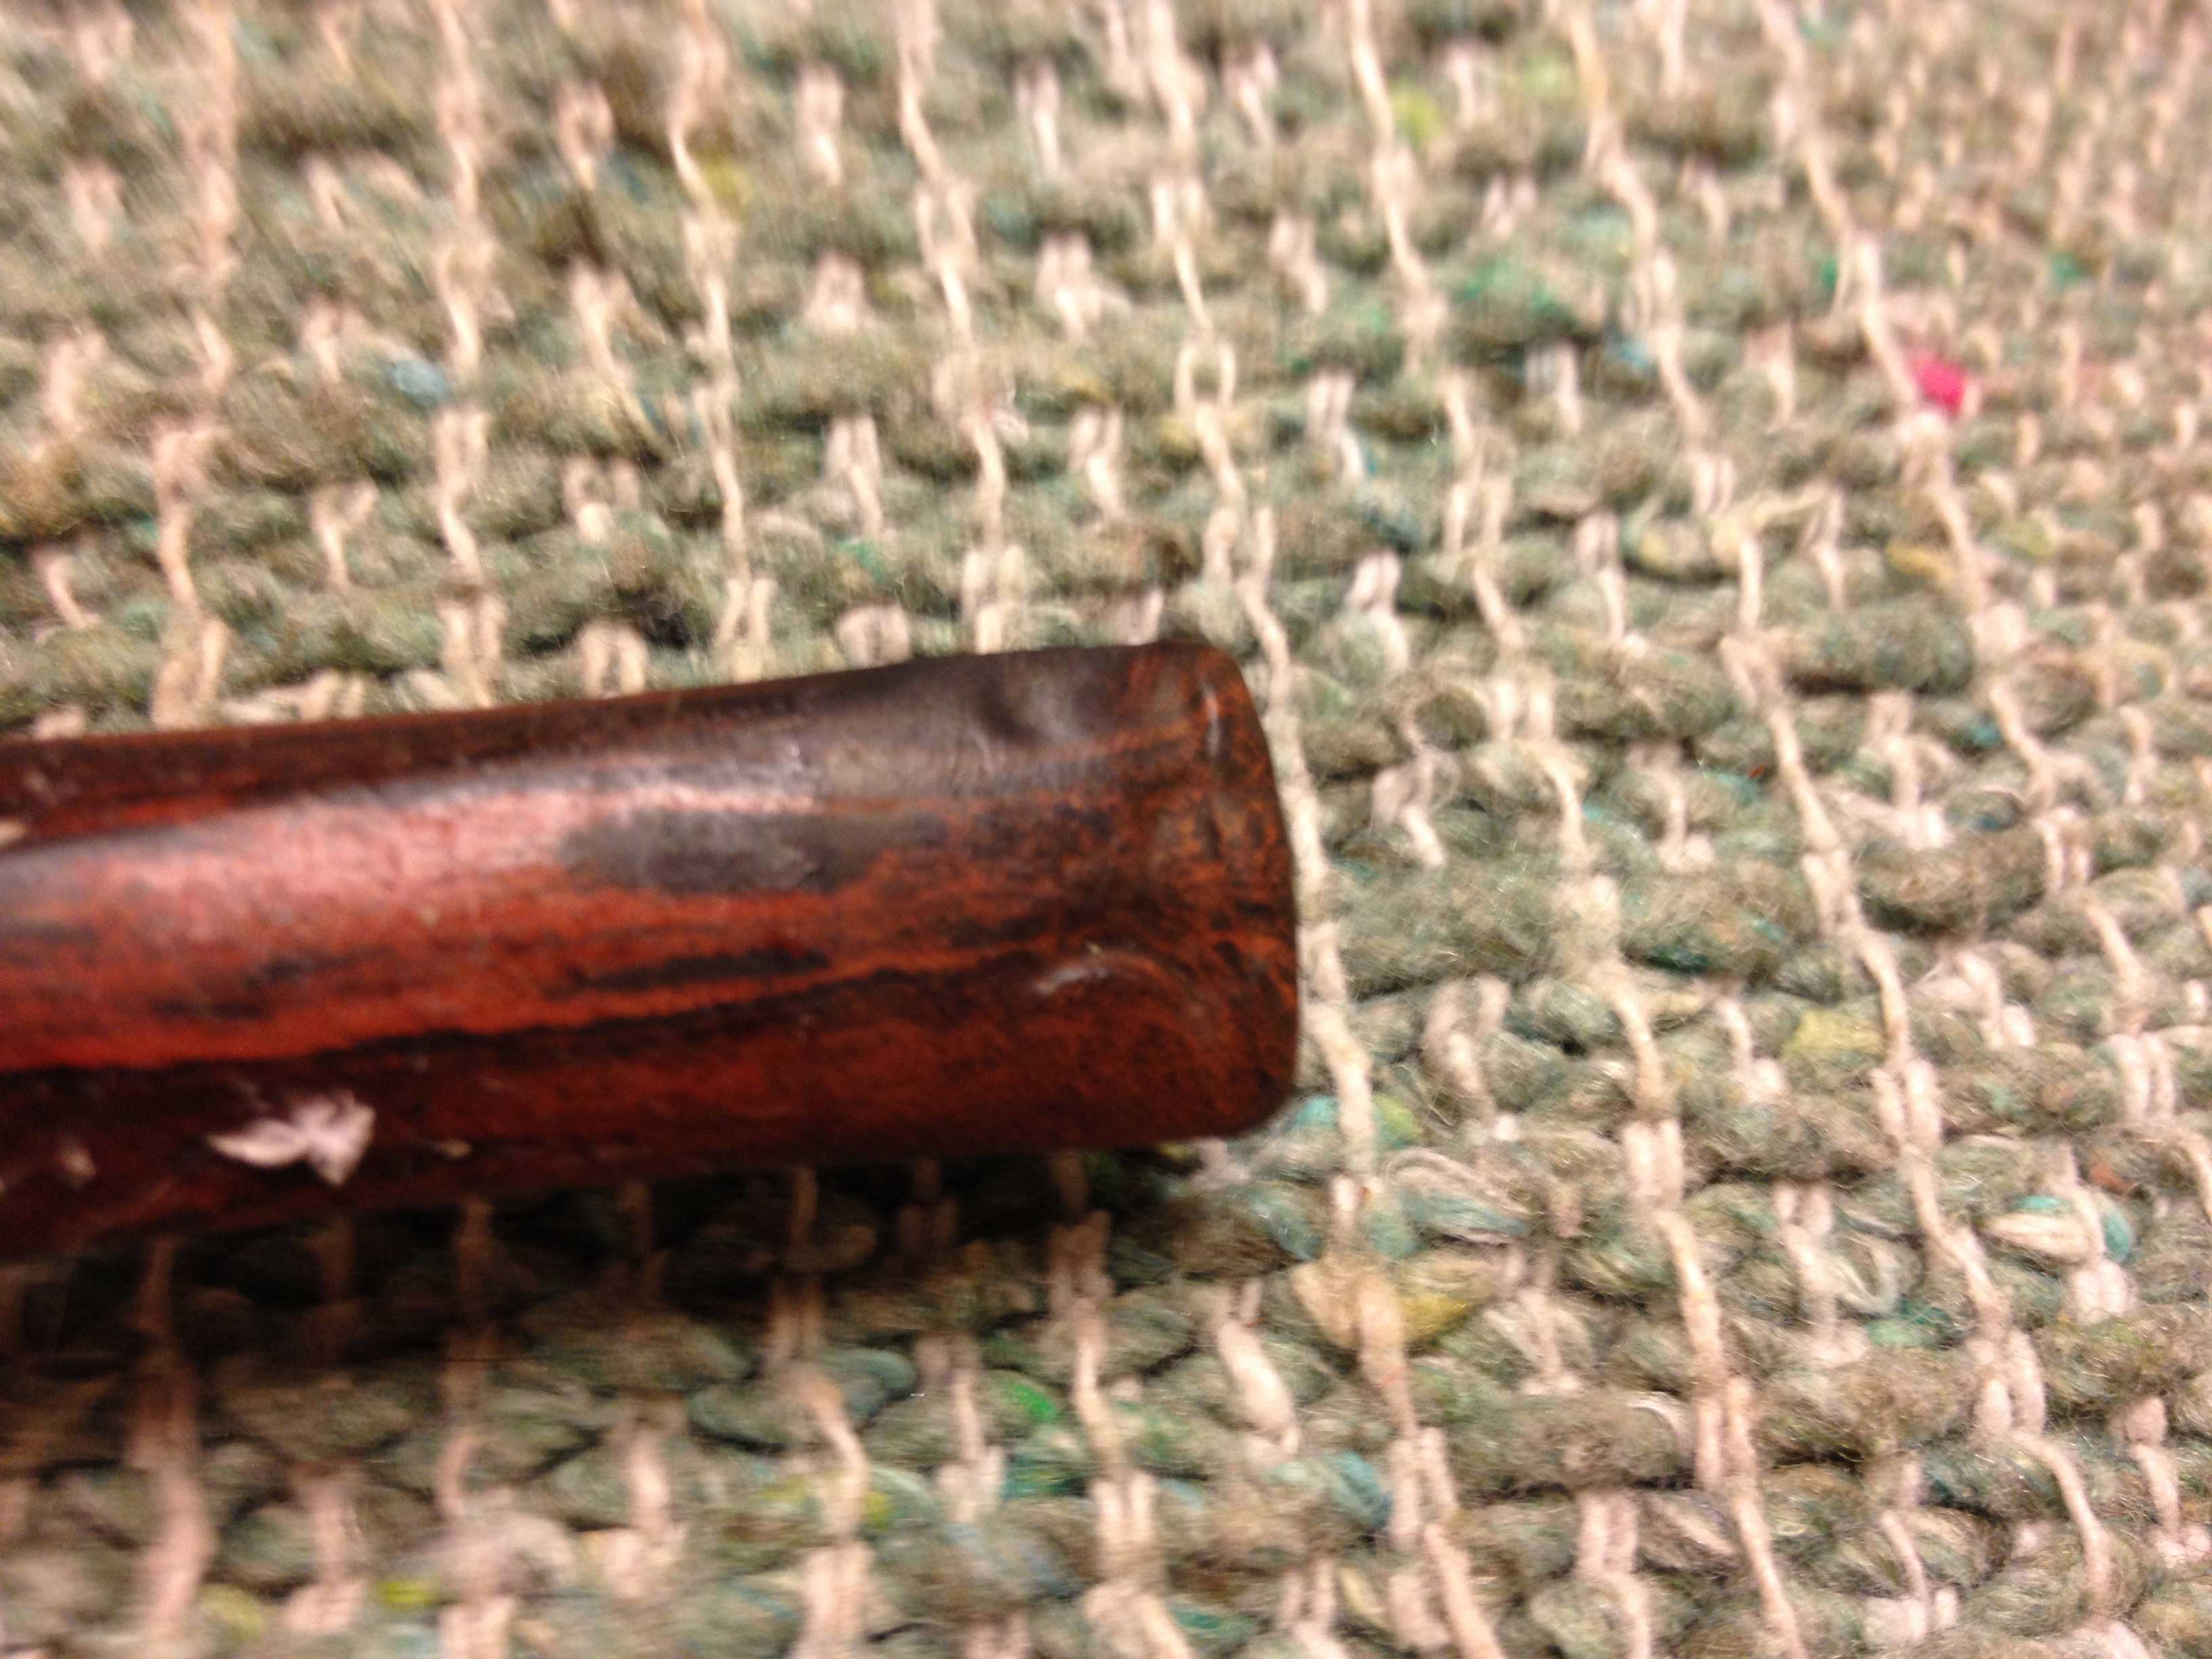
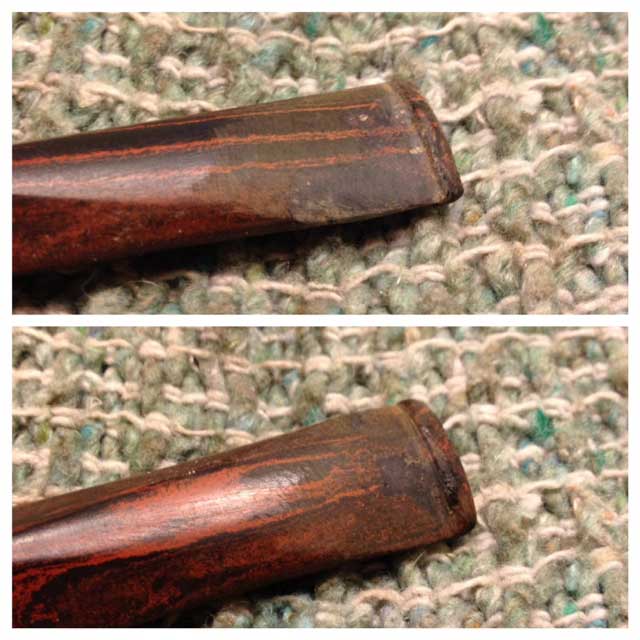
When I got home I took some better photos, showing the damage to the stem. There were deep teeth marks on the top and bottom of the stem and the edge of the side where the clover logo is was almost gone completely. This was going to take a lot of time and some research to get it even close to decent again I now realized.
My first step was to try some experiments on a Medico VFQ. Although I ended up with a good looking and smoking pipe, the experiments were somewhat in vain: the stems on the VFQ turned out to be nylon. So I now turned to some fellow restorers on the PSU Forum for hints. tips and ideas – and they really came through with many ideas and several new articles posted by Joyal. Some of the best advice for this project come from JoeMan: the idea of using activated charcoal powder with Gorilla brand super glue.
This project took days to complete do to all the patching a rebuilding of the stem. So, I didn’t do a great job documenting it all with photos and because of the extended time frame of the project I may miss a step or two in this article; I apologize in advance for these things.
The fist thing I did (after thoroughly cleaning the stem with pipe cleaners and alcohol) was try to raise the dents as much as I could with heat from a candle; there was little success here.

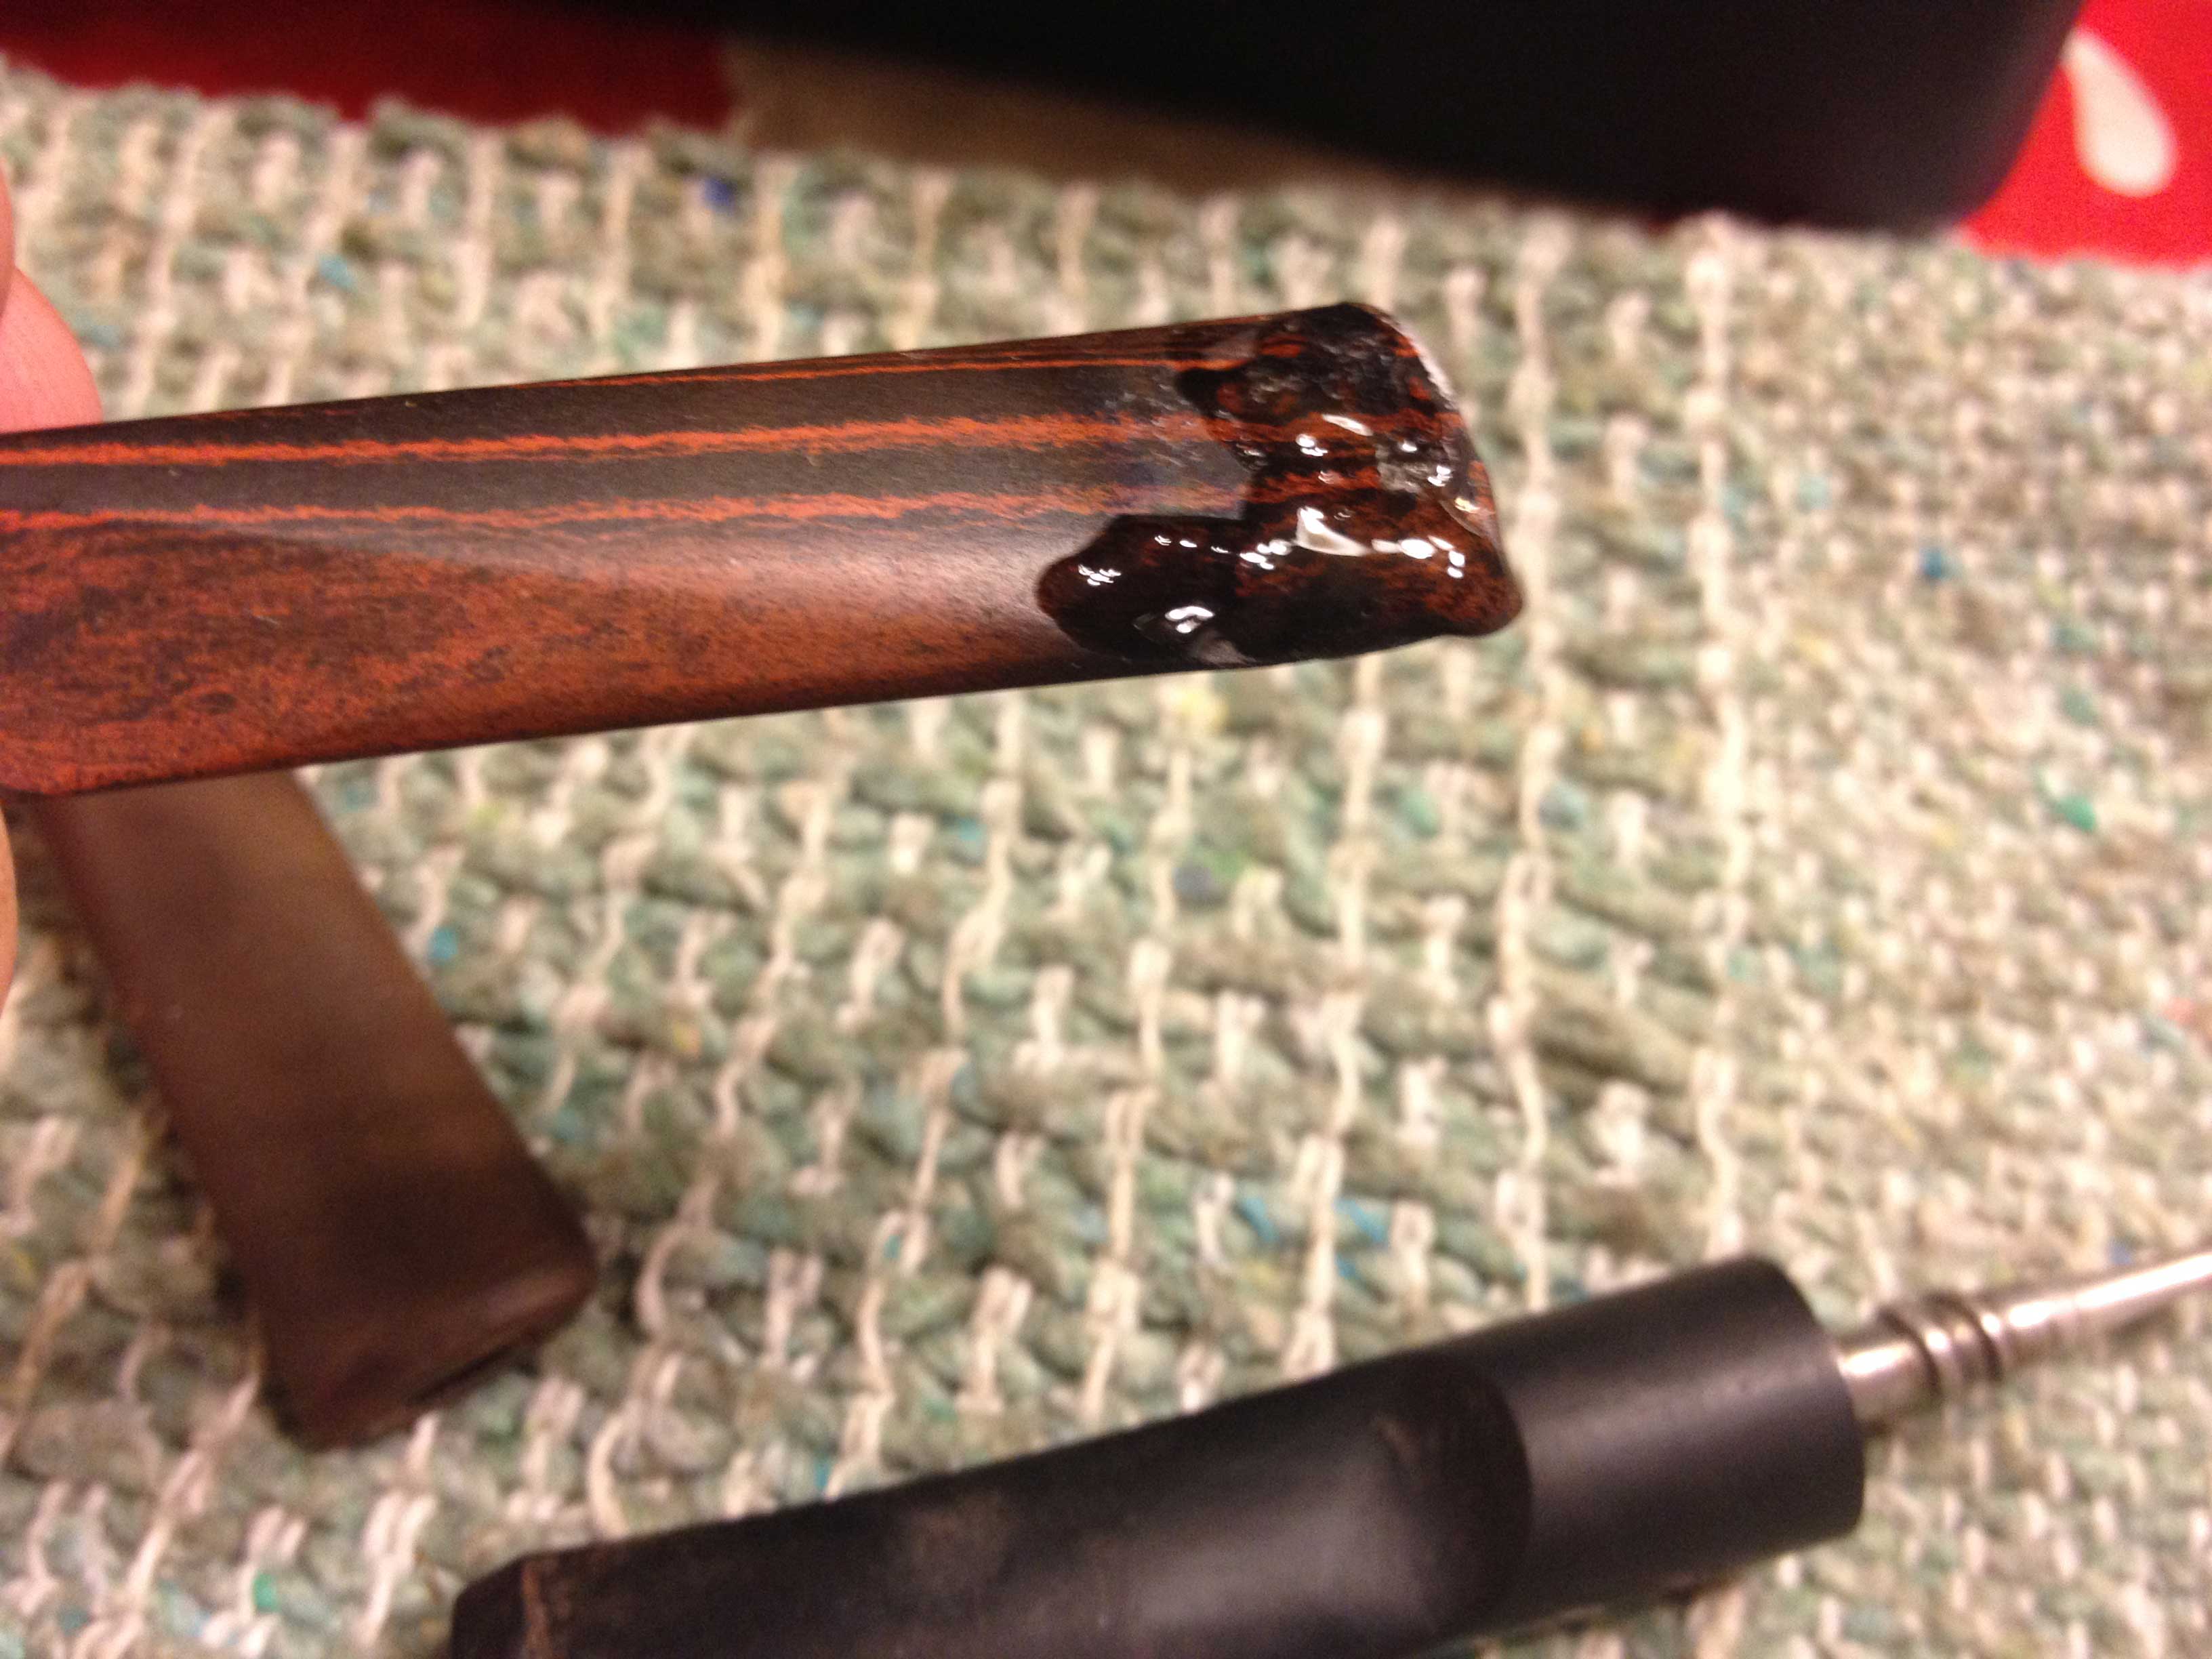
Now I began the filling and shaping process. This took many forms and layers: I used clear super glue, both “regular” and gel, mixing in some of the StewMac black glue at times, and also Gorilla brand super glue both with and without charcoal powder mixed into it. one of the challenges was to add strength and black-color in some places while not covering up too much of the red in the Cumberland stem. Another challenge was to build up that chewed up side so the end of the stem would have the proper shape again.
The StewMac glue was too thin and took so long to dry that it wasn’t much help to me on this project. The Gorilla glue, both “plain” and with the charcoal powder mixed in, was a big help; it is thicker and dries quite fast, especially when the powder is mixed in.
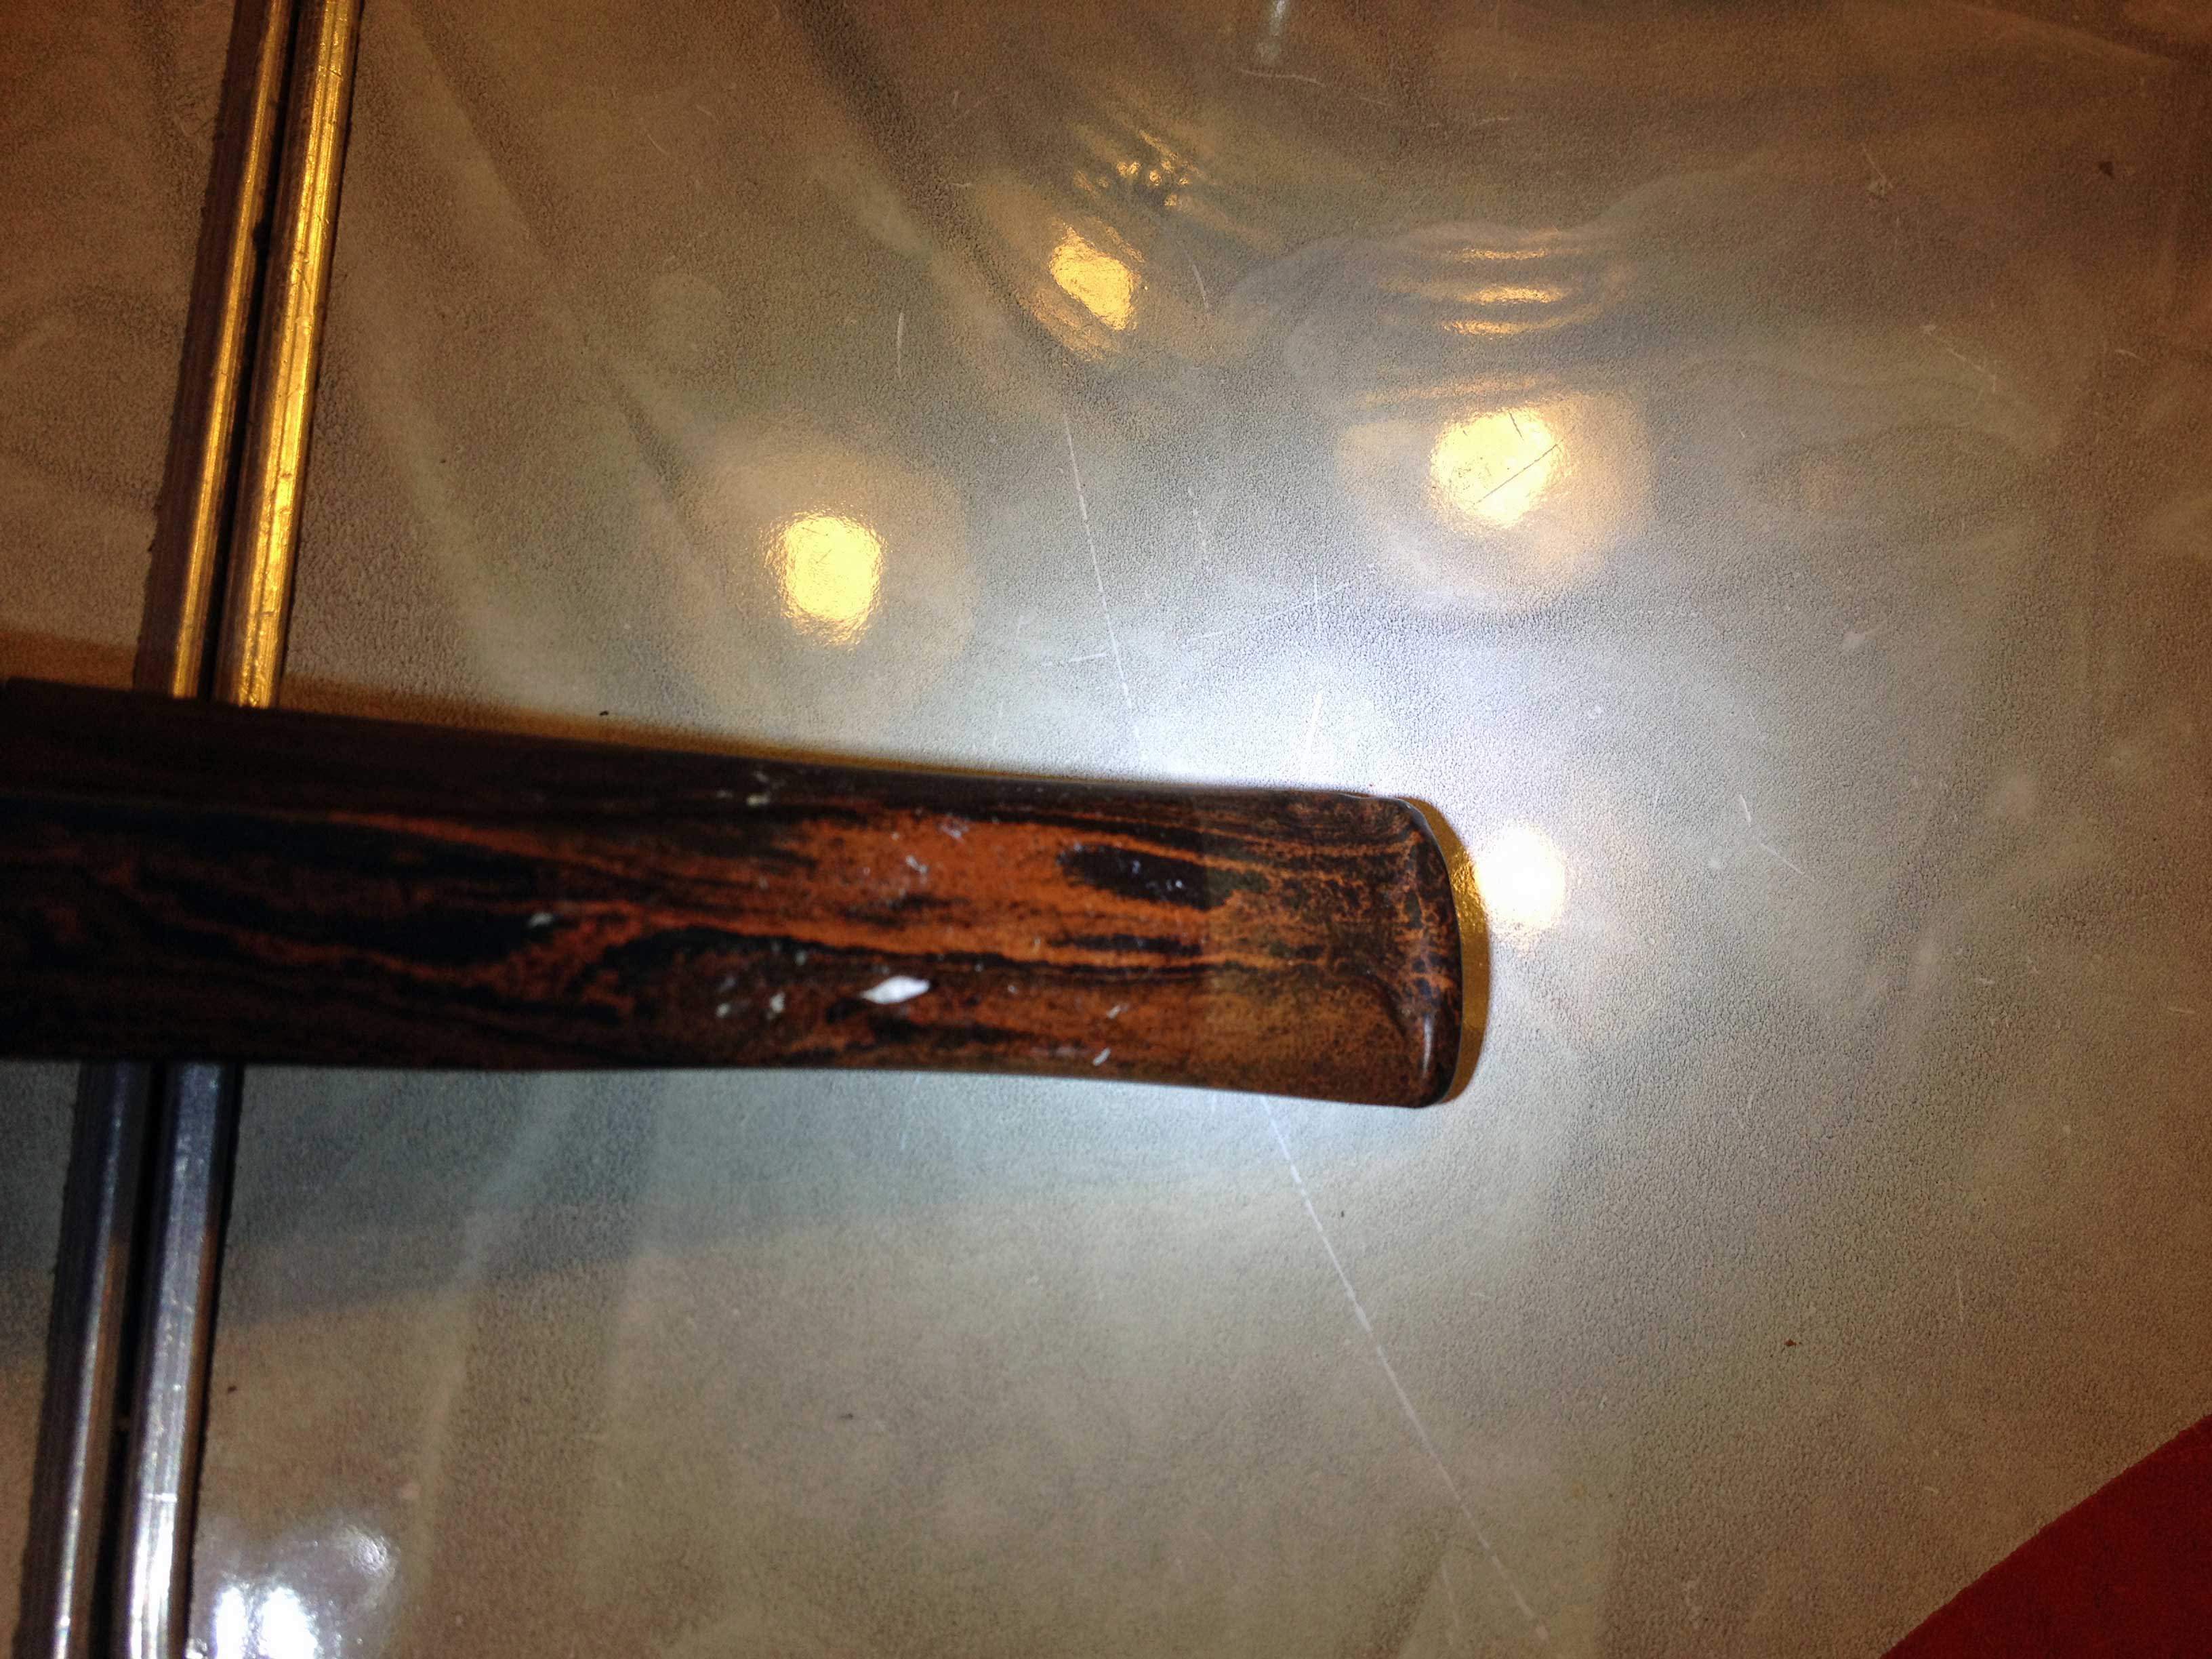
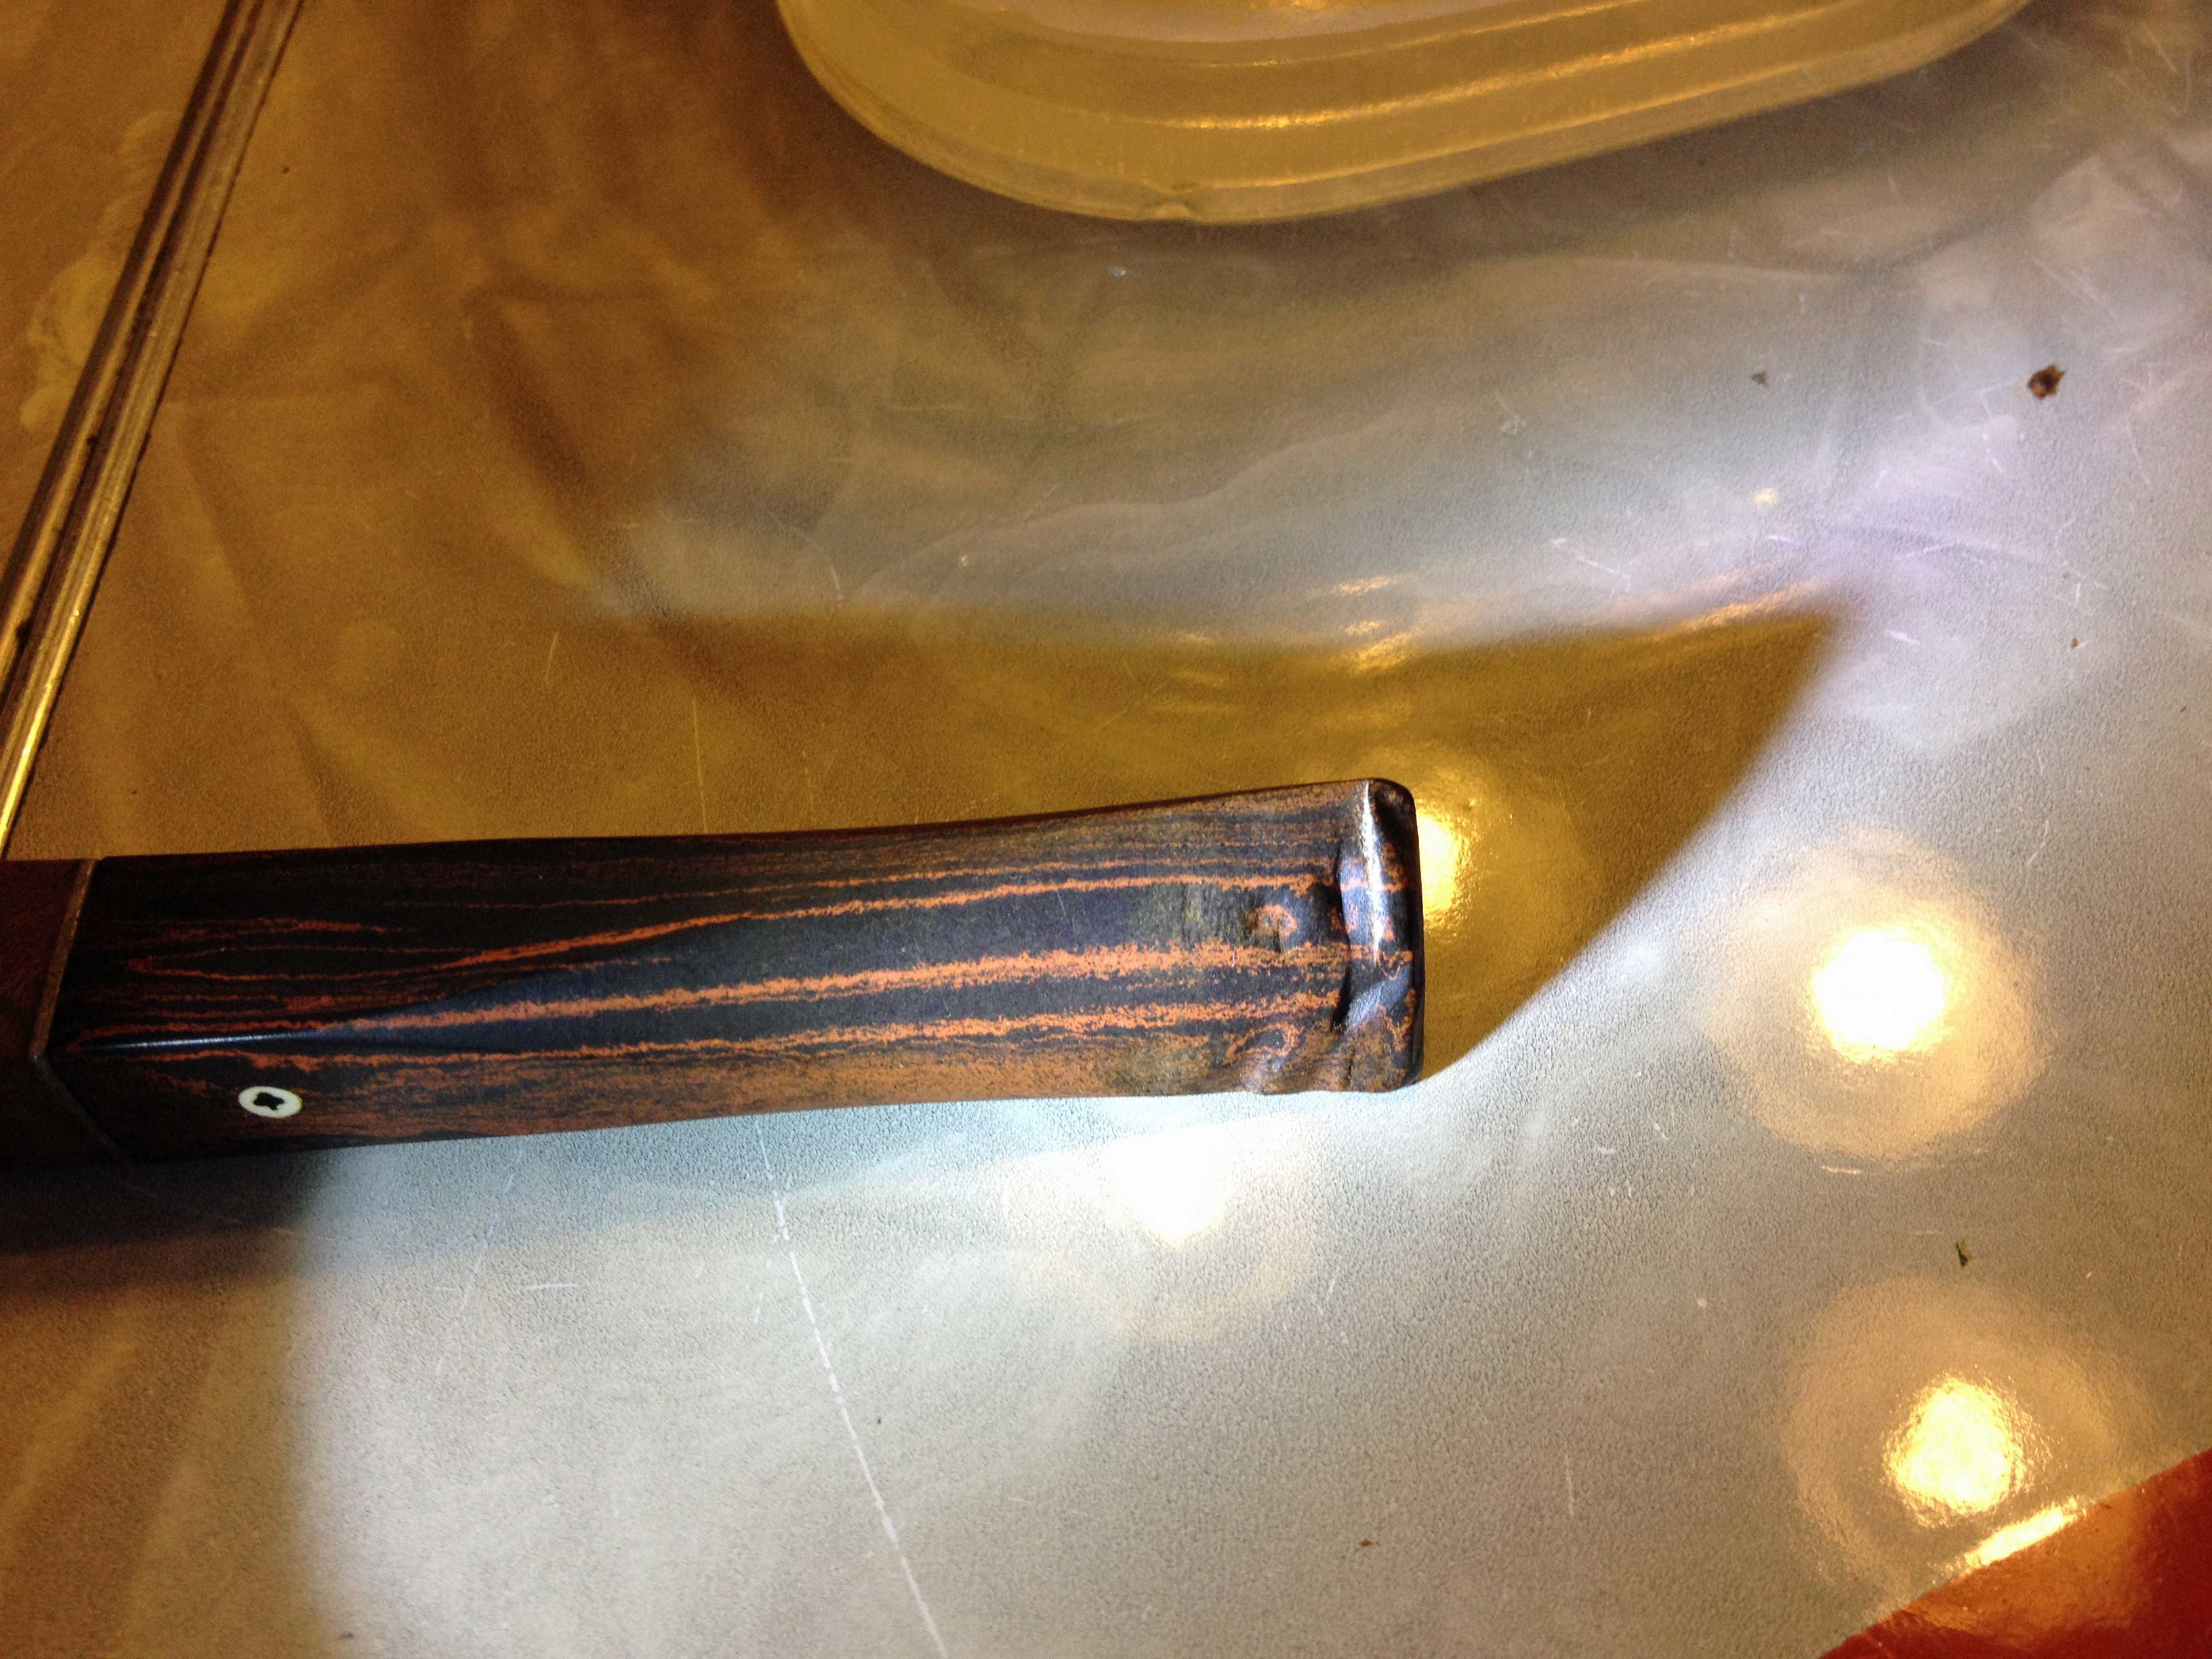
Another thing that added time was the way I went about this repair. There were multiple layers needed, as well as different thicknesses, so I would apply a patch, let it cure, and then shape it as I needed, and then start the whole process over again. I did this many times to get an acceptable result. This photo is after almost all of the layering and shaping was done:
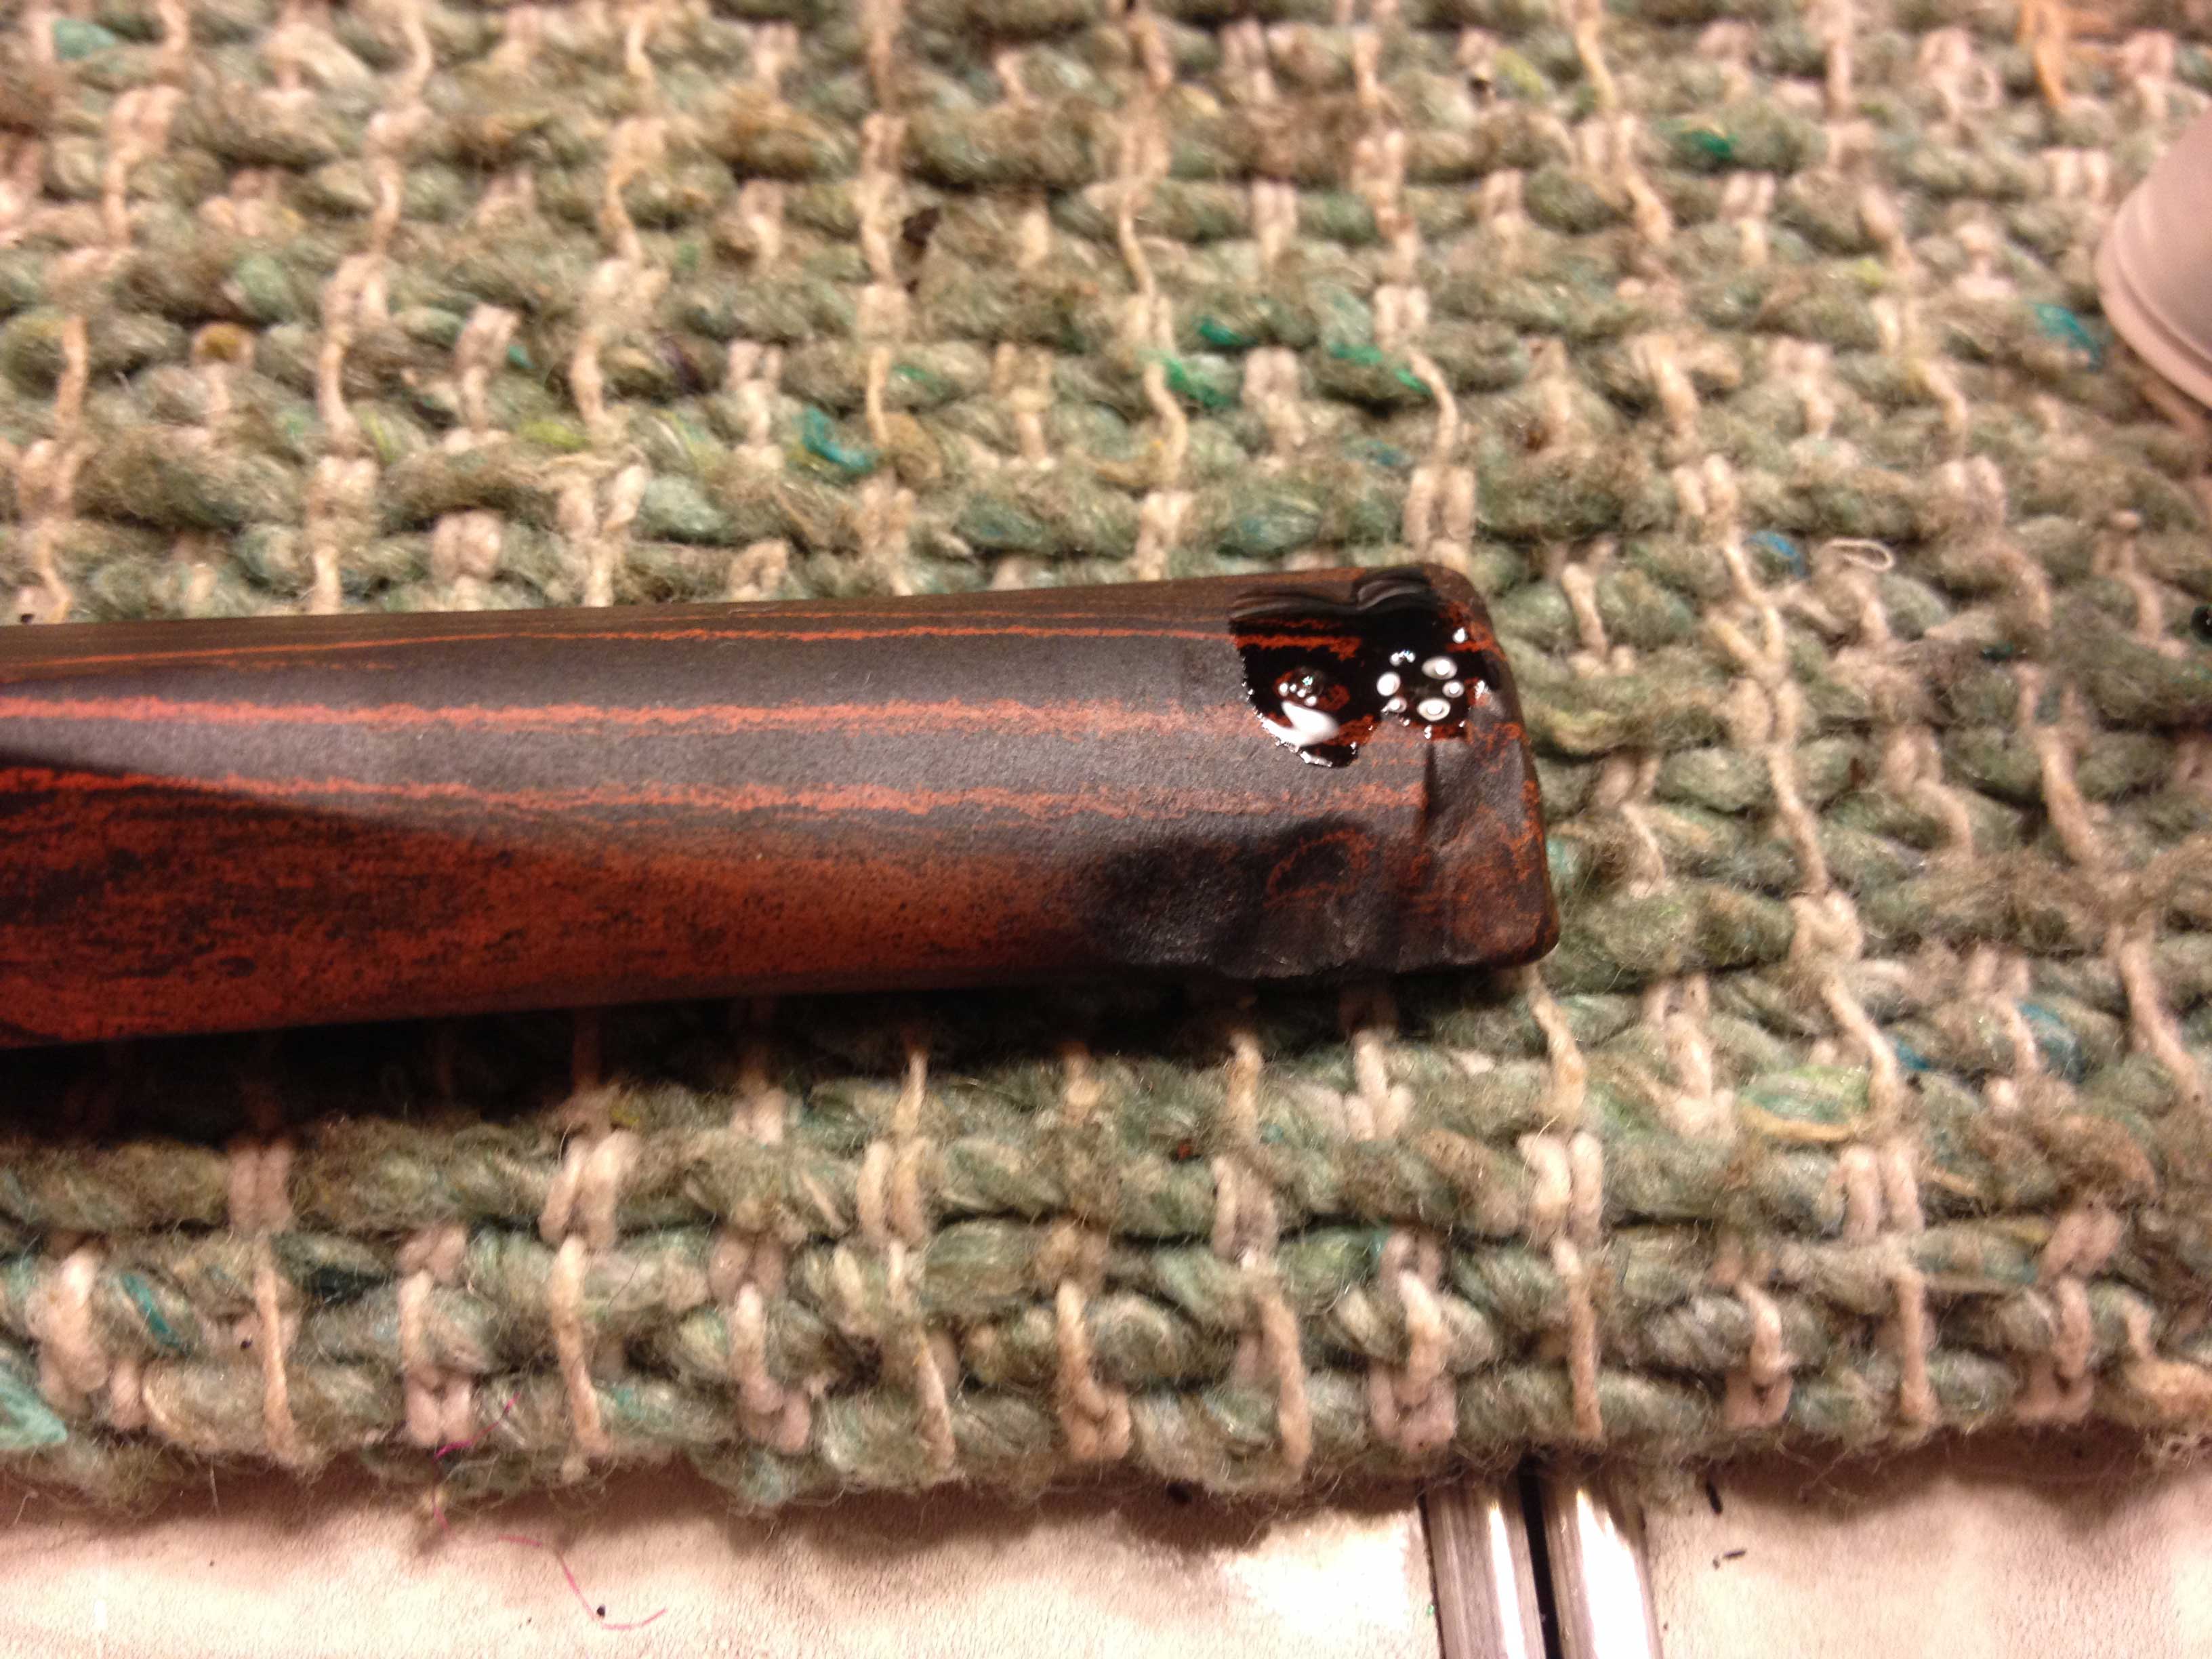
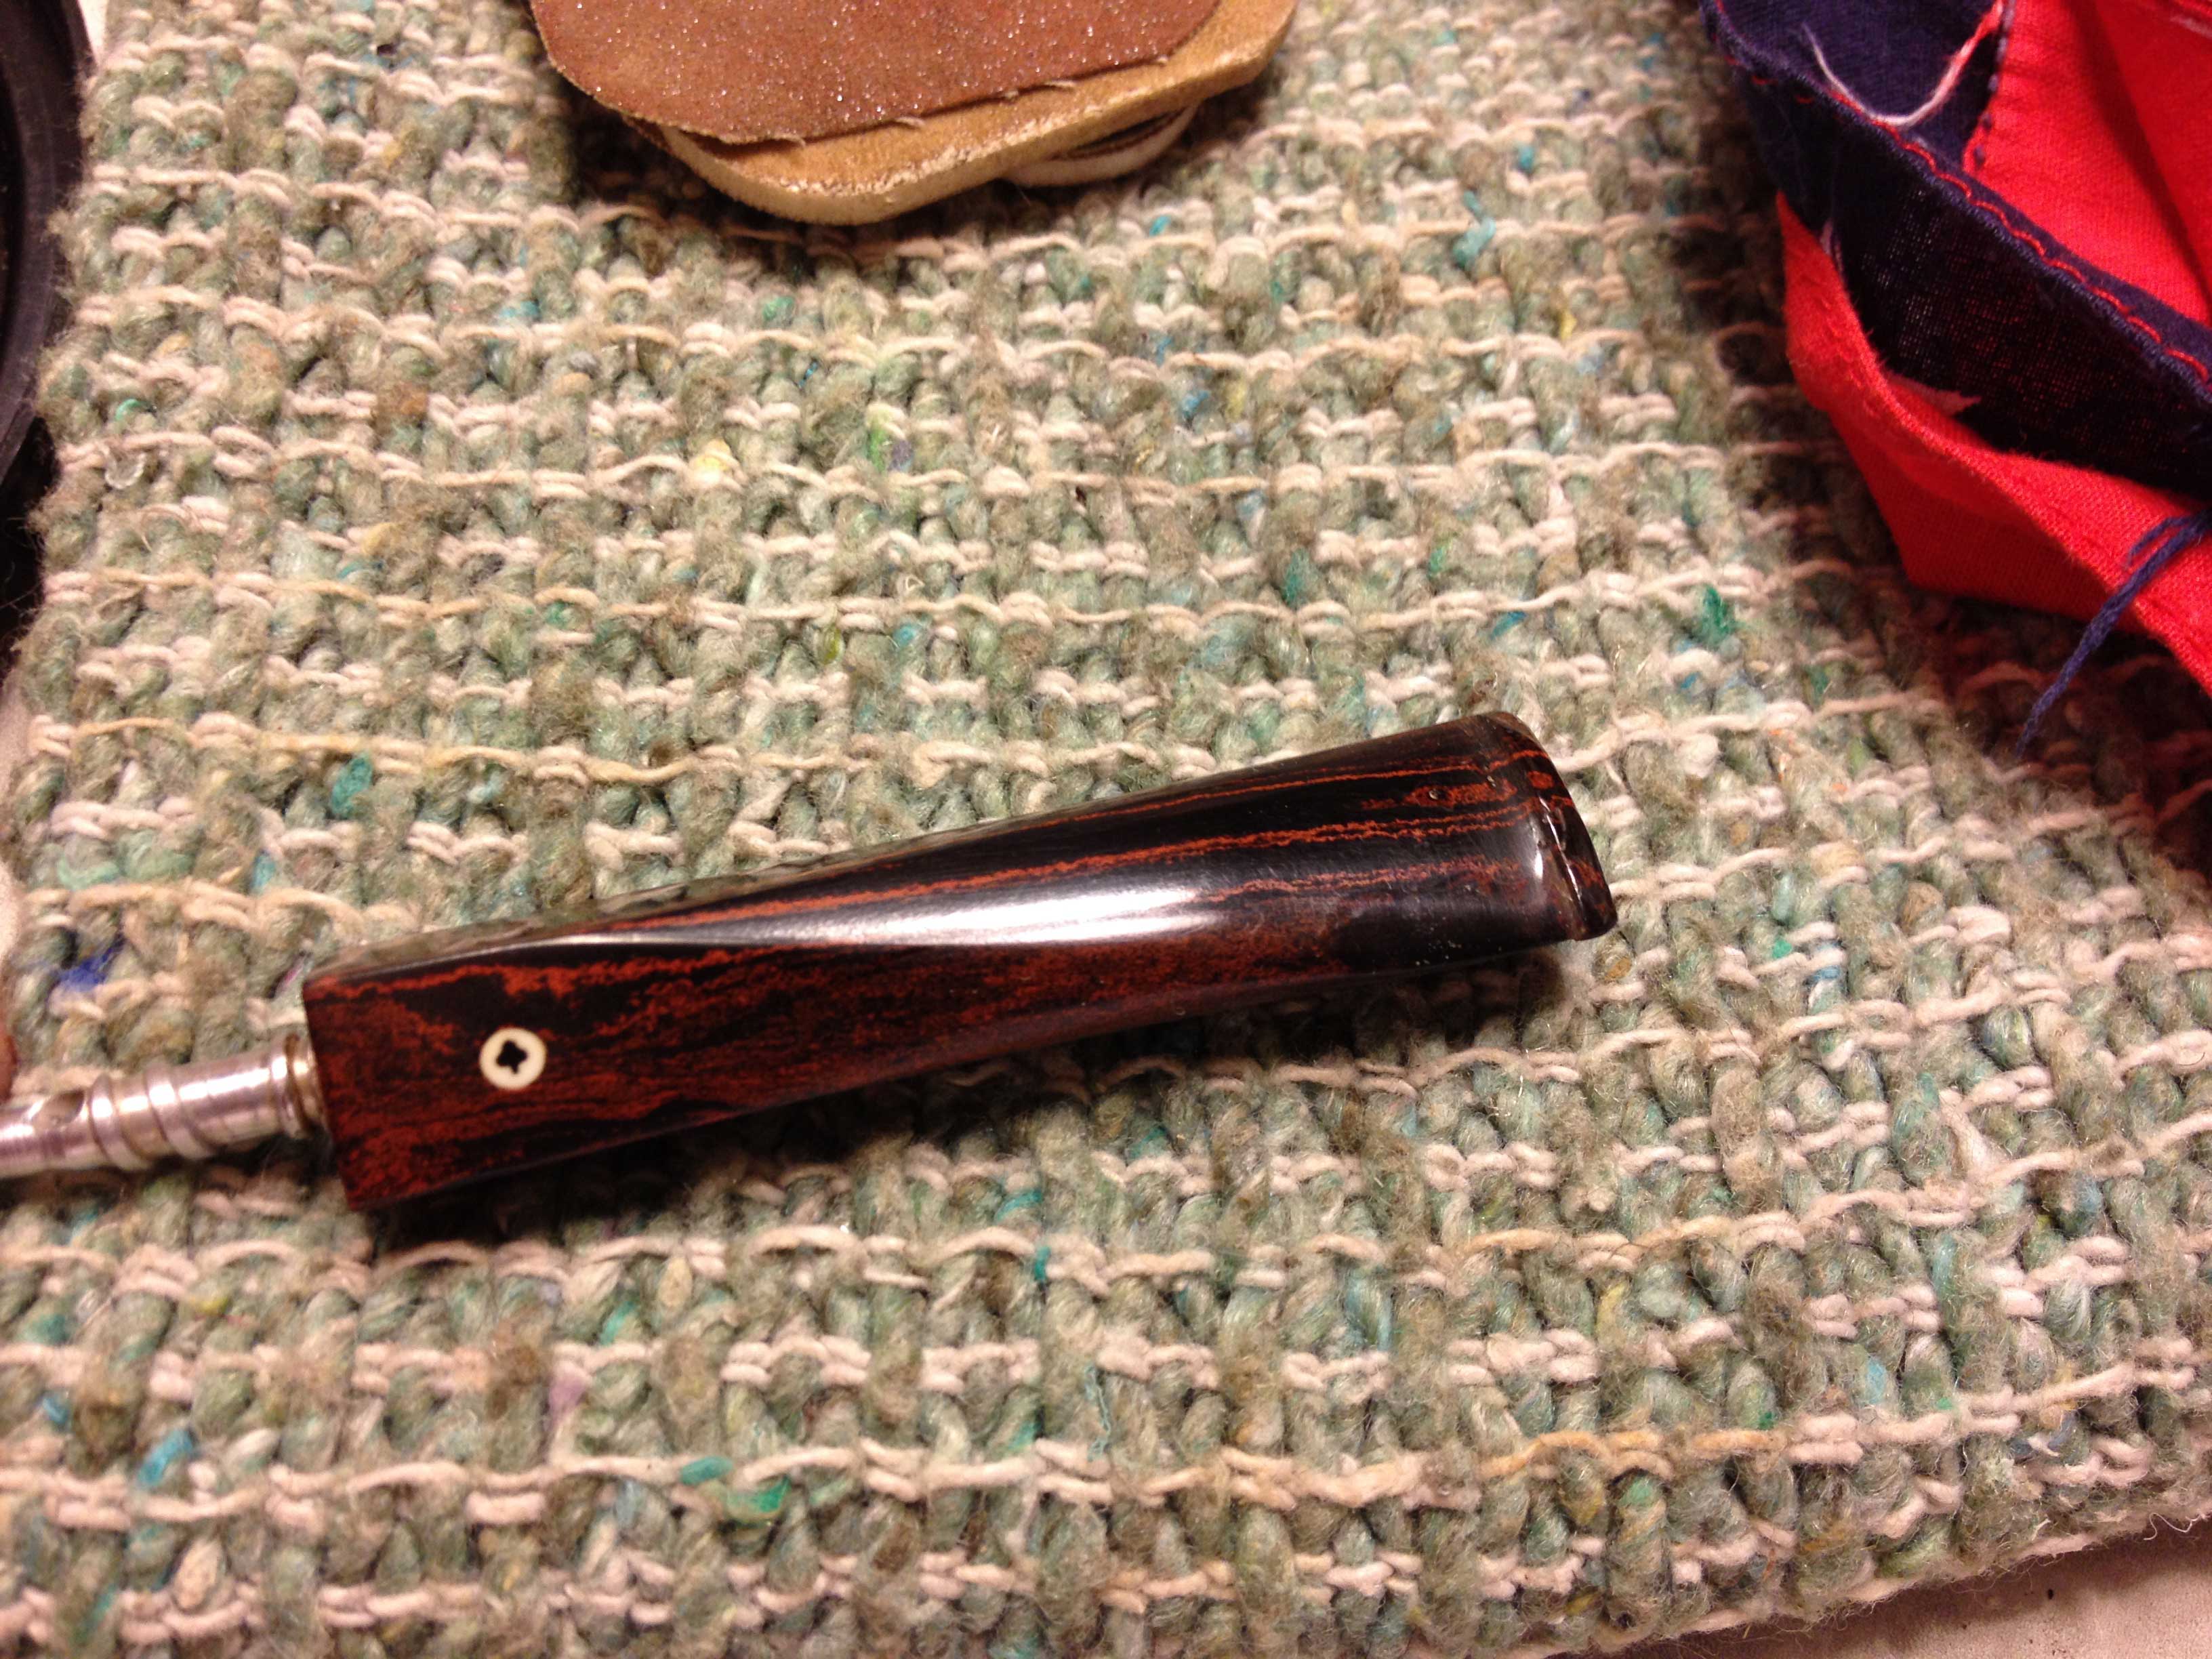
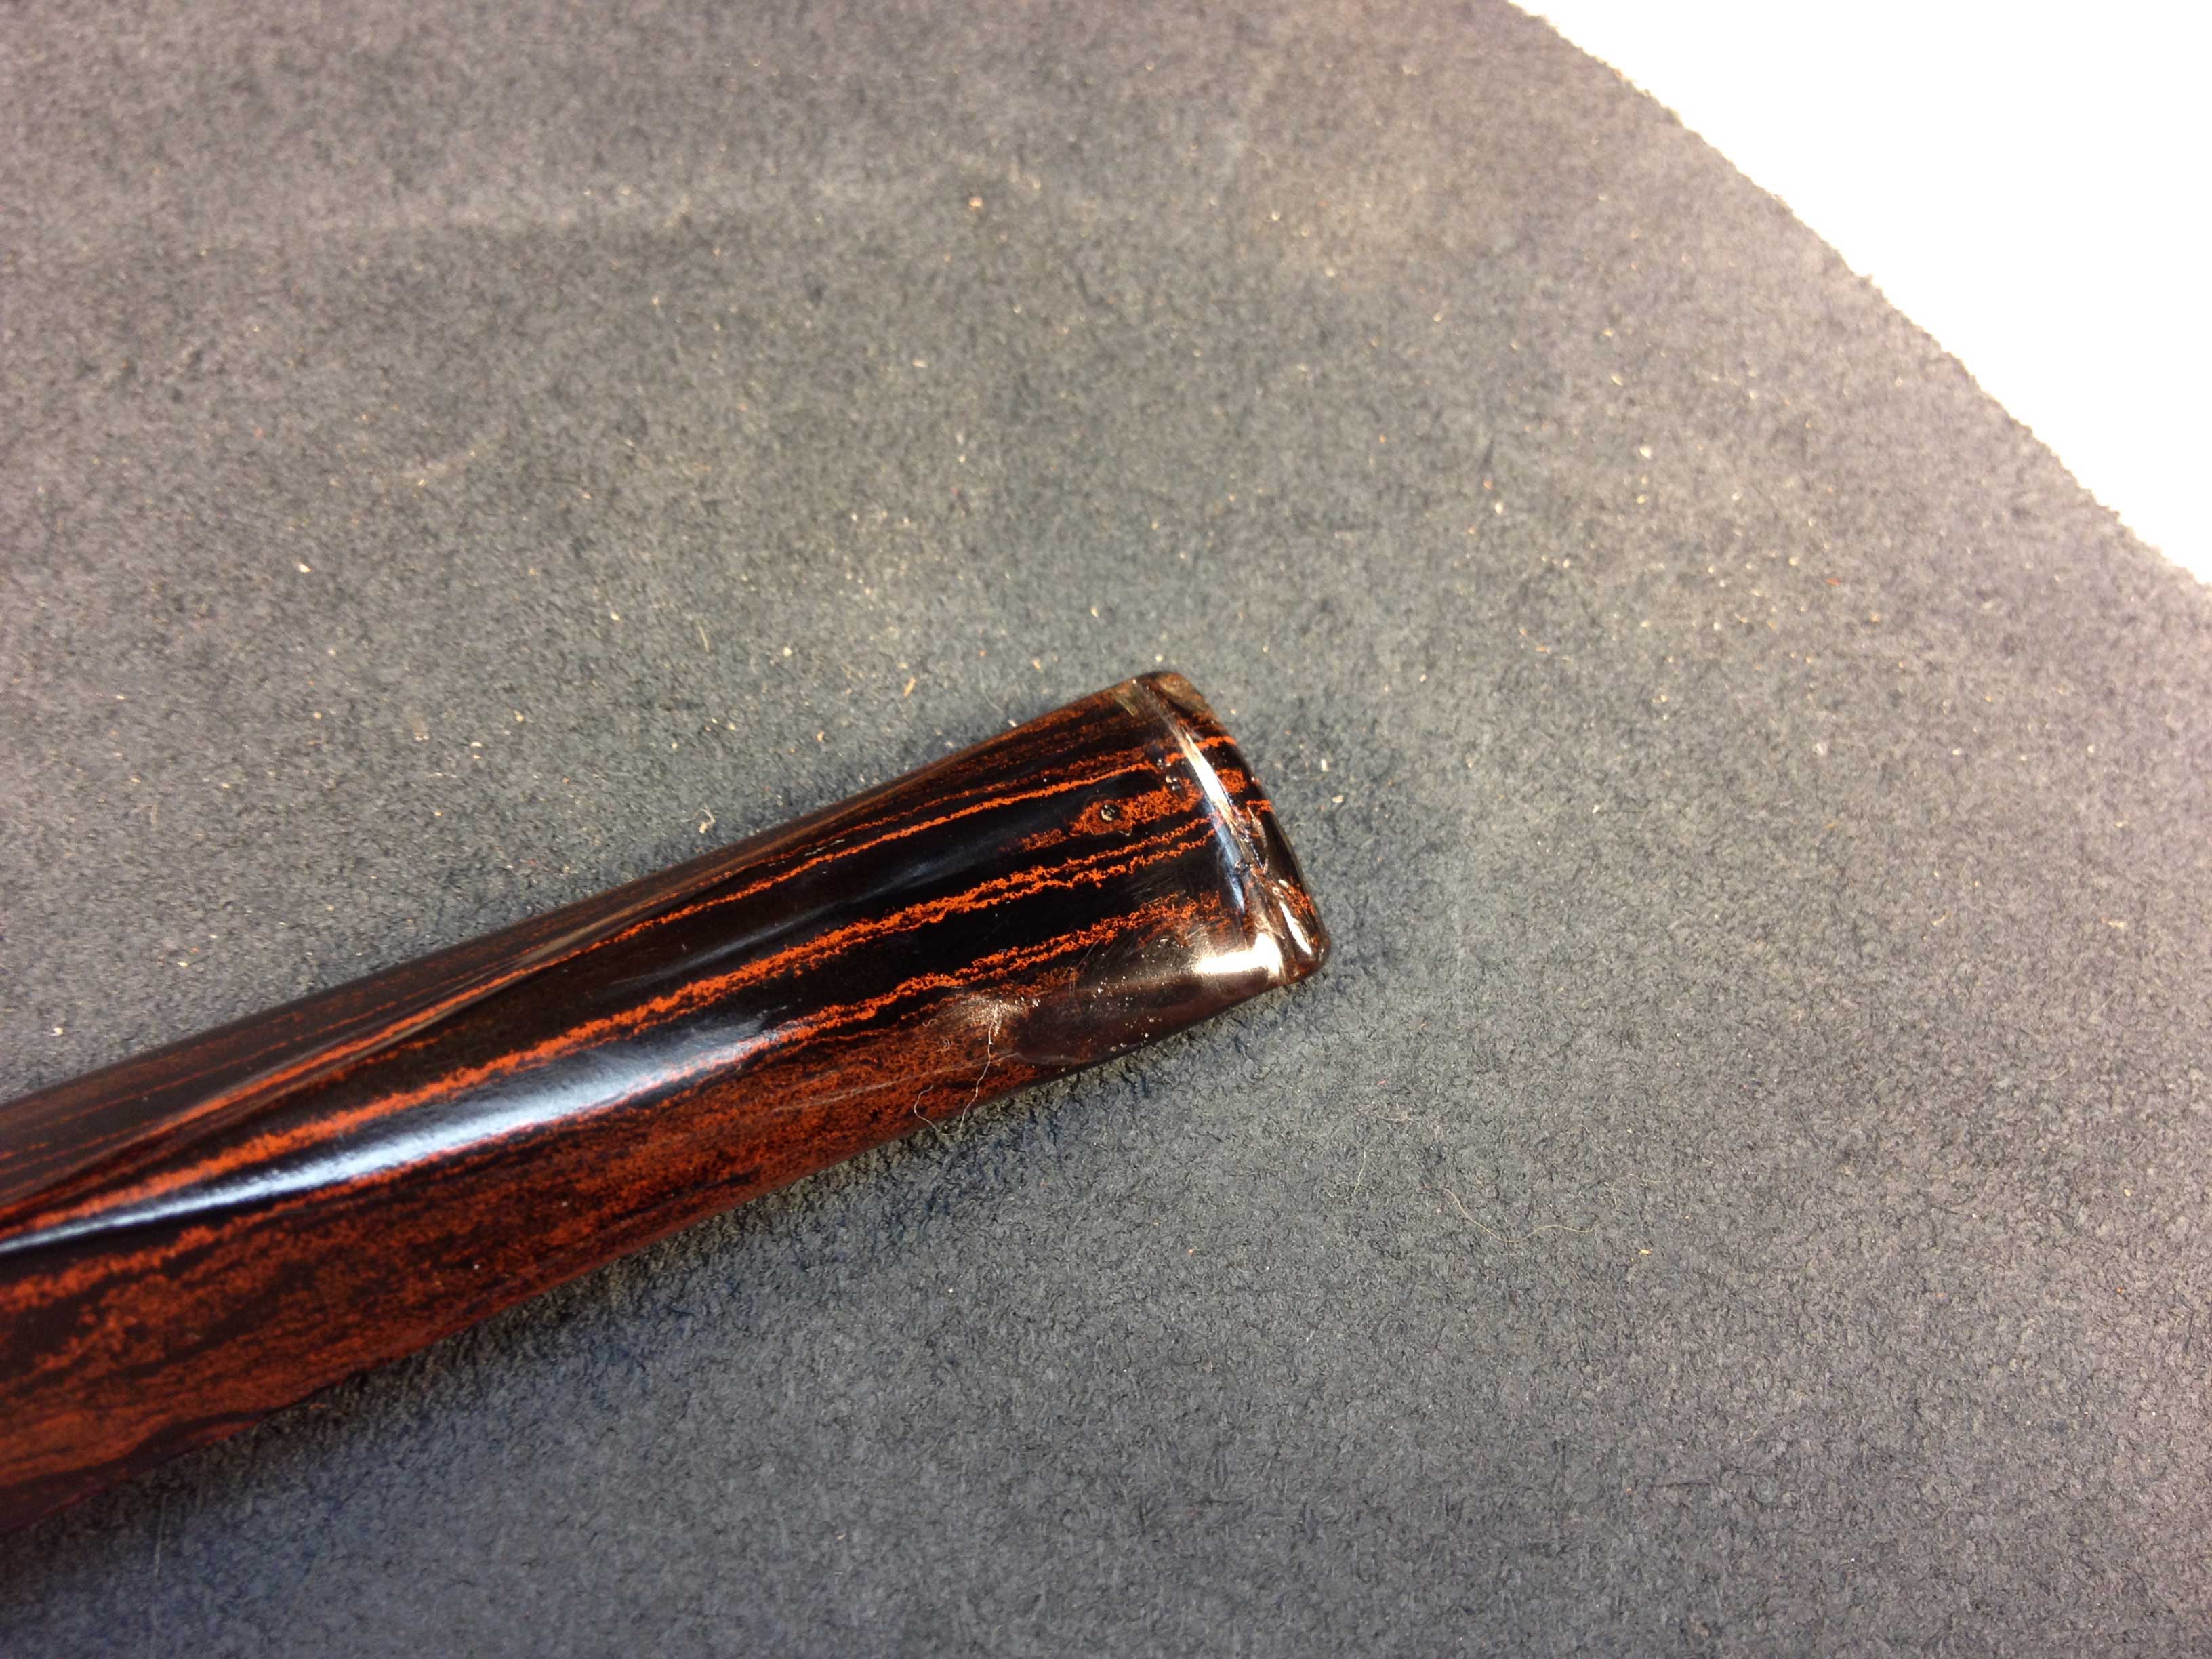
 I used needle files and a vulcrylic file for most of the shaping. I also used 220 grit sandpaper. After I had the final shape I was happy with I wet sanded with 320/400/600 and then micro mesh through 12000 grit; after 600 and every few grits thereafter I also polished the stem with Meguiar’s Scratch X2.0,which helps me see if I’ve missed anything along the way. The next four images are before micro mesh and after:


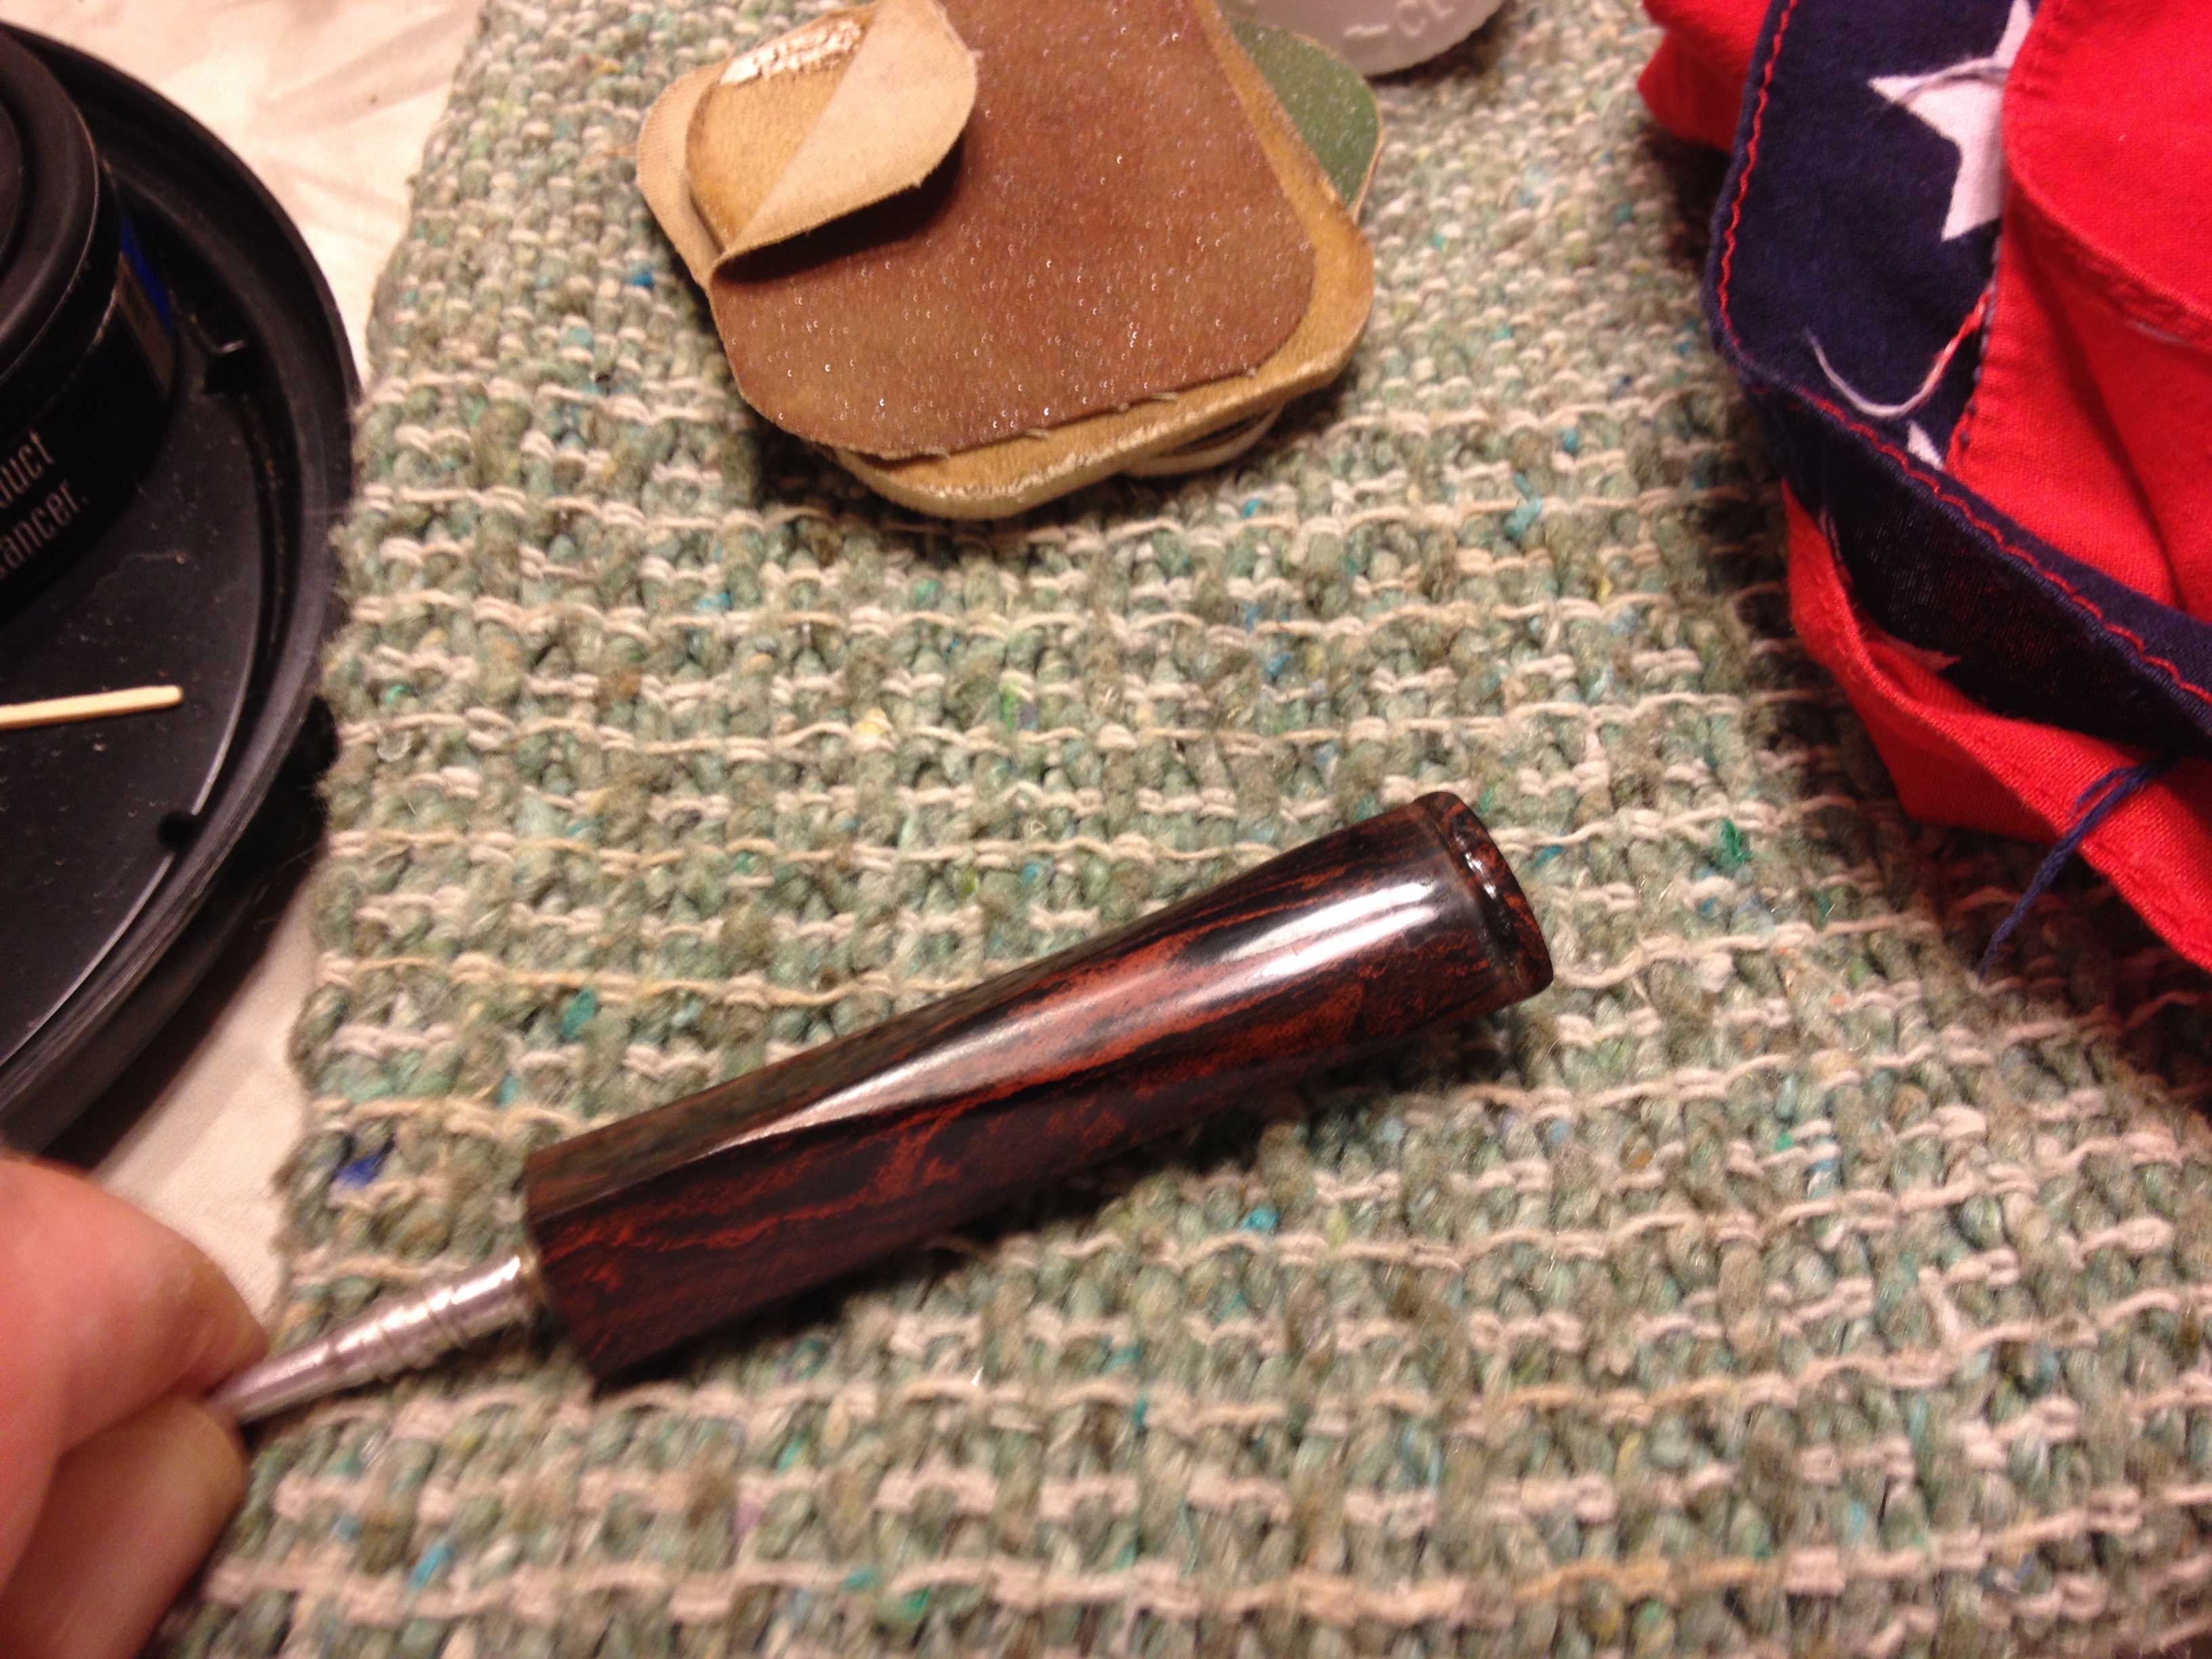
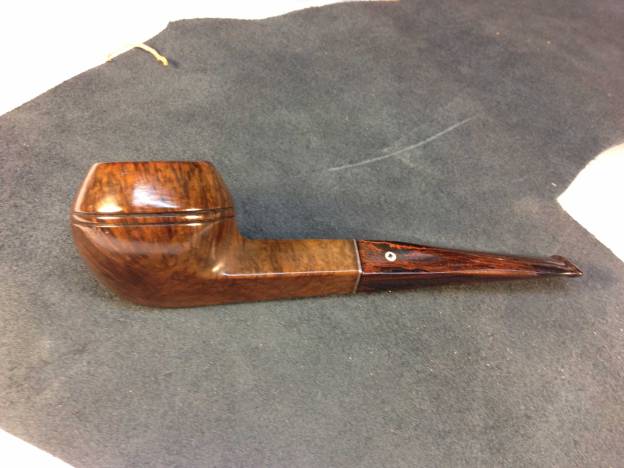
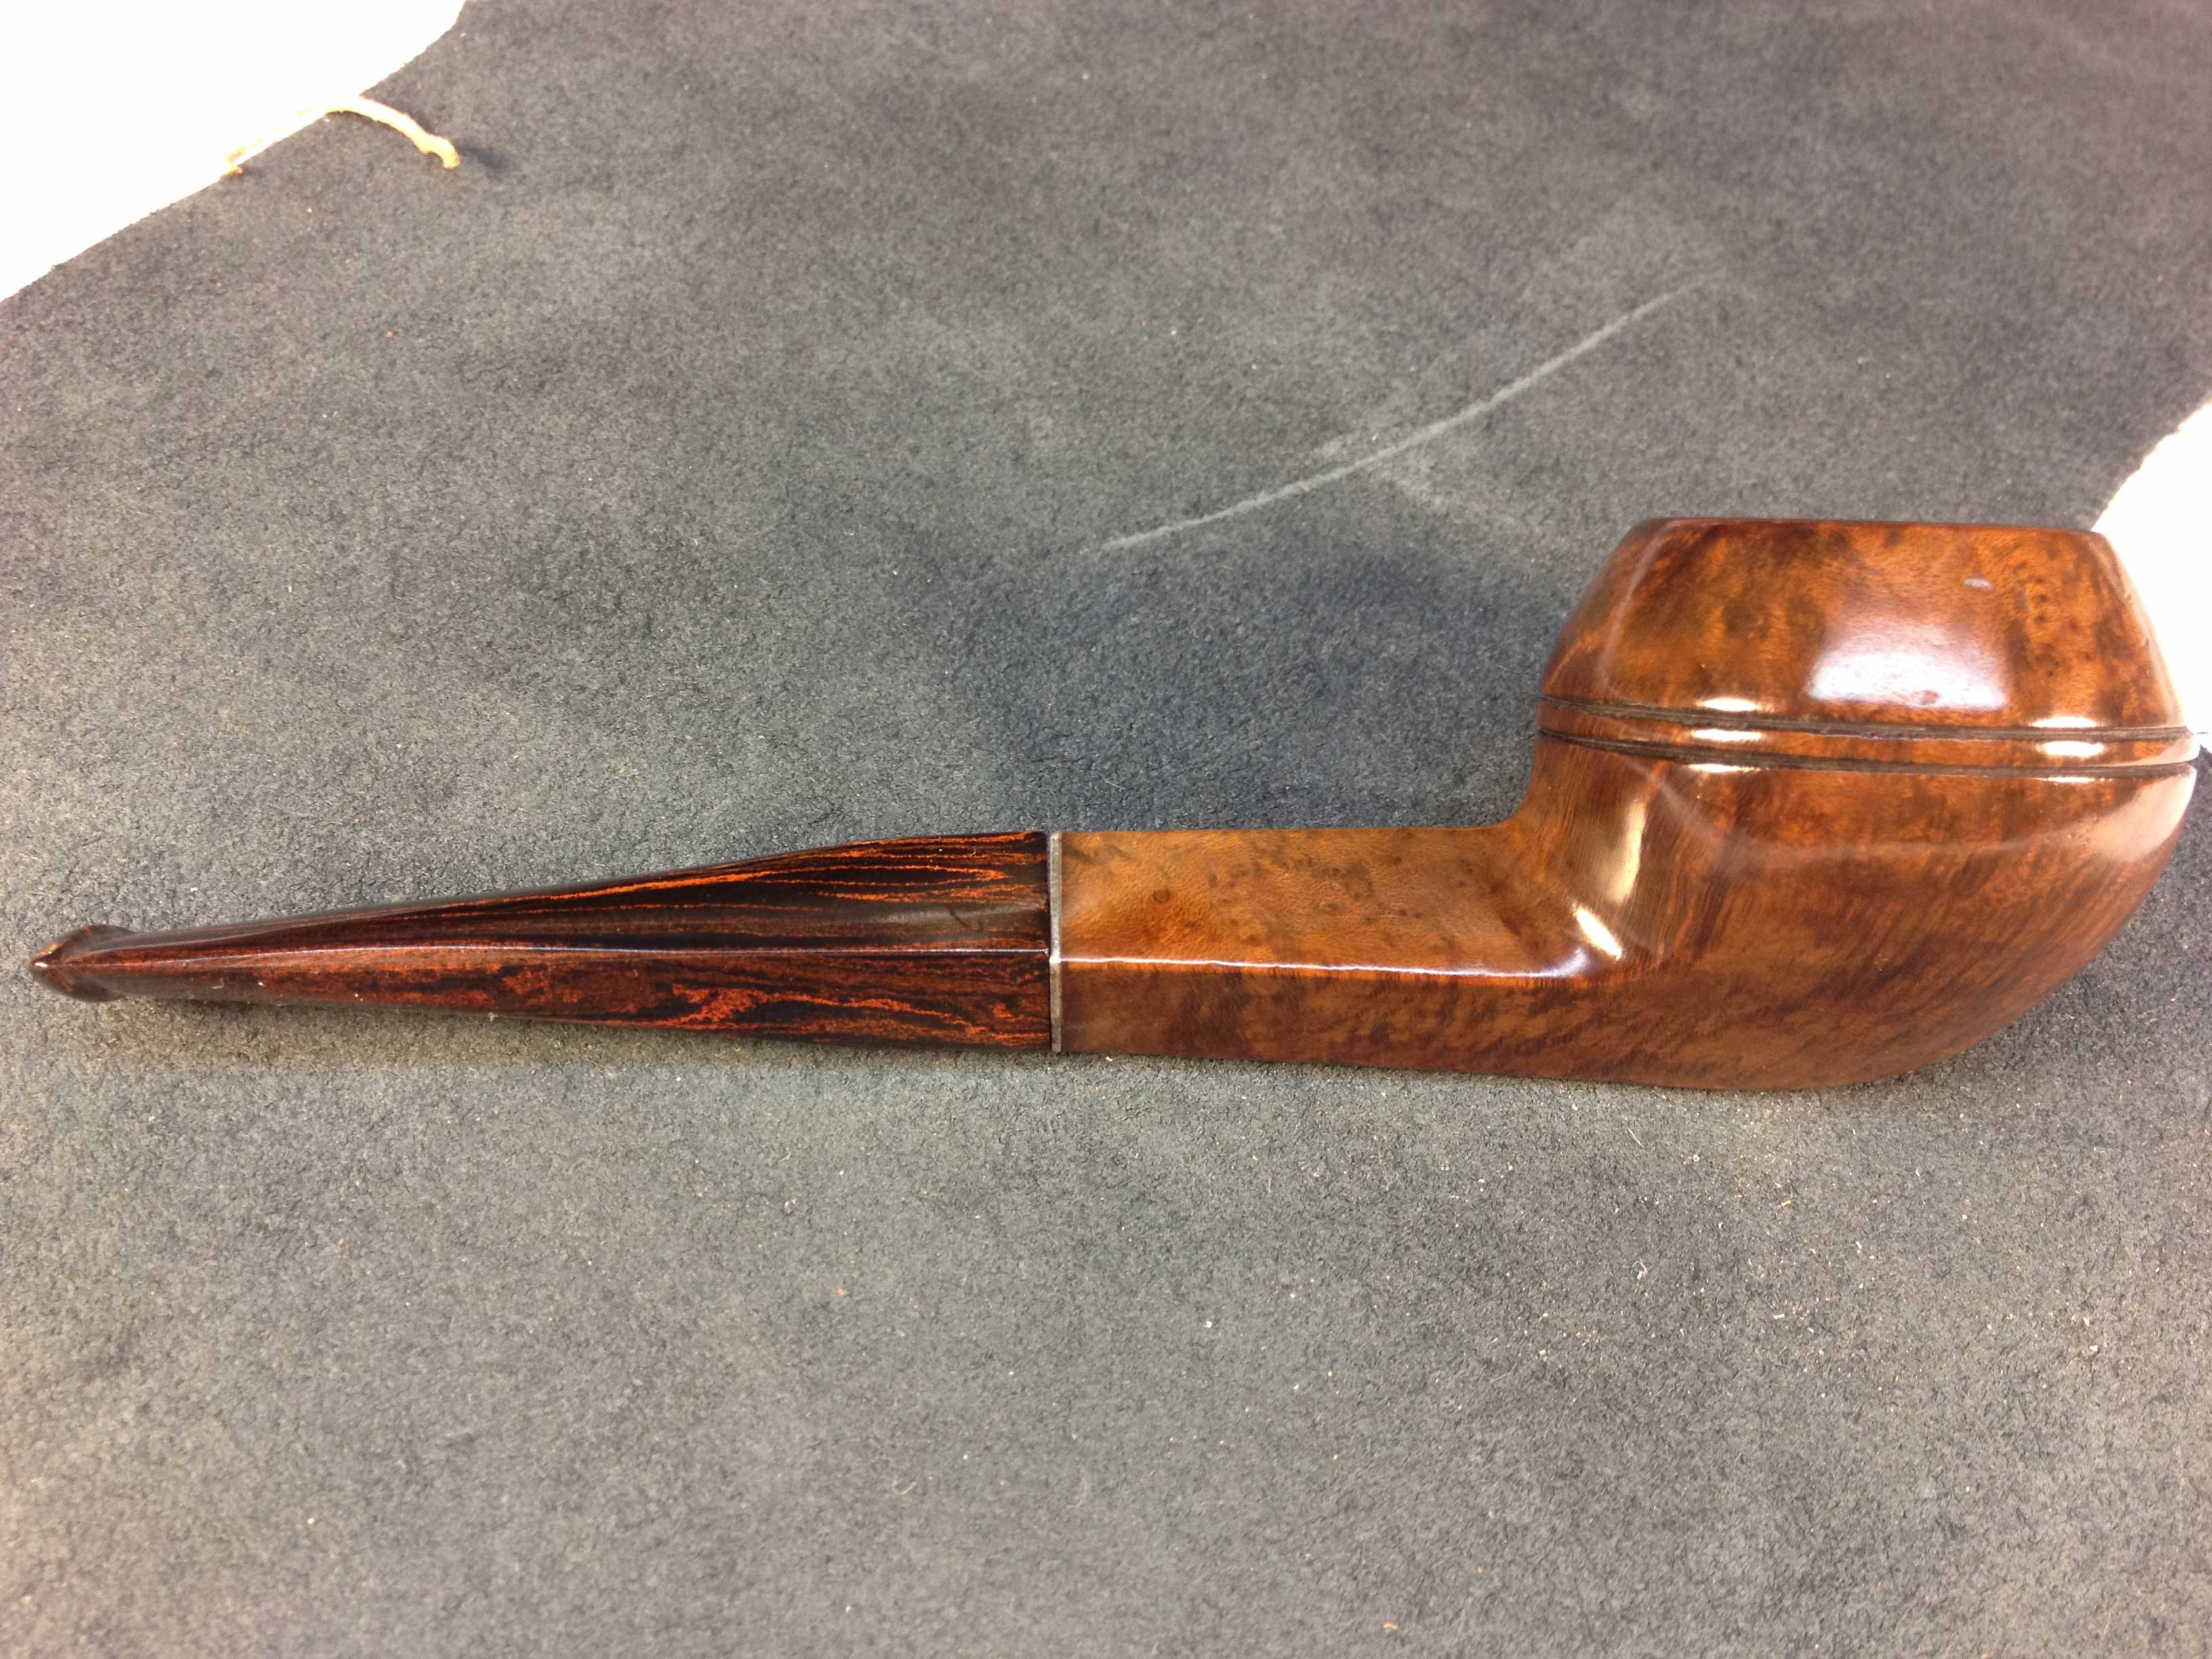
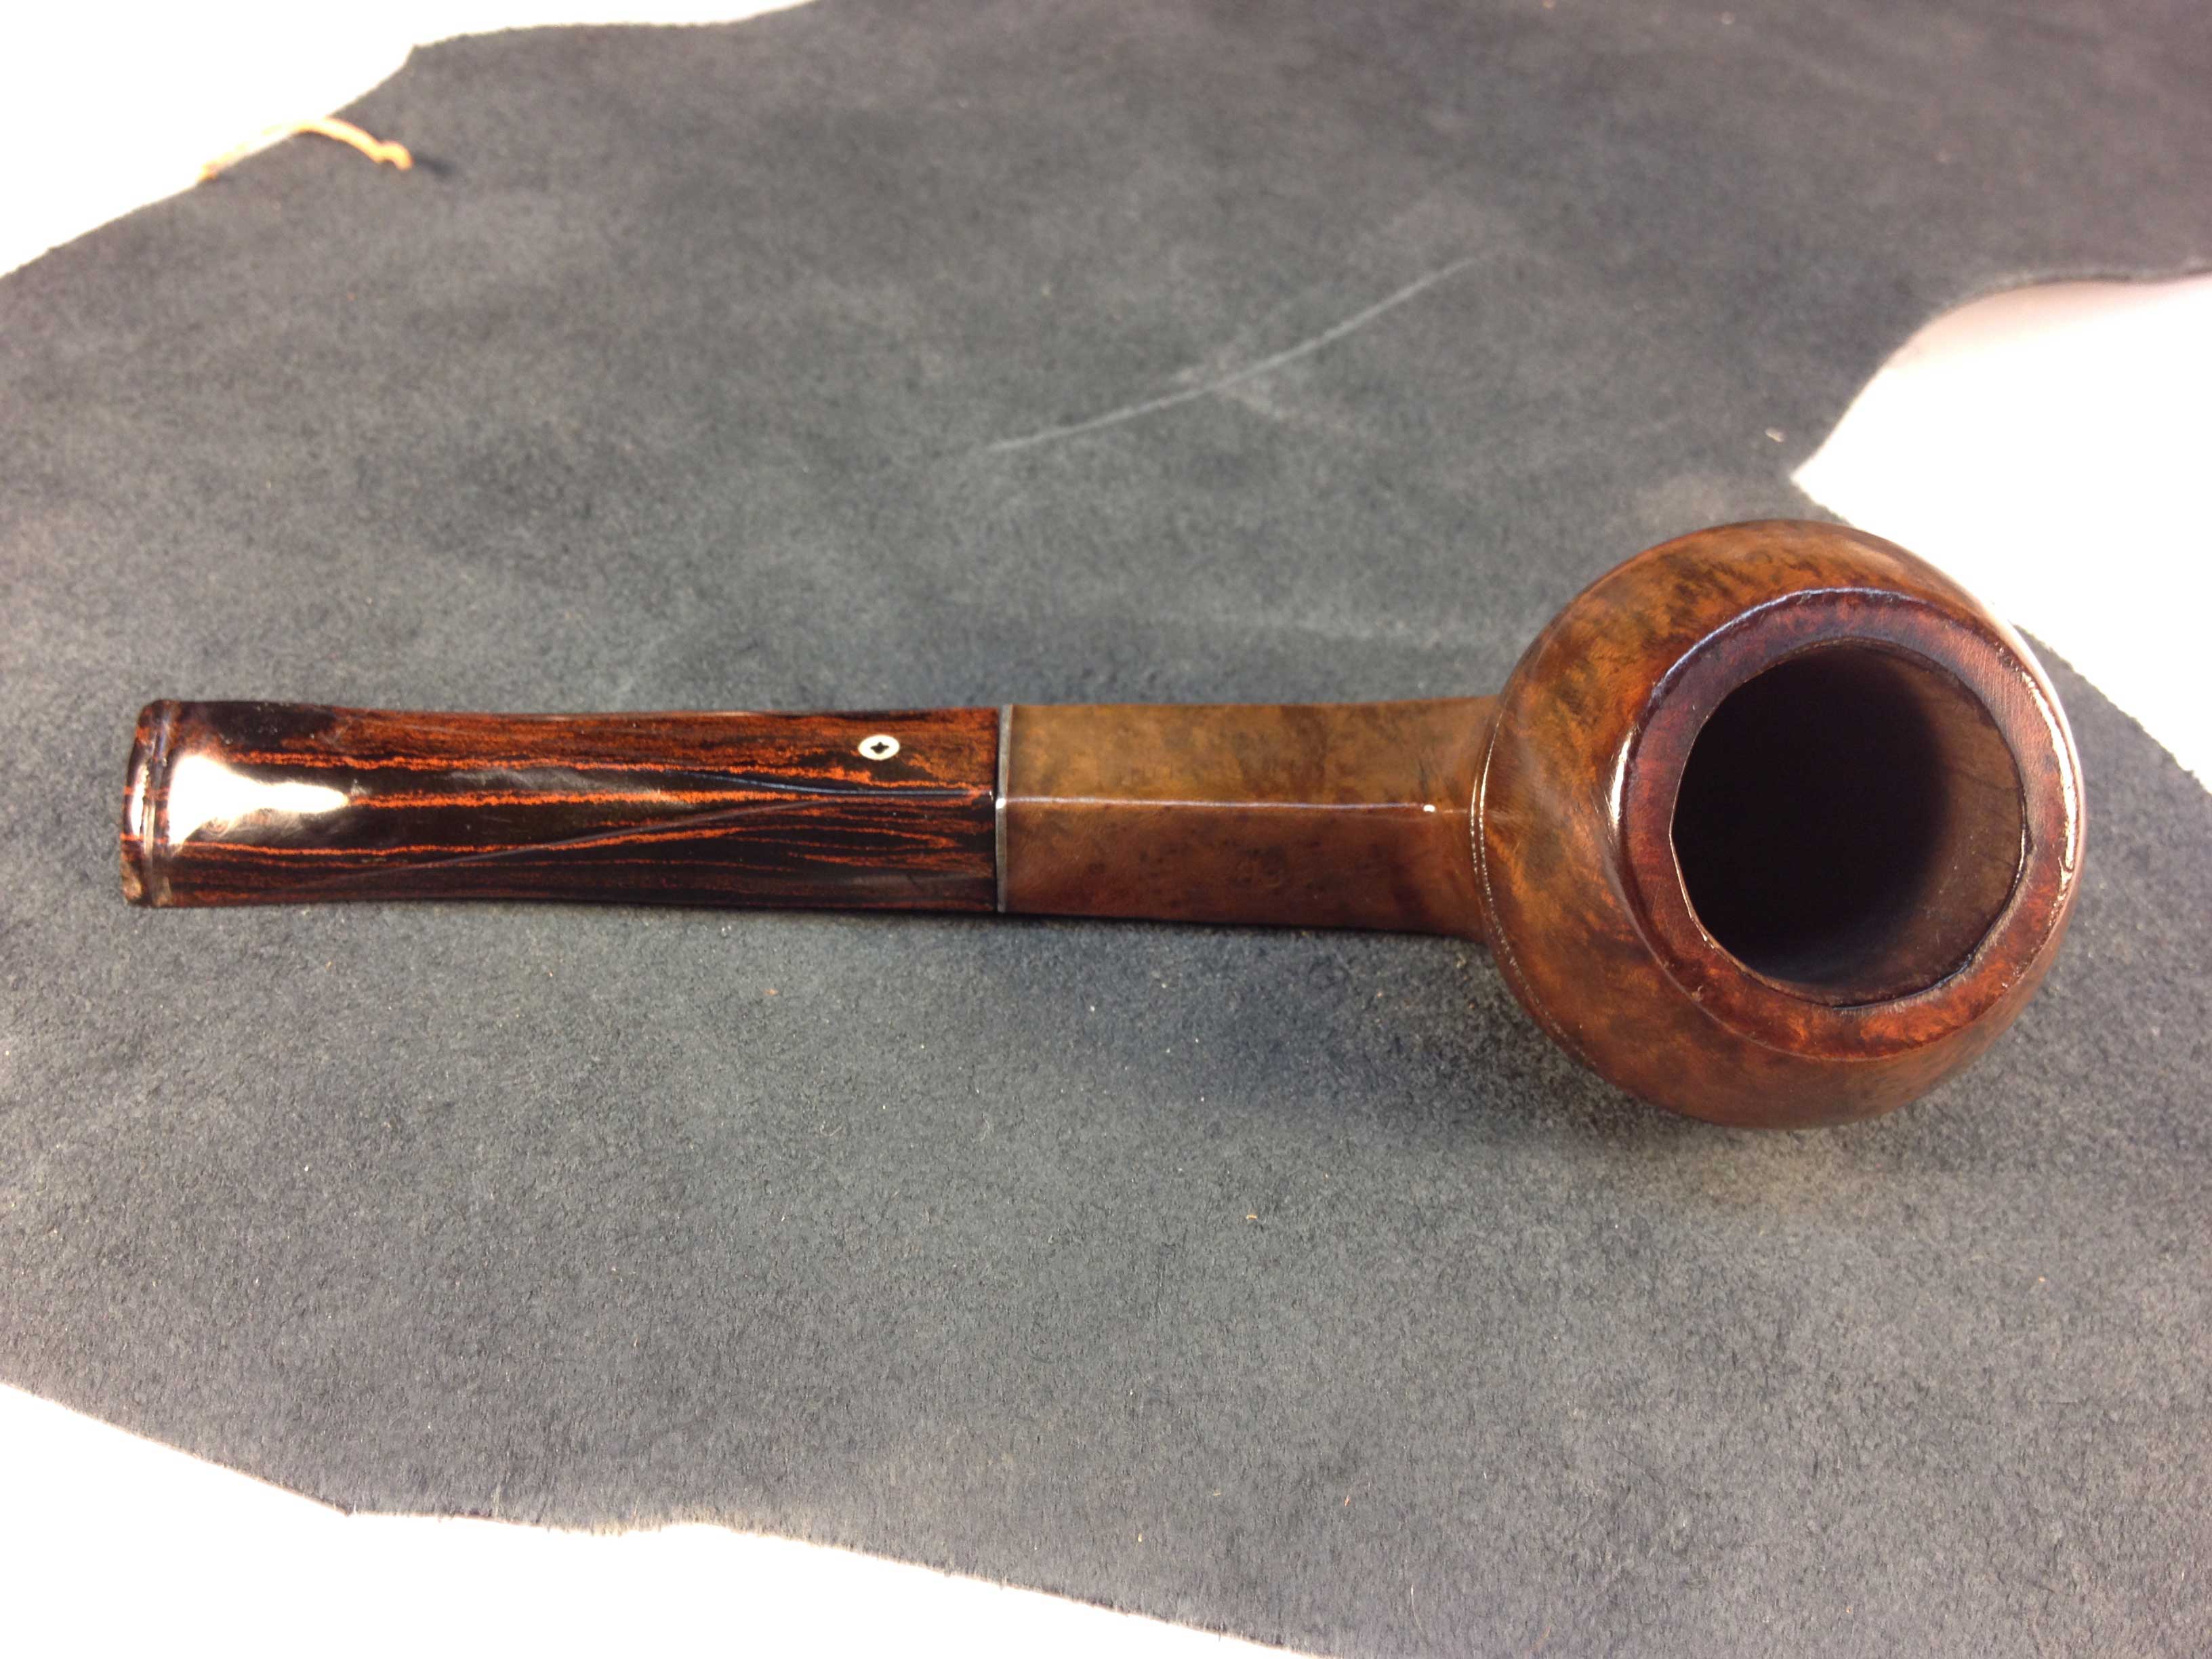
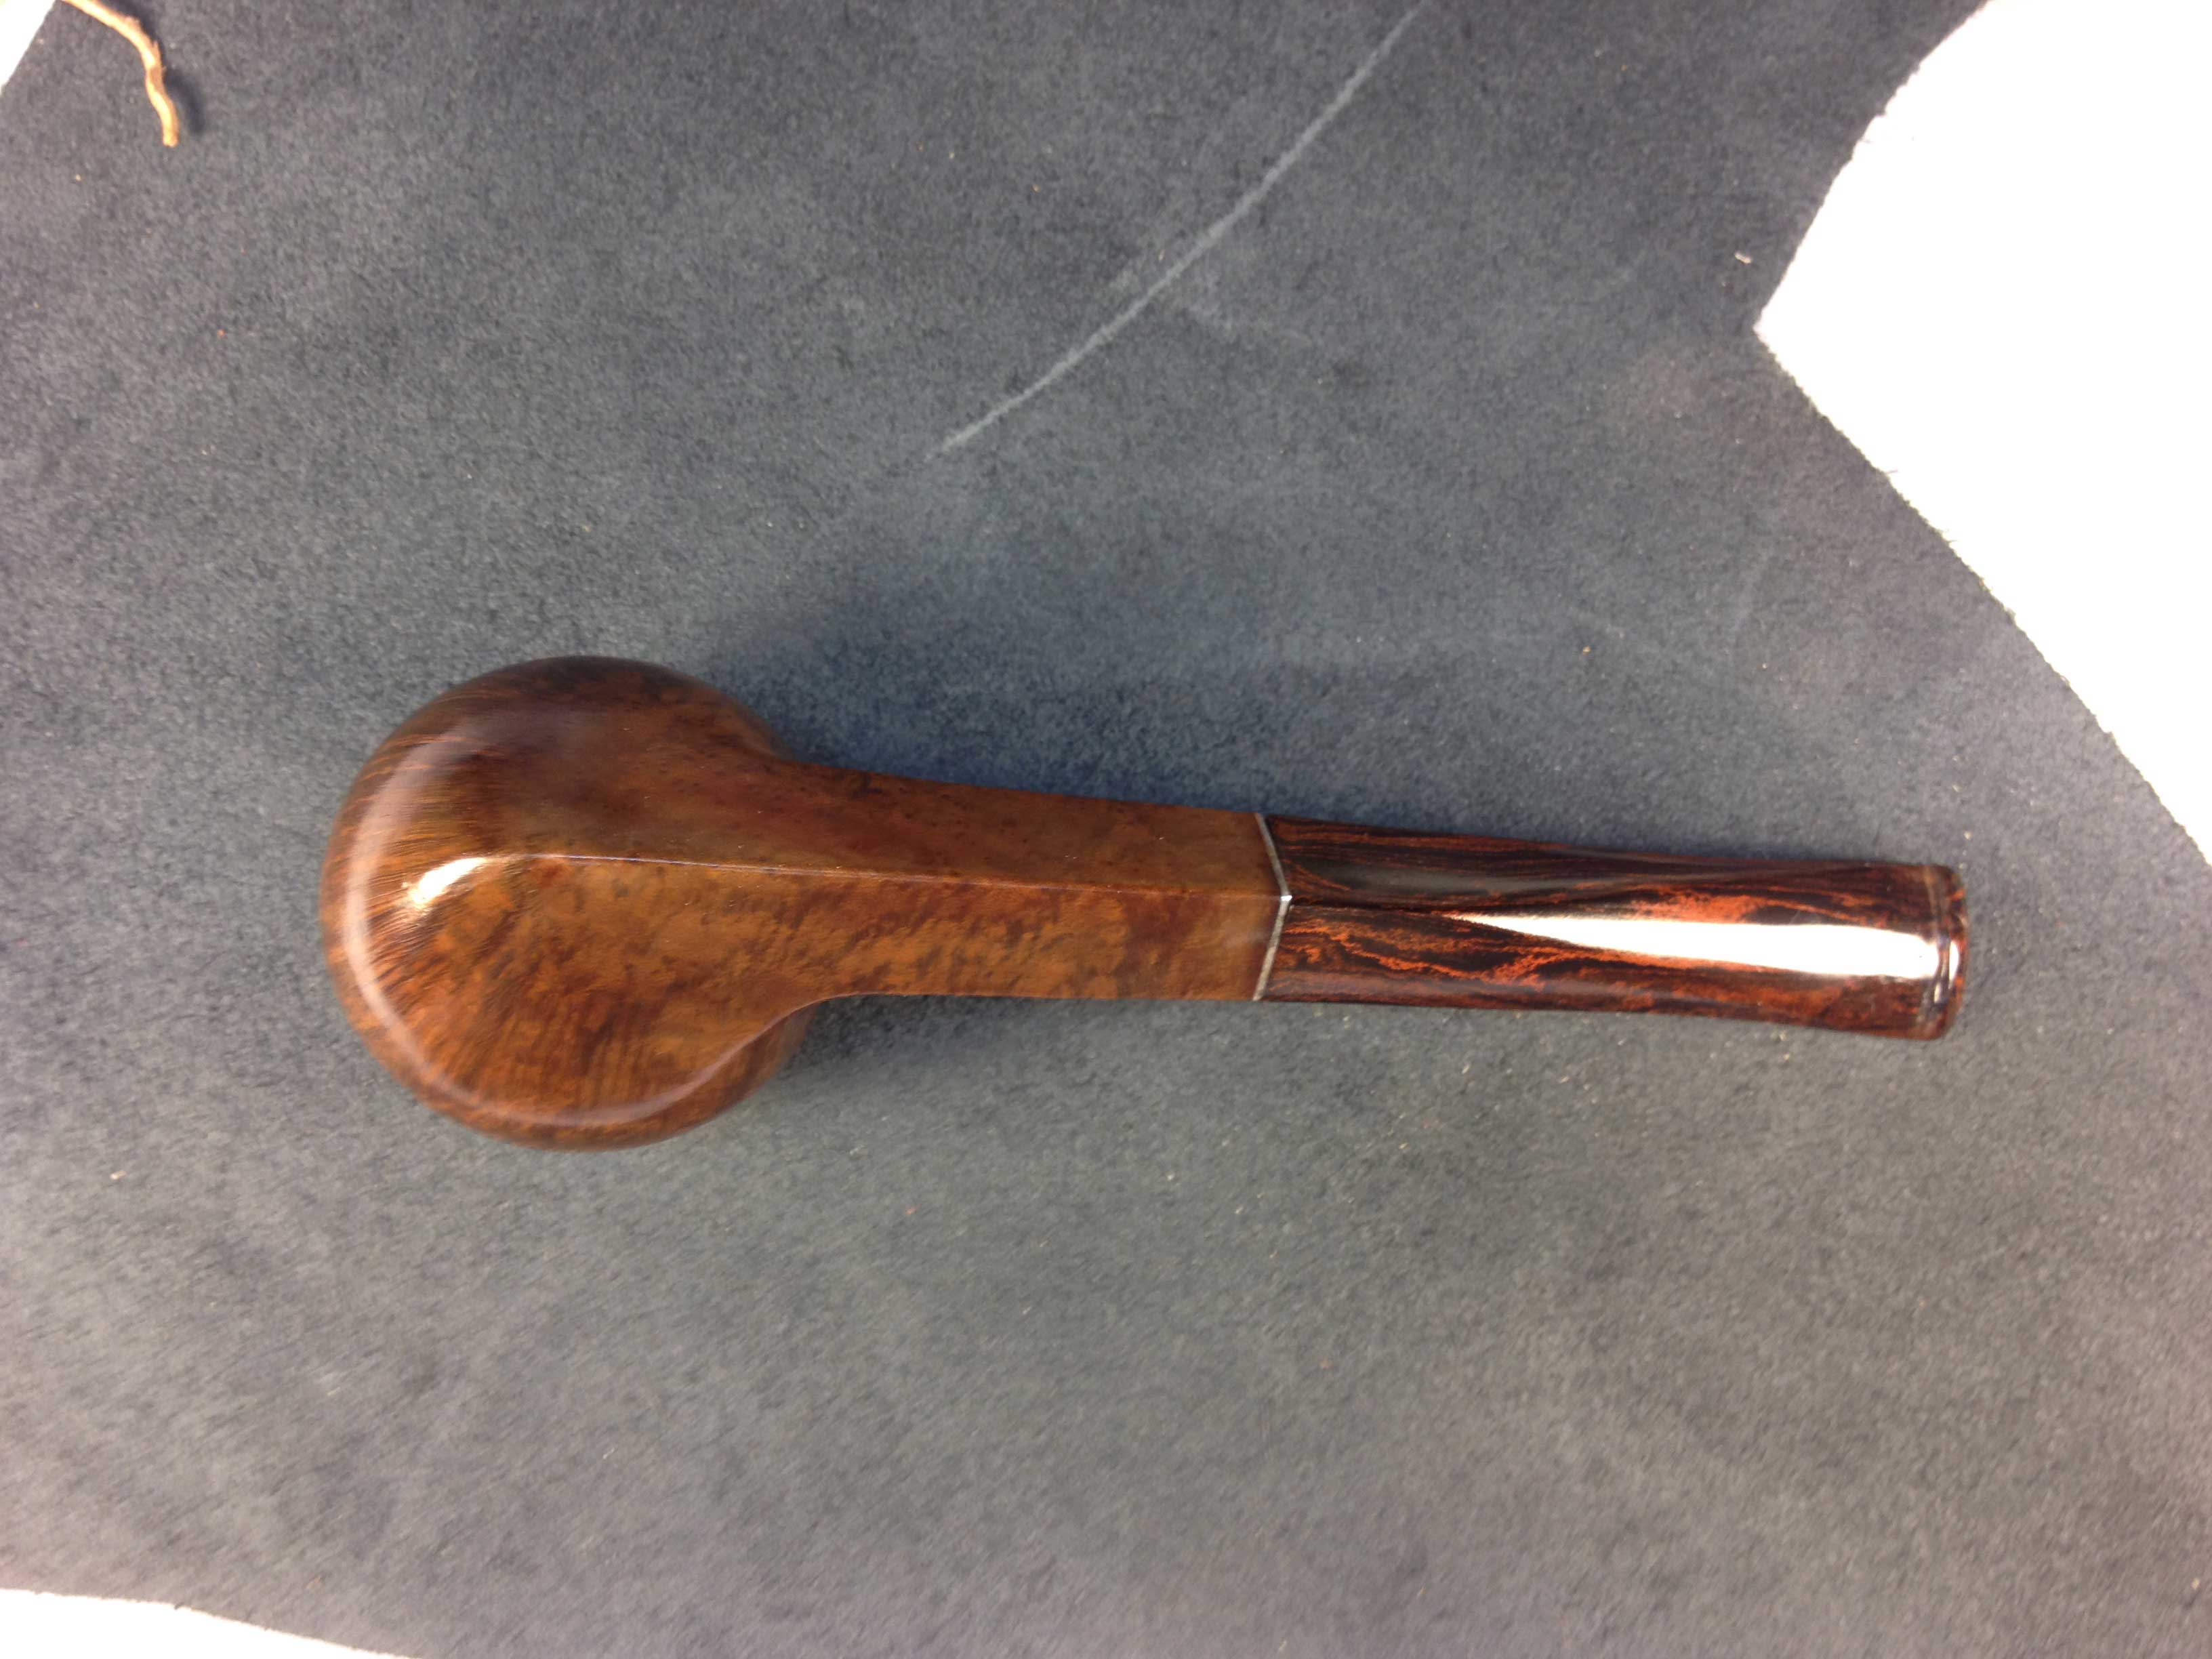
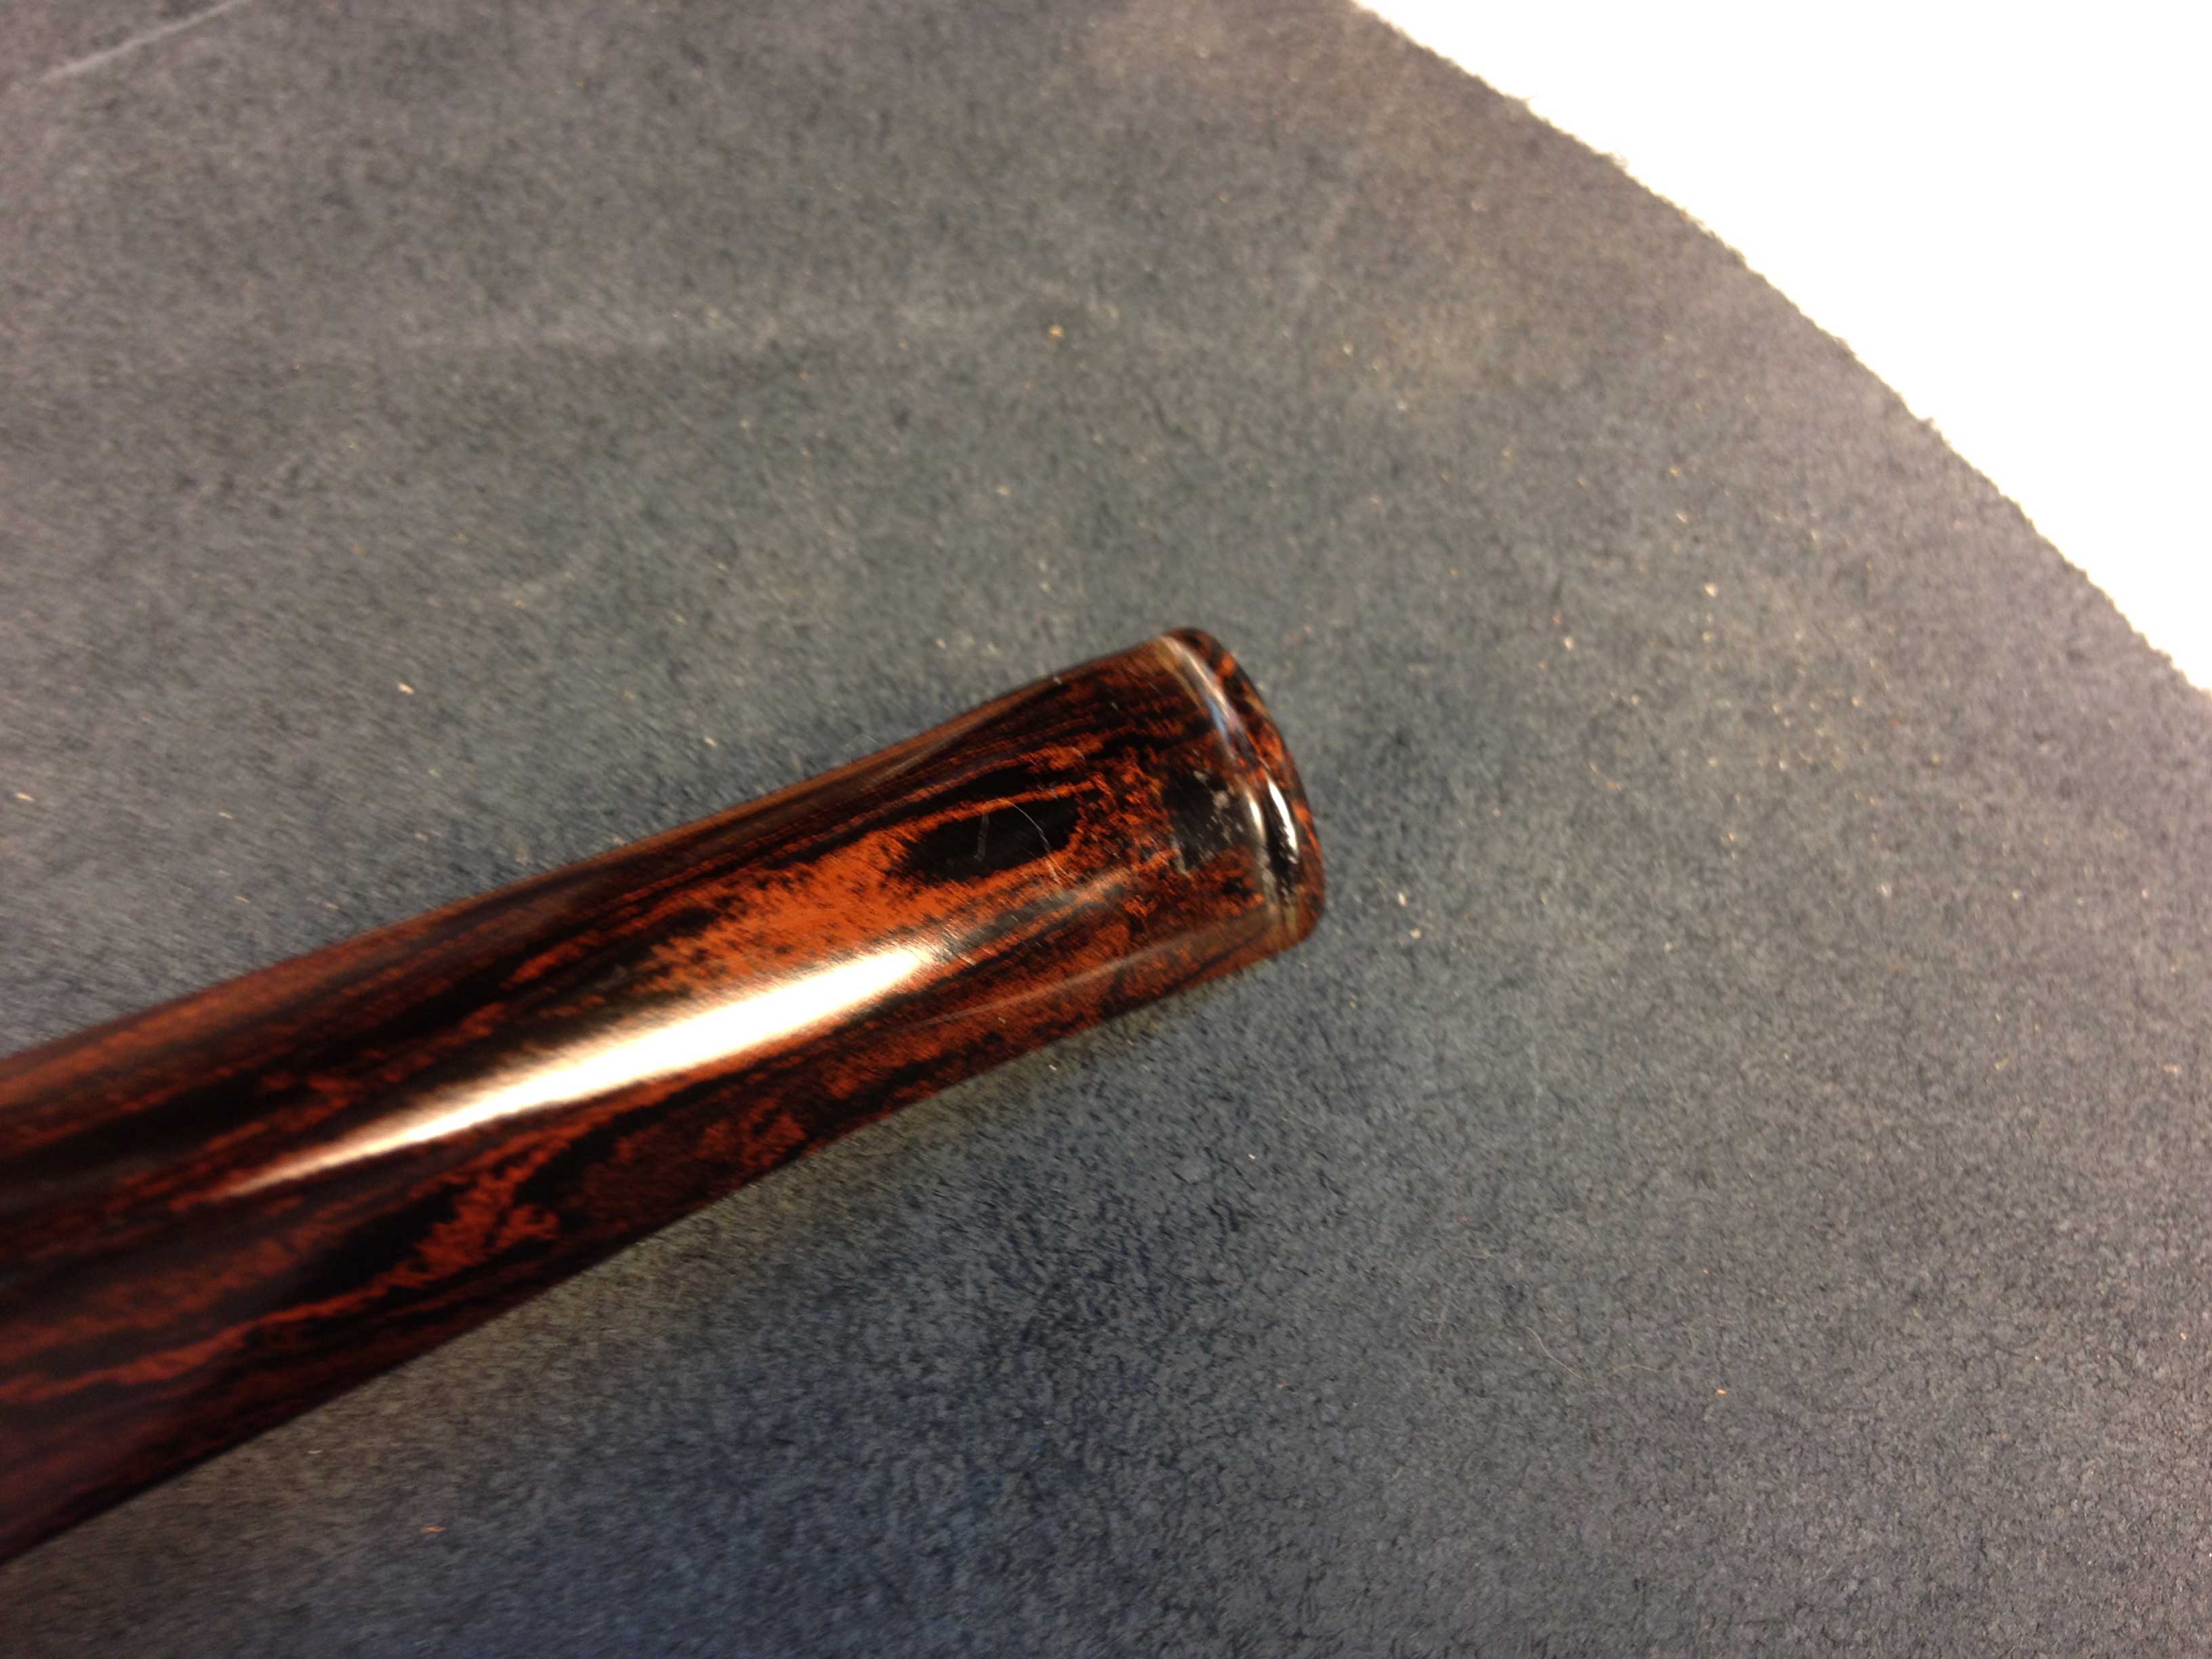
As you can see, this stem came out pretty nicely and is more than useable now. Then lines came out well, to my eye, and the rebuilding and patching blended rather nicely.
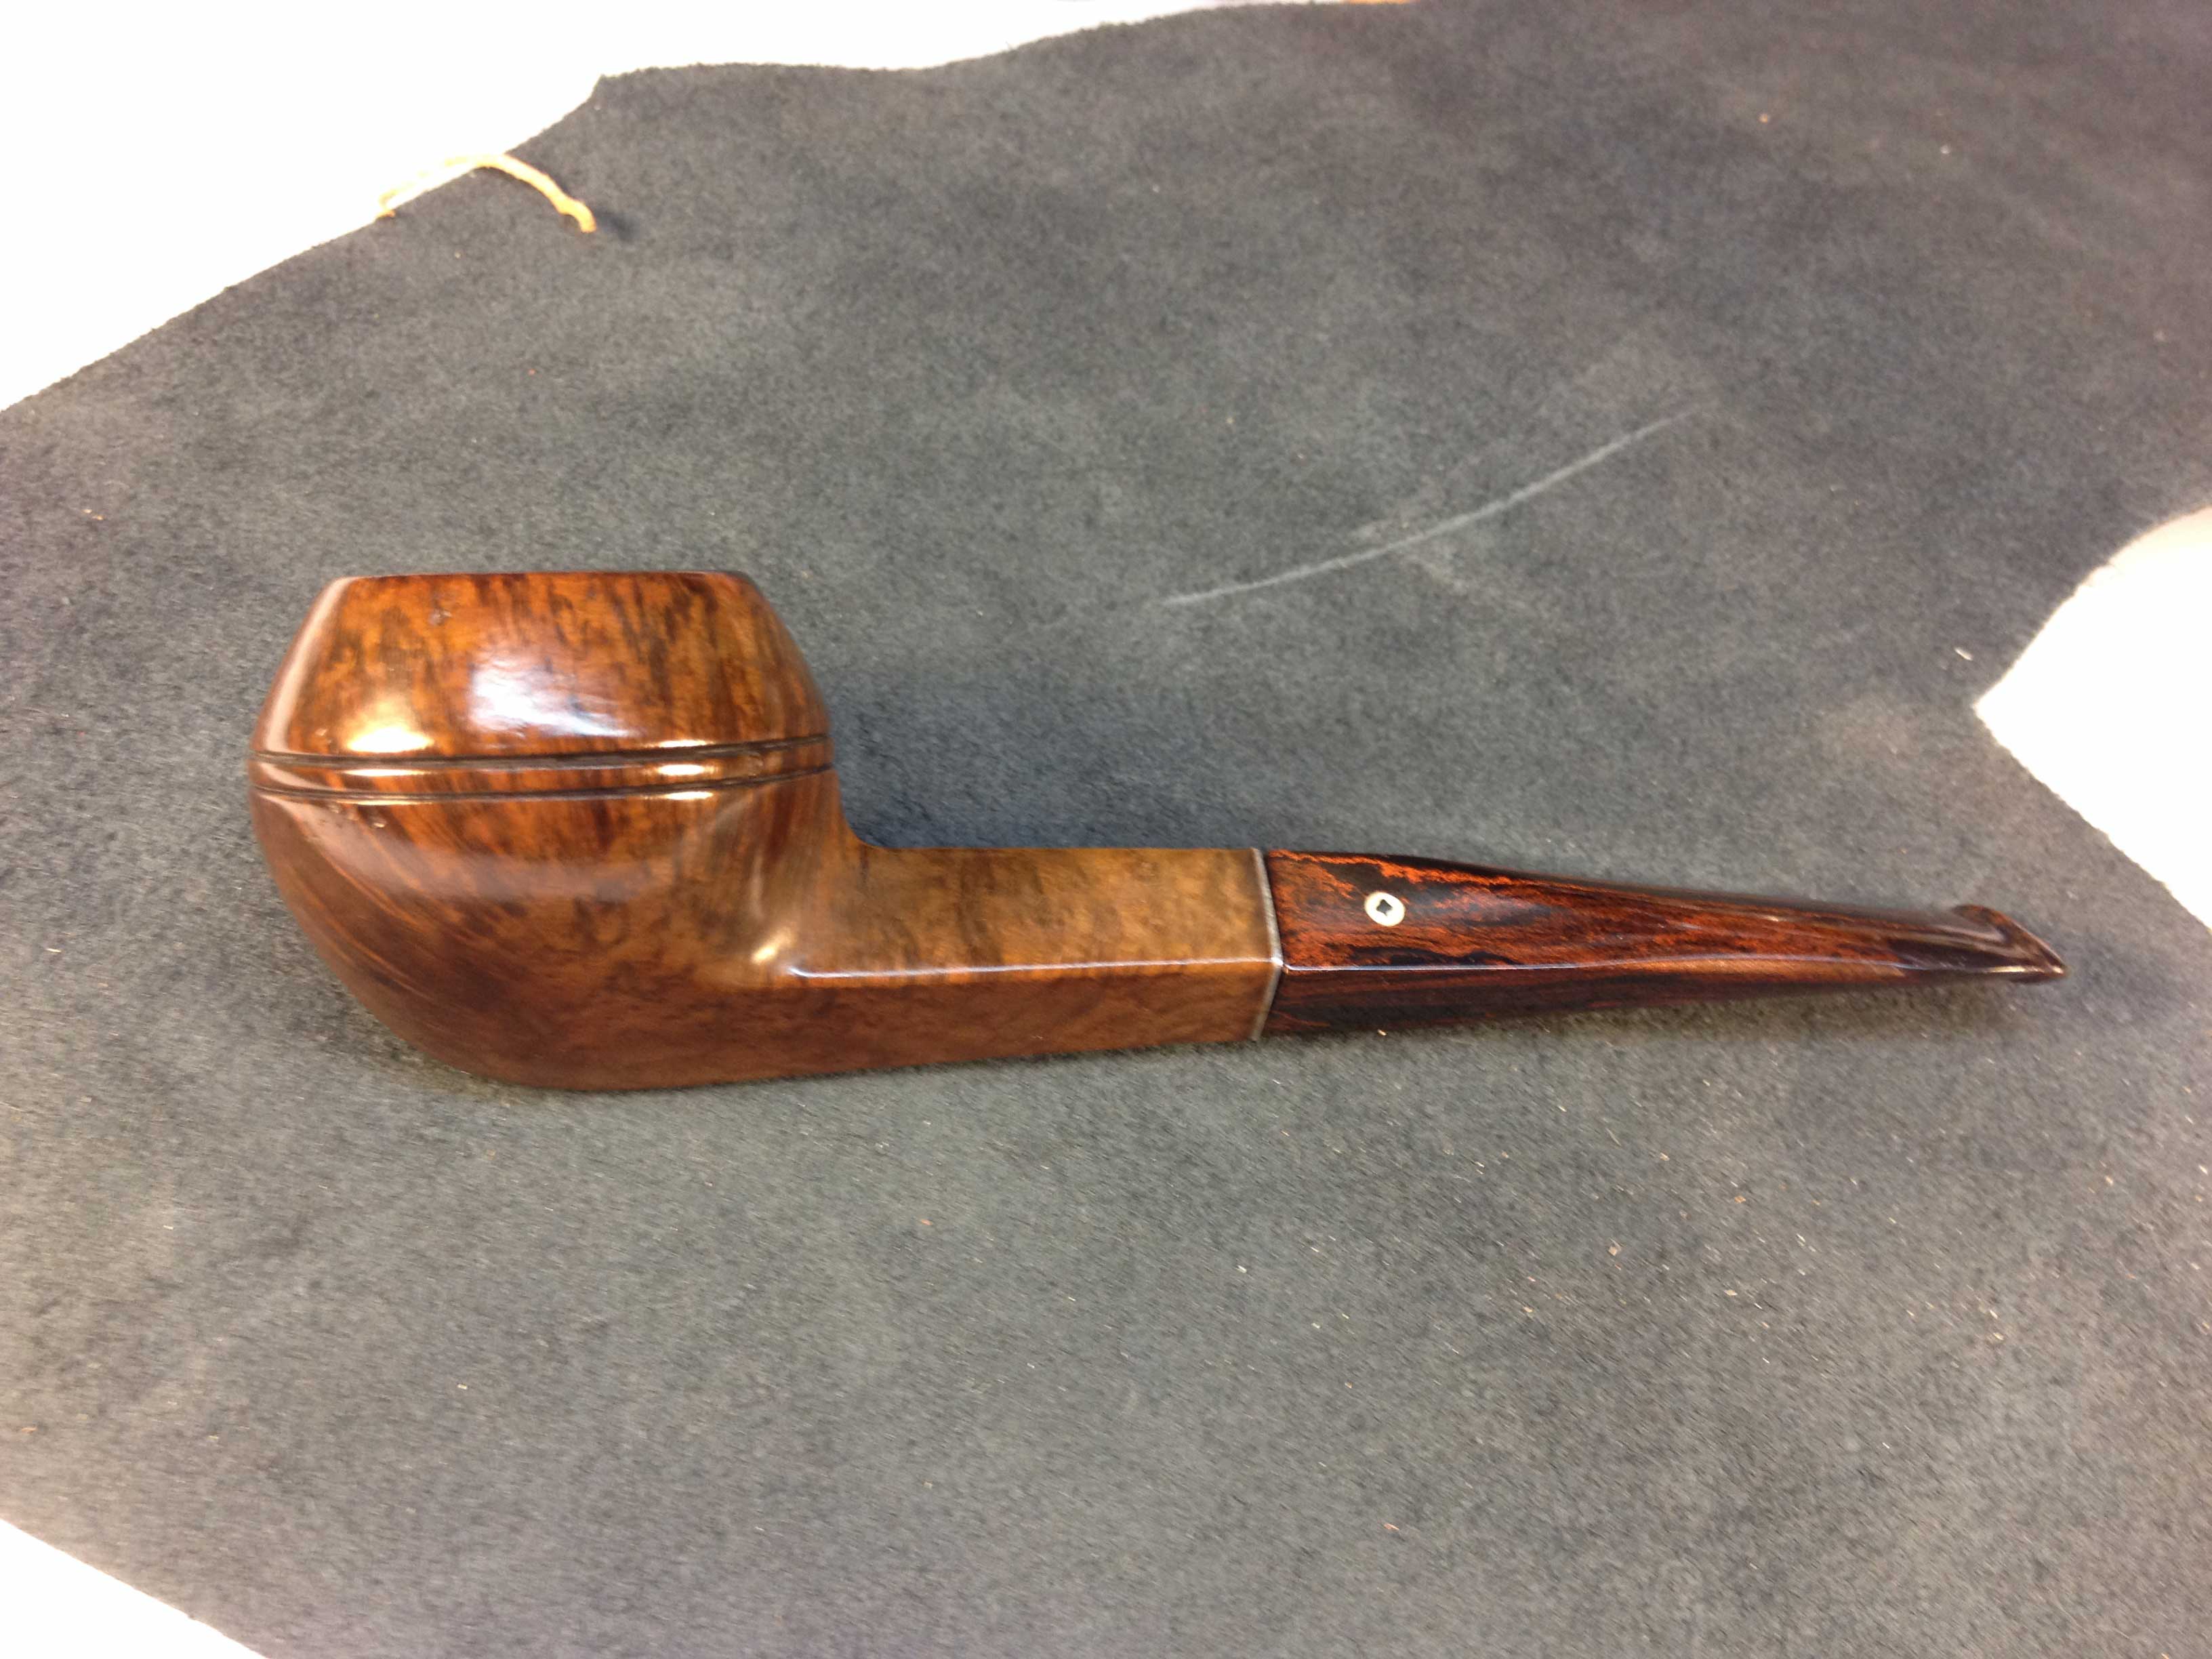
I didn’t do a lot to the stummel; the nomenclature is readable but very weak. There are some small “pocket” marks but I think they give the pipe an air of character so I basically left the stummel as I found it, sans, the thick cake, mess of tars and oils in the shank, and the buildup on the rim. The rim did require a very light topping and a round or two with the medium touch up marker to give it a head start on matching the patina on this rest of the wood. I only very lightly buffed the pipe with white diamond and carnauba wax and ending with a soft clean buff and hand polish with a micro fabric cloth.
I just noticed there is a bit of wax residue that I missed in the photos. Oh well, that’s easy enough to take care of after while ….
I’m very happy with how this project came out. It will soon find its way, I think, onto my rack where I can hopefully enjoy it for many years – unless my wife learns of its collectors appeal and potential value, then I might be in trouble!
