Daily Archives: July 20, 2014

GBD New Standard 9442 Cleanup


ReserectedPipes

Recently I bought a GBD New Standard 9442 on eBay in which the seller said had been “professionally” cleaned. The photos online looked ok and I bid on the pipe. Upon receipt I was disappointed in the condition. It would not even pass a pipe cleaner.

There was a lot of tar built up in the base of the pipe and the stem was plugged solid. I went through a number of pipe cleaners and cotton swabs to get it cleaned.

The stem had a couple of tooth marks and a crack in the bottom of the stem. Using the black super glue I tried to fill the tooth marks and repair the crack.

This is an area that I will need much more practice in before I can say it’s good. At this writing the repair I made are primitive but ok. I will continue to practice…

I soaked the…

View original post 52 more words

Restored – Kaywoodie Flame Grain 13B (Author) Drinkless – Pat Russell


It is a pleasure to present Pat’s second contribution to the blog. In it he describes his work on an old Kaywoodie in one of my favourite shapes – the 13B. Thanks for the contribution Pat. Keep ’em coming. You are doing some great work.

Greetings friends.

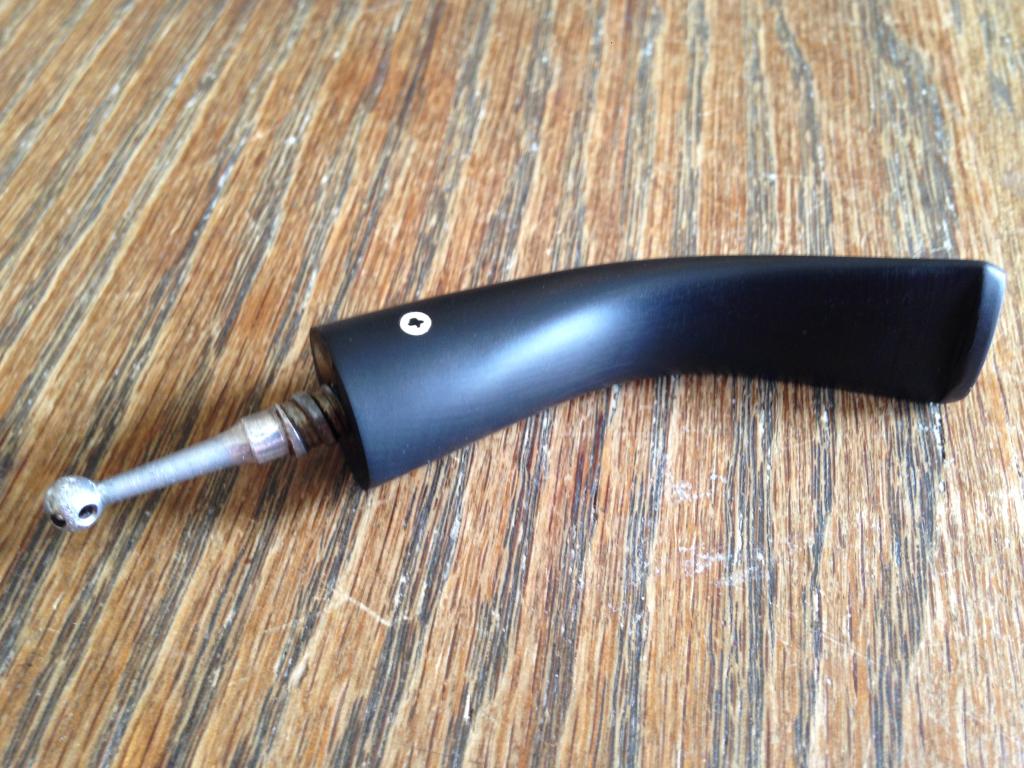
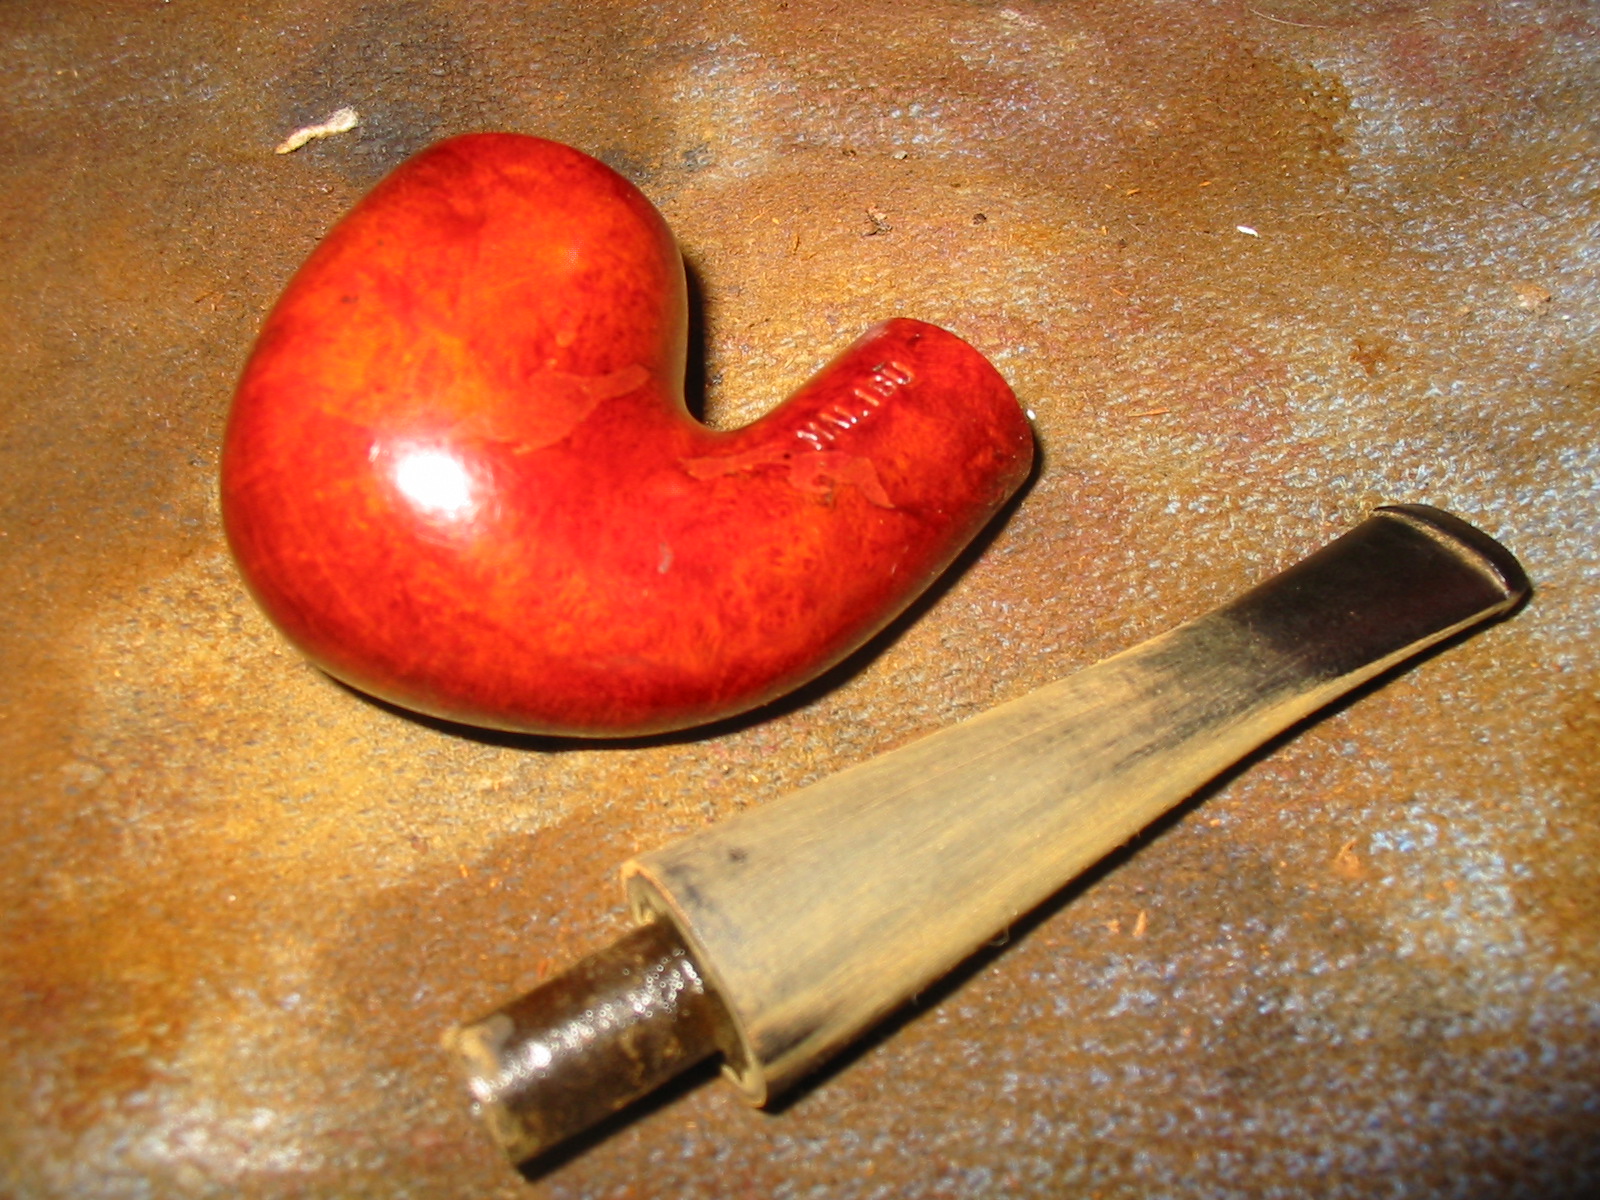
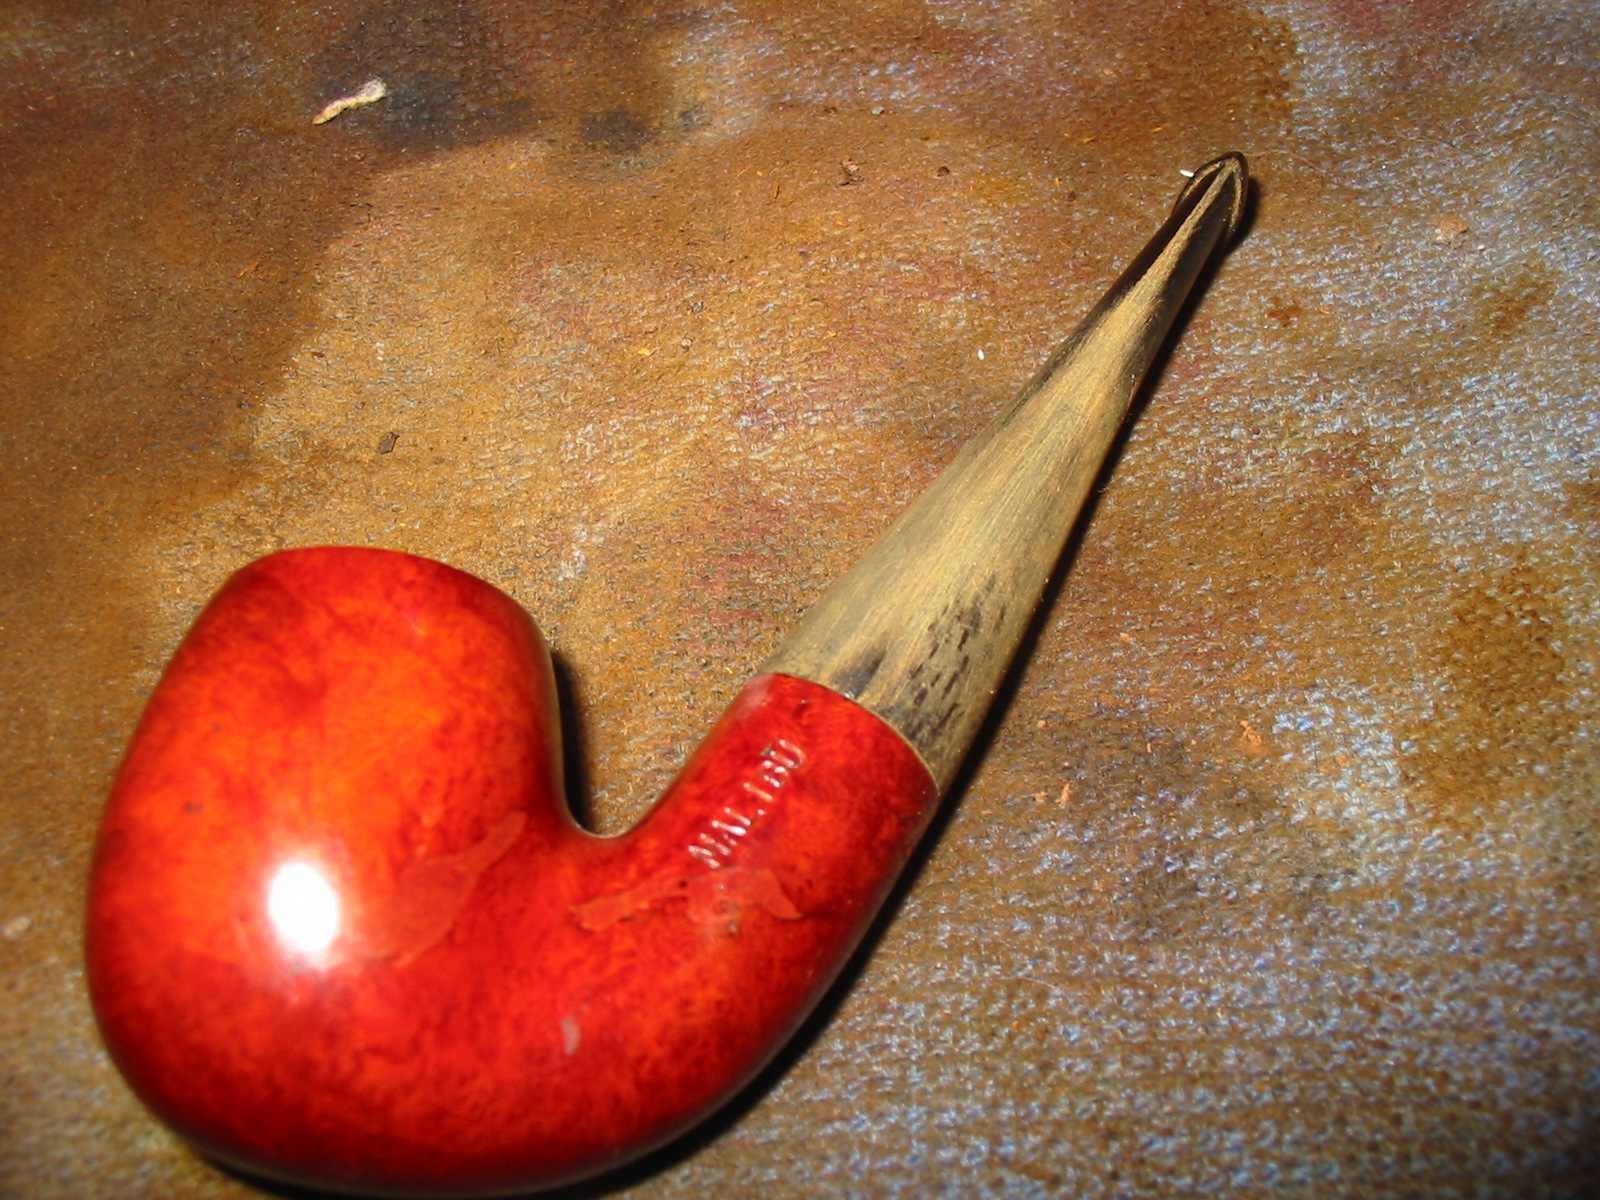
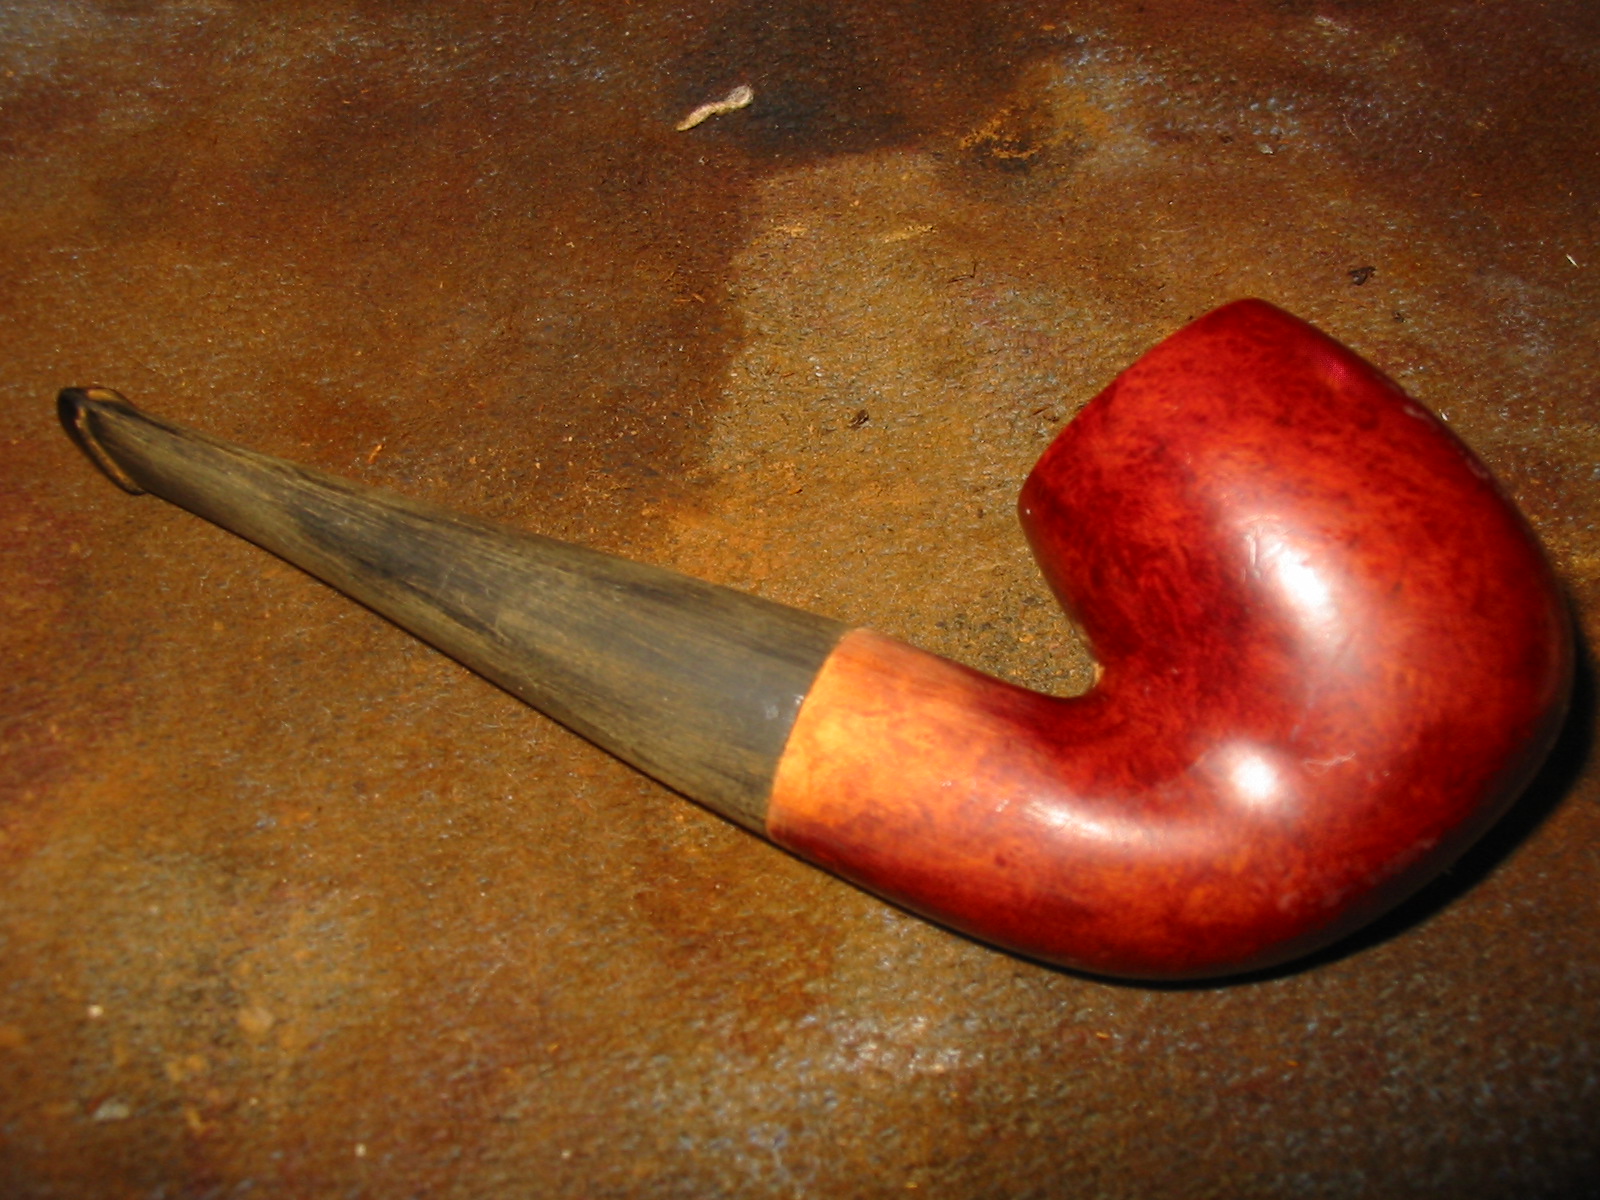
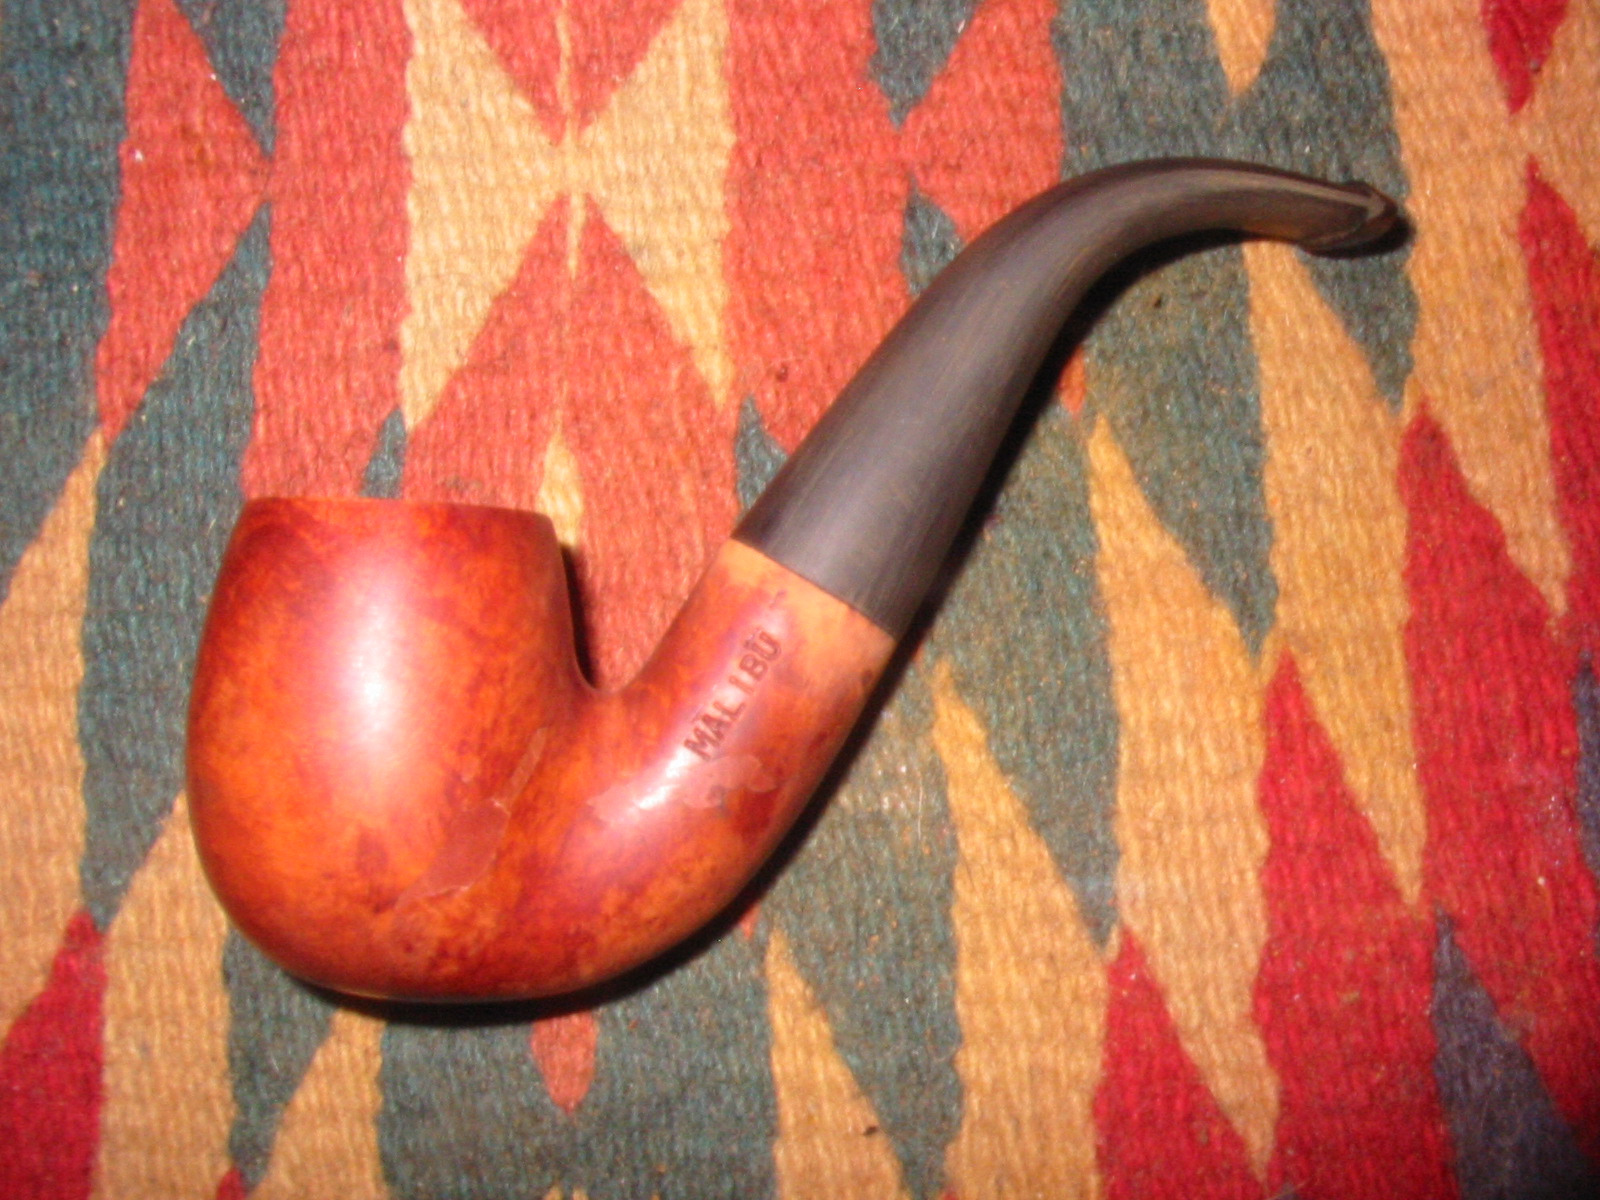
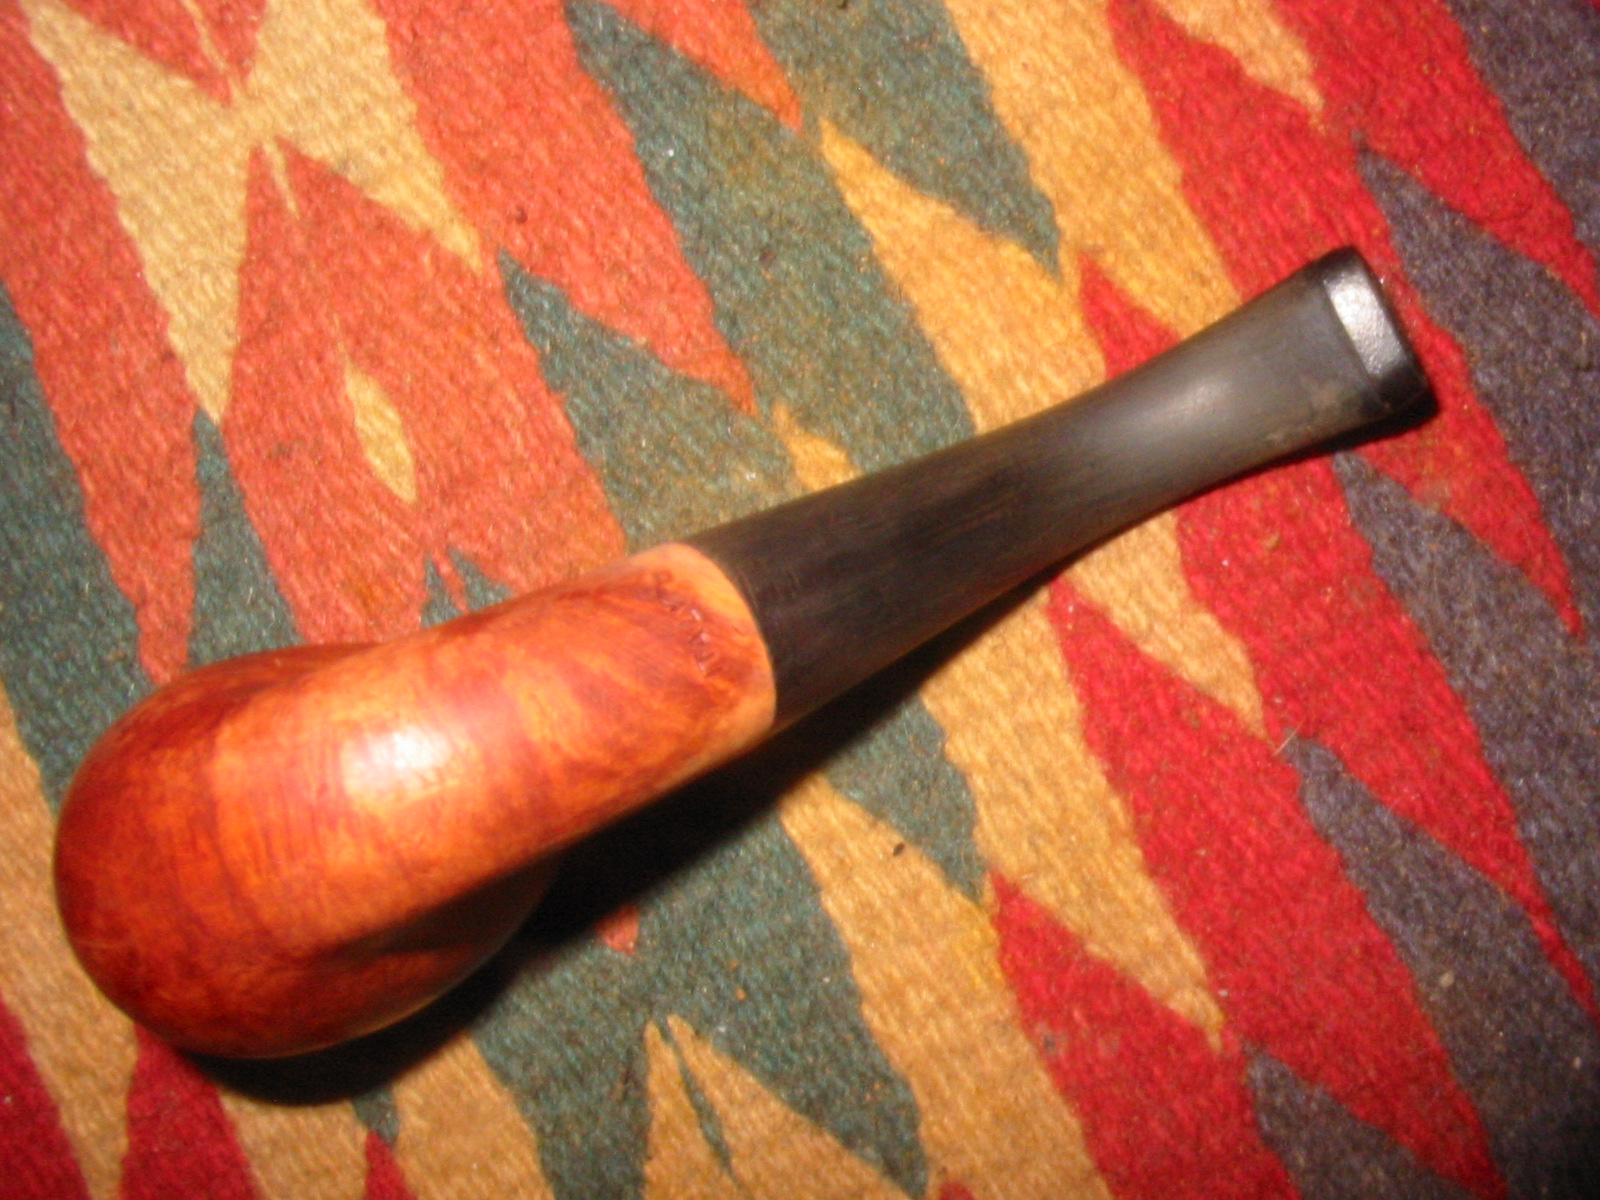
It’s been one heckuva week, one of those weeks where life just seems to take over. As a reward for making it through, I’ve taken a holiday today to restore a beautiful old pipe that has been sitting on my bench for a month or so. This was another $14.00 eBay win, and one I was thrilled about. I started looking for early Kaywoodies about a year ago when I fell in love with the quality of the briar. This lovely little author was in pretty good shape. The drinkless stinger, with 4 holes, and a two digit shape code with one letter dates it to between 1940 and the early 1950s. There was a sizable tooth mark in the top of the stem, a couple smaller bites out of the bottom of the bit, and a few small dings and dents in the bowl. Other than that, the pipe was in pretty good shape.
KW1KW2KW3KW4KW5 
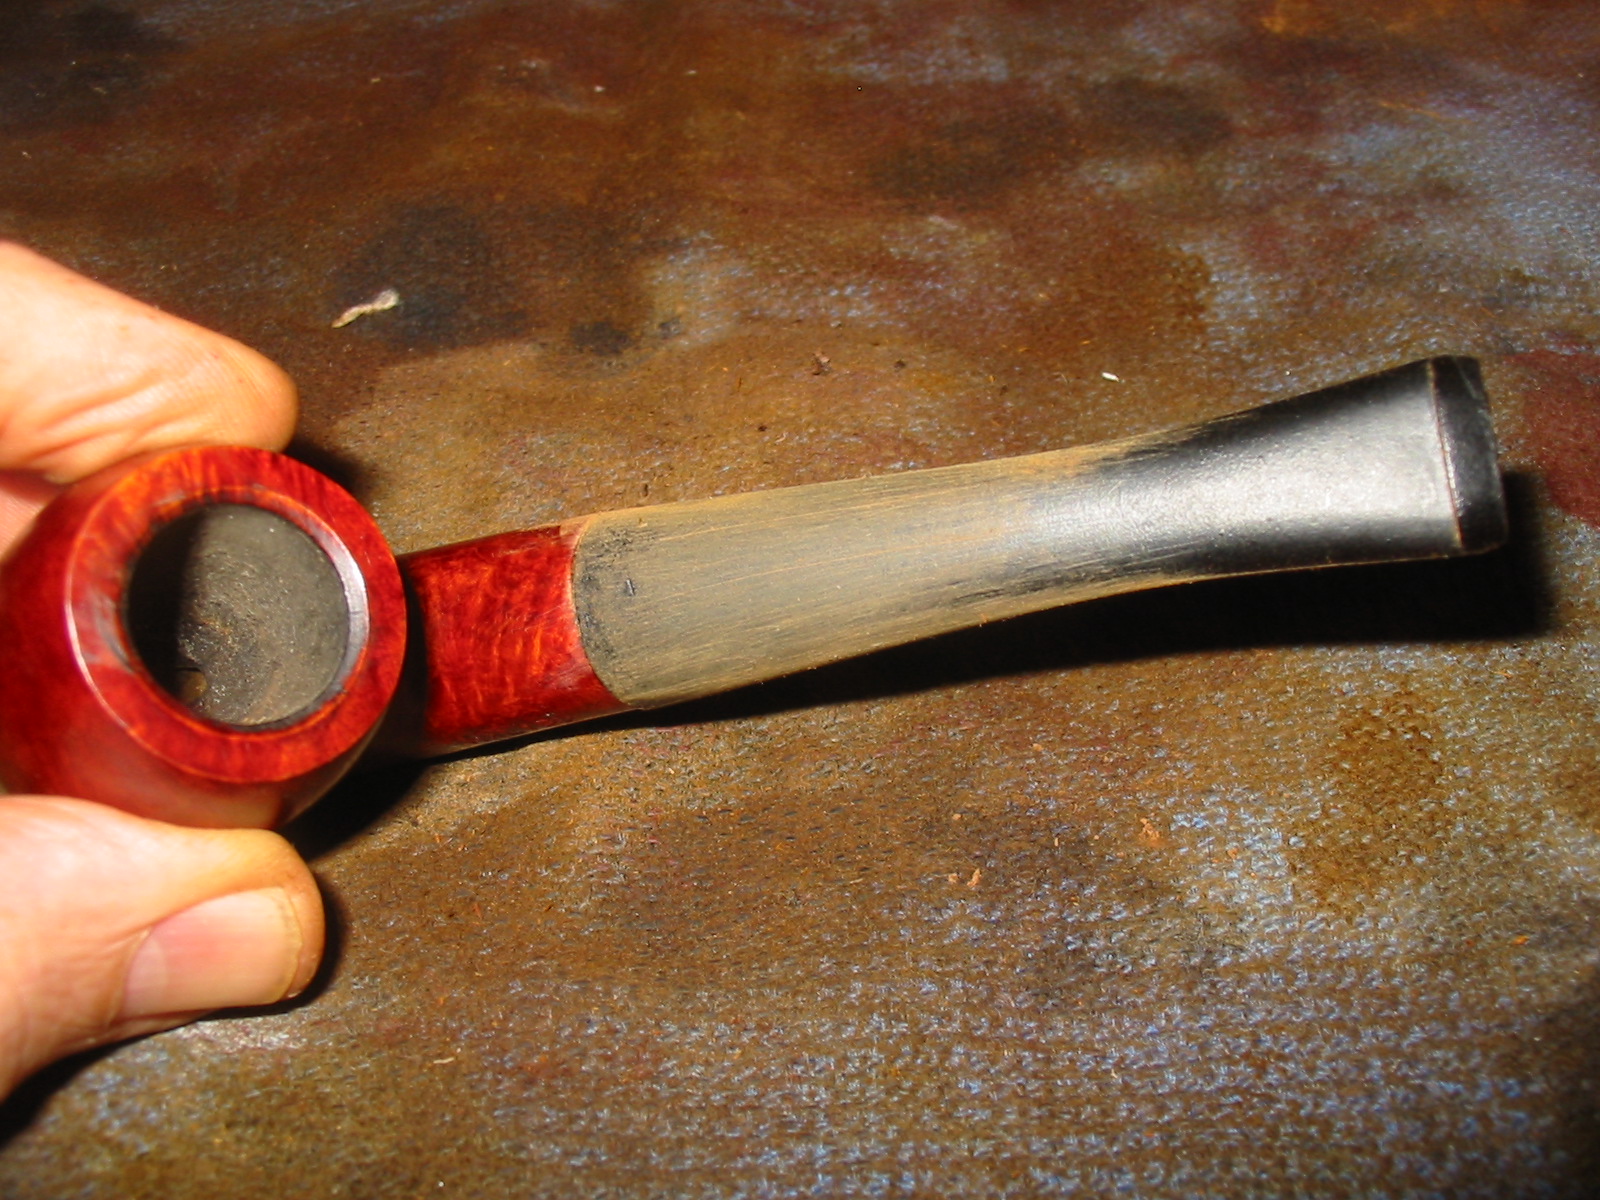
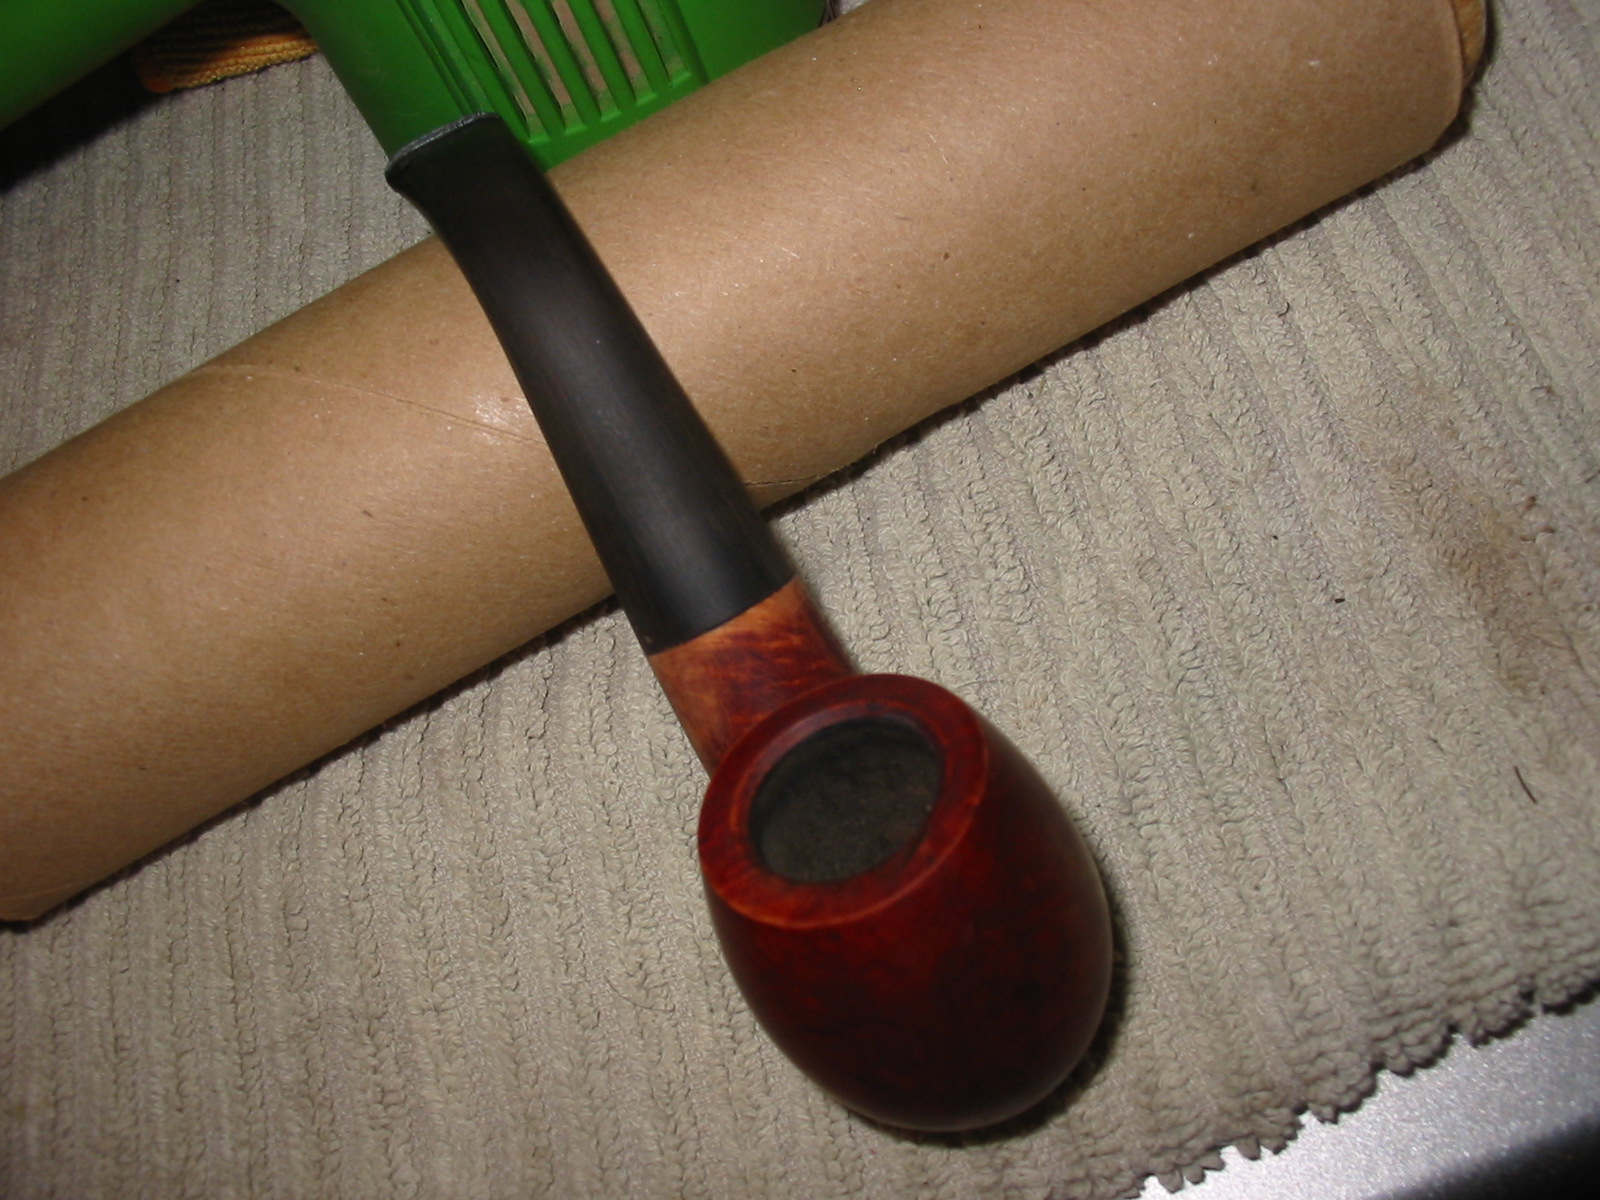
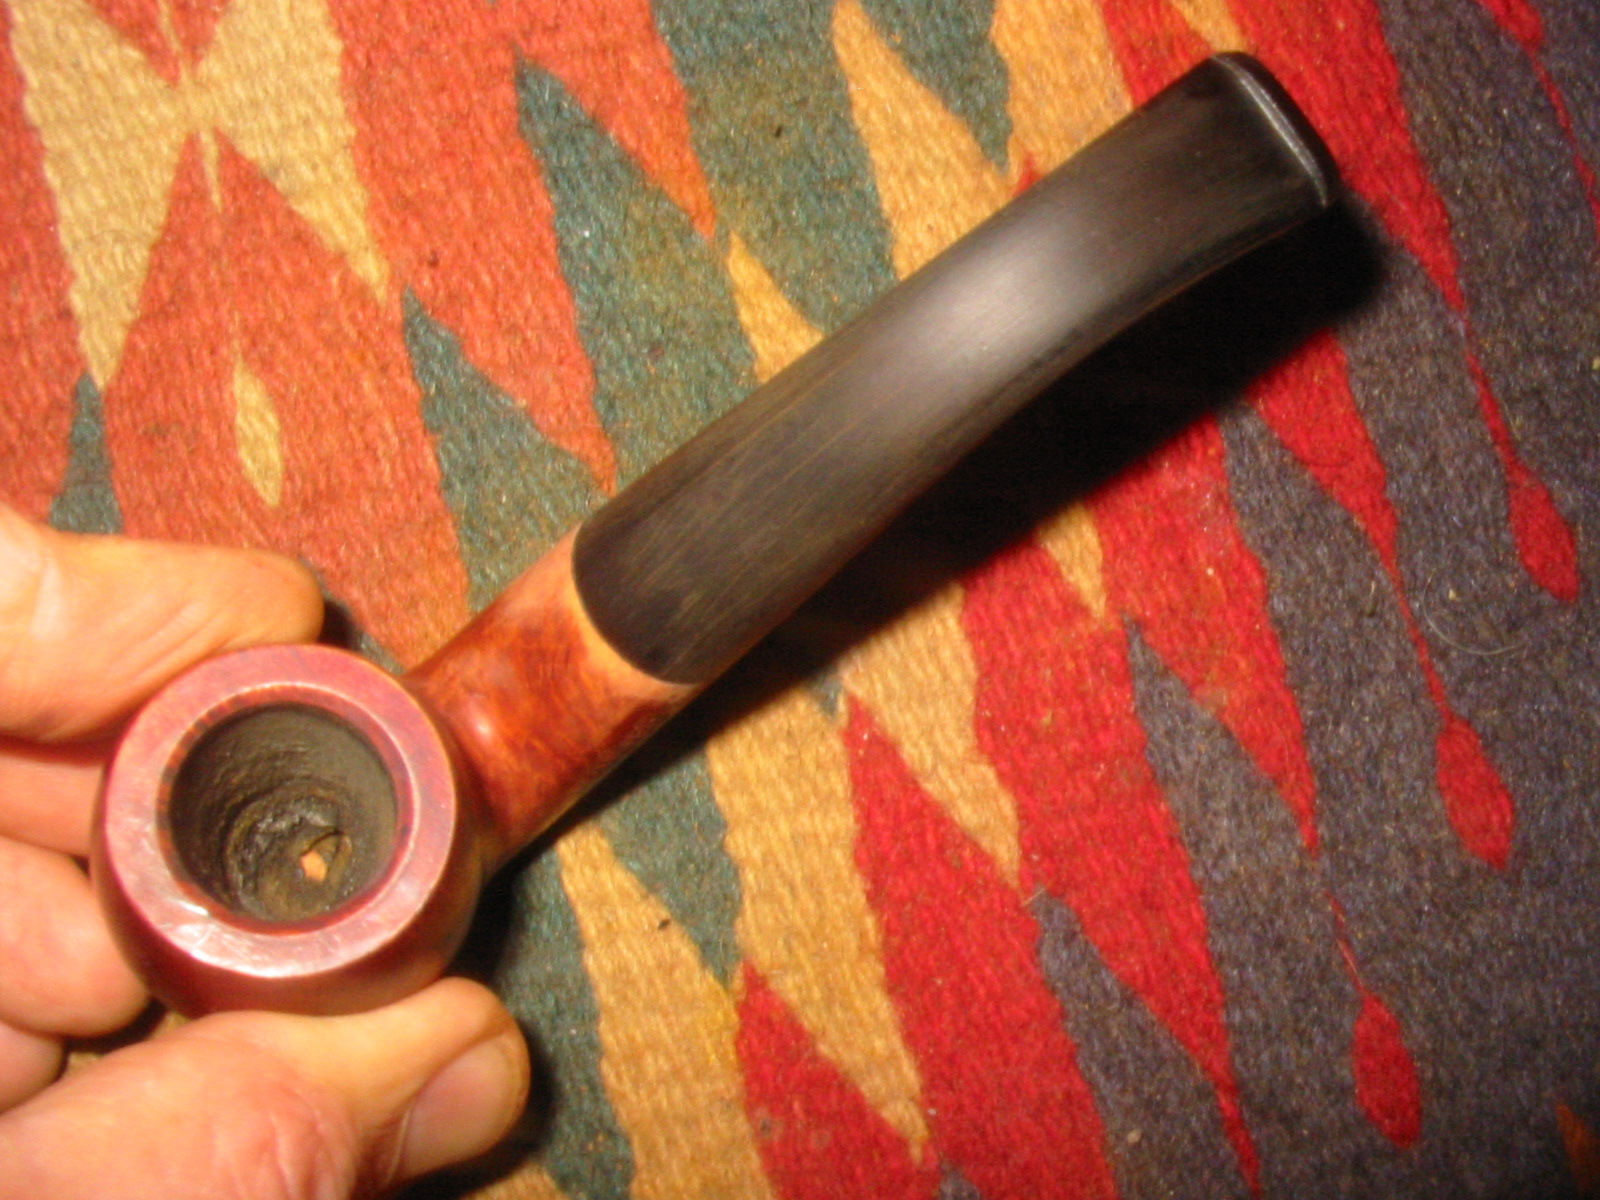
So I threw the stem in a OxyClean bath, and then took the new PipNet reamer to the cake.
KW6KW7KW8 
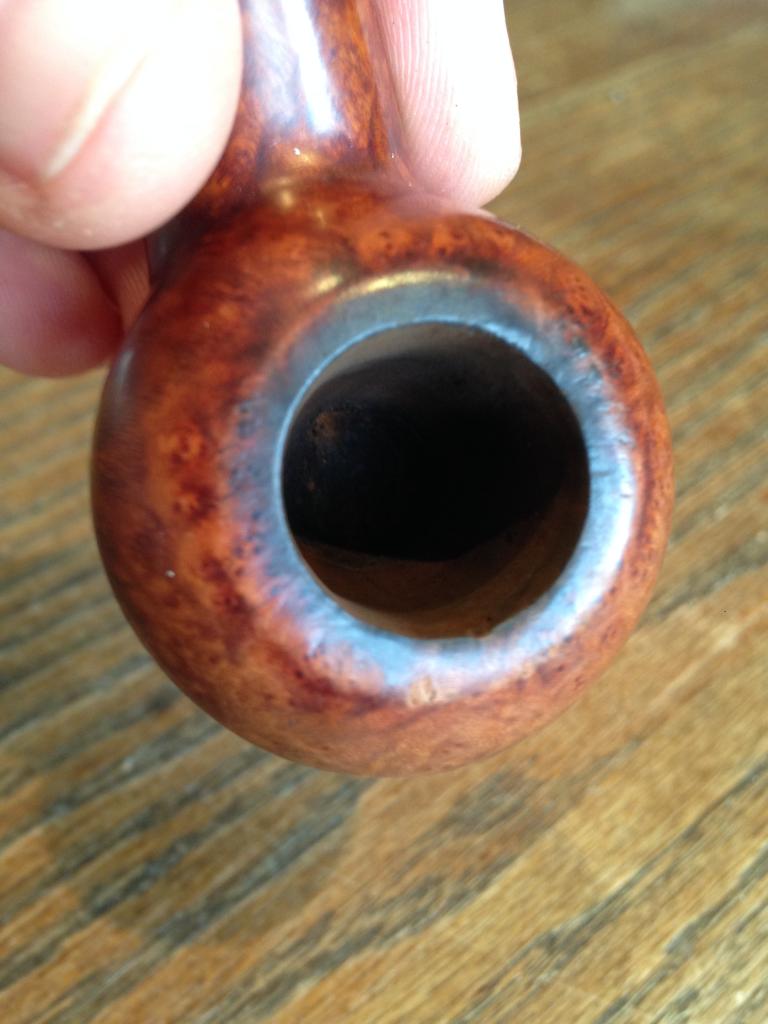
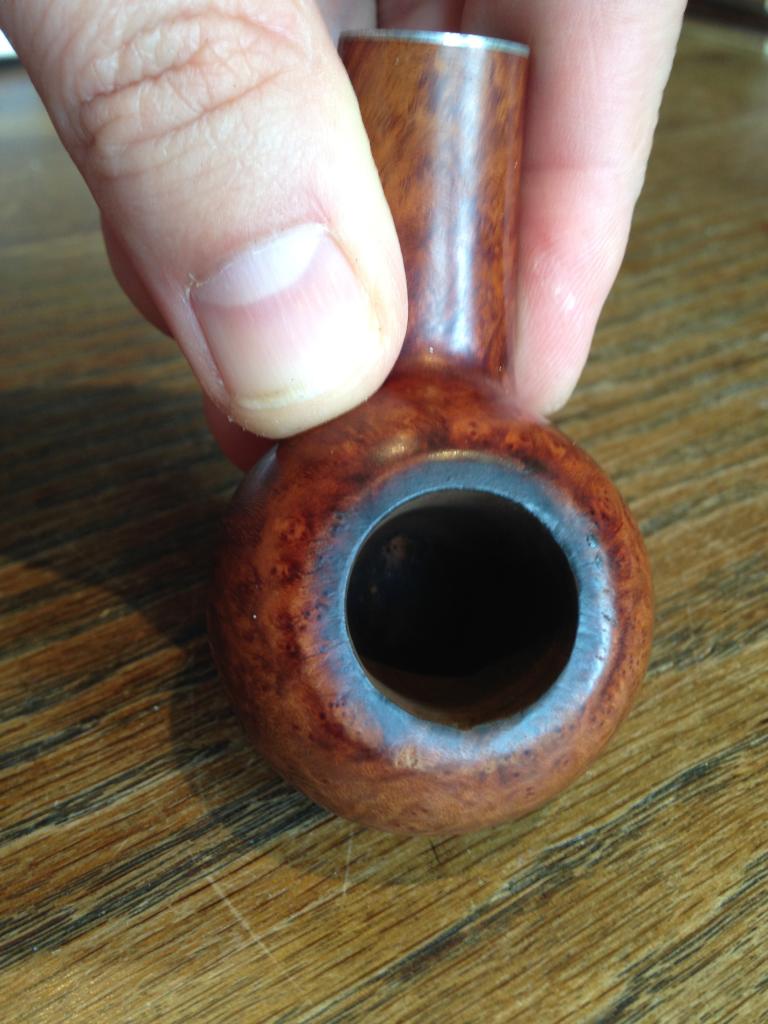
I then wet a tea towel and set the bowl rim down on the towel for two minutes or so, before using the damp towel to wipe off the rim char and tars.
KW9 Once that was done, I wet sanded the stem with 600 and 800 grit sandpaper.
KW10 
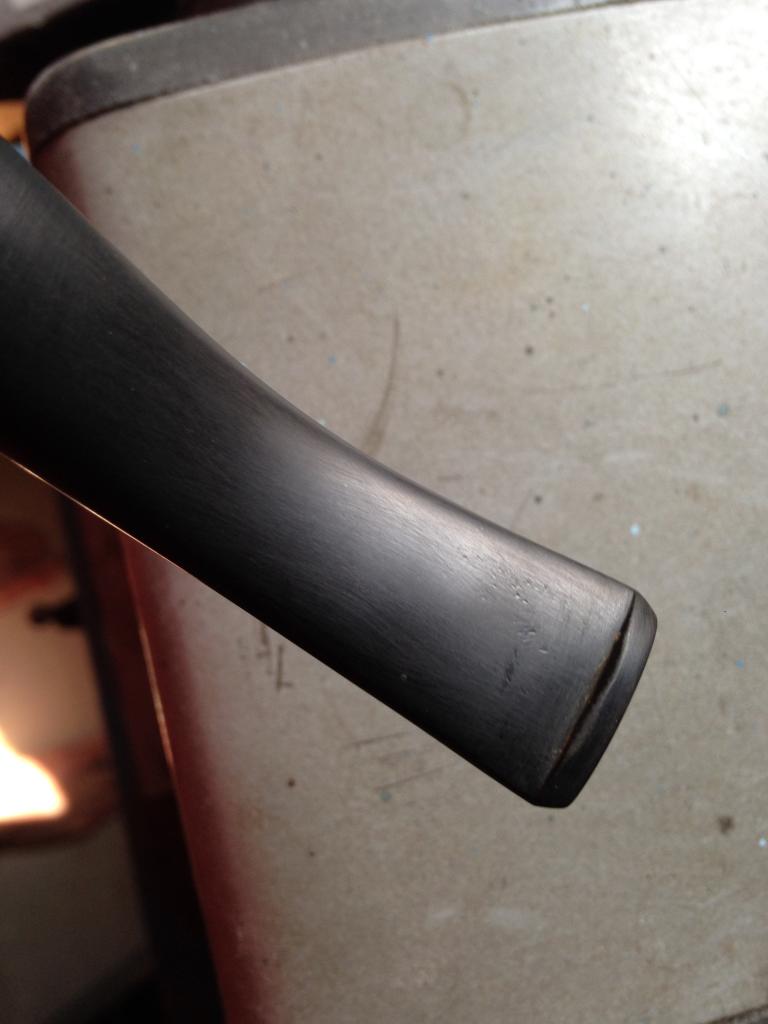
Then took the heat gun to the stem to work on those dents.
KW11KW12 It took a couple attempts, but they both lifted somewhat.
KW13KW14 
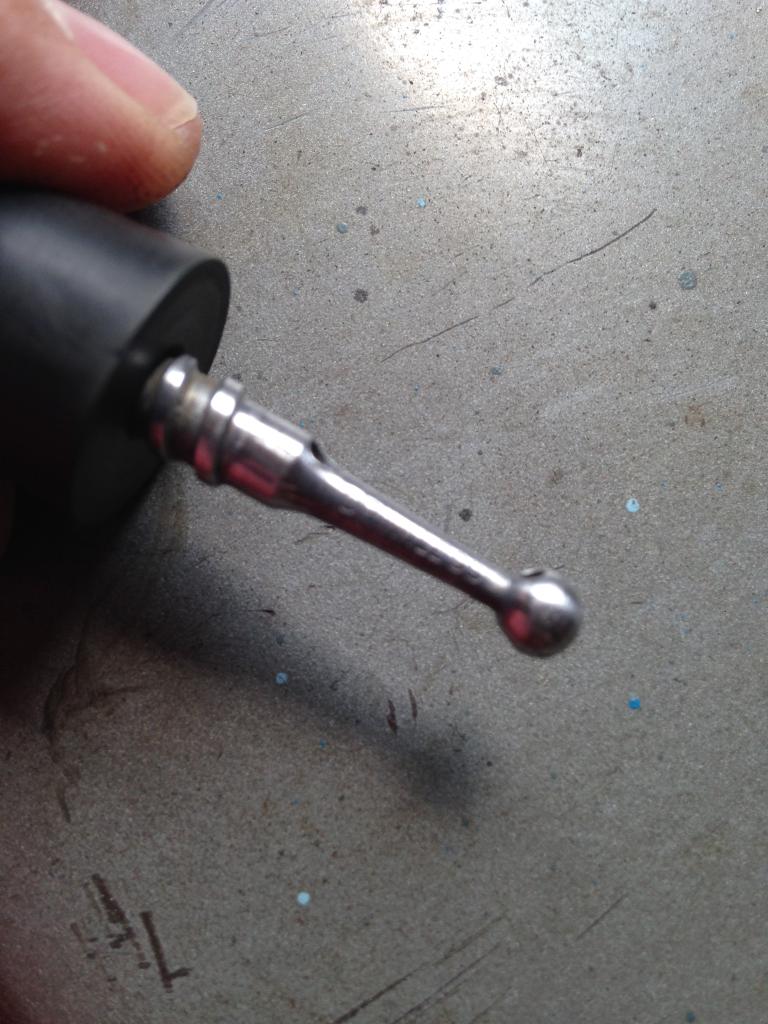
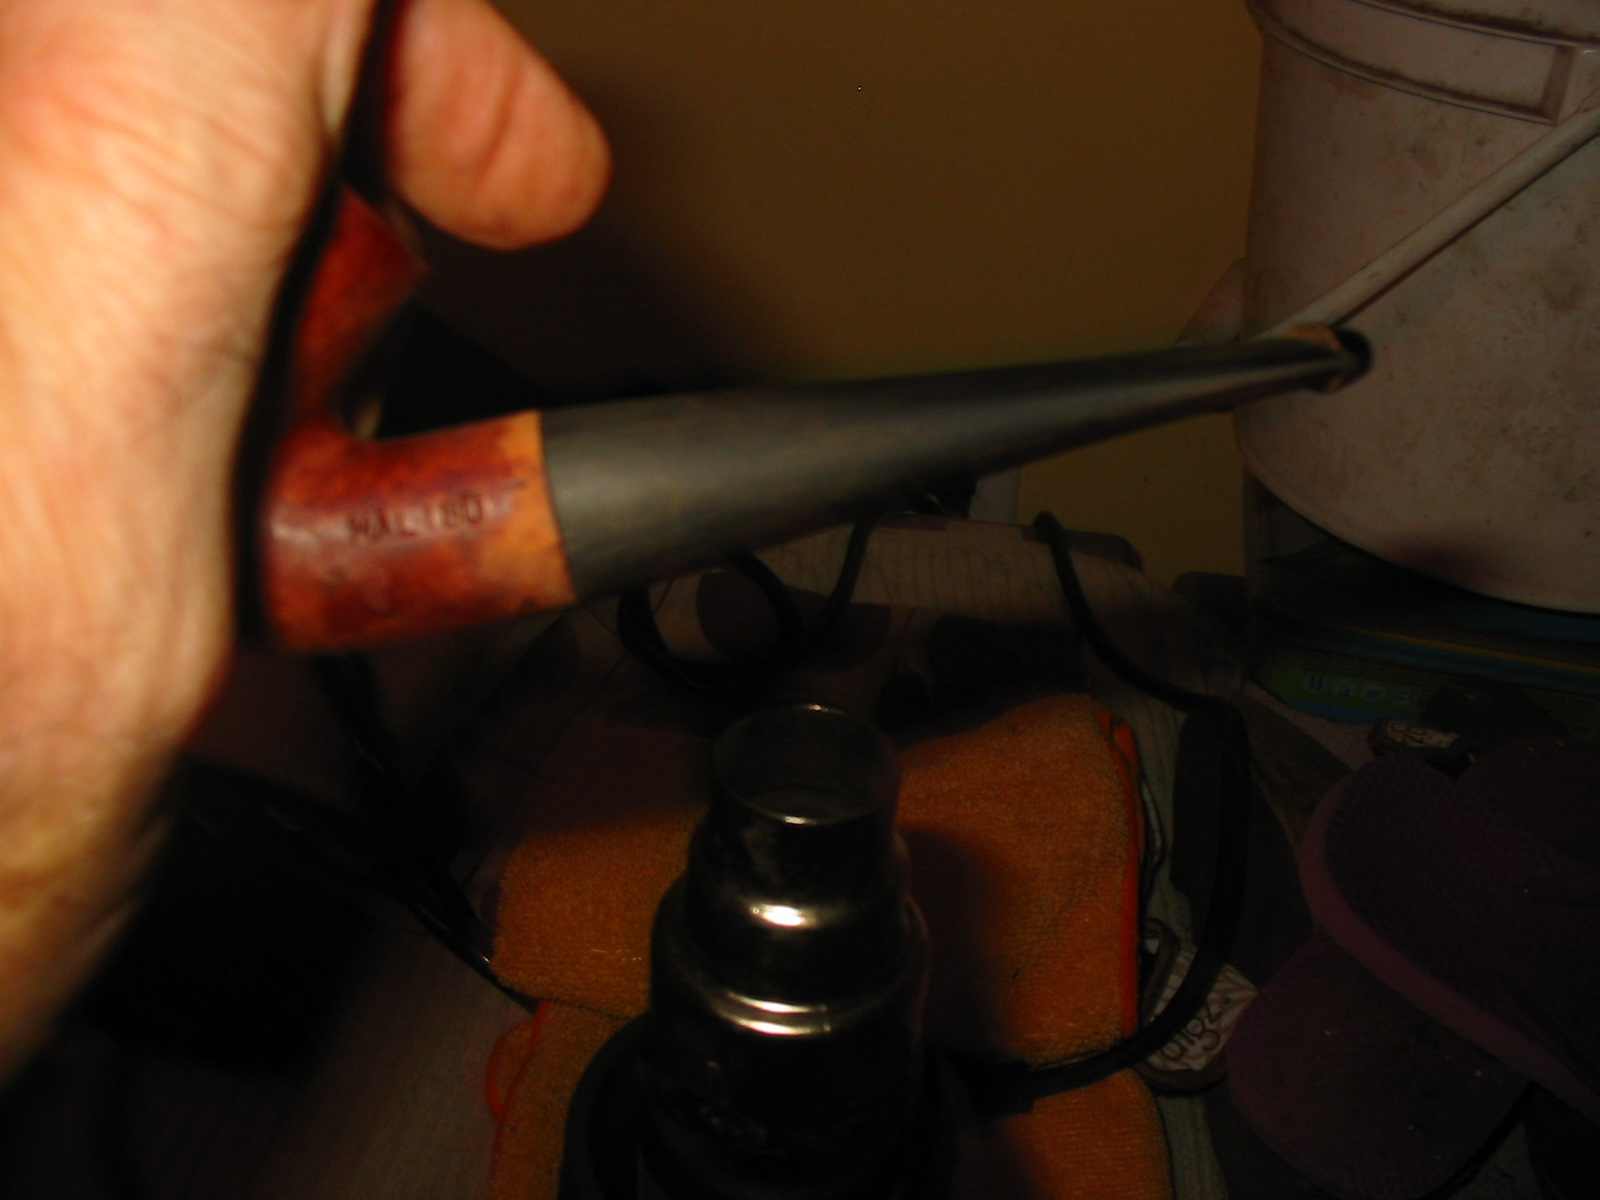
Then I took 0000 steel wool to the stinger to clean it up.
KW15 
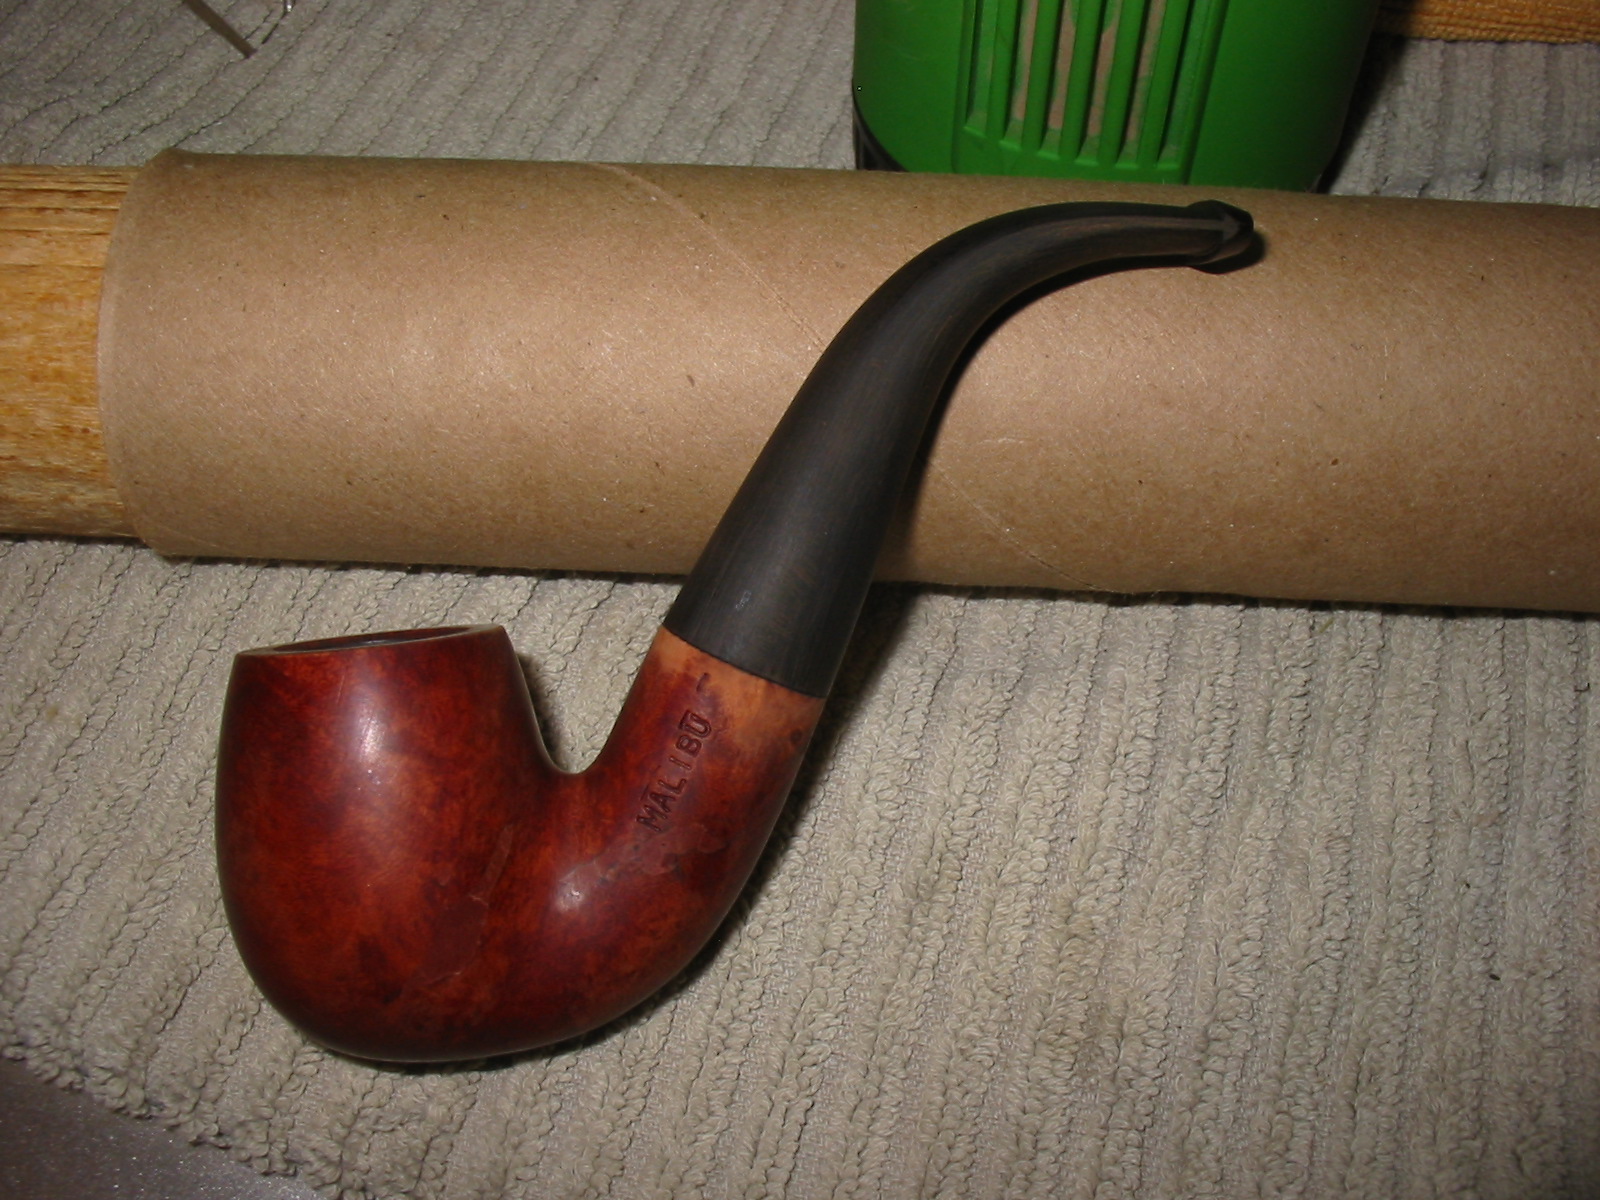
Following the stinger, I elected to do a surface clean of the stummel with acetone and a cotton pad.
KW17KW18KW19KW20 
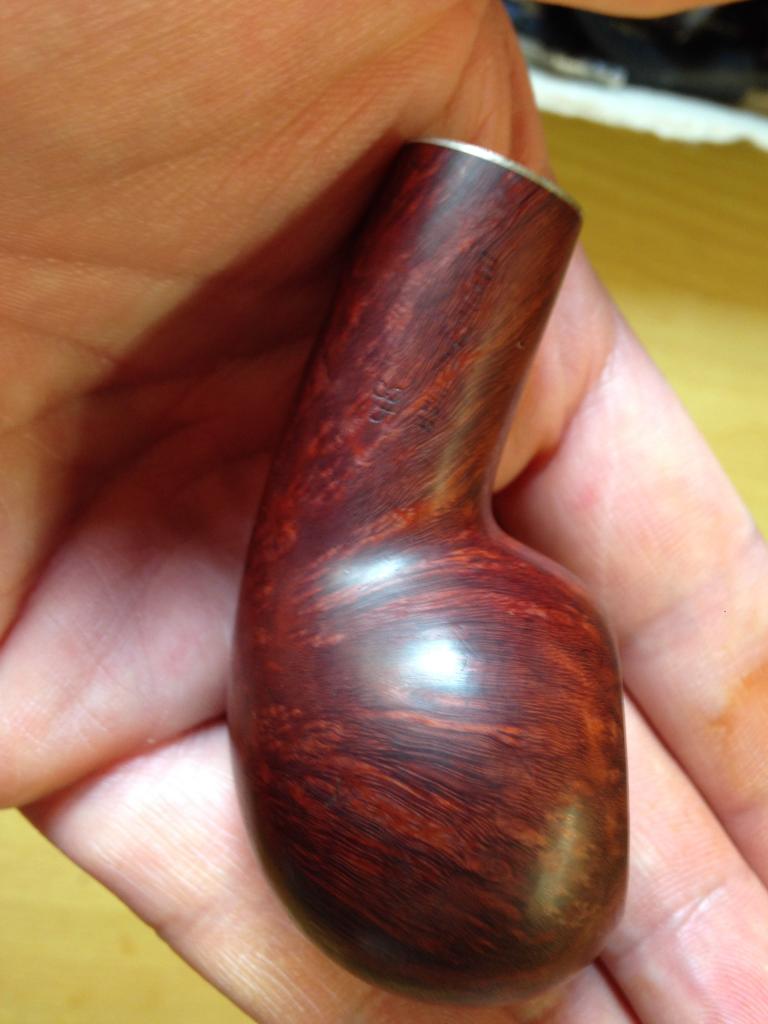
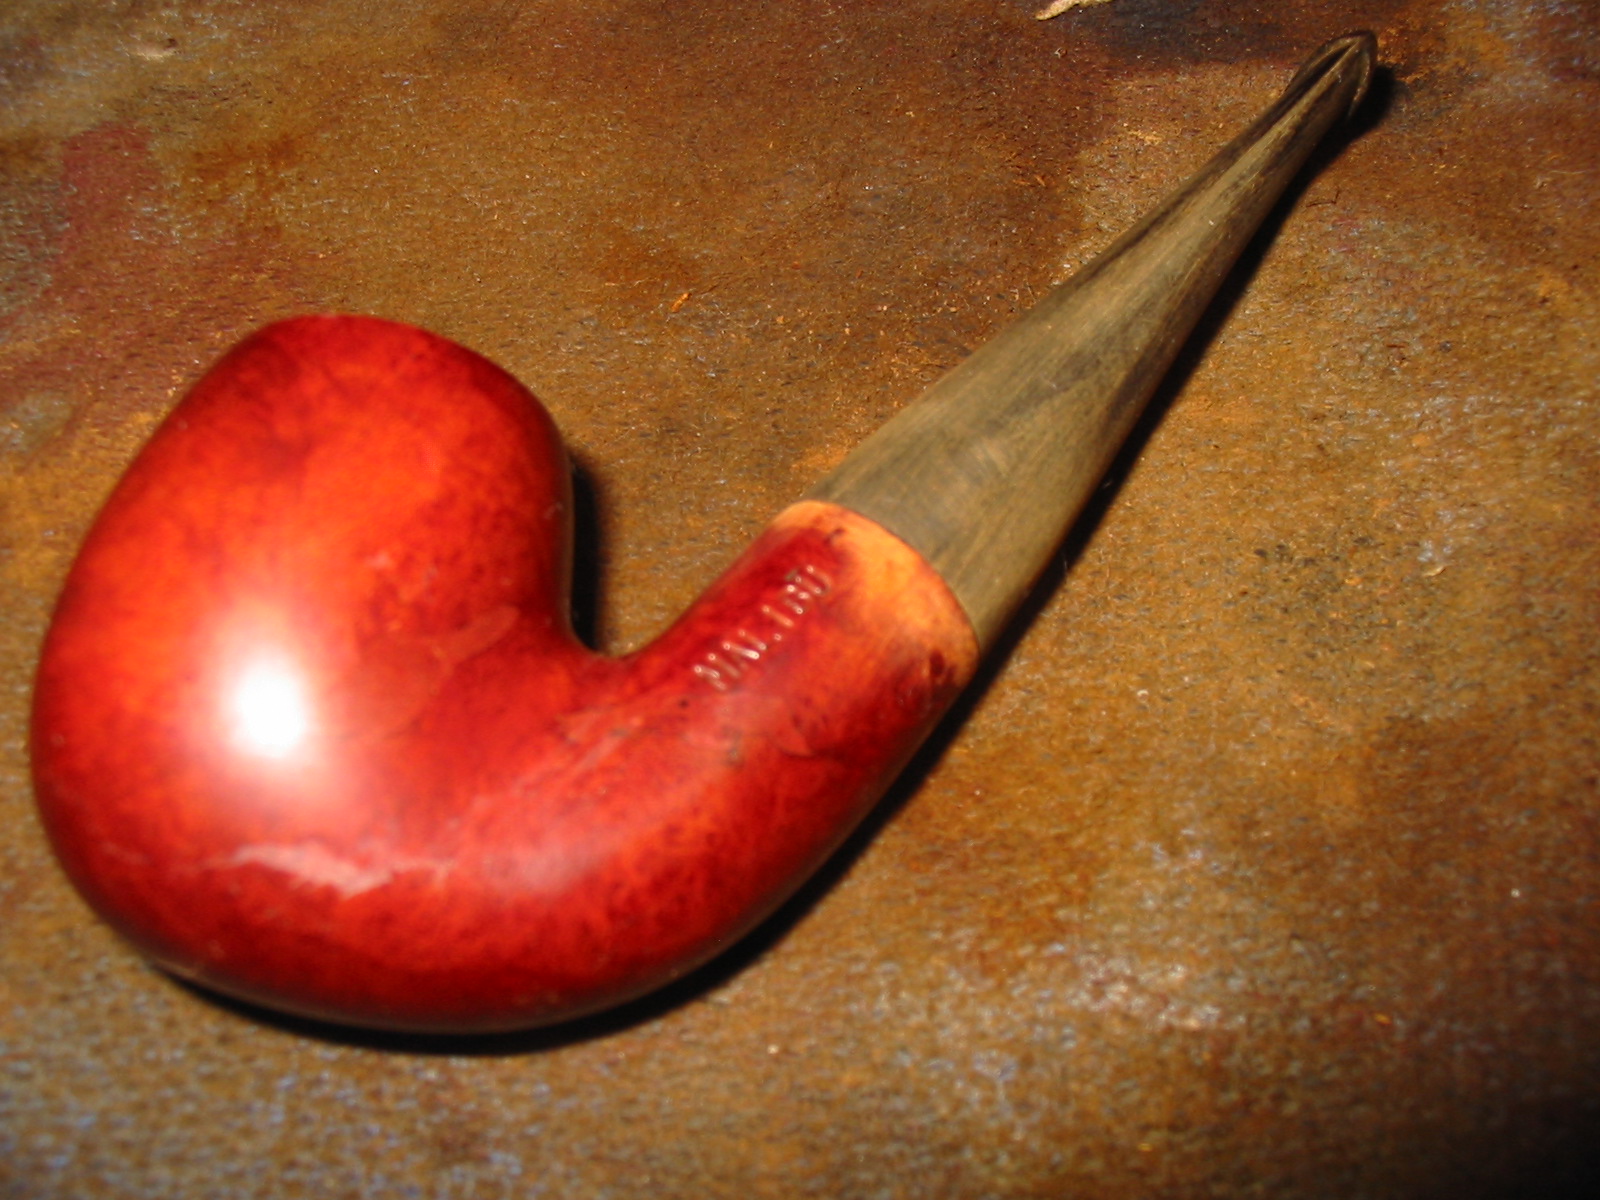
At this point, it was time to make some judgement calls. There was still some rim darkening, there were a couple very minor dents in the bowl, and that tooth mark was still there even after the heat treatment and there was a little bleaching around the top of the bowl. This pipe is for me. I’m a clencher. I elected to leave the tooth mark. I also elected to leave the dents, and do a light tint of the bowl to bring back the colour.

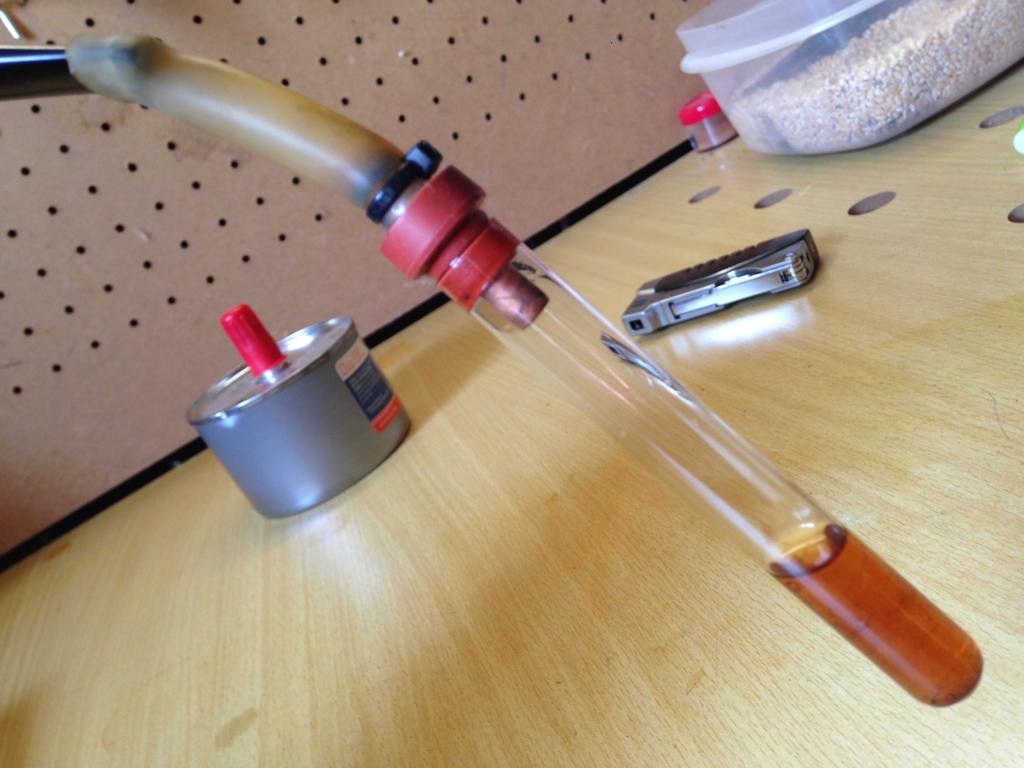
The next step was a date with about fifty pipe cleaners and the same number of bristle cleaners liberally dosed with isopropyl alcohol. After a thorough scrub out, I elected to finish the stem, shank and stummel clean with a retort.
KW21KW22KW23 
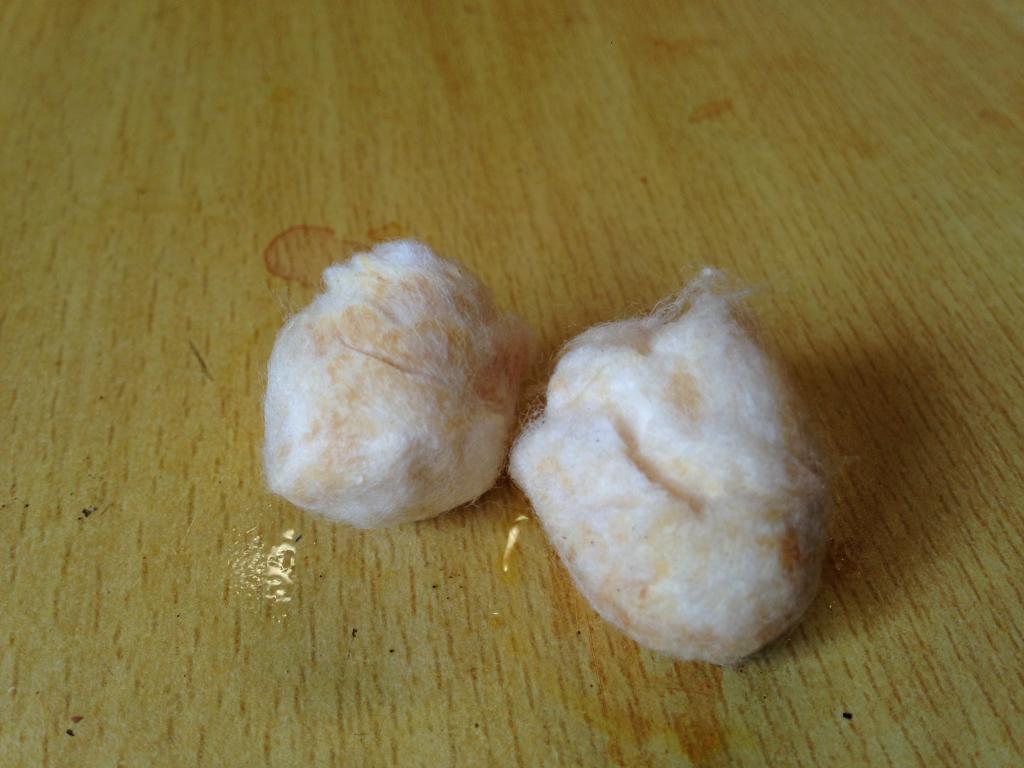
Testament to the fact that isopropyl alcohol and pipe cleaners don’t clean out everything, here are the cotton balls from the bowl post retort.
KW24 
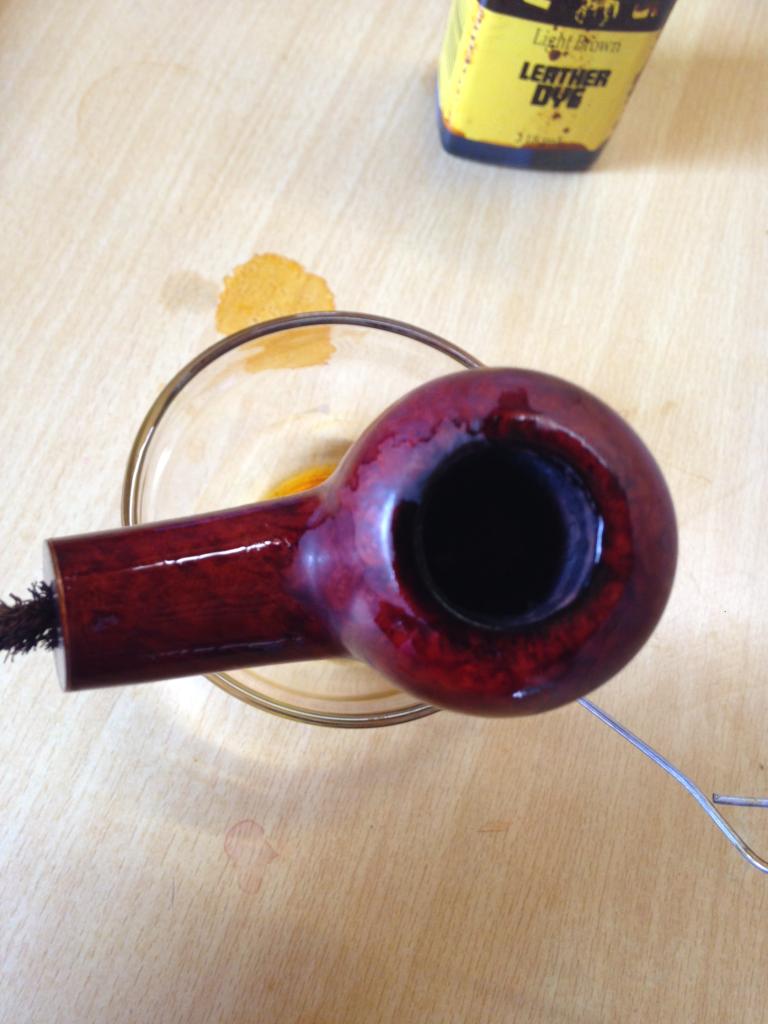
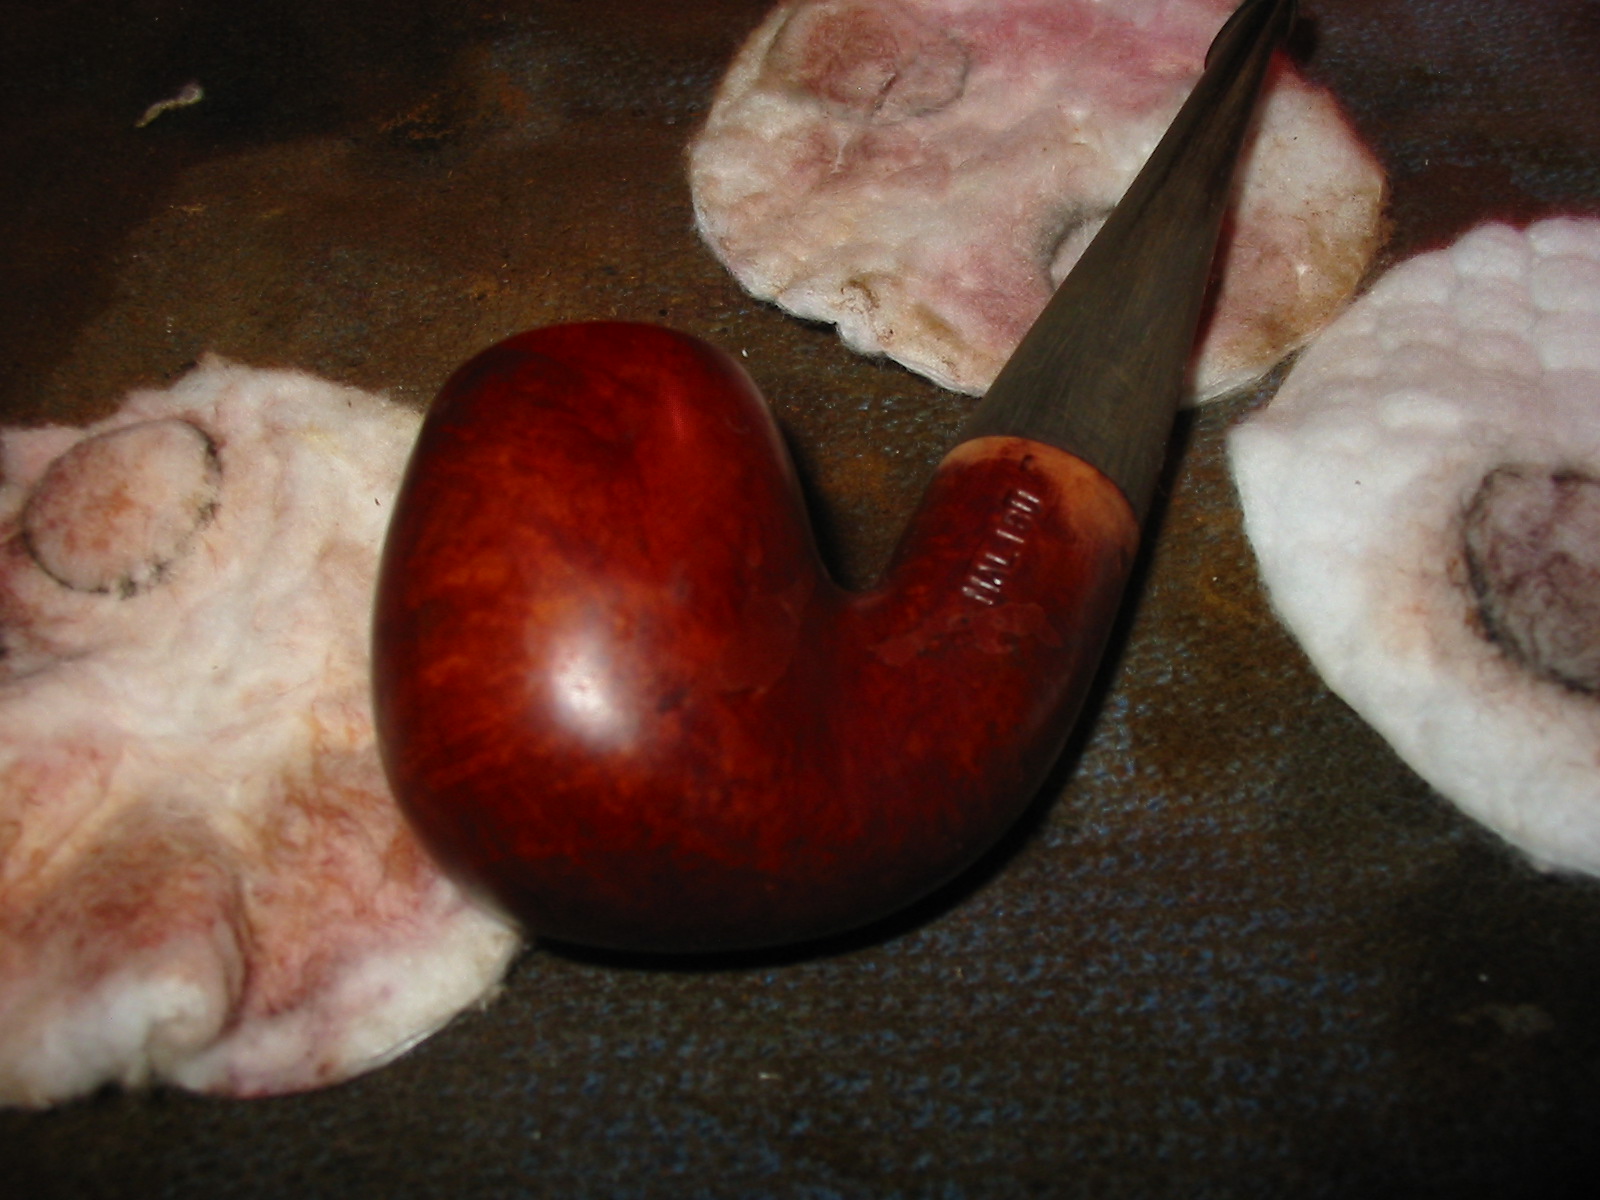
Post retort, I added two drops of Fiebing’s Light Brown to about half an eye dropper of 99% isopropyl alcohol. I do this to create tints. I don’t always want to restain a pipe, the tint allows me to blend the stain and bring colour back to the bleached areas of the stummel.
KW25KW26KW27KW28KW29 After adding the tint, I used a cotton ball with isopropyl alcohol to wipe down the stummel and even out the tint.
KW30KW31 Then the pipe went to the buffer. First with white diamond…
KW32KW33 Then with Carnauba…
KW34KW35KW36KW37 
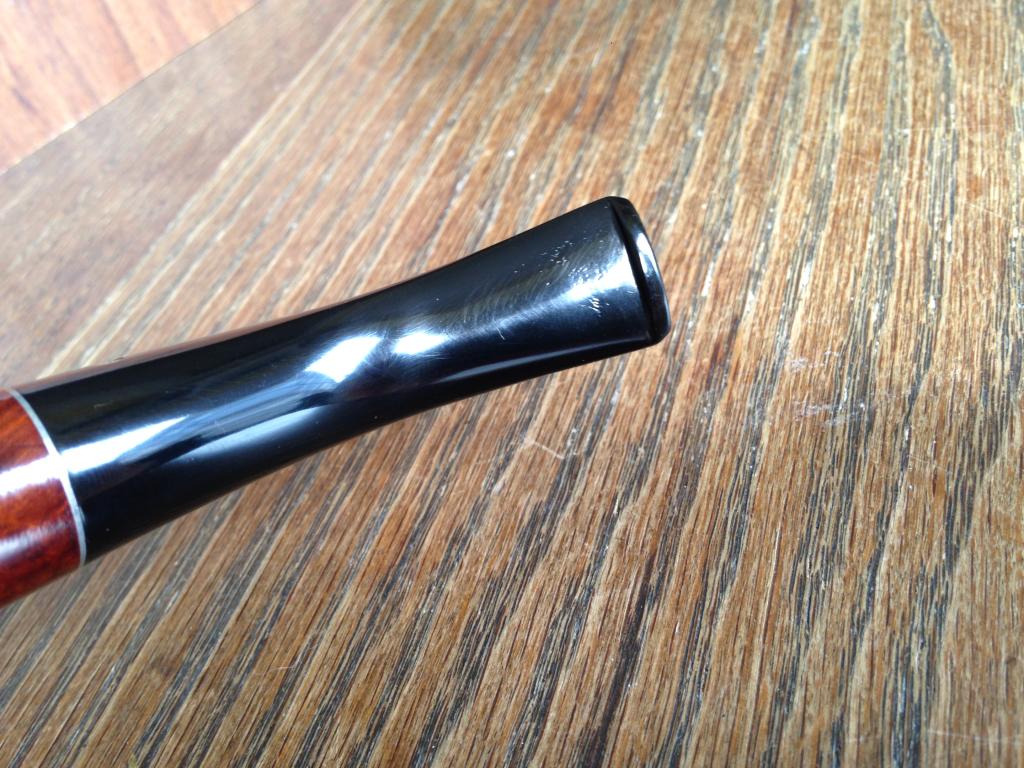
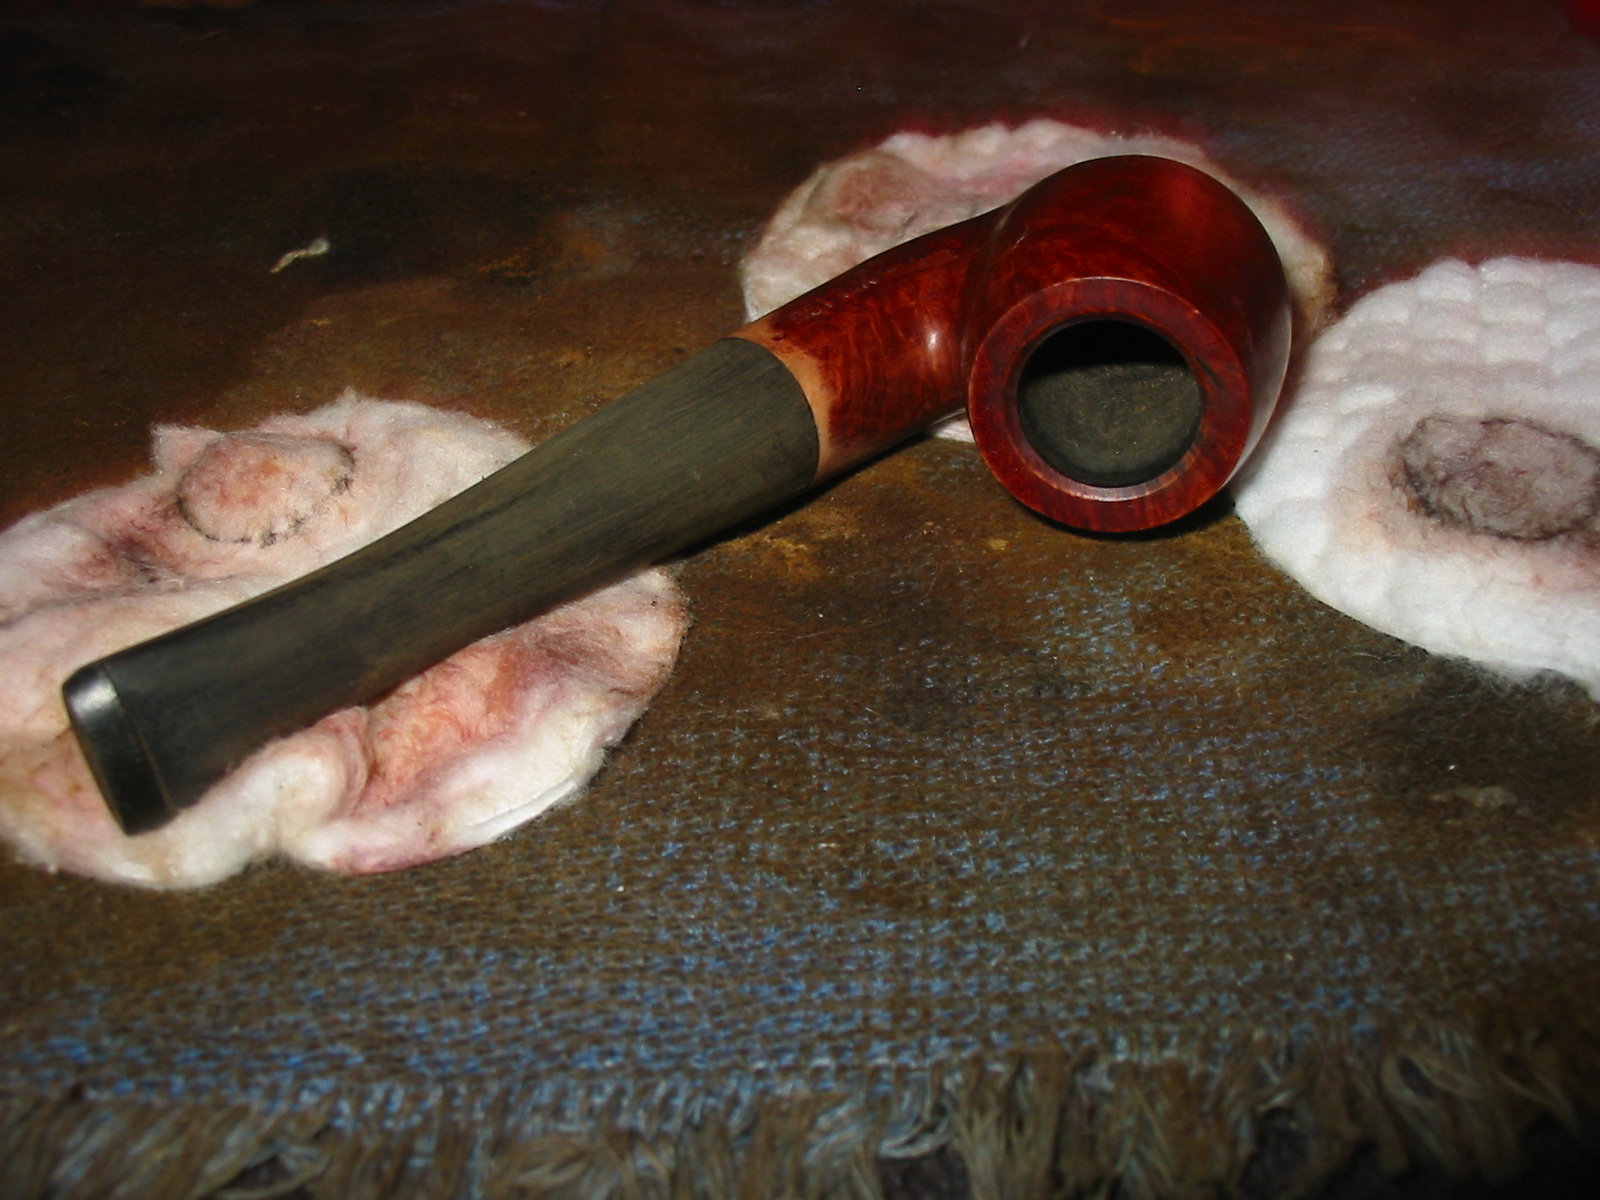
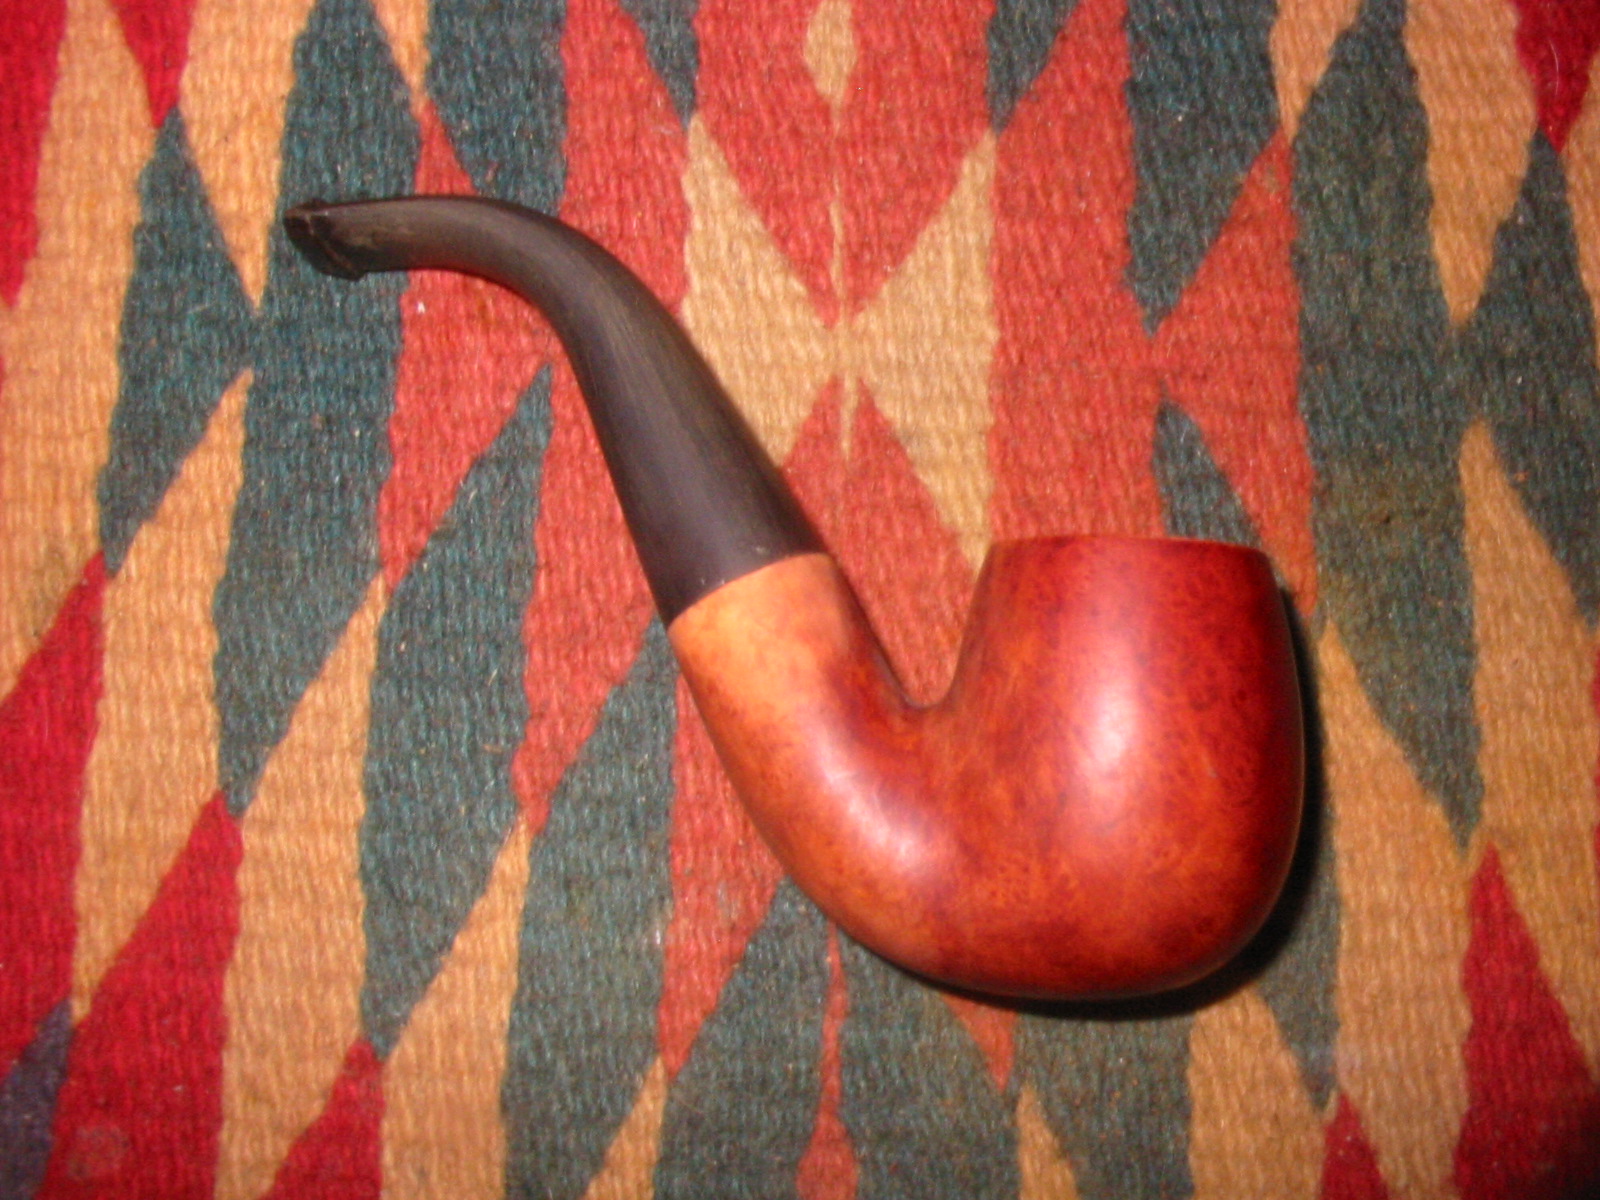
Then after a wipe down with a Dunhill Pipe Wipe…
KW38KW39KW40KW41KW42KW43 
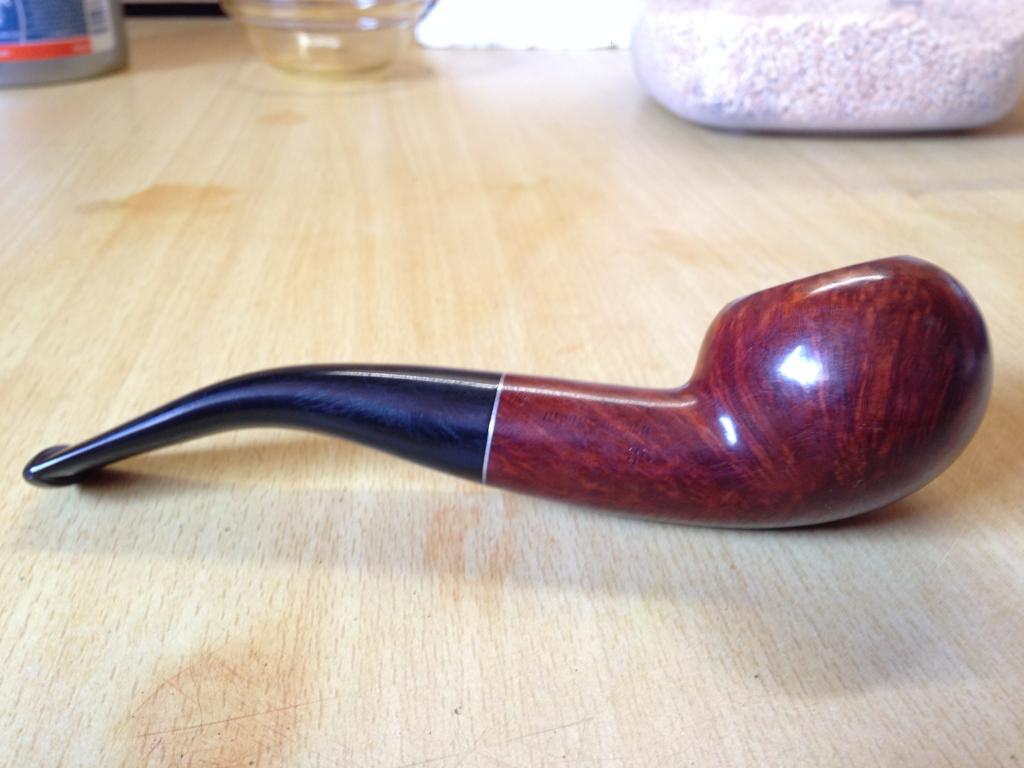
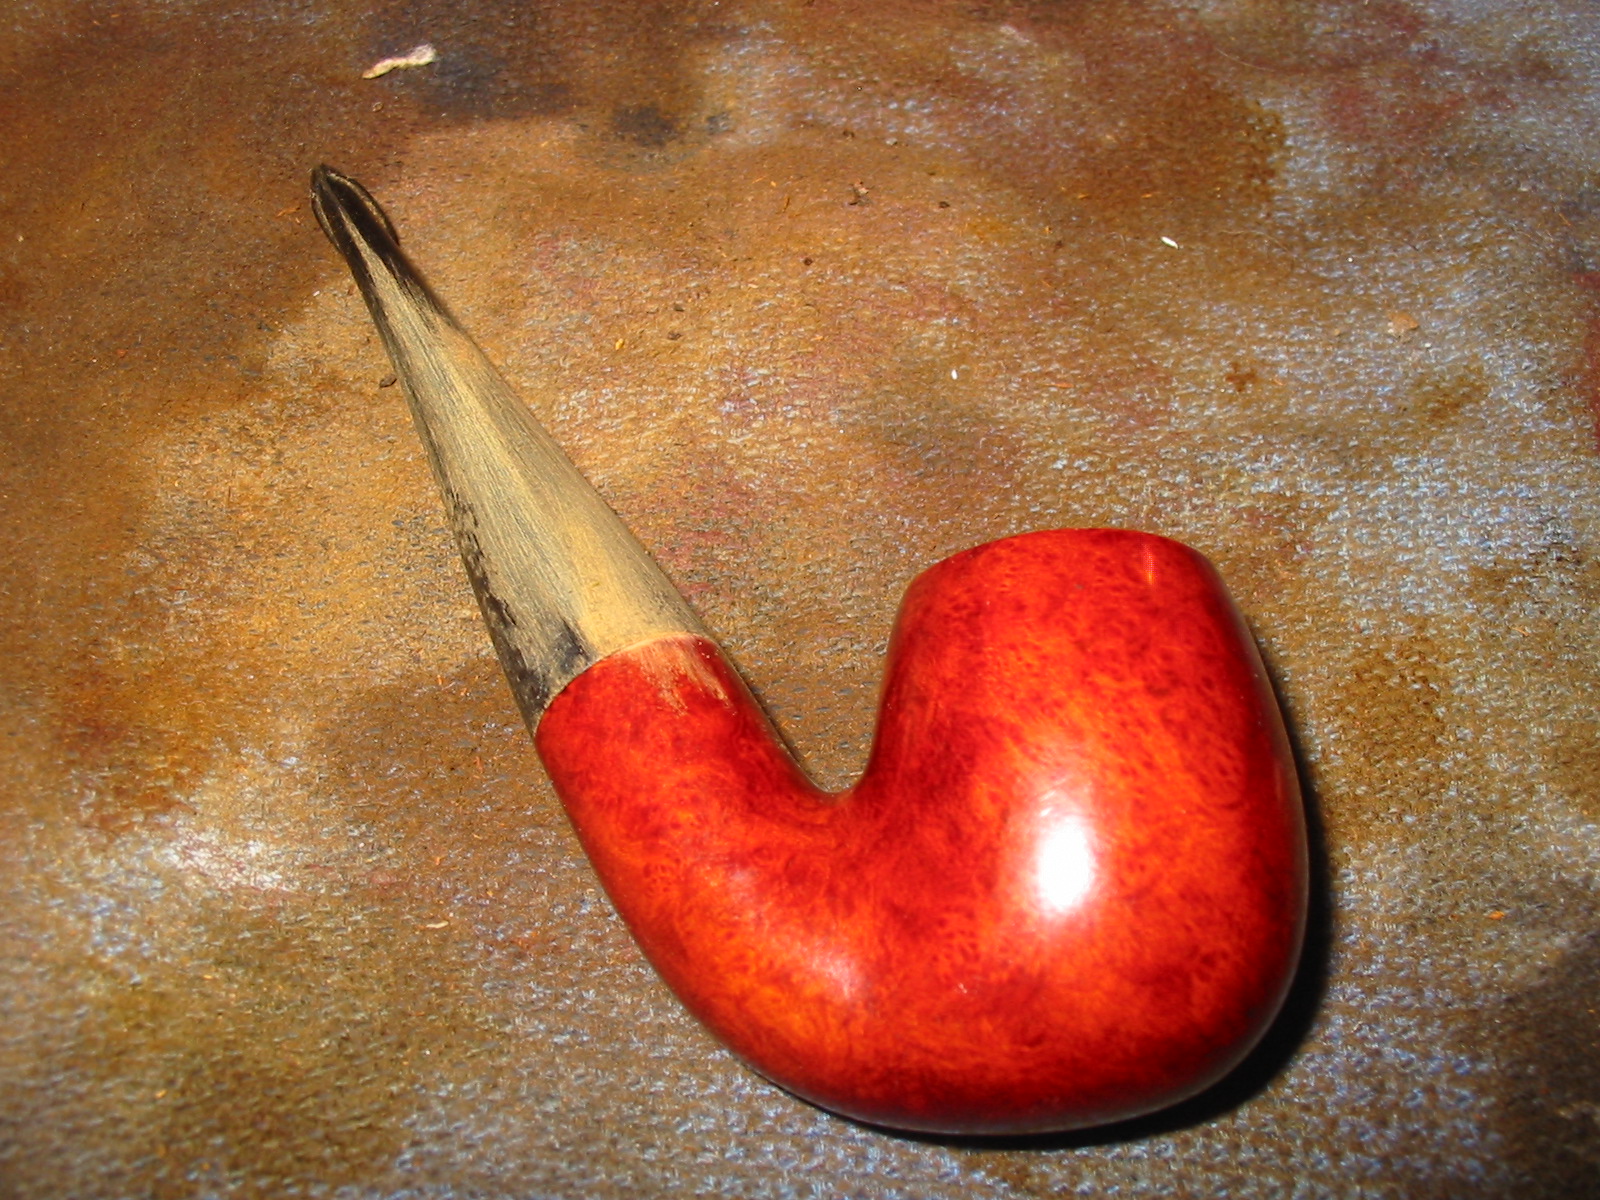
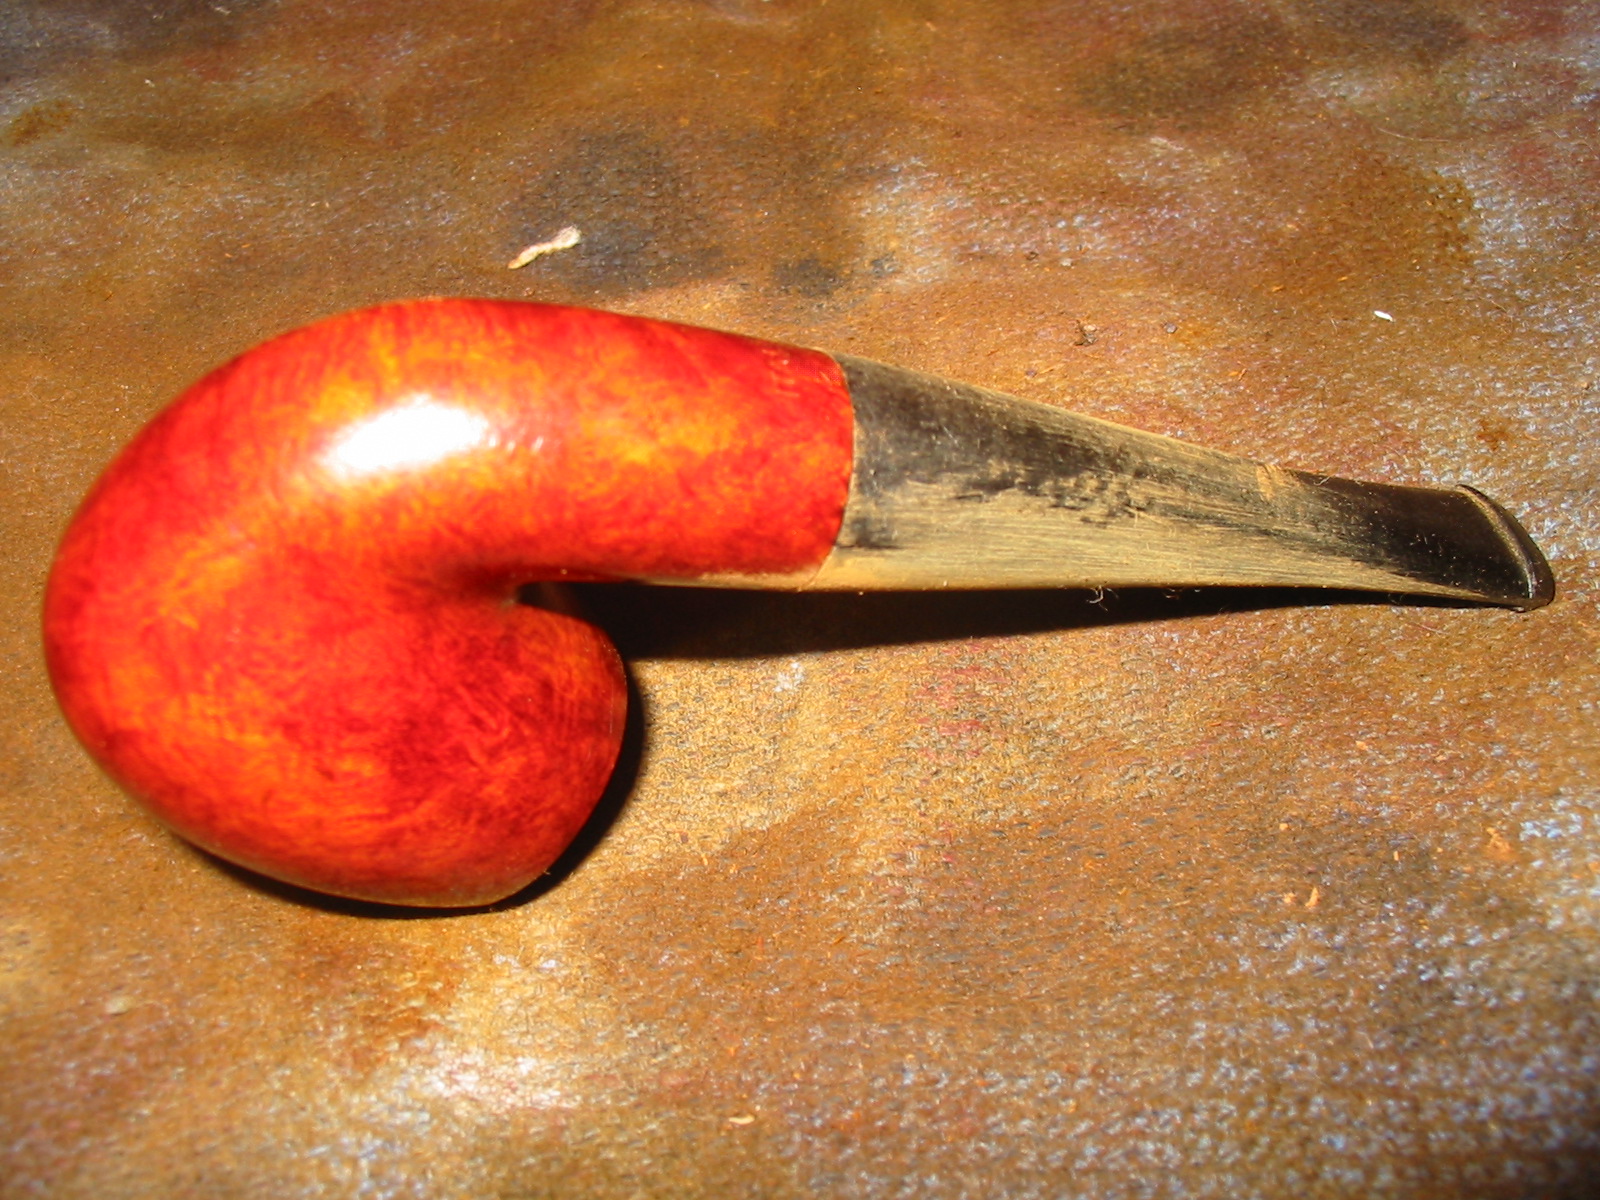
I love this pipe. I’m thrilled to have it, and can’t wait to smoke it.

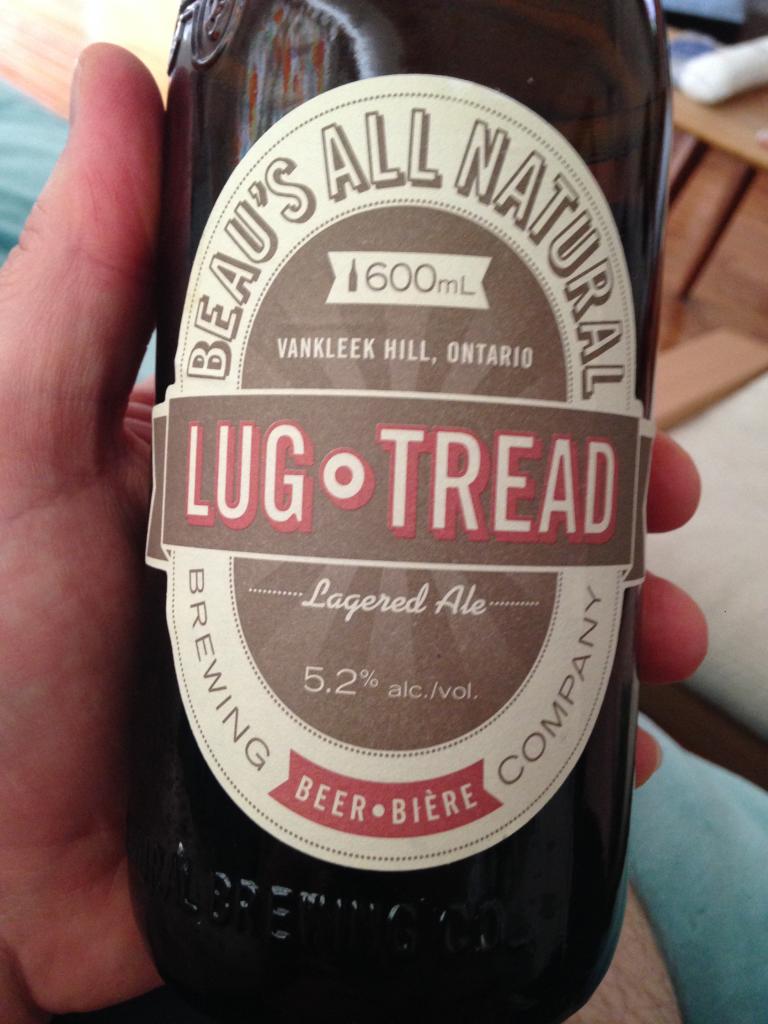
Right now I’m having one of these to celebrate.
KW44 As always, thanks for looking, and feel free to toss any tips my way.

Castleford & PipNet Reamer – Side by Side Comparison – Pat Russell


Blog by Pat Russell

It is a pleasure to have Pat Russell posting on rebornpipes. I have been reading about and observing Pat’s refurbs on Pipe Smokers Unlimited (PSU) for a while now and thoroughly enjoyed his attention to detail. I enjoy seeing what challenges he takes on and how he creatively deals with them. Pat posted this comparison of the Castleford and PipNet reamers on PSU and I wrote him a quick email to see if he could post it here on the blog as well. He graciously consented to have it here. Have a look at the Thanks to Contributors page here on rebornpipes to read more about Pat and the other contributors to the blog. Without further introduction here is Pat’s first contribution to the blog.

I was gifted a PipNet Reamer by a good friend who also restores pipes. A lovely gesture which provides me with the chance to share a side by side comparison.
Pruss1I’ve only ever used the Castleford Reamer. When I started doing restoration work I read as much as I could on reamers and which offered the most control. The PipNet Reamer was well reviewed by many, including here by Steve Laug https://rebornpipes.com/2012/05/31/my…rs-a-review-6/ and it came out on top. My problem was access, when I was building up my kit I couldn’t find one. So I opted for a Castleford Reamer set. I liked that it had four fixed blade heads, that it was unlikely to slip and seemed to afford some control.
Pruss2I’ve used my Castleford Reamer for over 70 pipe restorations, and it was coming to the end of its life. So not only was this spontaneous gift a surprise, it was a fortuitous one. The problem with my Castleford set was that the plastic which is used to make both the reamer and the handle is soft and it wears down. Two of my four reamer heads for the Castleford are so stripped now, that they won’t stay in the handle. The PipNet does indeed seem to be made of a stronger/sturdier acrylic than the softer plastic of the Castleford.
Pruss3Here is a closeup of one of the reamer blades from my Castleford. You can see the wear in the centre and on the edges of the toothless side of the blade which is inserted into the handle.
Pruss4Aside from the material difference, the blades of the PipNet are thicker, and one-sided. There is definitely more material in the blades of the PipNet, and the mass of the blade seems to make for a smoother cut through cake. The thinner steel blades of the Castleford blades seem to catch on cake more easily.
Pruss5Pruss6Pruss7Pruss8The other piece that I like about the PipNet Reamer is the extra length in the handle. It affords just a little more purchase and mechanical advantage.
Pruss9Pruss10I look forward to the next 70 pipes with the PipNet, and will report back on how it performs. But if the first seven are any indication it and I are going to be long friends.

A Malibu Bent Billiard by Savinelli Restemmed and Restored.


The next pipe from the gift box of bowls was a bent billiard stamped MALIBU on the left side of the shank and Italy on the underside. There is no other stamping on the pipe. I searched the internet for information on the brand and also looked in the book Who Made That Pipe and there found that the pipe was made by Savinelli. I emailed Savinelli but have not yet received a confirmation of that information. I will update this post as soon as I hear from them. In the meantime I worked on the bowl. It was in decent shape though covered by a thick varnish coat that gave it a perma-shine. The bowl and shank were dirty but had not been smoked enough to build up a cake or tars. The rim was in excellent shape and the finish other than being very plastic looking was clean. In the first photo below you can see the two large fills that were on the bowl and shank on the left side. The first is on the side of the bowl, just ahead and below the bend. The second is on the shank next to and below the stamping. They seemed to have taken the stain and though they are visible are not a bright pink. There was no stem with the pipe so I found the one in the photo below that would fit the shank with a little work.
IMG_7519
I turned the tenon down with a PIMO Tenon Turning Tool and then sanded some of the seams that still showed on the side of the bowl. The diameter was very close to being the same – I had to make a few adjustments on the top and the right side to get a seamless fit.
IMG_7520

IMG_7521

IMG_7522

IMG_7523
I sanded the stem in place and sanded the shank at the same time. I needed to remove the varnish coat anyway so I figured it would be okay to sand the shank at the same time. I did not want to reduce the size of the shank – merely that of the stem and then match them. I find that if I do that with the stem off the shank it is easy to round the edges of the stem. With it in place and using a sanding block I can get a smooth transition. I also work to restain the sanded area of the shank to match the bowl.
IMG_7524

IMG_7525

IMG_7526

IMG_7527
Once the transition was smooth I wiped down the bowl with acetone to remove the varnish coat. It took some scrubbing with acetone wet cotton pads. I was finally able to break through the finish with the acetone.
IMG_7528

IMG_7529

IMG_7530
I sanded the bowl and shank, carefully avoiding the stamping, with a medium and a fine grit sanding sponge. I sanded the entire bowl and shank and then wiped the bowl down with isopropyl alcohol to remove the sanding dust.
IMG_7531

IMG_7532
I sanded the stem with the same sanding sponges and removed the majority of the scratches left behind by the sandpaper. I set up a heat gun and heated the stem to soften it so I could bend it. When it was pliable I bent it over a rolling pin with a hard cardboard tube over it to smooth out the wood. I bend it until the stem looks right with the bend in the shank and then use cool water to set the bend.
IMG_7533

IMG_7538

IMG_7539
With the bend set I took it back to the worktable to sand the bowl to even out the existing finish and the stem.
IMG_7541

IMG_7542

IMG_7543

IMG_7544
I stained the bowl with a medium brown aniline stain, flamed it and repeated the process. I sanded the stem with the usual battery of micromesh sanding pads – wet sanding with 1500-2400 grit pads and dry sanding with 3200-12,000 grit pads. I rubbed the stem down with Obsidian Oil between each set of three pads and then as a final rub down once I had buffed the stem with White Diamond. I buffed the entire pipe with White Diamond and then gave the bowl and stem multiple coats of carnauba wax – buffing with a soft flannel buff between coats of wax. The finished pipe is shown below. The fills on the left side are still visible but the blend into the bowl is quite good. It is tolerable. The pipe is cleaned, refinished and ready for the rack of the next pipe man who will smoke it.
IMG_7551

IMG_7565

IMG_7552

IMG_7553