Blog by Steve Laug
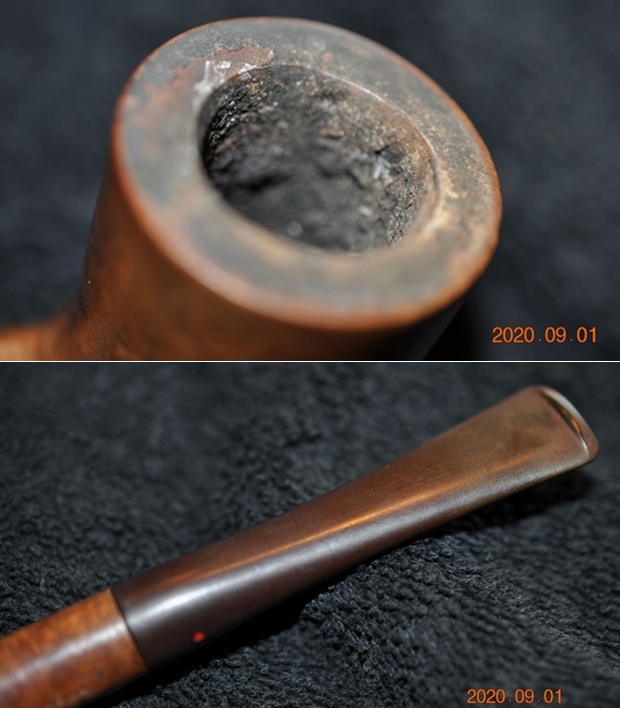
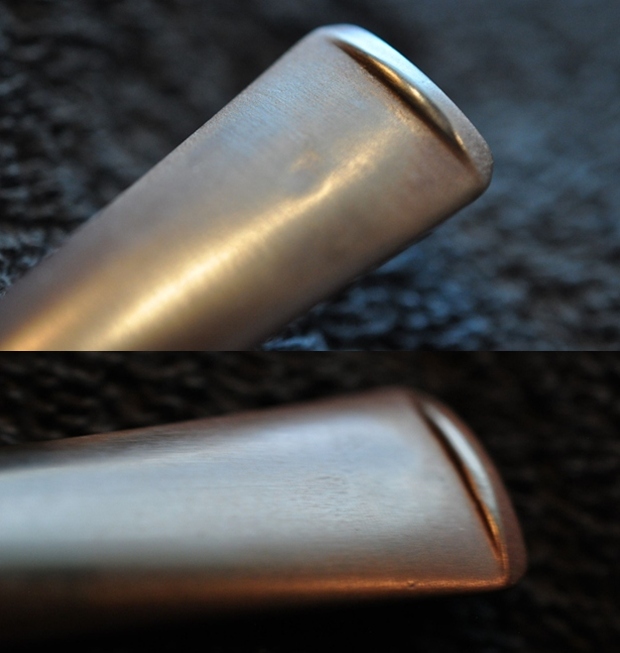
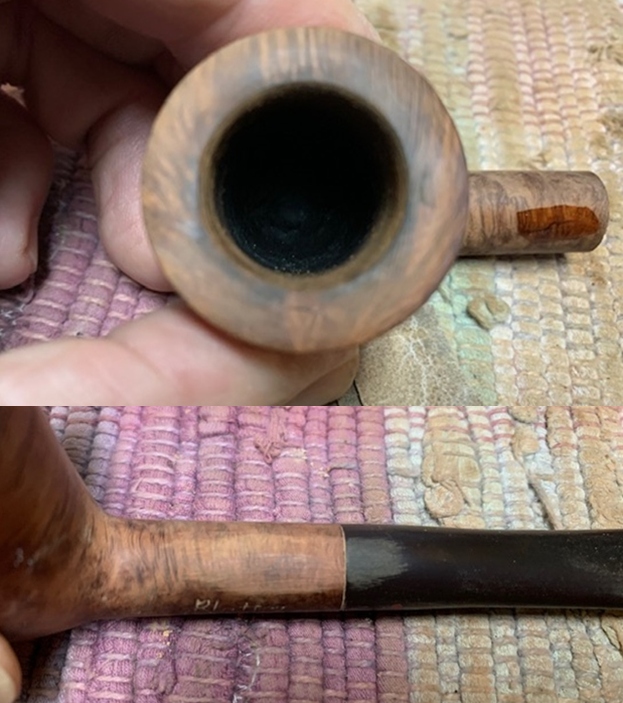
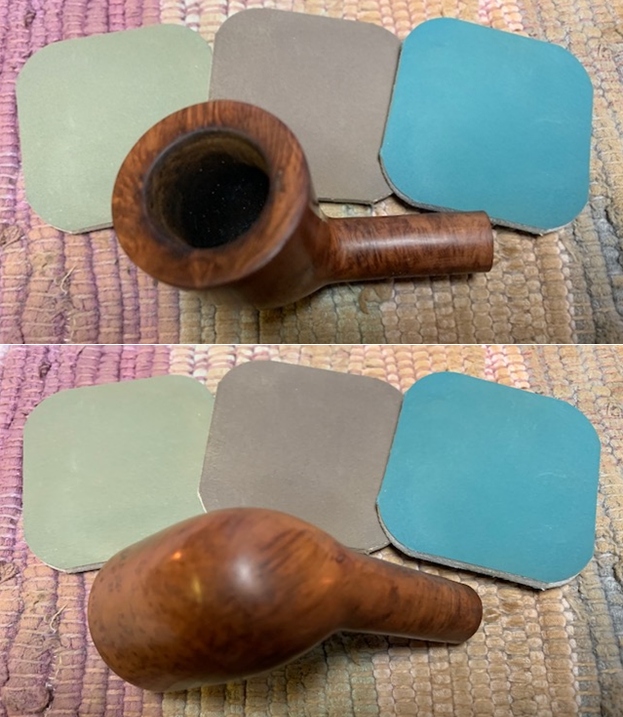
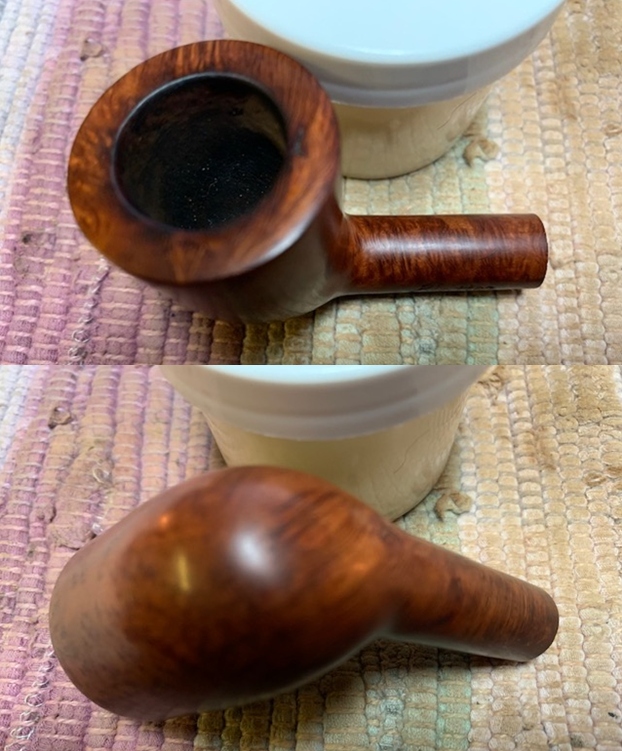
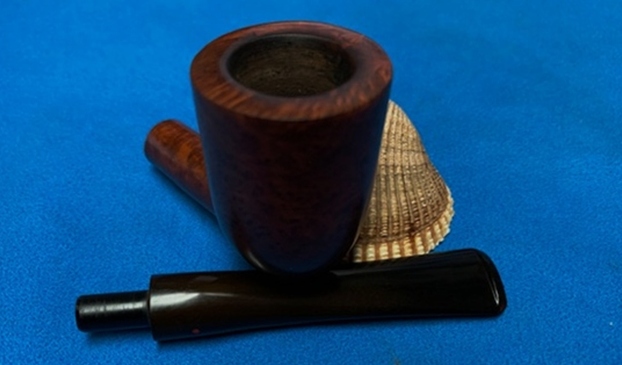
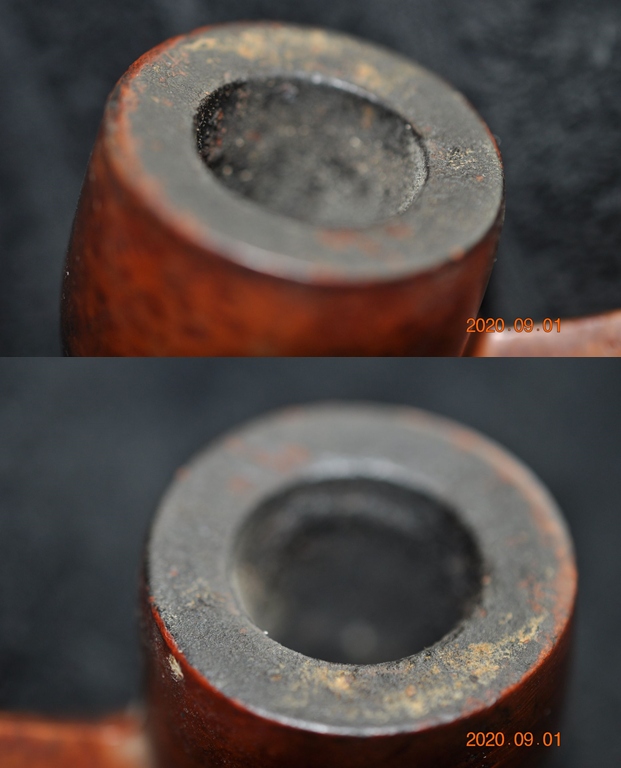
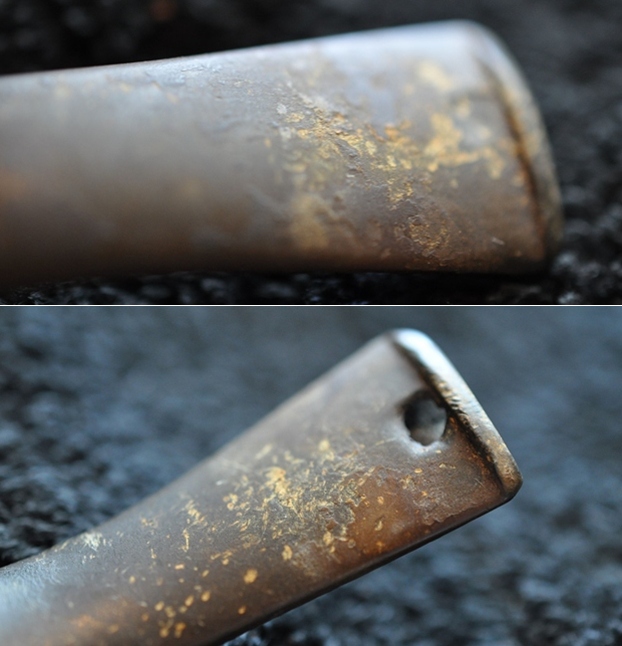
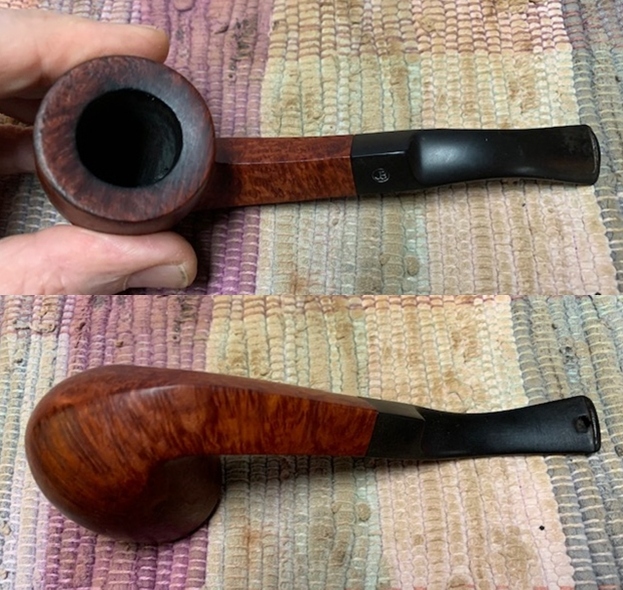
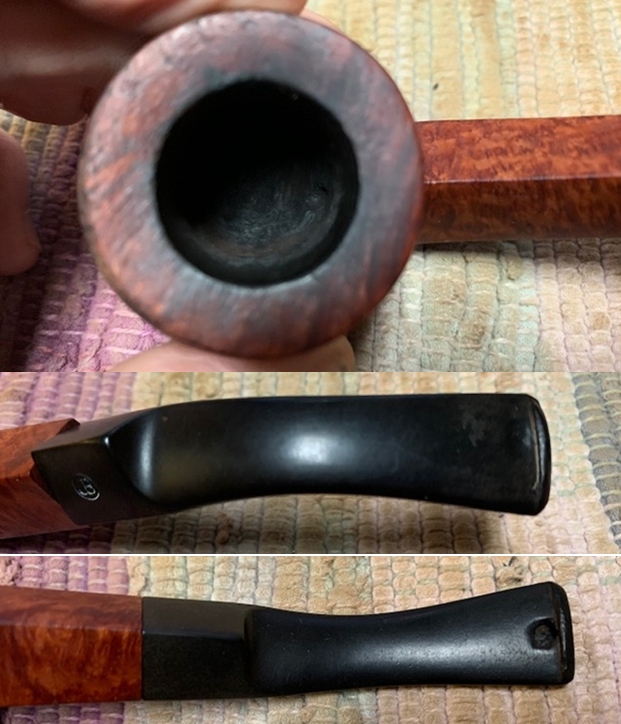
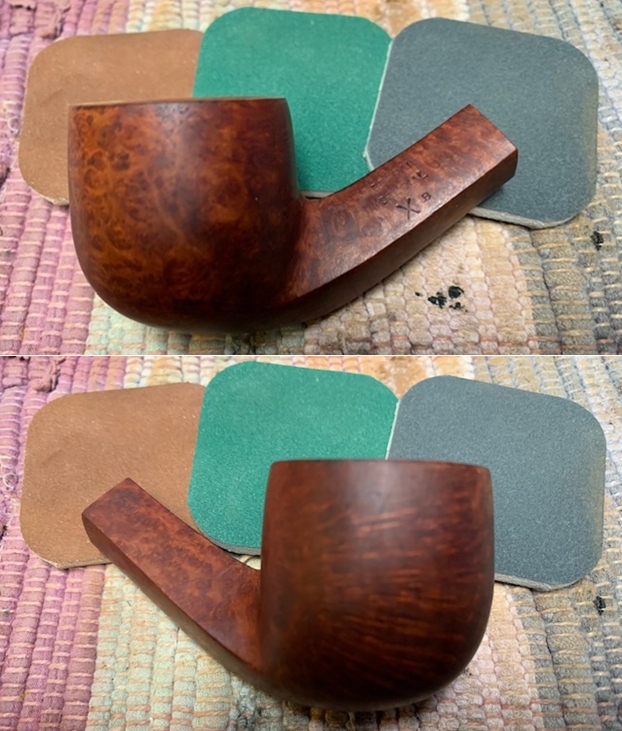
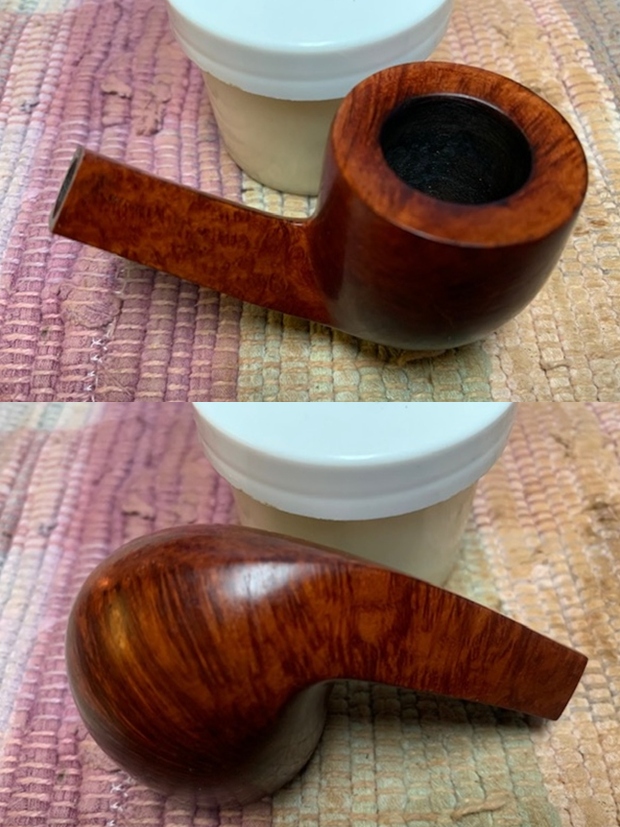
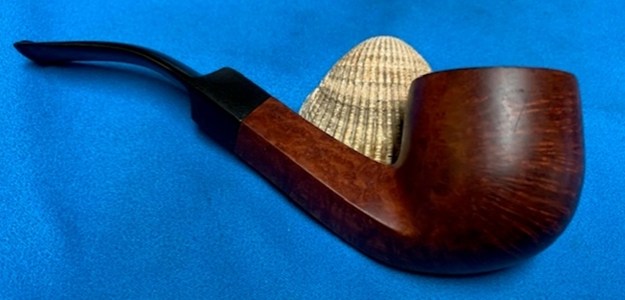
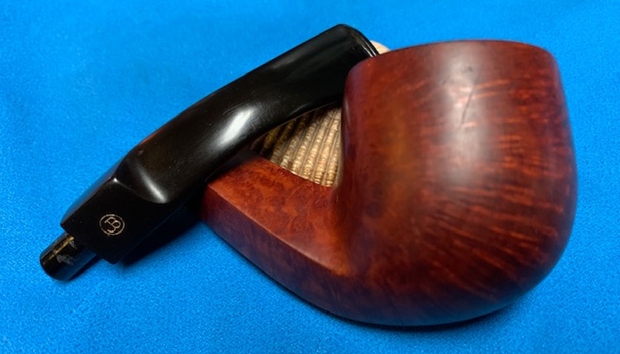
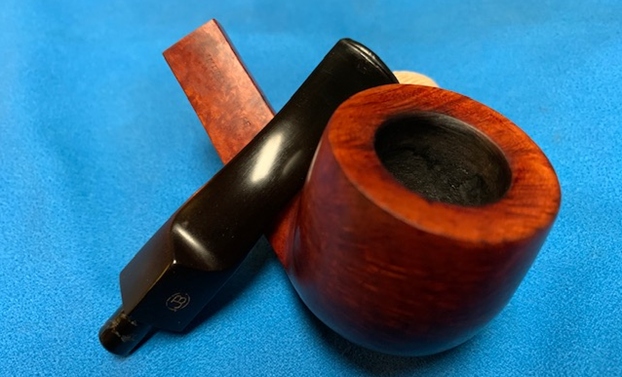
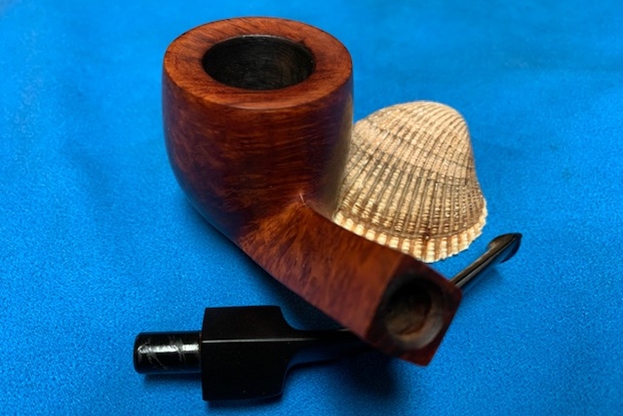
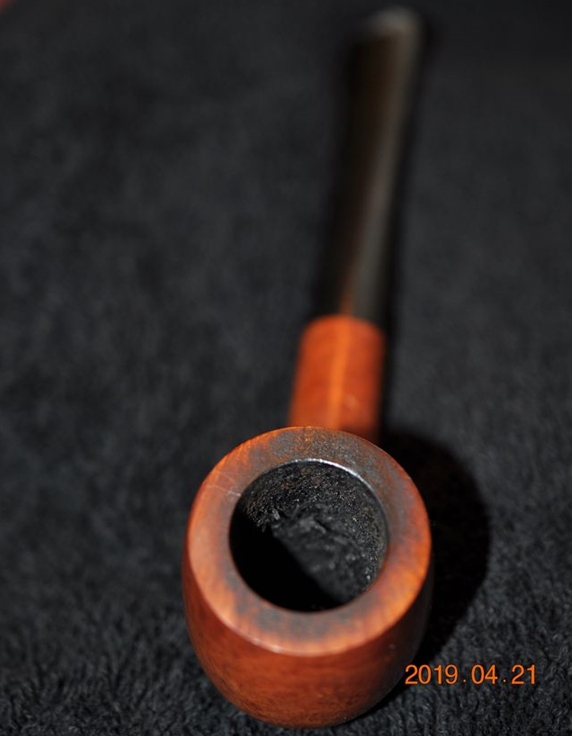
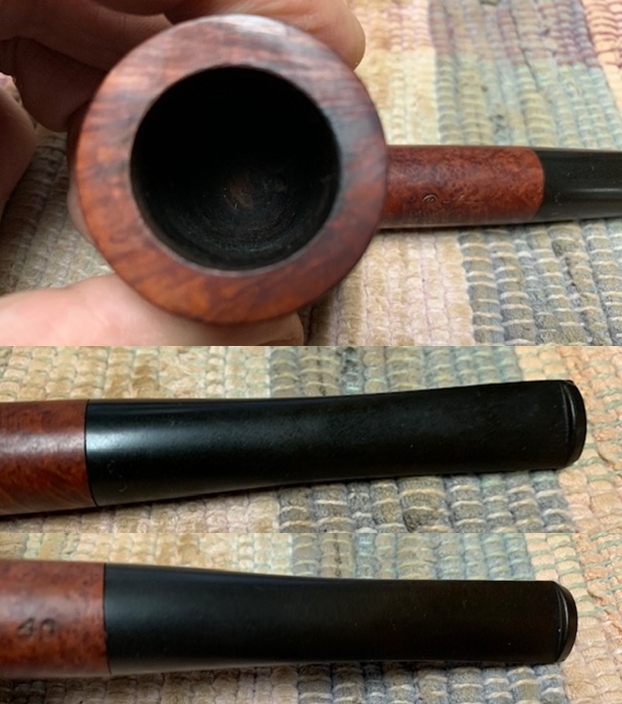
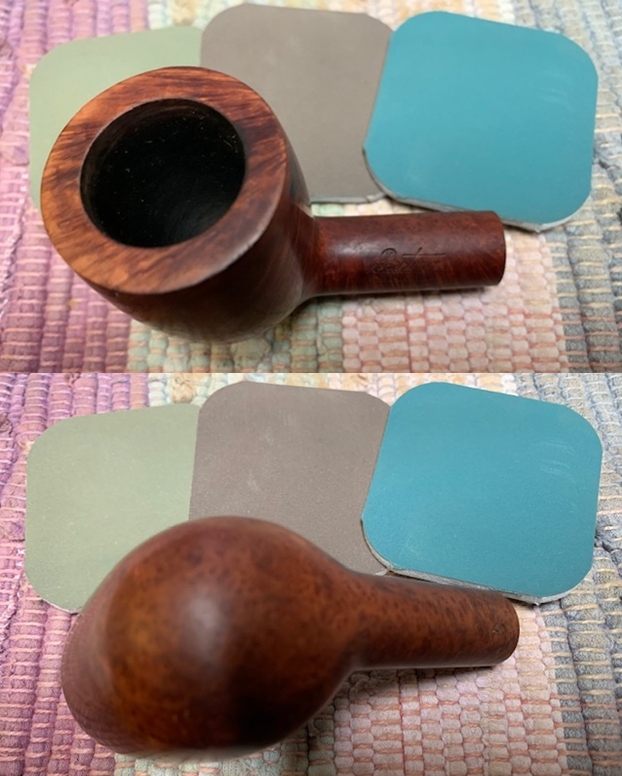
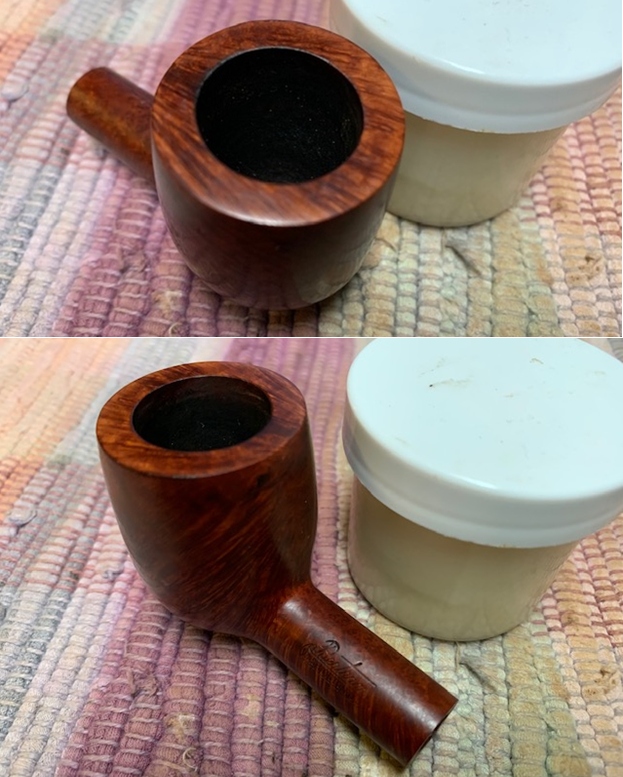
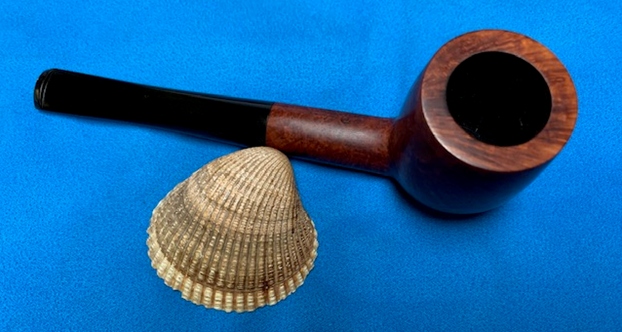
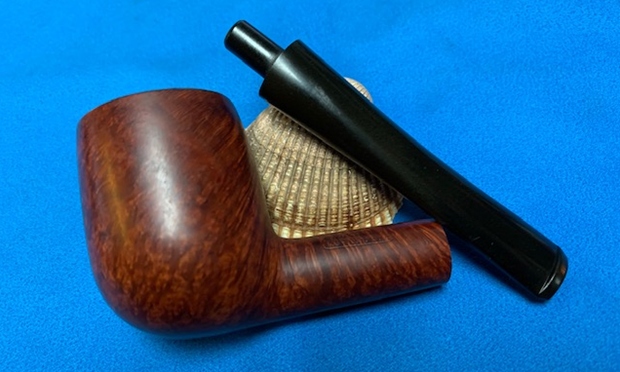
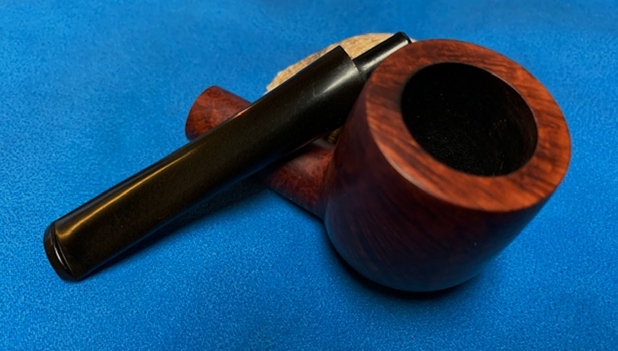
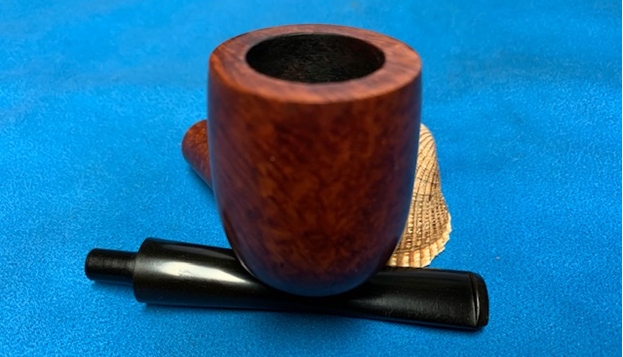
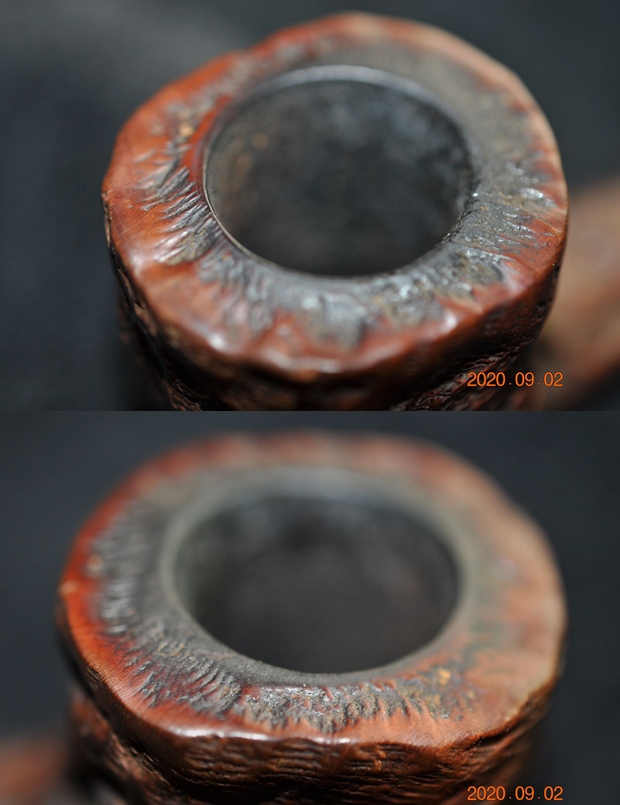
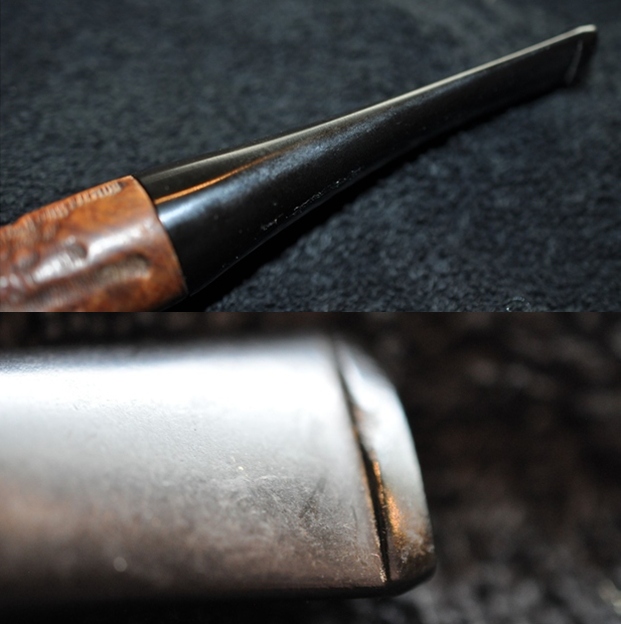
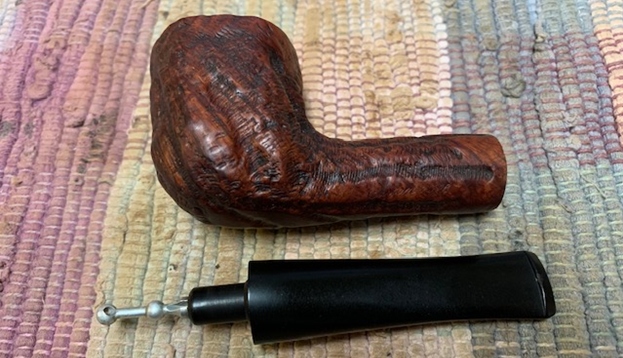
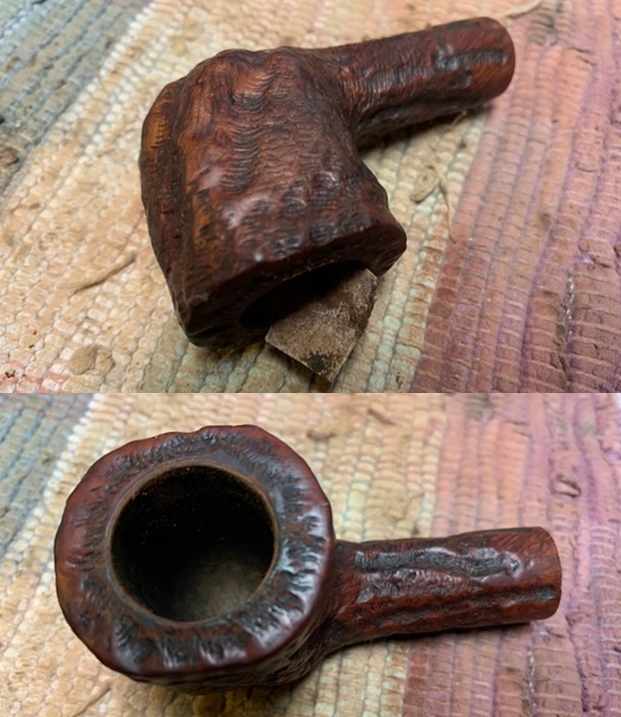
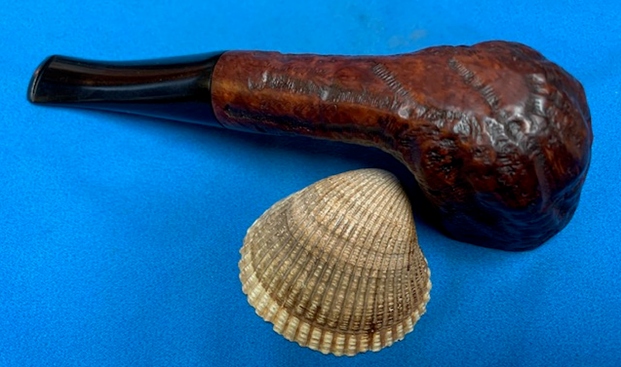
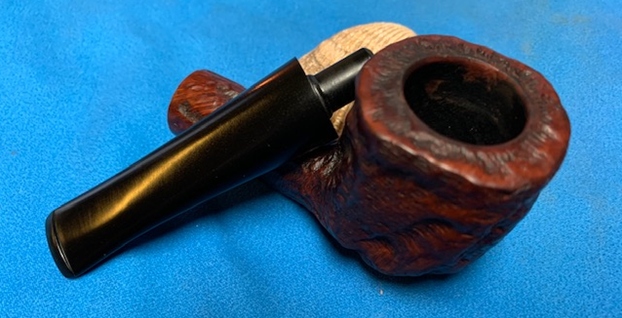
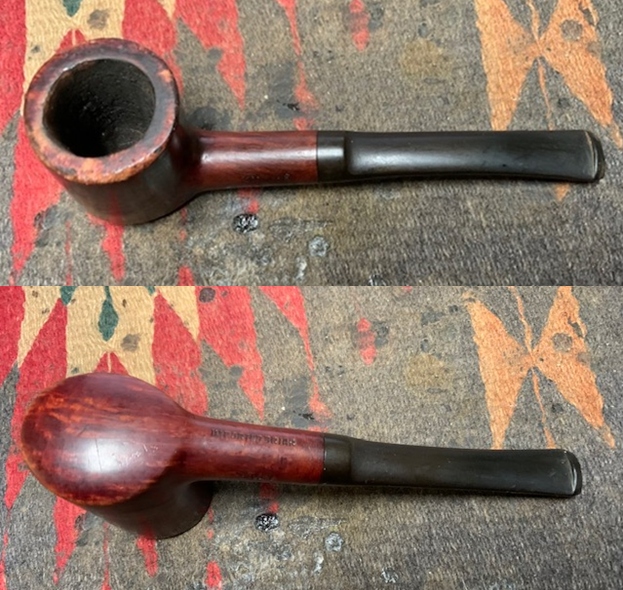
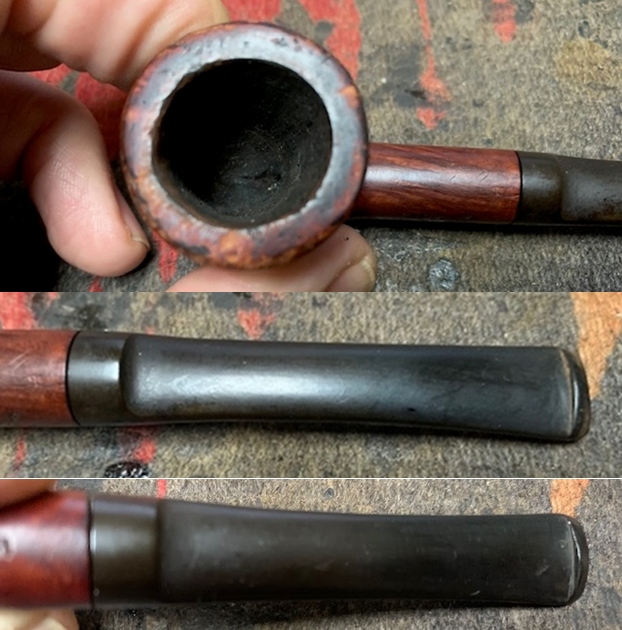
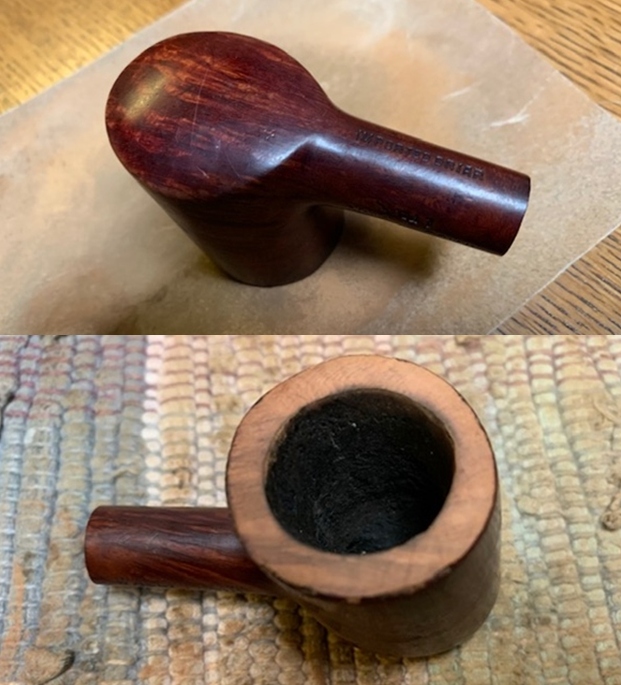
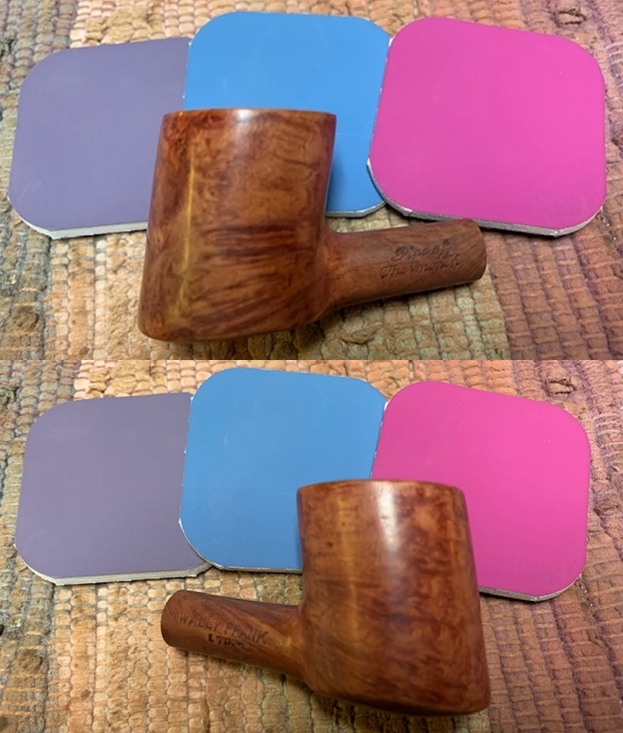
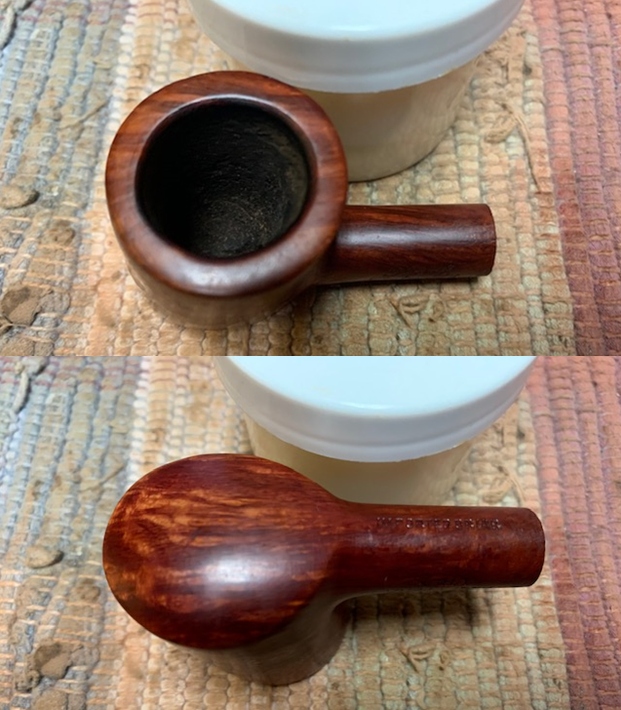
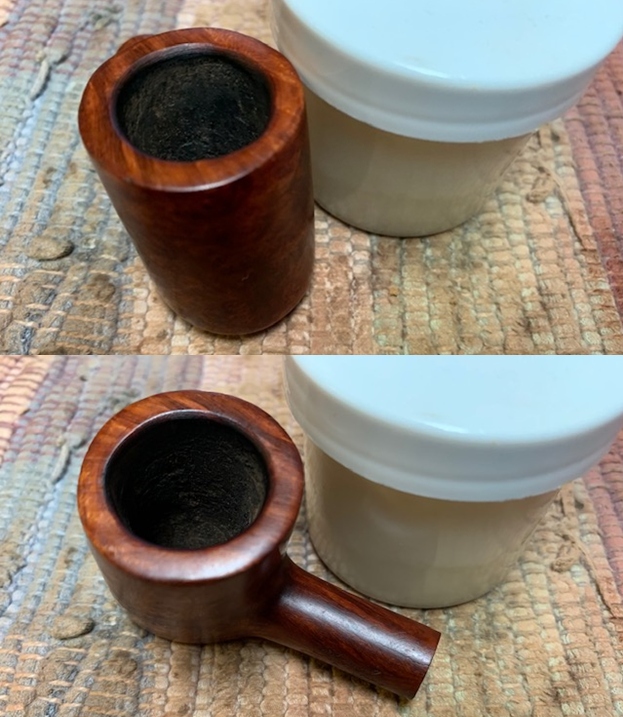
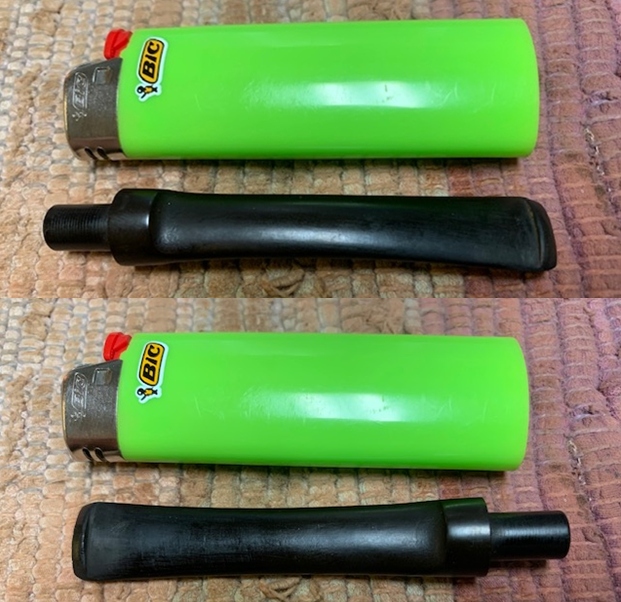
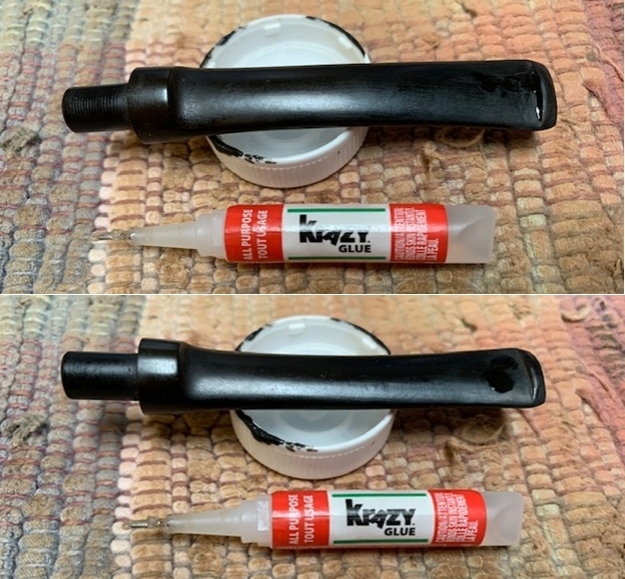
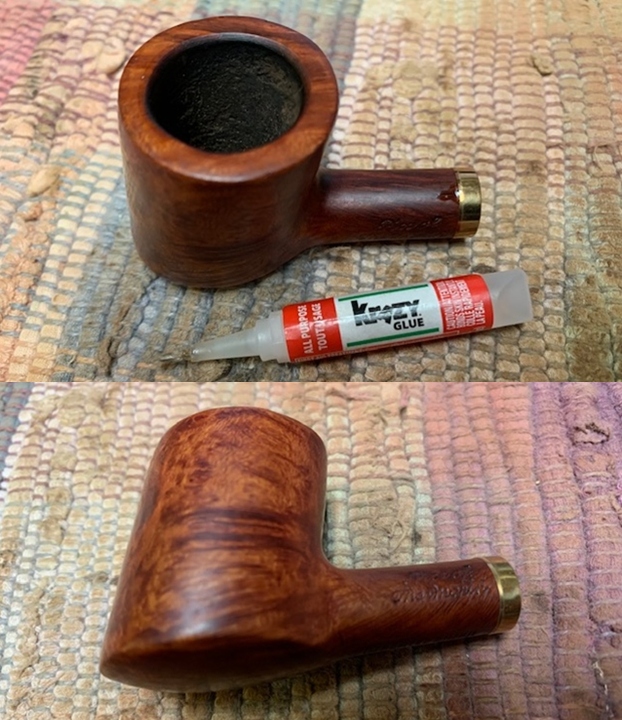
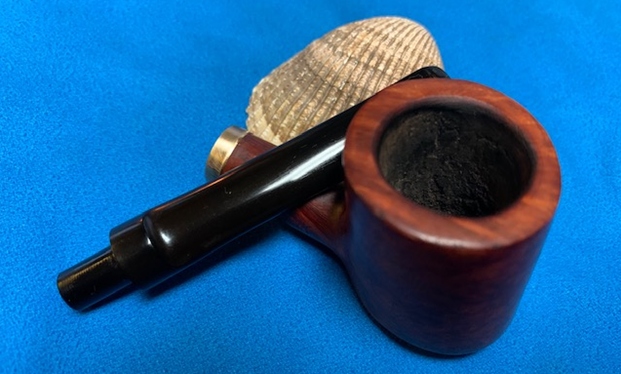
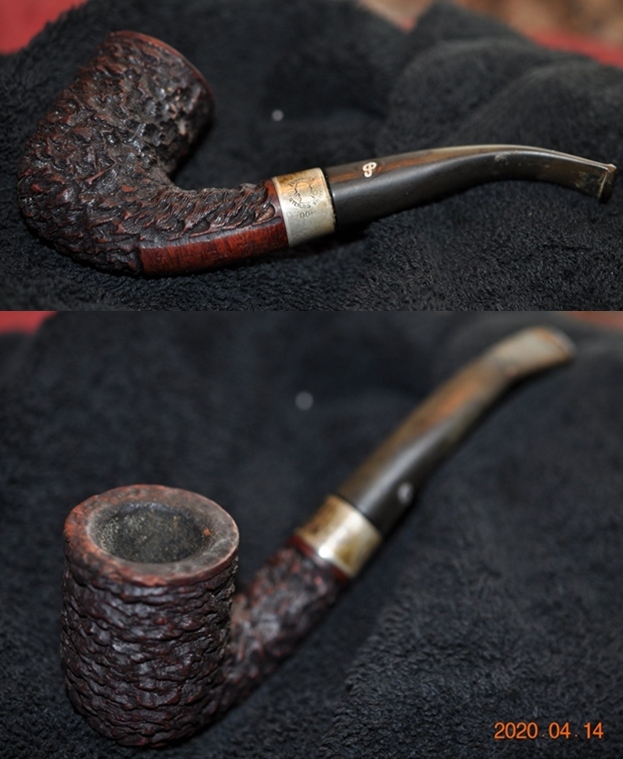
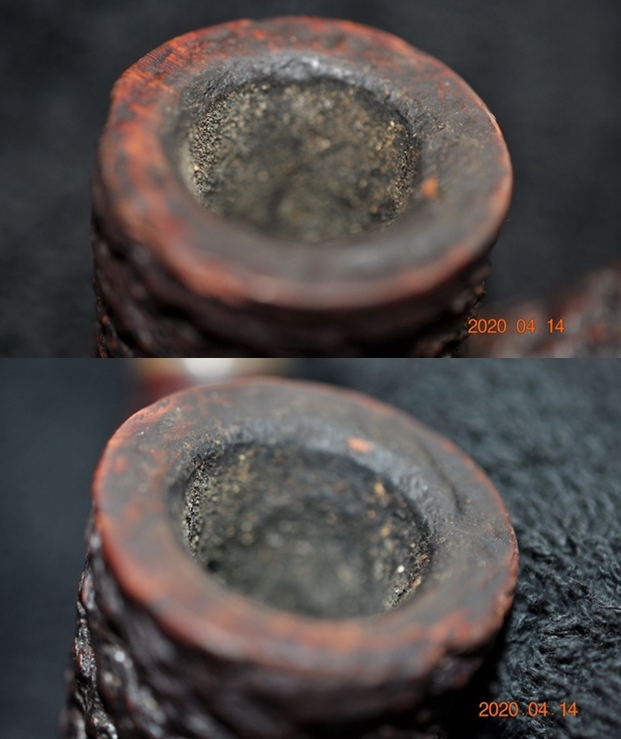
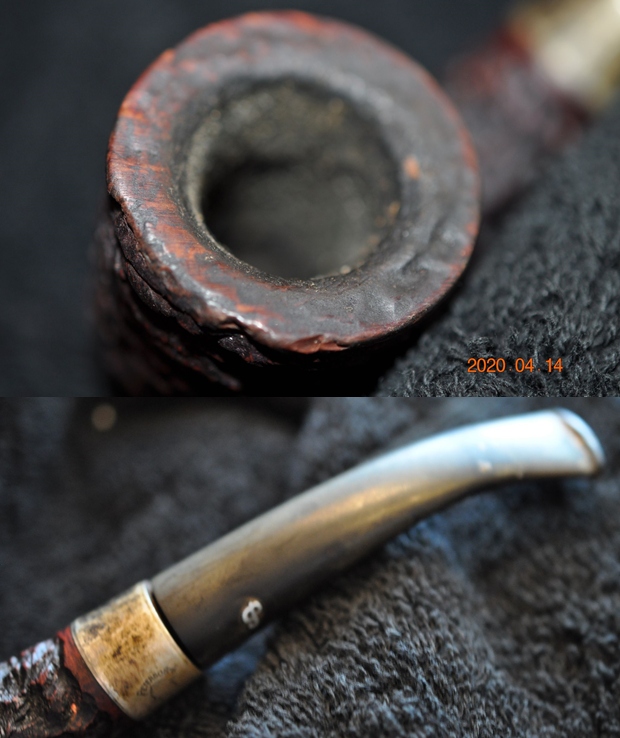
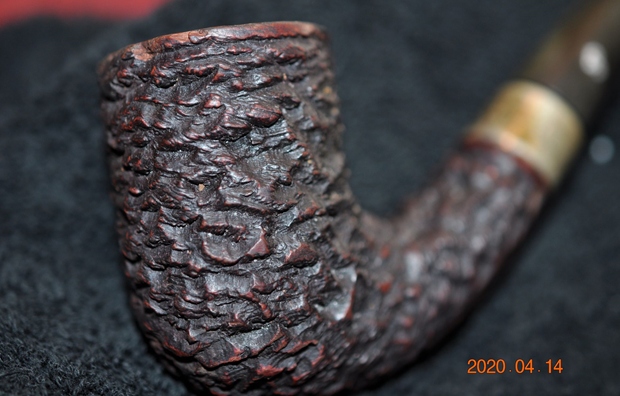
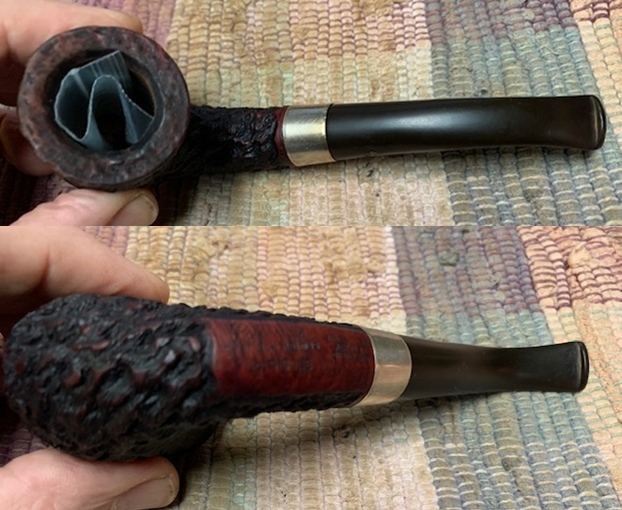
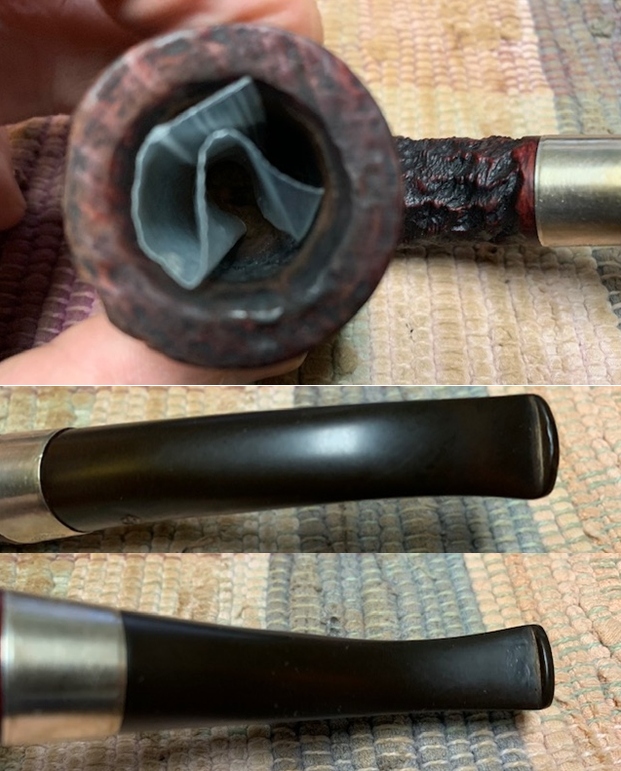
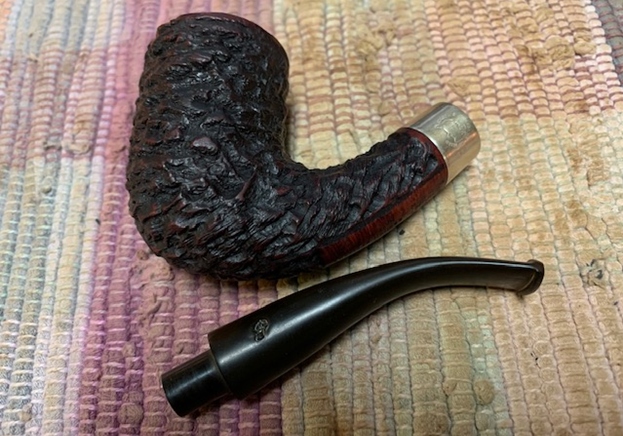
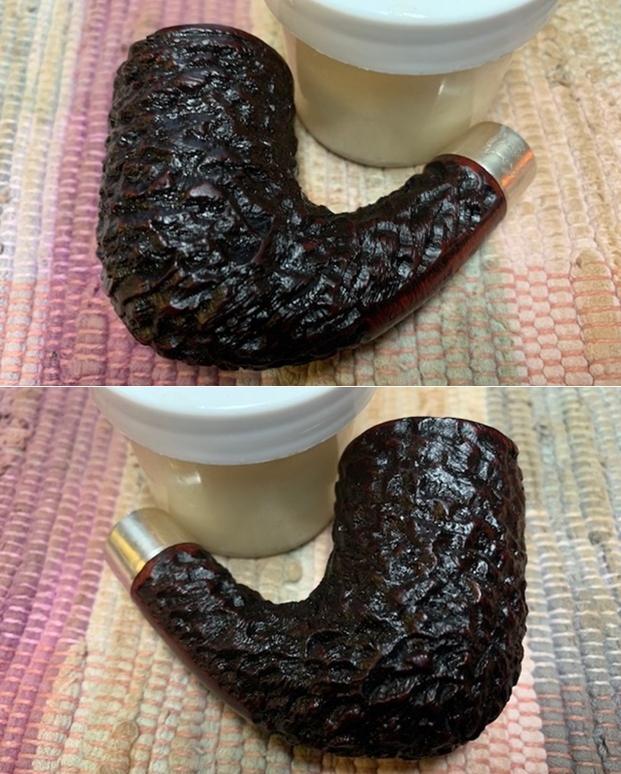
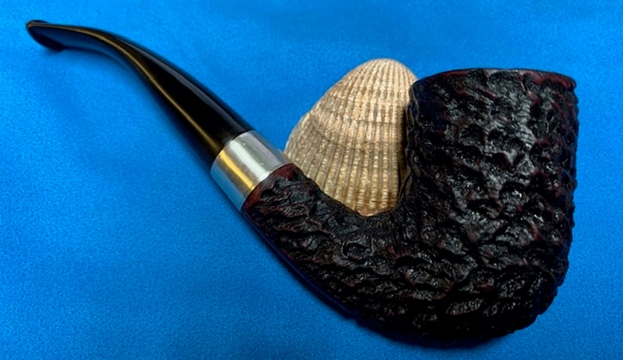
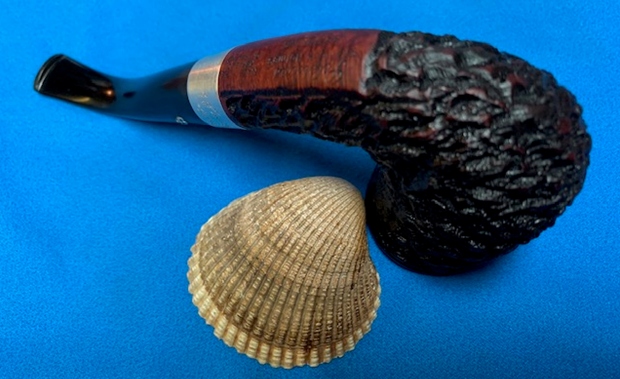
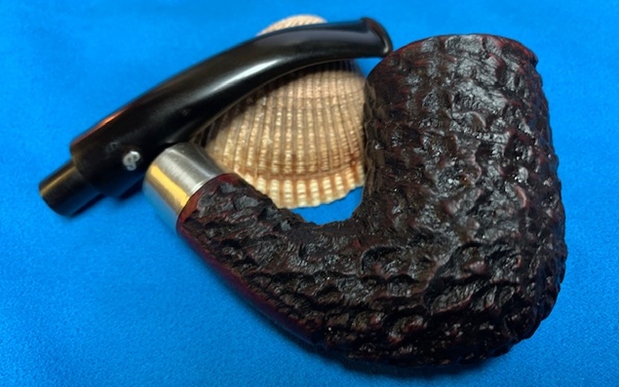
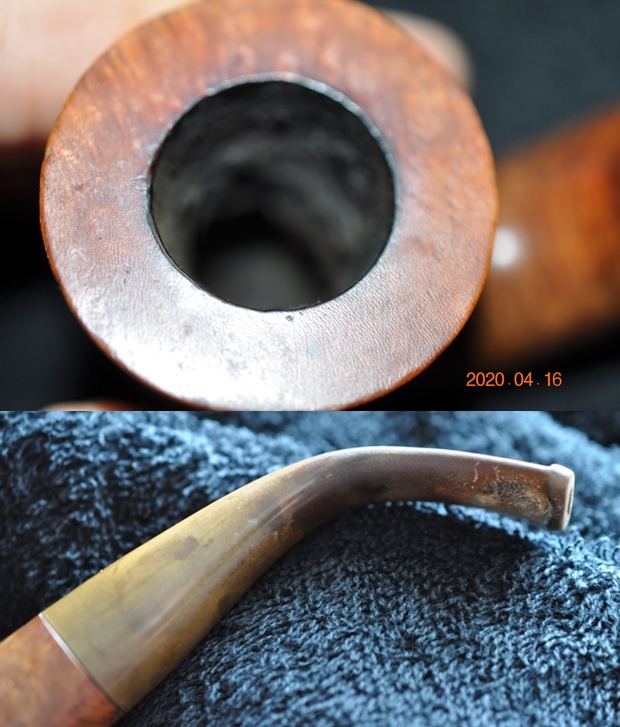
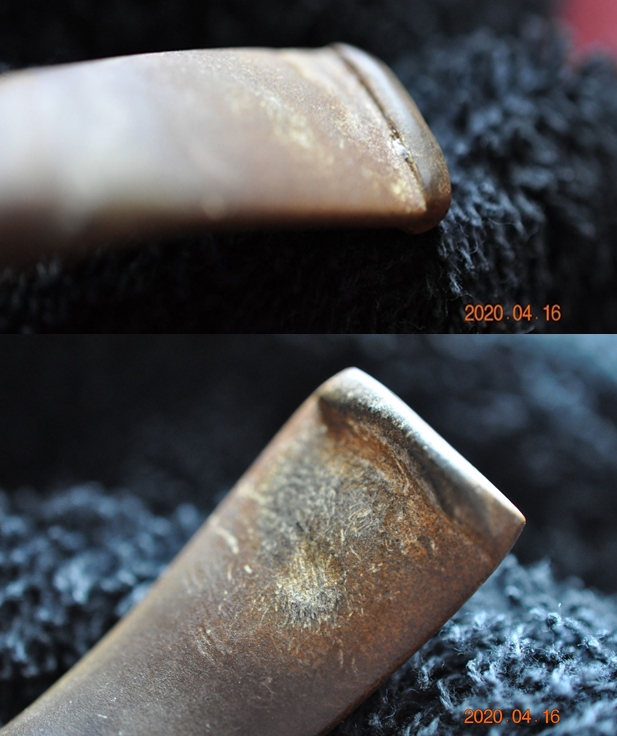
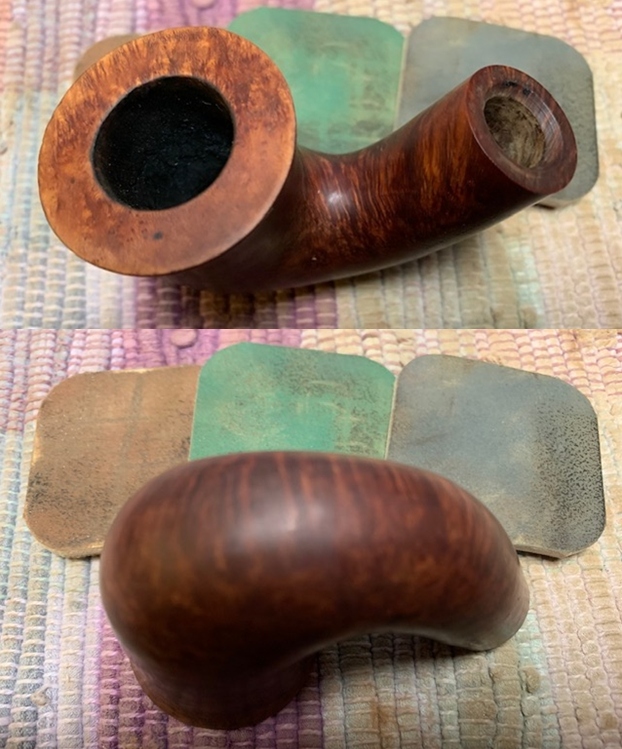
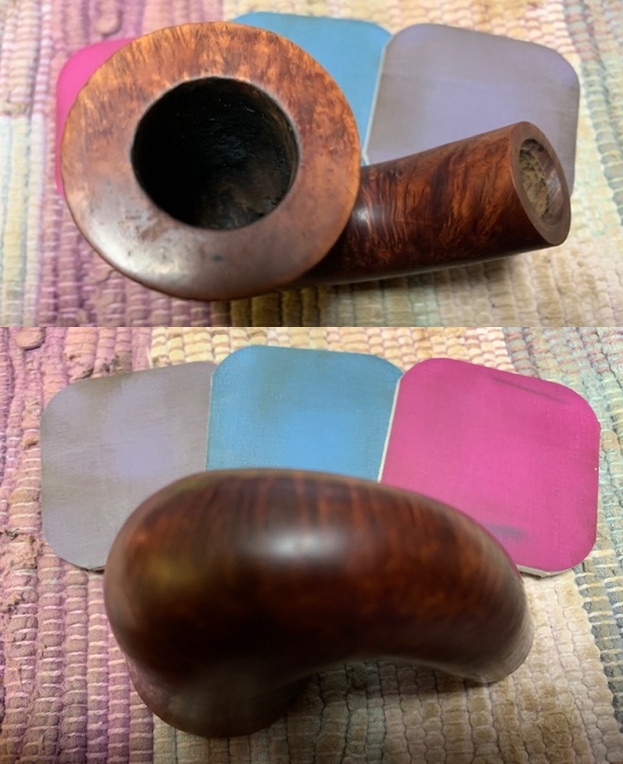
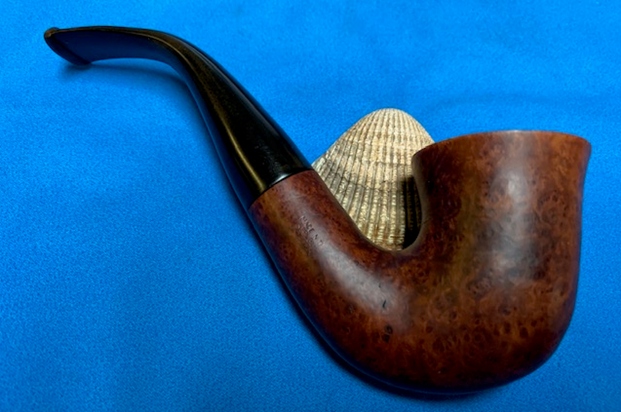
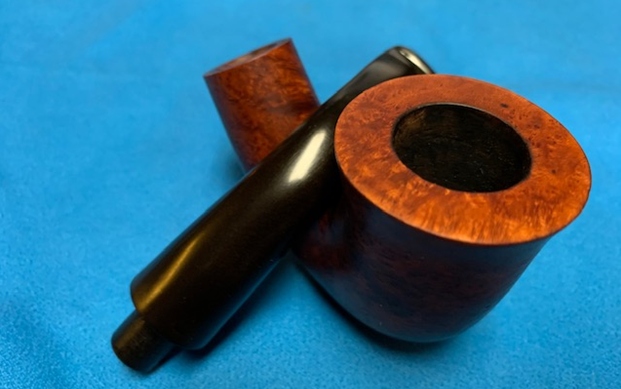
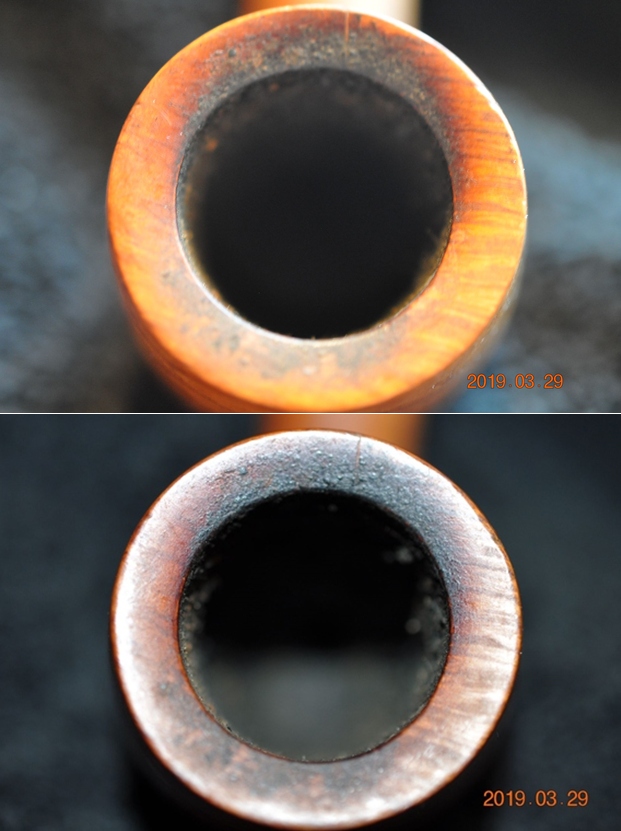
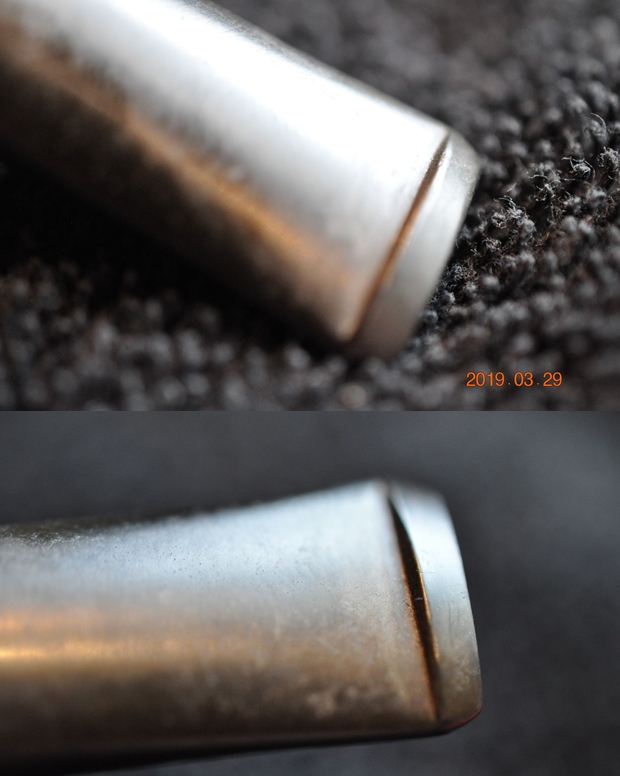
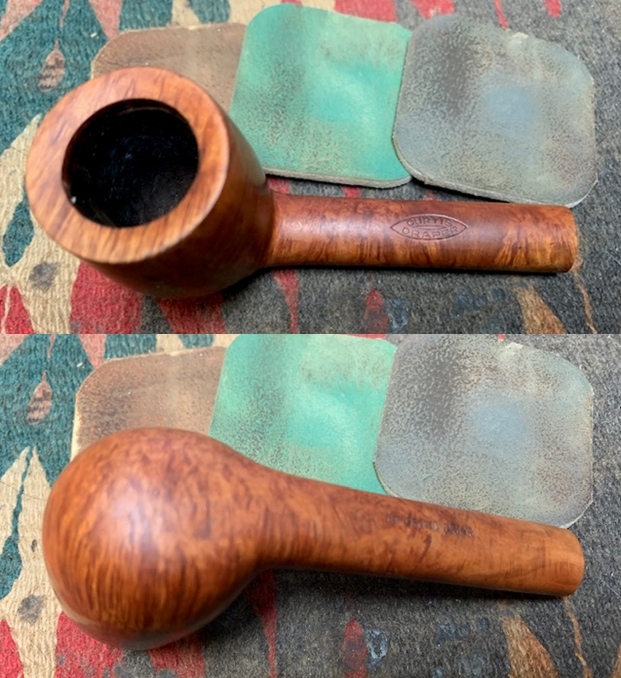
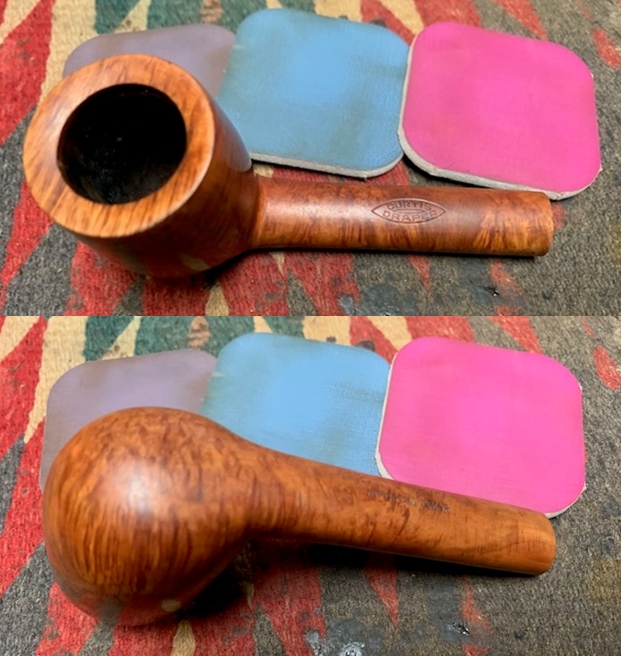
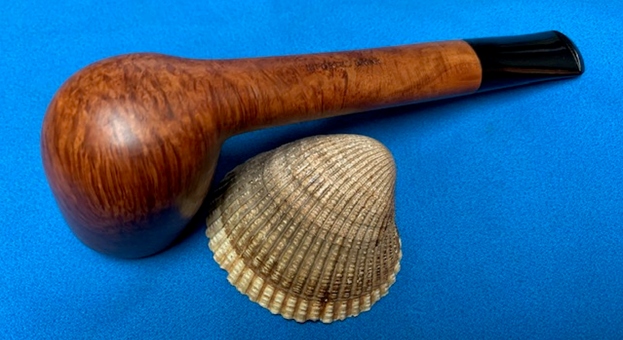
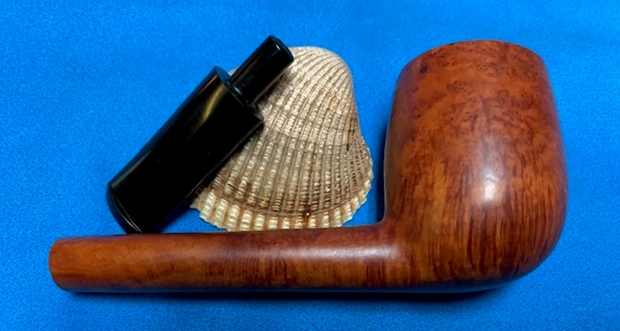
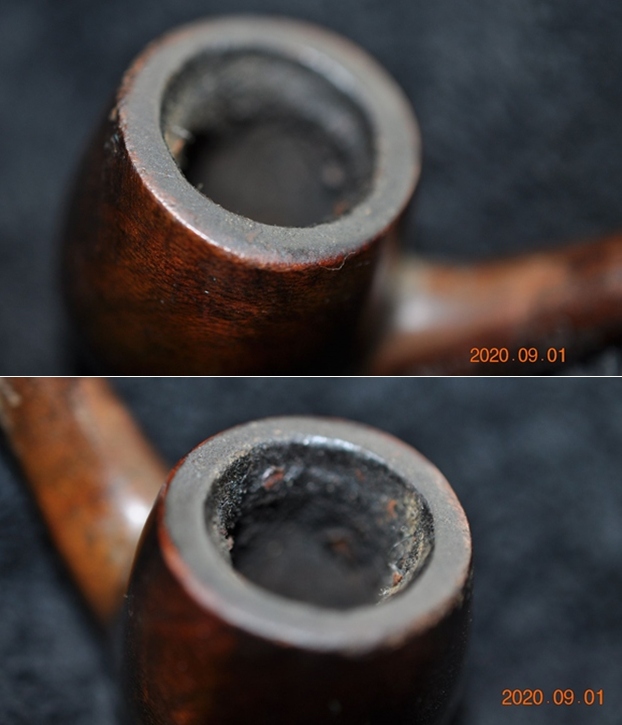
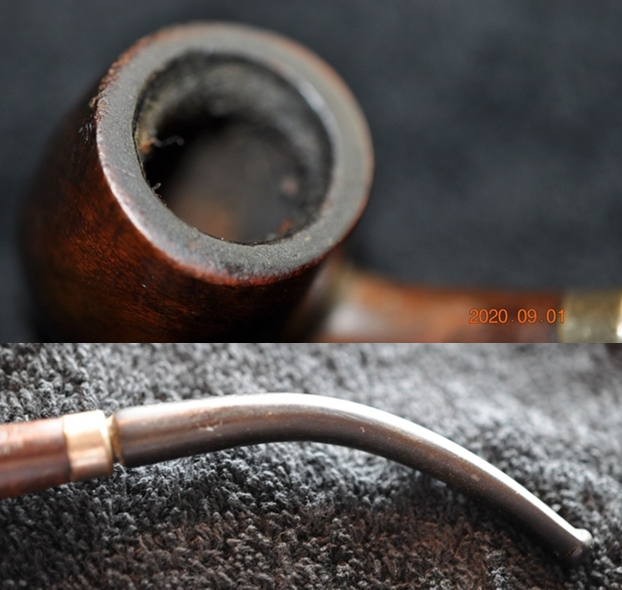
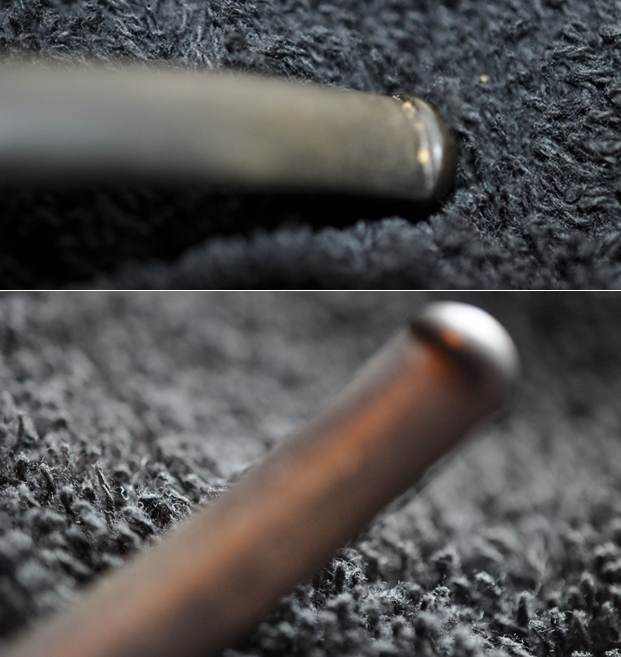
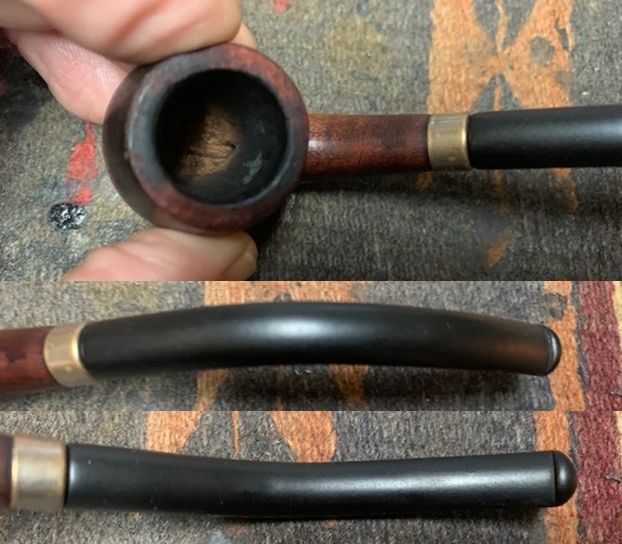
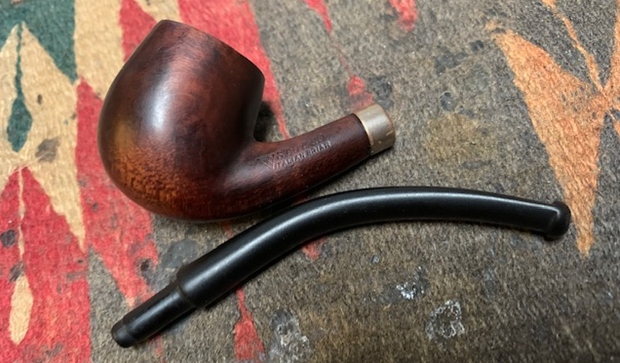
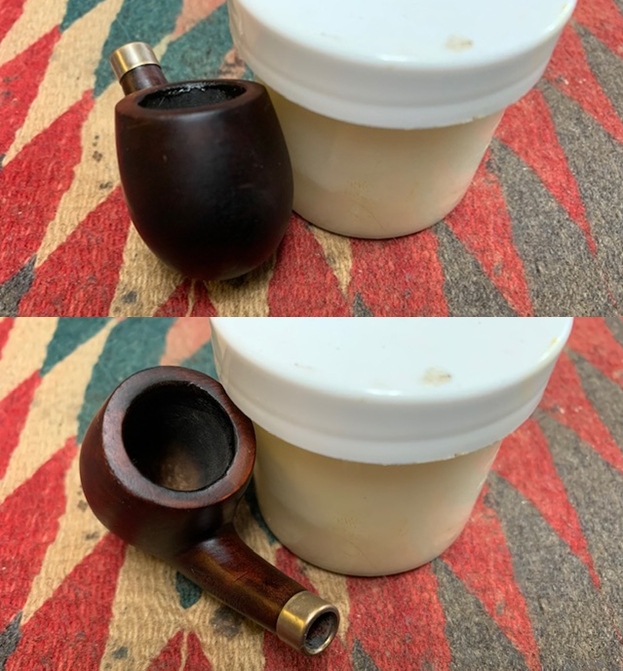
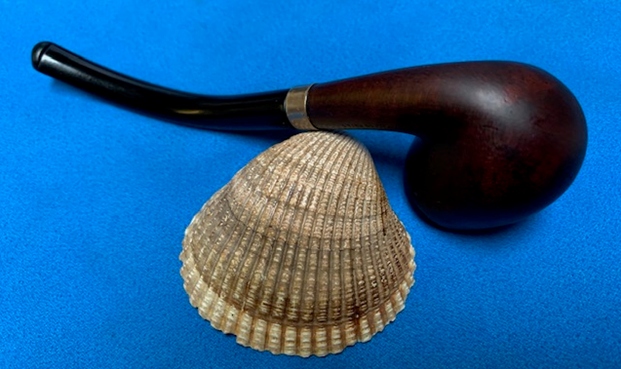
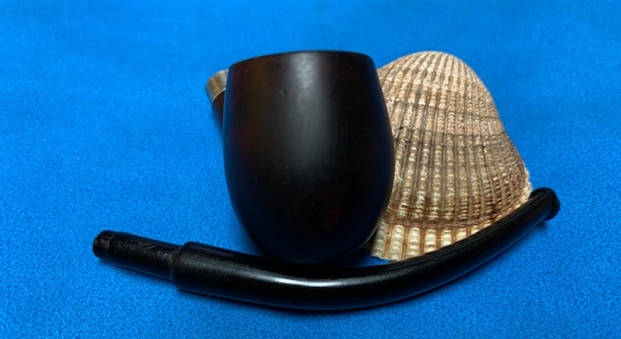
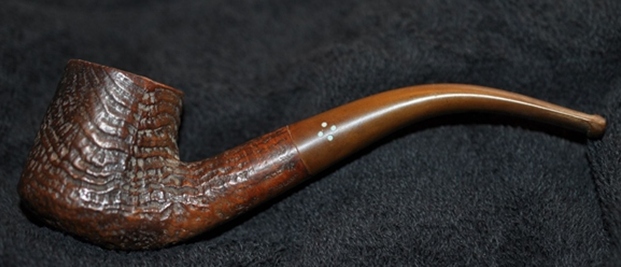
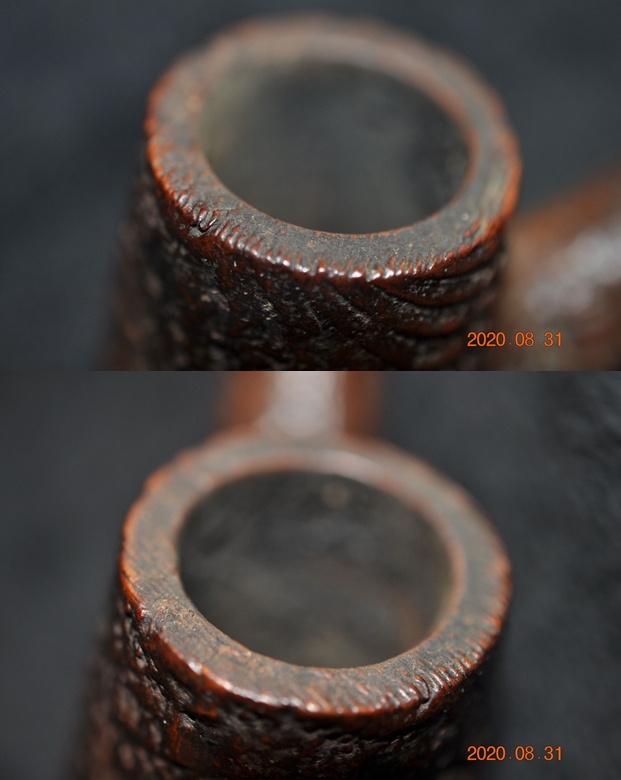
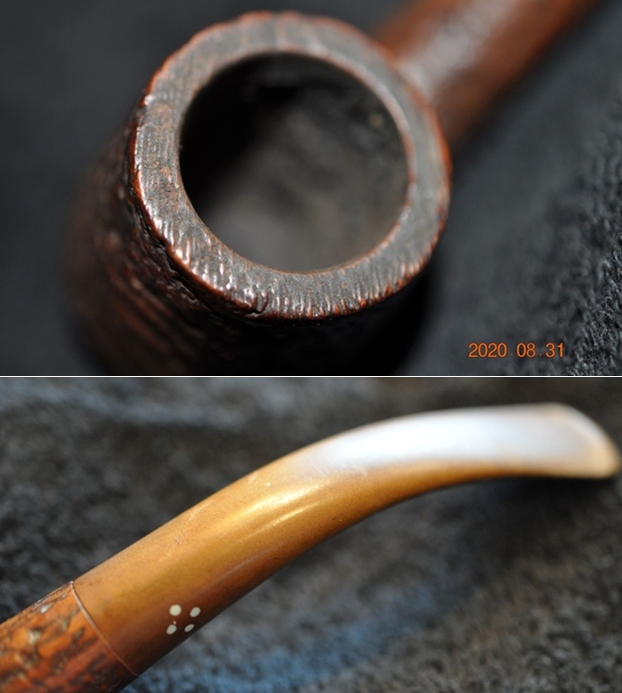
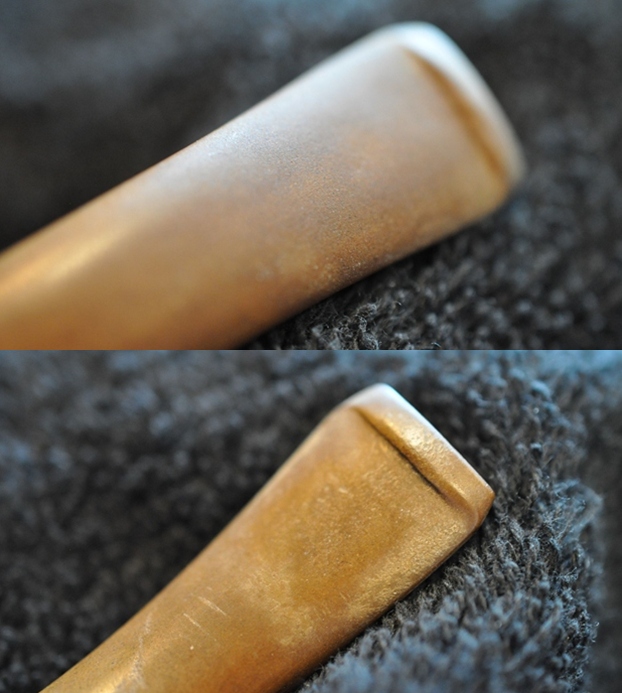
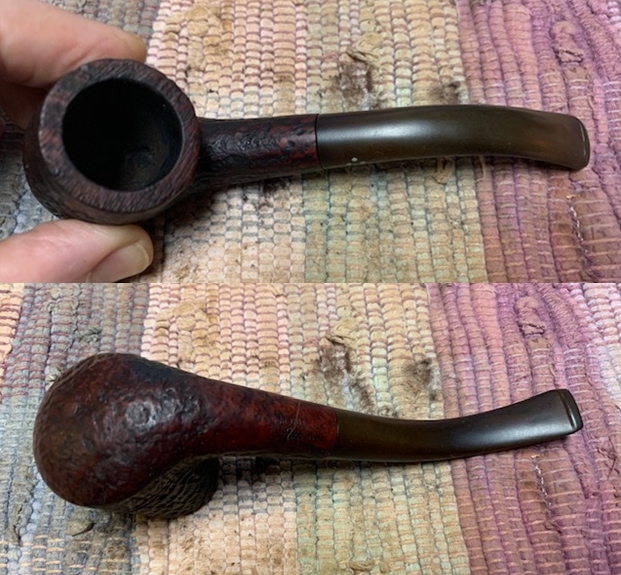
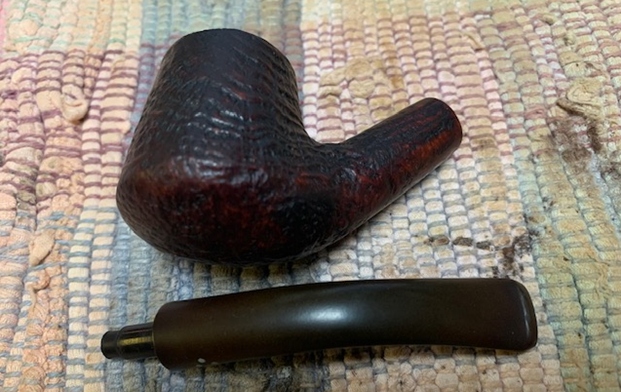
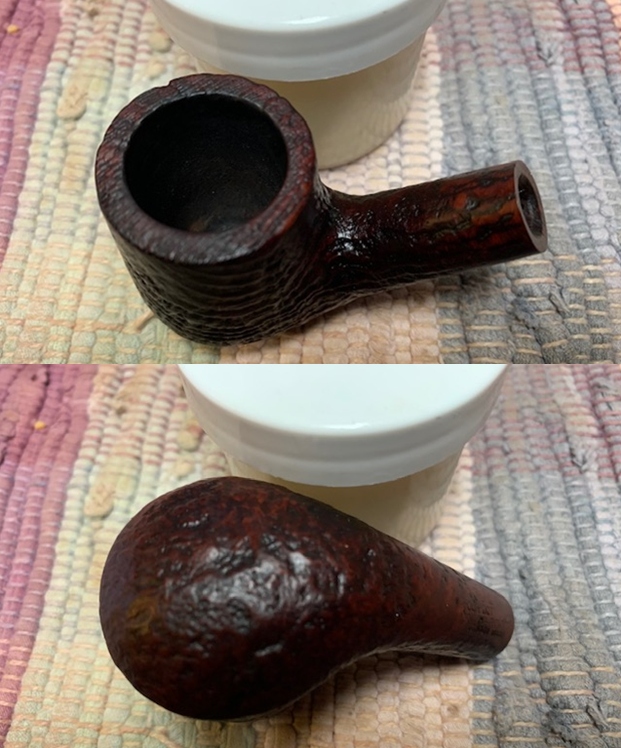
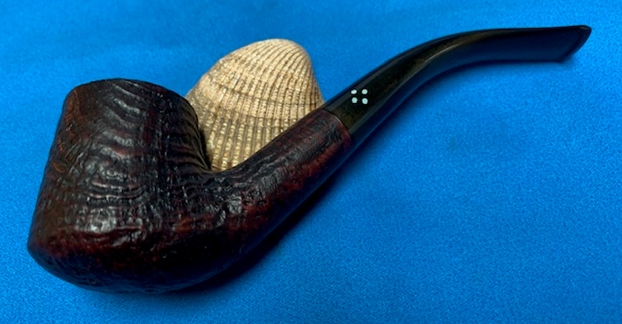
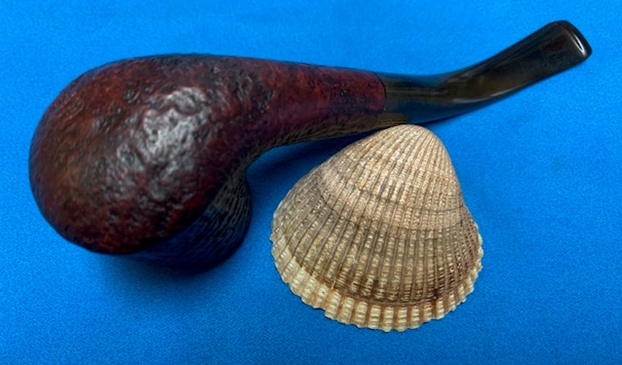
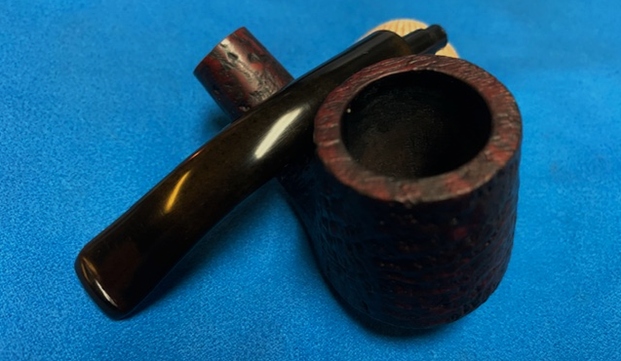
The next pipe on the work table came to us from an antique shop on Jeff and Sherry’s recent Utah pipe hunt. It is a nicely shaped Dublin that is stamped on the left side of the shank and read Blatter in script [over] Montreal. The finish was very dirty and worn but underneath the dirt and oils there was some amazing grain. The bowl was heavily caked and there was a lava overflow on the rim top obscuring the edges so I would have to see it after cleaning to know if it was round. The outer edge of the rim was clean and sharp with no damage. The stem had tooth chatter and marks on the top and a bite through on the underside near the button. There was a red dot on the left side of the taper stem. It had promise but it was very dirty. Jeff took some photos of the pipe before he started his cleanup work.  He took photos of the rim top and bowl to give a clear picture of the thickness of the cake and tobacco debris as well as thick lava coat on the top. He also took photos of the top and underside of the stem to show the oxidation and the chatter and tooth marks on the topside and the bite through on the underside near the button.
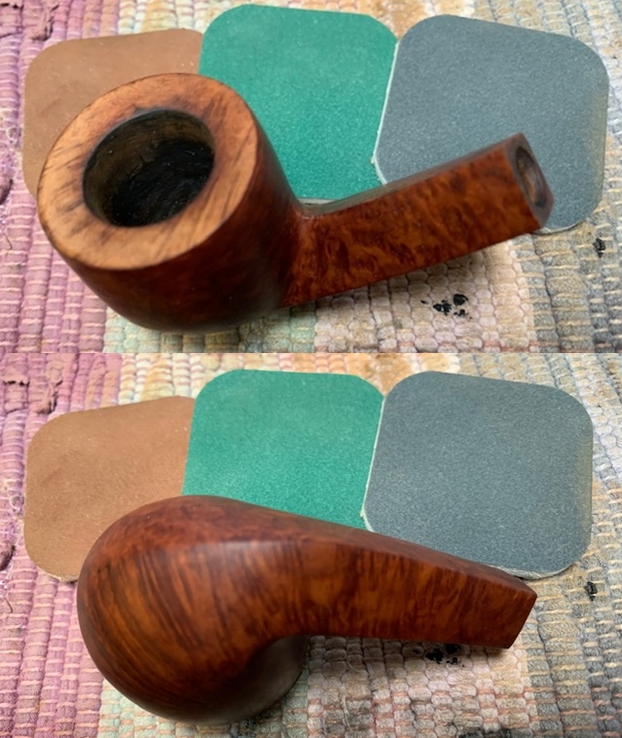
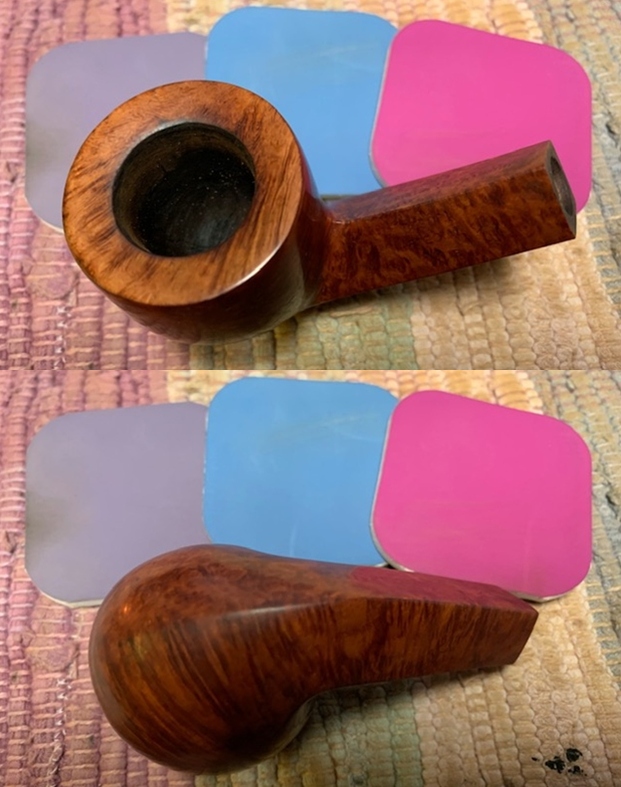
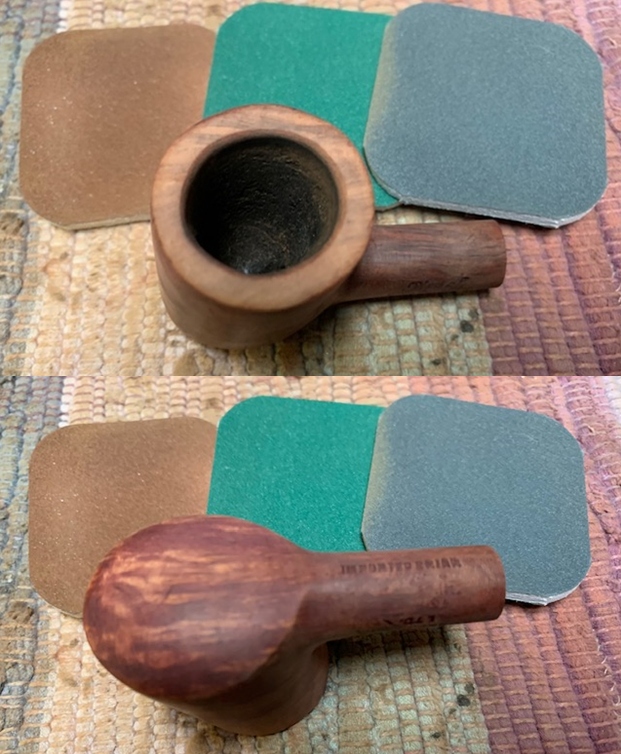
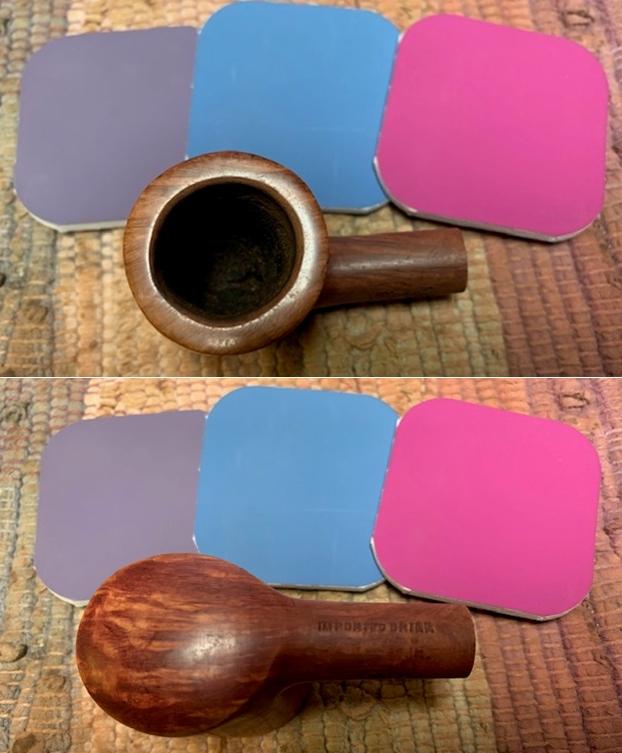
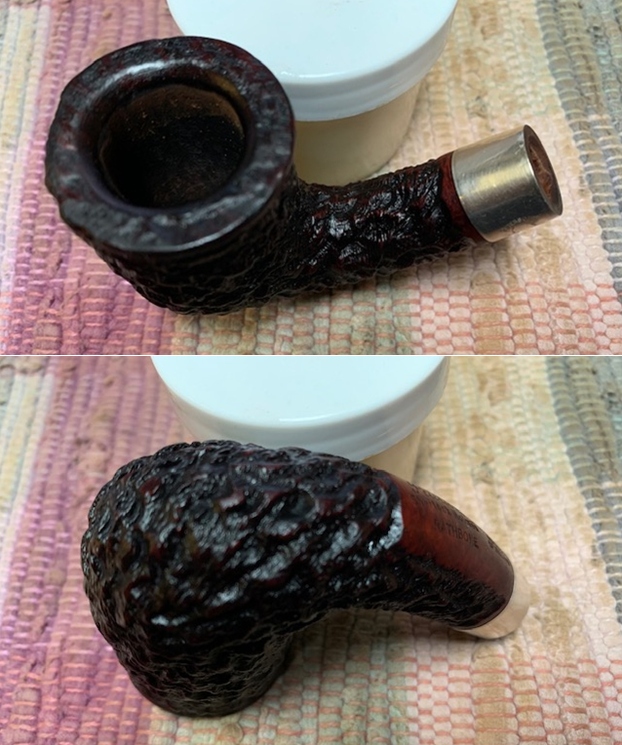
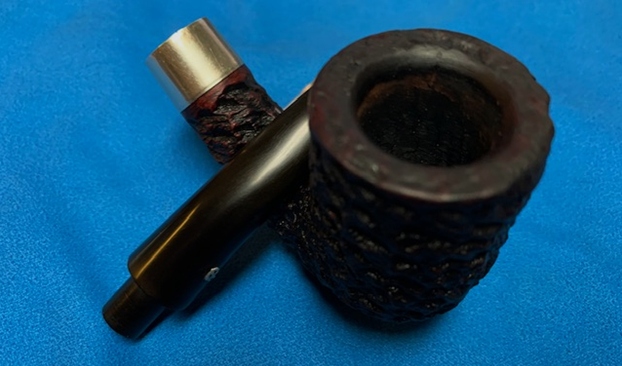
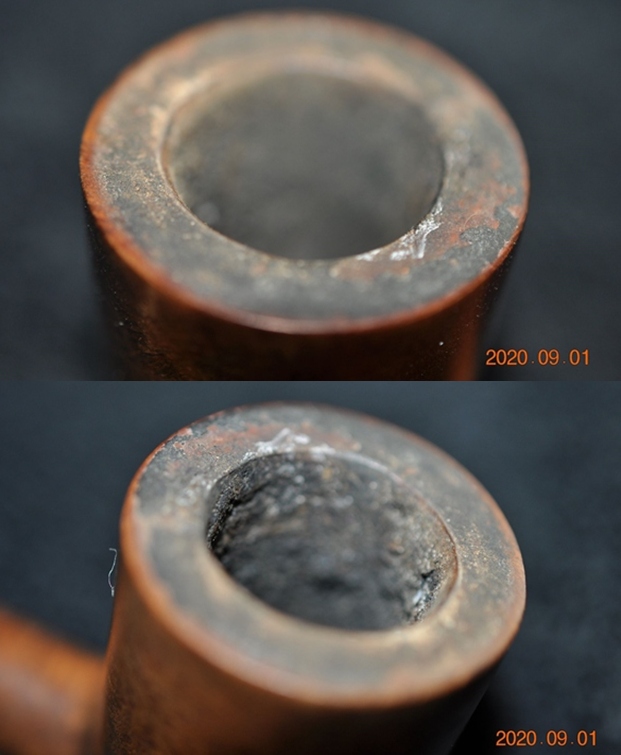
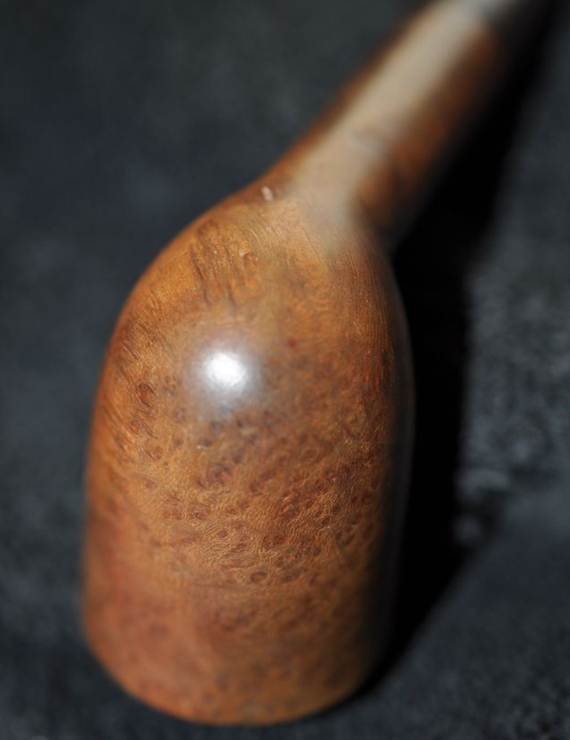
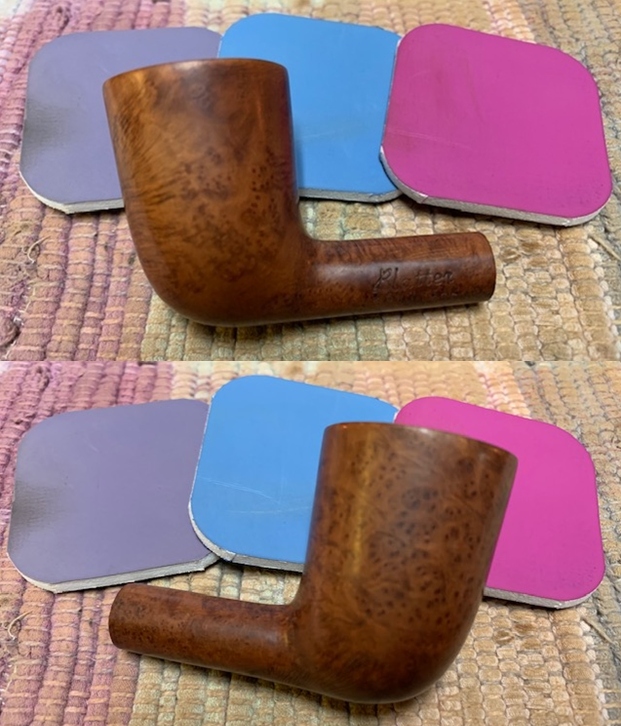
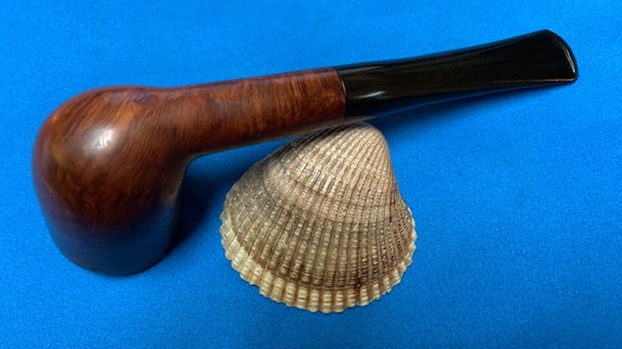
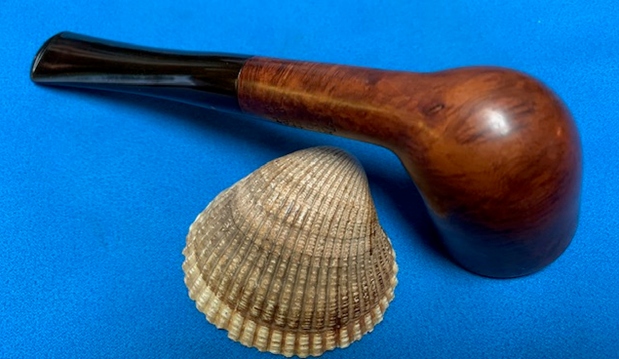
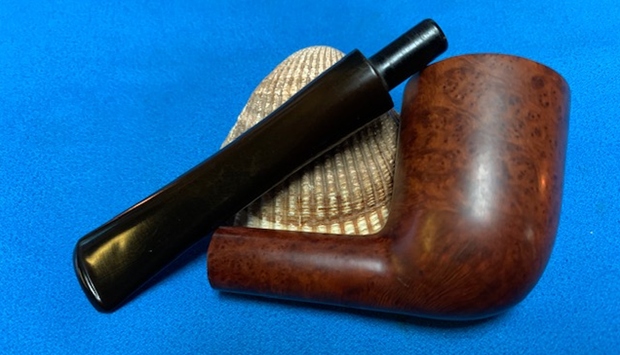
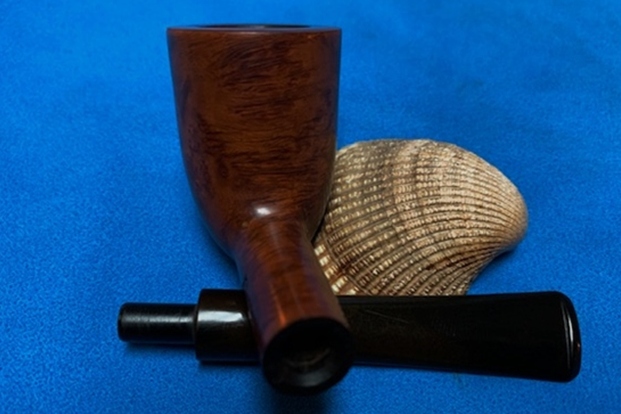
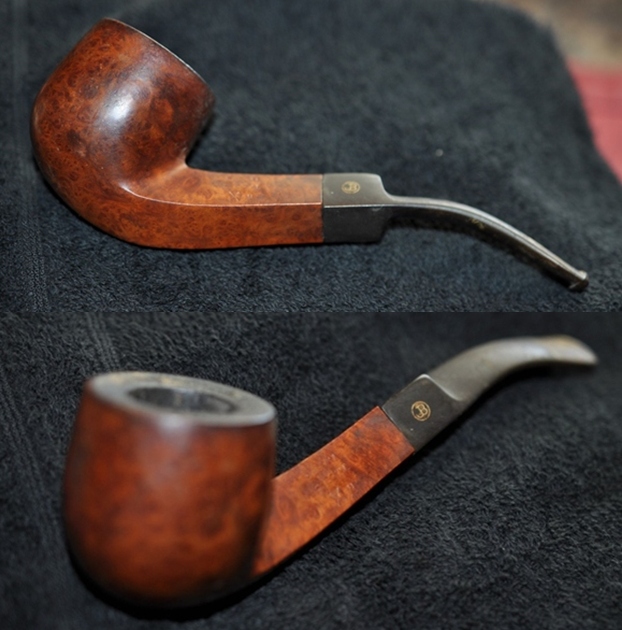
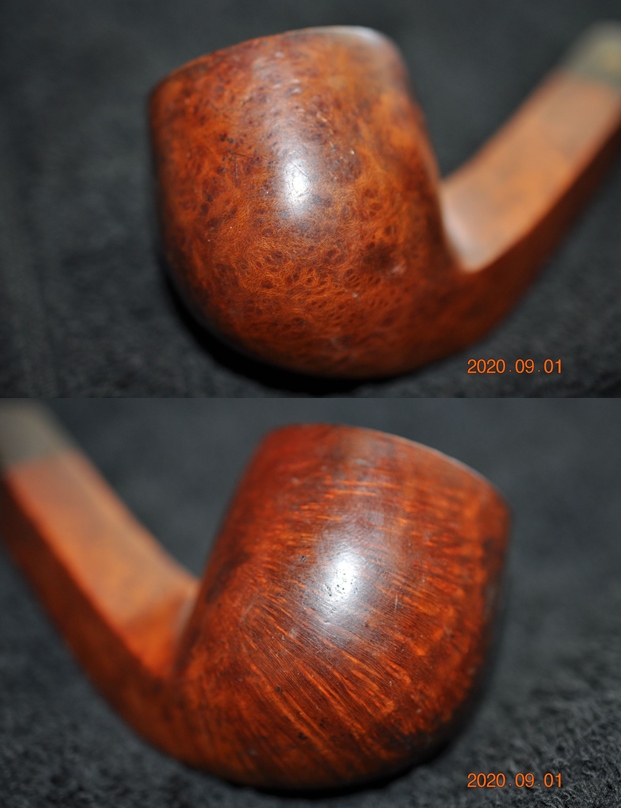
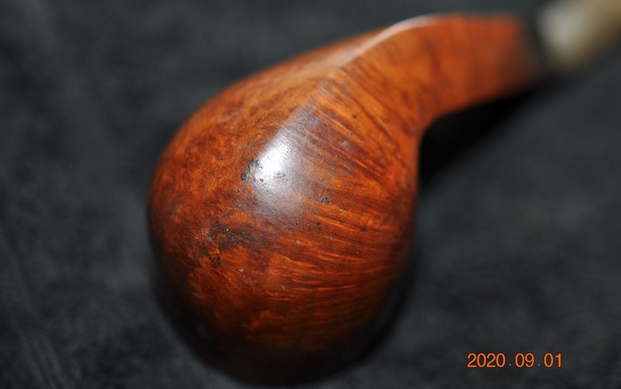
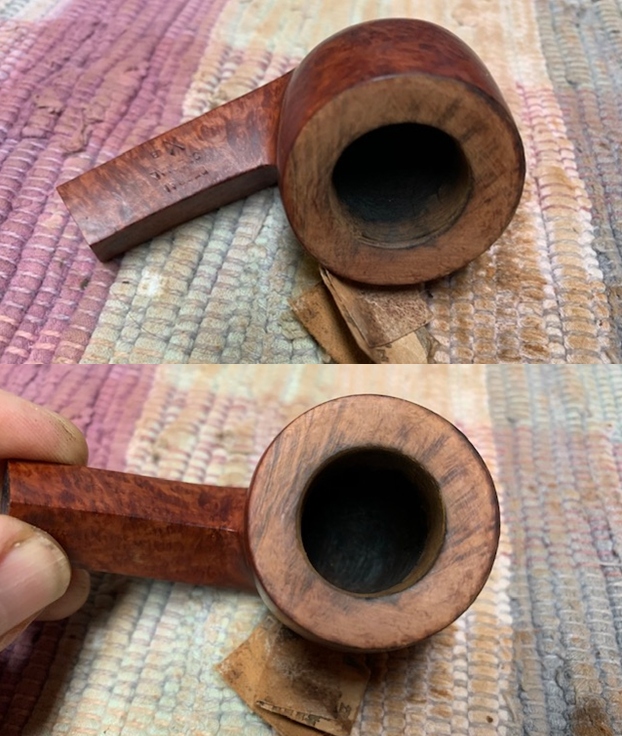
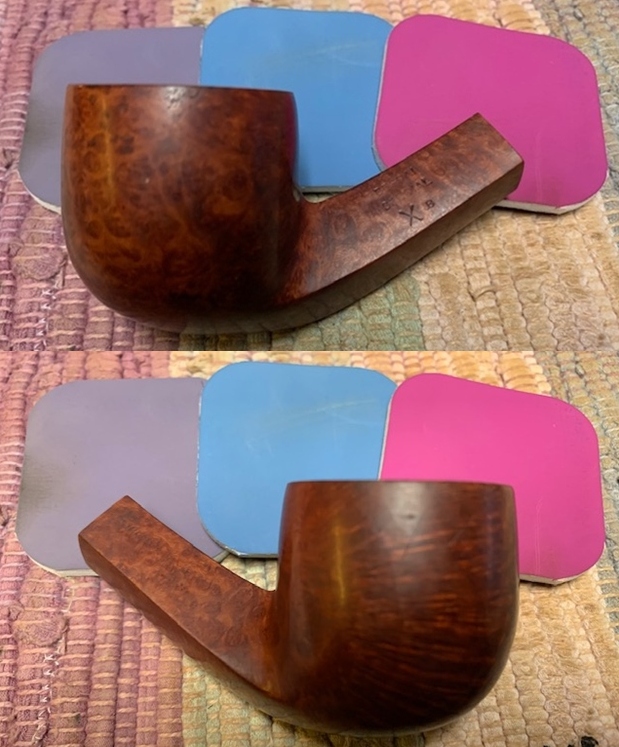
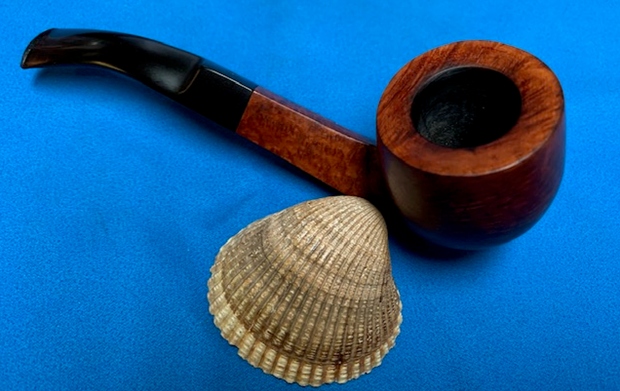
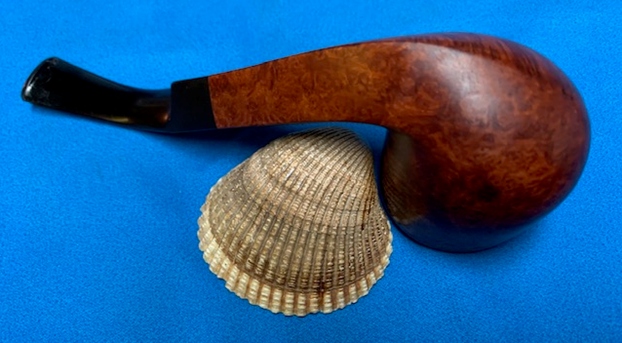
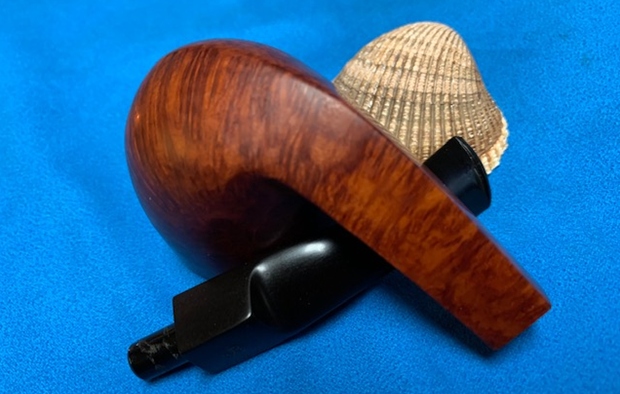
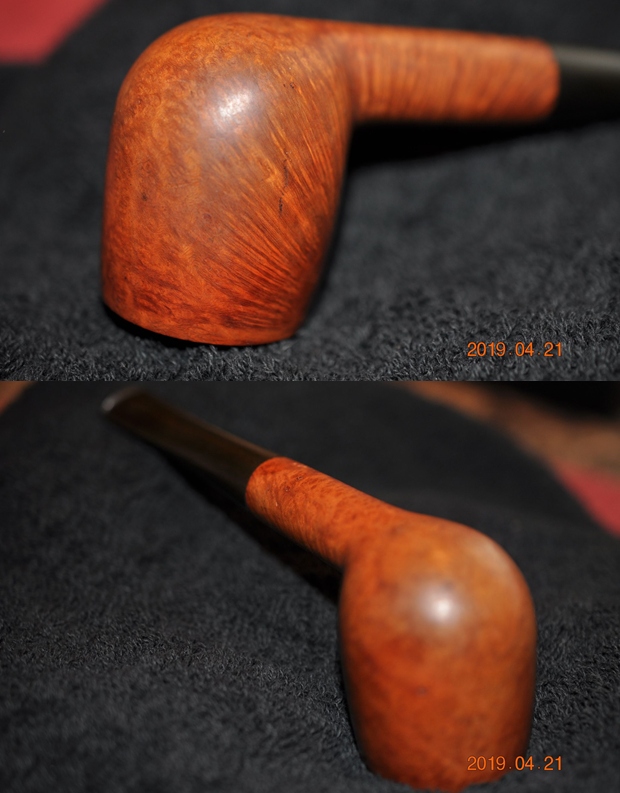
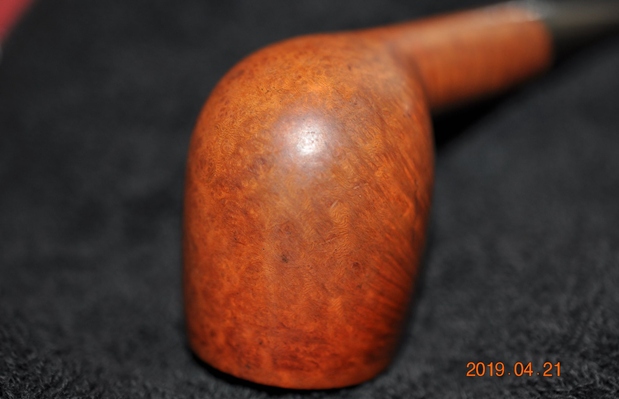
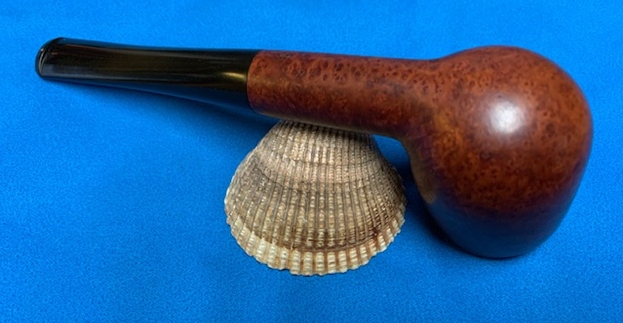
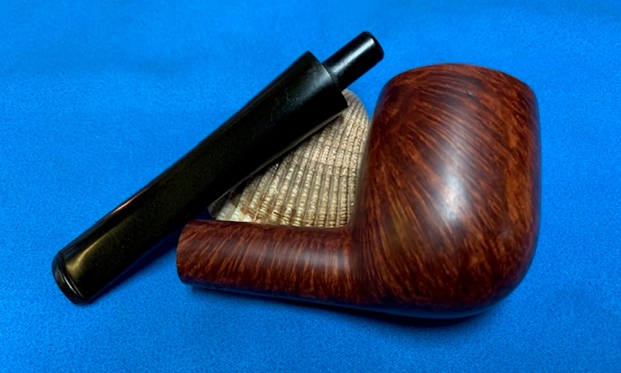
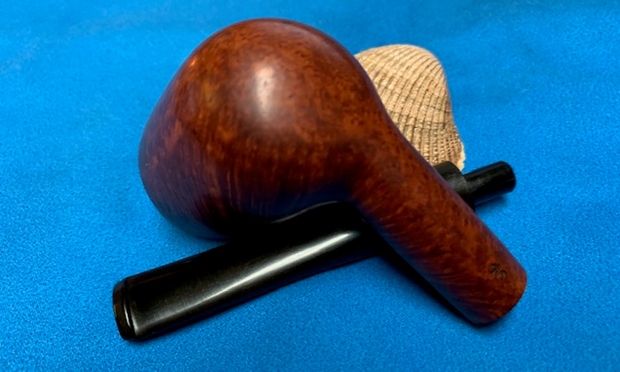
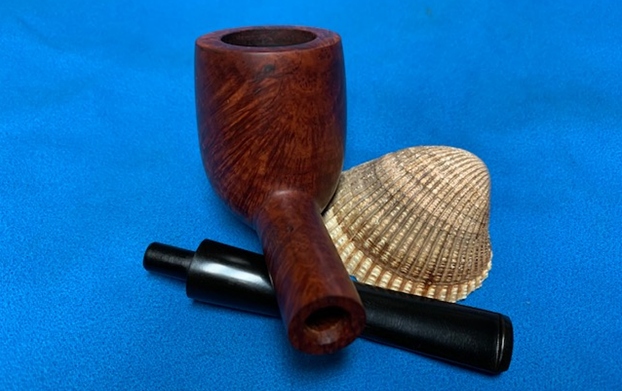
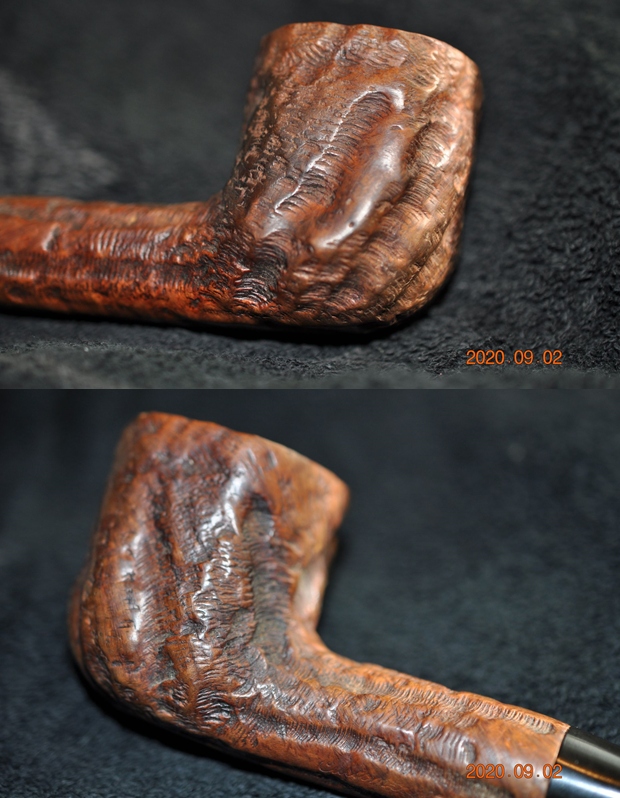
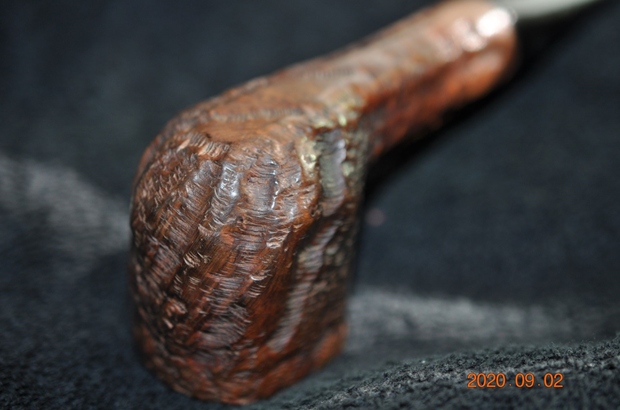
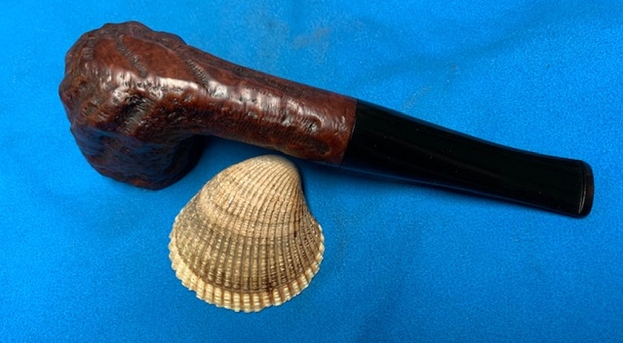
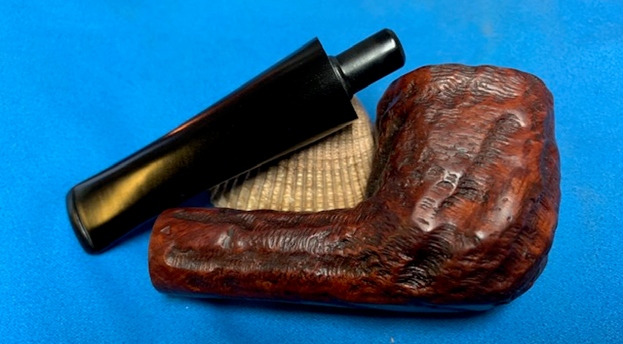
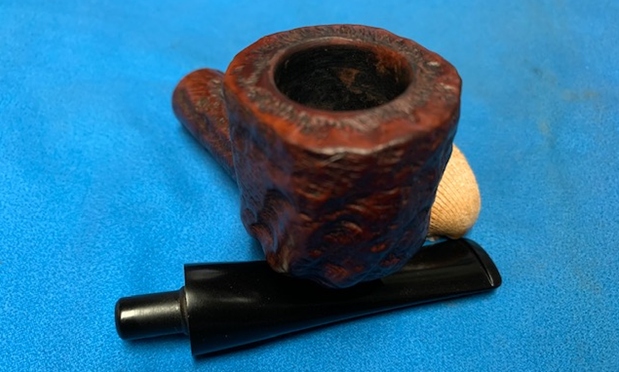
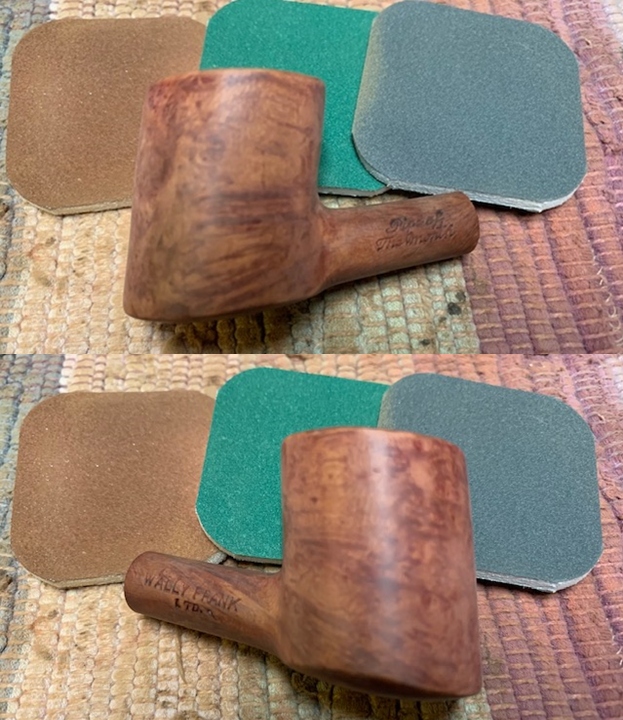
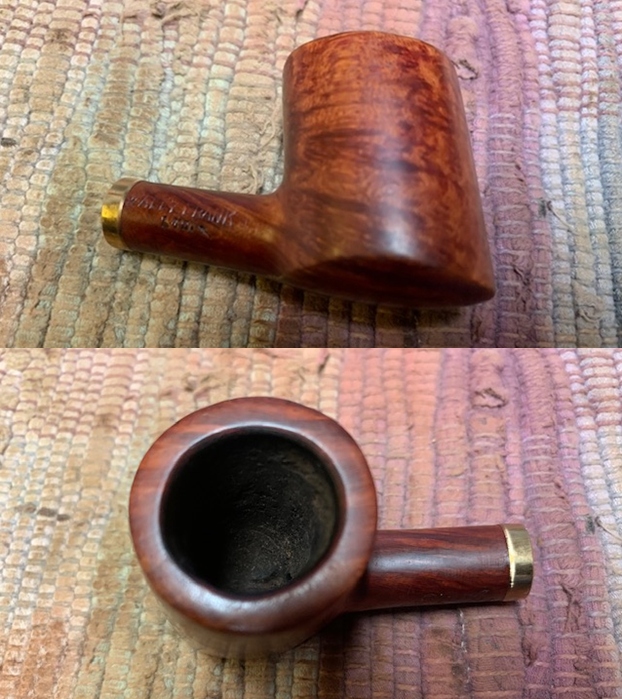
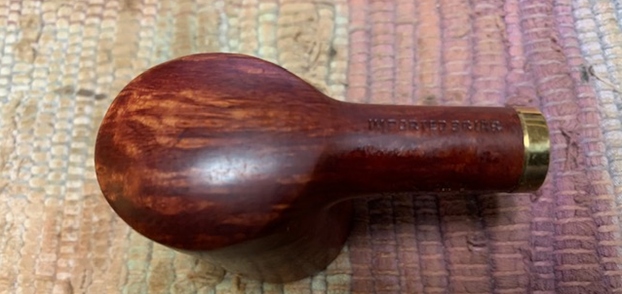
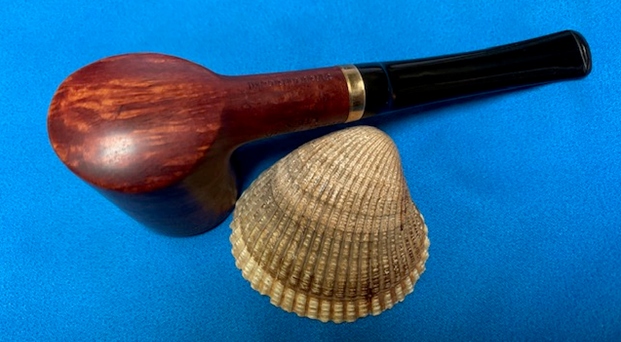
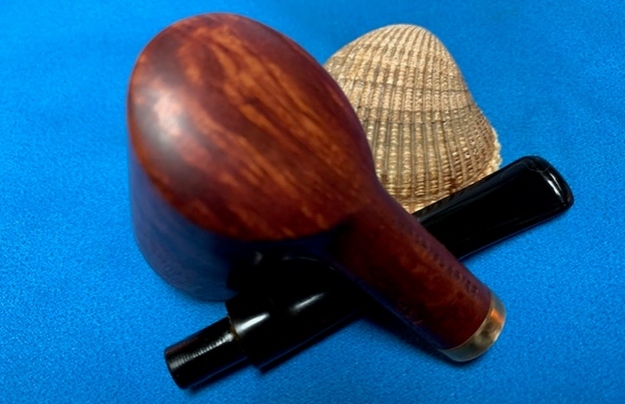
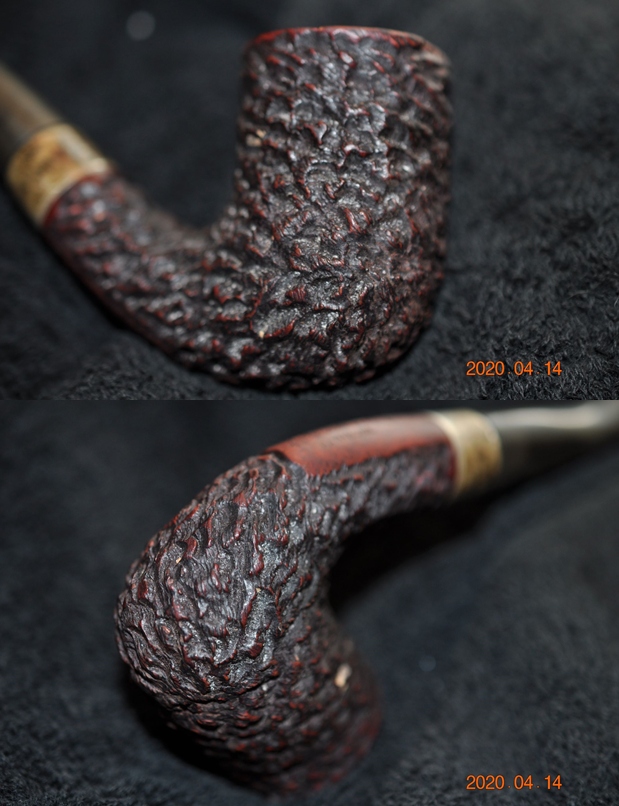
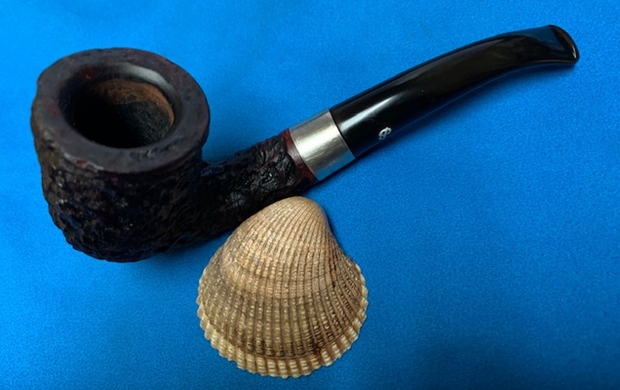
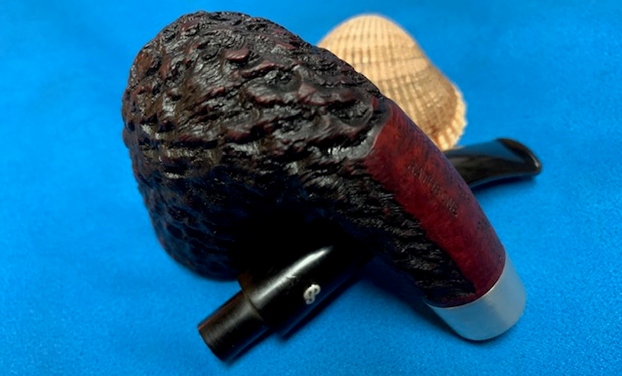
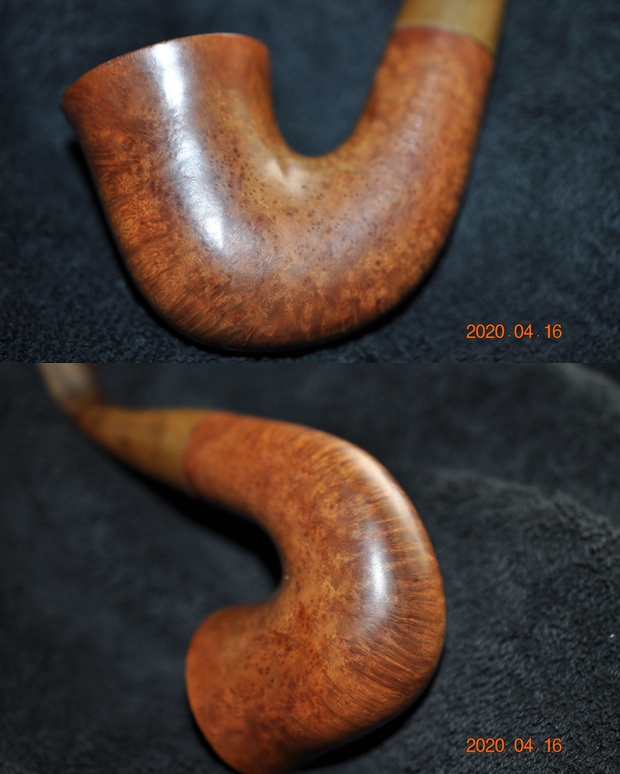
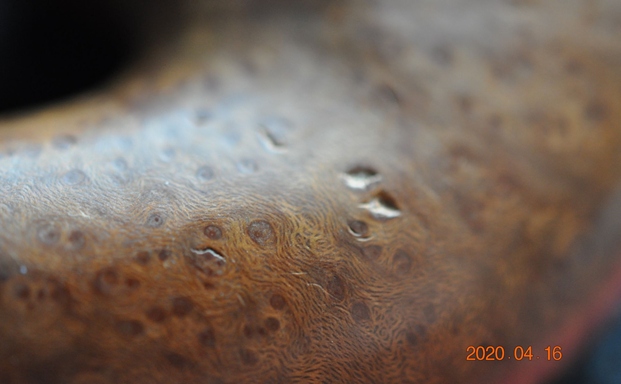
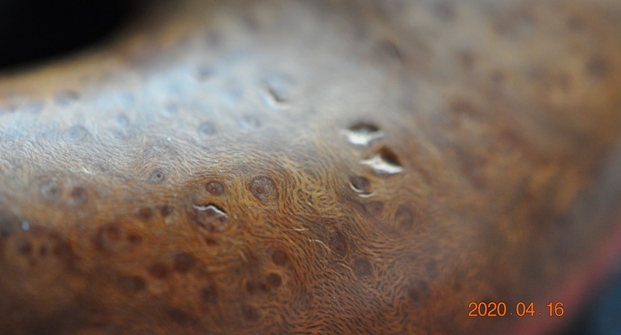
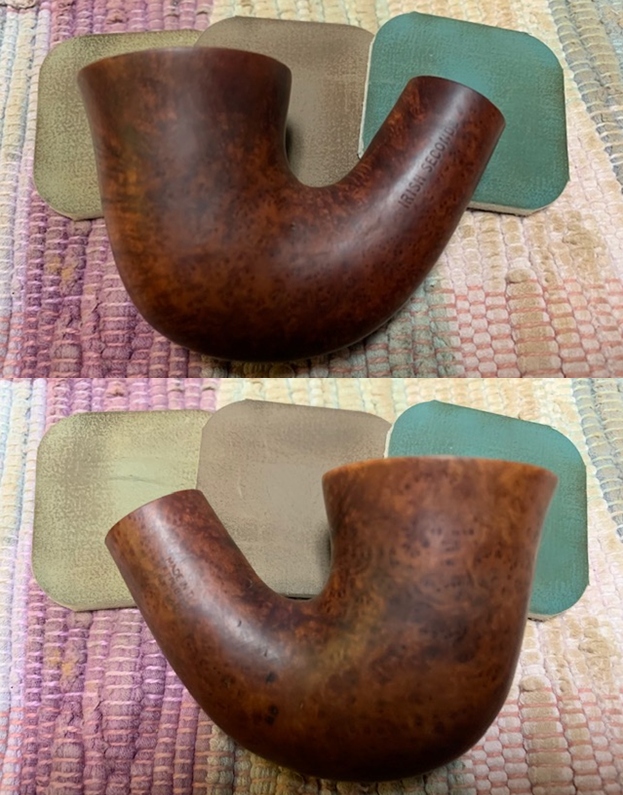
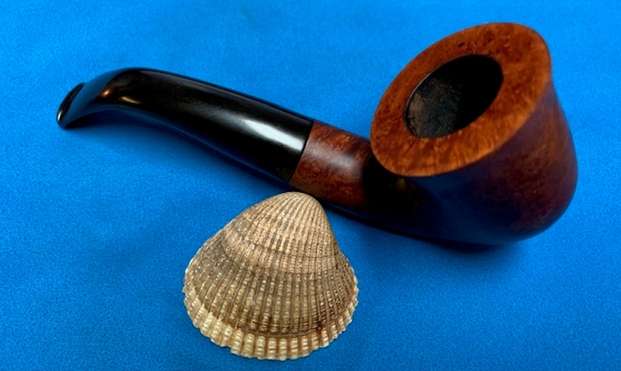
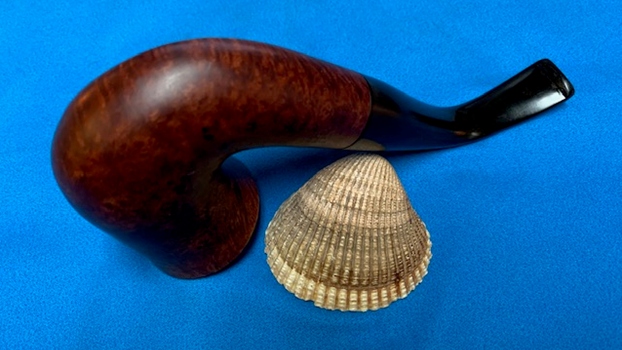
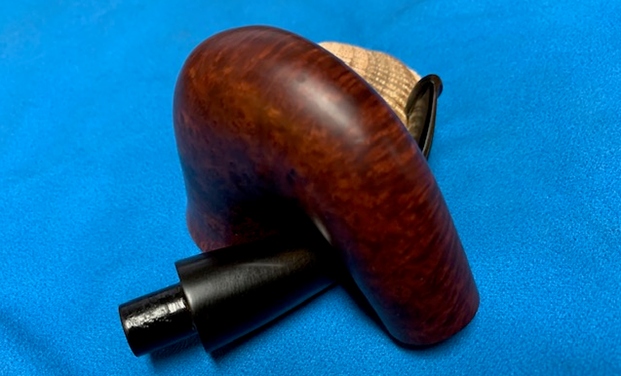
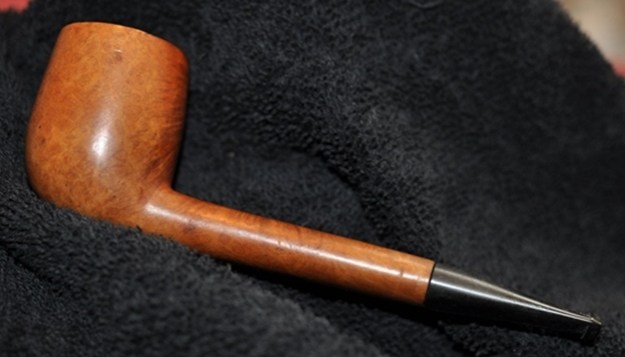
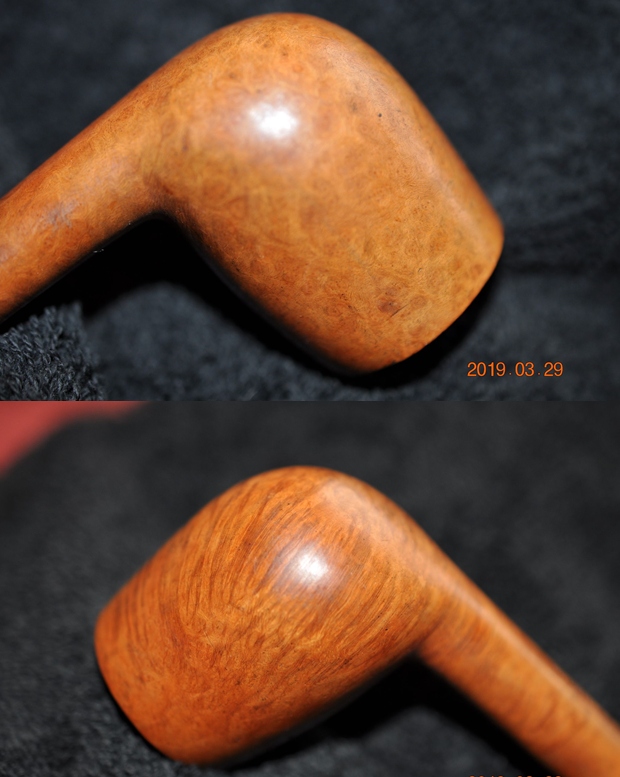
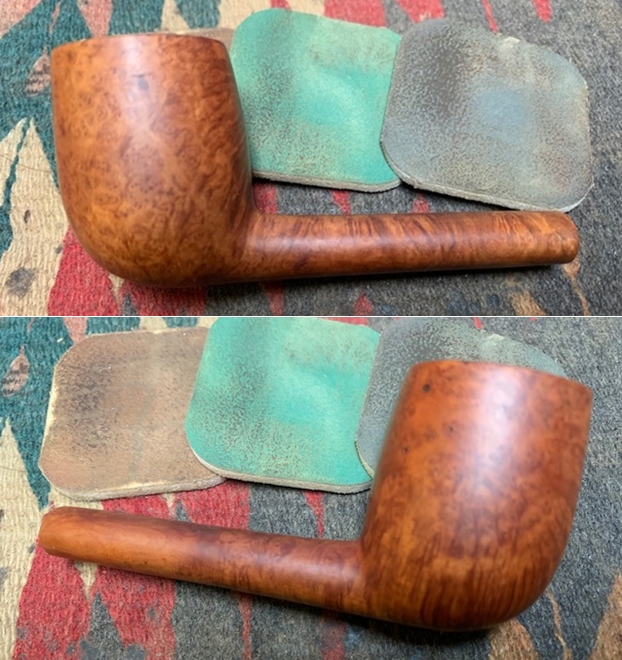
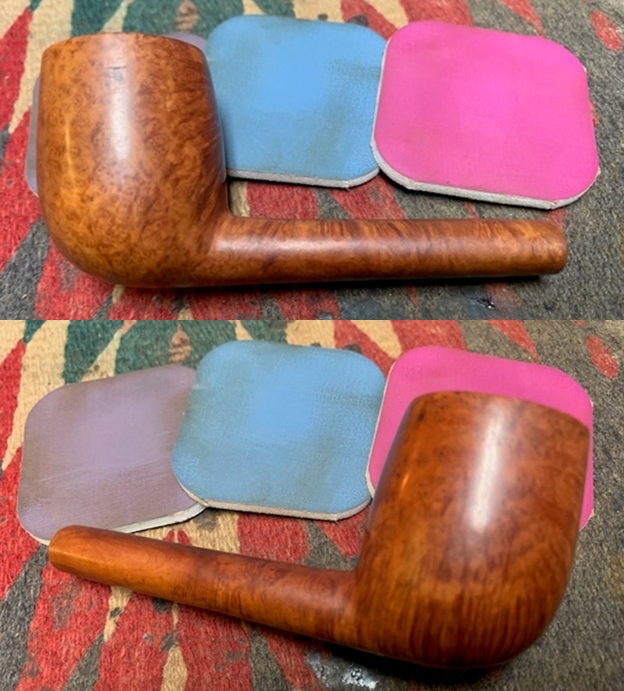
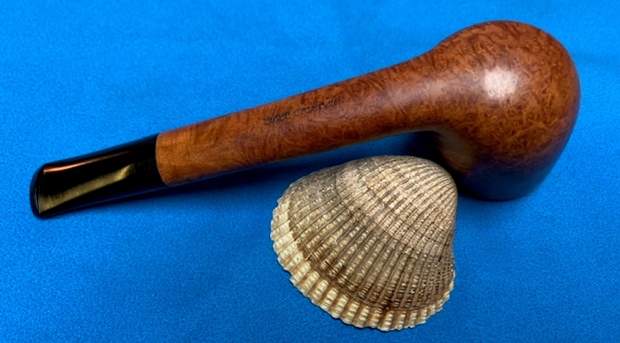
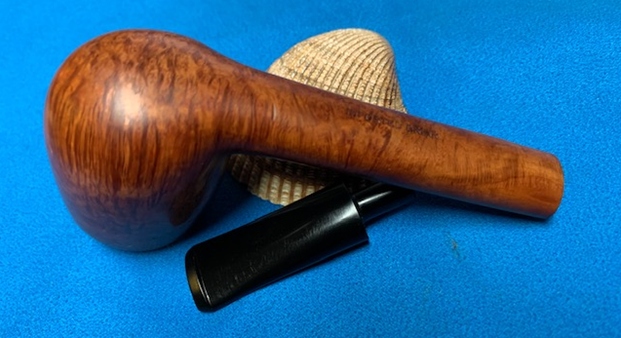
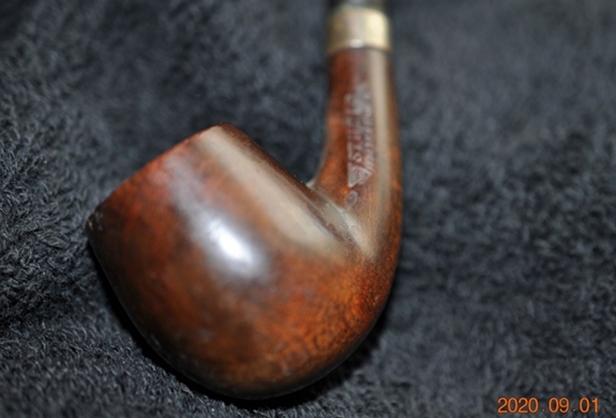
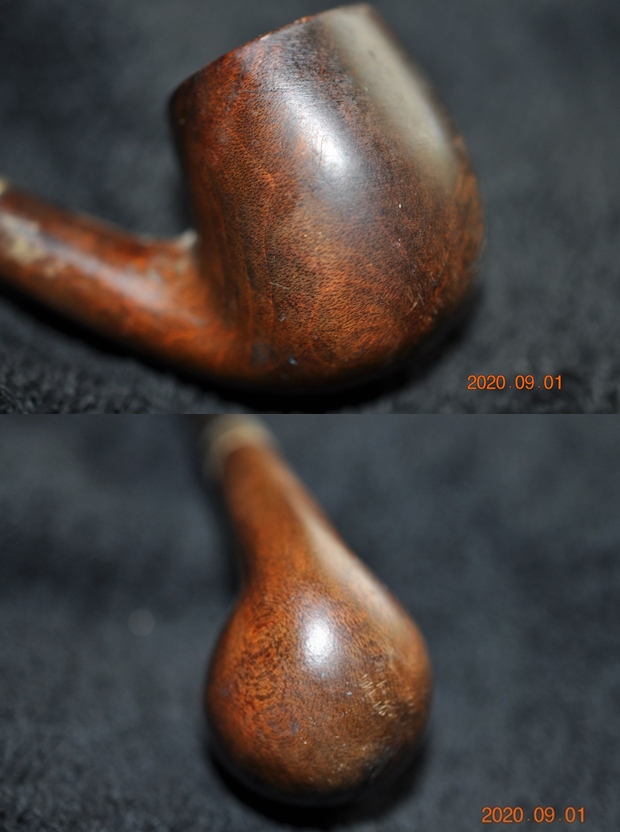
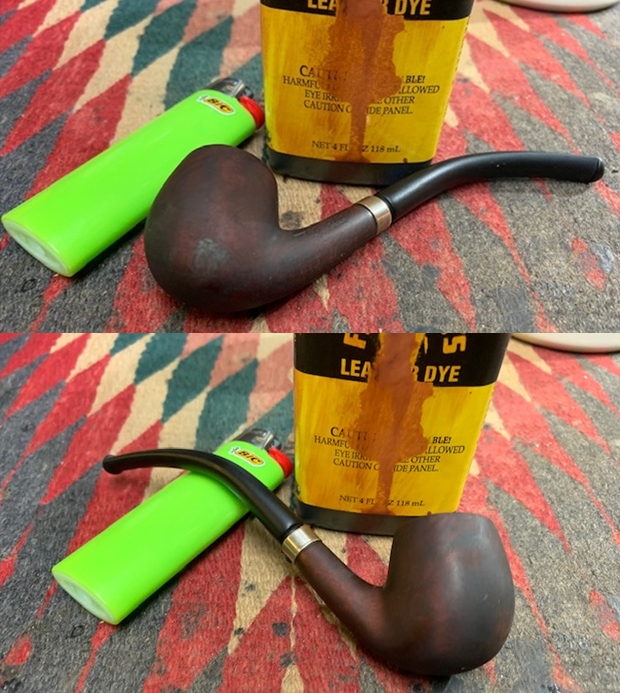
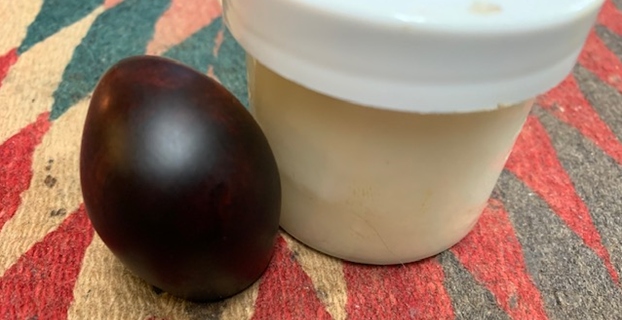
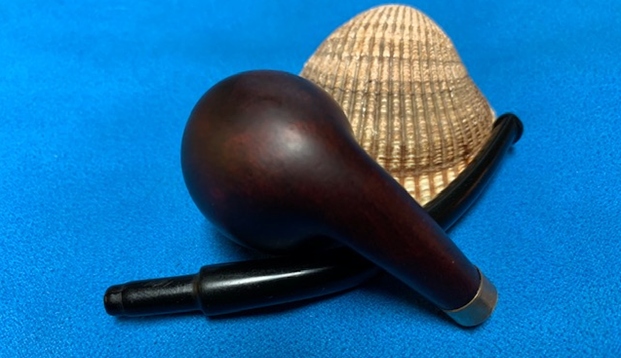
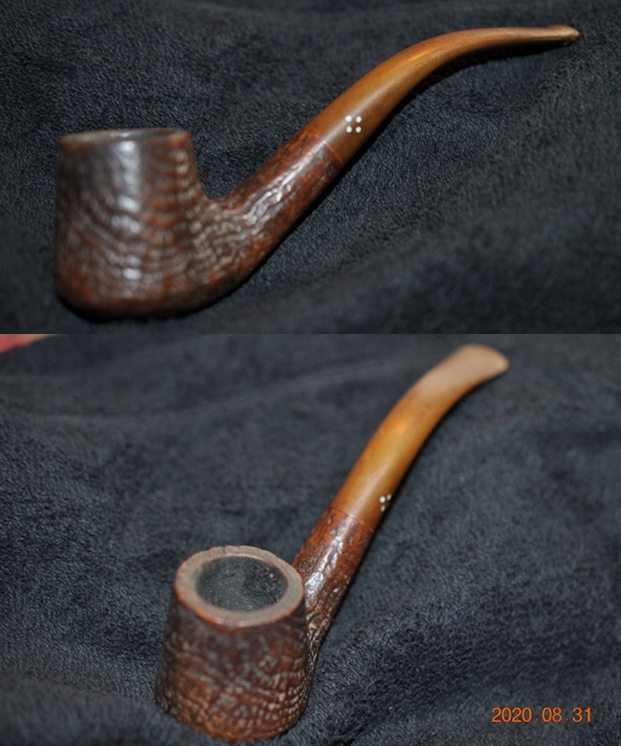
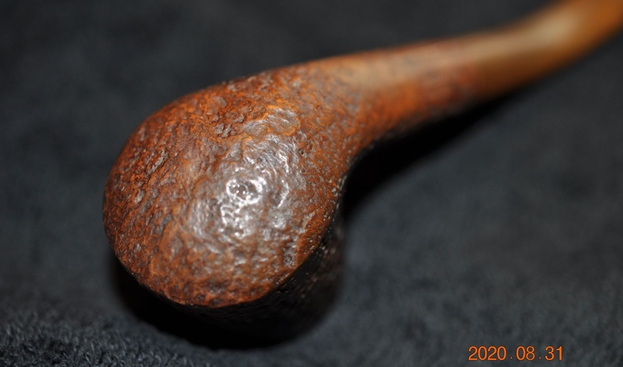
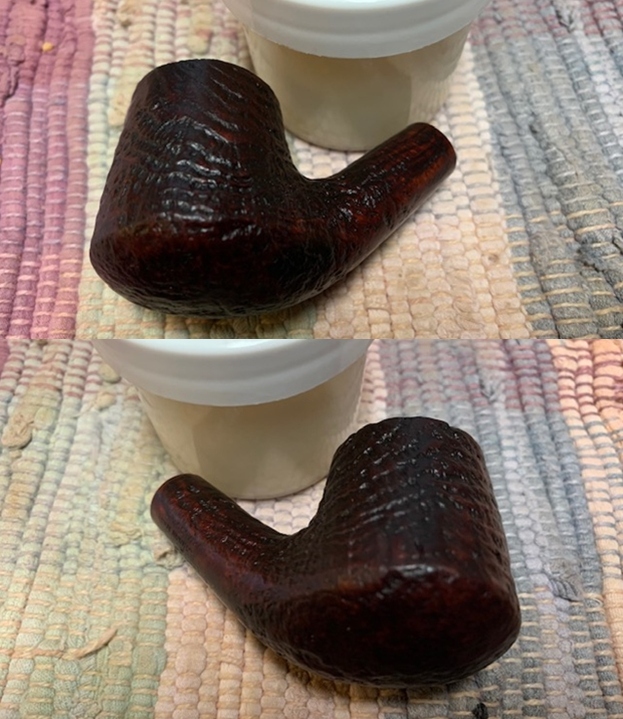
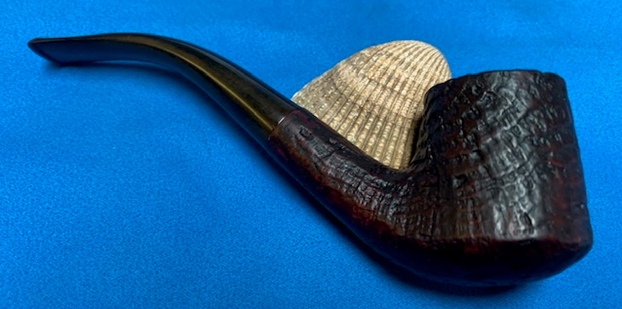
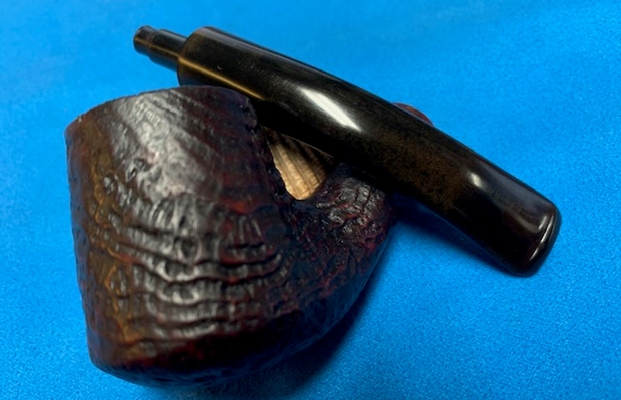
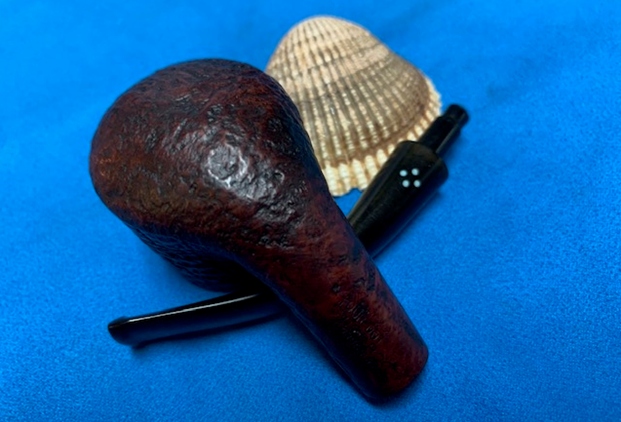
 Jeff took photos of the sides and heel of the bowl to give a picture of what the briar looked like. There is some nice grain around the sides. You can also see the damage to the rim edges and the heel of the bowl in the photos below.
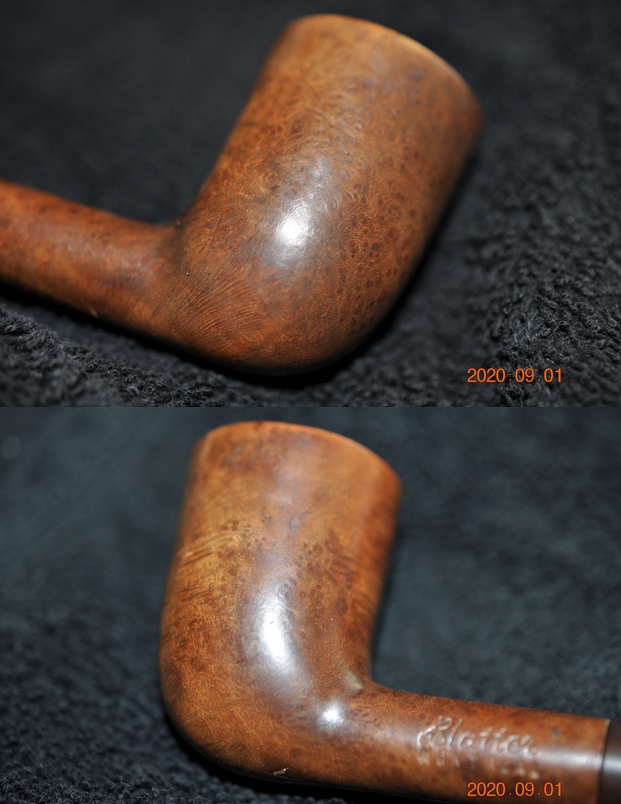
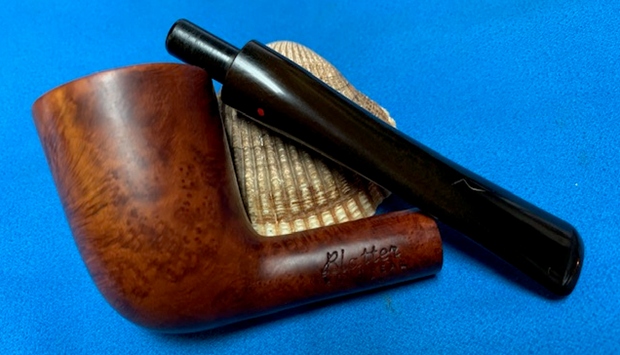
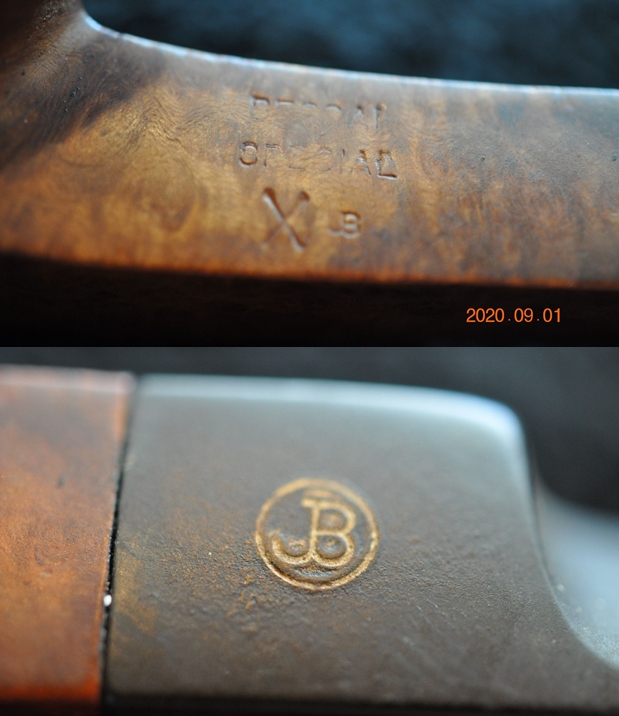
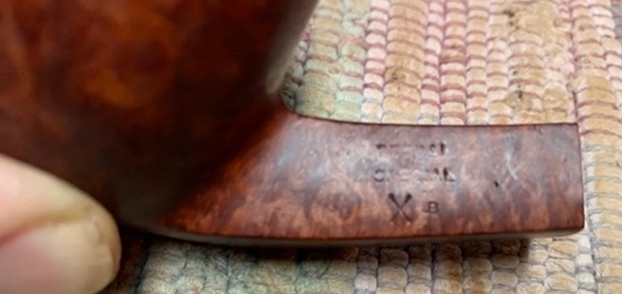
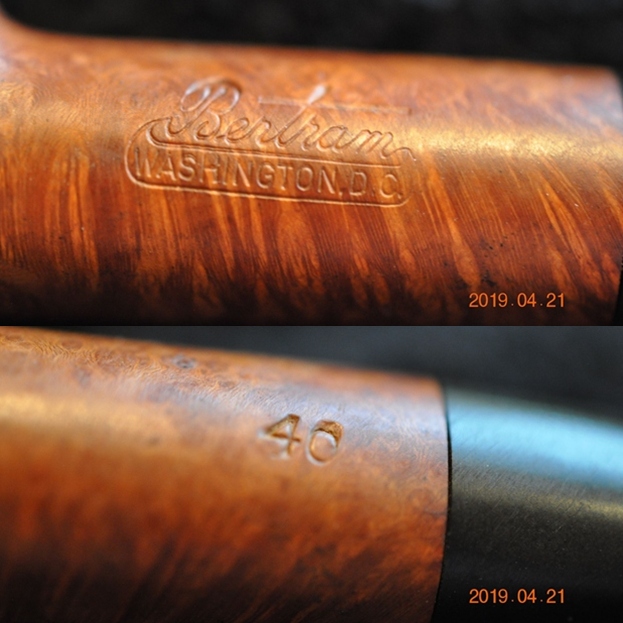
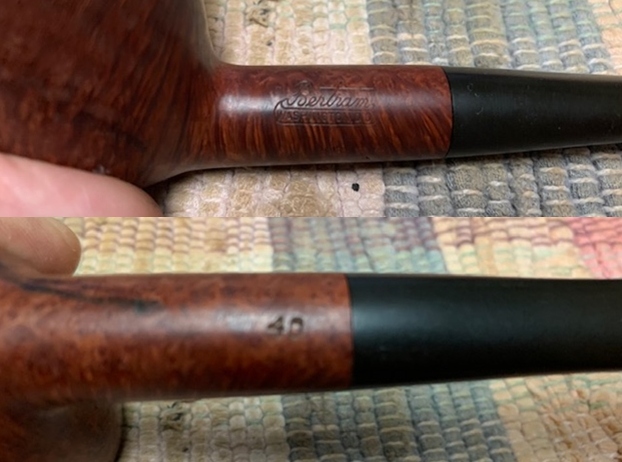
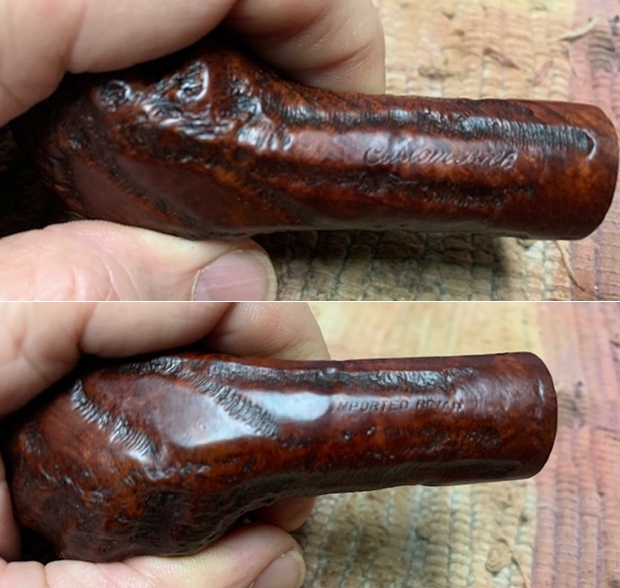
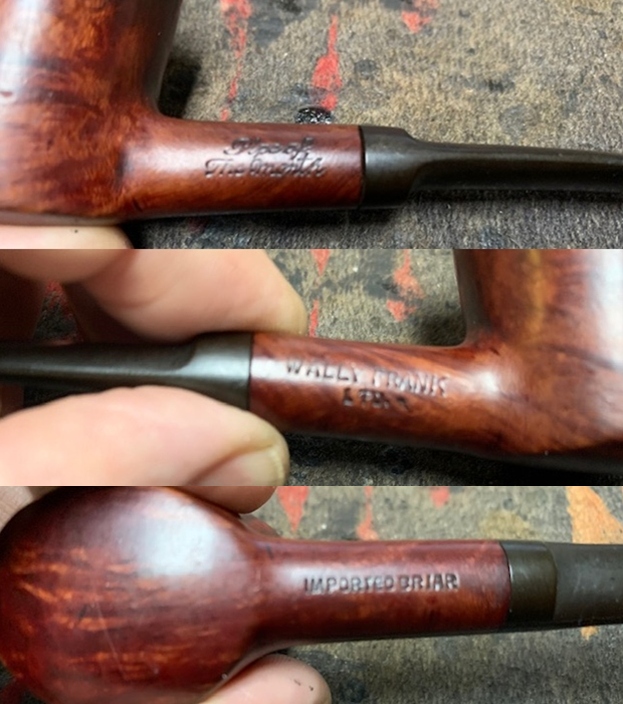
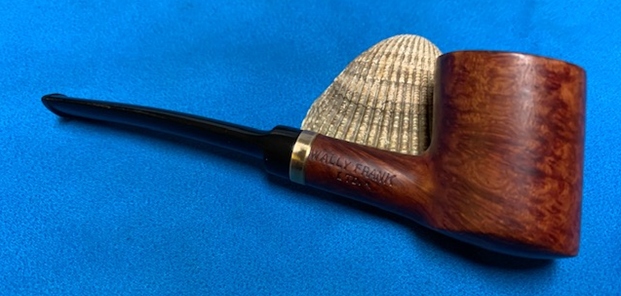
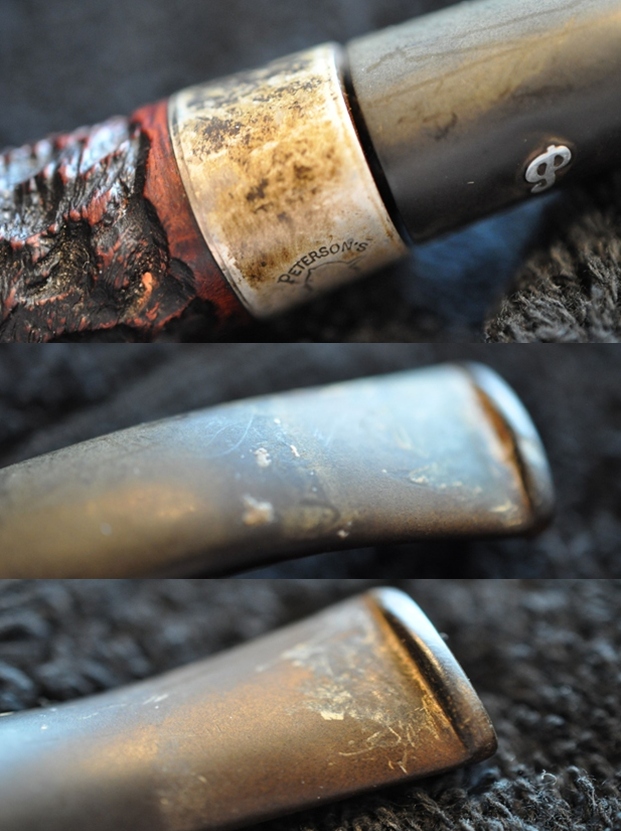
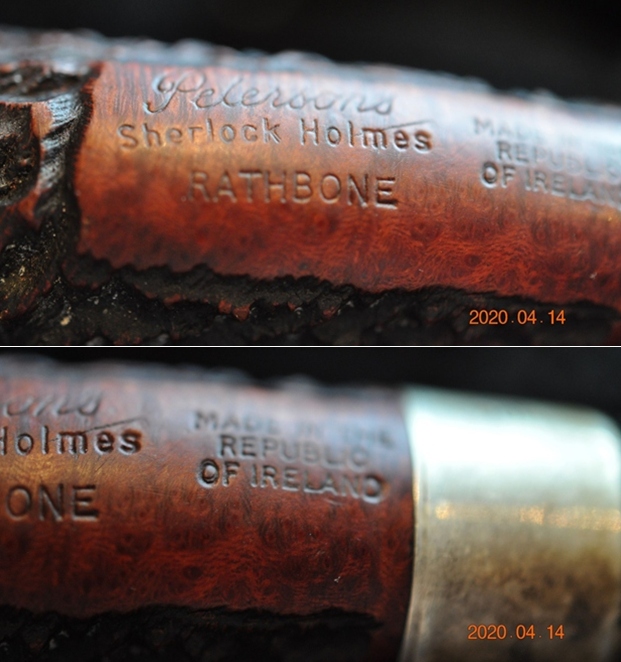
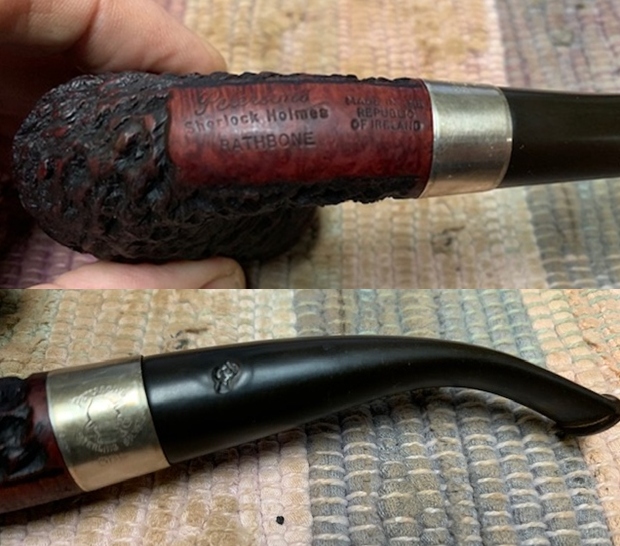
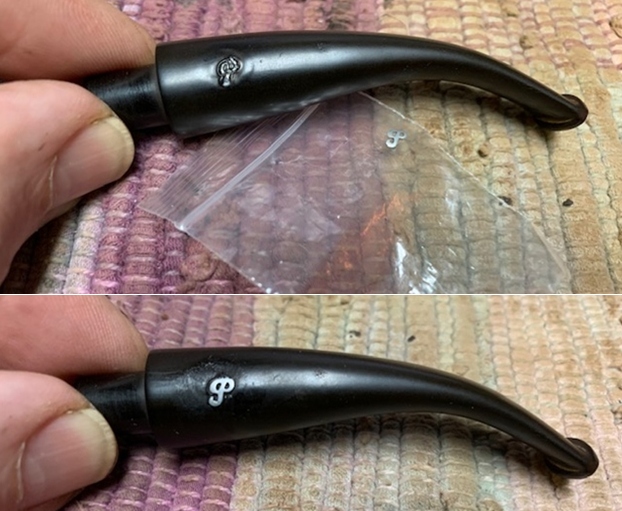
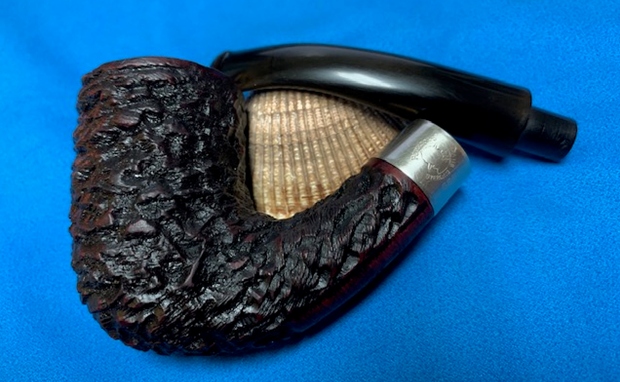
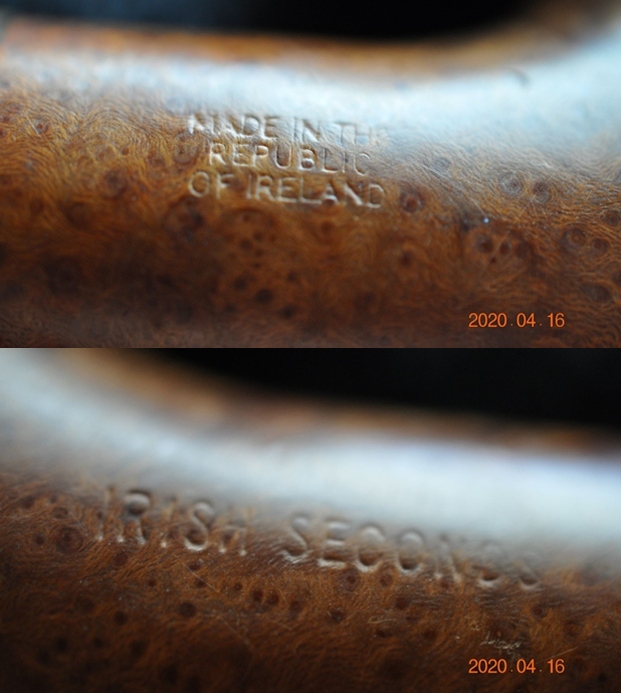
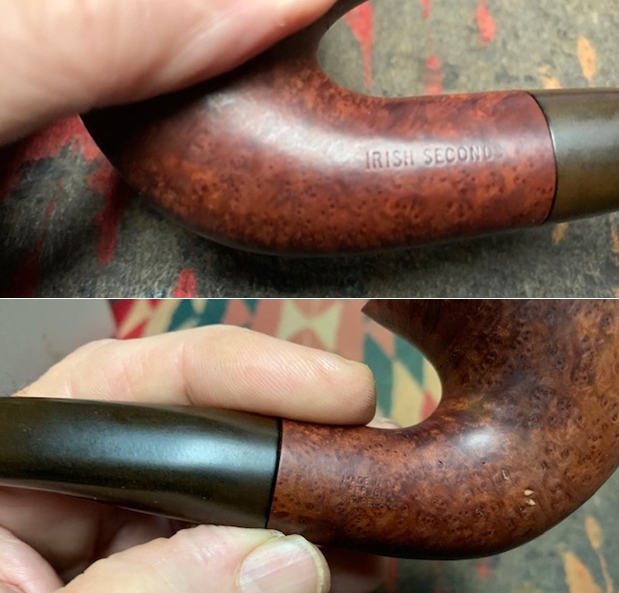
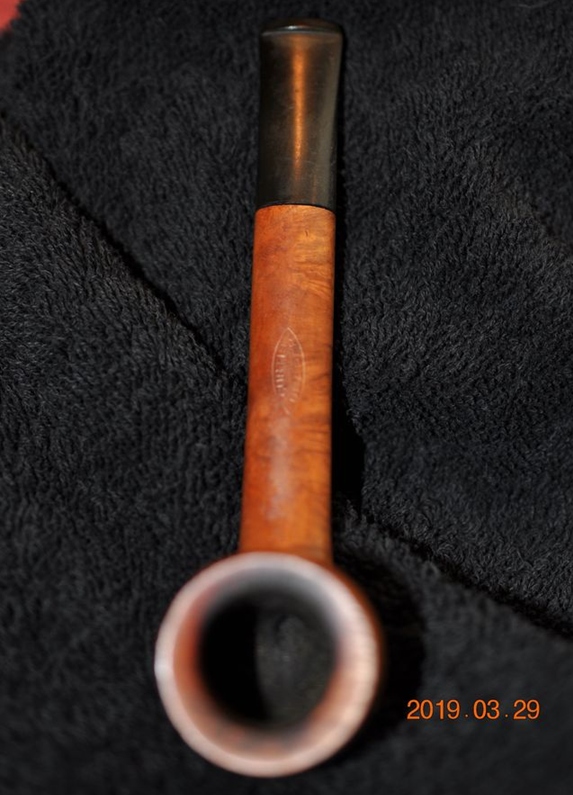
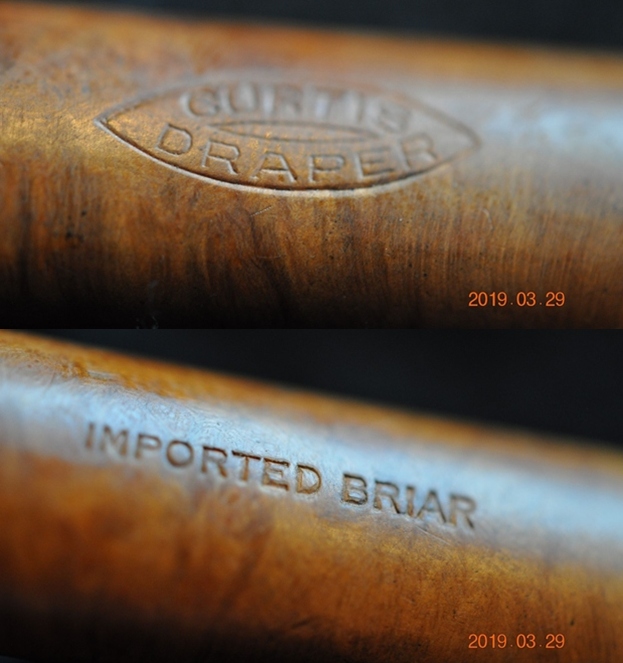
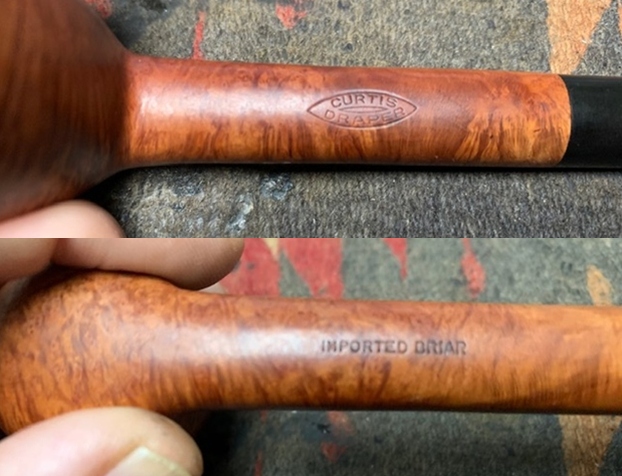
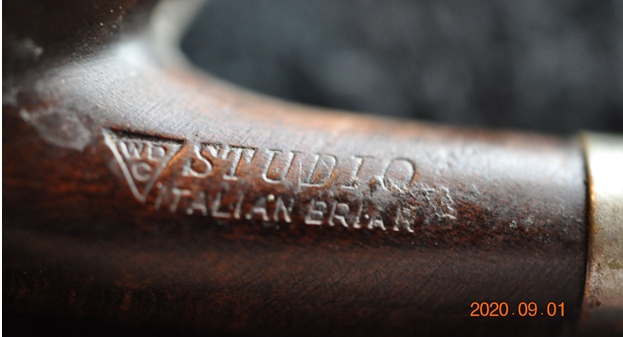
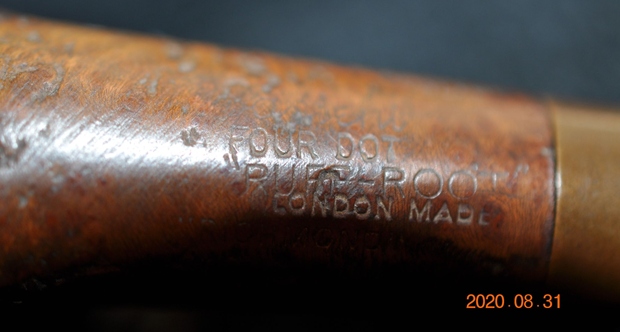
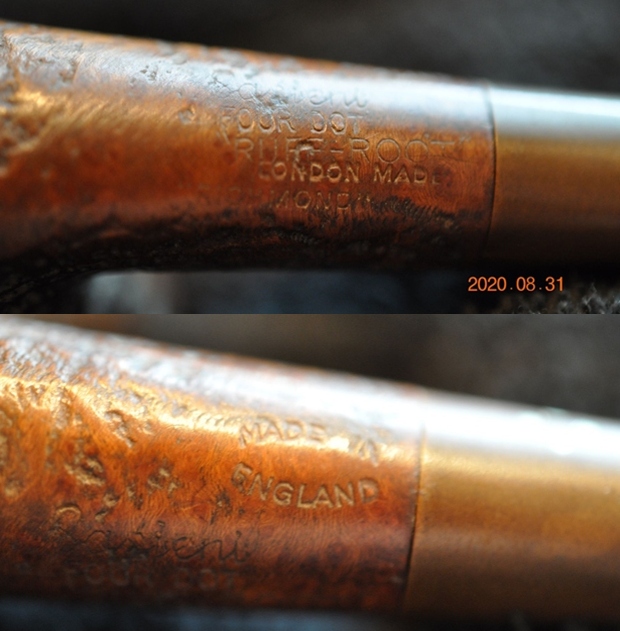
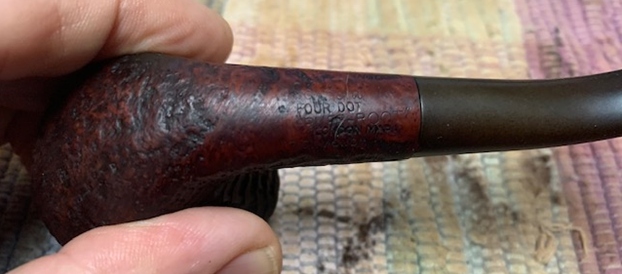
 The stamping on the left side of the shank is clear and readable and read as noted above. It also appears to have been double stamped.
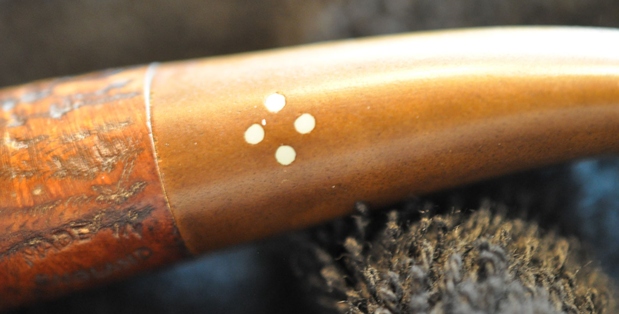
 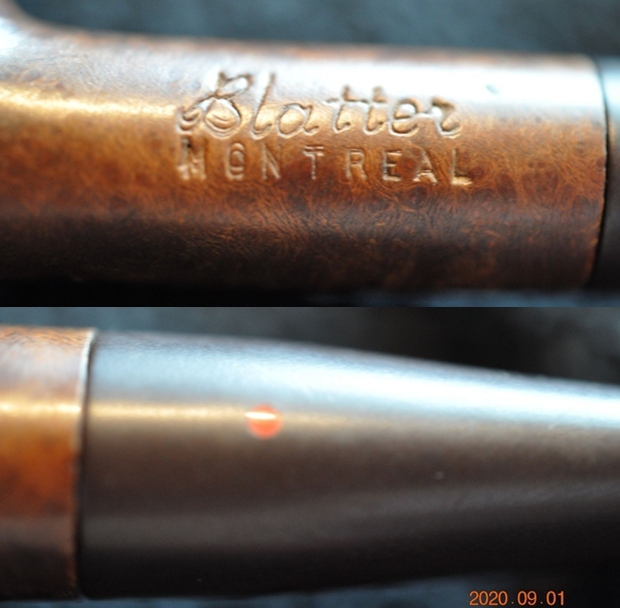 I turned to Pipephil’s site and looked up the brand (http://www.pipephil.eu/logos/en/logo-b5.html). I included a screen capture of the section on the red dot pipe. I quote a note that appeared at the bottom of the section.
… The green dot which appeared in 1964 and was continued until 1967. After 1968 Blatter pipes were marked with the red dot.  I turned to Pipedia (https://pipedia.org/wiki/Blatter_%26_Blatter) and read the history of the brand. It is well worth reading.
I turned to their website which has a great summary of the history of the brand in both English and French (http://www.blatterpipes.com/English.html). I quote a portion of the history of the brand from that succinct summary.
In the late 1890’s Frederic Blatter owned and operated a pipe factory in London, England, home of some of the great pipemakers and smokers of the time. After a fire destroyed the Blatter pipe factory, the family made a decision to move to Cape Town, South Africa with the prestigious mandate to make pipes for certain French Generals. After opening a factory and several retail stores in the cities of Cape Town and Durban, the family was once again on the move. This time Montreal, Canada.
Ernest Blatter and family moved from South Africa to Montreal in 1907. Once again the brothers opened a pipemaking factory on St-Hubert street and a retail store at 190 St. Catherine street West. Cigars and pipes were very popular in the 1930’s and the Blatters operated five stores. The St. Catherine street location operated for sixty three years until it moved to 365 President Kennedy avenue, in 1970. Mr. Peter Blatter began working with his father, Henri-Georges, in 1964. Mr. Henri-Georges Blatter passed away in 1967. Mr. Robert Blatter, Peter’s brother, joined the firm in 1968 and took over the pipemaking duties.
Today, the family business specializes in the finest briar pipes, which are all handmade on the premises, and the finest quality cigars from Cuba and around the world. In 1982 Pierre and Robert Blatter were inducted in the prestigious “Confrérie des Maîtres-Pipiers de Saint-Claude”. After major renovations to their store, they have recreated that much sought after ambiance of their original location.
In the summer of 2000, Patrick, son of Pierre Blatter joins the family business and slowly learns the careful art of pipmaking under the watchful eye of his uncle Robert. In 2013, Patrick is invited to Saint-Claude and finally is honored and inducted, just like his father and Uncle, into the prestigious Confrérie des Maîtres-Pipiers de Saint-Claude!…
I would recommend that you visit their site or even better, their shop and see some of beautiful pipes they make. They also make some great tobacco blends in their shop on 375 President Kennedy Avenue, Montreal, Quebec. They are a pleasure to do business with and are well worth a visit should you find yourself in Montreal.
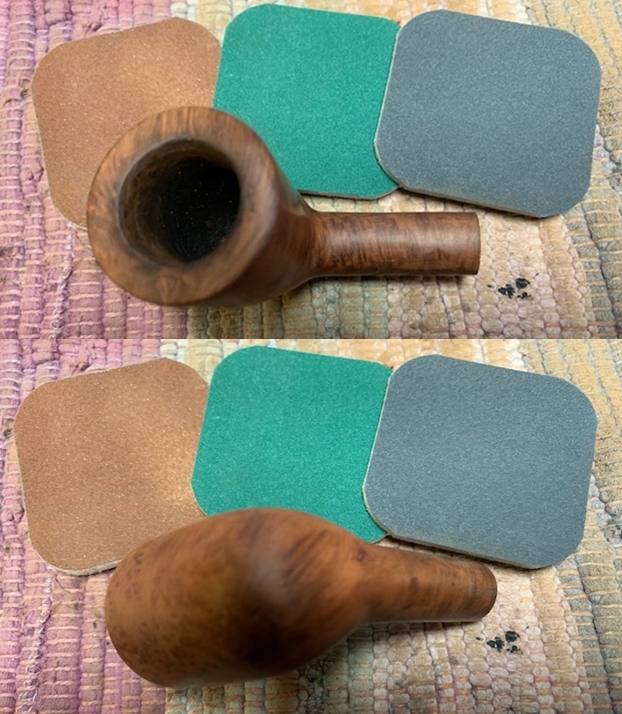
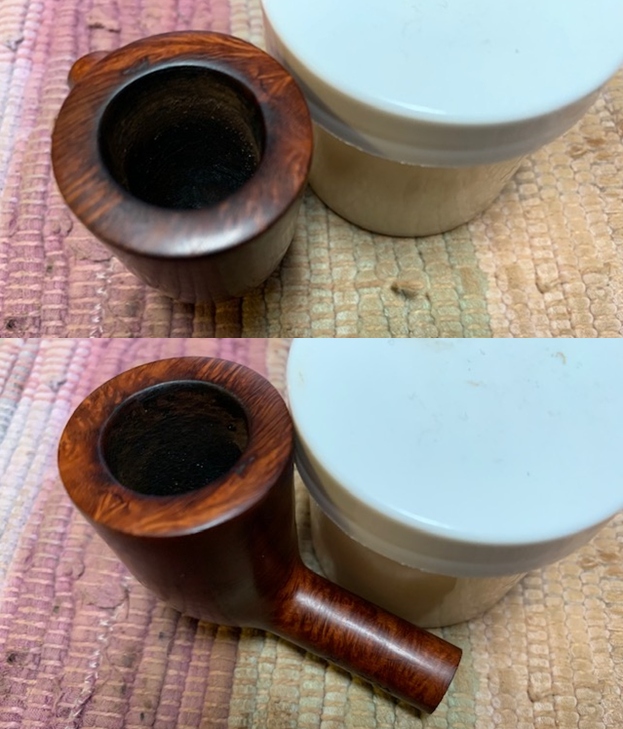
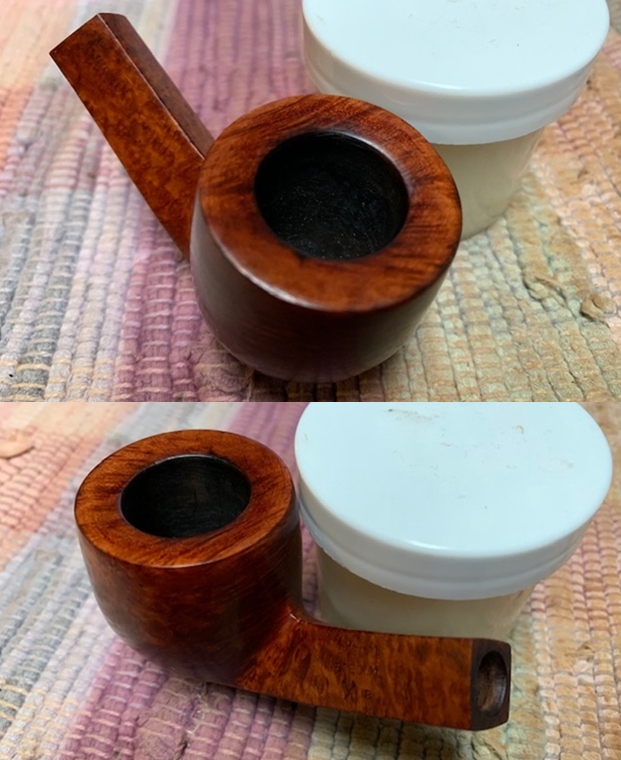
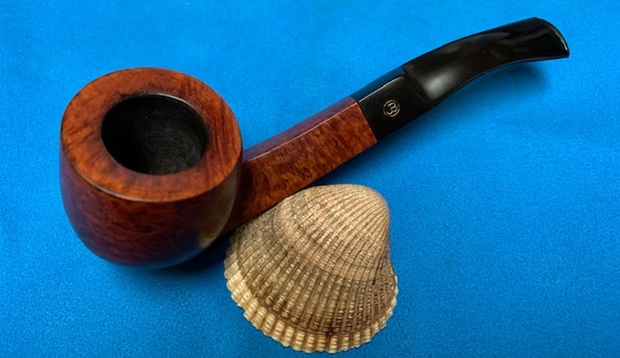
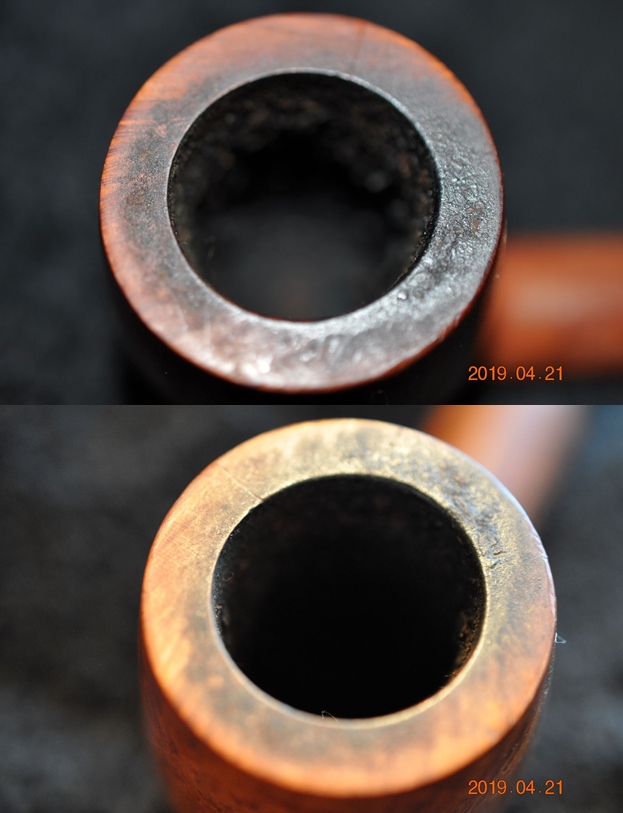
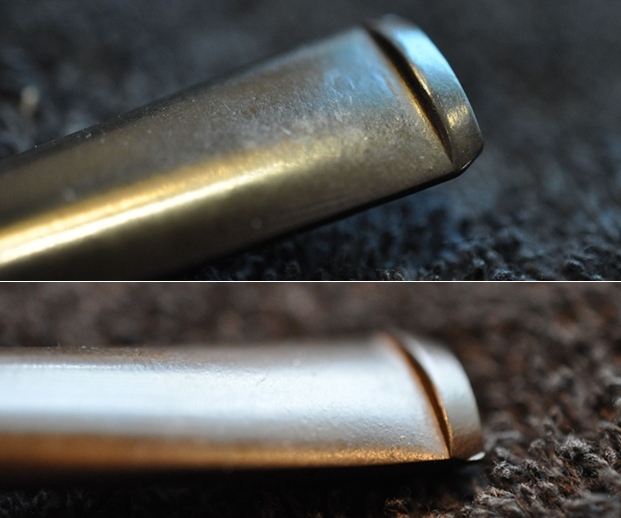
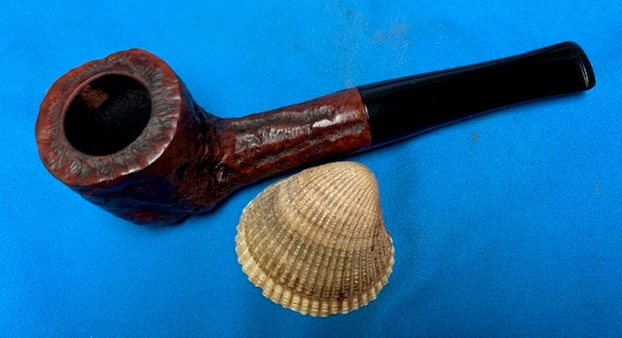
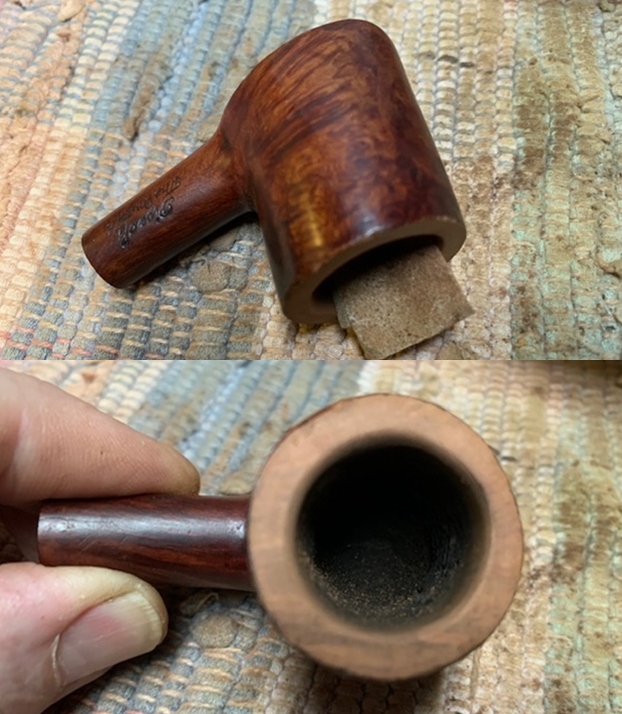
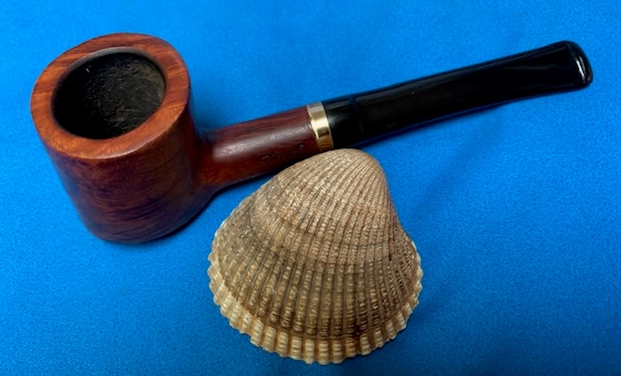
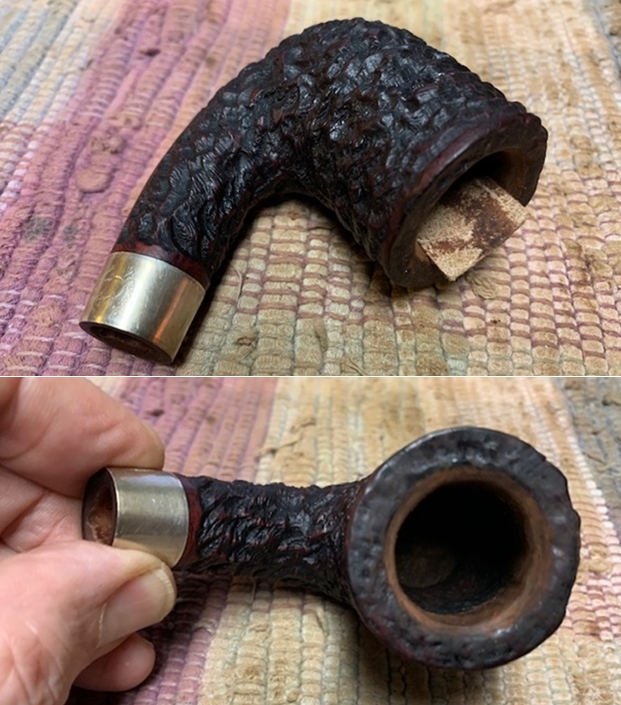
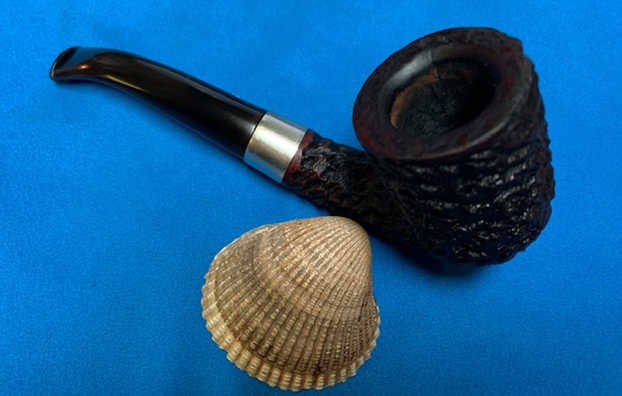
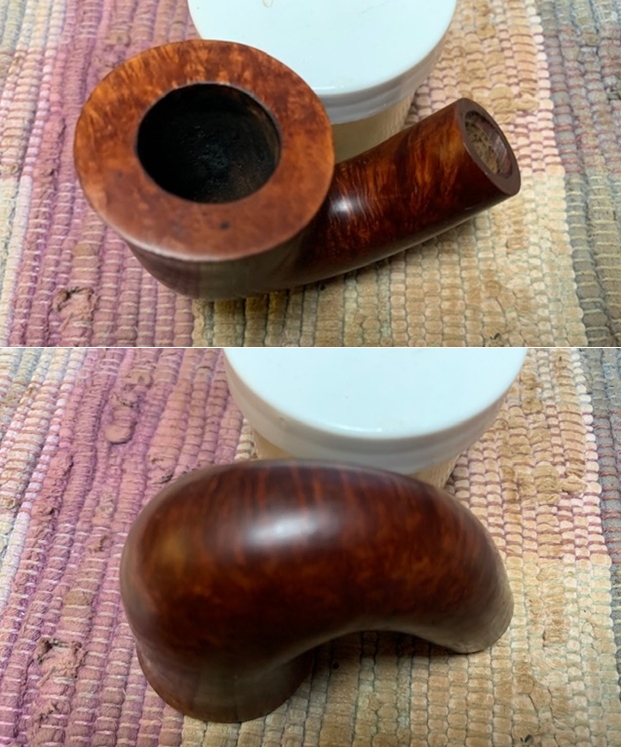
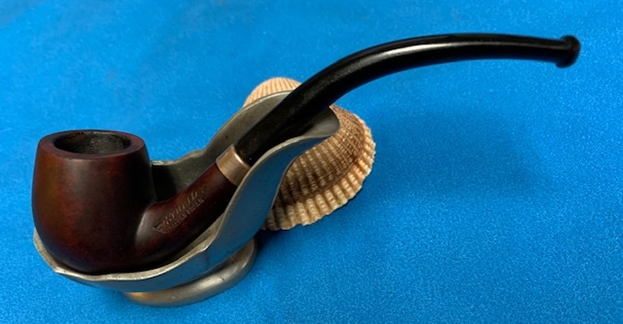
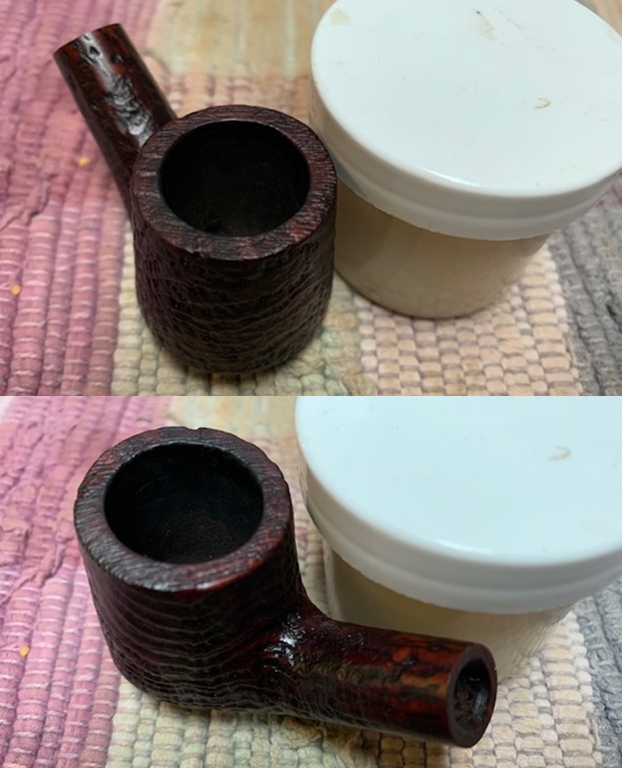
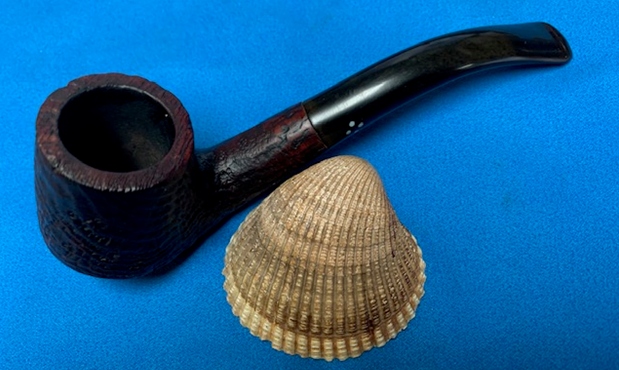
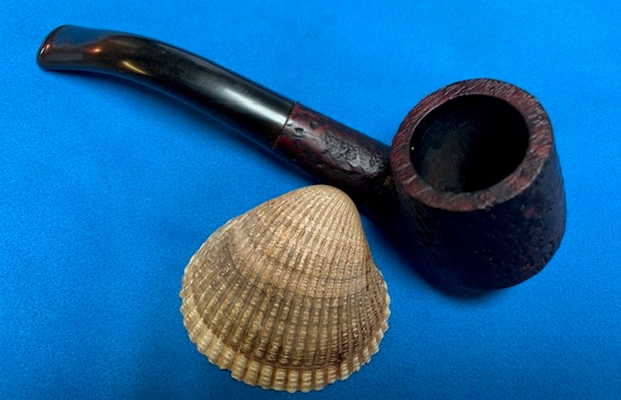
Jeff had cleaned up the pipe with his usual penchant for thoroughness. He reamed the pipe with a PipNet pipe reamer and removed the rest of it with a Savinelli Fitsall Pipe Knife. He scrubbed the bowl with undiluted Murphy’s Oil Soap with a tooth brush. He rinsed it under running warm water to remove the soap and grime. He cleaned out the inside of the shank and the airway in the stem with alcohol, cotton swabs and pipe cleaners. He soaked the stem in Before & After Deoxidizer and rinsed it off with warm water. I took photos of the pipe once I received it. 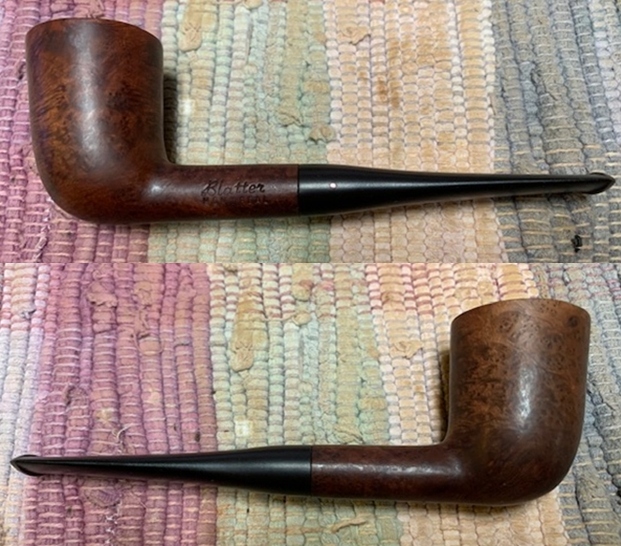
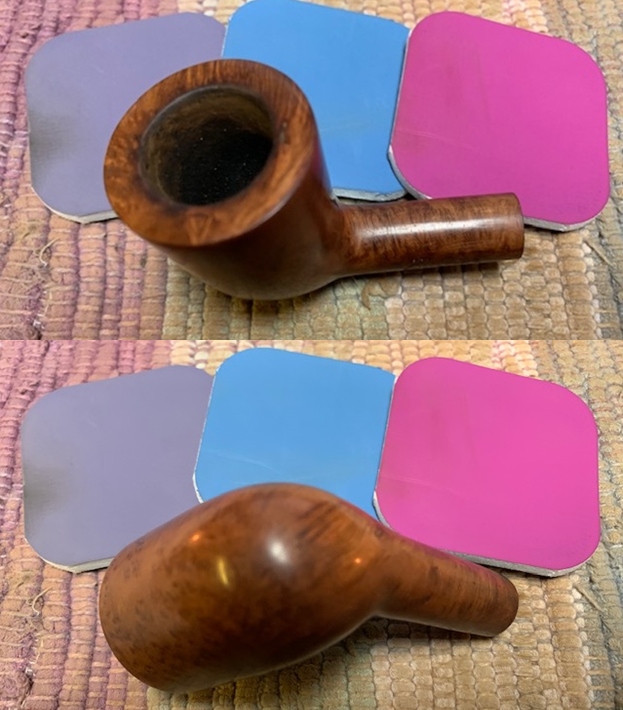
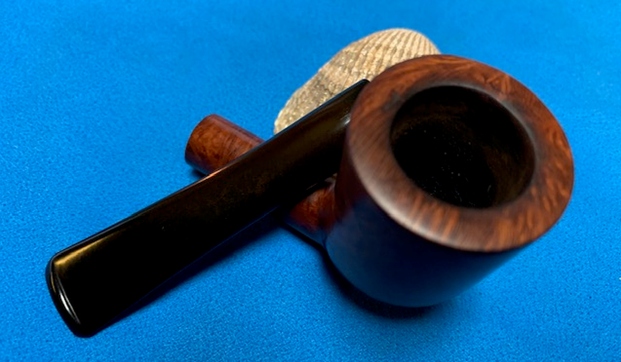
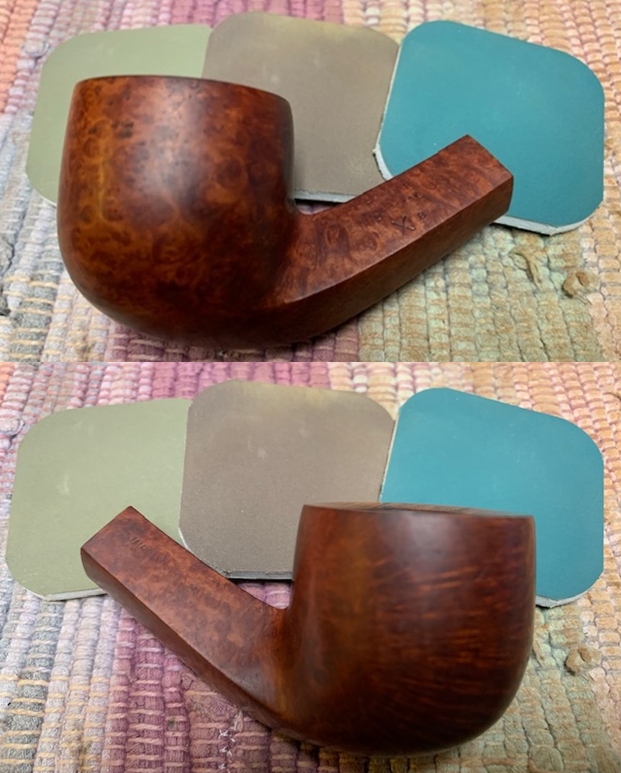
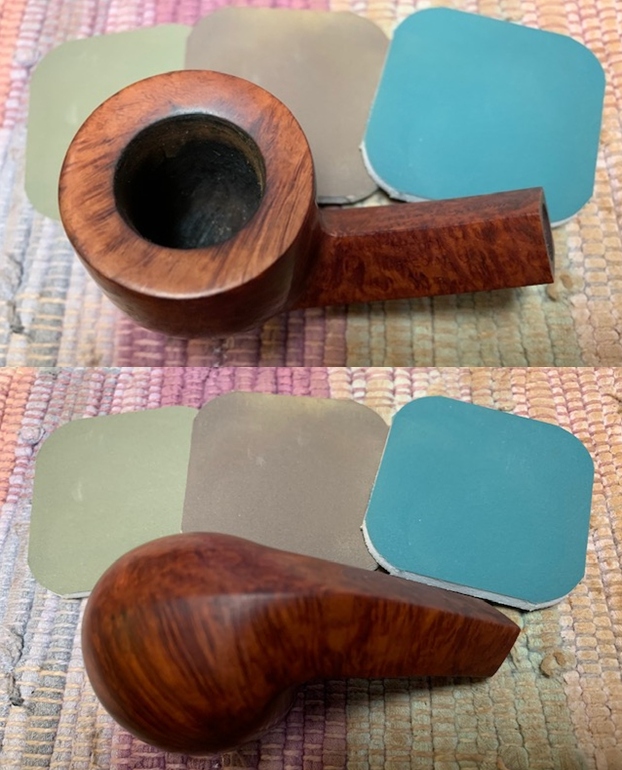
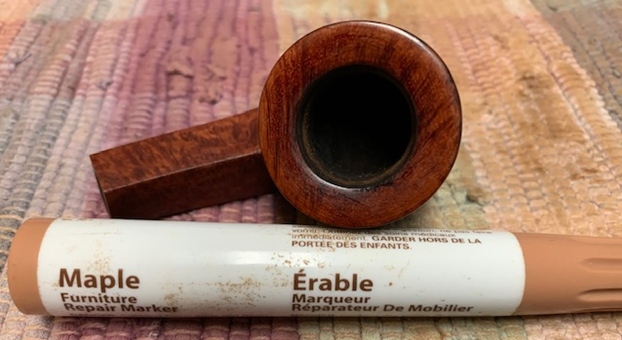
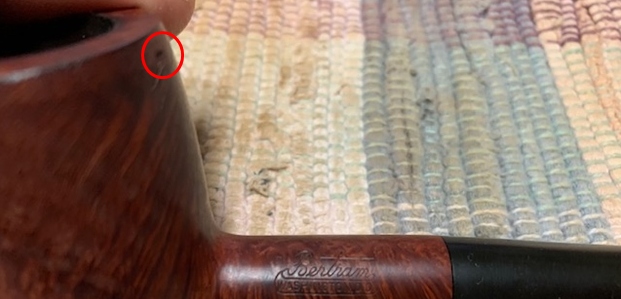
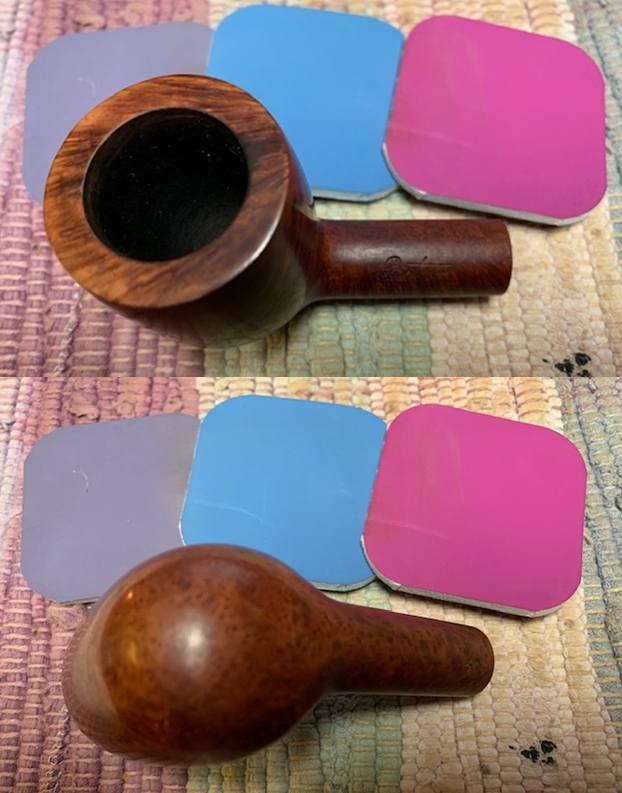
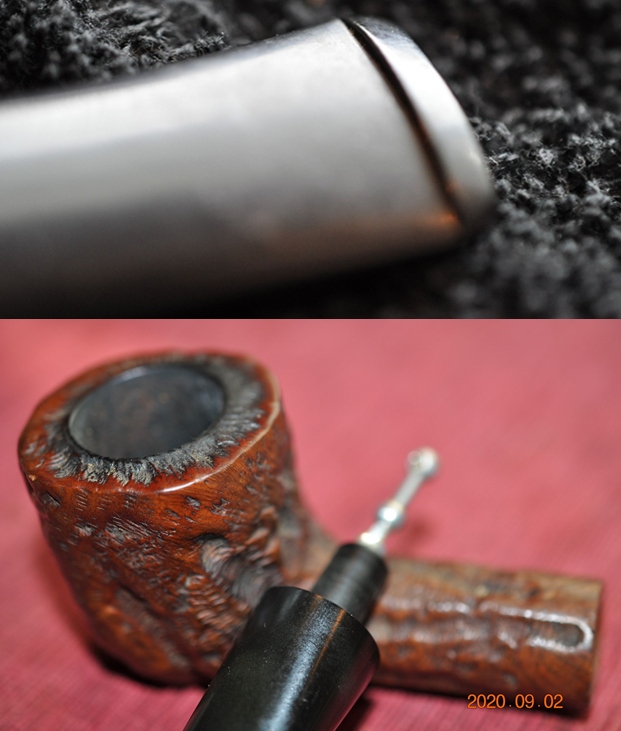
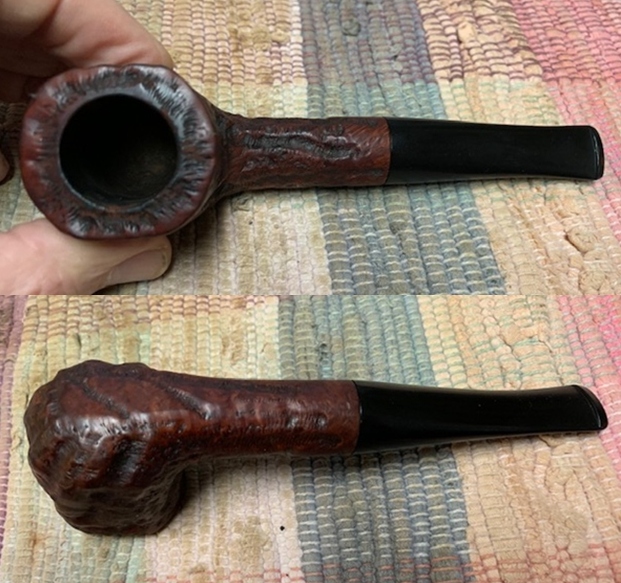
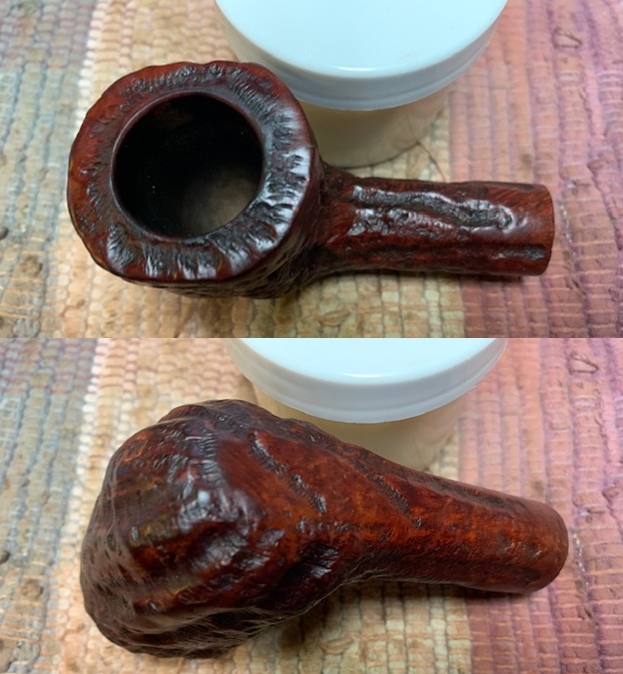
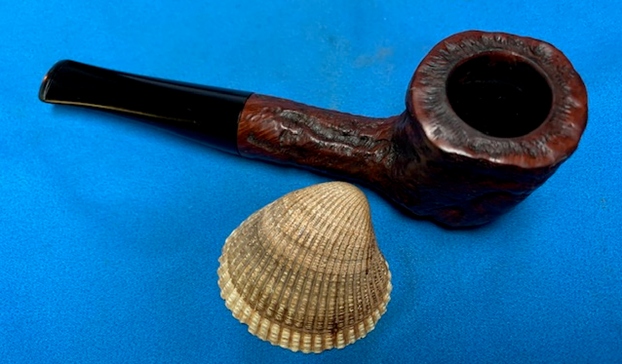
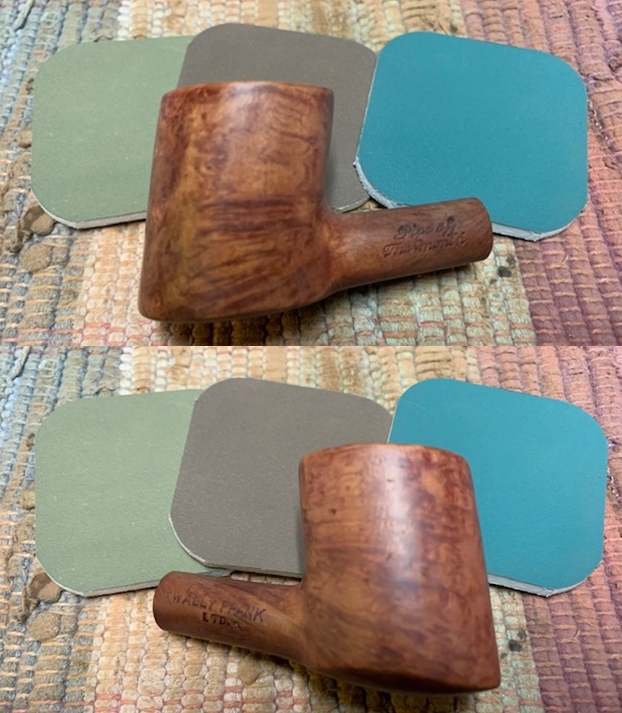
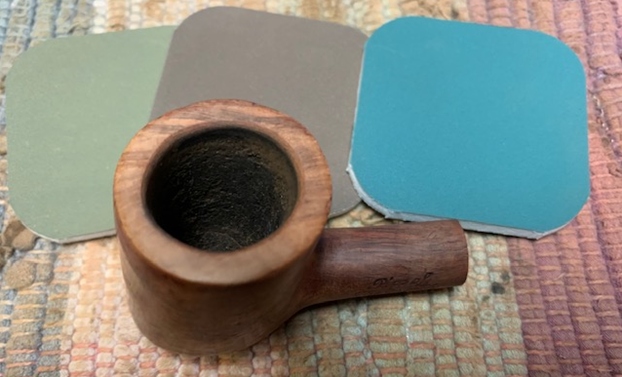
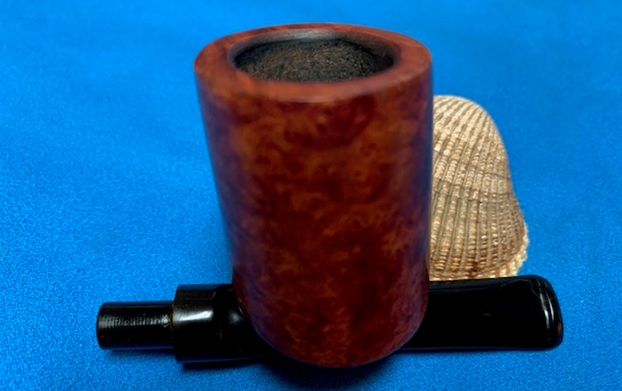
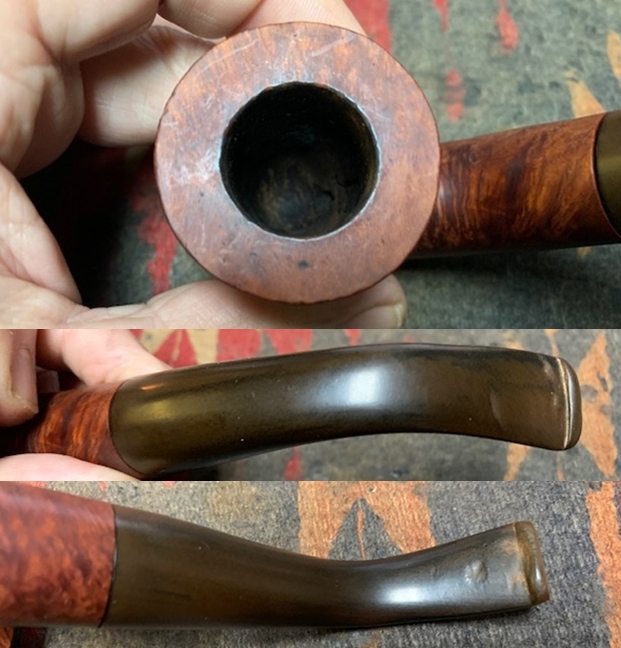
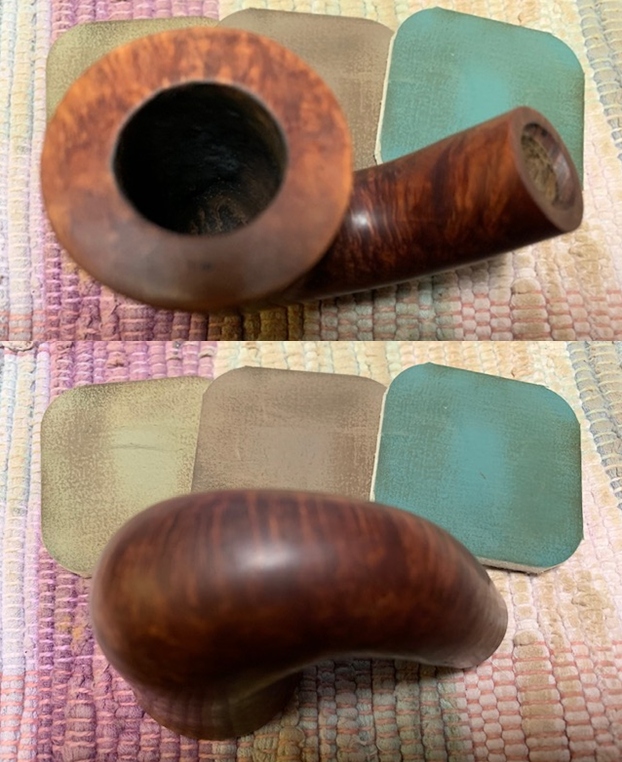
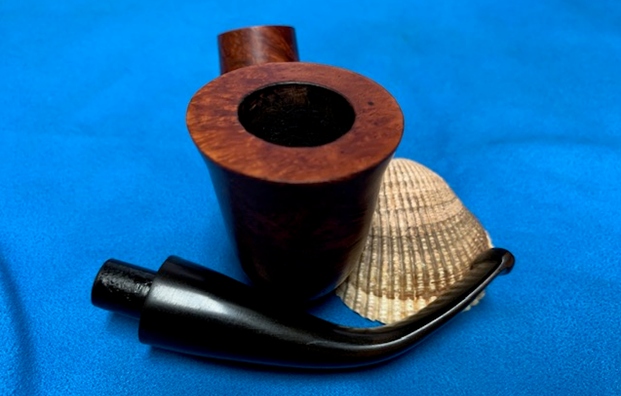
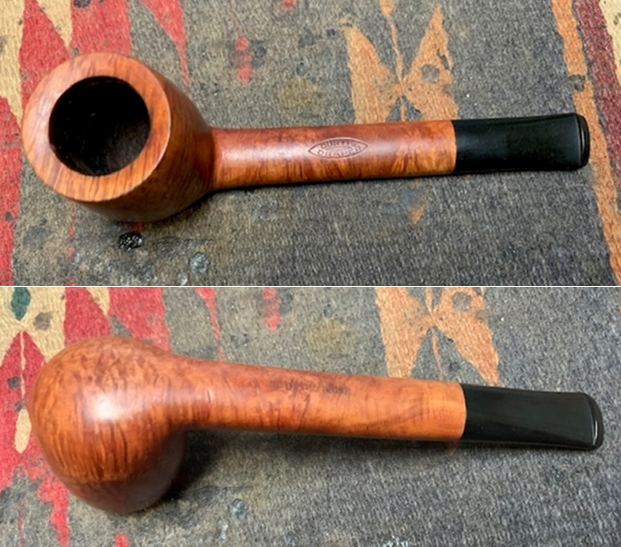
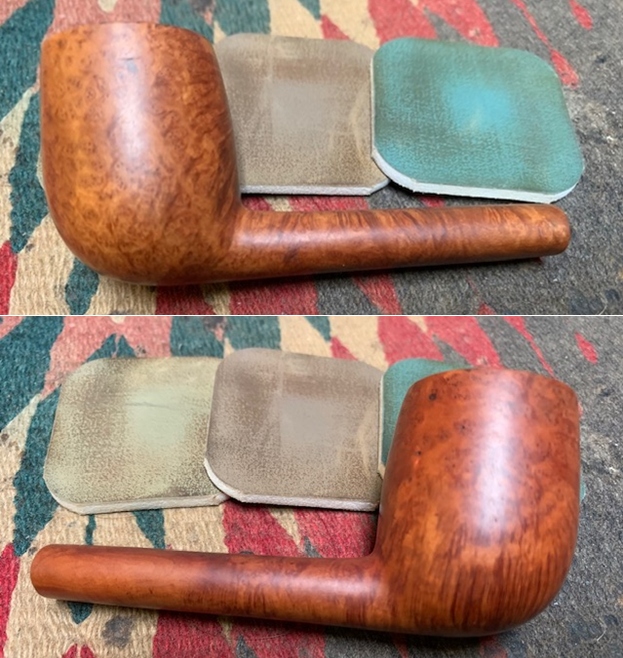
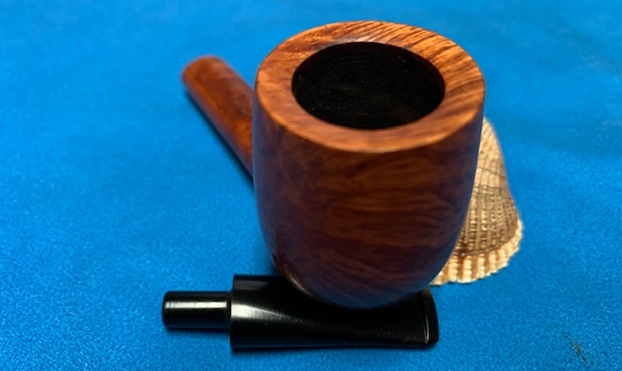
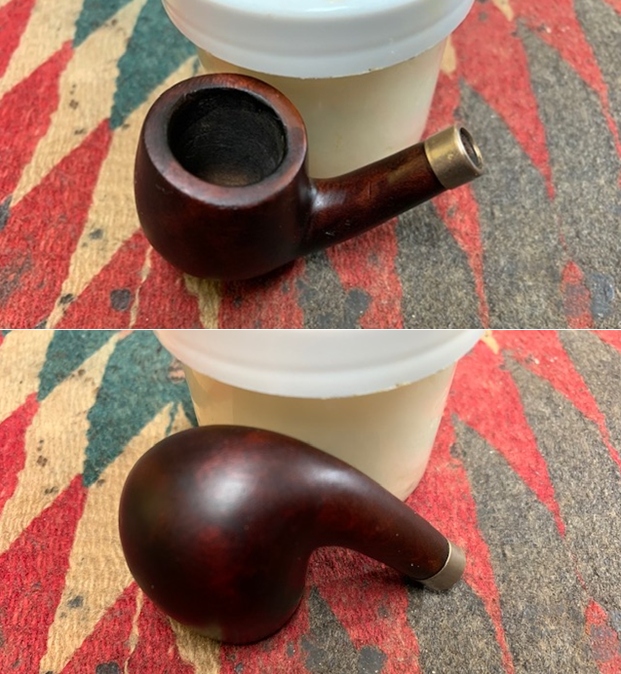
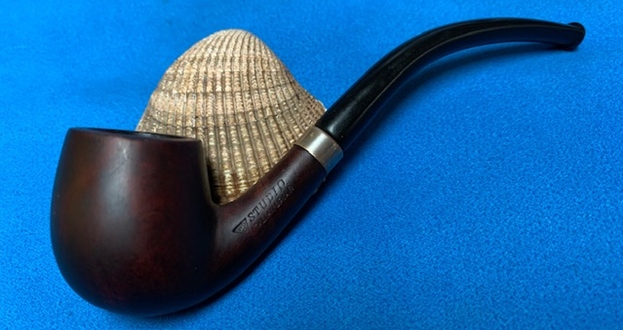
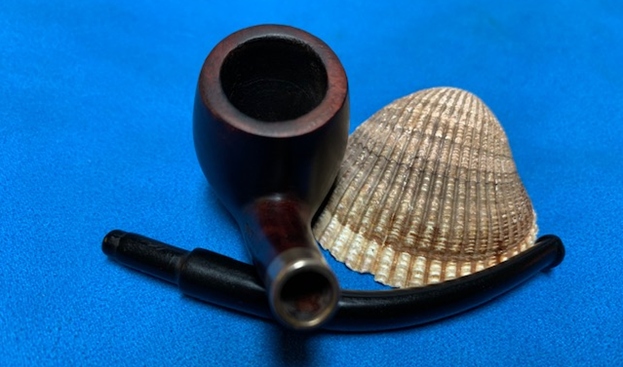
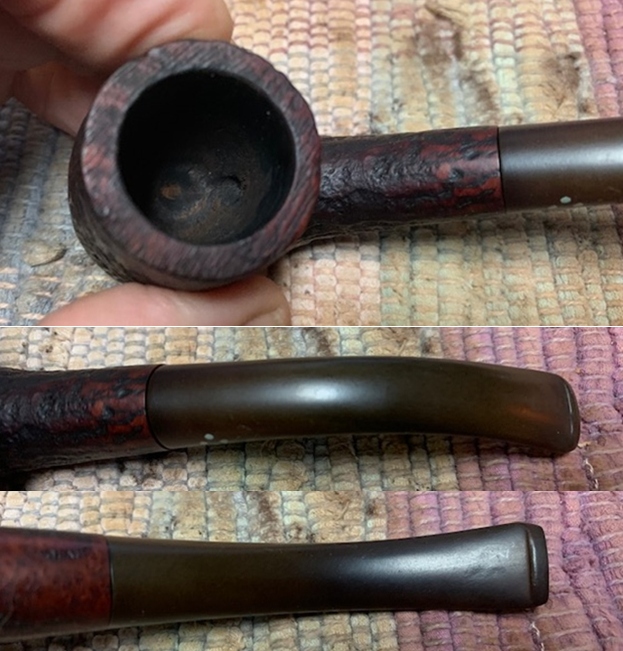
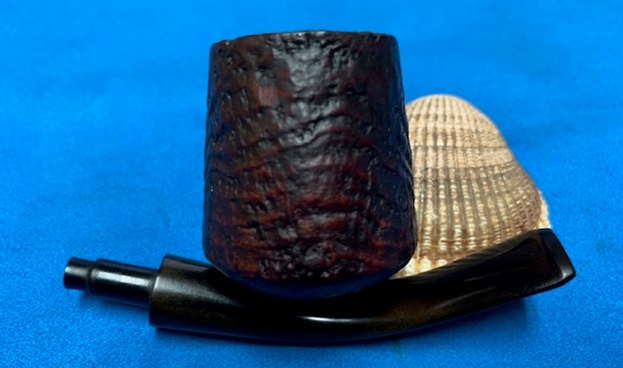
 The rim top cleaned up really well. The rim top and outer edge of the bowl show some darkening over most of the surface. The stem surface looked very good with tooth marks and chatter on the top side and the underside near the button.
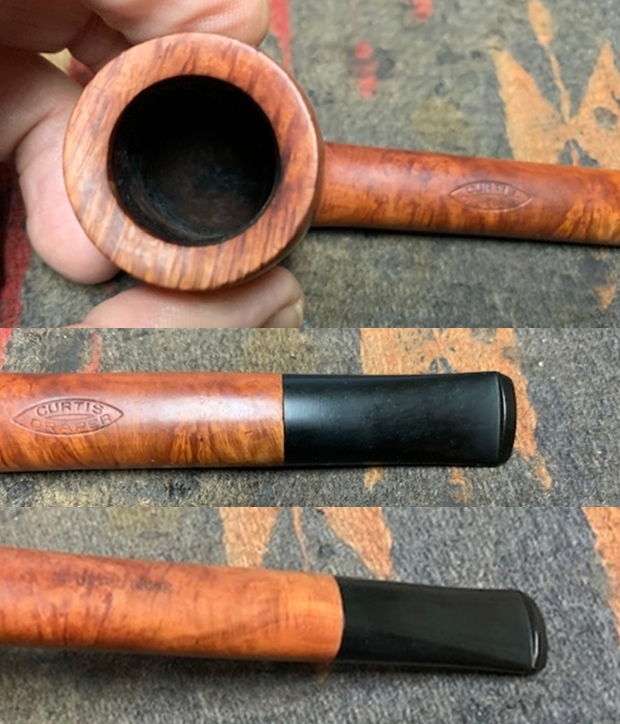
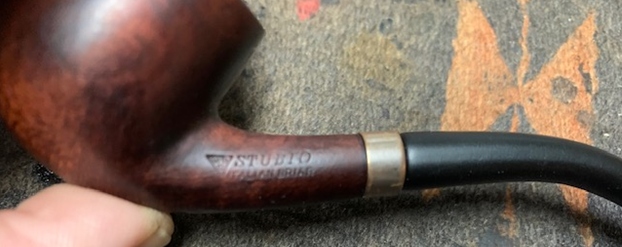
 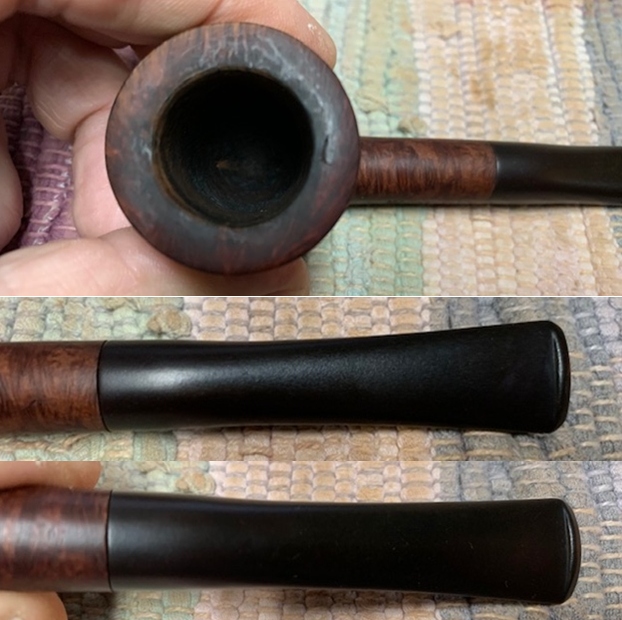 The stamping on the left side of the shank is clear and readable. It reads as noted above.
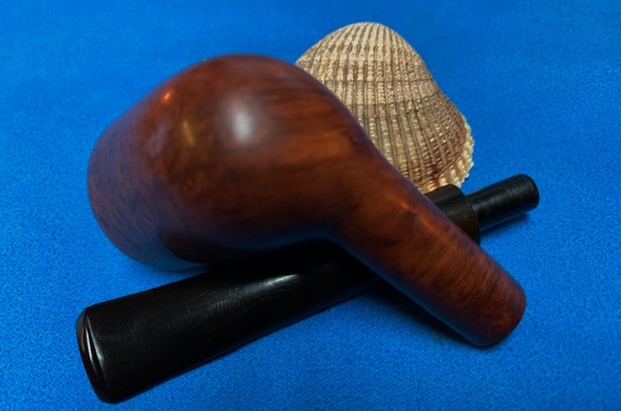
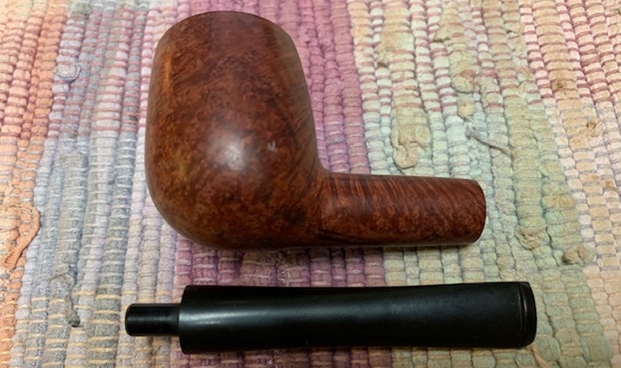
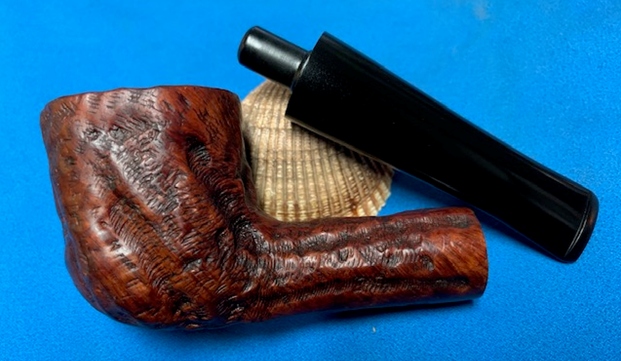
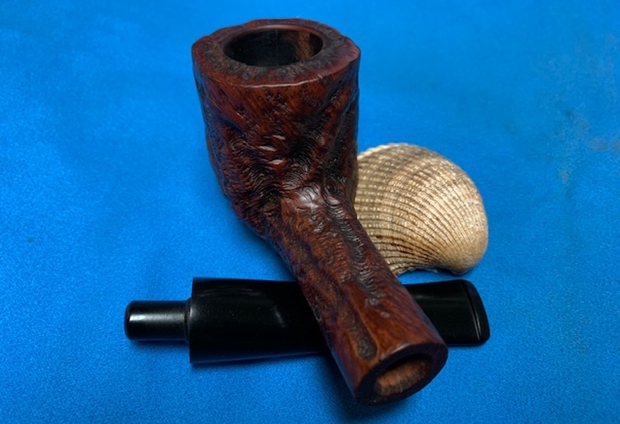
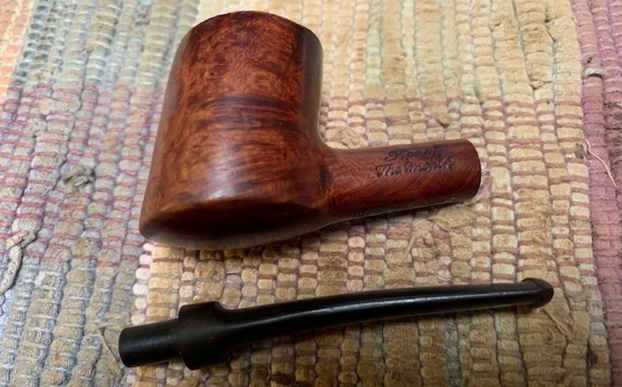
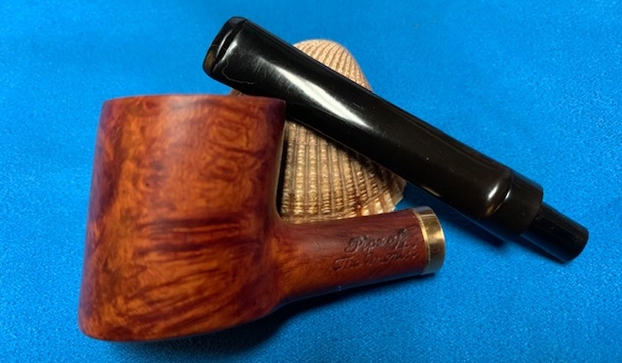
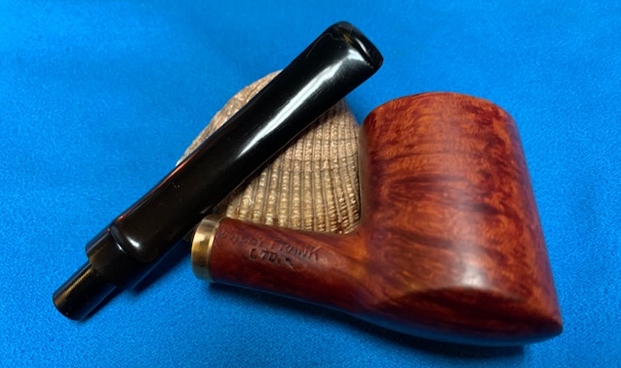
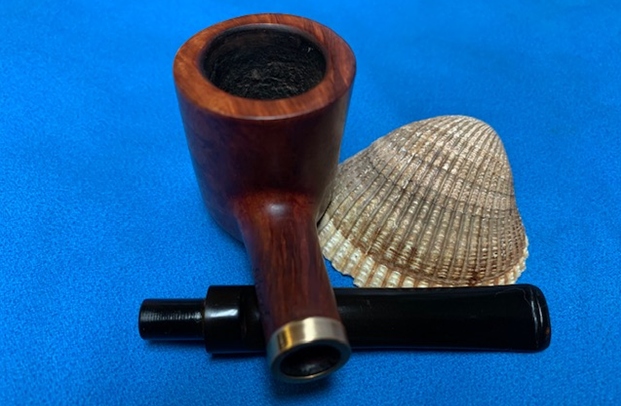
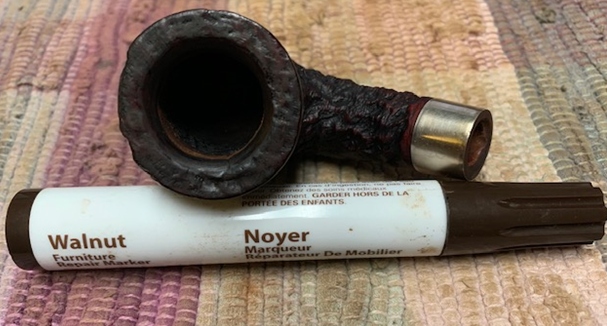
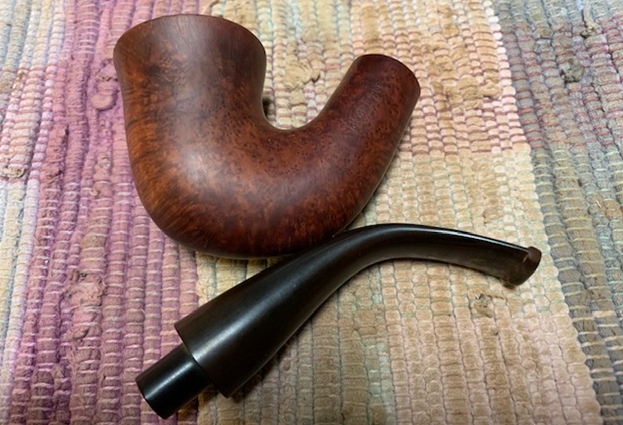
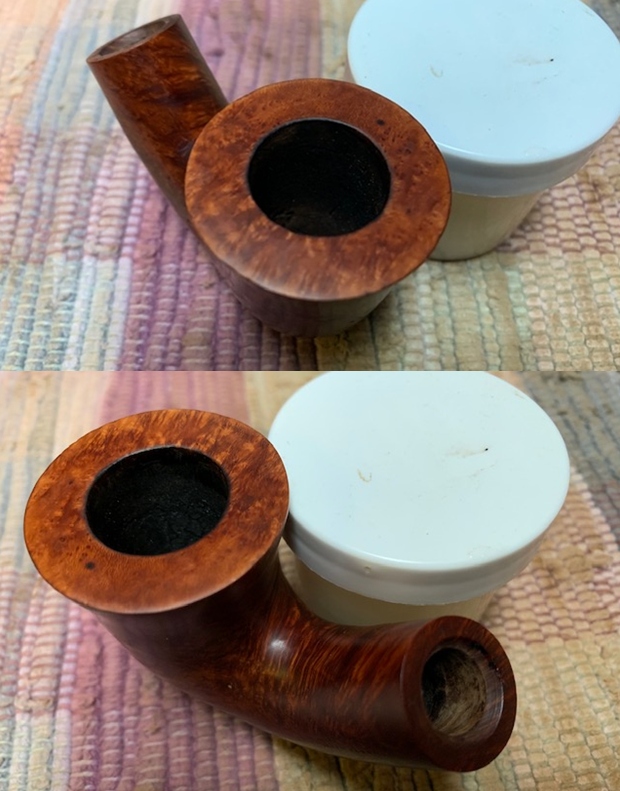
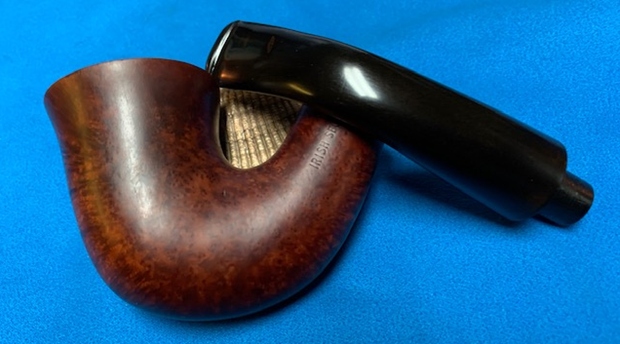
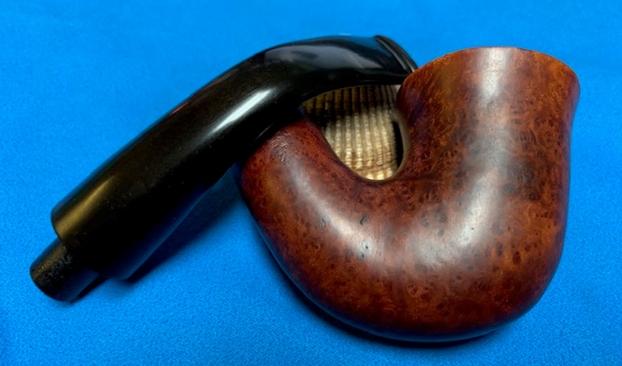
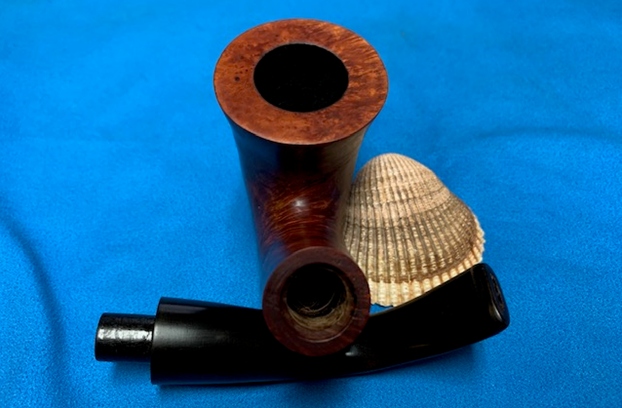
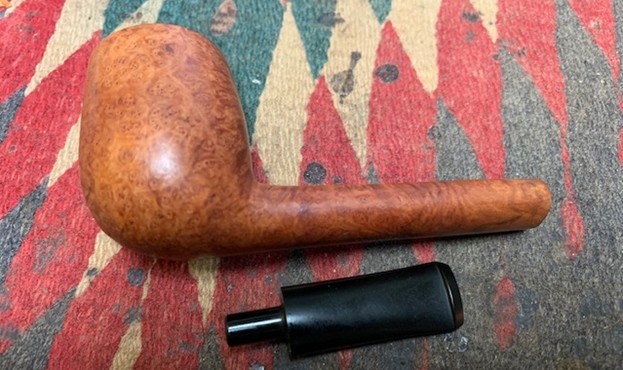
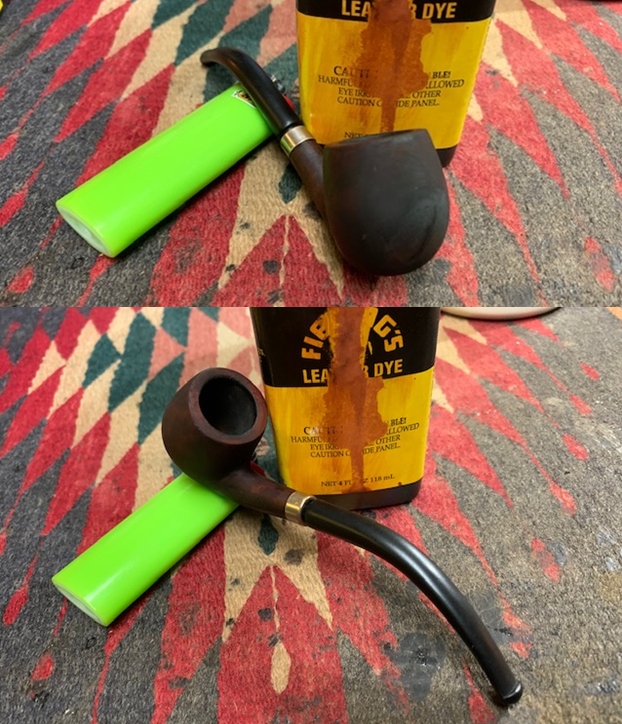
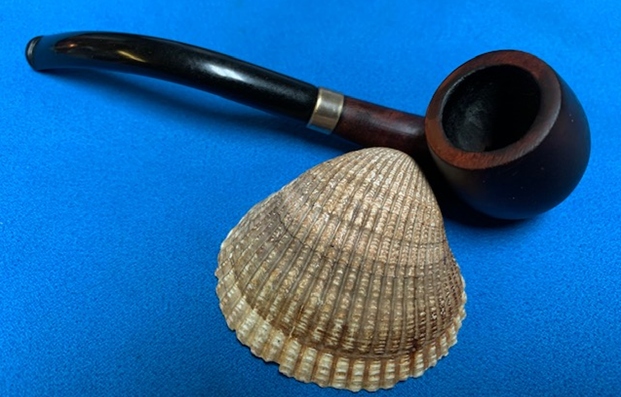
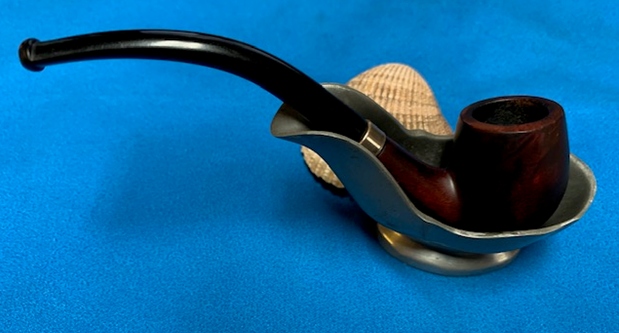
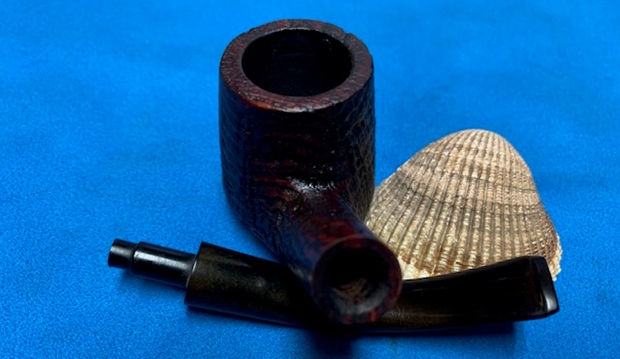
 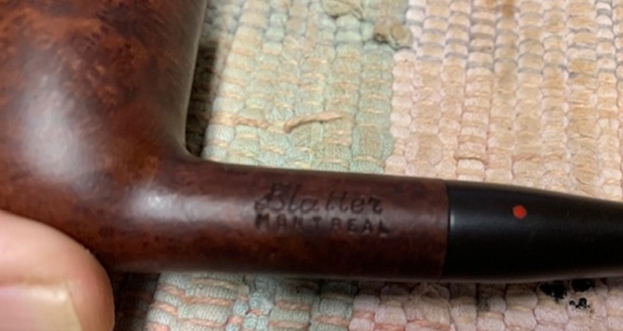 I removed the taper stem and took a photo of the pipe to give a sense of the whole.
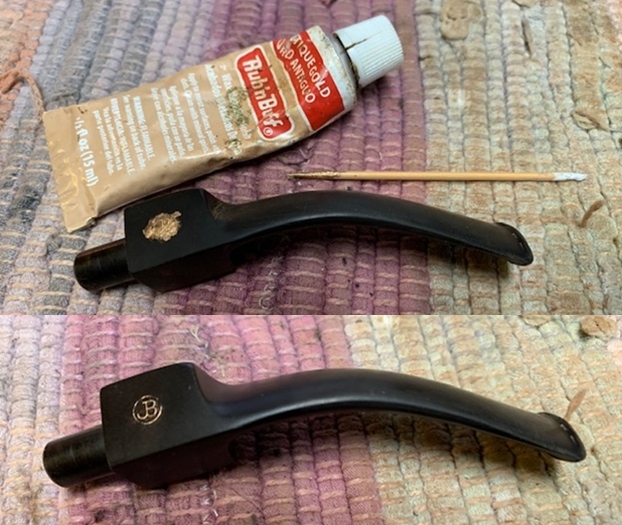
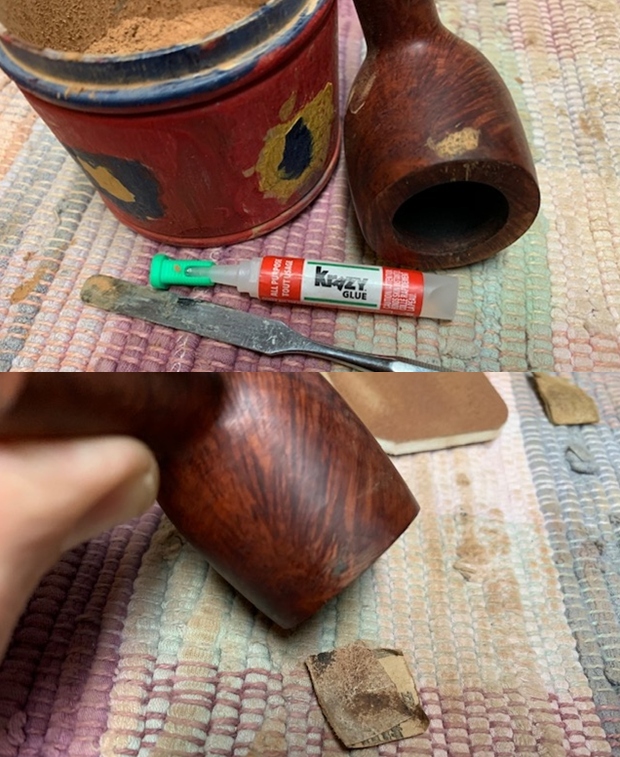
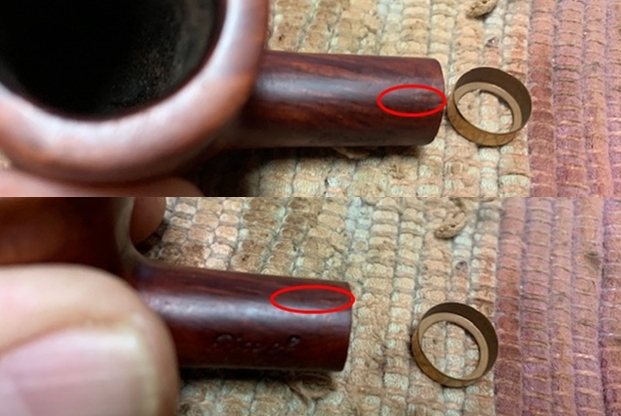
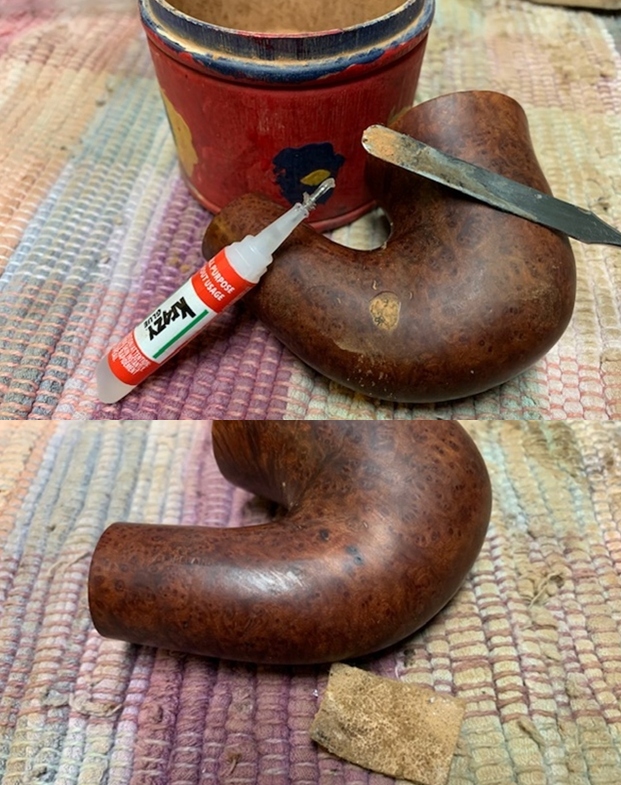
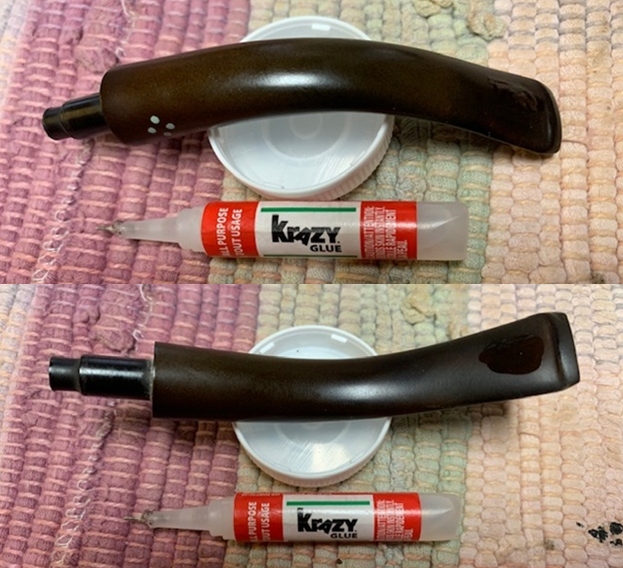
 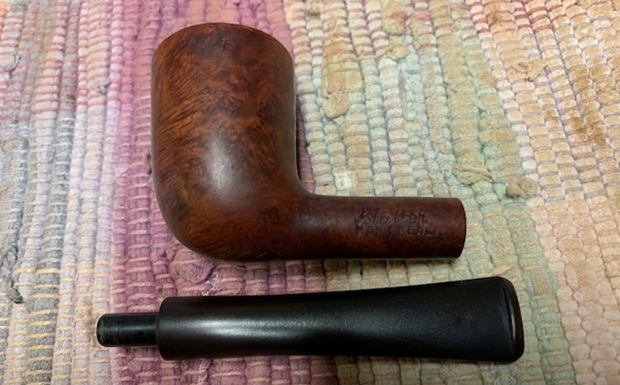 Now it was time to work on the pipe. I wiped the bowl down with acetone on a cotton pad to remove the remaining finish before I started sanding. I filled in the flaw on the top of the shank with clear super glue. Once it cured I sanded it with 220 grit sandpaper to blend it into the surface of the shank. I worked on the rim top and edges with a folded piece of 220 grit sandpaper to clean up the darkening and damage. It looked much better and it was ready to polish.
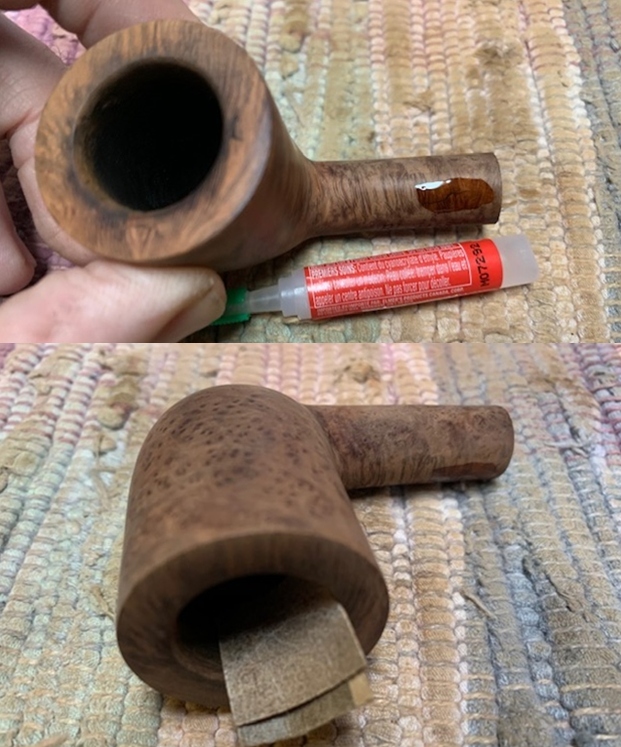
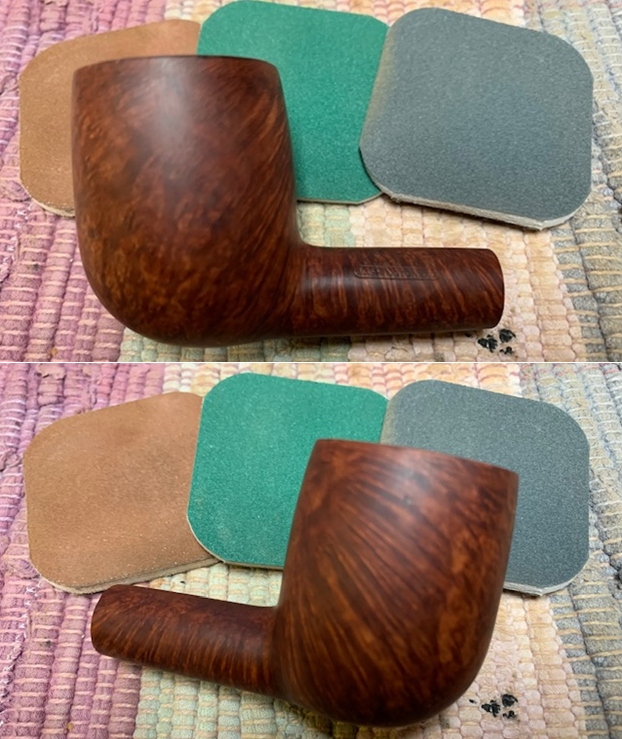
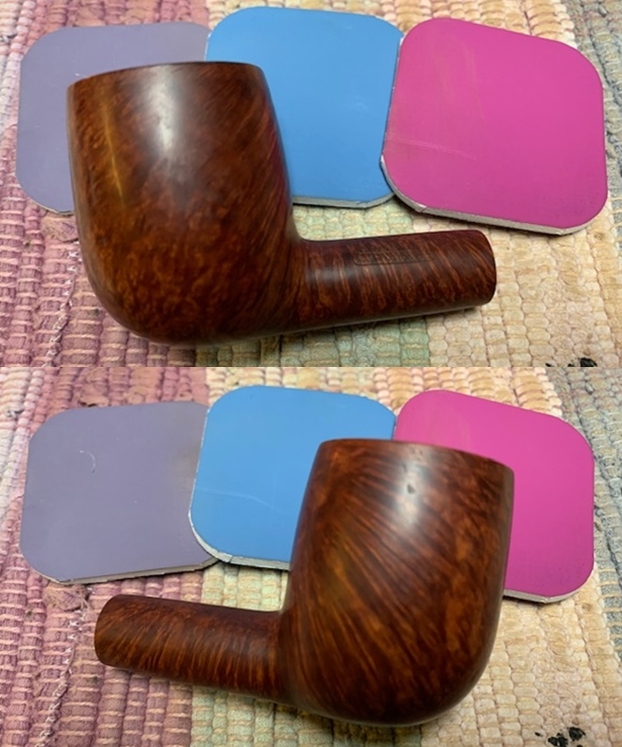
 I polished the briar with micromesh sanding pads – wet sanding with 1500-12000 grit pads and wiping it down after each pad with a damp cloth.
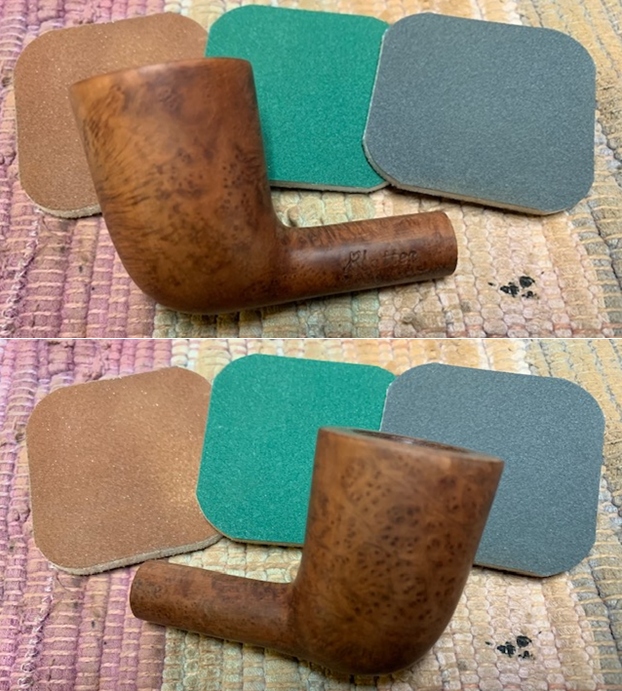
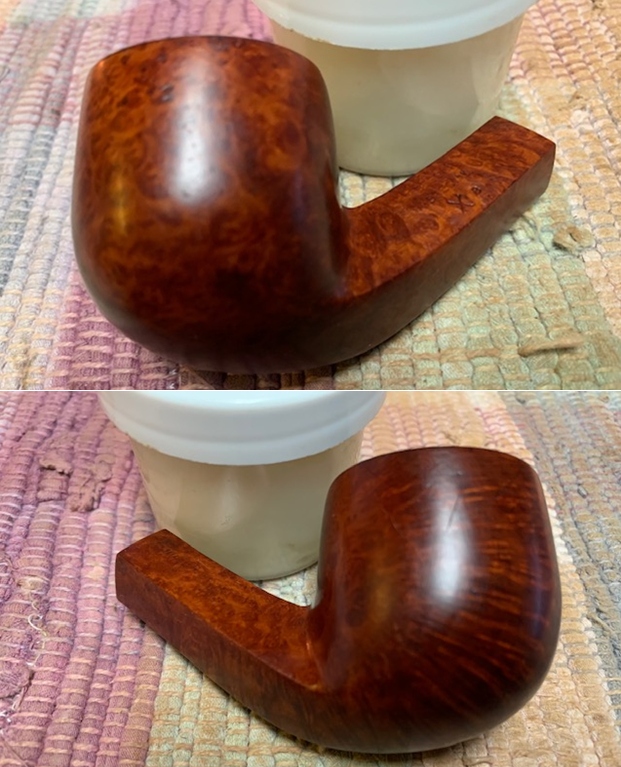
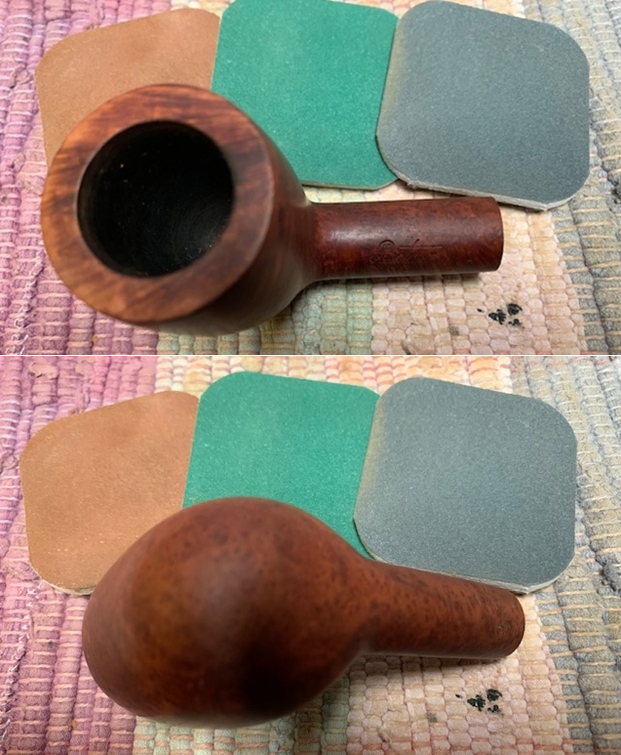
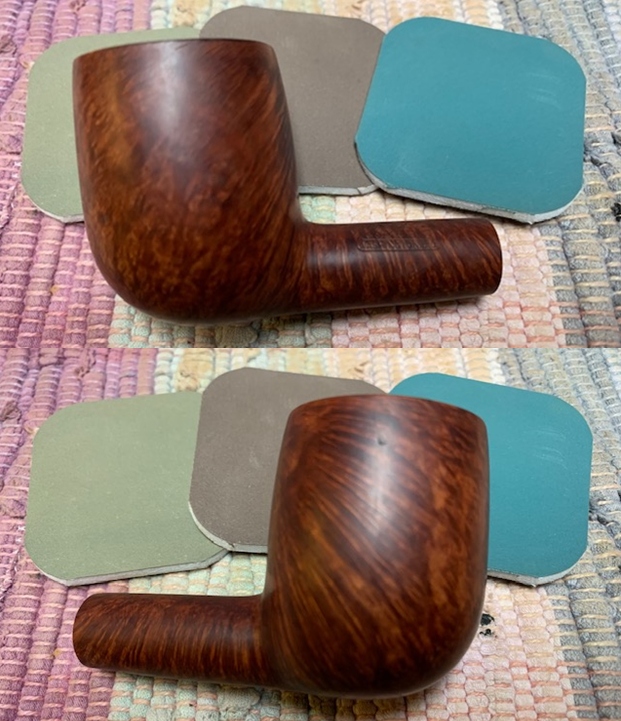
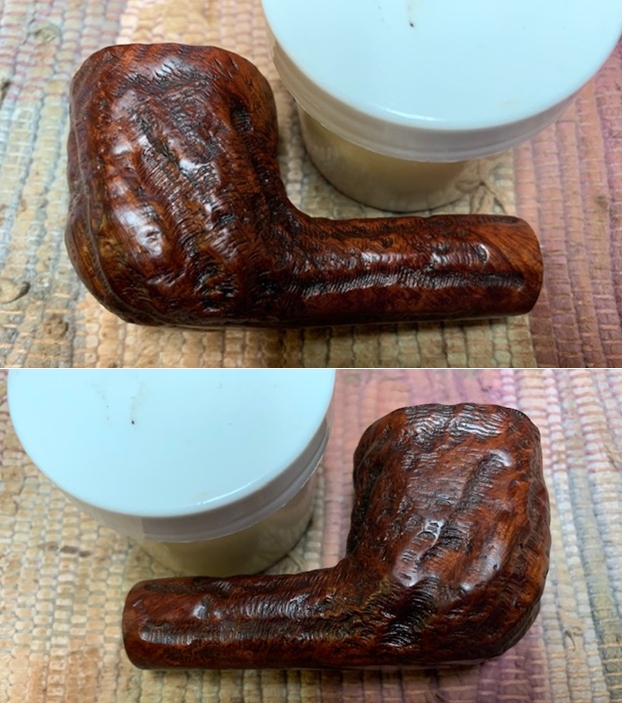
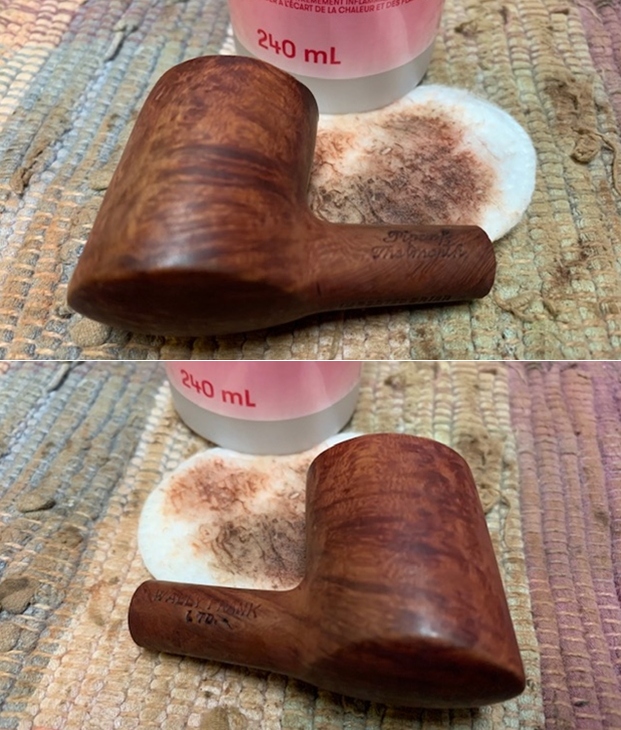
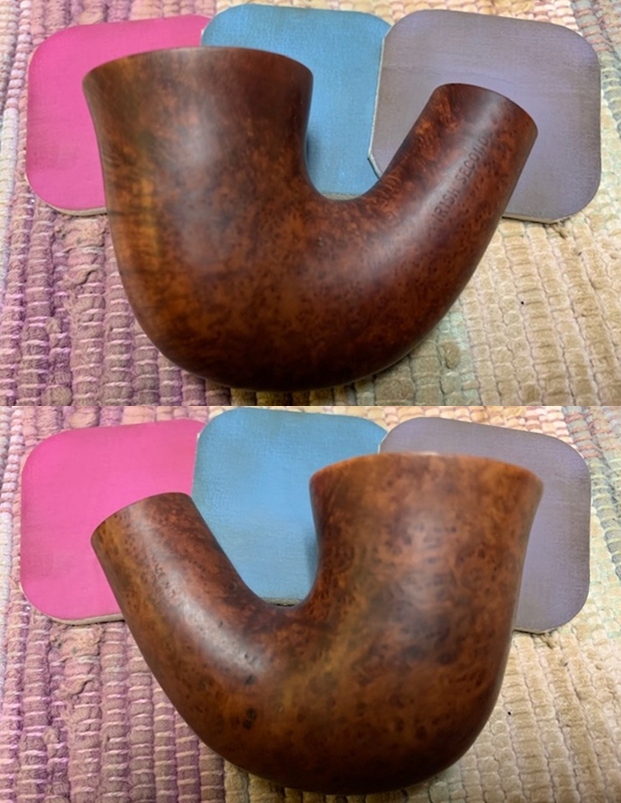
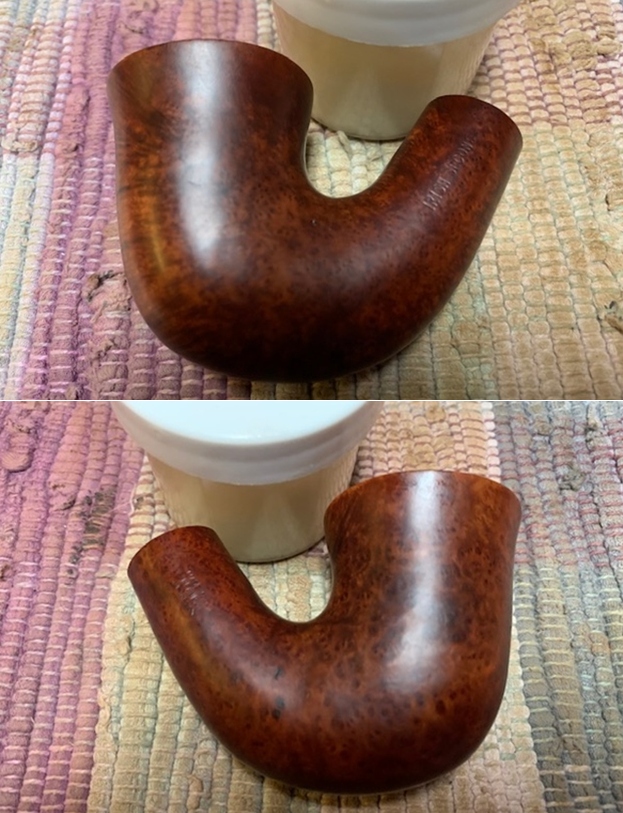
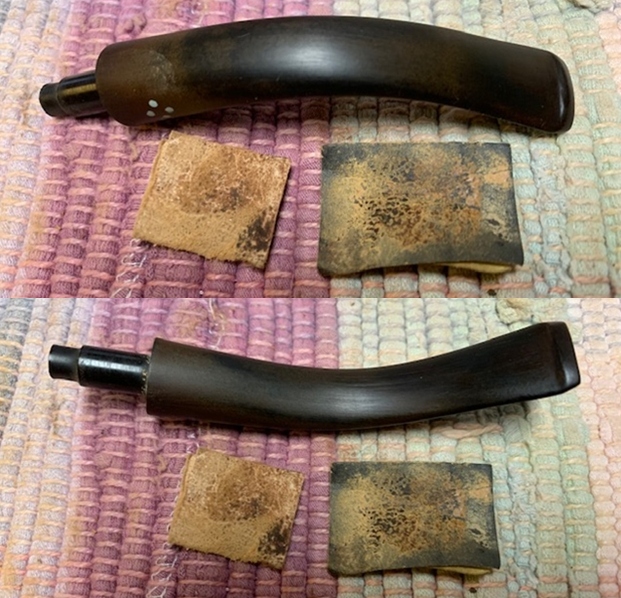
 I rubbed the bowl and shank down with Before & After Restoration Balm. I worked it into the surface of the bowl sides and shank with my fingertips to clean, enliven and protect the briar. I let the balm sit for a little while and then buffed with a cotton cloth to raise the shine. The grain came alive and the finish looked rich.
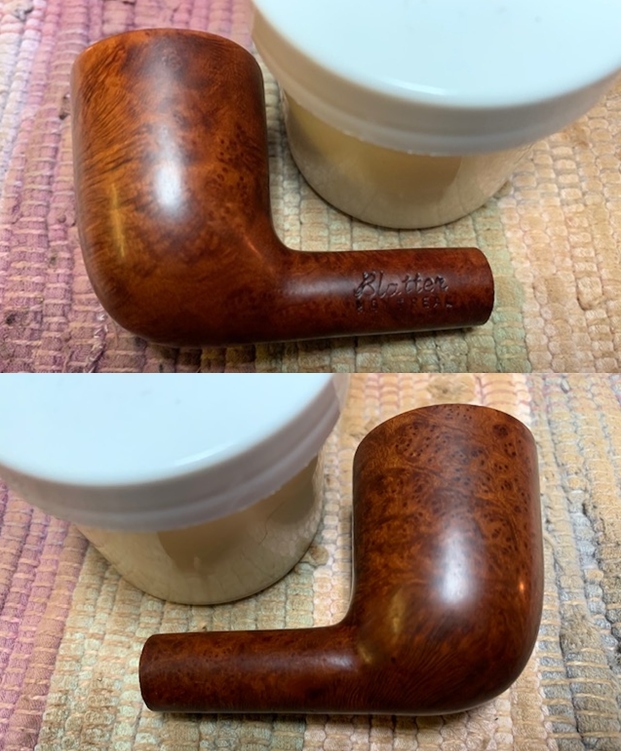
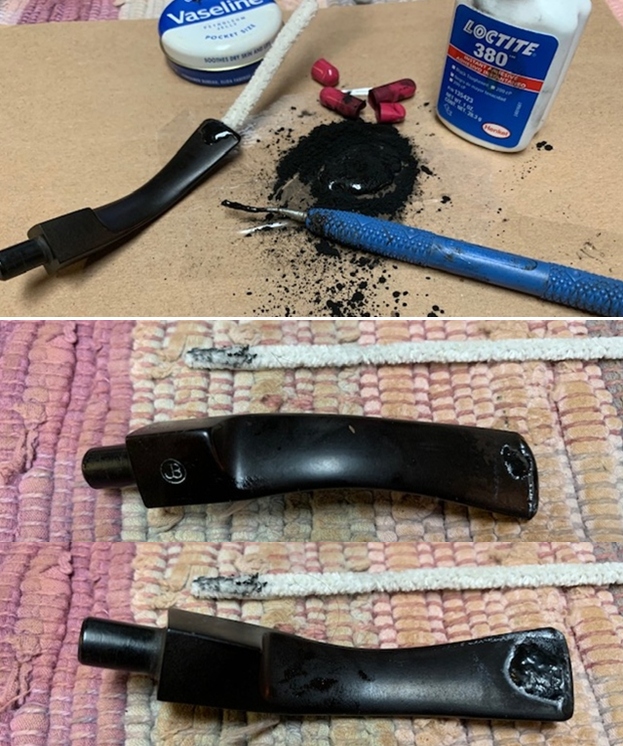
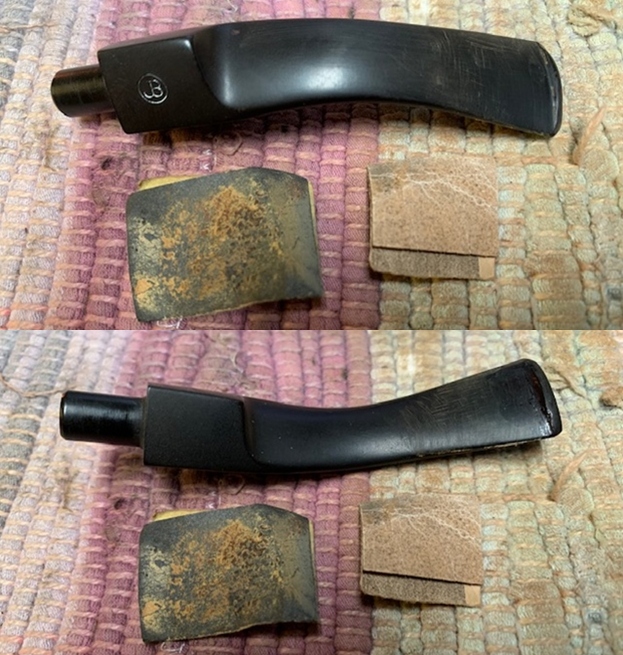
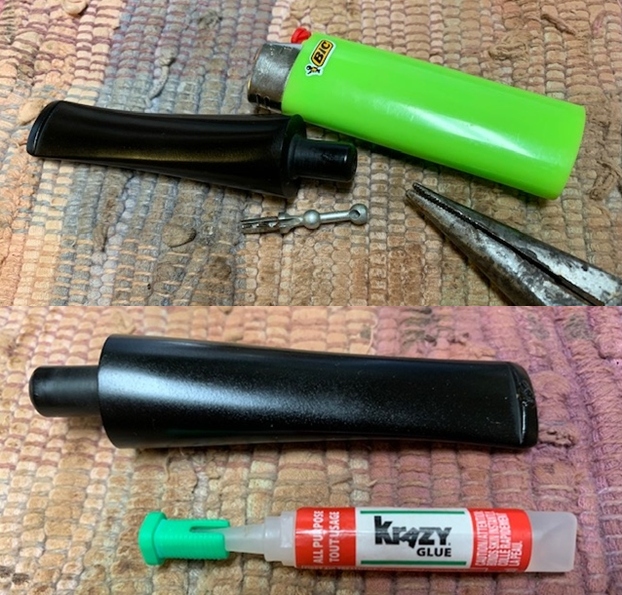
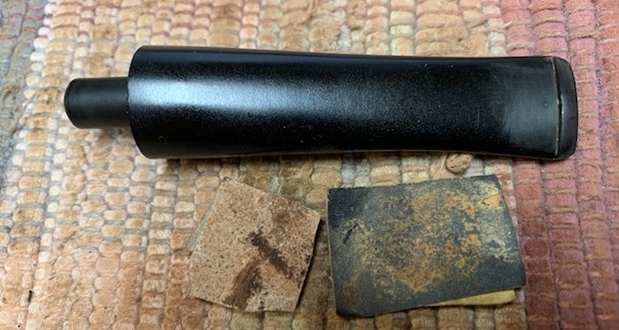
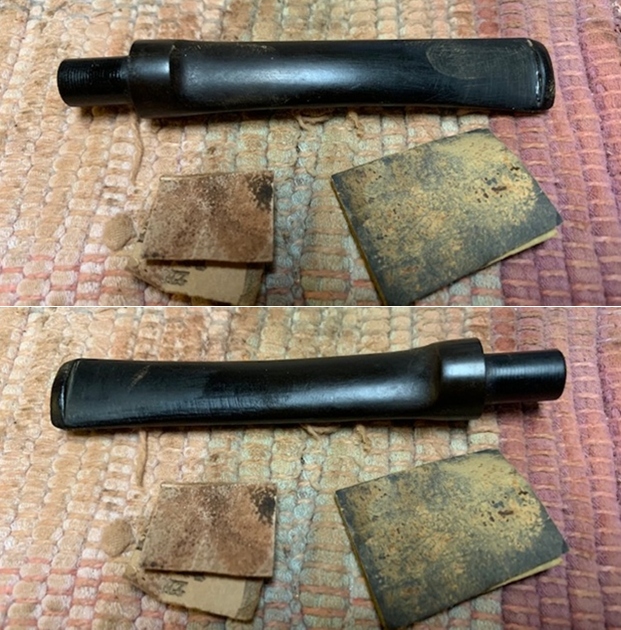
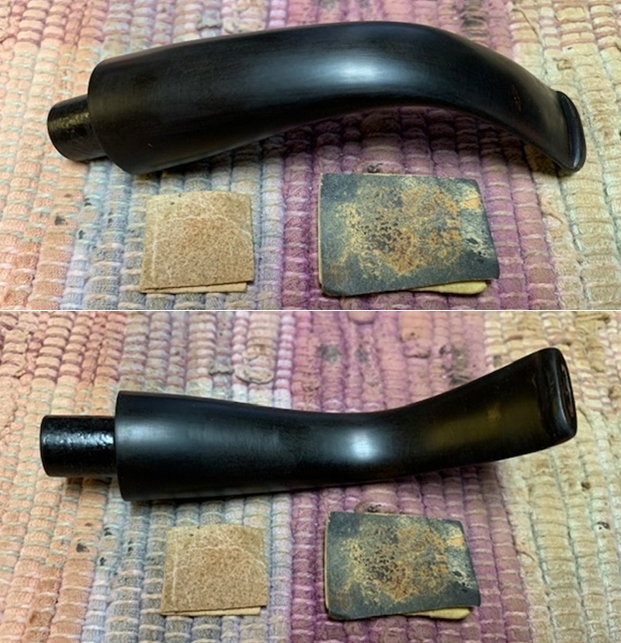
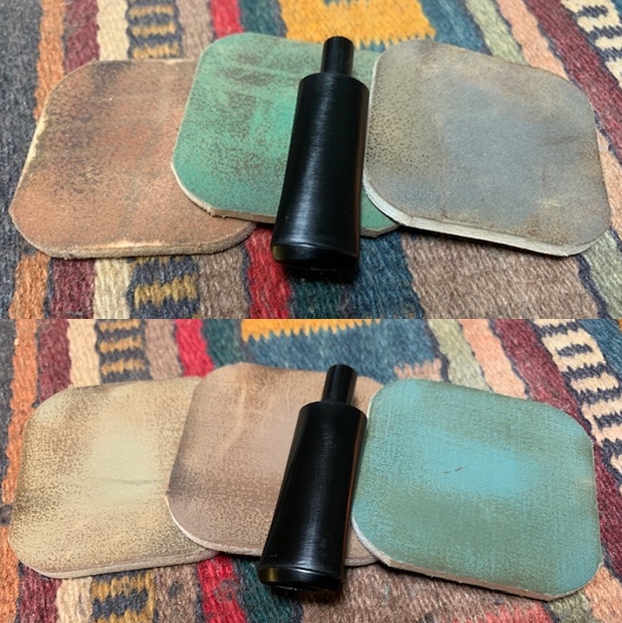
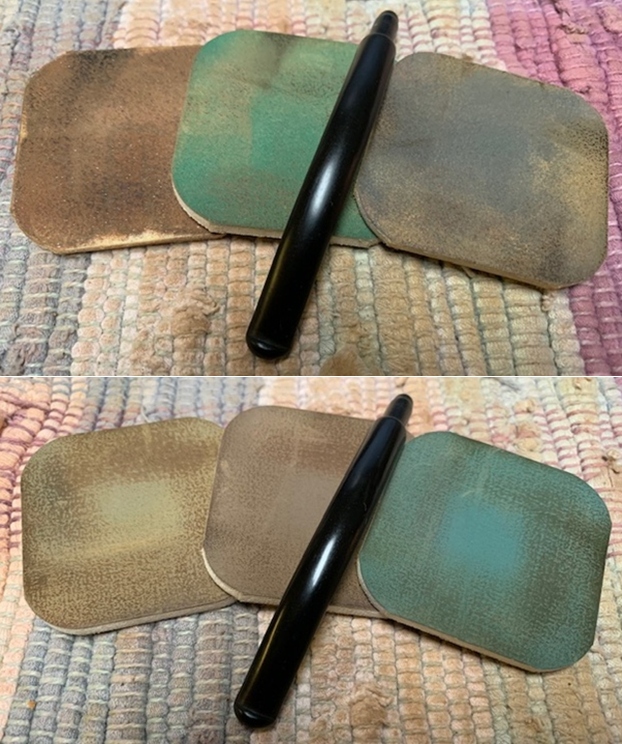
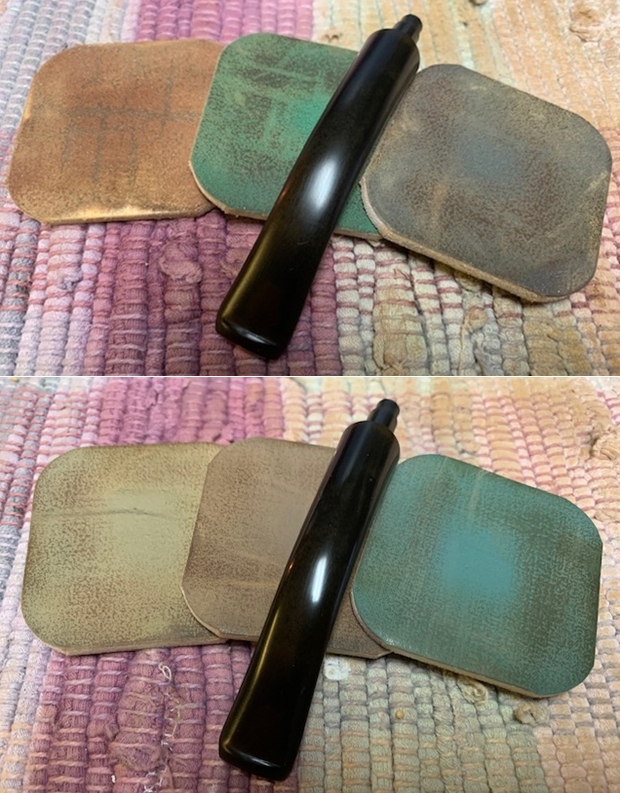
 I set the bowl aside and turned to work on the stem. I “painted” the stem surface with the flame of a lighter. The heat lifted the tooth marks. Those that remain will be sanded out. I sanded the stem with 220 grit sandpaper and started polishing it with 400 grit wet dry sandpaper.
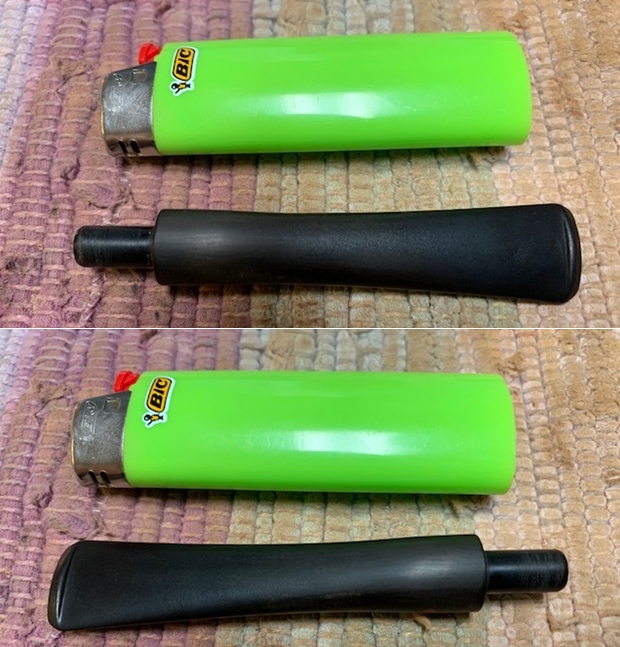
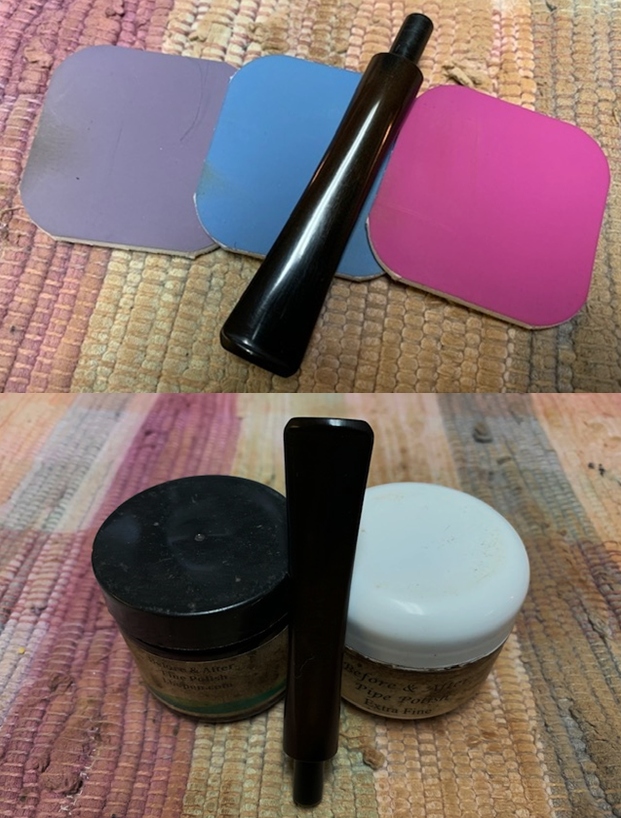
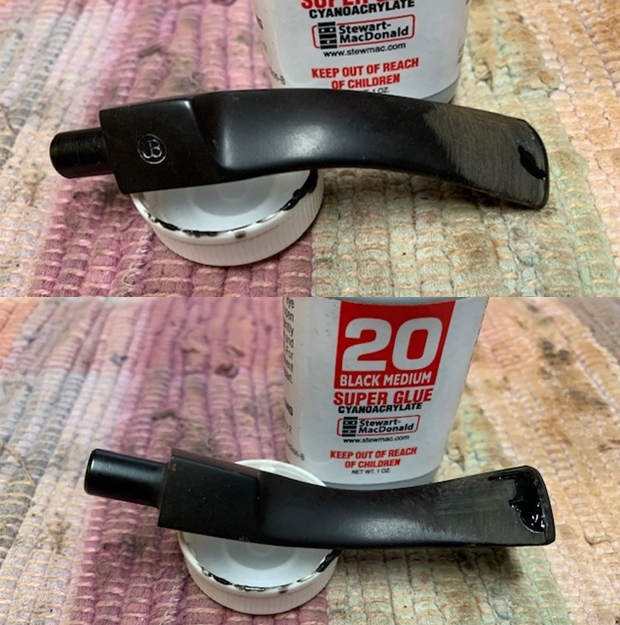
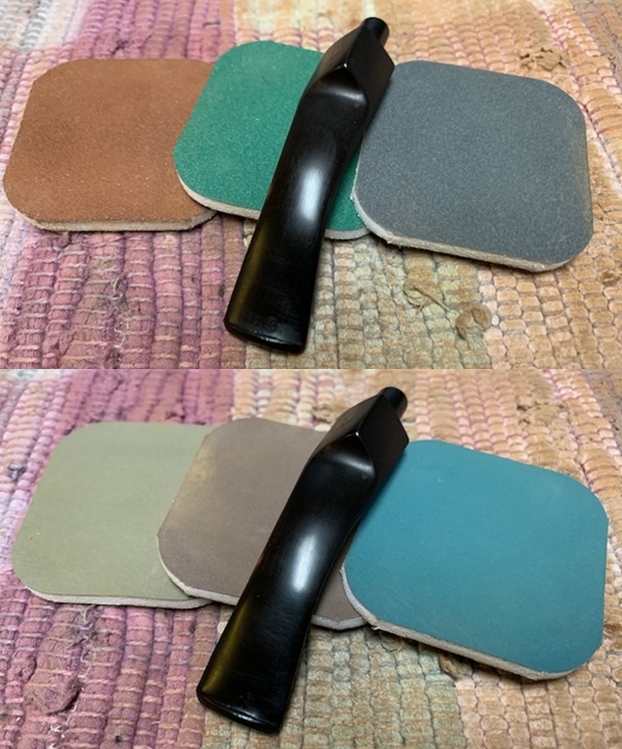
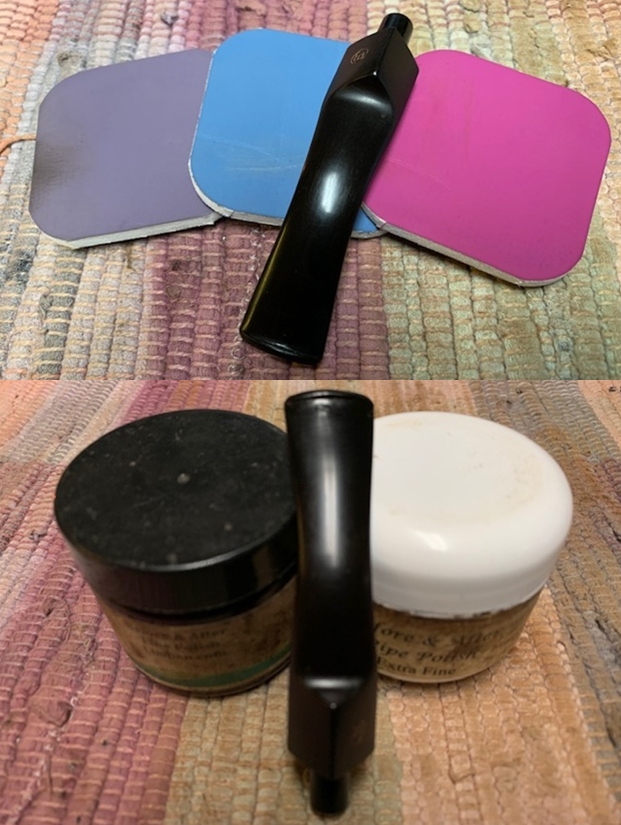
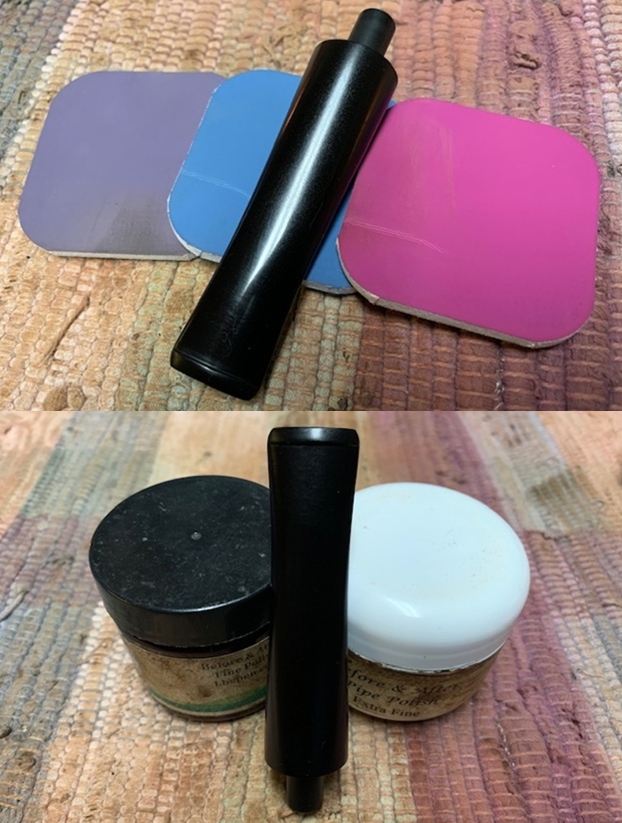
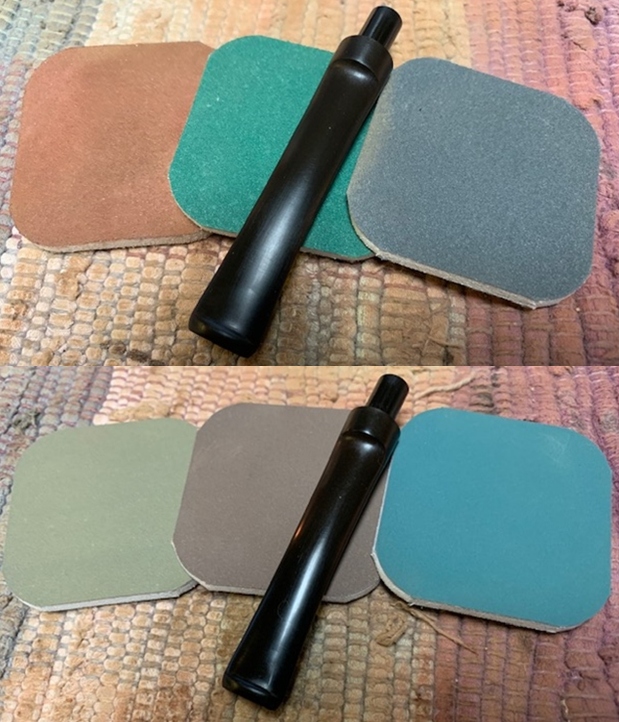
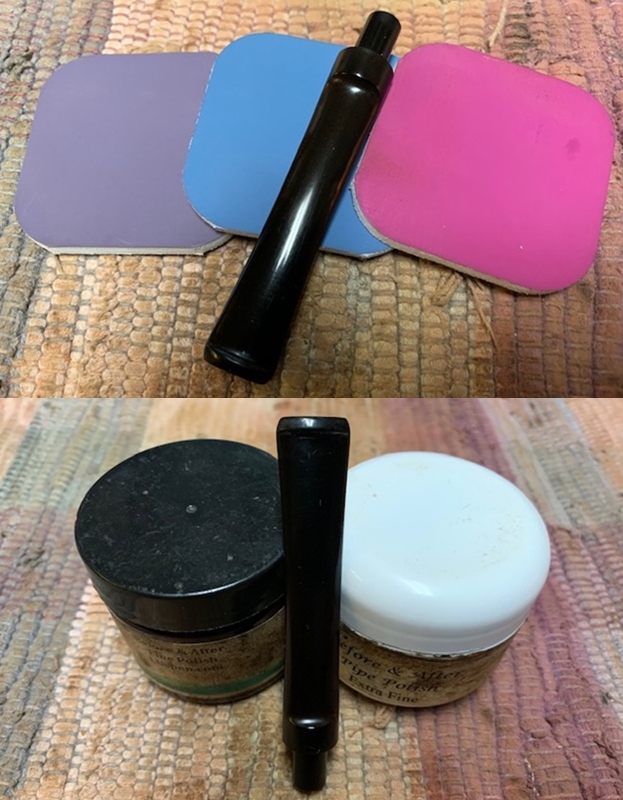
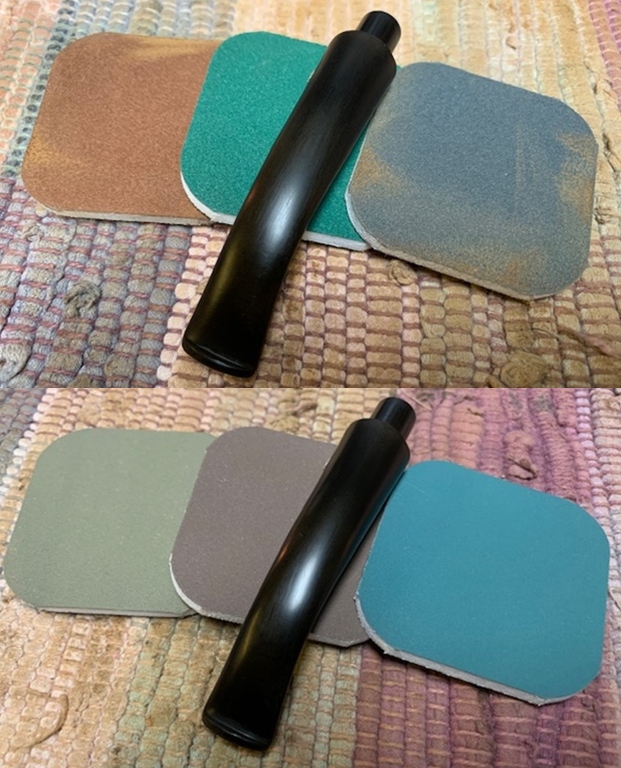
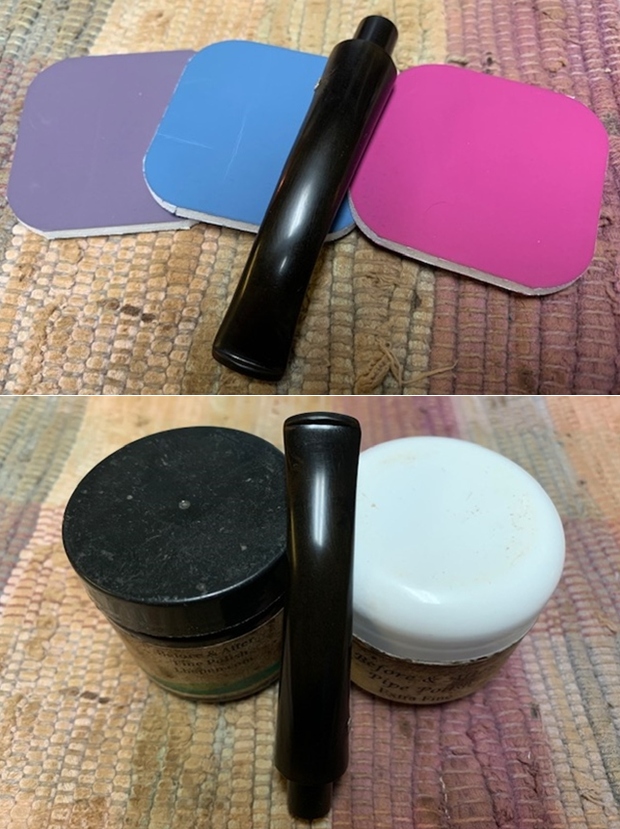
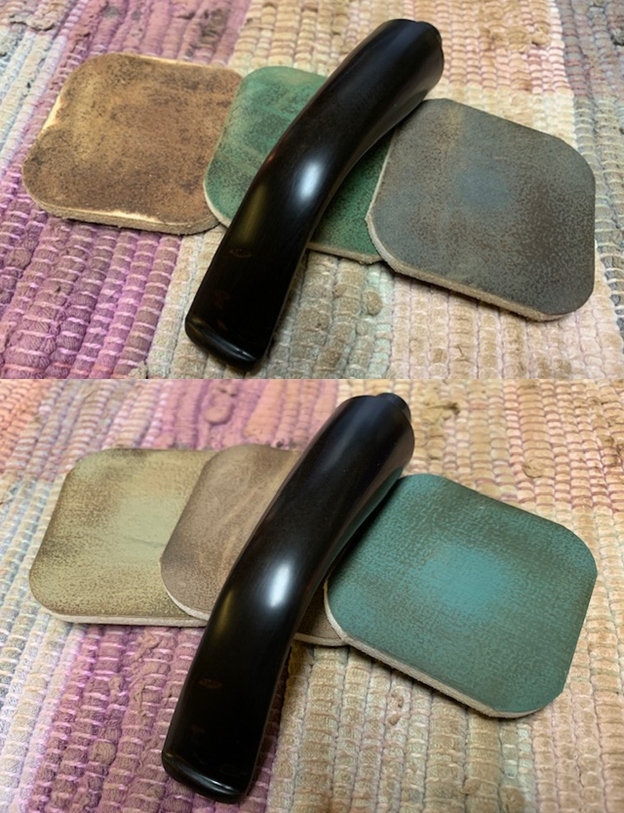
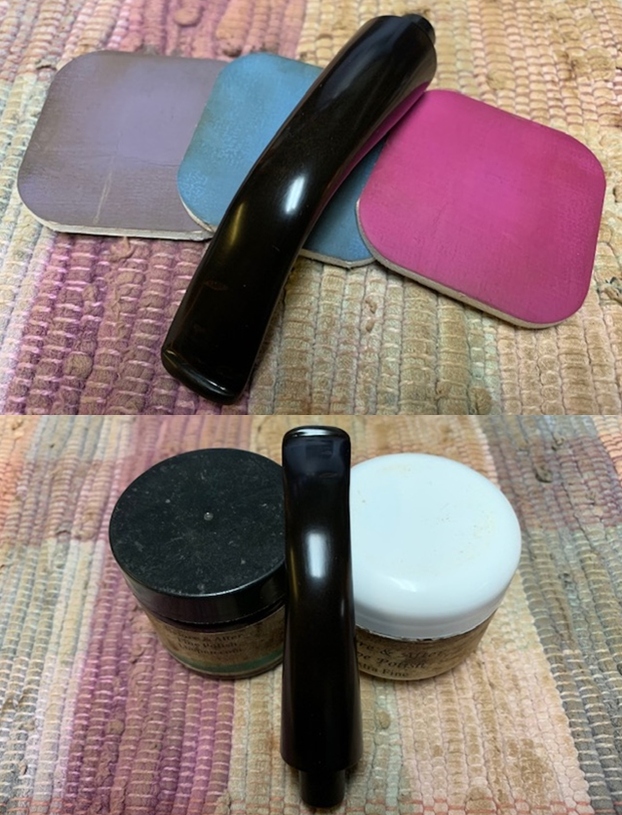
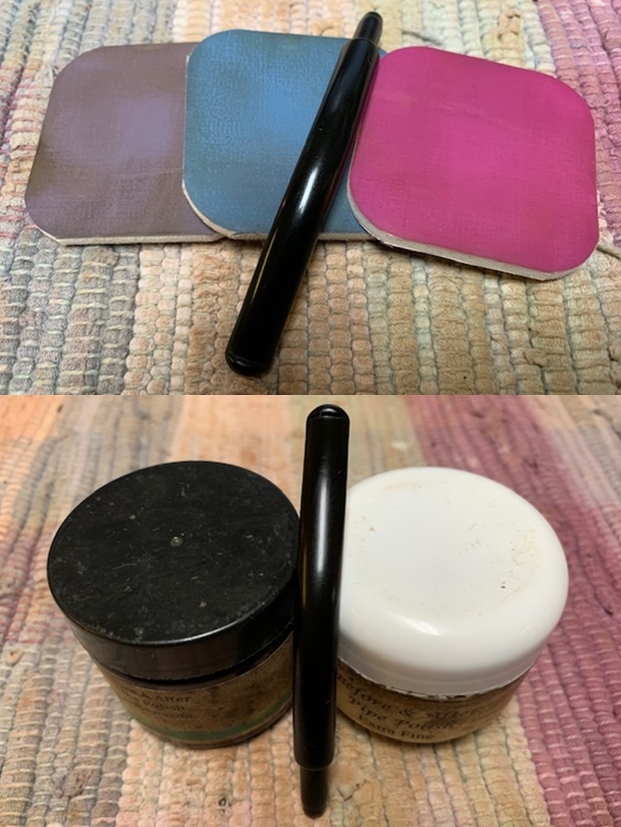
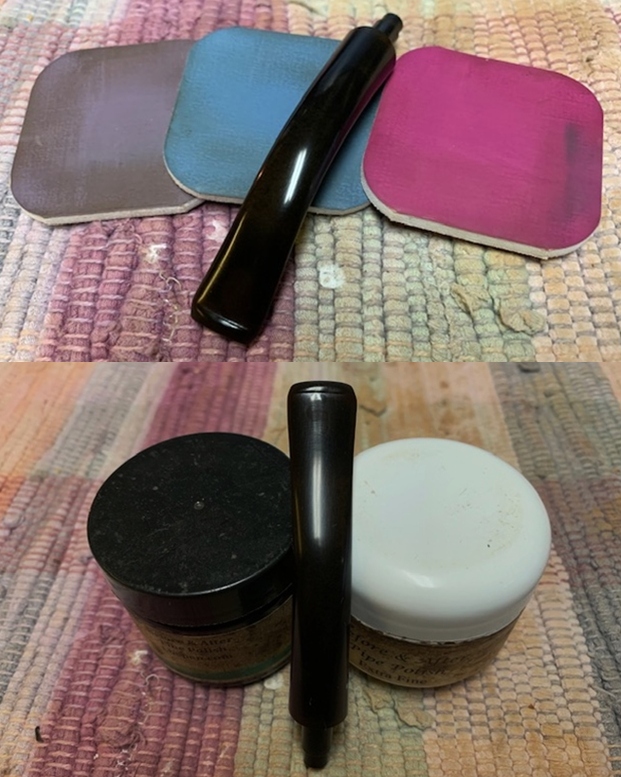
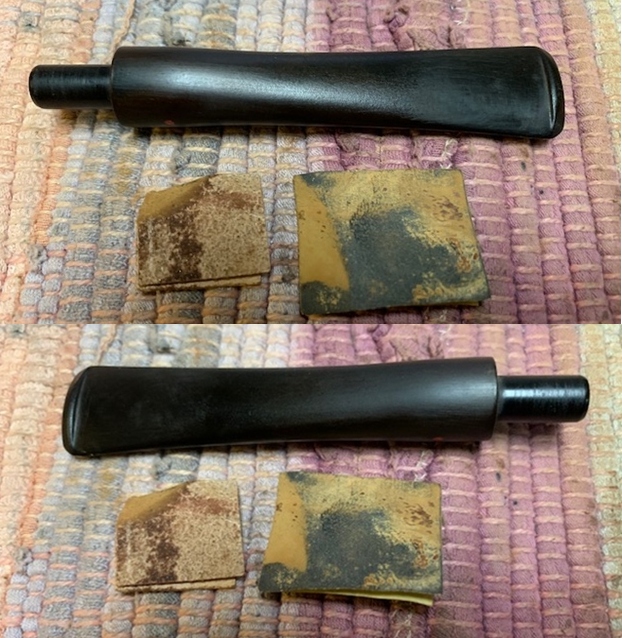 I polished the vulcanite stem with micromesh sanding pads – 1500-12000 grit pads. I wiped it down with Obsidian Oil after each sanding pad. I used Before & After Pipe Polish – both Fine and Extra Fine to further polish the stem.
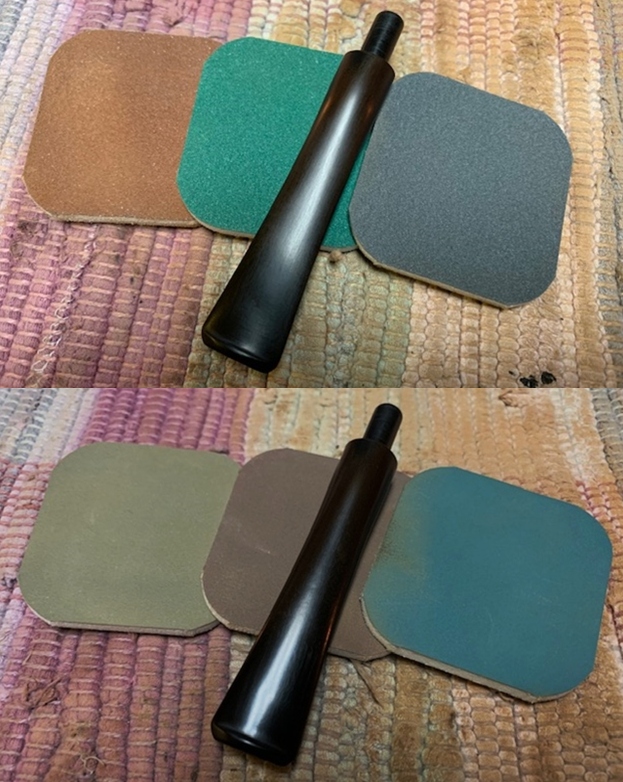
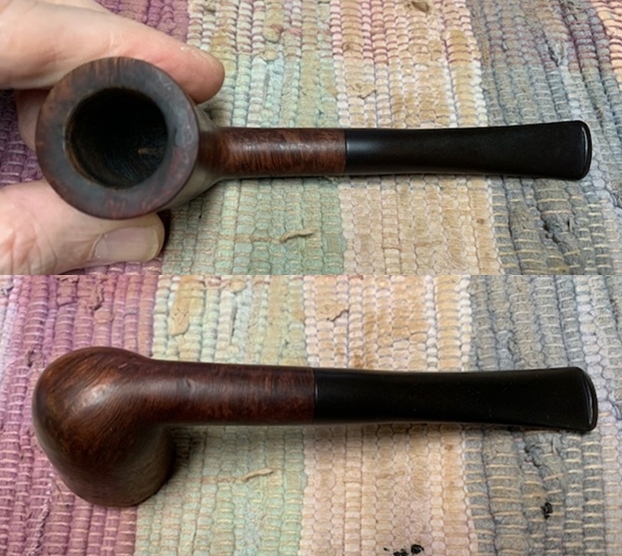
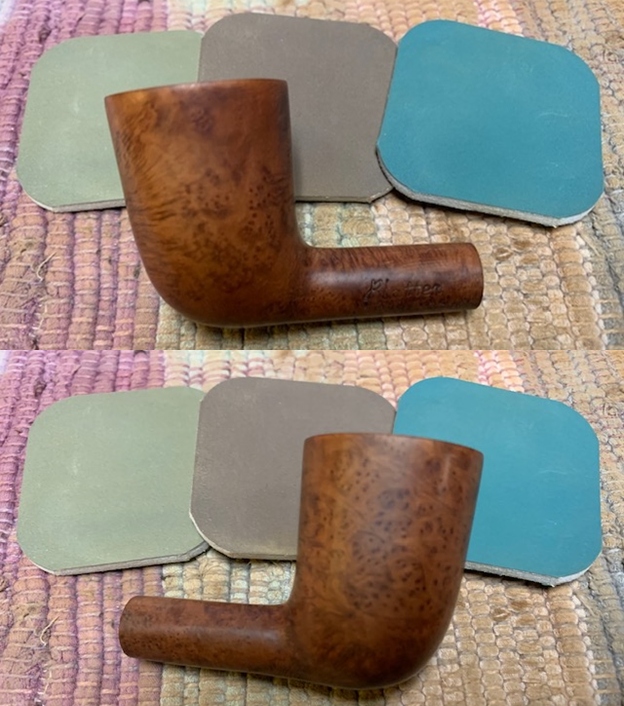
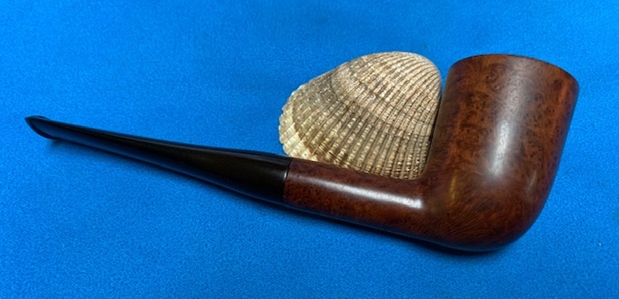
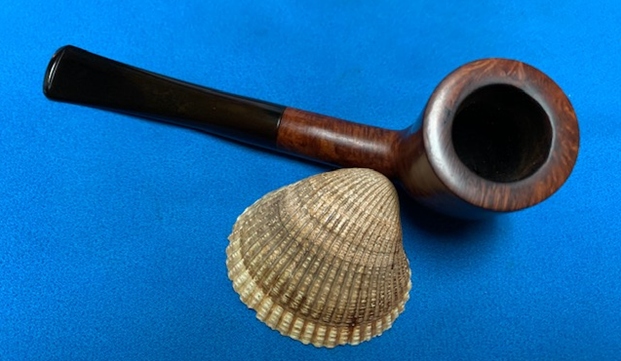
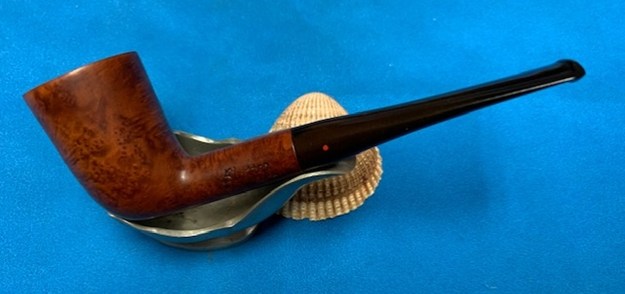
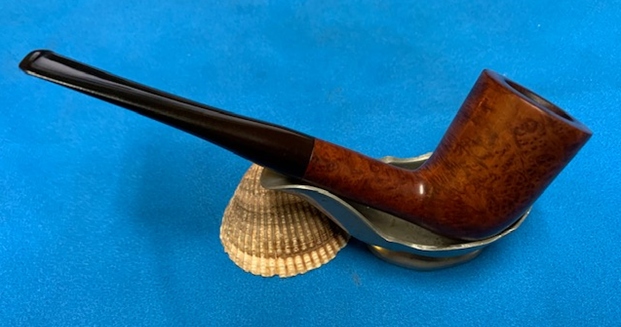
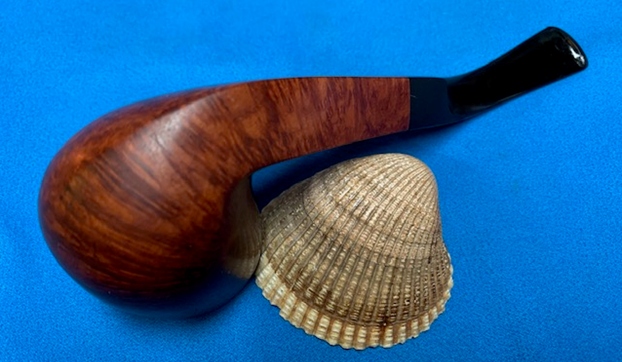
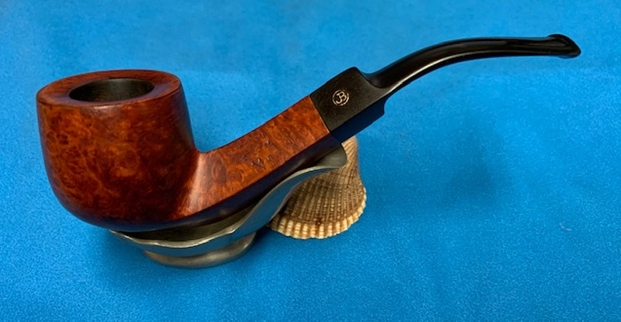
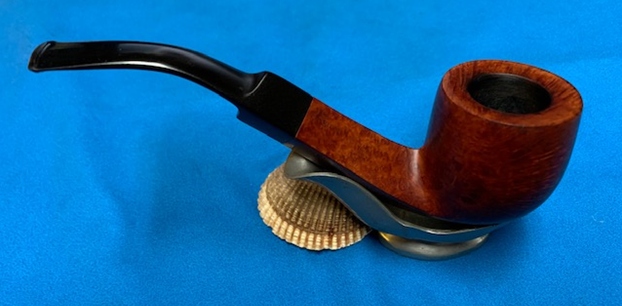
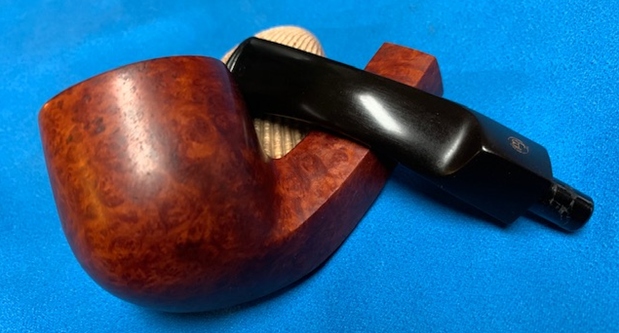
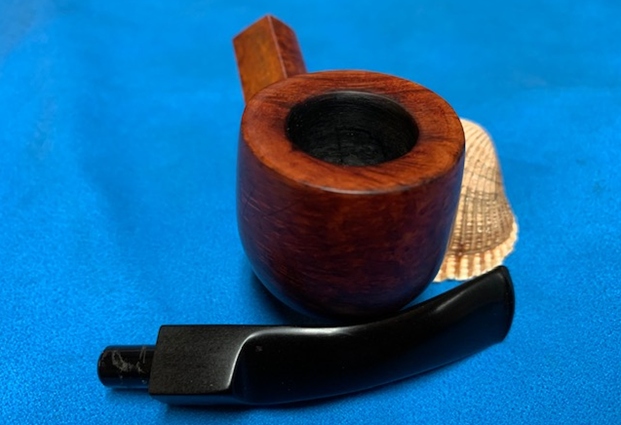
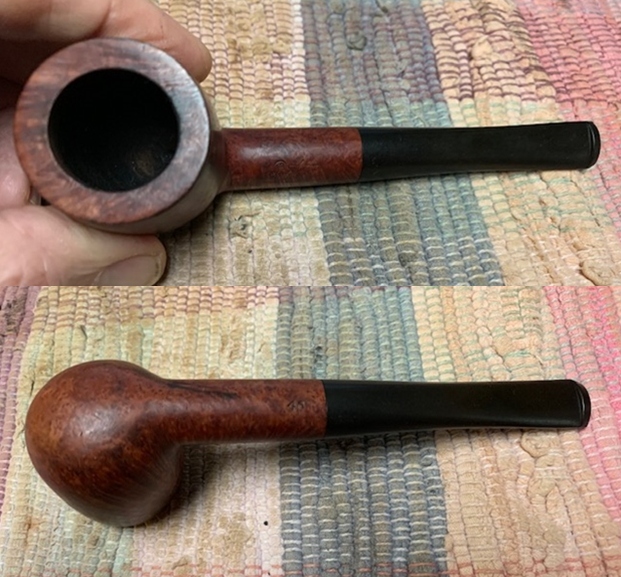
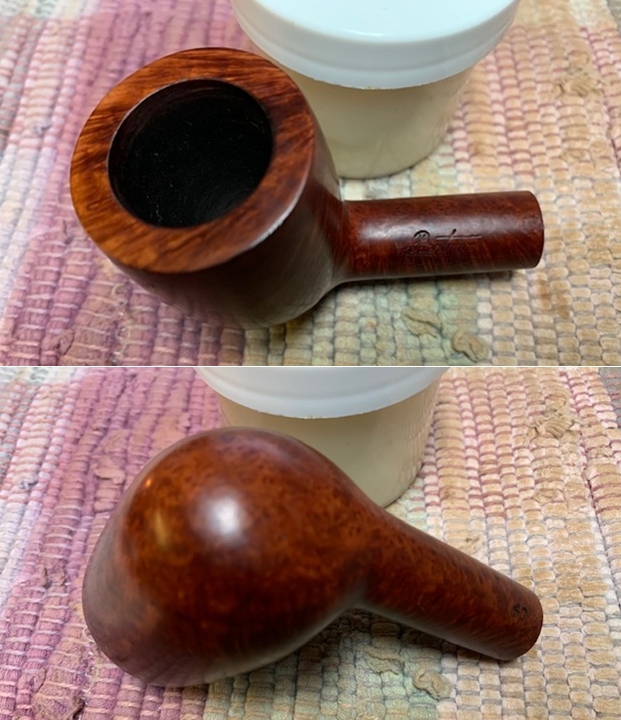
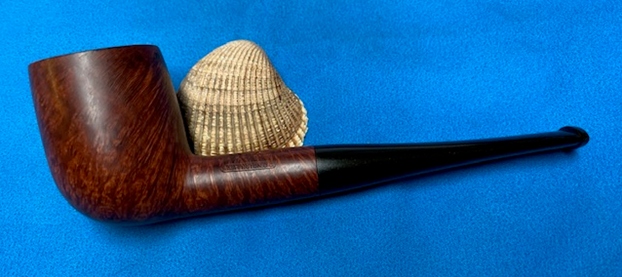
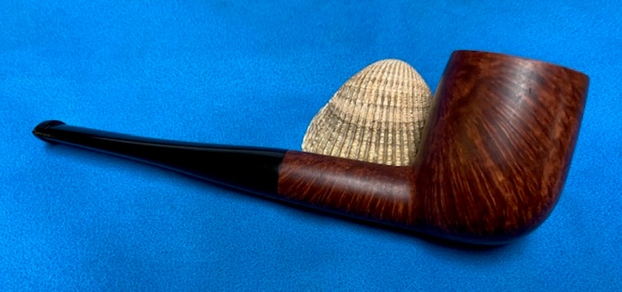
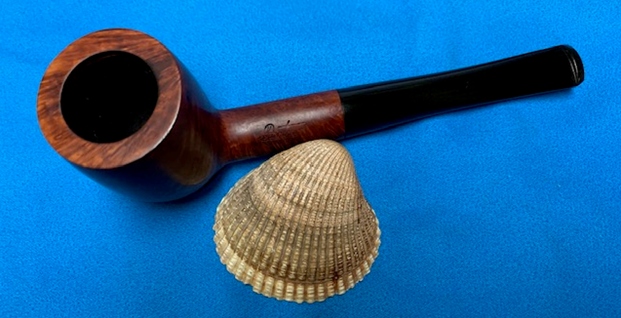
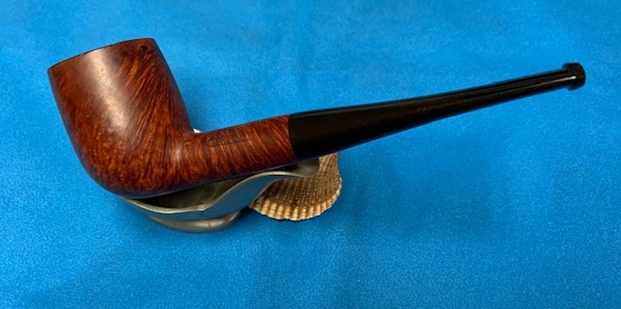
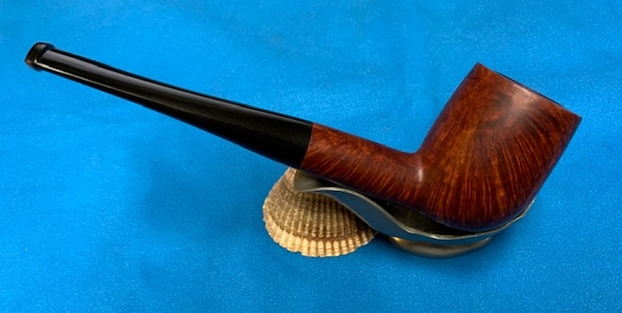
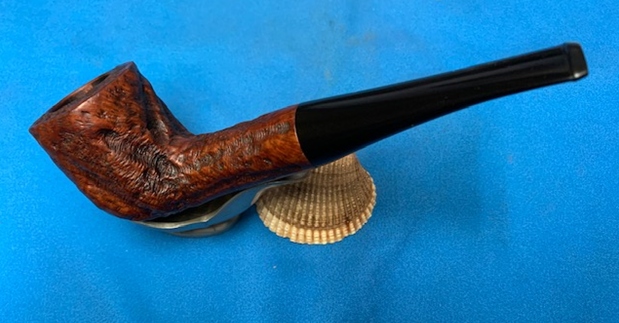
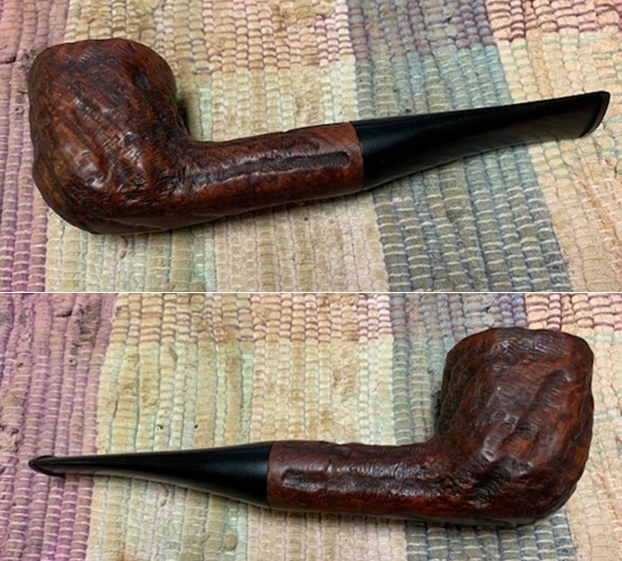
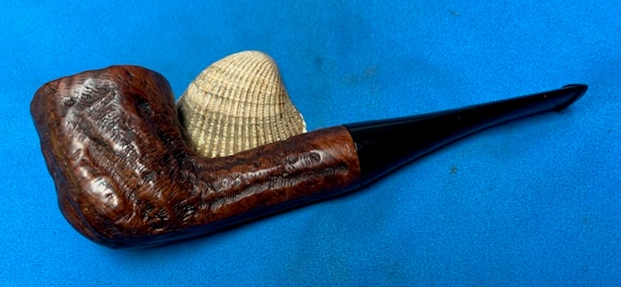
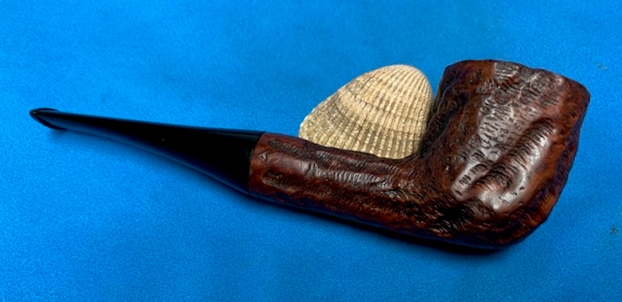
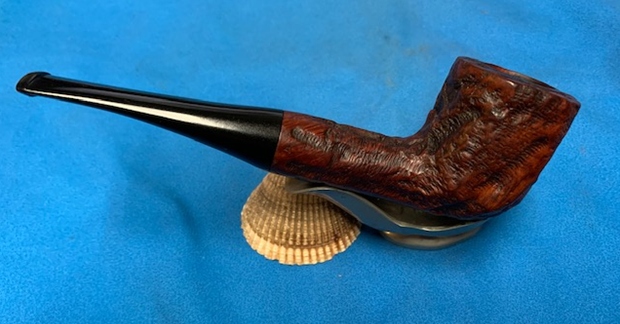
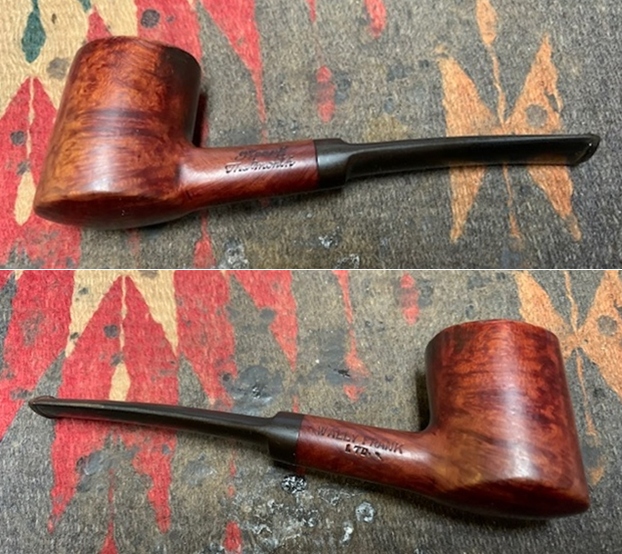
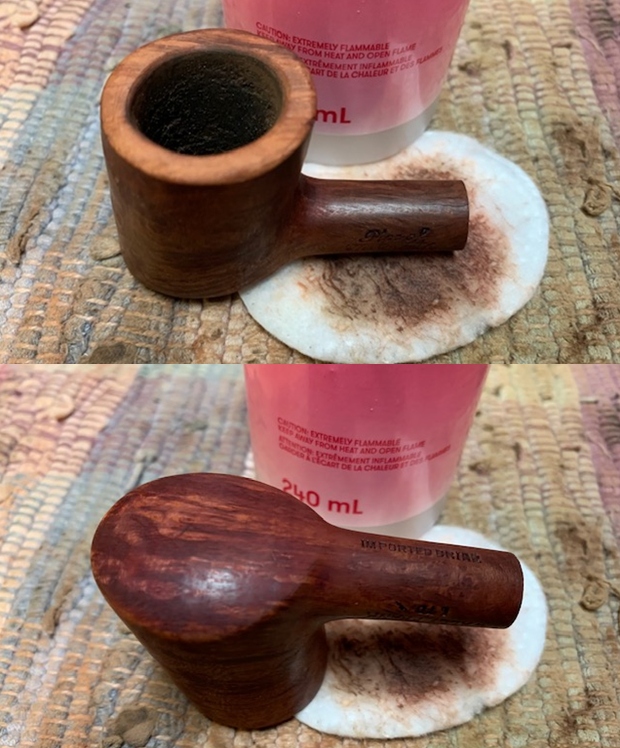
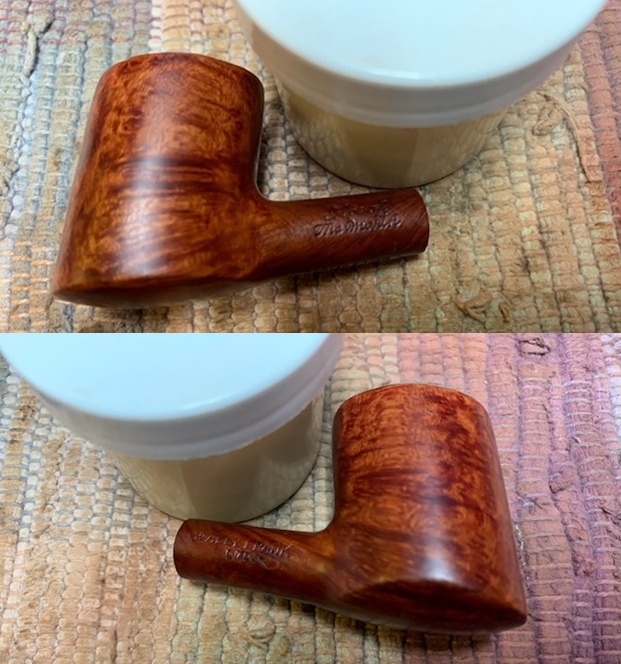
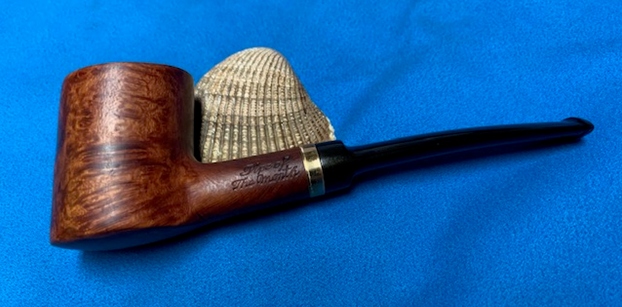
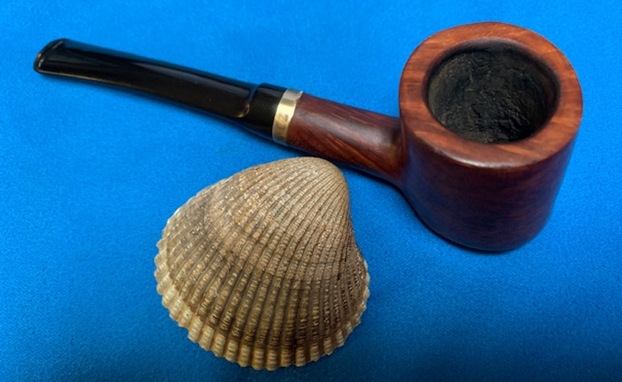
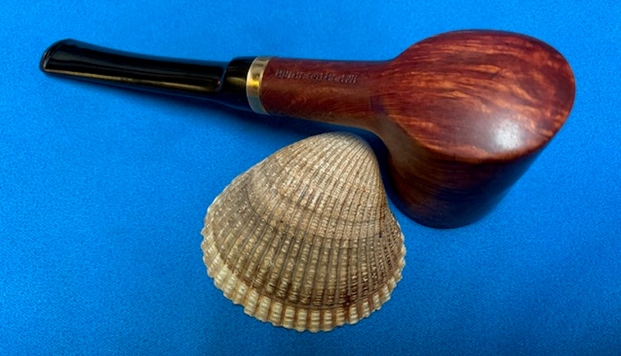
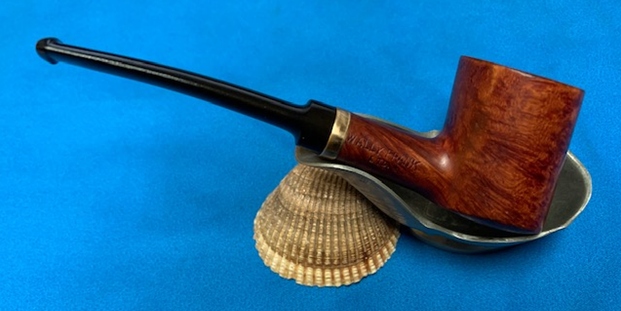
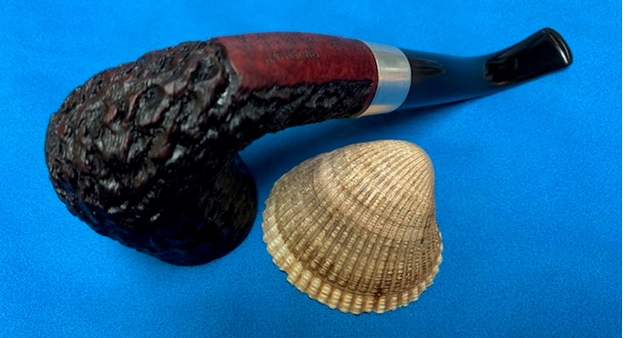
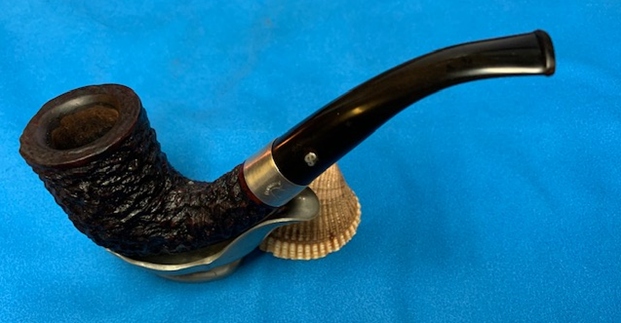
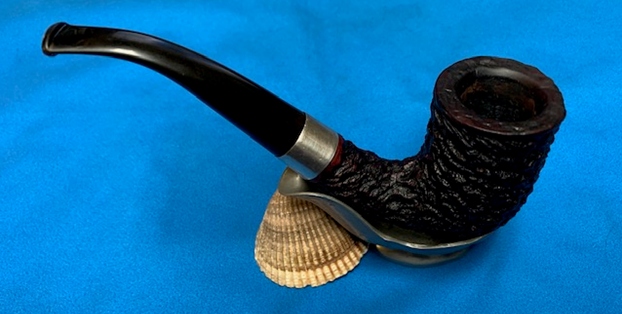
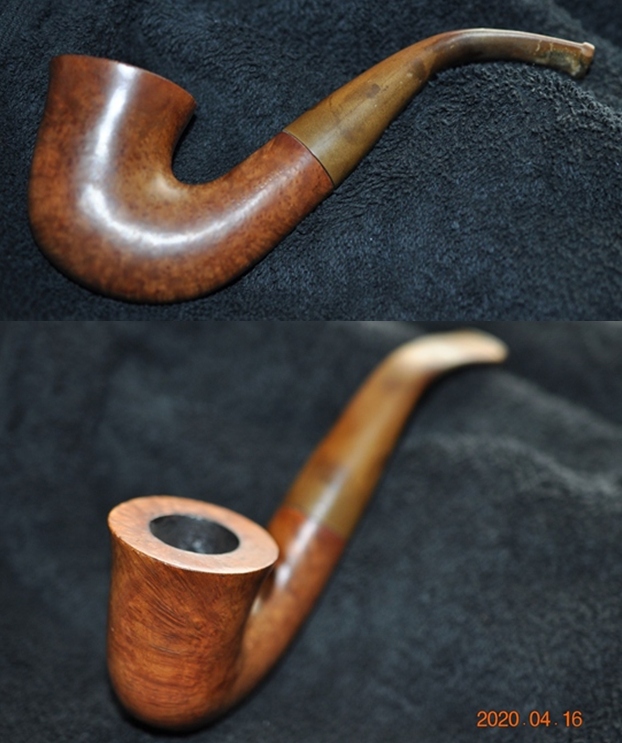
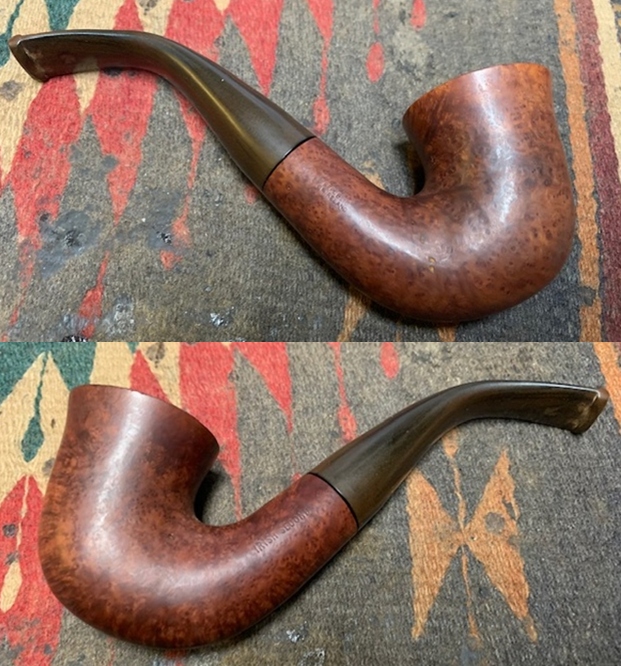
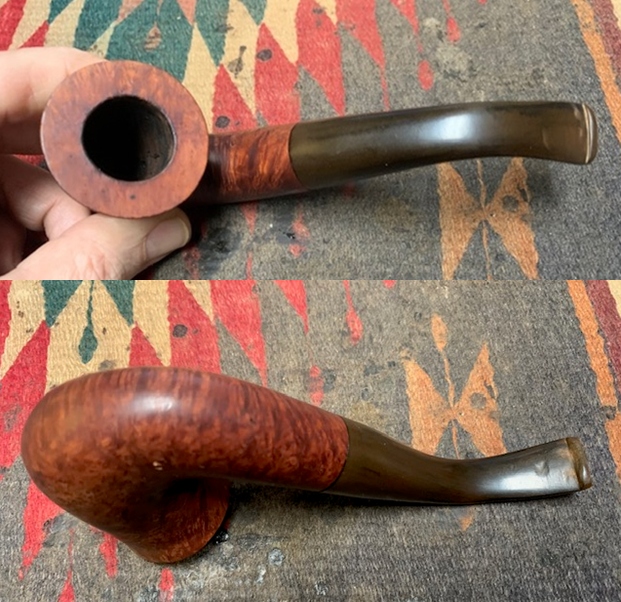
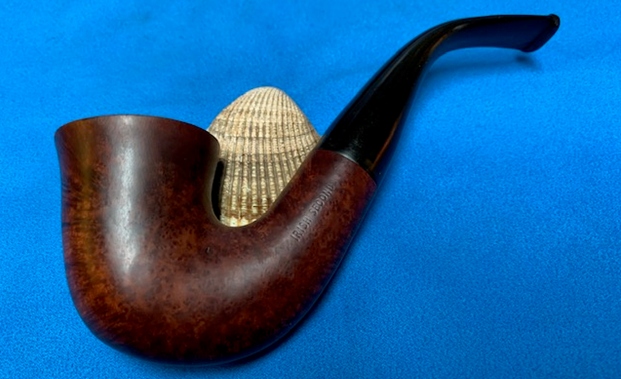
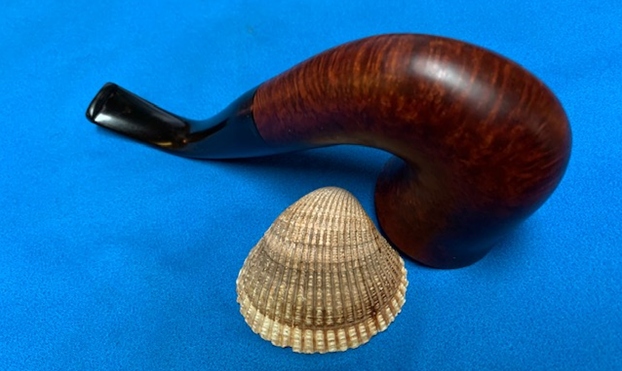
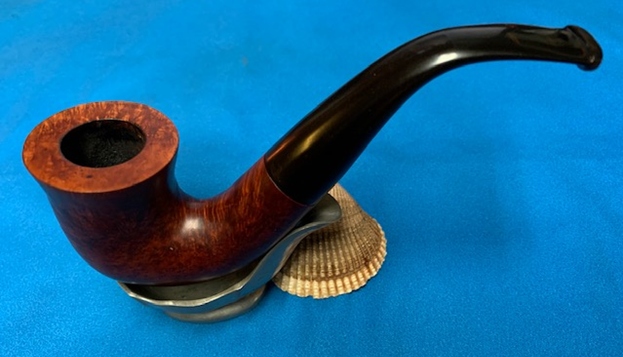
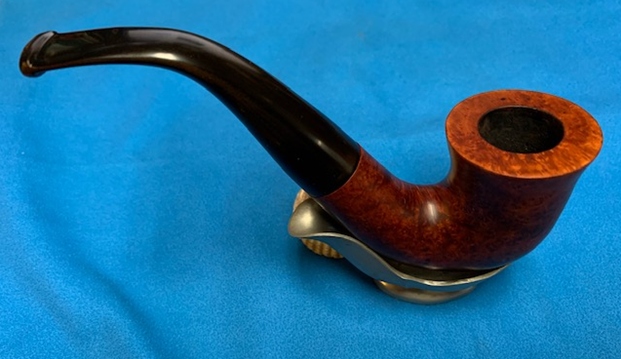
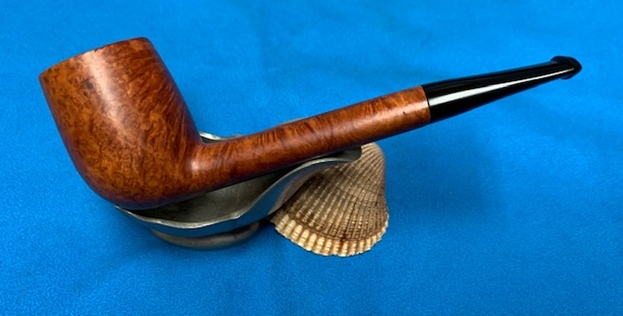
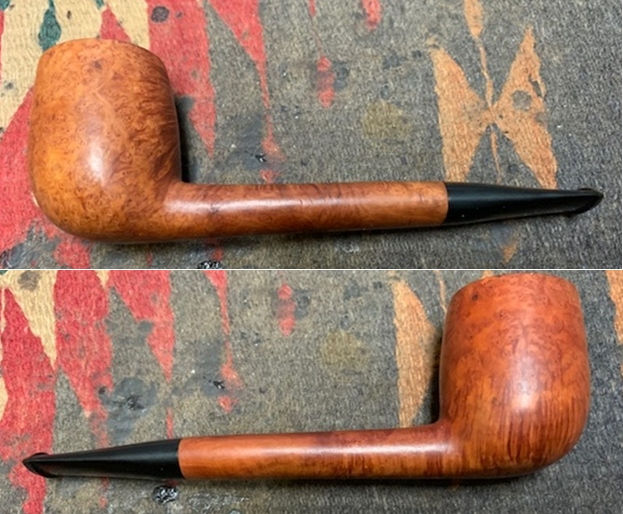
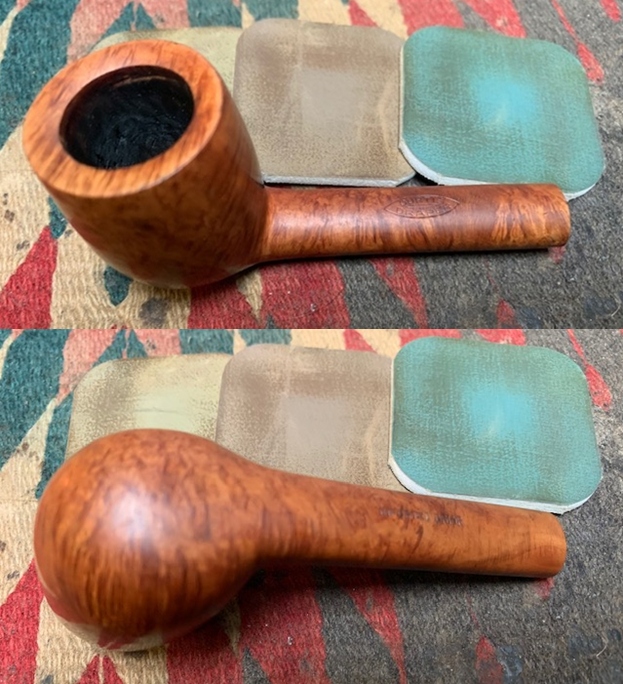
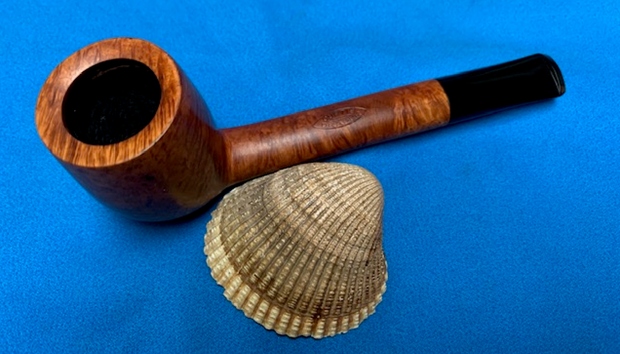
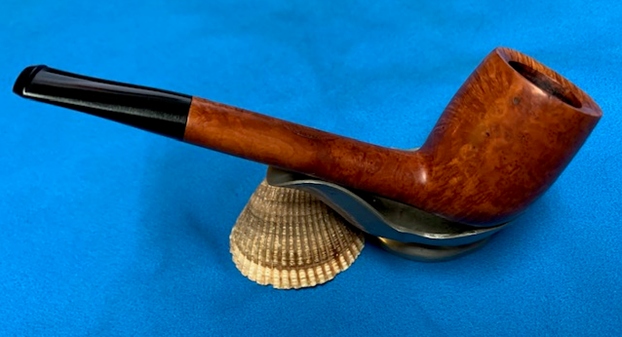
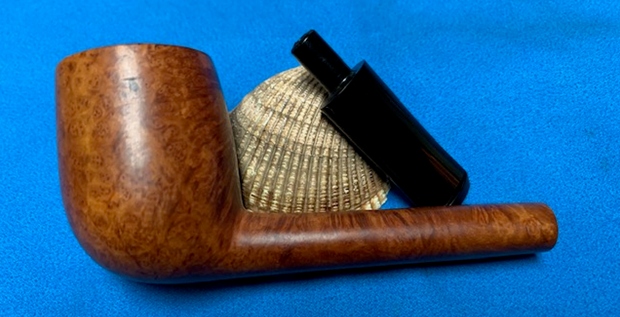
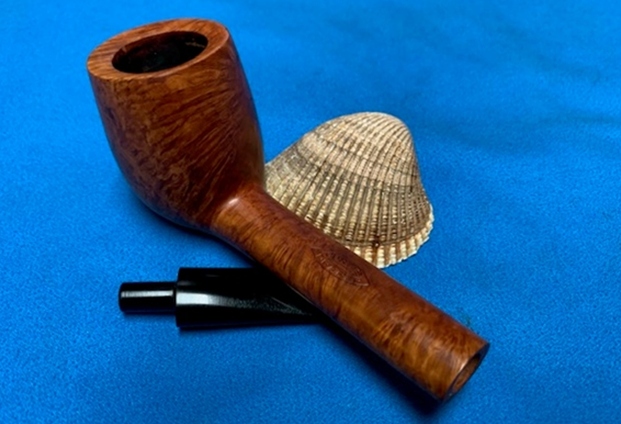
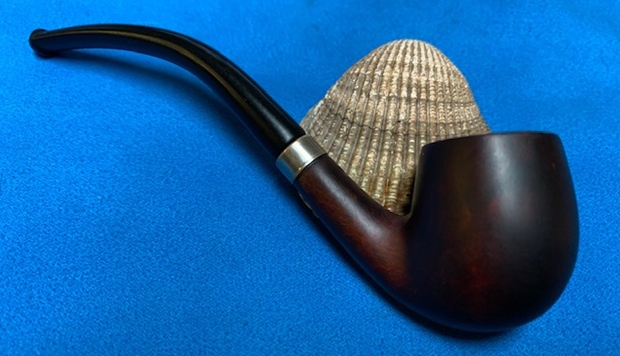
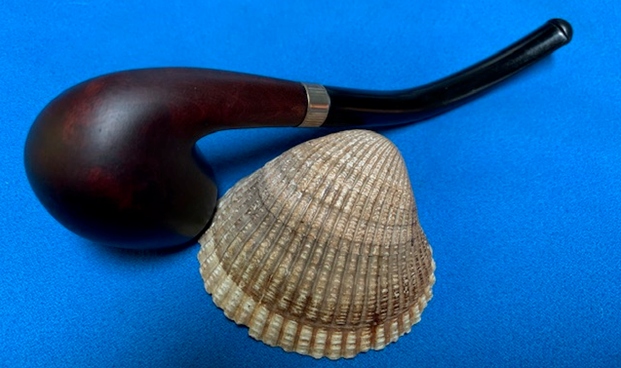
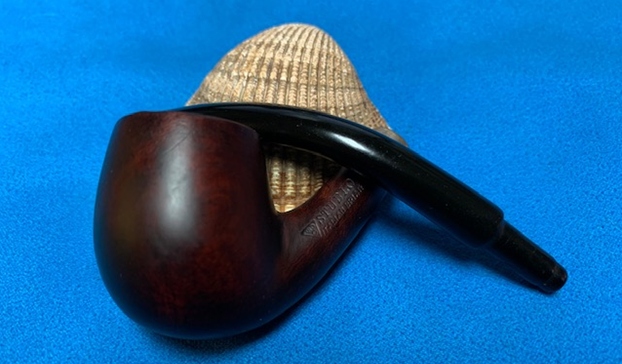
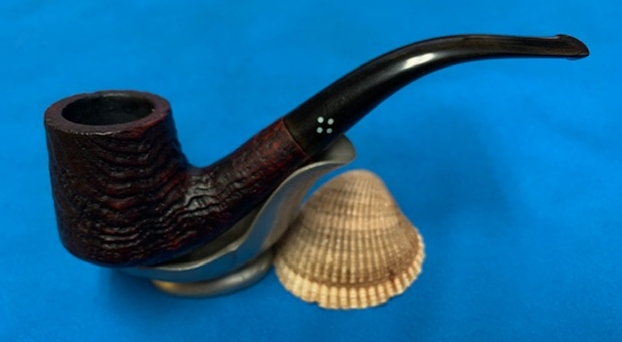
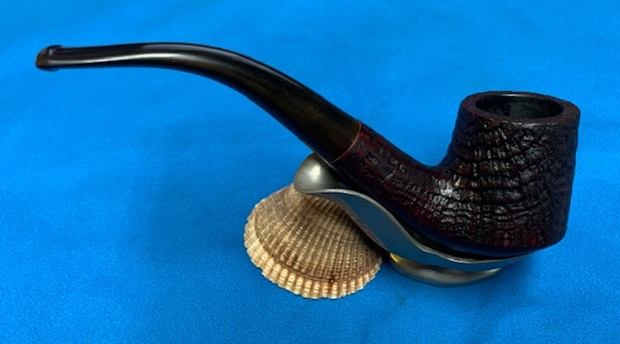
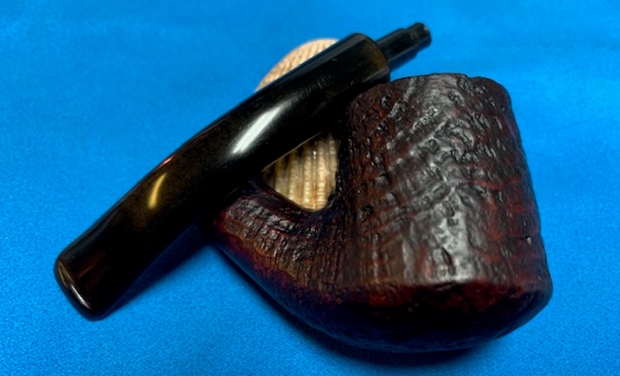
 This smooth finish Blatter of Montreal Dublin is a great looking pipe now that it has been restored. The smooth finish around the bowl is quite beautiful and highlights the grain and works well with the polished vulcanite taper stem. The repaired flaws on the top of the shank and on the heel look much better and are now smooth to touch. I put the stem back on the bowl and carefully buffed the pipe with Blue Diamond on the buffing wheel using a light touch on the briar. I gave the bowl and the stem multiple coats of carnauba wax on the buffing wheel and followed that by buffing the entire pipe with a clean buffing pad. I hand buffed the pipe with a microfiber cloth to deepen the shine. The finished Blatter Dublin fits nicely in the hand and feels great. Give the finished pipe a look in the photos below. The dimensions of the pipe are Length: 6 inches, Height: 1 ¾ inches, Outside diameter of the bowl: 1 ¼ inches, Chamber diameter: ¾ of an inch. The weight of the pipe was 30g/1.06oz. I will be putting it on the rebornpipes store shortly. Thanks for reading this blog and my reflections on the pipe while I worked on it. There are many more to come!


