Blog by Steve Laug
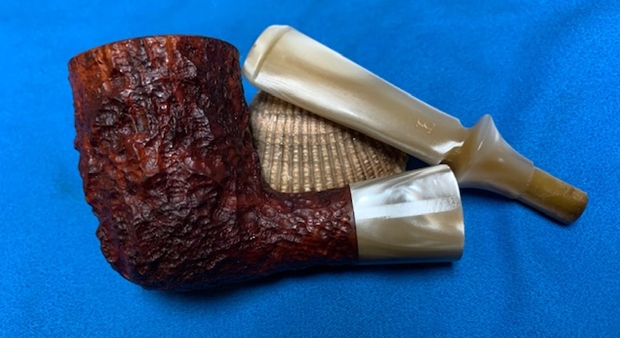
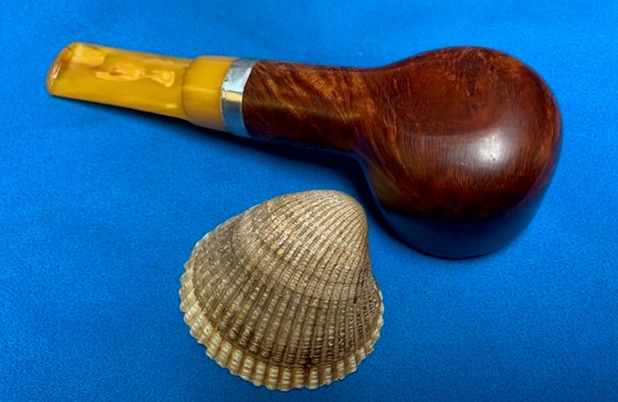
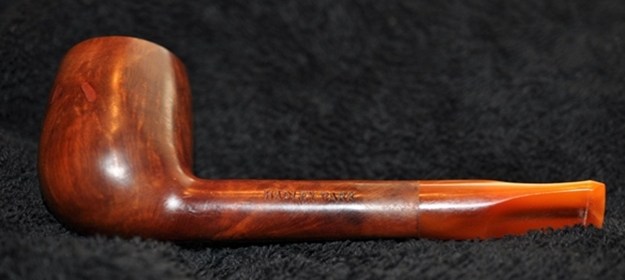
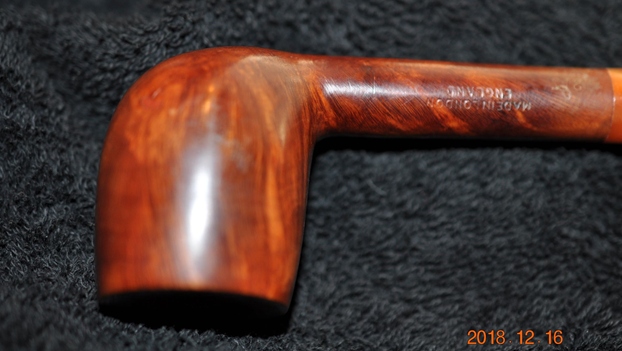
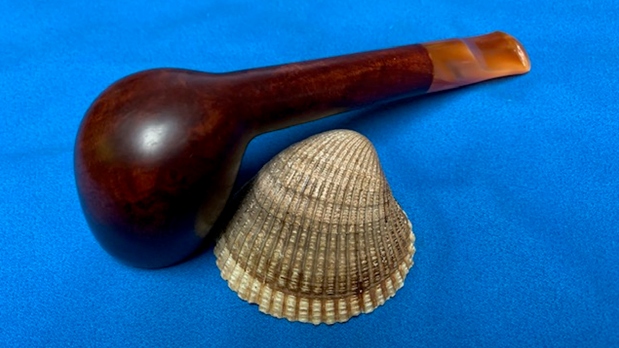
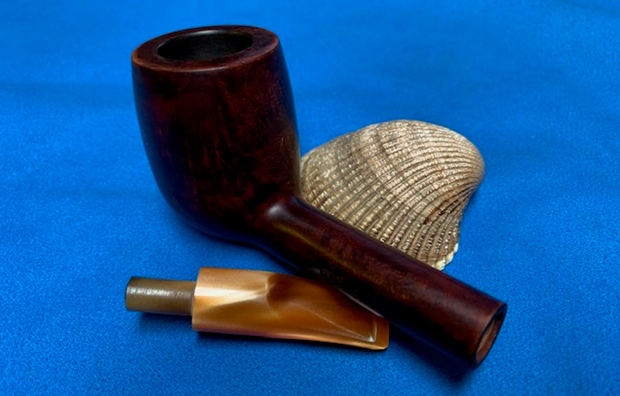
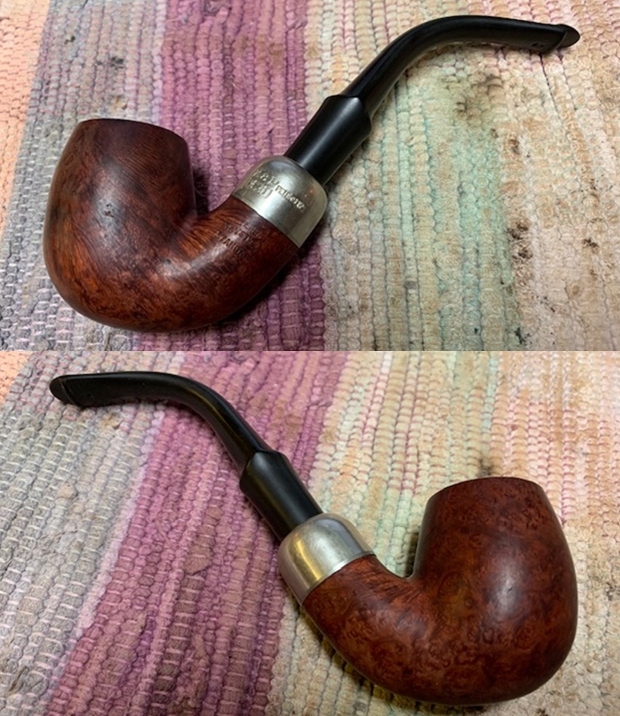
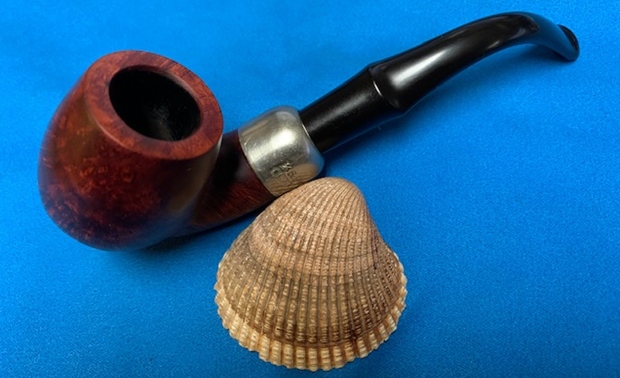
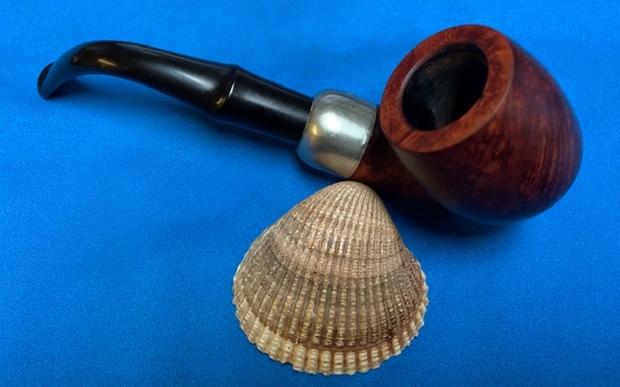
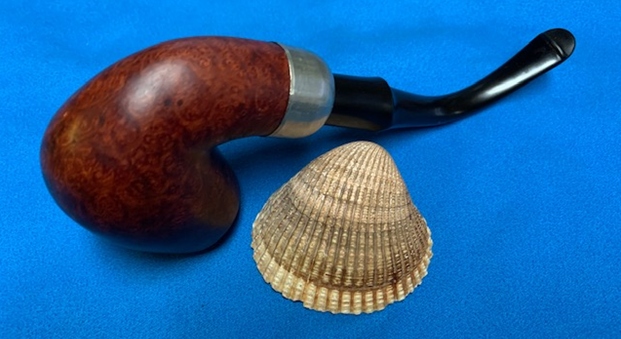
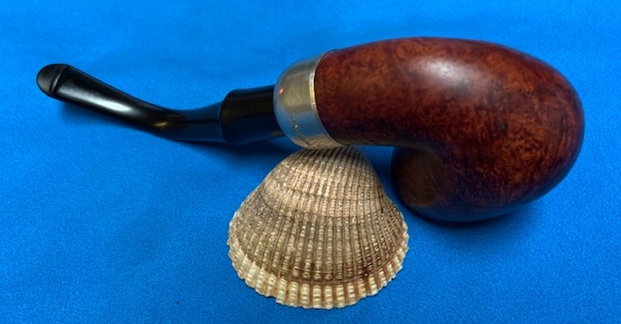
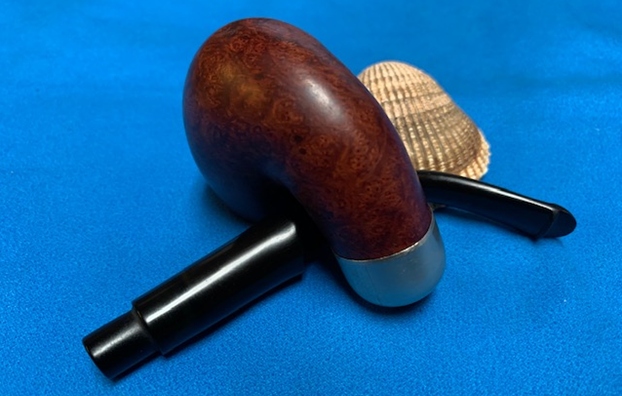
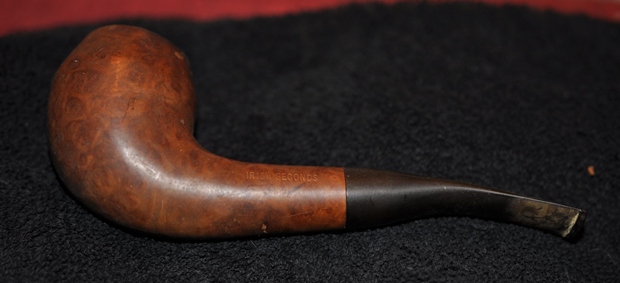
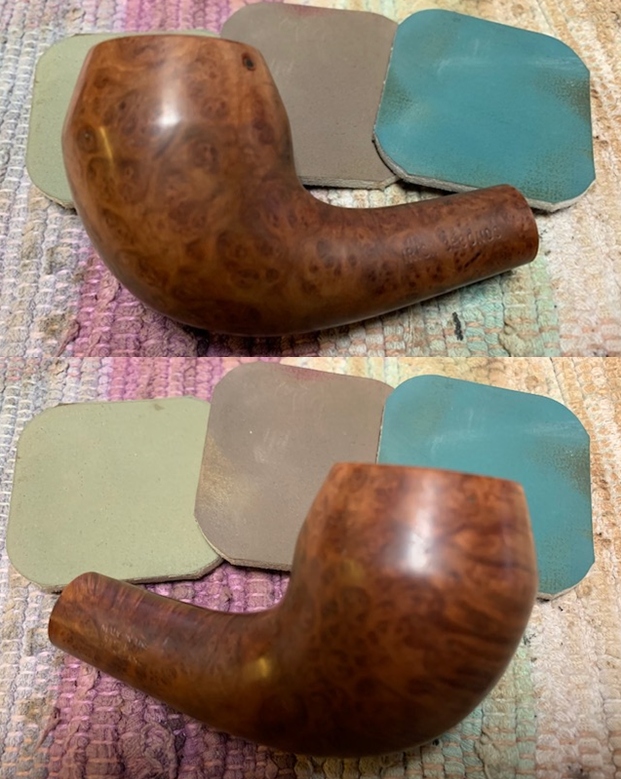
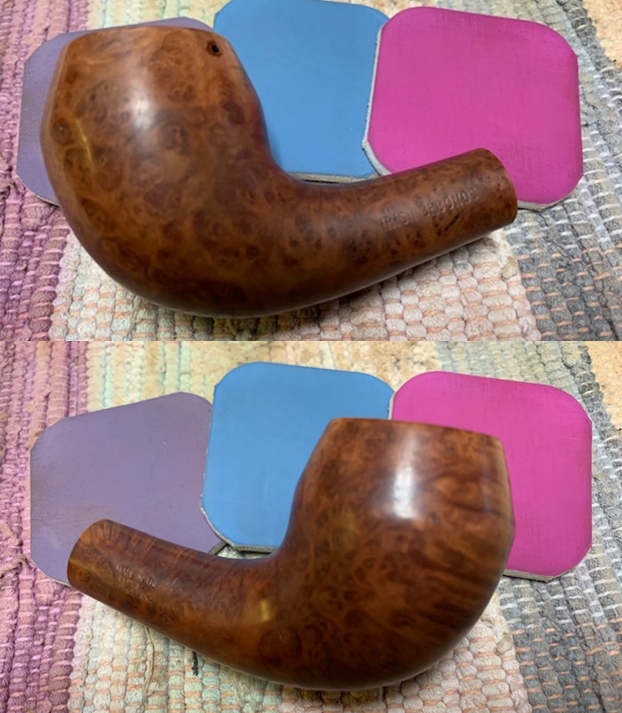
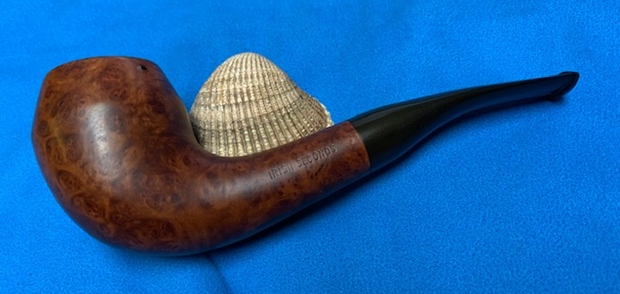
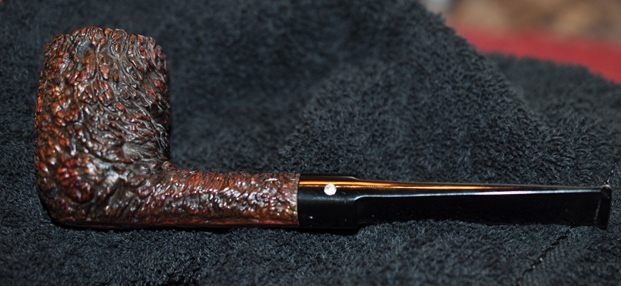
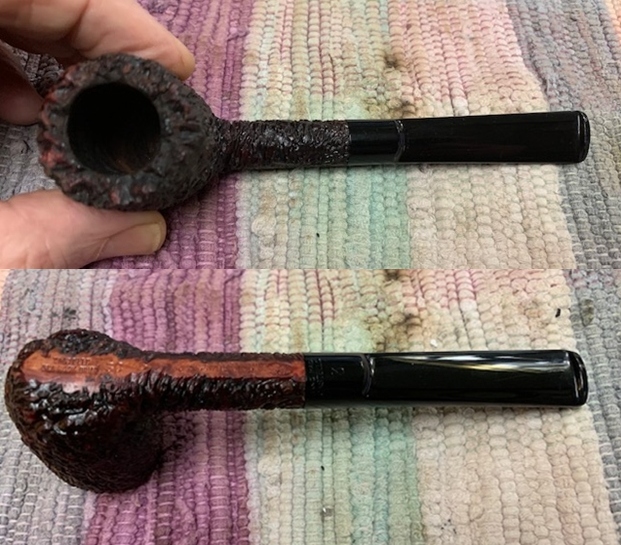
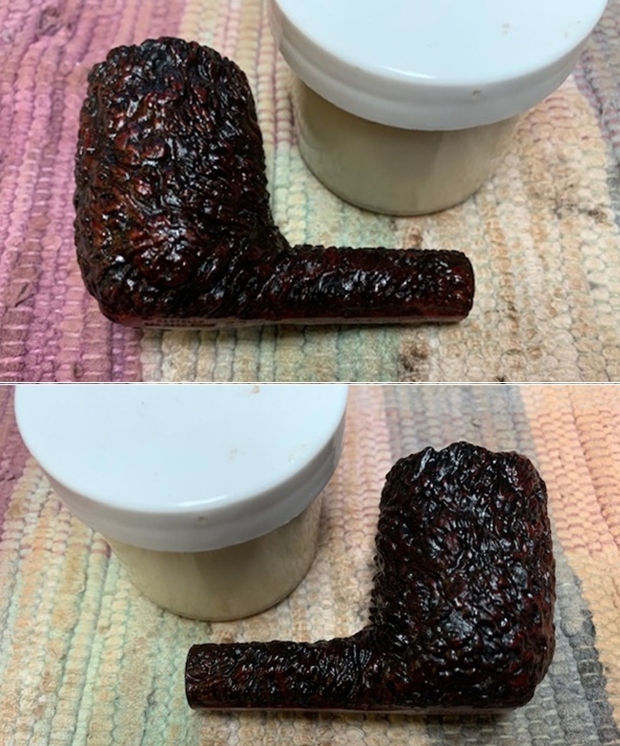
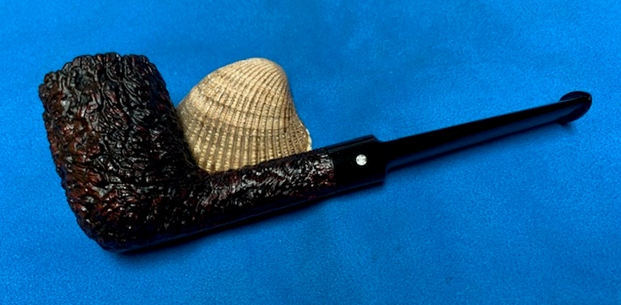
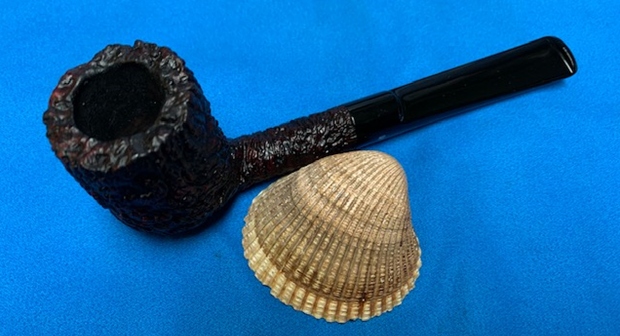
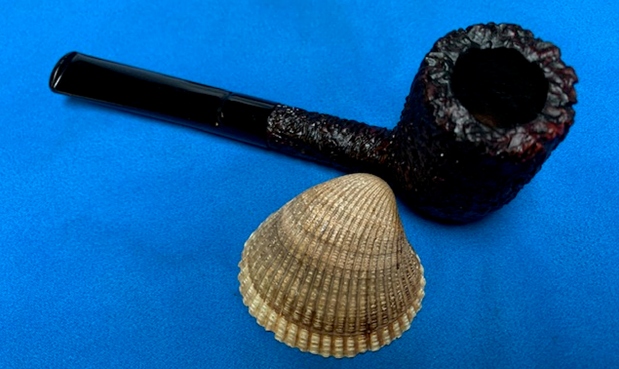
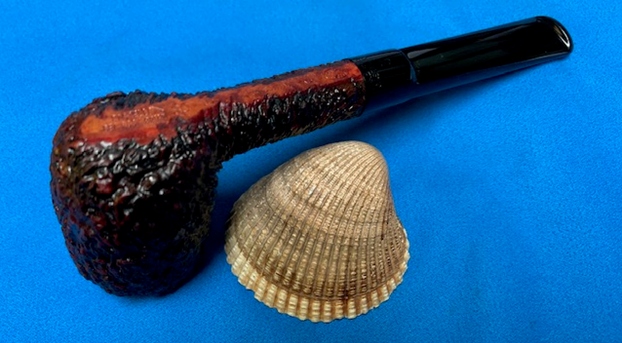
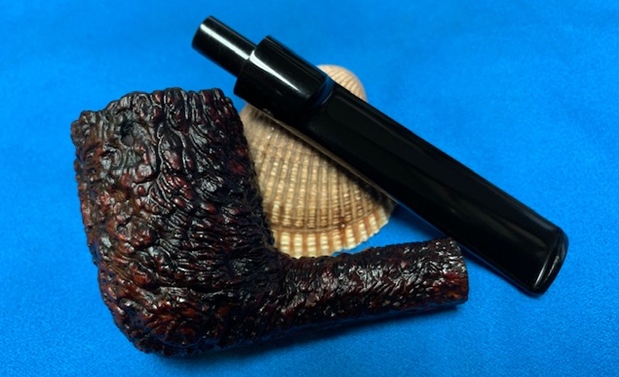
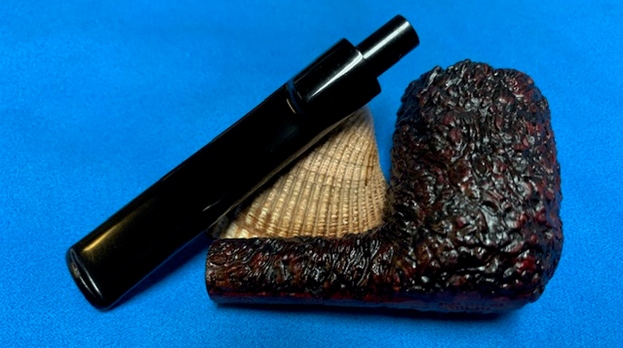
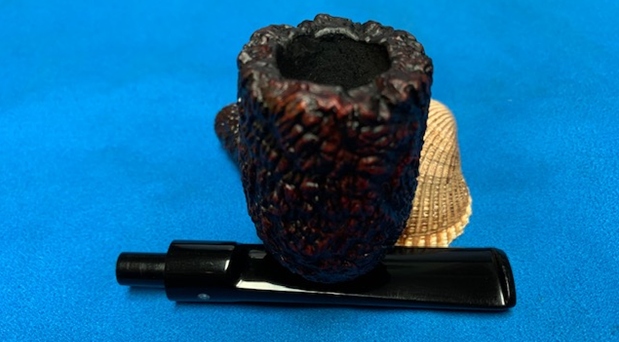
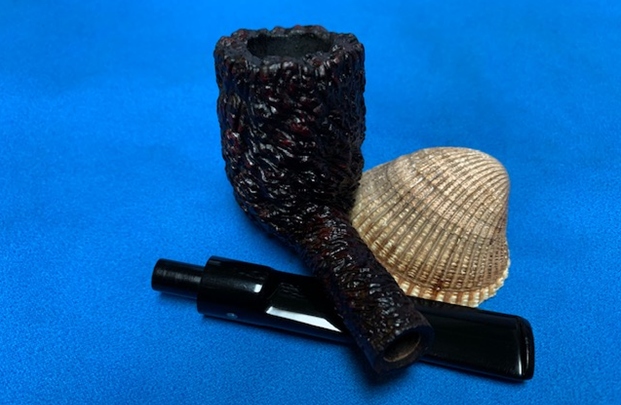
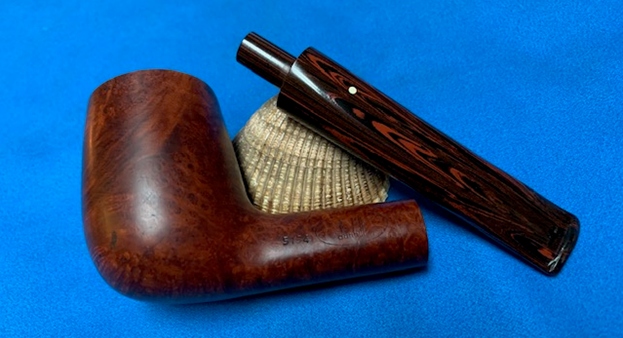
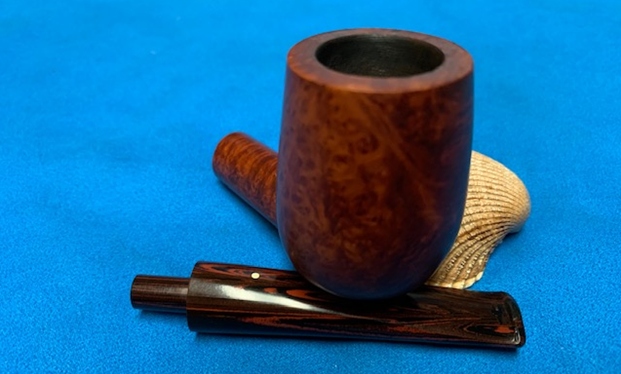
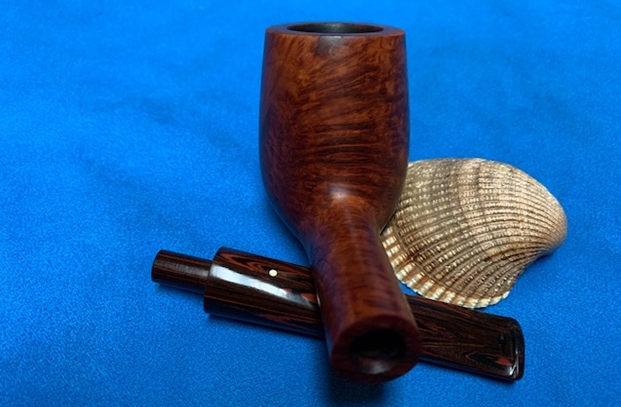
The next pipe on my work table is a Savinelli made Estella that my brother purchased 2 years ago at an antique shop in Pocatello, Idaho, USA. It is stamped on the heel of the bowl on a smooth patch – Estella over Non Pareil over 9128 with the Savinelli S shield next to that and Italy to the left of that very faintly stamped. There was also an upper case E on the top of the stem. The rugged rustication on the bowl and shank looked to be dirty or at least had darkening where the hand of the previous owner had wrapped around the bowl. The thick cake in the bowl had overflowed on to the rim top and left behind a thick black mess. It was hard to know what the inner edge of the bowl looked like because of the thickness of the cake and lava. The outer edge of the bowl looked very good. The Lucite shank extension and the matching Lucite stem in grey, brown and ivory tones looked really good – from the side view. The stem had light tooth chatter on both the top and underside near the button. Jeff took photos of the pipe before he started his cleanup work.
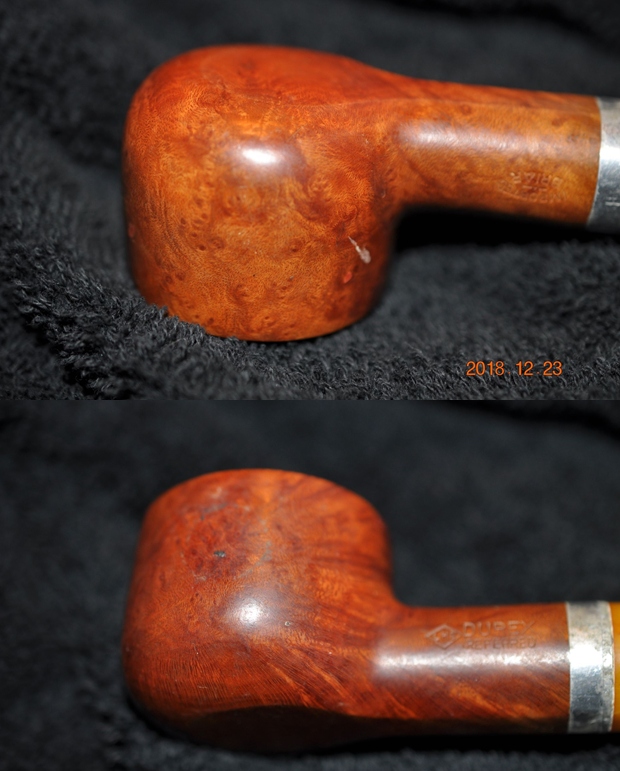
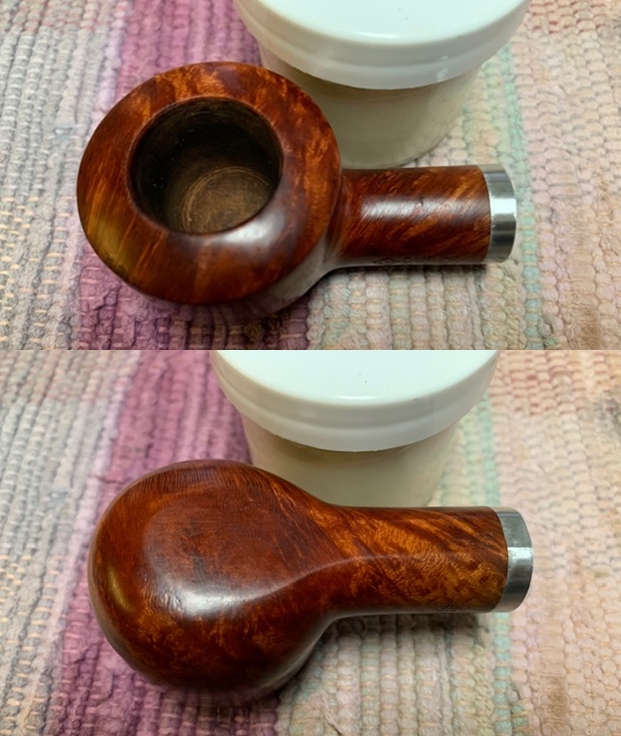
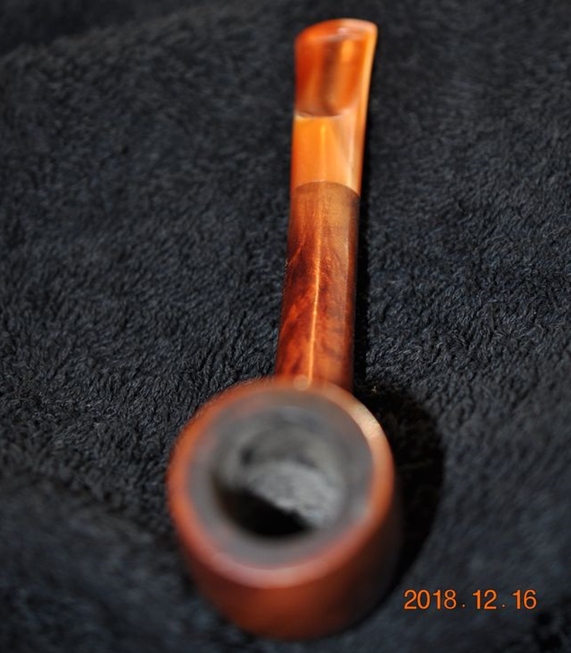
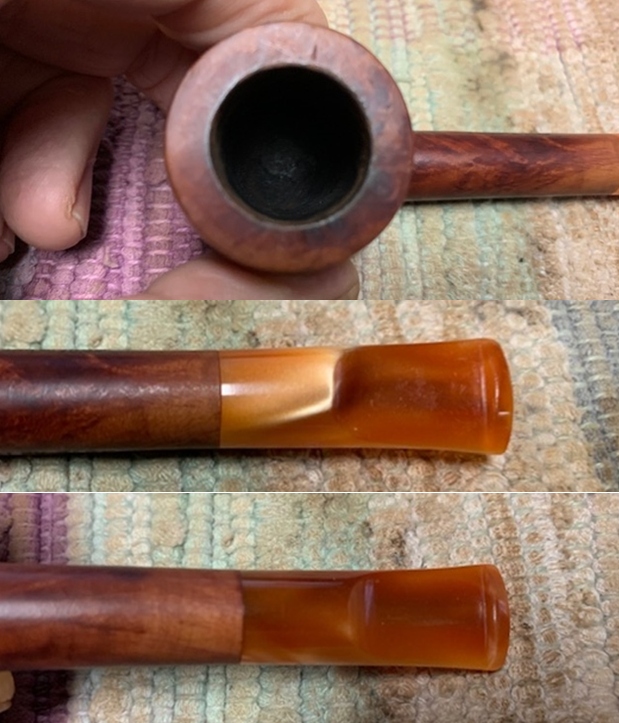
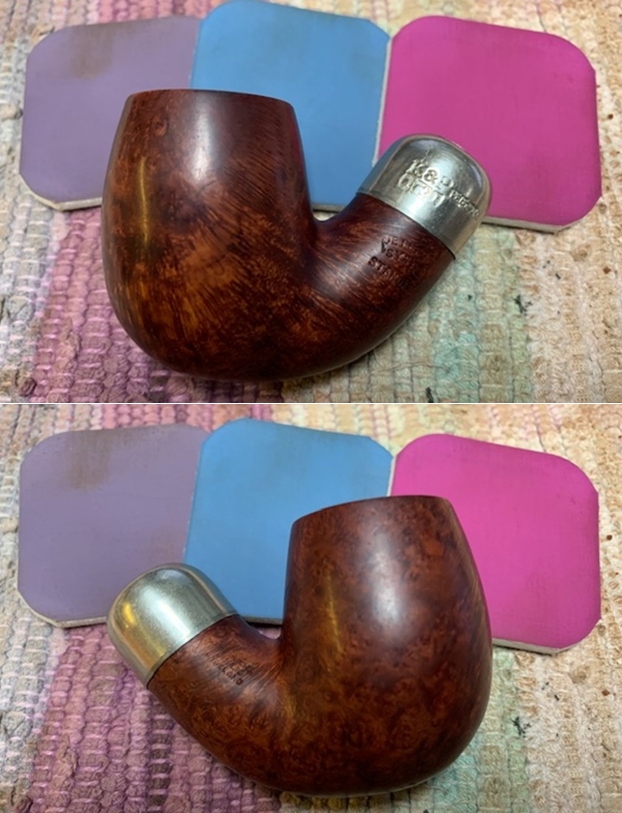
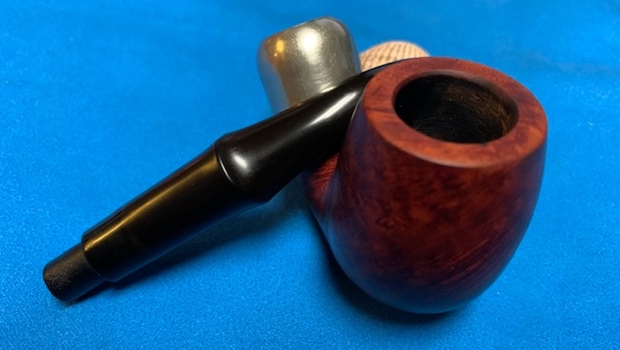
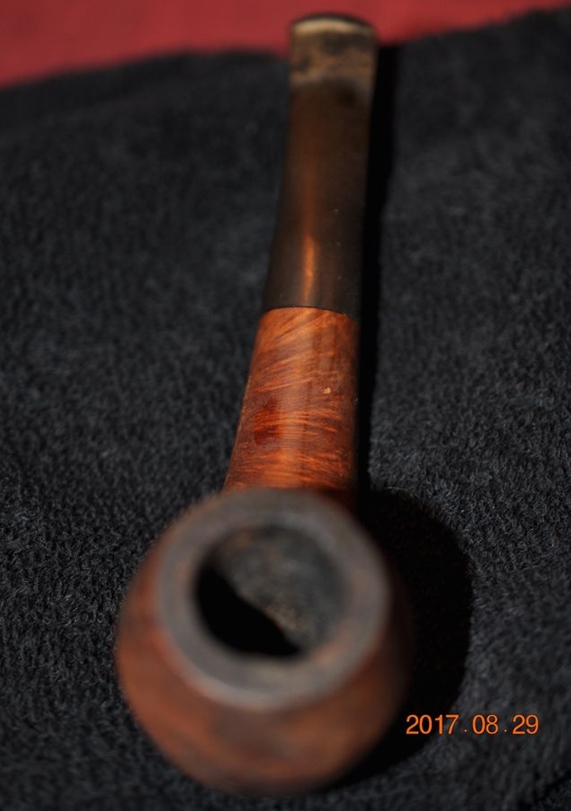
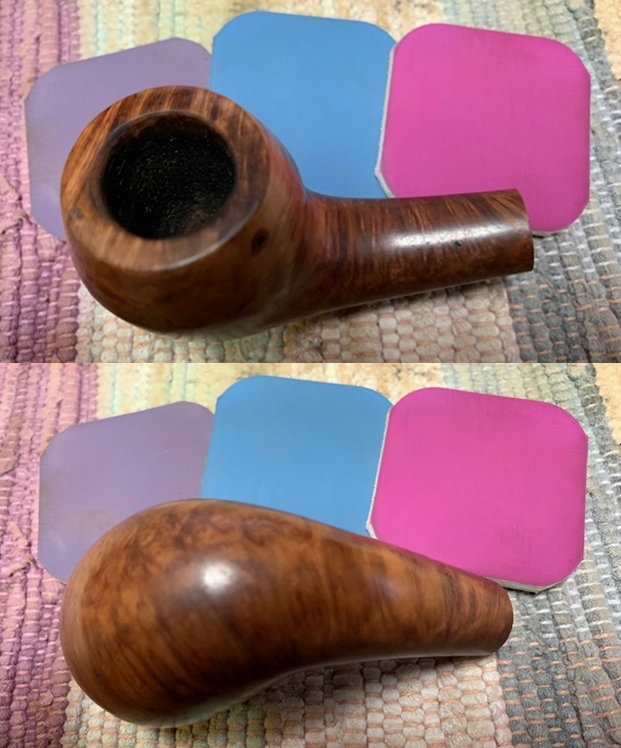
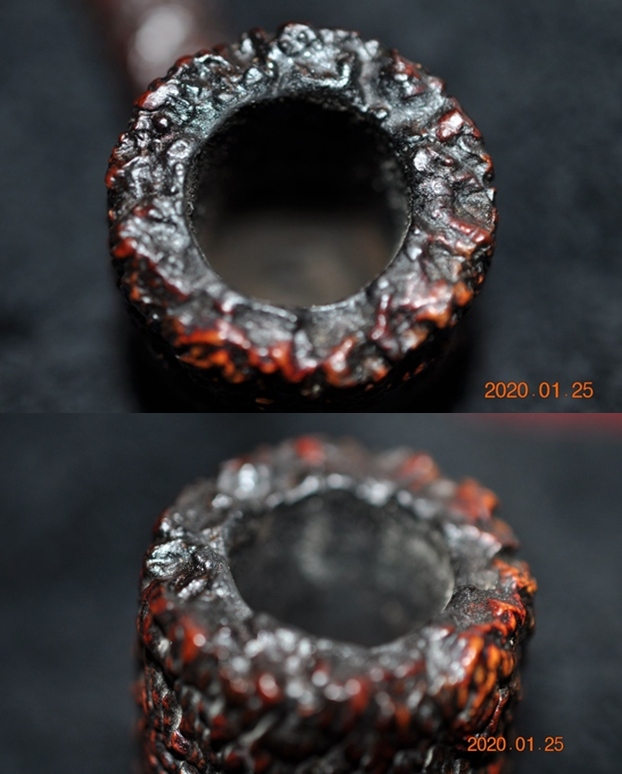
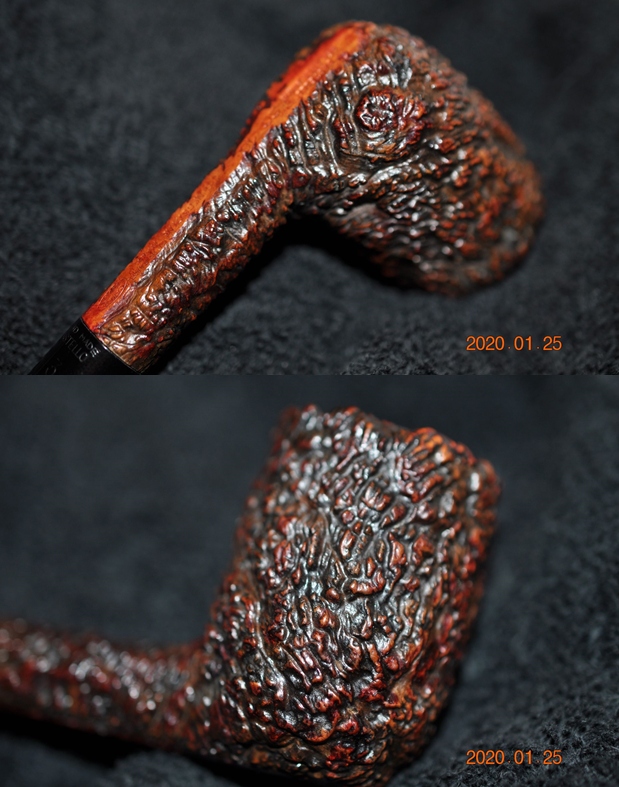
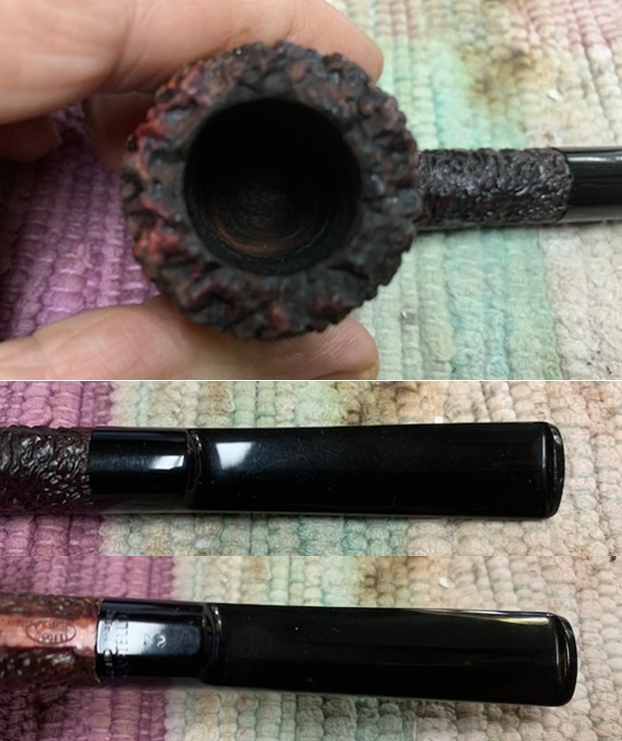
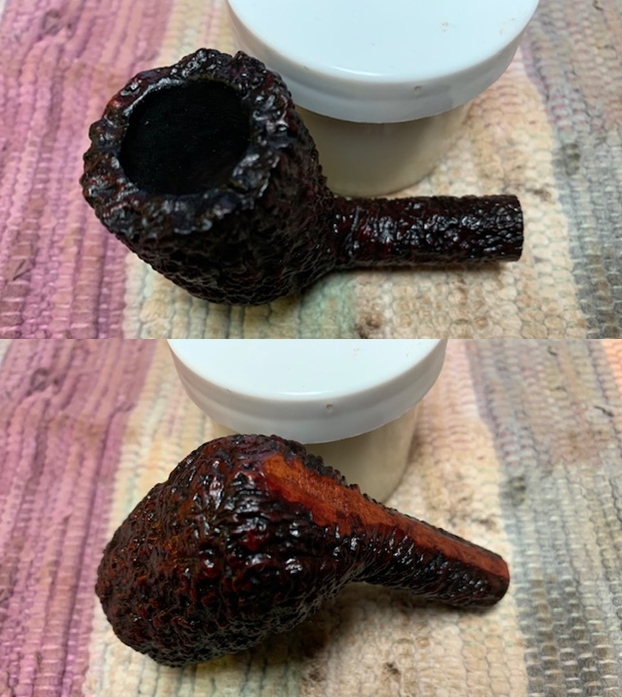
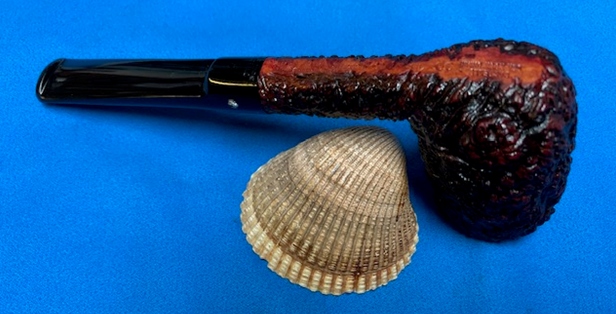
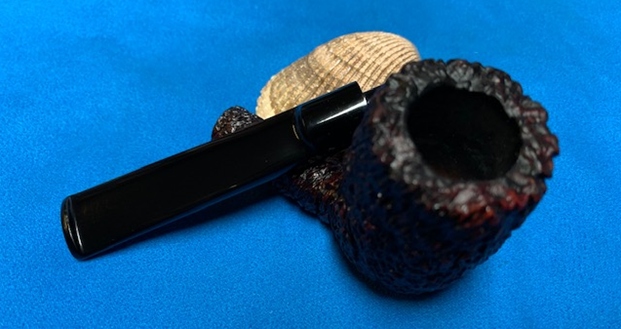
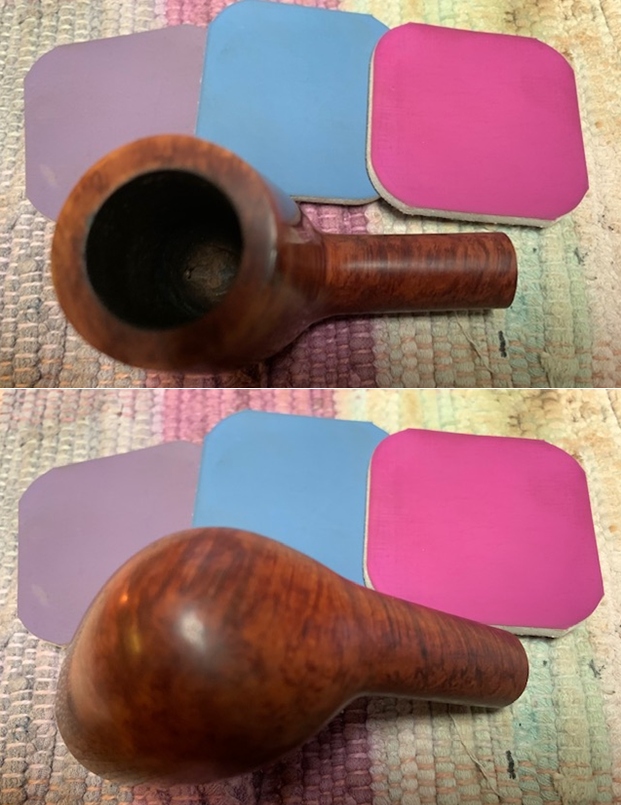
 The close up photos of the rim top and bowl show the condition of the pipe. You can see the thick cake in the bowl and the thick lava on the rim top. The stem is in decent condition with light tooth marks and chatter on both sides and the button surface.
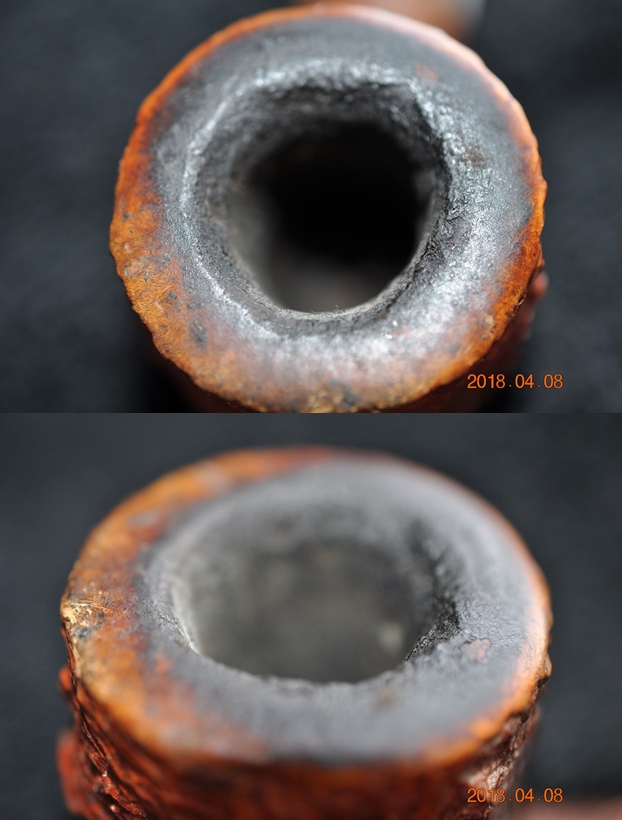
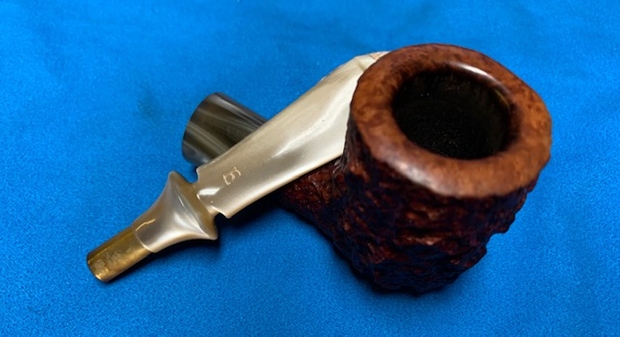
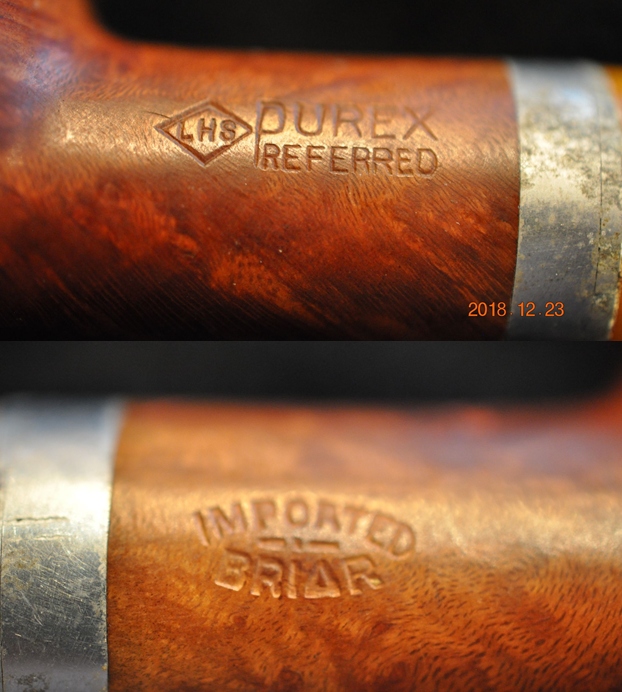
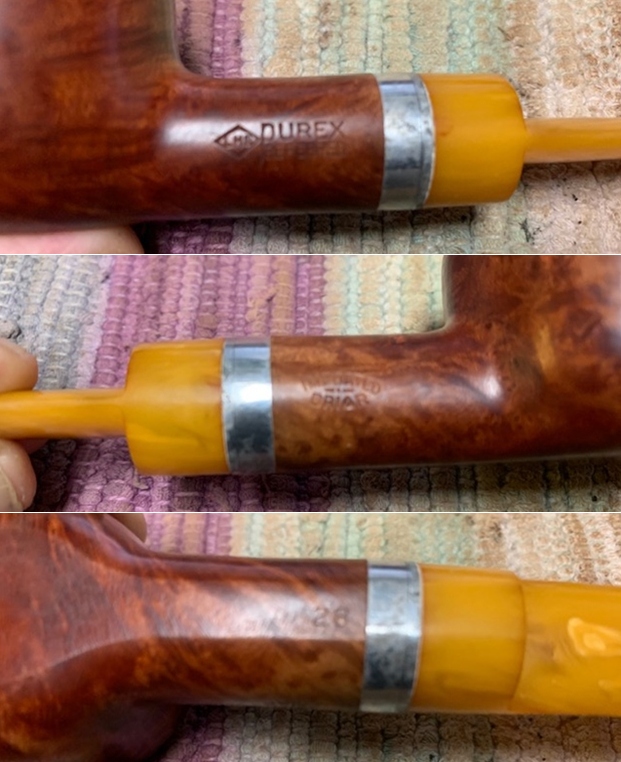
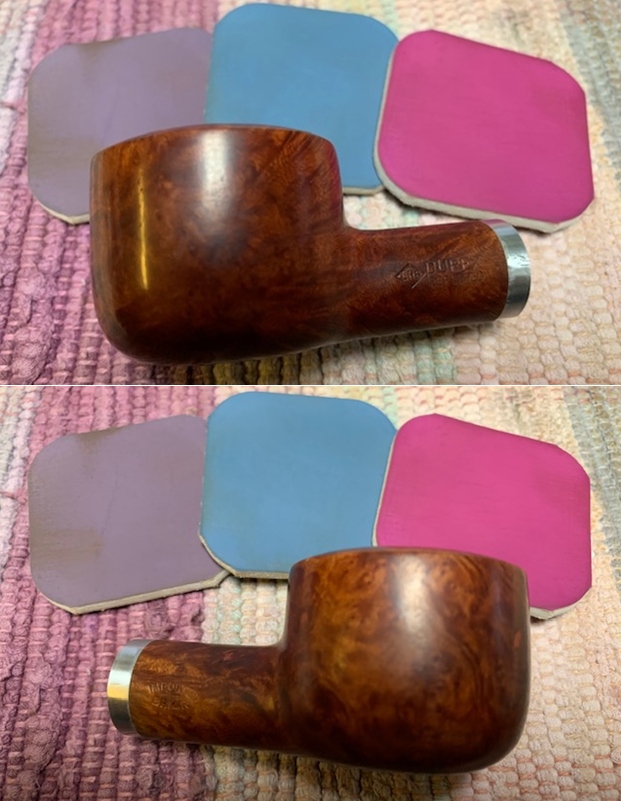
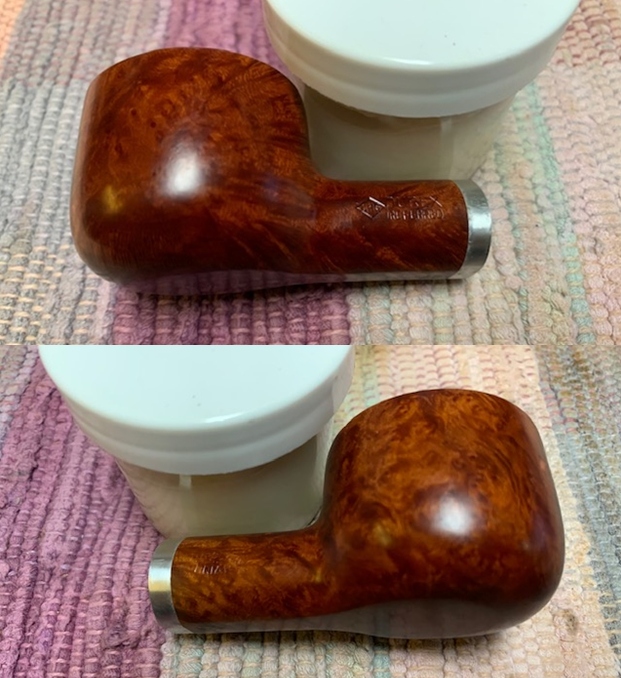
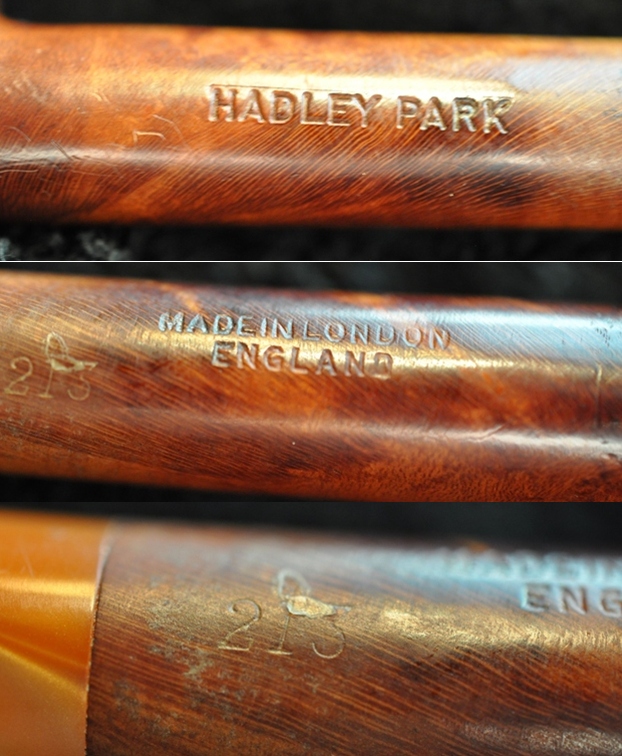
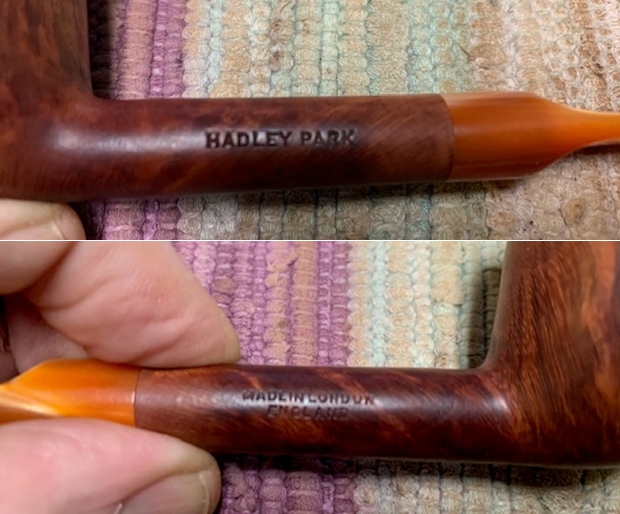
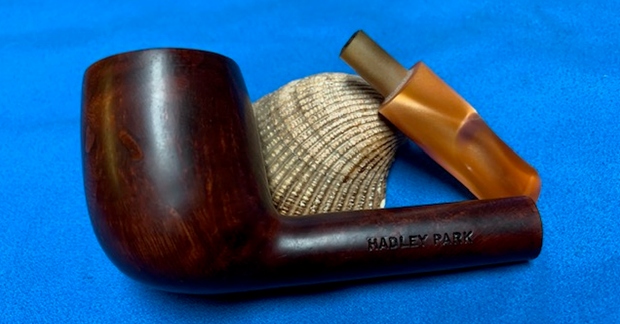
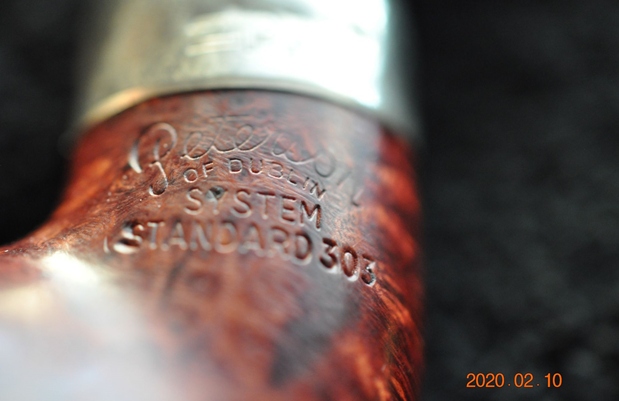
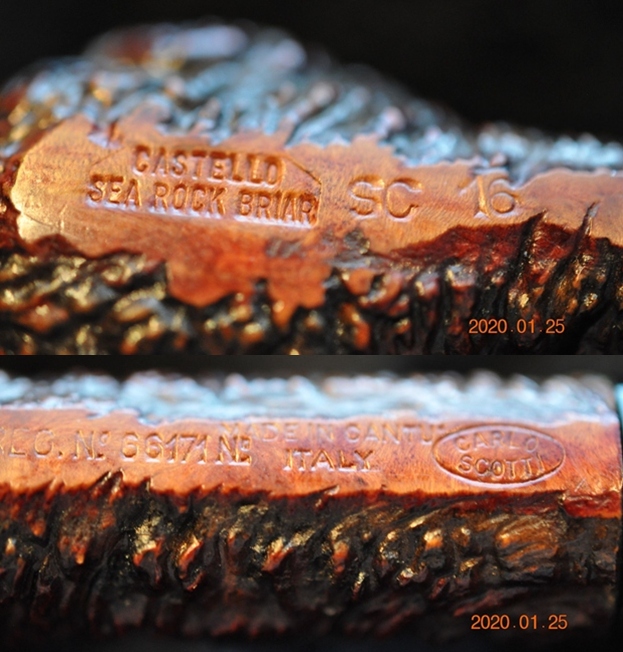
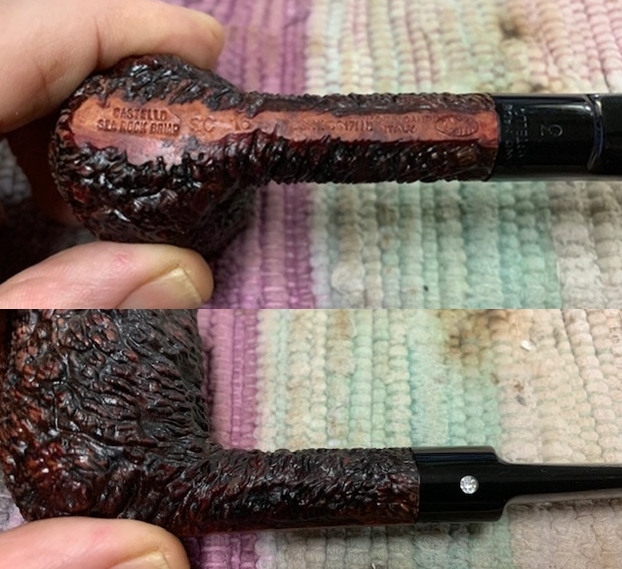
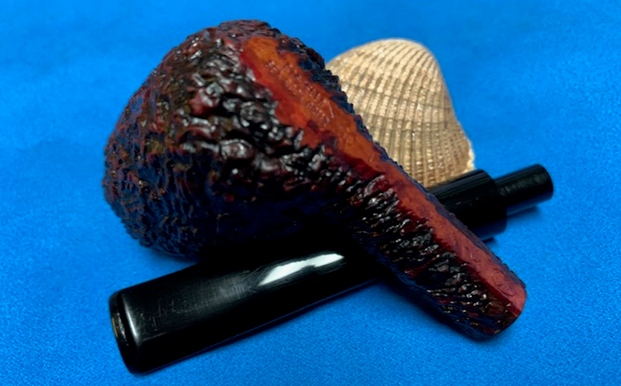
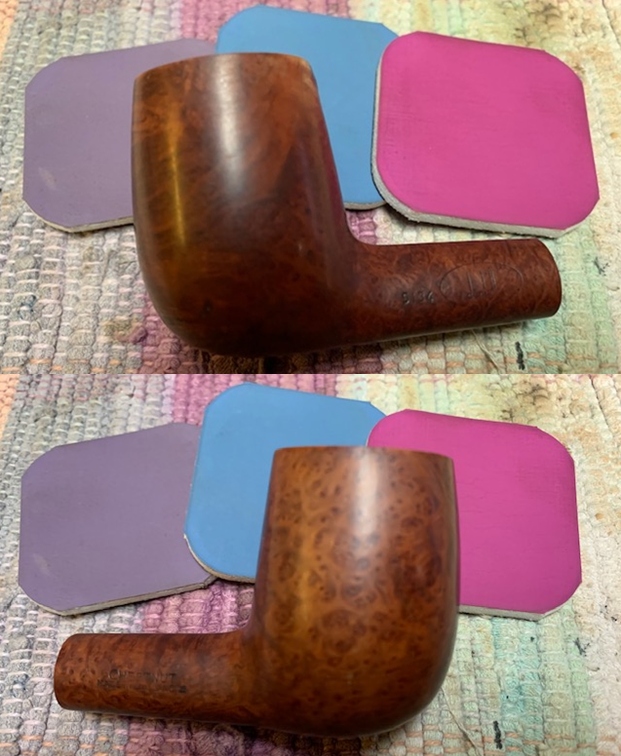
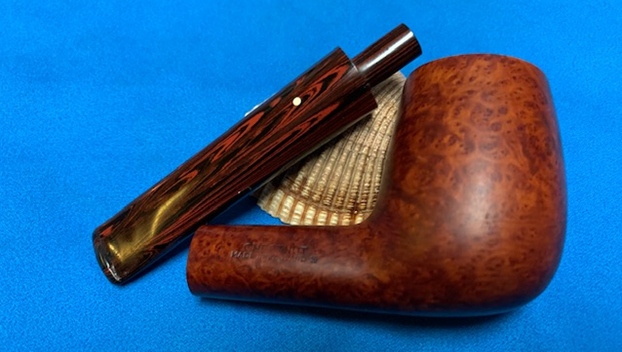
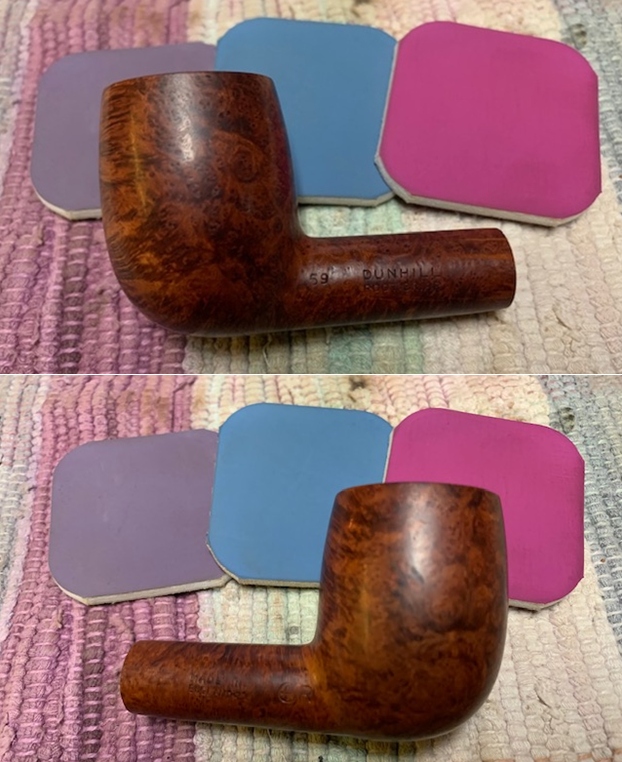
 The next photo shows the stamping on the bottom of the bowl and the shank extension. Other than the S shield logo pointing to a link between Estella and Savinelli the stamping on the Lucite shank extension certified the connection. There was also an uppercase E on the top of the stem.
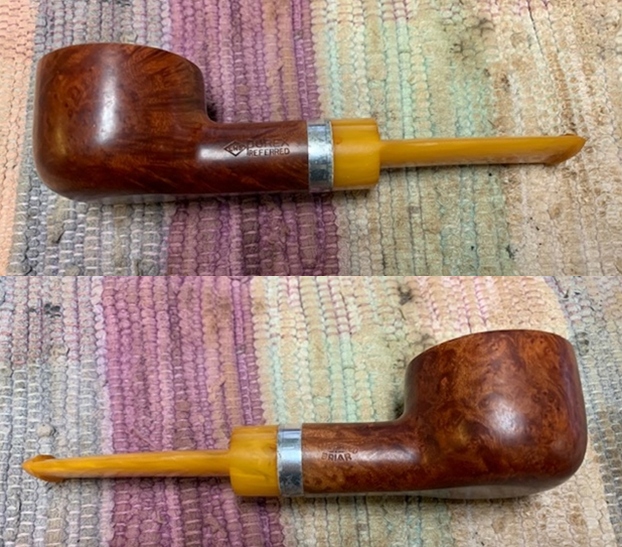
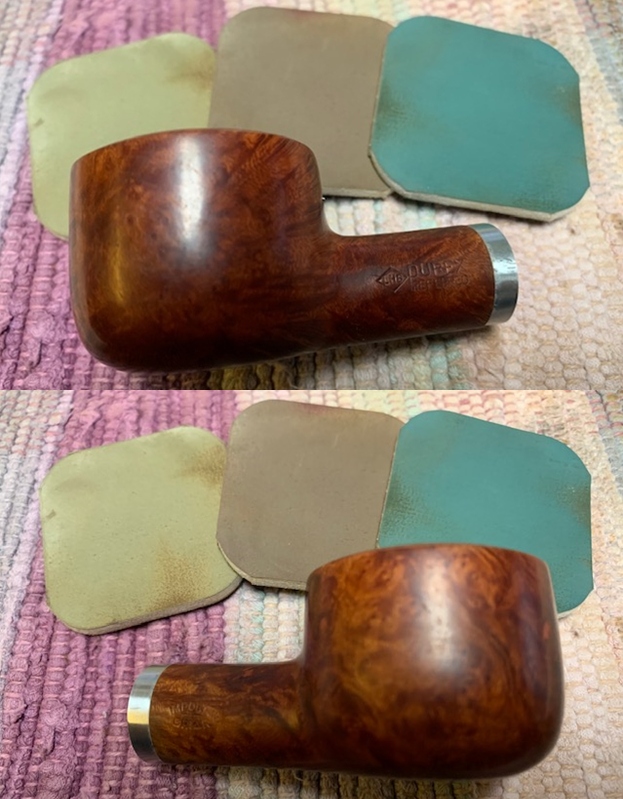
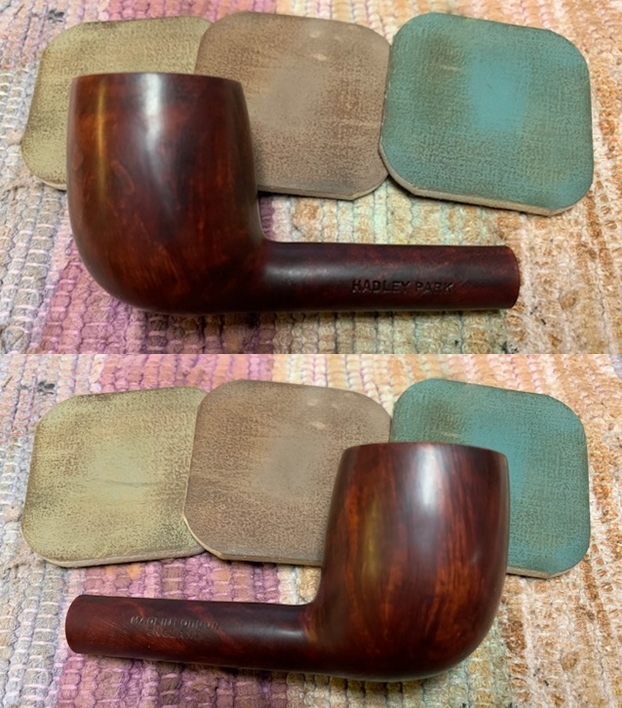
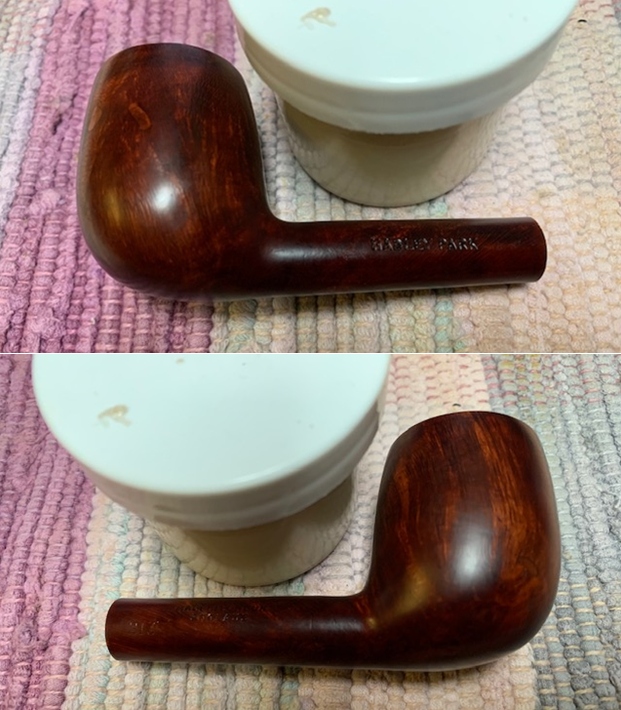
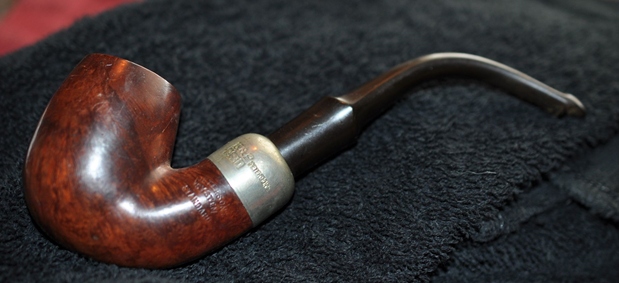
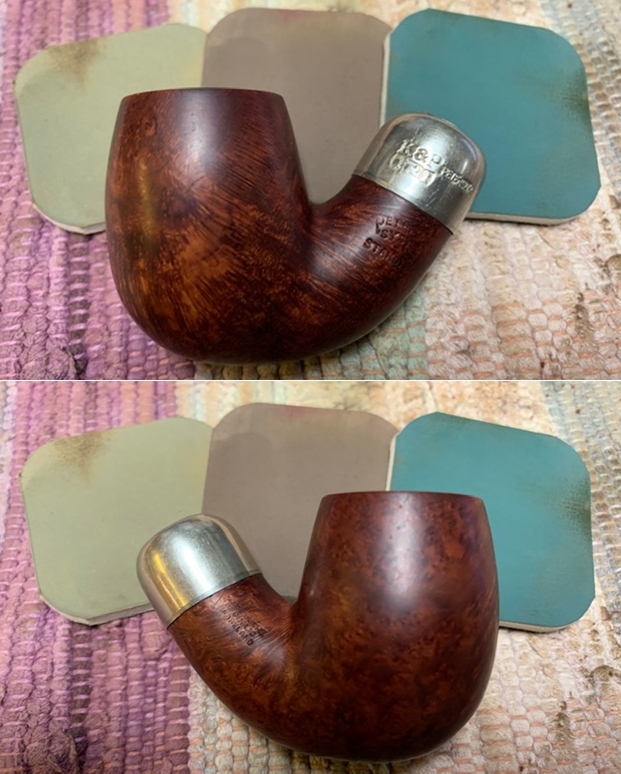
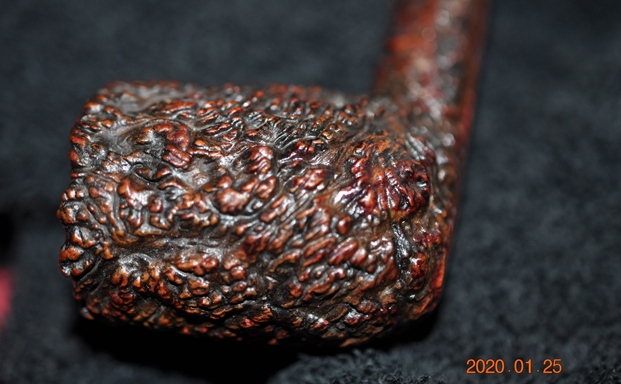
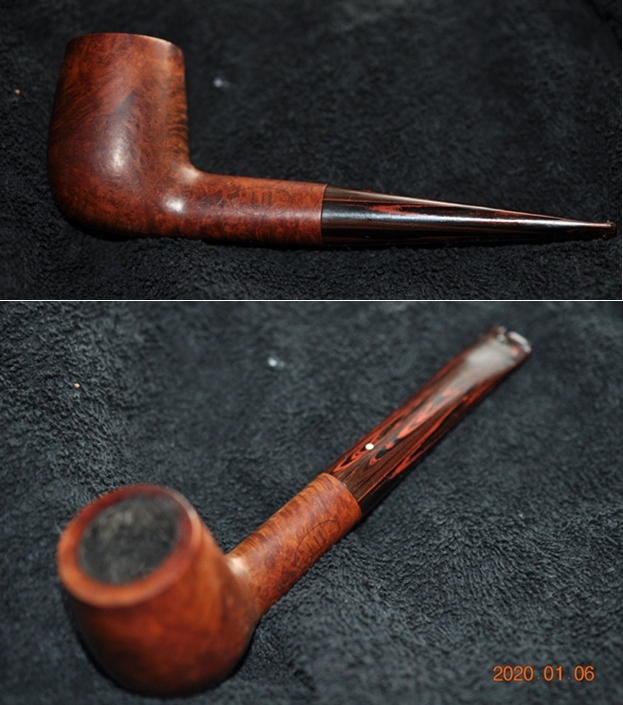
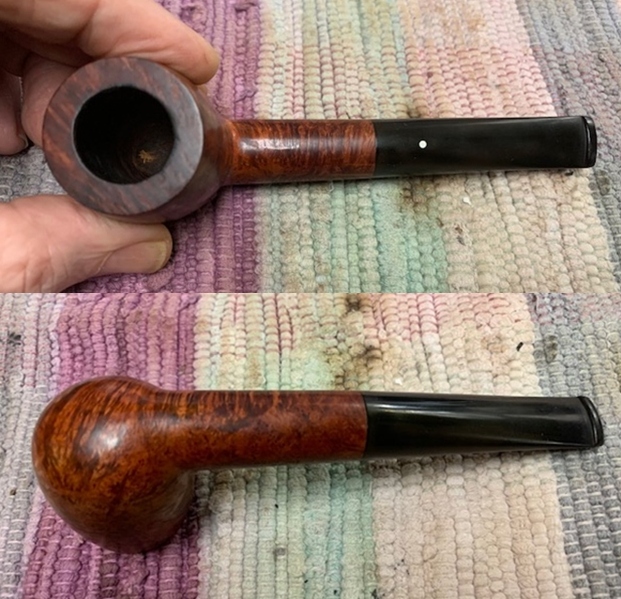
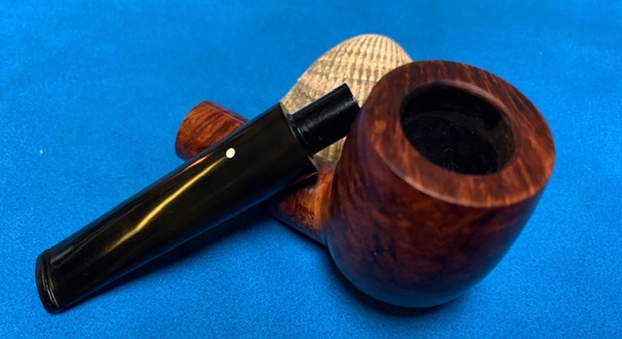
 My brother did his usual thorough clean up on the pipe. He reamed the bowl and scrubbed the externals with Murphy’s Oil Soap and a soft tooth brush. He was able to remove all of the buildup on the rim top. It looked better but there was some burn damage on the inner edge of the rim all the way around the bowl as well as some darkening on the top of the rim. He cleaned the internals of the mortise and the airway in the shank and the stem with pipe cleaners and alcohol. He wiped down the stem so that when the pipe came to me it was ready to restore. The next four photos show the pipe when I brought it to my work table.
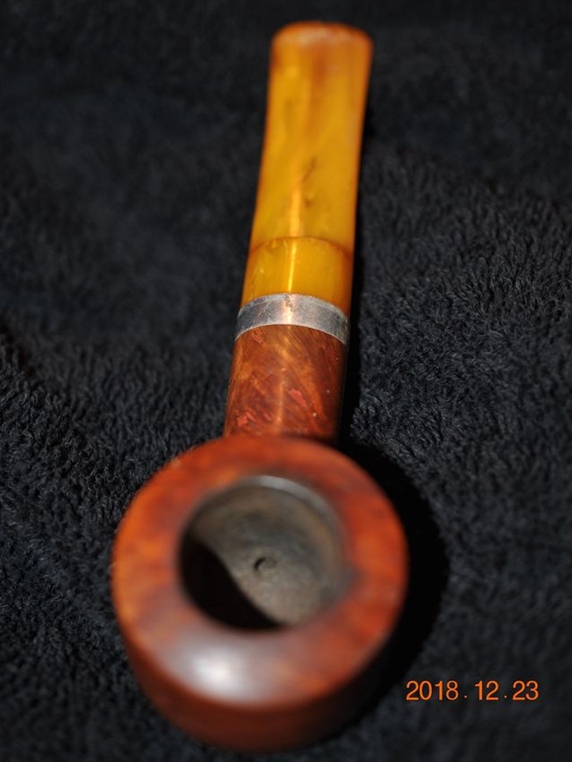
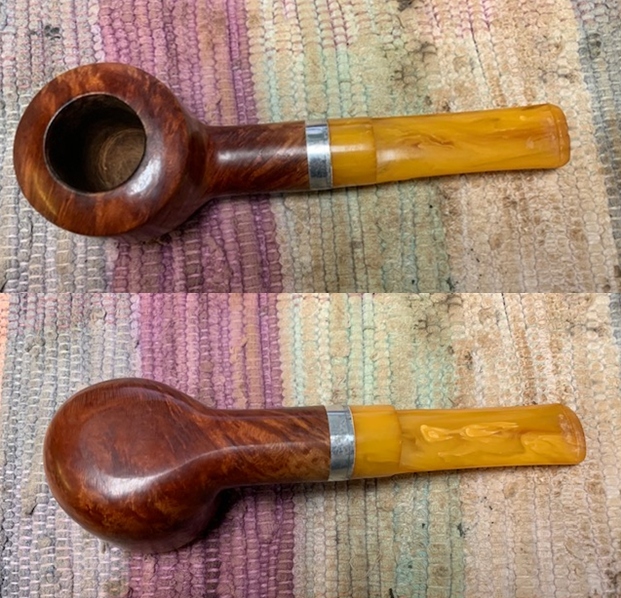
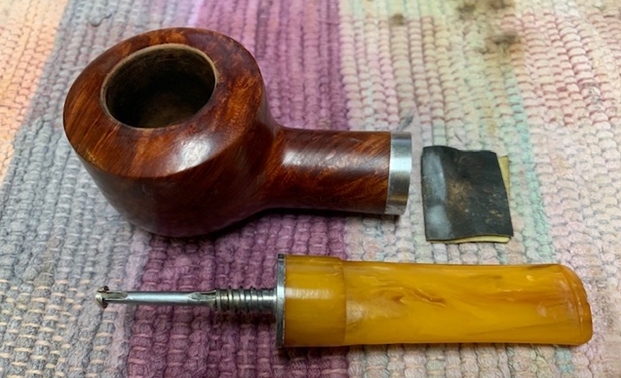
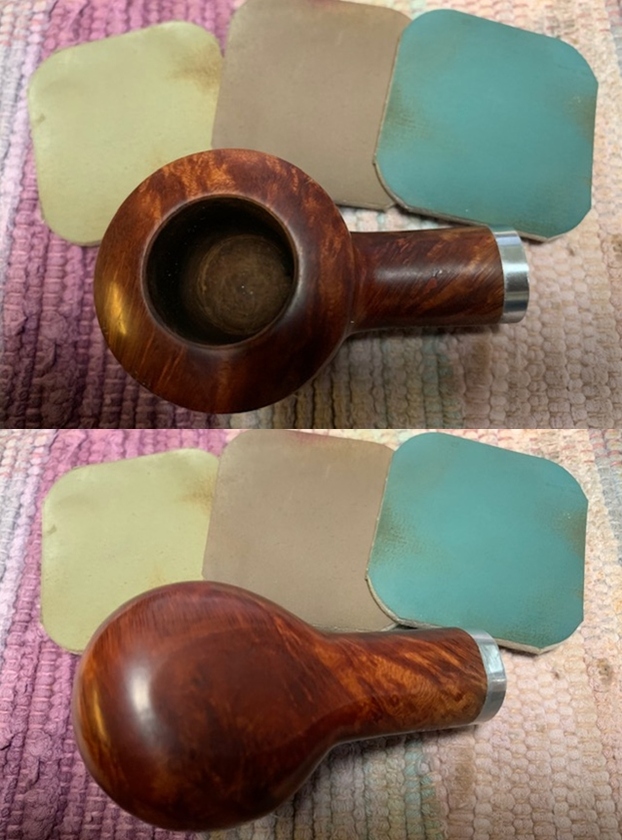
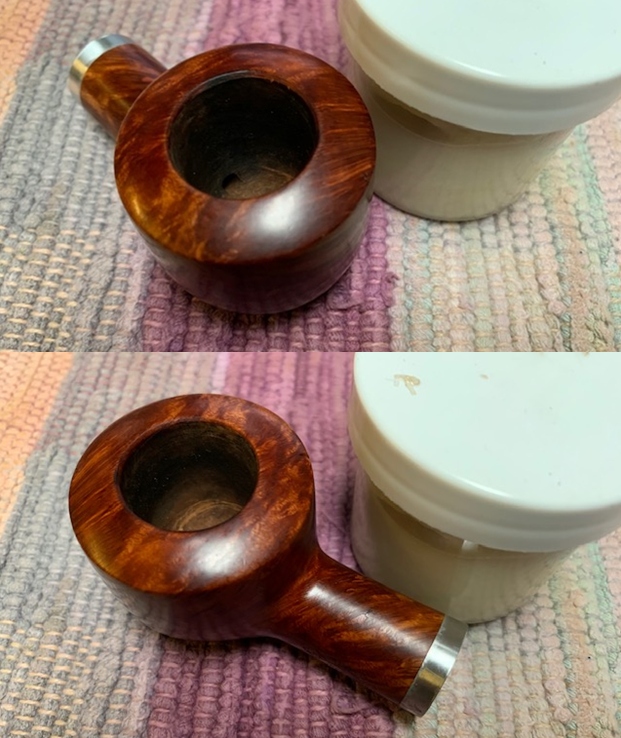
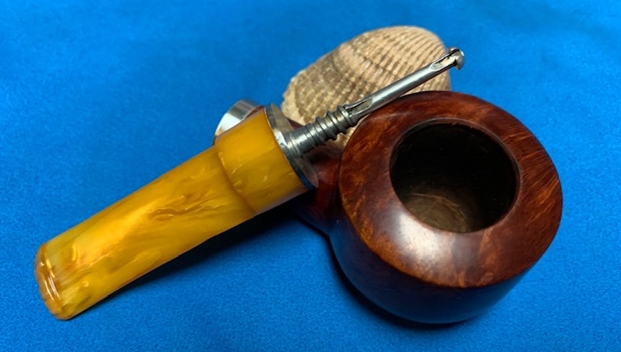
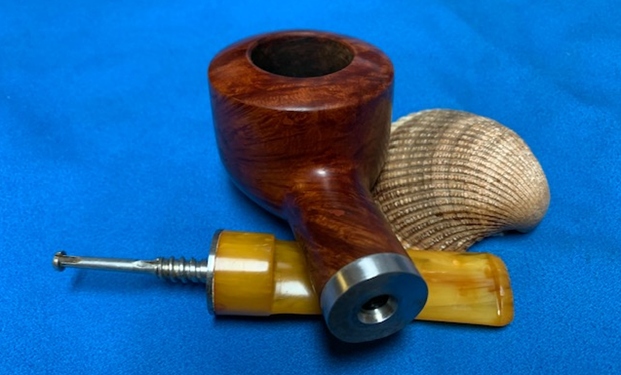
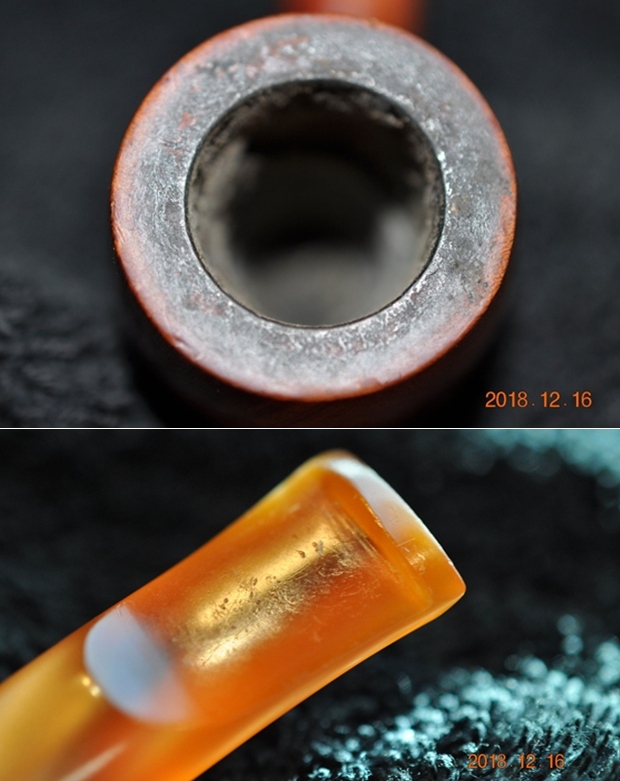
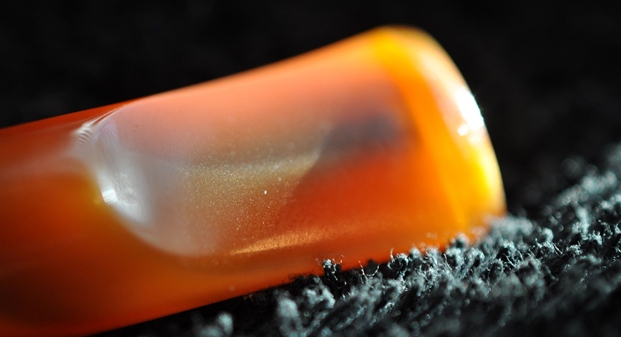
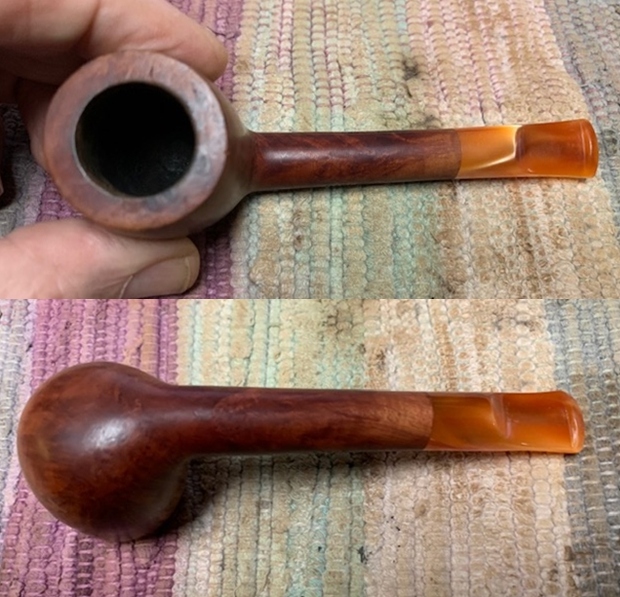
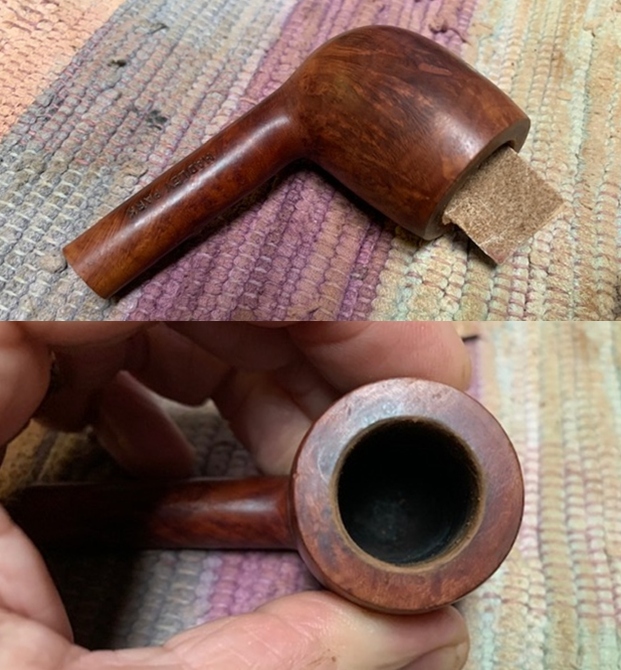
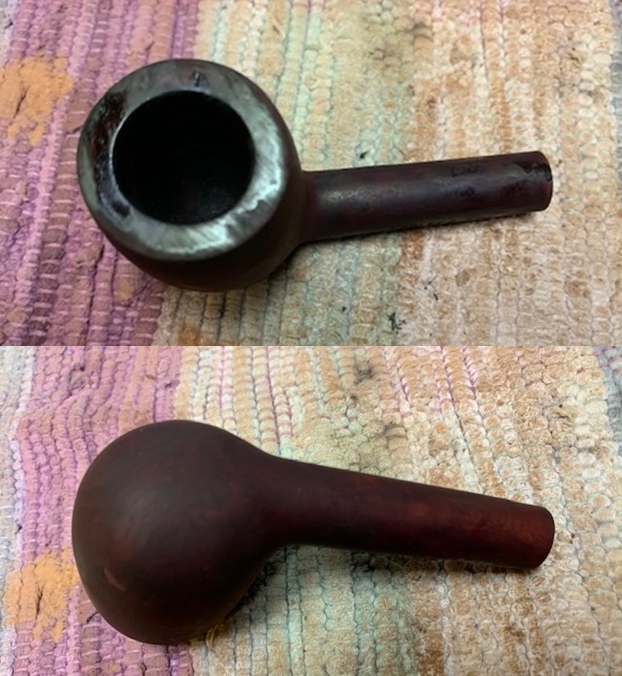
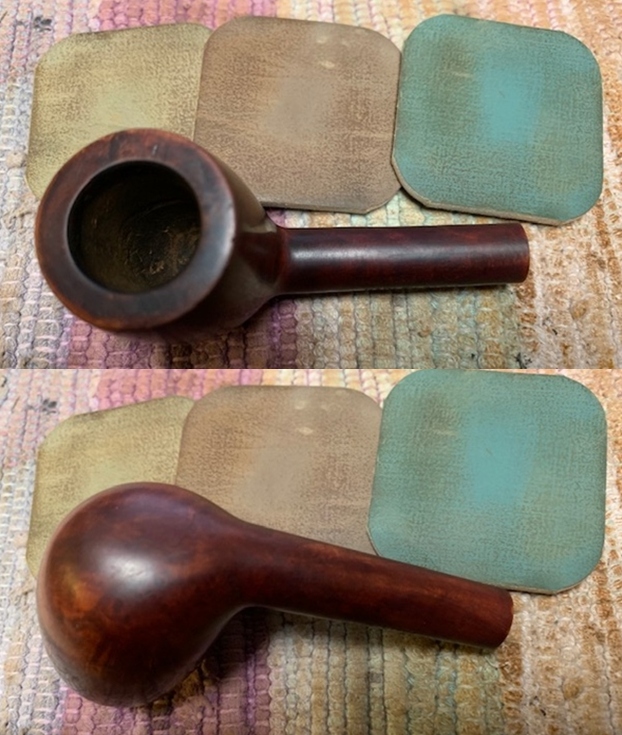
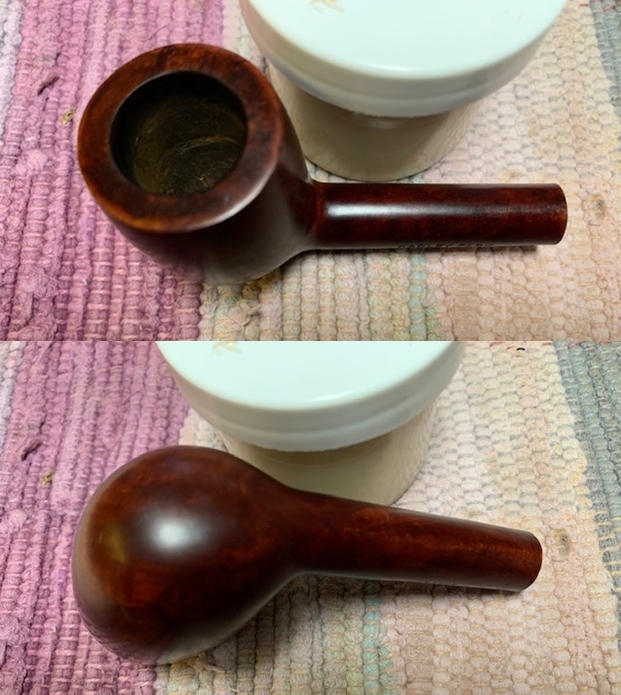
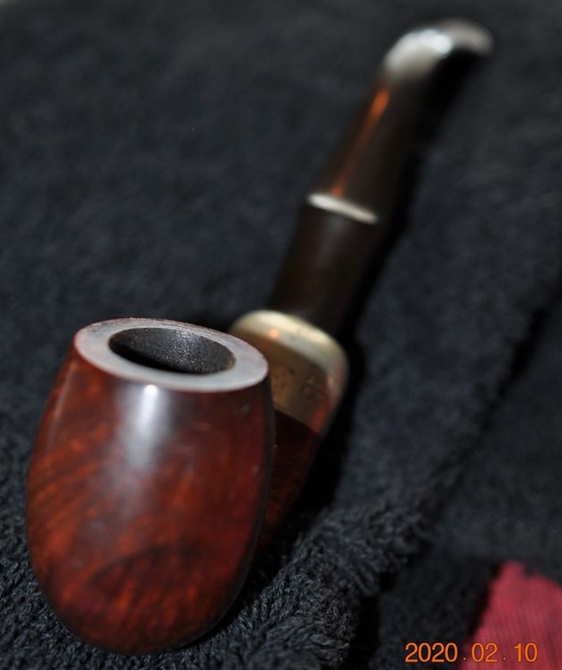
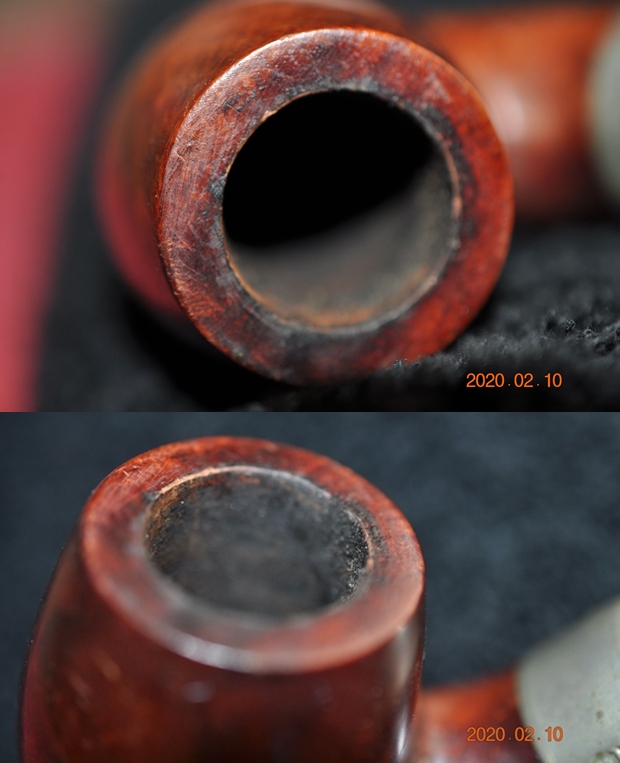
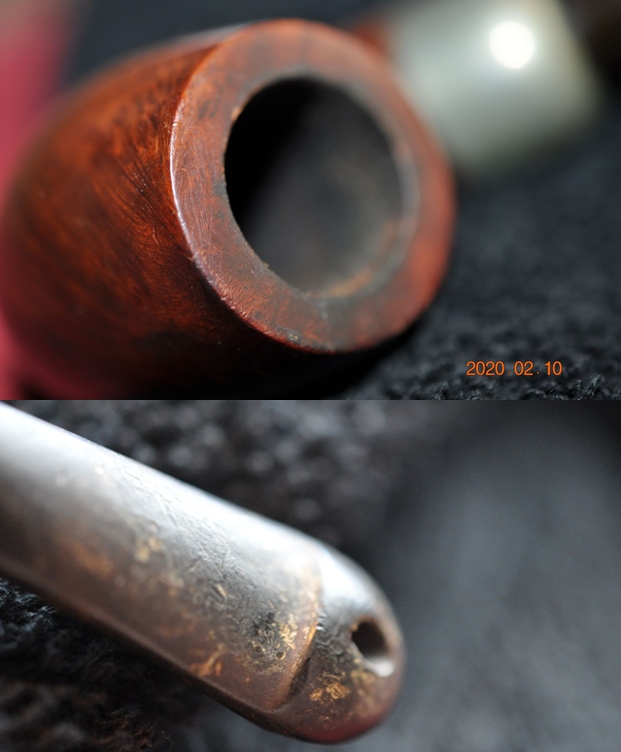
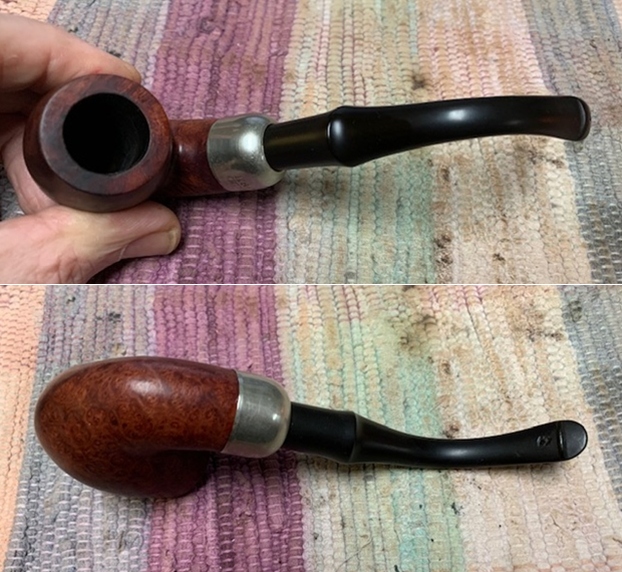
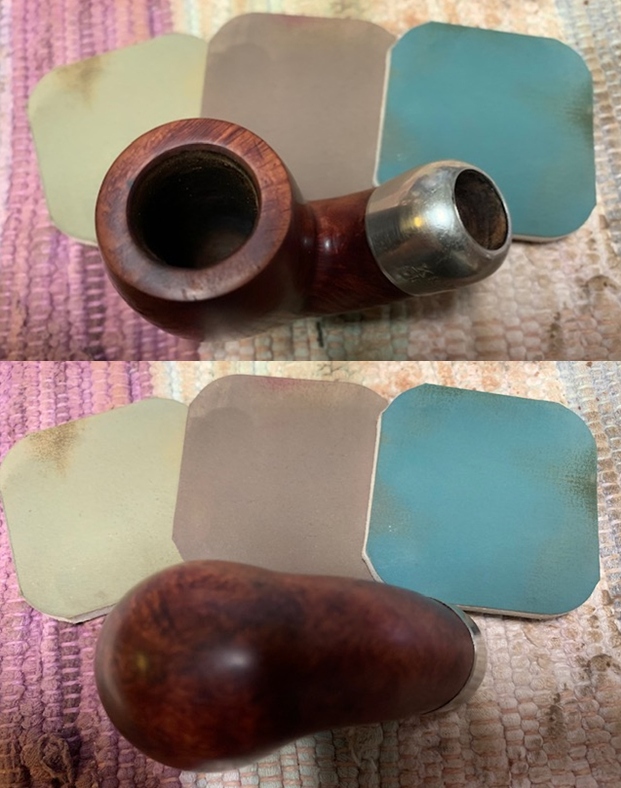
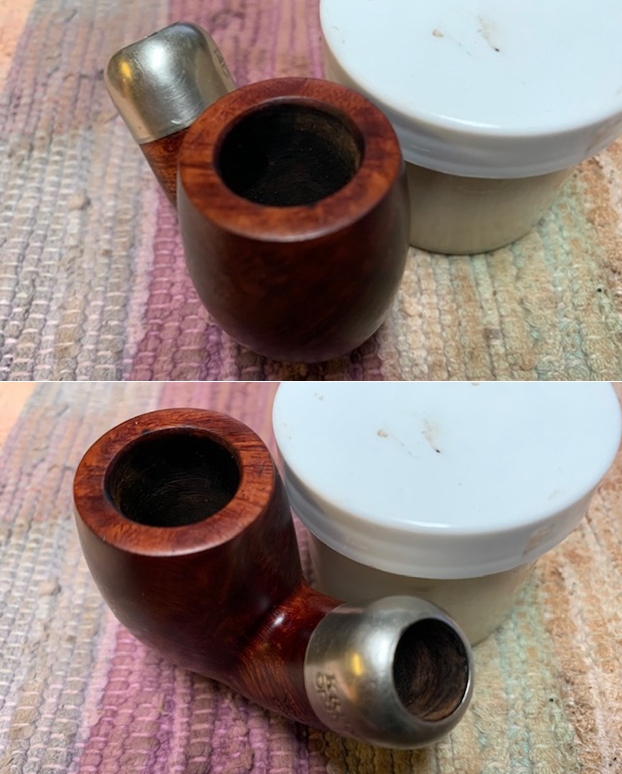
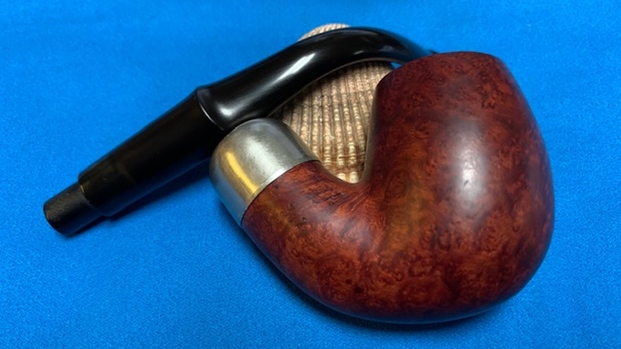
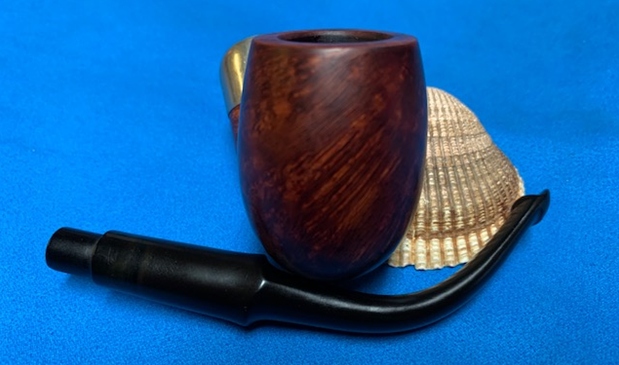
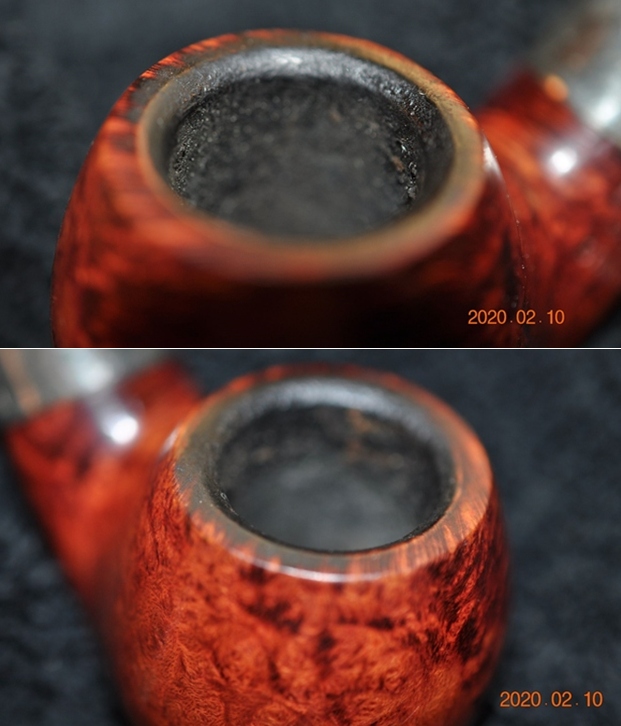
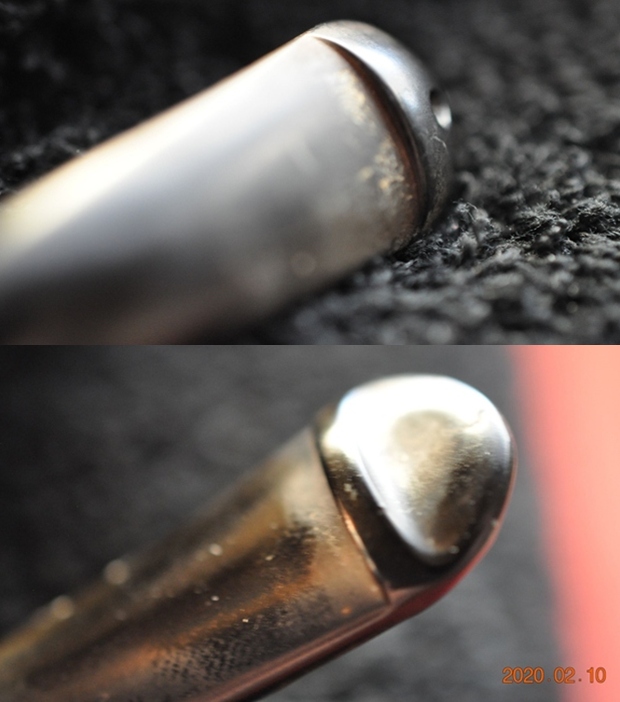
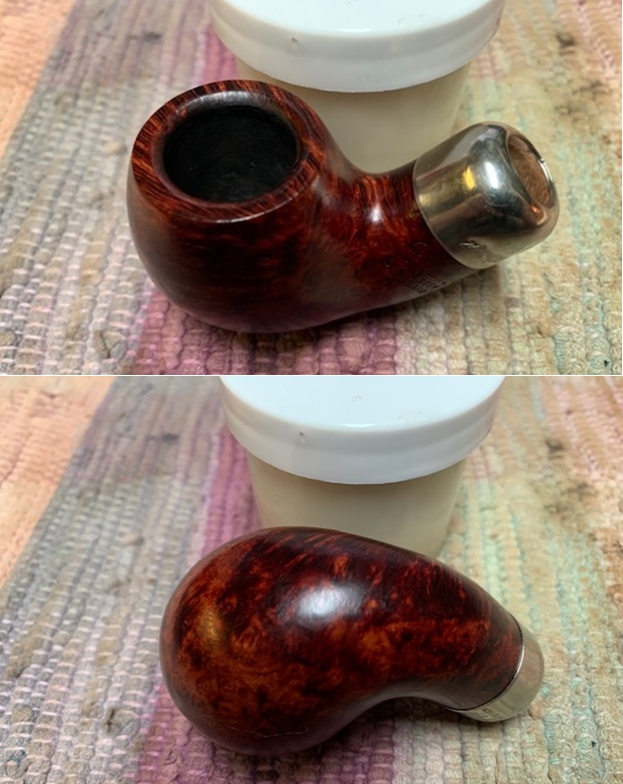
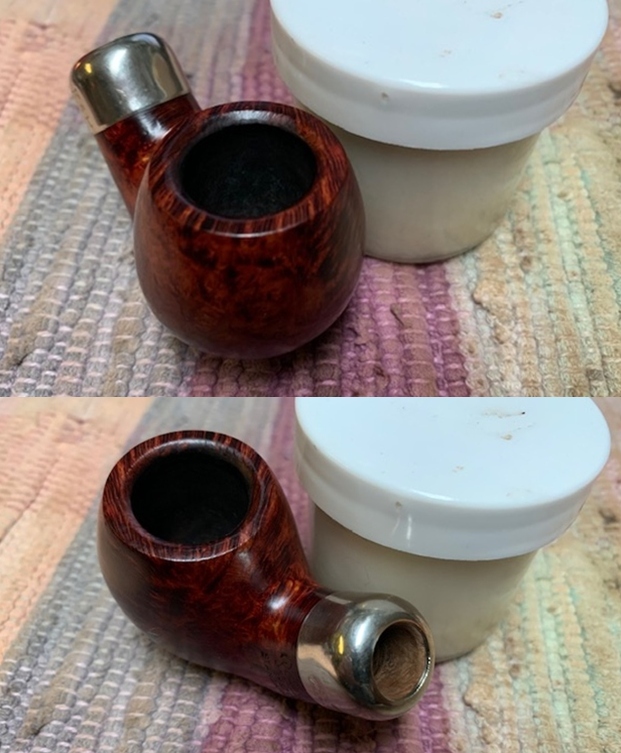
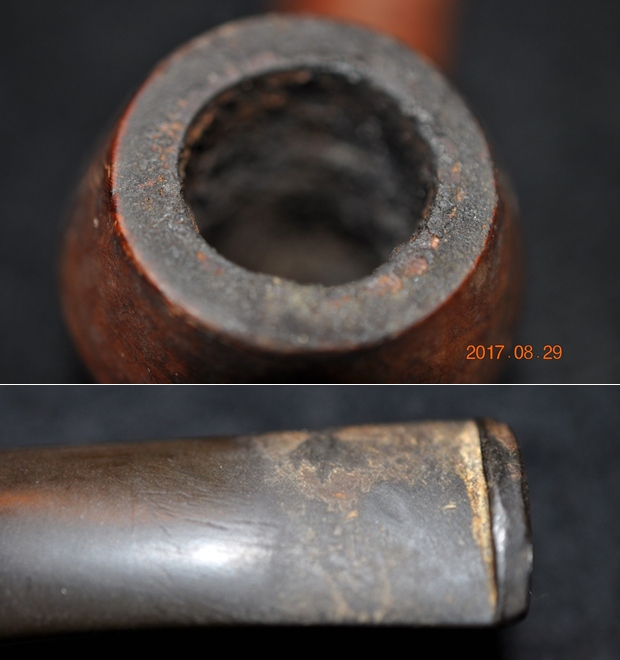
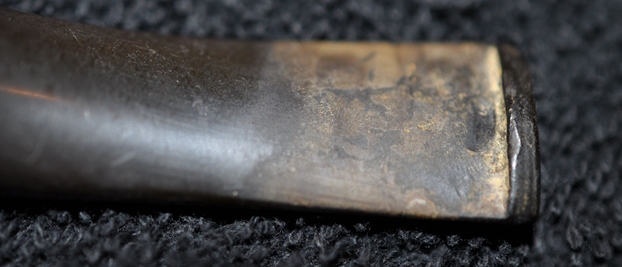
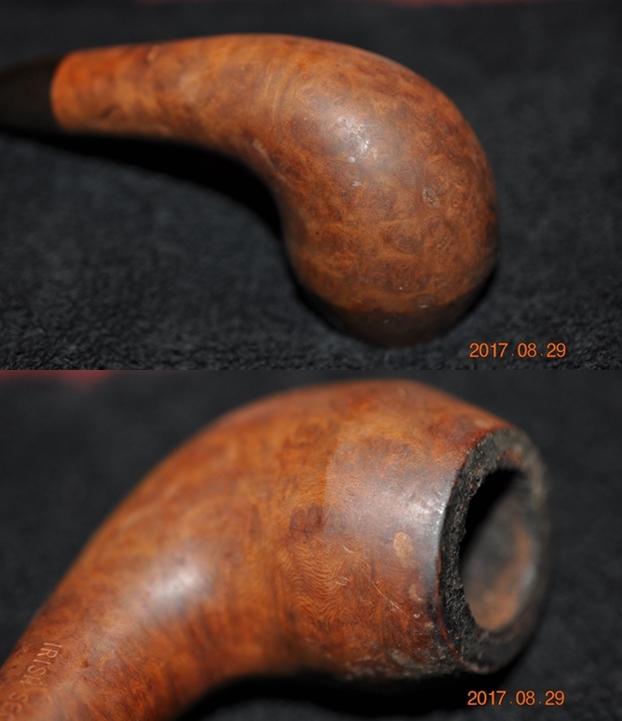
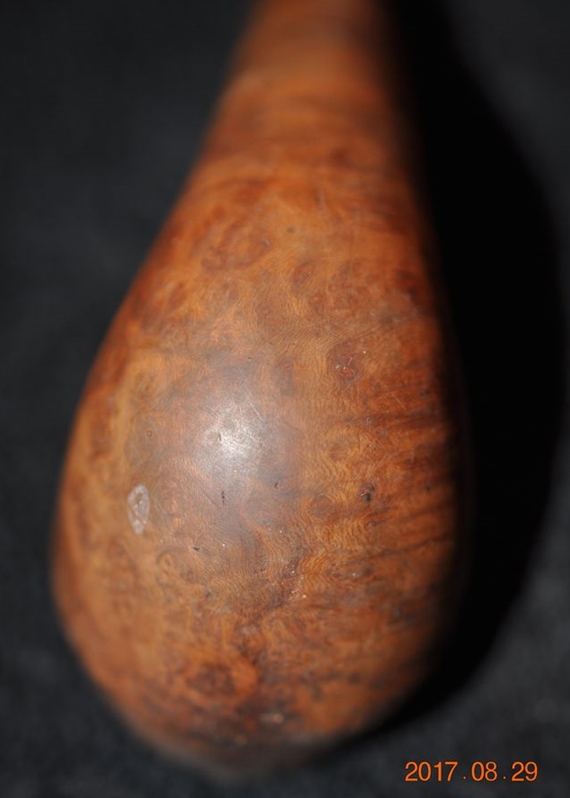
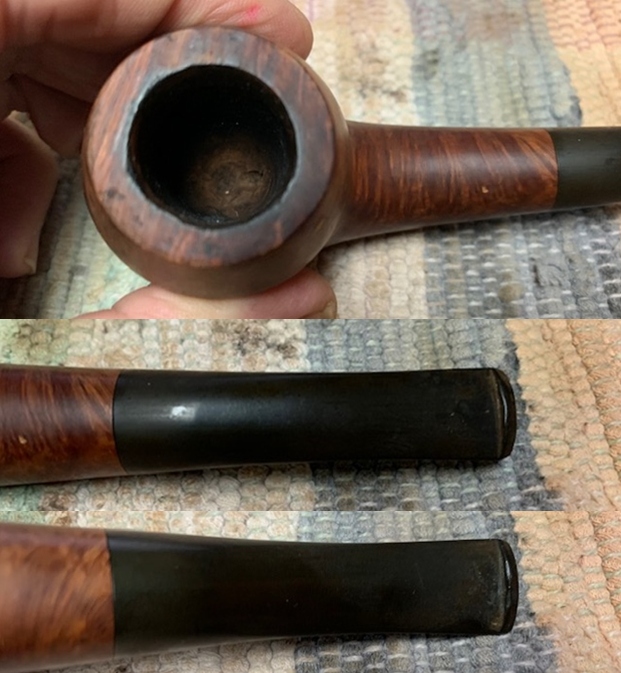
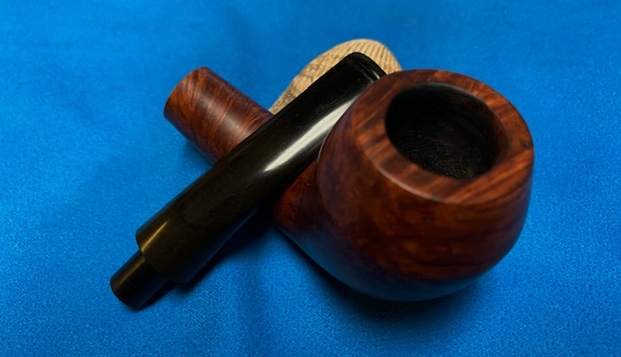
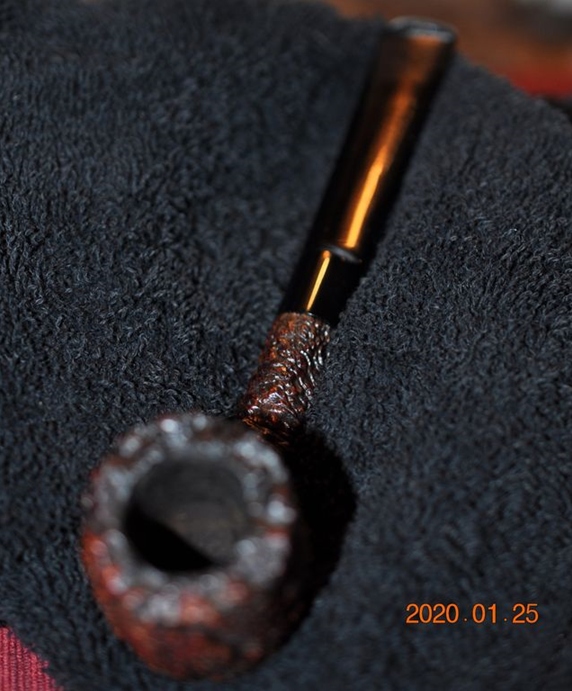
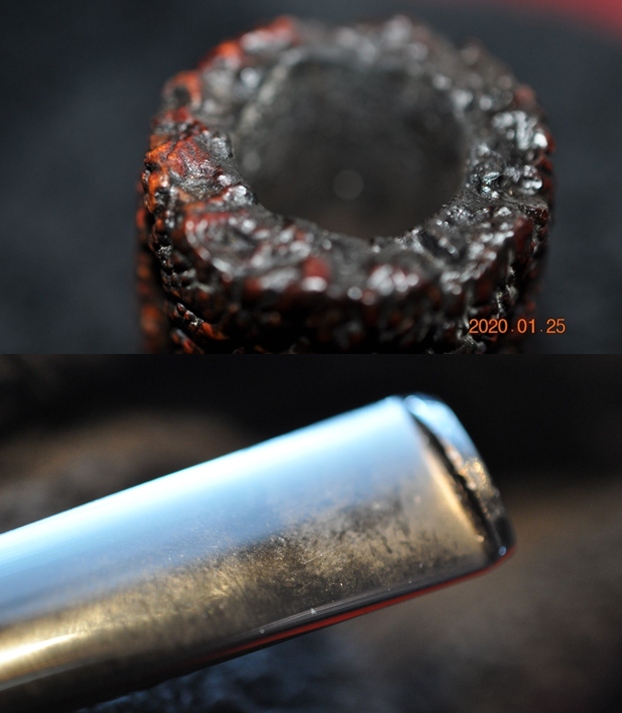
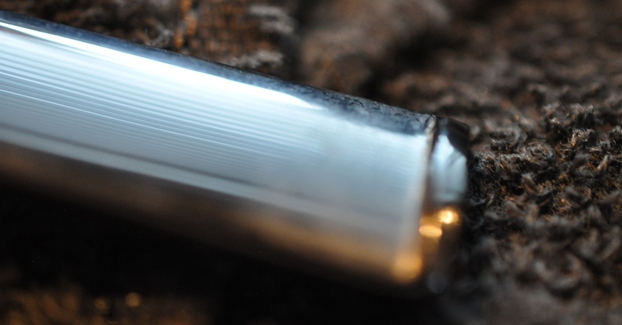
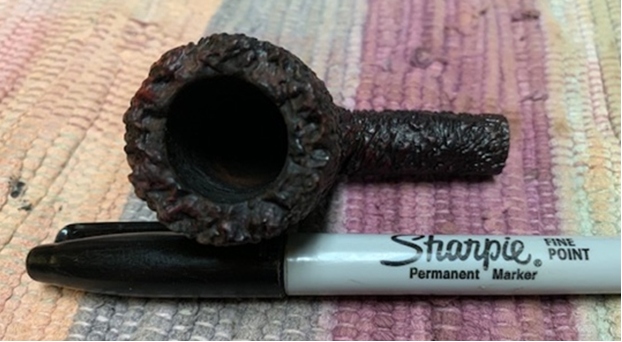
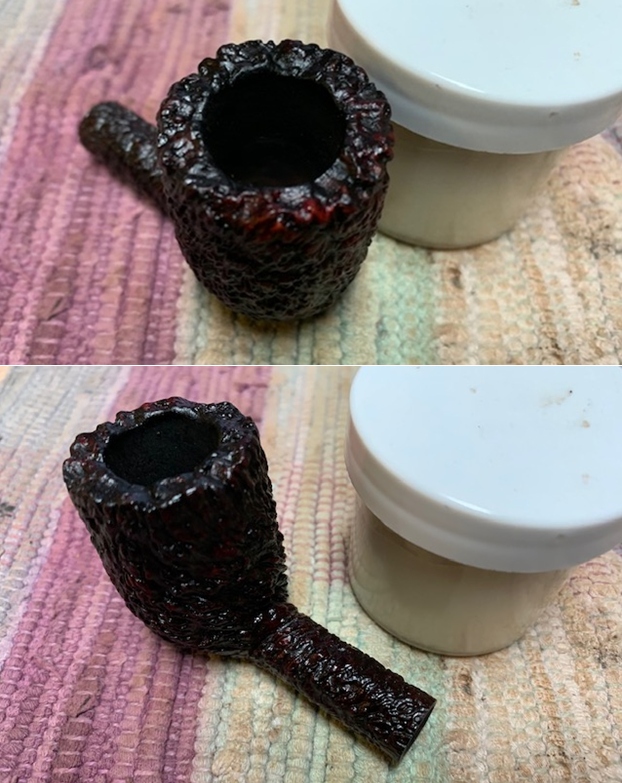
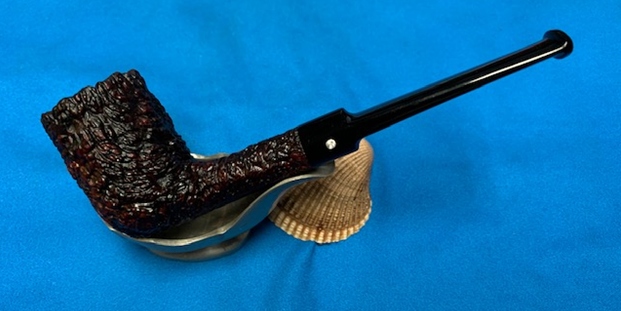
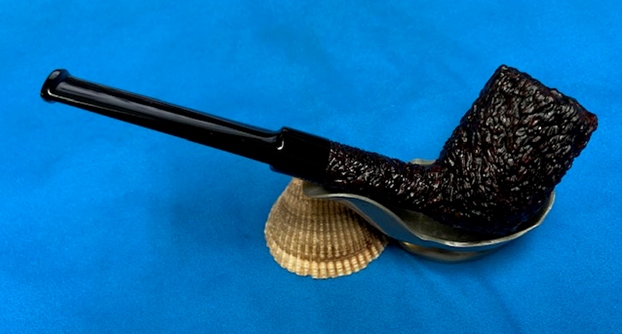
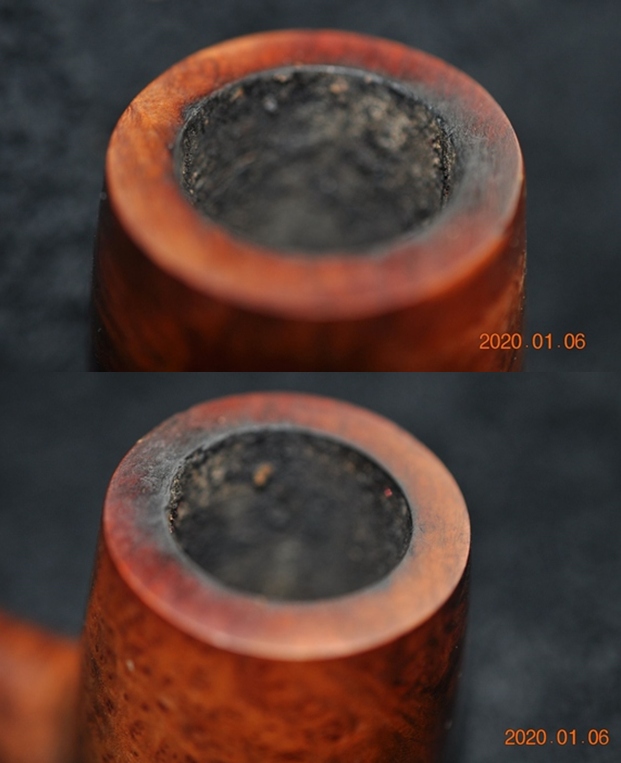
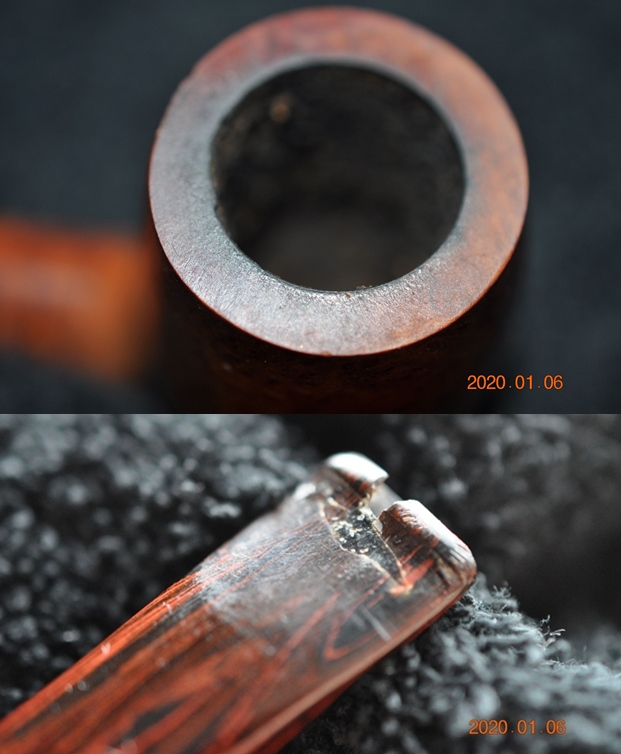
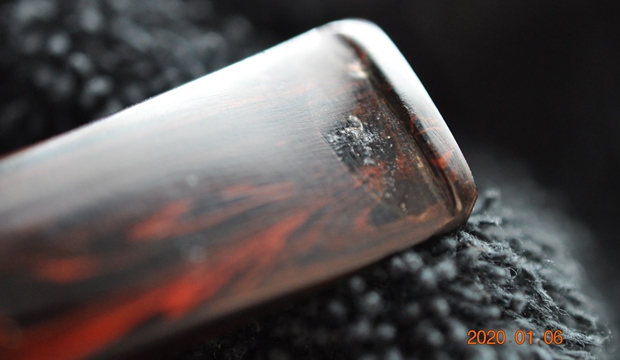
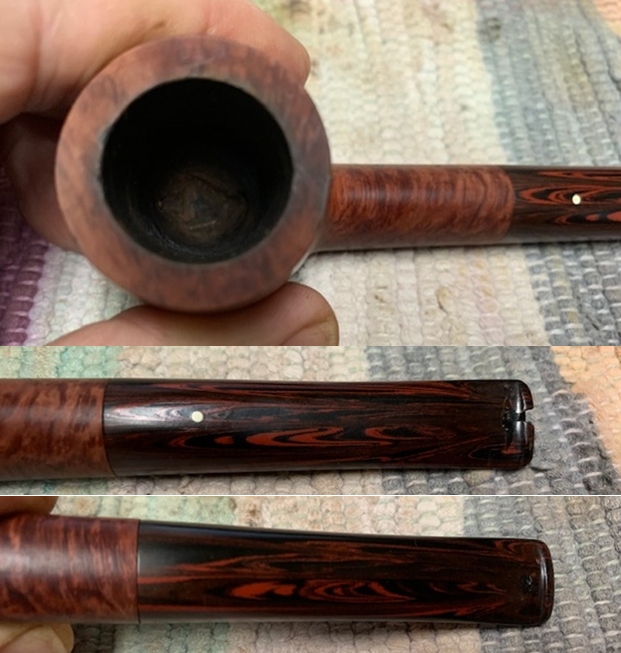
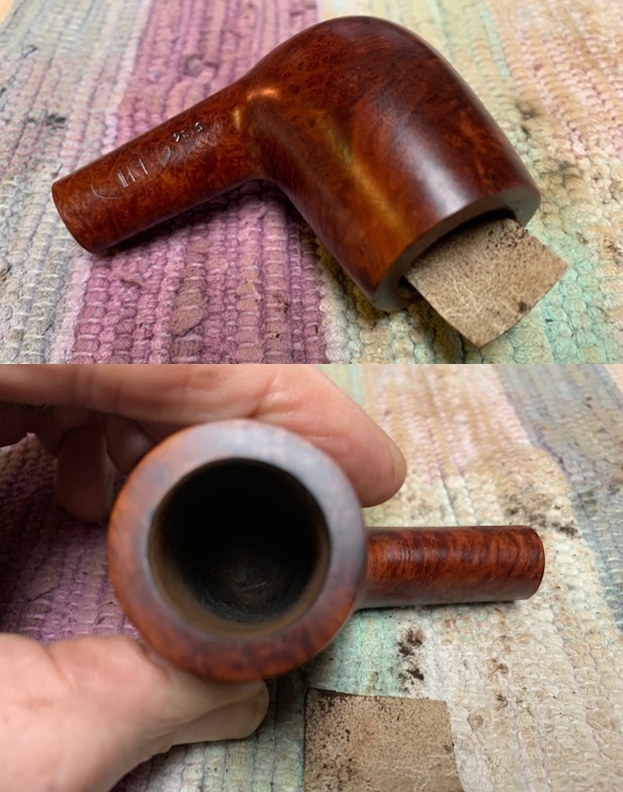
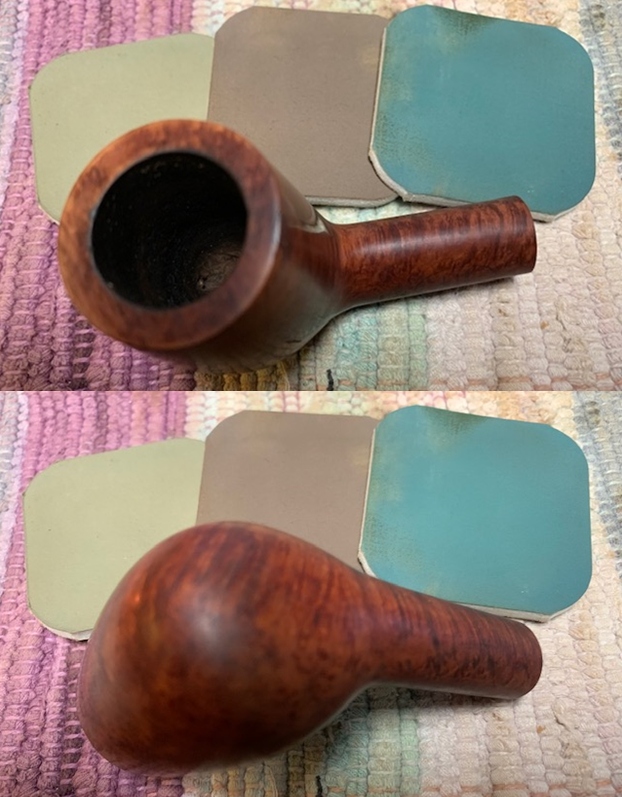
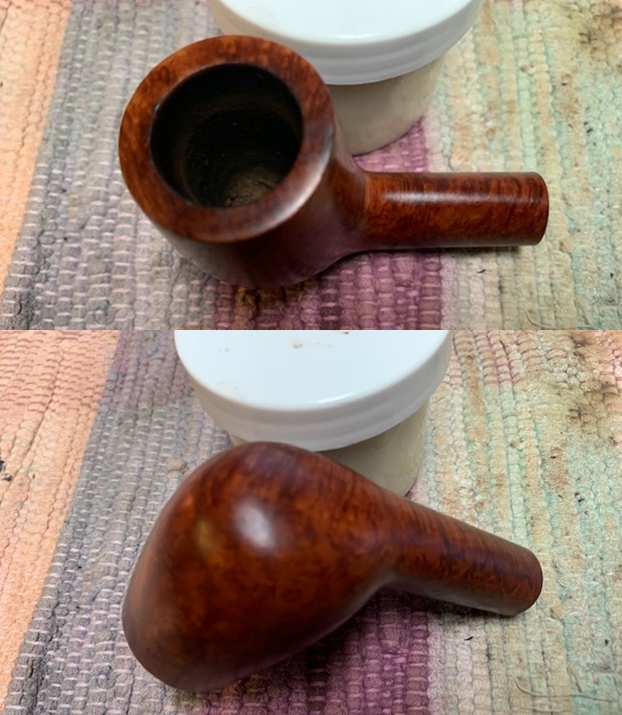
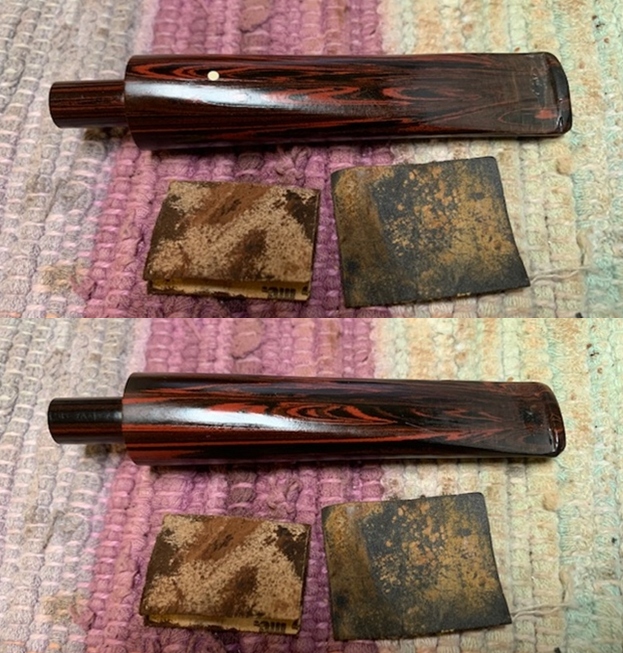
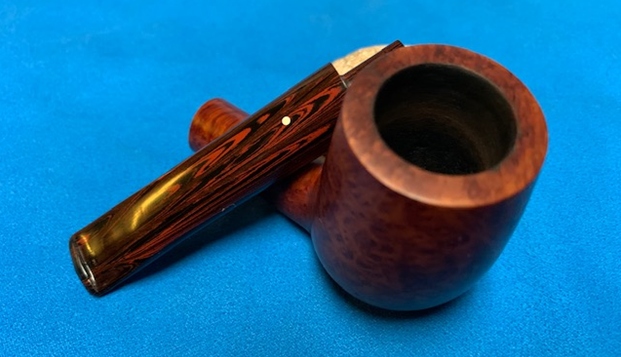
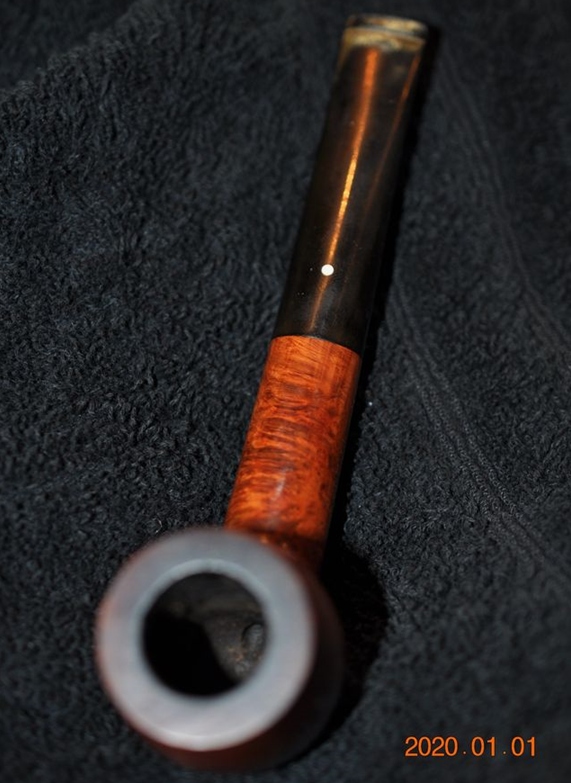
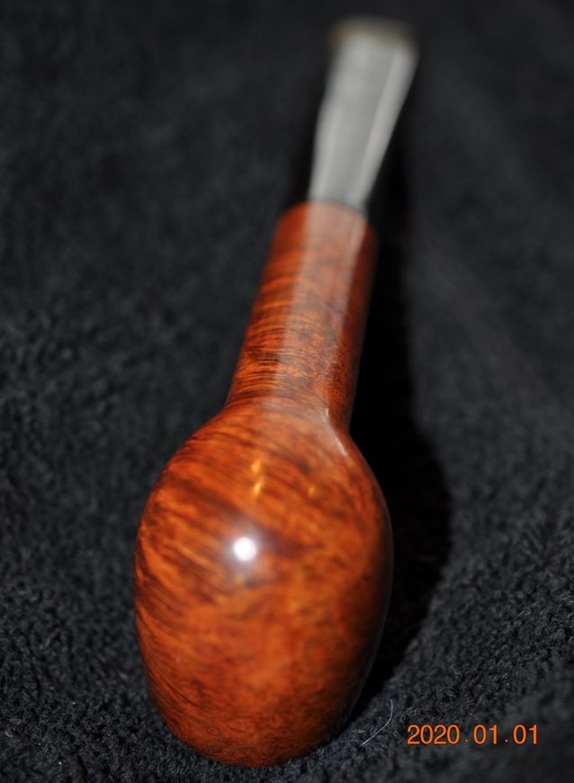
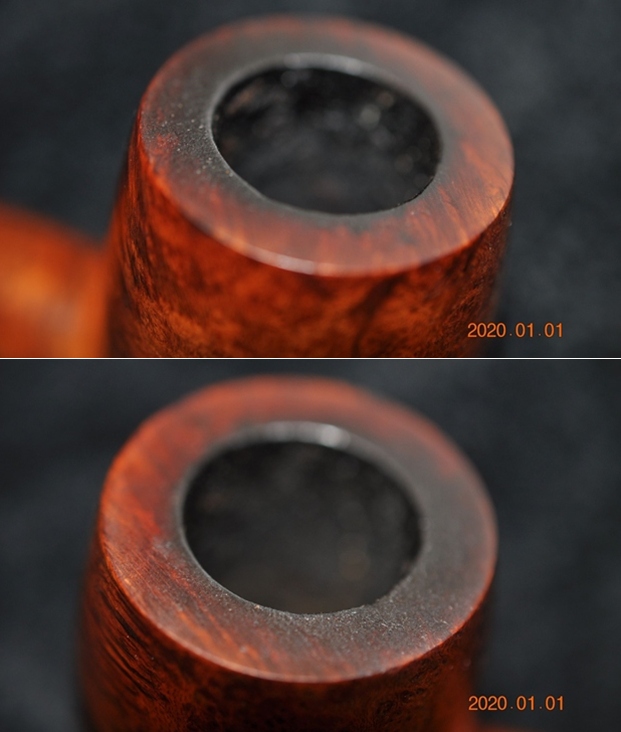
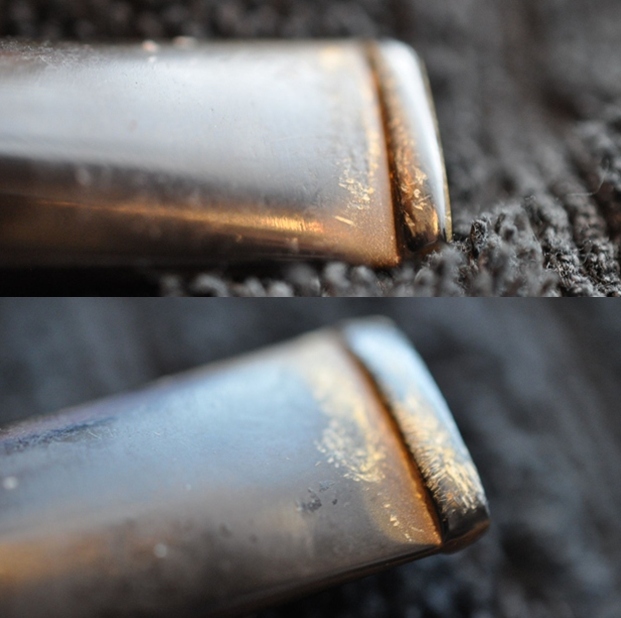
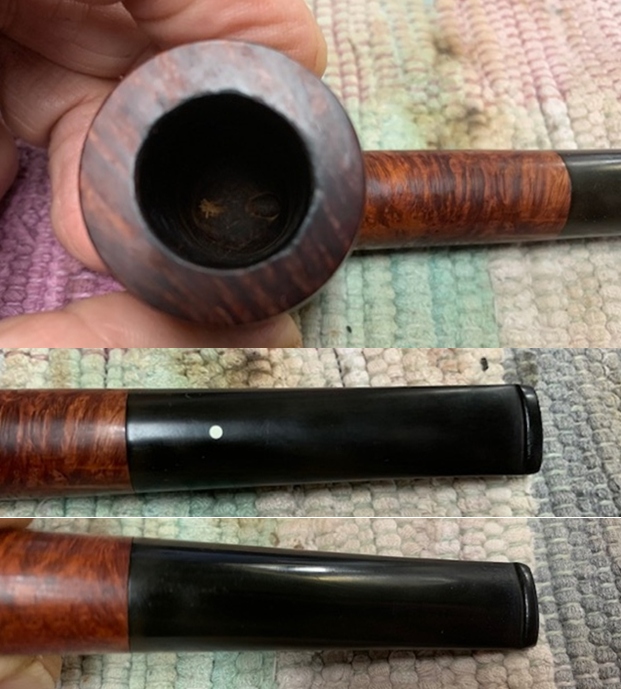
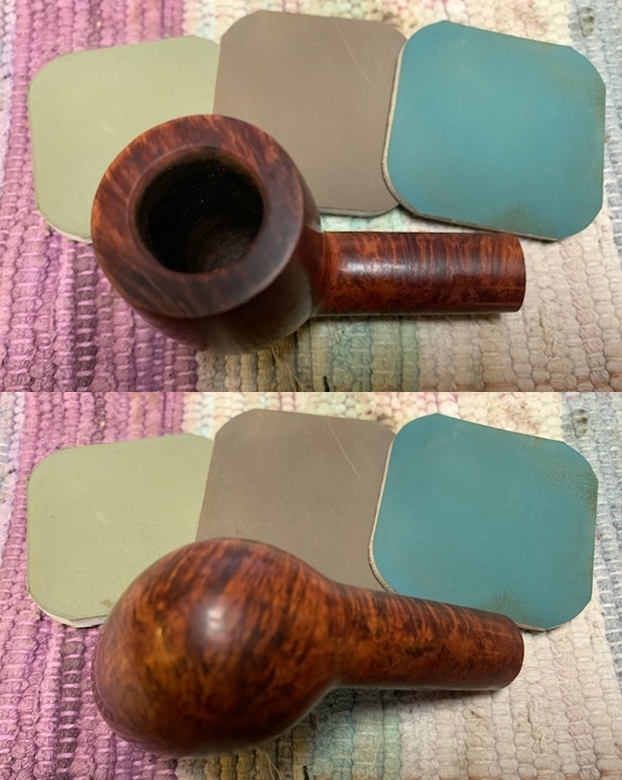
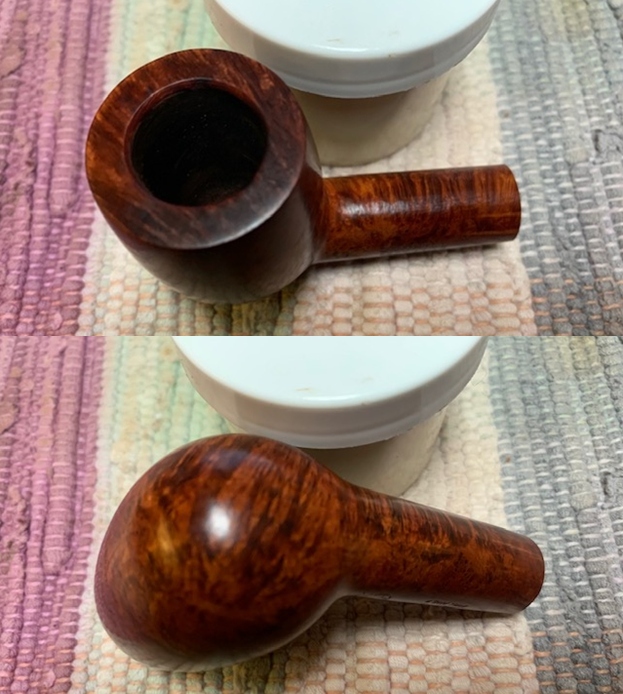
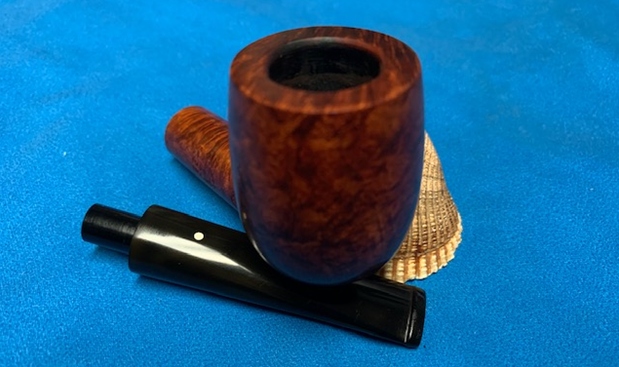
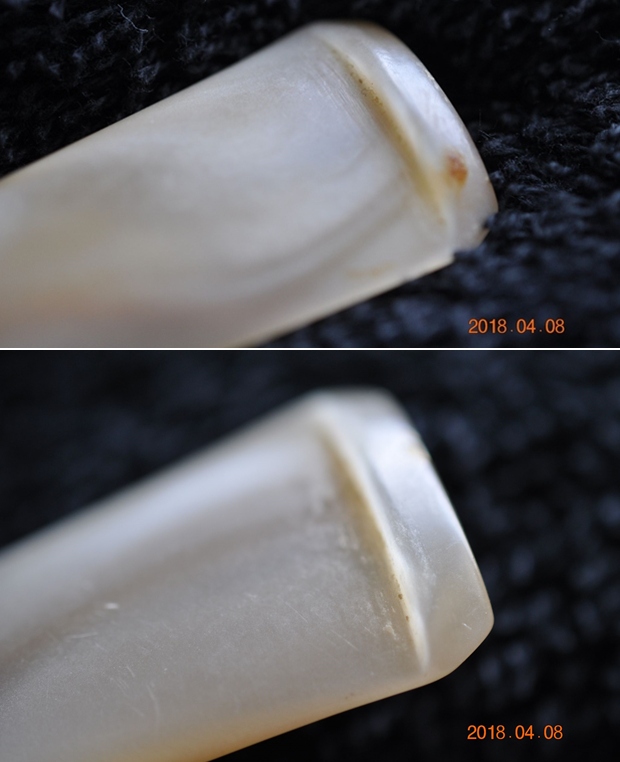
 I took a close up photo of the rim top to show the damage on the inner edge of the bowl and the rim top. I took close up photos of the stem. It was in decent condition with light marks on both sides.
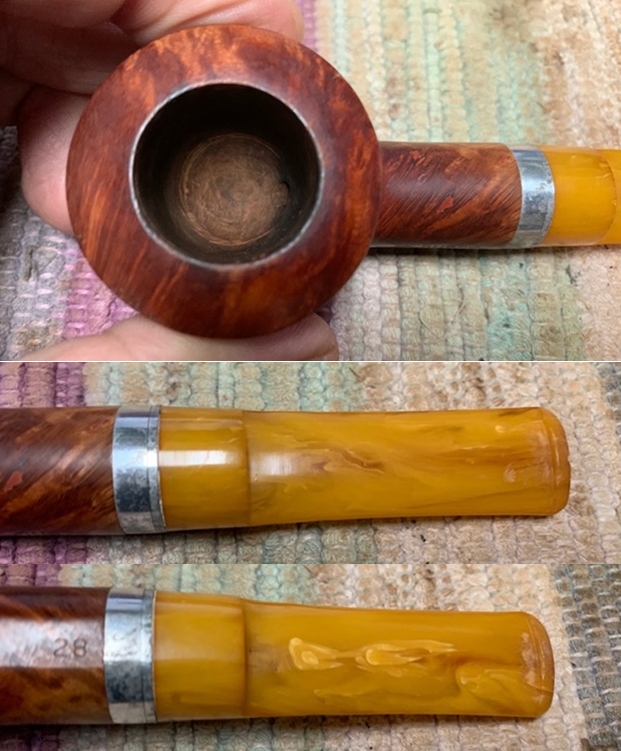
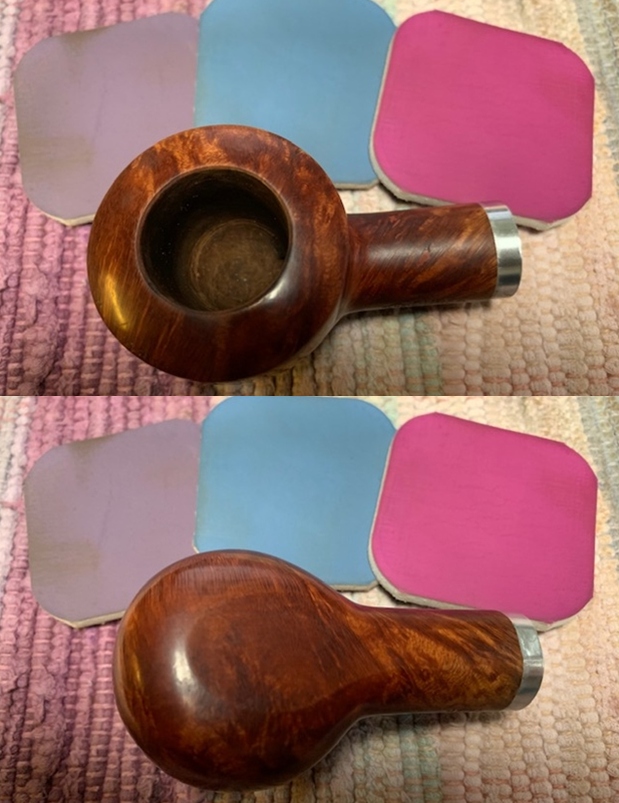
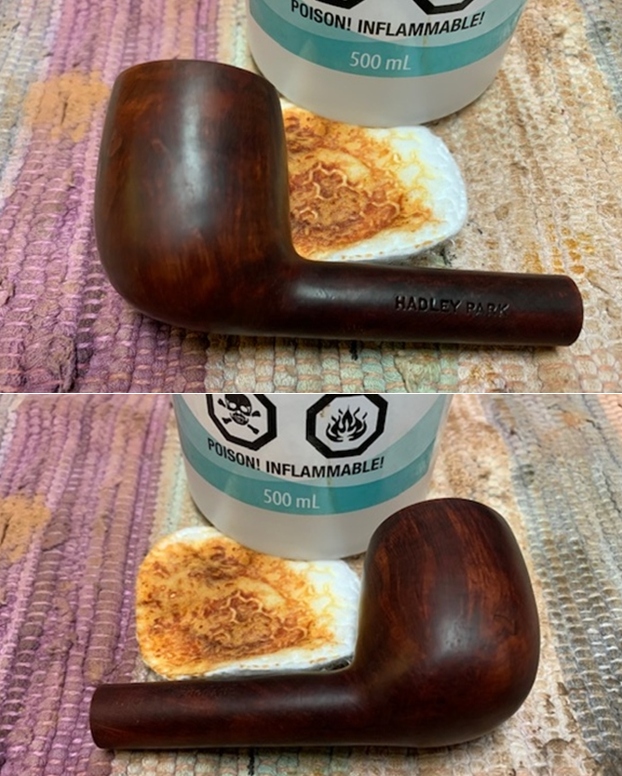
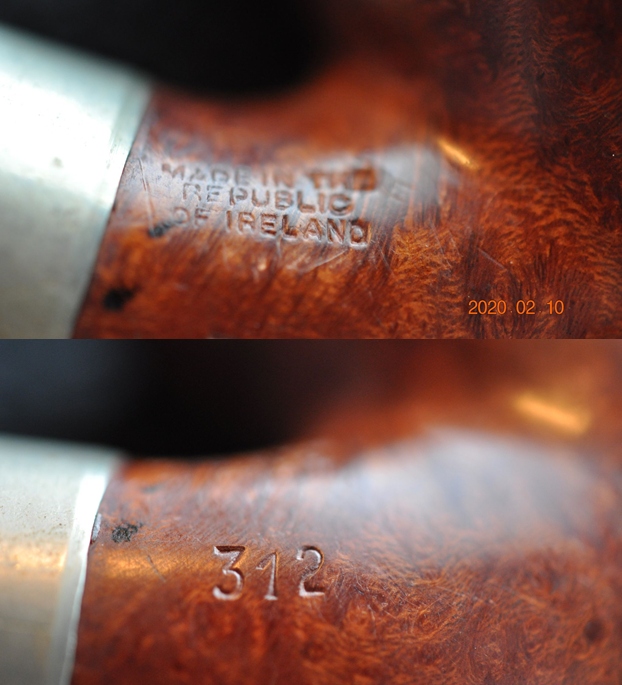
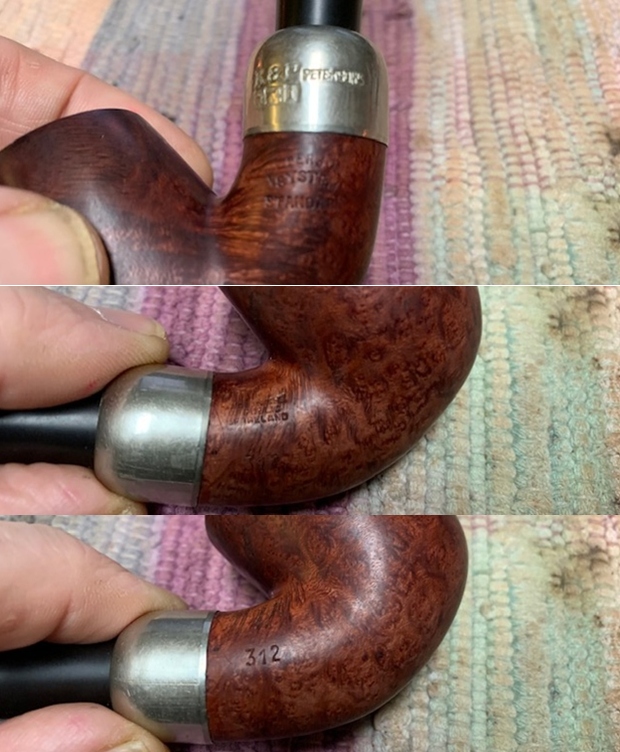
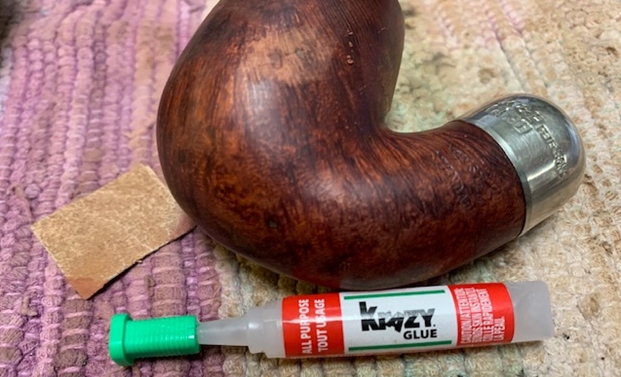
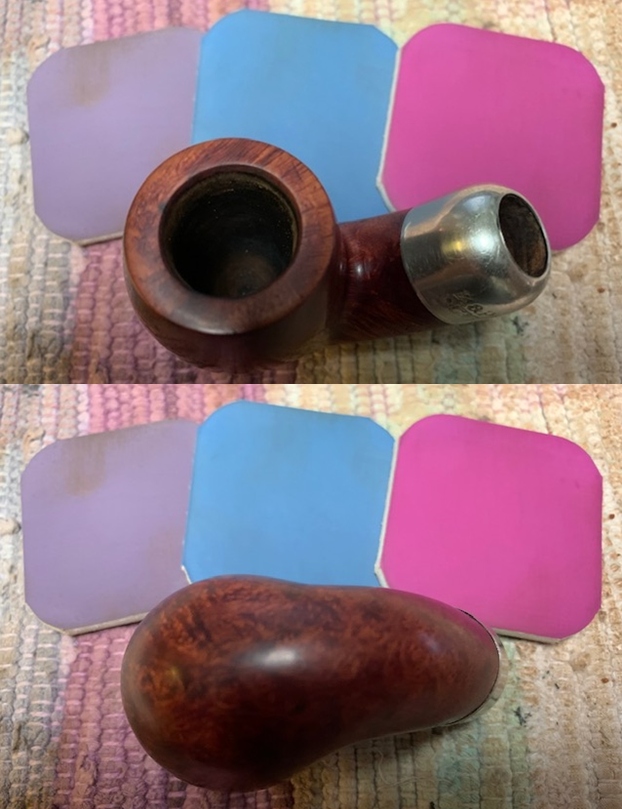
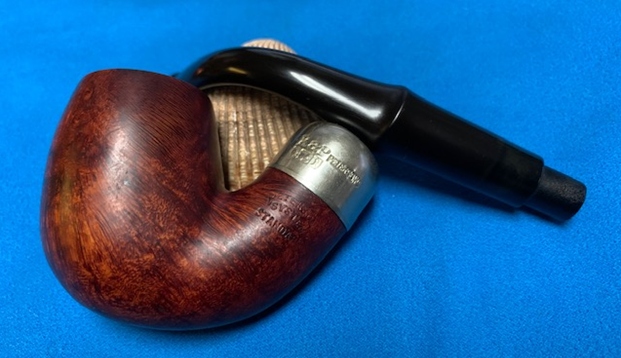
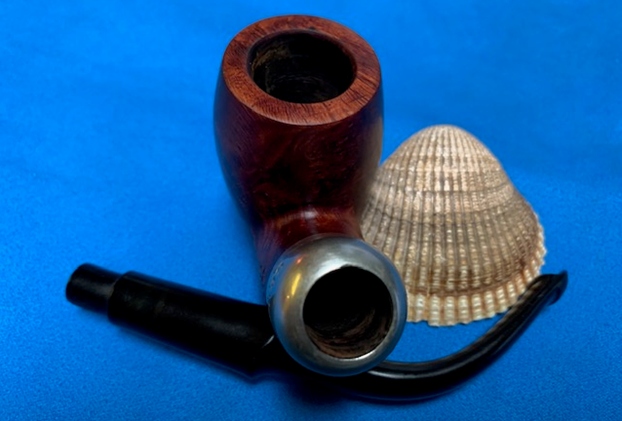
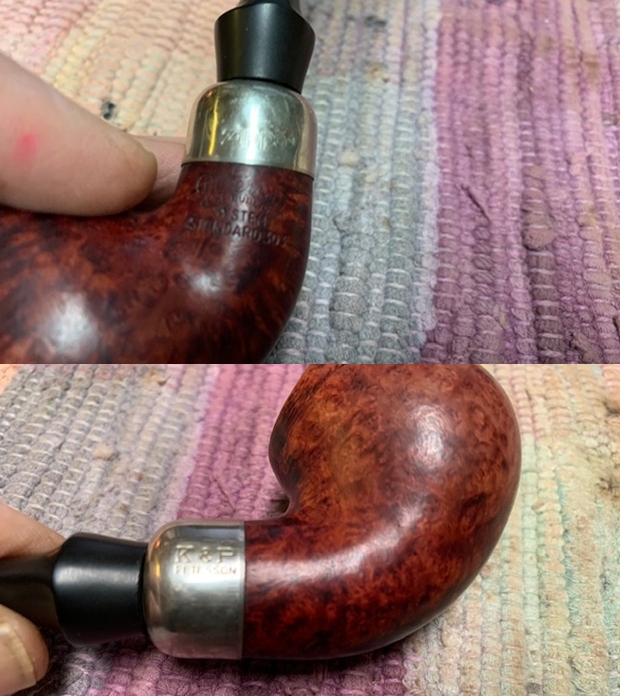
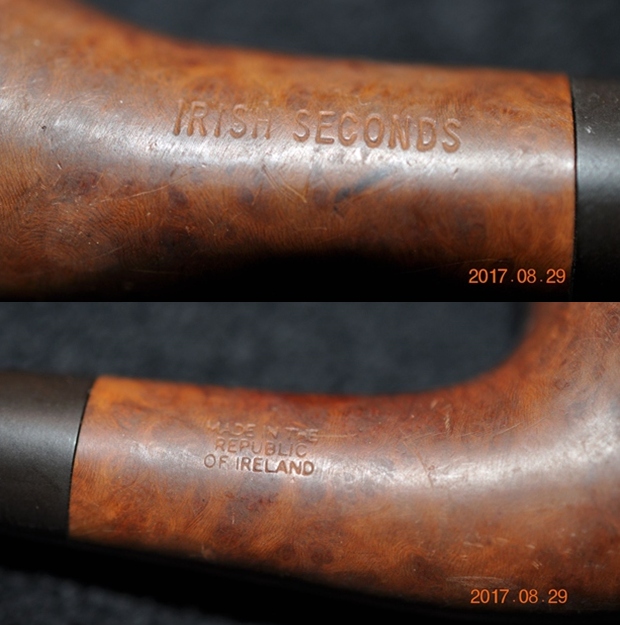
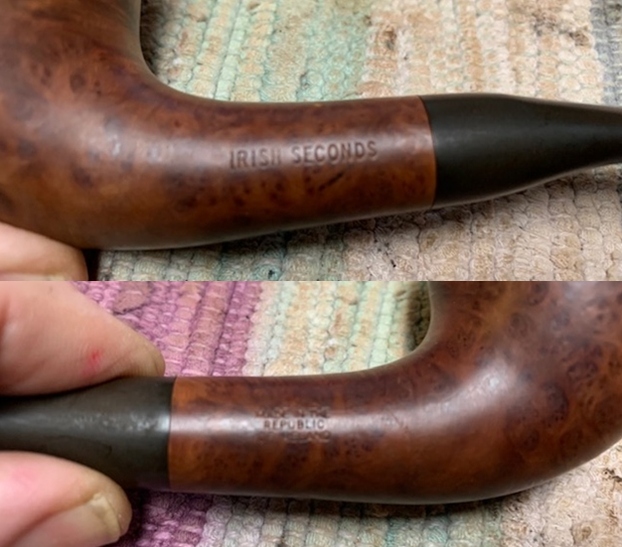
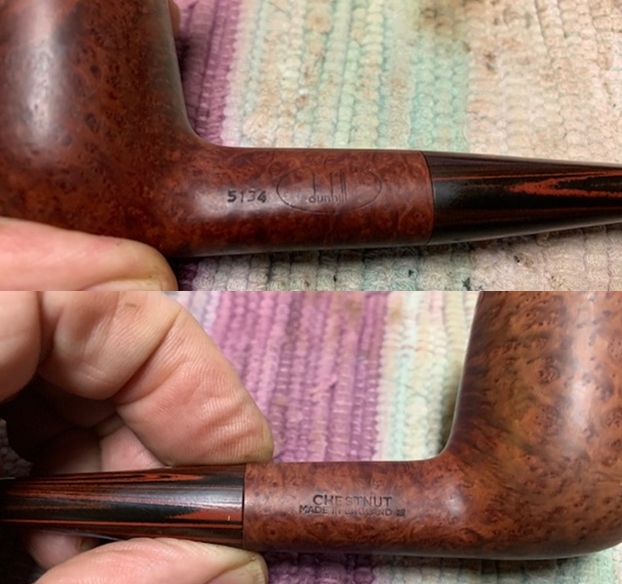
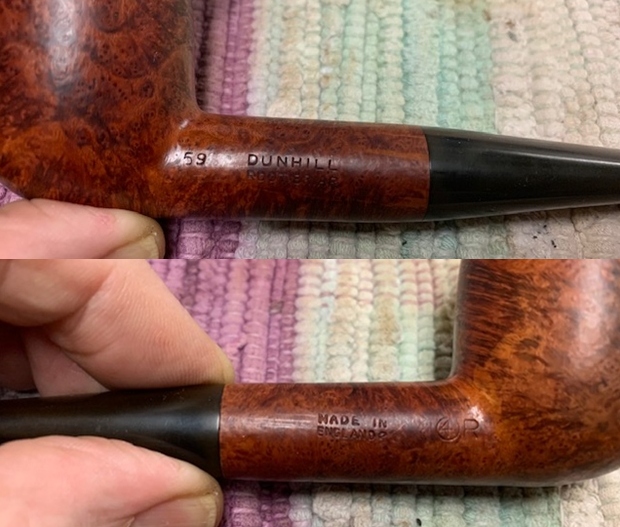
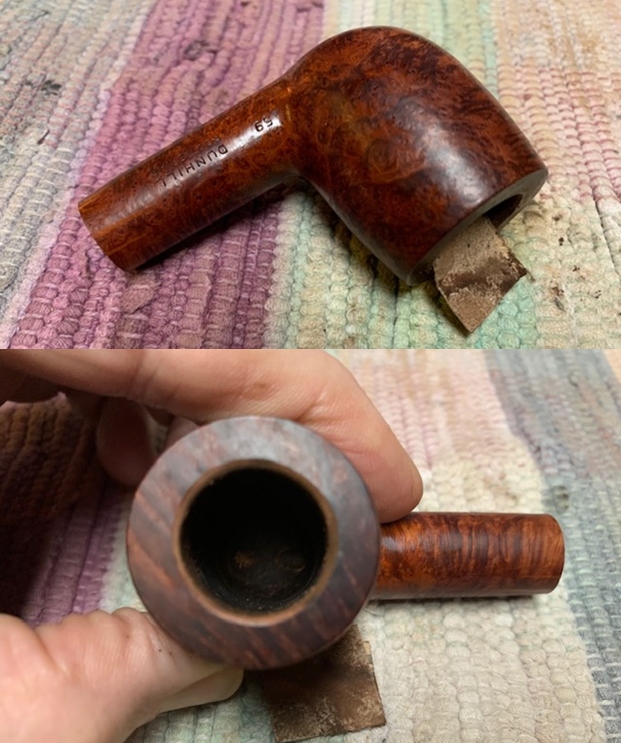
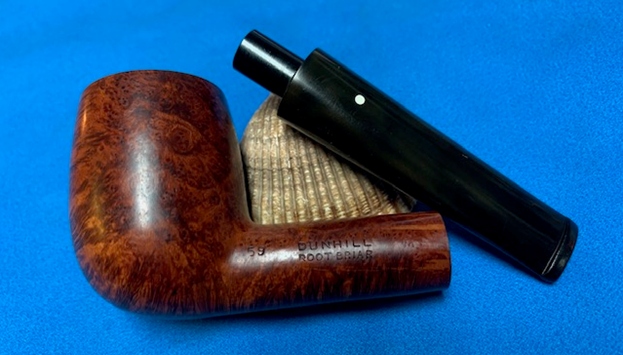
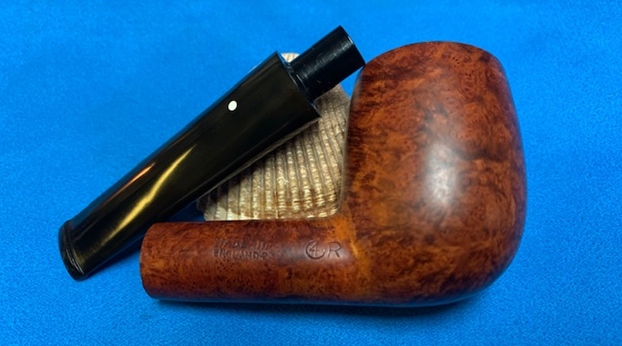
  I took a photo of the stamping on the heel of the bowl and the underside of the shank extension. They were readable as noted above.
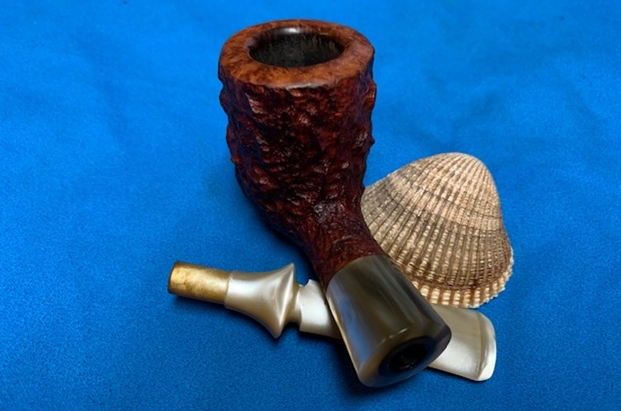
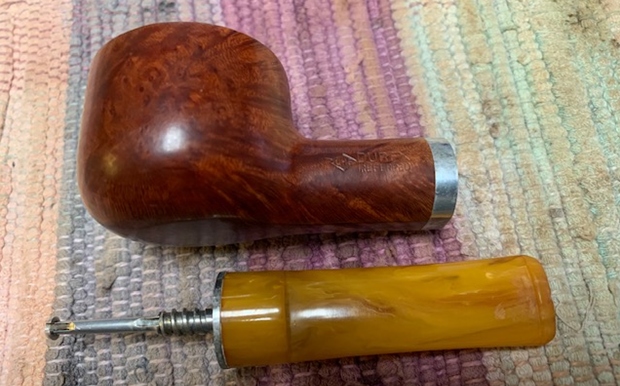
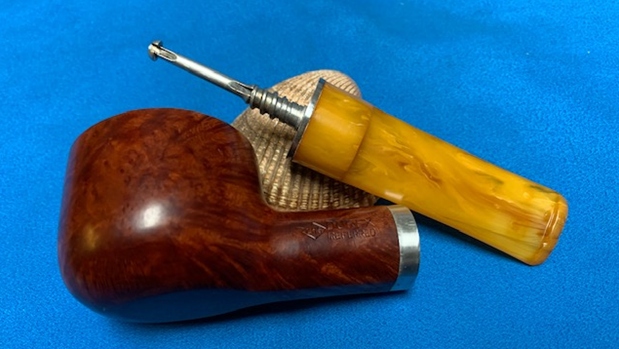
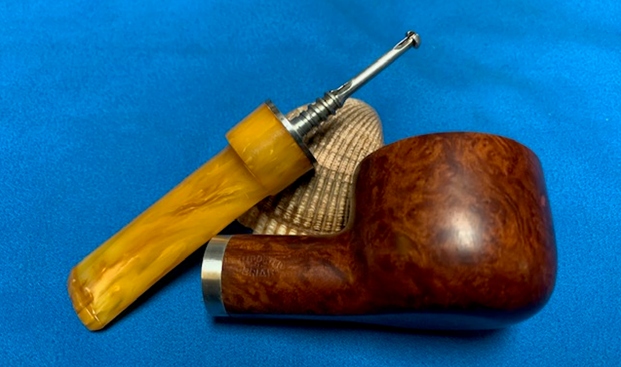
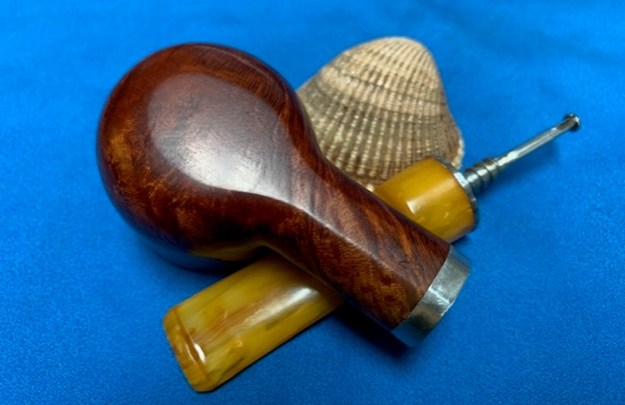
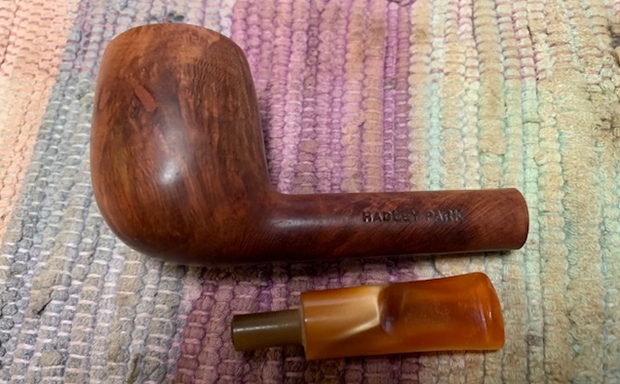
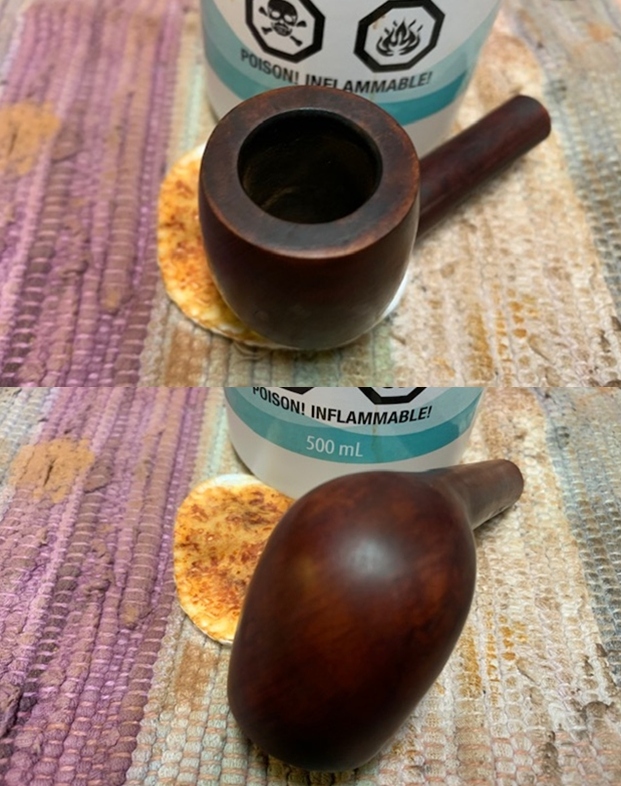
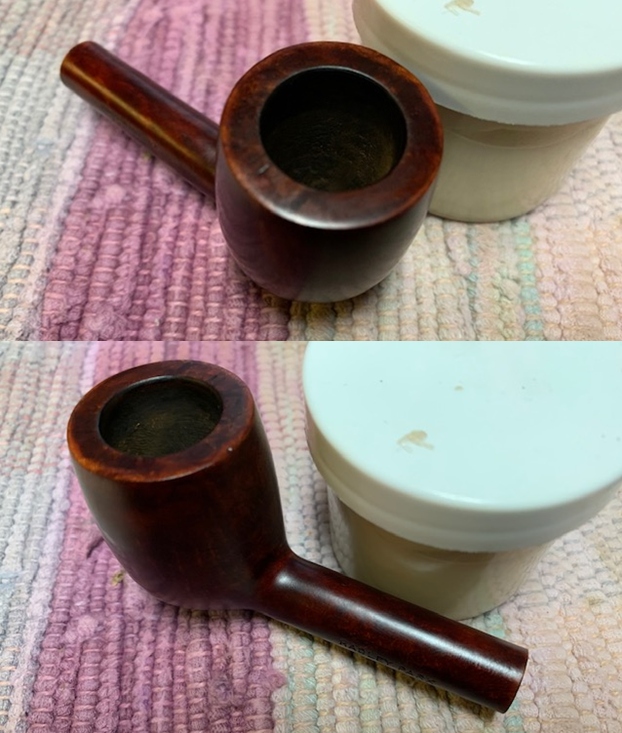
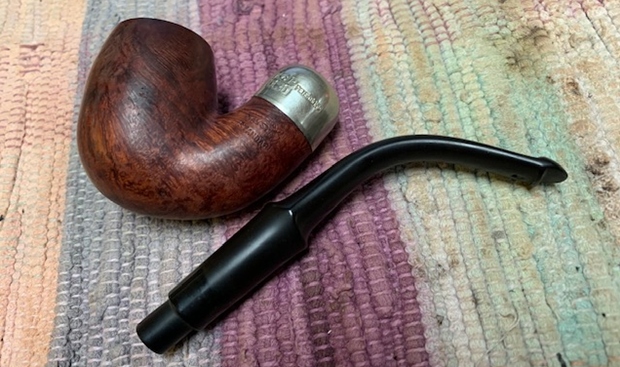
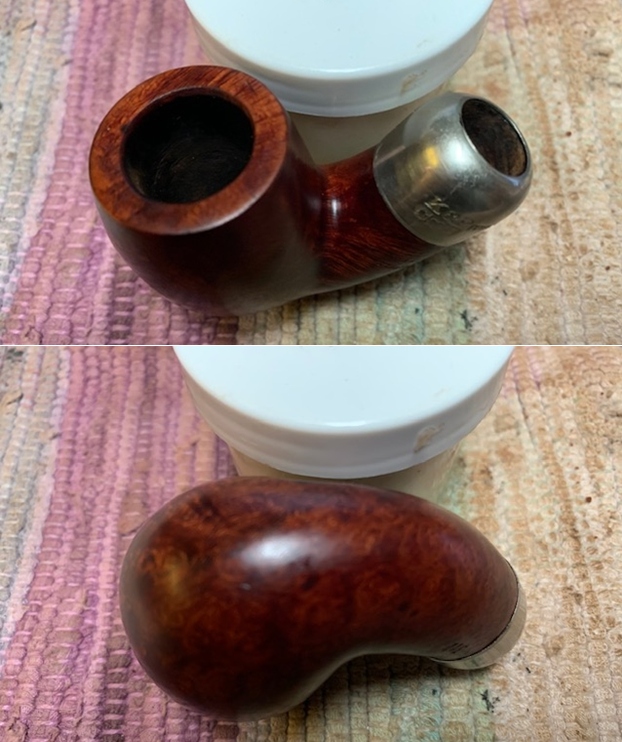
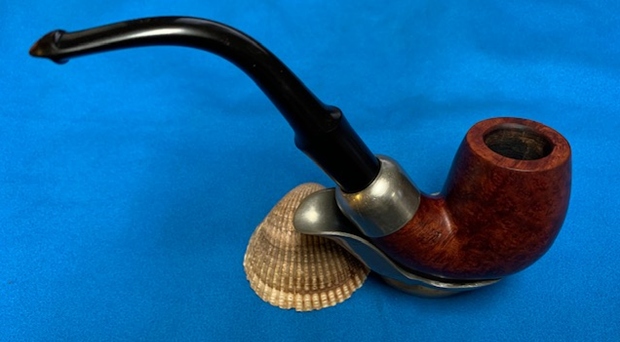
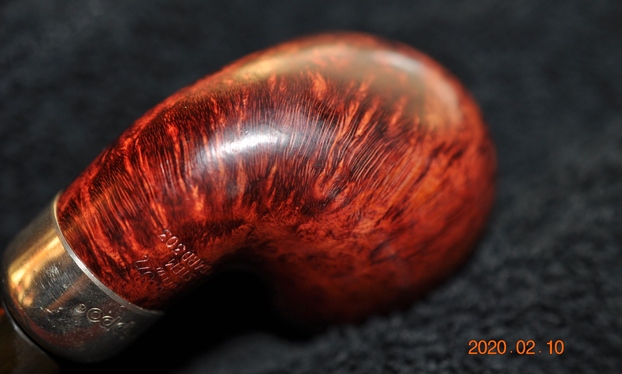
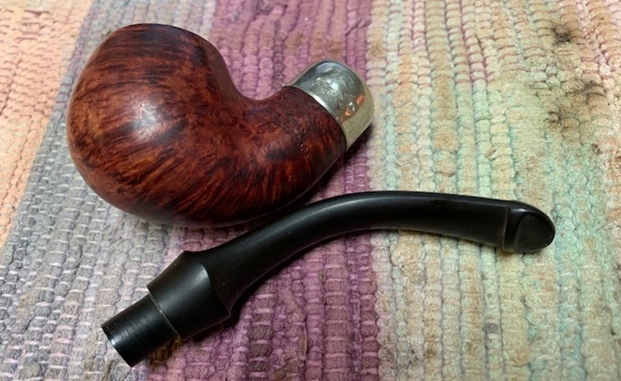
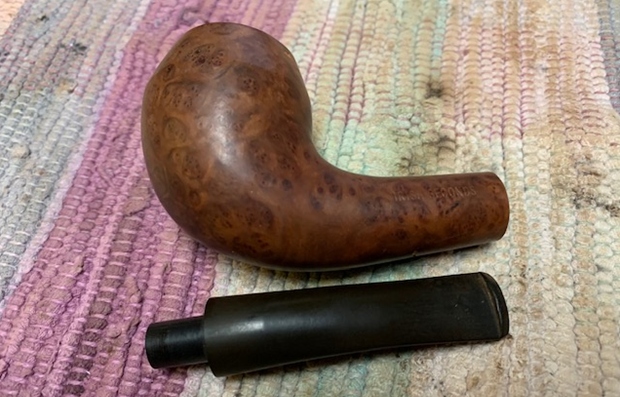
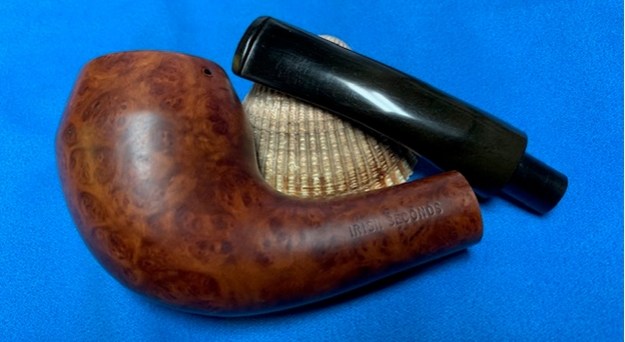
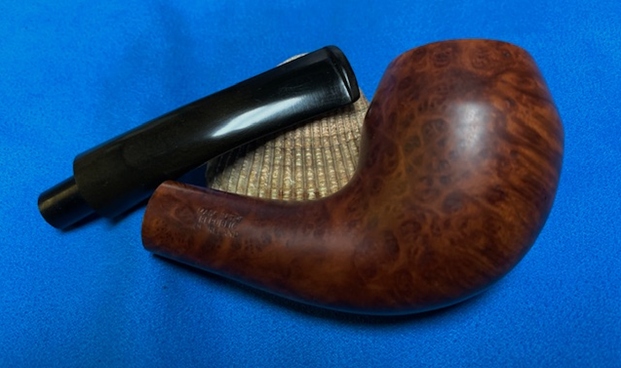
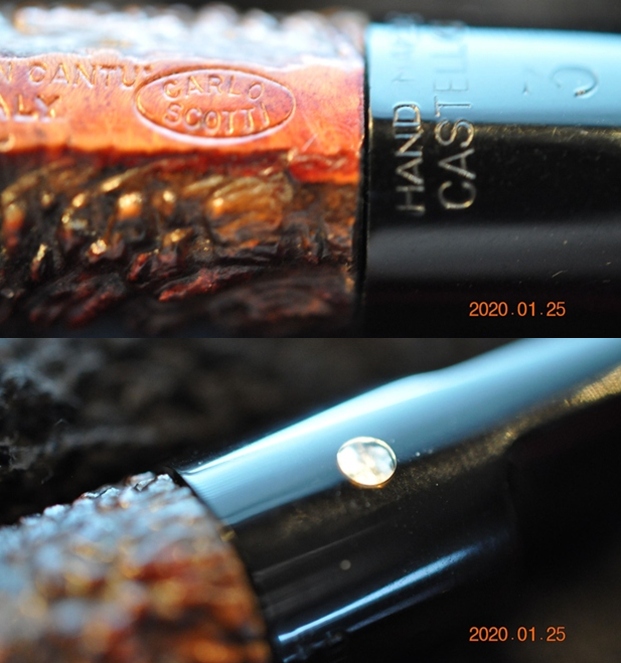
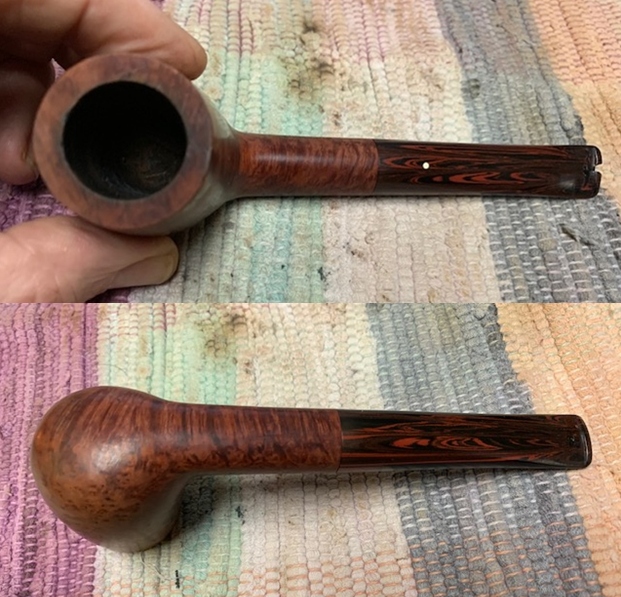
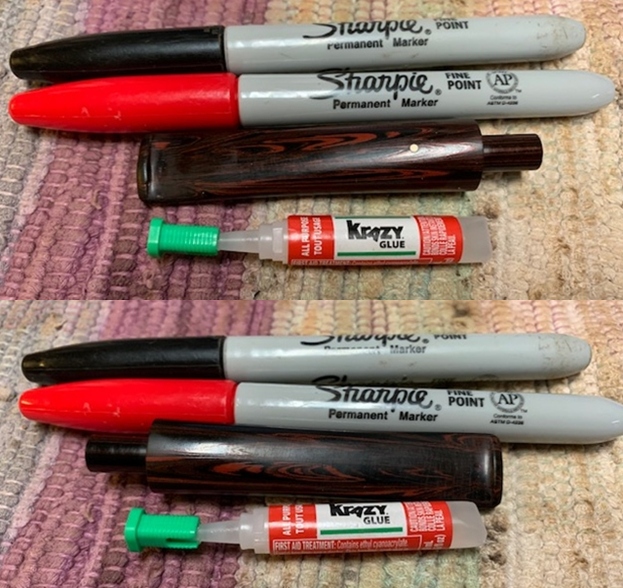
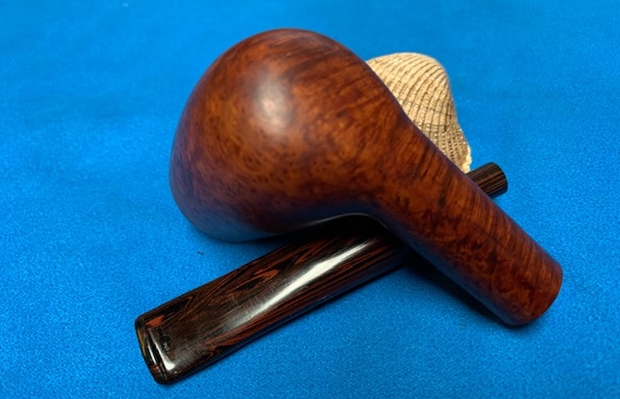
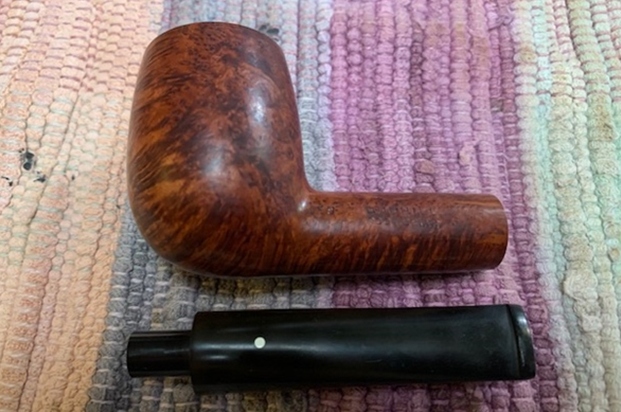
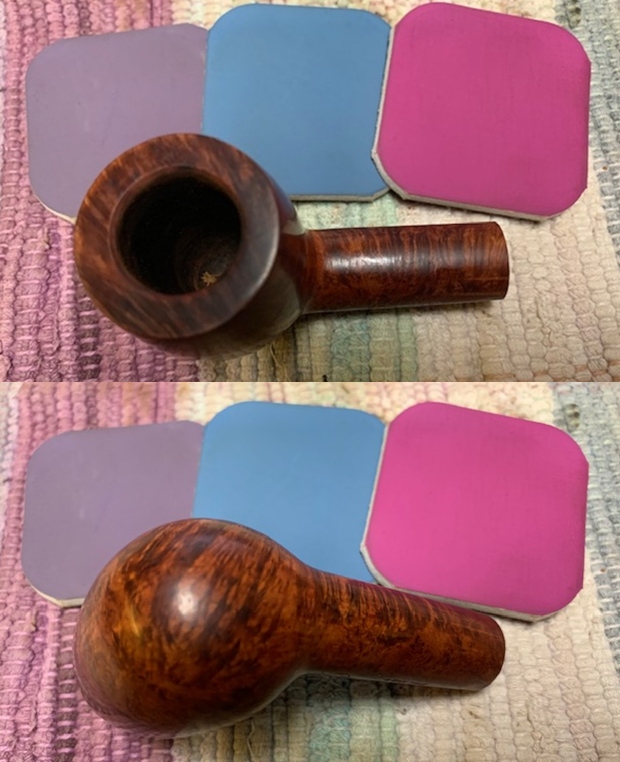
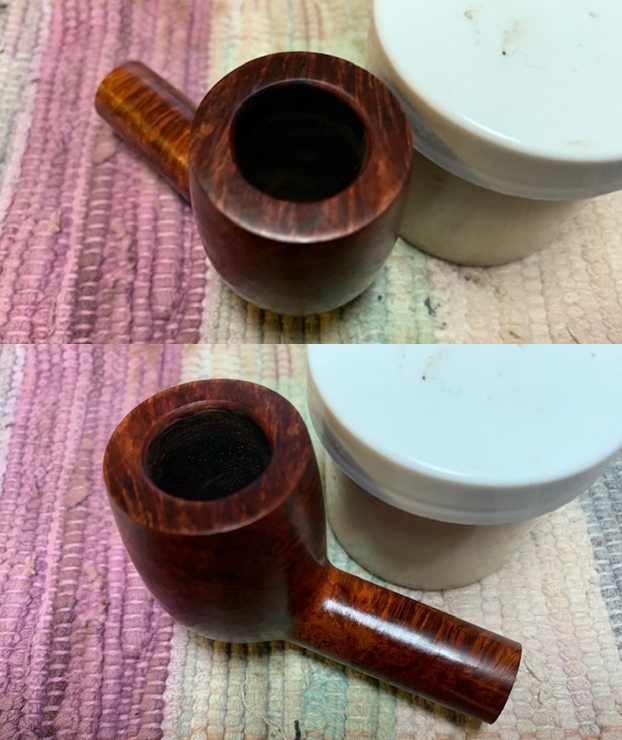
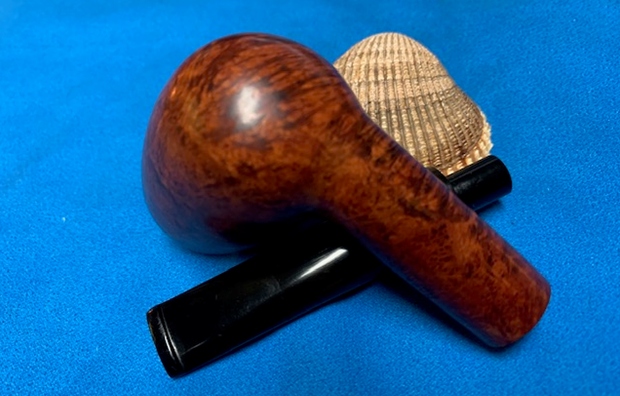
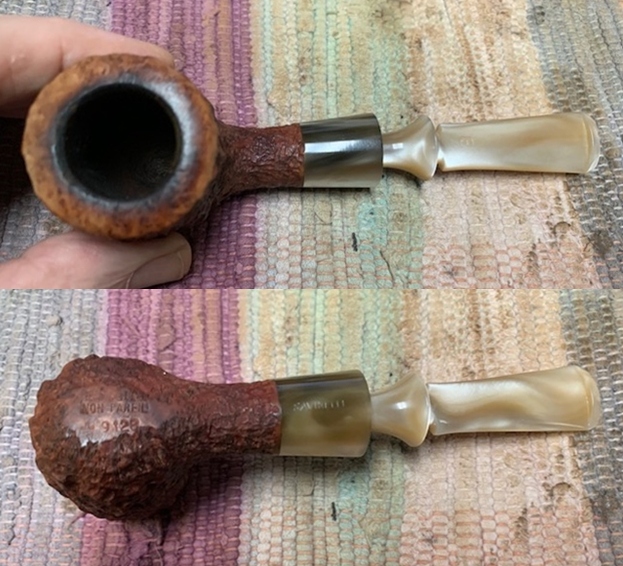
 I removed the stem from the pipe and took a photo of the parts to show the overall look of the pipe before I started my work on it.
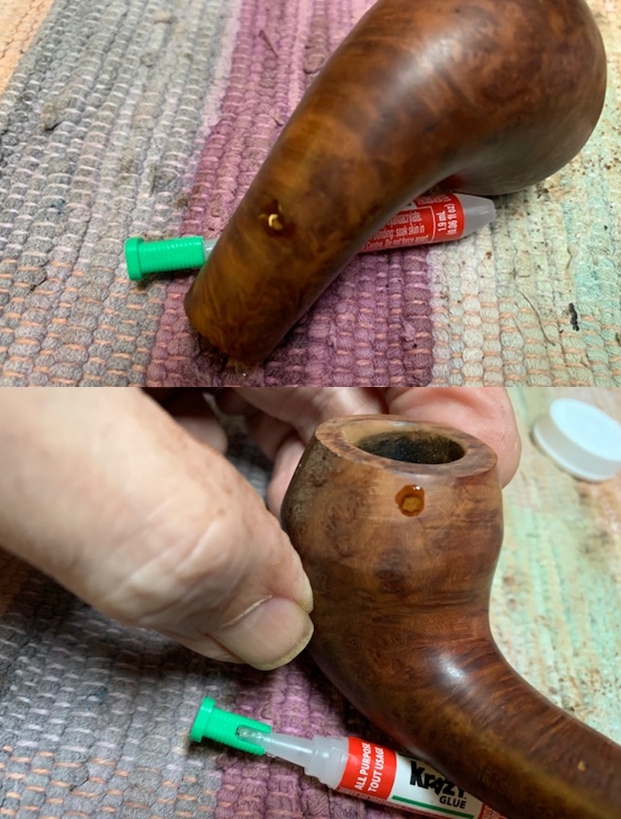
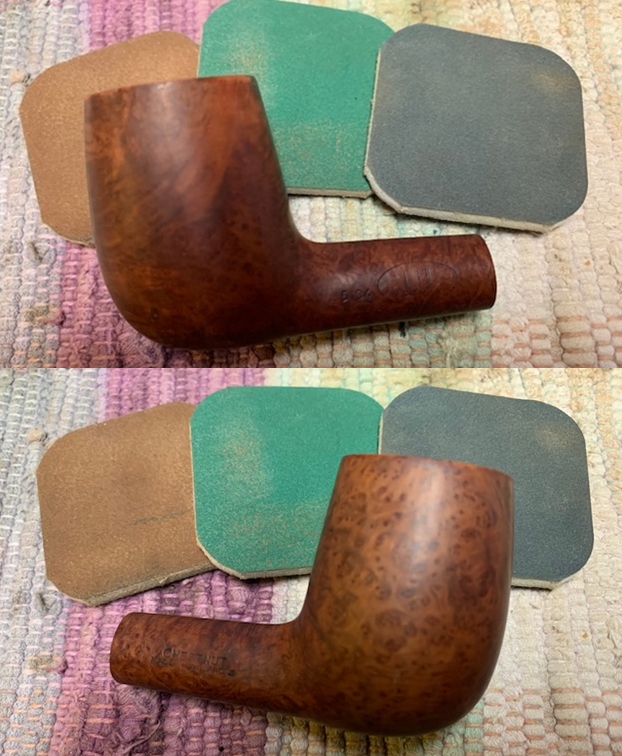
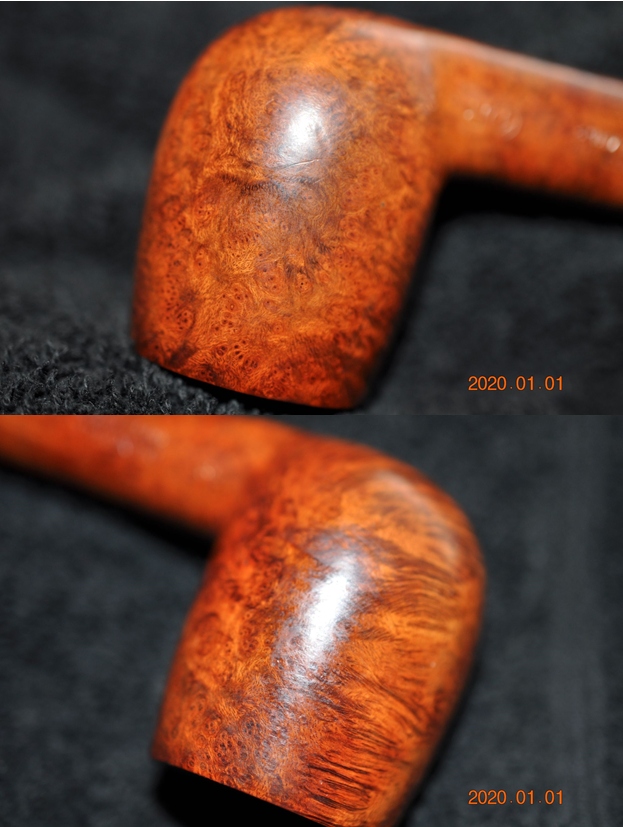
 I started my work on the bowl by addressing the issues with the rim top and inner edge of the bowl. I reshaped the inner edge and cleaned up the rim top with a folded piece of 220 grit sandpaper. I was able to minimize the damage to the edge by giving it a slight bevel and the top by smoothing it out and removing the burn marks.
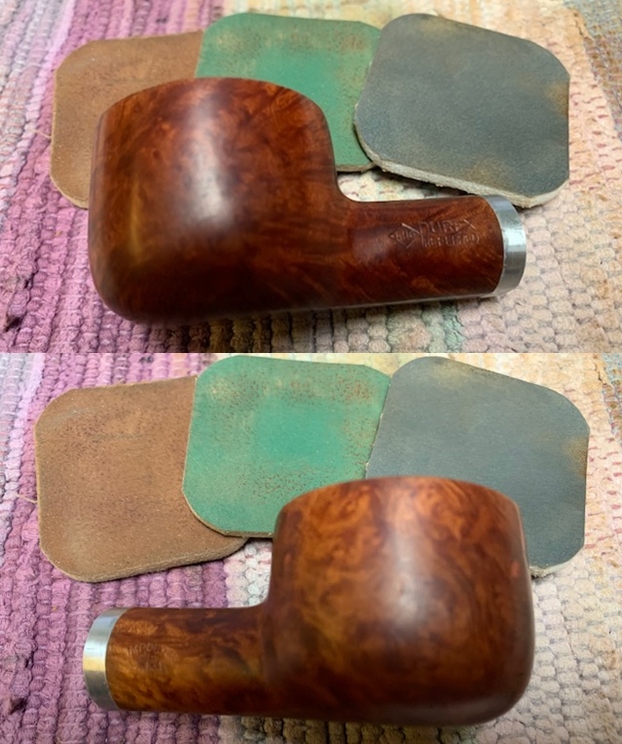
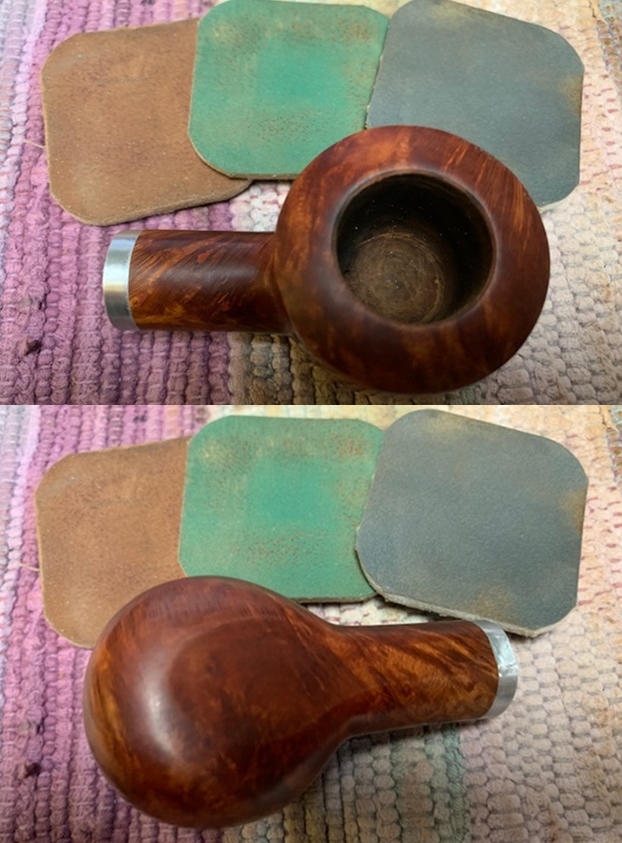
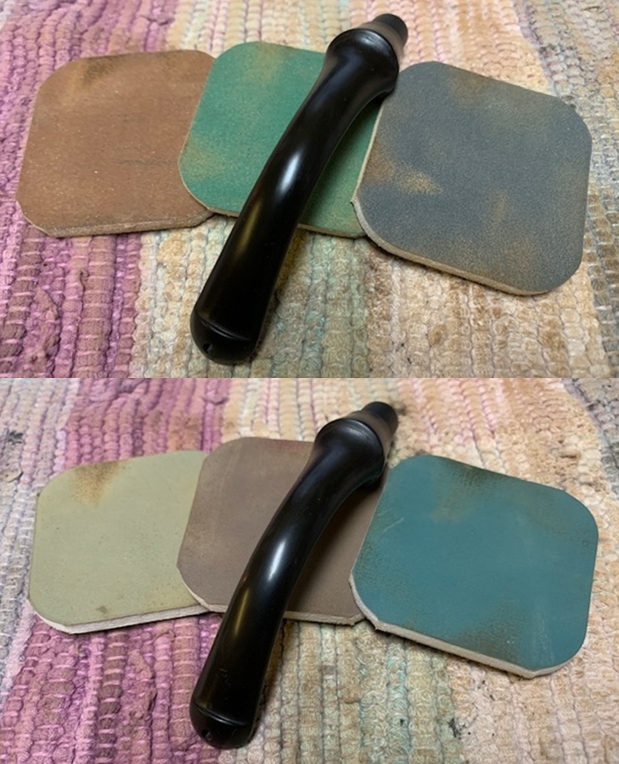
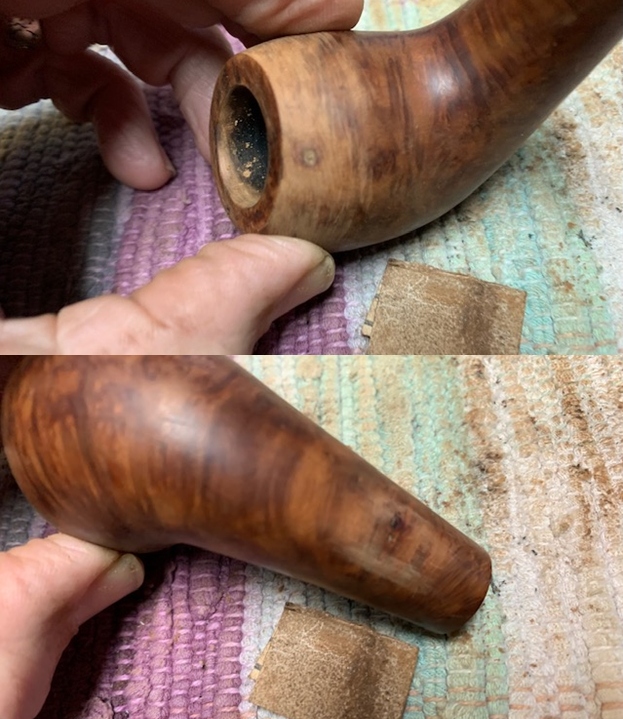
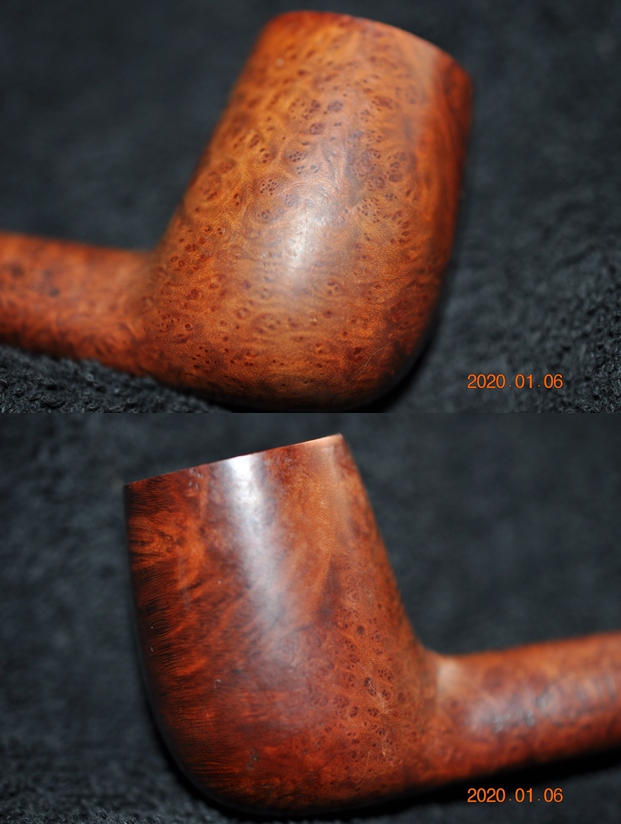
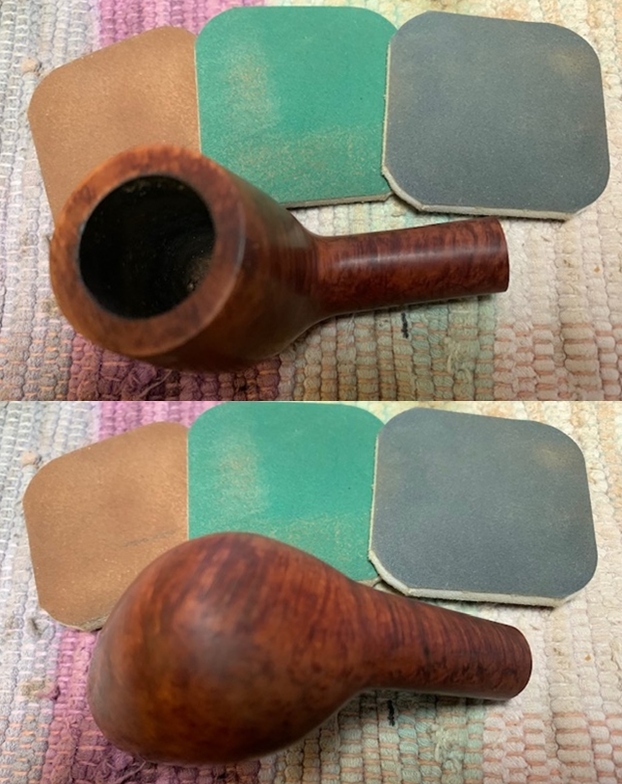
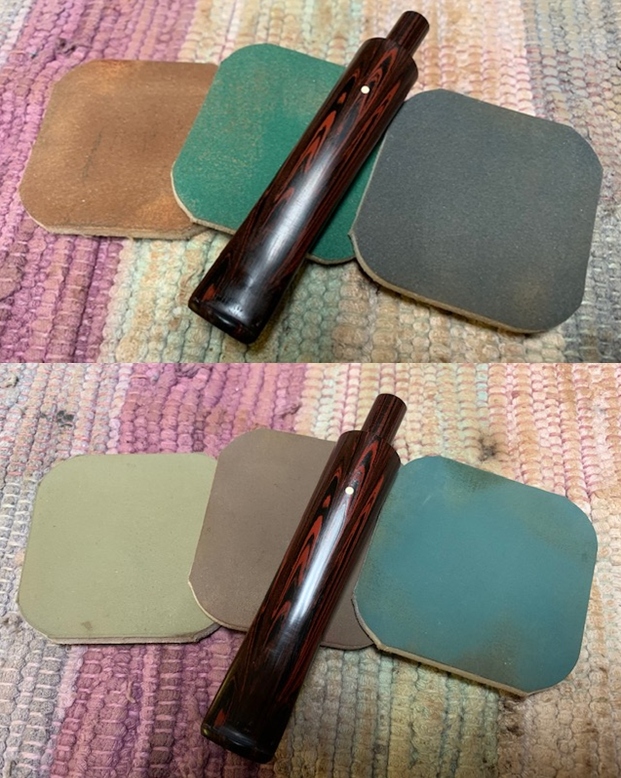
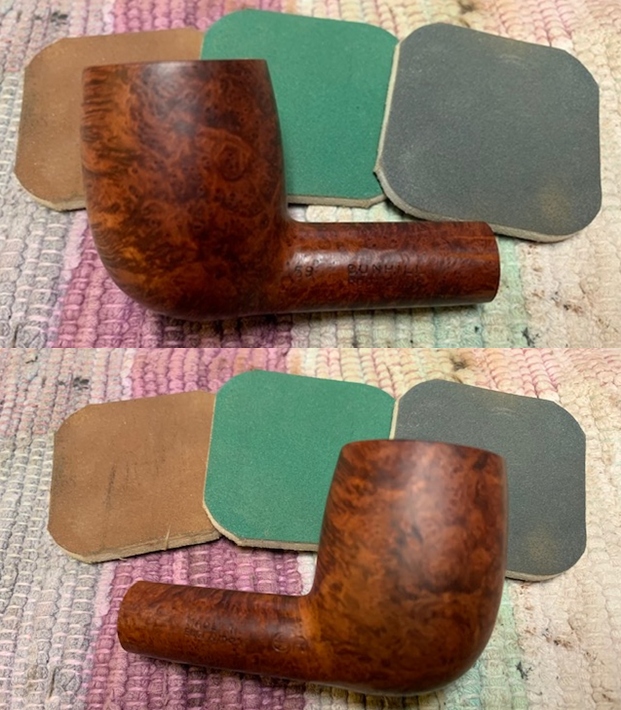
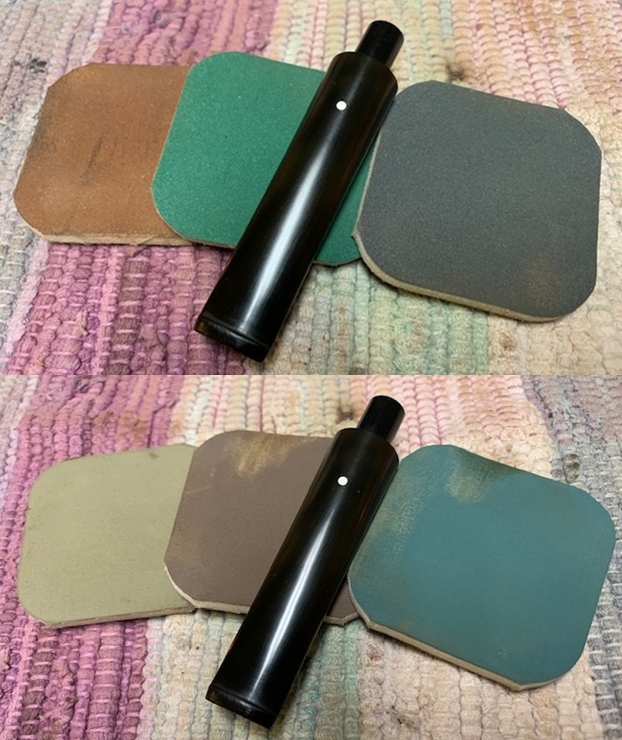
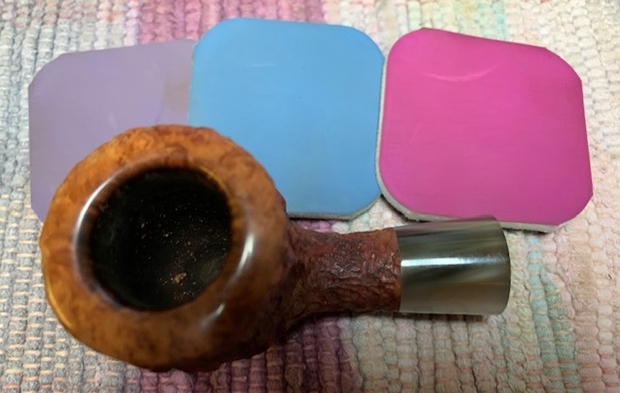
  Once the top and edge were clean I polished them with micromesh sanding pads – wet sanding with 1500-12000 grit pads. I wiped the rim down after each pad to remove the debris. By the last sanding pad the rim top looked very good.
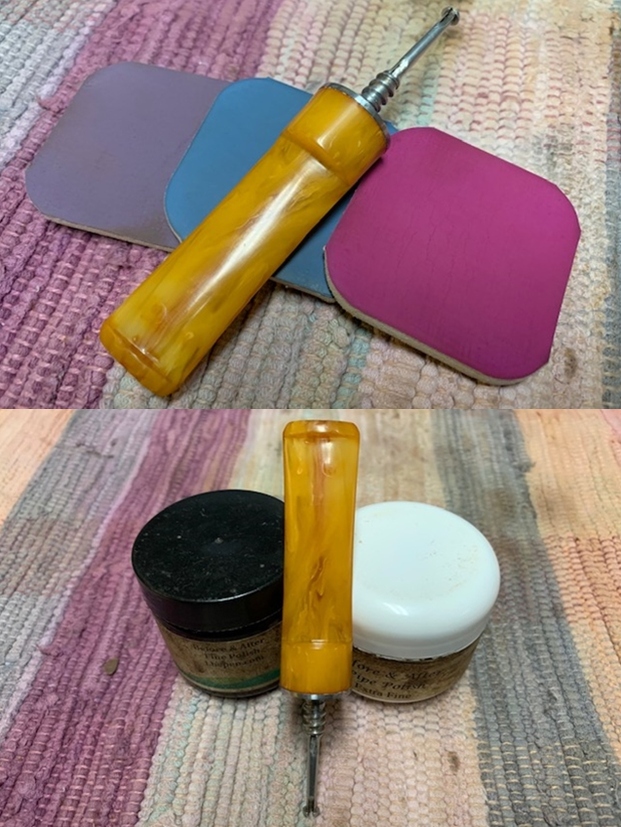
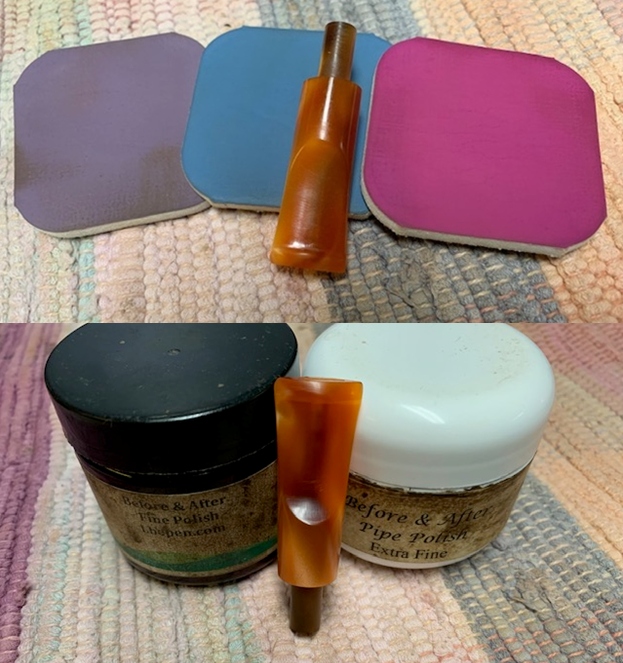
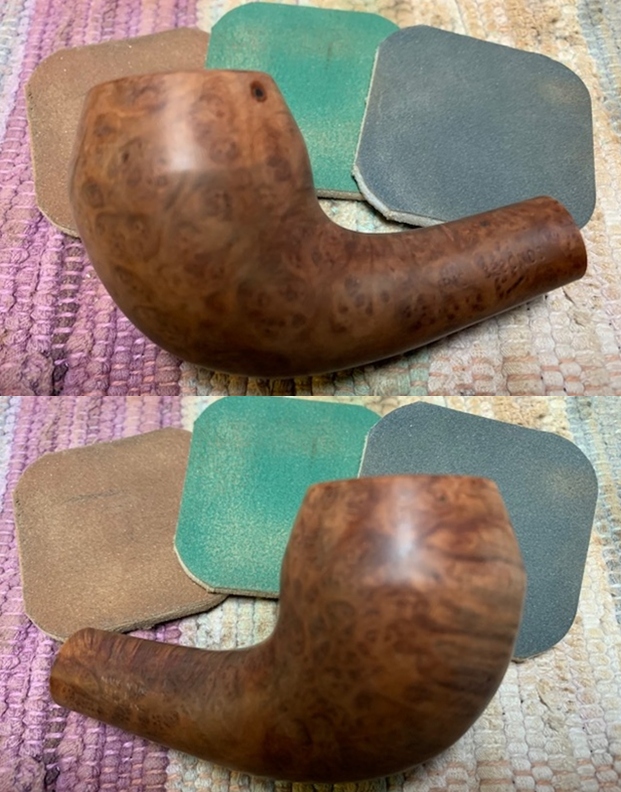
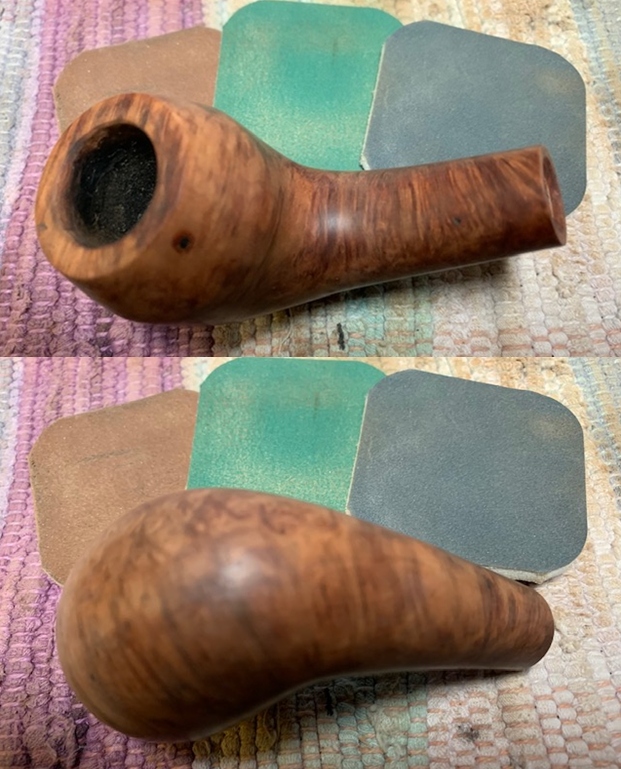
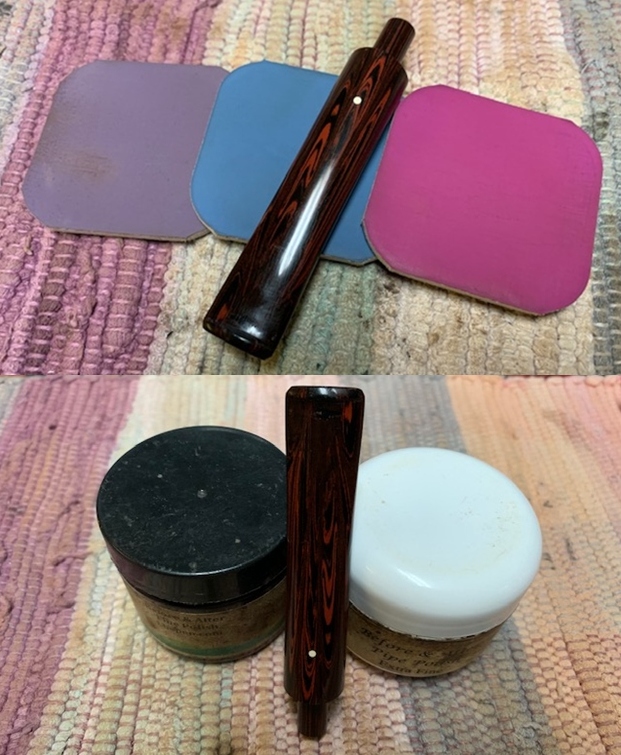
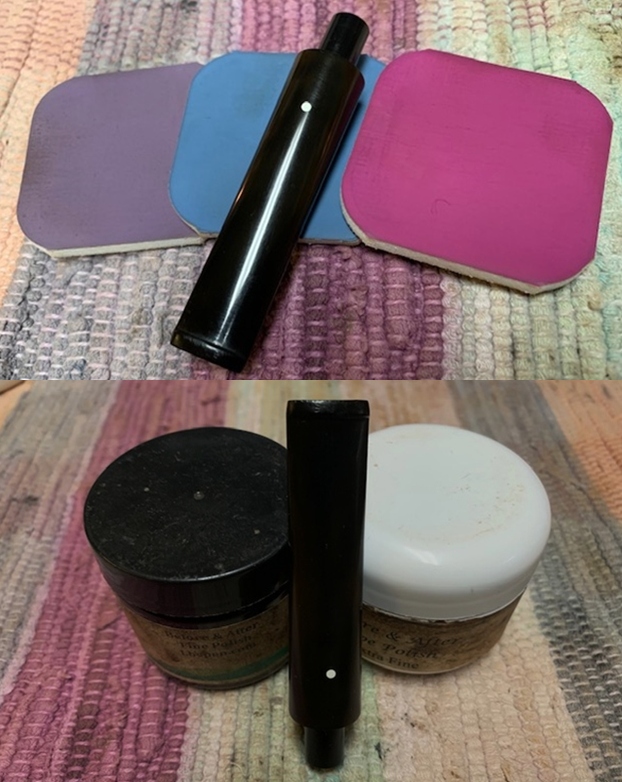
 I rubbed the bowl and shank down with Before & After Restoration Balm. I worked it into the surface of the bowl sides and shank with my fingertips and a horsehair shoe brush to get into the rusticated grooves and channels. The product works well to clean, enliven and protect the briar. I let the balm sit for 15 minutes and then buffed with a cotton cloth to raise the shine.
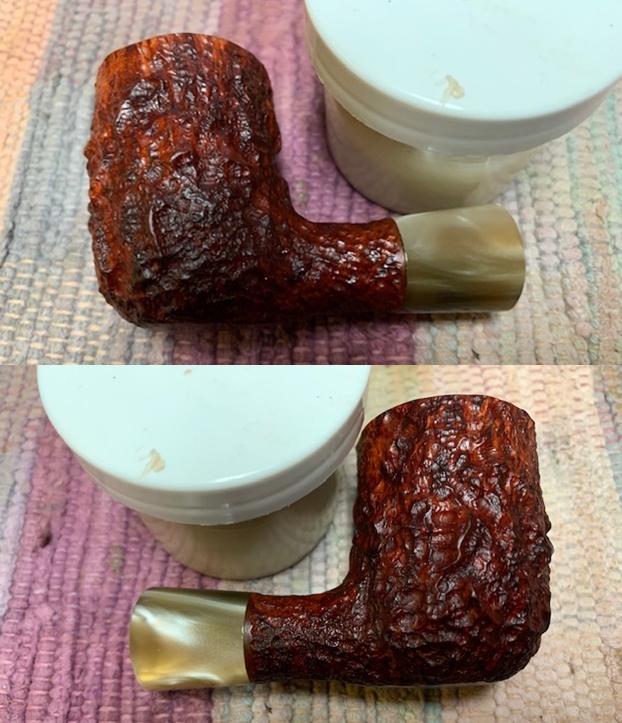

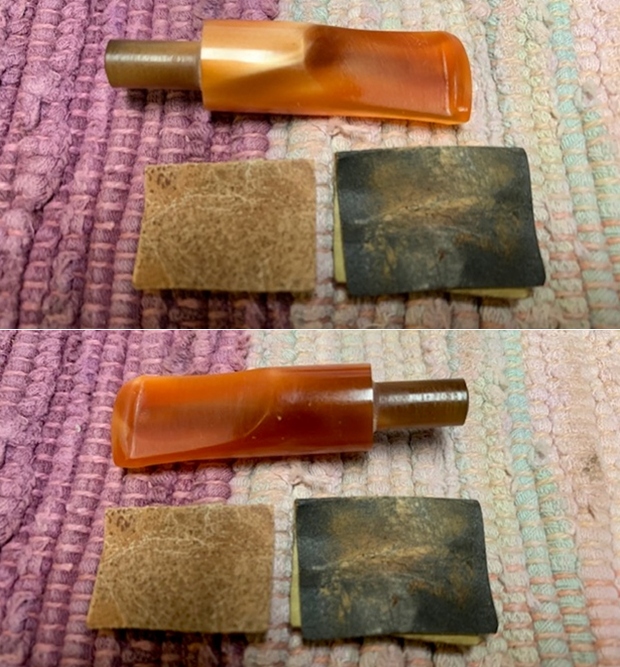
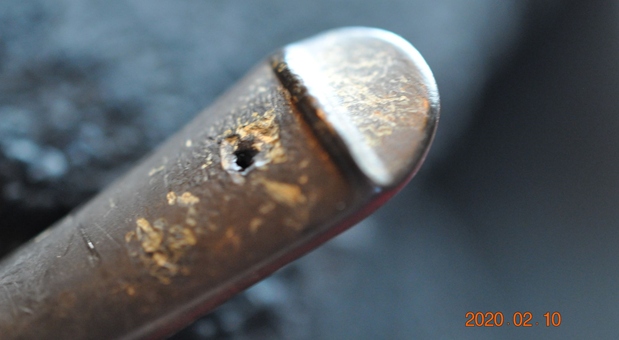
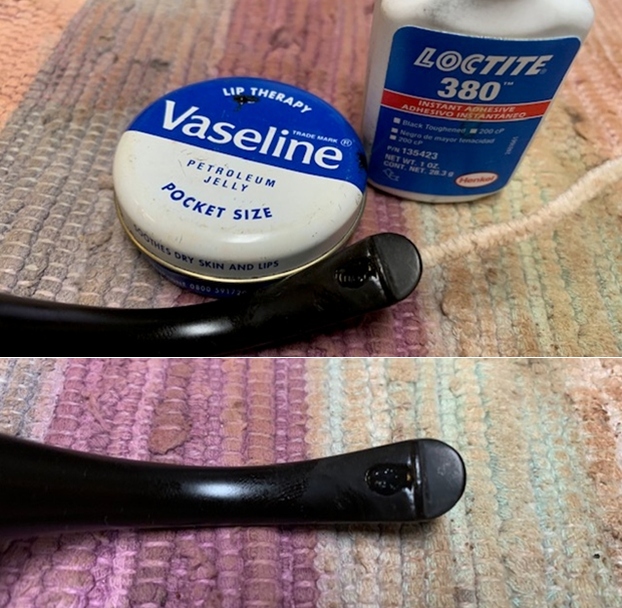
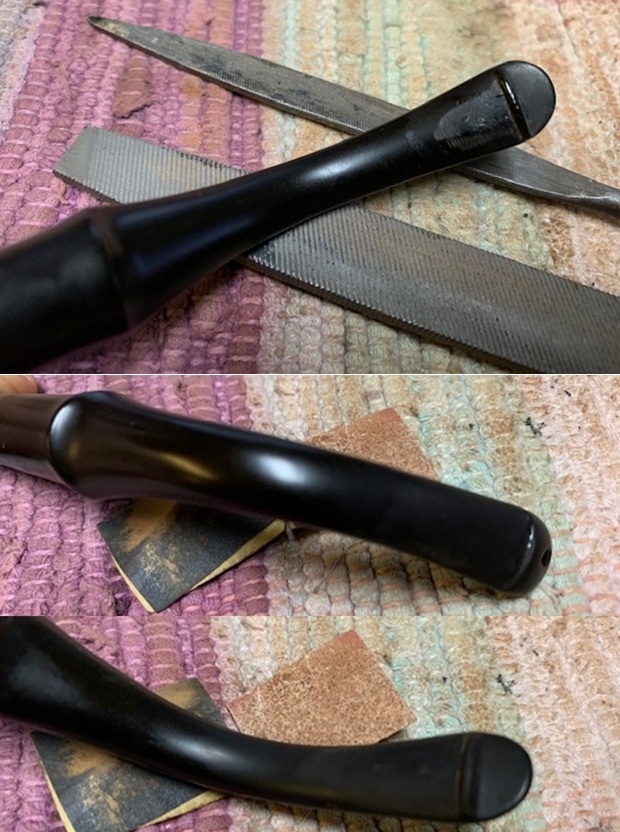
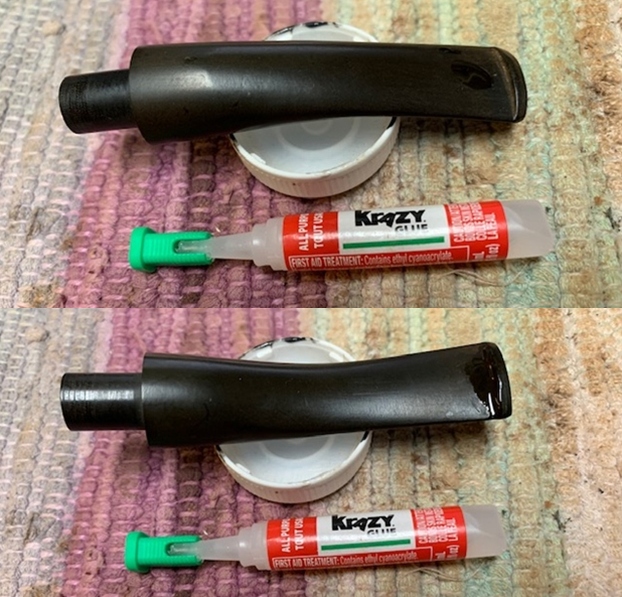
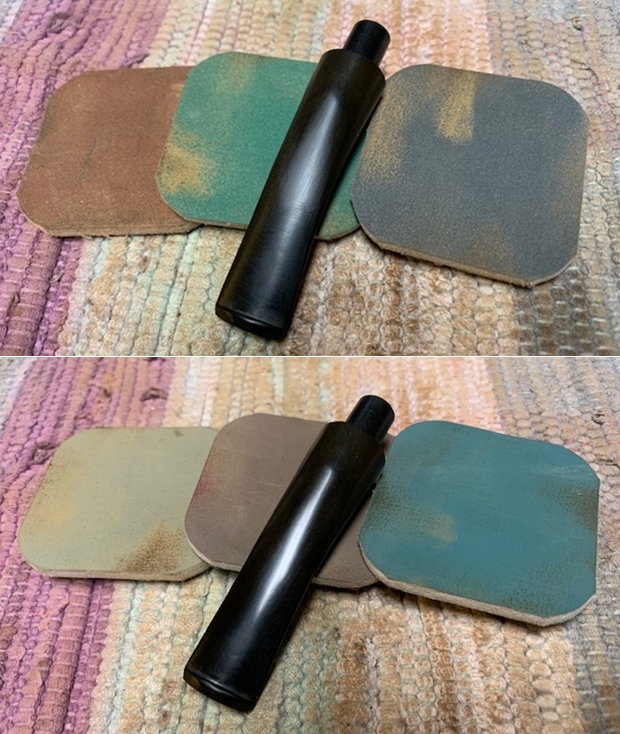
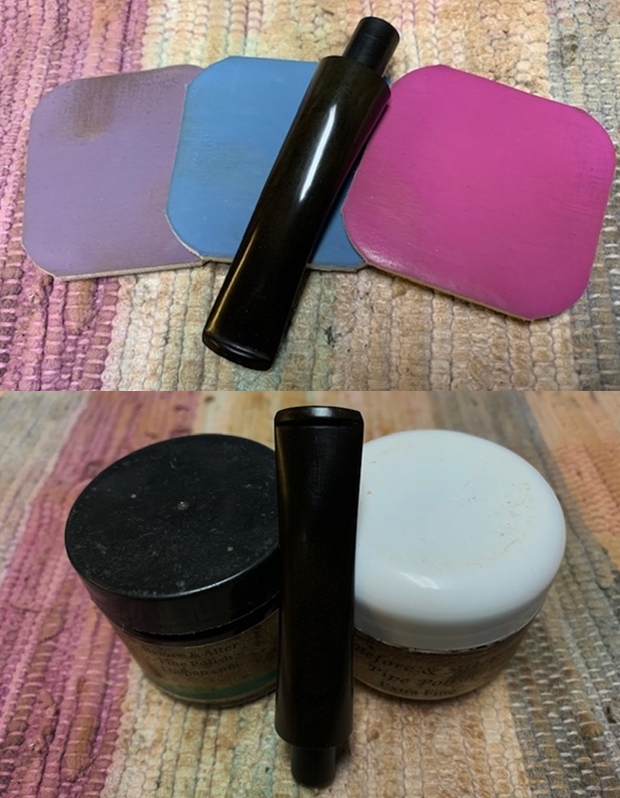
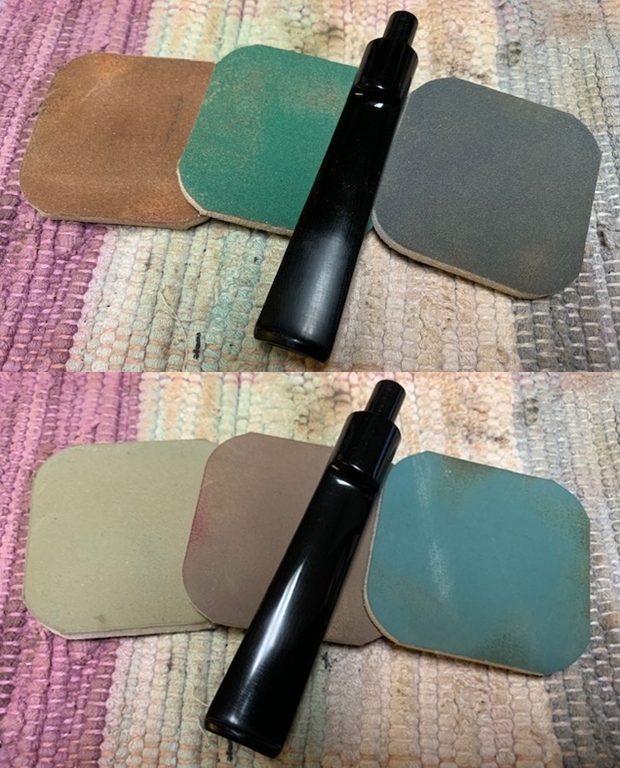
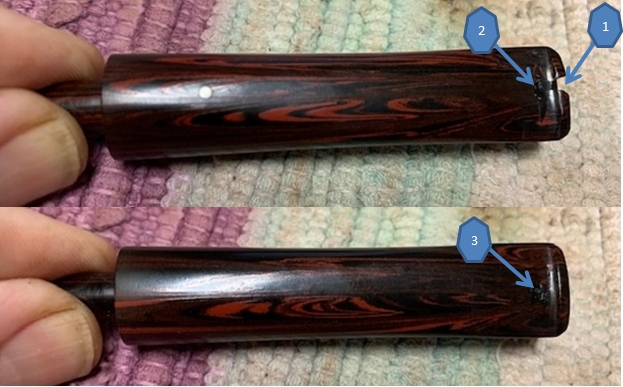
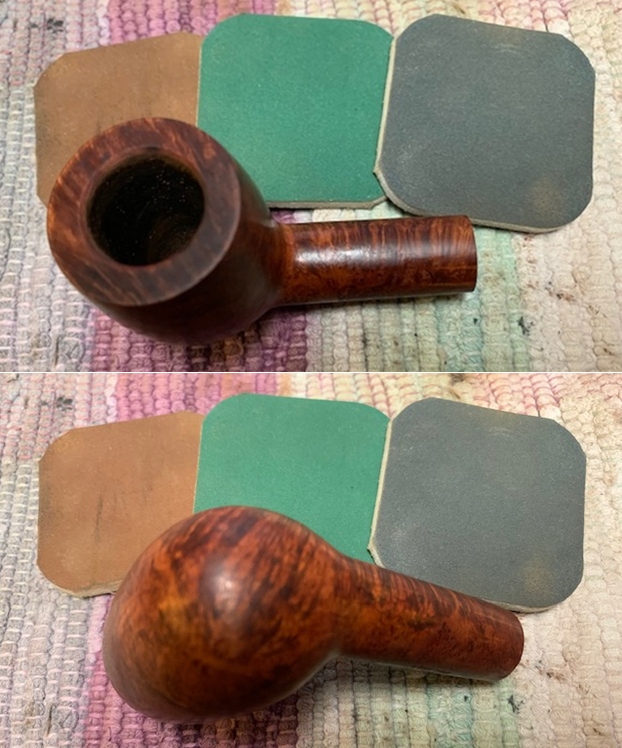
 I set aside the bowl and turned my attention to the stem. I sanded out the tooth marks and chatter on both sides with 220 grit sandpaper and started the polishing with 400 grit wet dry sandpaper. You will note some darkening on the tenon end that would not come off with scrubbing and sanding would reduce the diameter of the tenon and affect the fit in the shank.
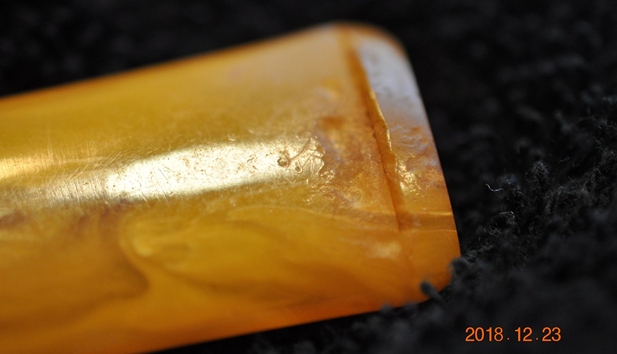
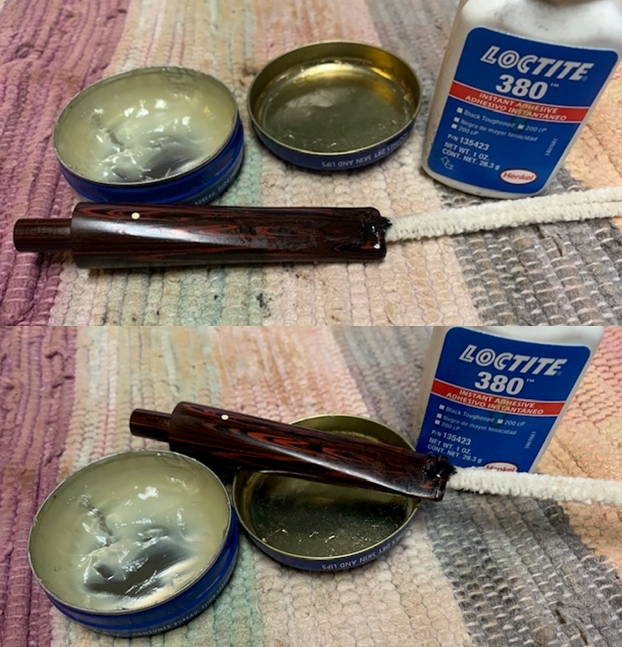
 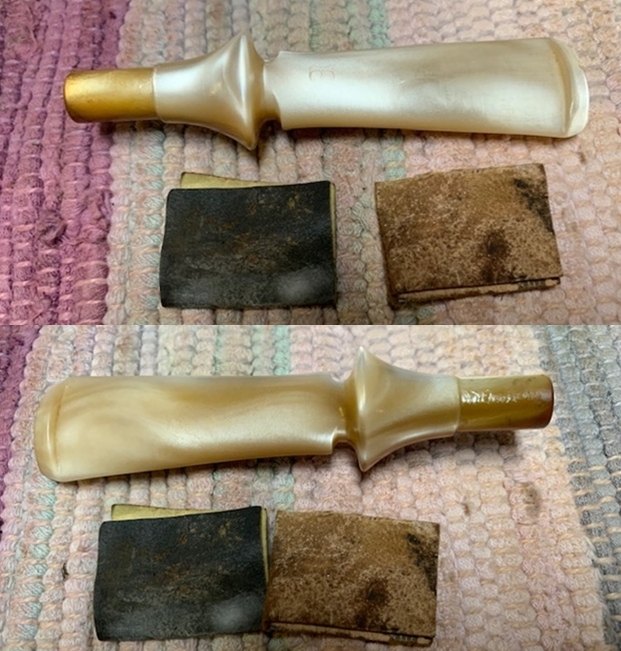 I touched up the stamp on the top of the stem with Rub’n Buff Antique Gold. I rubbed it on the stem surface and worked it into the stamp with a tooth pick. I buffed it off with a cotton pad. It looked better when it was finished.
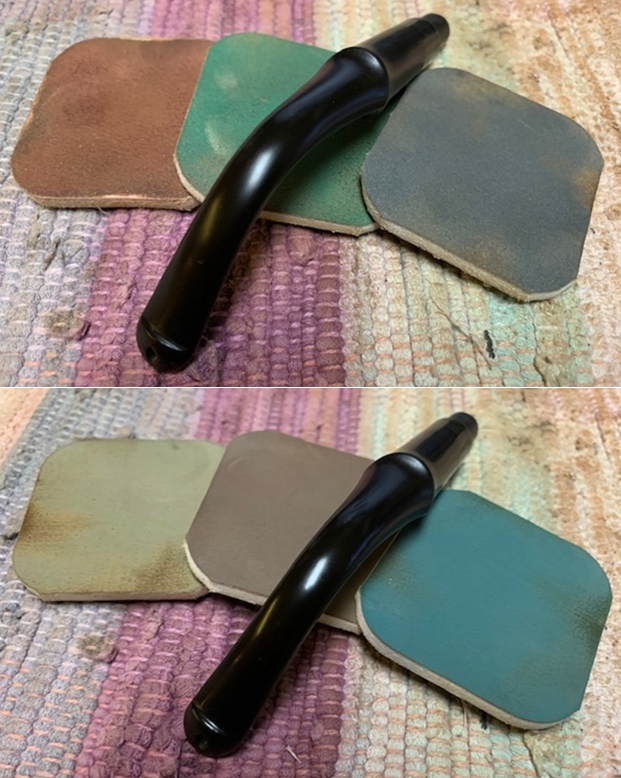
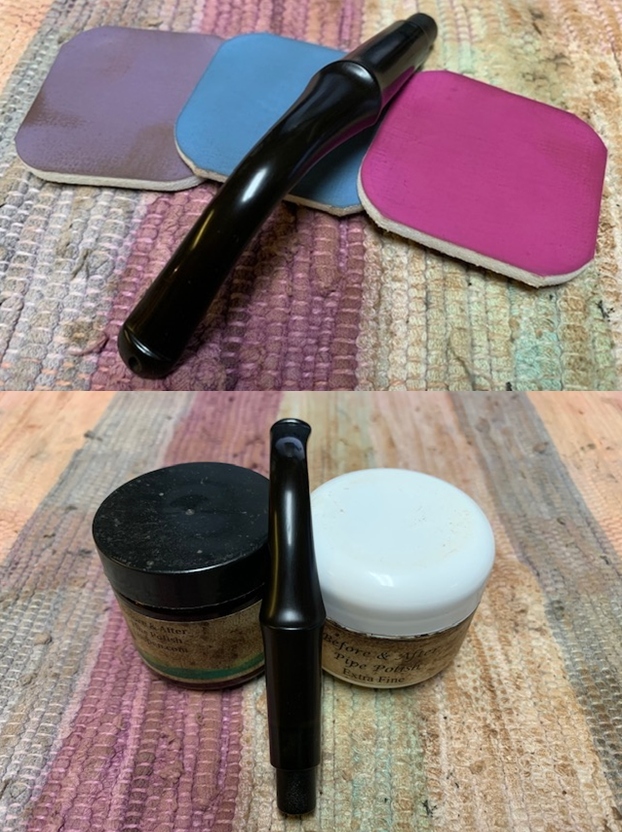
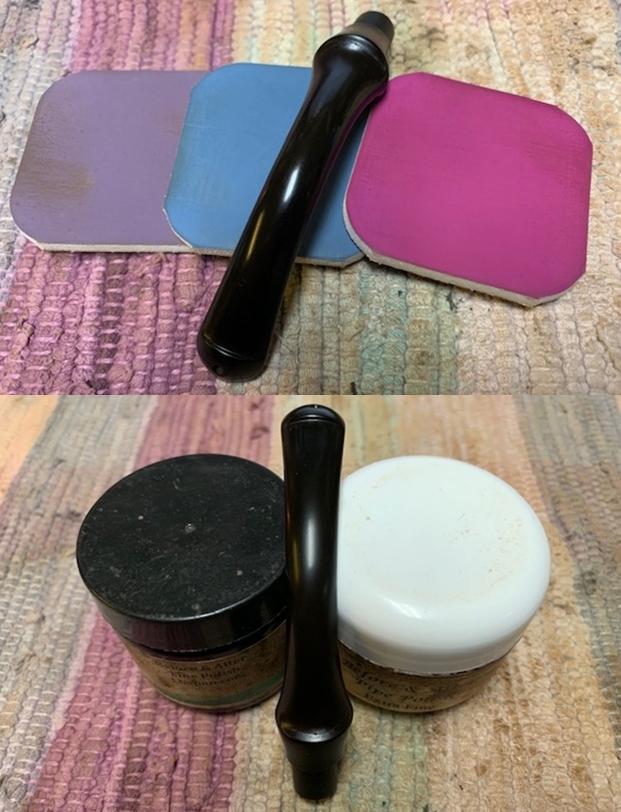
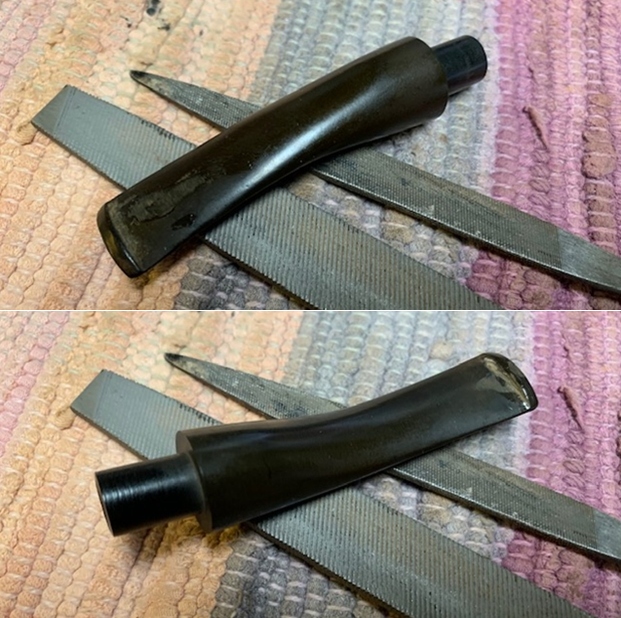
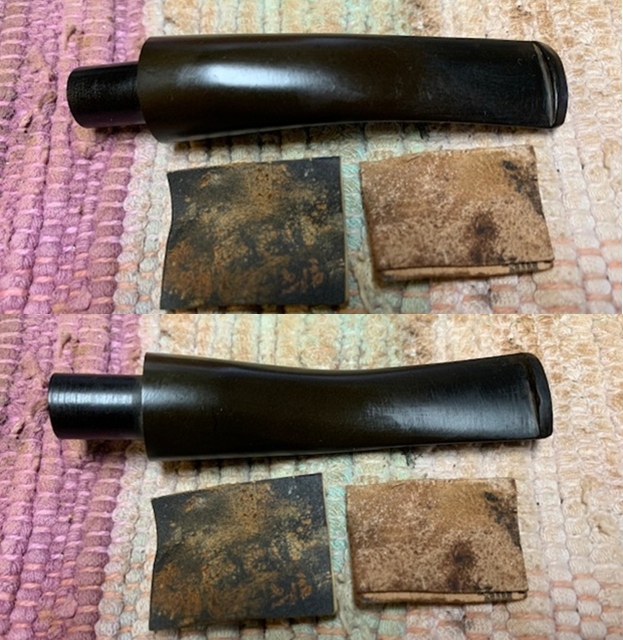
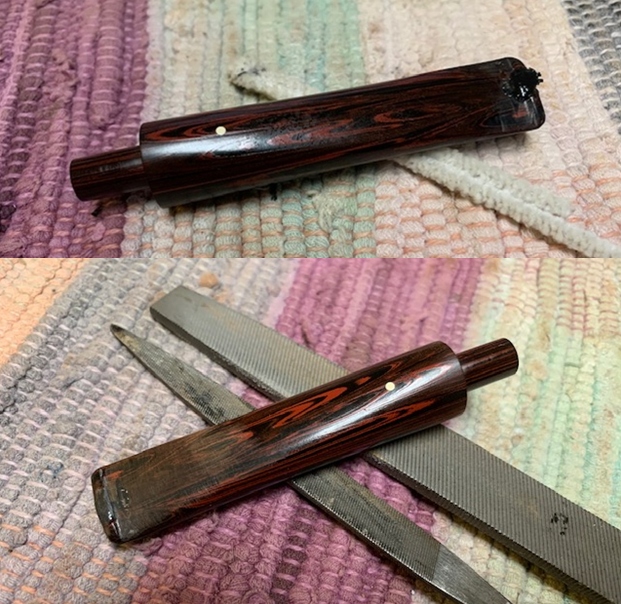
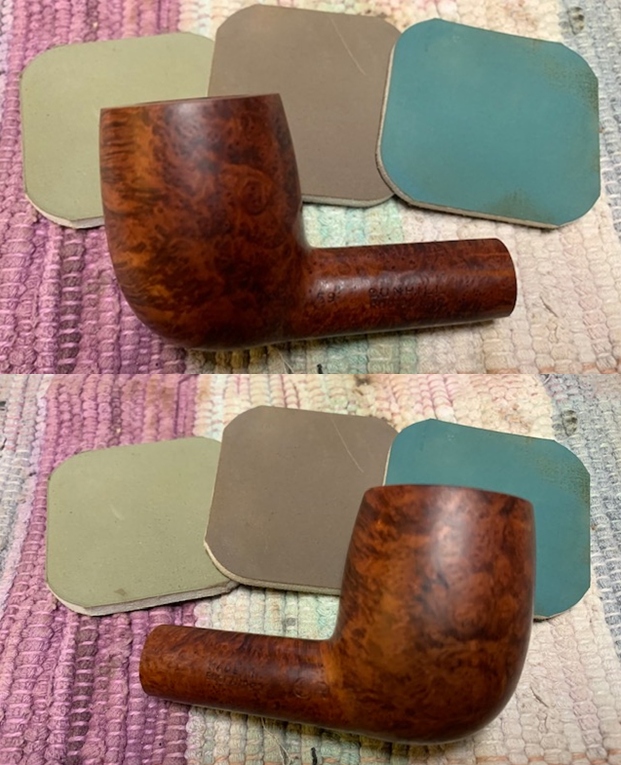
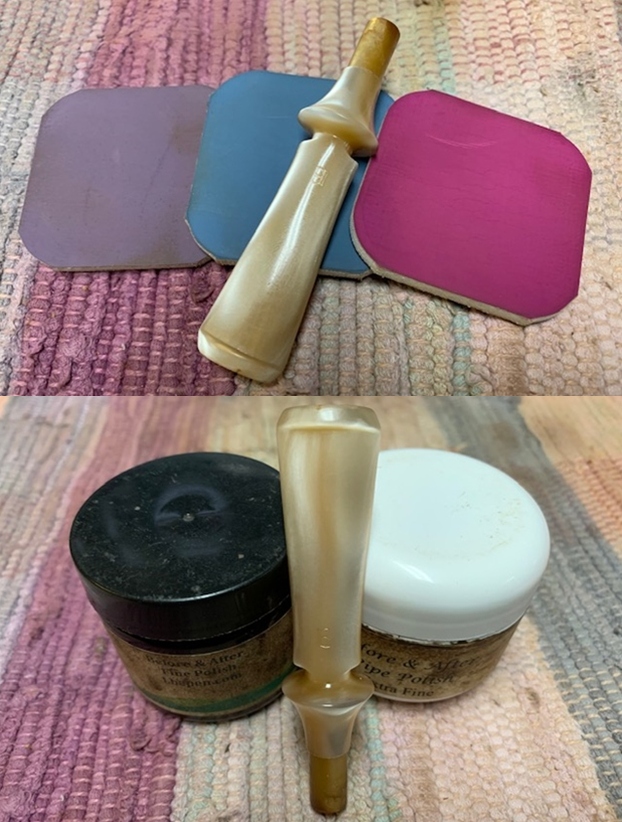
 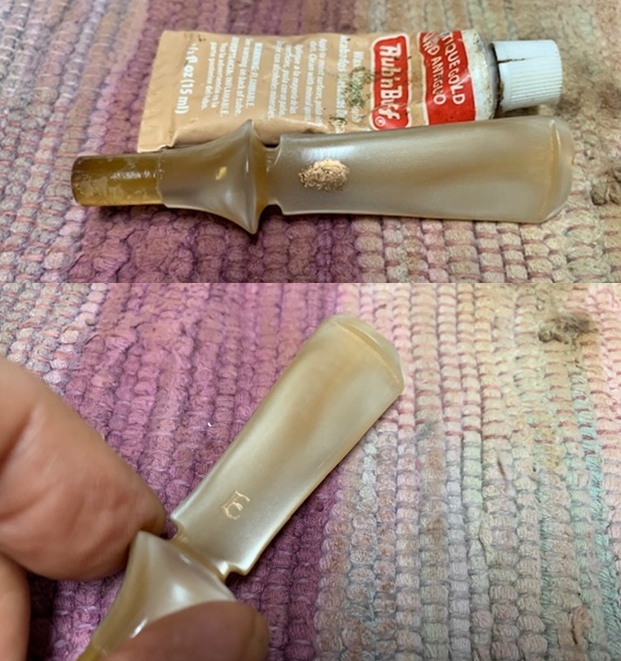 I polished the stem with micromesh sanding pads – wet sanding it with 1500-12000 grit pads. After each set of three pads I wiped the stem down with the damp cotton pad to check the progress. I had been able to blend in the tooth marks on both sides.
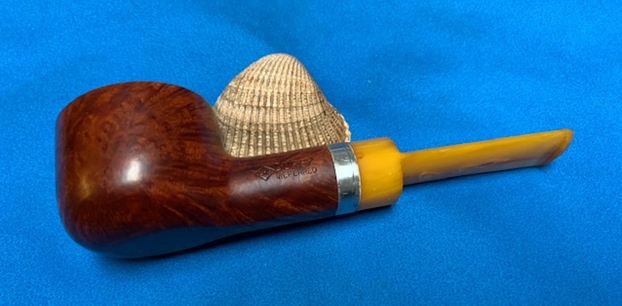
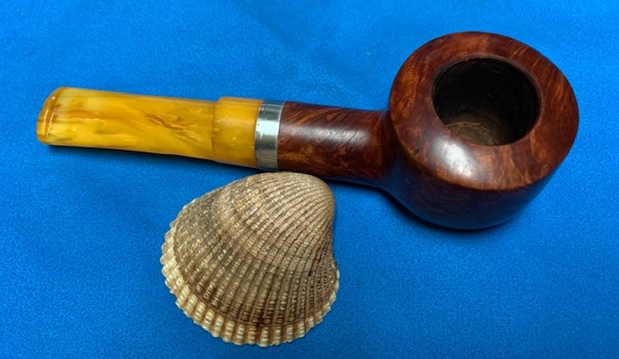
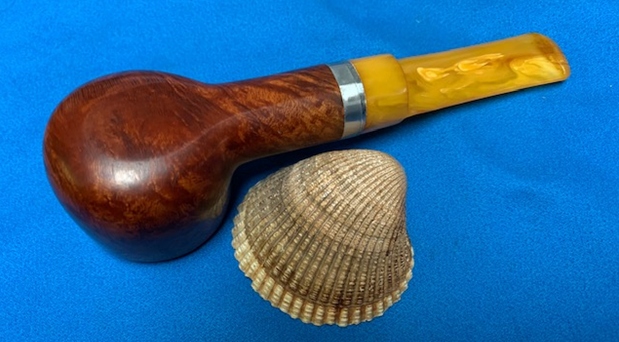
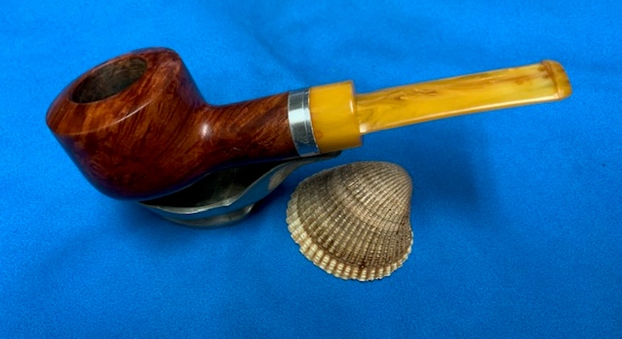
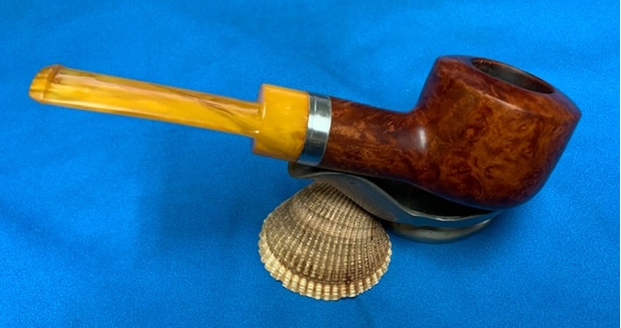
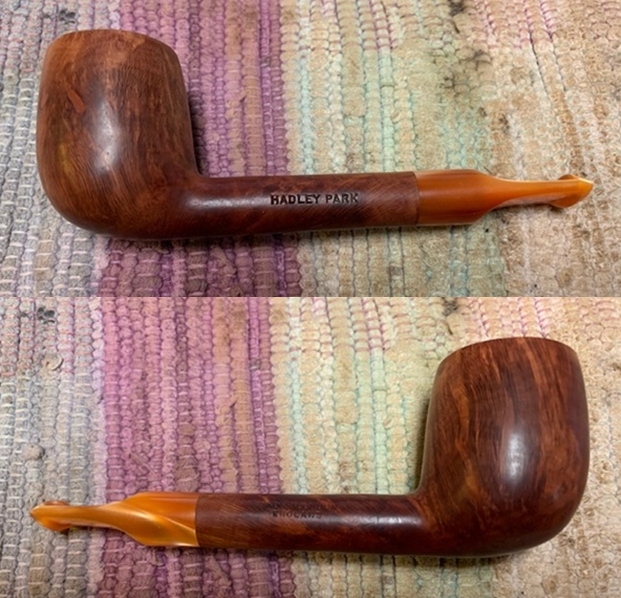
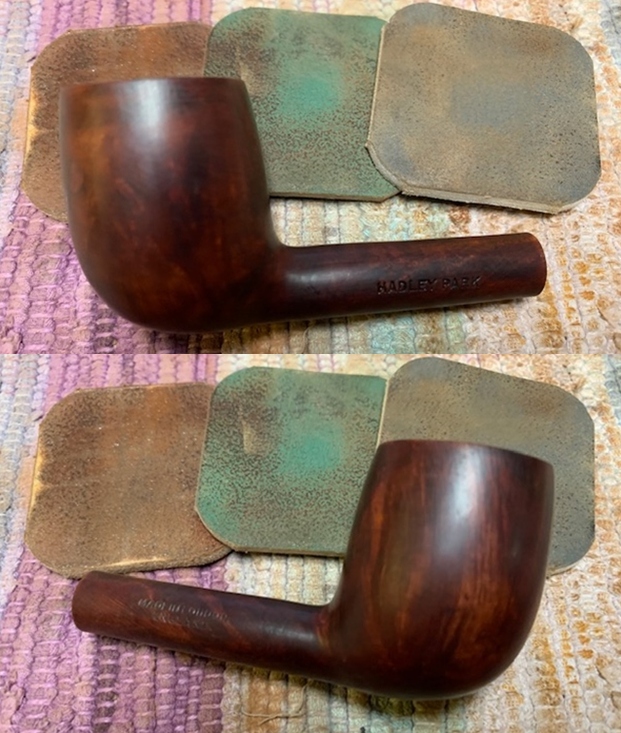
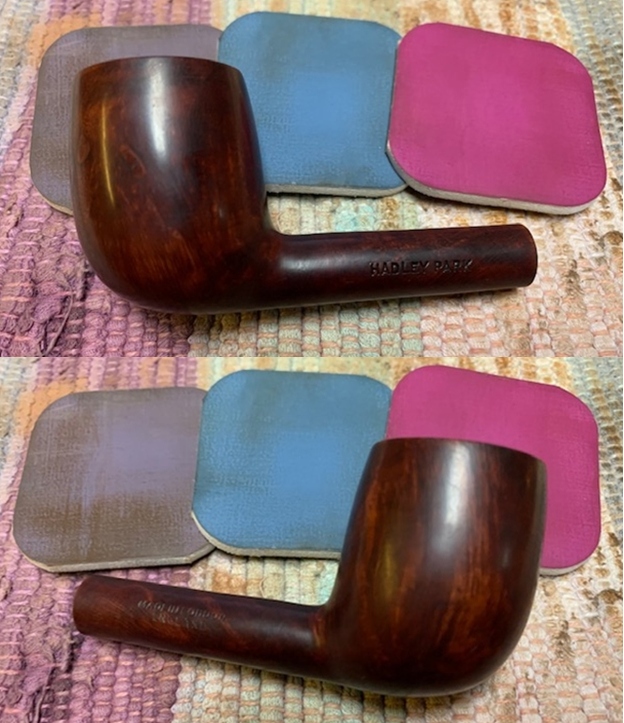
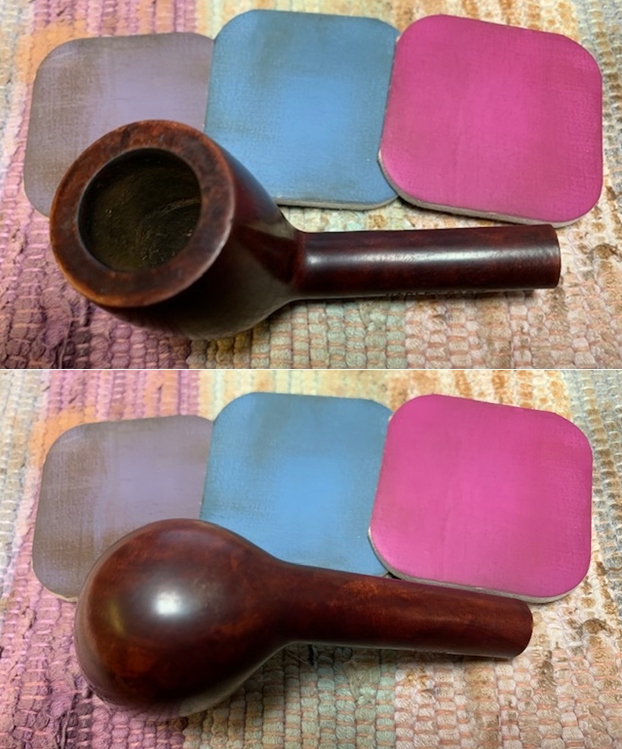
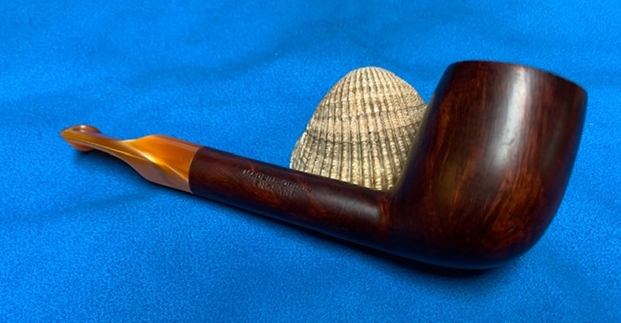
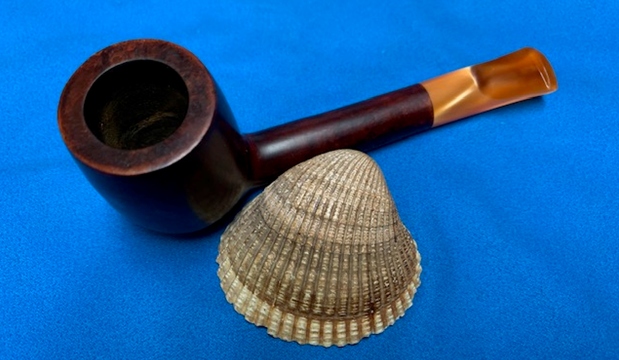
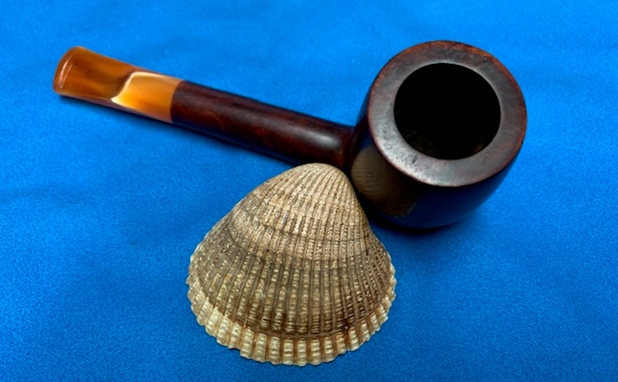
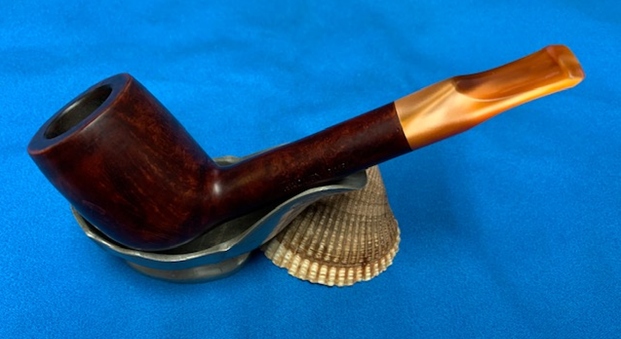
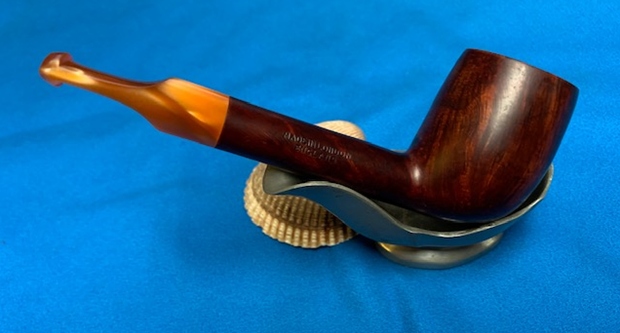
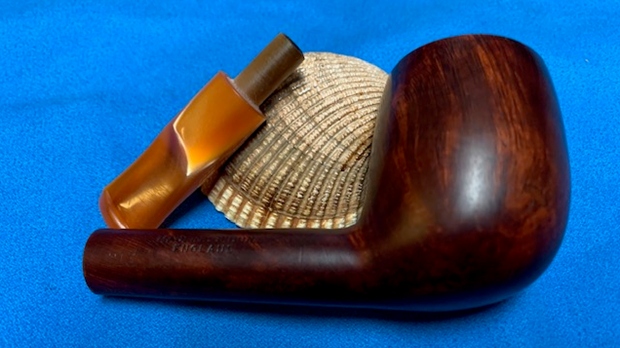
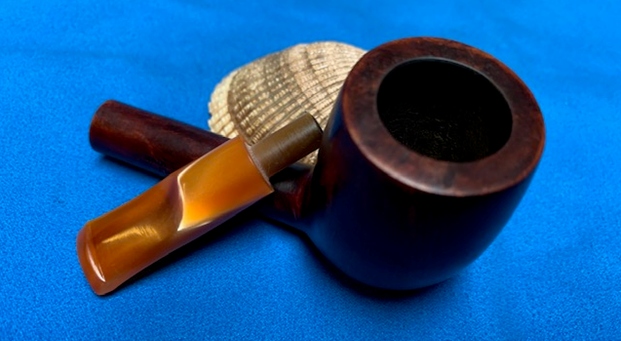
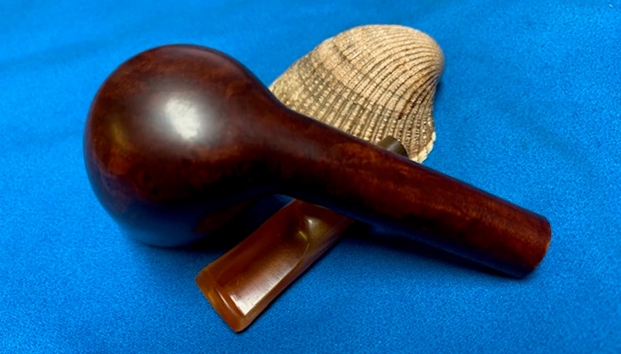
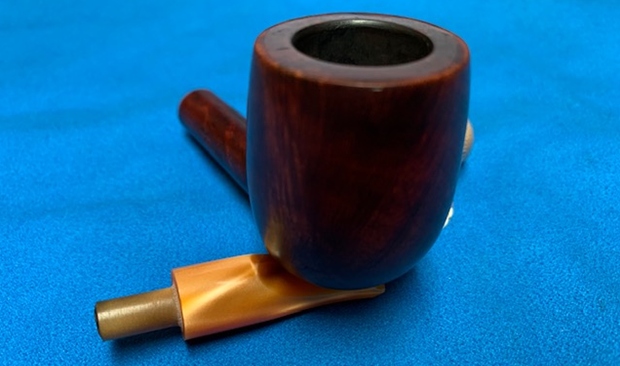
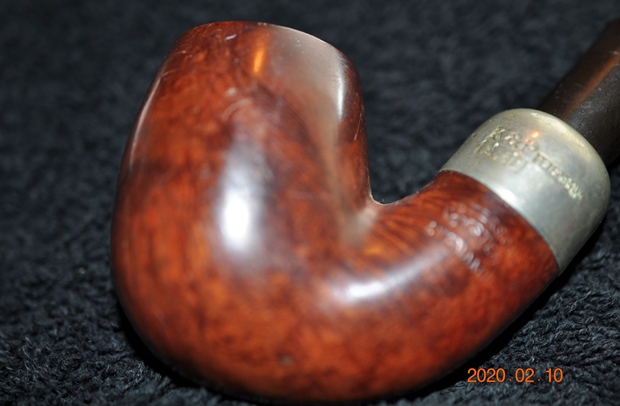
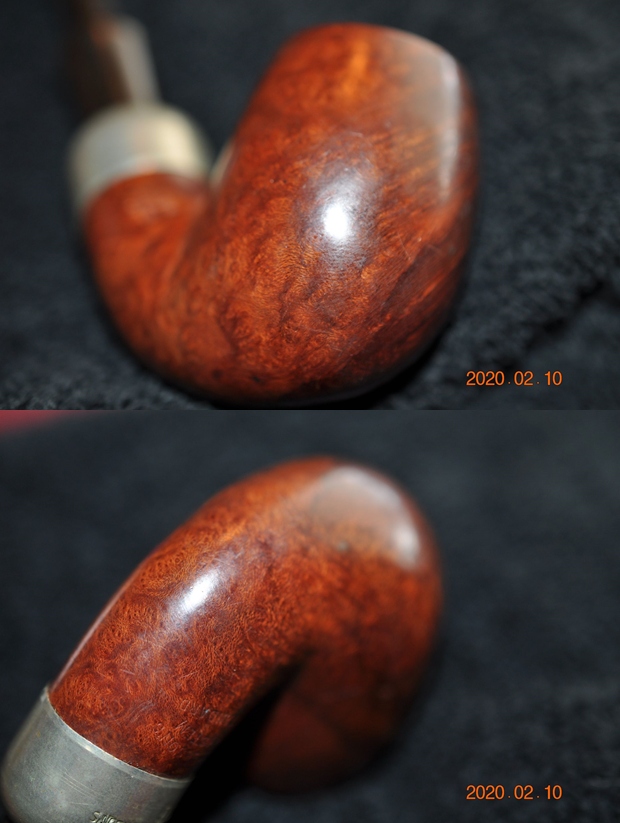
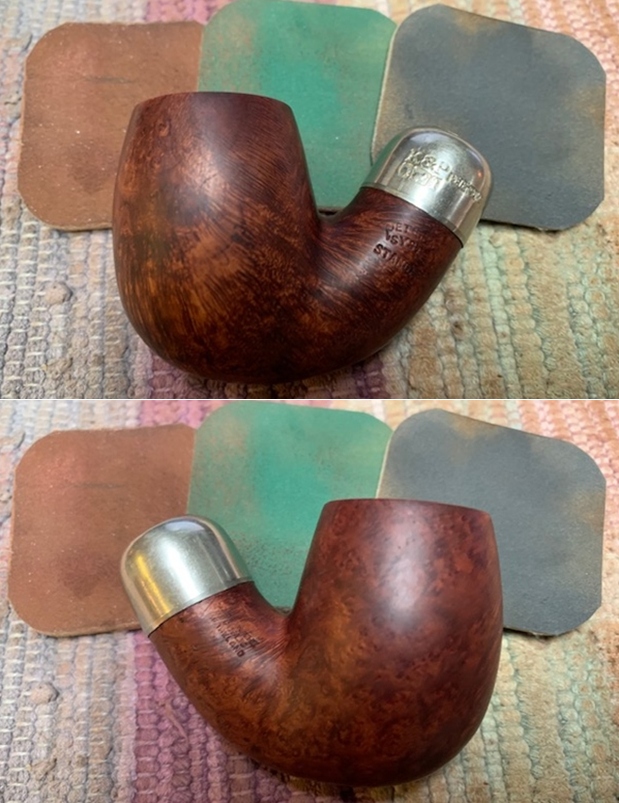
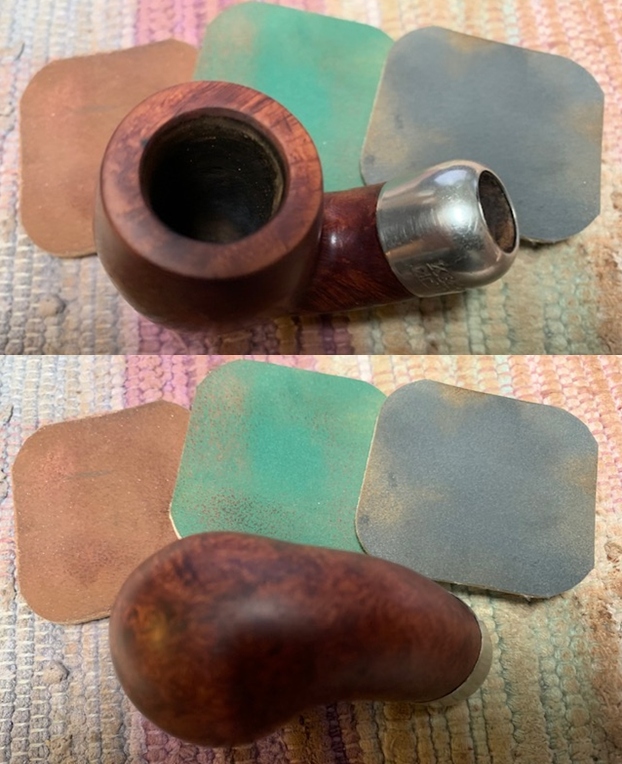
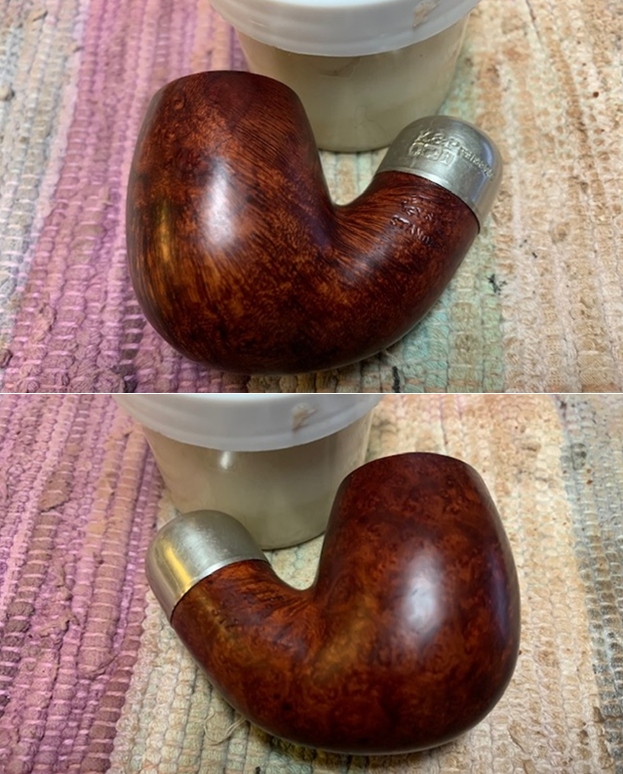
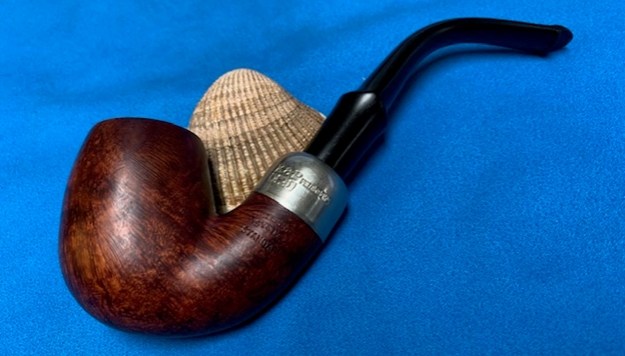
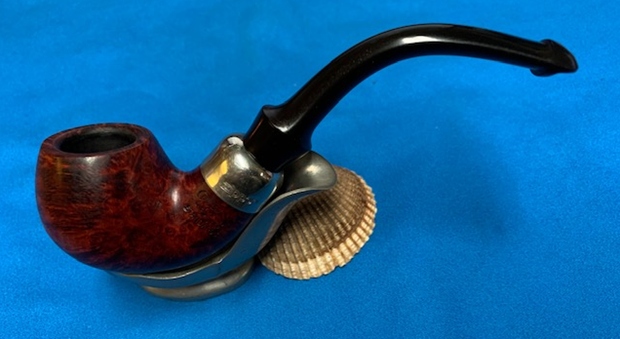
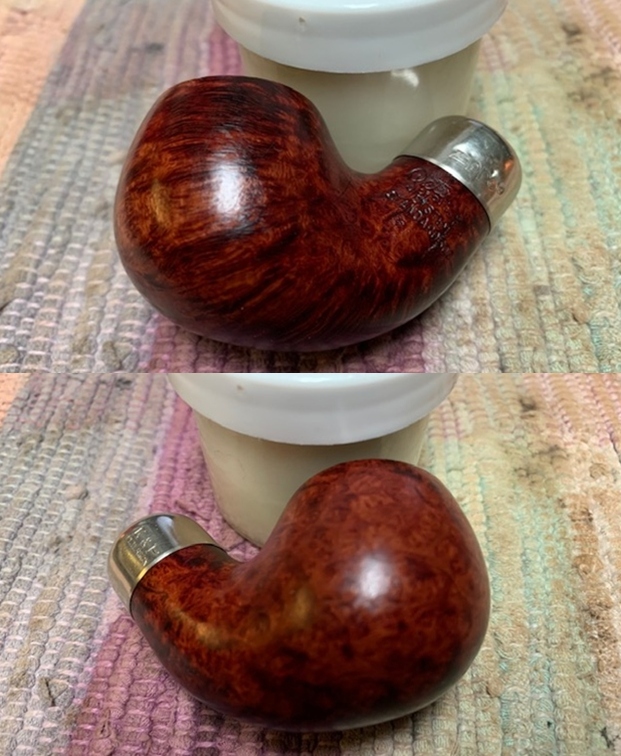
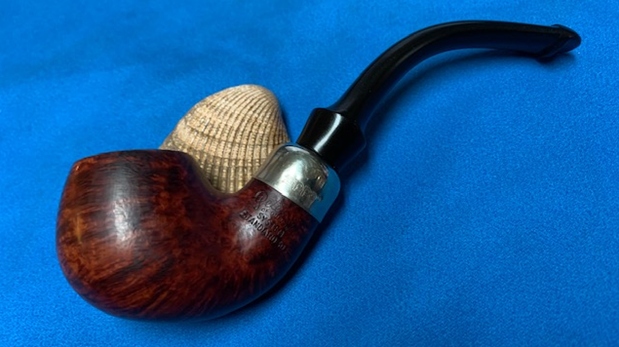
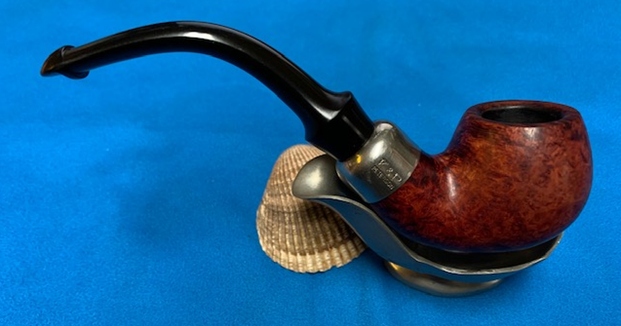
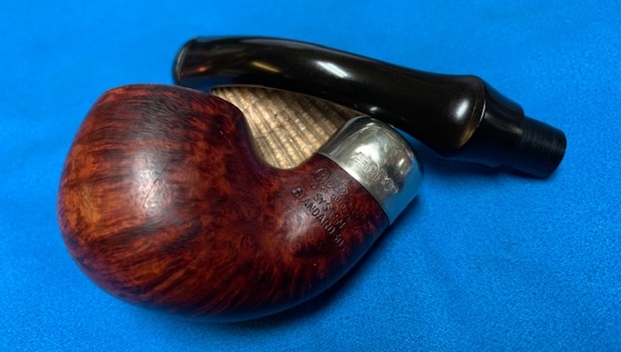
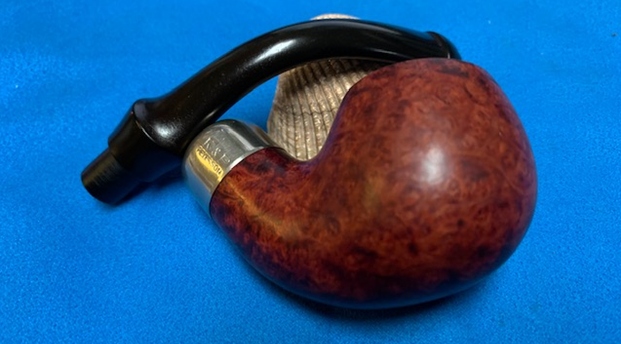
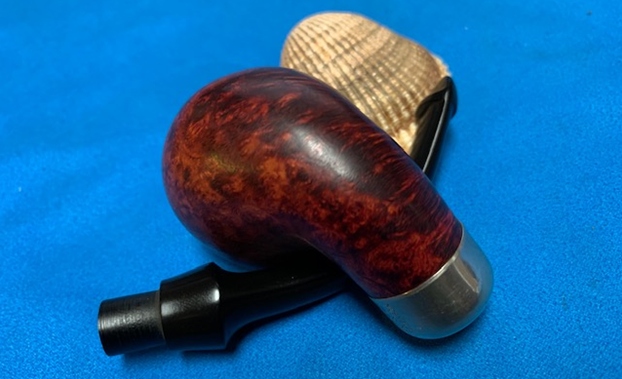
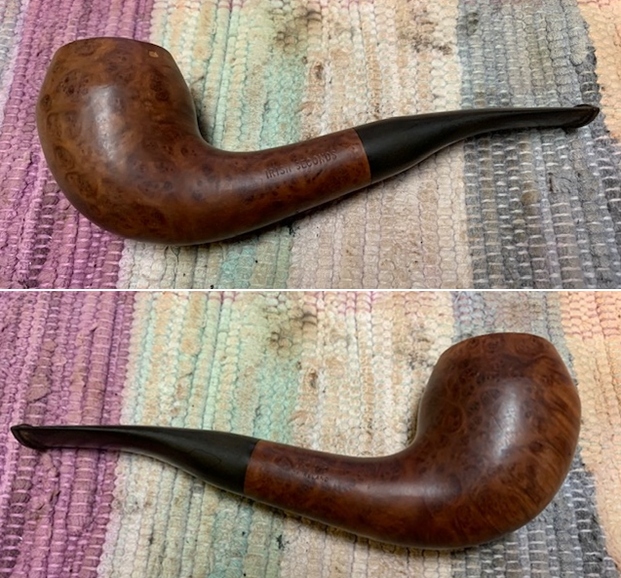
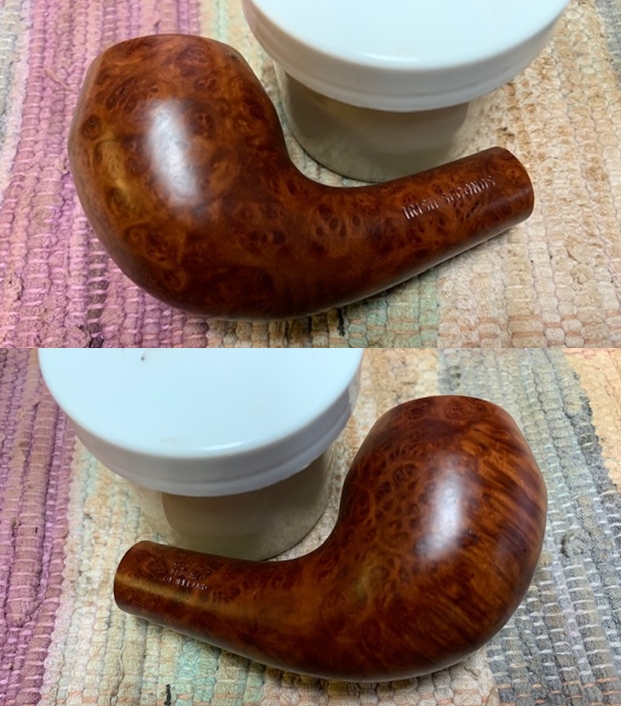
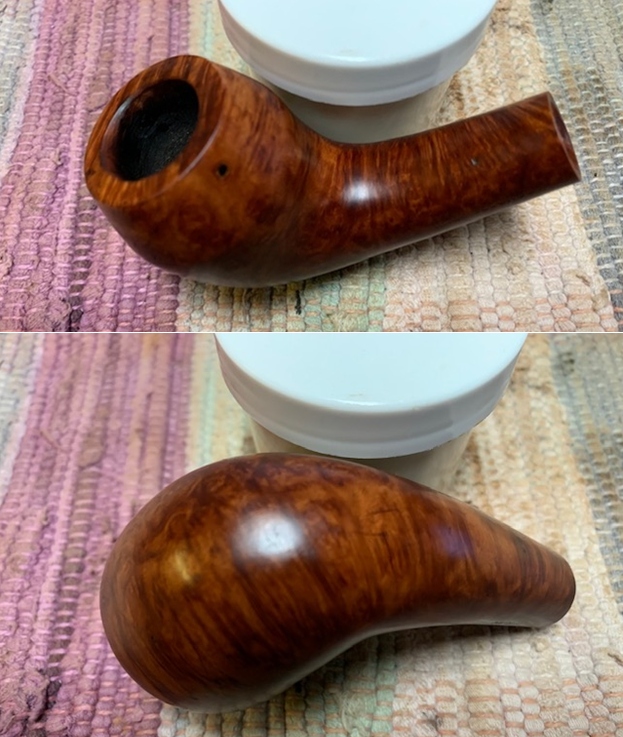
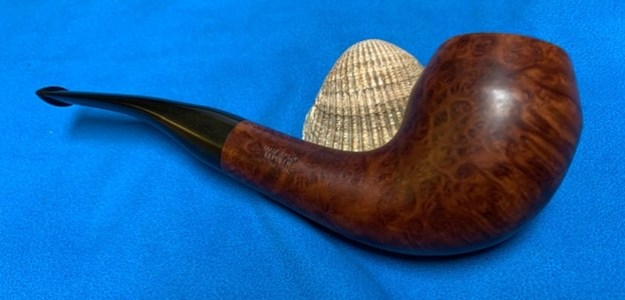
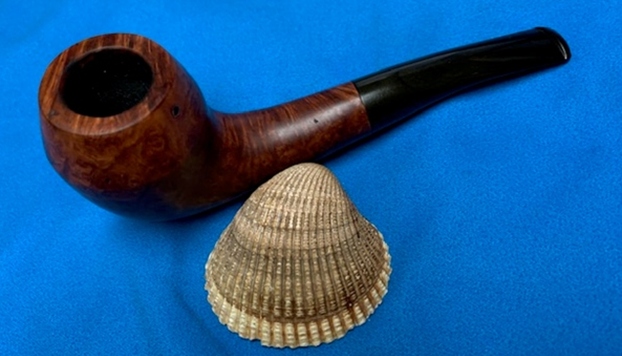
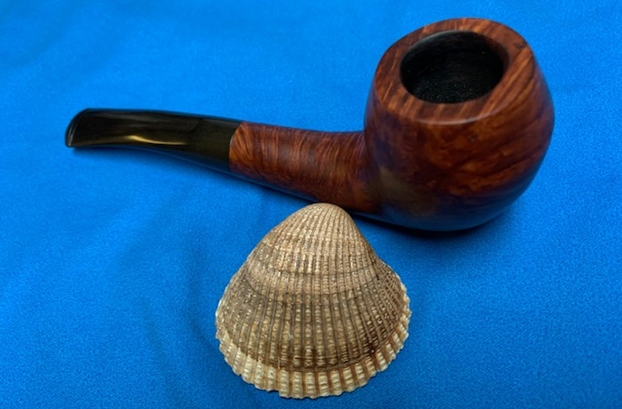
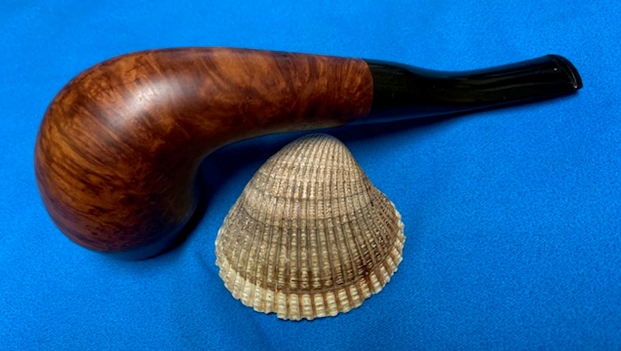
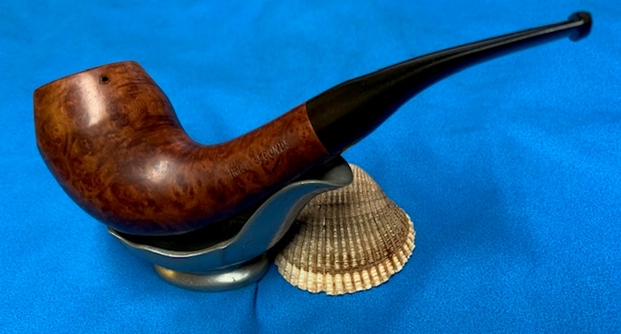
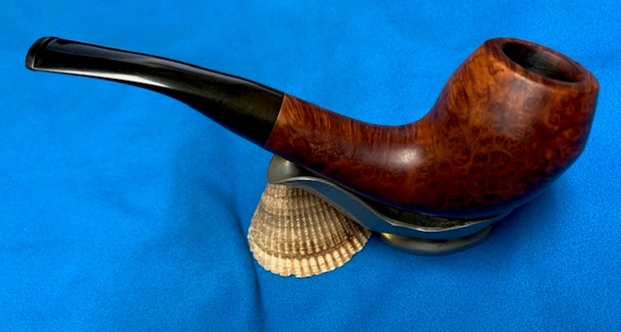
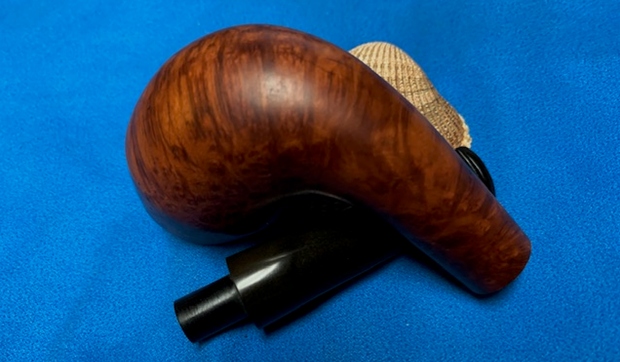
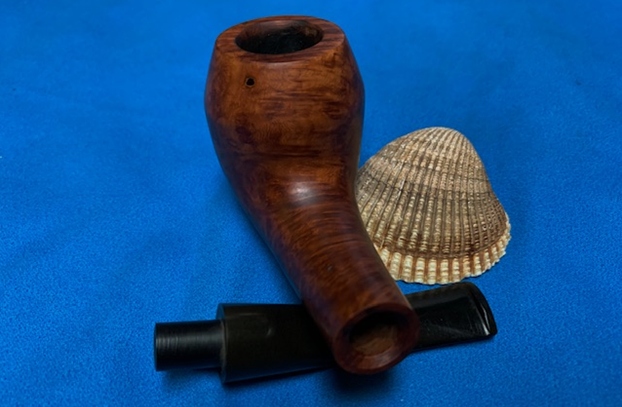
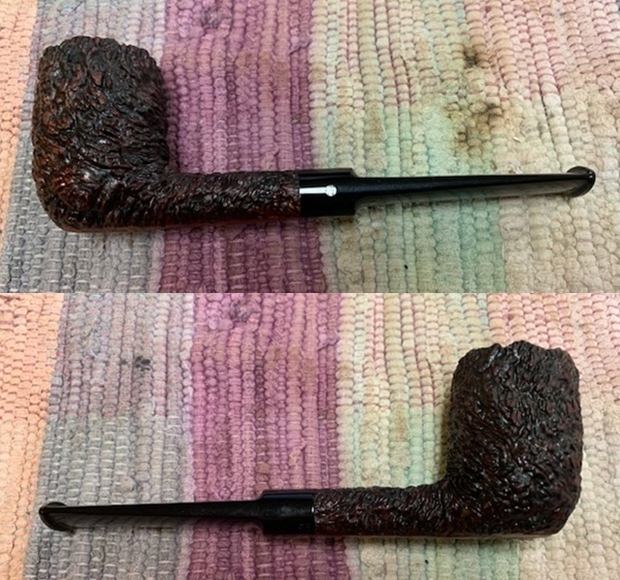
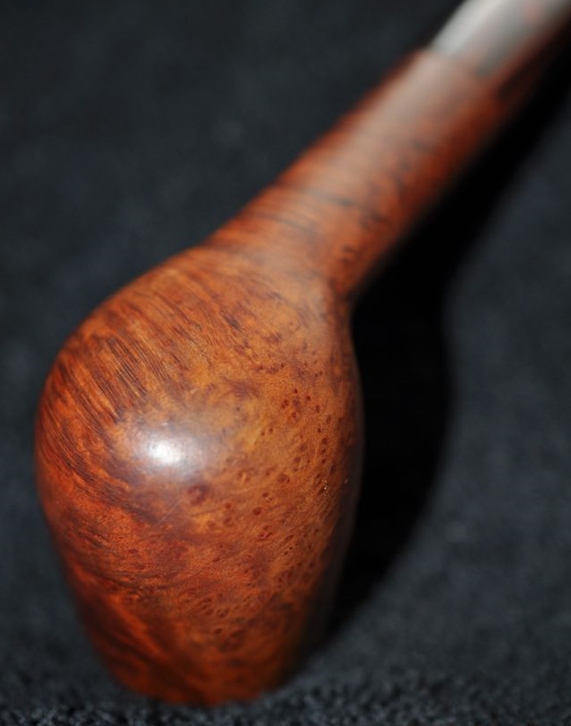
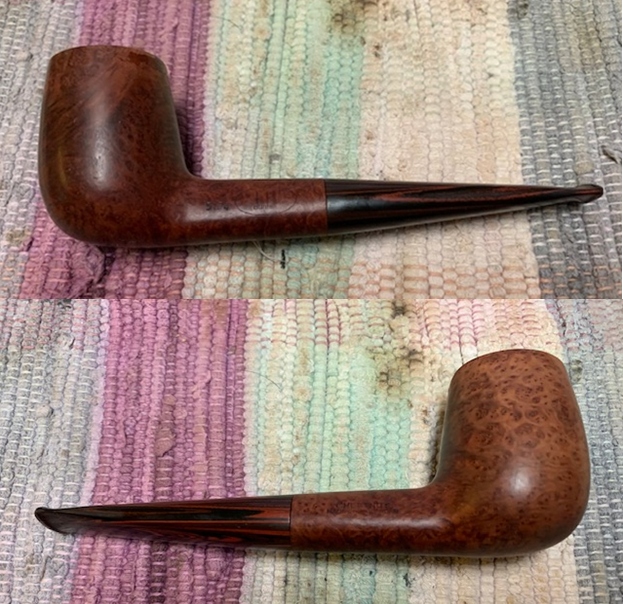
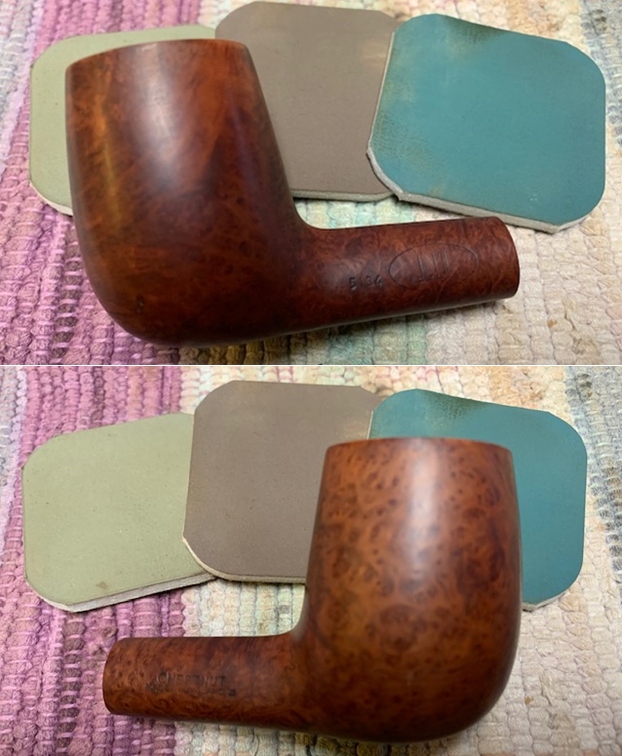
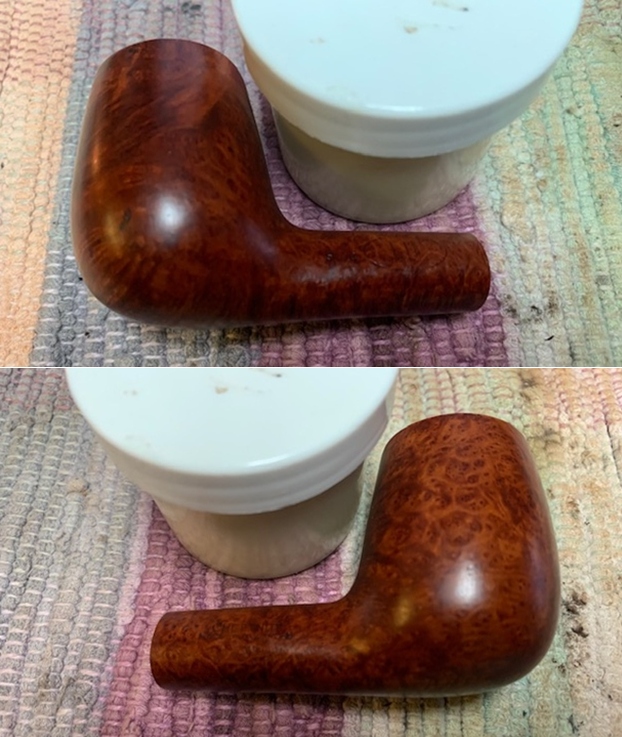
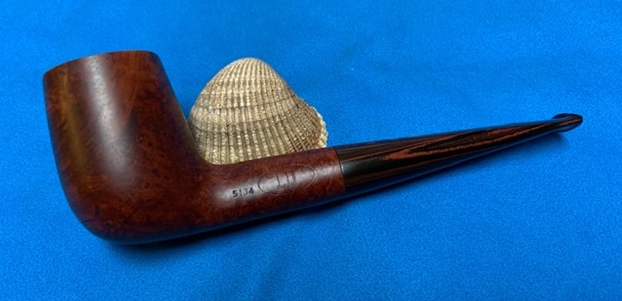
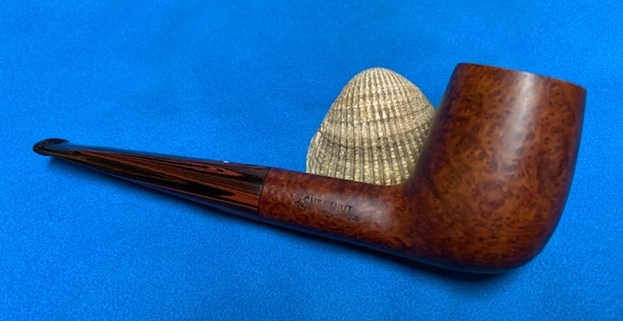
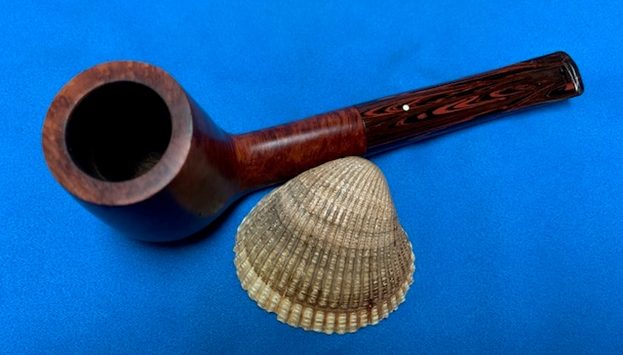
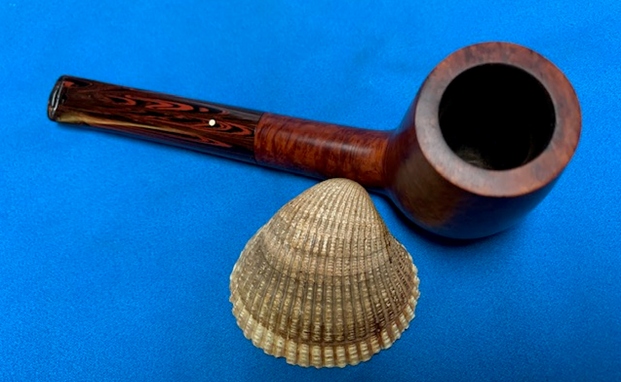
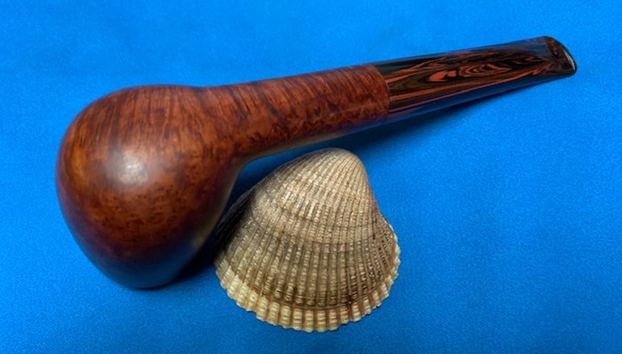
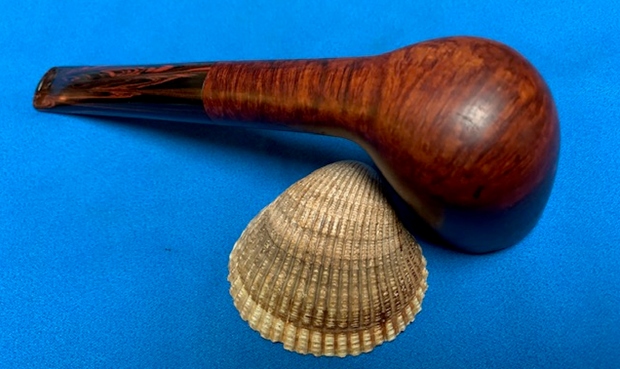
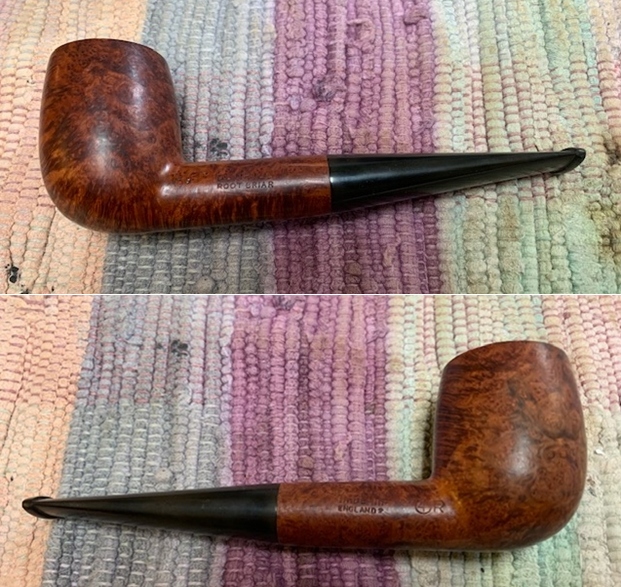
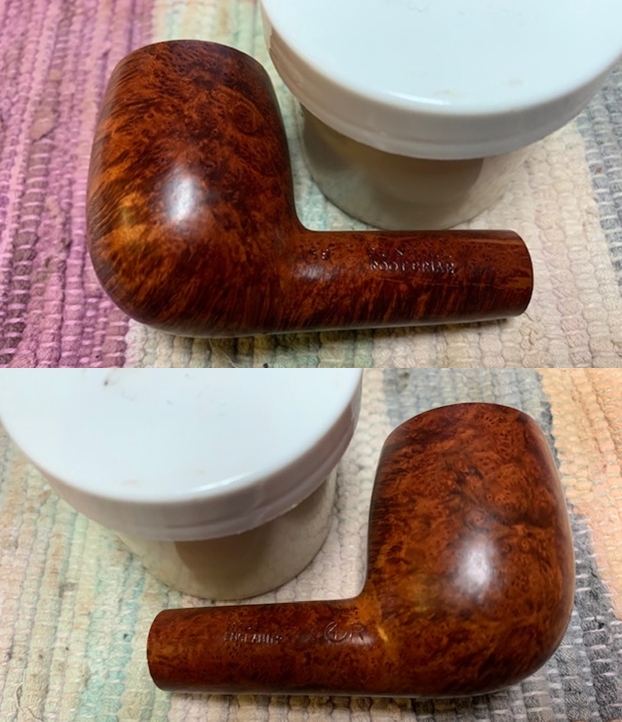
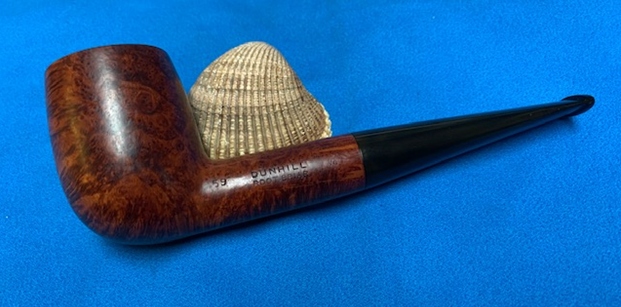
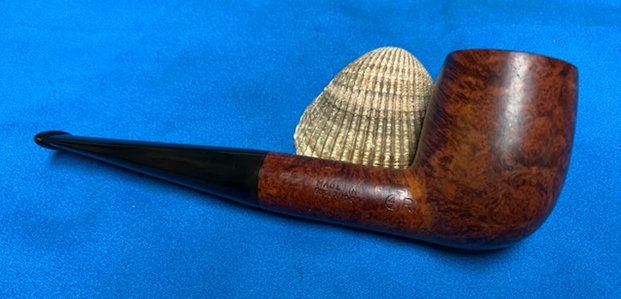
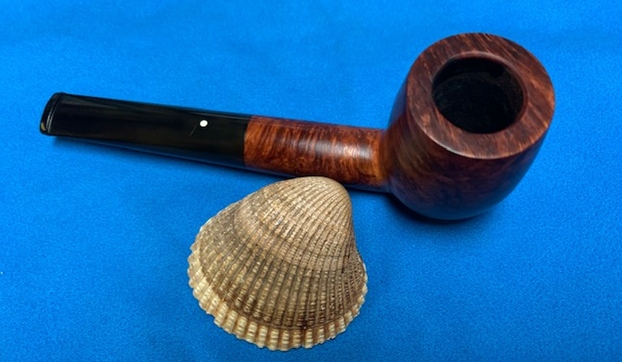
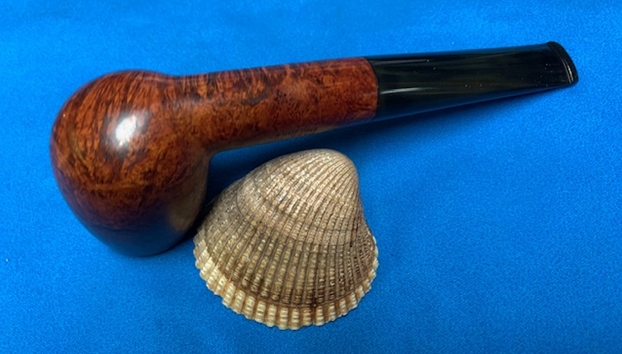
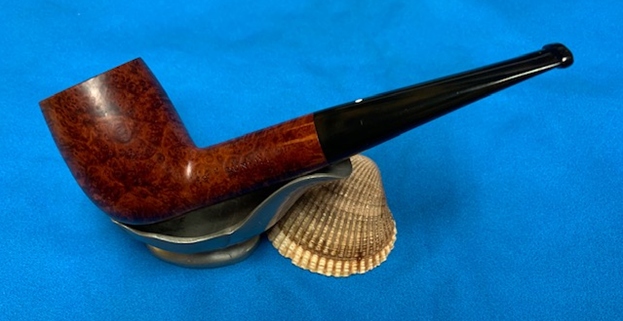
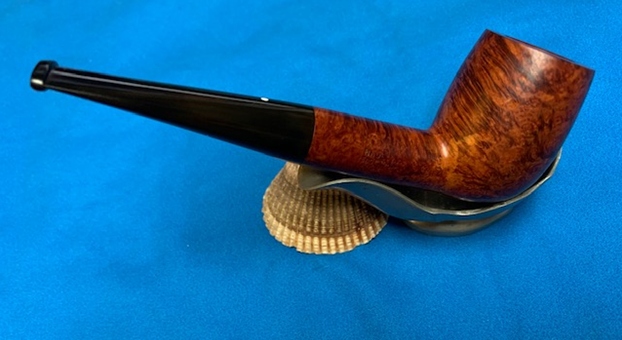
 This Savinelli Estella Non Pareil Rusticated 9128 Billiard with a variegated brown, grey and ivory Lucite stem is a great looking pipe now that it has been restored. There is some great grain on the rim top that really shines and the Caminetto Style rustication is exceptionally well done. I gave the bowl a coat of Conservator’s Wax and buffed it with a shoe brush. I buffed the stem with Blue Diamond on the wheel to see if I could further smooth and blend the repairs. I buffed the entire pipe with a clean buffing pad and then once again by hand with a microfibre cloth. The finished pipe is shown in the photos below. The bowl and rim look really good and the finish is clean and as good as new. The stem and shank extension have a rich glow and they look amazing. The dimensions of the pipe are Length: 5 ¾ inches, Height: 2 inches, Outside diameter of the bowl: 1 ½ inches, Chamber diameter: ¾ of an inch. The weight of the pipe is 51gr/1.80oz. If you are interested in adding this pipe to your collection send me a message or an email. Thanks for reading this blog and my reflections on the pipe while I worked on it. There are many more to come!