
Blog by Steve Laug
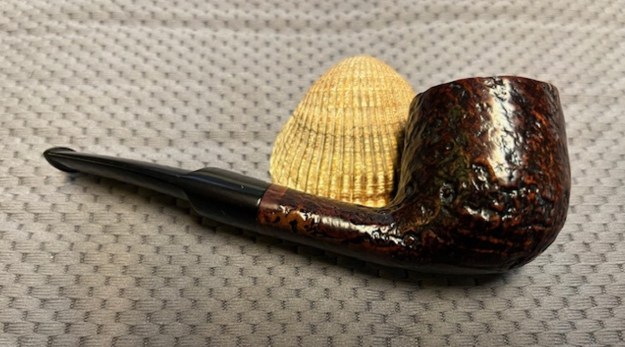
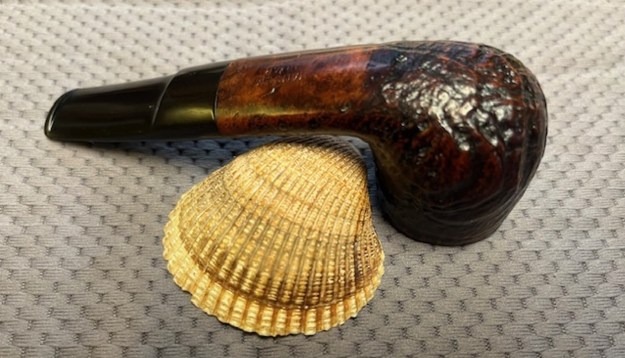
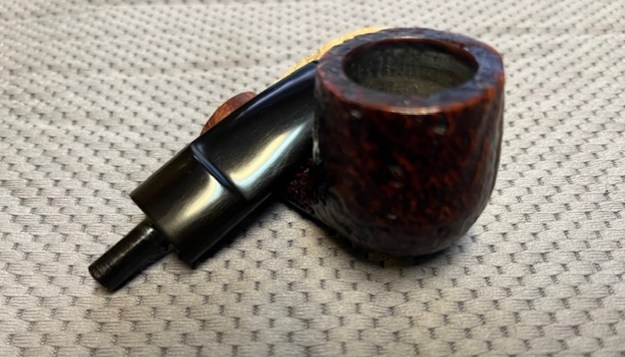
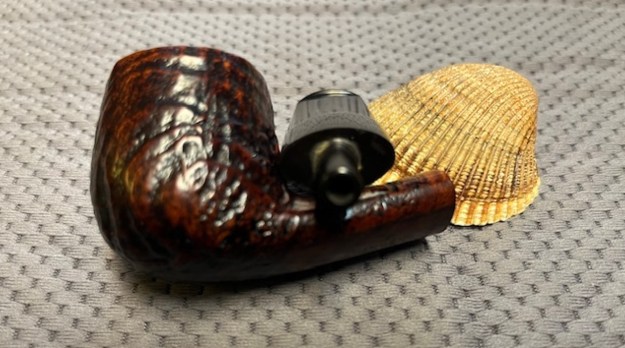
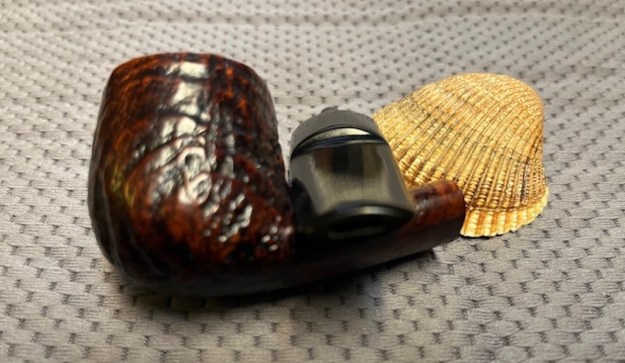
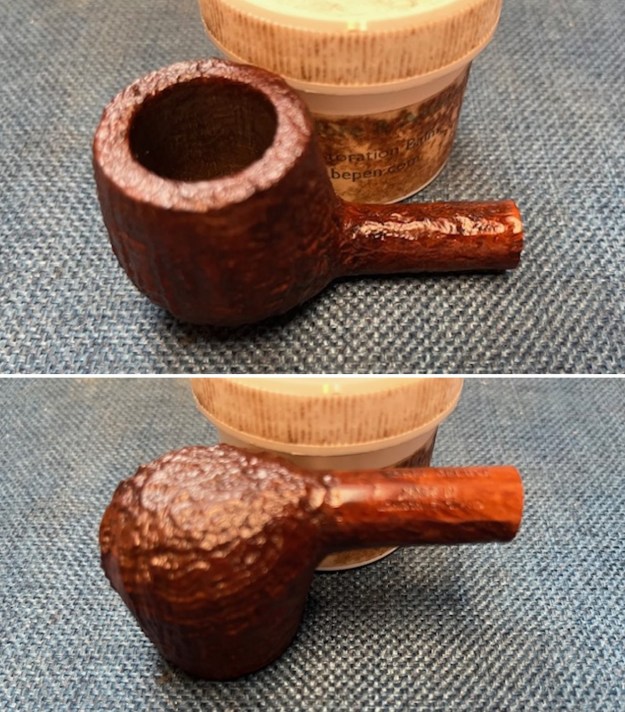
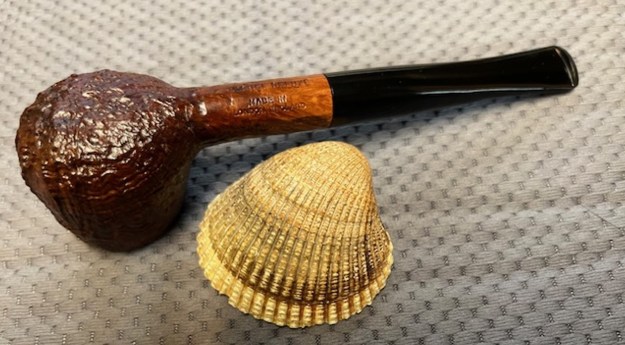
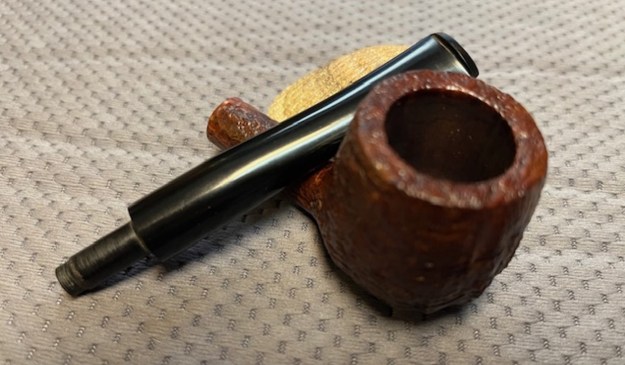
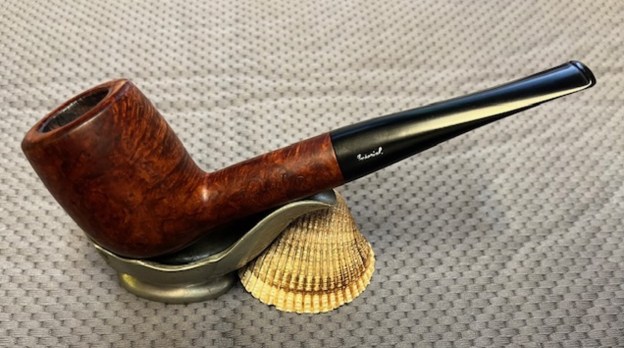
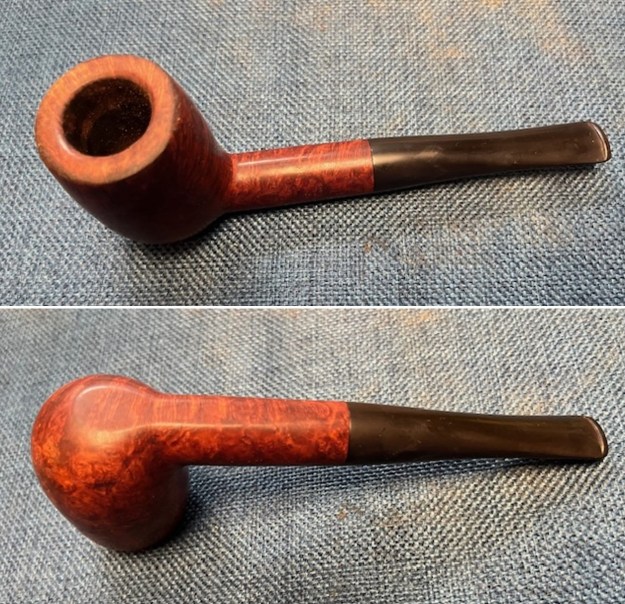
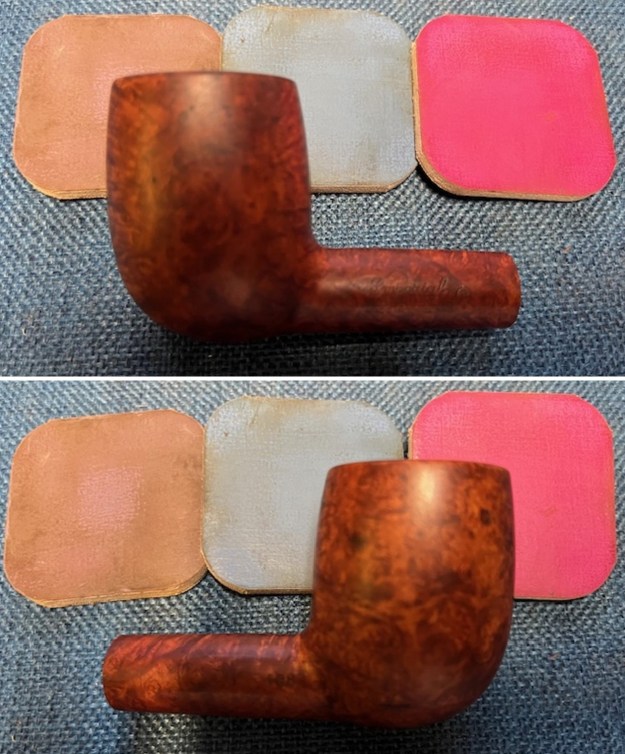
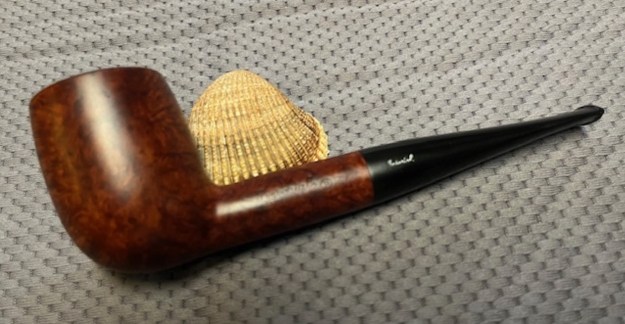
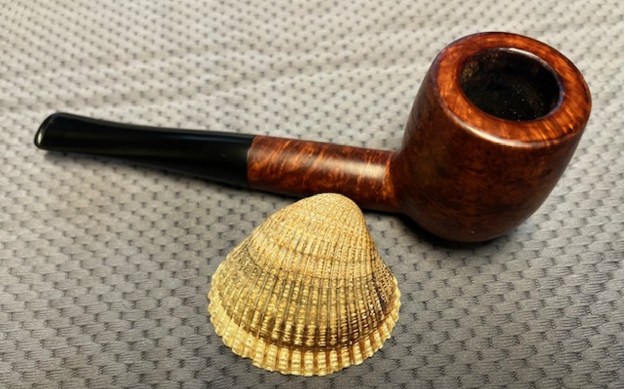
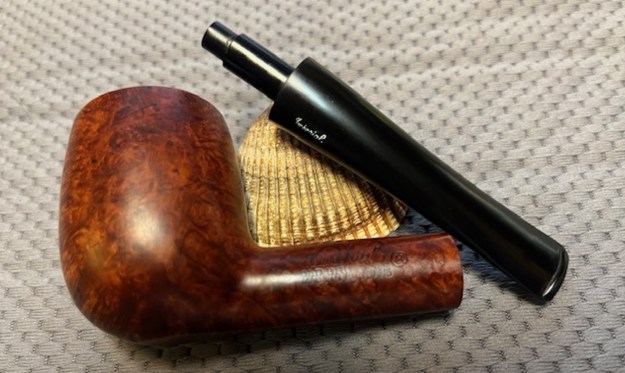
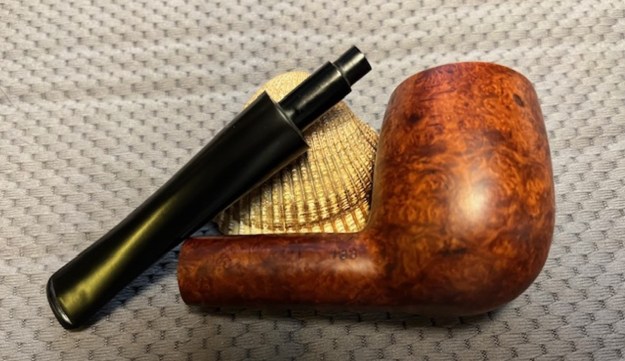
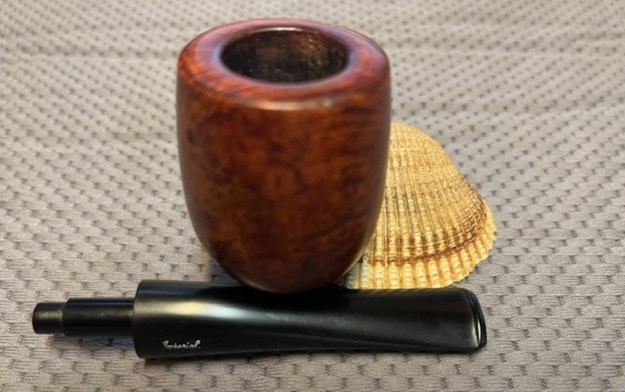
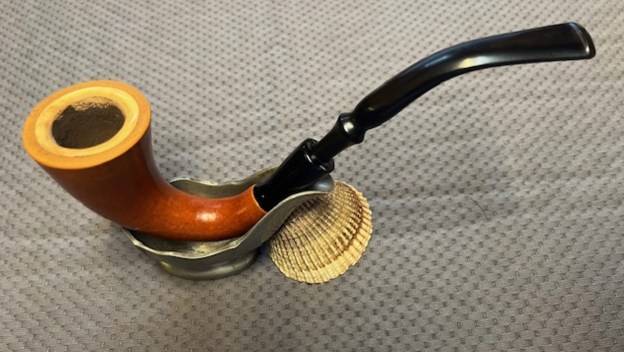
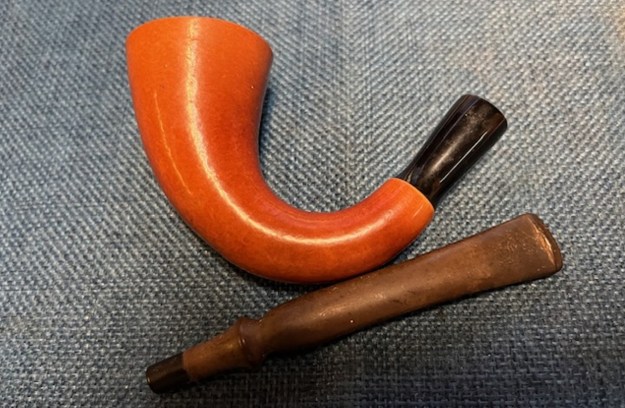
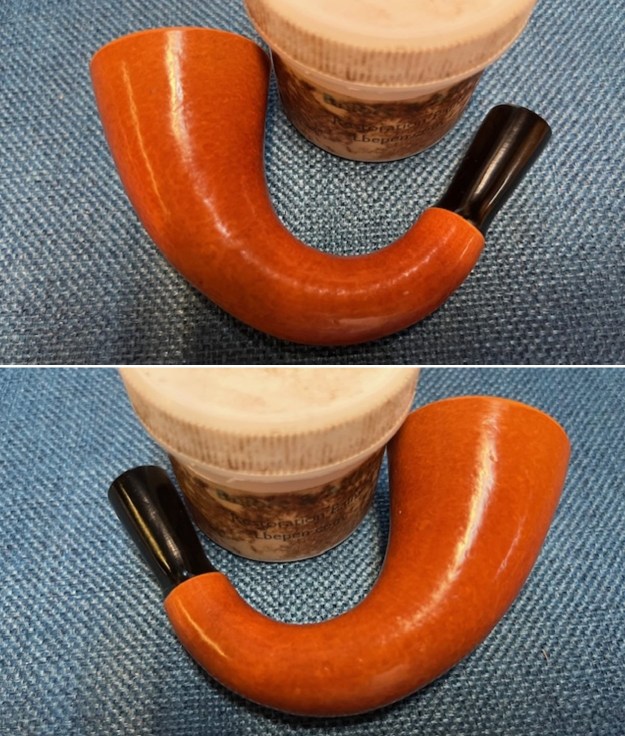
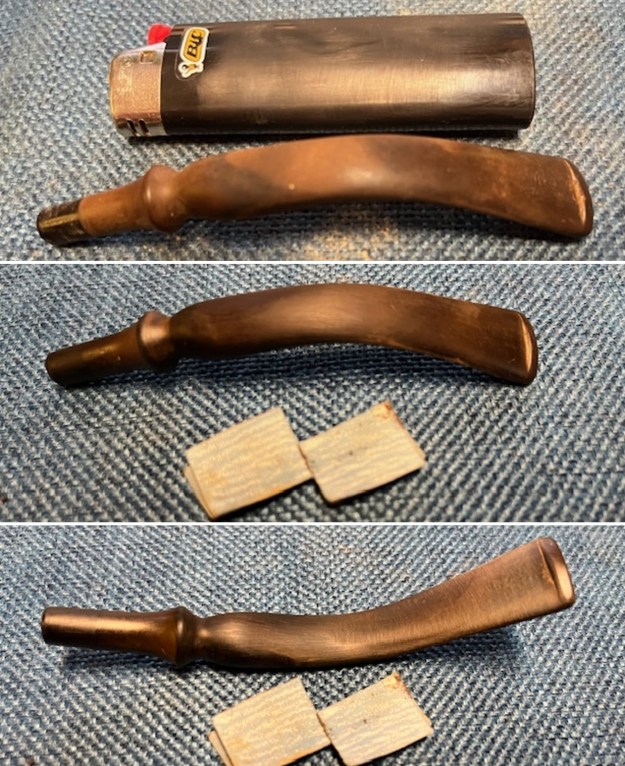
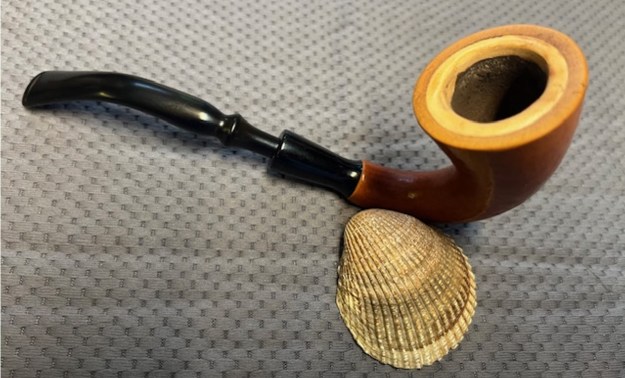
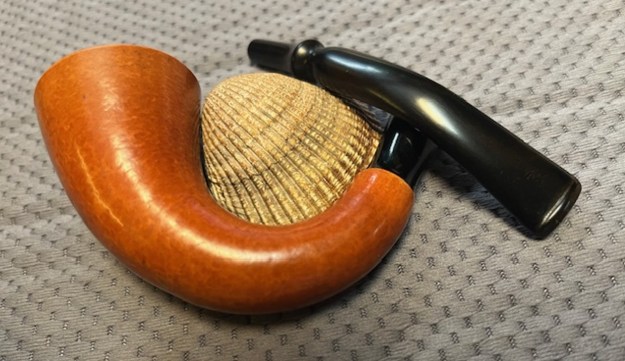
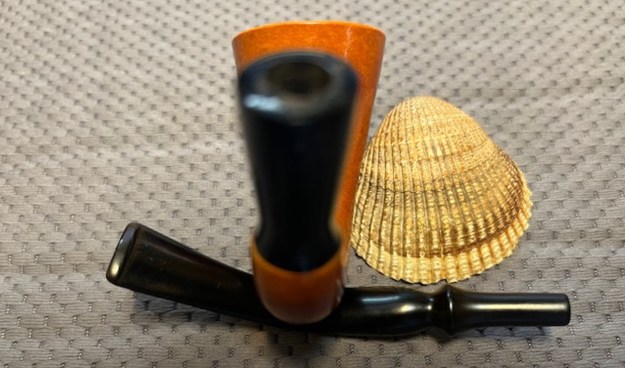
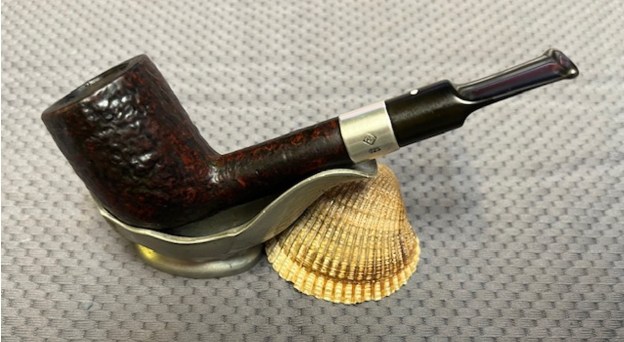
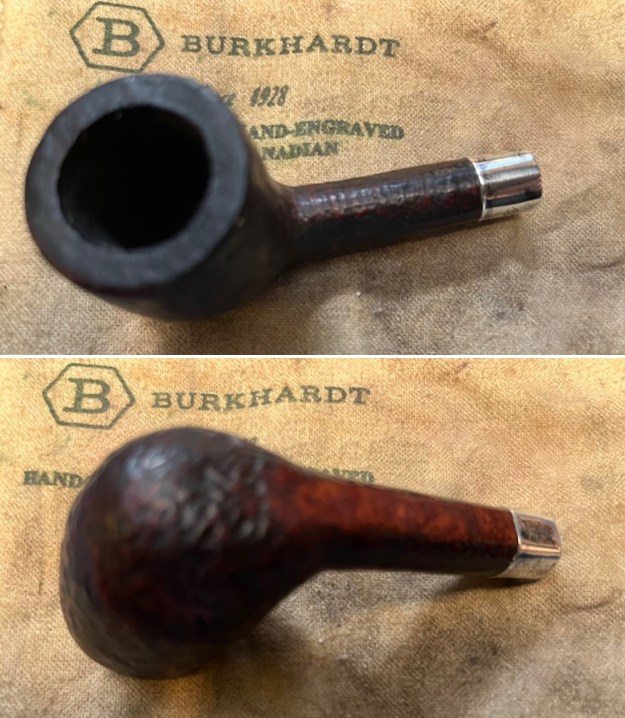
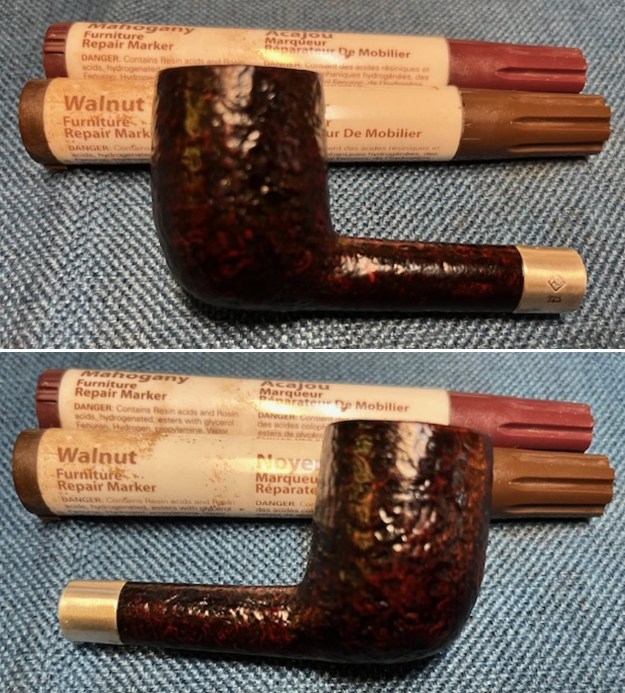
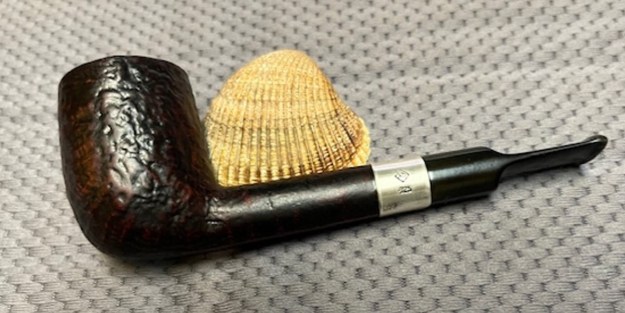
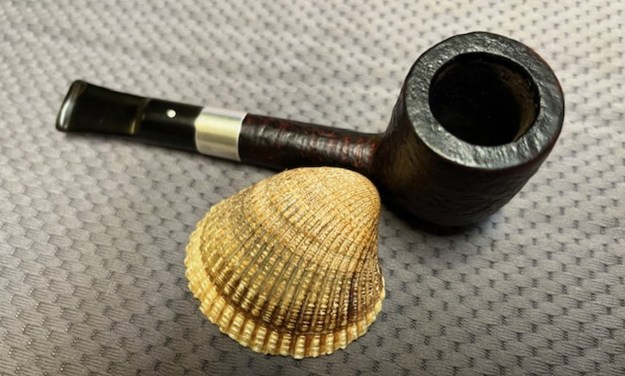
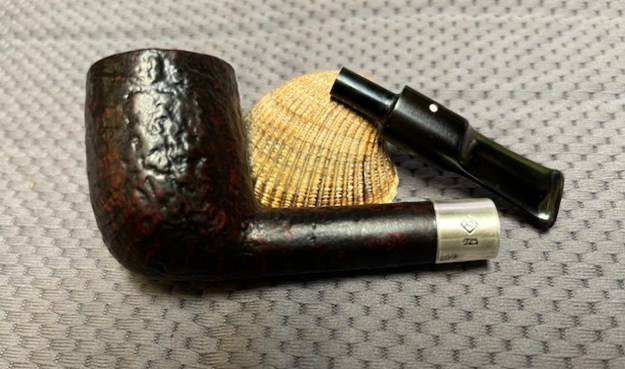
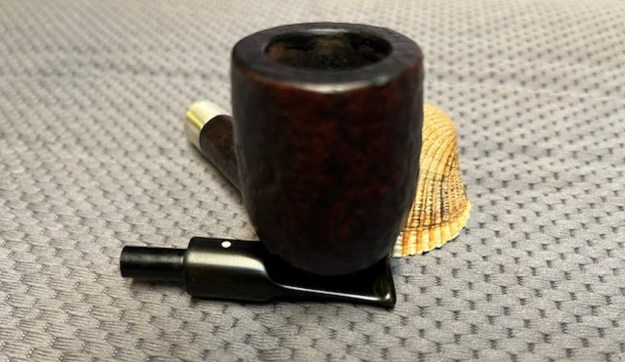
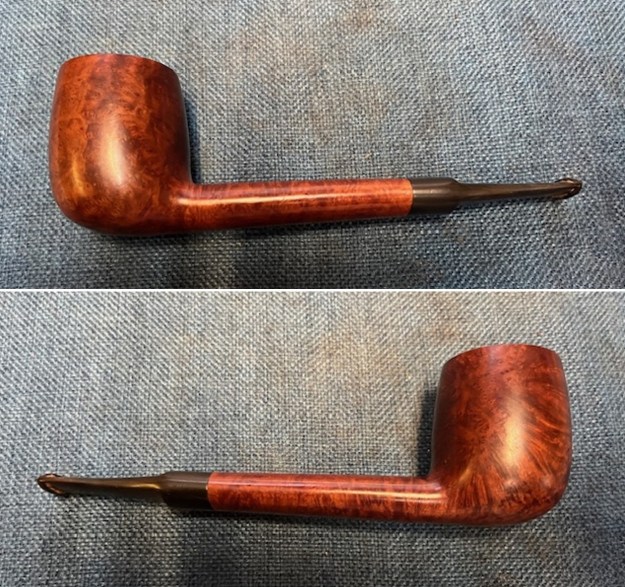
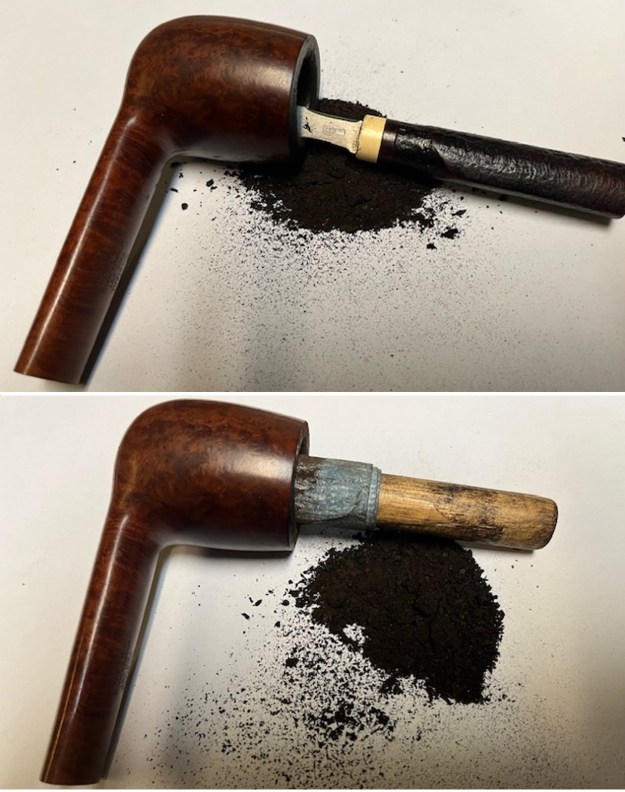
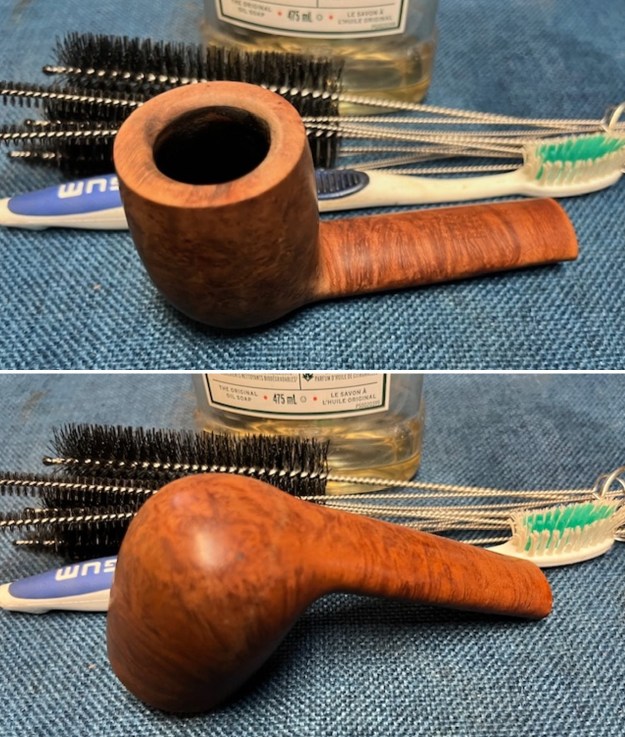
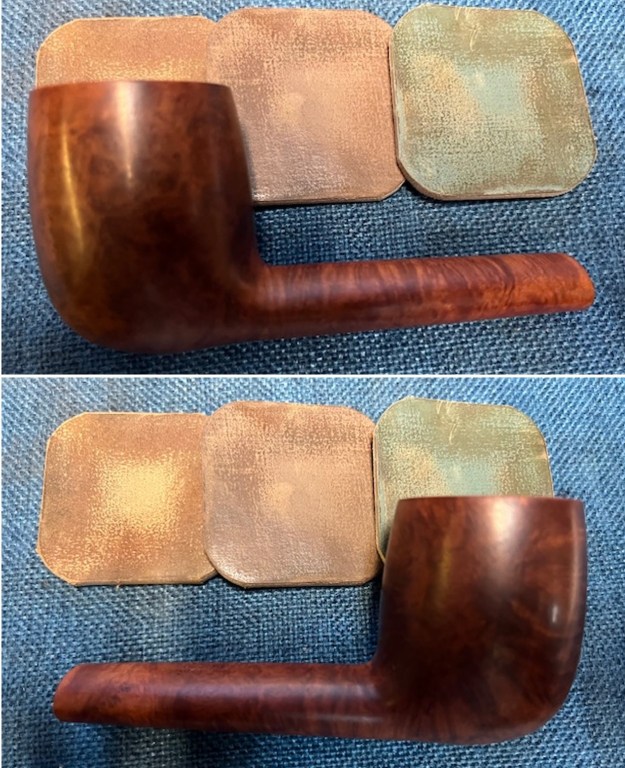
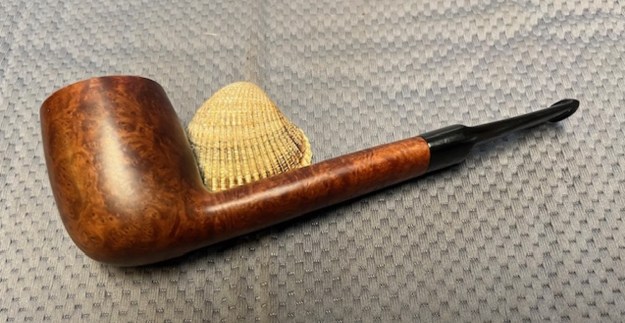
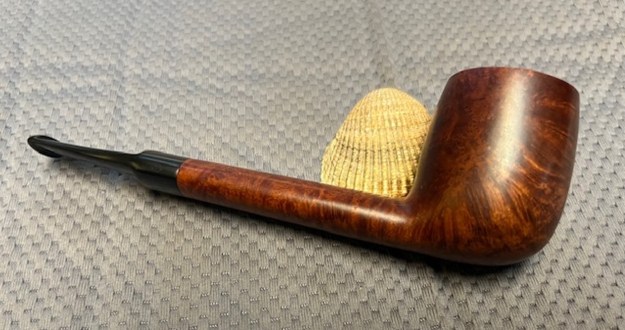
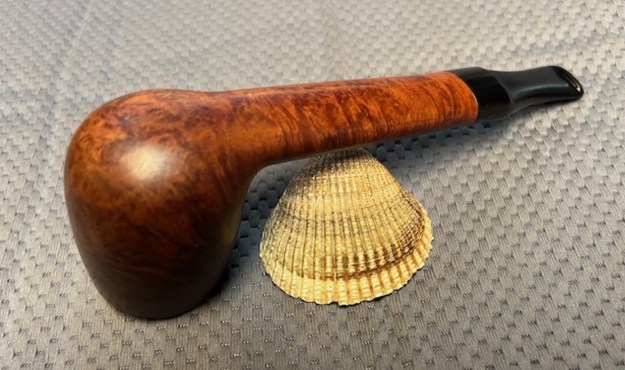
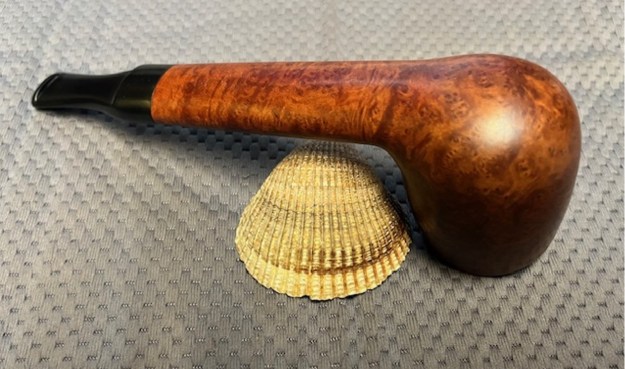
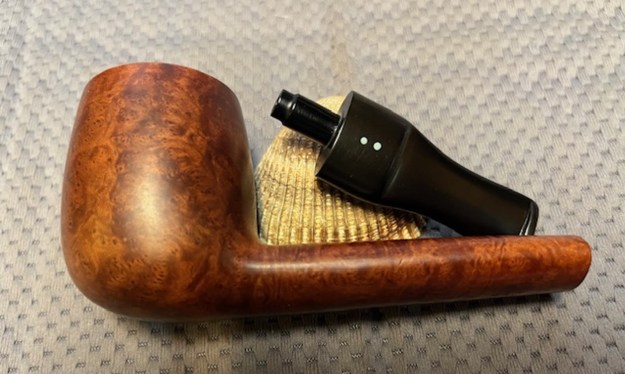
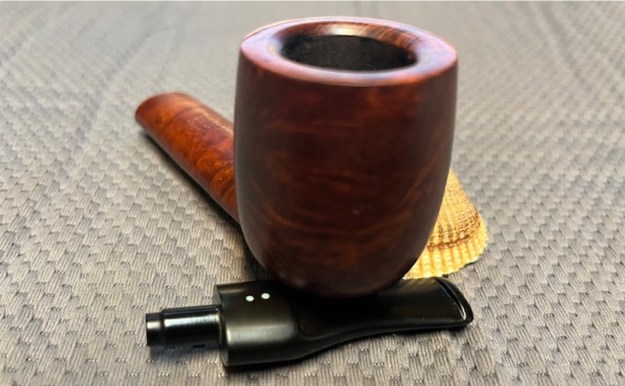
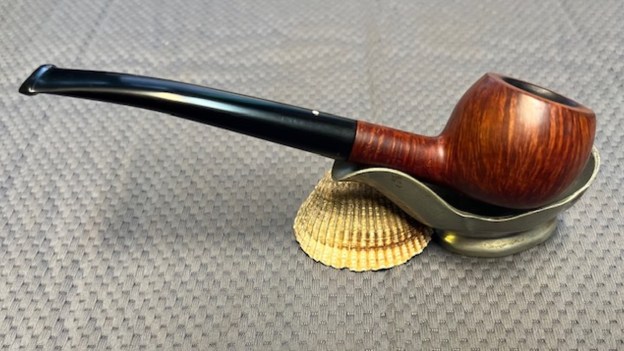
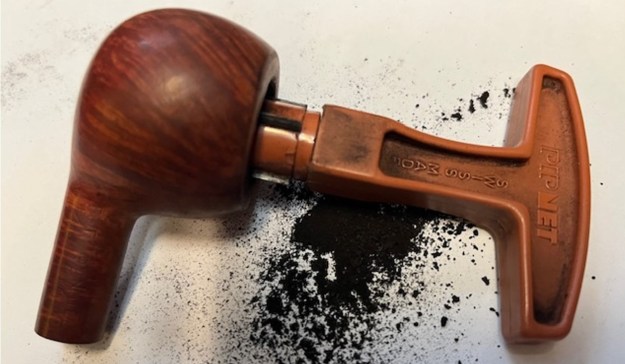
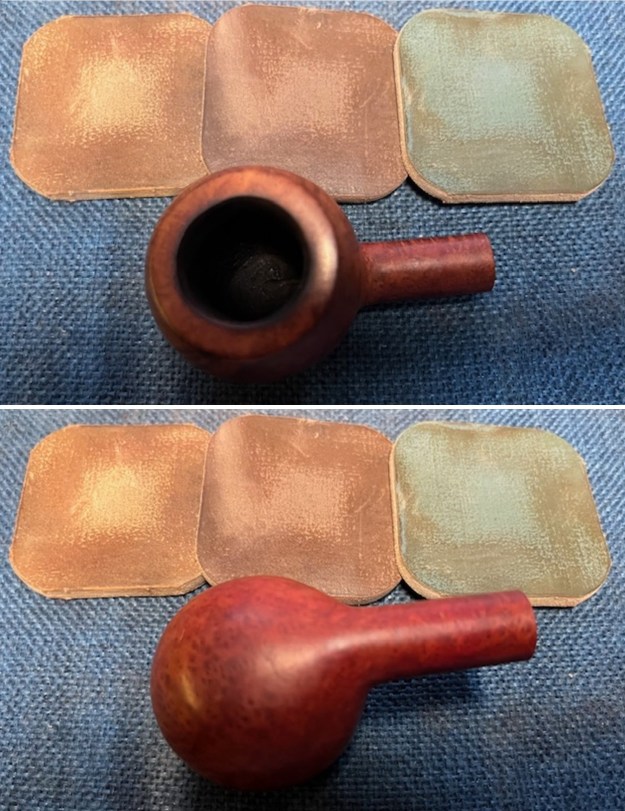
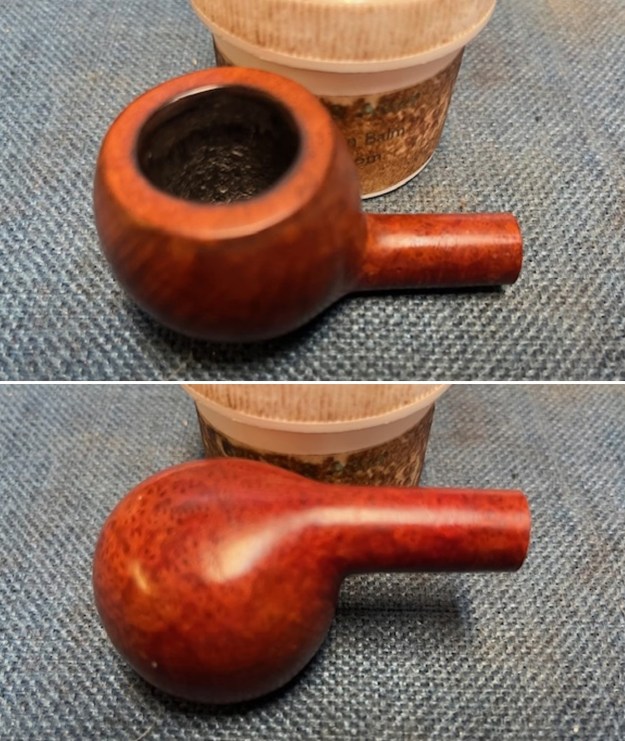
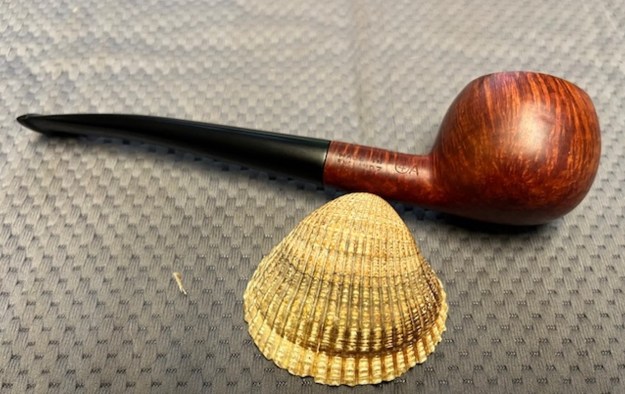
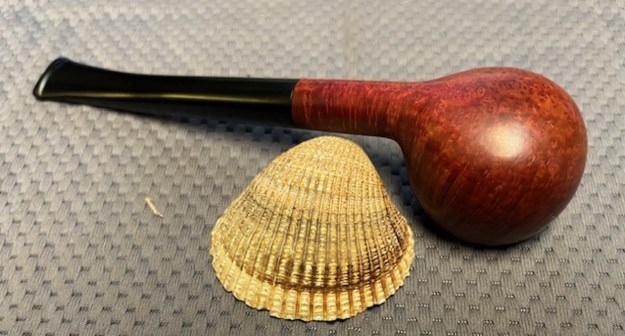
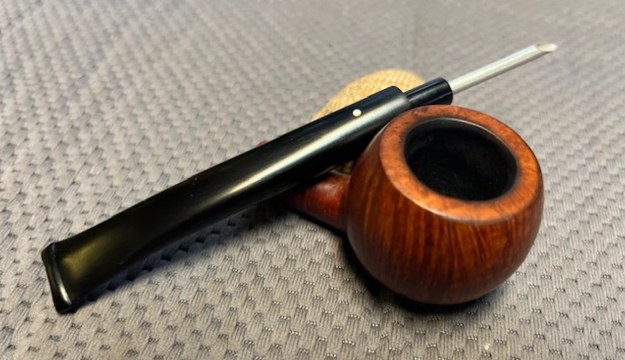
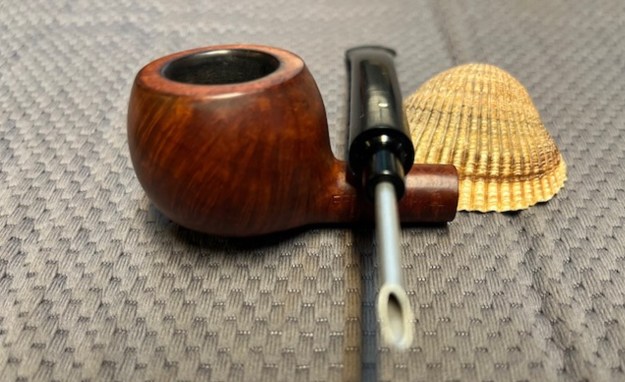
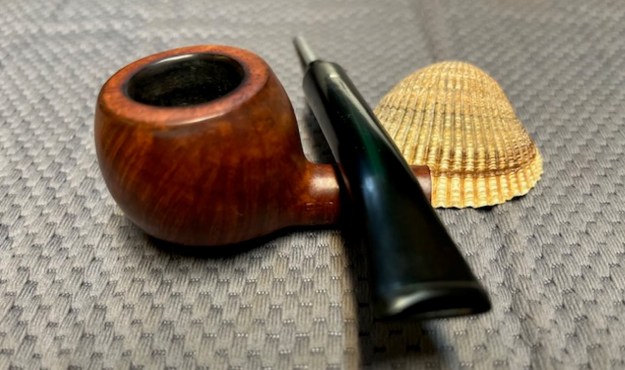
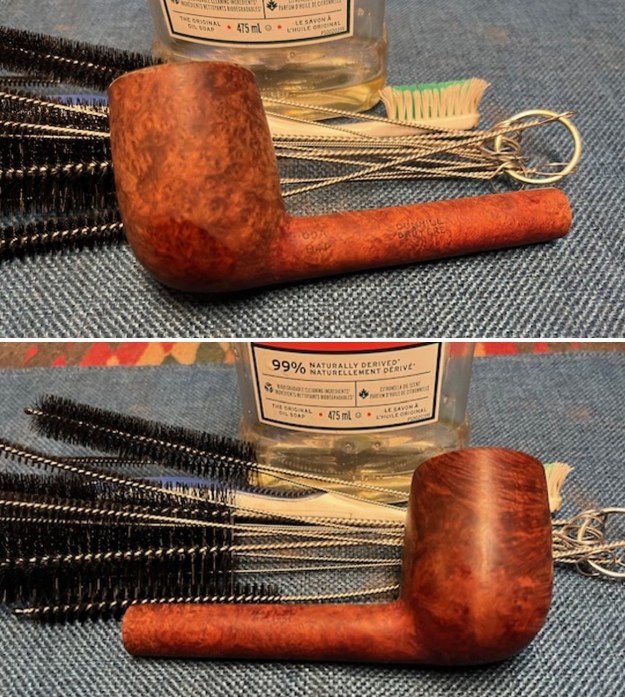
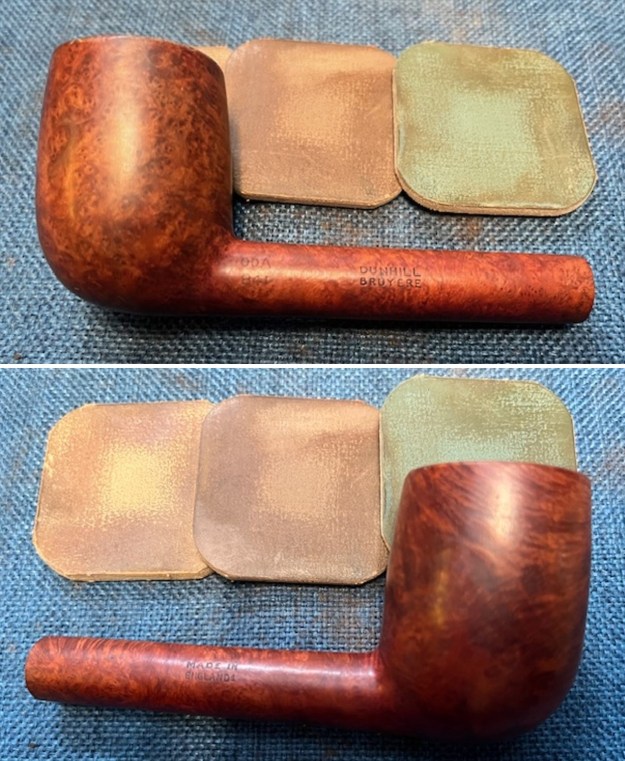
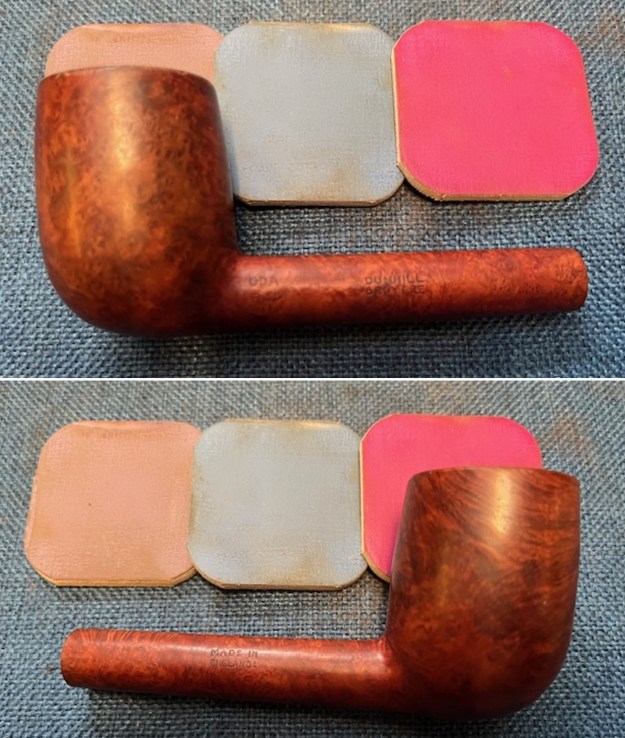
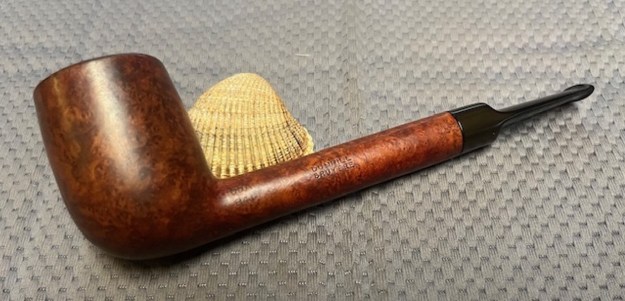
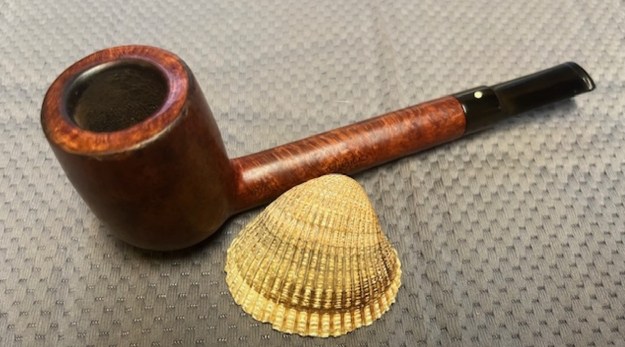
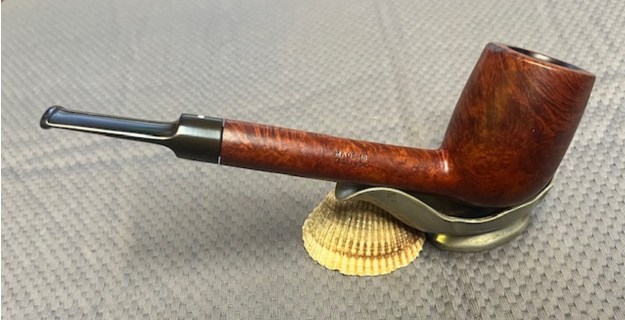
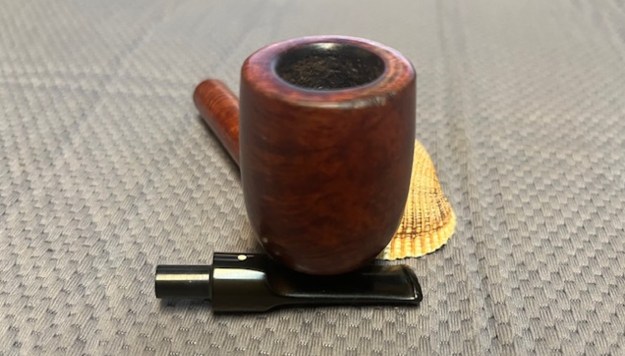
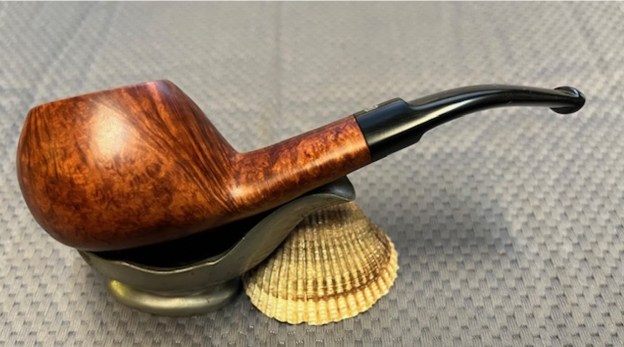
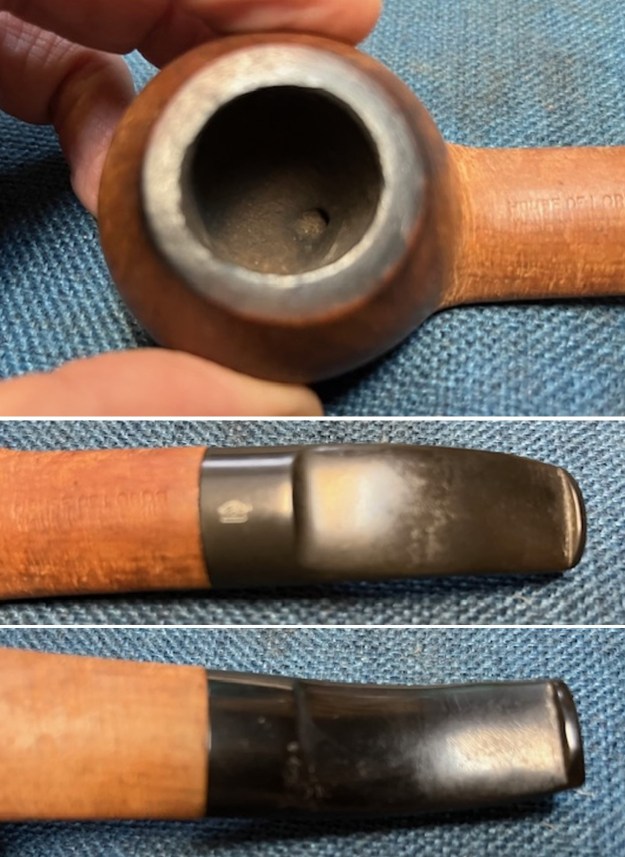
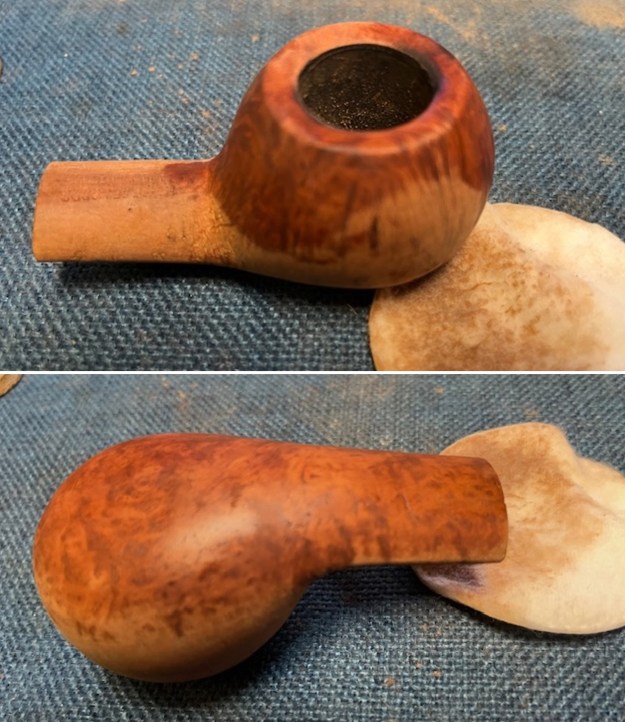
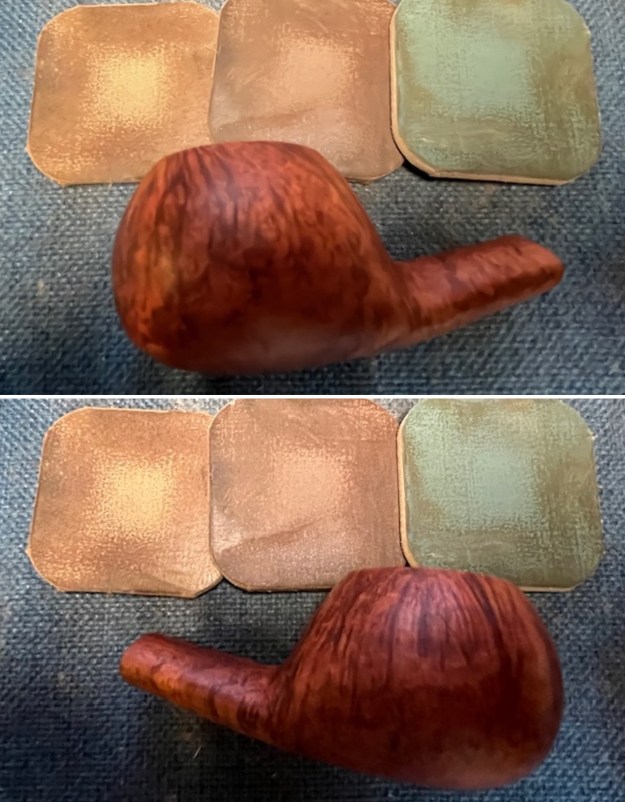
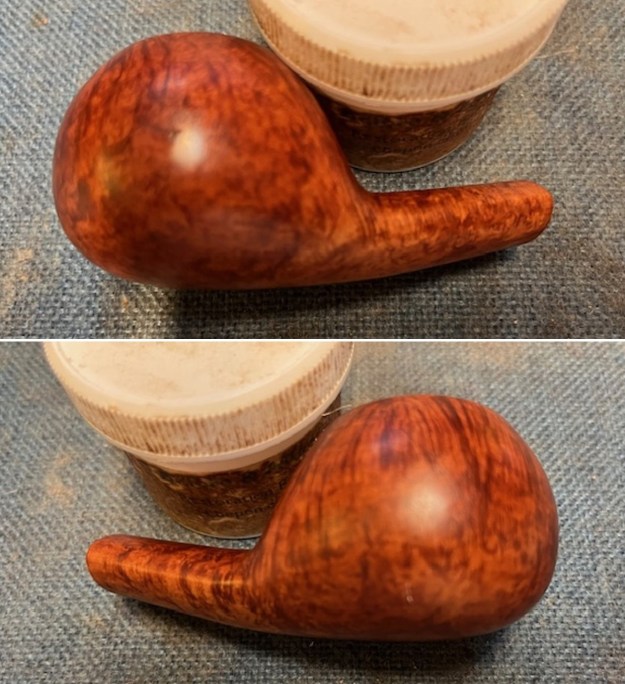
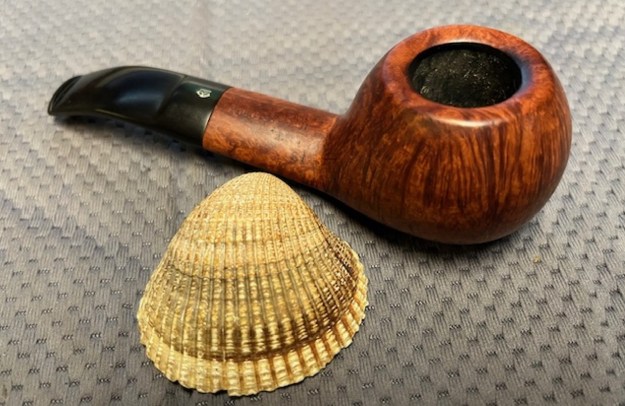
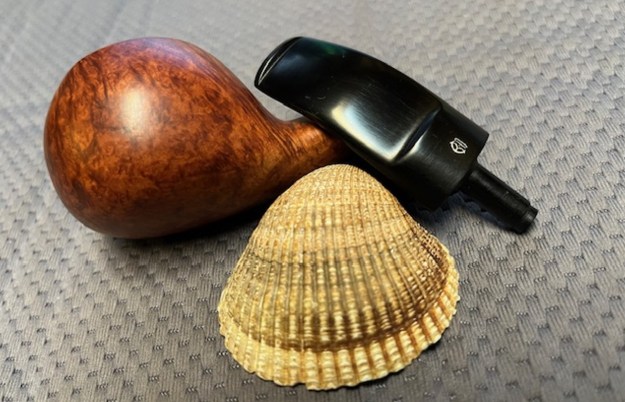
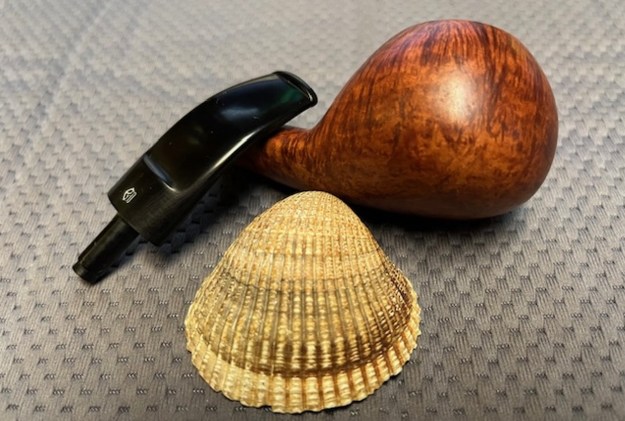
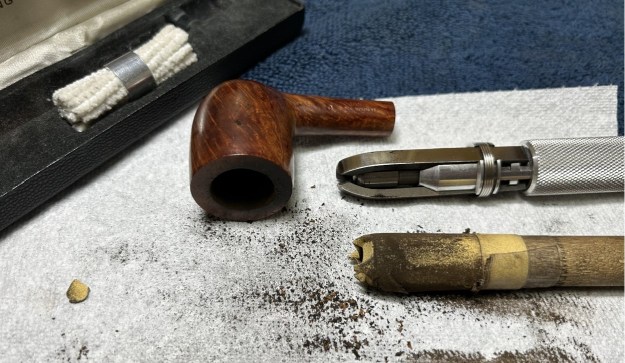
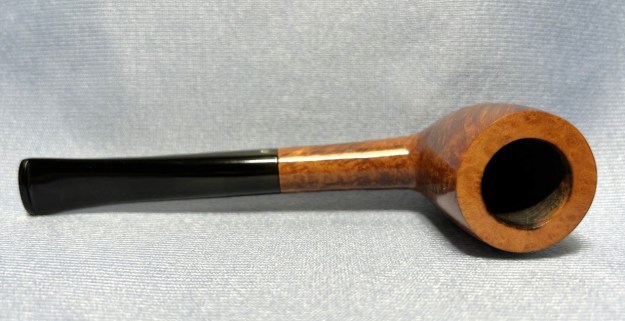
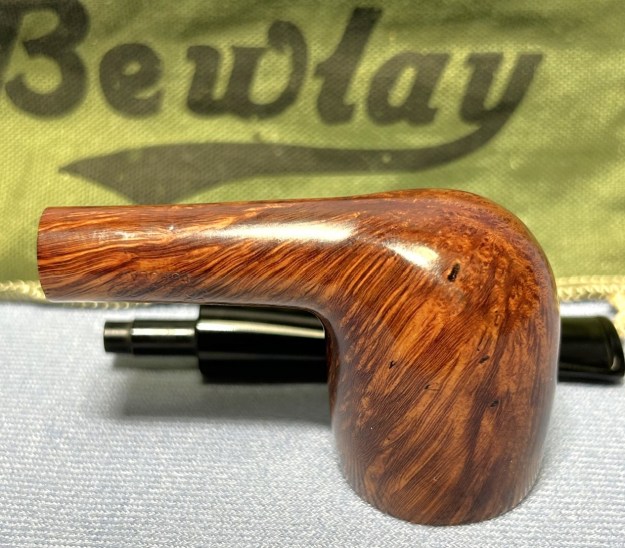
A month or so ago I received an email from a fellow in Japan who had some pipes he wanted to sell. He sent me a few and one of them was this interesting sandblast ¼ Bent Pot that came in a pipe sock. The pipe was clearly stamped on the underside and read Hansen [over] Briar the same as the pipe sock. Along the shank stem junction, it is stamped Made in Denmark. The stamping was clear and readable. The bowl has been reamed and the pipe cleaned. There was a carbon bowl coating on the bowl. The shank is very clean inside and the pipe smelled very clean. It was so clean that I don’t think the pipe had been smoked since the fellow in Japan picked it up. The rim top was clean though the inside edge of the rim showed damage on the left front. There was no damage to the outer edges. The pipe had been given a varnish/shellac coat that made the blast very shiny. The stem looked very good. It was polished and there were no tooth marks or chatter on either side of the stem. Overall, I am happy with it but I will need to remove the shiny varnish coat. I took photos of the pipe before I started my work on it.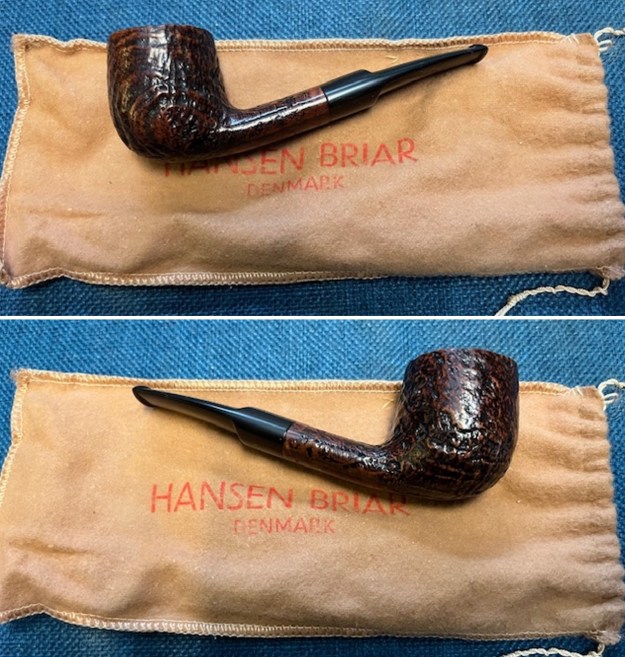
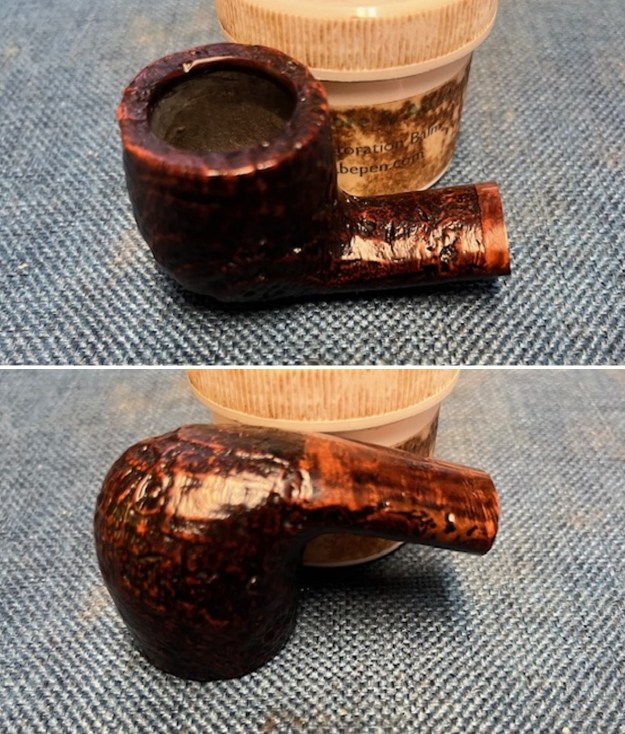
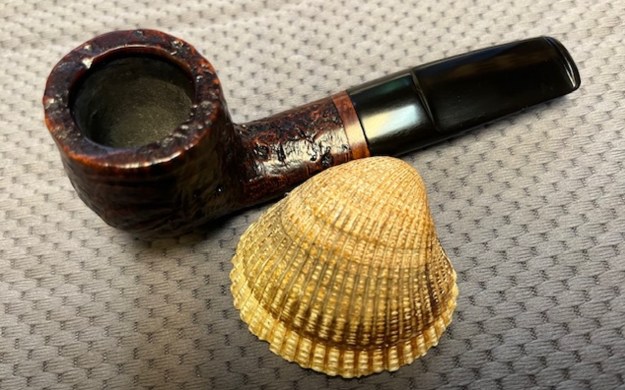
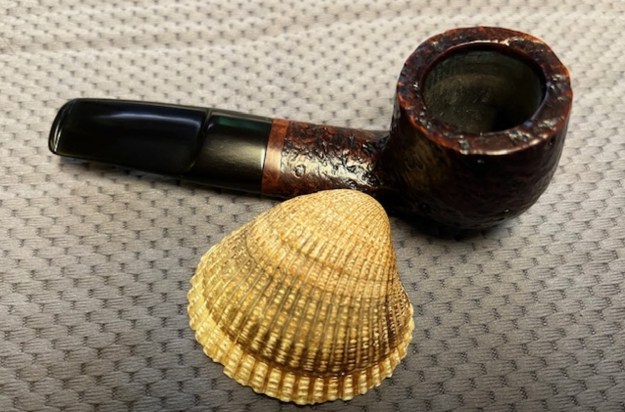
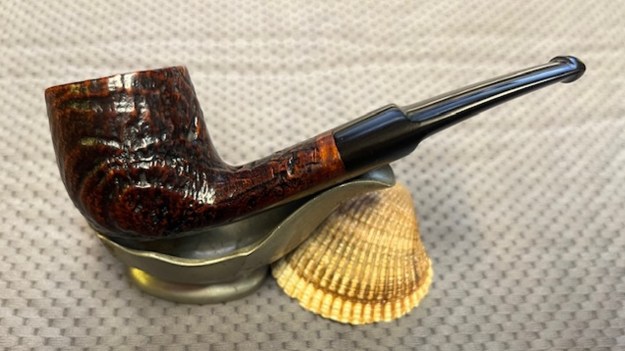
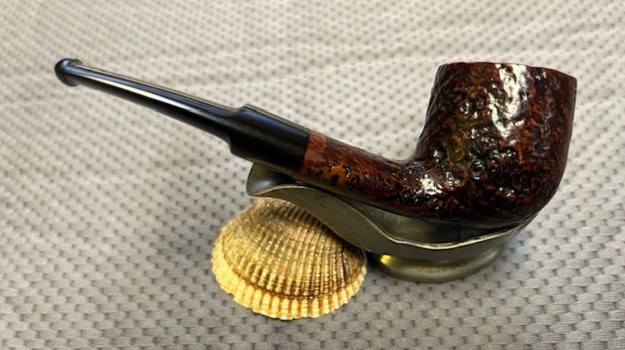
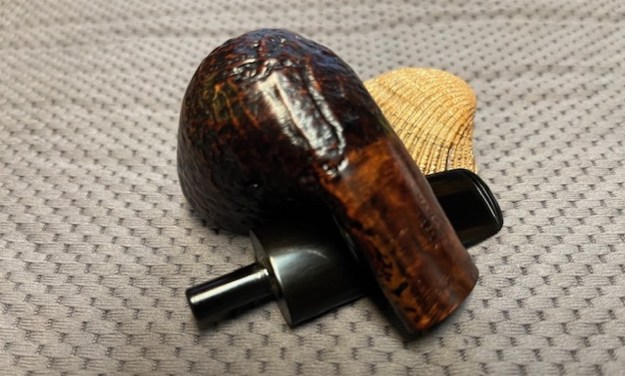
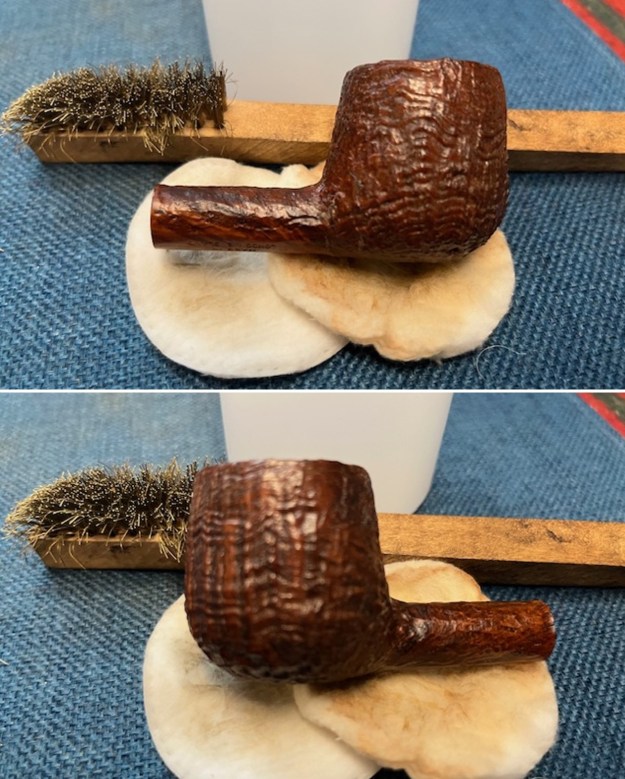
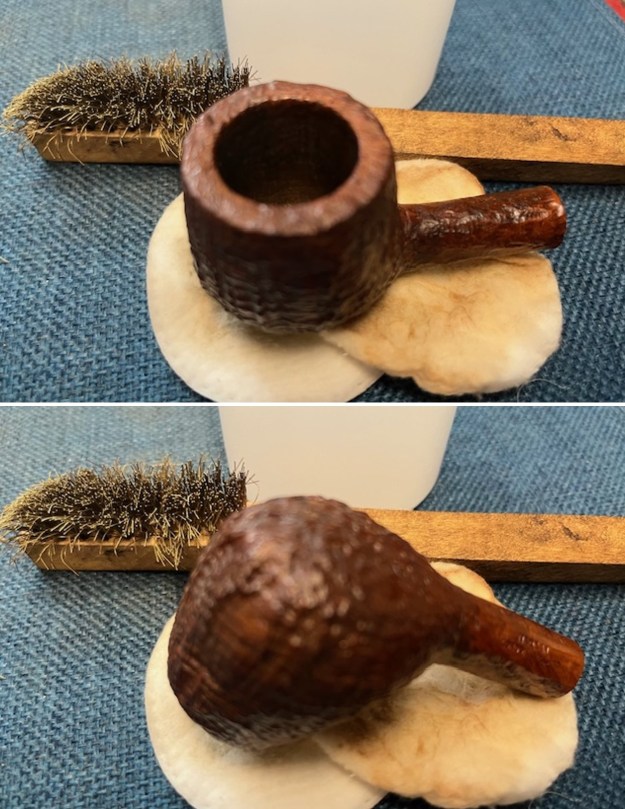
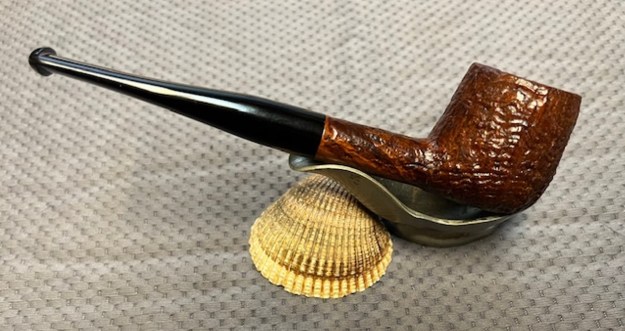
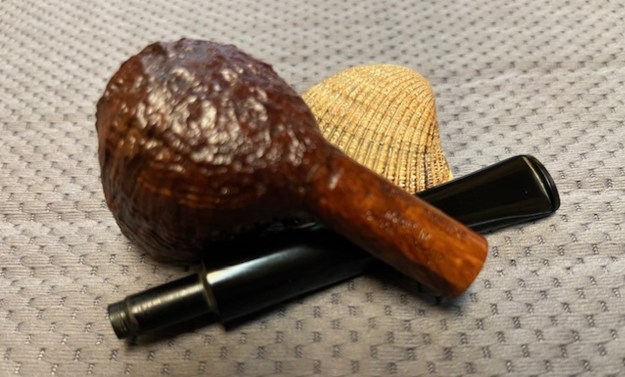
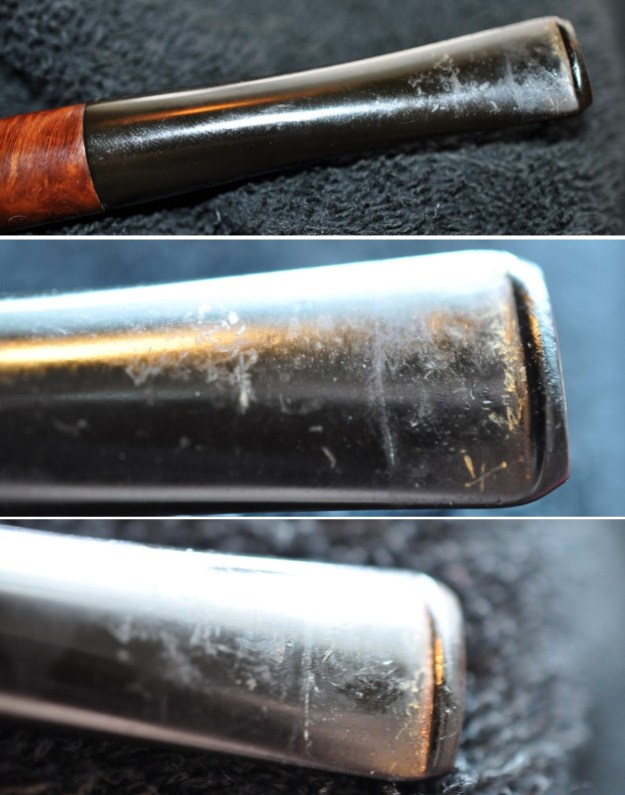
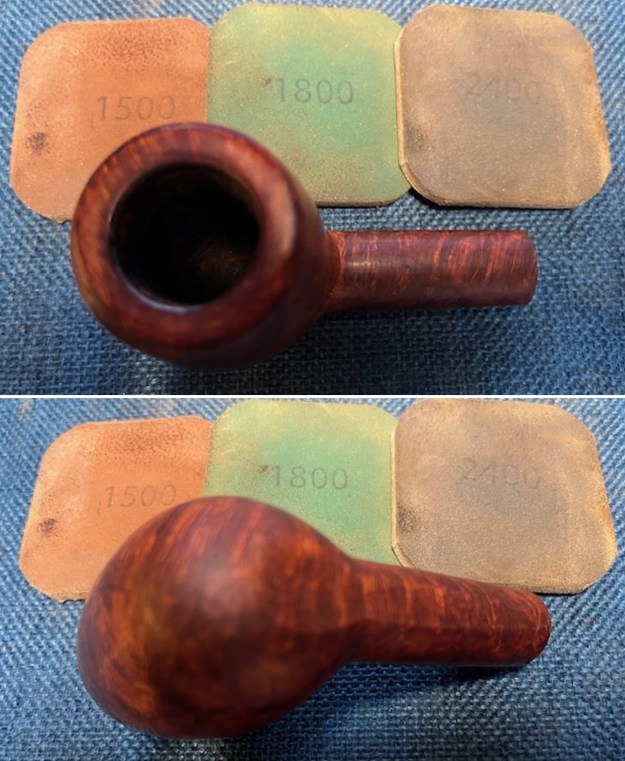
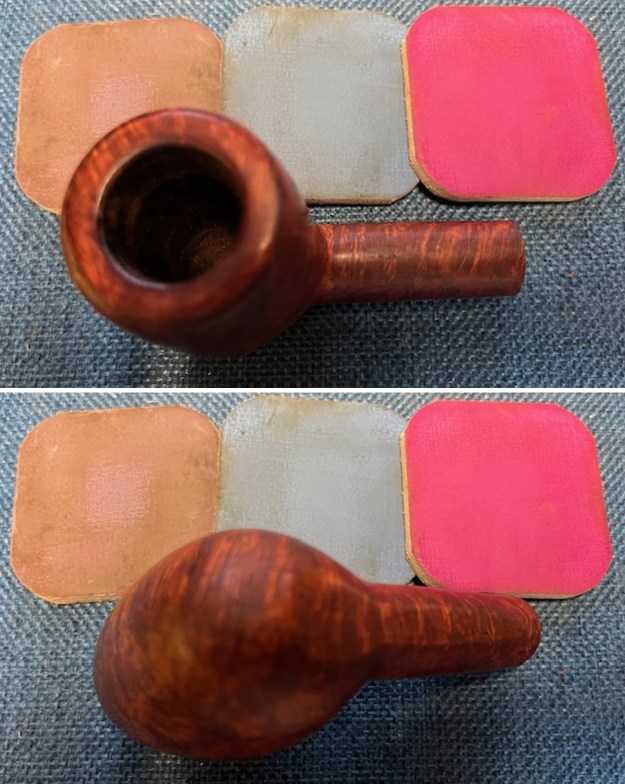
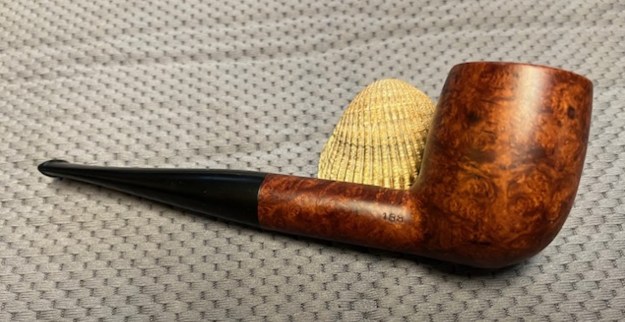
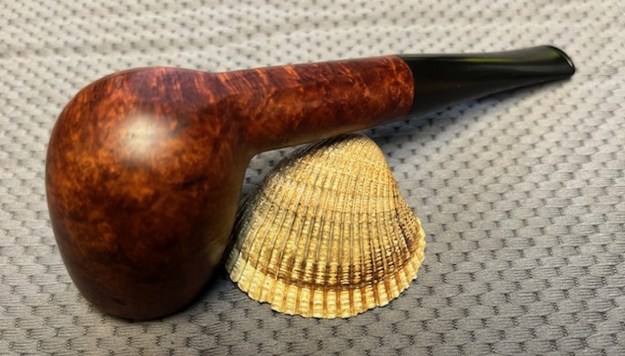
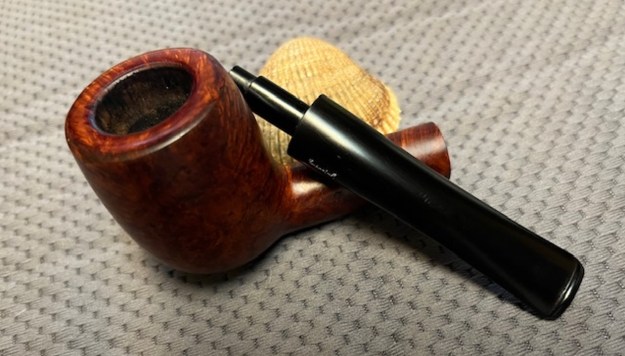
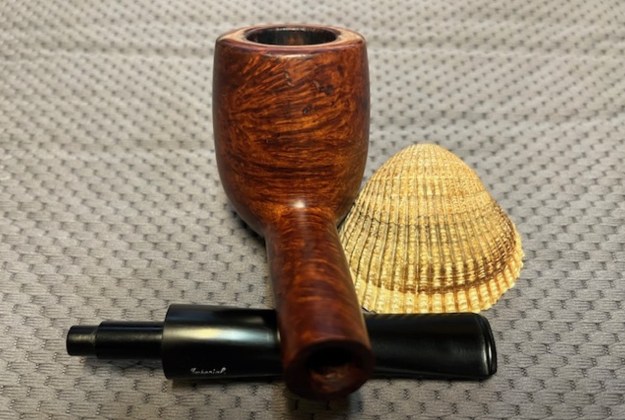
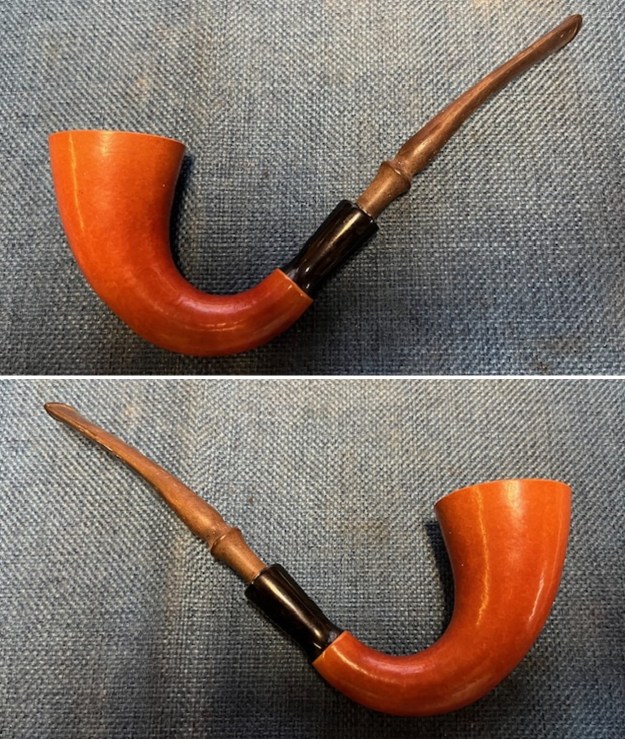
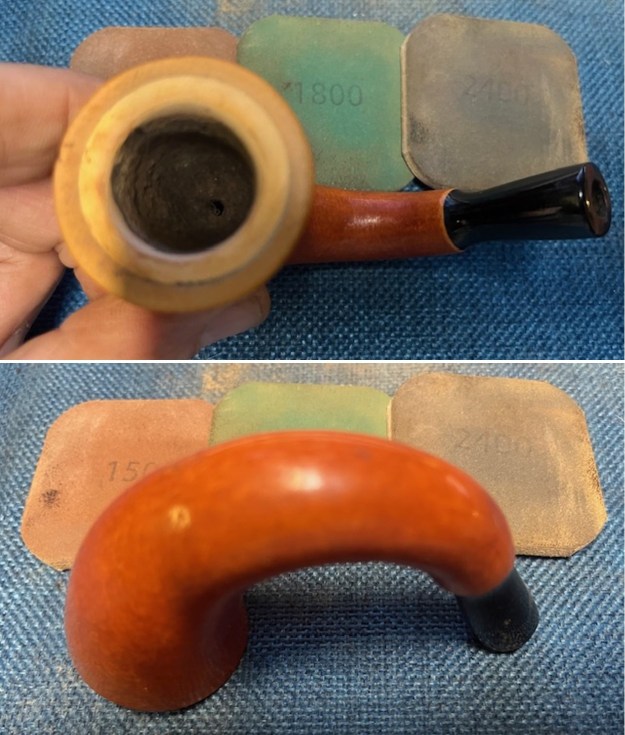
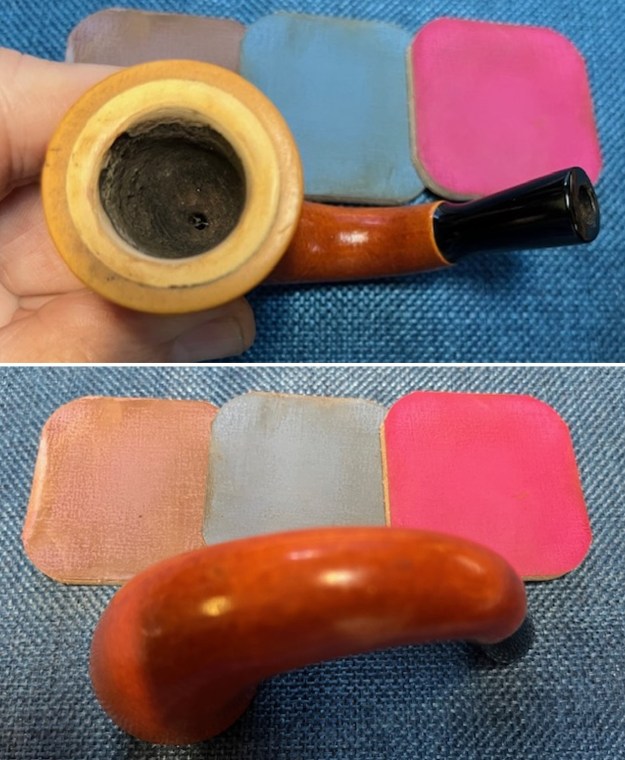
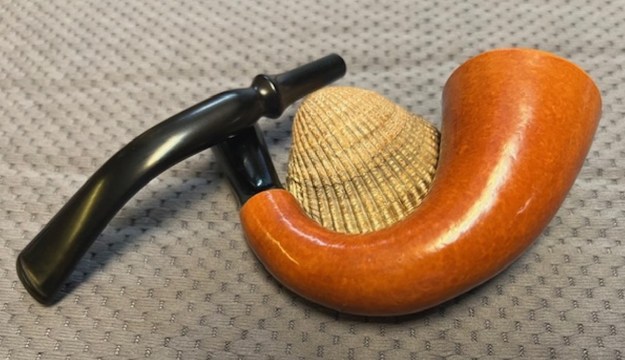
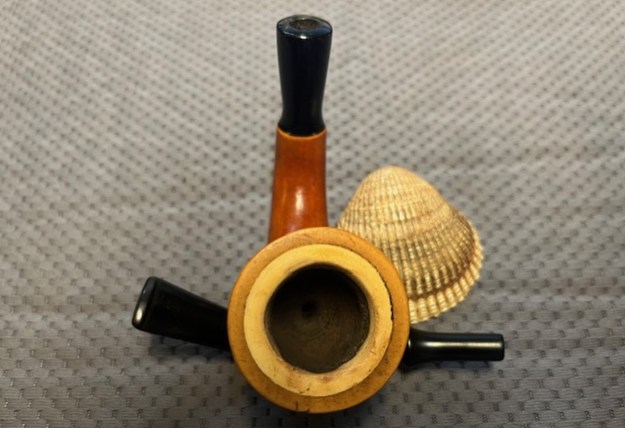
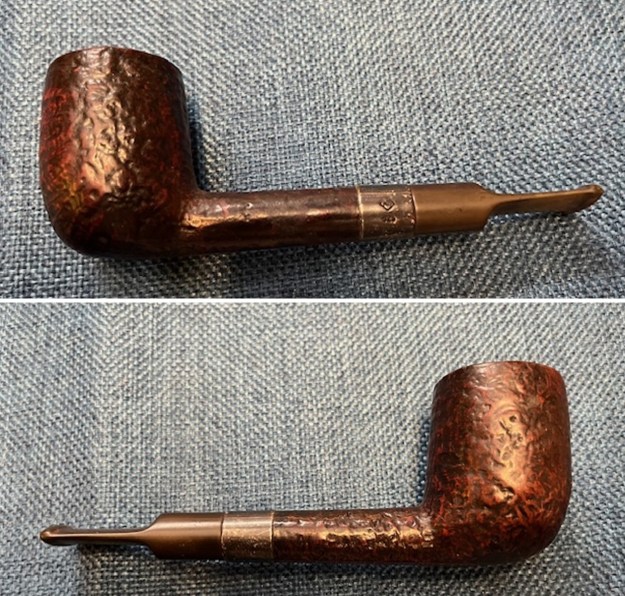
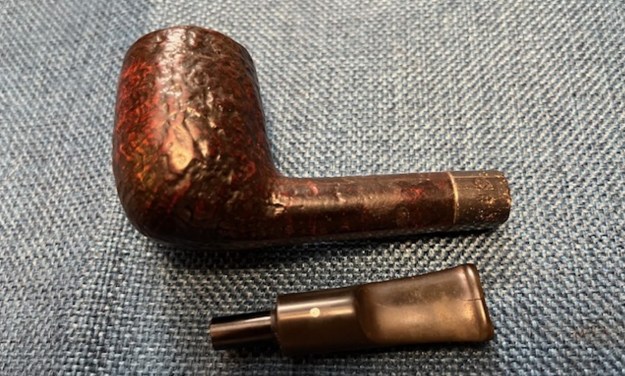
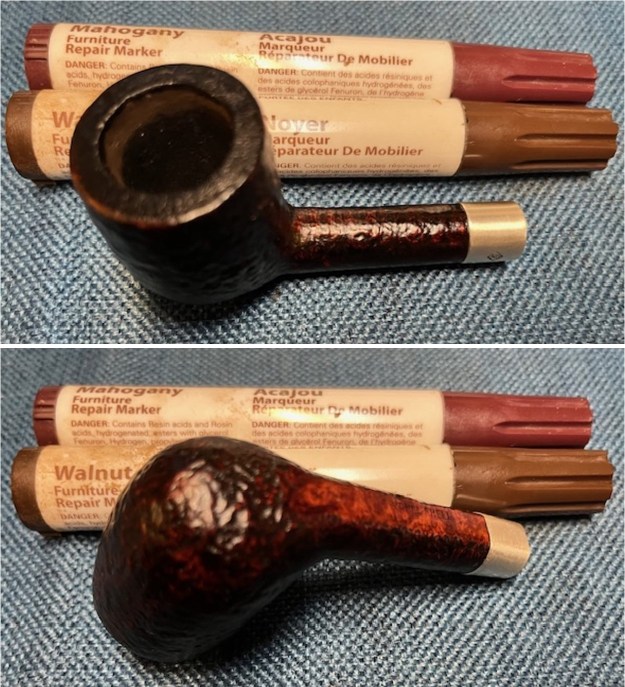
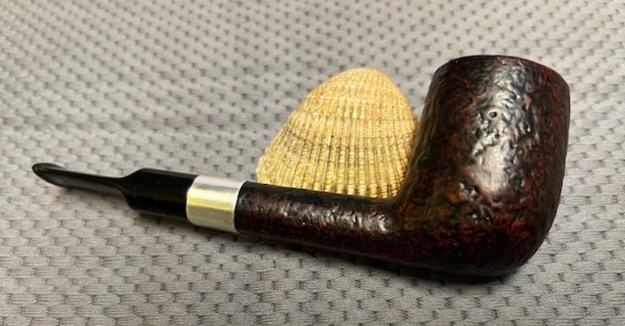
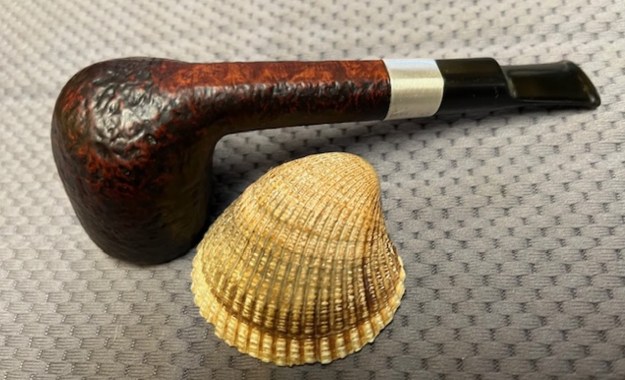
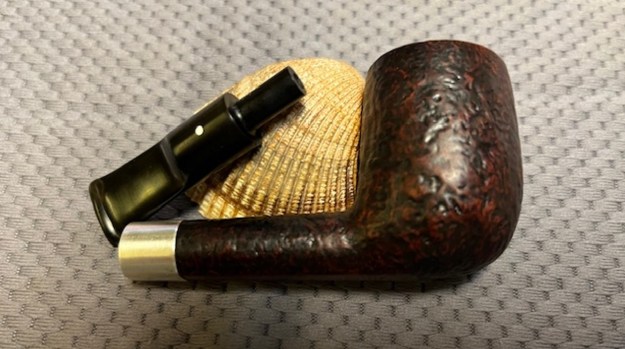
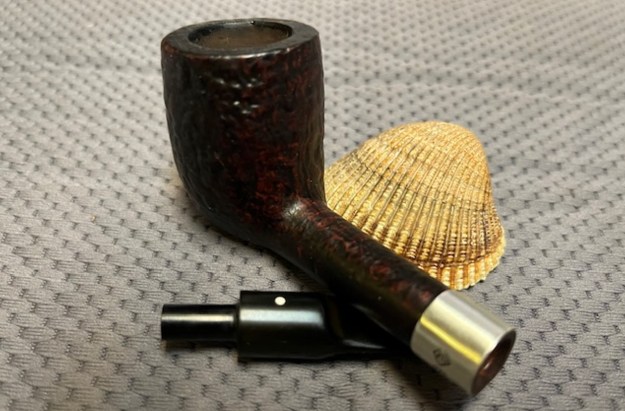
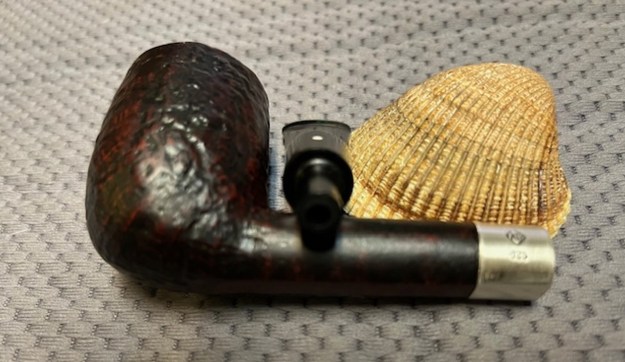
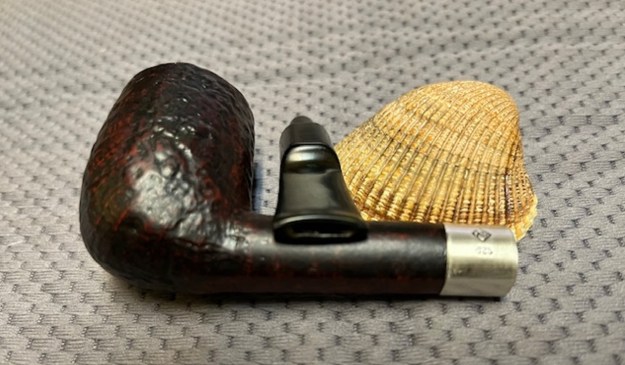
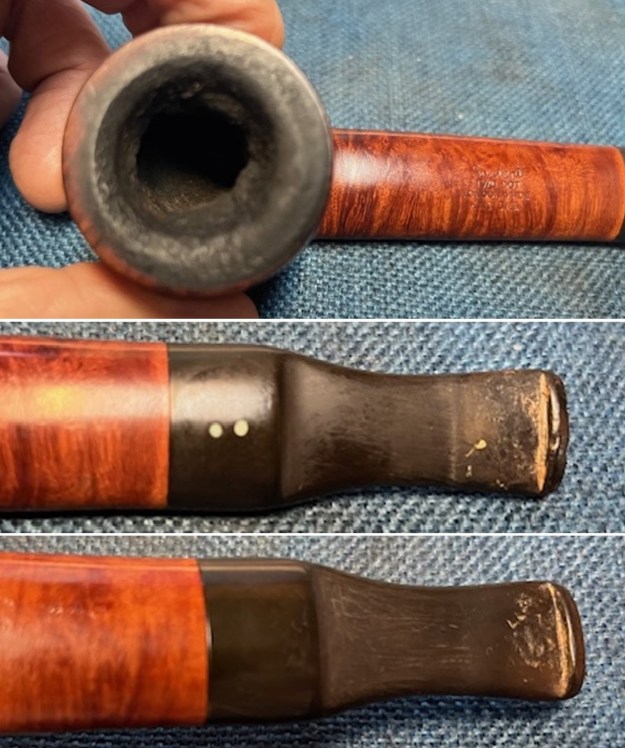
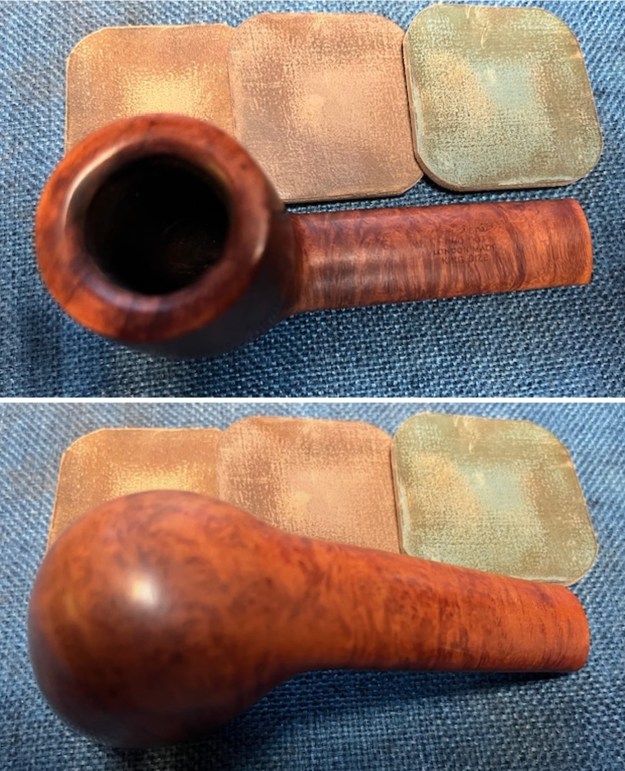
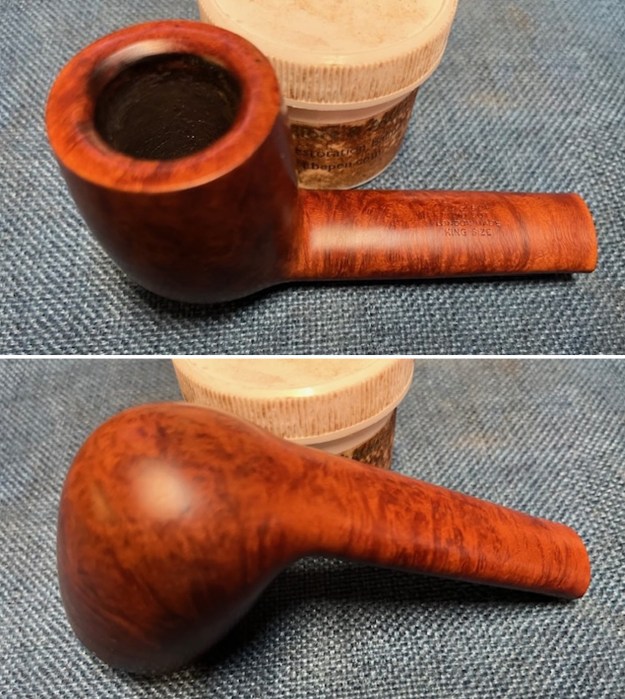
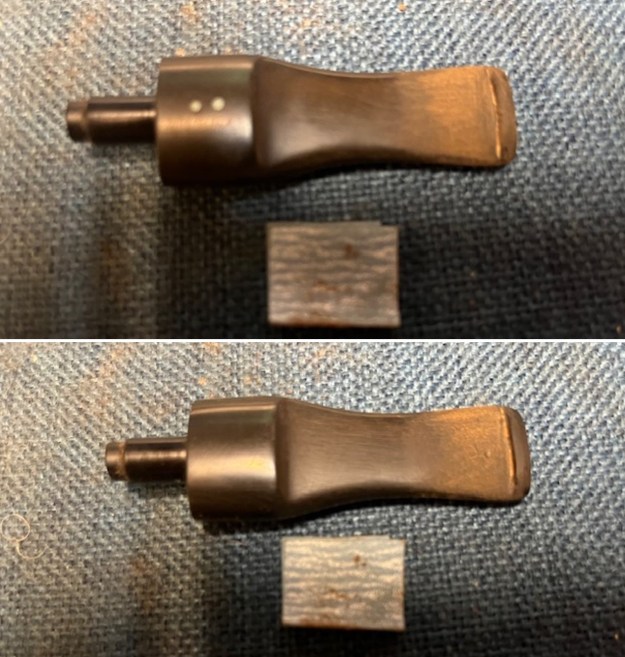
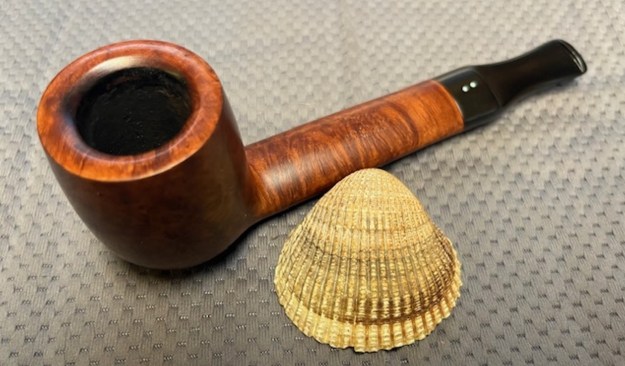
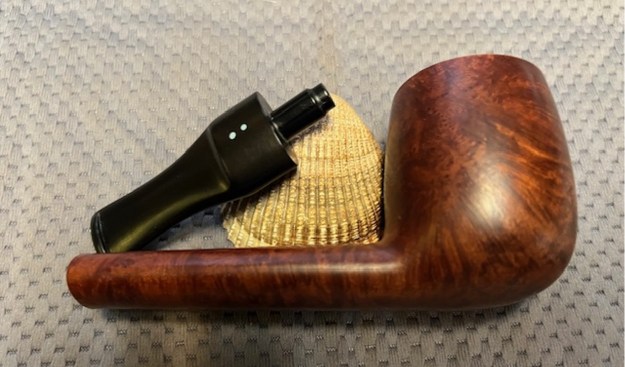
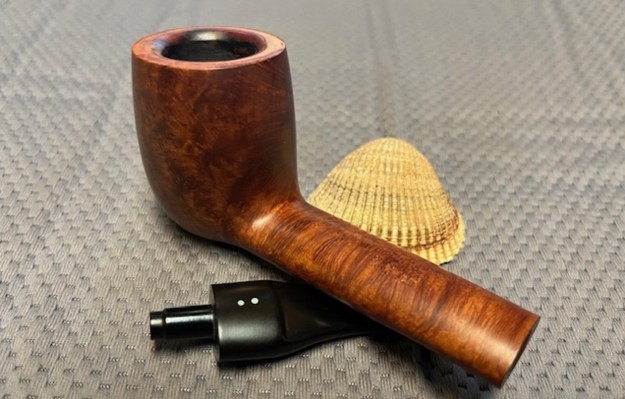
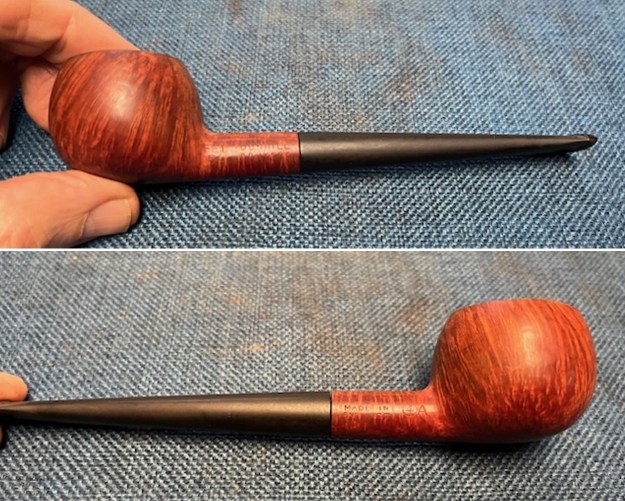
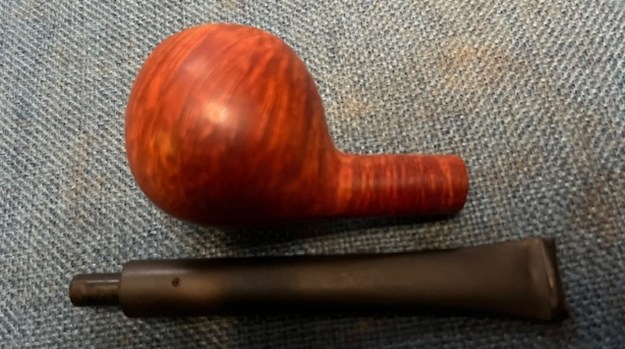
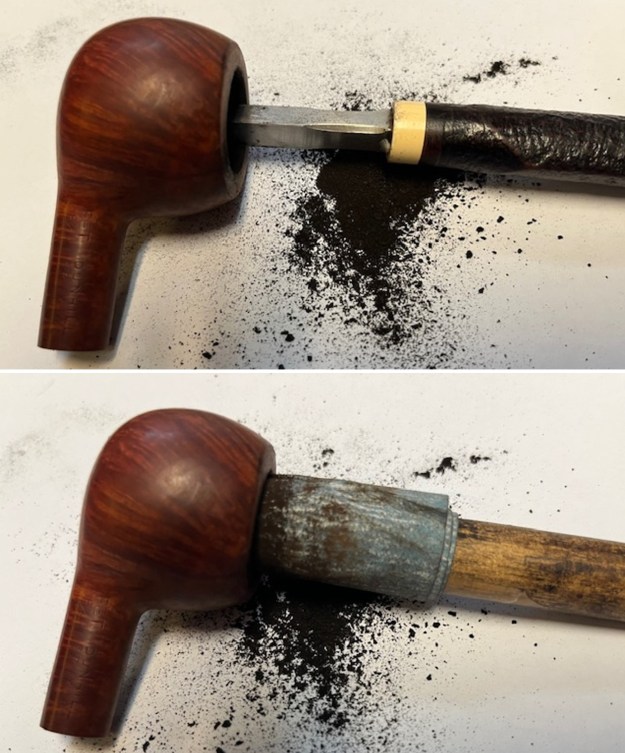
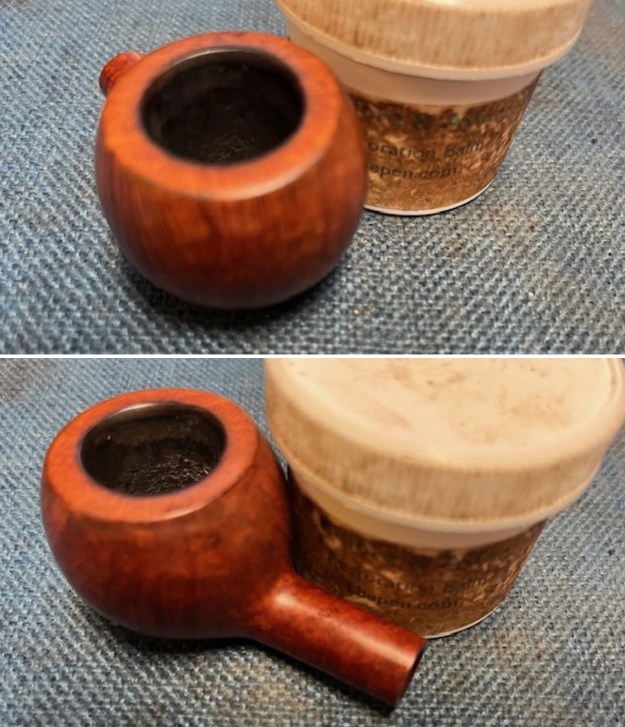
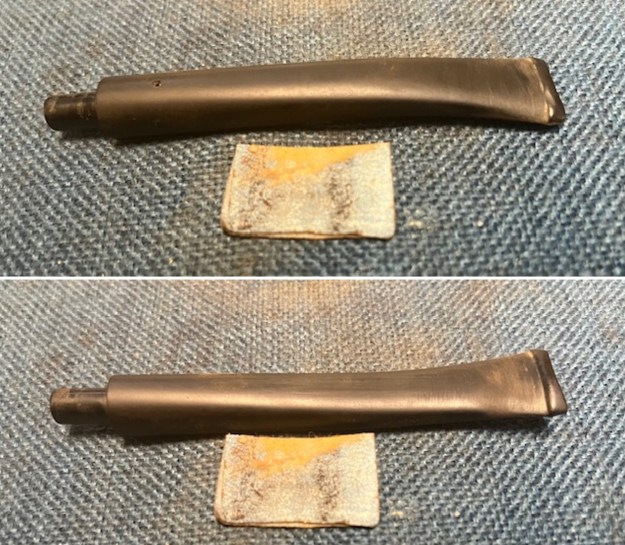
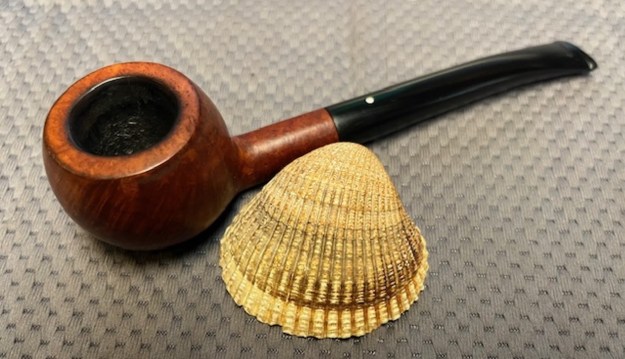
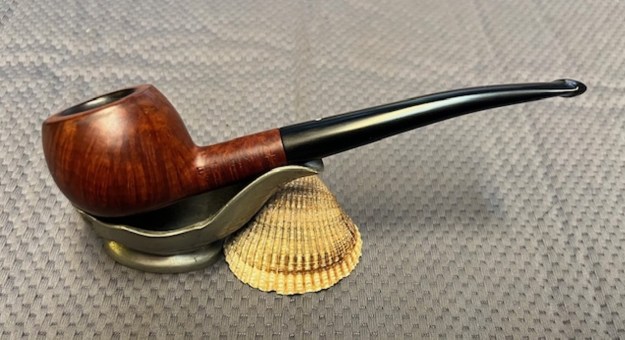
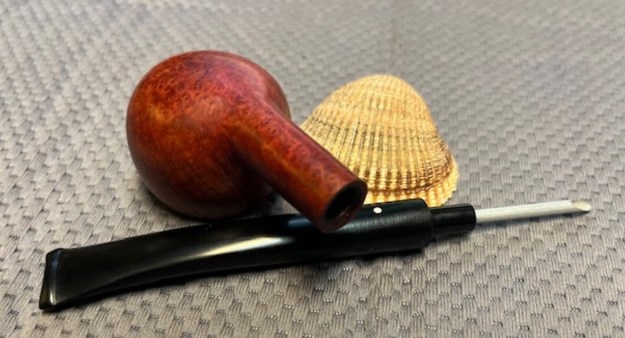
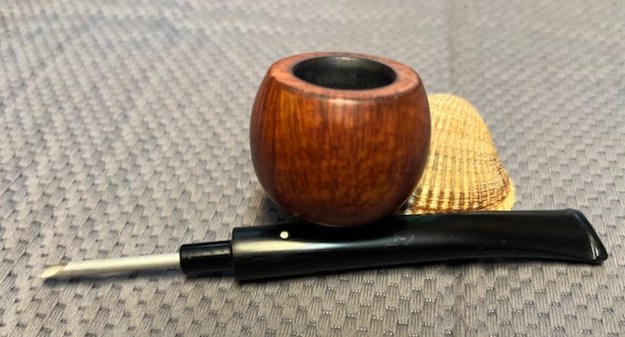
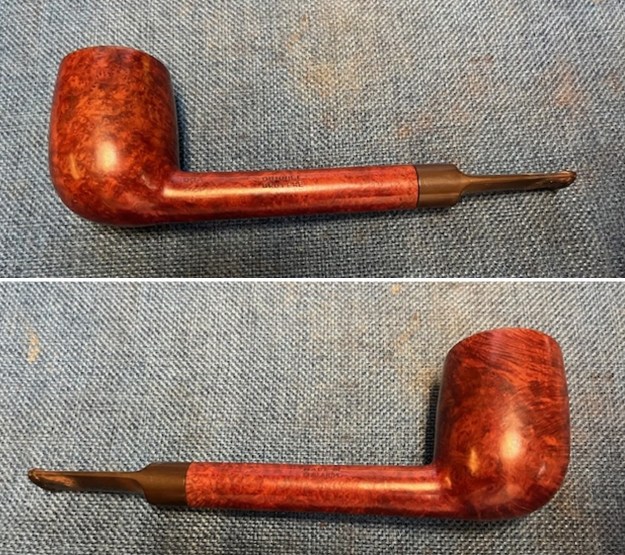
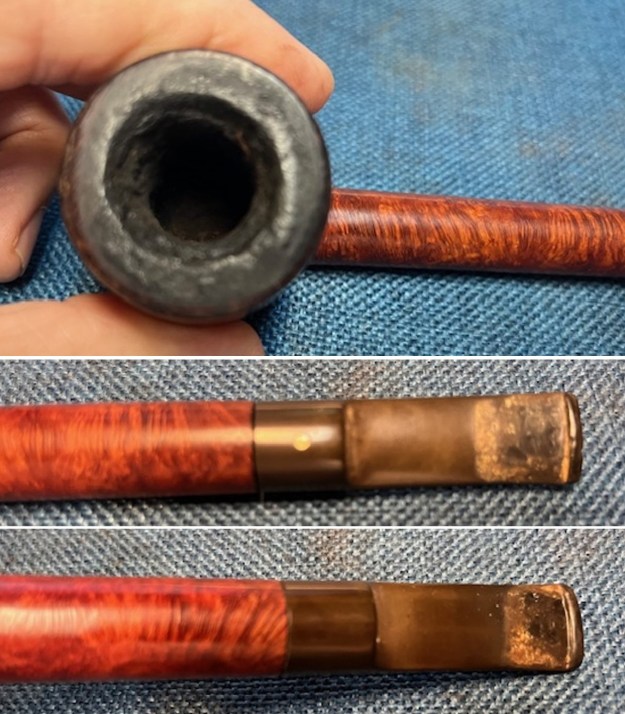
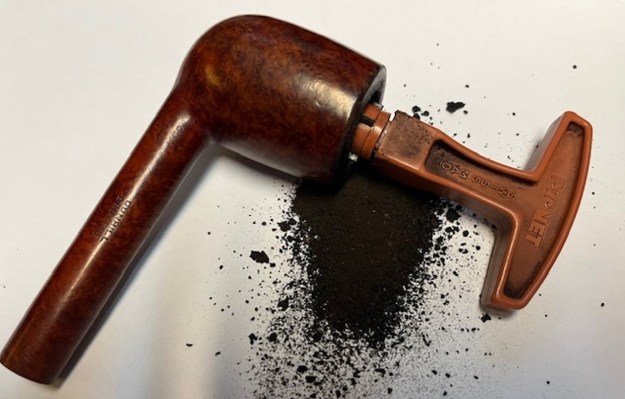
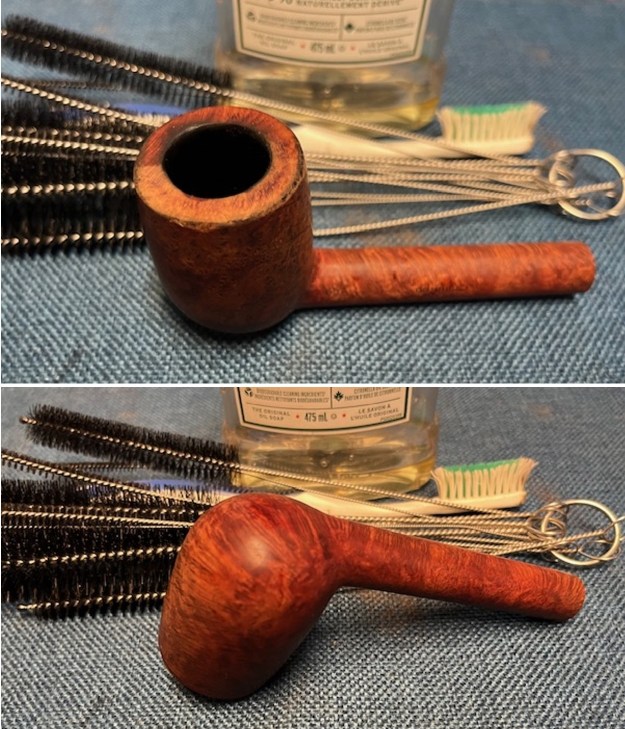
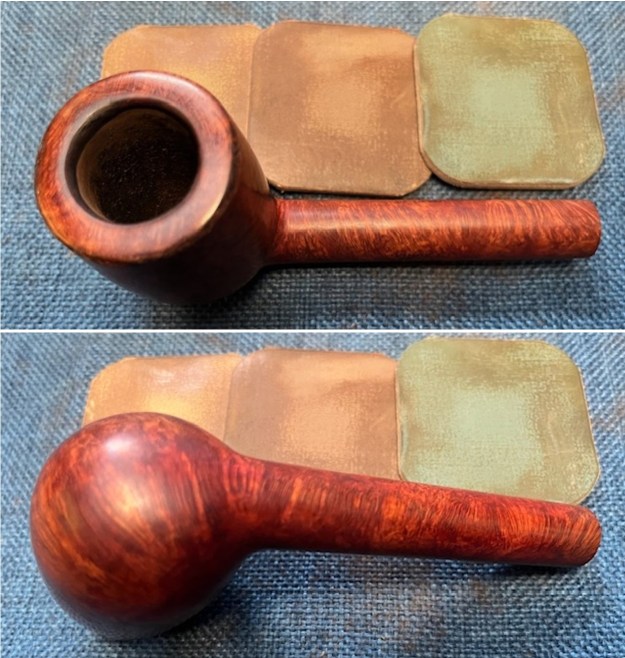
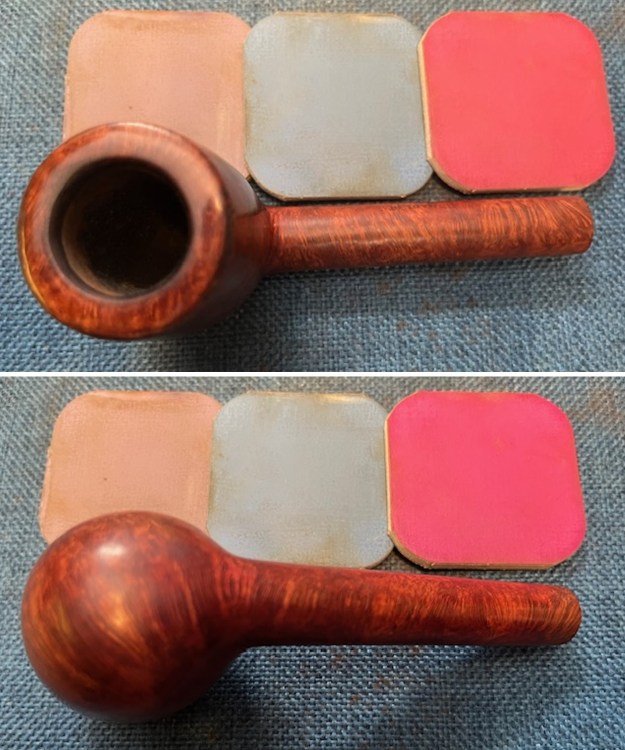
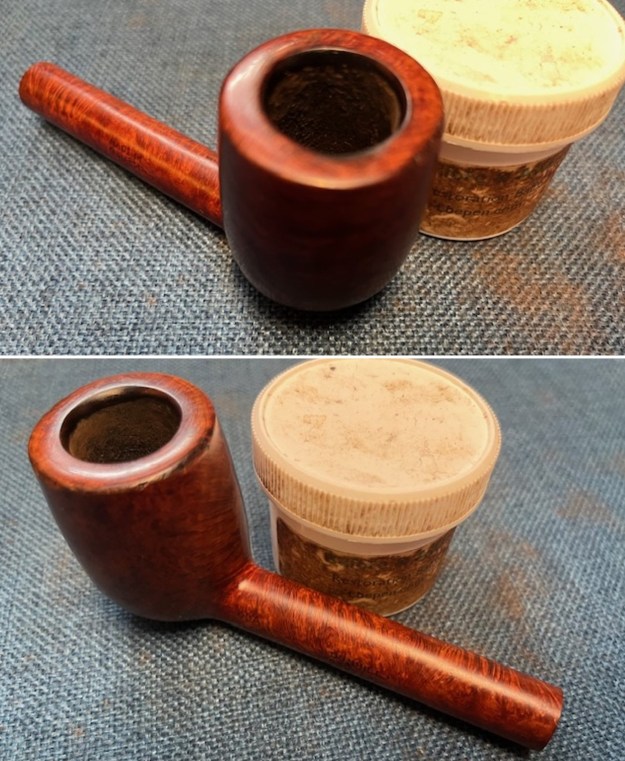
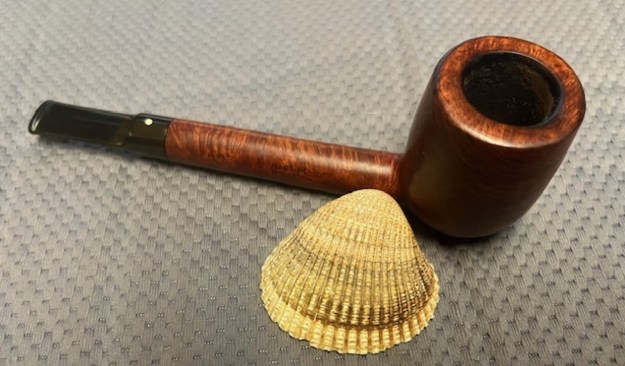
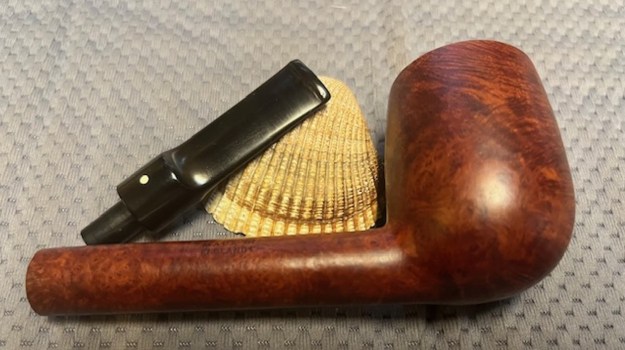
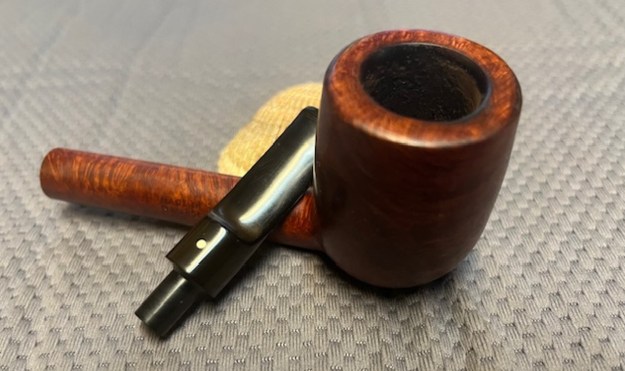
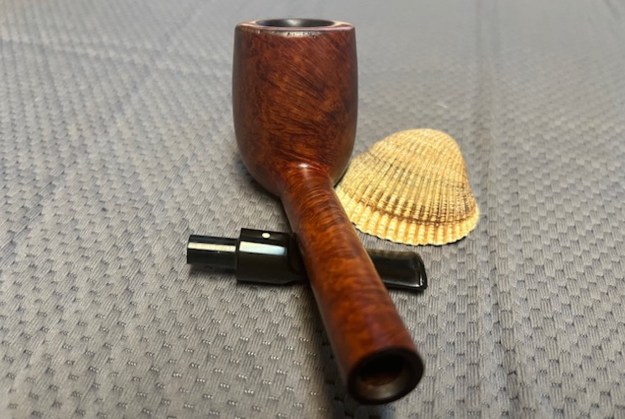
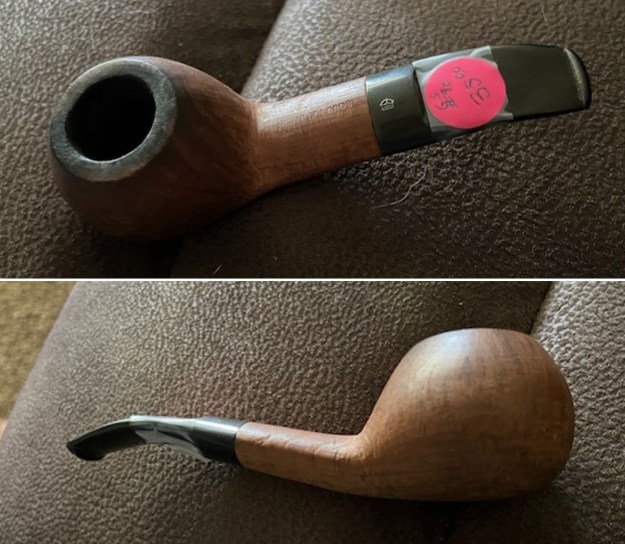
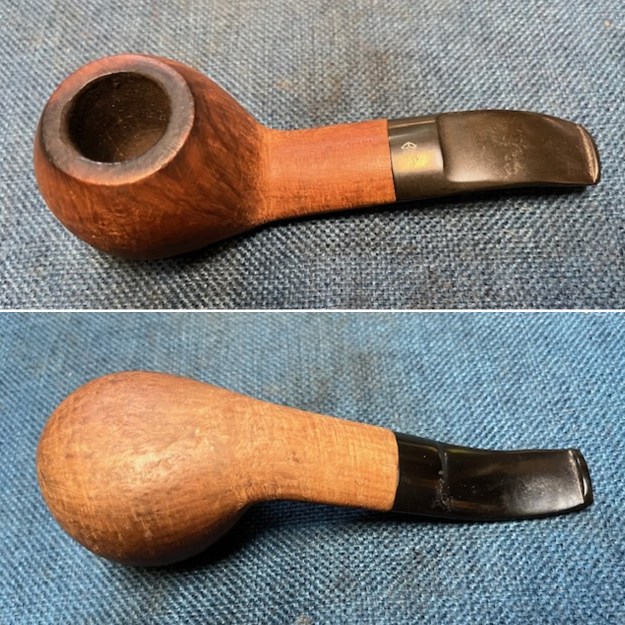
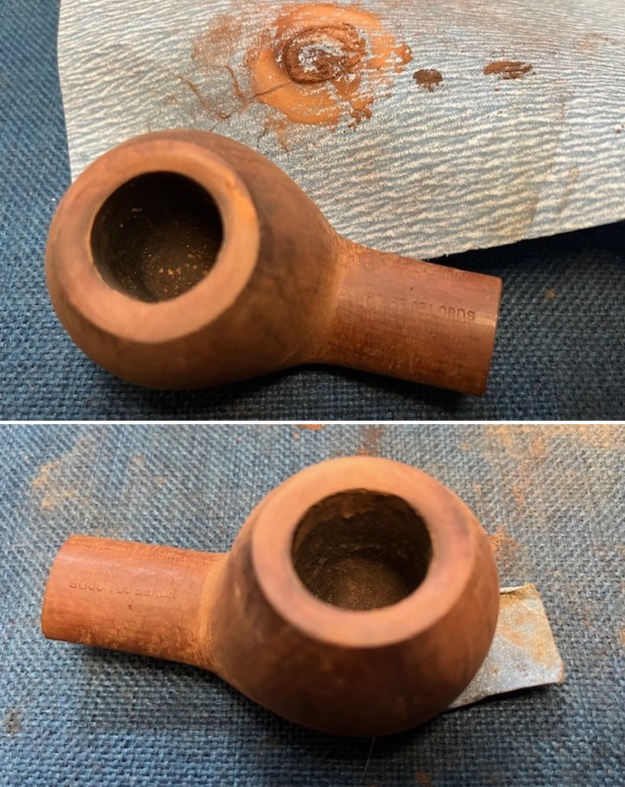
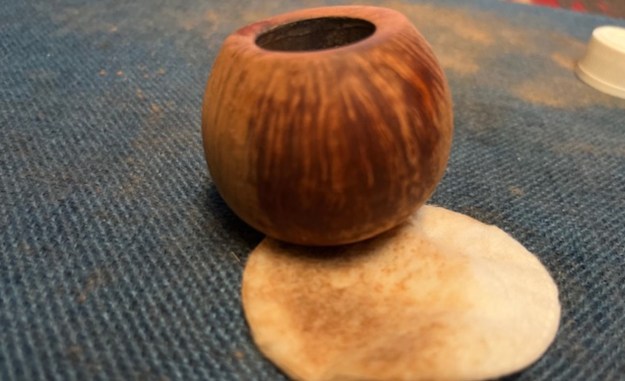
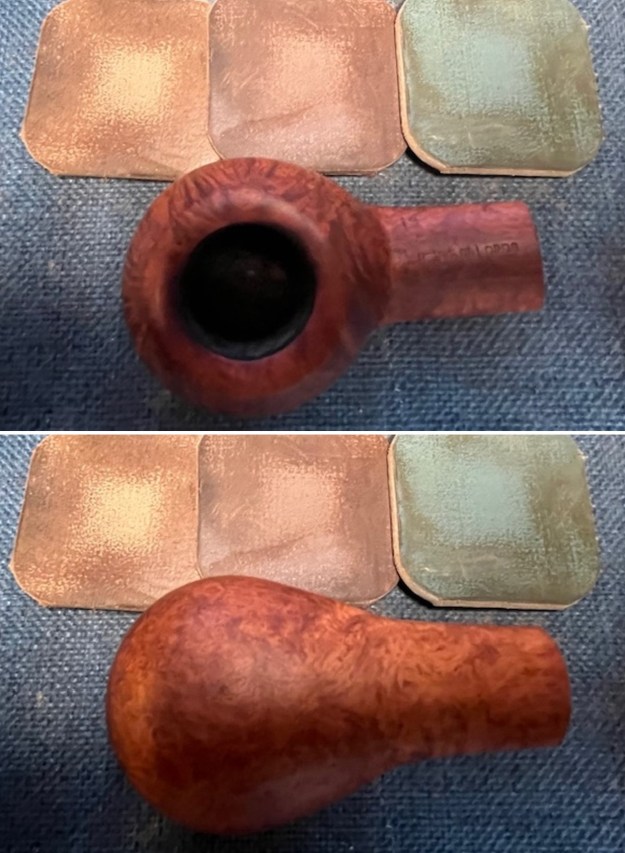
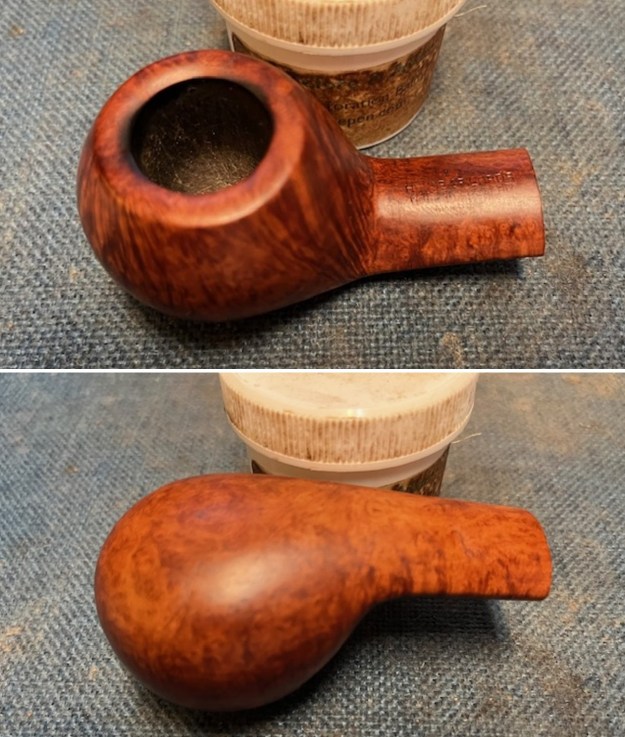
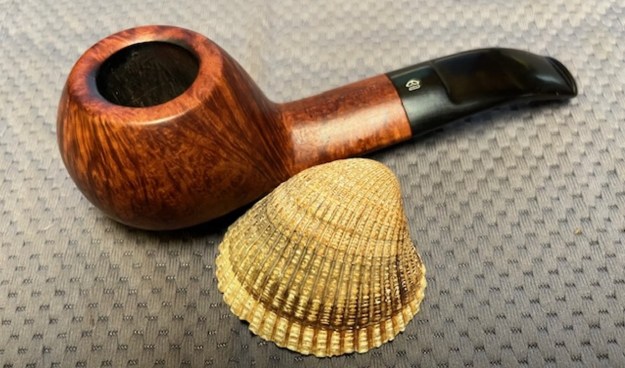
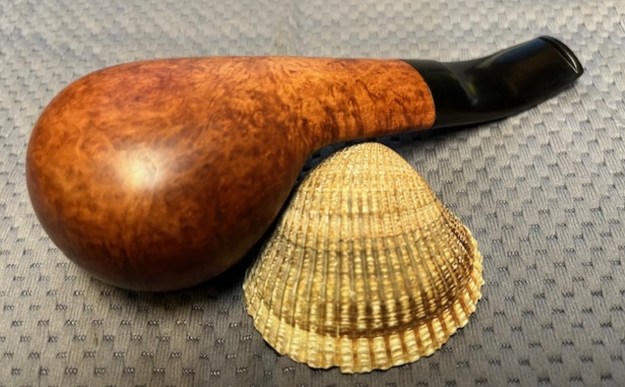
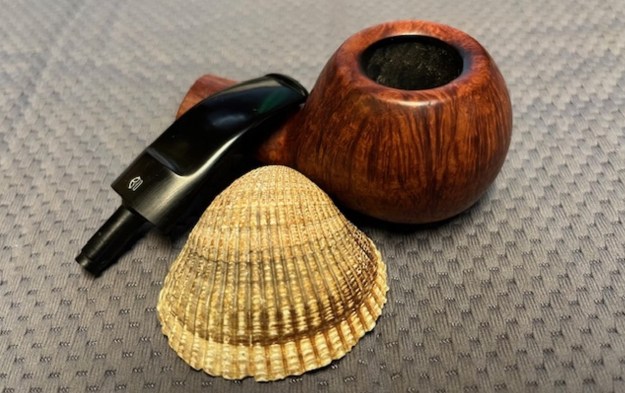
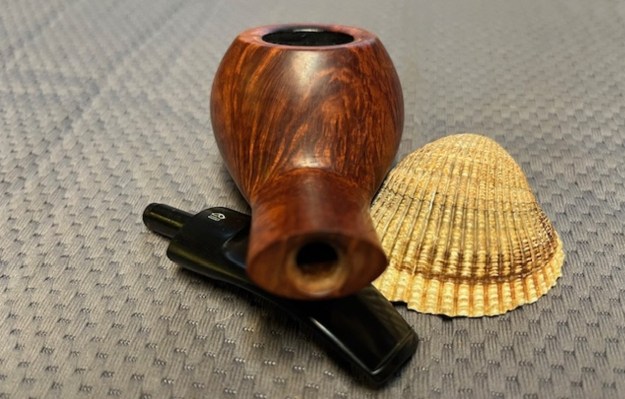
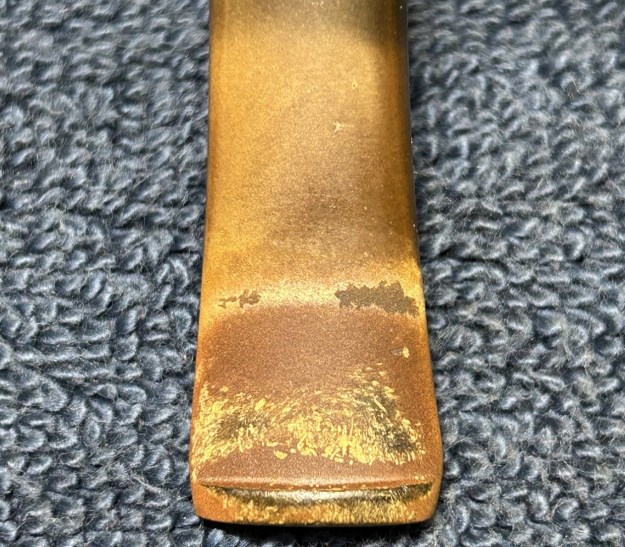
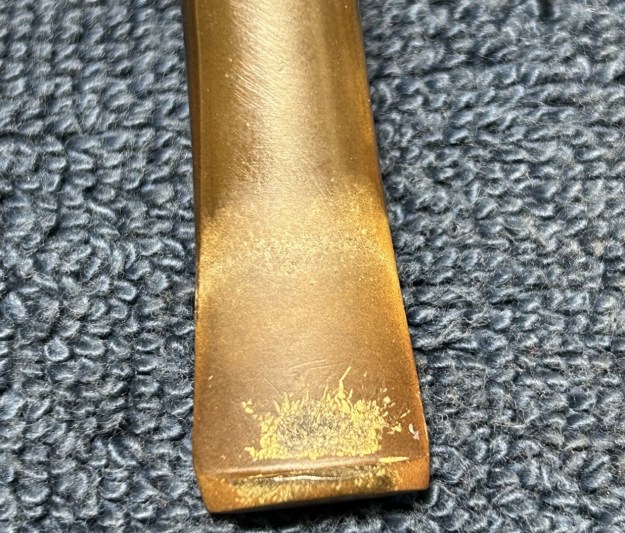
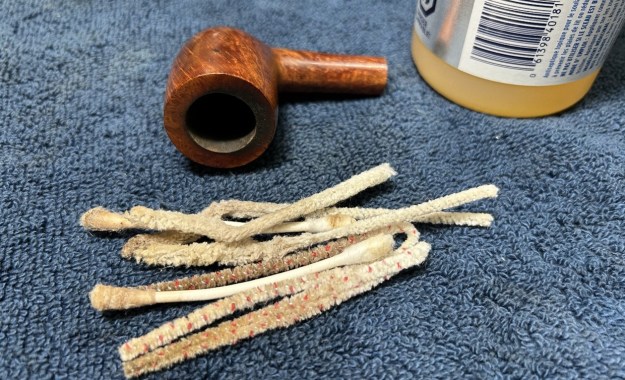
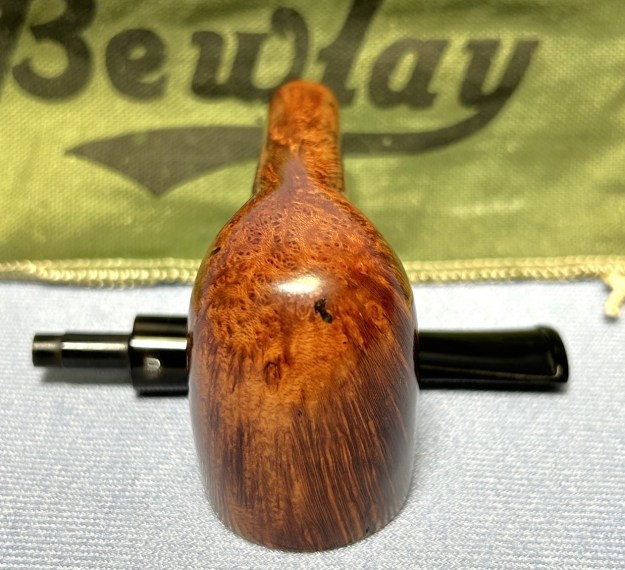
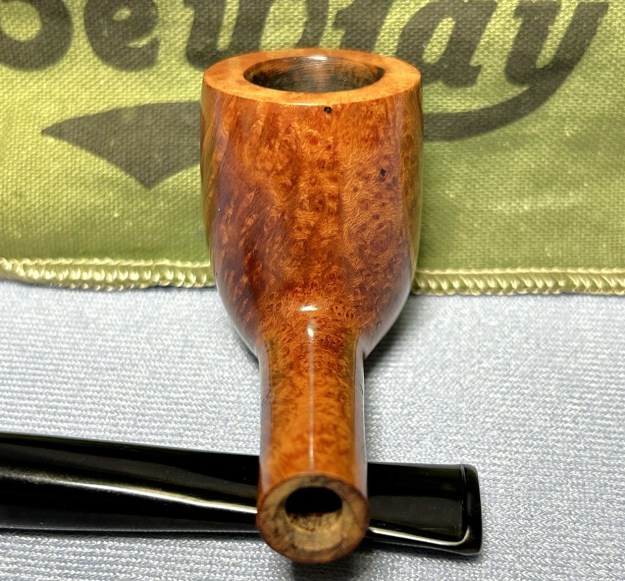
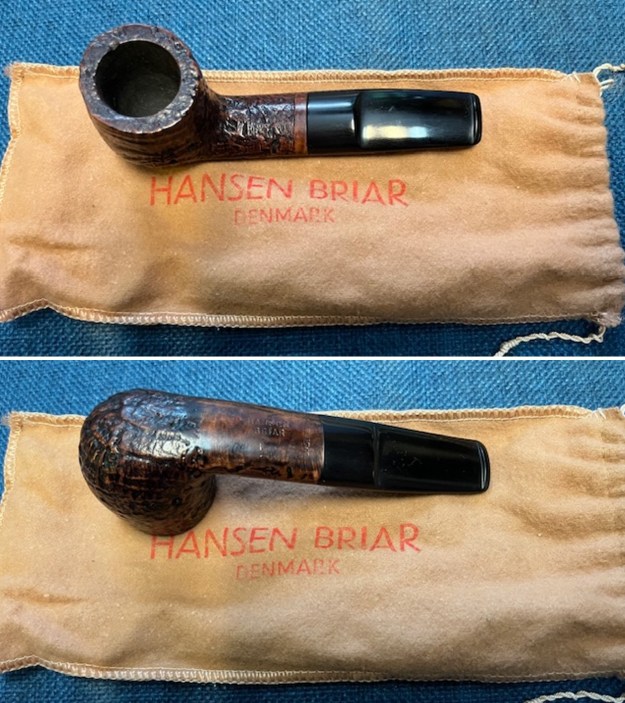 I took a photo of the rim top to show the condition of the bowl and the top. You can see clean bowl (with carbon coating) and a clean rim top. The stem looks very good with no tooth damage and no oxidation on the surface of the vulcanite.
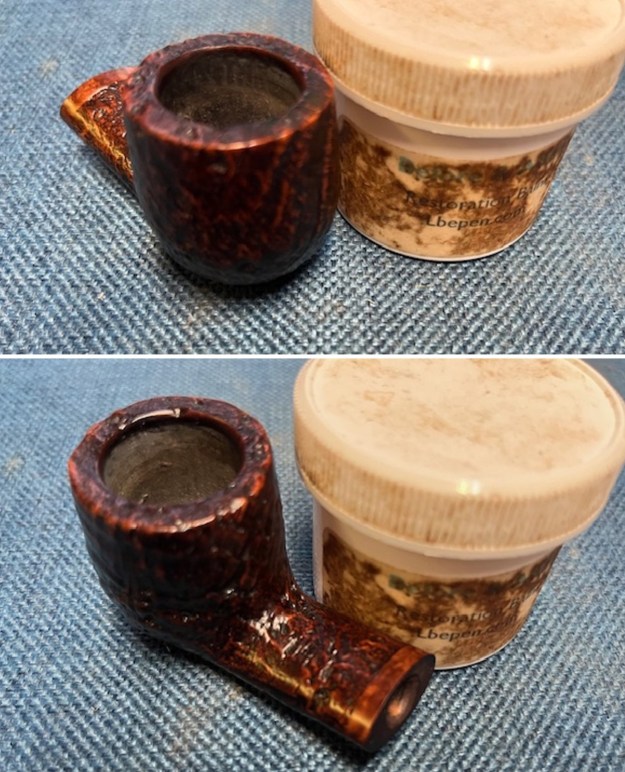
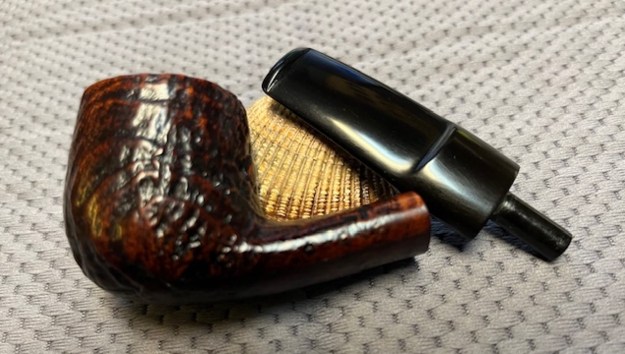
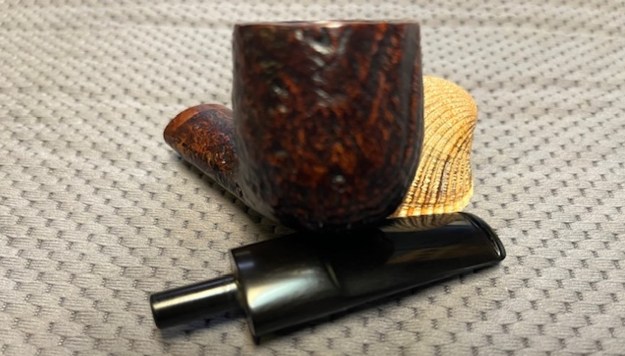
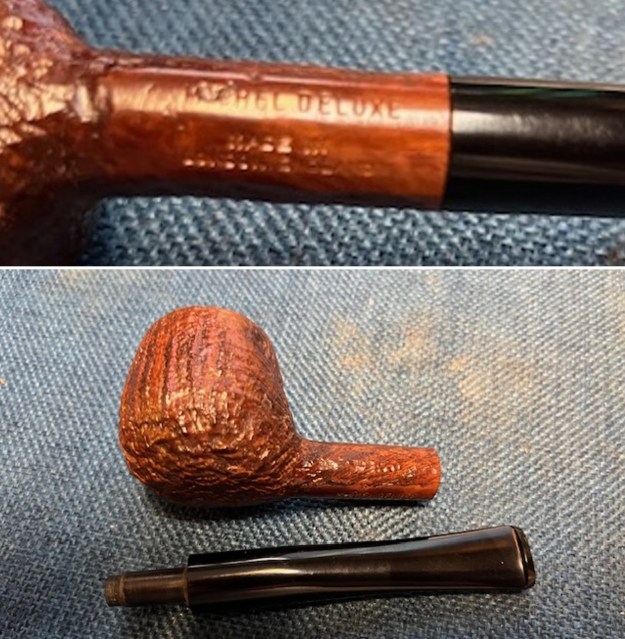
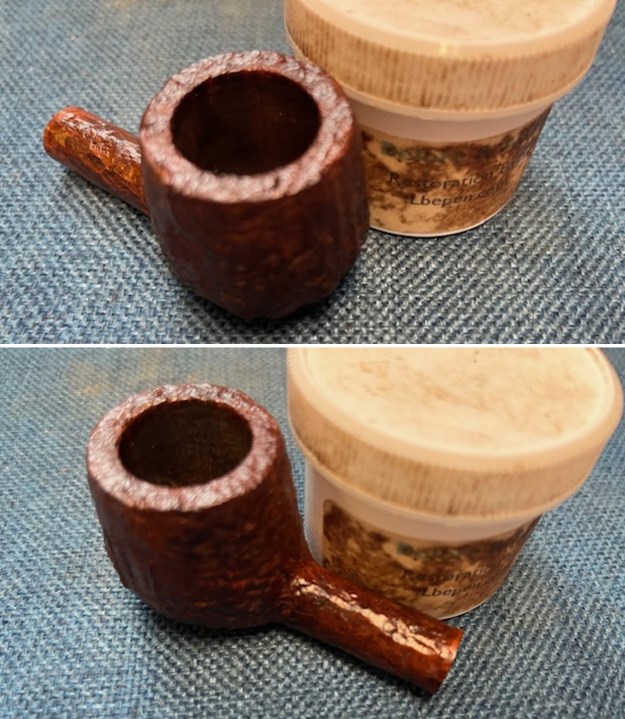
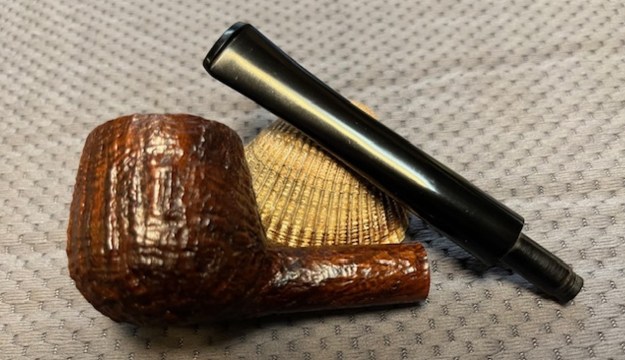
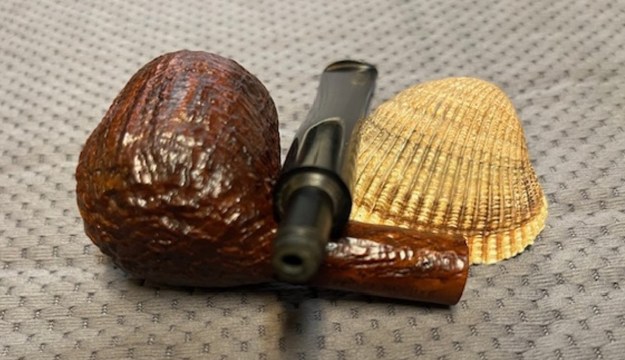
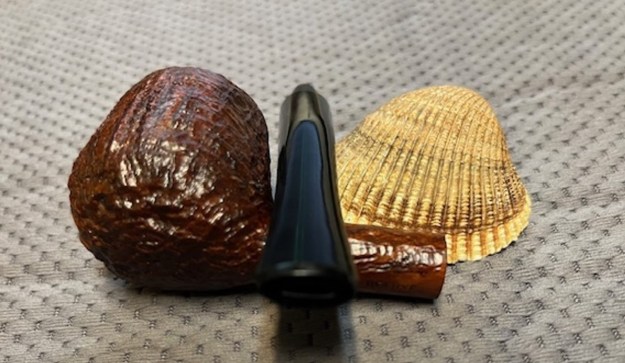
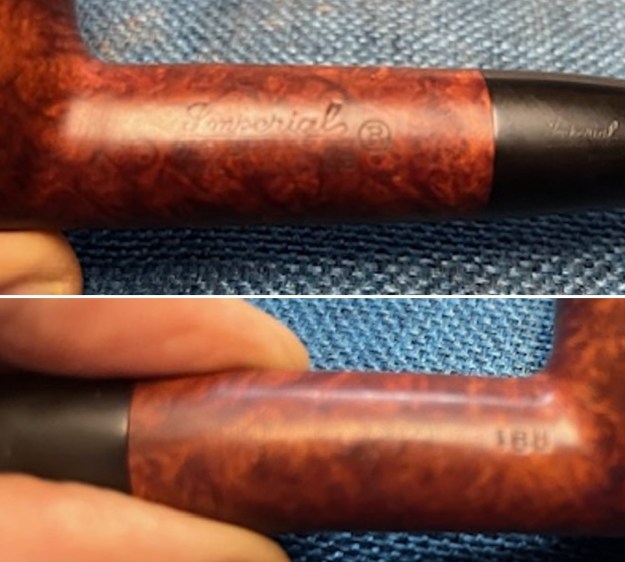
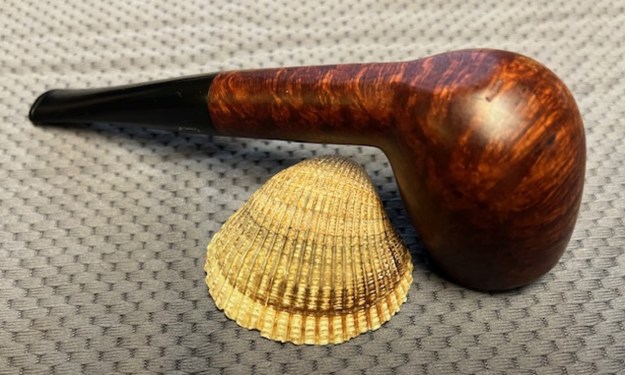
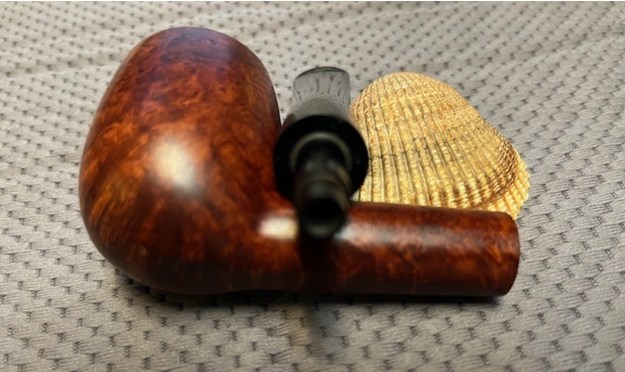
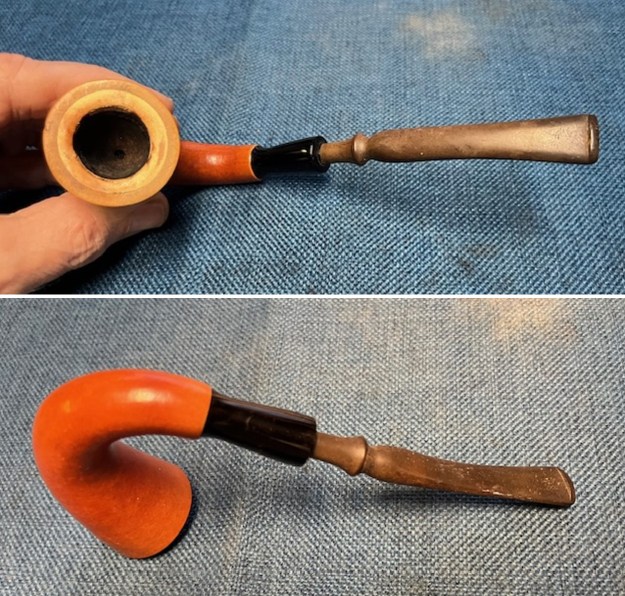
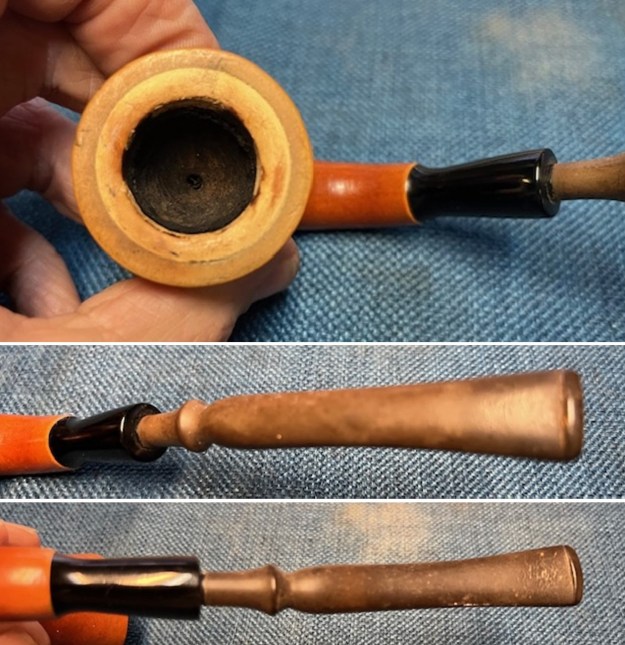
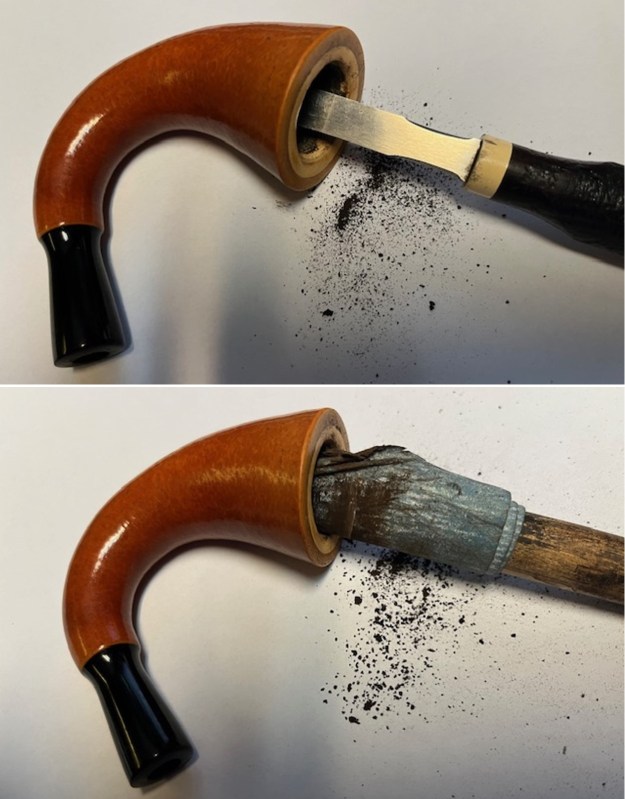
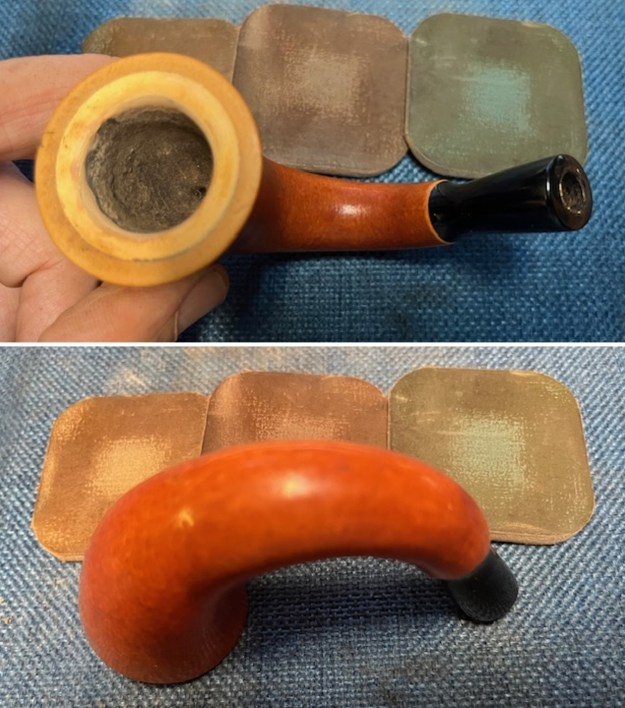
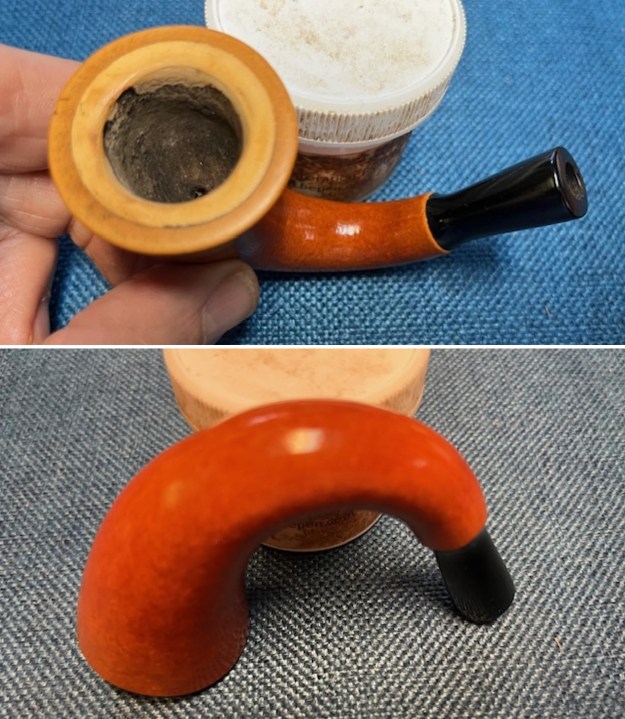
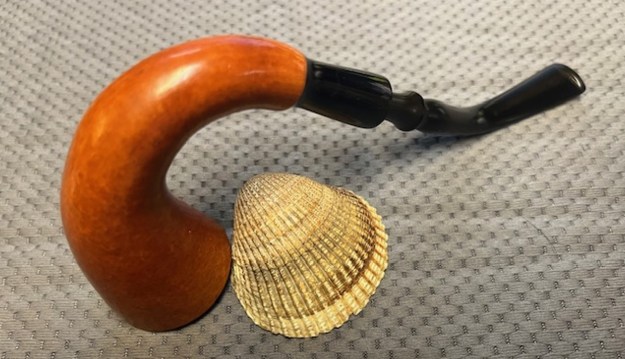
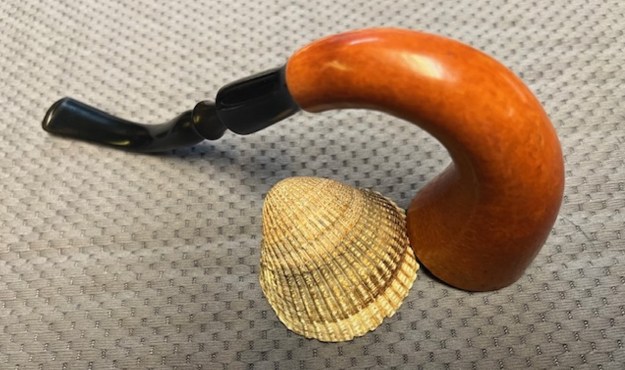
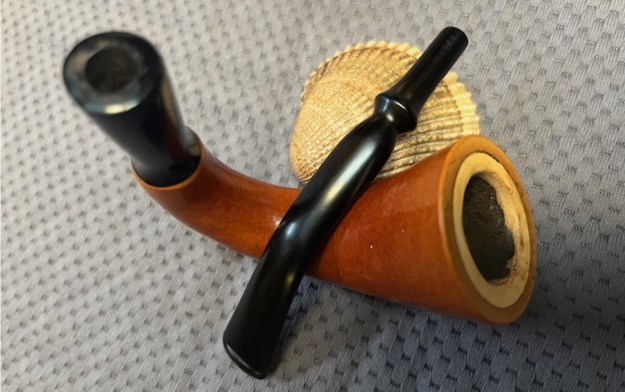
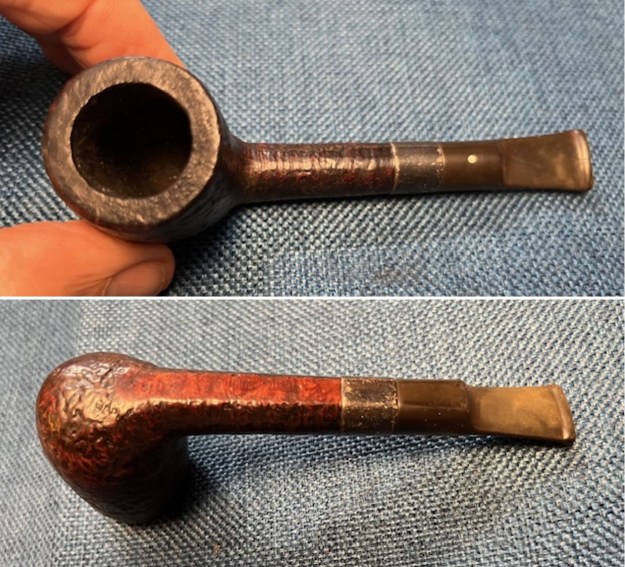
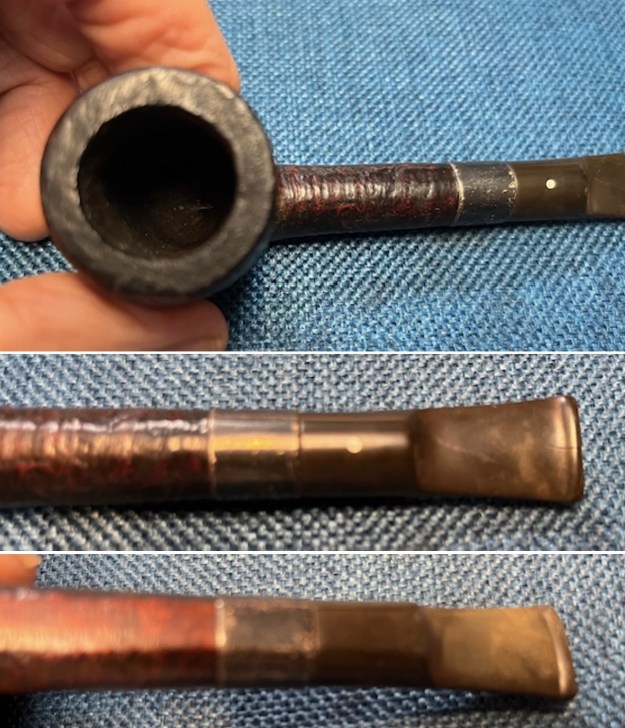
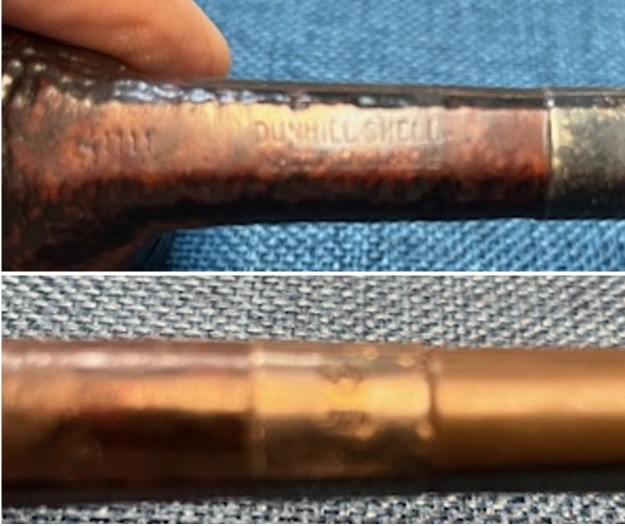
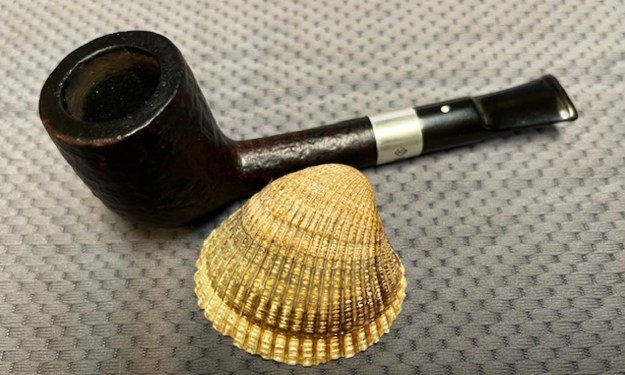
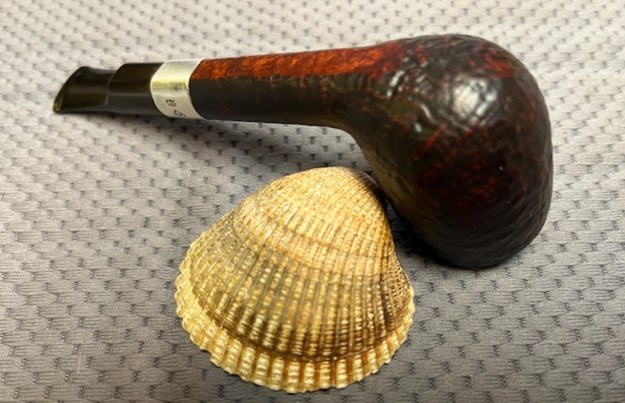
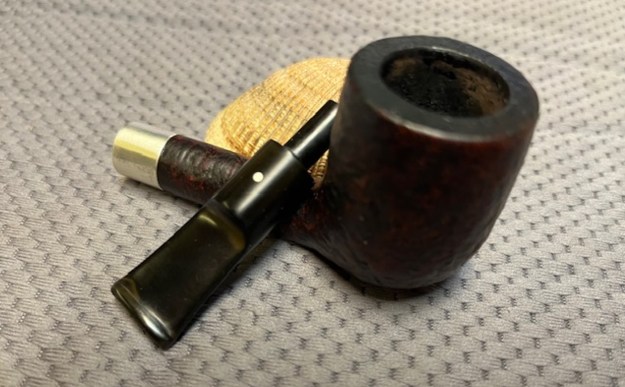
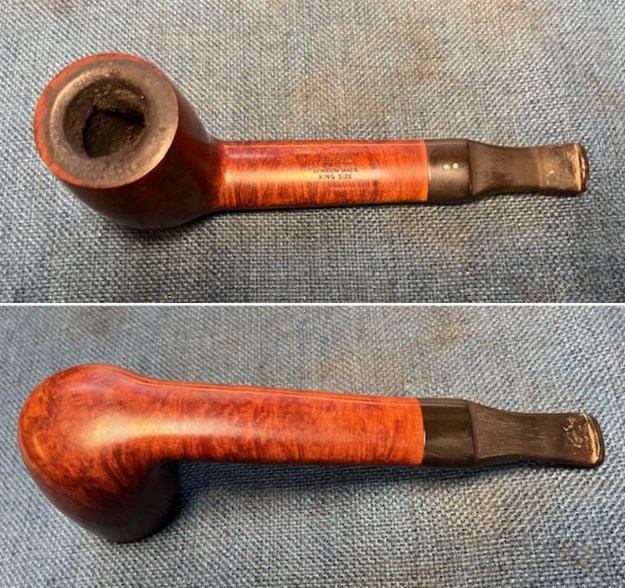
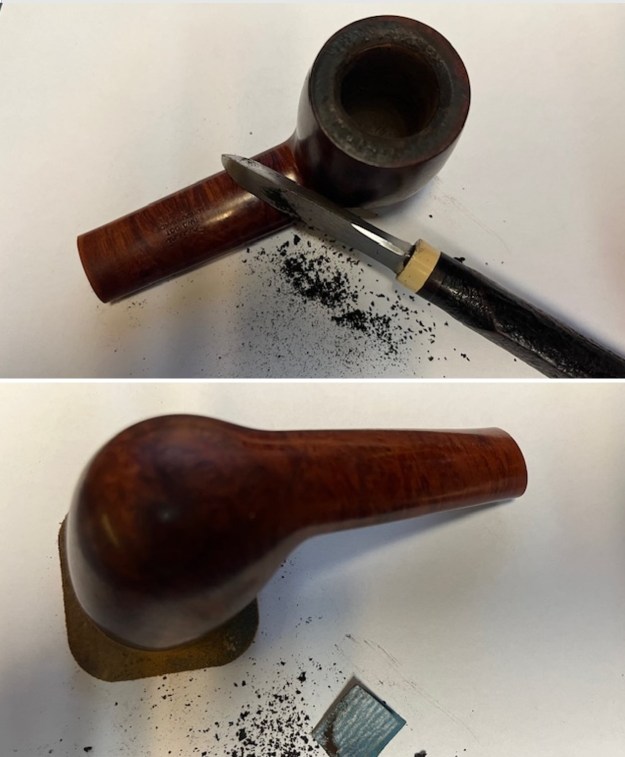
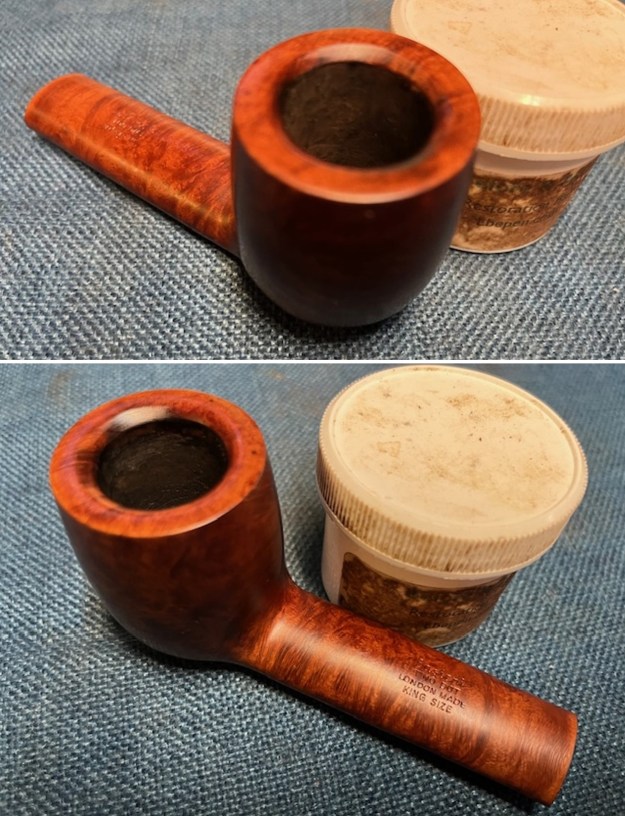
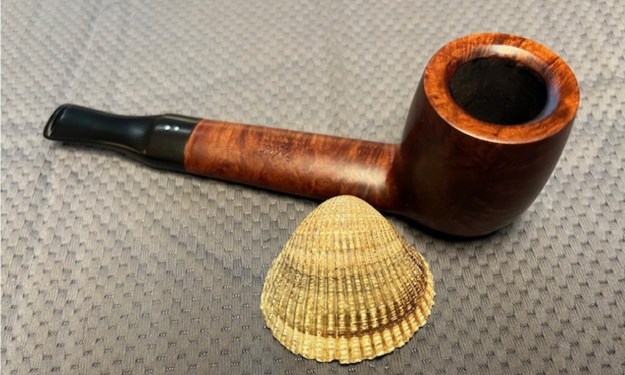
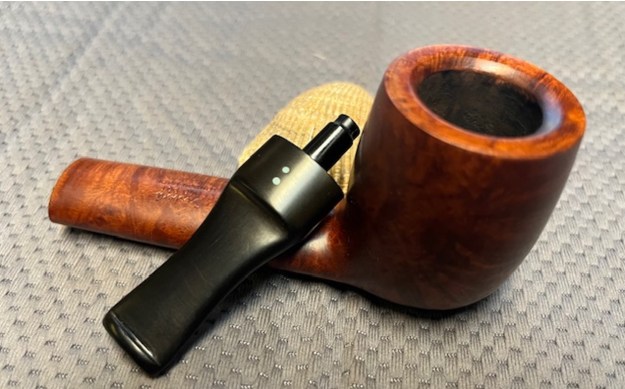
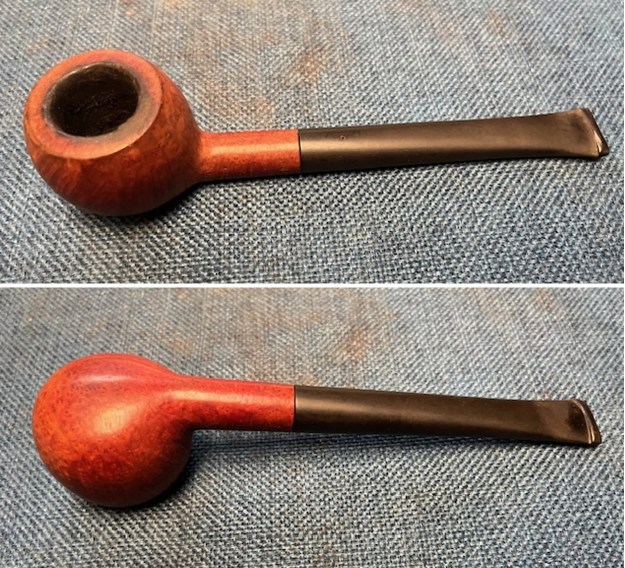
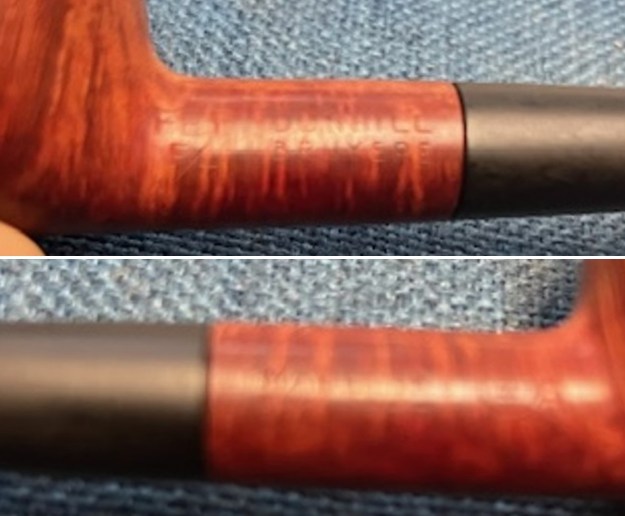
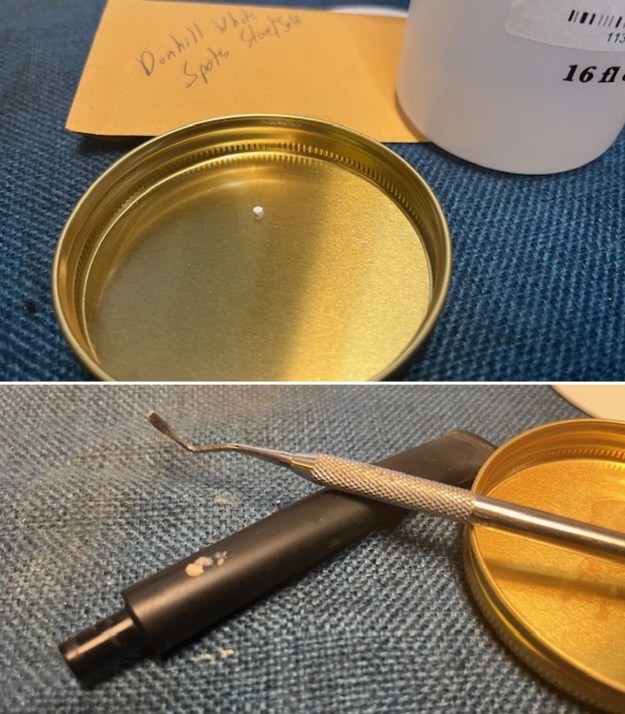
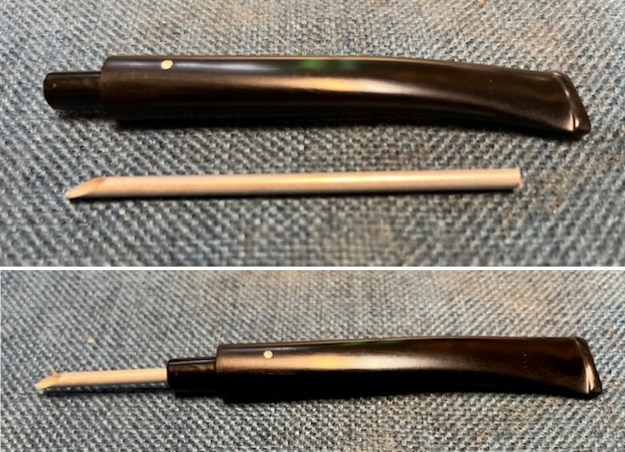
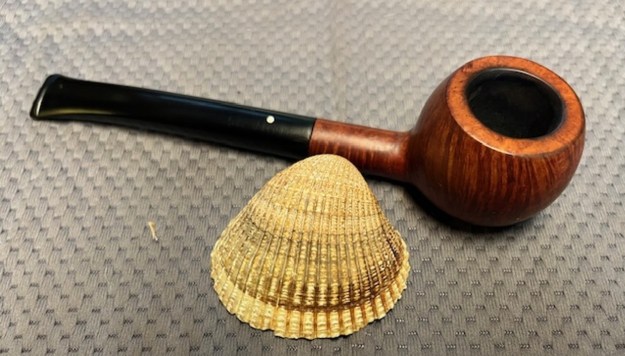
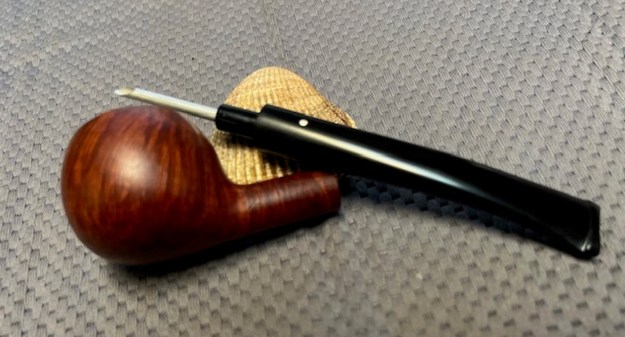
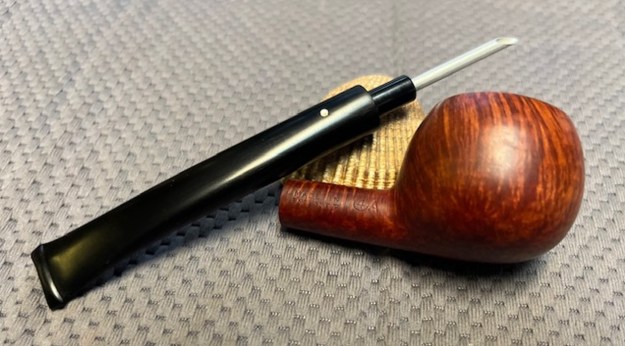
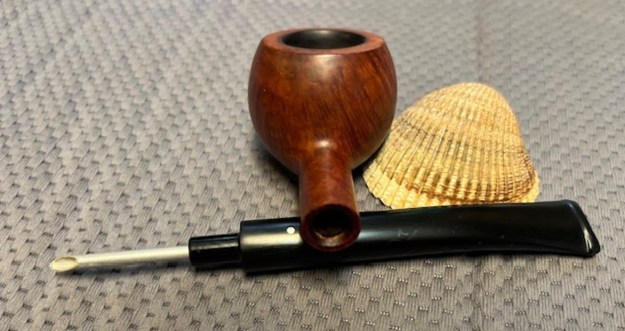
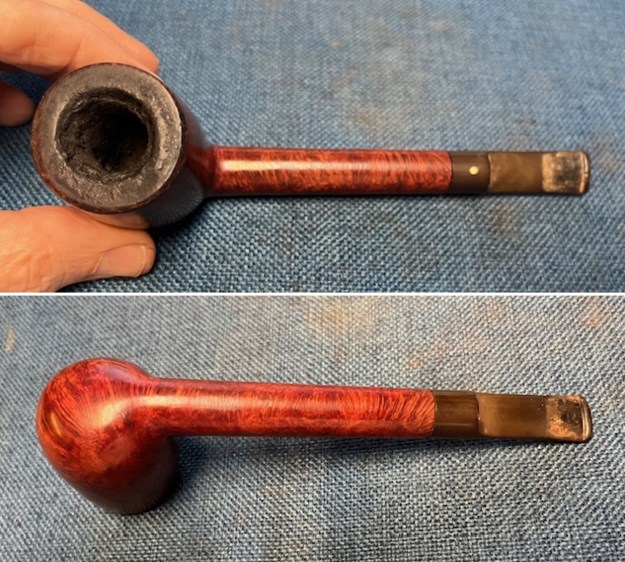
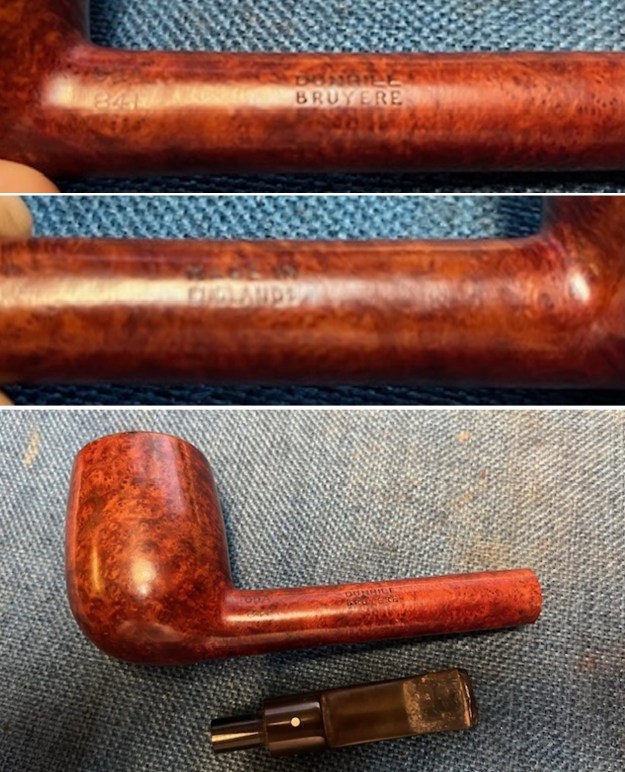
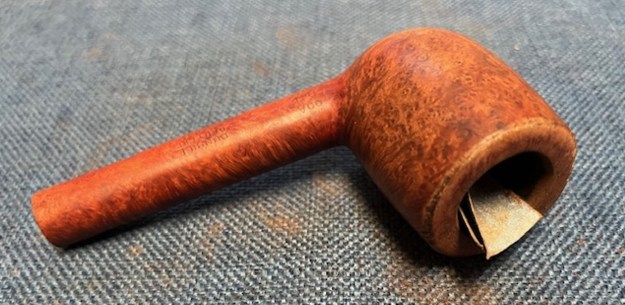
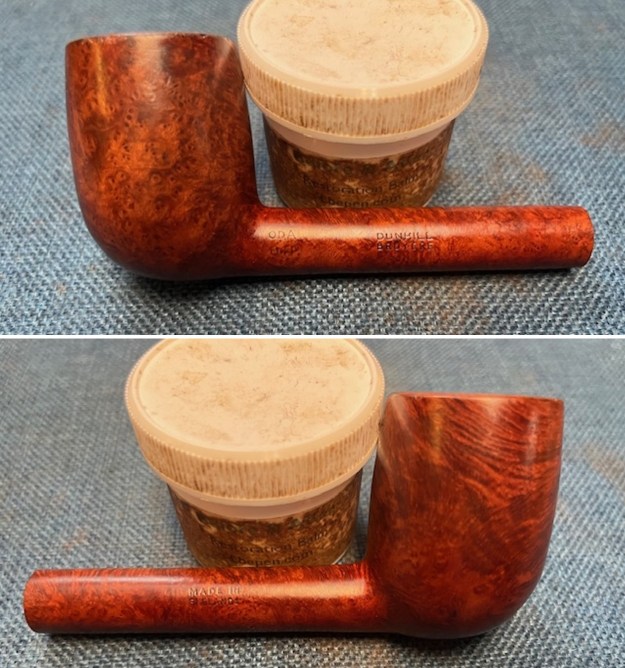
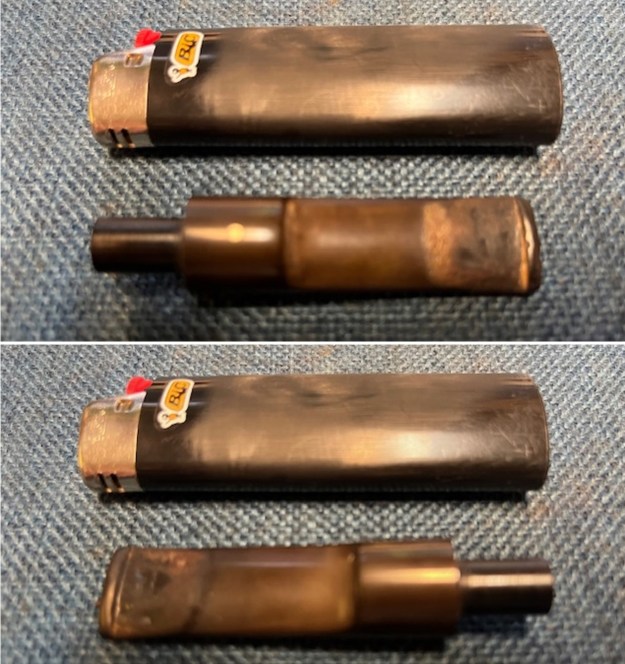
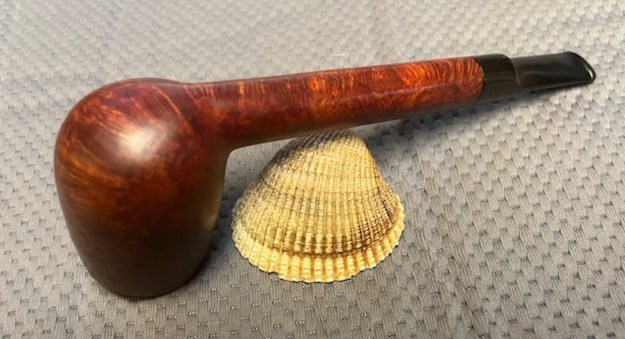
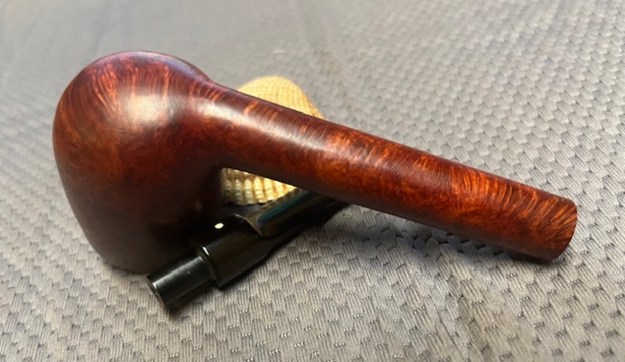
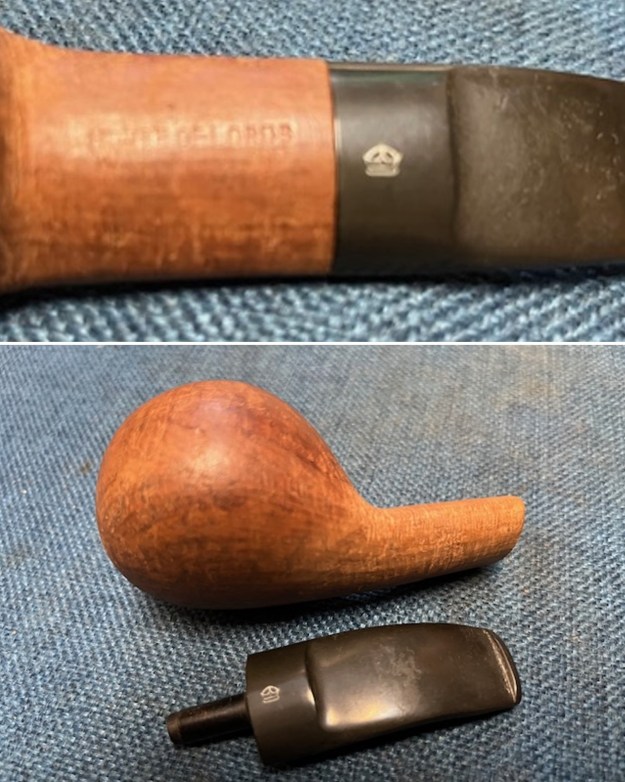
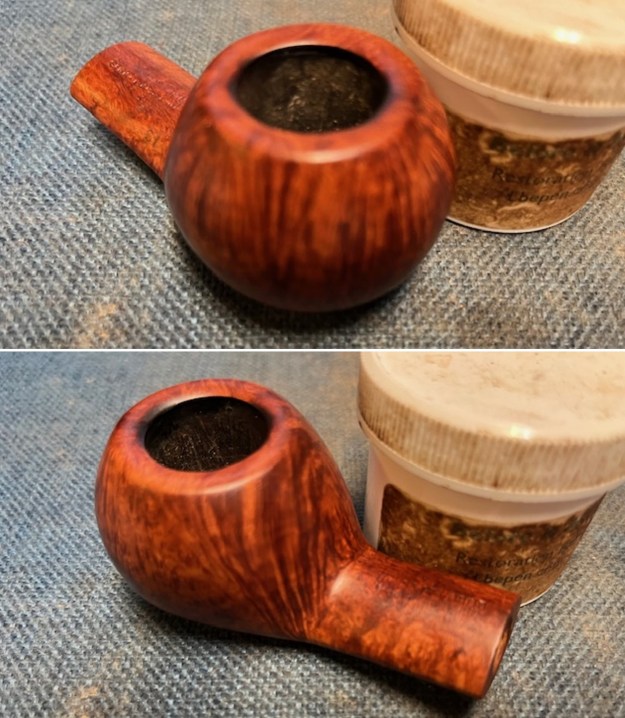
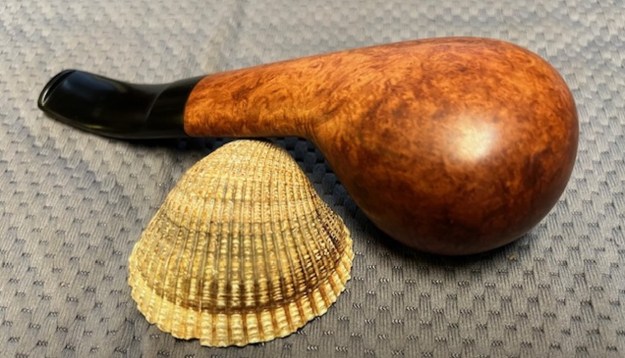
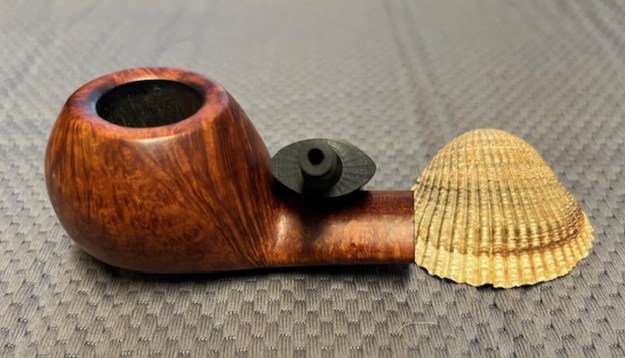
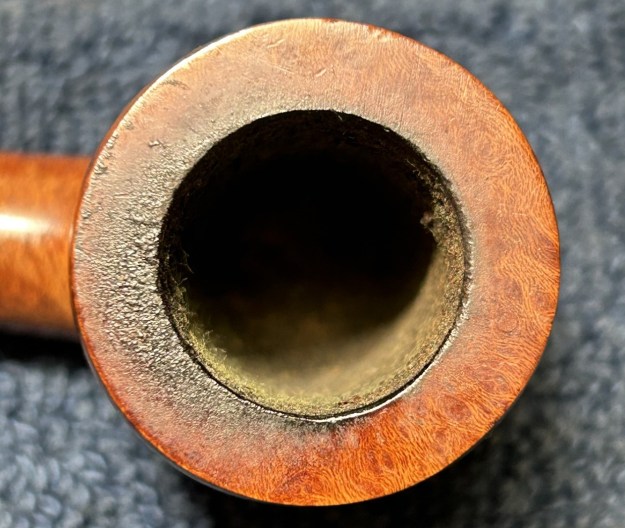
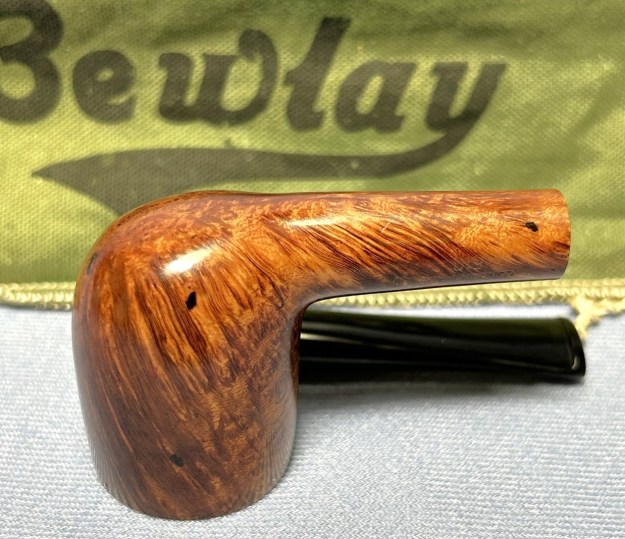
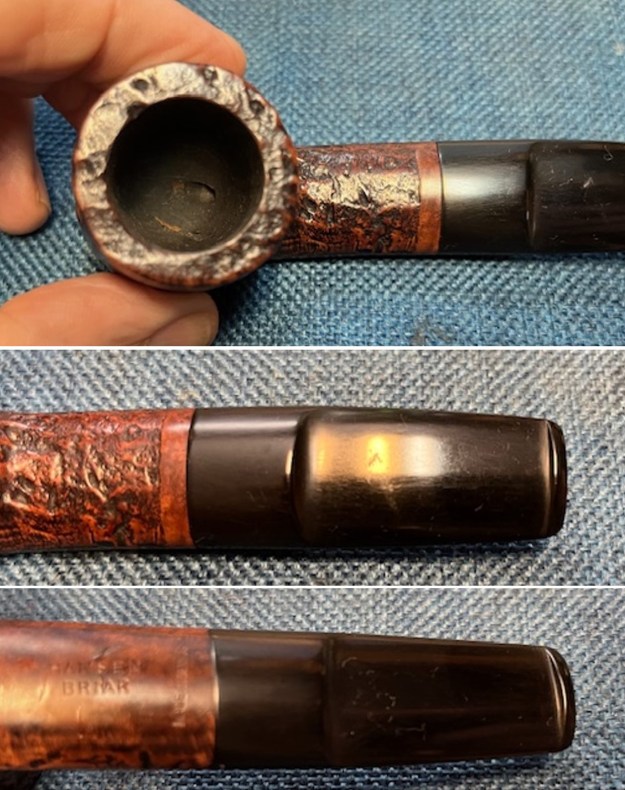 I took a photo to show the stamping on the underside of the shank. It is clear and readable as noted above. I took the stem off and took a photo of the pipe to show its condition.
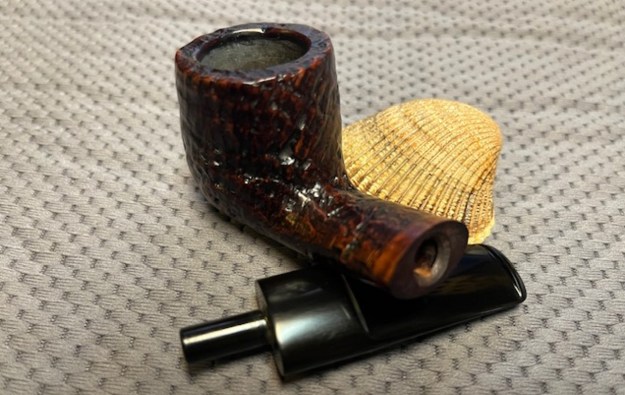
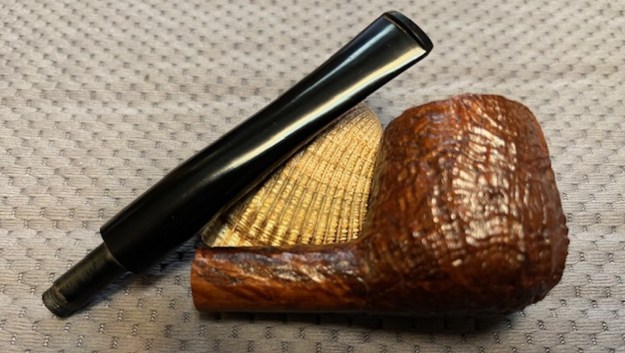
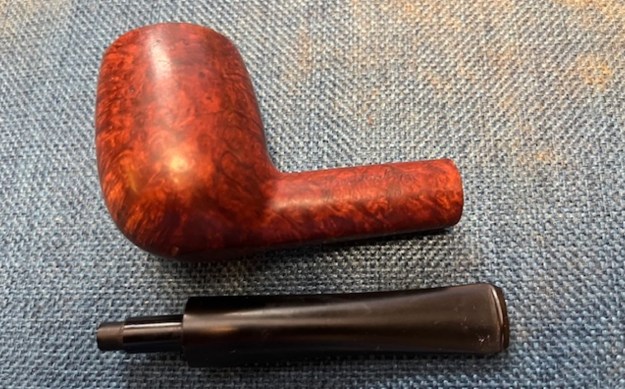
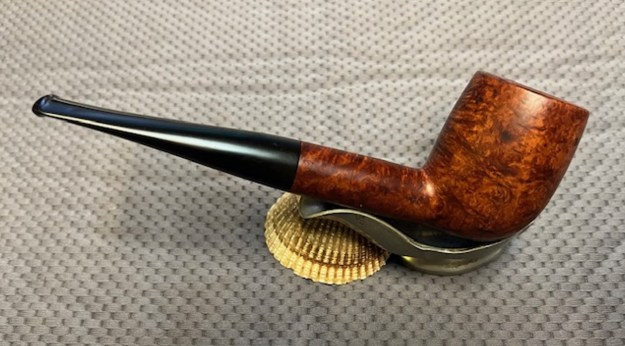
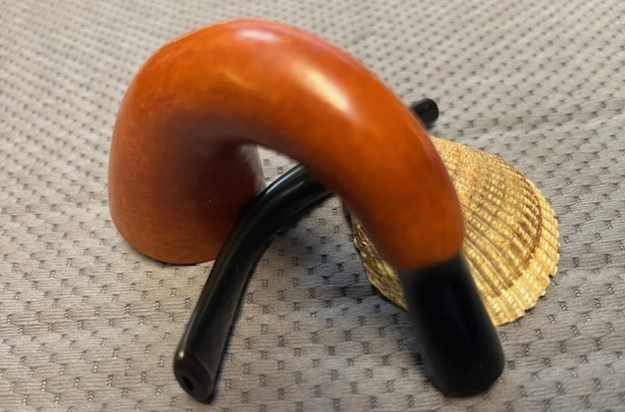
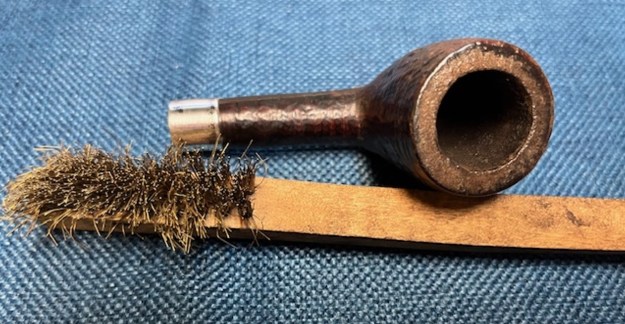
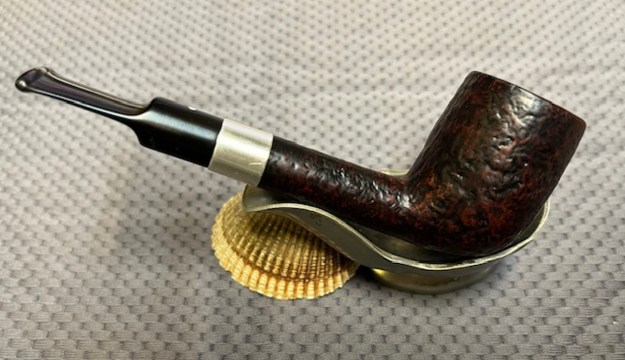
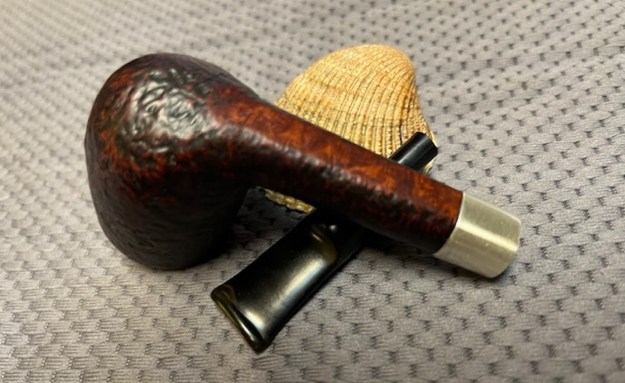
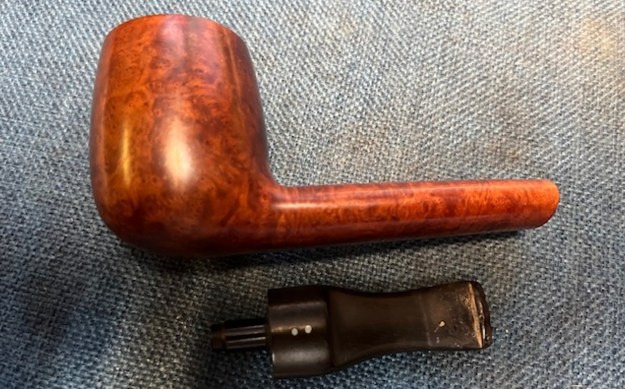
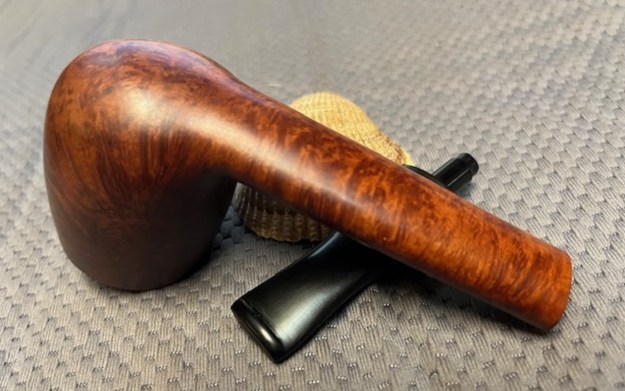
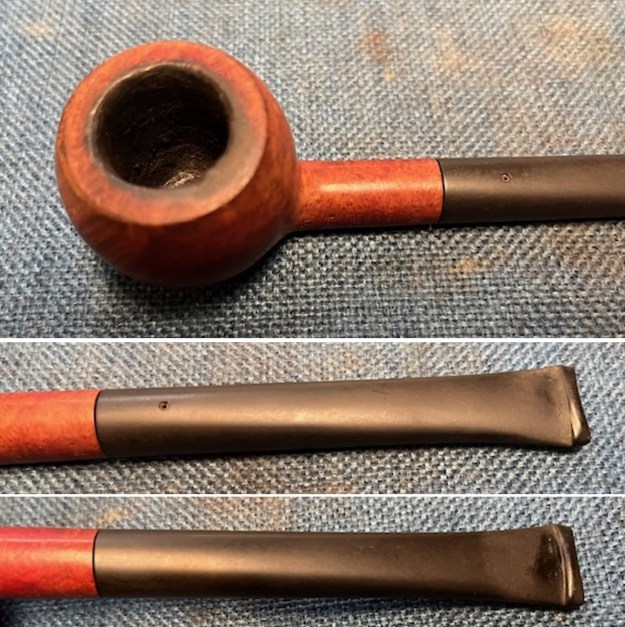
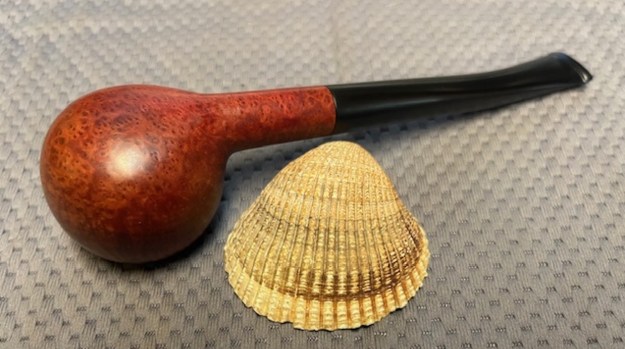
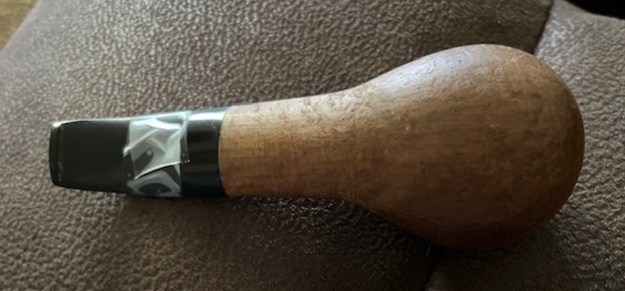
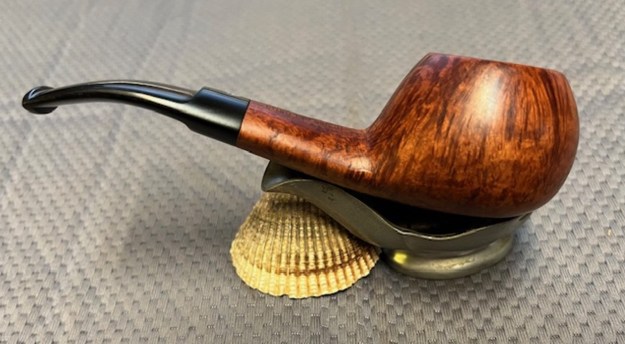
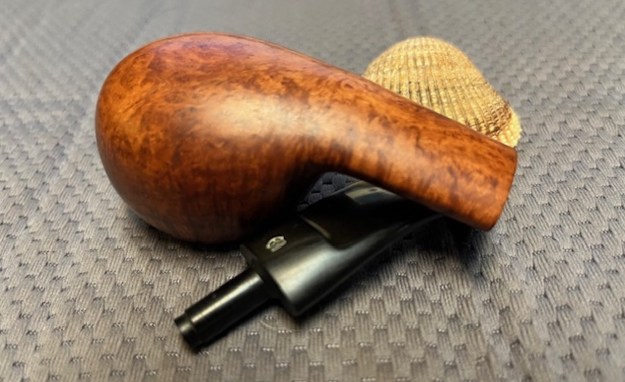
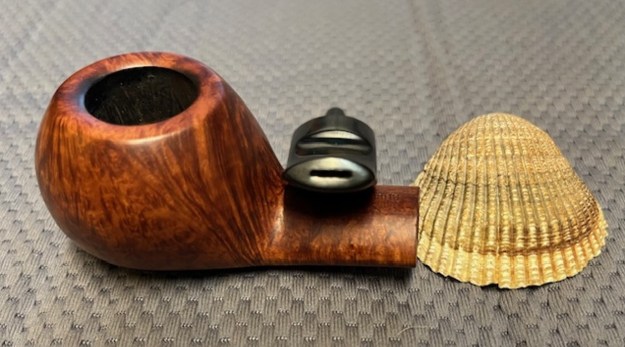
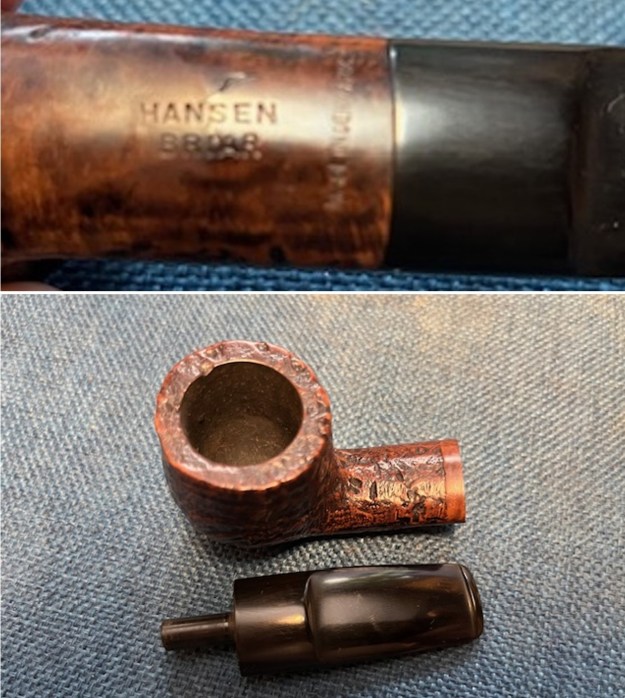 I turned to Pipephil’s site to see what I could learn about the Hansen Briar Made in Denmark brand and particularly the sandblast one I was working on (http://pipephil.eu/logos/en/logo-h1.html). I have included a screen capture of the section on the brand. It is noted in the side bar that it is a brand of Poul Hansen
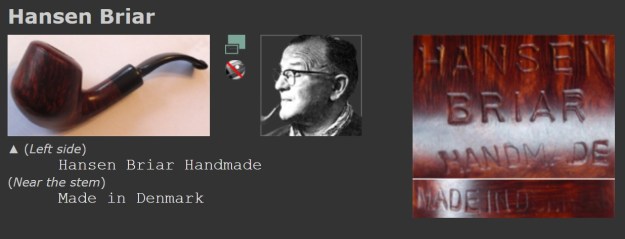 I followed the link in the side bar to Poul Hansen of the article above to see what it is included on the brand (http://pipephil.eu/logos/en/logo-p4.html#poulhansen). I have included a screen capture of that section as well as the side bar below.
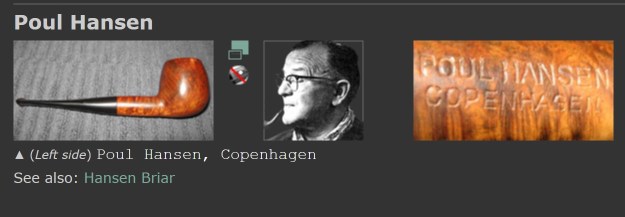 Poul Hansen was a pupil of Sixten Ivarsson during the 1960s and 1970s. He started as tool and machine maker for Danish pipe makers but soon decided to carve pipes on his own. He concentrated on American, Japanese and German markets. He founded the Danish Pipe Shop (Strøget, Copenhagen) which he sold to Steffen Nielsen in 1969. Poul Hansen retired in 1998.
That short history is intriguing as is the connection to Sixten Ivarsson. That led me to do some more digging on Pipedia ( https://pipedia.org/wiki/Hansen,_Poul) and found the following more detailed information. I quote below:
Poul Hansen was a very skilled toolmaker and builder of machine tools. Around 1960 he got in contact with the workshops of Pibe-Dan, W.Ø. Larsen and others. So, he began to make a lot of special tools and machines for a large number of the Danish pipemakers in the early 60’s. He was inspired by the many beautiful pipes he saw when he visited the pipemakers and soon he decided to try out the art himself.
Poul Hansen was basically “self taught” and his early attempts suffered from kinda awkward shapes and finishing. Things turned for the better significantly when Sixten Ivarsson, appreciating the talent, began to tutor Hansen for a while and taught him the vital “tricks” of pipemaking. Soon after Hansen was in business fine. Right from the start he avoided the competition at home and concentrated on the American, Japanese and German markets.
Iwan Ries in Chicago was one of his first American dealers and in catalogs form the late 60’s and early 70’s you can find Poul Hansen pipes ranging from 125 – 500 $US. In Japan, his pipes were prized even higher at the same time. For the German market, Hansen made some very elegant 9mm filter pipes which rank among the best ever made in this tier.
Hansen carved the bulk of his pipes during the 1960’s and 1970’s. Around the midst of the 1970’s he took over a small Copenhagen tobacconist’s shop from it’s retiring owner. Now, operating the shop took a lot of his time but vice versa secured a steady income, and Hansen reduced his output considerably. BTW In Denmark he only sold a very limited amount of pipes – but some of his very best.
He stamped most of his pipes “HANSEN” + “BRIAR” + “HANDMADE” + “DENMARK” (the latter sometimes vertically). Few pipes are grouped “MEMORIAL” instead of “BRIAR”. If these are grading names, Memorial is considered to be the higher.
When Poul Hansen in 1998, at a very old age, decided to stop making pipes (due to his poor eyesight), the remains of his workshop, including a fairly large number of pipes, were bought by one of the leading Danish suppliers of briar and rods. Some of the tools are still there, but all the pipes – many not stamped yet – were obtained by Lars Kiel in early 2002. Some of these pipes are now up for sale.
Poul Hansen is little known in today’s circles, those collectors (especially in the States) who have his pipes, tend not to sell them.
With the information from Pipedia I knew that I was working on a bit of a rarity of pipes. It was a Poul Hansen. He started making pipes in the late 60s and early 70s and stopped making pipes in 1998 at an old age. That helped lock in a time period for the creation of this pipe. Now it was time to work on the pipe.
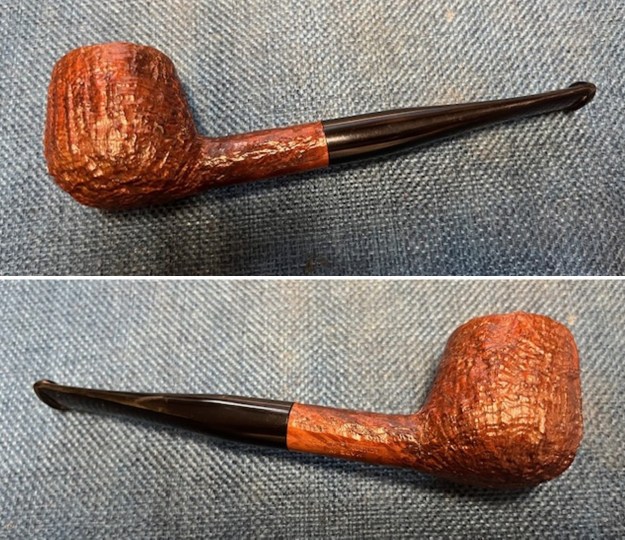
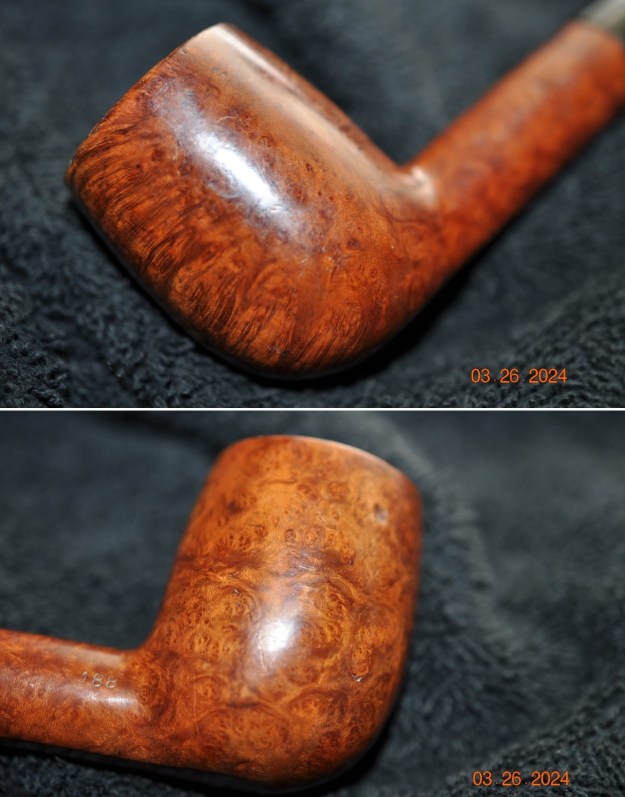
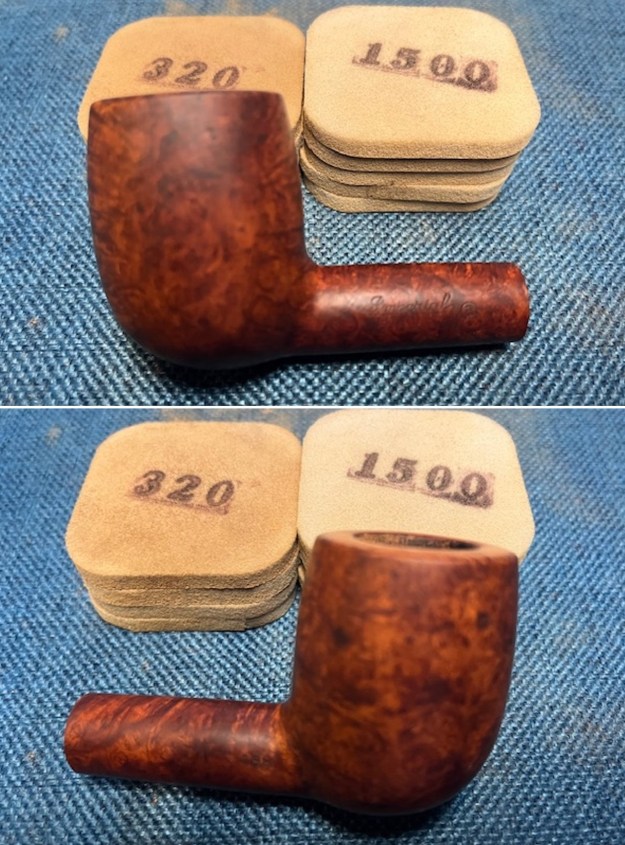
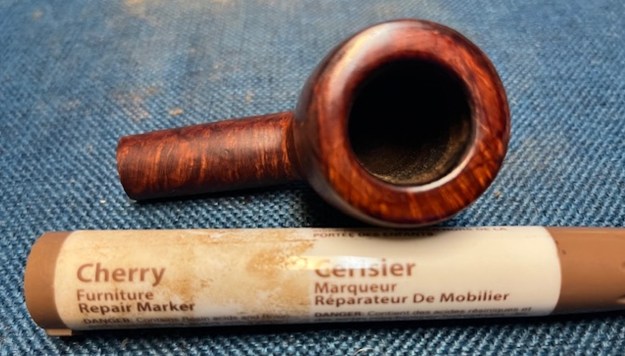
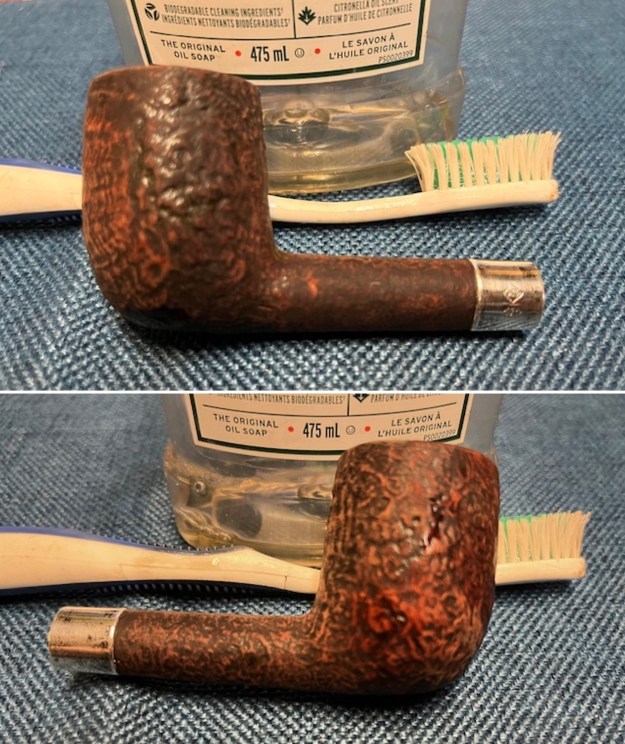
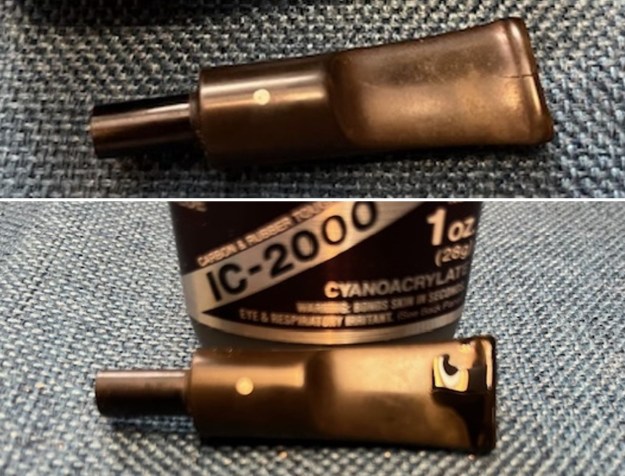
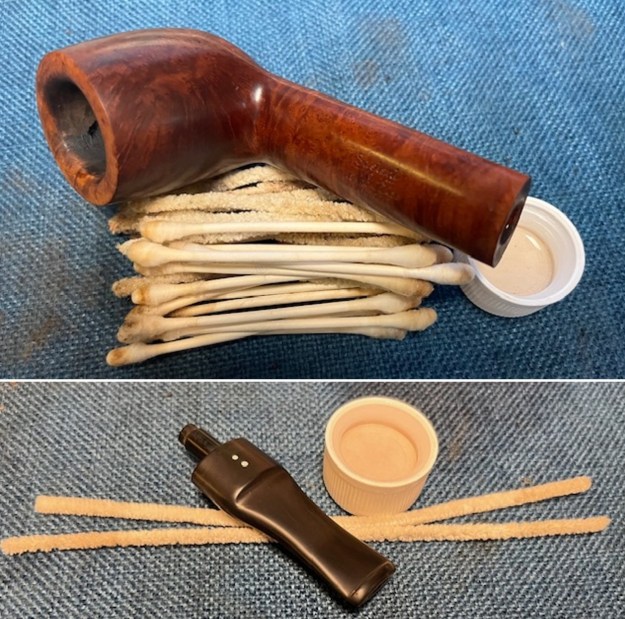
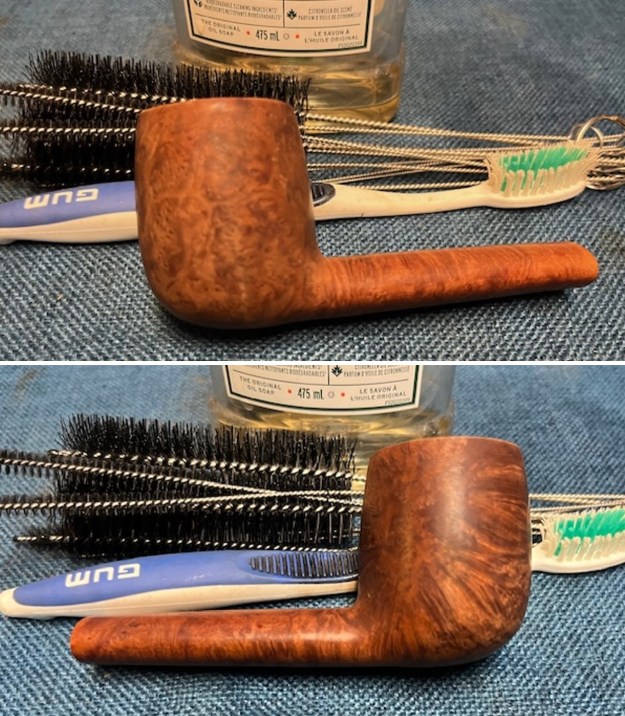
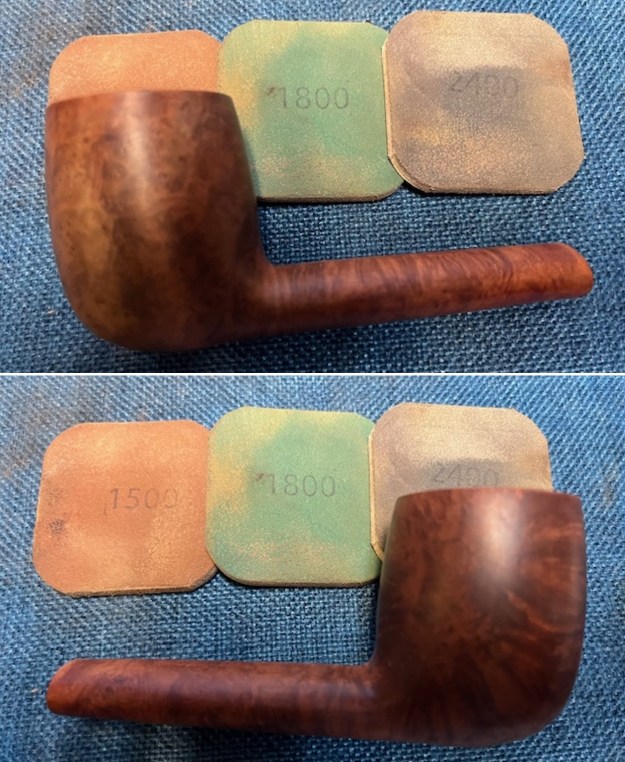
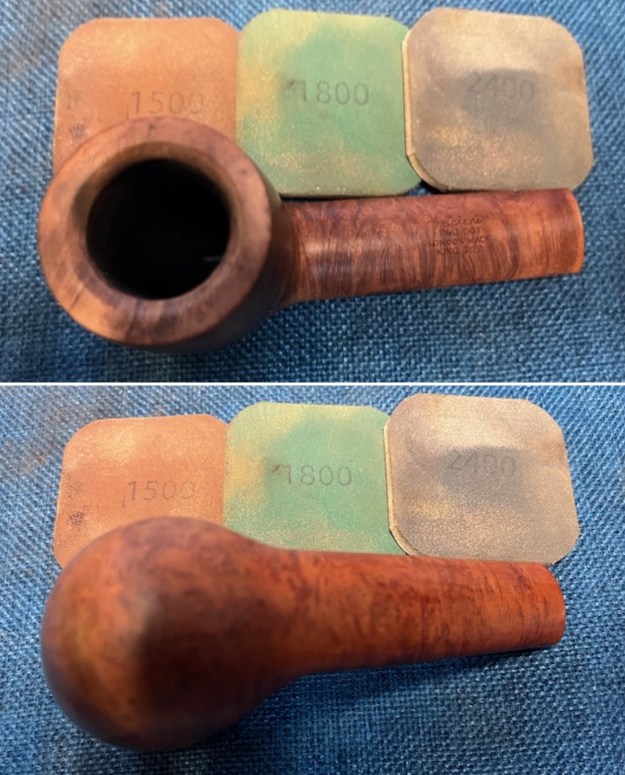
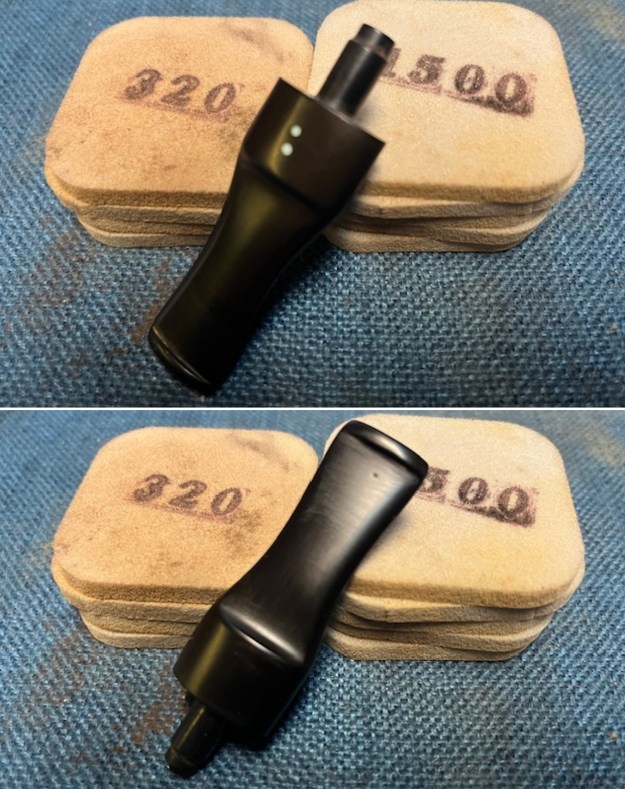
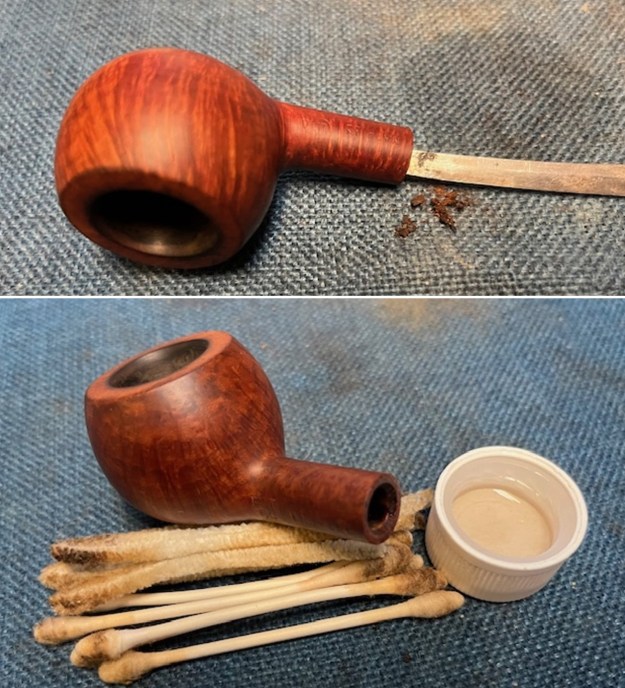
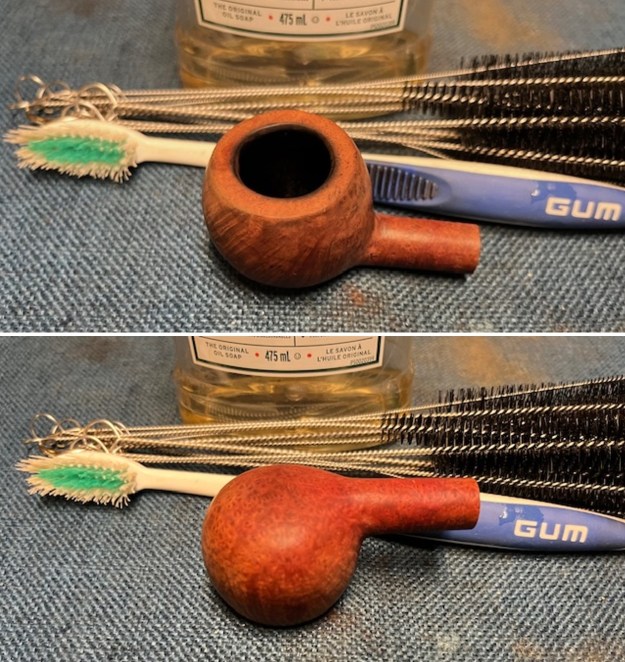
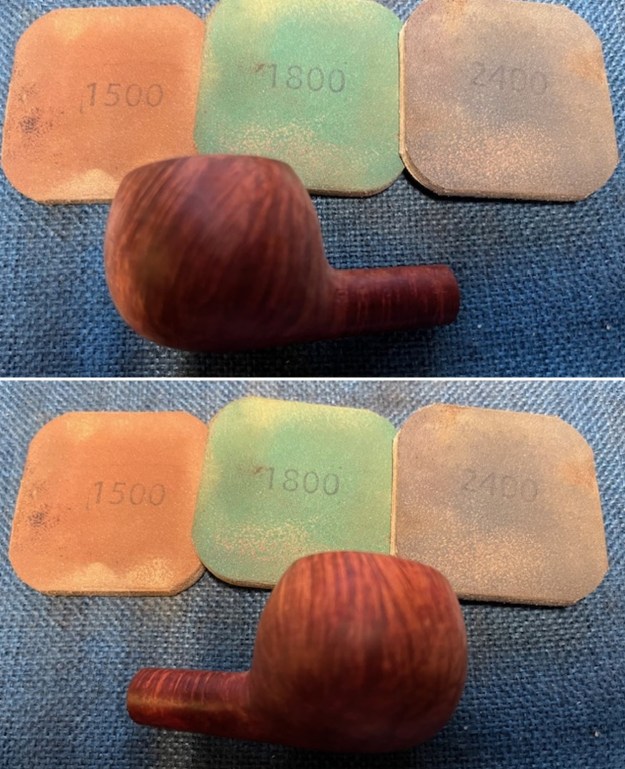
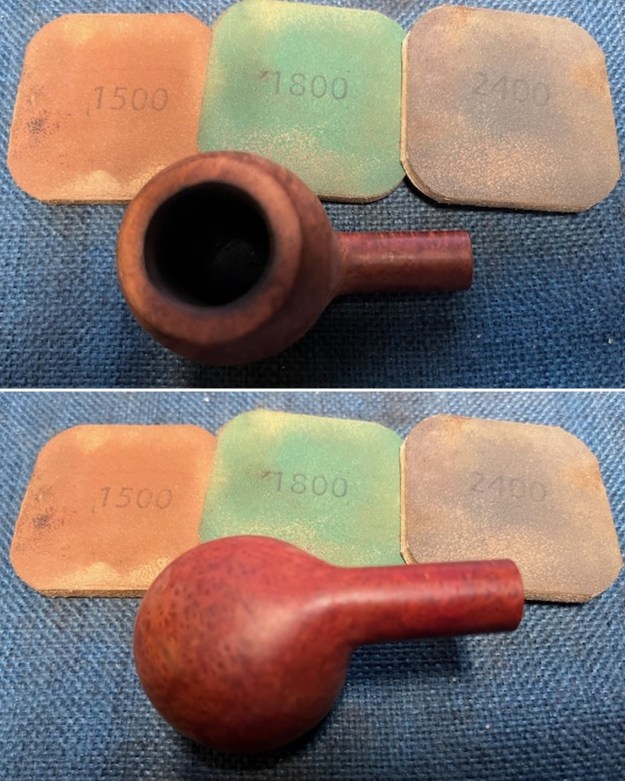
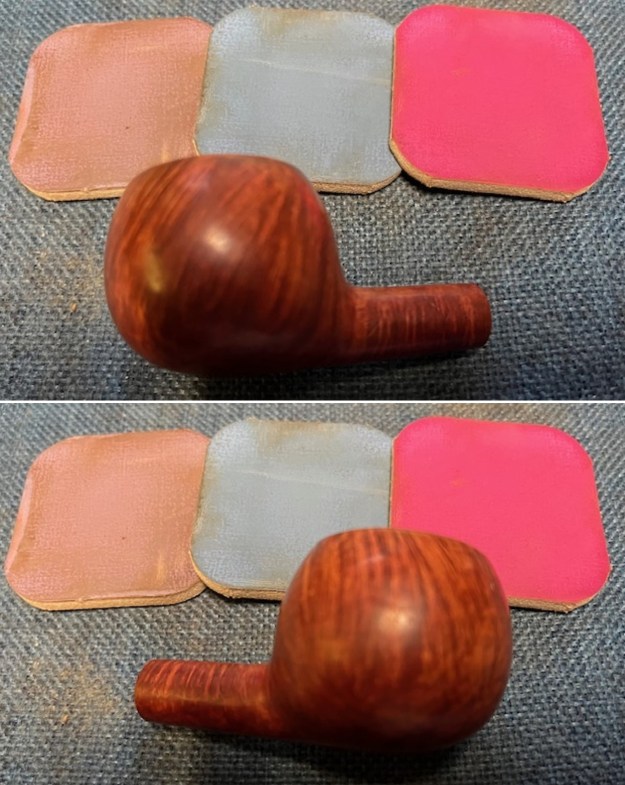
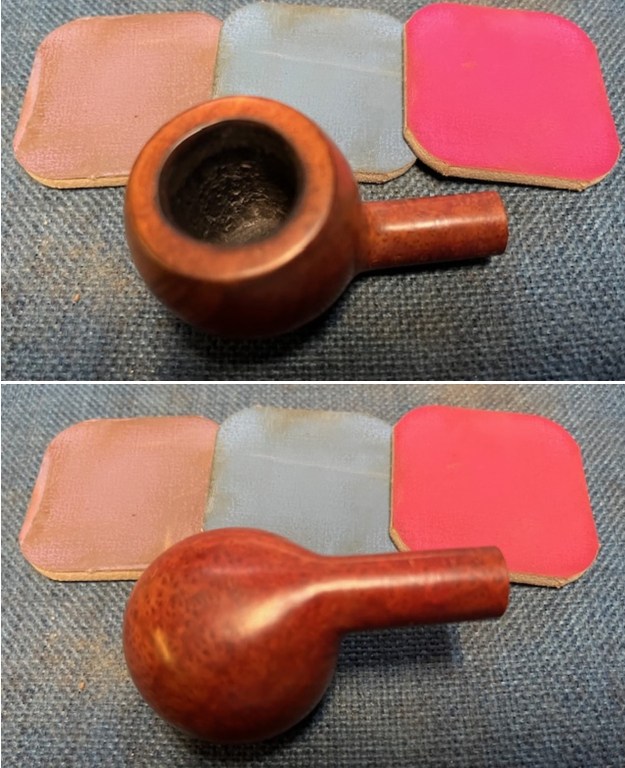
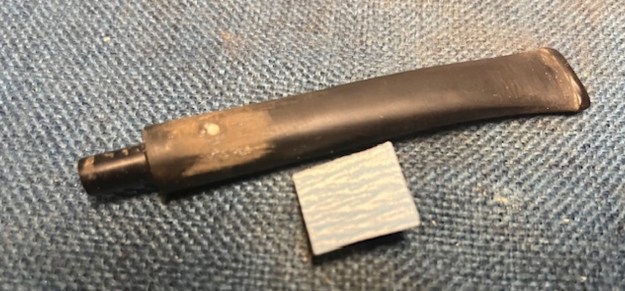
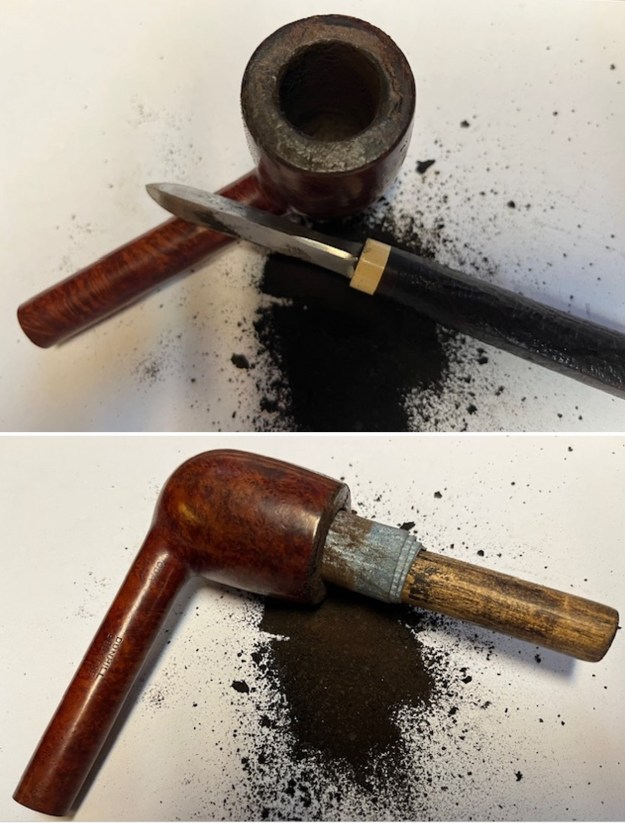
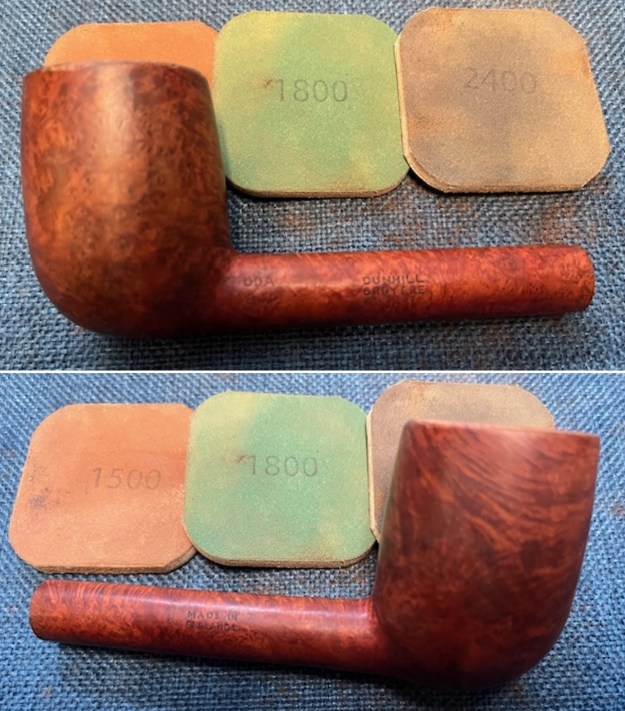
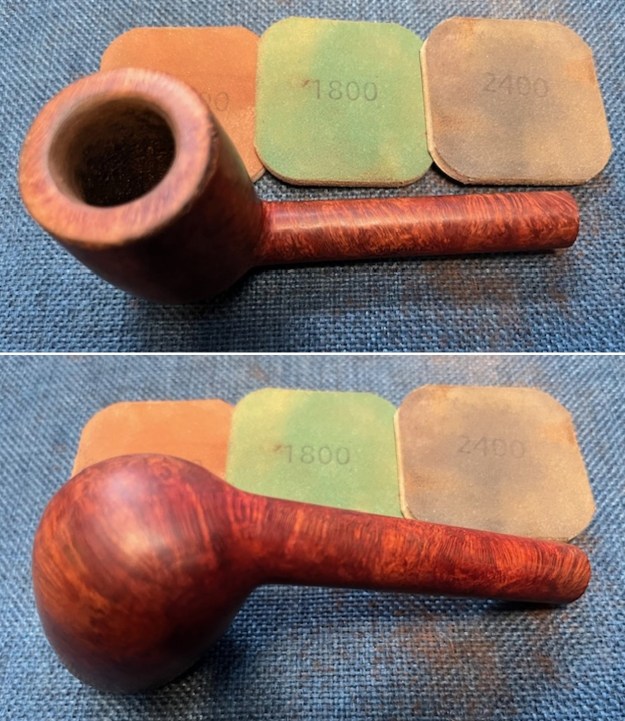
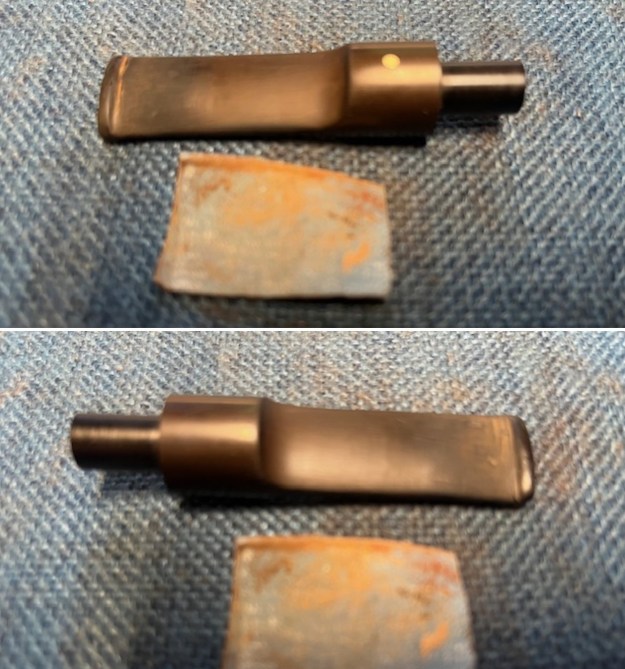
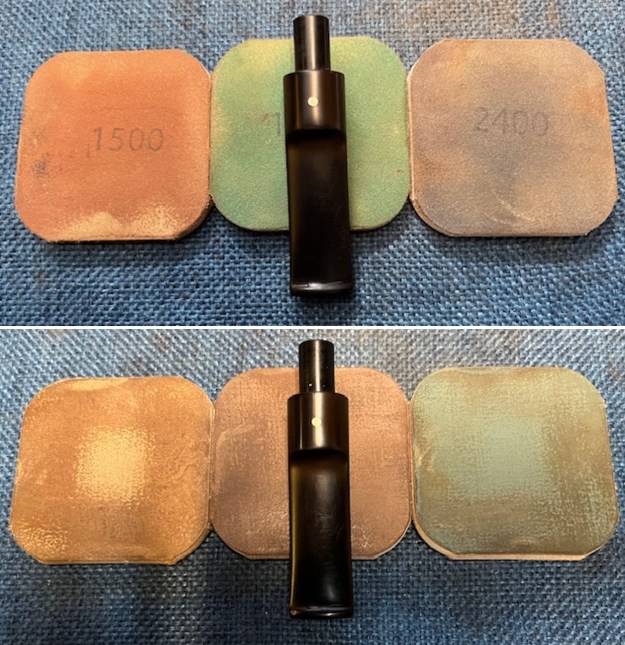
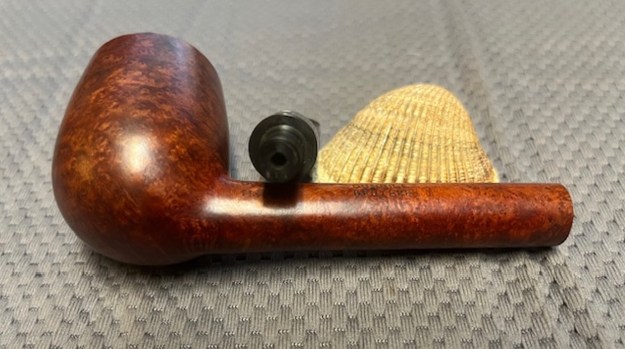
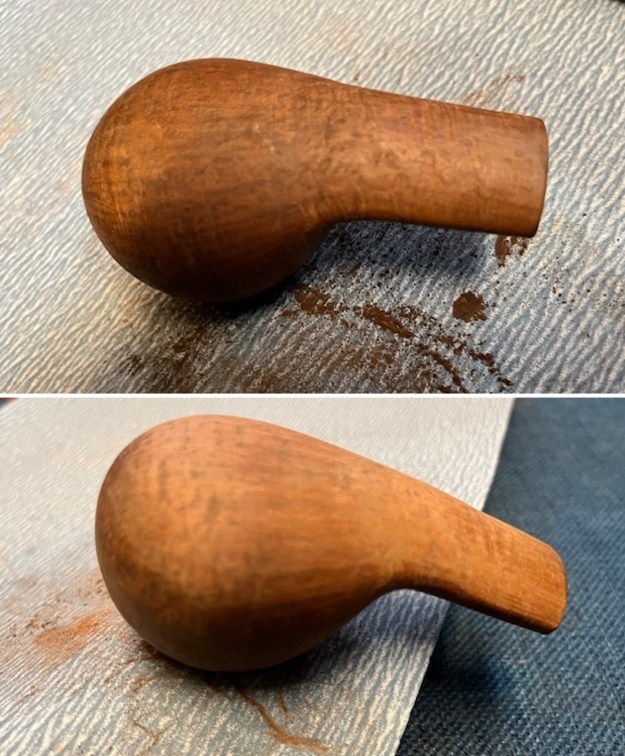
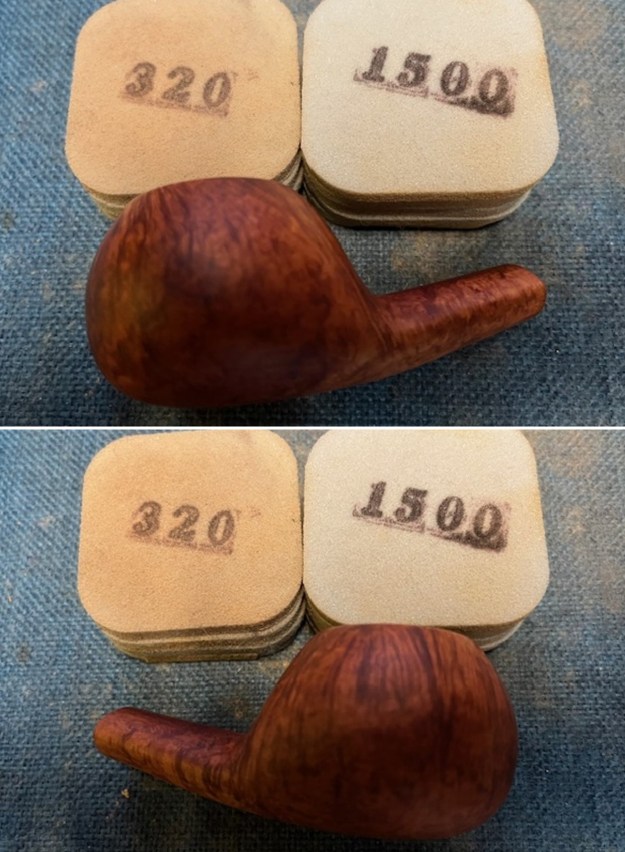
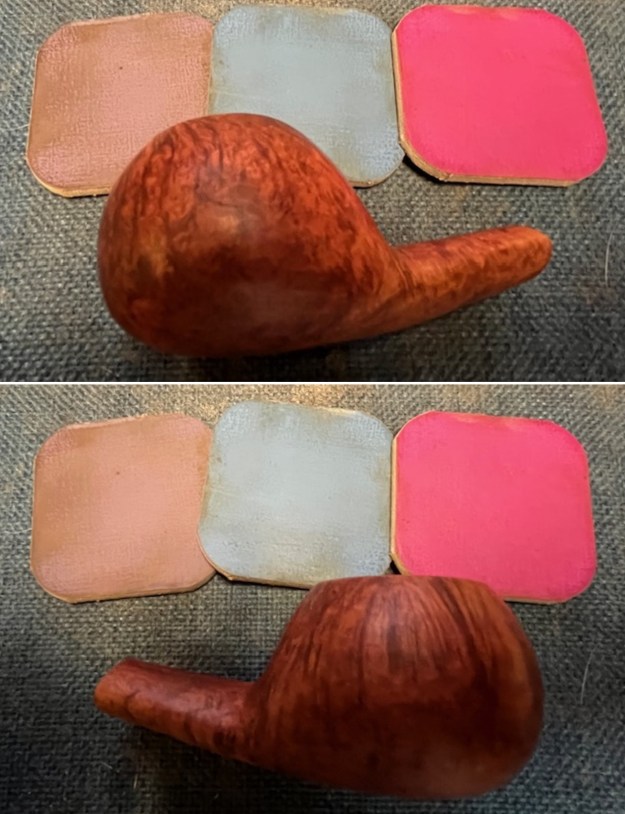
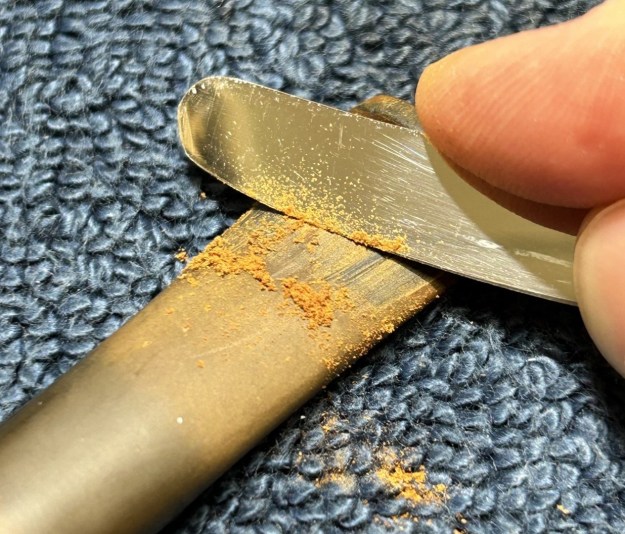
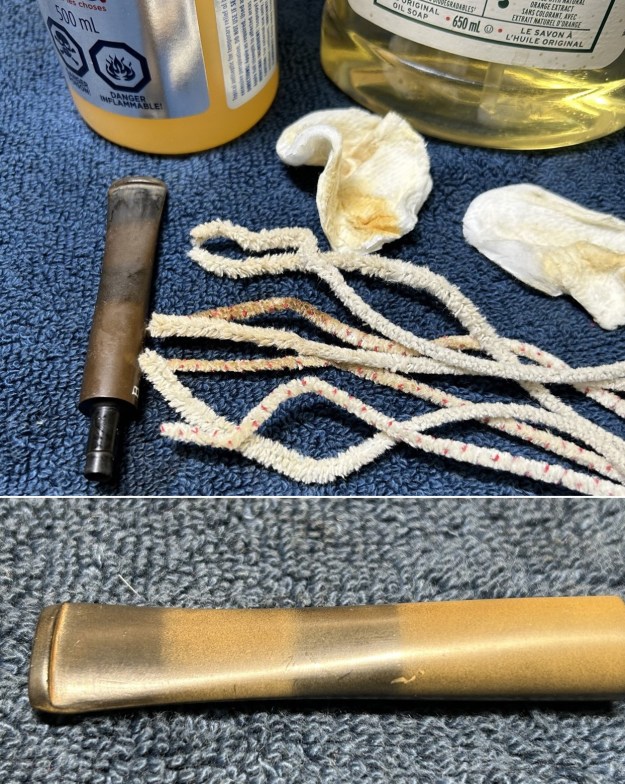
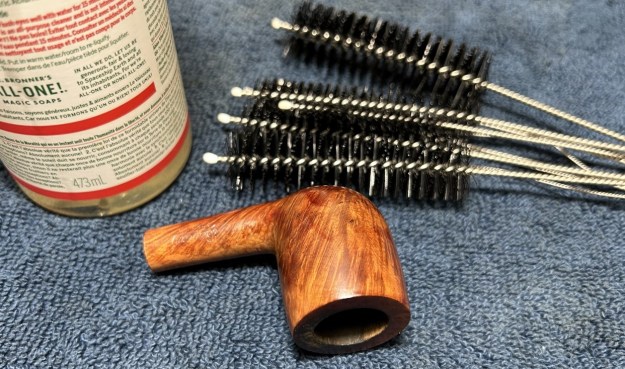
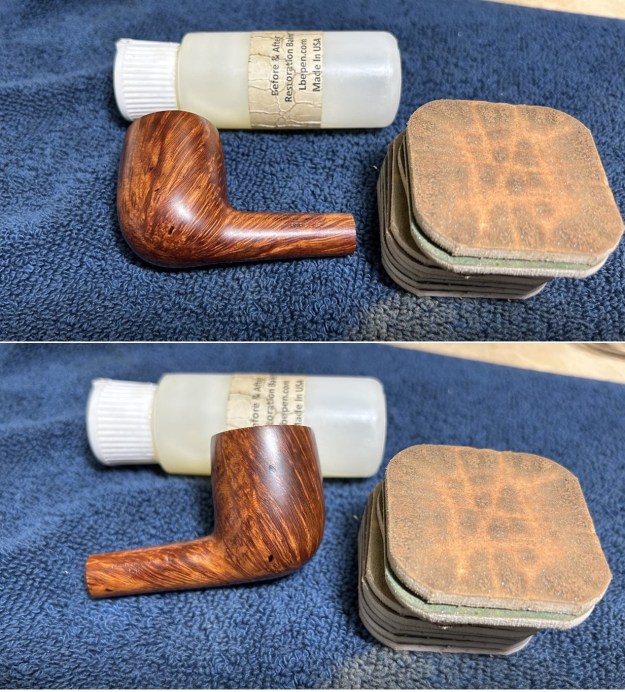
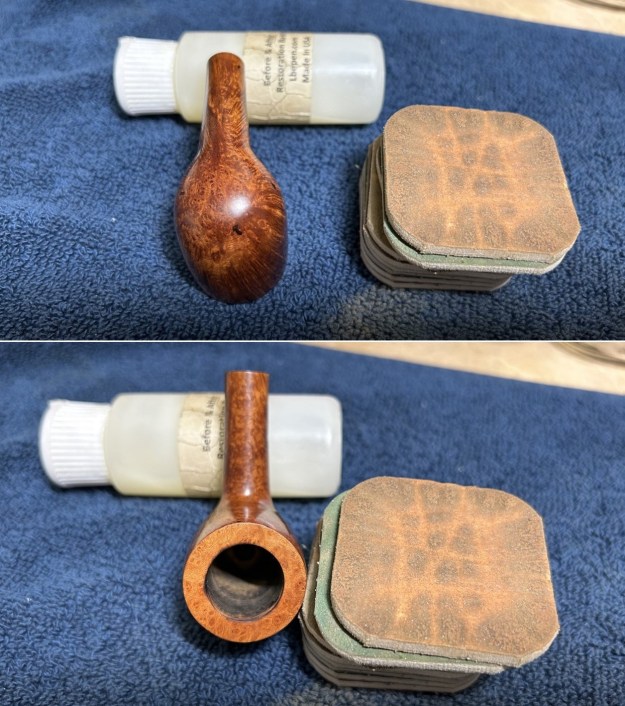
I started my work on the pipe by cleaning up the inner edge of the rim. I used a folded piece of 220 grit sandpaper to smooth out the damage on the front left side. I gave the edge a slight bevel to minimize the damage. It looked much better when finished.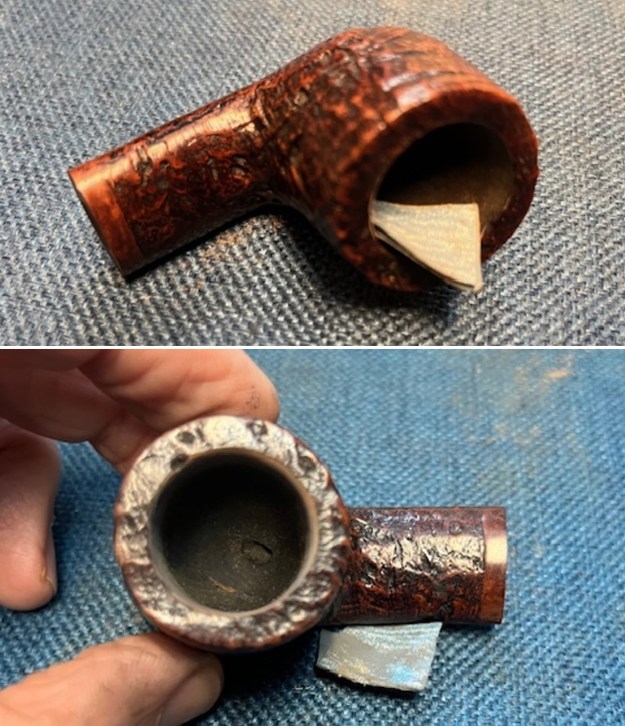 I took on the shiny top coat on the bowl next. It was deep in the sandblast finish and I worked on it with a brass bristle wire brush and some 100% acetone to remove the finish. It took repeated applications of acetone and the hard scrubbing of the brass bristle brush. I was able to break down the finish and open up the pores in the briar.
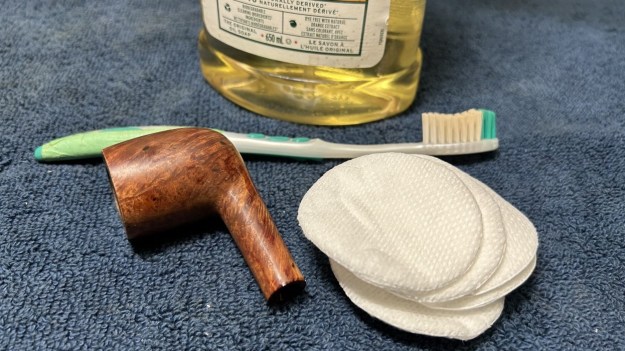
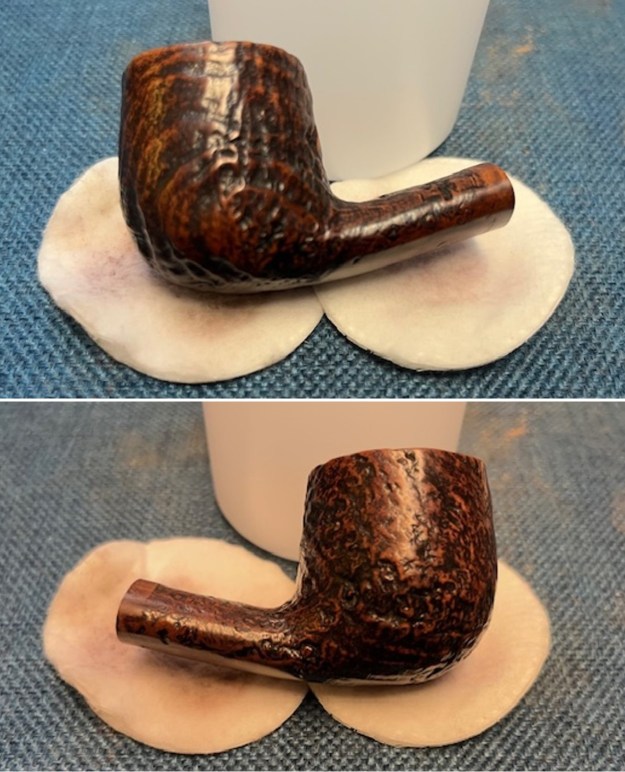
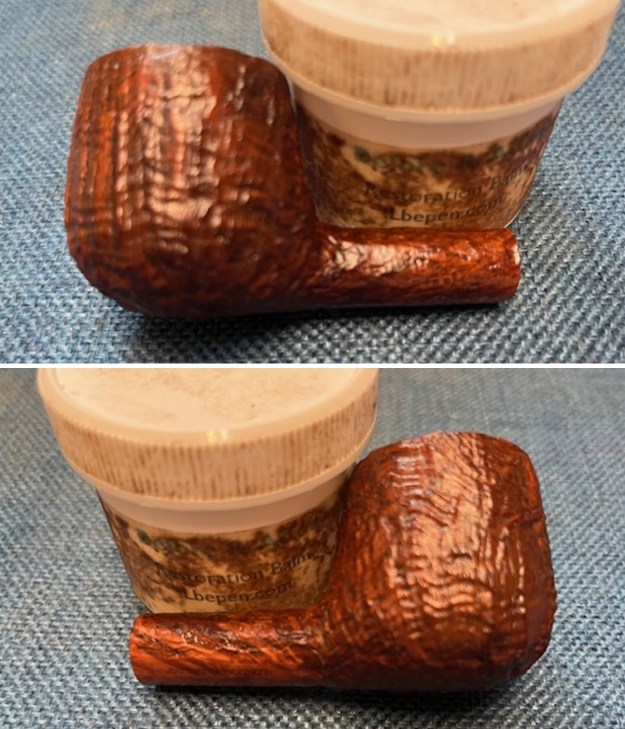
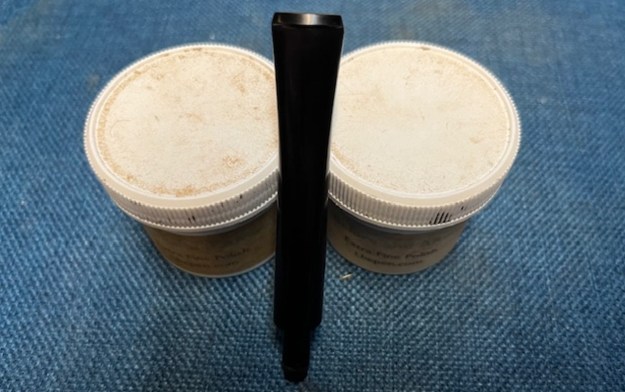
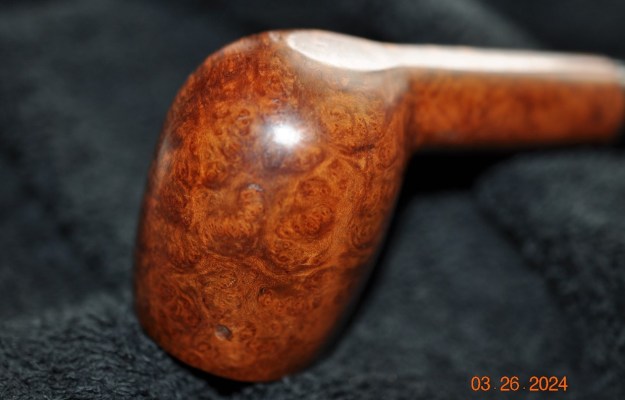
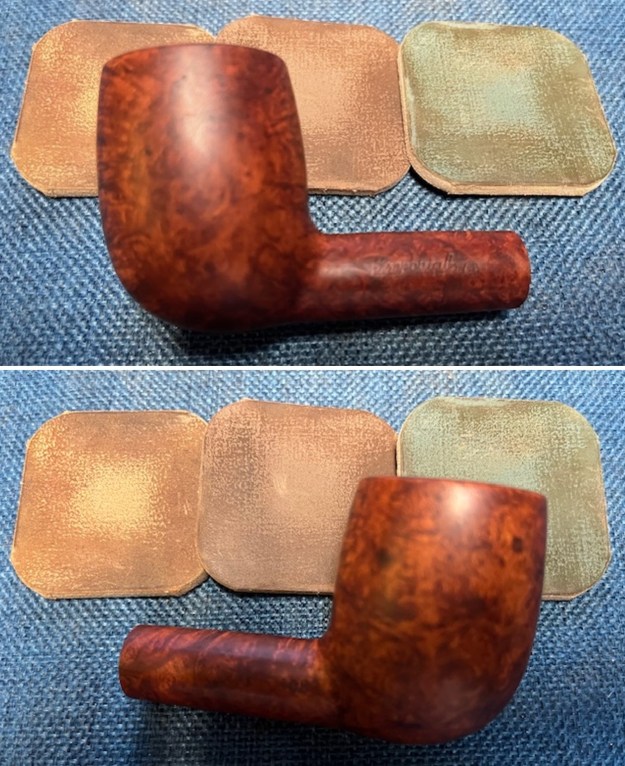
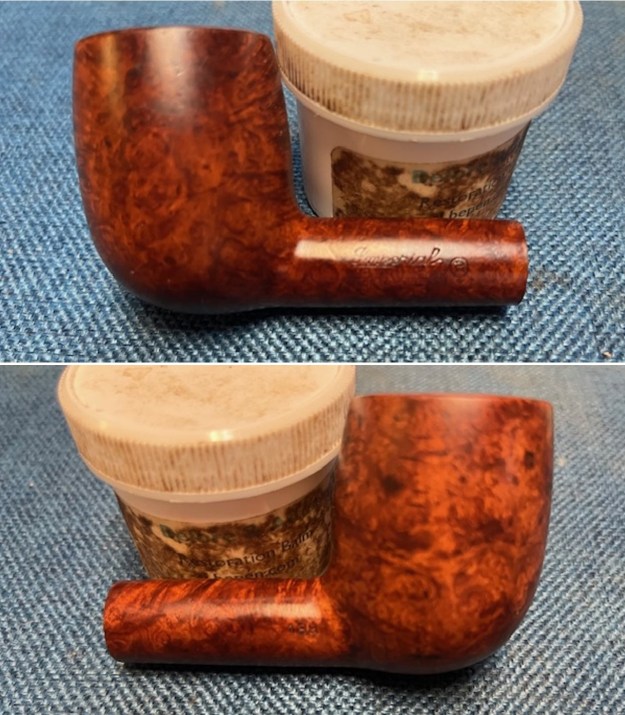
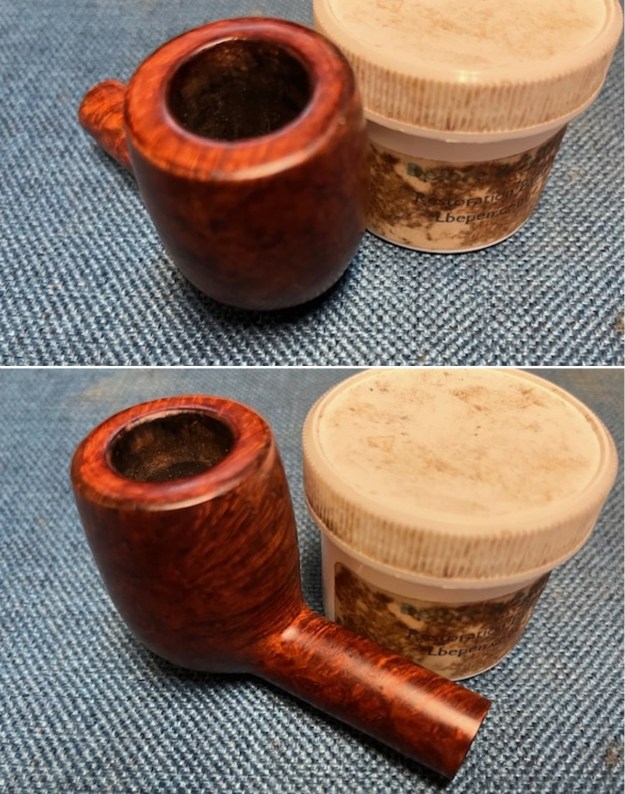
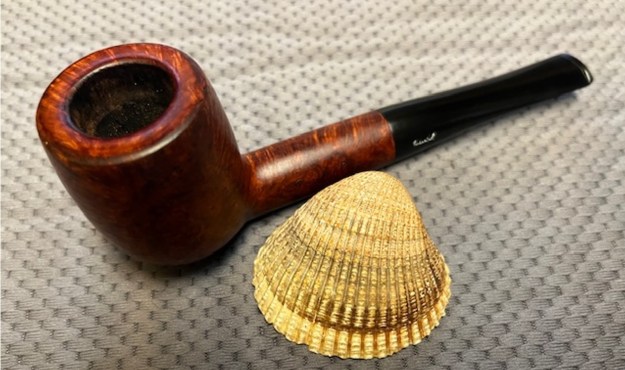
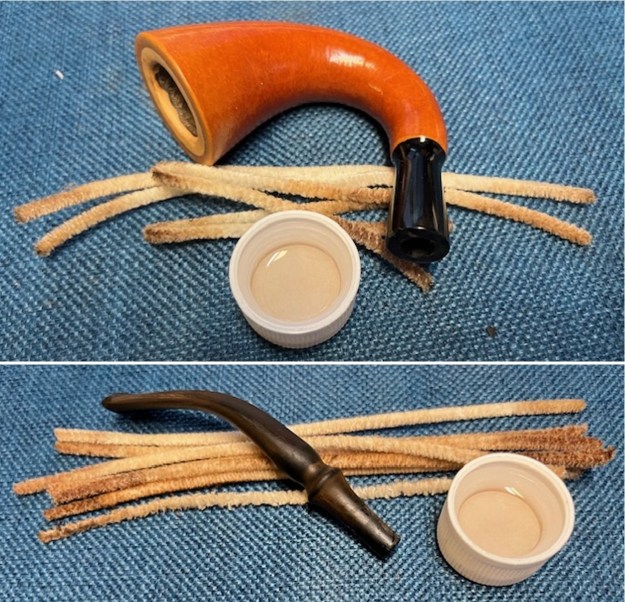
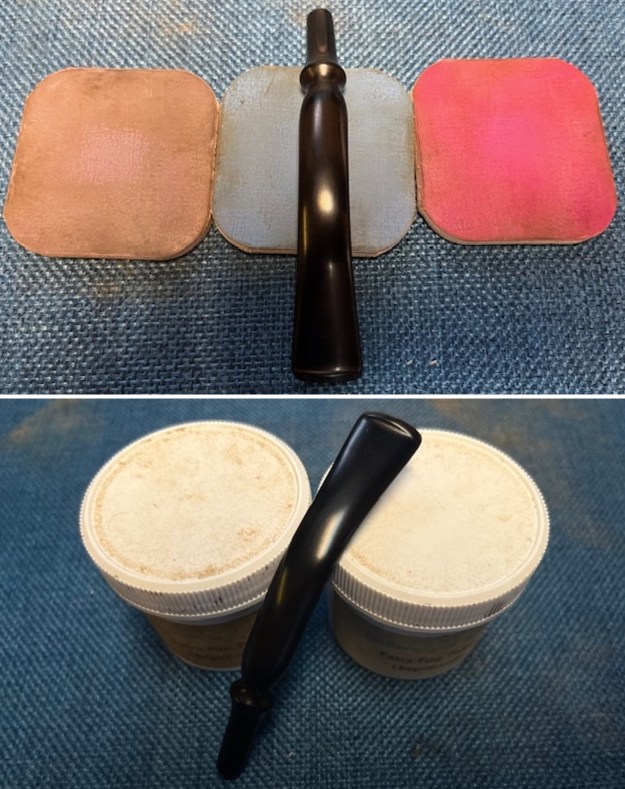
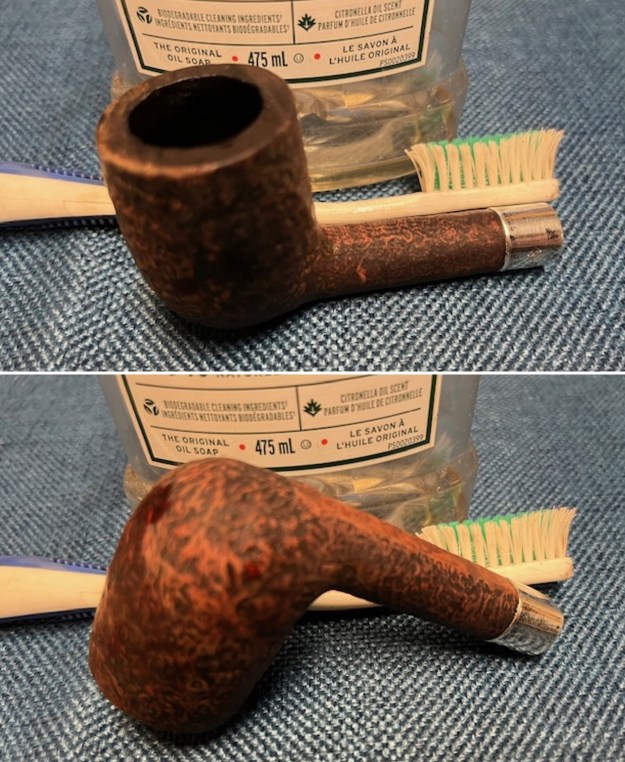
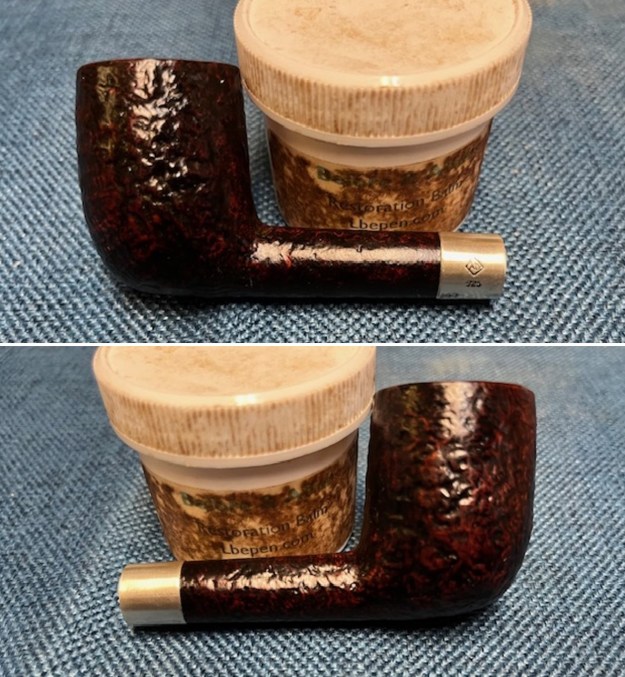
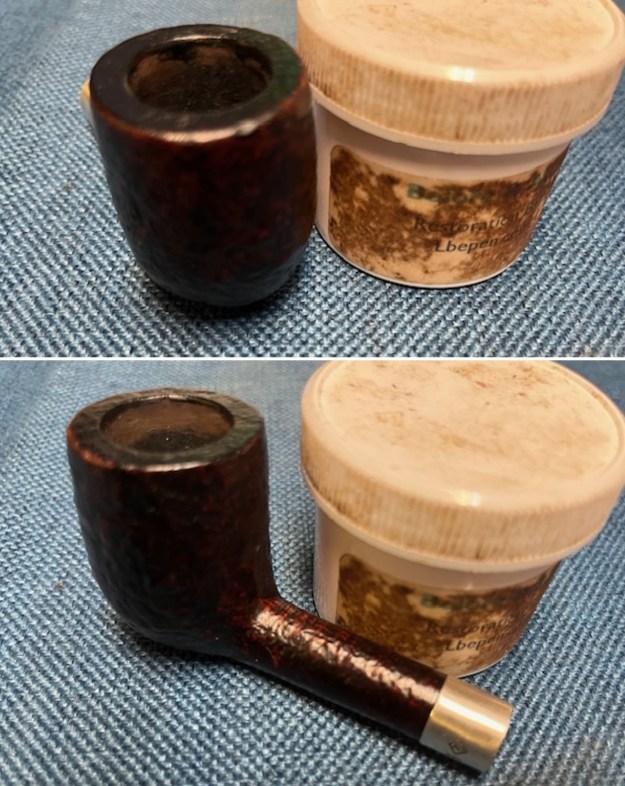
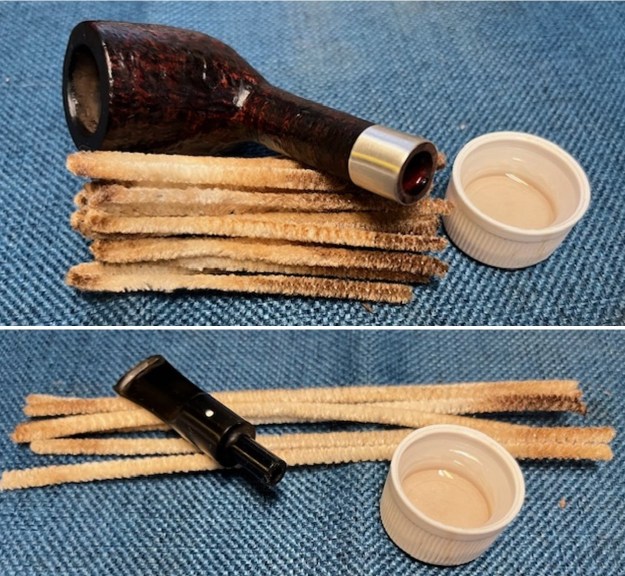
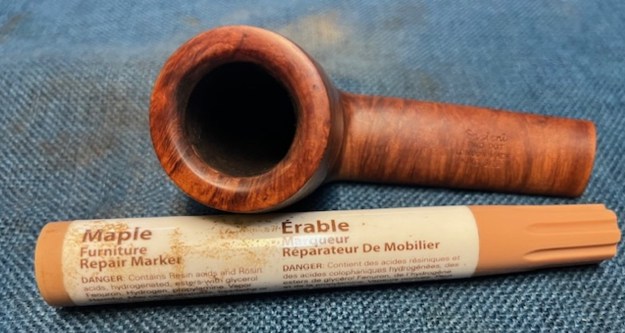
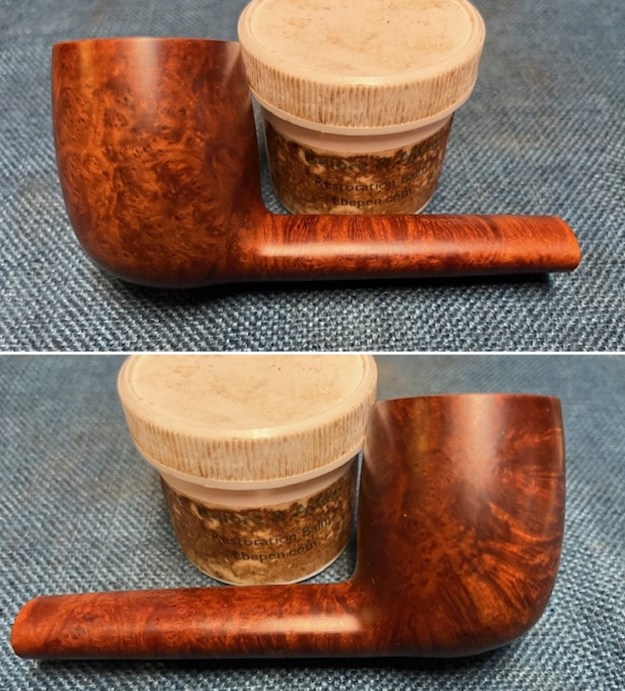
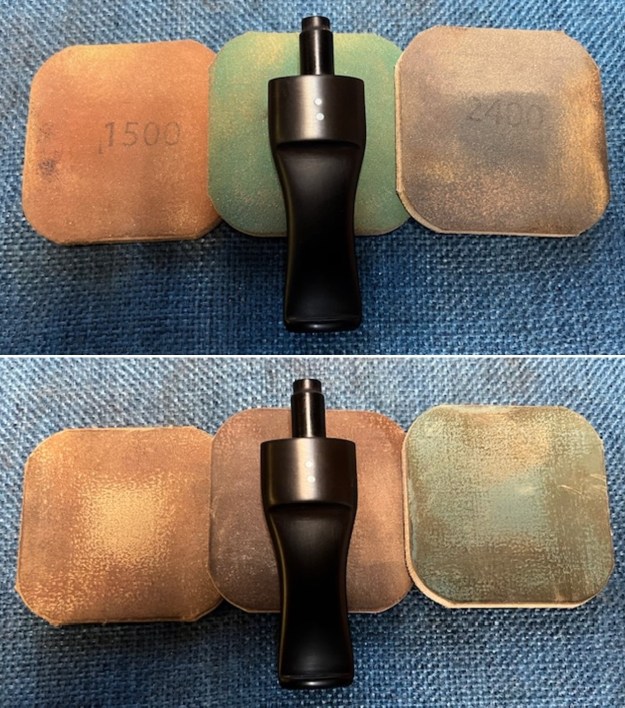
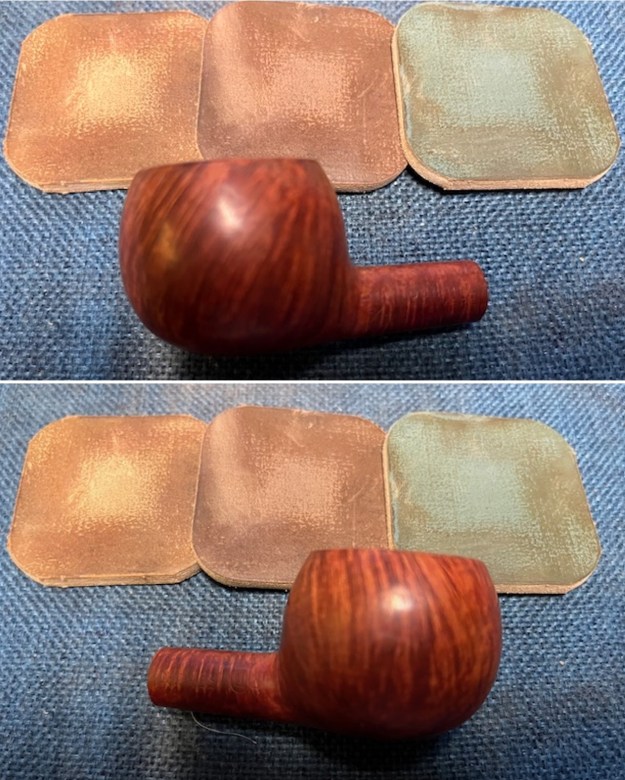
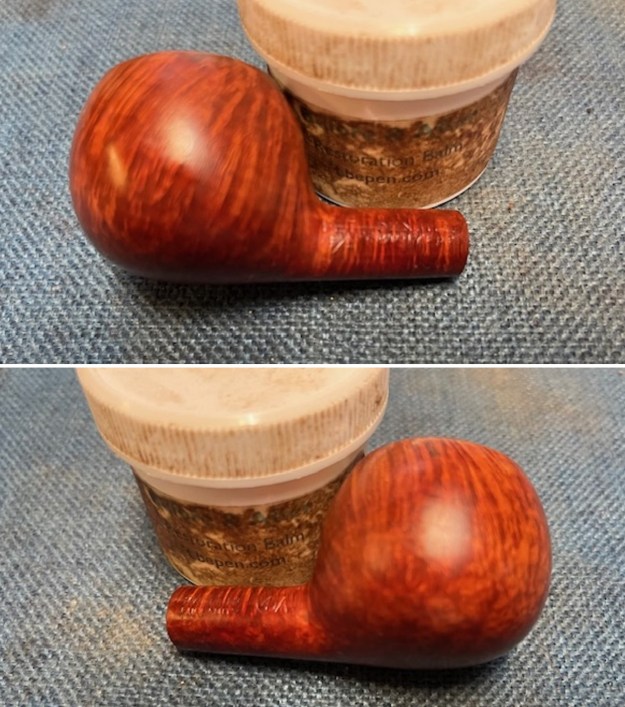
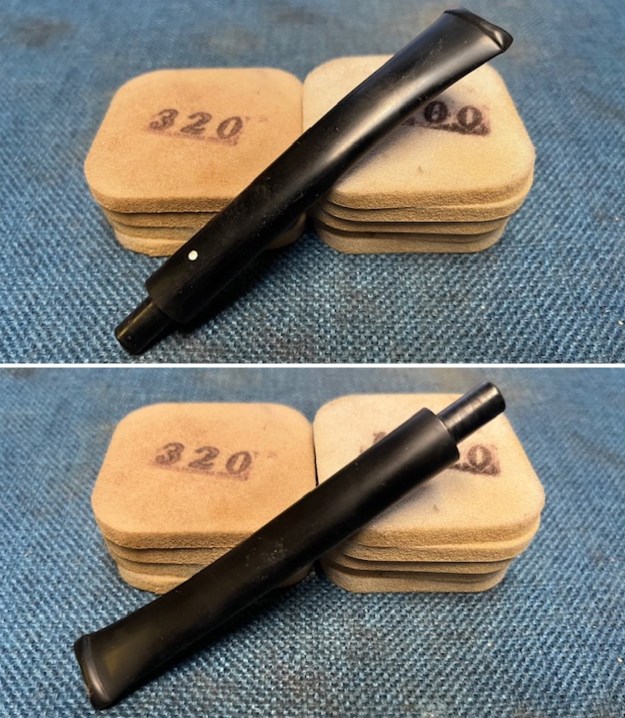
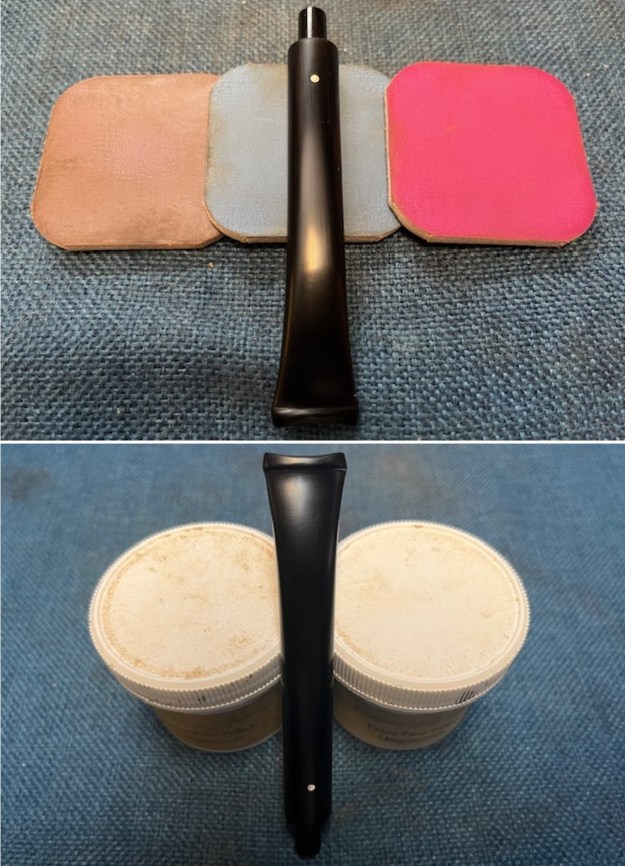
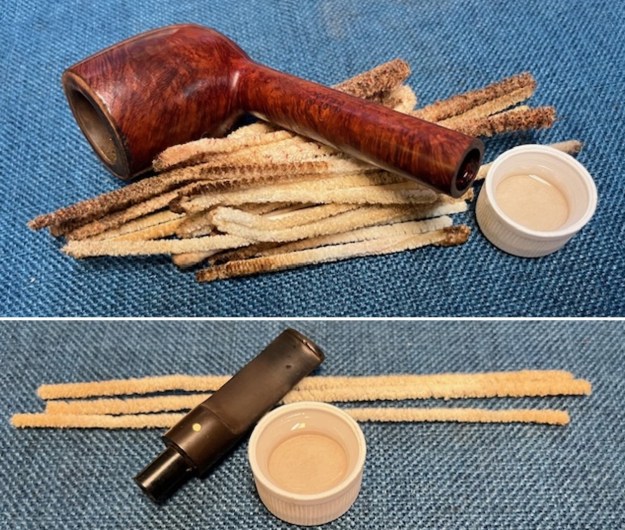
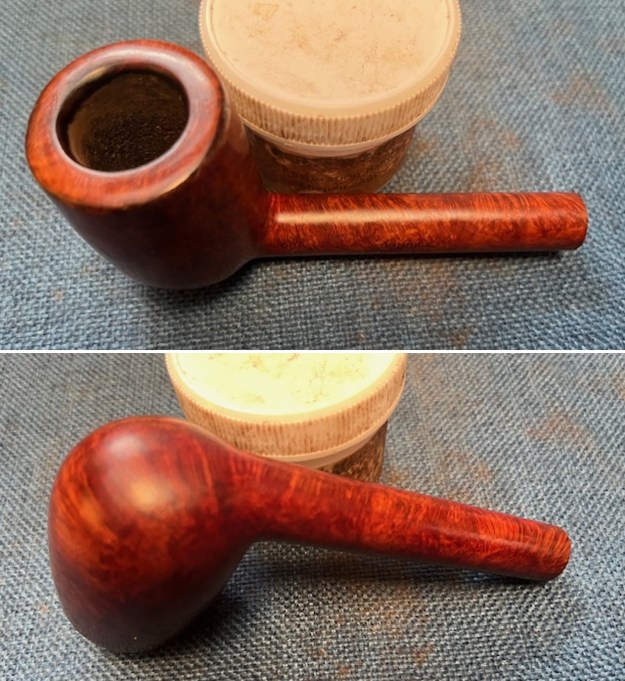
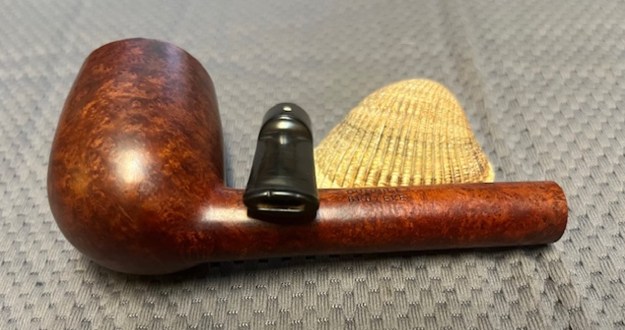
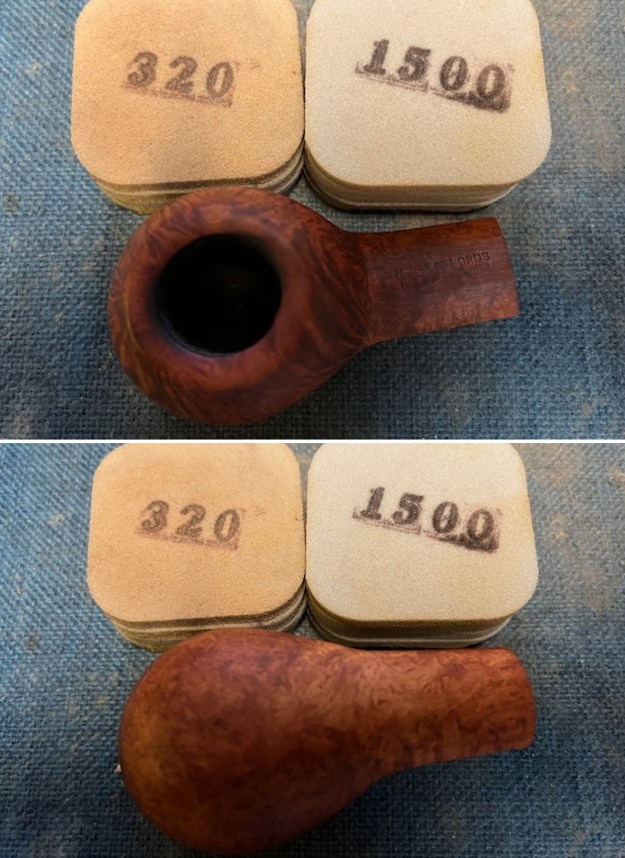
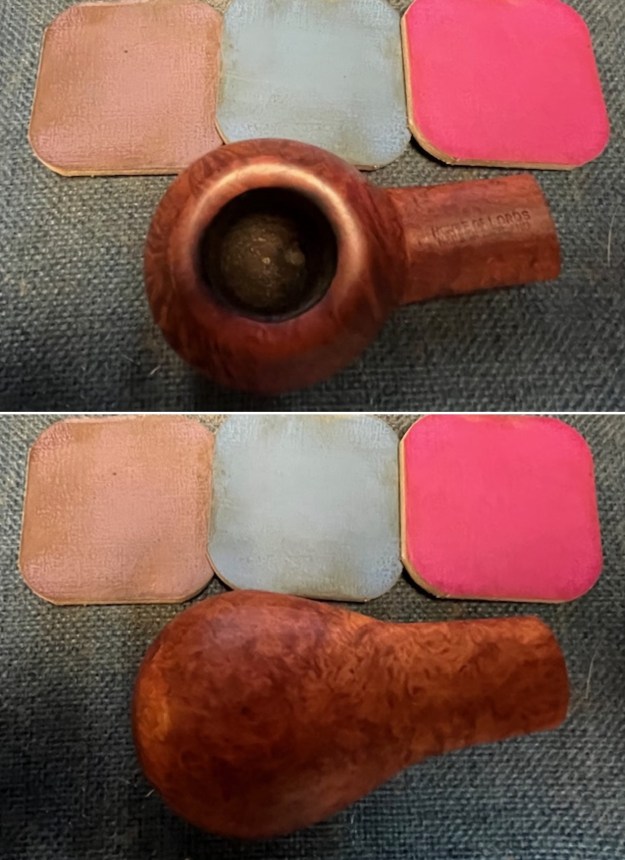
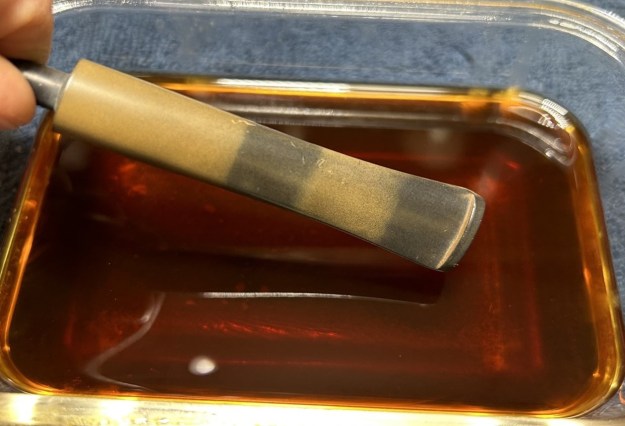
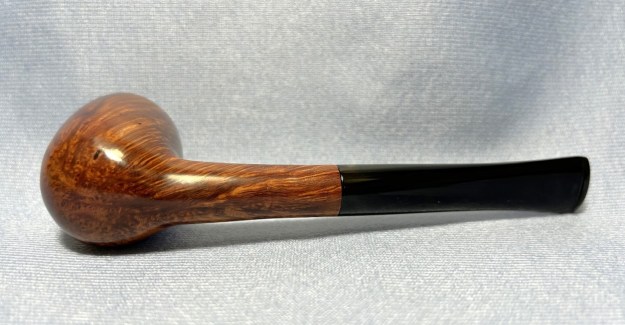
 I worked some Before & After Restoration Balm into the finish of the bowl, rim top and shank with my fingertips and a shoe brush to get it in to the crevices and valleys. The product works to clean, enliven and protect the briar. I find that the balm really makes the briar come alive again. The contrasts in the layers of stain really made the grain in the sandblast stand out. I let the balm sit for 15 minutes and then buffed with a cotton cloth to raise the shine. The bowl really looks good at this point.
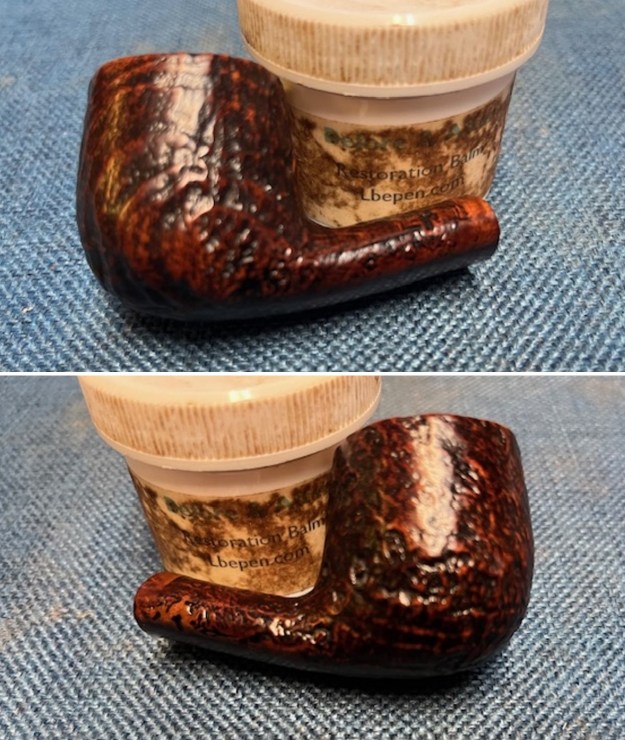
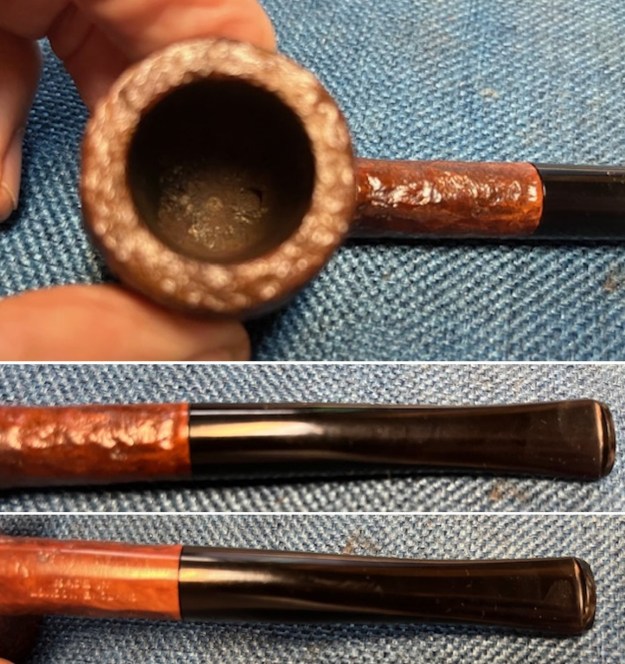
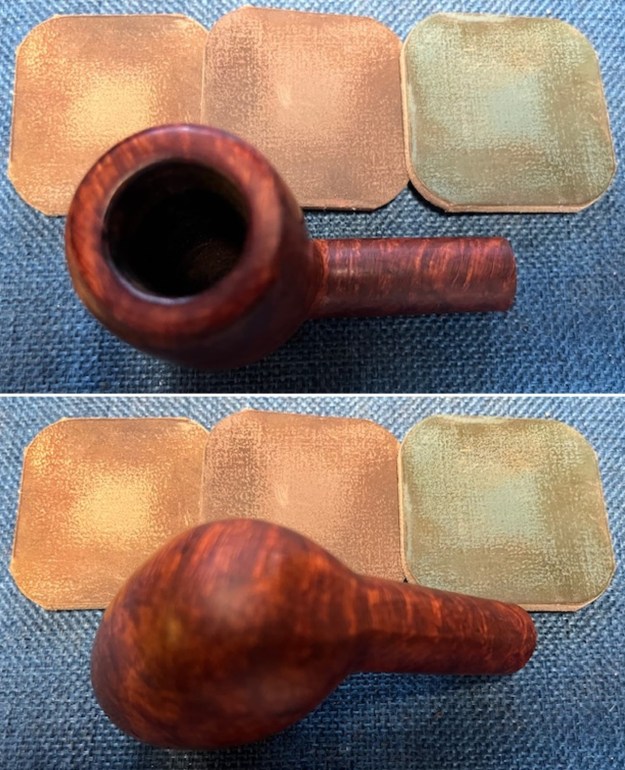
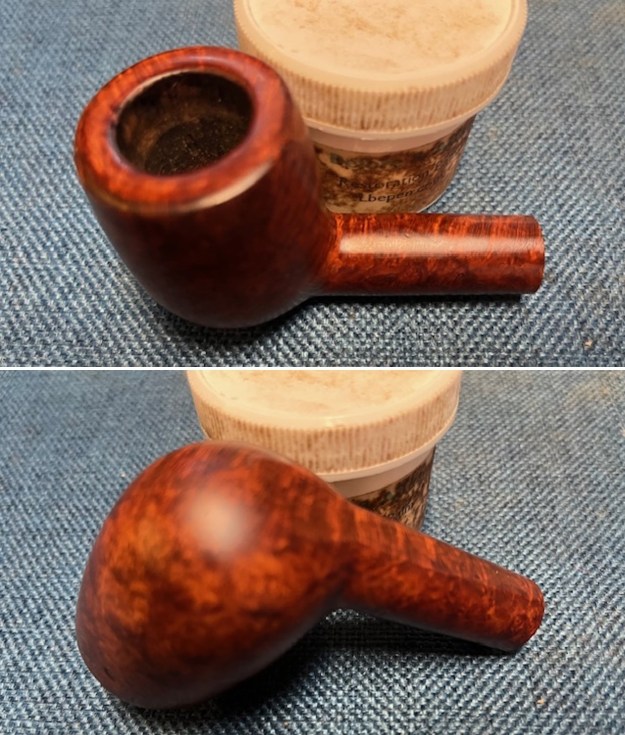
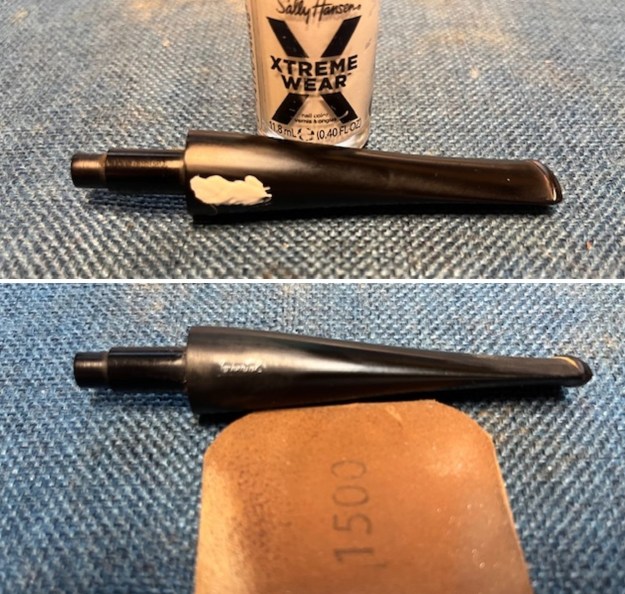
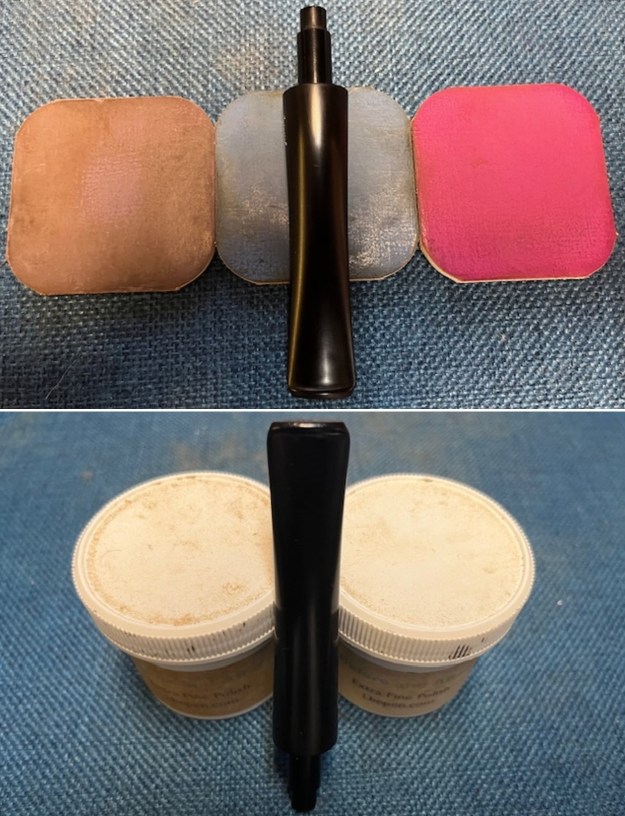
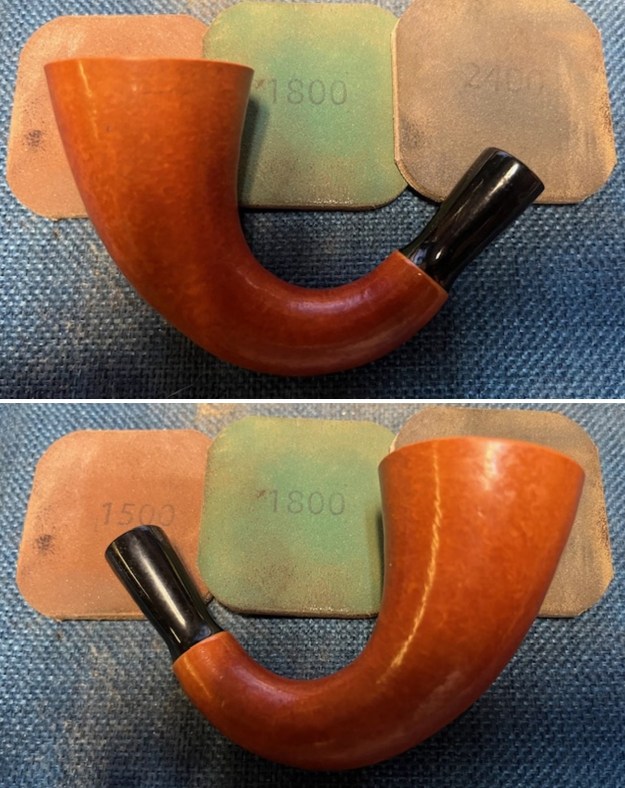
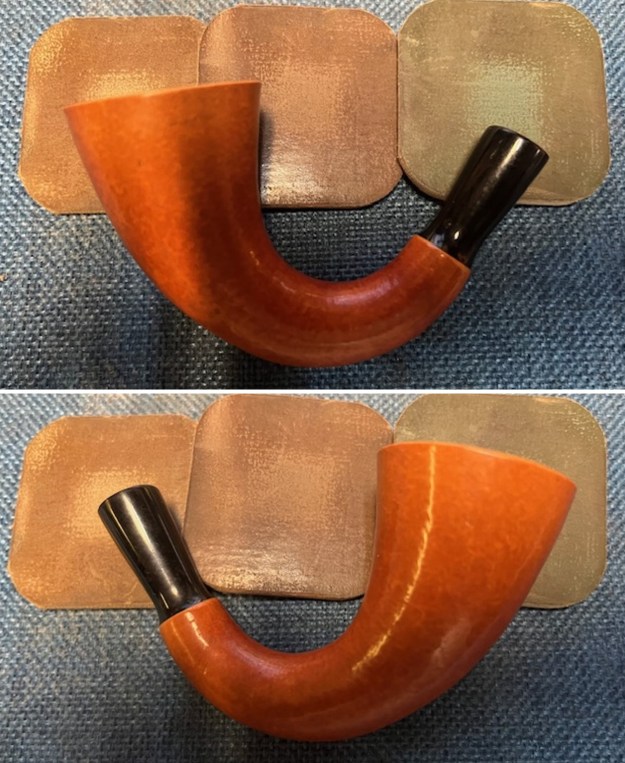
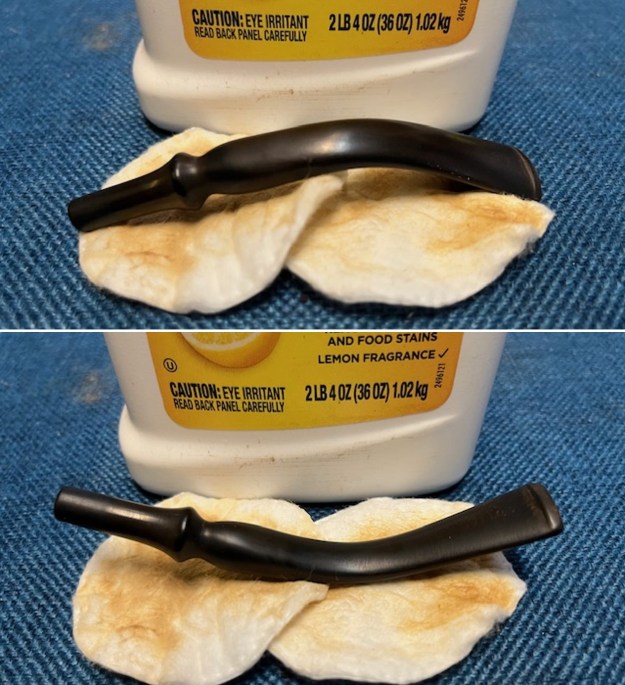
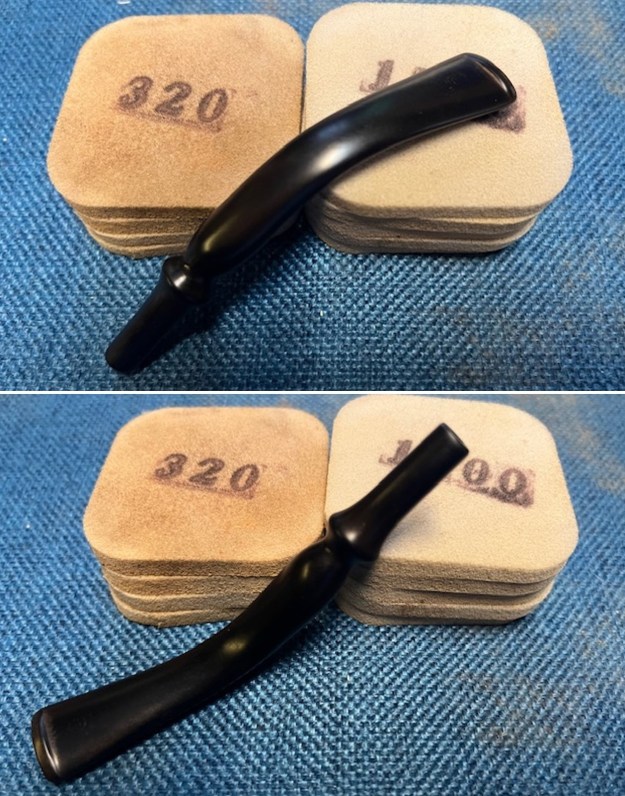
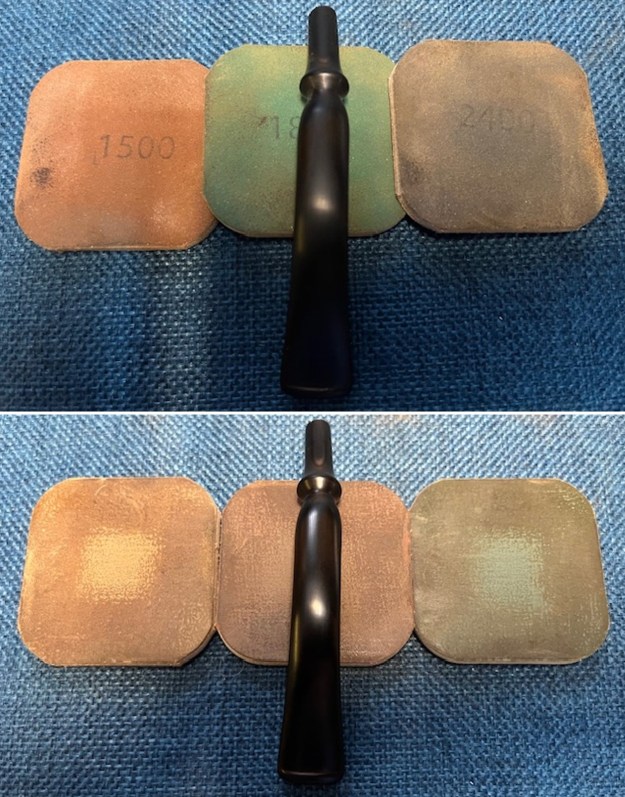
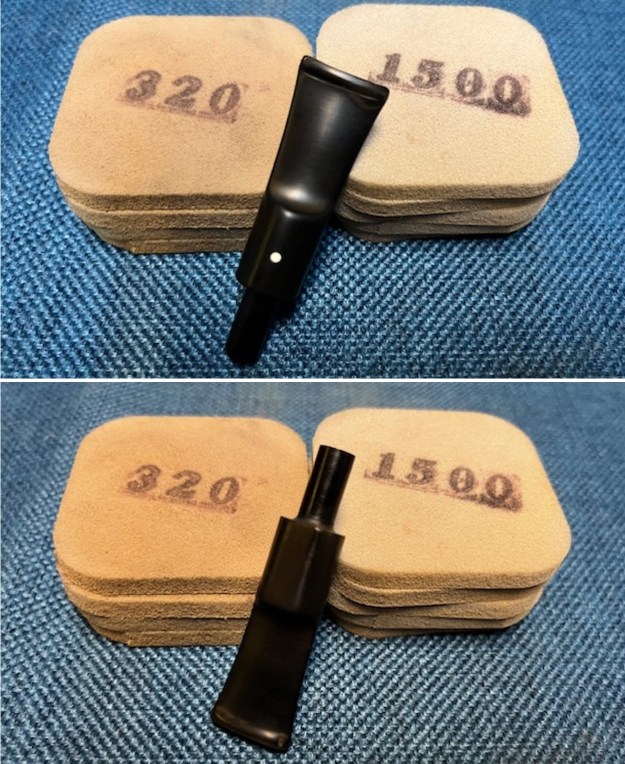
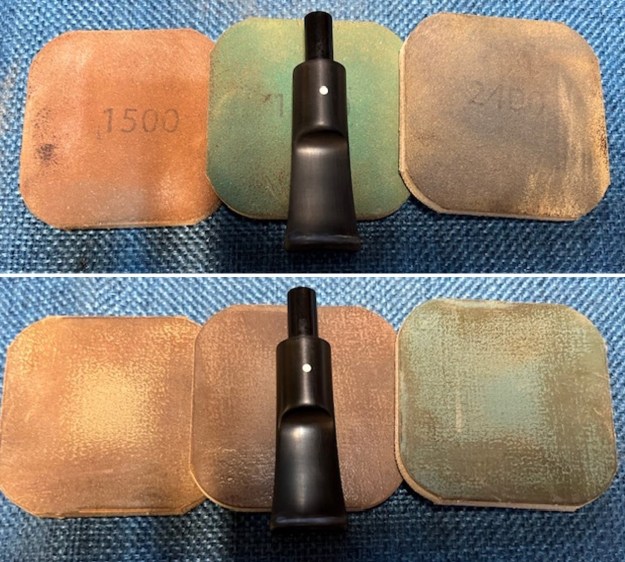
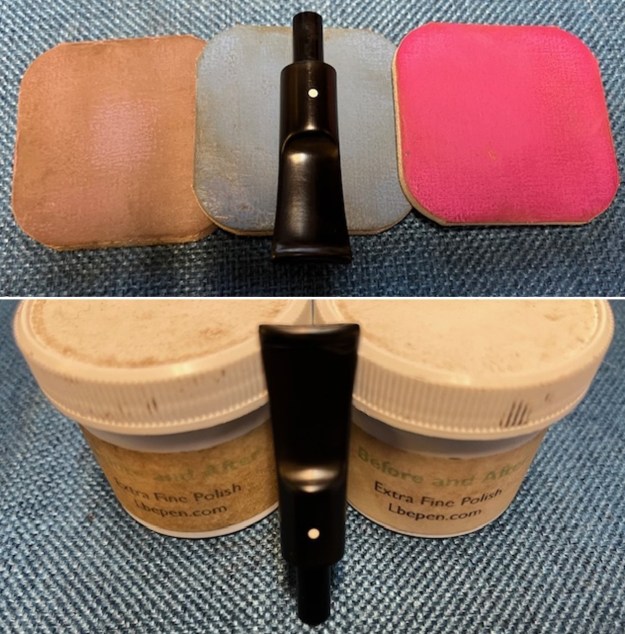
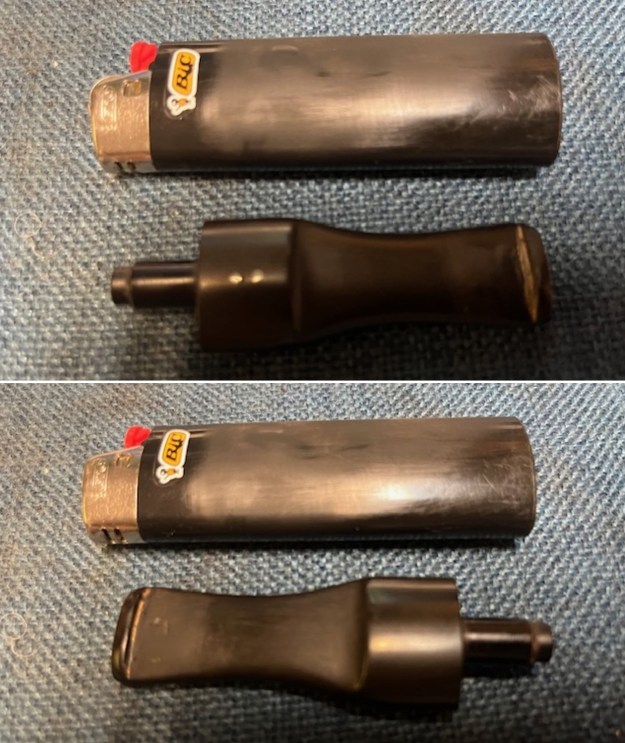
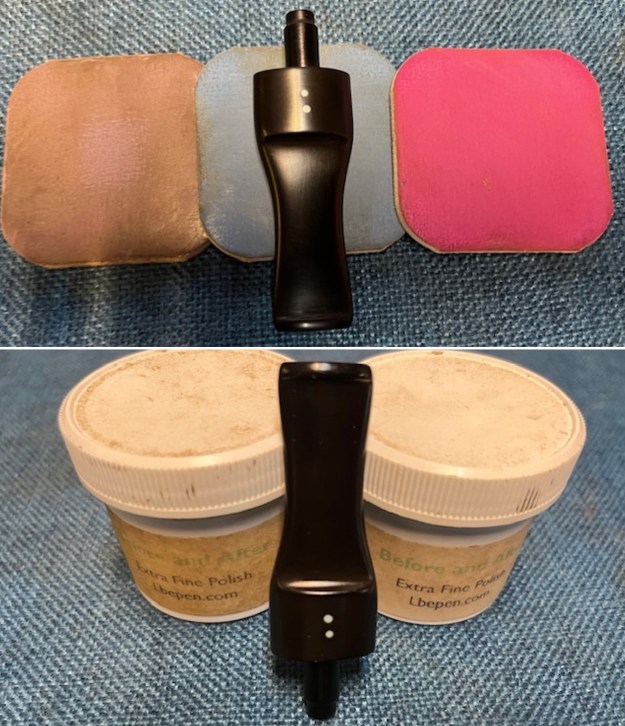
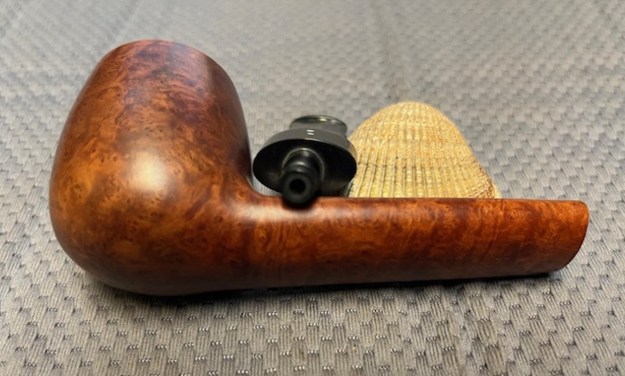
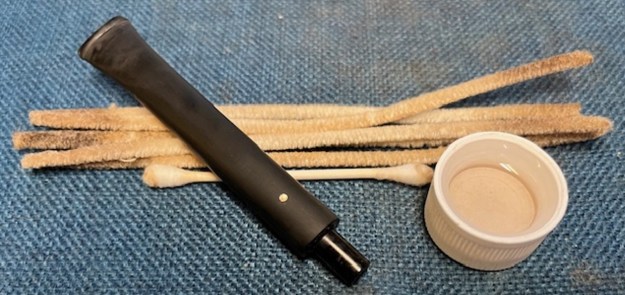
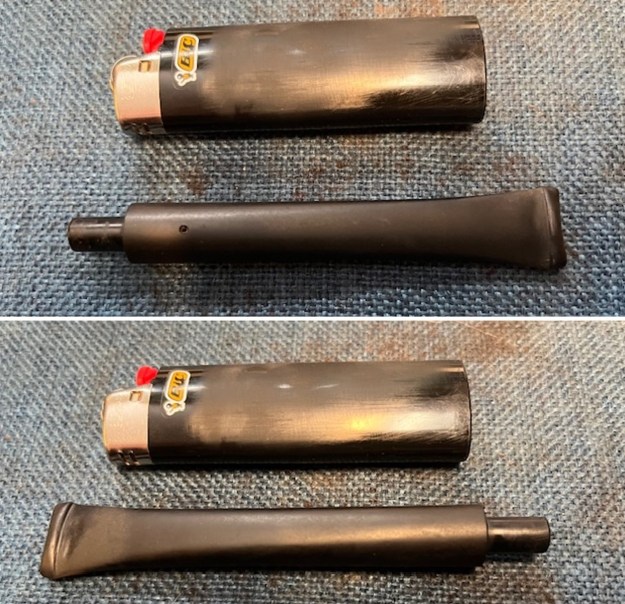
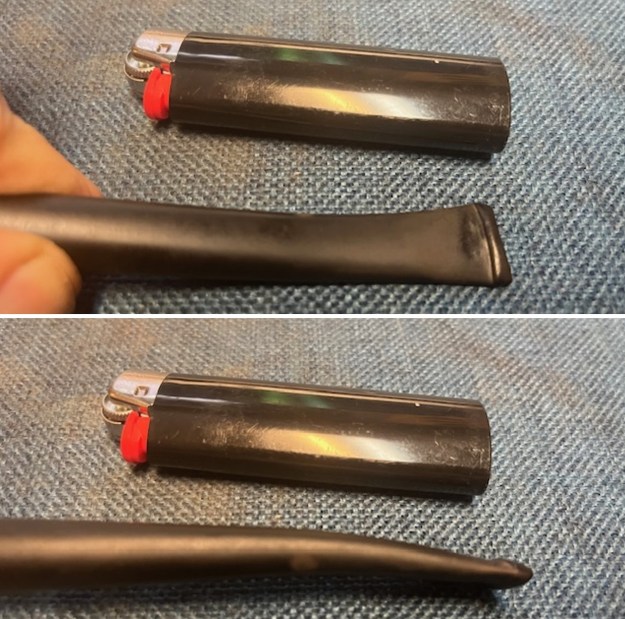
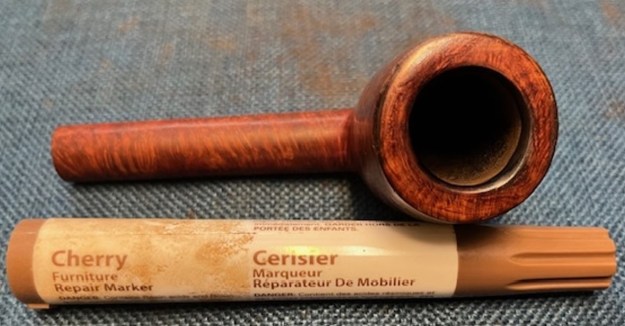
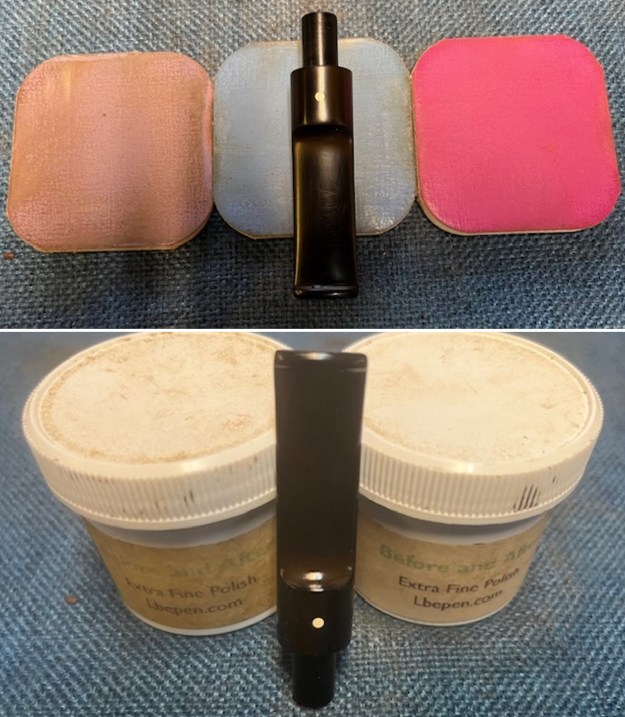
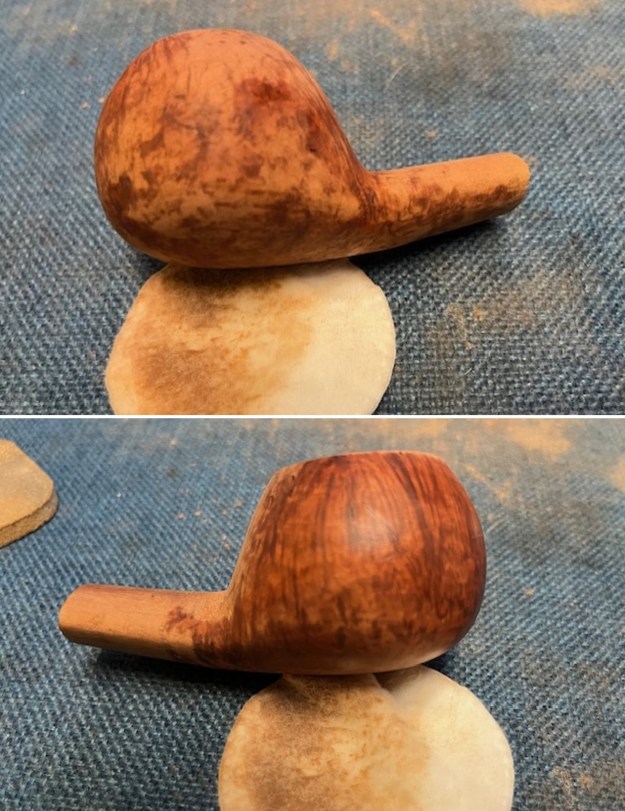
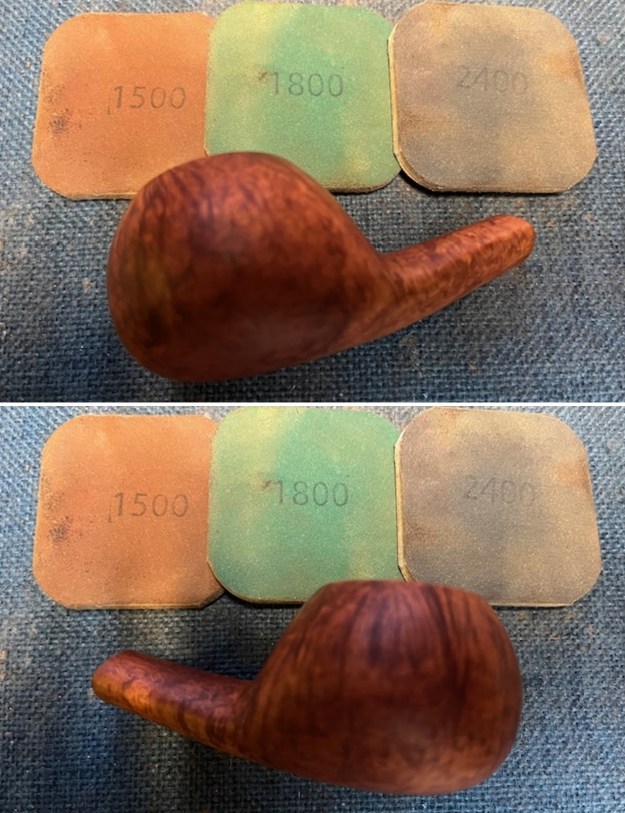
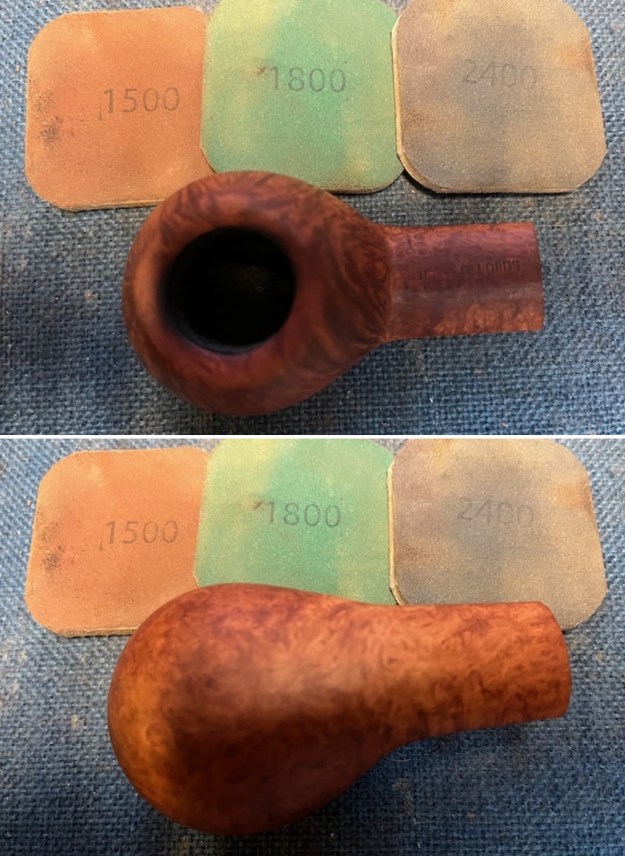
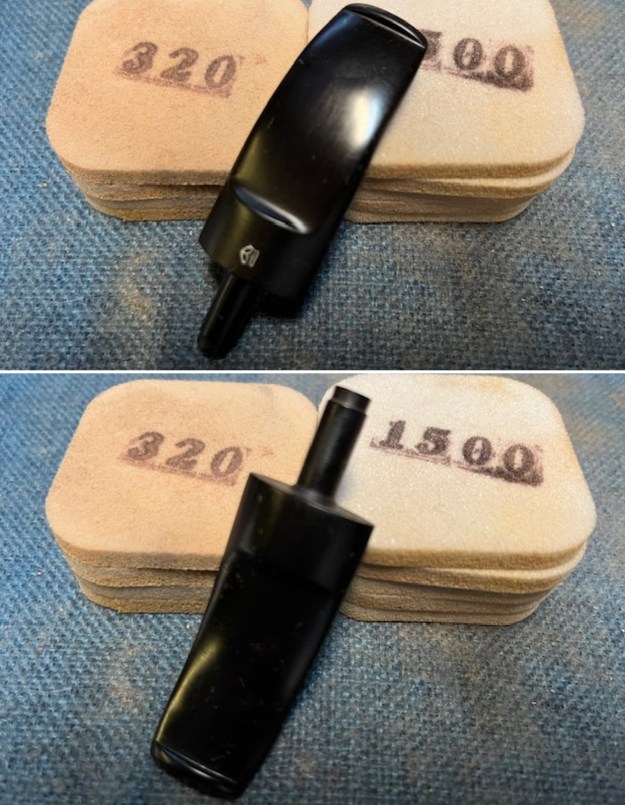
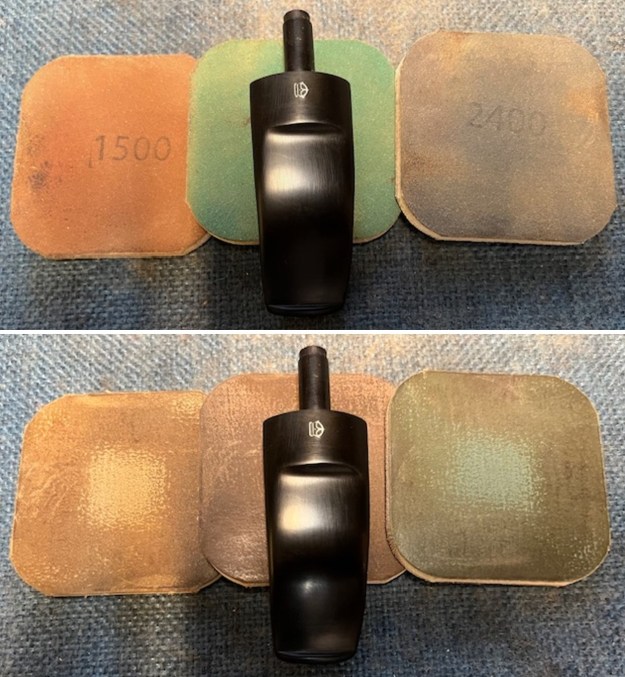
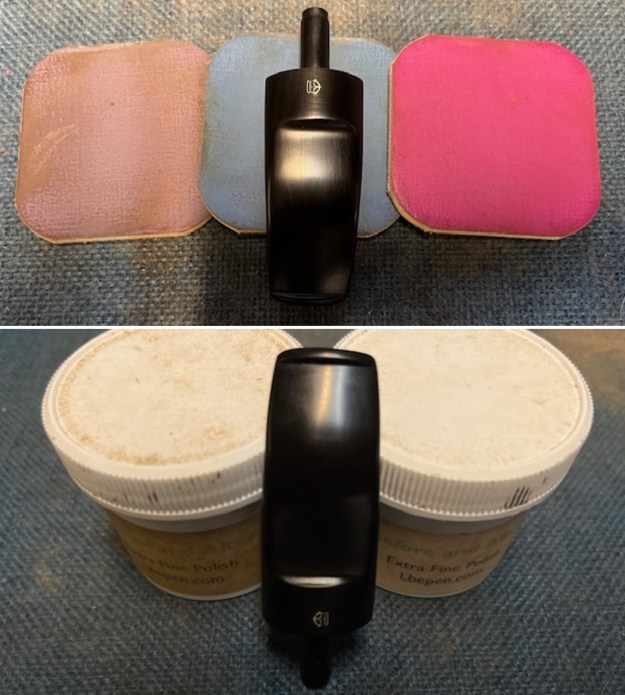
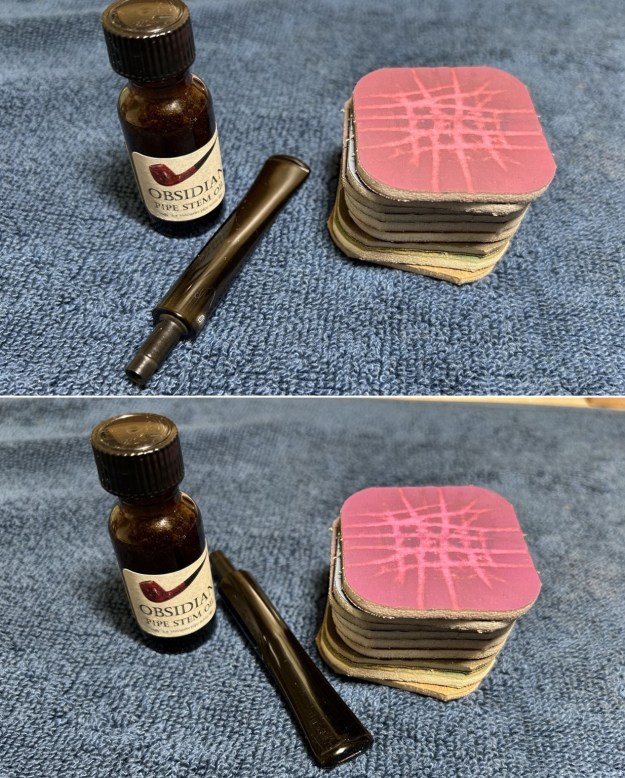
 The stem looked so good that I rubbed down with Obsidian Oil and used the Before & After Fine and Extra Fine Polishing Compound to protect and deepen the shine.
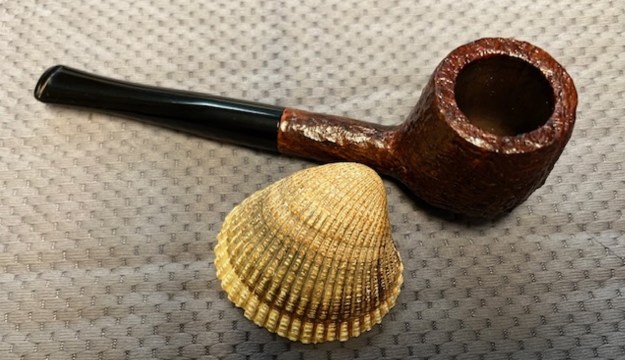
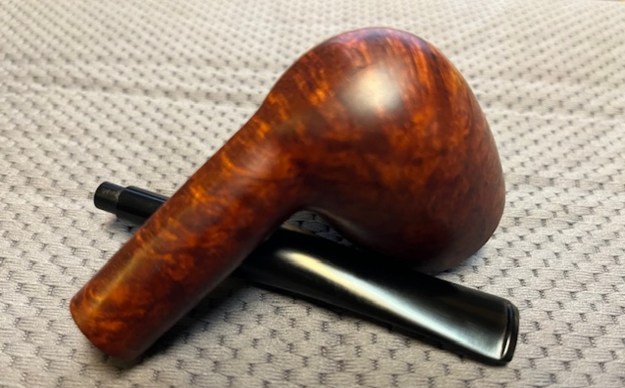
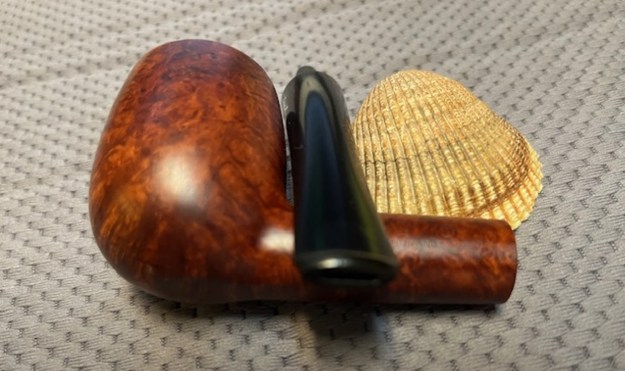
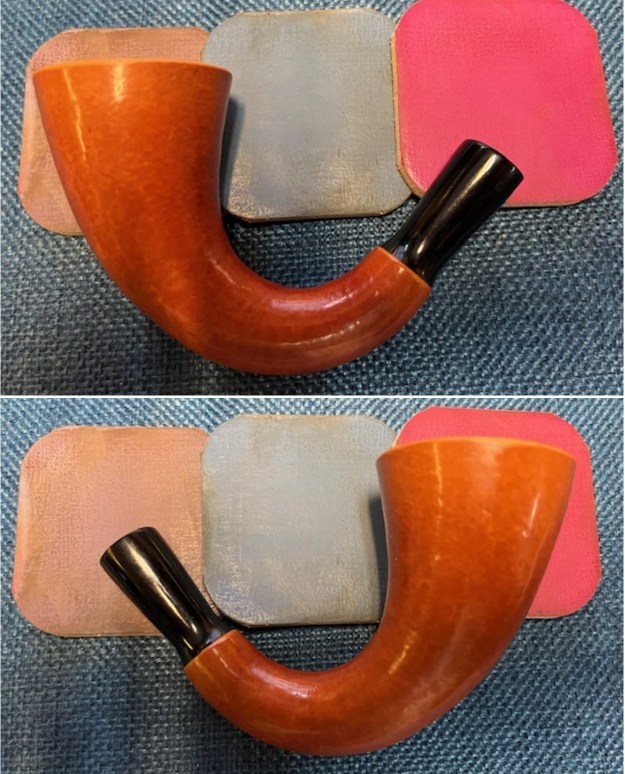
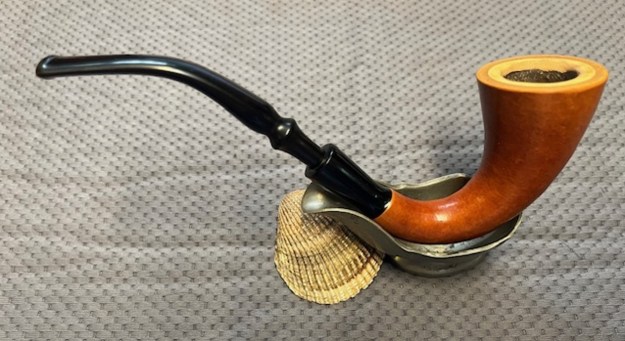
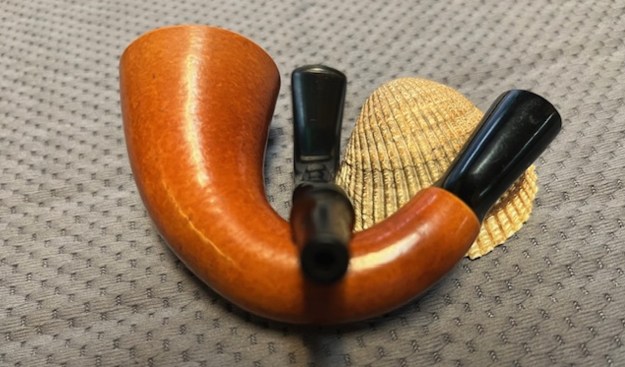
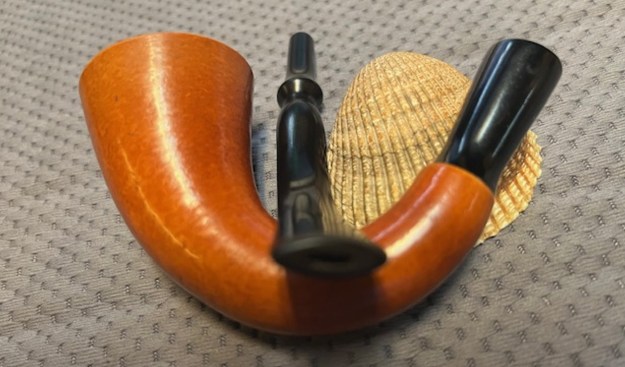
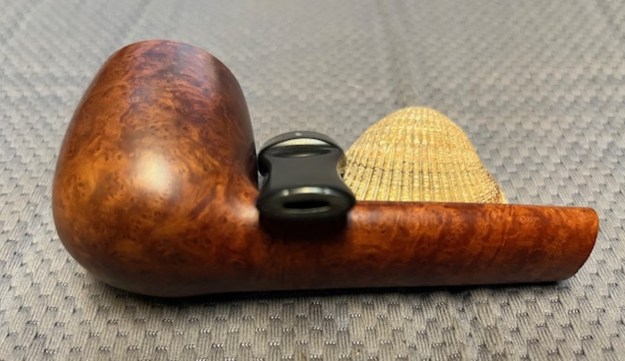
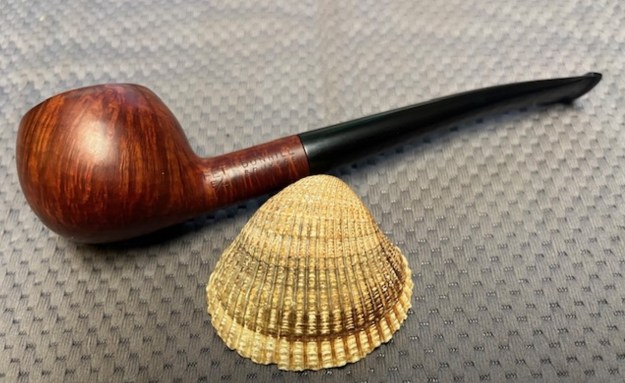
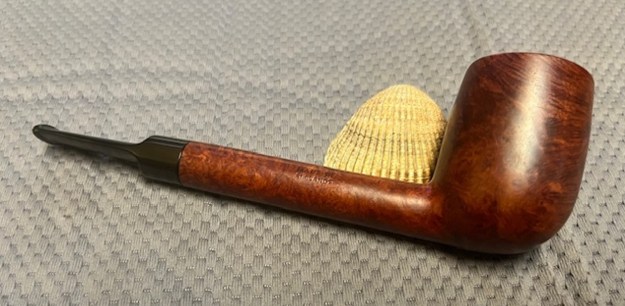
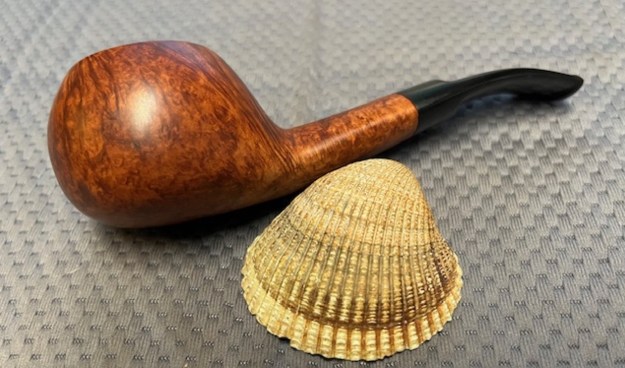
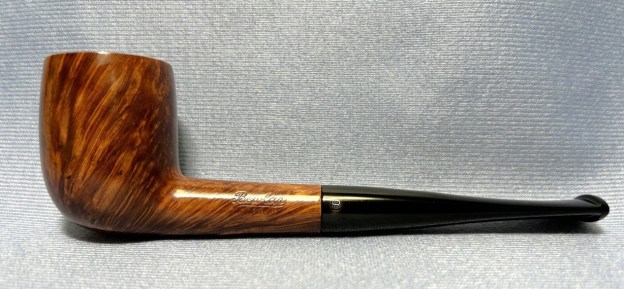
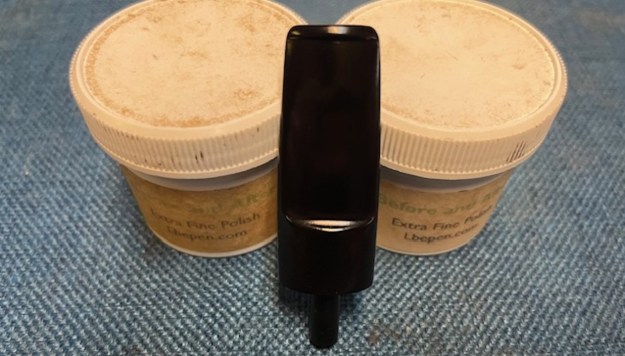 With the bowl and the stem finished I put the beautiful Poul Hansen, Hansen Briar Made in Denmark ¼ Bent Pot back together and buffed it on the wheel using Blue Diamond to give it a shine. I gave the bowl multiple coats of Conservator’s Wax and the stem multiple coats of carnauba wax on the wheel. I buffed it with a clean buffing pad to raise the shine. I hand buffed it with a microfiber cloth to deepen the shine. It really is a great looking pipe. The dimensions of the pipe are – Length: 4 ¾ inches, Height: 1 ½ inches, Outside diameter of the bowl: 1 ½ inches, Chamber diameter: ¾ of an inch. The weight of this large pipe is 1.23 ounces /35 grams. This Hansen Briar ¼ Bent Pot is another great looking pipe. It is much more beautiful in person than these photos can capture. I will be putting it on the rebornpipes store in the Danish Pipemakers Section soon. If you would like to add it to your collection let me know. This is another pipe that has the possibility of transporting the pipe man or woman back to a slower paced time in history where you can enjoy a respite. Thanks for walking through the restoration with me.
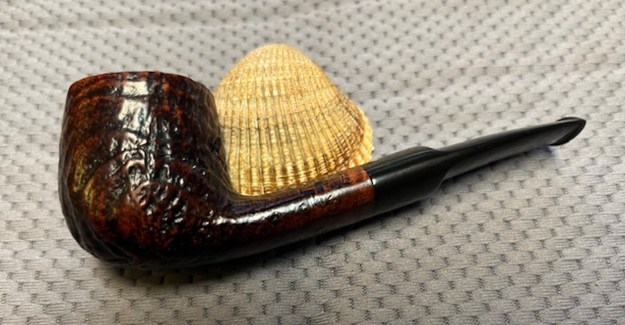


