Blog by Dal Stanton
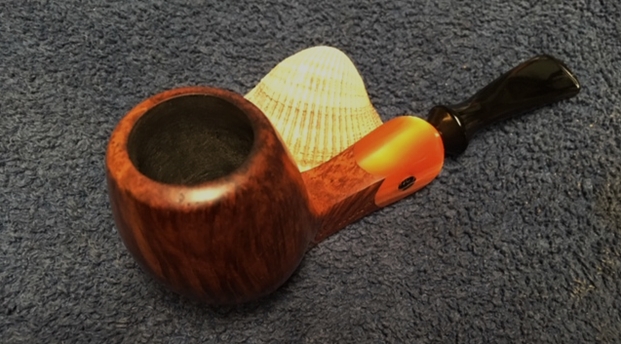
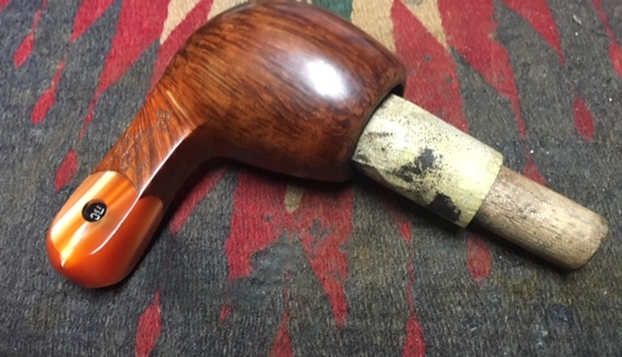
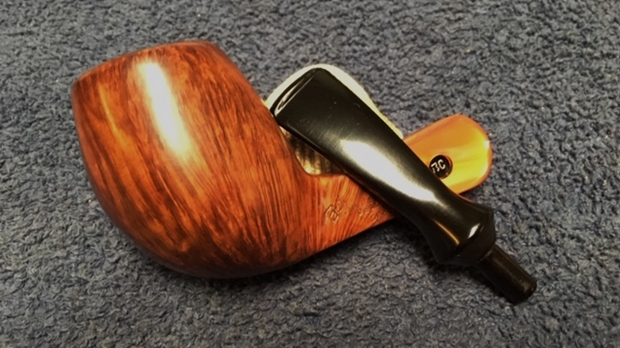
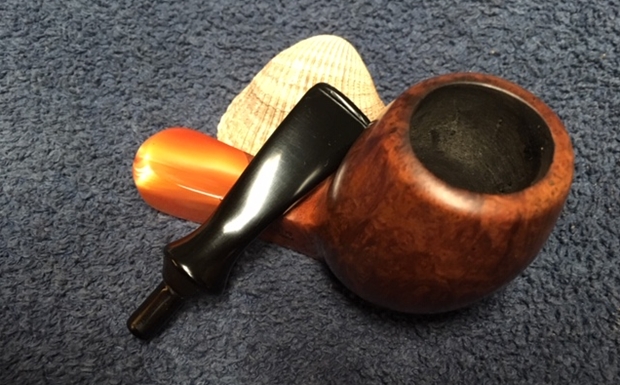
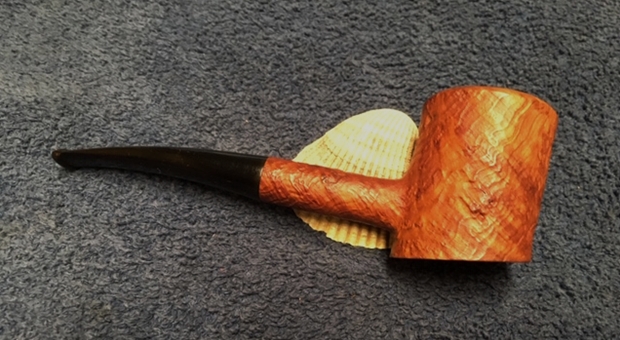
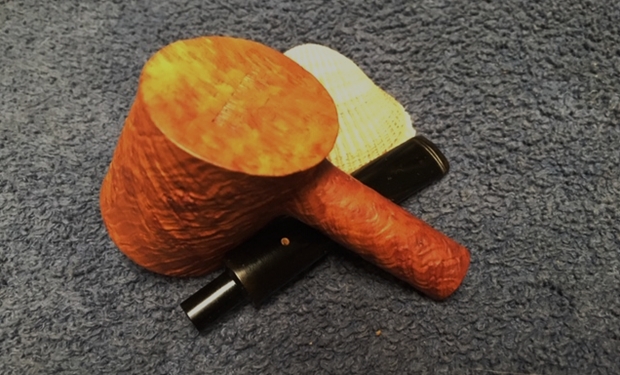
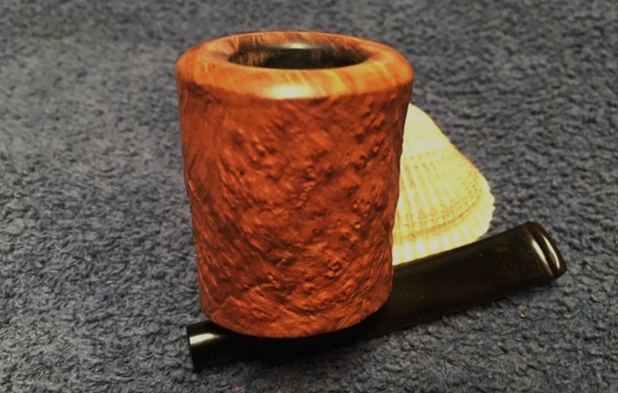
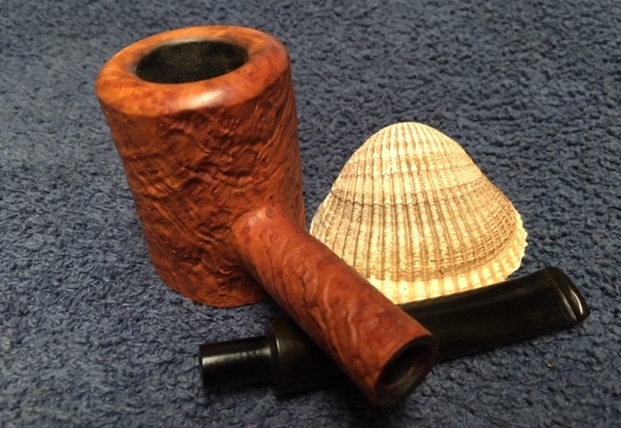
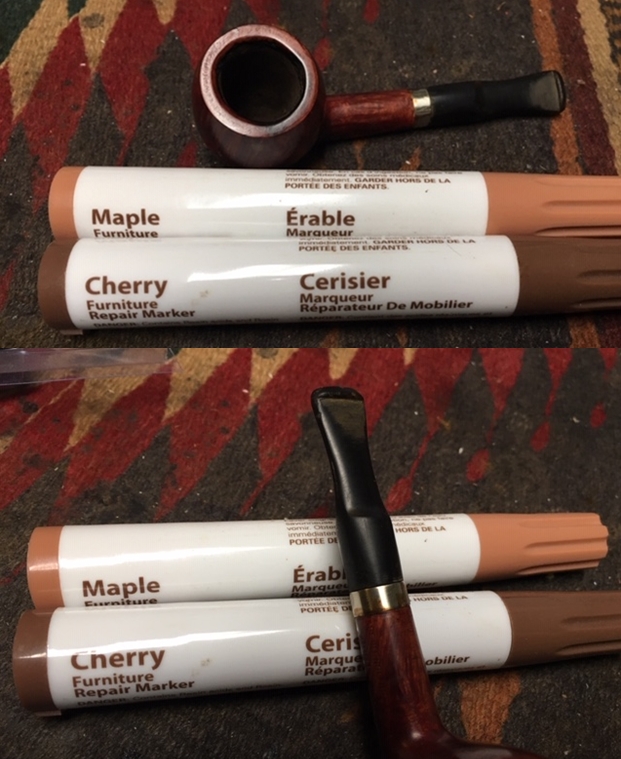
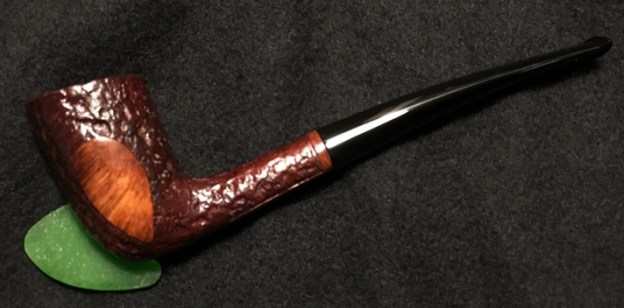
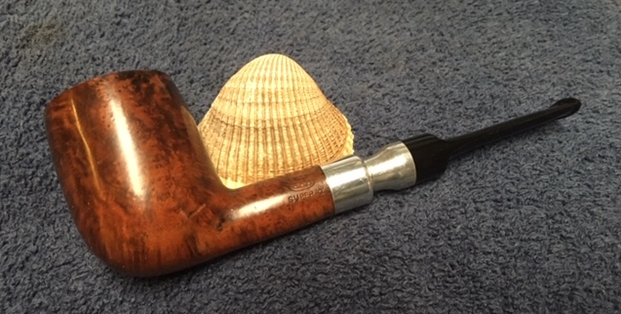
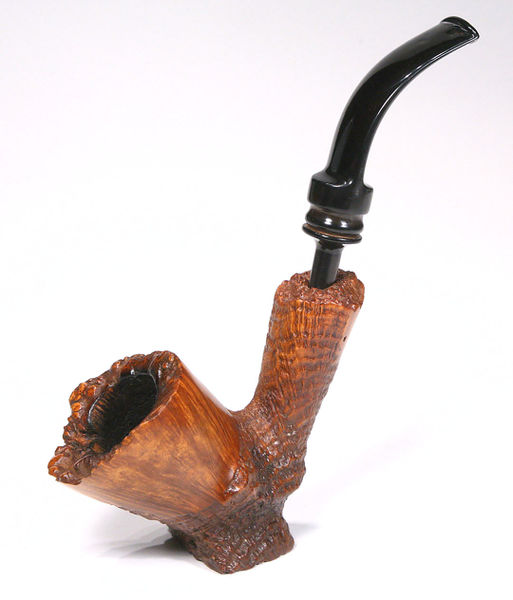
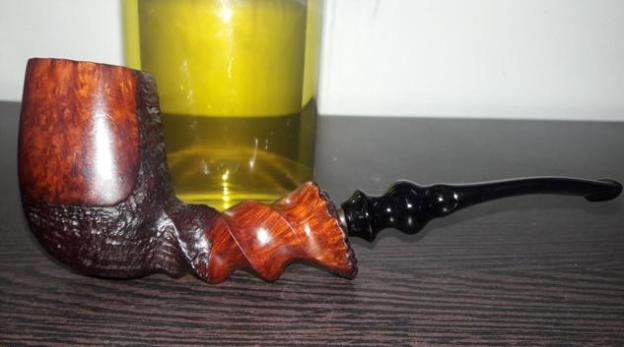
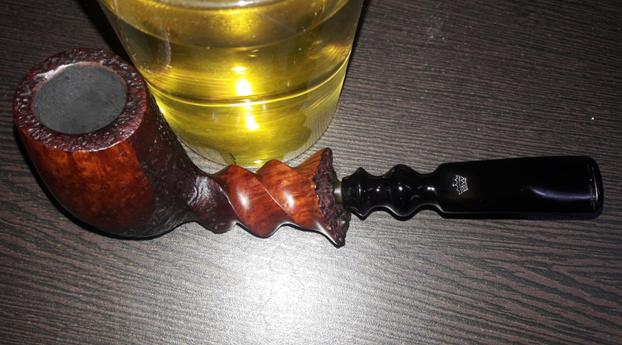
I saw this attractive Comoy’s Moorgate on the eBay auction block last year and fortunately provided enough of a bid to bring it home to Bulgaria. What attracted me to this Comoy’s was the interesting finish which is a darkened, orange hue with nice feathered grain. This Comoy’s Moorgate also got Jim’s attention after he saw it posted on my website in the For ‘Pipe Dreamers’ Only! collection I list online for pipe men and women to commission. I enjoyed communicating with Jim via email very much. Jim not only commissioned the Comoy’s, but he also commissioned a very interesting, older Stanwell Henley Special which I acquired along with 2 brother Stanwell Henleys – 3 pipes I’ve been looking forward to restoring and learning more about. Along with these 2 pipes that Jim commissioned, were his encouraging words of appreciation for the work we’re doing with the Daughters of Bulgaria – women and girls who have been trafficked and sexually exploited. Jim was glad that the pipes he was commissioning benefited these efforts. Thanks, Jim! Here are a few pictures of the pipes – the Comoy’s and the Stanwell Henley Special – Jim’s is the Saddle Stem Billiard in the middle. 
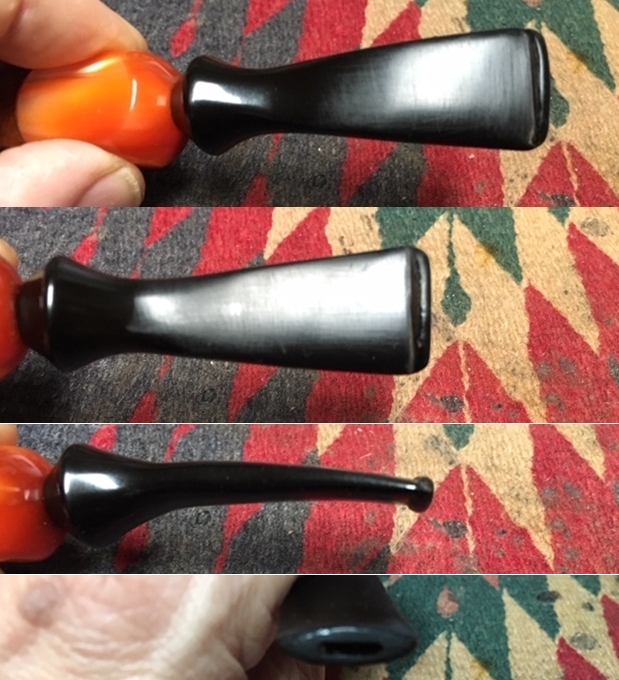
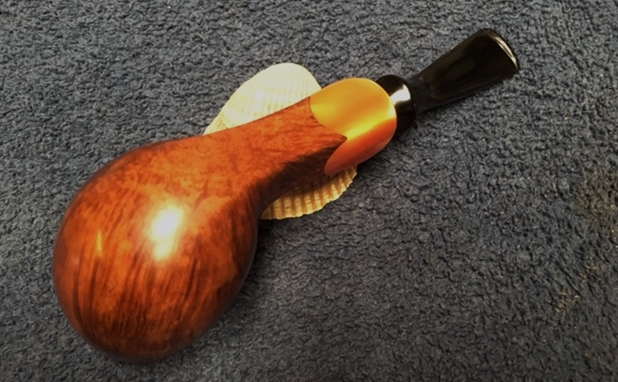
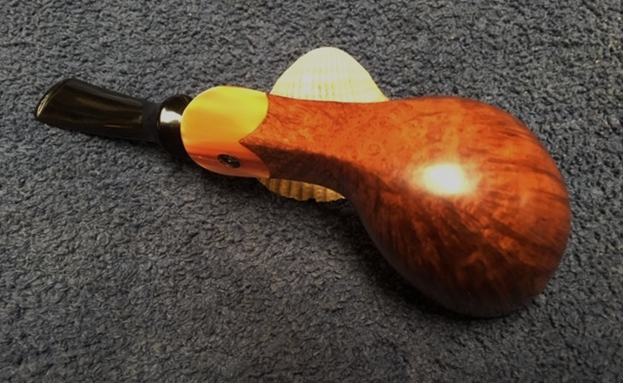
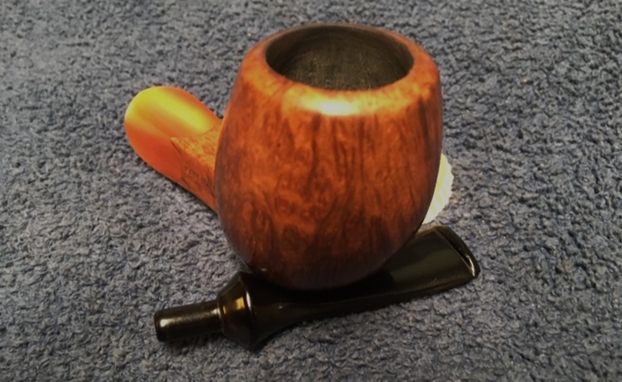
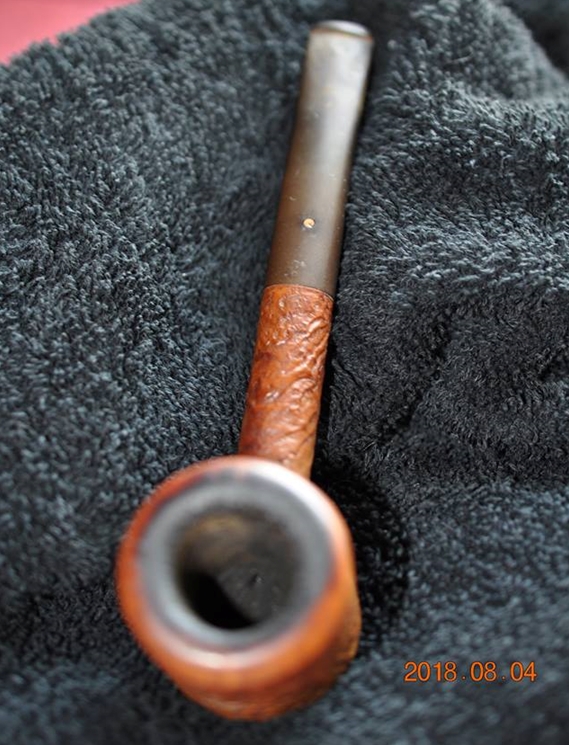
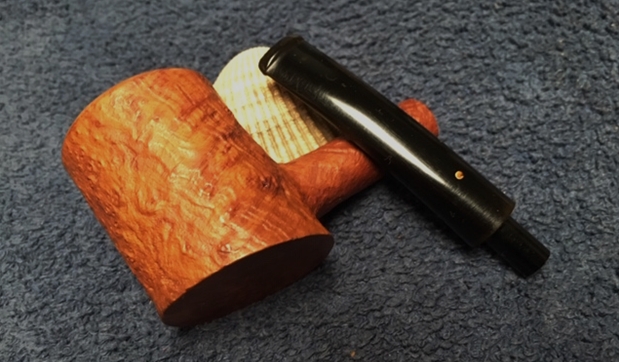
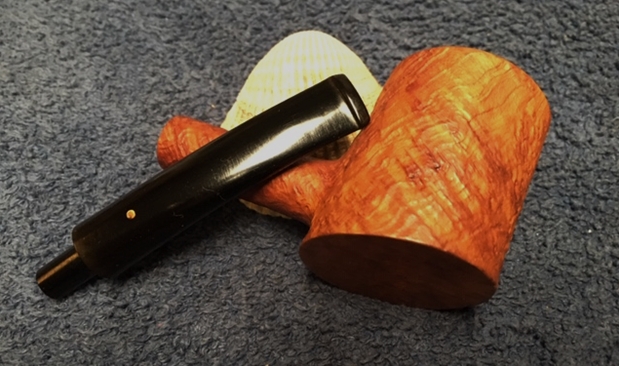
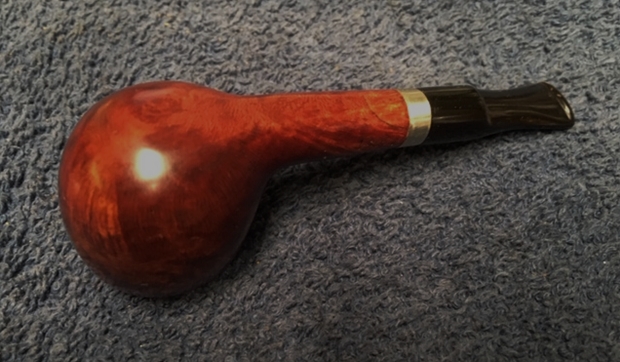
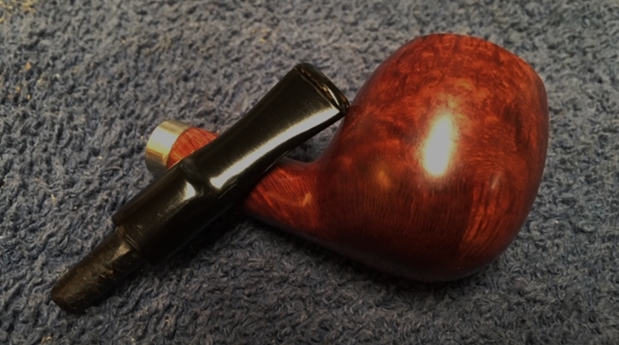
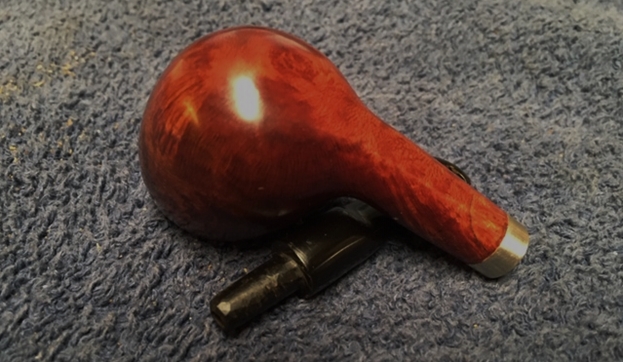
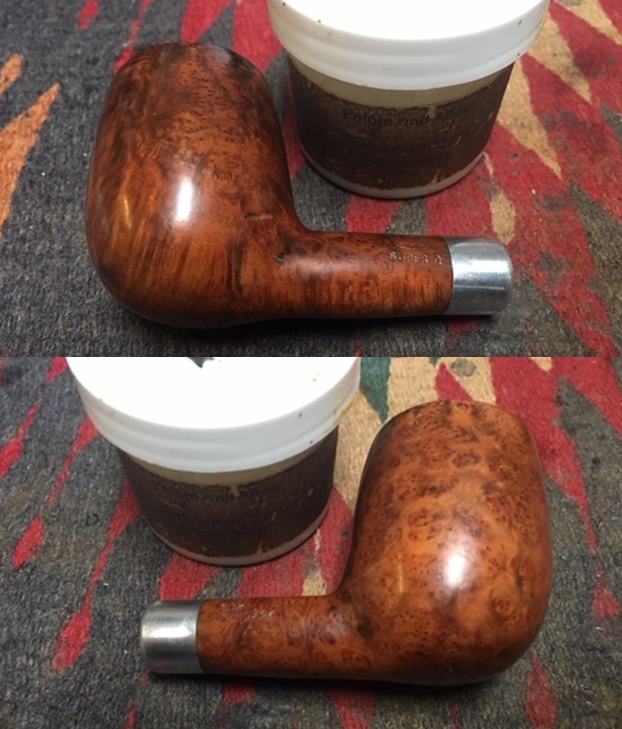
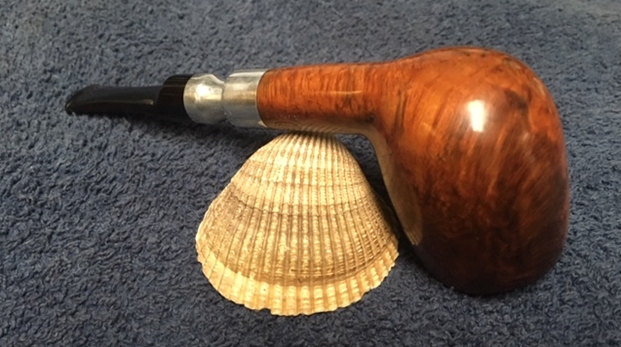
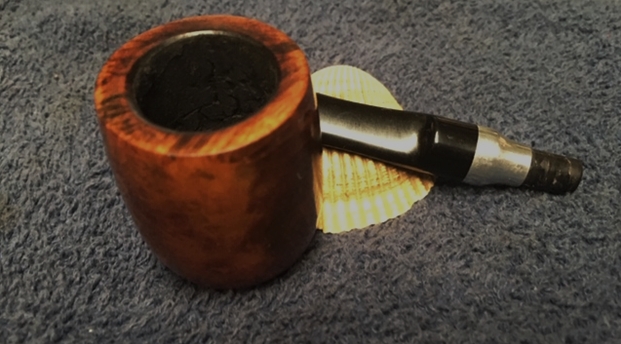
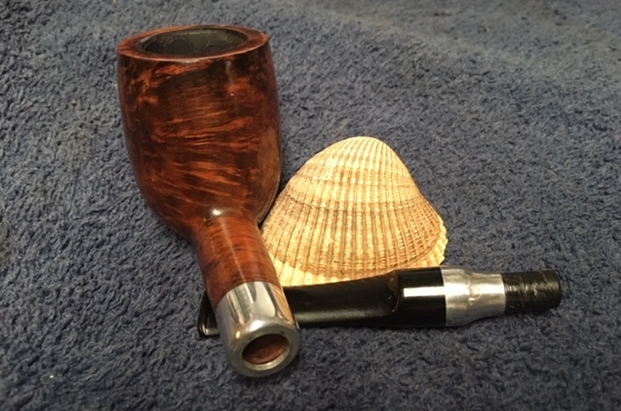
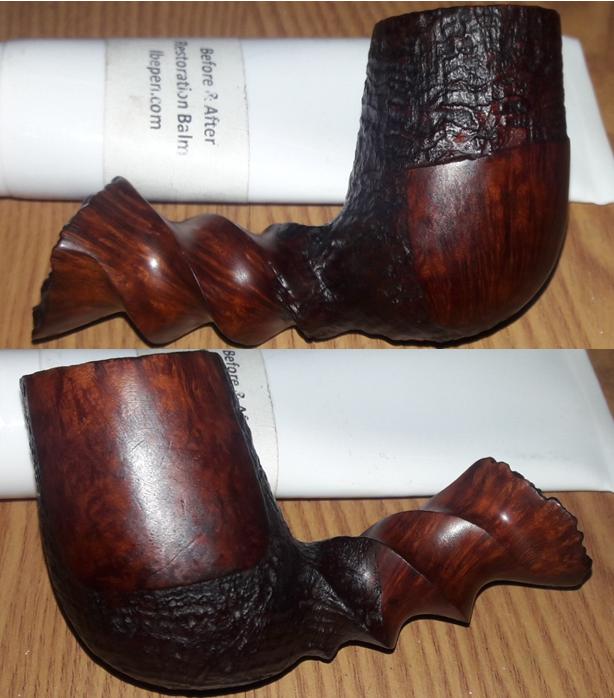
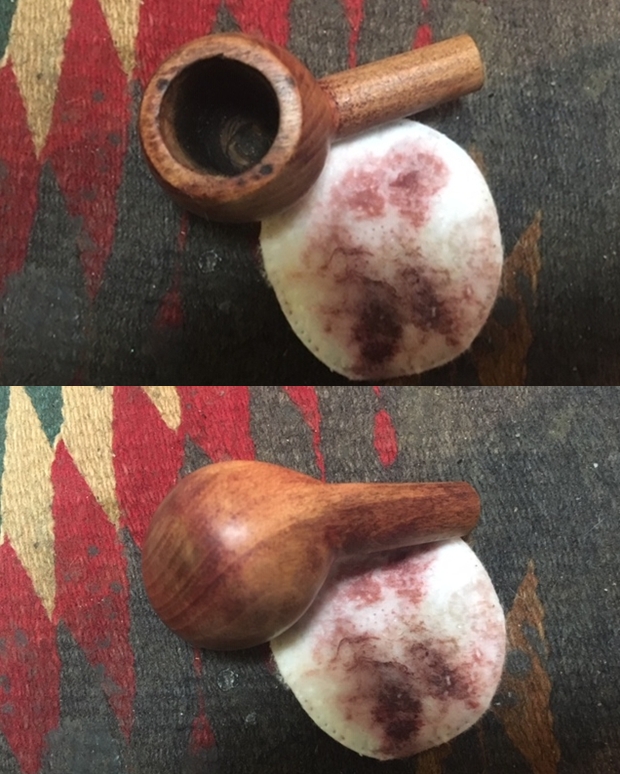
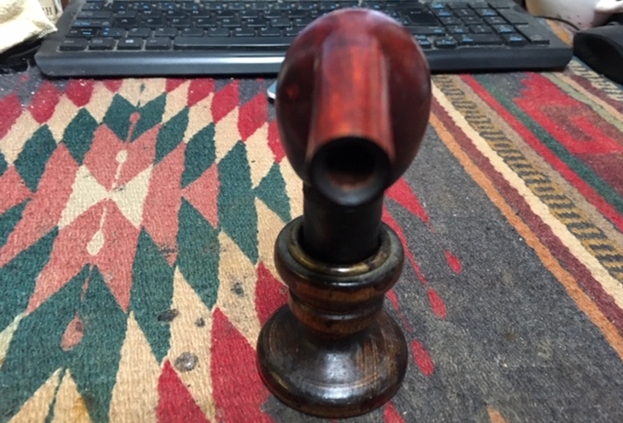
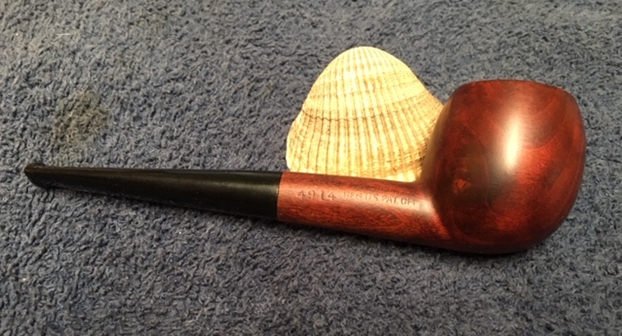
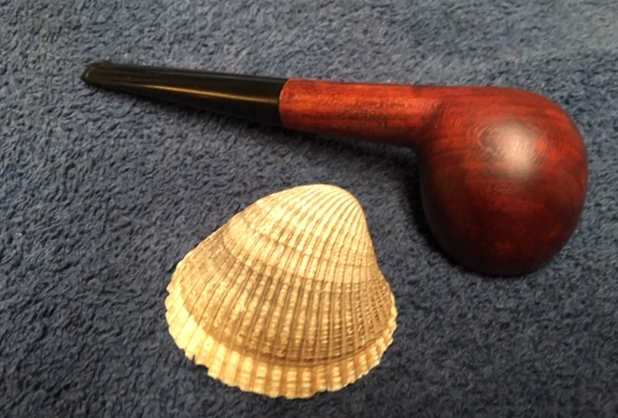
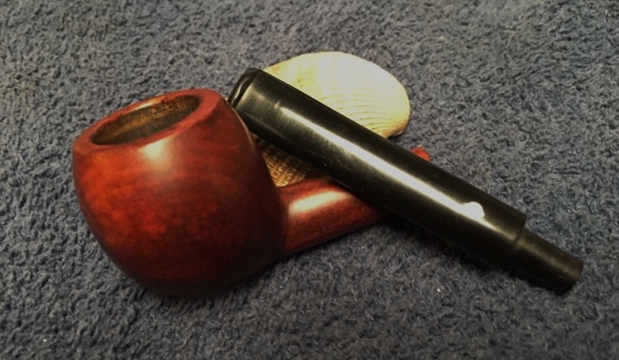
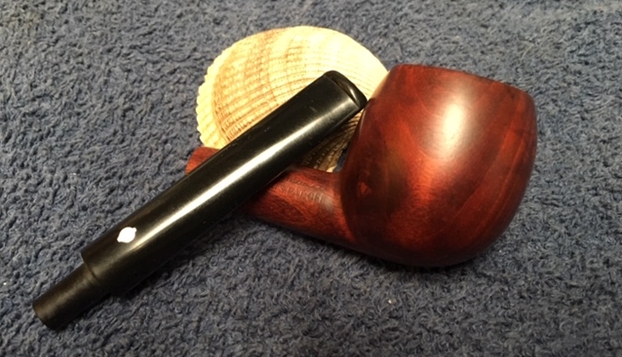
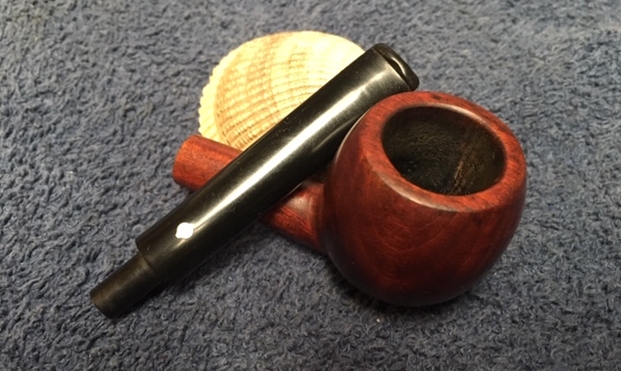
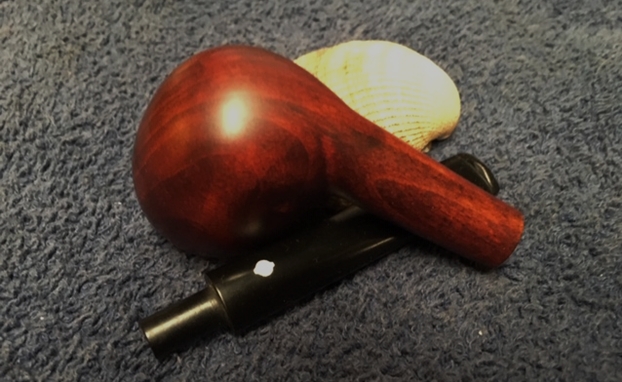
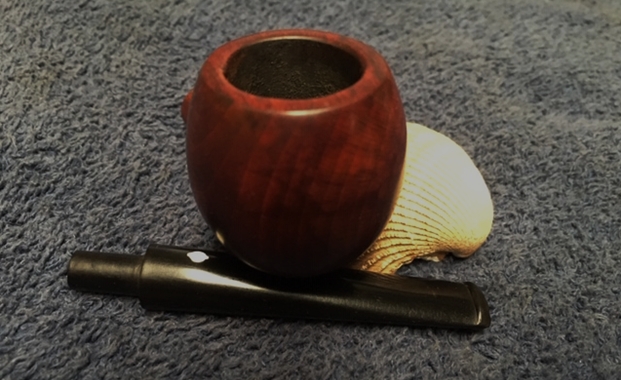
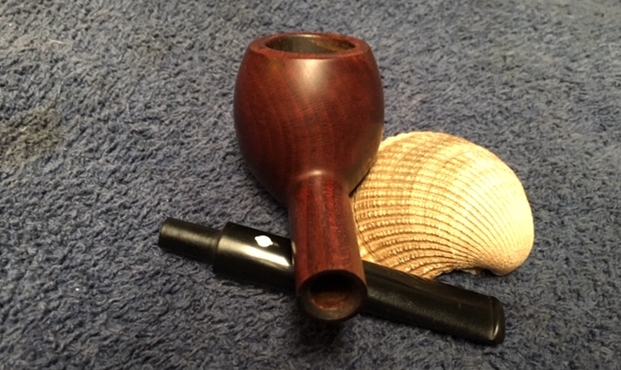
 When Jim commissioned these pipes, I’m grateful that he also agreed to be patient as the pipes gradually made it to the top of the queue. I take some additional pictures to take a closer look at the Comoy’s Moorgate on my worktable here in Sofia, Bulgaria, on the 10th floor of a formerly Communist block apartment building.

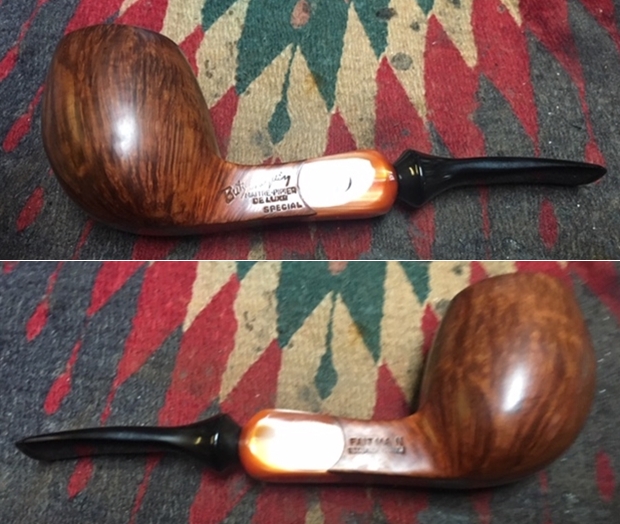
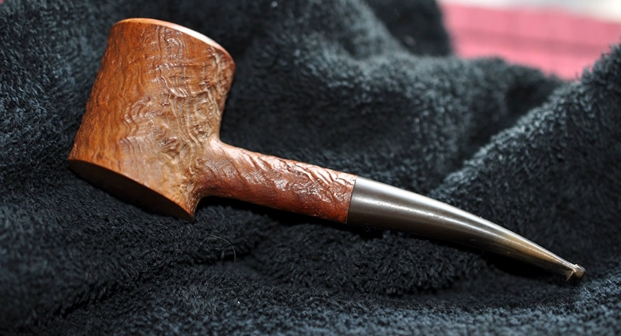
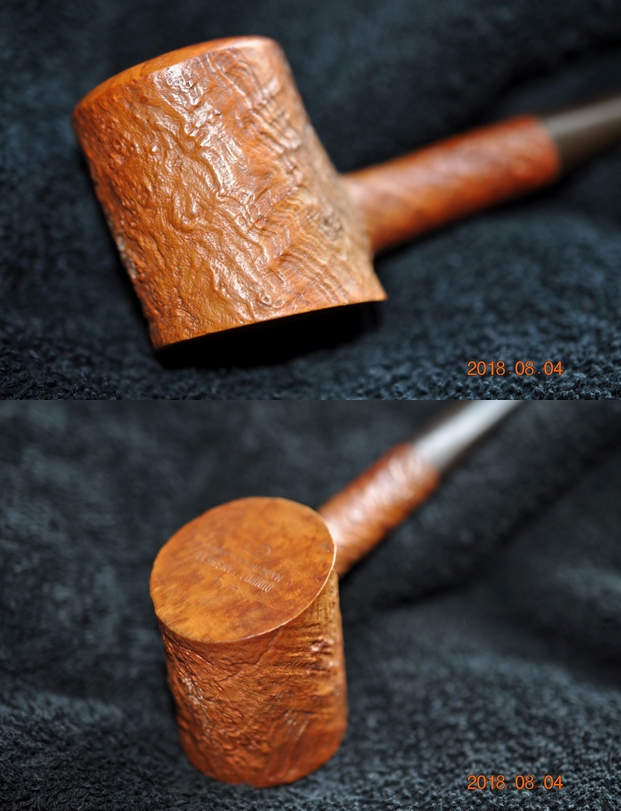
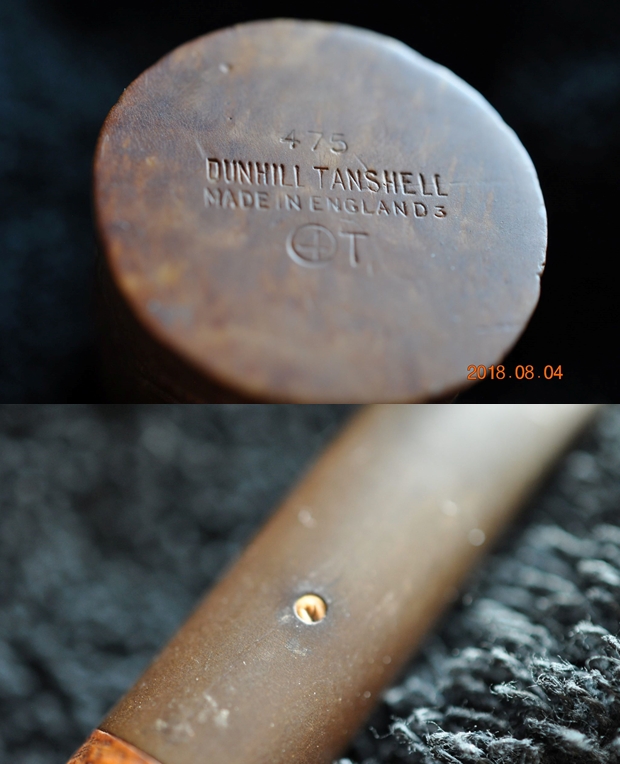
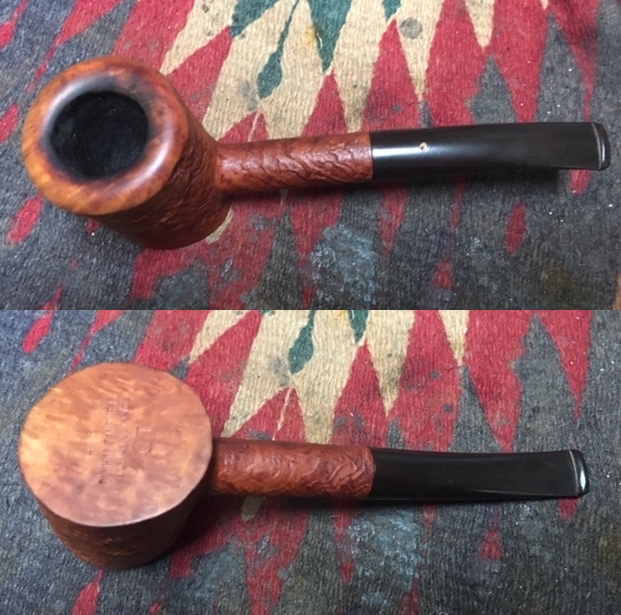
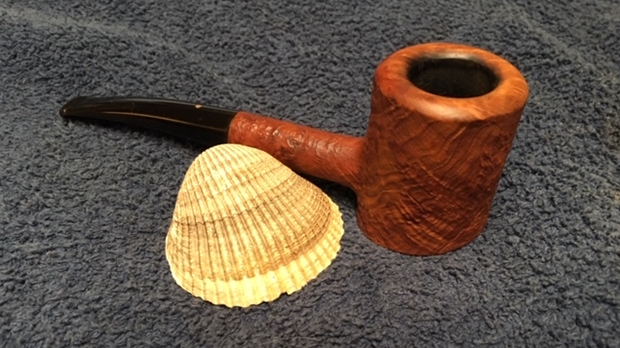
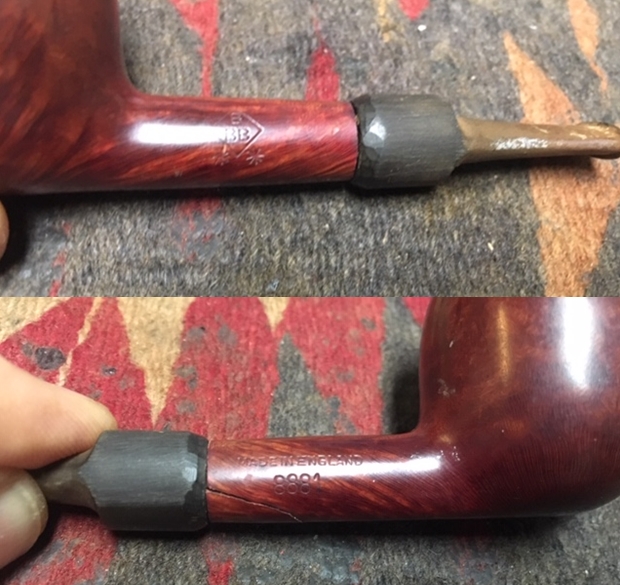
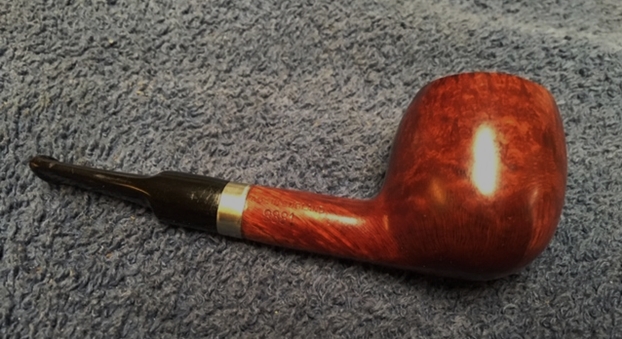
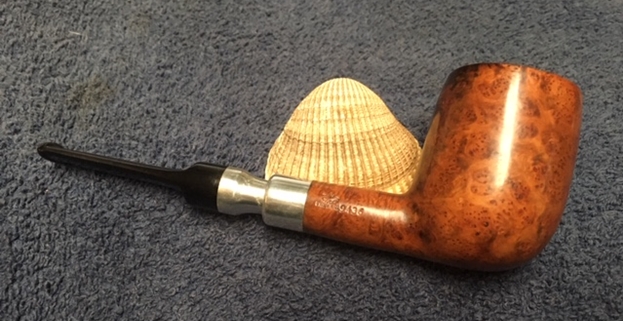
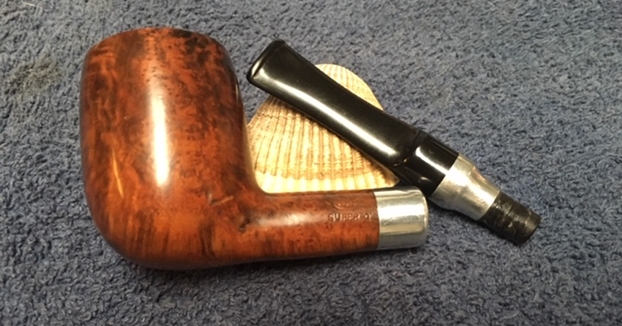
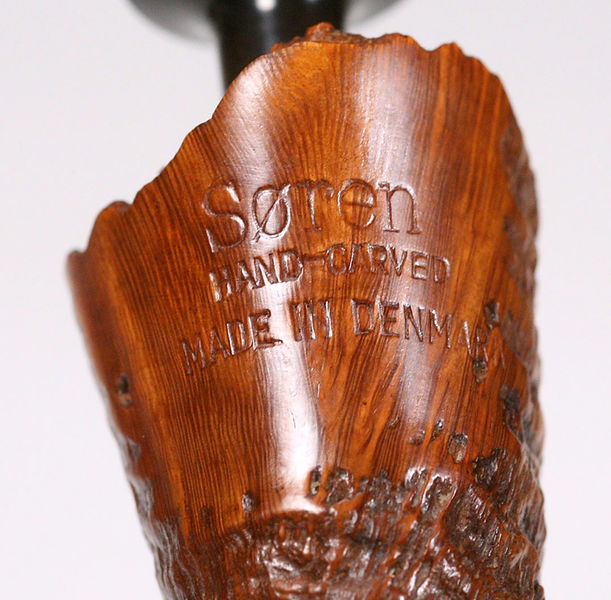
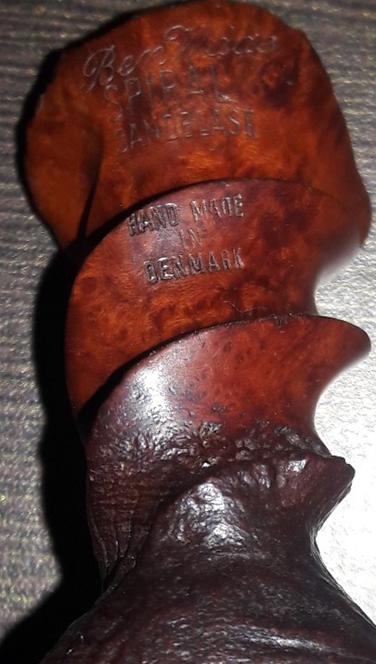
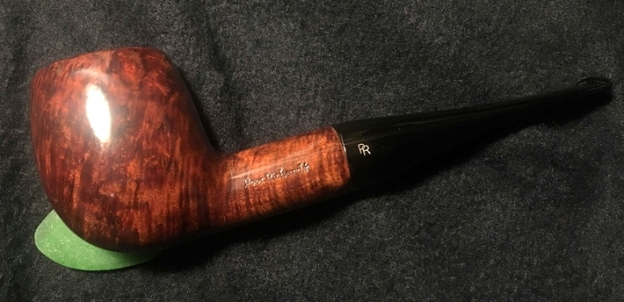
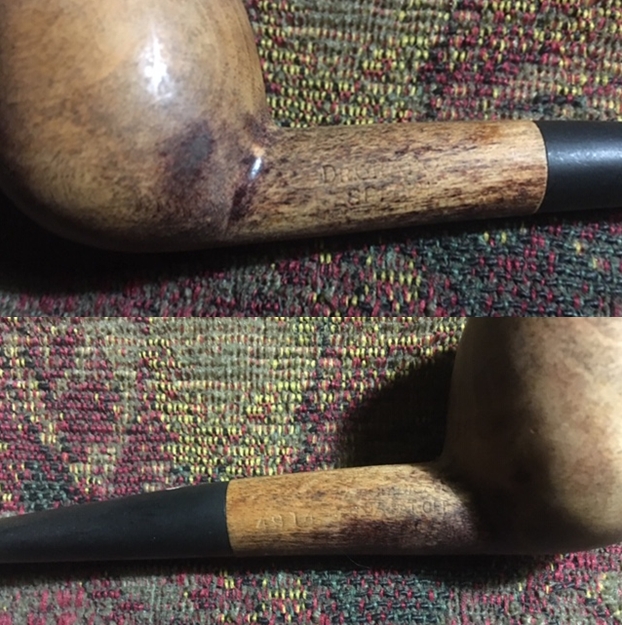
 The nomenclature identifies this Comoy’s as a post-Cadogan era pipe which dates it no older than the early 1980’s when the Cadogan merger took place. On the left side of the shank is ‘COMOY’S’ [over] ‘MOORGATE’. The right side of the shank is stamped with the shape number, ‘102’. The upper side of the stem has the well-known ‘C’ Comoy’s stamp and the underside is stamped, ‘ITALY’.
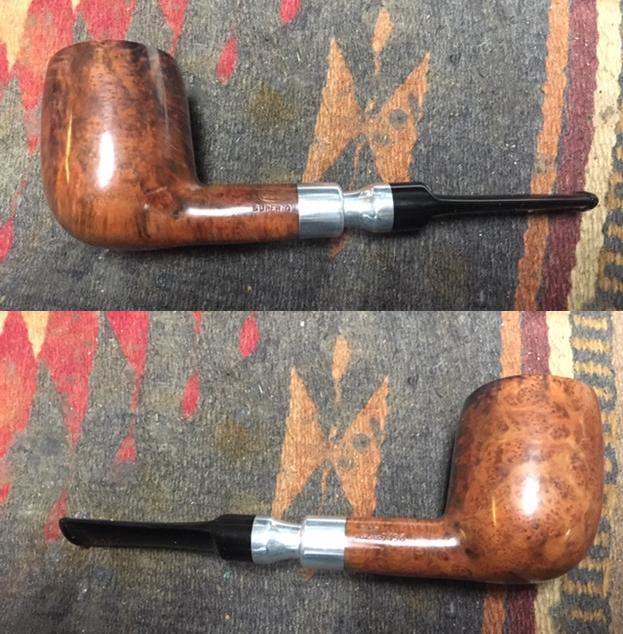
 All the stampings point to a post-merger Comoy’s pipe. The COM being Italy and not ‘Made in London England’ confirms this as Cadogan farmed out the manufacturing. Interesting also is the shape number, ‘102’. Pipedia provides a Comoy’s Shape Number Chart that identifies the 102 as being an army mounted, large, straight Pot which does not correspond to the Half Bent Billiard on my table. The chart most likely pointing to earlier shape numbers.
 Pipephil.eu provides a Comoy’s Moorgate that matches up with what I’m seeing before me – nomenclature and stampings. It references a Comoy’s second brand with the name ‘Moorgate’. I look up the reference and it is a different line altogether – nomenclature and stem stamps and COM as ‘Made in England’.
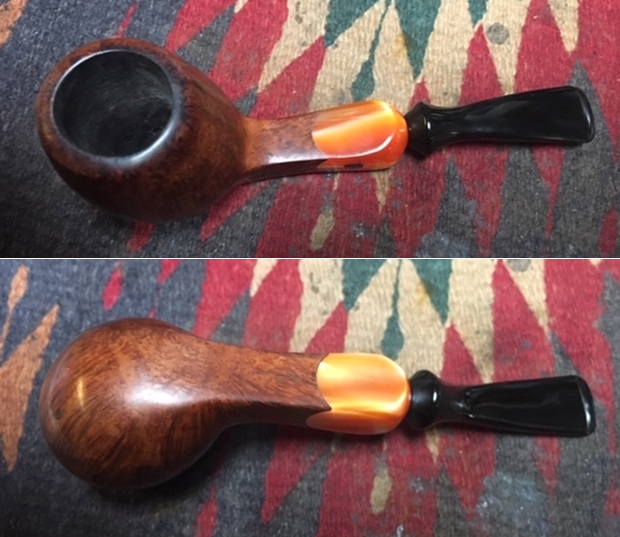
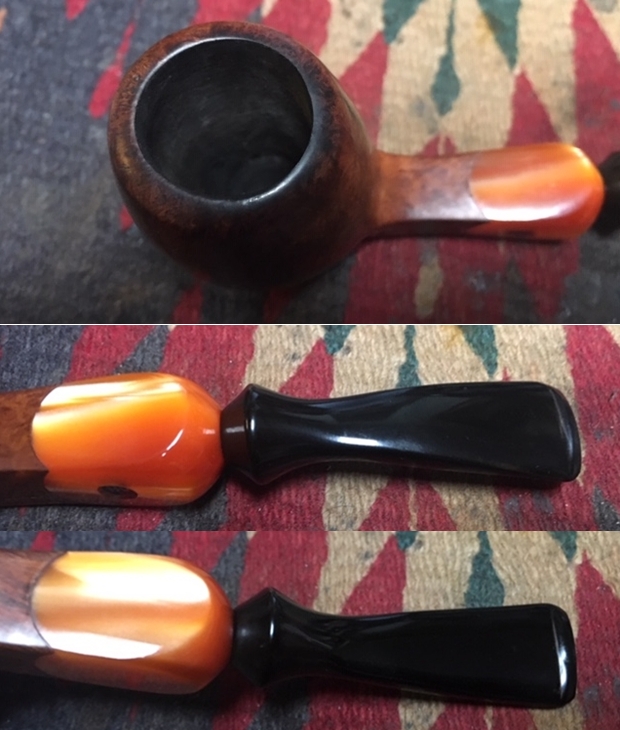
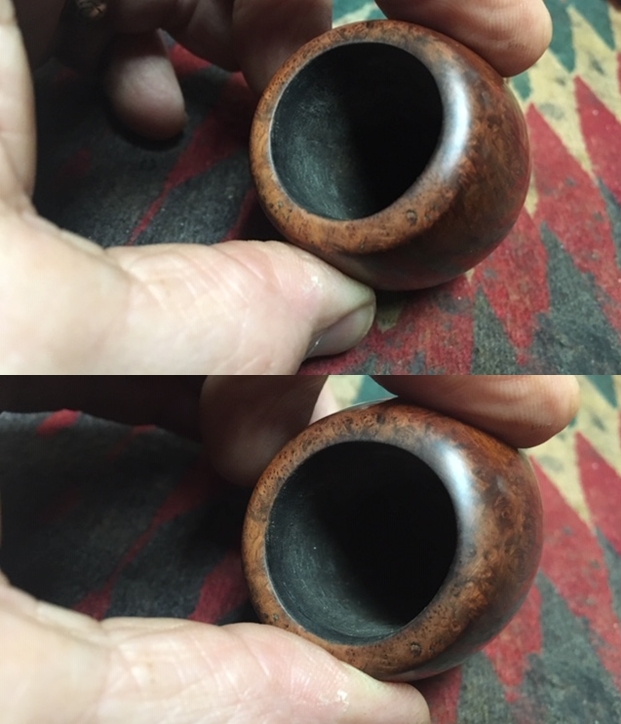
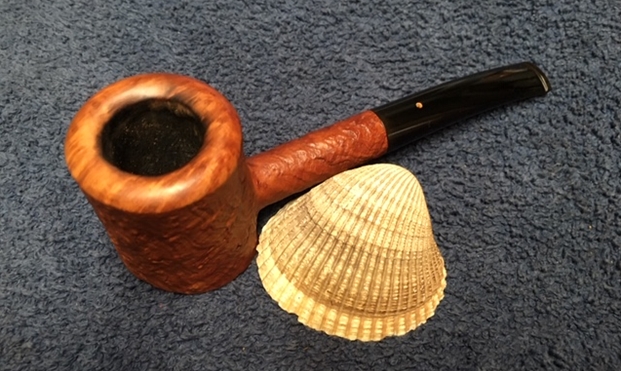
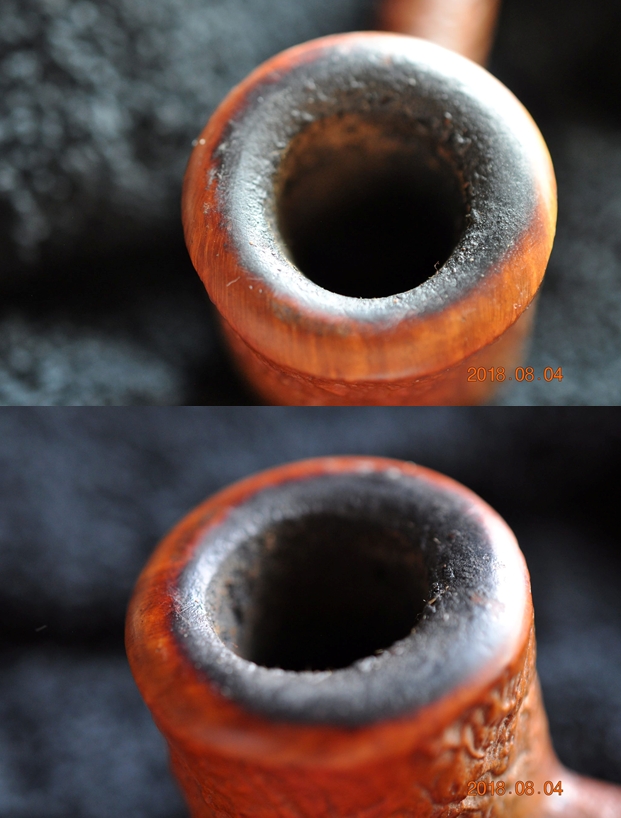
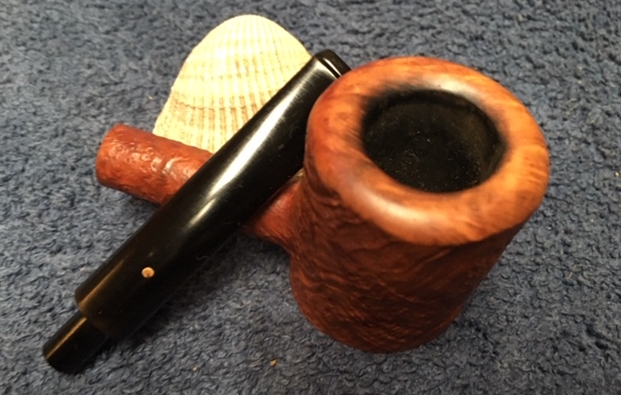
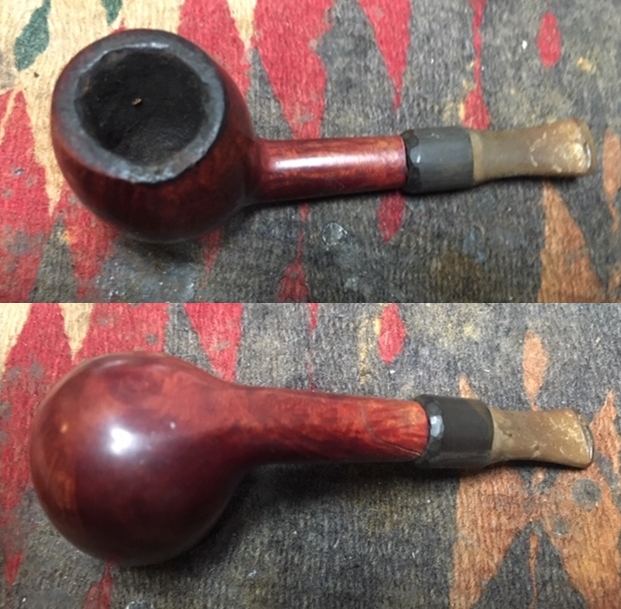
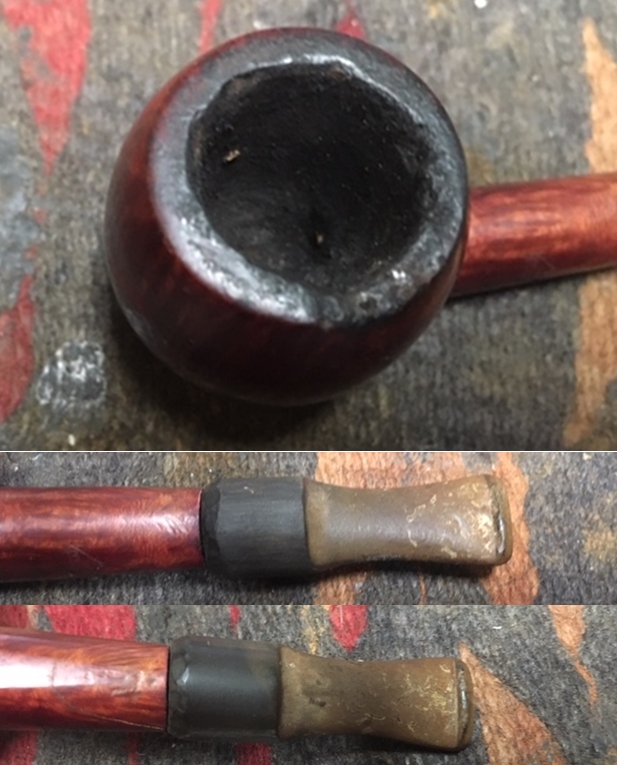
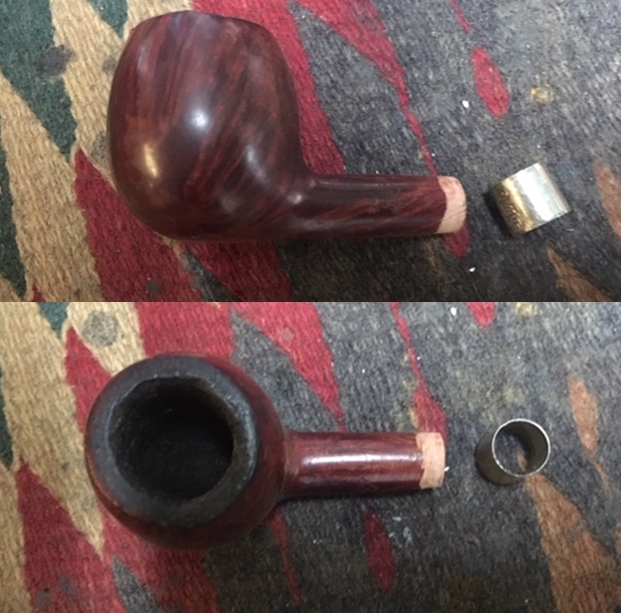
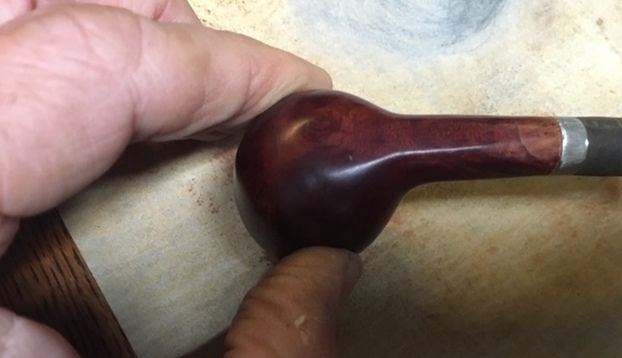
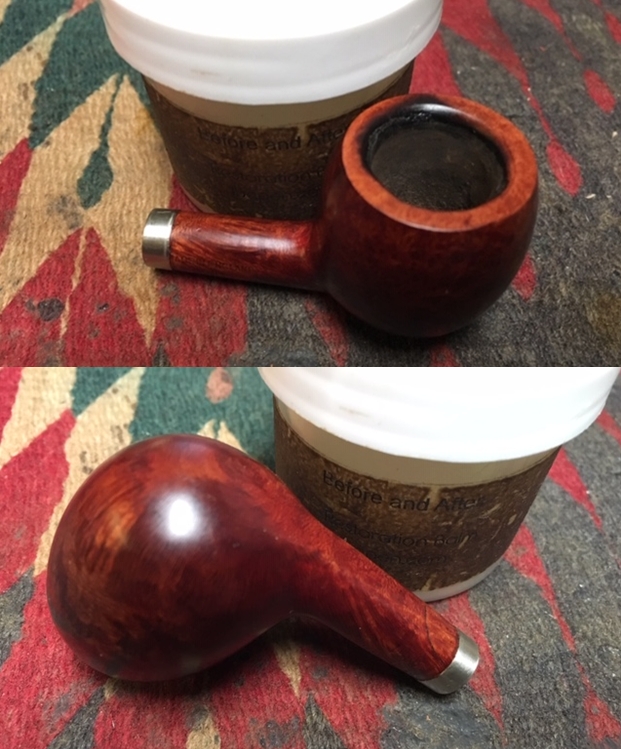
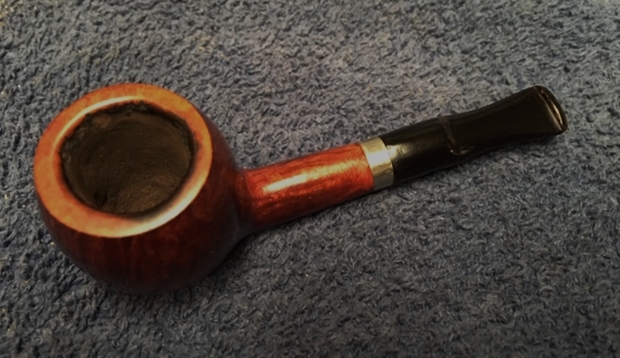
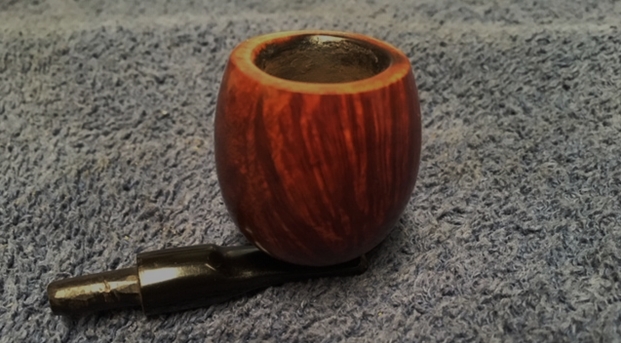
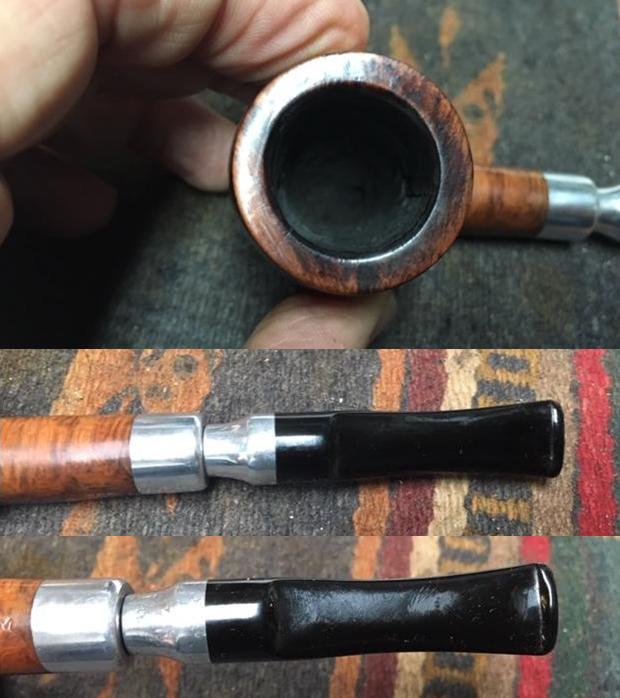
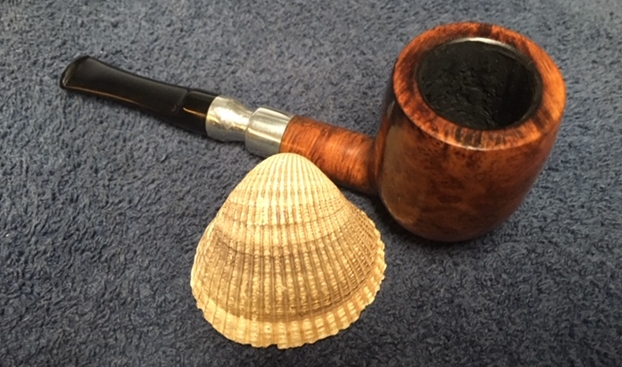
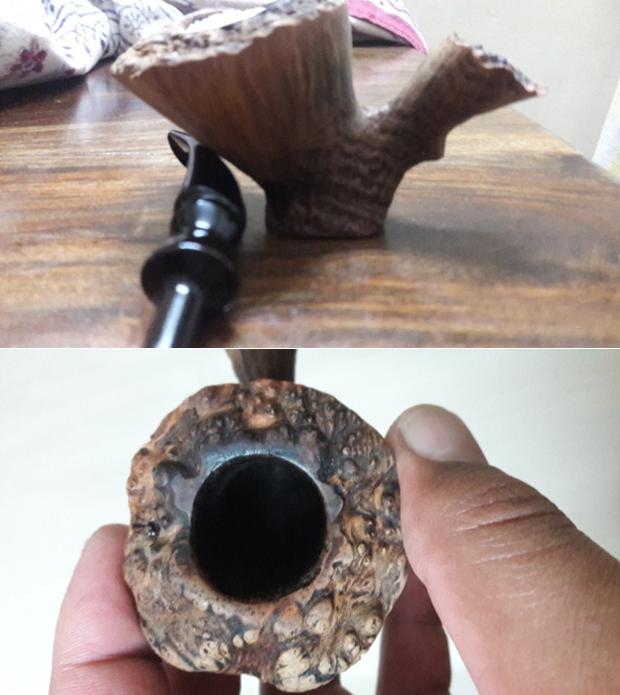
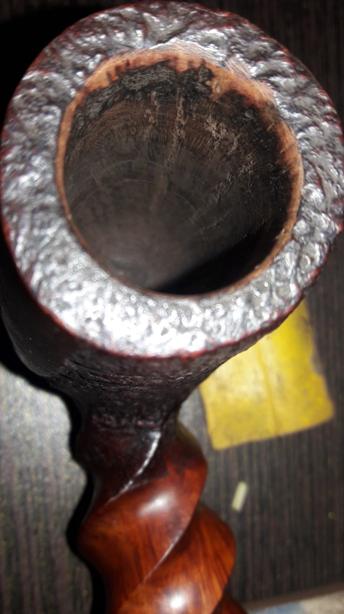
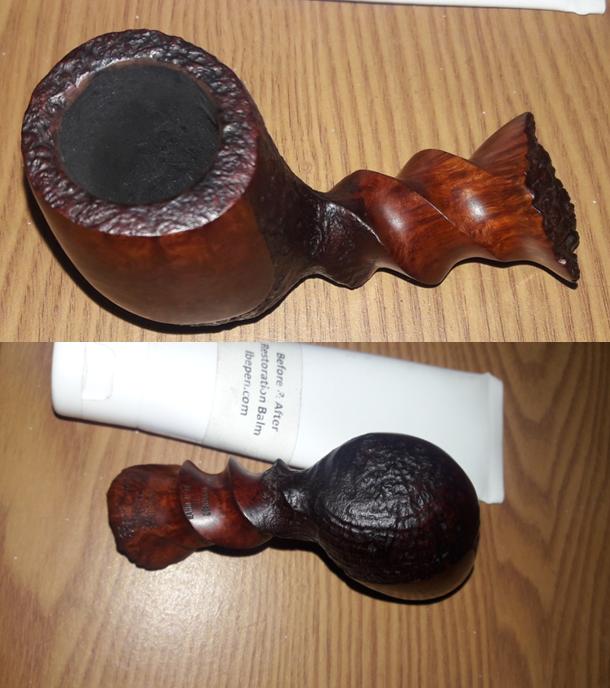
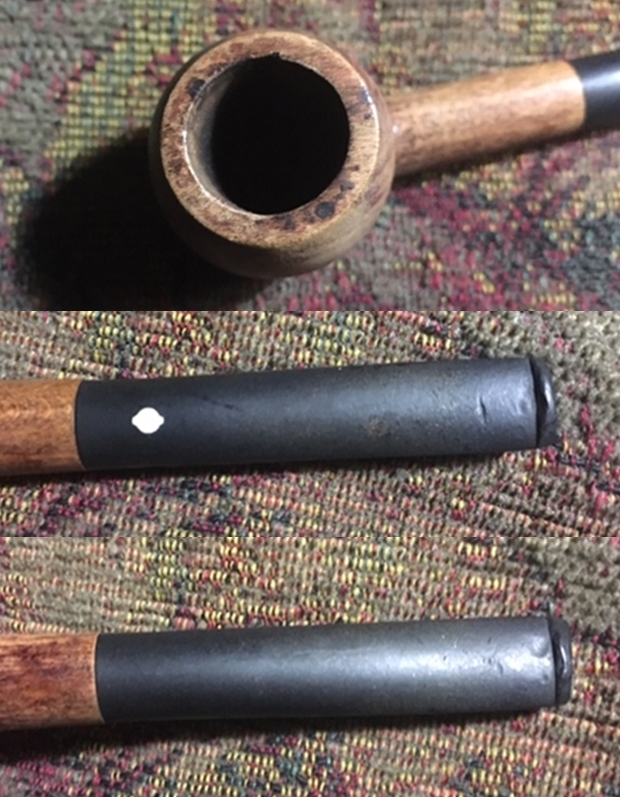
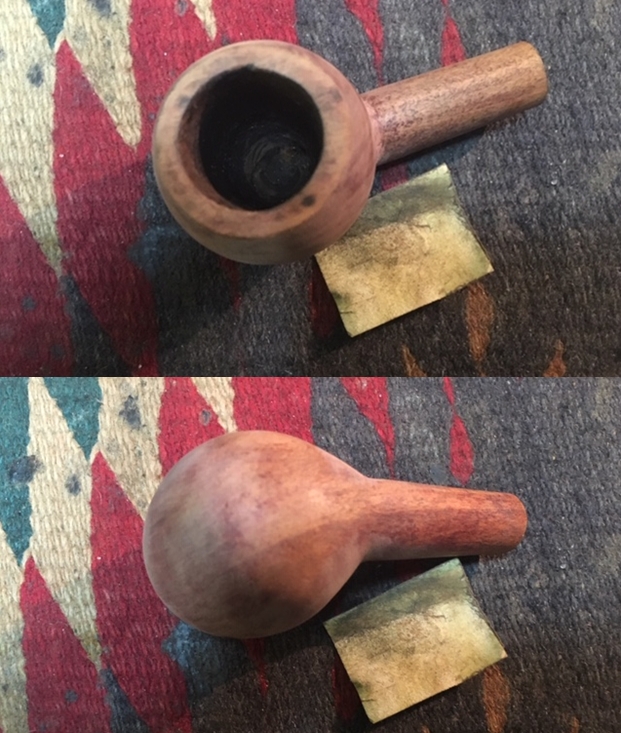
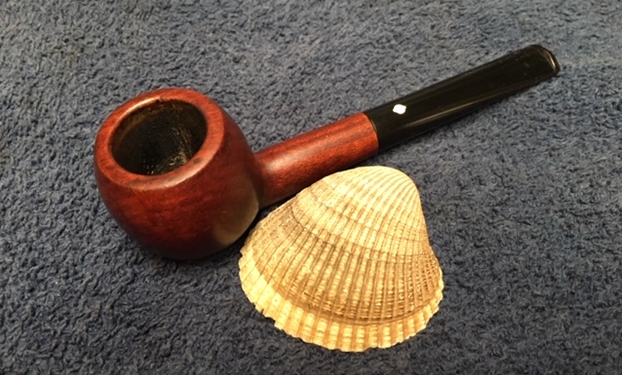
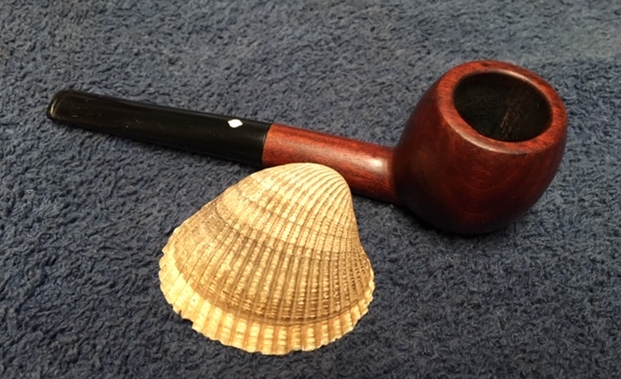
 Looking at the condition of the Comoy’s Moorgate on my worktable, it is generally in good condition. I take a few more pictures to look at some trouble areas. The chamber has moderate cake build up and some significant lava flow caked on the rim. The bowl surface has some dents which I’ll try to lift with the hot iron method to preserve the finish. The stem has moderate oxidation and tooth chatter – no huge problems detected there.

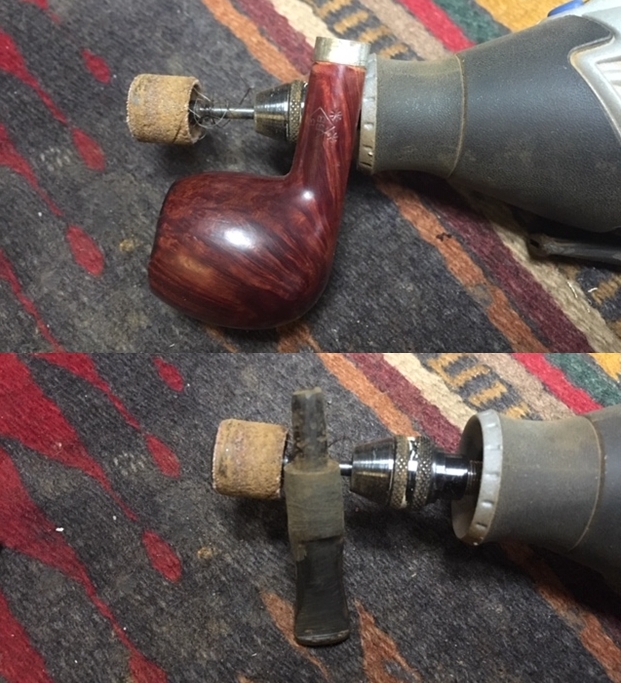
 To begin, I run a pipe cleaner wetted with alcohol through the draft way and then put the stem in a bath of Before & After Deoxidizer along with several other pipes in the queue. After several hours soaking, I fish out the Comoy’s stem and allow the Deoxidizer fluid to drain off. I then take a cotton cloth wetted with alcohol and wipe off the raised oxidation. I continue wiping off oxidation and conditioning the stem by wetting the cotton pad with light paraffin oil. The Deoxidizer seems to have done a good job.

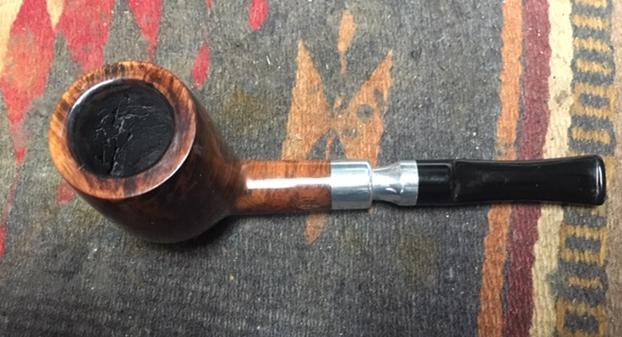
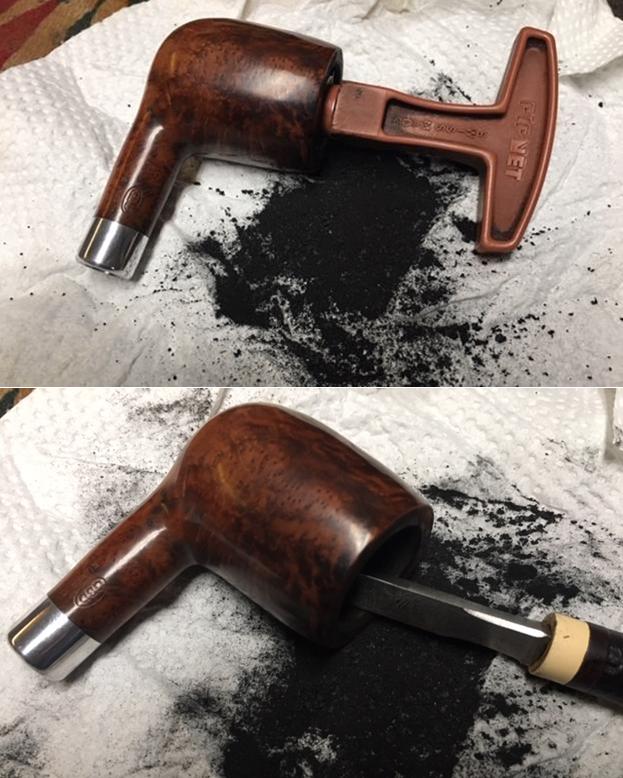
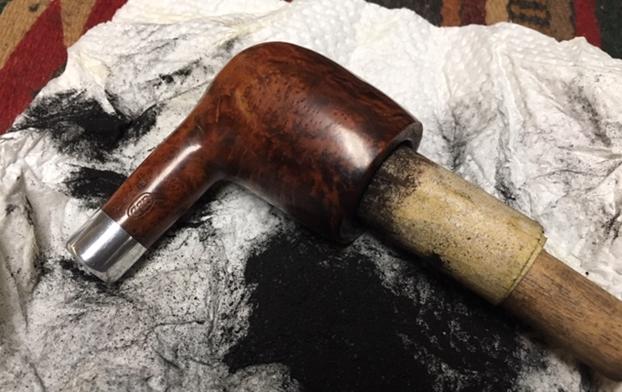
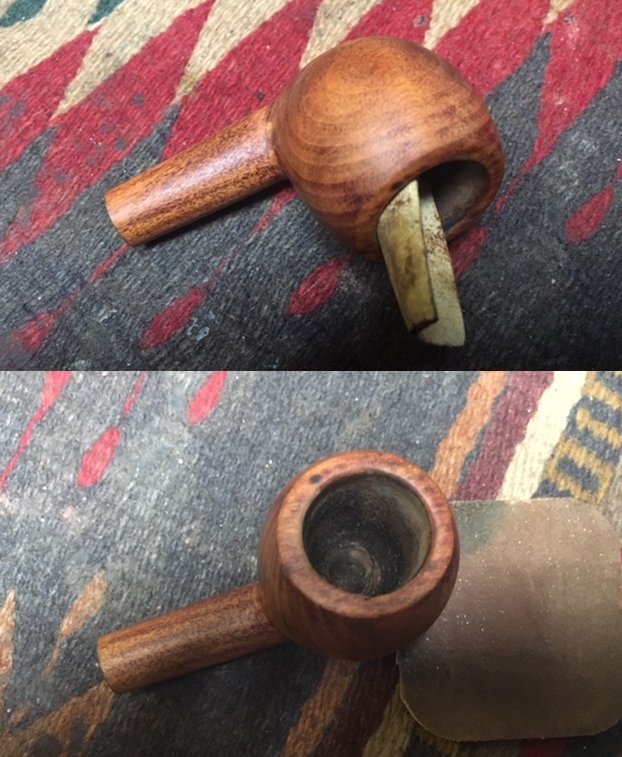
 Next, I address the chamber cleaning by reaming it with the Pipnet Reaming Kit. To help with the cleanup, I put down some paper towel to catch the dislodged carbon. Beginning with the smallest of four blade heads, I ream the chamber. I only use 2 of the 4 blades available. I follow this by using the Savinelli Fitsall Pipe Tool to fine tune the reaming. I also use the Fitsall Tool to scrape gently an internal rim bevel that emerges from underneath the carbon cake. I also use my thumbnail to scratch the carbon off the rim. Following this, I wrap a piece of 240 grit paper around a Sharpie Pen and sand the chamber. Finally, to remove the carbon dust, I wipe the chamber with a cotton pad wetted with isopropyl 95%. With the chamber cleaned, I inspect the chamber walls and I find no issues with heat fissures or cracking.


 Turning now to the external briar surface, I use undiluted Murphy’s Soap on a cotton pad and clean. I take my time on the rim to remove the lava. After cleaning the surface, I use cool tap water to rinse the bowl.
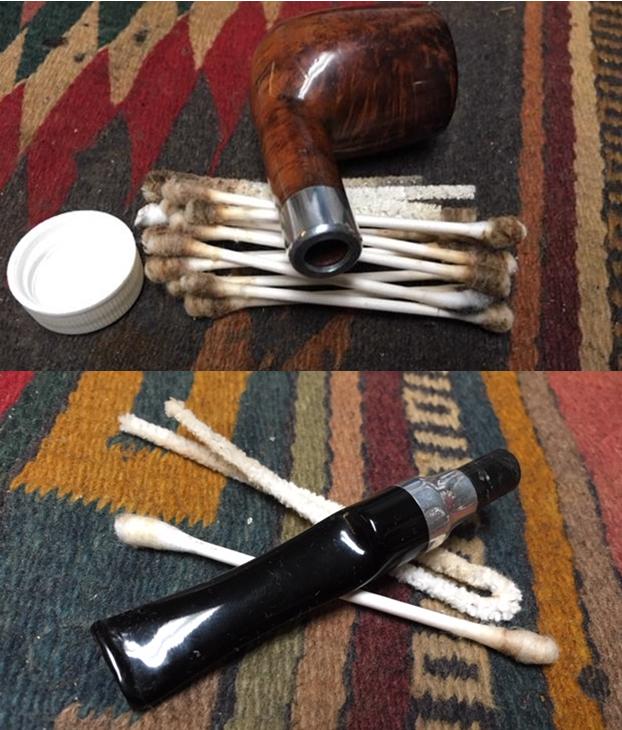
 Turning now to the internals of the bowl, I use cotton buds and pipe cleaners with alcohol to clean. I also use a dental spatula to scrape the mortise walls more quickly removing the built-up tars and oils. In time the buds and pipe cleaners start coming out cleaner. Good for now. I move on!
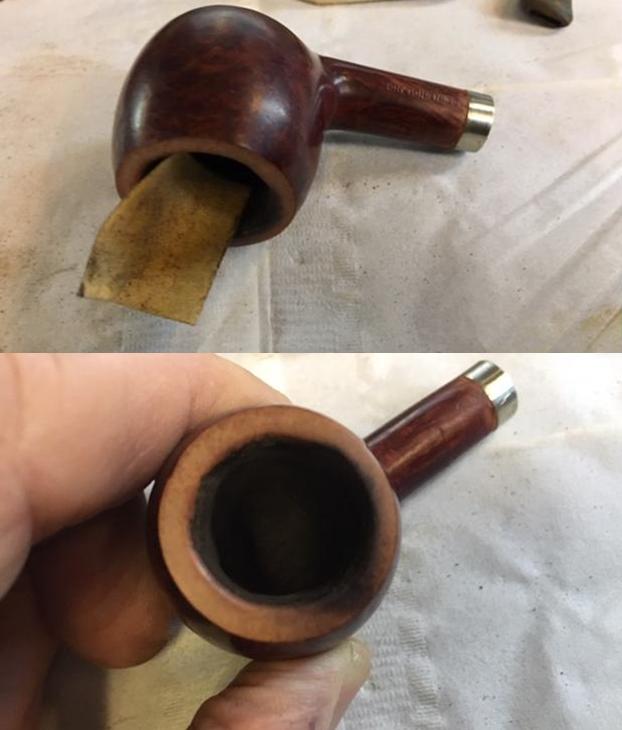
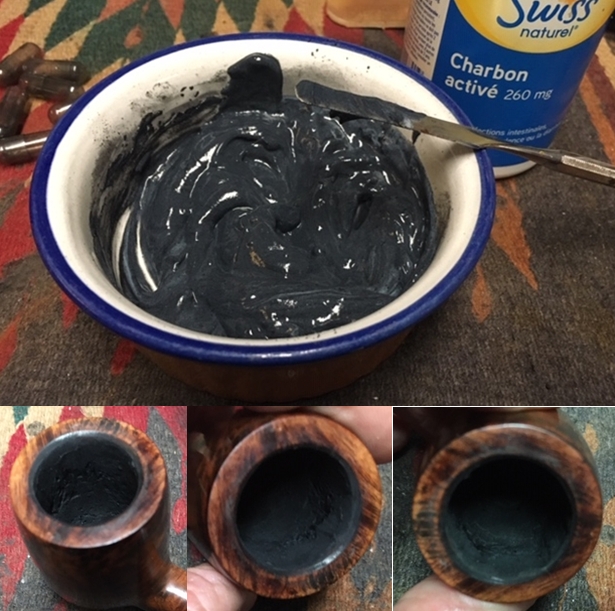
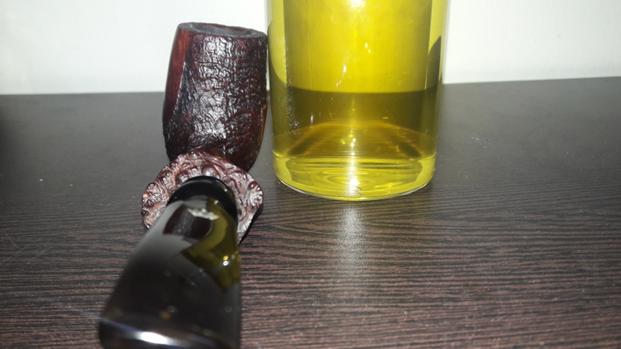
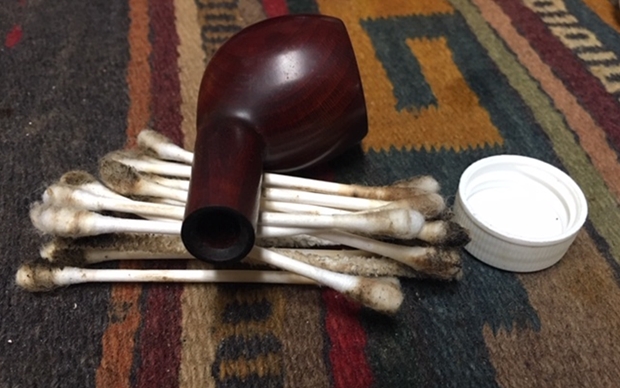
 To achieve a deeper cleaning and refreshing of the internals, I use a kosher salt and alcohol soak. Using a cotton ball to create a wick, I stretch and twist it and then insert it through the mortise and into the airway. I then fill the bowl with kosher salt and place it in an egg carton to provide stability. With a large eye dropper, I then fill the bowl with isopropyl 95% until it surfaces over the salt. I top the alcohol in a few minutes after it’s absorbed into the salt. I put the stummel aside for several hours to soak. After some time, the salt and the wick were soiled. I tossed the expended salt, wipe the bowl with paper towel, and blow through the mortise to remove salt crystals. To make sure all was clean, I use a cotton bud and pipe cleaner dipped in isopropyl 95% and they are clean.
 Putting the cleaned bowl aside, I take the flat needle file and work on the button. I file the button lips, upper and lower to redefine them. To erase the scratches of the file, I follow by sanding the bit area, upper and lower with 240 grade sanding paper. I also sand the entire stem to remove further residual oxidation. I’m careful to avoid the stem stampings while sanding.

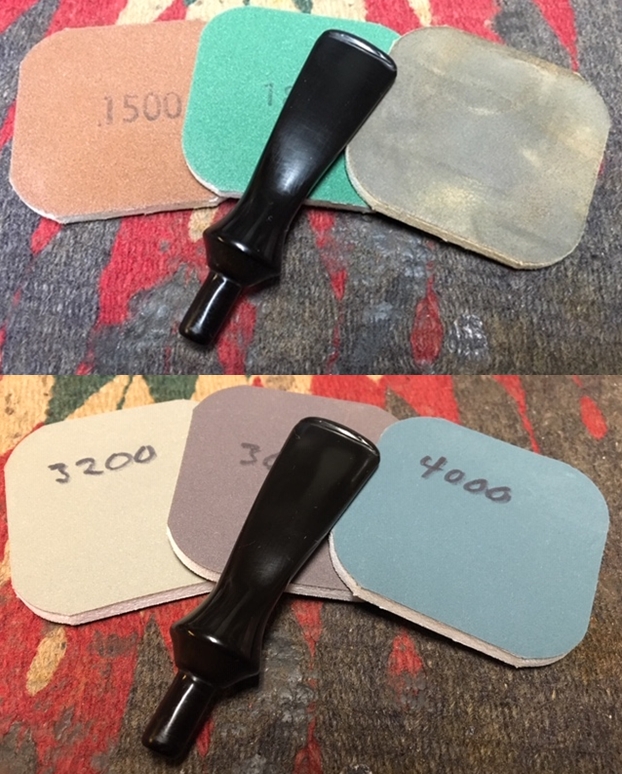
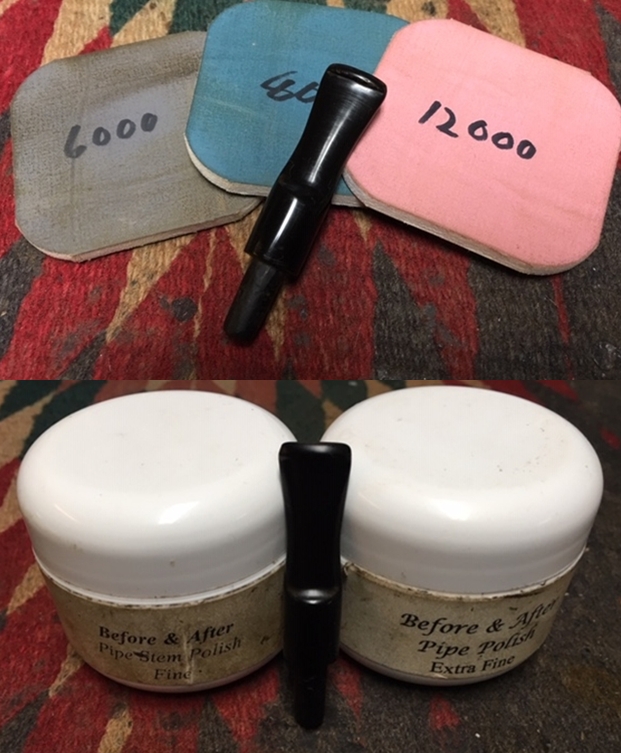
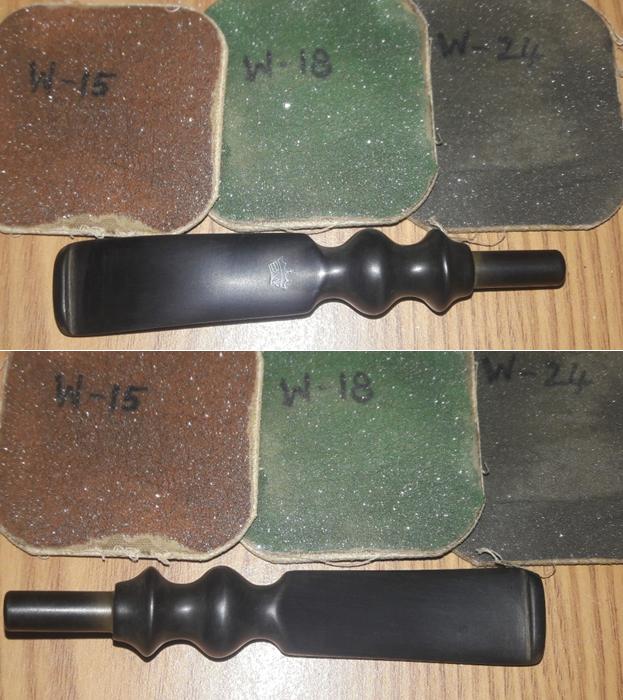
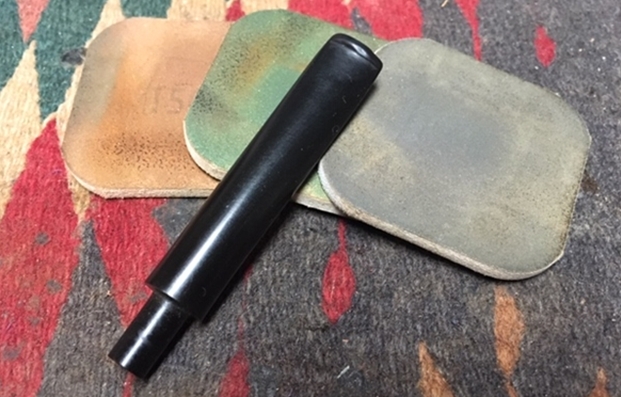
 To remove the scratches left by the 240 grade paper, I wet sand using 600 grade paper followed by applying 0000 steel wool buffing to the entire stem.
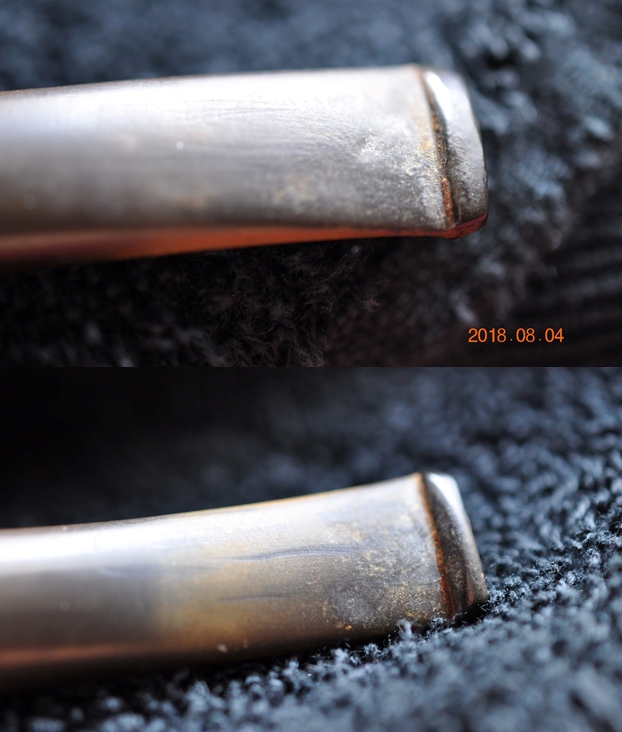
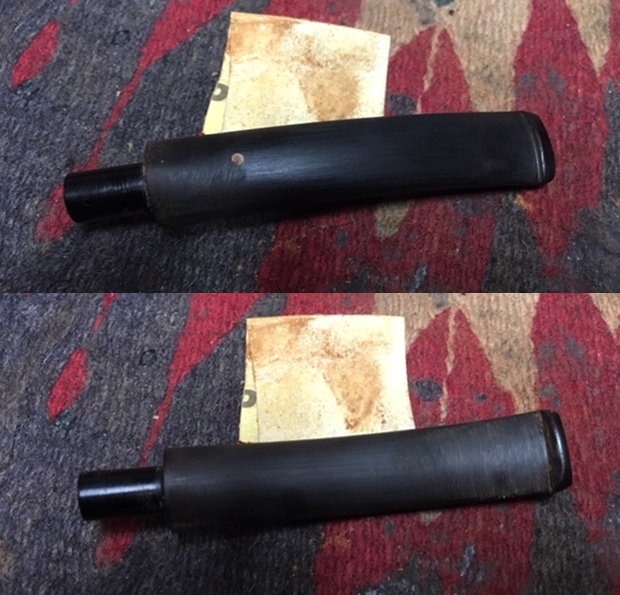
 In order to further enrich the vulcanite, I use Before & After Fine and Extra Fine Polish in that order. I put some Fine polish on my fingers and work the polish in. After some minutes, I wipe it off. I follow with the same process with the Extra Fine Polish, giving it some minutes and wiping it off and buffing up the stem. The stem is cleaning up very nicely.
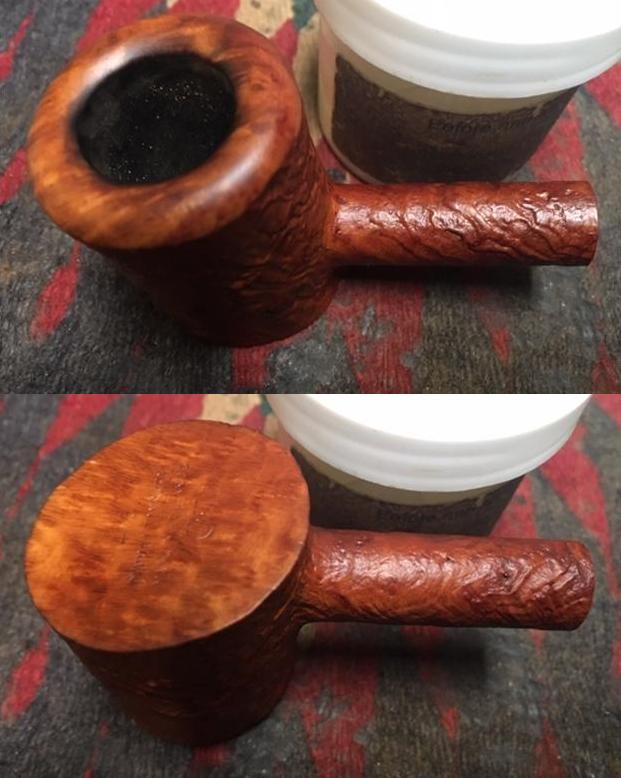
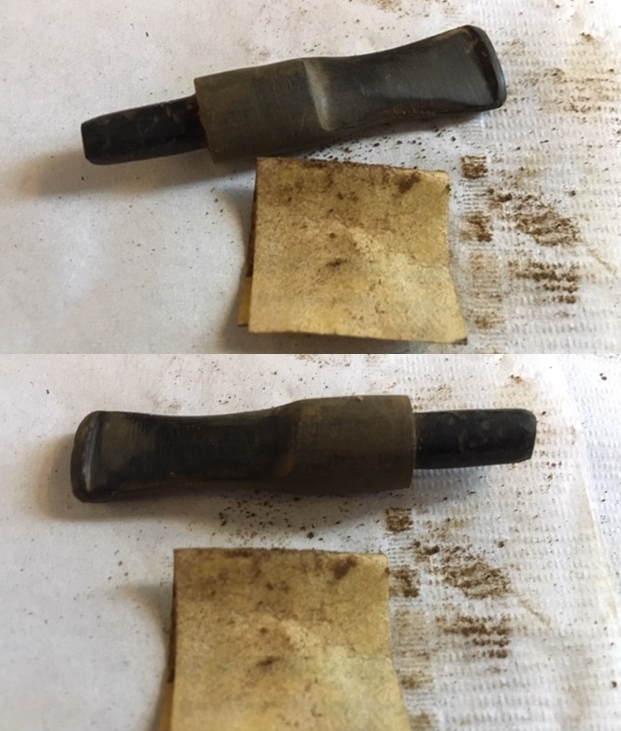
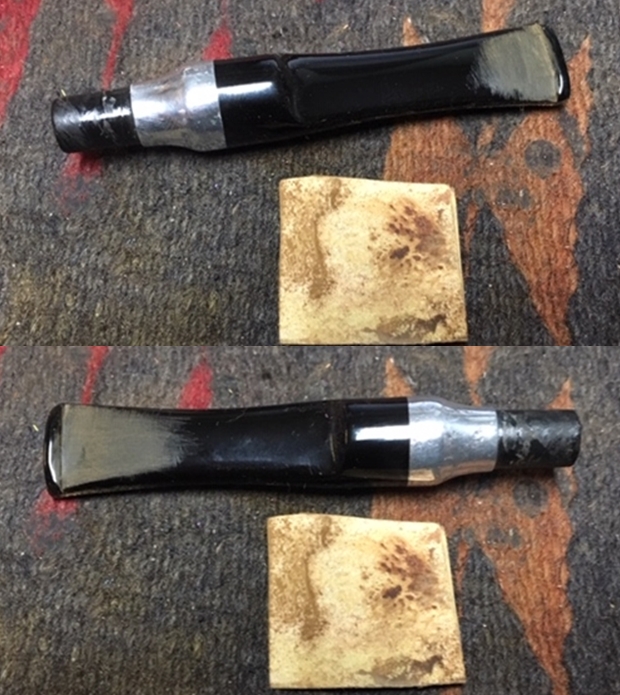
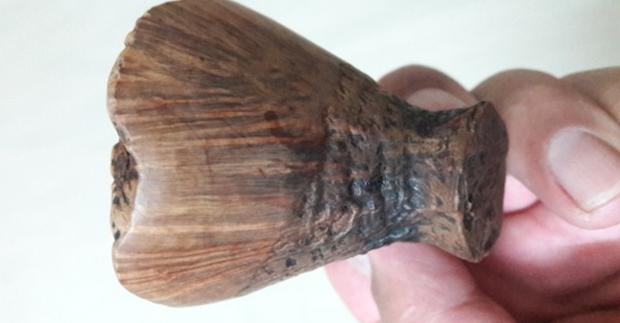
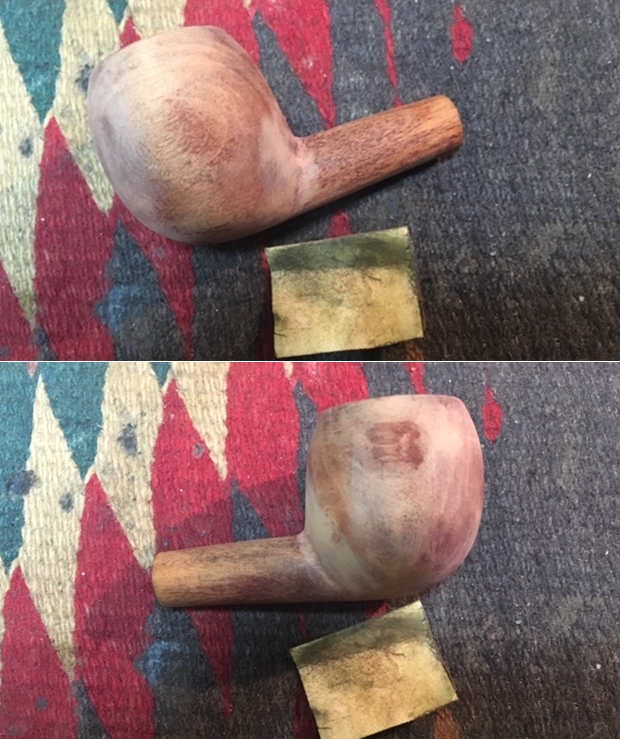
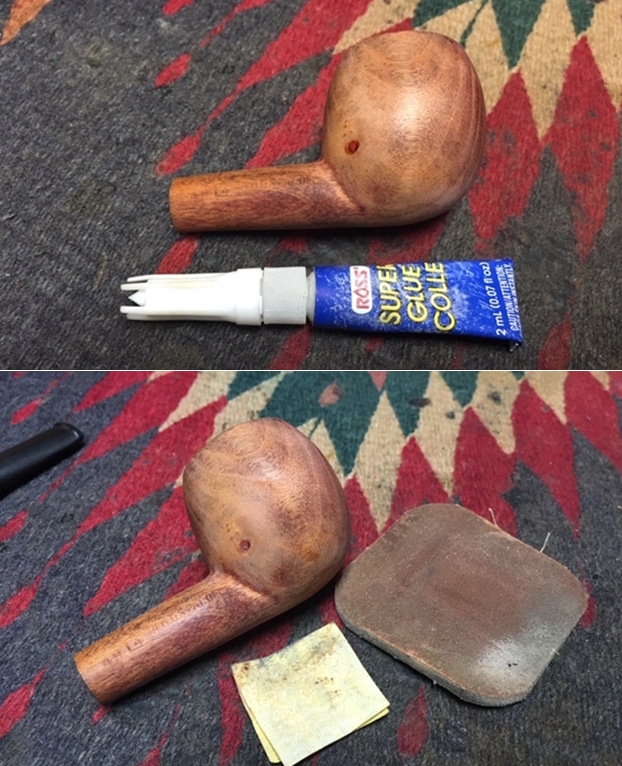
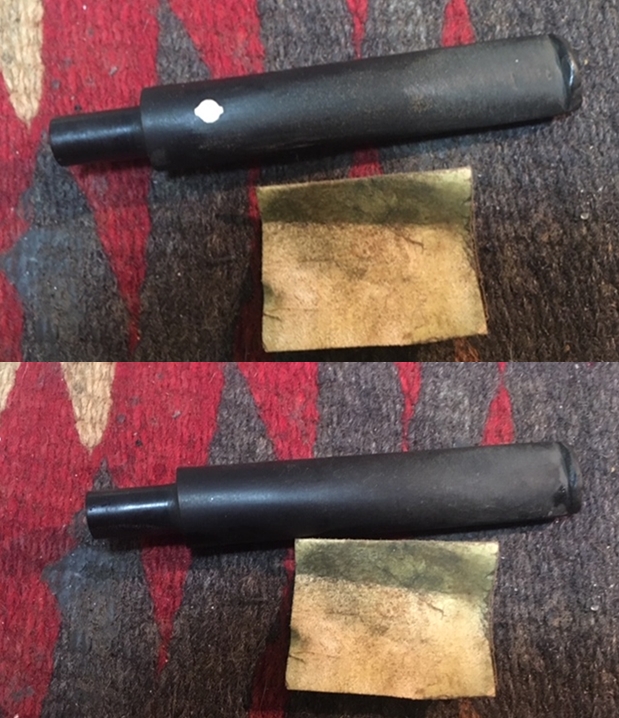
 Turning again to the stummel, there are 2 significant dents that I want to see if I can minimize using the heating method with an iron. I take pictures of the two places I have in mind. I heat the iron and dampen a cotton handkerchief with water. I place the cloth over the dent and press the hot iron against the cloth over the dent in the briar. The heat and moisture are supposed to expand the dent and in this case it does. Interestingly, taking a picture of the two dents afterwards, what emerged is a roughness caused by the heat. Hmmm, not sure why that happened. The pictures show what I see before and after heating.


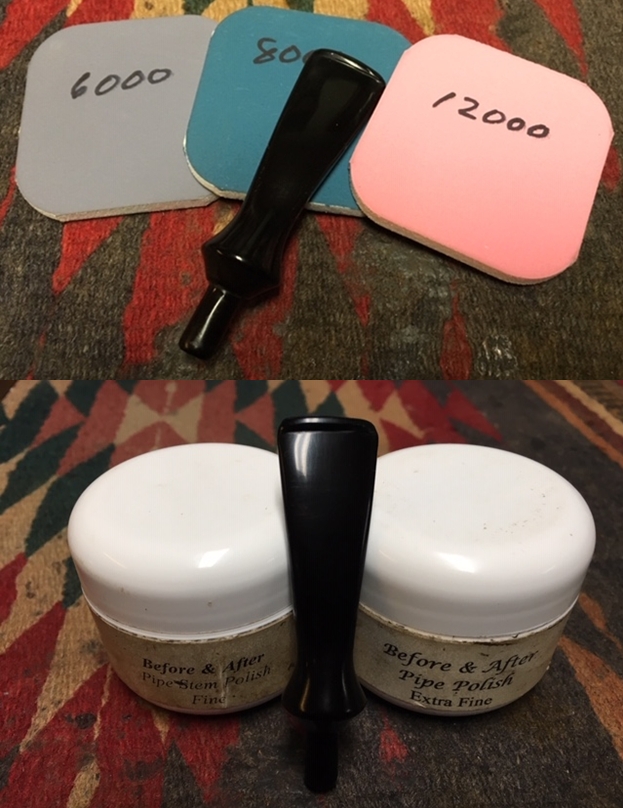
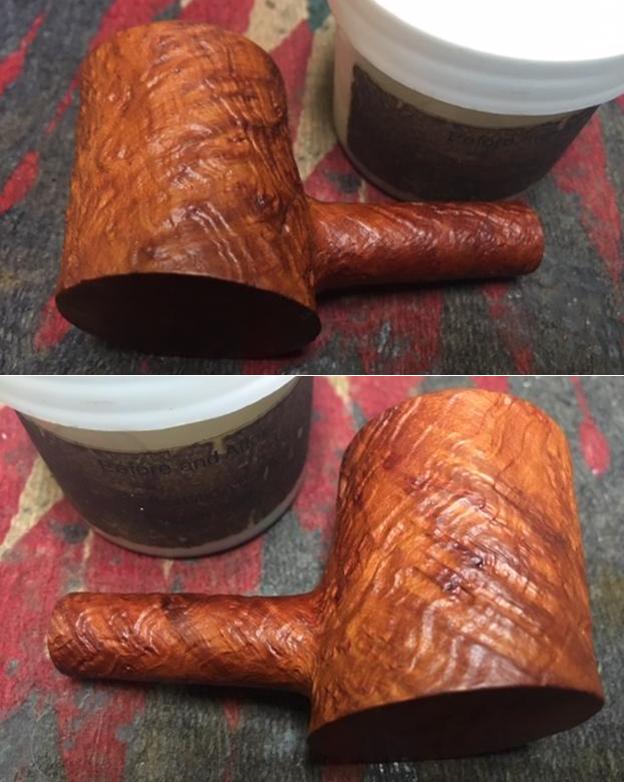
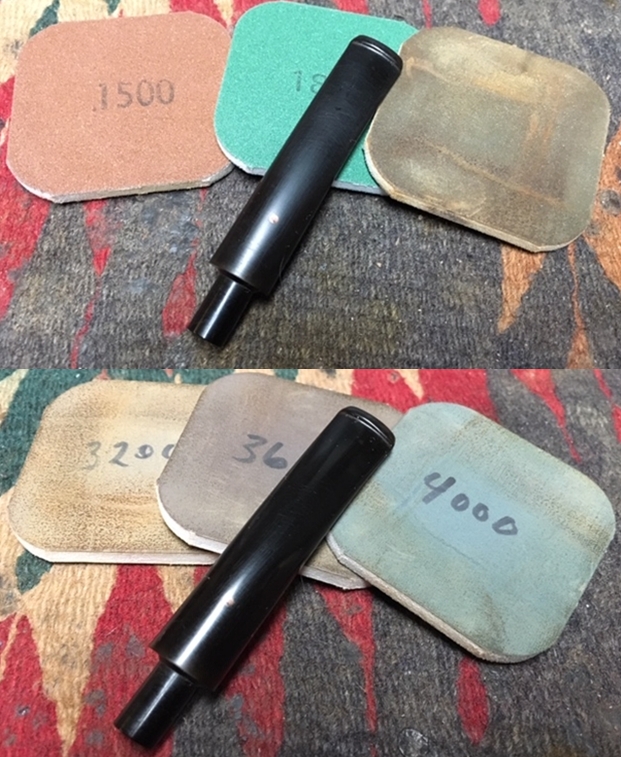
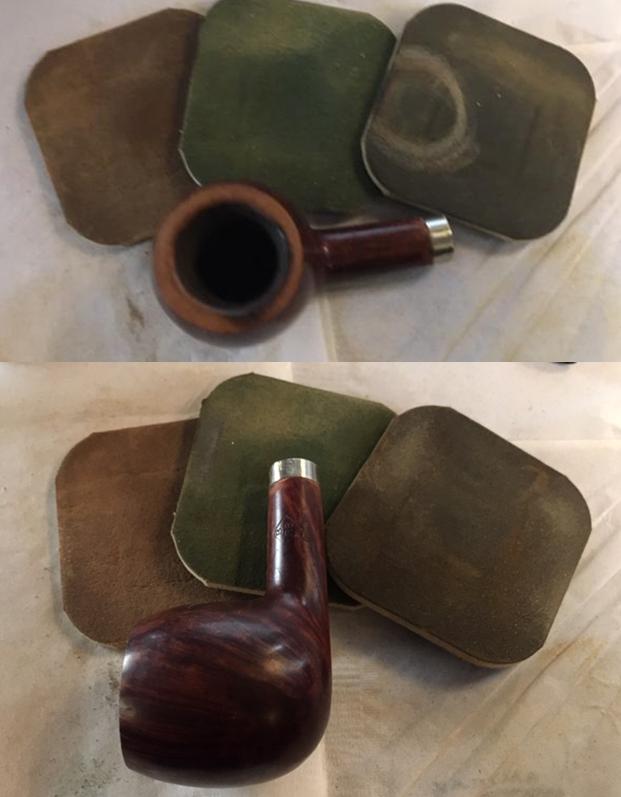
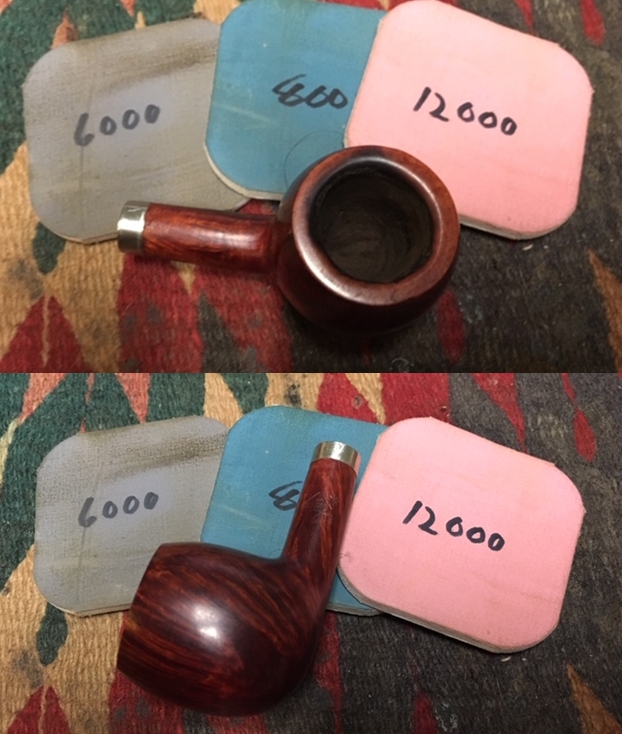
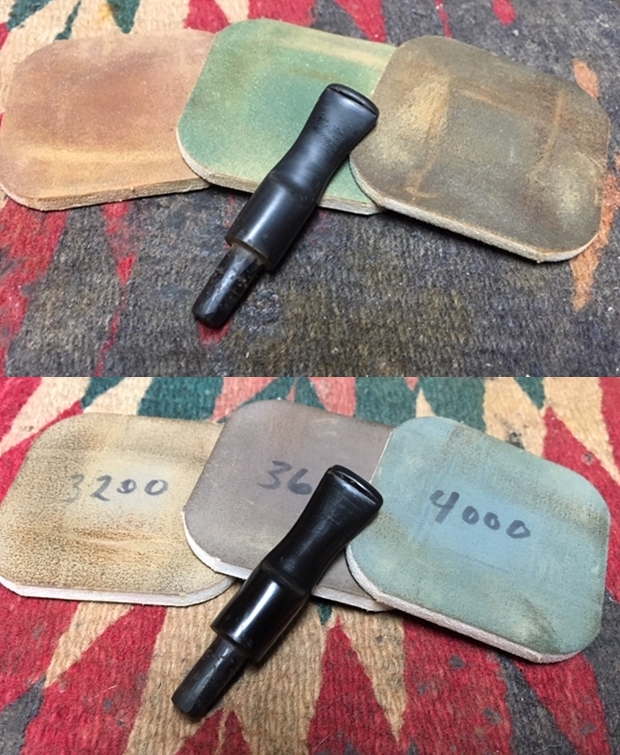
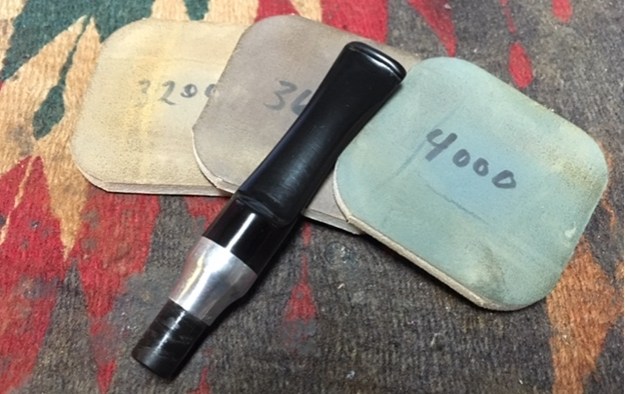
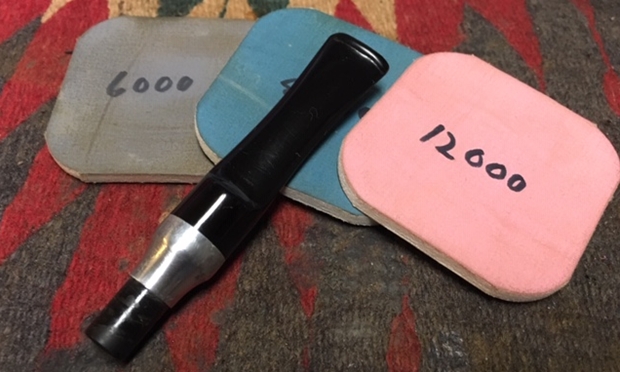
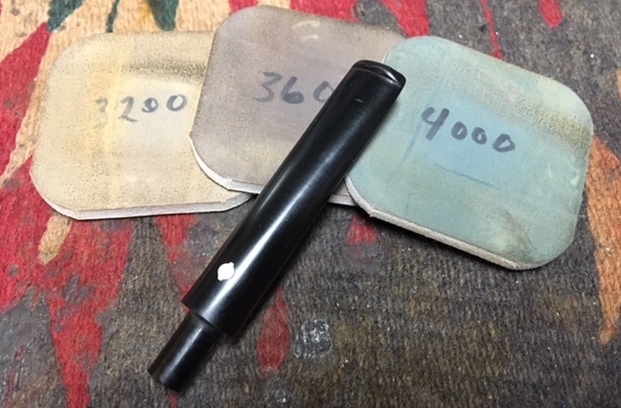
 To remove the roughness caused by the heating and to remove the normal wear nicks, I wet sand the stummel using micromesh pads 1500 to 2400. I then dry sand with pads 3200 to 4000 and 6000 to 12000. The grain on this Comoy’s Moorgate is unique as it emerges through the micromesh process. It looks great!
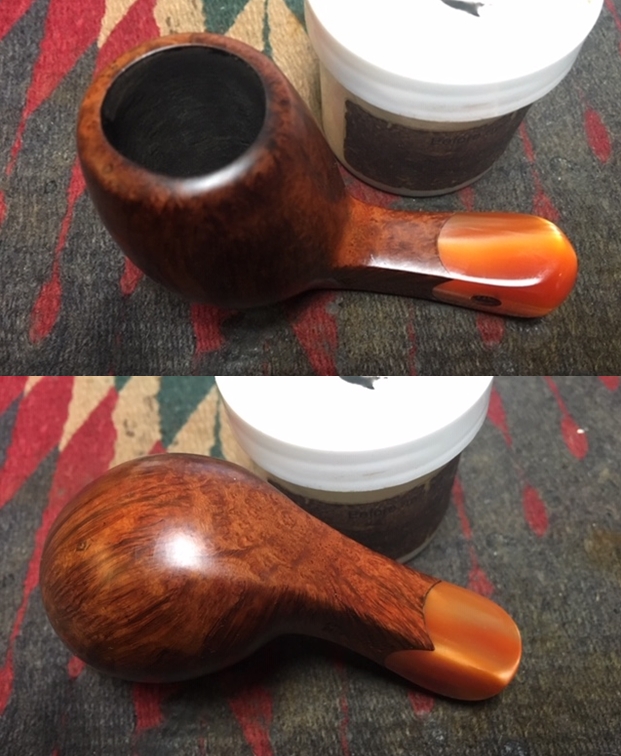
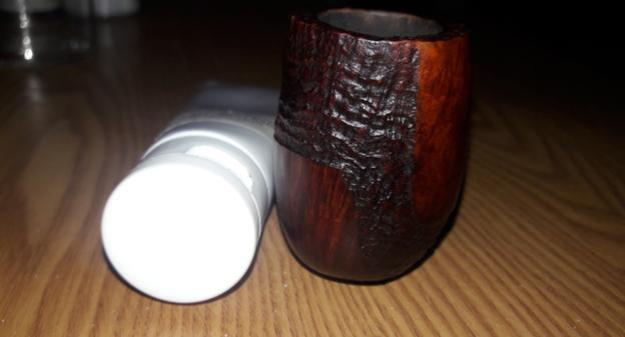
 To enrich the natural grain of the bowl, I apply Before & After Restoration Balm. I apply some Balm on my fingers and work it into the briar surface. The Balm starts with a thinner oil-like viscosity then gradually thickens to a waxy consistency. After I apply the Balm thoroughly, I let the bowl stand for several minutes while the Balm absorbs. I then wipe off the Balm using a microfiber cloth and gradually, as the Balm is removed, I transition to buffing with the cloth. I take a picture while the Balm is doing its thing and after. I’m liking it a lot!
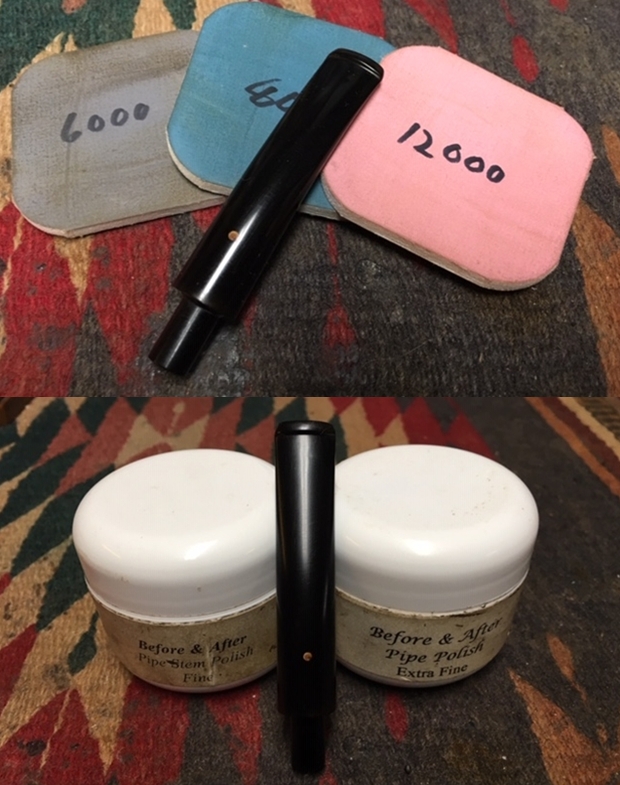
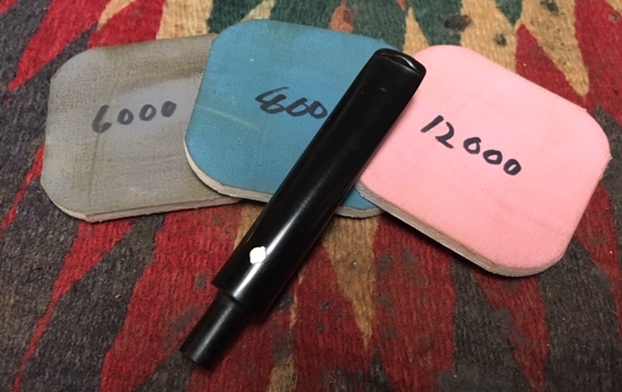
 Returning to the stem, I now continue with the micromesh sanding phase. I begin by wet sanding using pads 1500 to 2400, then dry sanding using pads 3200 to 4000 and 6000 to 12000. Between each set of 3 micromesh pads, I apply Obsidian Oil to continue revitalizing the vulcanite. The rubber has that glossy pop! I put the stem aside to dry.
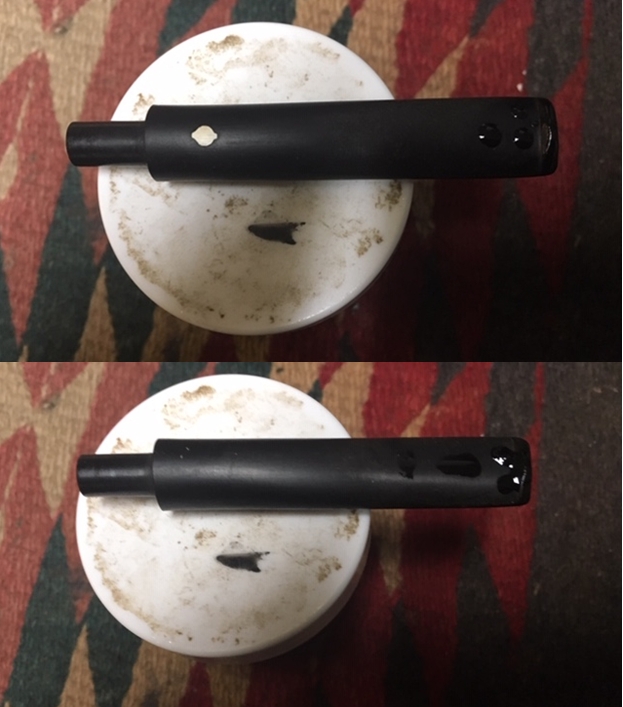
 Next, I want to refresh the stem stamping, ‘ITALY’. To do this I place a drop of white acrylic paint over the lettering. I then use a cotton pad to blotter the excess paint, thinning it so that it dries rapidly. With the flat edge of a toothpick, I then gently scrape the excess paint off the stem. The pictures show the progress.
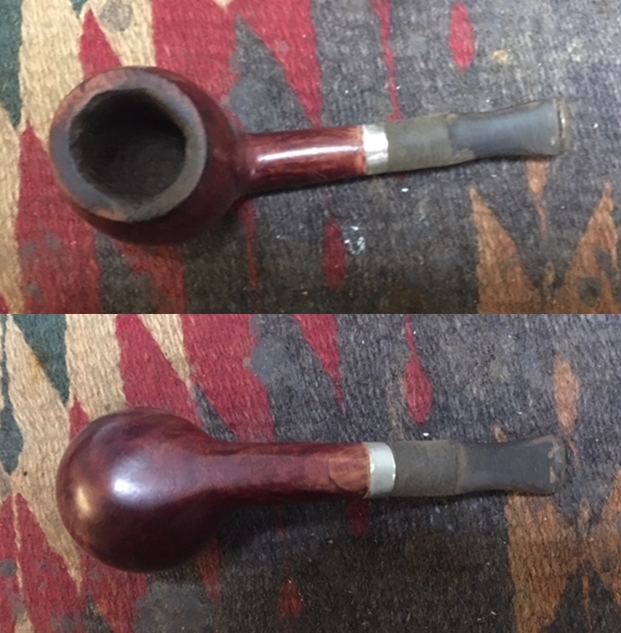
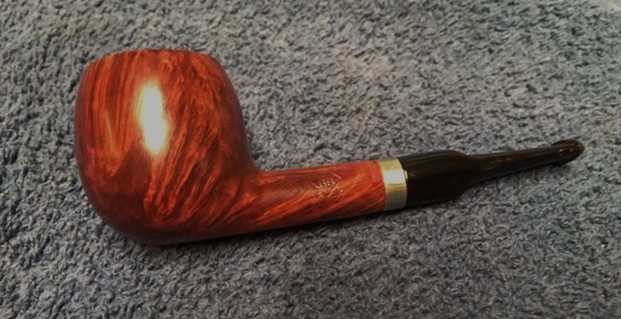
 I now reunite the stem and the bowl and mount a cotton cloth buffing wheel to the Dremel. I set the speed at about 40% full power and apply Blue Diamond compound to the entire pipe. Afterwards, I wipe/buff the pipe with a felt cloth to clear it of leftover compound dust. While I was buffing with the felt cloth, I note that the stem fitting is a little loose for my liking. This sometimes happens after cleaning the pipe well and scraping the mortise. To remedy this, I fit a drill bit just larger than the airway diameter and heat the tenon with a Bic lighter. As the vulcanite tenon heats, it becomes supple allowing me to insert the bit into the airway and it expands the tenon slightly. I test the fit and it works perfectly, and I am satisfied.
  After rejoining stem and stummel, I then mount another cotton cloth wheel to the Dremel, maintaining 40% speed and apply several coats of carnauba wax. I finish the restoration by giving the entire pipe a rigorous hand buffing using a microfiber cloth to raise the shine further.
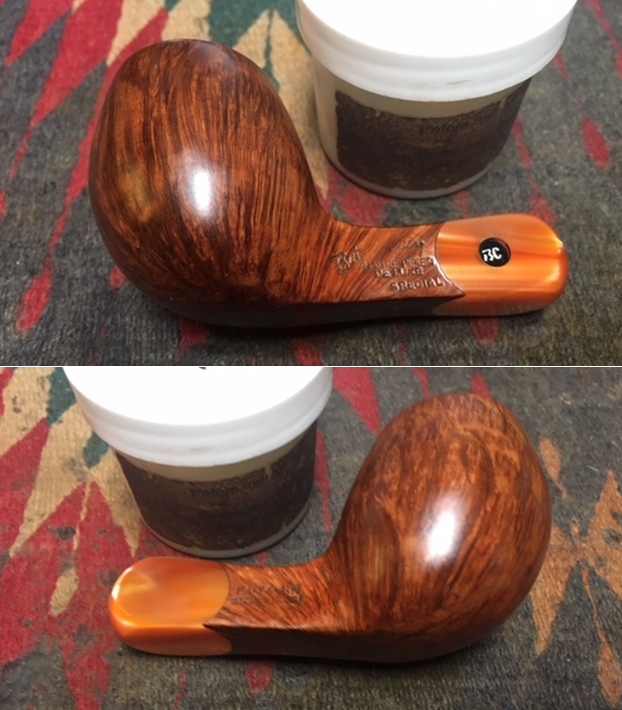
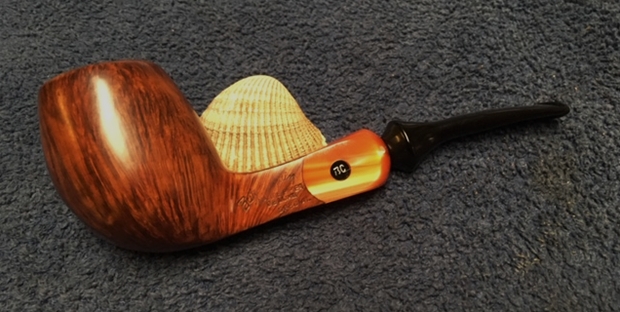
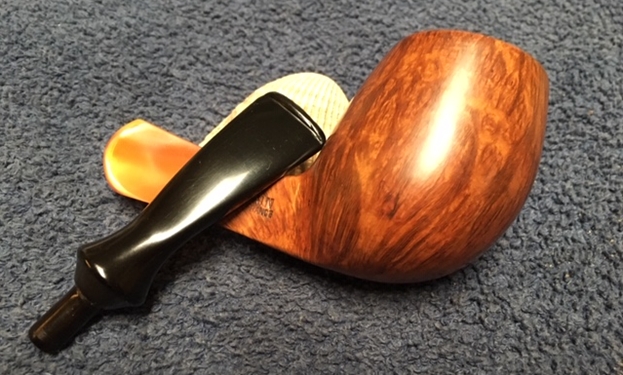
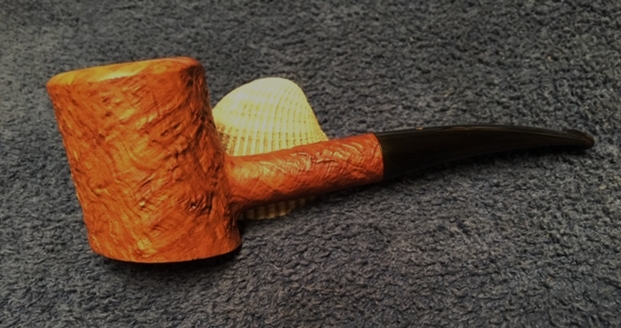
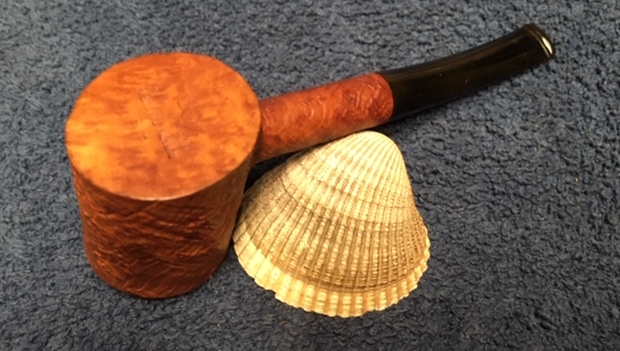
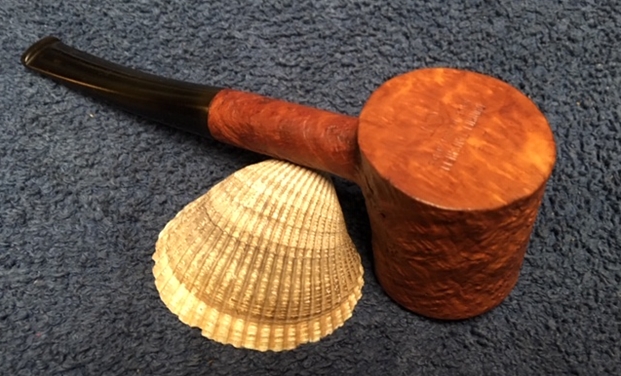
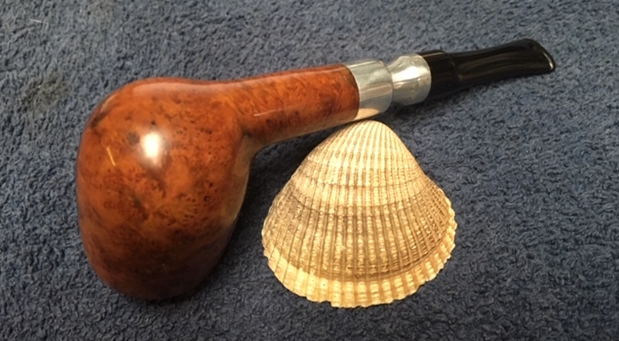
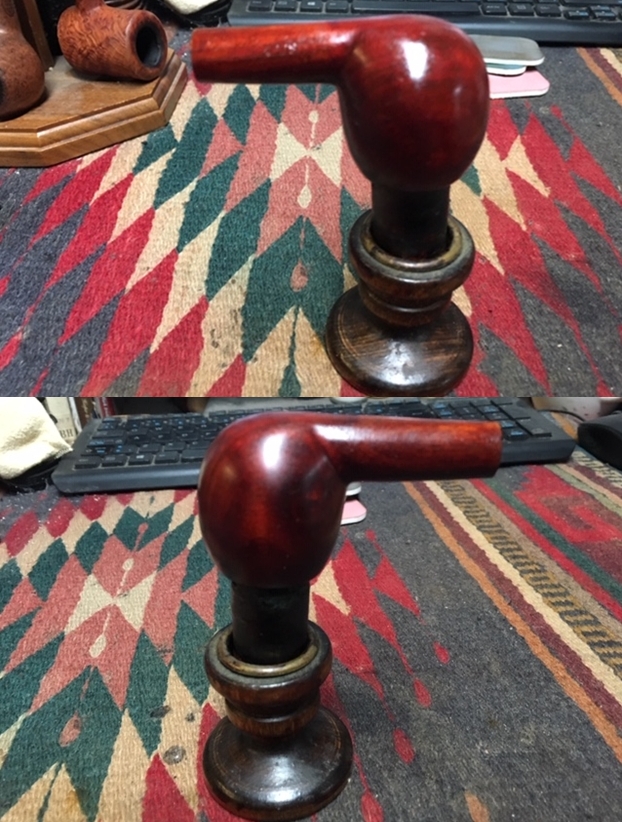
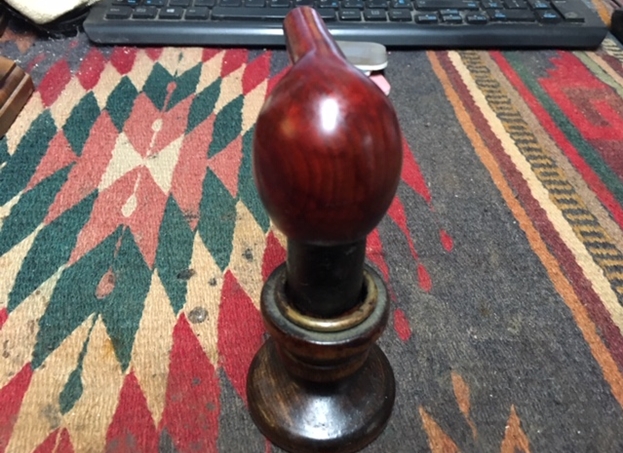
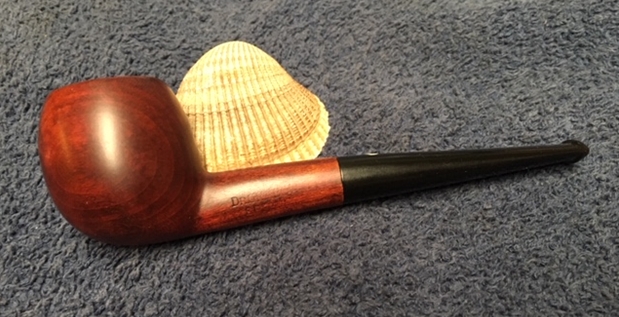
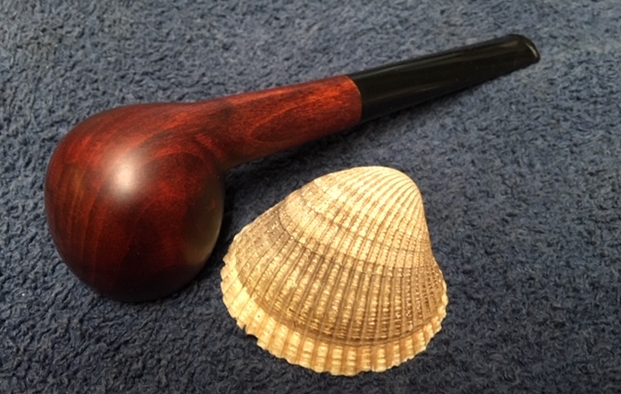
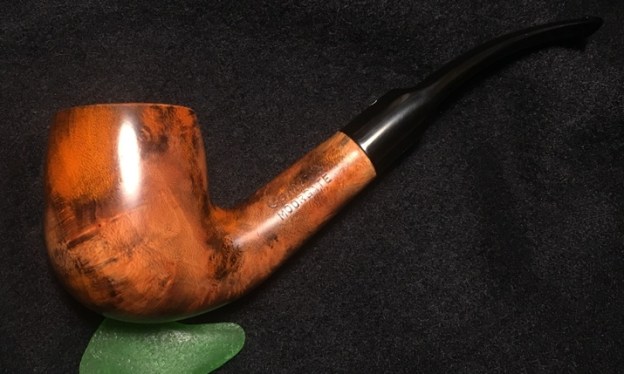
 I’m pleased with the results of this Comoy’s Moorgate. The briar is spectacular with its diversion of colors and swirls of grain. Patches of orange settle in the grain knots and from there the colors are an eye catching kaleidoscopes. It is a unique piece of briar and the half-bent Billiard nicely rests in the palm. Jim commissioned this Comoy’s from the For ‘Pipe Dreamers’ Only! collection and he will have the first opportunity to acquire it from The Pipe Steward Store. This pipe benefits the Daughters of Bulgaria – women and girls who have been trafficked and sexually exploited. Thanks for joining me!