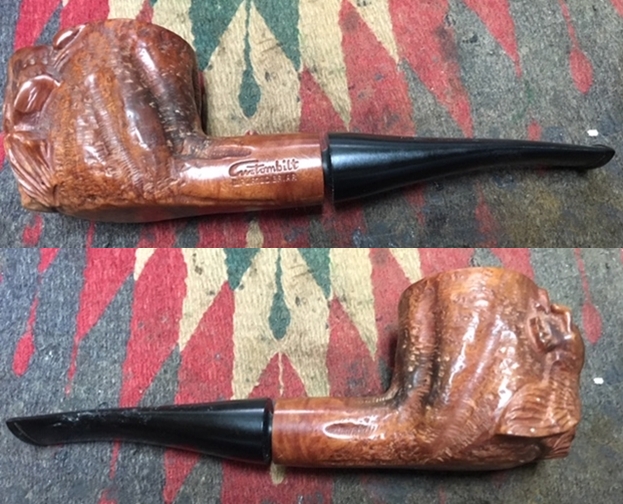
Blog by Steve Laug
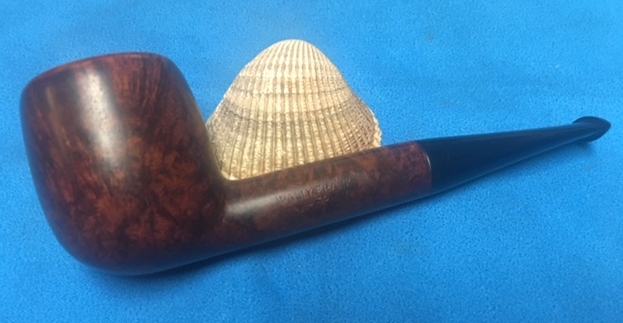
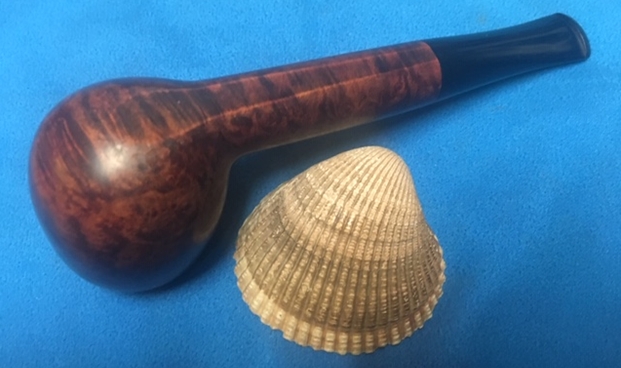
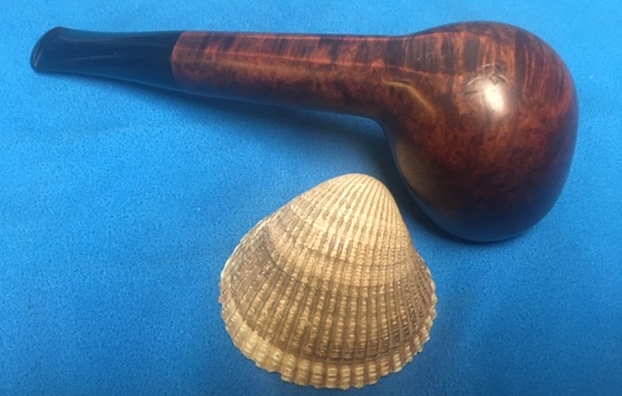
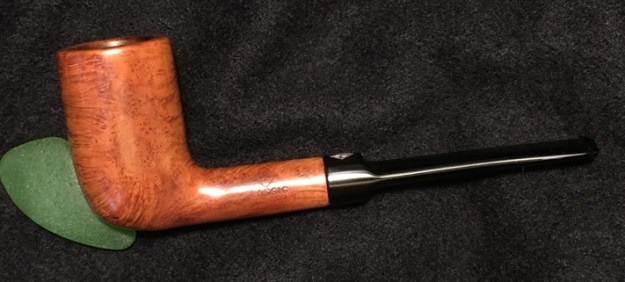
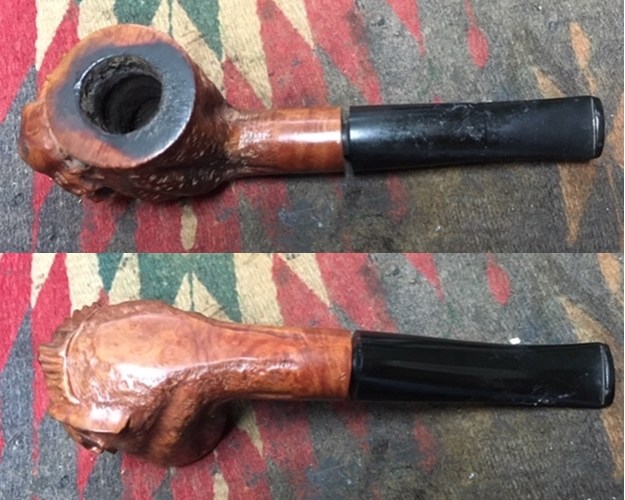
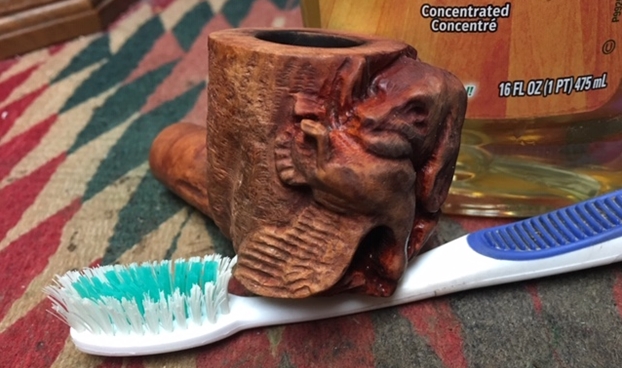
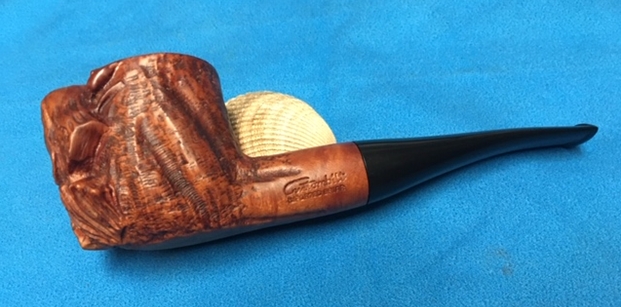
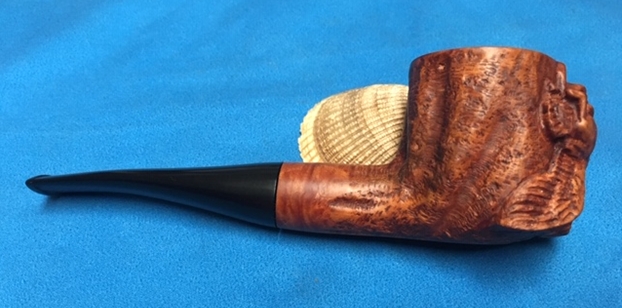
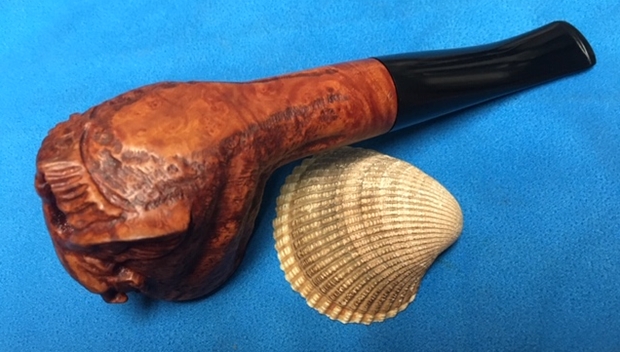
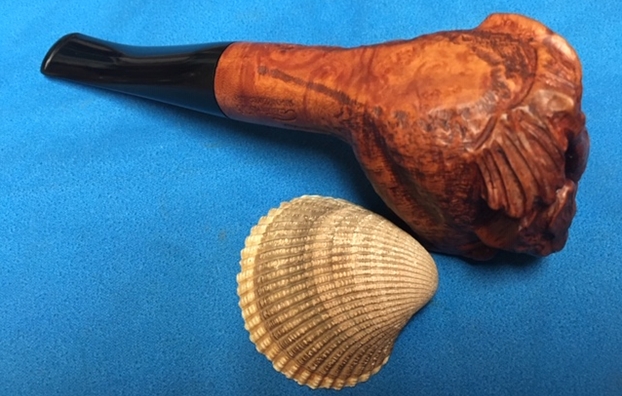
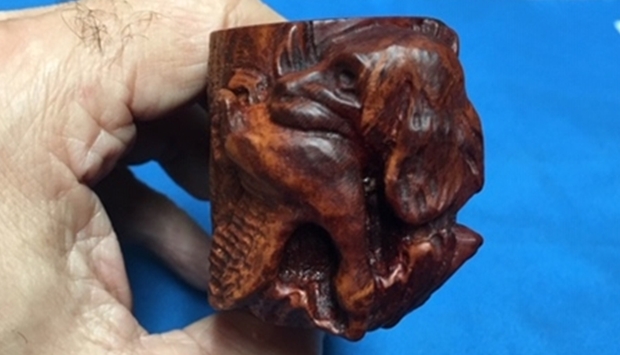
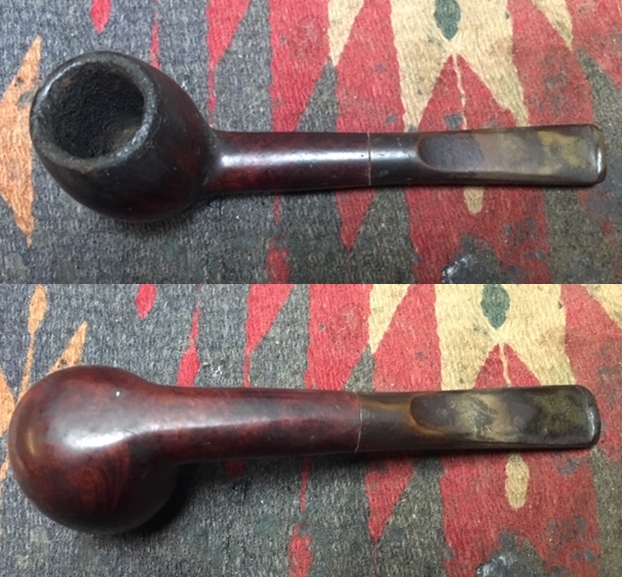
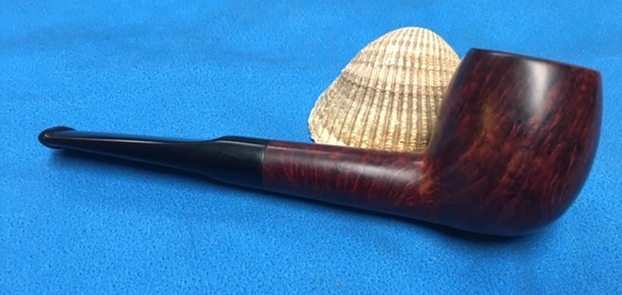
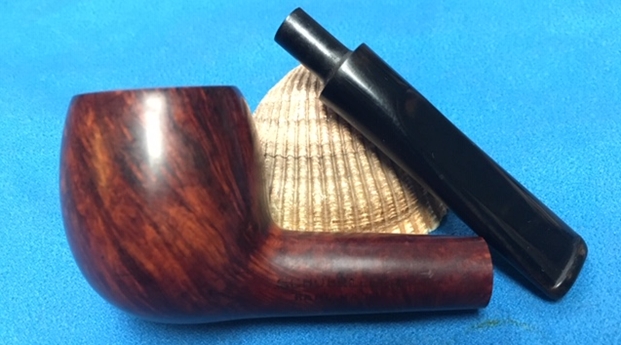
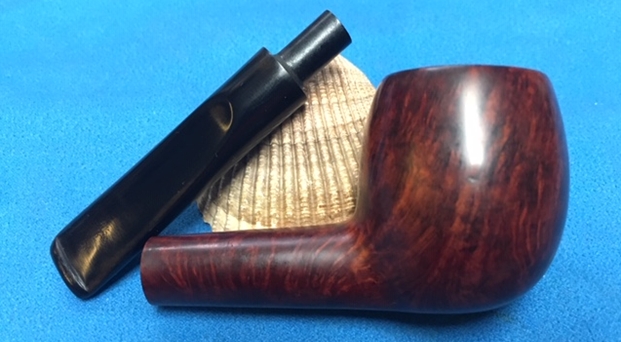
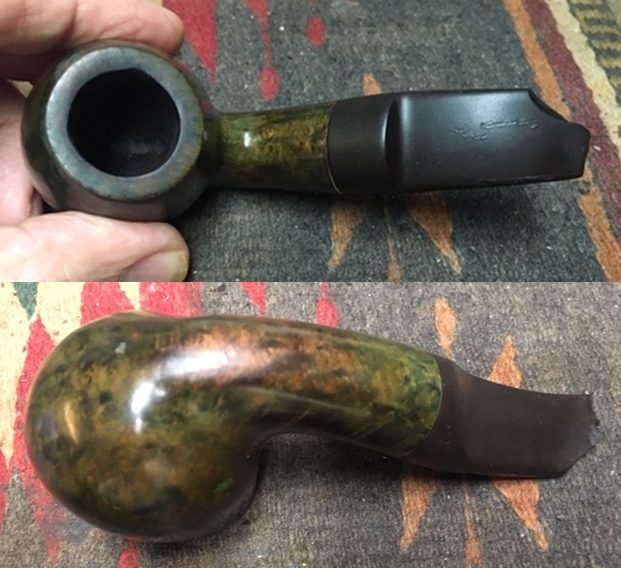
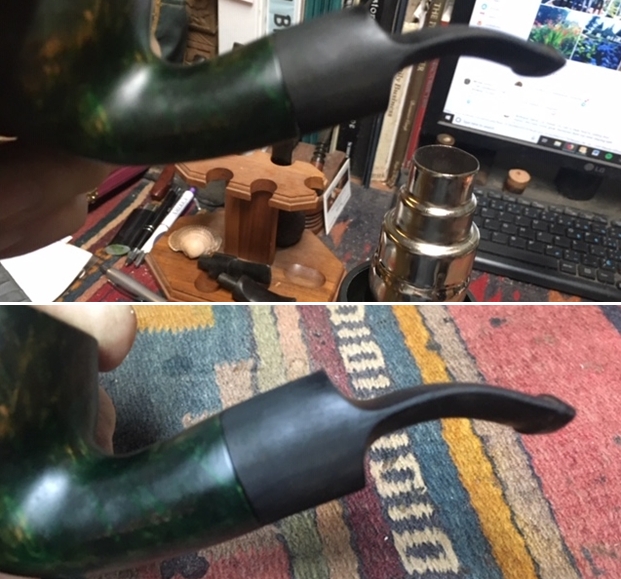
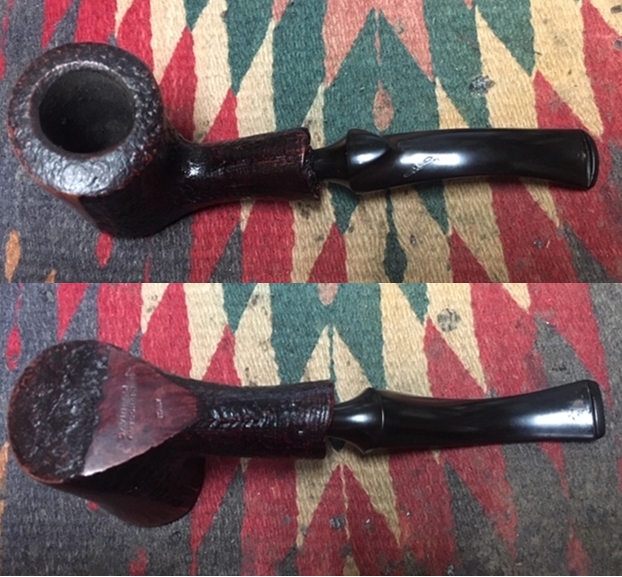
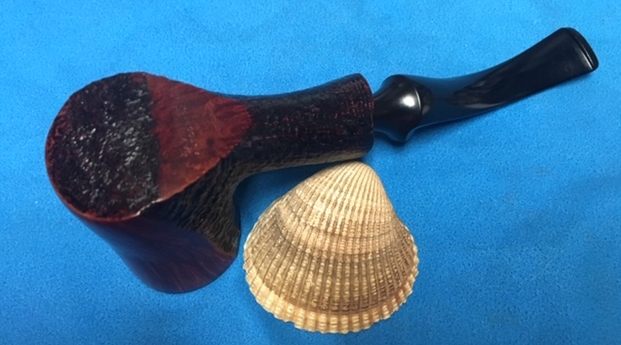
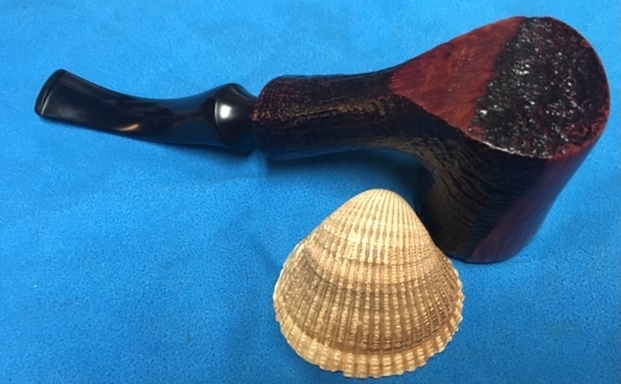
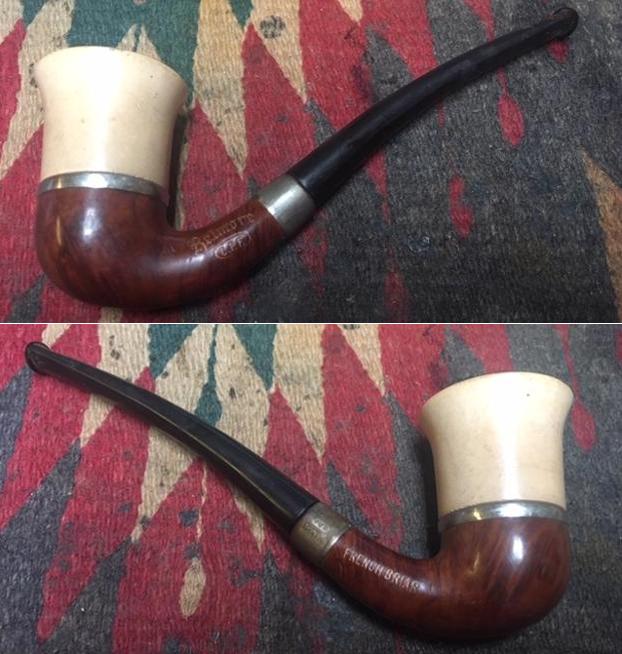
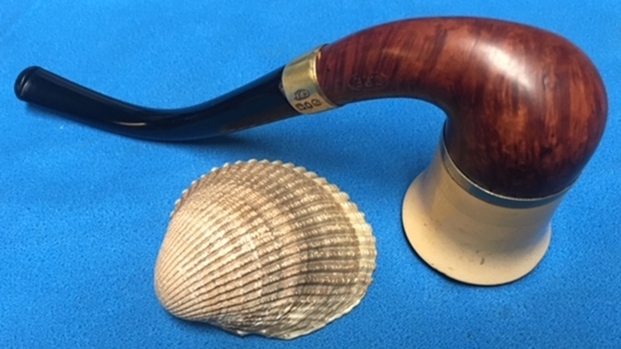
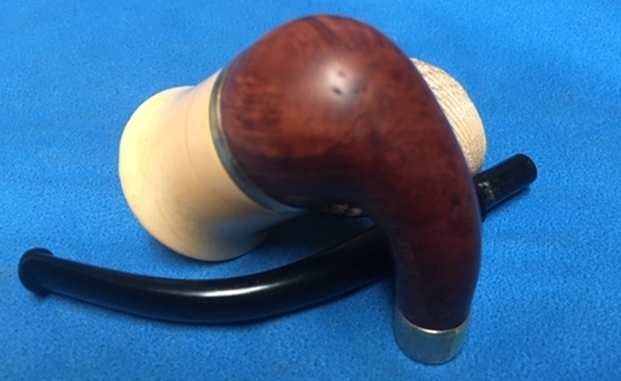
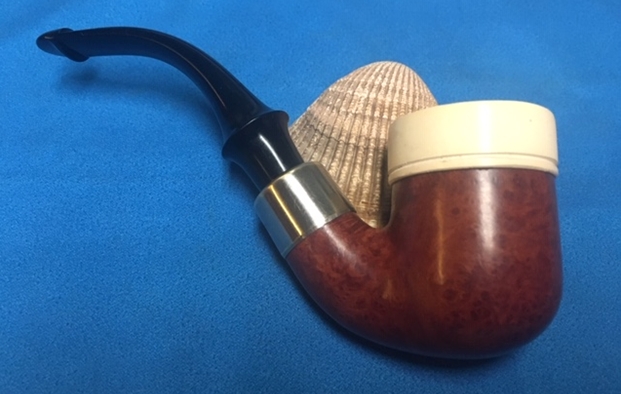
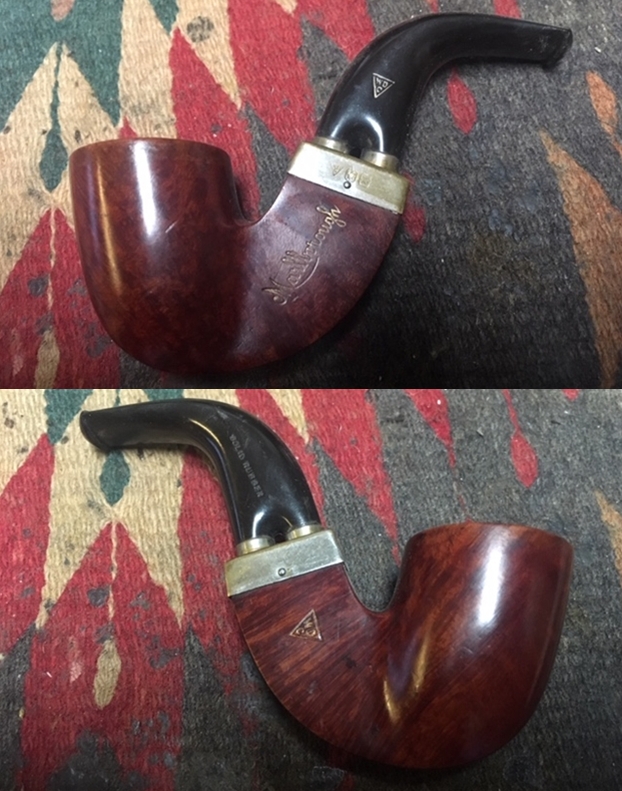
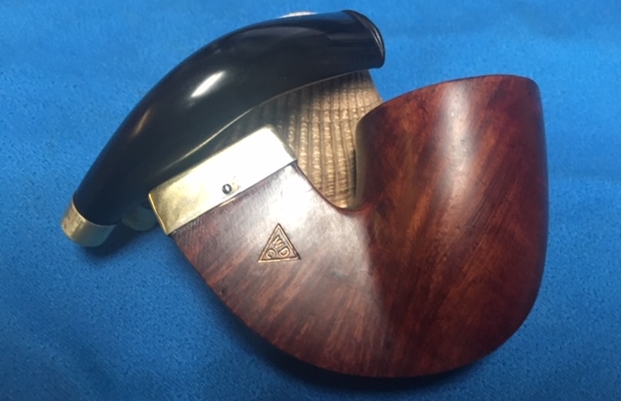
The next pipe in the queue is the second pipe that I found on my recent Bellingham pipe hunt this week. I had a some fun cleaning up the Custombilt Figural carved by Hetzer Hartsock (https://rebornpipes.com/2019/07/25/new-life-for-a-rich-era-custombilt-carved-figural-billiard/) so I figured I might as well clean up the Wally Frank Ltd. Liverpool as well. It is a great looking pipe with some beautiful grain – birdseye, straight and flame grain around the bowl and shank. The pipe was filthy with overflowing lava but the grain peaked out under the grime. The carver did a great job utilizing the block of briar to maximize the grain. The pipe is stamped on the left side of the shank. It reads Wally Frank over Ltd. The tapered stem is vulcanite and has no marking or stamping. Some would probably call it a long shank Billiard but it really suits the Liverpool Designation – longer shank and a short tapered stem. The bowl has a thin cake inside but the tars cover the crowned rim top. There some darkening on the rim top. The exterior of the briar was dirty and dull looking – lifeless after sitting unused for years. The oxidized vulcanite stem was surprisingly clear of chatter or tooth marks. When I removed the stem there was an interesting stinger apparatus pressure fit in the tenon. The photos below tell the story and give a glimpse of the pipe before clean up.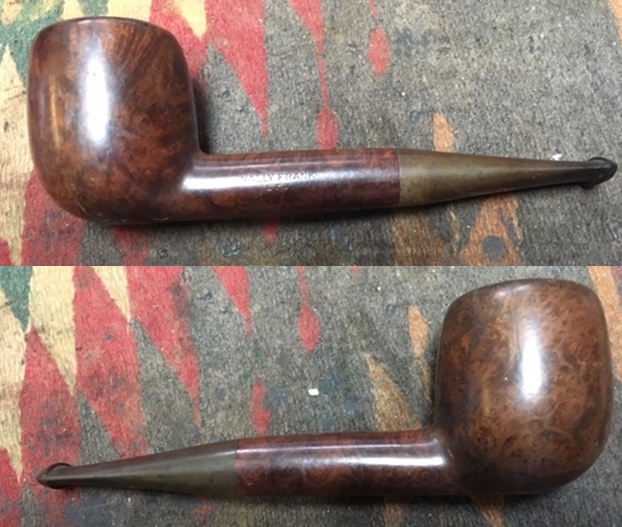
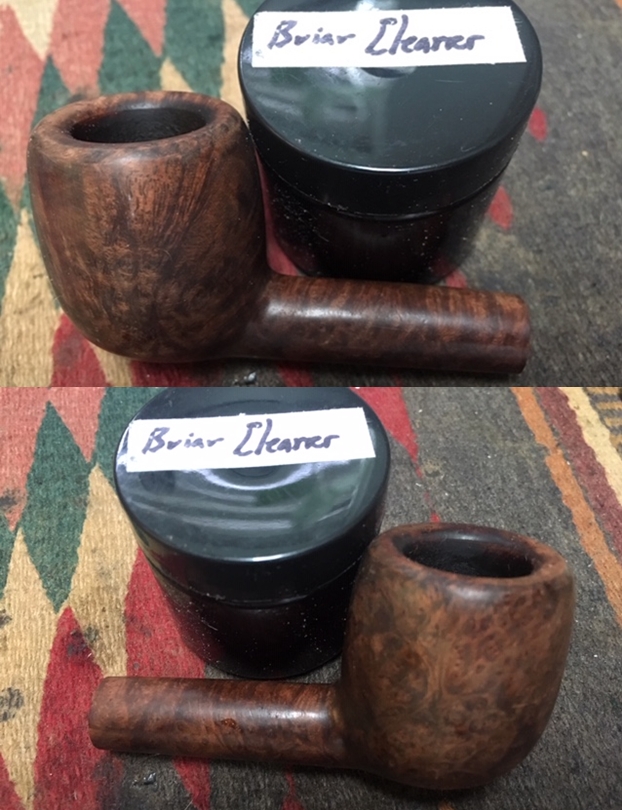
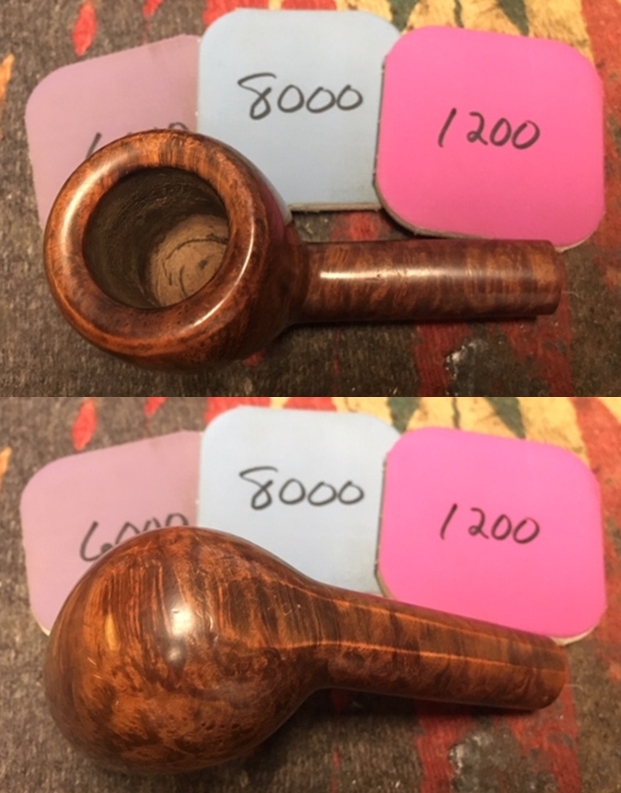
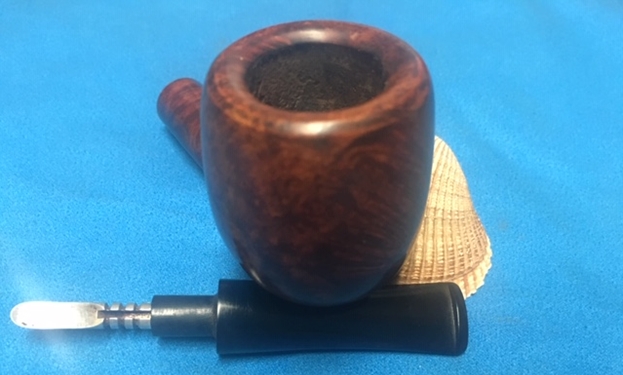
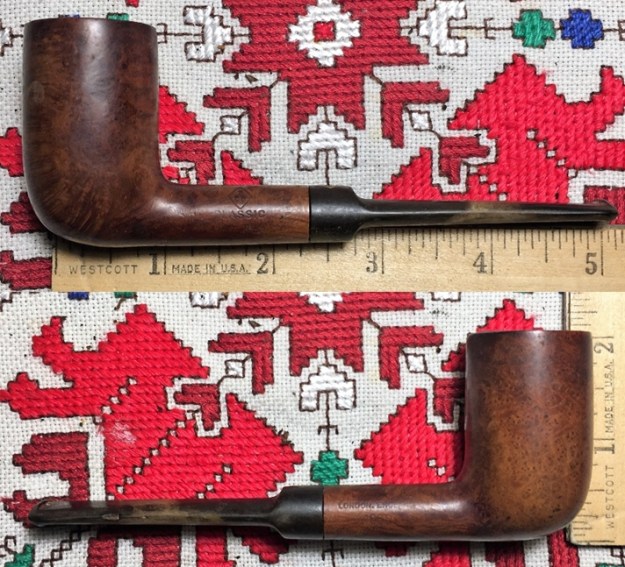
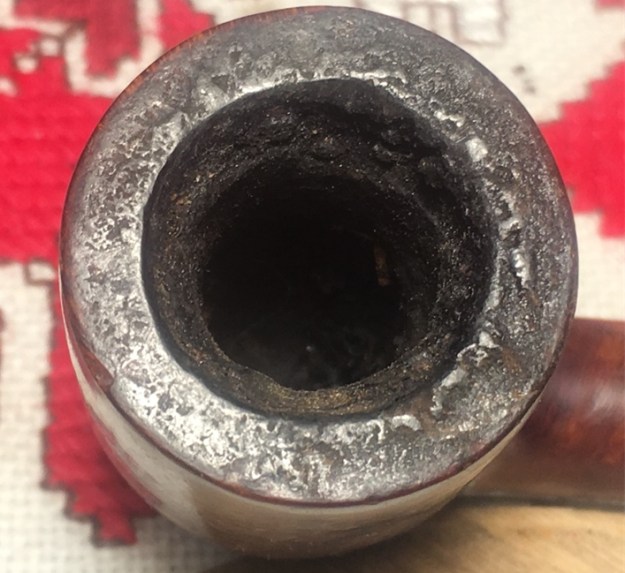
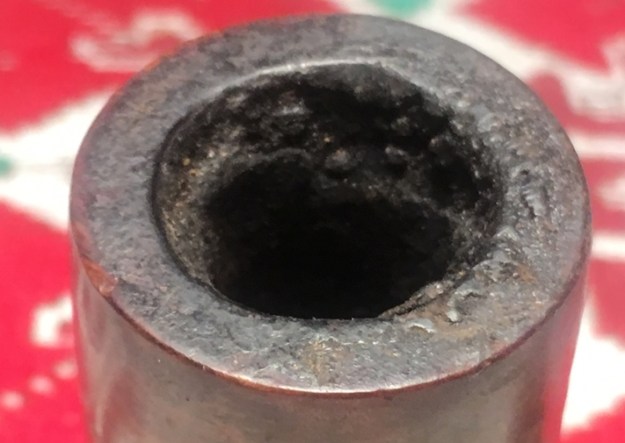
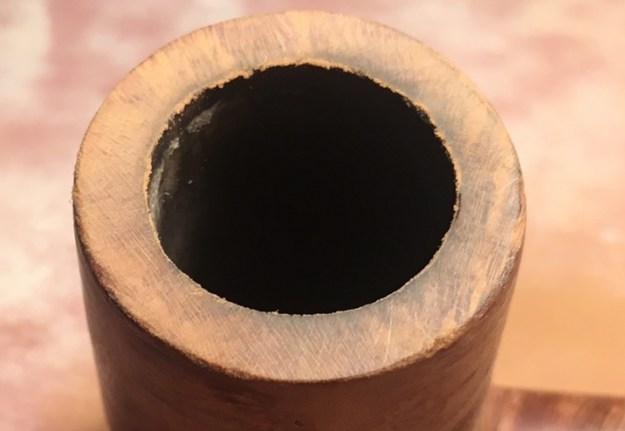
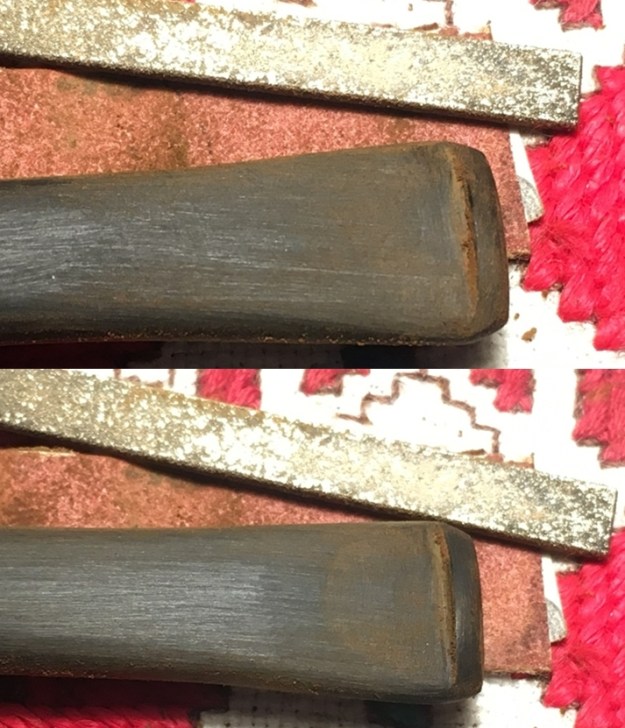
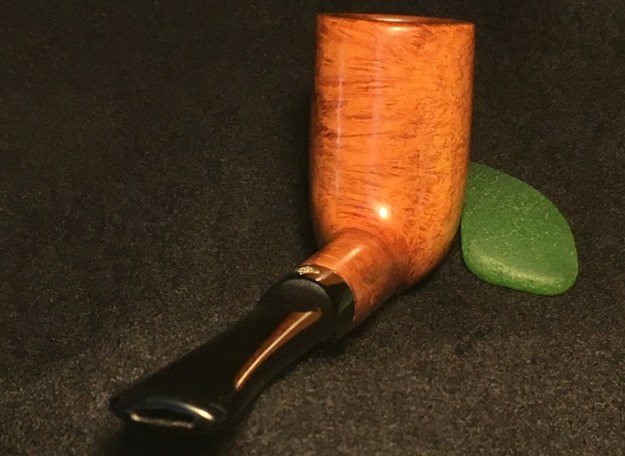
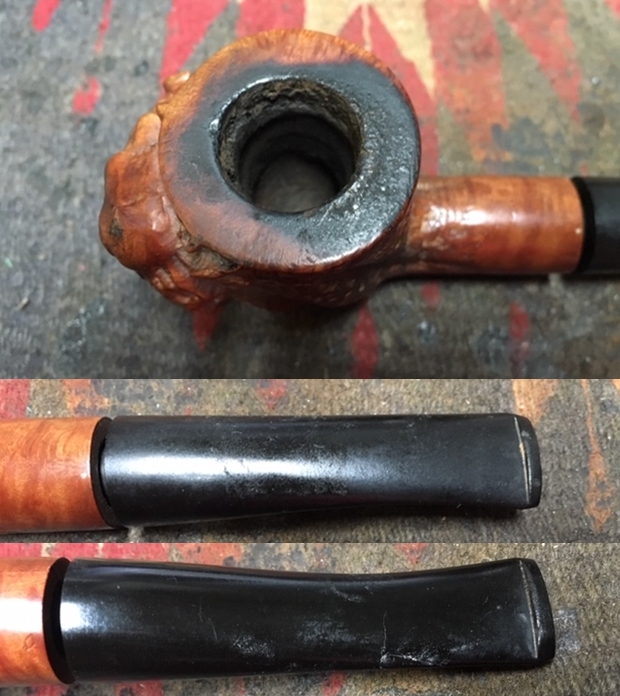
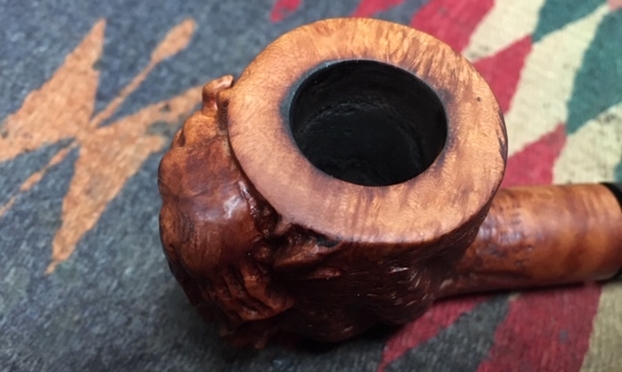
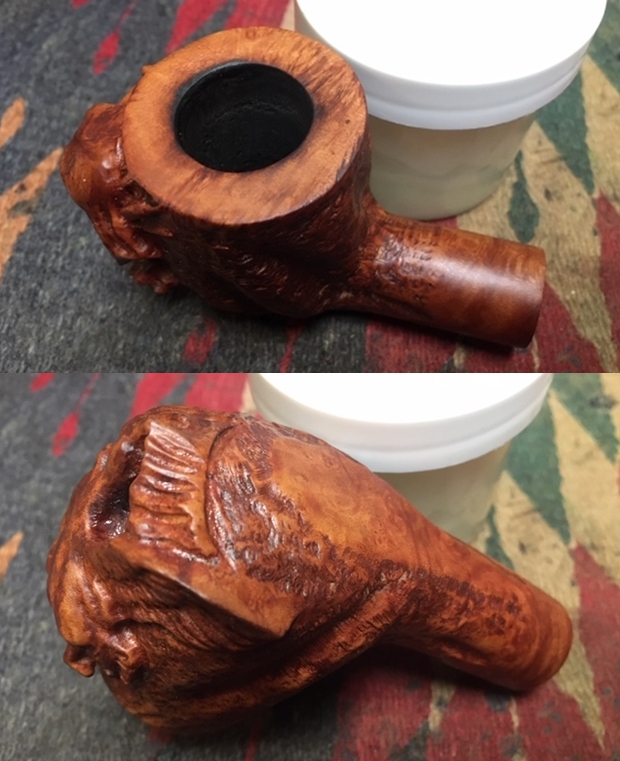
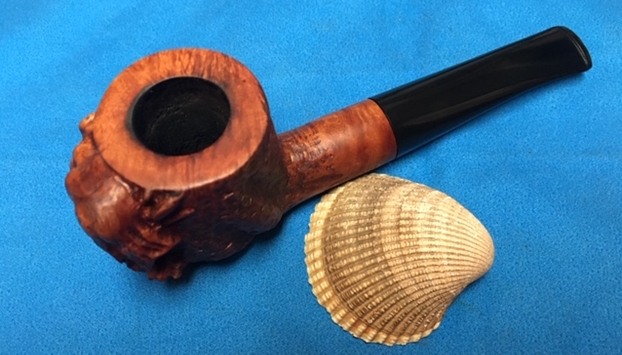
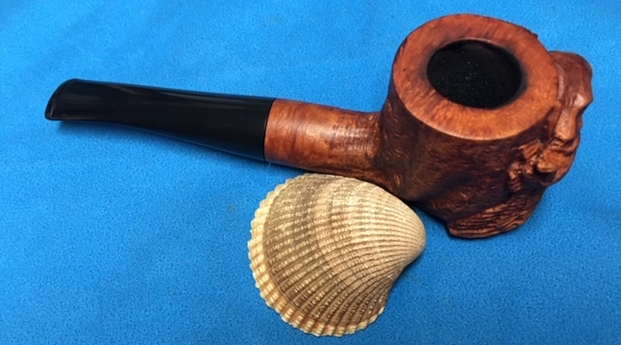
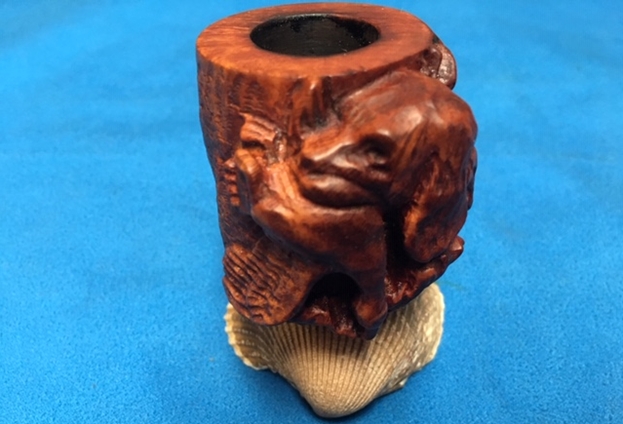
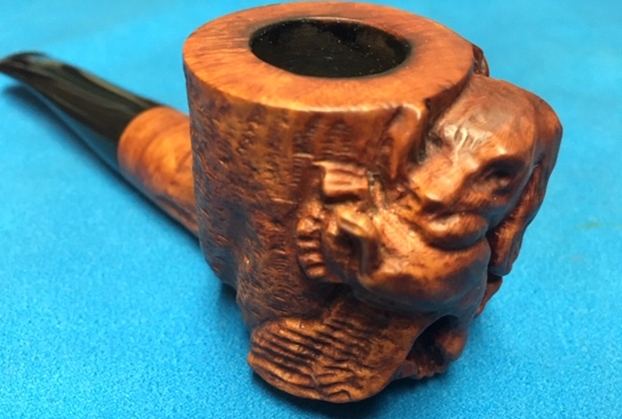
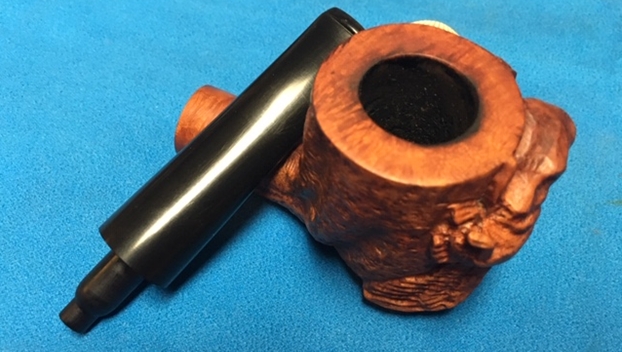
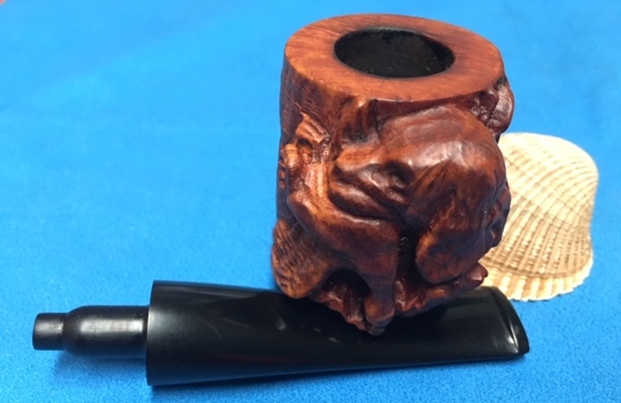
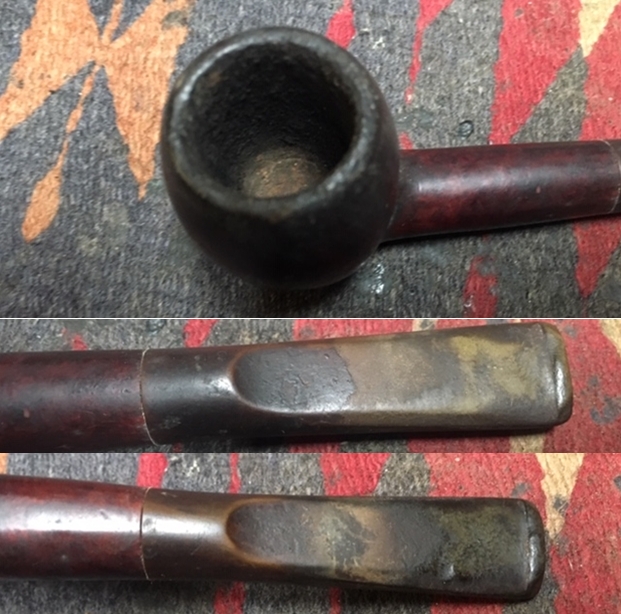
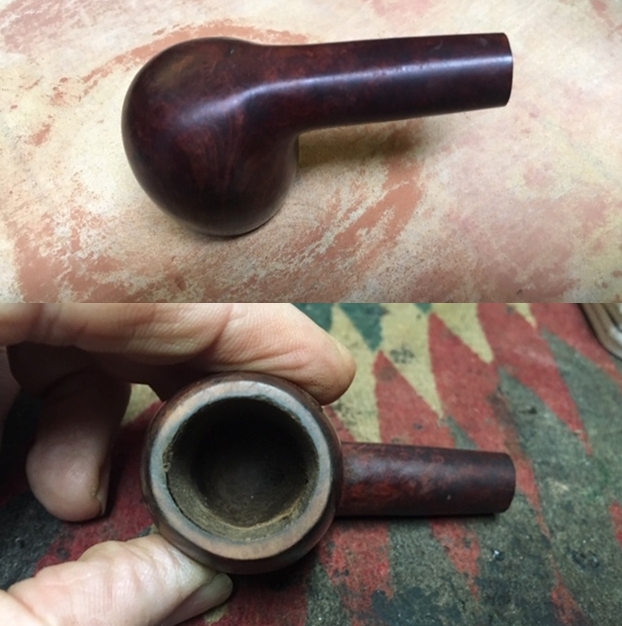
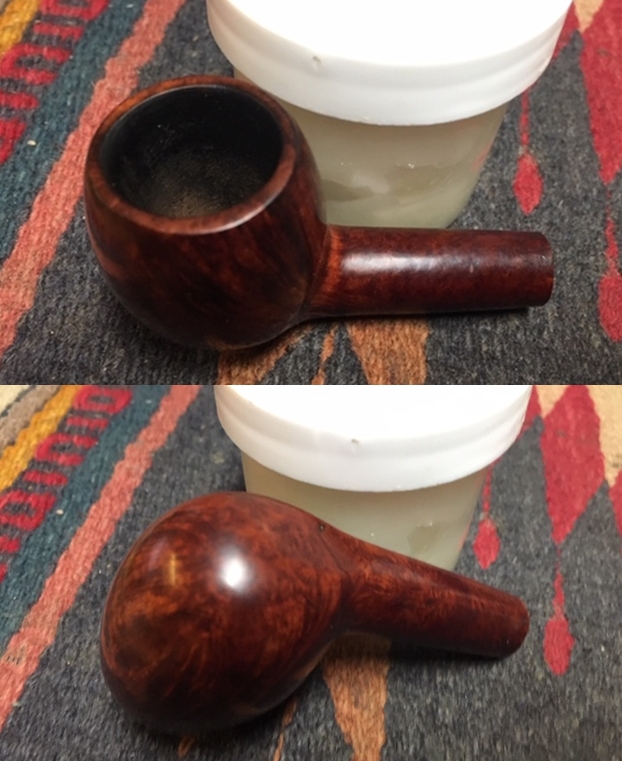
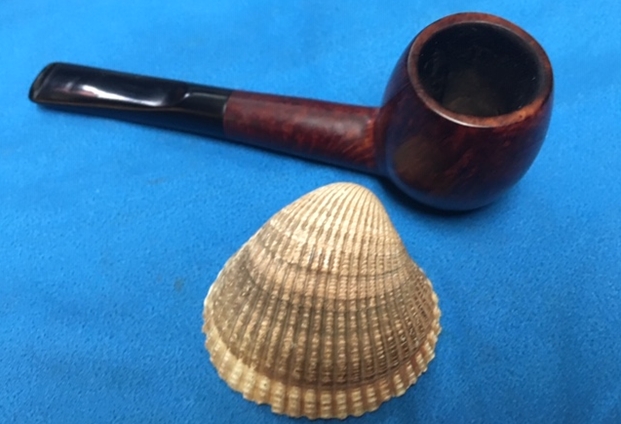
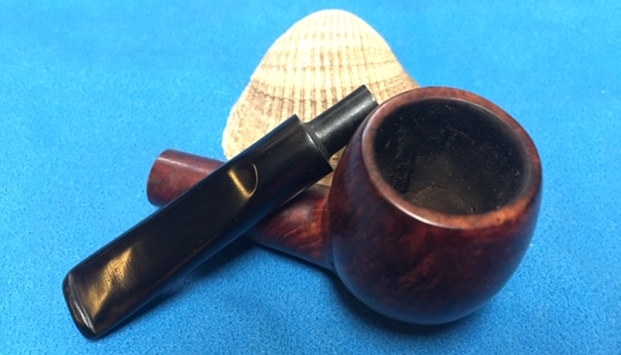
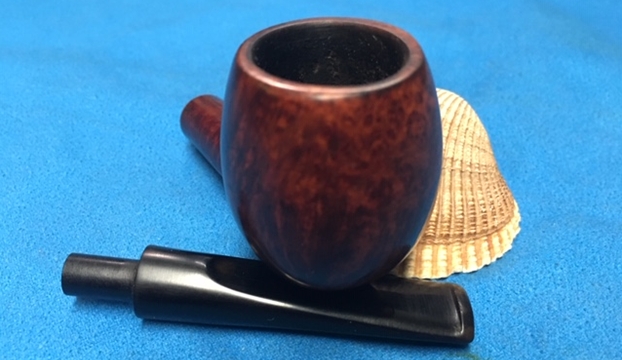
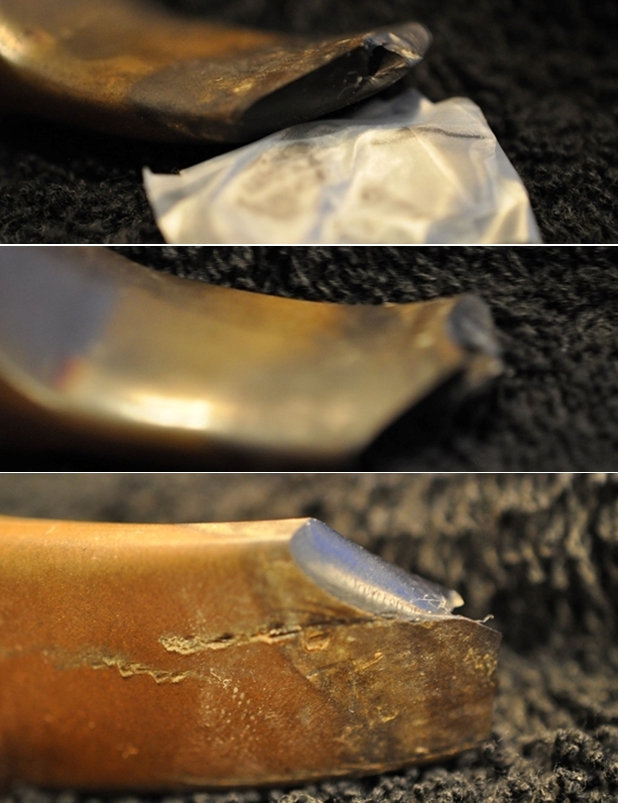
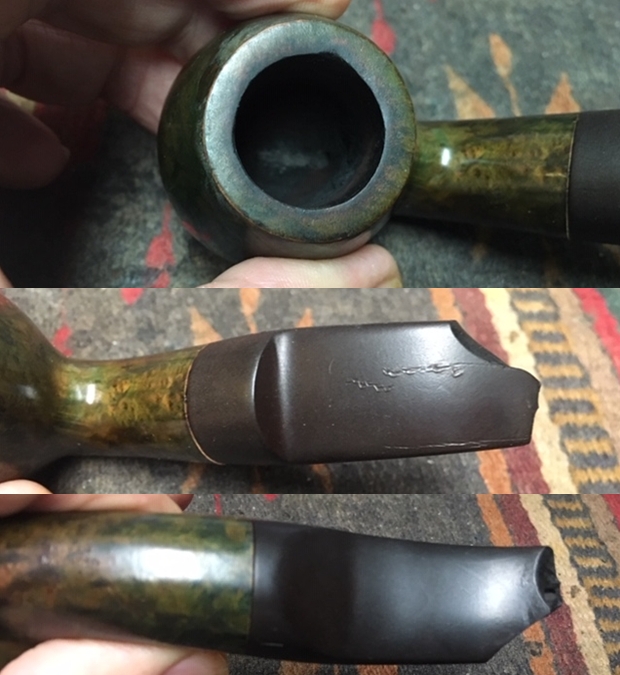
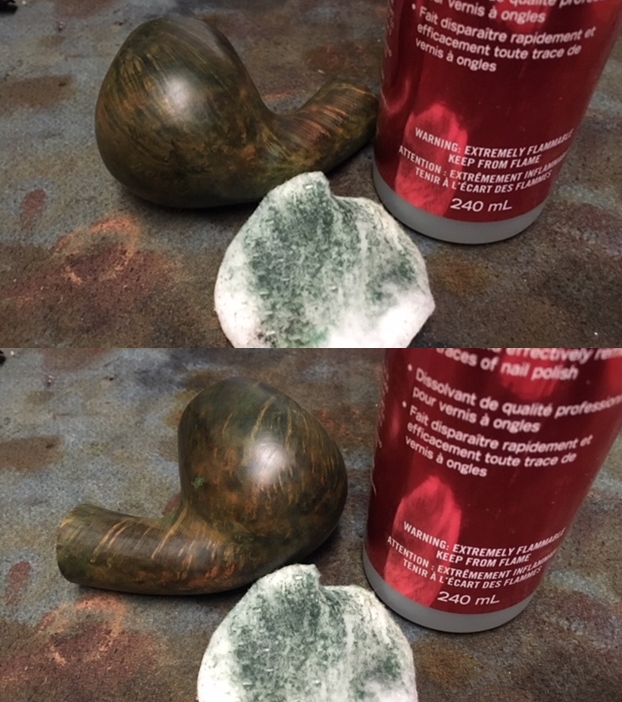
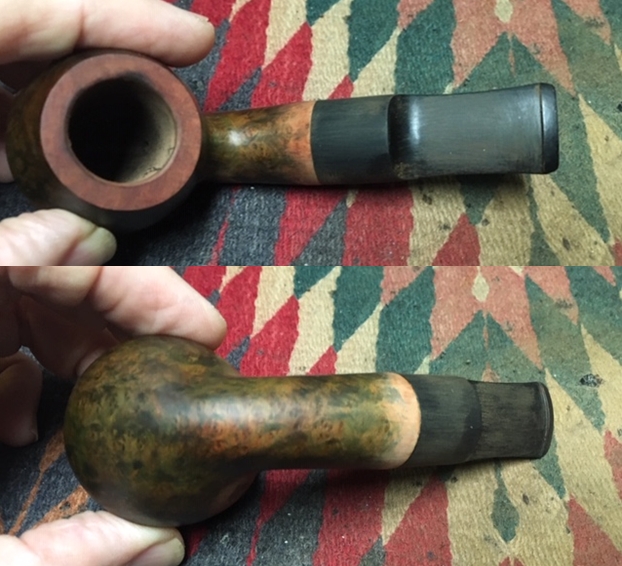
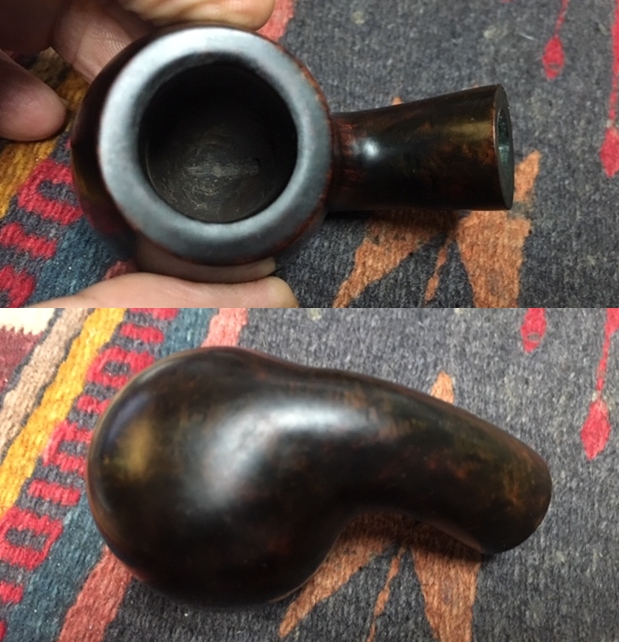
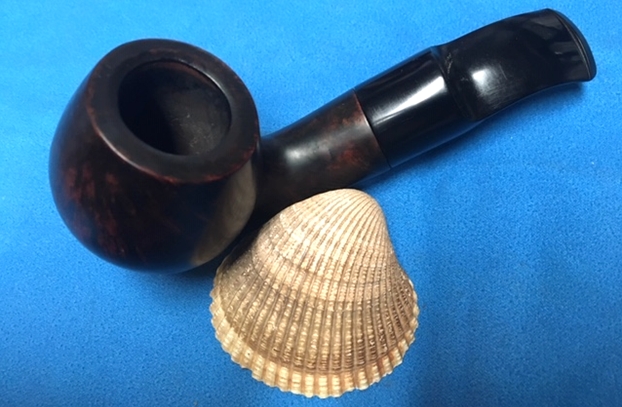
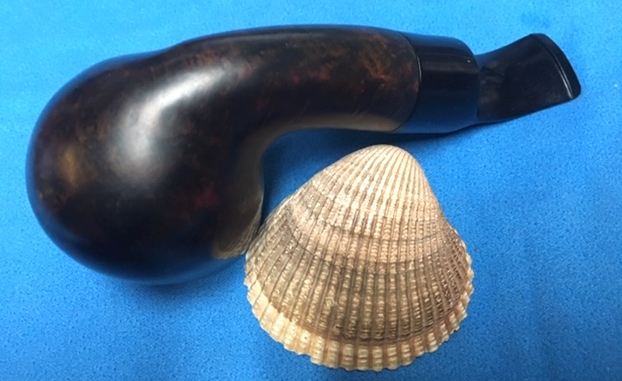
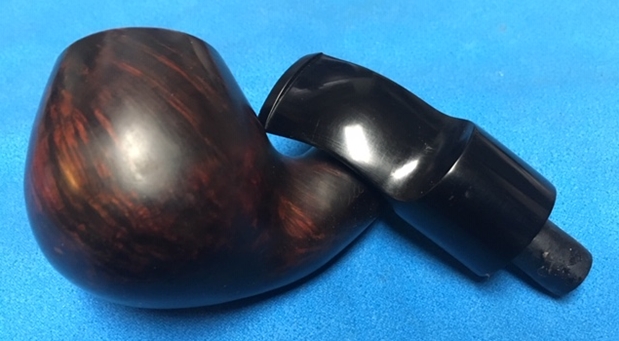
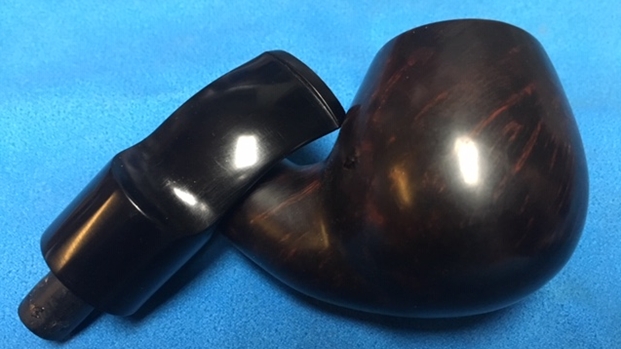
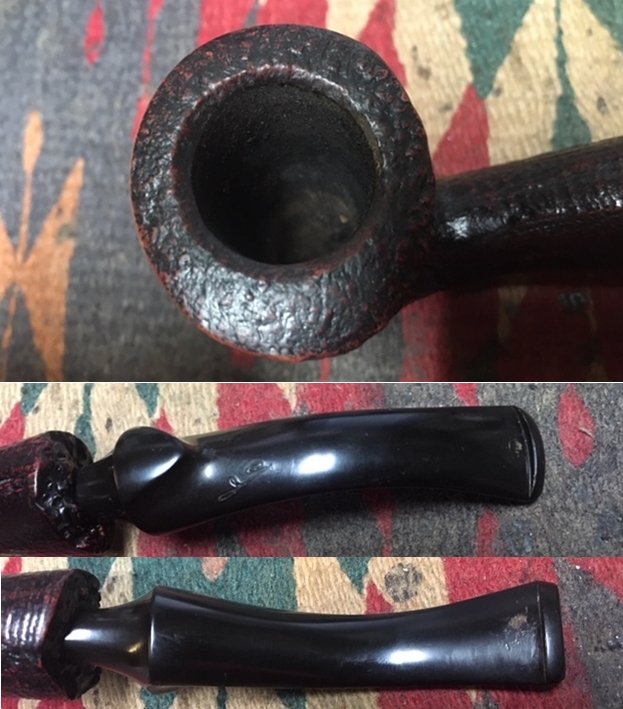
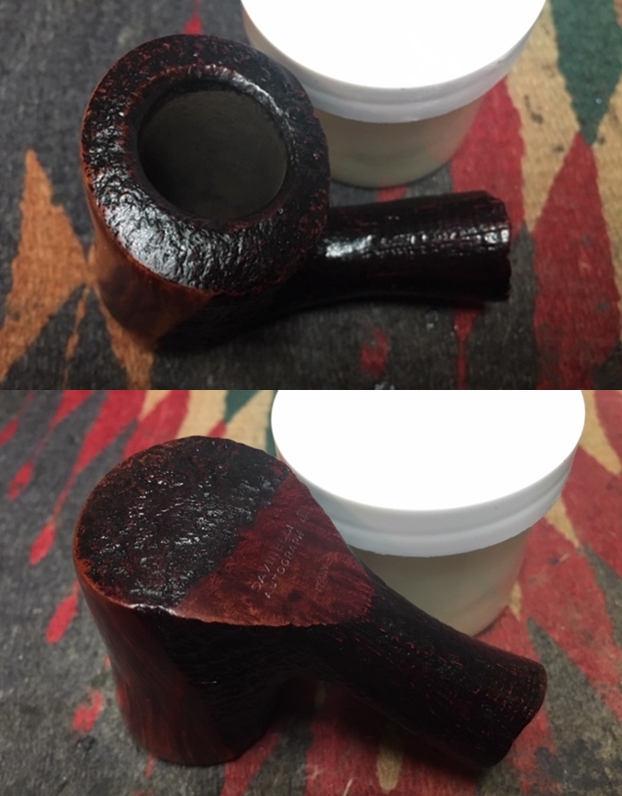
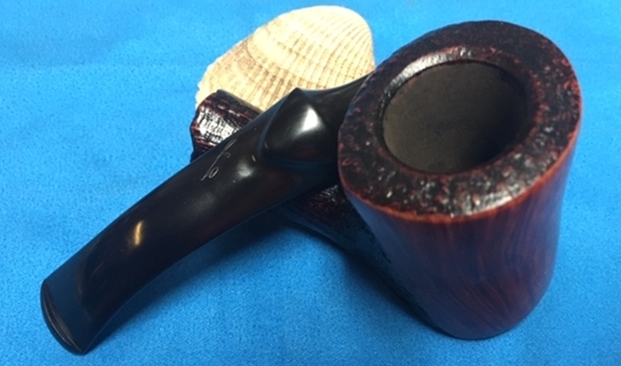
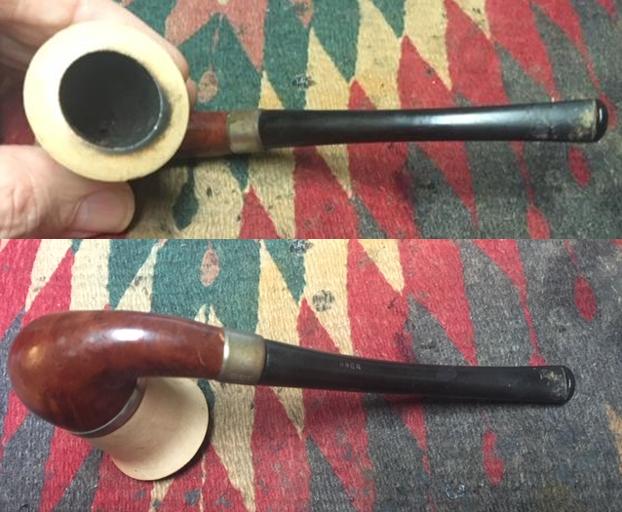
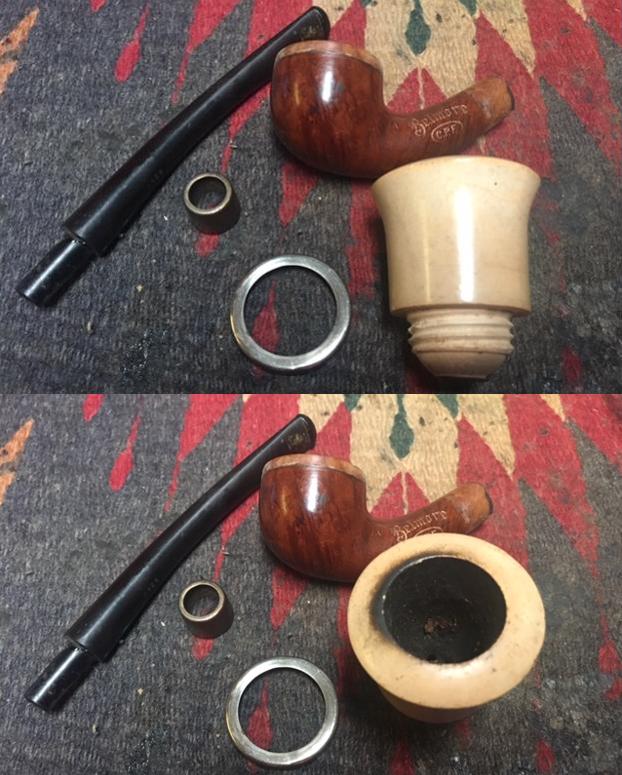
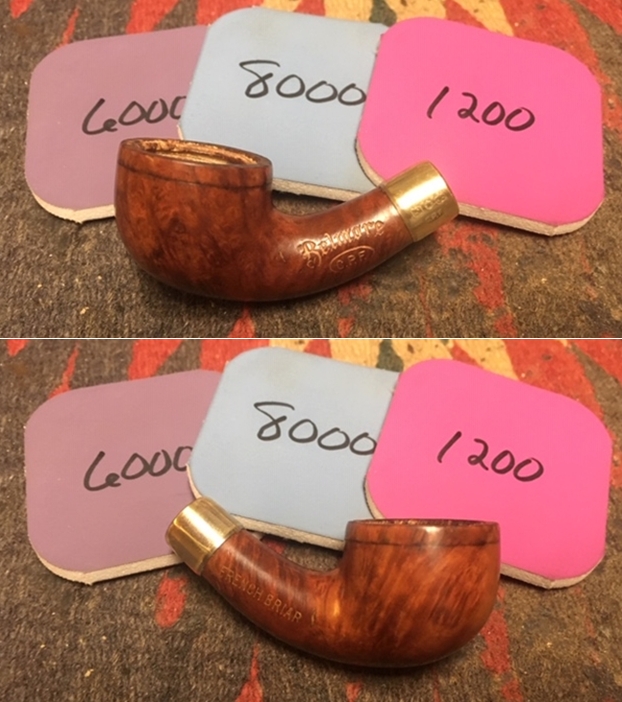
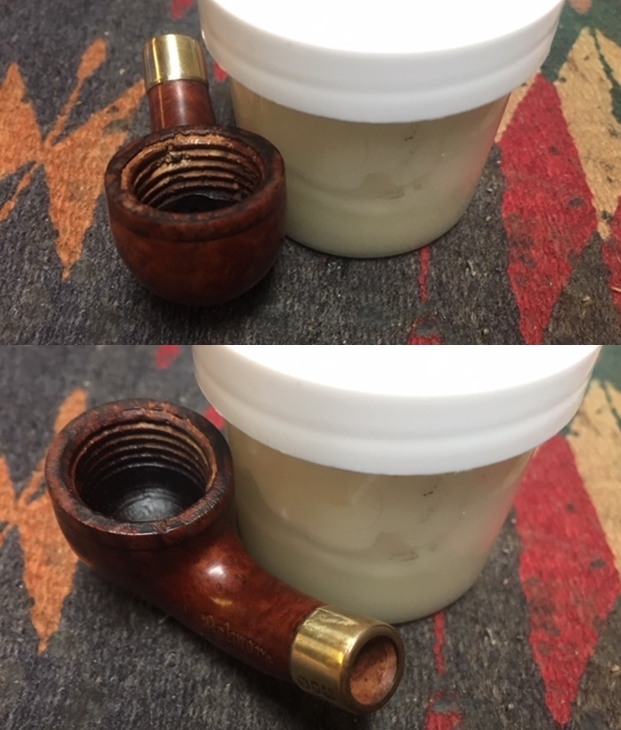
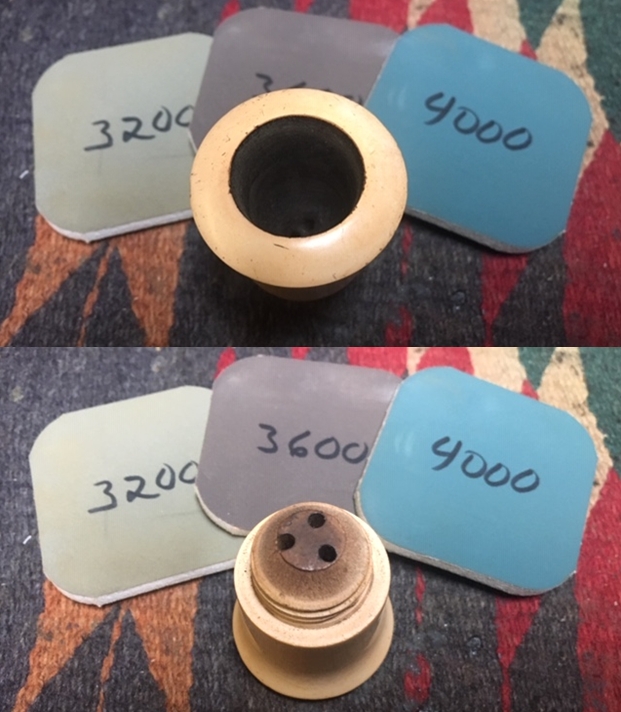
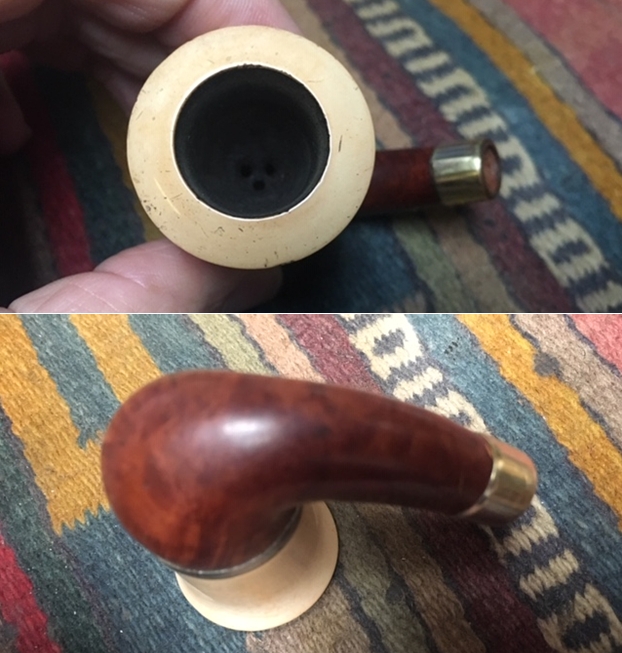
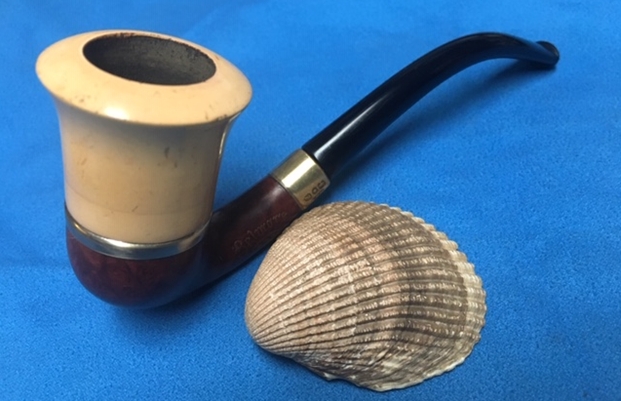
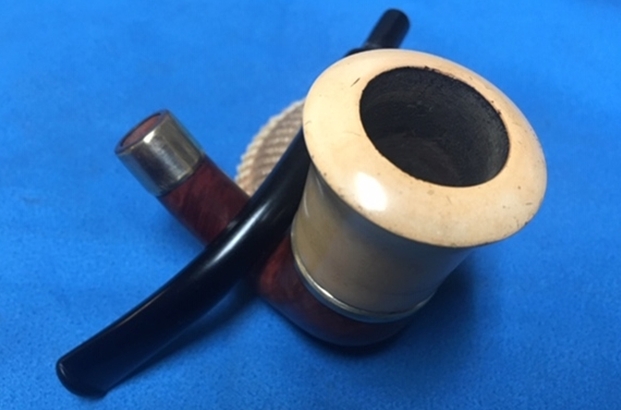
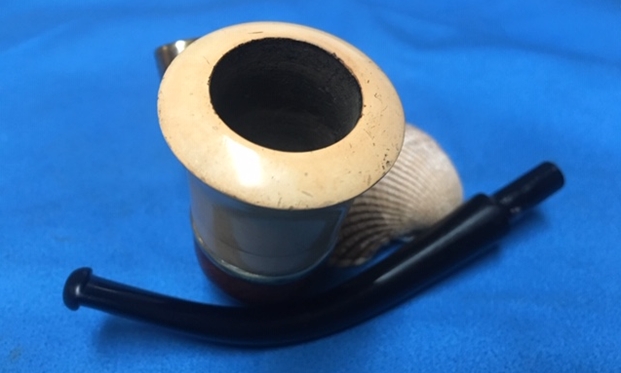
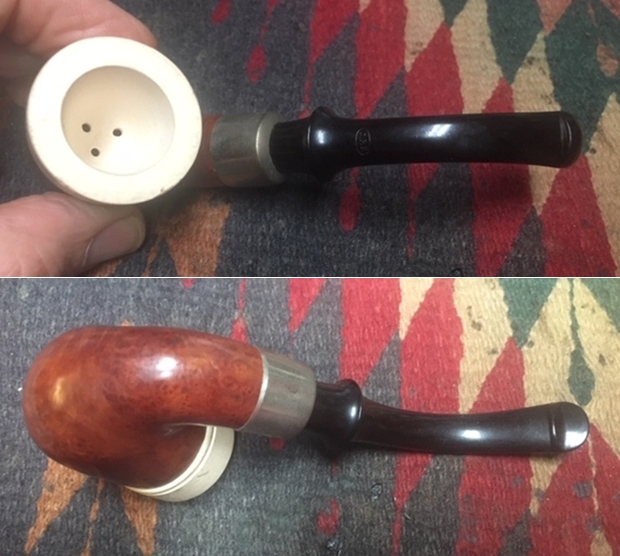
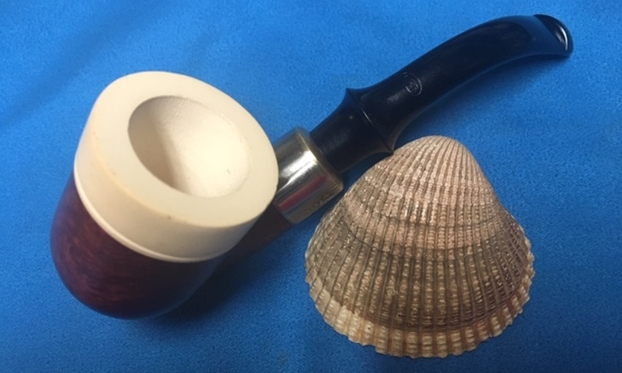
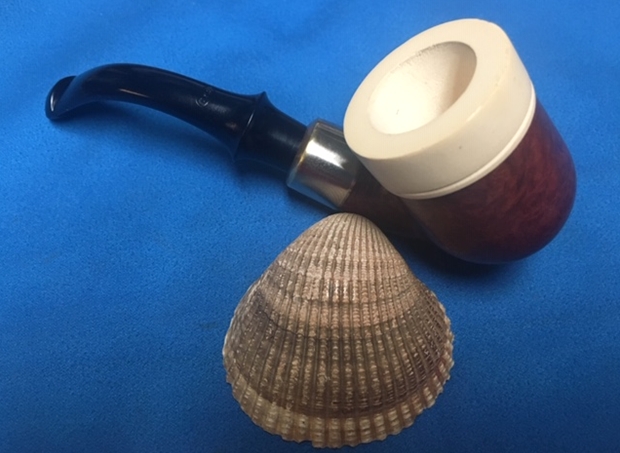
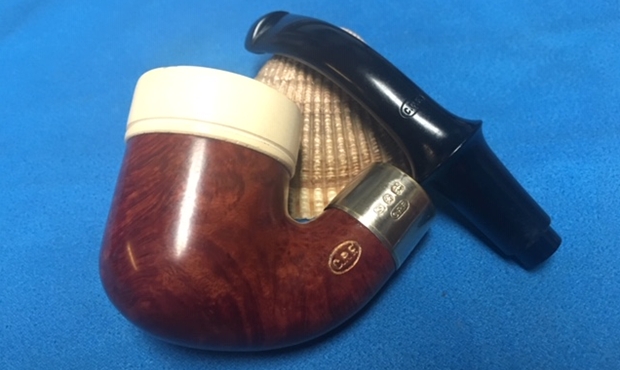
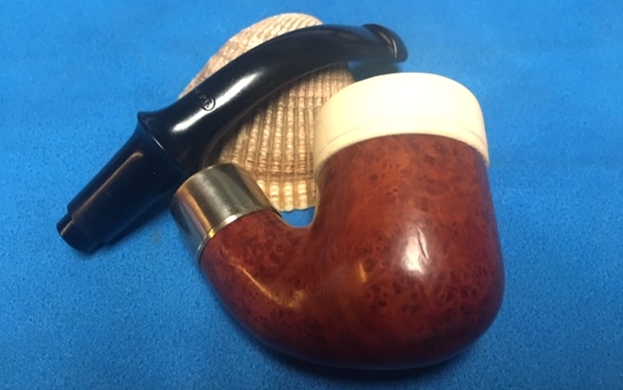
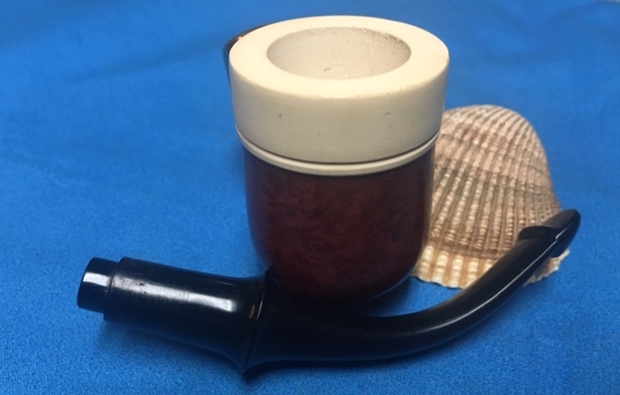
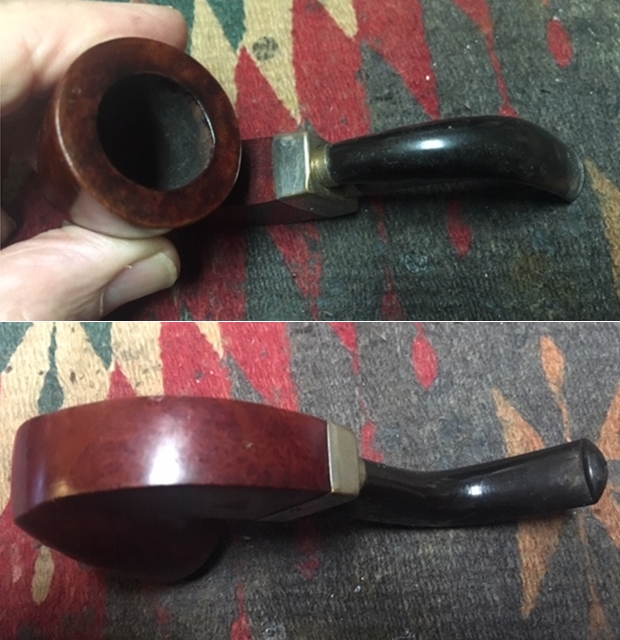
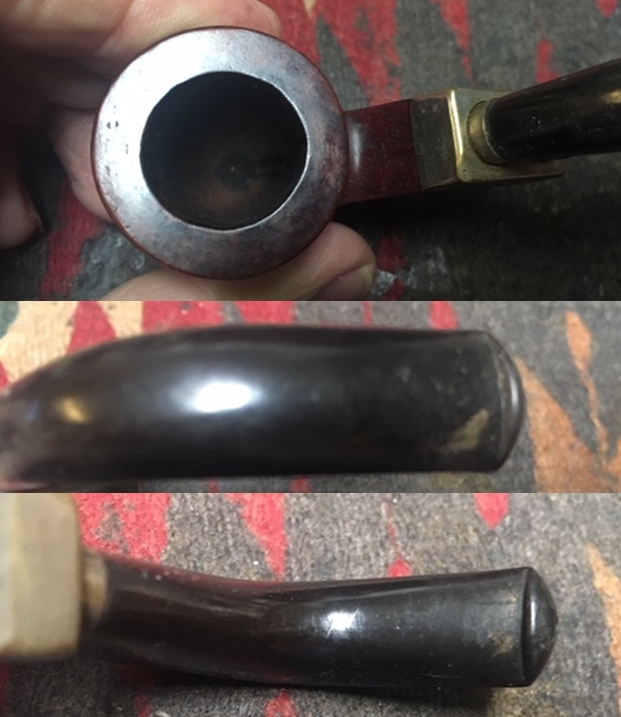
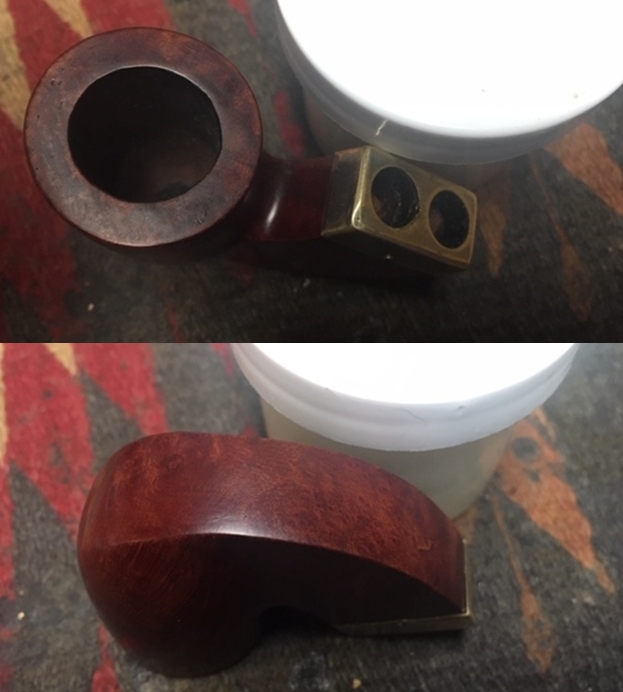
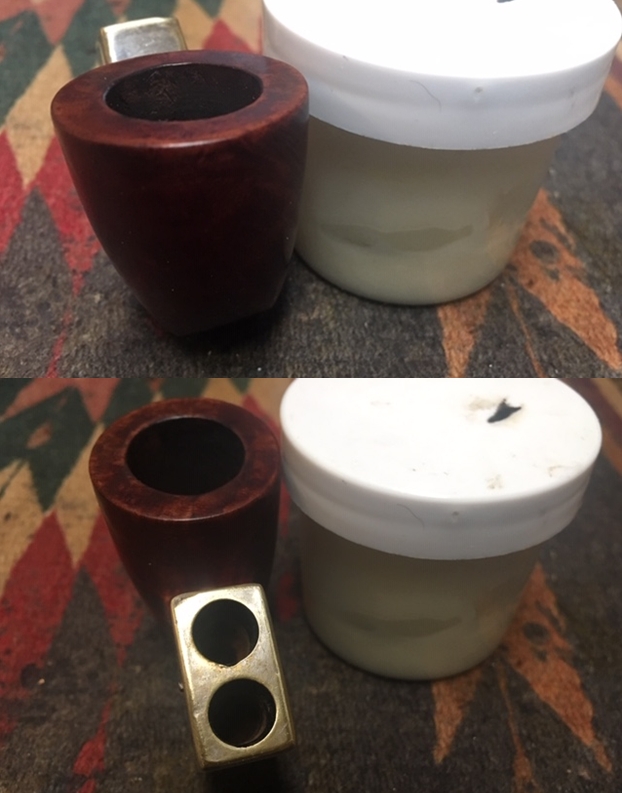
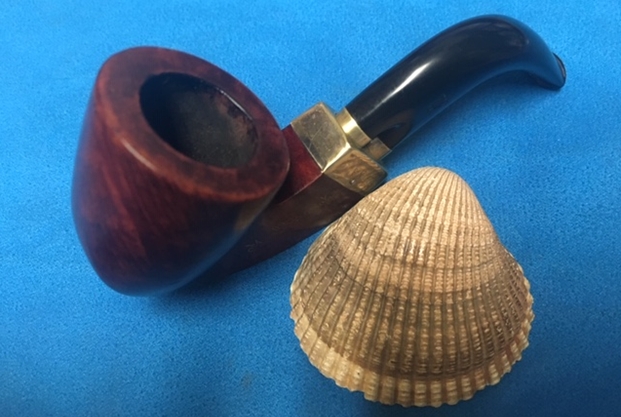
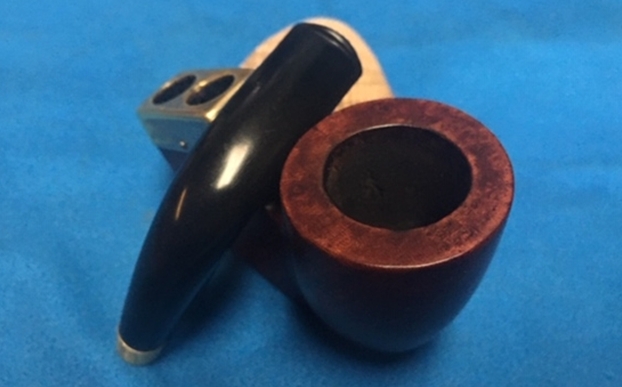
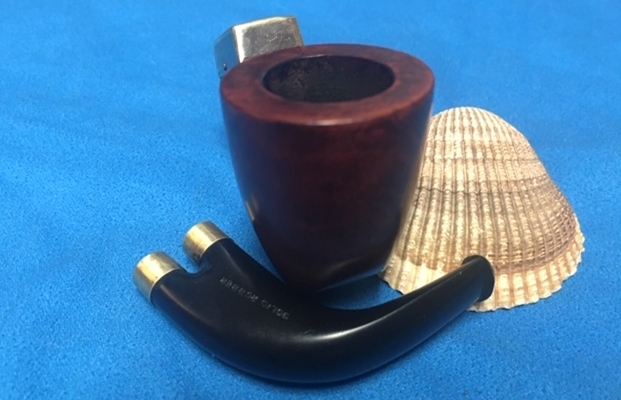
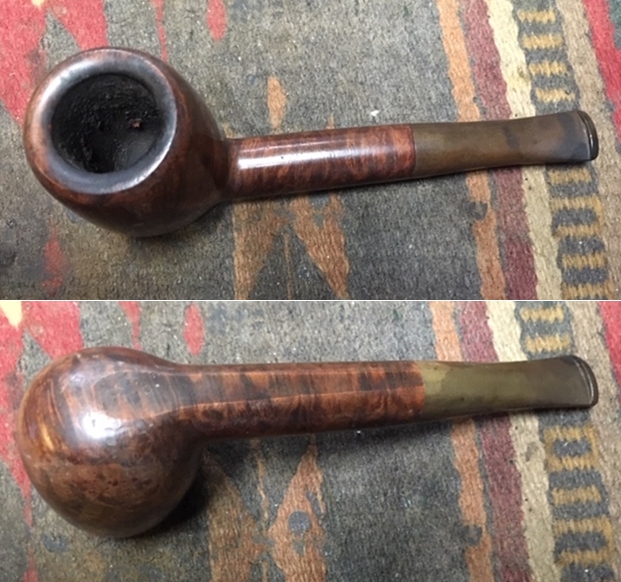 I took a photo of the bowl and rim to capture the condition of the pipe before I started my cleanup work. There was significant darkening on the rim top and a cake in the bowl flowing over as lava on the top edge. The inner and outer edges of the bowl appeared to be in good condition, but I would only be sure once I removed the lava. The stem was in decent condition under the thick oxidation on the surface. There was none of the usual tooth chatter and tooth marks on the stem.
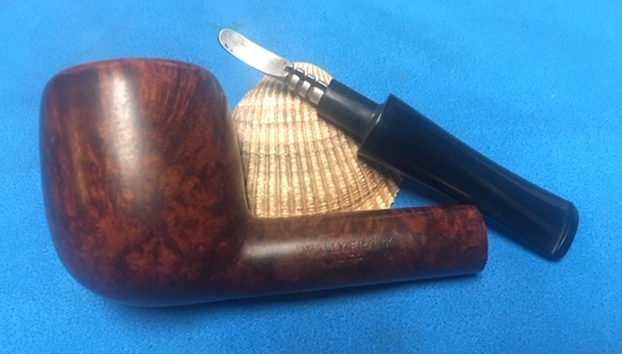
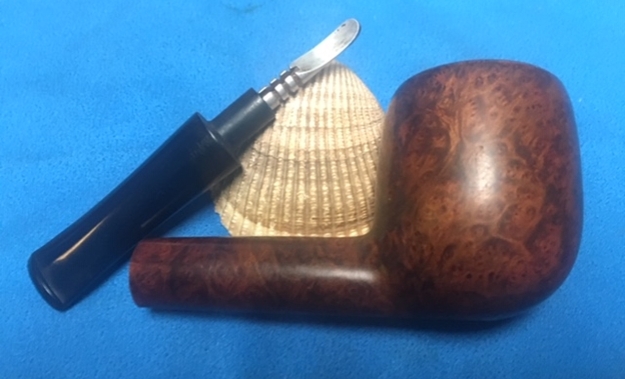
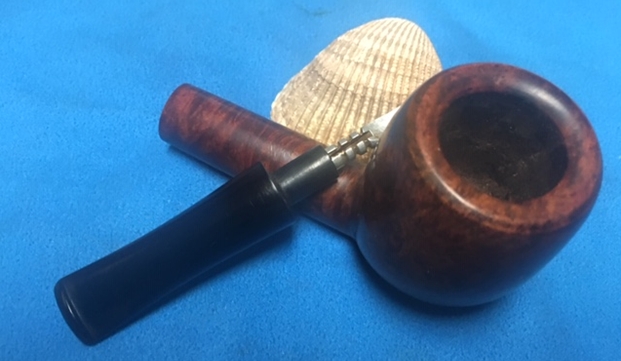
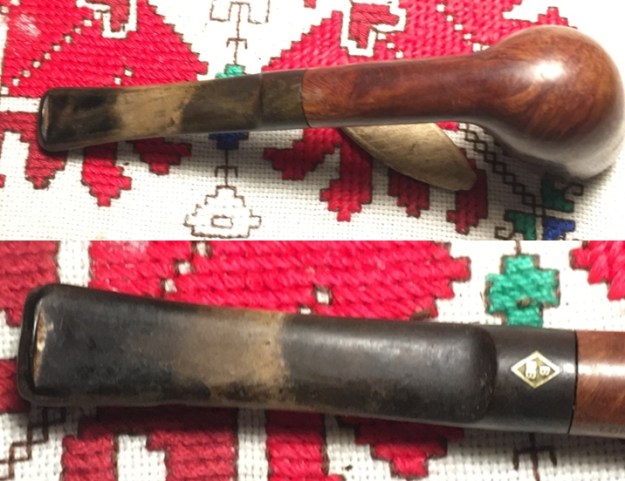
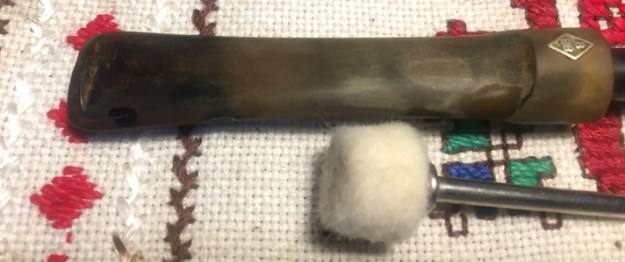
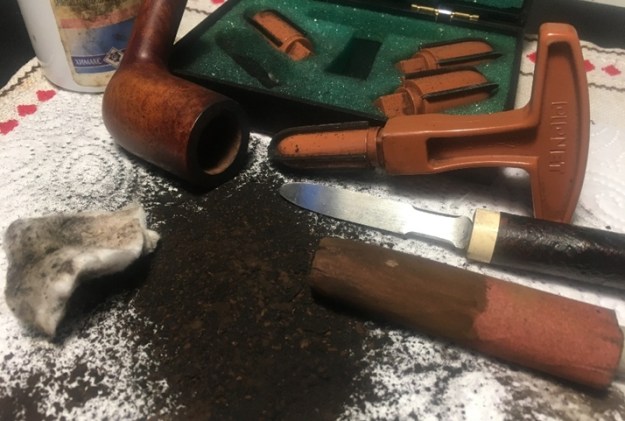
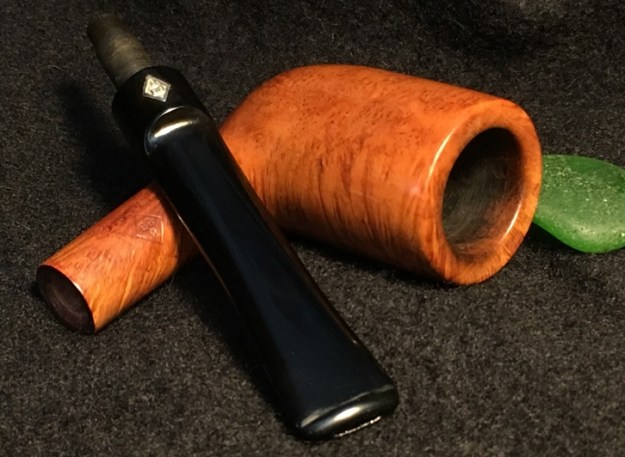
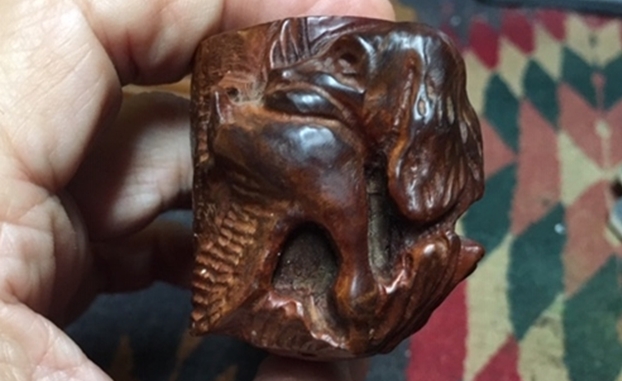
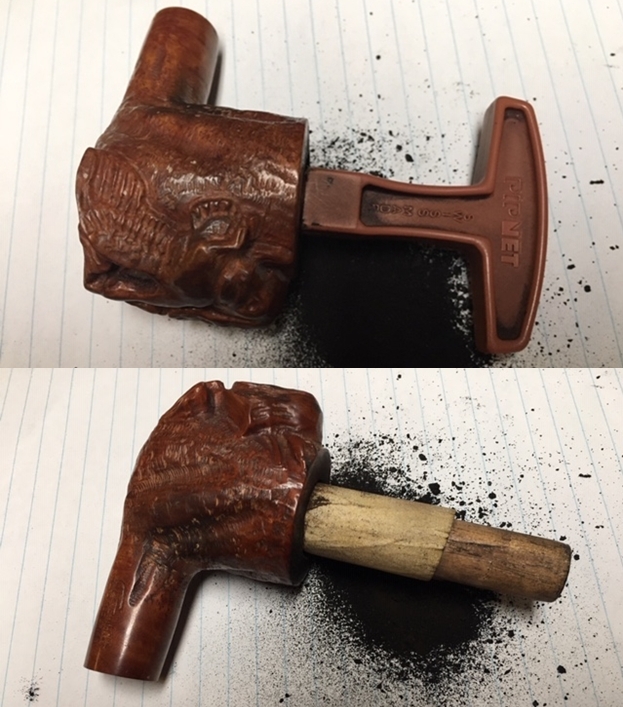
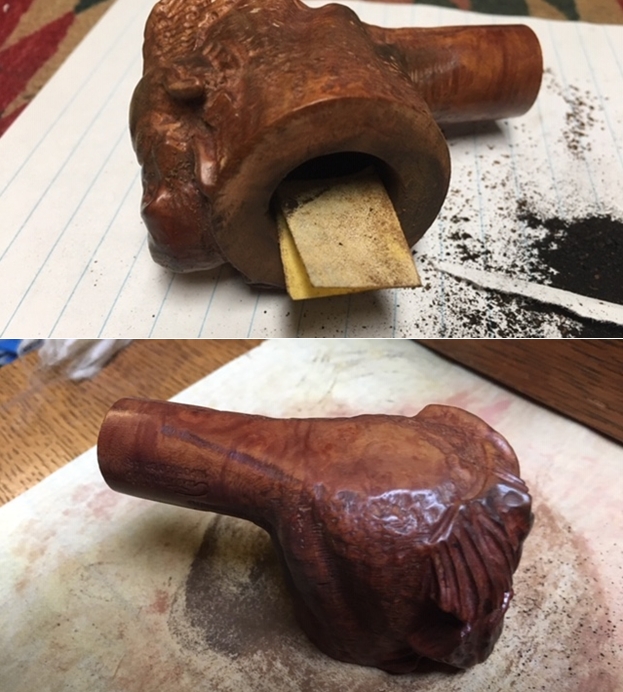
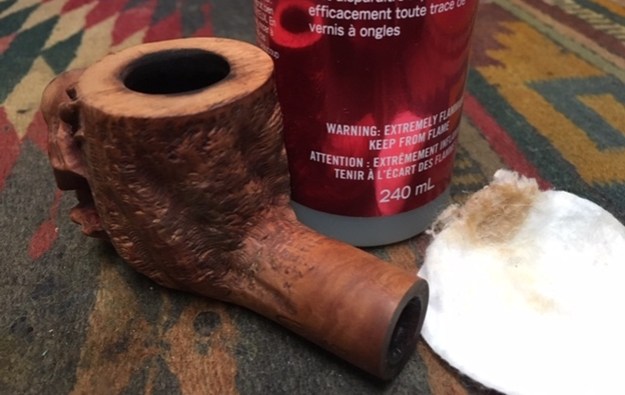
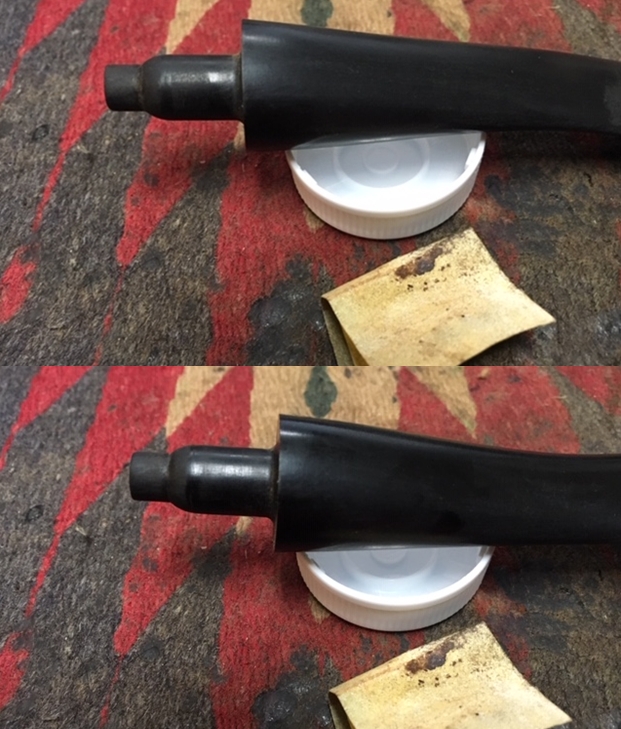
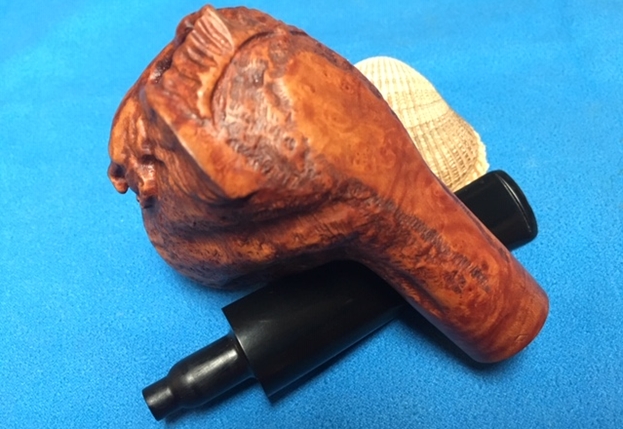
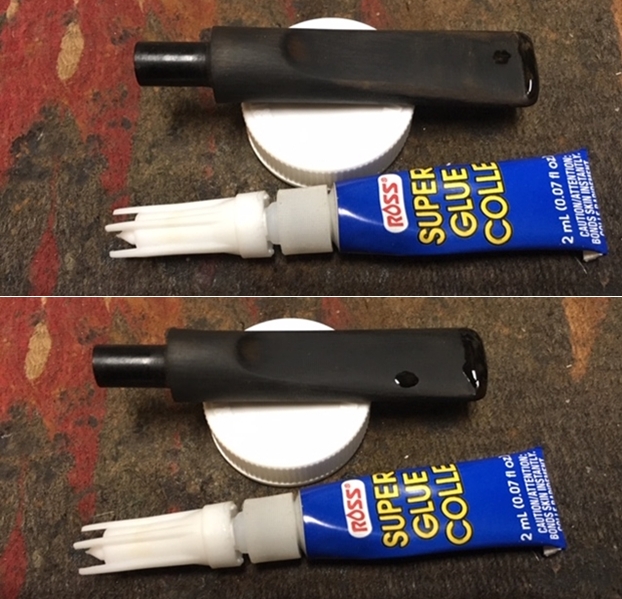
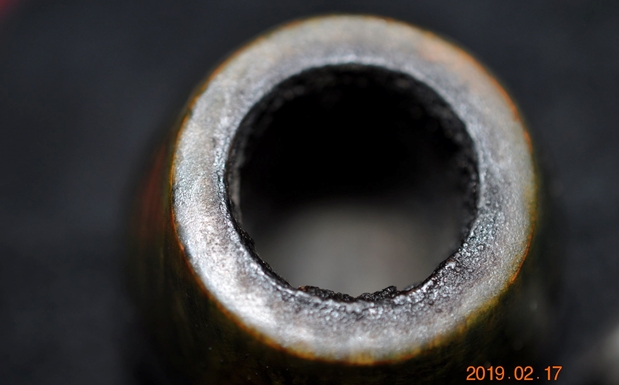
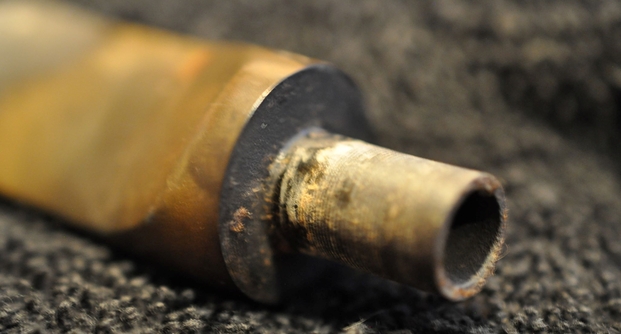
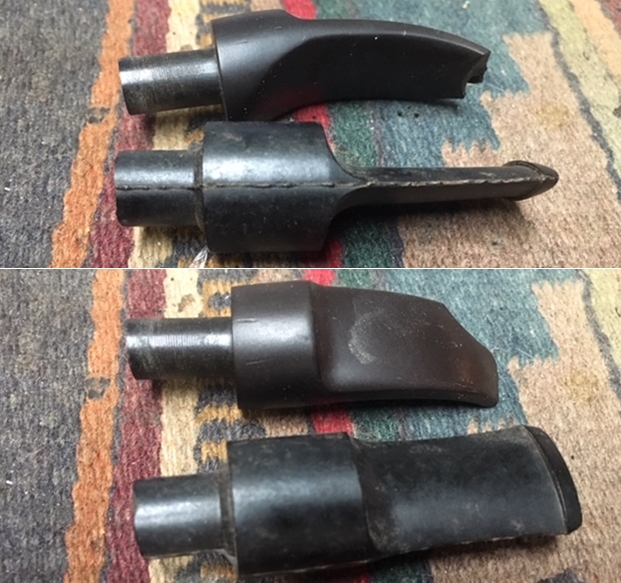
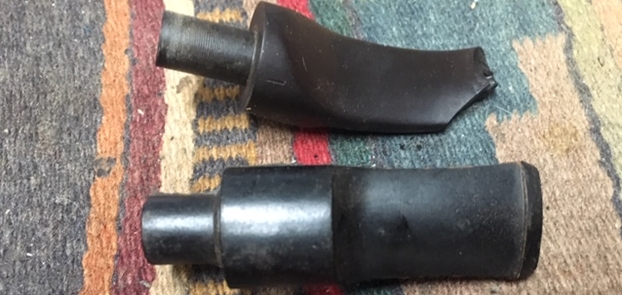
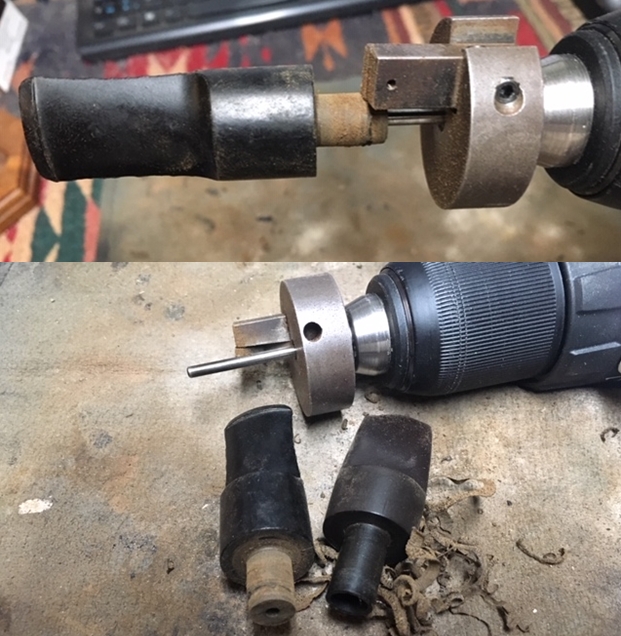
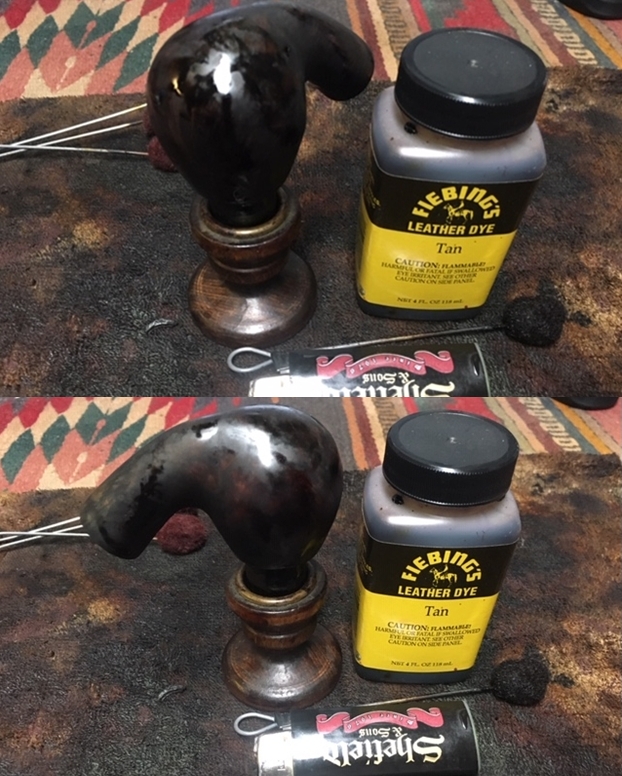
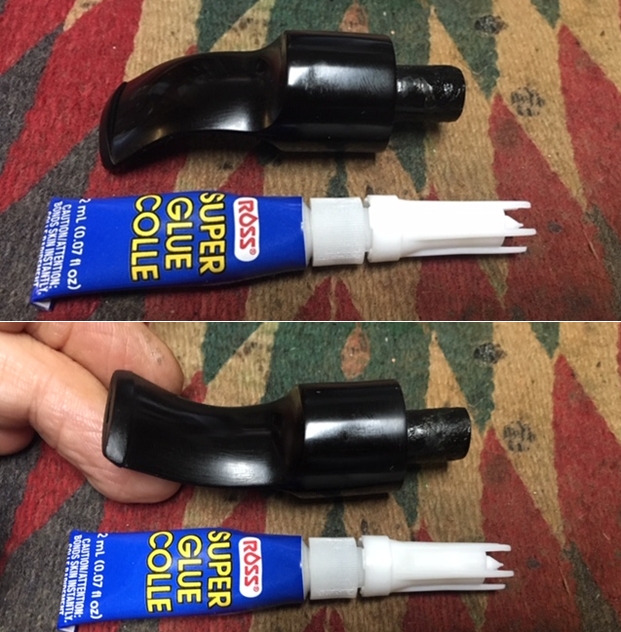
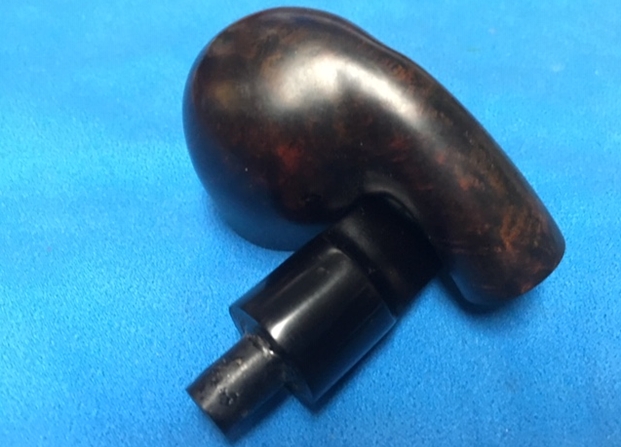
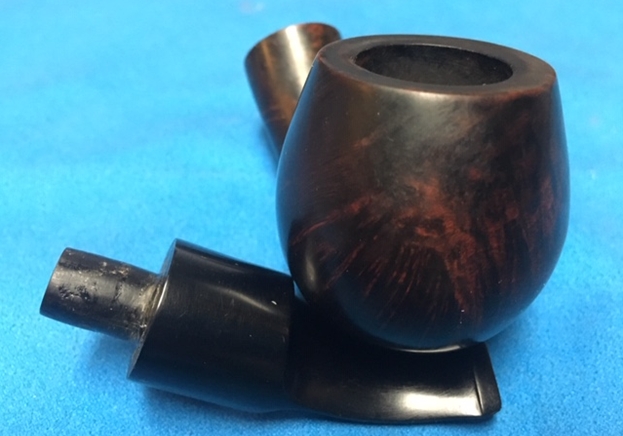
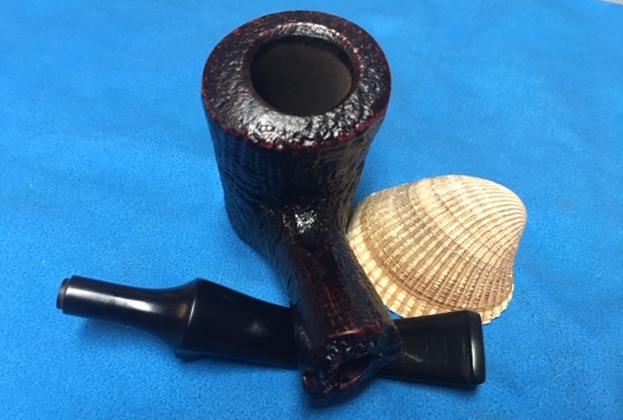
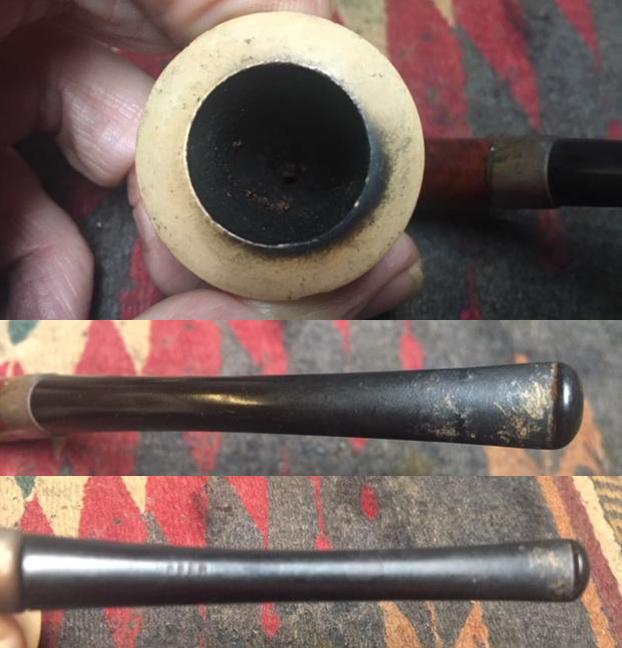
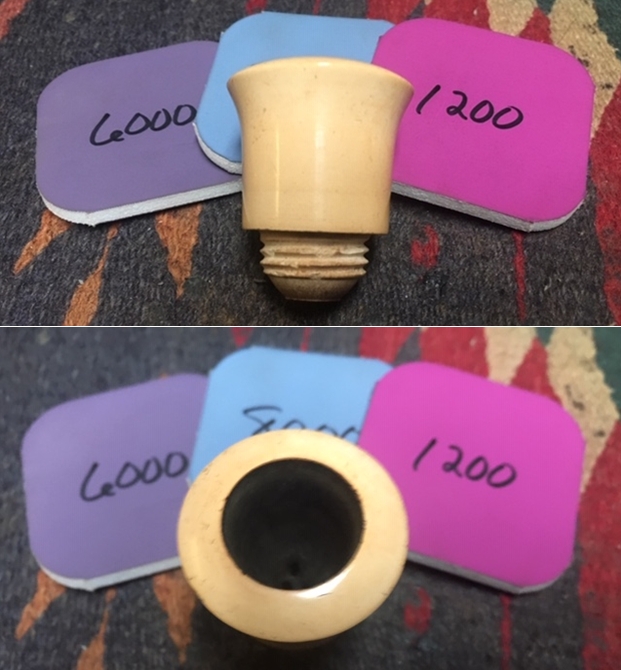
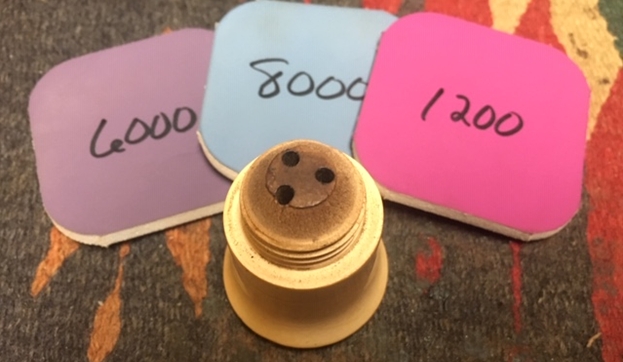
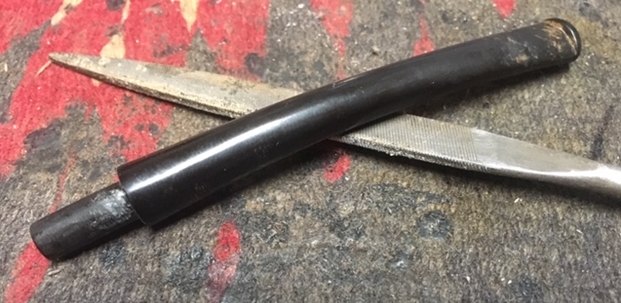
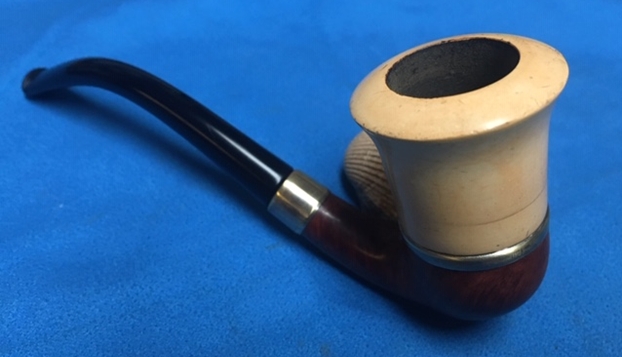
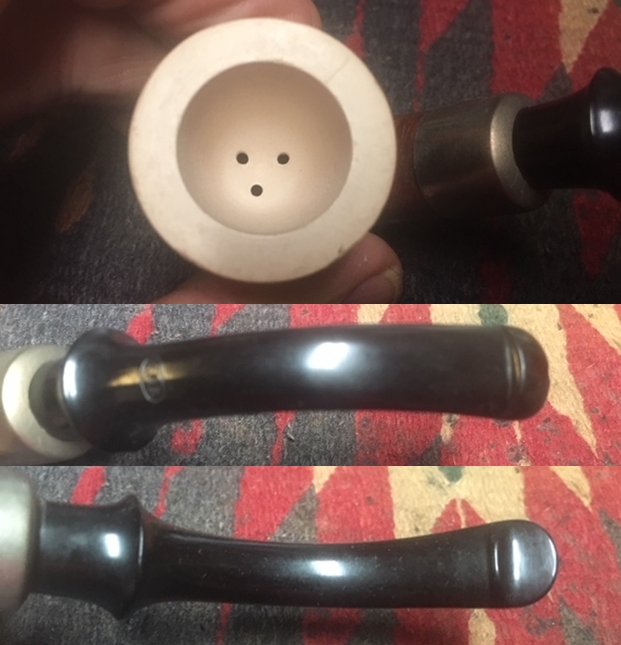
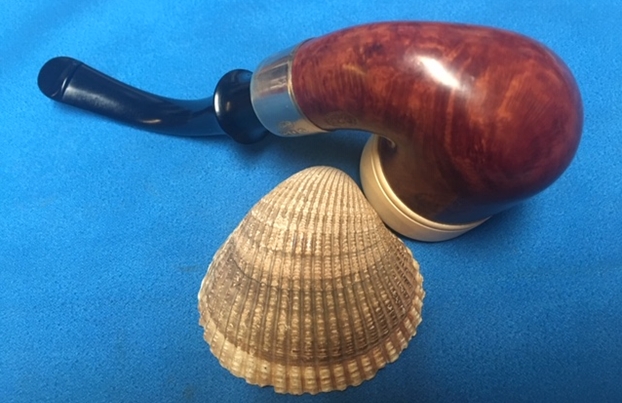
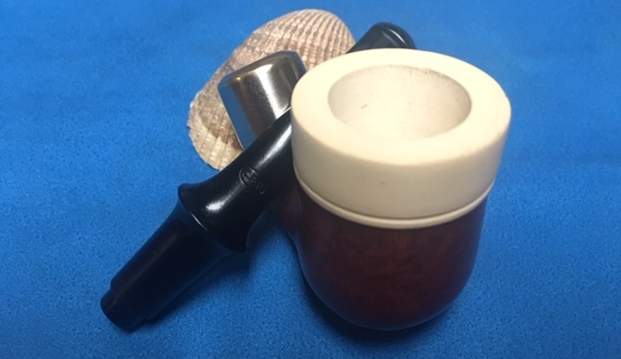
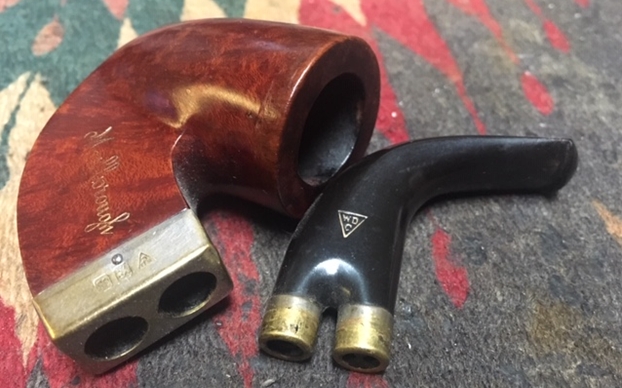
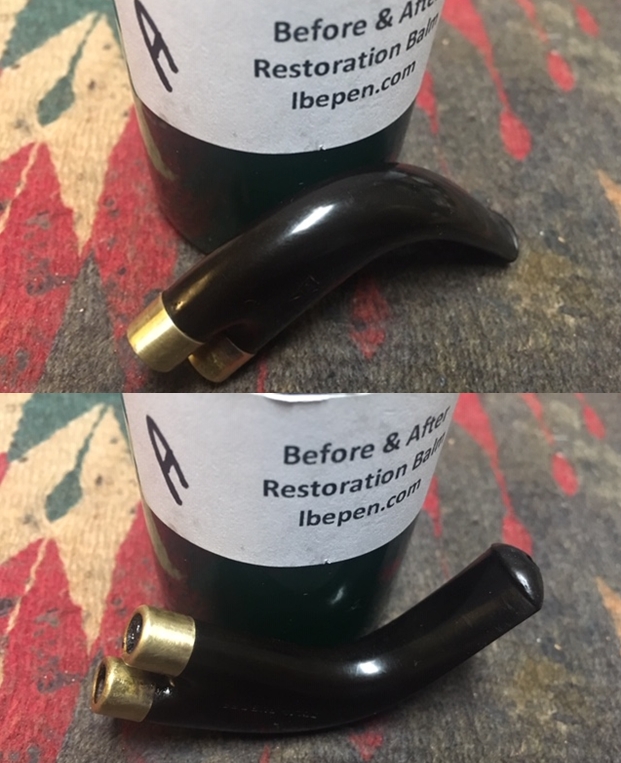
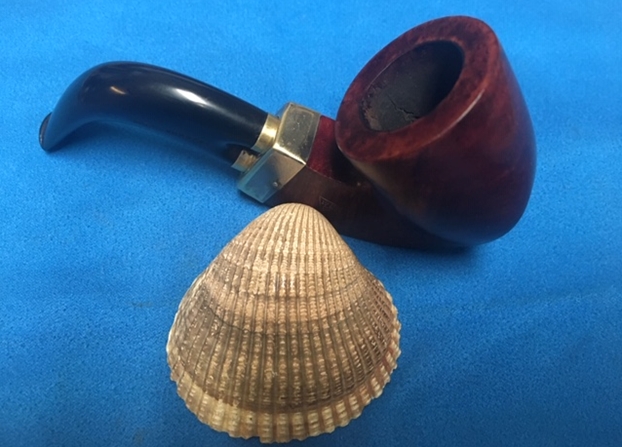
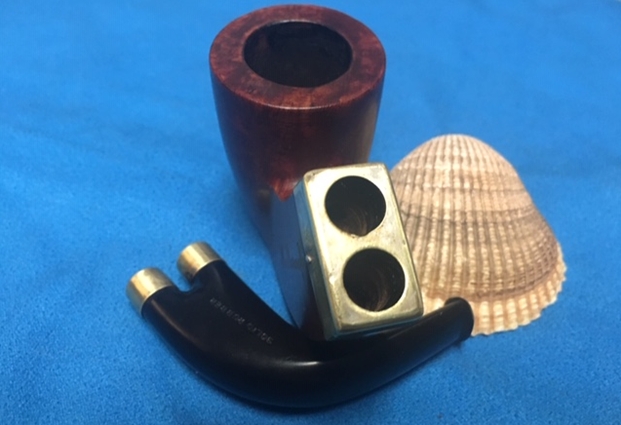
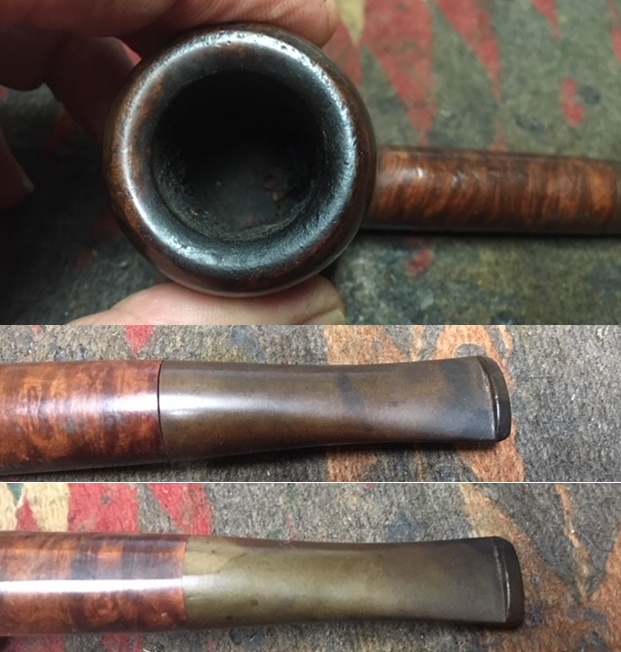 I took the stem off the shank and took a photo of the stem and stinger apparatus in the tenon. It was pressure fit and firmly stuck in place by the tars and oils.
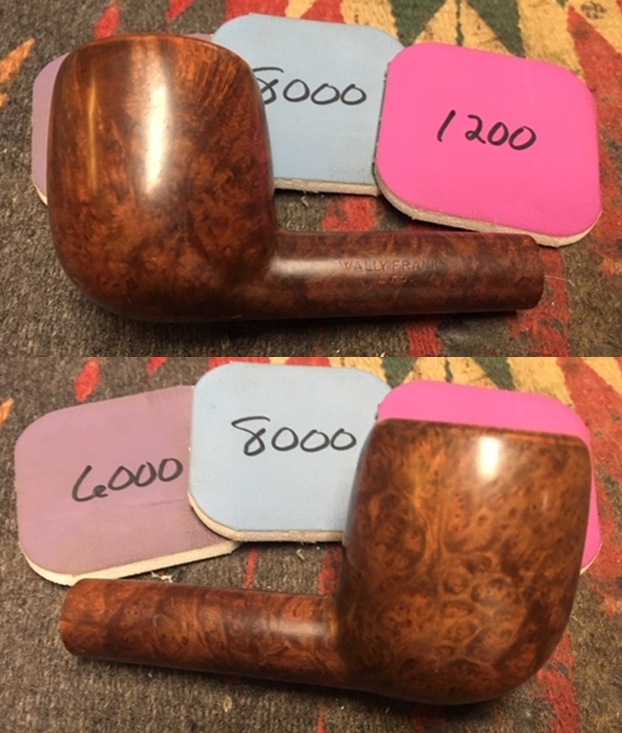
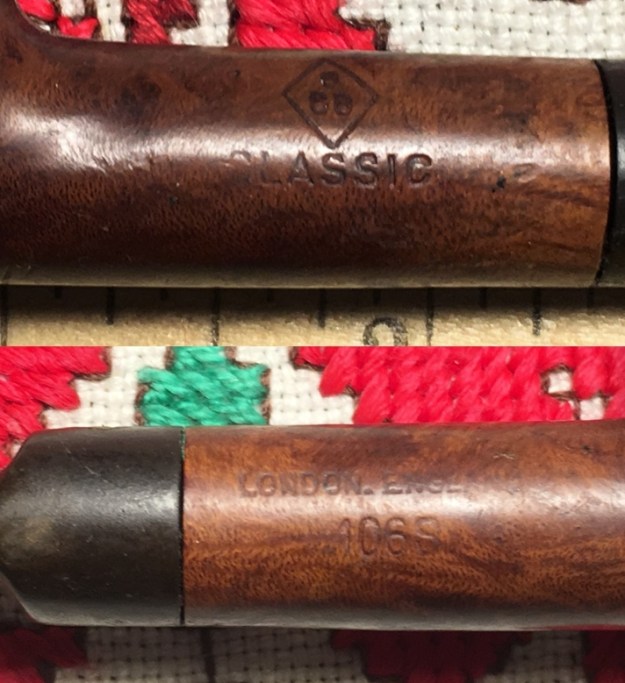
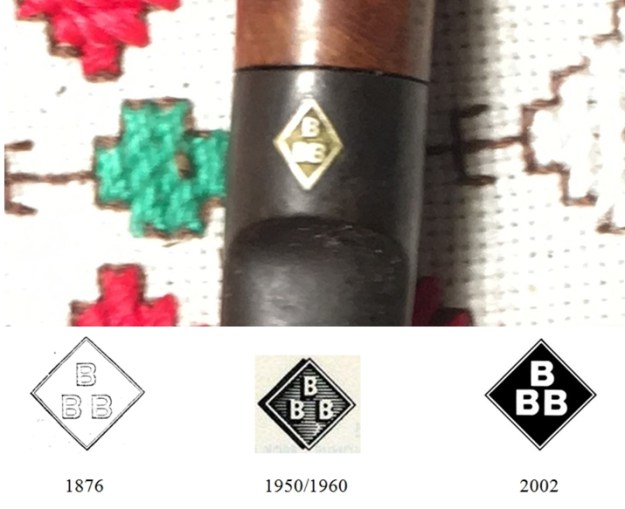
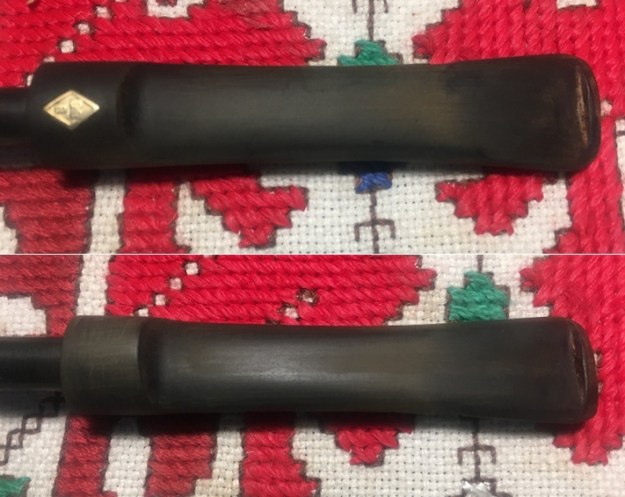
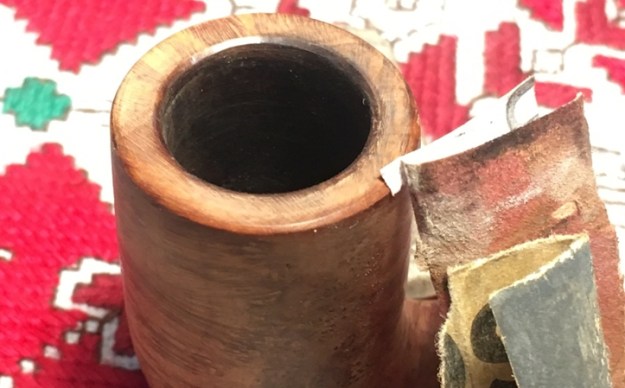
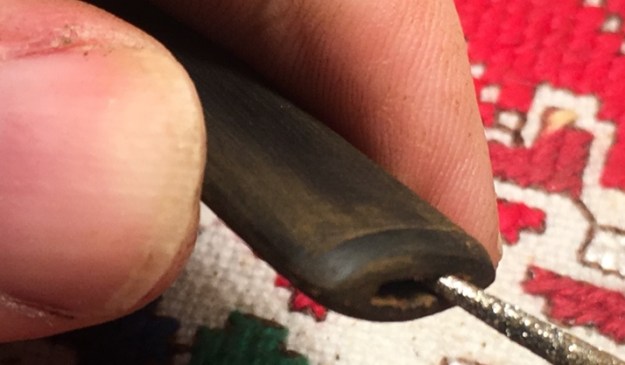
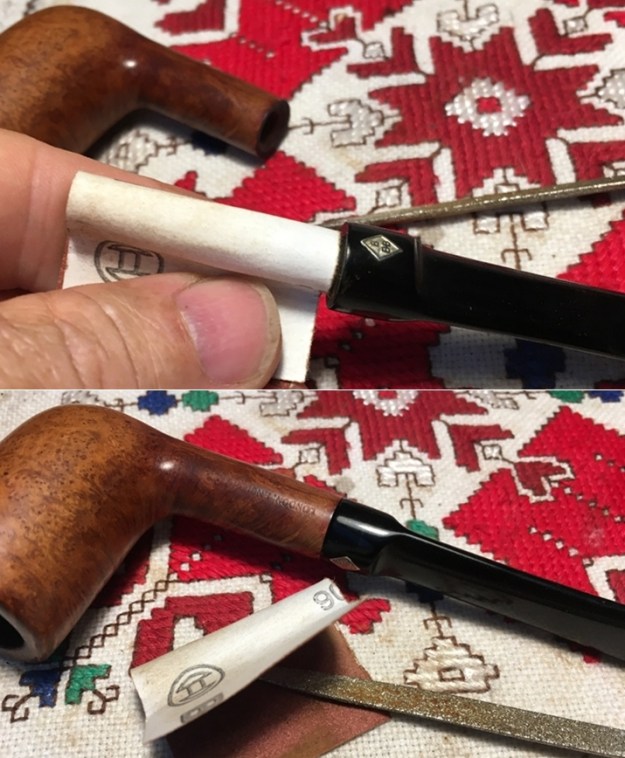
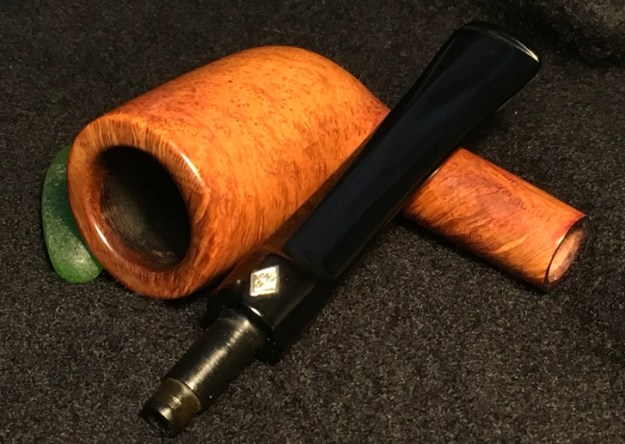
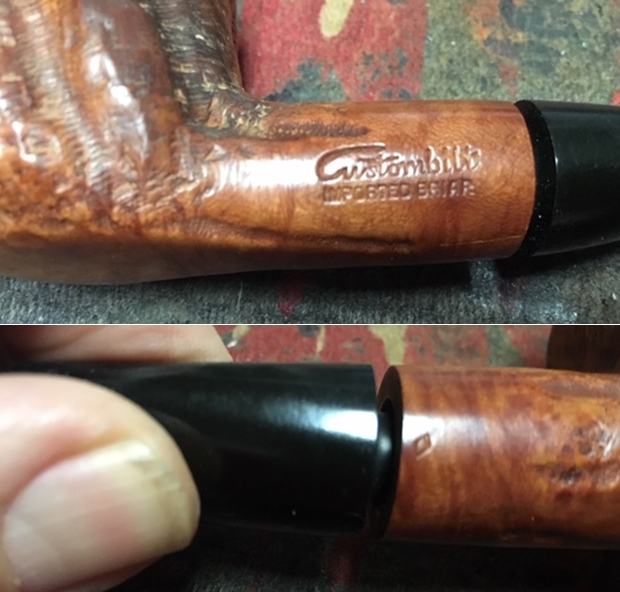
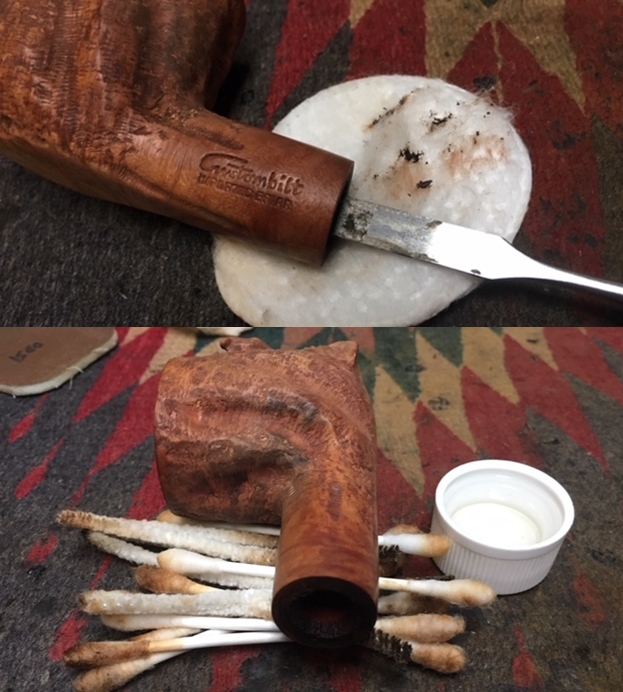
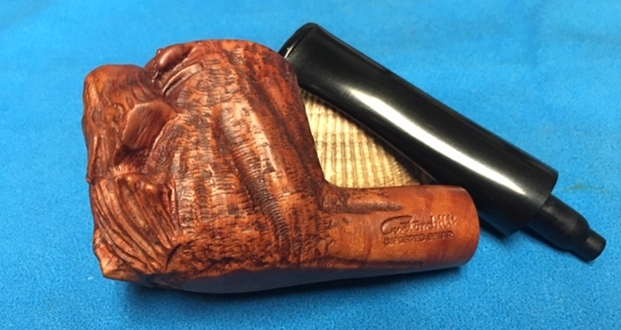
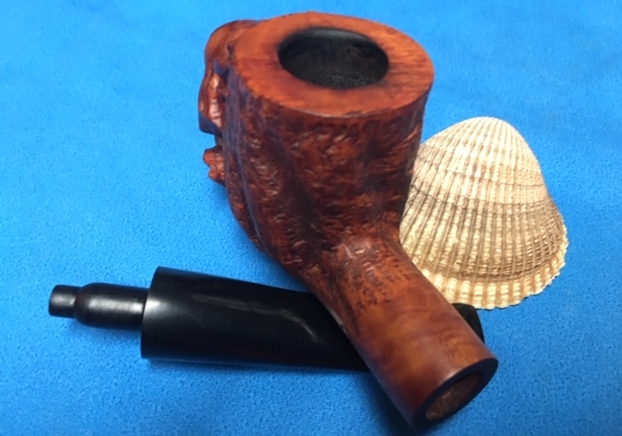
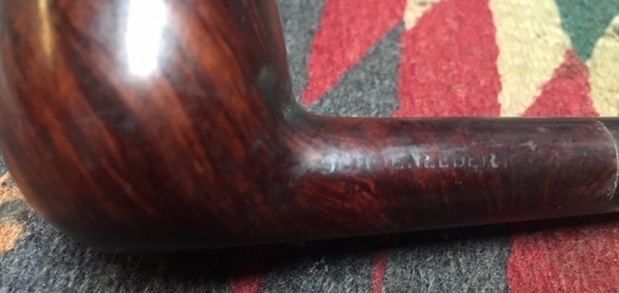
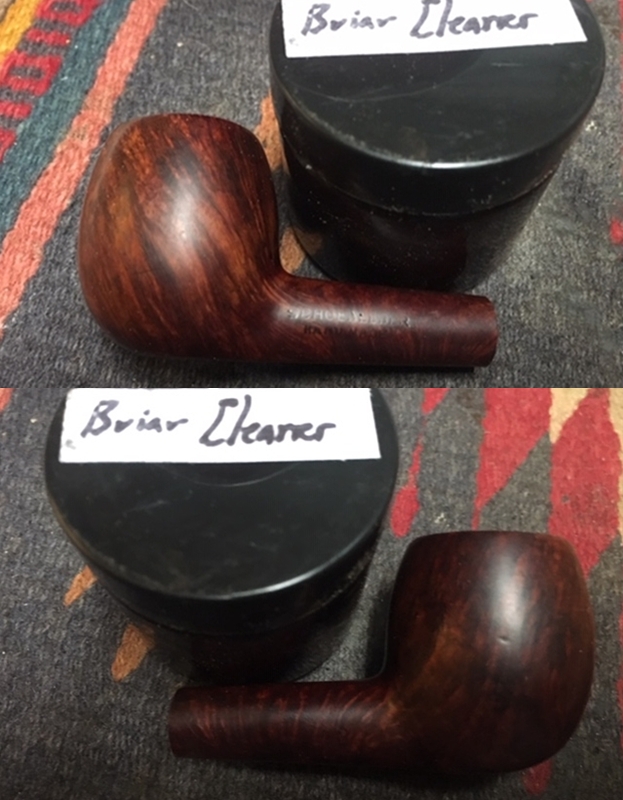
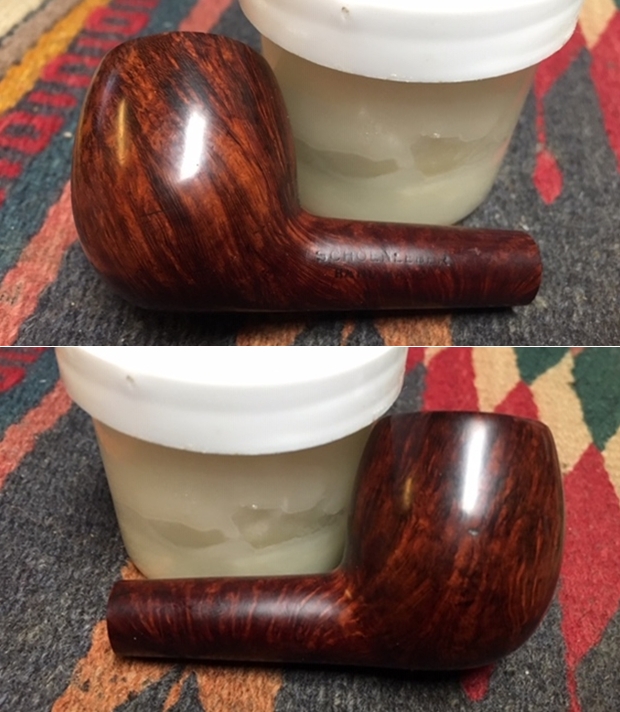
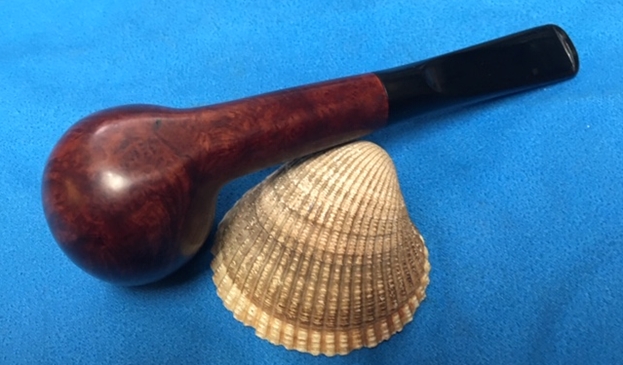
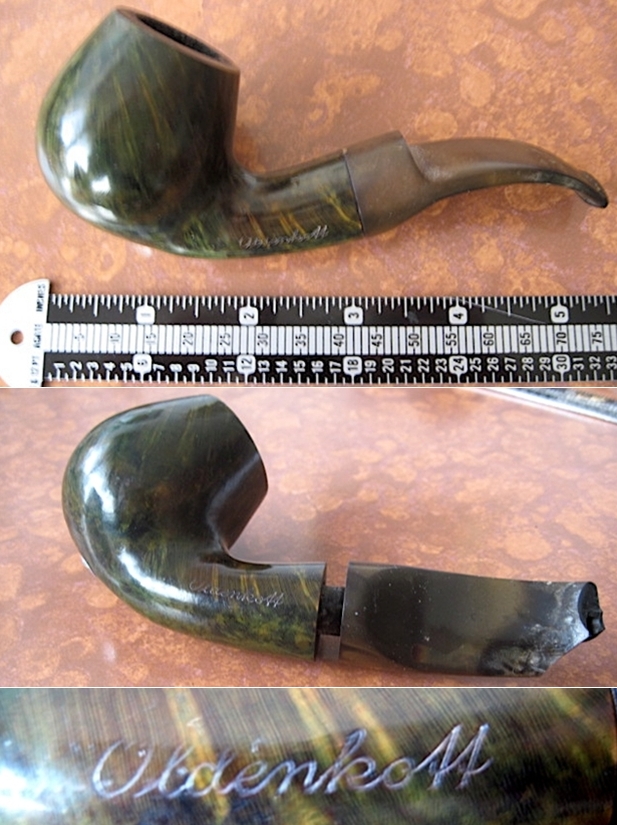
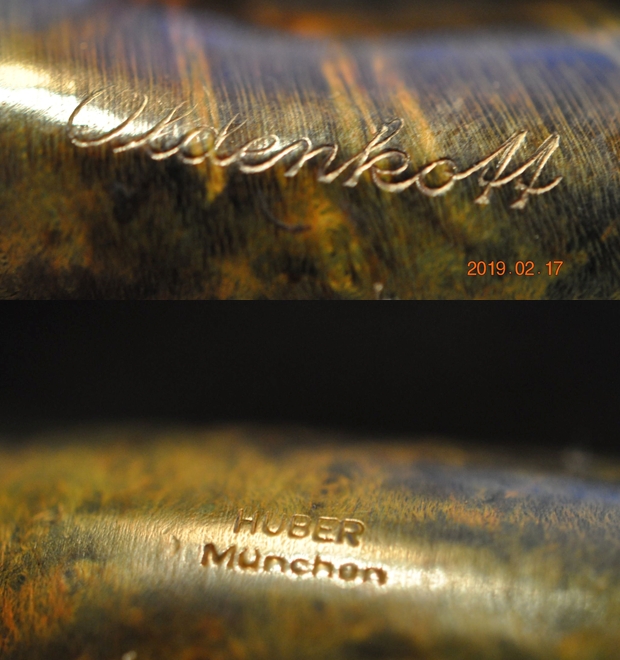
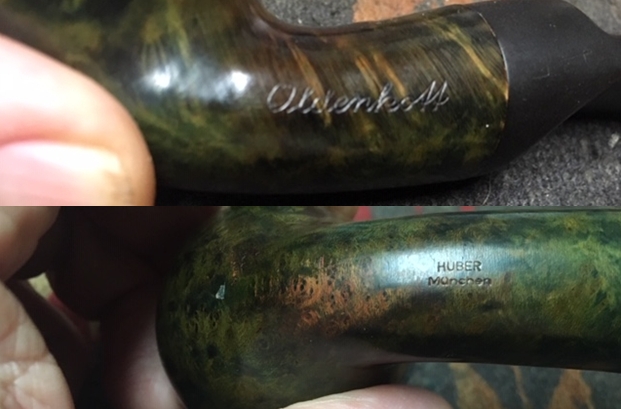
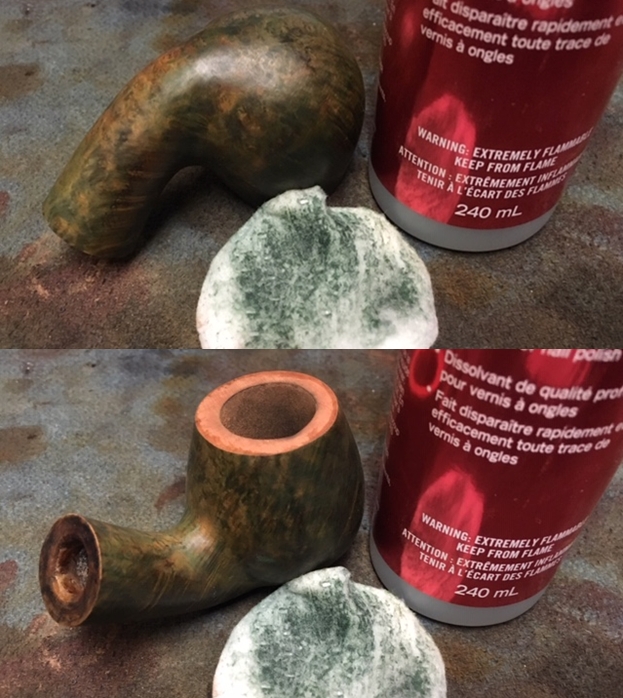
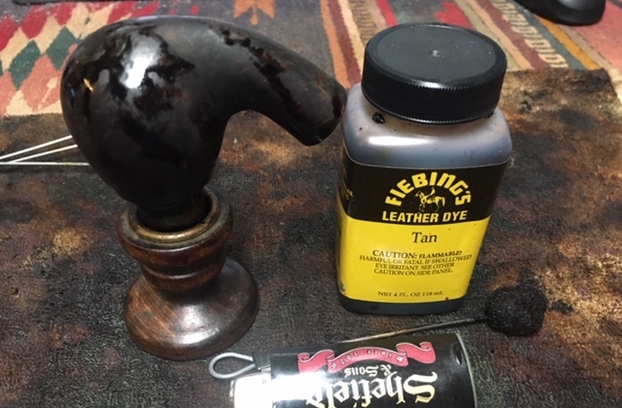
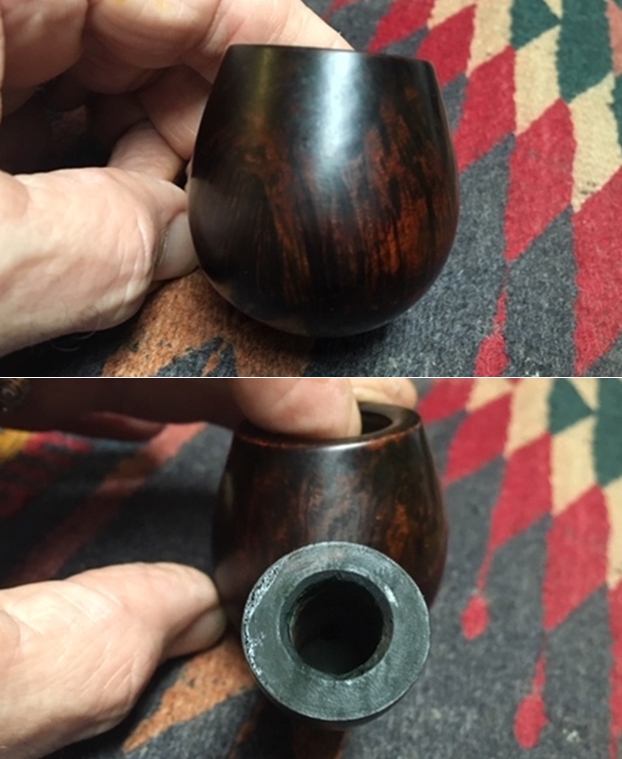
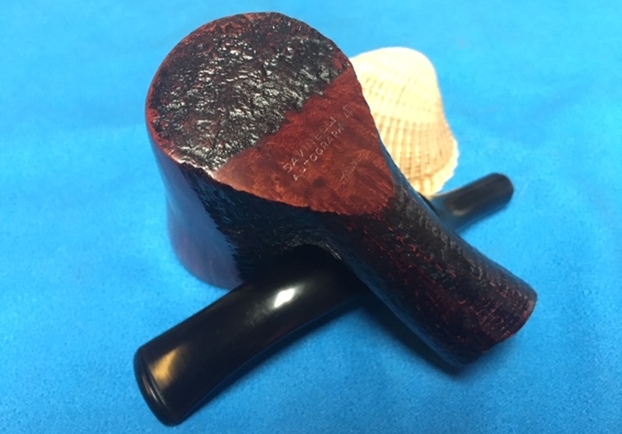
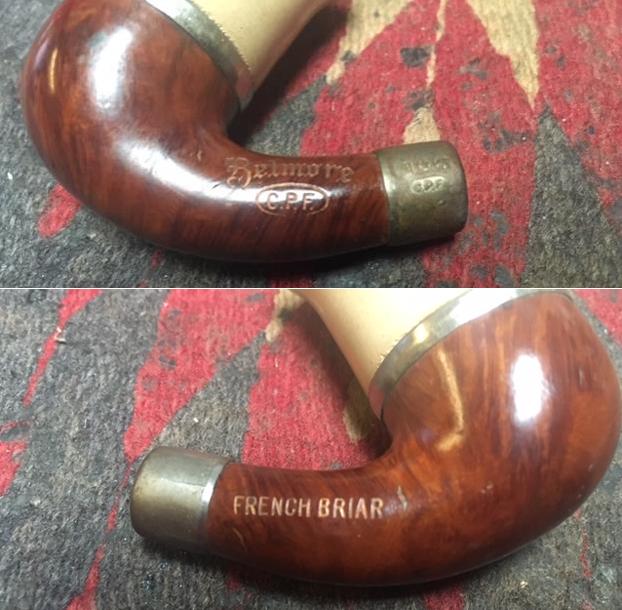
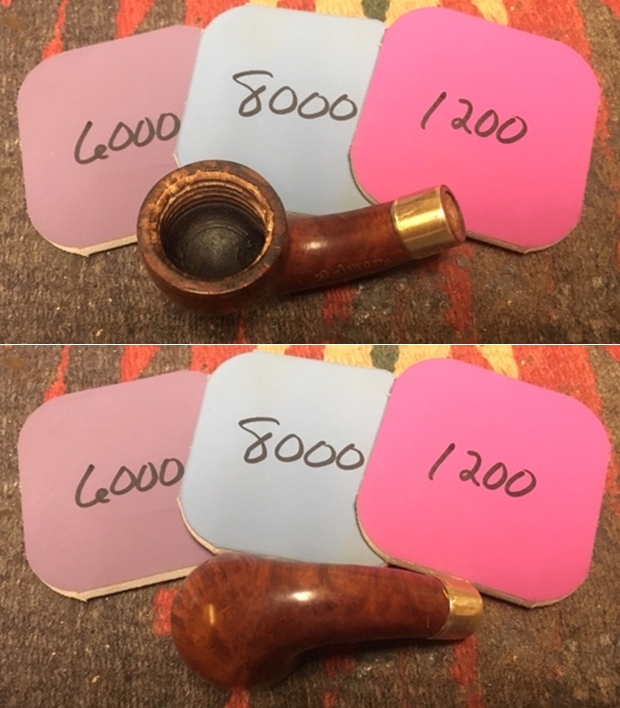
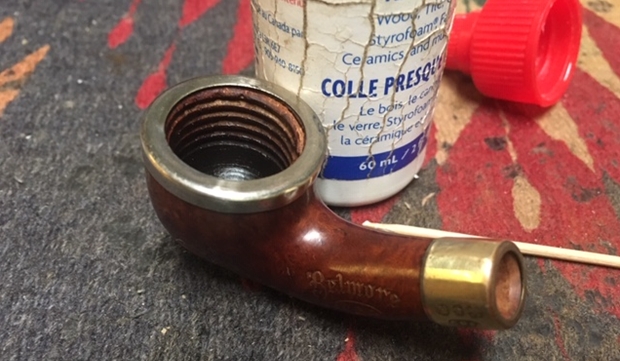
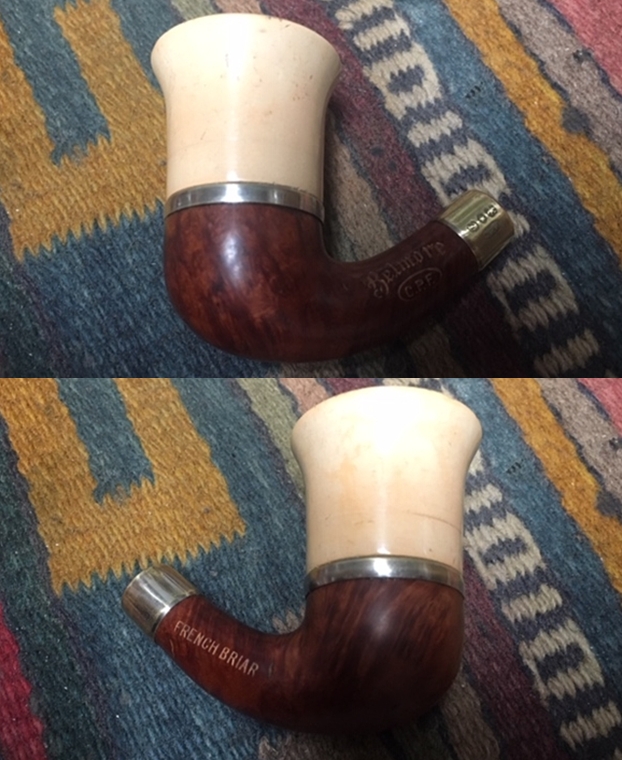
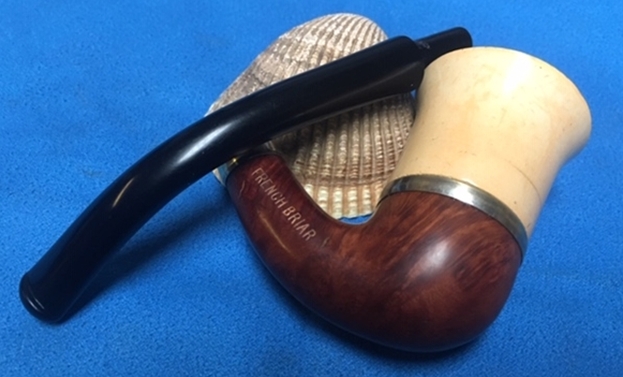
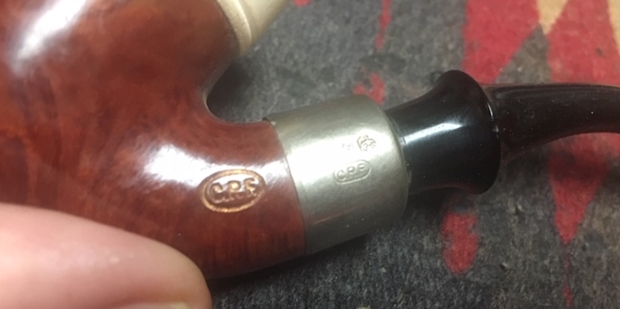
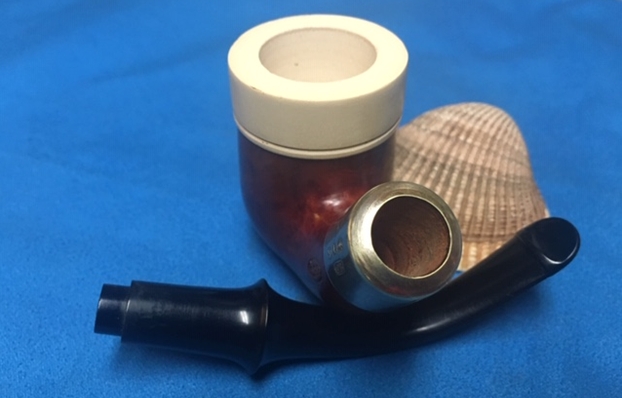
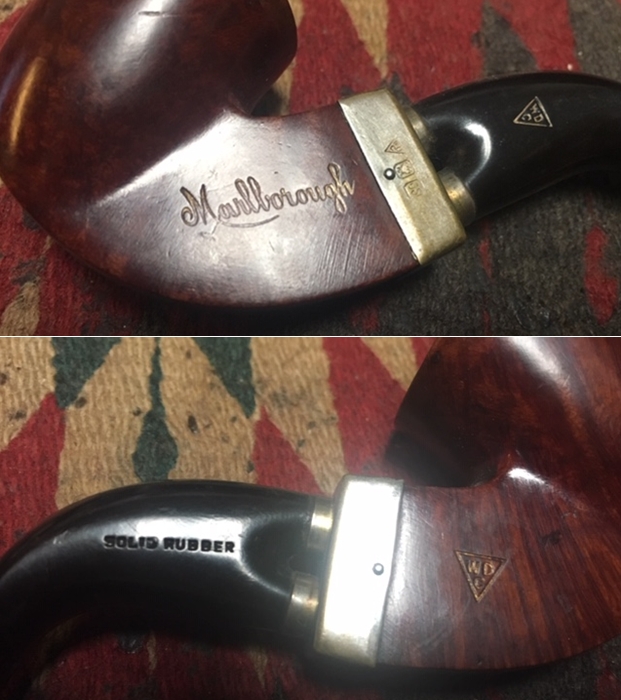
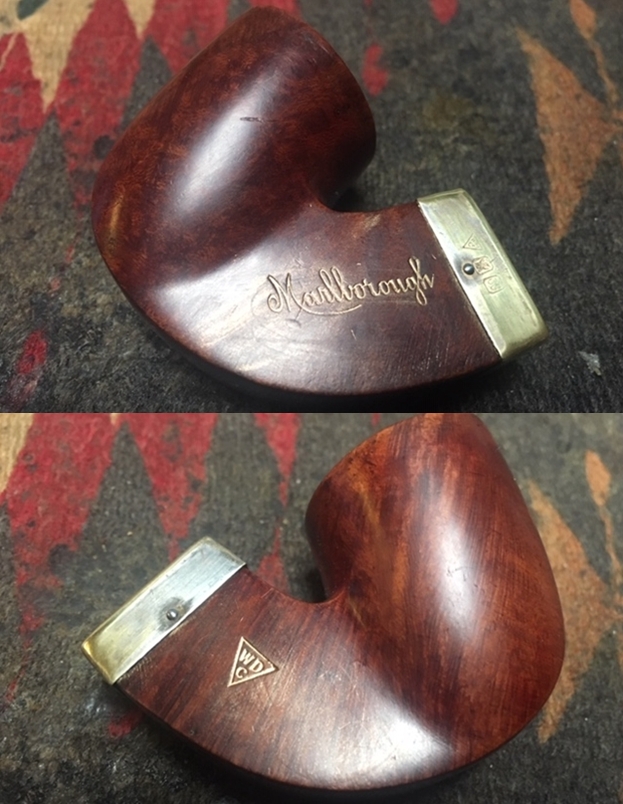
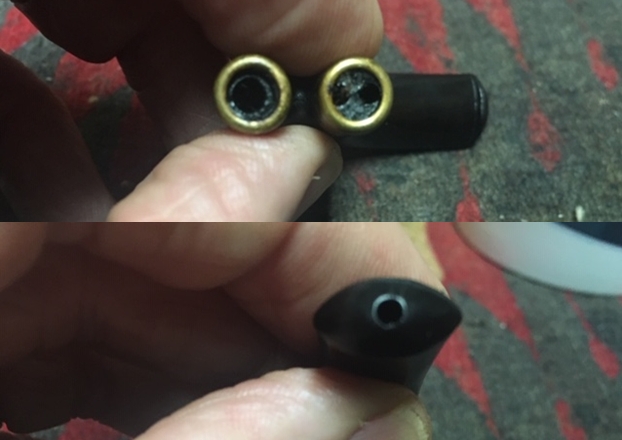
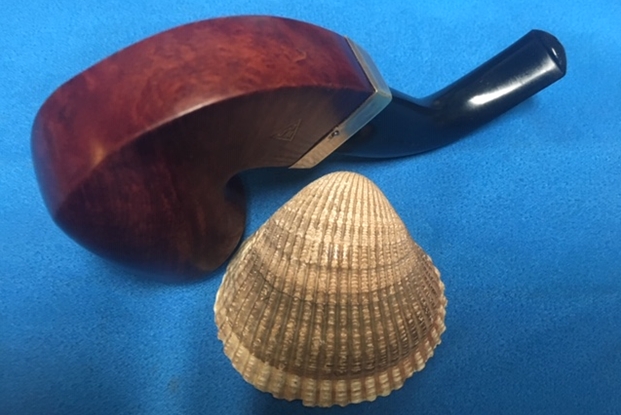
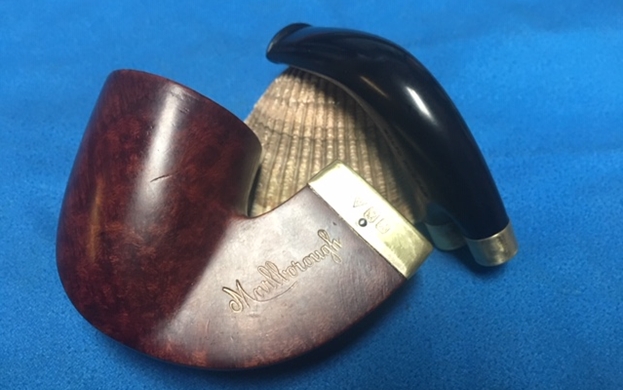
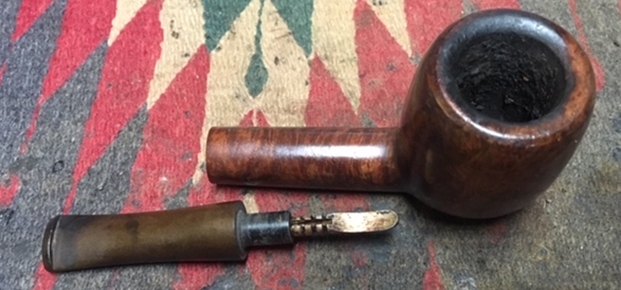 I took a photo of left side of the shank to show the stamping. The stamping is readable in the photo below and is as noted above – Wally Frank over LTD.
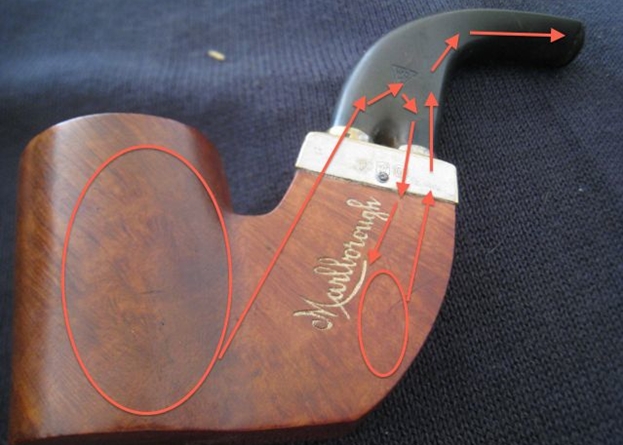
 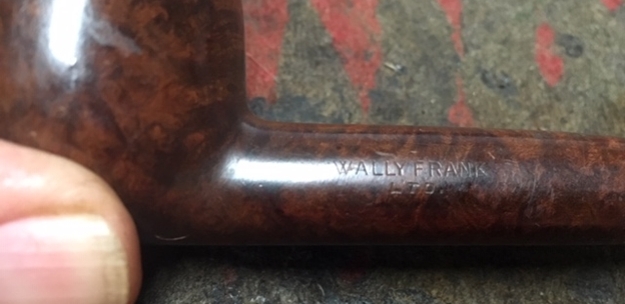 I remembered a a lot about the brand in that Iknew it was an old US pipe and tobacco store in and around New York City. I also knew that they did not make their own pipes but had others carve them from a variety of well known pipe making companies. I wanted to double check and seek more information on the brand before I went to work on this one. To me it certainly looked very British but other than that I had no idea.
I turned first to the Pipephil website (http://www.pipephil.eu/logos/en/logo-w1.html). There was some information on the various stampings and lines of the brand but not one of them matched this one. I did find out though that the… brand started in 1930. The pipes came from English, French, Danish, Italian and even US companies.
That was a good start but I turned to Pipedia for more information and found some helpful clues regarding the pipe (https://pipedia.org/wiki/Wally_Frank). I quote:
Wally Frank, Ltd. was one of America’s oldest and most respected names in pipes and tobaccos, beginning in the early 1930’s. Wally Frank operated a chain of tobacco stores in New York City (the flagship store was in Lexington Avenue) and had a vast catalog business for pipes and pipe tobaccos. Their numerous private-label pipes were made by many makers, including Charatan, Sasieni, Weber, and many others. Wally Frank, Ltd. also owned the Pioneer brand of meerschaum pipes, made from both Turkish and African meerschaum. In addition to importing pipes, he had many pipes made in his own name and also employed pipemakers like Peter Stokkebye, Svend Bang, and Ed Burak (who later became the owner of Connoisseur). As a result, each Wally Frank pipe must be individually evaluated on its own merit.
In 1952, Wally Frank was on a buying trip in Italy and “discovered” pipe maker Carlo Scotti. Frank liked Scotti’s pipes, but there was the small problem of Scotti’s pipes bearing the same trademark or logo as one of Wally Frank’s pipe lines, the White Bar. The two men decided on creating a new logo for pipes sold in the U.S.: a hole drilled in the stem and with a piece of silver foil inserted in the hole and covered with clear Lucite.
Wally Frank (the person) wrote the forward to Georges Herment’s 1954 book “The Pipe.”
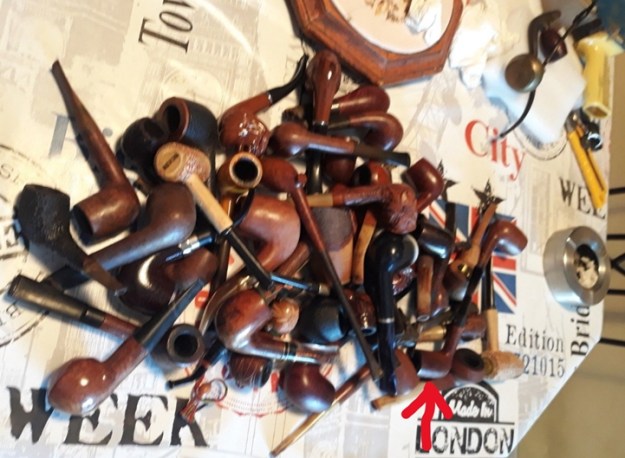
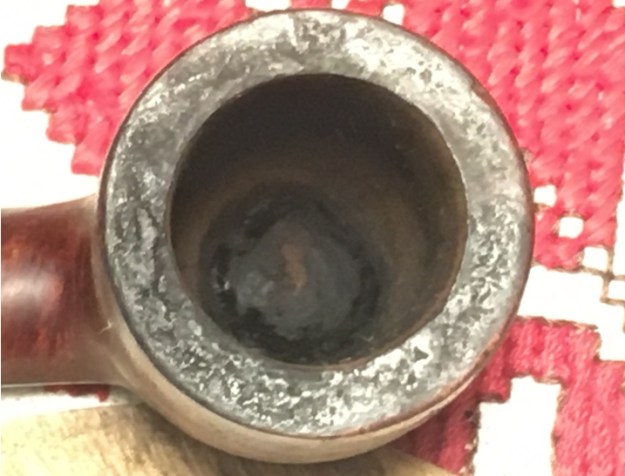
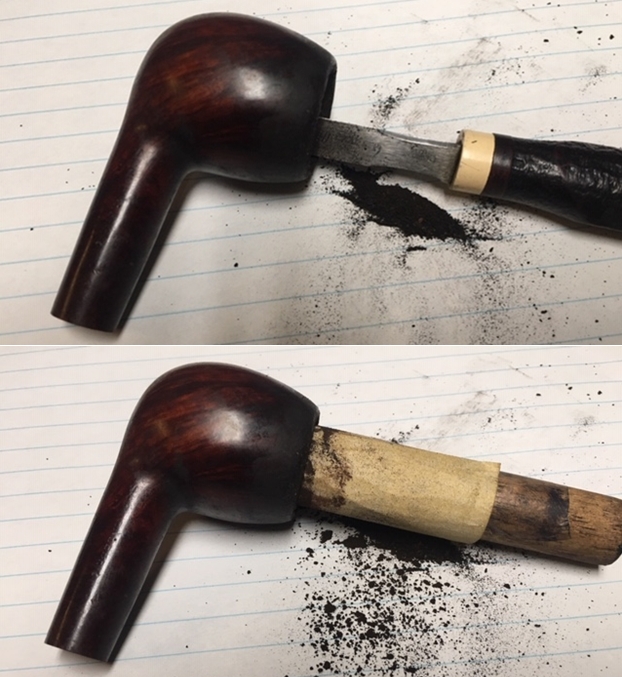
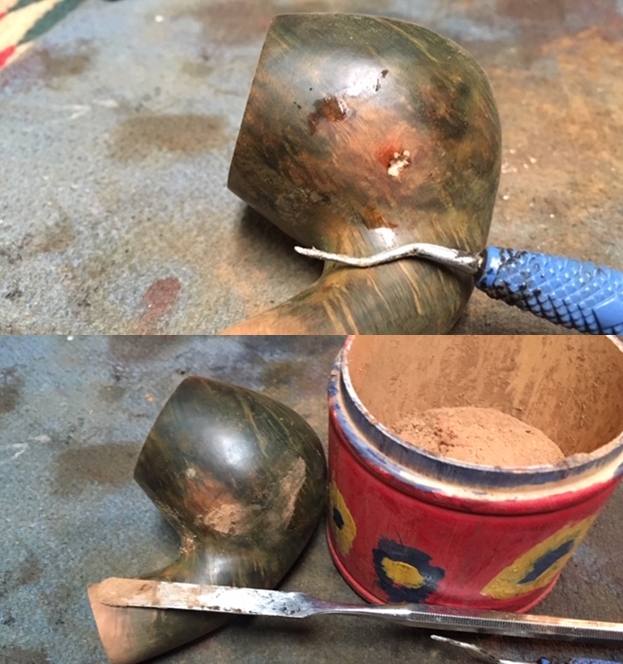
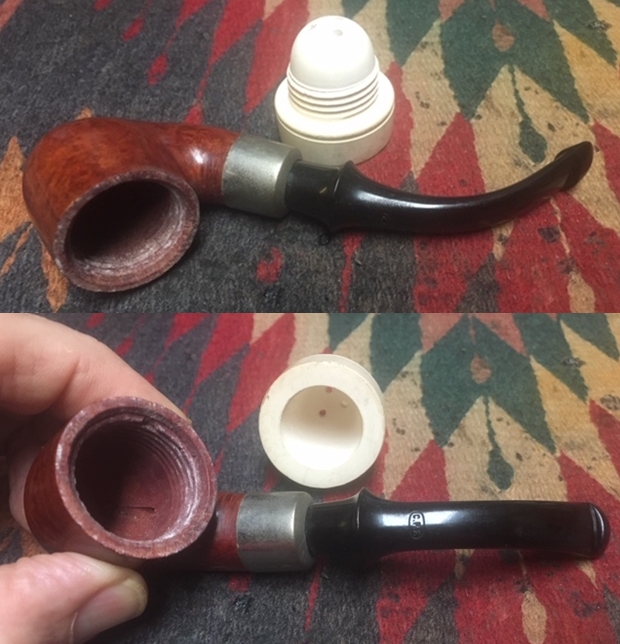
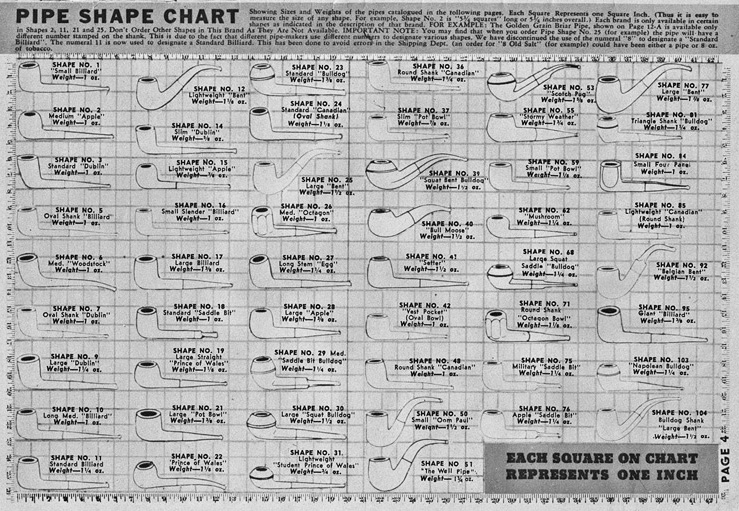
There was also a great pipe shape chart on the site that I thought was helpful (https://pipedia.org/images/d/d2/1943WallyFrankPipes.jpg). They labeled the pipe as a “Round Shank Canadian”. I have drawn a red box around it in the photo below. 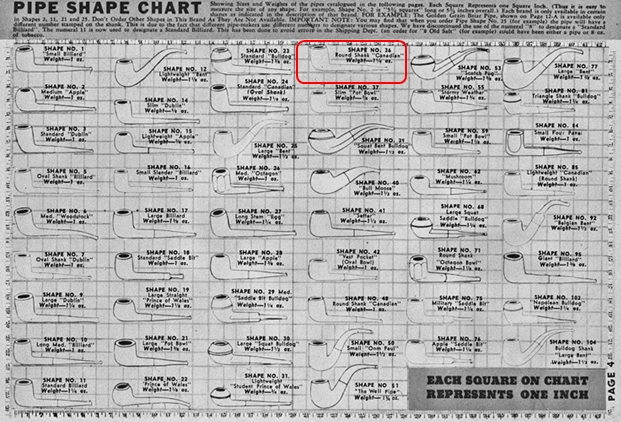 I reamed the bowl with a PipNet Pipe reamer to take the cake back to bare briar. The cake was thin but the lava over flow on the rim was heavy and dark. The rim top looked pitted and damaged. I sanded the internal walls of the bowl with 220 grit sandpaper wrapped around a piece of dowel.
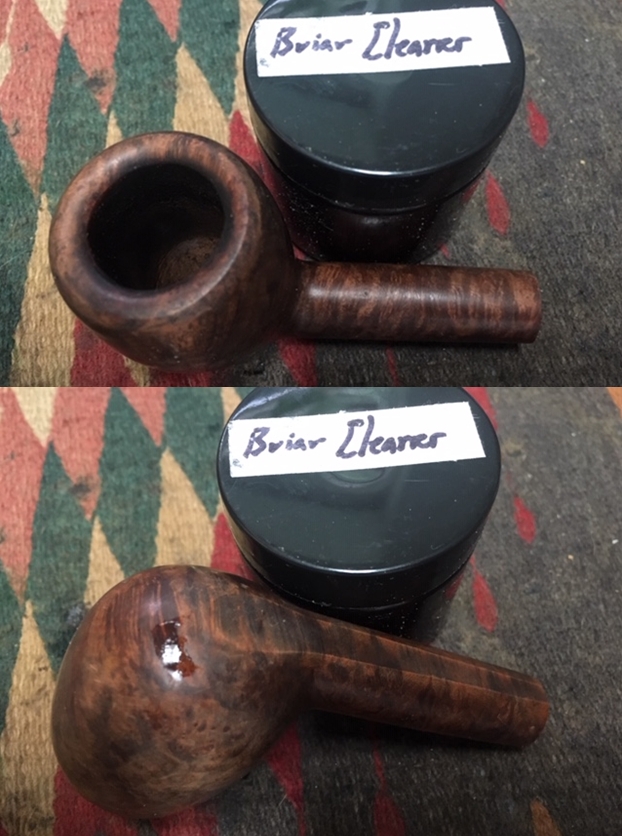
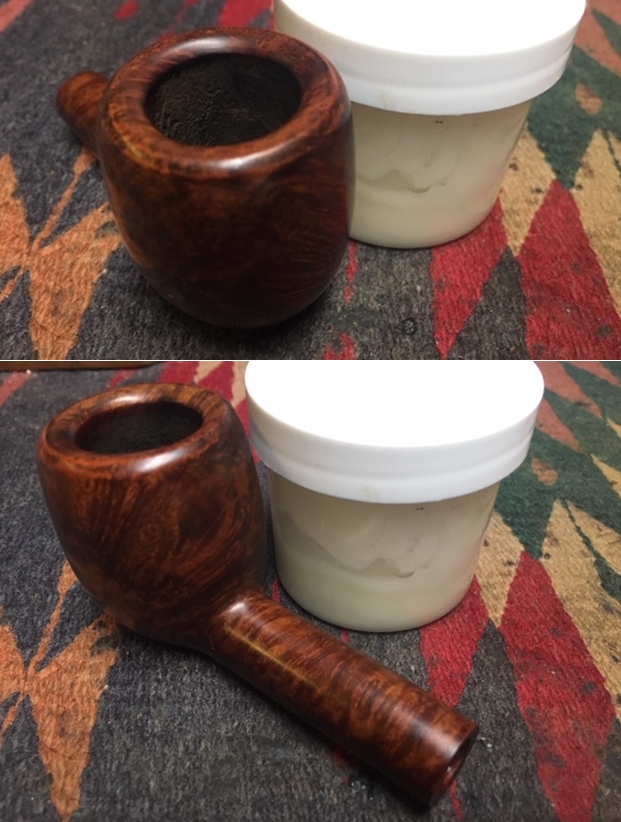
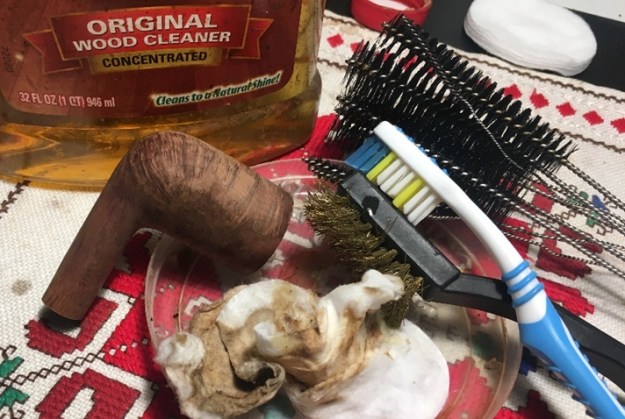
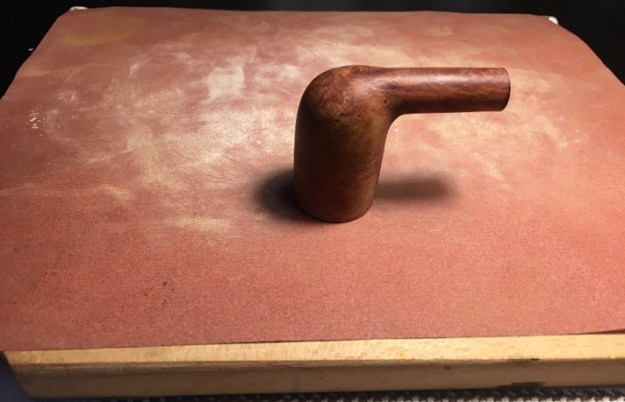
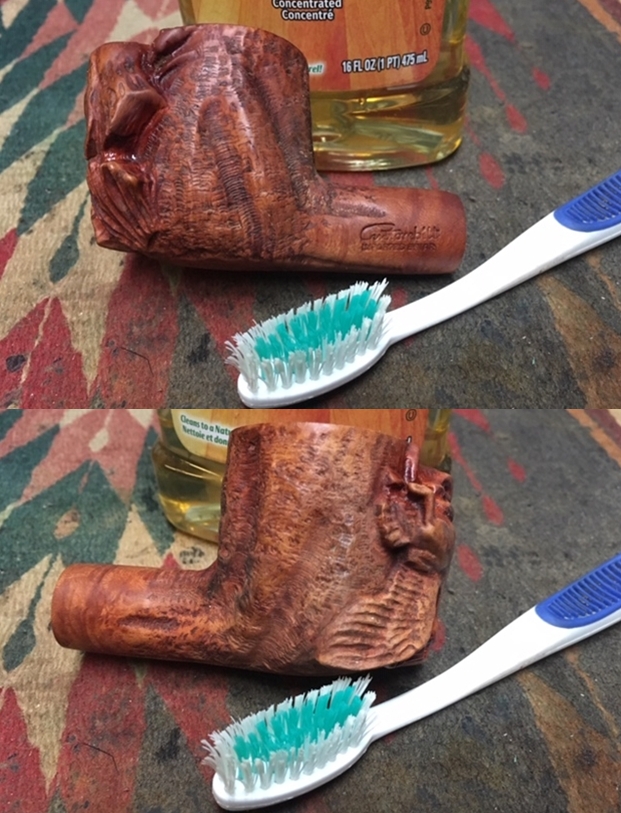
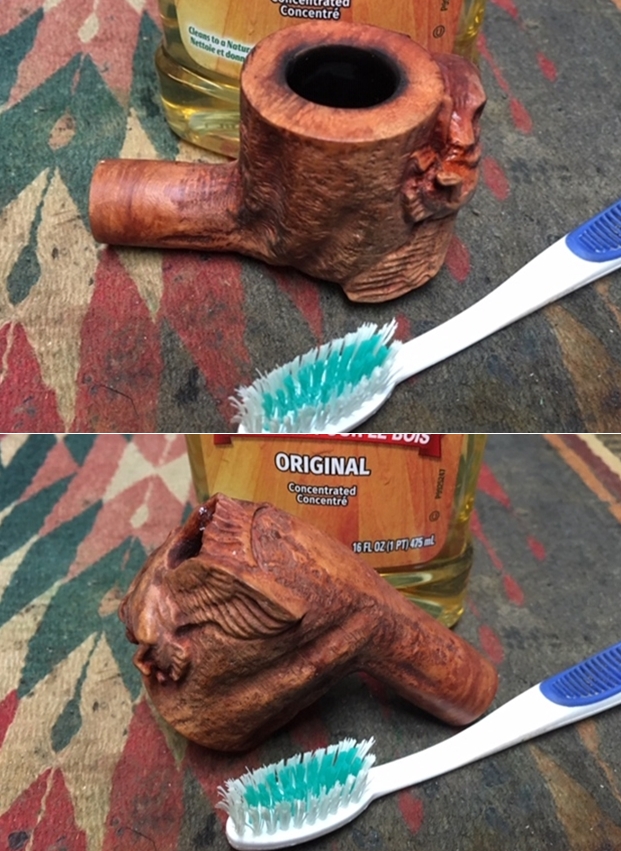
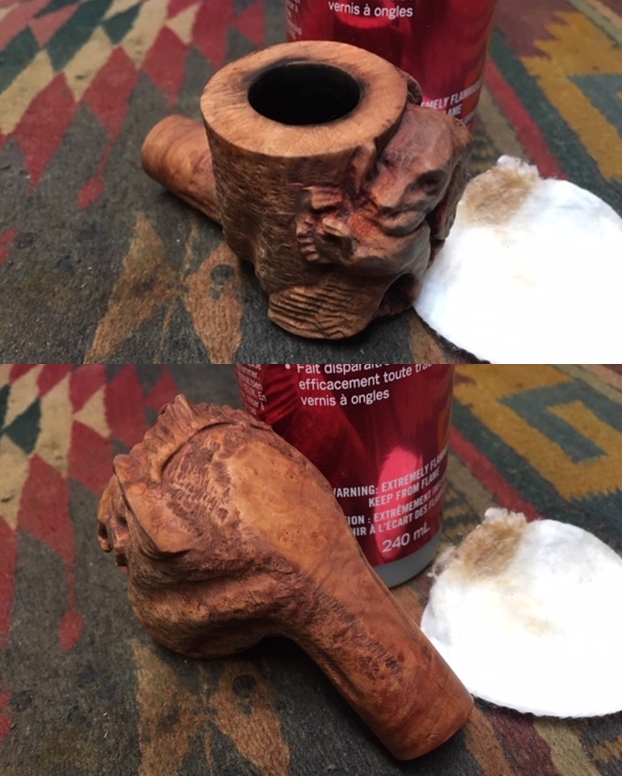
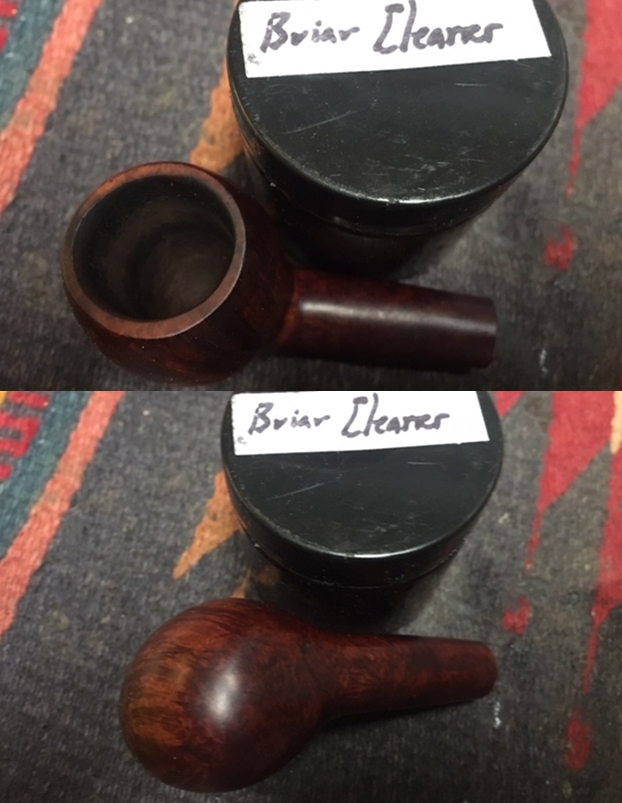
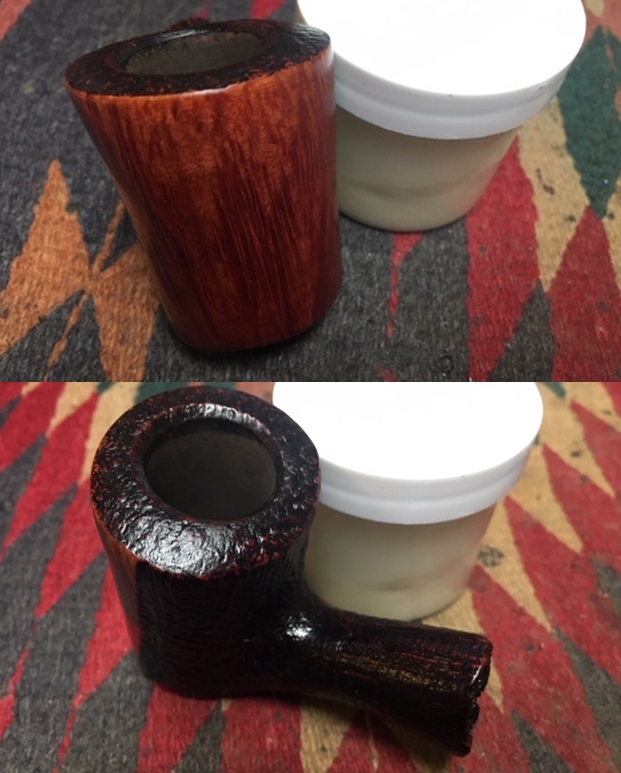
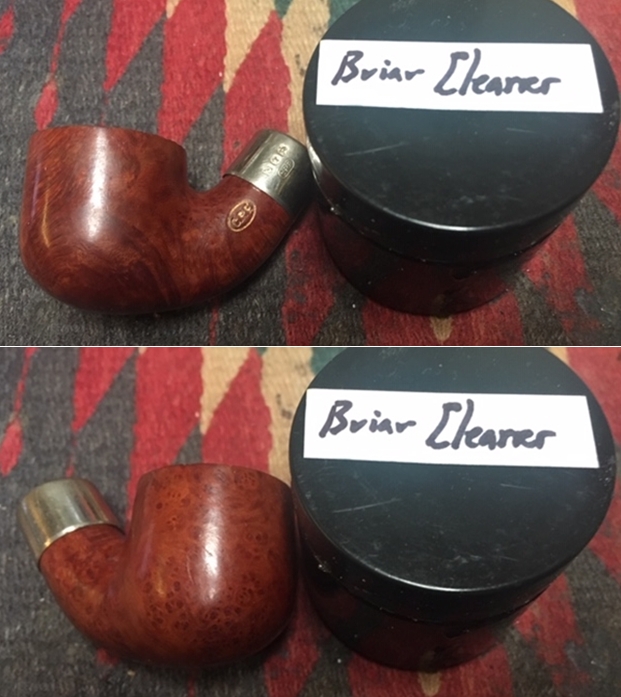
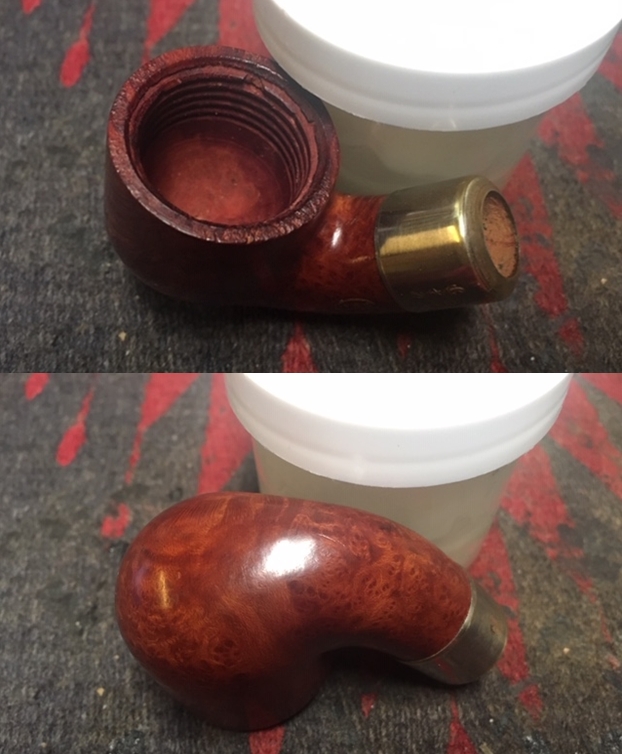
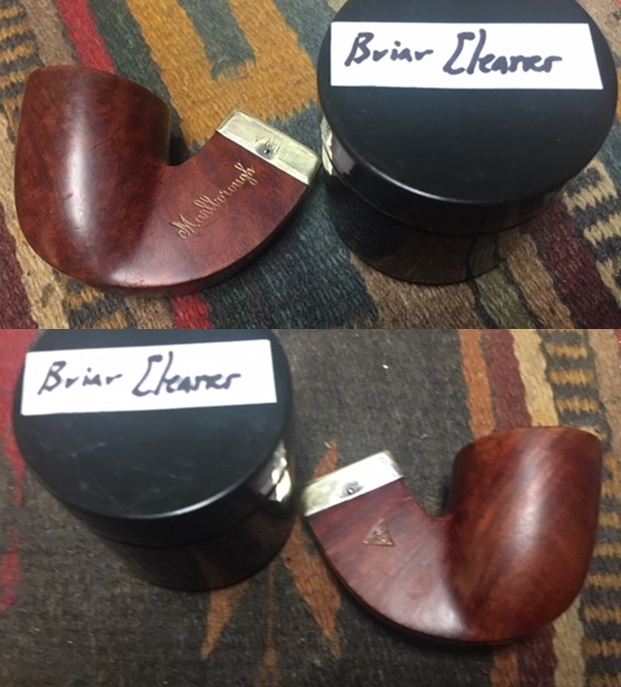
 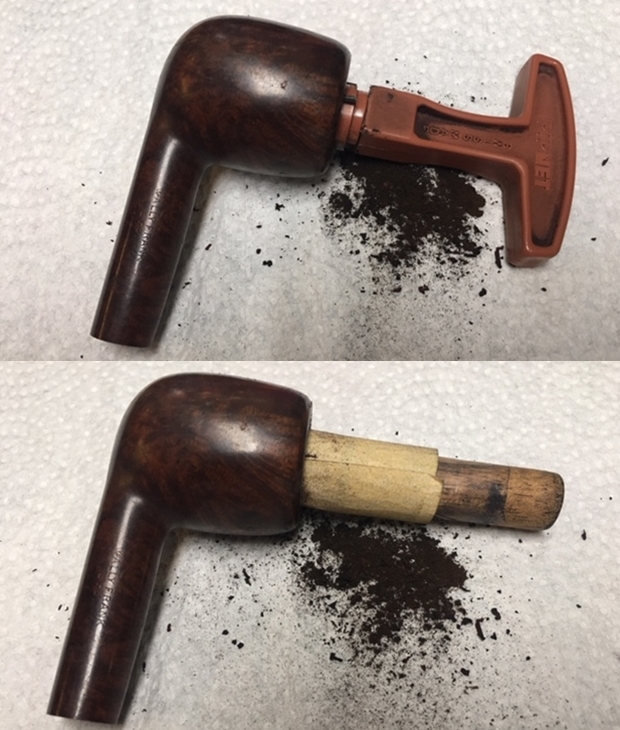 The filthy exterior of this pipe was perfect for me to continue experimenting with a new product from Mark Hoover of Before & After Products. This one is a product he labels briar cleaner and it has the capacity of absorbing grime and dirt from the surface of briar. I rubbed the bowl down with some of his Briar Cleaner to see how it would work in this setting. In speaking to Mark he noted that the product is completely safe to use. The main product is even FDA approved edible. I rubbed it onto the bowl and rim top with my finger tips and worked it into the grime and grit on the bowl. I let it sit on the pipe for about 5 minutes before I rubbed it off with a microfibre cloth. I rinsed it under warm running water to remove the residue. I was pleasantly surprised by how clean the surface on the bowl looked when I was finished.
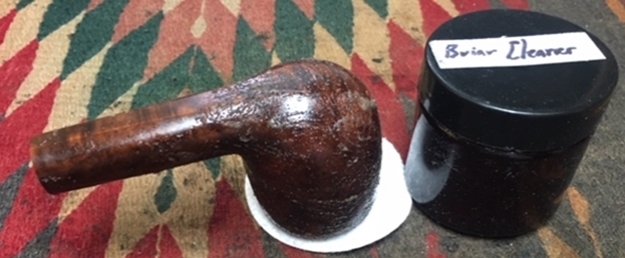
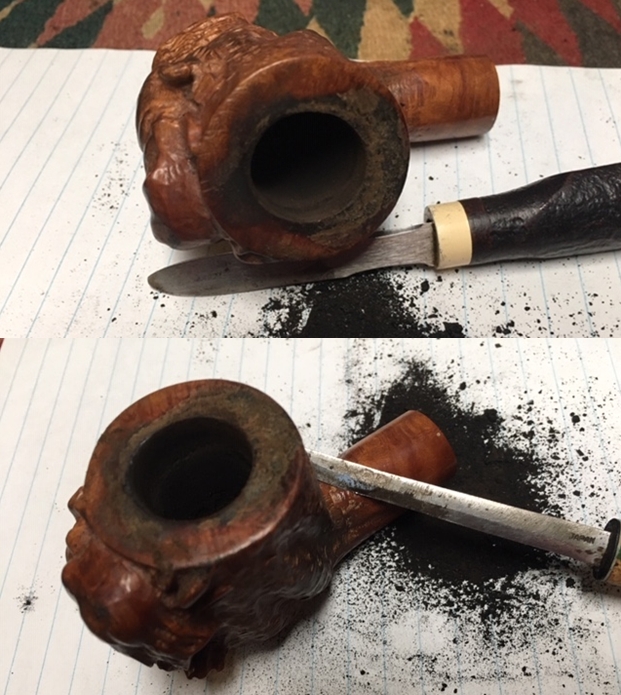
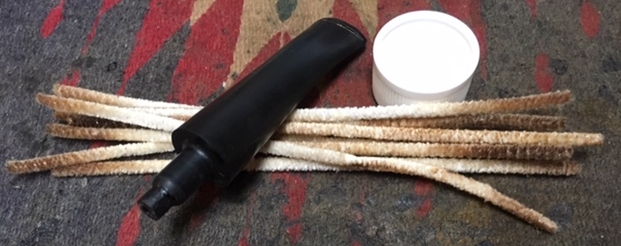
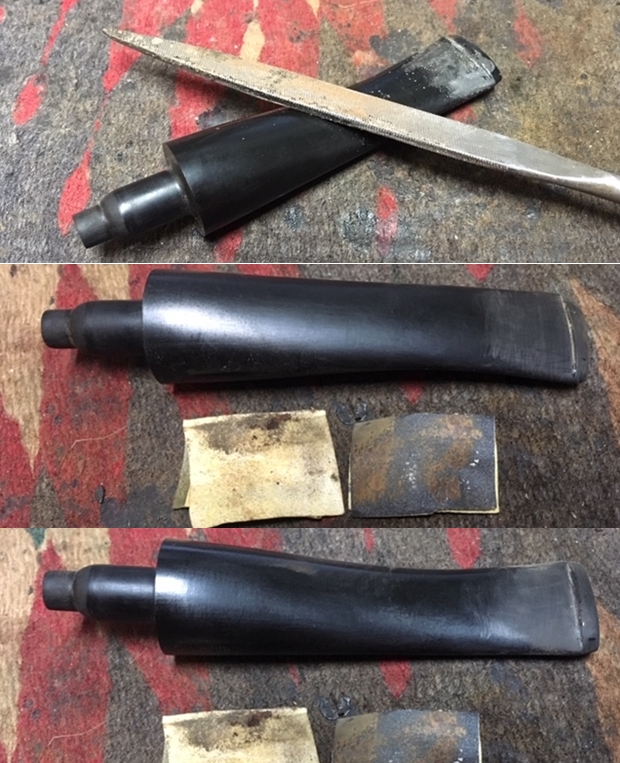
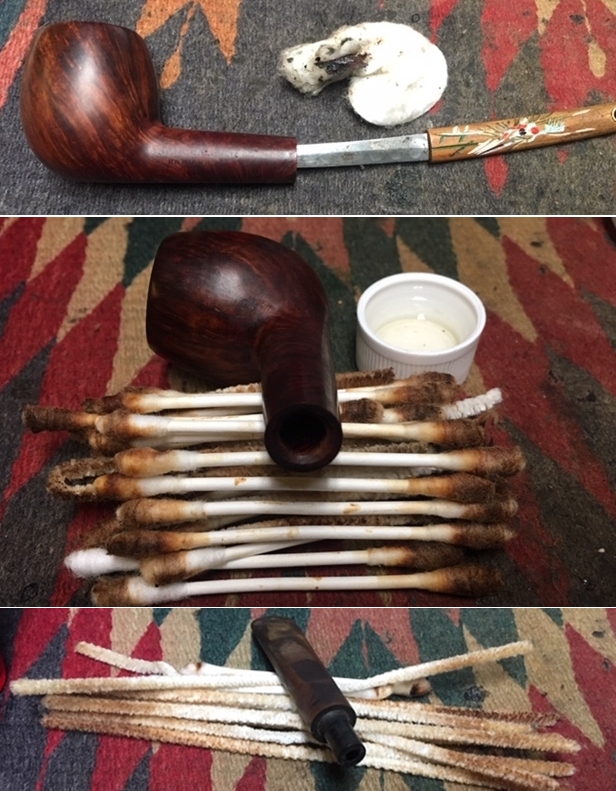
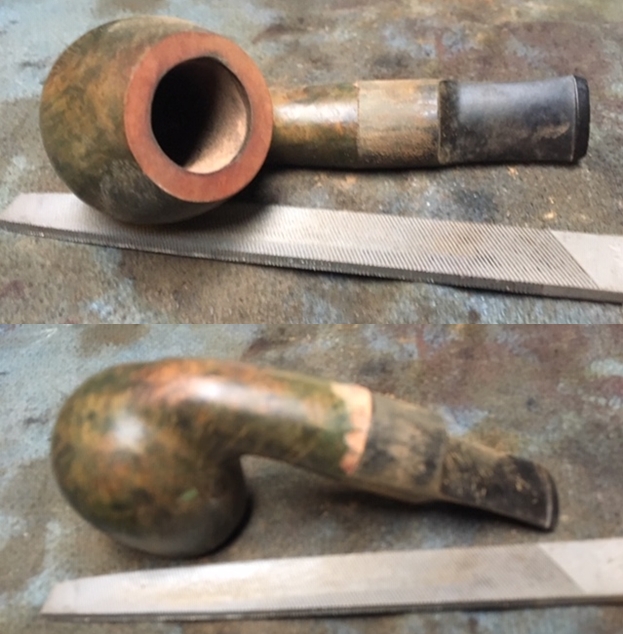
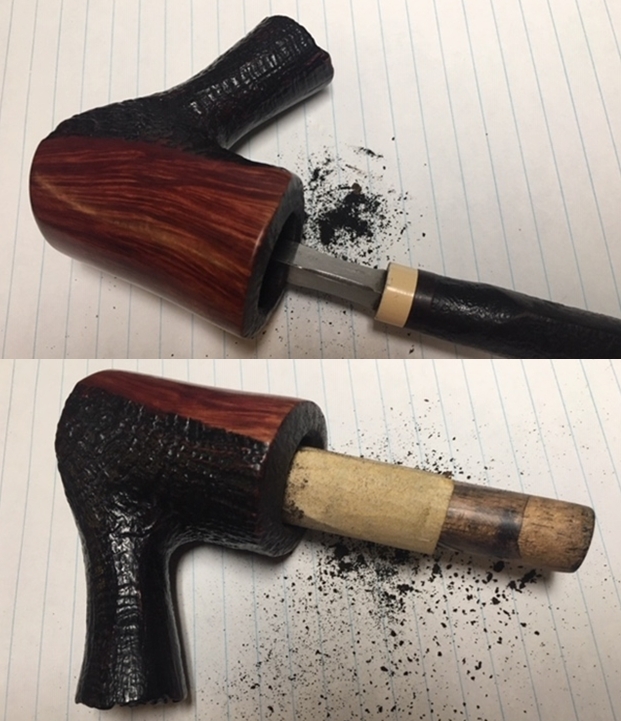
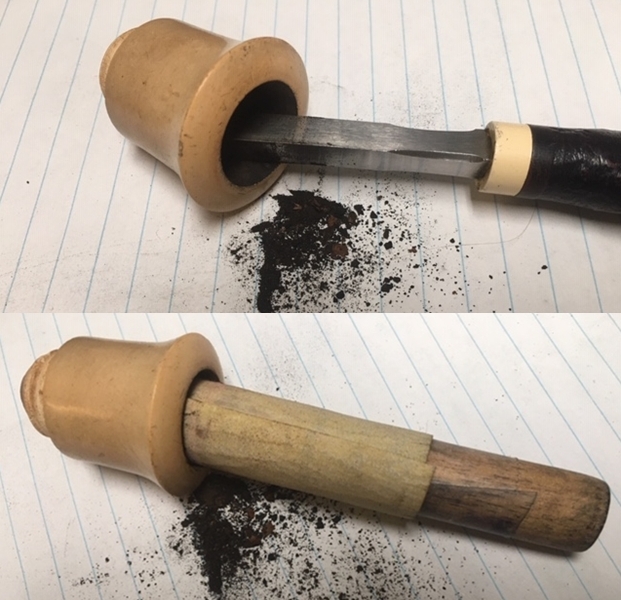
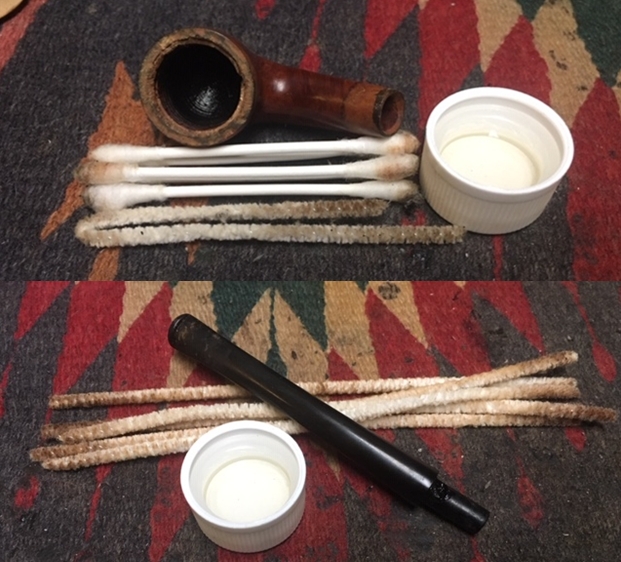
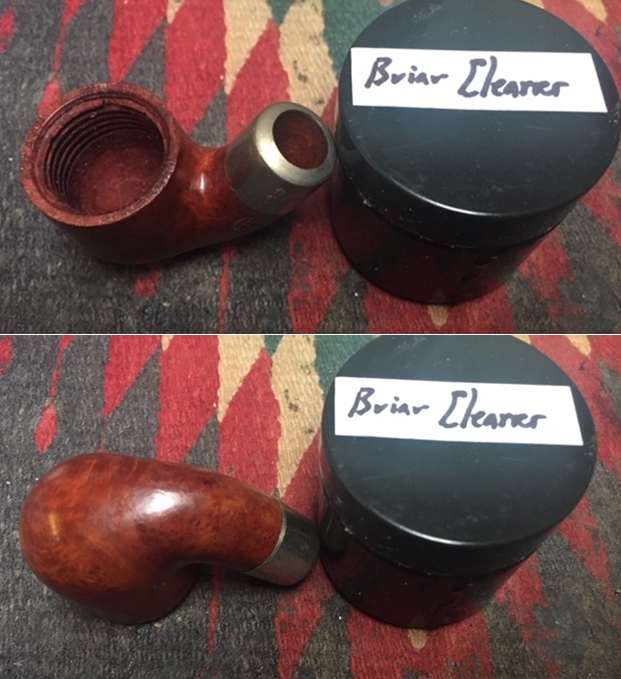
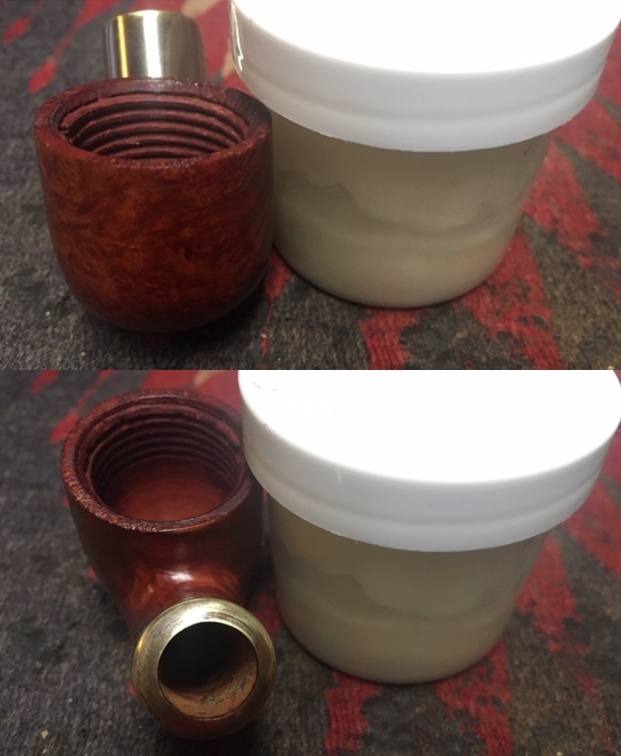
 The mortise and the airway in the shank was filthy. There was a thick build up of tar and oils on the inside of the shank. I scraped the shank walls with a thin bladed knife until the briar was bare. I scrubbed the walls of the mortise and the airway in the shank and stem with pipe cleaners, cotton swabs and isopropyl alcohol until they were clean.
 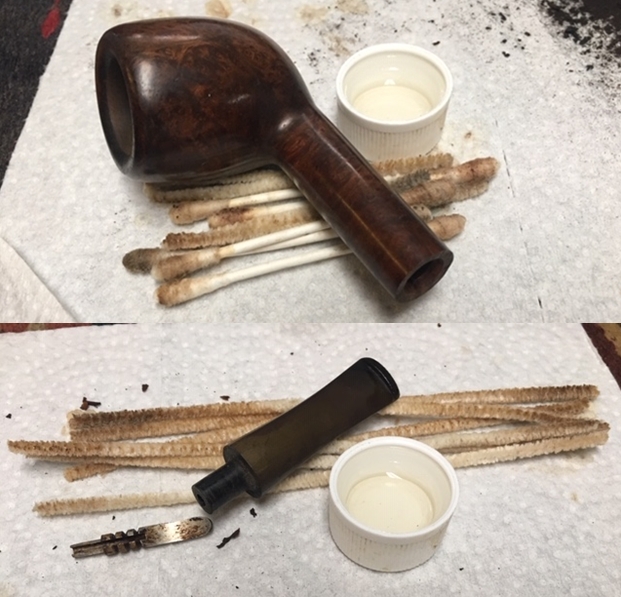 The inner edge of the rim still had a bit of darkening on the bevel so I carefully sanded it with a worn piece of folded 220 grit sandpaper to remove the darkening.
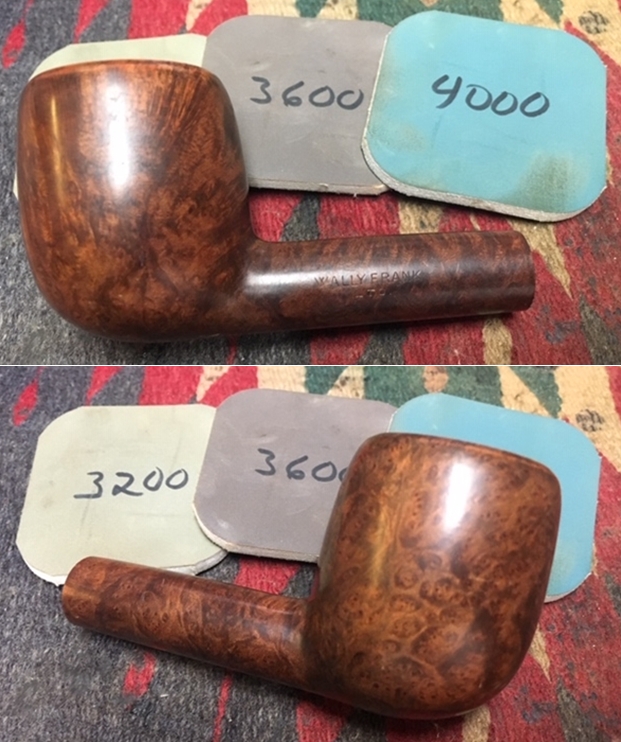
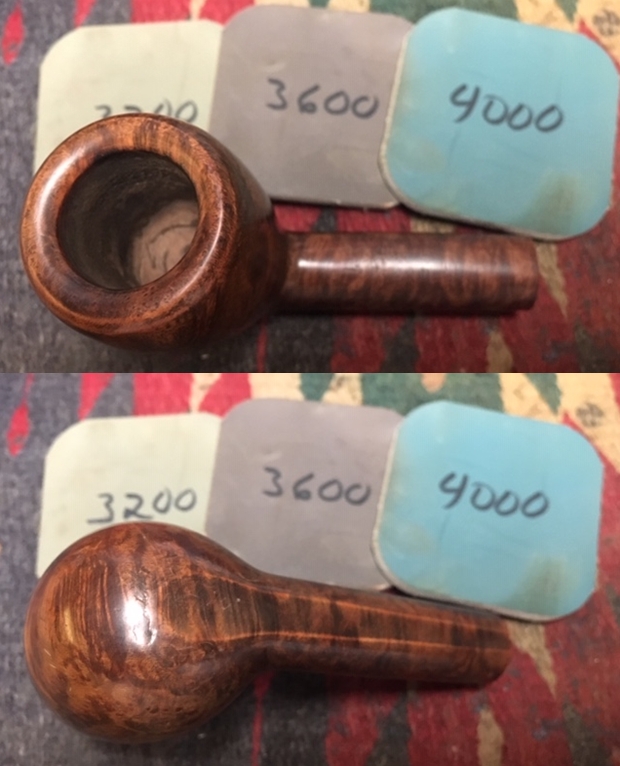
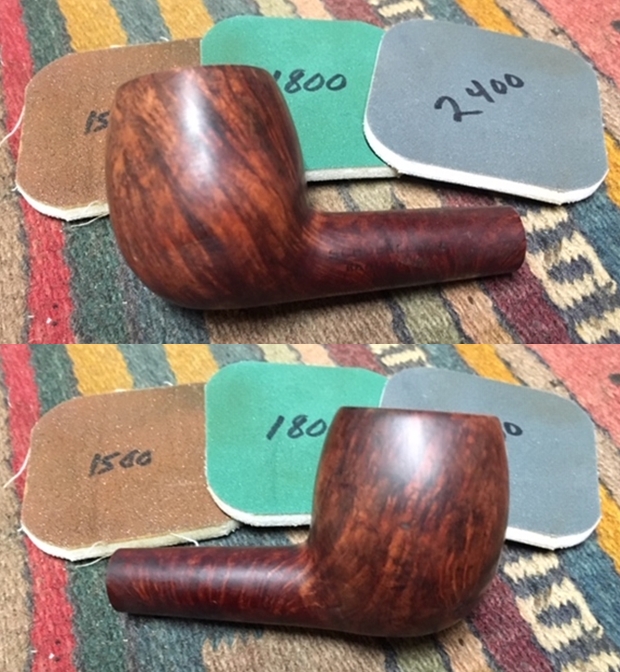
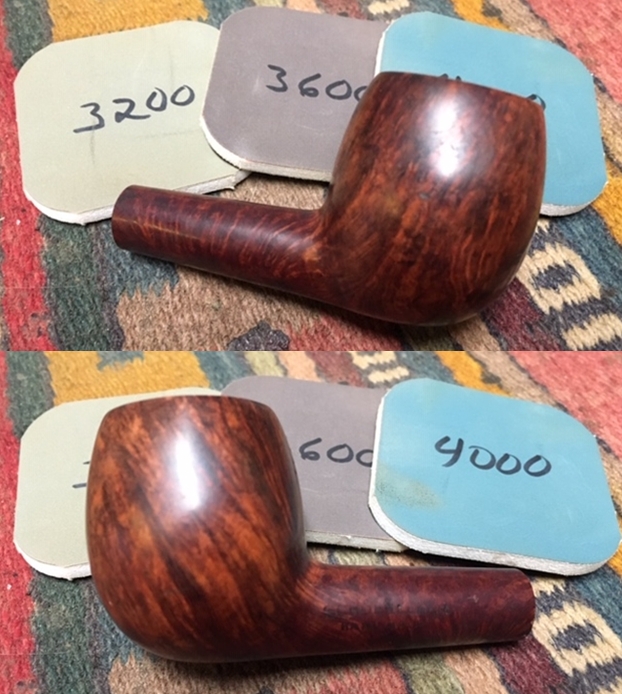
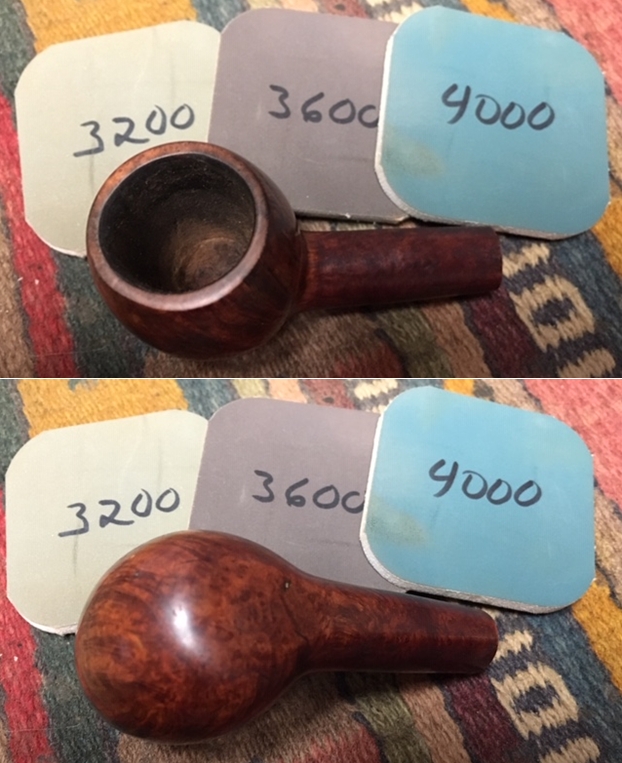
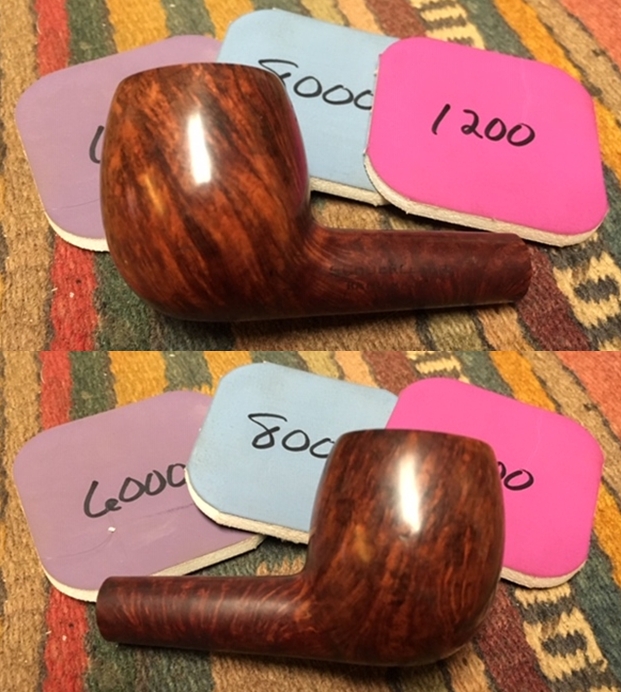
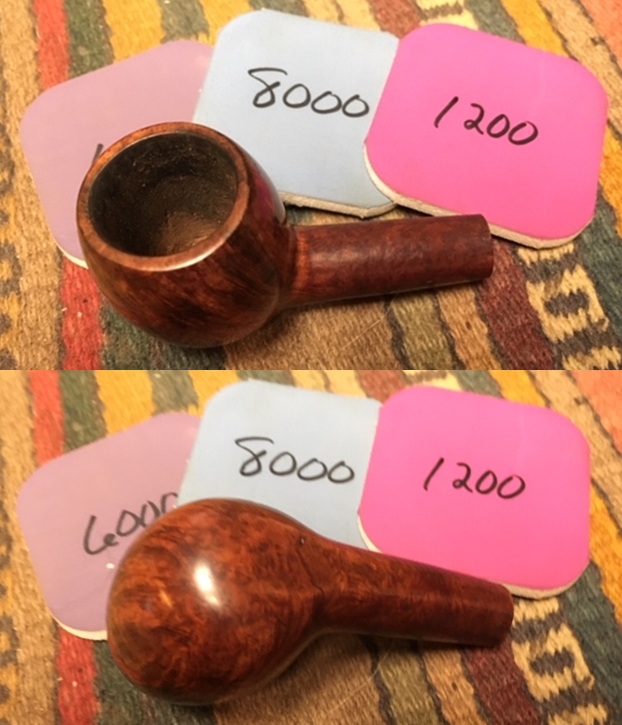
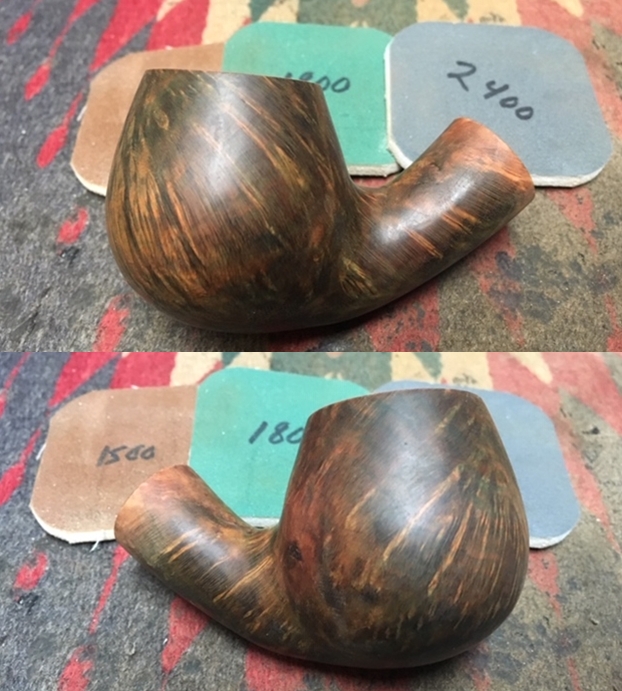
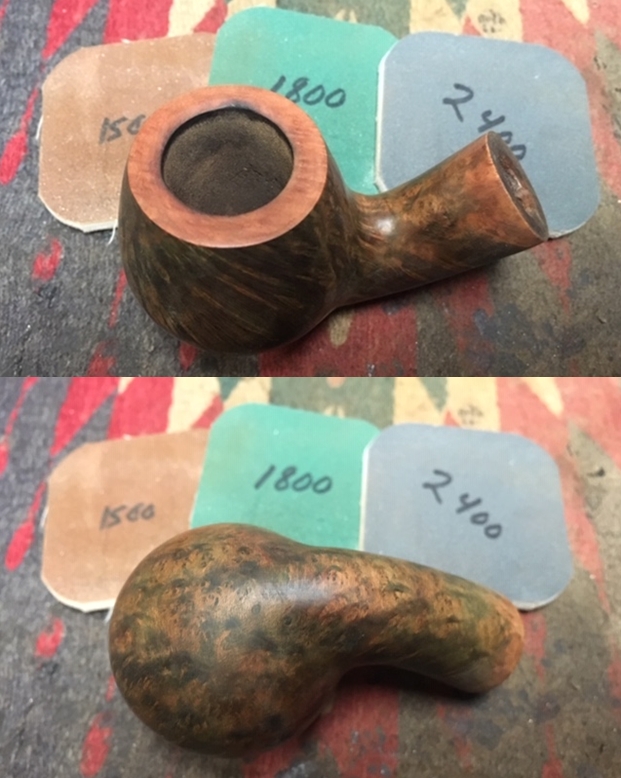
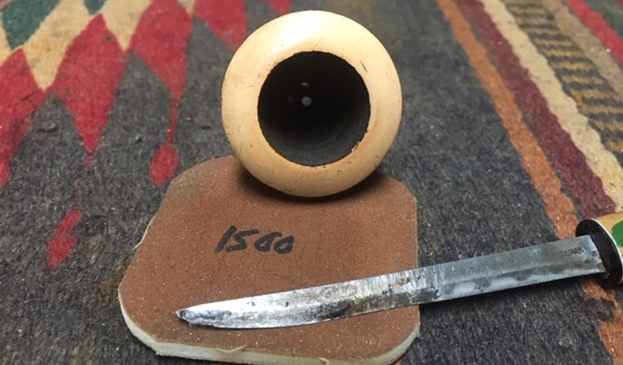
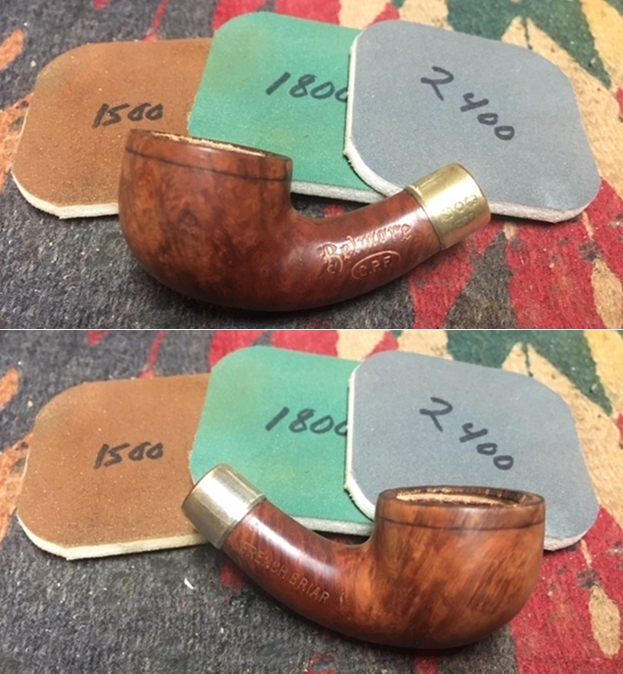
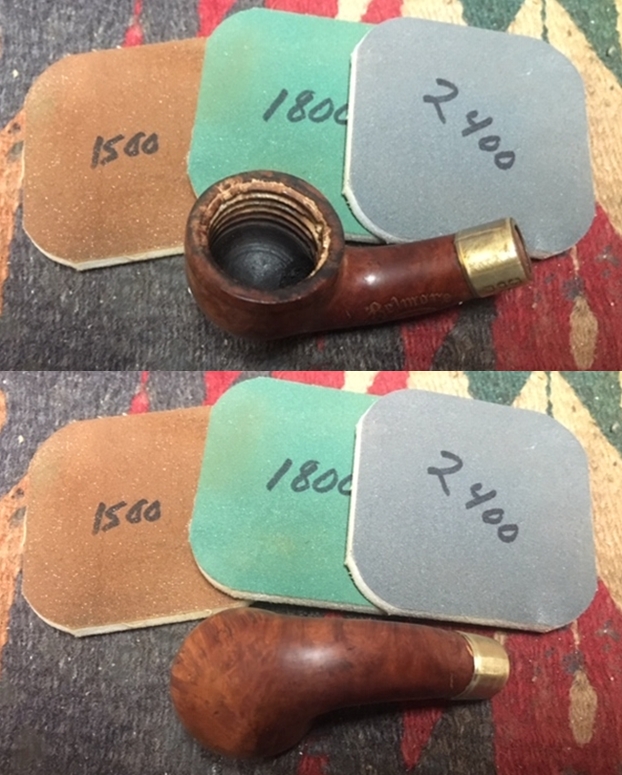
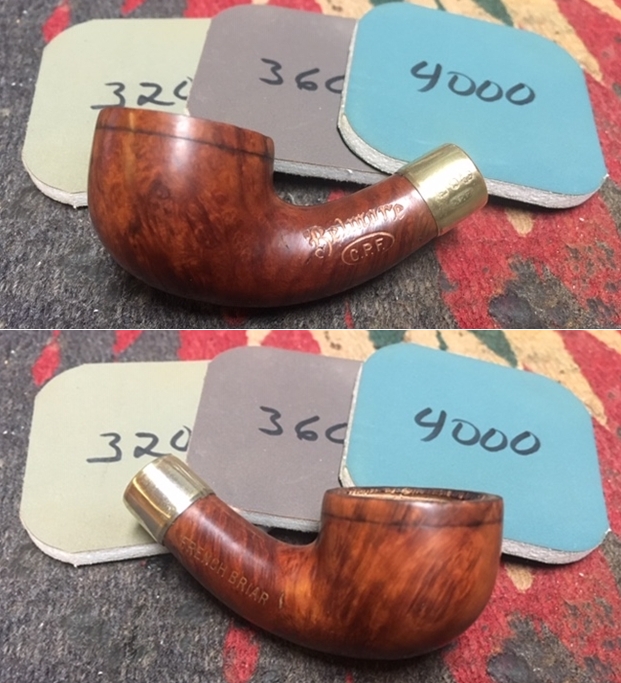
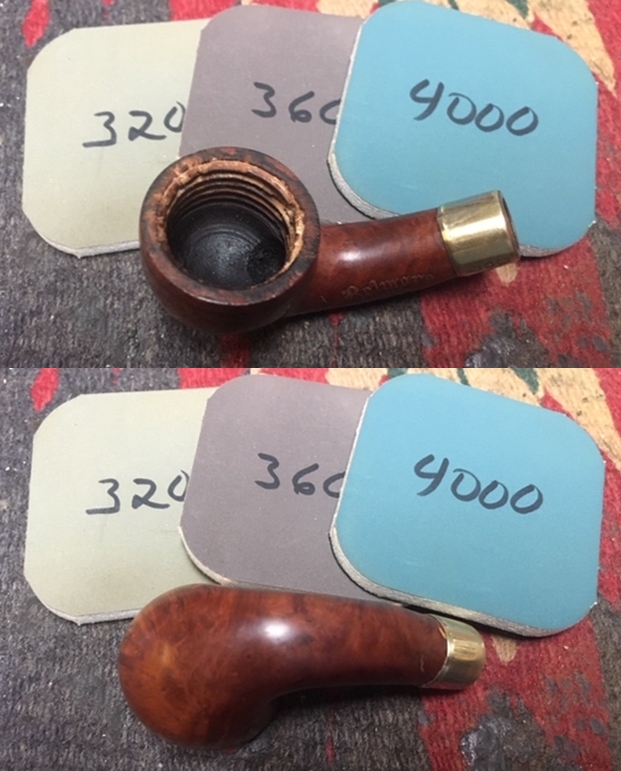
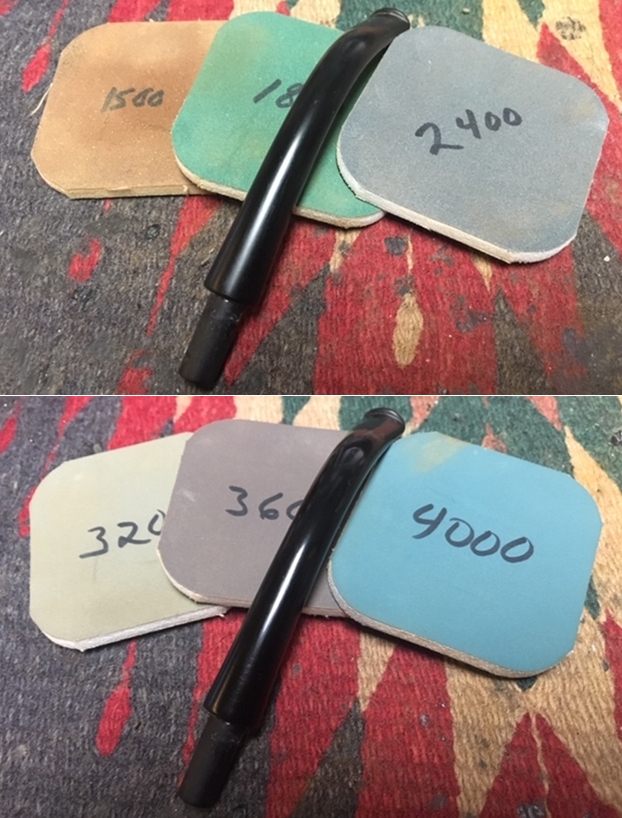
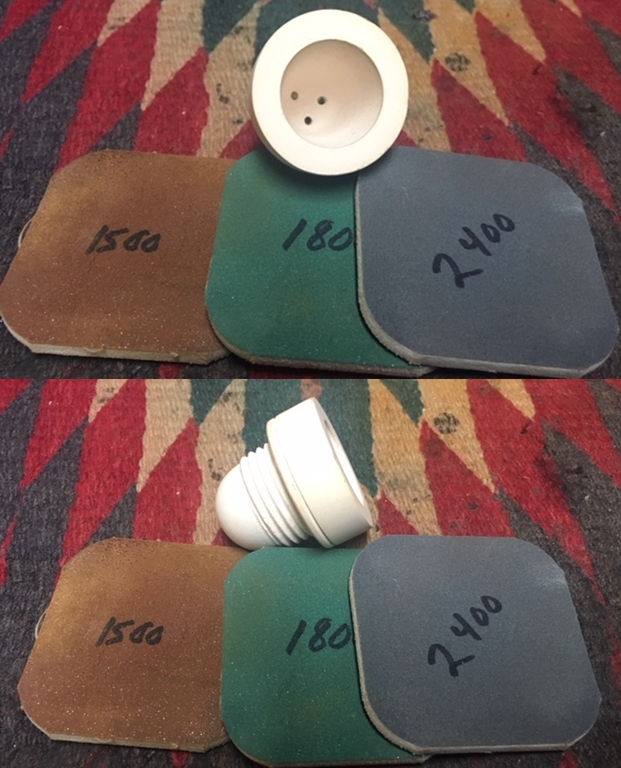
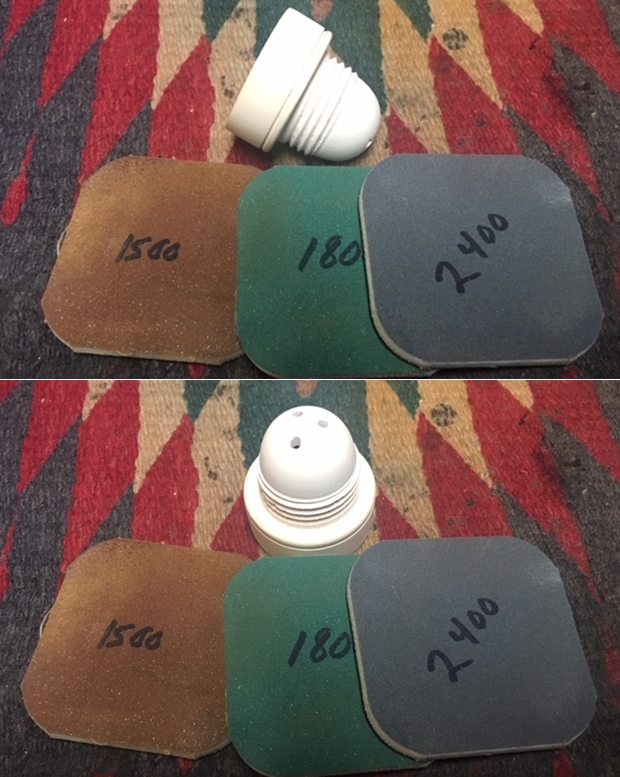
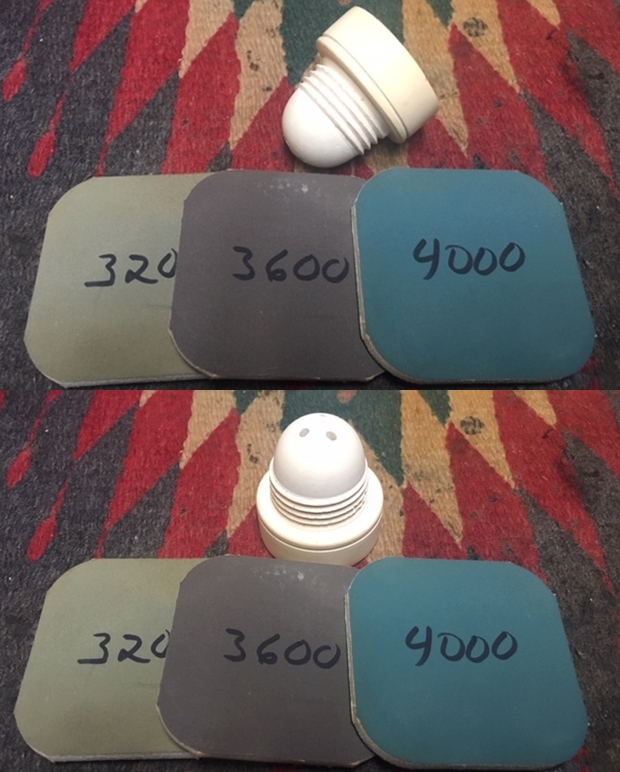
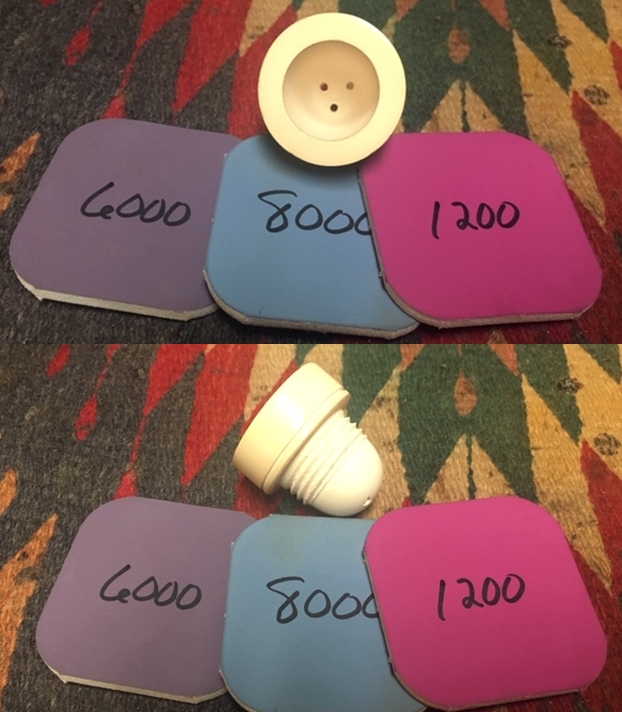
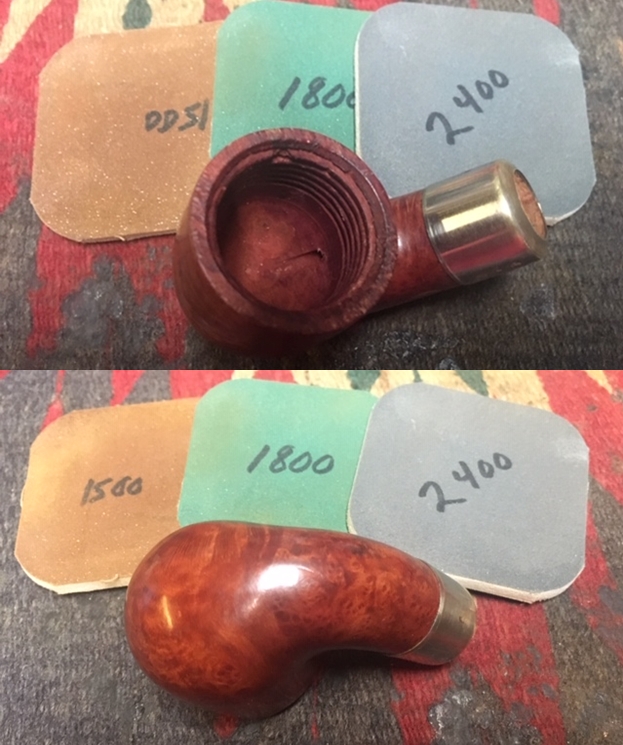
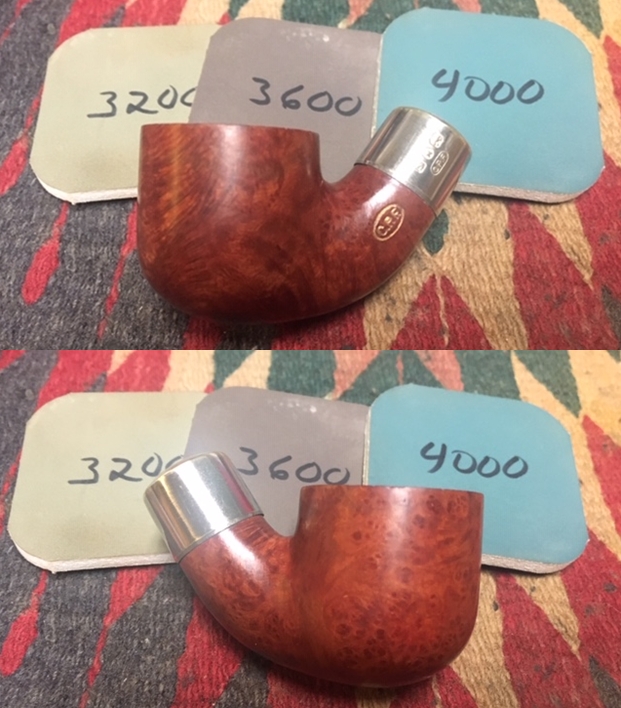
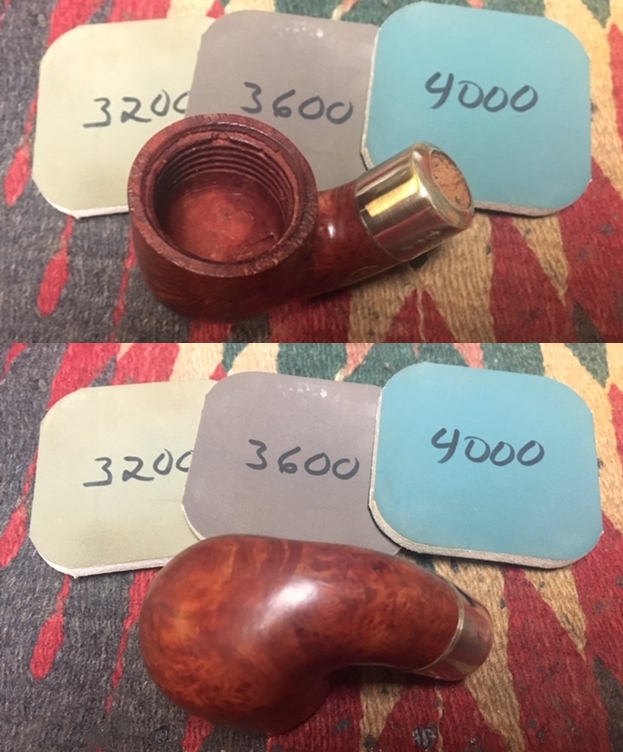
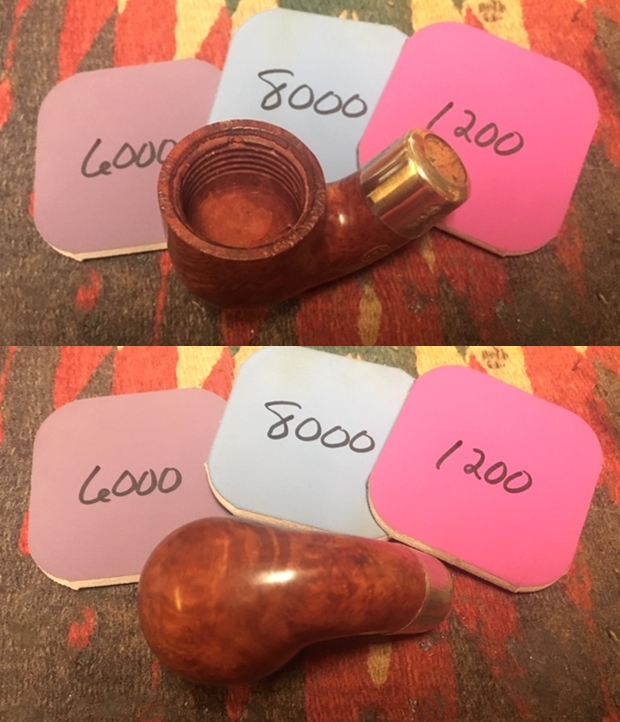
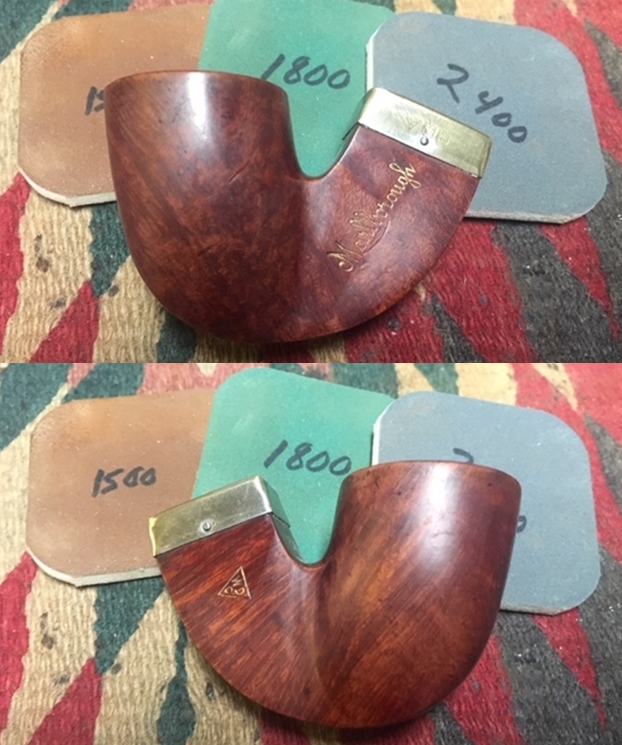
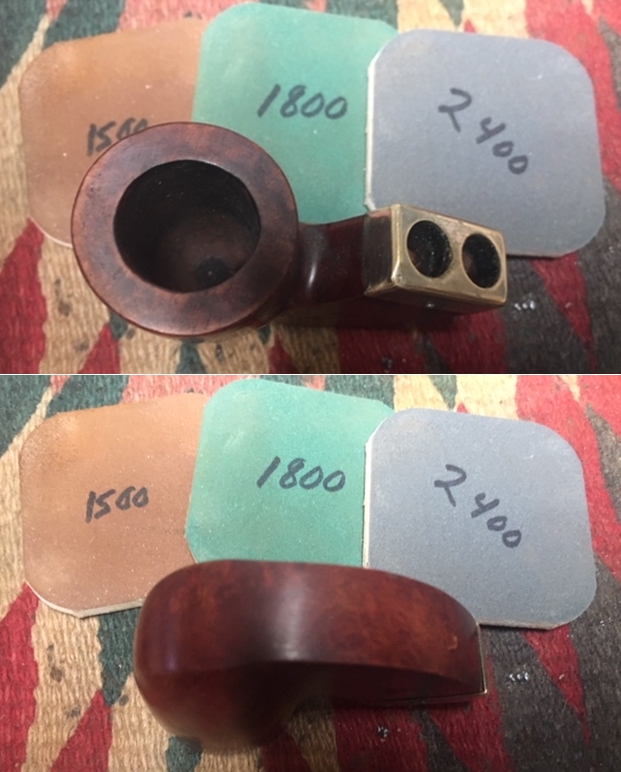
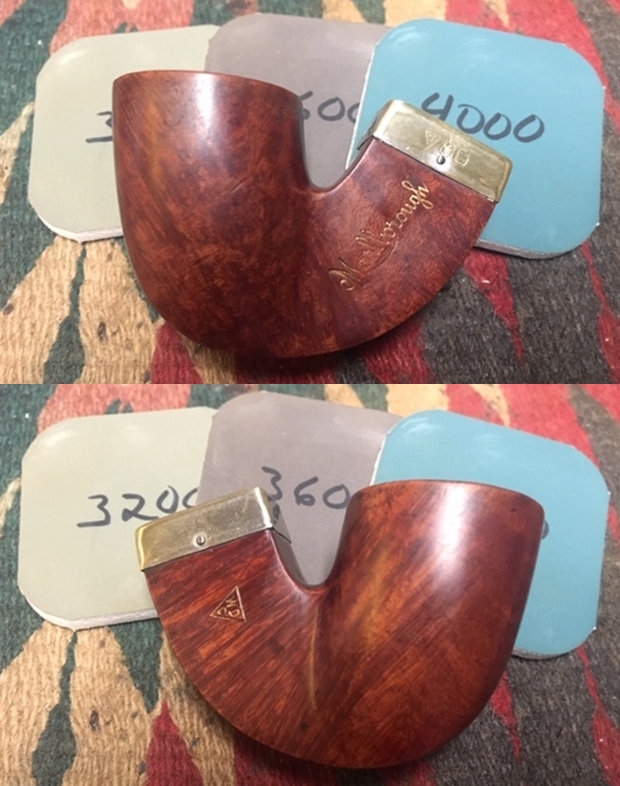
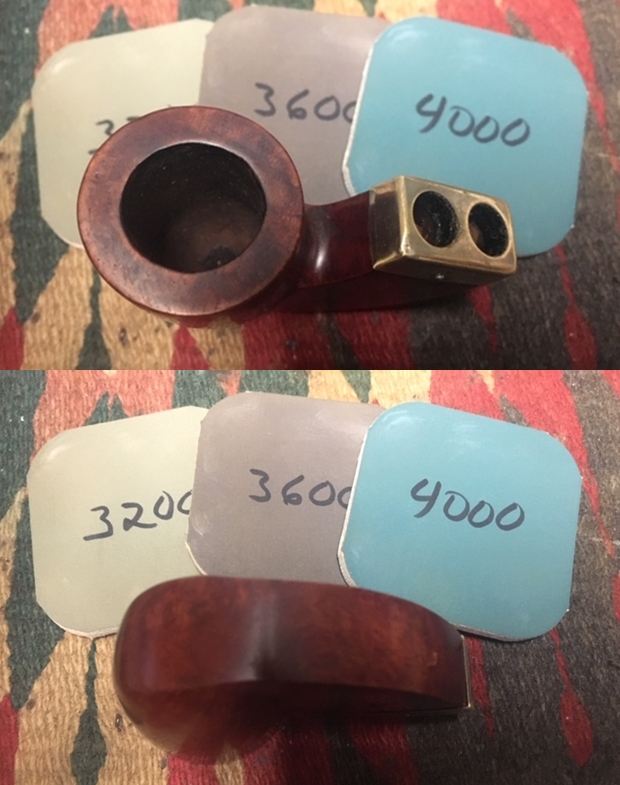
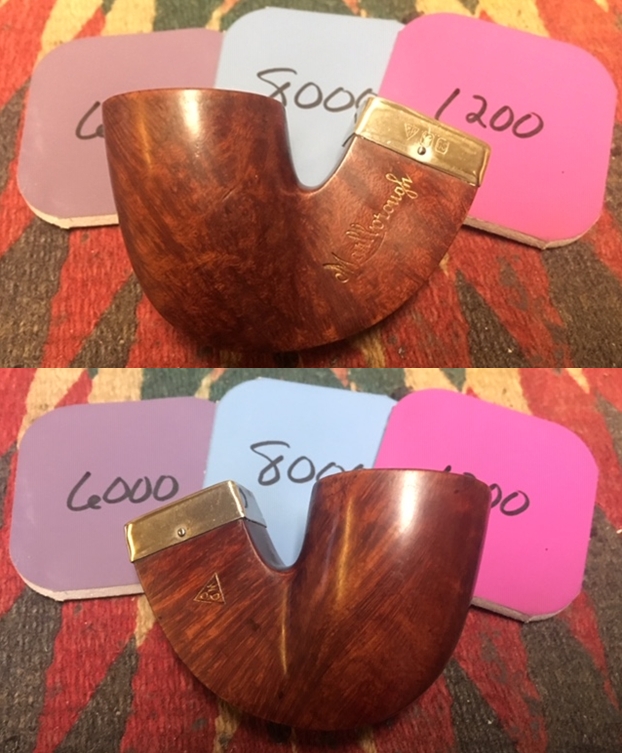
 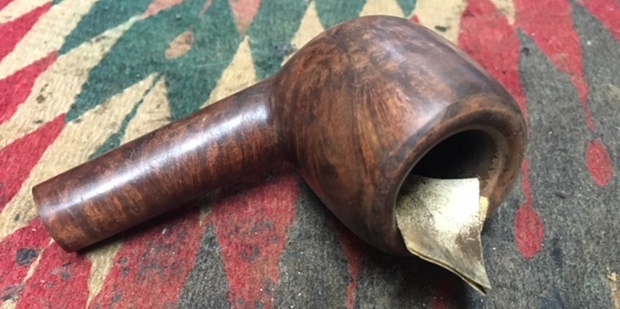 I polished the bowl and rim with micromesh sanding pads – wet sanding with 1500-12000 grit pads. I wiped the bowl down after each pad to remove the sanding debris. My goal was to further remove the darkening on the both the rim top and the first half inch of the bowl.
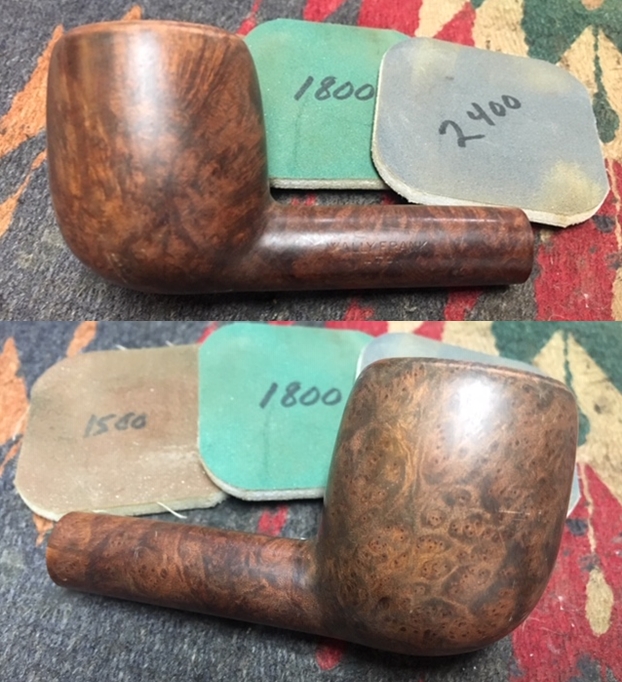

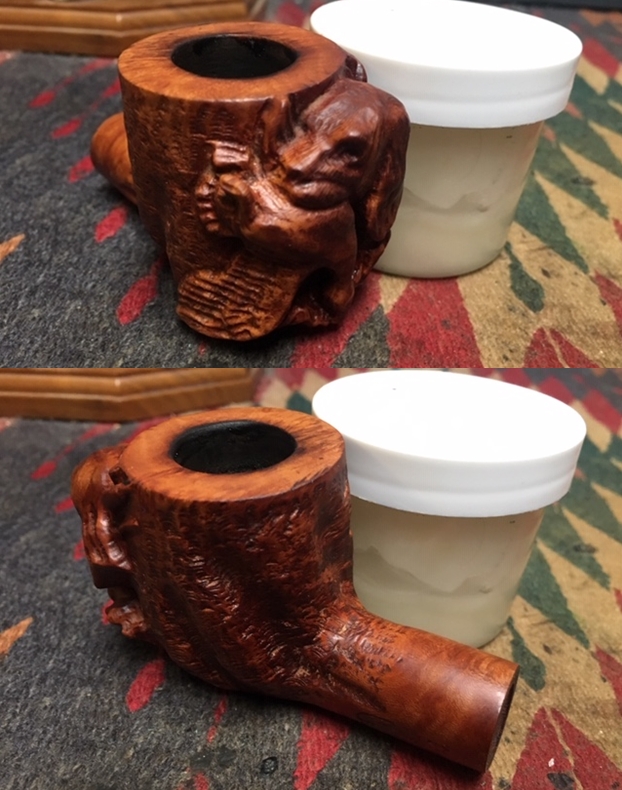
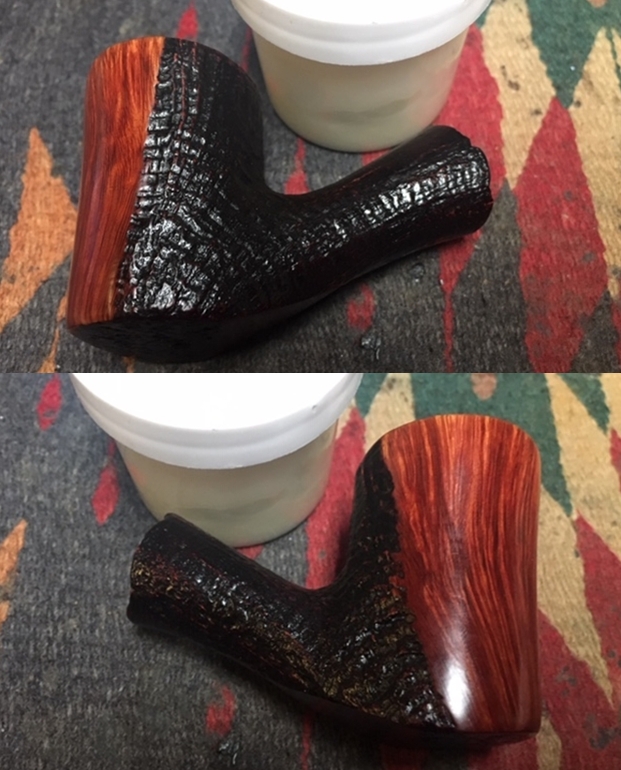
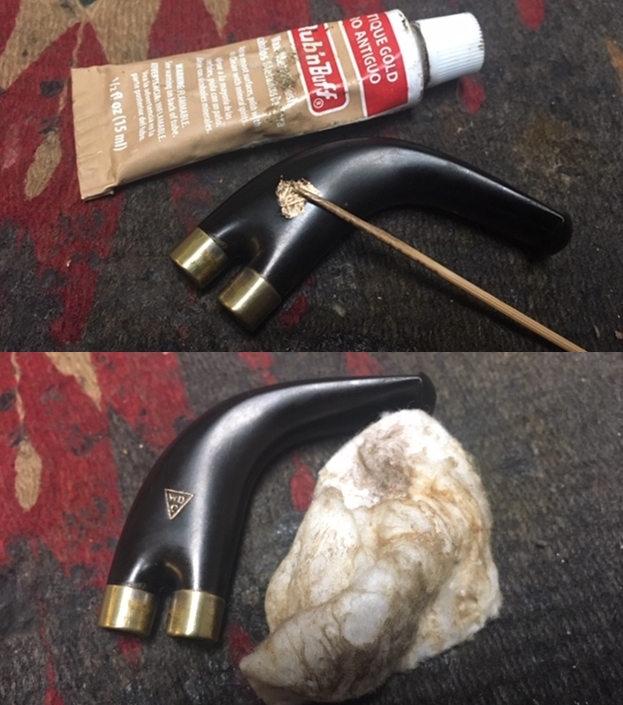
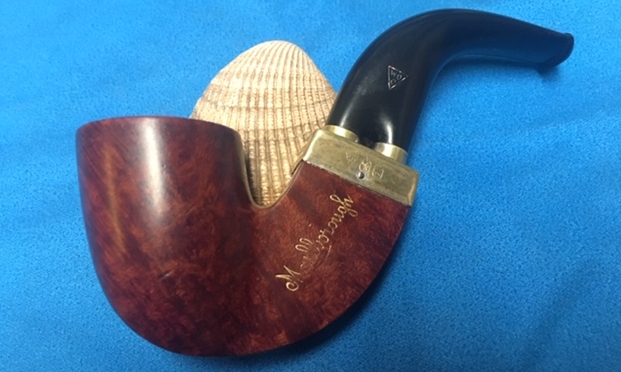
 I worked some Before & After Restoration Balm into the surface of the briar with my fingertips to clean, enliven and protect it. I let the balm sit for a little while and then buffed with a cotton cloth to raise the shine. Mark Hoover’s Balm is a product that I have come to appreciate and one I use on every pipe I have been working on.
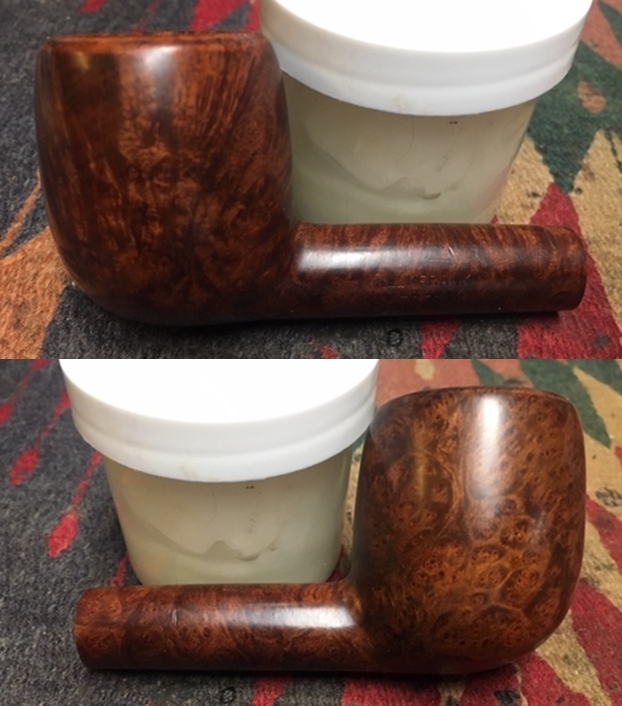
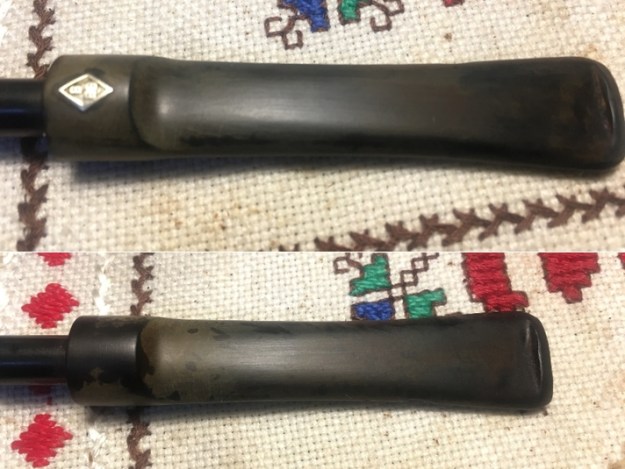
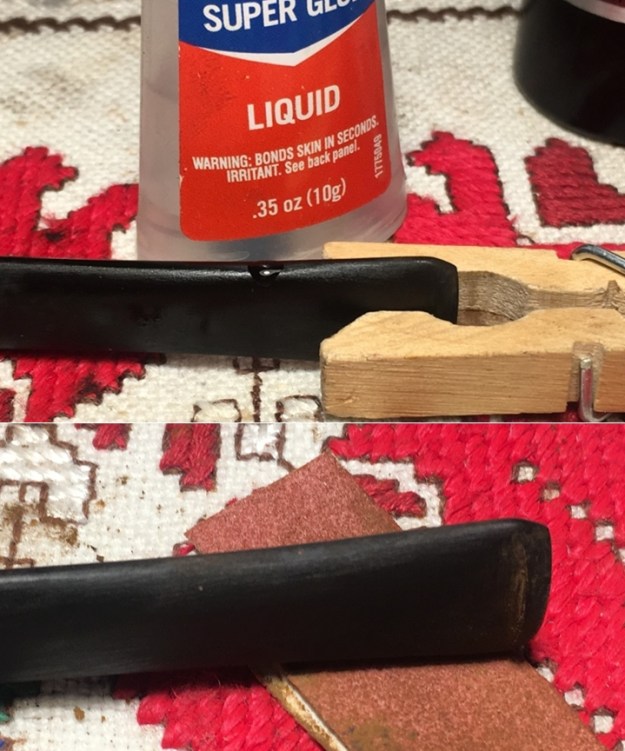
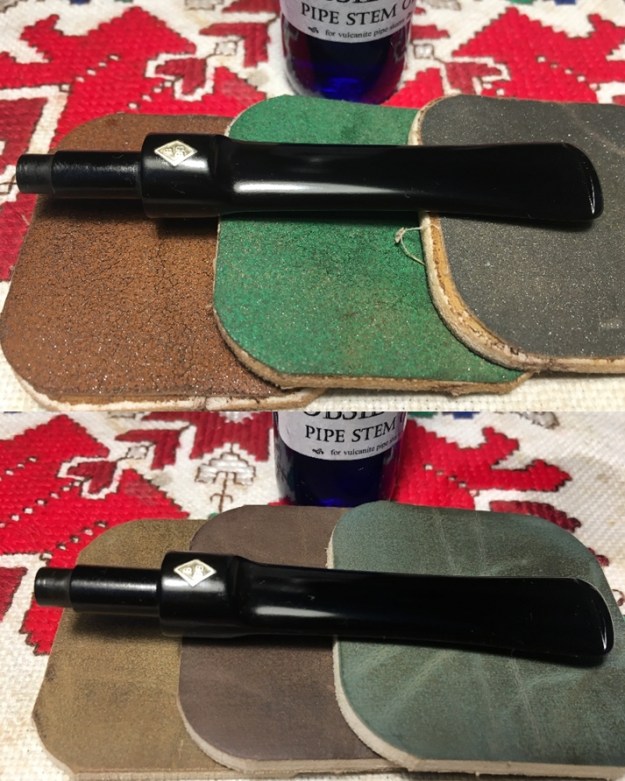
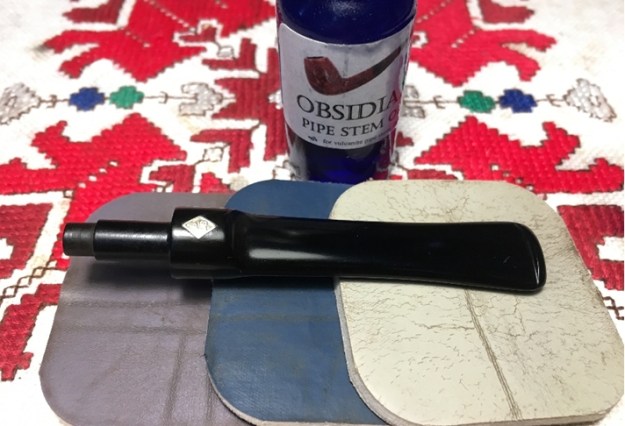
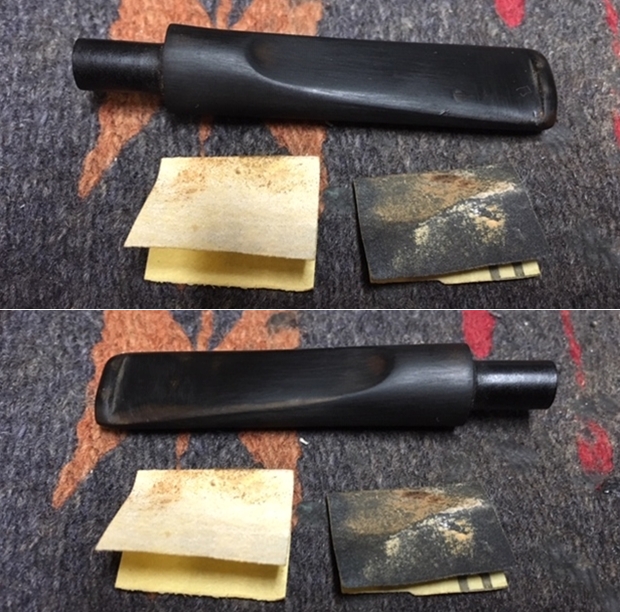
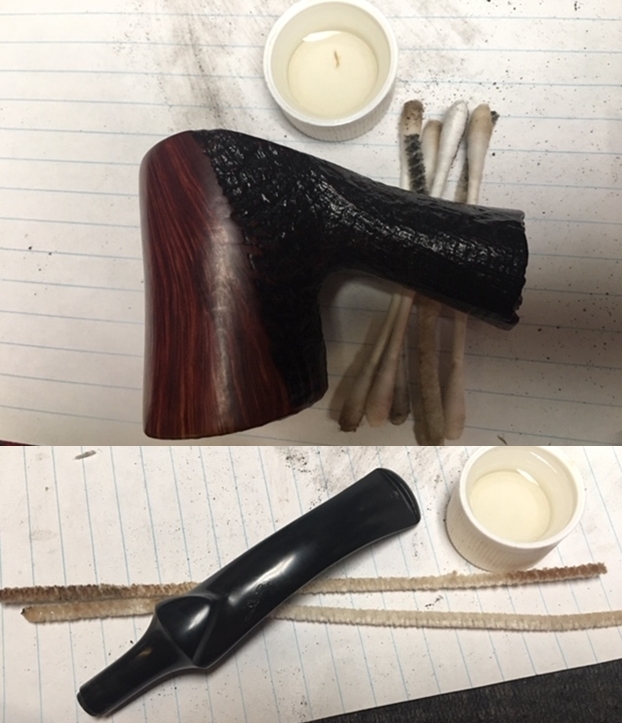
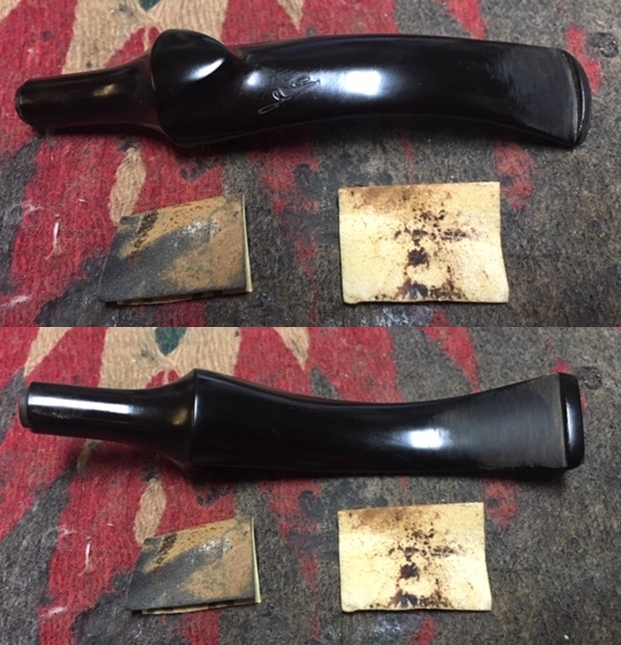
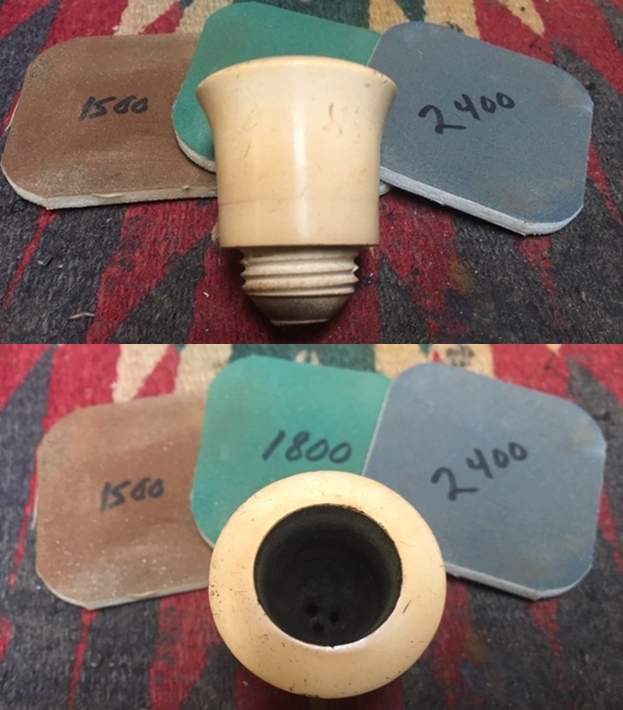
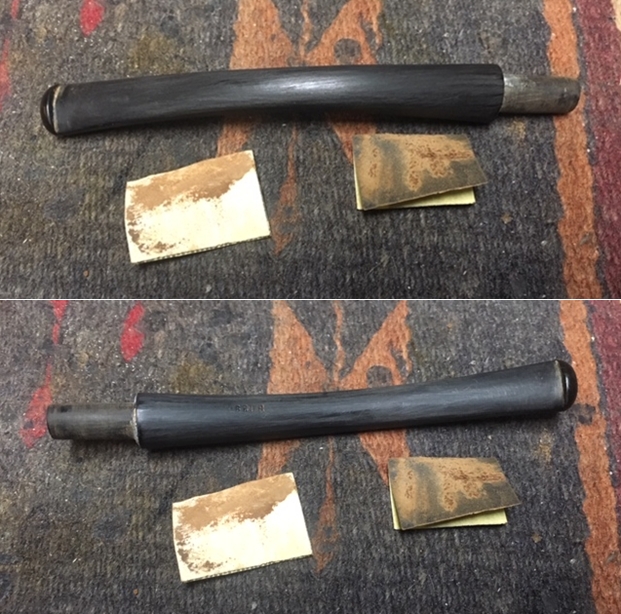
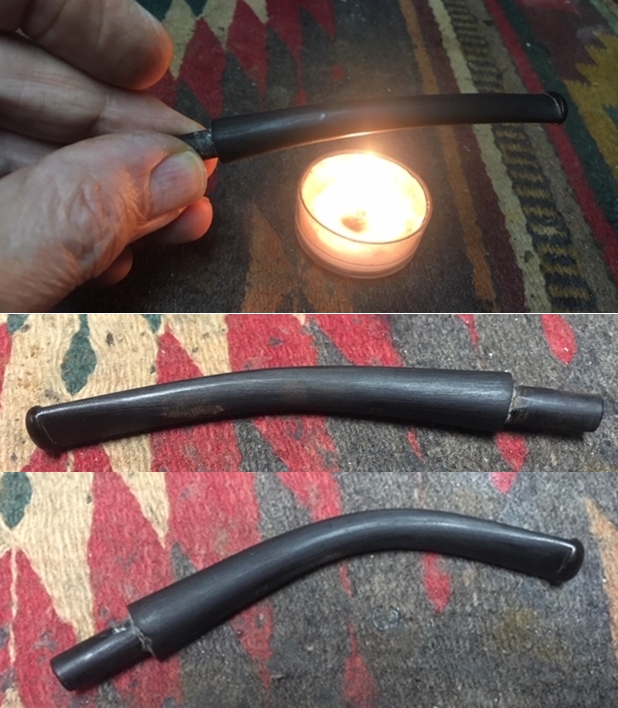
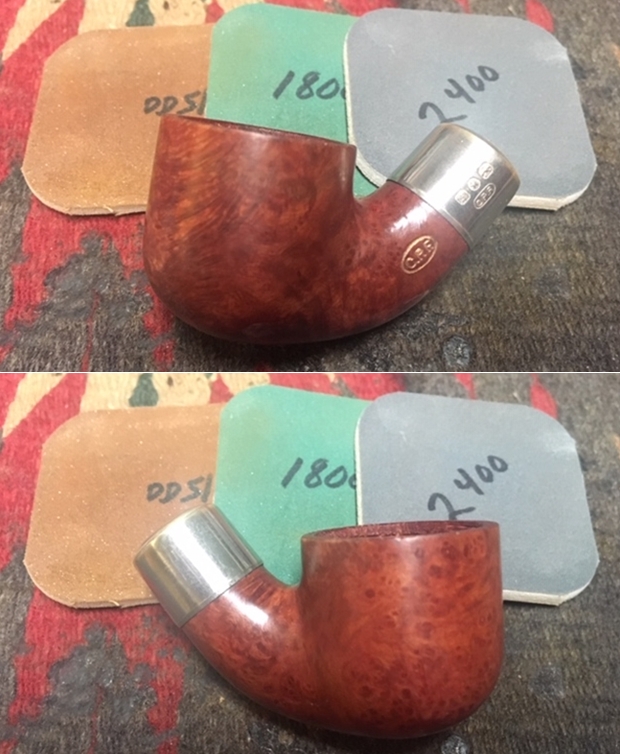
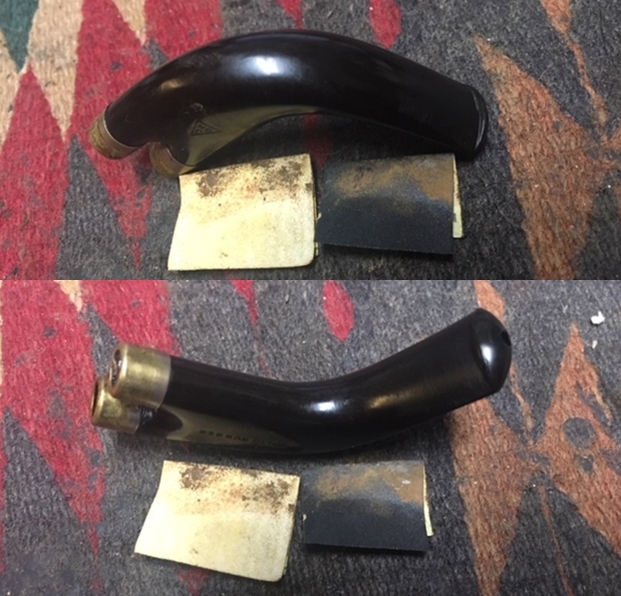
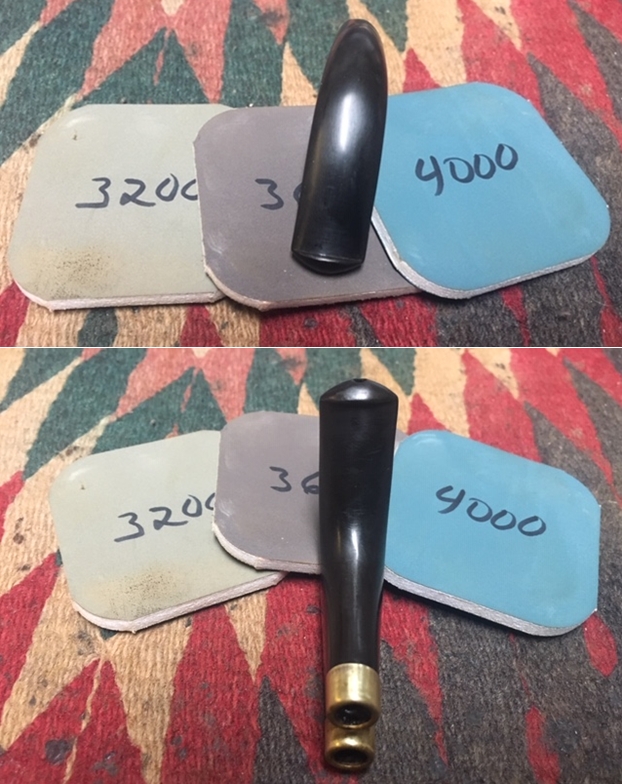
 With the bowl finished I set it aside and turned my attention to the stem. Fortunately the stem was quite clean and other than oxidation there were no other issues. I sanded the surface of the stem with 220 grit sandpaper to remove the oxidation. I started the polishing of the surface with 400 grit wet dry sandpaper.
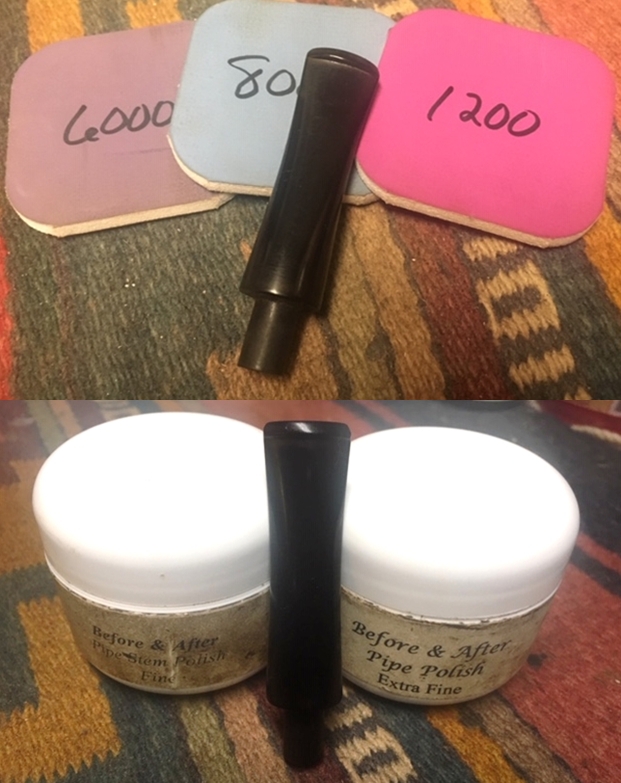
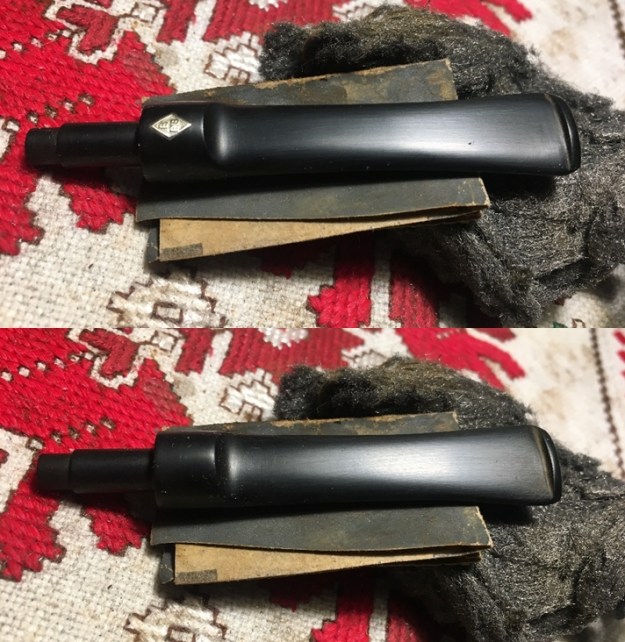
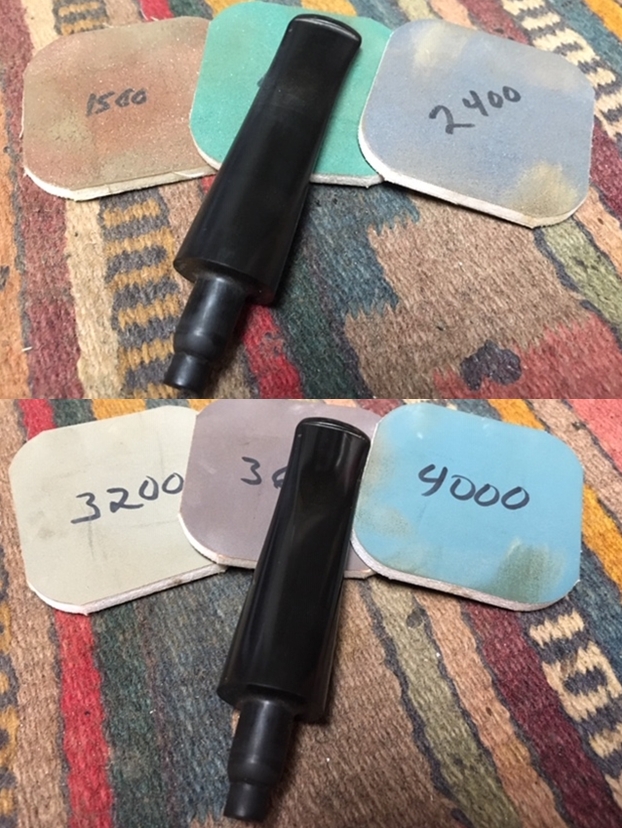
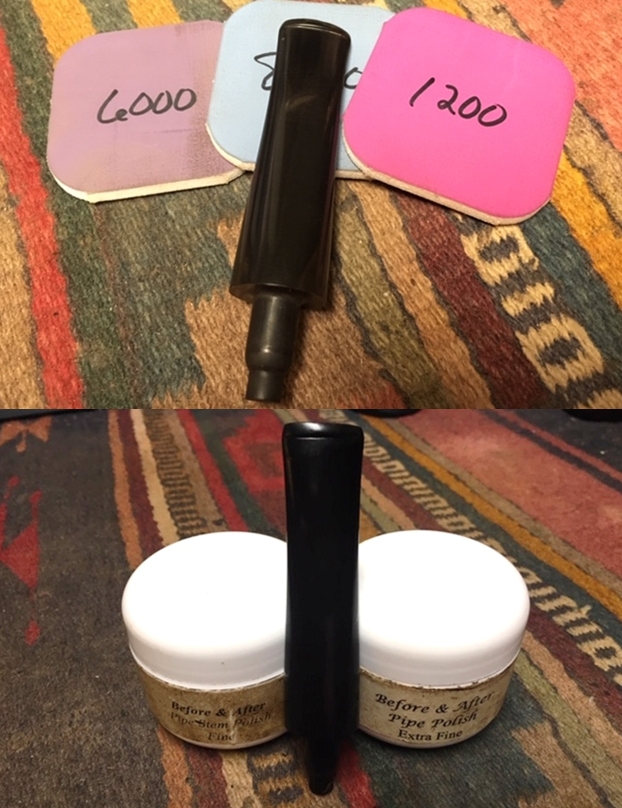
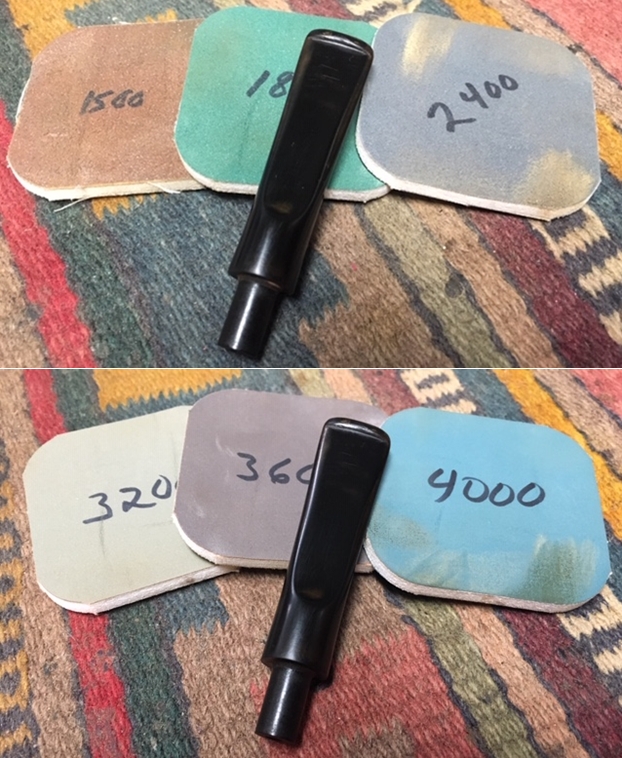
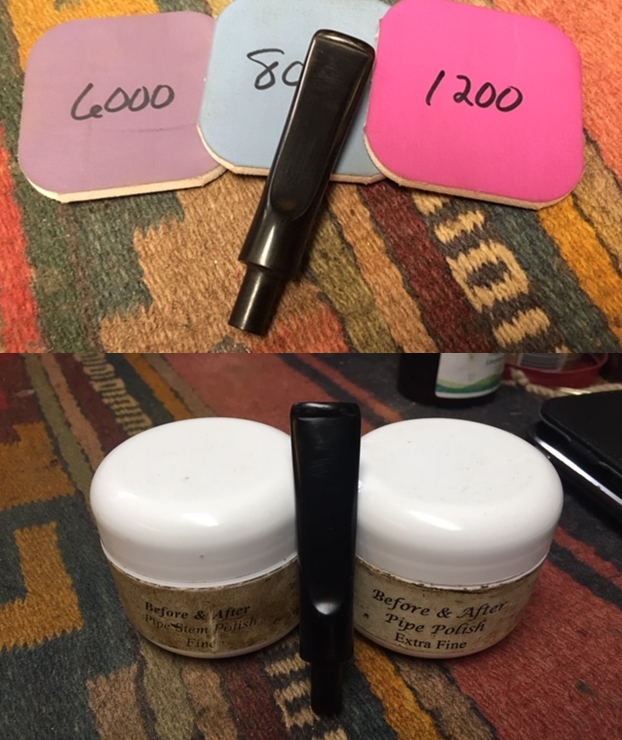
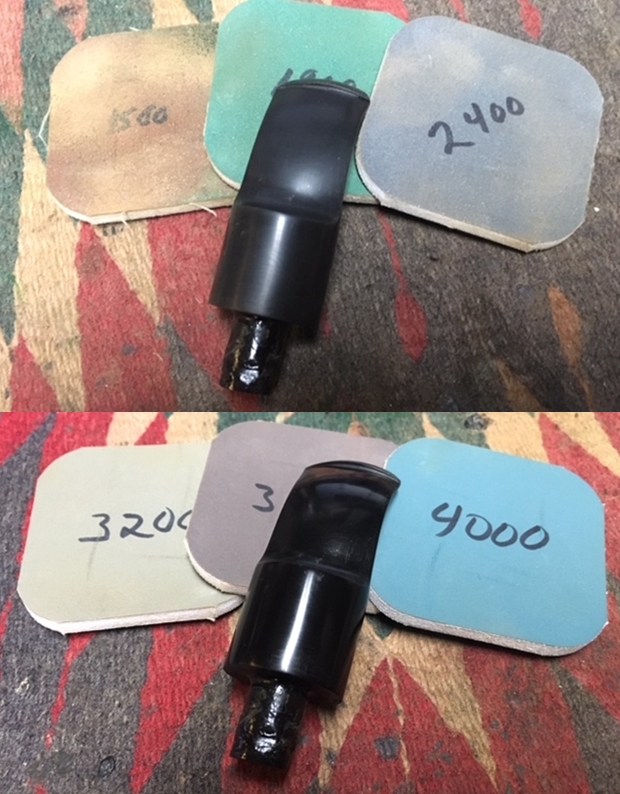
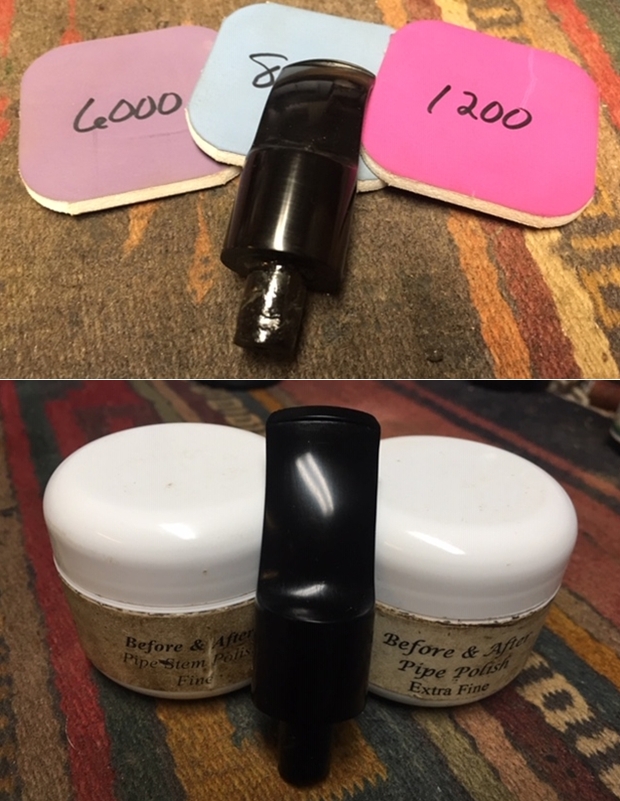
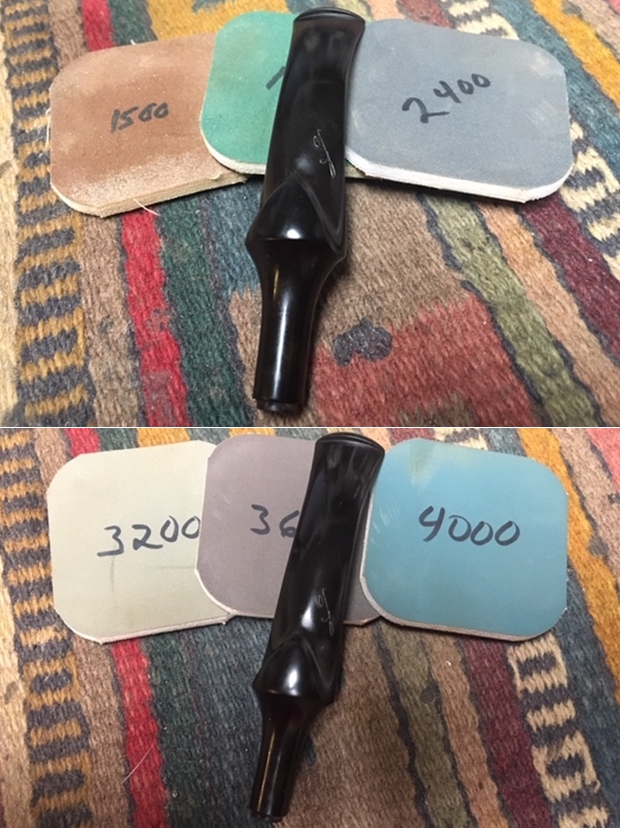
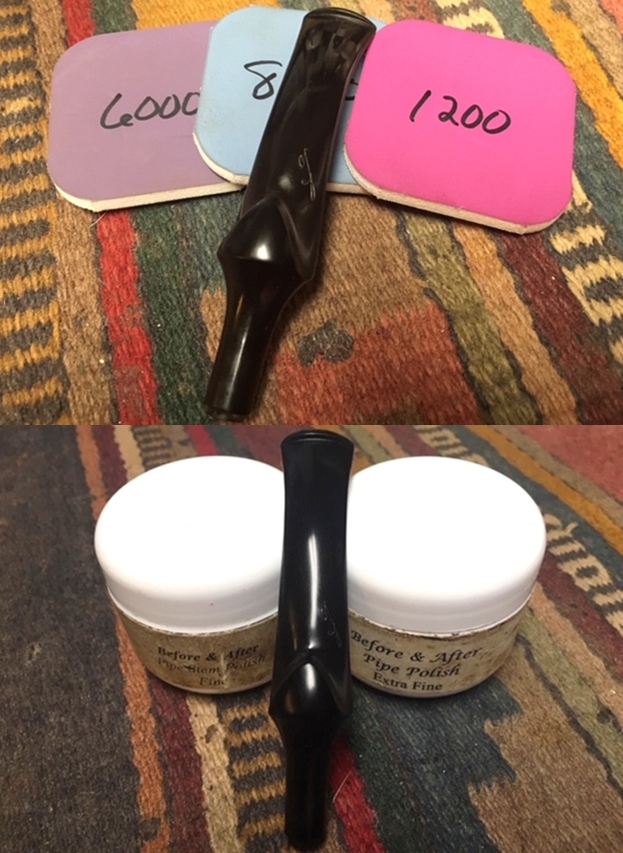
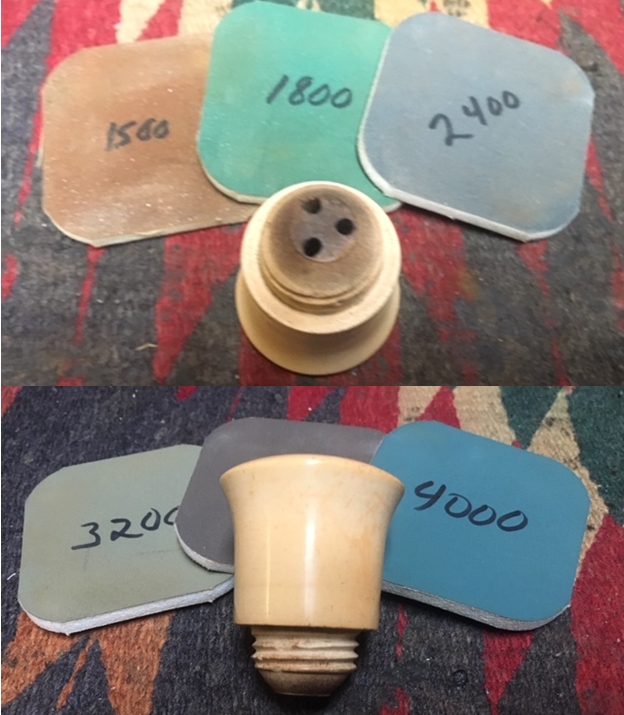
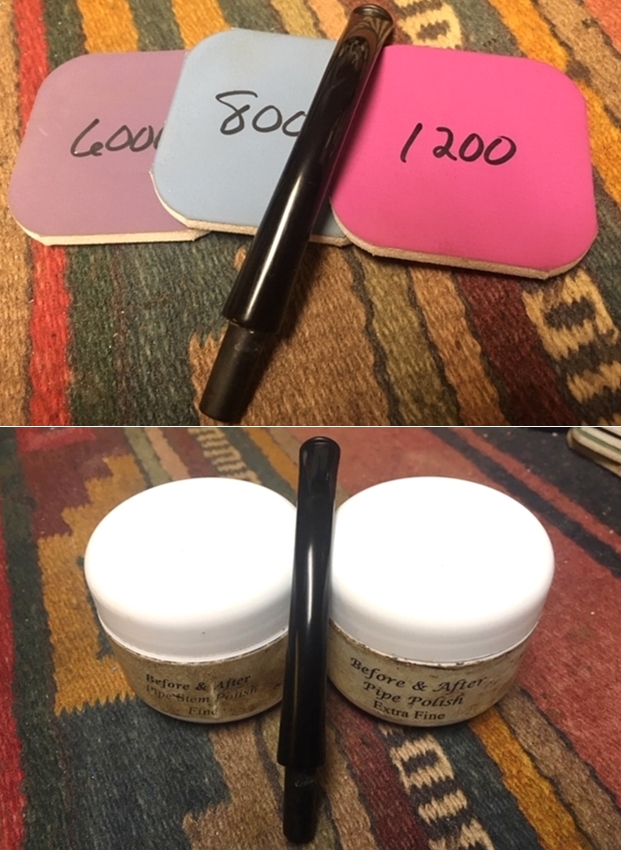
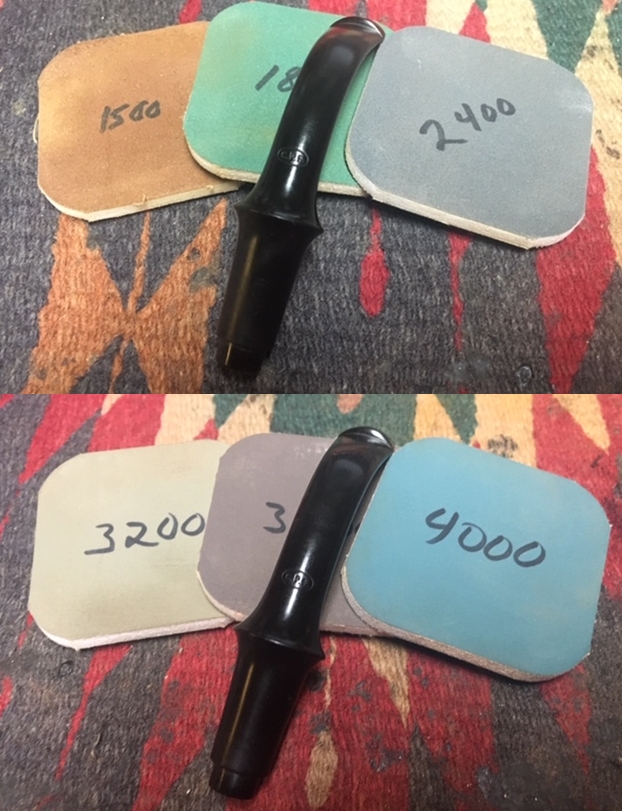
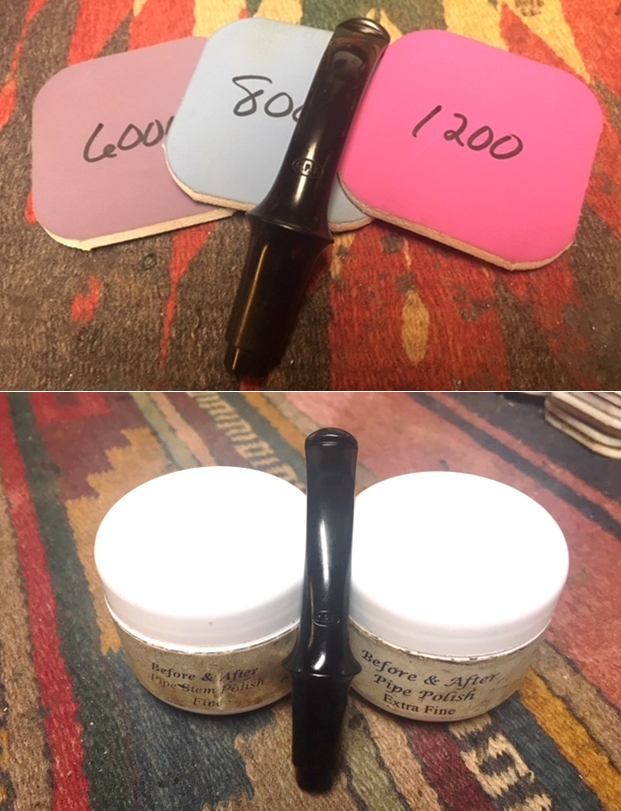
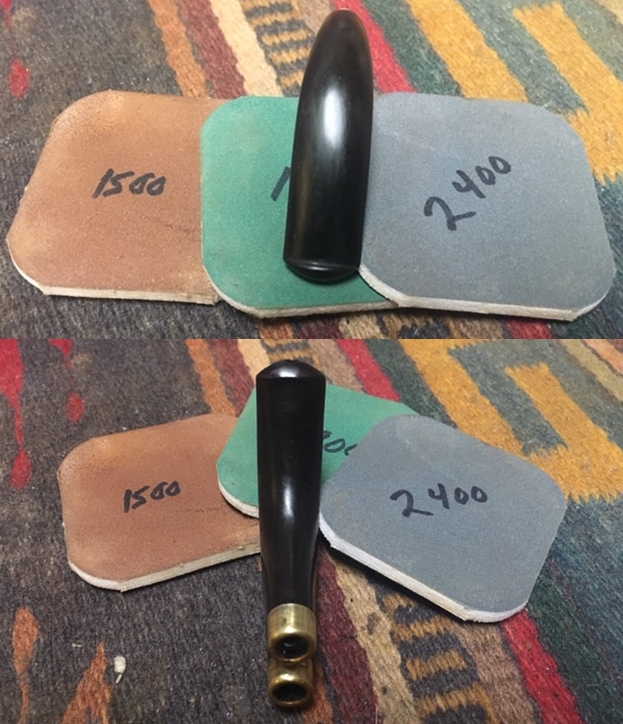
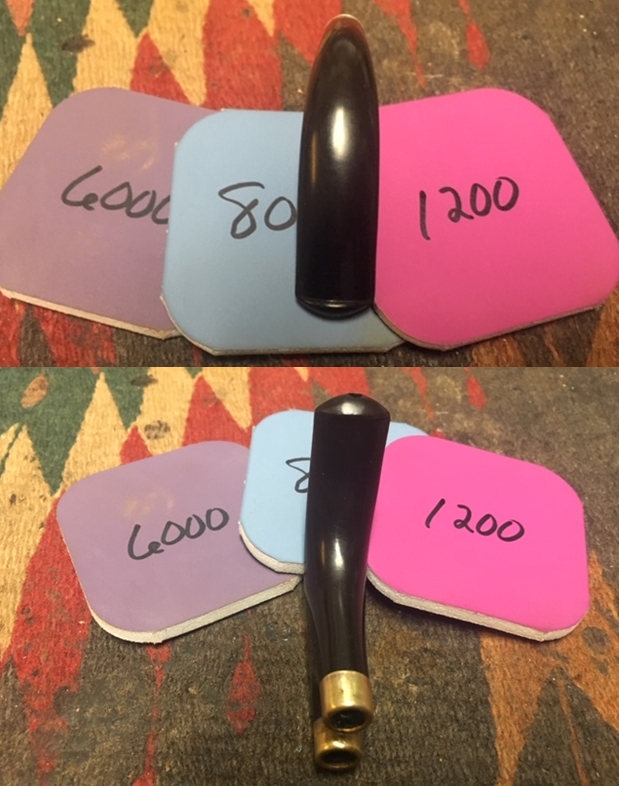
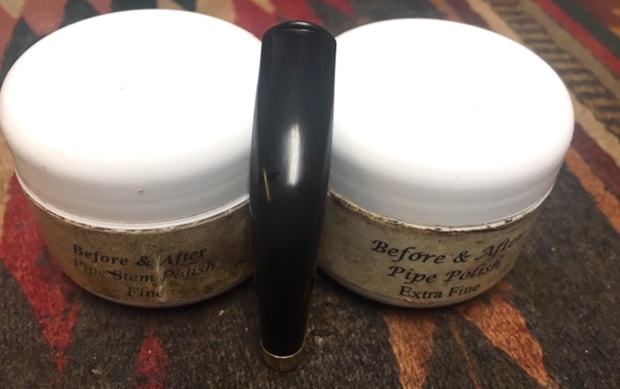
 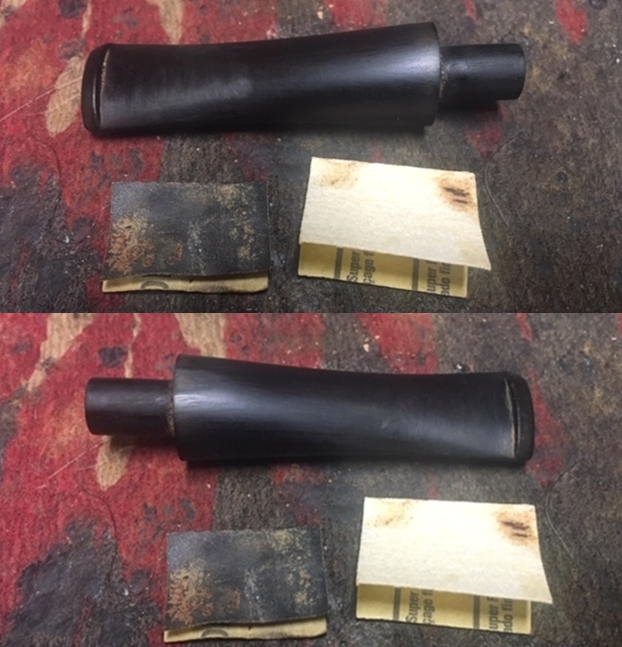 I polished the stem with micromesh sanding pads – wet sanding it with 1500-12000 grit pads. I wiped the stem down with a damp cloth after each pad. I further polished it with Before & After Pipe Polish – both Fine and Extra Fine. I wiped it down with a coat of Obsidian Oil and set it aside to dry.
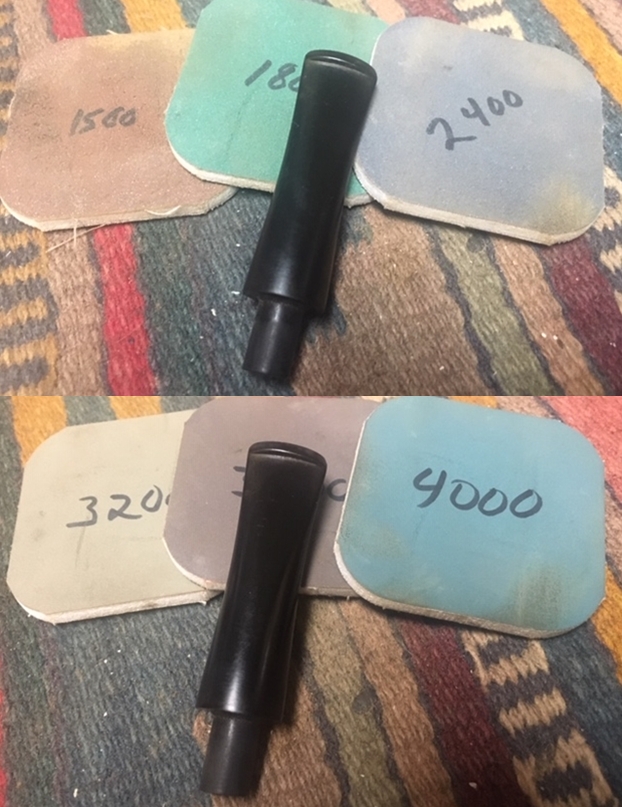
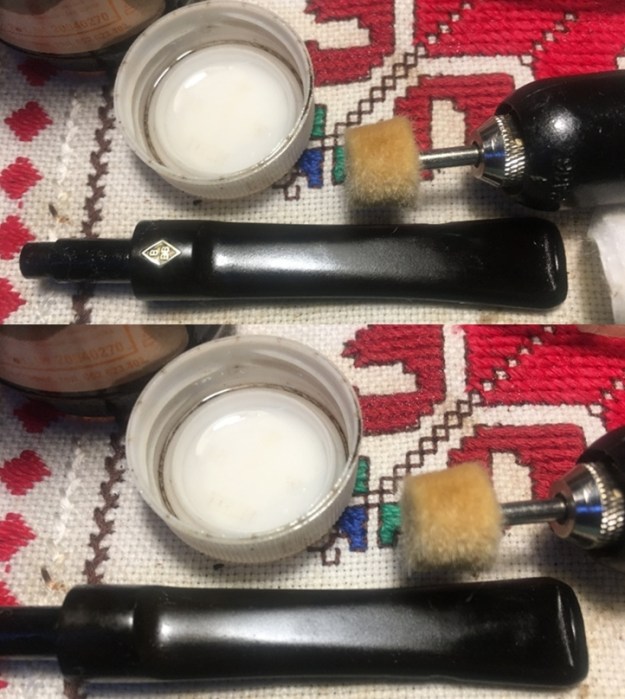
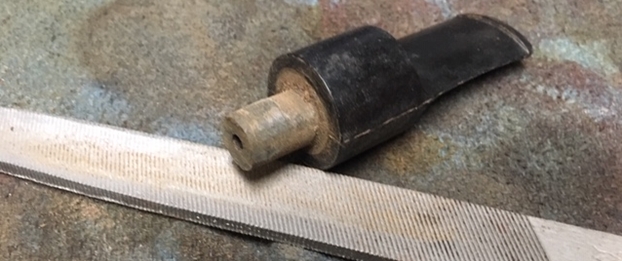
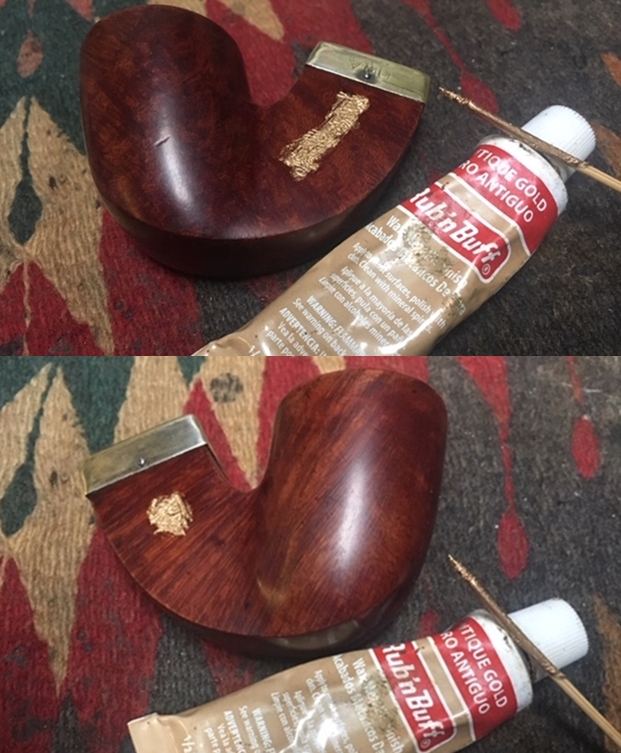
 I cleaned the stinger with alcohol and a cotton pad and then scrubbed the grooves out with a brass bristle brush to remove the debris. Once I was finished I put it back in the stem. It is easily added and removed so the choice will belong to the next pipeman or woman who takes the pipe in trust.
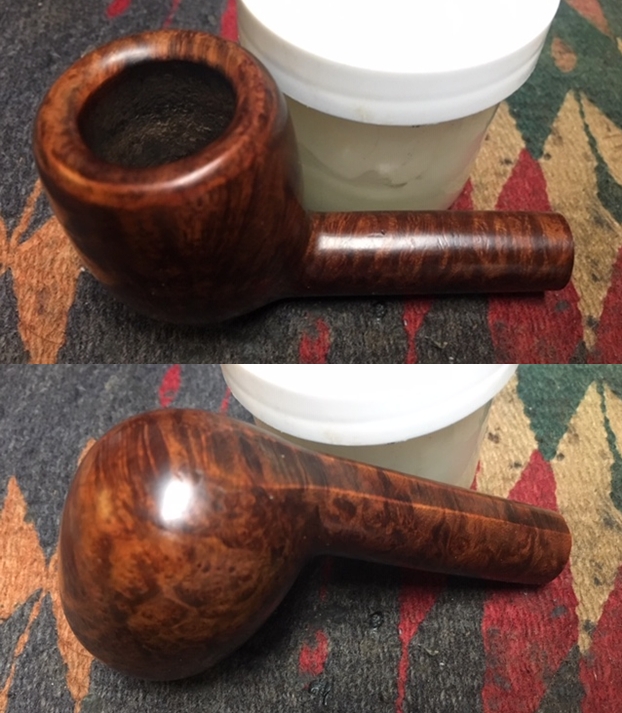
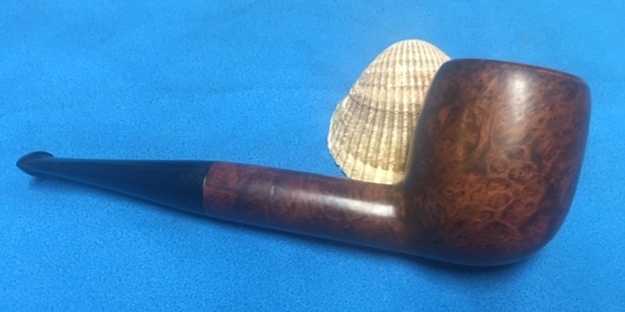
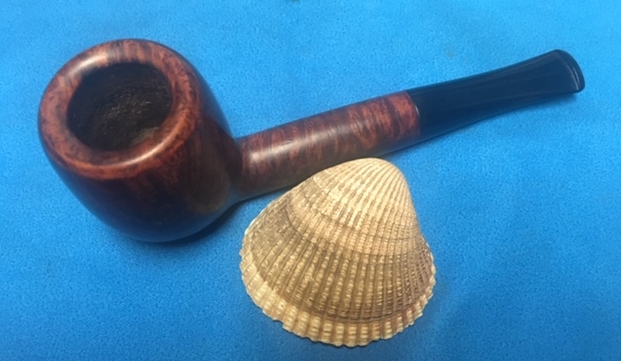
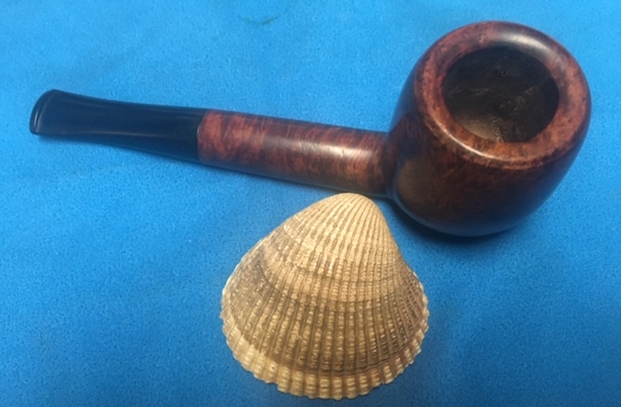
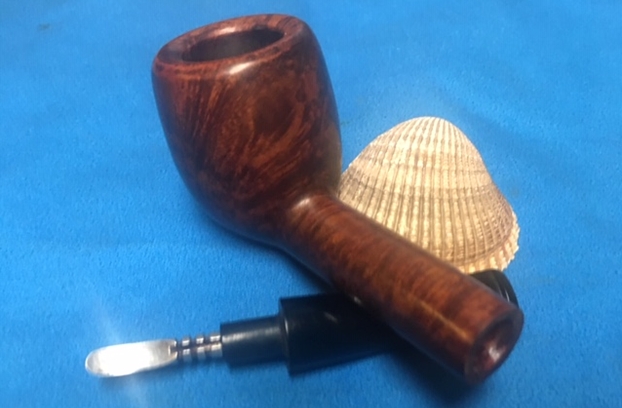
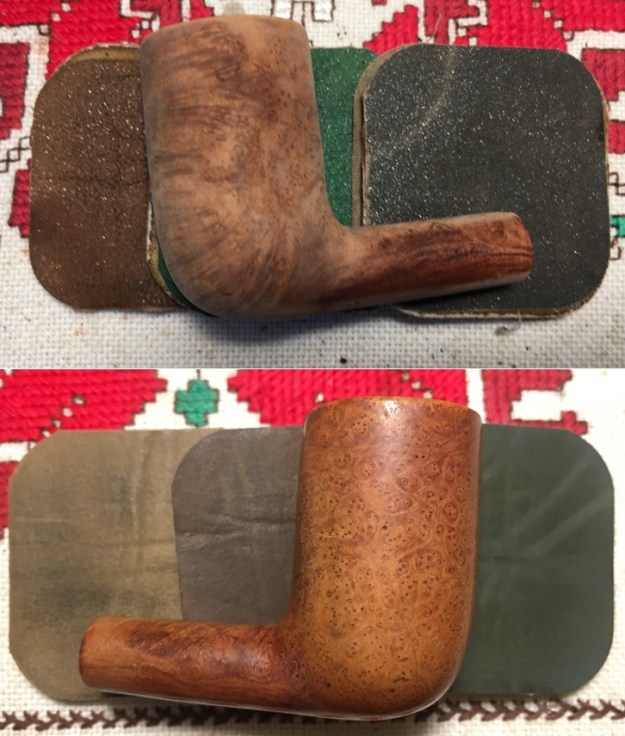
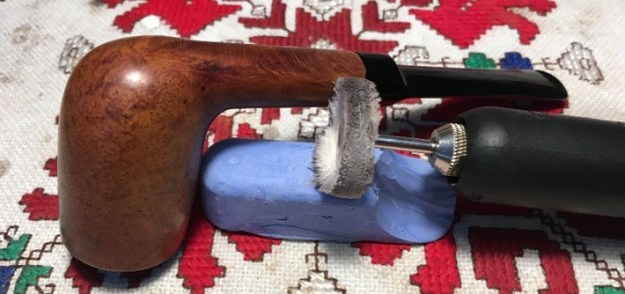
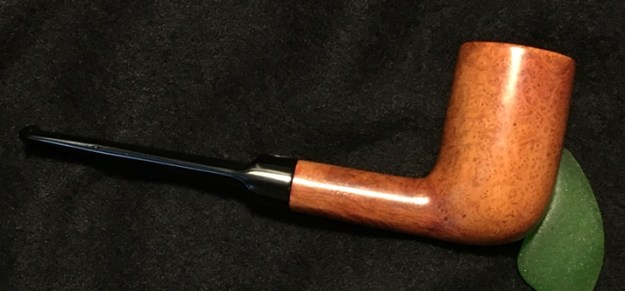
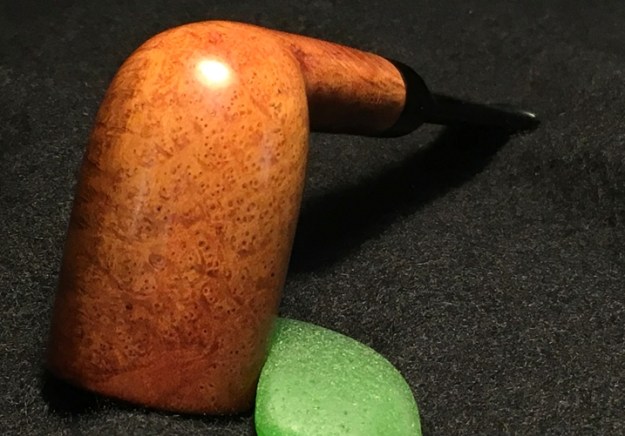
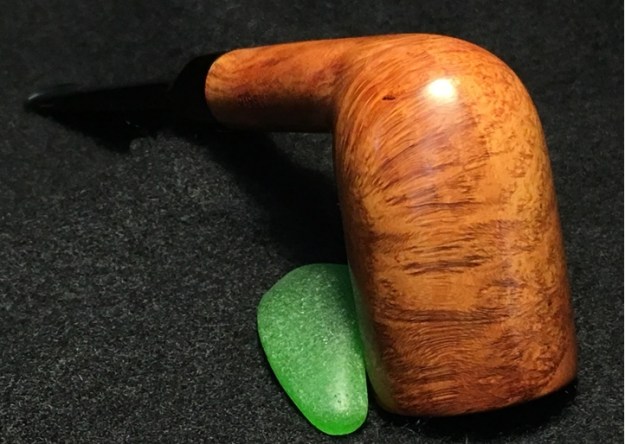
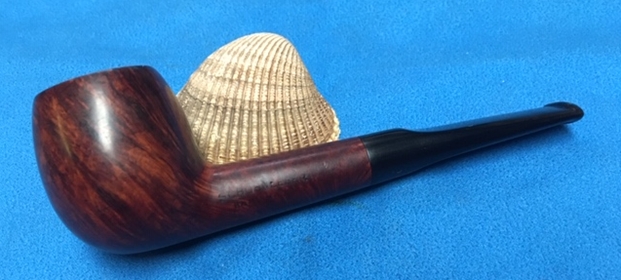
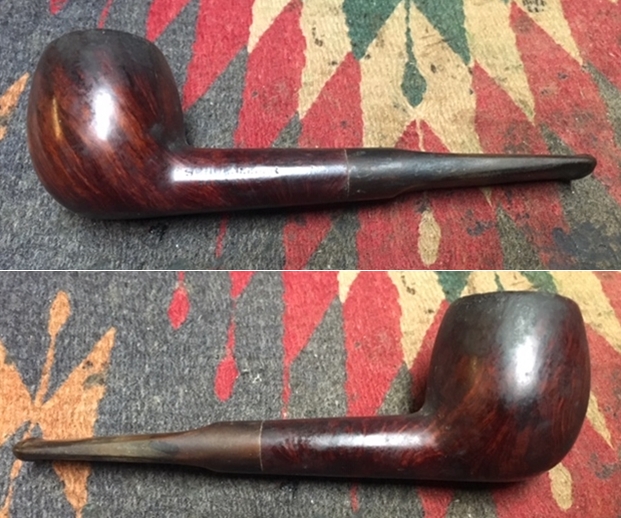
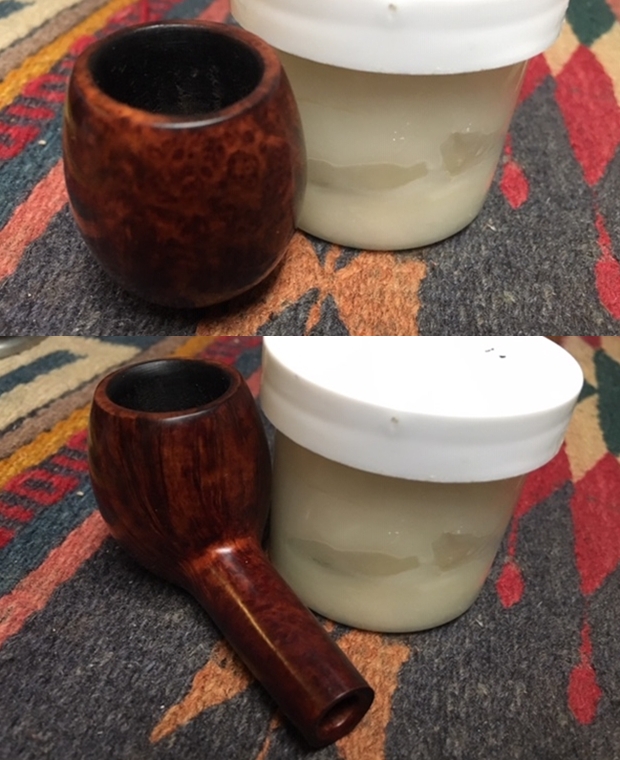
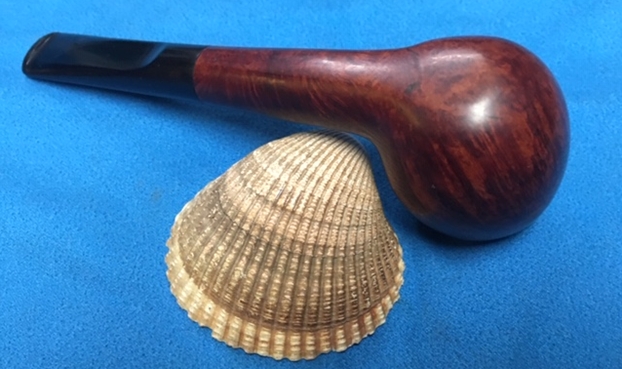
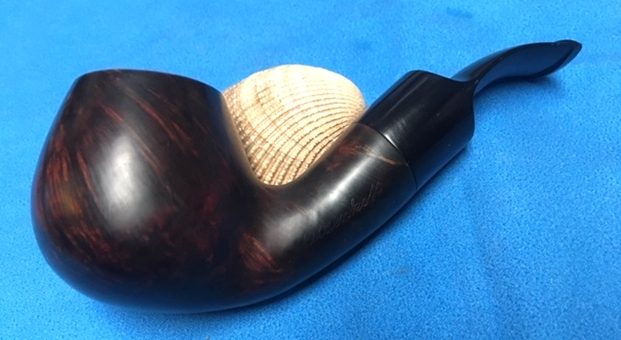
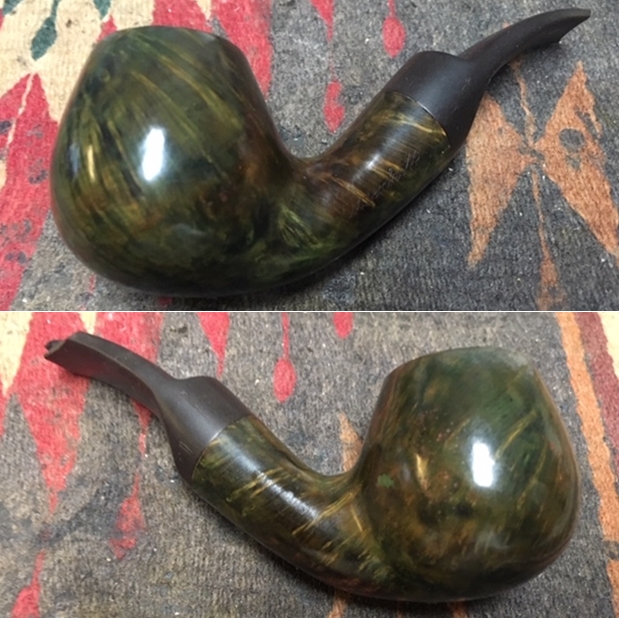
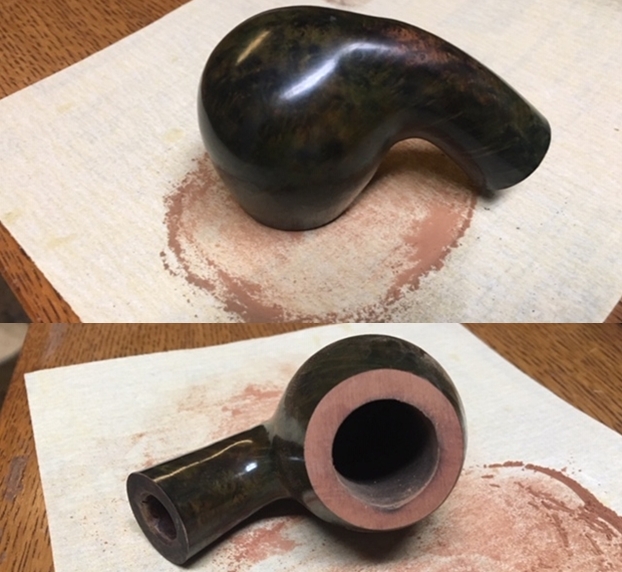
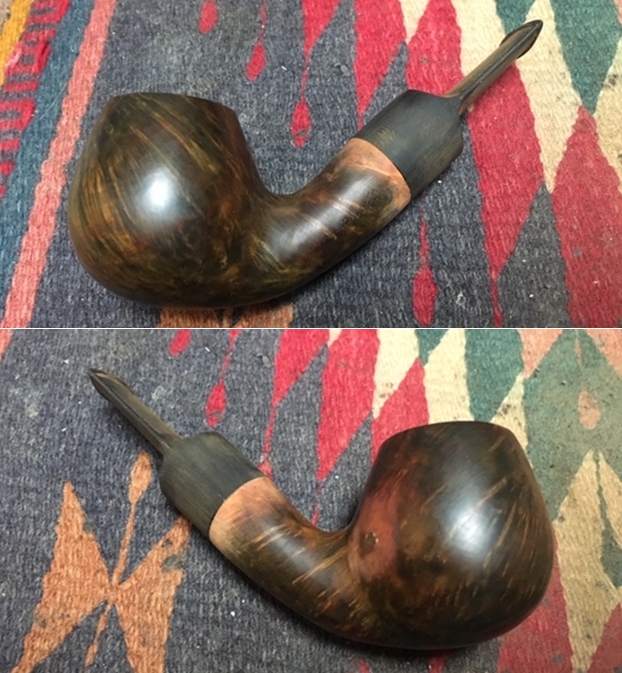
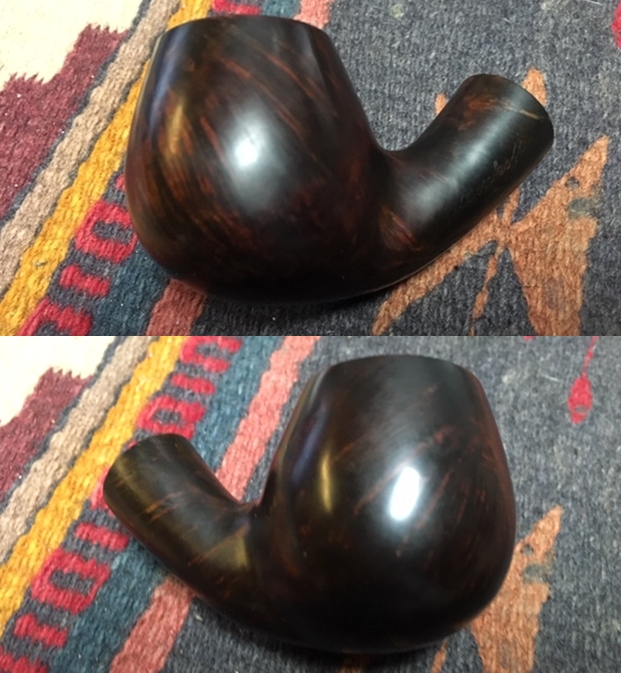
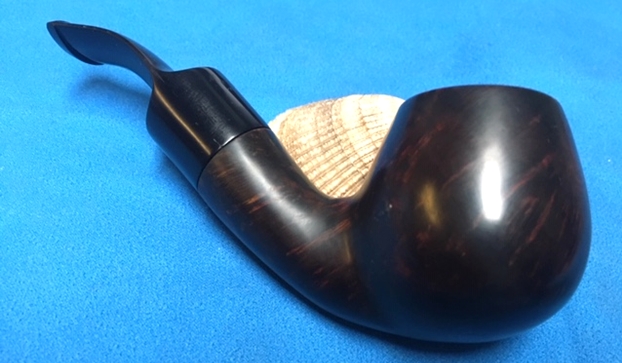
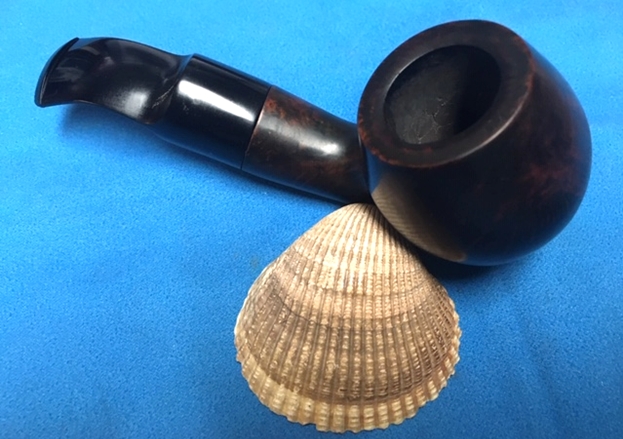
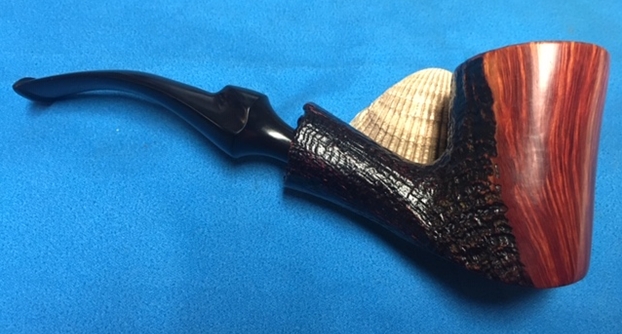
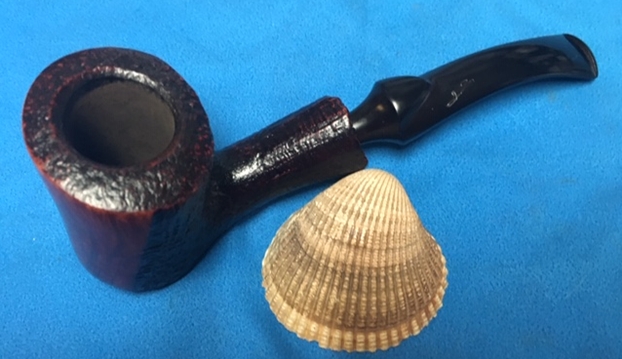
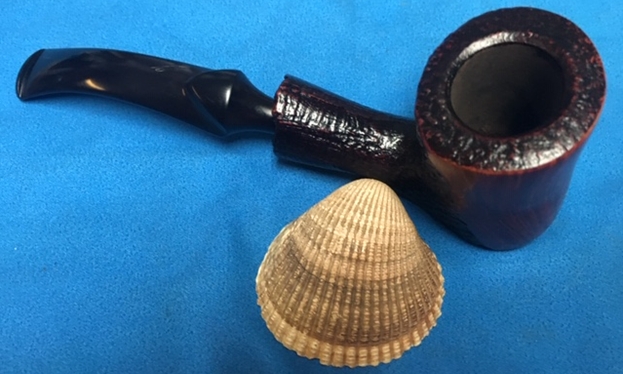
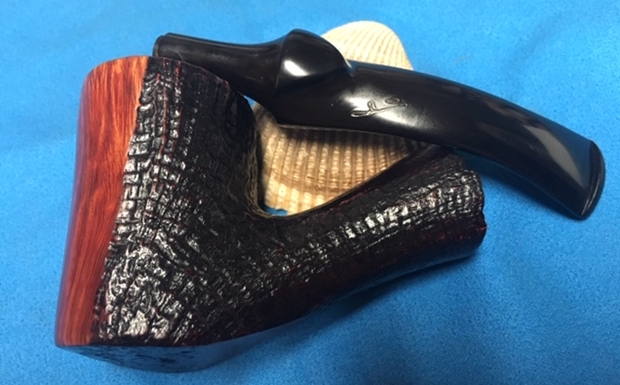
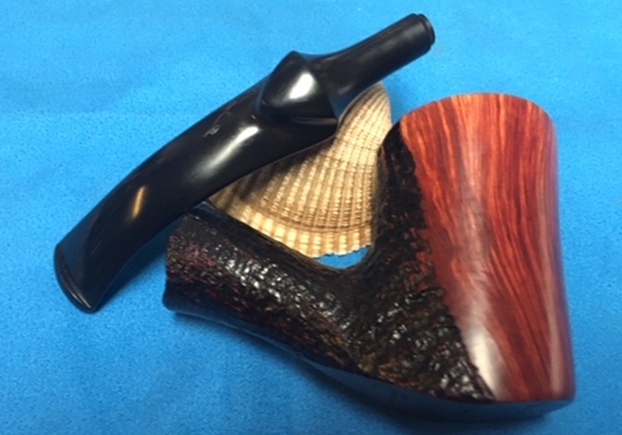
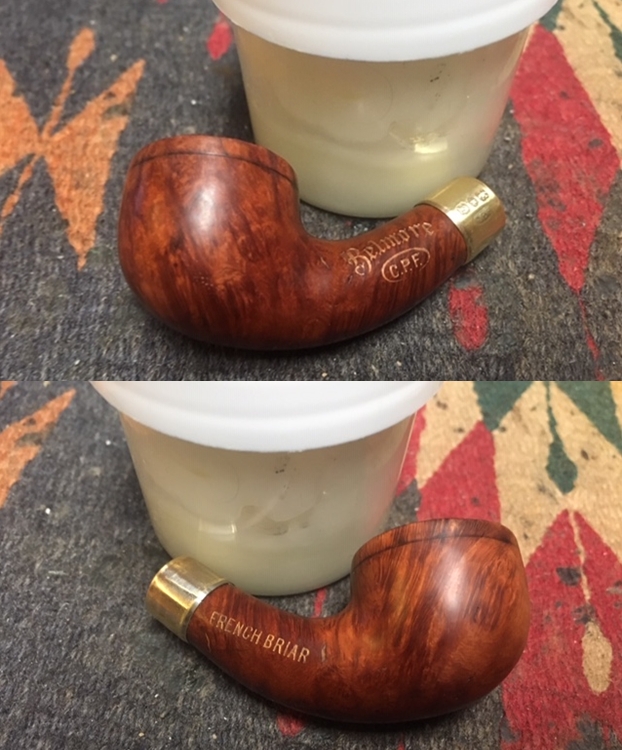
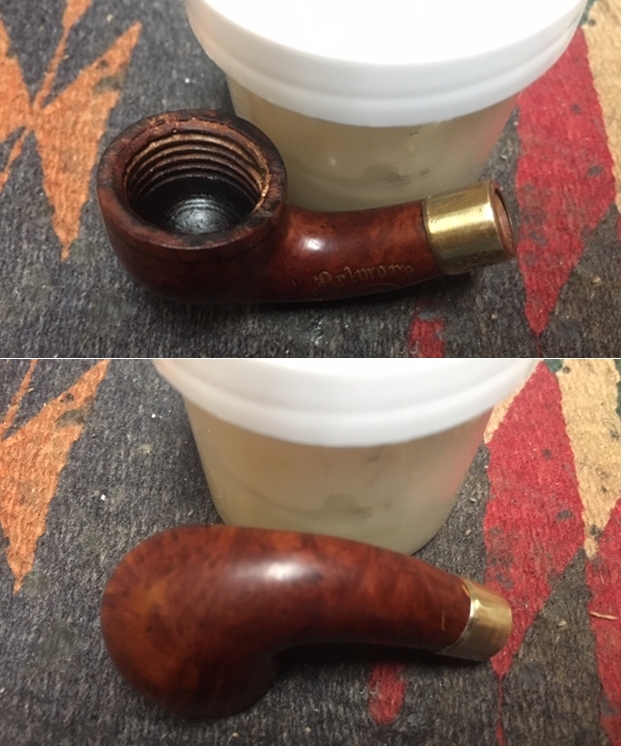
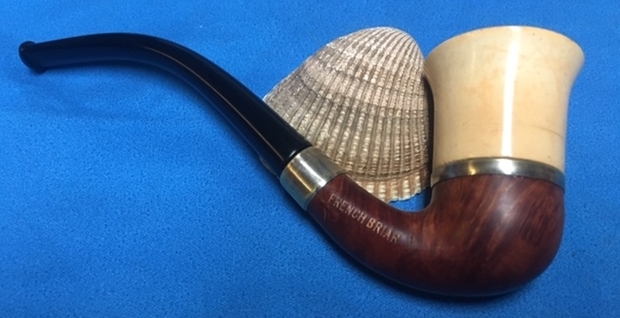
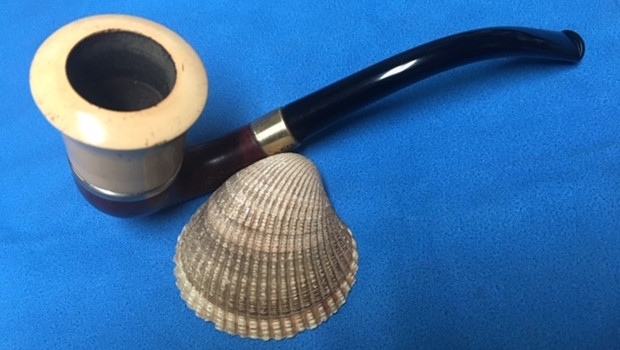
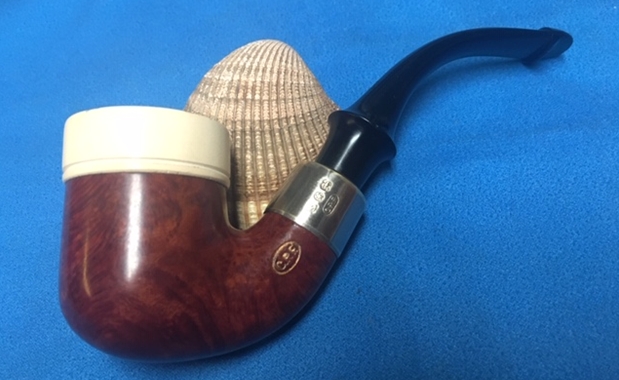
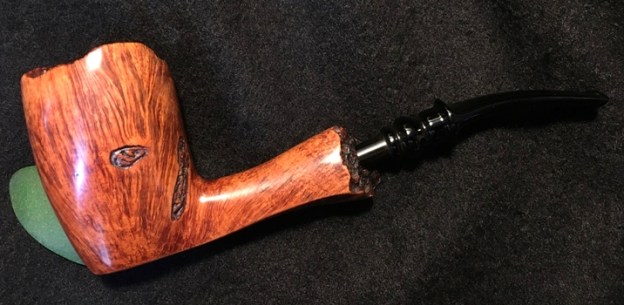
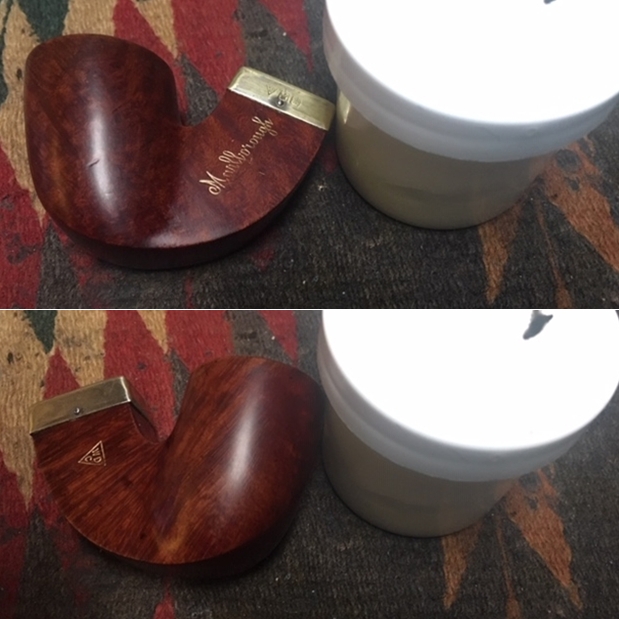
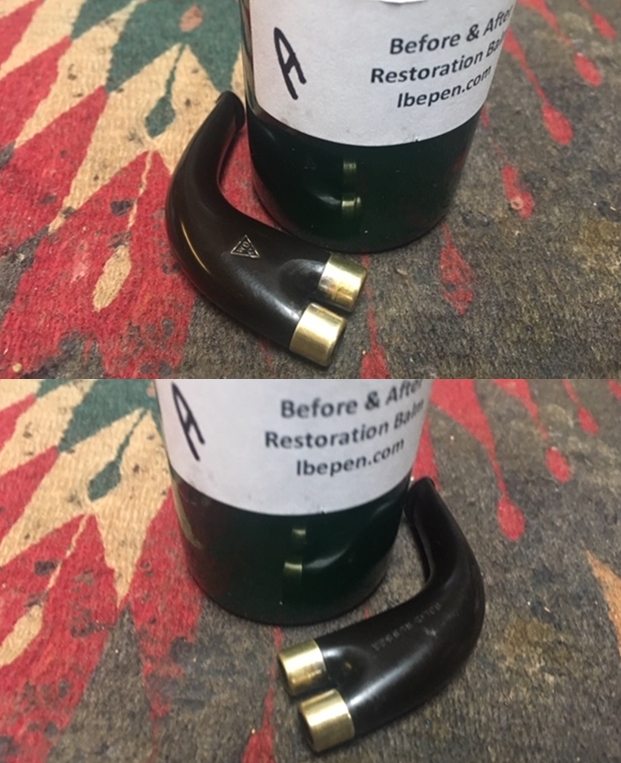
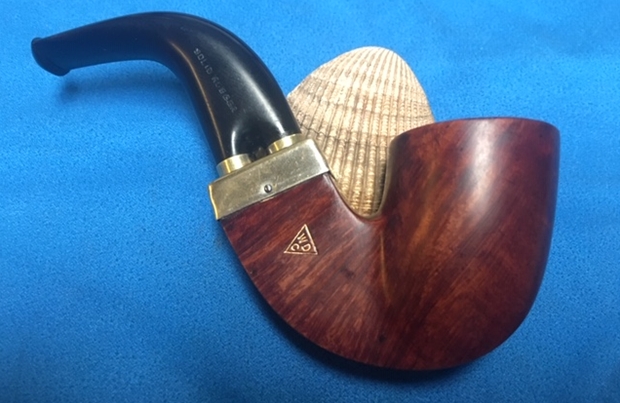
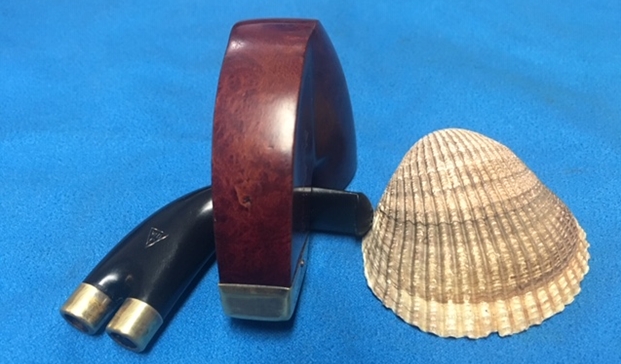
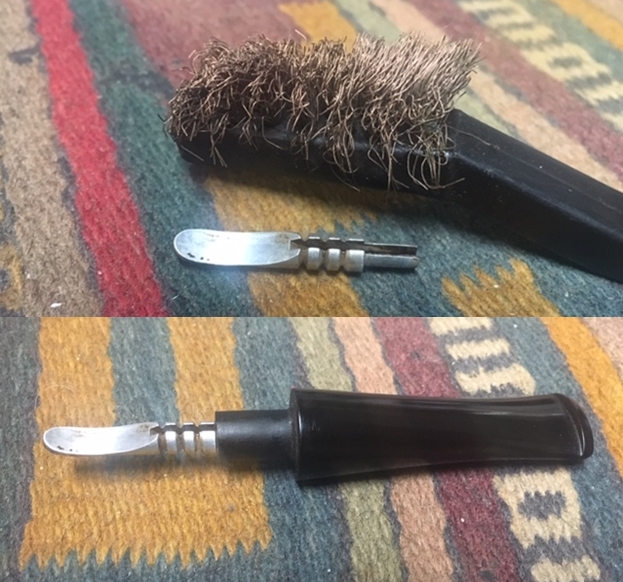 With both parts of the pipe finished I put the pipe back together again and I polished the bowl and the stem with Blue Diamond polish on the buffing wheel. I gave the bowl and the stem multiple coats of carnauba wax. I buffed the pipe with a clean buffing pad to raise the shine. I hand buffed it with a microfiber cloth to deepen the shine. The pipe polished up pretty nicely. The rich finish and the grain came alive with the buffing. The finish on the briar works well with the polished black vulcanite stem. The finished pipe is a well-proportioned, nicely grained Classic Liverpool. Have a look at it with the photos below. The dimensions are Length: 5 ½ inches, Height: 1 7/8 inches, Outside diameter of the bowl: 1 ½ inches, Chamber diameter: 3/4 of an inch. This beautiful Wally Frank Ltd. Liverpool will soon be taking it place on the rebornpipes store. If you are interested in it be sure to let me know. Thanks for walking through the restoration with me.


