by Steve Laug

JOHN CALICH
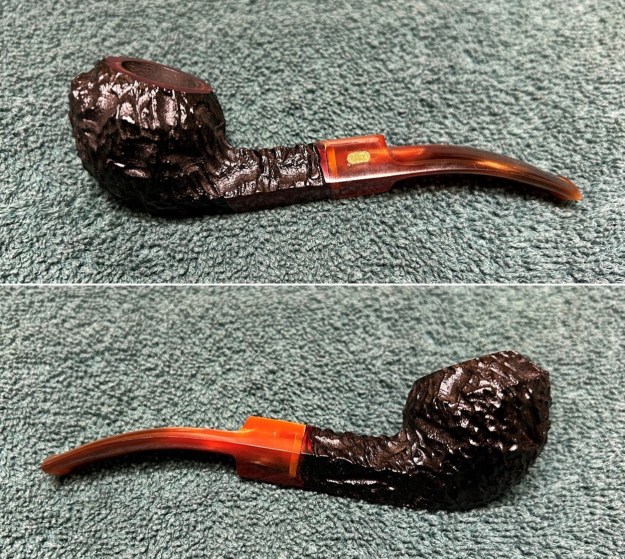
The next pipe on the work table is a pipe I purchased from a seller in Ontario, Canada. Whenever I see a pipe by John Calich I purchase it regardless of the condition. This one is a very damaged, though once beautiful rusticated Billiard. It has rustication around the bowl and shank and a smooth rim top, band around the top edge and band on the shank end. It has a taper vulcanite stem with a single silver dot on the topside. It was stamped on the left side of the shank and reads Calich [over] Hand Made followed by the number 7.
Before I give my assessment on the pipe and started working on it, I did a bit of reading about the brand to refresh what I knew of the maker. I turned to Pipephil’s site first to see his information (http://www.pipephil.eu/logos/en/logo-c1.html). I did a screen capture of the information on the site. I did a screen capture of the pertinent information and have included it below. 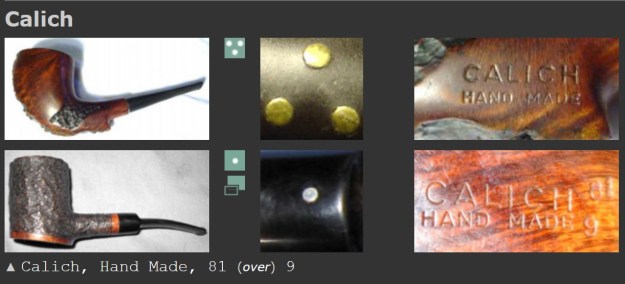 I quote the side bar: Artisan: John Calich († 2008) Early grading: 3 – 14. By the late 1980’s Calich introduced 15,16, and even one 17. In the mid-90’s the grade system changed employing a number of E’s. Last gradings: 3E – 7E (10E was the top level but levels exceeding 7E or 8E never have been used) Production (2005): 200-500 pipes/year.
That information confirmed that the pipe I was working on was an early one as noted by its early grading – Grades 3-14. This pipe was a Grade 7. It was made prior to mid 1990s when a new grading system was introduced
I then turned to Pipedia and read the article on the Calich brand to remind myself of the maker (https://pipedia.org/wiki/Calich). I have included it in full below.
John Calich was one of Canada’s finest carvers. He died in July 2008.
John was a full time pipe maker for the last 40 years. Calich pipes were mostly traditional shapes. His signature style is rustication and smooth on the same pipe along with his unique skill to stain a pipe in contrasting colors. He used only top quality Grecian and Calabrian briar. The mouthpieces are hand finished Vulcanite “A”. Each pipe was entirely made by hand. John Calich was featured in the summer 2005 issue of Pipes & Tobacco.
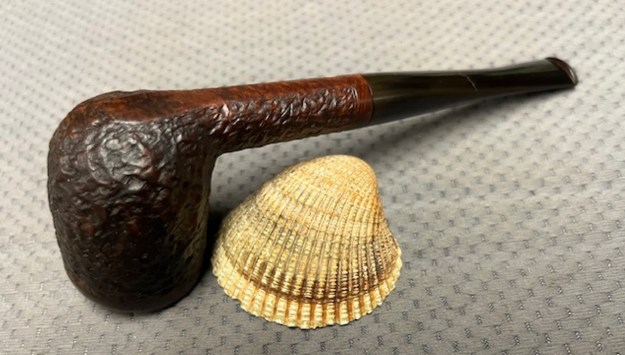
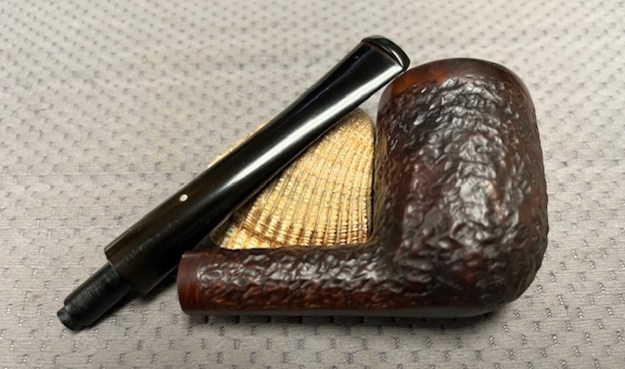
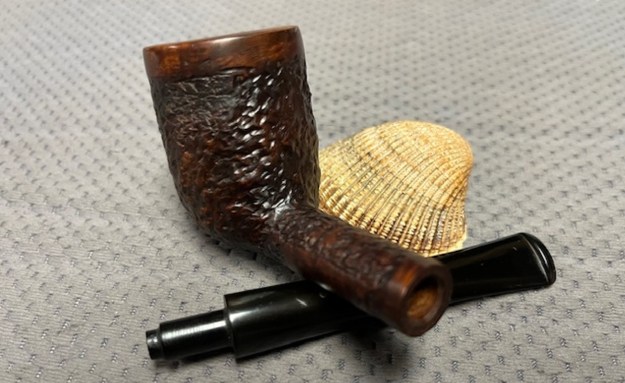
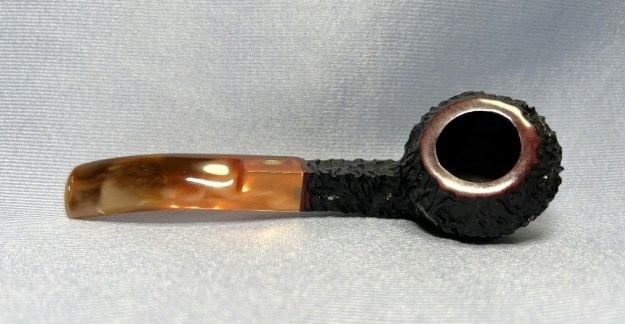
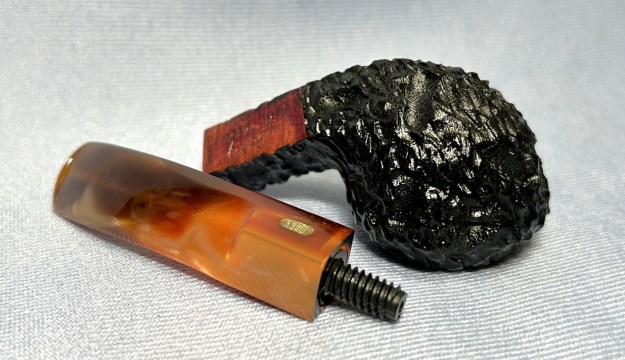
The pipe was in rough condition. I am including the photos that the seller sent to me before I purchased it. The finish was filthy with a lot of tarry debris worked into the rustication. It had hardened and it would take work to get it our of the finish. The smooth portions were darkened and the grain was not visible under the grime. The rim top was a disaster. It was no long flat and looking at it from various angles. There was a large chunk out of the left outer rim top and edge. The front outer edge was burned and the inner edge was also burned and out of round. The distance from the rim top down the smooth ring around the top of the bowl was completely uneven – tall in spots and very low in other spots. The stem was oxidized and had some light tooth marks in the surface. The silver dot on the stem top was oxidized and blackened as well.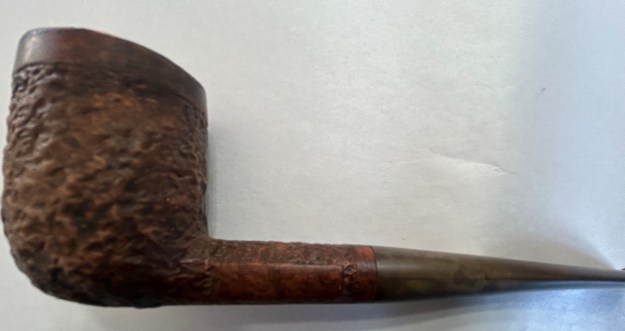
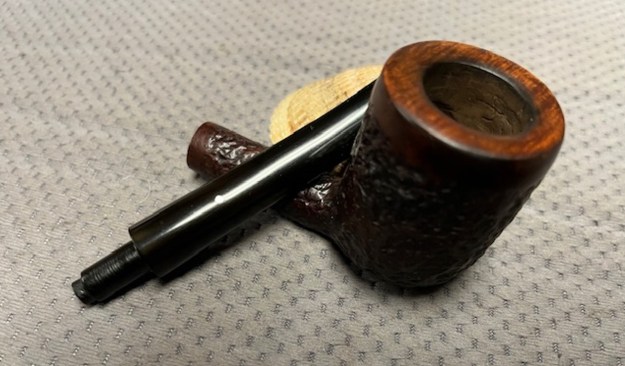
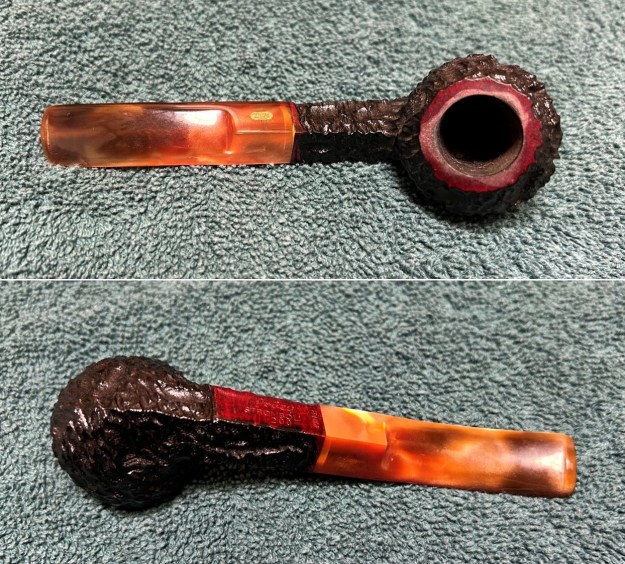
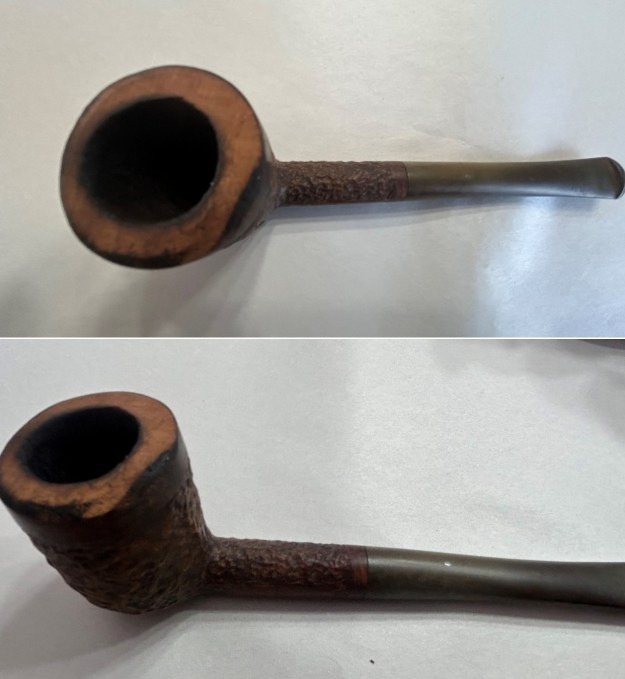 The seller included some closer photos of the rim top to show the damage I mentioned above. It was in rough shape. The bowl gives the feeling that is a Dublin however, it is not. It is a well proportioned Billiard. The damage to the rim top is clear in the photo but when it arrived it was worse in some ways and better in others. The stamping on the underside of the shank is clear and readable as noted above.
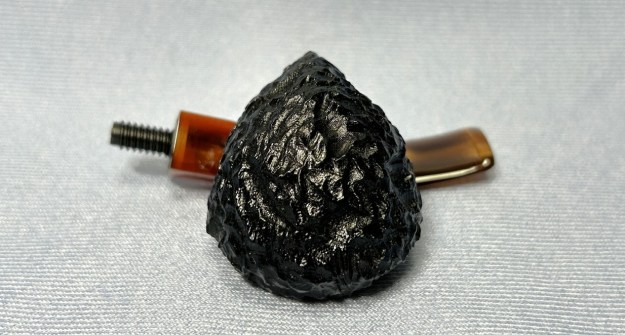
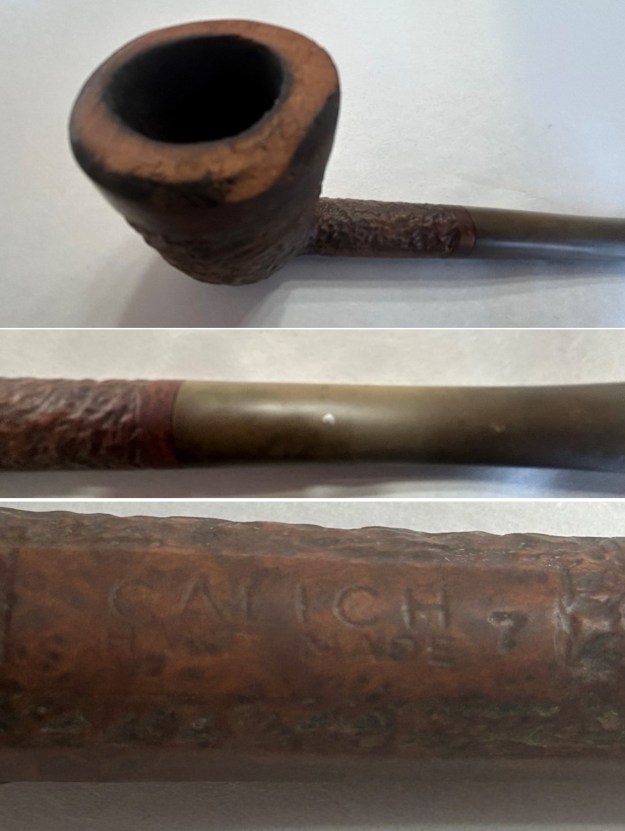 When the pipe arrived I took some better photos to try and capture the damaged rim top and edges as well as the dirty rustication on the heel of the bowl. It was going to take a bunch of work but I think there is still the bones of a beautiful pipe under the dirt and damage.
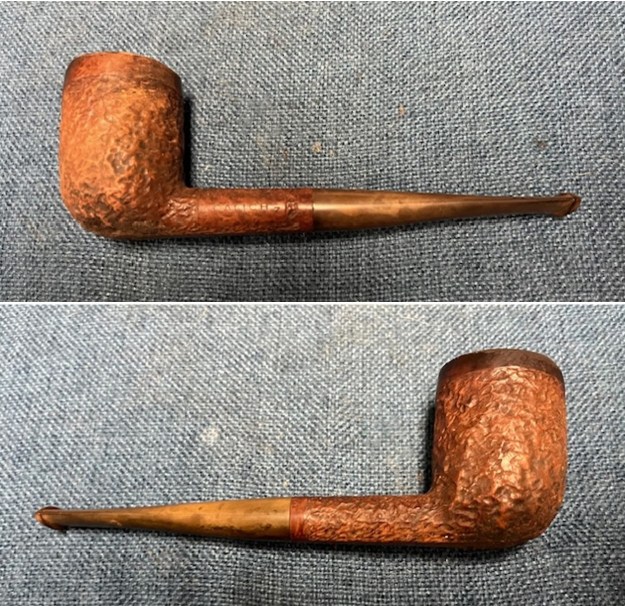
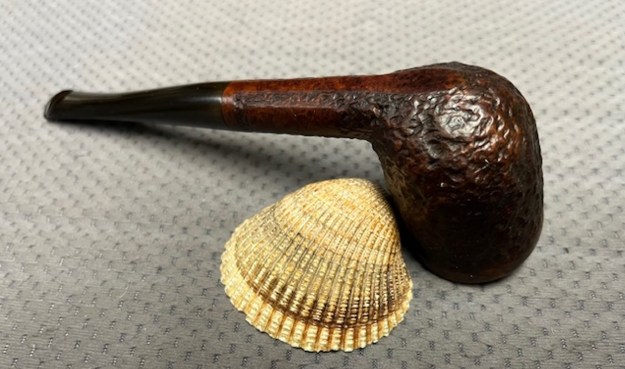
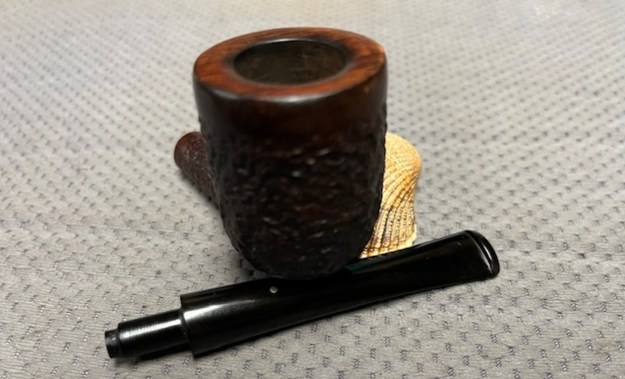
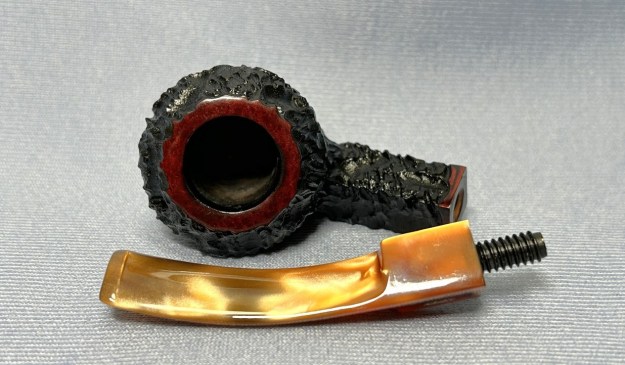
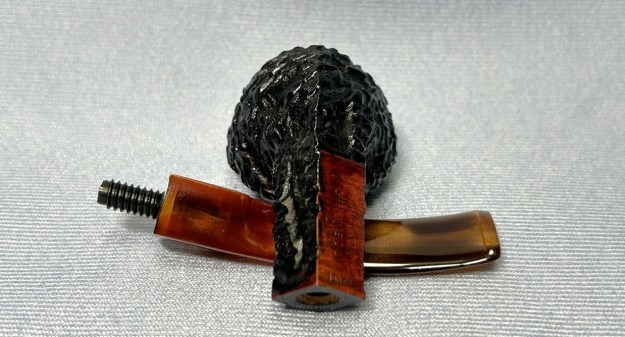
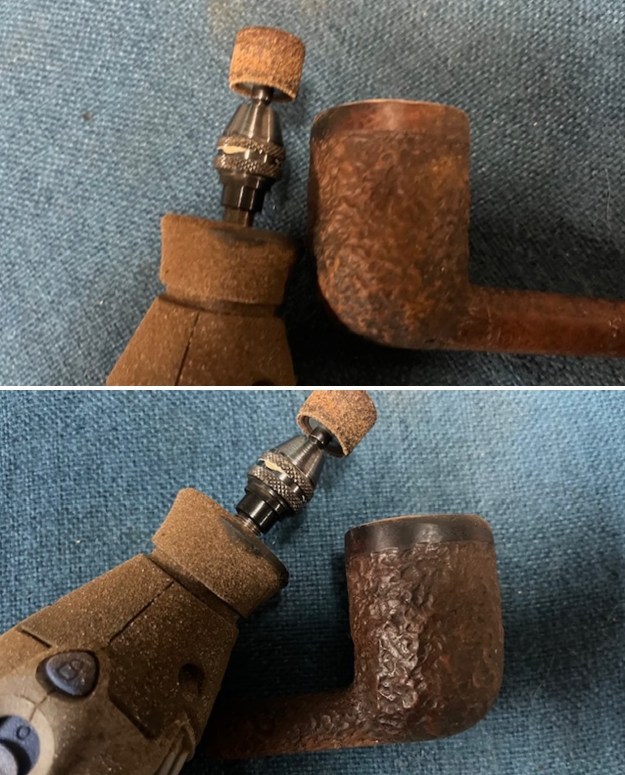
 I took a close up photo of the rim top to show the damage. It really is a mess. You can see the burned areas aorund the front and left side outer edge. You can also see the missing chunk on the left back outer edge of the bowl. It is out of round both on the inner and outer edges. It is heavily damaged. The stem is badly oxidized but the tooth marks and chatter are minimal and surface.
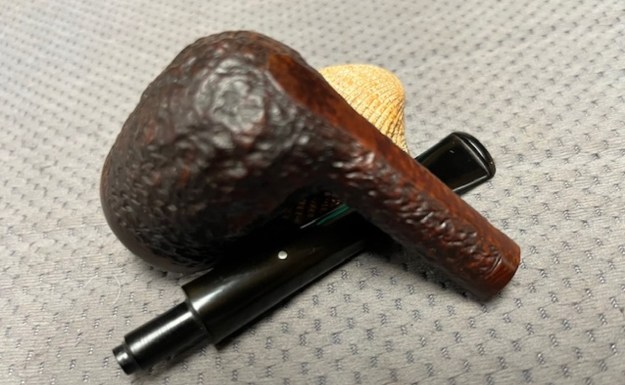
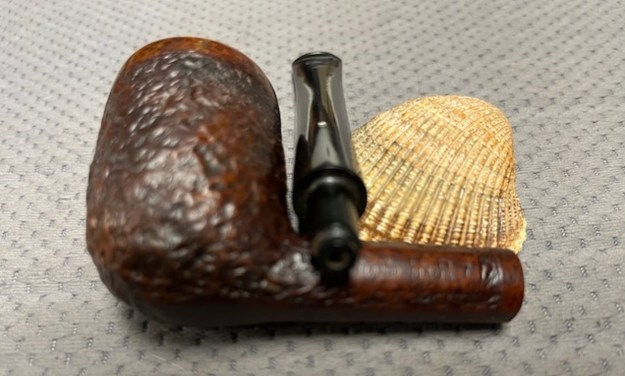
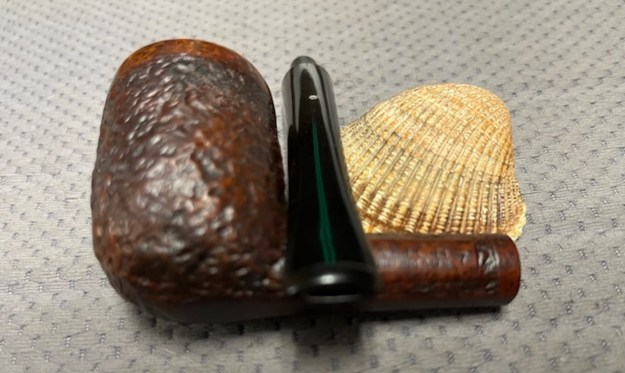
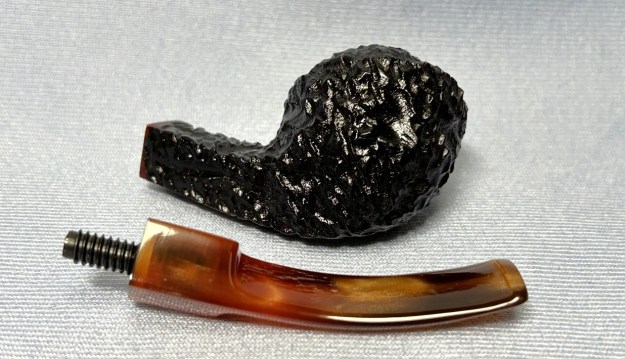
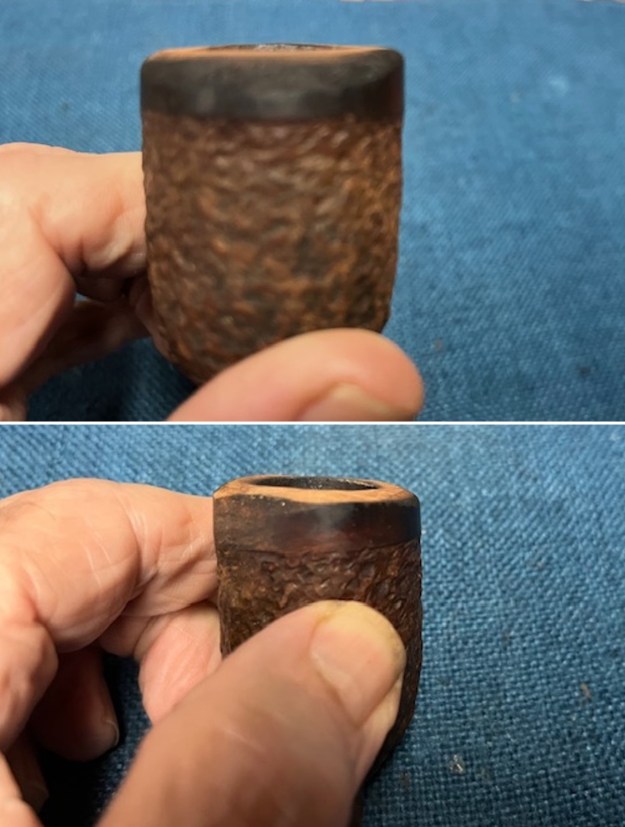
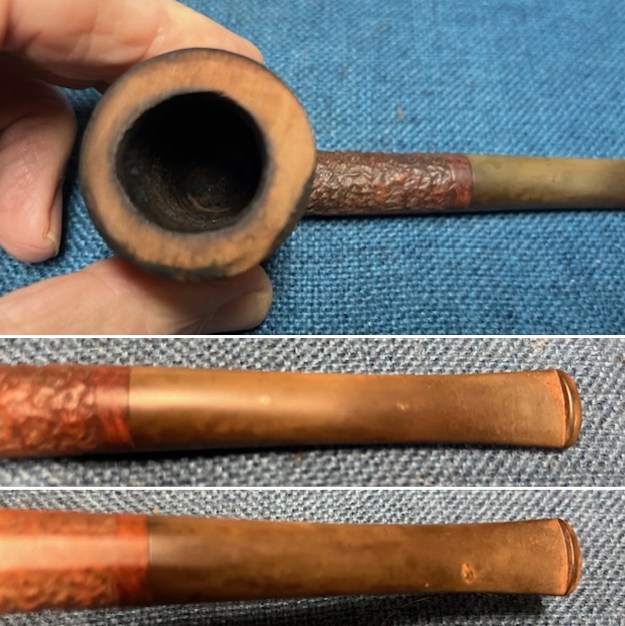 I took photos of the sides of the bowl to give a sense of the damage to the rim top and the varying heights of the rim top caused by some aggressive sanding.
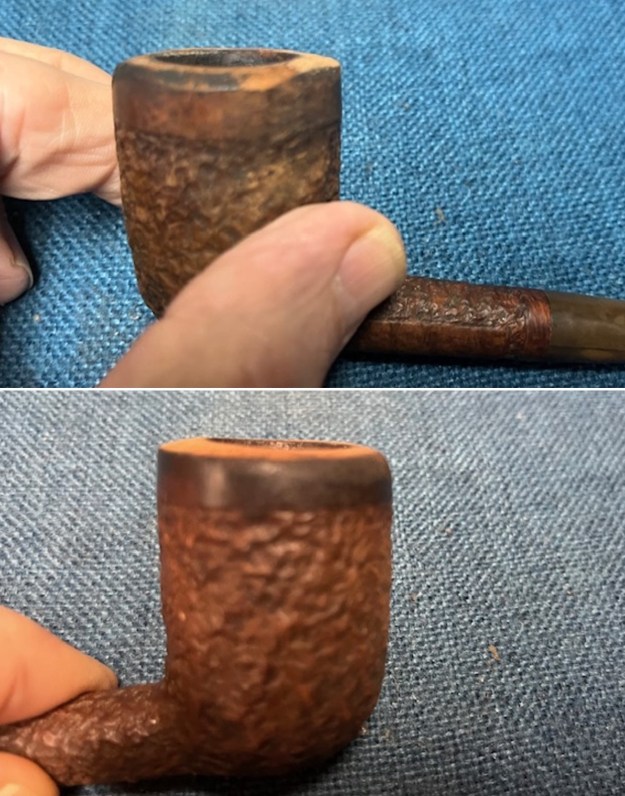
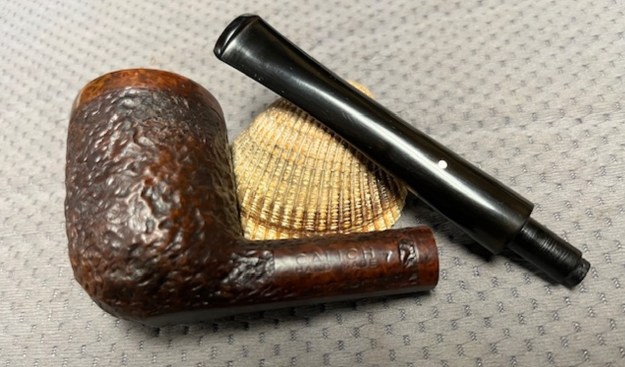
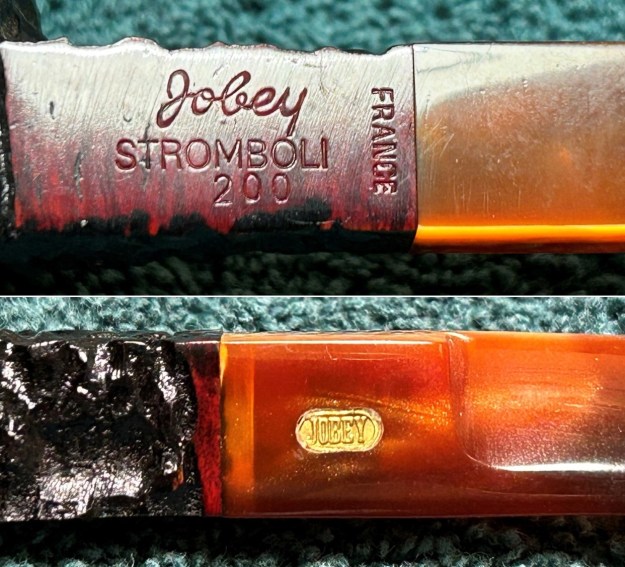
 I took a photo of the stamping on the left side of shank on the smooth panel of the rusticated shank. It is clear and readable as noted above.
 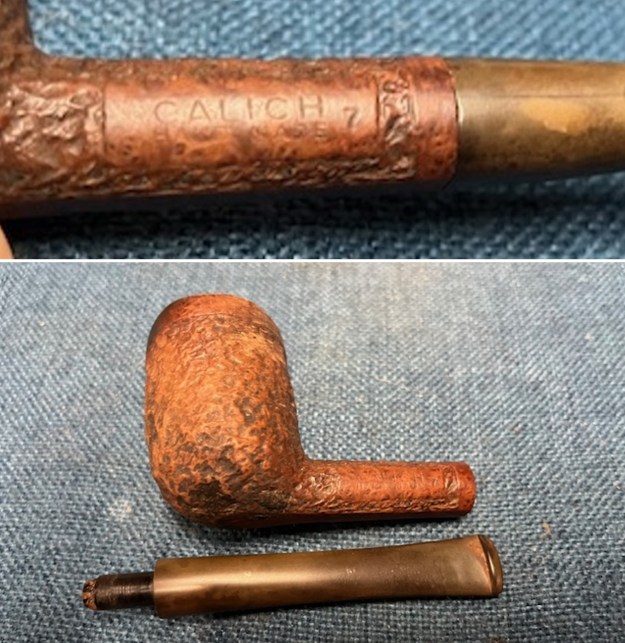 Where to start with this mess? The rim top really bugs me so I decided to start there first. Once that was flattened and shaped then I could do other work. I used my Dremel and sanding drum to flatten out the rim top. It took some work to bring the sides and top down to match. For me the damage was such that it took a lot of sanding with the drum to get it close to flat.
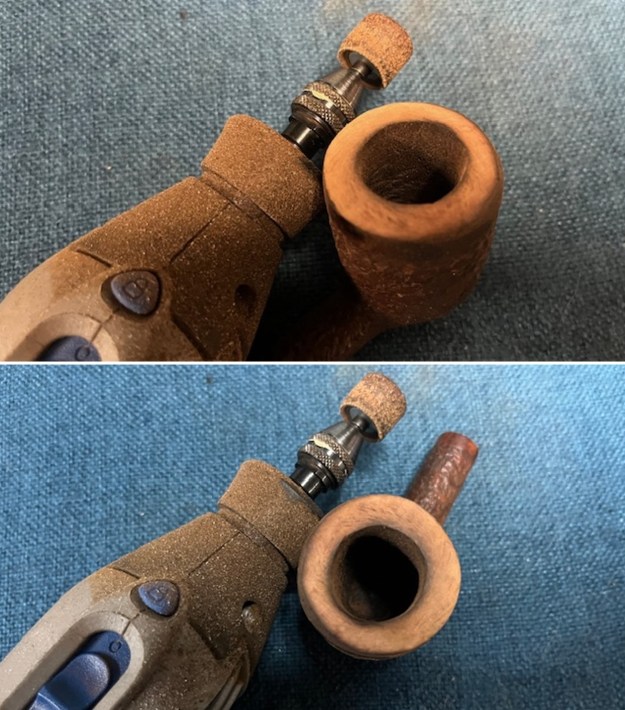
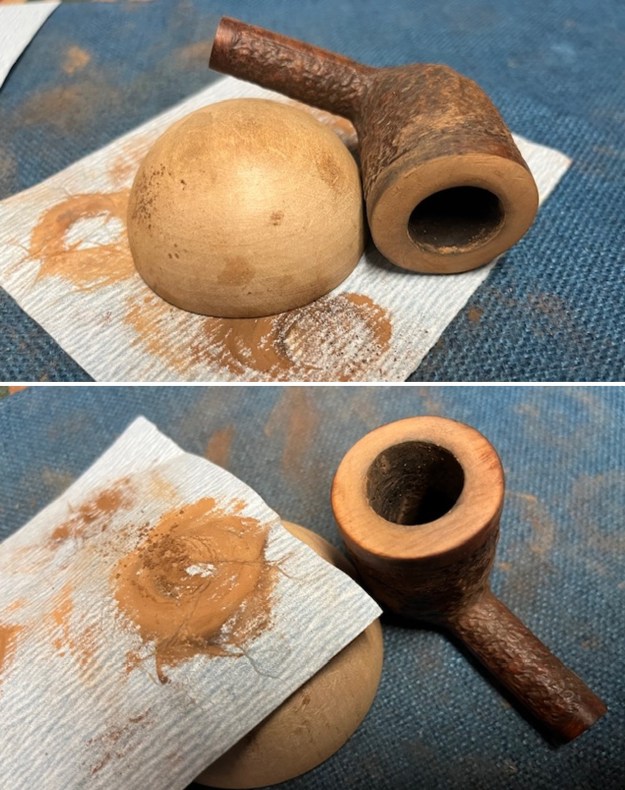
 To smooth out sanding and flatten the rim top more I used a topping board and a piece of 220 grit sandpaper. Once I had it flattened a bit I worked on the inner edge and top with a half wooden sphere and a piece of 220 grit sandpaper. It began to look much better.
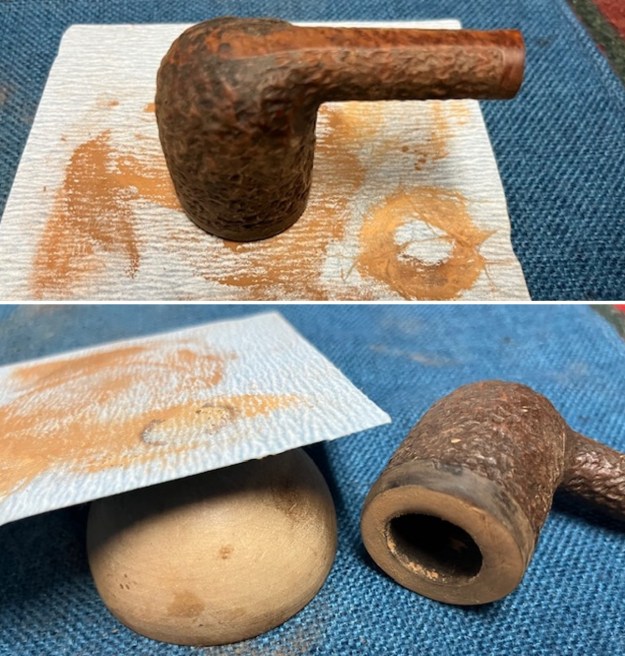
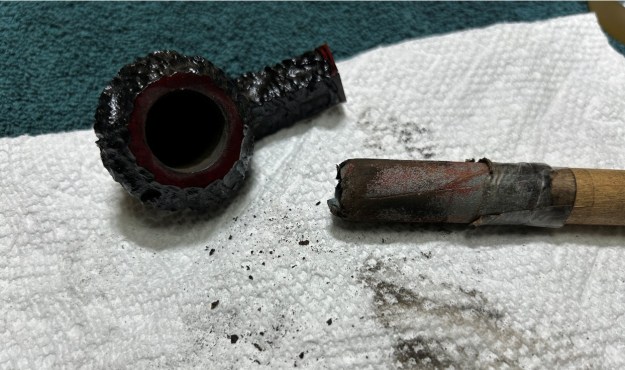
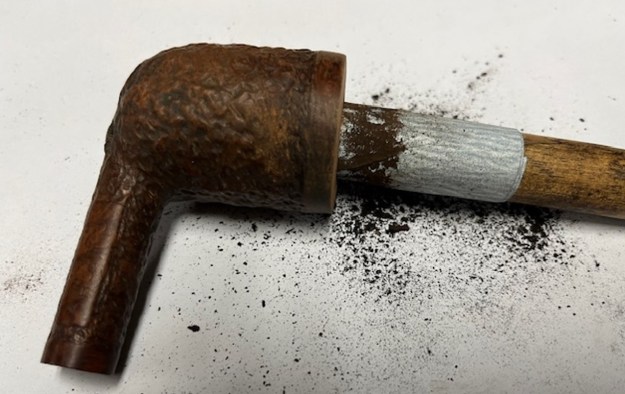
 I reamed the bowl and tried to smooth out the walls of the bowl. I started with a PipNet pipe reamer and used the second and third cutting head. I scraped out the remaining cake with a Savinelli Fitsall pipe knife. I sanded the bowl walls with 220 grit sandpaper wrapped around a dowel. I was able smooth out a lot of the damage on the walls.
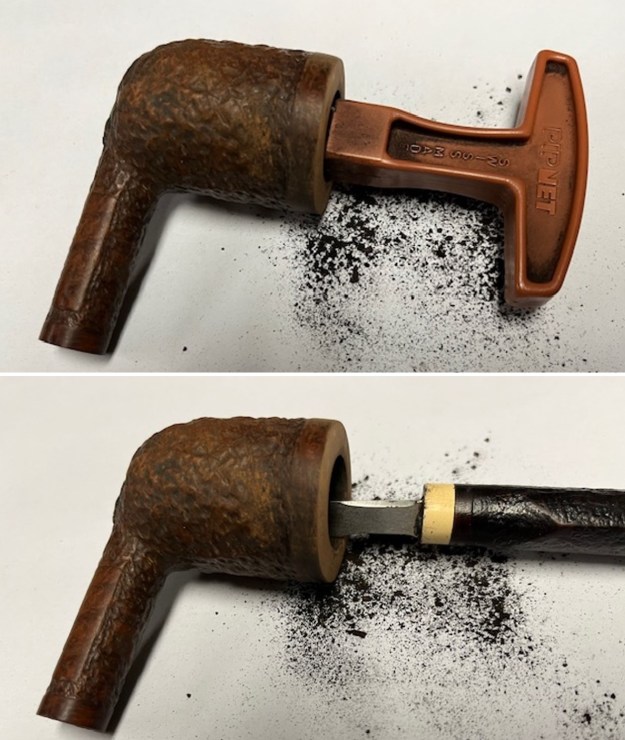
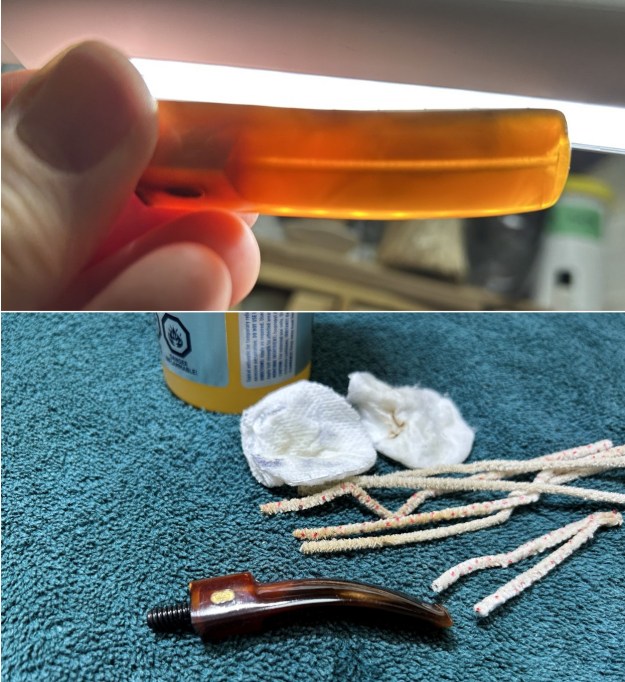
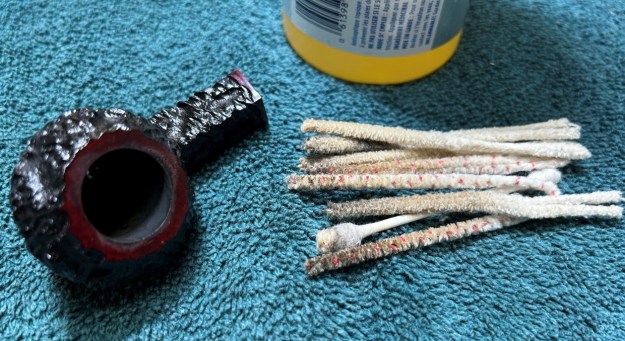
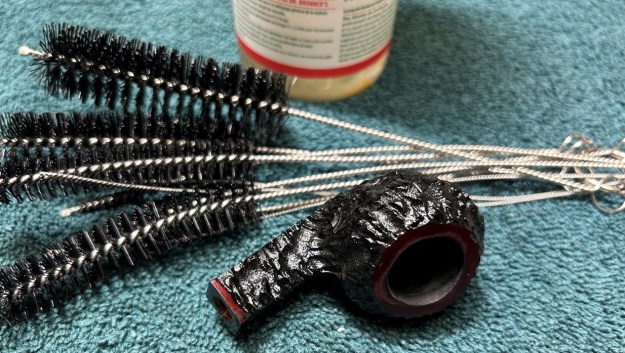
 I cleaned out the inside of the pipe – the shank, airway in the mortise and the stem with pipe cleaners, cotton swabs and alcohol. It was quite dirty.
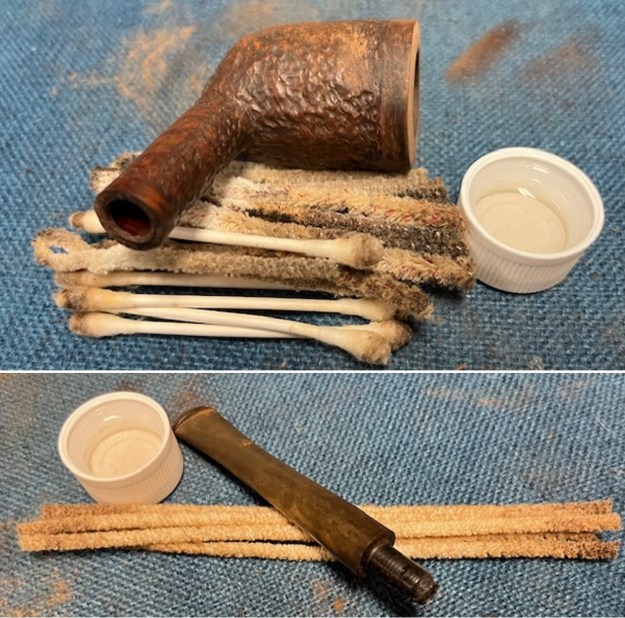 I scrubbed the exterior of the bowl and shank with a tooth brush, a brass bristle wire brush and some undiluted Murphy’s Oil Soap to remove the hard tars and grime in the rusticated finish on the bowl. I scrubbed it and rinse it with warm water and repeated the process. It looked much better.
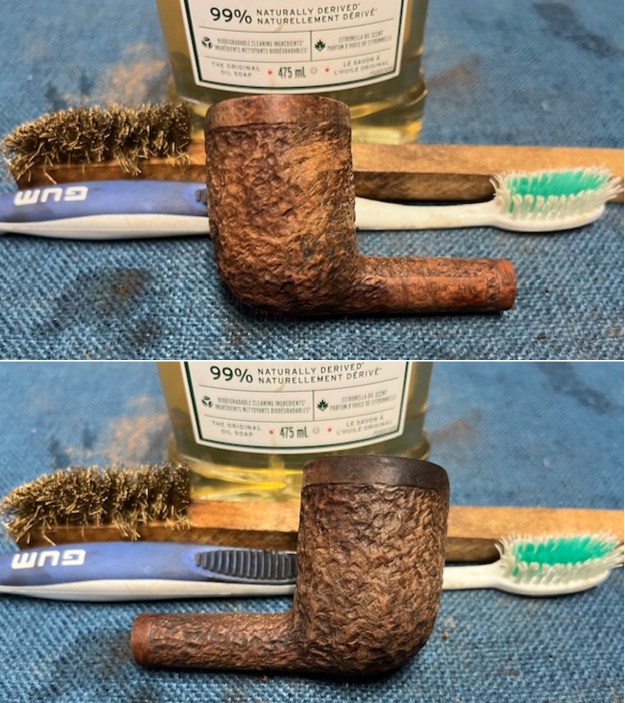
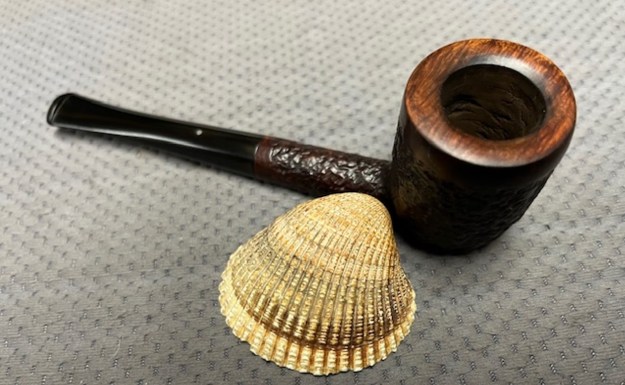
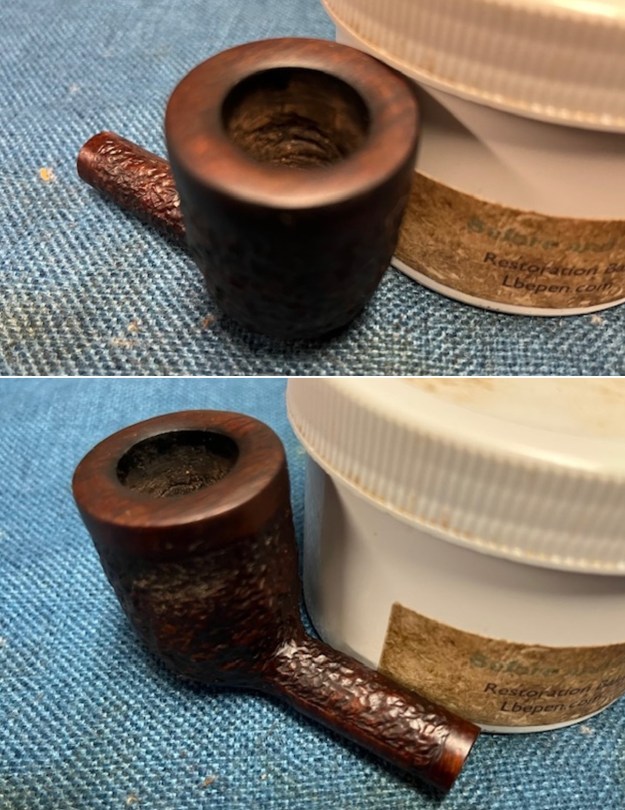
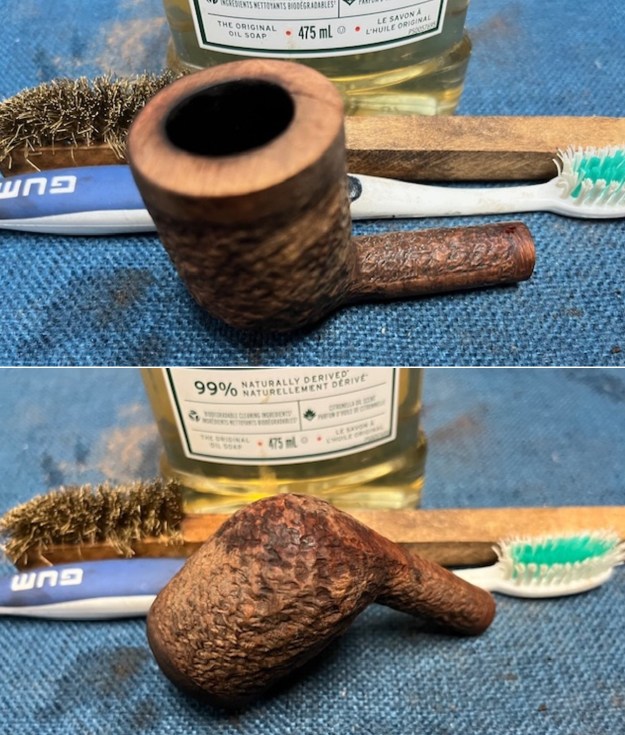 I dried it off with a soft cloth and hand buffed it. The finish definitely looked better. I would need to darken the stain on the rusticated portion to match the look of the similar pipe I saw on Pipephil’s site, but it was definitely and improvement. The rim top was smooth and symmetrical and the rustication was very clean.
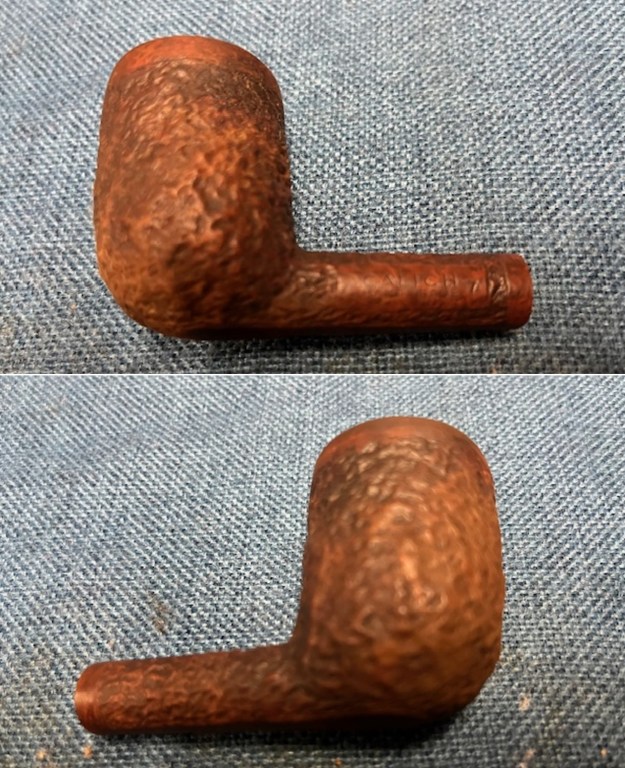
 With it clean it was ready to restain the rusticated portion of the bowl and shank. I used a dark brown stain and applied t with a dauber. I flamed it with a Bic lighter to set it in the grain. It certainly looked much better.
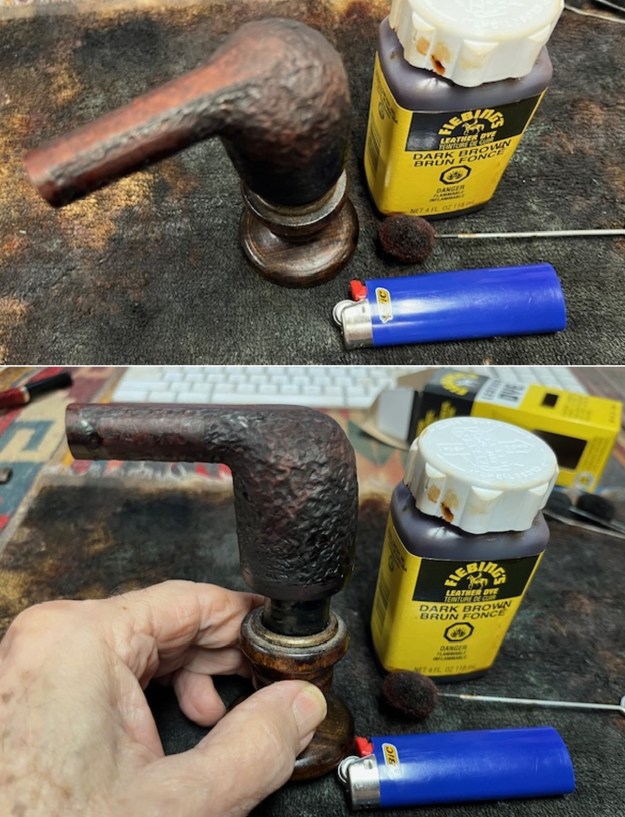
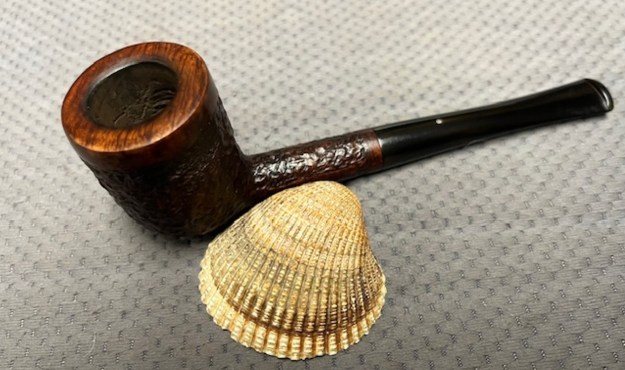
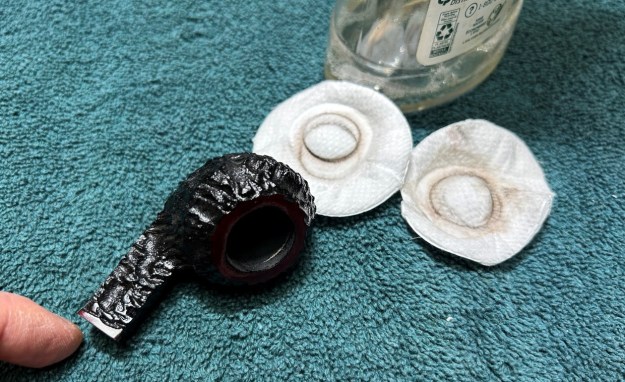
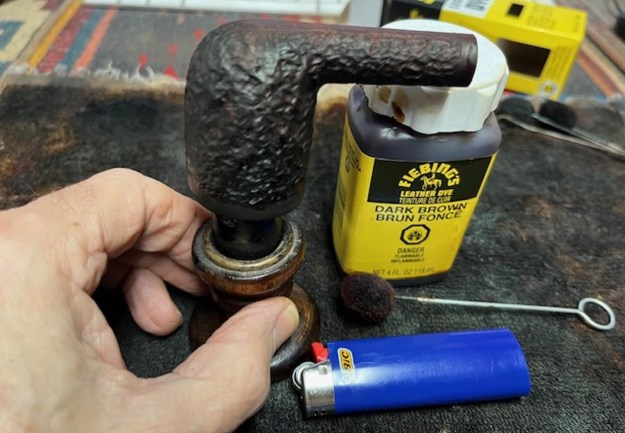 I wiped the bowl down with alcohol on cotton pads to make the stain coat more transparent. The smooth portions revealed the grain and the rustication showed depth and colour.
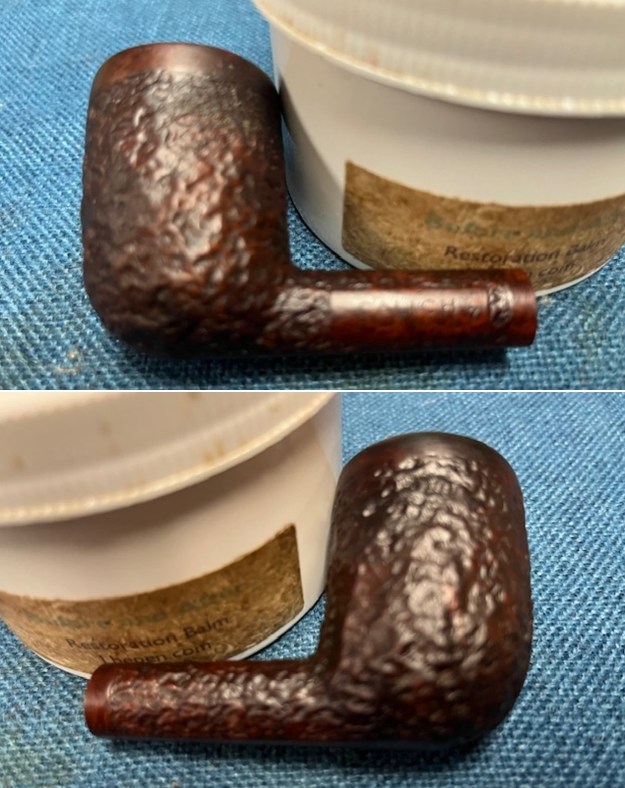
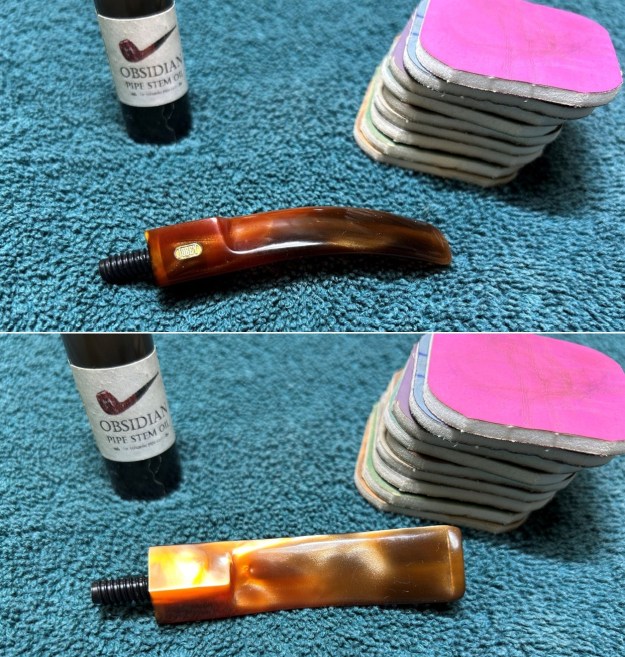
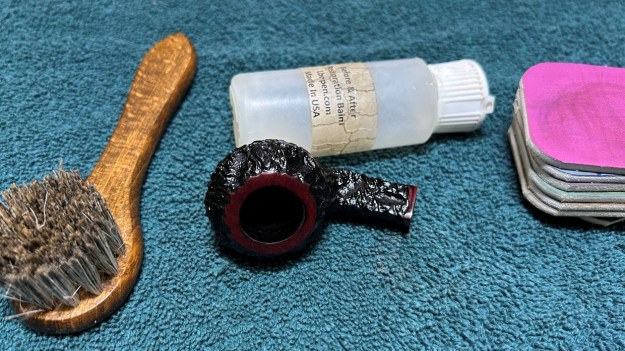
 I set the bowl aside and turned my attention to the stem. I sanded the oxidation on the stem with 320-3500 grit 2×2 inch sanding pads. I wiped it down after each sanding pad with a cloth impregnated with Obsidian Oil. The stem began to take on a shine.
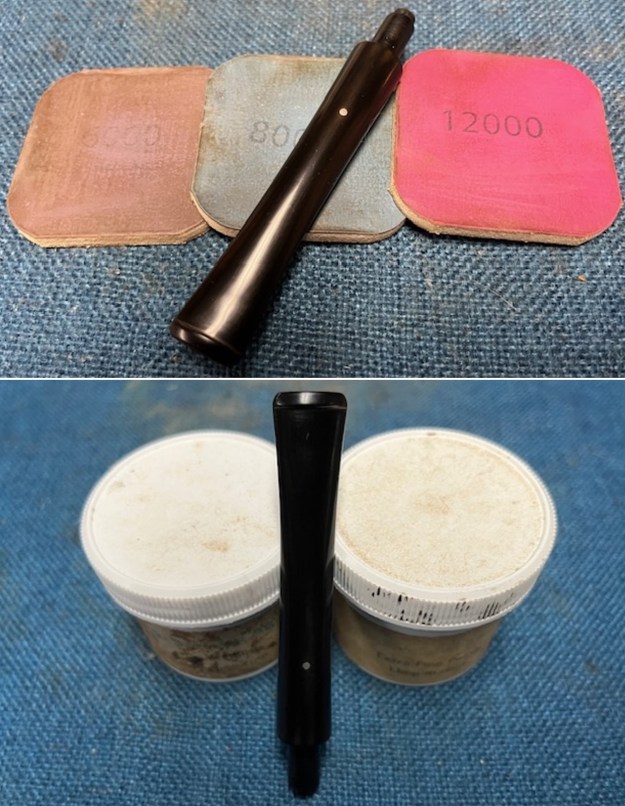
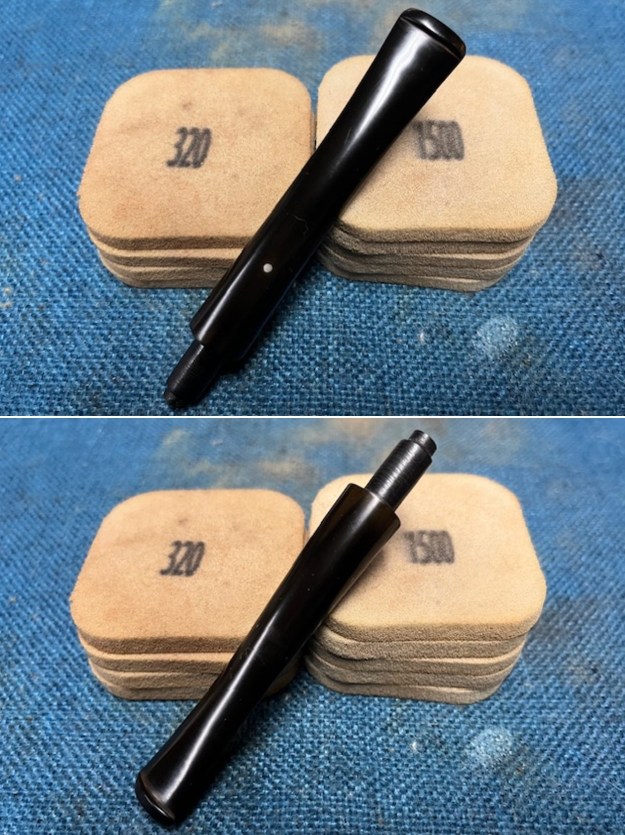 I set the bowl aside and turned my attention to the stem. It was in great condition after the cleanup so I polished the stem with micromesh sanding pads – dry sanding it 1500-12000 pads. I wiped it down with Obsidian after each pad to remove the dust and polishing debris. I polished it with Before After Pipe Polish – both Fine and Extra Fine. I gave it another coat of Obsidian Oil.
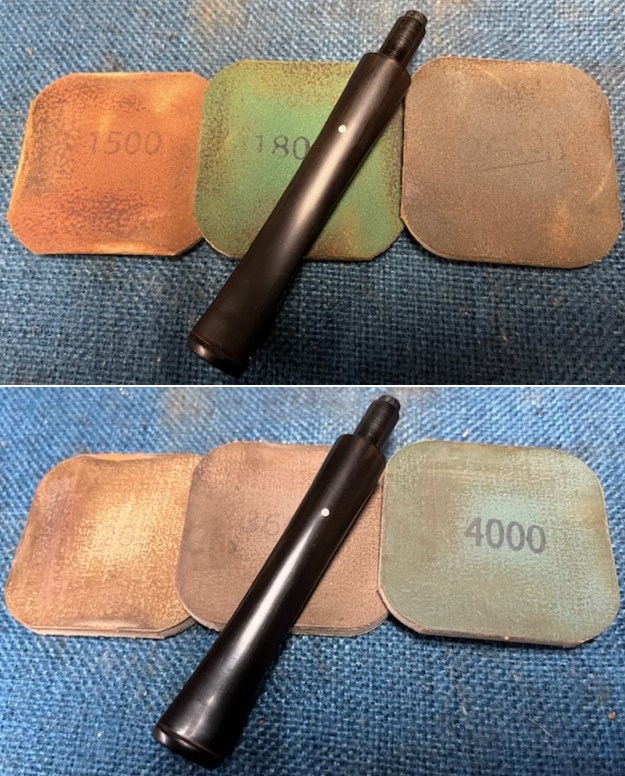
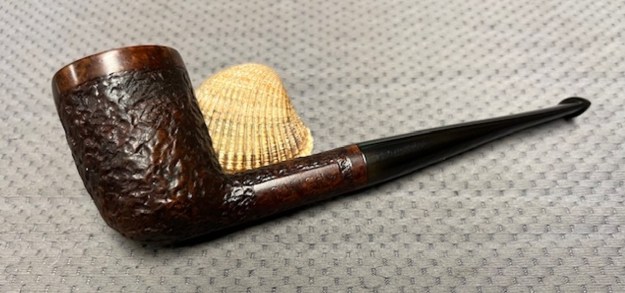
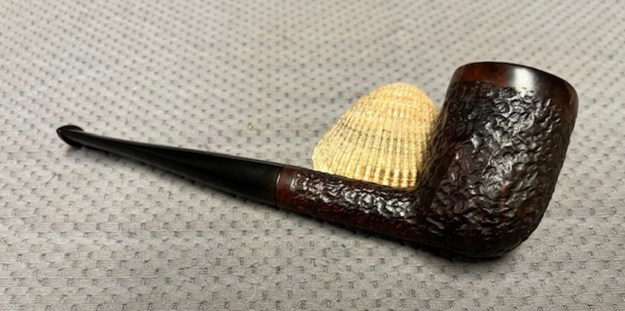
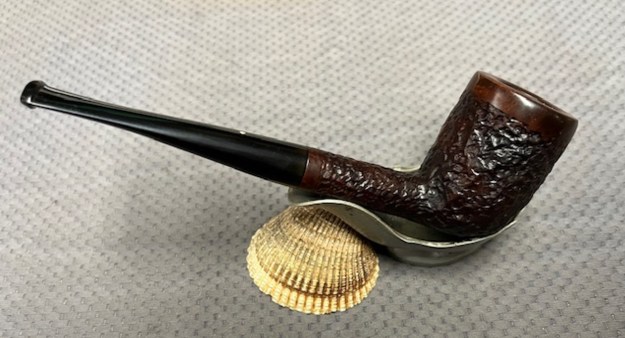
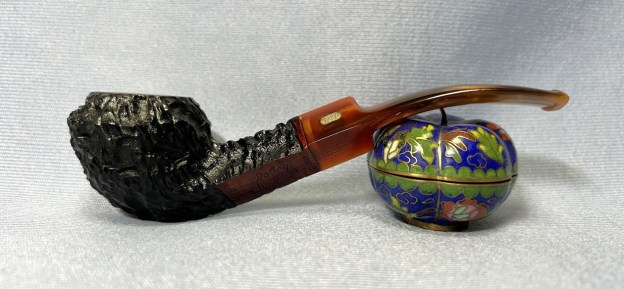
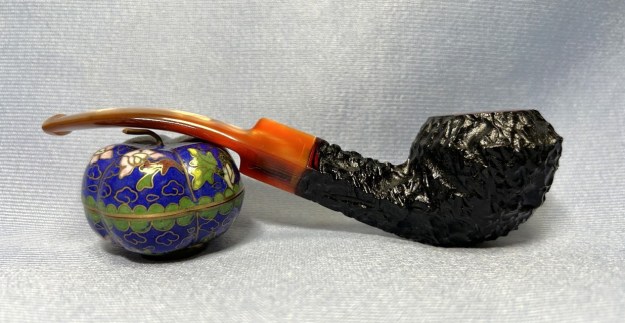
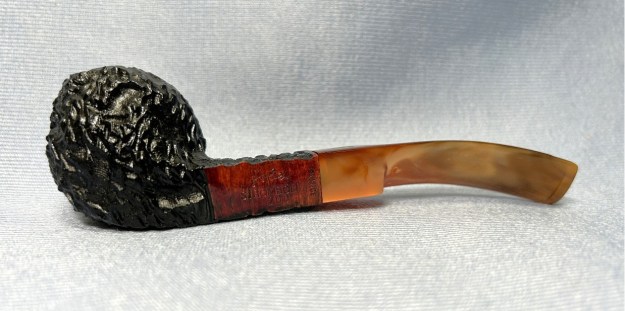
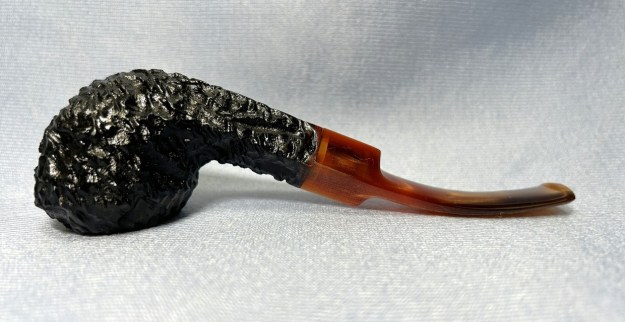
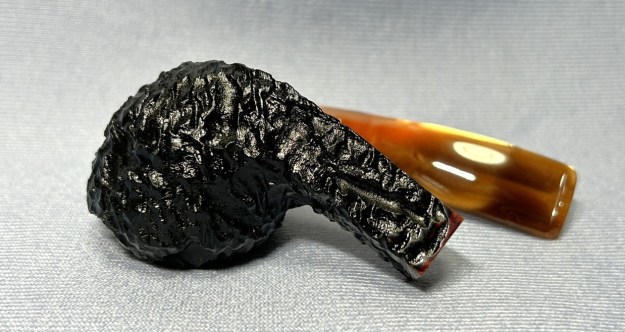
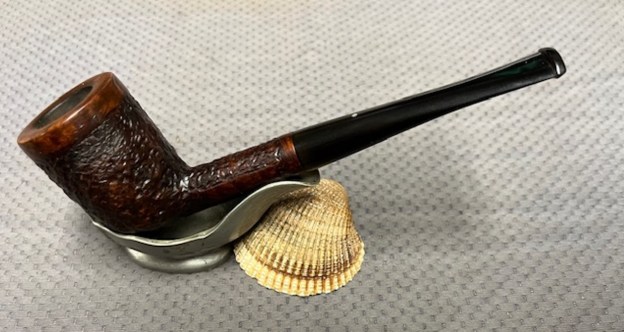
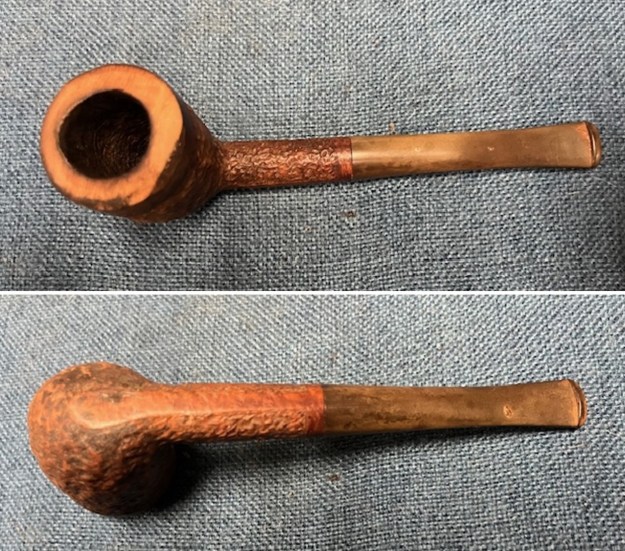
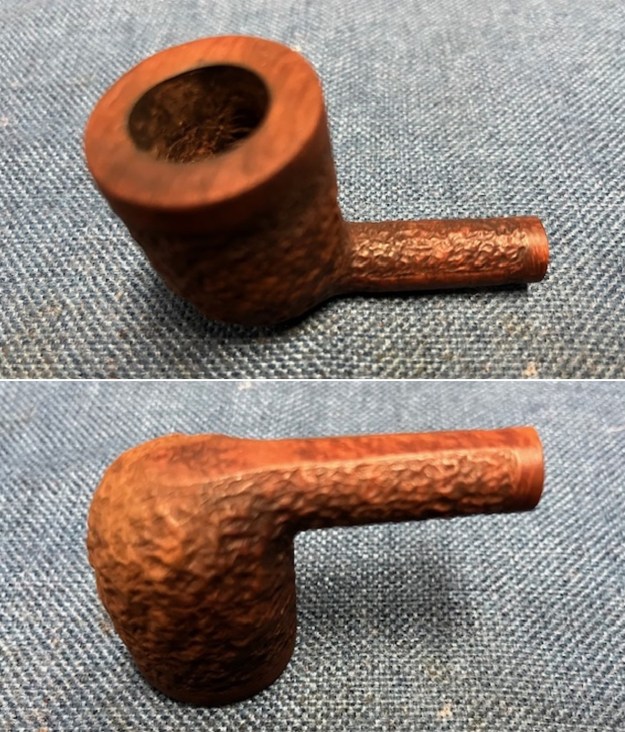
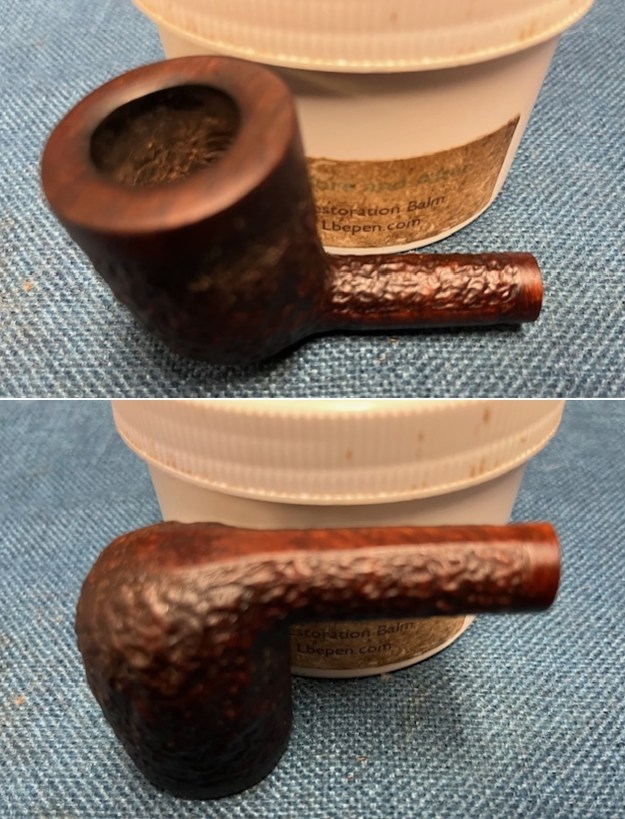
 This restored Calich Hand Made 7 Rusticated Billiard turned out to be a nice looking pipe. The rich medium brown stain on the pipe worked really well with the polished vulcanite fancy stem. I put the stem back on the bowl and carefully buffed the pipe with Blue Diamond on the buffing wheel. I gave the bowl and stem multiple coats of carnauba wax on the buffing wheel keeping a light touch on the buffing wheel for the bowl. I followed that by buffing the entire pipe with a clean buffing pad. I hand buffed the pipe with a microfiber cloth to deepen the shine. The finished Calich Hand Made 7 Billiard is shaped to sit comfortably in the hand. Give the finished pipe a look in the photos below. The dimensions of the pipe are Length: 6 inches, Height: 2 inches, Outside diameter of the bowl: 1 ¼ inches, Chamber diameter: ¾ of an inch. The weight of the pipe is 1.38 ounces/39 grams. Now that it is cleaned up it is time to load it up and enjoy a bowl. Thanks for reading this blog and my reflections on the pipe while I worked on it.
Thanks for walking through the restoration with me as I worked over another beautiful pipe. Remember we are not pipe owners; we are pipemen and women who hold our pipes in trust until they pass on into the trust of the next generation.