Blog by Dal Stanton
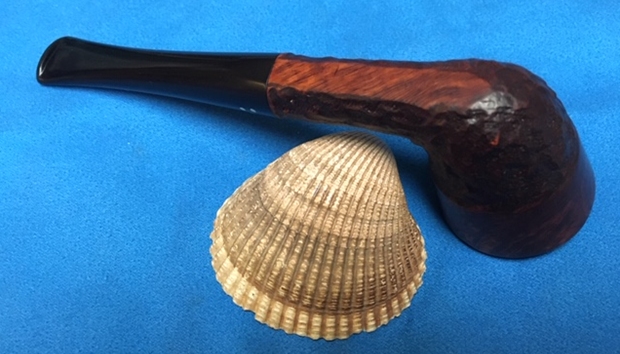
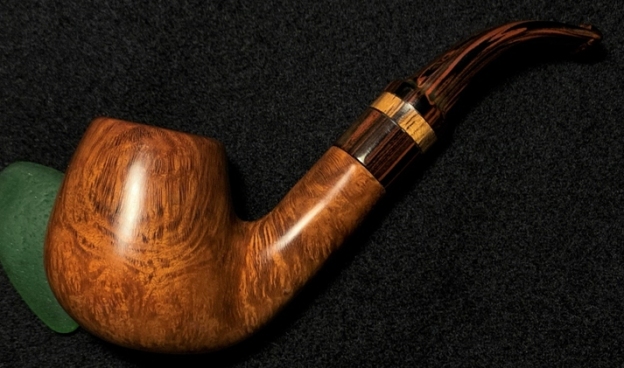
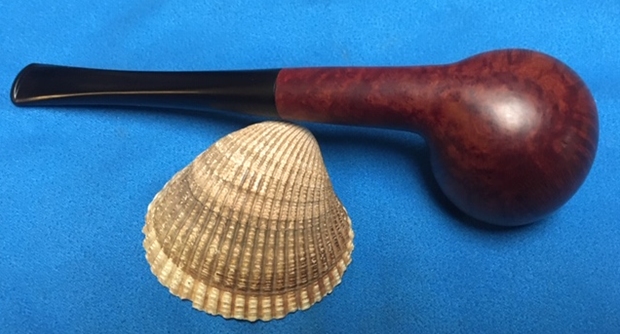
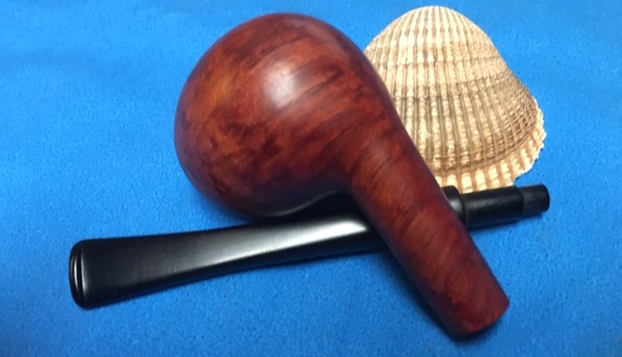
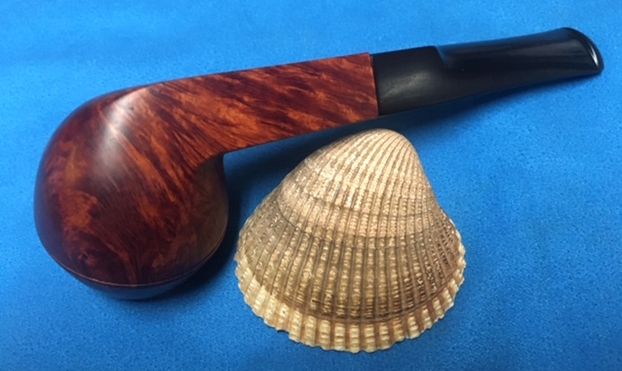
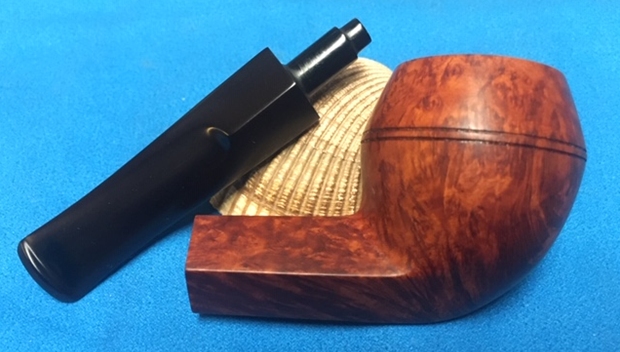
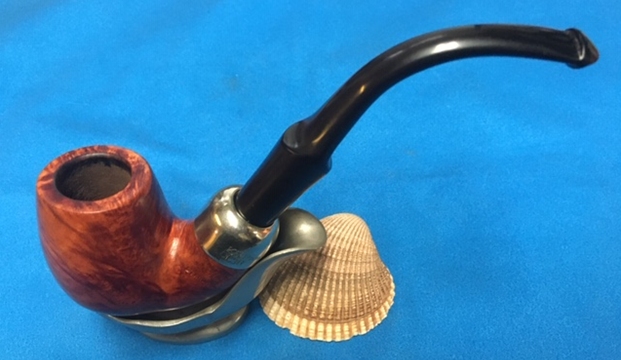
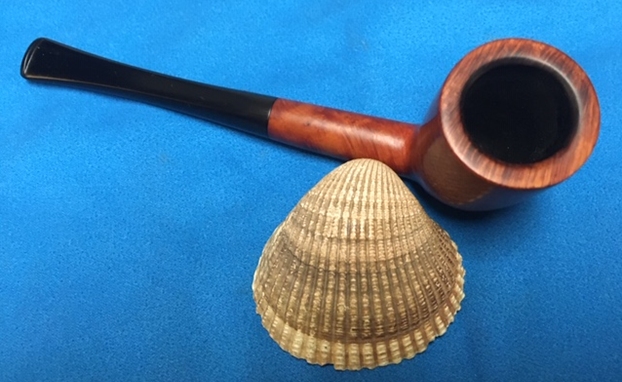
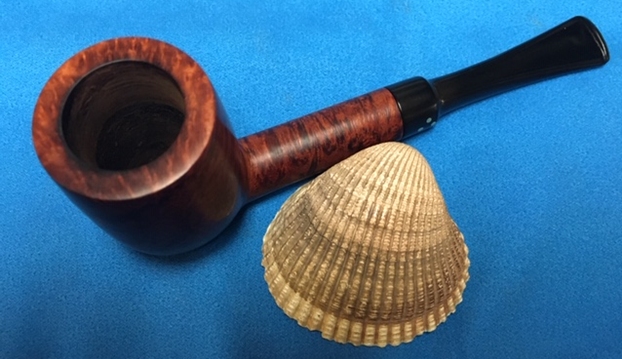
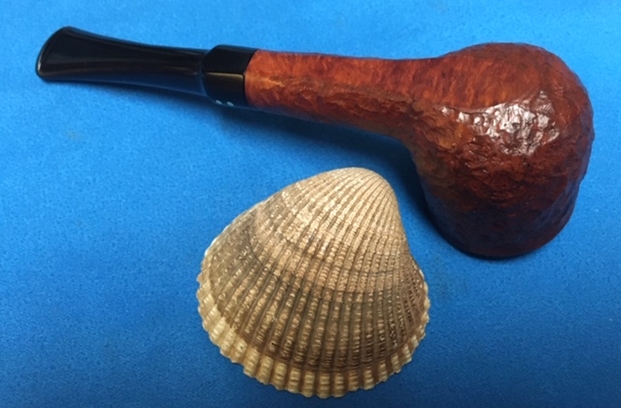
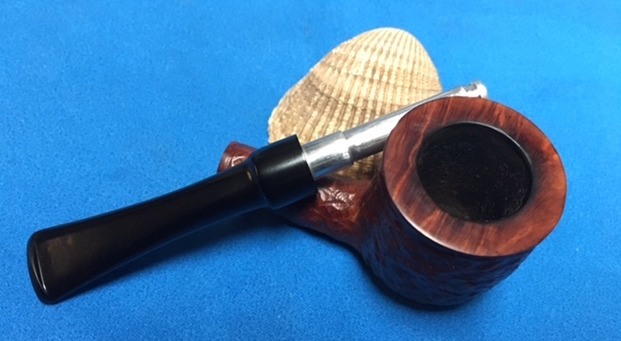
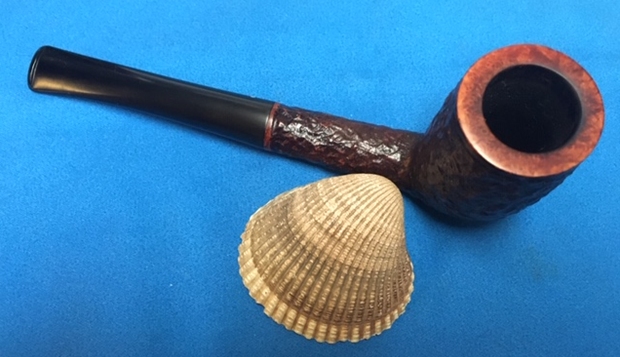
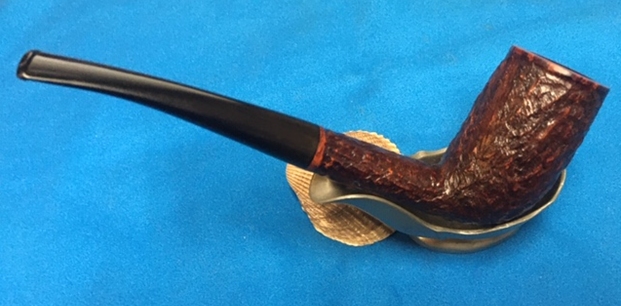
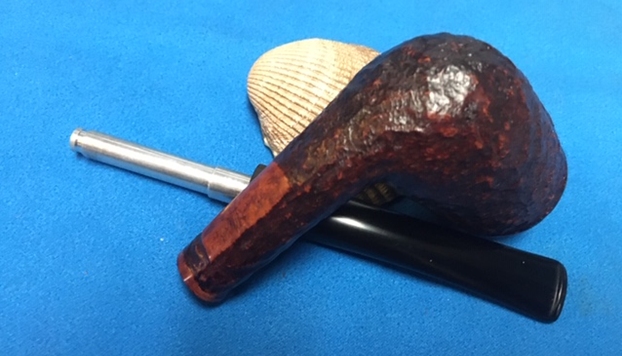
This attractive Bent Brandy got my attention on the European side of eBay. The seller in Germany posted several pictures. The name, Borge Mortensen, was new to me, but my experience with Danish pipes had been good. I was attracted as well to the Cumberland stem, but the lack of bend on it struck me as awkward – not the best orientation, but perhaps that was a Danish characteristic? When the time ended my bid was enough and the pipe soon arrived here in Bulgaria for me to take a closer look. I also posted it in the For “Pipe Dreamers” Only! online collection to be commissioned by another pipe man or woman benefiting the Daughters of Bulgaria – women and girls who have been trafficked and sexually exploited. The Mortensen also got the attention of Todd, who has commissioned other pipes from me in
  the past. Todd is an avid pipe man and contributor to several discussion groups online. Through our communications, I’ve discovered his love and concern for China in his professional work. I’ve appreciated our growing relationship cultivated by our common appreciation for pipes. This relationship developed when I had asked Todd if he minded being ‘bumped’ in the queue line to allow me to restore a very special pipe for a very special guest visiting with us here in Bulgaria for a few weeks. Chrystal’s visit from China was a special time and resulted in a memorable blog posting for me: A Special Gift for Her Grandfather in the People’s Republic of China – A Sculpted Rose Billiard of Italy. Chrystal presented her grandfather the pipe for Chinese New Year and sent pictures to commemorate that special event.
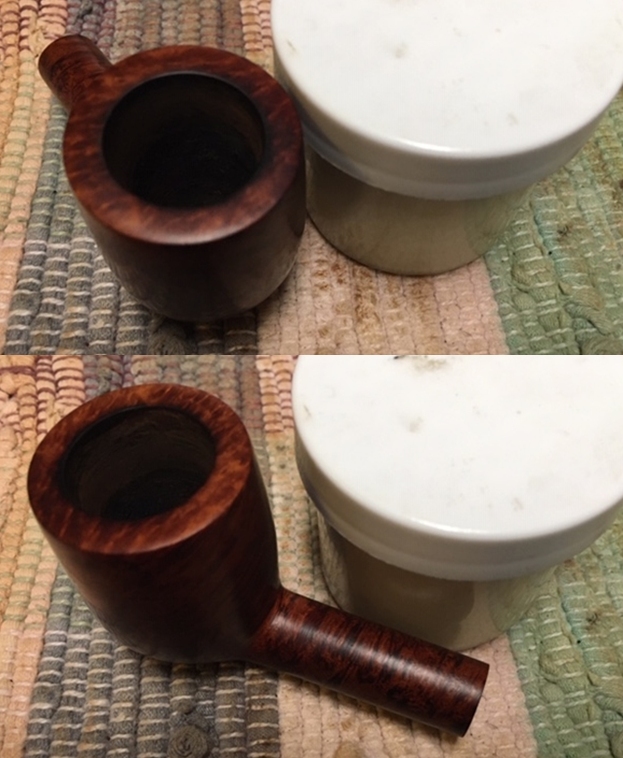
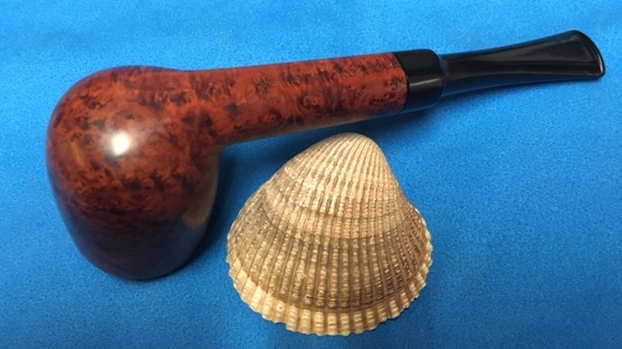
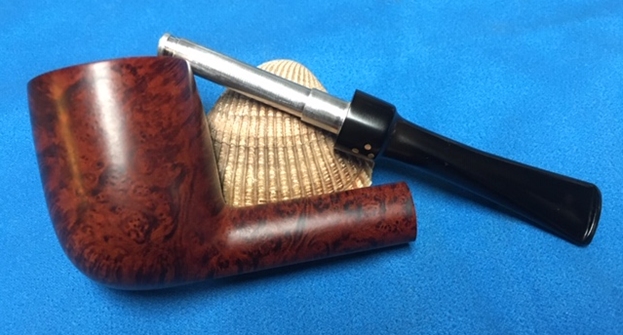
Through this initial encounter with Chrystal, I learned of Todd’s connection with China through his professional pursuits and since then we’ve shared more of each other’s life and family through our emailing…. We’ve decided to share a bowl in the future when our paths can merge on the same continent! Todd saw this Borge Mortensen Handmade and commissioned it, along with two others that are next in the queue. Now on the worktable, I take more pictures to get a closer look at the Danish Borge Mortensen.


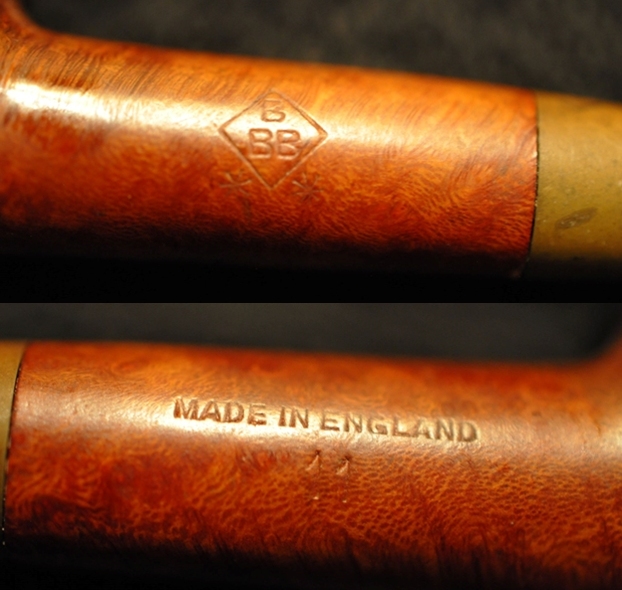
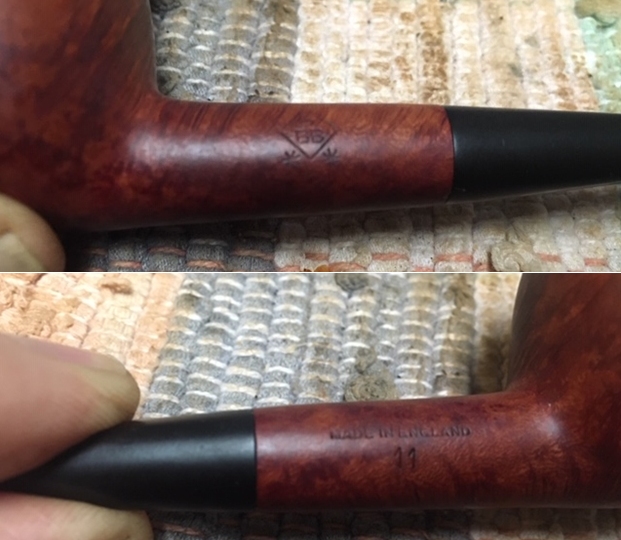
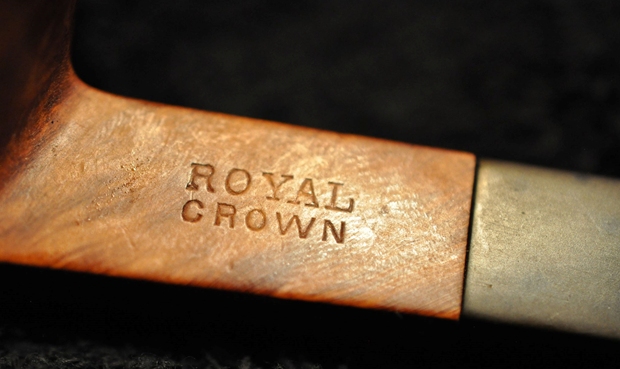
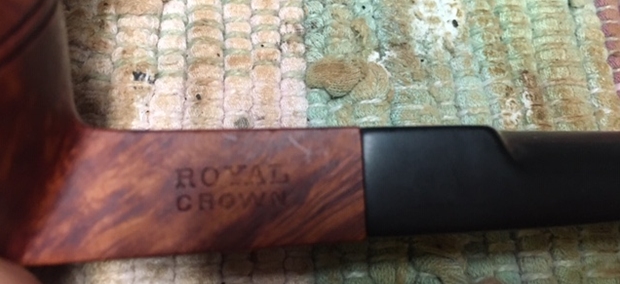
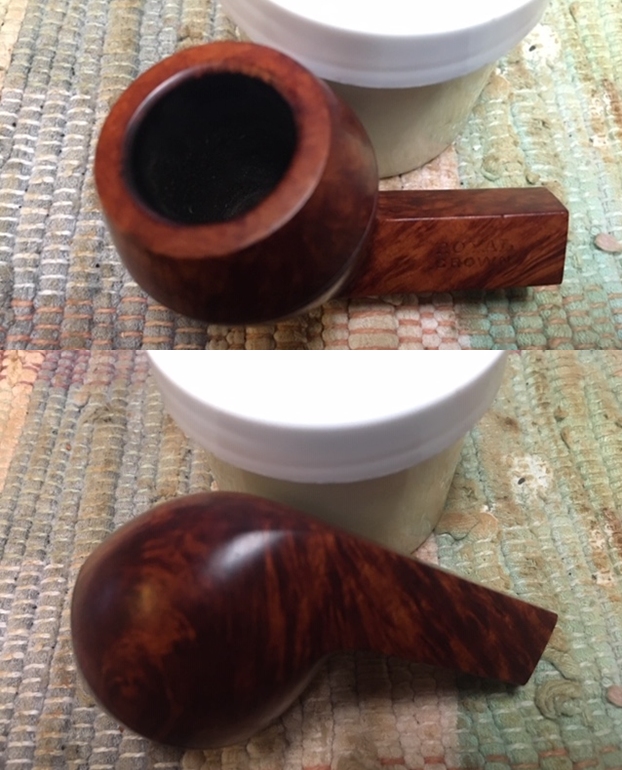
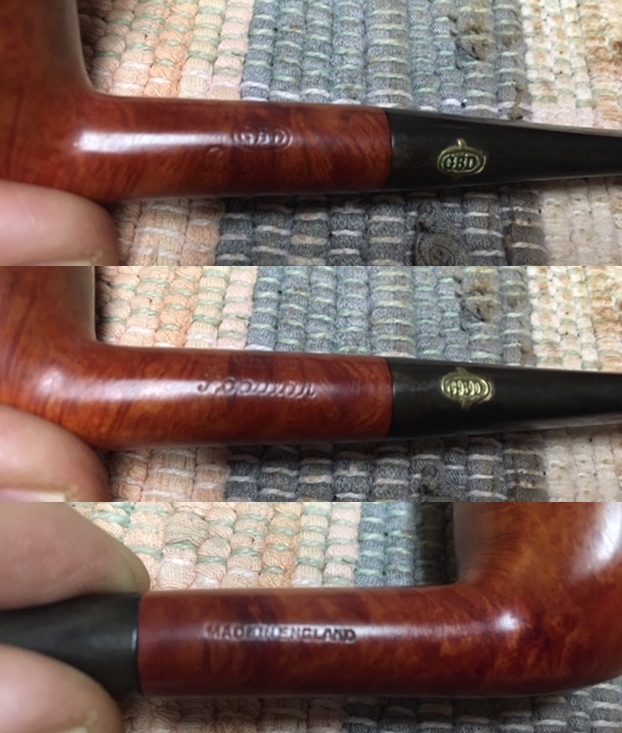
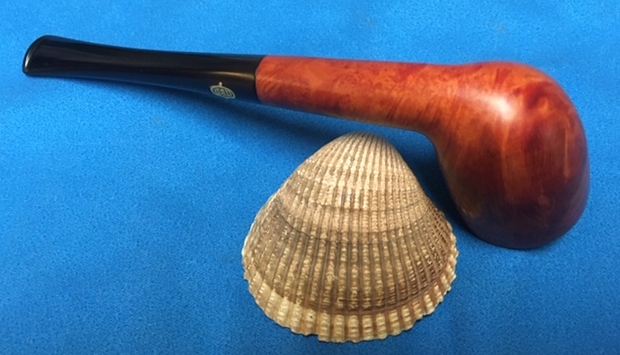
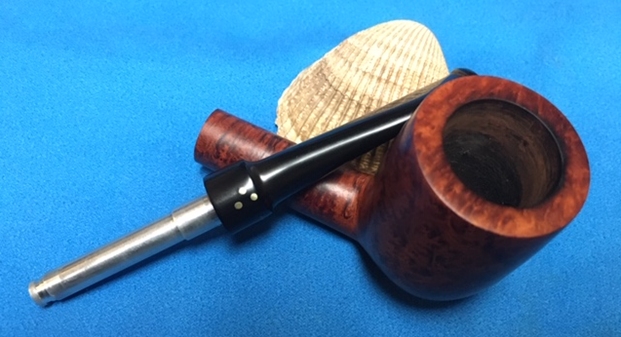
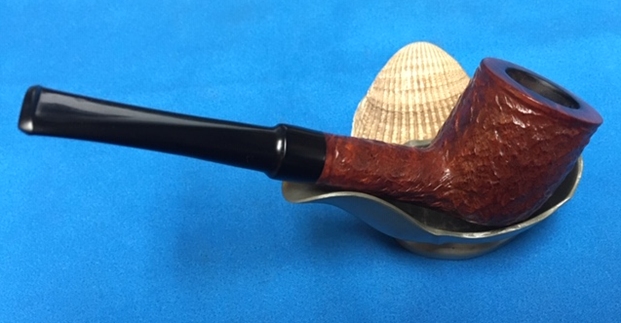
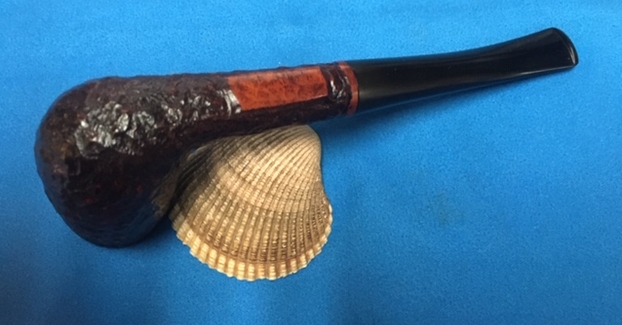
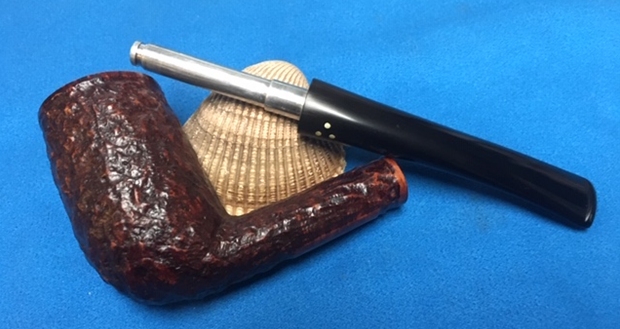
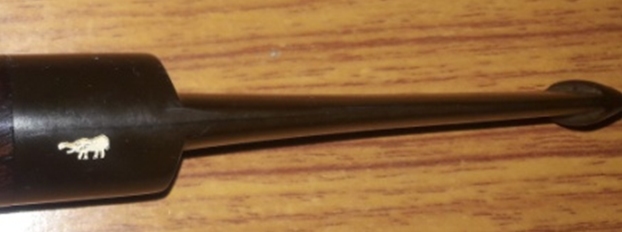
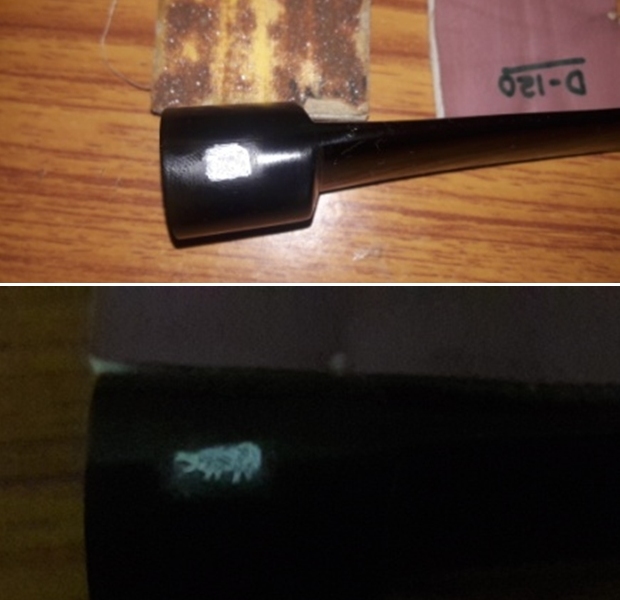
 The nomenclature condition is good. On the top of the Cumberland stem, ‘Mortensen’ is stamped but is thin. The markings on the underside of the bent shank are impressive. A tilted hammer is ensconced in a shield shaped outline. Underneath the hammer shield is HANDARBEJDE [over] DANMARK. A quick trip to Google Translate renders “Handmade”.
 Scant information is available online about Borge Mortensen. A quick search on the internet will show a few examples having been sold at different sites. A small article is found on Pipedia with accompanying pictures ‘courtesy of Doug Valitchka’.
Borge Mortensen of Denmark
In the following example, the name is stamped very small on the top of the turned part of a Cumberland stem. The side has a unique symbol ” the hammer (Mjolnir) of Thor, the god of thunder “. There is also limited stamping on the wood: HANDARBEJDE, DANMARK.  From the examples online of Borge Mortensen pipes and from the Pipedia article (with the same information mirrored in Pipephil.eu) it seems that Mortensen pipes are standard with a Cumberland stem. The additional information also describes the origin of the Mortensen symbol – the hammer of Thor, of Norse mythology. I would say that this is a distinctive Dane symbol and is cool.
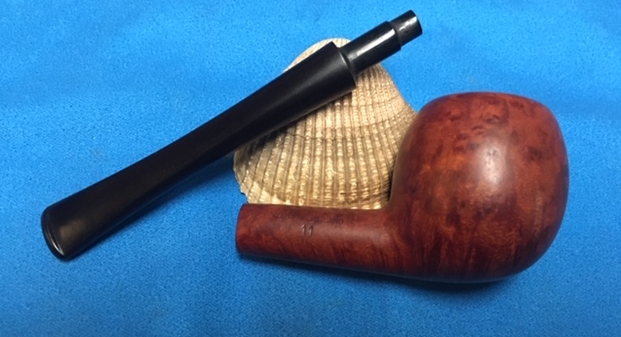
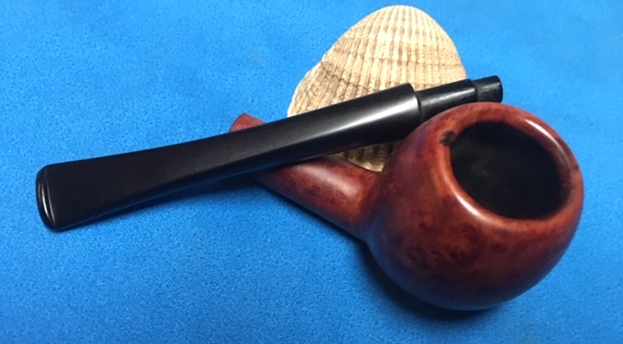
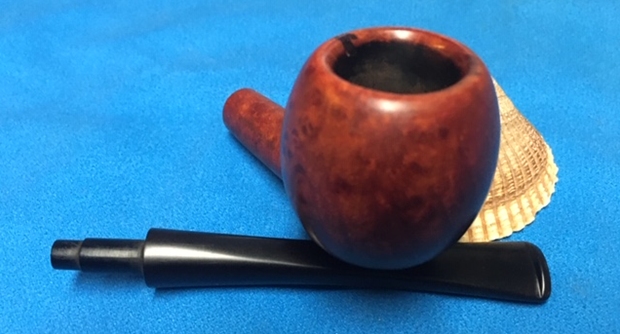
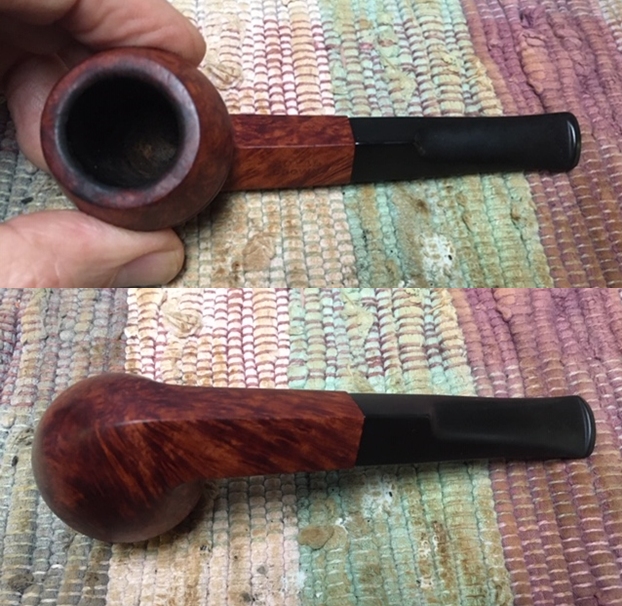
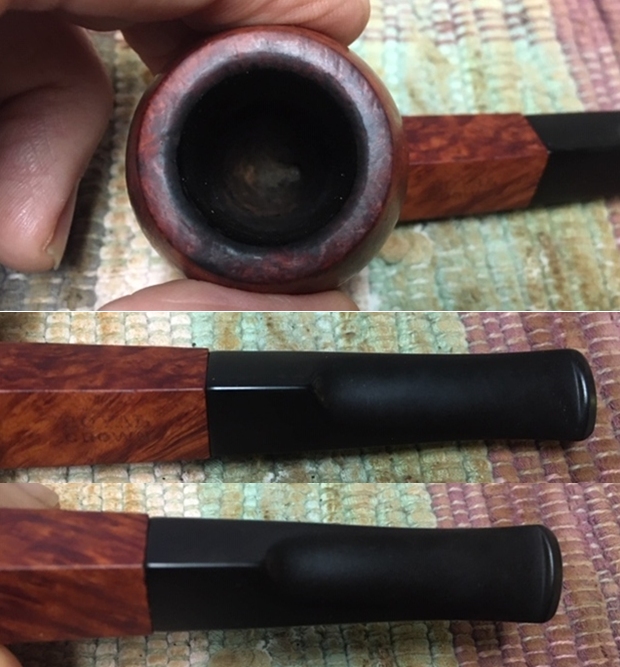
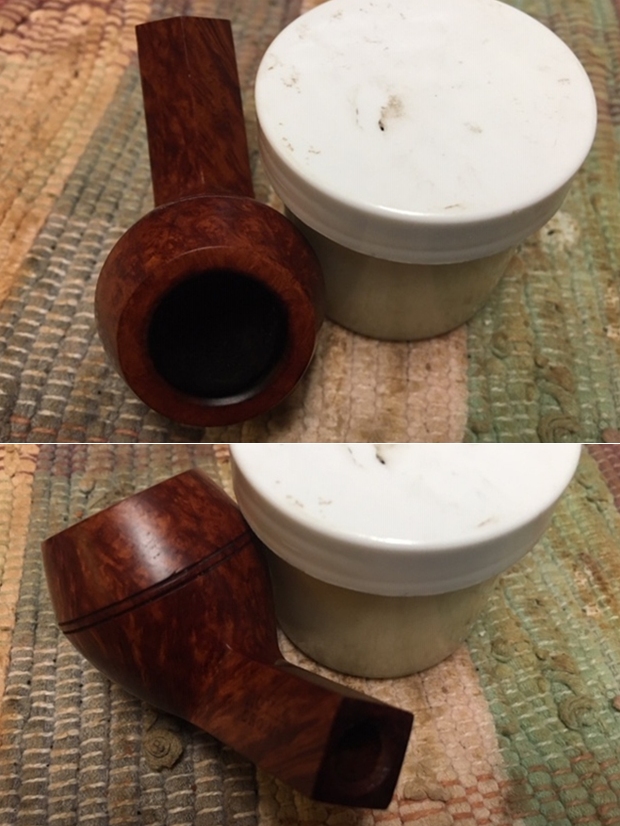
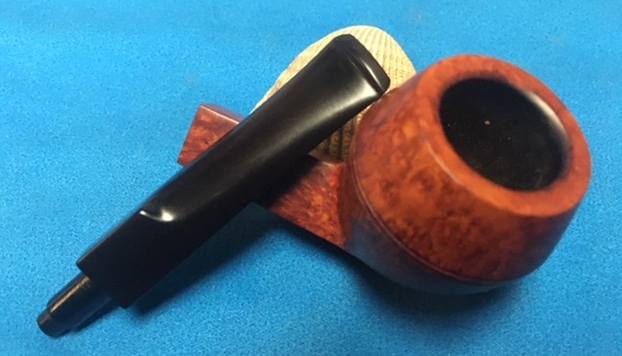
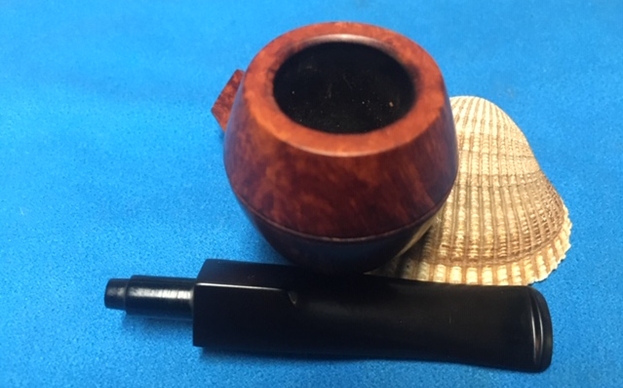
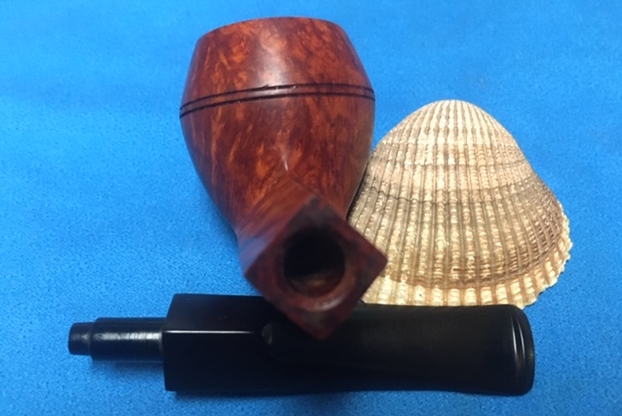
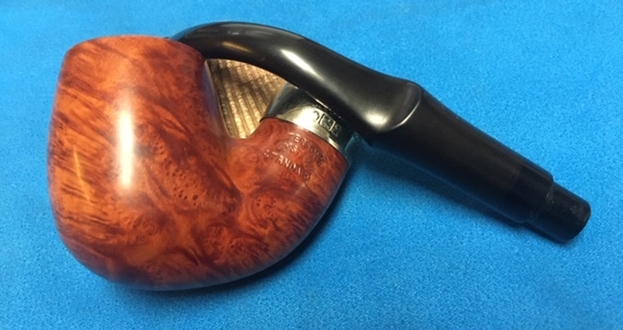
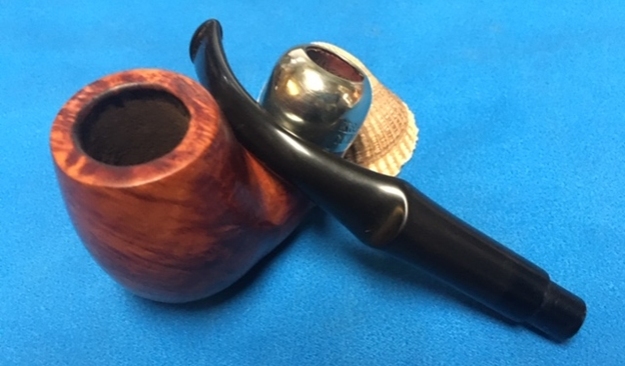
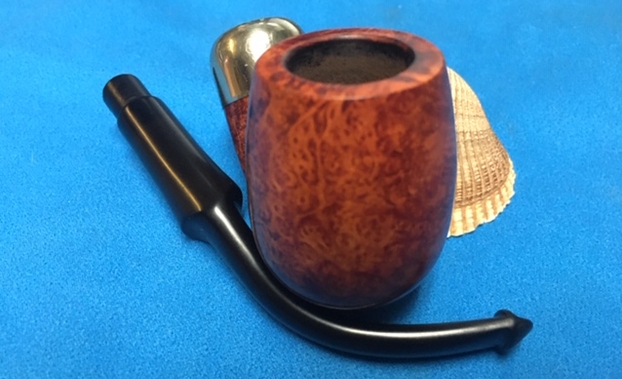
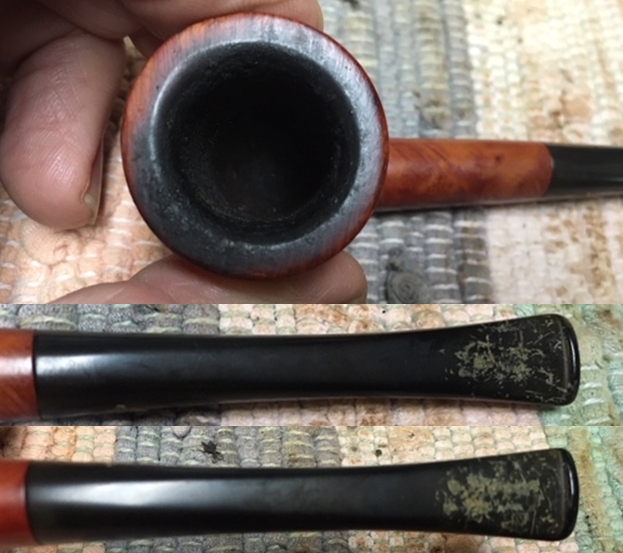
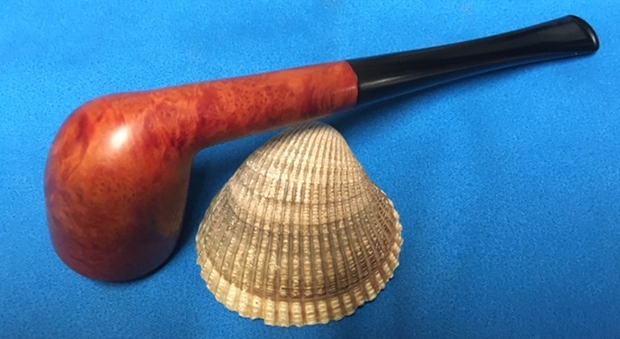
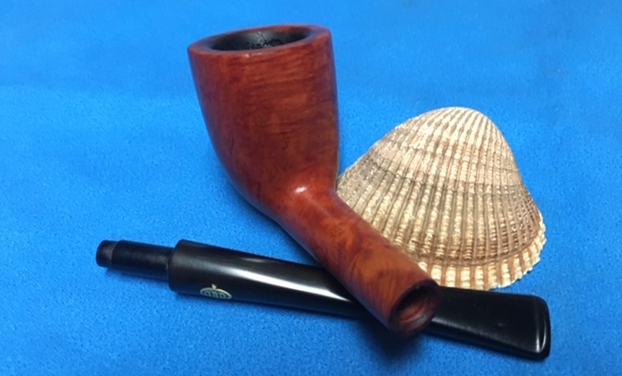
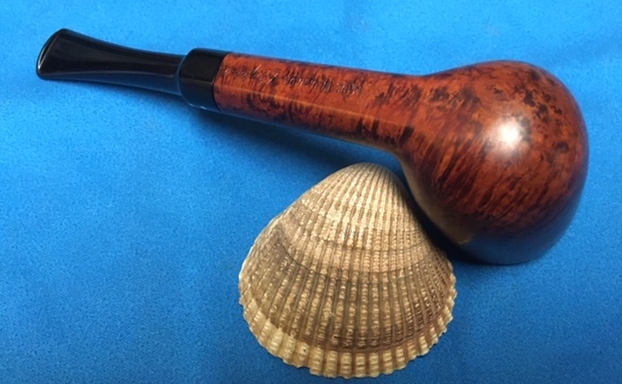
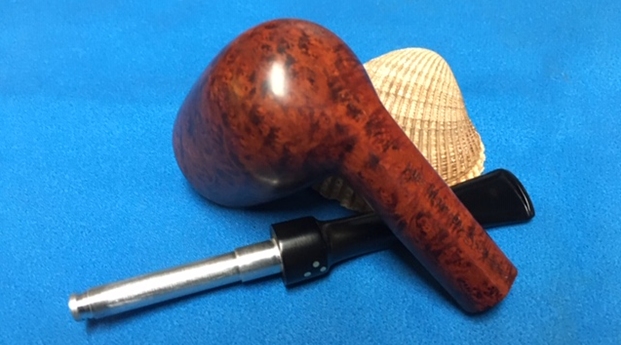
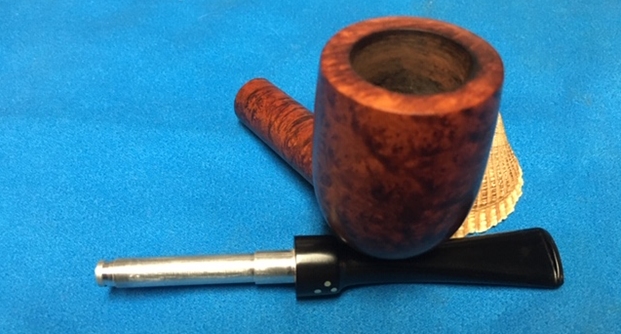
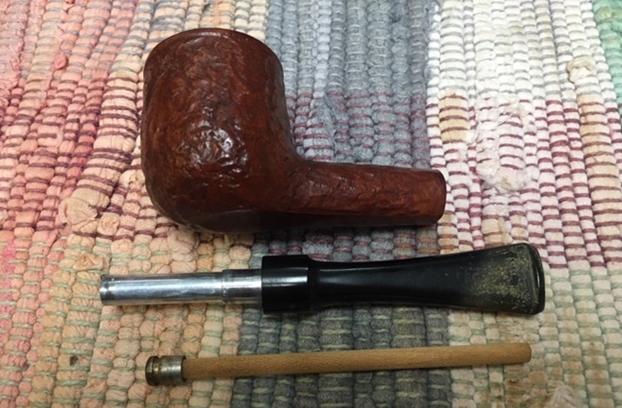
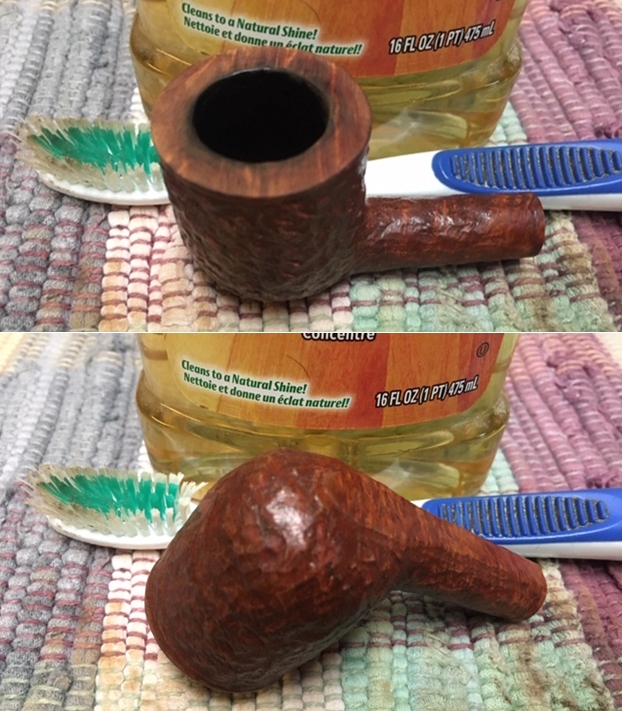
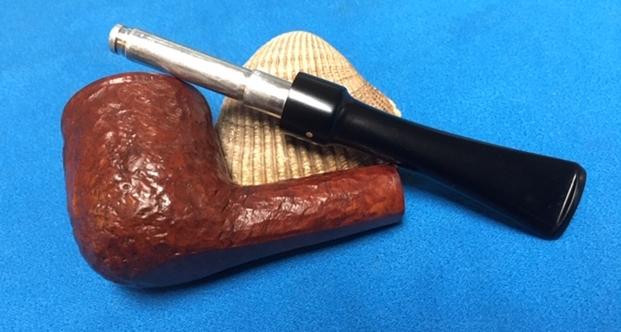
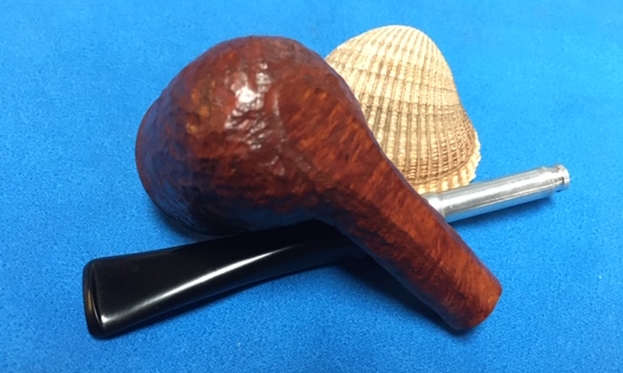
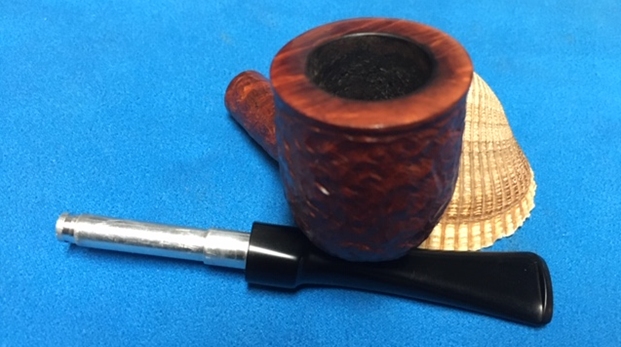
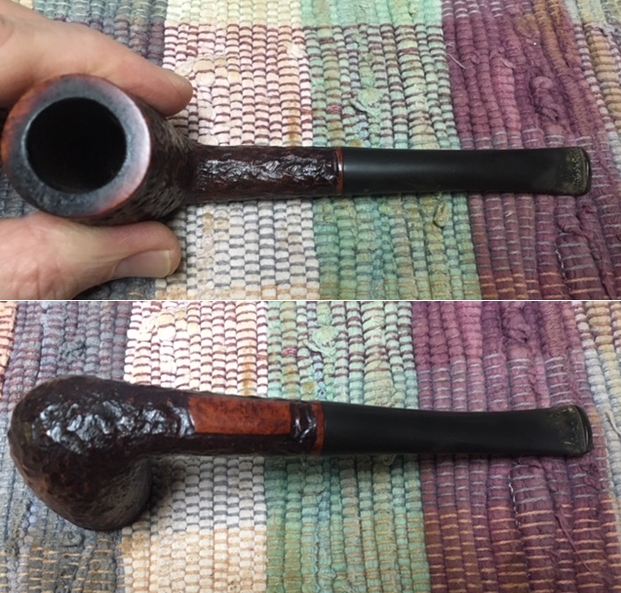
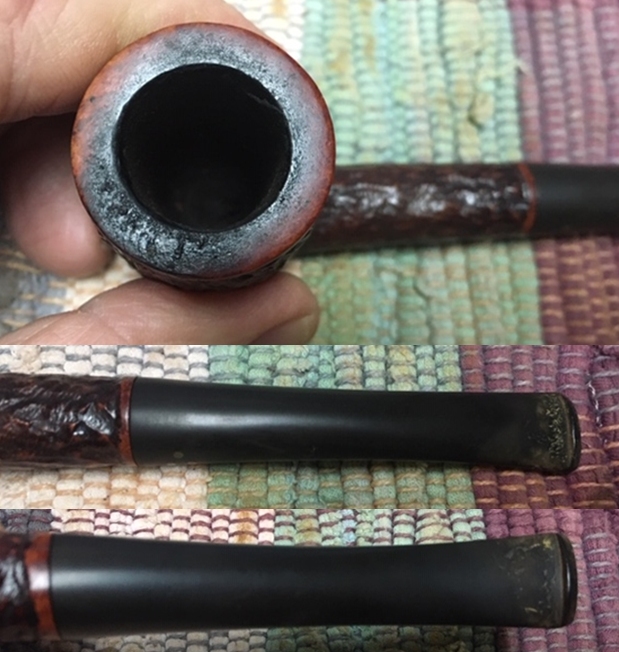
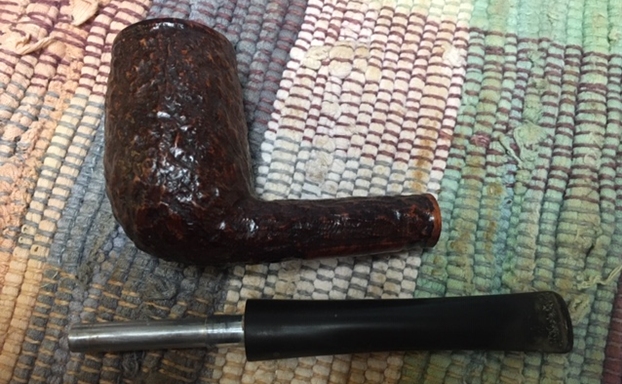
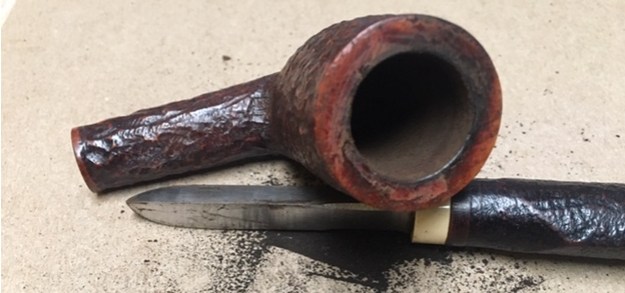
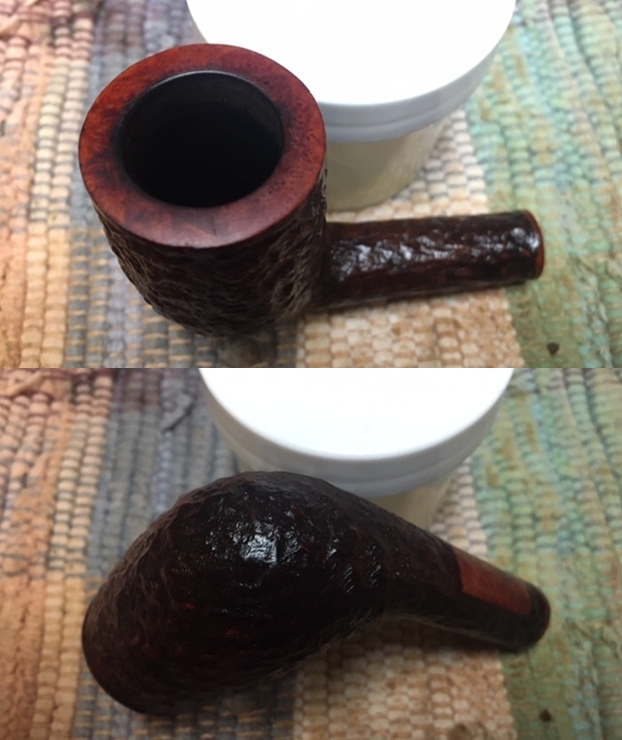
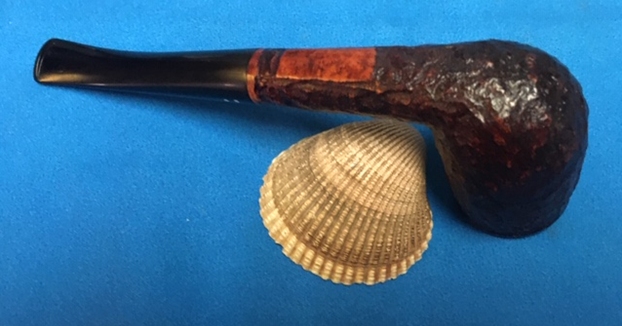
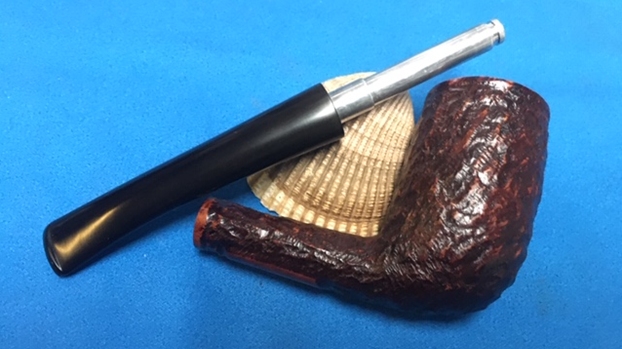
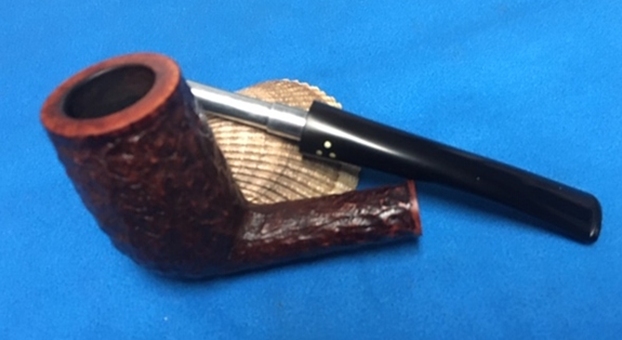
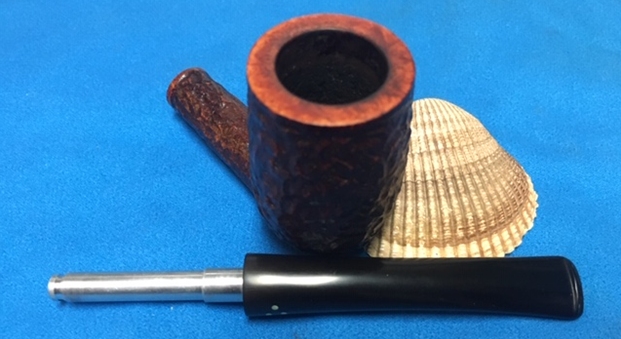
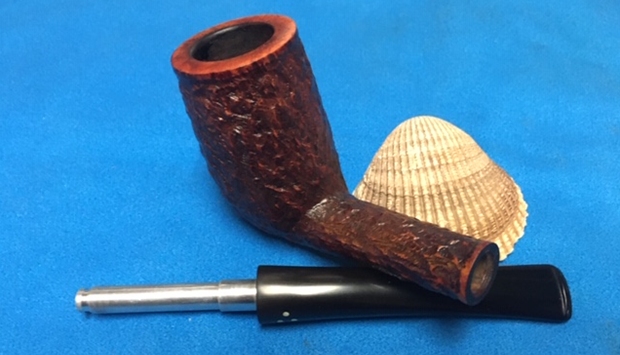
The condition of the pipe is generally good. The chamber appears to have been reamed but I will clean it further. The bowl shows nice grain and is generally in clean condition and the grain on the Brandy shape is very nice showing no fills. The Cumberland stem shows almost no tooth chatter. One issue is that the 9mm filter holder has separated from the stem and is stuck in the shank. Care is needed in dislodging the plastic tube – breaking it will not be good. The lighting is a bit different with the picture below since I’m using natural light while on my ‘Man Cave’ balcony enjoying spring weather on the 10 floor – with a great view! A cameo appearance enjoying my L. J. Peretti Giant Egg loaded with Peretti Tobacconist of Boston’s, Black Virginia. A delightful time!
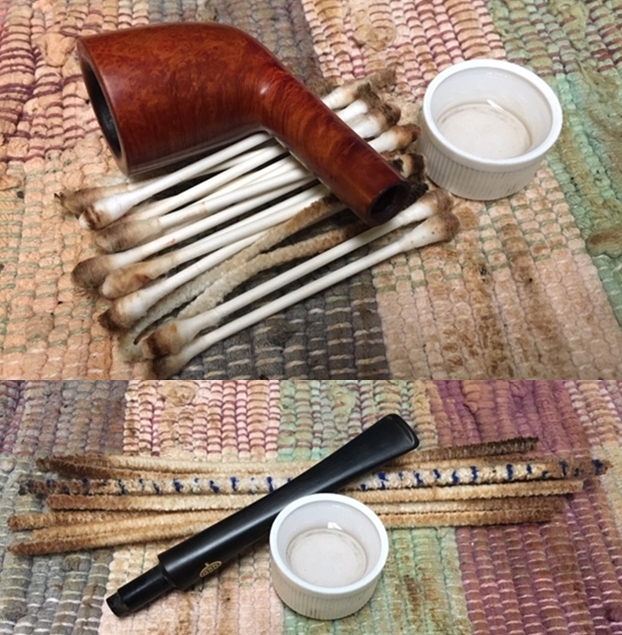
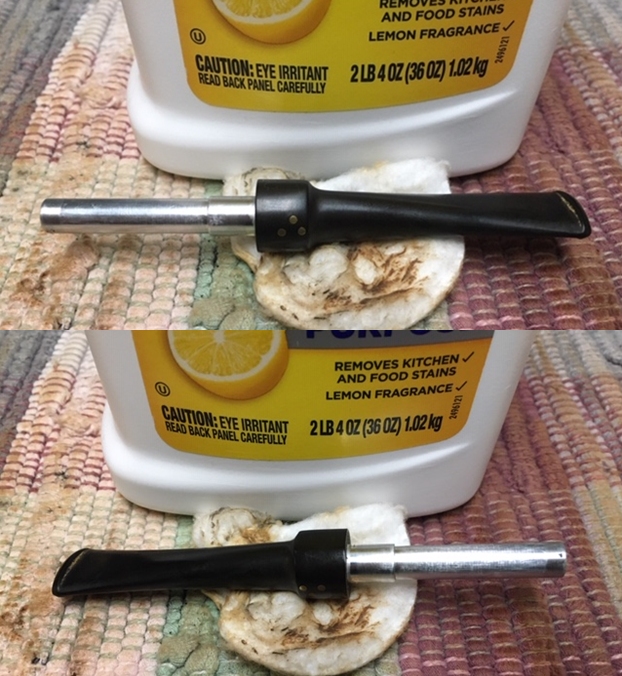
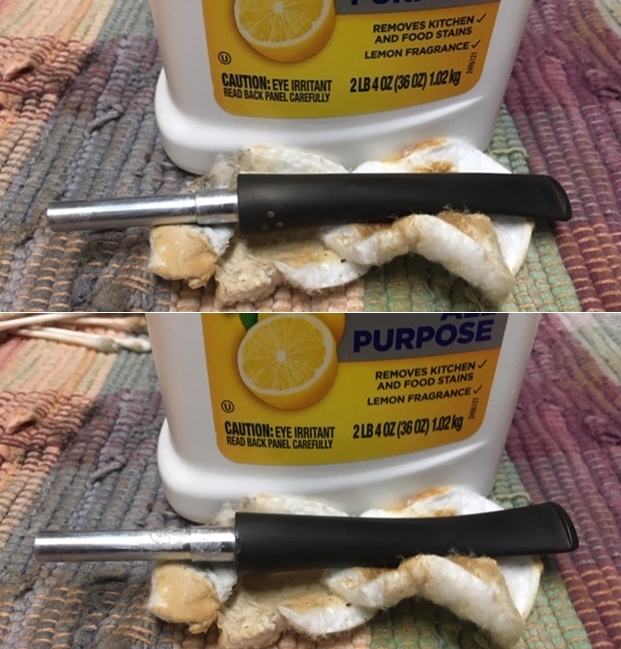
 To dislodge the filter holder from the shank, I put the bowl in the freezer with the hope that the cooling of the wood might help loosen it. While in the freezer, I turn to the Cumberland stem and clean the internals with pipe cleaners and cotton buds wetted with isopropyl 95%. A small dental spoon tool is used to scrape the internal cavity of tars and oils.
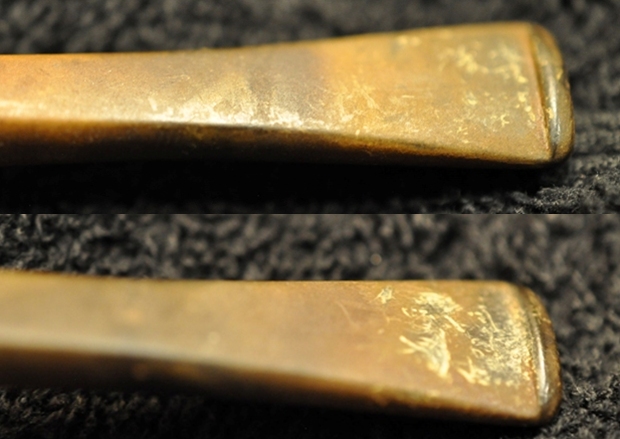
  The upper and lower bit shows roughness which needs to be removed.
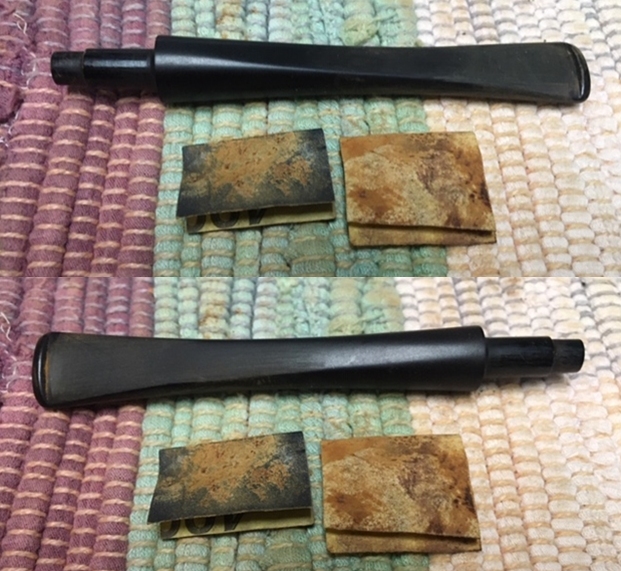
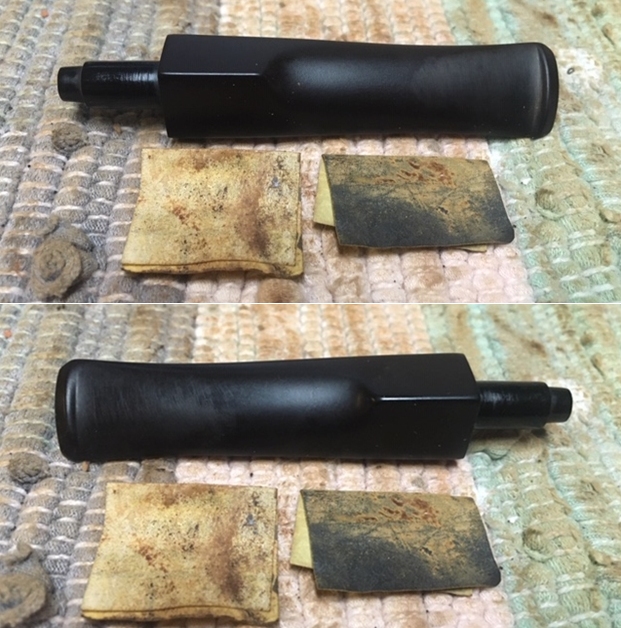
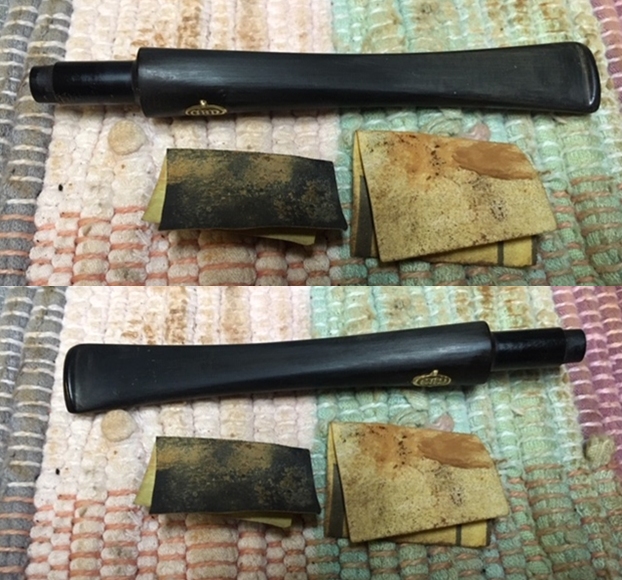
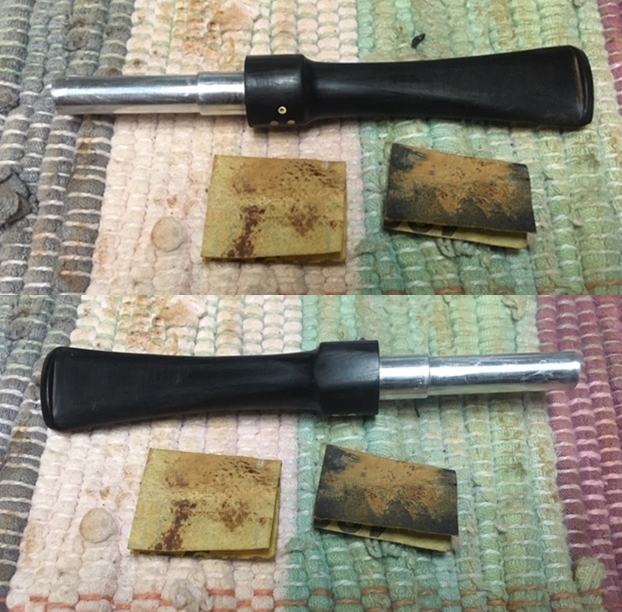
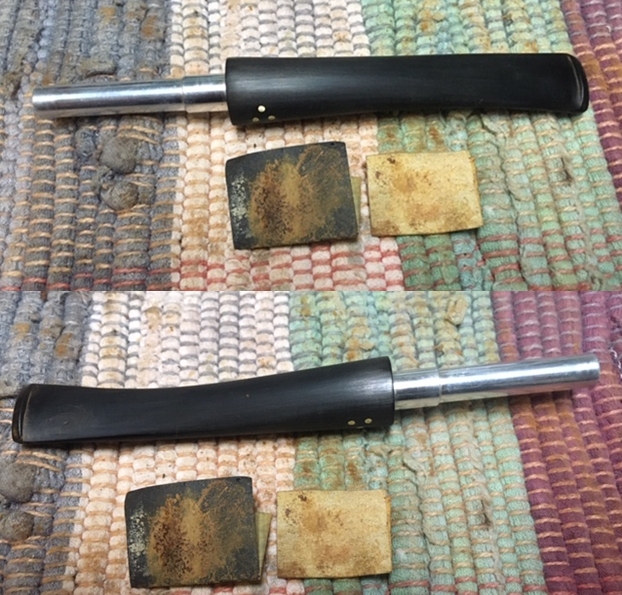
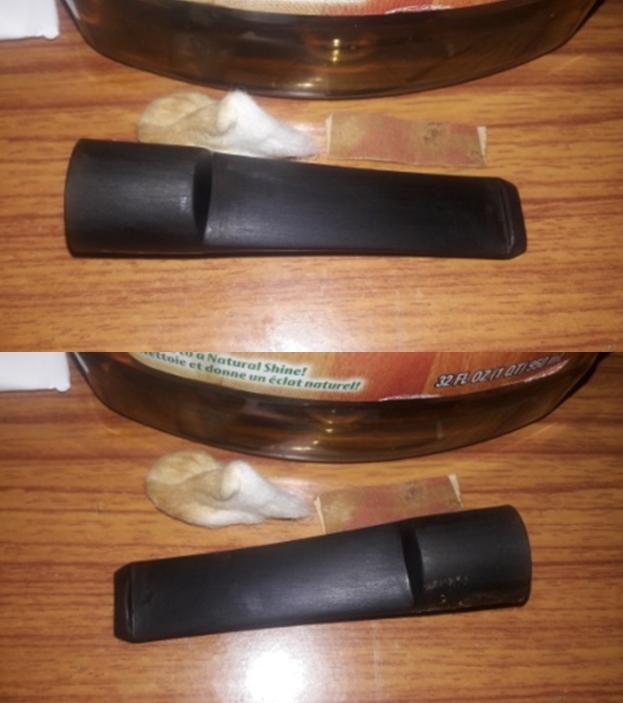
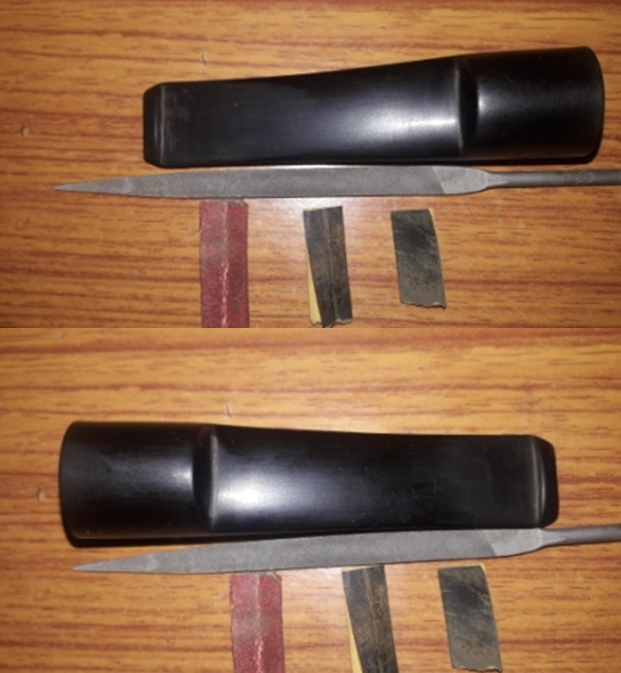
 Using 240 grade paper, I sand the upper and lower bit area as well as the button.
 Following the 240 paper, I wet sand the entire stem with 600 grade paper and follow with applying 000 steel wool. I avoid the ‘Mortensen’ stamping on the top of the stem saddle section.
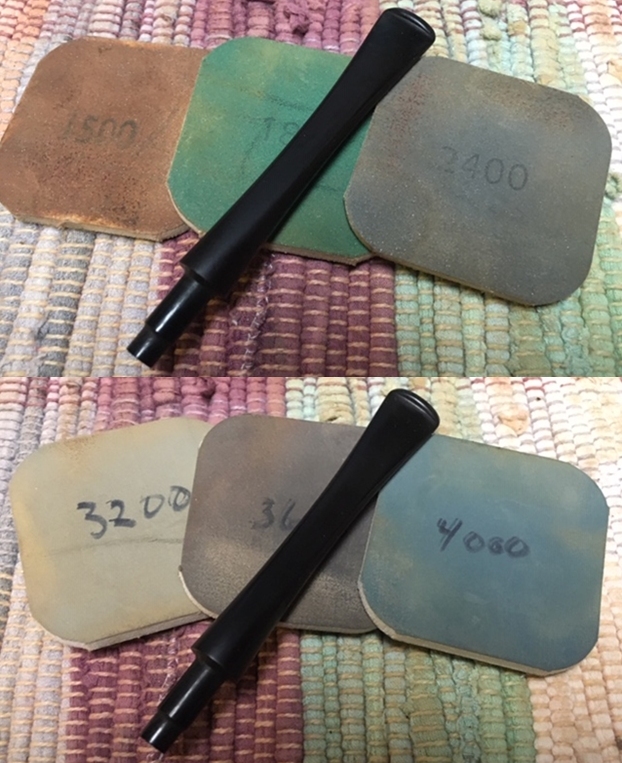
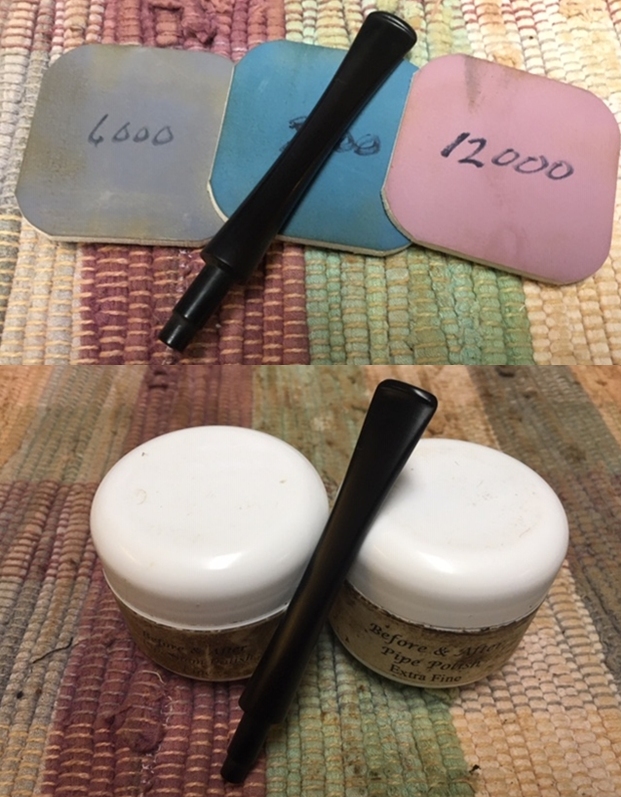
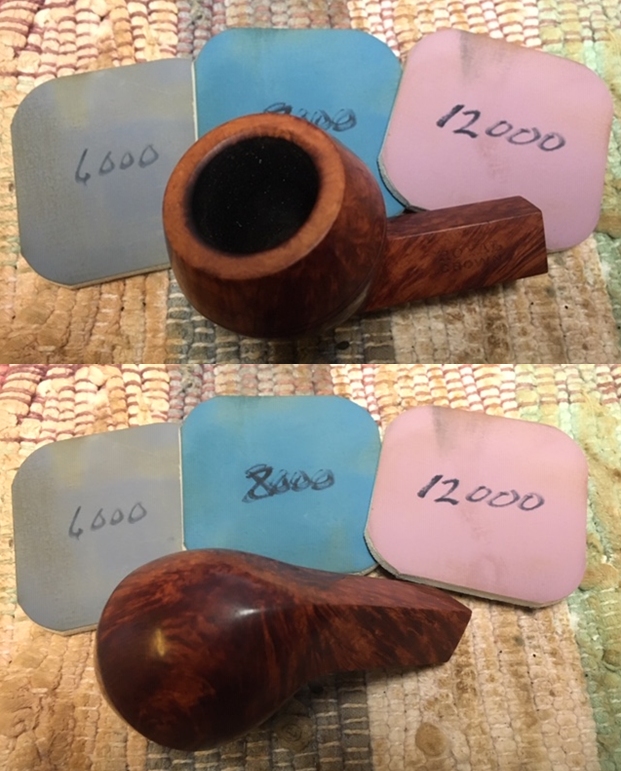
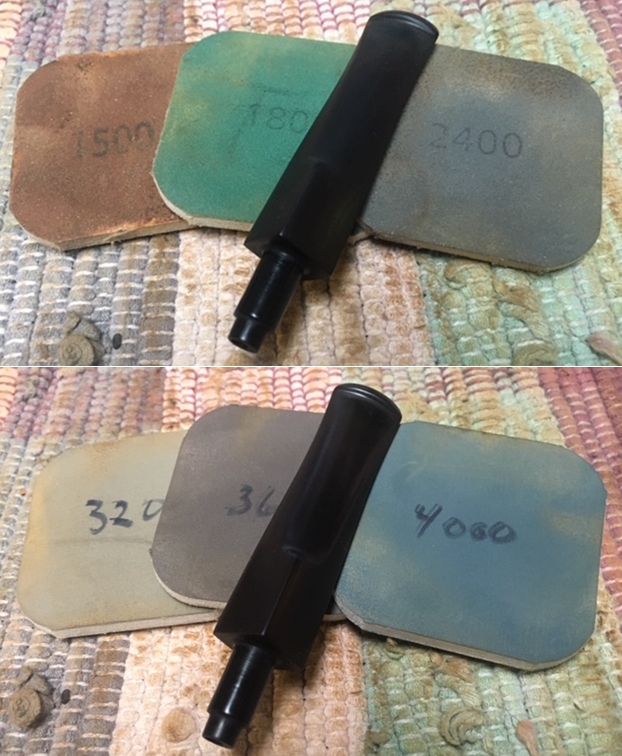
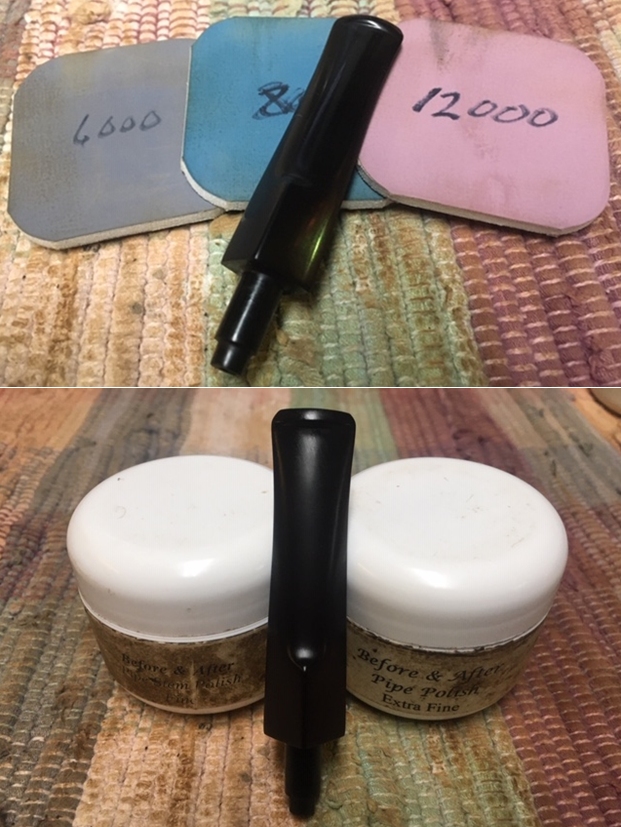
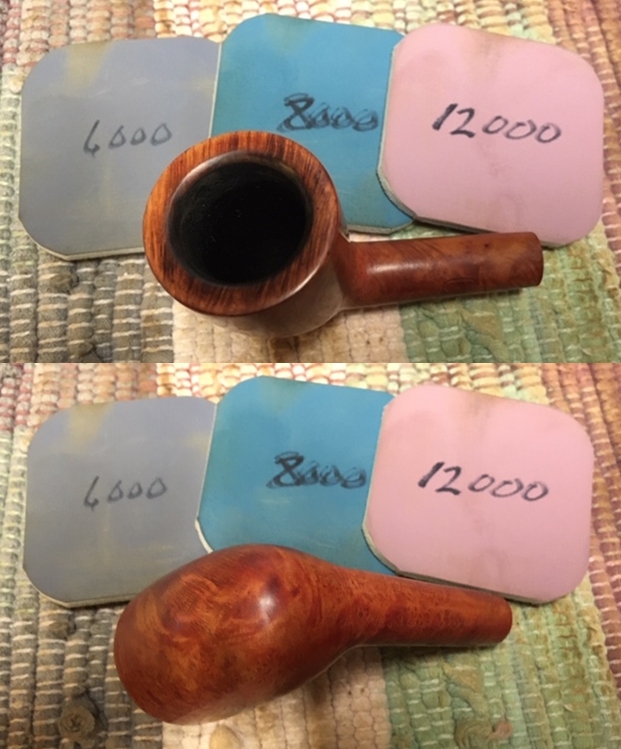
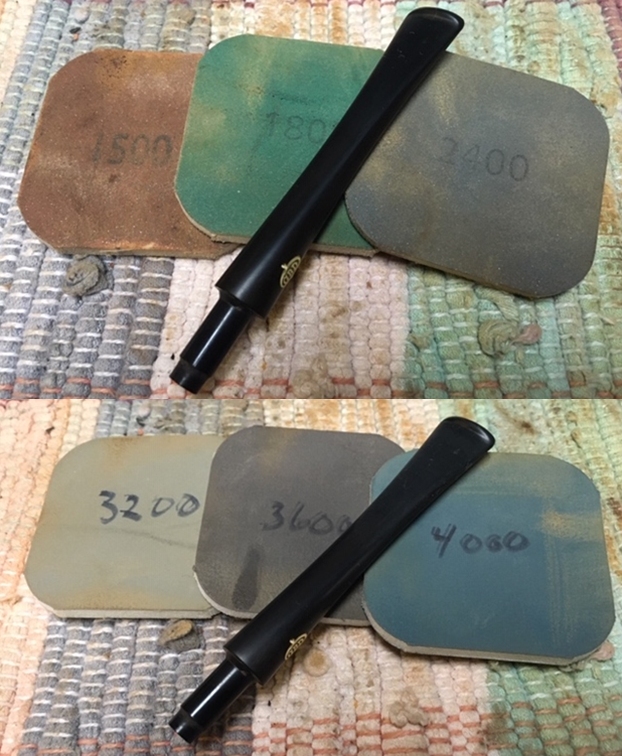
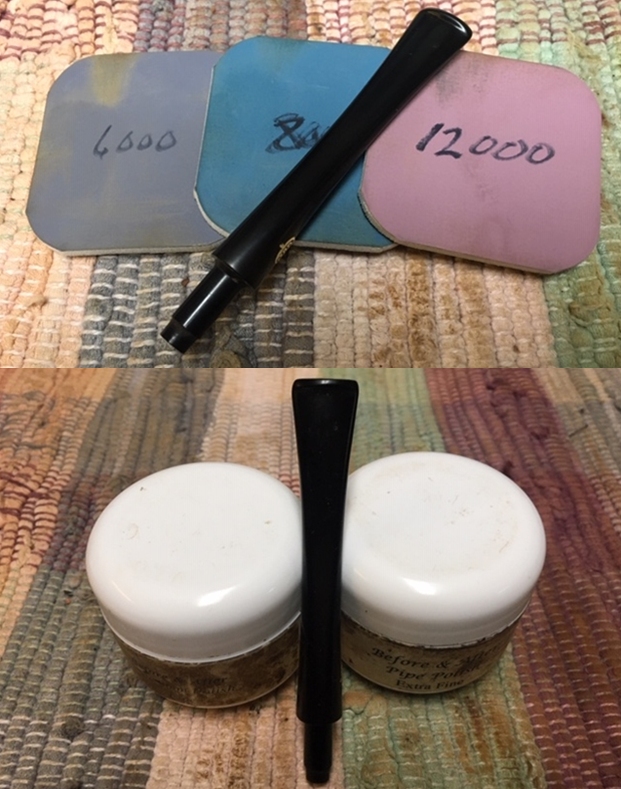
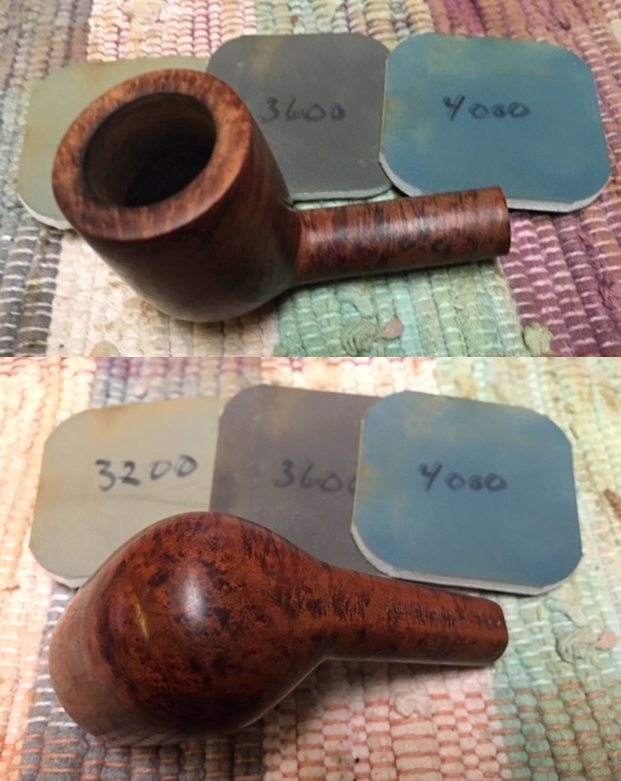
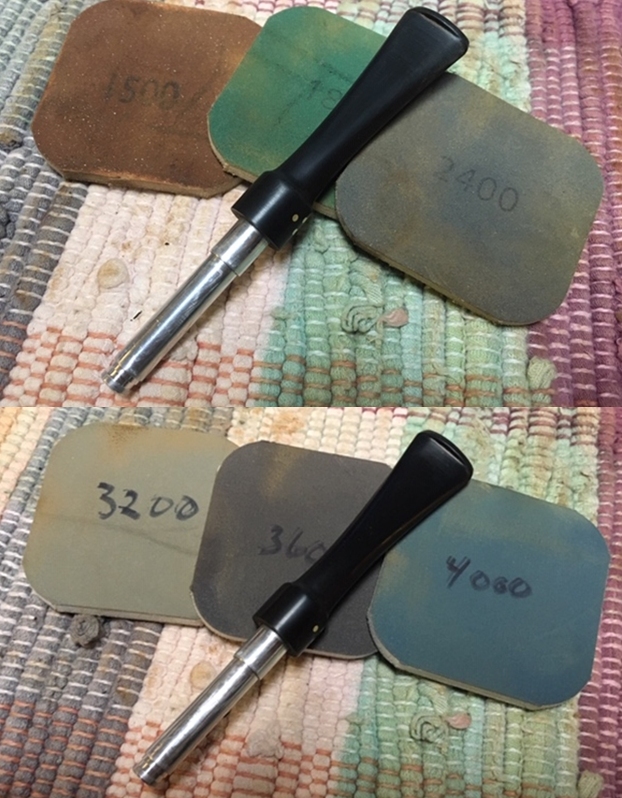
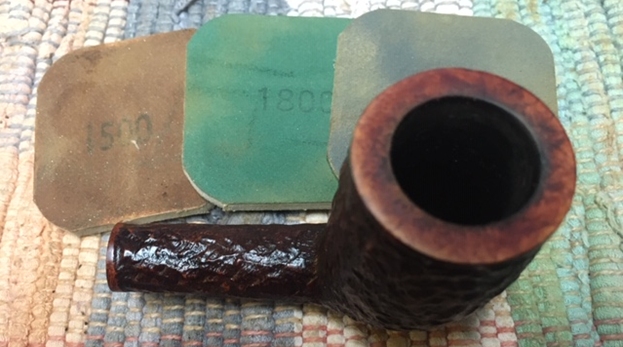
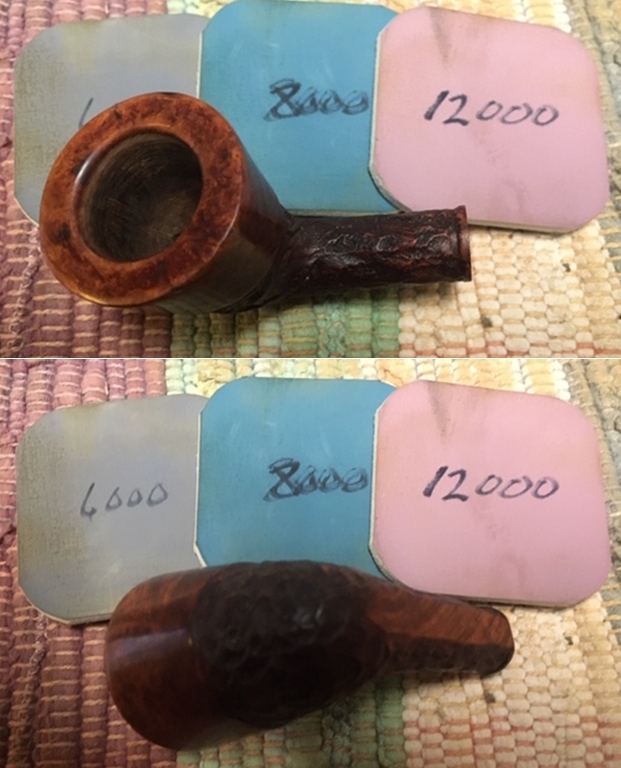
 Next, using the full regimen of 9 micromesh pads, I wet sand the stem with pads 1500 to 2400, then dry sand with pads 3200 to 4000 and 6000 to 12000. Between each set of 3 pads, Obsidian Oil is applied to rejuvenate and protect the stem from oxidation.
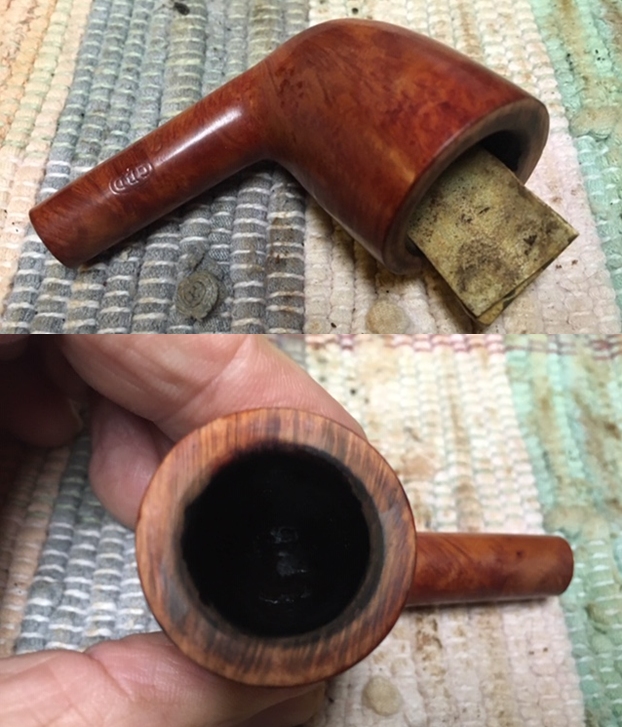
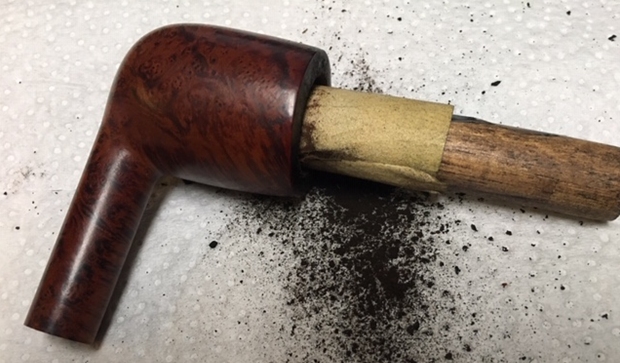
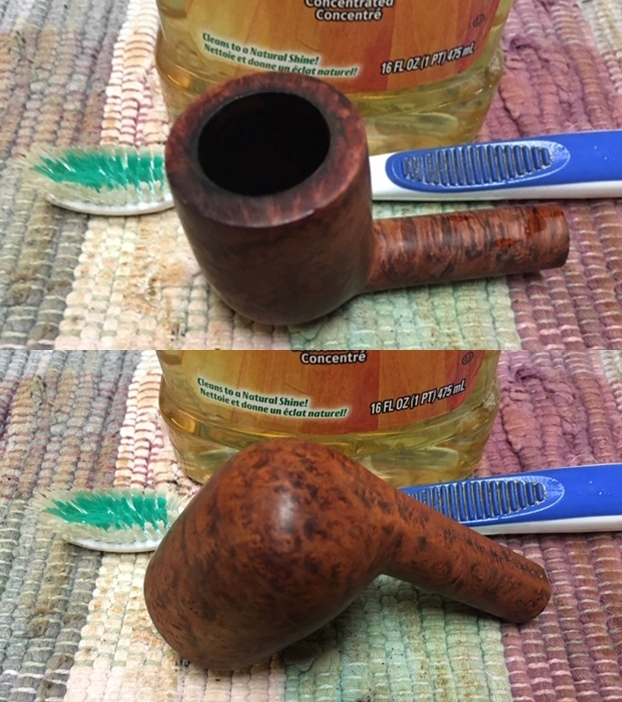
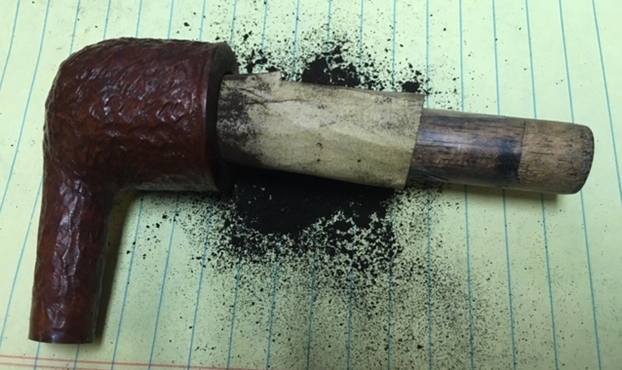
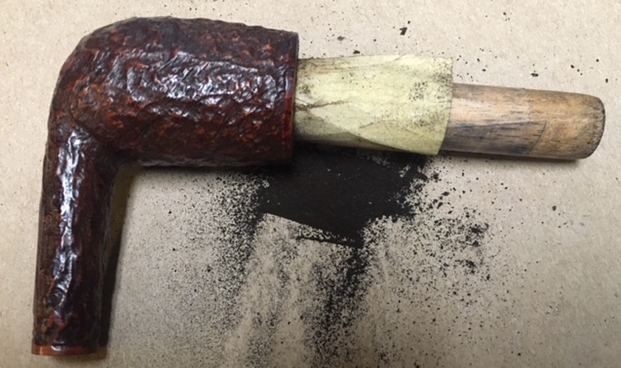
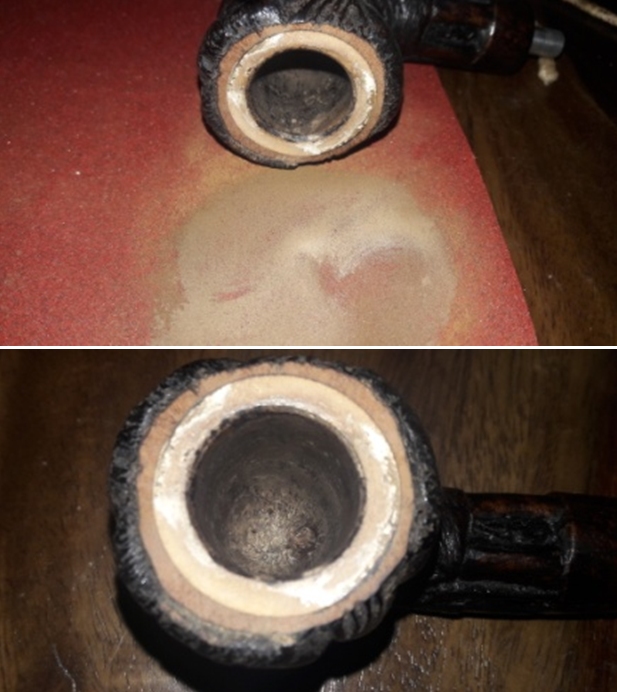
 Moving back to the stummel – I had placed the stummel in the freezer in hopes that it would enable me to extract the plastic filter sheath. After taking the bowl out of the freezer, I am able to hand turn the sheath and it comes out easily.
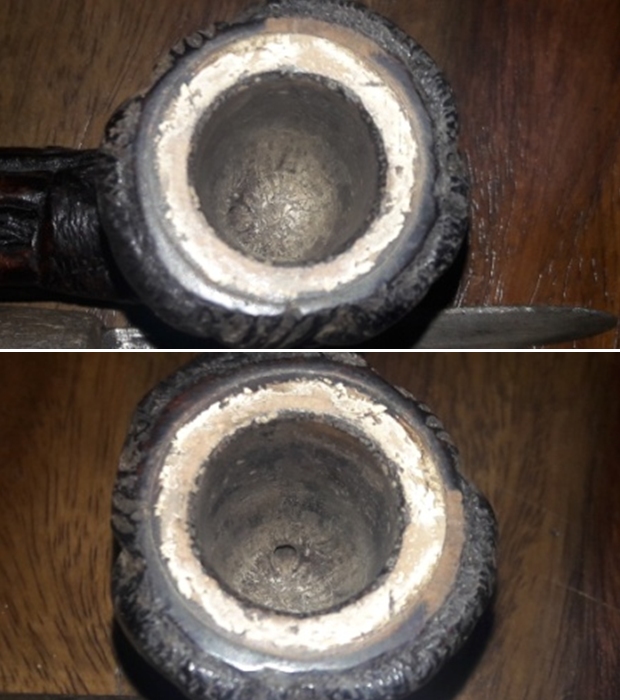
  After taking another look at the chamber, the reaming job that had been done on it was not enough. There remained carbon residue.
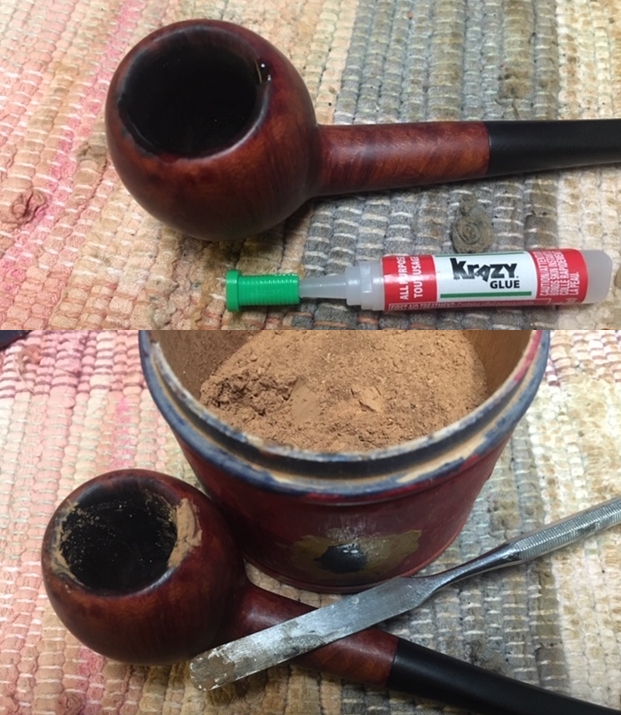
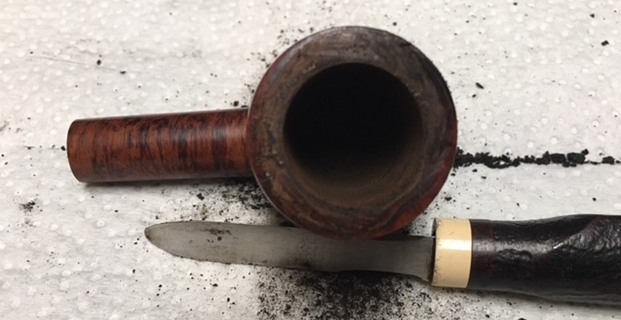
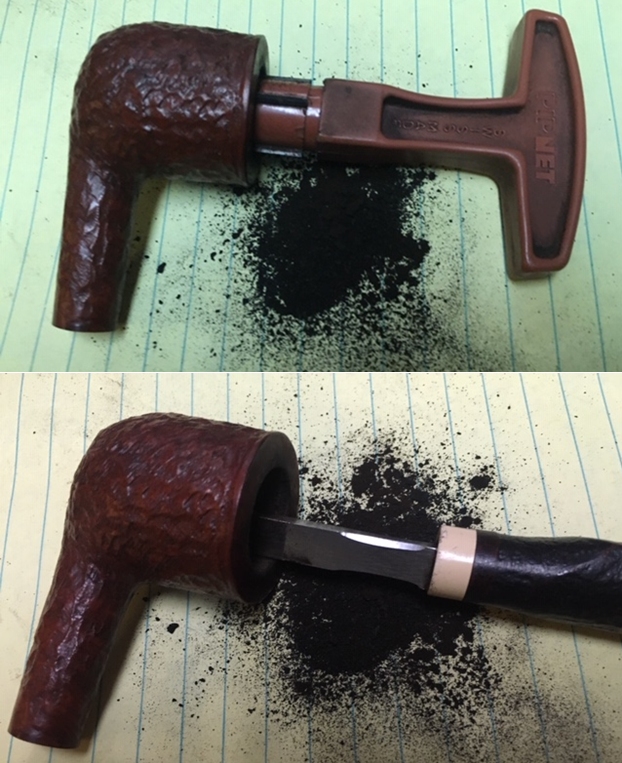
  Using the Pipnet Reaming kit, I use 2 of the 4 blades available – starting with the smallest. I follow this by using the Savinelli Fitsall Tool to scrape the chamber walls further. To finish, I use 240 grade paper wrapped around a Sharpie Pen to sand the chamber to remove what carbon cake remained to expose fresher briar.
  After cleaning the chamber with a cotton pad wetted with isopropyl 95%, I inspect the chamber, and all looks good – no signs of heating problems.
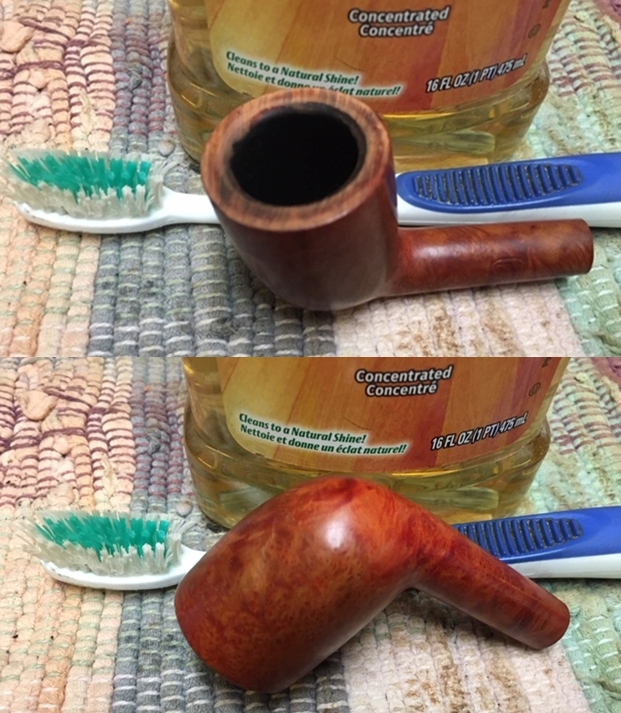
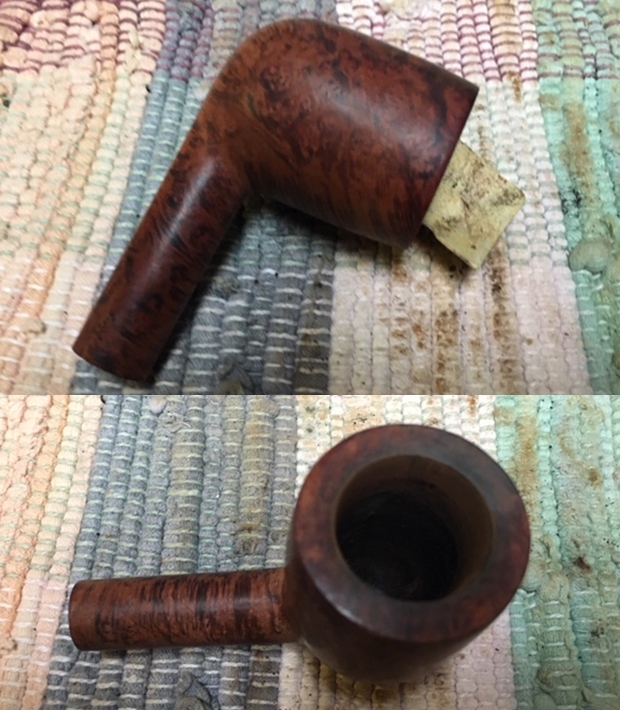
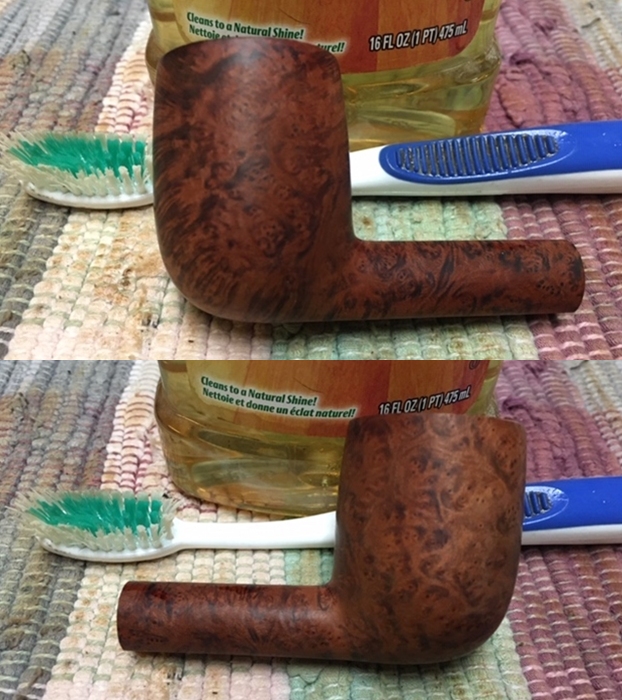
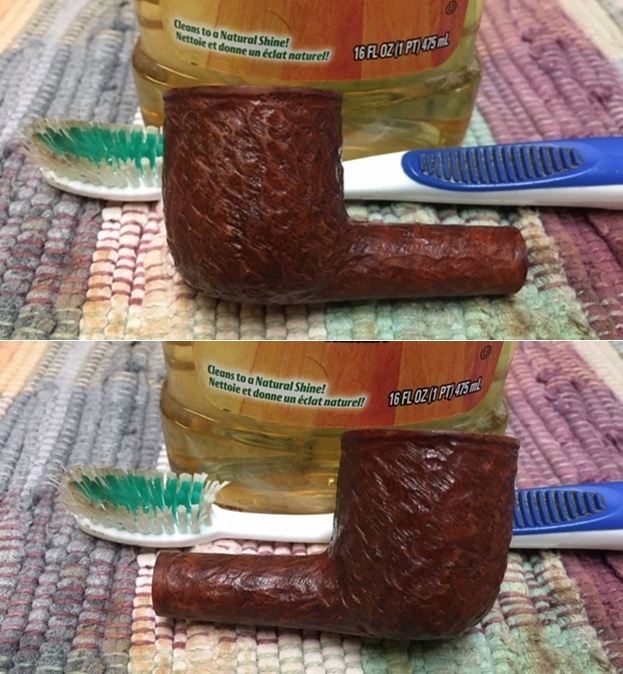
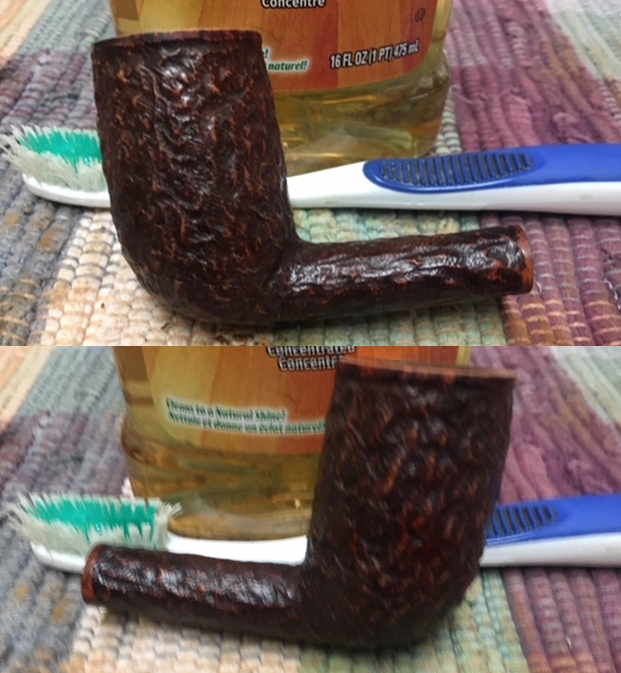
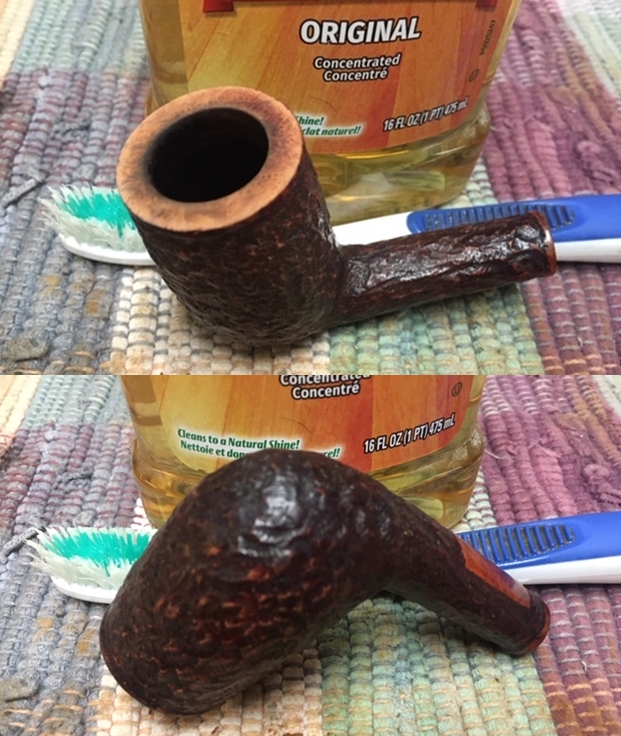
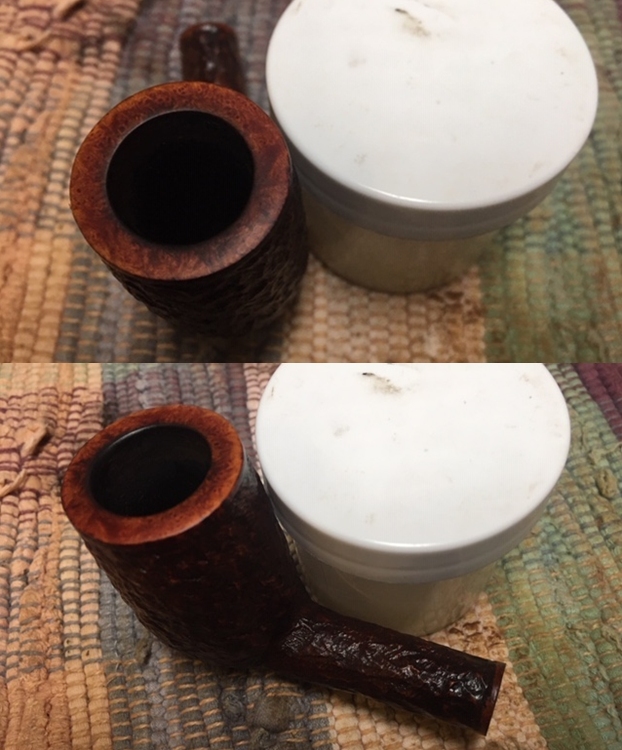
 Next, moving to the external cleaning, using undiluted Murphy’s Oil Soap on a cotton pad, I scrub the briar surface. Following this, I take the bowl to the kitchen sink and clean the mortise and airway with shank brushes and anti-oil liquid dish soap. After scrubbing the internals well with hot water, I rinse the bowl thoroughly and transfer it back to the worktable and take a few pictures of the now cleaned surface – it looks good.
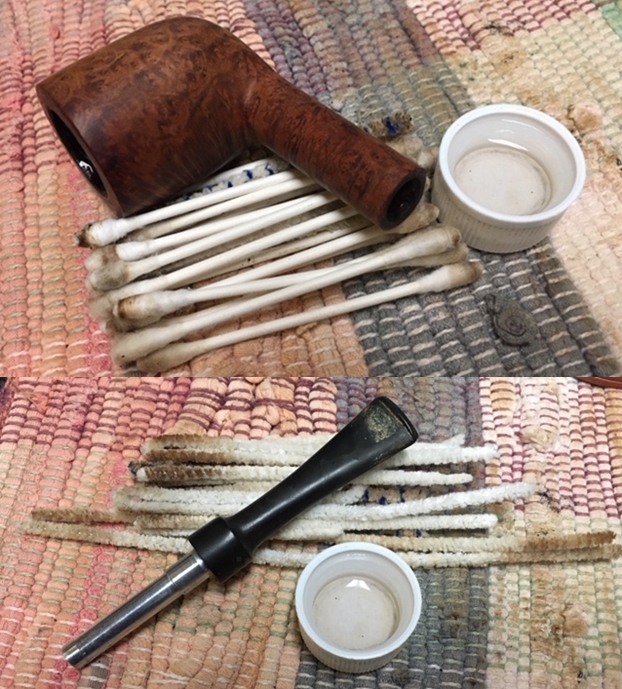
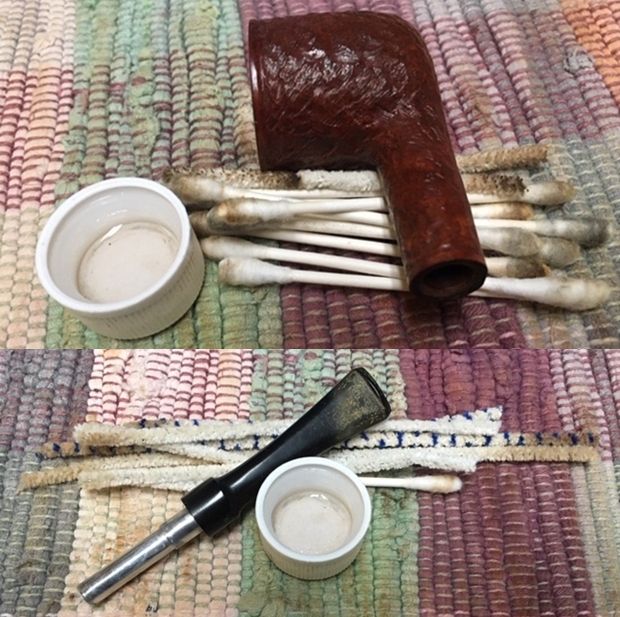
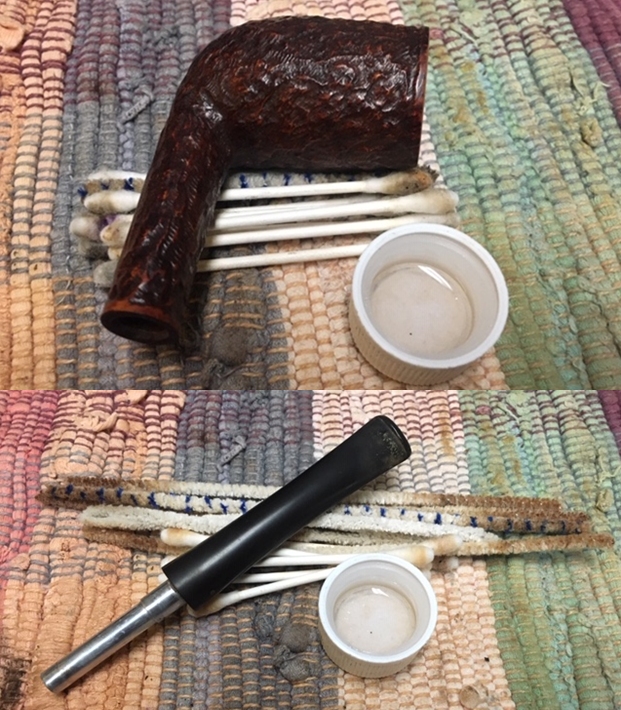
 Using pipe cleaners and cotton buds wetted with isopropyl 95%, I continue cleaning the internals. A small dental spoon also works well to scrape old tars and oils off the mortise walls. In time, the buds and pipe cleaners begin to emerge lighter and I call this phase of the internal cleaning finished.
 With the hour being late, I continue the internal cleaning using a kosher salt and alcohol soak. After twisting and pulling a cotton ball to form a mortise ‘wick’, I use a stiff wire to help guide it down the mortise toward the draft hole. The wick helps to draw out the old tars and oils to clean and refresh the bowl.
  Kosher salt is then used to fill the bowl which leaves no after taste and helps to freshen the briar. With the bowl stabilized in an egg carton, a large eye dropper fills the chamber with isopropyl 95% until it surfaces over the salt. After a few minutes, the alcohol is drawn into the salt and cotton wick, and I top it off one more time and turn out the lights.
 The next morning, I was surprised to see almost no soiling of the salt and cotton wick. This means that the internals are clean indeed! After removing the expended salt, wiping the chamber with paper towel, and forcefully blowing through the mortise, the expended salt residue is removed. I follow with a pipe cleaner and cotton bud dipped in isopropyl 95% to be sure all is clean.
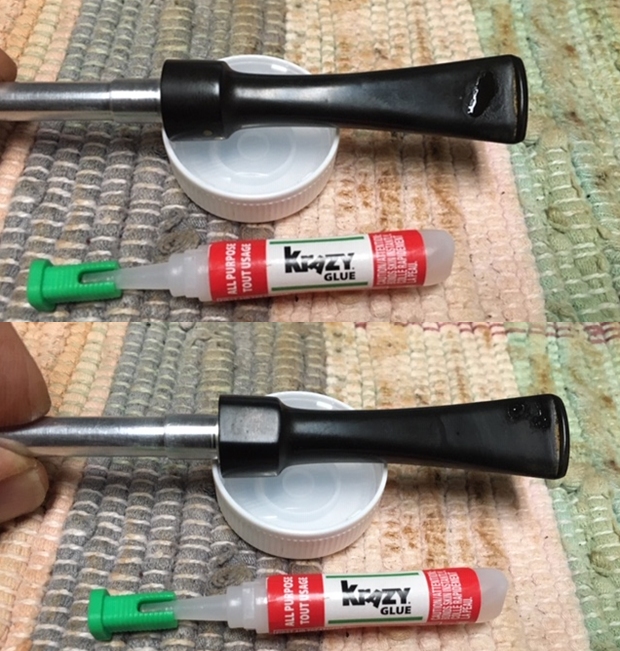
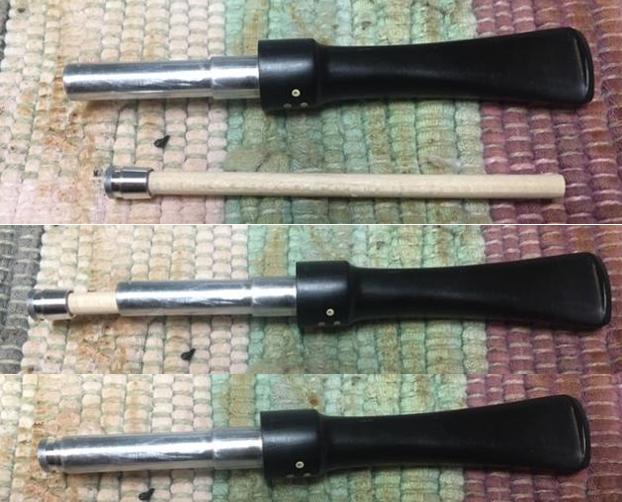
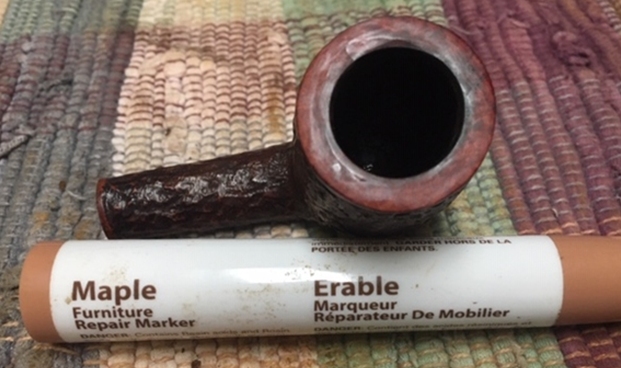
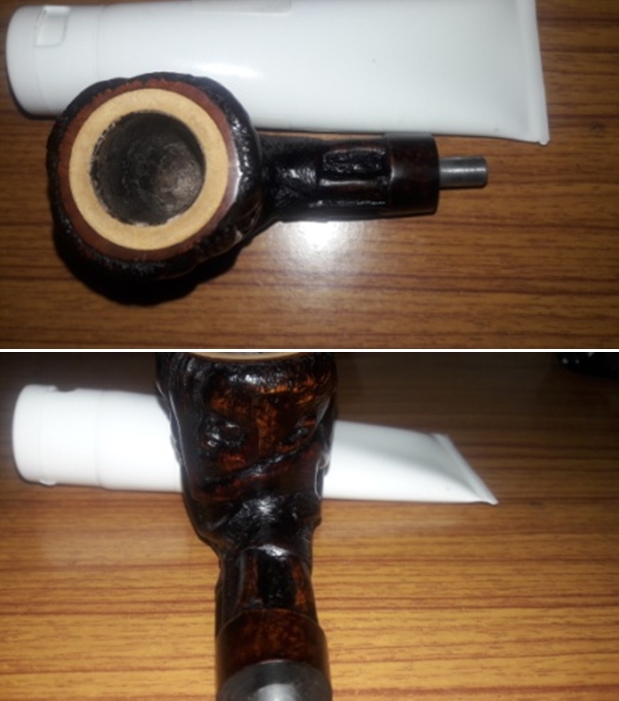
 Before bending the Cumberland stem, the filter sheath needs to be reattached so that the stem can be seated correctly in the mortise. The ribbing on the heavy plastic sheath clearly defines the correct orientation. Using thick CA glue, a small amount of glue is applied around the ribbing of the sheath and a toothpick helps to spread it. The sheath is then inserted firmly into the stem cavity and allowed to cure.
 With the sheath firmly in place, the filter sheath tenon seats well into the mortise.
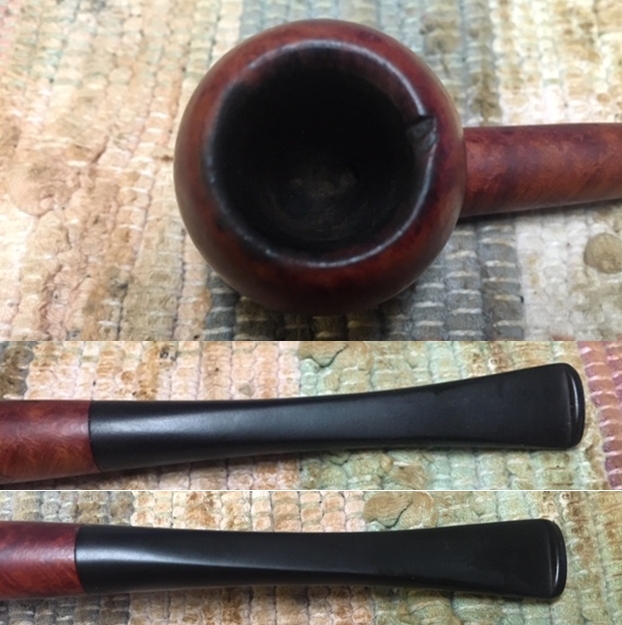
 Next on the project list – to provide the Cumberland stem with a bend. Ideally, the stem orientation should roughly parallel the plane of the rim. The shortness of this stem creates a challenge for such a tight bend. The diagram below shows the estimated bend and orientation that is the goal. To be on the safe side, I insert two pipe cleaners into the airway to safeguard the integrity of the airway with the tight bend.
 Using the hot air gun, I gradually and patiently warm the stem where the bend is to occur. The pipe cleaners extending out from the stem are useful as a handle as the hot air warms the Cumberland blend of black and red vulcanite and becomes supple.
 When the stem becomes sufficiently supple from the heating, I gently bend the stem over a block of wood tightened in the vice. The rounded curve on corner of the block acts as the mold to provide a tight even bend.
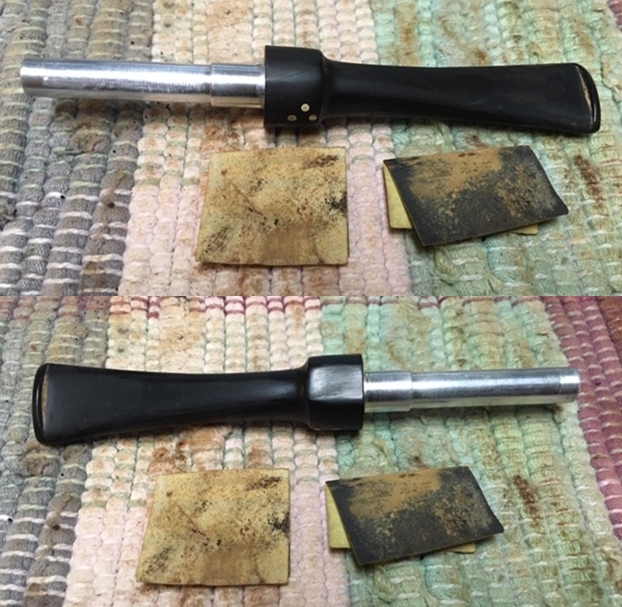
 After the stem is bent over the block, I hold it steady to allow the rubber to cool by itself. After the stem firms up in its bend, I then take it to the sink and run cool water over the stem to solidify the bend. The first attempt is good. After taking it back to the worktable and placing it on the template I drew, I’m satisfied with the orientation of the bend. The pipe cleaners do the job and they come out with a little tugging.
 The bend is good, but after a quick inspection, the underside of the stem has rippled. This affect can happen with a sharp bend and I probably should have bent the stem sooner in the process before the stem sanding. We learn with each restoration!
  To remove the rippling on the underside of the stem resulting from bending the stem, I do a quick detour with 240 grain paper, followed by 600 grade and 000 steel wool. A quick run through all 9 micromesh pads, 1500 to 12000 with Obsidian Oil between each set of 3, bring the stem back to an acceptable state! I move on.
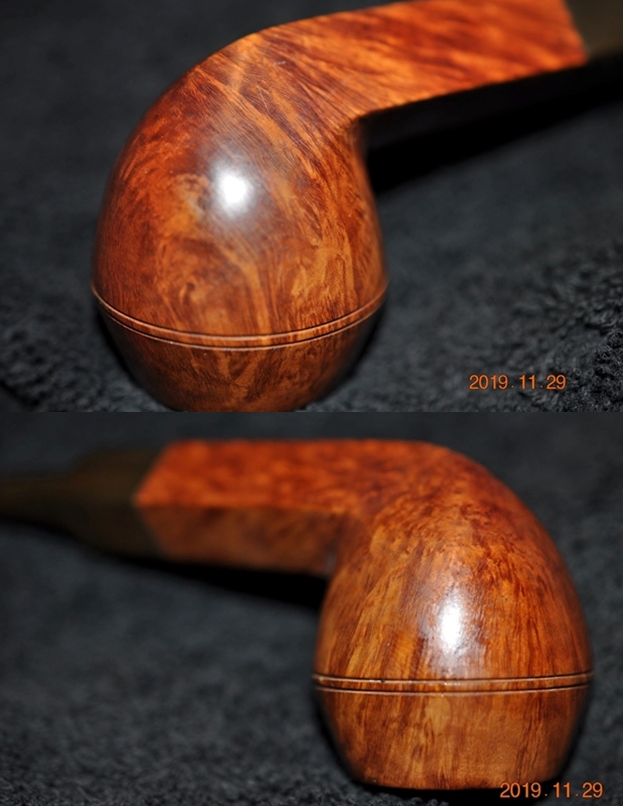
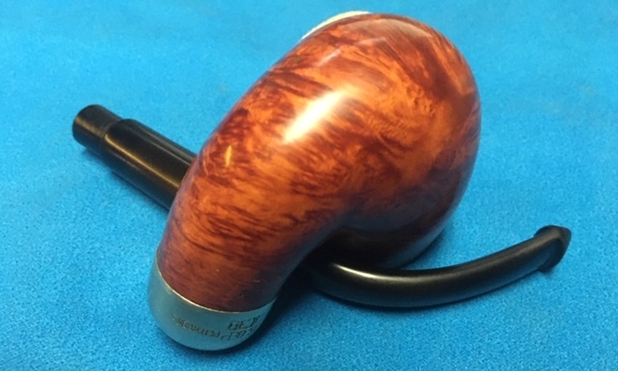
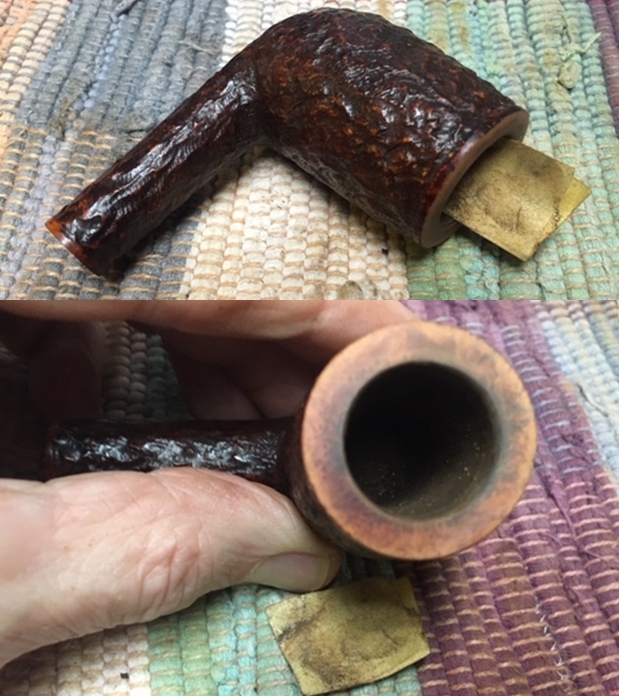
 With the stem now on the sidelines, I focus on the Borge Mortensen stummel. Not wishing to contribute to the erosion of the Thor’s Hammer Shield nomenclature, I cover the area with masking tape.
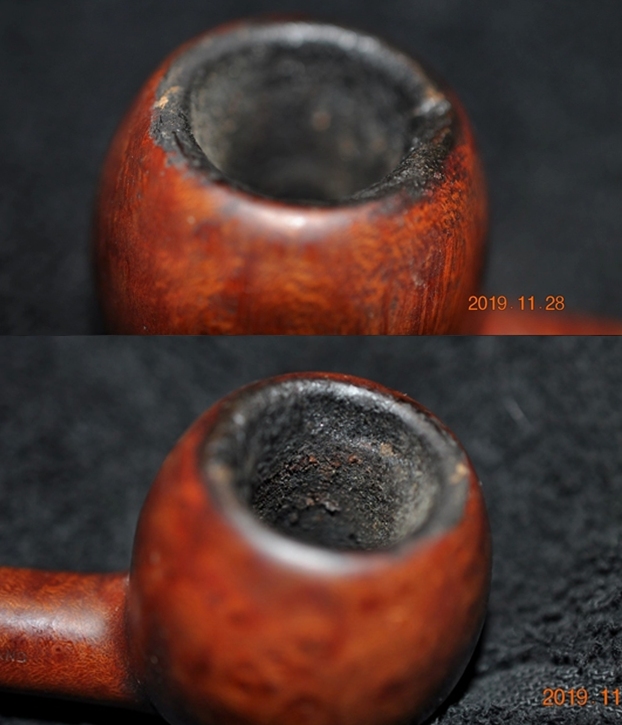
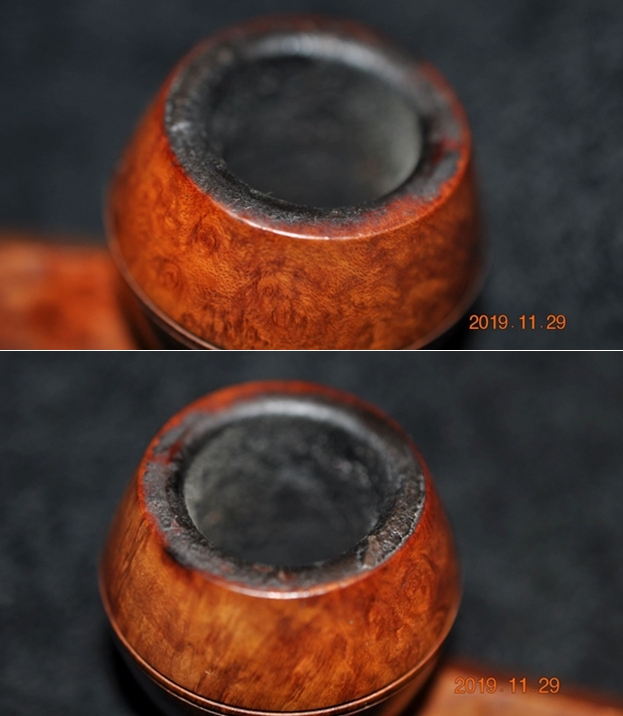
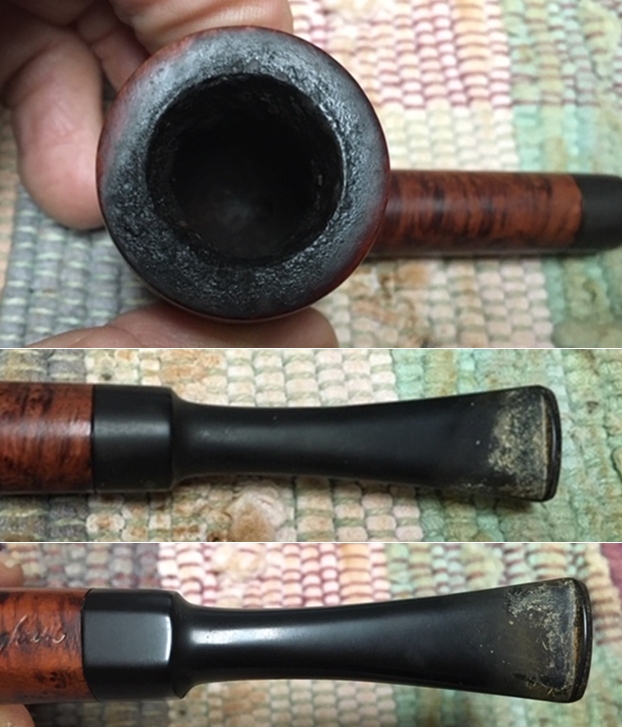
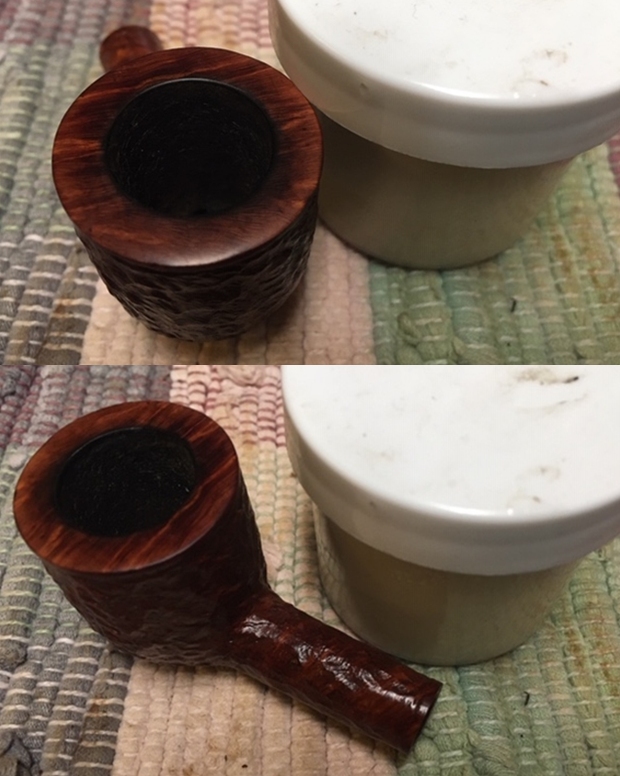
  Beginning with the rim, there is residual darkened briar from the former steward’s lighting the chamber. To address this, I use 240 grade sanding paper to sand very gently to clean the rim. I also sand the interior rim edge to clean and freshen.
 Following the 240 sanding, I provide a gentle topping using medium and light grade sanding sponges. This cleans the rim up well.
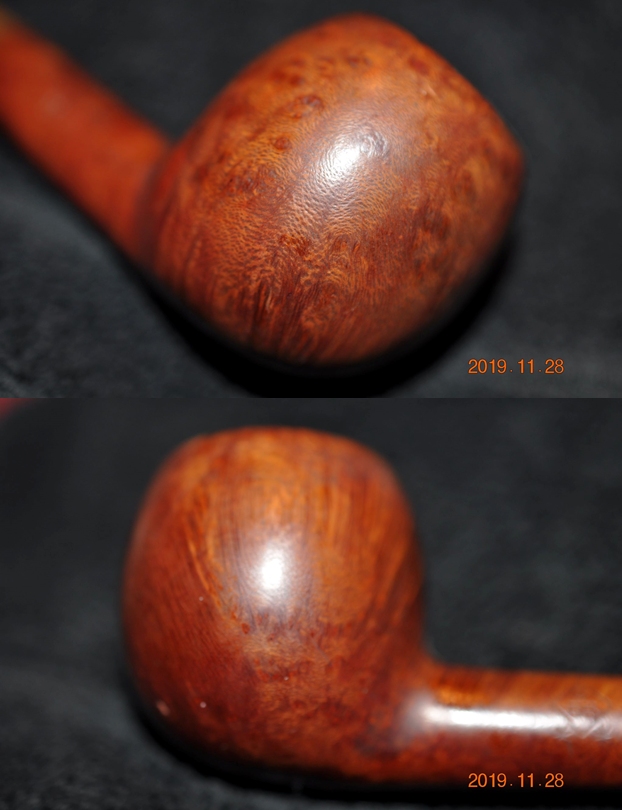
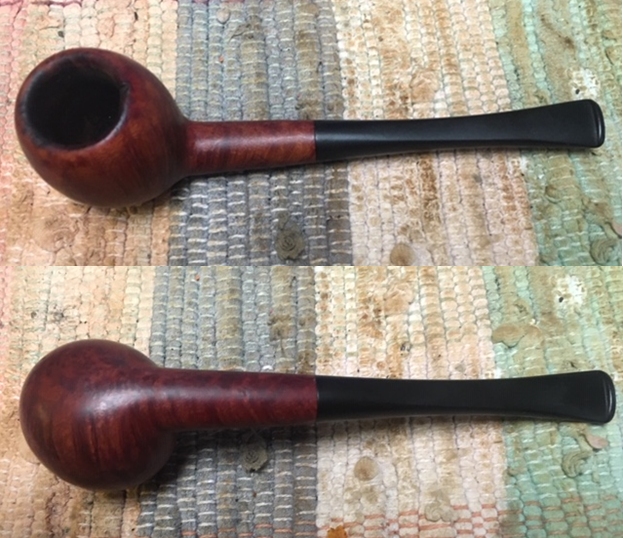
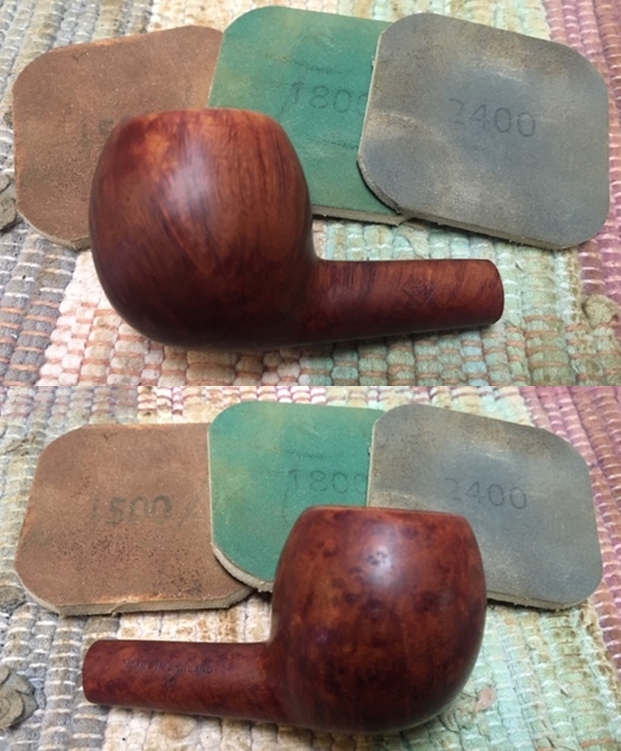
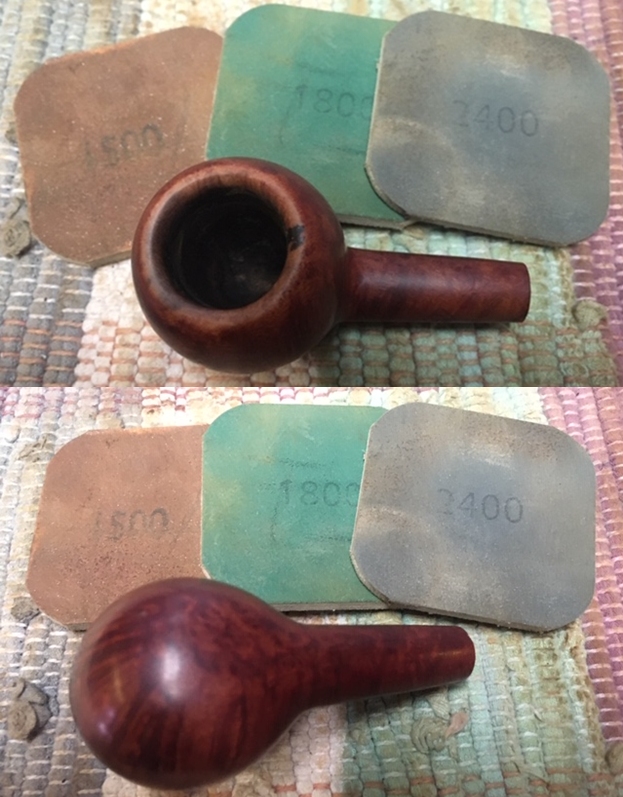
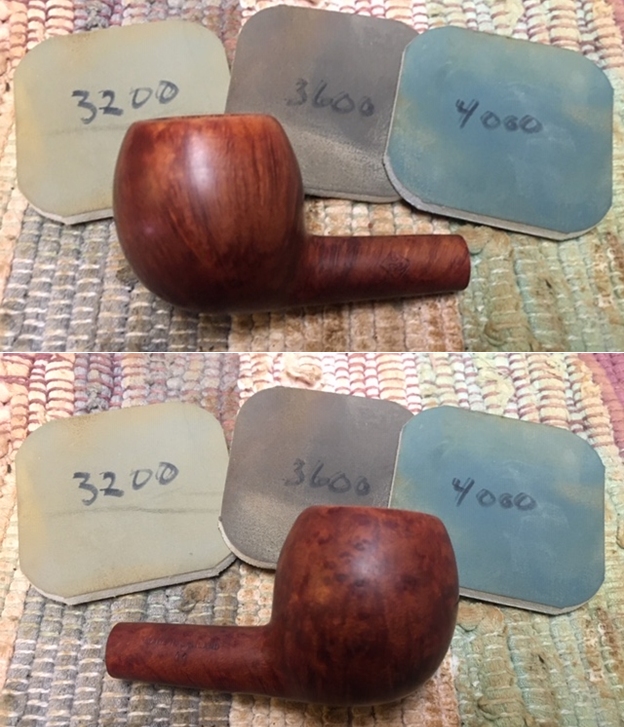
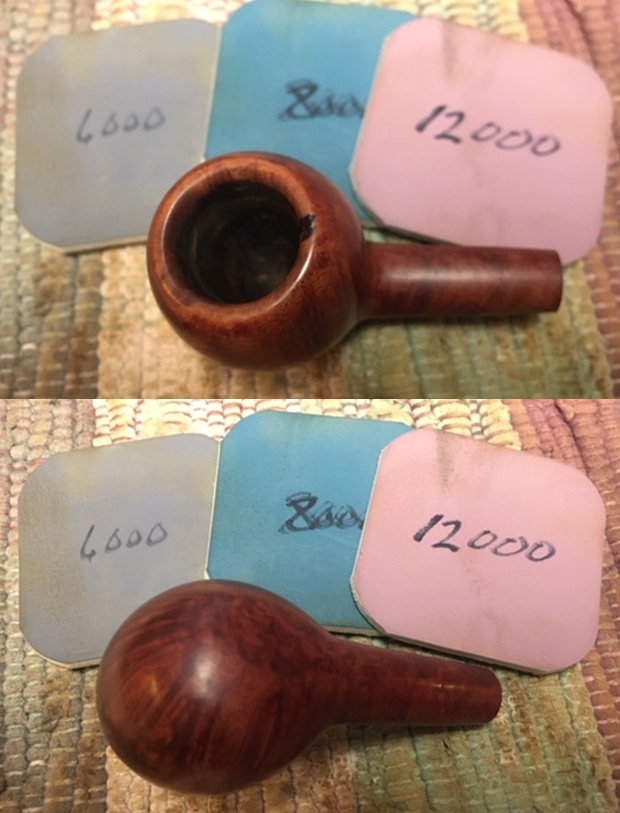
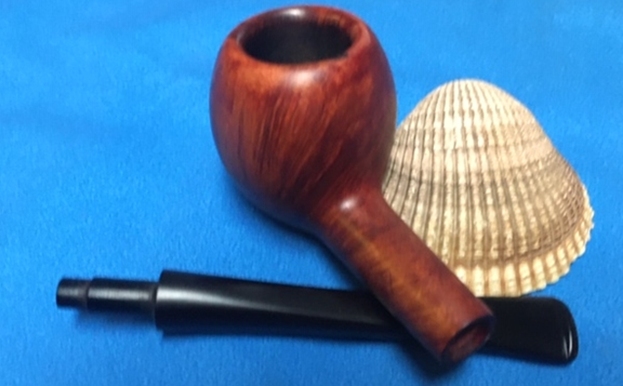
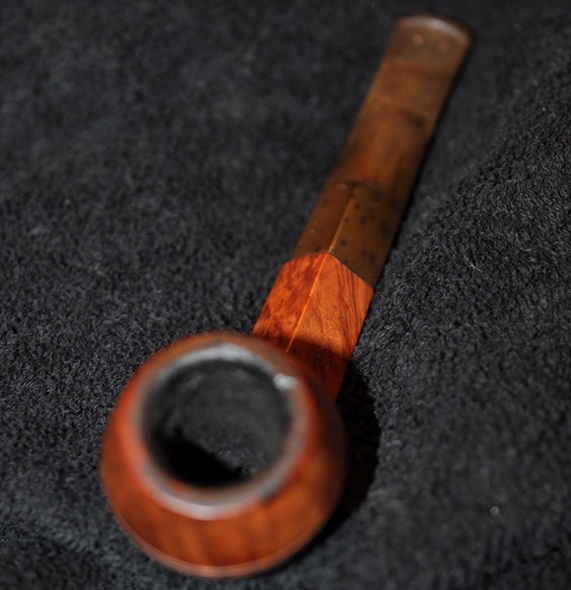
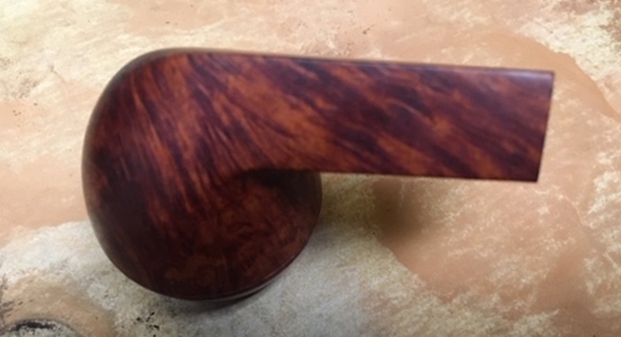
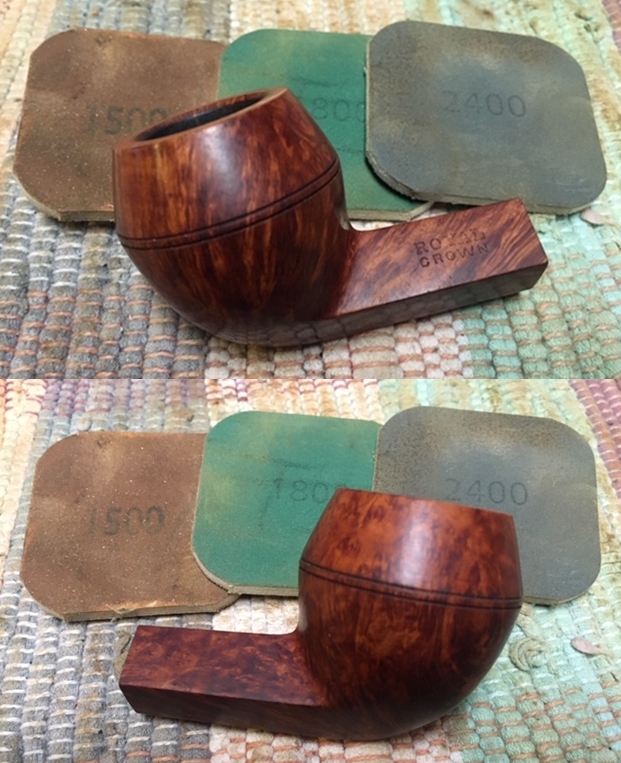
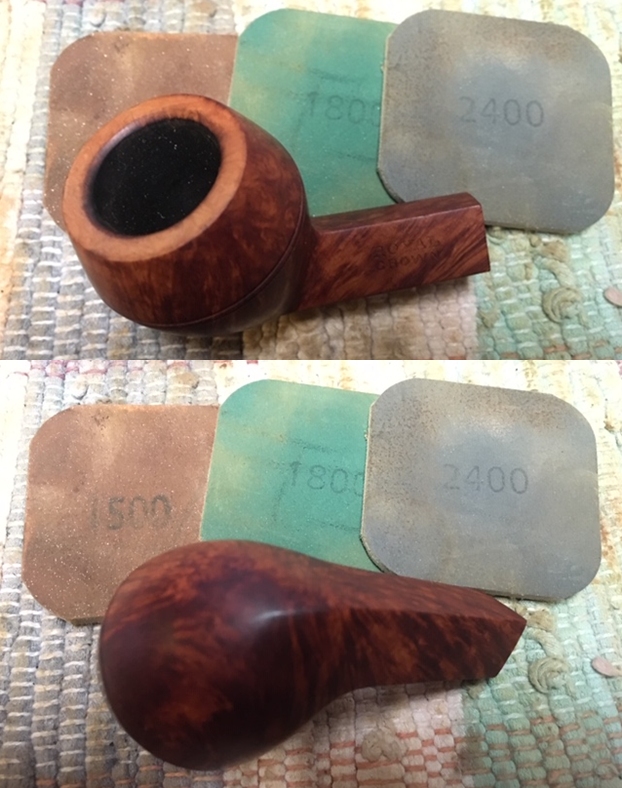
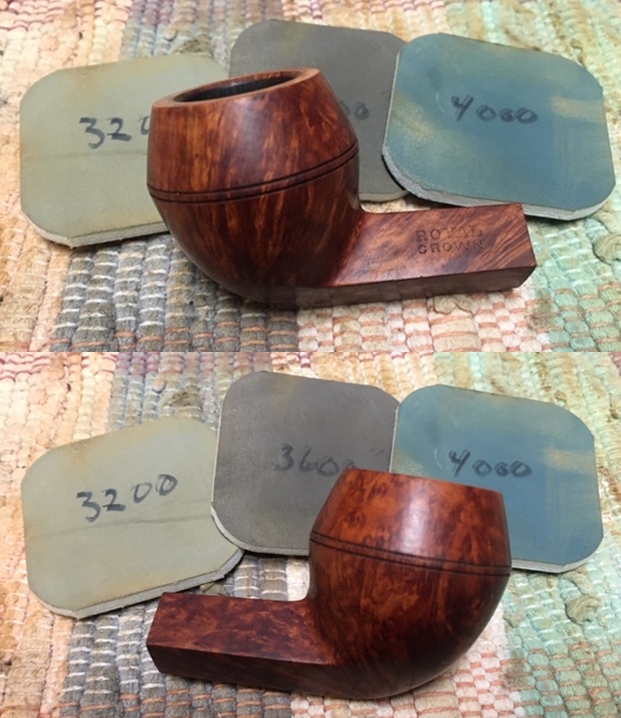
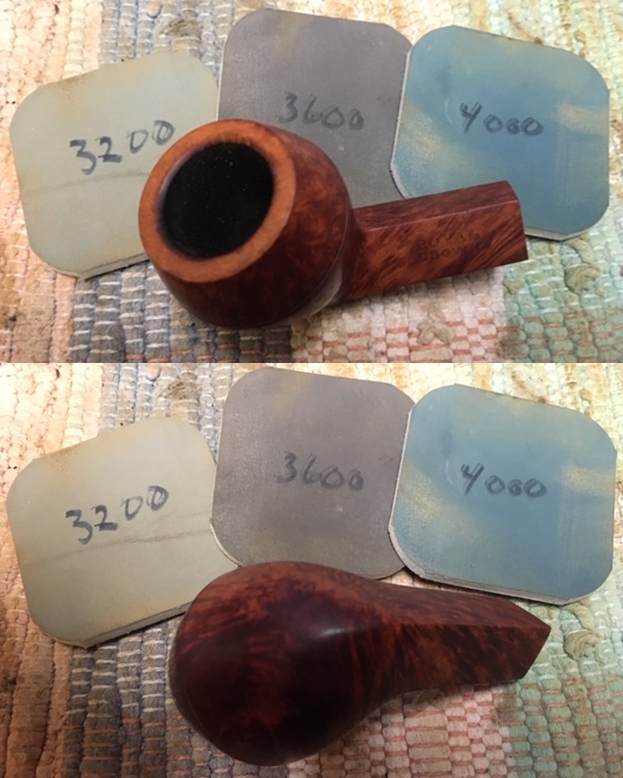
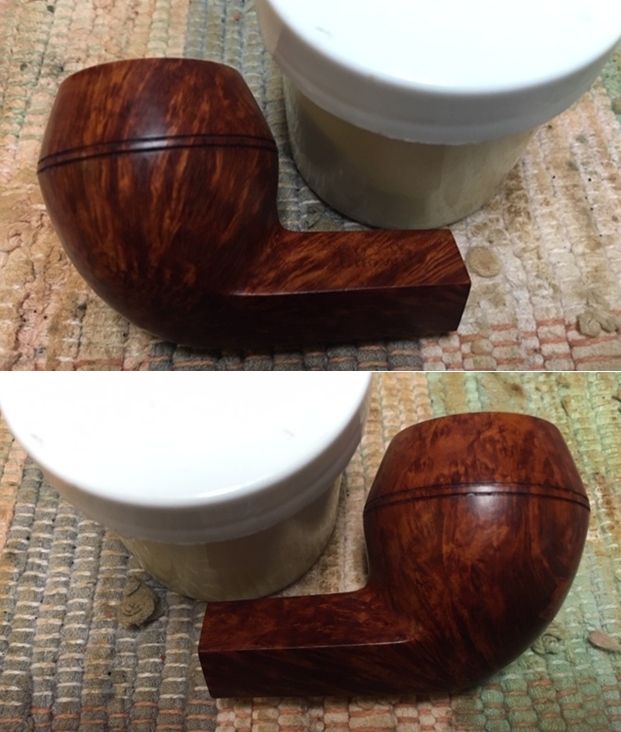
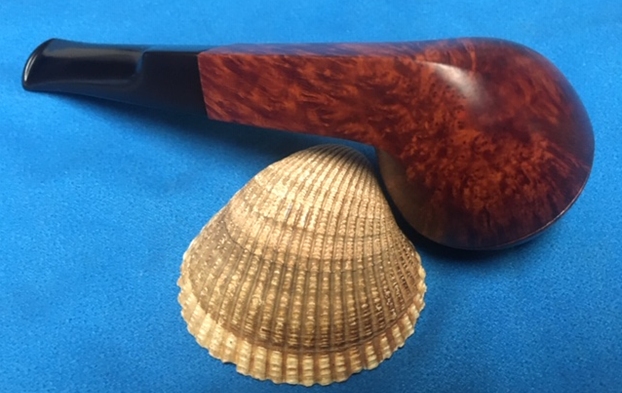
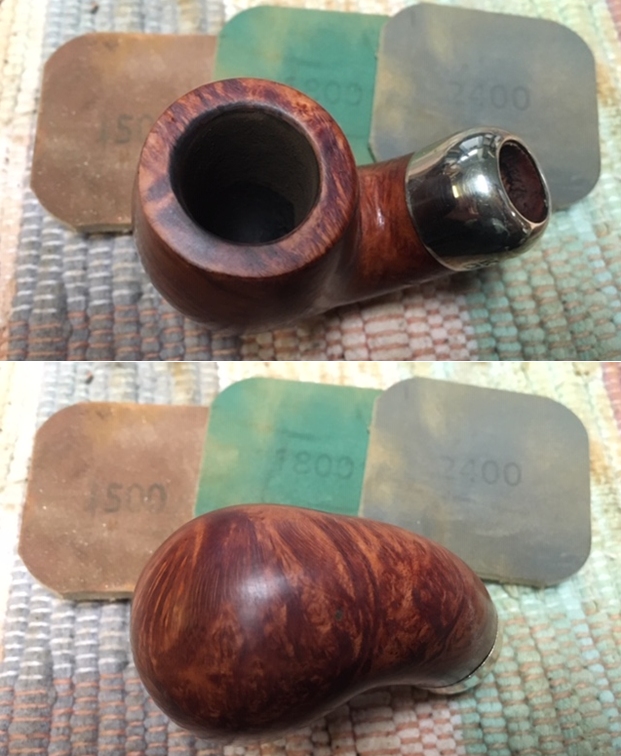
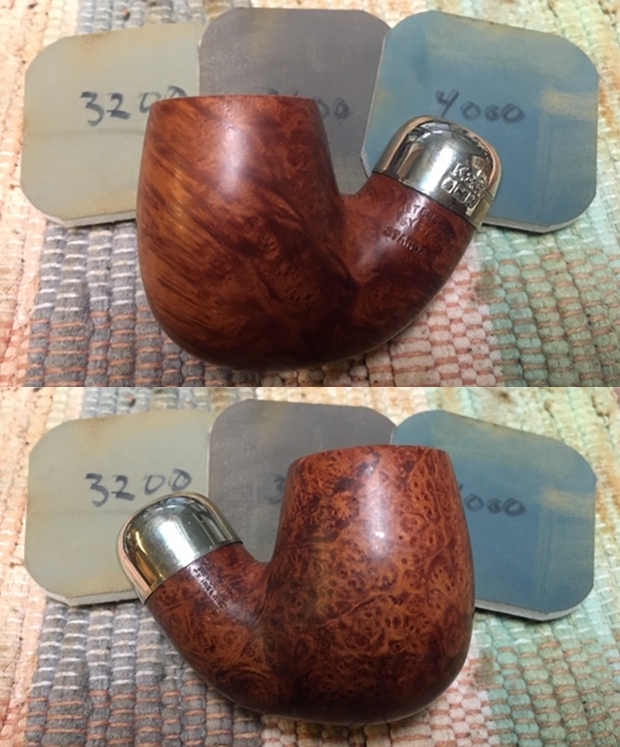
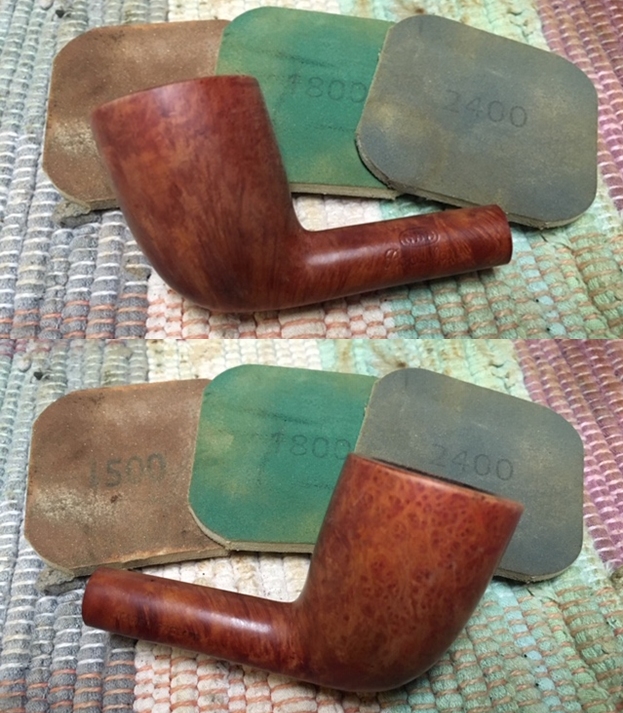
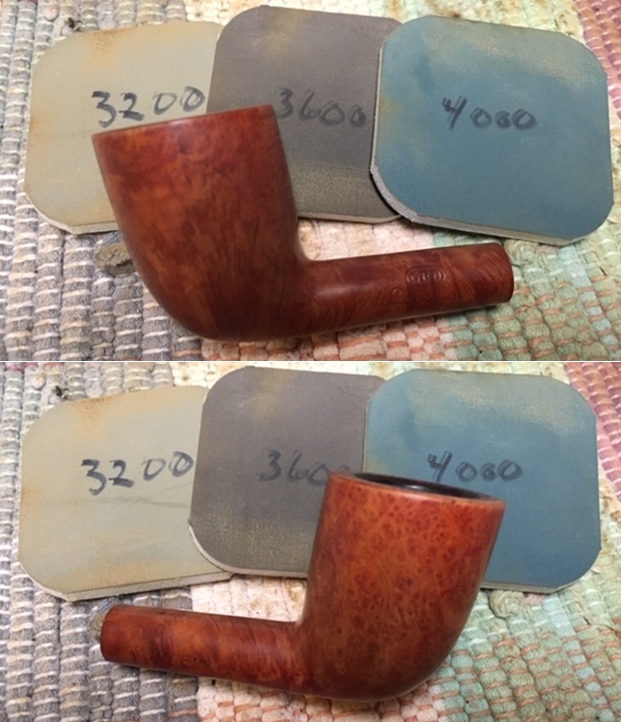
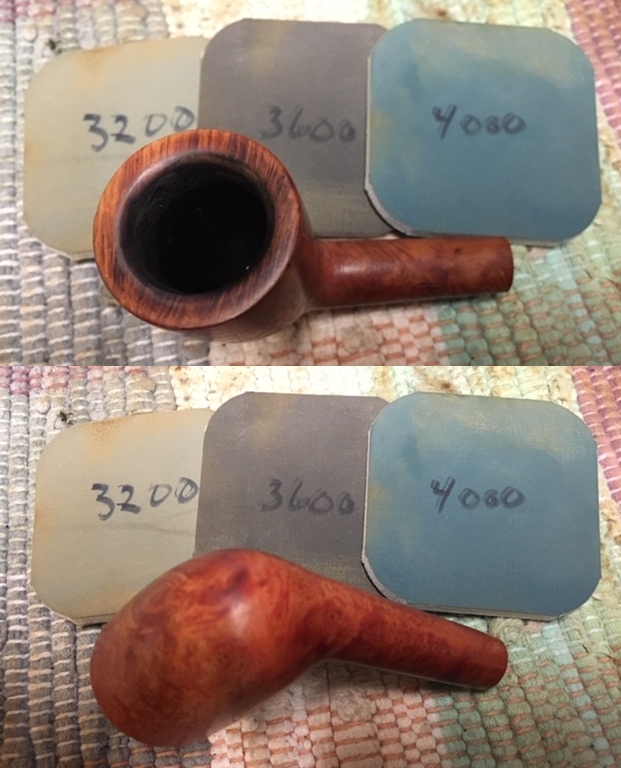
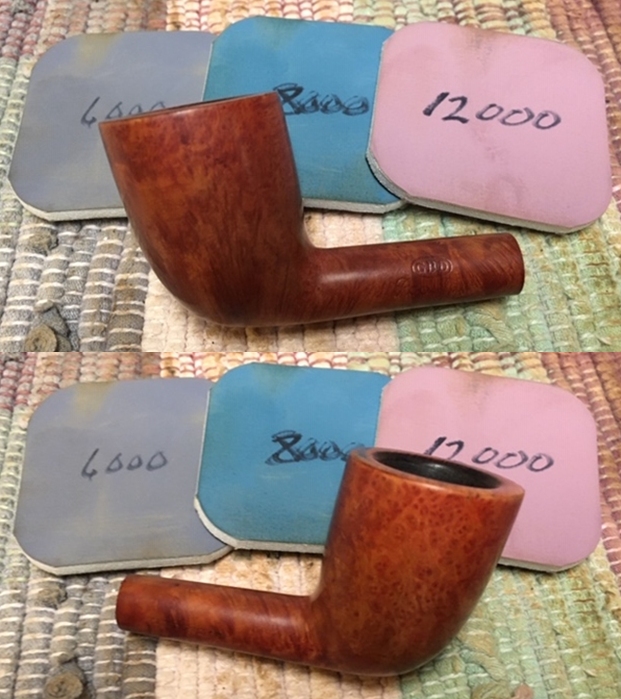
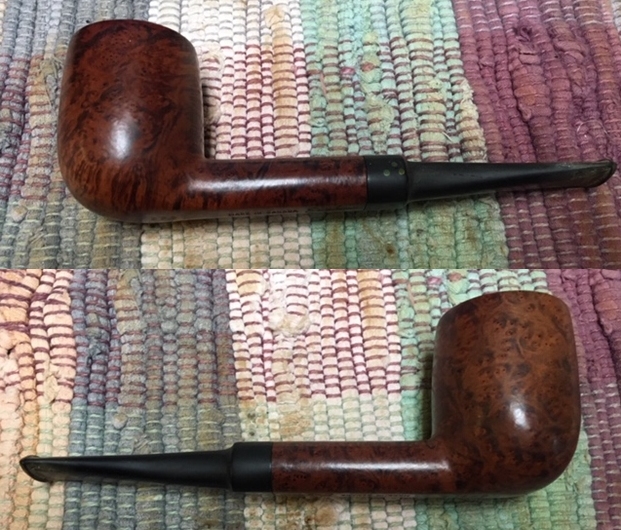
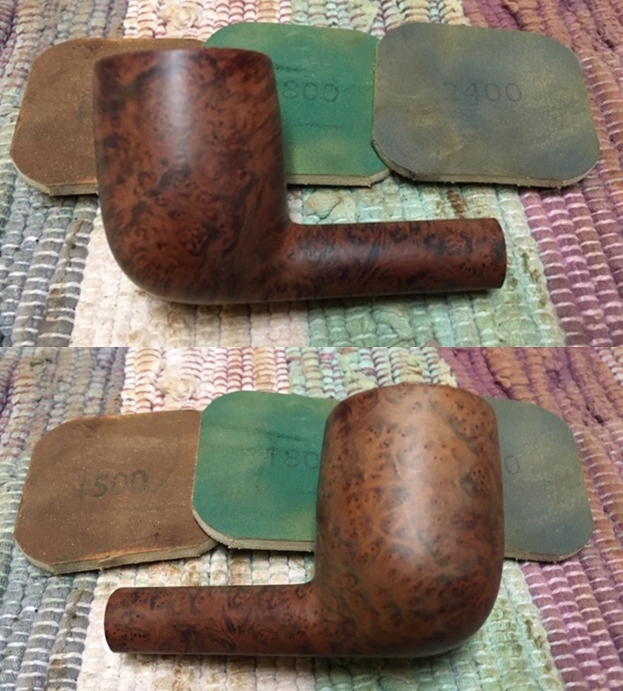
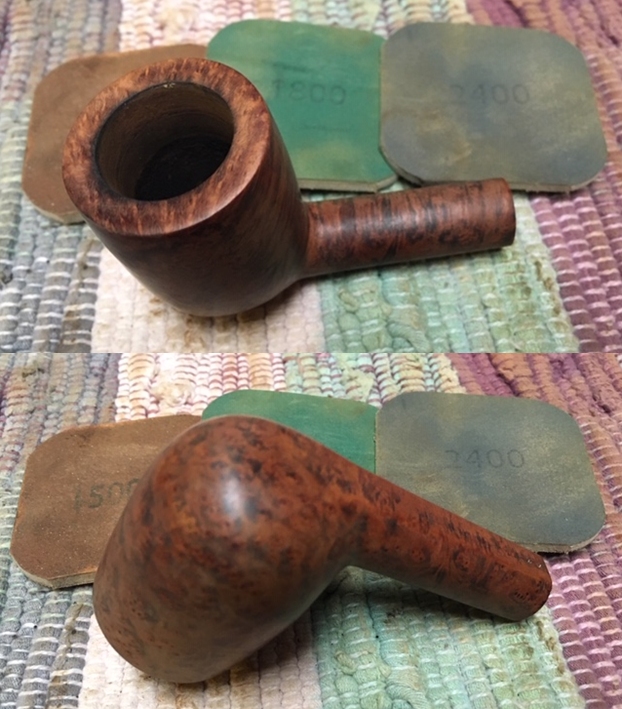
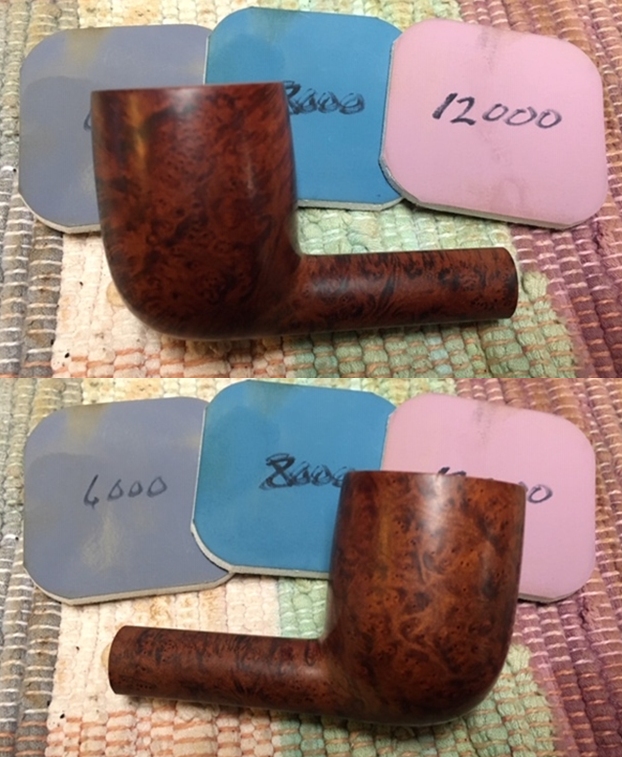
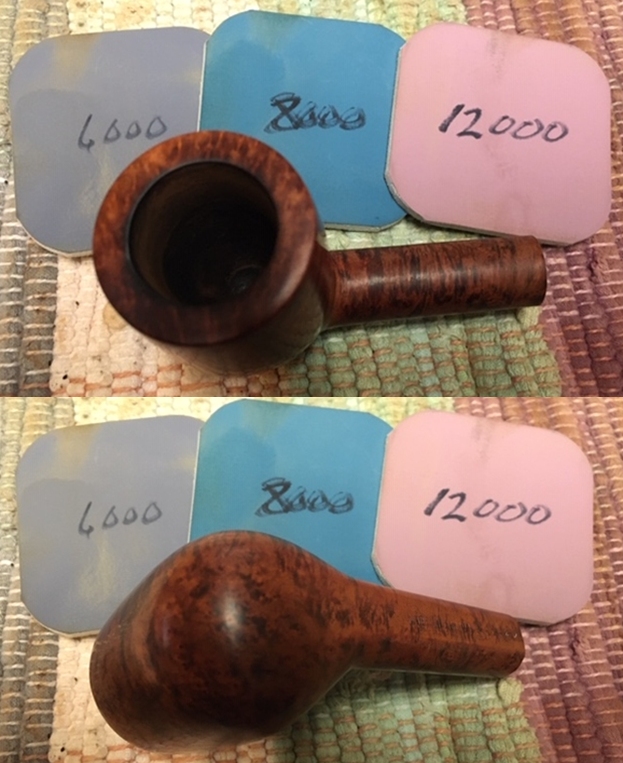
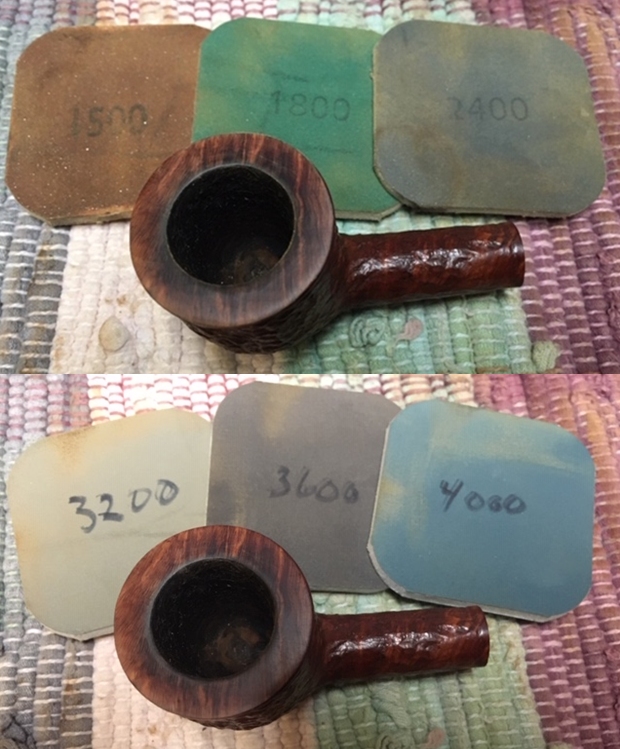
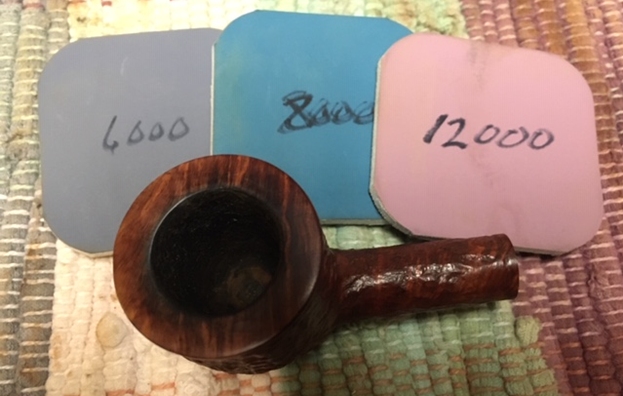
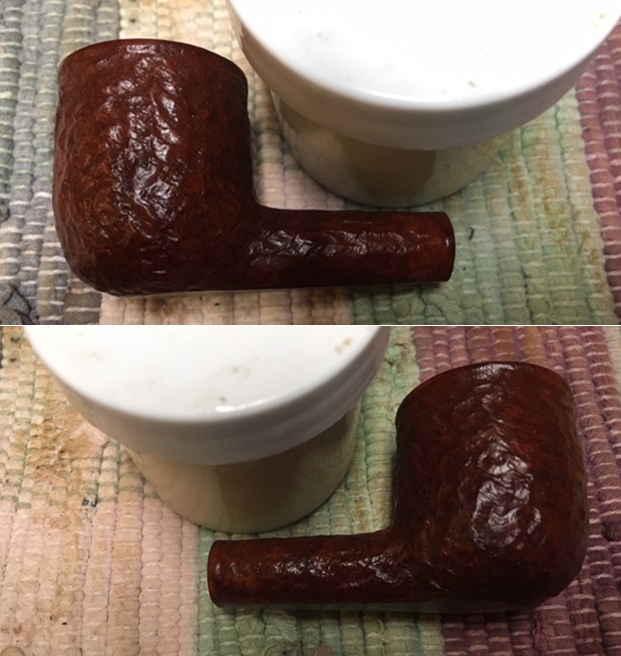
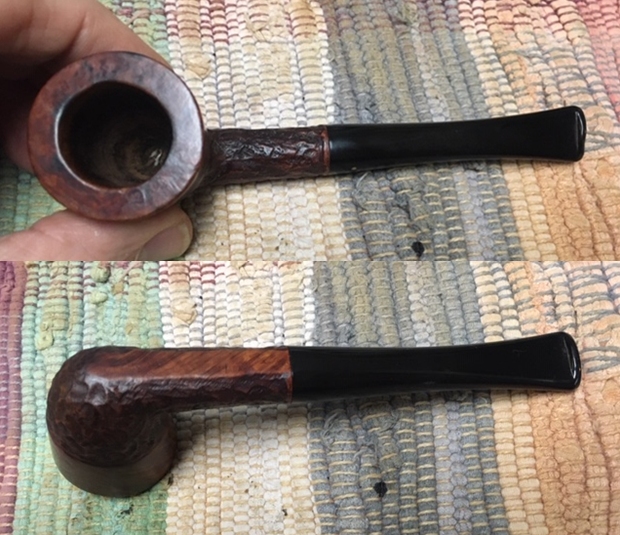
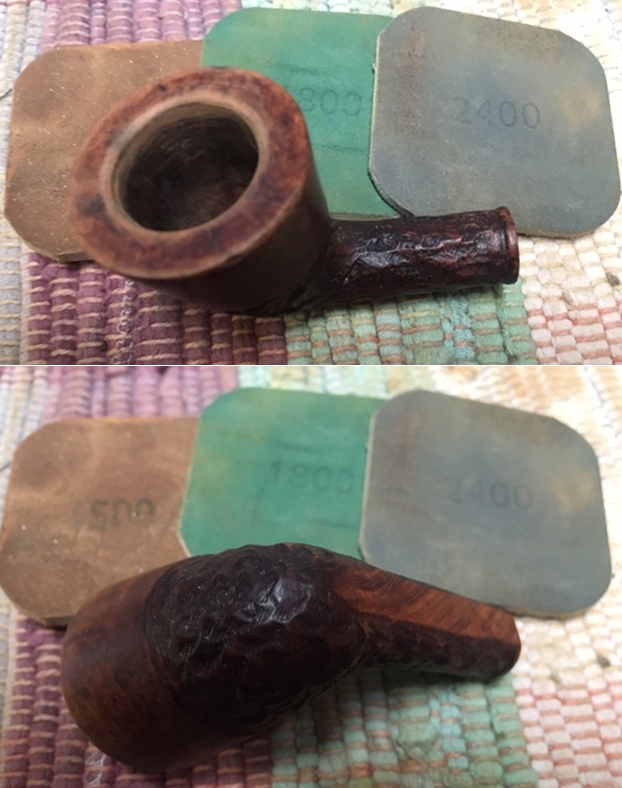
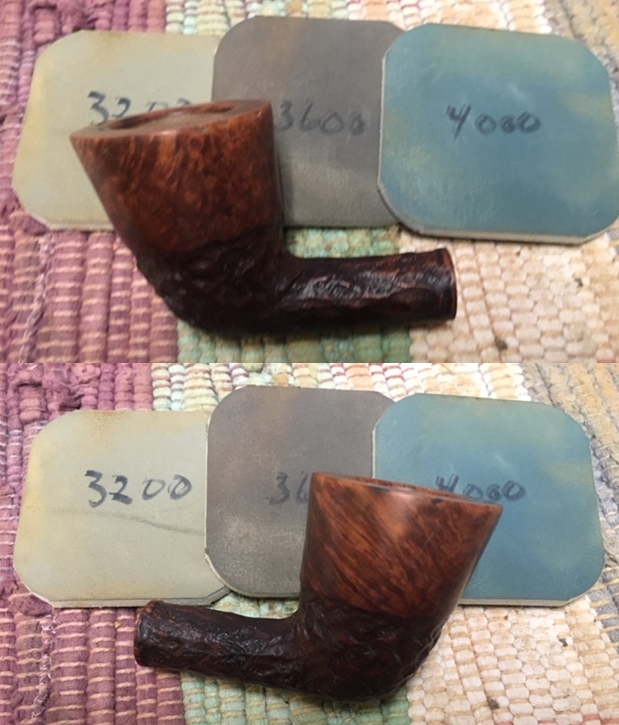
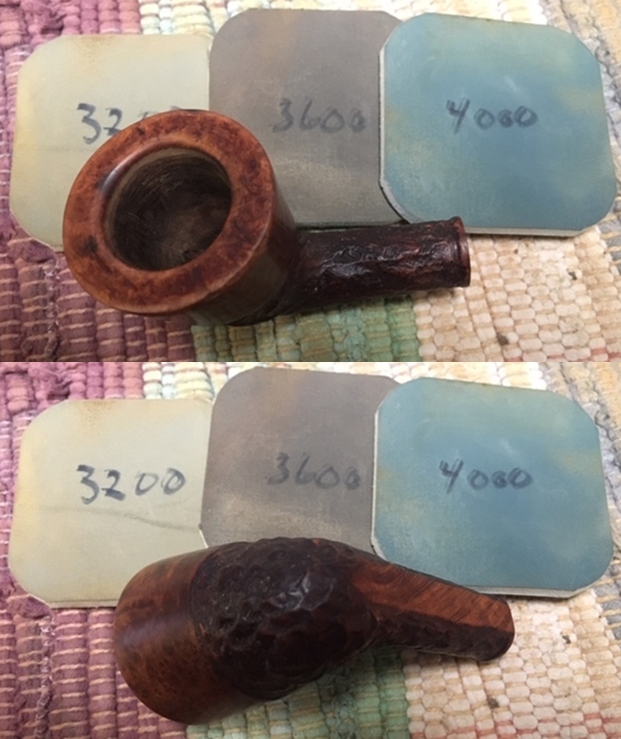
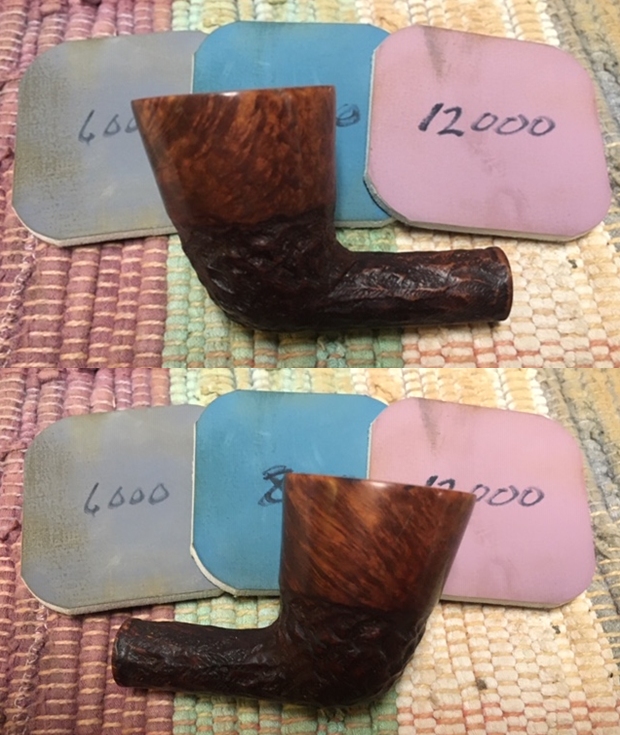
 Next, taking the bowl to the sink, I wet sand the stummel with pads 1500 to 2400 and dry sand with pads 3200 to 4000 and 6000 to 12000. Wow! I think for the first time in this restoration I’m taking note of the beautiful use of the grain in this Danish Bent Brandy shape.
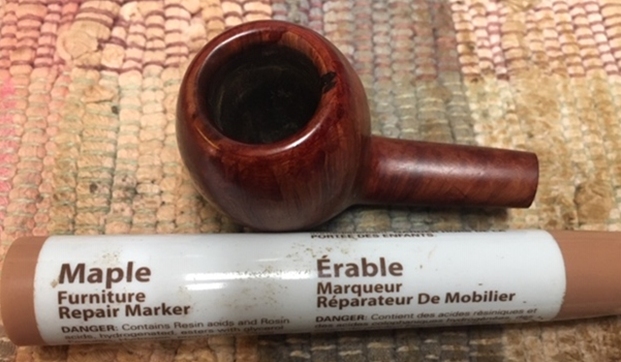
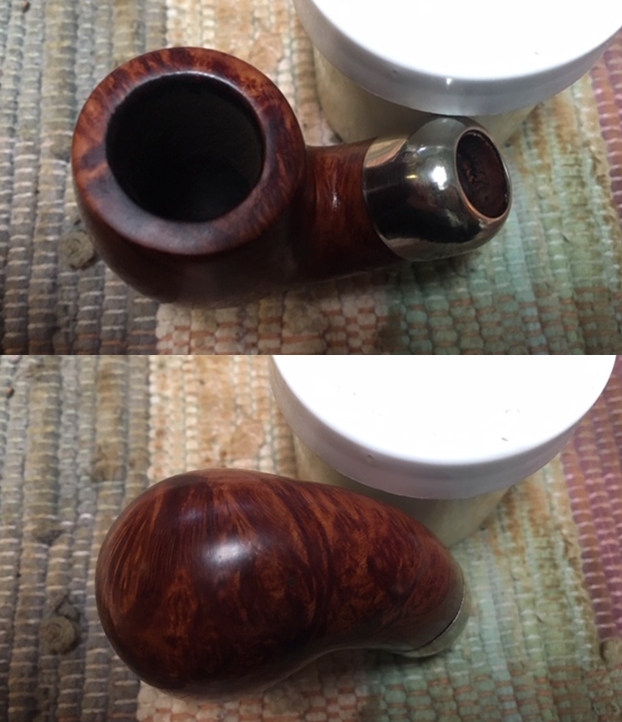
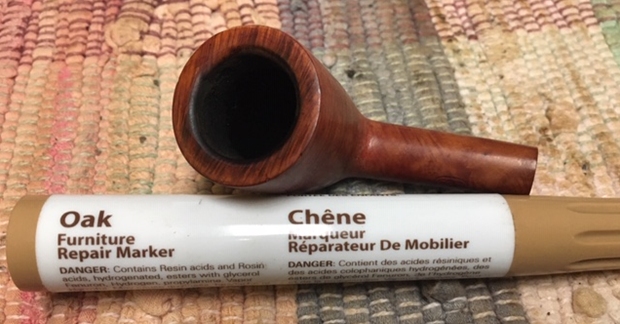
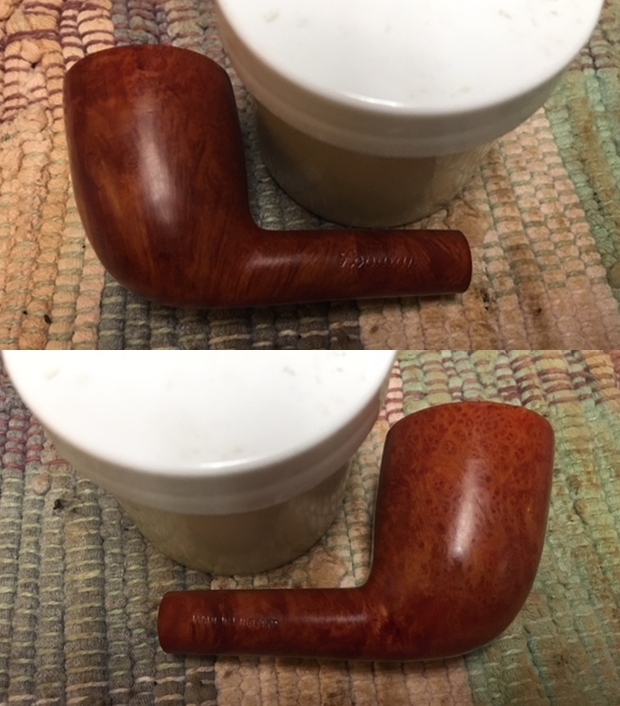
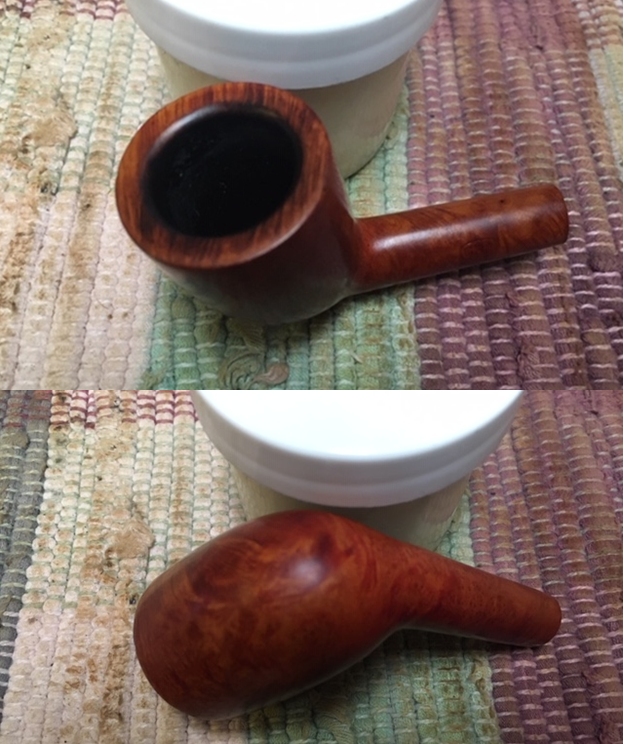
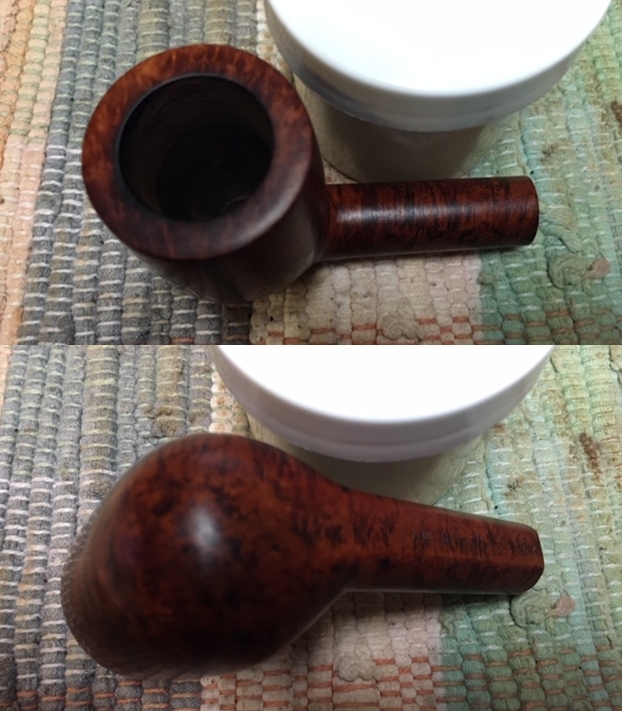
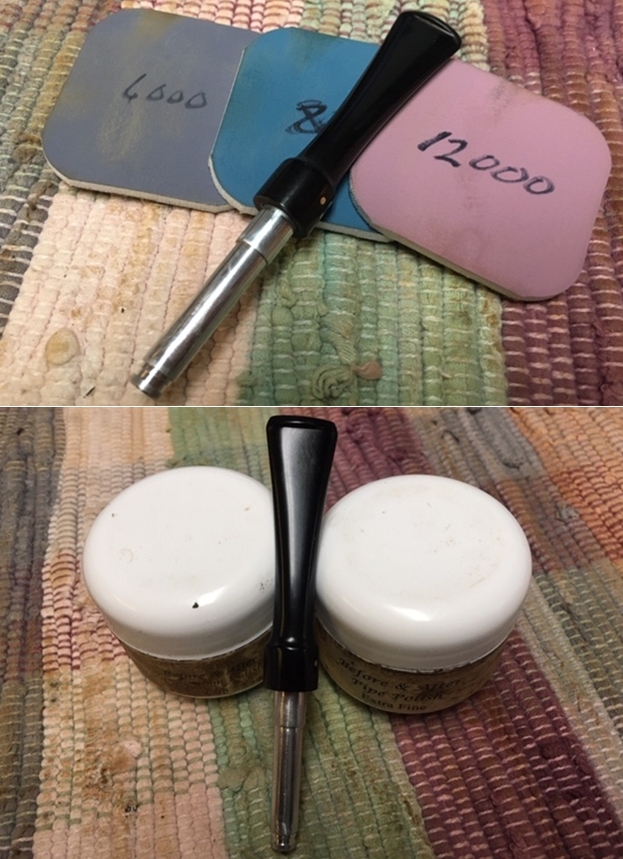
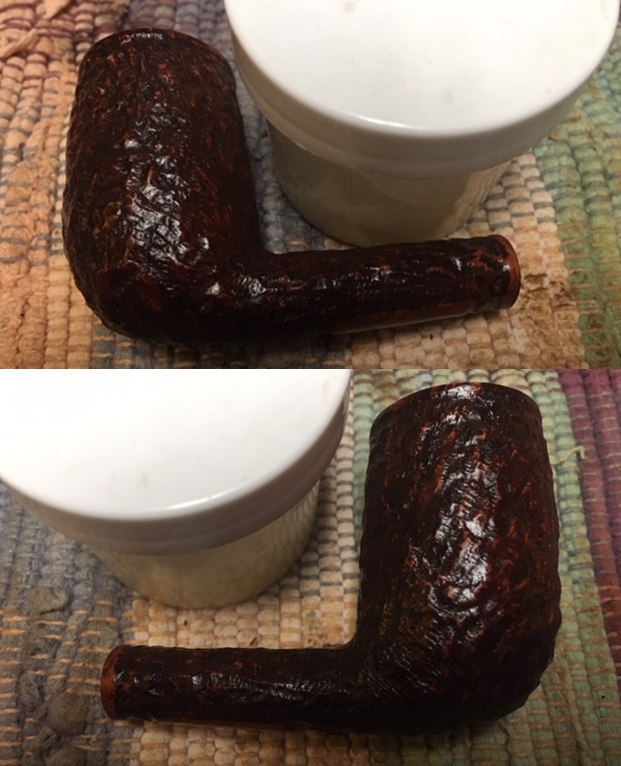
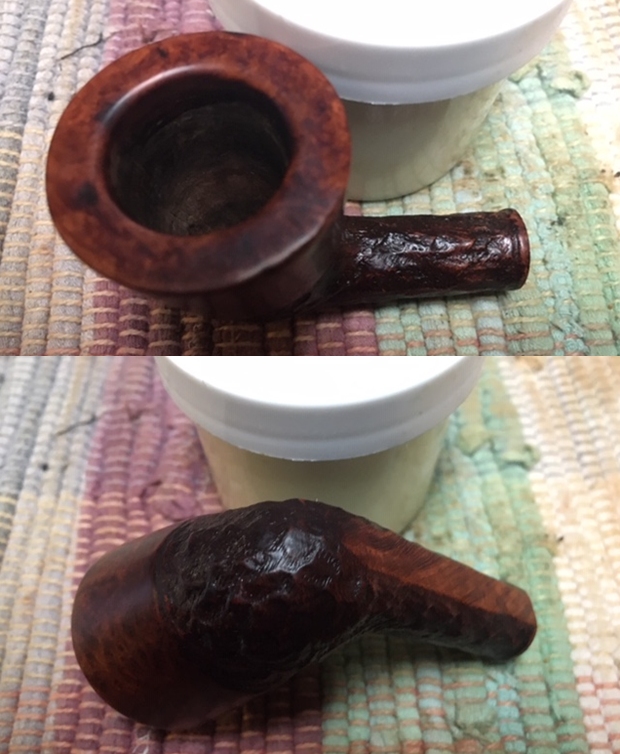
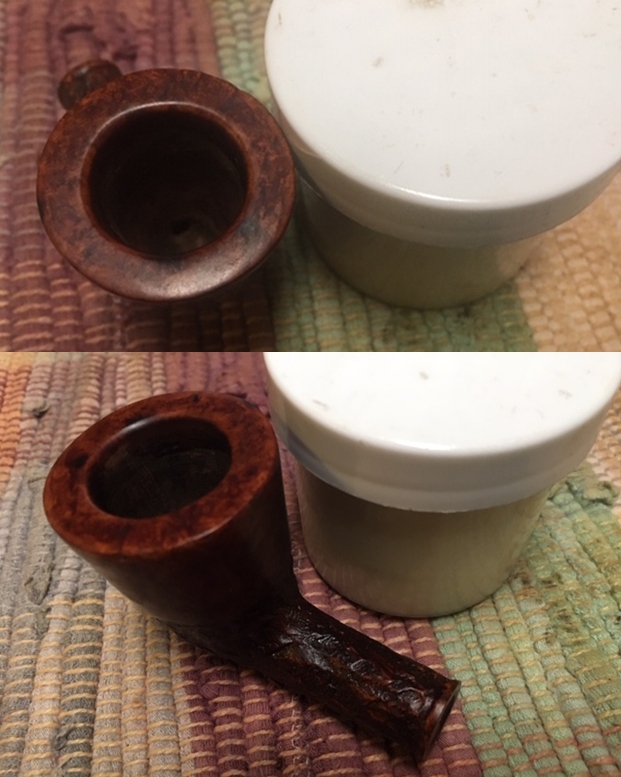
 Mark Hoover’s Before and After Restoration Balm works wonders. After putting a small amount on my fingers, I work the Balm into the briar surface. The Balm brings out the more subtle tones of the briar hue. After applying the Balm and letting it set for about 10 minutes, I use a microfiber cloth to wipe off the excess Balm and then buff up the briar surface.
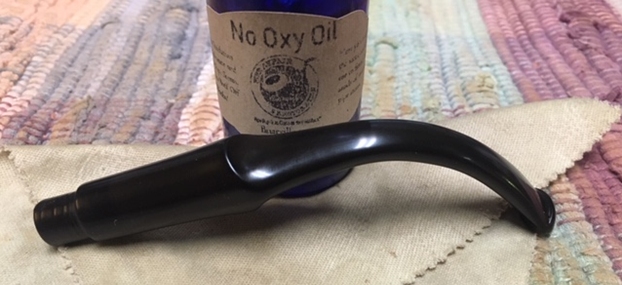
 While I was waiting for the Restoration Balm to do its thing on the stummel, I apply Before & After Fine and Extra Fine Polish to the Cumberland stem.
  I start with the Fine Polish applying it to my finger and then rubbing it into the stem. After rubbing it in, I leave it for about 10 minutes then wipe off the excess with a cloth. The next stage is applying the Extra Fine Polish in the same way. Mark’s claim for this product is that it not only rejuvenates but it continues the process of removing oxidation. After the stem sets for about 10 minutes with Extra Fine Polish on it, again the excess is wiped off with a cloth and the stem is buffed.
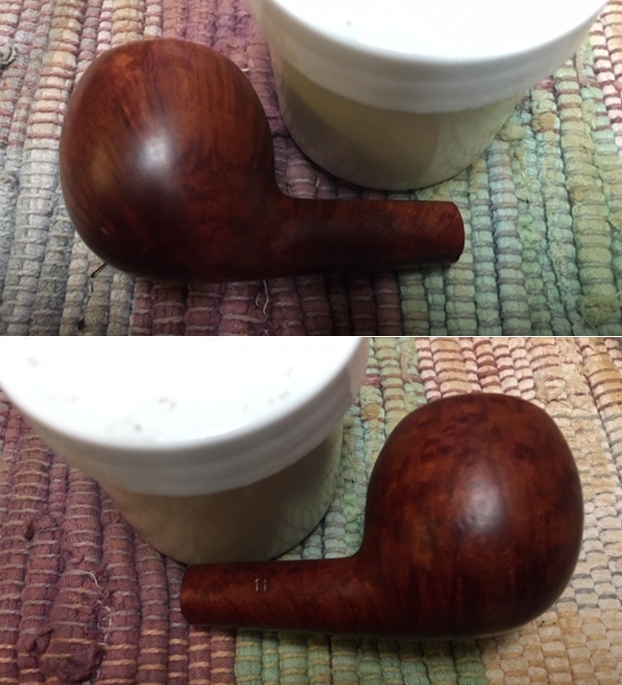
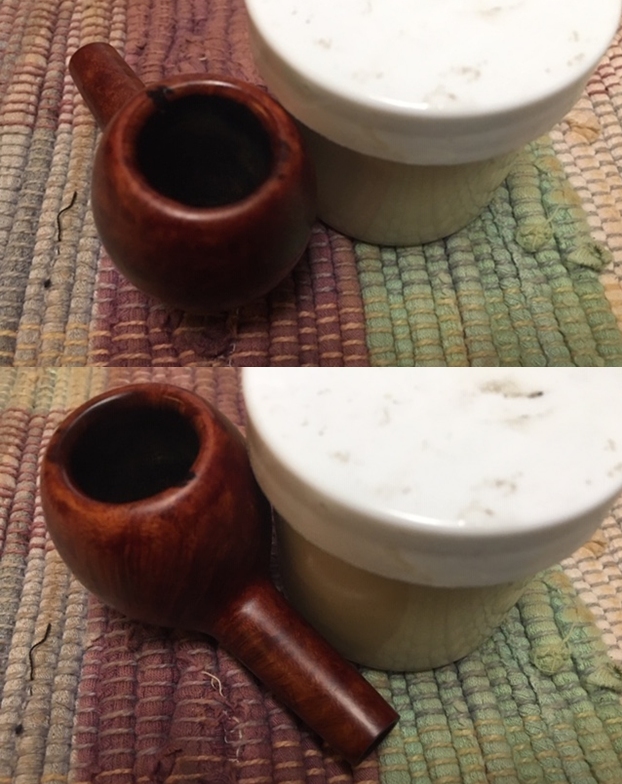
 Now in the home stretch. After rejoining the stem and stummel, a cotton cloth buffing wheel is mounted to the Dremel to apply Blue Diamond compound to stem and stummel. With the speed set at about 40% full power the fine abrasive is applied to the surface.
 Following the application of the compound, after changing to another cotton cloth buffing wheel on the Dremel, maintaining the same speed, carnauba wax is applied to the entire pipe. After the wax it applied, using a microfiber cloth, I give the pipe a rigorous hand buffing to raise the shine.
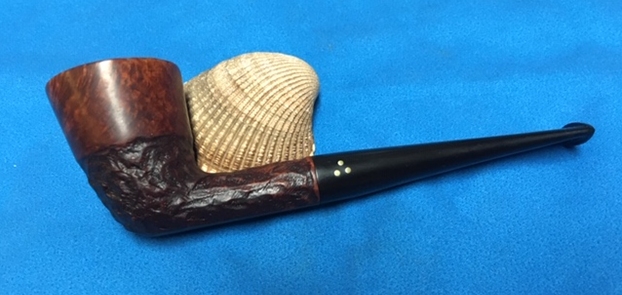
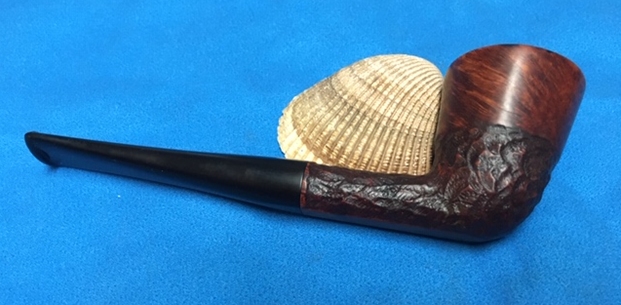
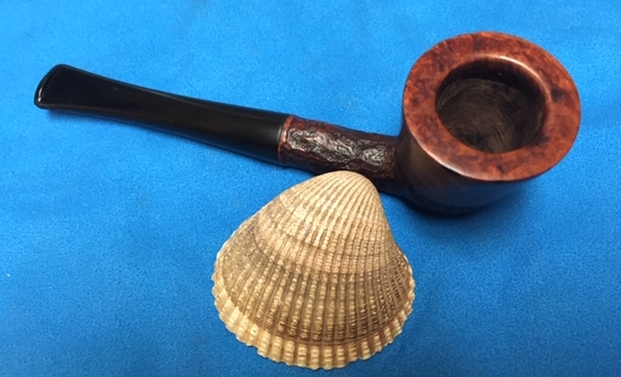
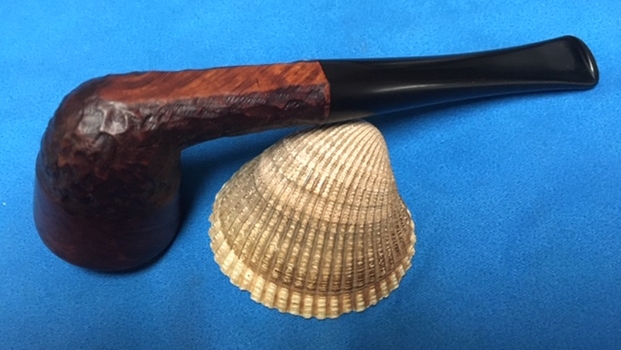
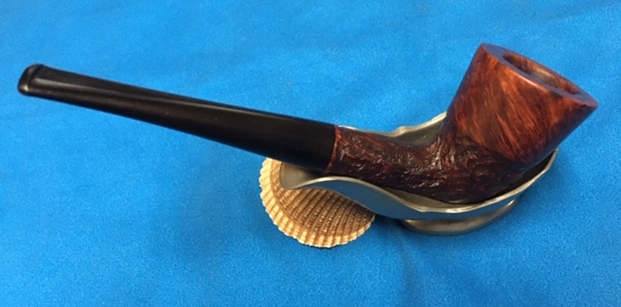
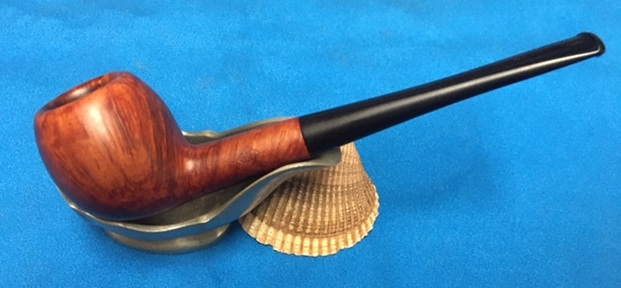
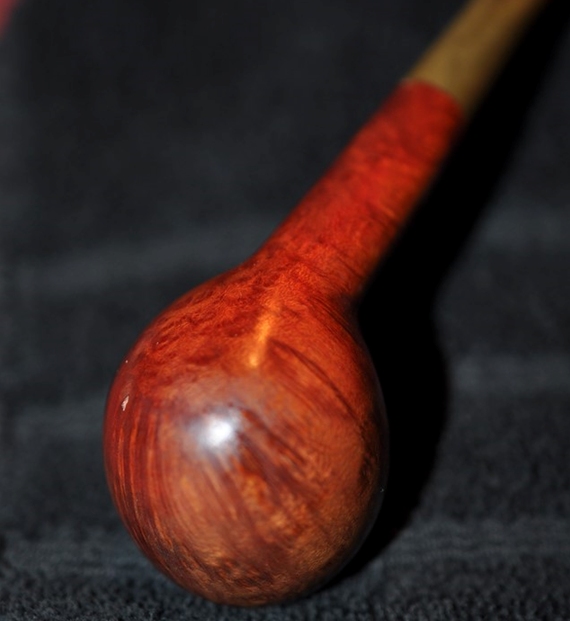
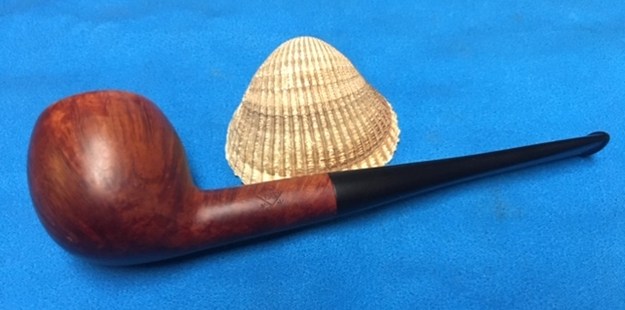
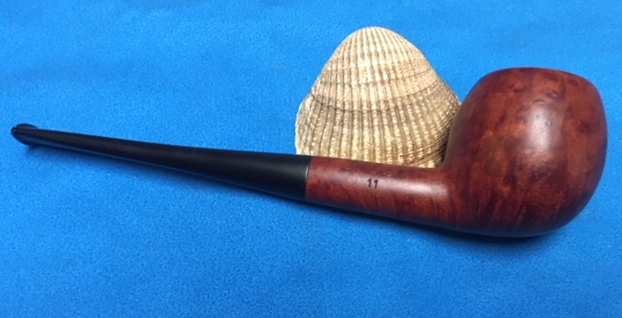
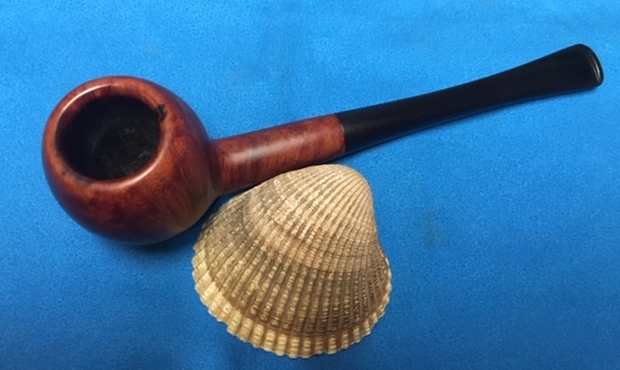
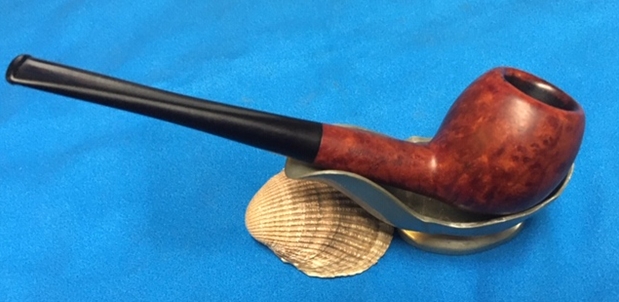
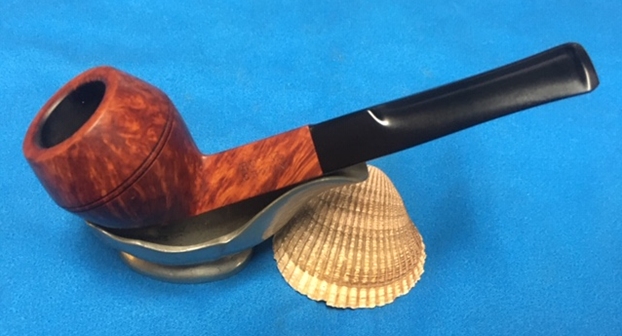
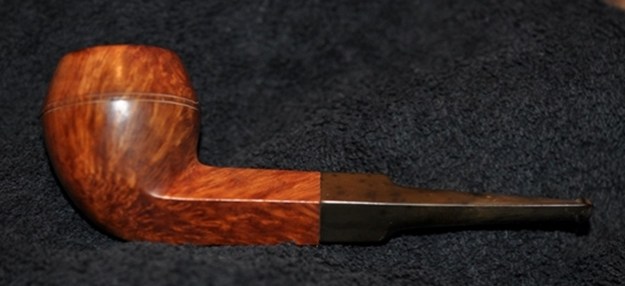
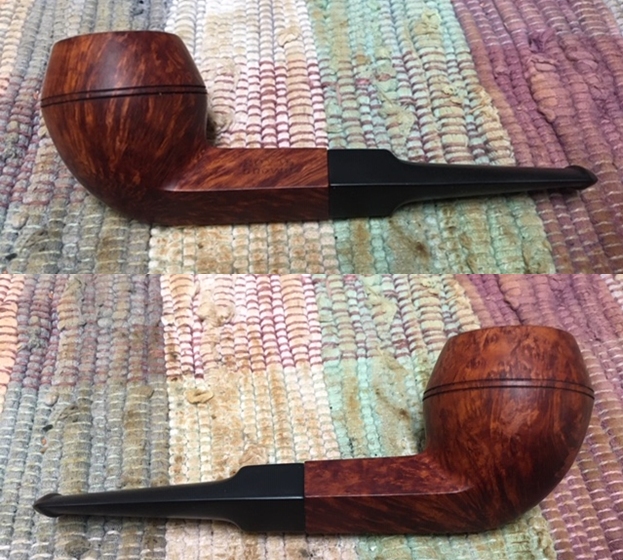
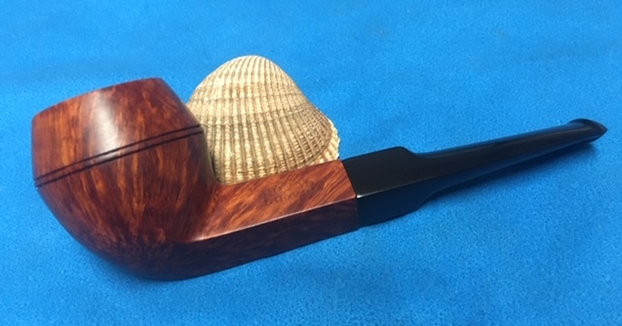
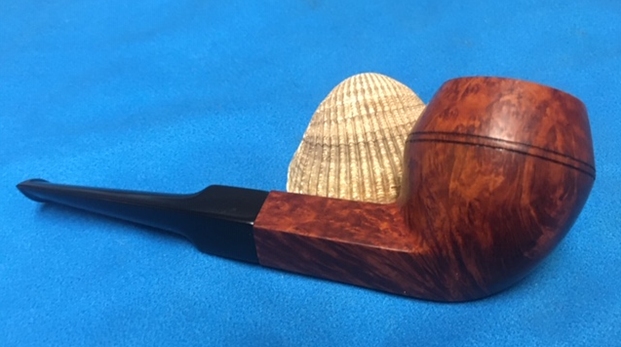
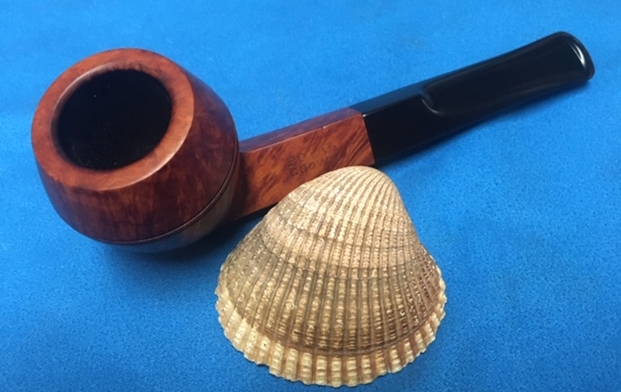
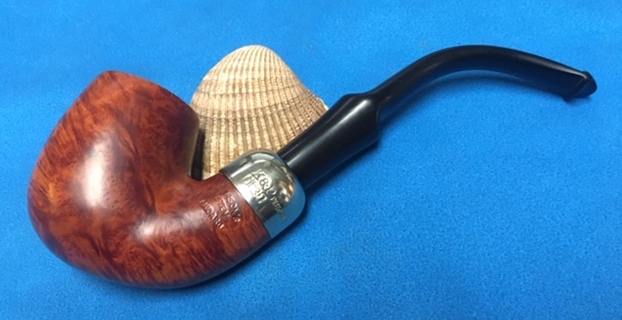
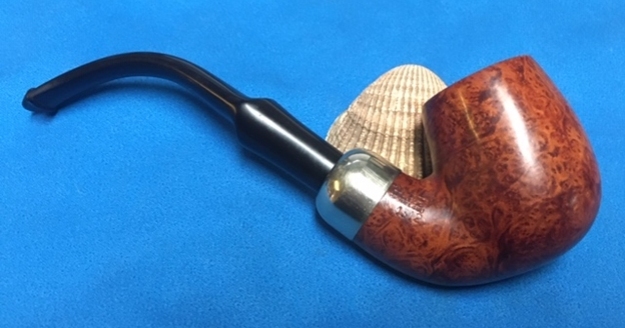
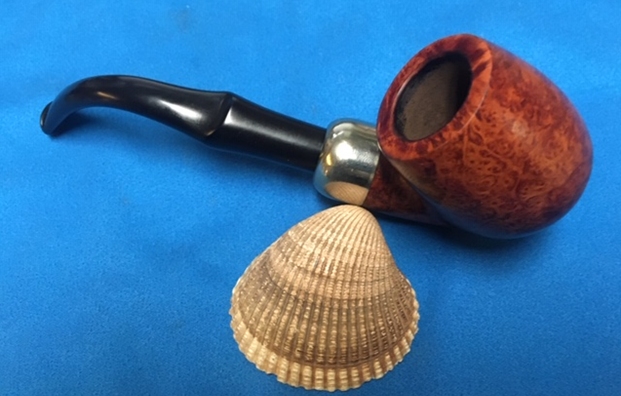
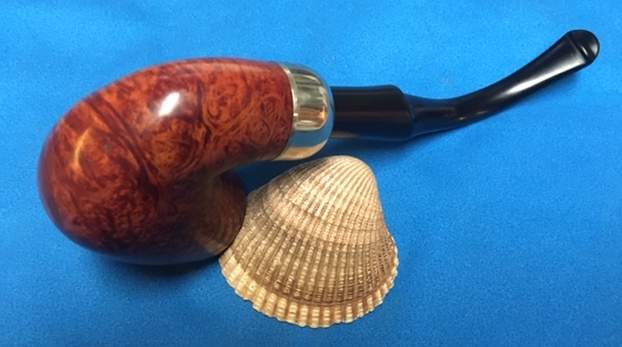
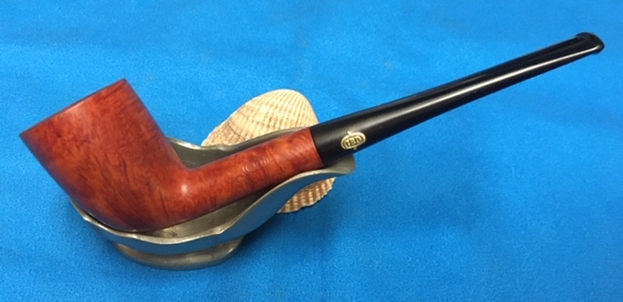
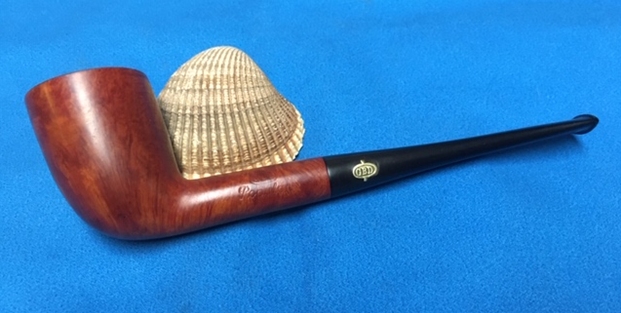
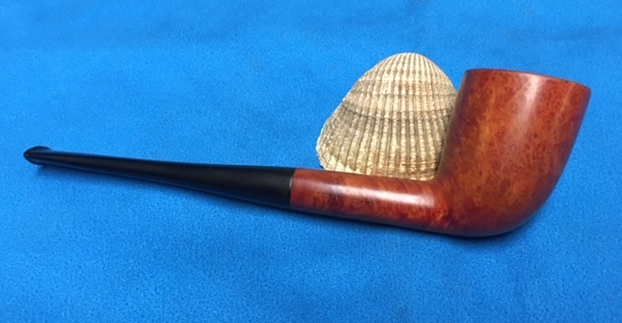
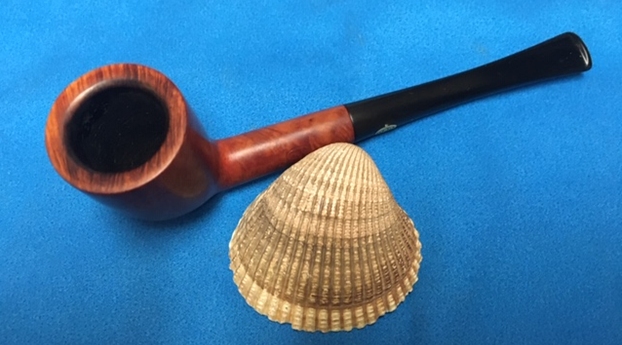
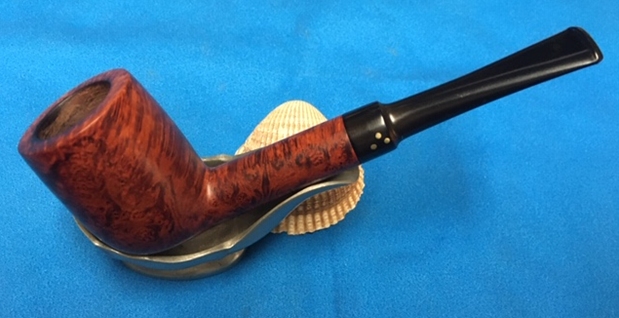
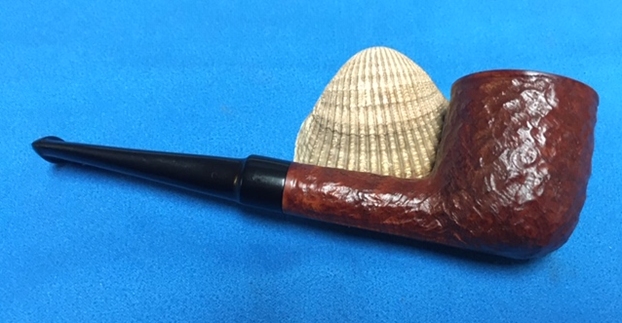
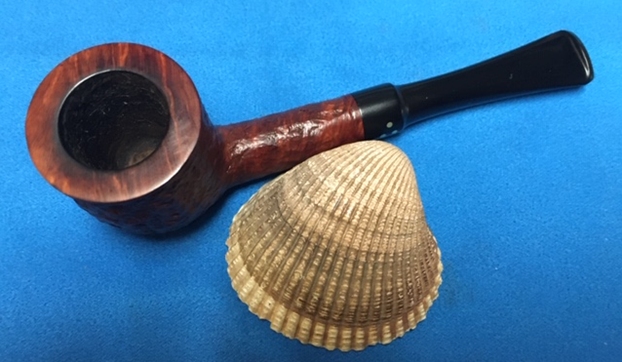
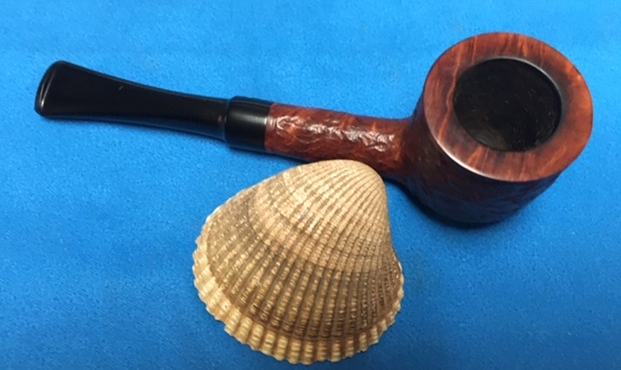
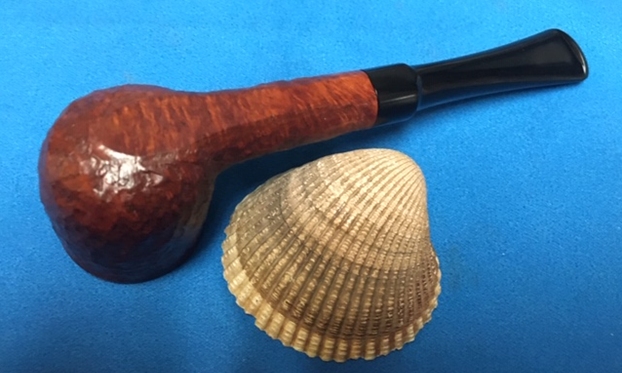
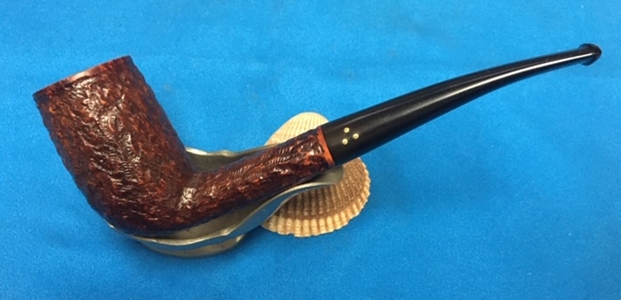
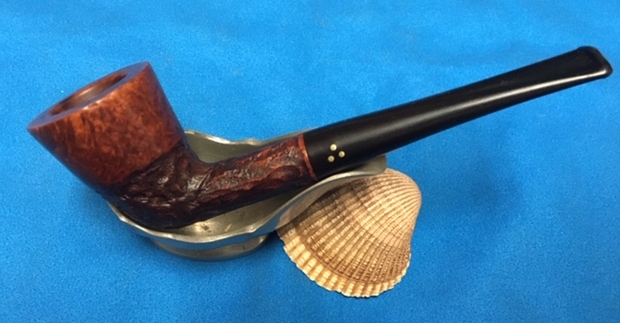
 The grain on this Borge Mortensen Handmade in Denmark is stunning. The Bent Brandy shape uses the flow of the grain as it moves upwardly toward the top of the Brandy rim – the distinctive bird’s eye grain on the heel of the Brandy corresponds to the vertical grain. The Cumberland stem is nice and the bend sets the right balance. Todd commissioned this Borge Mortensen benefitting the Daughters of Bulgaria and he will have the first opportunity to acquire it in The Pipe Steward Store. Thanks for joining me!


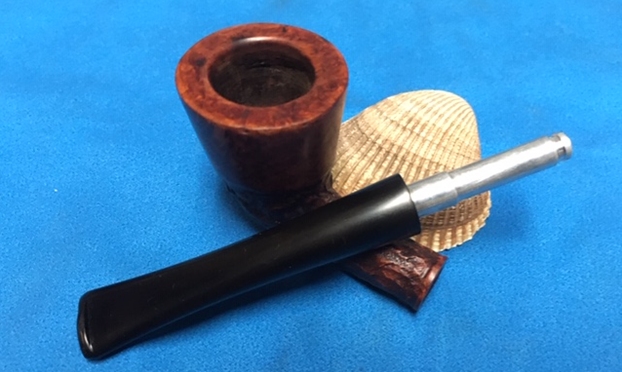
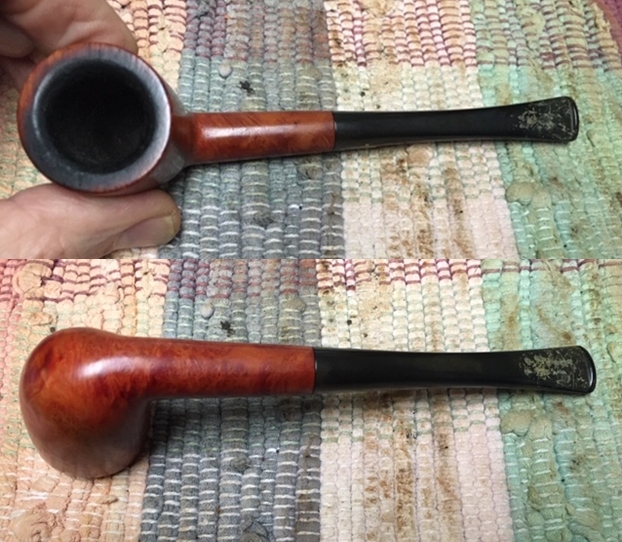
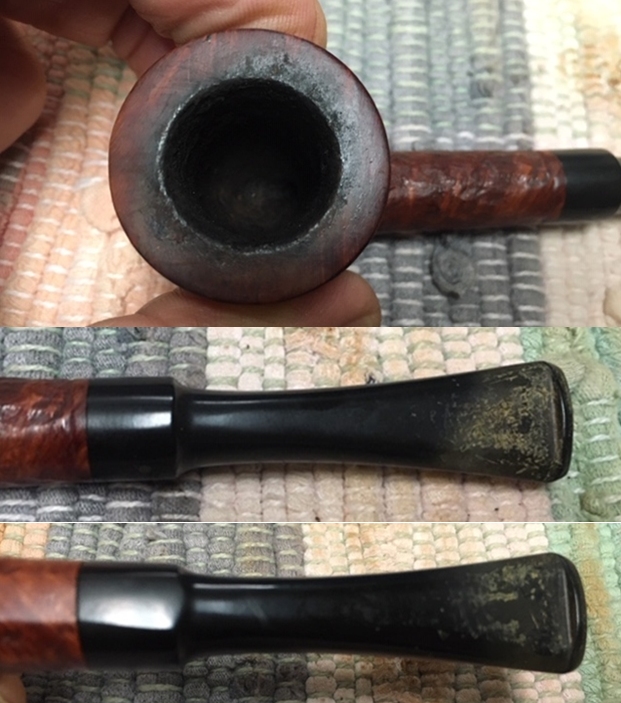
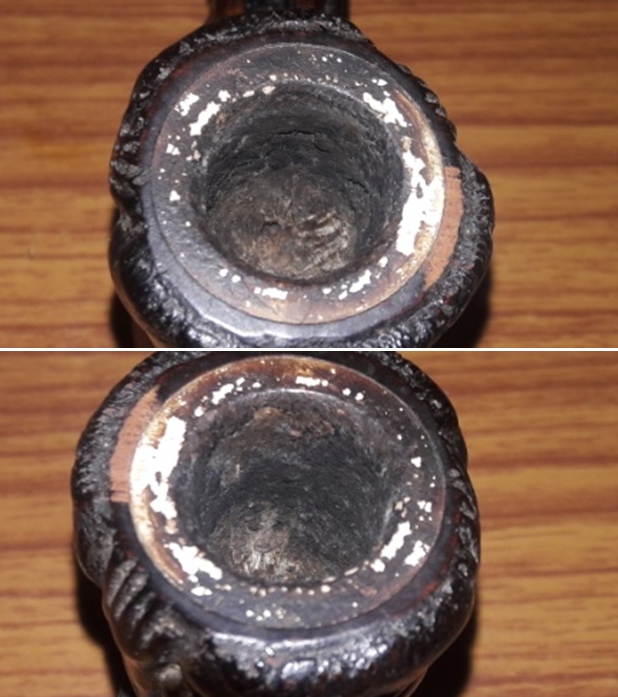
 I took some close up photos of the rim top and also of the stem surface. I wanted to show how well it had cleaned up. The rim top was clean, but there was a slight burn mark on the front inner edge. You can also see that the bowl was out of round. I also took close up photos of the stem to show how well surface looked on both sides.
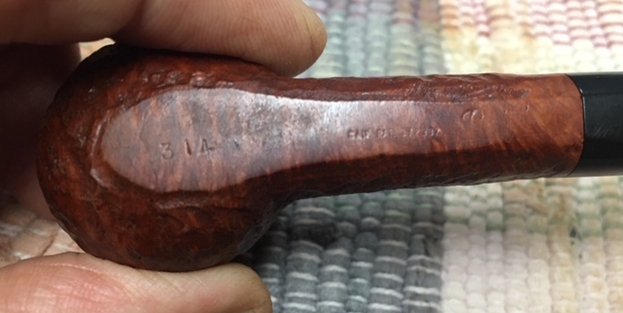
 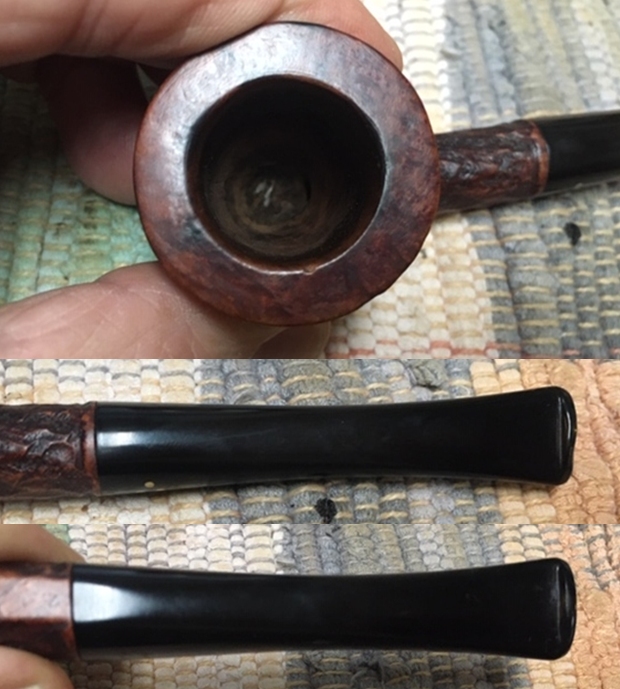 I took a photo of the stamping on the underside of the shank. You can see that it is stamped as noted above. It is faint but it is readable.
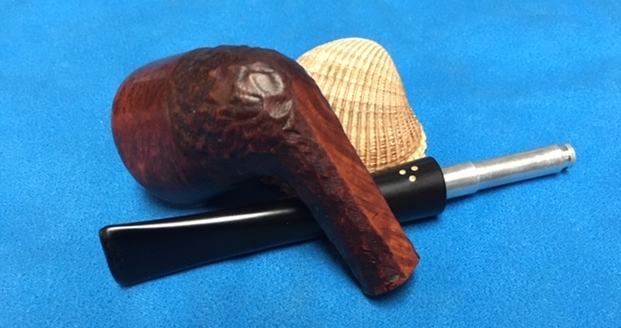
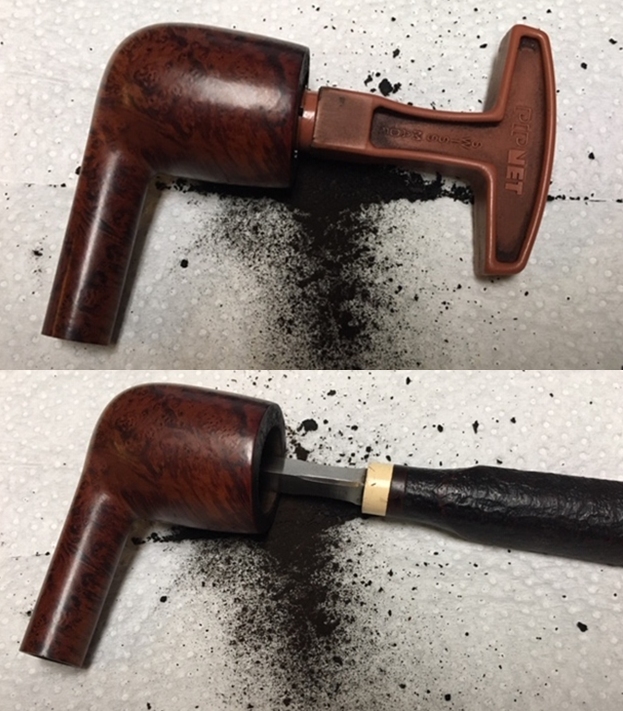
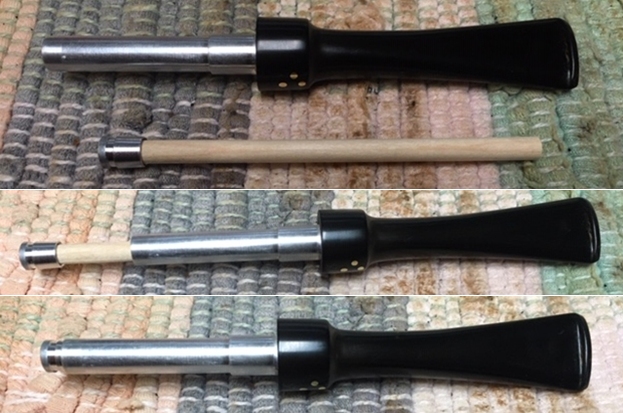
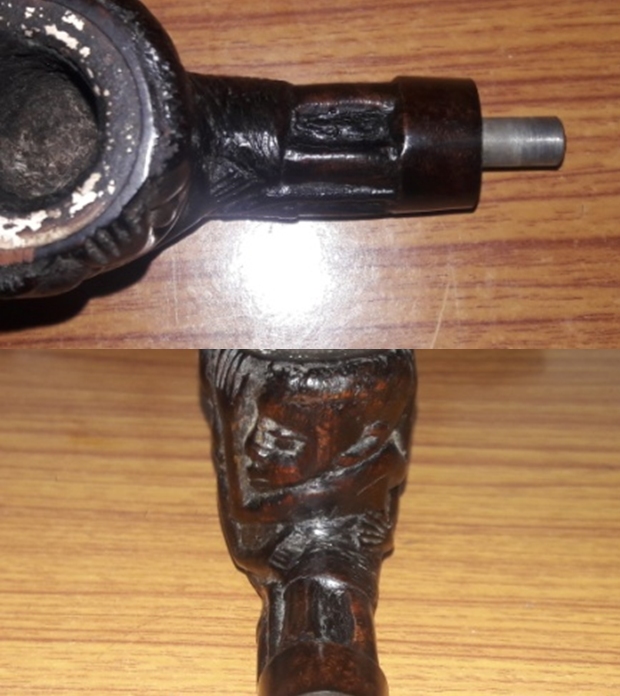
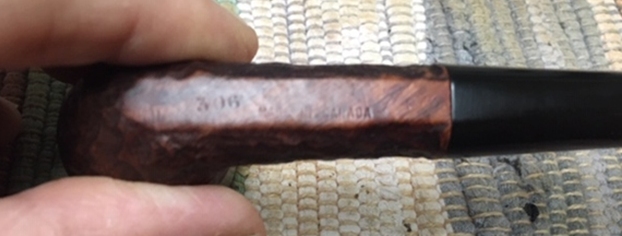 I took the pipe apart and removed the Distillator from the aluminum tenon. It was stained but otherwise clean. I would need to replace it when I was finished.
 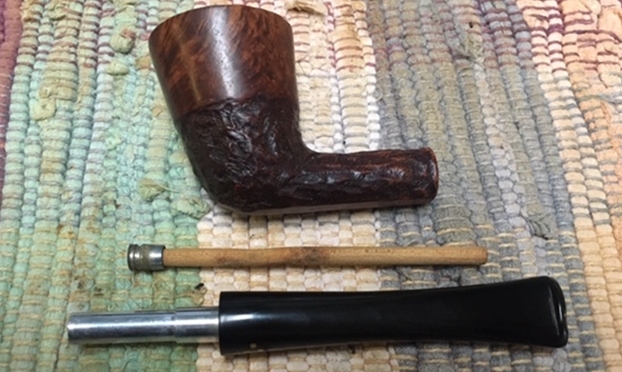 Before I get into the restoration part of this pipe I decided to include a poster I picked up that shows the filtration system of the patented Brigham Distillator. Give the poster a read. It also helps to understand the internals of these older Canadian Made pipes.
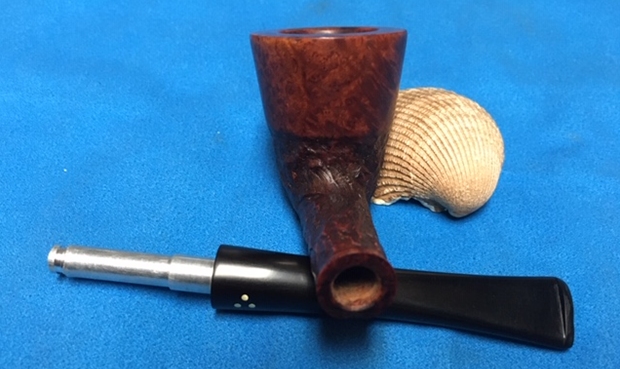
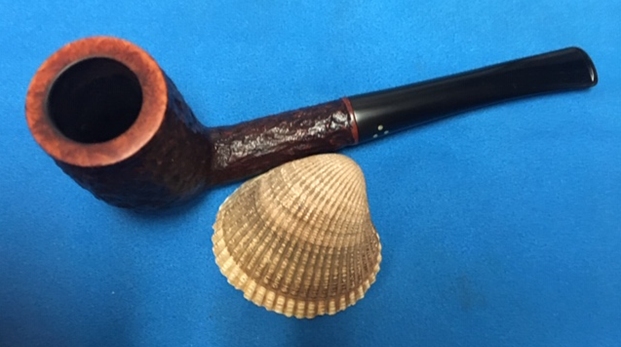
 I decided to start my restoration work on this one by dealing with the damaged rim top. I sanded the inner edge of the bowl with 220 grit sandpaper to reshape the out of round bowl and deal with the burned spot on the front edge. I gave it a slight bevel and I am pleased with the results.
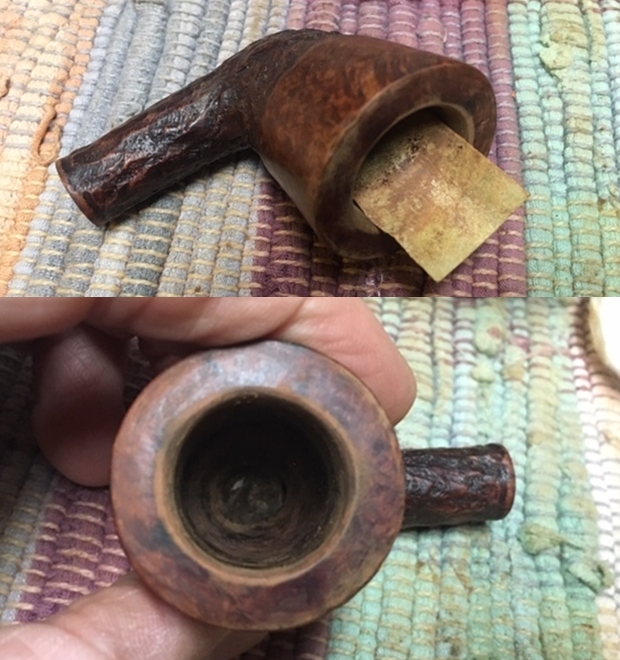 I polished the briar with micromesh sanding pads – wet sanding it with 1500-12000 grit pads. After each pad I wiped the briar down with a damp cloth.
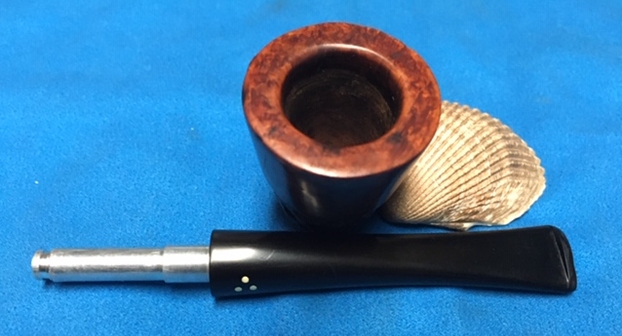
 I worked some Before & After Restoration Balm into the surface of the briar with my fingertips to clean, enliven and protect the briar. I let the balm sit for a little while and then buffed with a cotton cloth to raise the shine. The photos show the bowl at this point in the restoration process.
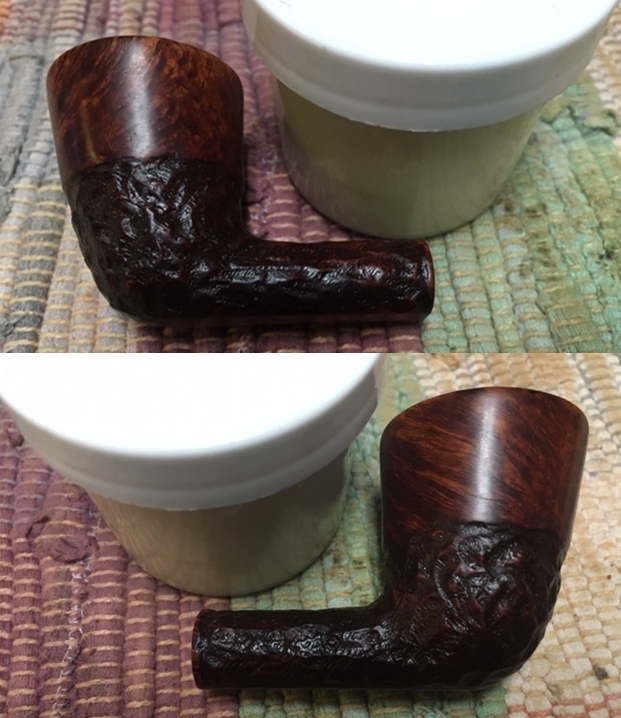
 With that done the bowl was finished other than the final buffing. I set it aside and turned my attention to the stem. I painted the stem surface with the flame of a Bic lighter to lift the tooth marks from the surface.
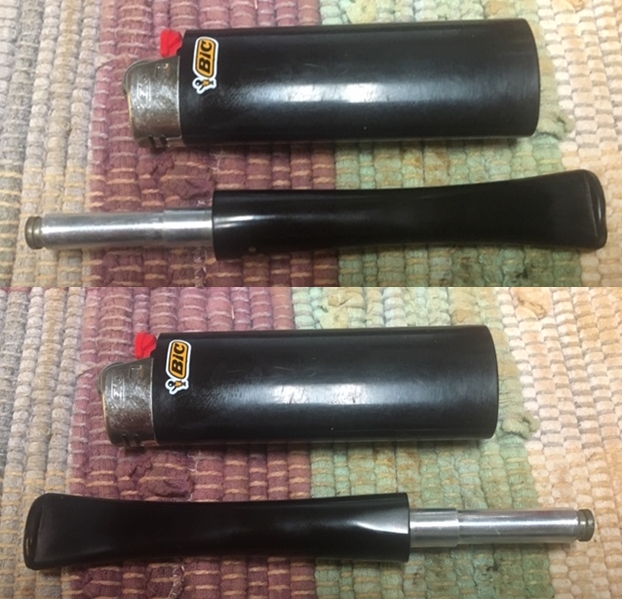 After the heat had done its work on the tooth marks on the top side I was left with some damage on the button edges and on the underside of the stem. I filled in the remaining tooth damage with clear CA glue and set the stem aside to dry overnight.
 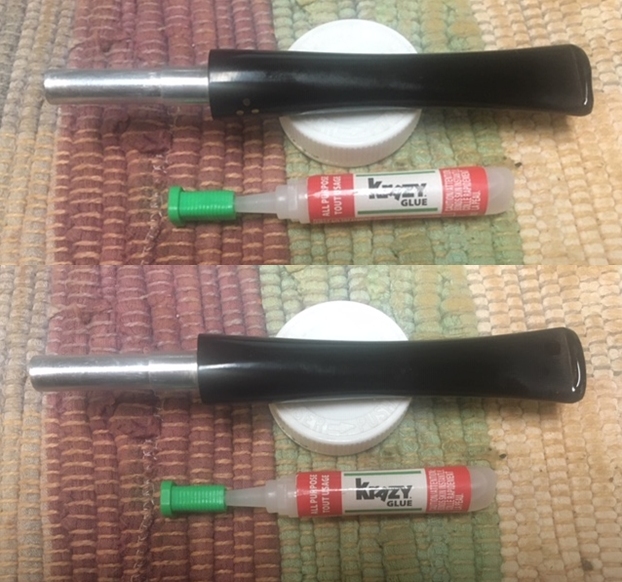 I sanded out the repaired tooth marks and chatter with 220 grit sand paper to blend them into the rest of the stem surface. I started to polish it with a folded piece of 400 wet dry sandpaper. Once it was finished it had begun to shine.
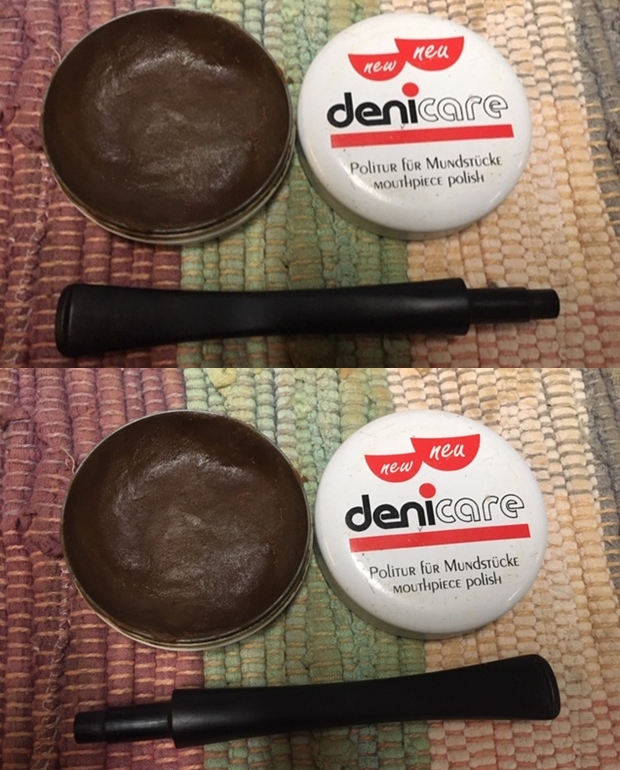
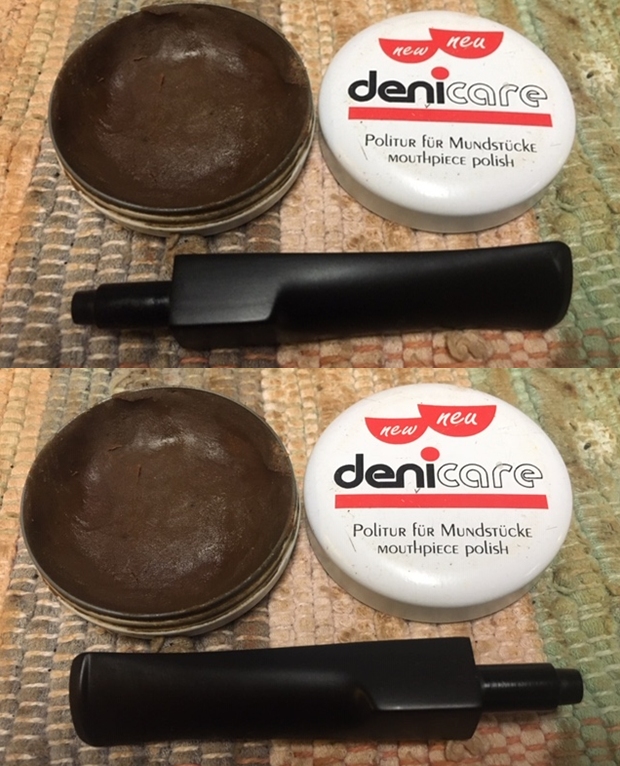
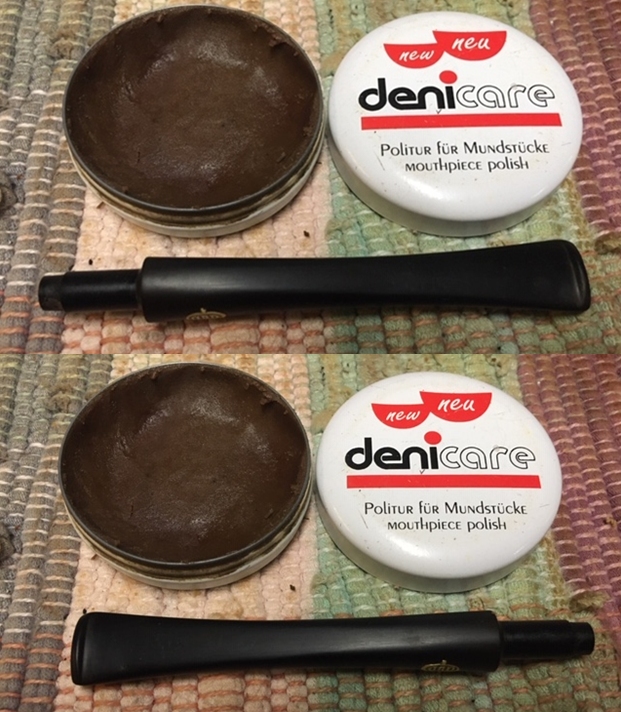
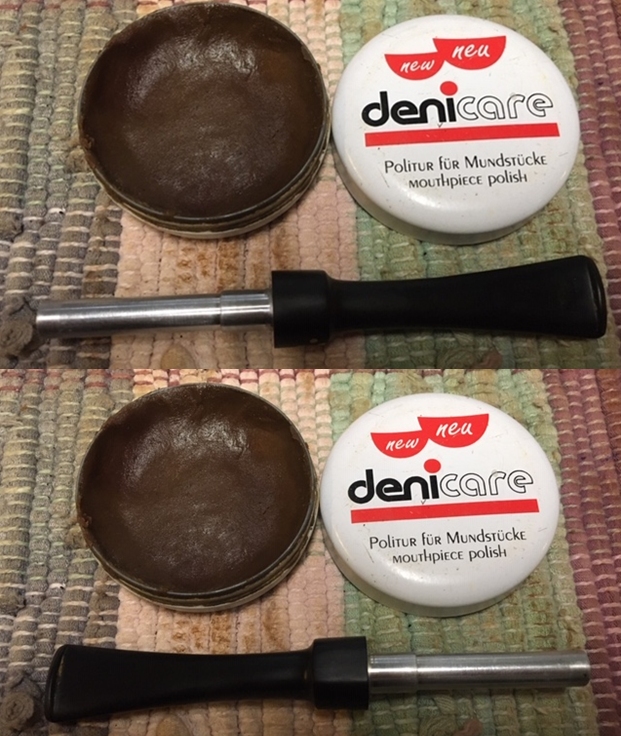
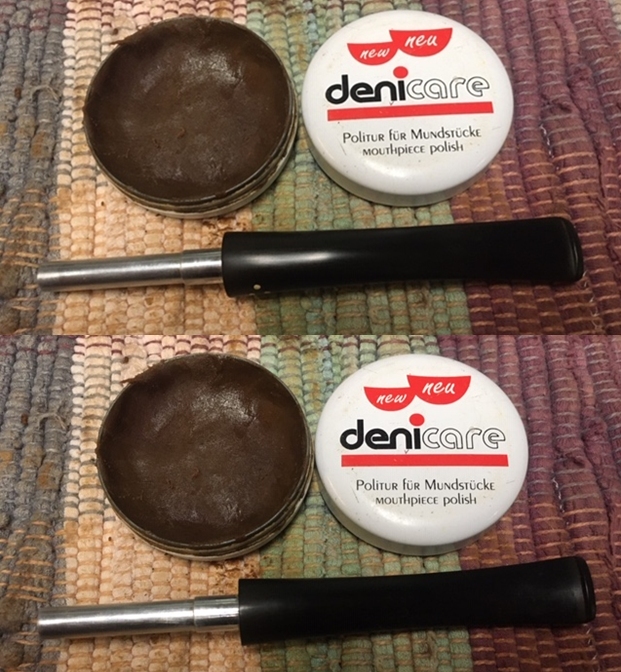
 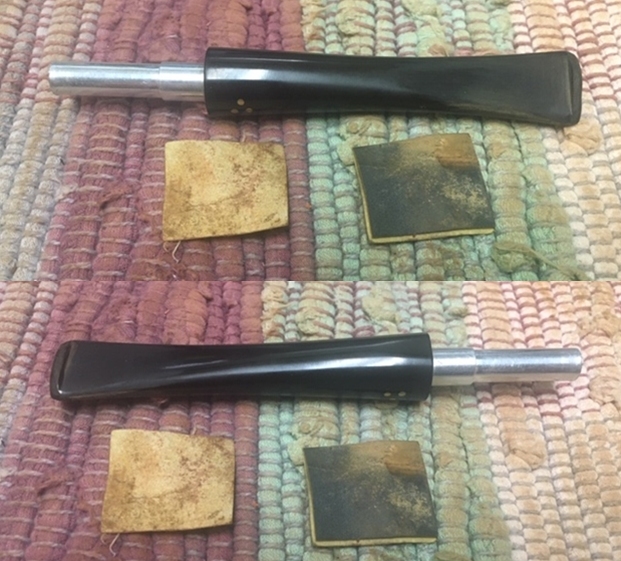 I polished the stem with Denicare Mouthpiece Polish from a tin of it I have in the drawer here. It is a gritty red paste that I rub on with my finger tips and work into the surface of the stem and button and buff off with a cotton pad. It gives me a bit of a head start on the polishing work.
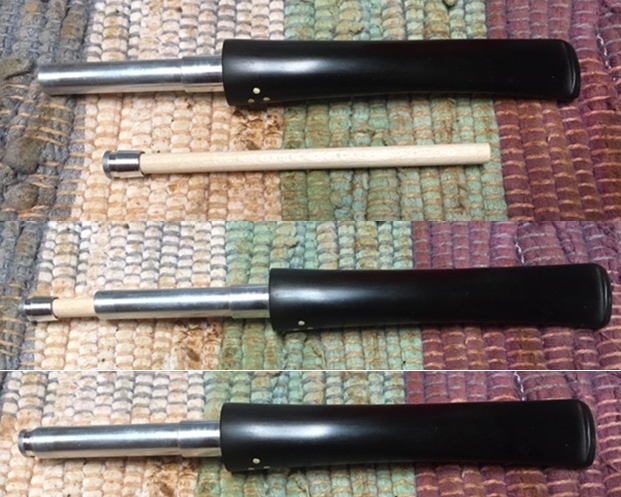
 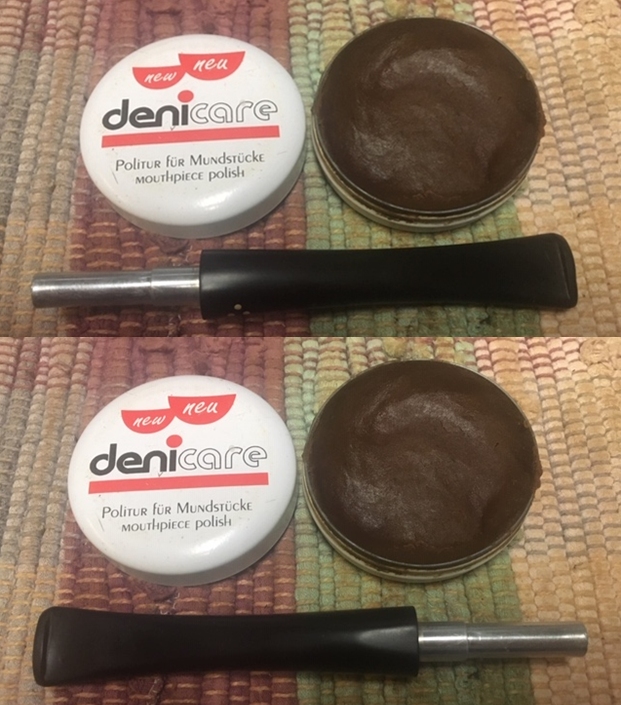 Before I finished the polishing stem I decided to fit it with a new Rock Maple Distillator.
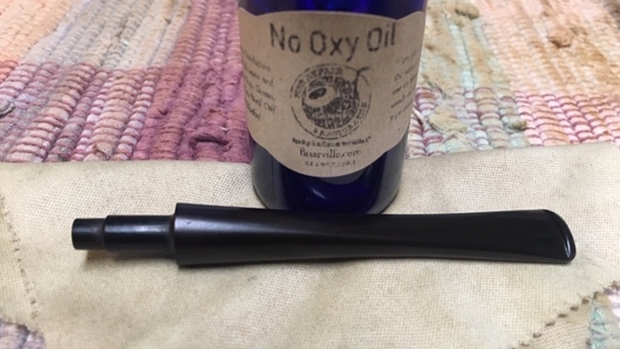
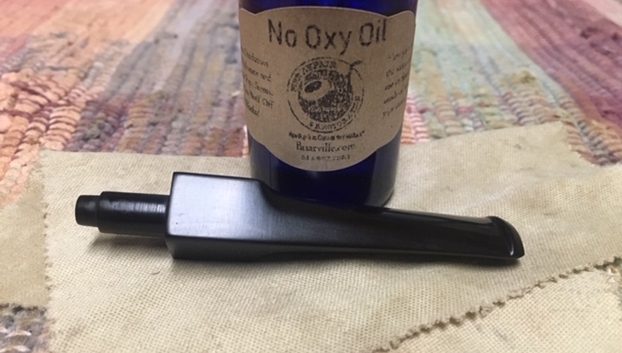
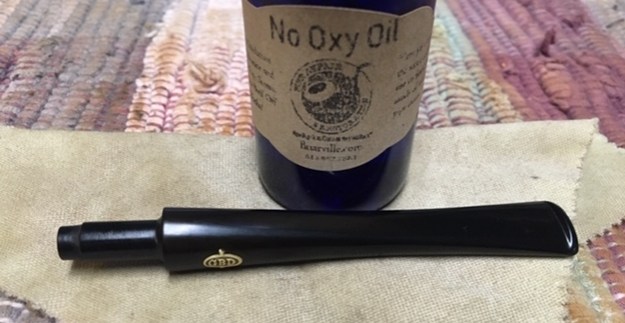
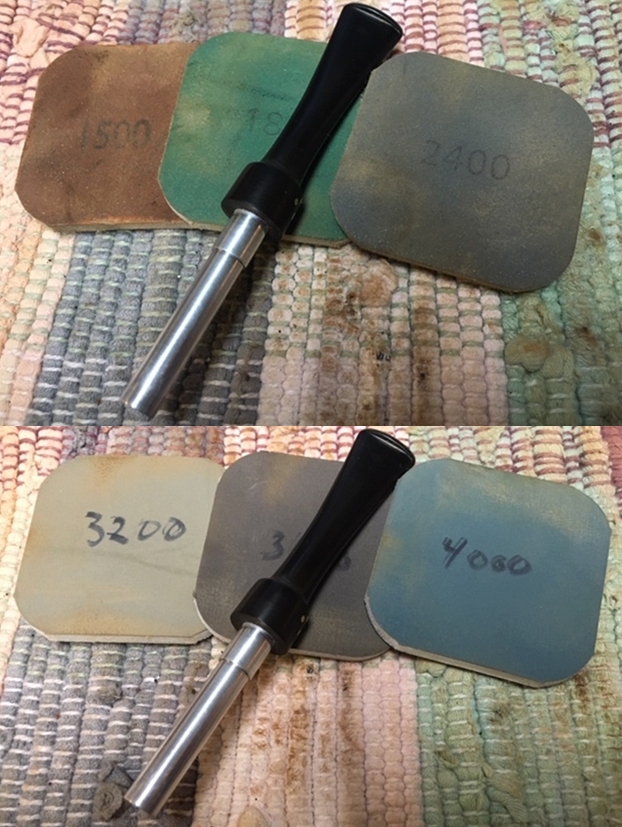
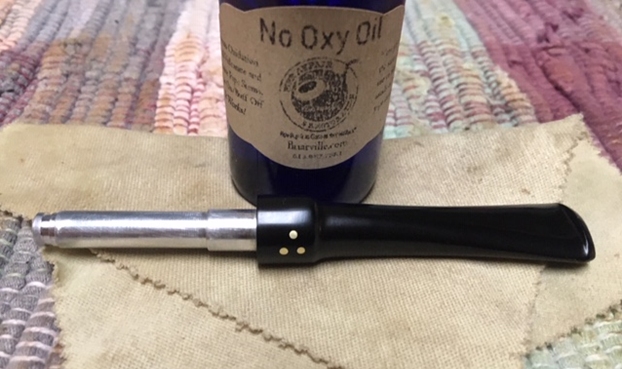
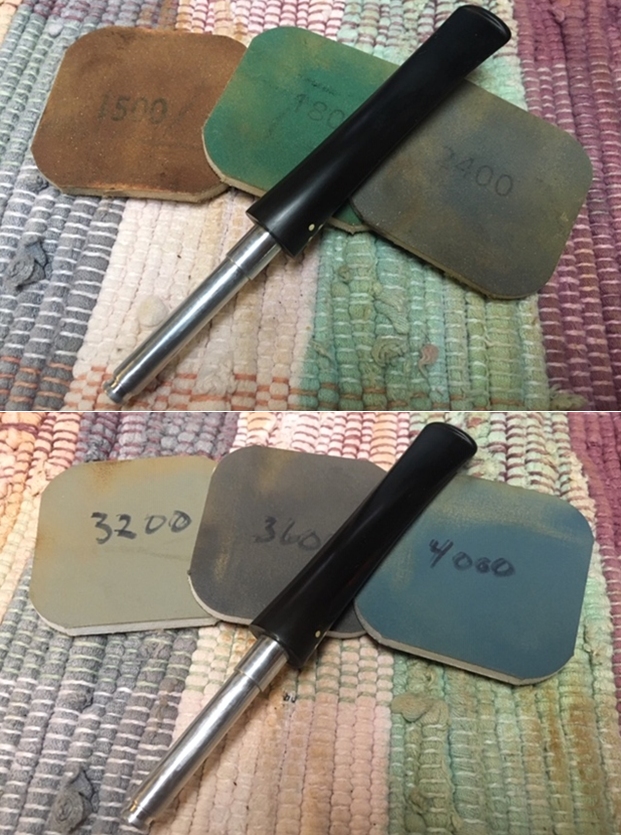
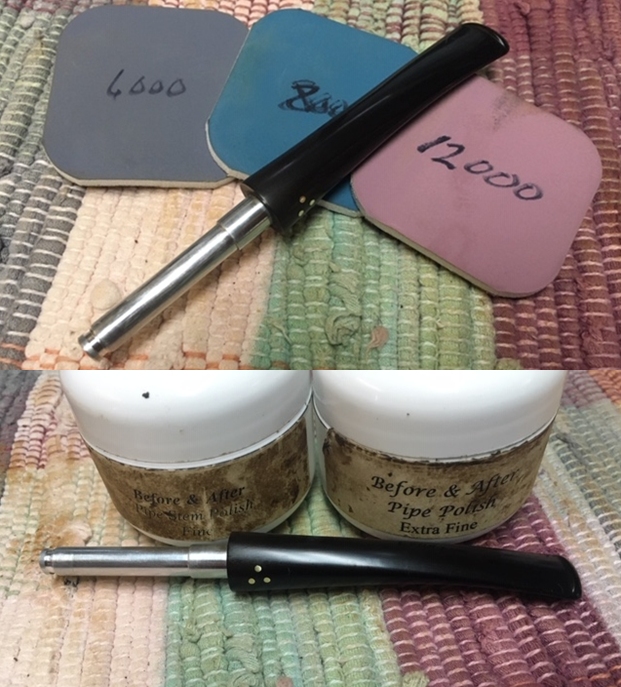
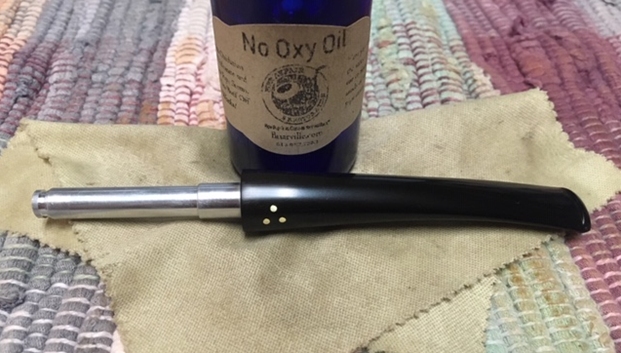
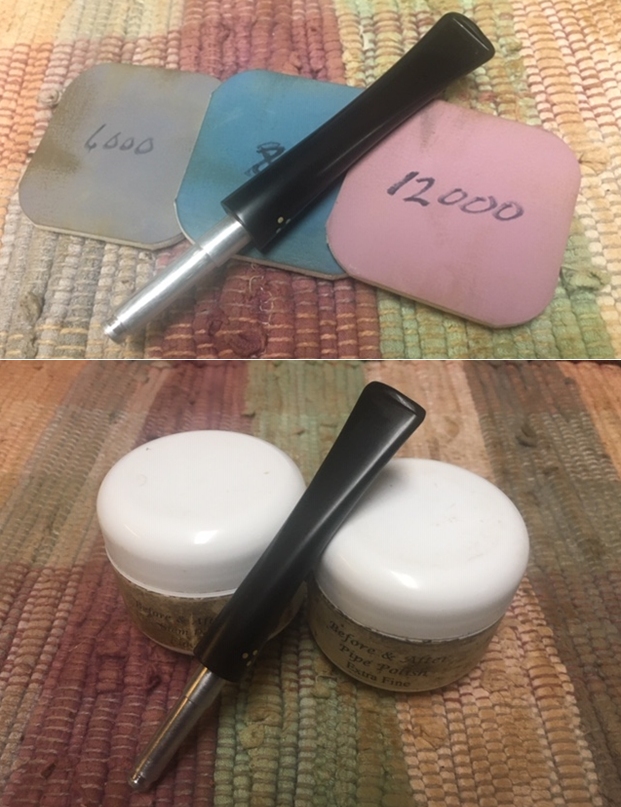
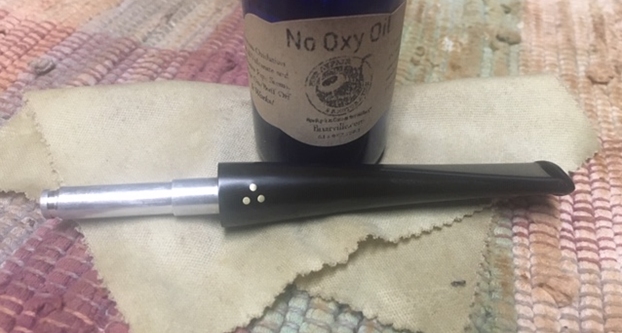
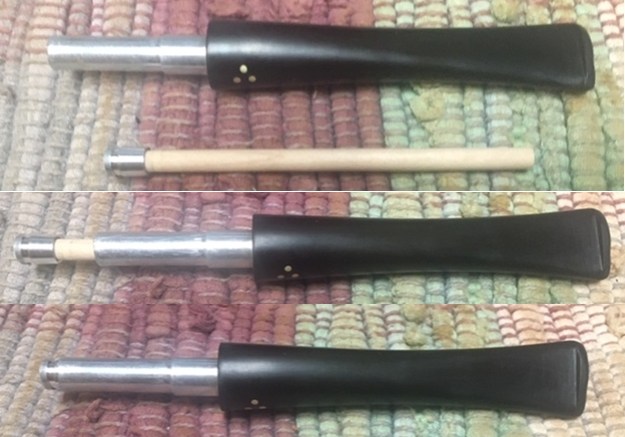 I polished the stem with micromesh sanding pads – wet sanding with 1500-12000 grit sanding pads. I wiped it down after each sanding pad with Obsidian Oil. I polished it with Before & After Pipe Stem Polish – both Fine and Extra Fine. I am continuing to experiment with Briarville Pipe Repairs new product, No Oxy Oil so I rubbed the stem down with the oil on the cloth that was provided with it.
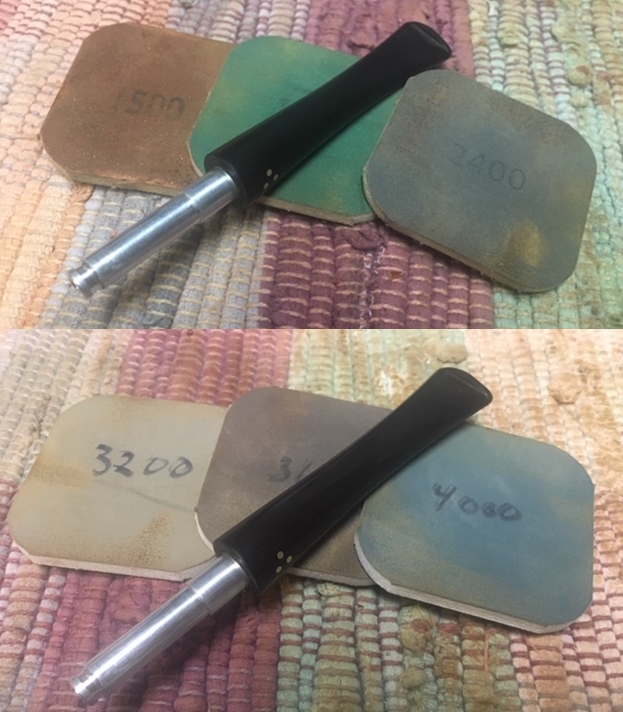
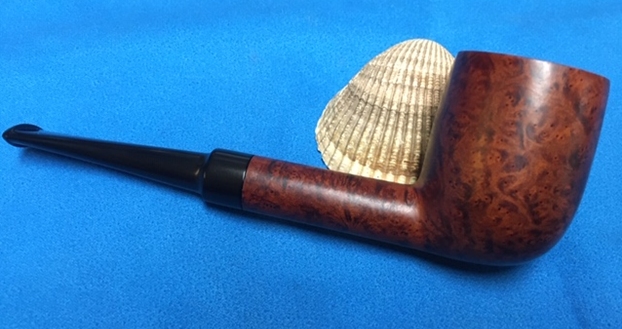
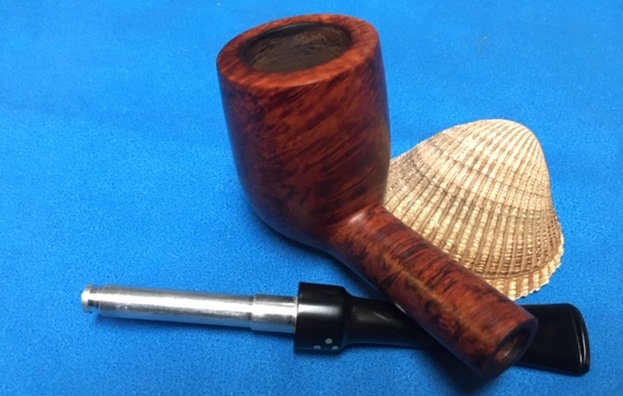
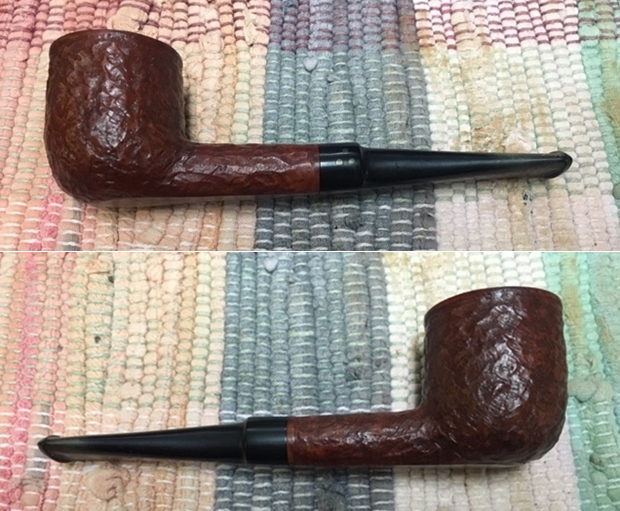
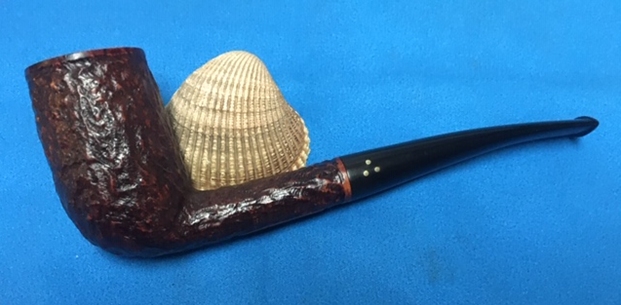
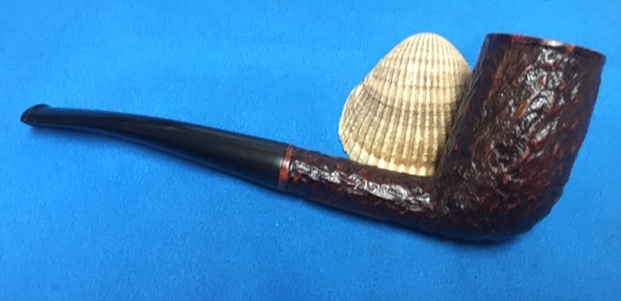
 I am excited to finish this Brigham. I put the pipe back together and buffed it with Blue Diamond on the buffing wheel. I gave the bowl and the stem multiple coats of carnauba wax. I hand buffed the pipe with a clean buffing pad to raise the shine. It is fun to see what the polished bowl looks like with the grain popping through on the bowls sides and rim top. Added to that the polished black vulcanite stem with the shining brass pins was beautiful. This mixed grain on the smooth finish Brigham 306 Dublin is nice looking and the pipe feels great in my hand. It is light and well balanced. Have a look at it with the photos below. When I was going through the box of pipes in my box of pipes to be done I came across this beautiful 3 Dot Brigham. The dimensions are Length: 5 ½ inches, Height: 1 ¾ inches, Outside diameter of the bowl: 1 3/8 inches, Chamber diameter: ¾ of an inch. It is a beautiful pipe and one that will be on the rebornpipes store soon. If you are interested in adding it to your collection let me know. Thanks for walking through the restoration with me as I worked over this pipe. Thanks to each of you who are reading this blog. Remember we are not pipe owners; we are pipemen and women who hold our pipes in trust until they pass on into the trust of the next pipeman or woman.