Tag Archives: tooth marks

Cleaning Up a Charming Rossi Featherweight Acorn


by Kenneth Lieblich

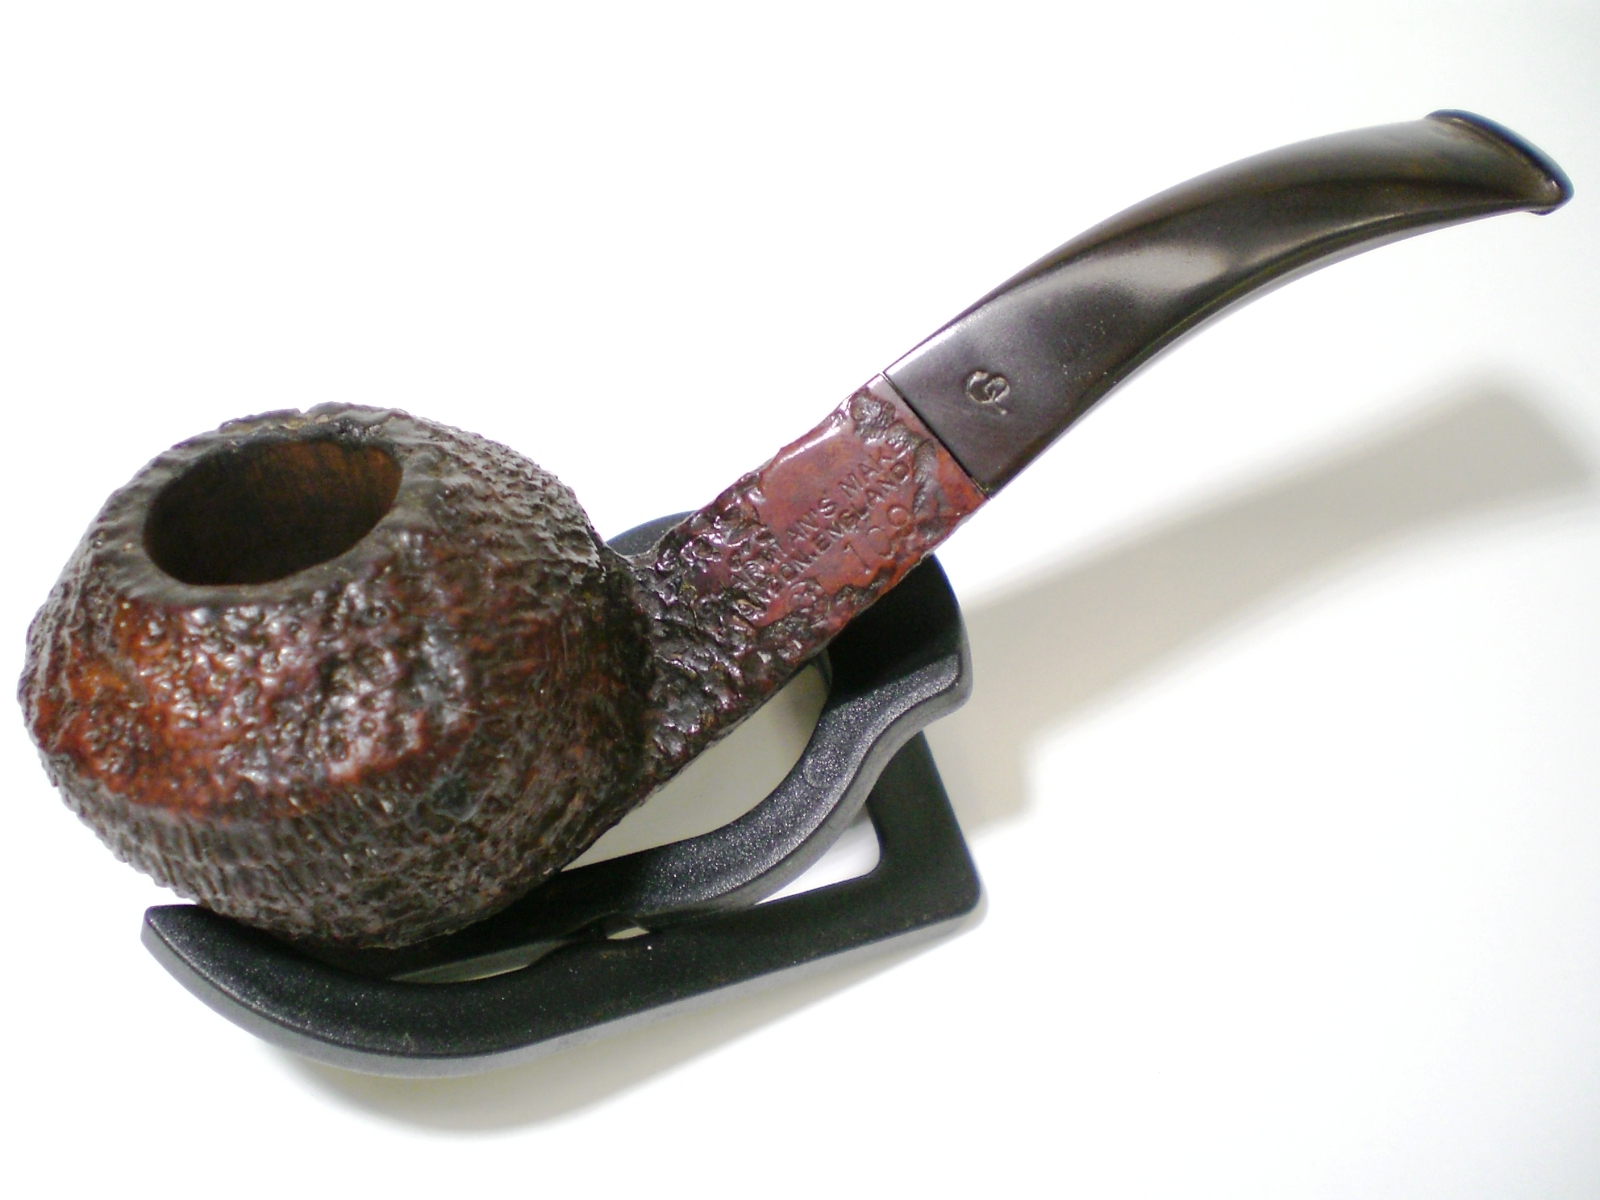
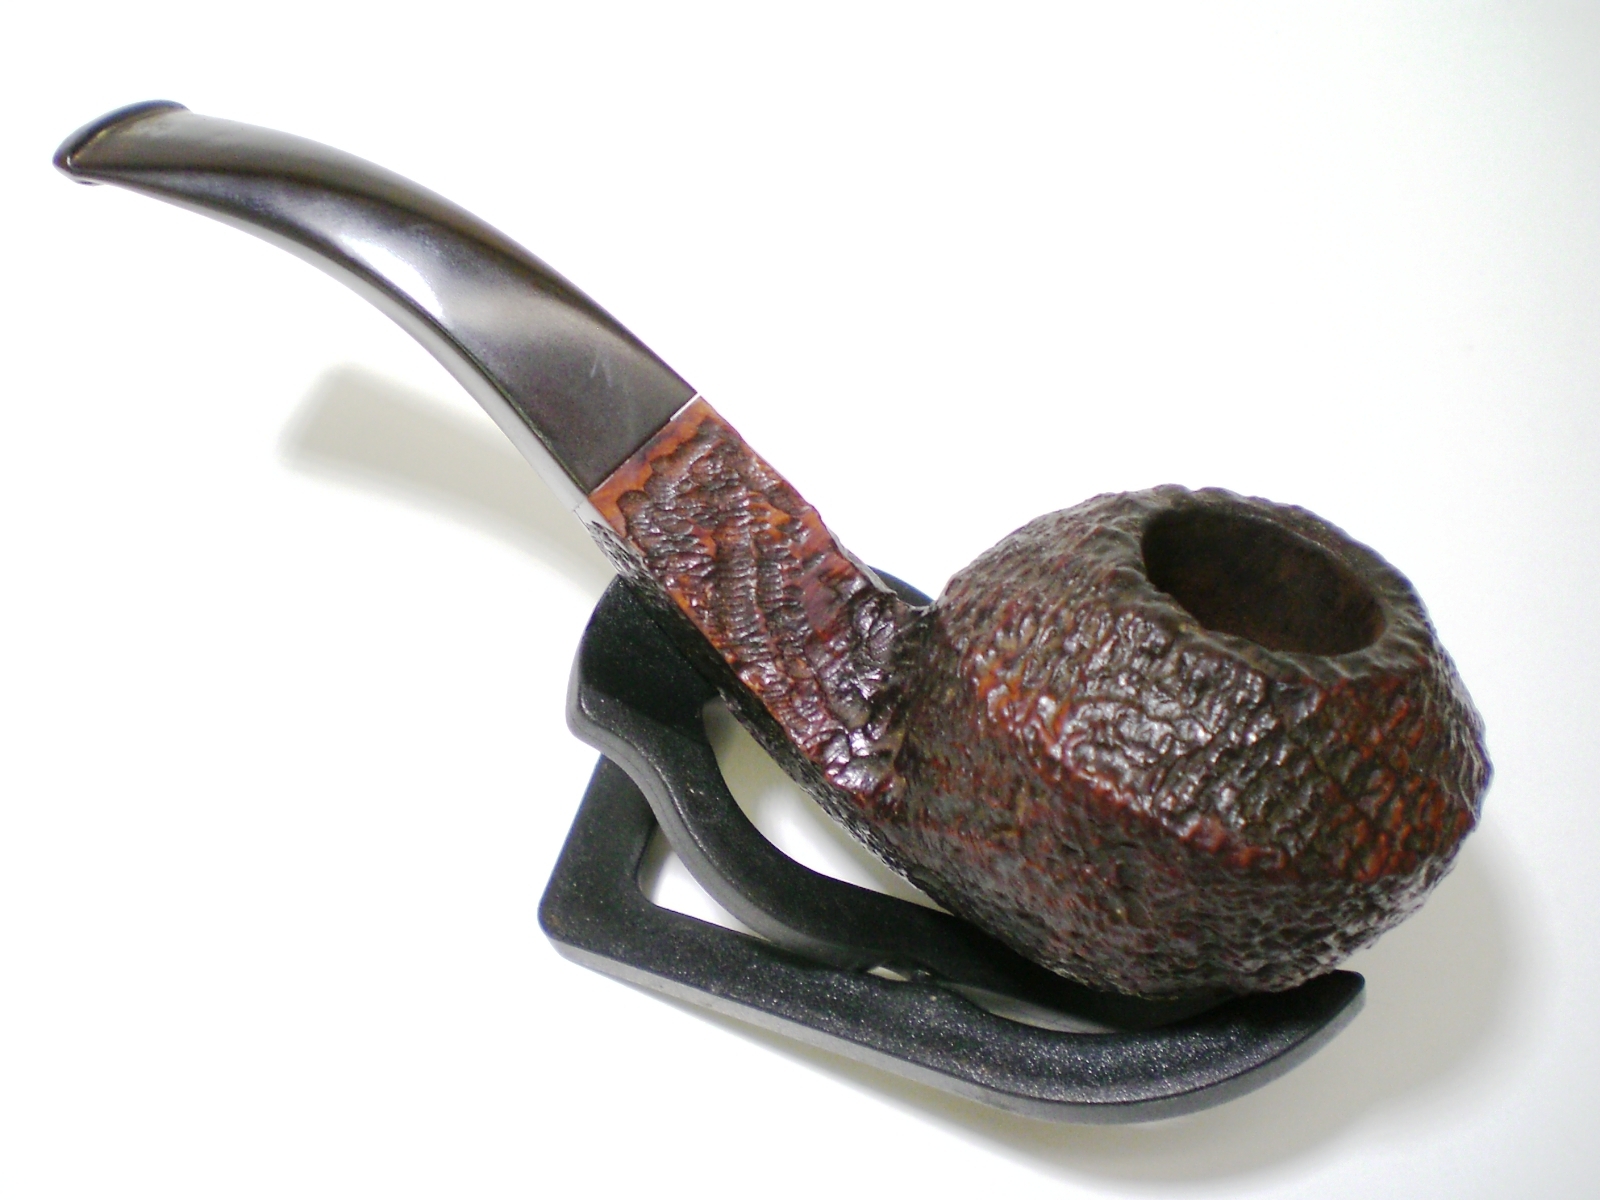
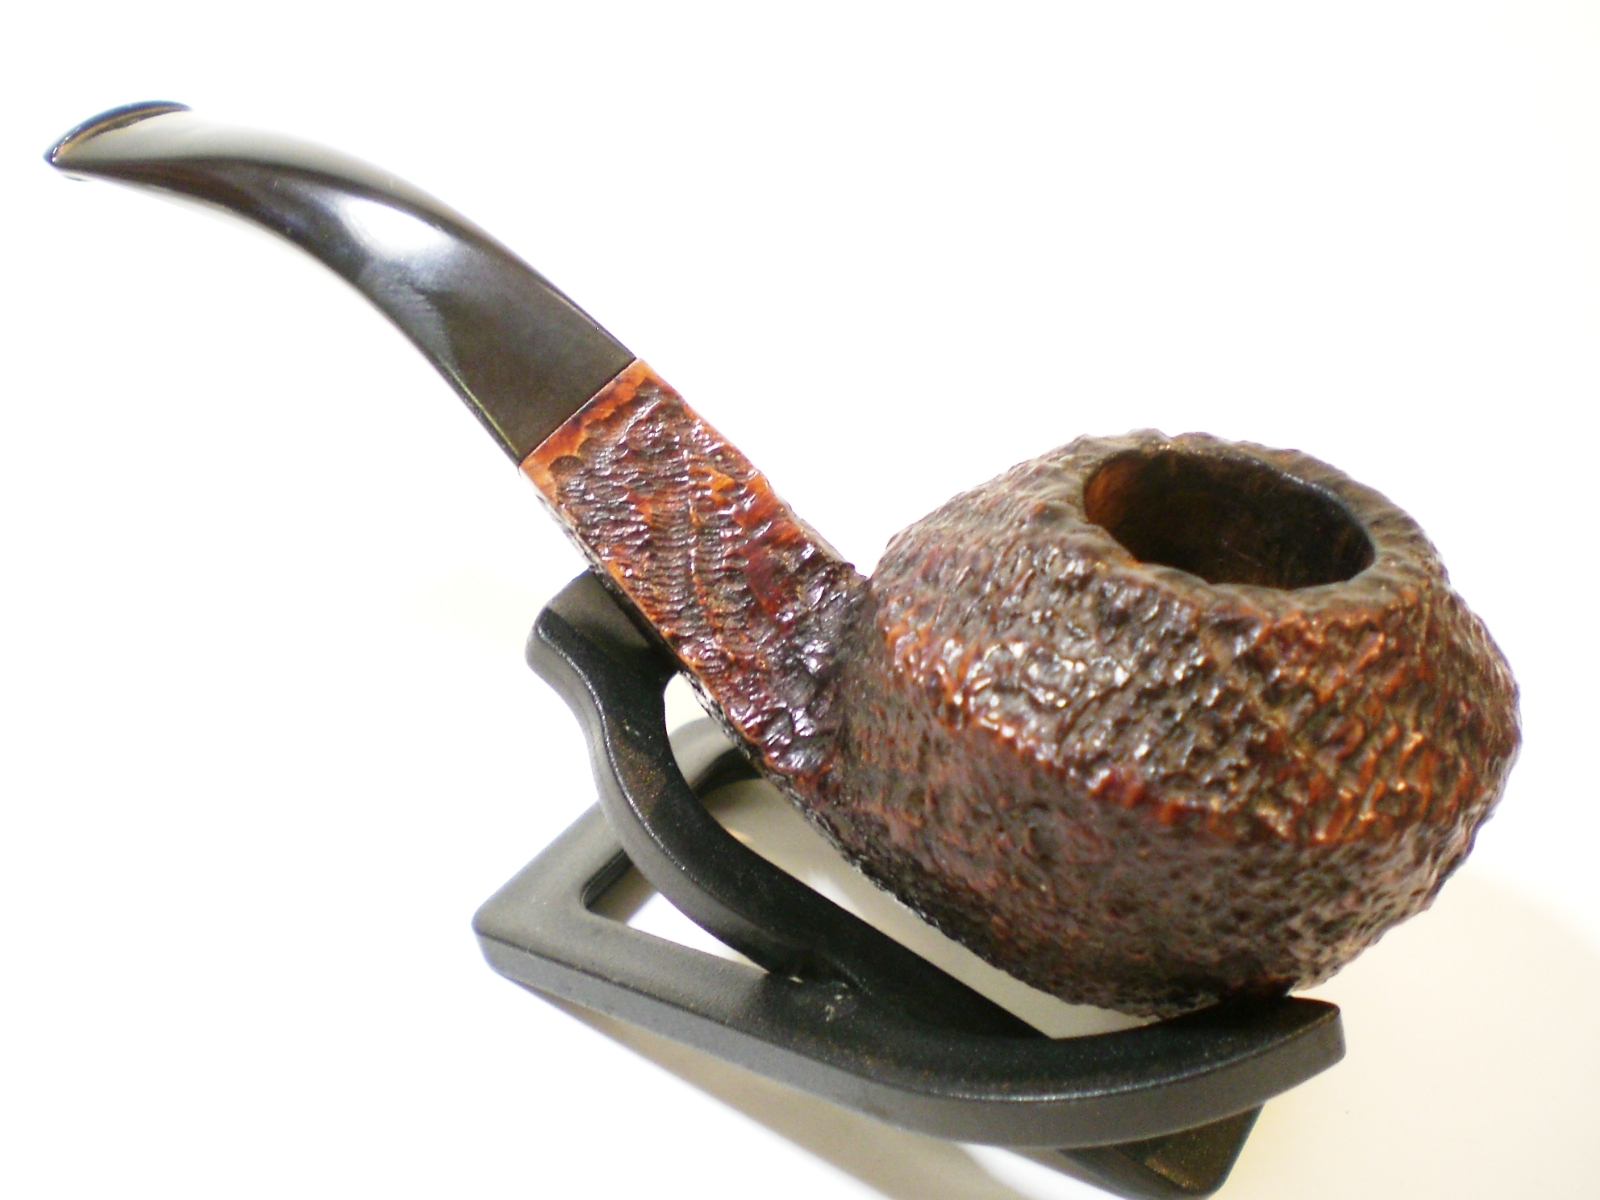
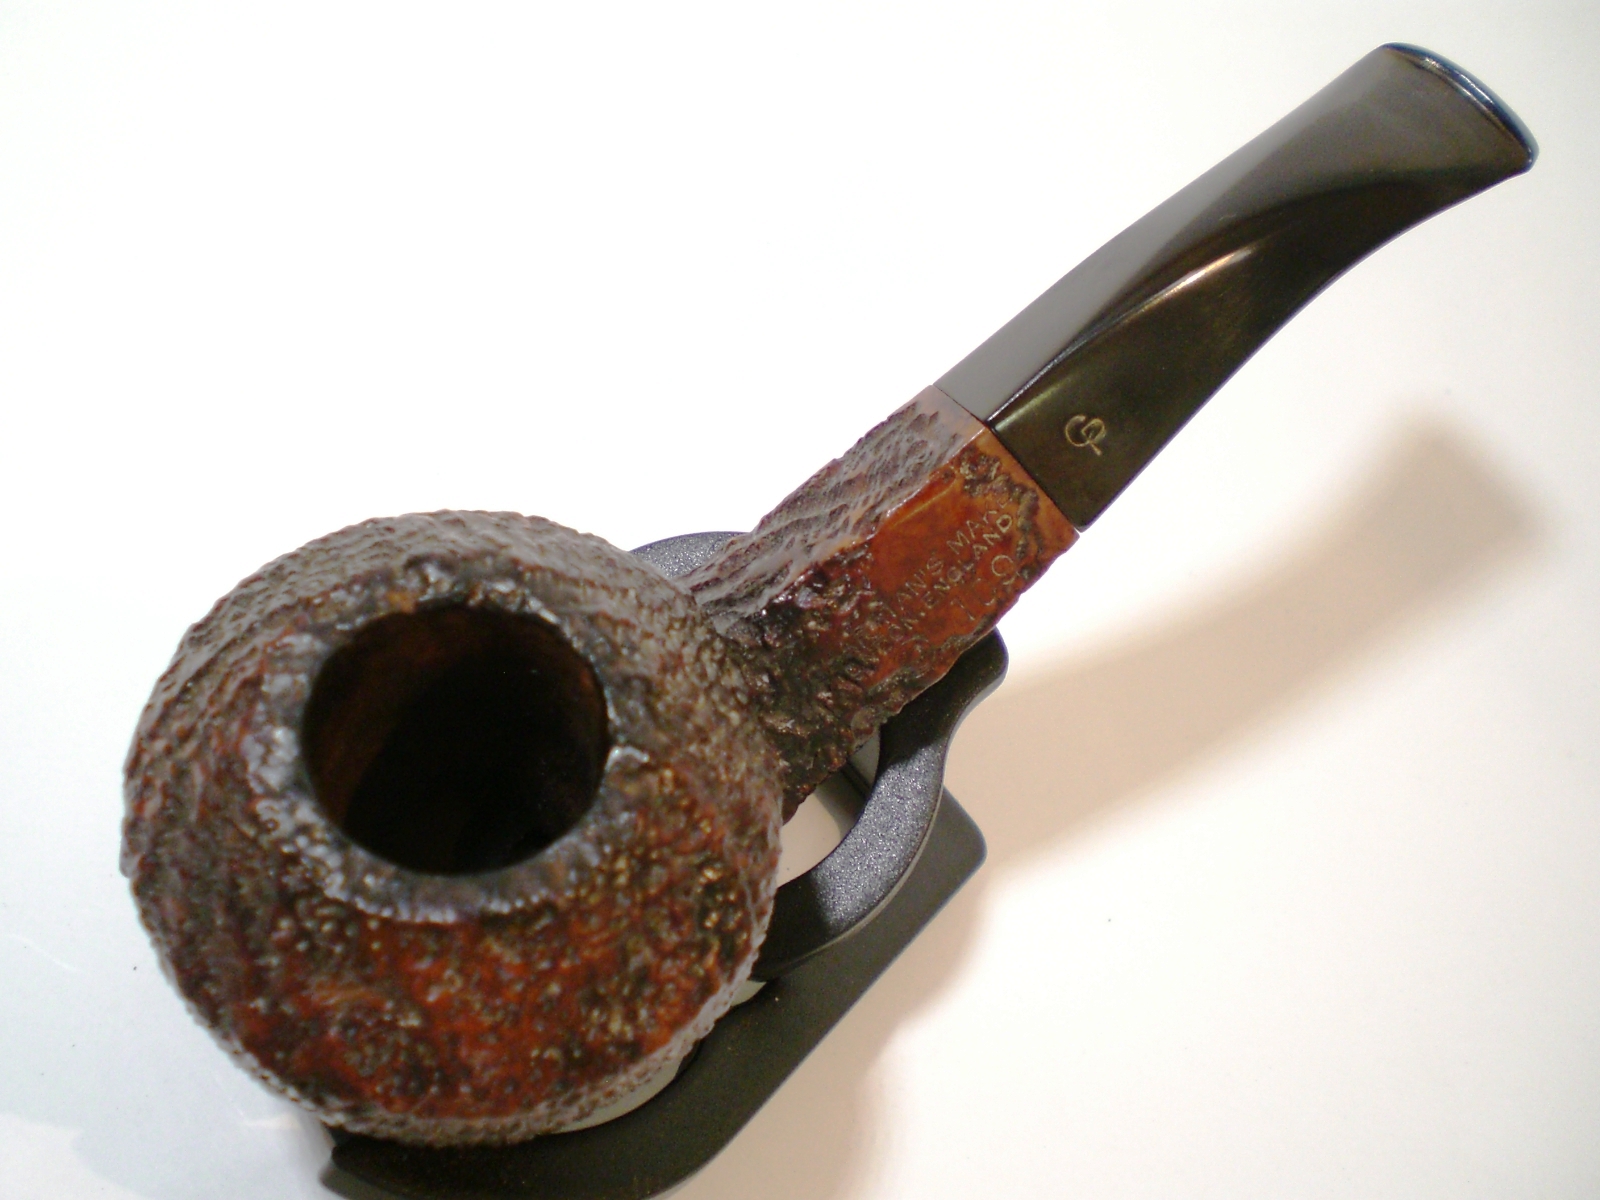
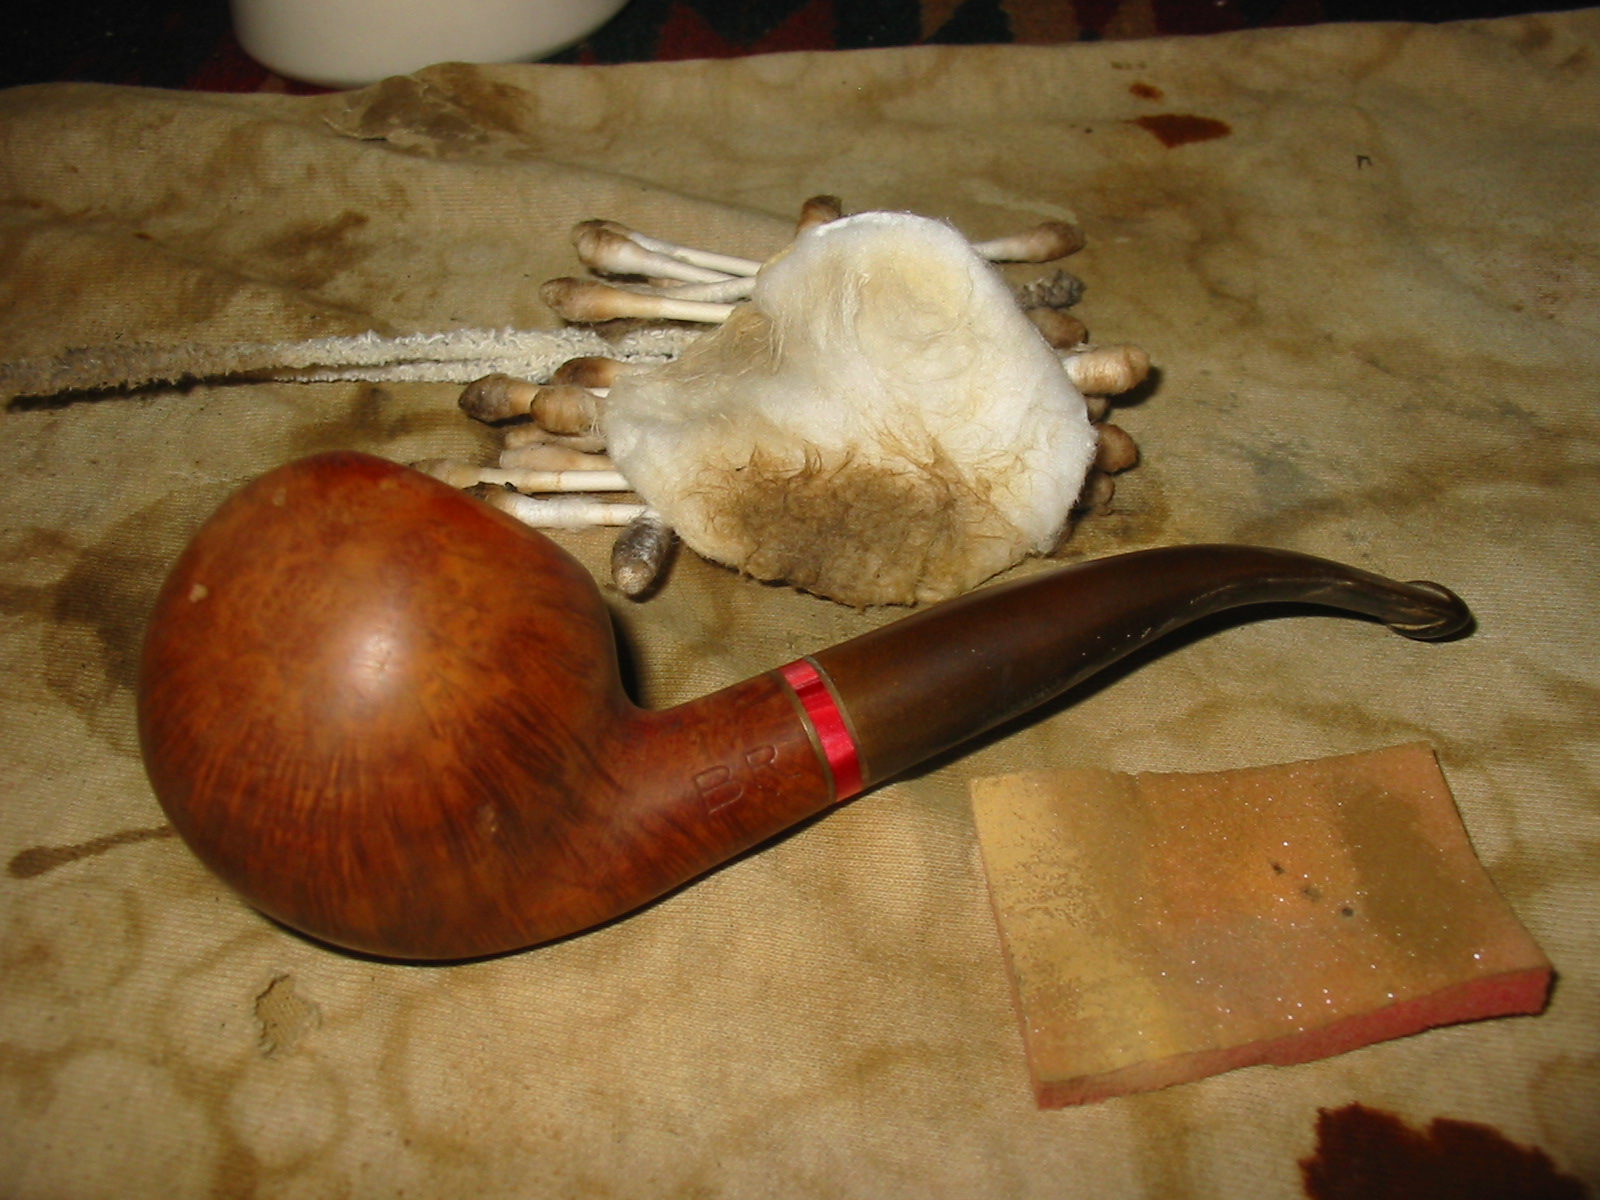
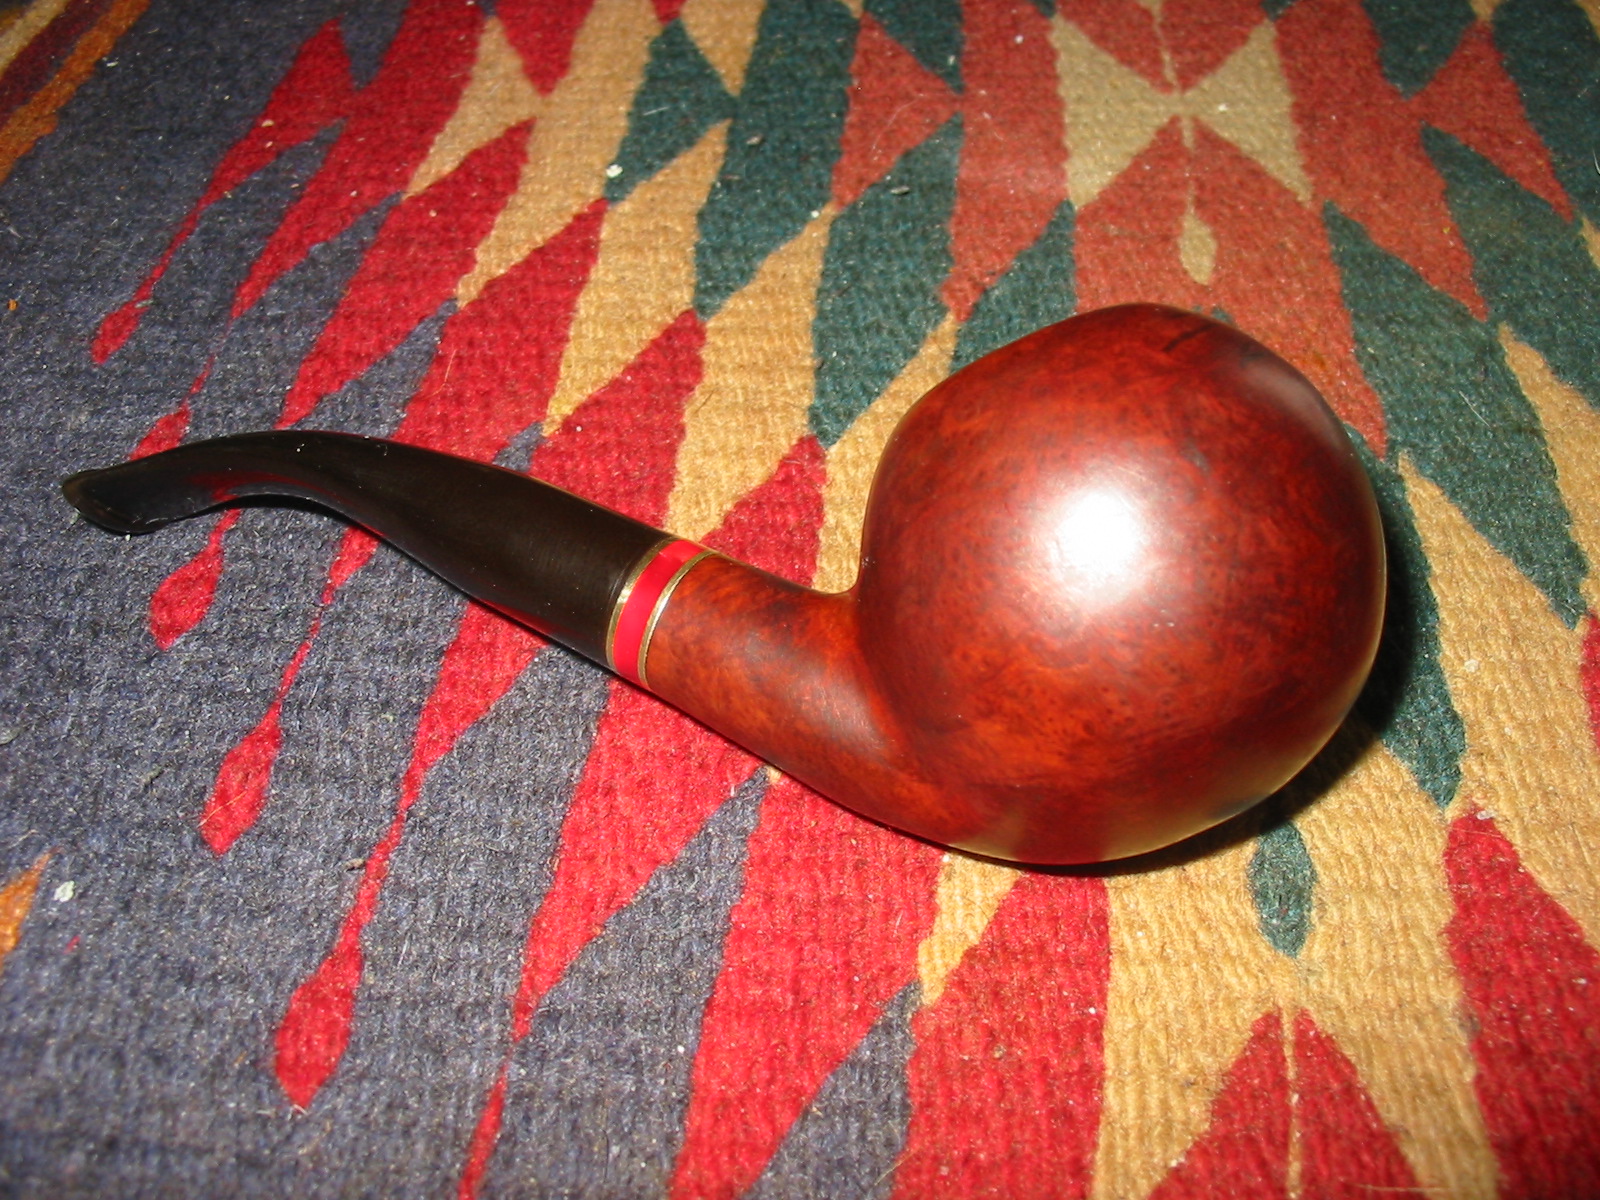
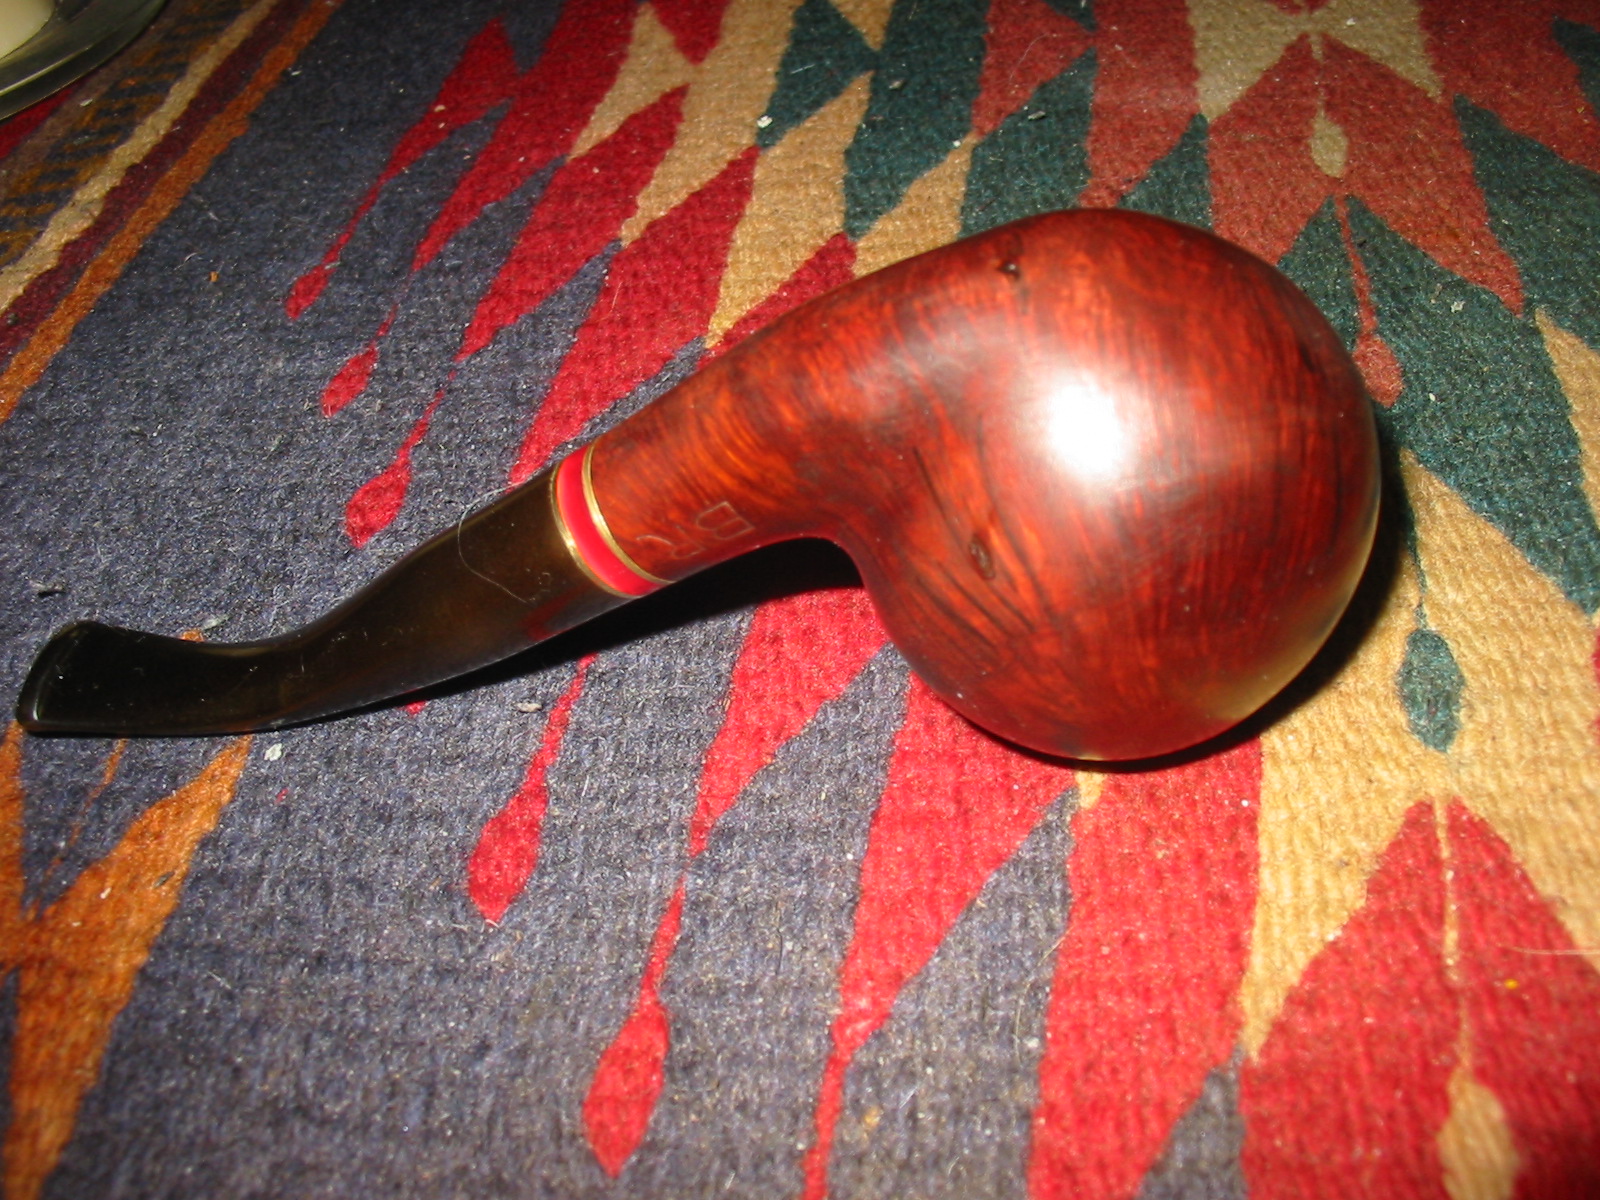
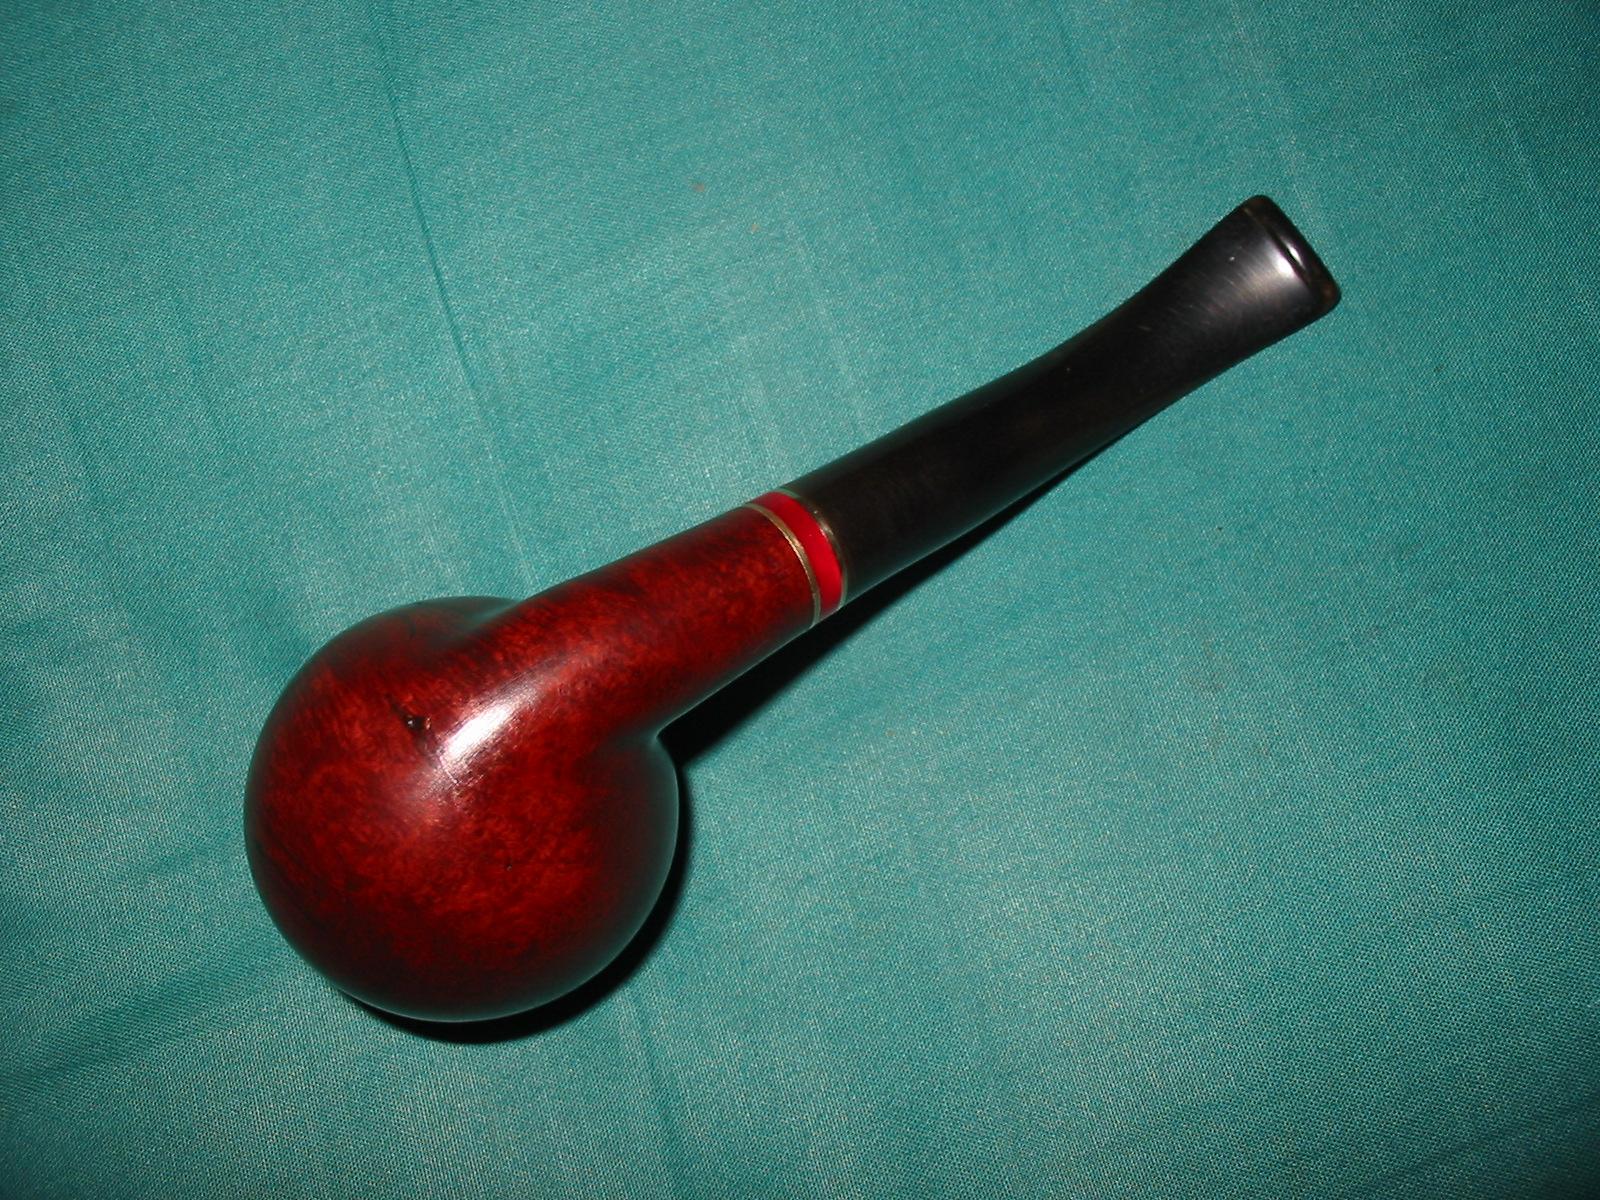
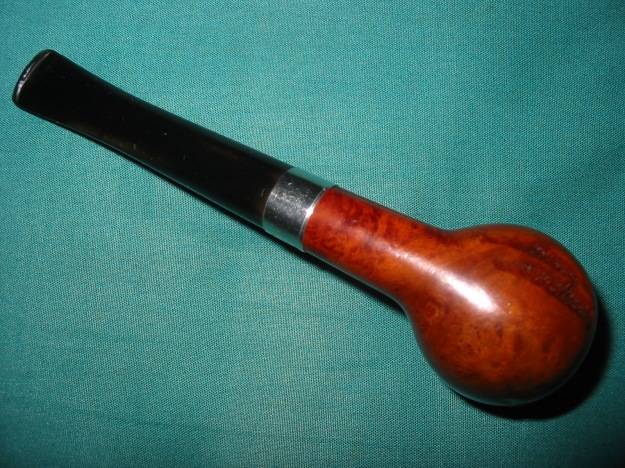
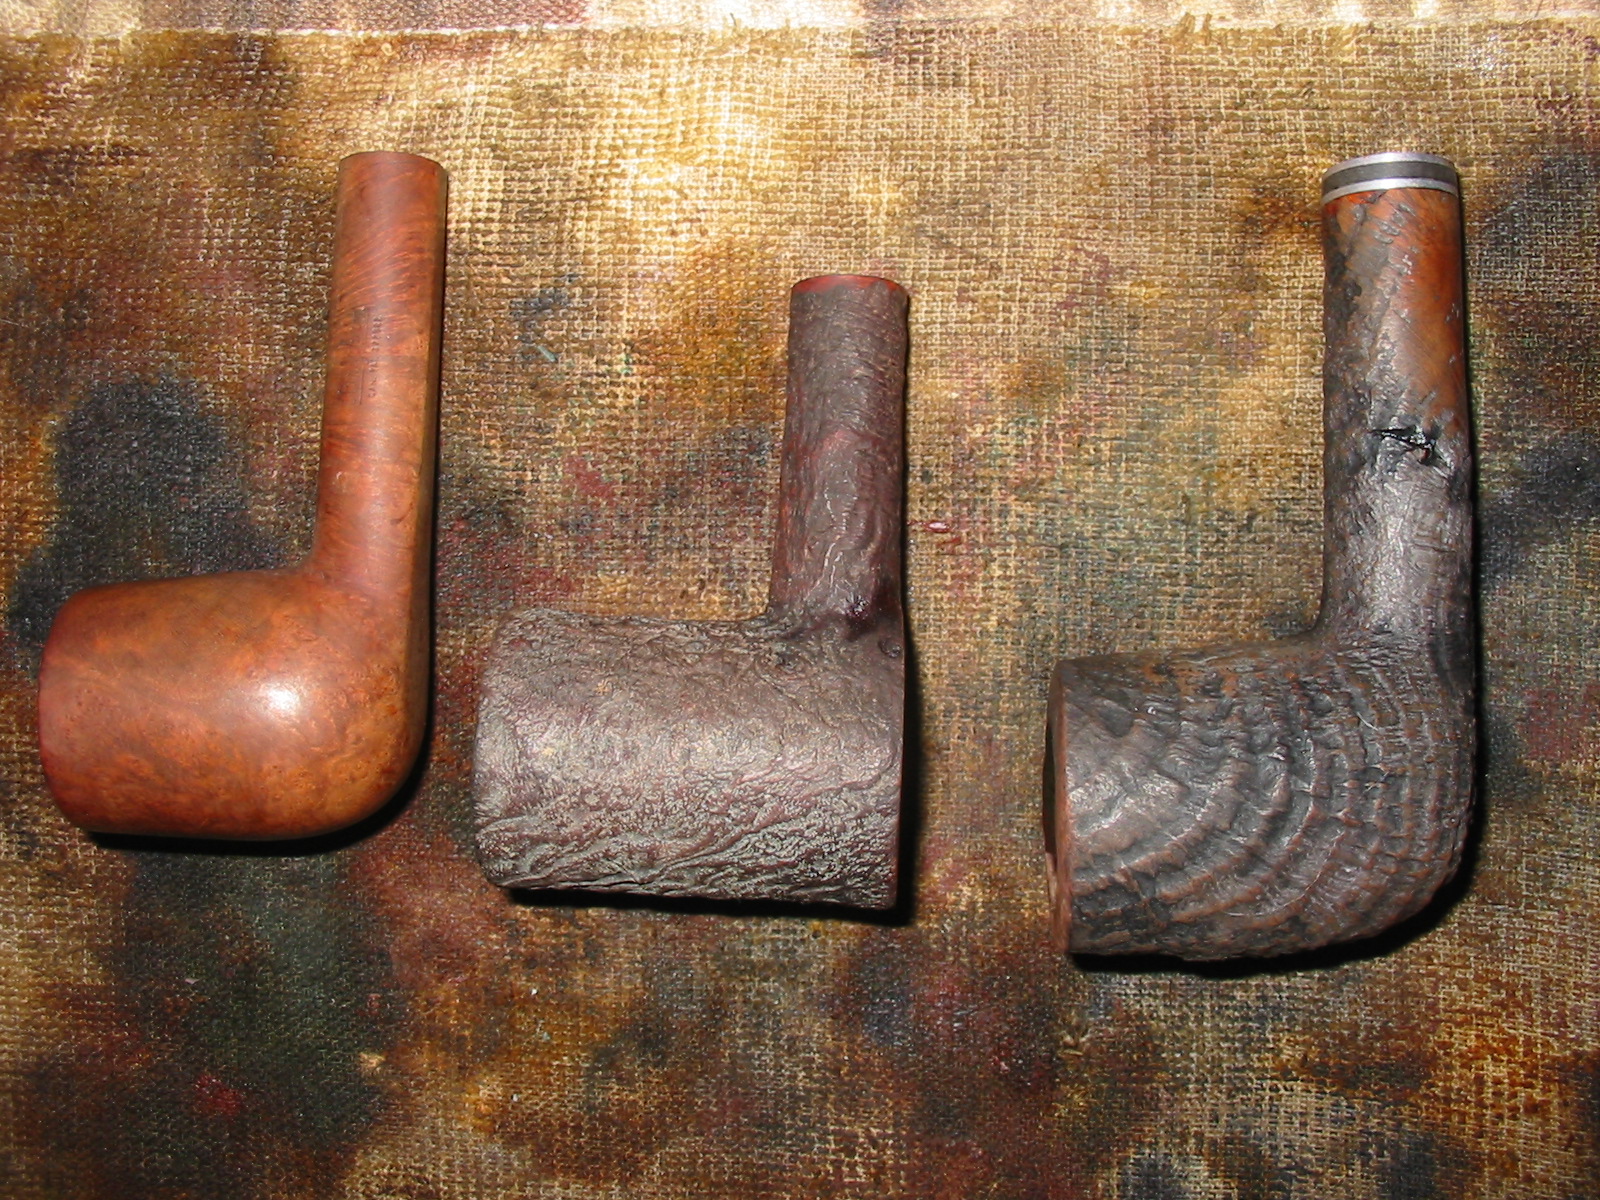
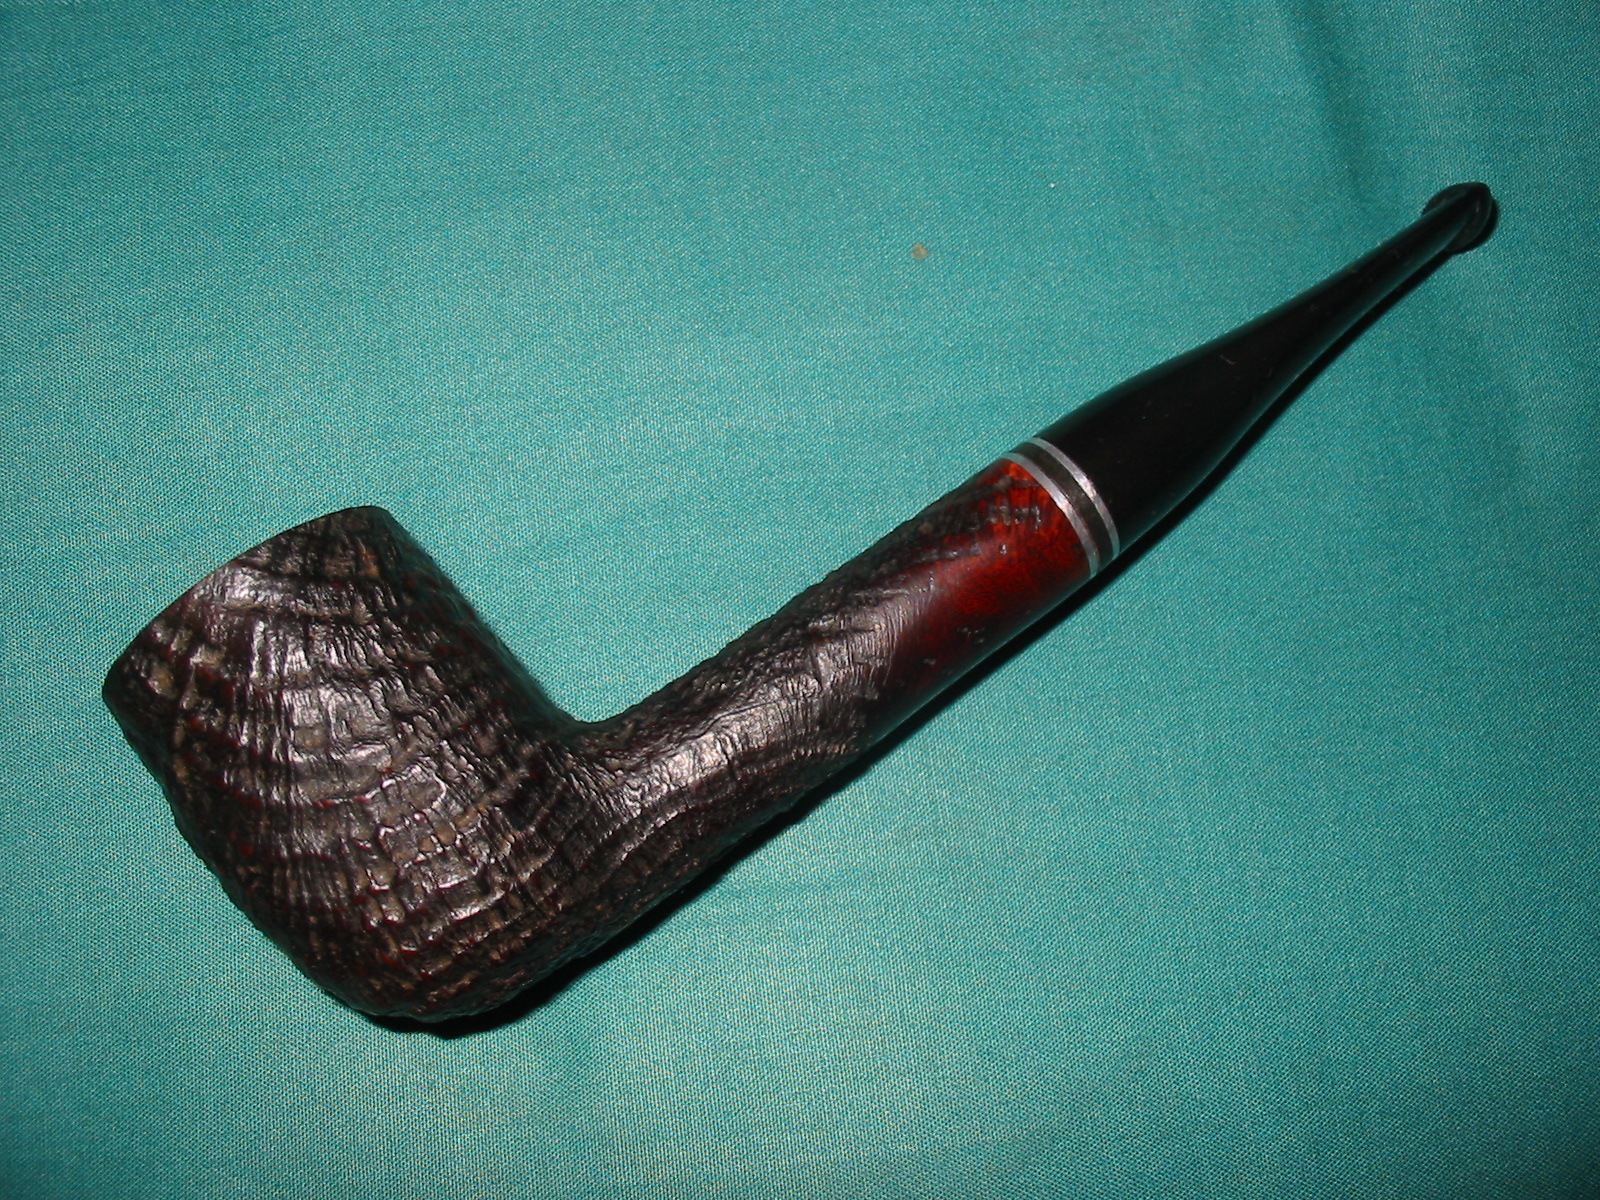
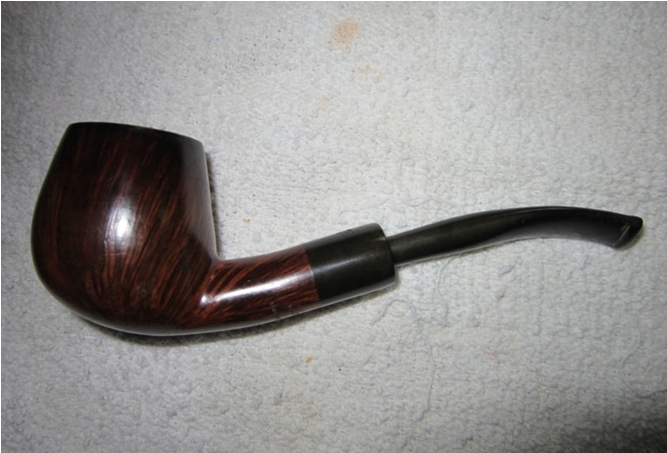
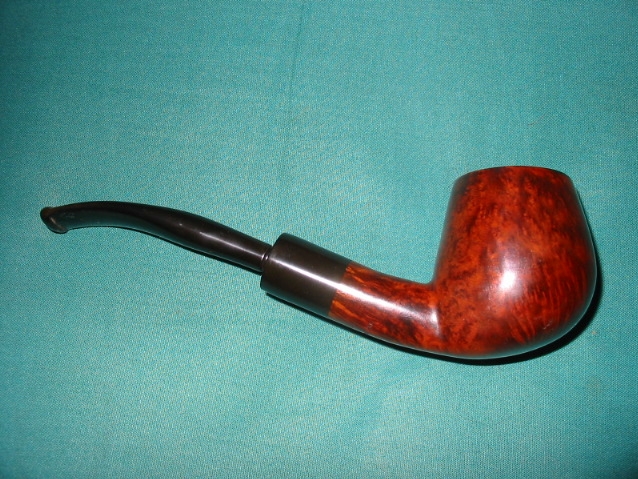
A fine gentleman from Washington contacted me recently and asked if I would restore some pipes for him. Of course, I was only too happy to oblige. This is the first of the four, and it’s the only one that doesn’t have major issues. This is a Rossi Featherweight 44P acorn pipe. It’s a pretty little pipe and I’m sure will serve its owner well. 
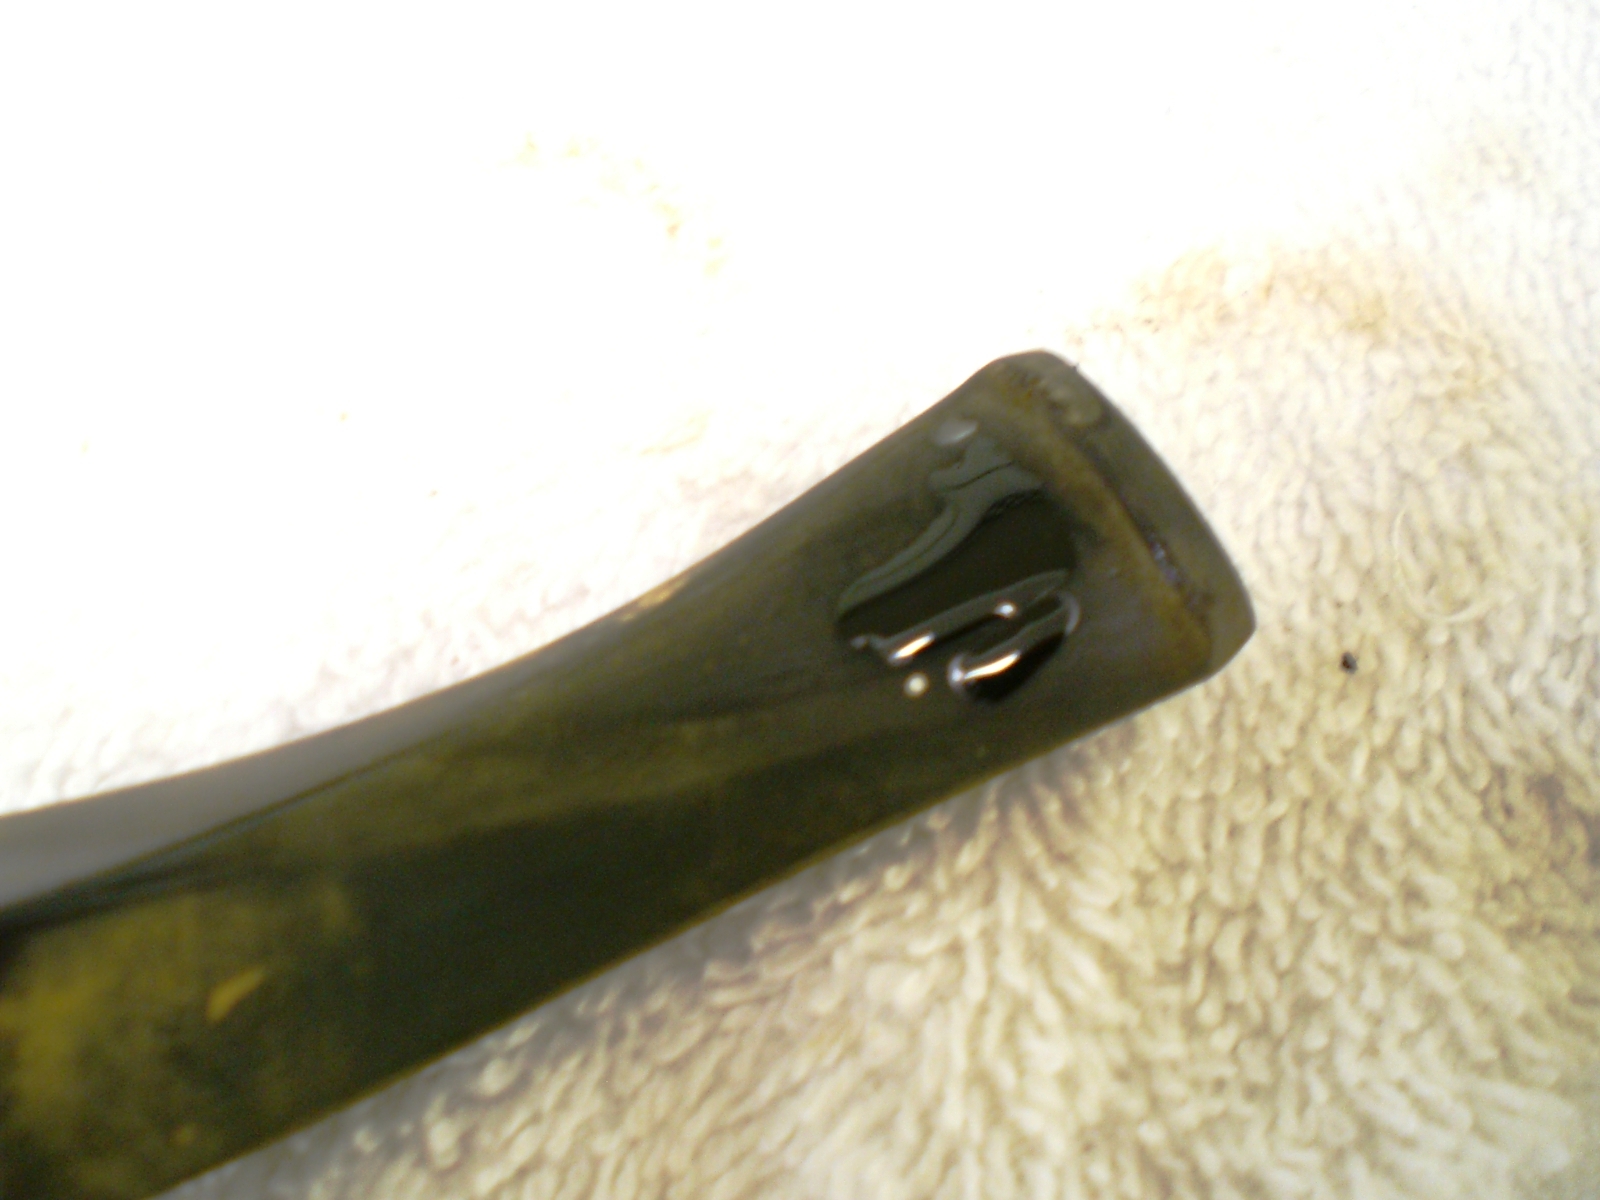
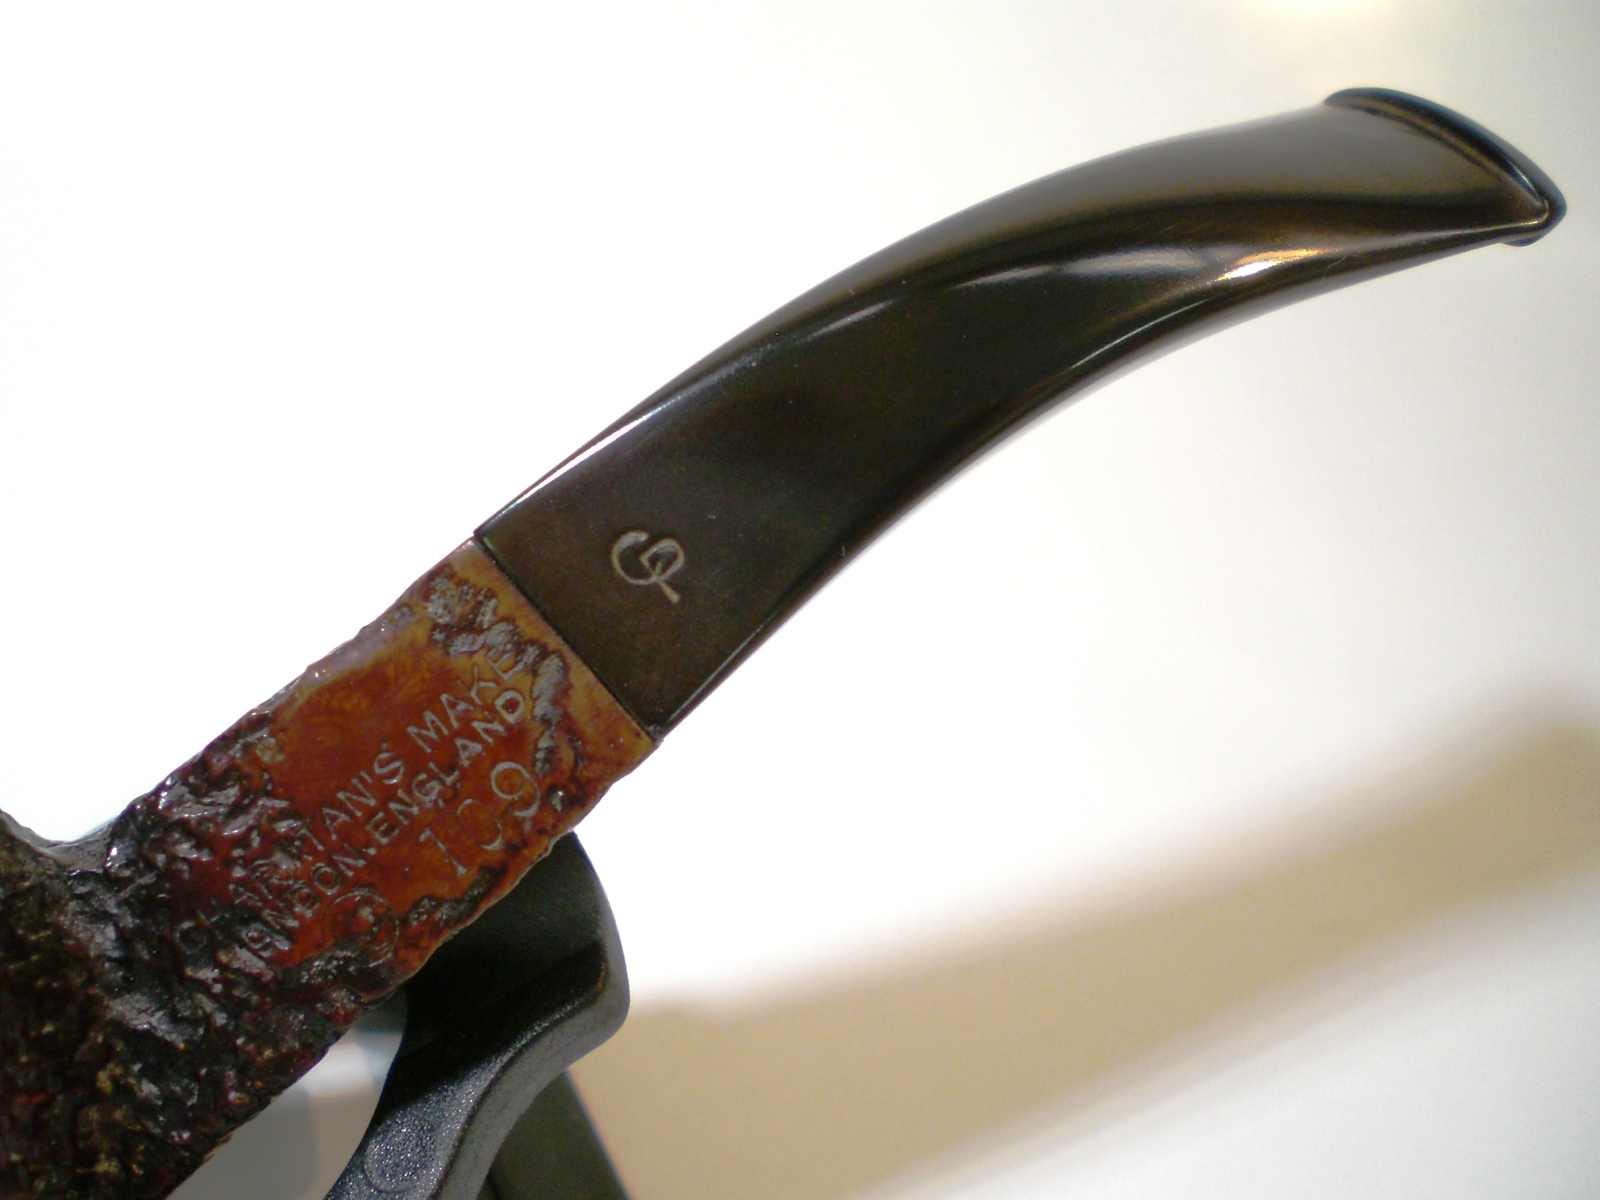
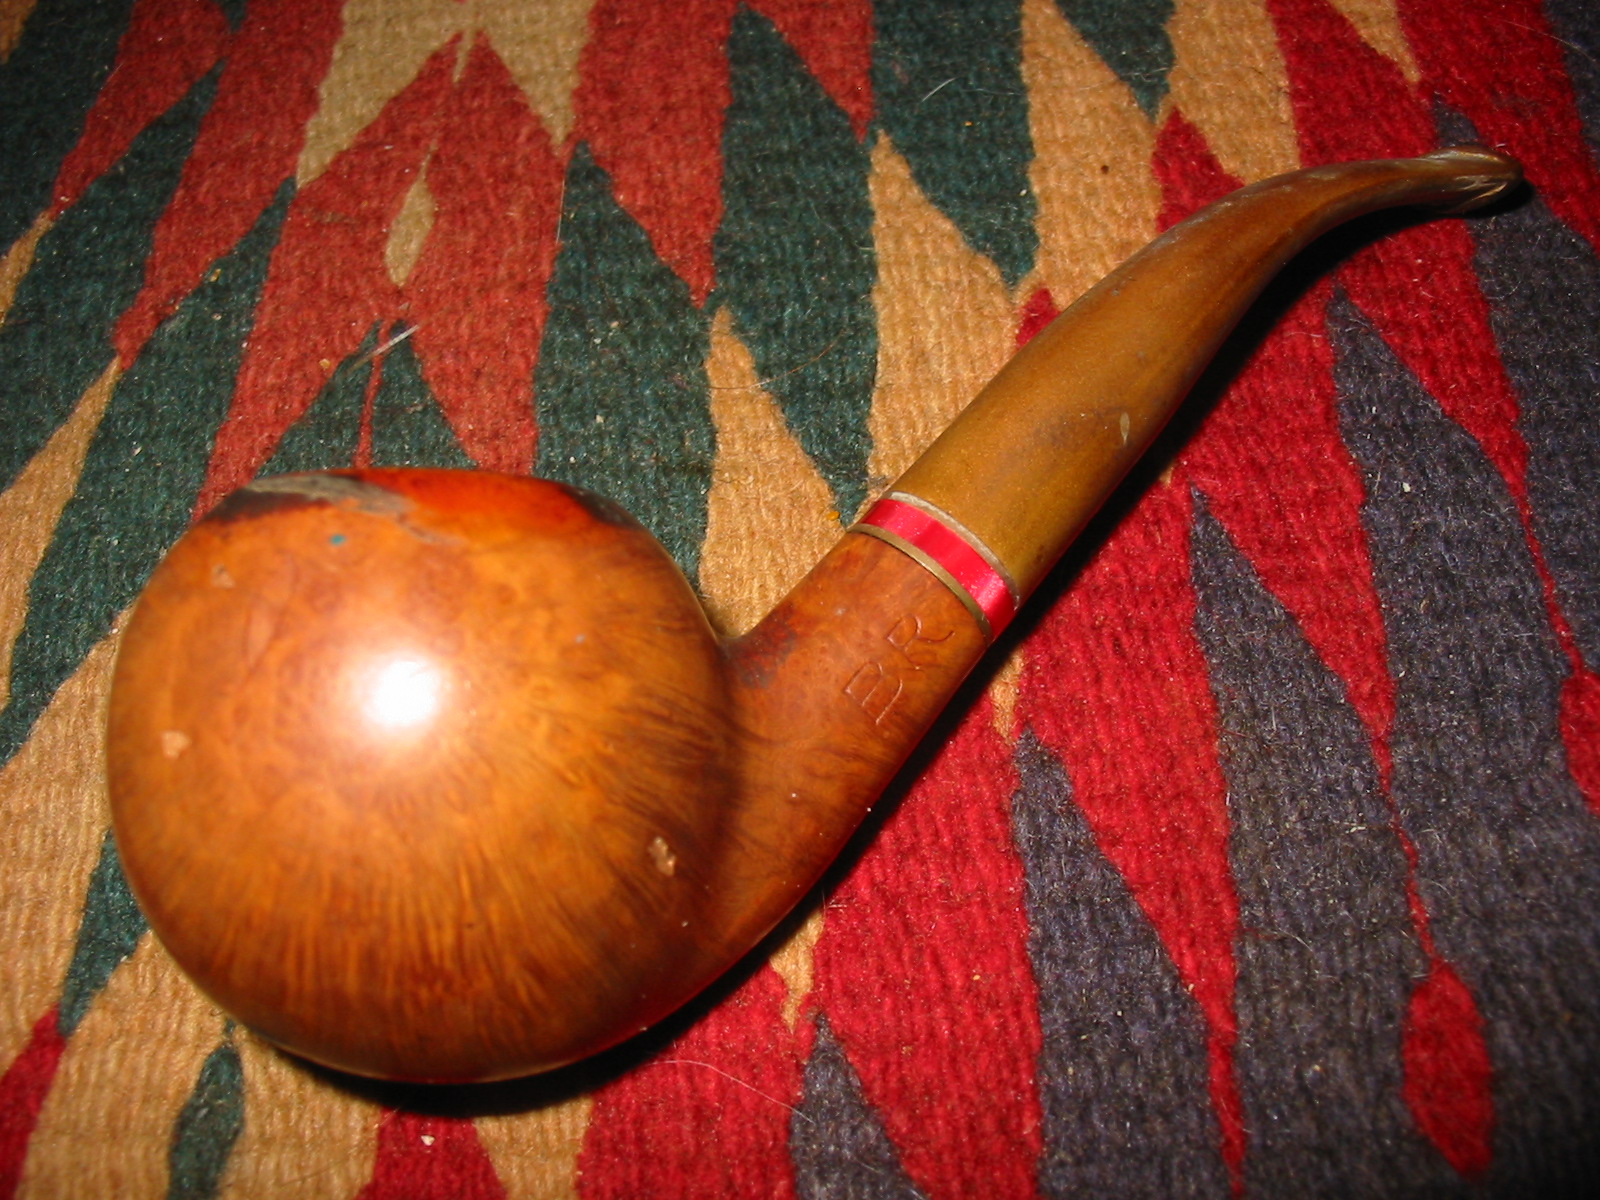
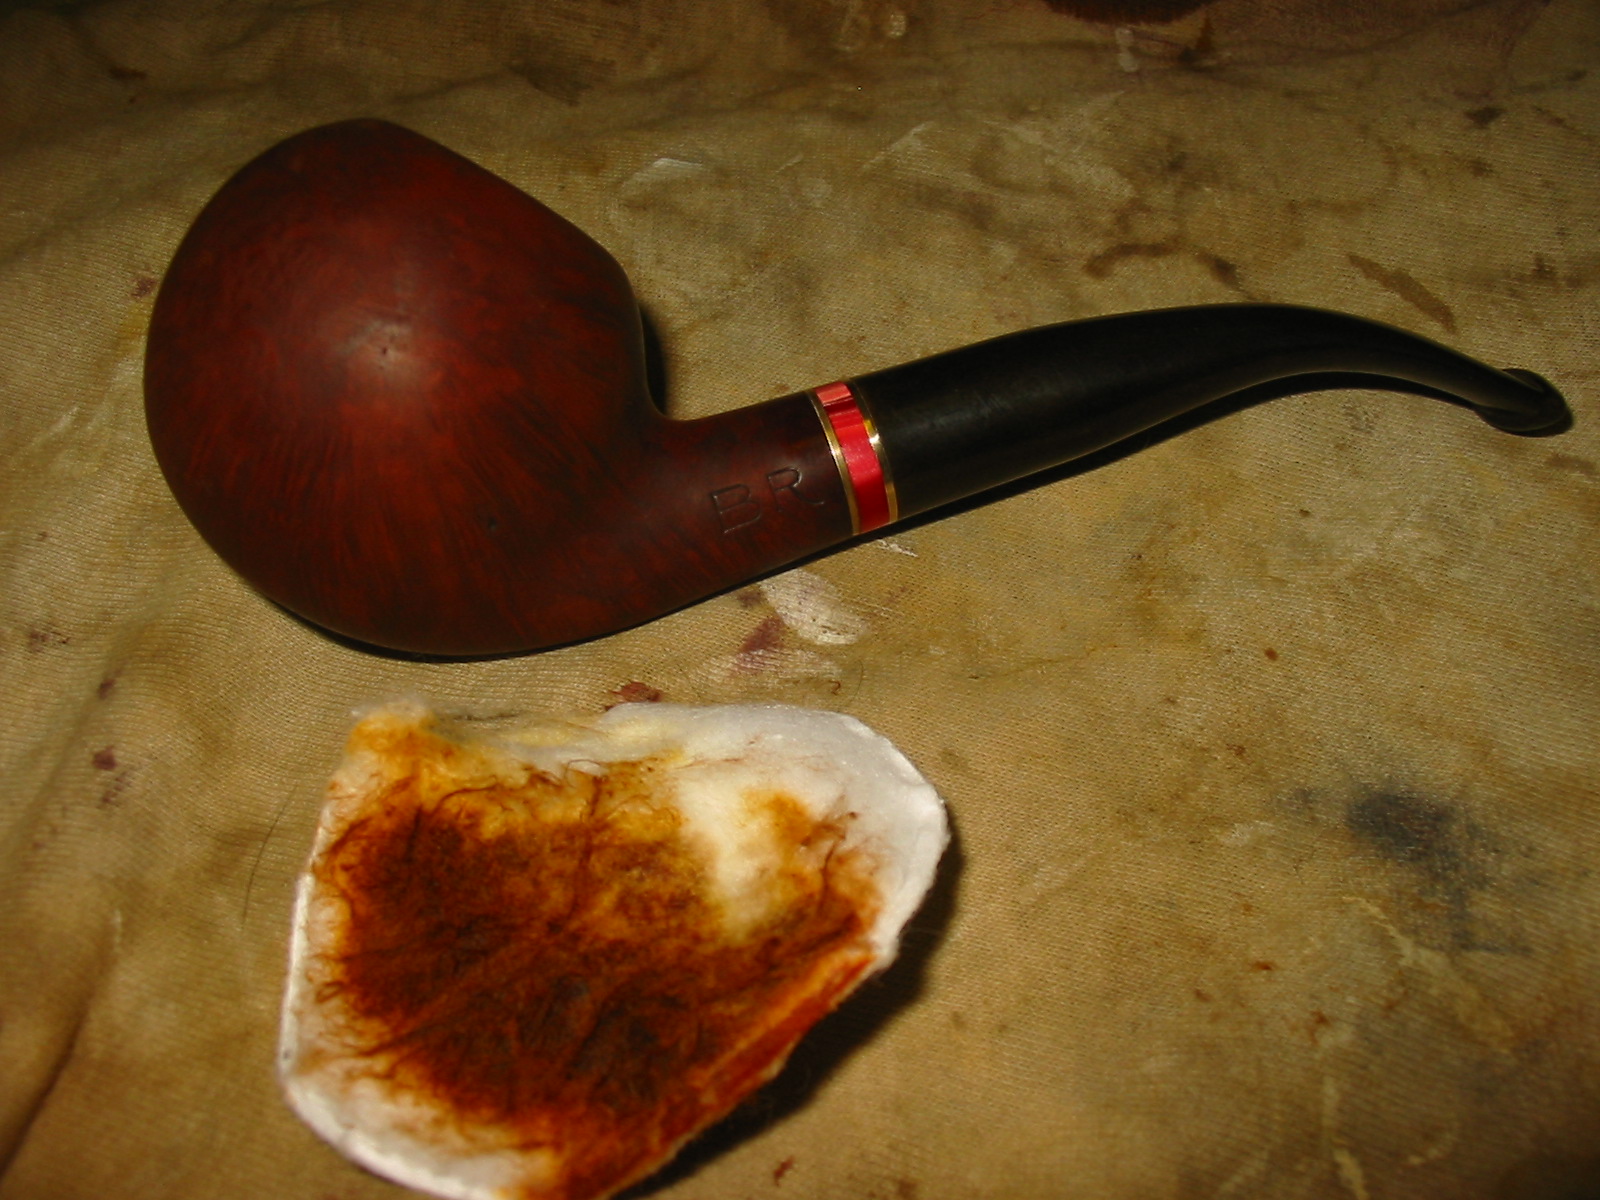
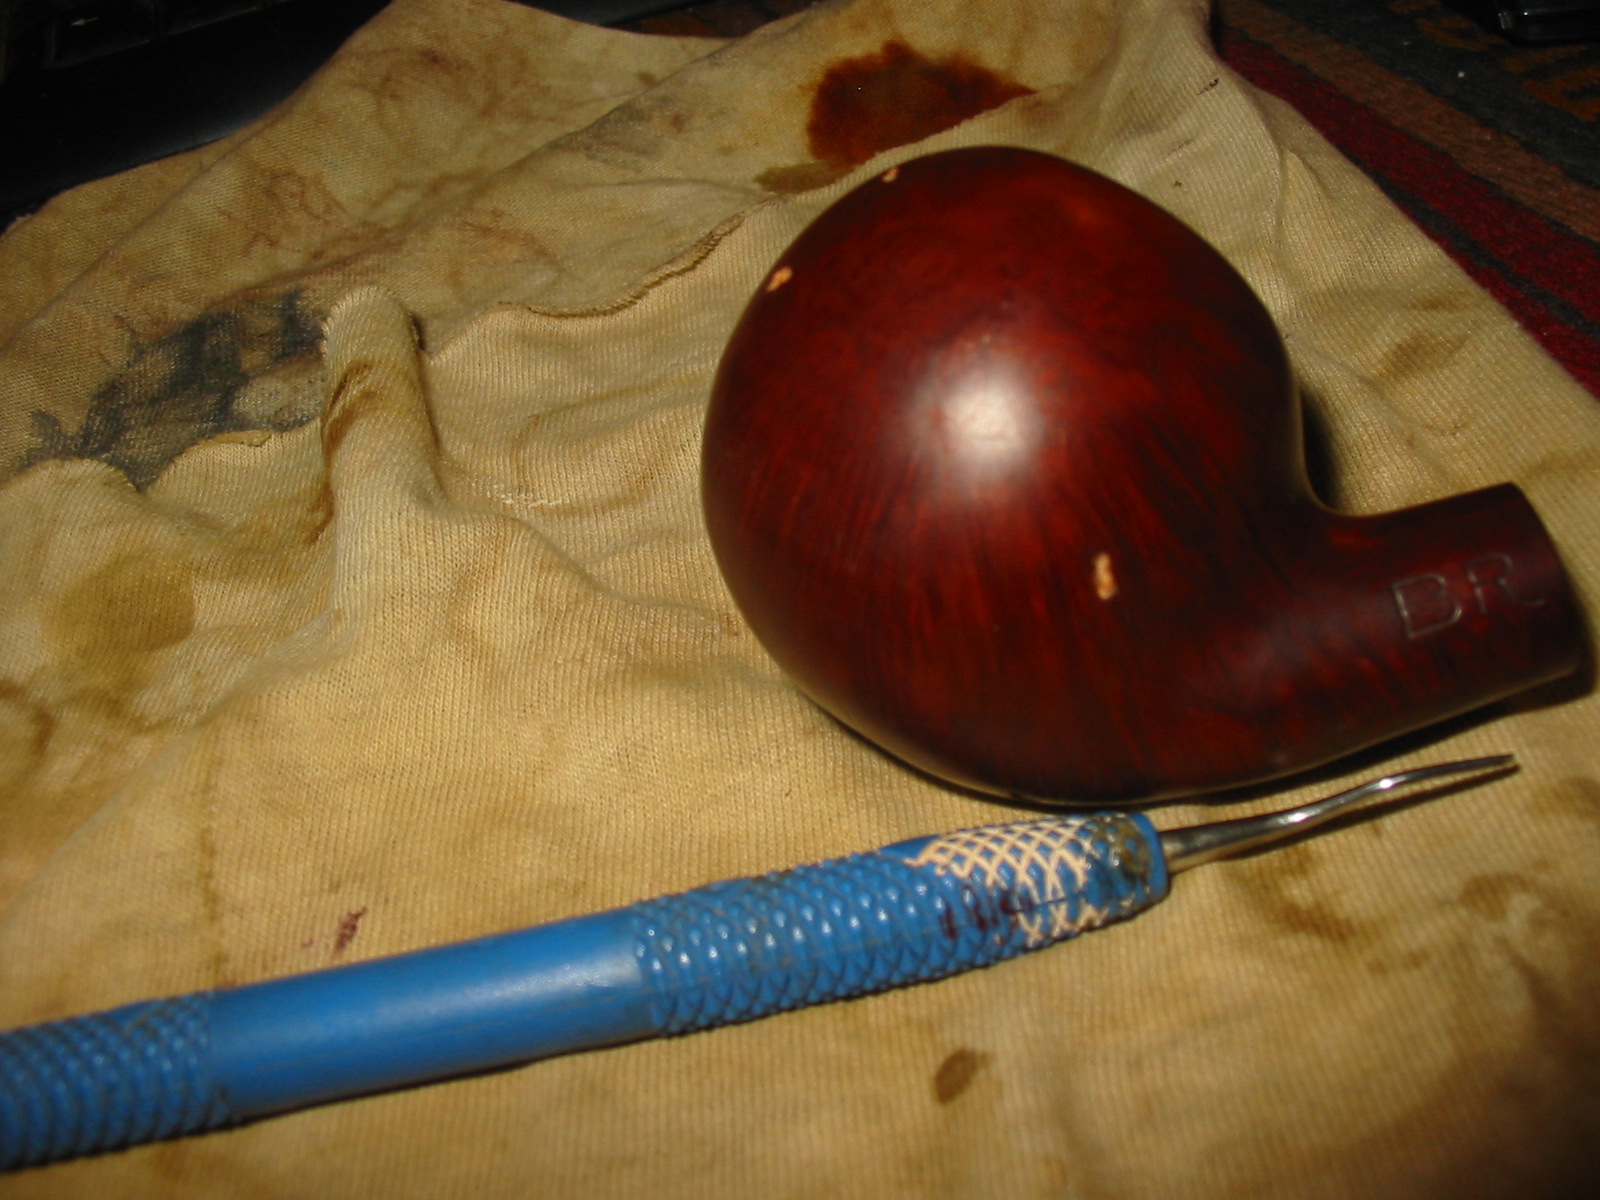
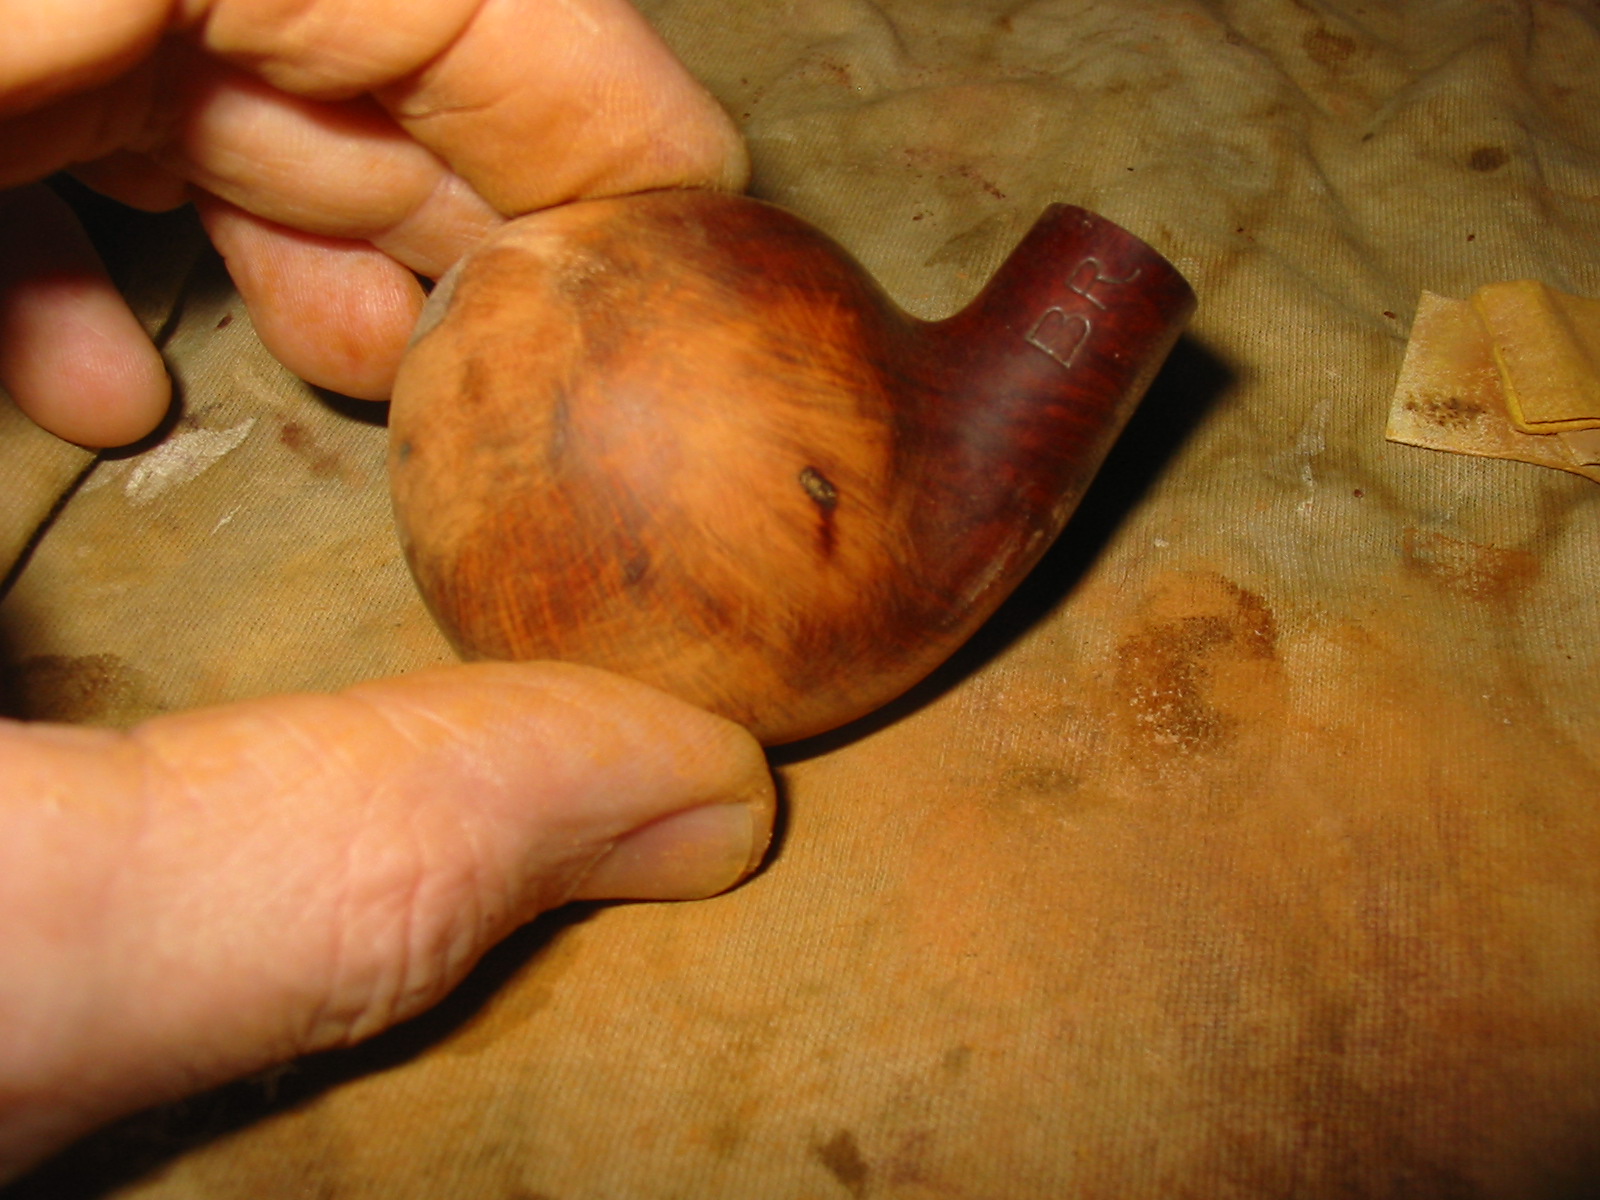
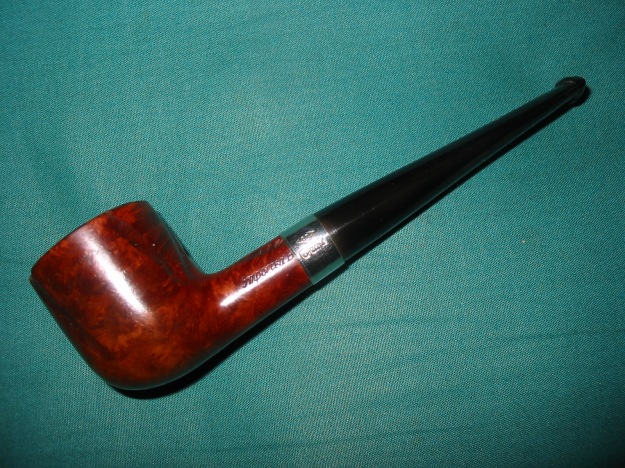
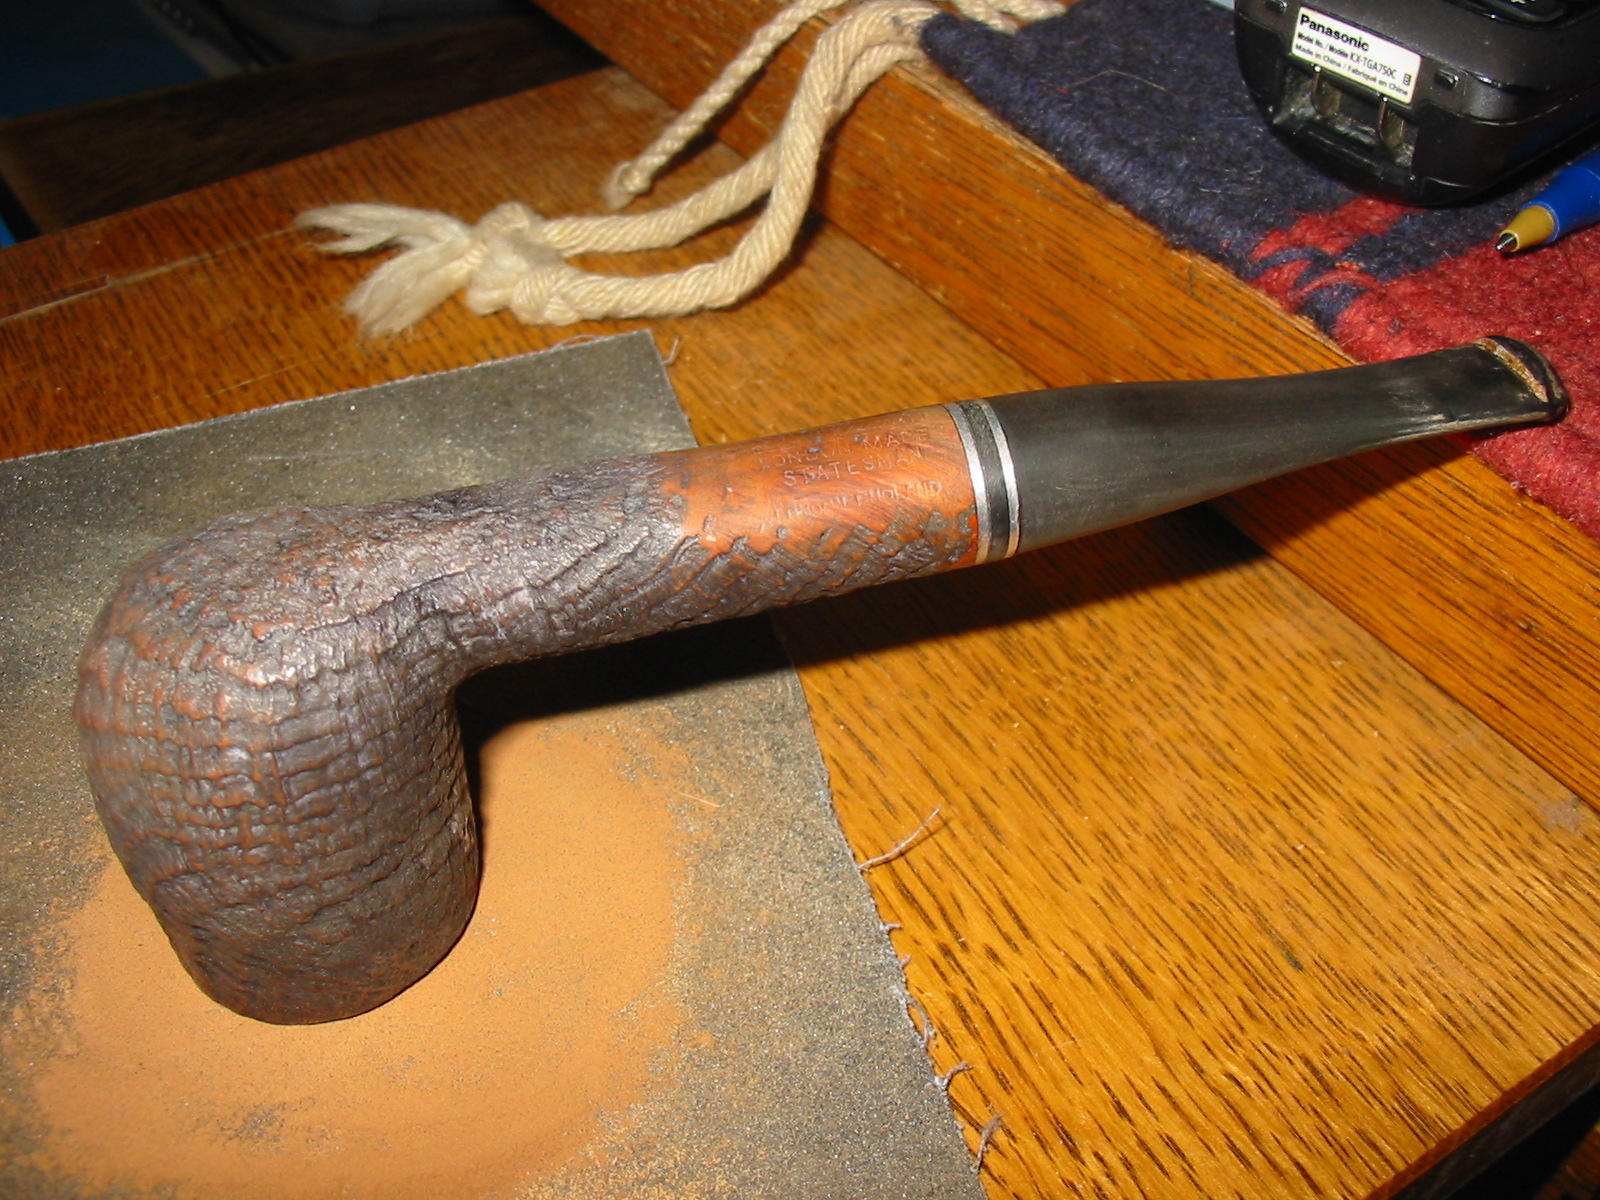
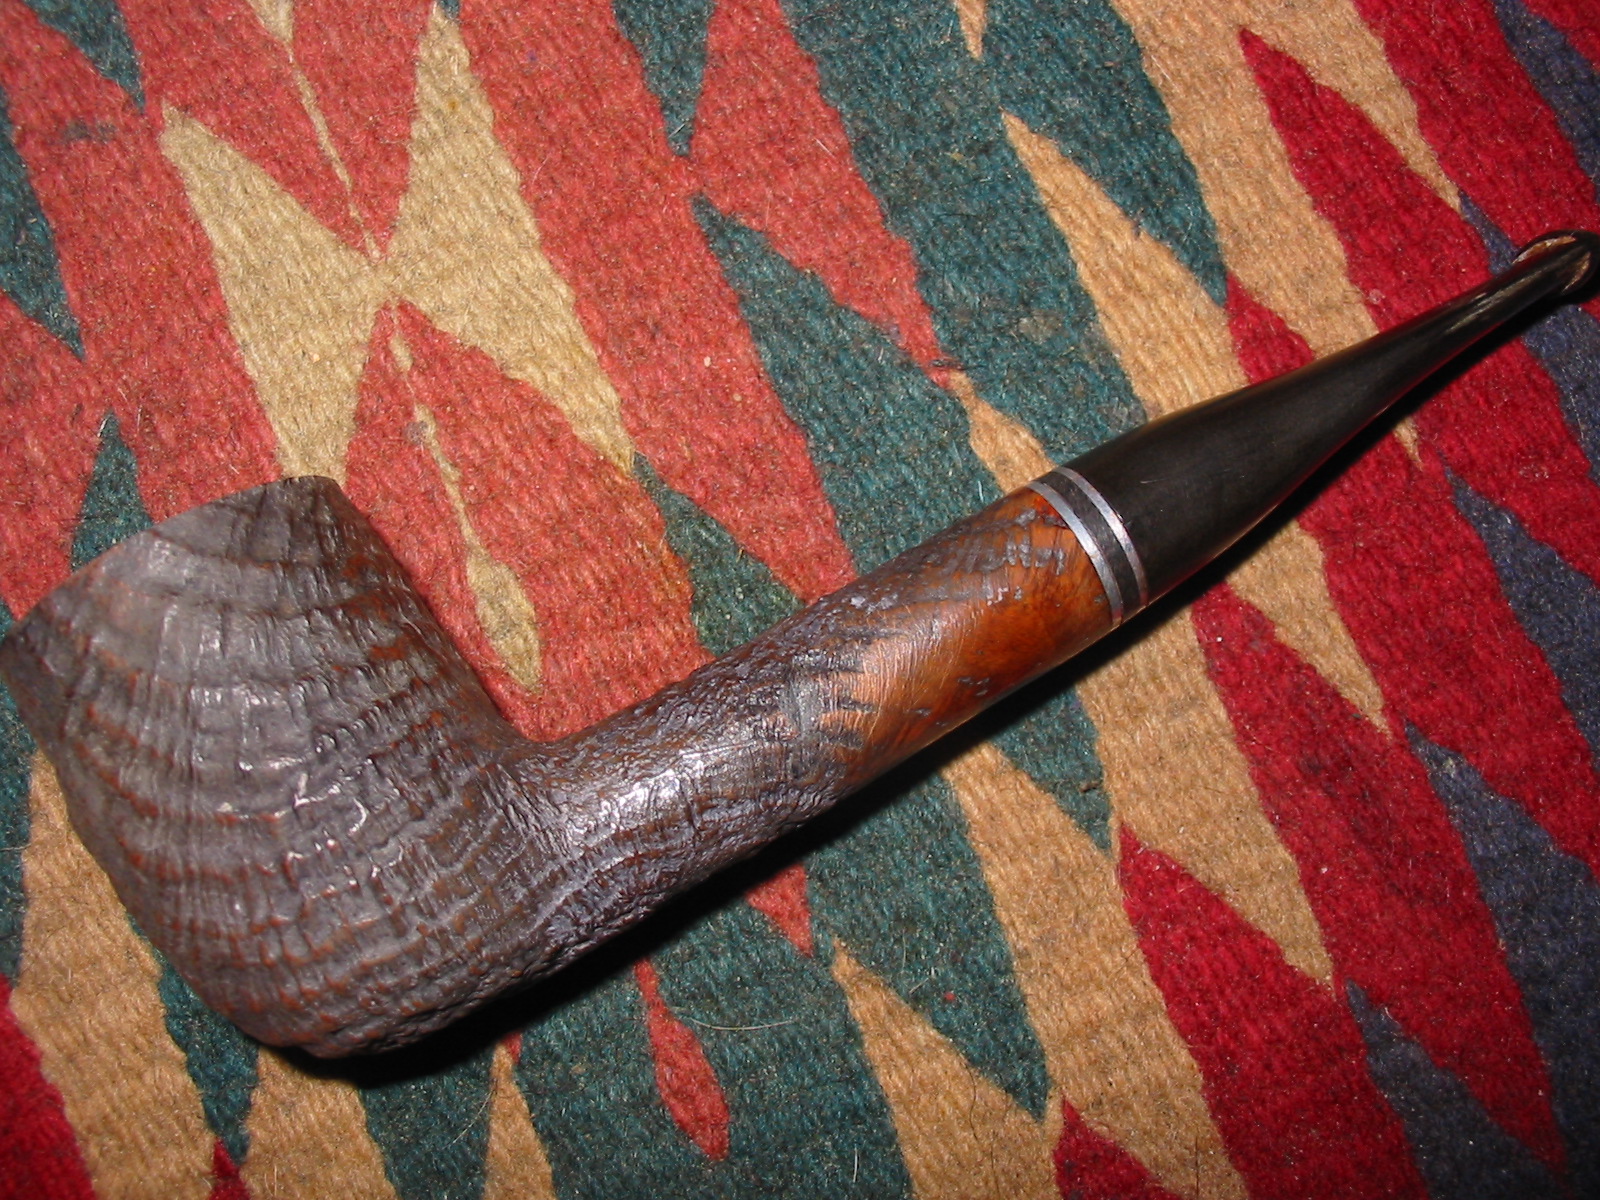
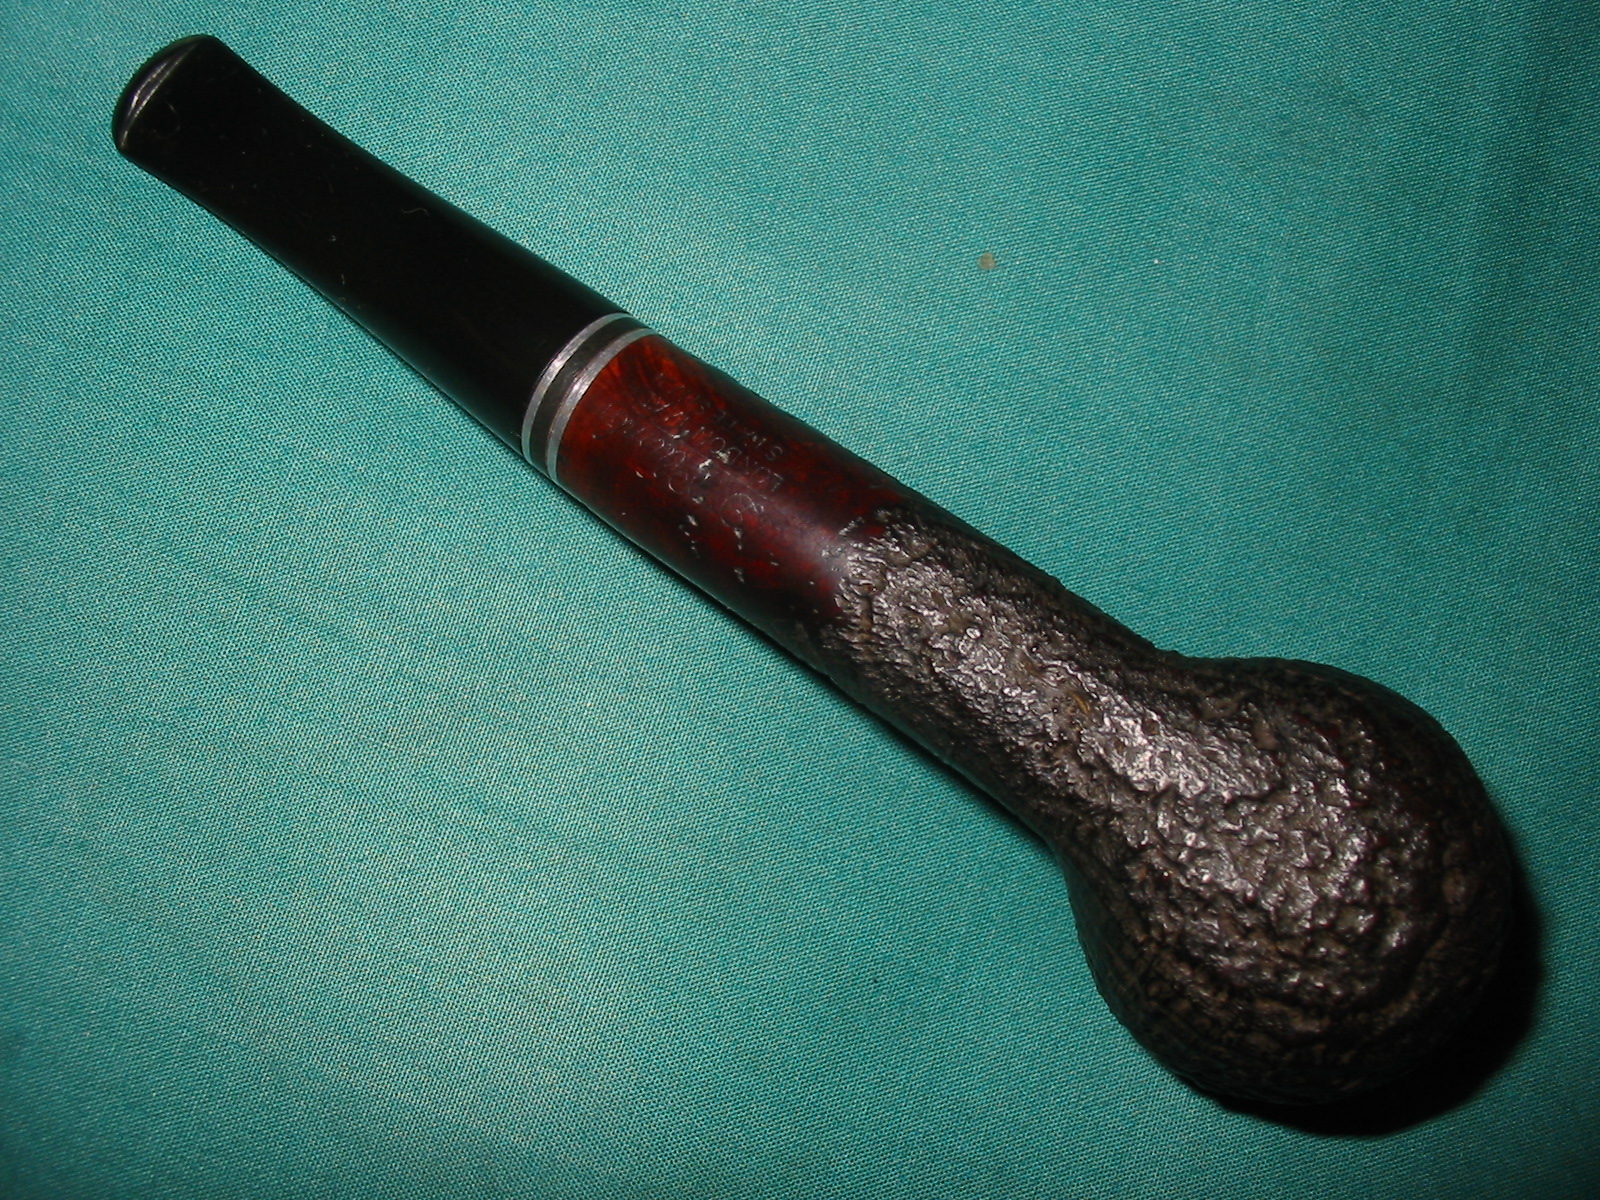
The markings on the pipe were clear and sharp. On the left-hand side of the shank, read Nino Rossi [over] 1886 – and to the right of that, a star. On the right side of the shank was the word Featherweight. On the underside of the shank, was 44P and, to the right of that, at 90 degrees, was the word Italy. On the stem was a stylized letter N. Rossi was founded by Ferdinando Rossi, in Italy, as Fabbrica di Pipe di Radica Rossi. The company dates from the mid-to-late 19th century. I would encourage you to read the Pipedia article on the company – there’s quite a bit of information: https://pipedia.org/wiki/Rossi. The article includes an important detail regarding this particular pipe:

From, approximatively, seventies, until 1985, Rossi pipes were marked with “ROSSI”, into an oval (sometimes there was also “ITALY” on the shank); on the stem, there was “ROSSI”. In these years, appeared the signature “Nino Rossi” (in cursive font): he was the last heir of the factory.

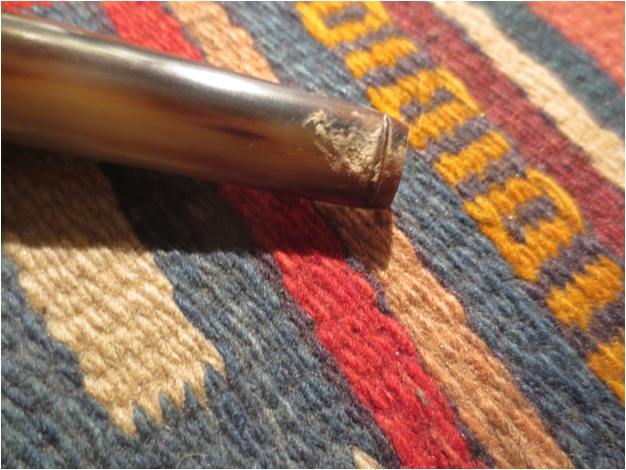
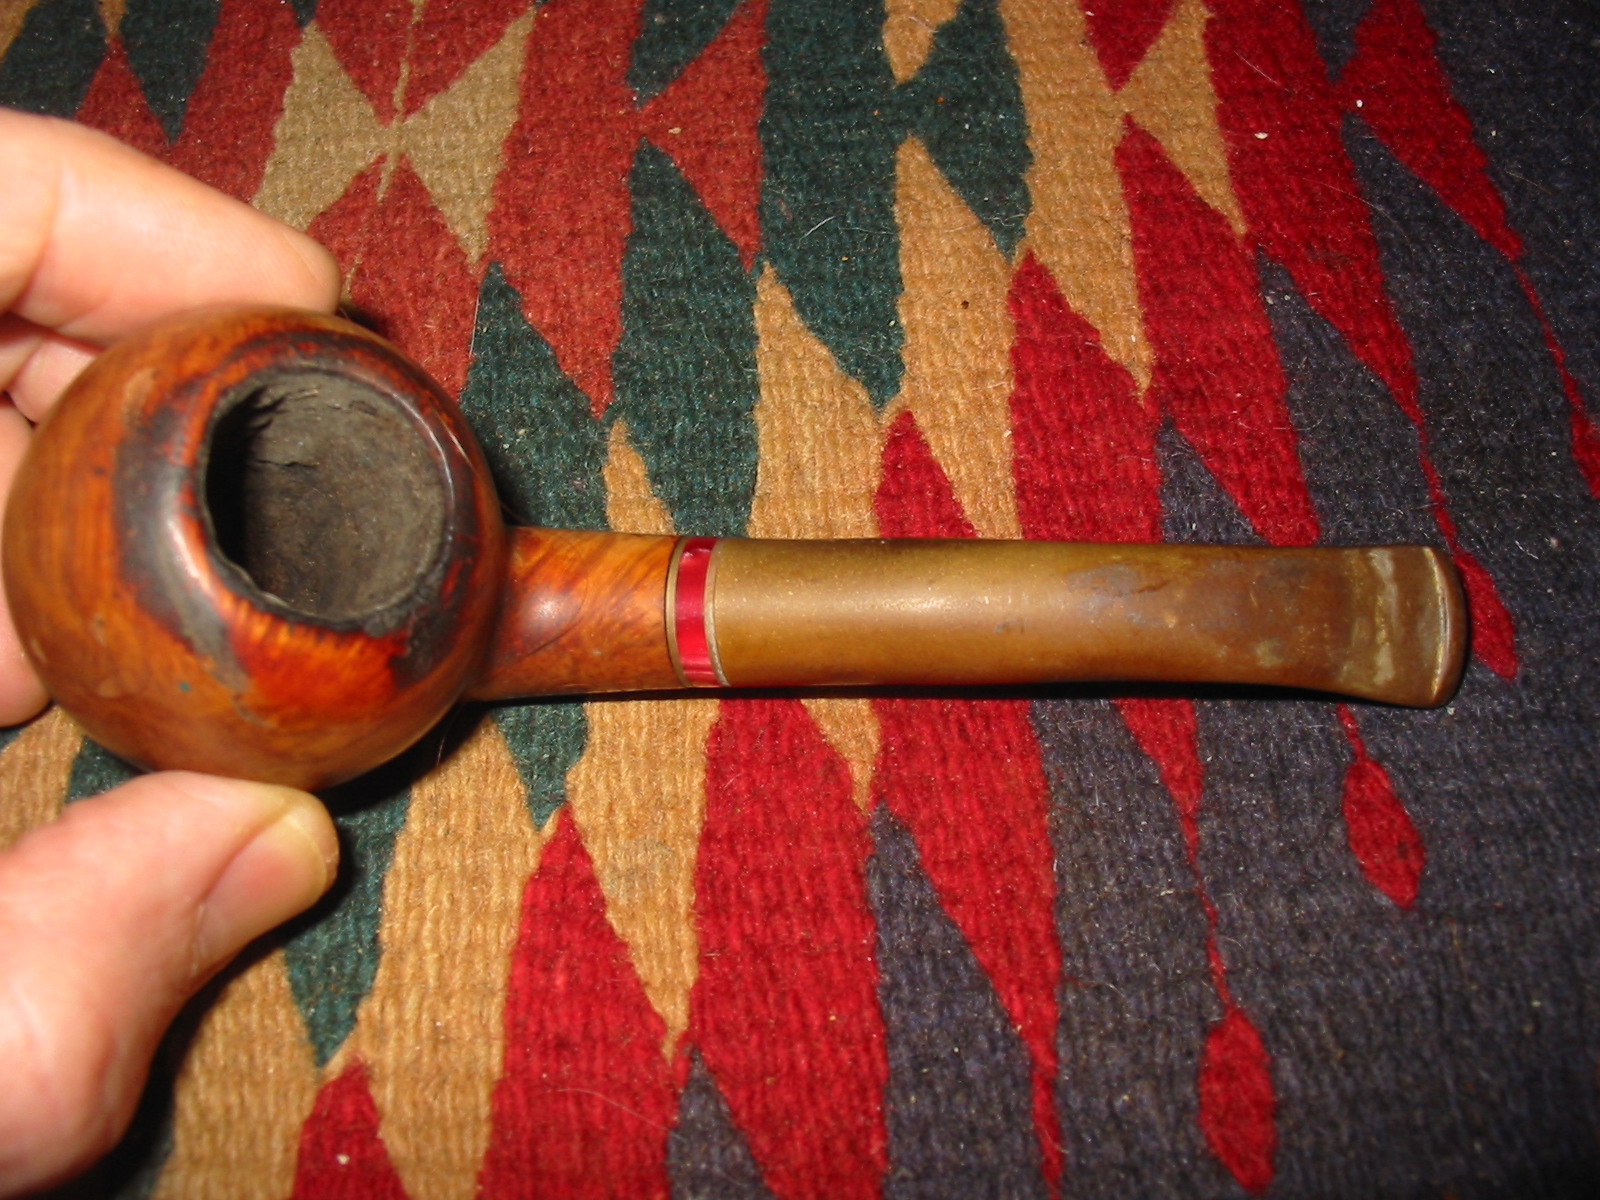
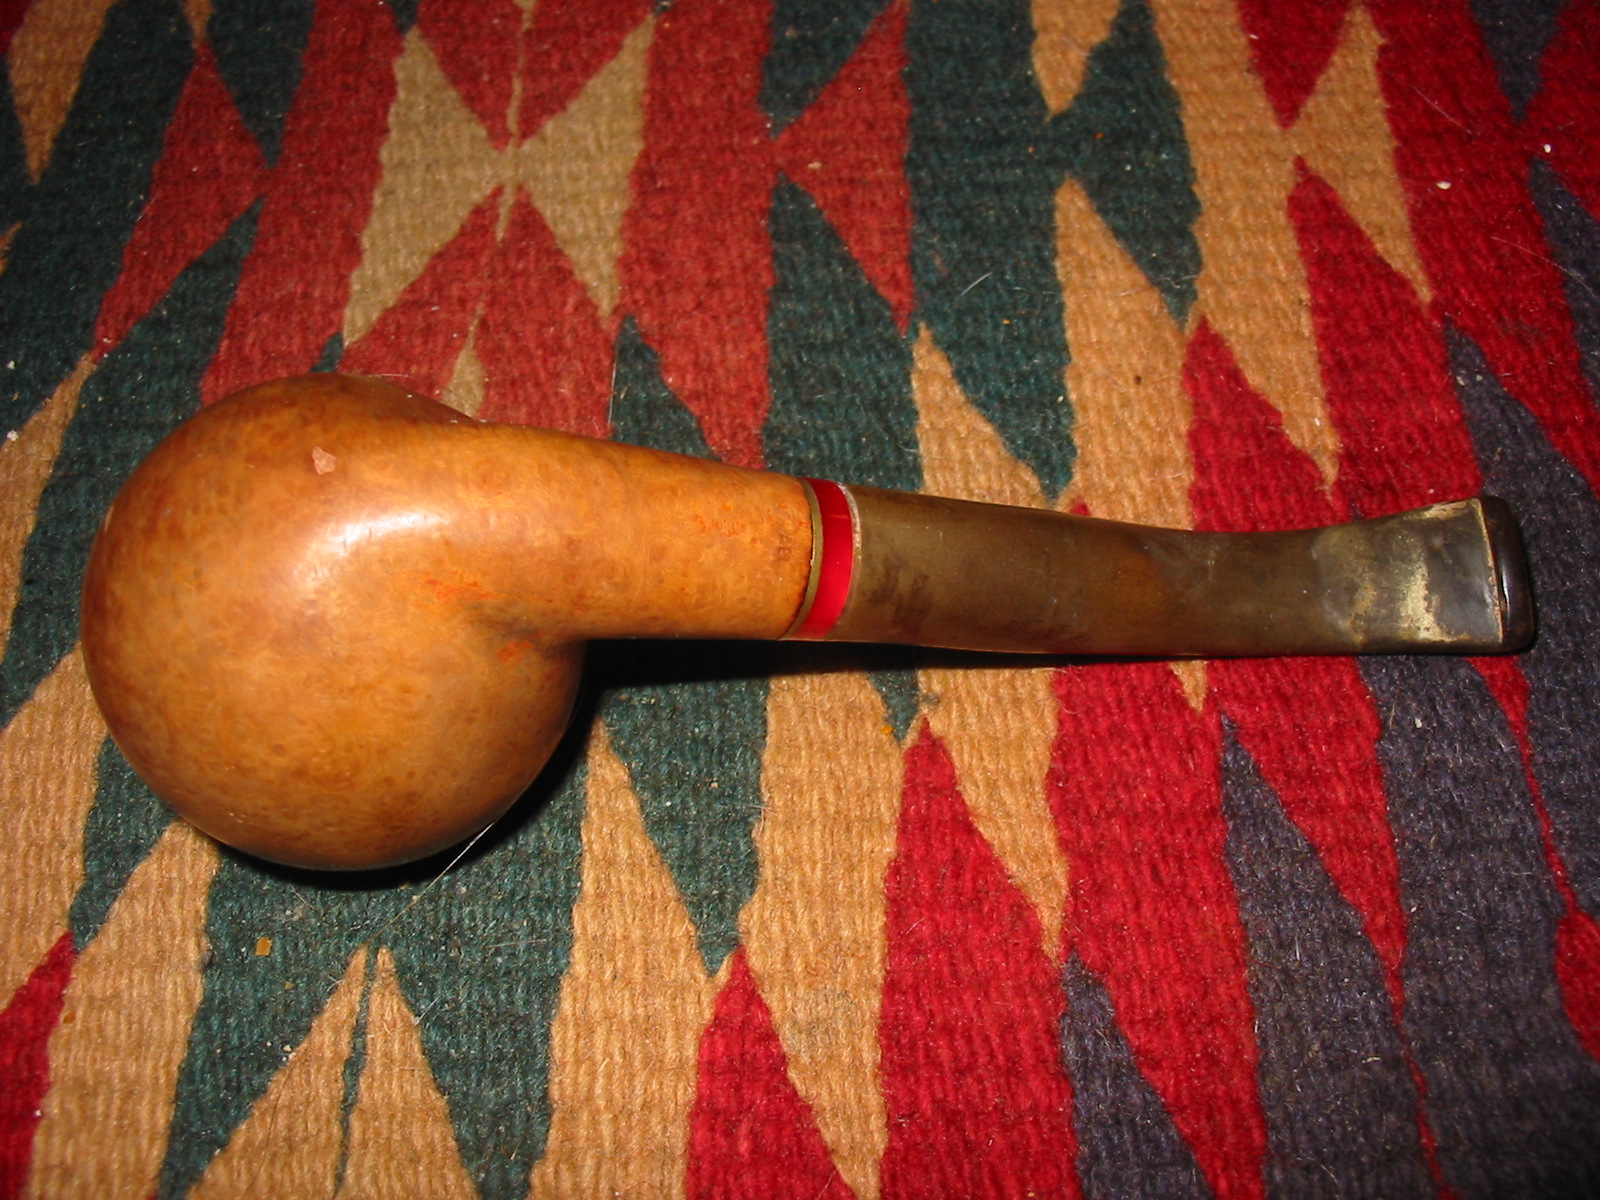
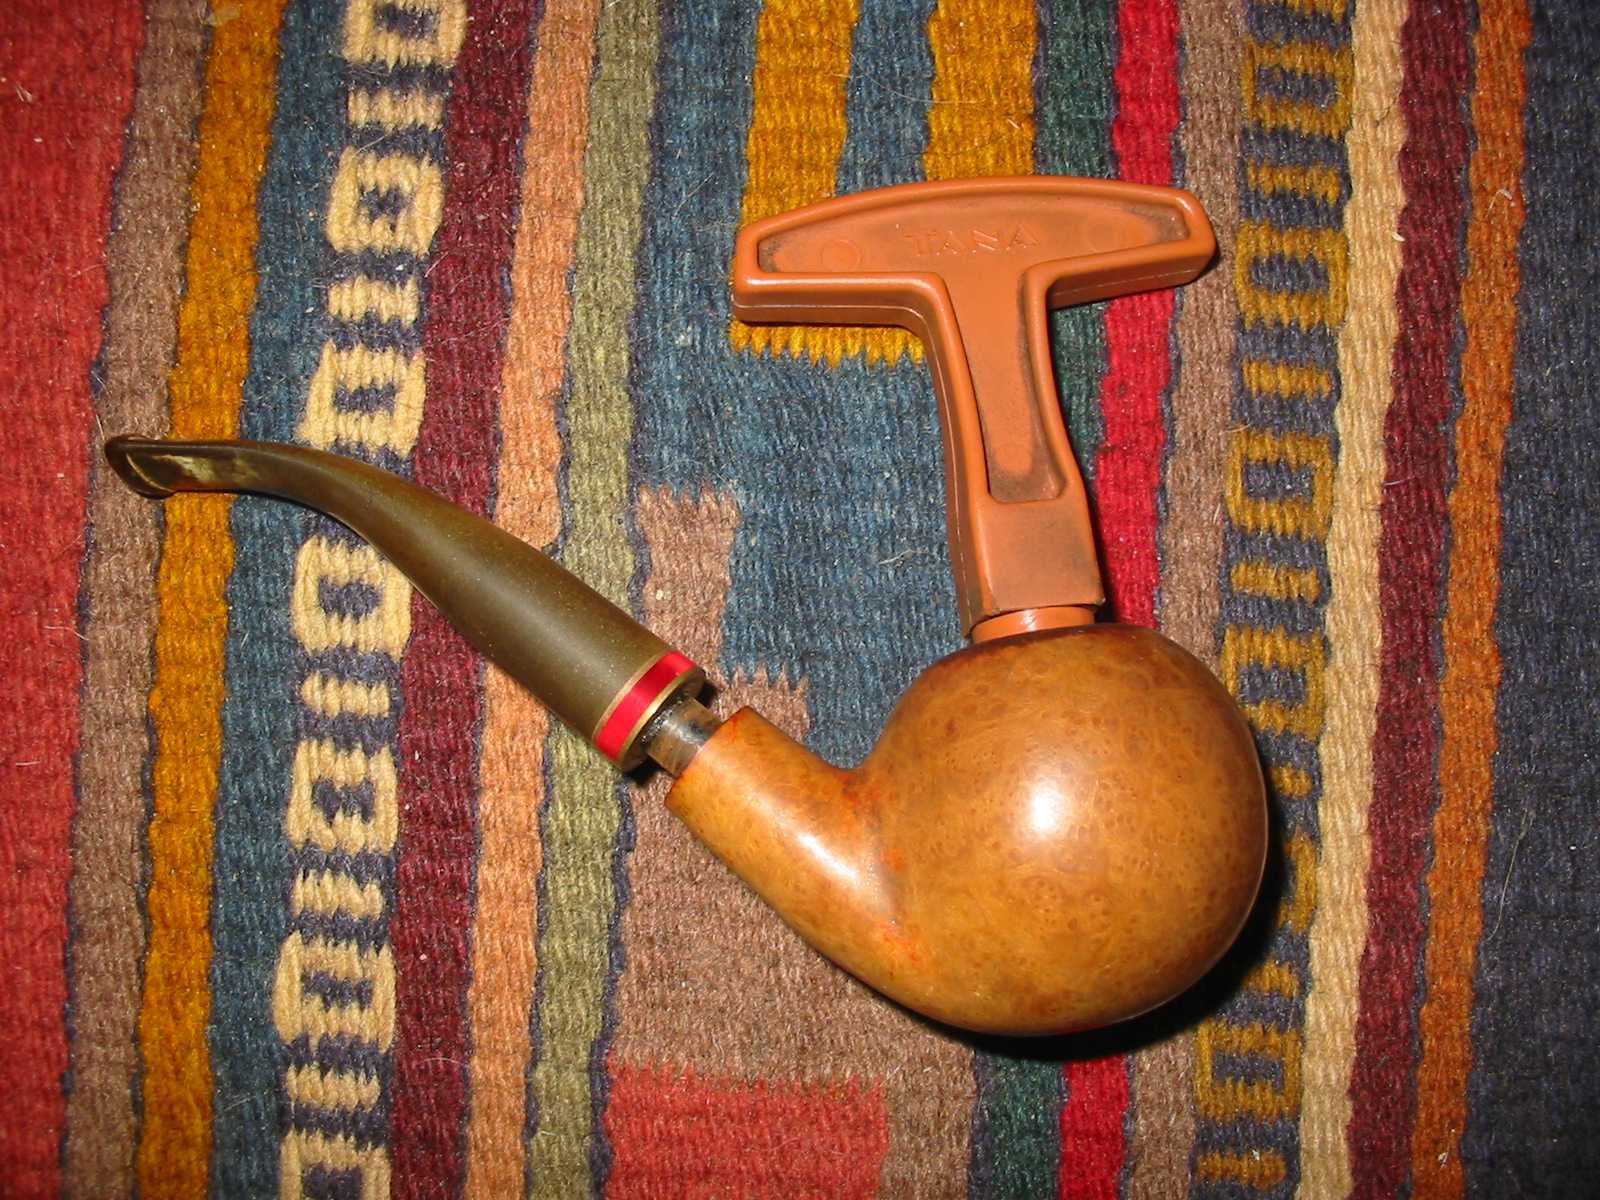
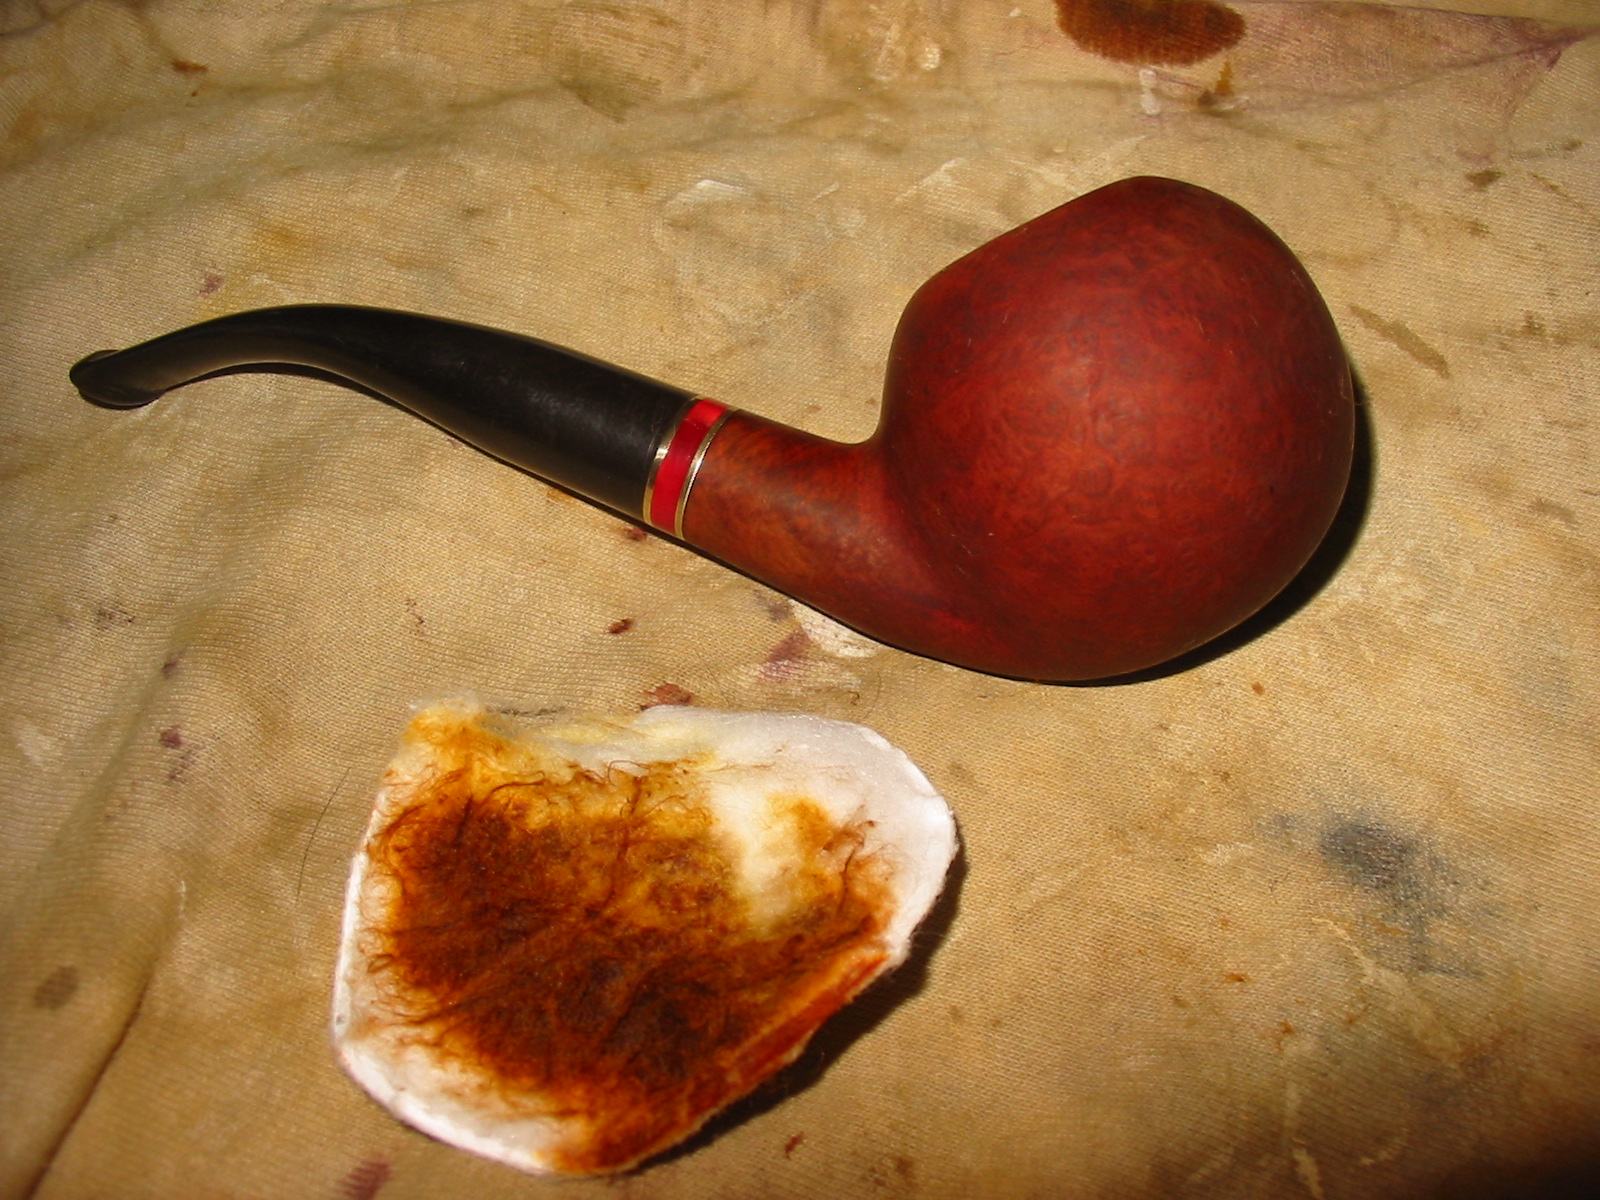
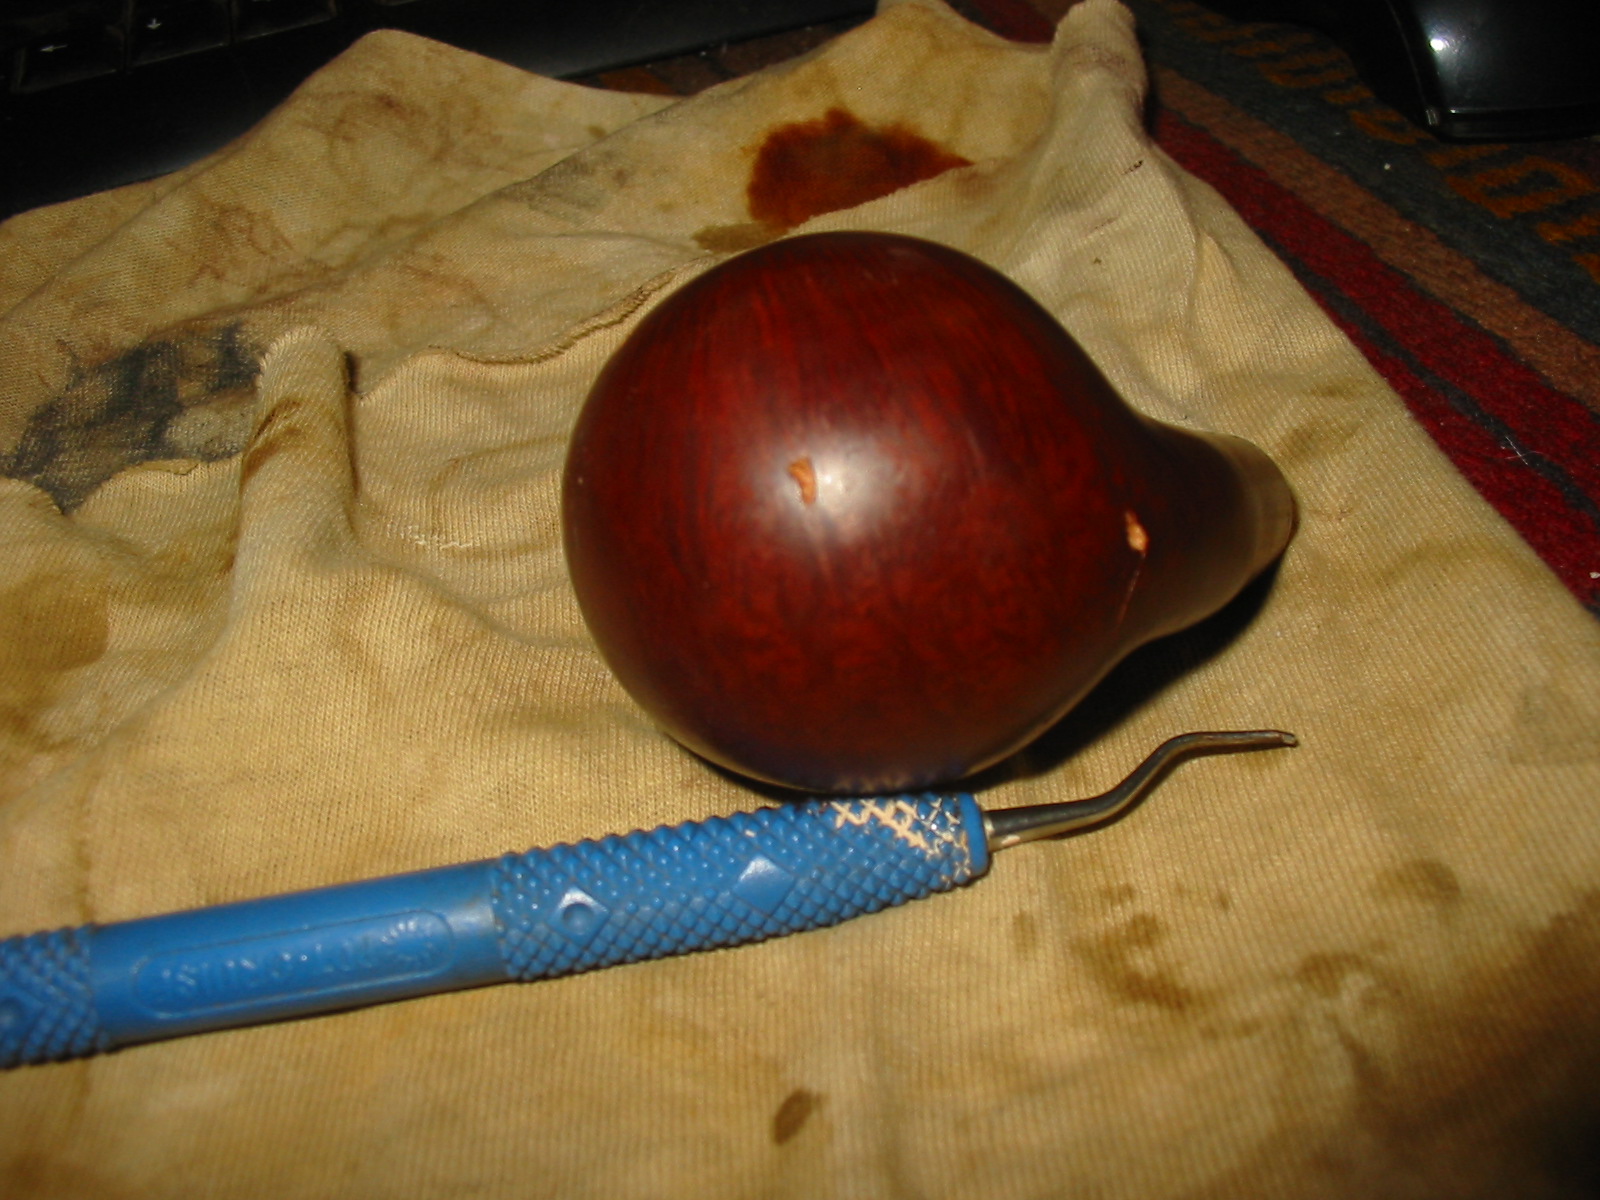
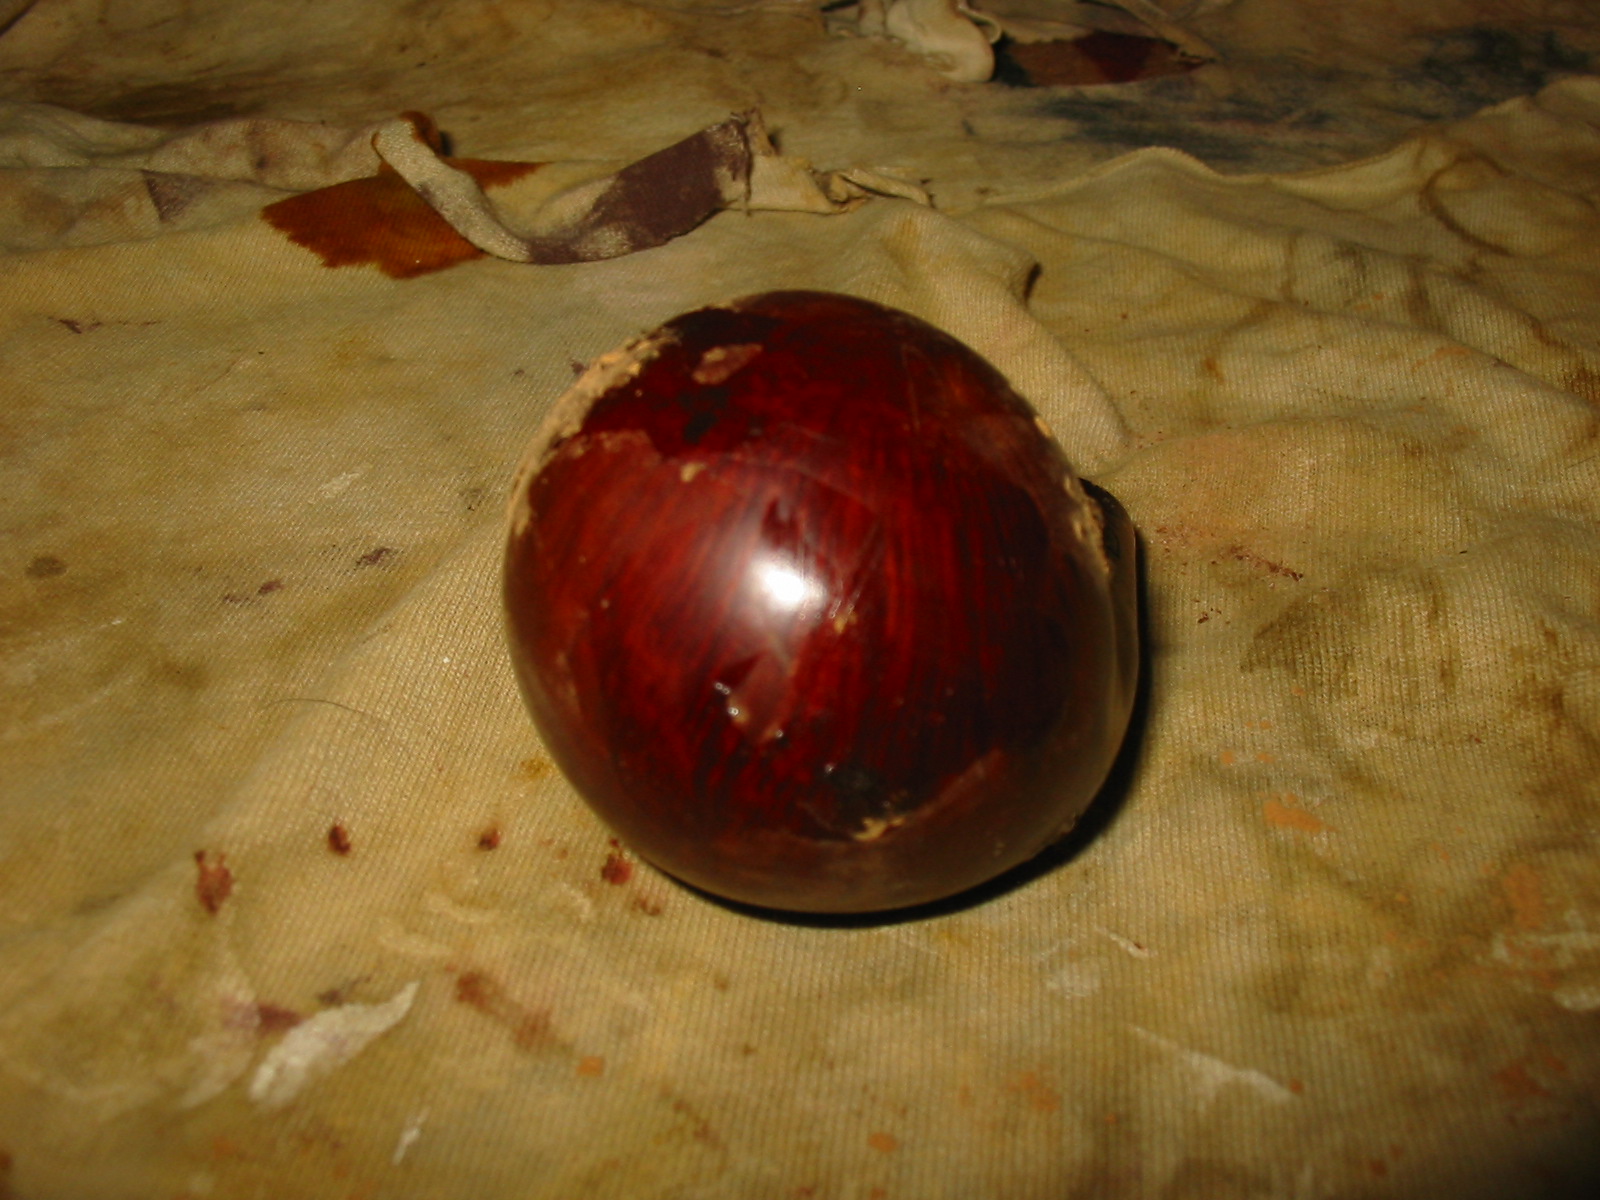
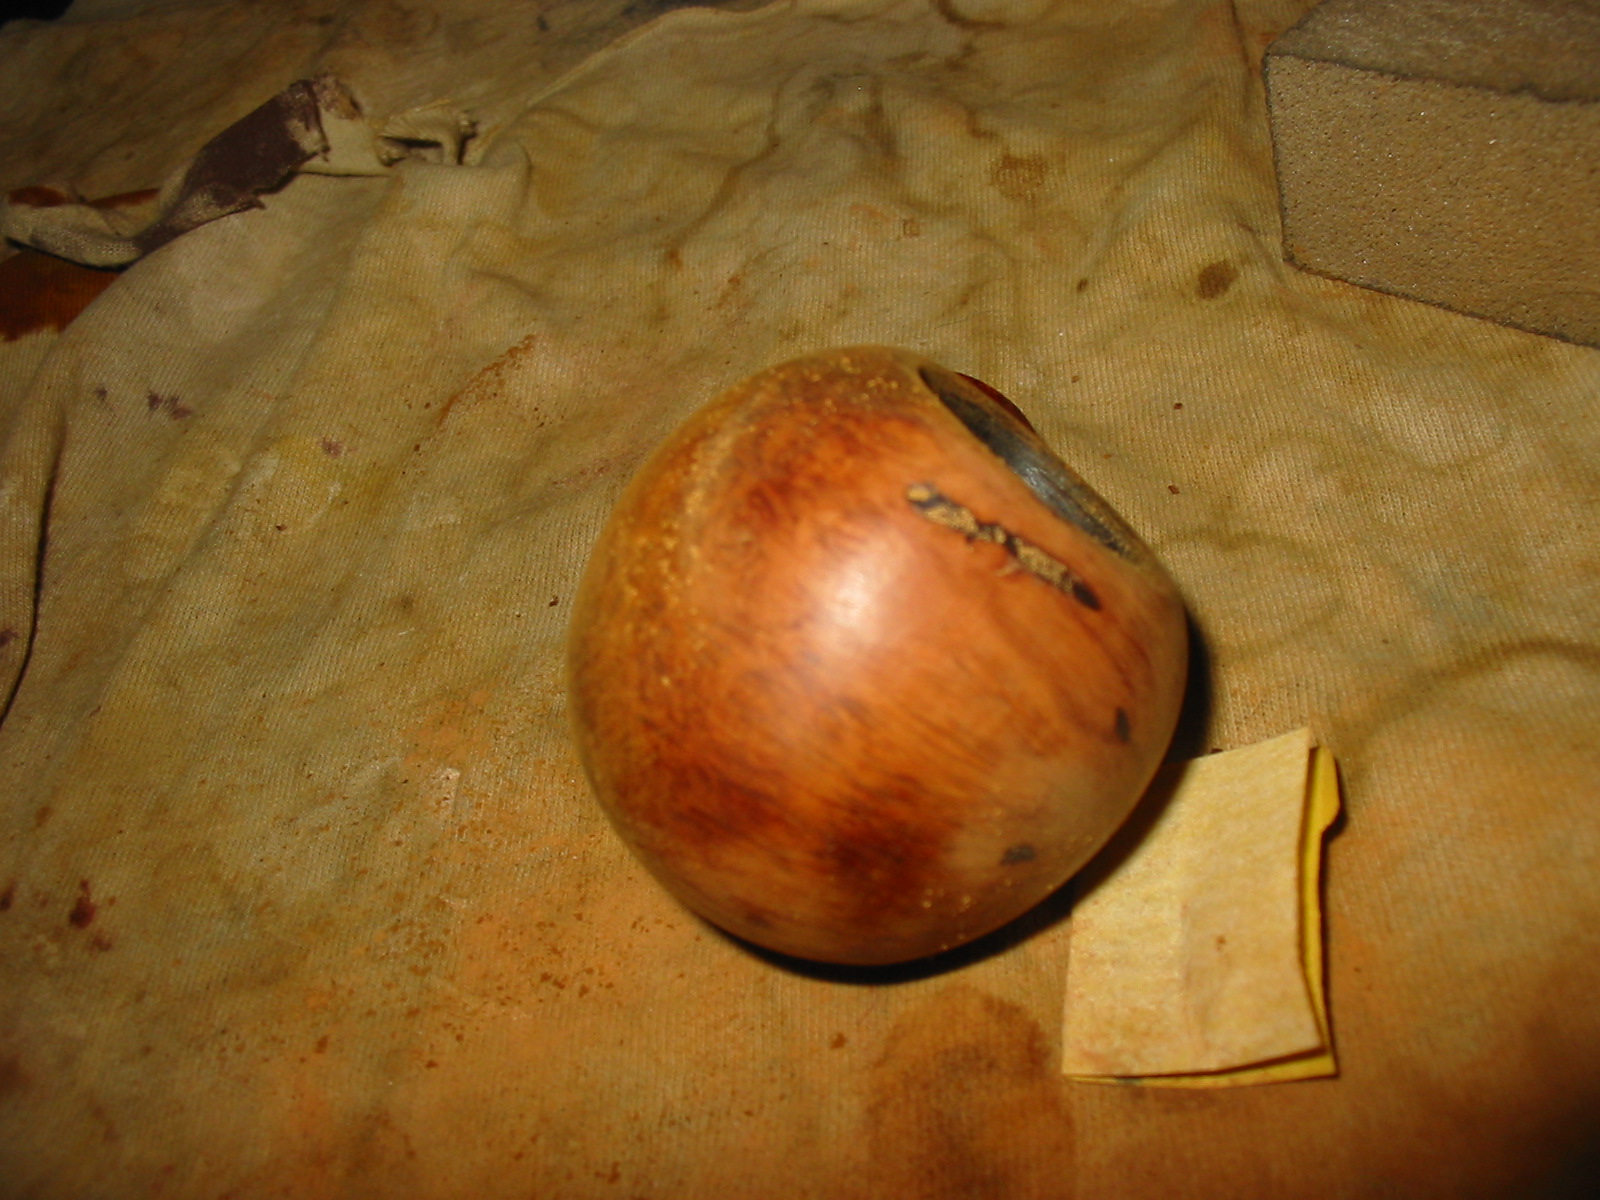
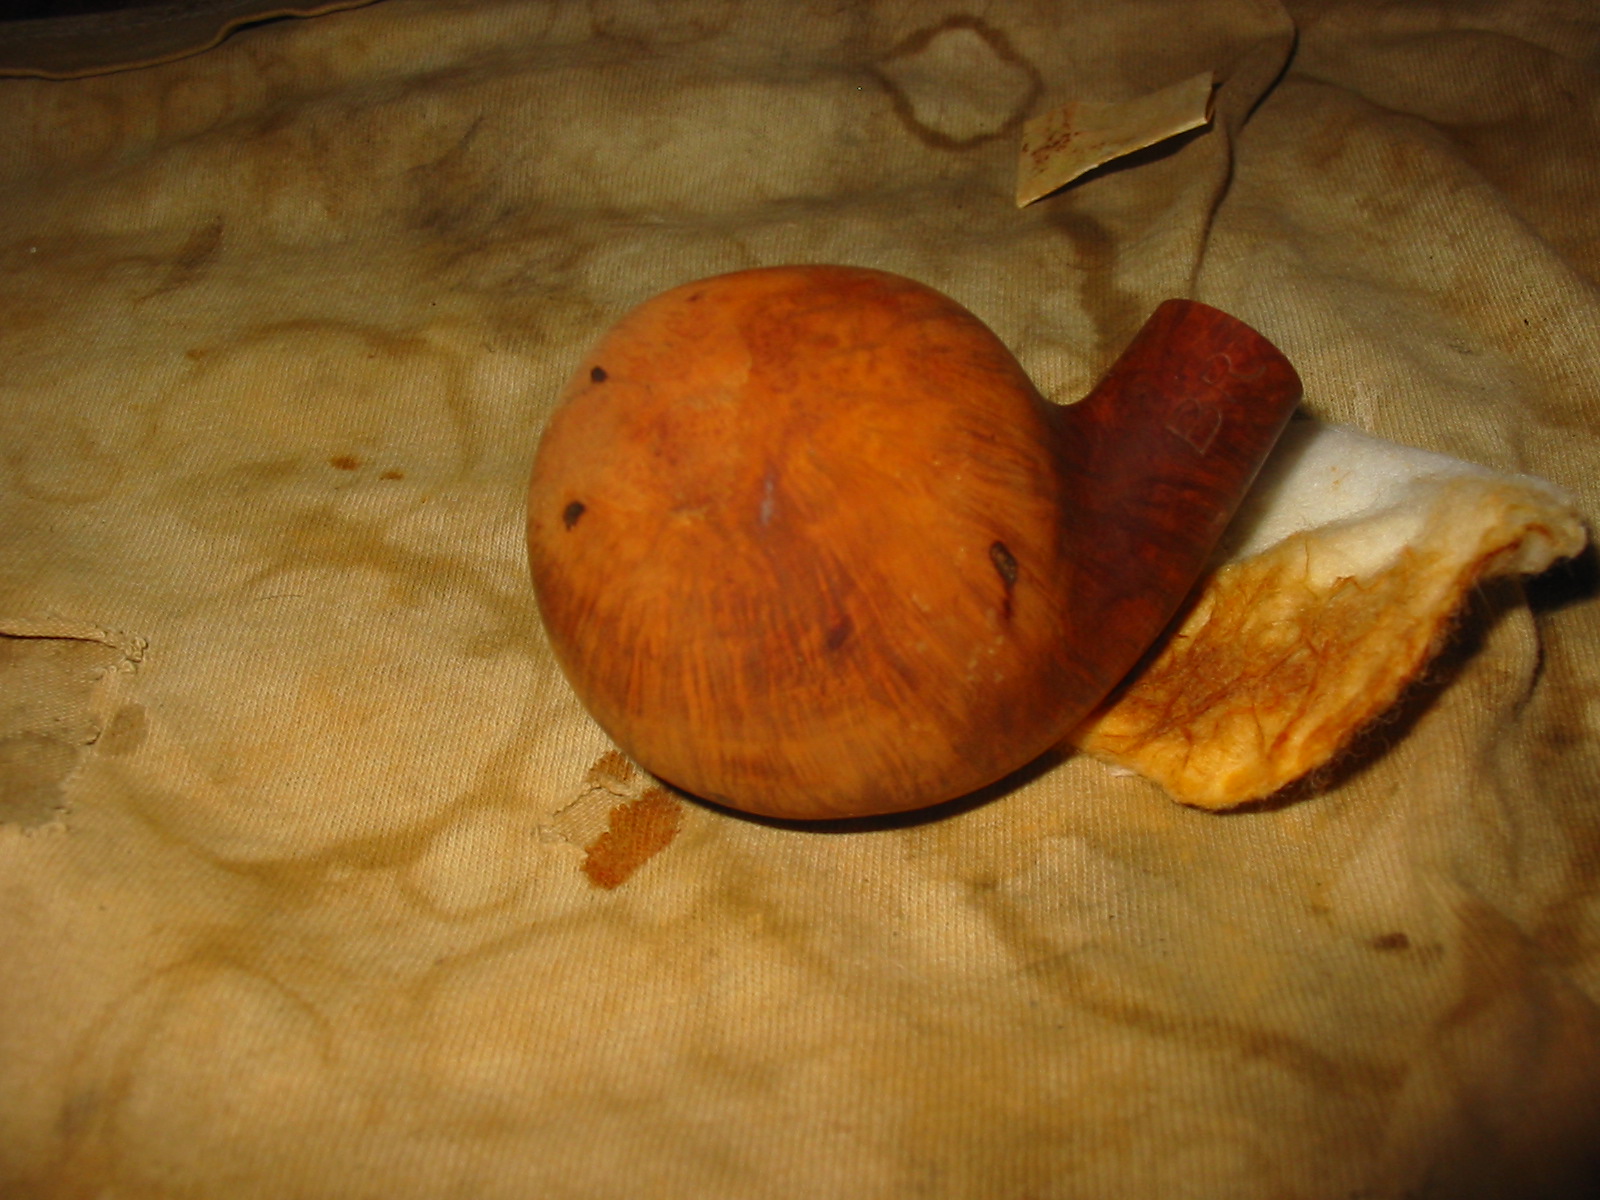
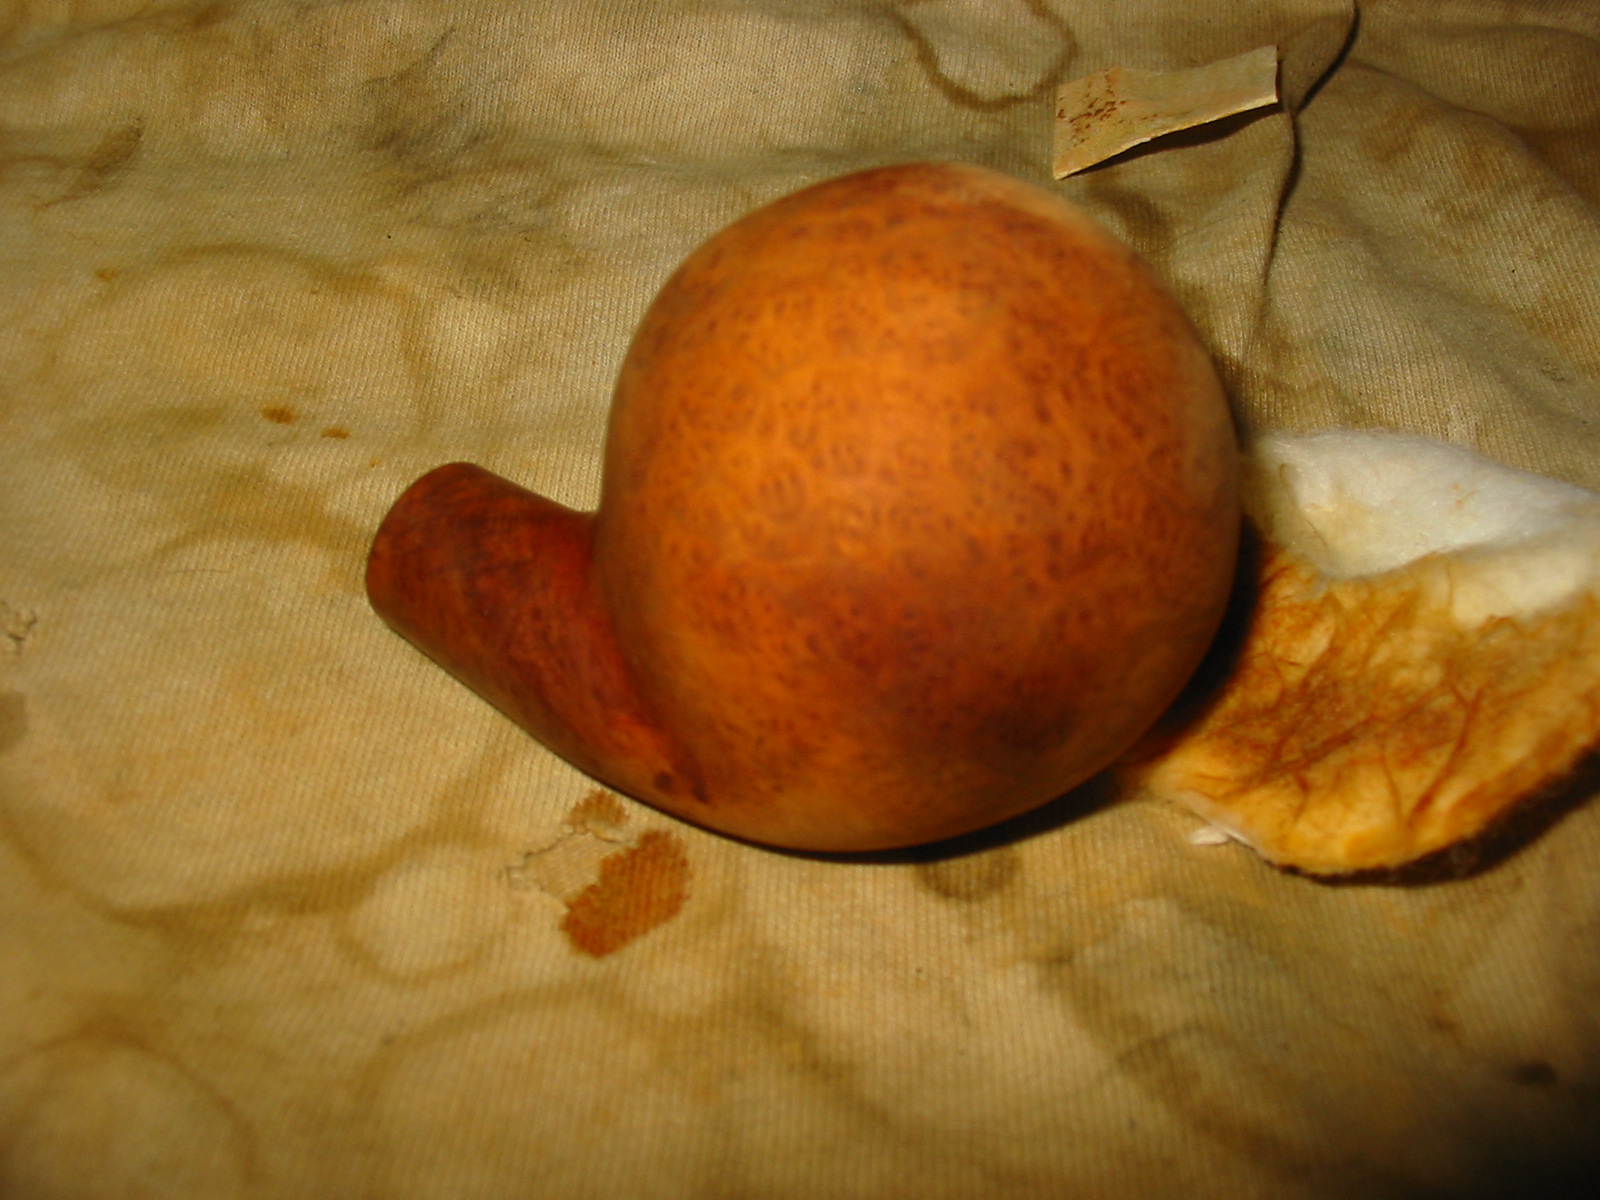
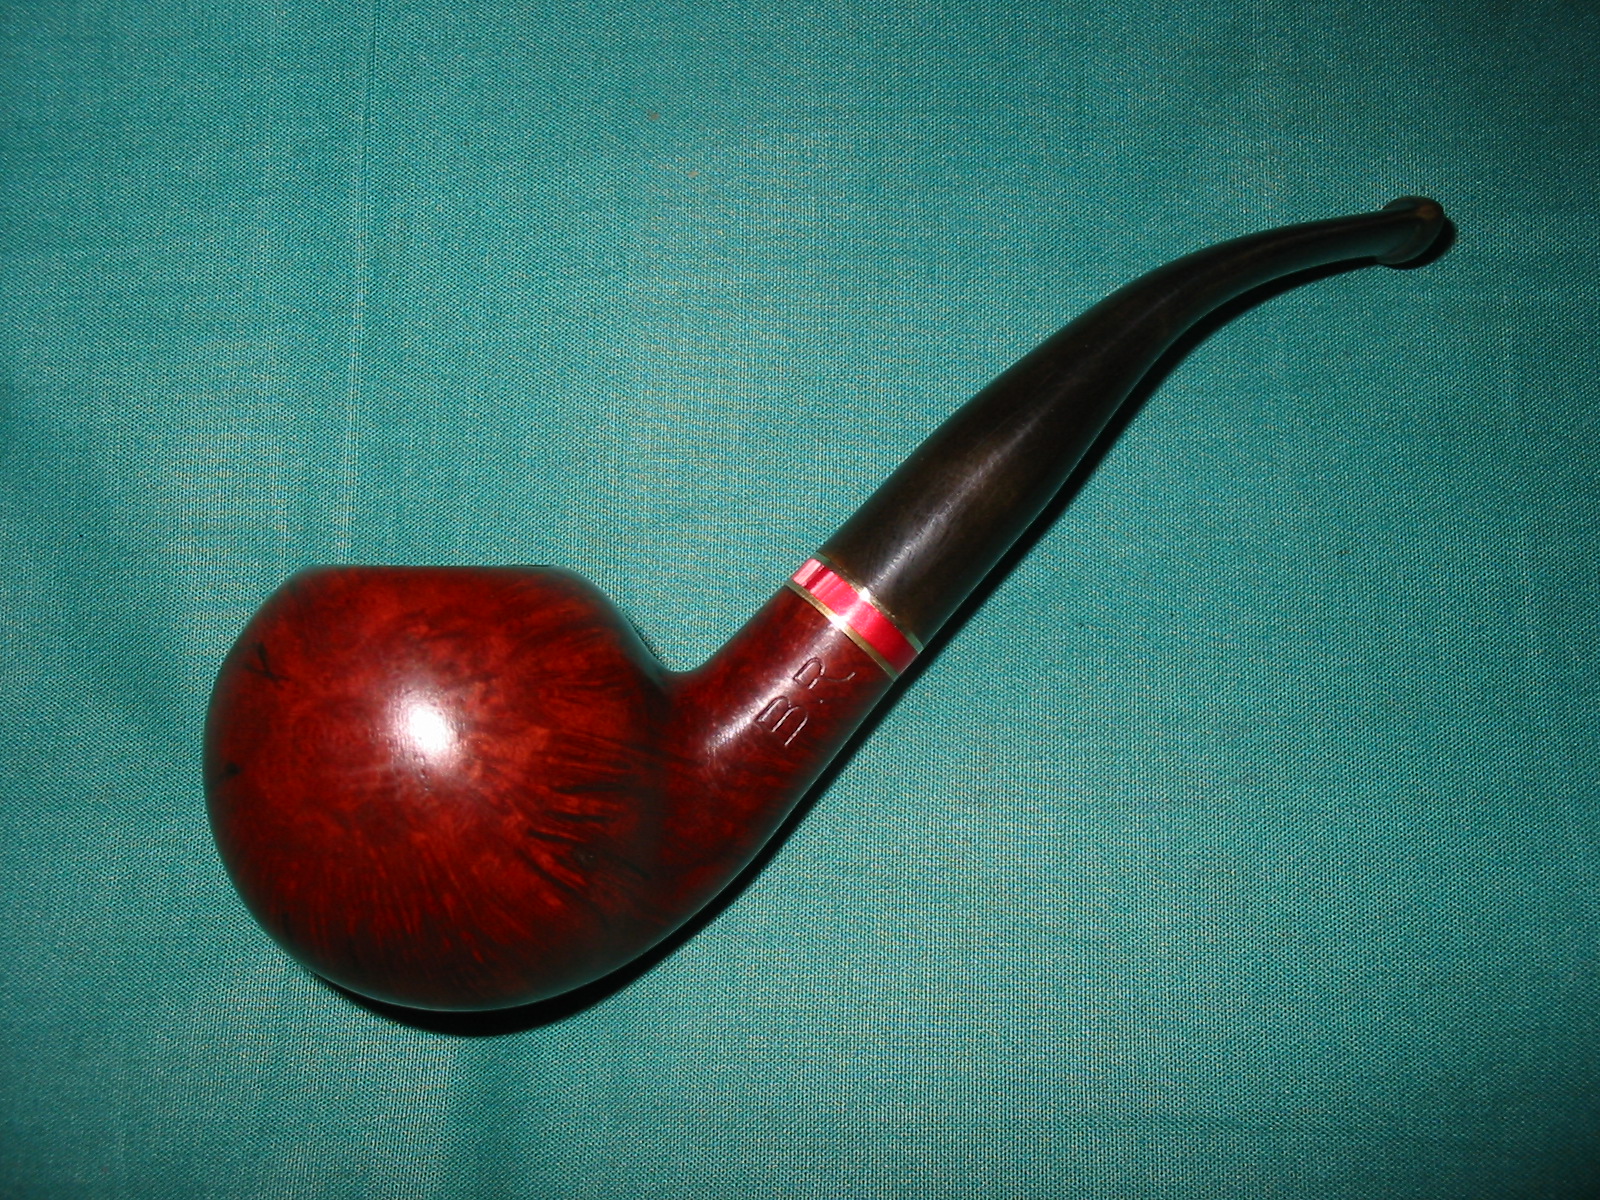
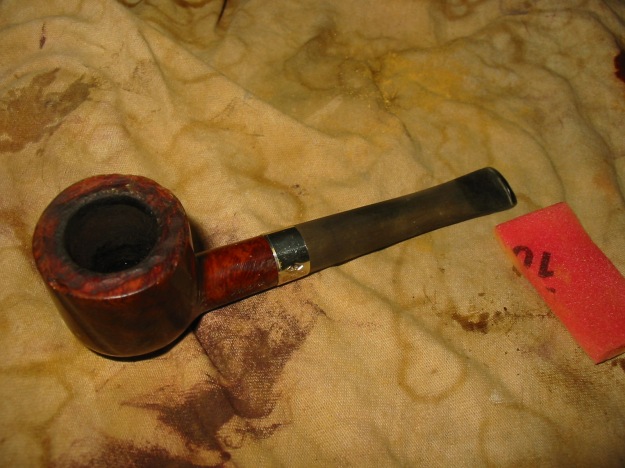
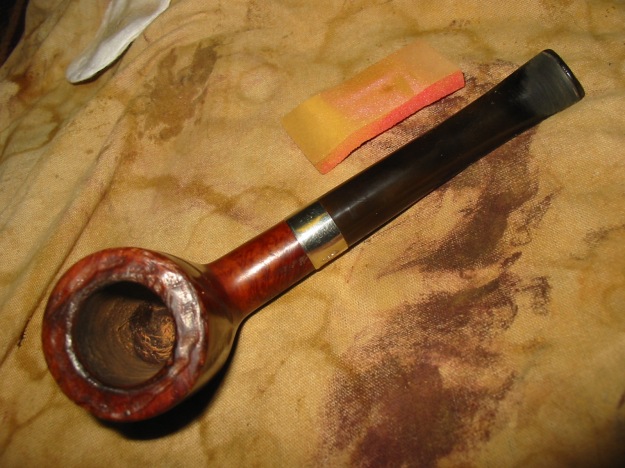
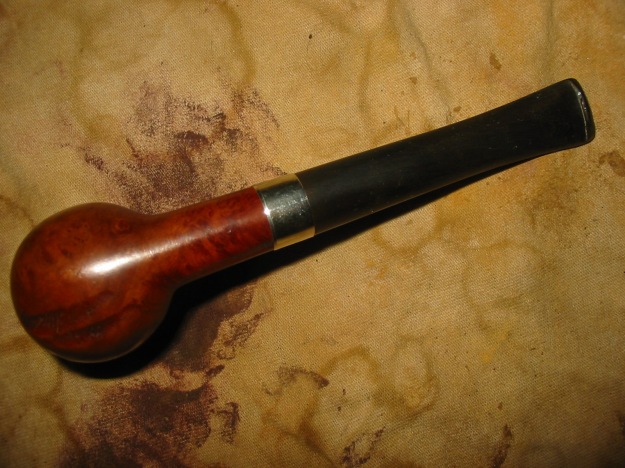
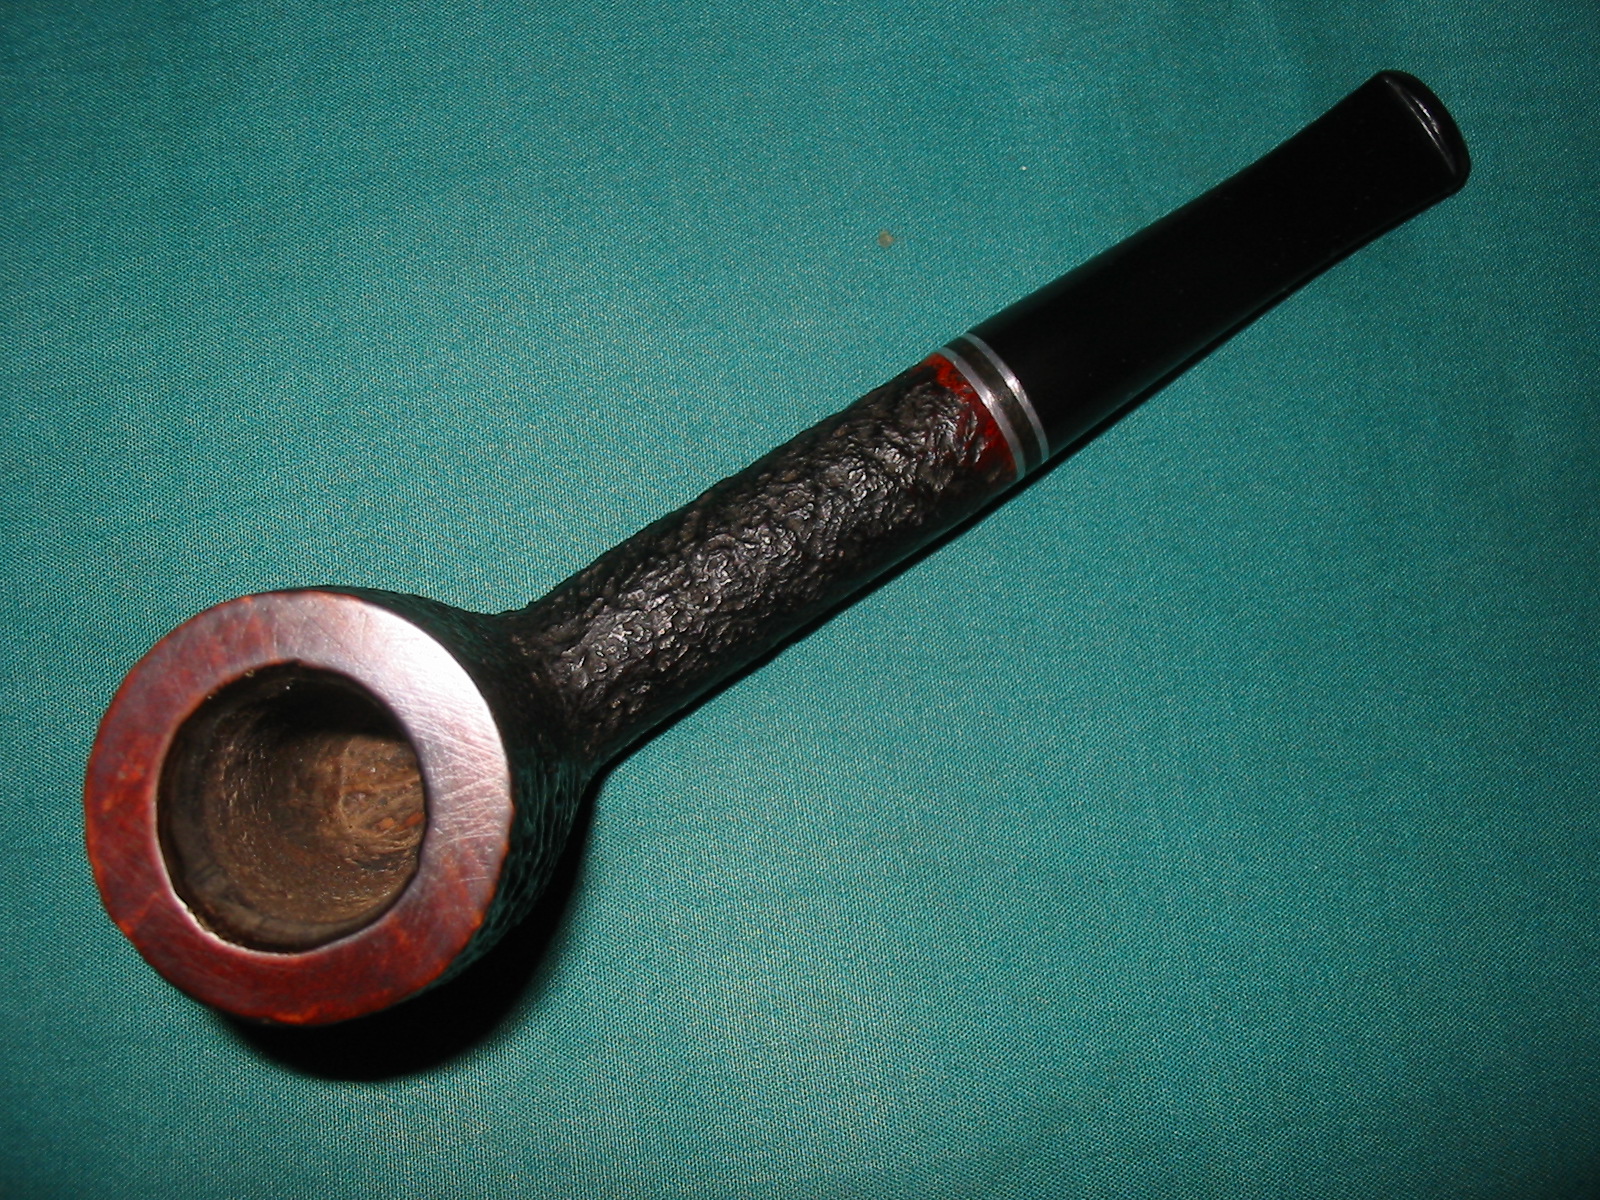
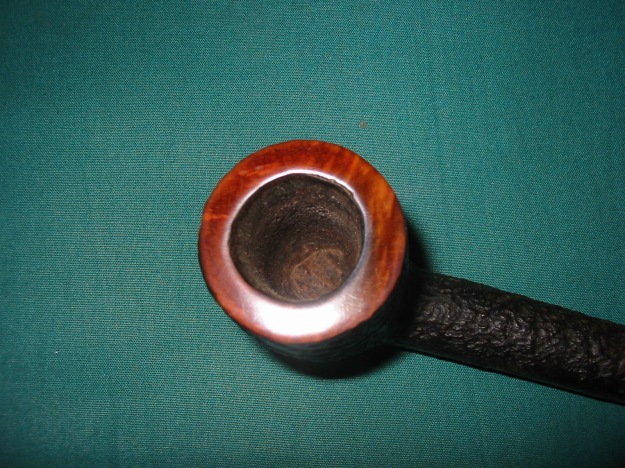
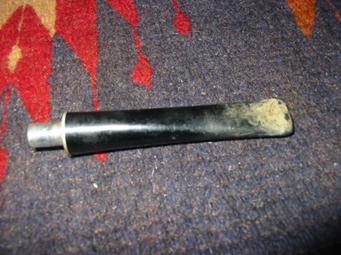
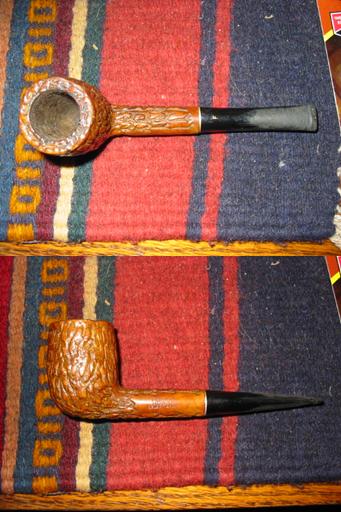
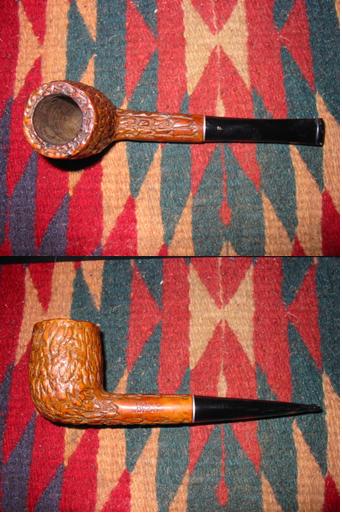
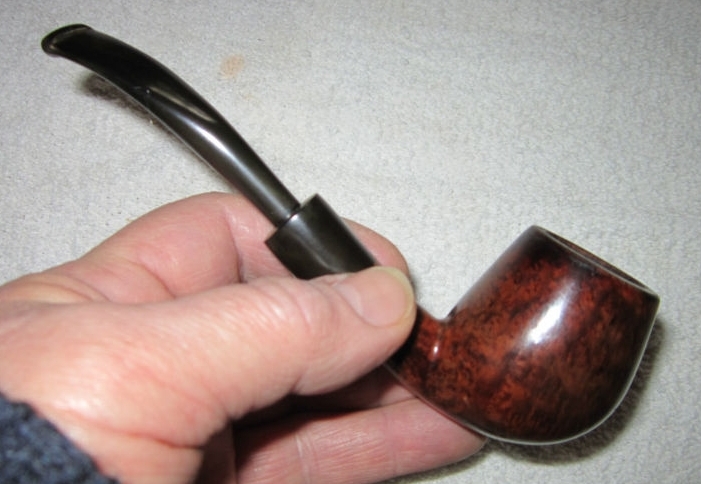
From this point, we can deduce that this pipe is from the 1970s or ‘80s. Here is in an image capture from Pipephil:The pipe was in good condition and just needed some TLC to bring it back to working order. The stem was a bit dirty and thoroughly oxidized. The stummel was in decent shape, but it had a strange residue on the rim. I’d need to look into that more closely. 
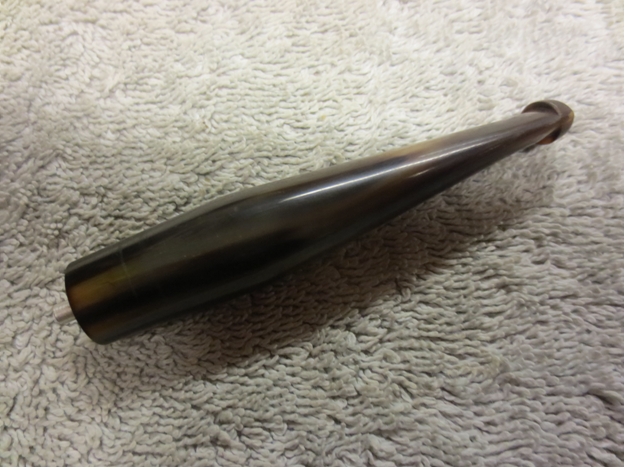
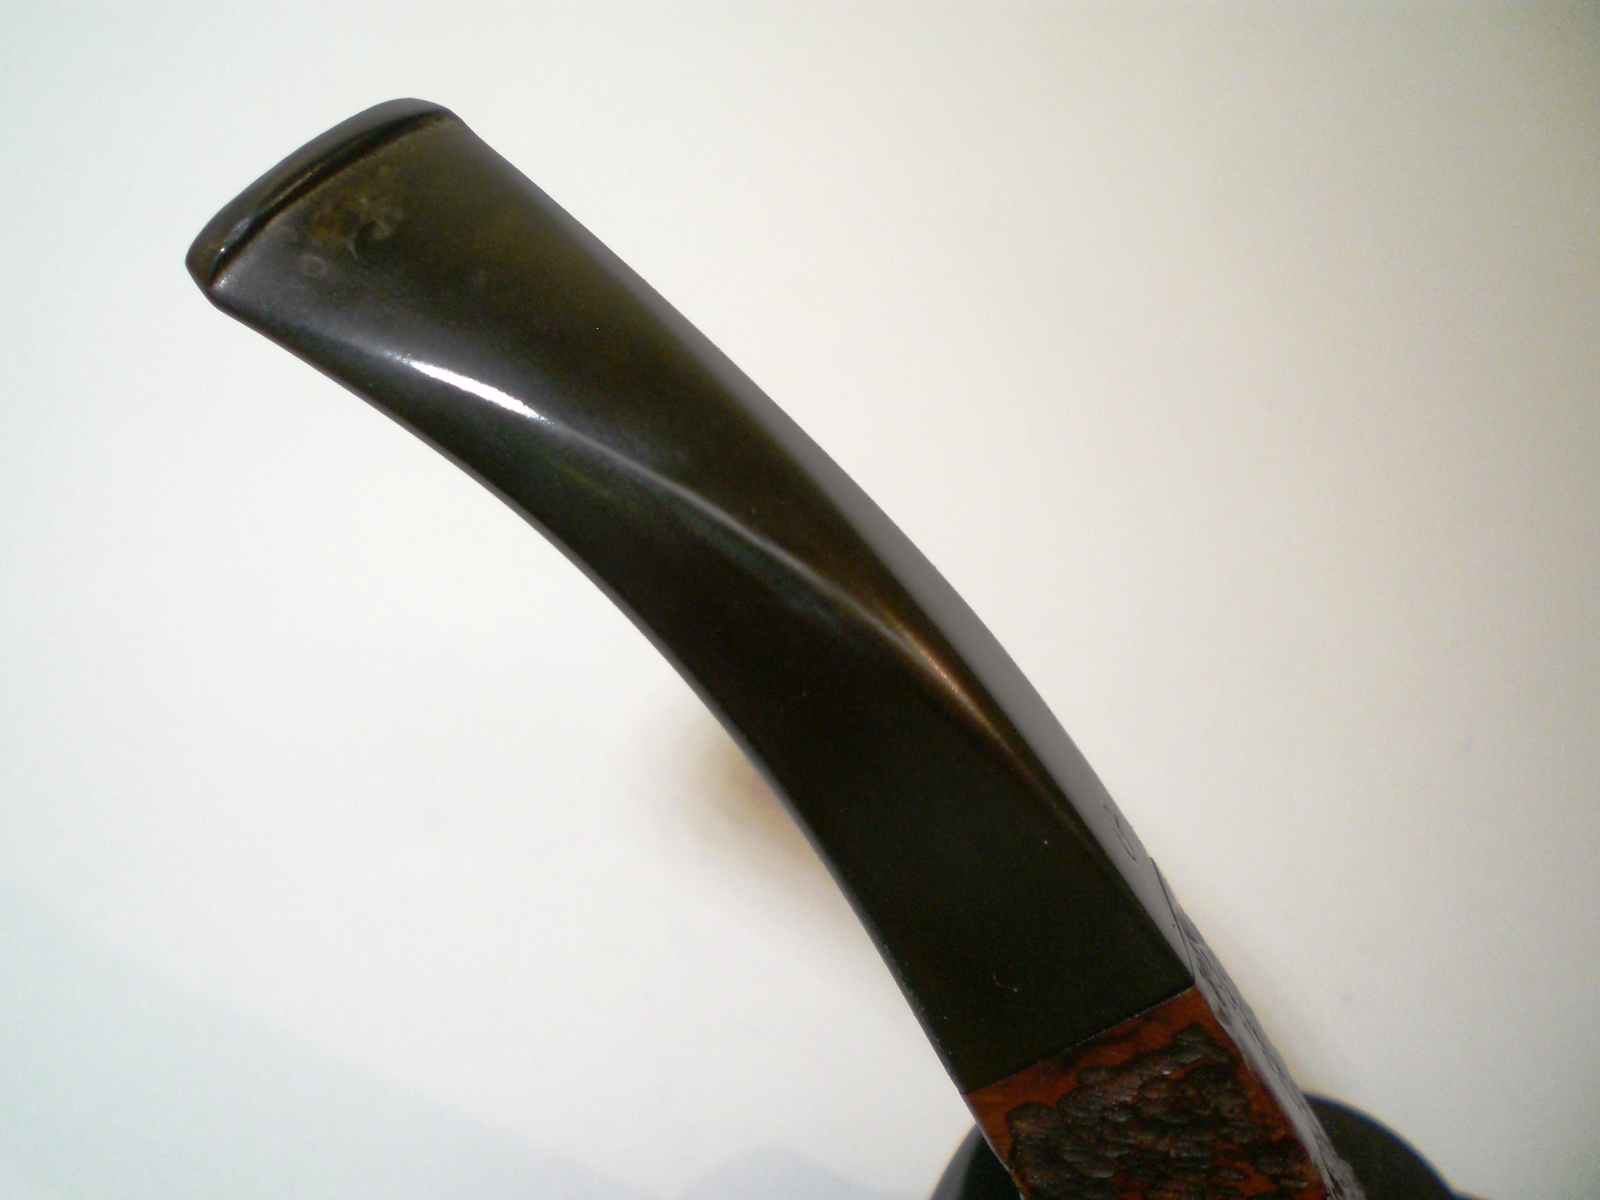
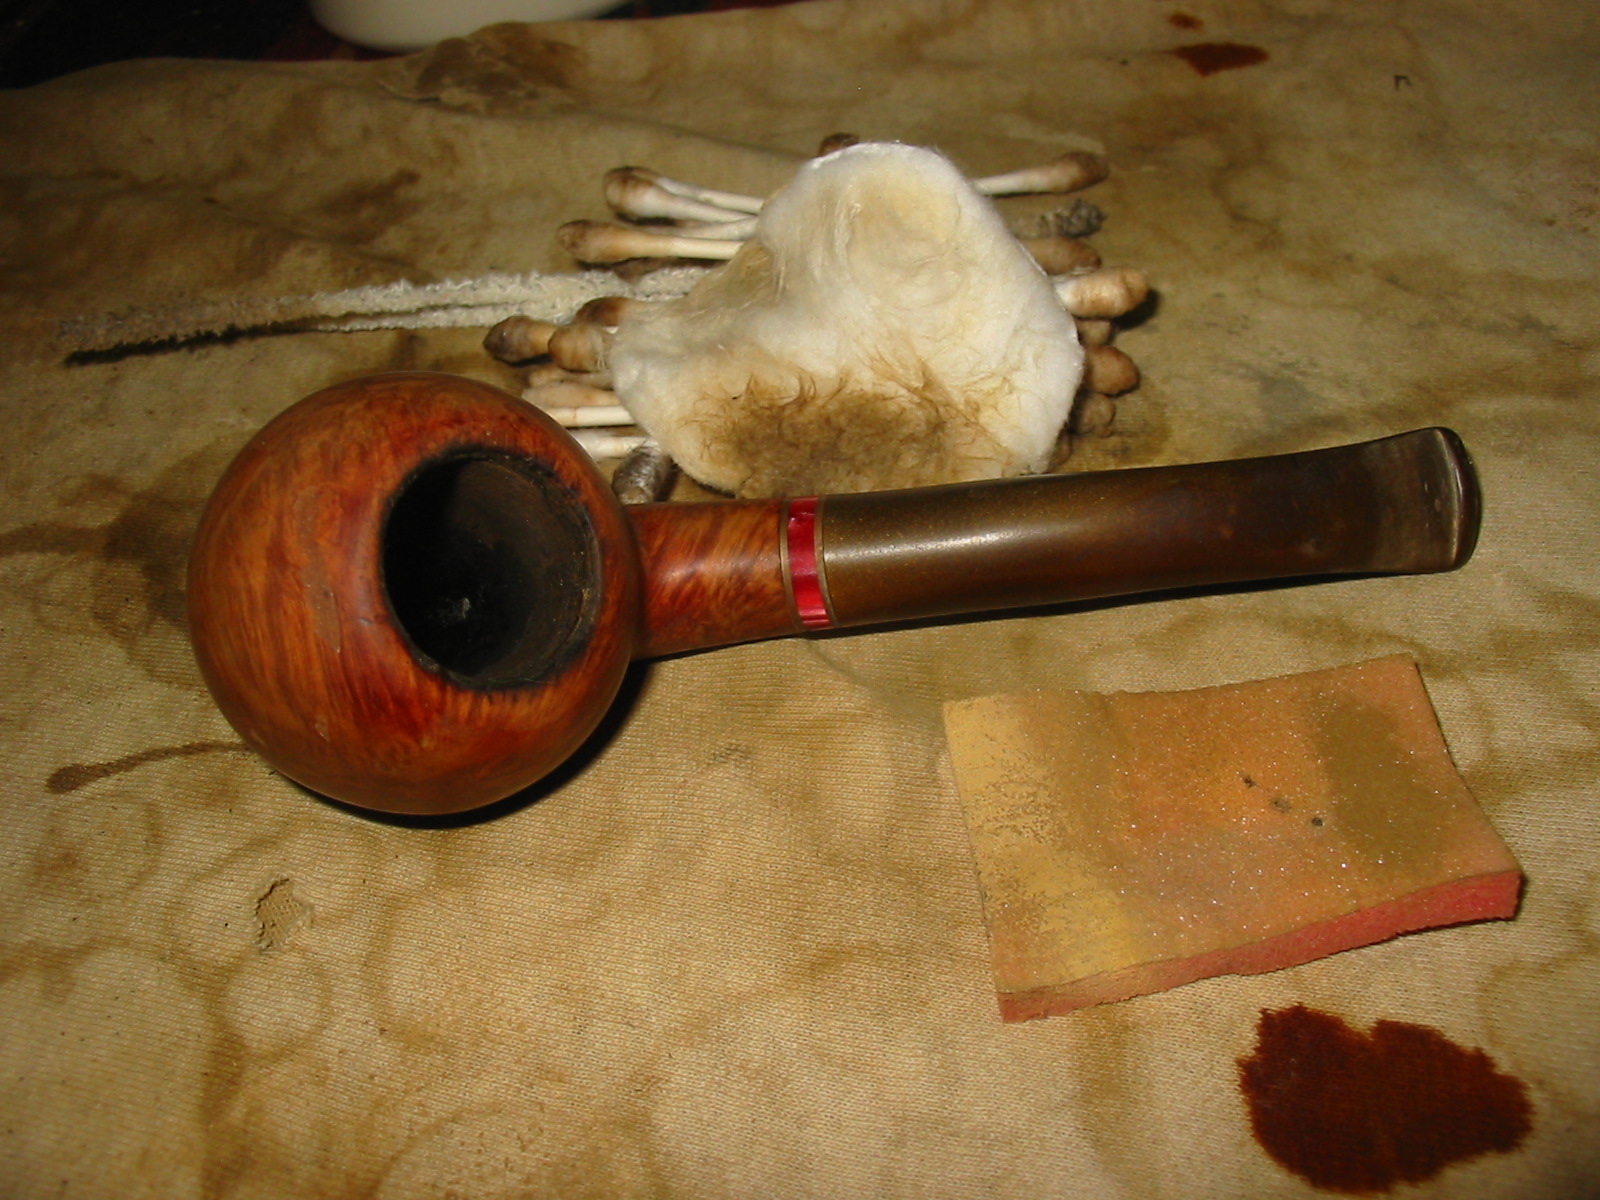
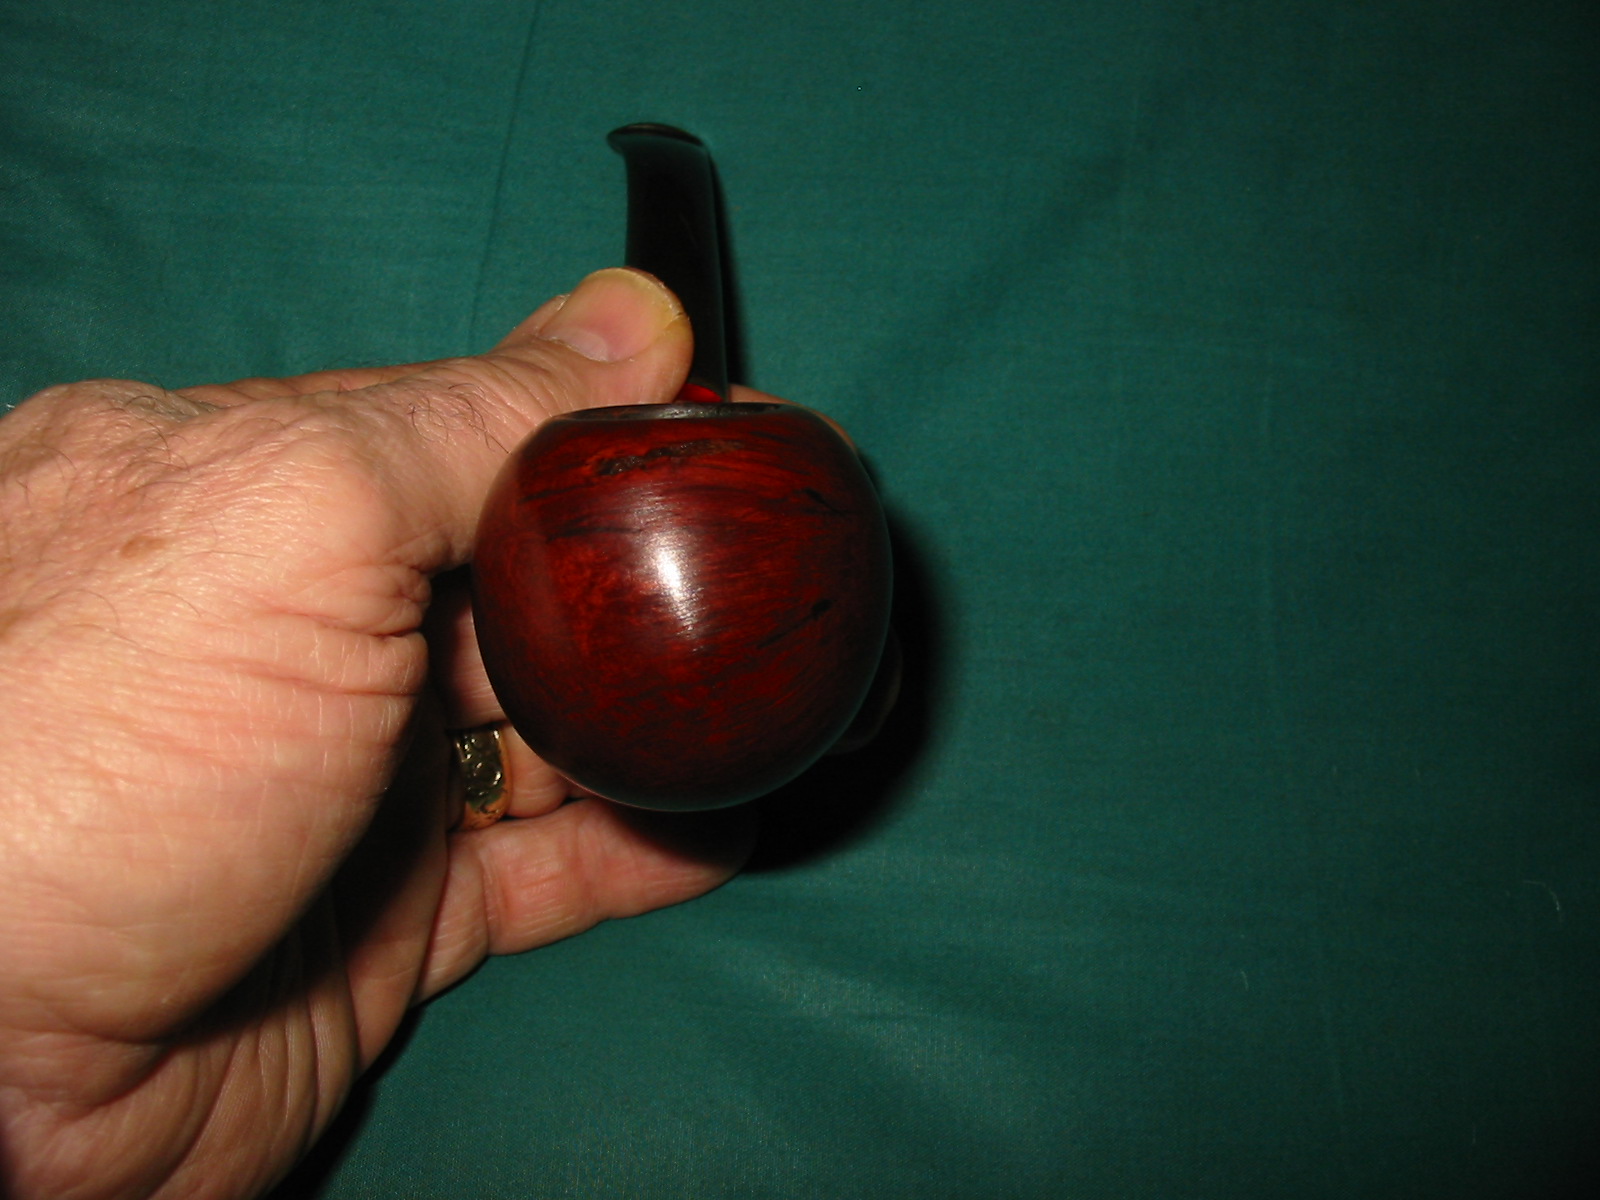
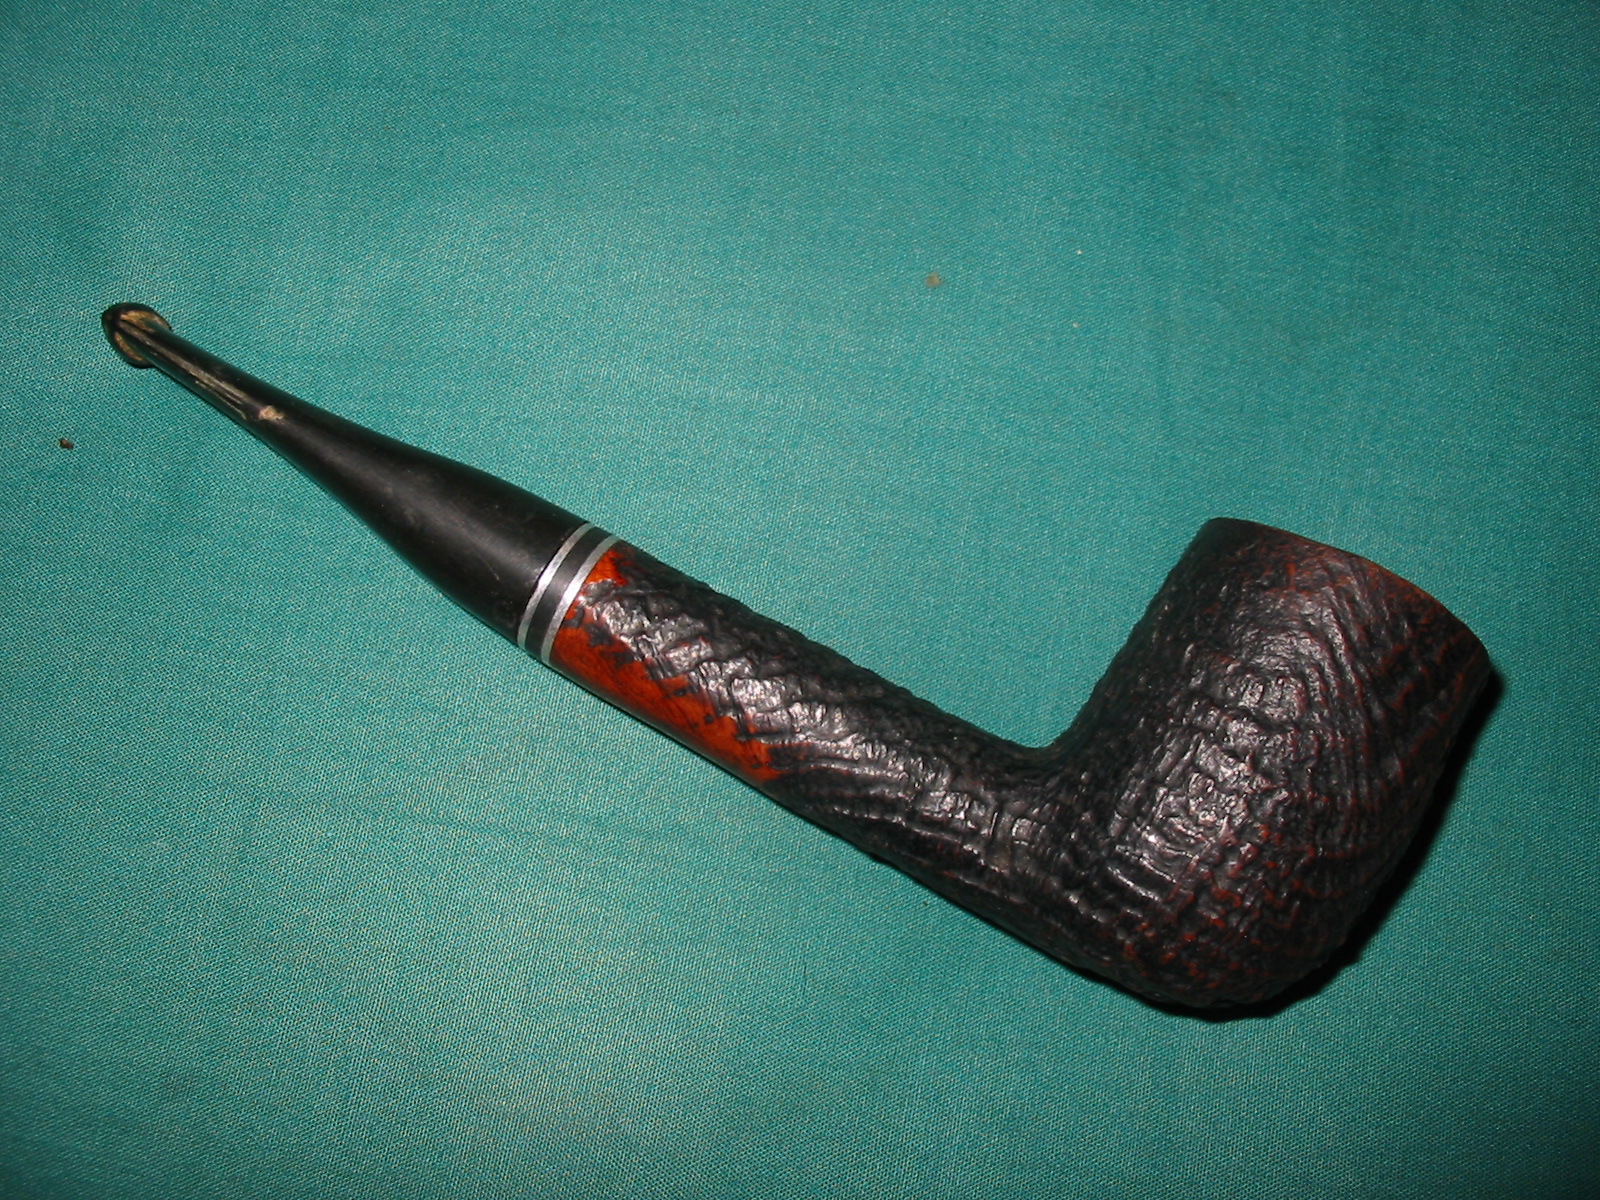
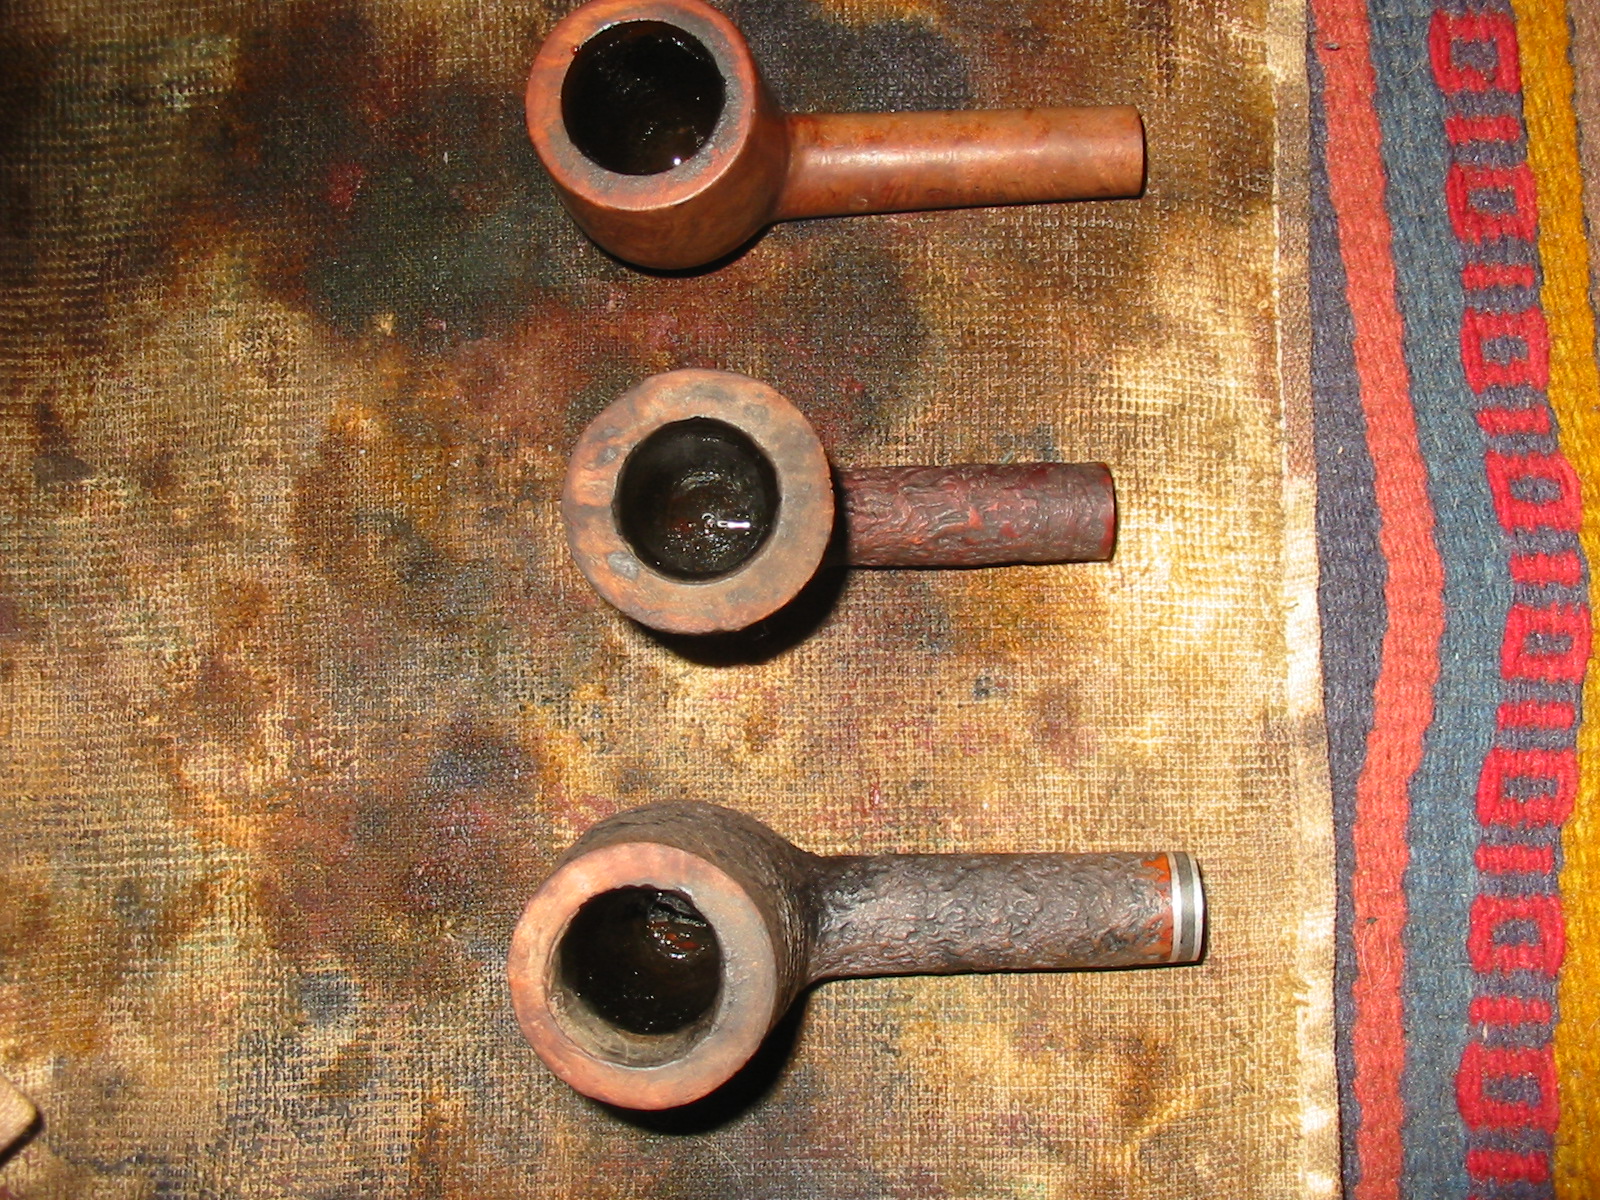
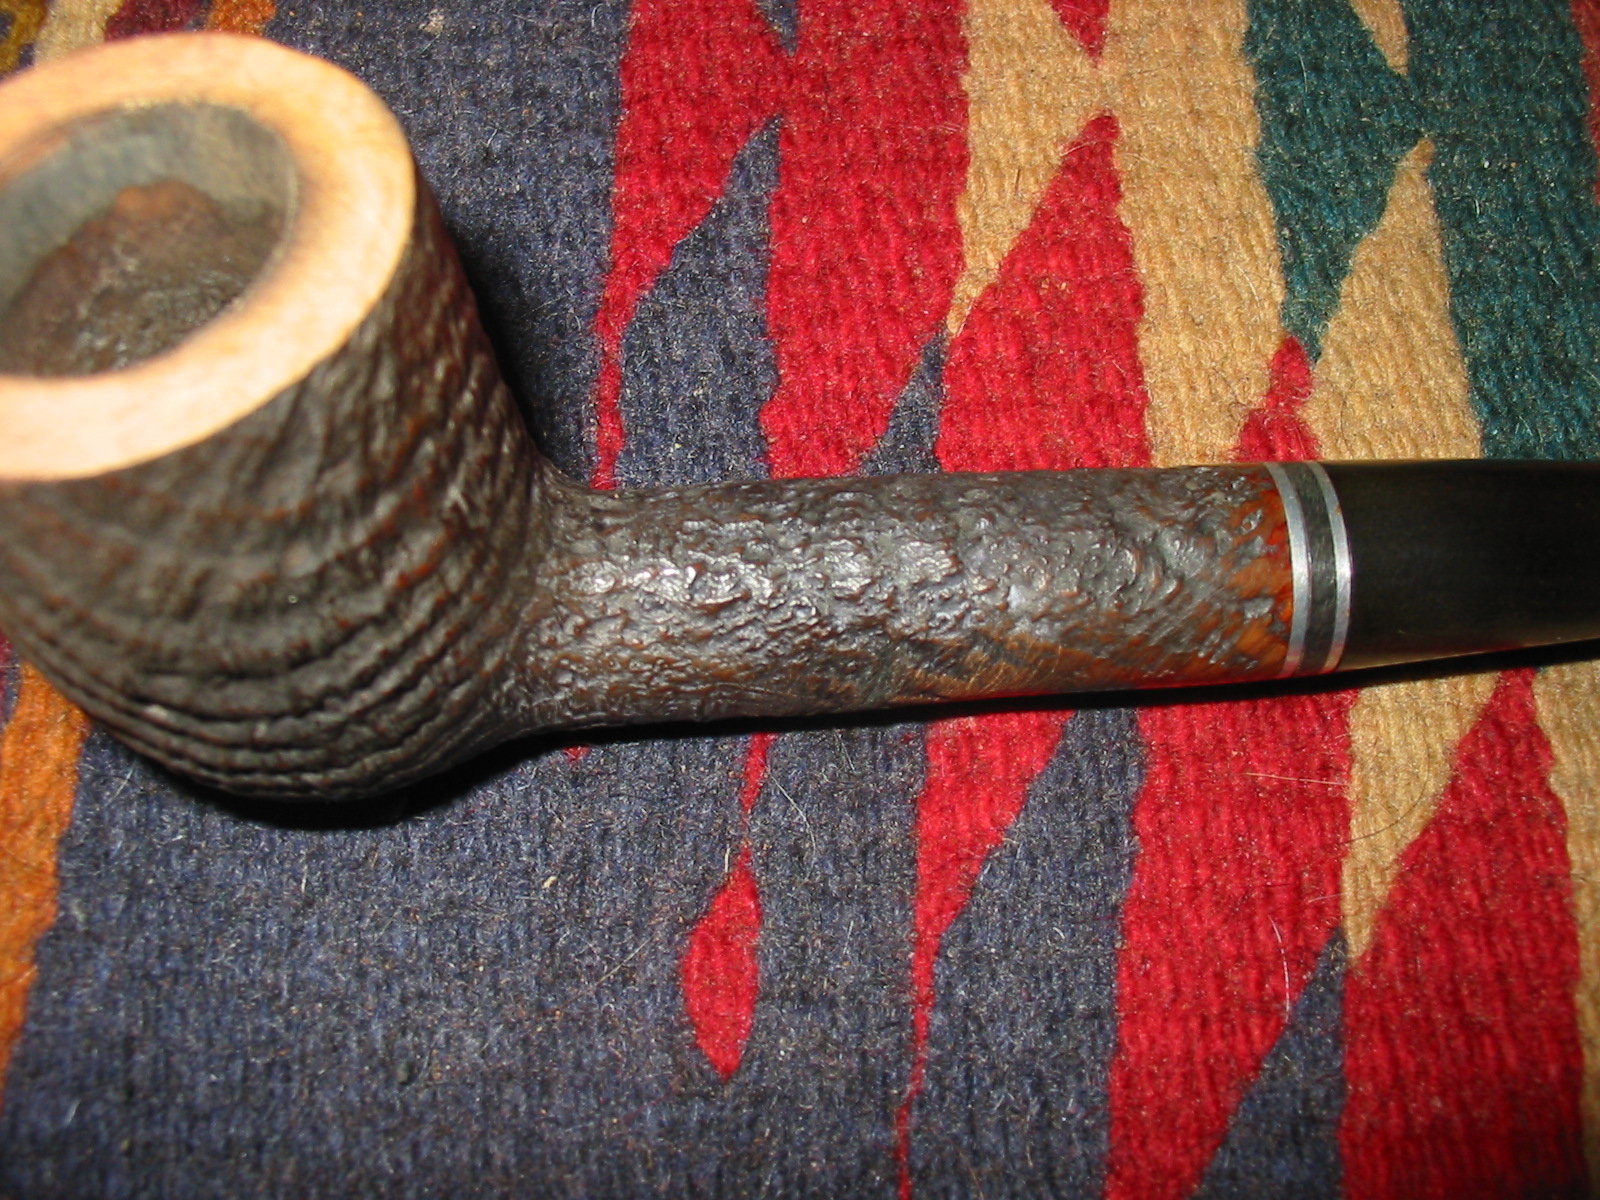
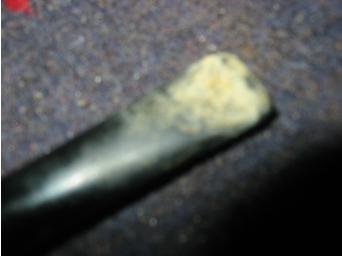
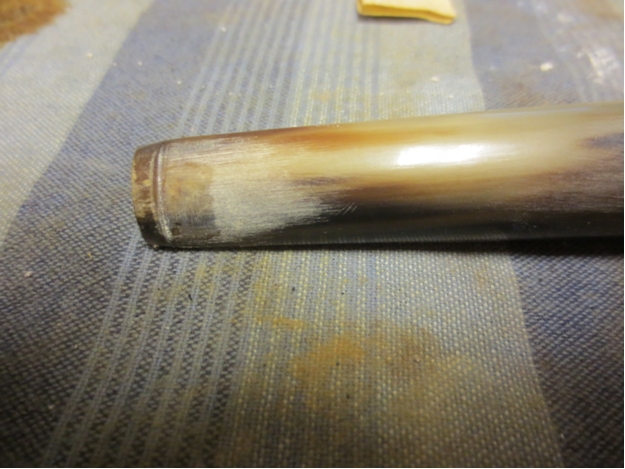
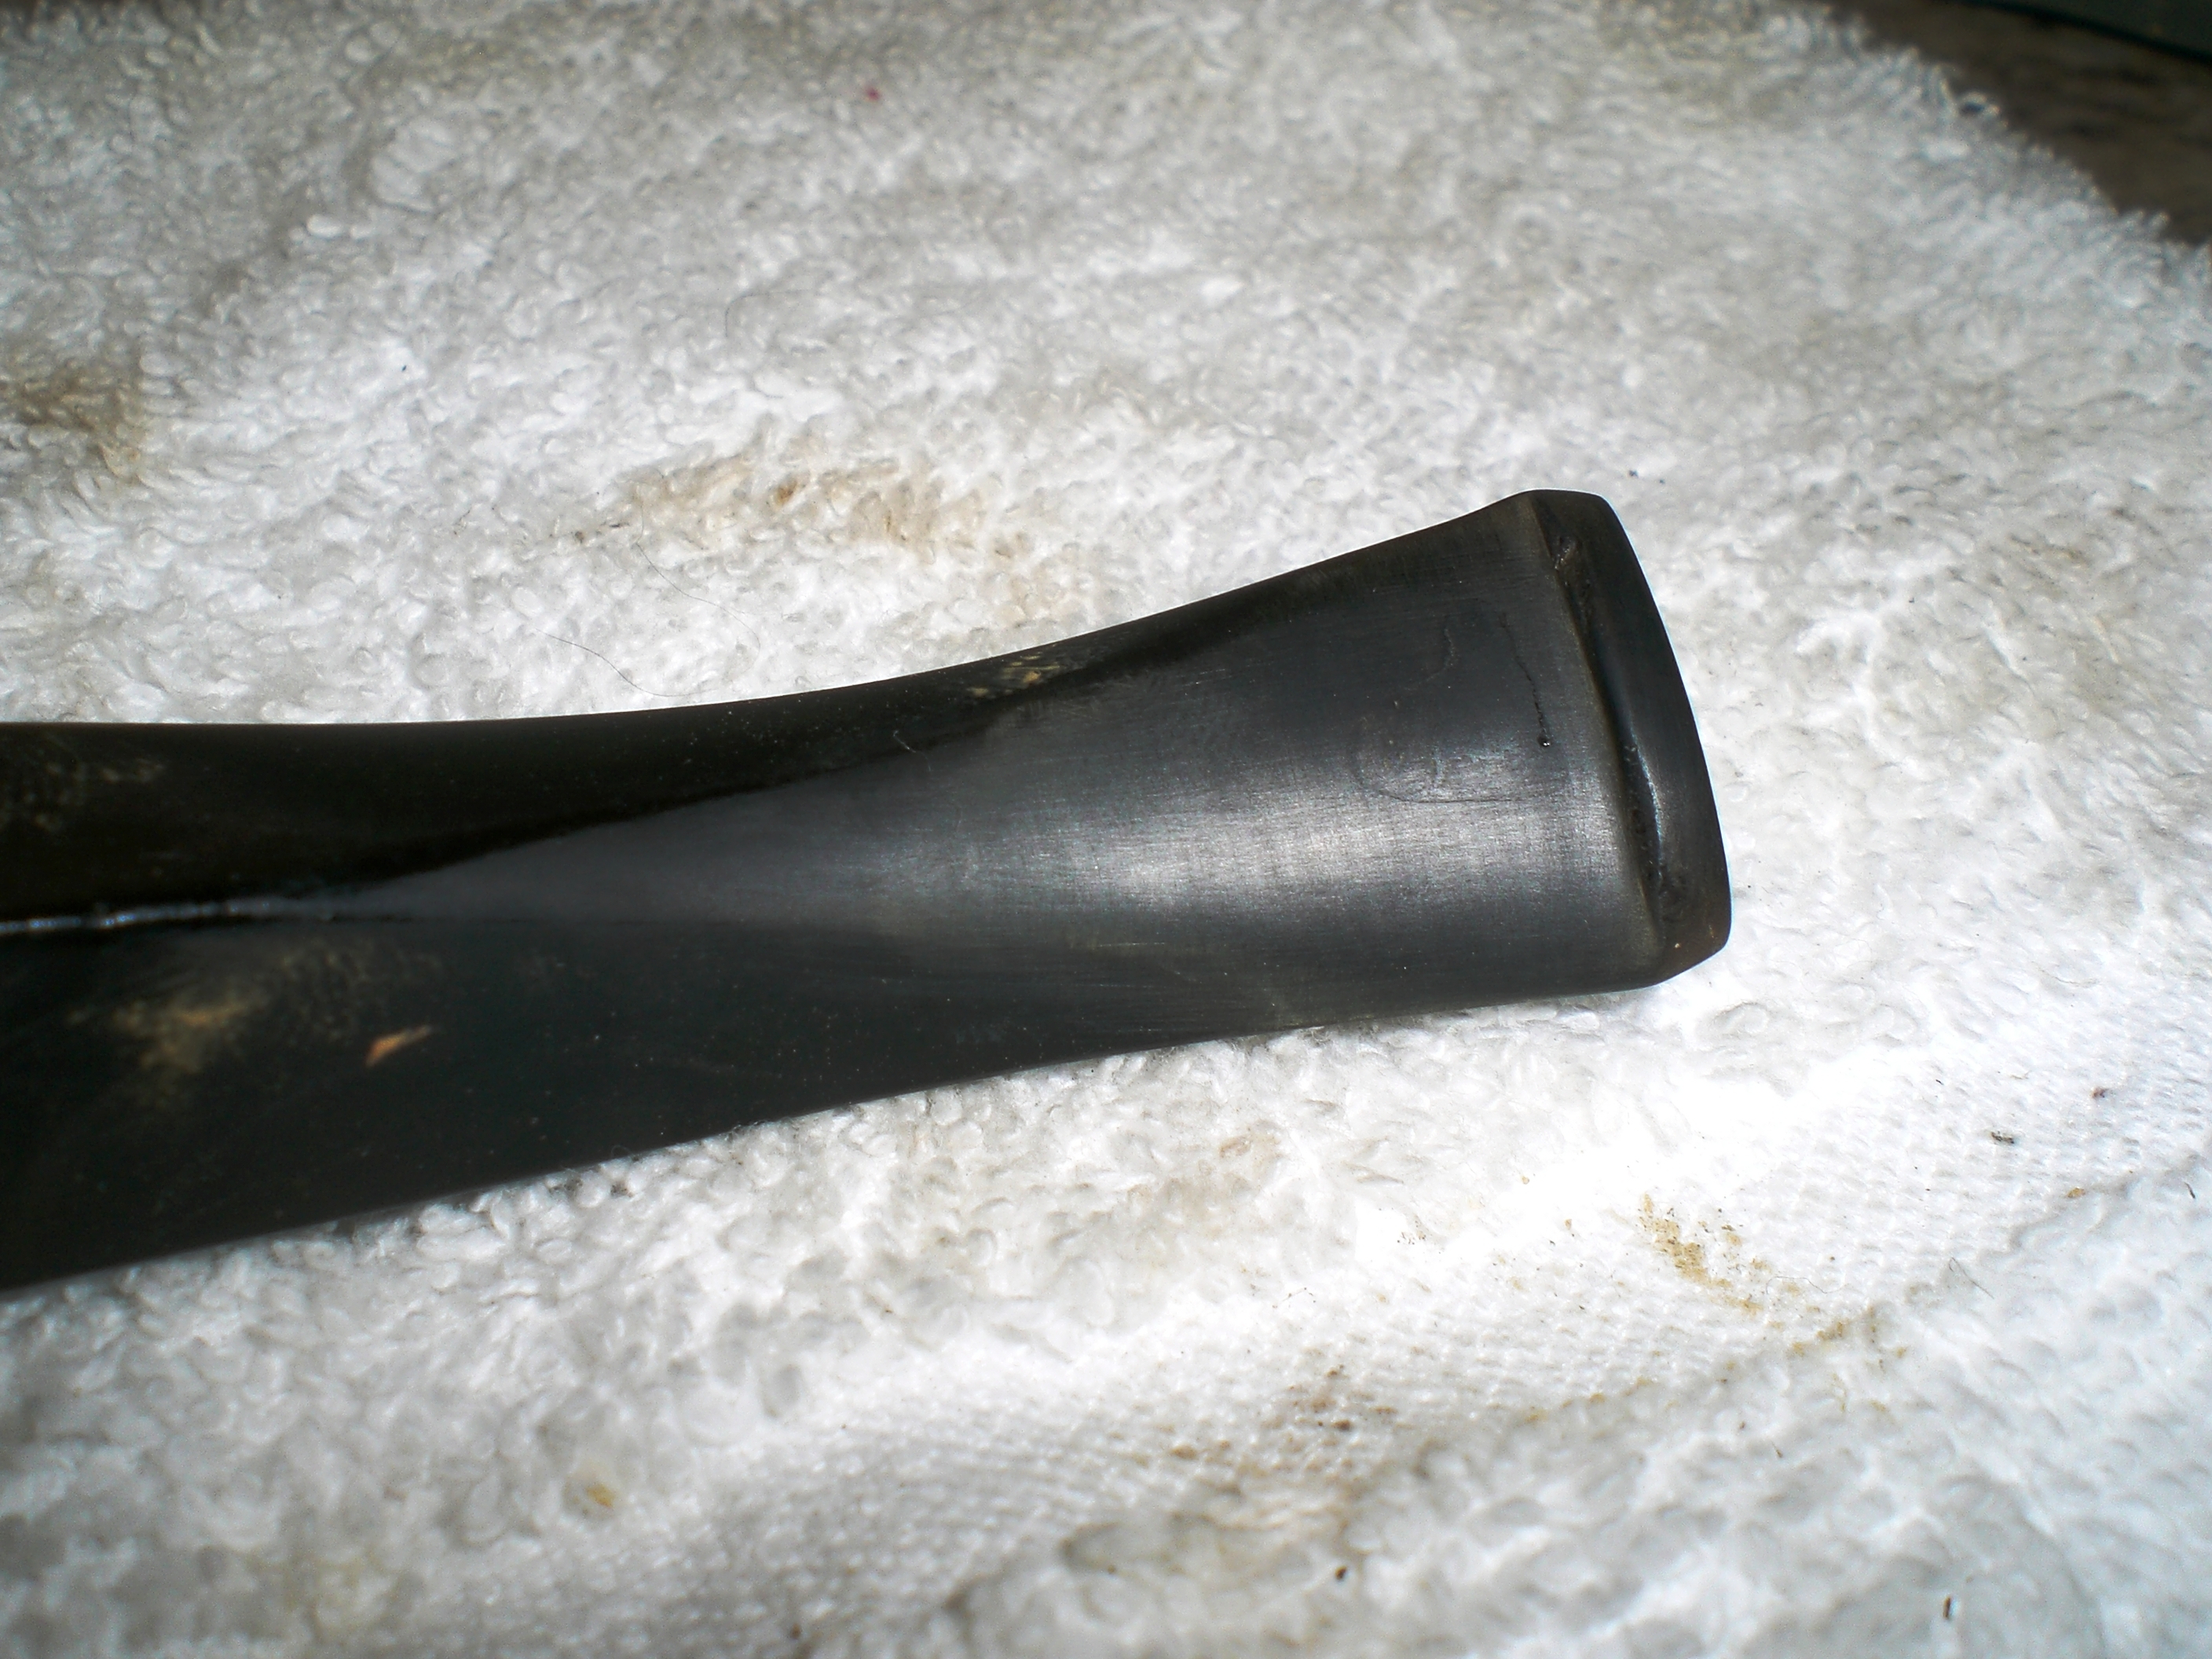
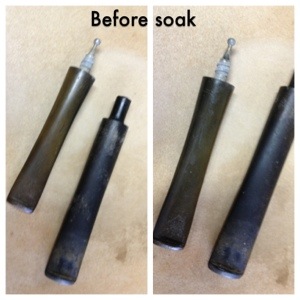
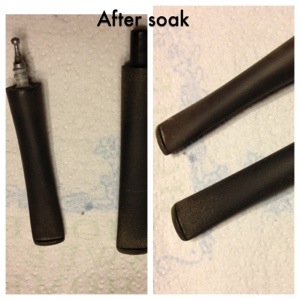
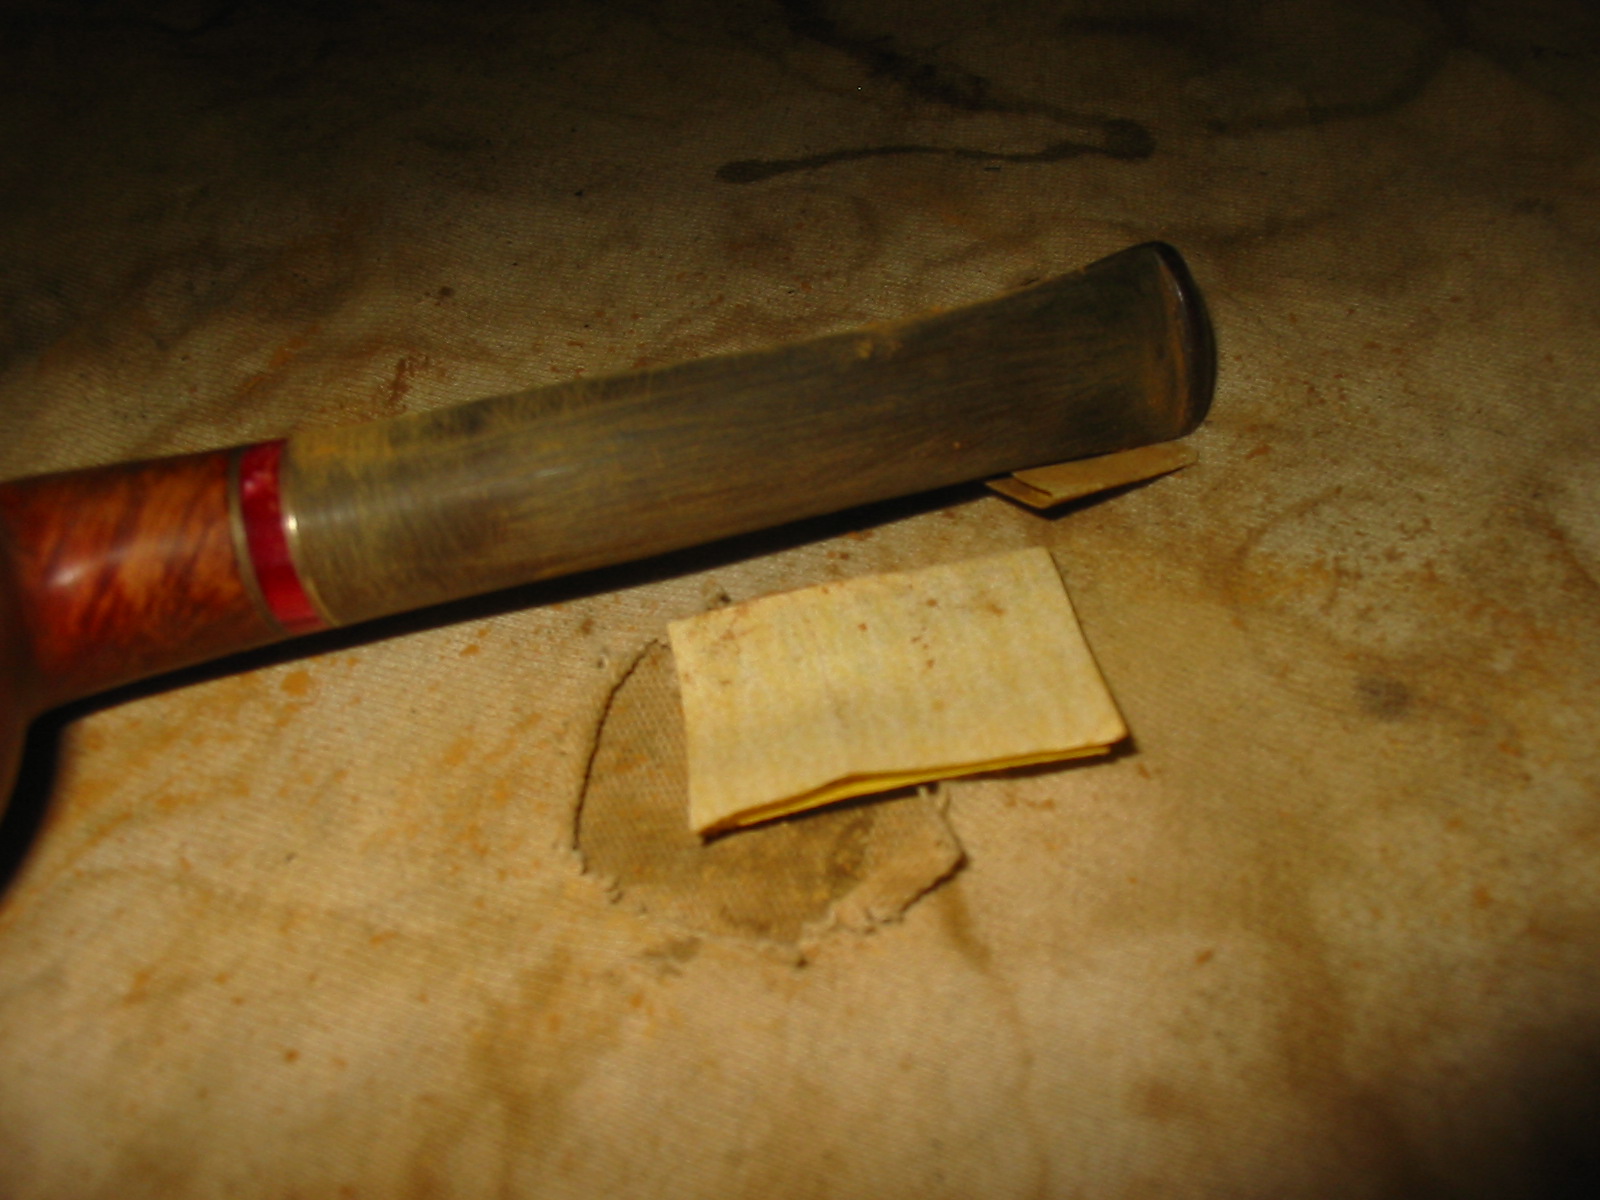
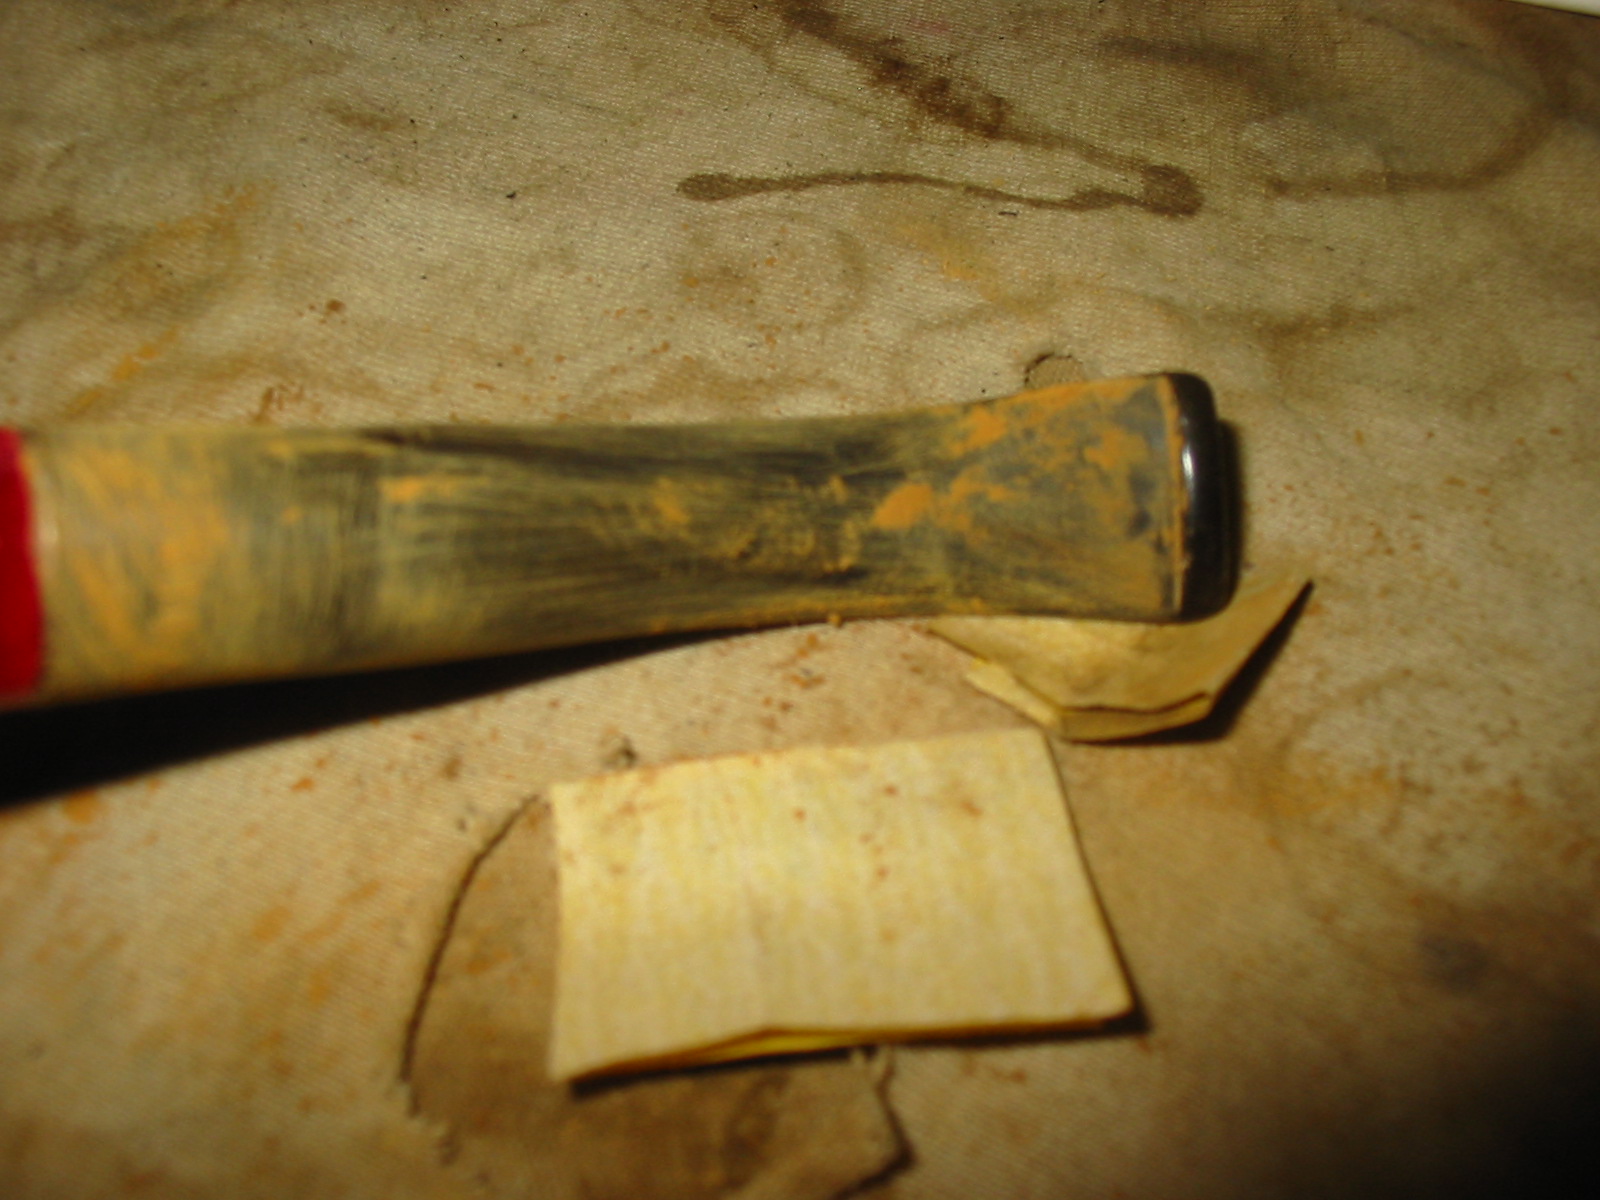
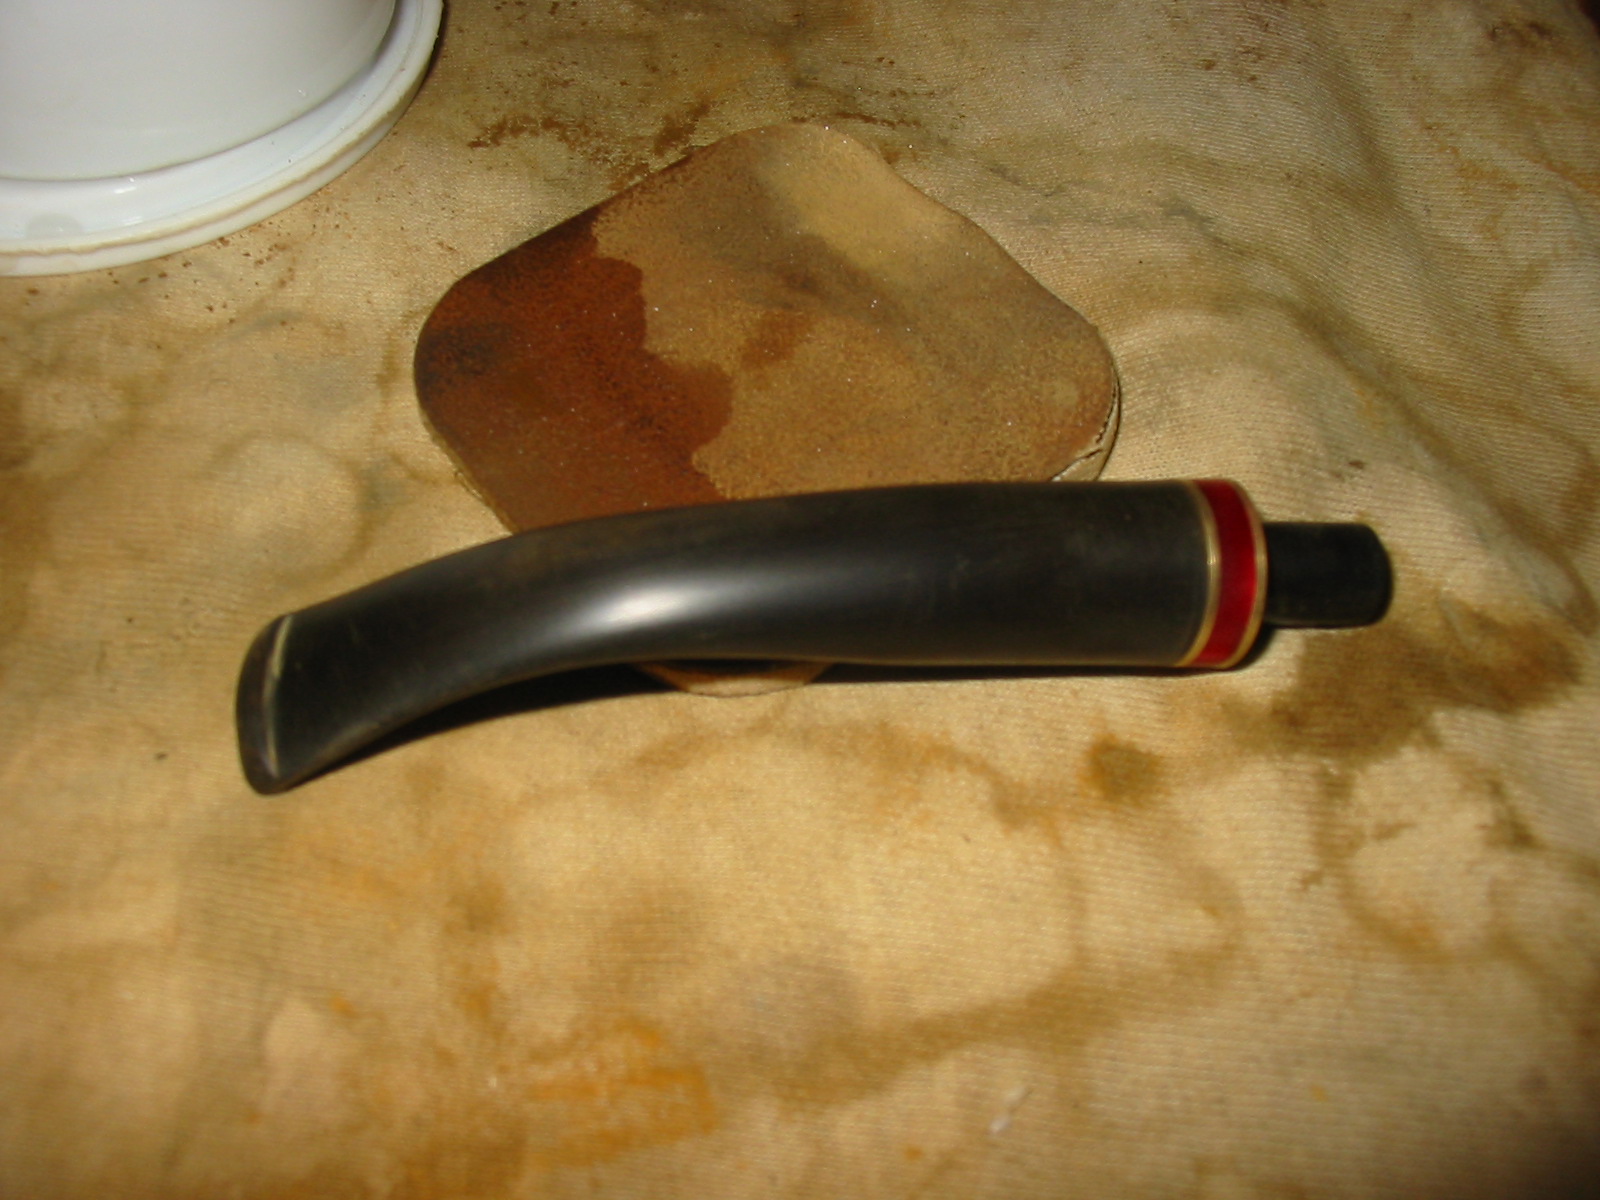
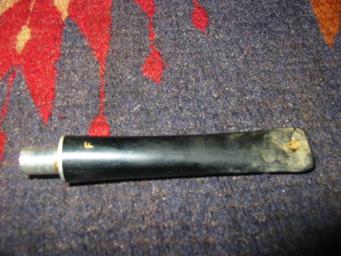
First, I cleaned out the inside of the stem with pipe, cleaners and some lemon infused 99% isopropyl alcohol. It was pretty dirty, but not too terrible. I was more concerned about the oxidation, which was pretty heavy. I scrubbed it down with some SoftScrub cleanser and then tossed it in my deoxidizing fluid to sit overnight. The next day, I managed to scrub off even more oxidation with more SoftScrub. 
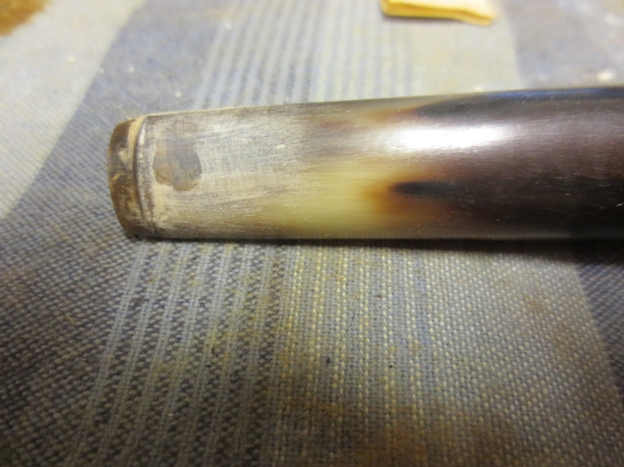
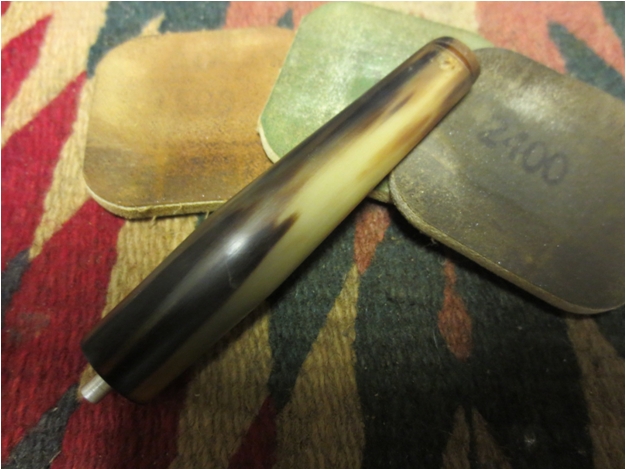
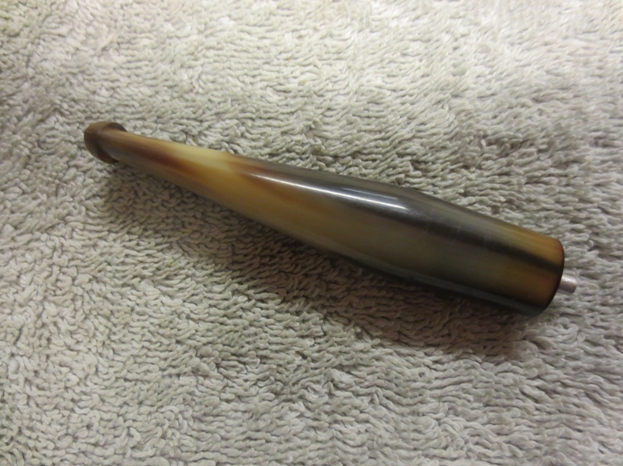
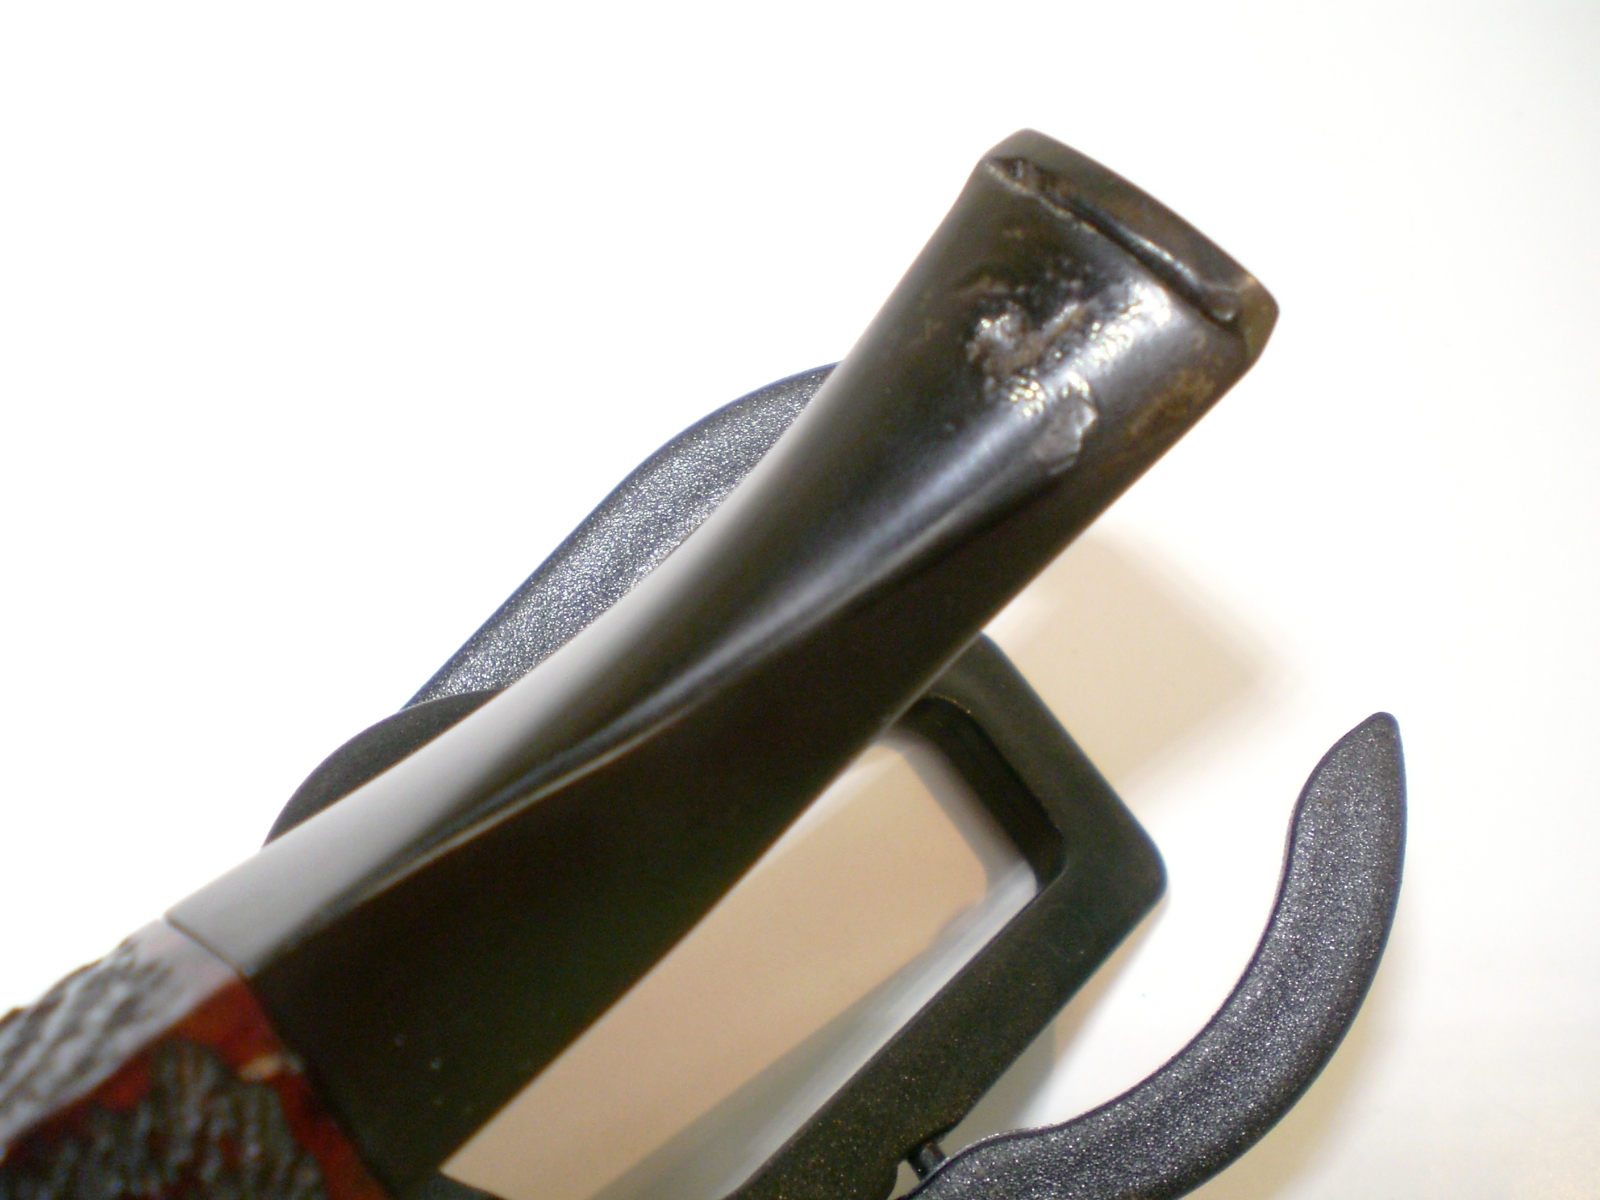
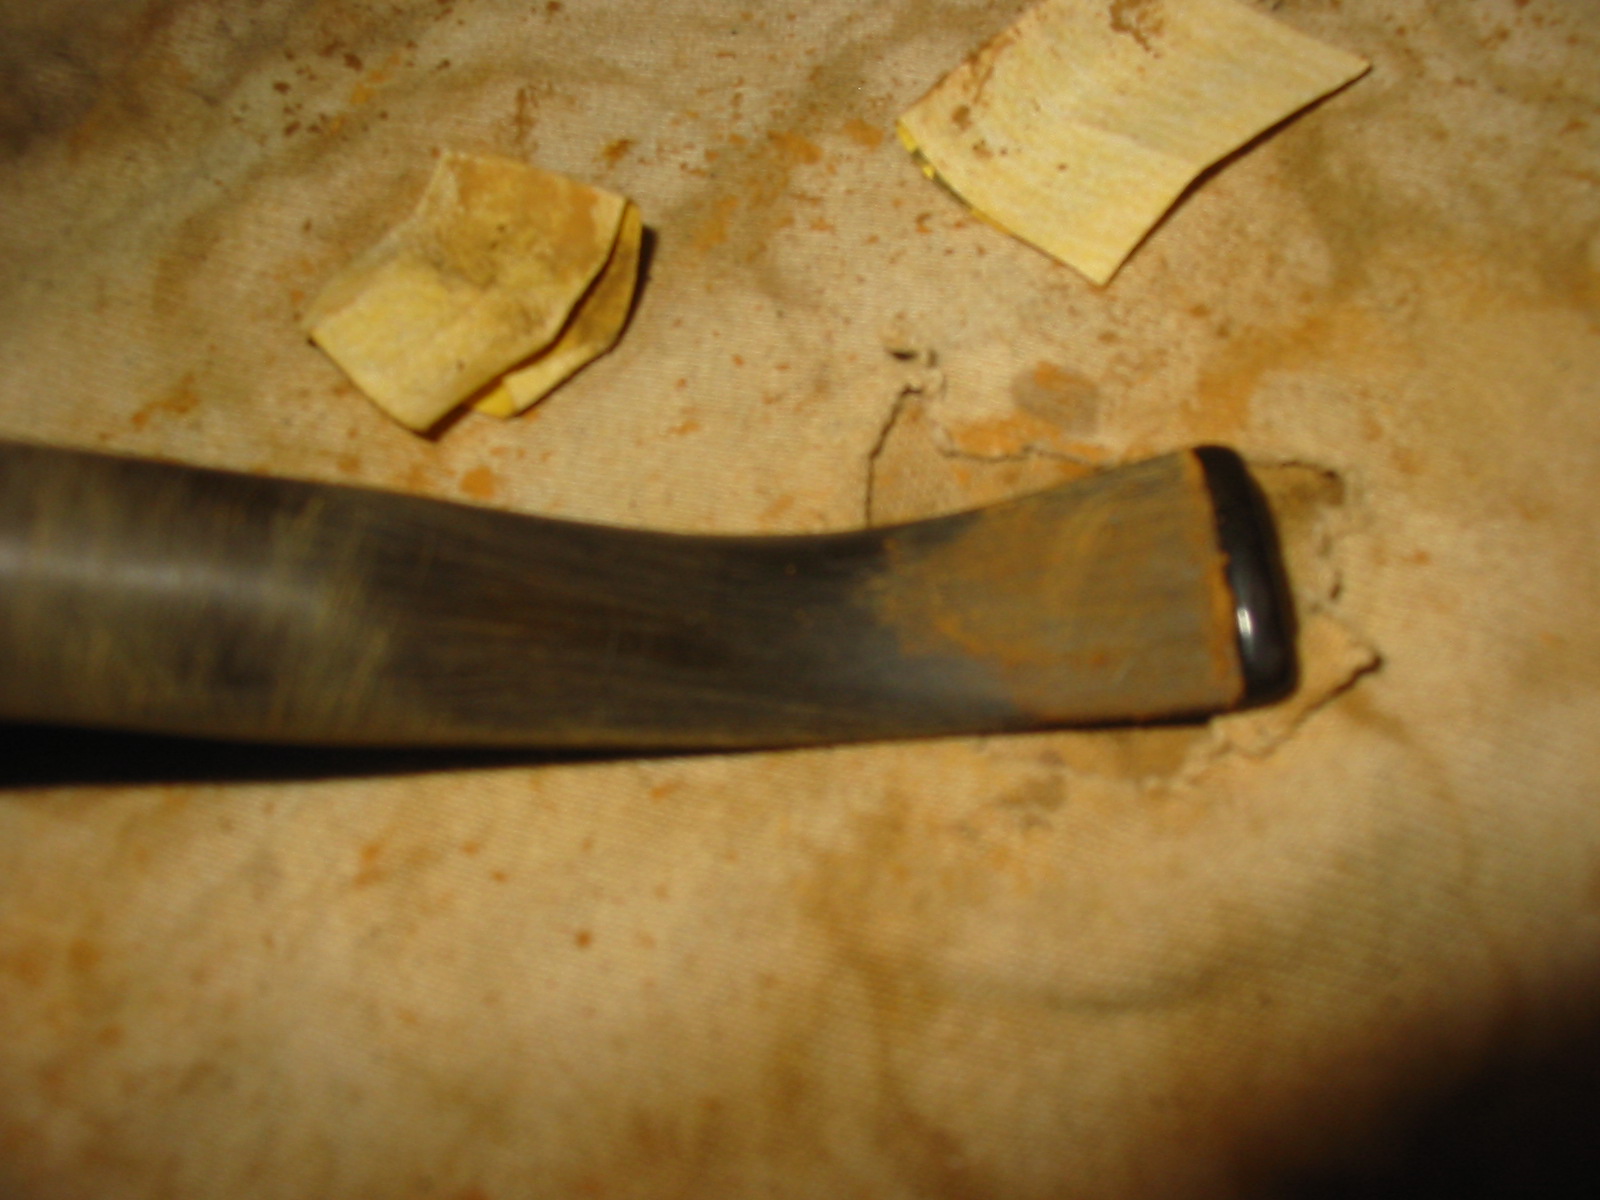
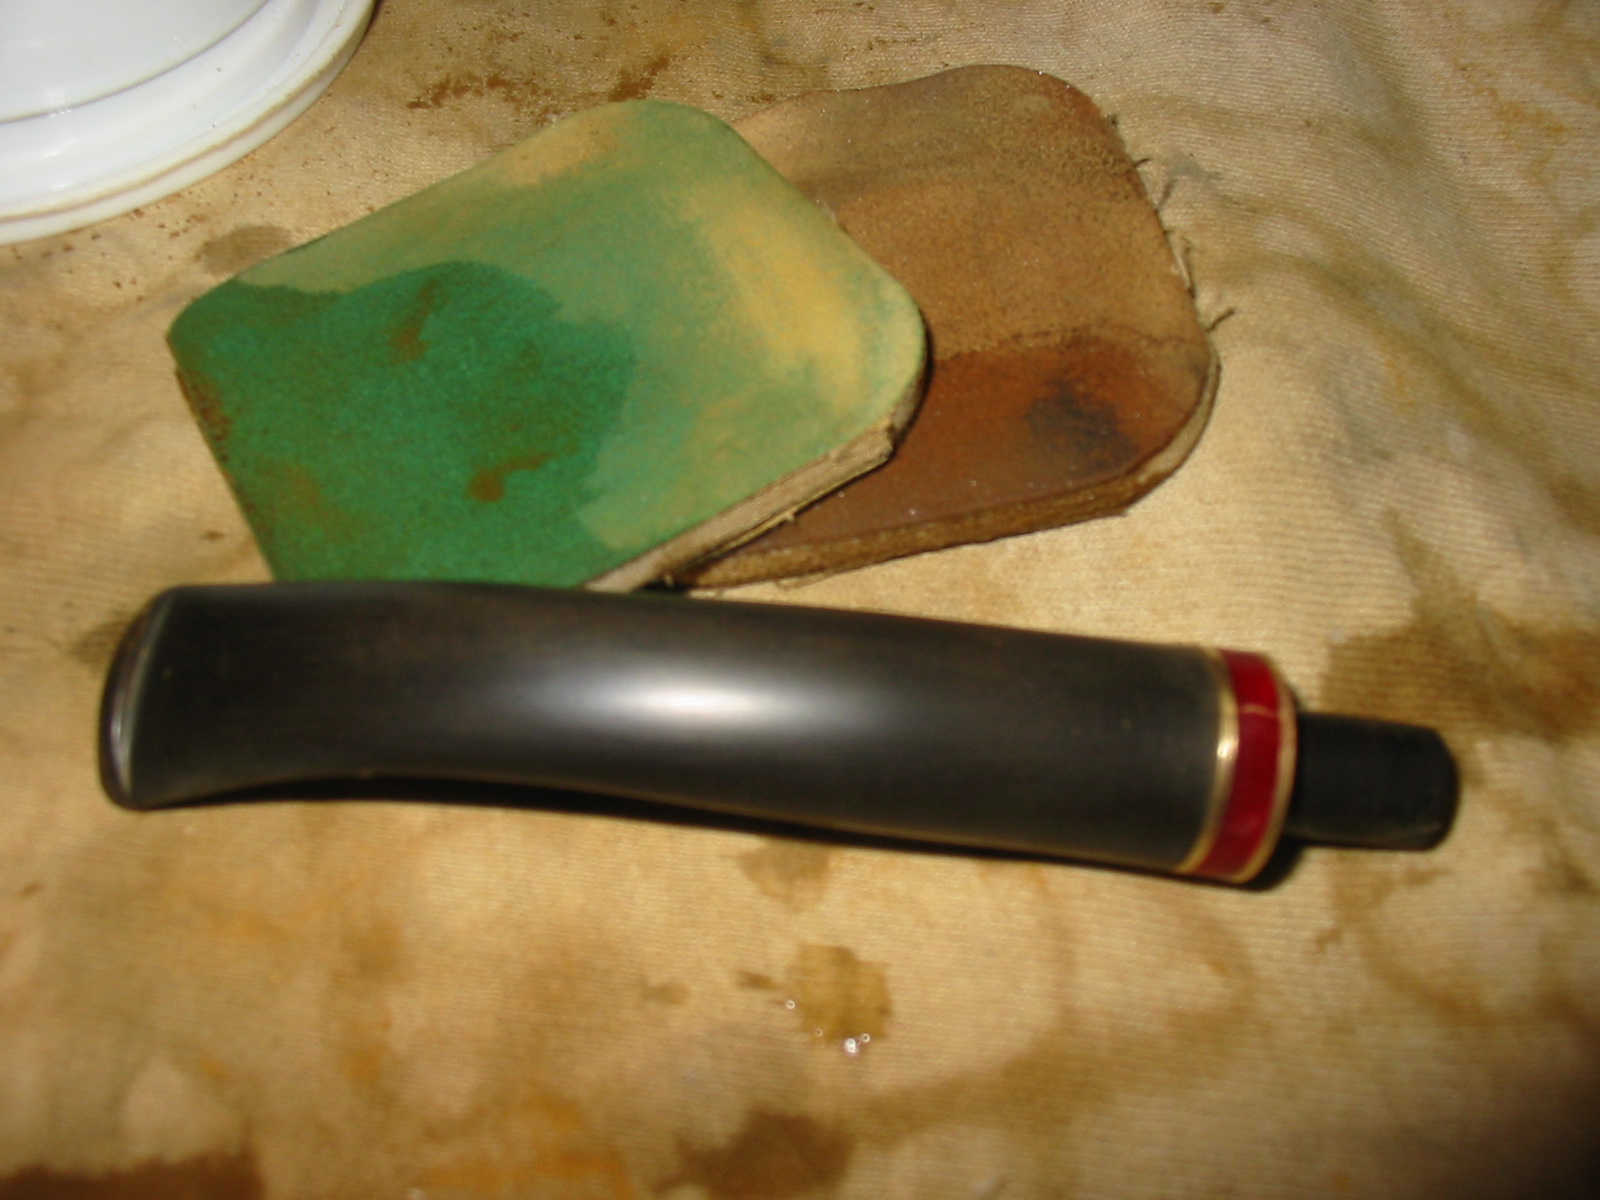
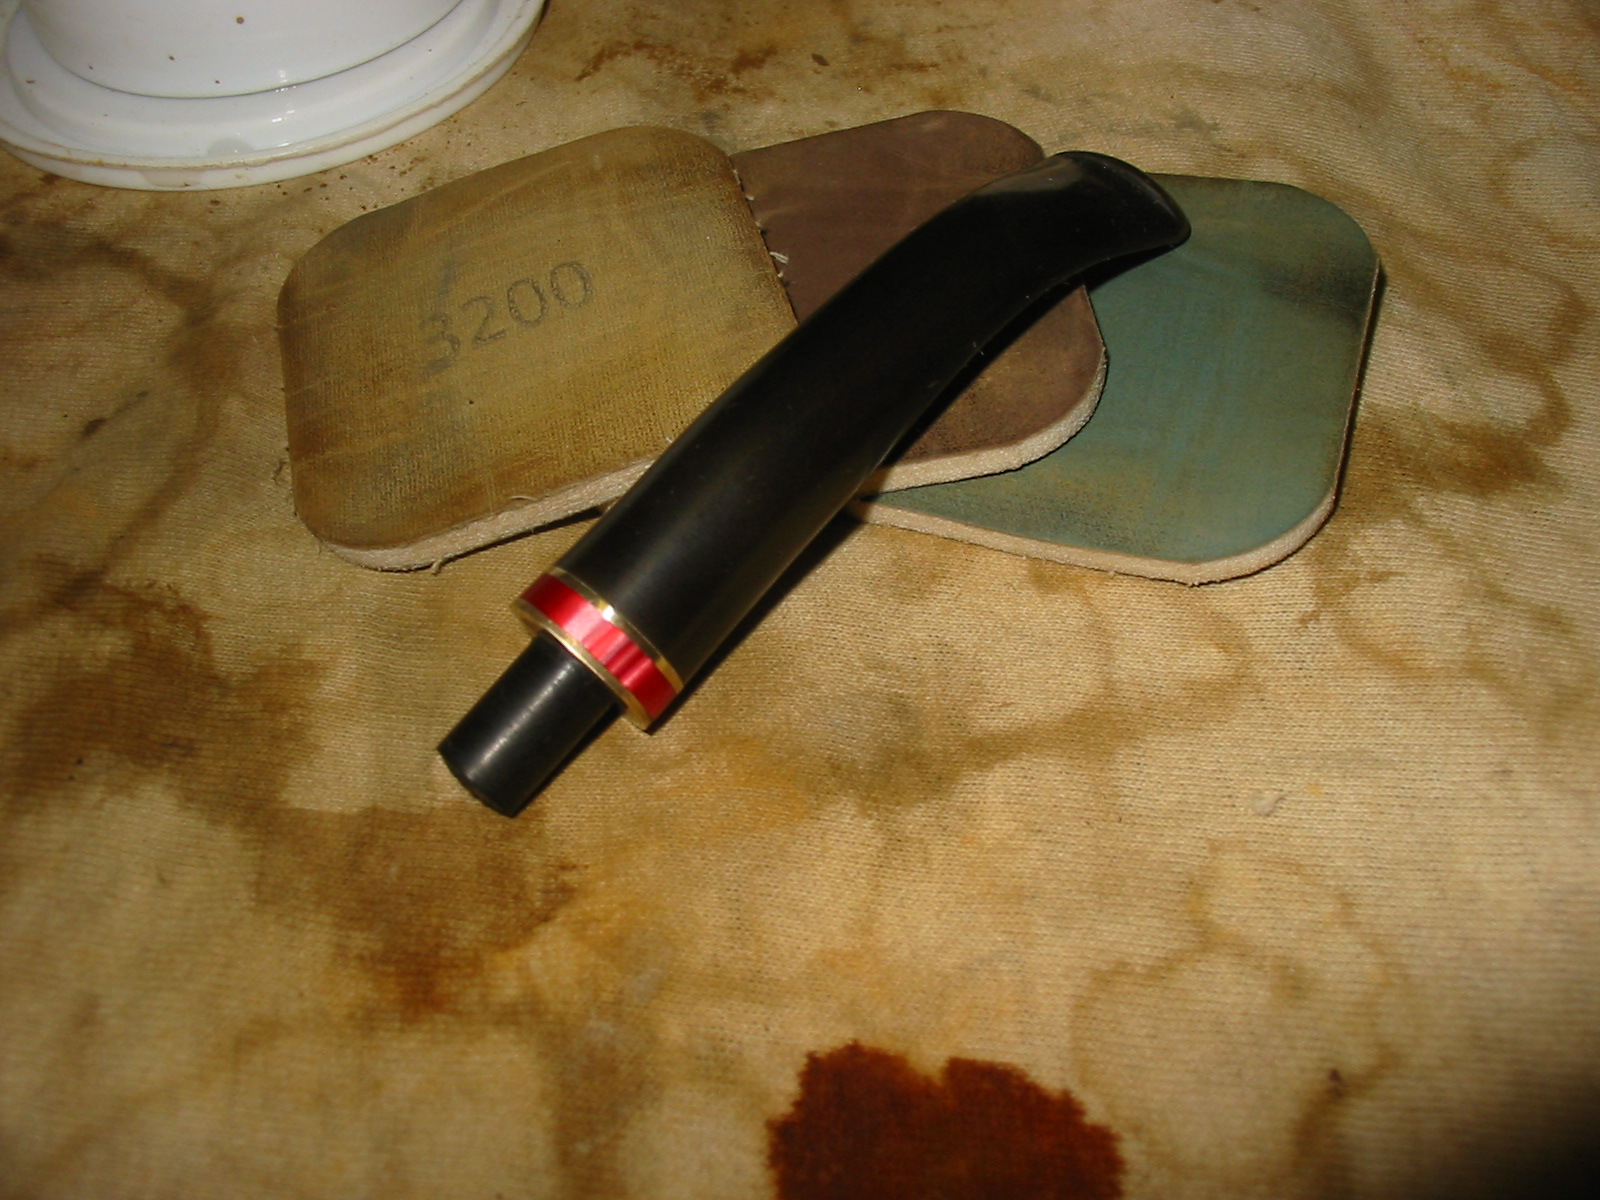
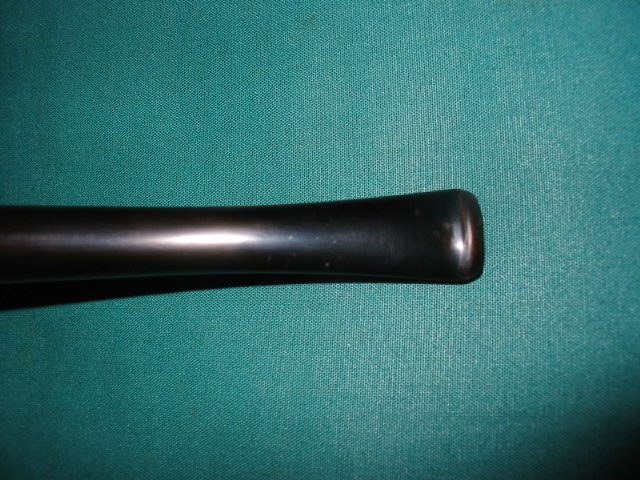
Before sanding the stem, I took out some nail polish and made sure to add it to the stylized N on the left side of the stem. I let that dry before moving on.
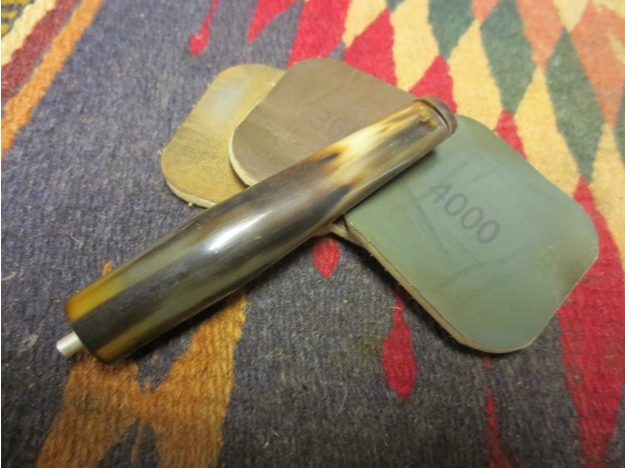
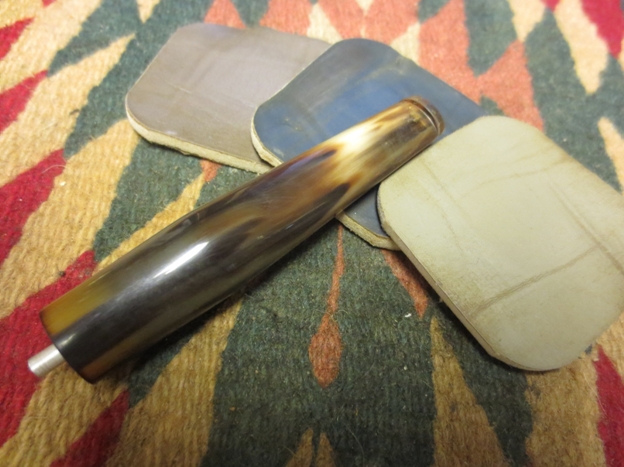
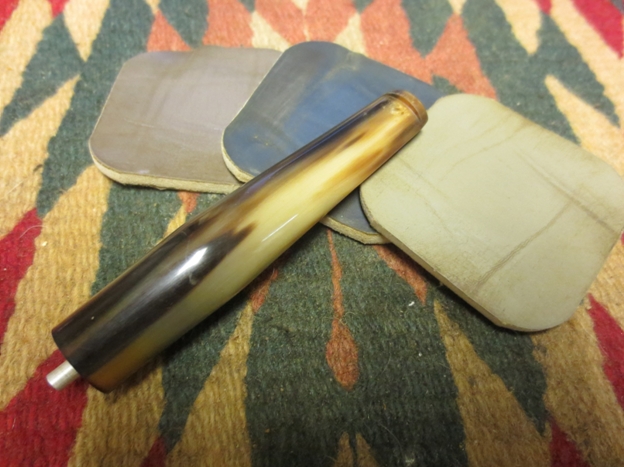
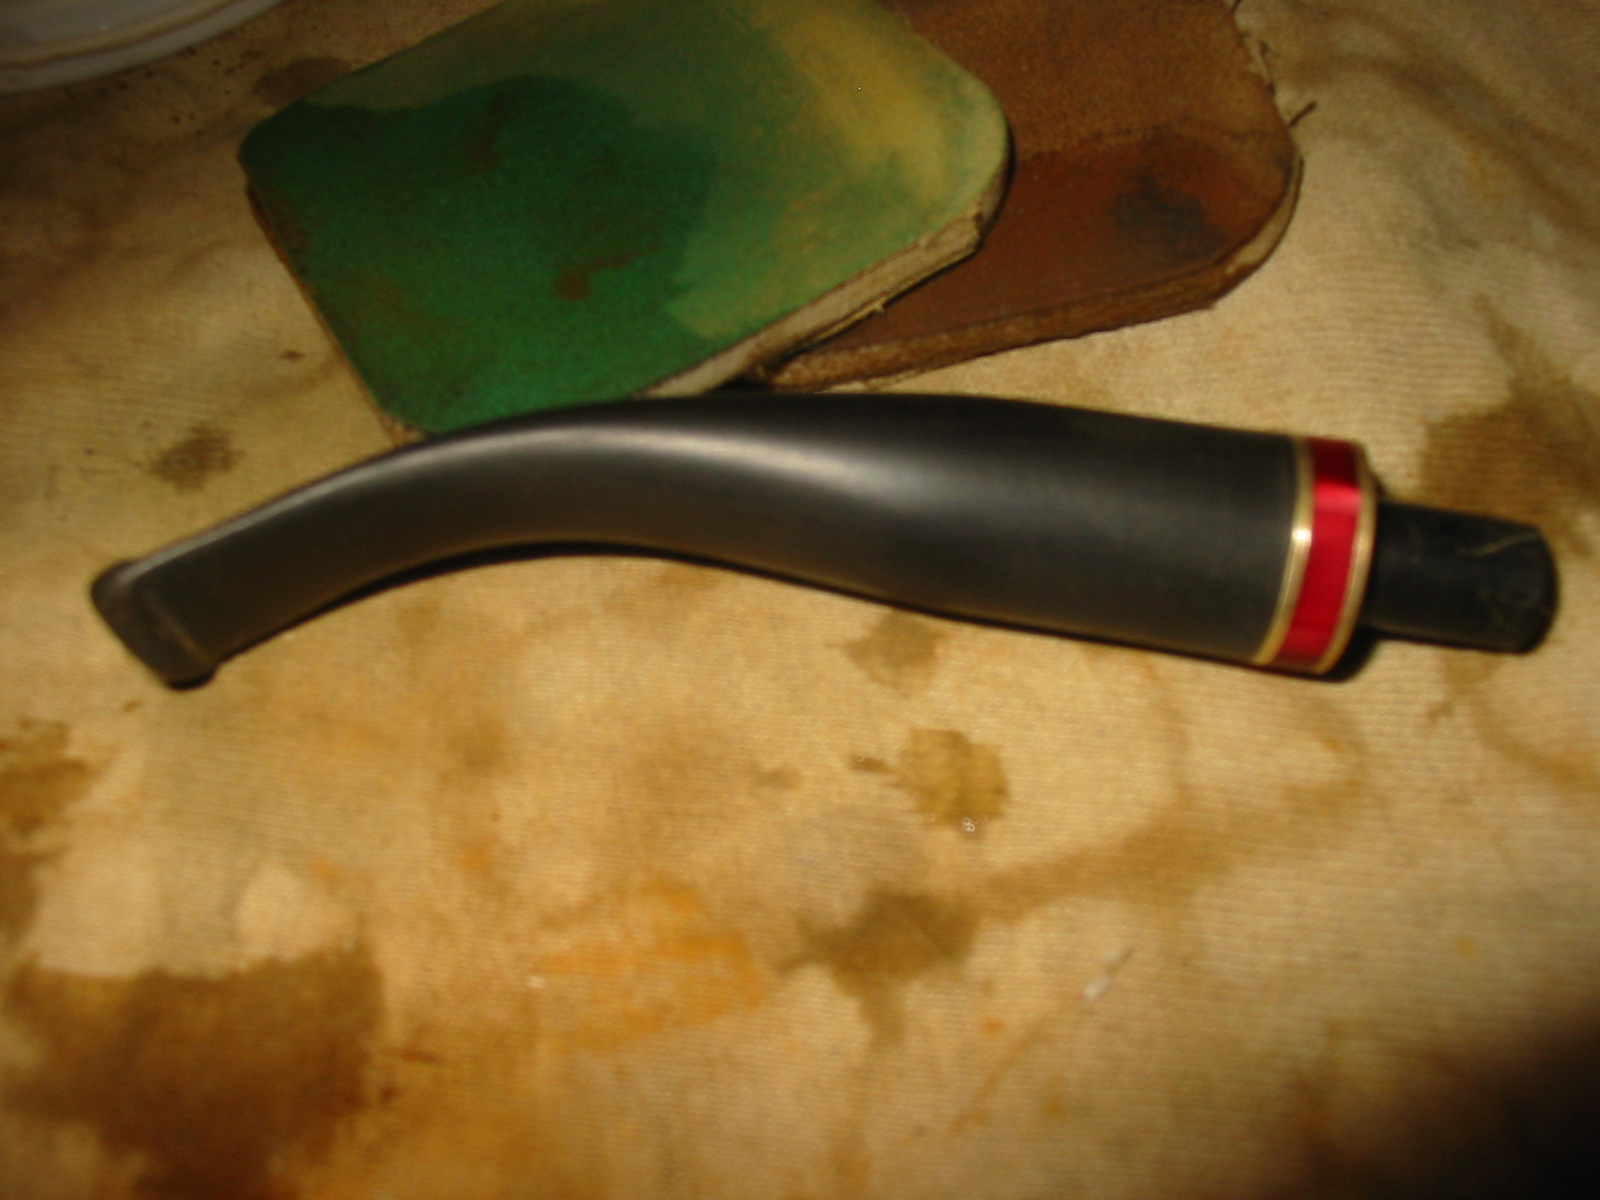
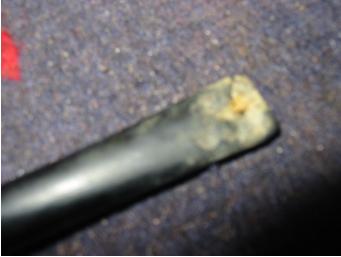
I also repaired a few small nicks in the stem with some black cyanoacrylate adhesive and let it cure. That done, I proceeded to sand down the stem with my nine micromesh sanding pads. I also used some pipe stem oil during the sanding to bring out some extra lustre and beautify the stem. 
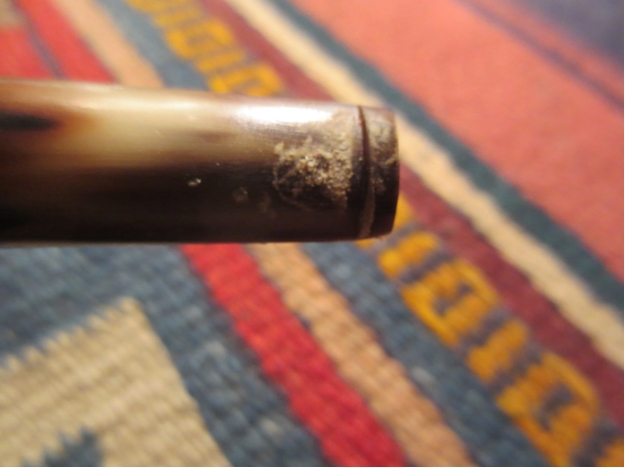
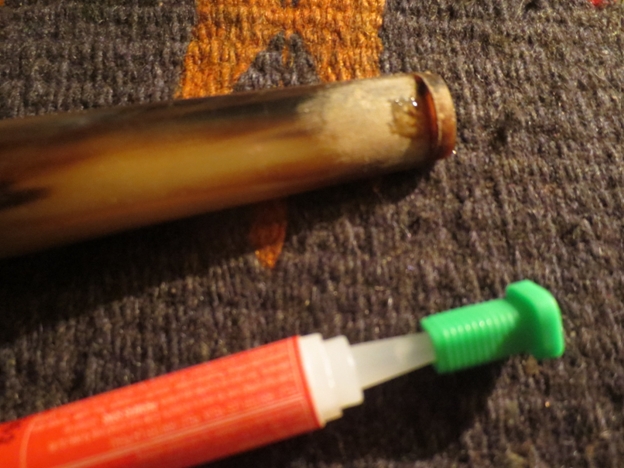
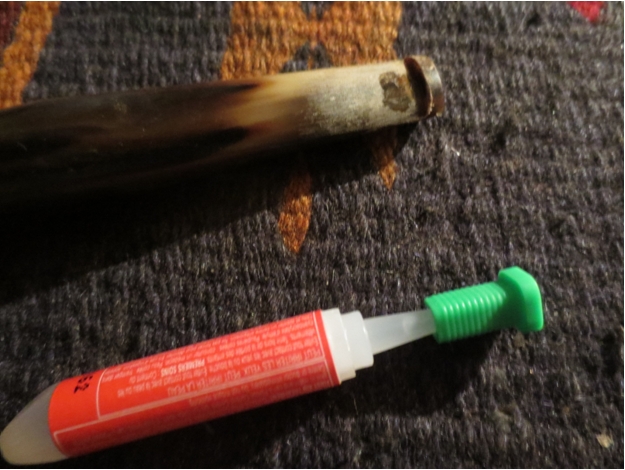
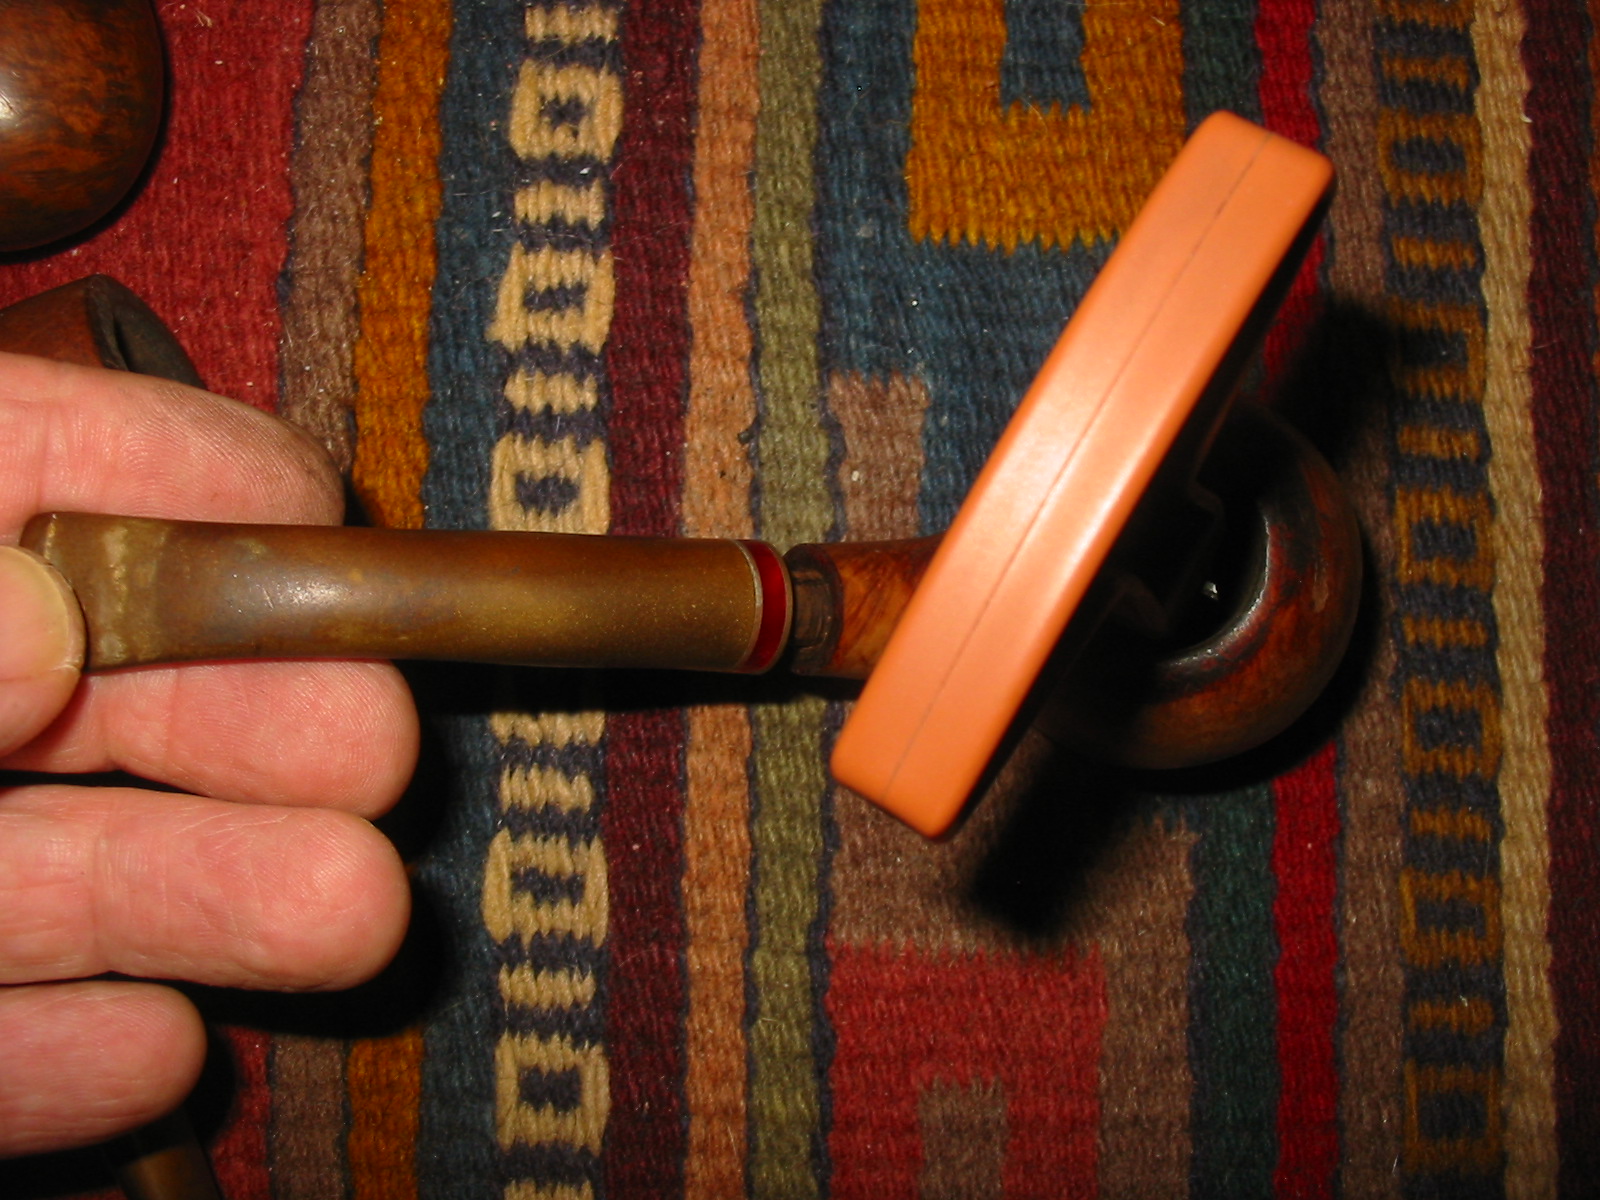
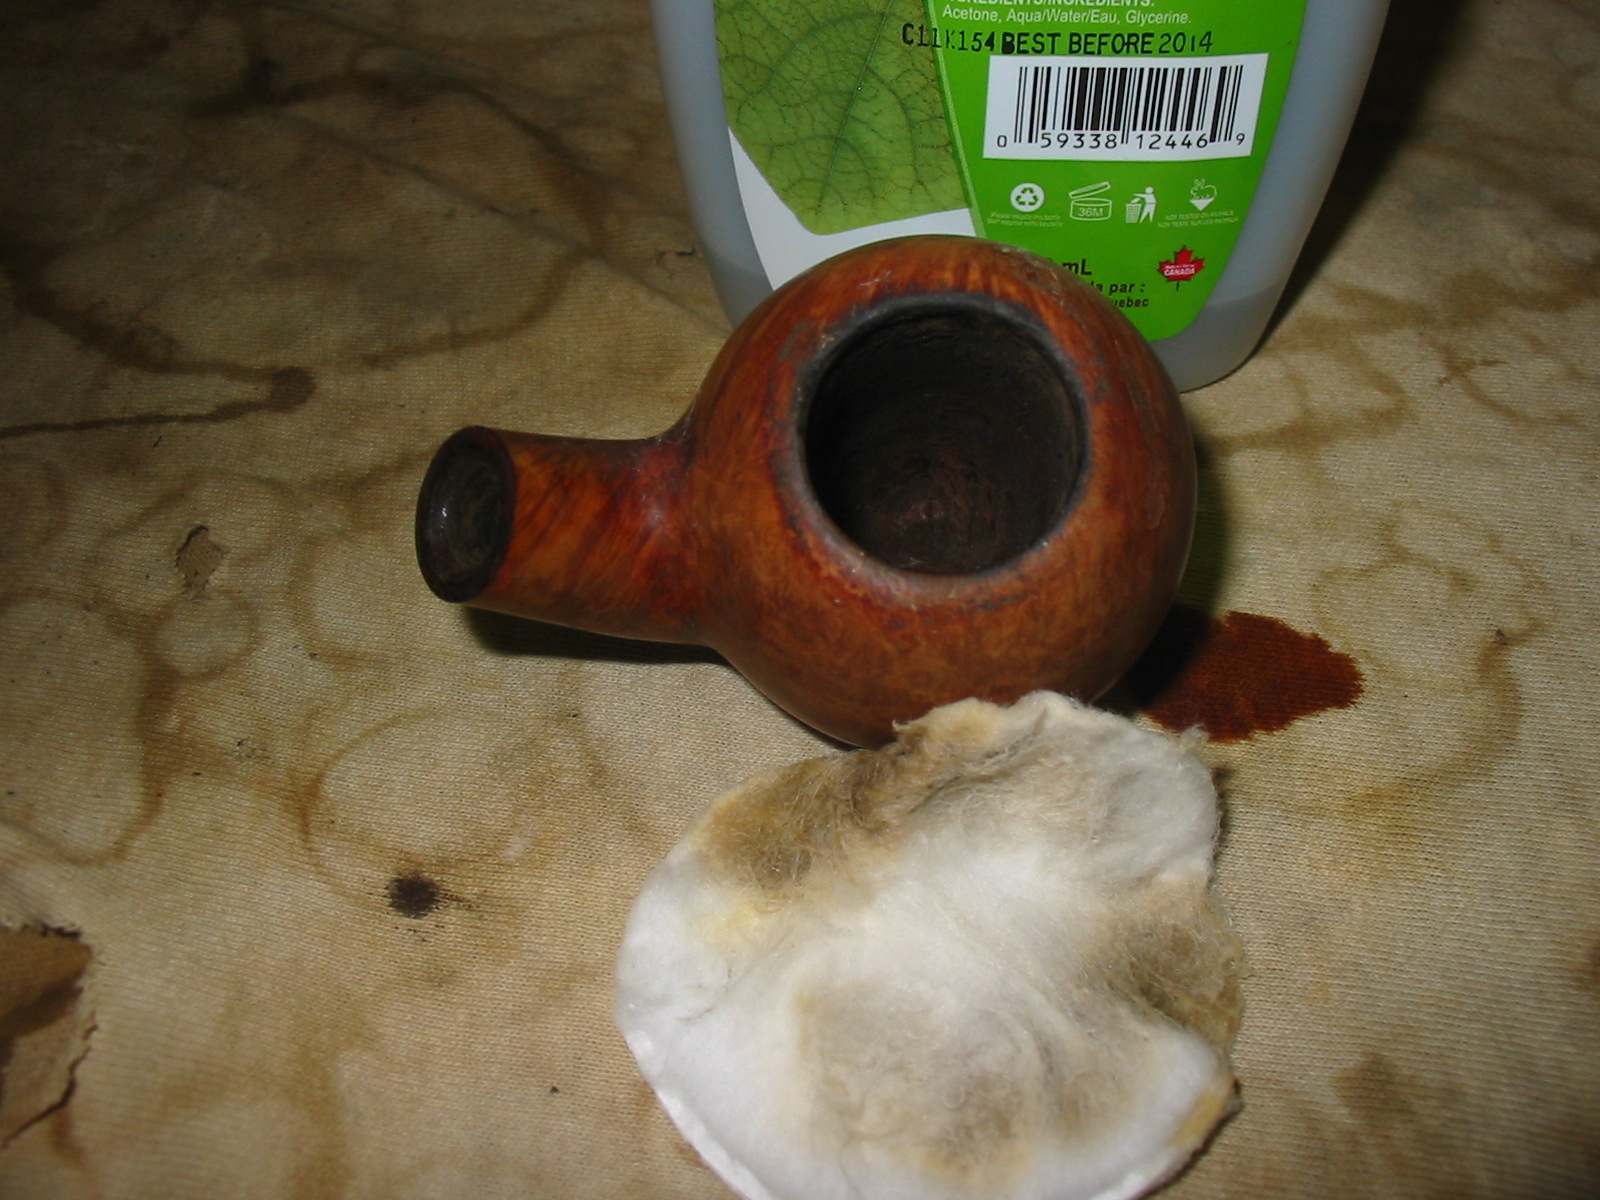
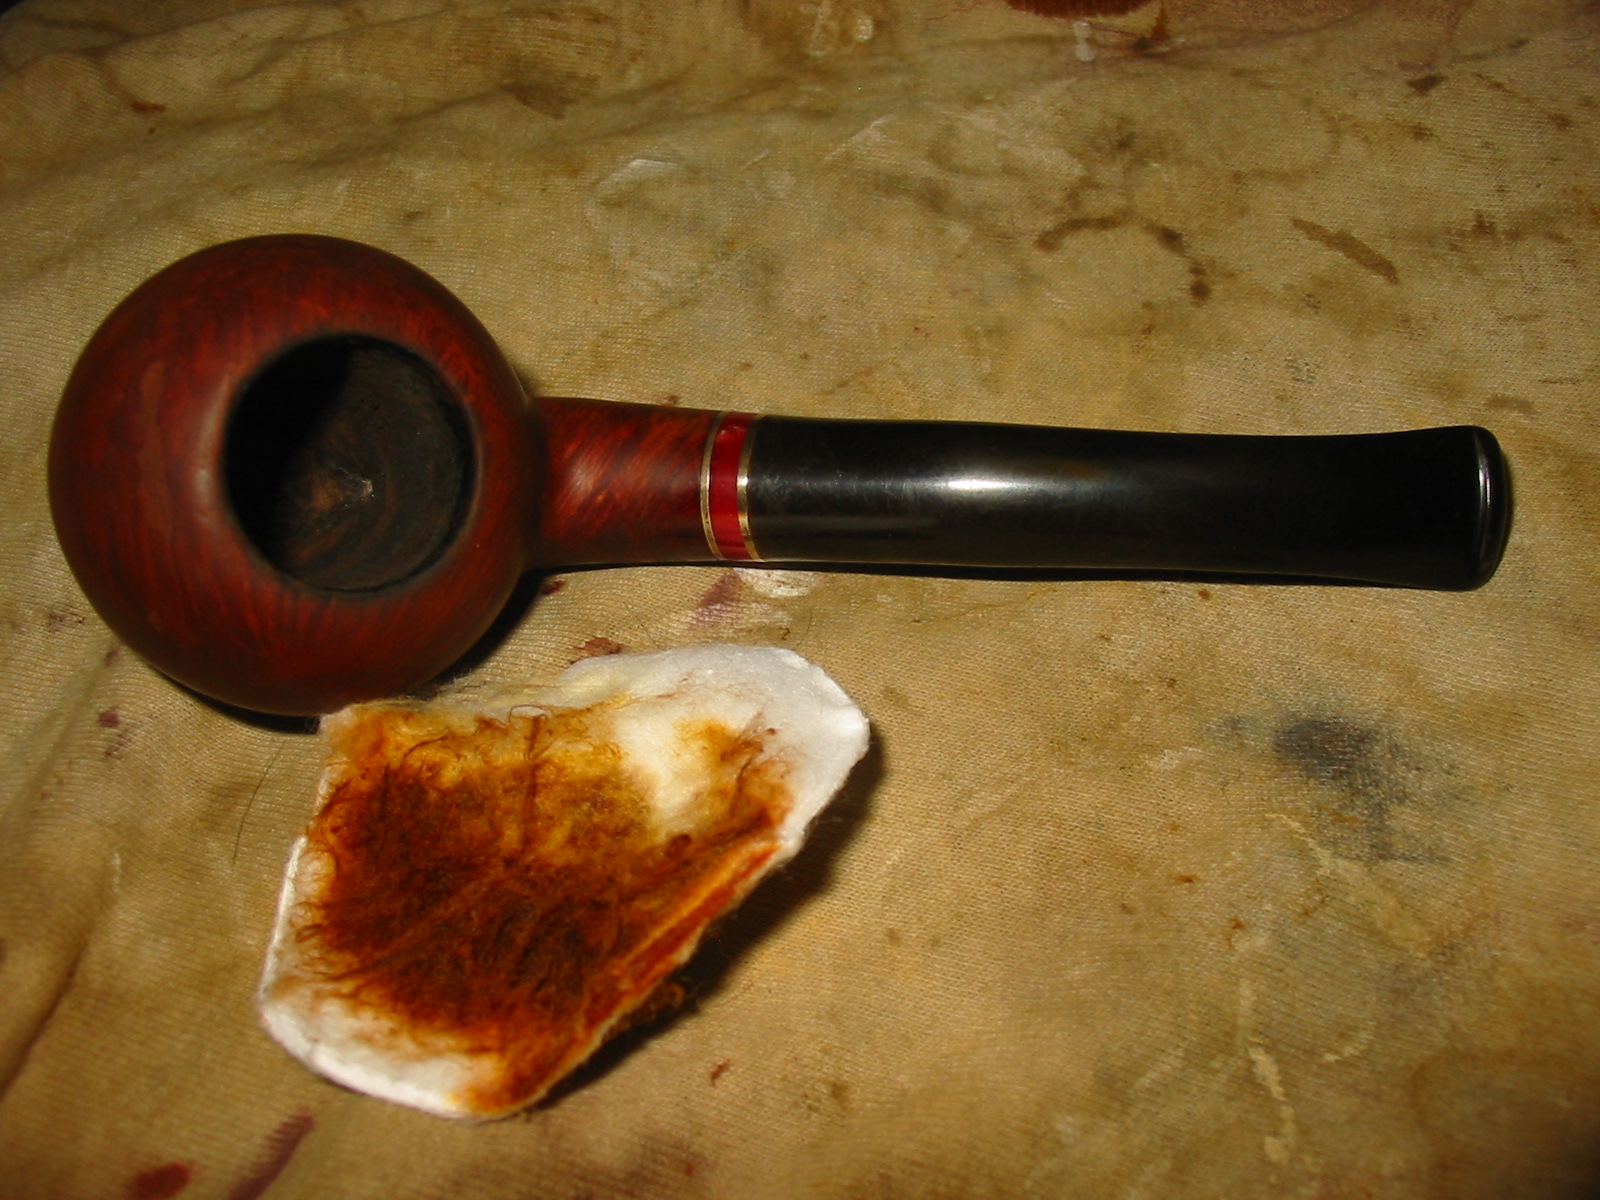
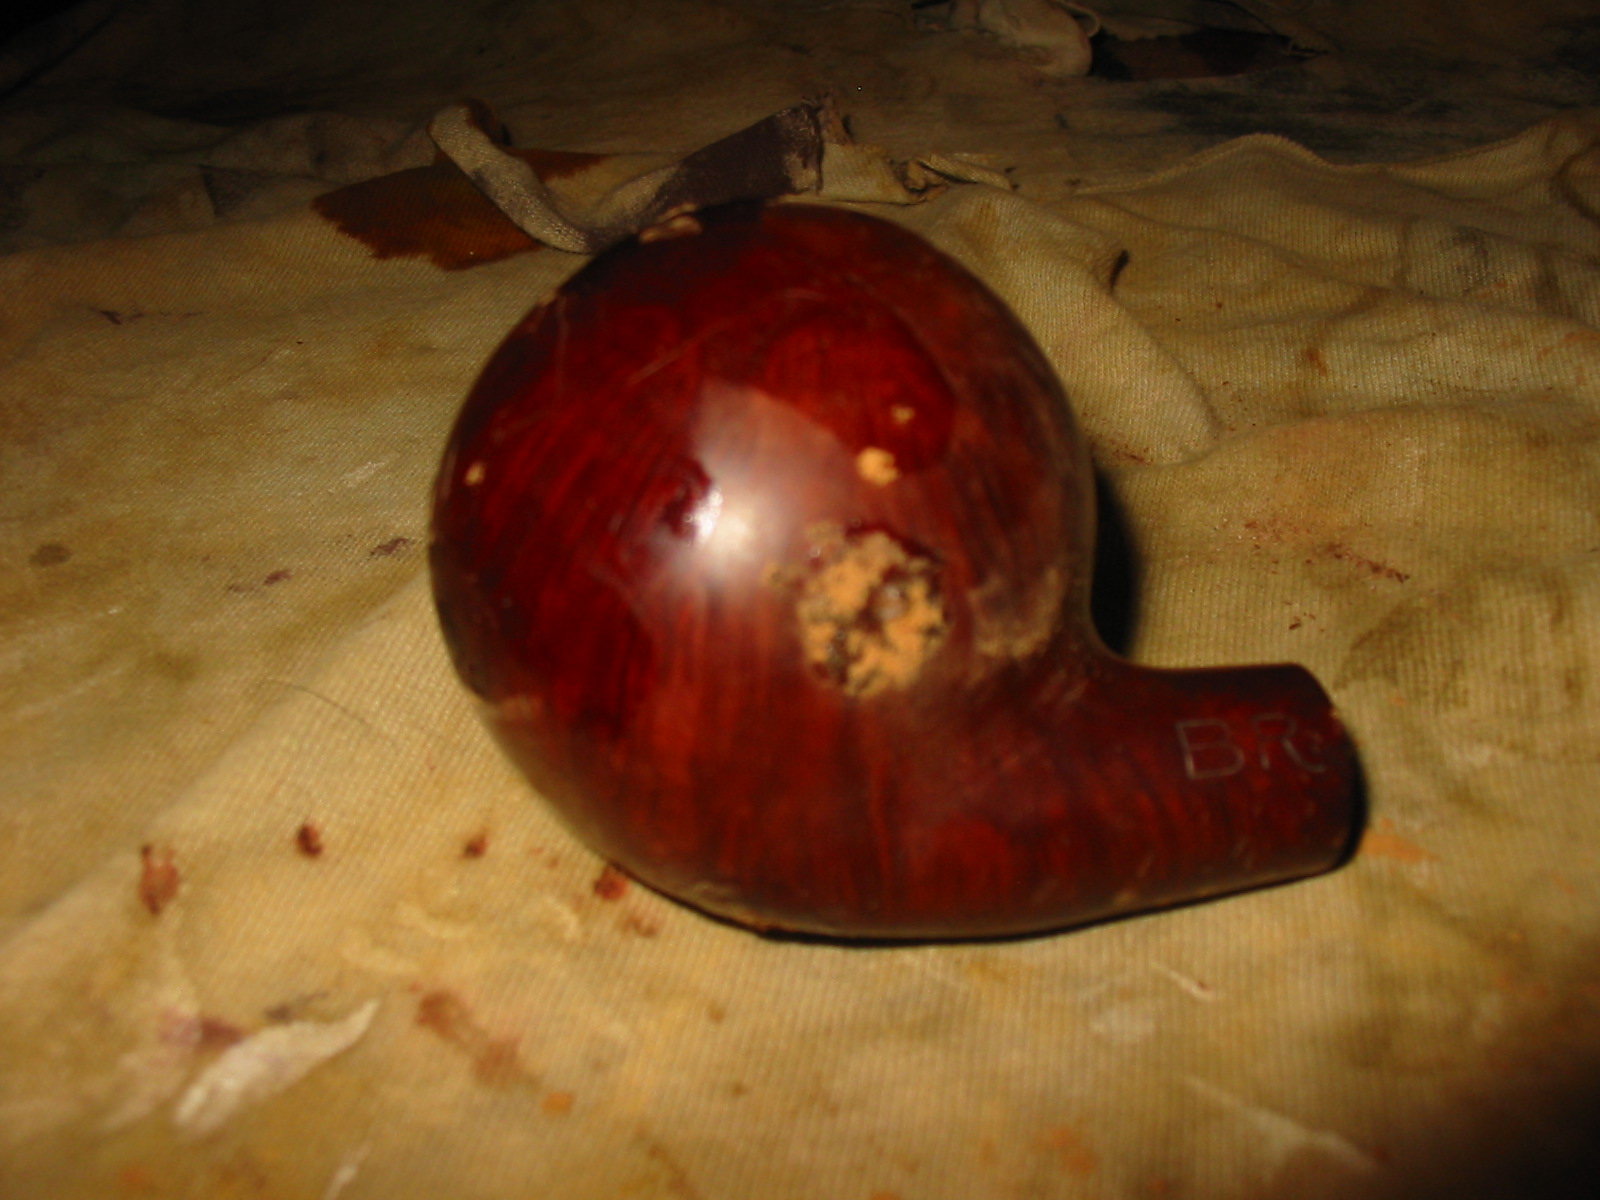
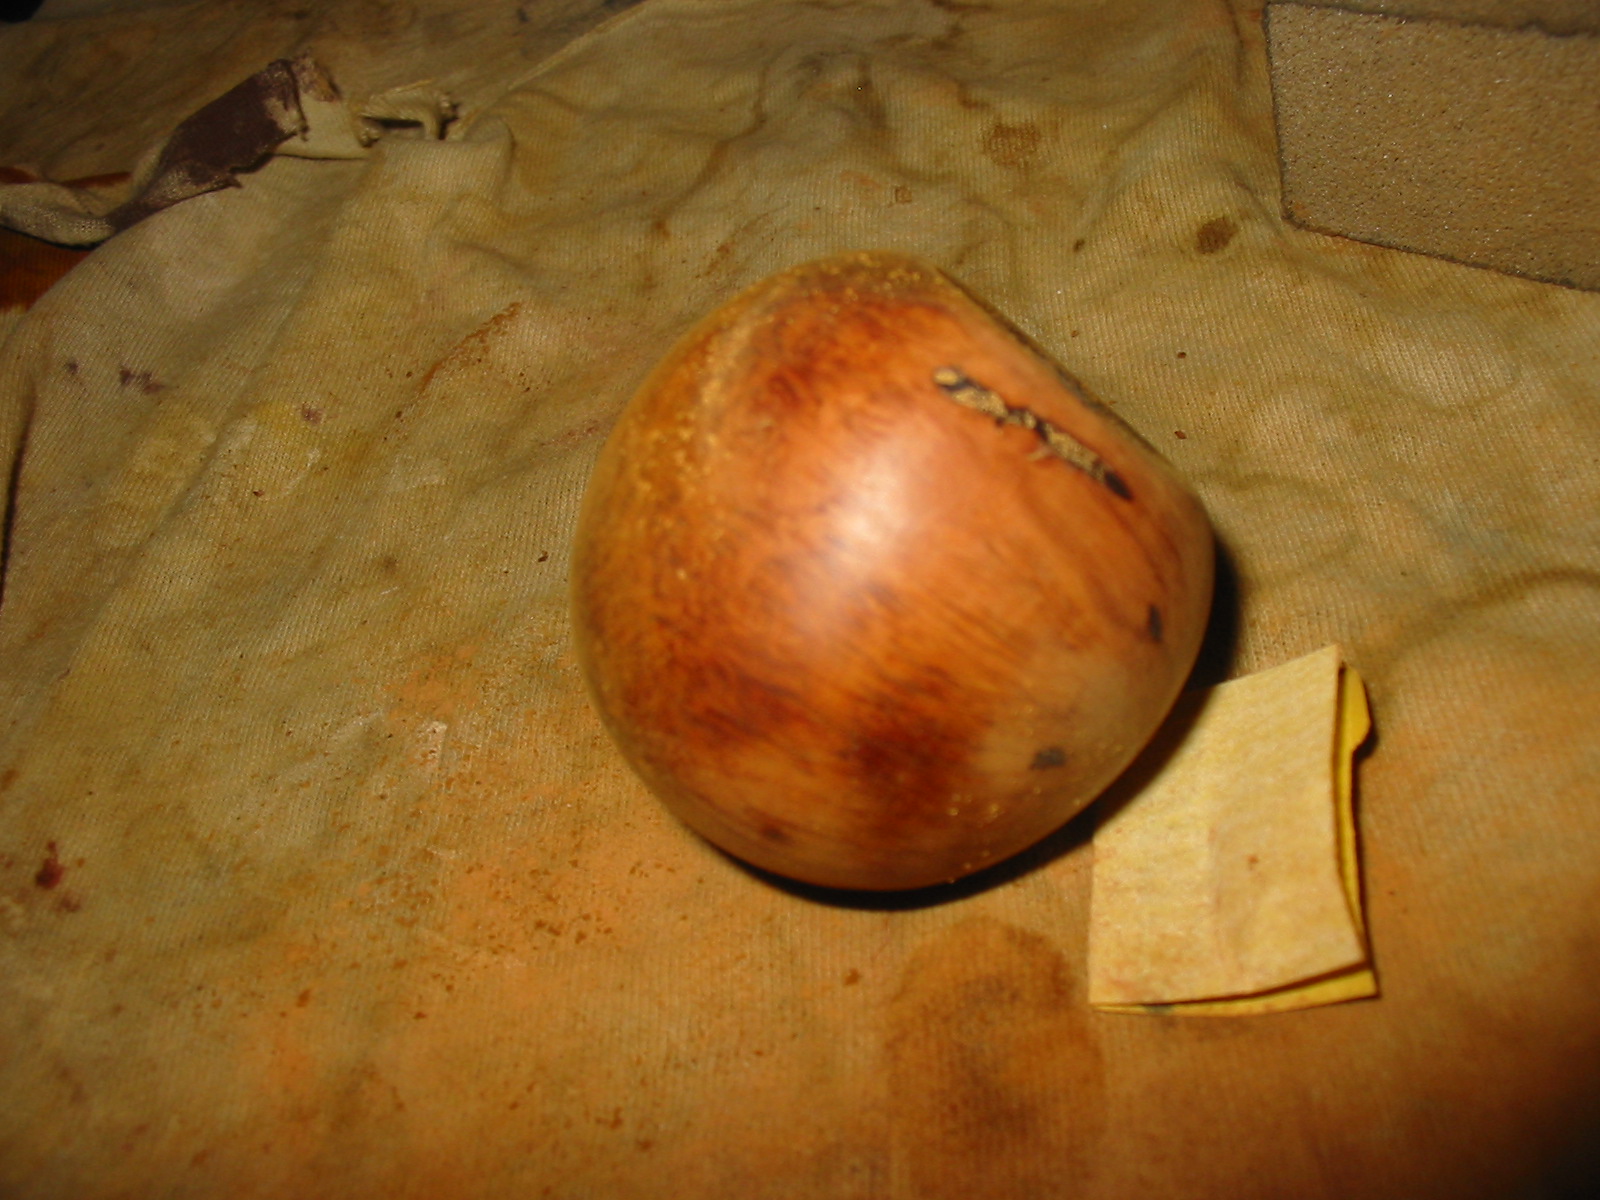
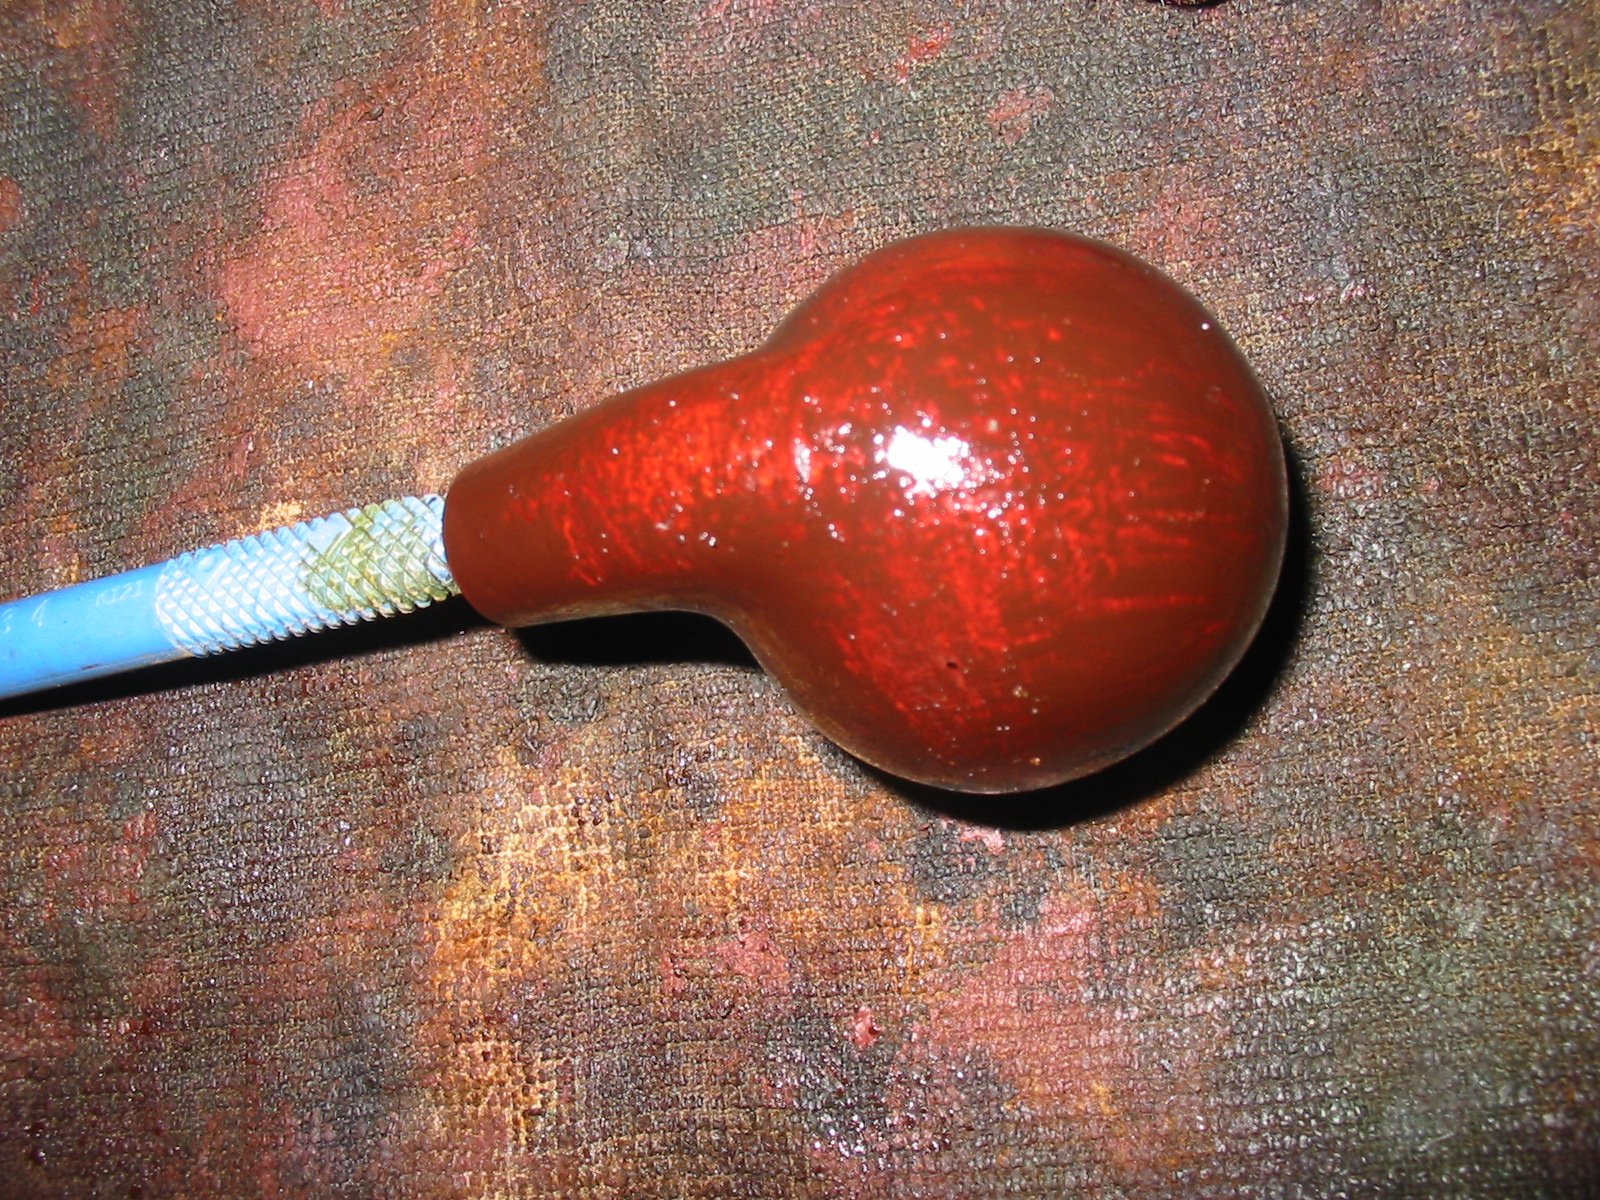
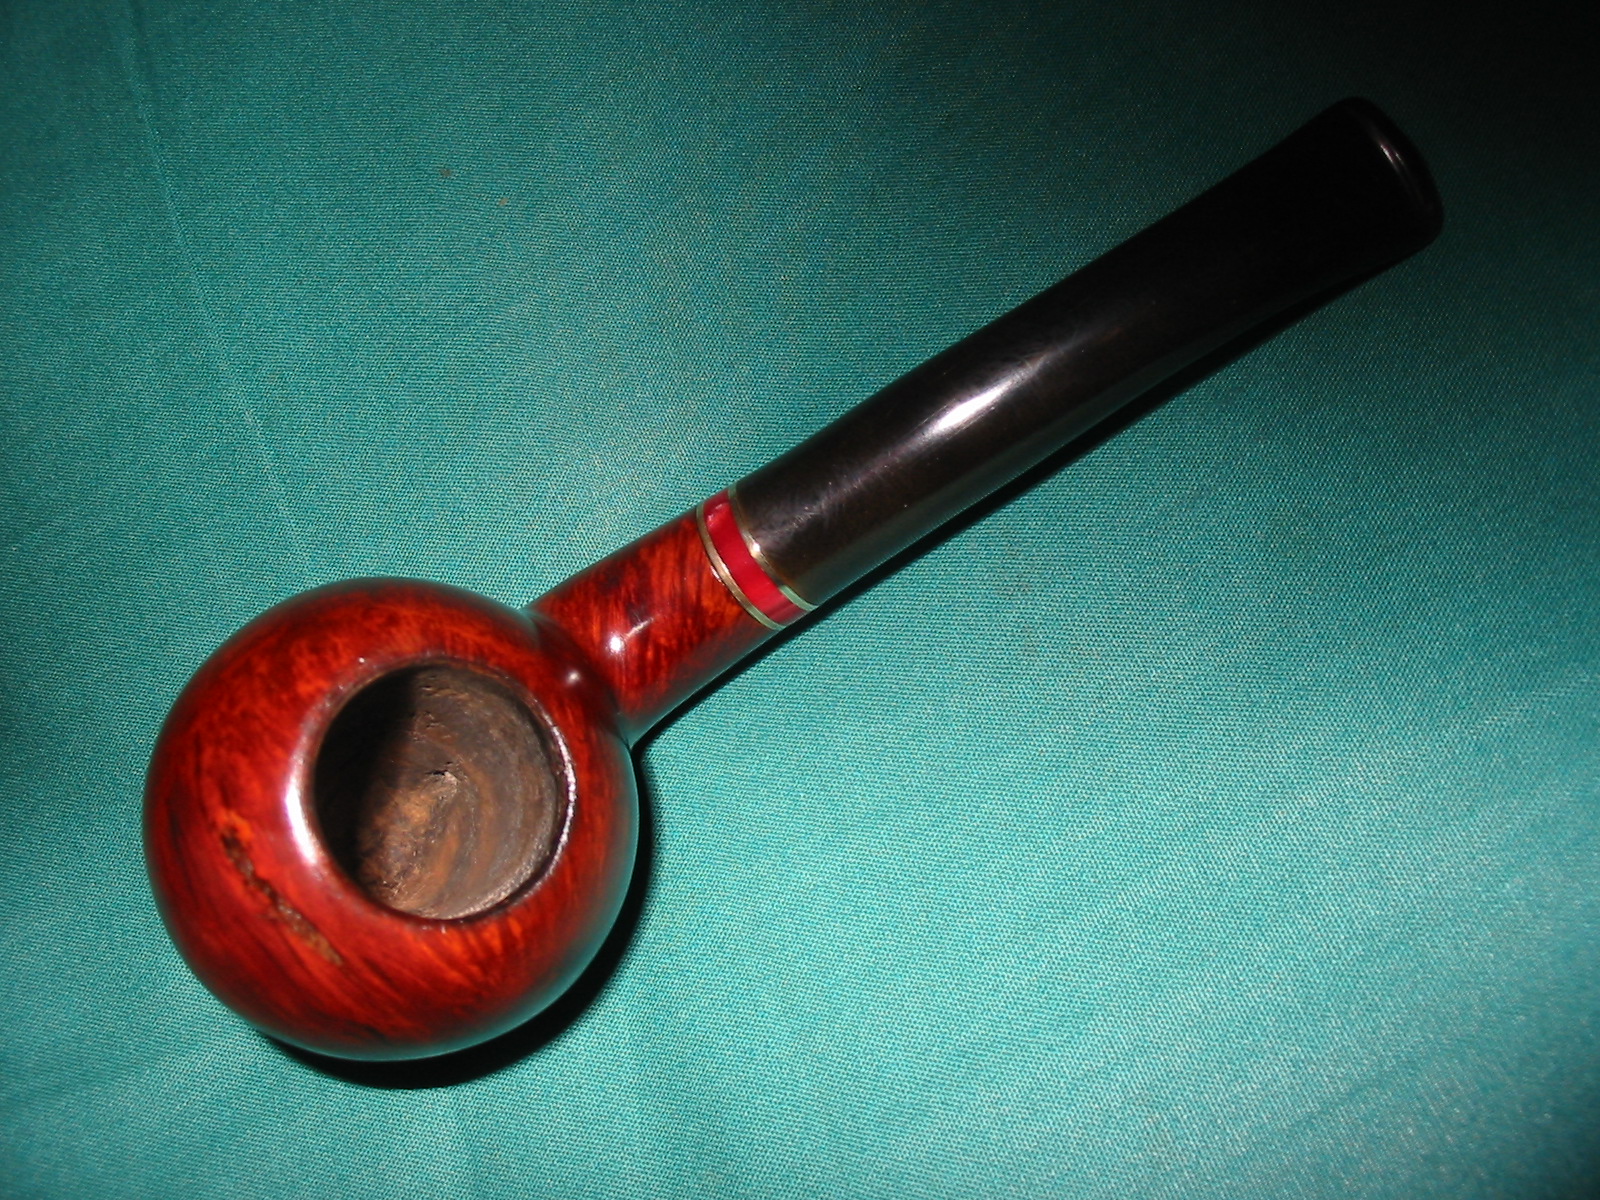
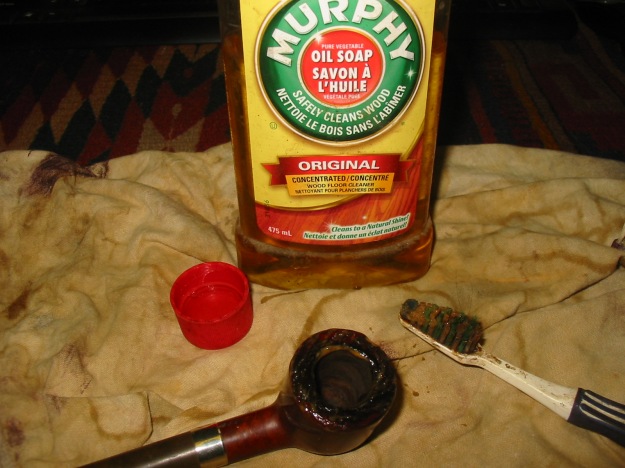
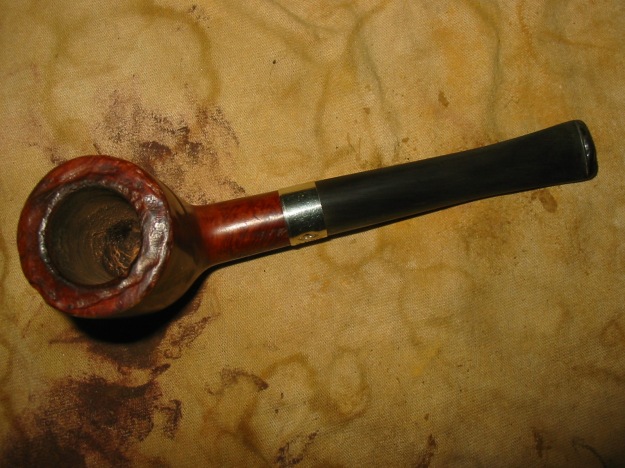
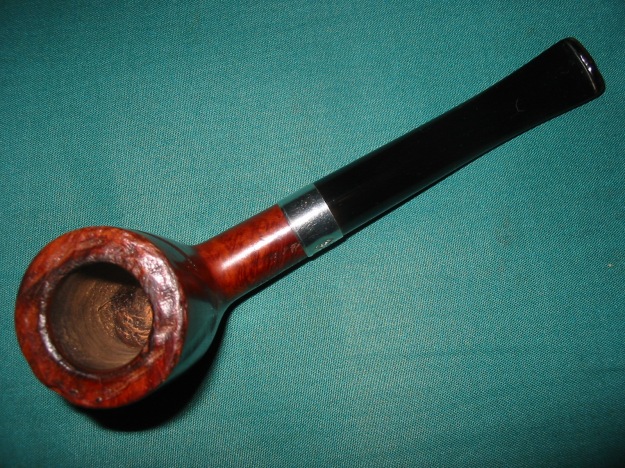
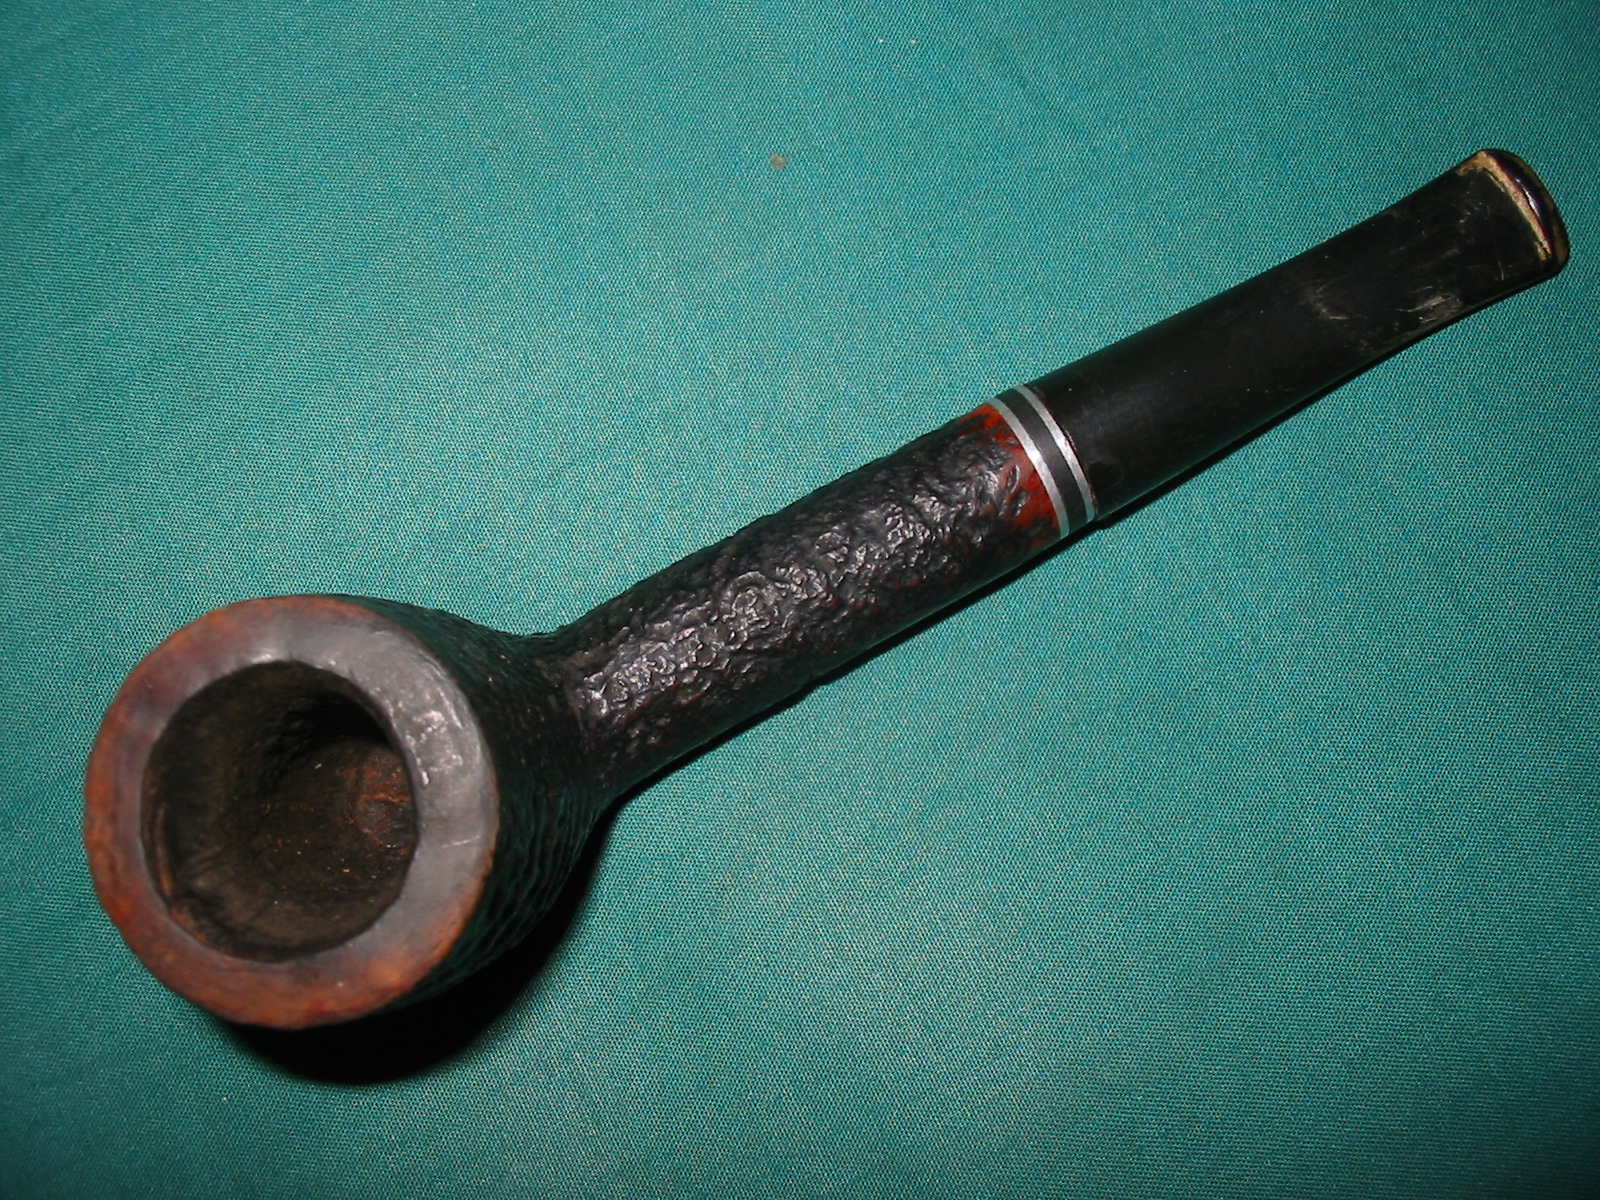
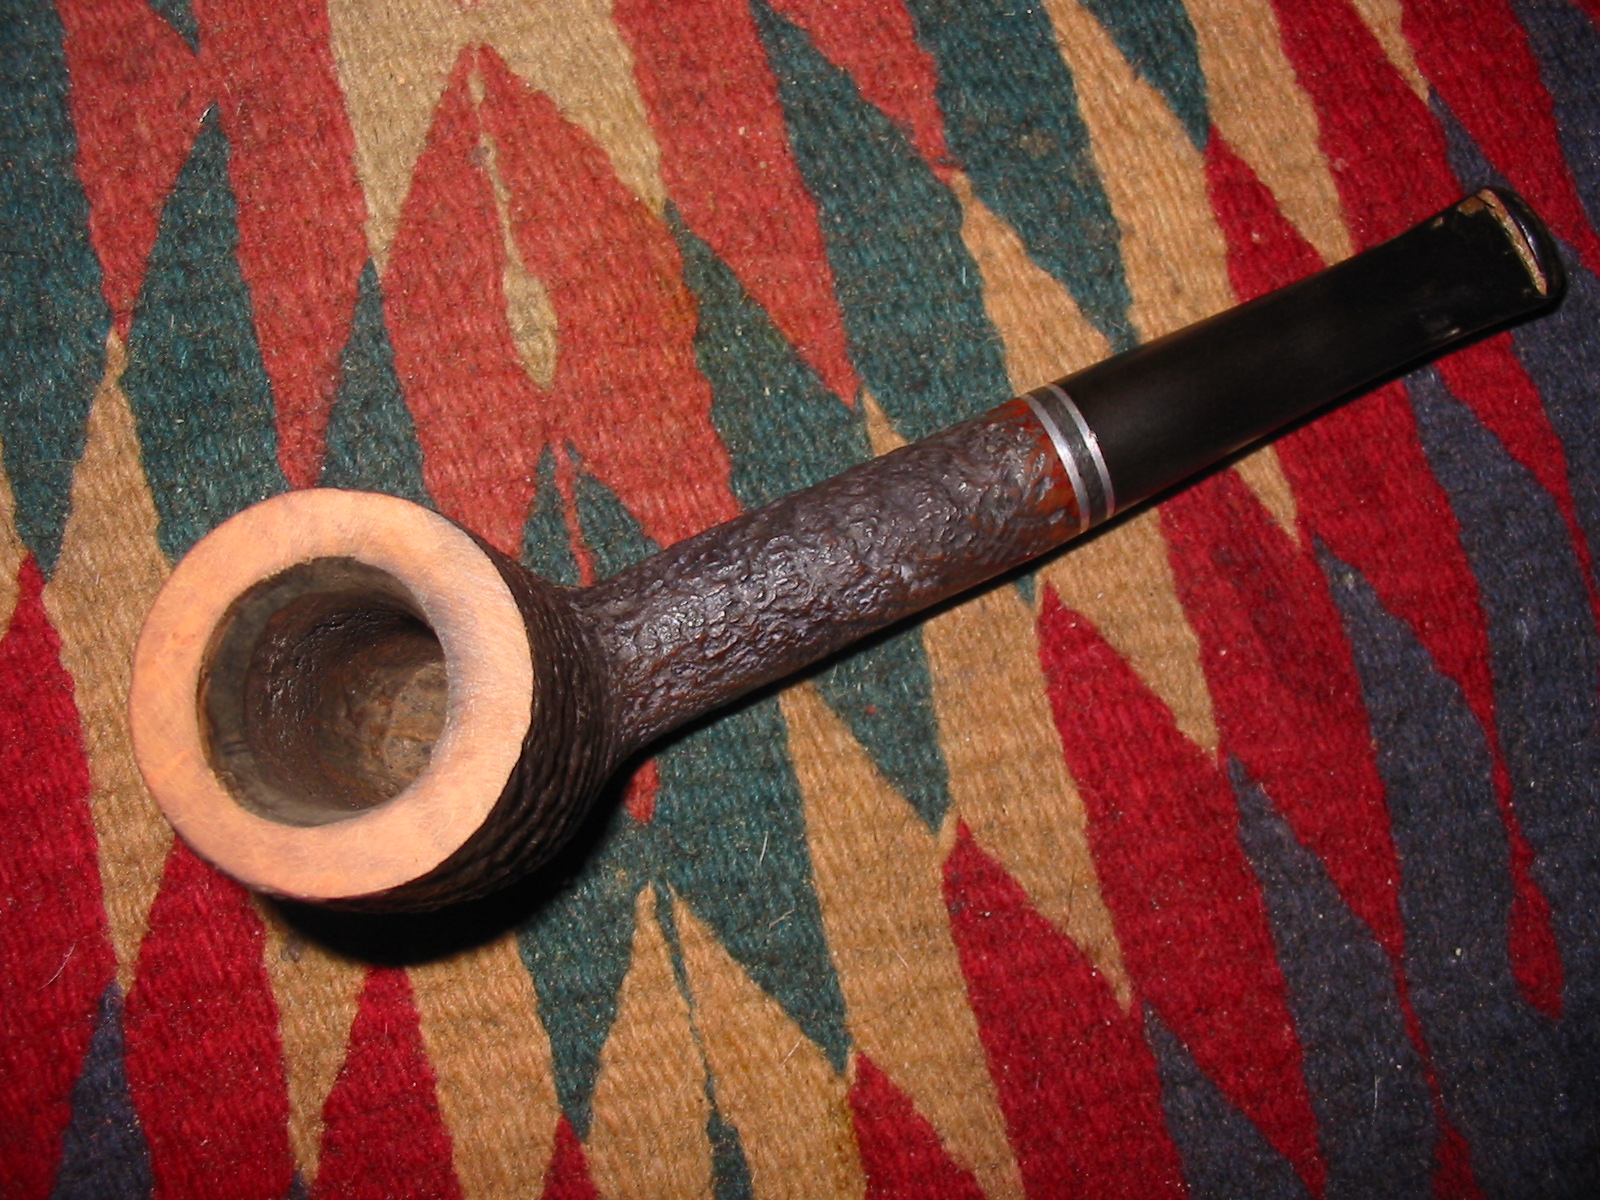
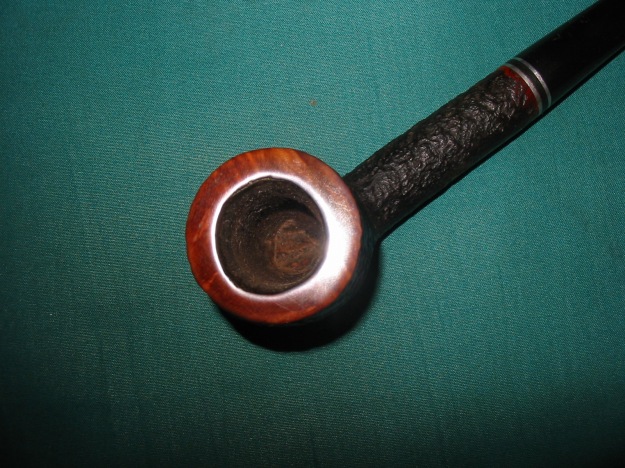
Just like the stem, I cleaned out the insides of the stummel with pipe, cleaners, cotton swabs, and alcohol. Took a bit of work, but I got it clean. In order to sort out the stuff stuck to the rim, I took a piece of machine metal and gently scraped it away, not wanting to do any more invasive work than I needed to. It came away reasonably easily and I carried on. 
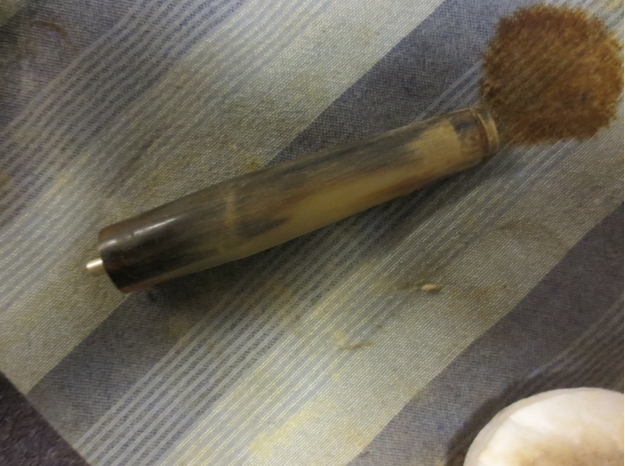
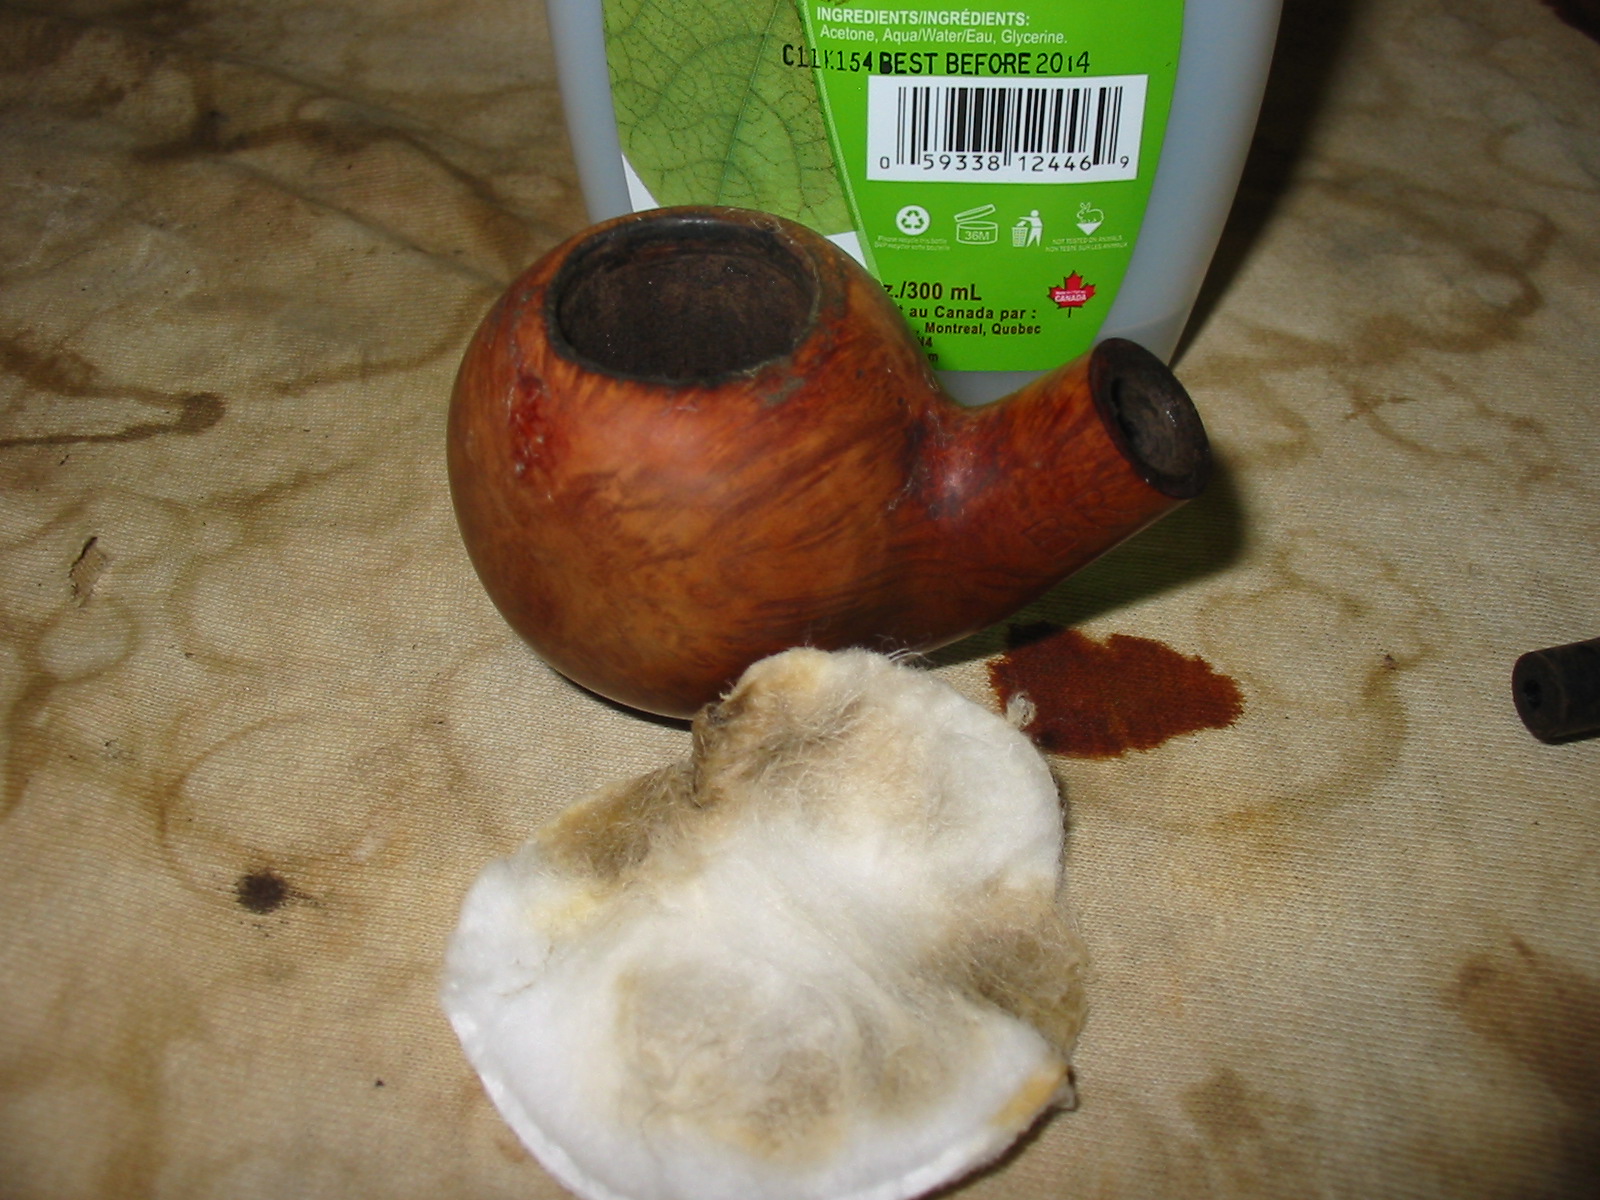
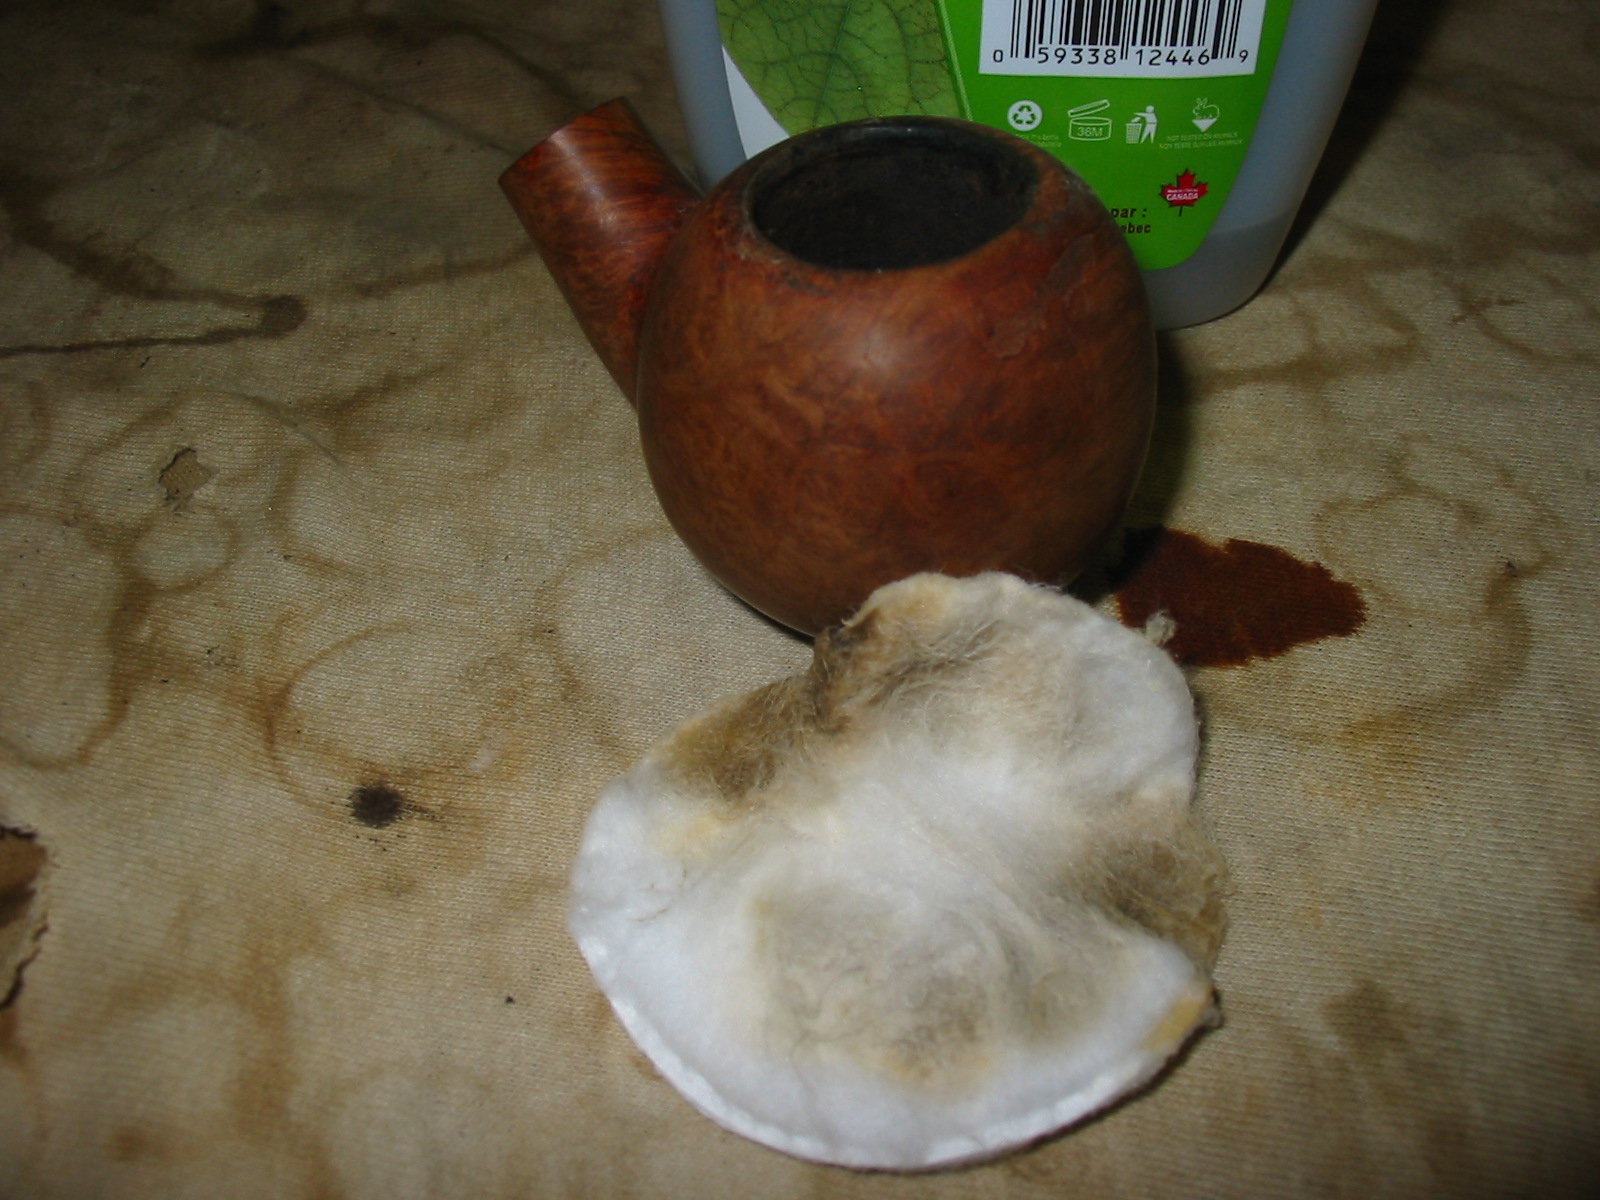
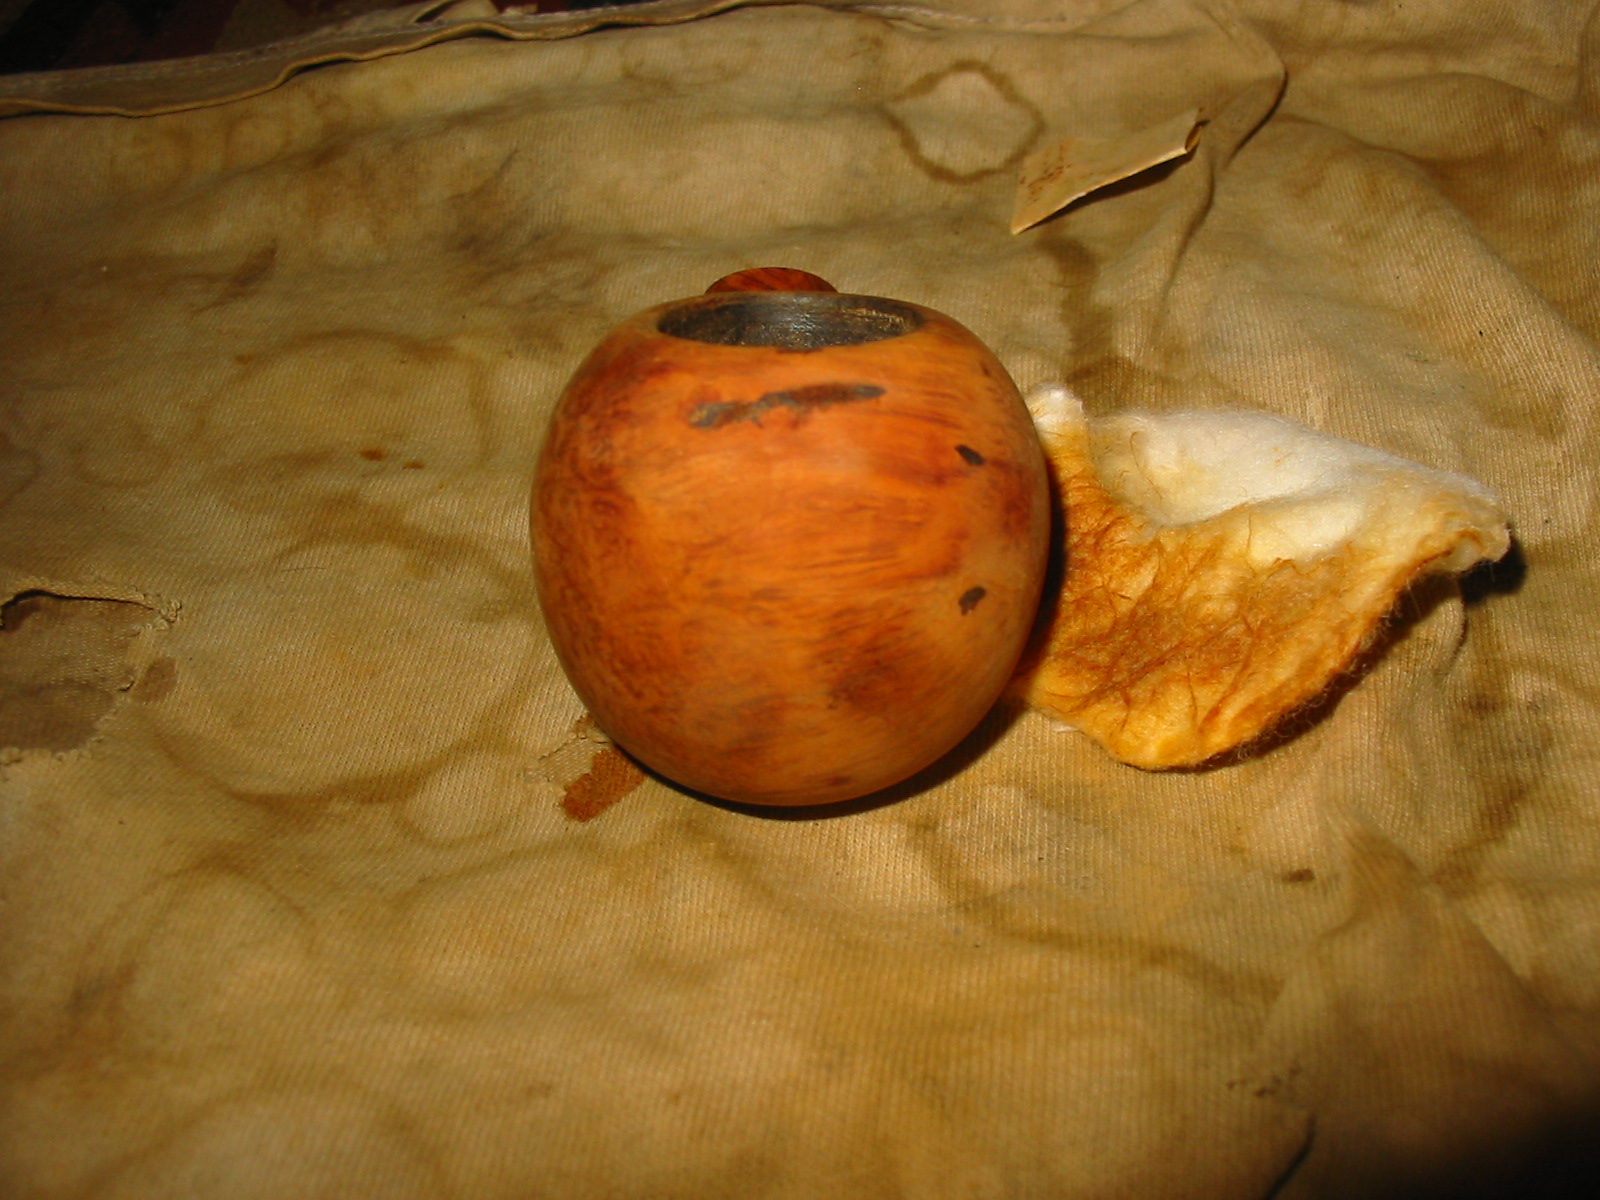
I then set it up for a de-ghosting session. I put some cotton balls in the bowl and in the shank and saturated them with 99% isopropyl alcohol. I let that sit overnight to allow all of the lingering smells and stains leach out into the cotton. After that it was much improved. I wiped it down with some Murphy’s and finished up by scrubbing the insides with soap, and some tube brushes. 
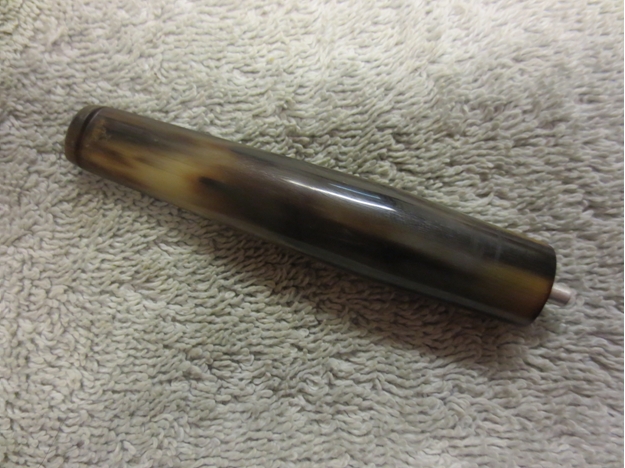
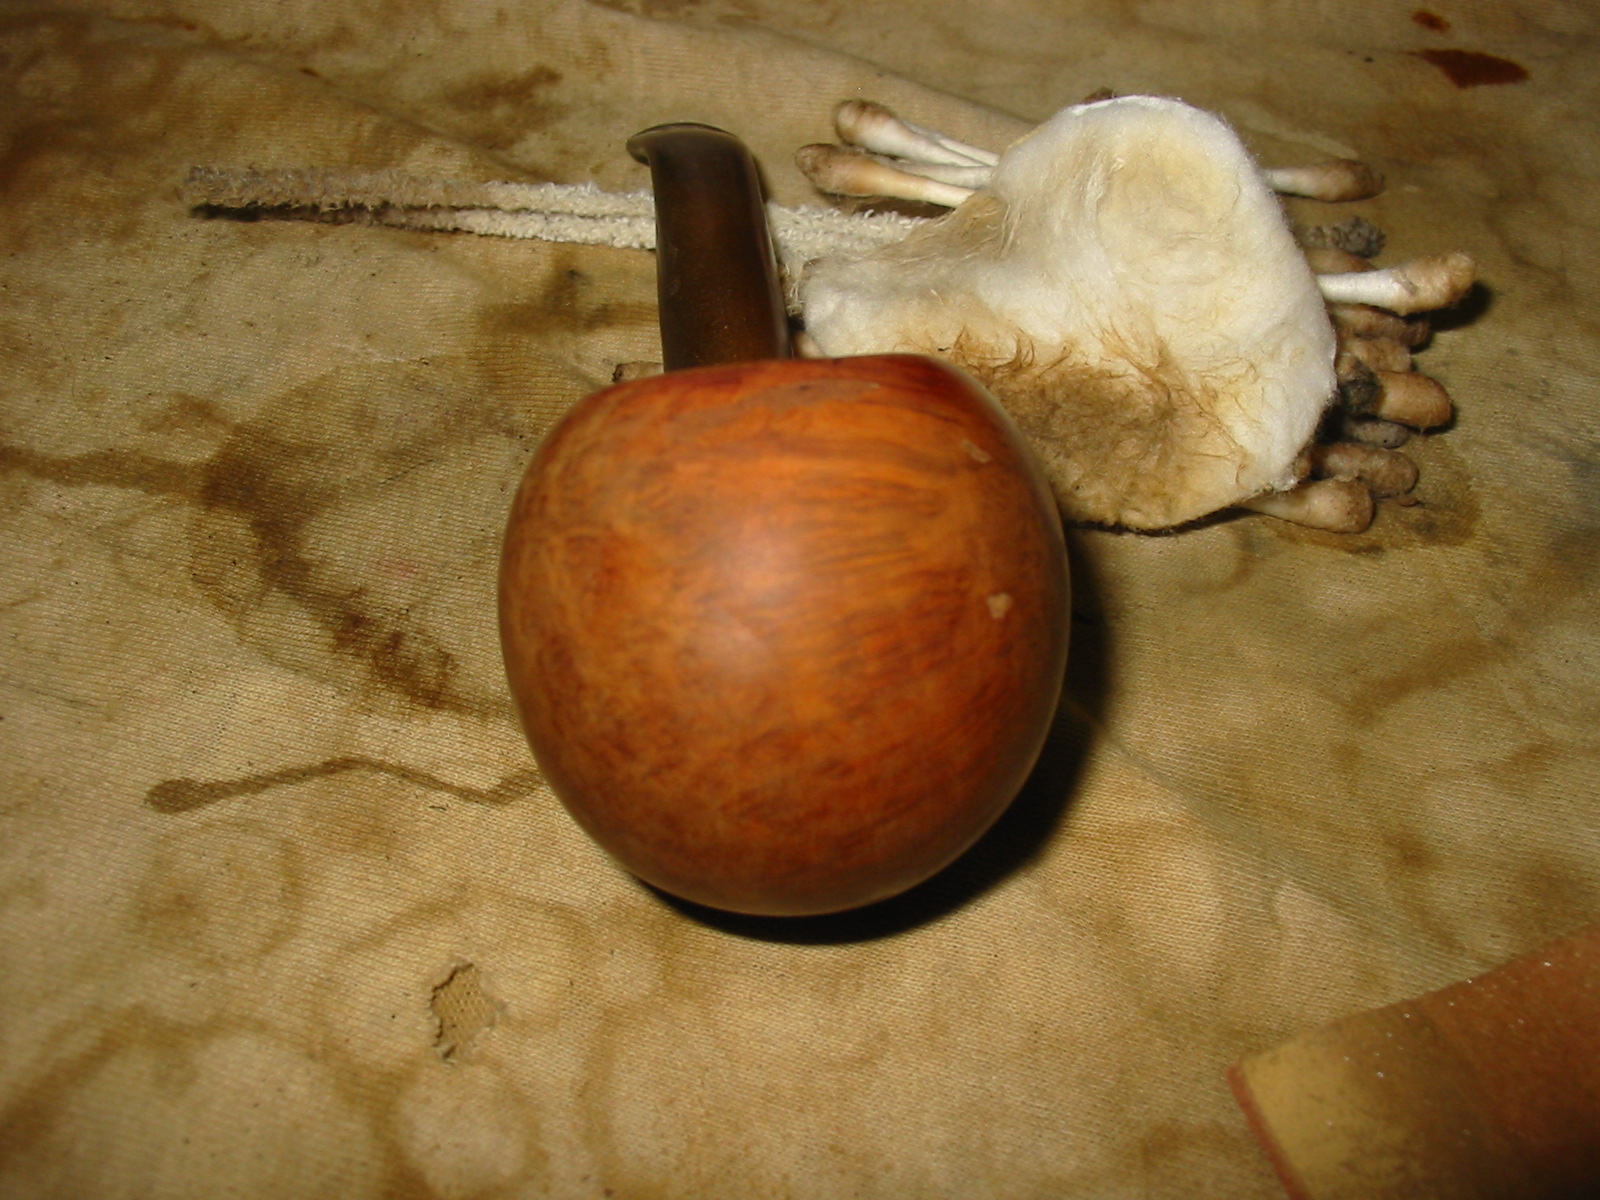
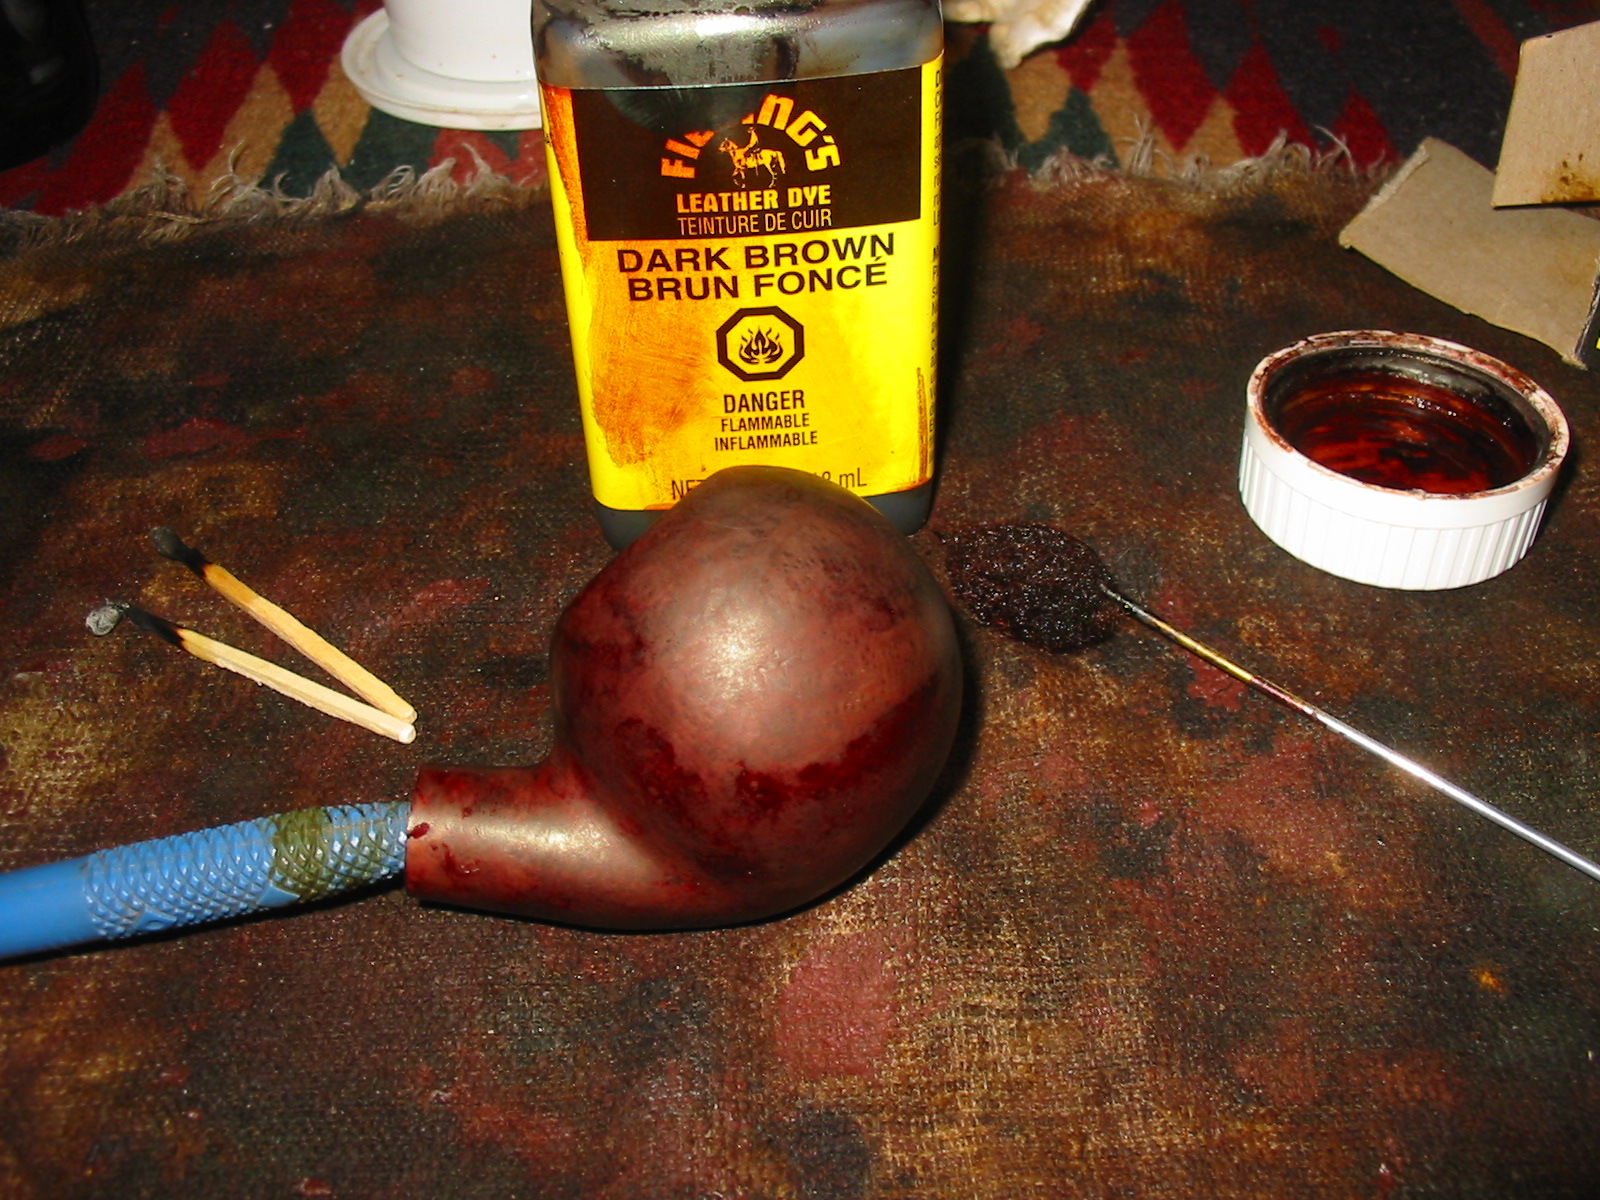
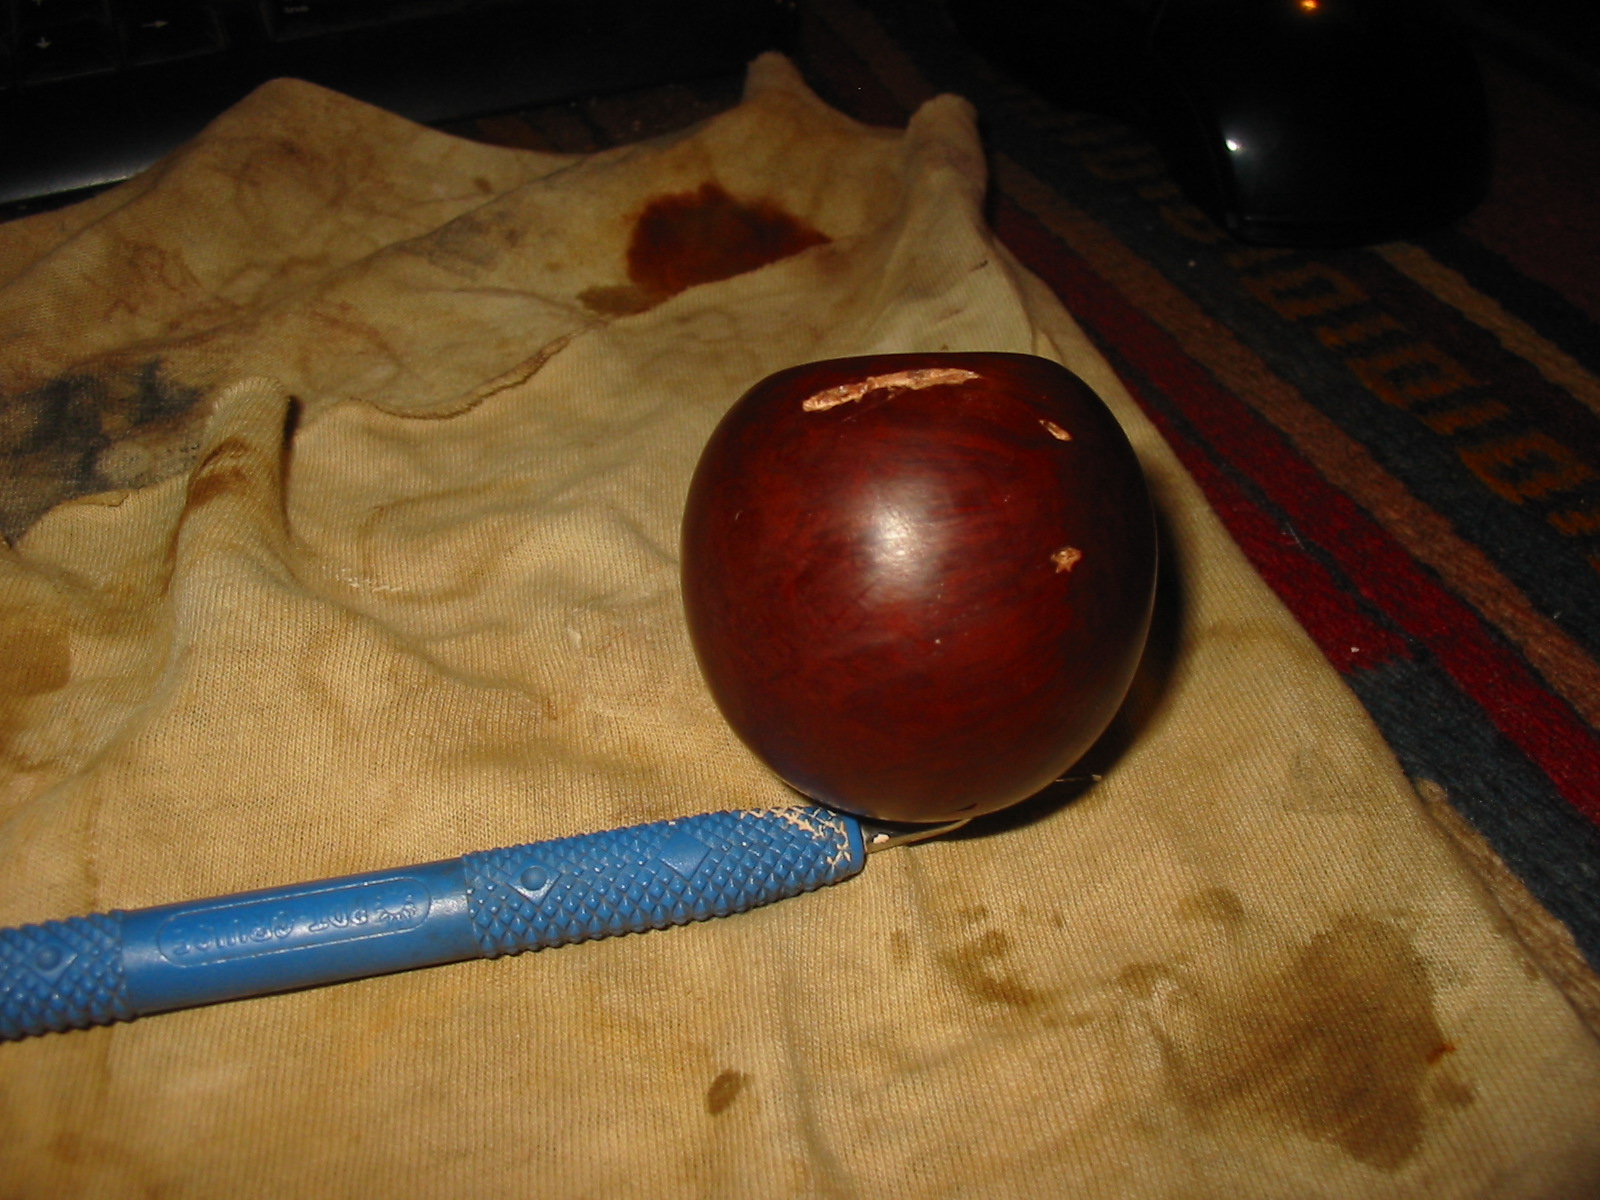
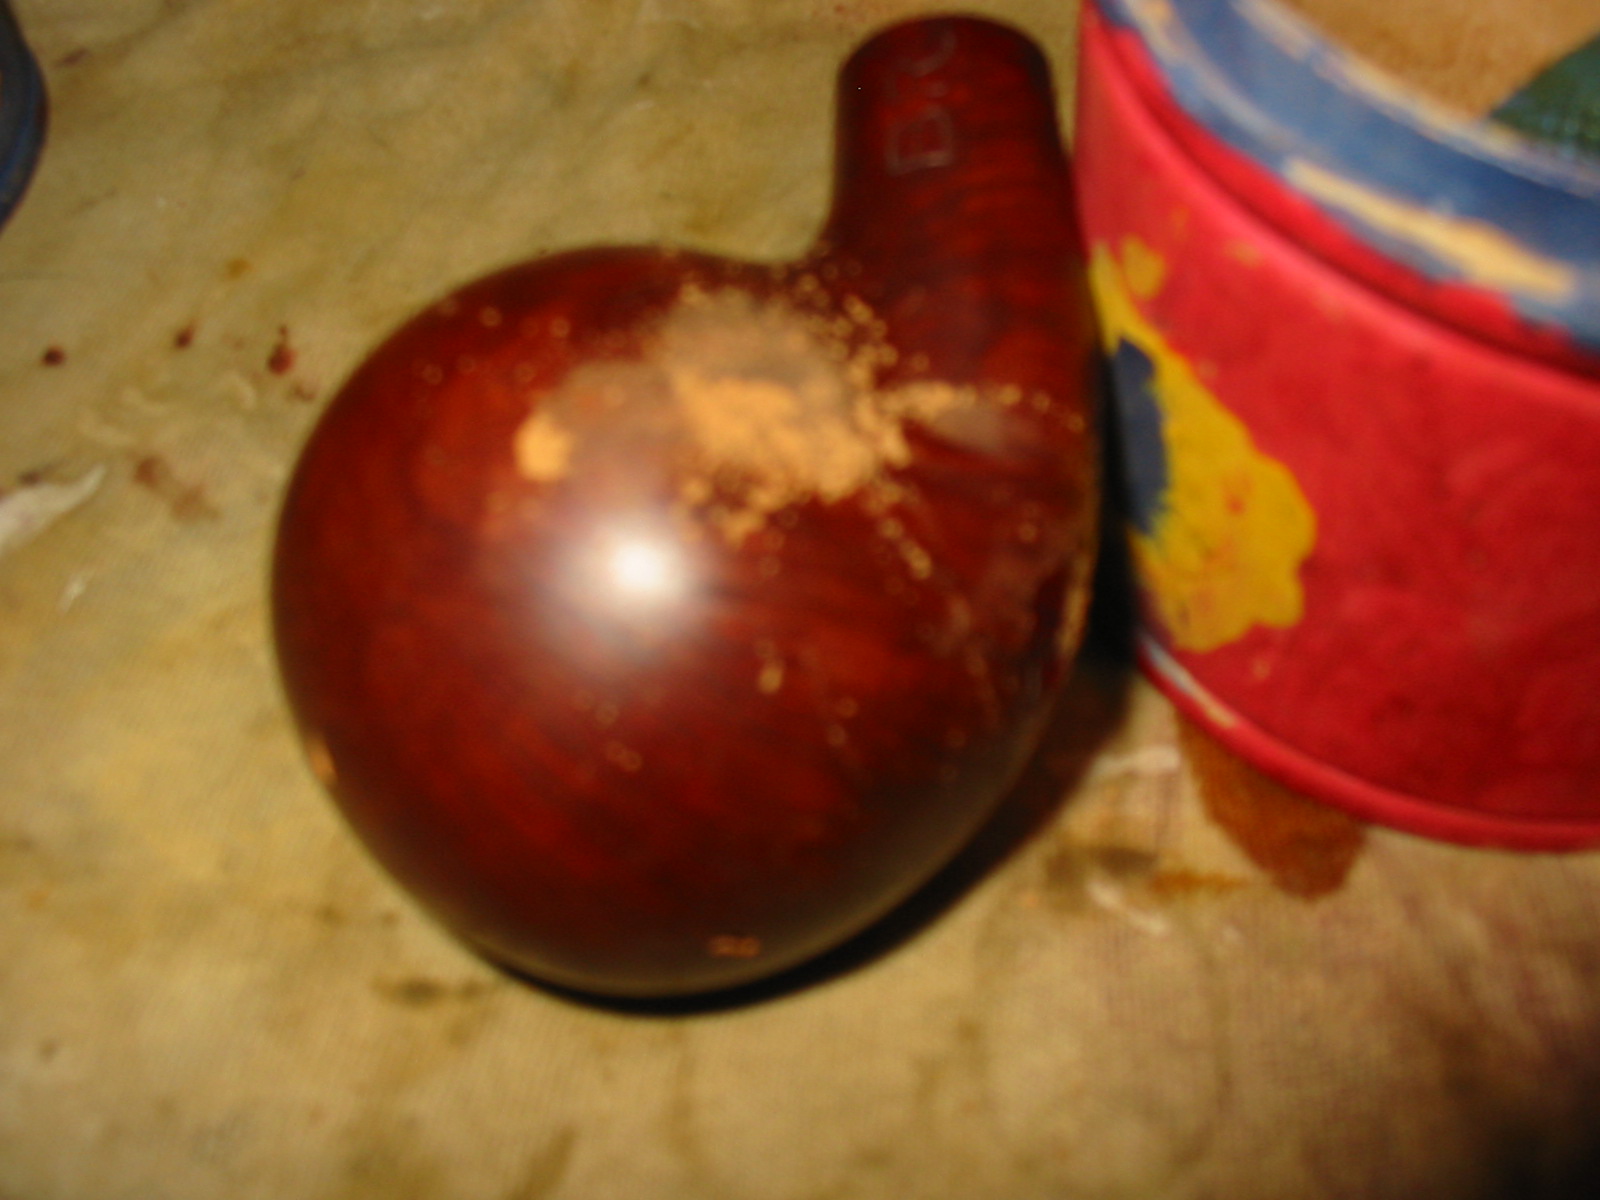
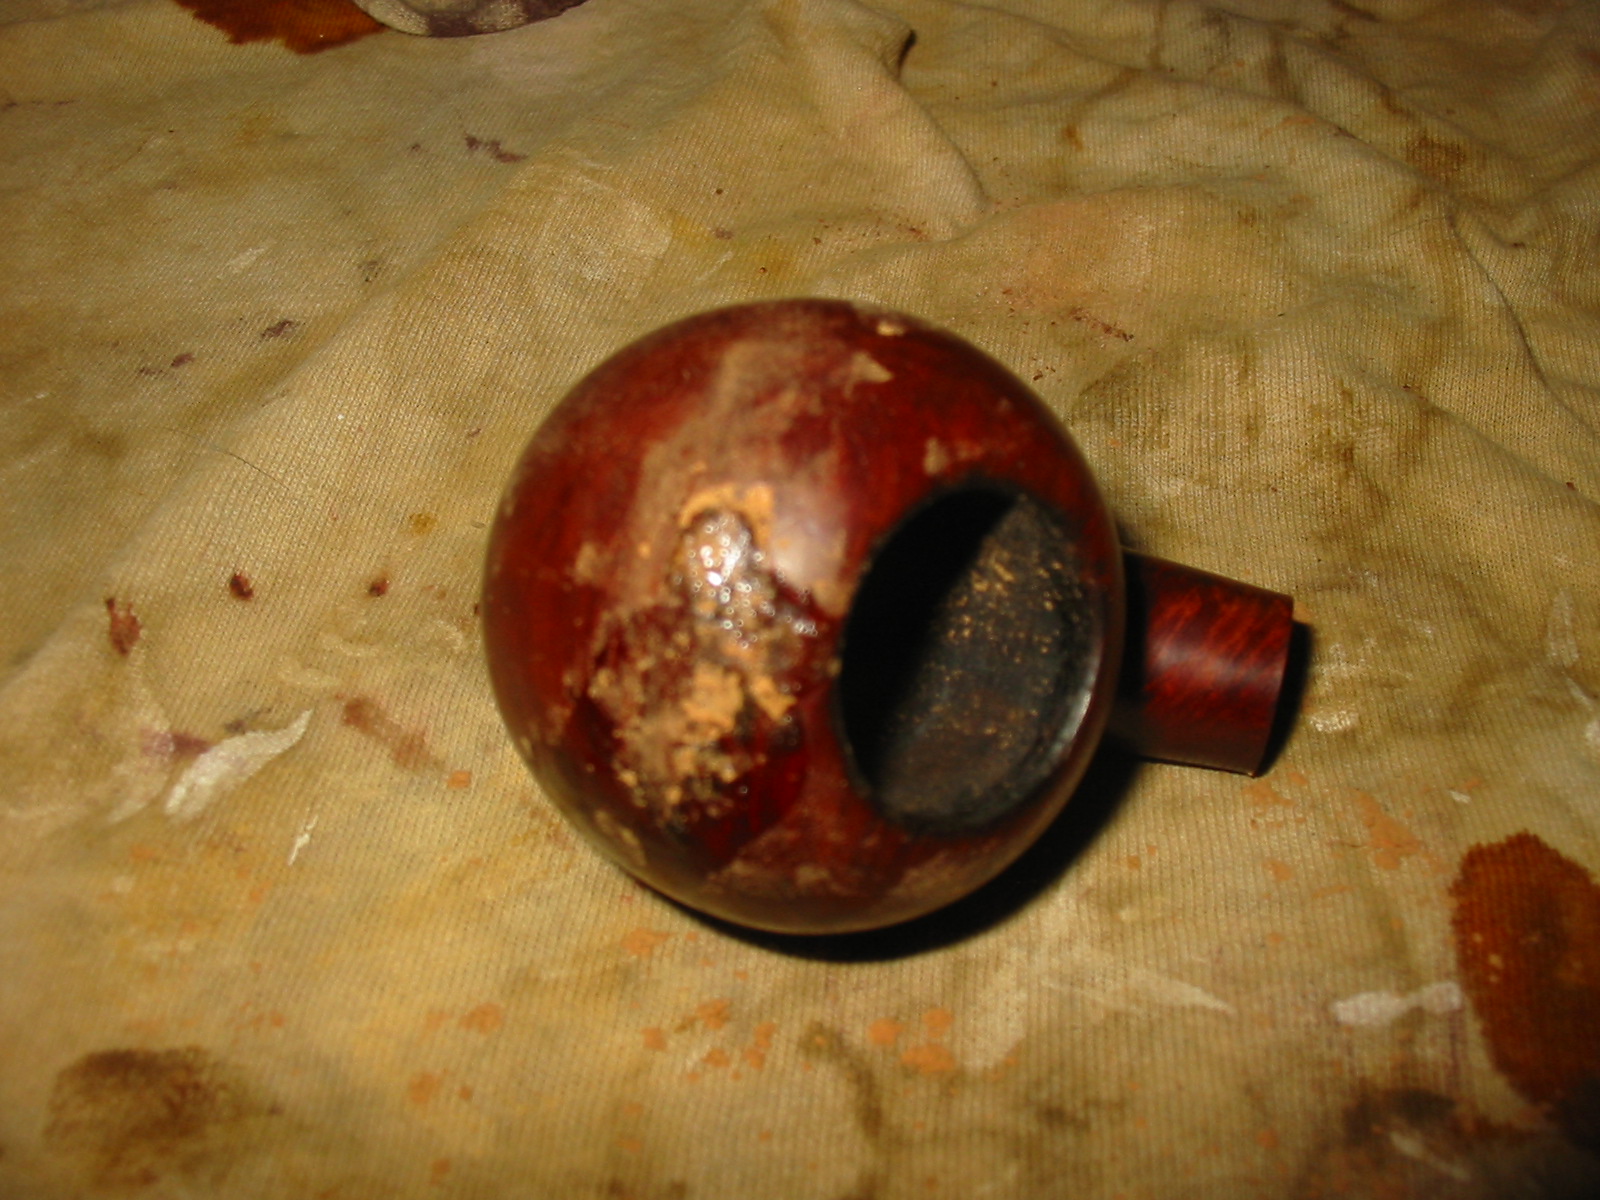
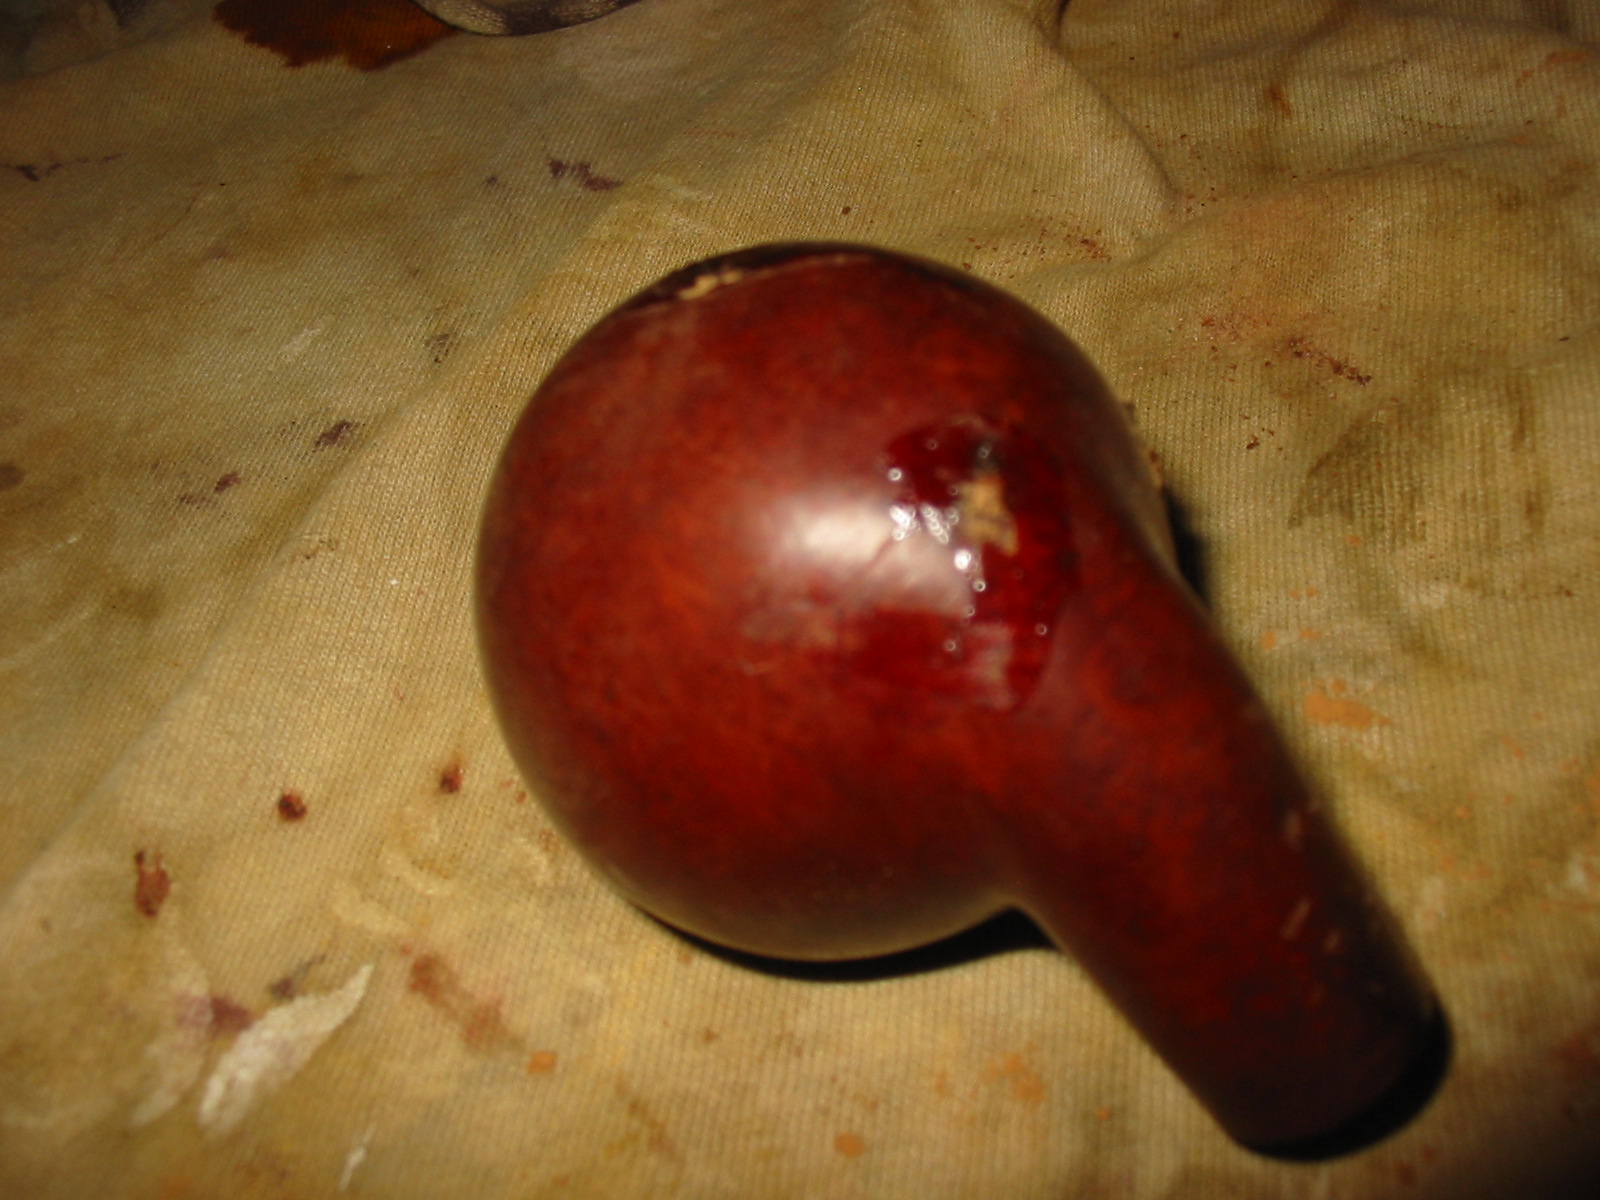
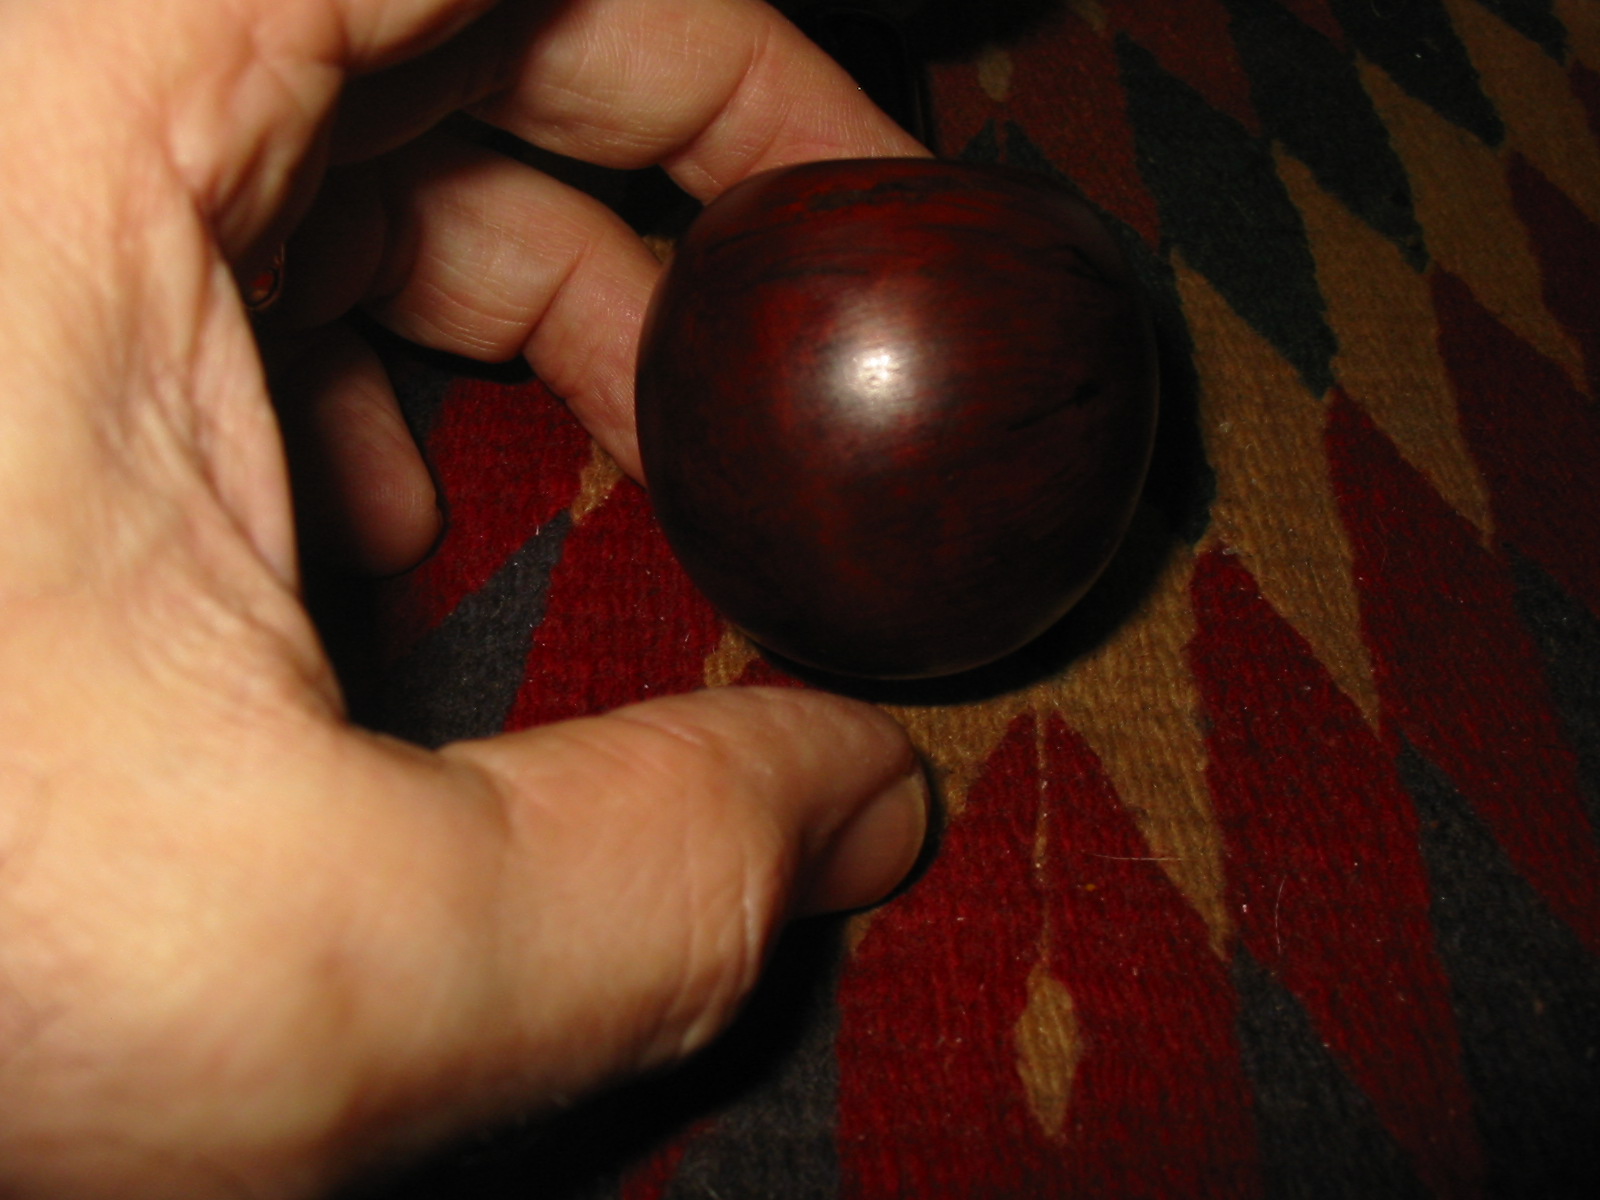
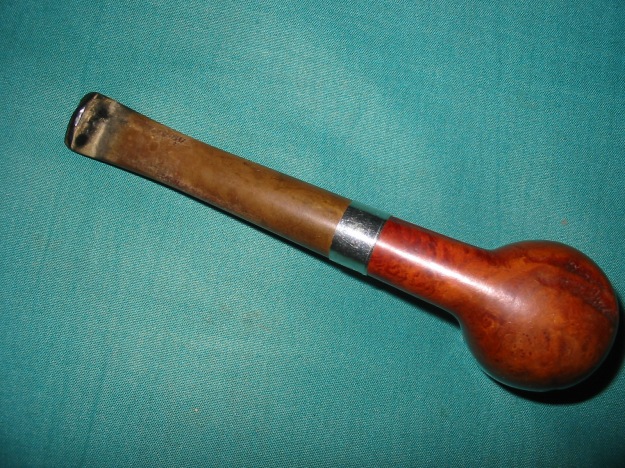
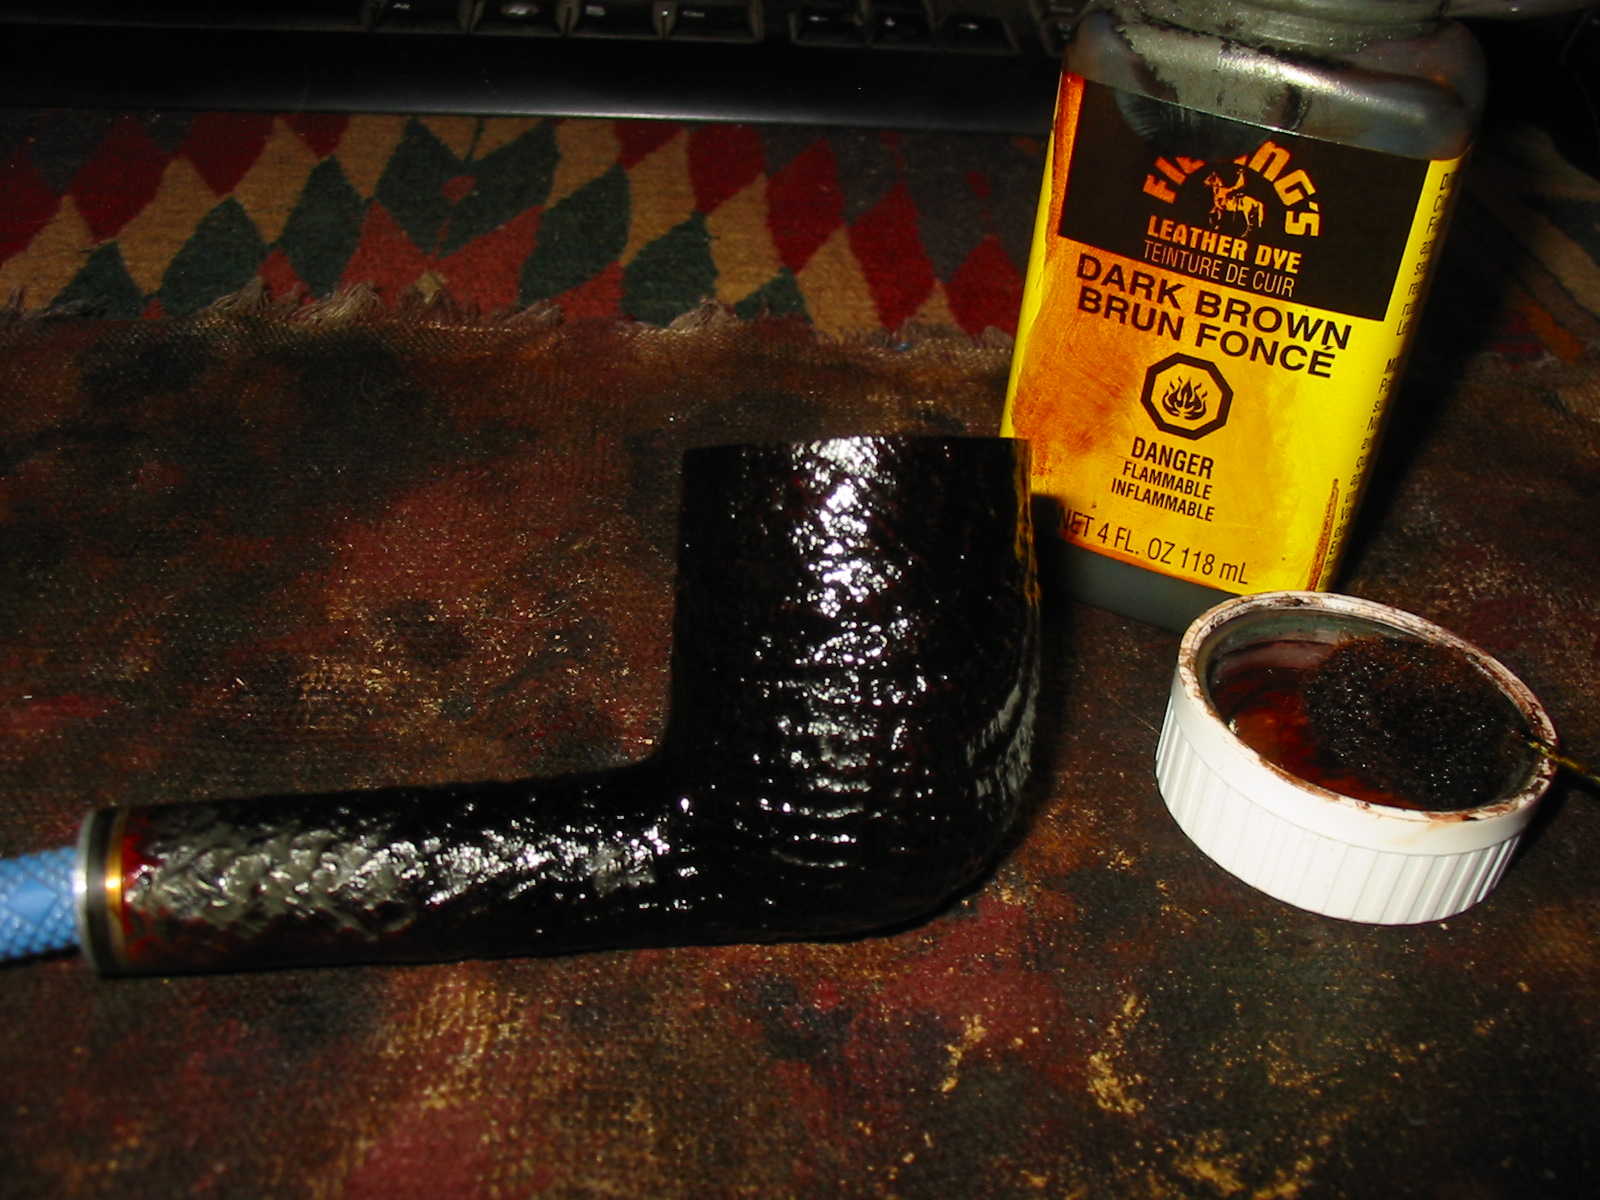
I sanded down the stummel with my micromesh pads to make it smooth and lovely. Of course, I added some of my restoration balm to the wood and let it sit for 20 minutes or so. BUT, there was a bit of a problem. The sanding and application of balm revealed some mottling on the surface of the briar. Clearly, there was some remnants of an old lacquer or shellac. It looked awful and I couldn’t let it be. 
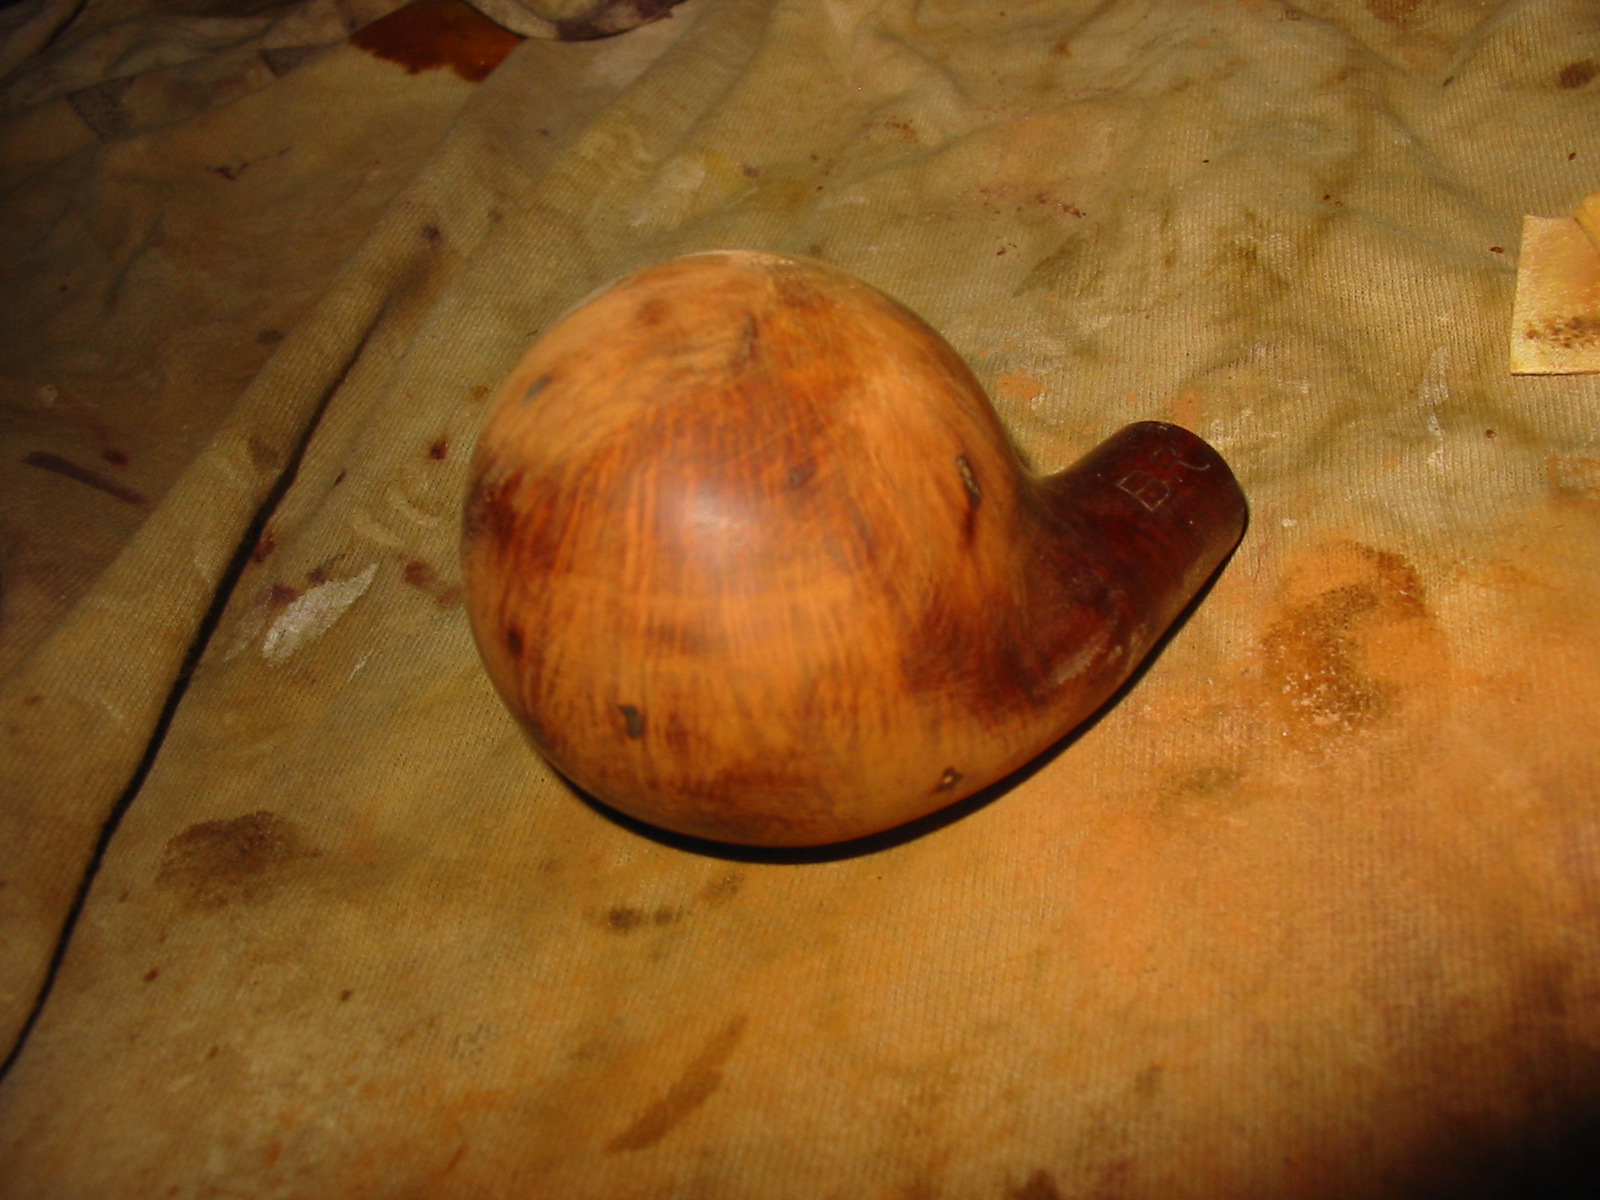
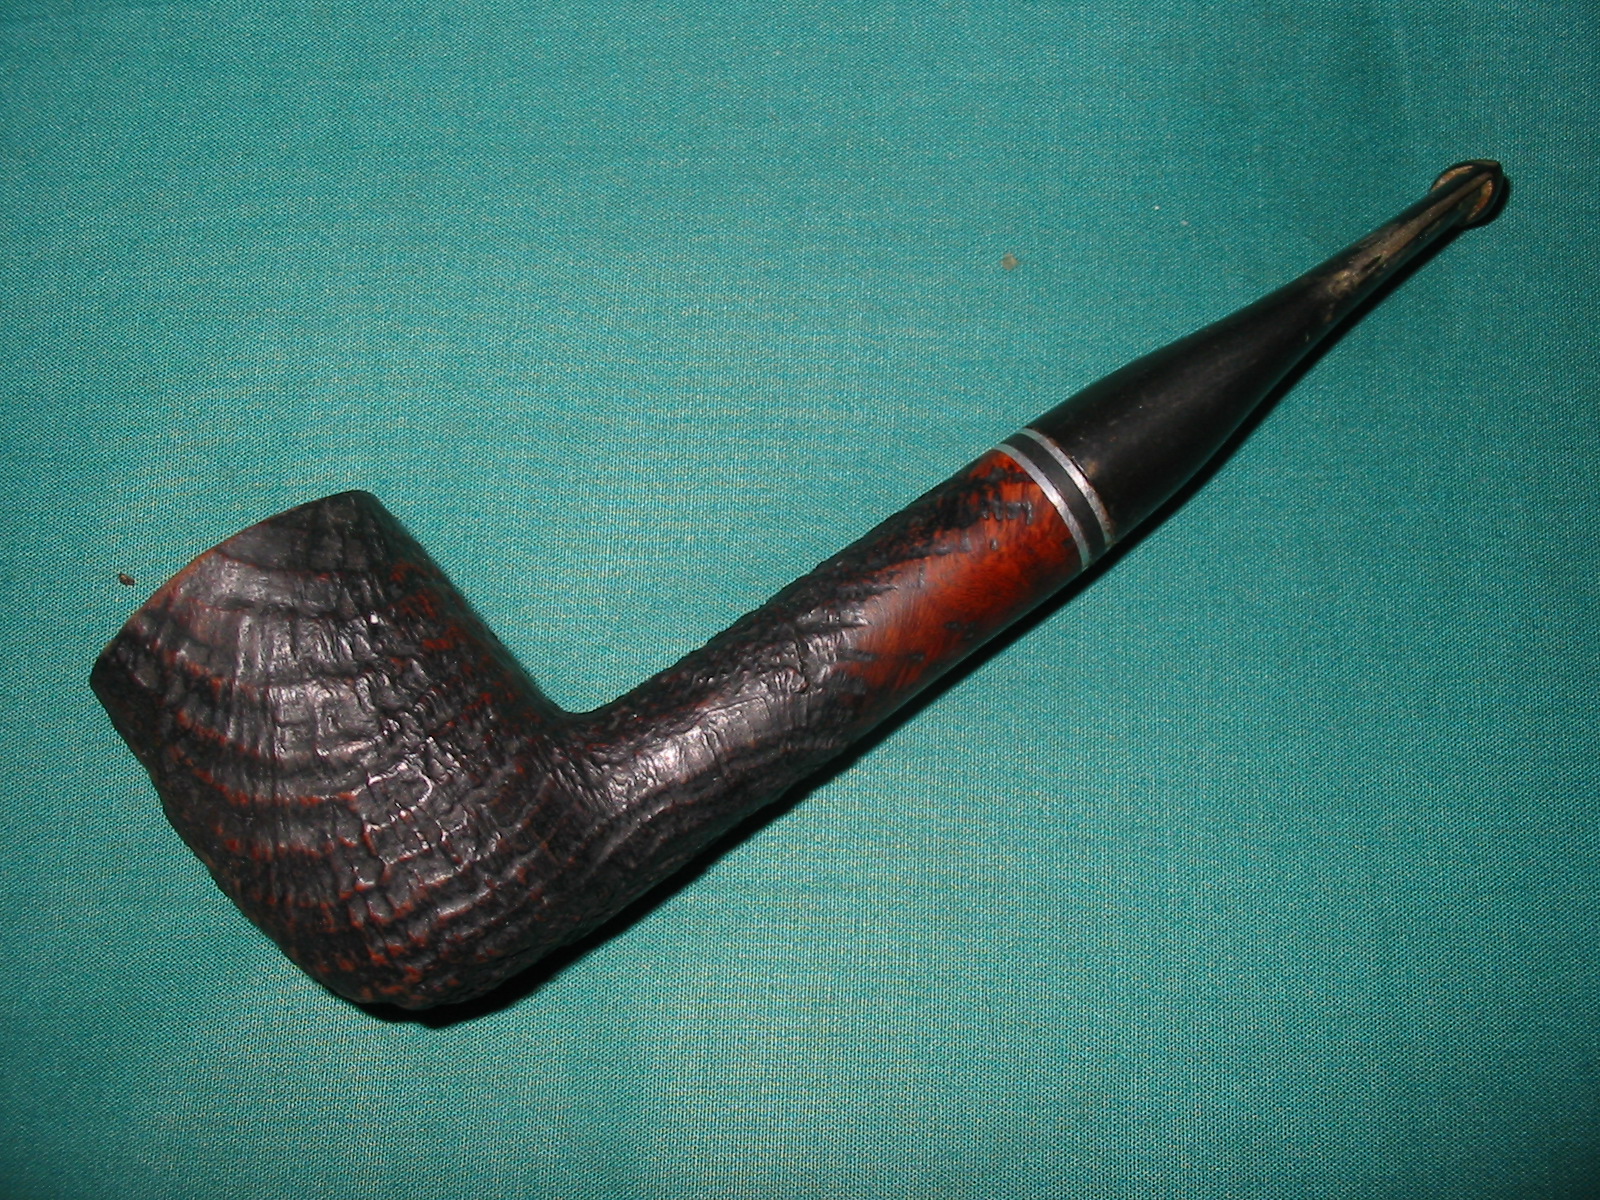
I couldn’t get rid of it with any solvents, so, unfortunately, I had to re-sand the whole thing. That worked and it looked much improved.
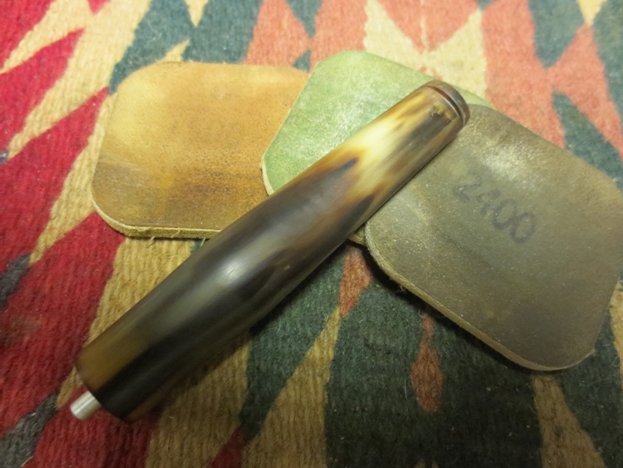
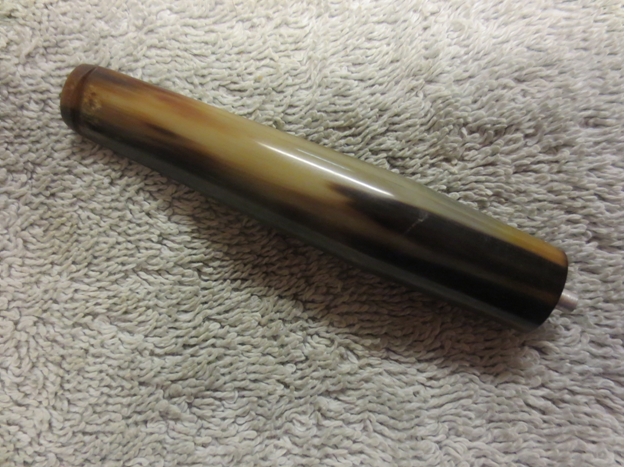
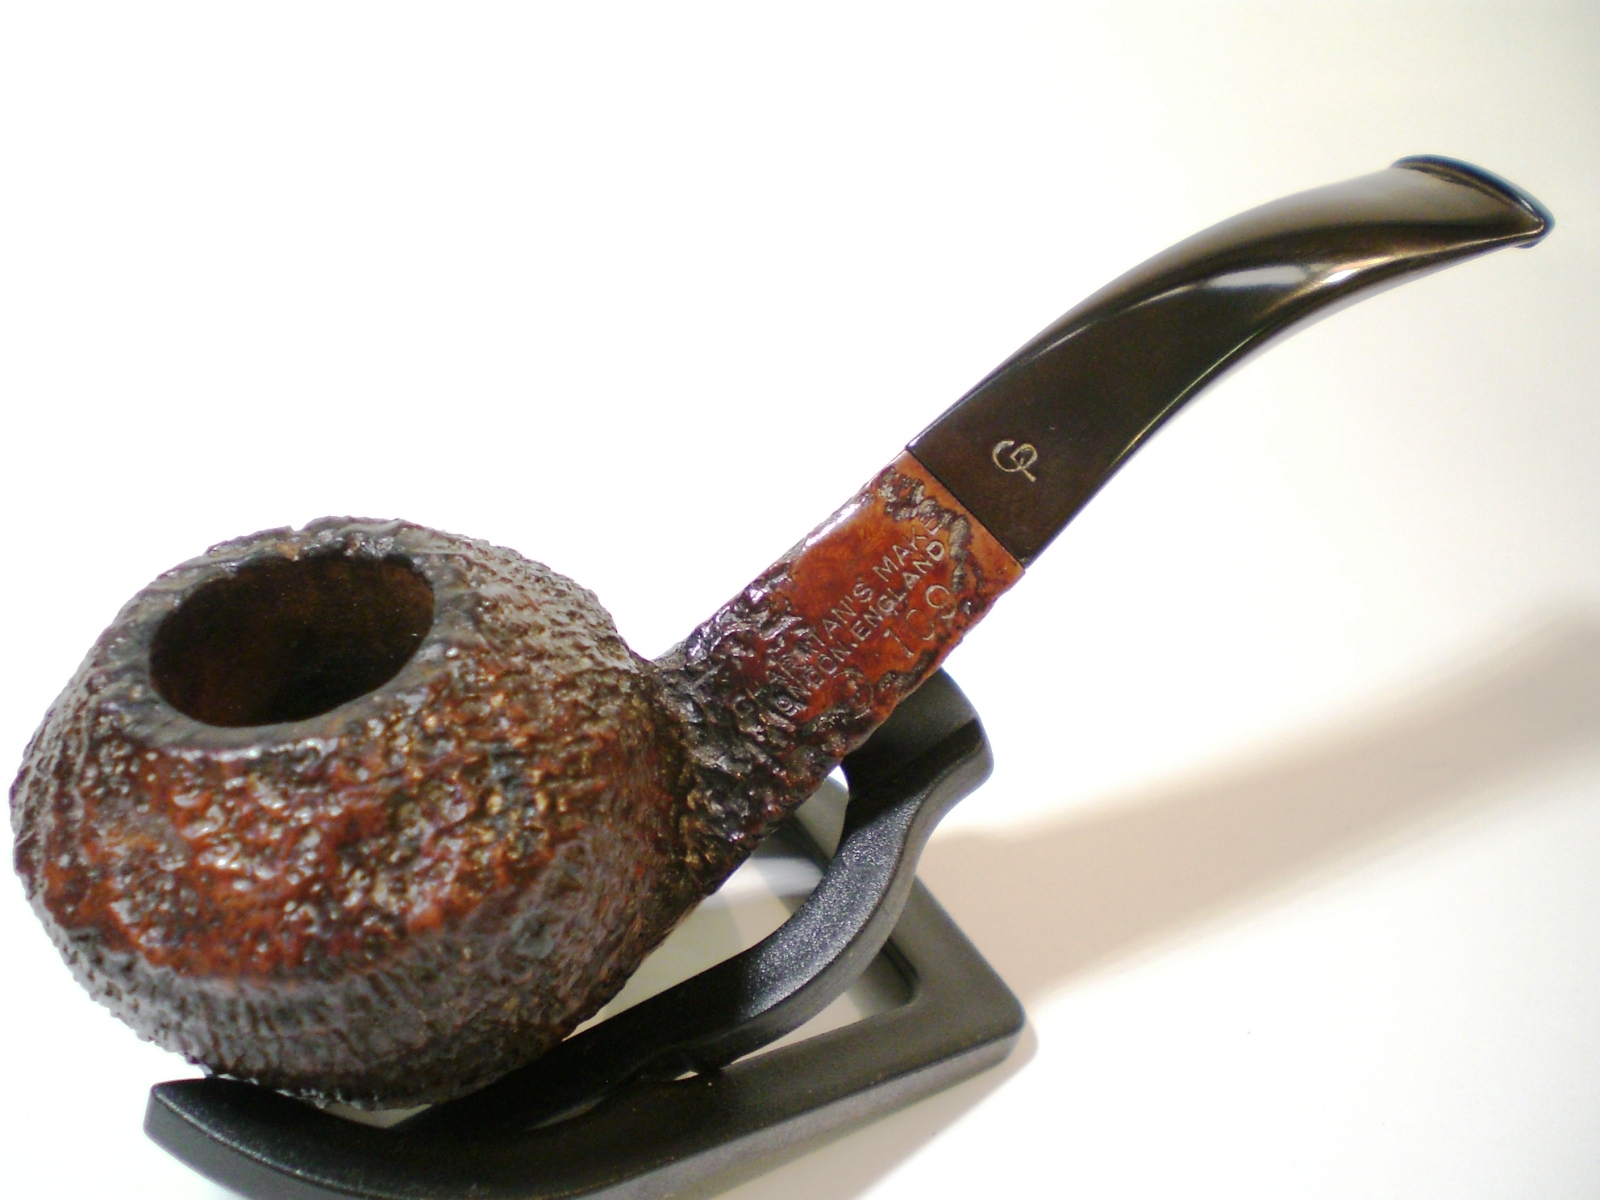
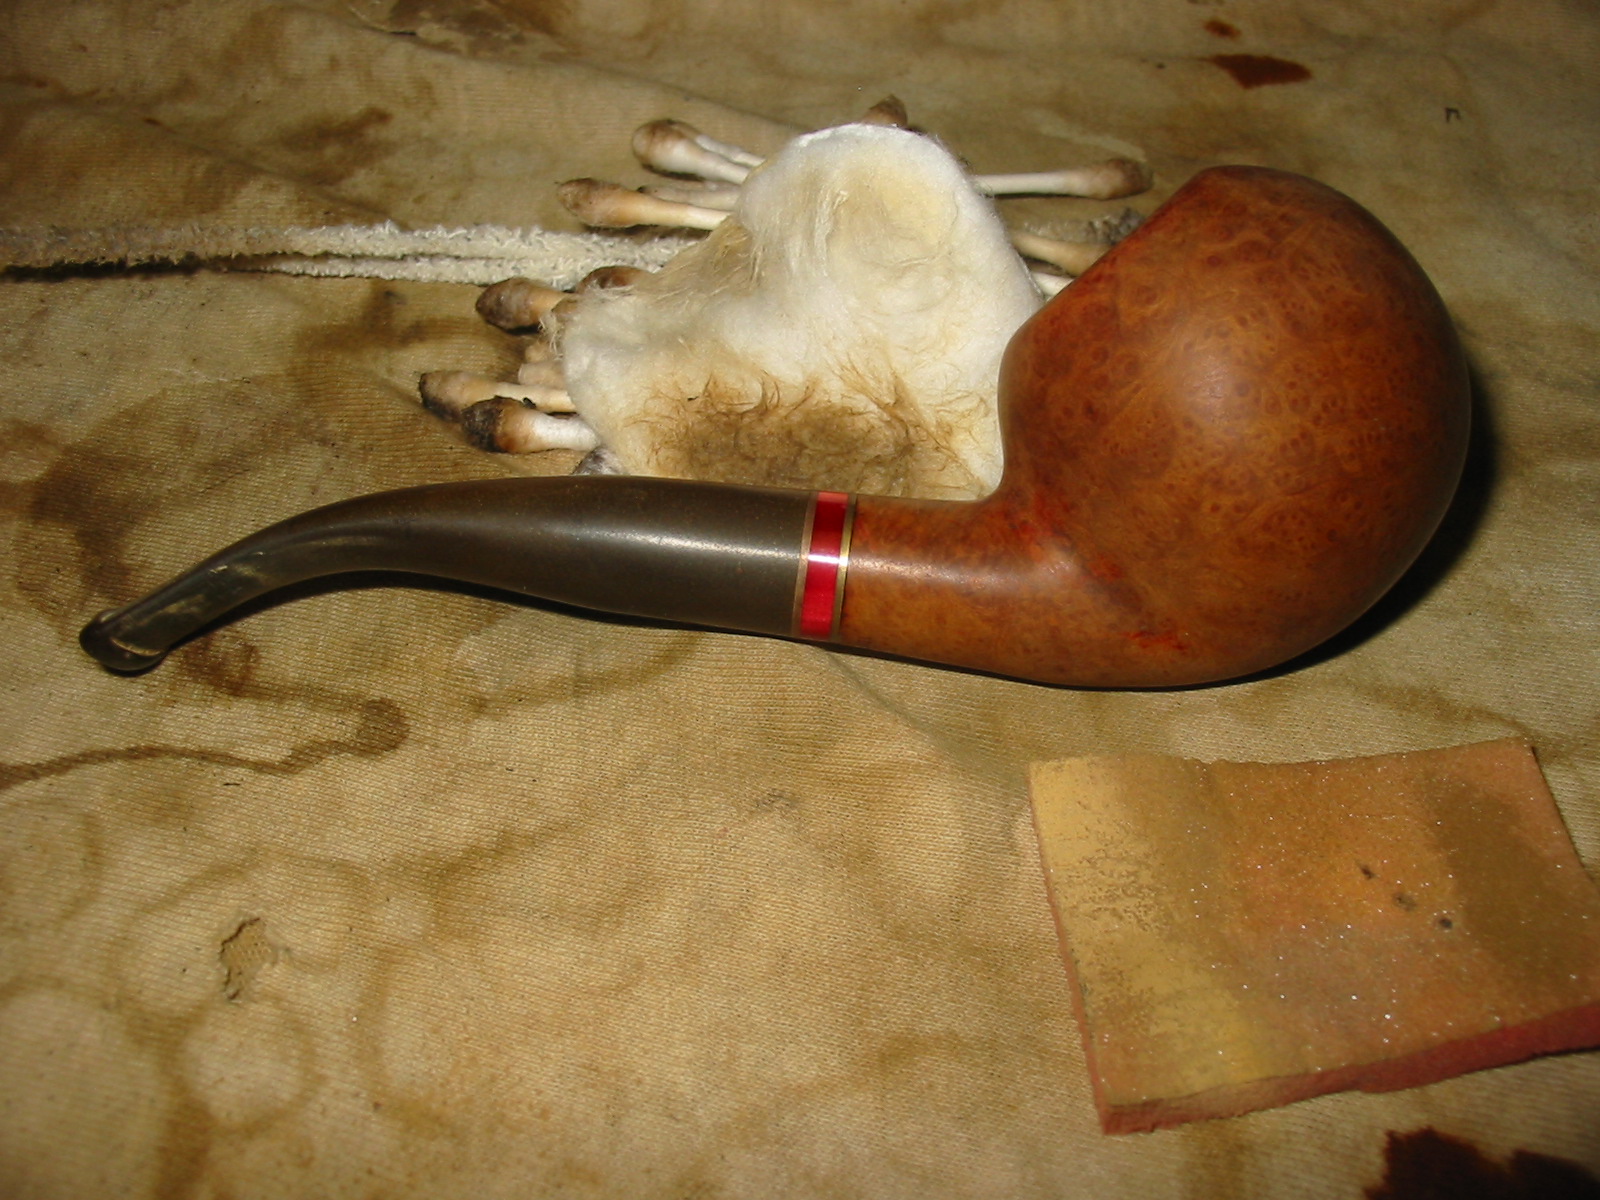
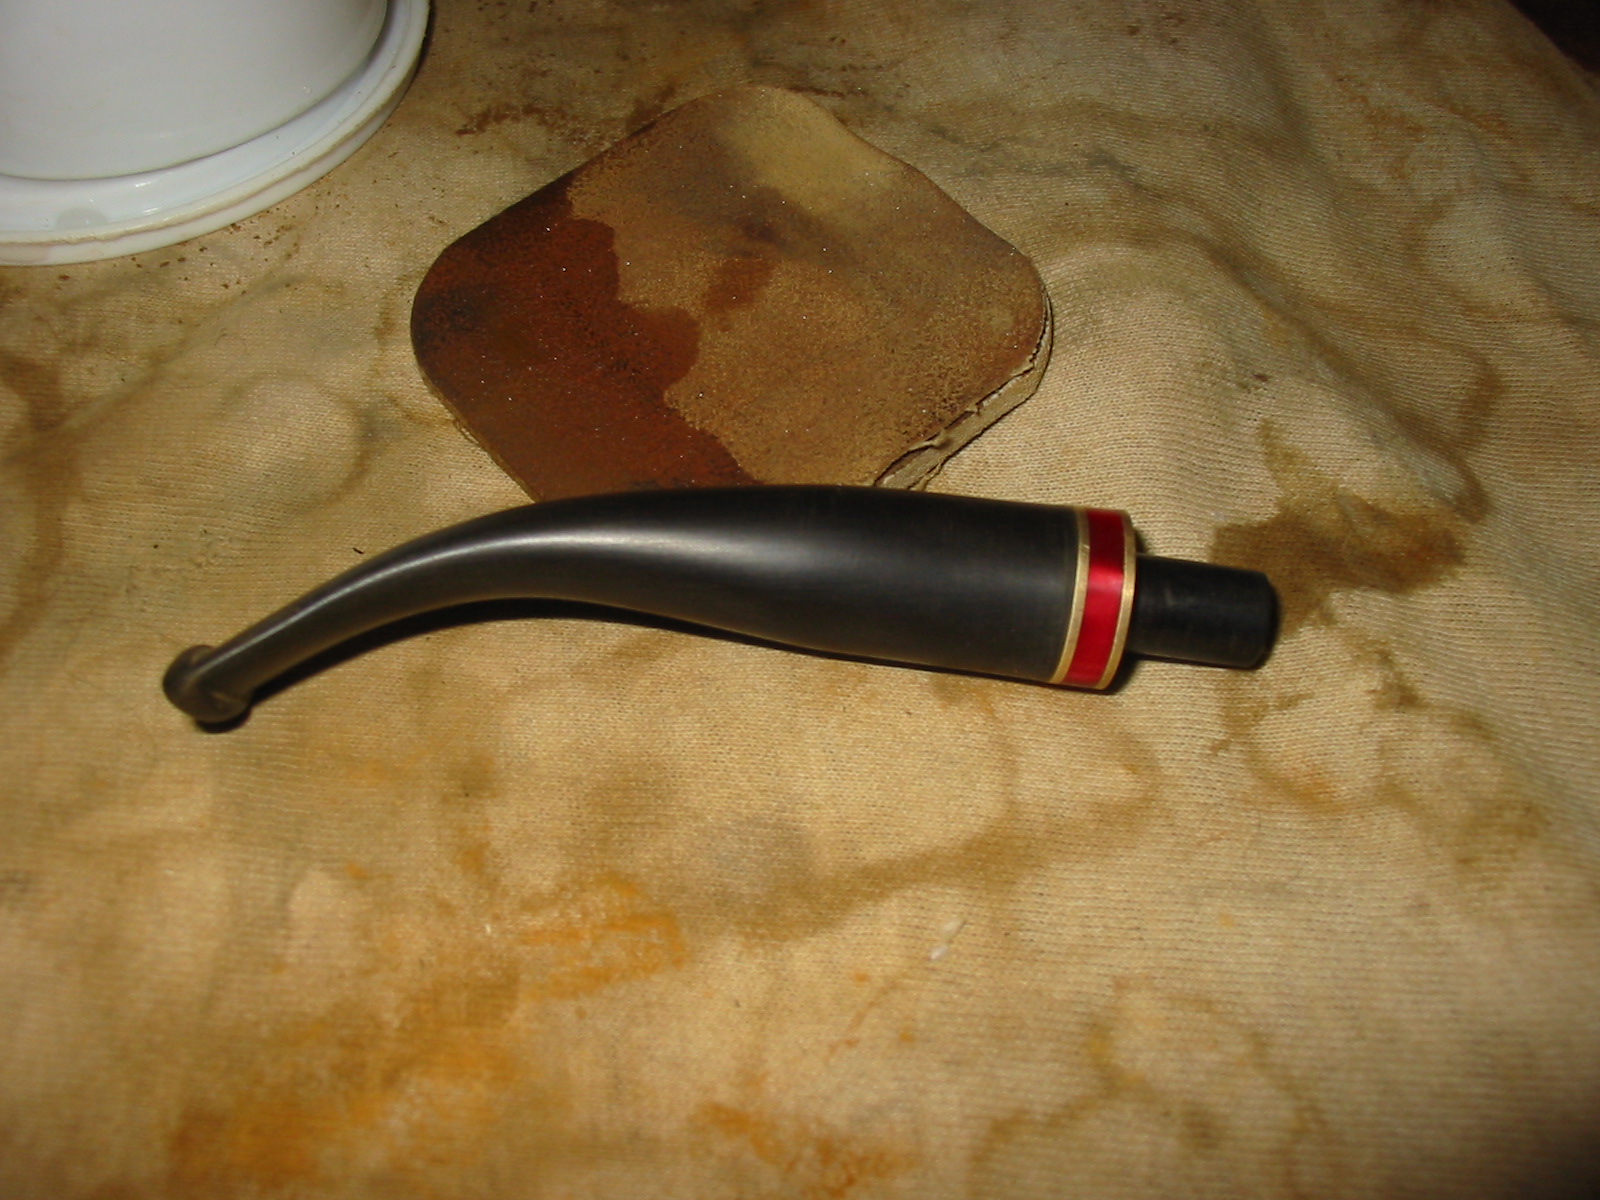
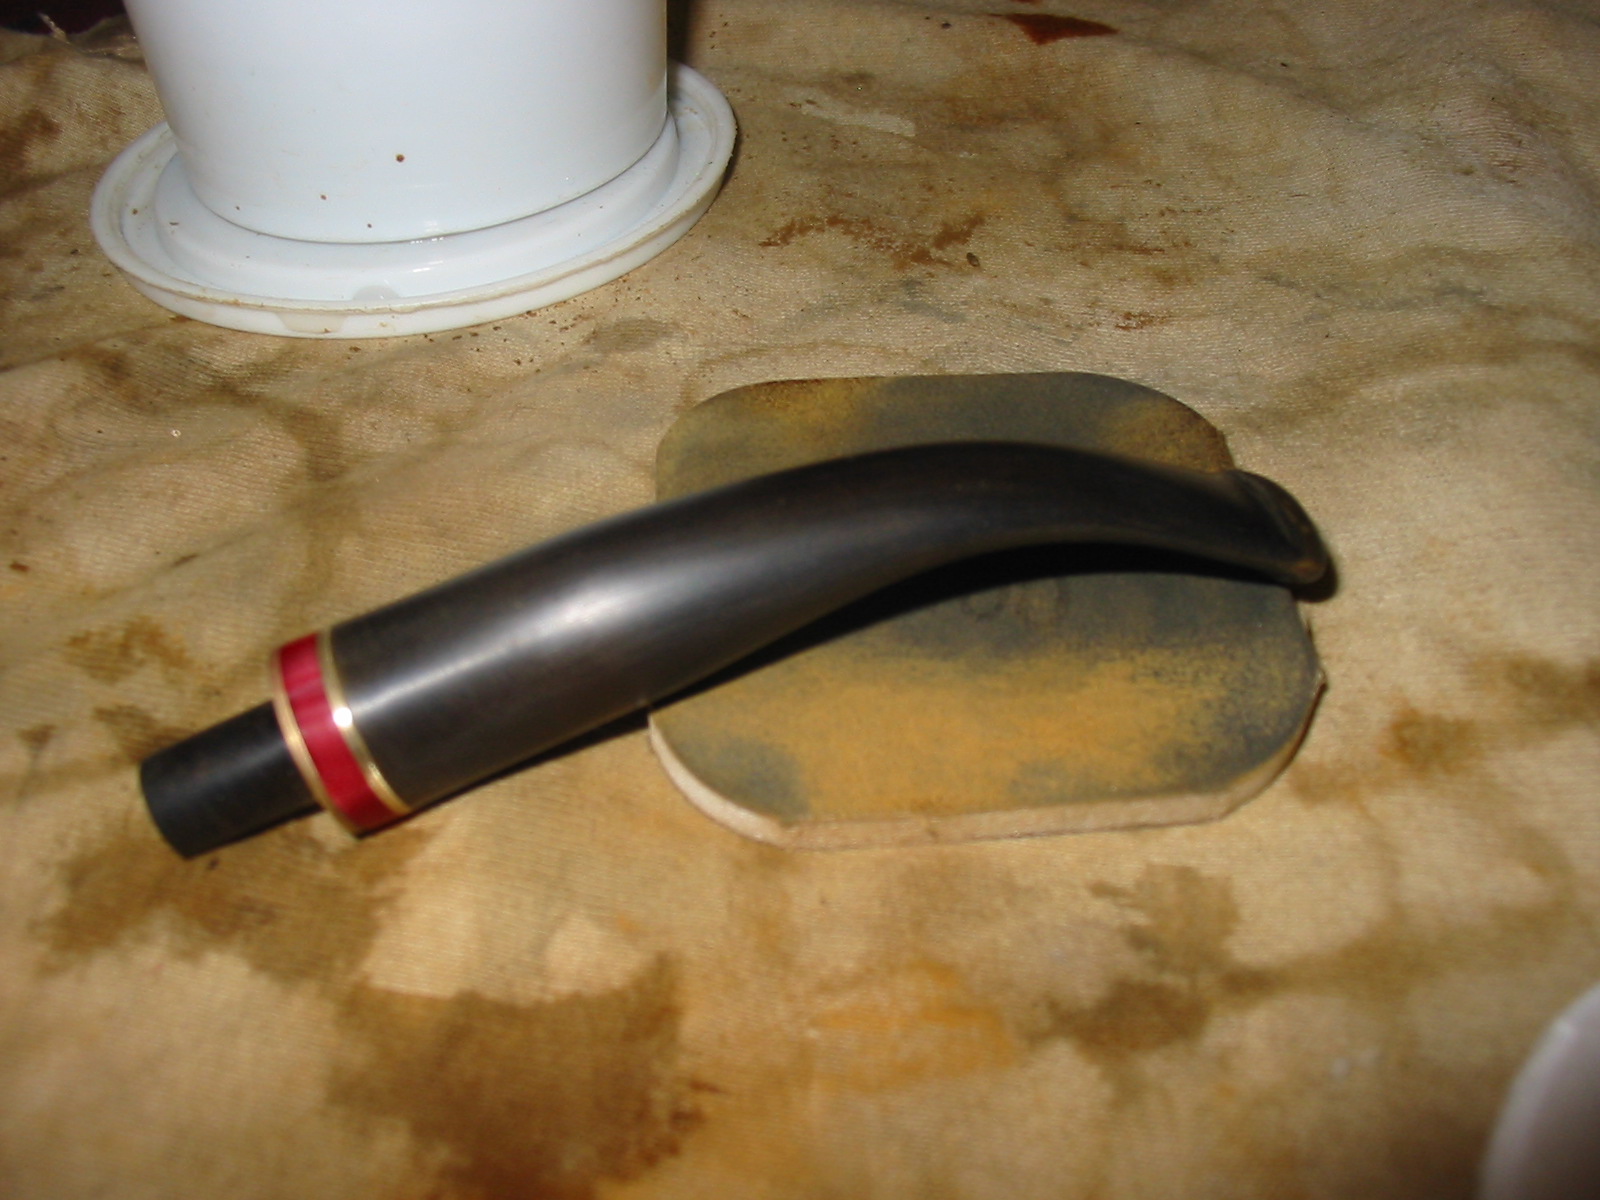
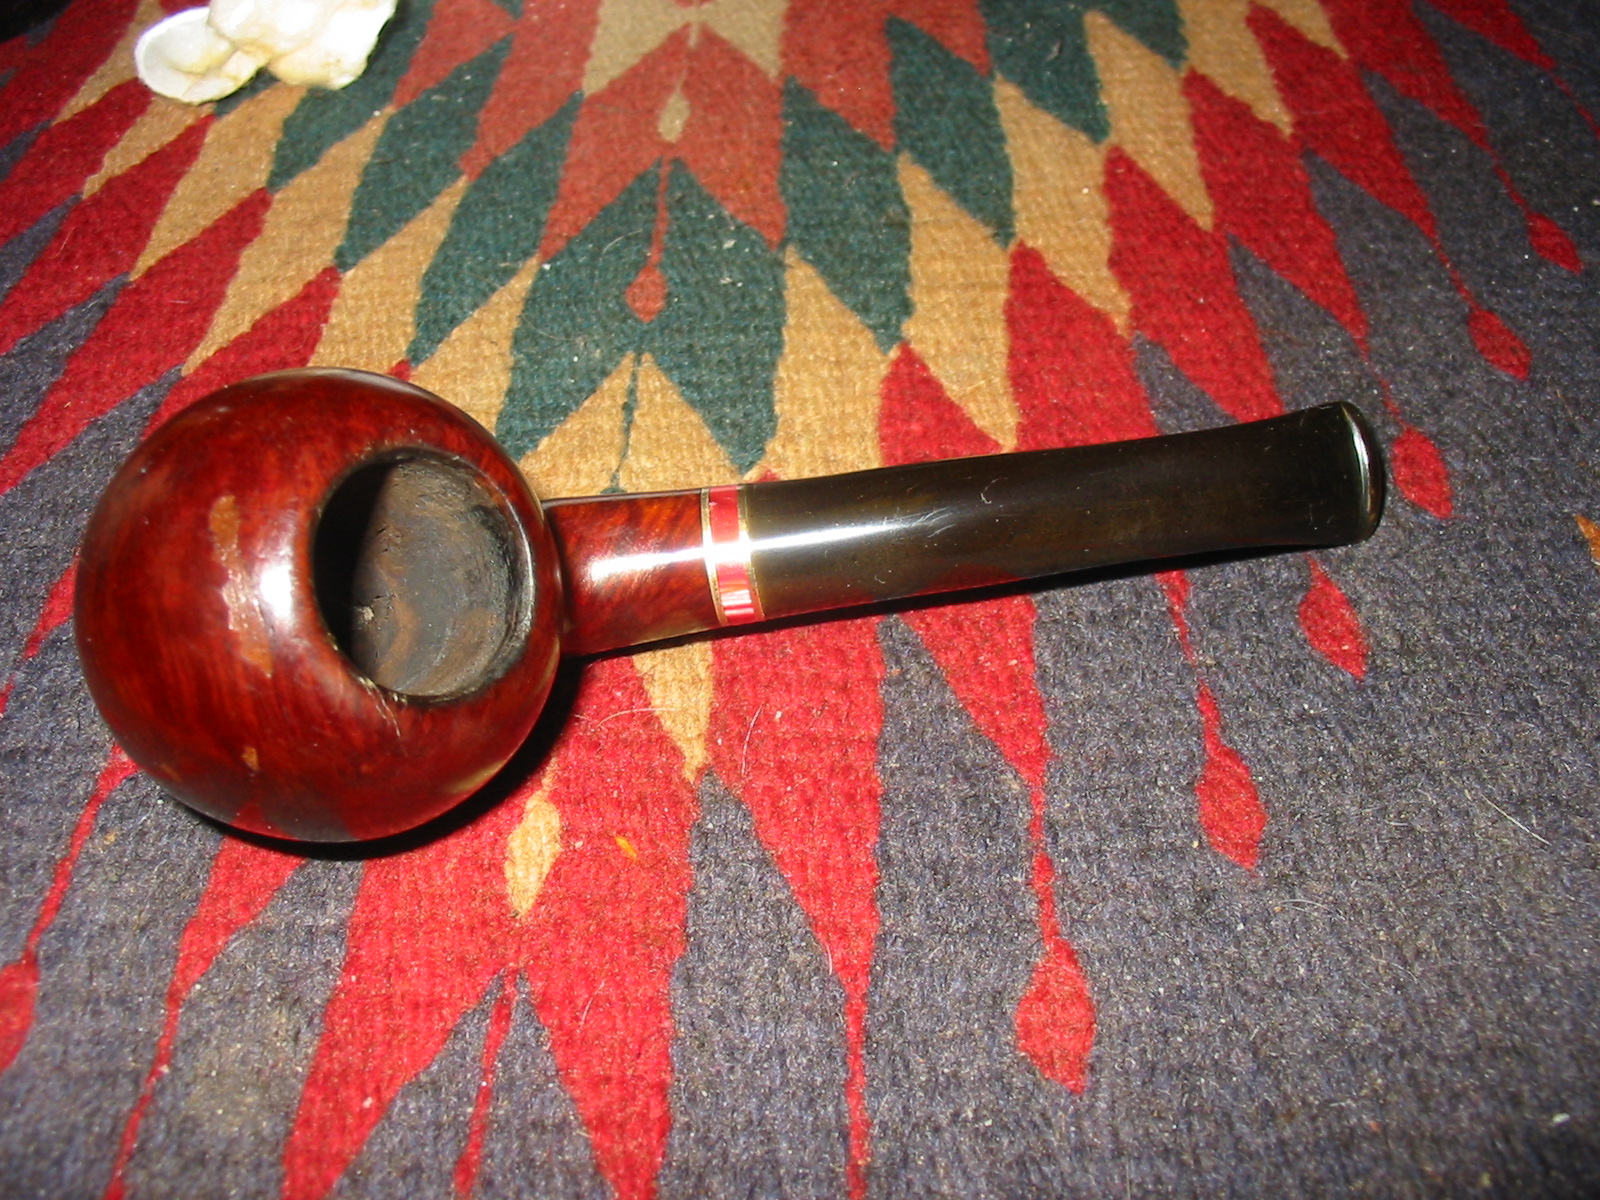
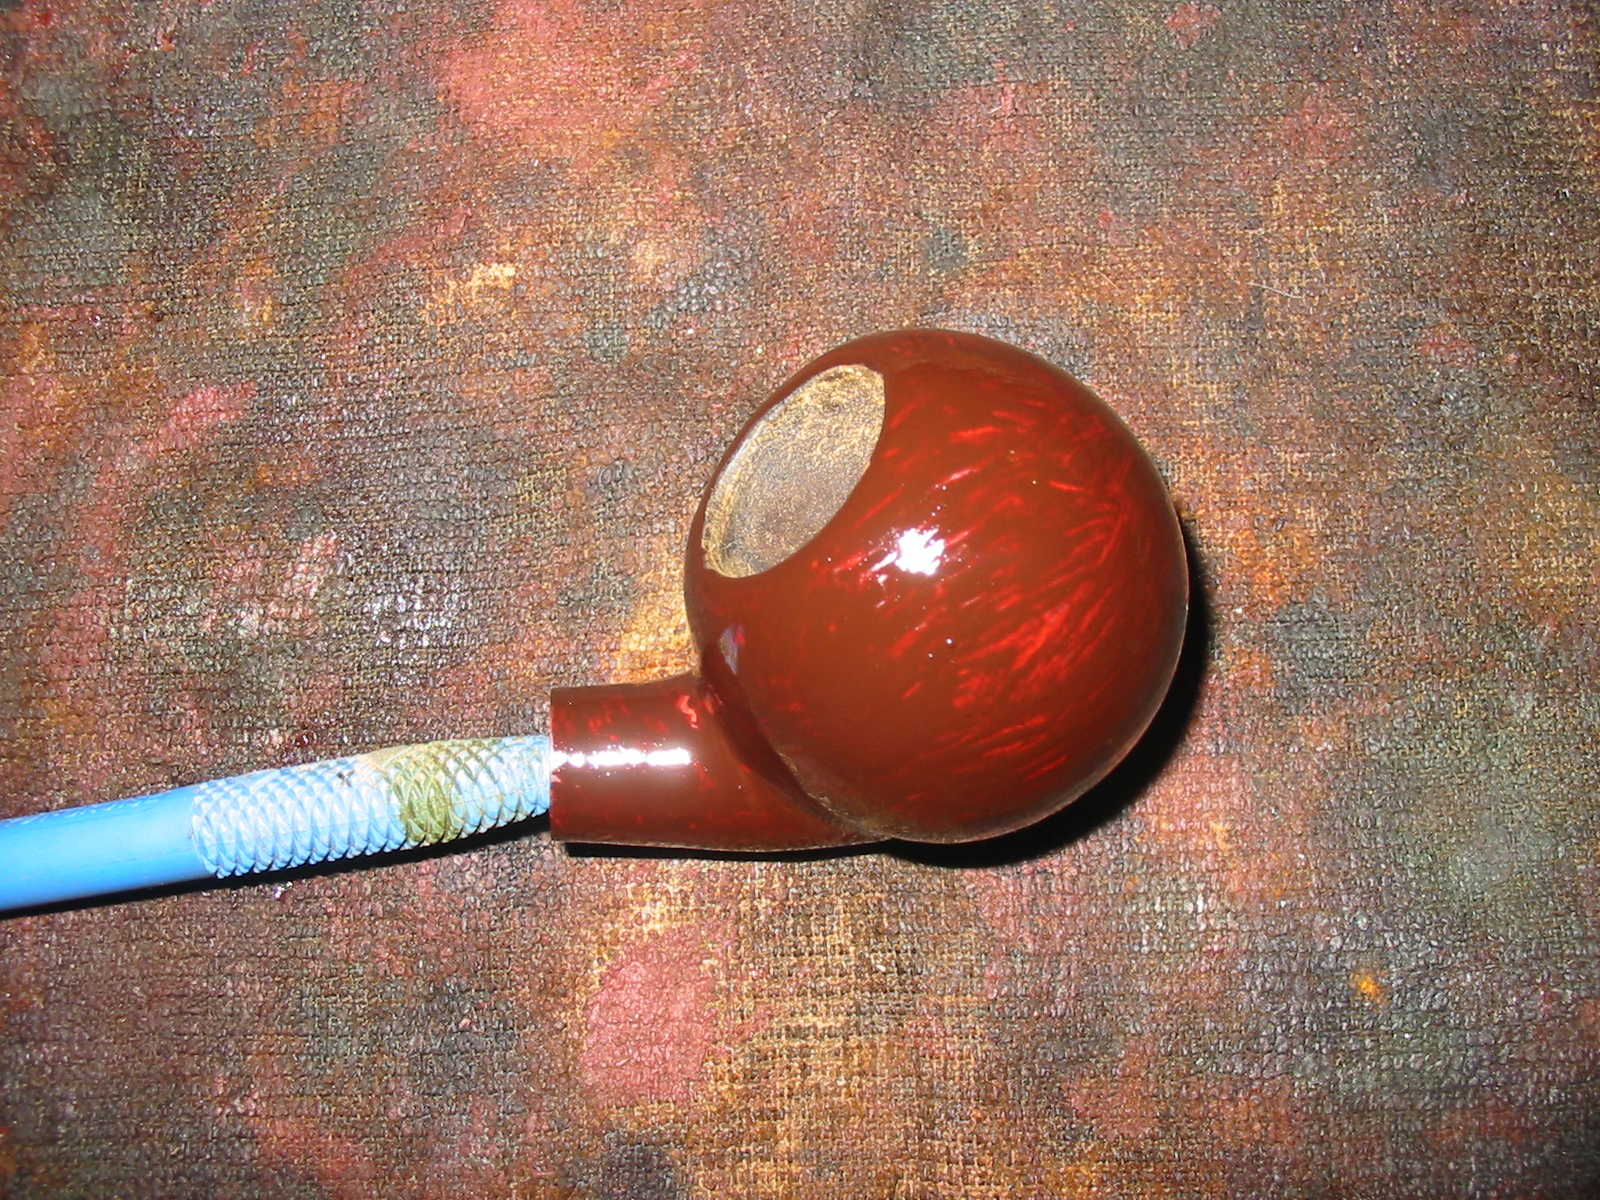
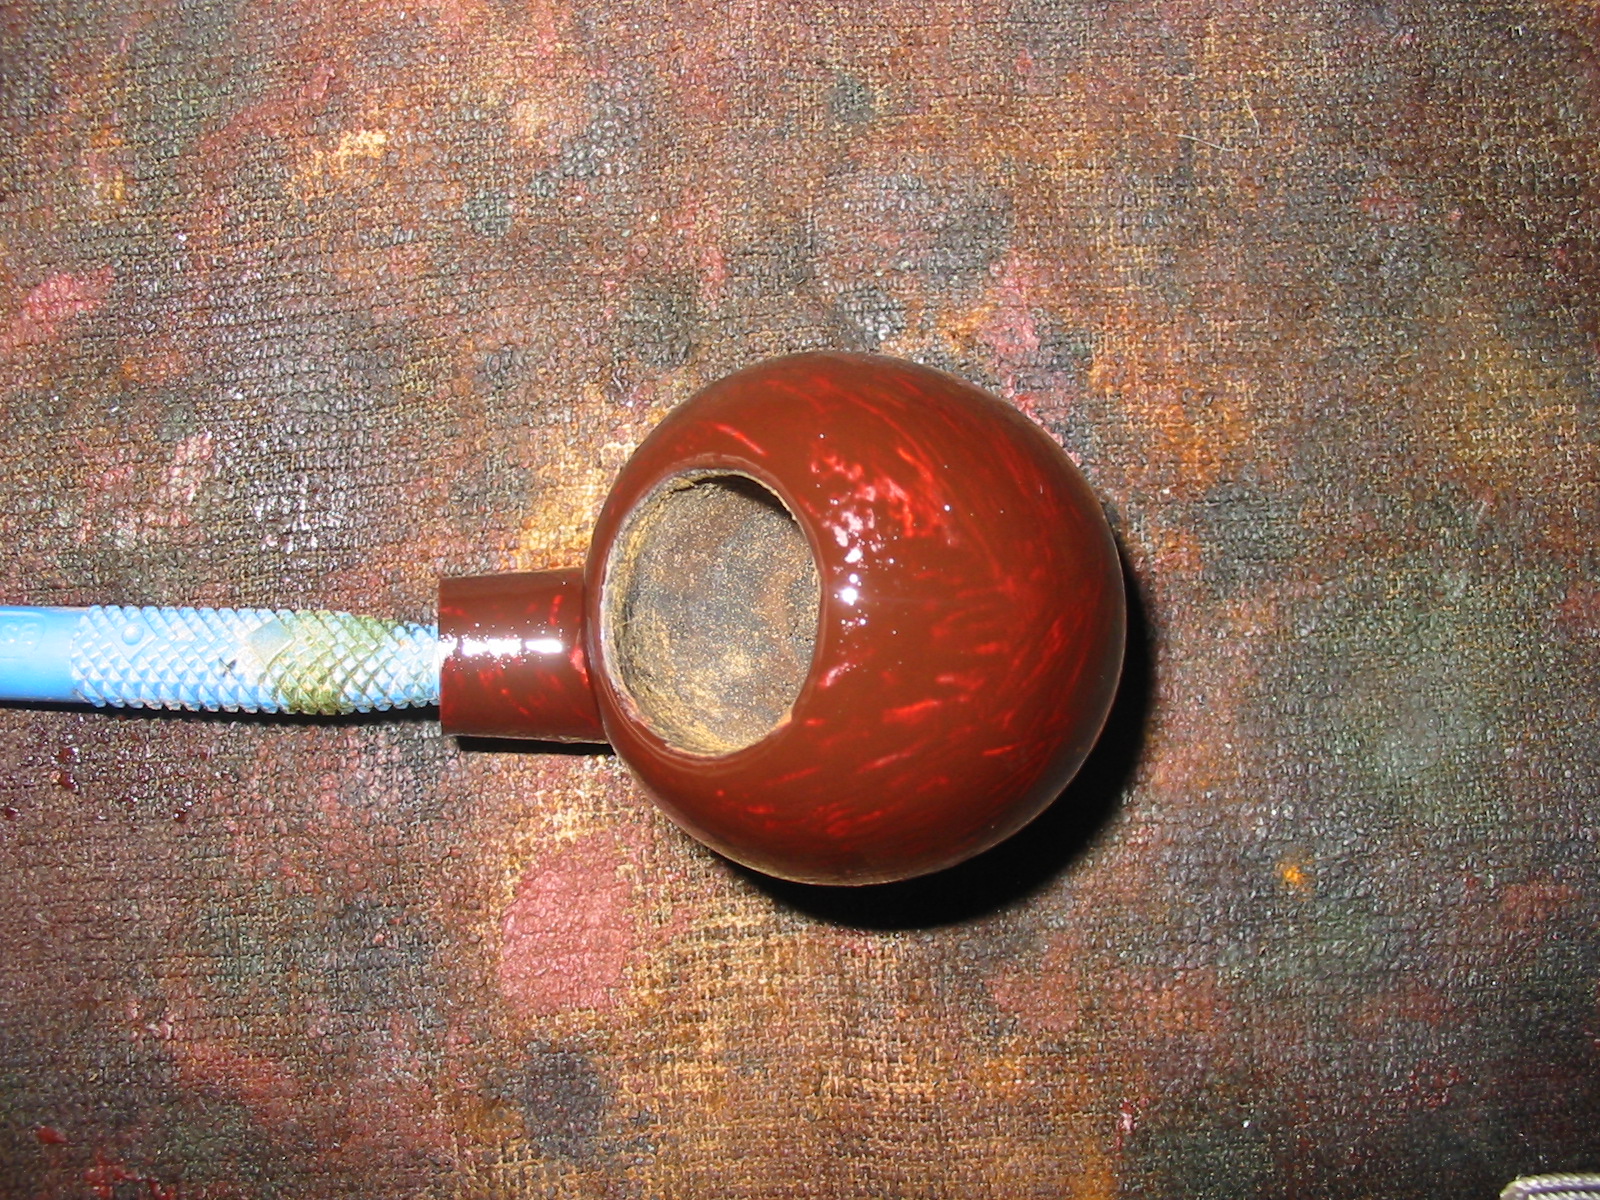
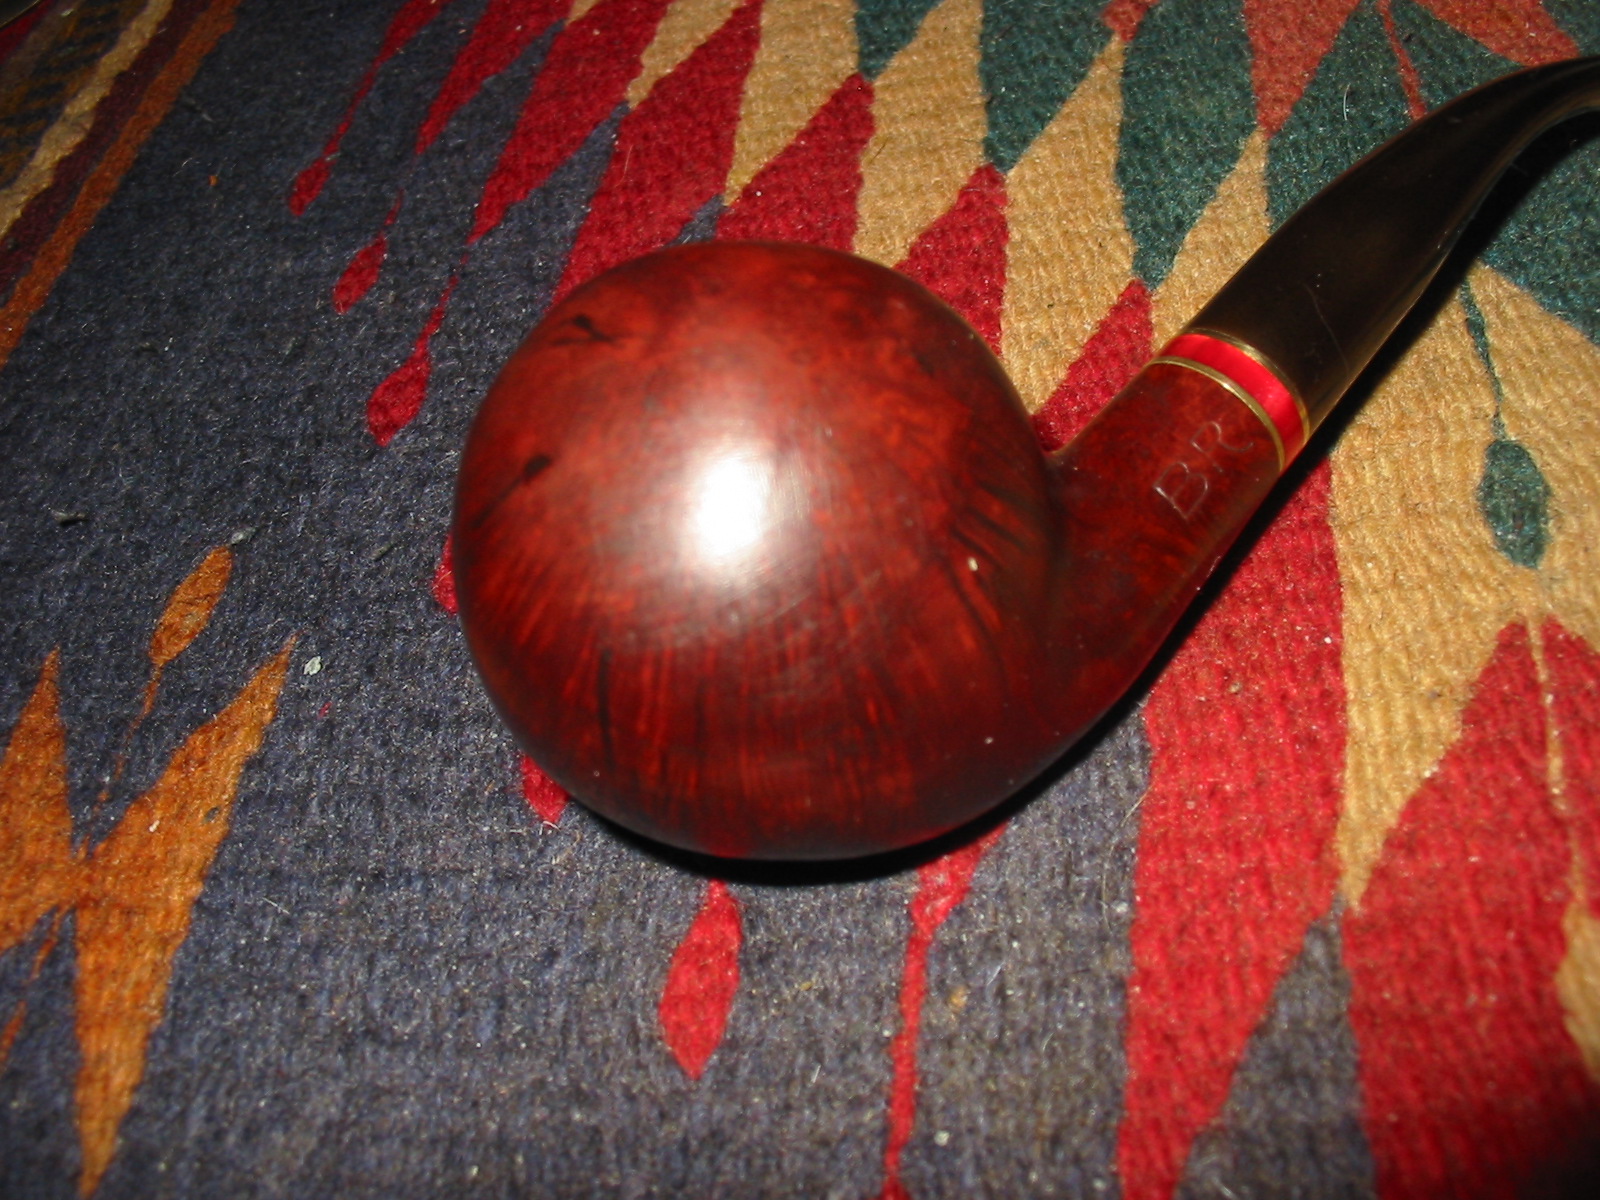
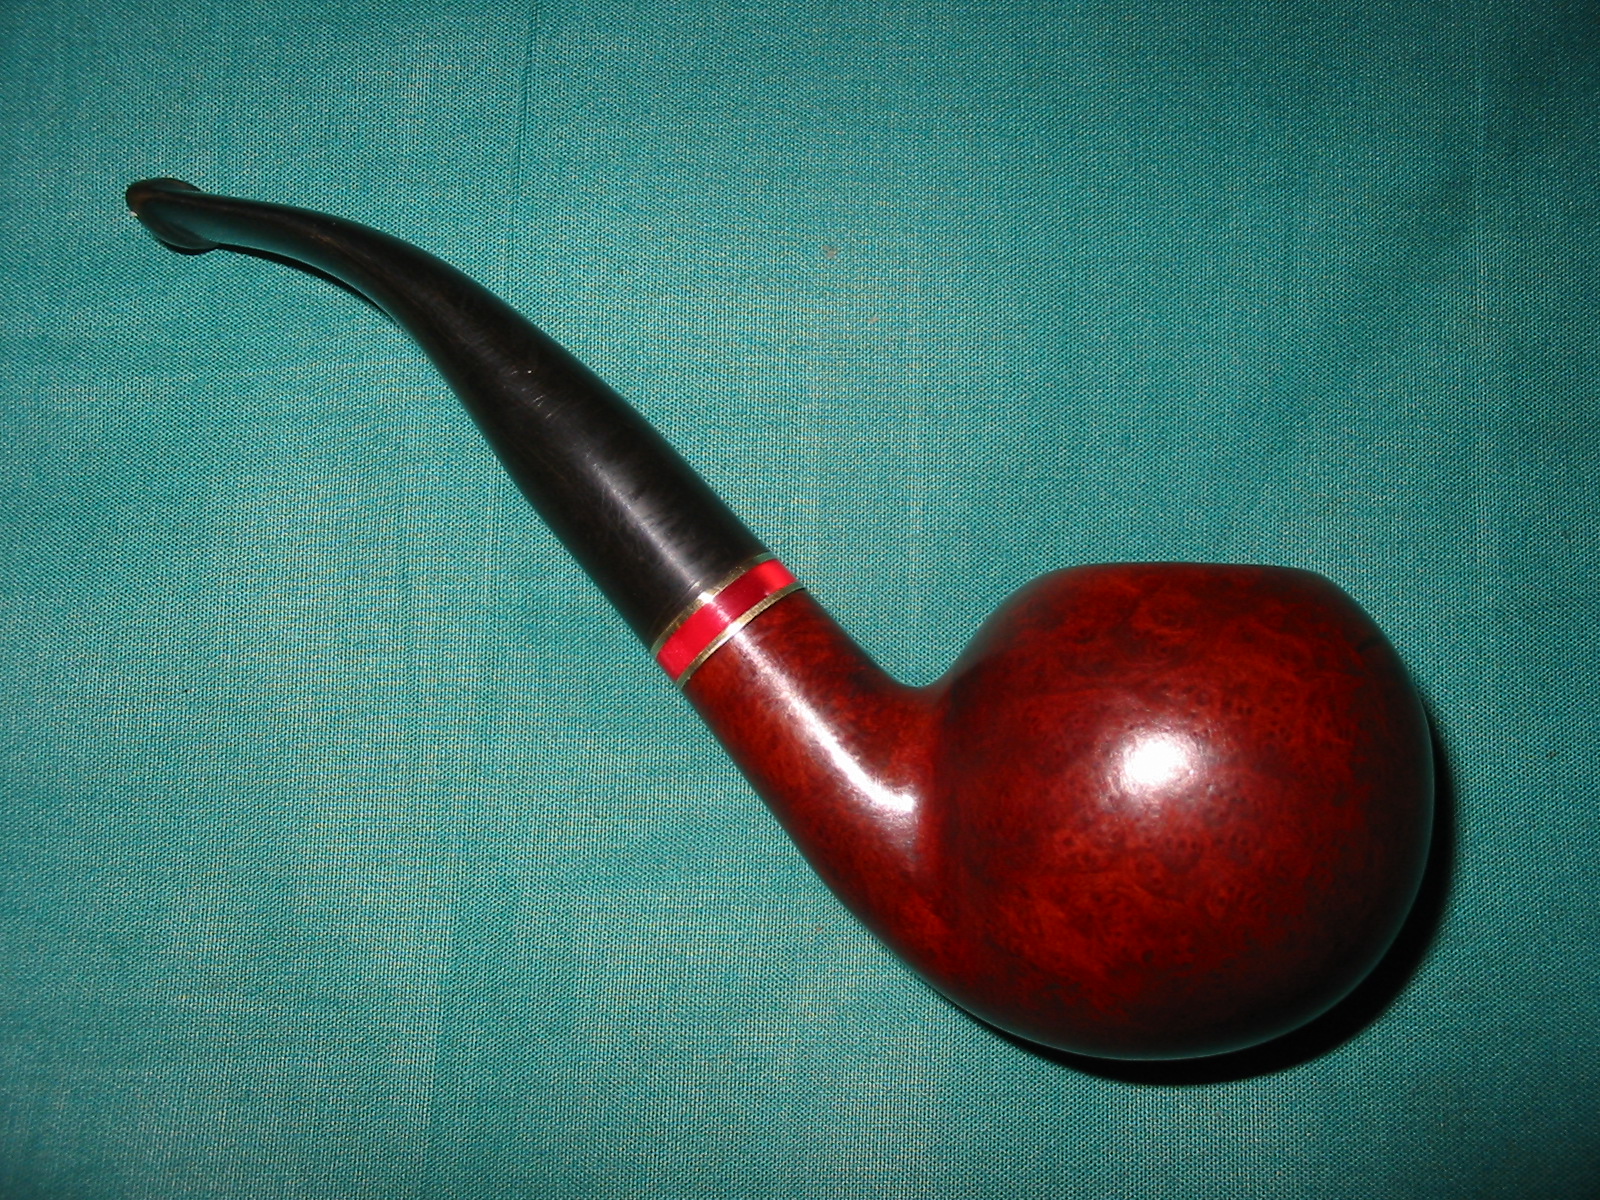
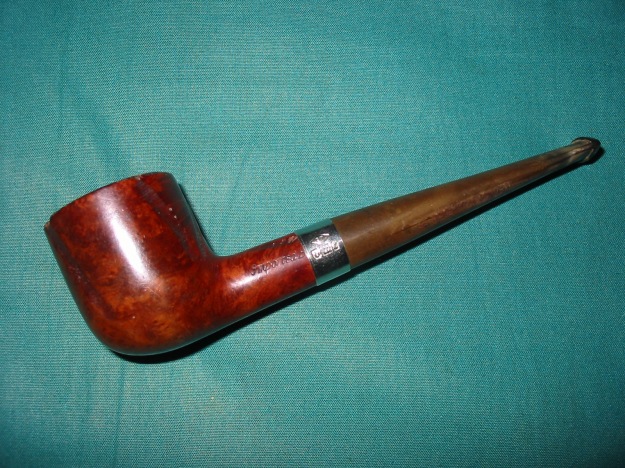
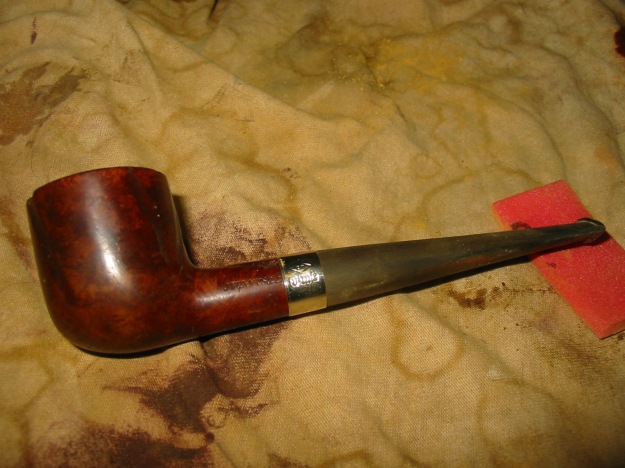
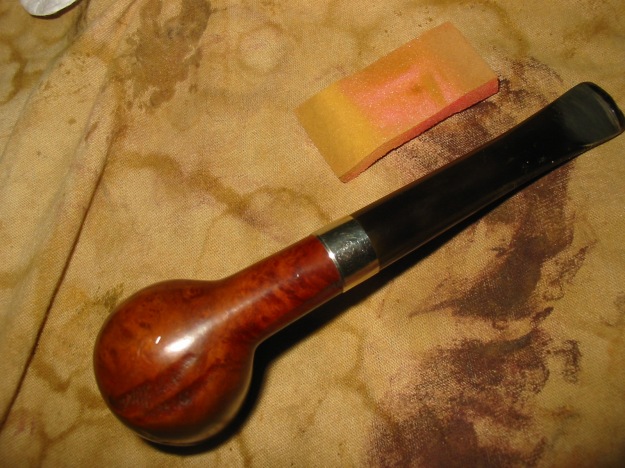
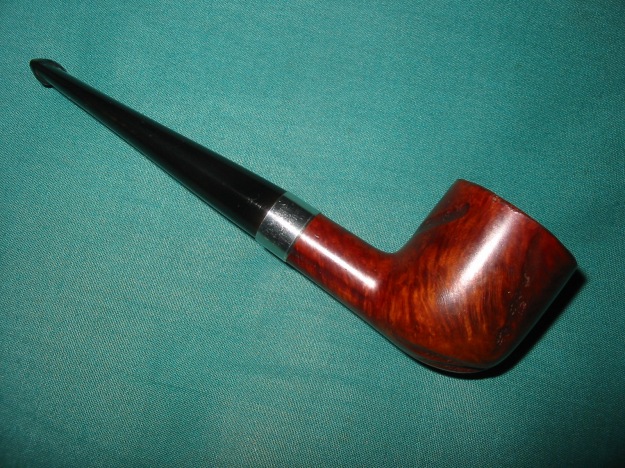
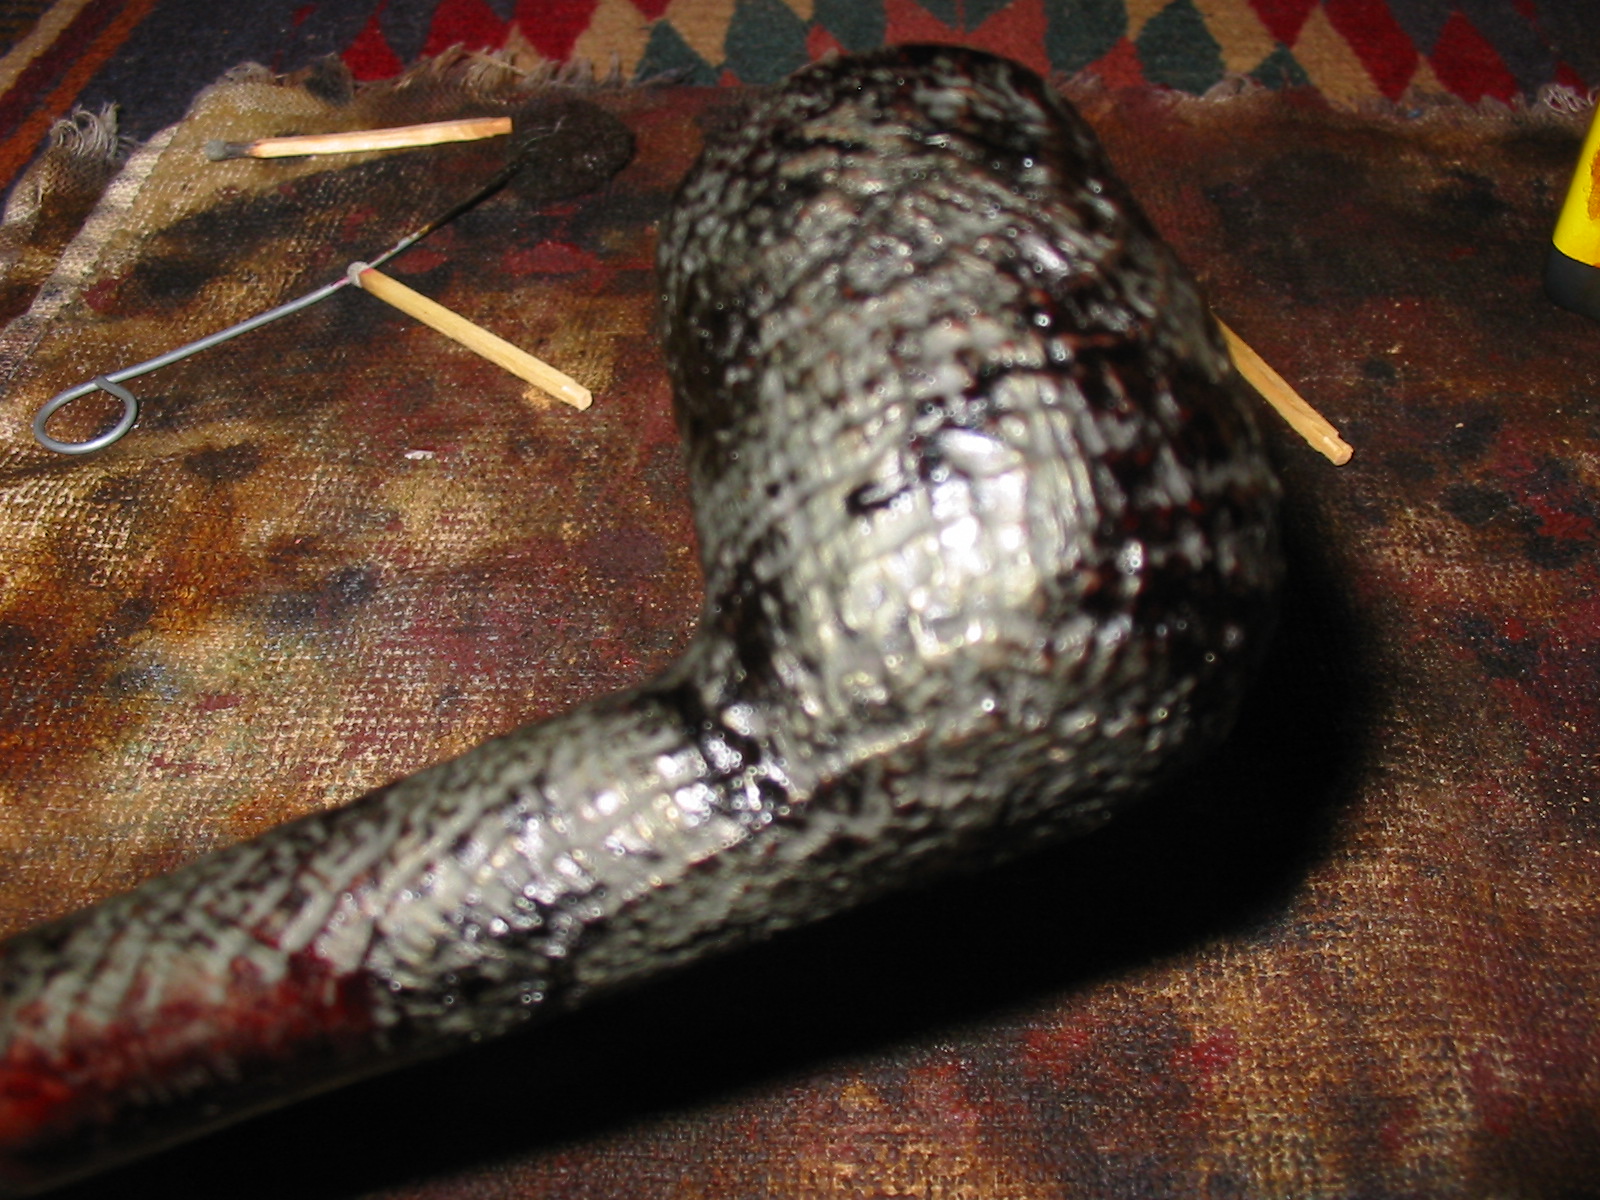
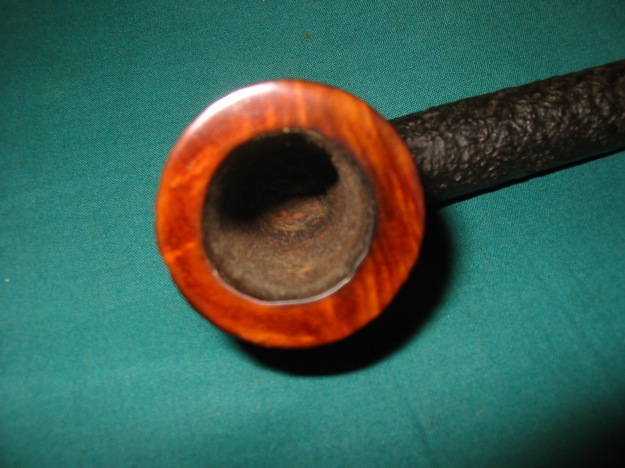
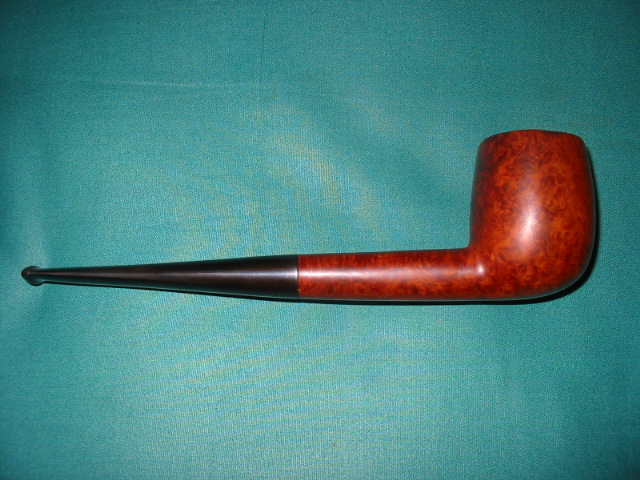
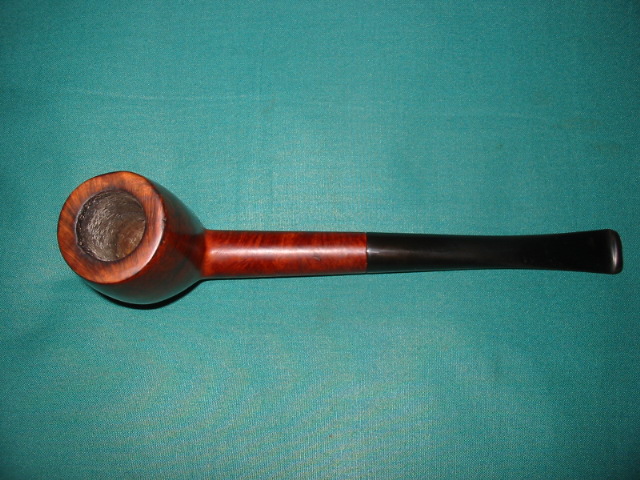
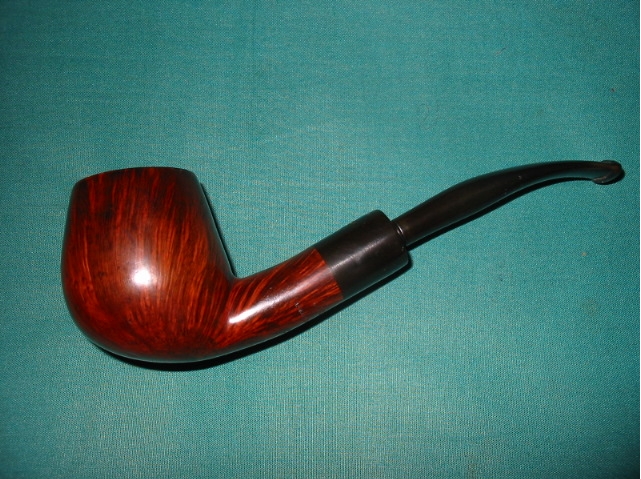
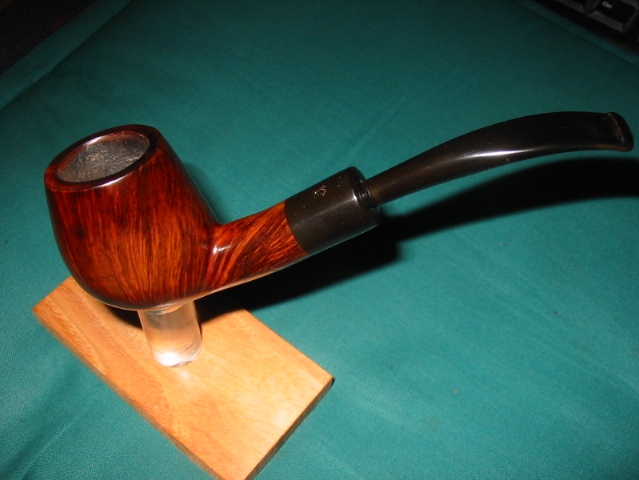
Finally, I applied some another batch of Before & After Restoration Balm and buffed it with a microfiber cloth. This balm does beautiful things to the wood and really generates a beautiful shine. I then took the pipe to my bench polisher and buffed it with White Diamond and a few coats of carnauba wax. Wow – the pipe really looks lovely.
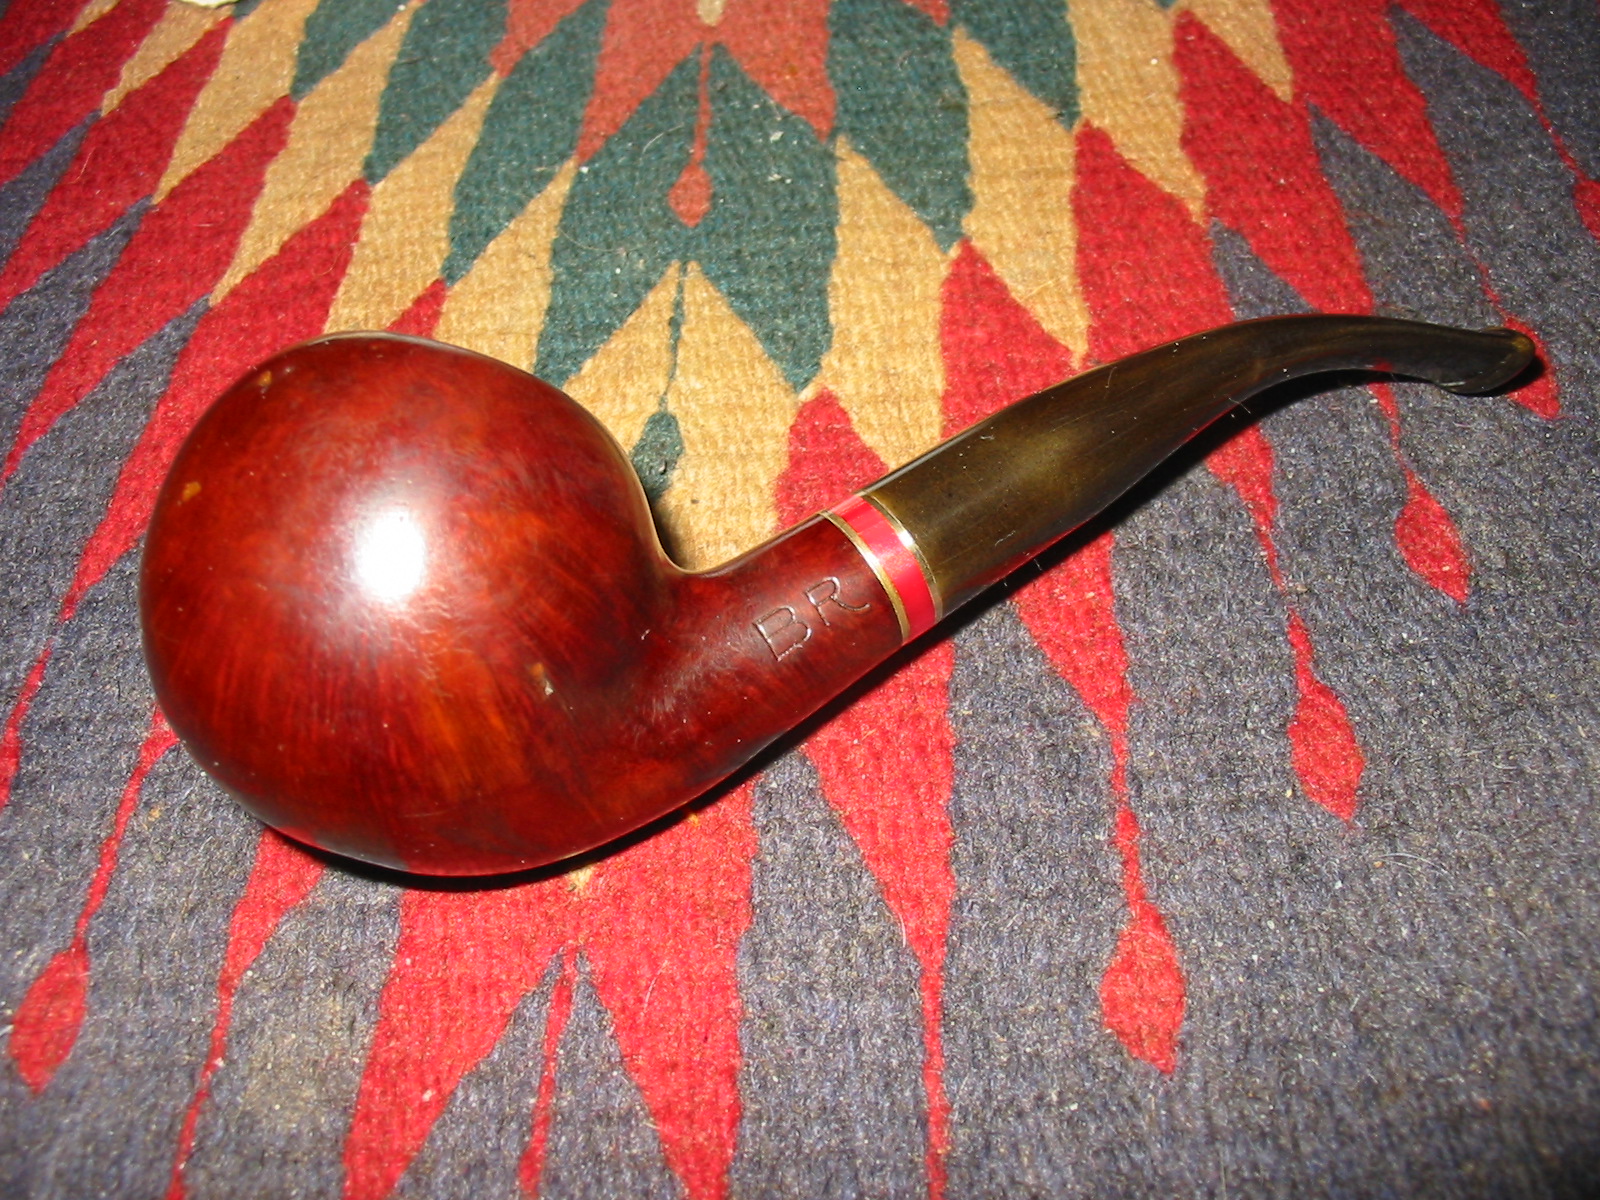
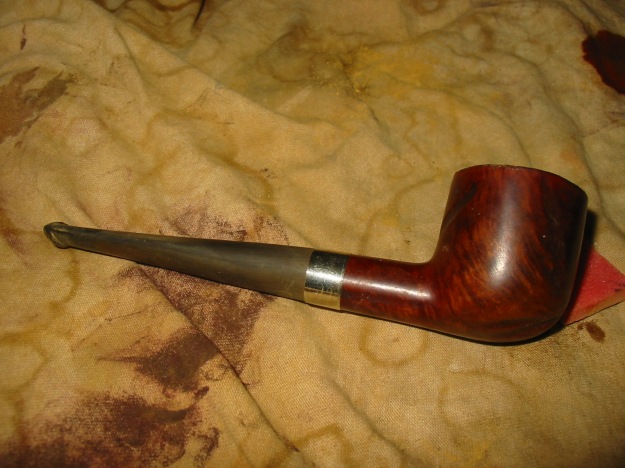
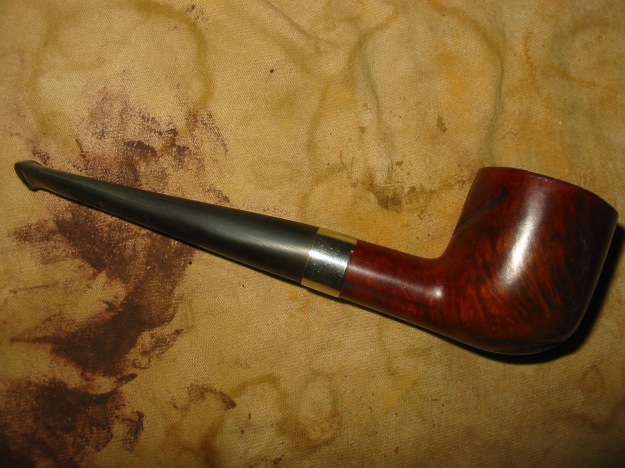
This Nino Rossi Featherweight 44P acorn will suit my friend in Washington very well and I’m sure that he will appreciate smoking it for many years to come. I hope you enjoyed reading the story of this pipe as much I as I did restoring it. If you are interested in more of my work, please follow me here on Steve’s website or email me directly at kenneth@knightsofthepipe.com. Thank you very much for reading and, as always, I welcome and encourage your comments.

My Process for Repairing and Polishing Horn Stems


Blog by Steve Laug

I recently worked on repairing a horn stem and thought I would document the process. I have found that when working with horn a conservative approach is the best. I do not change the profile of the stem or thin the button. I do not change the taper or thin the bit at all. I only want to bring it back to its original shine and gloss and make it look as close as possible to what it was like when the original owner purchased the pipe that carried it. I also want to make the surface smooth and unbroken again so that it does not soften with further use.

The horn stems I have worked on have all had tooth chatter and bite marks for up to an inch from the button. Unlike tooth chatter on vulcanite or Lucite the chatter on a horn tends to splinter or break through the soft surface of the material. It leaves a rough feeling behind and if not taken care of will splinter away from the marks. It will also soften as the shine and polished surface has been broken and it can become spongy. The trouble with a stem that has worn that far is it is very difficult to bring back. In the case of this stem the surface was broken and in the centre of each rough area there was a deep tooth mark – only one that was almost round in shape.Terminus12

Terminus13 My first step in the repair process and the eventual polishing is to sand the rough area smooth and clean up the area around the tooth marks. I sand with 220 grit sandpaper folded and minimally work over the area to its furthest reaches. In this case I worked the area into a rectangular shaped pattern. I feathered the rough surface into the surrounding stem. Then I wiped off the surface with tepid water on a soft cotton pad.

With the stem surface smoothed and the roughness removed and blended into the surface it was time to repair the two tooth marks – one on each side of the stem. Over the years I have used clear super glue to make these repairs in horn stems. I find that the translucency works well with the warmth of a polished stem and though the repair is visible it is smooth and seals the surface around the roughened tooth marks. The fact that it is sealed keeps the horn from further splintering and softening. The high ridge on the button allowed me to patch both sides simultaneously without the glue sticking to the worktable while it dried.Terminus14

Terminus15 When the super glue has hardened/cured I sand the patches with 220 grit sandpaper to smooth out the small bump that is made by the patch. I work the sandpaper to smooth out the patch with the surface of the stem. In this case I sanded both sides. In the photo below you can see the two rectangular spots on the stem surface. These are the spots where the patches were placed. The tooth marks are gone. All that remains is to do some more sanding to blend the rectangle into the stem.Terminus16

Terminus17 The next step involved sanding the stem with a medium and fine grit sanding sponge to further feather in the patch to the stem surface. I wanted the patch to be seamless with the horn so that when I ran my tongue or finger across the repair it would be unnoticeable to touch. Once I had finished with the sanding sponges the surface was smooth. The scratches left behind by the 220 grit sandpaper were gone. The rectangular patches were disappearing.Terminus18

Terminus19 The next step involved sanding the stem and polishing it with micromesh sanding pads. I wet sanded the stem with 1500-2400 grit micromesh pads and dry sanded with 3200-12,000 grit pads. In between each set of three pads I rubbed the stem down with Obsidian Oil. The oil was absorbed into the surface of the horn stem and lubricated the surface and provided a bite for the sanding pads. The repairs have ceased to be rectangles and now were small patches over the tooth marks in the stem. The surface was smooth even though the damage could be seen through the clear patch at this stage in the process.Terminus25

Terminus26 Each successive grit of micromesh smooth out the surface, deepened the shine and feathered the patch into the finish.Terminus27

Terminus28 The final set of three pads really brought a deep shine to the stem. The patch though visible is smaller than any of the previous pictures.Terminus29

Terminus30 When I had finished with the 12,000 grit pad I gave the stem a light buff with White Diamond on the buffing wheel and then gave it multiple coats of carnauba wax. Buffing a horn stem takes a light touch. You do not want to press the stem into the wheel too hard as the heat generated will cause the horn to separate. (I speak this from experience after having done it and having to start over with my sanding process.) The finished stem is shown below. It is smooth and the variations in colour of the stem make it really look living. The colours and stripes almost undulated as it is turned over under a bright light or outside in the sunshine (uncommon in Vancouver in January).Stem1

Stem2

Stem3

Stem4 I really enjoy working on horn stems and also smoking them. They have a feeling in the mouth that no other stem material even approximates. They are not for a clencher or a biter that is for certain. They need to be cared for – wiped down after each smoke and given new coats of wax regularly. But this one and others in my collection have survived far more years and in better shape that I have. I am always on the lookout for another horn stem to work on. If you have not restored one or smoked one – you really need to give it a try.

Charatan’s Make 109 Rhodesian Restoration


Blog by Al Jones

I have been a fan of the Charatan Shape 109, but rarely see them become available. This one was recently posted on Ebay. It is a Lane era pipe, with the L stamp, but it has a tapered stem versus the more common Double Comfort. I think the Double Comfort stem on Chartan Bulldog or Rhodesian stems look a little ungainly, so this one was very appealing. The pipes small size was a definite appeal. It is similar to a Group 4 Dunhill or XX Ashton. The pipe weighs approximately 45 grams, which is my right in my sweet spot.

The Ebay pictures for the pipe weren’t very detailed and there were some pretty deep teeth marks on the bottom of the stem. The pips is stamped:
Charatan’s Make
London England
109 and the L stamp

I’ve learned that Charatan pipes stamped in this manner were known as having the “Rough” grade. From a somewhat controversial web article by Ivy Ryan, I’ve learned that:
“Sandblasted pipes stamped Charatan’s Make over London England and a number are one version of the famous “Rough” grade. These were apprentice pipes that didn’t come out well
enough to be graded but were still eminently smokable. To save the wood and give the
less-well-off a quality smoke, Charatan would first hand rusticate the pipe gently, then sandblast
it. (Due to Dunhill’s patent, they couldn’t simply blast the pipe, and the rustication made for a very
different blast.)”

The “L” in circle stamp denotes a pipe imported into USA by Lane Ltd between 1955 and 1988. If anyone has information to narrow down that range, please chime in.

Here is the pipe as it was delivered. The nomenclature on the stem was in decent shape but it had some heavy tooth waves on top and heavy indention’s underneath.

Charatan_109_Before

Charatan_109_Before (1)

Charatan_109_Before (2)

Charatan_109_Before (3)

Once again, I employed the Stew-Mac black superglue to repair the teeth marks on the bottom of stem. The first photo shows the application of the superglue and the second shows it sanded smooth with 800 grit sandpaper.

Charatan_109_Stem

Charatan_109_Stem (1)

I reamed the bowl and soaked it with alcohol and sea salt. There was some tar build up on the bowl top, but that was removed with a very mild oxy-clean solution and a cloth.

I removed the oxidation on the stem with 800 grit wet sandpaper, then progressed thru the 1500 and 2000 grade paper. Most of the waves came off the top of the stem and the marks underneath blended in nicely with the superglue. The button was in good shape. I stayed away from the CP stem logo. The stem was then buffed lightly with white diamond rouge.

I finished the bowl with some Halycon wax, worked into the bowl with an old toothbrush polished by hand

Here is the finished pipe.

Charatan_109_Gallery
Charatan_109_Finished (5)
Charatan_109_Finished (8)
Charatan_109_Finished (3)

Charatan_109_Finished (1)

Experimenting with Alternative Oxidation Removal Techniques


Blog by Greg Wolford

I’ve recently been involved in a conversation about removing oxidation on stems with steel wool. I have to be honest, at the first mention of steel wool being used on a stem made my jaw drop (literally, almost dropped my pipe). But these guys are long time pipe smokers and restorers so I didn’t just brush off the information.

They said that using 0000 steel wool, dampened with water, removes oxidation much more efficiently than miracle erasers, Bar Keepers Friend or any micro mesh/sandpaper treatments. The increased efficiency also reduces the time invested I am told, which makes sense and is appealing.

So I decided to try an experiment on two old stems. These stems weren’t in terrible condition but had some oxidation to them and they were nothing too valuable if I made a real mess of them: they are expendable so they became my test subjects.

20130312-095418.jpg

I soaked them in a room temperature OxiClean bath for about four hours or so; I had to leave the house for a while so I made sure the water wasn’t too warm and left them to soak while I was gone. When I got home I washed them with dish detergent and a scrubby sponge until they no longer felt slick: about 2-3 minutes. They were the. Left to air dry on a drain board overnight.

20130312-095310.jpg

Yesterday morning I went out and bought some supplies: a package of 0000 steel wool and some 400 grit wet/dry sanding sticks; the sticks, or pads, remind me of short wide emery boards.

I took a piece of the steel wool and dampened it and began to rub the stems. Every few minutes I would wipe off the stem on an old towel, rinse out the wool, and go back to rubbing. It took very little time to remove the signs of oxidation and the stems were much less matte finished than they usually are after initial sanding. So I turned my attention to the stem with the stinger to work on the chatter.

I used the new 400 grit pads to wet sand on the chatter, going back and forth, wiping and rinsing as I had with the wool. These pads seem like they will be very useful in getting into that hard (for me at least) to get bit area and is why I bought them to begin with. They did, indeed, reach into that area much more easily and they took out the chatter fairly fast. That area was now more matte than the rest of them stem so I went back to the damp steel wool. In a few minutes the shine came back up even across the stem, which actually surprised me.

The whole process, not including the soak and dry time, took less than 15 minutes; I was again impressed.

20130312-095310.jpg

Will steel wool scrubs replace all the sanding and micro mesh polishing? I don’t think so. Will it reduce the amount of time and effort spend making an old stem look new again? I believe it can. I expect to explore with more stems just how effective this process can be and how much sanding and polishing can be avoided using the steel wool. One fellow said he can go straight to the buffer after the wool scrub. On some stems that may be a possibility but I think on most it won’t. Any chatter or deep marks I think are still going to require sanding. And if you have a rough stem after the oxidation is gone I think it’s still going to need sanding, too. But this is a (new to me) technique that I think needs more investigation and experimentation, one that potentially reduce the amount of time and labor spent on many stems, letting is be more productive overall.

20130312-095226.jpg

Stem after using 400 grit pad and 0000 steel wool to remove chatter and bring back up some shine.

(Photo of the stem at the point I stopped along with the 400 grit pad I used and the packaging it cam in. By the way,  my local Hobby Lobby has begun to carry a rather large line of Micro Mesh and Alpha Abrasives products. The prices are competitive and the selection good so if you have a local Hobby Lobby it would be worth your while to see if they are carrying these items in your area, too.)

New Selection of Micro Abrasives at Hobby Lobby

Israeli Made Bent Ball Repaired and Refurbished


This is the second of three pipes that I picked up in a lot from EBay. It included the Richmond, a Comoy’s Everyman, and this BR Israeli made ball. It is stamped BR in large block script on the left side of the shank. On the underside of the shank is stamped ISRAEL. I know nothing of the brand and would love to hear from any of you who might have some information. The stem had tooth chatter and bite marks. It looked like it had also had a rub bite guard on it because the white calcified build up on the top and the bottom of the stem was the same distance into the stem as the bite guard. There was a distinct line where the edge was. The coloured band is slid on to the tenon of the stem. It is a brass wheel with an inlaid acrylic. The finish was shot and the briar was full of fills. The right side was the only clean side on the pipe. The front had a large putty fill at the top near the edge and several on the lower portion, the left side had 3-4 fills and the underside also had two. Most of these were on the smaller side as far as fills go but the one on the front was huge and spanned the width of the bowl. The rim and downward curve of the bowl from the rim back was very tarred and oily. There was a gummy buildup that was like a lava flow down the bowl sides. The bowl was caked with an uneven and oily aromatic smelling cake. The first series of four photos shows the state of the pipe when it arrived on my worktable.

ImageImageImageImage

When I get a bowl that looks like this one I usually start by reaming the bowl. That aromatic, syrupy cherry smelling cake has to go in my opinion. I reamed it with my T handled Pipnet Reaming set. I generally start with a small cutting head and work my way up until I have removed most of the cake. The next two photos show the reaming process.

ImageImage

Once the bowl was reamed it was time to scrub the exterior with some acetone on cotton pads. I wanted to remove the tars and oils from the rim and bowl sides and also remove the embedded grime and surface dirt on the whole pipe. The next series of three photos show the process of the scrubbing and the look of the bowl once the grime and tars were removed. I would still have to sand the bowl down to remove the remaining buildup once I had washed it with acetone.

ImageImageImage

I cleaned out the shank and mortise with cotton swabs and Everclear. I dipped the cotton swab in some of the alcohol that I poured in the lid and used as a bowl for washing the shank. It took a lot of cotton swabs to clean out all the tars and oils in the shank. When I started it smelled like cherry cough syrup and as I added the alcohol it was stronger. The nice thing was that as it got clean the smell disappeared. I used fluffy pipe cleaners to clean out the airway to the bowl. When I was finished I put the stem back on the bowl for sanding so that I would not round any edges on the shank and also to protect the shank from any changes in shape from sanding. I find that when I do this I am more careful around the stem shank union than when I sand without the stem. I used a medium and a fine grit sanding sponge (pink foam sanding sponge in the pictures below). I sanded the entire bowl and spend a significant amount of time on the upper curves of the bowl so that I could get rid of all of the tar remnants. I also sanded the stem with the sanding sponges as well. The next series of four photos show the cleaned bowl and the oxidation and calcification beginning to be removed from the stem.

ImageImageImageImage

When I finished sanding the bowl I wiped it down with an alcohol dampened cotton pad to remove the sanding dust and remaining grime on the briar. Then I laid the bowl aside and worked on the stem. I sanded it with 320 grit sandpaper to get rid of the oxidation and remaining signs of calcification around the button. I also worked on the tooth marks with the sandpaper. The next three photos show the stem as I sanded away the tooth chatter and the oxidation.

ImageImageImage

After this initial sanding I decided to wet sand with the 1500-2400 grit micromesh sanding pads. The next series of five photos show that process and the ever blackening colour of the stem sans oxidation.

ImageImageImageImageImage

After the 2400 grit micromesh sanding I used Maguiar’s Scratch X2.0 and rubbed it onto the stem with my fingers and scrubbed it off with cotton pads.

Image

I then dry sanded it with 3200, 3600 and 4000 grit micromesh sanding pads. I finished sanding with the remaining grits of micromesh from 6000-12,000 and then set the stem aside to work on the bowl.

Image

I decided to stain the pipe with a Dark Brown aniline stain to see how it would cover the fills. I was a bit worried that they would not pick up the pigment of the stain. I warmed the bowl and then applied the stain with the dauber and then flamed it, restained it, reflamed it and let it dry. The next two photos show the stained bowl and the fills standing out from the stain.

ImageImage

I put the stem back on the pipe and took it to my buffer. I buffed it with Tripoli and White Diamond to a shine. The fills seemed to just pop from the surface of the bowls! They stood out like eyesores and really bothered me. In the first two photos below you can see them clearly. The stem also showed a bit more oxidation that I would need to address as I finished the pipe.

ImageImage

I decided to try lightening the colour to see if the fills would blend in any better. I wondered if the high contrast of the dark stain and the light fills made them more visible. I wiped the bowl down with an alcohol dampened cotton pad to remove excess finish and try to blend the fills into the finish. It worked to a degree and the next three photos show the softened colour of the stain. In person the fills were still way to visible for my liking.

ImageImageImage

I wiped the stem down with Obsidian Oil and set it aside while I worked on picking out the fills with my dental pick. The next series of three photos show the cleaned out fills. They are stark white after the removal of the putty. In actuality they are a natural briar colour. I picked them clean and then wiped down the area with the damp pad one final time before I went to work on filling them.

ImageImageImage

The next series of seven photos shows the process I use for replacing putty fills. After I have cleaned them out I fill them with briar dust that I have collected. I pack it into the fill holes with the end of my dental pick. I wet the end of the pick so that the briar dust sticks to the end when I dip it in the dust. I then scrape the dust into the hole and pack it in tightly. I work on one hole at a time as I don’t want the dust and superglue mix running all over the pipe. That is a real challenge on a ball shaped bowl. Once I have the dust packed in the hole I drip superglue into the dust. I also add a bit more dust if it is necessary and repack and reglue it. You can see from the photos that the result is a messy patch over the fill hole. The dust and superglue mix hardens quickly and forms a great patch for the holes. Once I had all the holes filled I then sanded the bowl.  

ImageImageImageImageImageImageImage

The next eight photos show the sanded bowl. I use 320 grit sandpaper to sand off the excess superglue and briar dust and bring the surface of the patch smooth with the surface of the bowl. The finished patch is almost black in appearance. In the bare briar bowl the patches show up as black on the light coloured briar. I find that this dark patch actually is easier to blend in with the stain than the lighter putty patches. Once I have sanded the patches smooth I sand the entire bowl with the fine grit sanding sponge so that when I restain it I will be able to get an even coat. After sanding I wipe the bowl down with an alcohol dampened cotton pad to remove any remaining finish and the dust and grit from sanding the bowl. This prepares it for staining.

ImageImageImageImageImageImageImageImage

For the restain of the bowl I decided I would use an oxblood stain. It is an alcohol based paste stain that I have used in the past with good coverage over the replace fills. I applied with a dauber and rubber is into the surface of the pipe. Once I had the whole pipe covered I flamed it and then rubbed it off with a cotton towel I use for that purpose. The next four photos show the coverage of the stain before I wiped it off.

ImageImageImageImage

Once the stain was dry I buffed it on my buffer using White Diamond. The next four photos show the bowl after buffing. The fills are still dark and stand out to the eye. I have learned through experimenting that I can blend them into the stain a bit better by using a permanent marker and draw grain lines through the fills making them flow with the pattern of the grain on the bowl. The trick it not to have a heavy hand and to try to follow existing graining patterns. The black permanent marker stands out initially on the new stain but after is applied I restain the bowl with another coat of the oxblood stain, flame it and then rub it off.

ImageImageImageImage

The final series of five photos show the finished pipe. The fills are still visible if you look closely but they blend into the surface of the bowl and stain more nicely. I gave the pipe a final buff with White Diamond and then applied several coats of carnauba wax and buffed with a clean flannel buffing pad. The pipe is now ready to smoke and the medicinal cherry smell is gone. Though the fills are far from being invisible they are certainly better and the overall effect is a much nicer pipe.

ImageImageImageImageImage

Restemming a Custombilt Look Alike


This morning I decided to restem an old Custombilt look alike pot that I had in my box of pipes for repair. I am getting down to only twenty or so pipes left so it is the pipes I have left until the end. Some of these I left because they had no charm to me and others because I just was not ready to work on them. This old no name pot was one of the ones that held no charm for me. The rim was pretty covered with grit and grime. The finish was not in too bad a shape. There was a small crack in the shank which would need to be banded and then the matter of matching a stem to the pipe hung in the air. This morning I went through my can of pipe stems and found an old cast off taper stem that was the right diameter to match the shank. The tenon would need to be sanded to fit the mortise. I set it aside and reamed the pipe and cleaned the shank before fitting the stem. I opened the crack in the shank a bit with some pressure from a dental pick and dripped some super glue into the crack and held it tight until it set. I then heated a nickel band and pressure fit it to the shank. I sanded the tenon by hand with 240 grit sandpaper until the fit was snug.

IMG_9311 IMG_9312 IMG_9313IMG_9314

Once the stem was a good snug fit I went to work on the bowl. I cleaned the bowl with Murphy’s Oil Soap and a soft bristle tooth brush. I wanted to remove as much of the grim from the rim as possible and clean up the rustication on the rim surface without damaging the finish. I repeated the process by applying the soap, scrubbing and wiping it off with a cloth.

IMG_9315

When the rim was clean I wiped down the outside of the bowl with the Oil soap as well and removed the grime that remained on the surface. I then wiped the entire bowl down with some acetone on a cotton pad to even out the stain colouring. Once it was dry I took the pipe to the buffer and buffed the pipe and stem with Tripoli and White Diamond.

IMG_9316IMG_9317 IMG_9318

I sanded the stem with a sponge backed medium grit sandpaper. I find that this allows me to get into the crevices on the button and to follow the shape and taper of the stem well. At this point the two photos below show the stem after the buffing and sanding. I spent a bit of time working on some tooth marks along the edge of the button on both the top and the bottom of the stem. You can see the work that has been done near the button in the photos below.

IMG_9319 IMG_9320

I worked on the stem with the micromesh sanding pads using the 1500, 1800 and the 2400 grit with water to sand out the scratches and the remaining oxidation. At the conclusion of this process the stem was a nice matte black and the oxidation was basically history as can be seen in the photos below.

IMG_9321 IMG_9322 IMG_9323 IMG_9324

At this point in my stem rejuvenating process I rub the stem down with Maguiar’s Scratch X 2.0 a fine scratch and blemish remover intended for cleaning and polishing plastic headlight lenses. I rub it on by hand and then scrub it off with a cotton pad until the stem is clean. When I finish with the polish I move on to the next grits of micromesh 3200-12,000 grit and sand until the finish is a polished black with a depth to it. I dry sand with these grits of micromesh. Between the 4000 and 6000 grit pads I took it to the buffer and gave it a buff with White Diamond. I found that the oxidation at the shank end of the stem was still present after the buffing and would require some more work with the earlier grits of micromesh. I buffed that end with some Tripoli and then decided to try the Bic Lighter method to address the remaining oxidation. Once that was finished I sanded the stem with the higher grits of micromesh 4000-12,000 and then coated the stem with Obsidian Oil. I buffed the stem with White Diamond and then reinserted it in the pipe and gave the entire pipe a final buffing with multiple coats of carnauba wax. Here is the finished pipe.

IMG_9325 IMG_9326 IMG_9327 IMG_9328

Reworking a Dr. Plumb Statesman


The second pipe in the lot of three pipes I picked up on EBay was this long shanked billiard. The first one I refurbished and posted about was the no name poker that I wrote about here. This one was stamped Dr. Plumb over London Made over Statesman on the underside of the shank. The sand blast was very nice on it. In fact I like the deep grooves and flow of the blast on the briar. The rim was shot. It had been sanded smooth (may have been smooth originally to match the smooth portions of the bowl). It was also no longer flat. When the pipe was laid down on the rim it rocked in every direction. It was rough and pitted from tapping the pipe out. The bowl was a bit out of round and the previous owner had reamed the inner rim with a knife at an angle that really damaged the inside rim and the roundness of the bowl. The stem had the same white calcification on it as the poker. This one also had teeth marks and dents in it. The slot on the stem was closed with the white calcified material and there was no open airway in the stem. The shank was dirty and clogged and the bowl needed to be reamed in the lower portion. The first four picture show the pipe as it was when it came to me.

ImageImageImageImage

It had the same alcohol bath as the poker and I am including the same photos of that process I included in the previous post. It soaked for two hours and then I took it out and dried the bowls off with a soft cloth. I also soaked the stem in Oxyclean to soften the calcification on the button area.

Image

In the photo below you can clearly see the flaw in the briar of the Dr. Plumb (the pipe on the right side of the photo). The alcohol bath softened the fill and it fell out of the crevice. It was quite large but not deep. It appears to me that it opened up larger as the pipe was blasted. You can also see in the second photo below the shape of the bowl and rim of the pipe.

ImageImage

The first thing that I decided to address with regard to this pipe was the rim. I set up my board for sanding the top. I anchored the sandpaper to it. I used a pretty heavy grit for this one because I needed to remove quite a bit of the top to smooth it out and remove the rockiness of the pipe. I used a medium grit emery paper. I hold the pipe flat against the board and sandpaper and sand it in a circular fashion clockwise. I don’t know what the point is of that but that has been my practice for as long as I remember. The next two photos show that process. Once I had the top level once again I sanded it in the same manner using 240 grit sandpaper and then 400 and 600 wet dry sandpaper and water. I finished sanding the top with the micromesh sanding pads from 1500 – 12,000 grit.

ImageImage

The next photo shows the finished topping of the bowl. The grain is quite nice and will stain well in contrast to the roughness of the blast. The second and third photo below show the repaired fill in the shank. I used briar dust from the topping of the bowl and packed it into the crevice with a dental pick. When it was full I dripped super glue into the dust. Once it was dry I used a wire brush on the shank rather than sandpaper. I wanted to remove the signs of my repair without sanding the fill. The shank looked really good when that job was done. The pipe was basically ready for a coat of brown aniline stain.

ImageImageImage

I used my dental pick for a handle by inserting it into the mortise and then used Fiebing’s Dark Brown Leather Dye. I diluted it 2 to 1 with Isopropyl alcohol to get the colour I was aiming for. Once I coated it with the stain I flamed the stain to set it in the grain. I repeated this several times to make certain I had stained all the crevices and blast. The first picture below is of the wet pipe. The second is of the bowl after flaming the stain. I light wooden matches and ignite the stain. The alcohol burns off and the pipe then is dry to touch.

ImageImage

At this point in my refurbishing process I took the bowl to the buffer and buffed the bowl lightly with Tripoli and the repeated it with White Diamond. My goal was to buff of the high areas and make a bit of contrast. I also wanted to buff the rim to make it a bit lighter than the blast and have it match the smooth patch on the bottom of the shank.

I then went to work on the stem. I heated the dents to raise them as much as possible and then sanded the stem with 220 grit sandpaper to remove the remaining tooth chatter and also to remove the calcified area around the button. I cleaned out the stem with pipe cleaners and a shank brush to remove the tars and oils and to open the stem. I used the dental pick to clean out the slot in the button. Once that was done I sanded the stem with a fine grit sanding pad and then progressed through 1500, 1600, and 2400 grit micromesh before scrubbing the stem with Maguiar’s X2.0 scratch polish. I rub it on with a cotton pad and let it dry a bit before rubbing it off. I finished sanding the stem with 3200 – 12,000 grit micromesh pads and then buffed the stem with White Diamond. I coated it with Obsidian Oil and then when it dried I coated it with multiple coats of carnauba wax. I waxed the rim and the smooth part with carnauba and then used Halcyon II wax on the sandblast. I buffed the pipe with a light touch on the cotton buffing wheel to polish and then hand buffed it with a shoe brush. Here is the final product – ready to fire up!

ImageImageImageImage

Once I had posted the pictures of the pipe above when I blew them up to see them more clearly the top of the rim was full of scratches and obviously to me needed more work so I just finished reworking the rim and restaining it. IMG_9265IMG_9264

IMG_9263

Stem Repair Just for the Practice


Blog by Steve Laug

Sometimes I just repair a stem because it is there and I can get the practice working with it. Such was the case with the pipe below. It is a very low end pipe with a nylon stem and a metal tenon that holds a paper filter. The bowl of the pipe was rusticated and definitely not a favourite shape or style of mine. This one would not be a pipe I kept or would be tempted to add to the collection. It was solely a pipe that would provide me an opportunity to work on the tooth dents, the bite through holes on the top and the bottom of the stem near the button as pictured in the two photos below. A decision had to be made whether to fill the hole with super glue or to cut of the bitten through end of the stem and reshape a new button. The dents and holes were very big and the stem was truly a mess.
I used heat from a heat gun and boiling water to raise the tooth dents in the stem and then sanded it to provide a smooth surface in front of the button. I wanted to minimize the amount of the stem that I would have to cut off should I choose that method.
stem1

stem2

I used heat from a heat gun and boiling water to raise the tooth dents in the stem and then sanded it to provide a smooth surface in front of the button. I wanted to minimize the amount of the stem that I would have to cut off should I choose that method.
stem3

stem4

Once I had leveled the stem out, I again studied the bite through areas. It was clear to me that I was going to cut off the stem and reshape the button. I used a Dremel to cut back the button and the damaged area of the stem. The next three photos show the result of the cut back. I did not have to remove nearly as much as I originally thought I would as the heat had raise many of the tooth marks in the stem. I sanded the stem to smooth out the flow and slope of the stem and remove the remaining tooth damage. Even though the photos are a bit out of focus you can see the work that was done on the stems. If I had doubted that the stem was made of nylon it became very clear as I sanded it. The grey hue of the material can be seen in the photos below.
stem5

Once the stem surface was smooth and the remaining dents were minimized it was time to take out the needle files and begin to cut the new button on the stem. I used a square bladed needle file to do the initial cuts in the button. I am always concerned to make a clean straight edge on the button so I find that a square blade with no taper or tip makes that task simple. I then clean it up with a flat bladed file and smooth out the transition between the button and the slope of the stem. The other files in the pictures below are used to shape the button and to define its final form. The three photos below show the files and the progress in cutting the new button. You can also see that the small dents that remained are disappearing in the shaping of the button. Care must be taken not to cut the edge too deeply and recreate the hole in the stem again. In this case I had enough meat on the stem to allow me to cut a well defined button.
stem6
stem7

Once I had the button cut and defined I put the stem on the pipe to continue the process of refining the line of the stem and smoothing out the transition to the button. I wanted to taper the button toward the lip rather than leave it flat so you can see that in the profile picture below. The stem is just about finished by the time these photos were taken and only needed the final sanding to bring the stem to completion.
stem8

The stem was then sanded with 400 and 600 grit wet dry sandpaper to remove the deep scratches and then followed that with micromesh sanding pads from 1500-12000 grit. The finished stem is picture below both in profile and from a top view. The new button is comfortable and the slot is open and passes a pipe cleaner easily.

The pipe provided a great opportunity to work on a stem restoration and the recreation of a button and it has since found a new home in the rack of a happy pipe smoker who needed some pipes for working outside and in the yard. This is a perfect yard pipe and should continue to deliver a great smoke to him as long as he chooses to keep it.
stem9

Refurb on the London Made


I finished up the refurb on a London Made billiard. It is a big pipe 7 1/2 inches long. This one was by far the worst one in the lot of three large pipes that I had in my box to refurbish. The rim was in very rough shape with burn marks on the right hand side and dents and scuffs from banging out the dottle. The bowl was heavily caked and the stem and shank were virtually plugged with tars.

I reamed the bowl and cleaned the shank with pipe cleaners, cotton swabs and a shank brush and isopropyl alcohol. Then I gave the bowl an alcohol bath over night. The next morning I took it out of the bath, dried it off with a soft cloth. Once it was dry I sanded the bowl with micromesh sanding pads (1500-6000 grit) until it was smooth. I wiped it down with a cotton pad and some isopropyl to clean off the sanding dust and any remaining oils from my hands. I restained it with an oxblood aniline stain thinned with isopropyl alcohol.

I went to work on the stem after that. The stem was in bad shape. There was a very deep cut mark on the top of the stem about a 1/4 inch from the button. There was also a bite through hole on the underside of the stem. I cleaned and sanded the stem until it was black once again. I left the area around the button, on top and bottom, a bit rough and then filled the cut on the top with krazy glue. I greased and inserted a pipe cleaner in the slot and then filled the hole with krazy glue. Once the glue was completely dry I sanded the two fills I made with sand paper – 400, 600 grit, and then micromesh sanding pads from 1800-6000 grit. (I have read of concern by different folks on how the super/krazy glue can melt or cause damage on vulcanite. I have now been using this process for several years and never had a problem. I have used it on both vulcanite and Lucite. In the past weeks I have also used it on a nylon stem without any probems.)

I took the pipe to my buffer and finished the refurbishing with a buff of White Diamond to polish the finish on the bowl and the stem. I gave the entirety several coats of carnauba wax and buffed it with a clean flannel buff to give it a shine.

Here are the pics of the finished pipe (once again I forgot to take pictures of the pipe before I worked on it). Thanks for looking. ImageImageImageImageImage

Refurbished a Karl Erik Apple


I picked this beautiful older Karl Erik apple up on EBay. When it arrived I loved the looks of it and decided to work on it immediately upon opening the package. It had many dents in the sides of the bowl and front and back. The bowl had some darkening along the back side of the bowl near the rim. It was not charred or burned just darkly stained. The rim was clean of tars and oils and the bowl had been reamed already. It was a very clean pipe other than the darkening and the dents on the rim and bowl sides. The stem was oxidized minimally and had a few bite marks on it that were not too deep. There was not a lot of work to do on this one so I went to work. ImageImage

I took it into the kitchen and turned on one of the gas burners on the stove. I wet a dish cloth so and laid it on the counter next to the stove. I heated my old butter knife over the flame. I placed the folded wet dish cloth on the dents that are visible on the sides of the bowl to steam them out. The hiss of the hot knife on the damp cloth generated the steam that lifted the dents. I worked on the dents on both sides of the bowl and on the rim. When I was finished the dents were gone. I washed the exterior of the bowl down with some isopropyl alcohol to clean off the darkening along the top edges of the bowl on the back side and on both sides. It came off quite easily. Once that was done I sanded the bowl with micromesh pads to smooth out the finish and prepare it for restaining. I stained it with a medium brown stain. I buffed it with White Diamond and then gave it several coats of carnauba wax.

I used my heat gun to lift the tooth marks on the stem near the button and then sanded it with 240 grit sandpaper and also the usual 400 and 600 grit wet dry sandpaper and water. Once they were smoothed out I sanded it with micromesh 1500-6000 grit and then put it back on the bowl. I  buffed and polished the whole pipe and waxed it again. It is a beautiful little pipe that I will enjoy smoking.
ImageImageImage